.png)
#
English
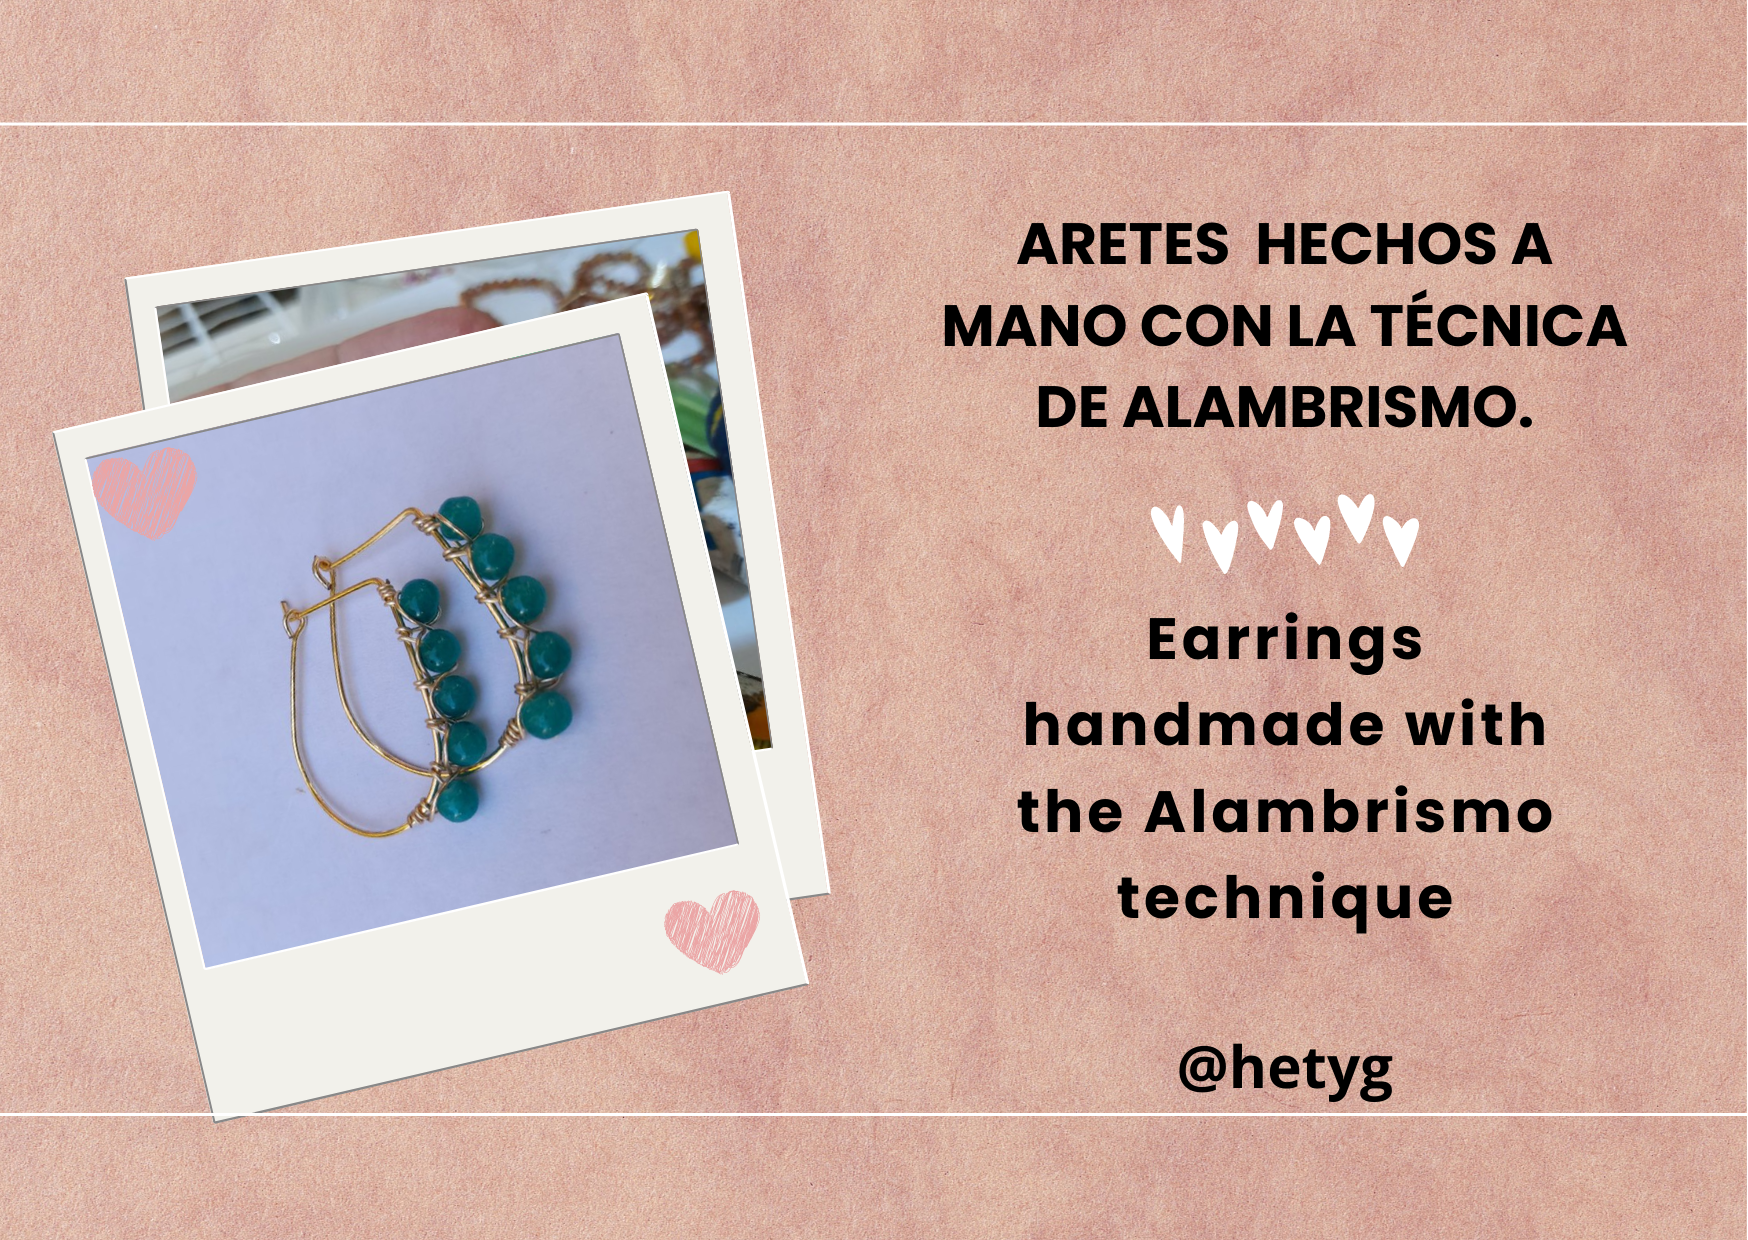
Hello creative friends and artisans of the hive!
A real pleasure to be with you again, to show you a jewelry design that I recently made, using the technique of wire wrap which consists of making shapes using wires of different gauges.
The piece of this occasion are earrings with turquoise spheres.
# Materials:
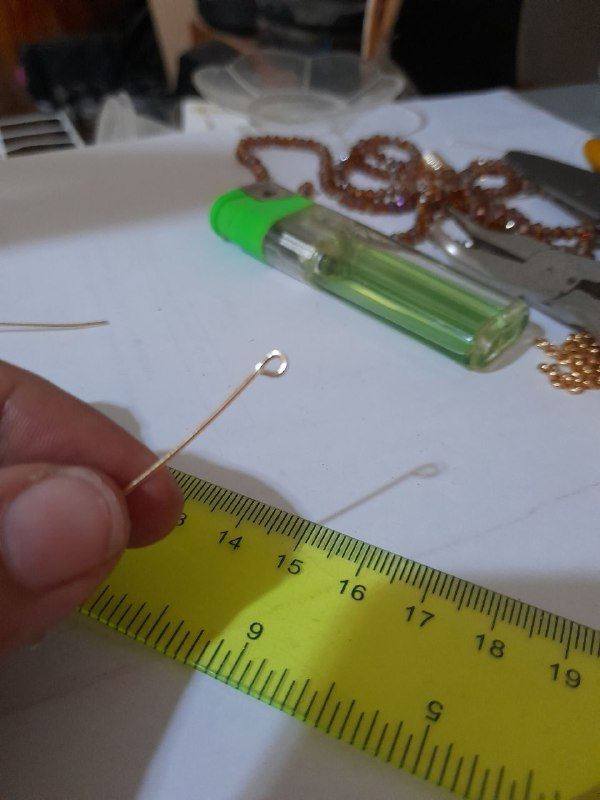
* 2 sections of wire of 9 cm
* 10 spheres of the color of your choice.
* 20 gauge wire
* 24 Ga. wire
* Cutting pliers
* Flat nose pliers
* Round nose pliers
* 1 marker
# Procedure
# Step 1
Take a section of wire and with the help of the round nose pliers, make a ring at the end, proceed in the same way with the other section of wire.
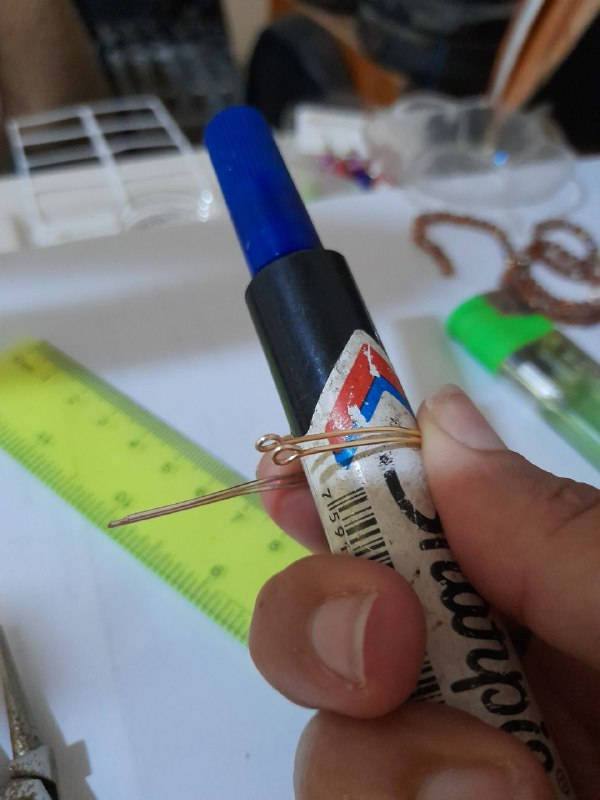
# Step 2
Made the rings on the two wires, place them on the marker to mold them in a drop shape, the idea of doing it with the two wires at the same time is to get them to be the same size.
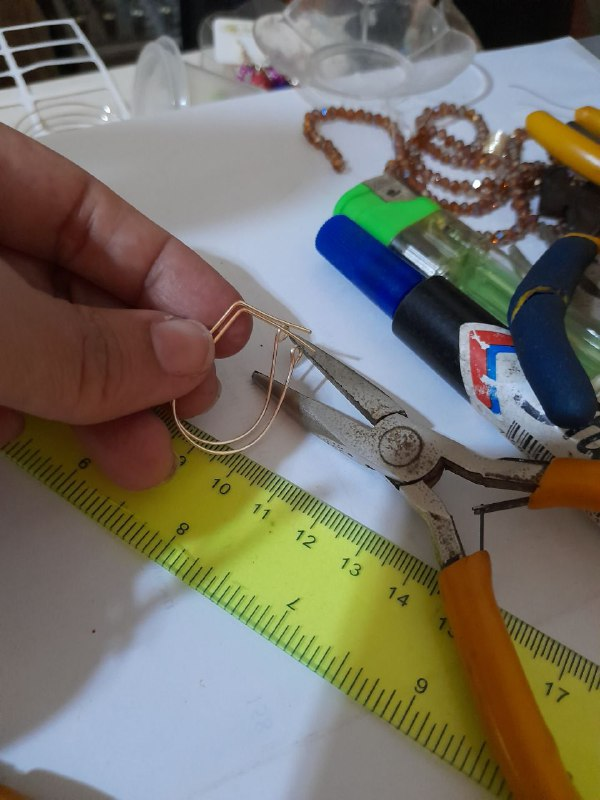
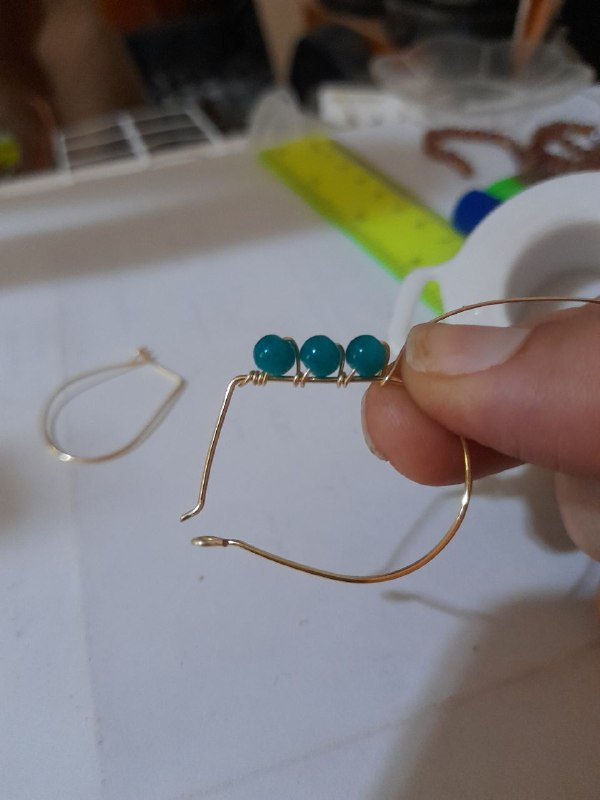
# Step 3
With the help of the flat tweezers, make a bend approximately 2.5 cm from the edge and a small bend of the wire very close to the edge, so that it fits into the ring at the other end.
# Step 4
When the base is ready, proceed to decorate with the spheres, for this I introduce 5 of them in the 24 gauge wire, roll the end at the base of the earring.
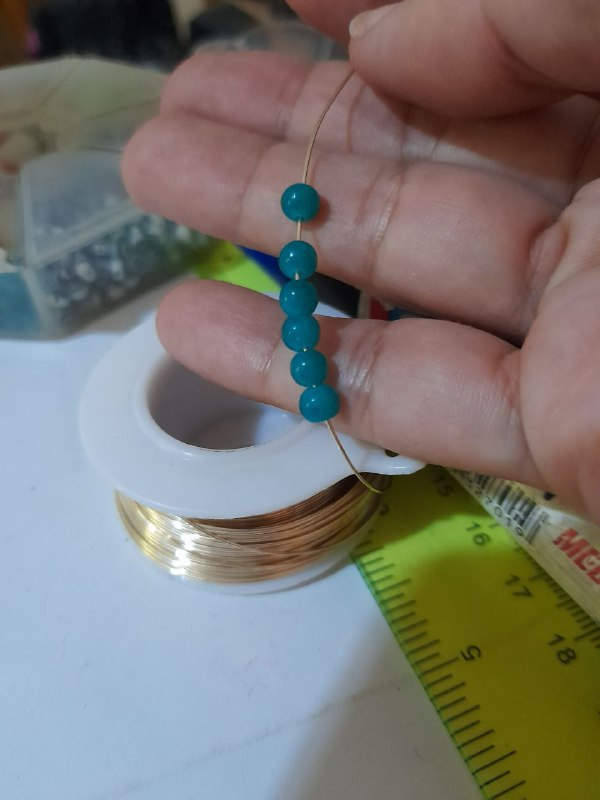
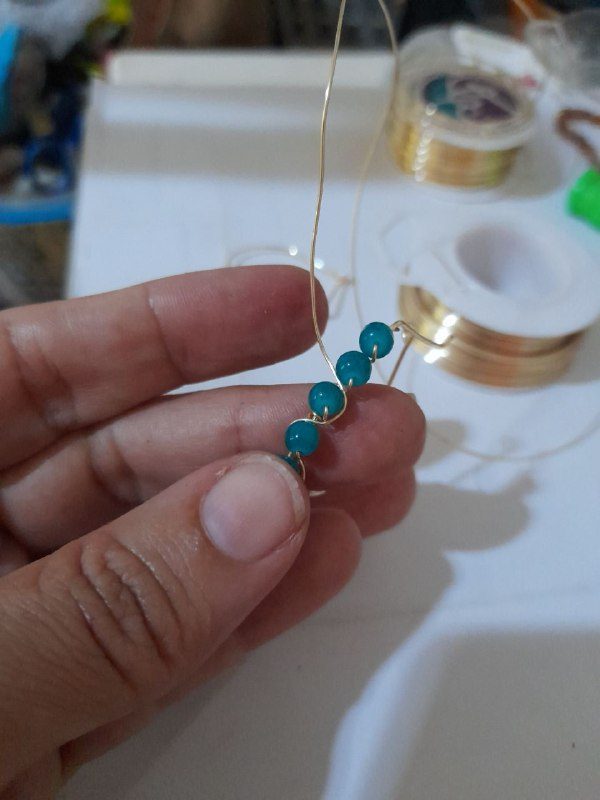
# Step 5
The next step is to roll the wire and position the spheres, continue until all of them are placed.
# Step 6
With the wire, wrap the spheres from bottom to top and then from top to bottom, fix the wire and cut, seal well with the flat tip pliers, to avoid that the end of the wire can cause any damage.
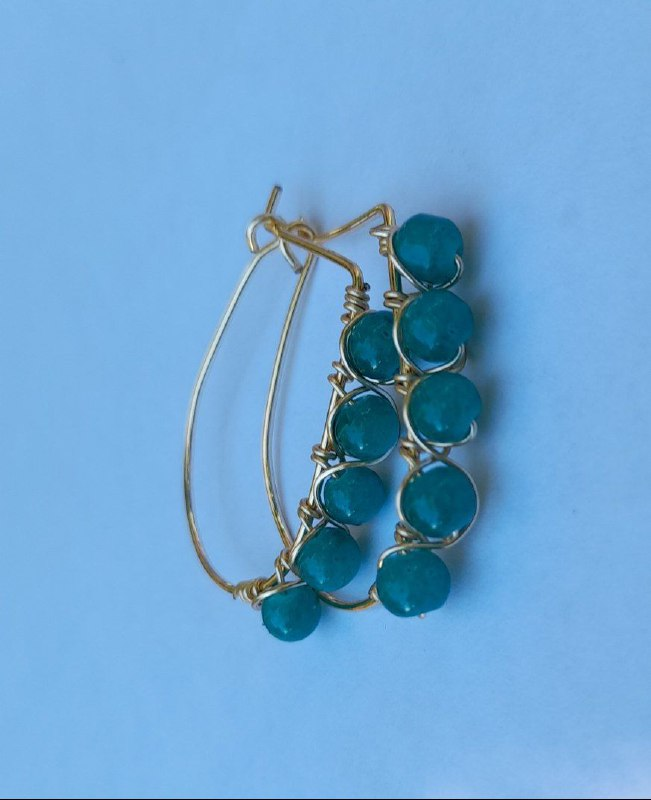
This is what these beautiful earrings look like.
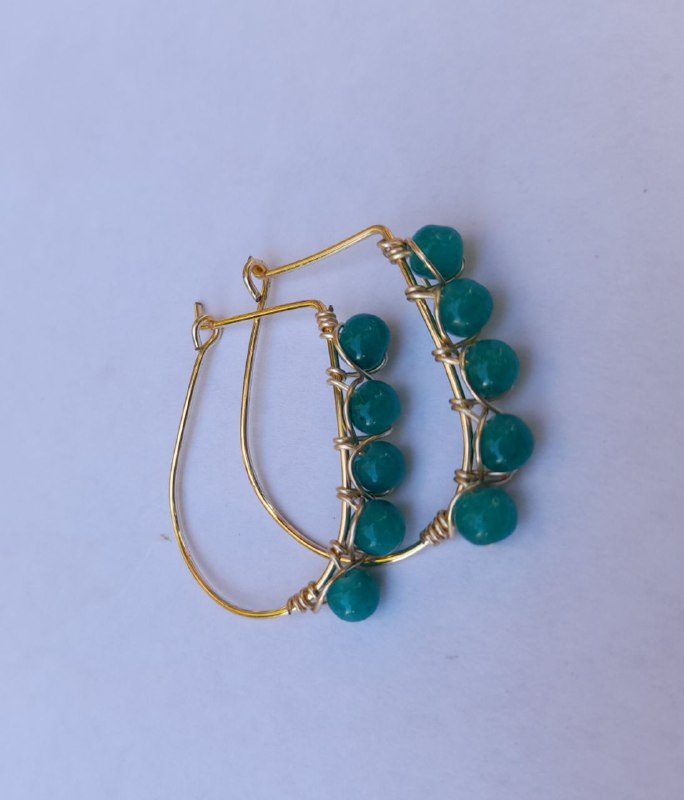
I hope you like them.
Thanks for reading.
Photos by @hetyg
Images edited in Canva
Translated with www.DeepL.com/Translator (free version)
#
Español
Hola amigos creativos y artesanos de la colmena!
Un verdadero gusto estar de nuevo con ustedes, para mostrarles un diseño de bisutería que elabore hace poco, empleando la técnica de alambrismo la cual consiste en realizar formas empleando alambres de diferentes calibres.
La pieza de esta ocasión son unos aretes con unas esferitas de color turquesa.
# Materiales:
* 2 secciones de alambre de 9 cm
* 10 esferitas del color de su preferencia
* Alambre Cal 20
* Alambre Cal 24
* Pinza de corte
* Pinza de punta plano
* Pinza de punta redondo
* 1 marcador
# Procedimiento
# Paso 1
Tomar una sección de alambre y con ayuda de la pinza de punta redondo, hacer un aro en el extremo, proceder de la misma forma con la otra sección de alambre.

# Paso 2
Hechos los aros en los dos alambres, colócalos sobre el marcador para moldearlos en forma de gota, la idea de hacerlo con los dos alambres a la vez es lograr que queden del mismo tamaño.

# Paso 3
Con ayuda de la pinza plano, hacer un doblez a 2,5 cm del borde aproximadamente y un pequeño doblez del alambre muy cerca del borde, para que encaje en el aro del otro extremo.

# Paso 4
Cuando ya este lista la base, proceder a decorar con las esferas, para ello introduzco 5 de ellas en el alambre calibre 24, enrollar el extremo en la base del arete.

# Paso 5
Lo siguiente es ir enrollando el alambre e ir posicionando las esferas, continuar hasta colocarlas todas.

# Paso 6
Con el alambre bordear las esferas de abajo hacia arriba y luego de arriba hacia abajo y fijar el alambre y cortar, sellar bien con la pinza de punta plano, para evitar que el extremo del alambre pueda ocasionar algún daño.

Así es como lucen estos hermosos aretes.

Espero que les gusten.

Gracias por leerme.
Fotos de @hetyg
Imágenes editadas en Canva.