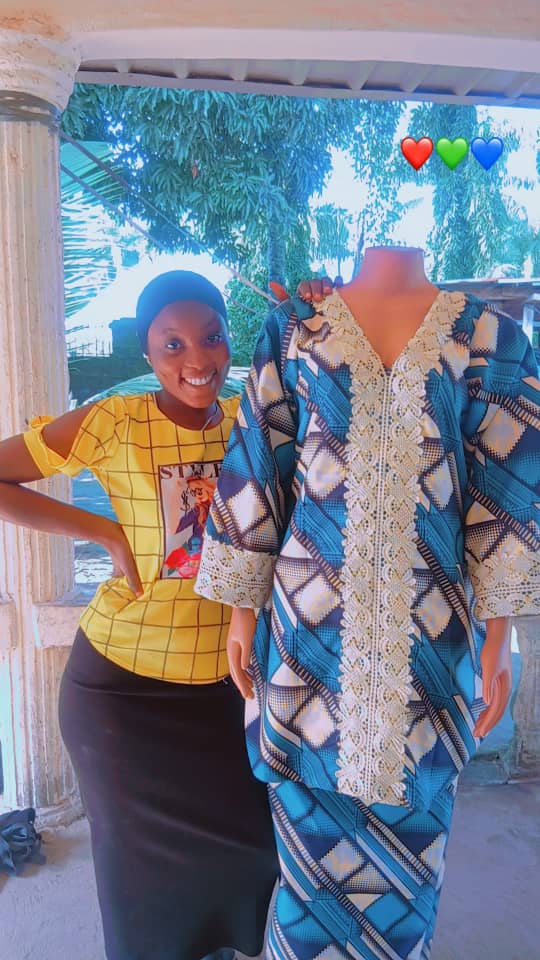
Hi everyone, and welcome back to my blog It’s Needlework Monday, and today I’ll be sharing my experience and the steps I took in making this skirt and blouse set for a client.
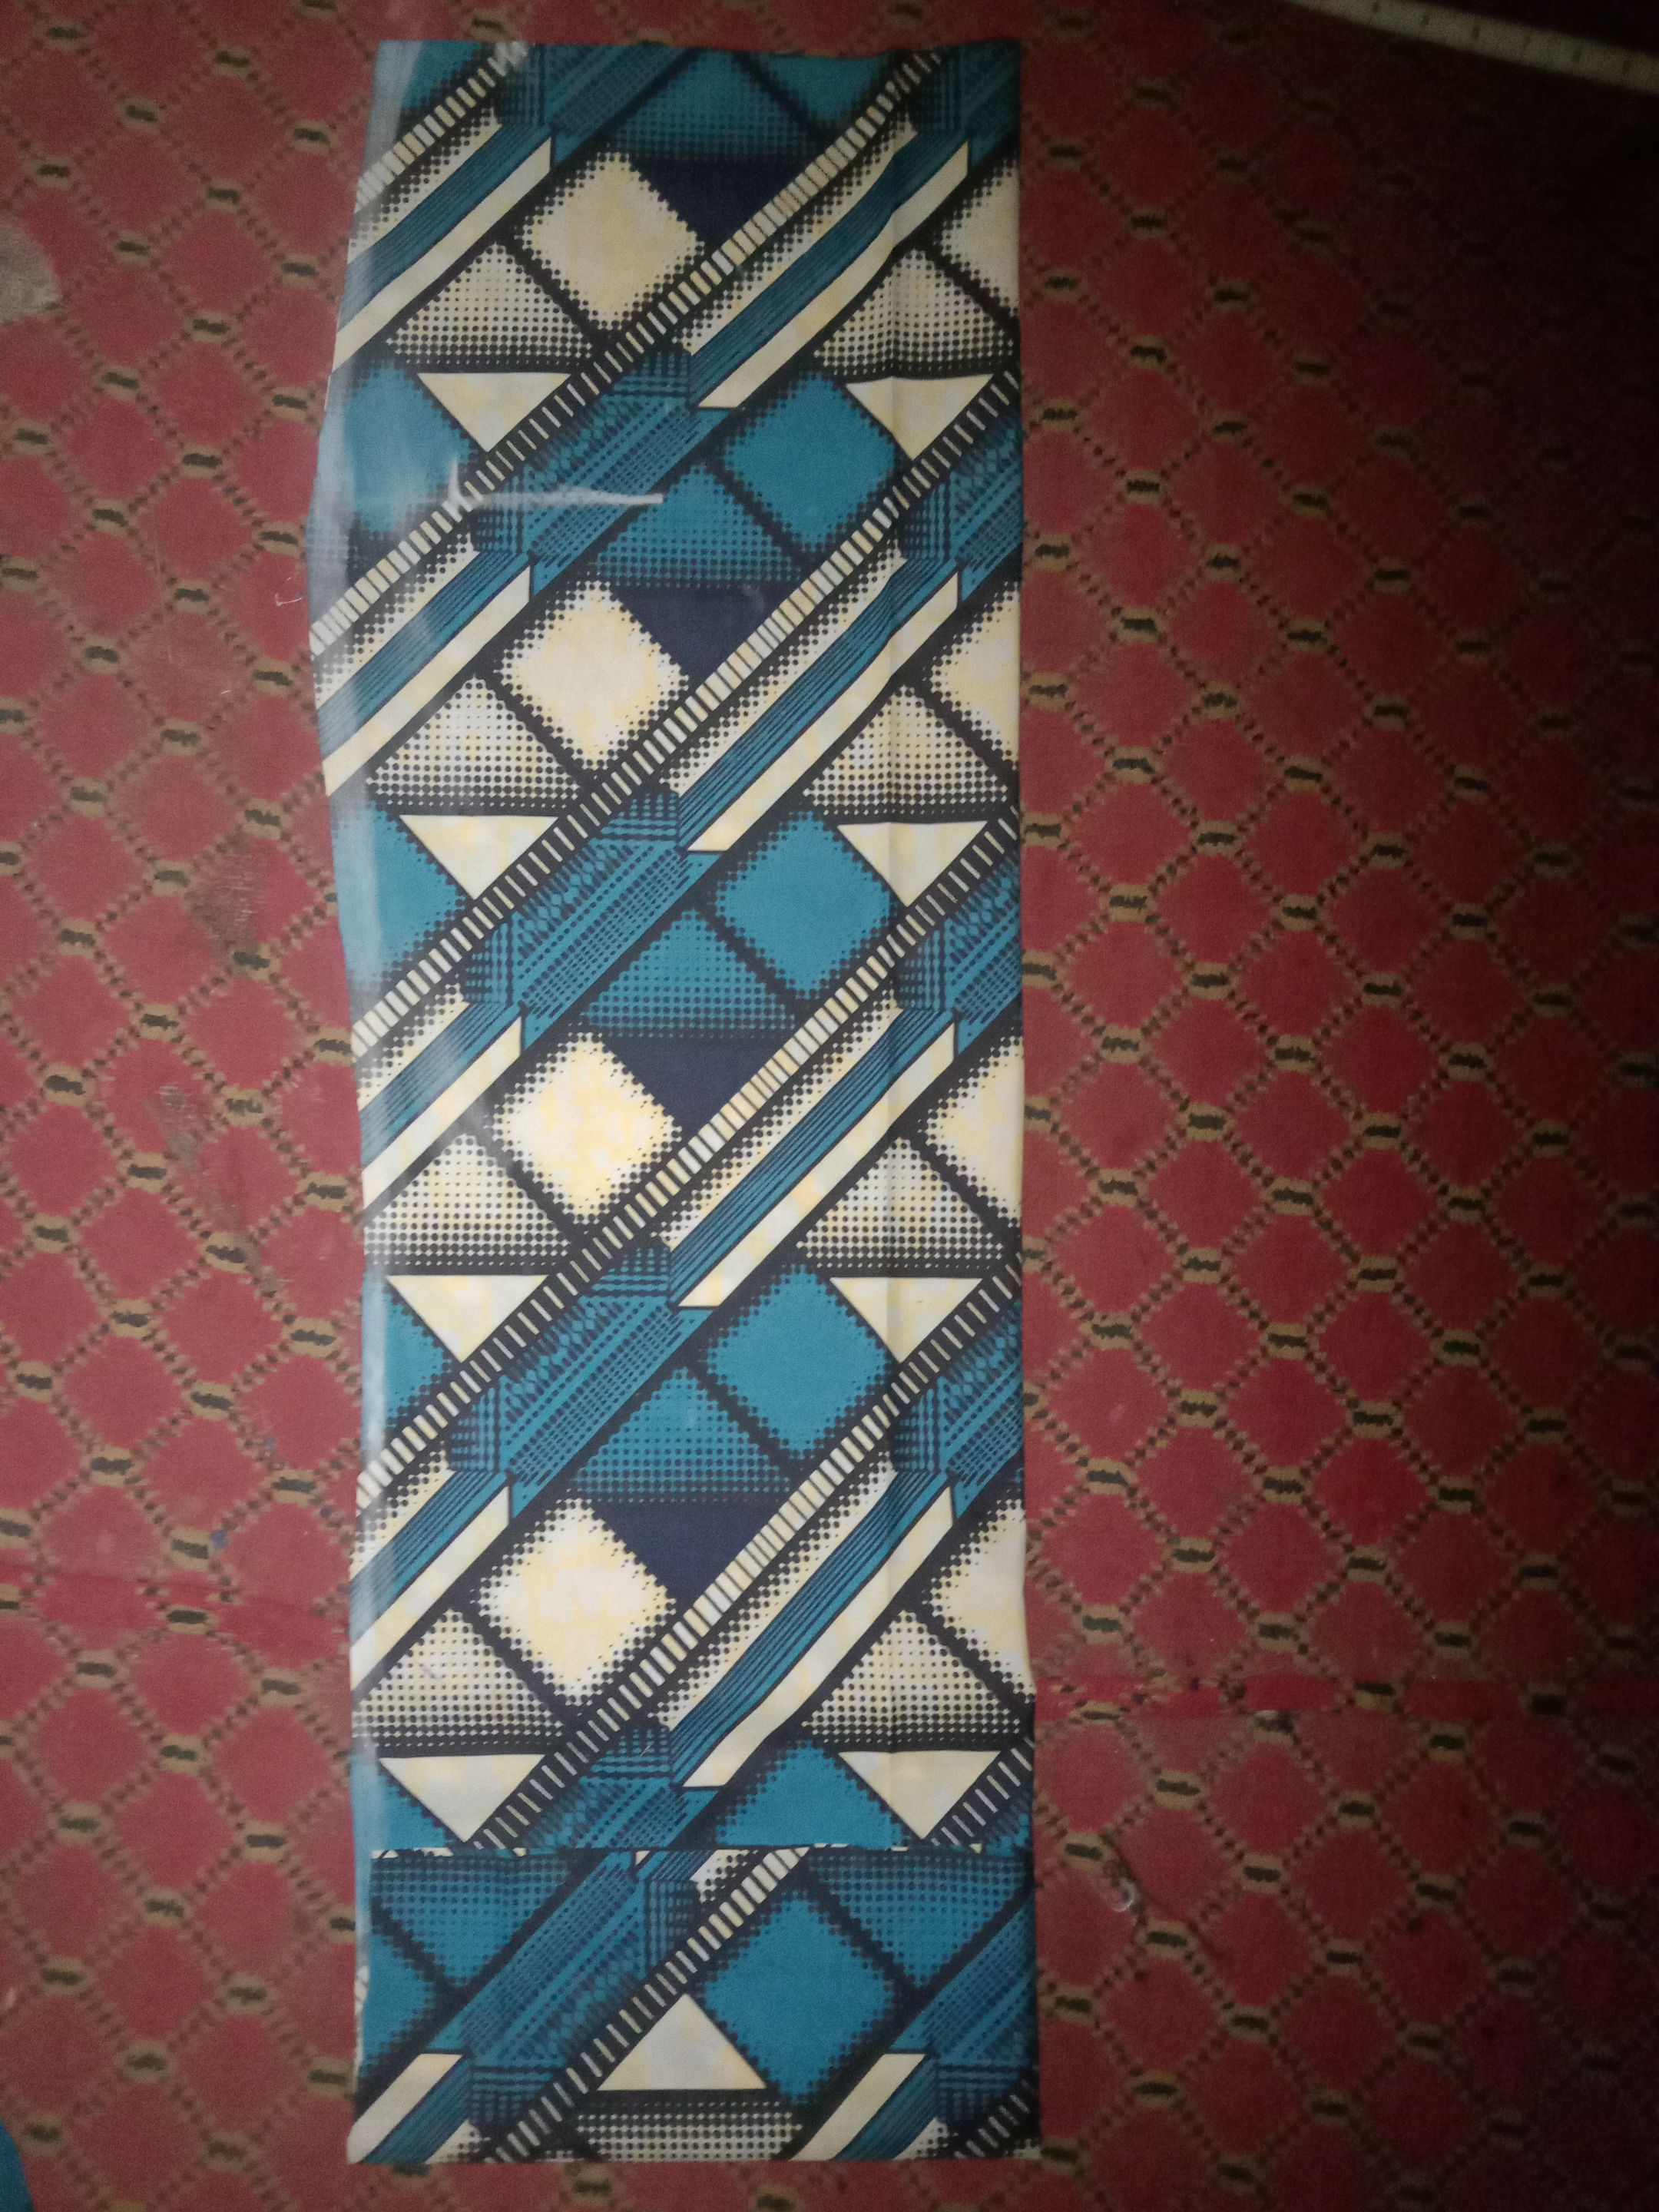
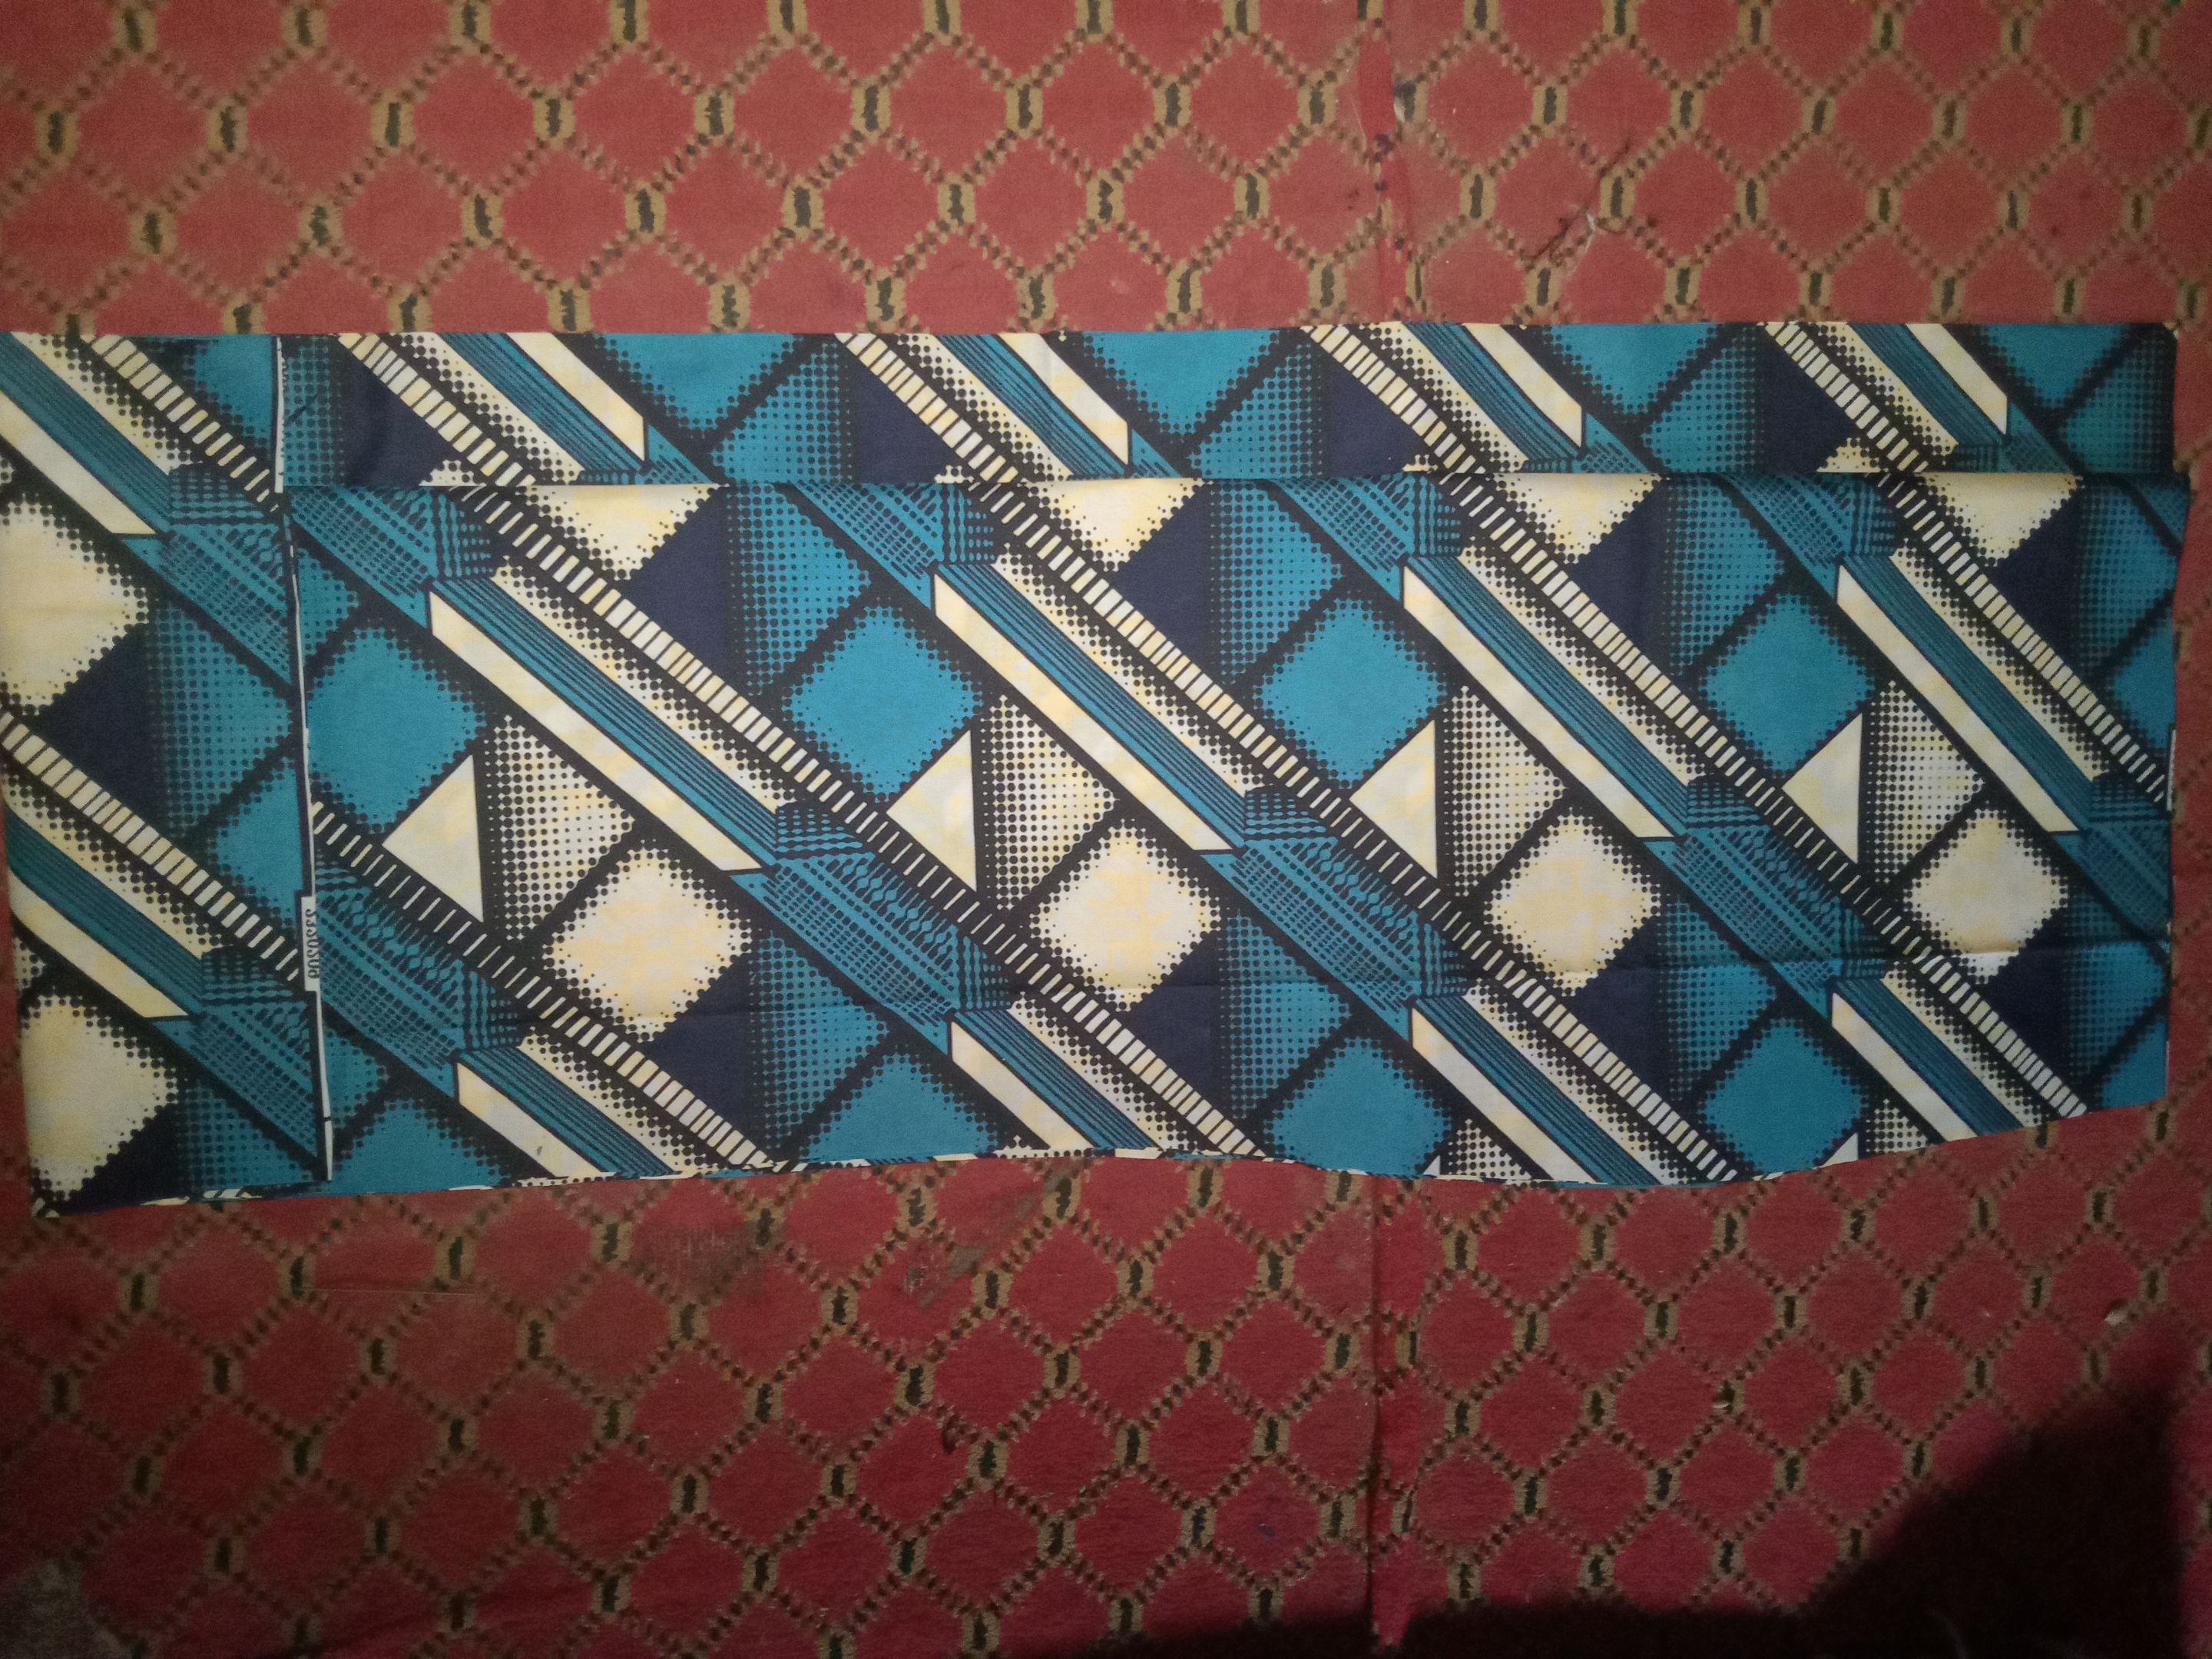
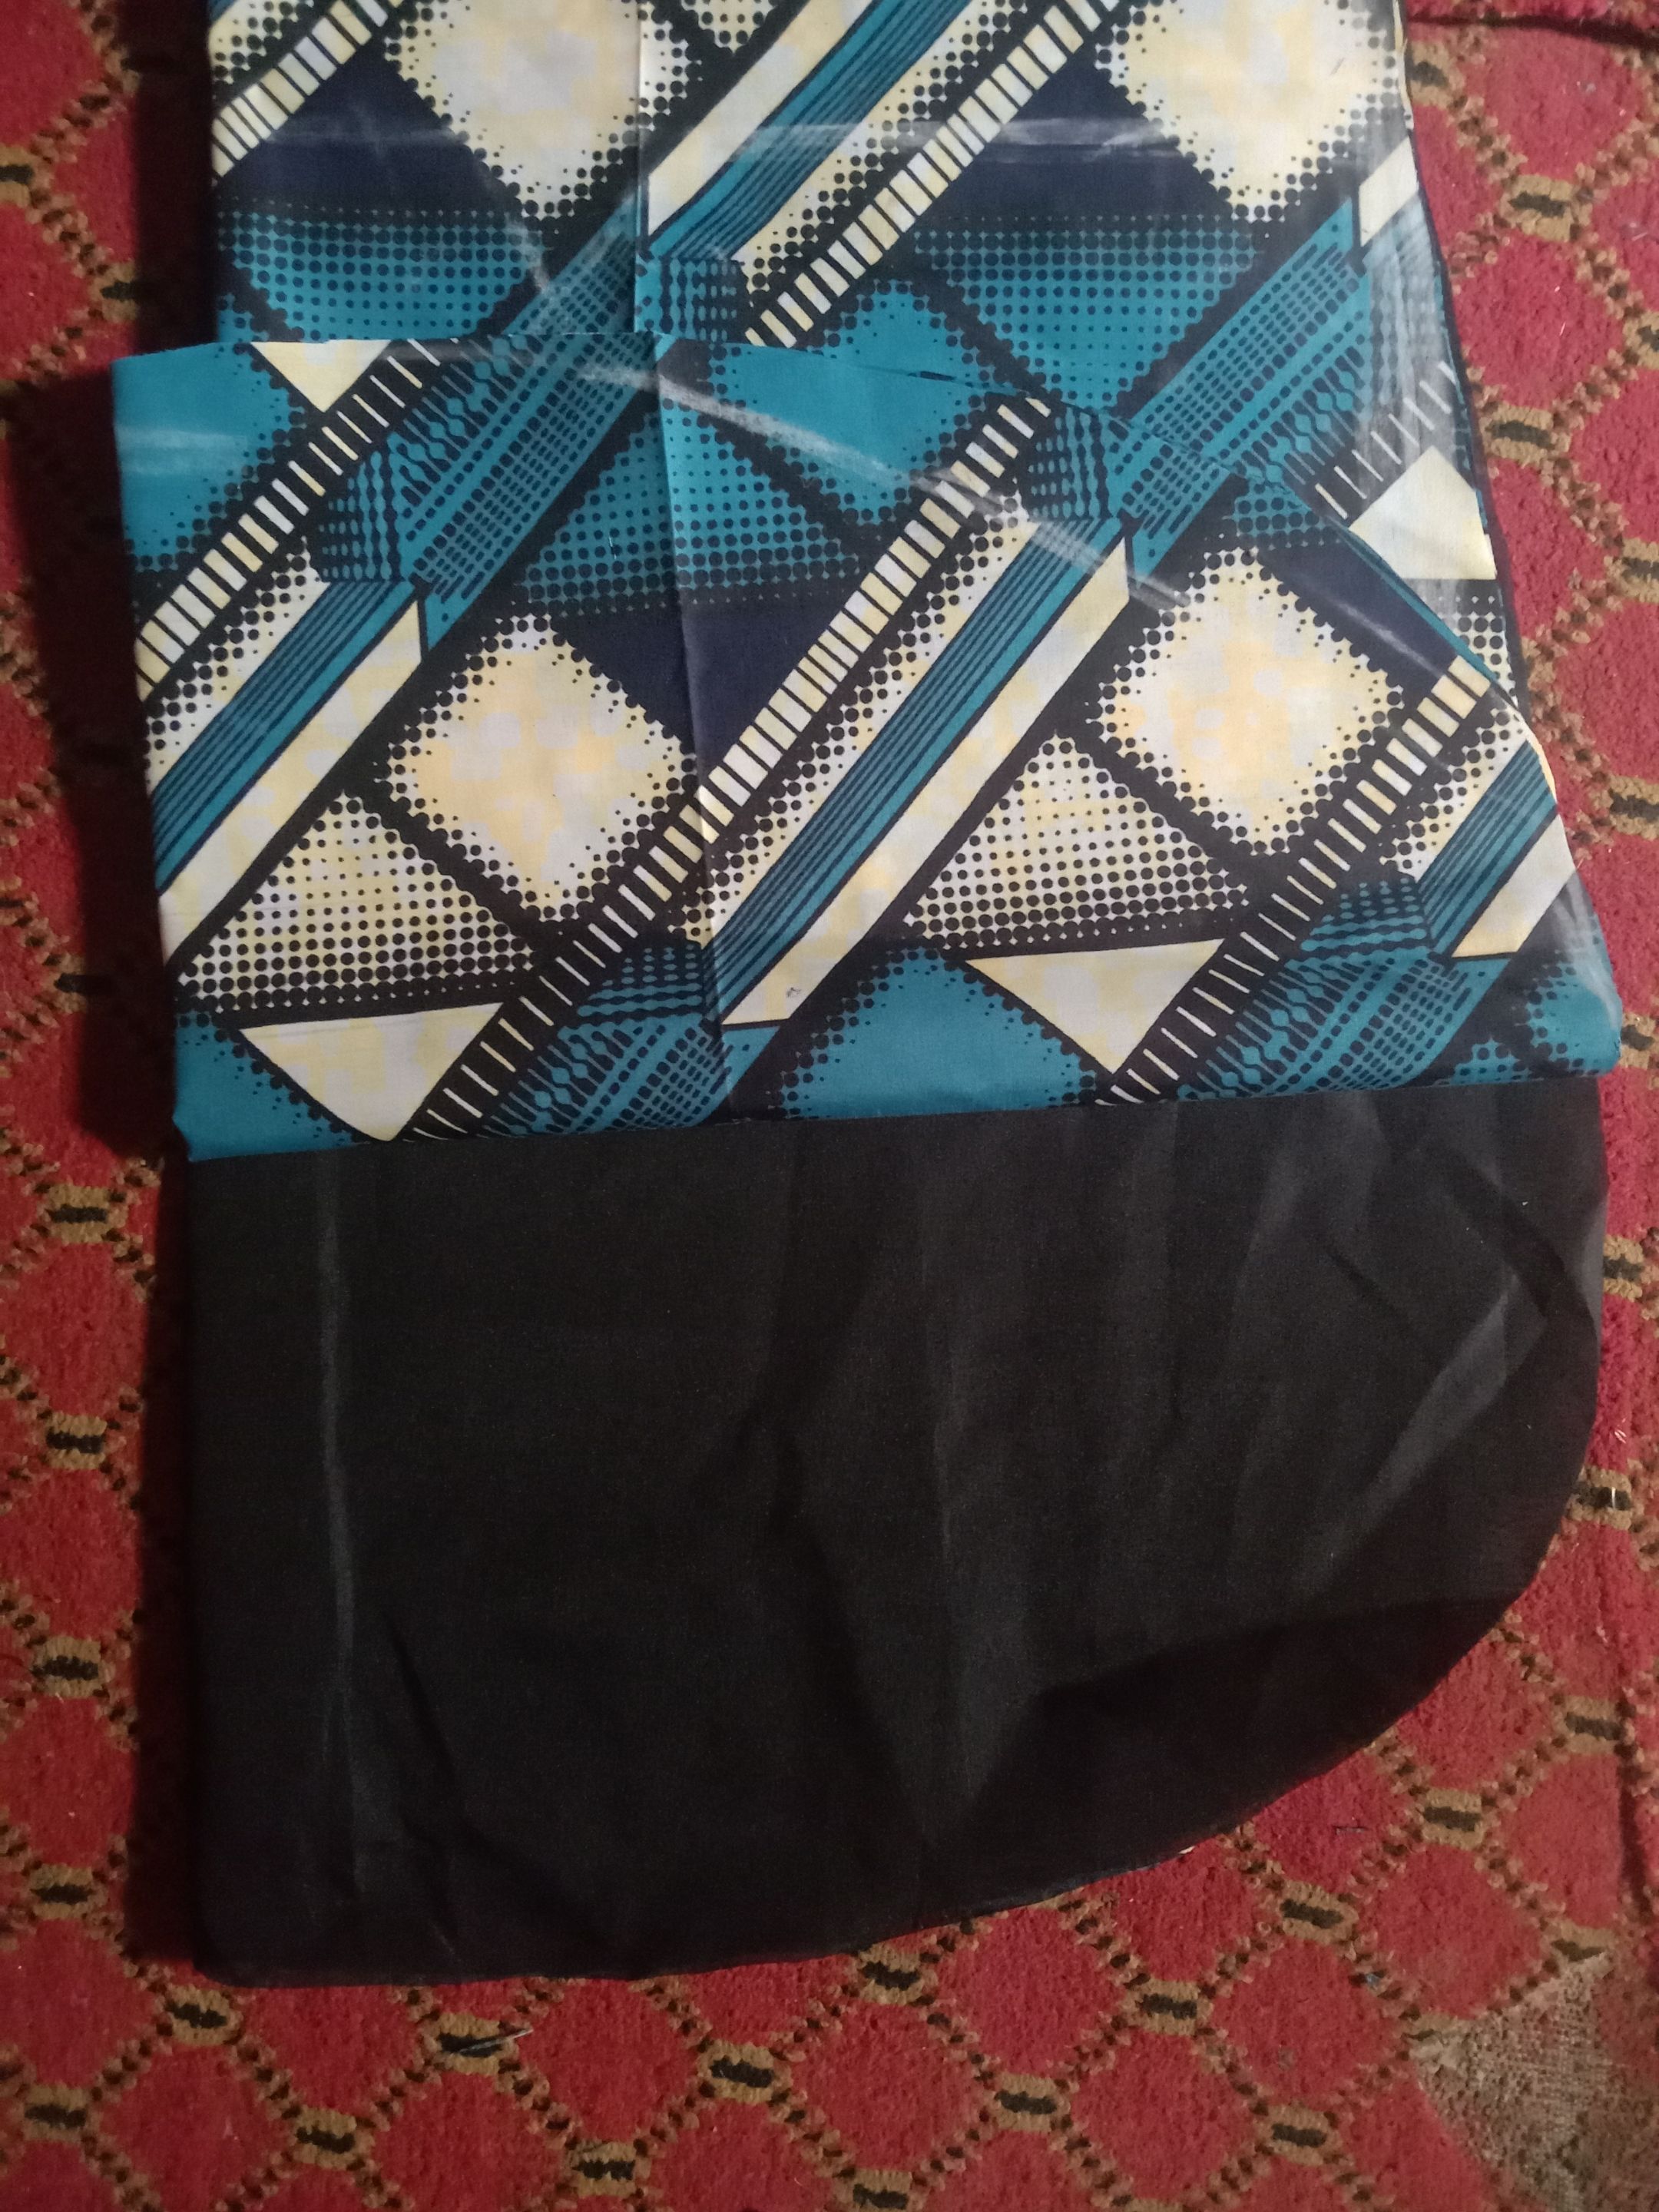
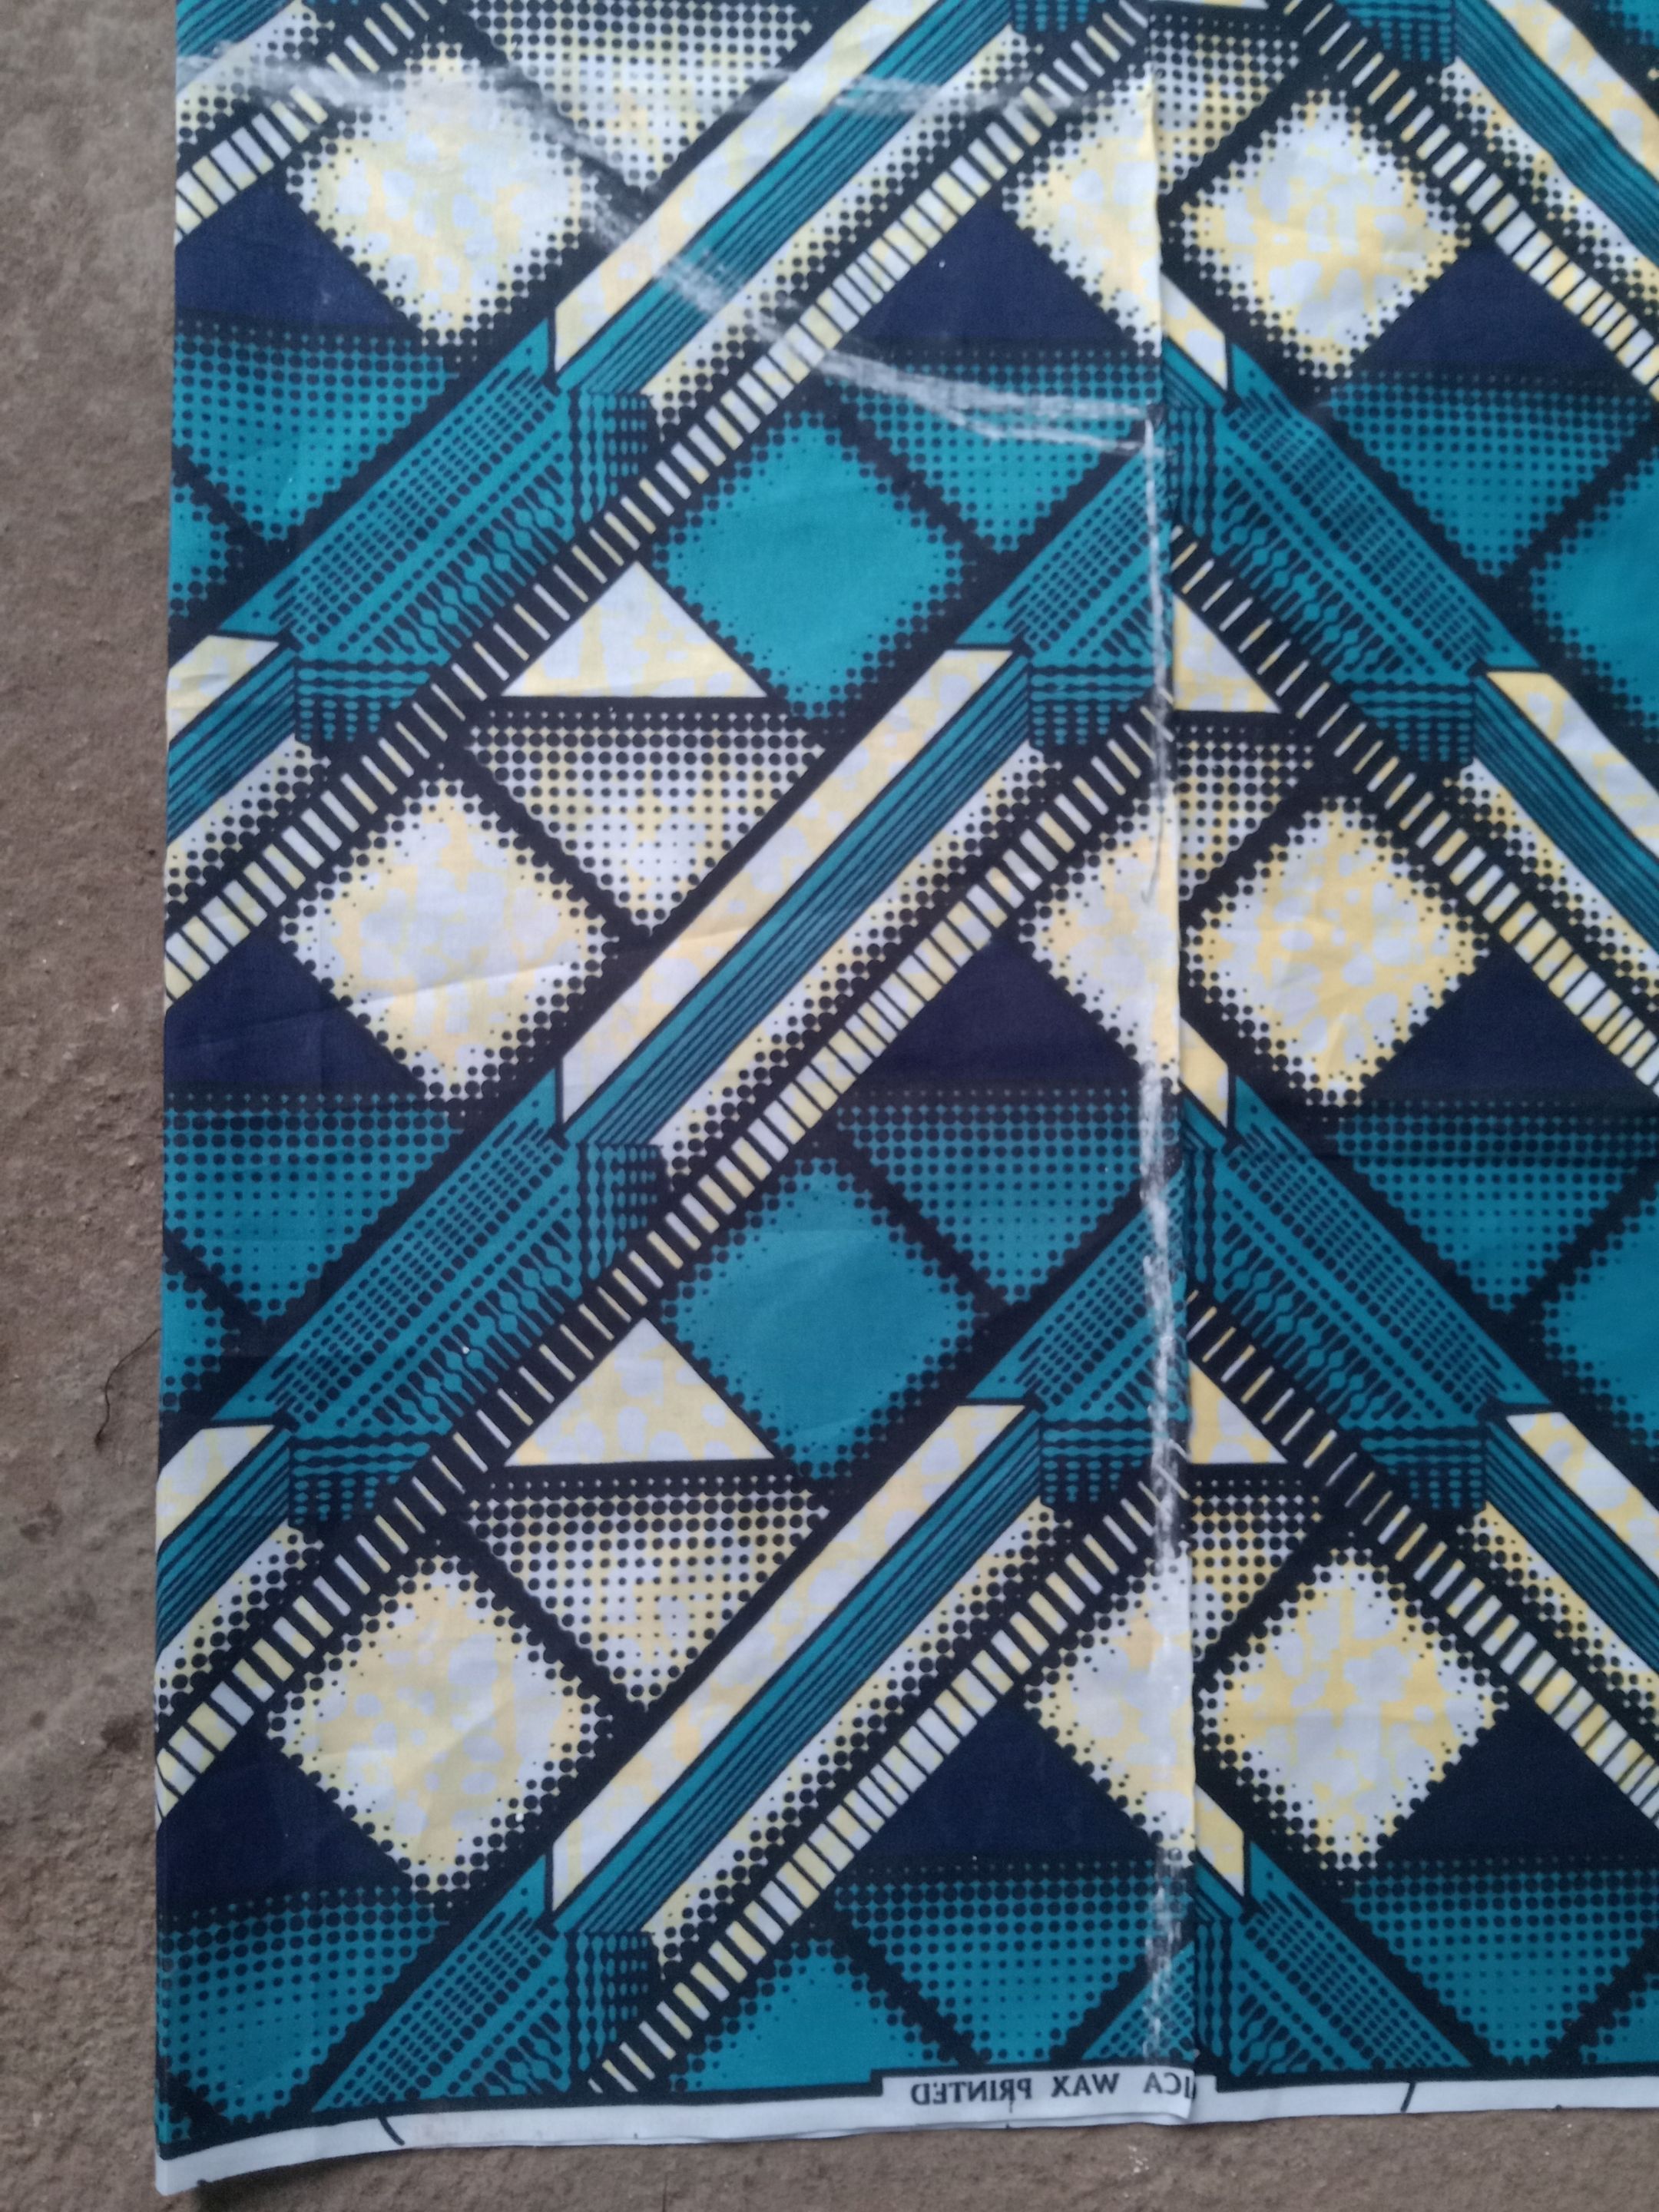
I had originally made a similar outfit for my cousin, and one of her friends loved it so much that she asked my cousin to connect her with me. Since we don’t live in the same city, my cousin collected the fabric and sewing materials from her and brought them home. However, the lace trim she got was different from the one I used for my cousin’s outfit, so I couldn’t replicate the exact same design. Instead, I decided to create a new style for her. In the end, she loved it even more
 (What she actually wanted)
Because of the lace tip, I chose to make a V-neckline instead of a round one. I felt it would complement the design better and flatter her look.
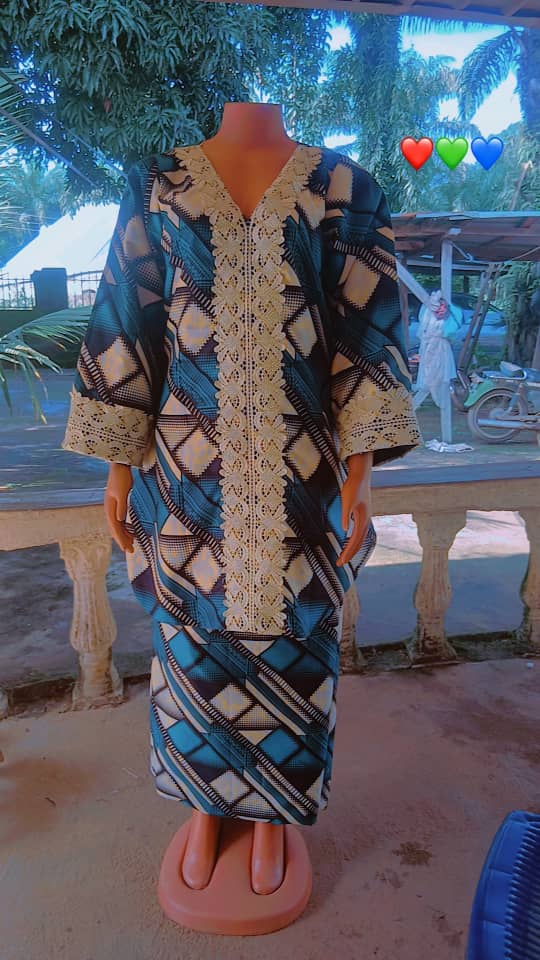 (What I gave her)
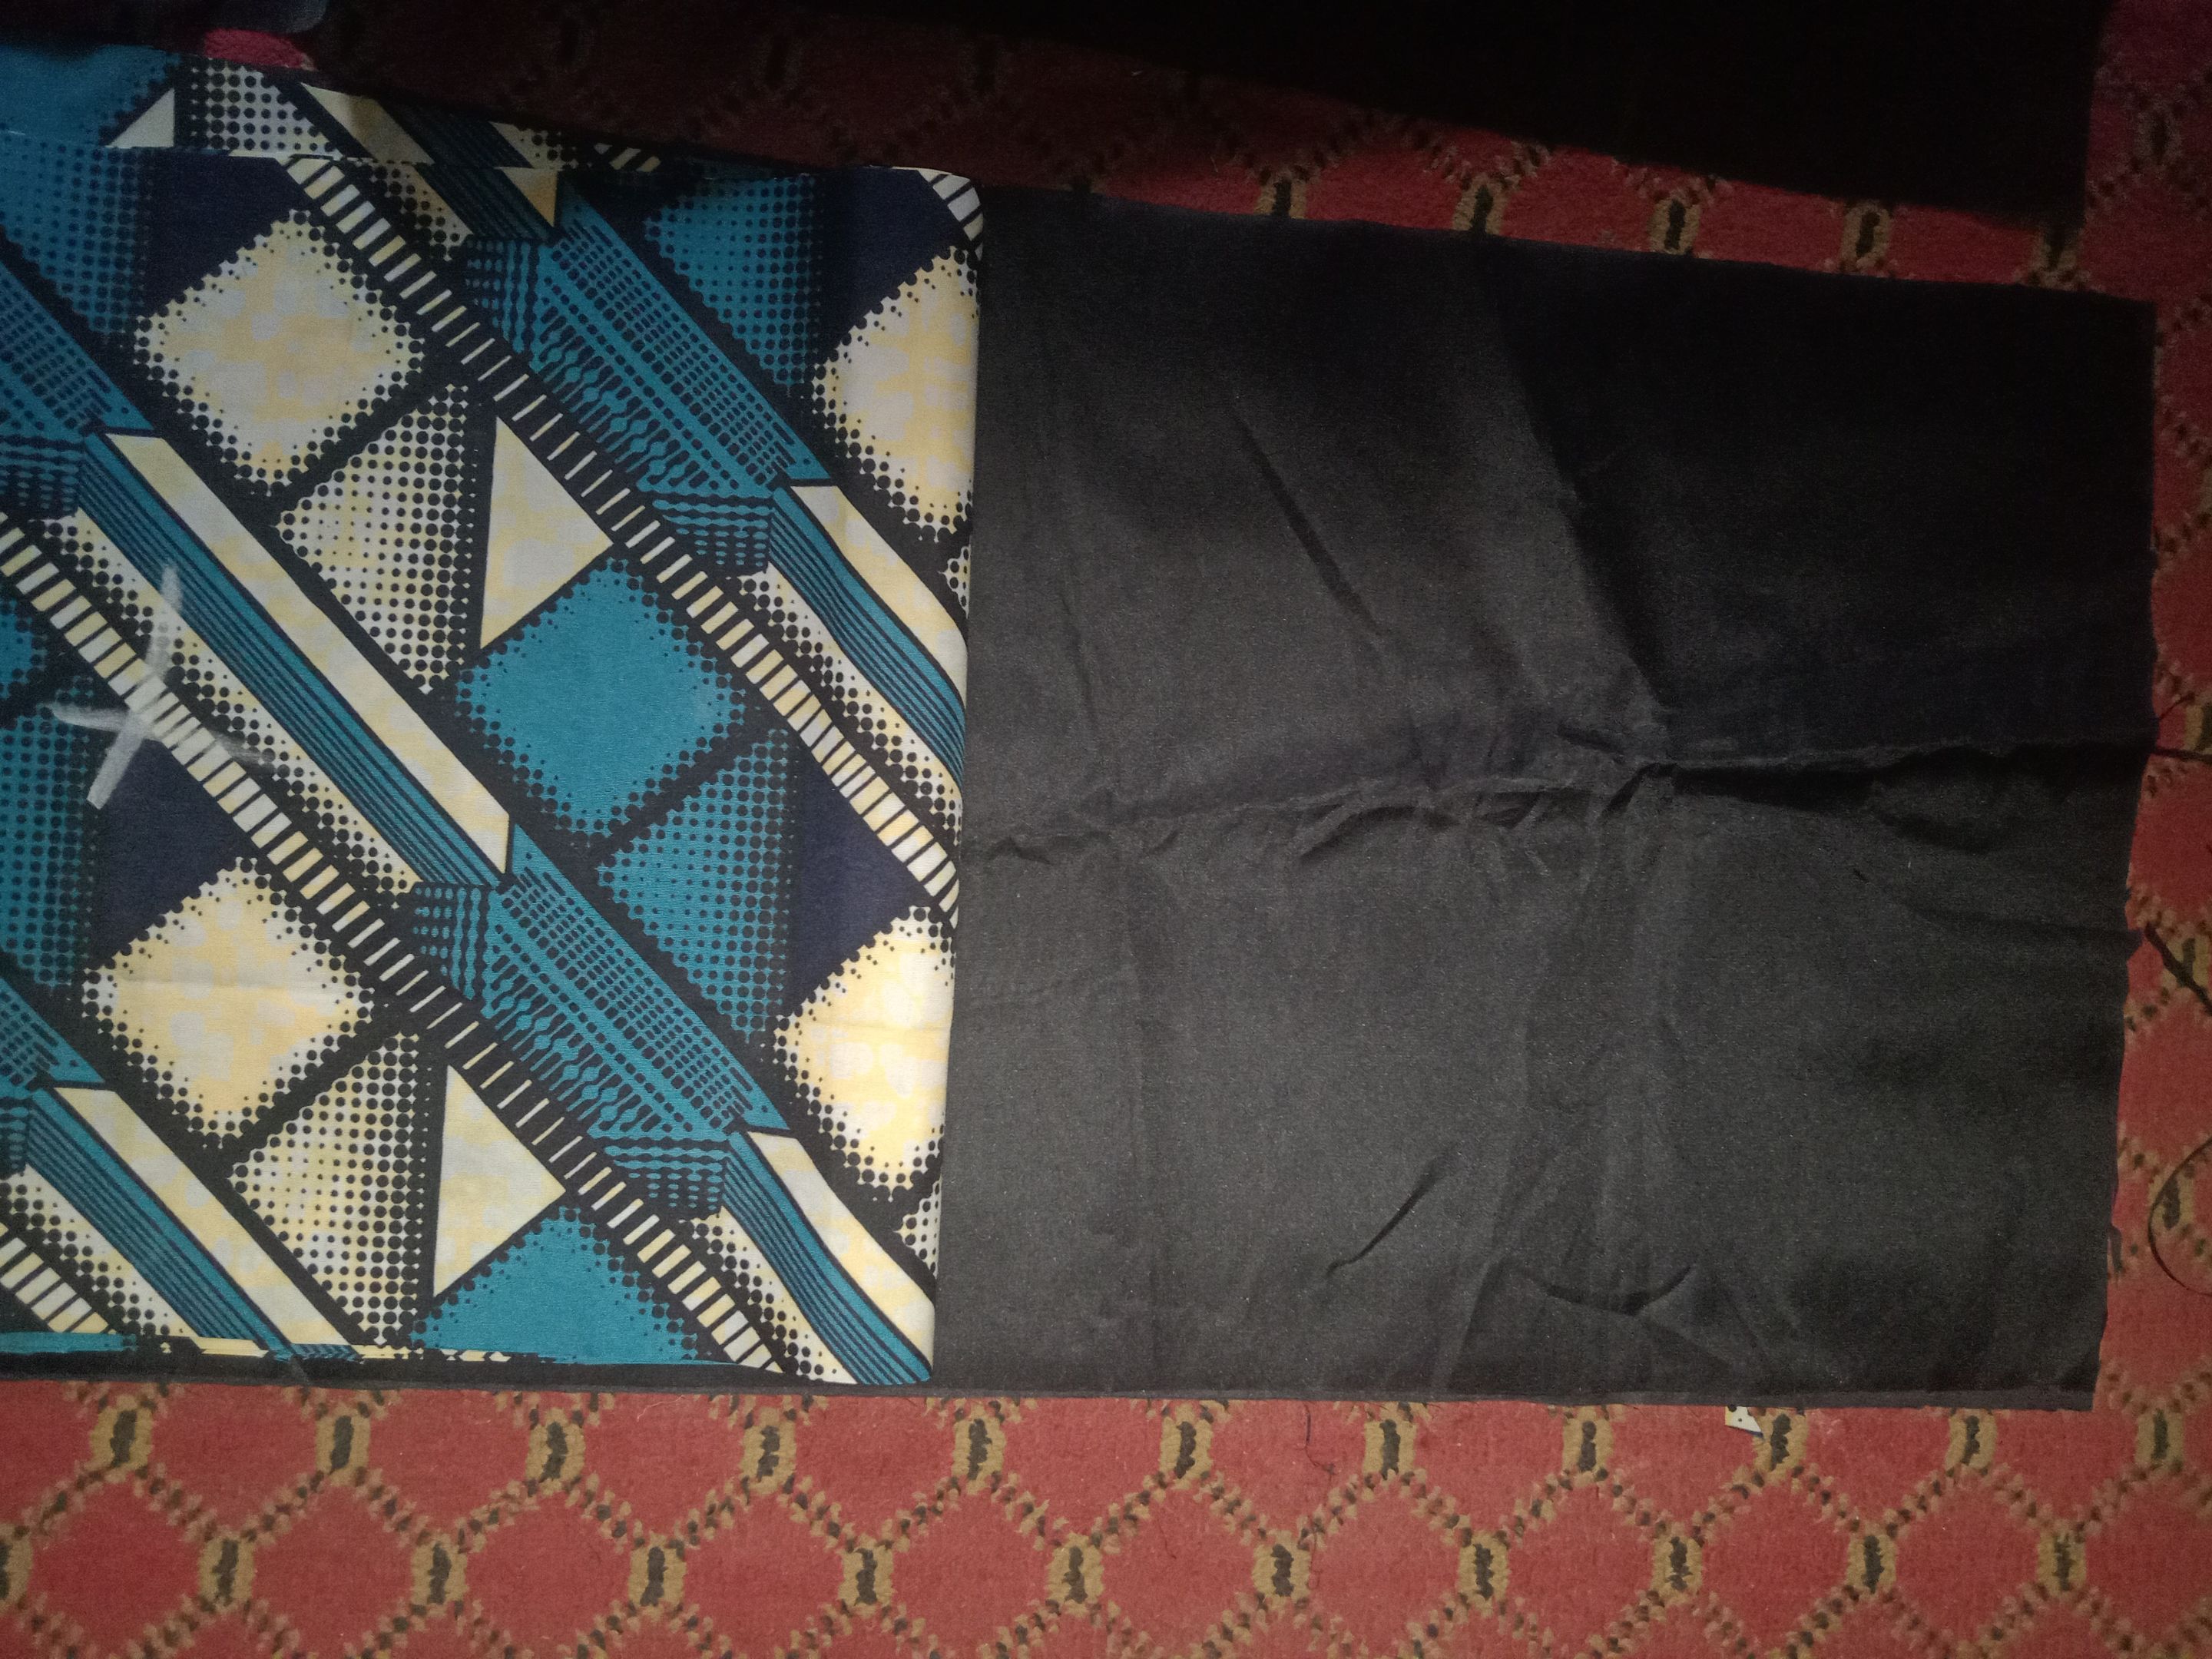
Cutting the Skirt I started with the skirt by cutting the back first, this time leaving space for the zipper allowance. I inserted her body measurements, traced, and cut. I did the same for the front but without the zipper allowance since it was only needed at the back. I then cut out the lining for the skirt as well.
Cutting the Top The blouse had an A-line style with a stylish curve at the hem. Using her basic measurements, I cut the top, shaping the armhole, bust, underbust, and hip, while also adding allowances for sewing and ease since it wasn’t supposed to be too fitted. For the hem, I went up by about 5 inches and rounded it to achieve the shape I wanted. The front had a V-neck without a zipper, while the back had a round neck with a zipper allowance.

After cutting, I also prepared the lining pieces to match the fabric.
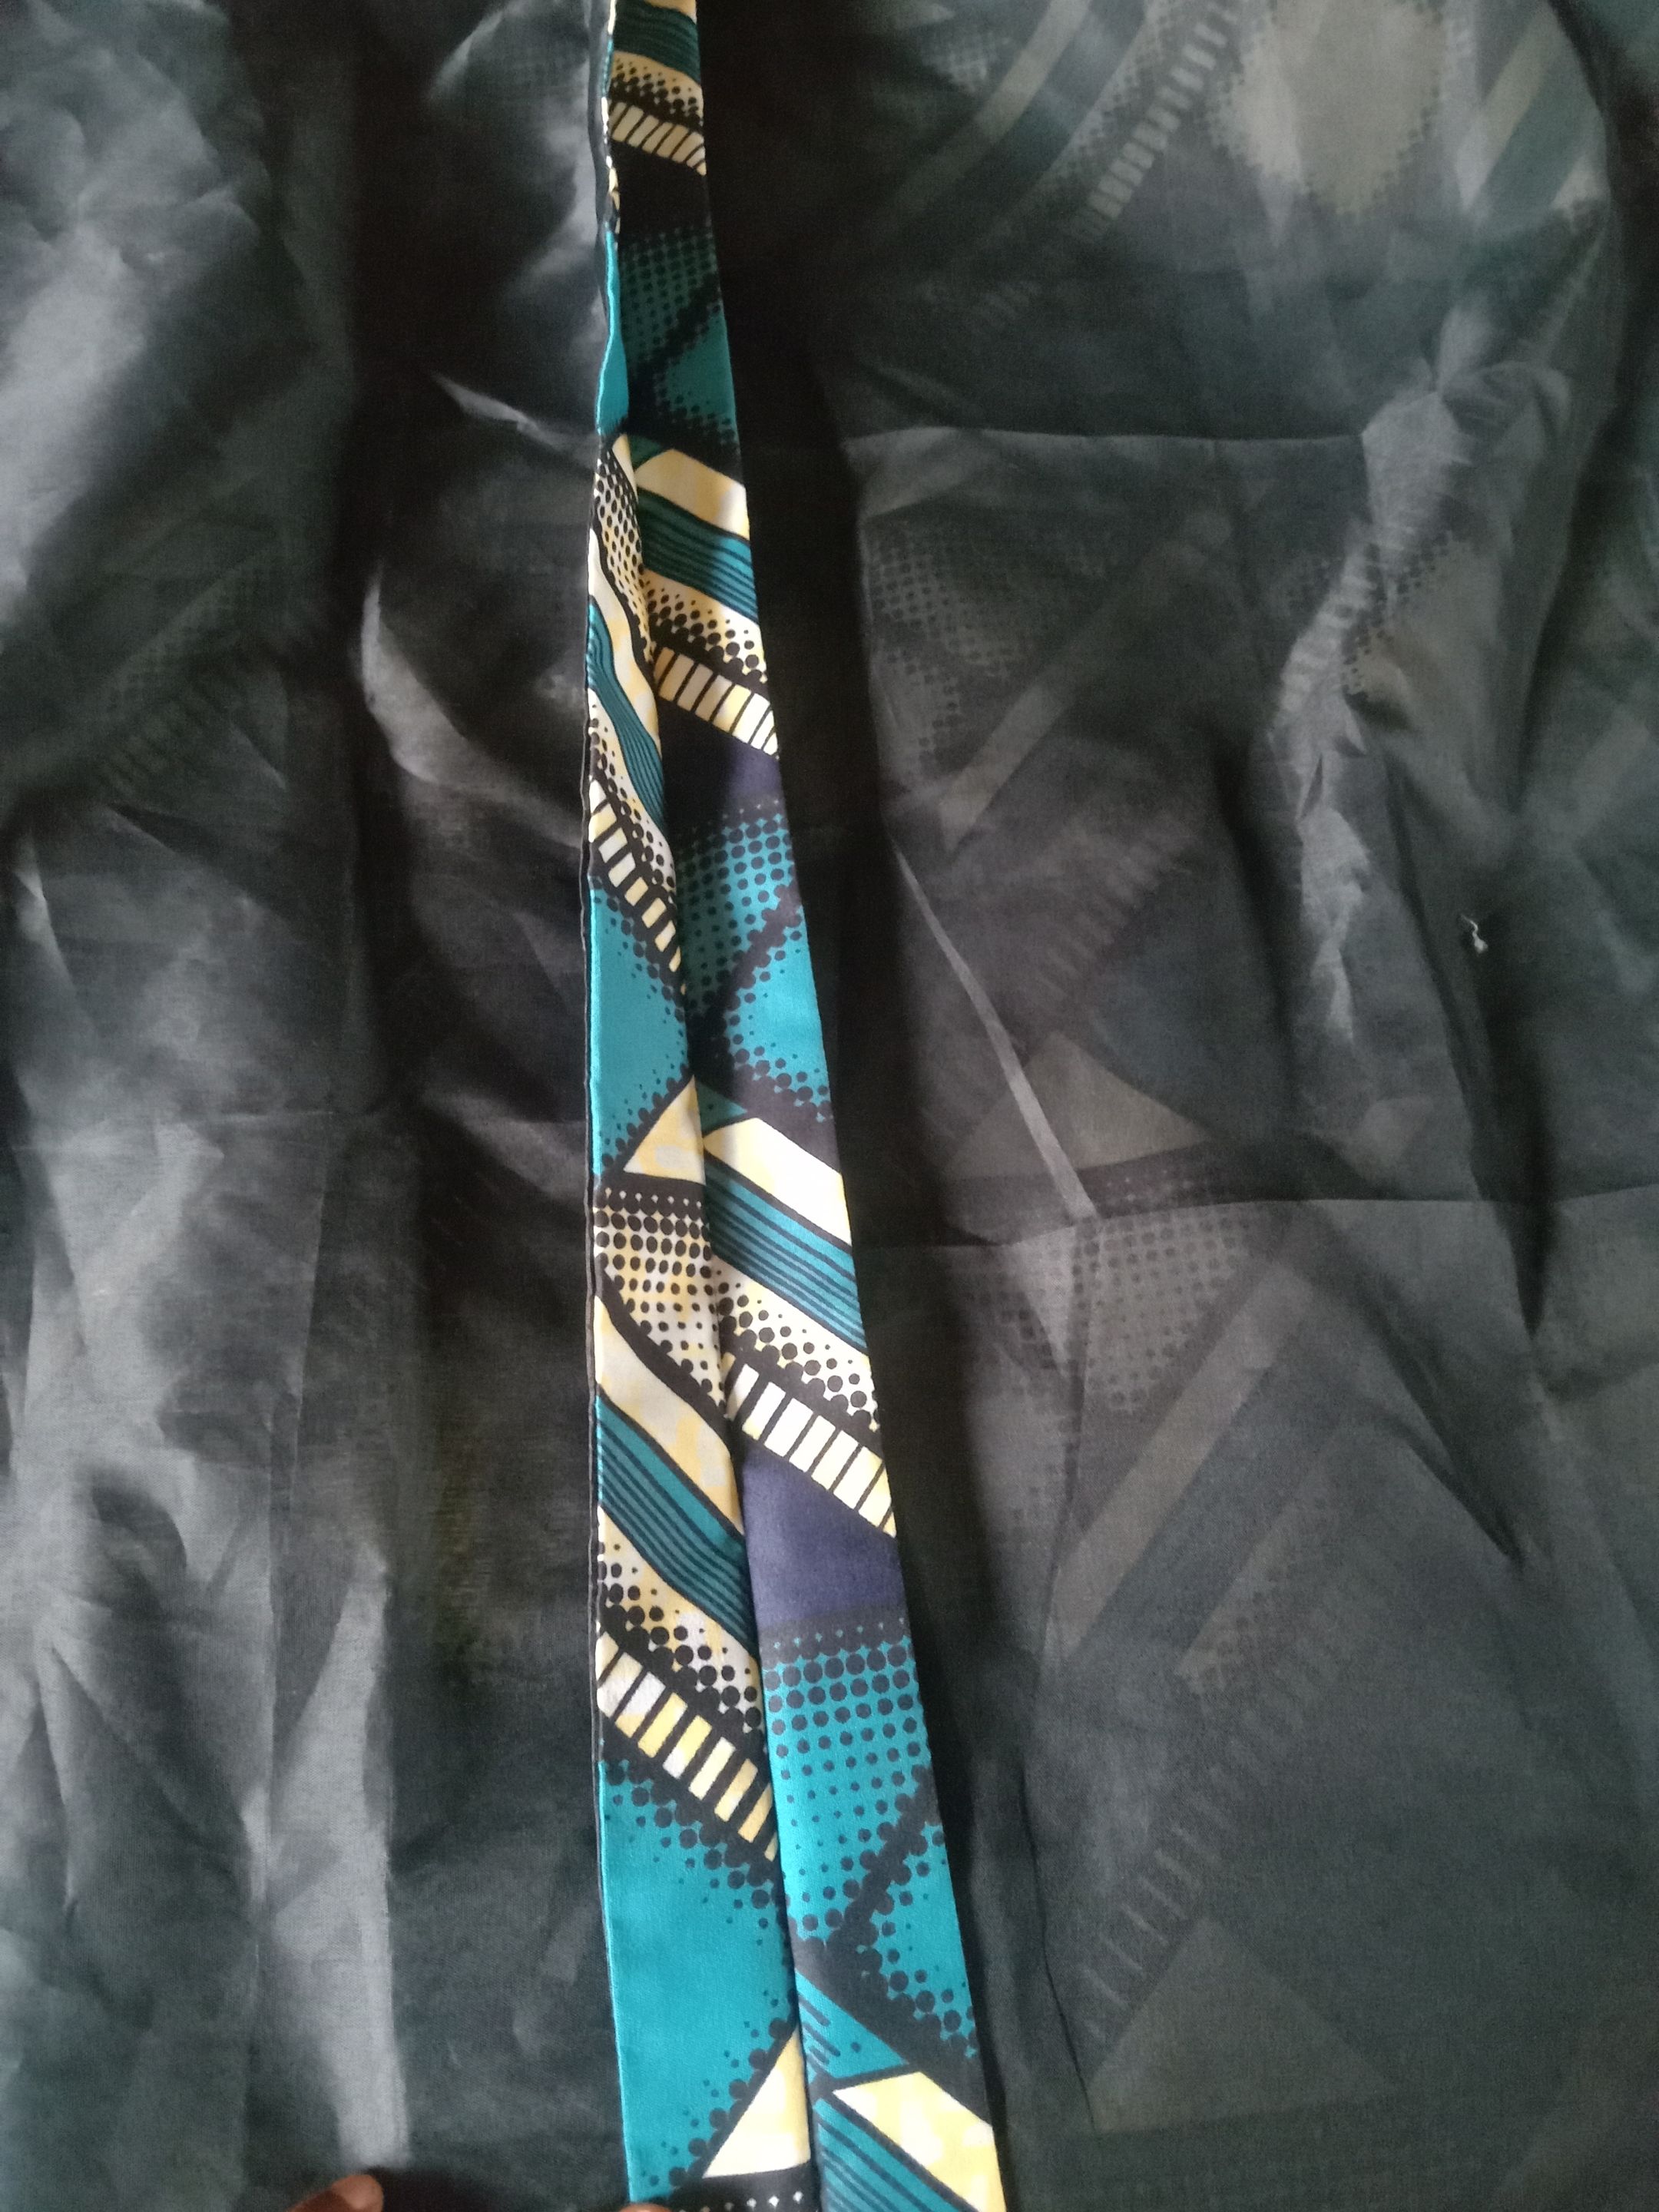
Sewing the Skirt I sewed the skirt first, added the lining, ironed it, and fixed the zipper. Next, I shaped it by sewing darts: for the back, I measured 4 inches from the center around the waistline and stitched down about 5 inches, repeating the same on the other side. For the front, I used 4 by 4 inches instead. I usually use the nipple-to-nipple measurement to determine dart placement—it always gives the skirt a neat, fitted shape.
Sewing the Top For the top, I started with the back, added the lining, and fixed the zipper. For the front, I had to carefully attach the lace trim around the V-neck before fixing the lining, so that the stitches wouldn’t show through. This part was tricky because sewing lace around a V-neck often leaves extra fabric at the corners, and if you’re not careful, it won’t sit neatly. It happened to me—I had to loosen the first attempt and redo it before it finally came out well. It was stressful but worth the effort.
 (How the zipper looks like before fixing the zip)
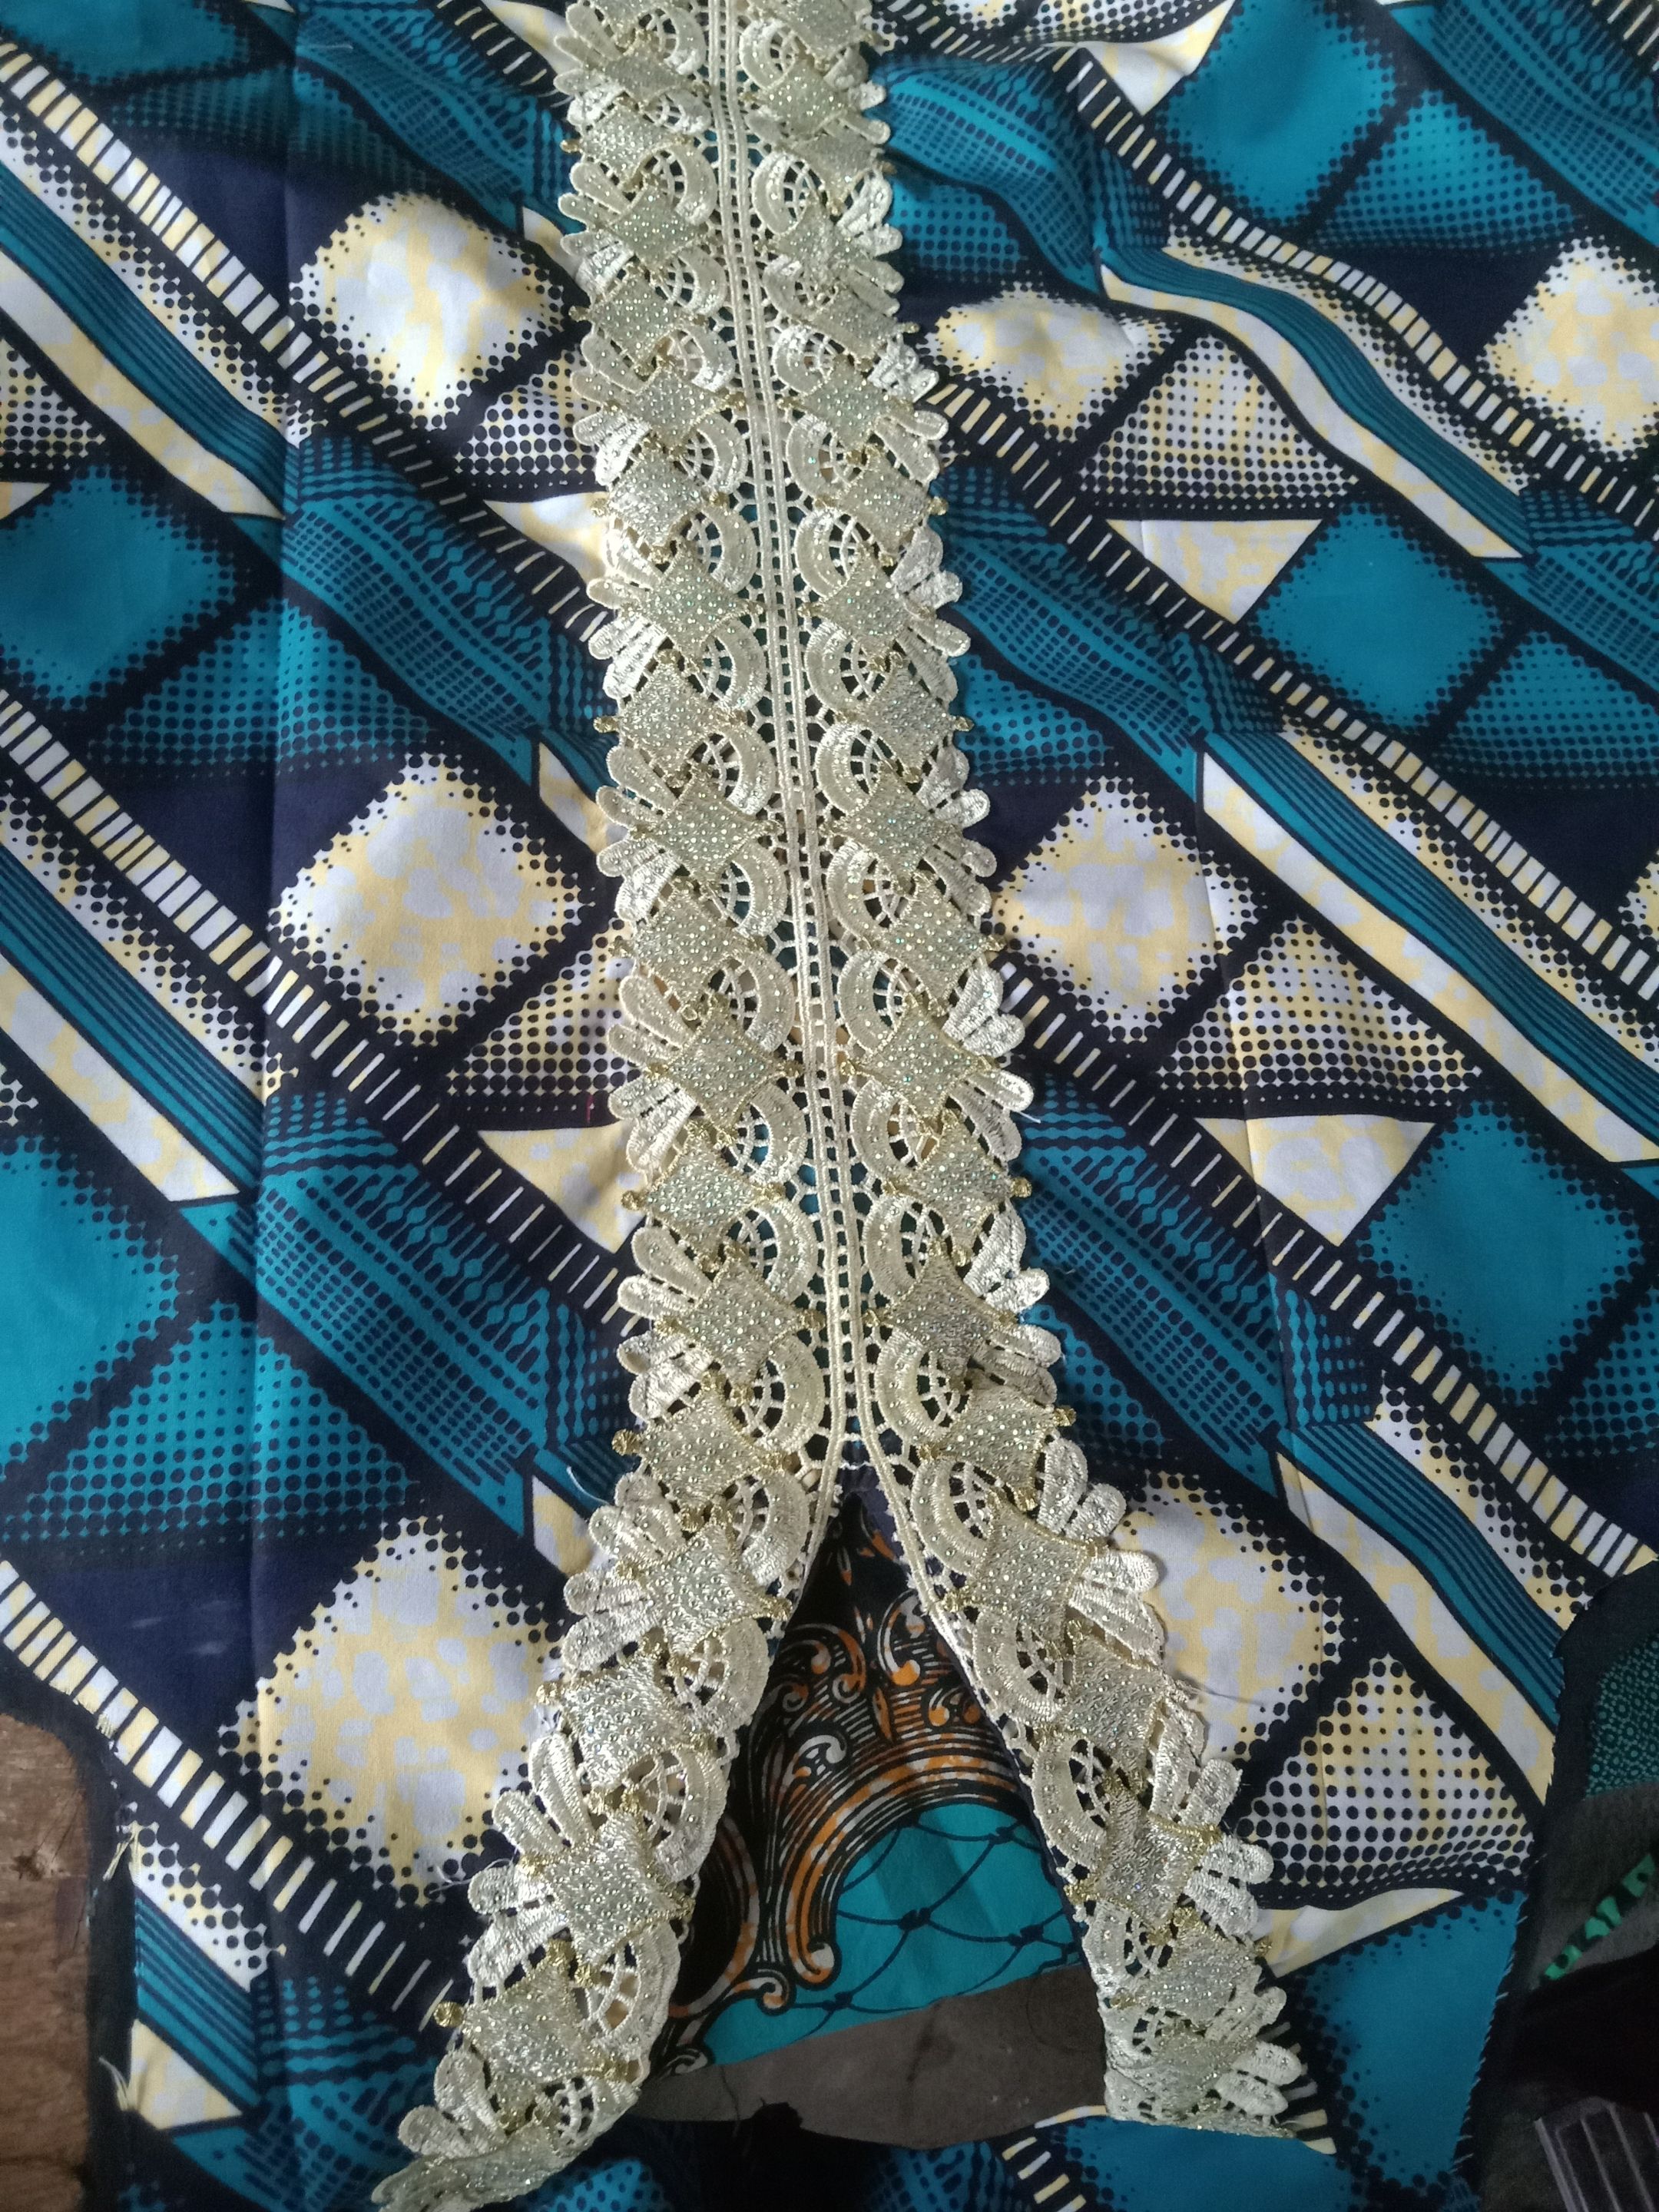 (After fixing the lace tip)
Since it was an A-line style, I didn’t need darts, which made the sewing faster. After finishing the lining and ironing, I joined it with the back.
Sewing the Sleeves The outfit had long sleeves, so I cut them using her sleeve length and armhole measurements. I added lace tips at the sleeve hems, lined them, and then attached them to the blouse. After a final round of ironing, the outfit was complete
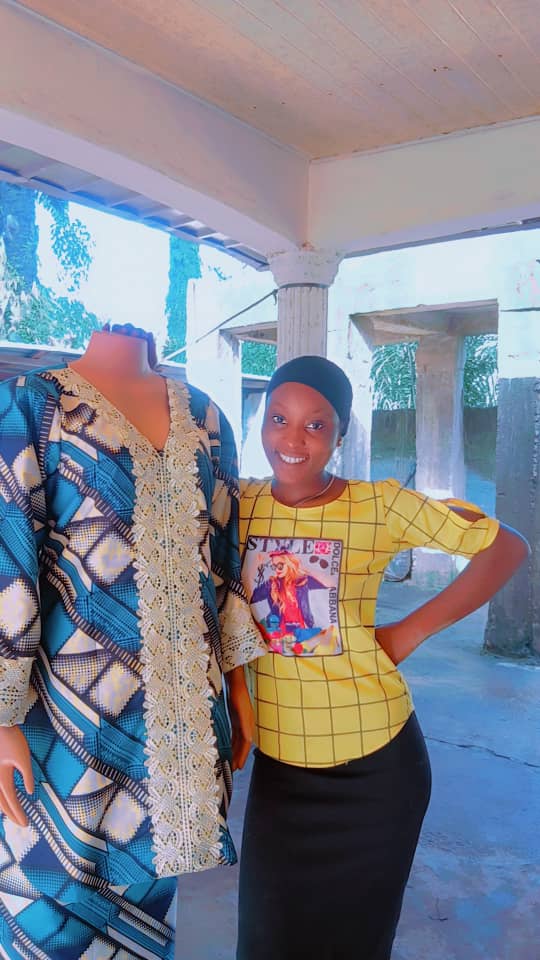
When my client came to pick it up, she was so happy with the result. She loved the design, and I was equally pleased with how it turned out.
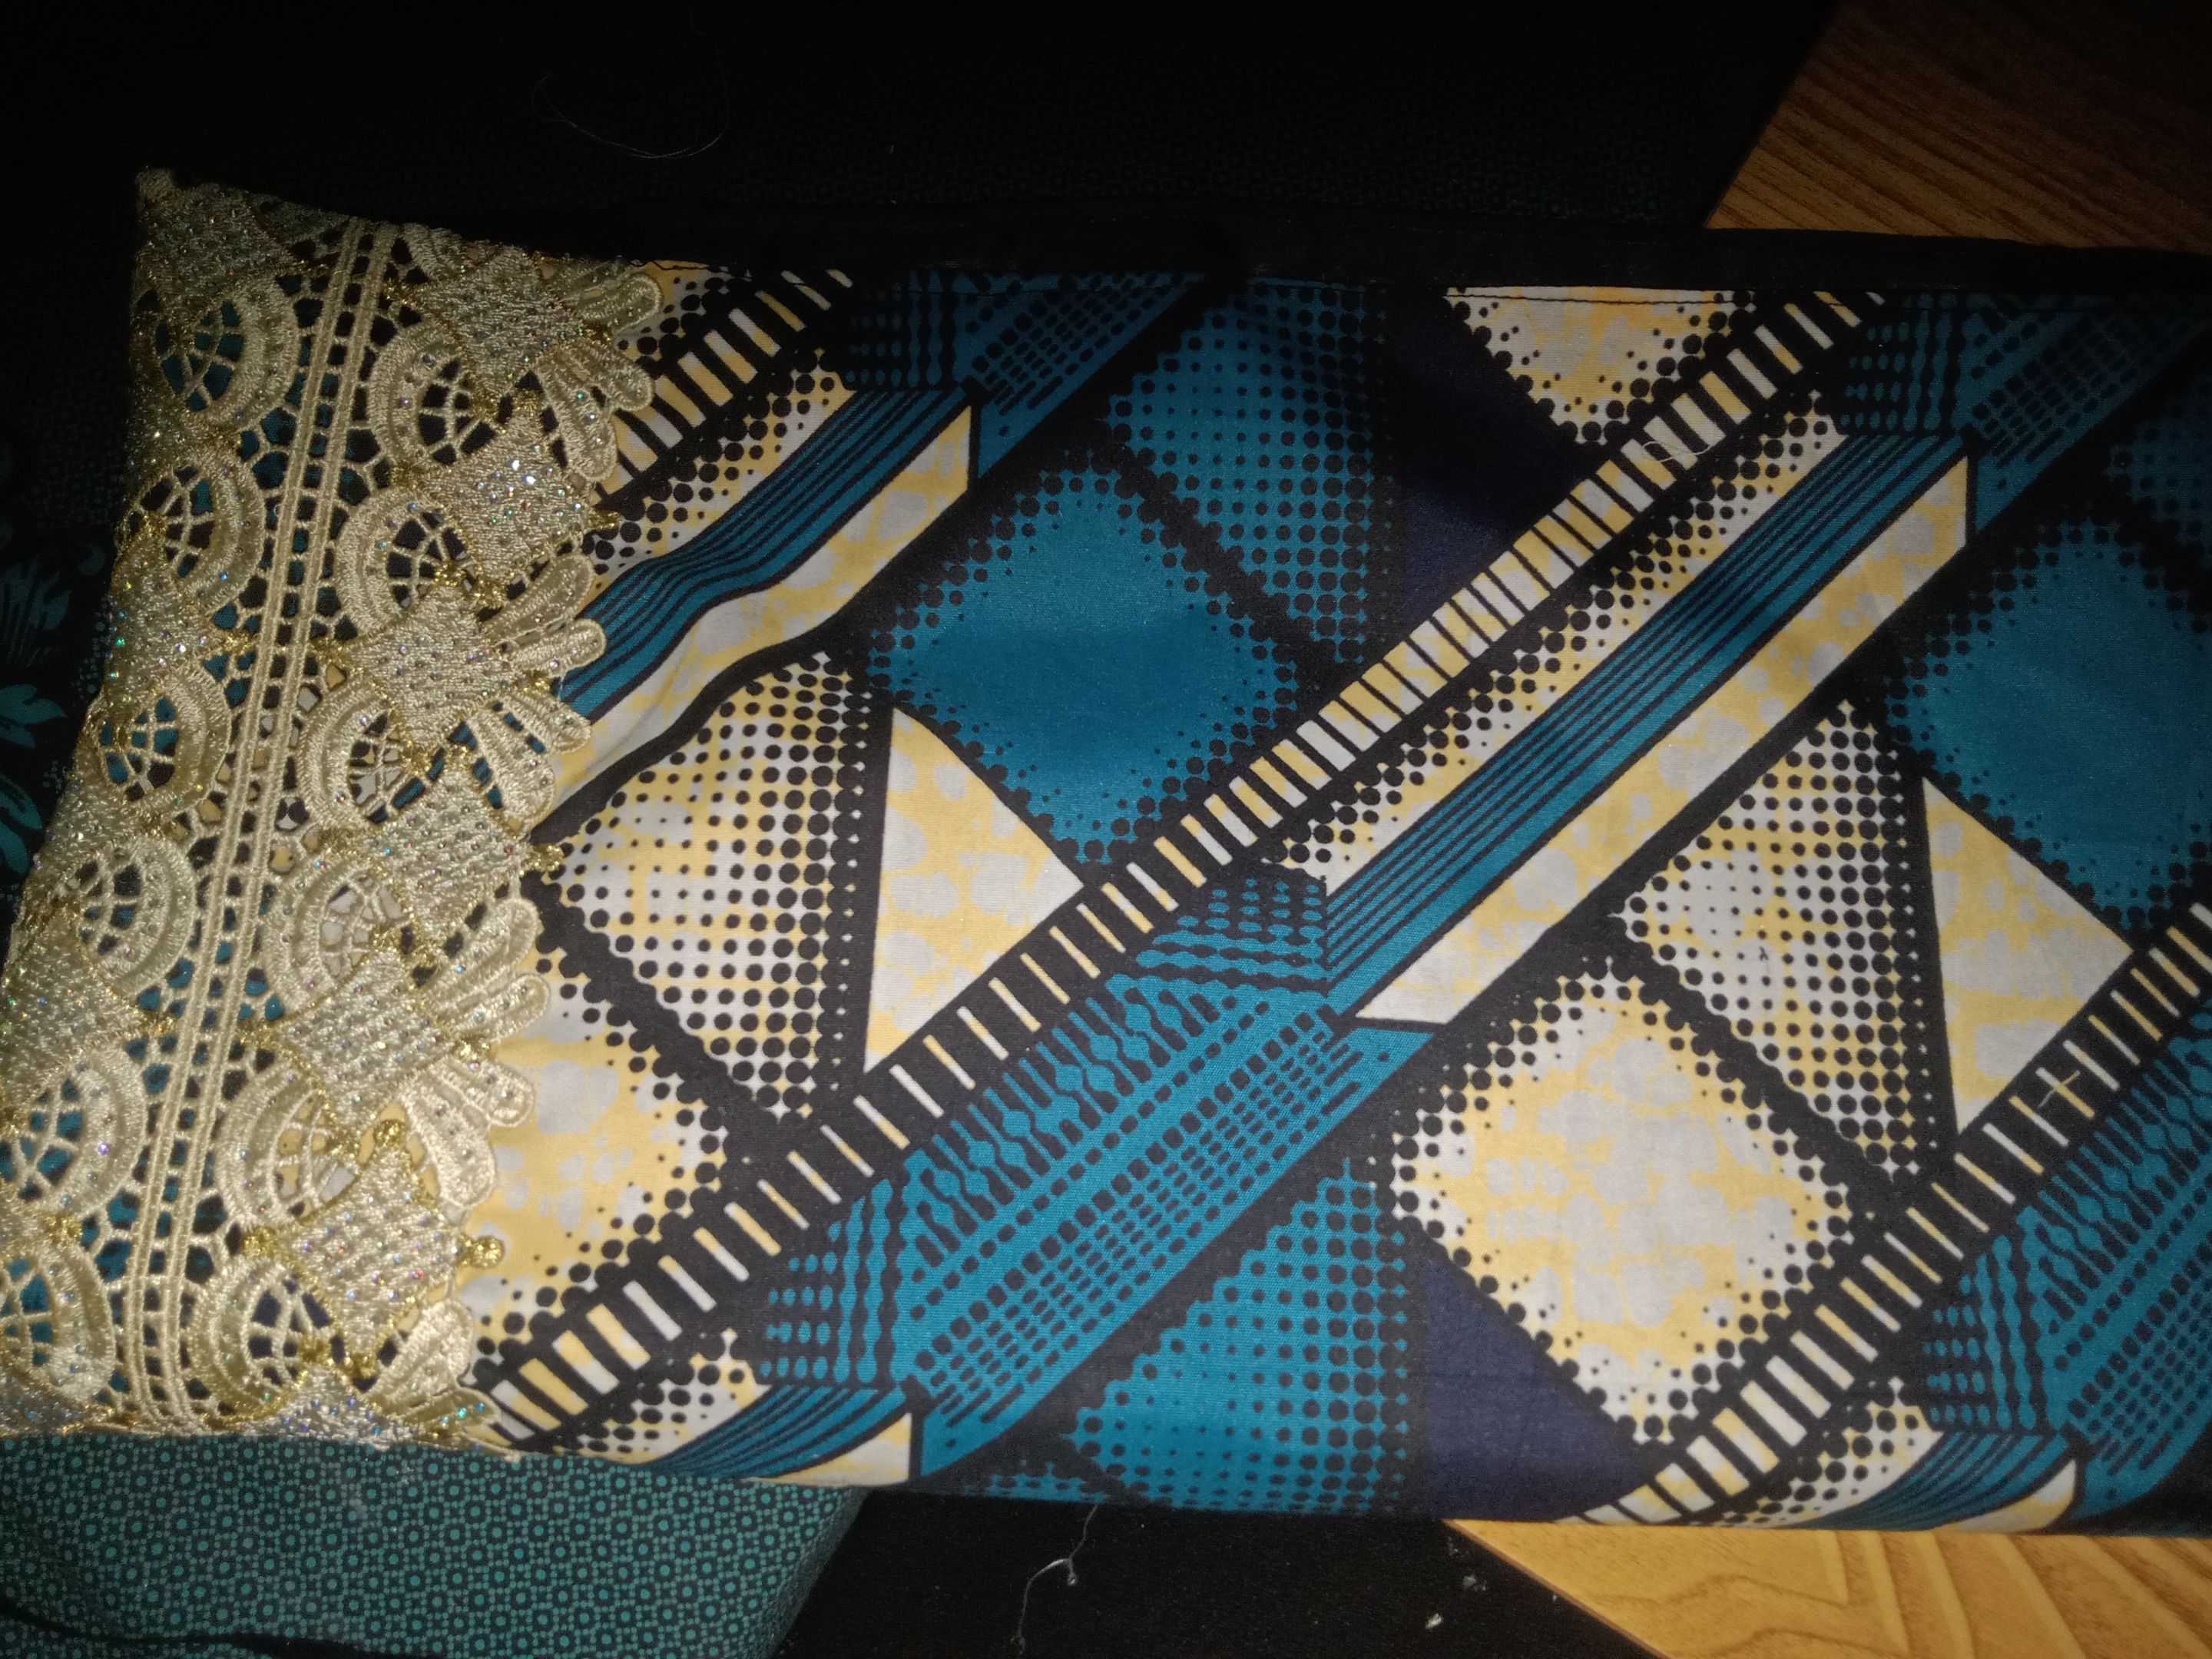
Here’s the final look, I really love how it came together