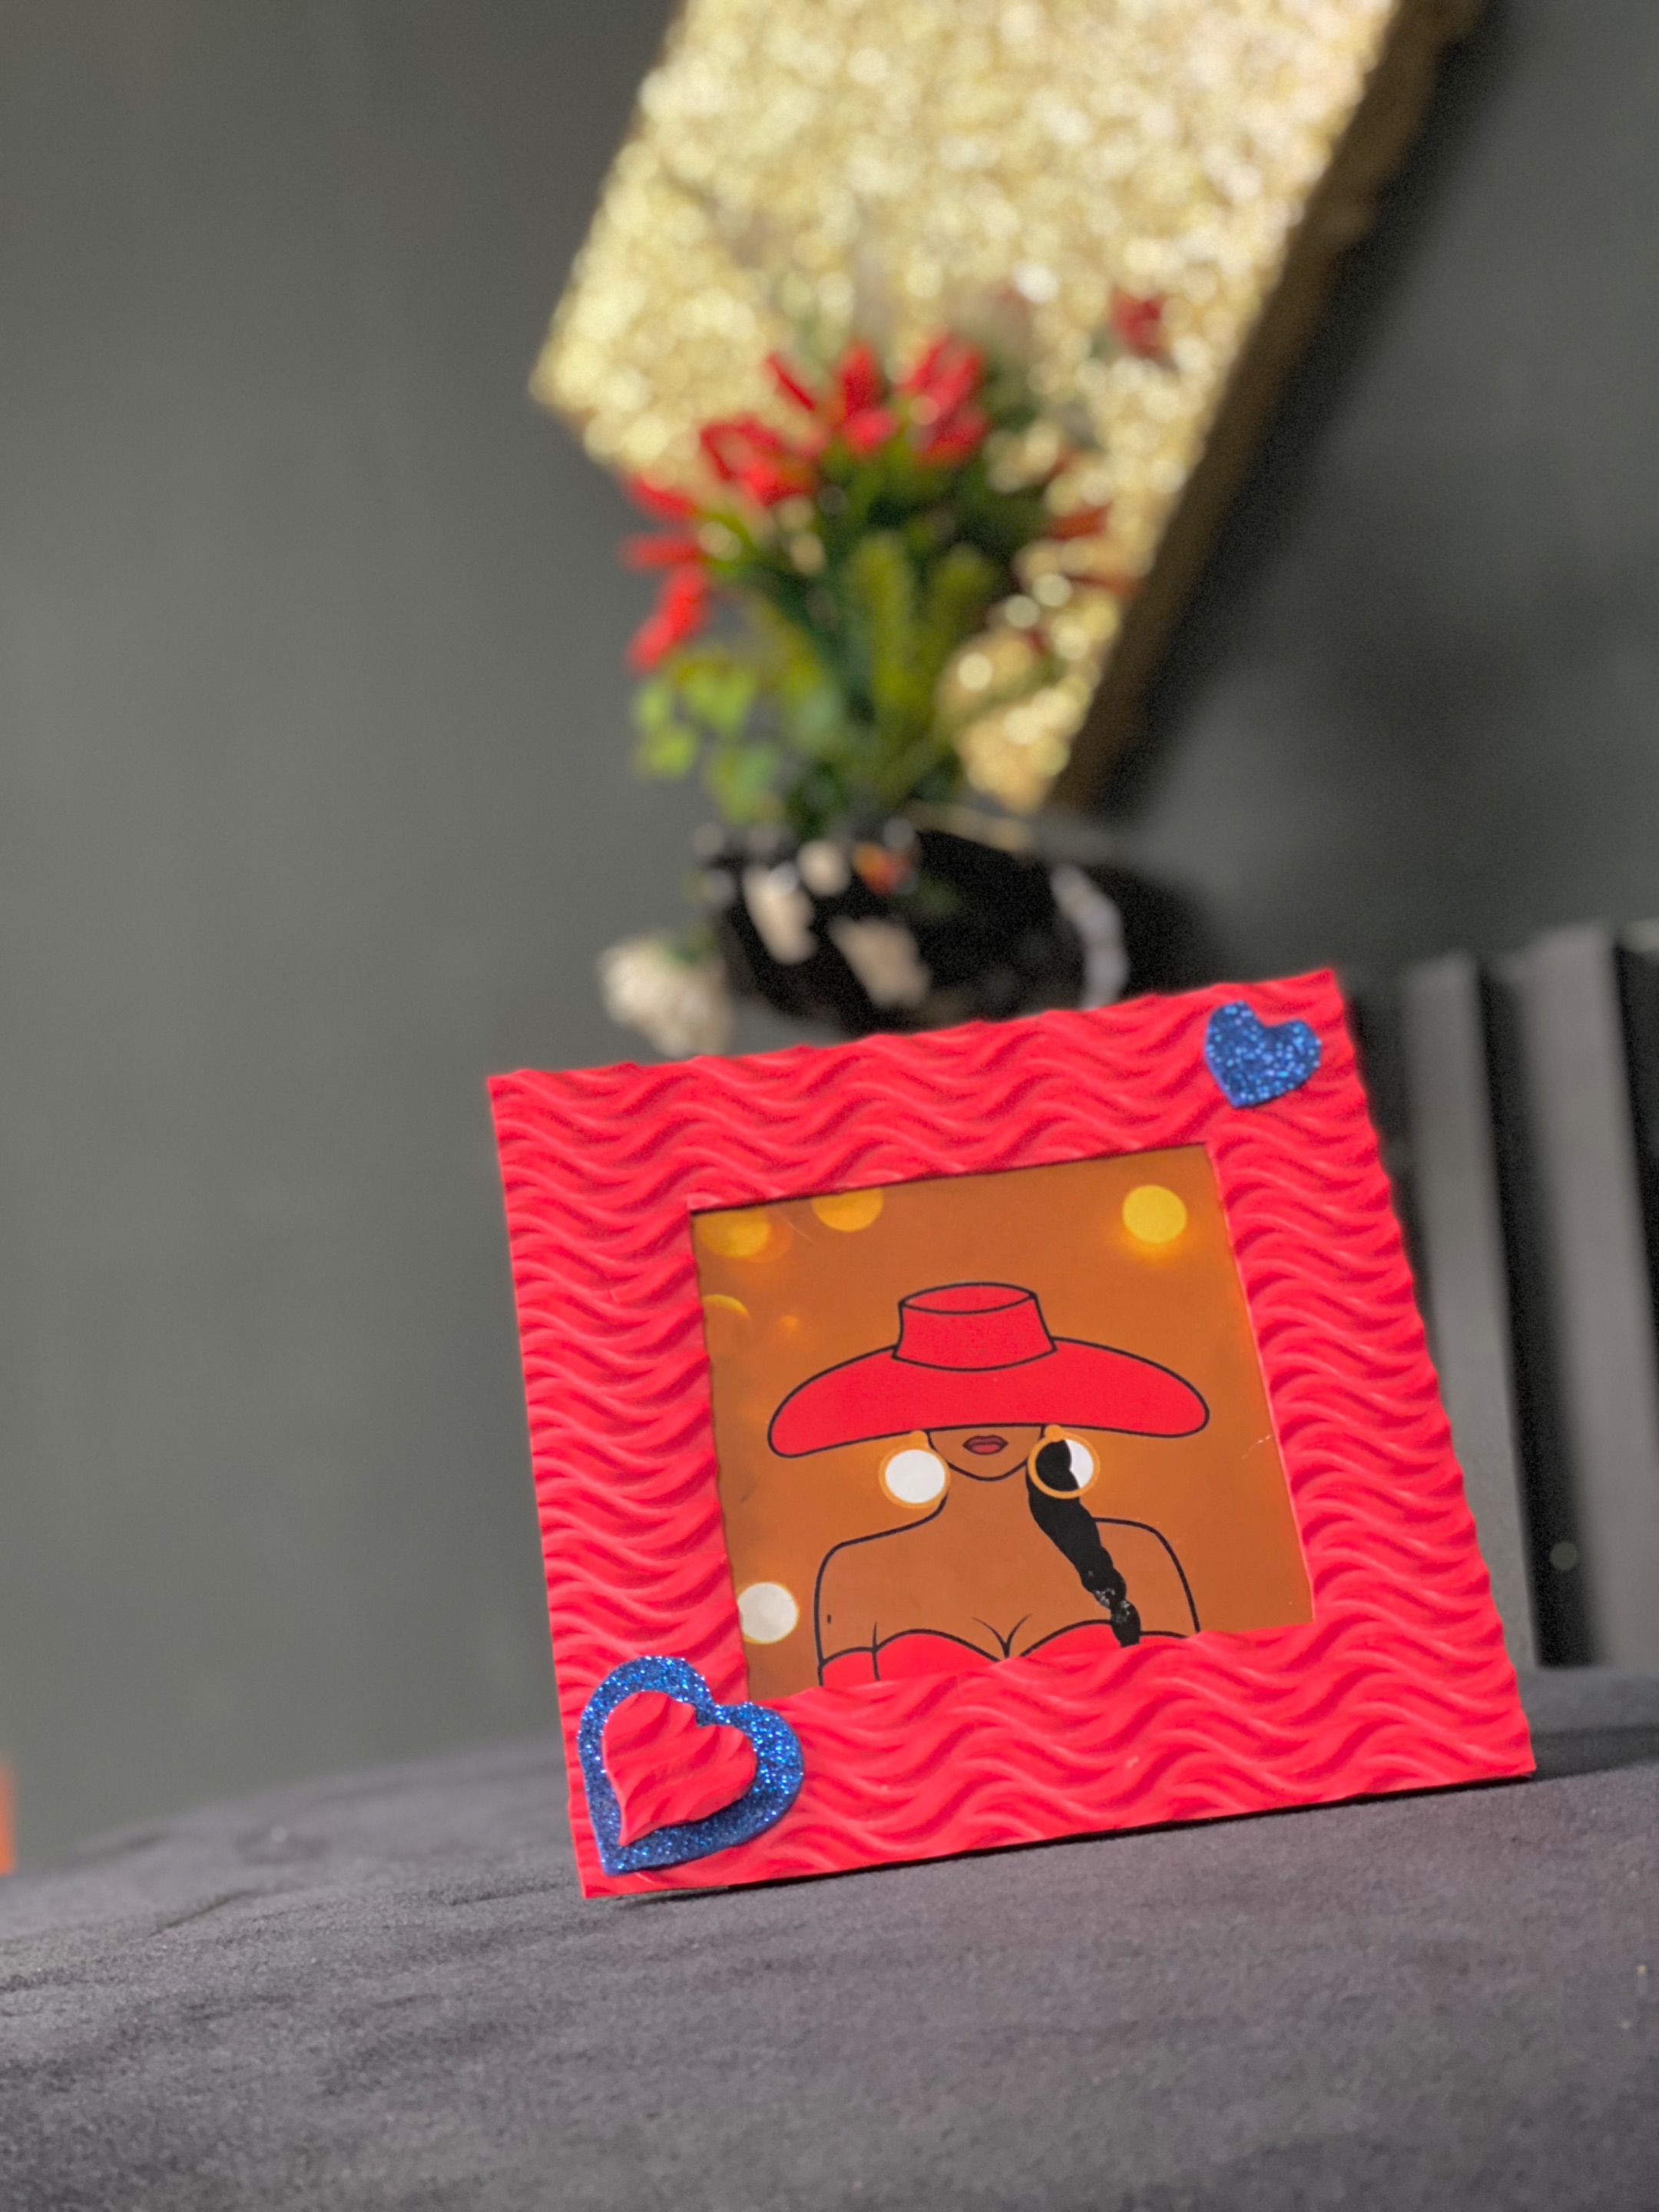
Today, I was able to make a picture frame, one I love and am super proud of.
So I’ve had this picture from one of my sip and paint sessions, and it’s been lying around in my apartment, I was torn between discarding it or just leaving it where it was until an idea struck me. Seeing that I have a red foam sheet, I decided to make a DIY picture frame to preserve this beautiful picture.
Stay with me as I work you through the creation process.
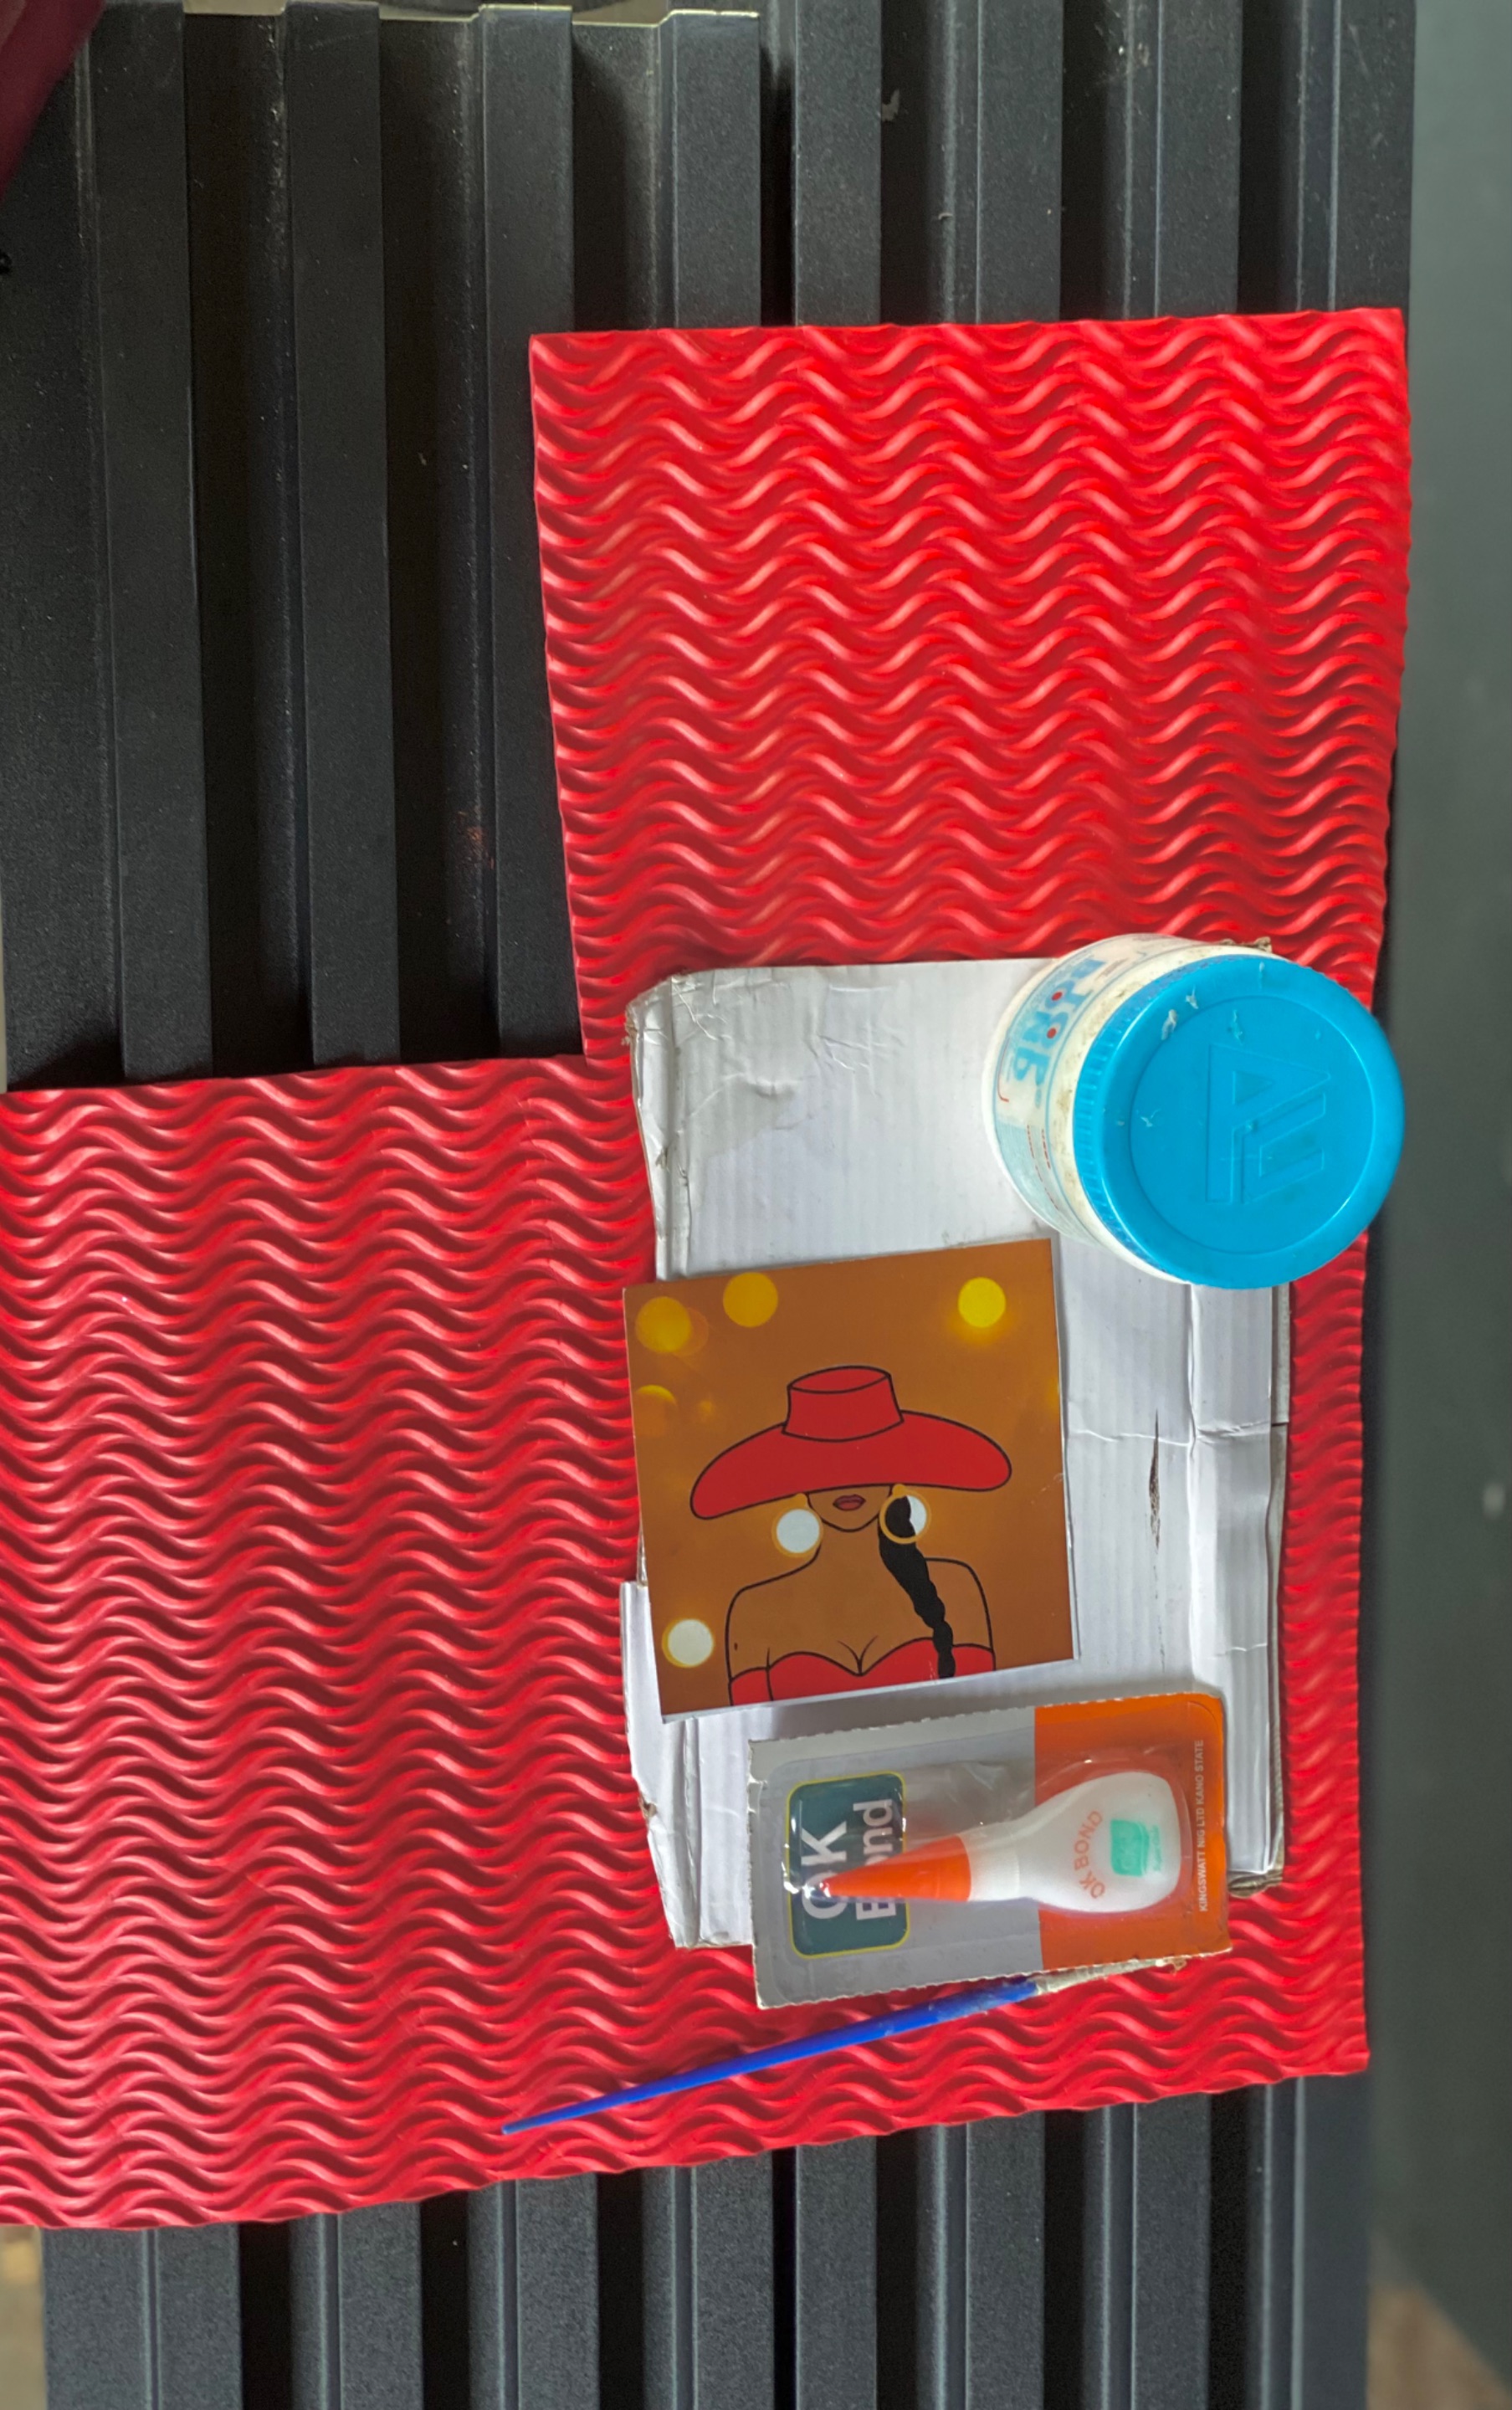
To make this amazing picture frame, I used the following materials and followed the steps below.
Materials
Foam sheet
Carton
Scissors
Gum
Picture
Glue
**Procedure**
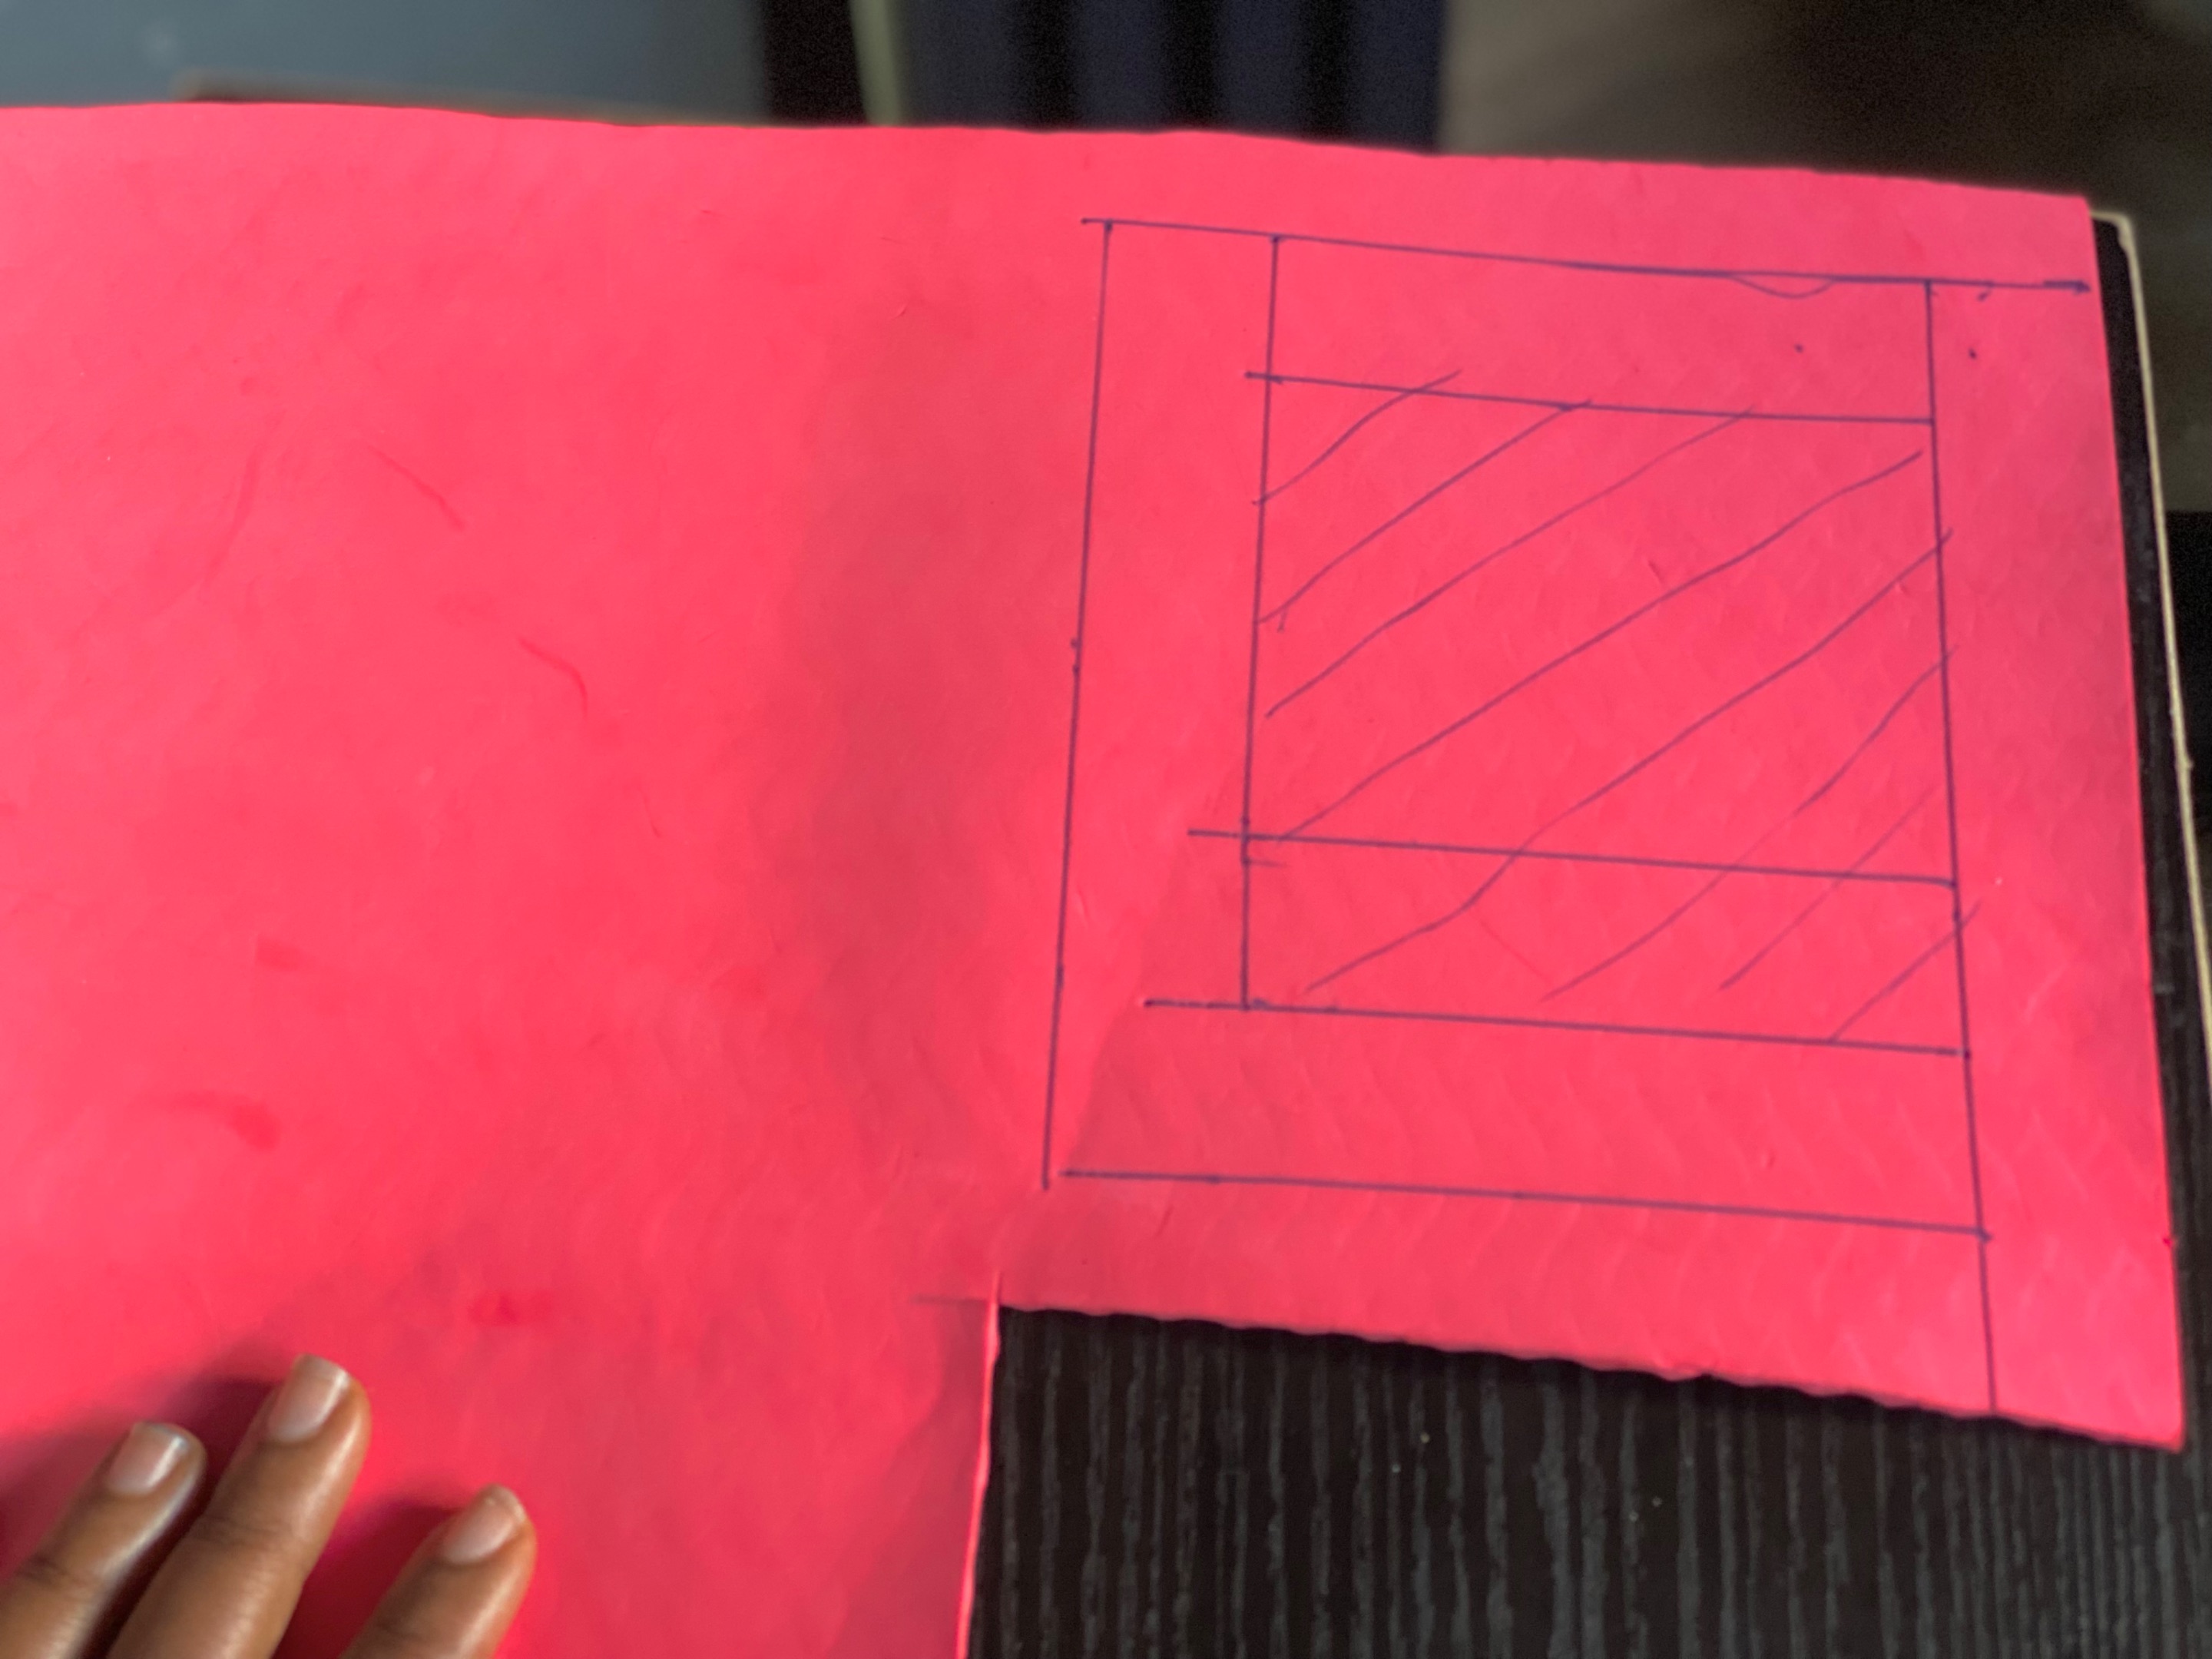
**Step 1:**
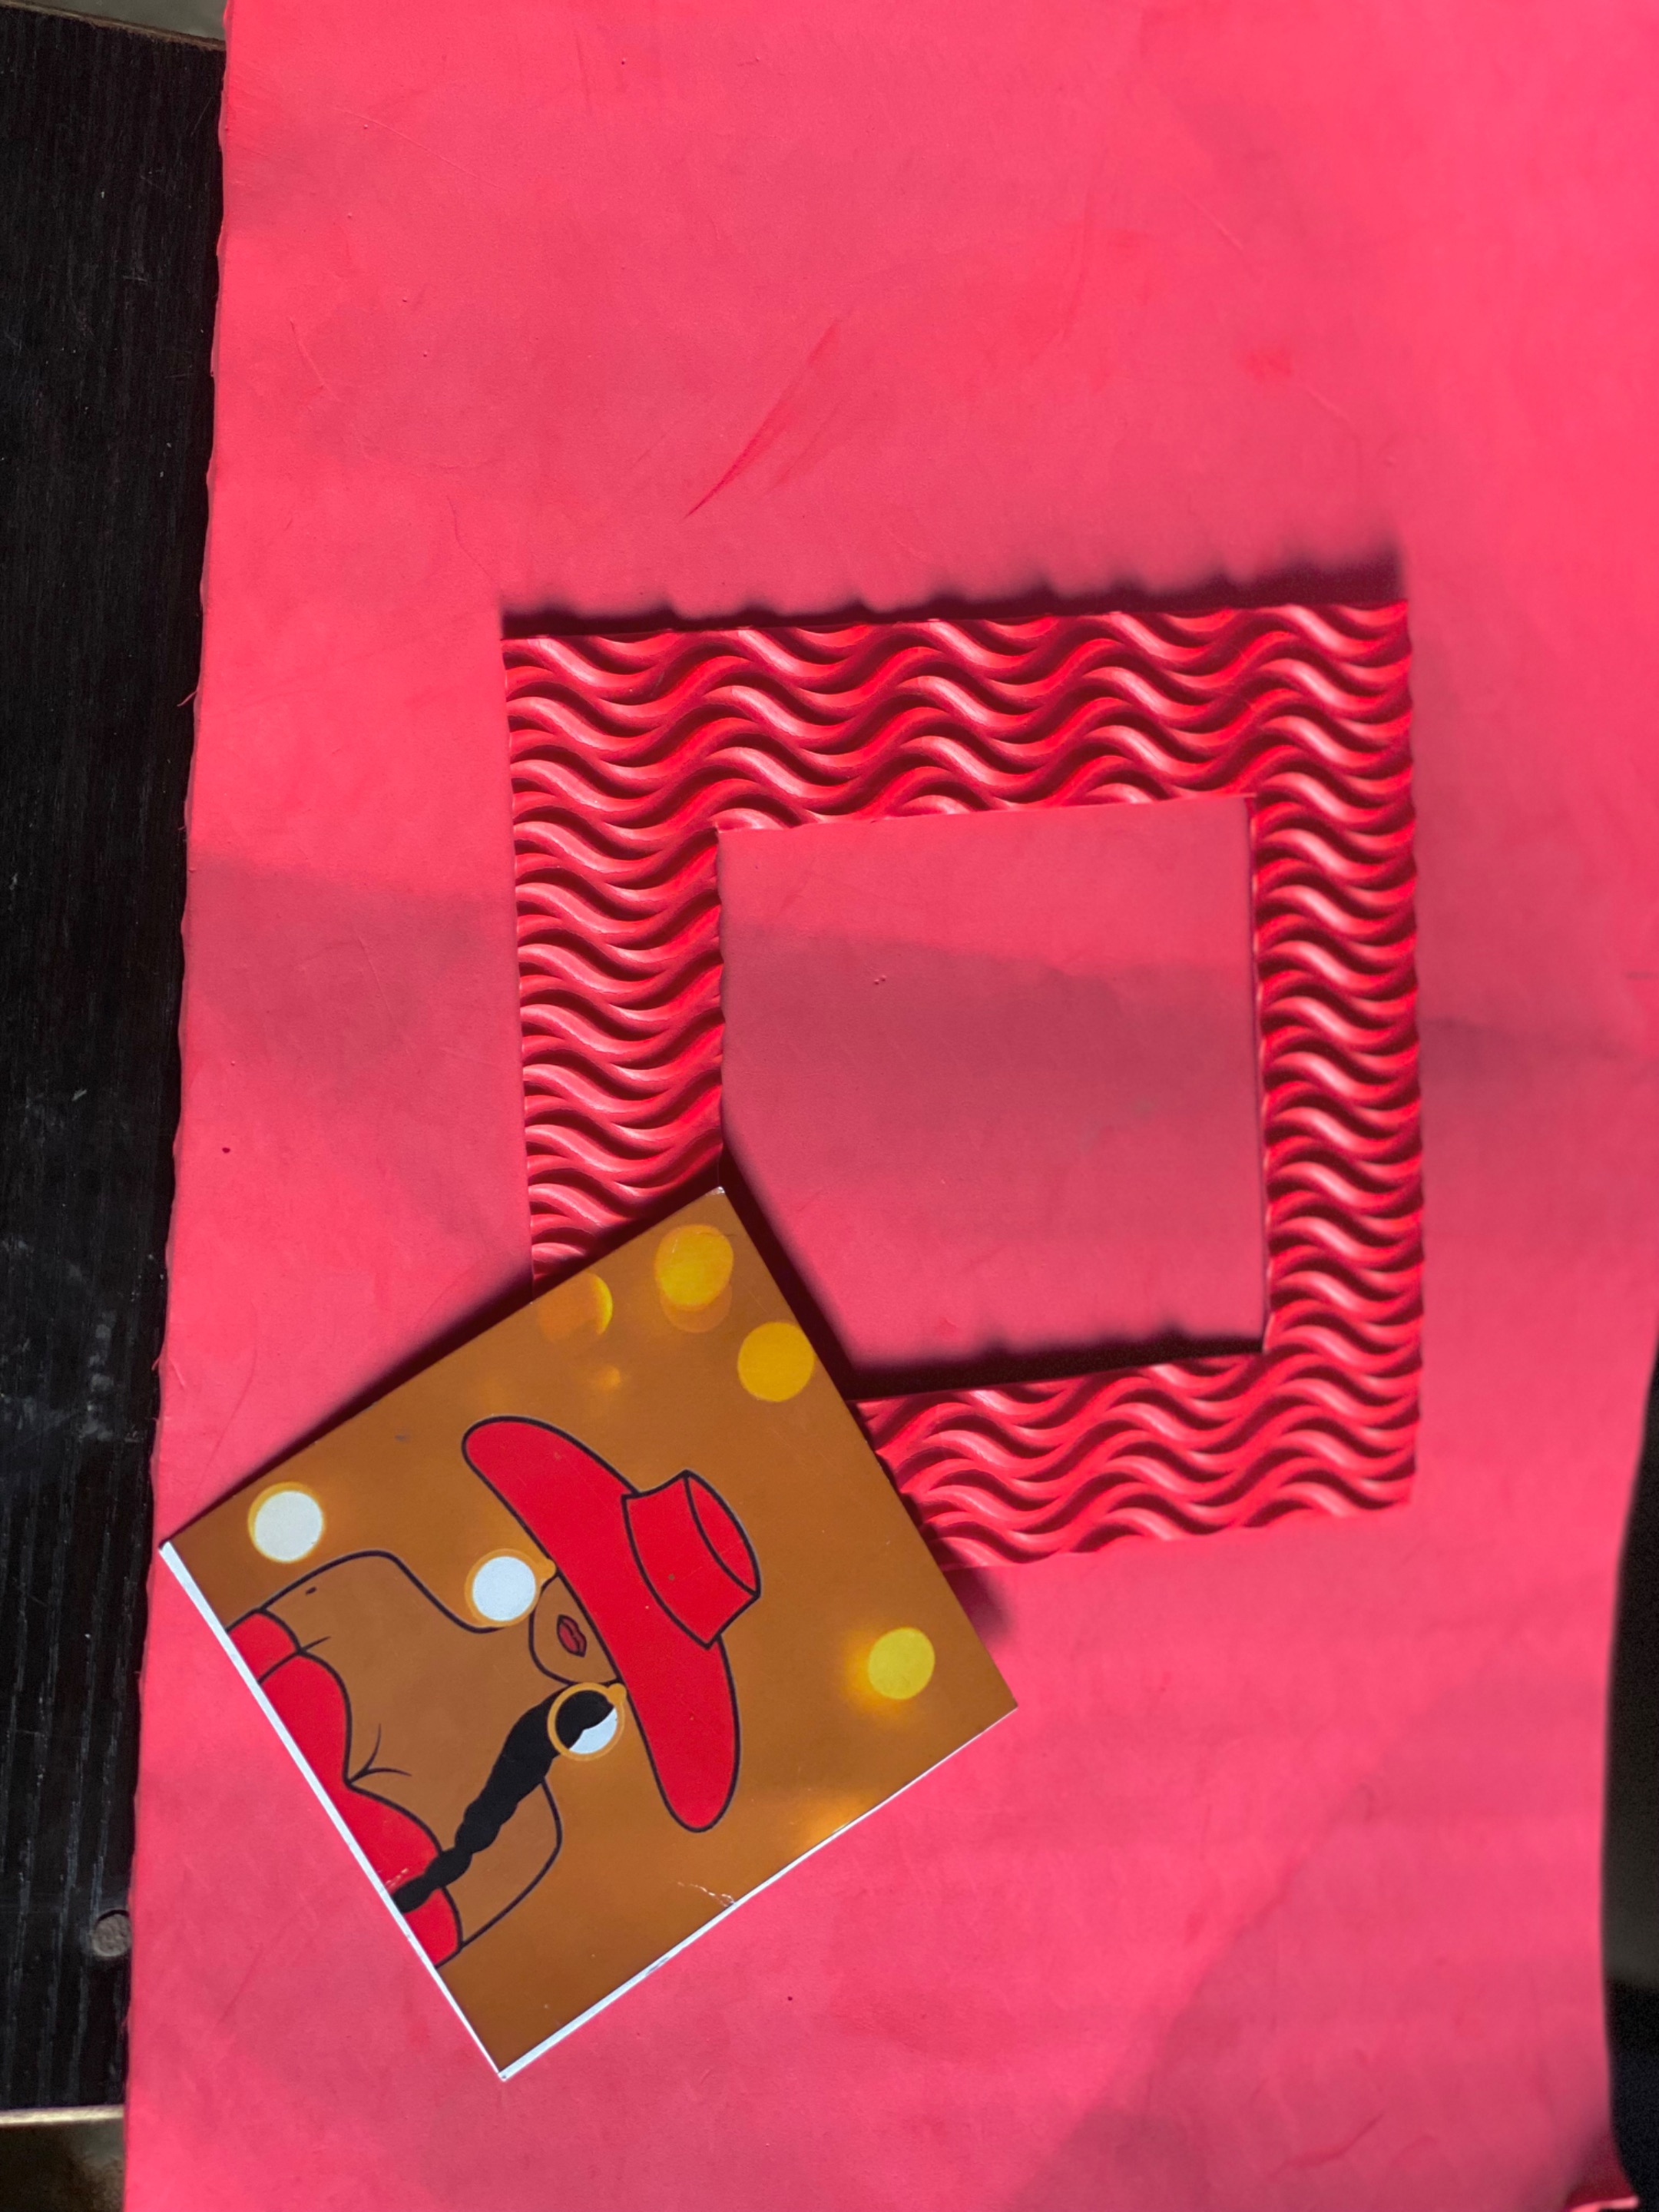
To make this beautiful frame, I started by measuring and marking out the layout of the frame. Every point and line was important in the creation process.
**Step 2:**
I carefully carved out the frame making sure the edges were carved out neatly and all sides were equal.
**Step 3:**
I carved out a square shape from the carton. The essence of the carton is to make the picture frame structured and firm.
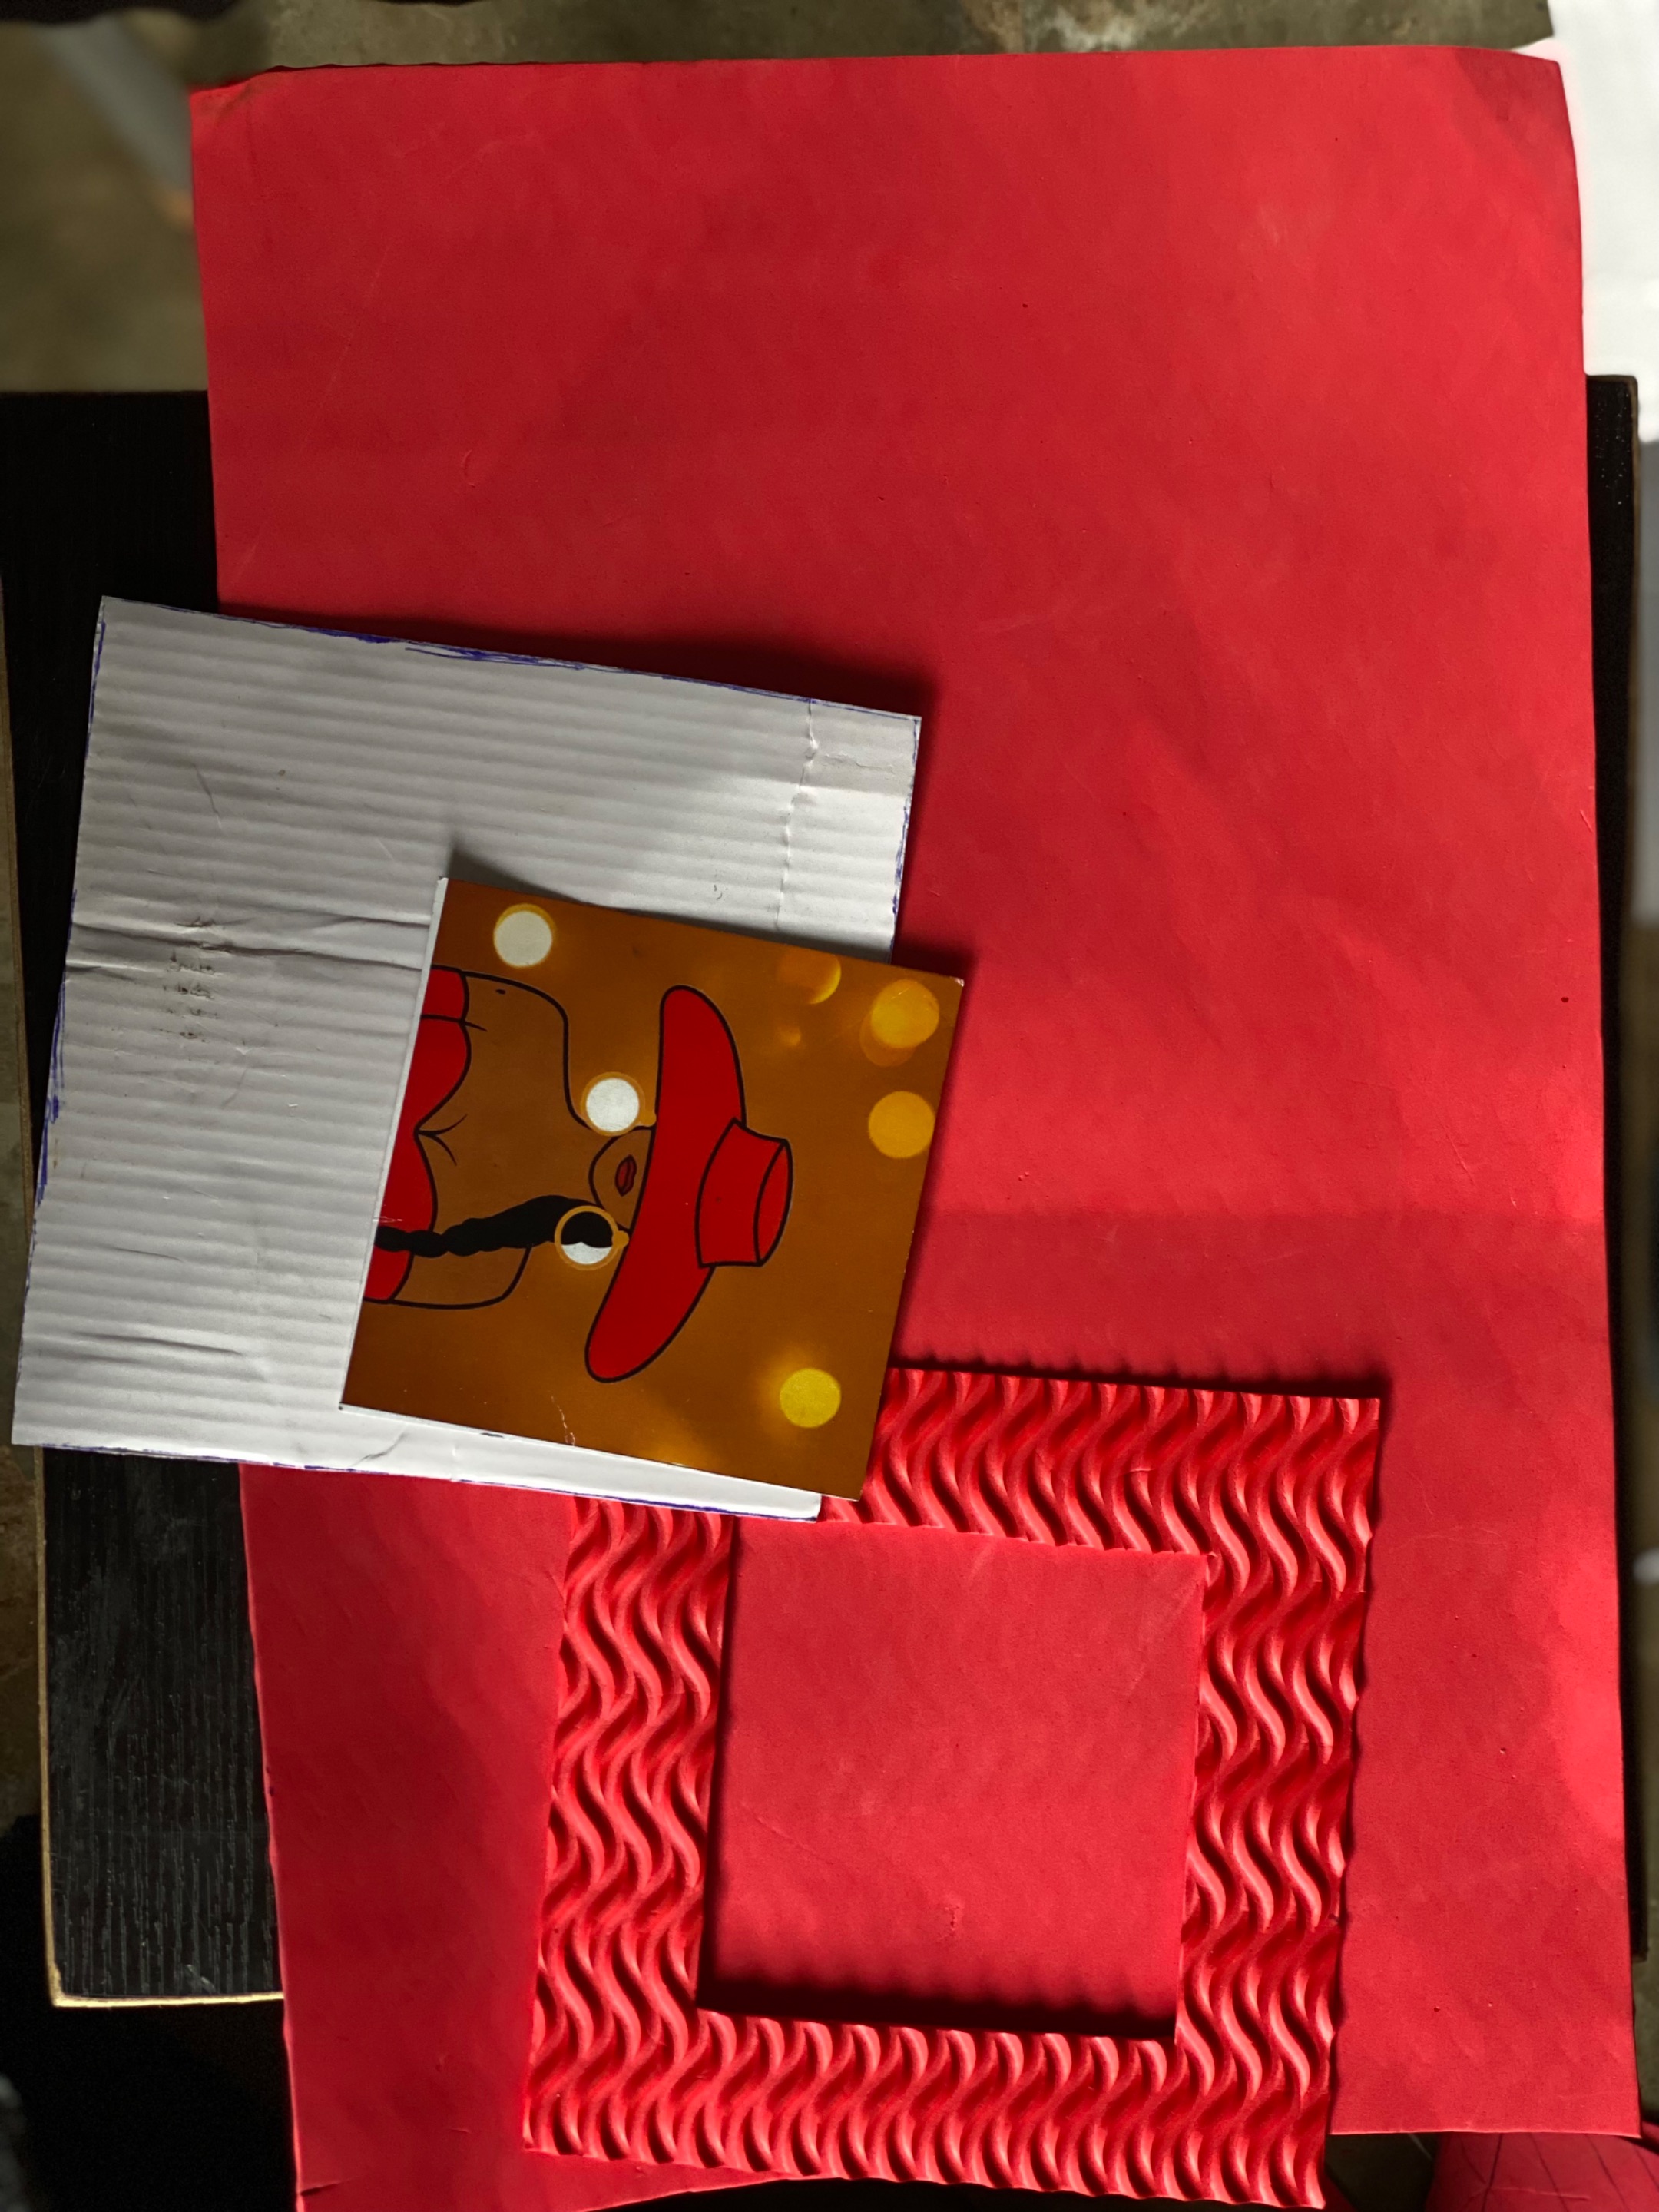
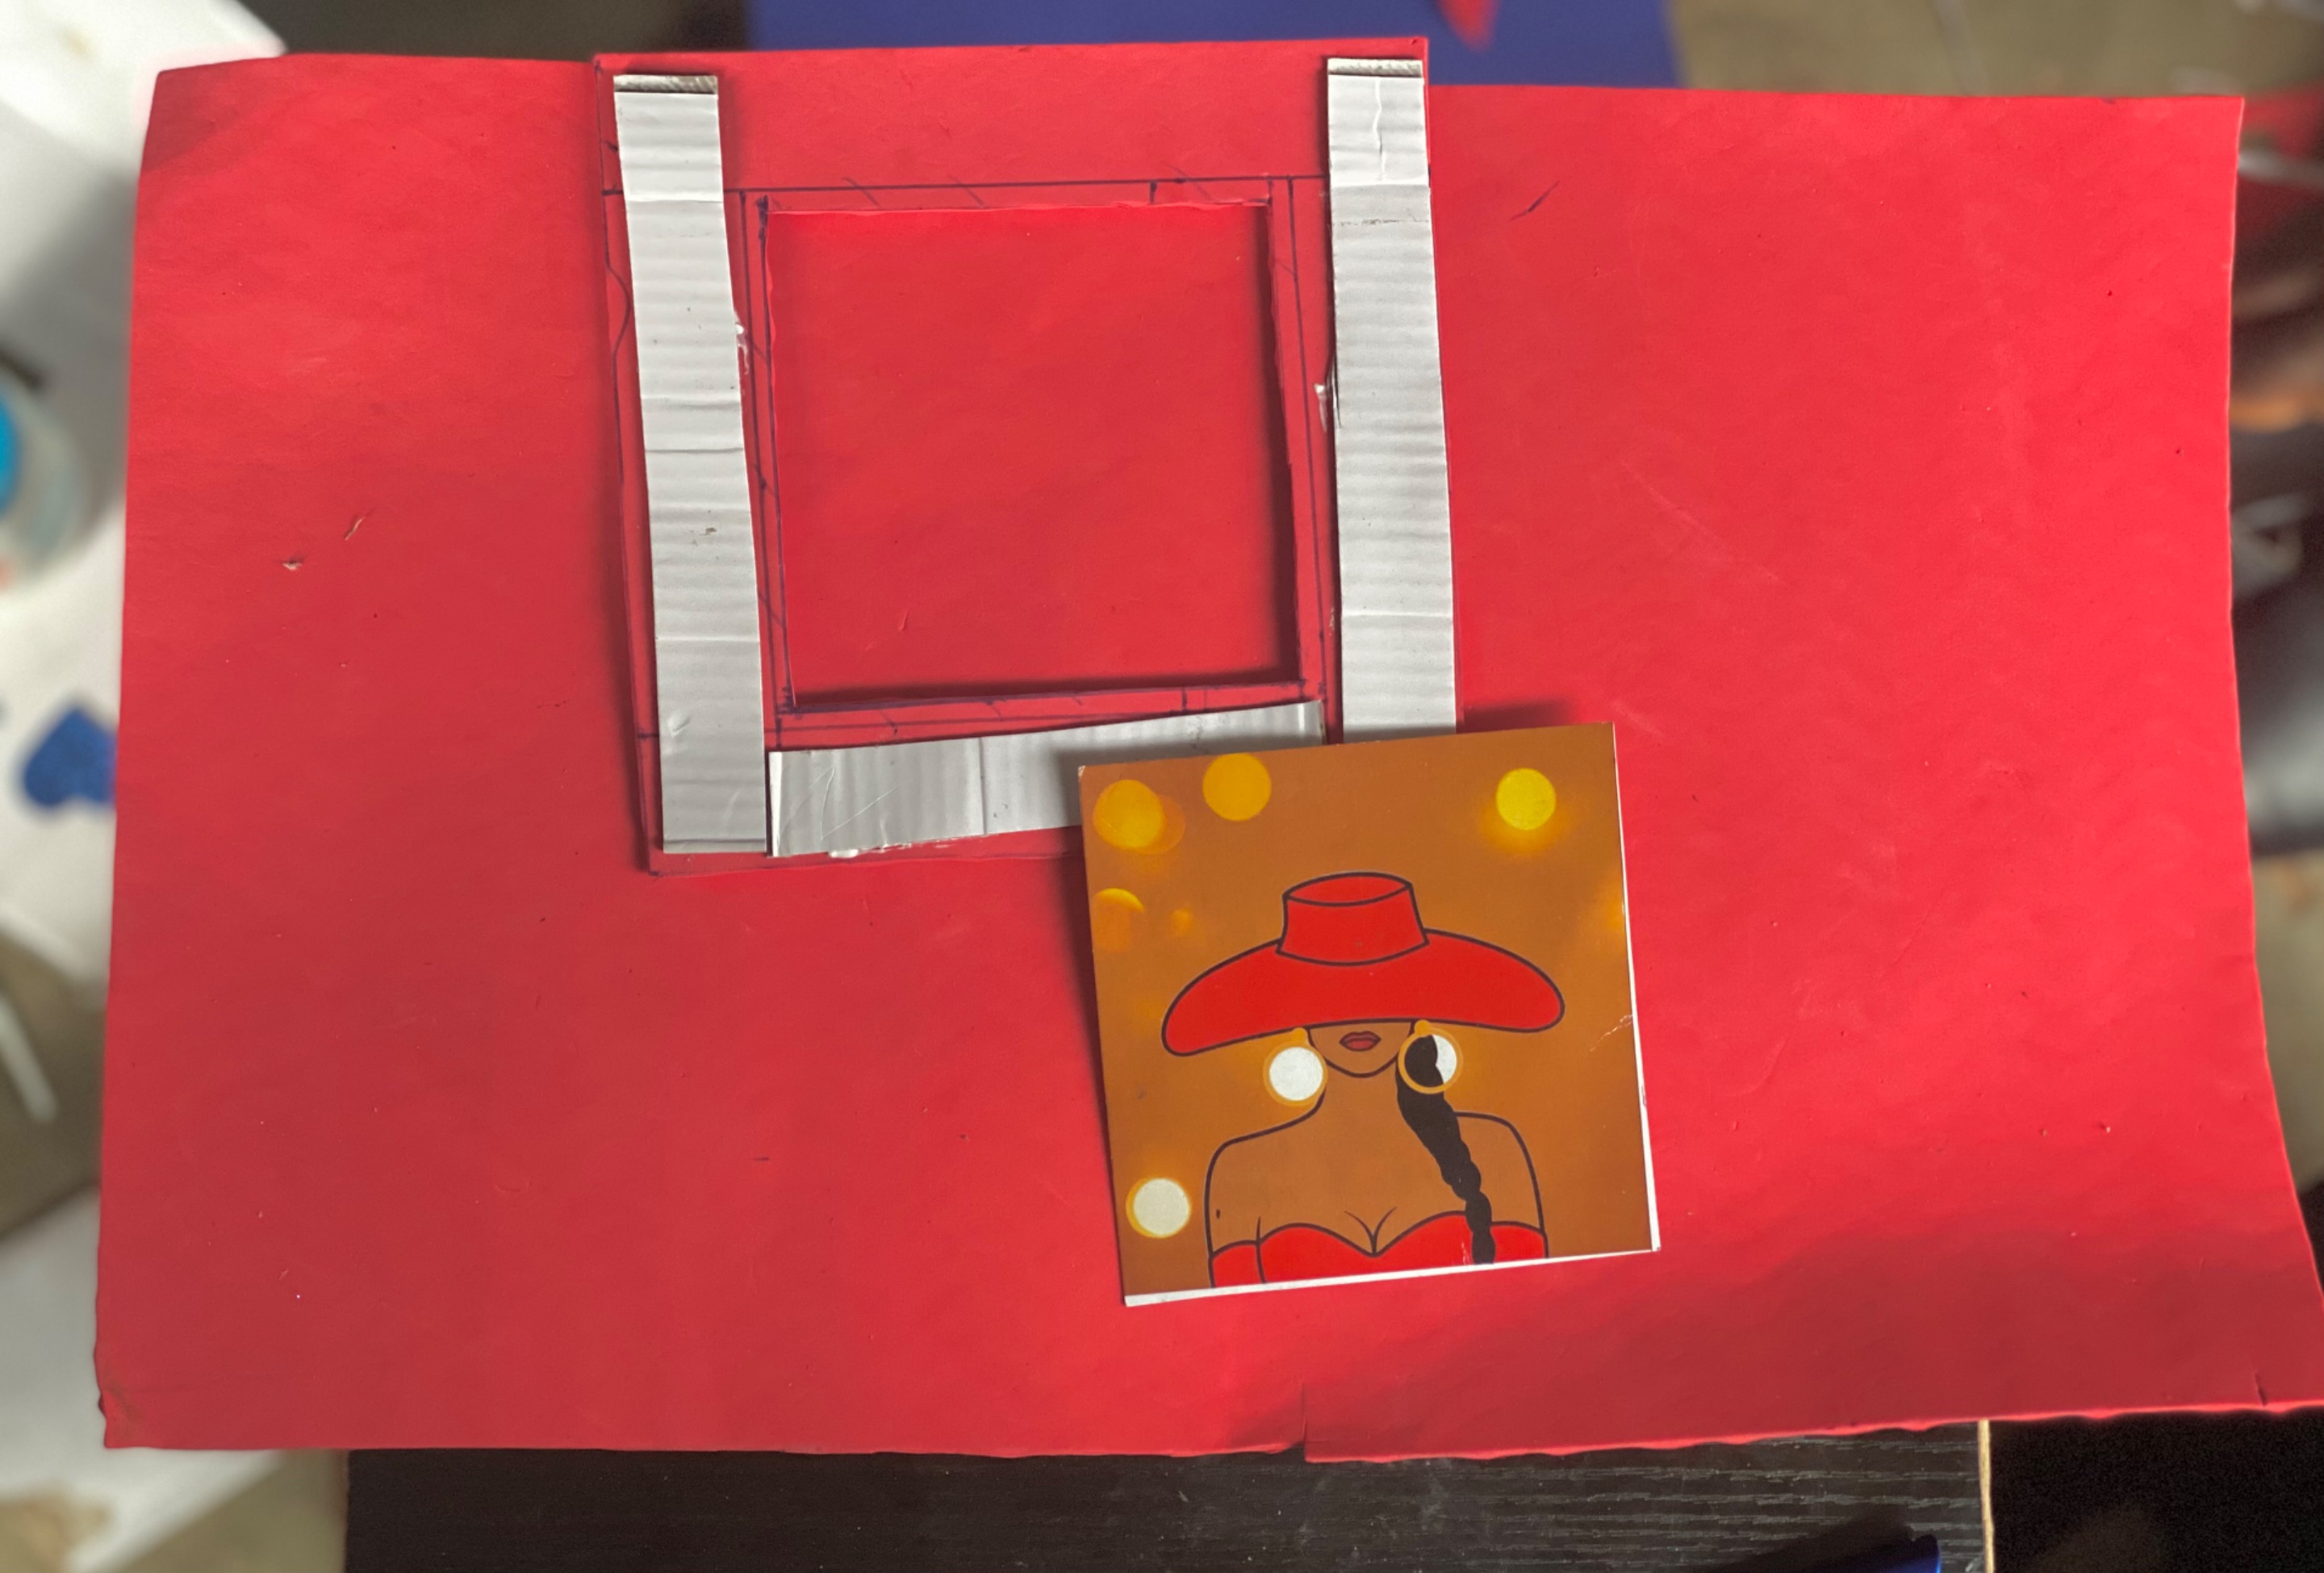
**Step 4:**
After cutting three straps from the carton, I attached the square shape from earlier to the frame.
____
____
**Step 5:**
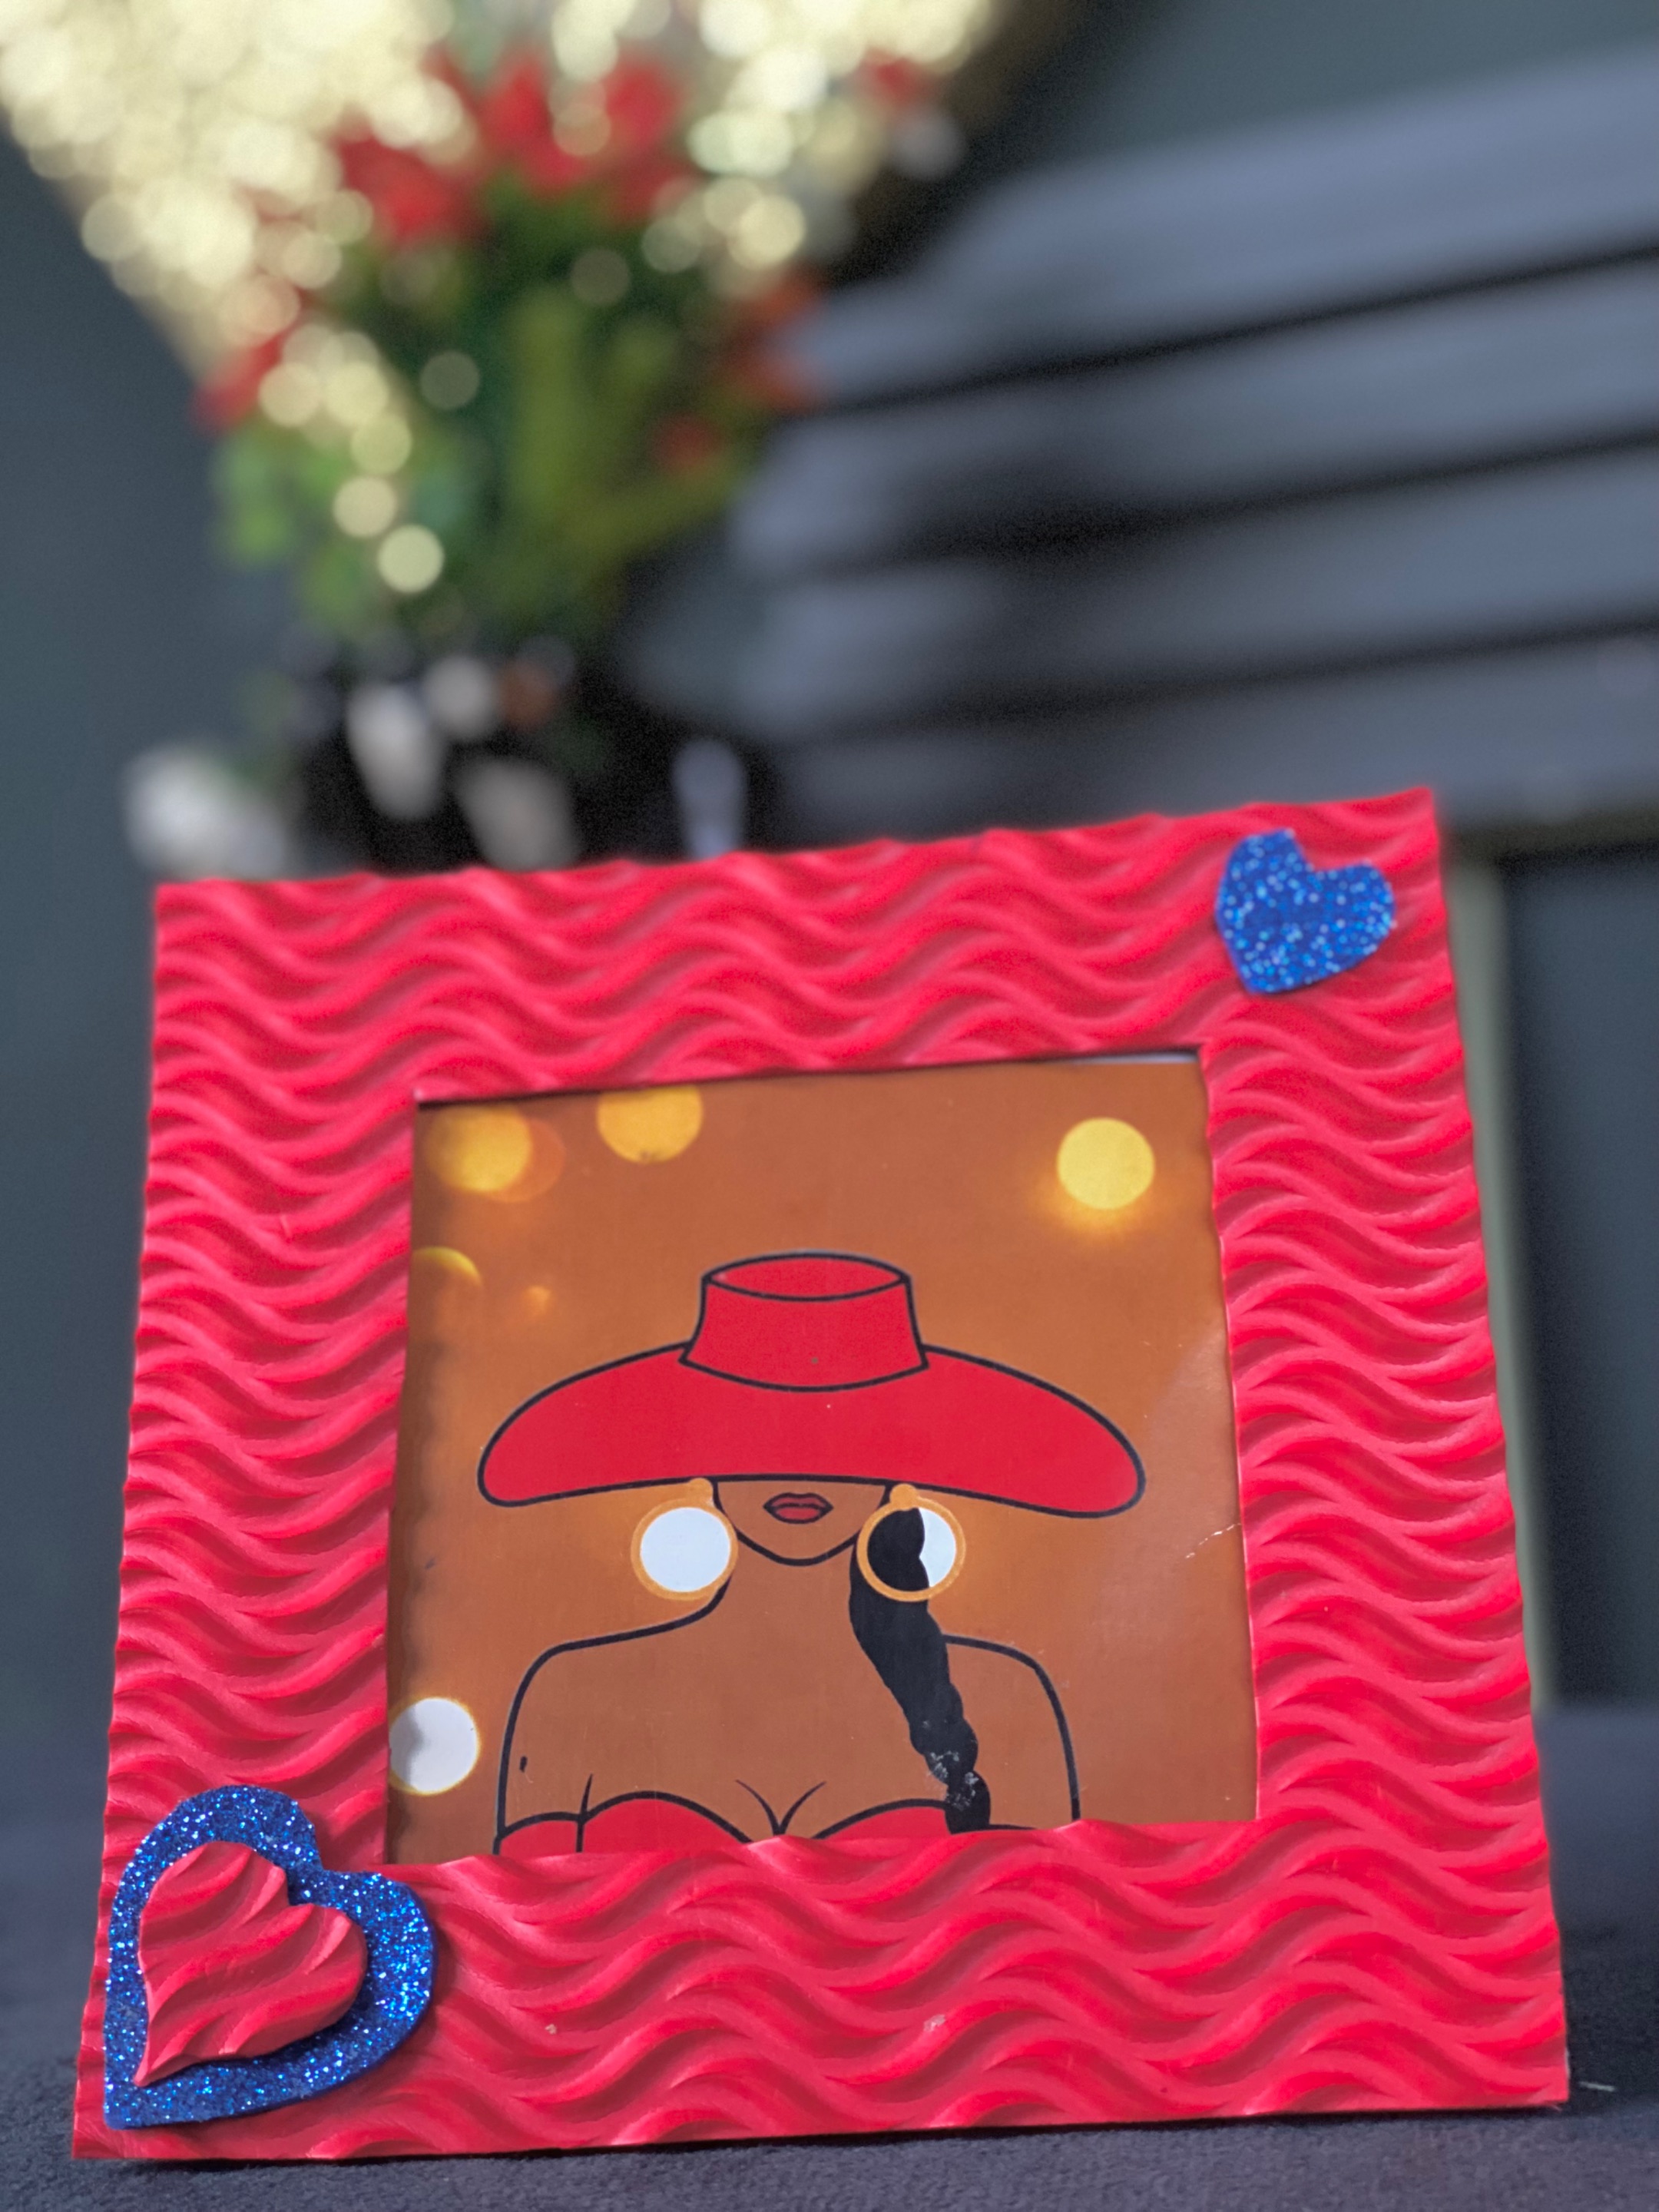
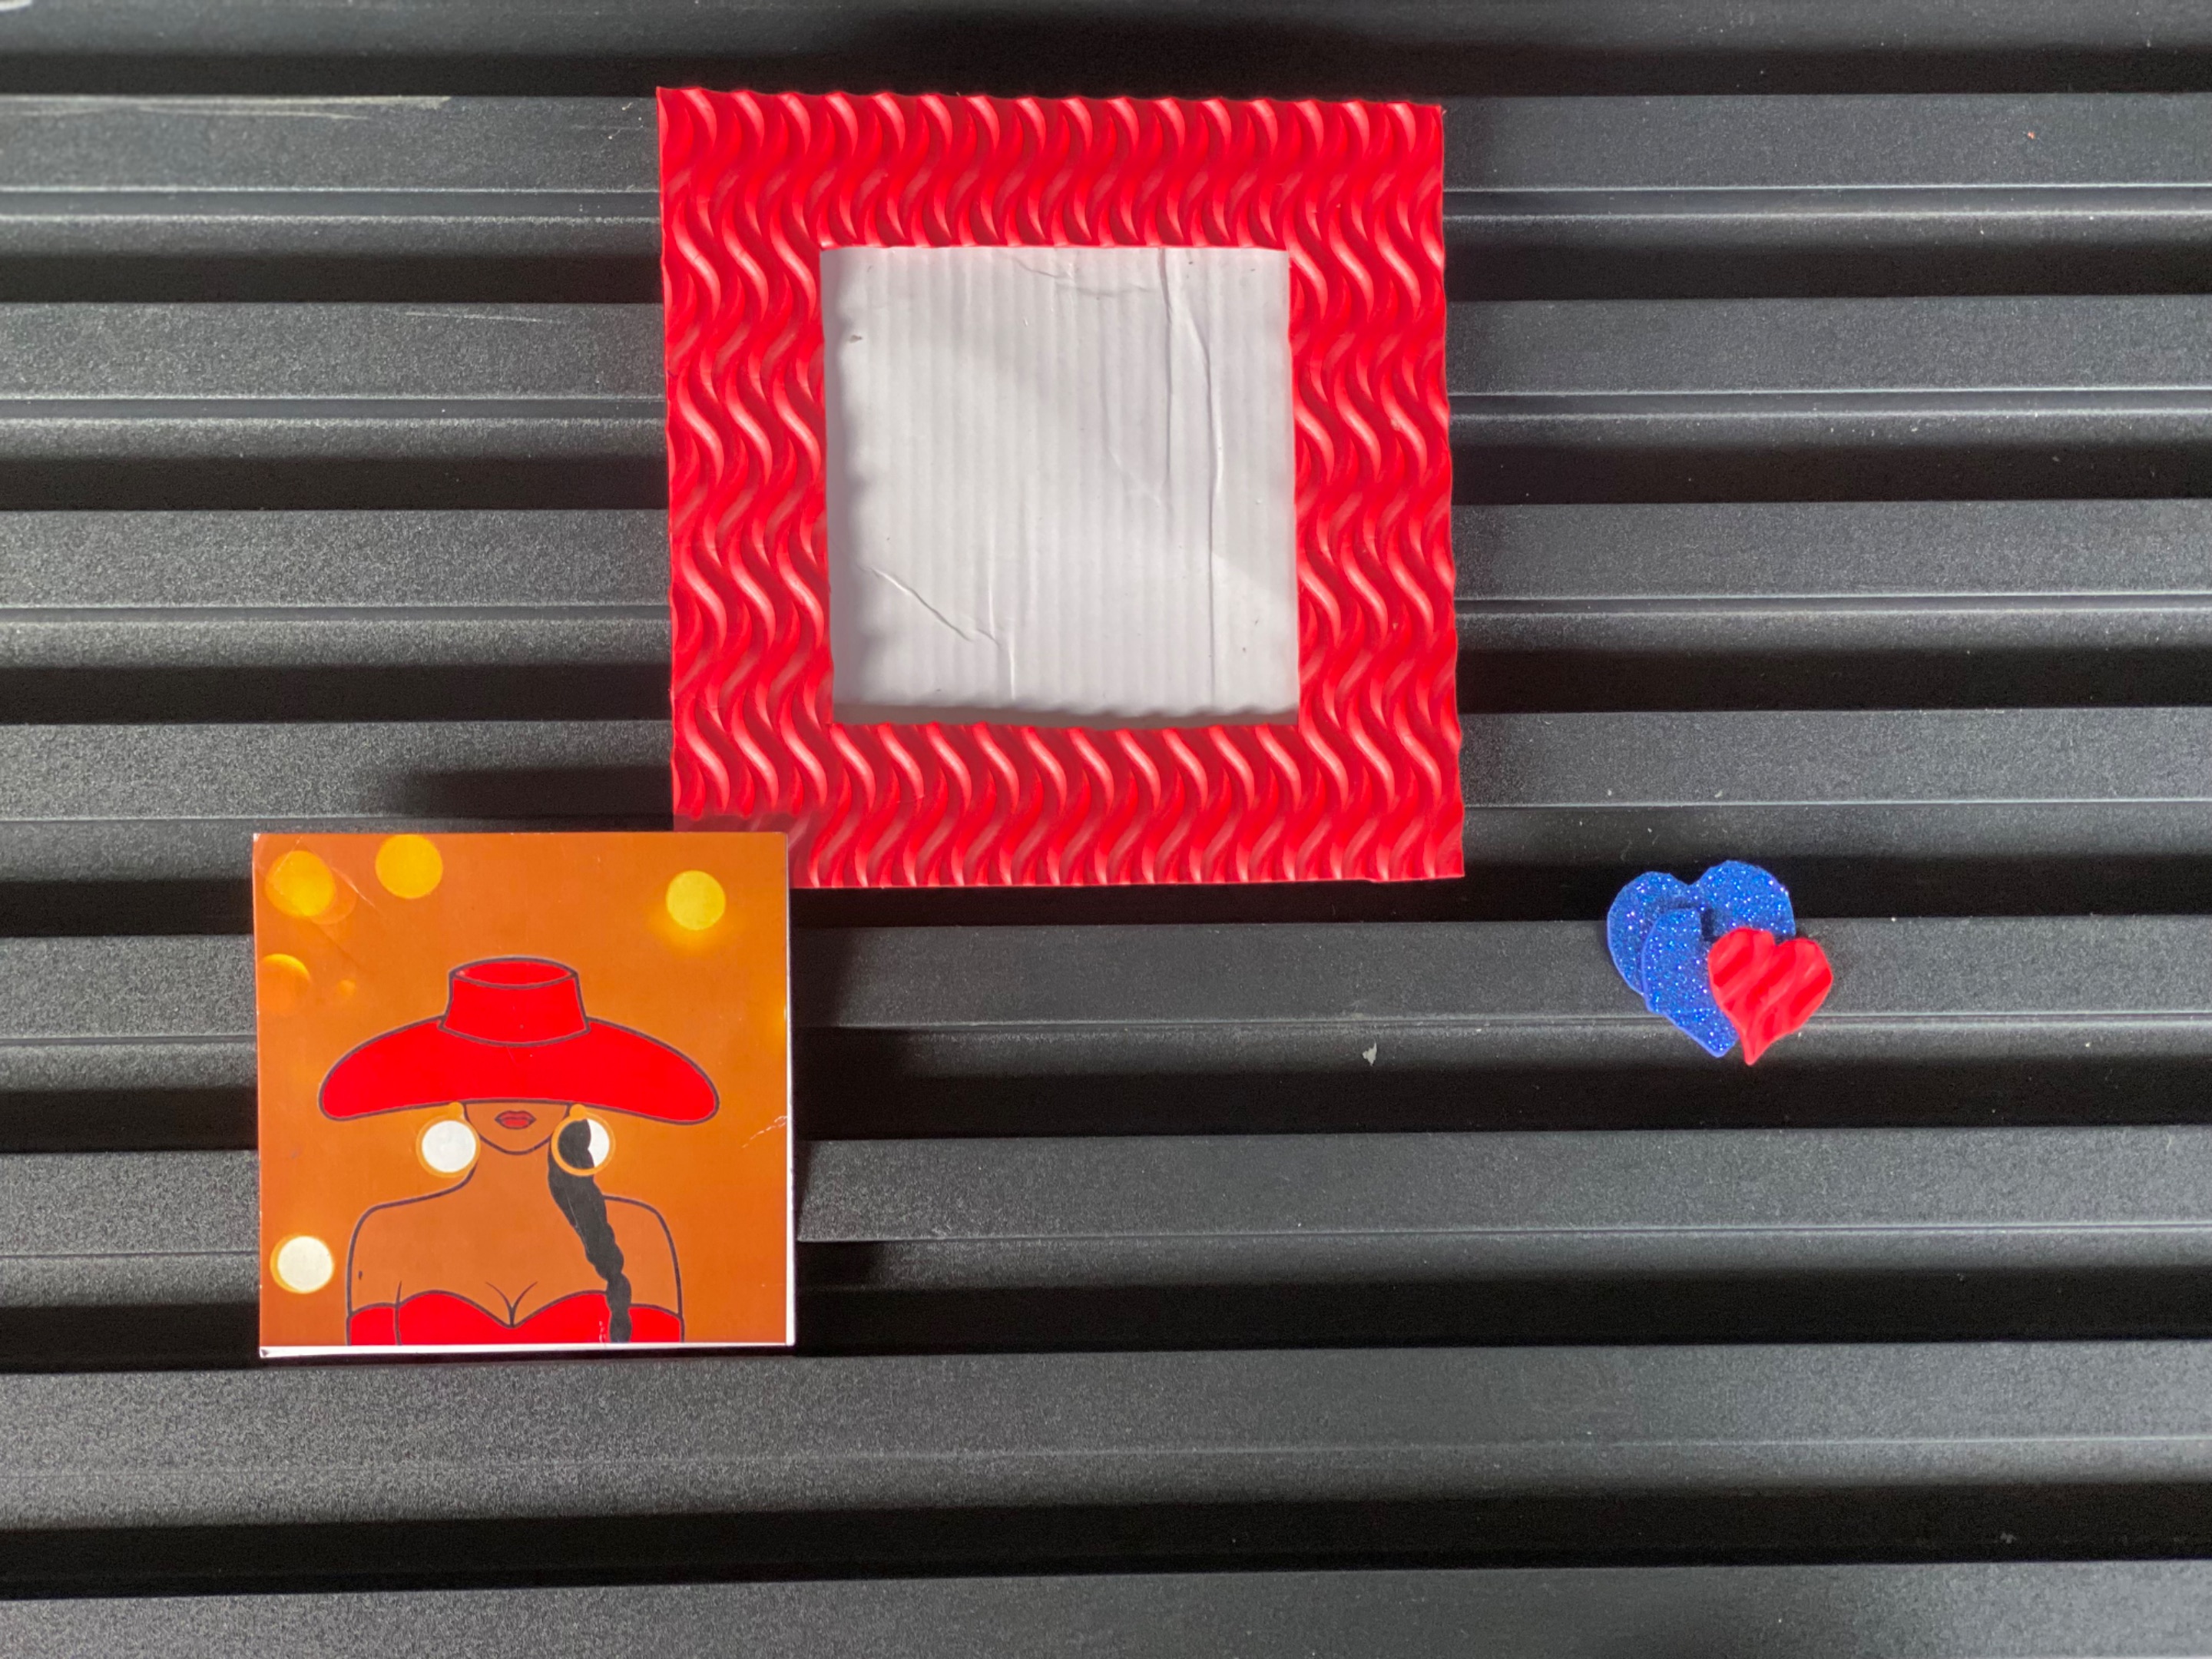
I made sure the frame is firmly attached to the carton, and I made a little design for the frame, I added some finishing touches, and tada! My frame was ready!
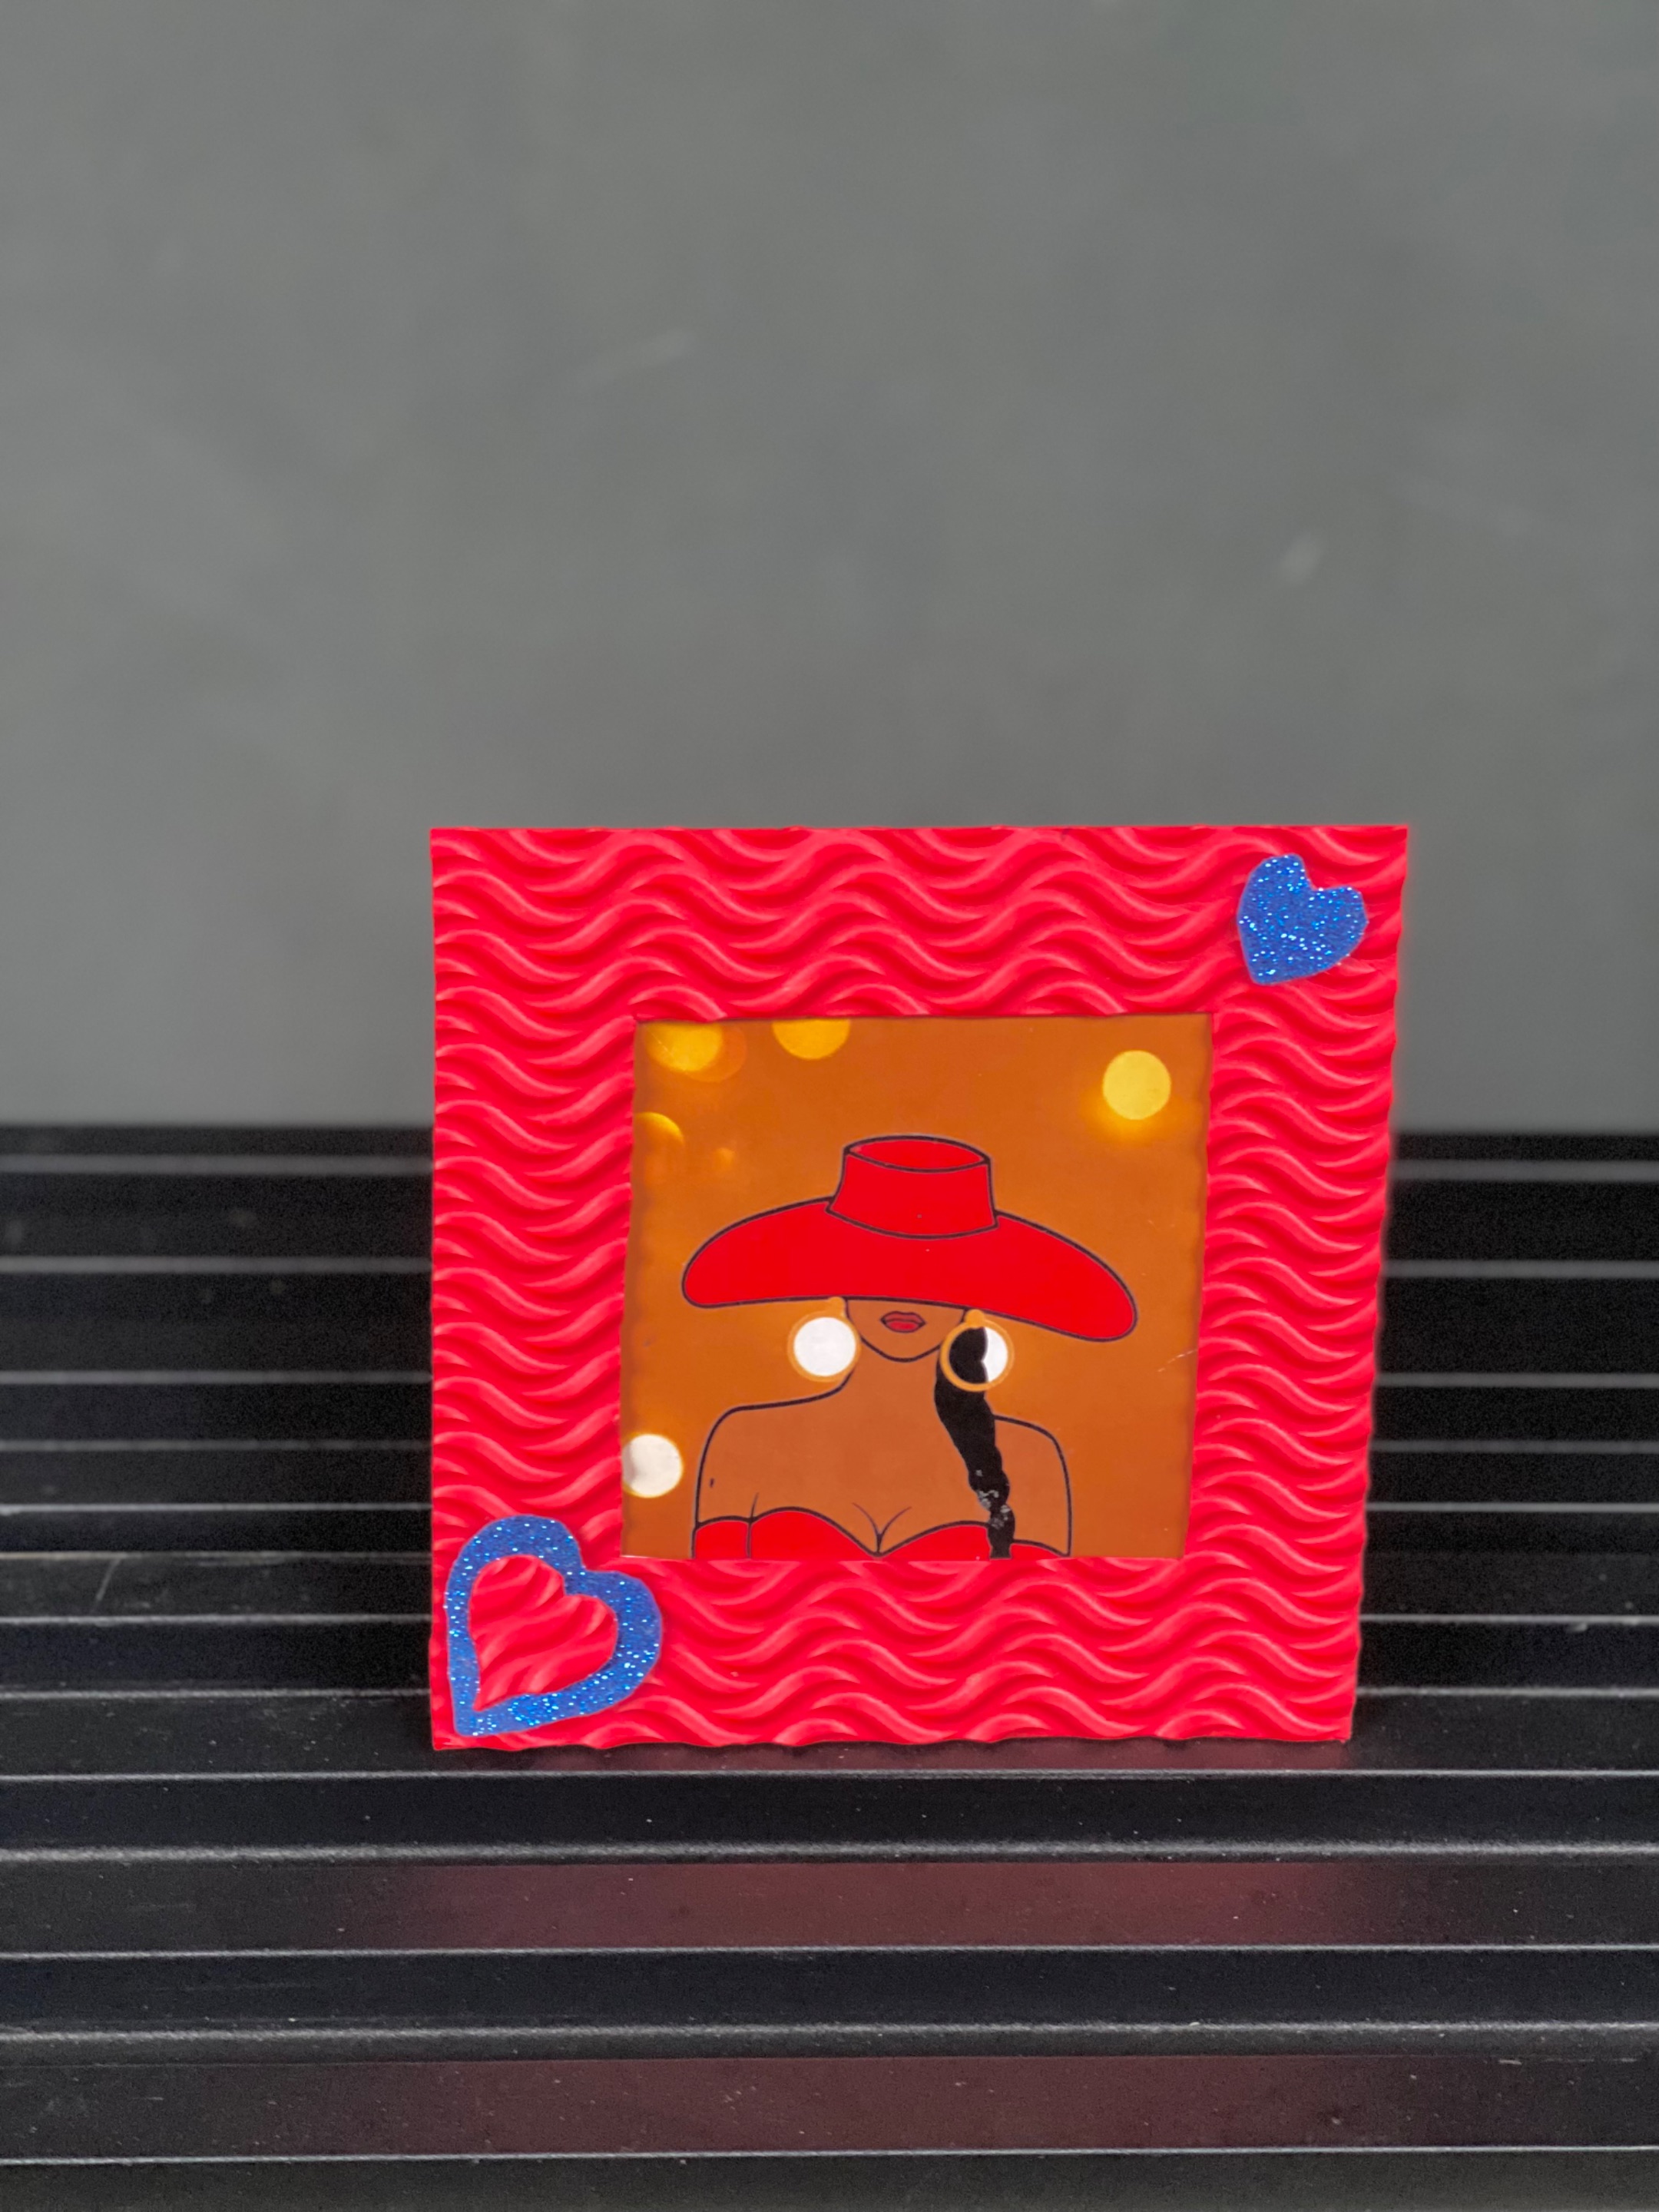


I had no expectation for this picture frame, given that from all my foam sheets this is my least favourite one but with the picture frame it looks amazing. I’m so glad I could turn this picture into something beautiful instead of discarding it.
What do you think about my picture frame? Do you like it? Would you like to make something like this? Would it be easy for you? I’d love to read your thoughts in the comment section.
All images are mine except otherwise stated.
**Thanks for stopping by**
**Loads of Love🥰🥰**
**XOXO**