_____Hello Hivers______
As much as I love making summer clothes, using beautiful soft and light fabrics for my projects we are actually in the middle of winter right now and the weather is pretty cold. The last days are pretty sunny during the day that allows you to enjoy the mornings outside but as soon as the sun goes down freezing cold is coming. I avoid most of the afternoons to leave home I just prefer staying in and do some work close to my fireplace heheh. So what I really need now is not another light summer dress or top but something warm and comfy to wear during my day at home or maybe for a walk. What's warmer and comfier than a nice sweatshirt?
I kinda love wearing hoodies and sweatshirts during winter season it is something casual and decent to combine with an outfit. Although I never had the chance to make my own hoodie.
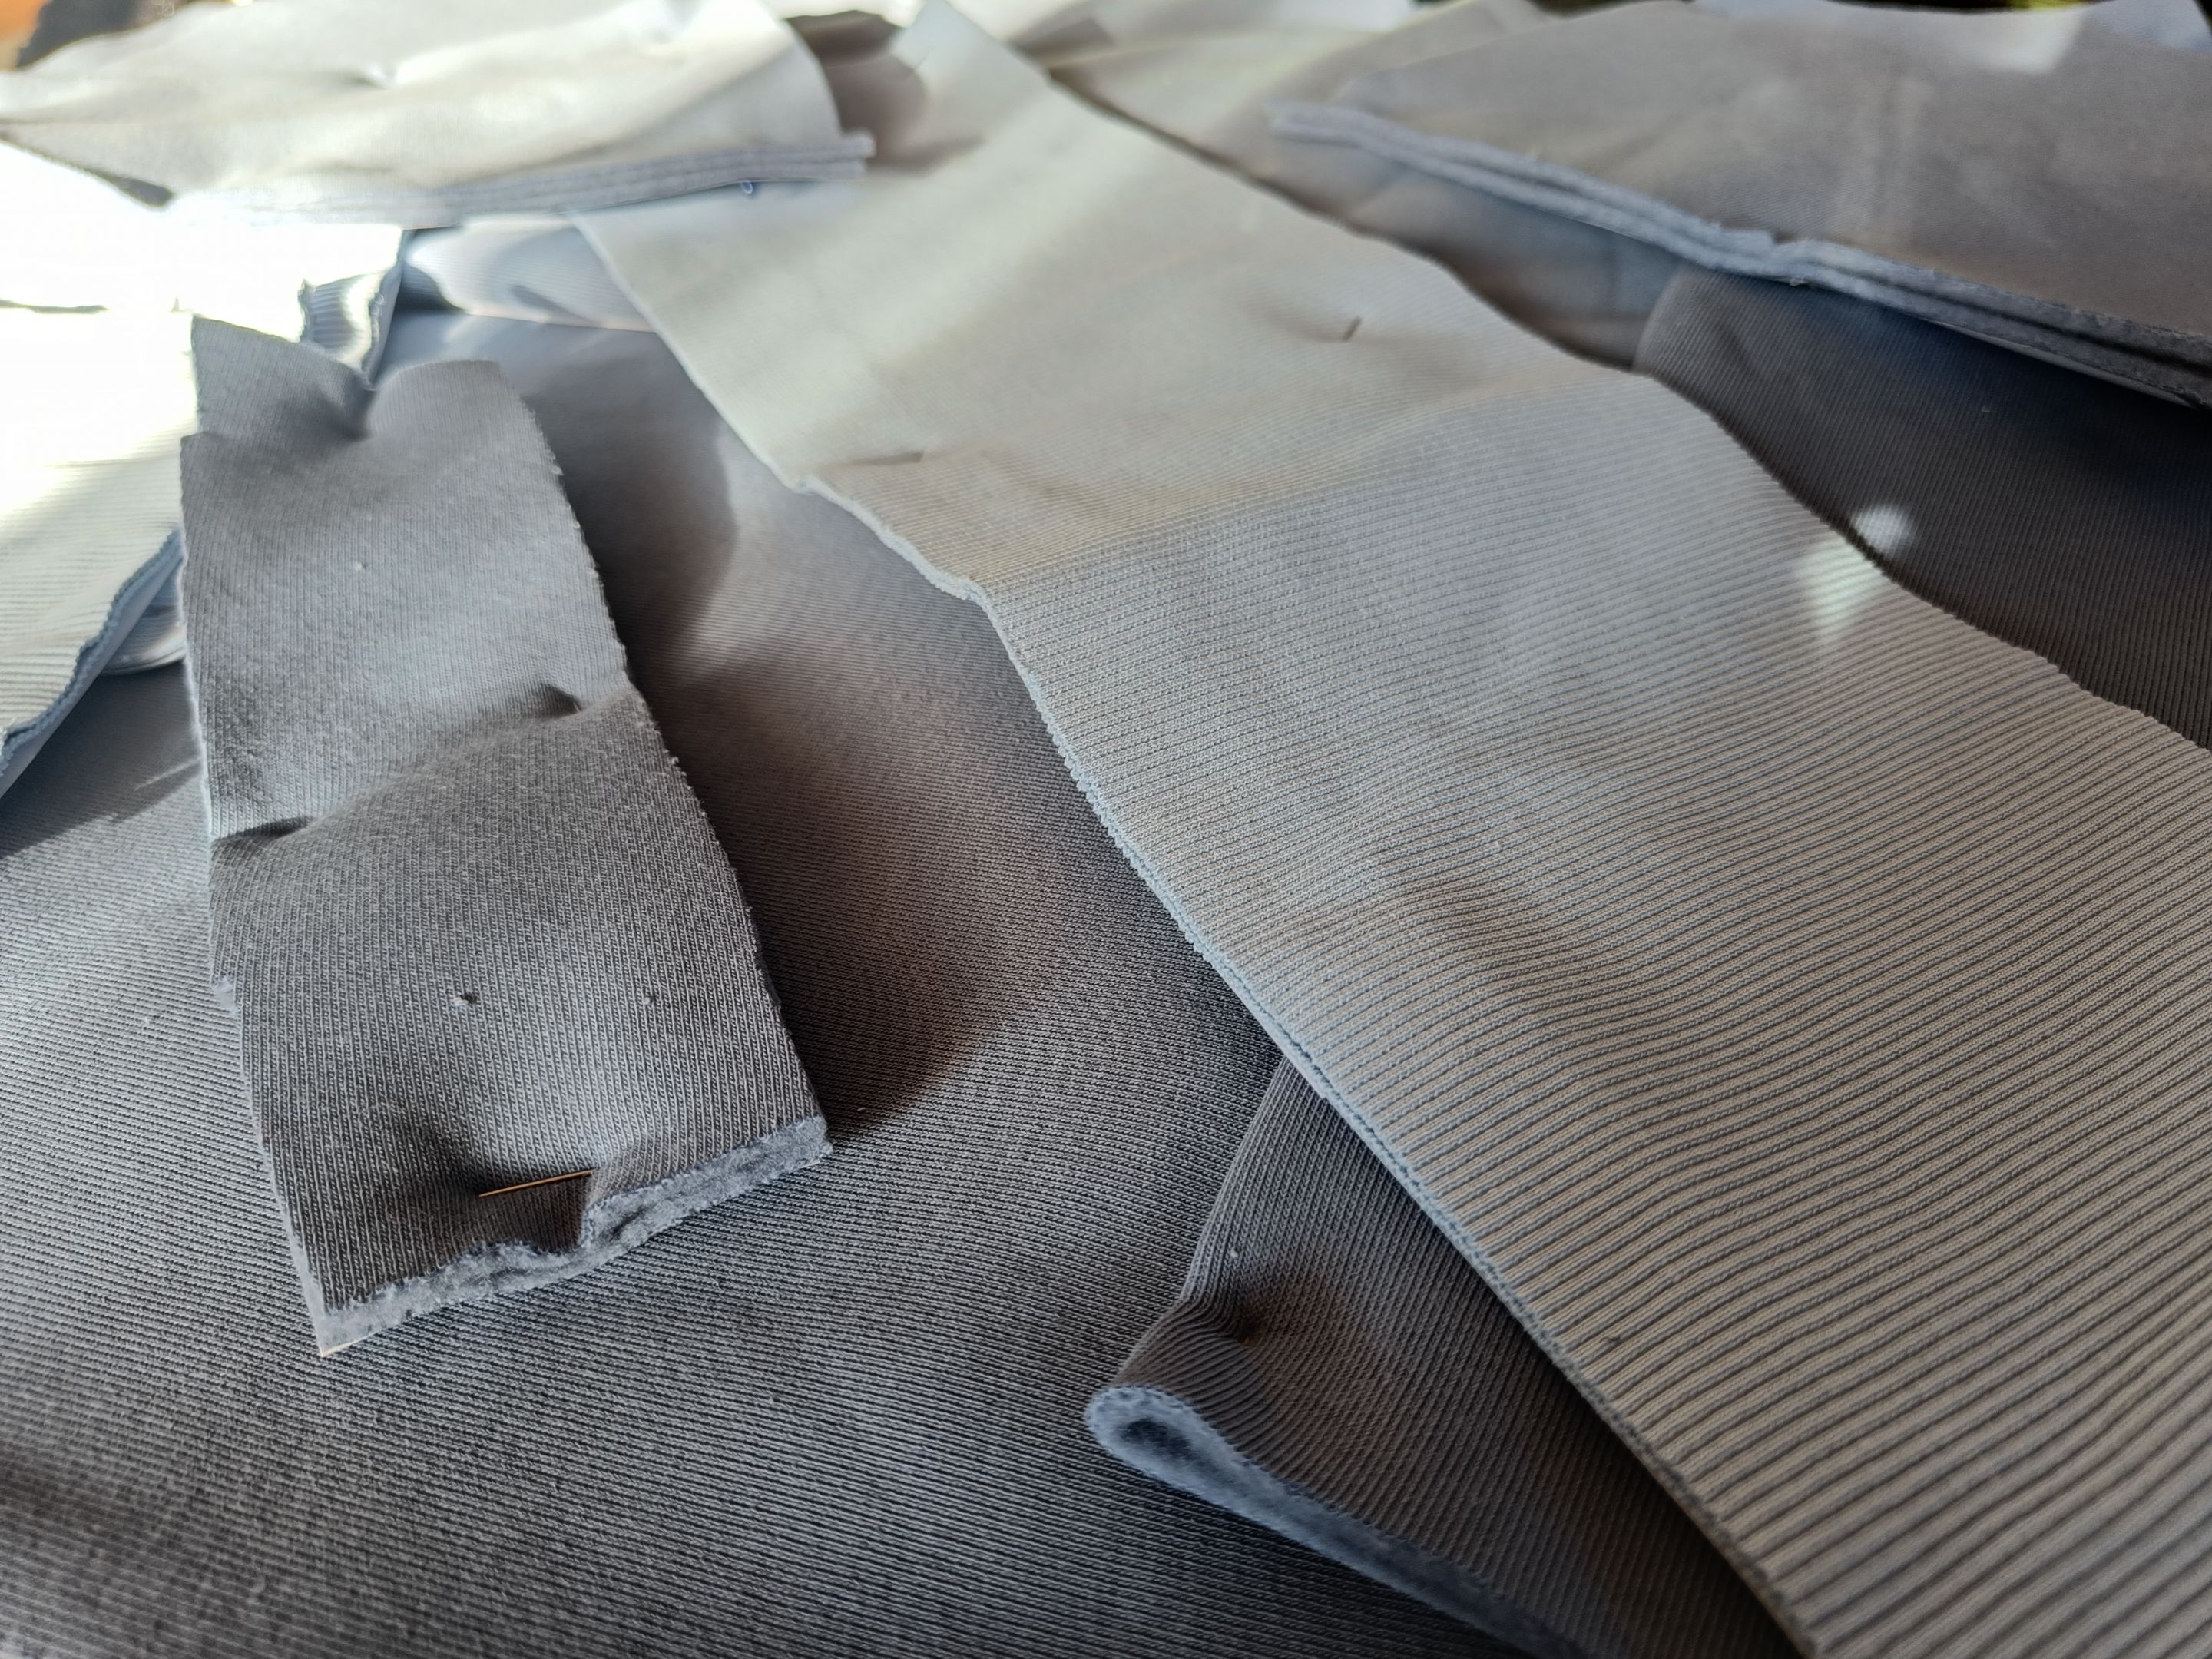
I did some quick mesurements, added some extra centimeters cause I wanted to be kinda oversized. When it comes to sweatshirts I always prefer them one number plus than my usual cause I want to feel comfy wearing them and also be able to wear extra clothes inside if it needs.
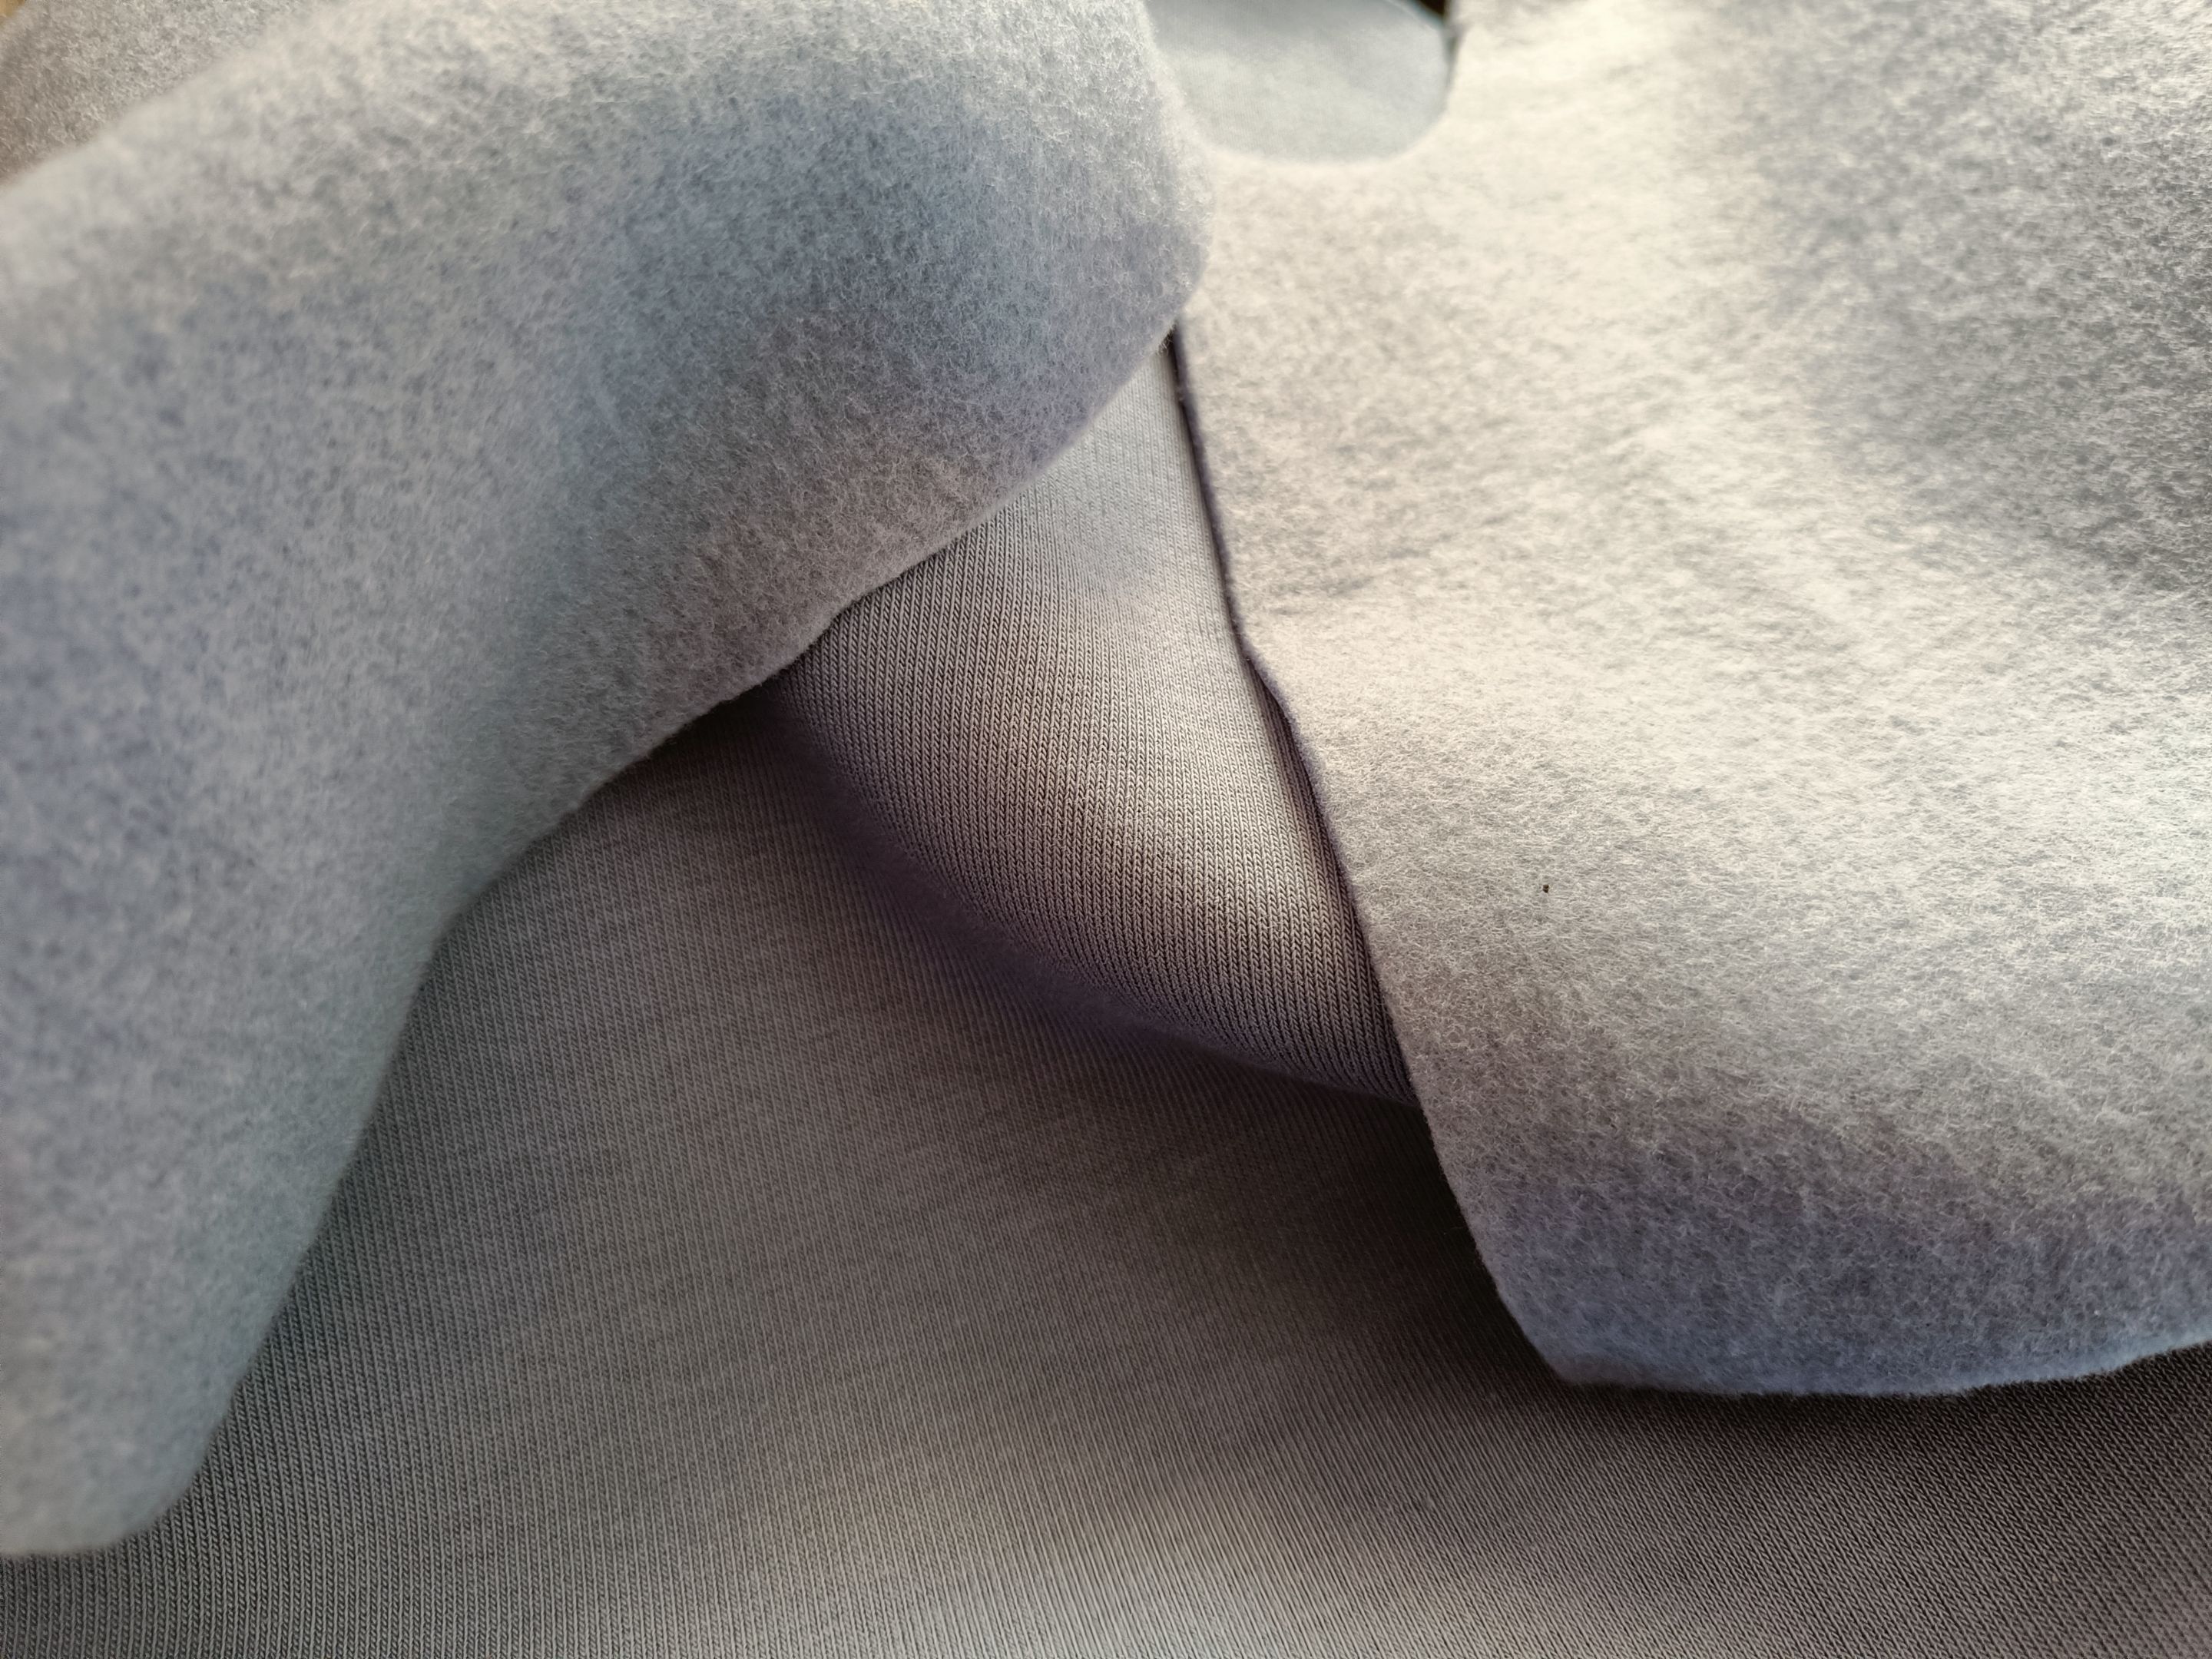
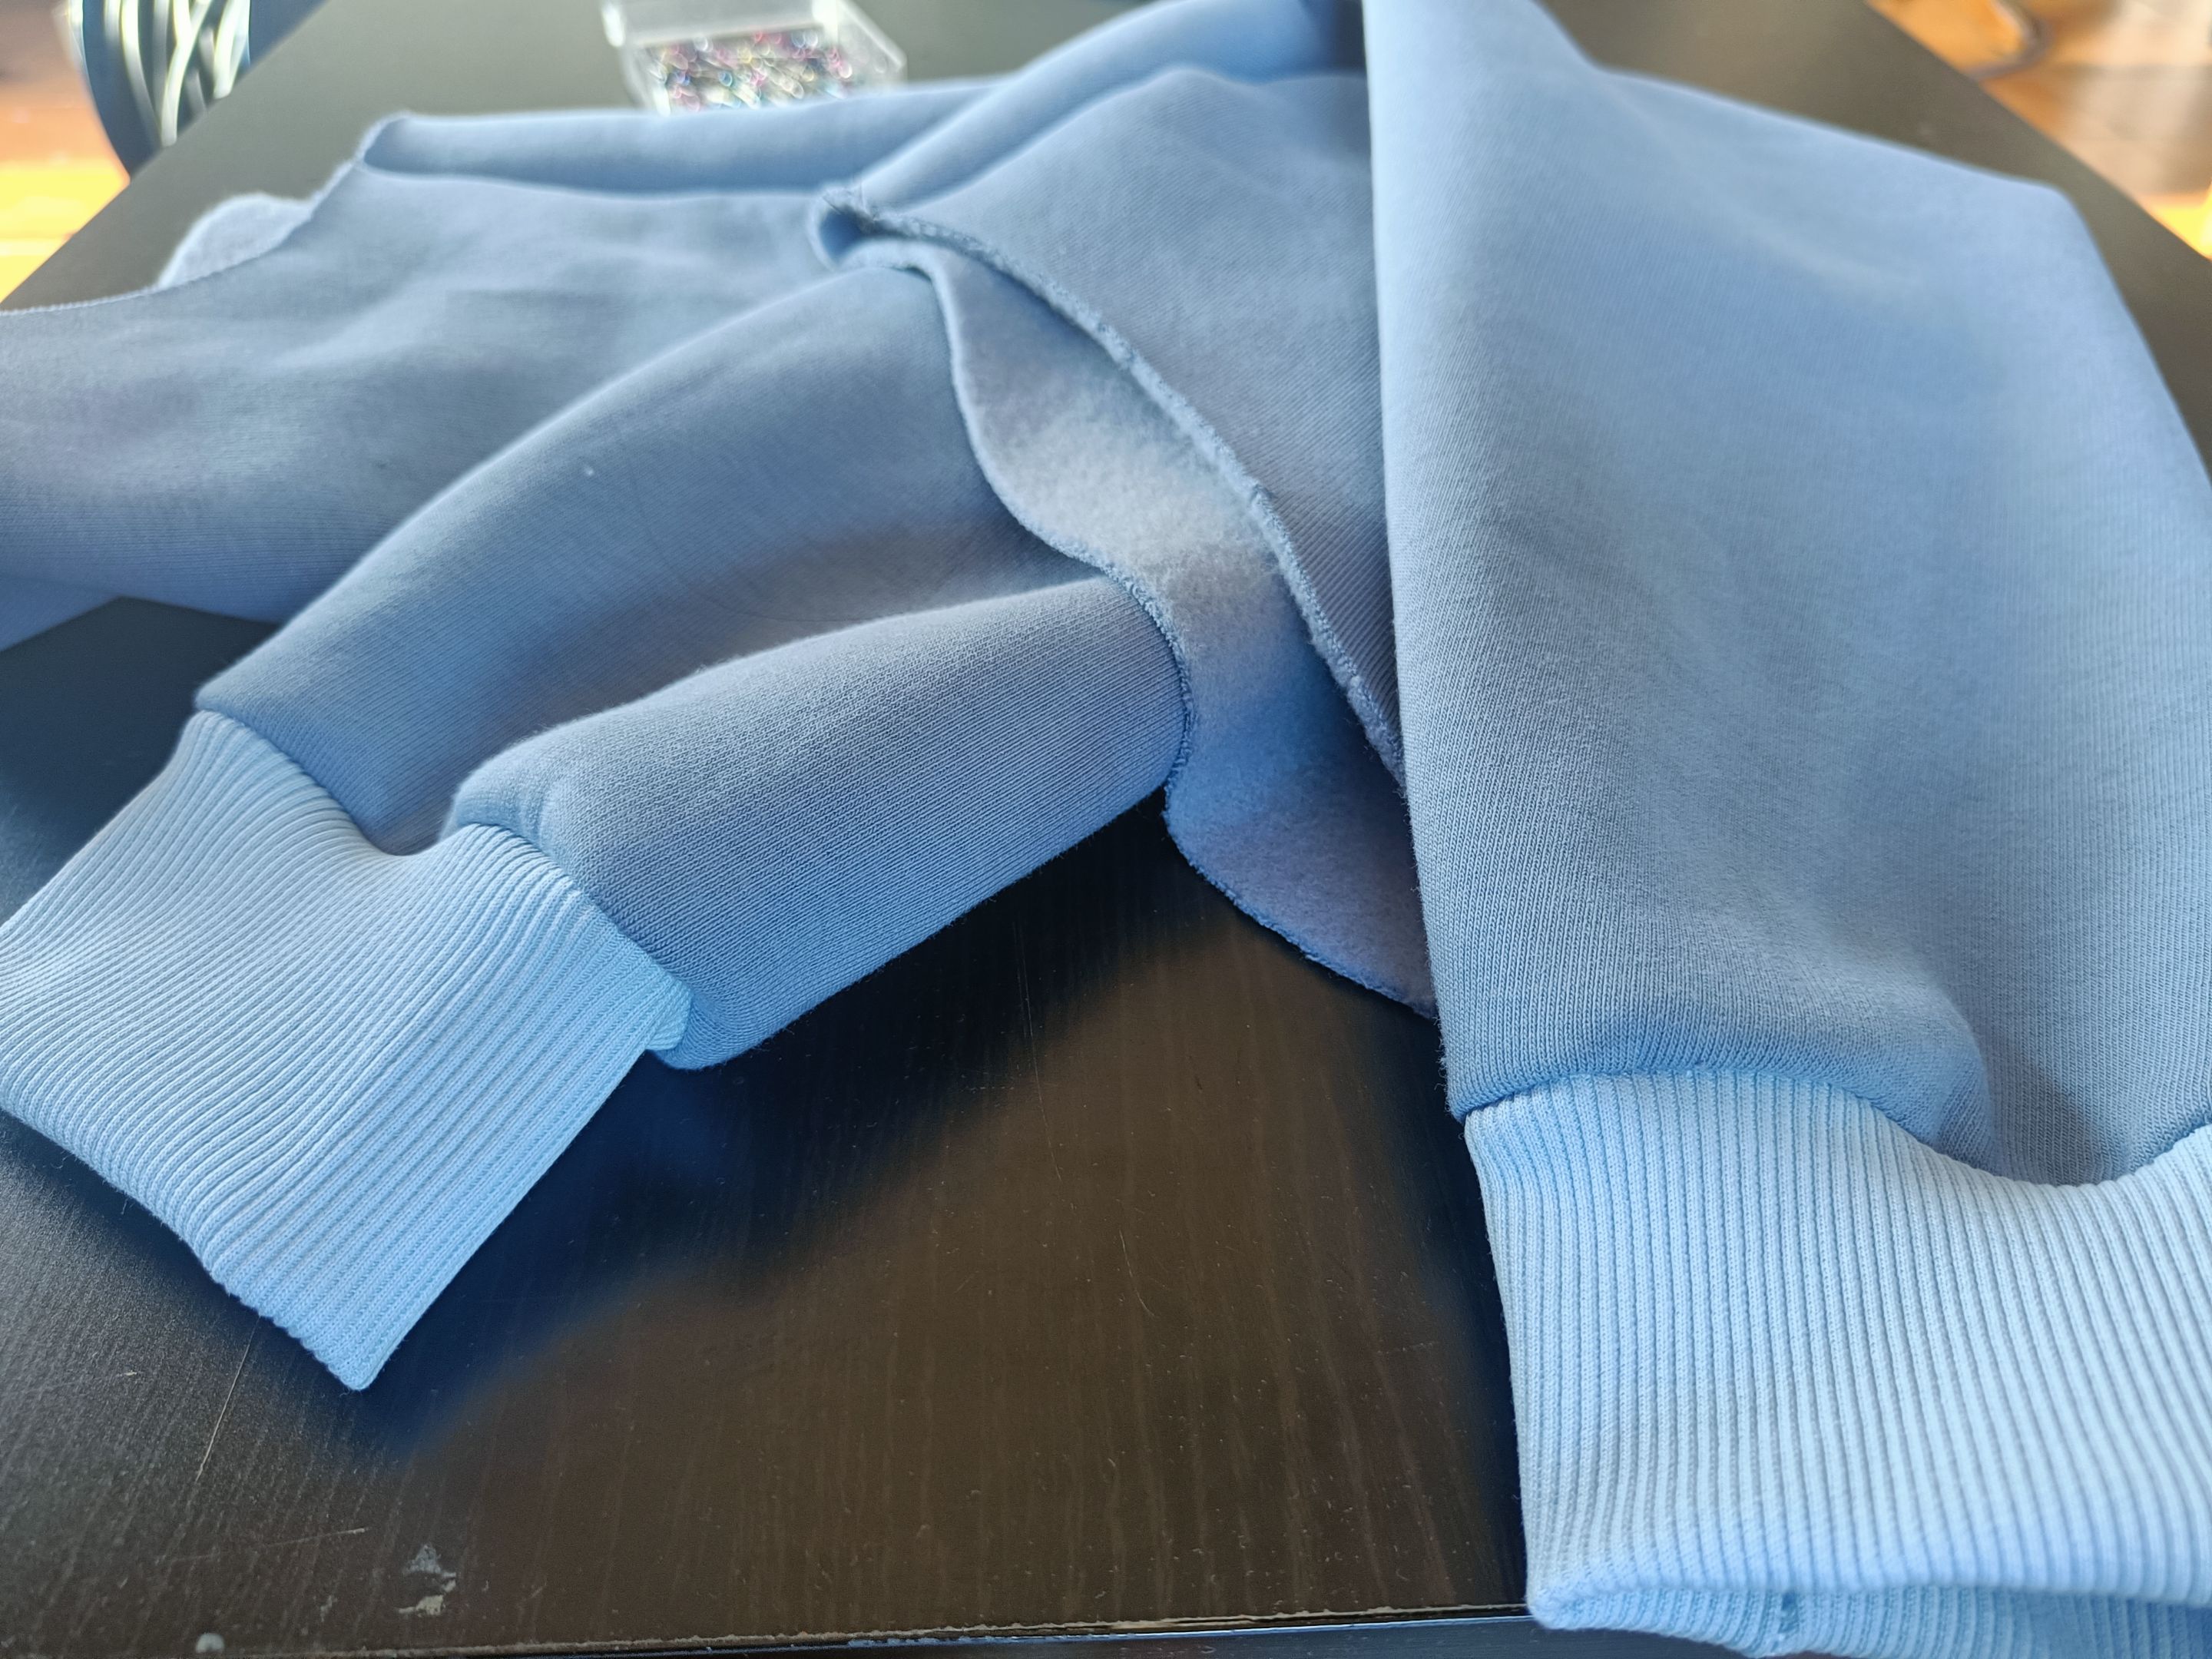
I bought a blueberry color fabric for my sweatshirt which I loved so much. The wrong side is a soft and warm fleece. I started by sewing the shoulders toghether first.

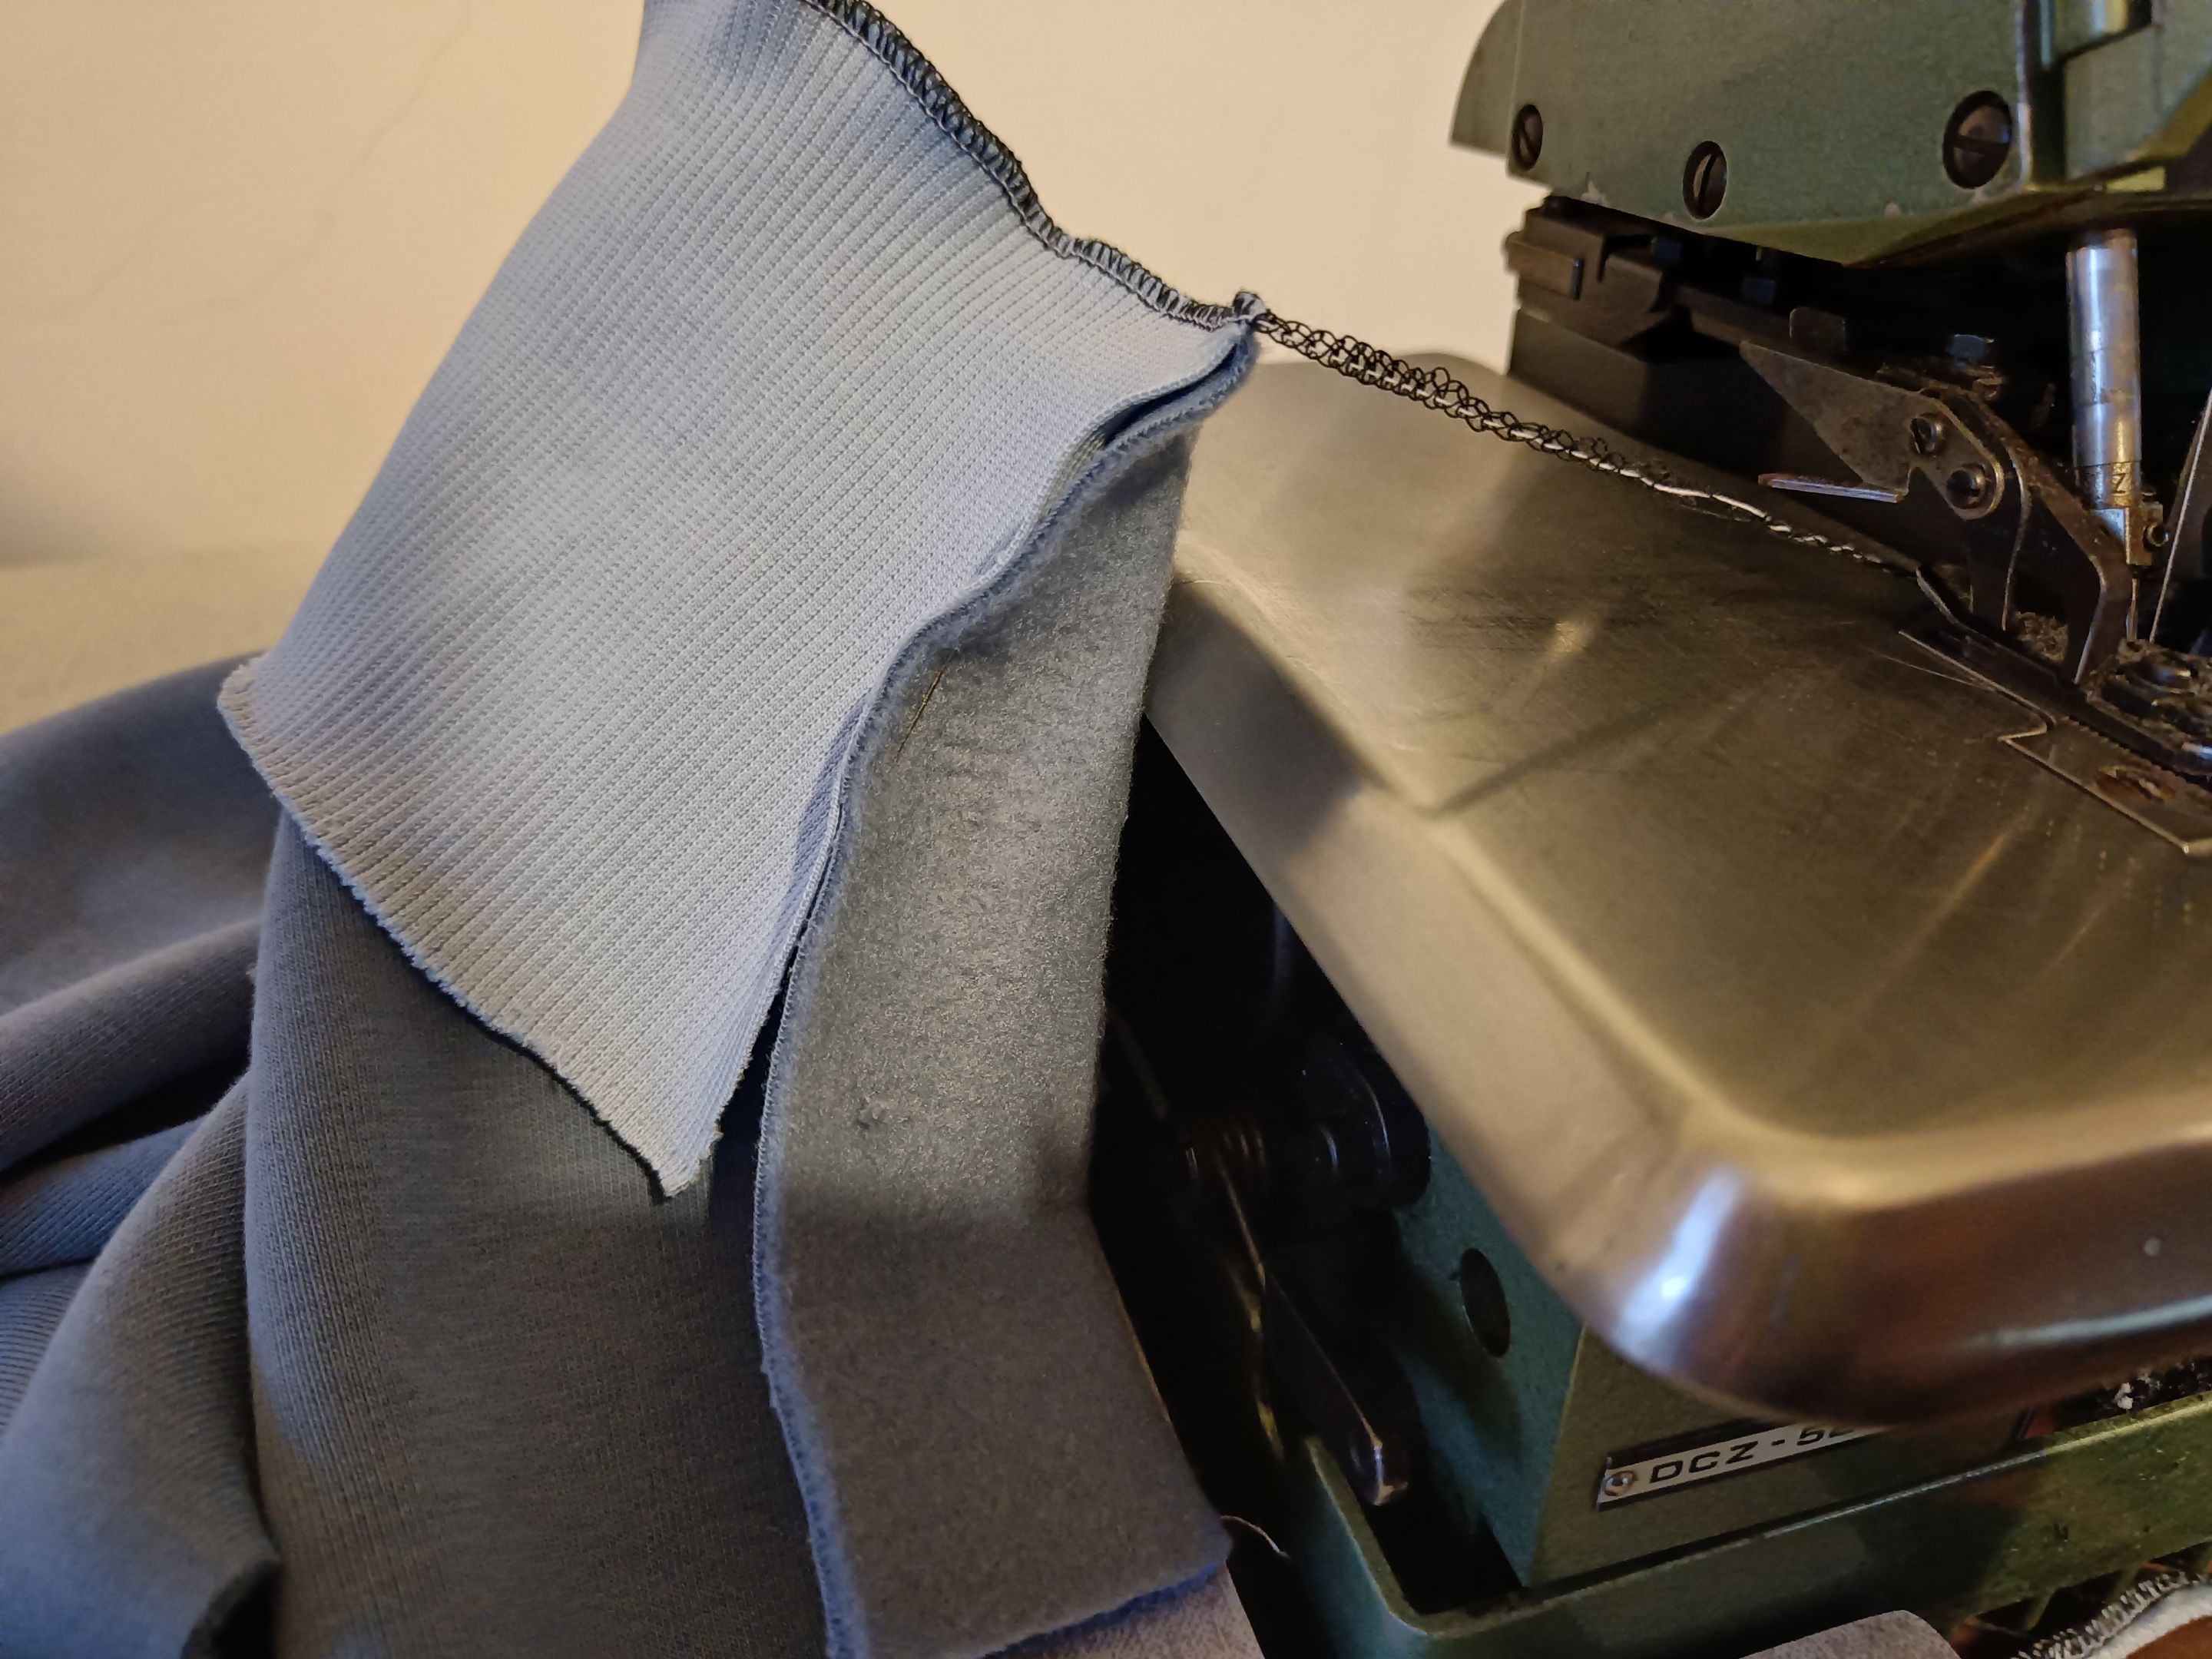
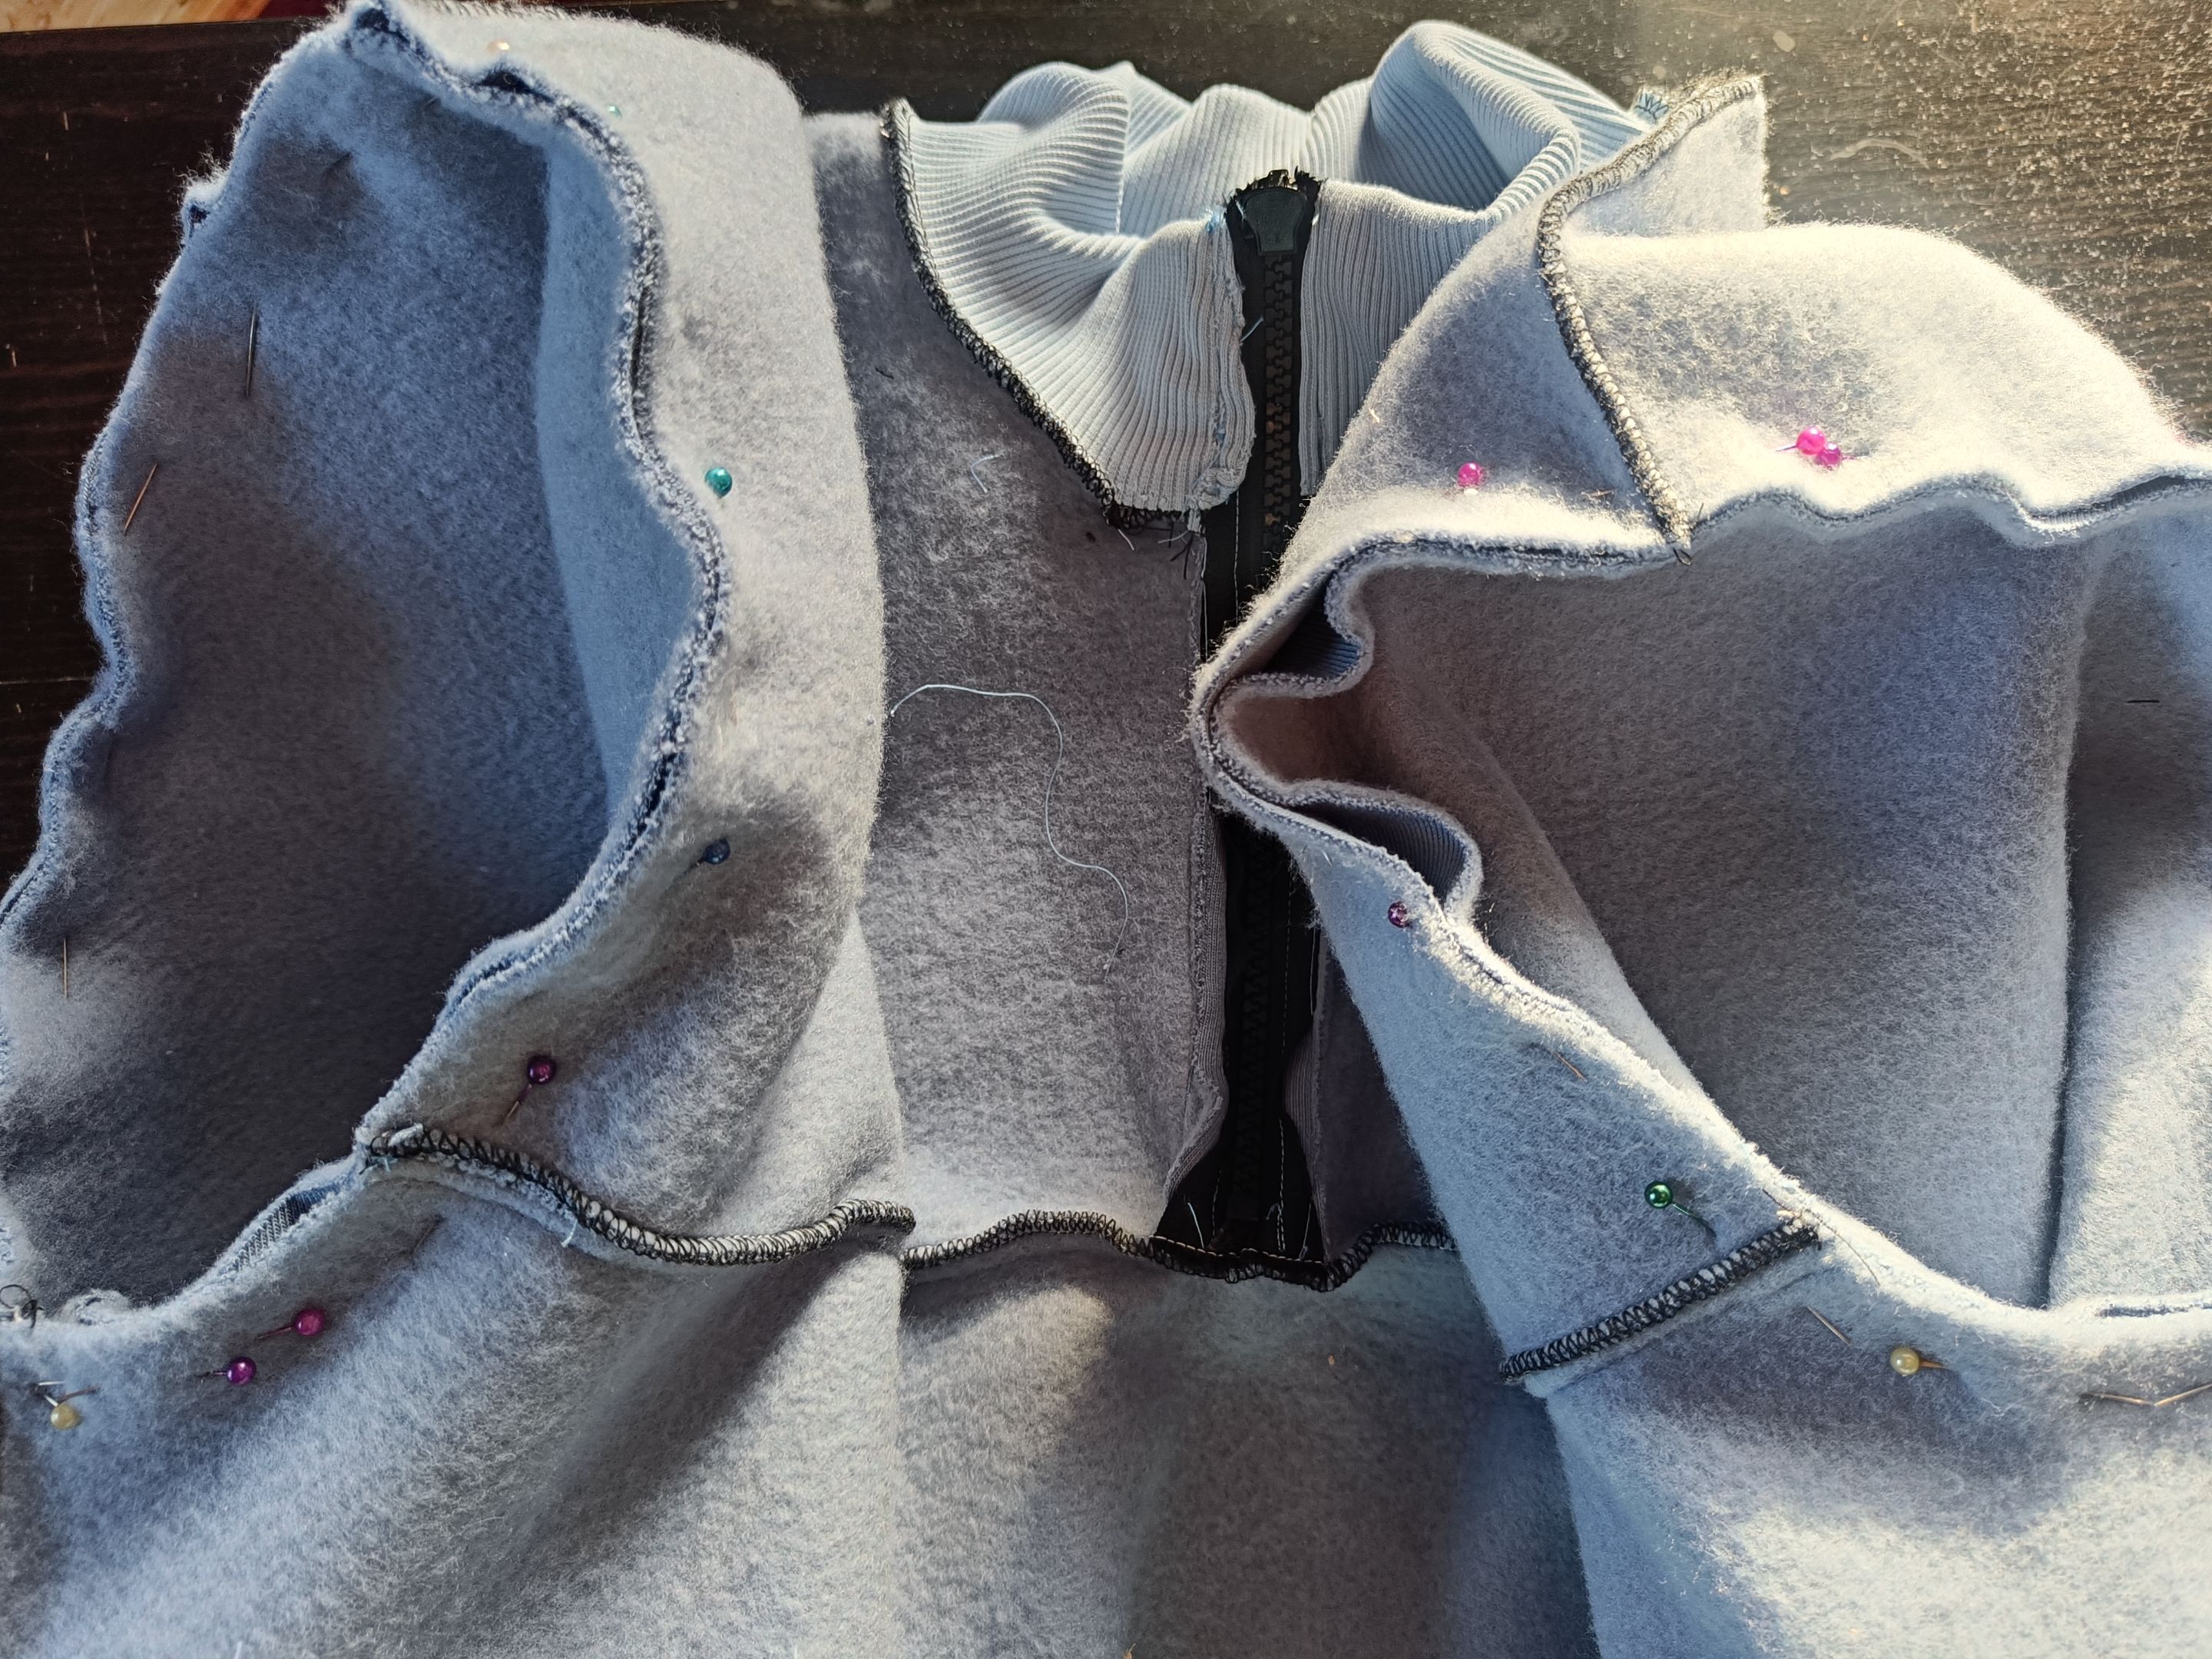
The biggest part of the sweatshirt was sewed with a serger machine. The next step was to sew the one side of the collar with the neckline.
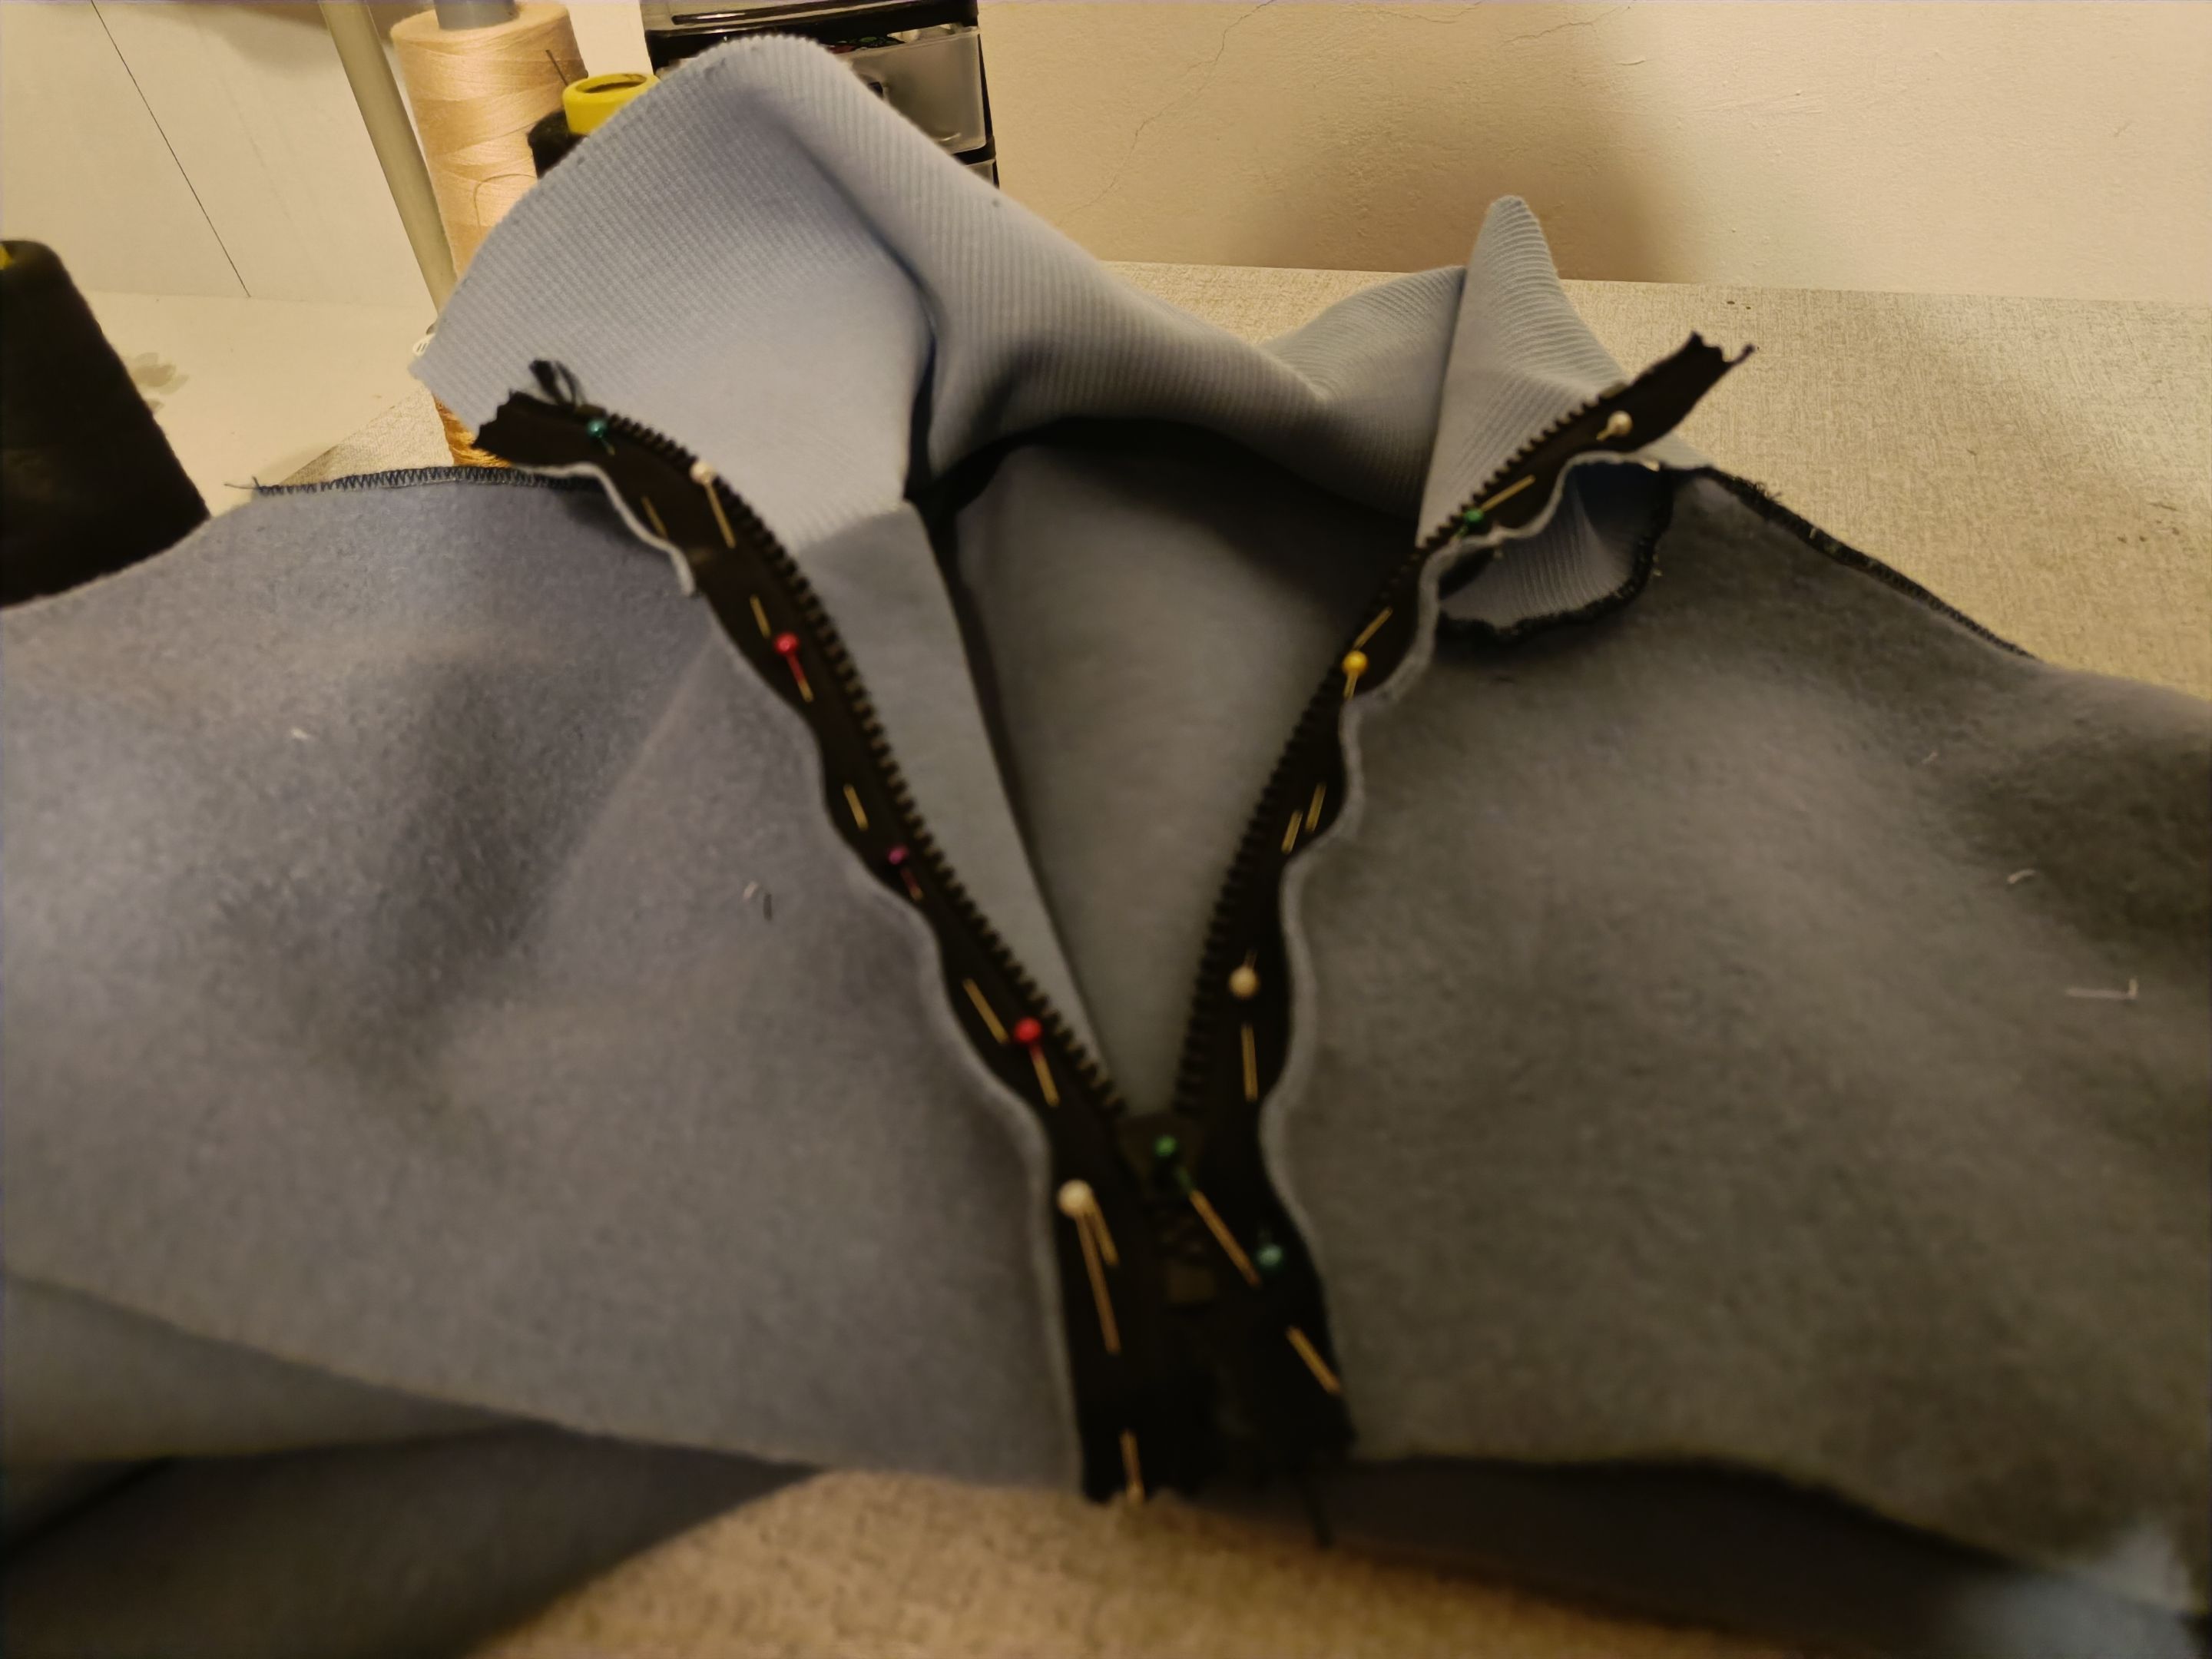
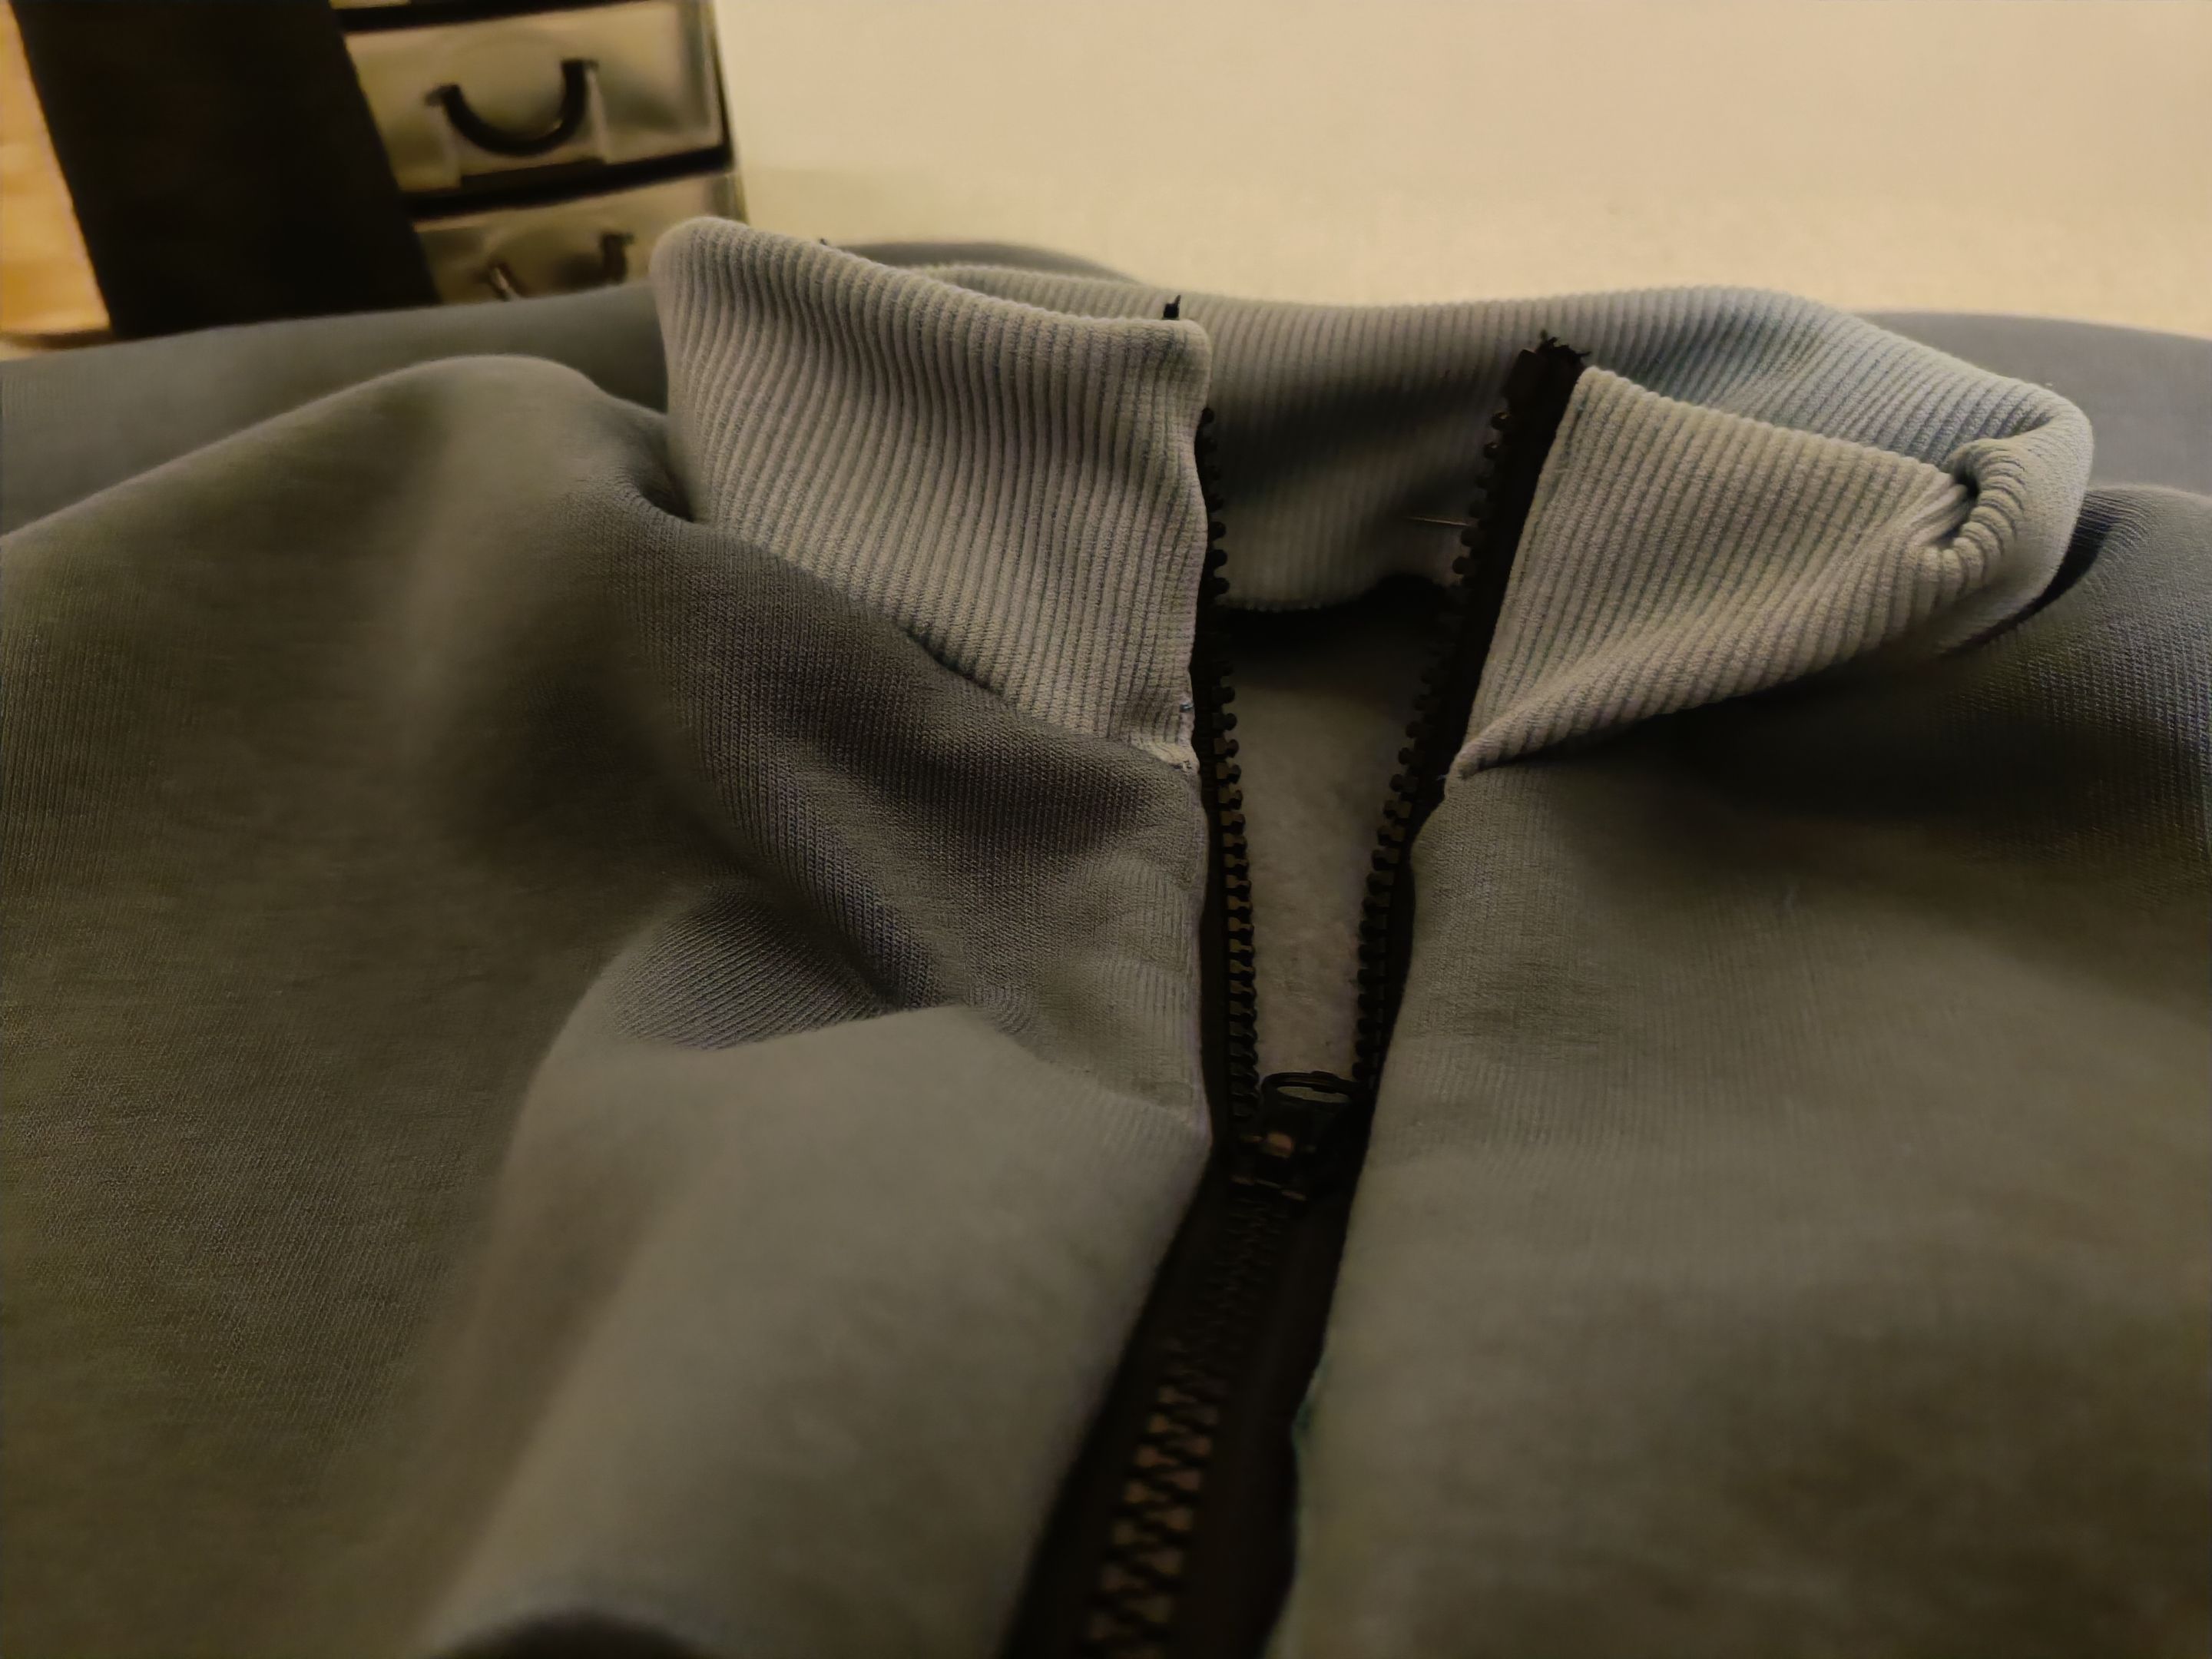
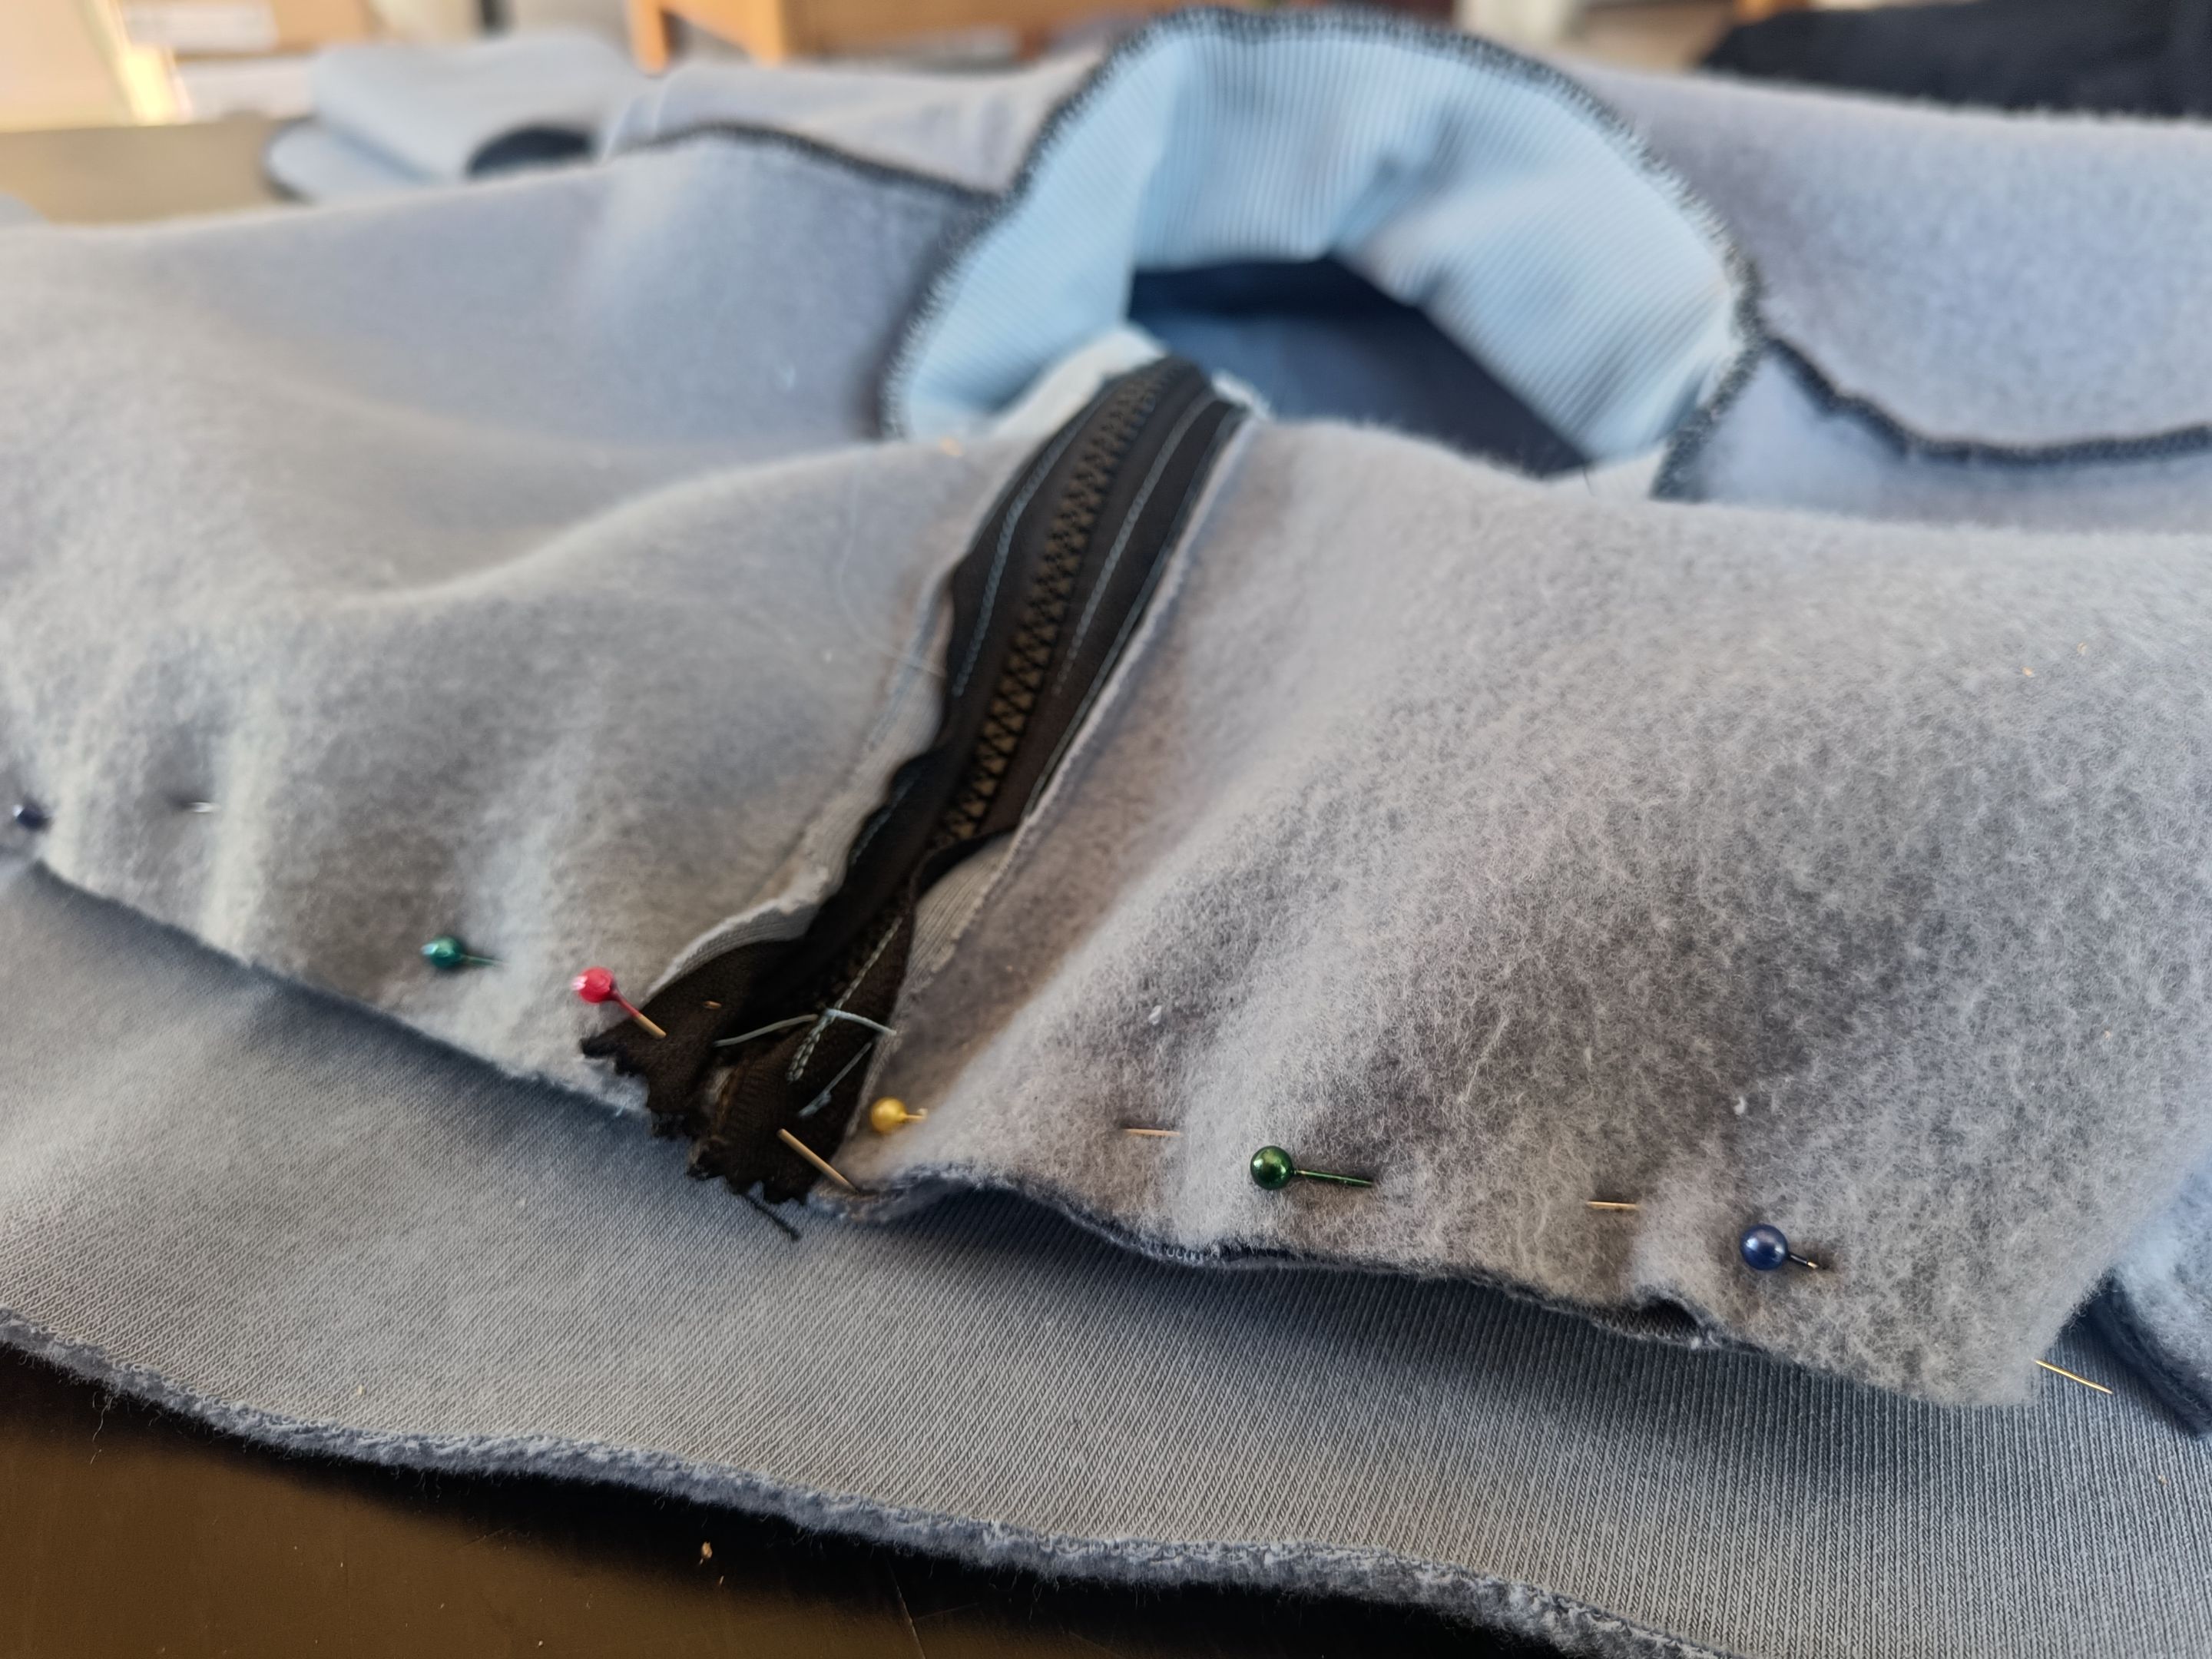
Zipper's time. So the next step was to sew the zipper on the front side and also sew the rest of the collar on the neckline while covering the zipper.
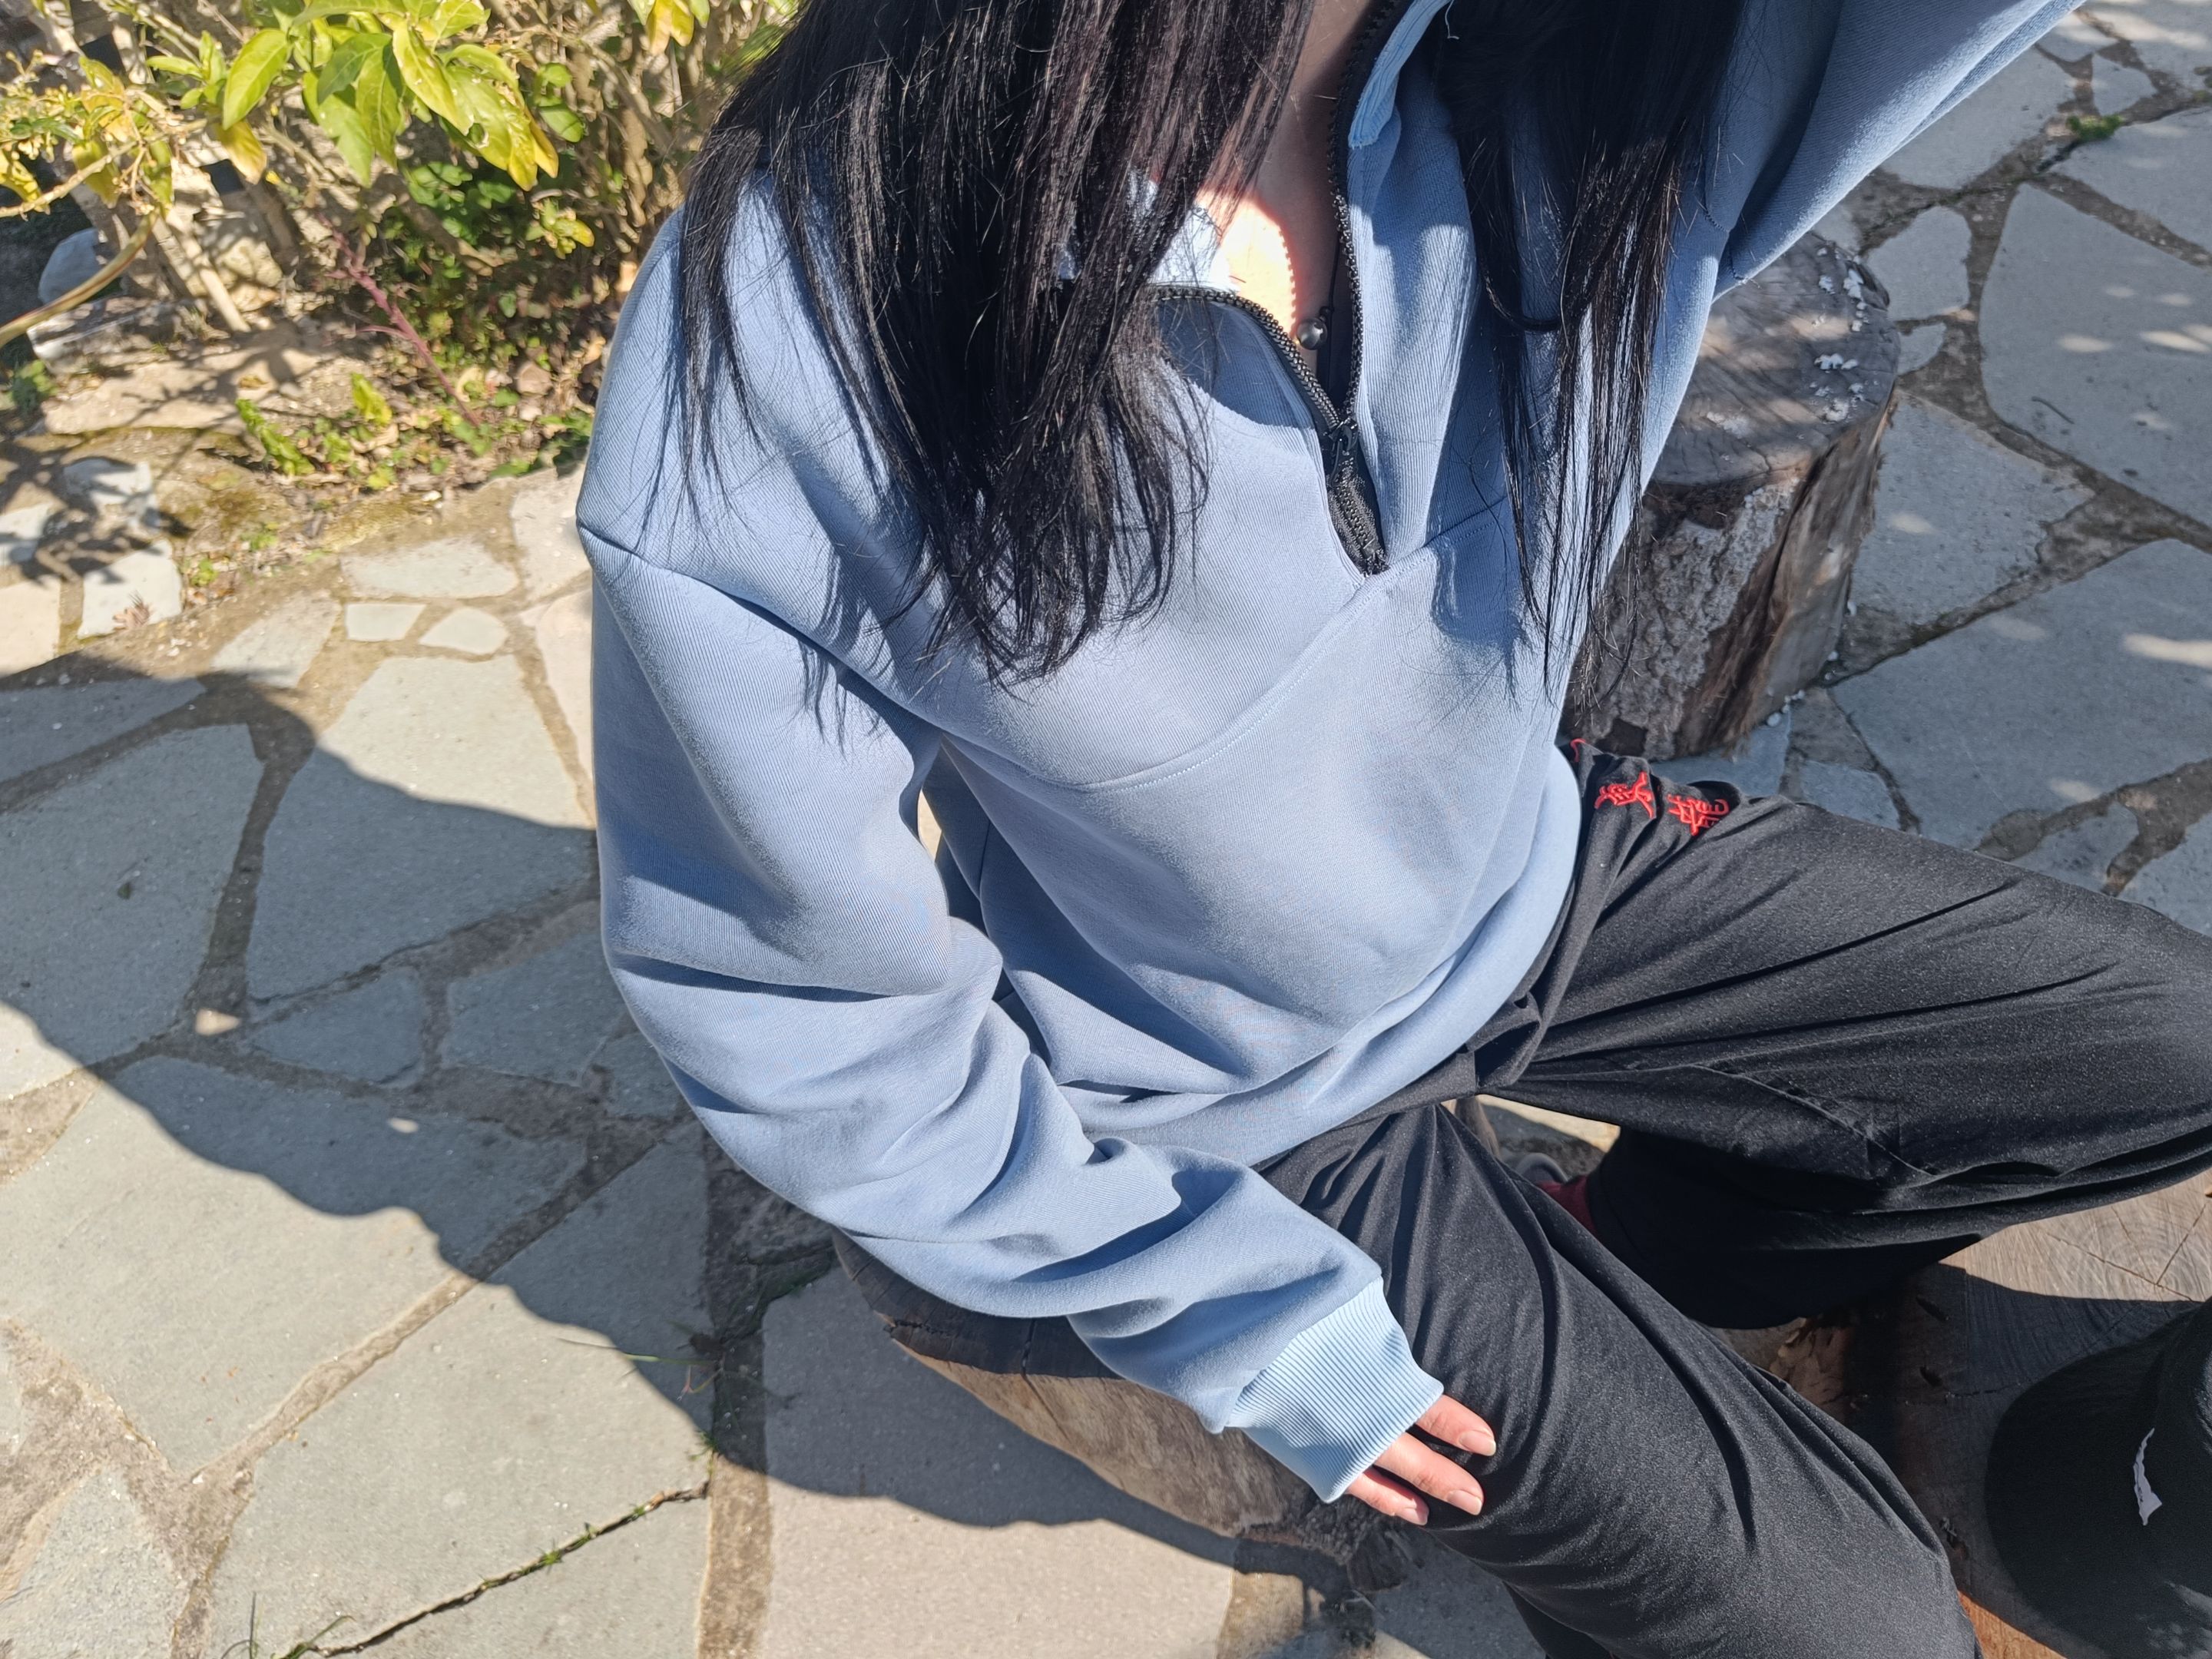
At this part I realised that I should have done a larger collar for my sweatshirt. It is not that bad but for a next project with sweatshirt I will definetely choose a larger one that covers the neck more cause I believe it will look much better.
The step was to sew the upper and down front pieces together and also do some topstitches over them.
What follows is to sew the side parts together in order to finish the basic parts of the sweatshirt.
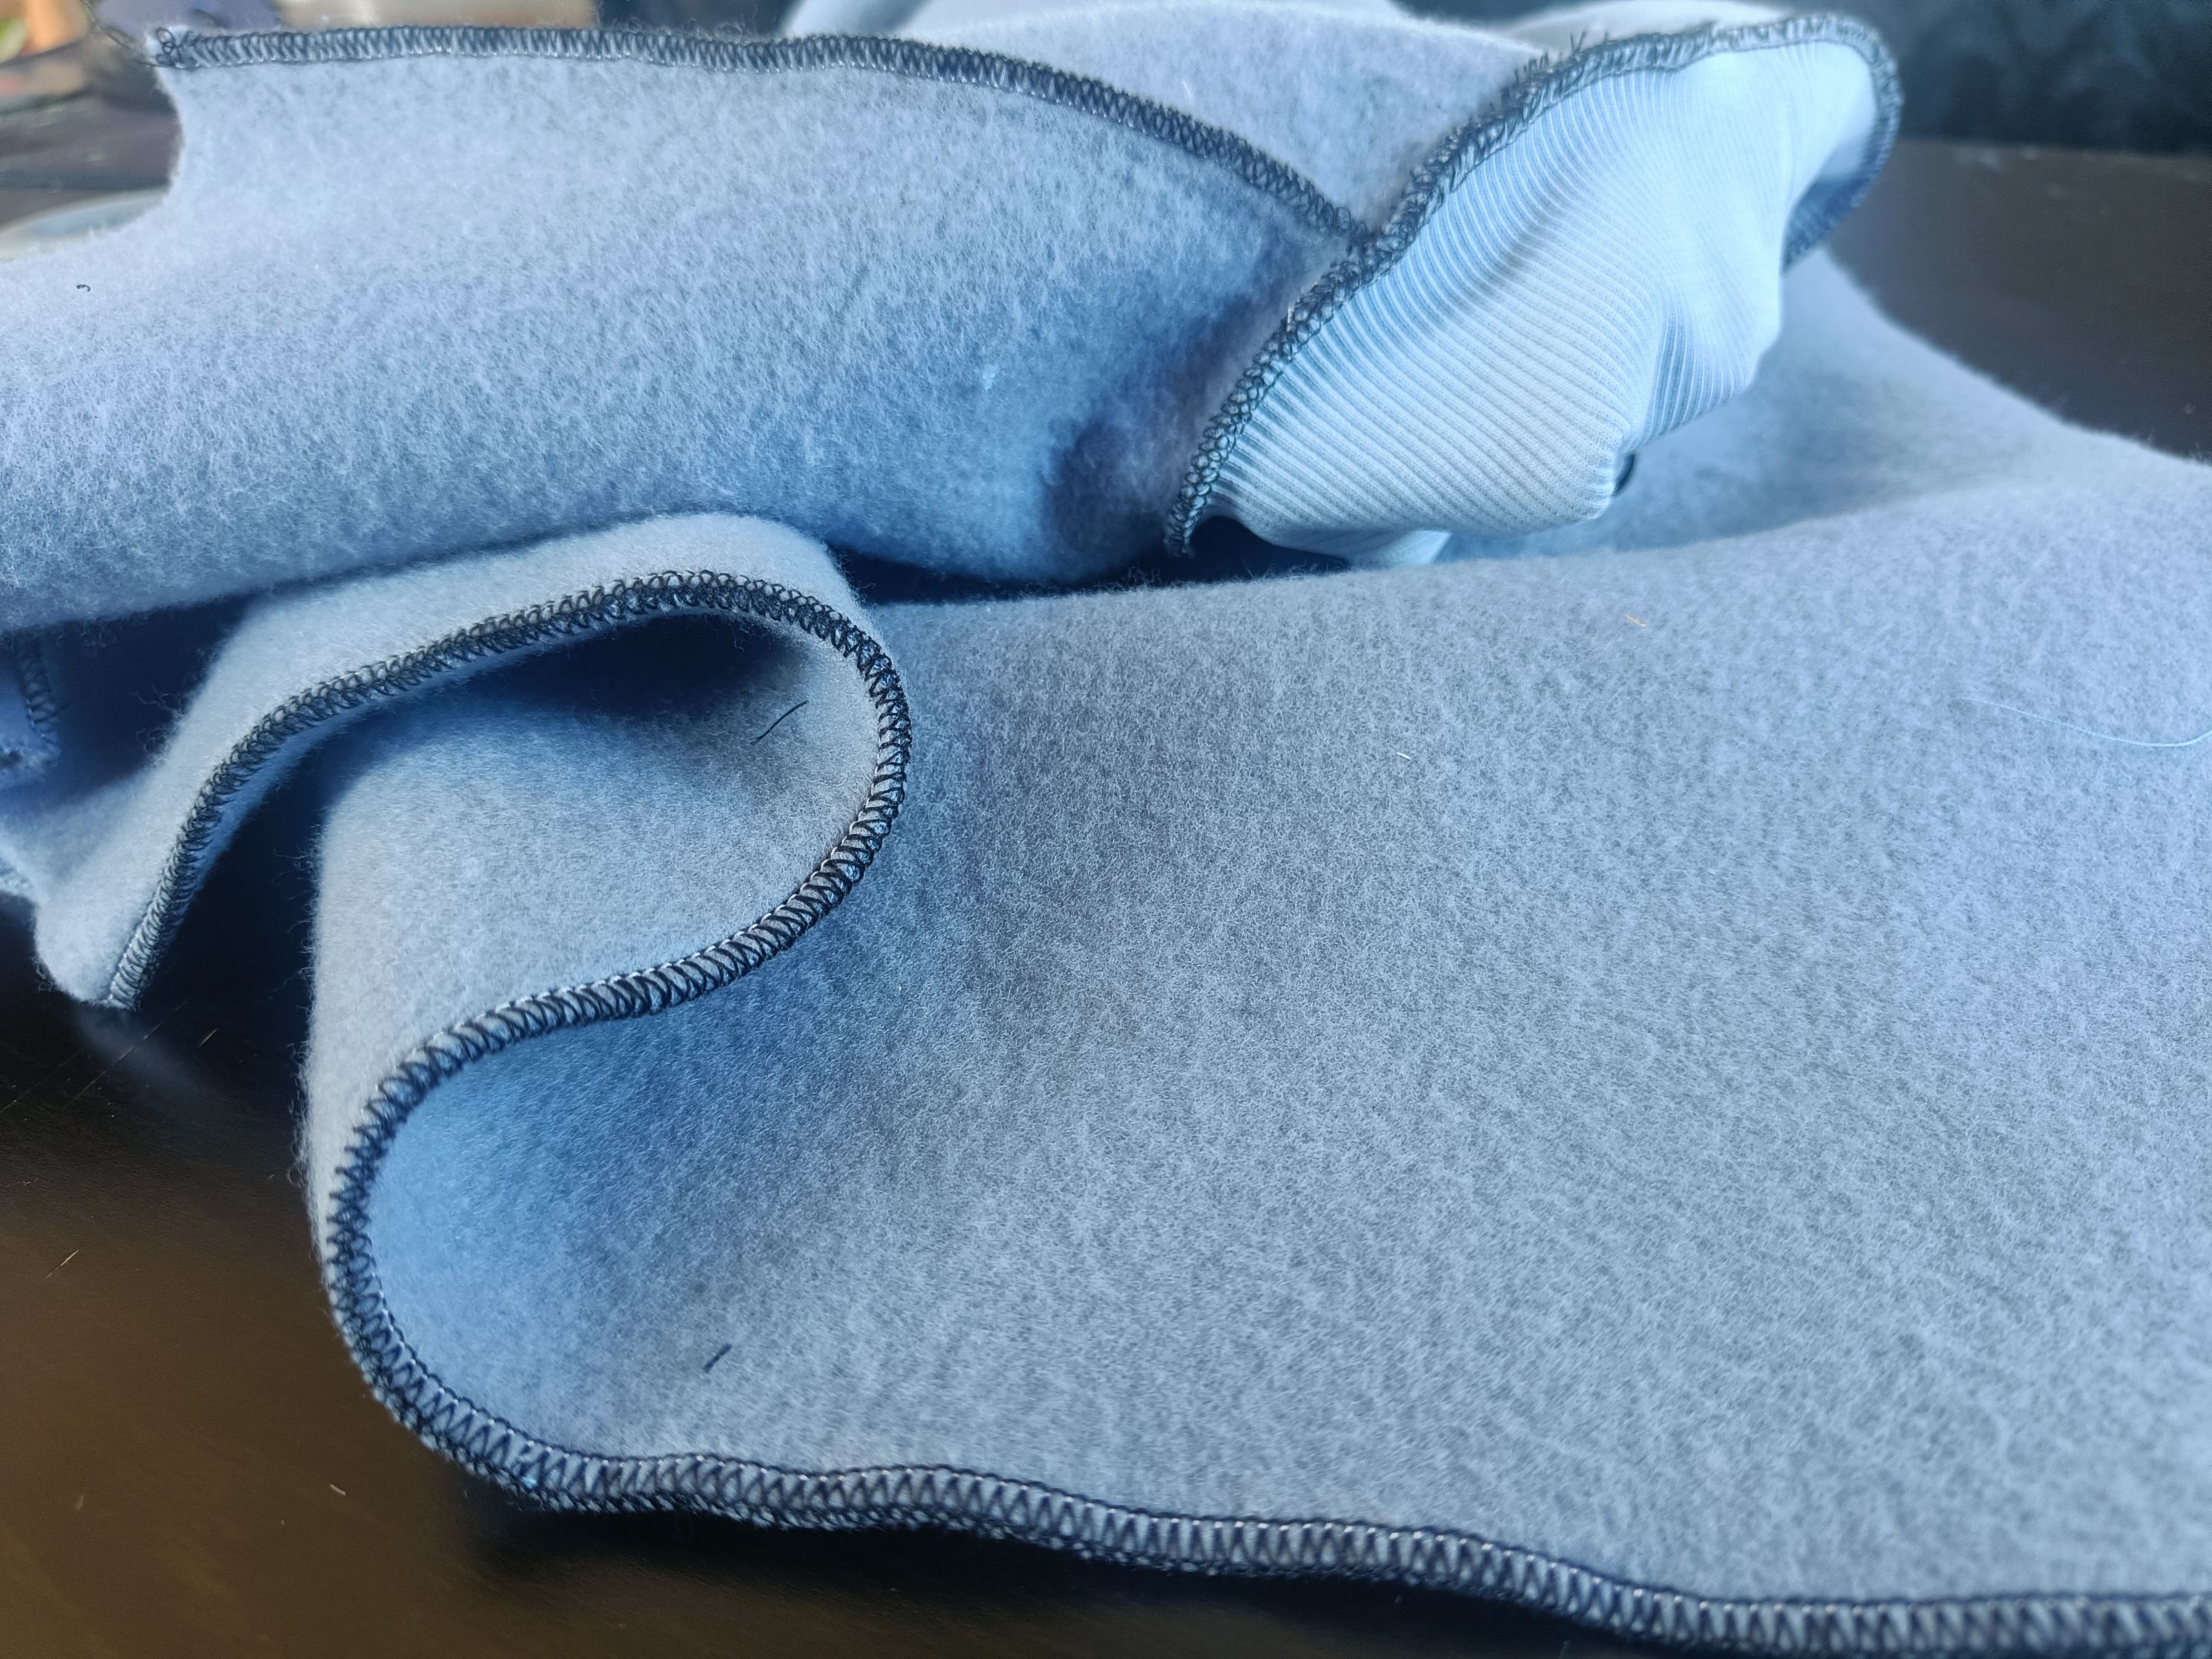
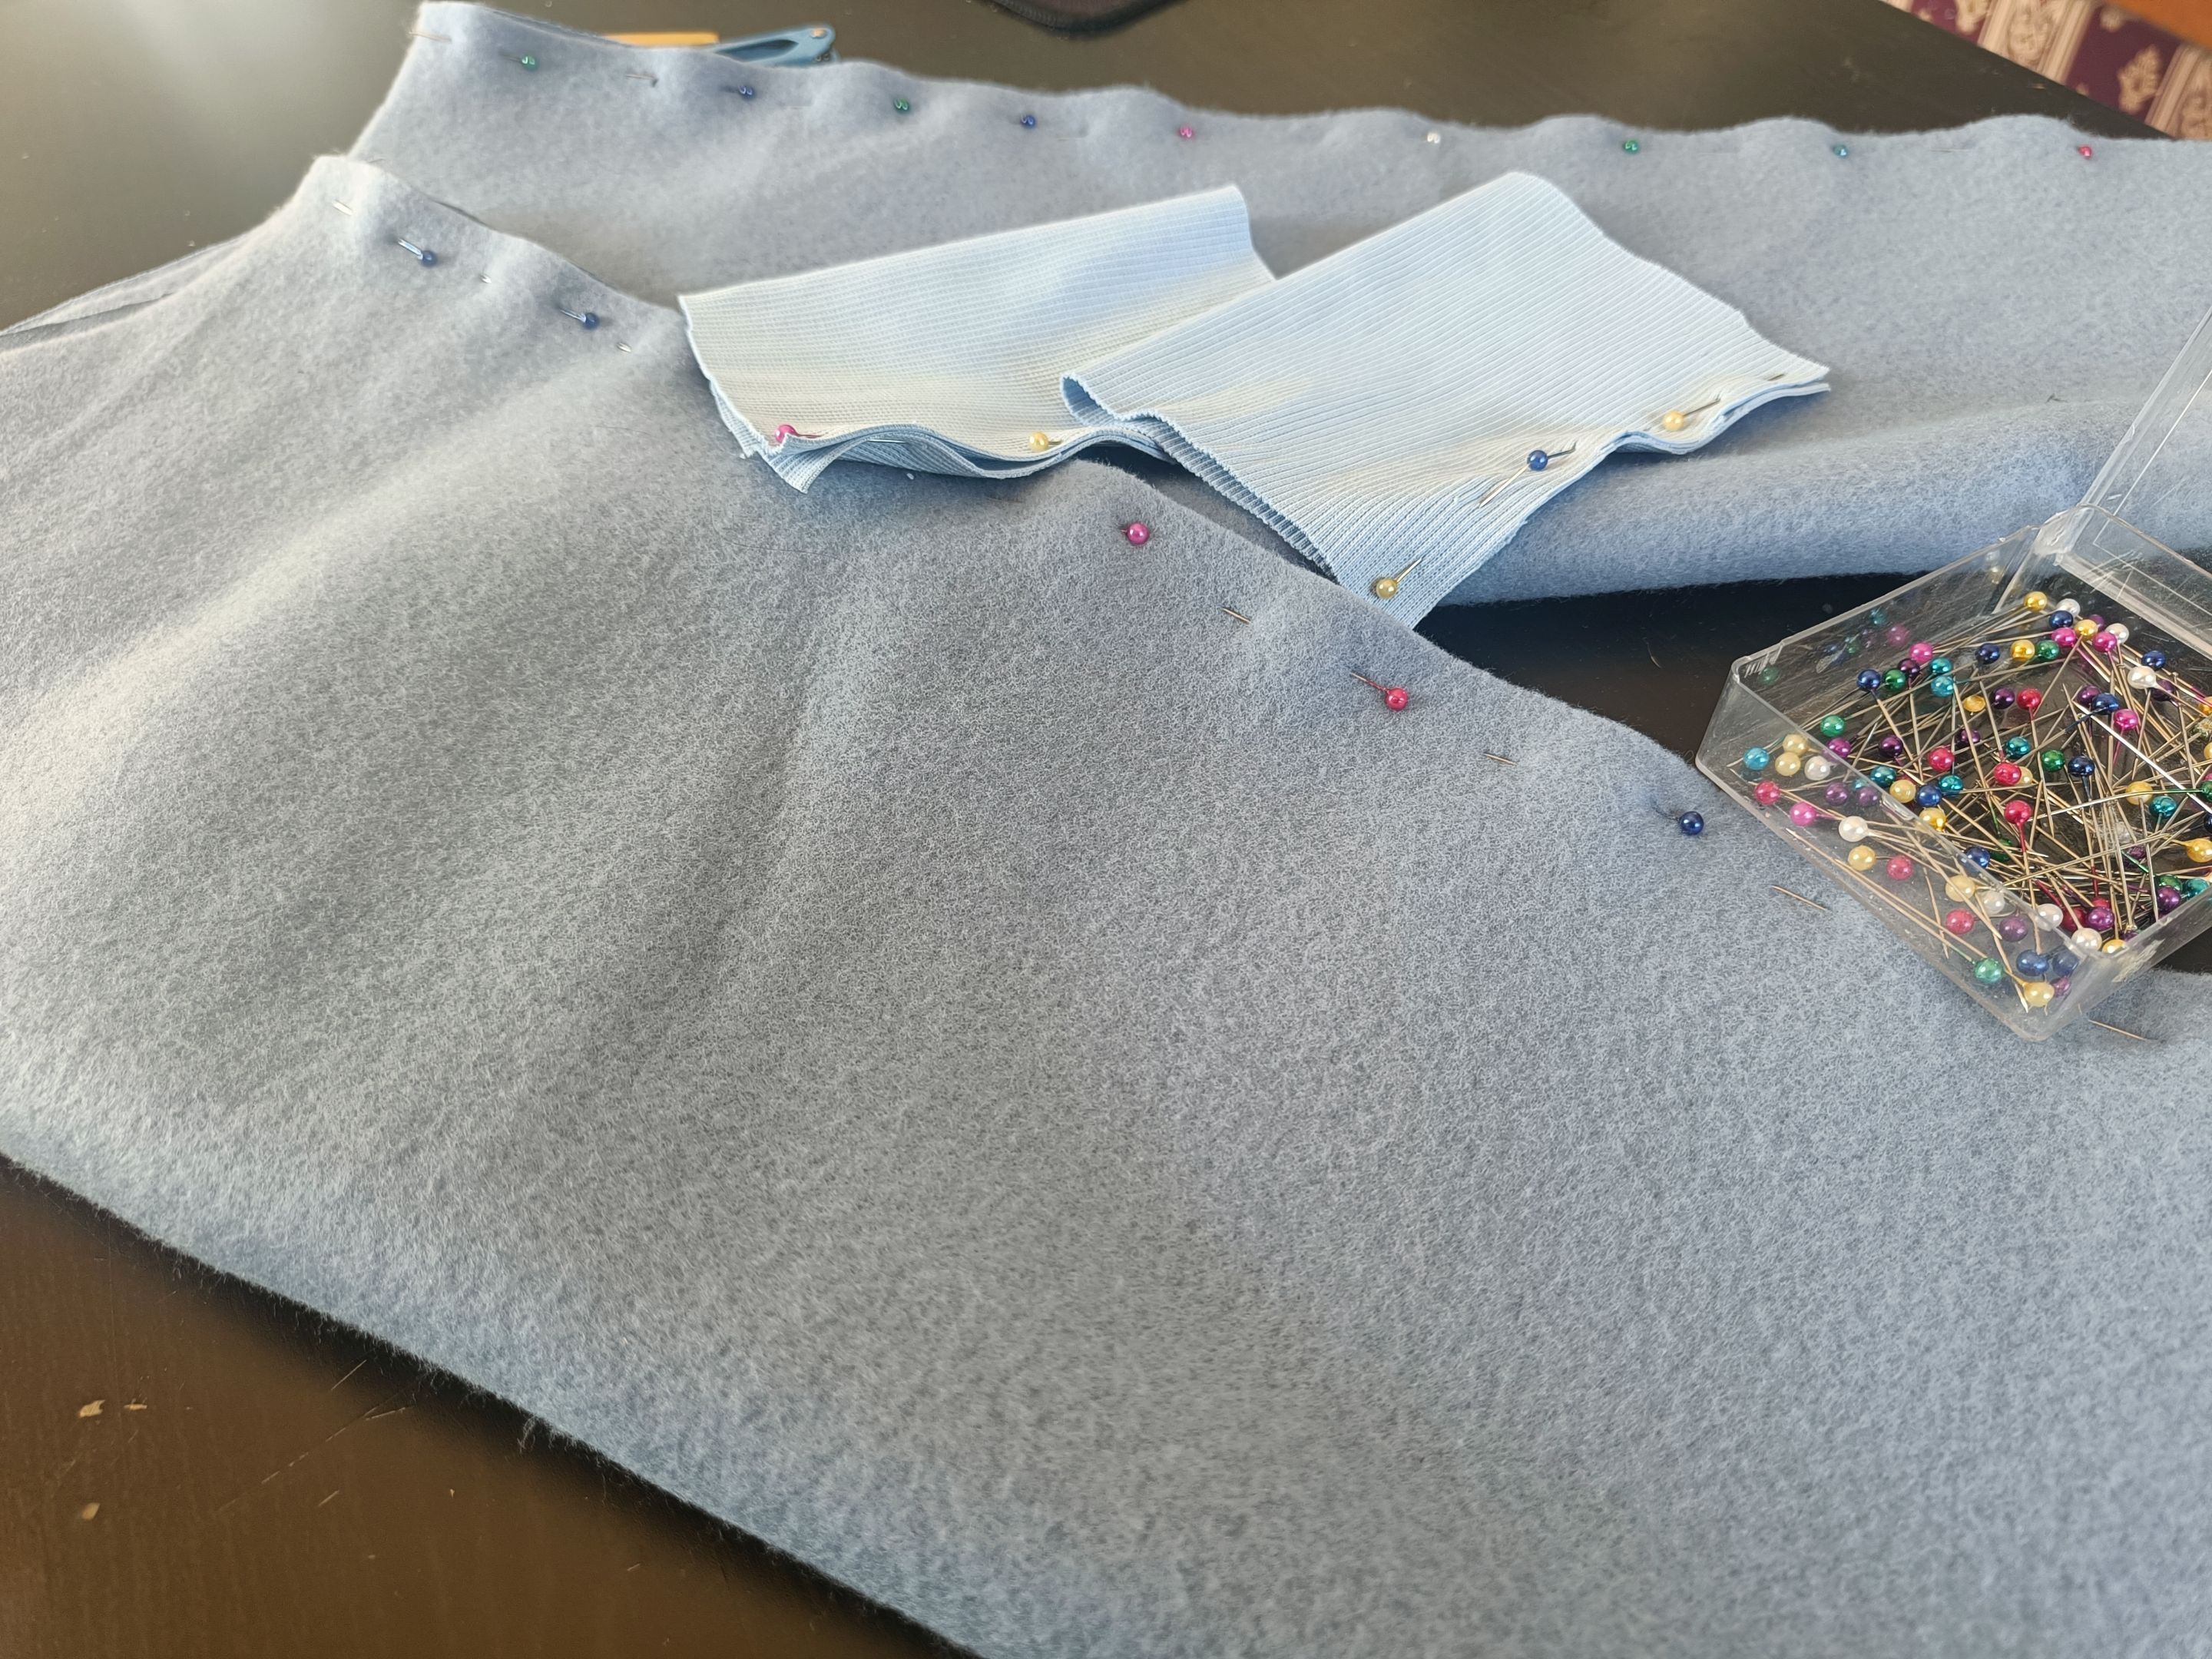
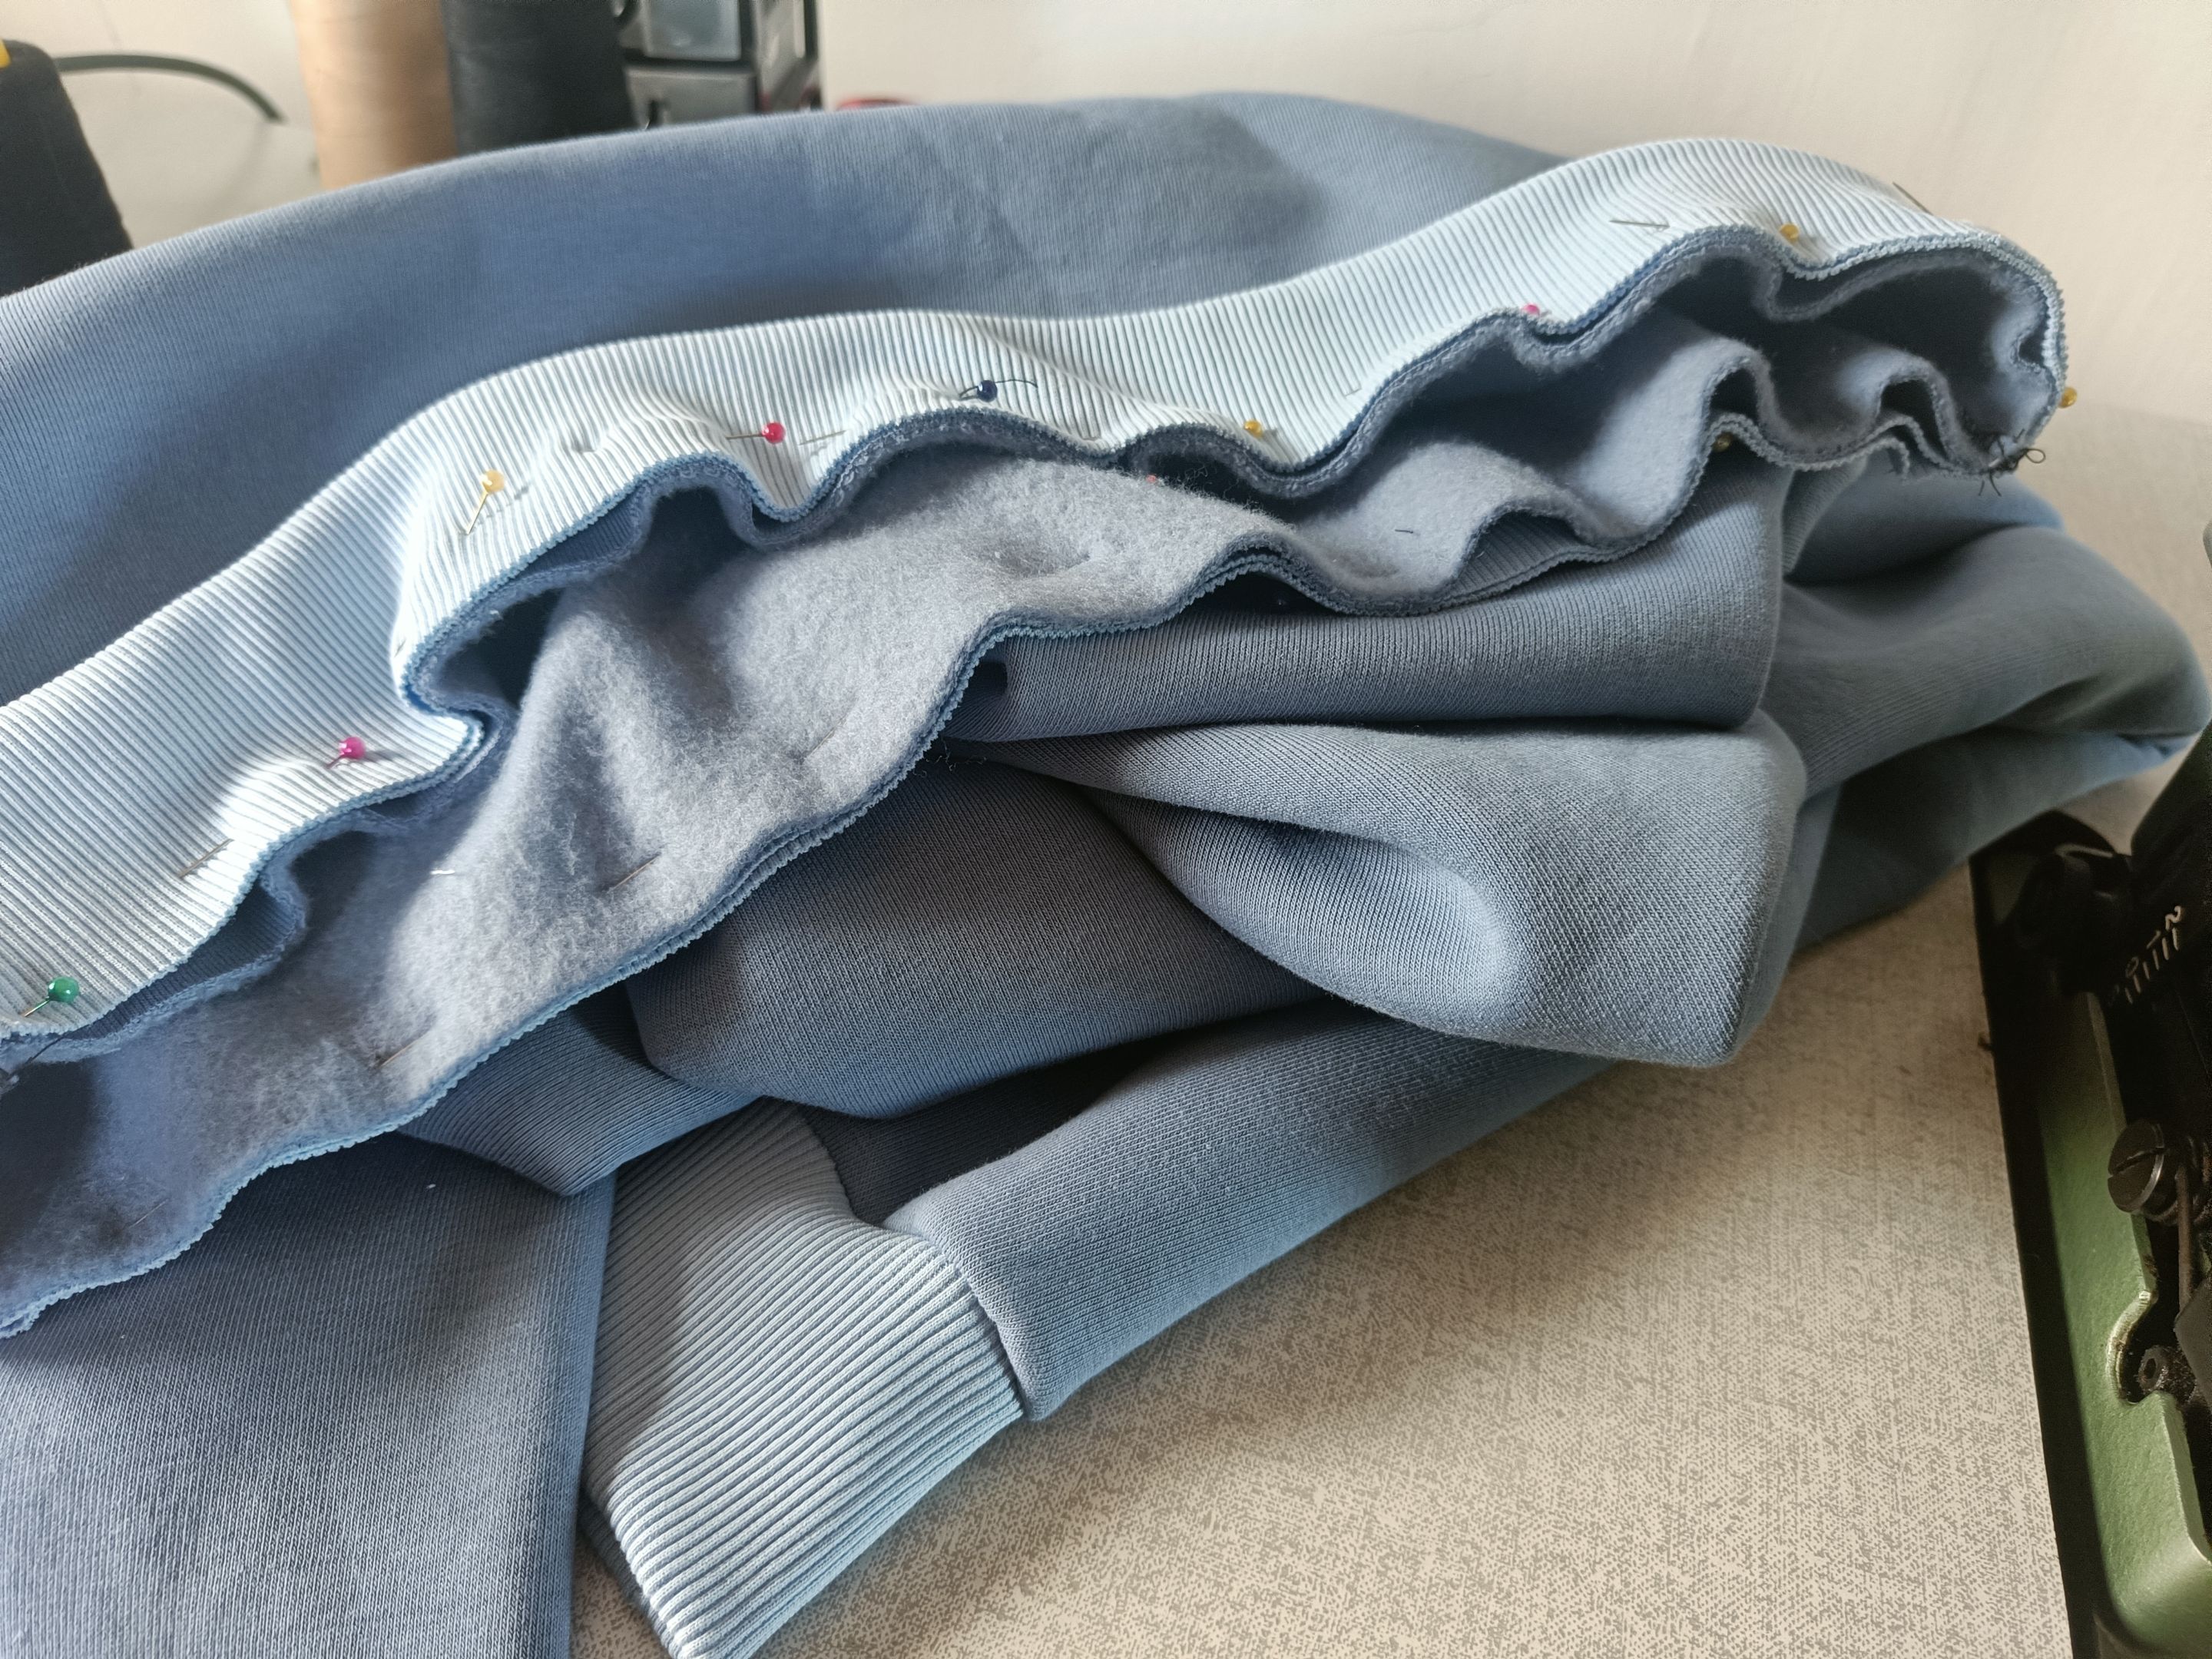
Next step was to sew the sides of the sleeves and of the rib cuffs as well. After this I sewed the cuffs with the sleeves together.
After that I sewed the sleeves with the main body of the sweatshirt.
And for last I sewed the rib hem on the sweatshirt's hem to finish the project. I could also made some pockets for the sweatshirt but I prefered to keep it more simple and minimal for now.
Aaand... here it is.
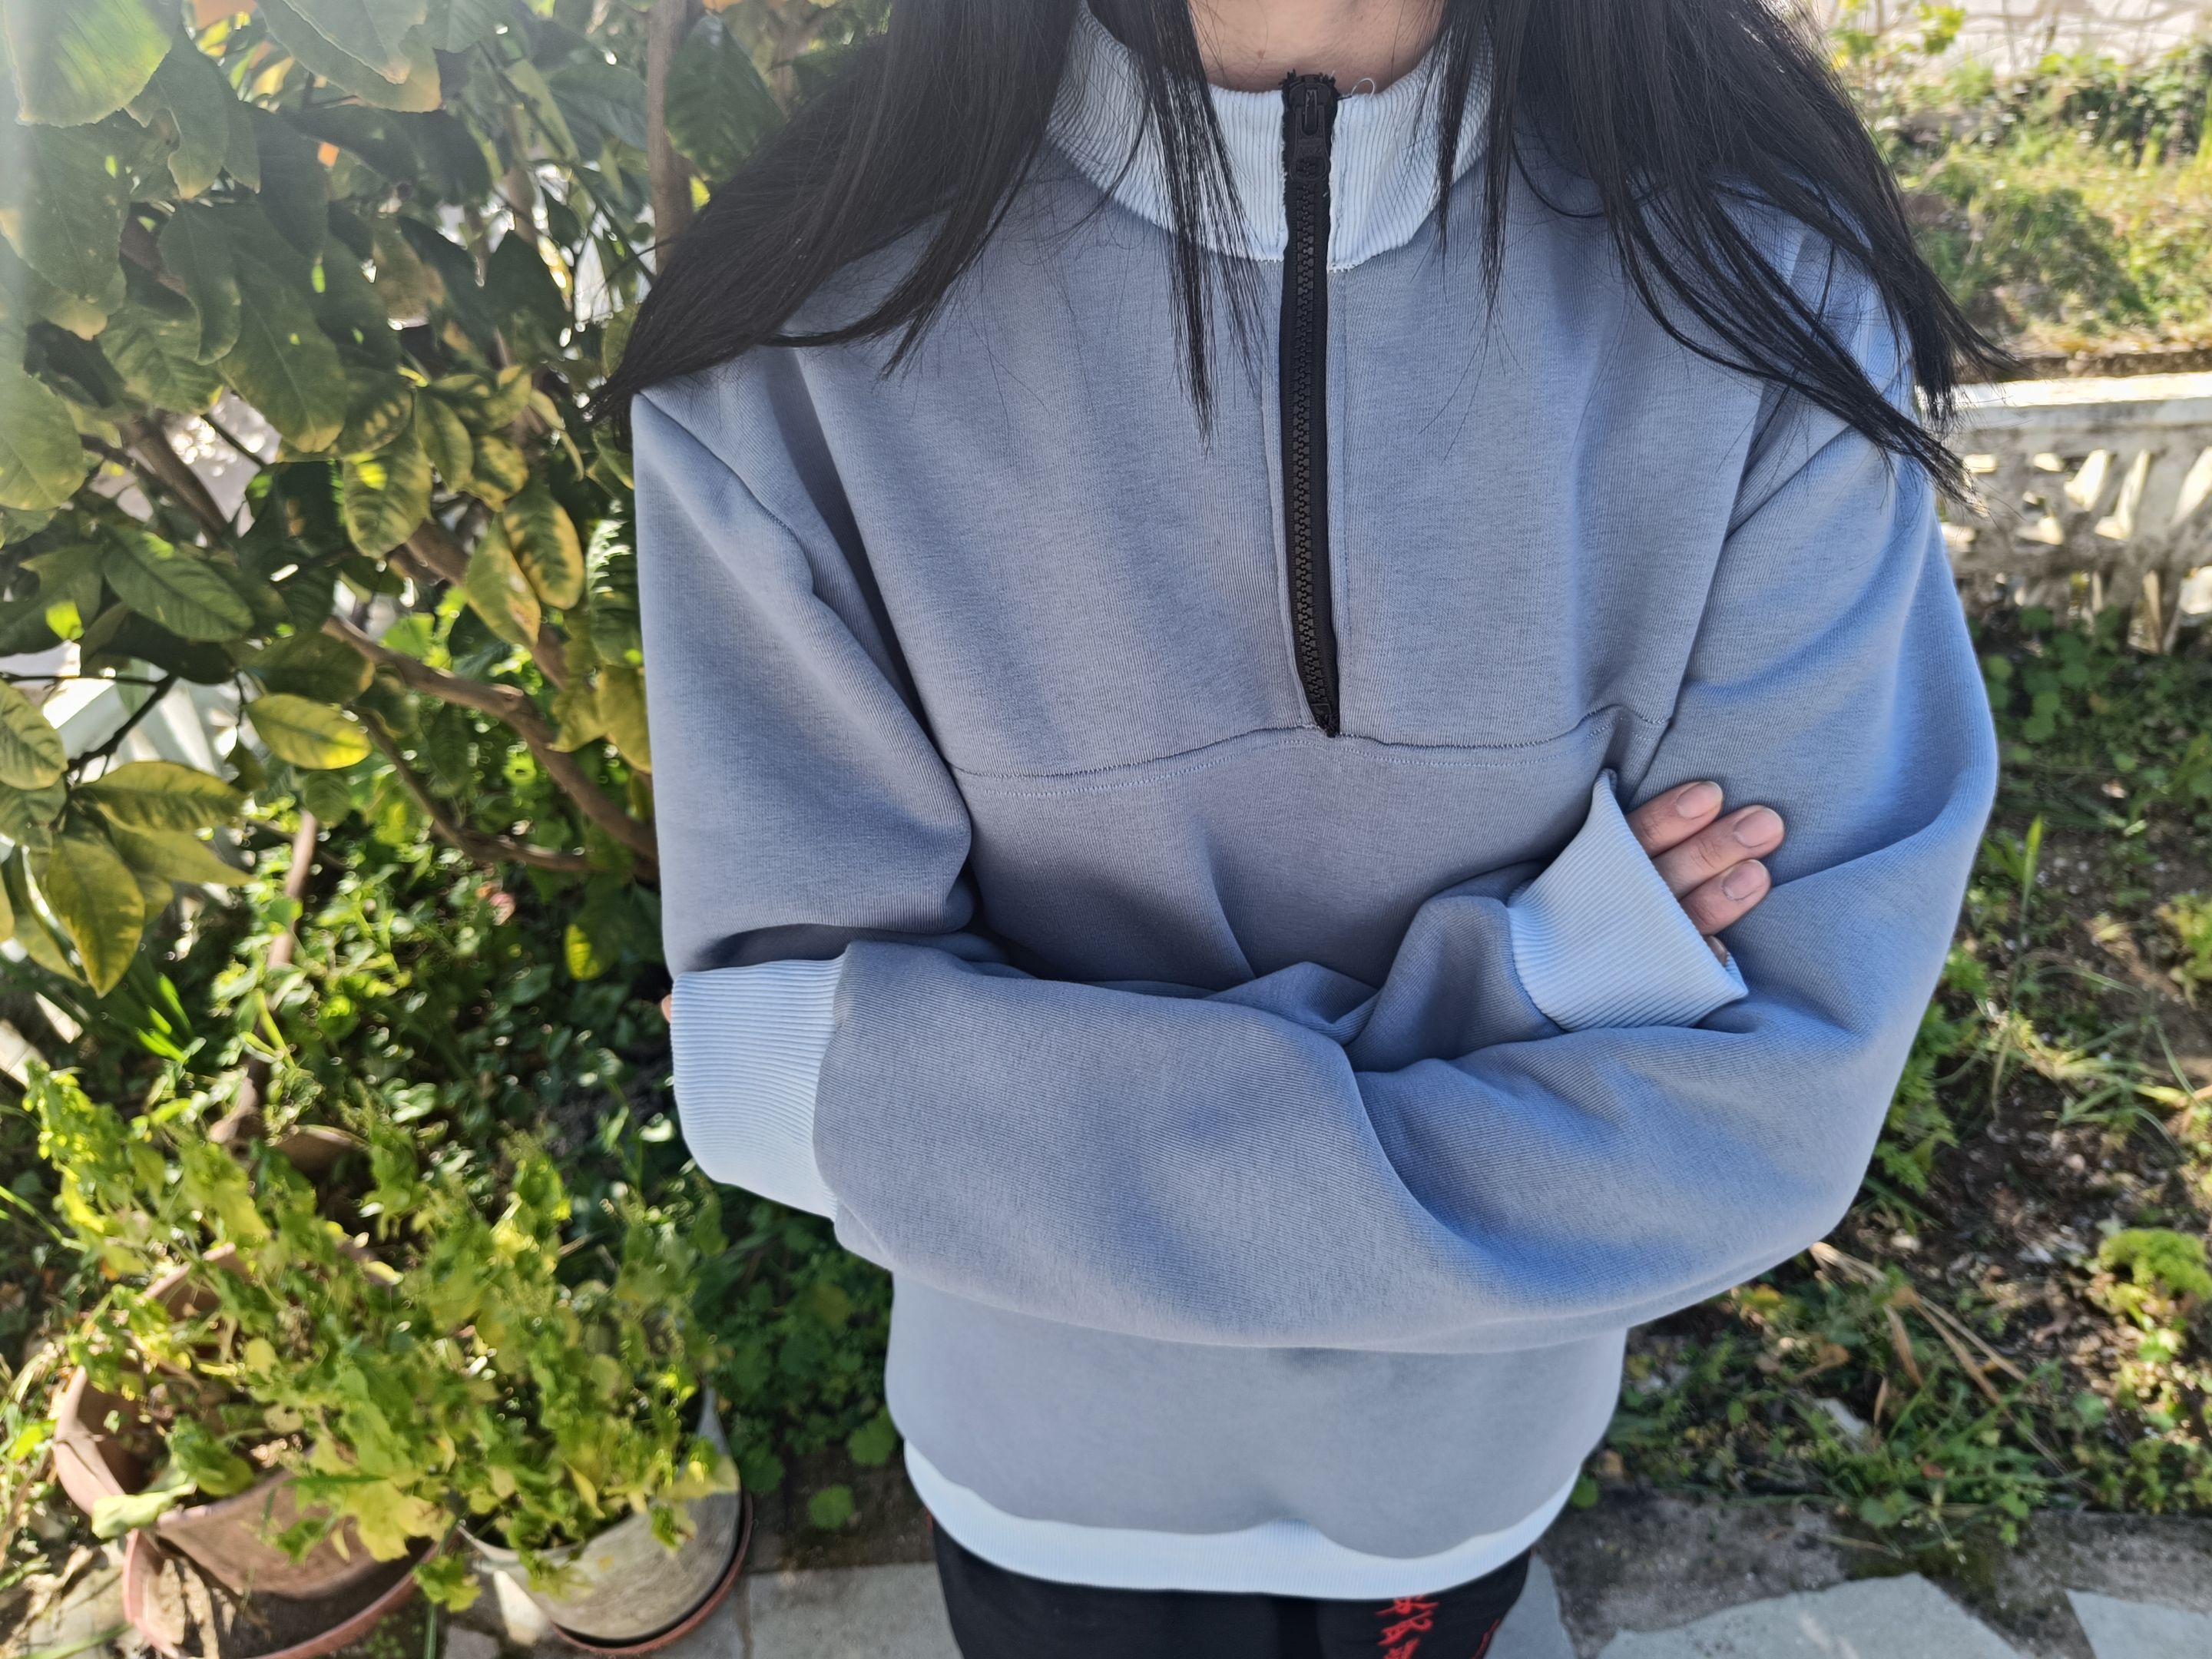

At my next attemp for a sweatshirt I will make some adjustments to the template and maybe try to combine different colors to the pieces but until then I will totaly enjoy wearing my new comfy sweatshirt during the cold days. Thank you all for stopping by, I hope you enjoyed my post.
Have a great week🙂