Hi there everyone It's me Rhea again, and today I will be sharing another blog of mine about making a mini reversible bride crochet for the first time by the way this is just a continuation of my blog yesterday hehe.
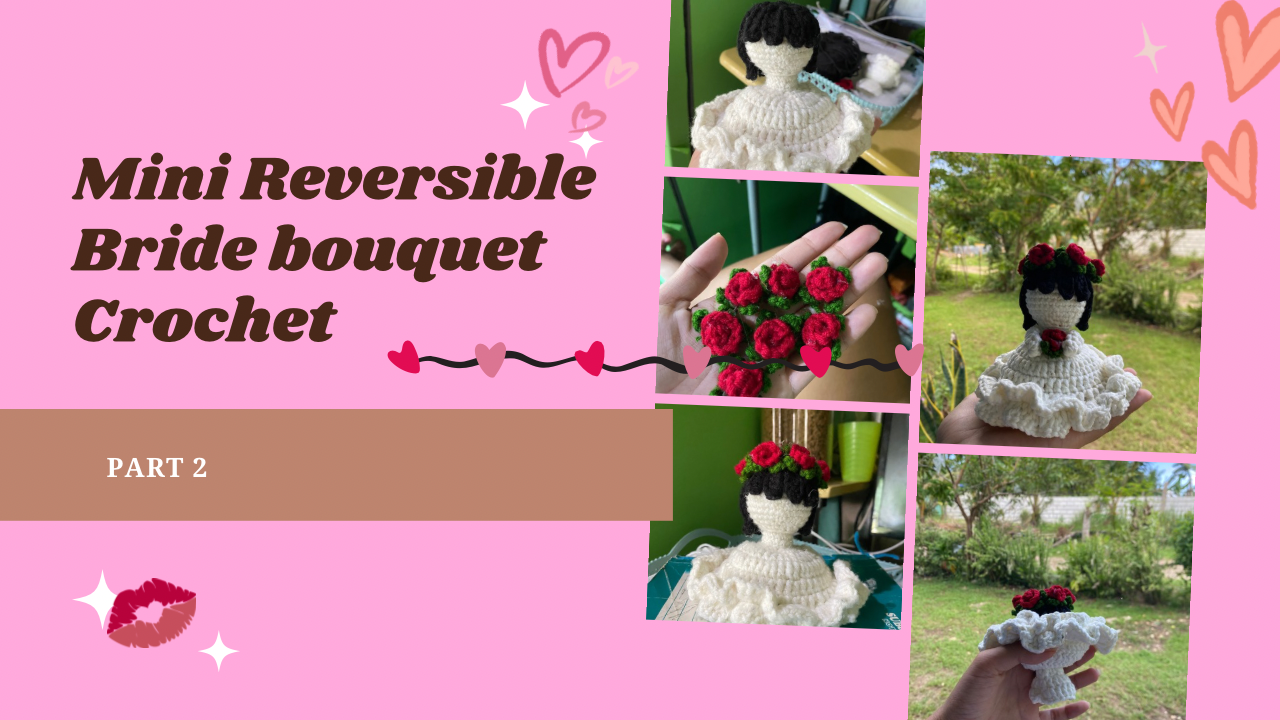
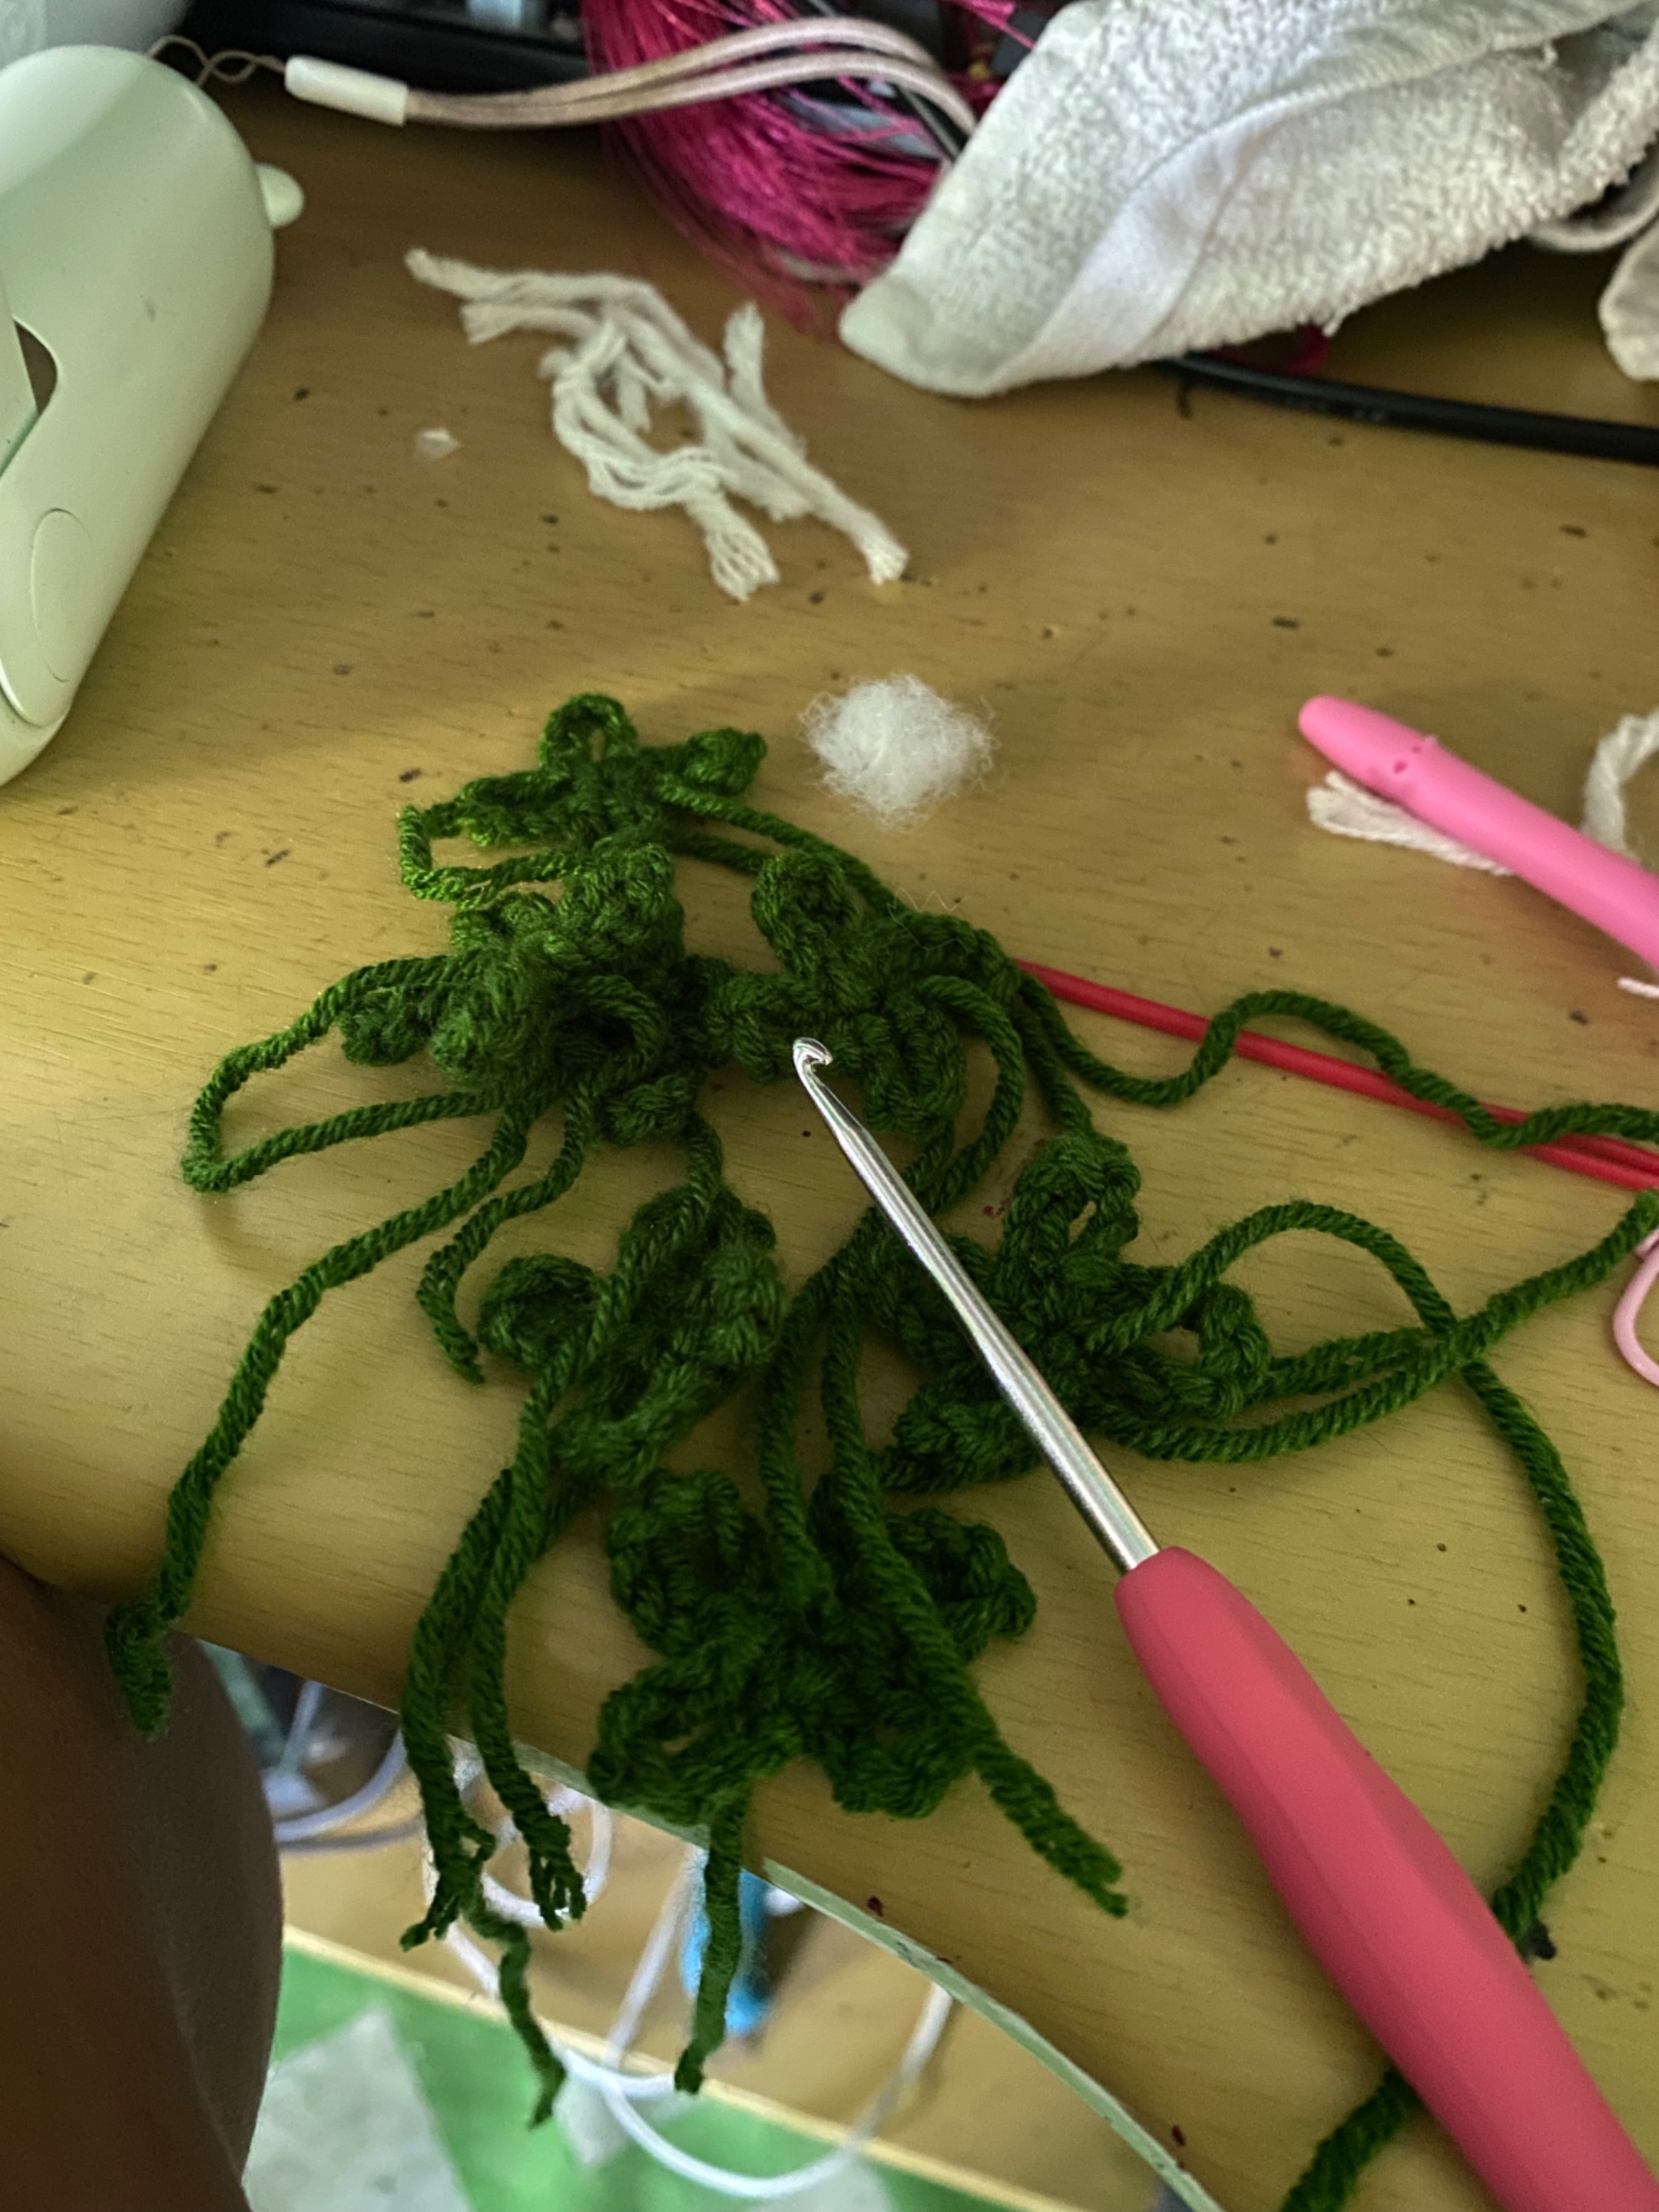
Now for the part 2, I will be making the hair, the flowers and the arms of the bride. So to start with, I grabbed a 8 ply black yarn to make the hair for the bride, the pattern to make this is first I made a magic ring and then made 6 single crochet. For the round 2 I made 6 increases until it reaches 12 stitches. And next is the round 3, for the round 3 make 6 chains, 5 half double crochets, and 1 slip stitch and I repeated it until I made 4 of it and after that I made 12 single crochet, 11 half double crochets and 1 slip stitch and I made 6 of them. And that’s how I made the hair, by the way this is what it looks like hehe:
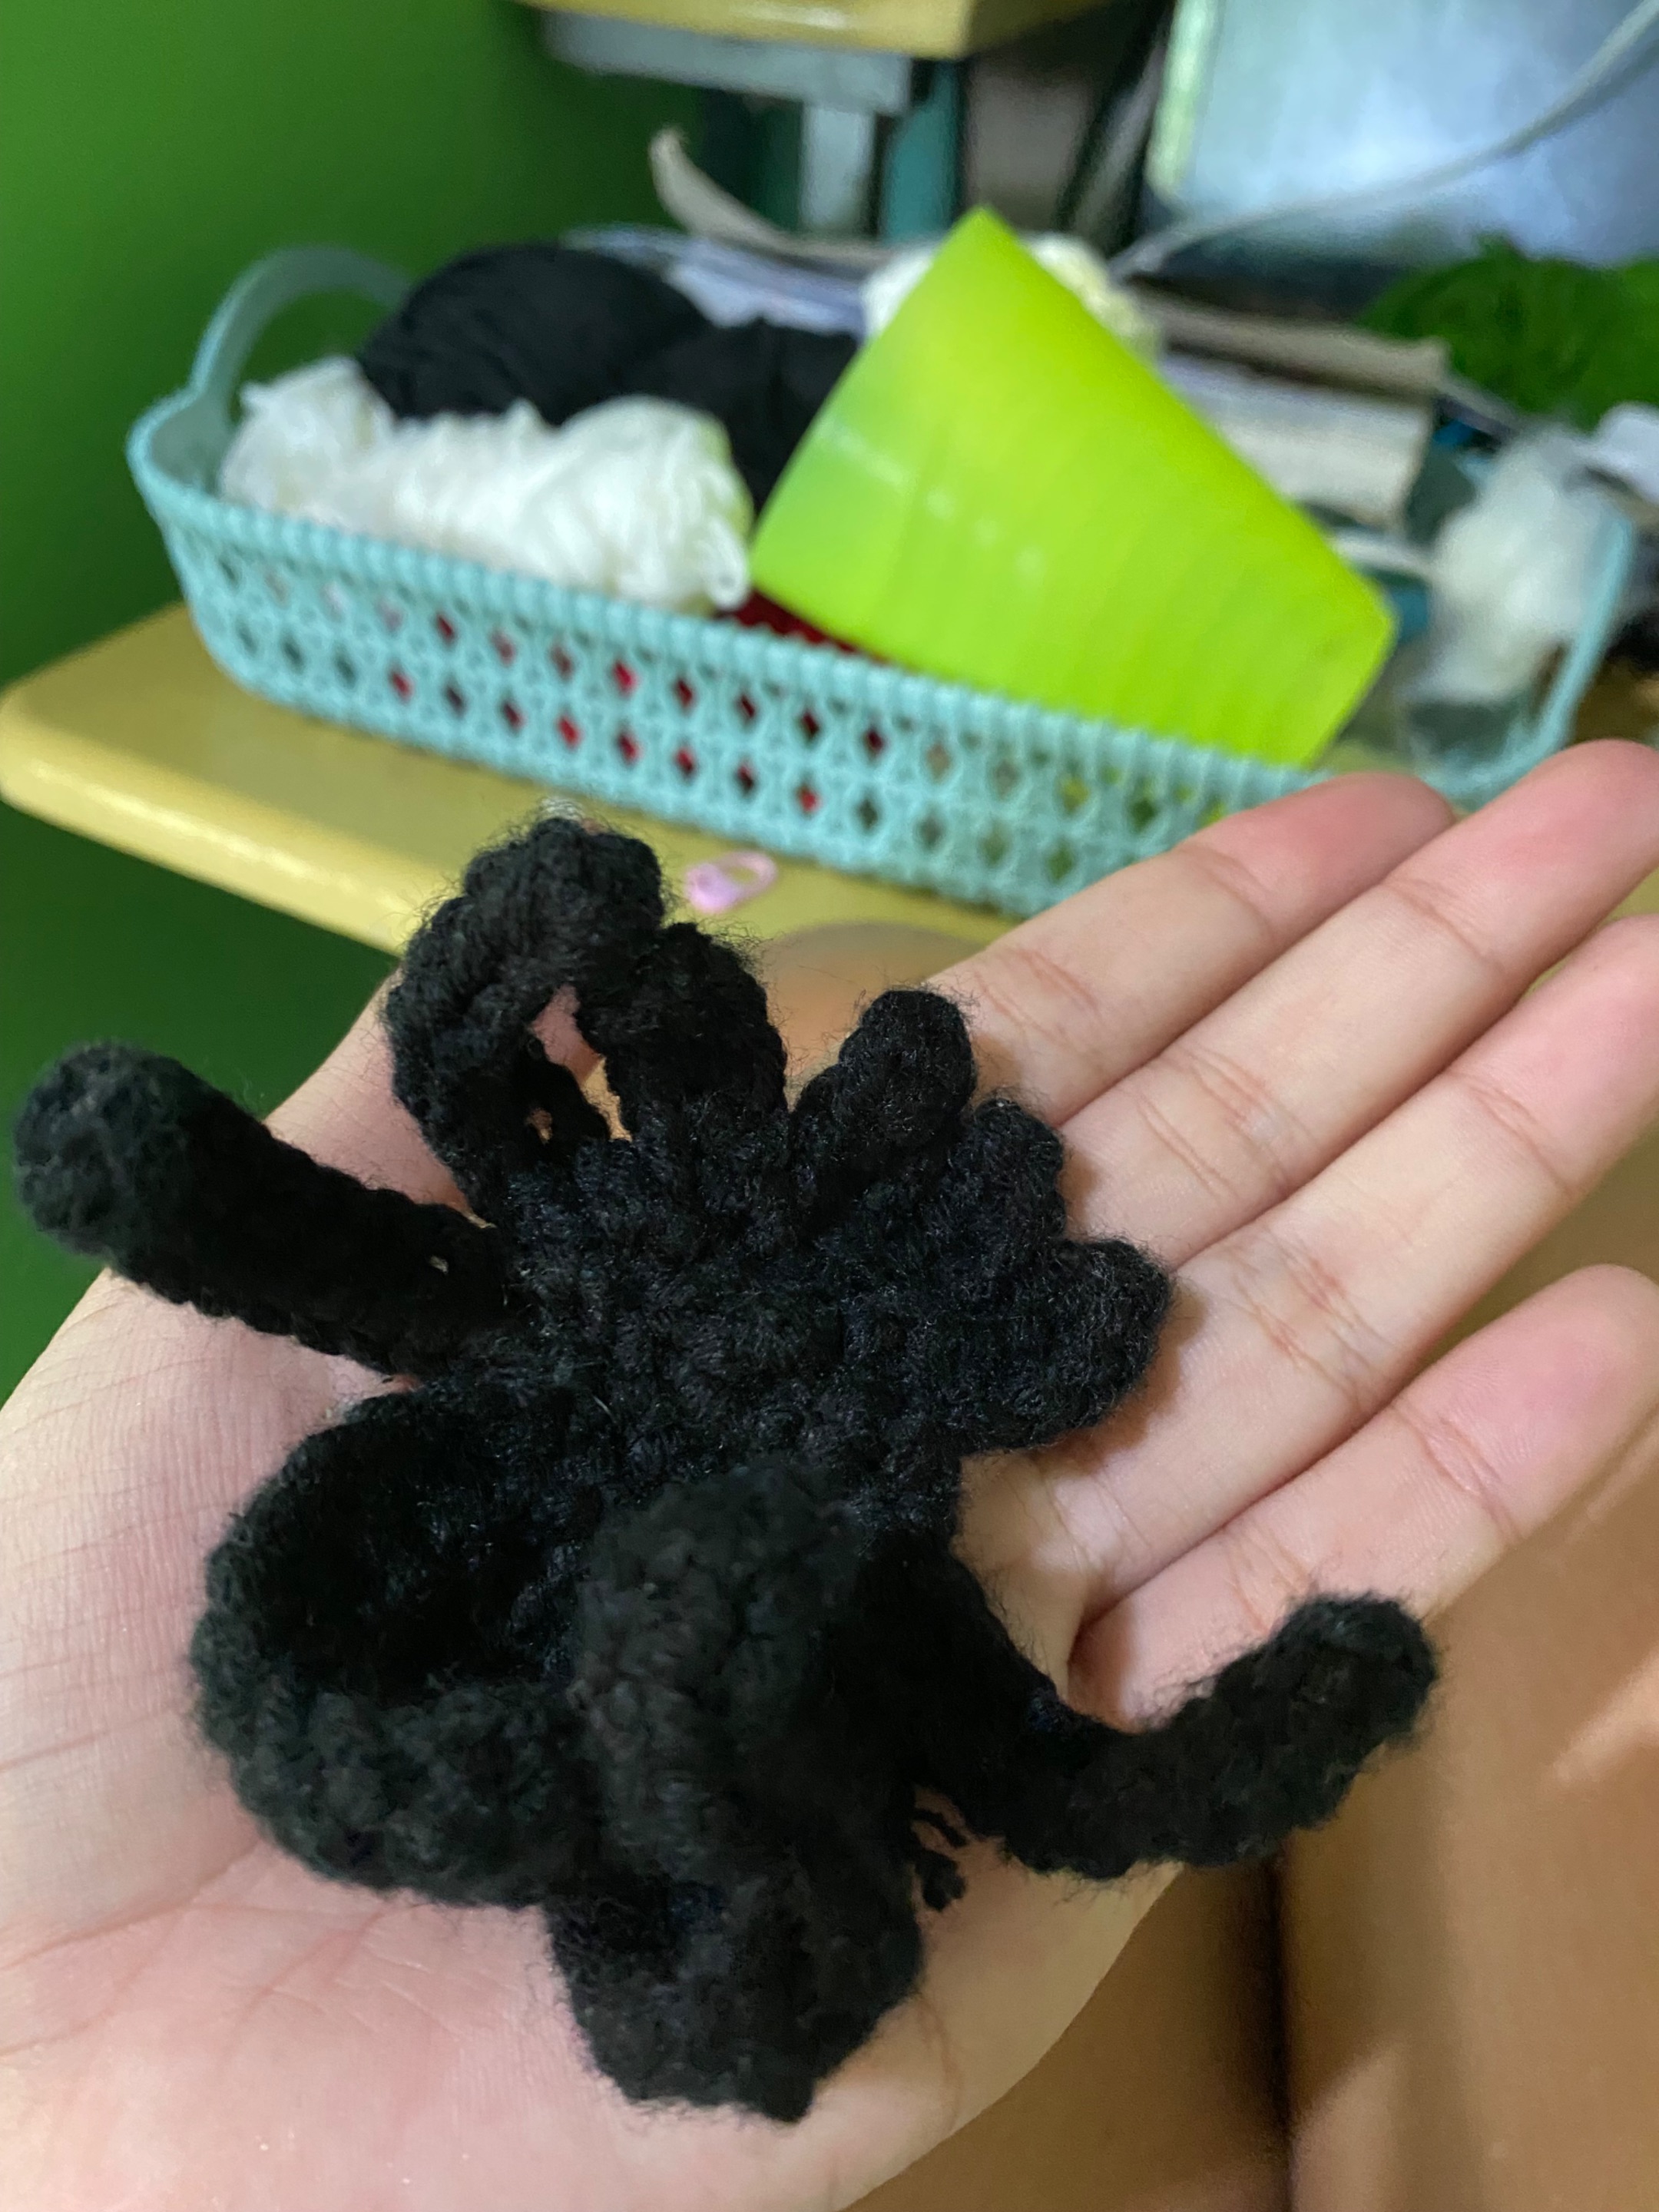
Now that the hair is done I then use a glue gun to stick the yarn into the head. Take a look at this, it’s so cute hehe.
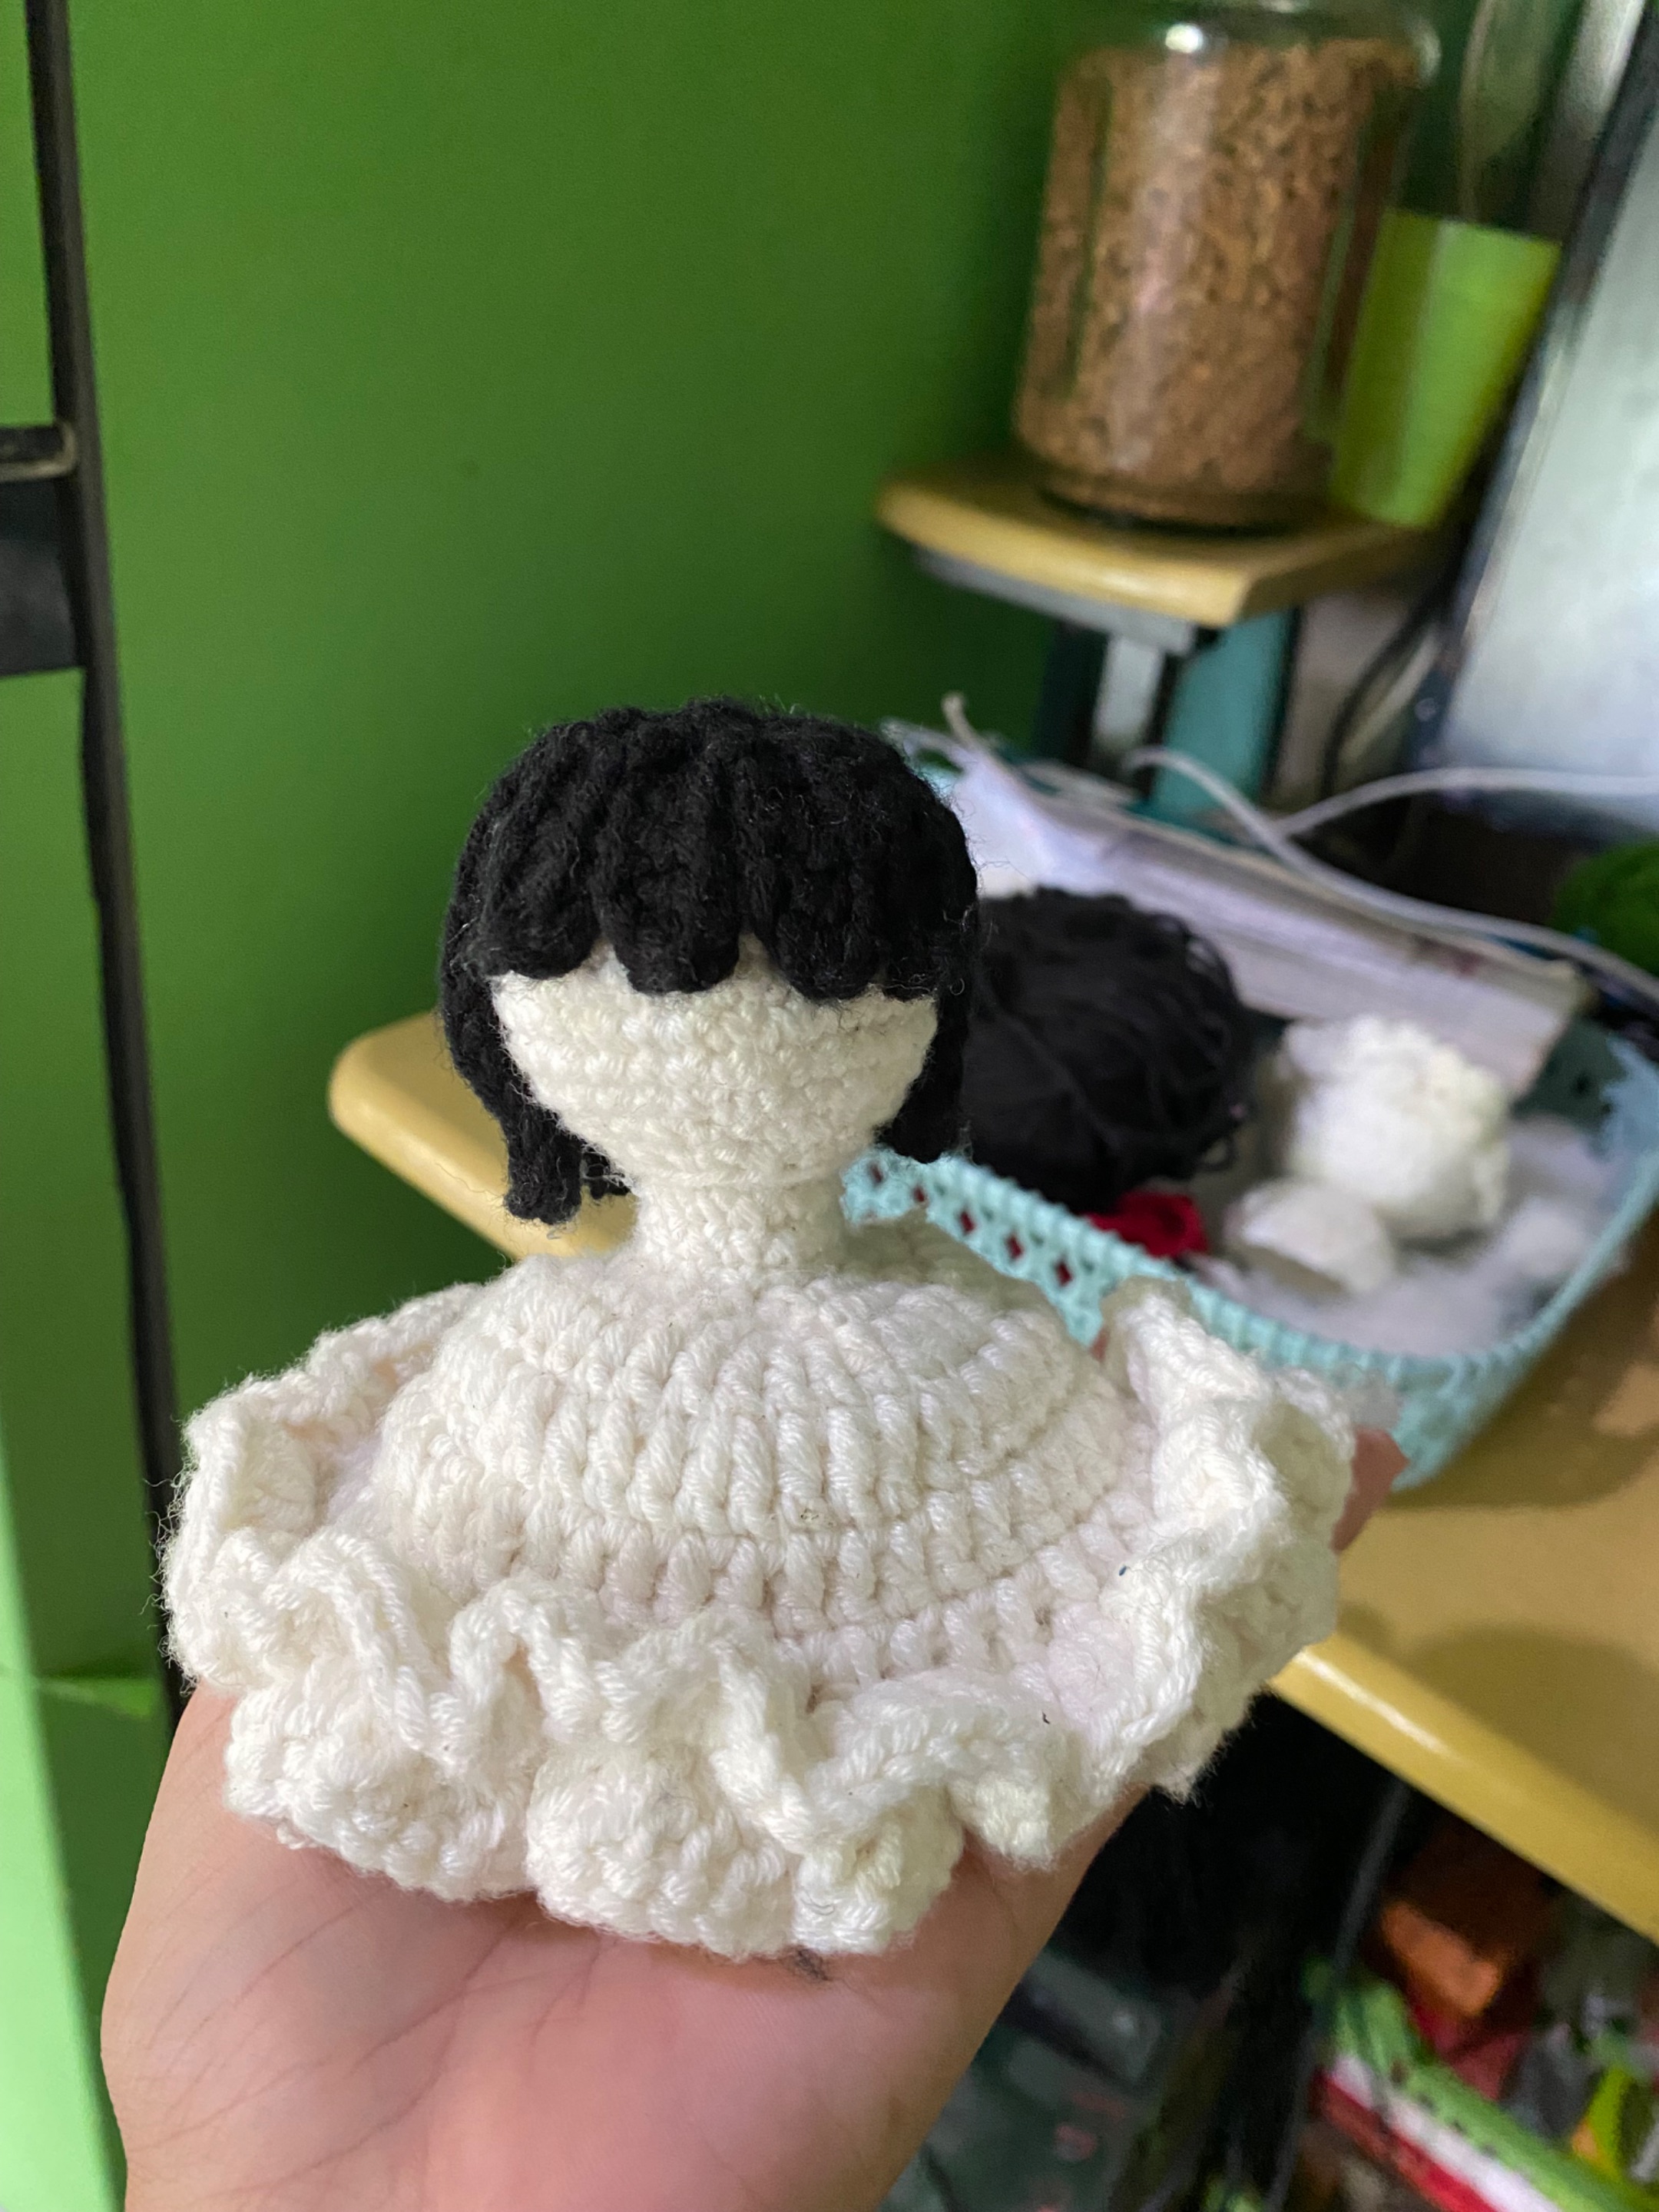
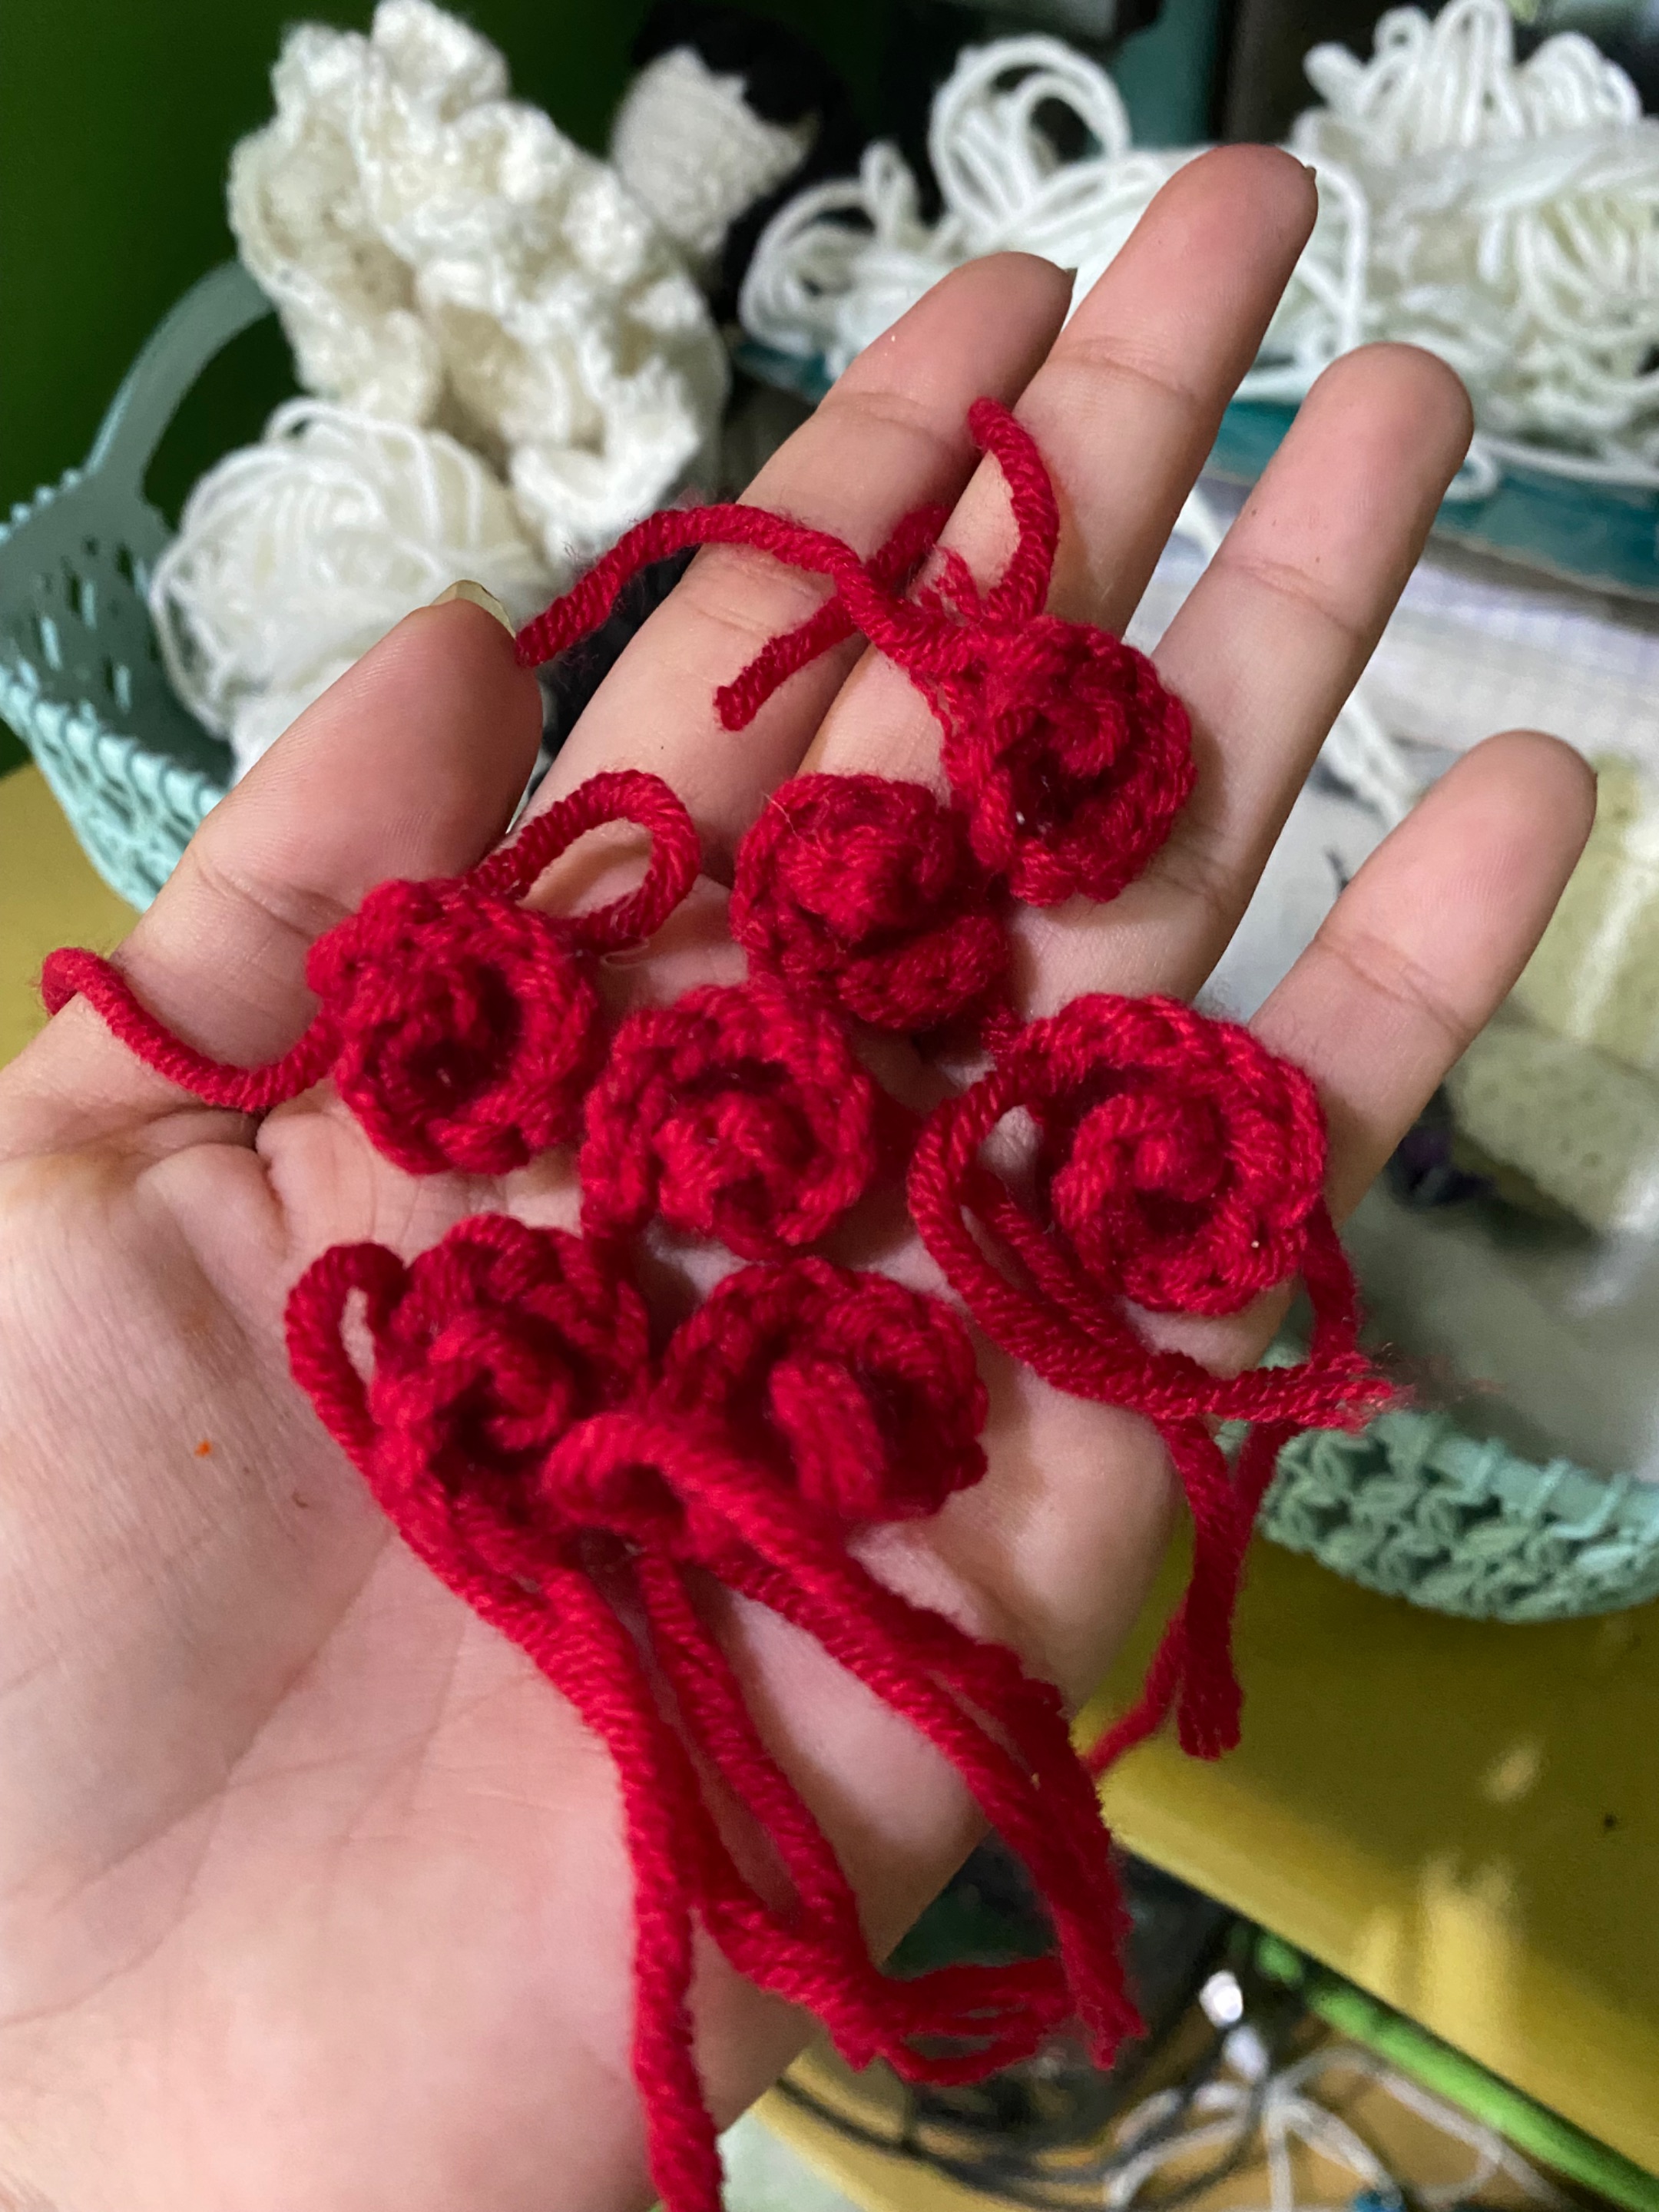
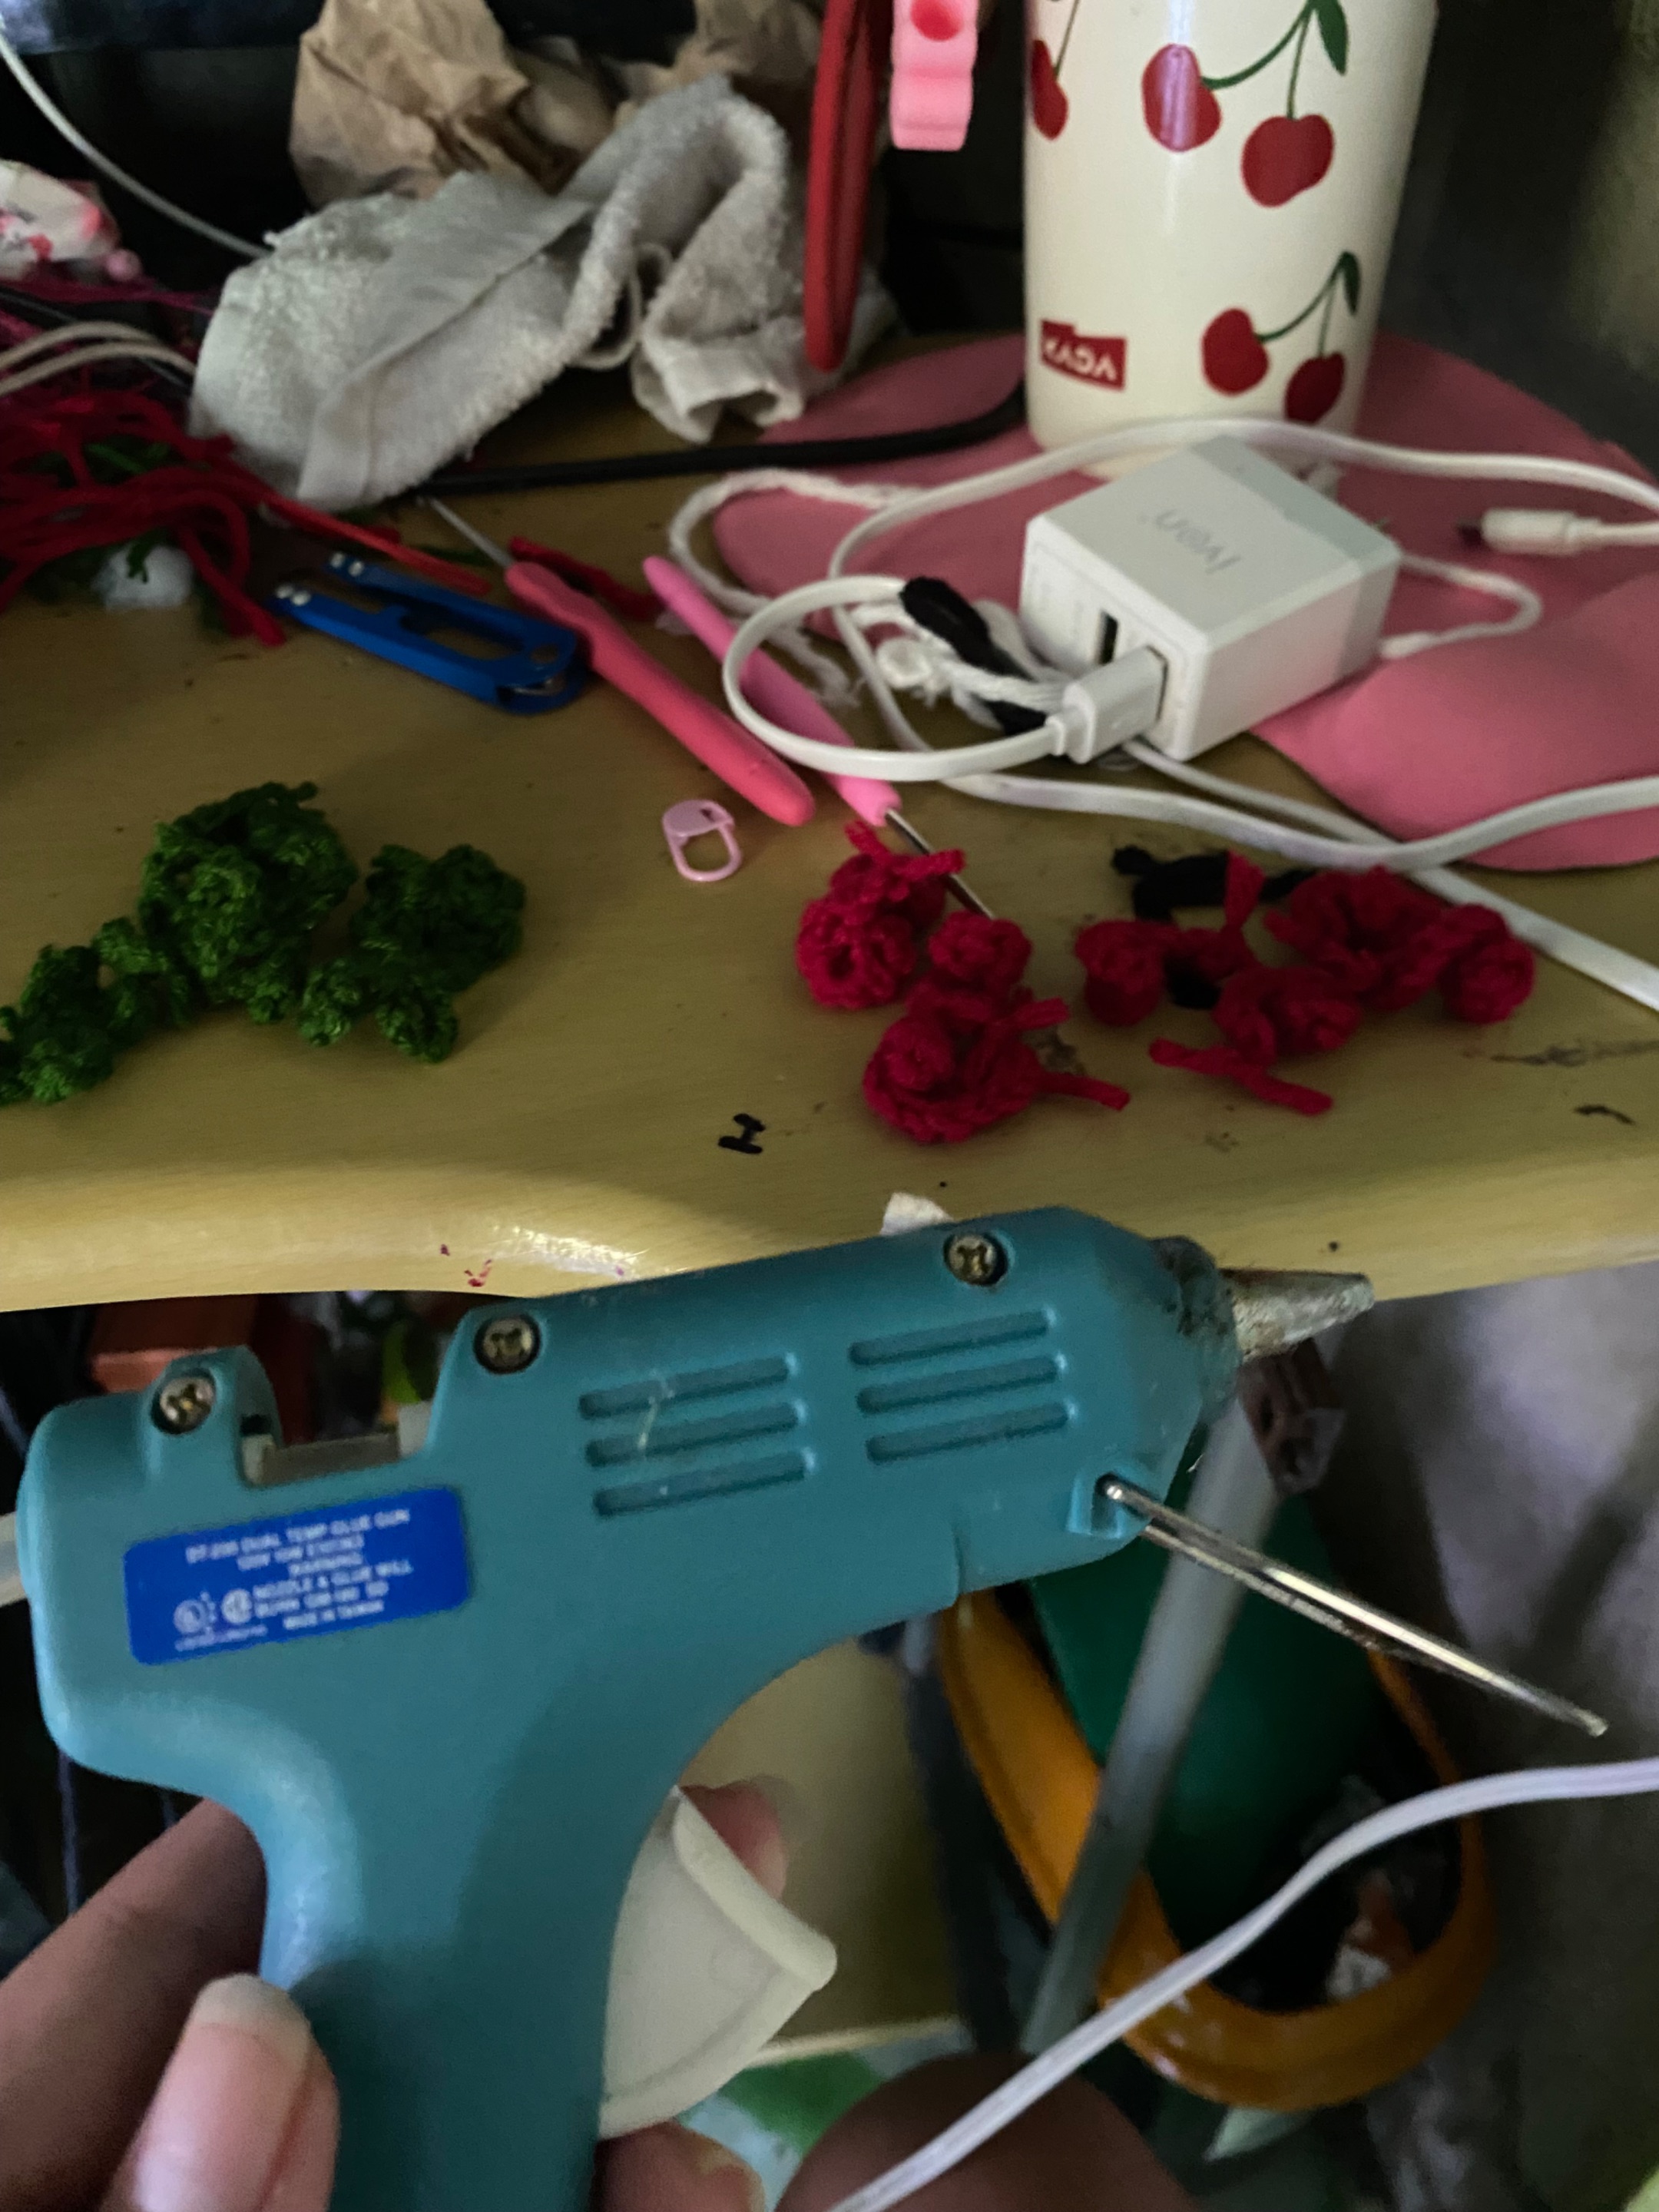
Next is the roses for the head, so to make little roses I grabbed a red yarn and tied a slip knot, next I made 6 single crochet and skip 1 stitch and then 1 single crochet, and 1 increase, next is 3 single crochet in the last 2 stitches and then curl. I made 8 roses, 7 for the head and one for the hands.
Next is I made the leaves for the roses, to make the leaves, I then grabbed green yarn and then I made a magic ring, next is I made 7 chains and 1 slip stitch into the first stitch and I repeated it until it became 4 leaves, I then continued making it until it reaches 7 leaves.
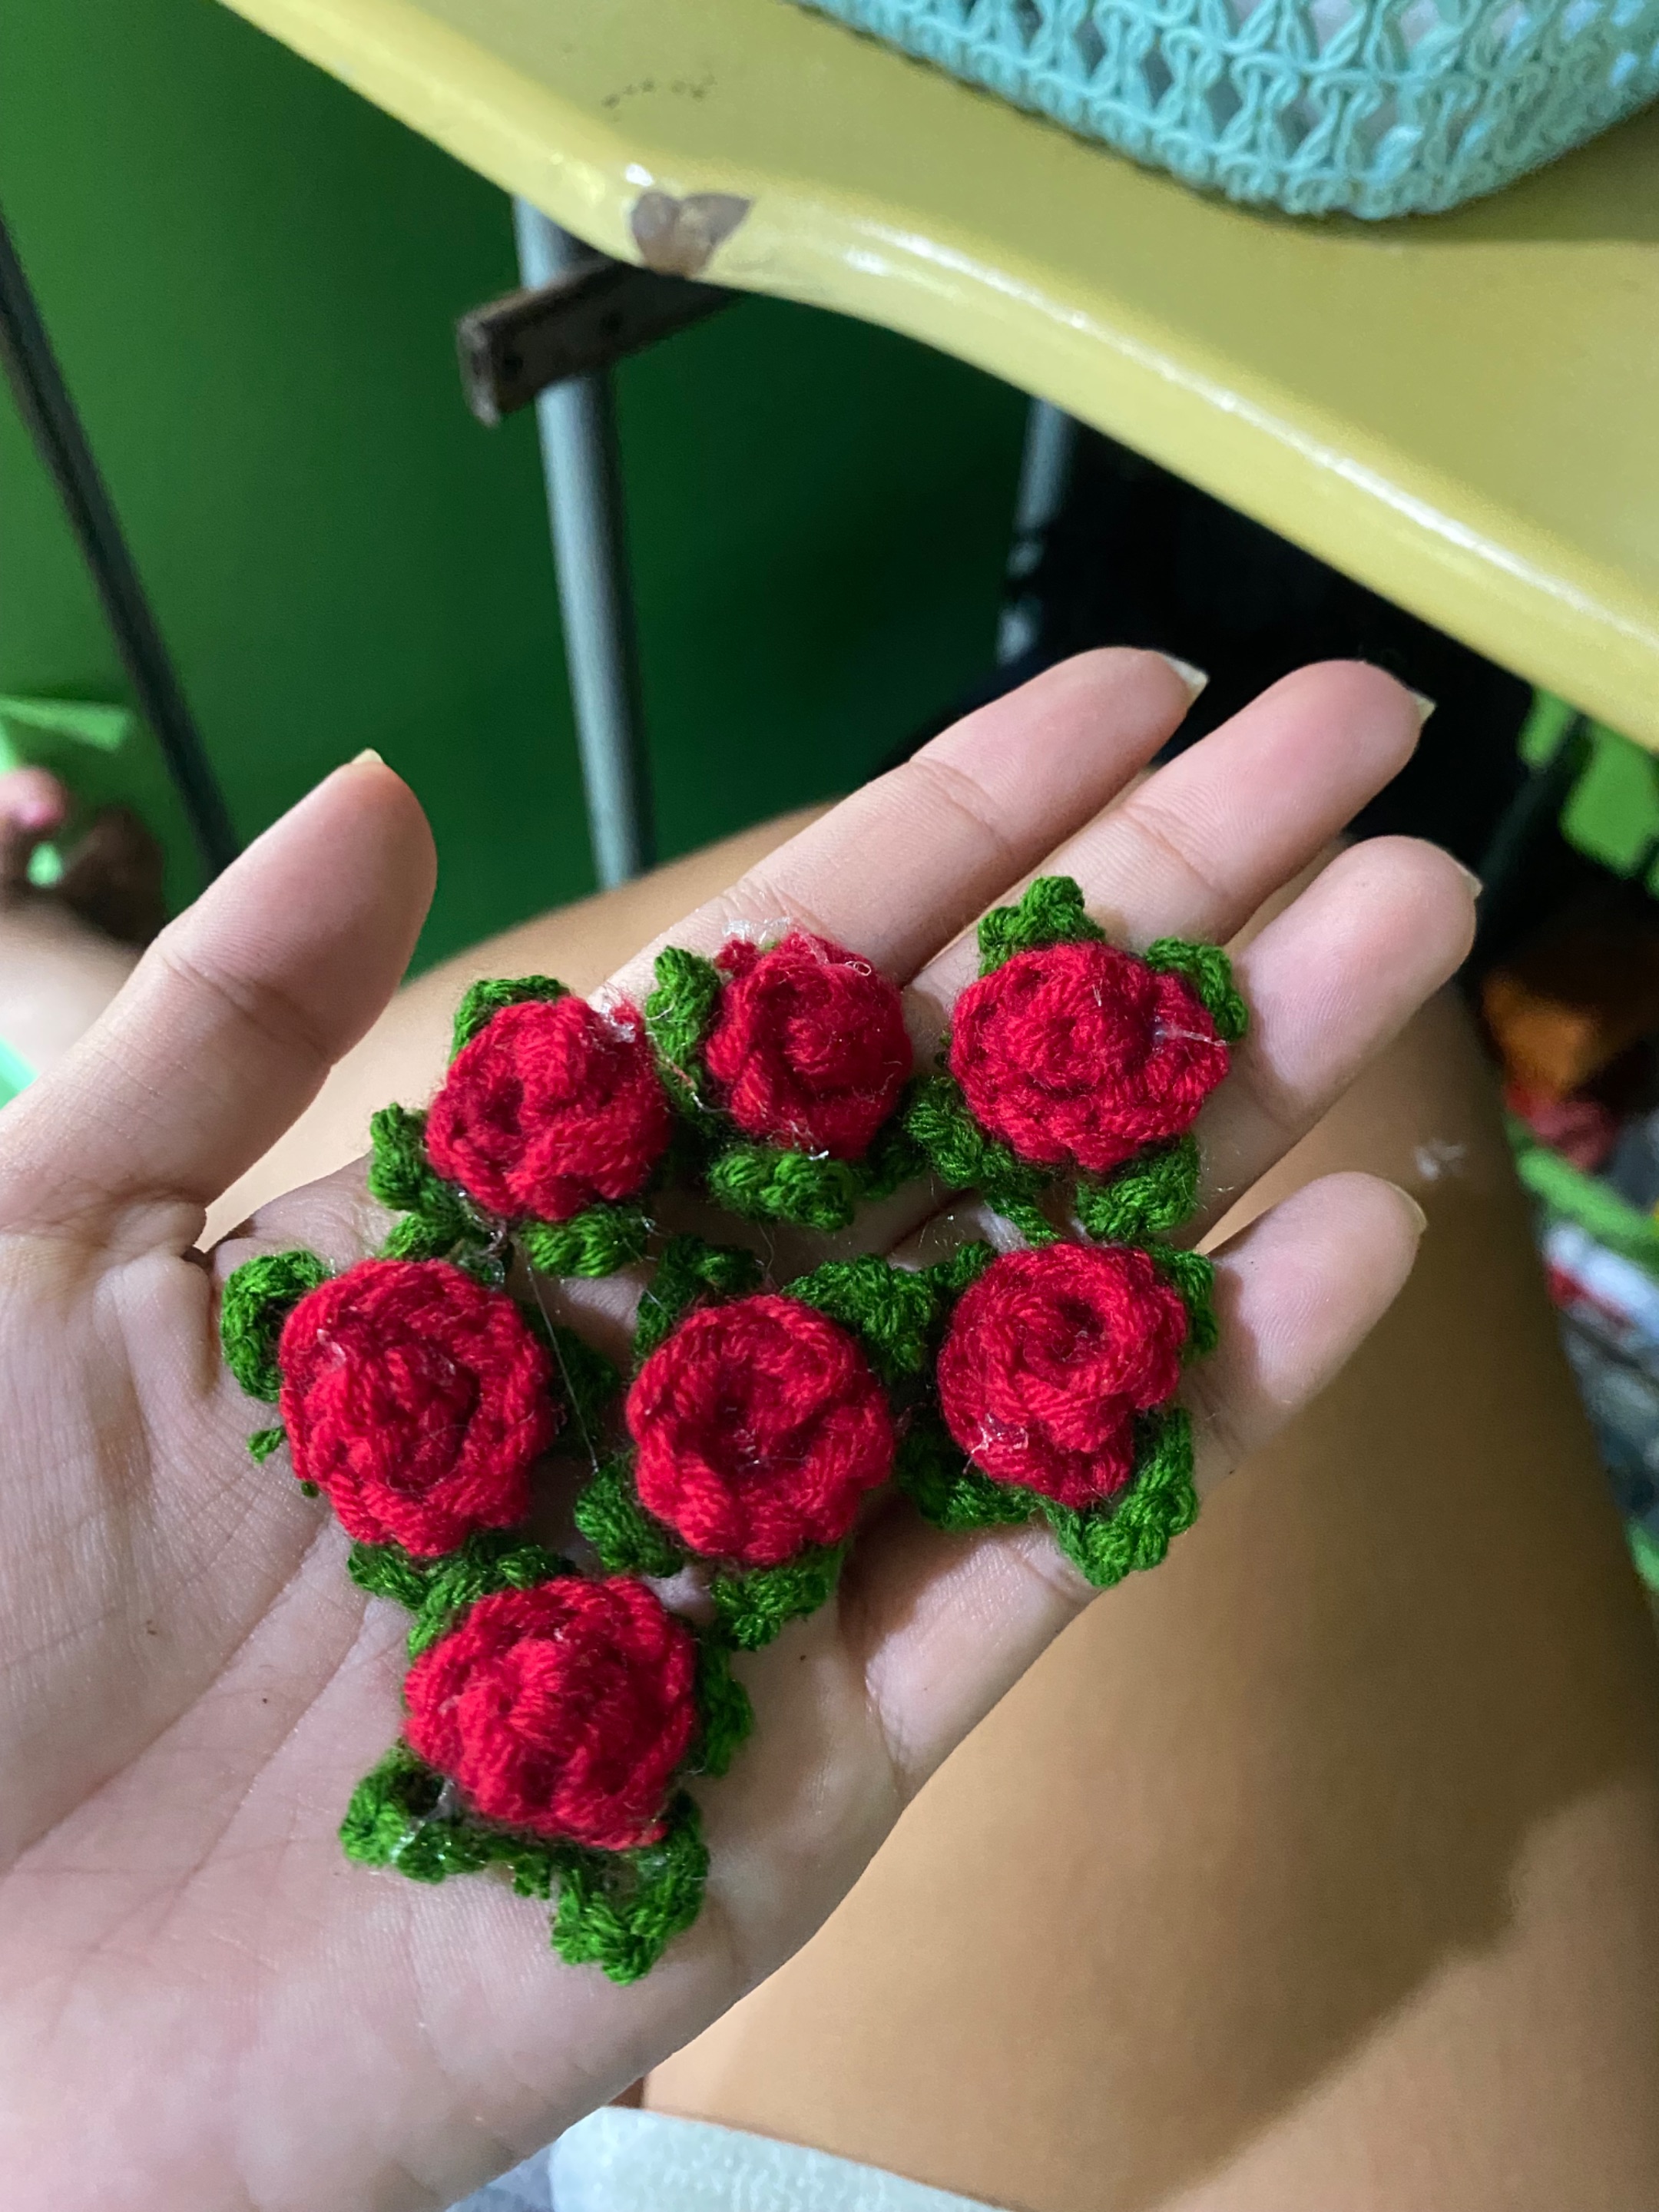
And now that I am done making the leaves and the roses I then attached them together using hot glue
And these are what they look like, to be honest the roses look pretty but messy but I make sure that I will make it clean.
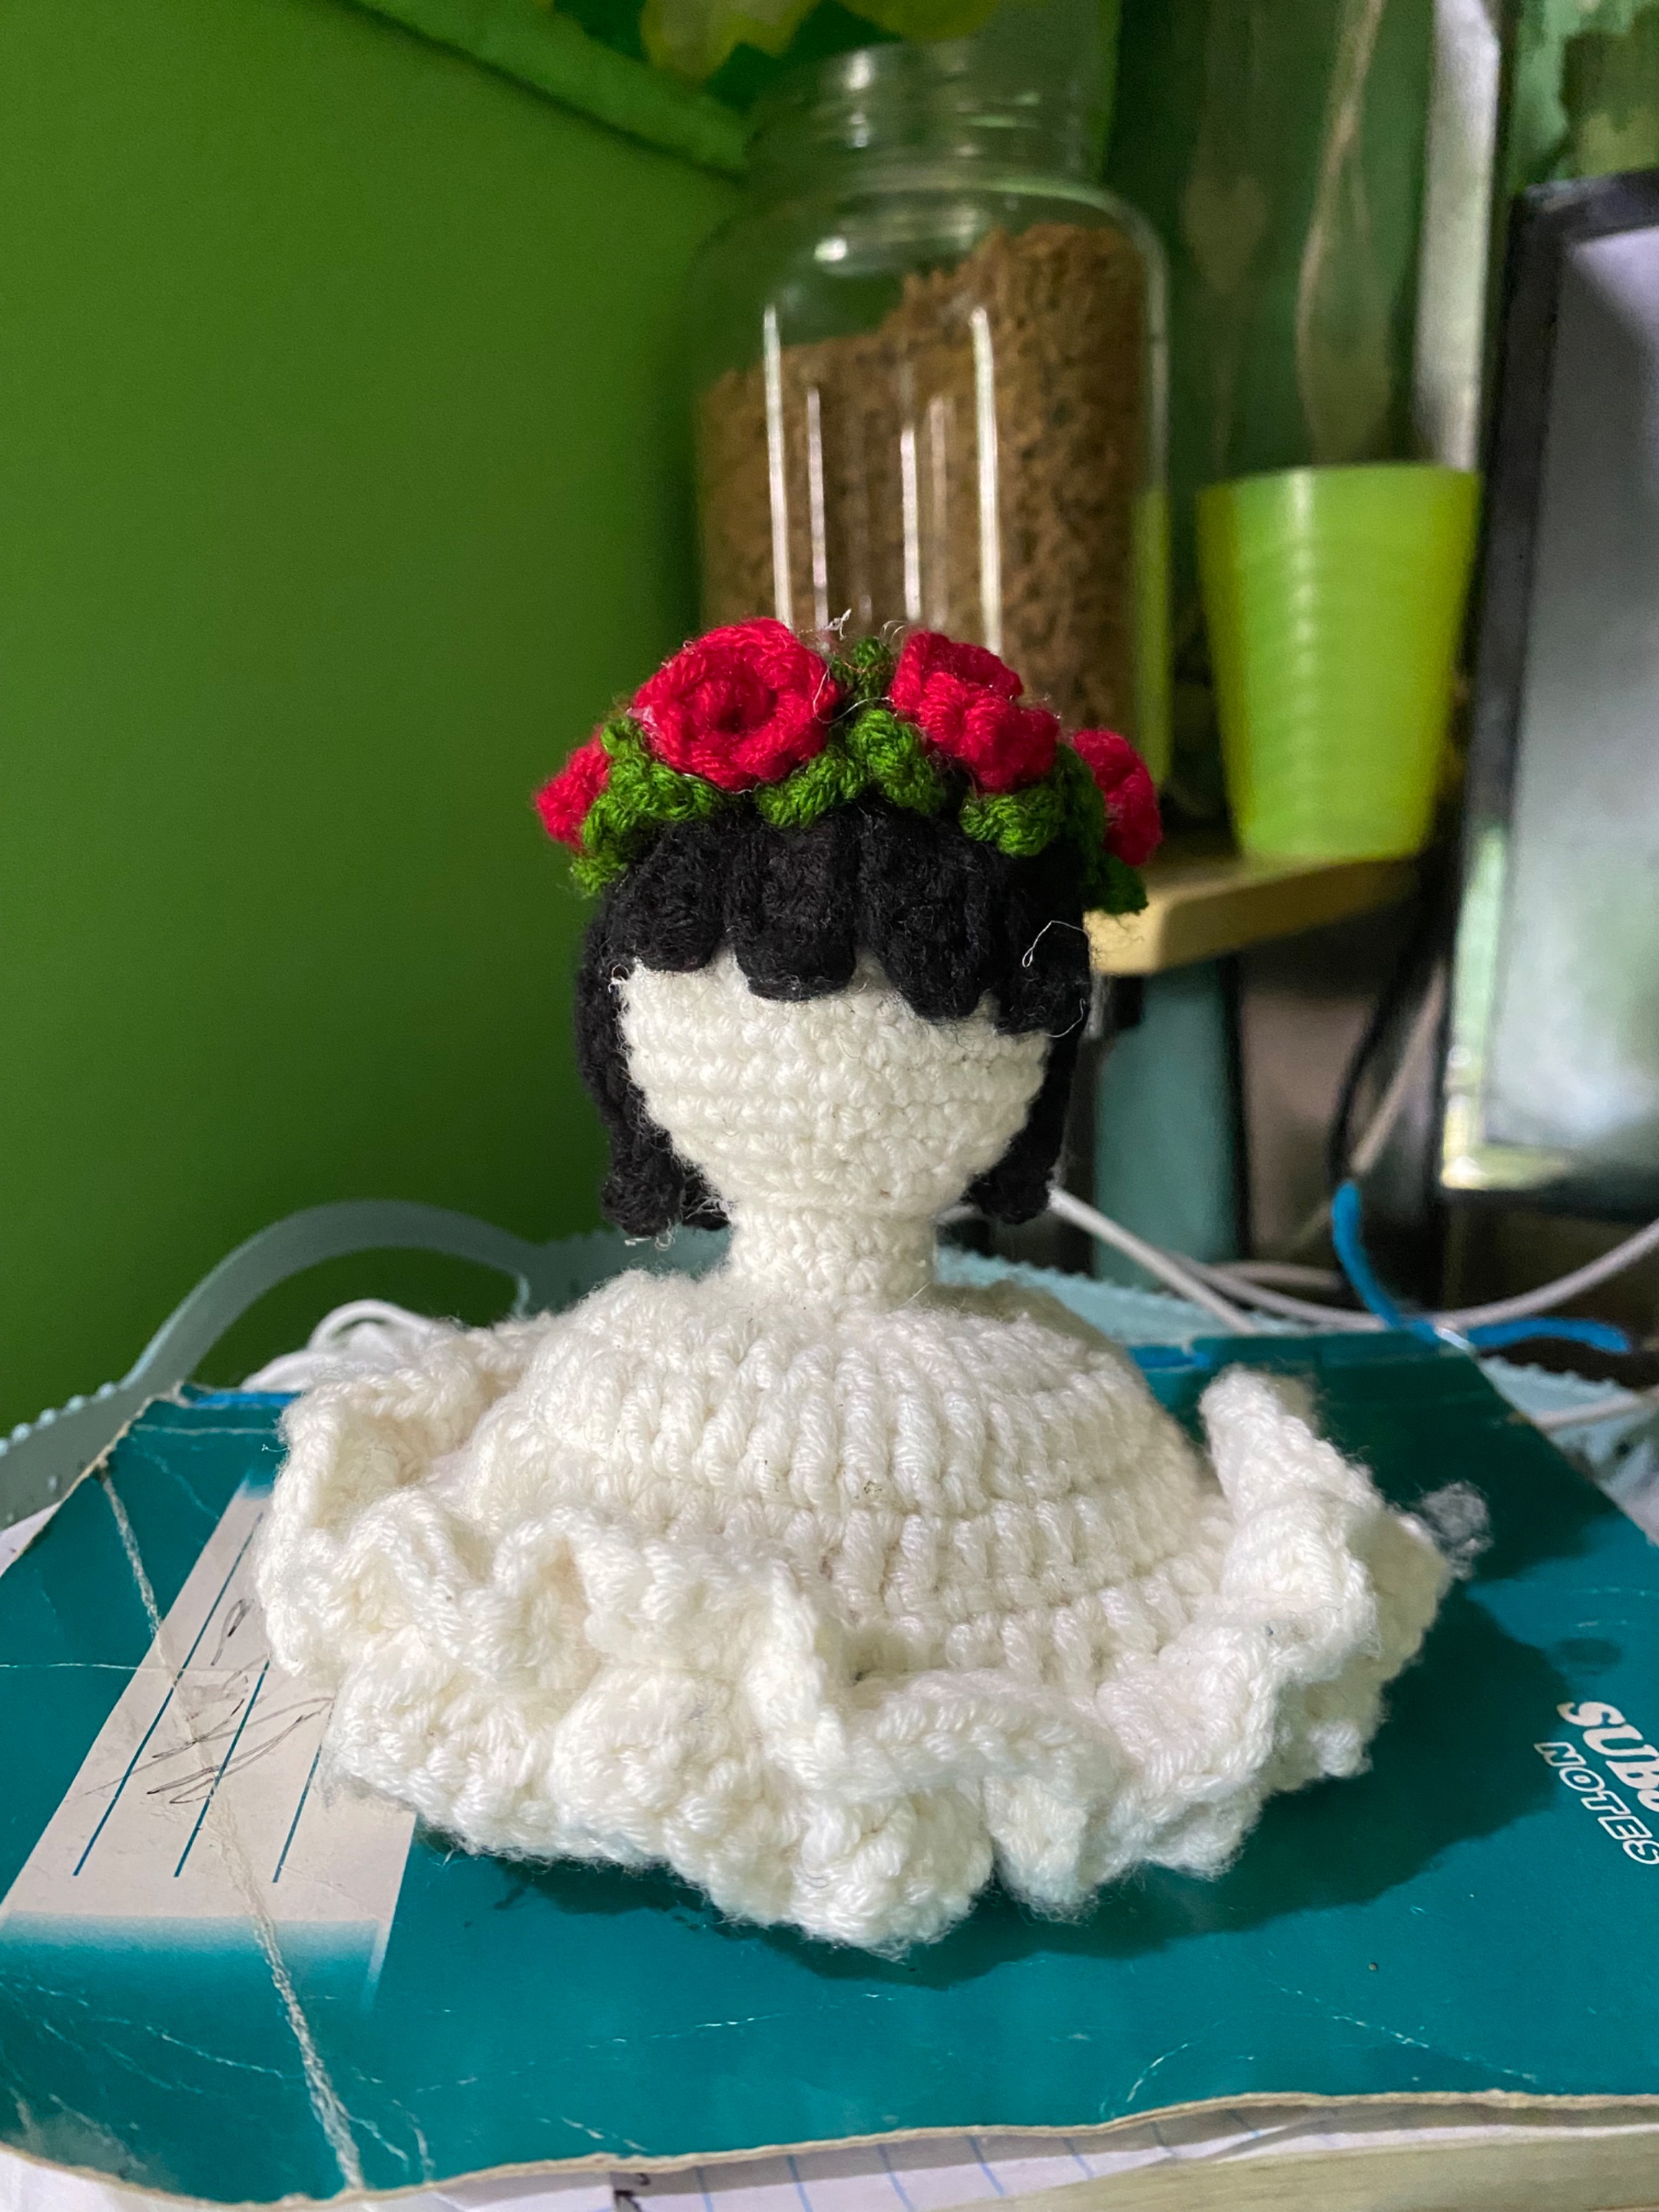
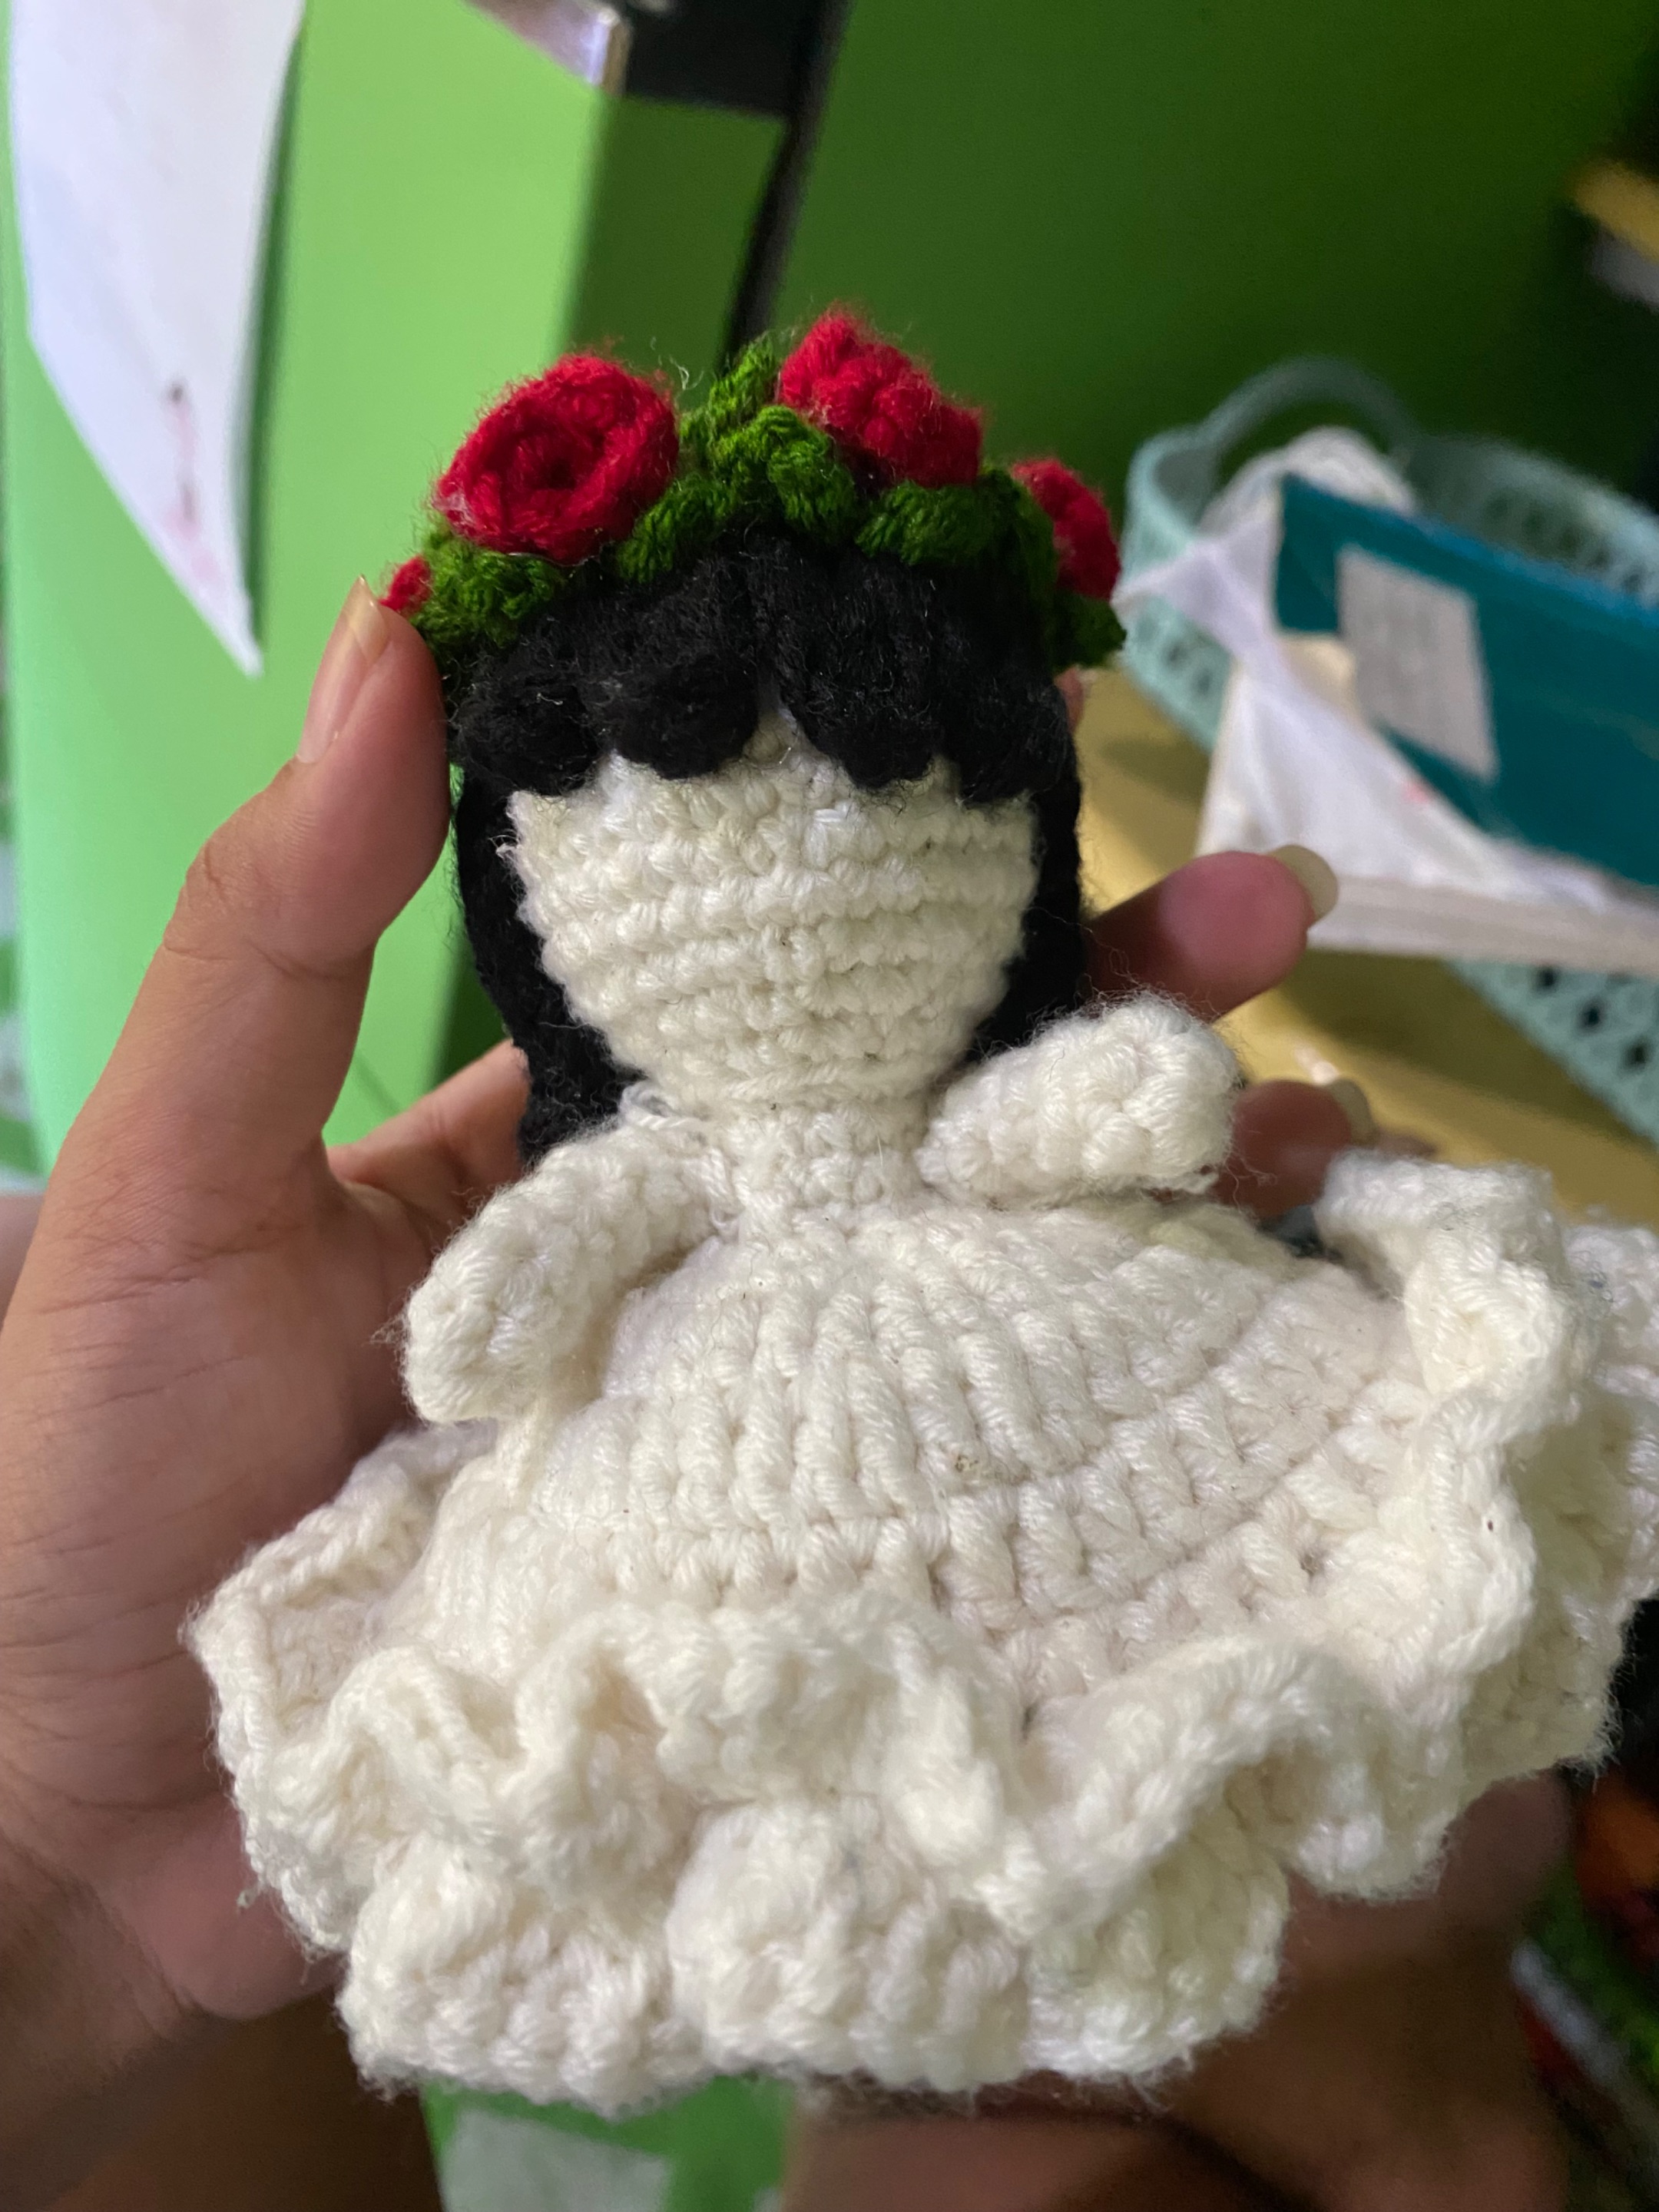
And so I didn’t waste any time and one by one I properly attached the roses into the head and this is how it look like, so pretty.

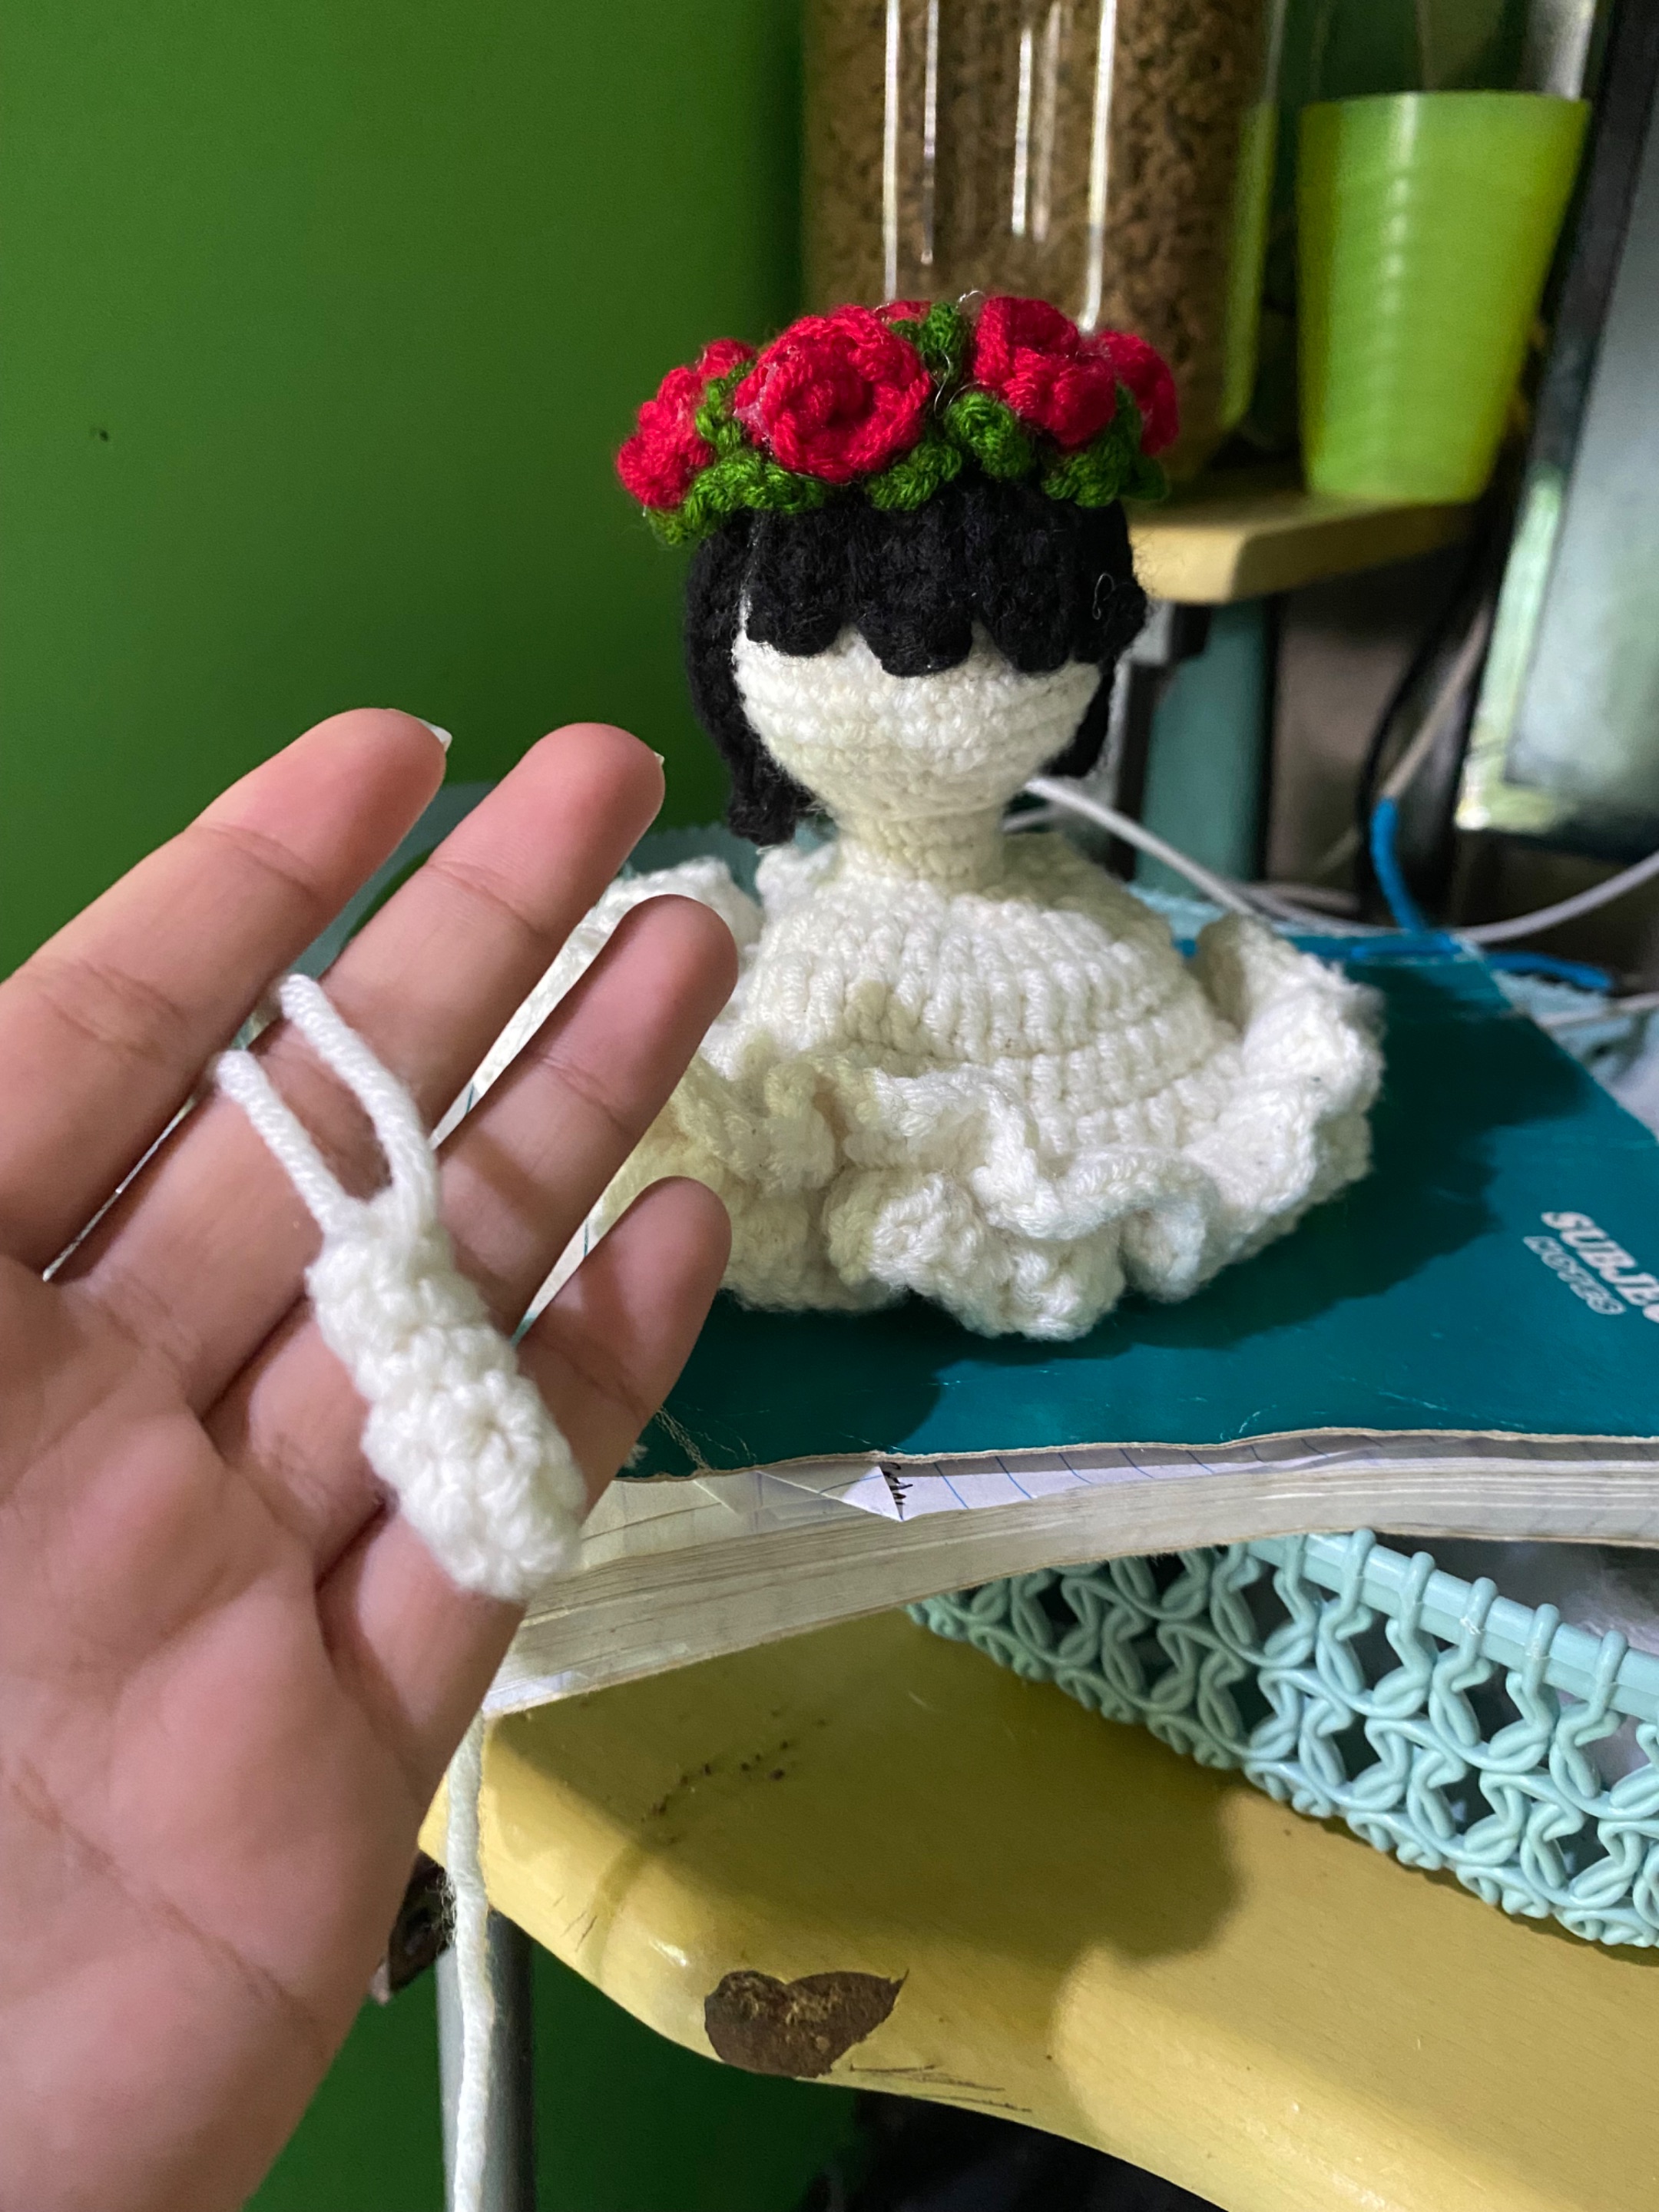
And now for the arms, this time is kind of hard. To make the arms here’s the pattern, first is I made a magic ring and then made 5 single crochet inside, and then for the round 2-6 (5 rounds) is make 5 single crochets. By the way I made 2 for these since these are for the bride, and then I cut them long so that I can sew them together. And this is the final look.
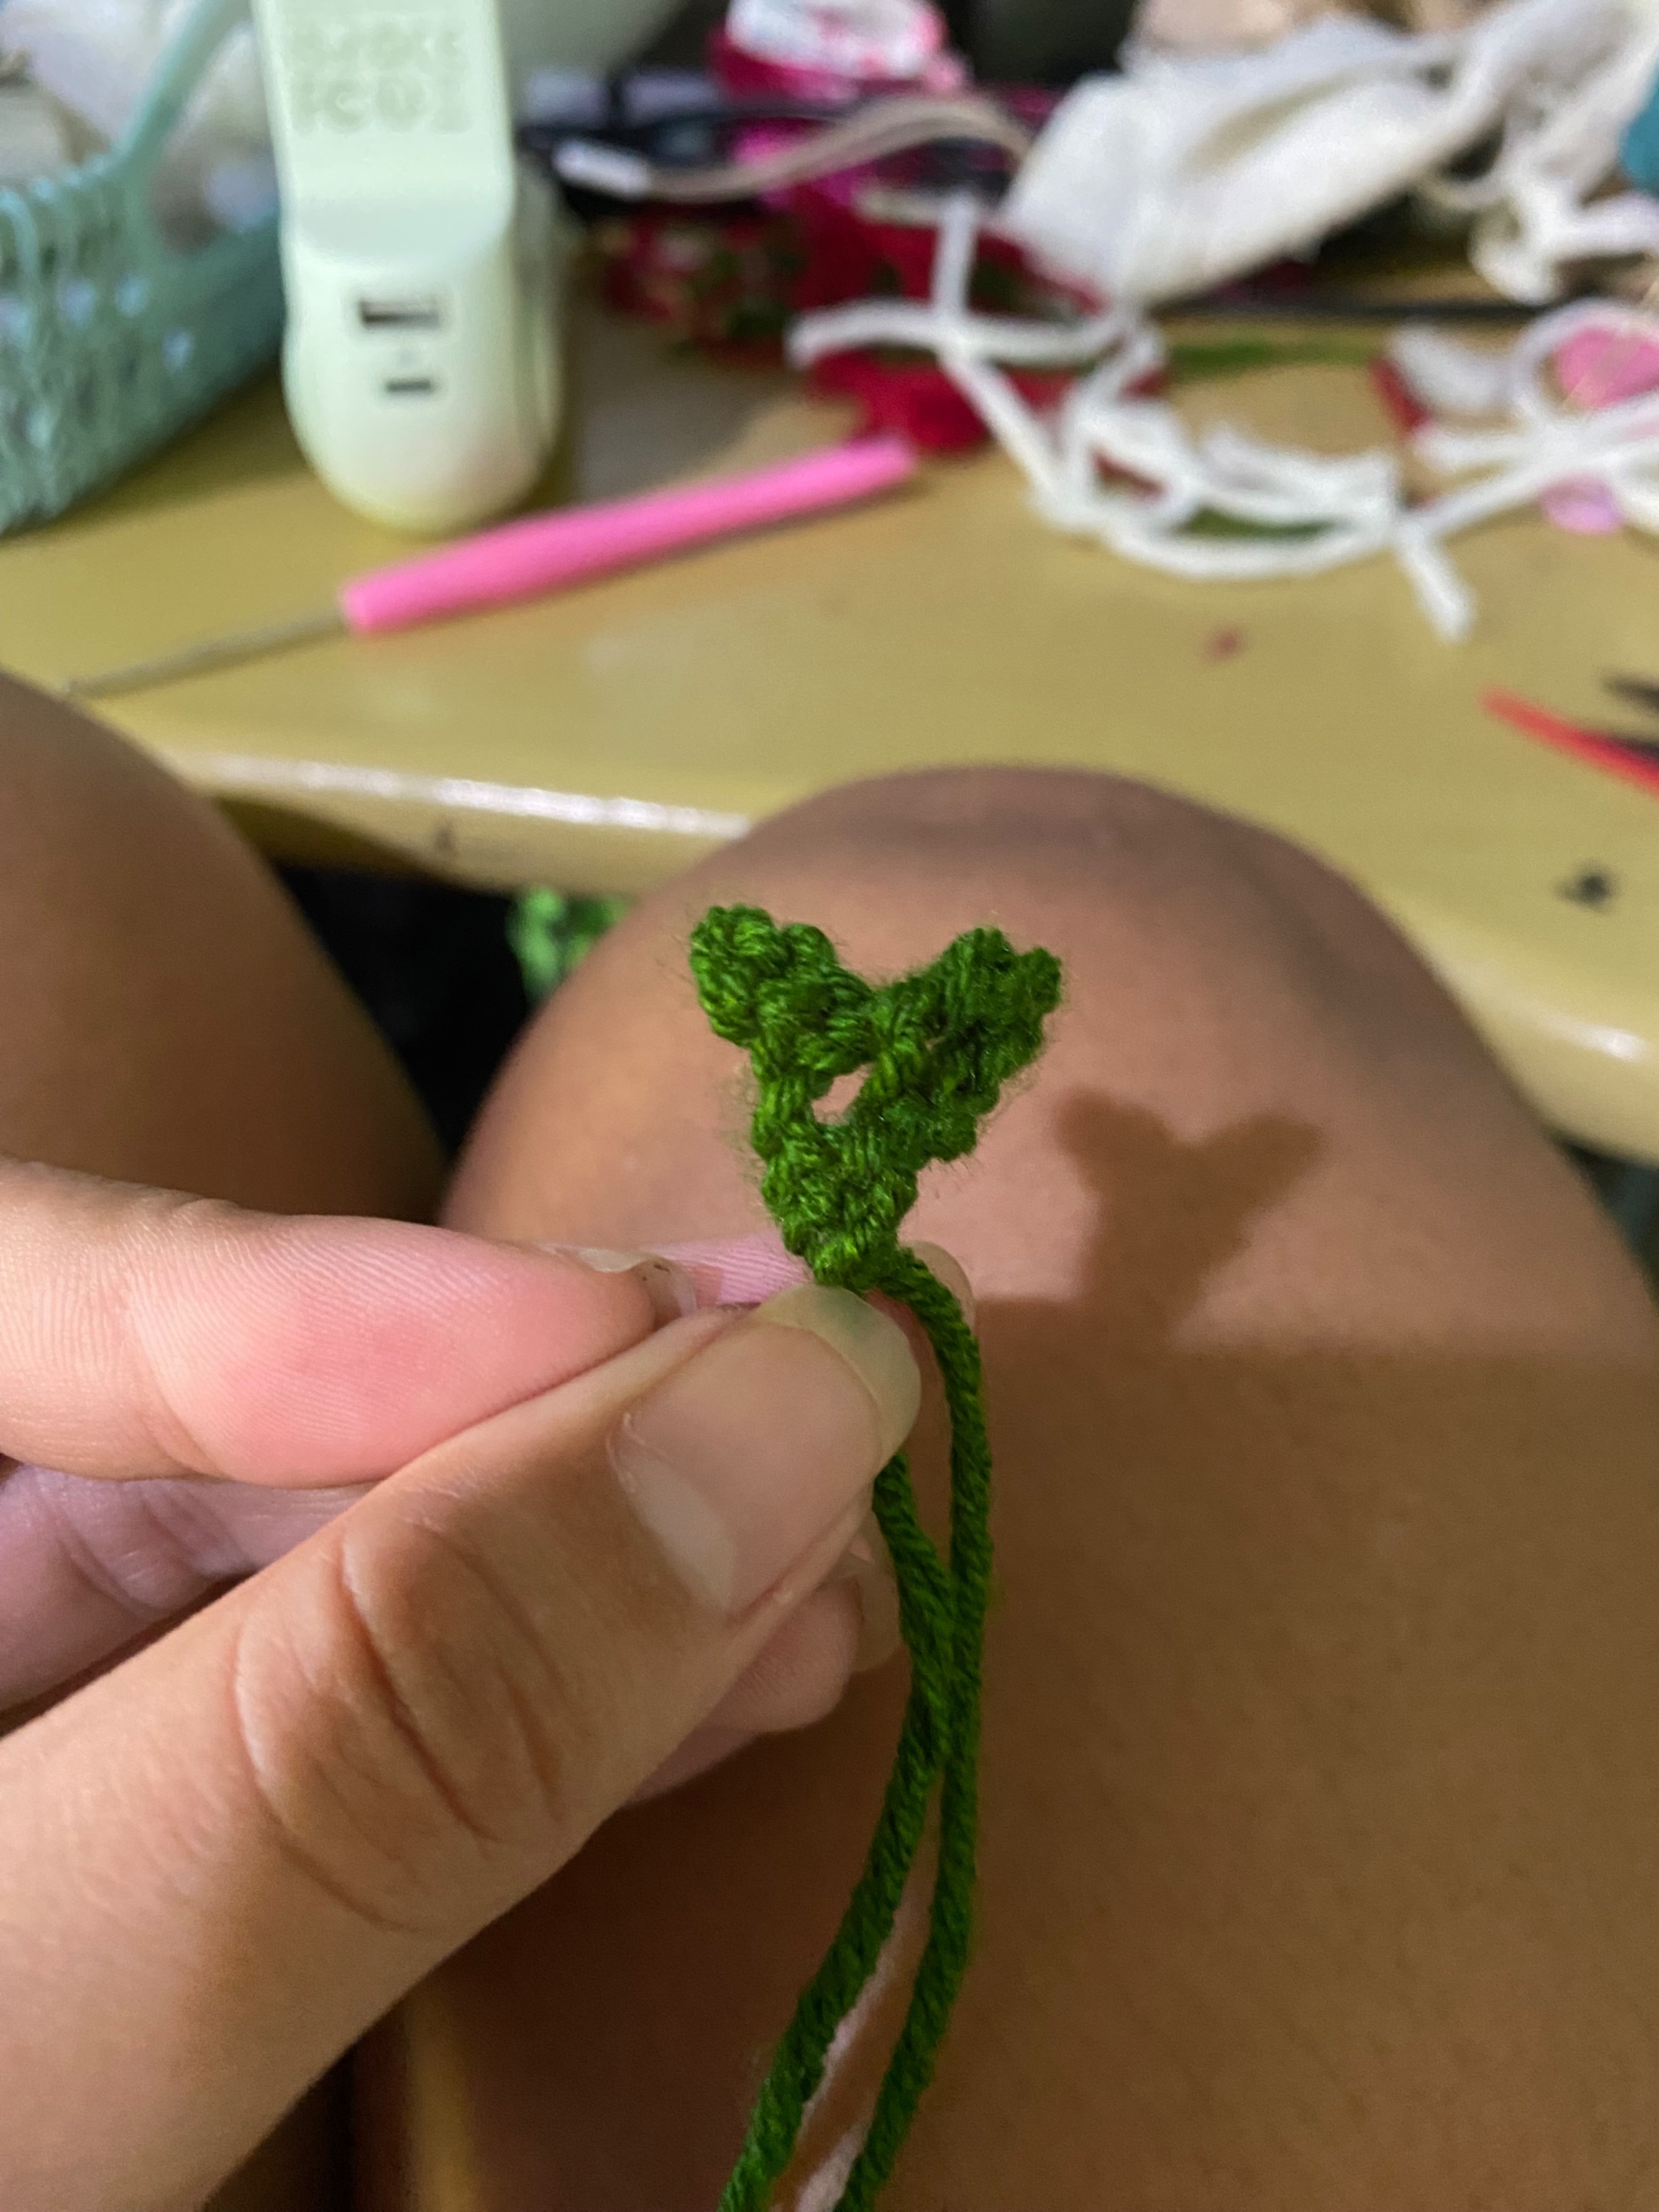
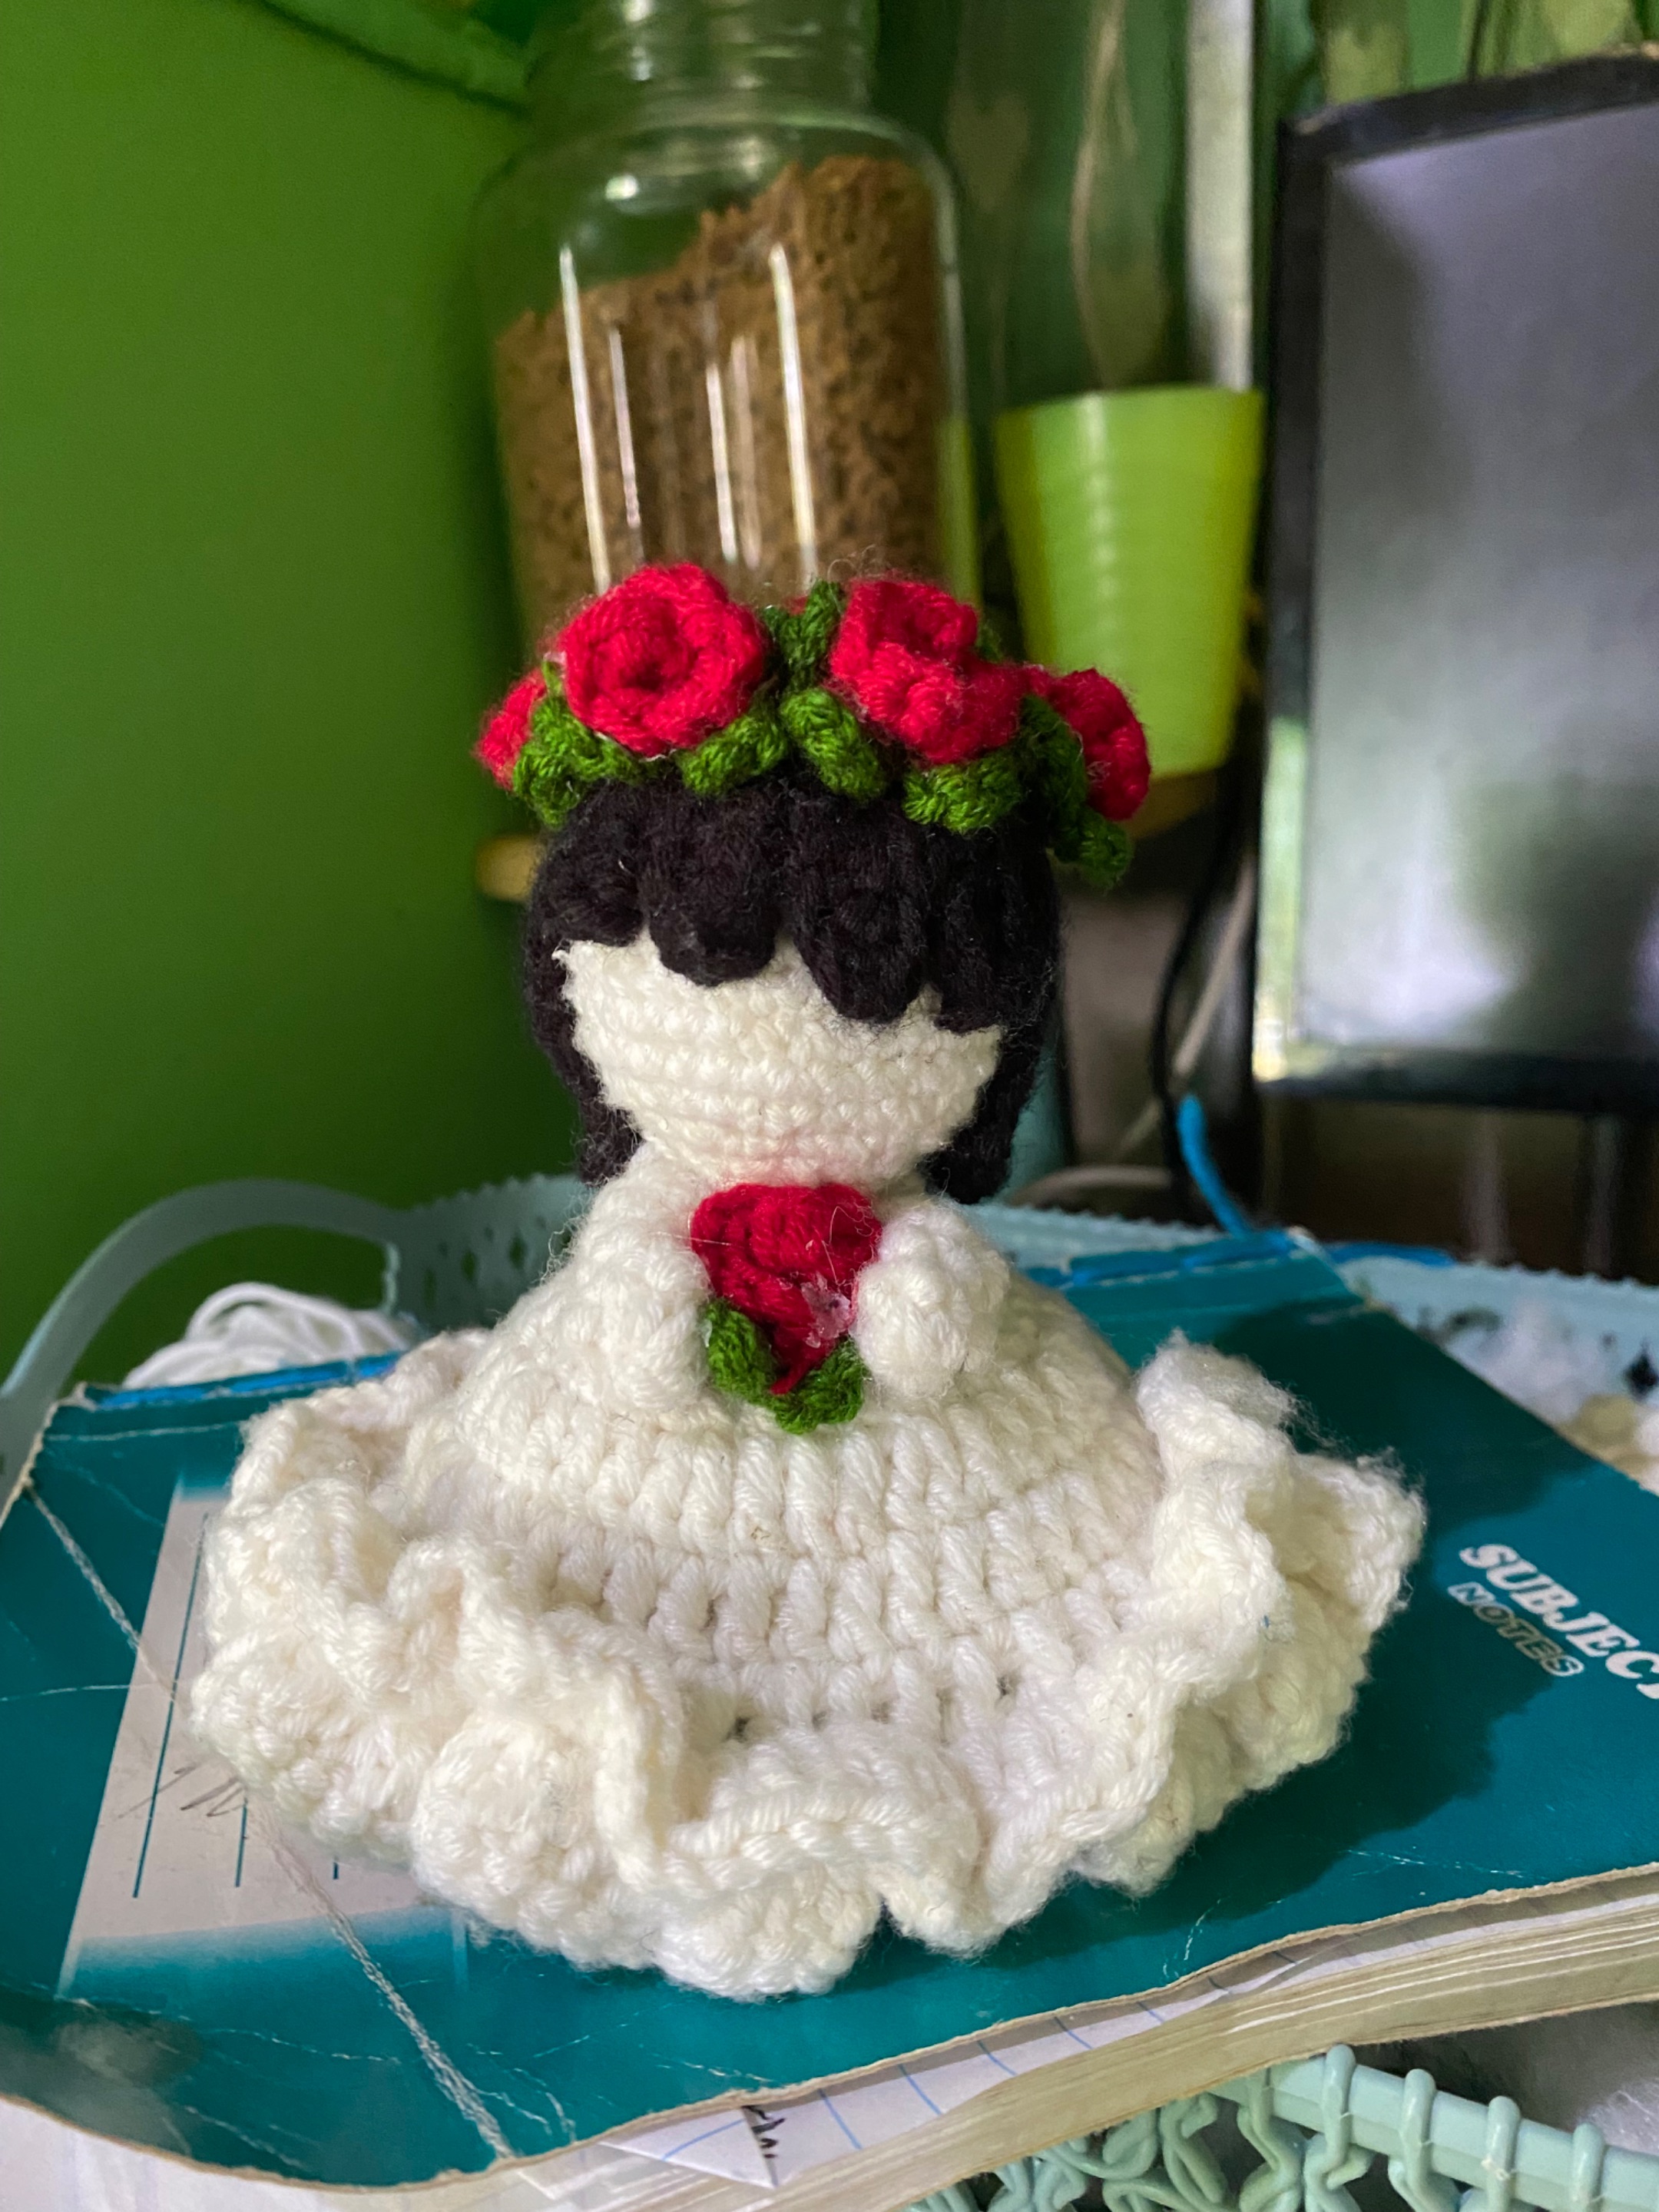
And for the last part the bouquet that the bride carries, first since the rose is already done I then made a little green leaf for the bouquet first, first I made 7 single crochets and then slip stitch into the first stitch until it became 3 leaves, you can also make 4 leaves by the way hehe. And time for attaching the bouquet. This is how it looks like hehe it looks so pretty I guess lol.
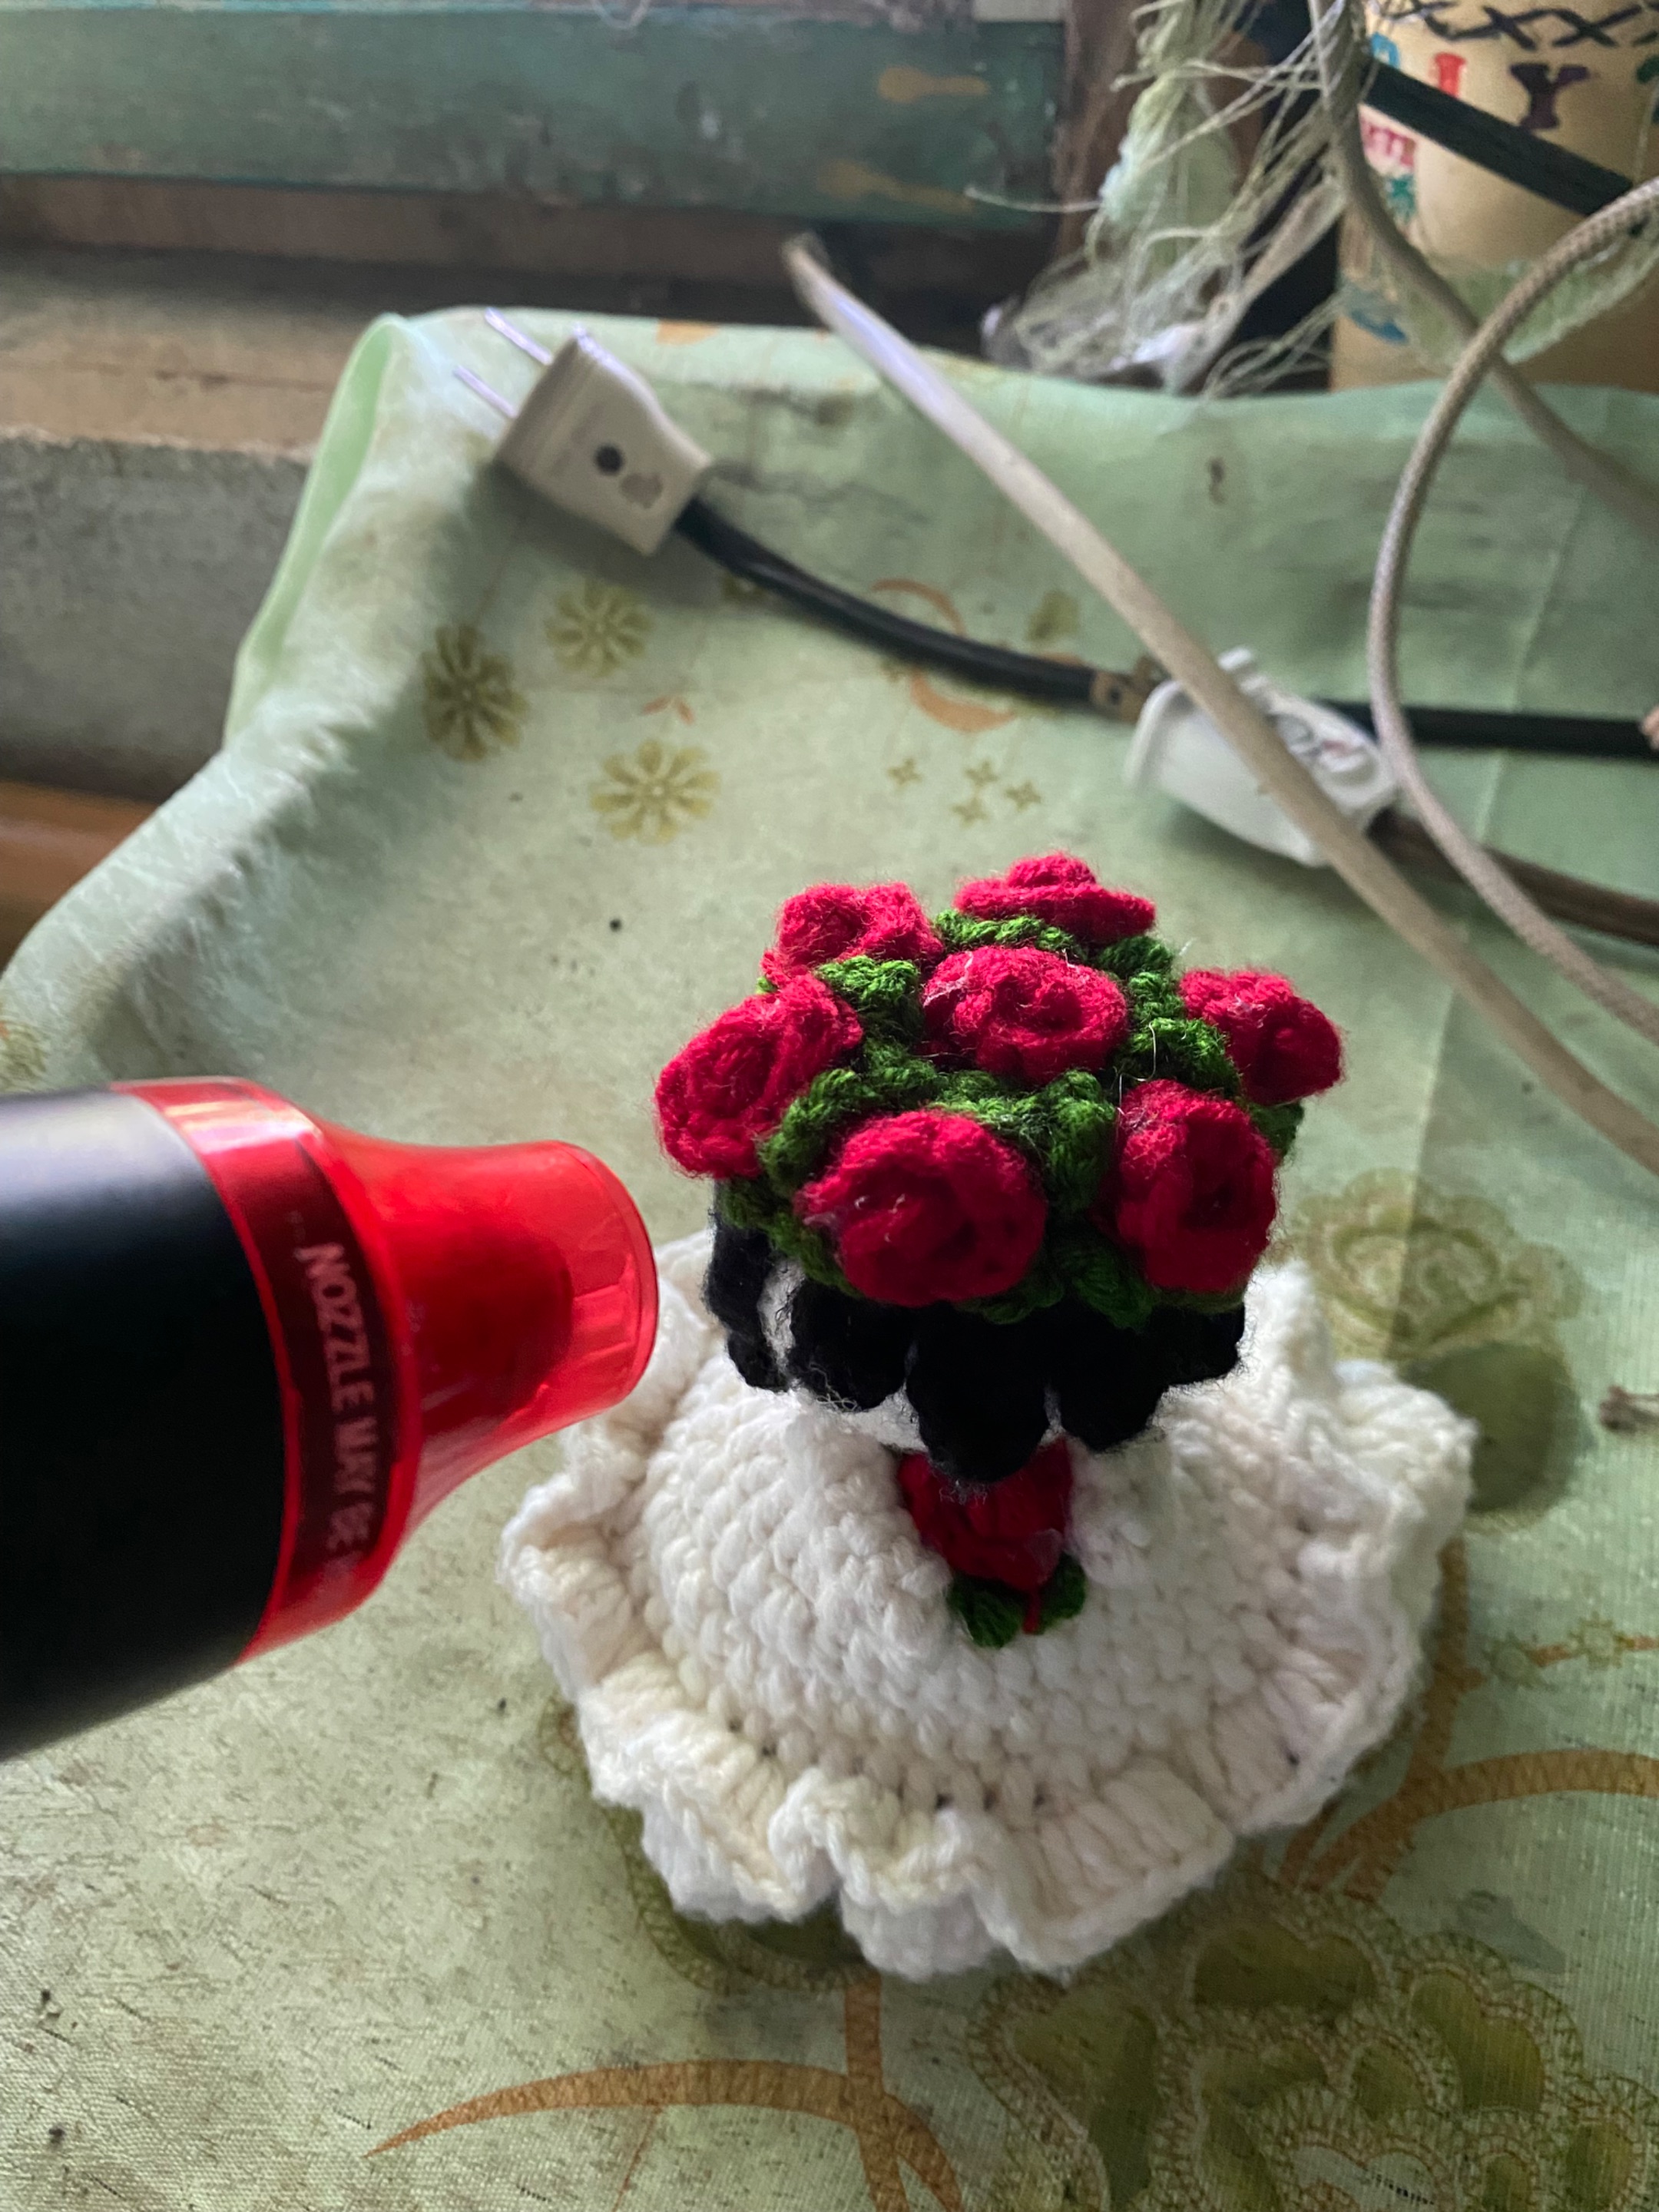
And lastly I wanted the project to be neat so I cleaned the project using a heat gun to make it more clean and neat.
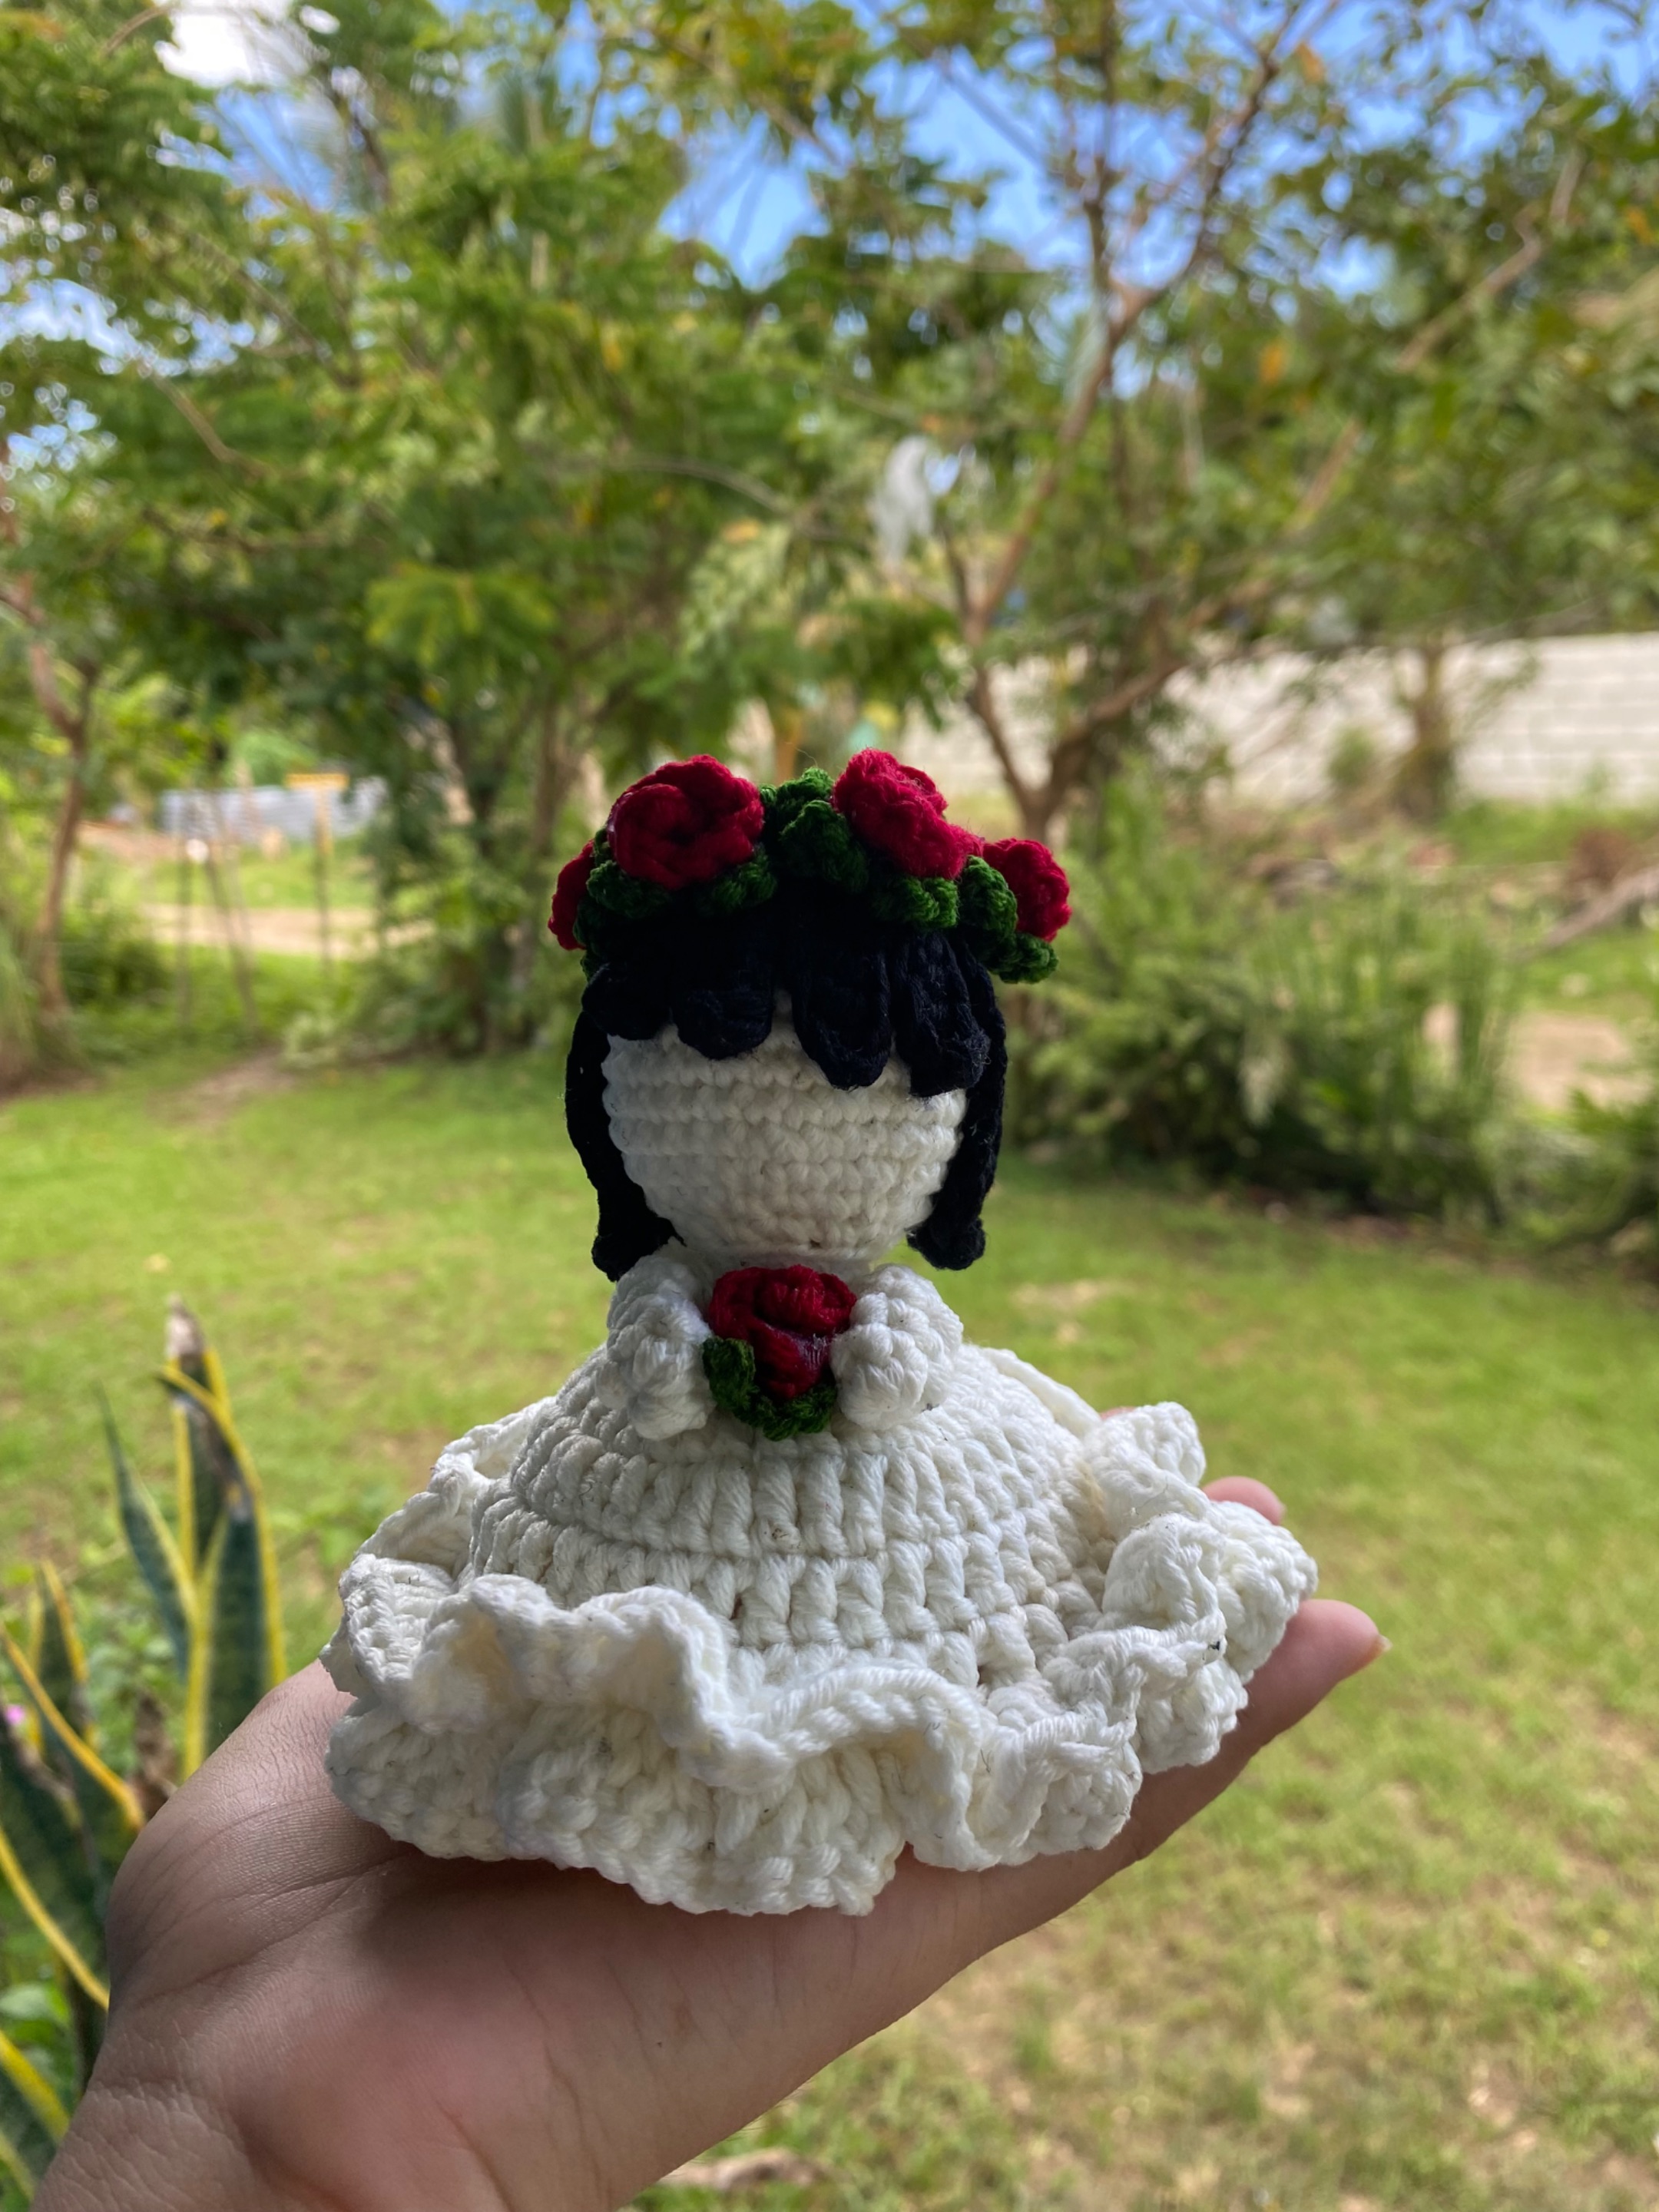
And tadaaaaa, the final look, it doesn’t have eyes yet though but I will definitely make her eyes next time.
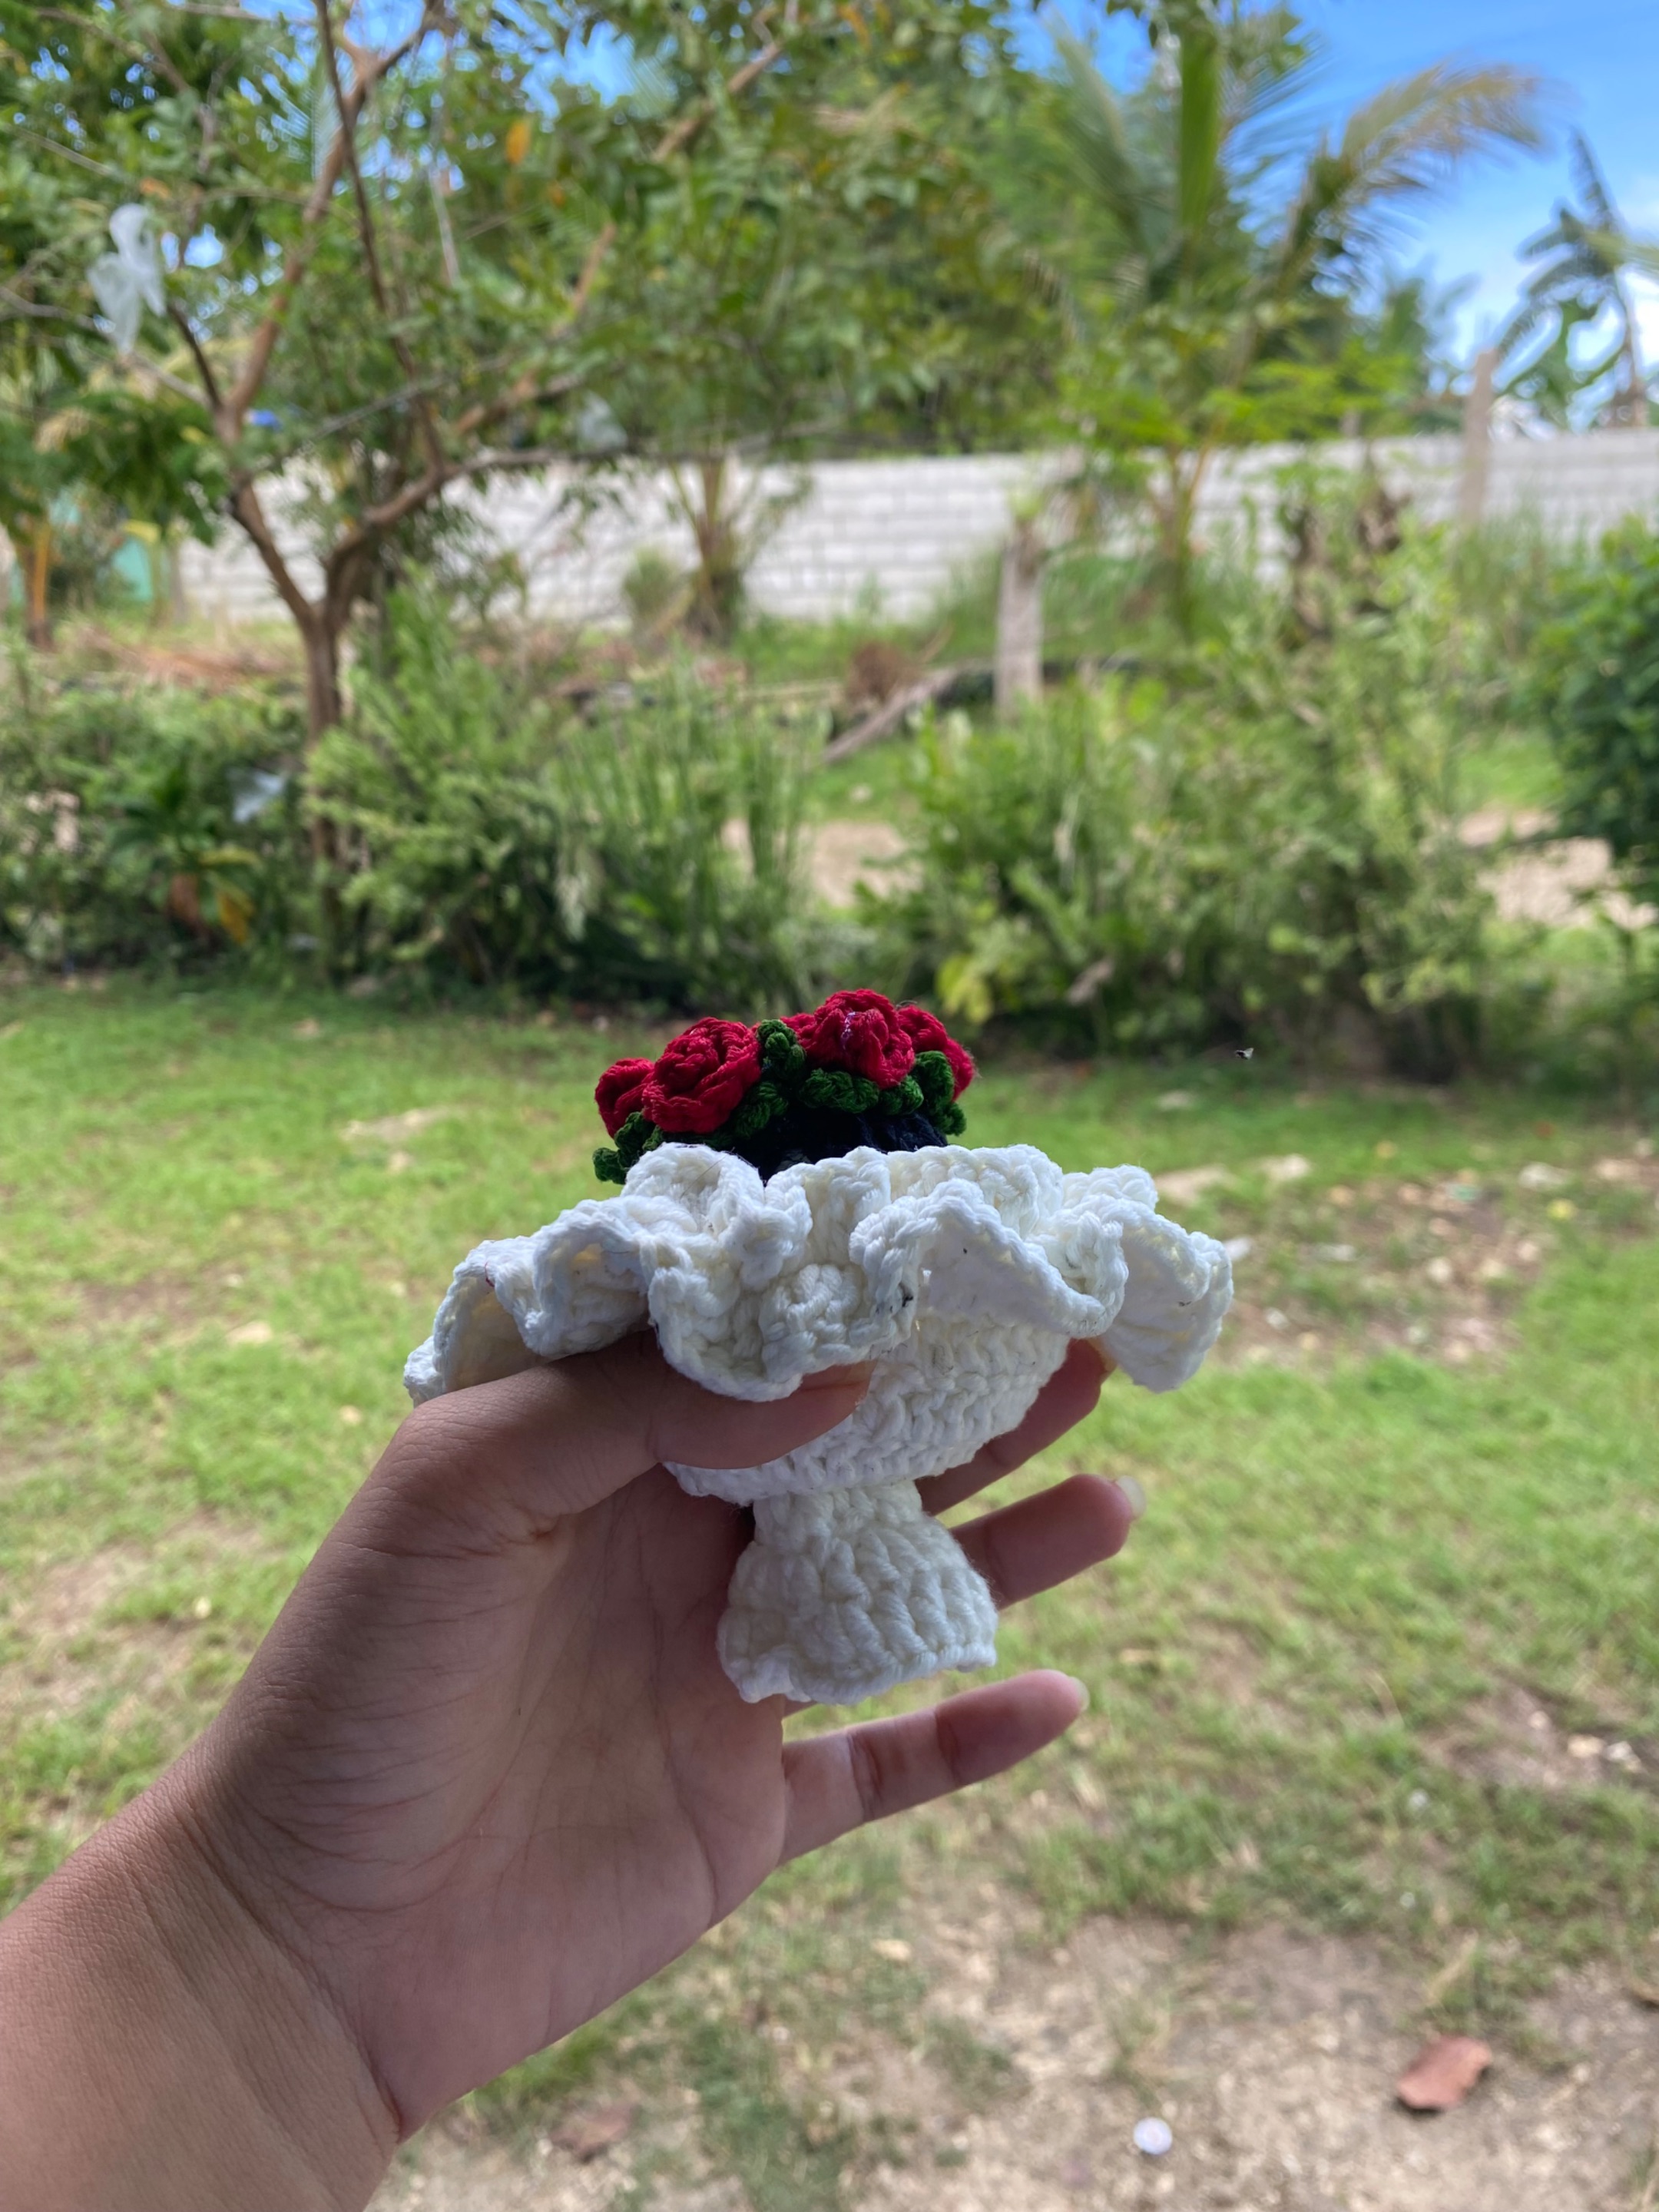
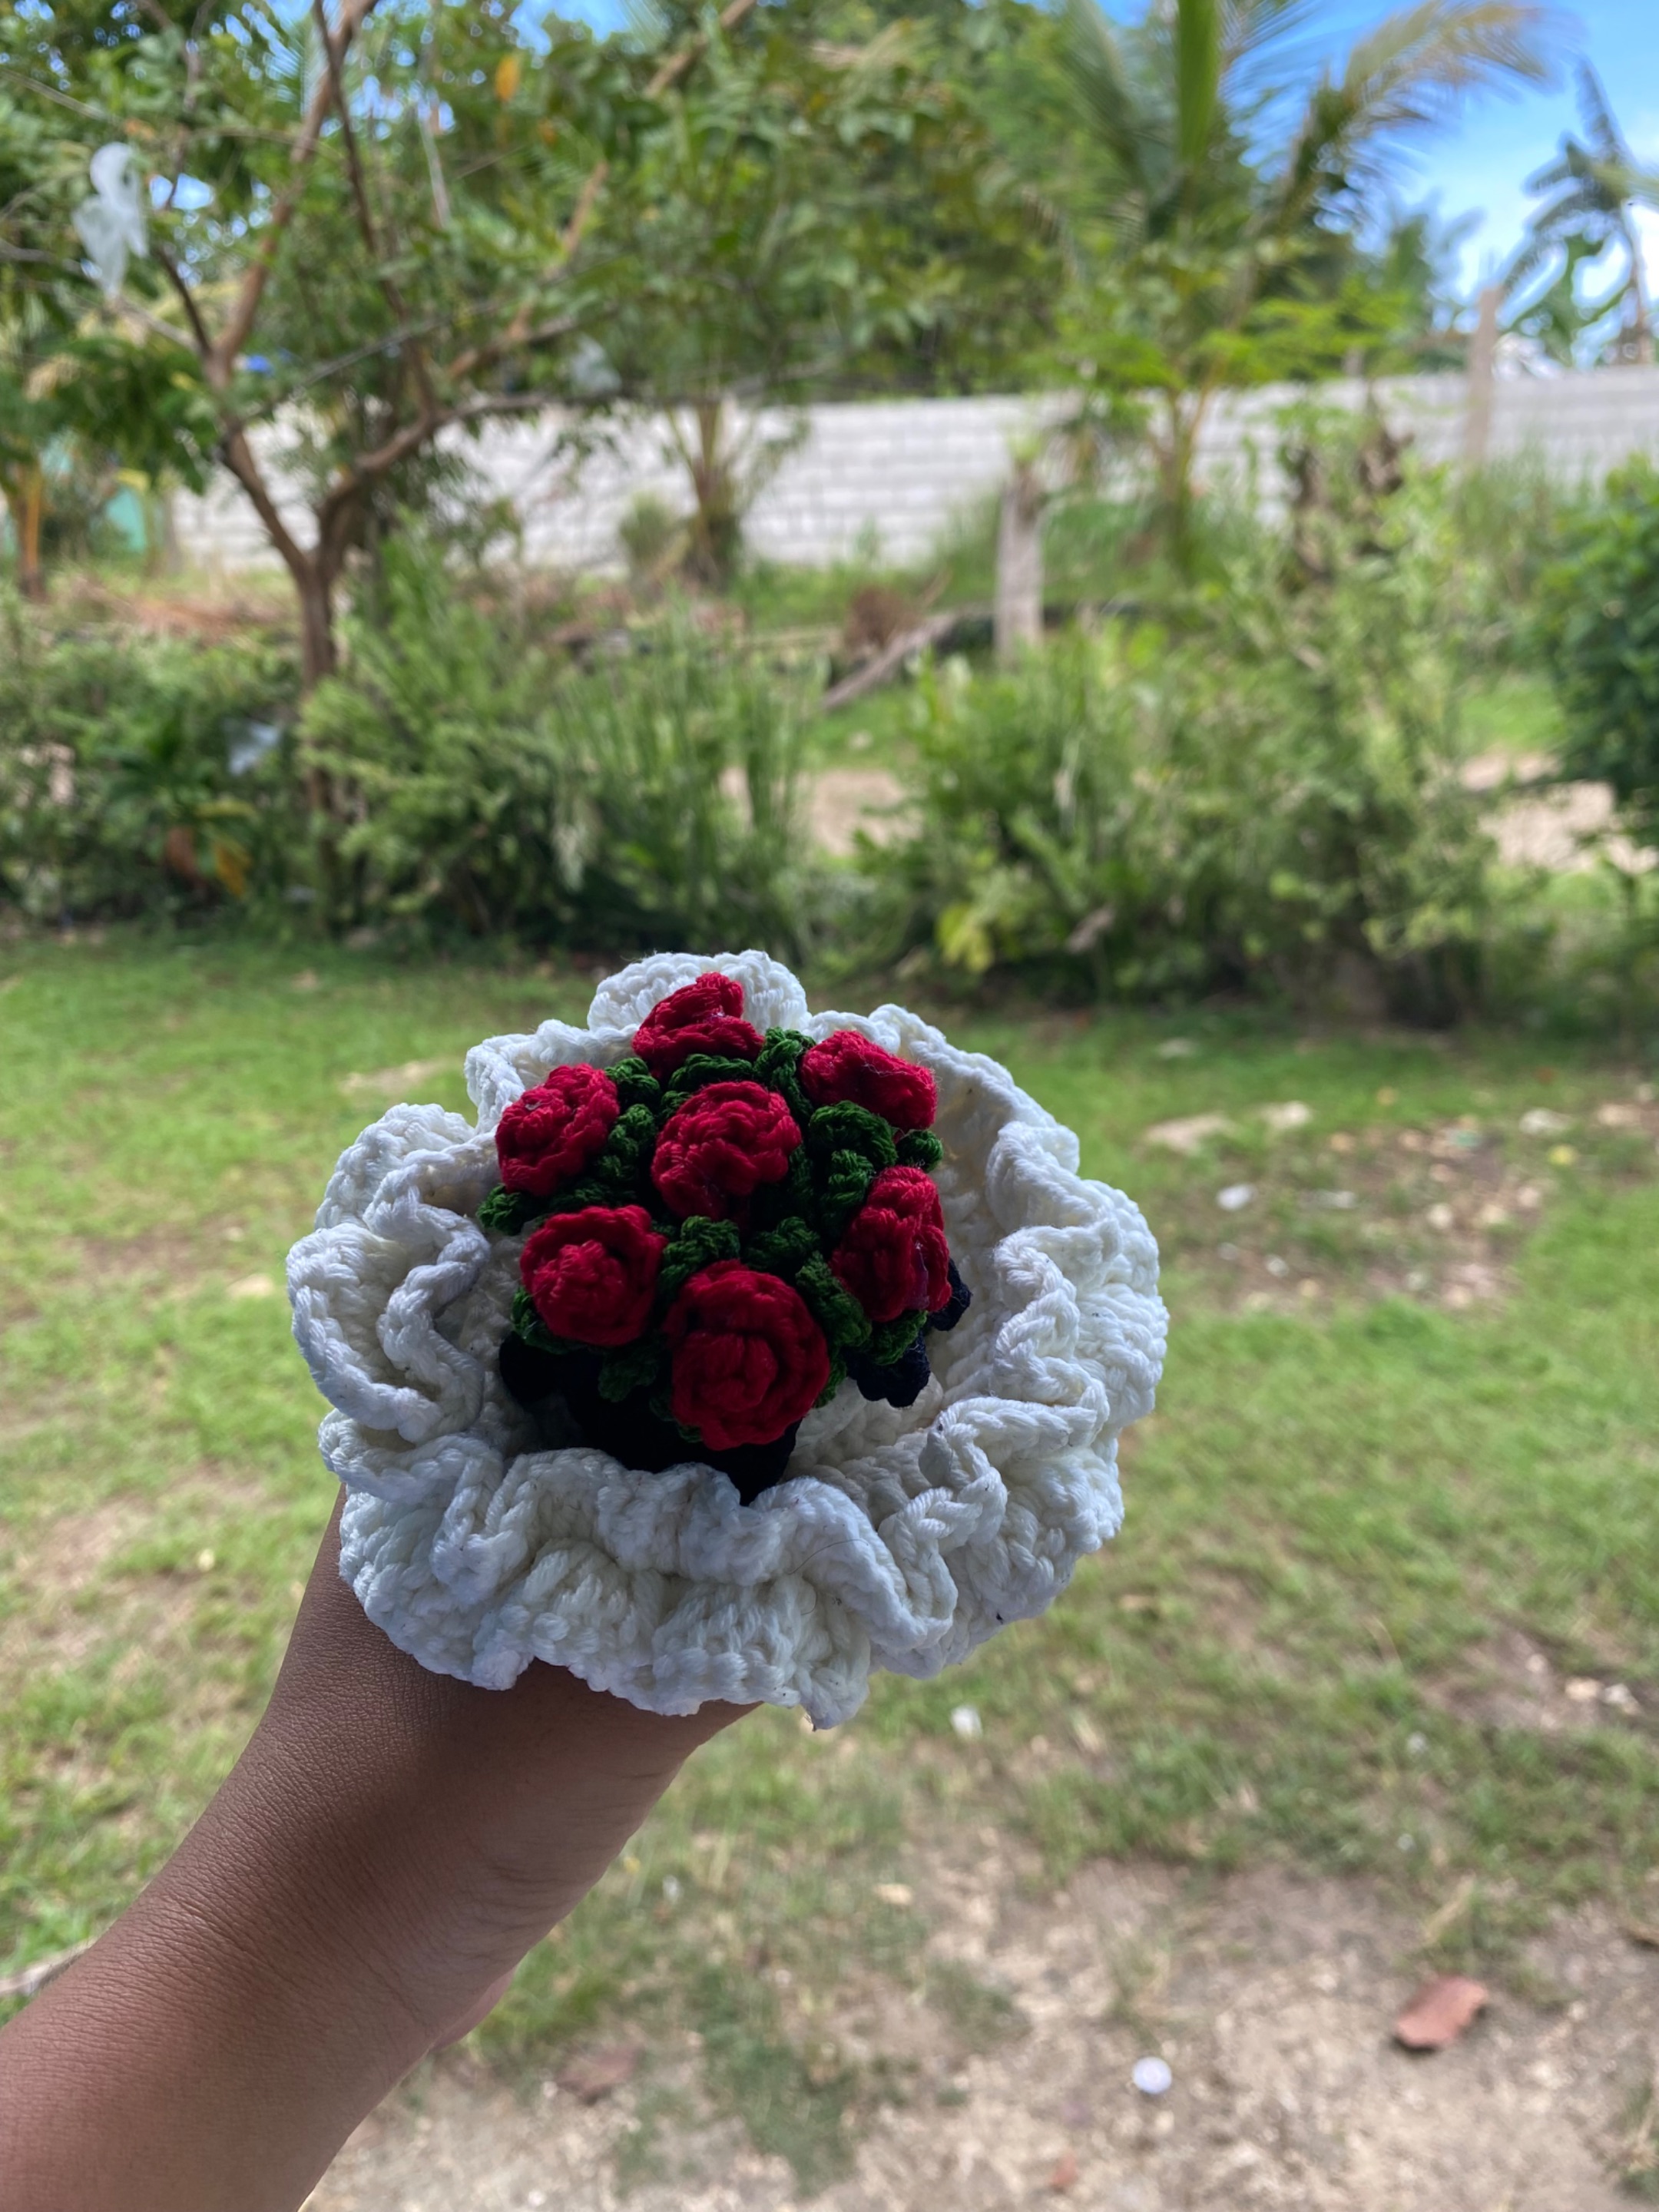
This is how it looks like when you make it as a flower bouquet:
And this is how it looks like when you make it as a bride hehe I am so proud of myself hehe.
And that’s all for today’s blog everyone I hope you like my blog, thanks again for reading my blog and waiting for the part 2 guys I hehe have a wonderful evening thank you so much.
Making mini reversible bride bouquet crochet for the first time. (Part 2)
@itsrheaa
· 2025-09-15 23:22
· NeedleWorkMonday
#needlework
#crochet
#tutorial
#hivecommunity
#appreciator
#hiveph
#bride
#bouquet
#reversible
Payout: 0.000 HBD
Votes: 296
More interactions (upvote, reblog, reply) coming soon.