Hola mi gente linda de hive, espero estén pasando un viernes increíble y sea un maravilloso cierre de semana para ustedes, el día de hoy les traigo como un nuevo diseño de aretes en crochet, está vez volviendo a incorporar detalles como perlas para darles un toque más lindo y sutil a cada arete, espero les guste, sin más que decir, ¡Vamos con los materiales y el paso a paso! >Hello my lovely hive people, I hope you're having an amazing Friday and that the weekend is a wonderful end for you. Today I'm bringing you a new crochet earring design, this time incorporating details like pearls to give each earring a prettier and more subtle touch. I hope you like it. Without further ado, let's get to the materials and the step-by-step instructions! ____ # Materiales / Materials 🧡✨ Hilo coral / Coral yarn ✨ Aguja número 4 / Size 4 hook ✨ Anzuelos / Hooks ✨ Perlas / Pearls ✨ ____ # Paso 1️⃣ / Step 1️⃣ 🧡✨ Lo primero que haremos será un nudo deslizado, seguidamente haremos 8 cadenas, las cuales vamos a cerrar en la primera cadena con punto deslizado, ahora vamos a pasar la aguja por el dentro de nuestro aro de cadenas, tomamos hebra y haremos puntos bajos, 12 puntos bajos en total, los cuales vamos a cerrar en el primer punto bajo que hicimos, con punto deslizado. 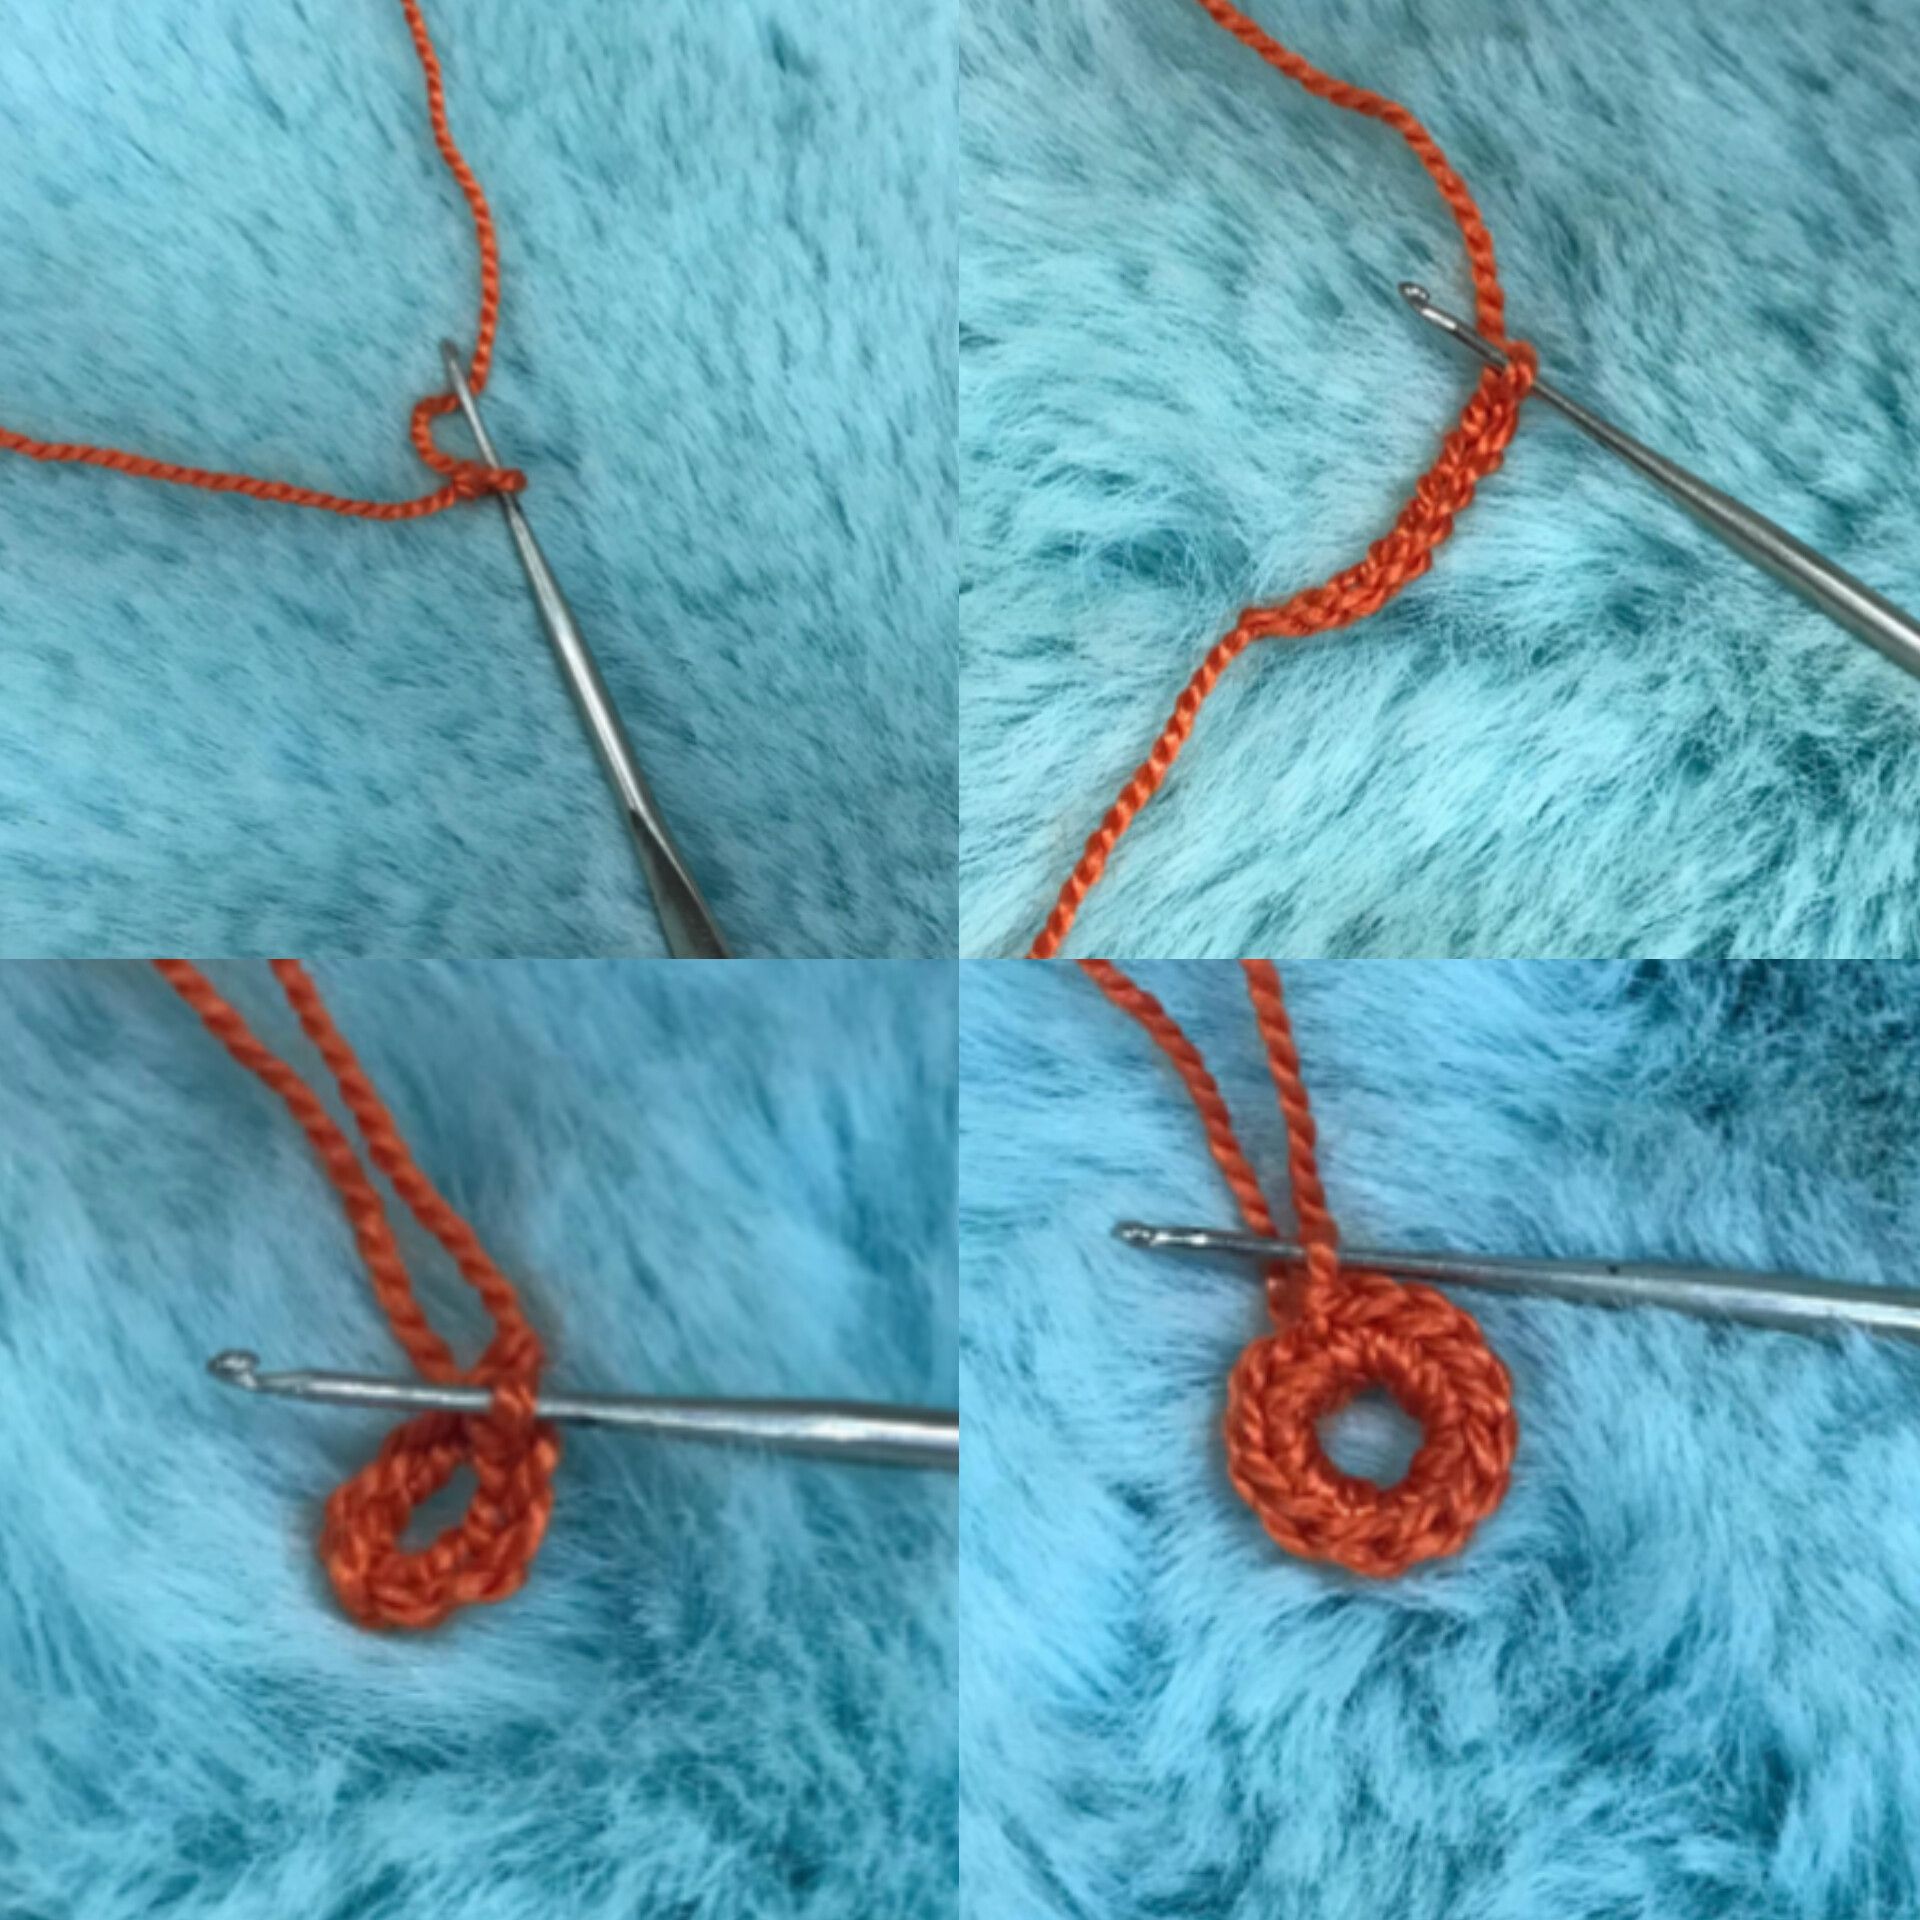 >The first thing we'll do is a slip knot. Then we'll make 8 chains, which we'll close in the first chain with a slip stitch. Now we'll pass the hook through the inside of our chain ring. We'll take a yarn and make single crochet stitches, 12 single crochet stitches in total, which we'll close in the first single crochet we made with a slip stitch. ____ # Paso 2️⃣ / Step 2️⃣ 🧡✨ Ahora vamos a levantar 2 cadenas y en el mismo lugar donde hicimos el cierre haremos 5 puntos altos, las 2 cadenas del comienzo serán contadas como punto alto, es decir, tendríamos un total de 6 puntos altos, ahora vamos a retirar la aguja, sacamos un poco de hebra y nos vamos a ubicar en la segunda cadena que hicimos al comienzo, meteremos la aguja ahí y vamos a tomar le habrá y pasarla por ese espacio, para cerrar nuestro primer diseño, ajustamos bien y procedemos a levantar 3 cadenas, enlazamos y ahora vamos a saltarnos un punto de la vuelta anterior y en el siguiente repetiremos la misma secuencia, 6 puntos altos, cerramos y subimos 3 cadenas, así sucesivamente hasta completar 6 diseños, al llegar al final levantaremos las 3 cadenas y la cerraremos en el centro del primer diseño con punto deslizado. 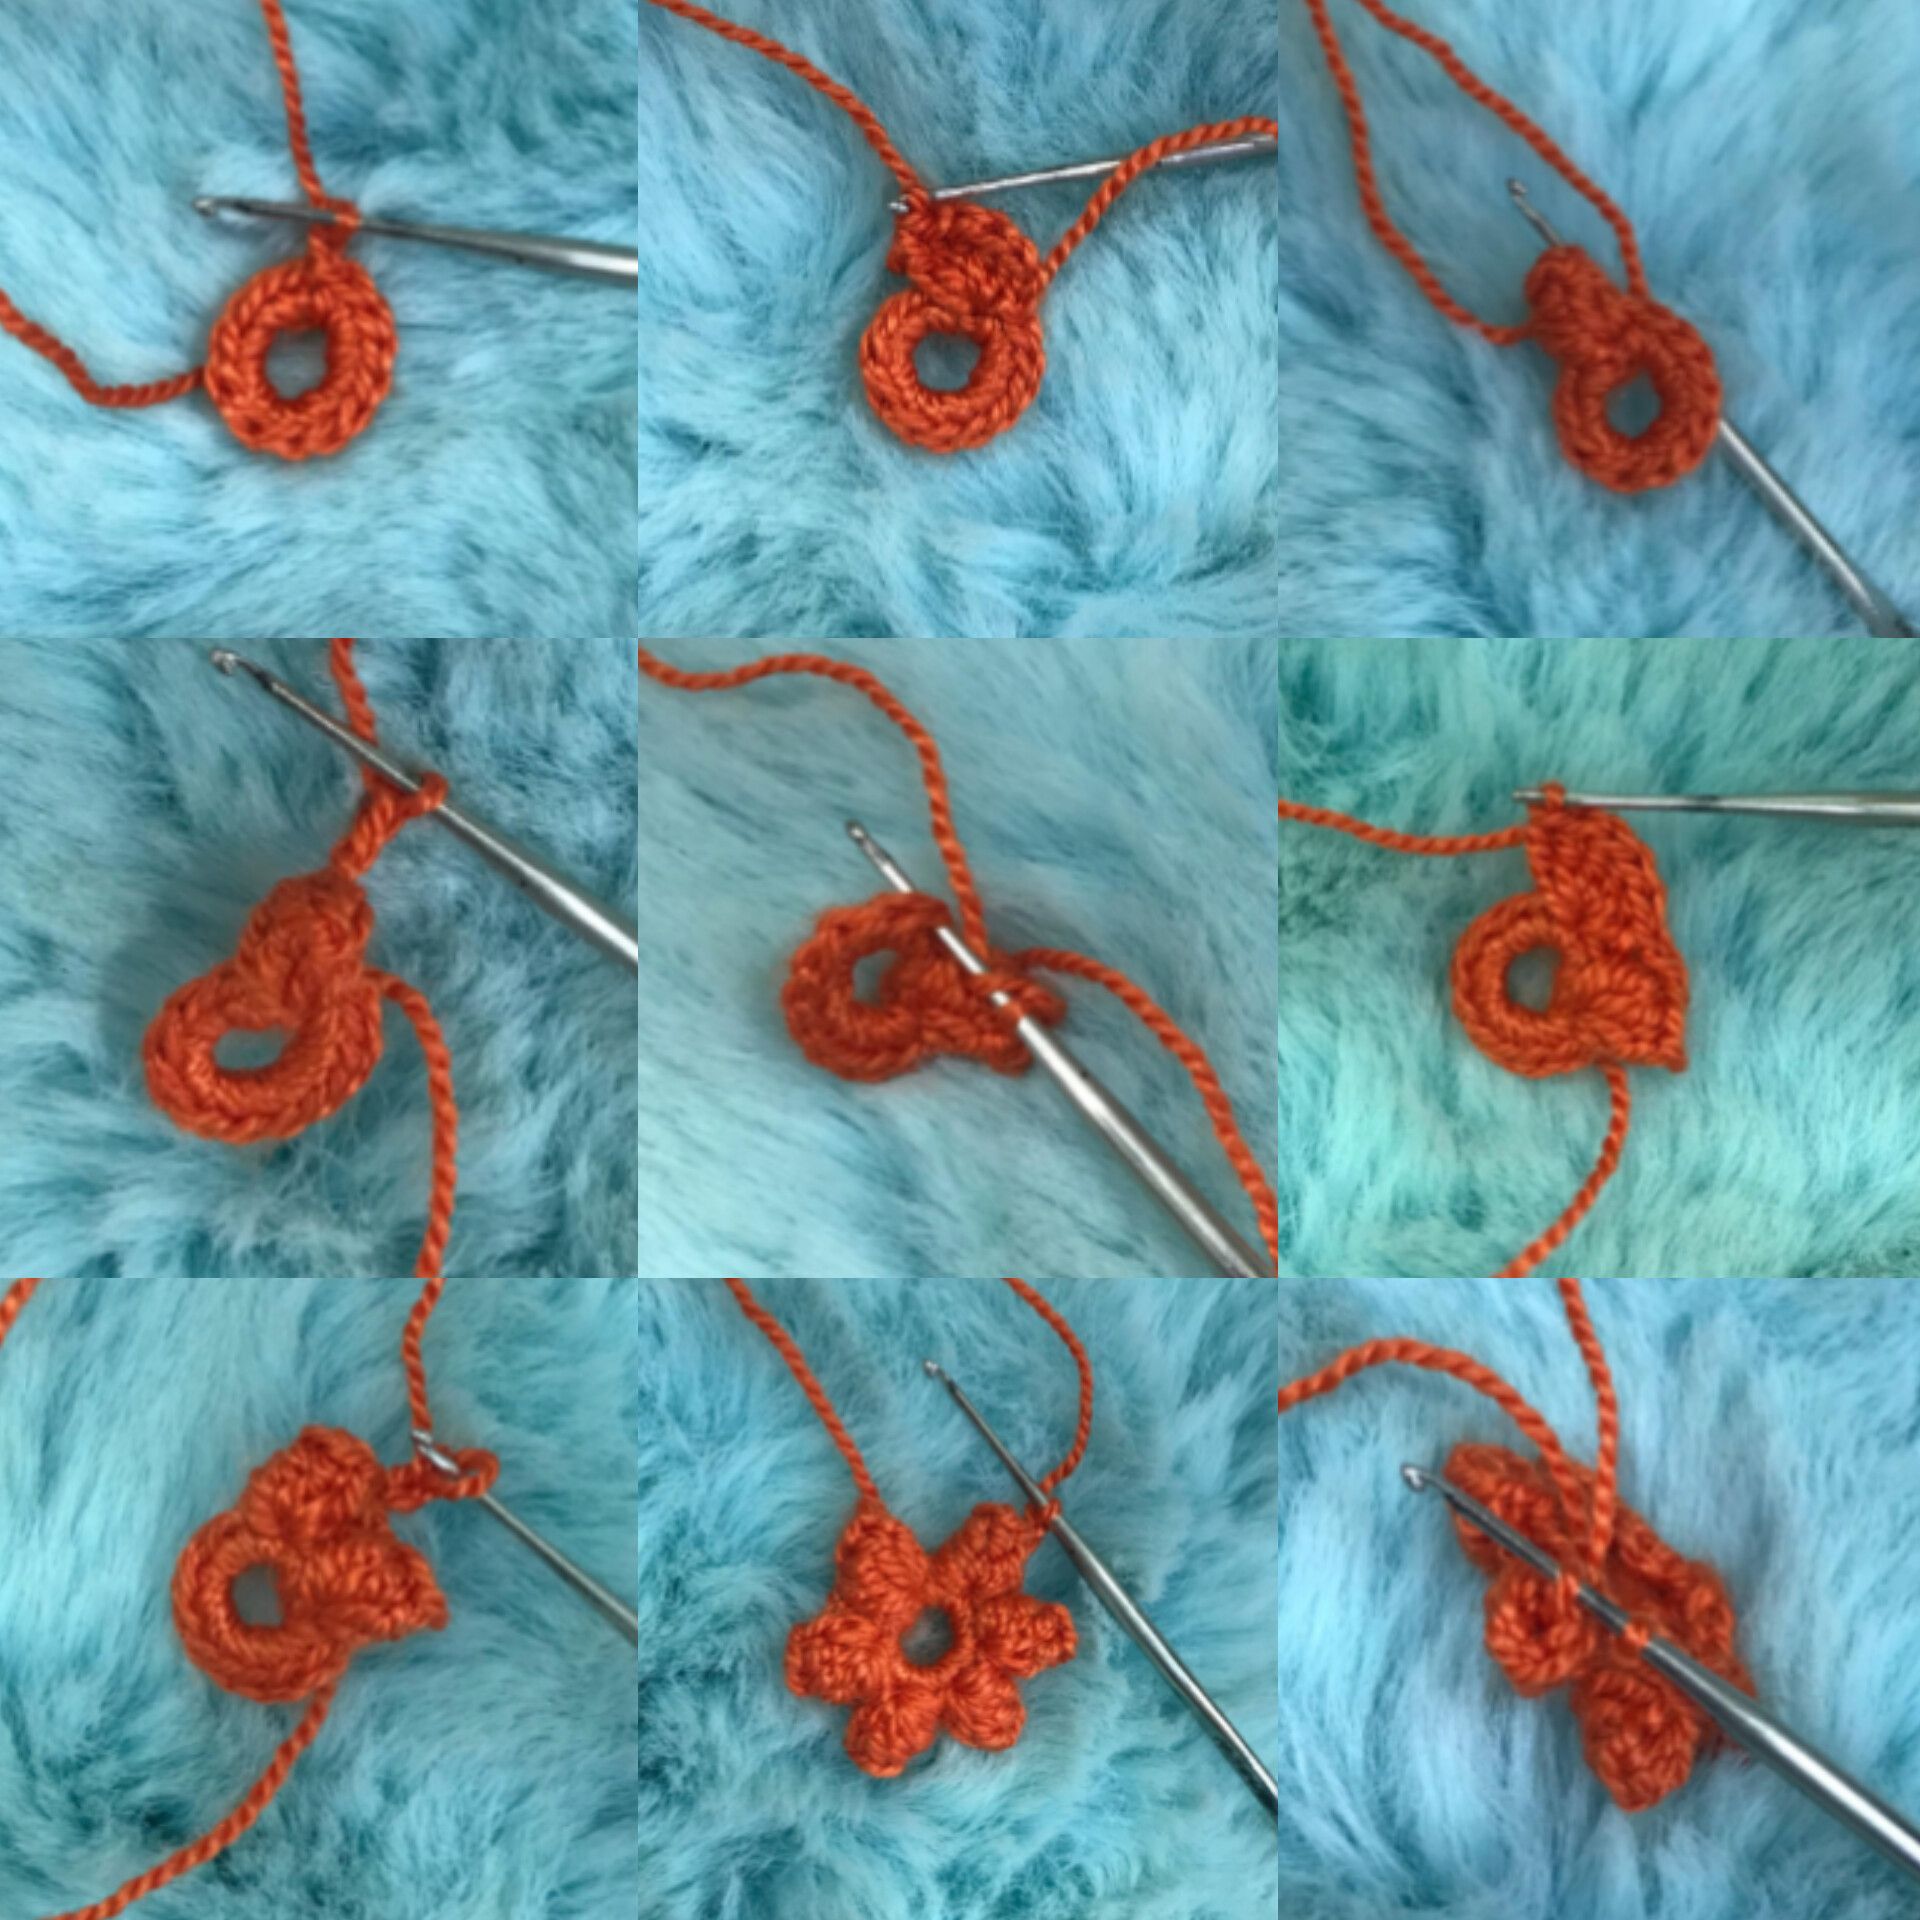 >Now we're going to pick up 2 chains and in the same place where we cast off, we'll make 5 double crochets. The 2 chains from the beginning will count as double crochets, meaning we'll have a total of 6 double crochets. Now we're going to remove the needle, take out a bit of yarn, and position ourselves on the second chain we made at the beginning. We'll insert the needle there and take the chain and pass it through that space. To close our first design, we adjust it well and proceed to pick up 3 chains, link, and now we're going to skip a stitch from the previous row. On the next row, we'll repeat the same sequence: 6 double crochets, cast off, and raise 3 chains, and so on until we've completed 6 designs. When we reach the end, we'll pick up the 3 chains and close them in the center of the first design with a slip stitch. ____ # Paso 3️⃣ / Step 3️⃣ 🧡✨ Ahora vamos a entrar en el espacio de las 3 cadenas con un punto bajo, enlazamos y haremos 2 puntos medio altos, enlazamos nuevamente y en el mismo lugar hacemos 2 puntos altos y volvemos a repetir los 2 puntos medio altos y cerramos con el punto bajo, pasamos a siguiente diseño en el centro con punto deslizado, ahora entramos en las 3 cadenas y repetimos exactamente lo mismo que en las primeras 3 cadenas, 1 punto bajo, 2 puntos medio altos, 2 puntos altos, 2 puntos medio altos y 1 punto bajo, así sucesivamente hasta completar todos los espacios, al llegar al final vamos a ubicar donde comenzamos y cerraremos la vuelta con punto deslizado. 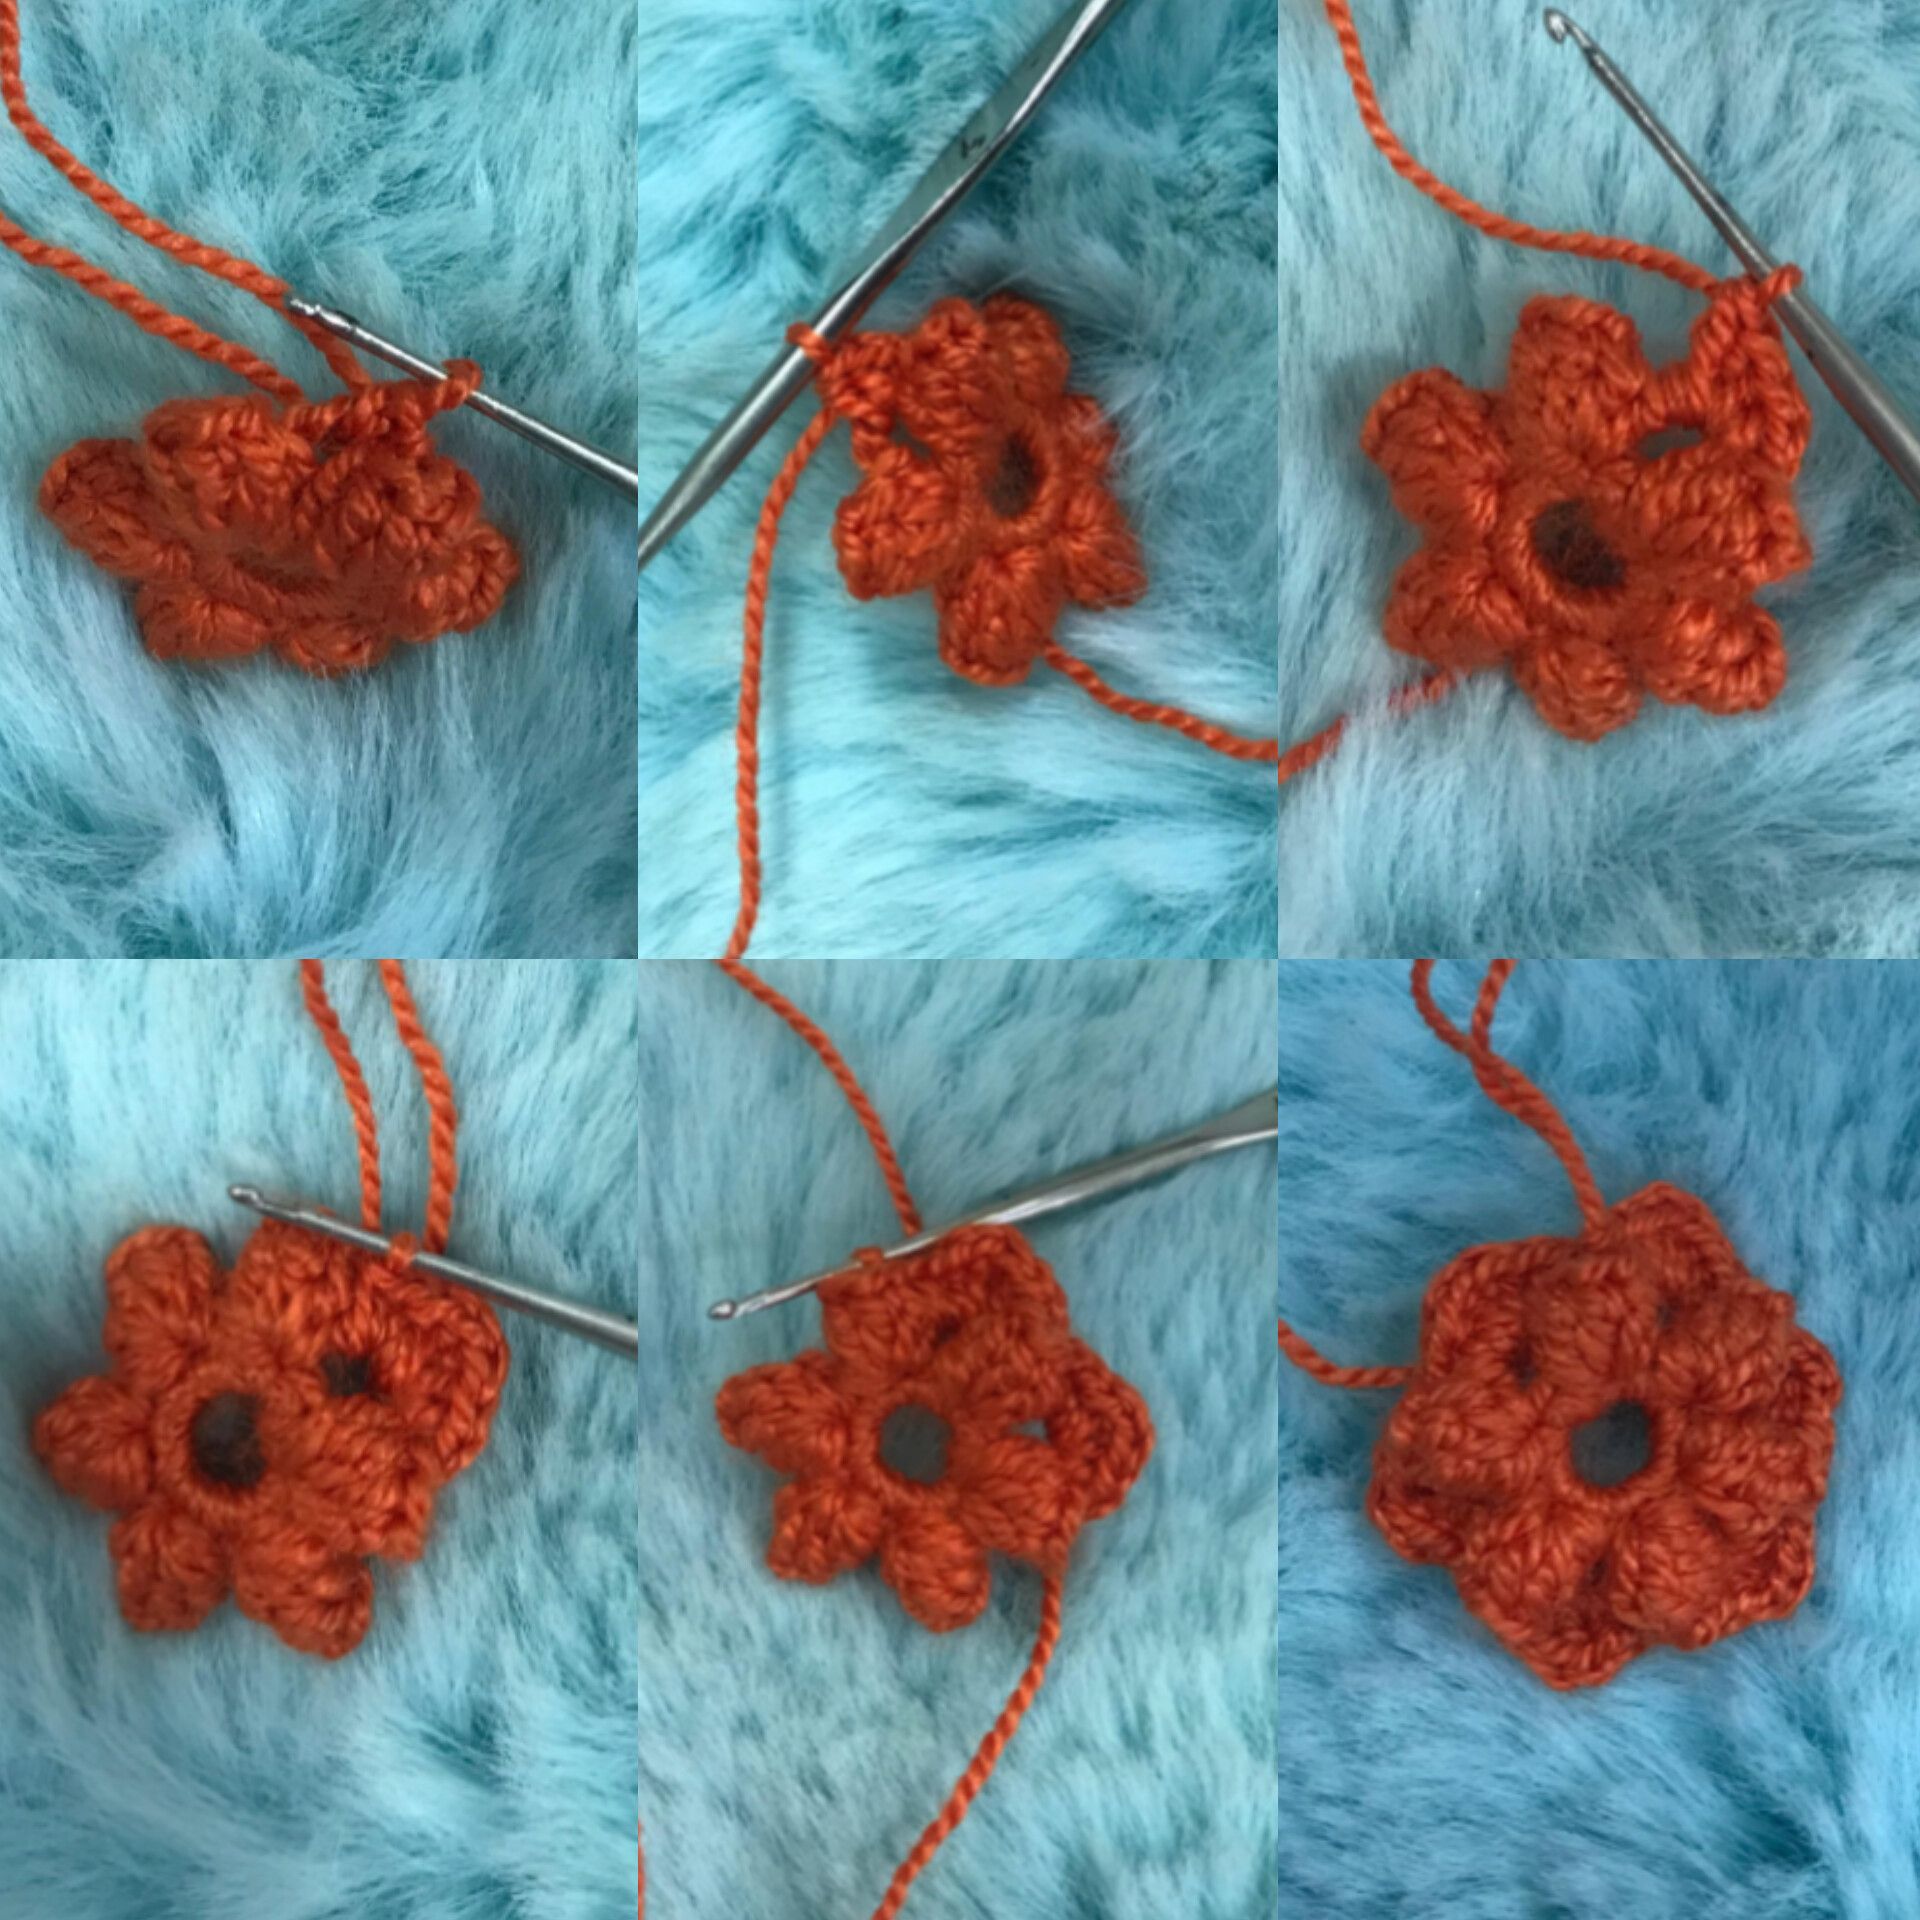 >Now we'll enter the 3 chain space with a single crochet, link and make 2 half double crochets, link again and in the same place make 2 double crochets and repeat the 2 half double crochets and close with the single crochet. Move on to the next design in the center with a slip stitch. Now we enter the 3 chains and repeat exactly the same as in the first 3 chains: 1 single crochet, 2 half double crochets, 2 double crochets, 2 half double crochets, and 1 single crochet. So on until all the spaces are completed. When we reach the end, we'll locate where we started and close the row with a slip stitch. ____ # Paso 4️⃣ / Step 4️⃣ 🧡✨ Ahora vamos por los pasos finales que es poner la perla y los anzuelos, vamos a sacar un poco de la hebra y vamos a tomar nuestra aguja, la vamos a pasar por el centro de la perla y vamos a tomar la hebra para pasarla por la perla, estando ya la perla ubicada vamos a proceder a abrir la argolla del anzuelo, para pasarlo dentro de las hebras y ajustarlo nuevamente, cortamos suficiente hebra, tiramos de ella hasta que ya queden la argolla y el anzuelo presionados y bien ubicados, le damos la vuelta al tejido, tomamos la aguja lanera y vamos a esconder la hebra ajustando muy bien para que no se suelte la perla y el anzuelo, cortamos el sobrante de hilo y listo, así es como quedan nuestros lindos aretes en crochet ✨ 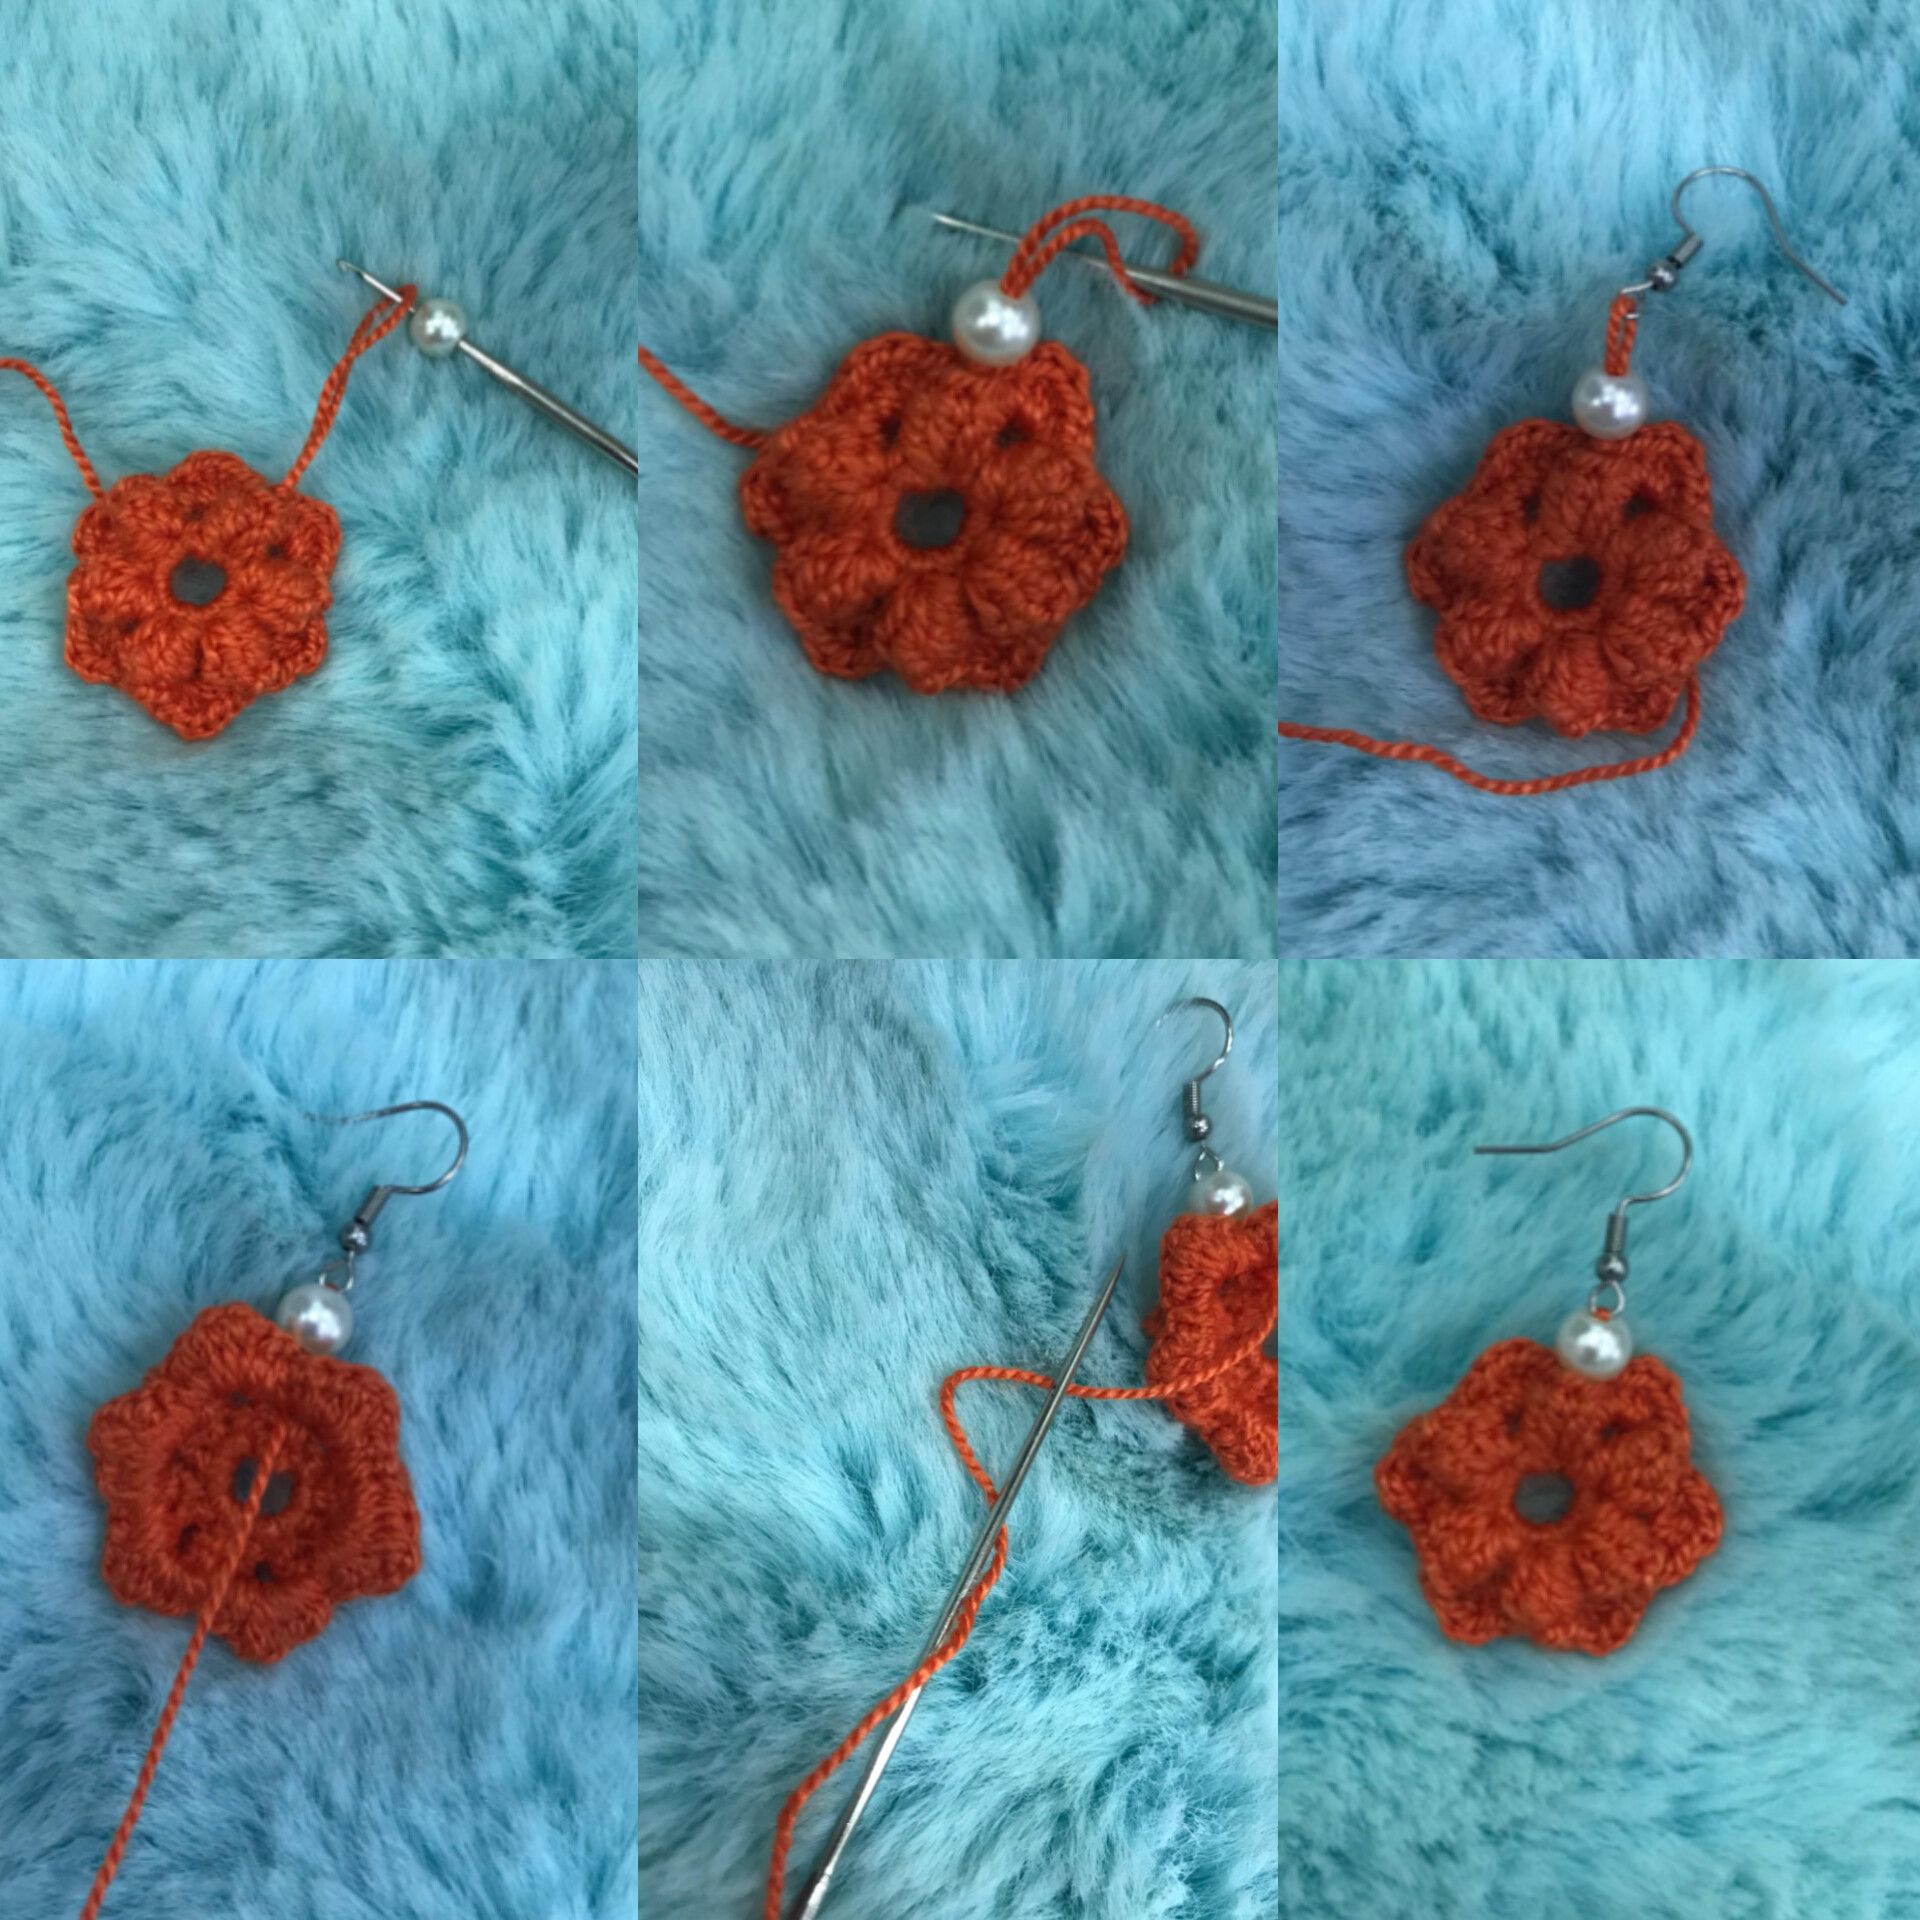 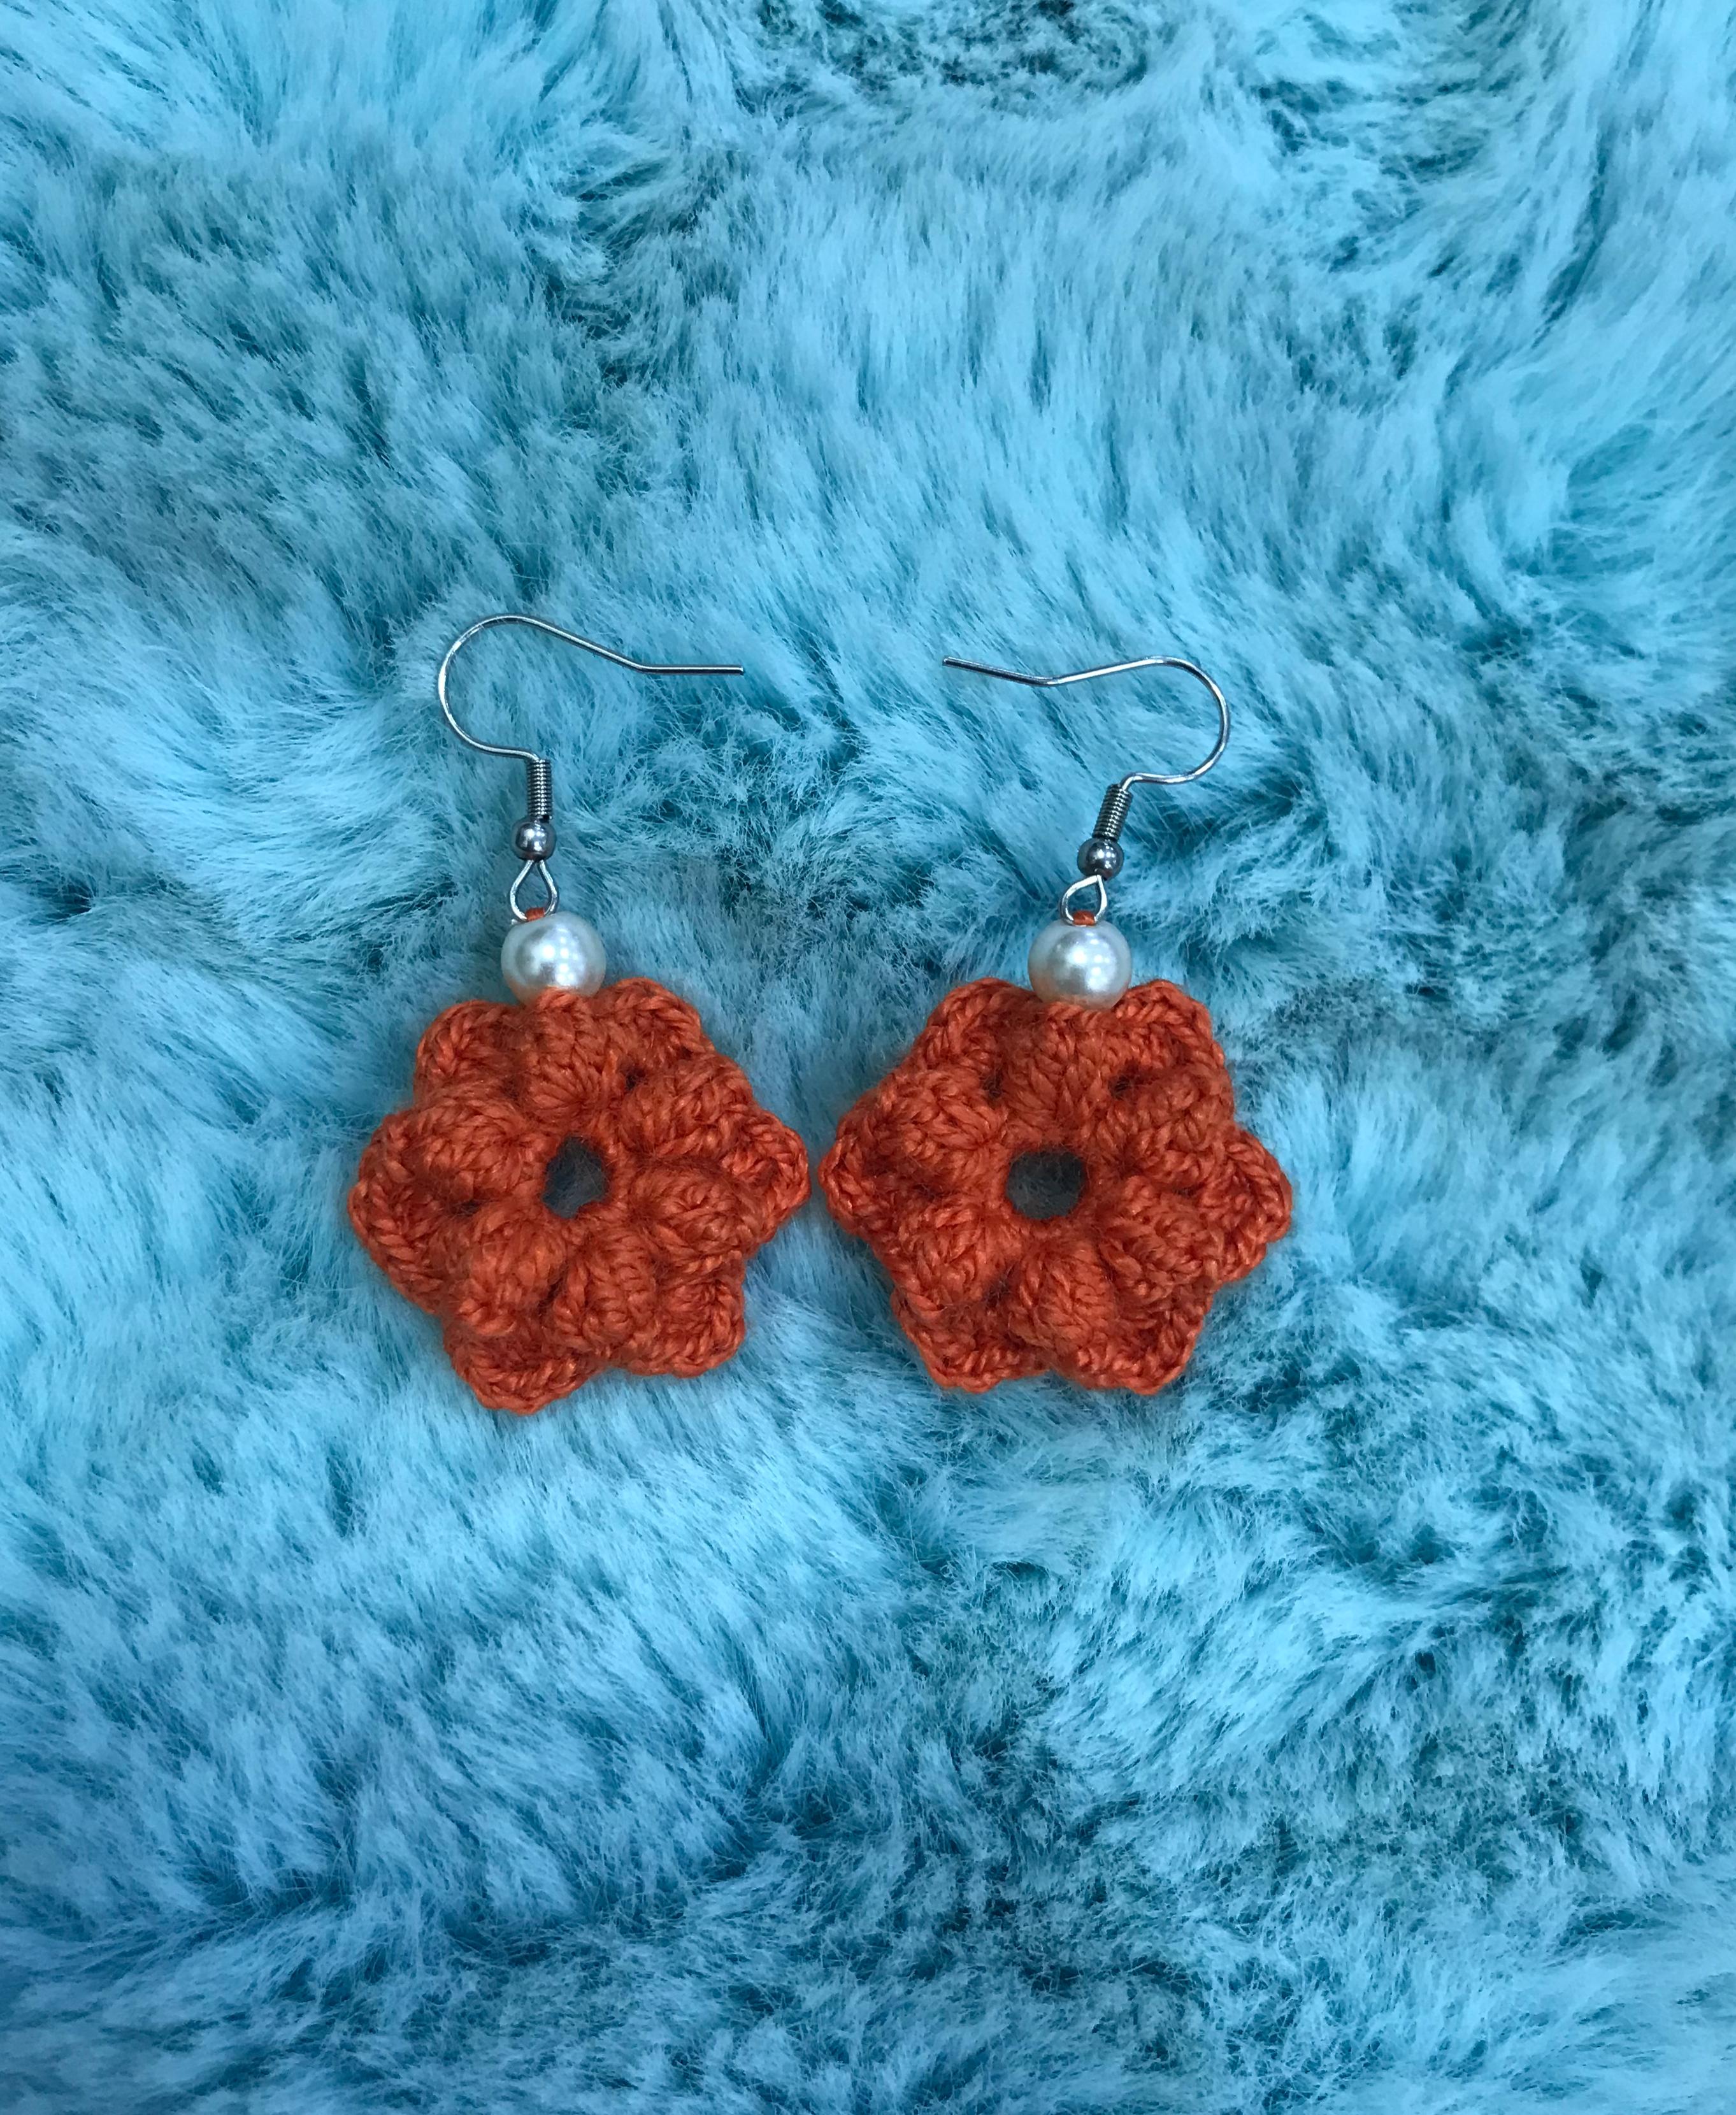 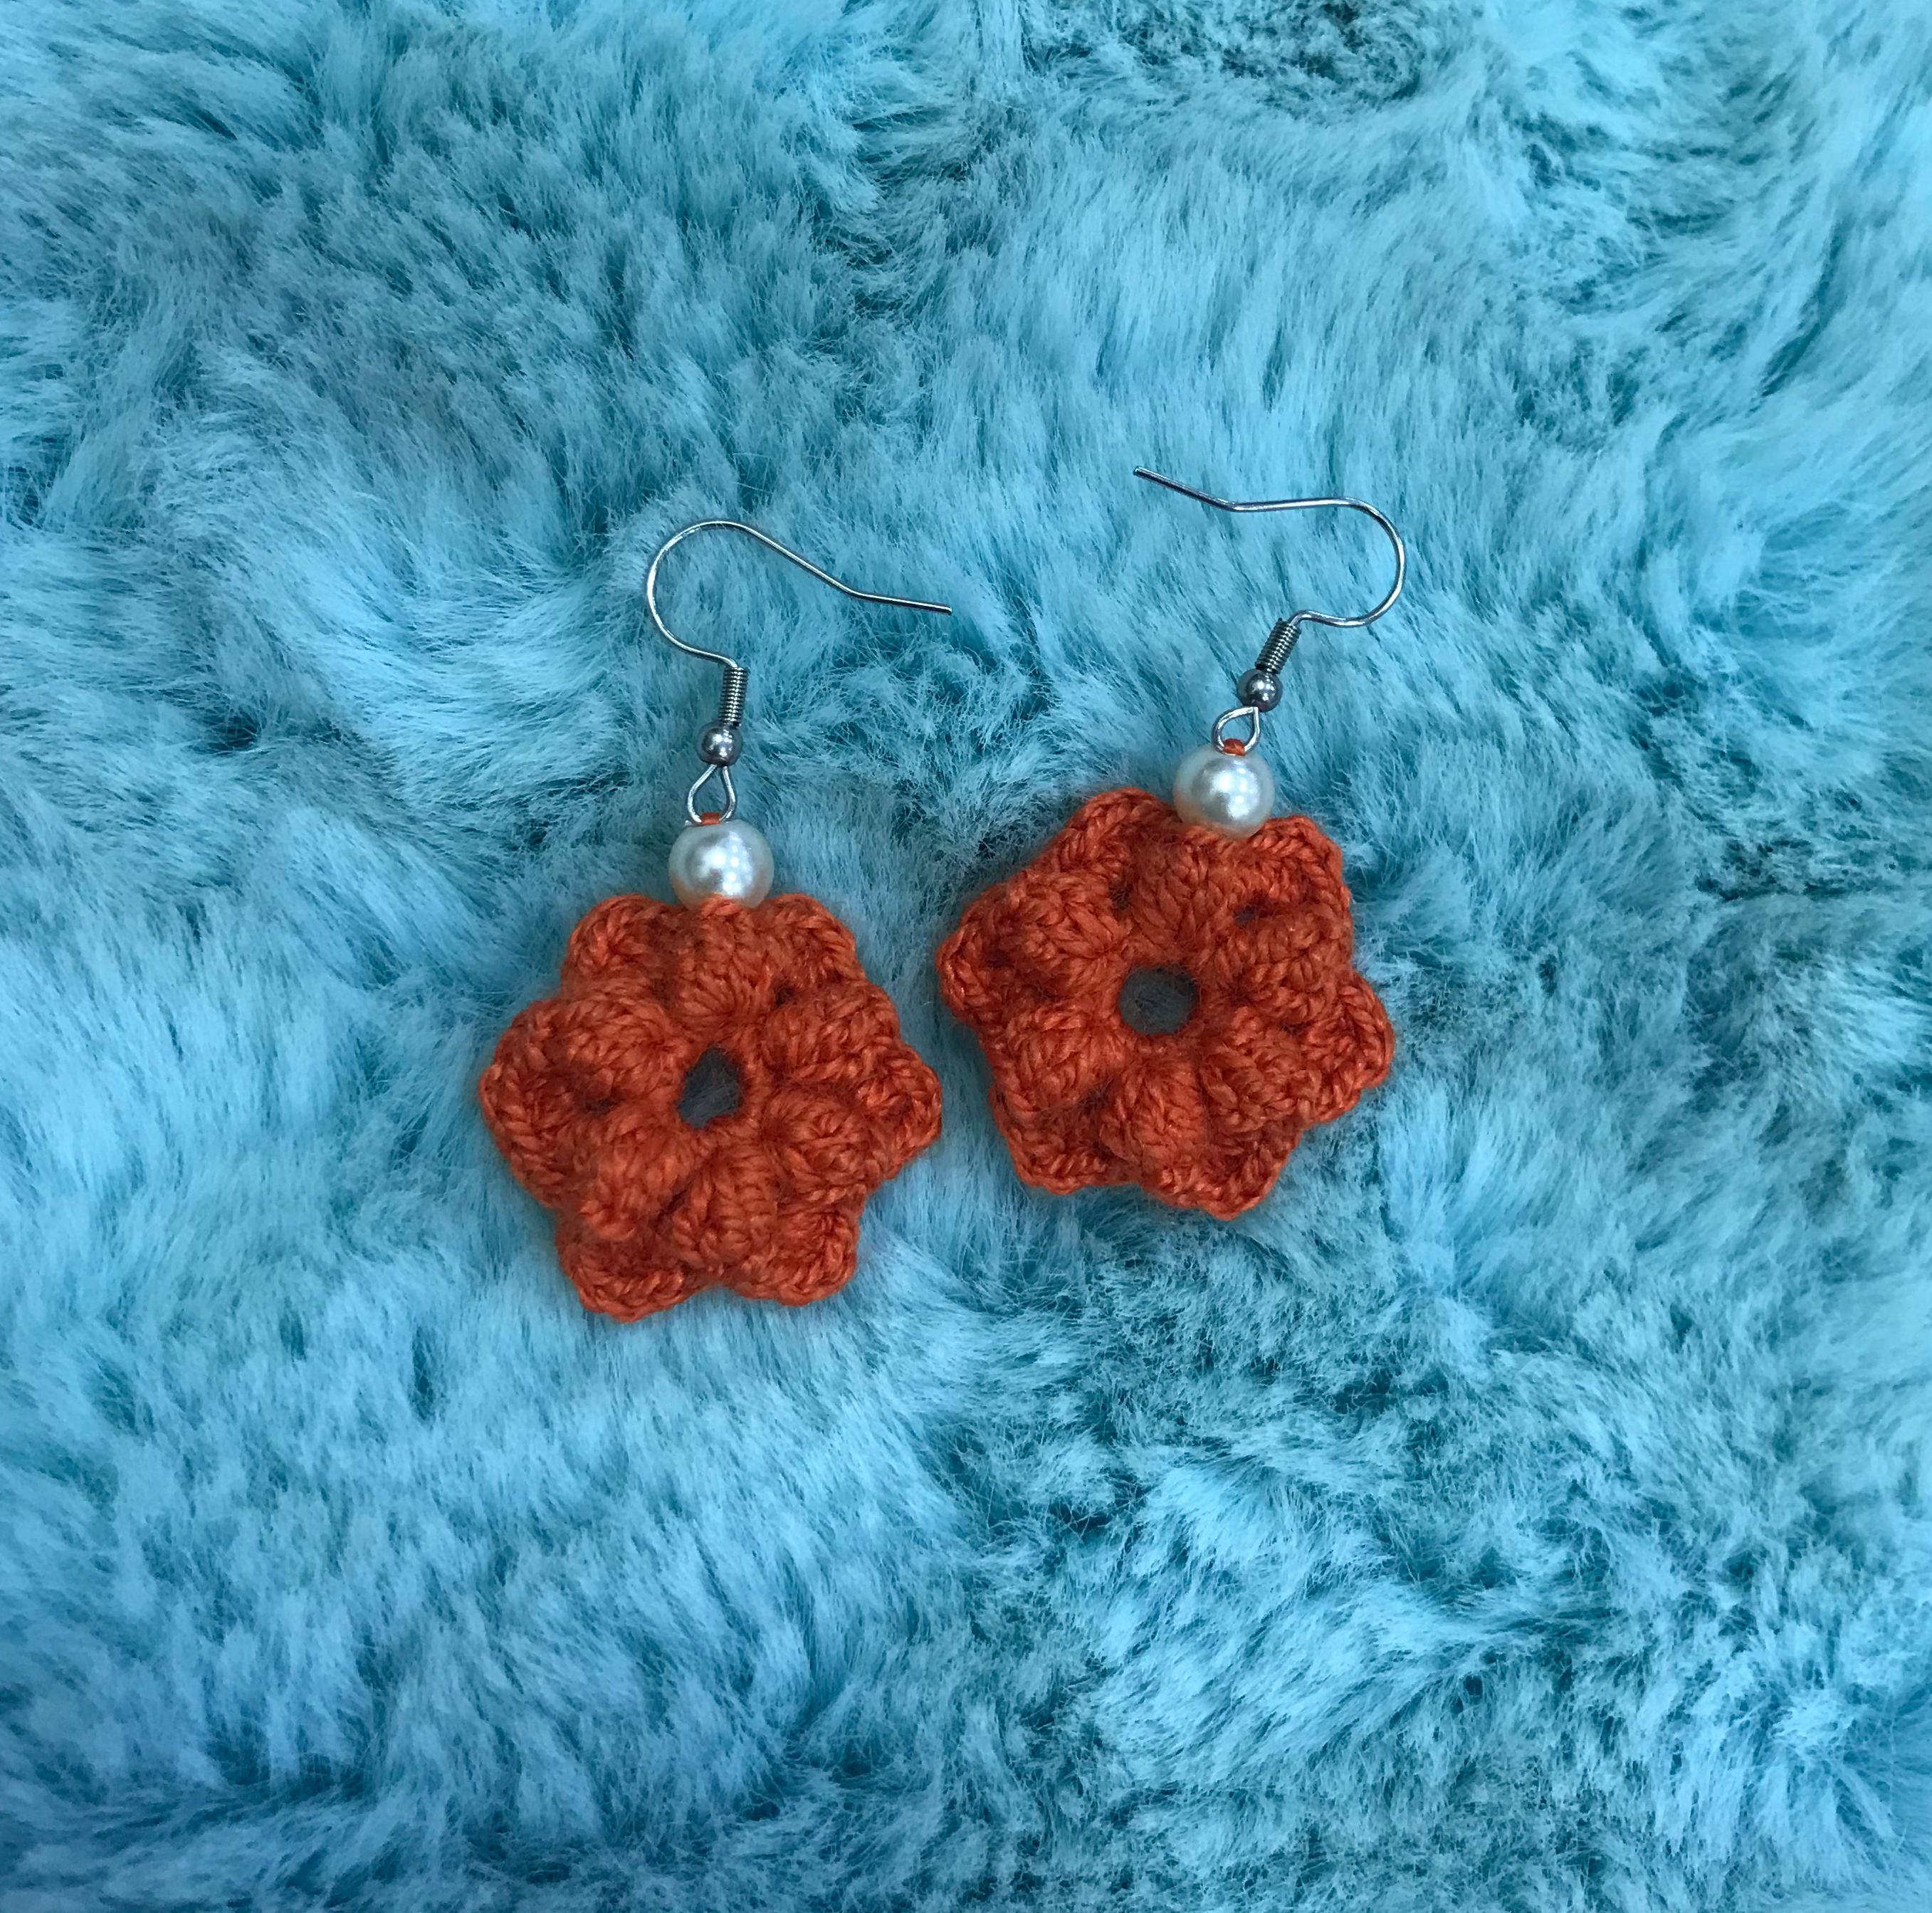 >Now we move on to the final steps, which is to attach the pearl and the hooks. We'll take out a bit of the thread and take our needle, pass it through the center of the pearl, and then take the thread to thread it through the pearl. Once the pearl is in place, we'll open the loop of the hook to pass it through the threads and tighten it again. We'll cut enough thread and pull it until the loop and hook are pressed and properly positioned. We turn the fabric over, take the yarn needle, and hide the thread, adjusting it very well so that the pearl and hook don't come loose. We cut off the excess thread, and that's it! This is how our beautiful crochet earrings look ✨ Espero les haya gustado, como siempre no está de más repetirlo, agradezco enormemente su apoyo y sus lindos comentarios siempre, les mando un fuerte abrazo 💕 ✨ >I hope you liked it. As always, it doesn't hurt to repeat it. I greatly appreciate your support and your kind comments. I send you a big hug 💕 ✨