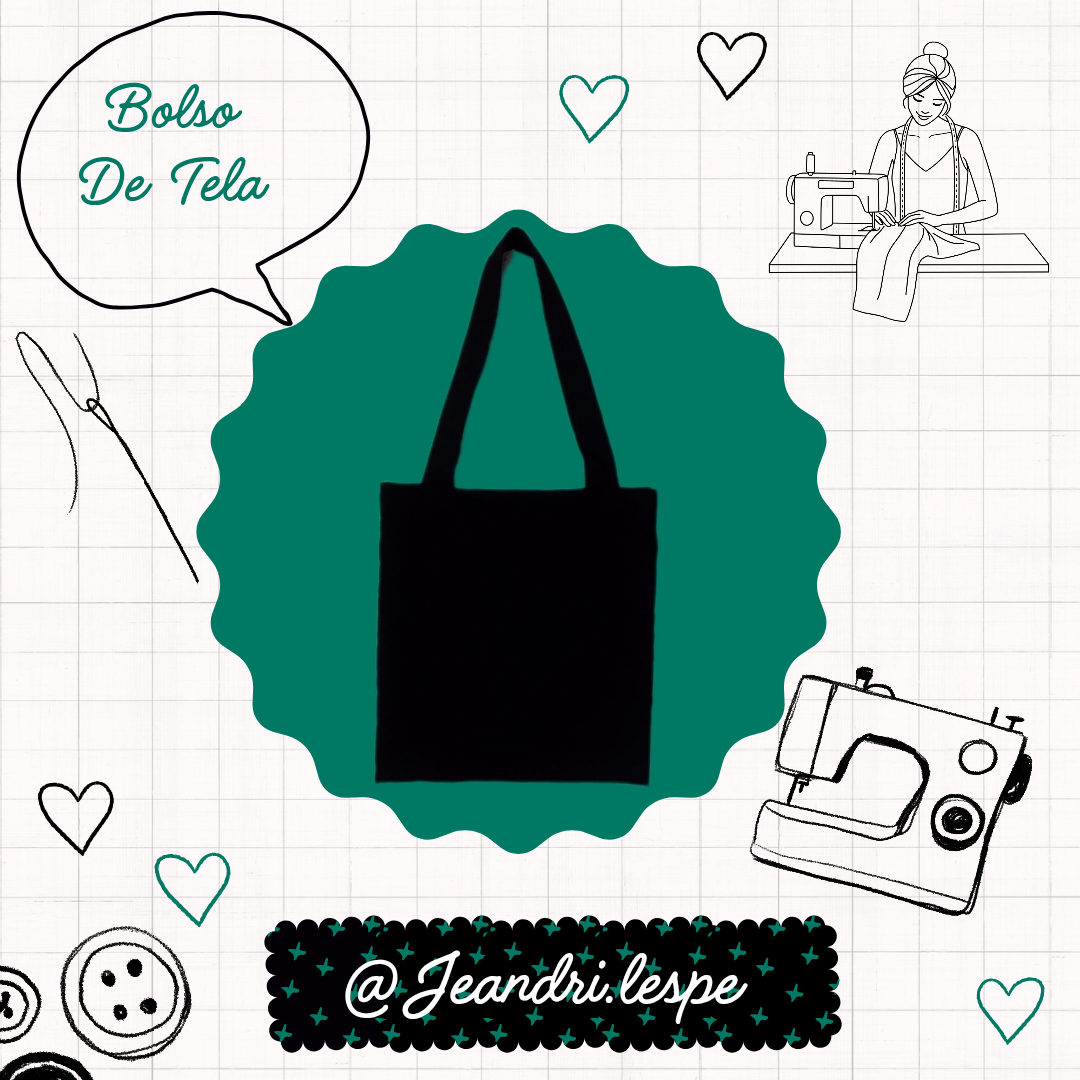
Hola mi gente linda de hive, me da mucho gusto volver por acá, ya que como les comenté en el post pasado, que aparte de restaurar la ropa de mi closet, me encantaría poder traerles cosas que elabore desde cero y está vez hice un bolso de tela, bastante sencillo pero con el suficiente espacio como para llevar nuestras cosas básicas al salir, súper cómodo y con unas tiras bastante gruesas que da mayor comodidad aún, siendo muy honesta con ustedes, el bolso llevaba un bolsillo (el cual sería de muestra, ya que, el bolsillo real es uno de un diseño que borde y que espero pronto compartir con ustedes) sin embargo, la máquina me comenzó a fallar y ya no quiso coser más 😞 pero dije que eso no sería impedimento, porque igual sin bolsillo es un bolso bastante útil, así que, espero les guste, sin más que decir, ¡Vamos con los materiales y el paso a paso! >Hello my lovely people of hive, I'm very happy to be back here, because as I mentioned in the last post, aside from restoring the clothes in my closet, I'd love to be able to bring you things I've made from scratch and this time I made a fabric bag, quite simple but with enough space to carry our basic things when we go out, super comfortable and with some fairly thick straps that make it even more comfortable. To be very honest with you, the bag had a pocket (which would be a sample, since the actual pocket is one of a design I embroidered and that I hope to share with you soon). However, the machine started to fail me and wouldn't sew anymore 😞 but I said that wouldn't be an impediment, because even without a pocket it's a quite useful bag, so, I hope you like it, without further ado, let's get to the materials and the step-by-step! ____ # Materiales / Materials 💚🖤 Tela rígida / Stiff fabric ✨ Máquina de coser / Sewing machine ✨ Aguja número 12 / Size 12 needle ✨ Alfileres / Pins ✨ Cinta métrica / Tape measure ✨ Tiza para marcar / Chalk for marking ✨ Tijera / Scissors ✨ ____ # Paso 1️⃣ / Step 1️⃣ 💚🖤 Lo primero que haremos será tomar las medidas de nuestro bolso en la tela, yo decidí hacerlo de 30 centímetros por cada lado, sin embargo deje por los costados 2 centímetros, ya que está es una tela que por los bordes tiende a irse saliendo el hilo, pero con 1 centímetro es suficiente, en la parte de la abertura deje 5 centímetros extras para poder hacer el ruedo, cortamos y vamos a comenzar cociendo ambos costados, luego tomaremos la punta de la parte de abajo y le vamos a cortar ese piquito, para que al voltear el bolso no se nos doble en ese lado, ahora vamos a proceder a hacerle un borde con costura zigzag para que a la tela no se le salgan los hilos y evitar que se nos dañe el bolso.  >The first thing we'll do is take the measurements of our bag on the fabric. I decided to make it 30 centimeters on each side, however, I left 2 centimeters on the sides, since this is a fabric that tends to have threads sticking out at the edges, but 1 centimeter is enough. At the opening, I left an extra 5 centimeters to make the hem. Cut and start by sewing both sides. Then, we'll take the tip at the bottom and cut that little corner so that when we turn the bag over, it doesn't bend on that side. Now, we'll proceed to sew an edge with a zigzag stitch so that the threads don't come out of the fabric and prevent damage to the bag. ____ # Paso 2️⃣ / Step 2️⃣ 💚🖤 Ahora vamos a coser la parte de arriba, a la cual primero le haremos un pequeño ruedo de medio centímetro aproximadamente, después de haber hecho el ruedo, ahora sí vamos a doblar hasta donde ya habíamos previamente marcado y ahora sí cosemos nuestro dobladillo.  >Now we're going to sew the top. We'll first make a small hem of about half a centimeter. After making the hem, we'll fold it to where we previously marked it and sew our hem. ____ # Paso 3️⃣ / Step 3️⃣ 💚🖤 Ahora haremos las tiras de nuestro bolso, para ello vamos a cortar dos tiras con 10 centímetros de ancho y 65 centímetros de largo, cortamos y ahora vamos a hacerle un dobladillo de un centímetro de cada lado (si tienen plancha para asegurar los dobladillos es mucho más fácil, si no, lo pueden hacer con alfileres tal como hice yo) luego de tener los dobladillos listos vamos a doblar la tira a la mitad y vamos a coser por todo el borde, ya cocidas las vamos a incorporar a nuestro bolso, meditemos 5 centímetros de cada lado desde los bordes y procedemos a coser las tiras, haremos una costura rectangular y adentro del rectángulo vamos a reforzar con una costura en X, hacemos exactamente lo mismo con la otra tira y así es como queda listo nuestro bolso ✨  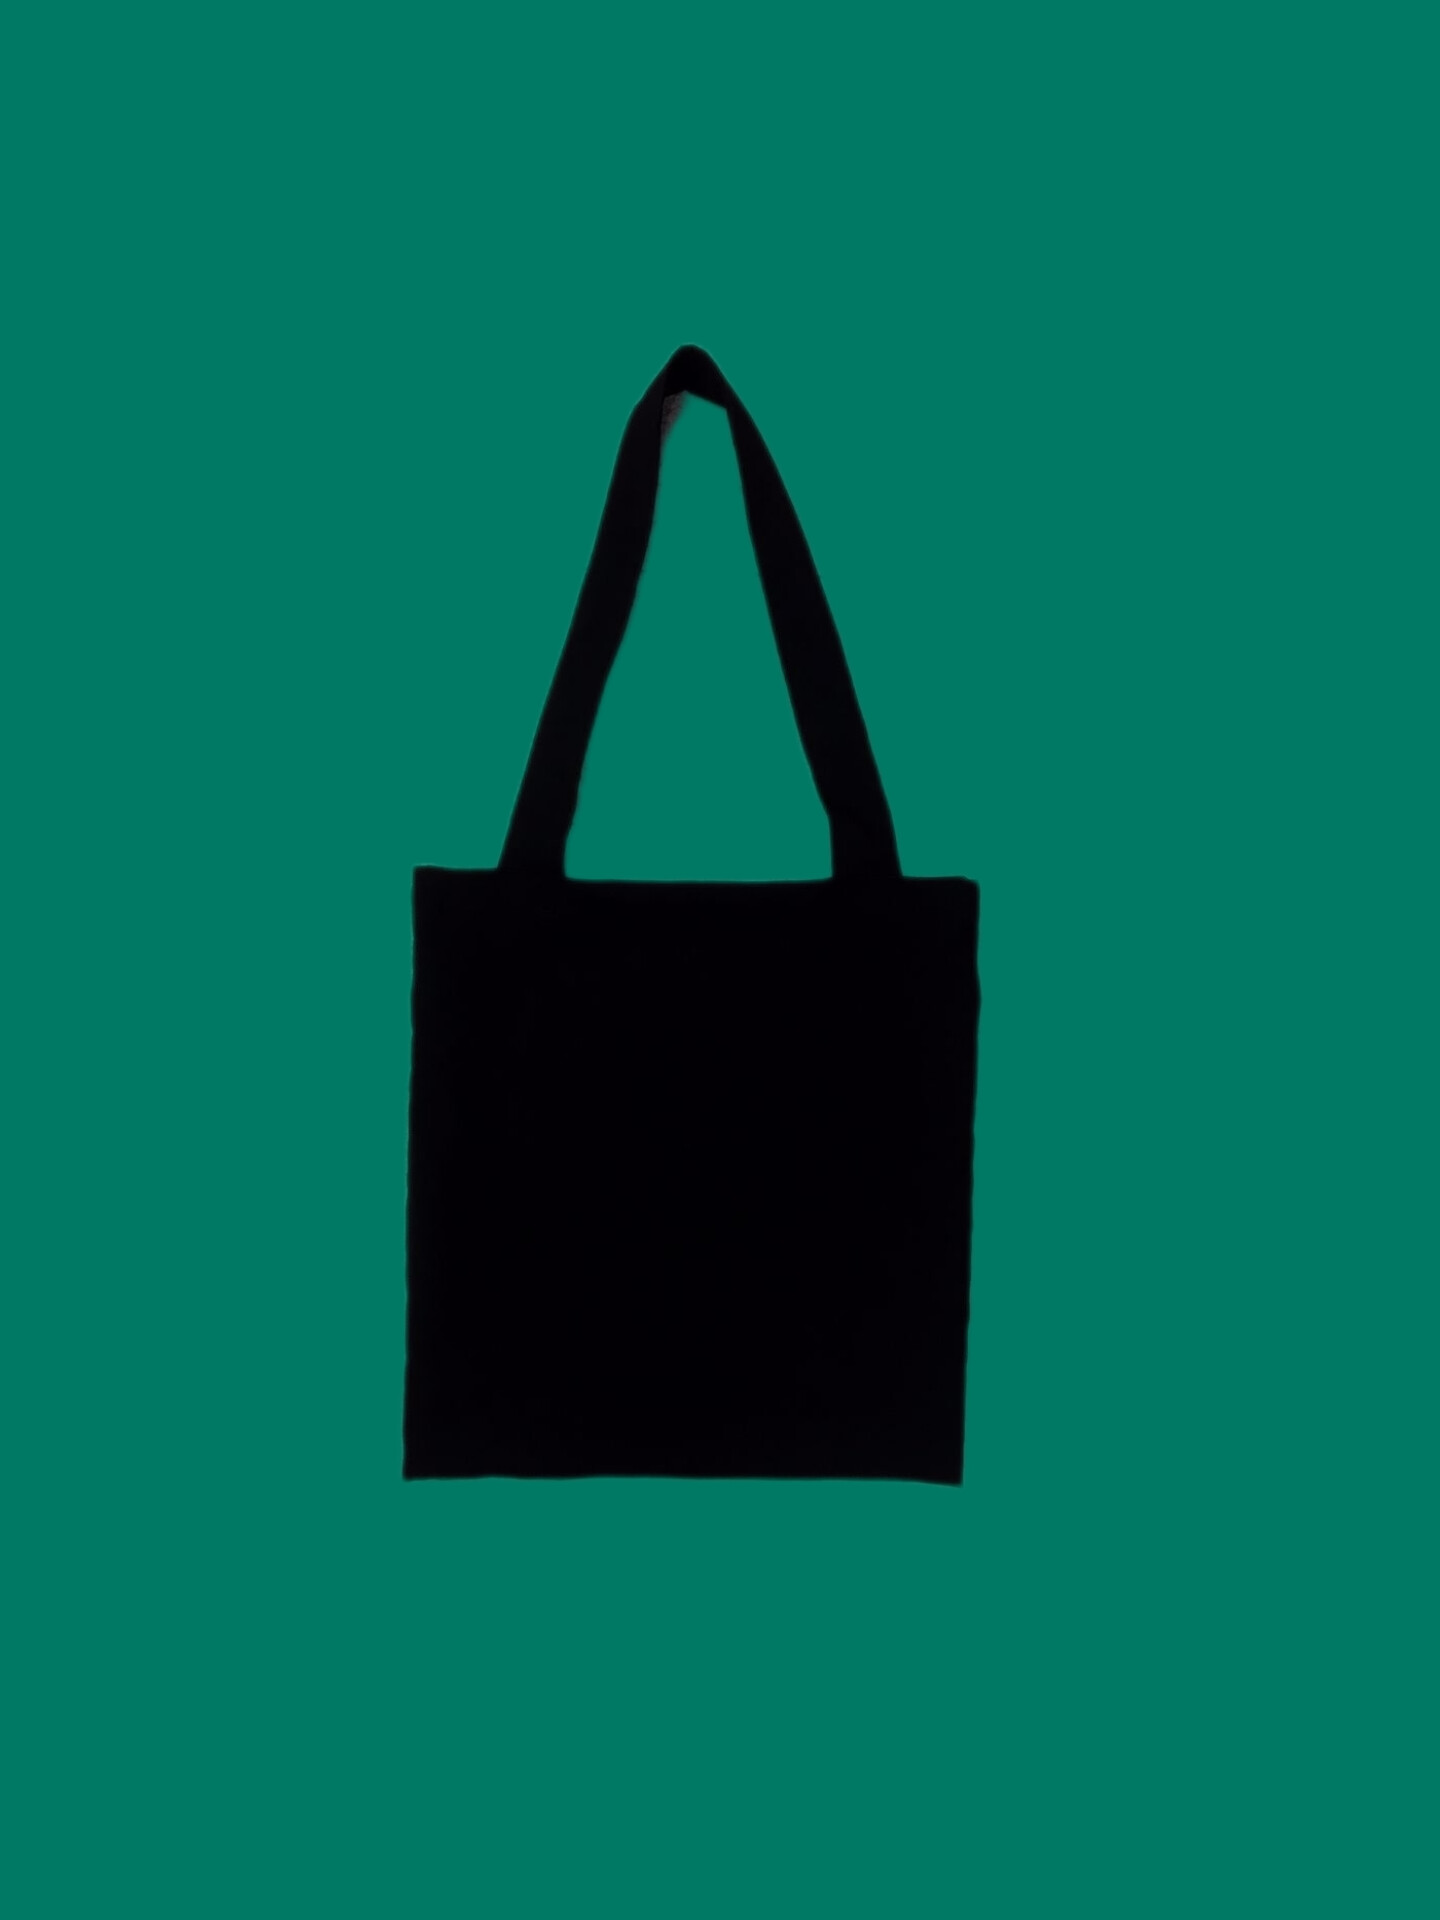 >Now we will make the straps for our bag. To do this, we will cut two strips 10 centimeters wide and 65 centimeters long. We cut them and now we will hem them one centimeter on each side (if you have an iron to secure the hems, it is much easier; if not, you can do it with pins just like I did). After having the hems ready, we will fold the strip in half and sew along the entire edge. Once sewn, we will incorporate them into our bag. We will measure 5 centimeters on each side from the edges and proceed to sew the strips. We will make a rectangular seam and inside the rectangle, we will reinforce it with an X-shaped seam. We do exactly the same with the other strip, and that's how our bag is ready ✨ Espero les haya gustado y pronto mostrarles el lindo bolsillo que realice con un bordado, ya que es un regalo para una amiga, muchísimas Gracias por llegar hasta aquí y por su lindo apoyo siempre, les mando un fuerte abrazo 💕✨ >I hope you liked it and will soon show you the cute pocket I made with embroidery, since it is a gift for a friend. Thank you so much for getting here and for your always nice support. I send you a big hug. 💕✨