 Hola hivers. En esta ocasión inicio en esta hermosa comunidad de Papel creativo para presentarles uno de mis mayores hobbies, el arte con papel a través del origami 3D, el cual me apasiona desde hace más de 15 años.
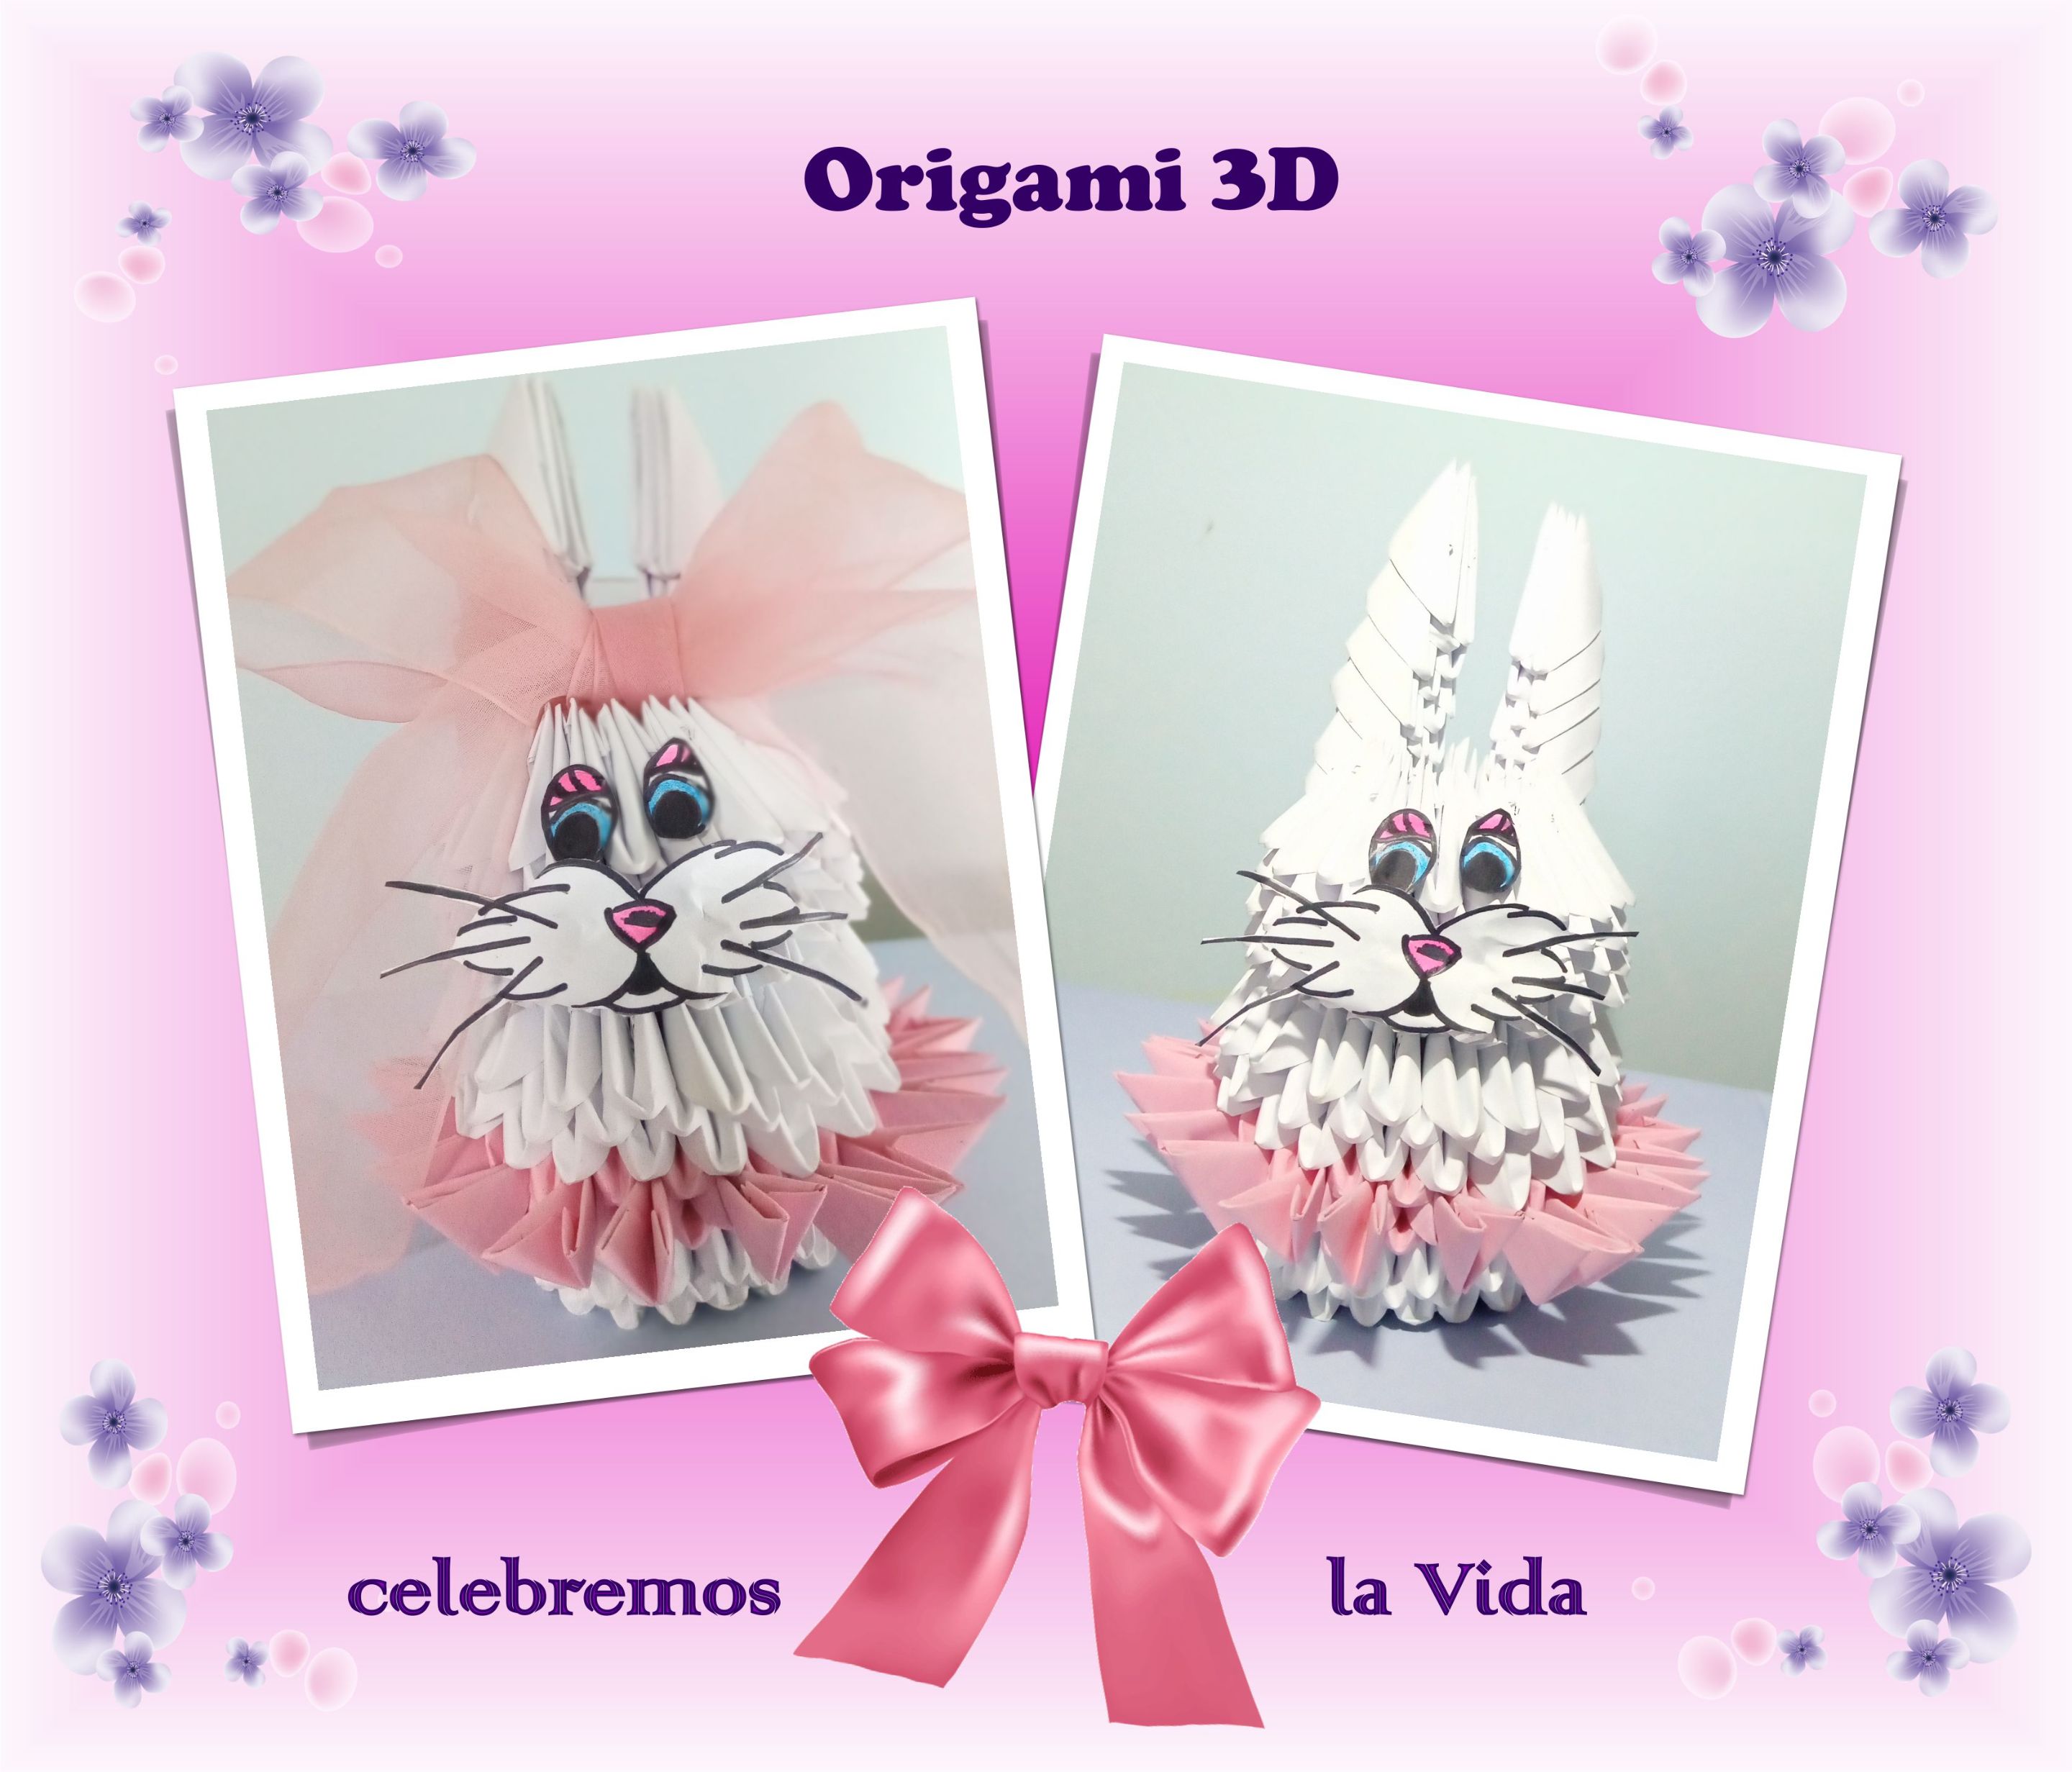
Aprovecho la iniciativa de esta comunidad en este mes de Octubre, que tiene como centro el Día Mundial del Cancer de Mama para mostrarles esta pieza creada manualmente con papel blanco y rosado. Es muy sencilla de hacer. Solo hay que tener paciencia para armarla.
━━━━━━ 🌸🌷🌸 ━━━━━━
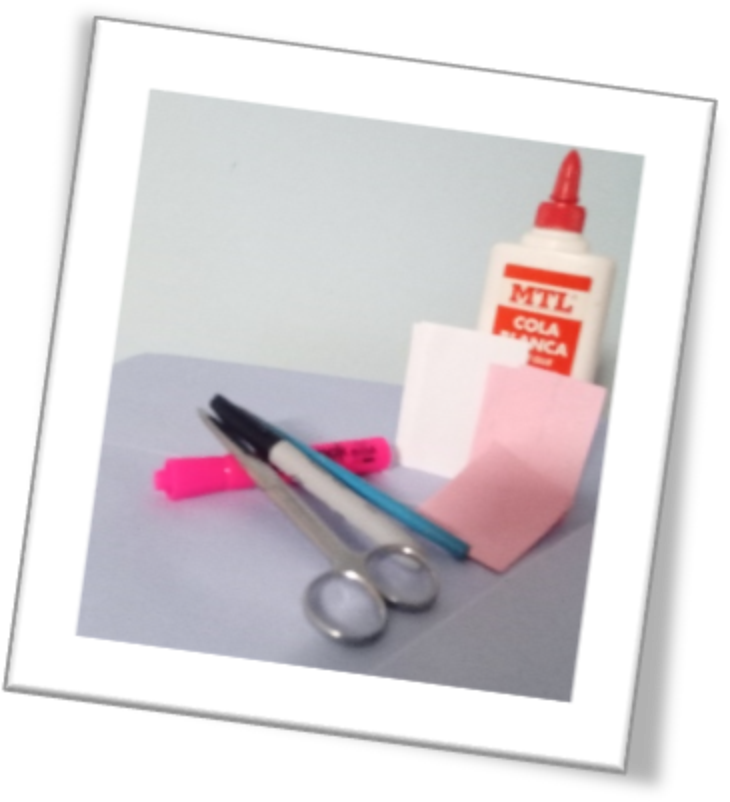
Materiales utilizados
🌸 1 Hojas blancas y rosadas
🌸 1 Pegamento blanco
🌸 1 Tijera
🌸 4 Lápices de colores
━━━━━━ 🌸🌷🌸 ━━━━━━
Procedimiento
A continuación les comparto una apreciación general del procedimiento. Aunque solo les voy a mostrar pequeñas pinceladas pues el arte del origami 3D gira en torno a una pieza clave que me gustaría mostrarle en publicaciones futuras. De todas formas en Youtube existen tutoriales de cómo hacerlo.
- Preparar y doblar las fichas Hacer la figura base del origami 3D; o sea, doblar las hojas a la mitad, recortar, luego volver a doblar y recortar hasta obtener el tamaño deseado de la ficha, que en este caso es pequeño de 7 cm de largo y 5 cm de ancho. Luego hacer la figura clave (se las mostraré en otro post).
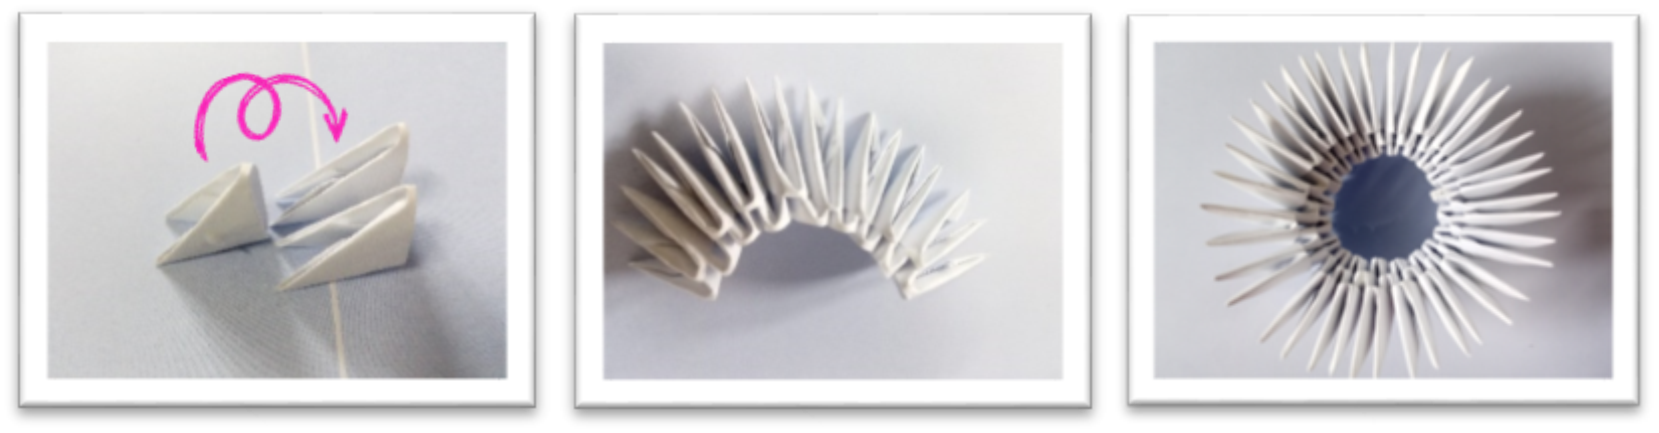
- Armar el cuerpo
Primero, unir las fichas blancas formando los niveles como aparece en la imagen. Cada nivel va a tener 20 piezas. Repetir hasta llegar al nivel 4; en ese nivel se cambia el color de las hojas por el rosado y hacer 3 niveles en este mismo color. Luego volver al blanco y hacer 3 niveles más de ello.(Así concluye el cuerpo del origami).
- Armar la cabeza Invertir la posición de las piezas en un nivel para comenzar la cabeza. Luego, en el siguiente nivel agregar las piezas como al inicio y completar 4 niveles para darle volumen.
- Añadir las orejas Para las orejas colocar invertidas 3 piezas en un nivel, Luego 2. Seguir este procedimiento hasta llegar al nivel 7. En el nivel 8 usar 2 piezas pero uniendo tres fichas en una posición, luego 1 al próximo nivel y al final agregar 2. Repetir la secuencia para la otra oreja manteniendo una distancia de 3 piezas entre ambas.
- Detalles finales En una hoja blanca dibujar los ojos y la boca del conejo, luego pegarlos al muñeco. Agregarle fichas rosadas pegadas en los orificios del nivel 5 para dar contraste y detalle.
━━━━━━ 🌸🌷🌸 ━━━━━━
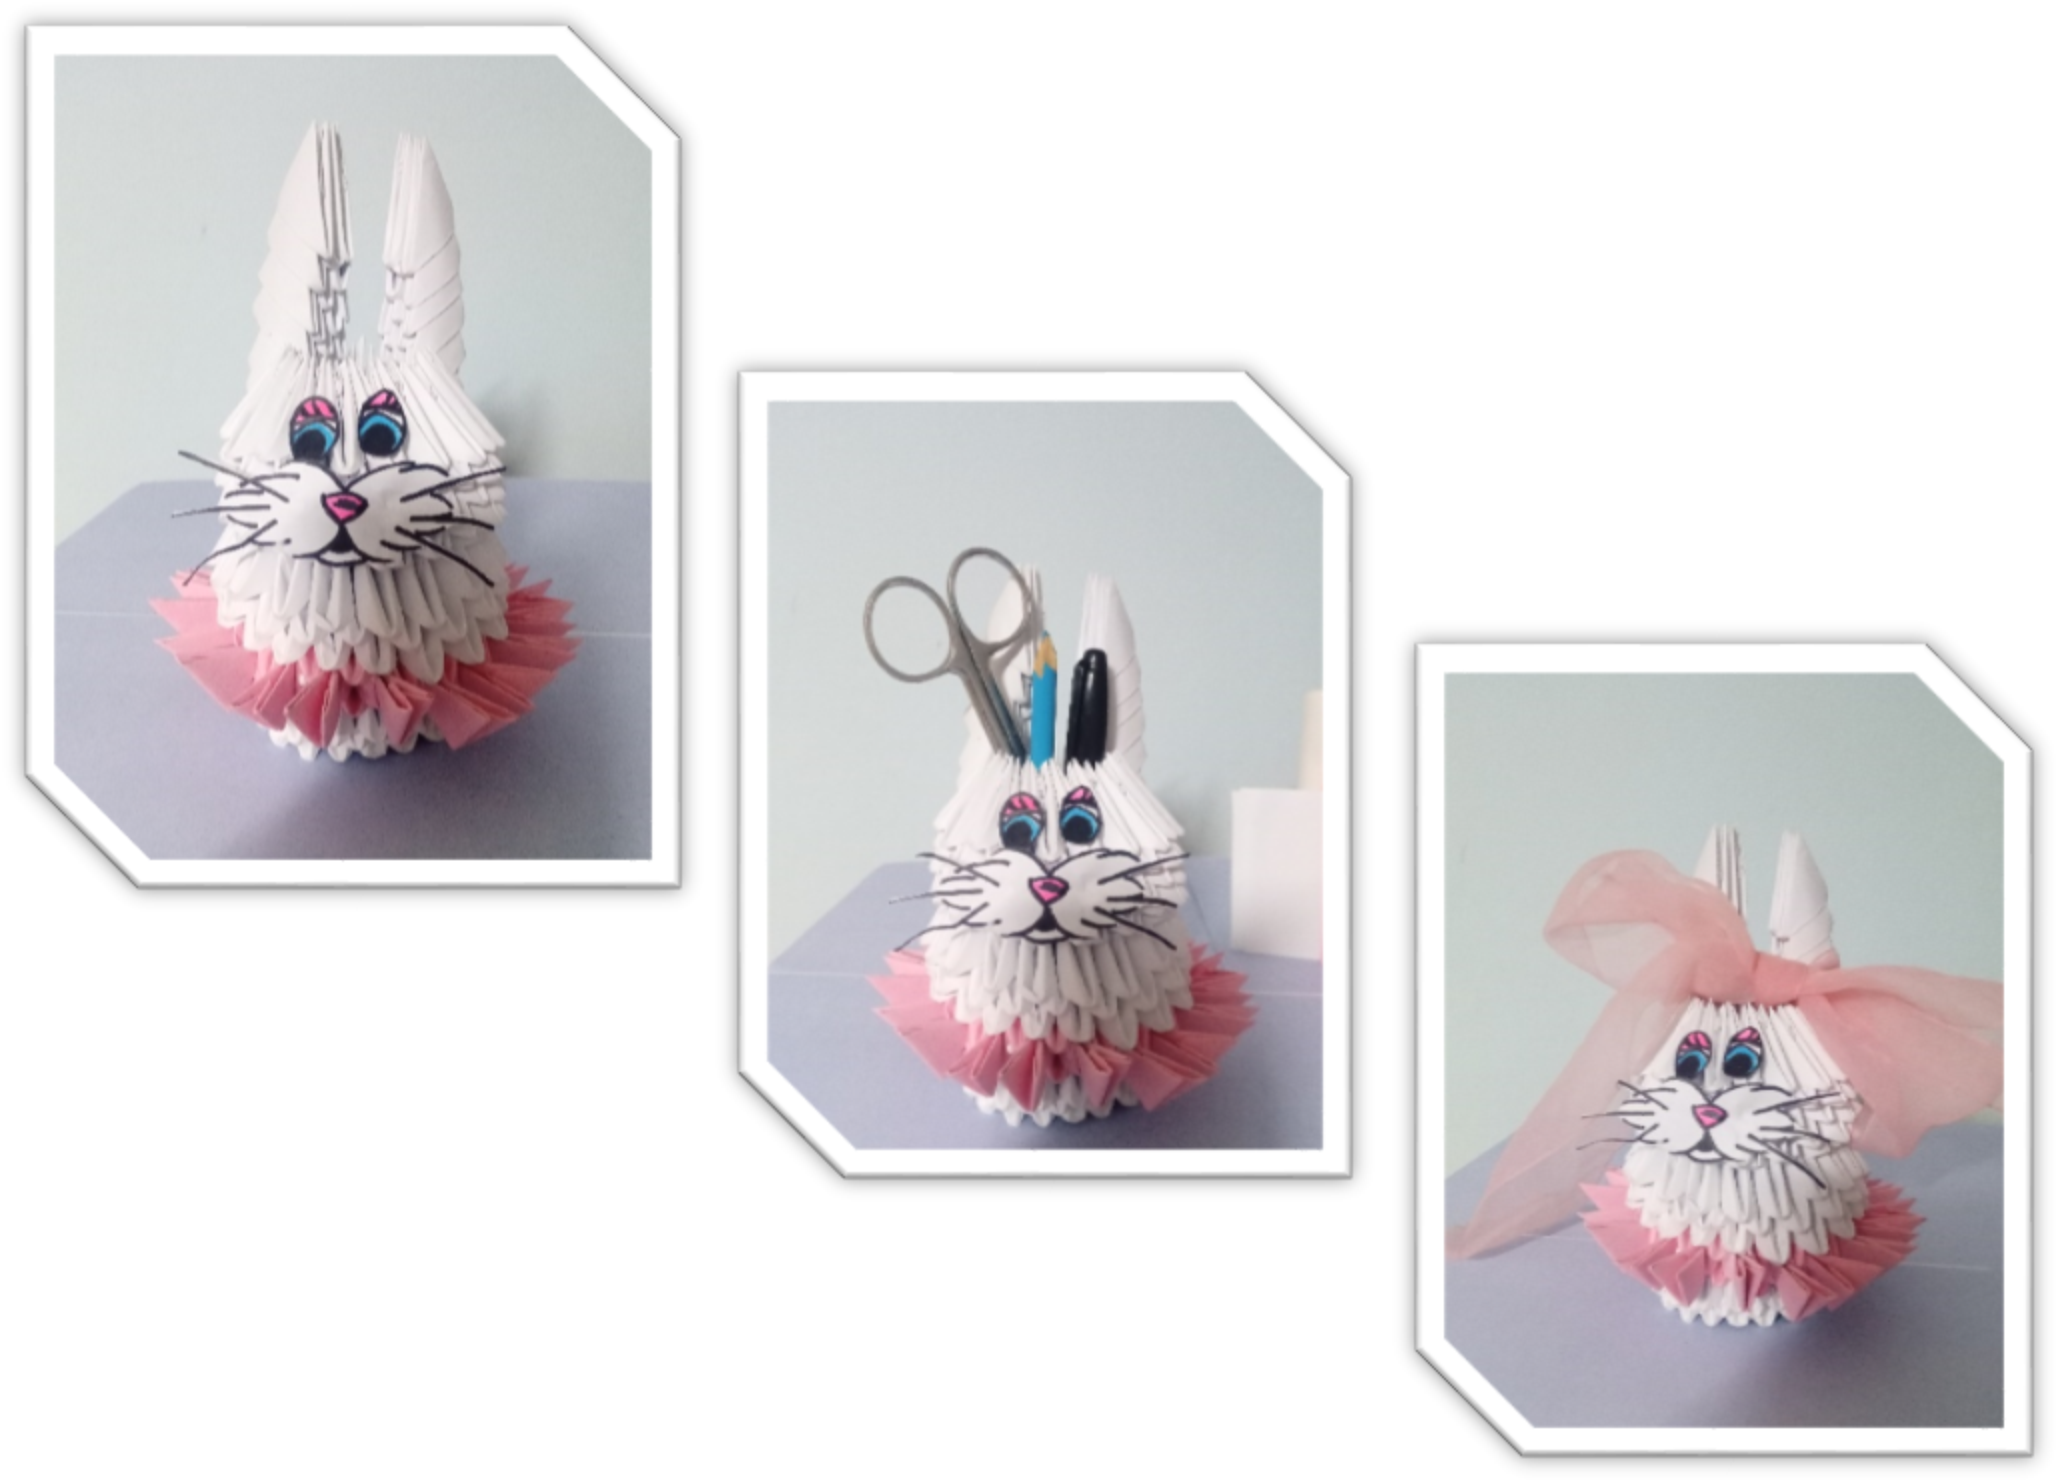
Resultados y Usos
Y listo! Así queda la coneja 3D para regalar a quienes aman las decoraciones o simplemente le guste la ternura de este animalito. Puede ser utilizado como portalapices, adorno de escritorio o pequeño obsequio.
Así concluyo este arte. Se lo dedicó a todos los que aman el papel y la creatividad. ¡Saludos! Nos vemos pronto………Por amor al arte creativo del papel
PD: Como toque final le agrego una cinta rosada entre las orejas a la coneja.
English Version - Click here
Hello, Hivers. I am joining this wonderful creative paper community to introduce you to one of my greatest hobbies, paper art through 3D origami, which I have been passionate about for over 15 years. I am taking advantage of this community's initiative in October, which focuses on World Breast Cancer Day, to show you this piece created by hand with white and pink paper. It is very easy to make. You just need to be patient to put it together. Materials used 1 White and pink sheets of paper 1 White glue 1 Scissors 4 Coloured pencils Procedure Below is a general overview of the procedure. However, I will only show you a few details, as the art of 3D origami revolves around a key piece that I would like to show you in future posts. In any case, there are tutorials on YouTube showing you how to do it. 1. Prepare and fold the pieces Make the basic 3D origami shape; that is, fold the sheets in half, cut, then fold again and cut until you get the desired size of the piece, which in this case is small, 7 cm long and 5 cm wide. Then make the key shape (I will show you this in another post). 2. Assemble the body First, join the white pieces together to form the layers as shown in the image. Each layer will have 20 pieces. Repeat until you reach layer 4; at that layer, change the colour of the leaves to pink and make 3 layers in this same colour. Then return to white and make 3 more layers of it. (This completes the body of the origami). 3. Assemble the head Reverse the position of the pieces on one level to begin the head. Then, on the next level, add the pieces as at the beginning and complete 4 levels to give it volume. 4. Add the ears For the ears, place 3 pieces upside down on one level, then 2. Continue this procedure until you reach level 7. On level 8, use 2 pieces but join three pieces in one position, then 1 on the next level and finally add 2. Repeat the sequence for the other ear, keeping a distance of 3 pieces between the two. 5. Final details On a white sheet of paper, draw the rabbit's eyes and mouth, then stick them onto the doll. Add pink pieces stuck into the holes on level 5 to add contrast and detail. Result and uses And that's it! Here is the 3D rabbit to give to those who love decorations or simply like the cuteness of this little animal. It can be used as a pencil holder, desk ornament or small gift. This concludes this craft. I dedicate it to all those who love paper and creativity. Cheers! See you soon... For the love of creative paper craft.
Todos los derechos reservados. Contenido original. Traducido con DeepL (versión gratis) Diseñado en Corel Draw x7 ( iconos de pngwing)