Hola chicuelos, ¿cómo se encuentran? Yo estoy un tanto estresada, pero bastante animada con la creación de nuevas cosillas para compartir con ustedes!
Hello, guys! How are you all doing? I'm feeling a bit stressed, but also really excited about creating new little things to share with you!
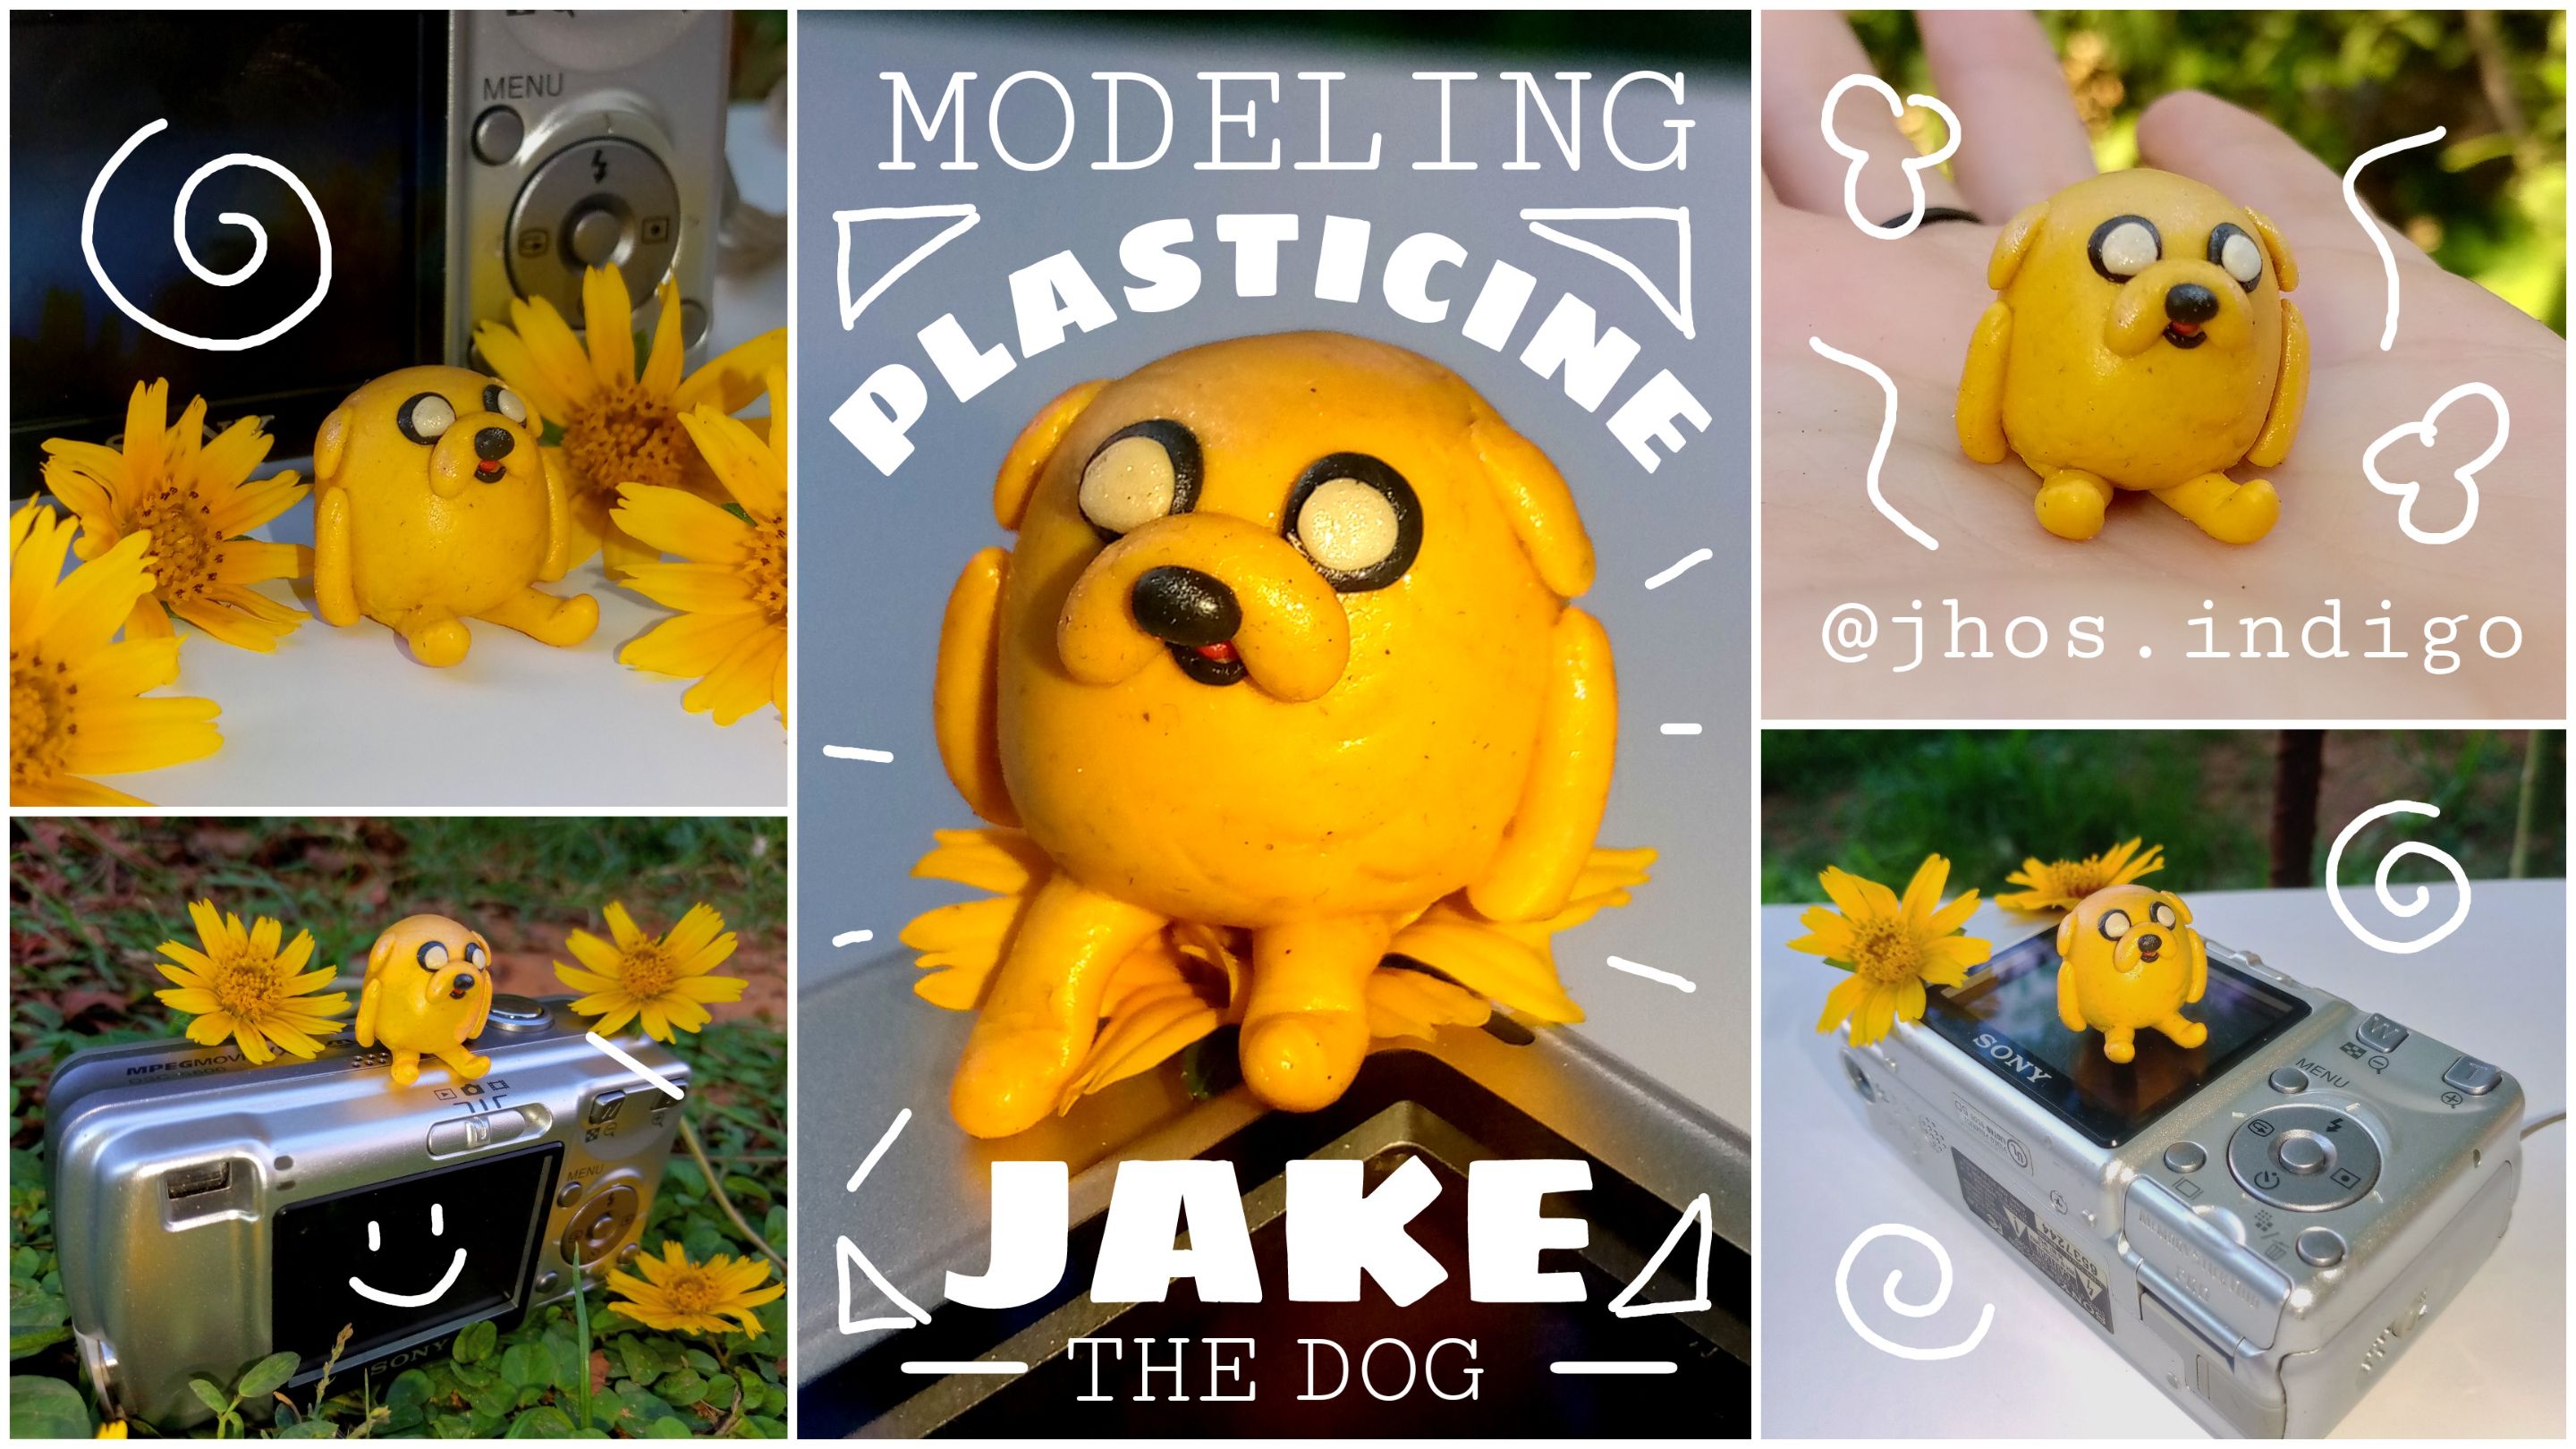
Me gusta muchísimo esculpir o hacer cositas en plasticina, y me hizo ilusión hacer a uno de mis personajes favoritos de hora de aventura en este material. Así es, a Jake el perro. La verdad nunca había intentado hacer algún personaje conocido con plasticina, pero me quise atrever.
I really love sculpting and making things with modeling clay, and I was excited to create one of my favorite Adventure Time characters in this material. That's right—Jake the Dog! To be honest, I had never tried making a well-known character with modeling clay before, but I wanted to give it a shot.
No me encantó el resultado, me esperaba algo más bonito, pero me gustó haberme dado la oportunidad de intentarlo, además, según varias personas quedó bastante adorable, y creo que si, pero mí problema es que siento que no se parece tanto, tuve ciertas dificultades con la plastilina pues justo el color que iba a utilizar de base para crear al Jake que era el amarillo estaba seca, así que tuve que hidratarla durante prácticamente una hora utilizando crema de manos para que pudiera tomar la consistencia que yo necesitaba. Sin embargo, la elasticidad y la suavidad no era la misma de las demás, siento que intentaba estirarla y se reducía un poco (como cuando sobre amasas una masa y mientras más la estiras más se resiste).
I didn’t love the result; I was expecting something prettier, but I enjoyed giving myself the chance to try. Plus, several people said it turned out quite adorable, and I think so too. However, my issue is that I feel like it doesn’t resemble him as much as I wanted. I had some difficulties with the clay because the yellow base color I was going to use for Jake was dry. I had to hydrate it for almost an hour using hand cream so it could reach the consistency I needed. Nevertheless, its elasticity and softness weren’t the same as the rest. I felt like when I tried to stretch it, it shrank a bit—kind of like when you over-knead dough and the more you stretch it, the more it resists.
Además, ese día hizo mucho calor y el cuerpito de Jake se empezó a aplastar o derretir un poco, por lo que la forma inicial que había hecho terminó reduciéndose bastante. En lugar de quedar como especie de un cilindro redondeado, quedó más bien como un cubito o un circulito por lo que siento que no tuve tanto espacio para colocar mejor los componentes de la cara, como si tuviera muy poca cabeza o como si la tuviera aplastada. Por ello para mí se ve muy gracioso.
Moreover, it was really hot that day, and Jake’s little body started to flatten or melt slightly, so the initial shape I had made shrank quite a bit. Instead of looking like a rounded cylinder, it ended up more like a little cube or circle, which made me feel like I had less space to place the facial components properly. It seemed like he had a tiny head or a squished one. That’s why, to me, he looks kind of funny.
En síntesis, hice lo que pude no me juzguen ಠ﹏ಠ
In short, I did my best—don’t judge me ಠ﹏ಠ
Después de tanto drama innecesario, ya les puedo contar como hice a este pequeño perro amarillo:
After all that unnecessary drama, I can finally tell you how I made this little yellow dog:
✦•⋯⋅๑⋯⋅MATERIALES ✦ MATERIALS⋯⋅๑┈•✦
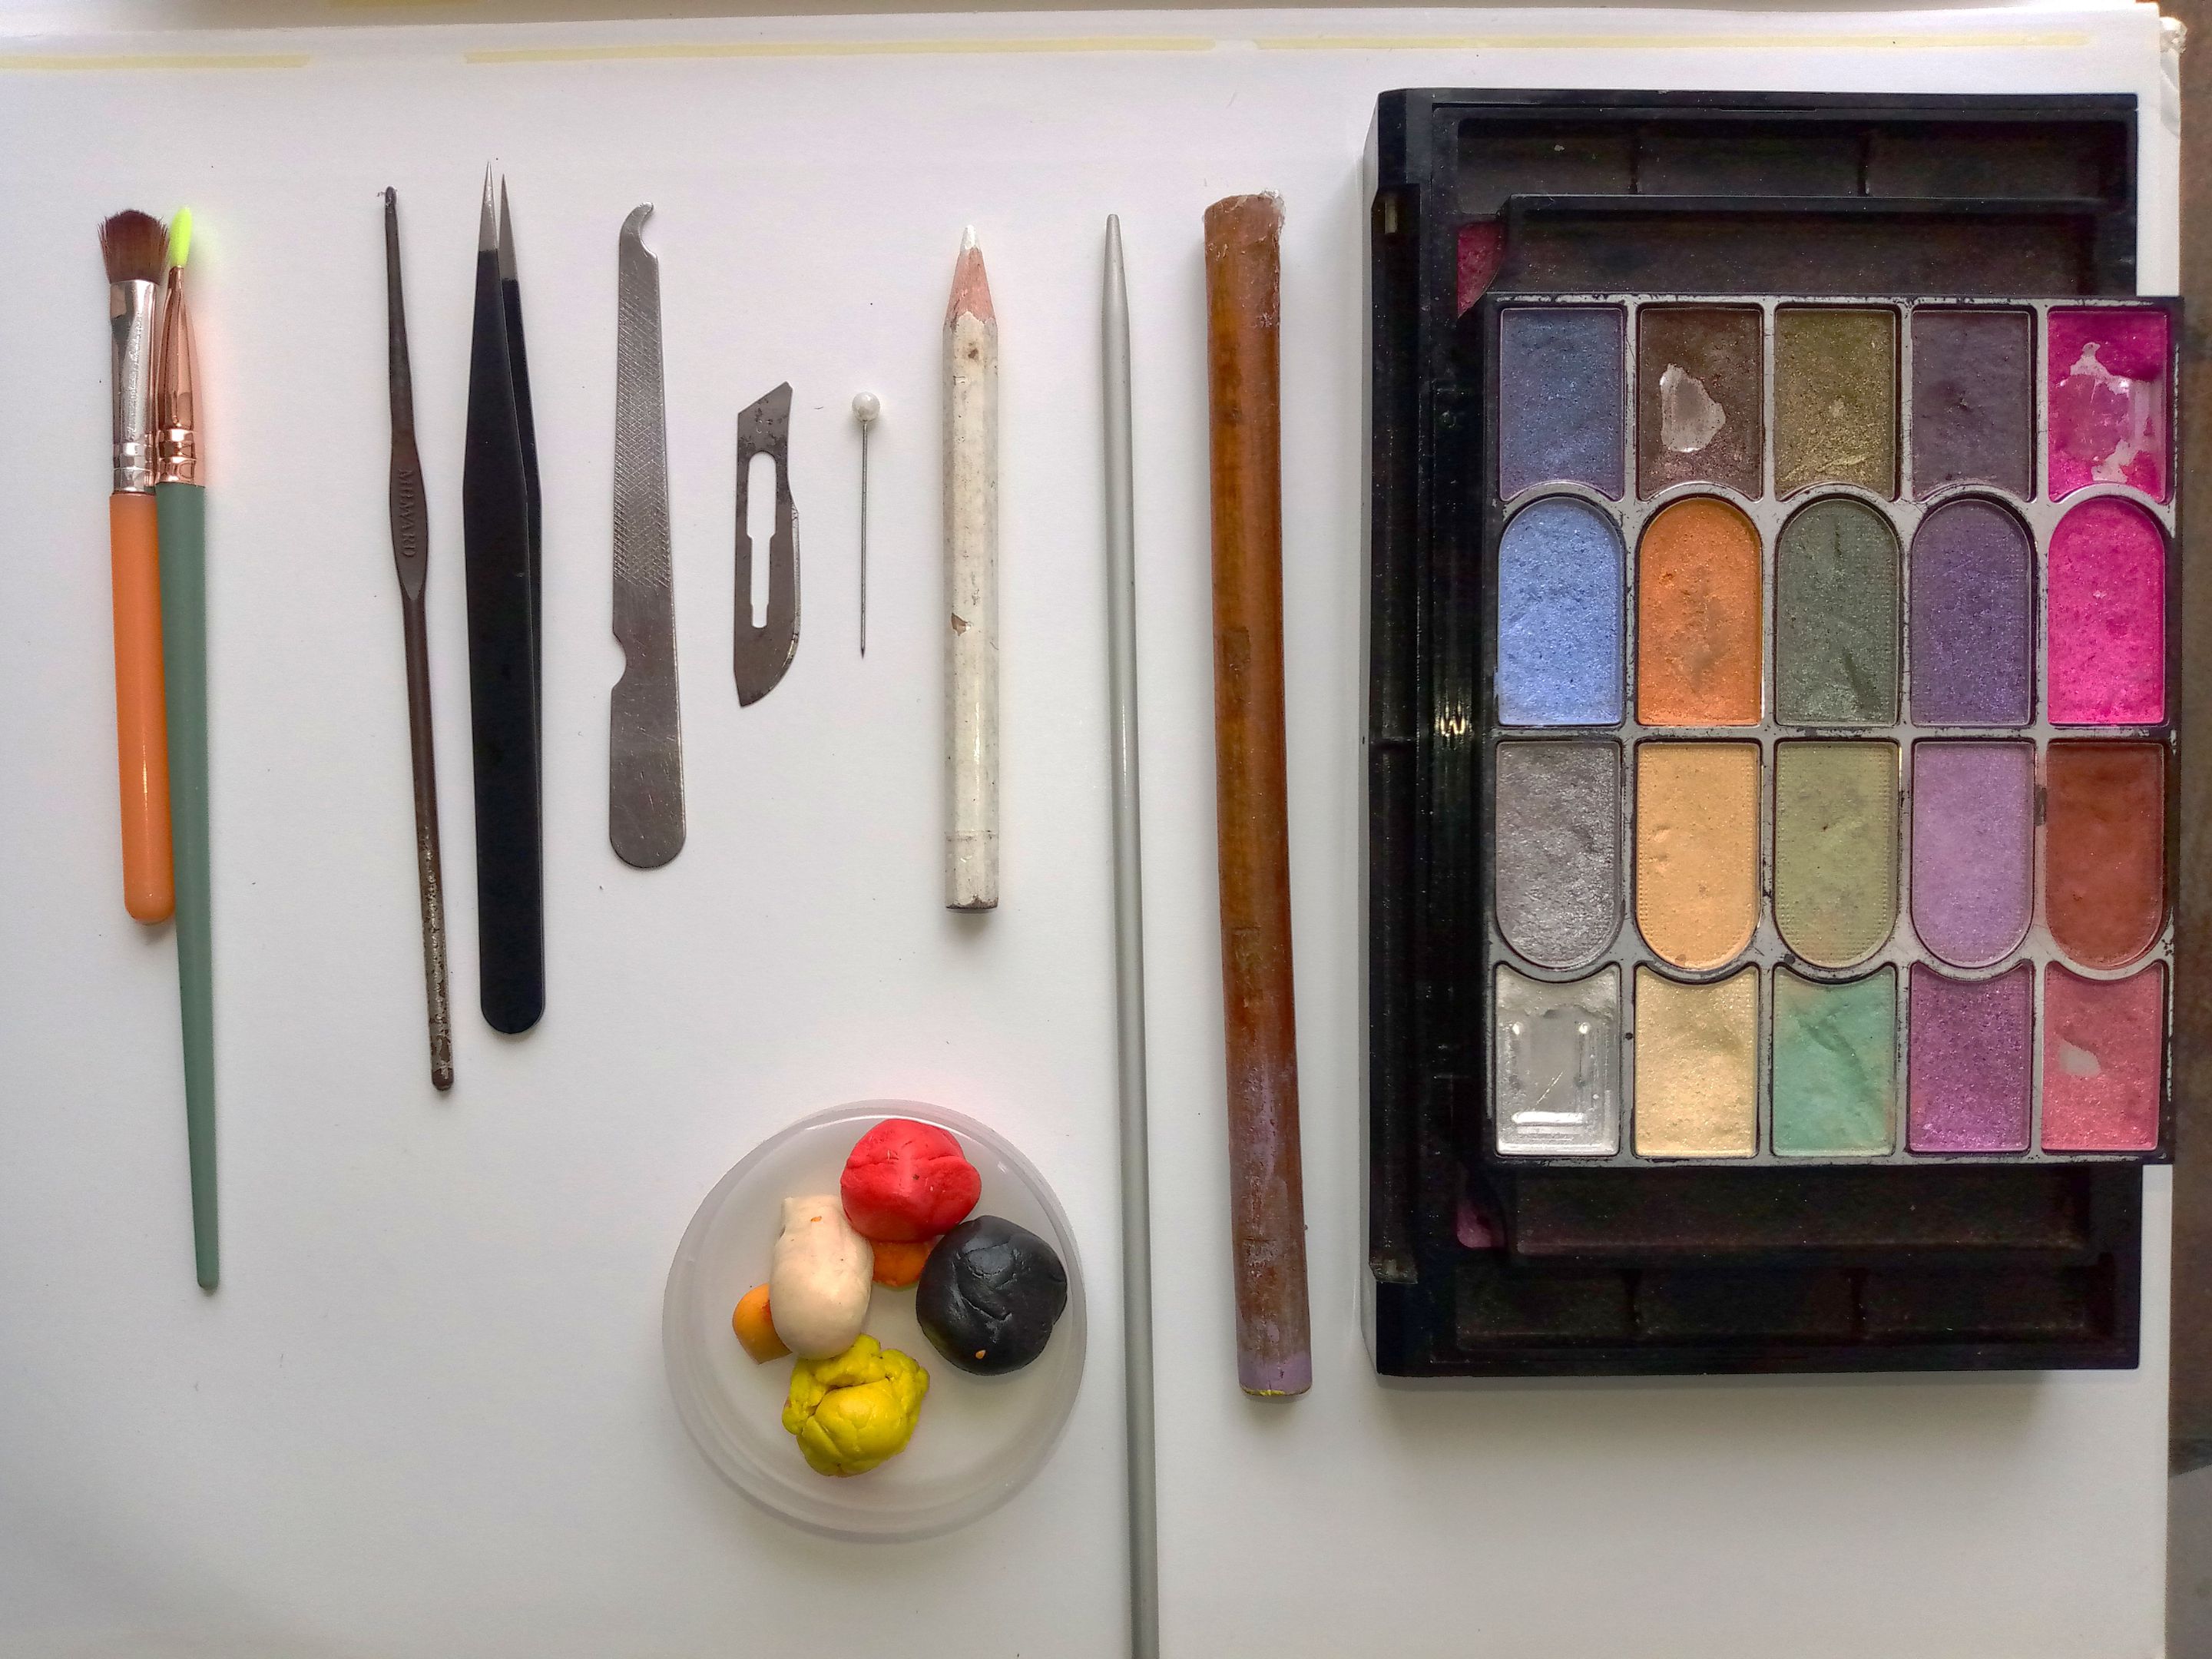
- Plasticinas de colores: amarilla, naranja, roja negra, y blanca. Sugerencias de herramientas para modelar la plastilina:
-
Bisturí. 🔪
-
Aguja de tejer pequeña. 🧶
-
Aguja de tejer grande. 🧶
- Alfiler con cabeza redonda. ⚪
- Pinzas delgadas. 👌🏻
- Un lápiz de color blanco. 🖍️⚪ (Ustedes pueden utilizar cualquier herramienta que que tengan en casa que les vaya a dar el resultado que necesitan y con lo que se le haga más sencillo o práctico modelar la plasticina).
- Sombras de ojos satinadas, claras con subtonos amarillos o simplemente iluminador. (Opcional) ✨
- Pinceles para aplicar sombras. 🖌️
- Modeling plasticine in the next colors: yellow, orange, red, black, and white.
- Sculpting tool suggestions:
- Scalpel. 🔪
- Small knitting needle. 🧶
- Large knitting needle. 🧶
- Round-headed pin. ⚪
- Thin tweezers. 👌🏻
- A white-colored pencil. 🖍️⚪ (You can use any tool you have at home that gives you the results you need and makes sculpting the clay easier and more practical.)
- Satin eyeshadows in light tones with yellow undertones or just highlighter (optional).
- Brushes for applying eyeshadow. 👁️
✦•┈๑⋅⋯ PROCEDIMIENTO ✦ PROCEDURE ⋯⋅๑┈•✦
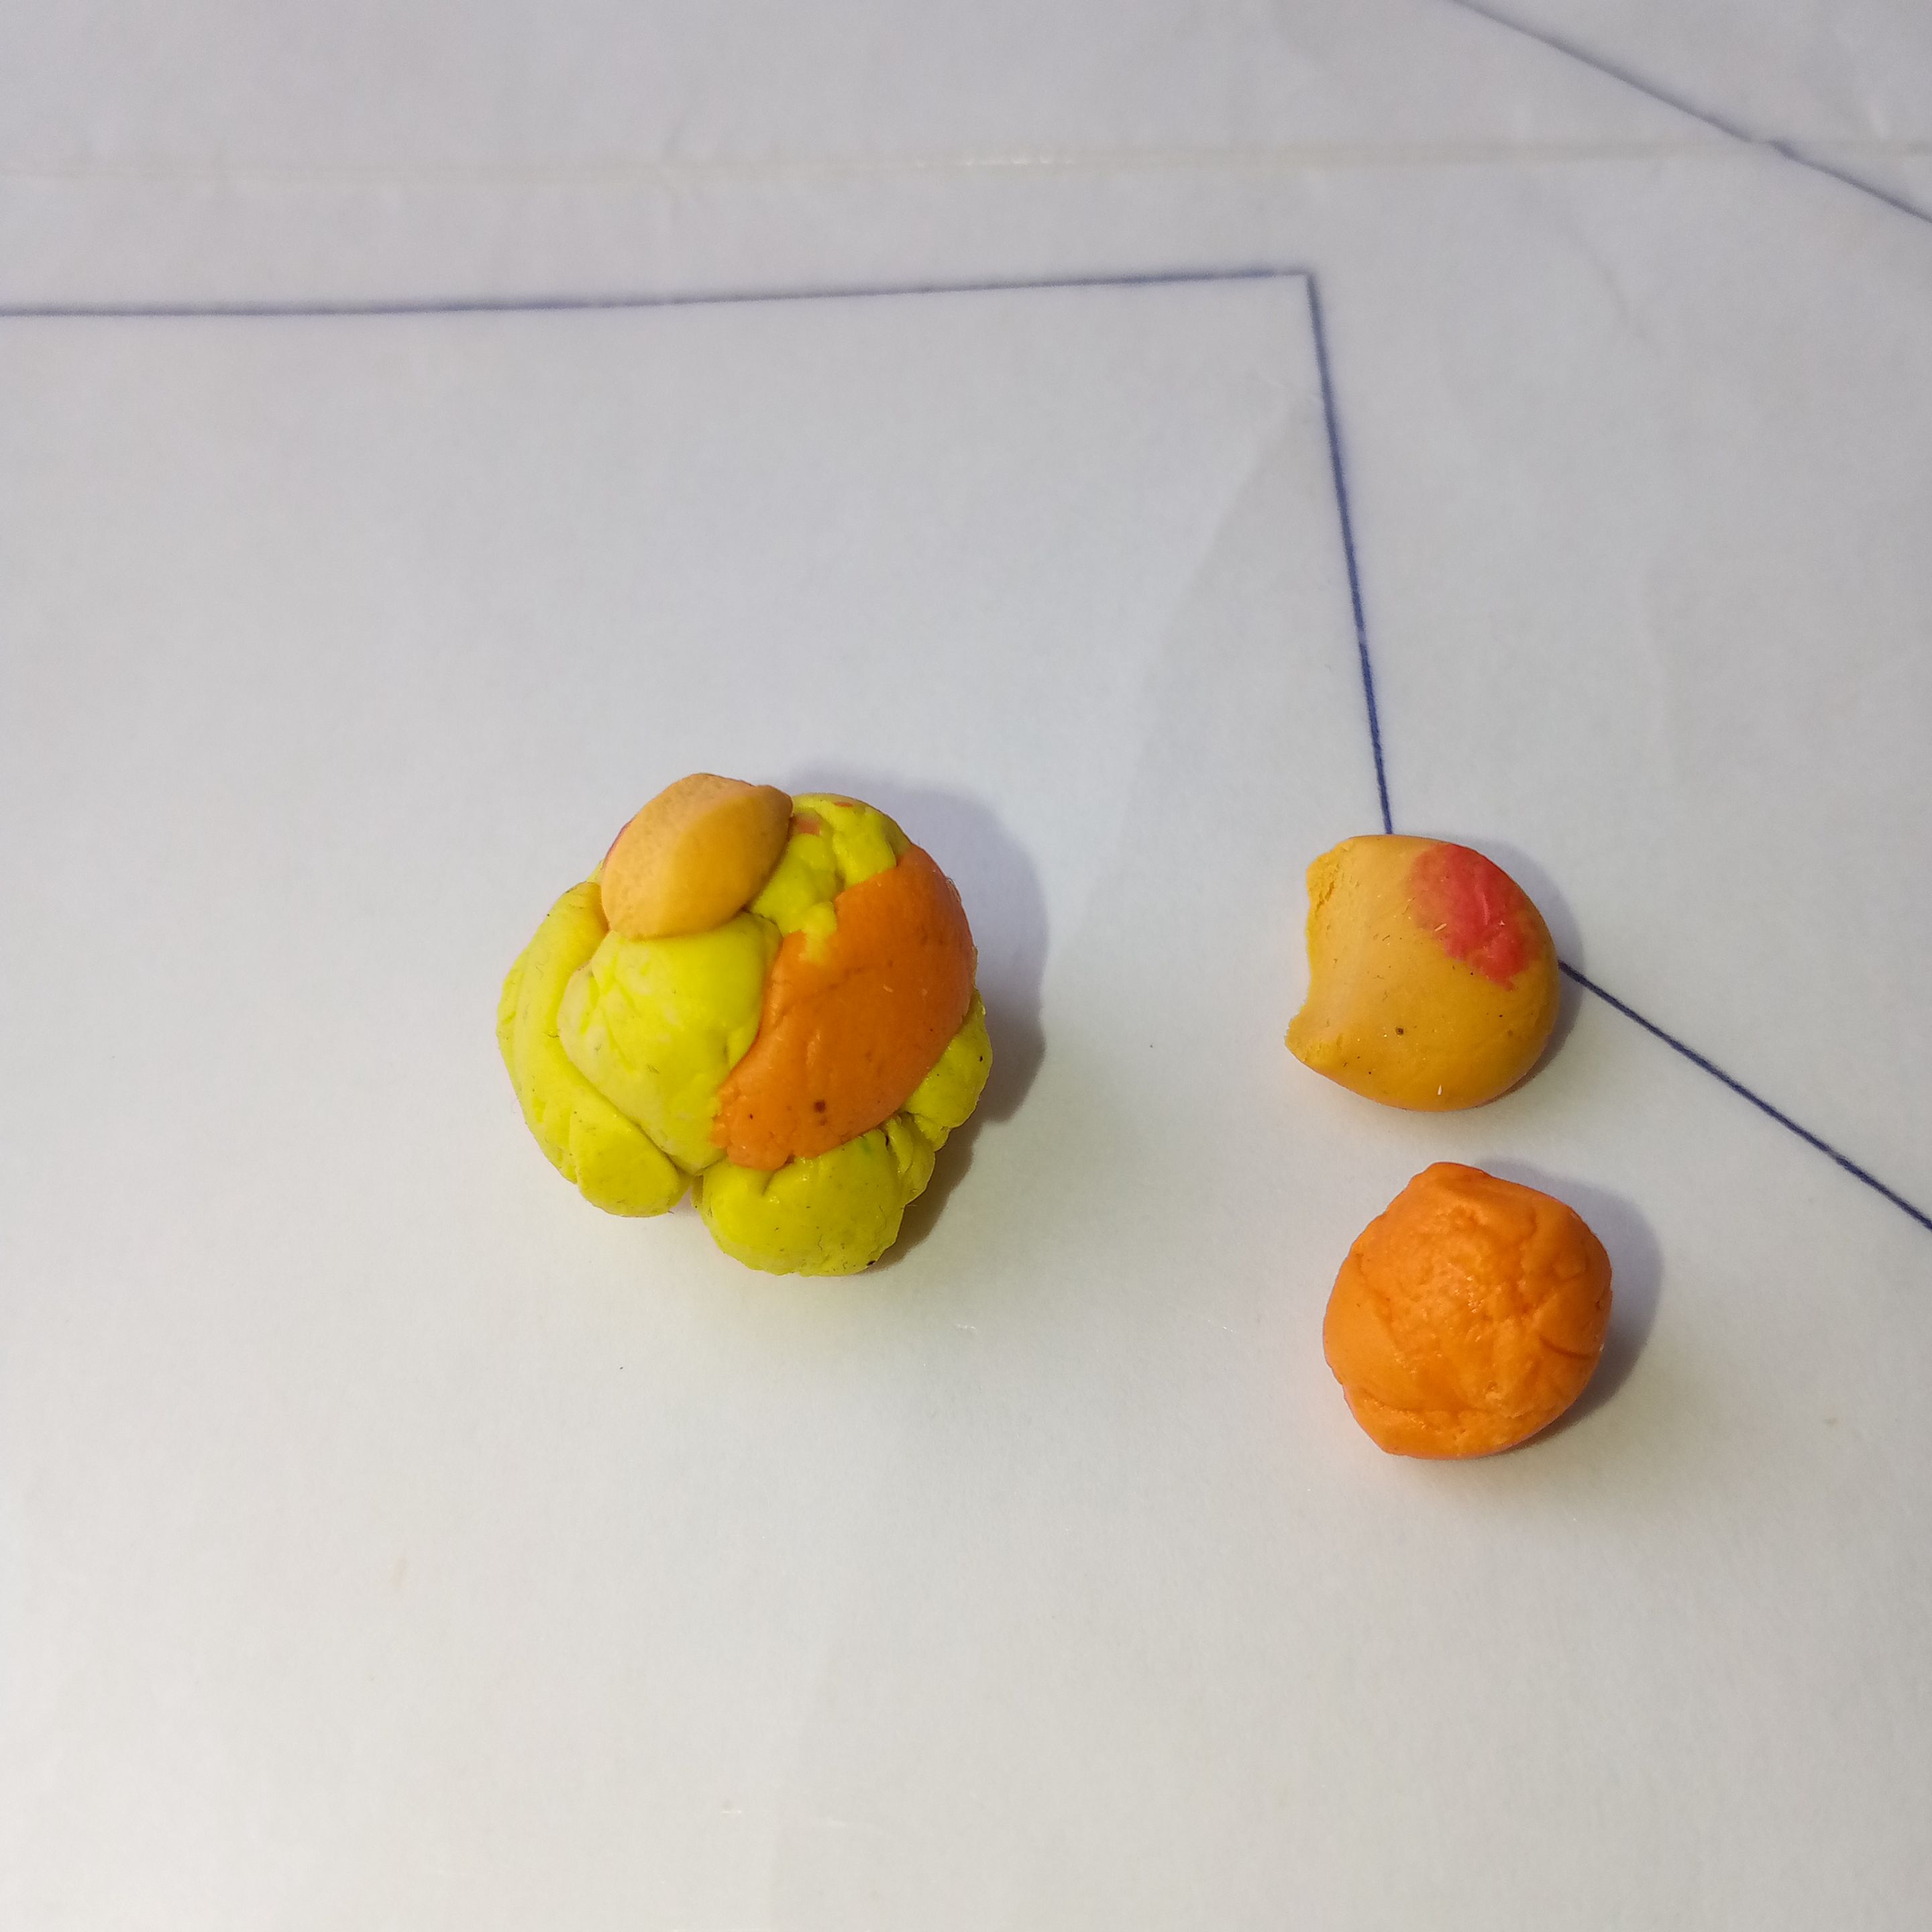
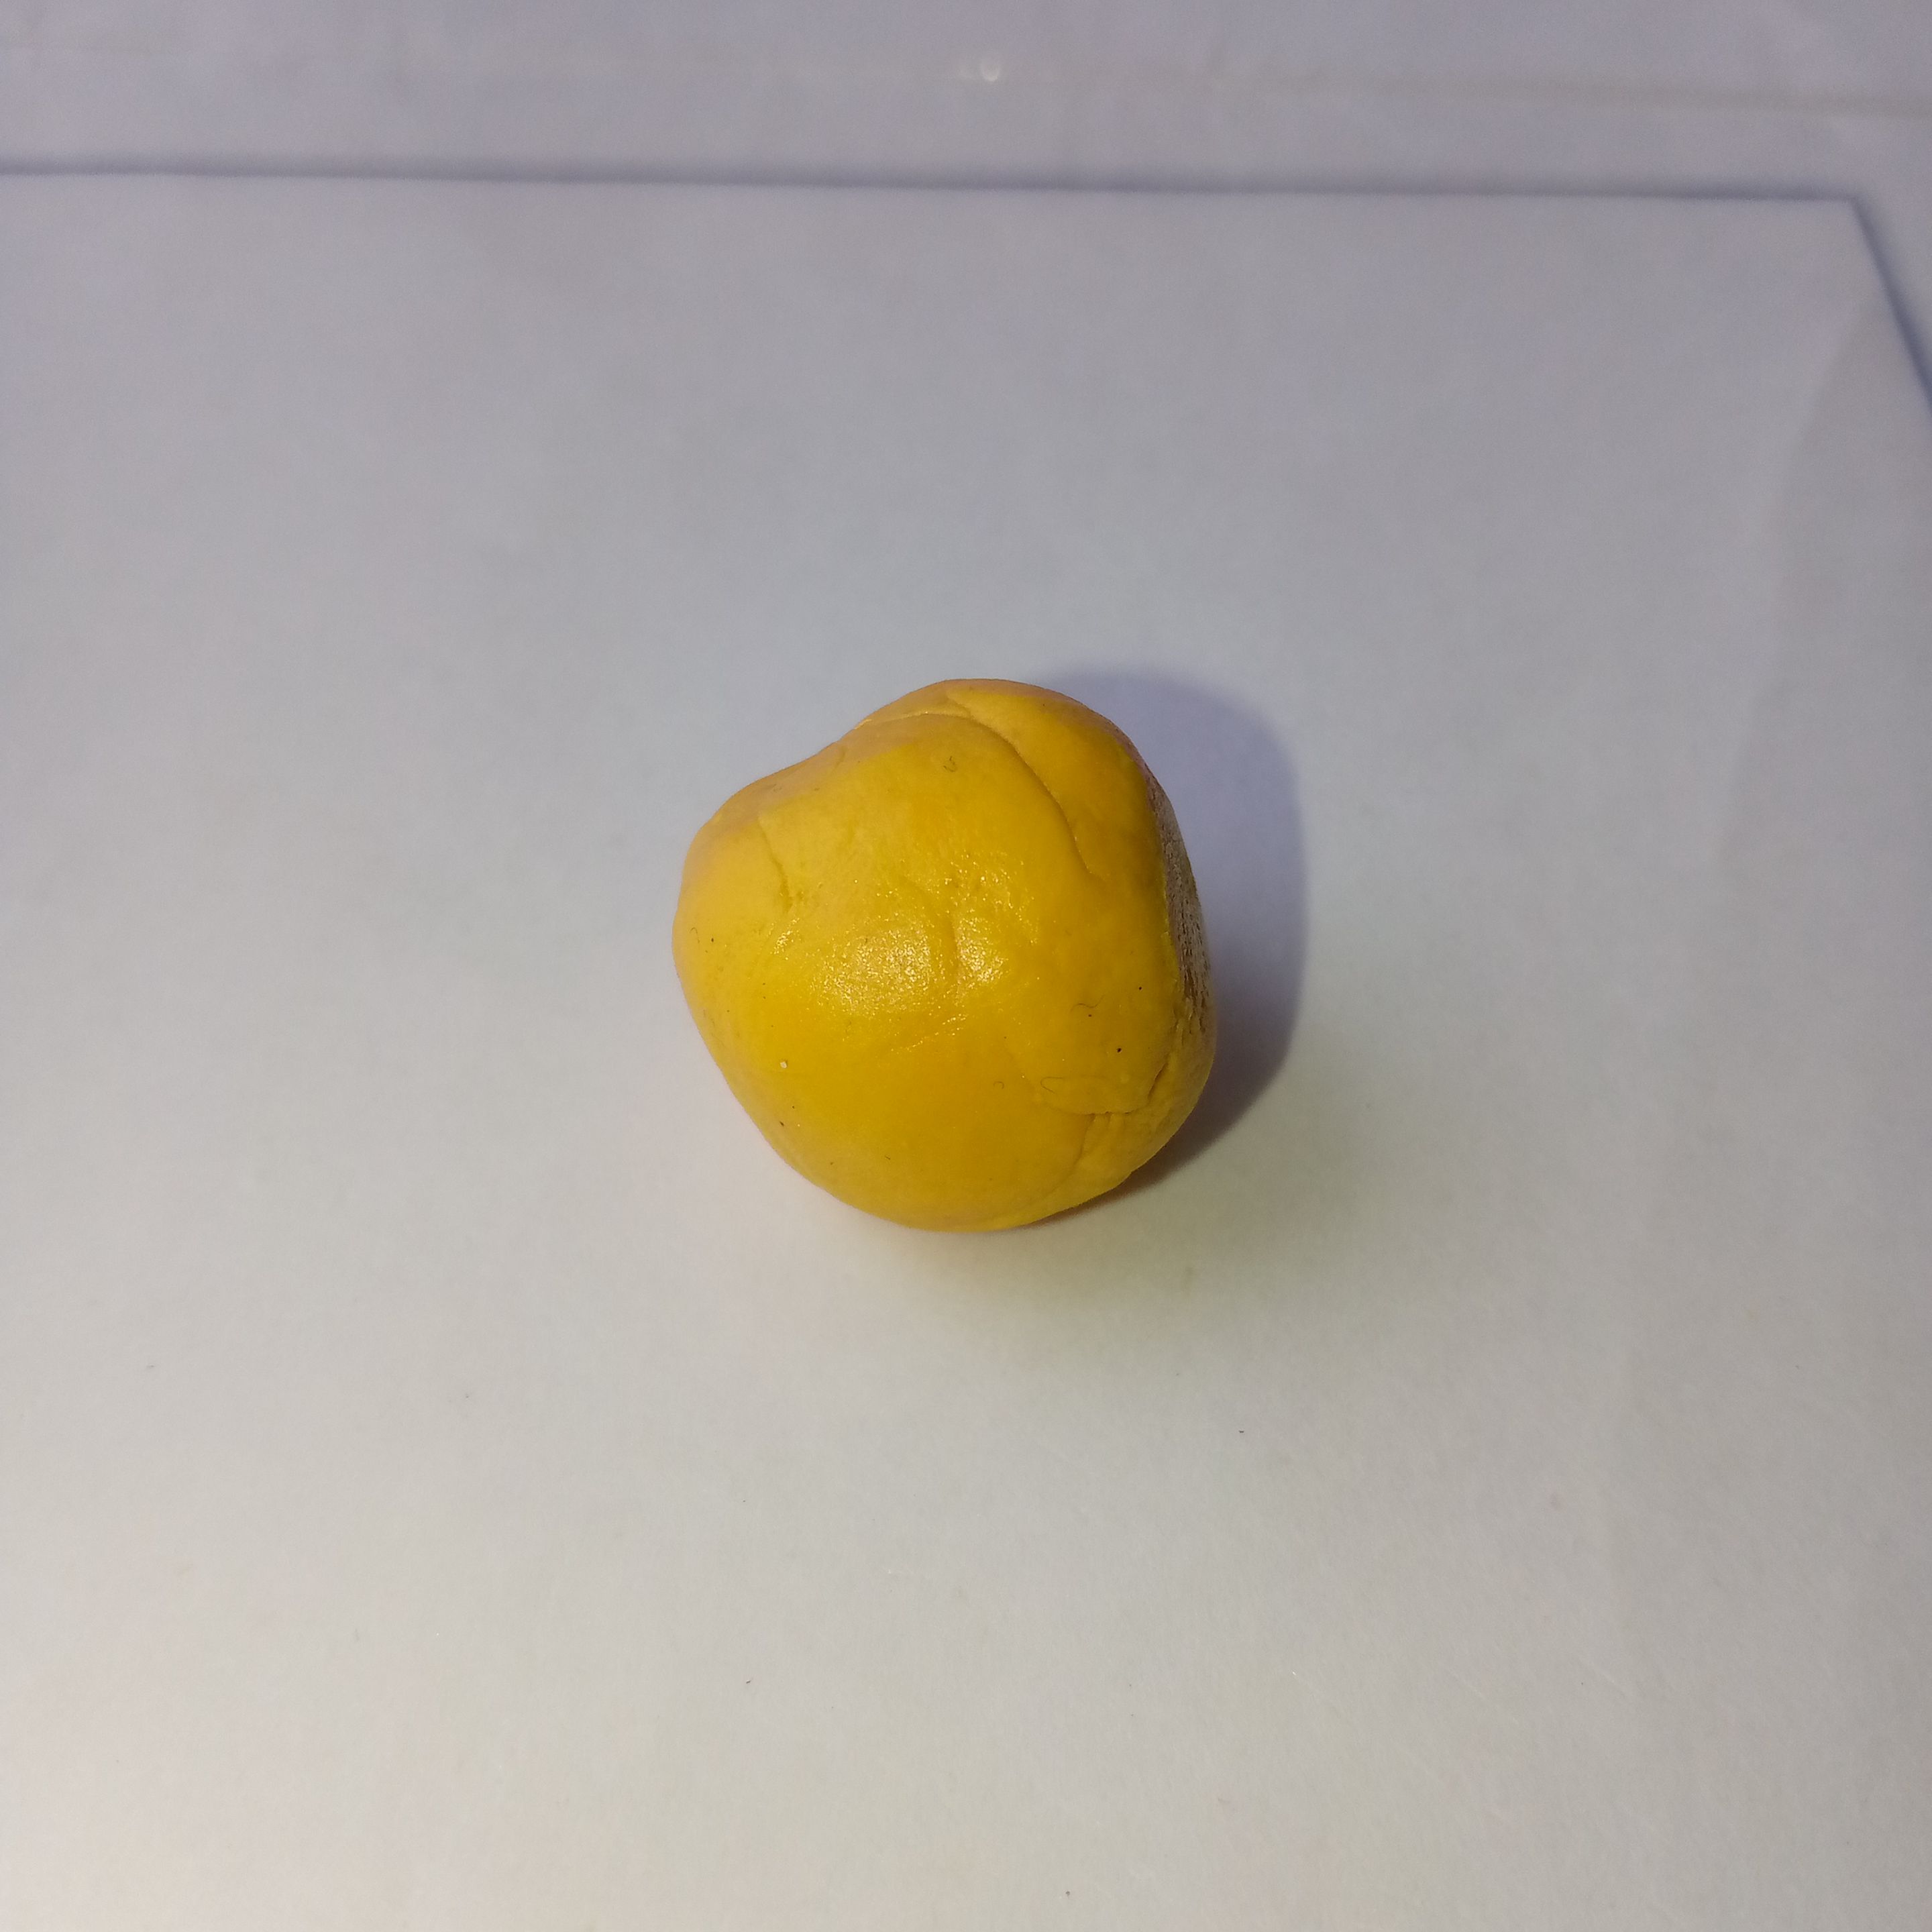
Para obtener el tono del color de Jake tuve que mezclar amarillo mostaza y naranja.
To achieve Jake’s color tone, I had to mix mustard yellow and orange.
 |
 |
|---|---|
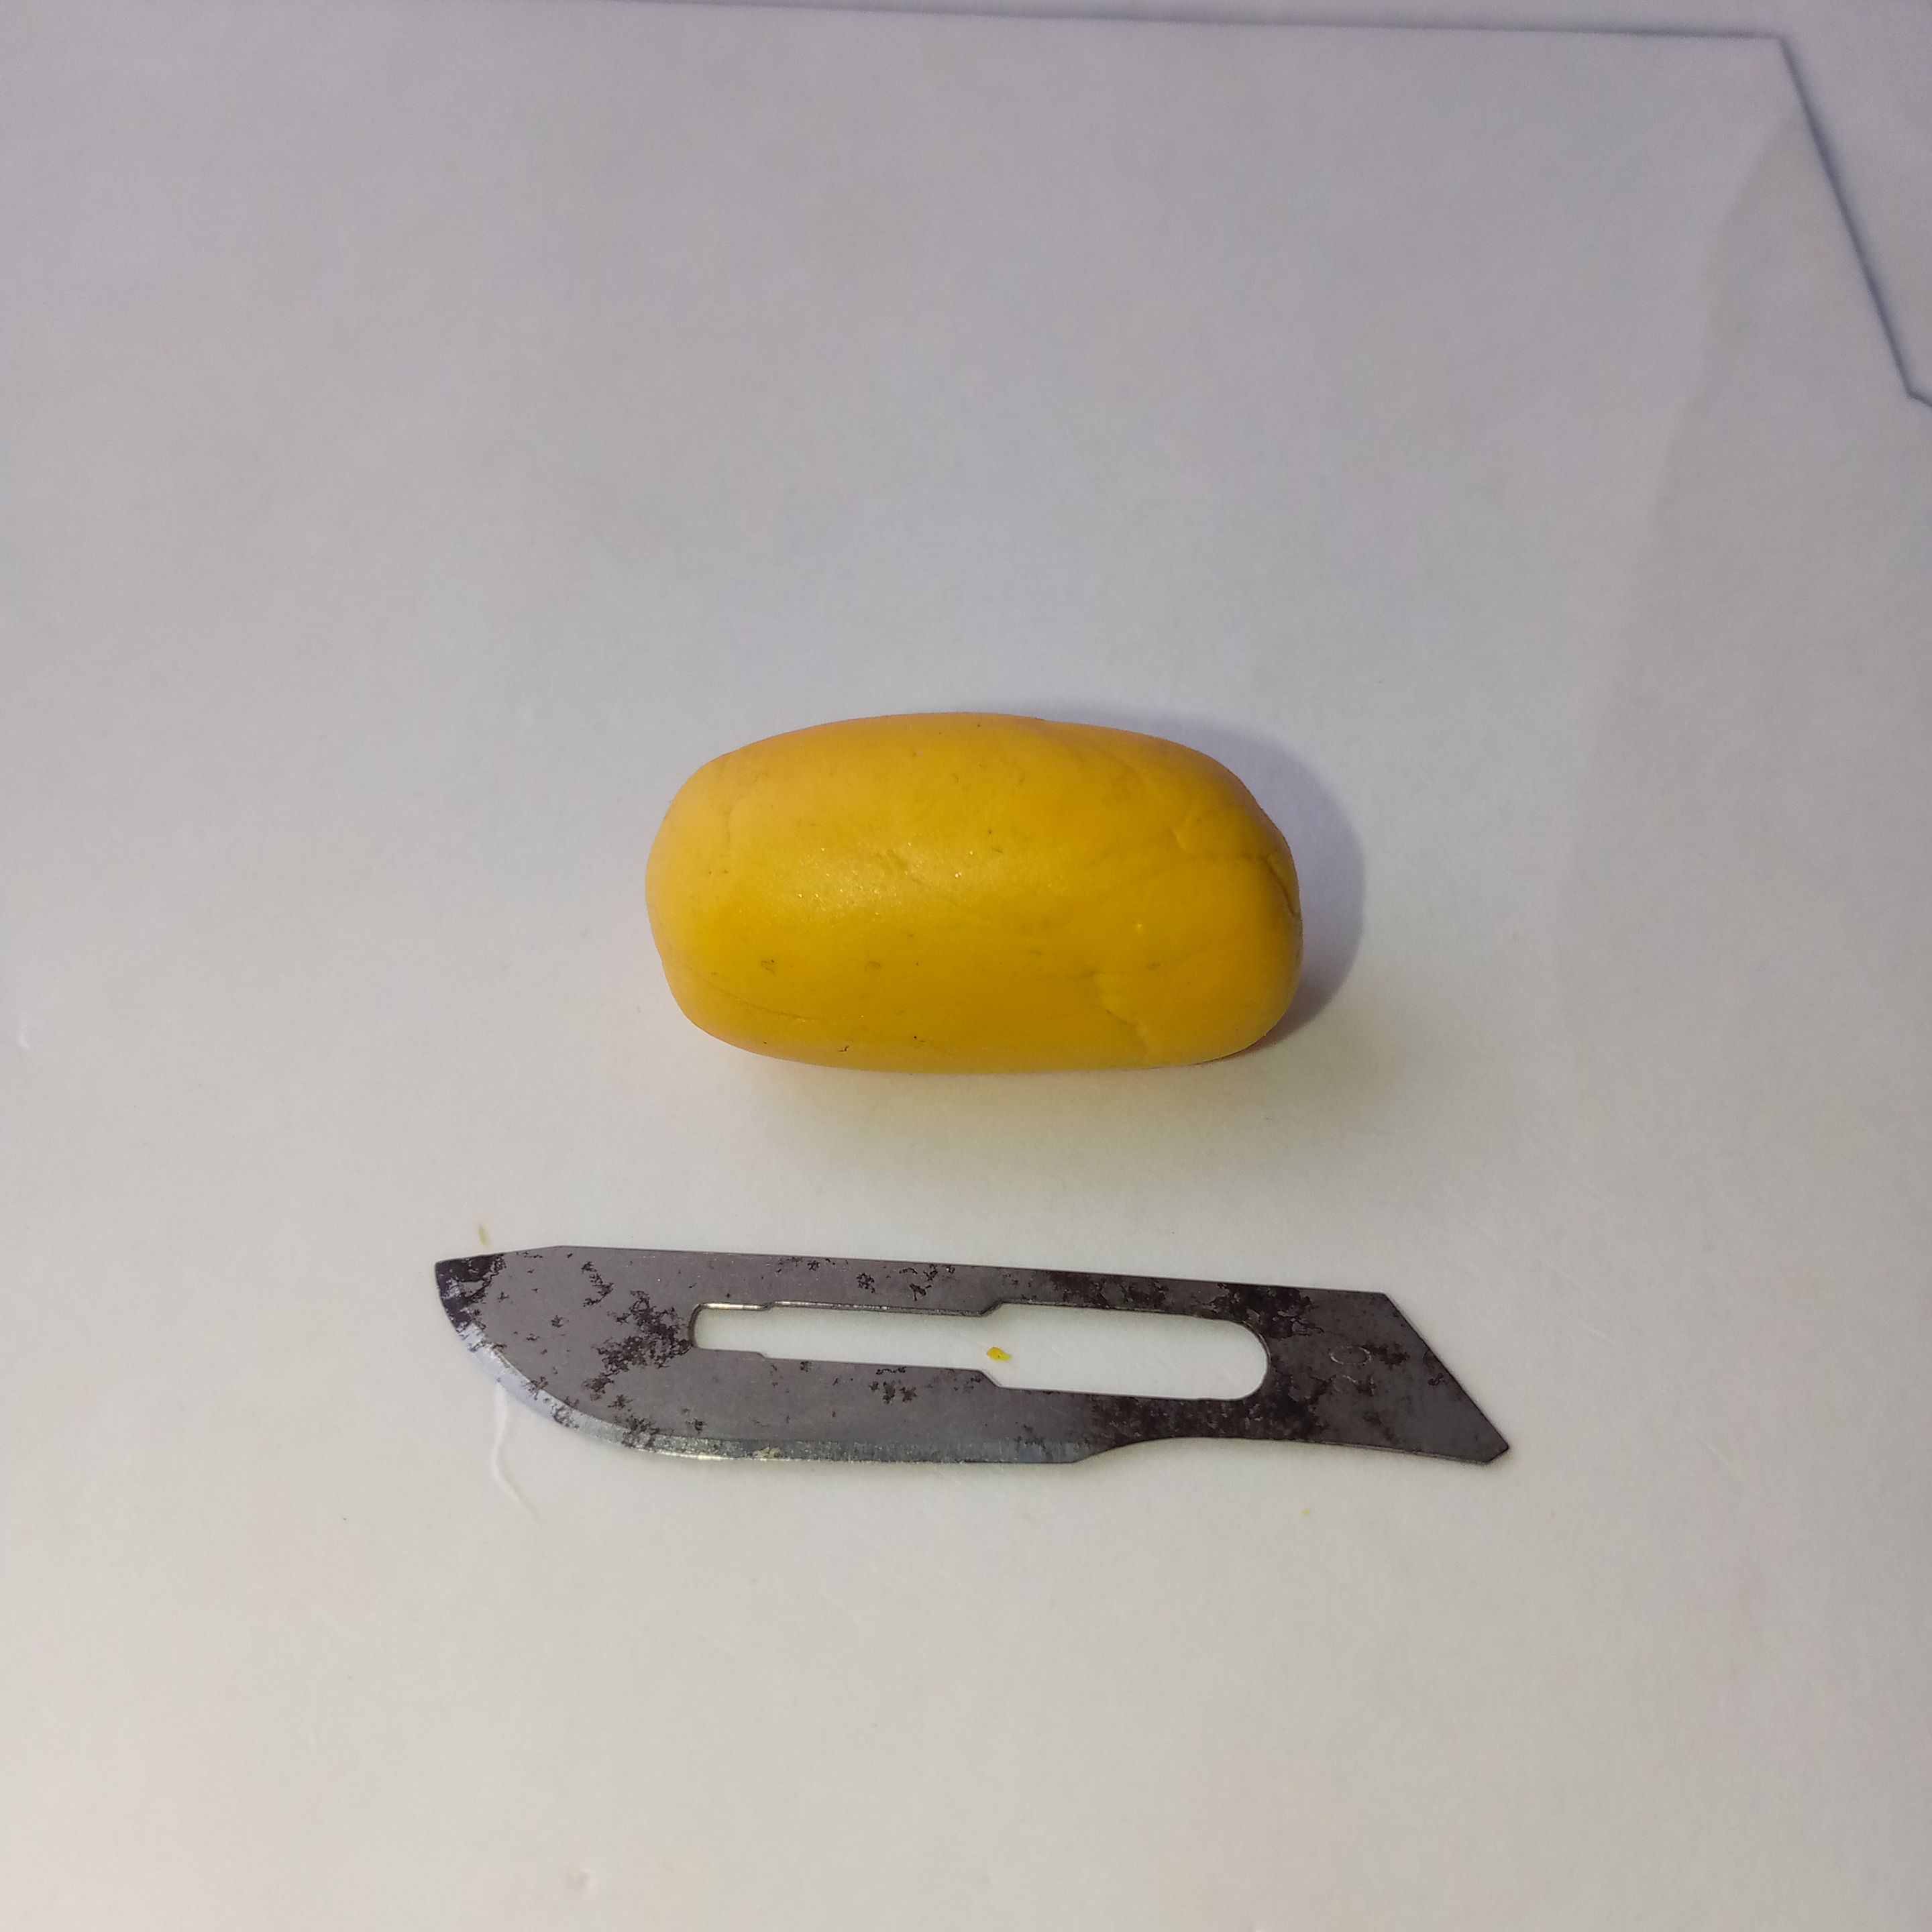
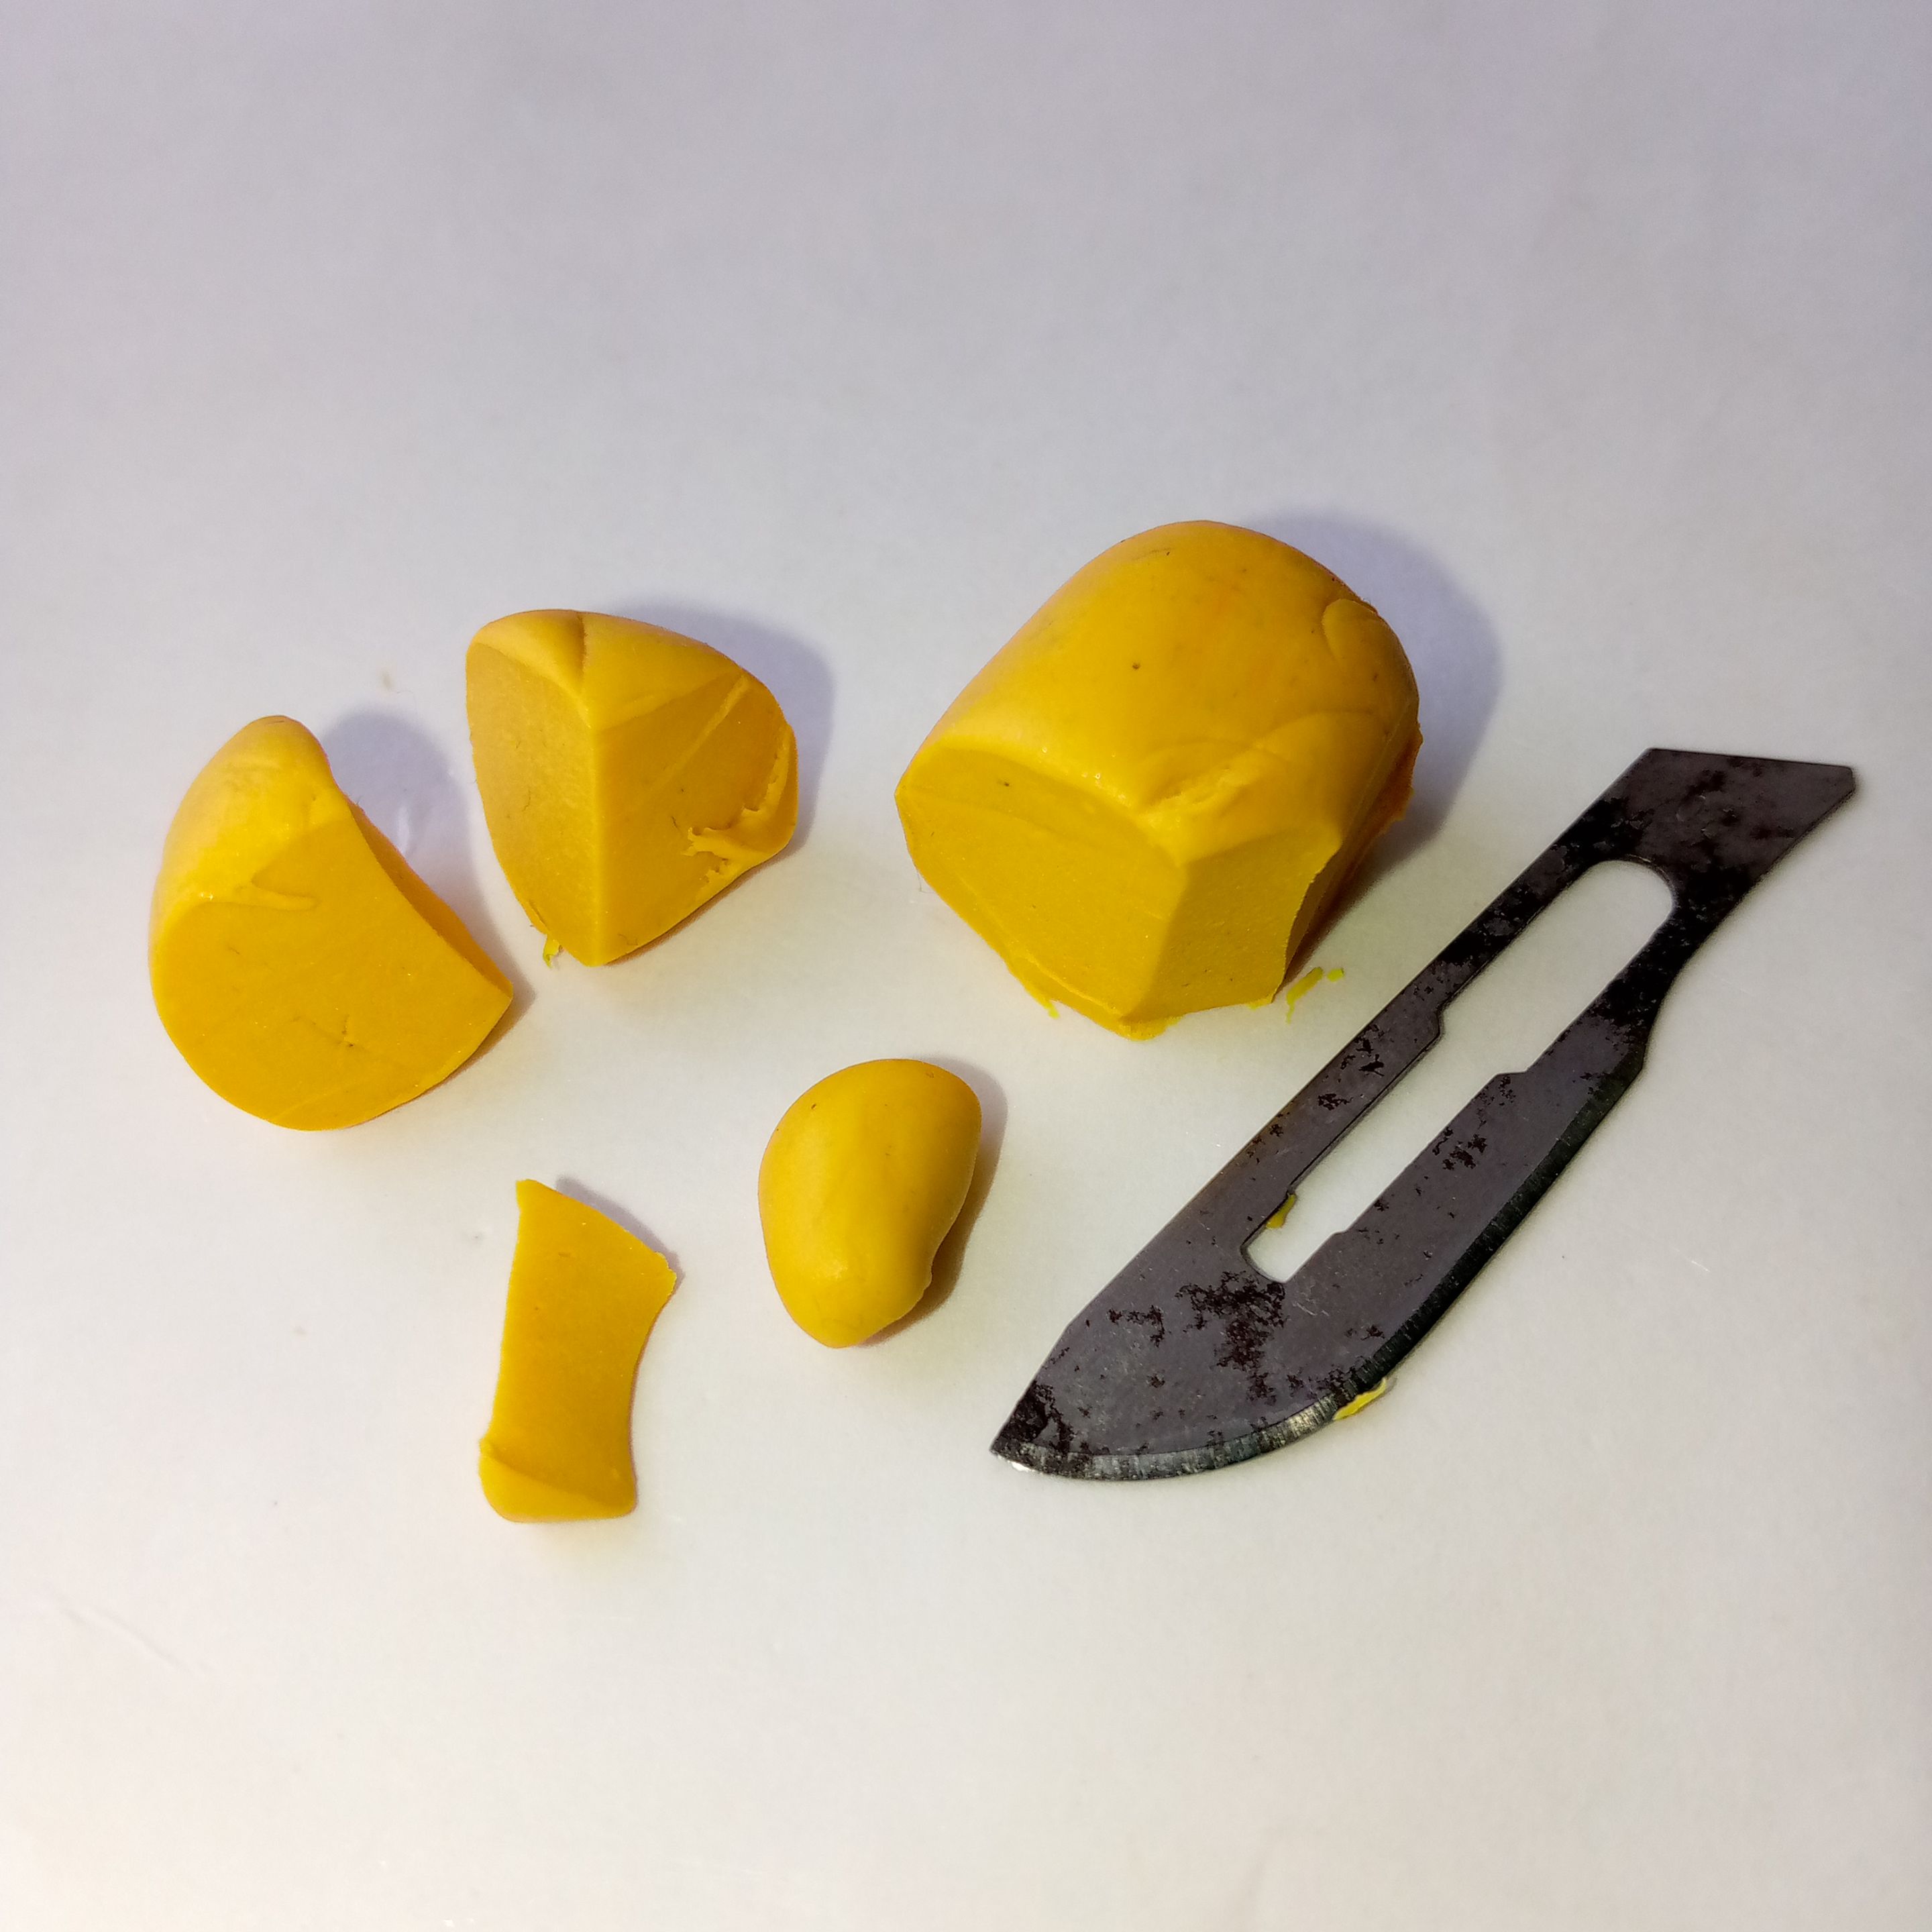
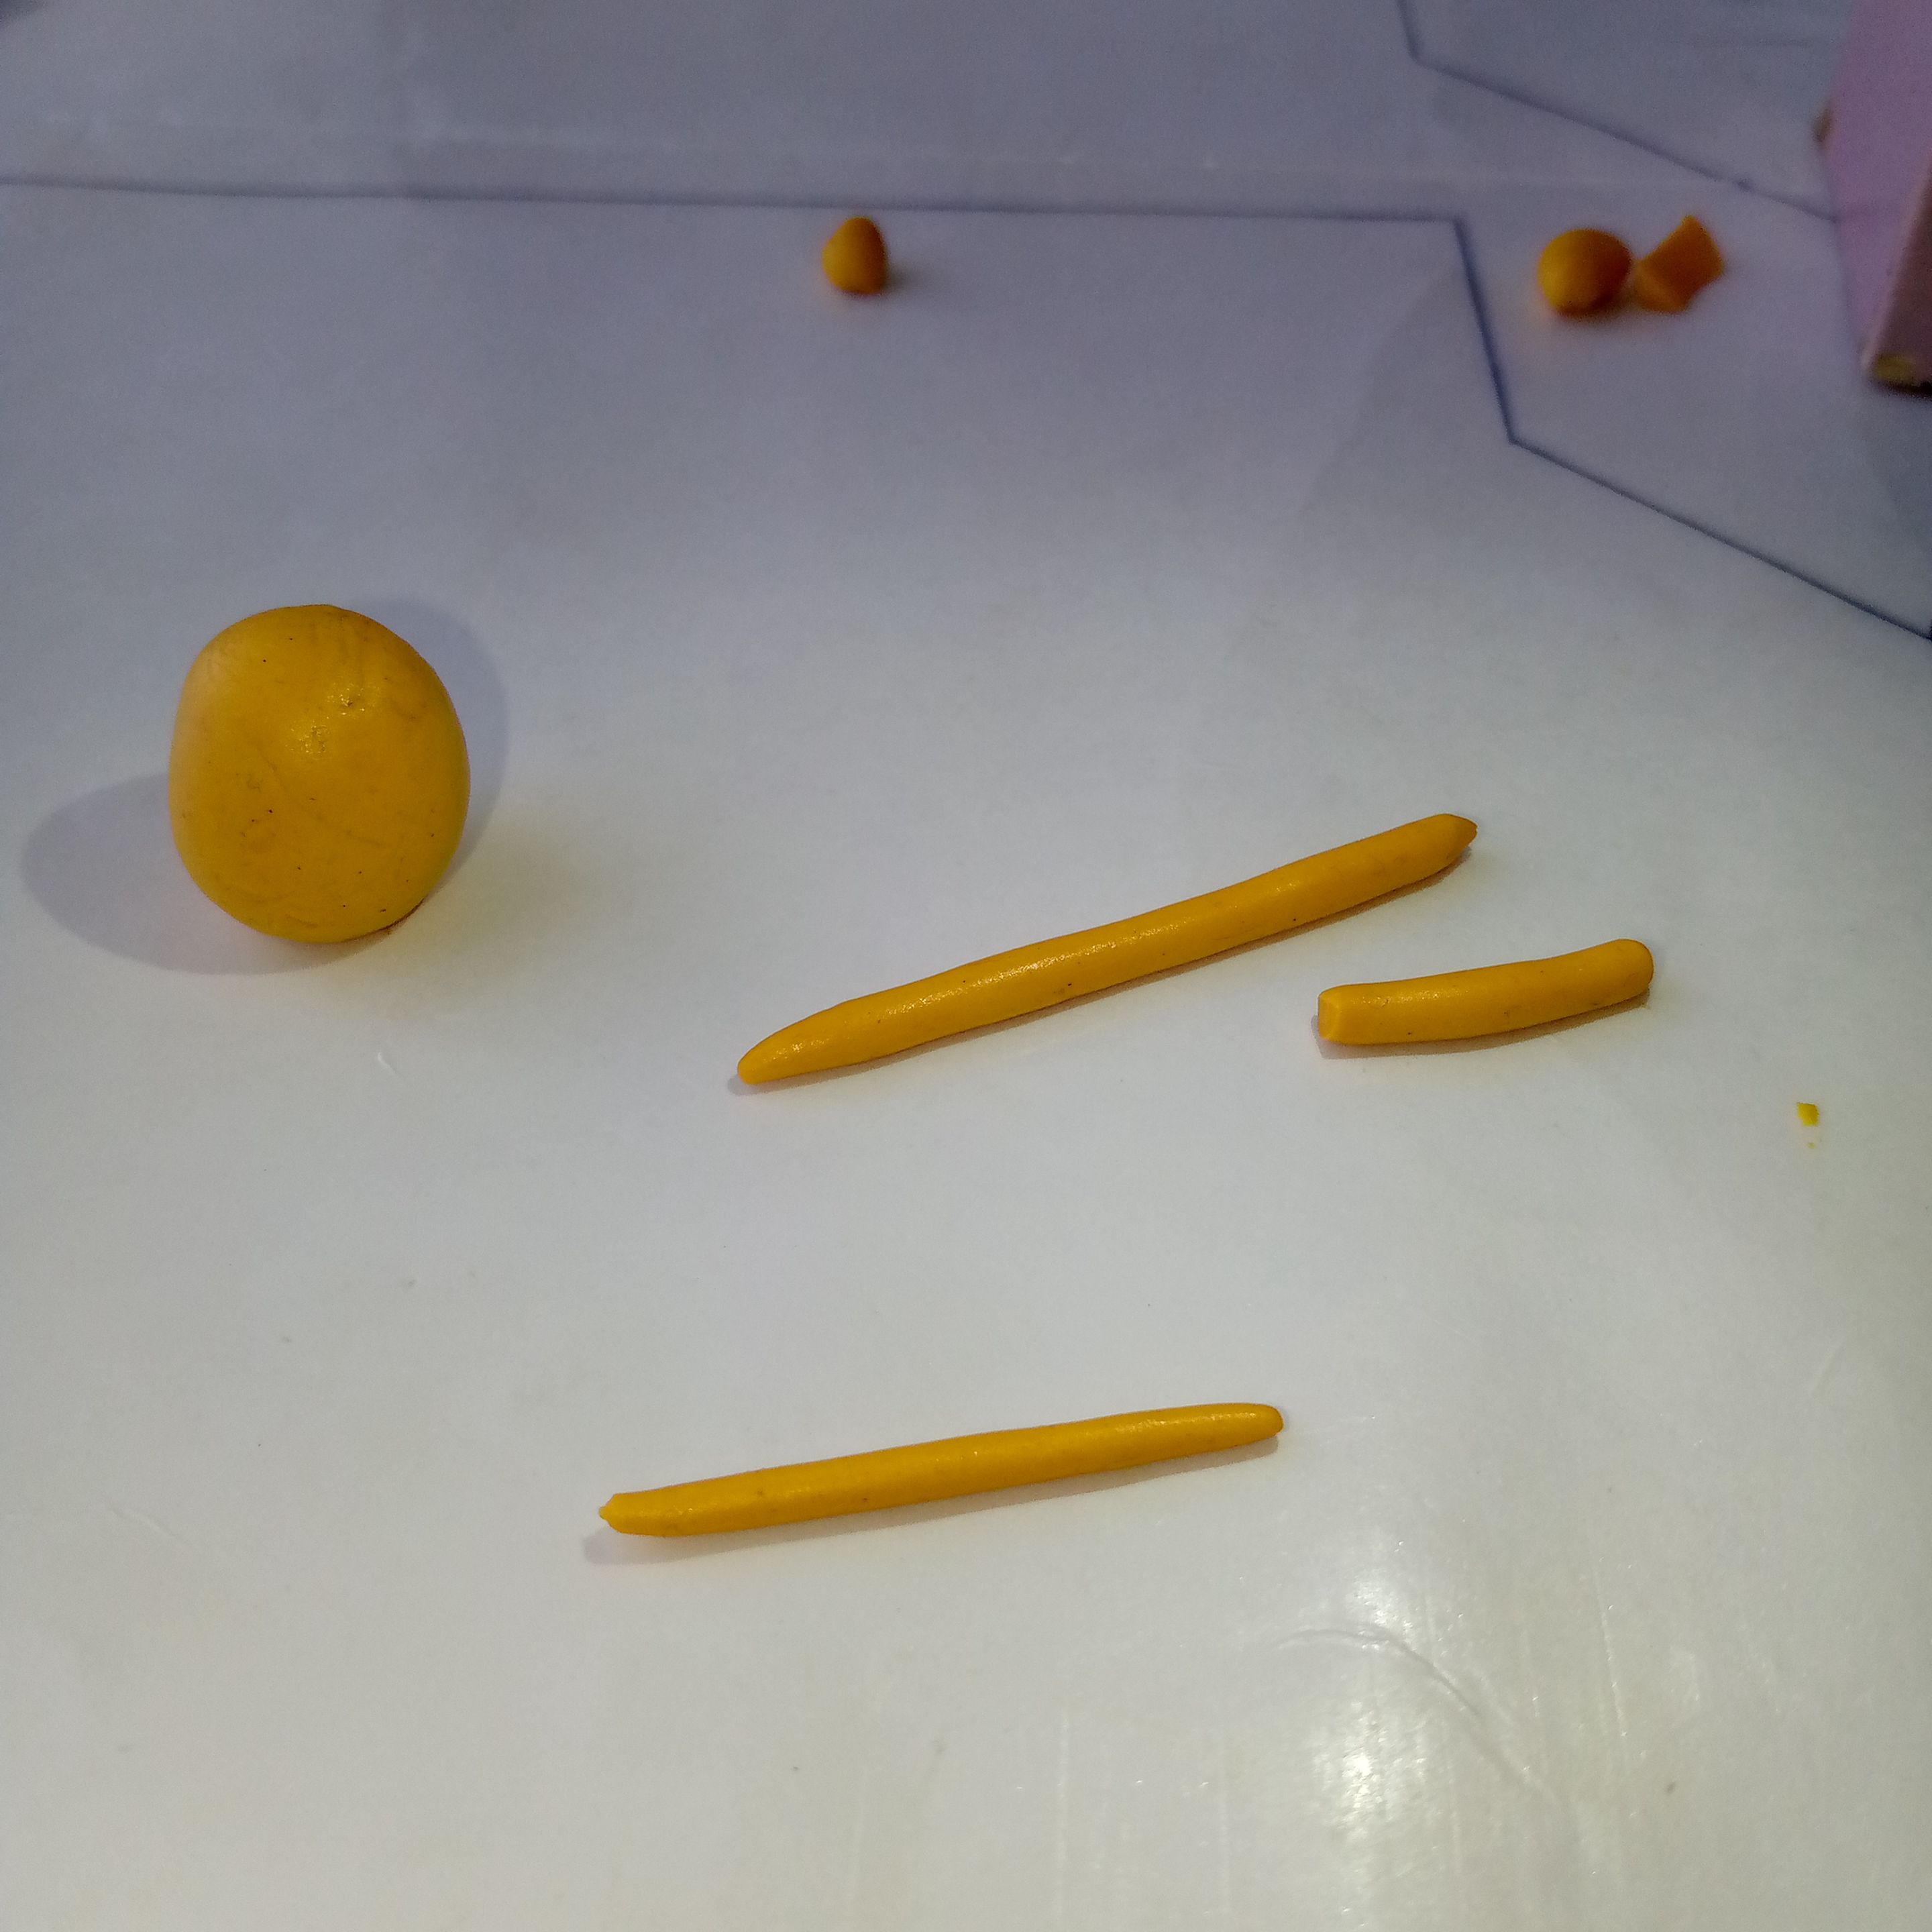
Dividiremos la masa amarilla para realizar todas las partes que necesitamos: cuerpo, extremidades, orejas y hocico.
We will divide the yellow dough to create all the parts we need: body, limbs, ears, and snout.
 |
 |
|---|---|
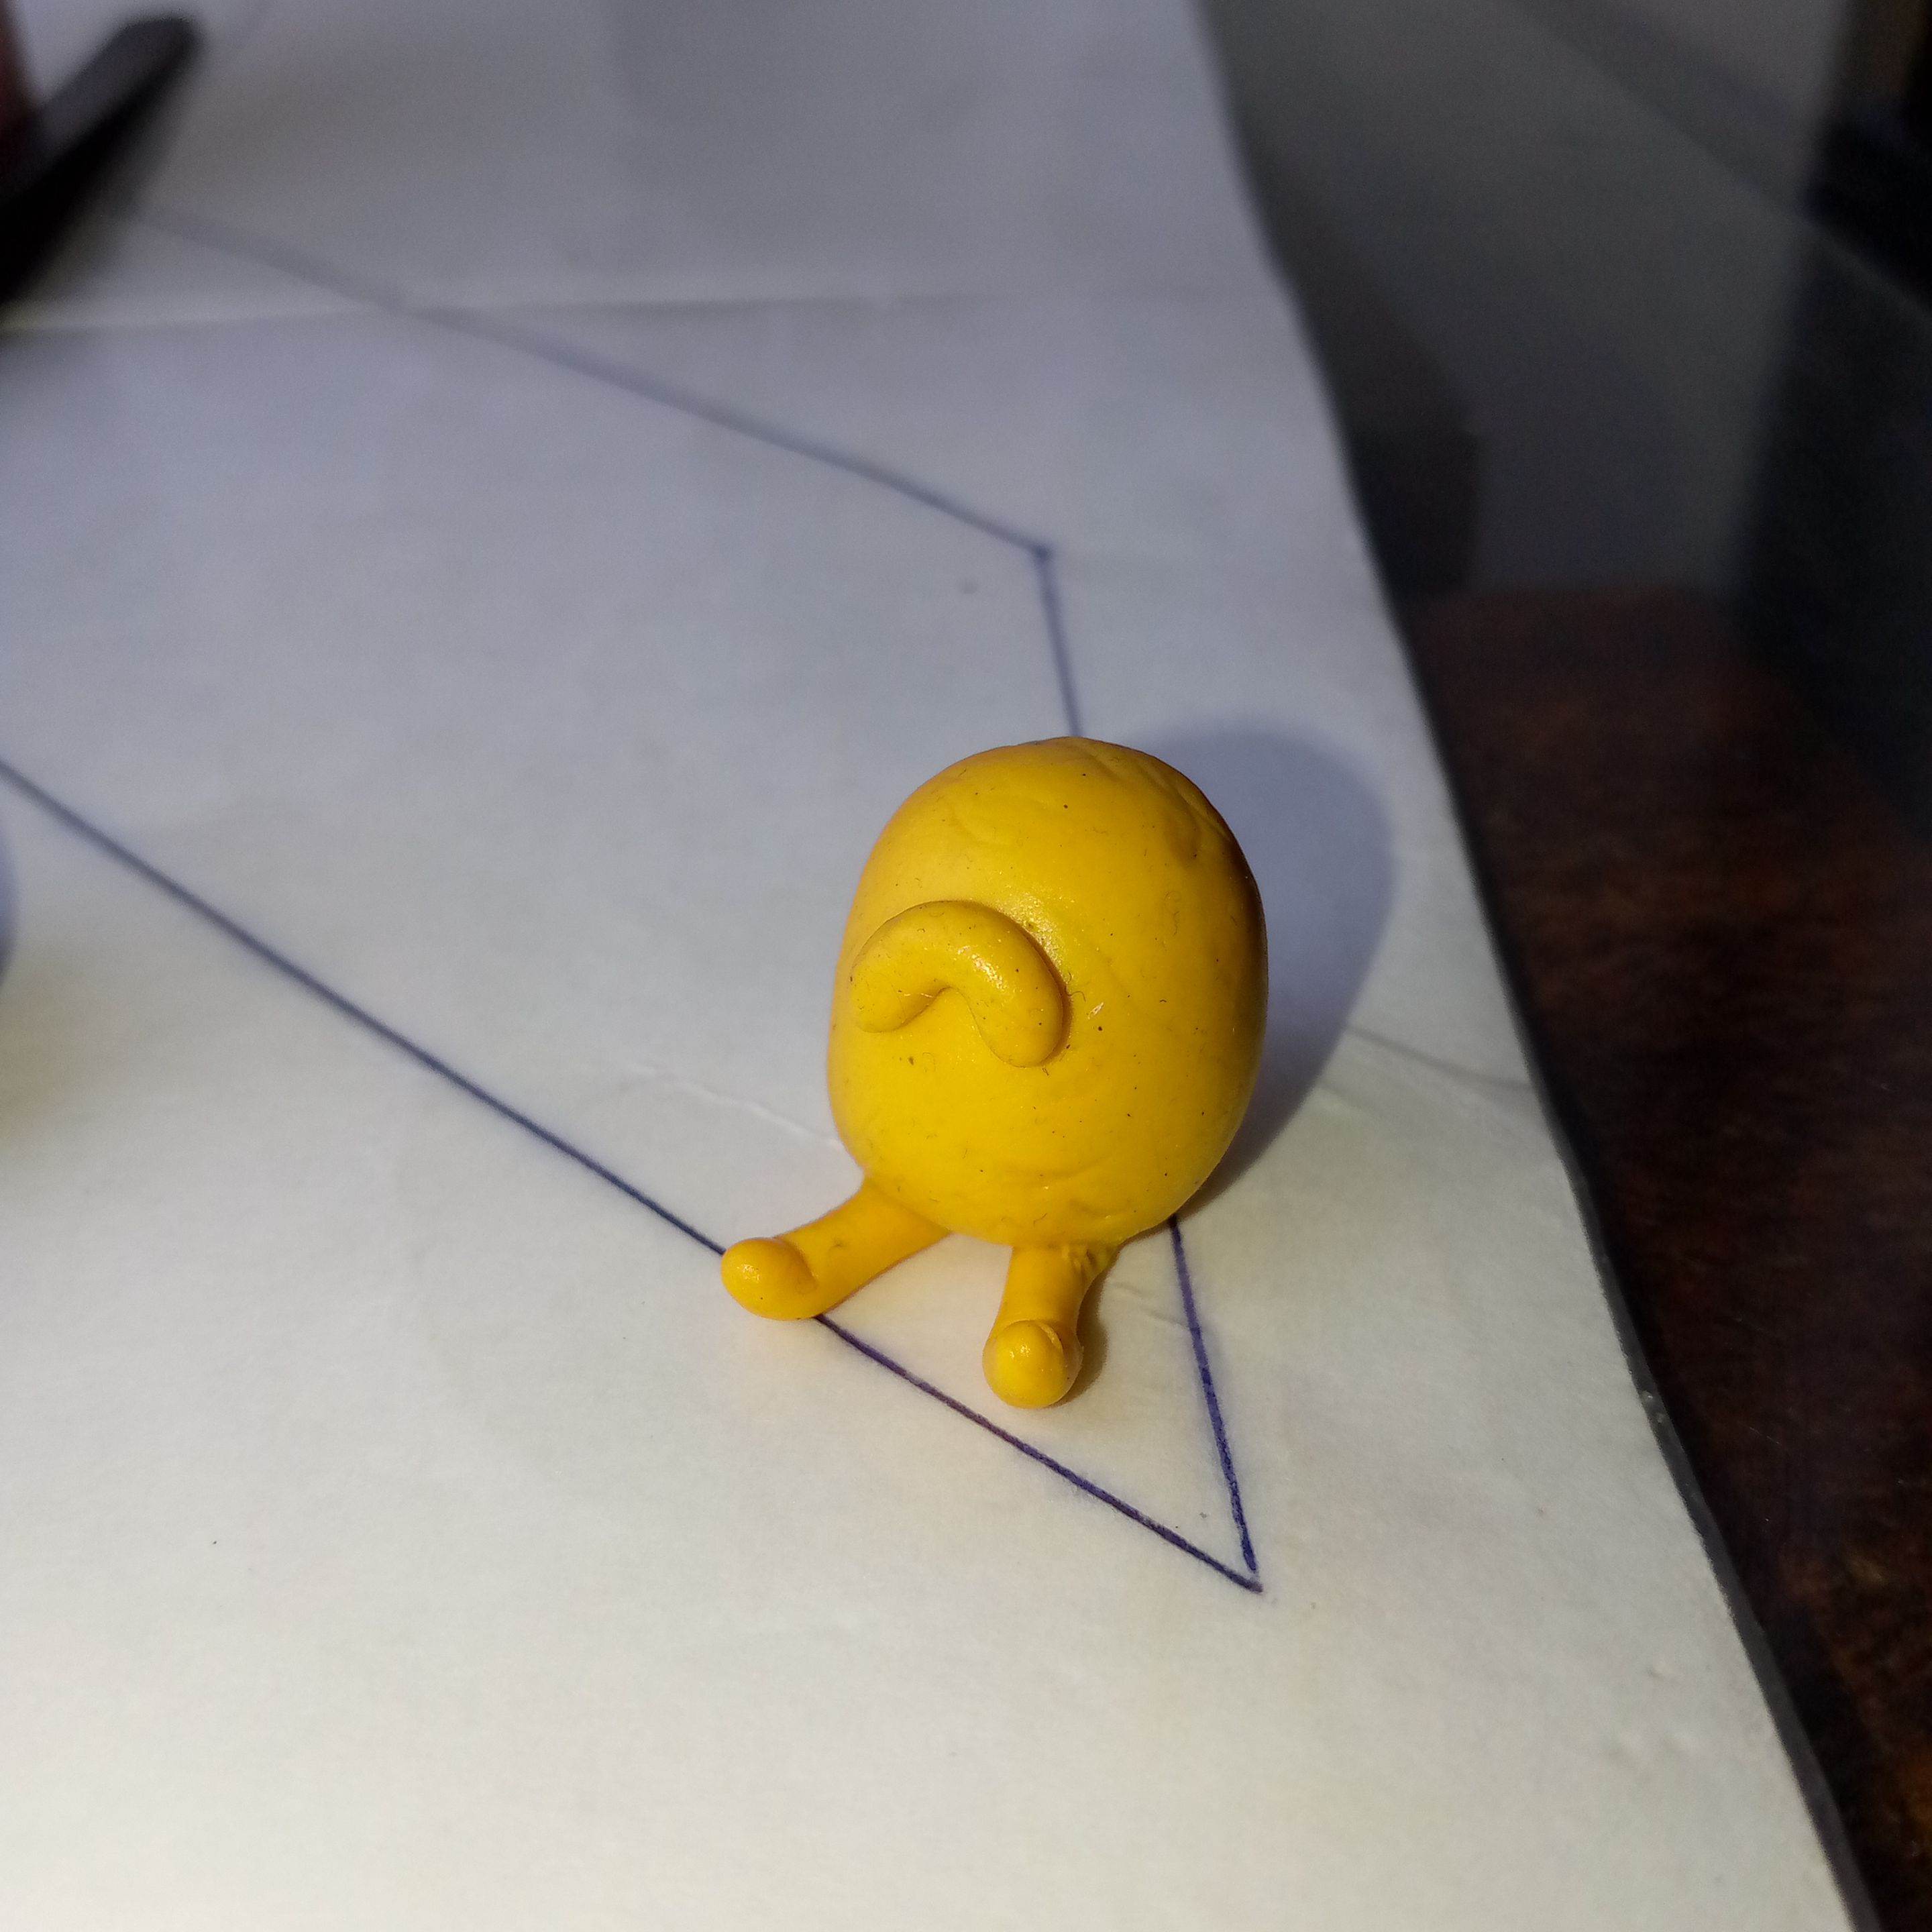
✦•┈๑⋅⋯CUERPO 🐕 BODY⋯⋅๑┈•✦
Tomaremos el trozo más grande y lo moldearemos hasta formar un ovoide o un cilindro redondeado, con una forma similar a la de una píldora.
We will take the largest piece and shape it into an ovoid or a rounded cylinder, with a form similar to that of a pill.
 |
 |
|---|---|
 |
 |
|---|---|
✦•┈๑⋅⋯ BRAZOS 💪 ARMS ⋯⋅๑┈•✦
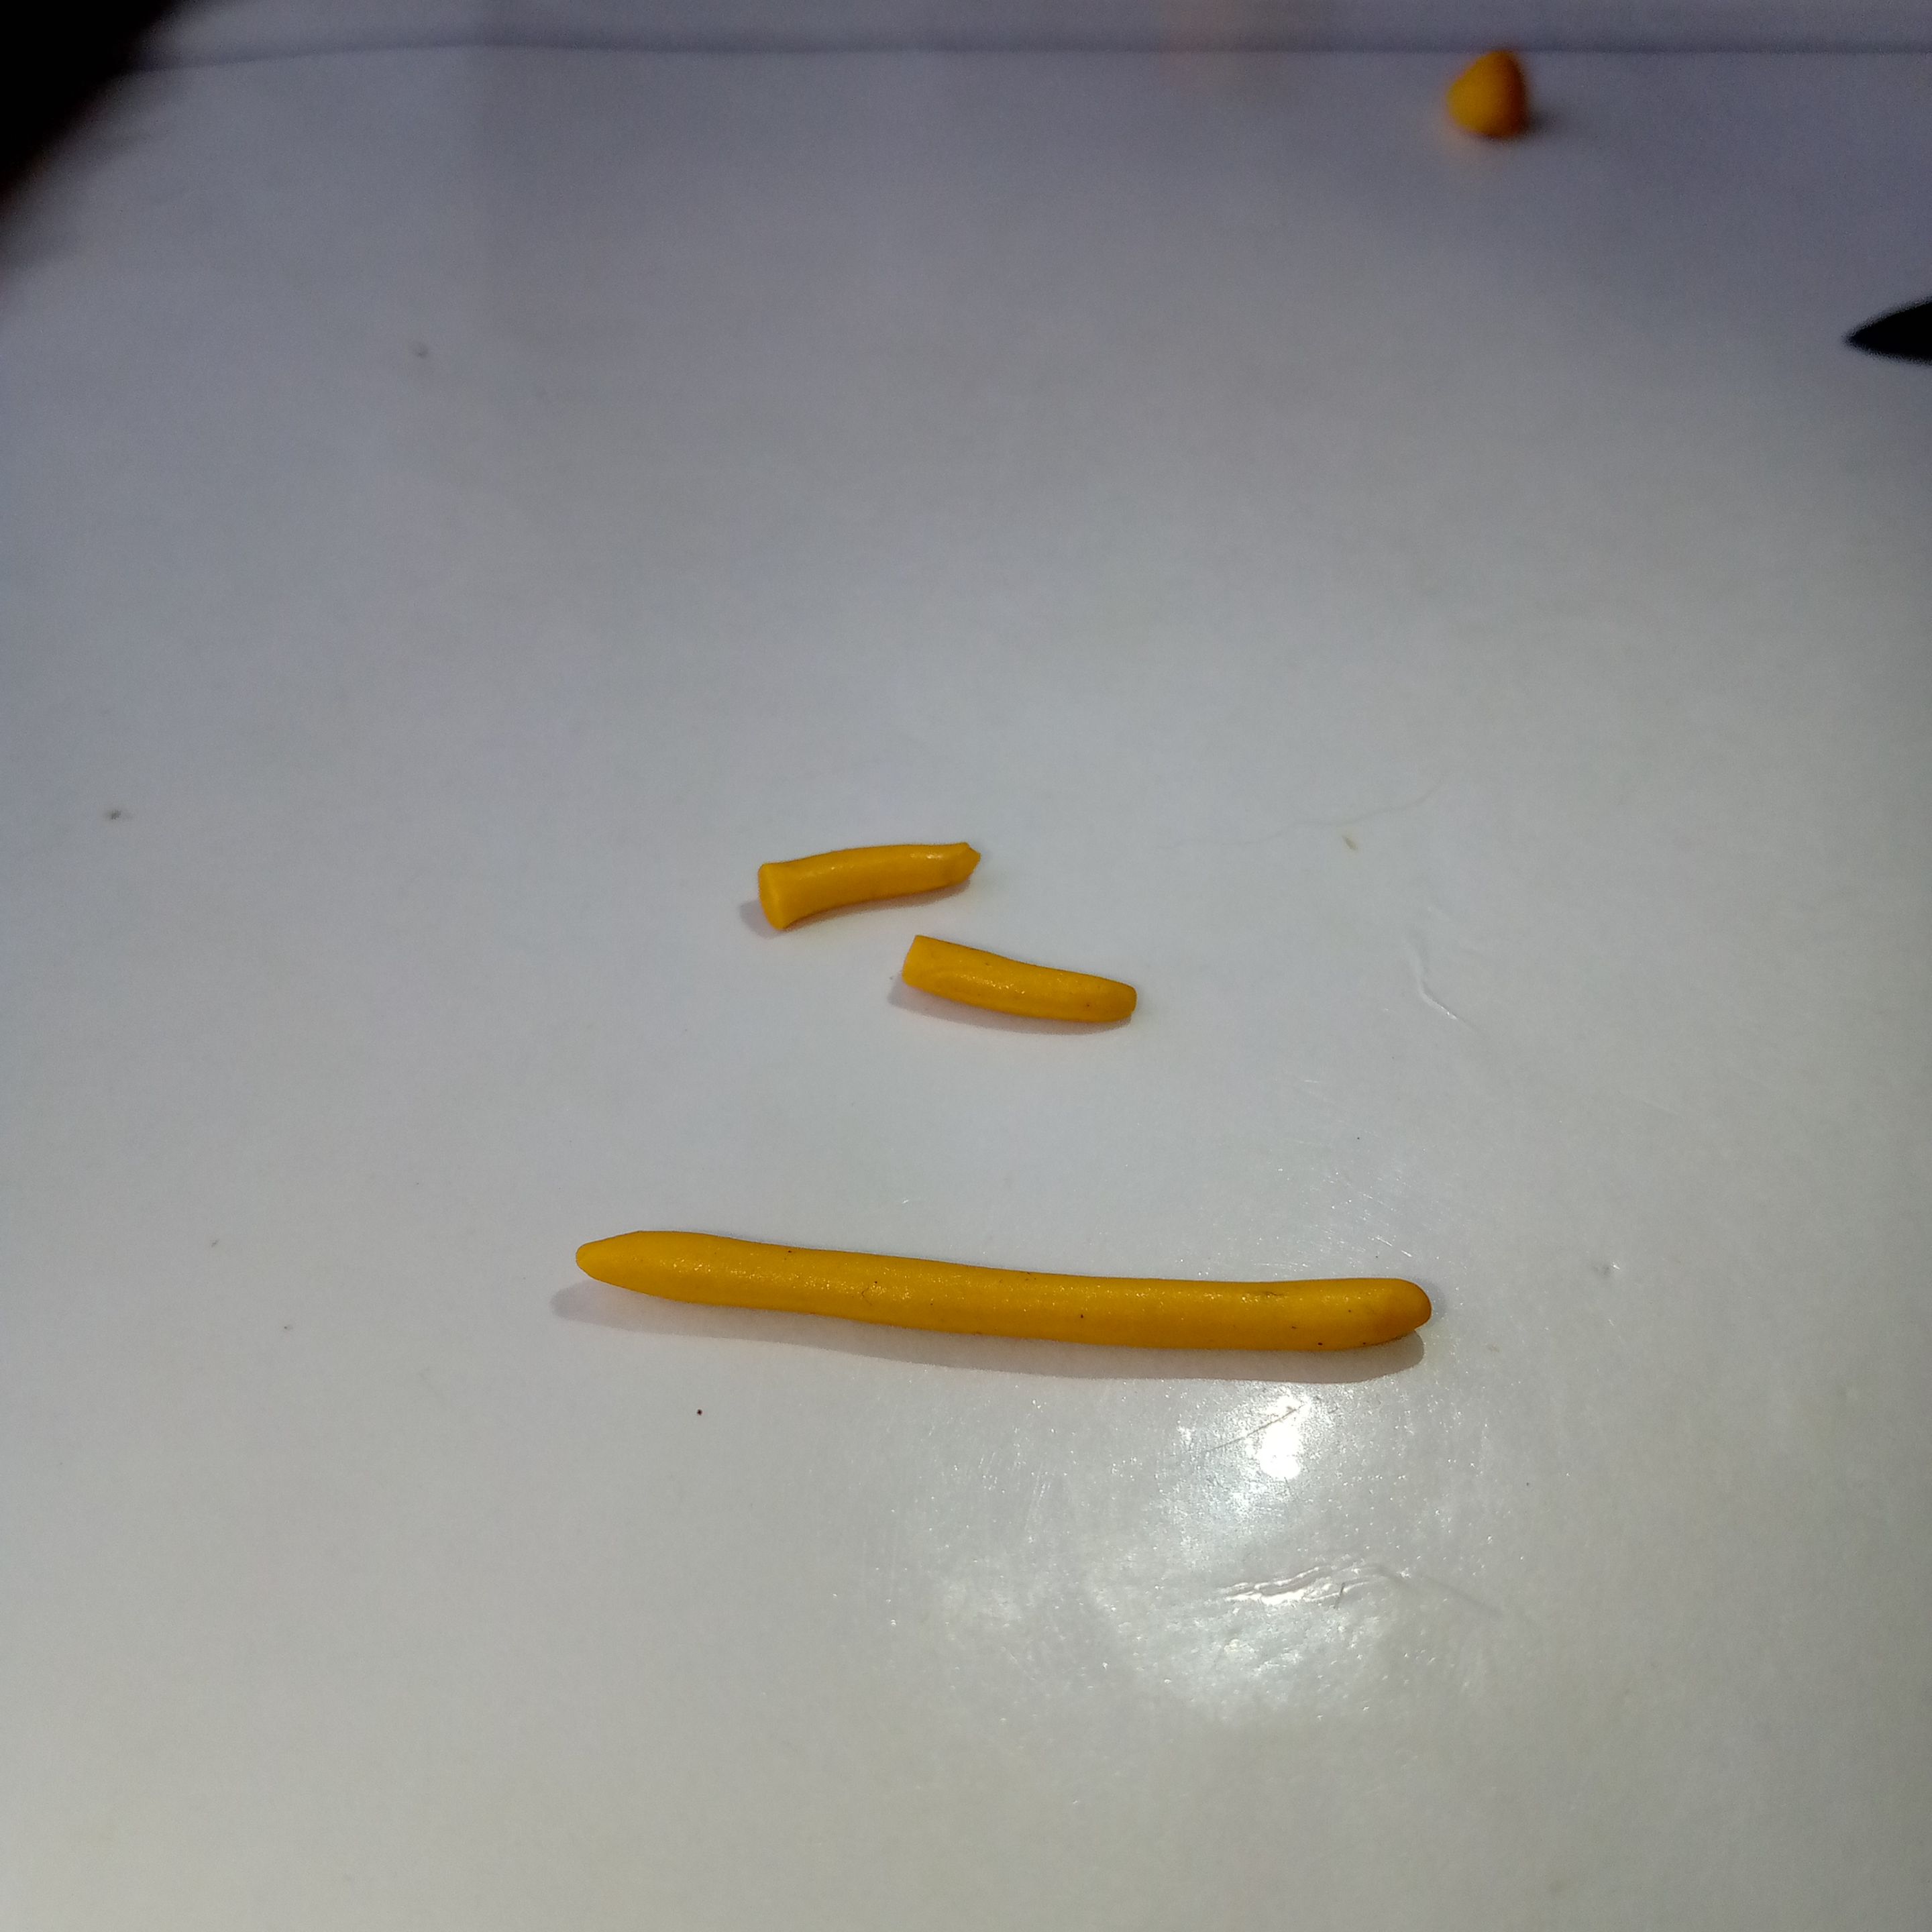
Vamos a dedicarnos a hacer gusanitos o lombrices con la plasticina. Vamos aplanándola, rodándola y estirándola sobre la superficie y dándole forma alargada con nuestros dedos.
We are going to make little worms or snake-like shapes with the modeling clay. We'll flatten, roll, and stretch it on the surface, giving it a long shape with our fingers.
 |
 |
|---|---|
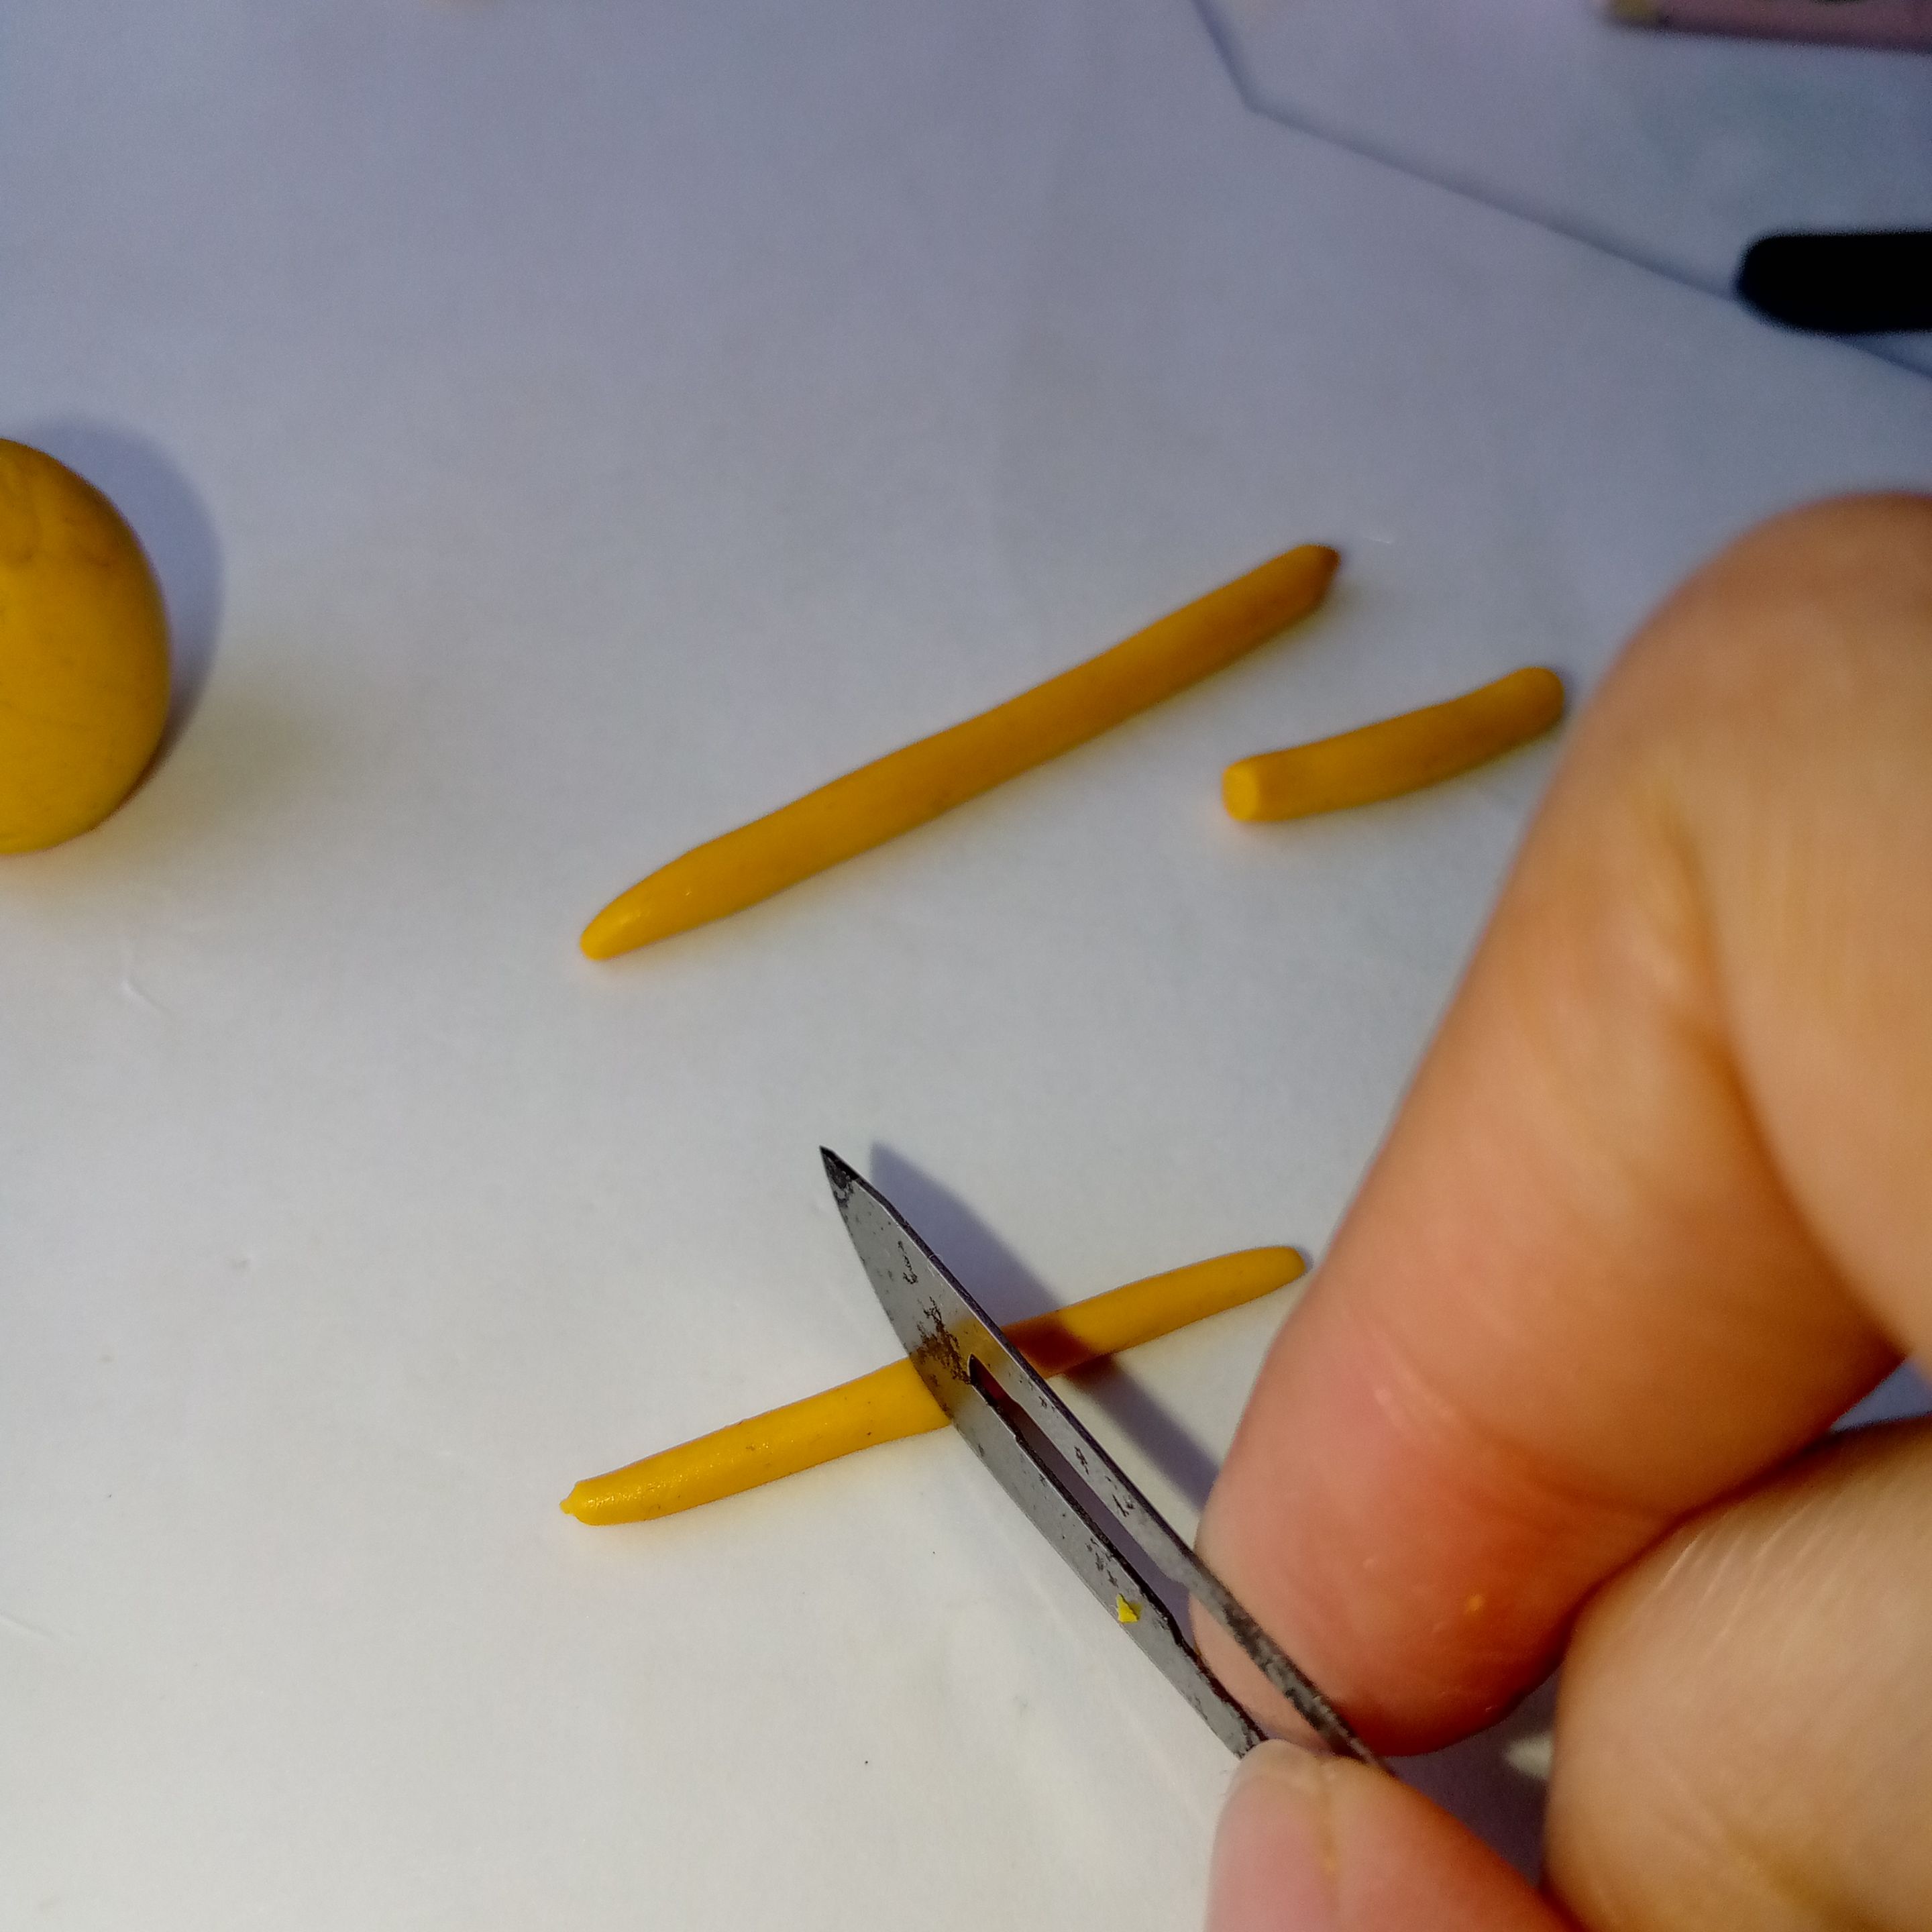
Las alargamos hasta que tengan la longitud y el grosor que necesitamos y lo cortamos a la mitad para que los brazos queden del mismo tamaño.
We stretch them until they reach the desired length and thickness, then cut them in half so that both arms are the same size.
 |
 |
|---|---|
 |
 |
|---|---|
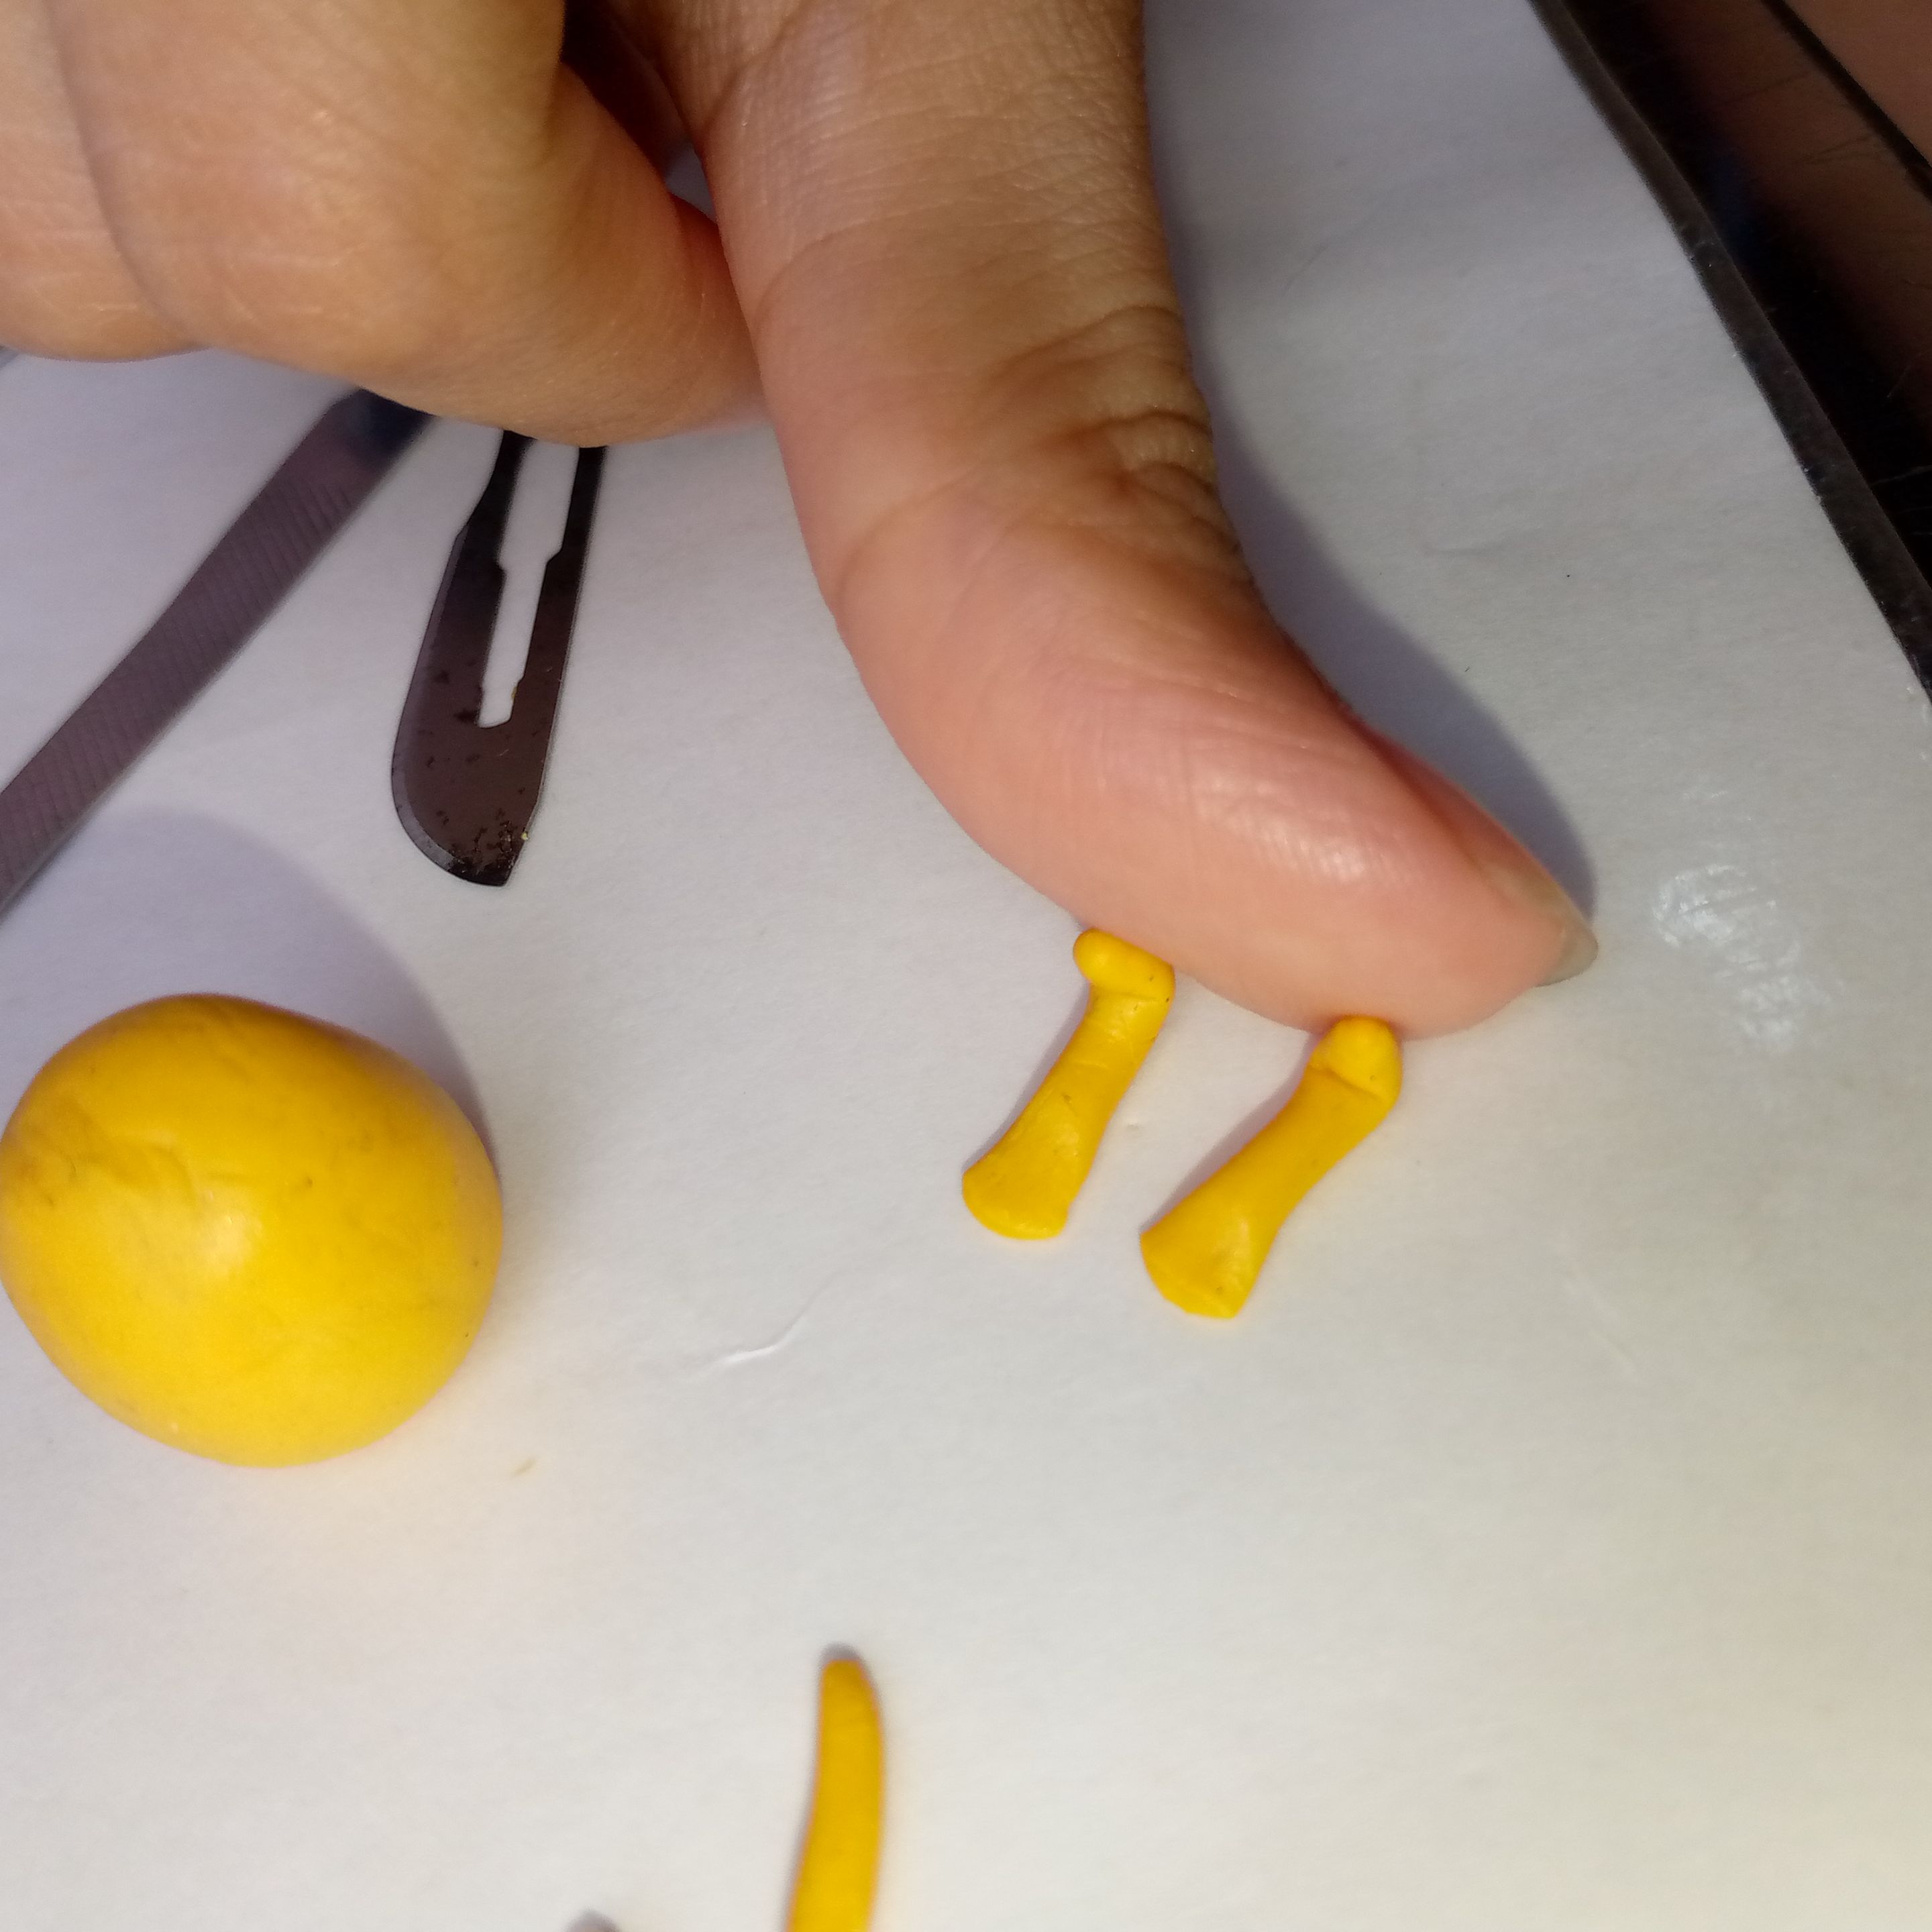
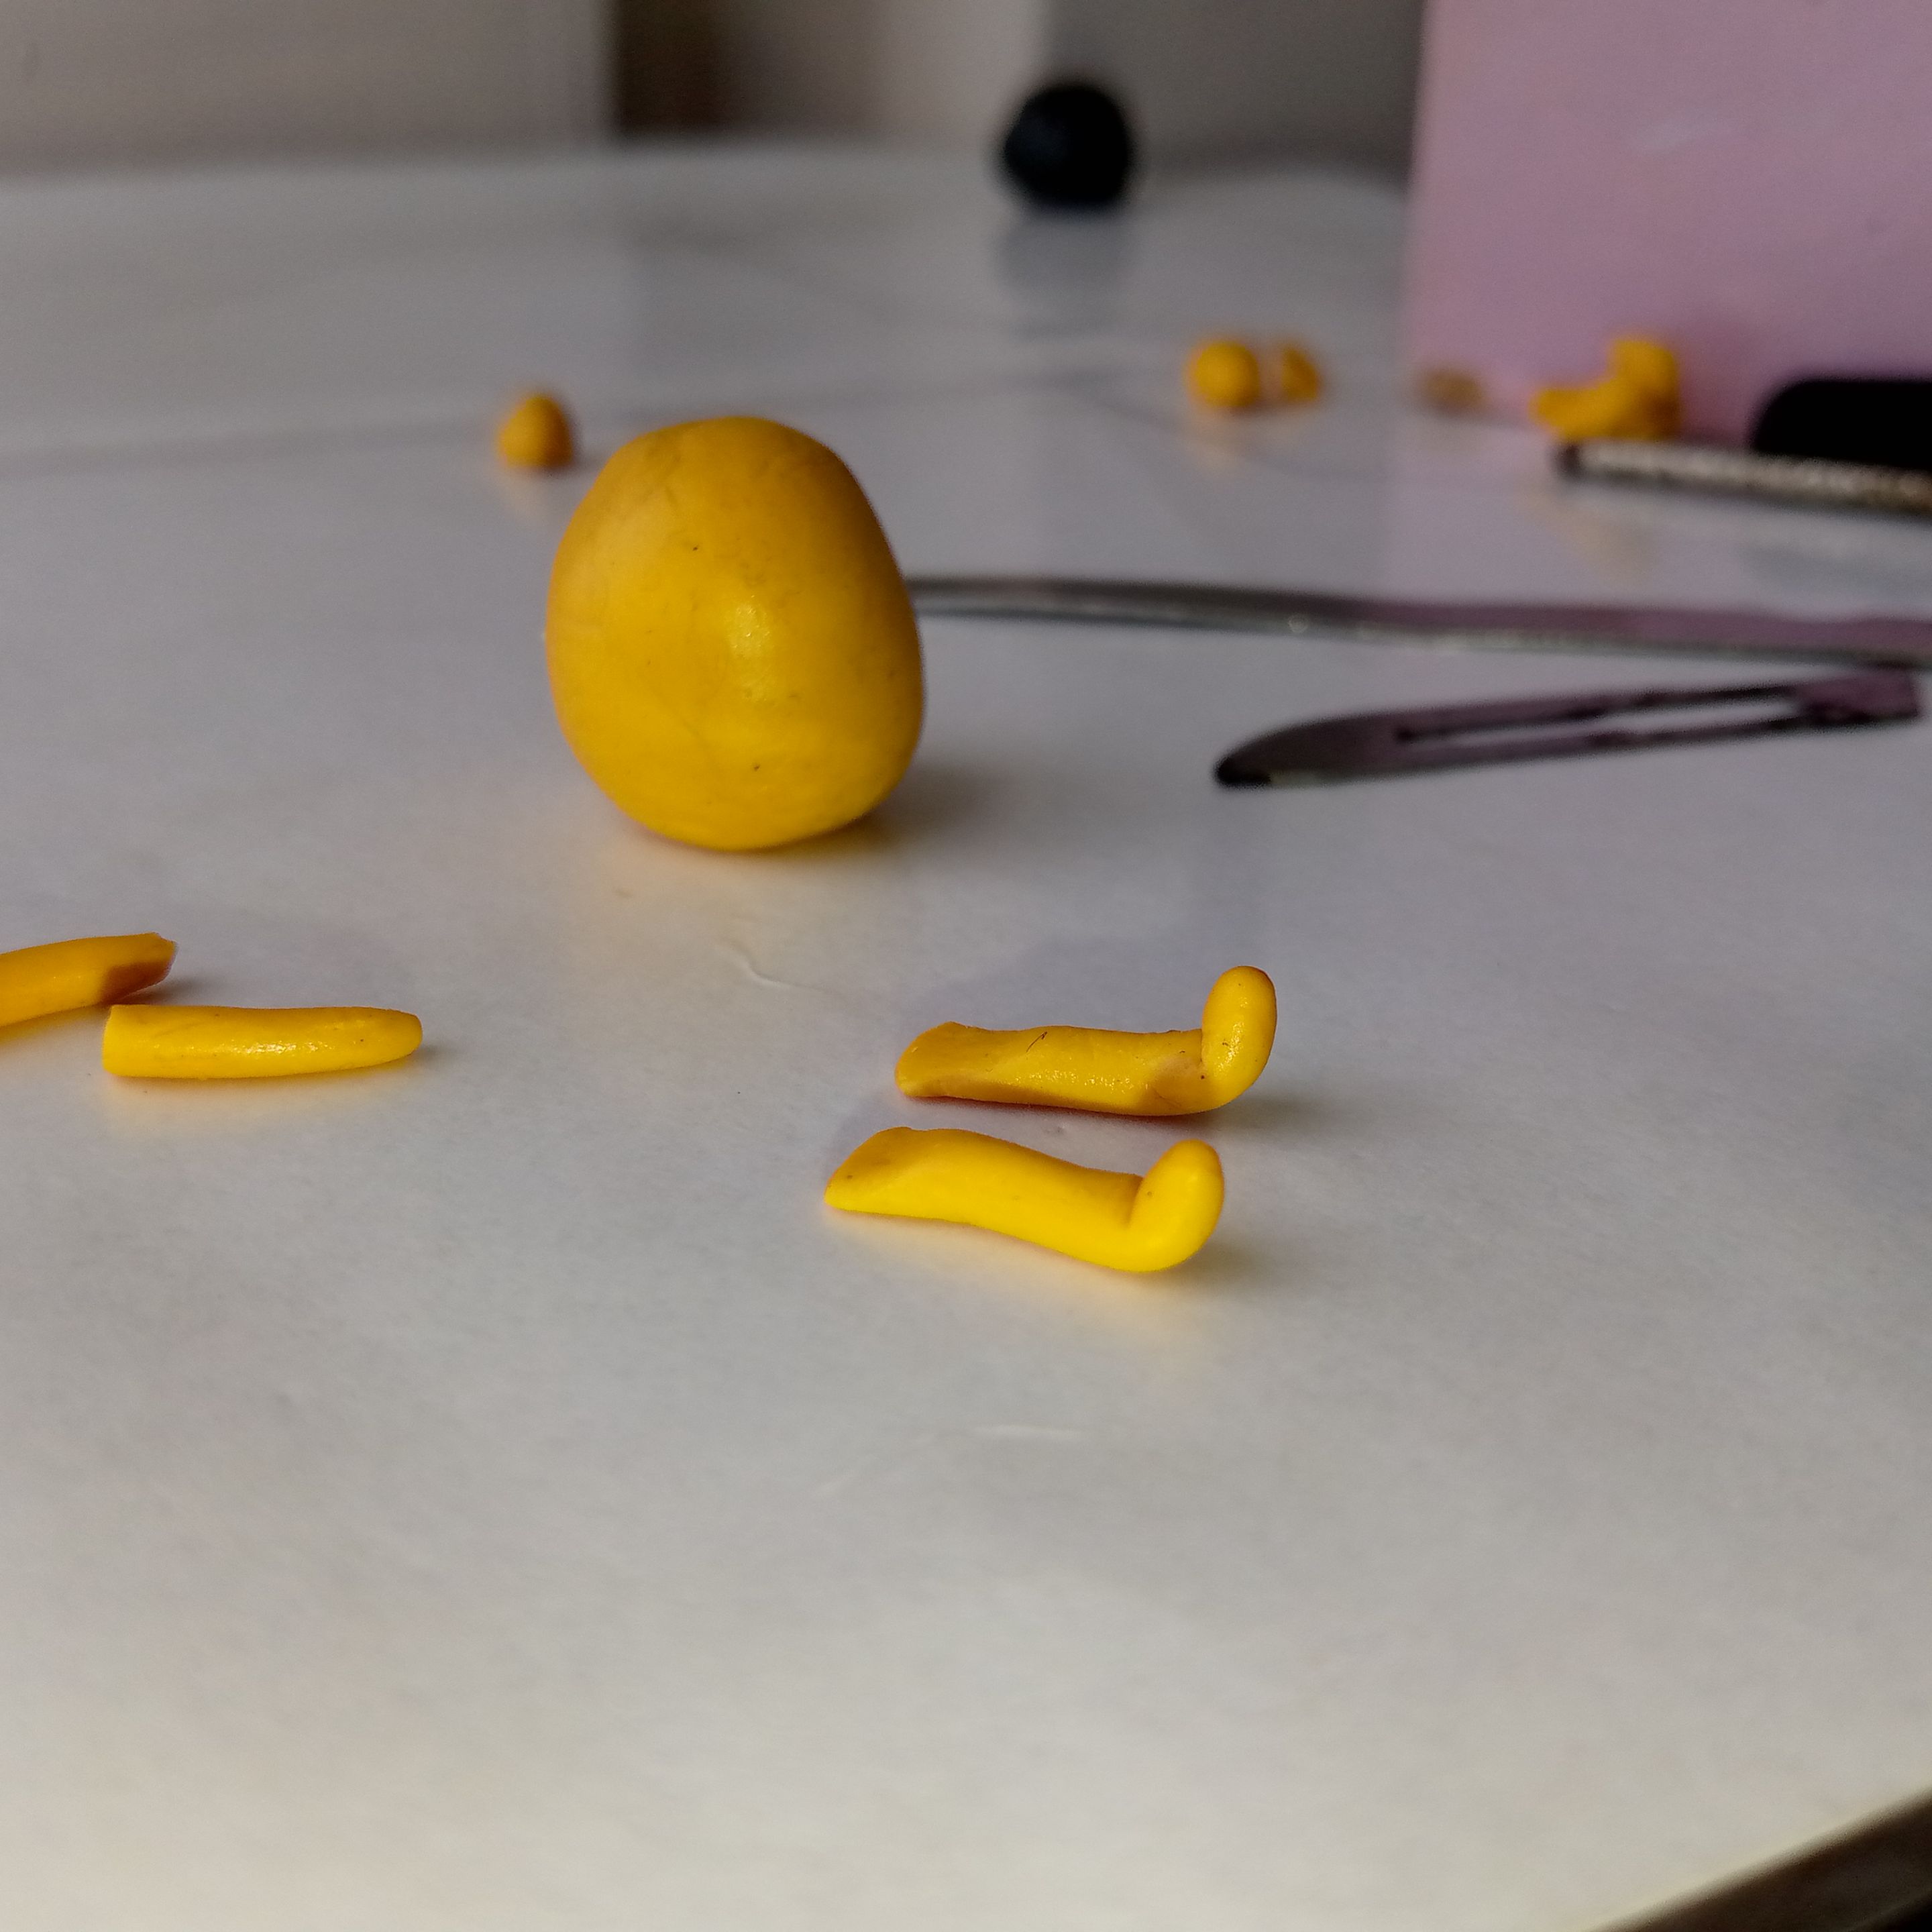
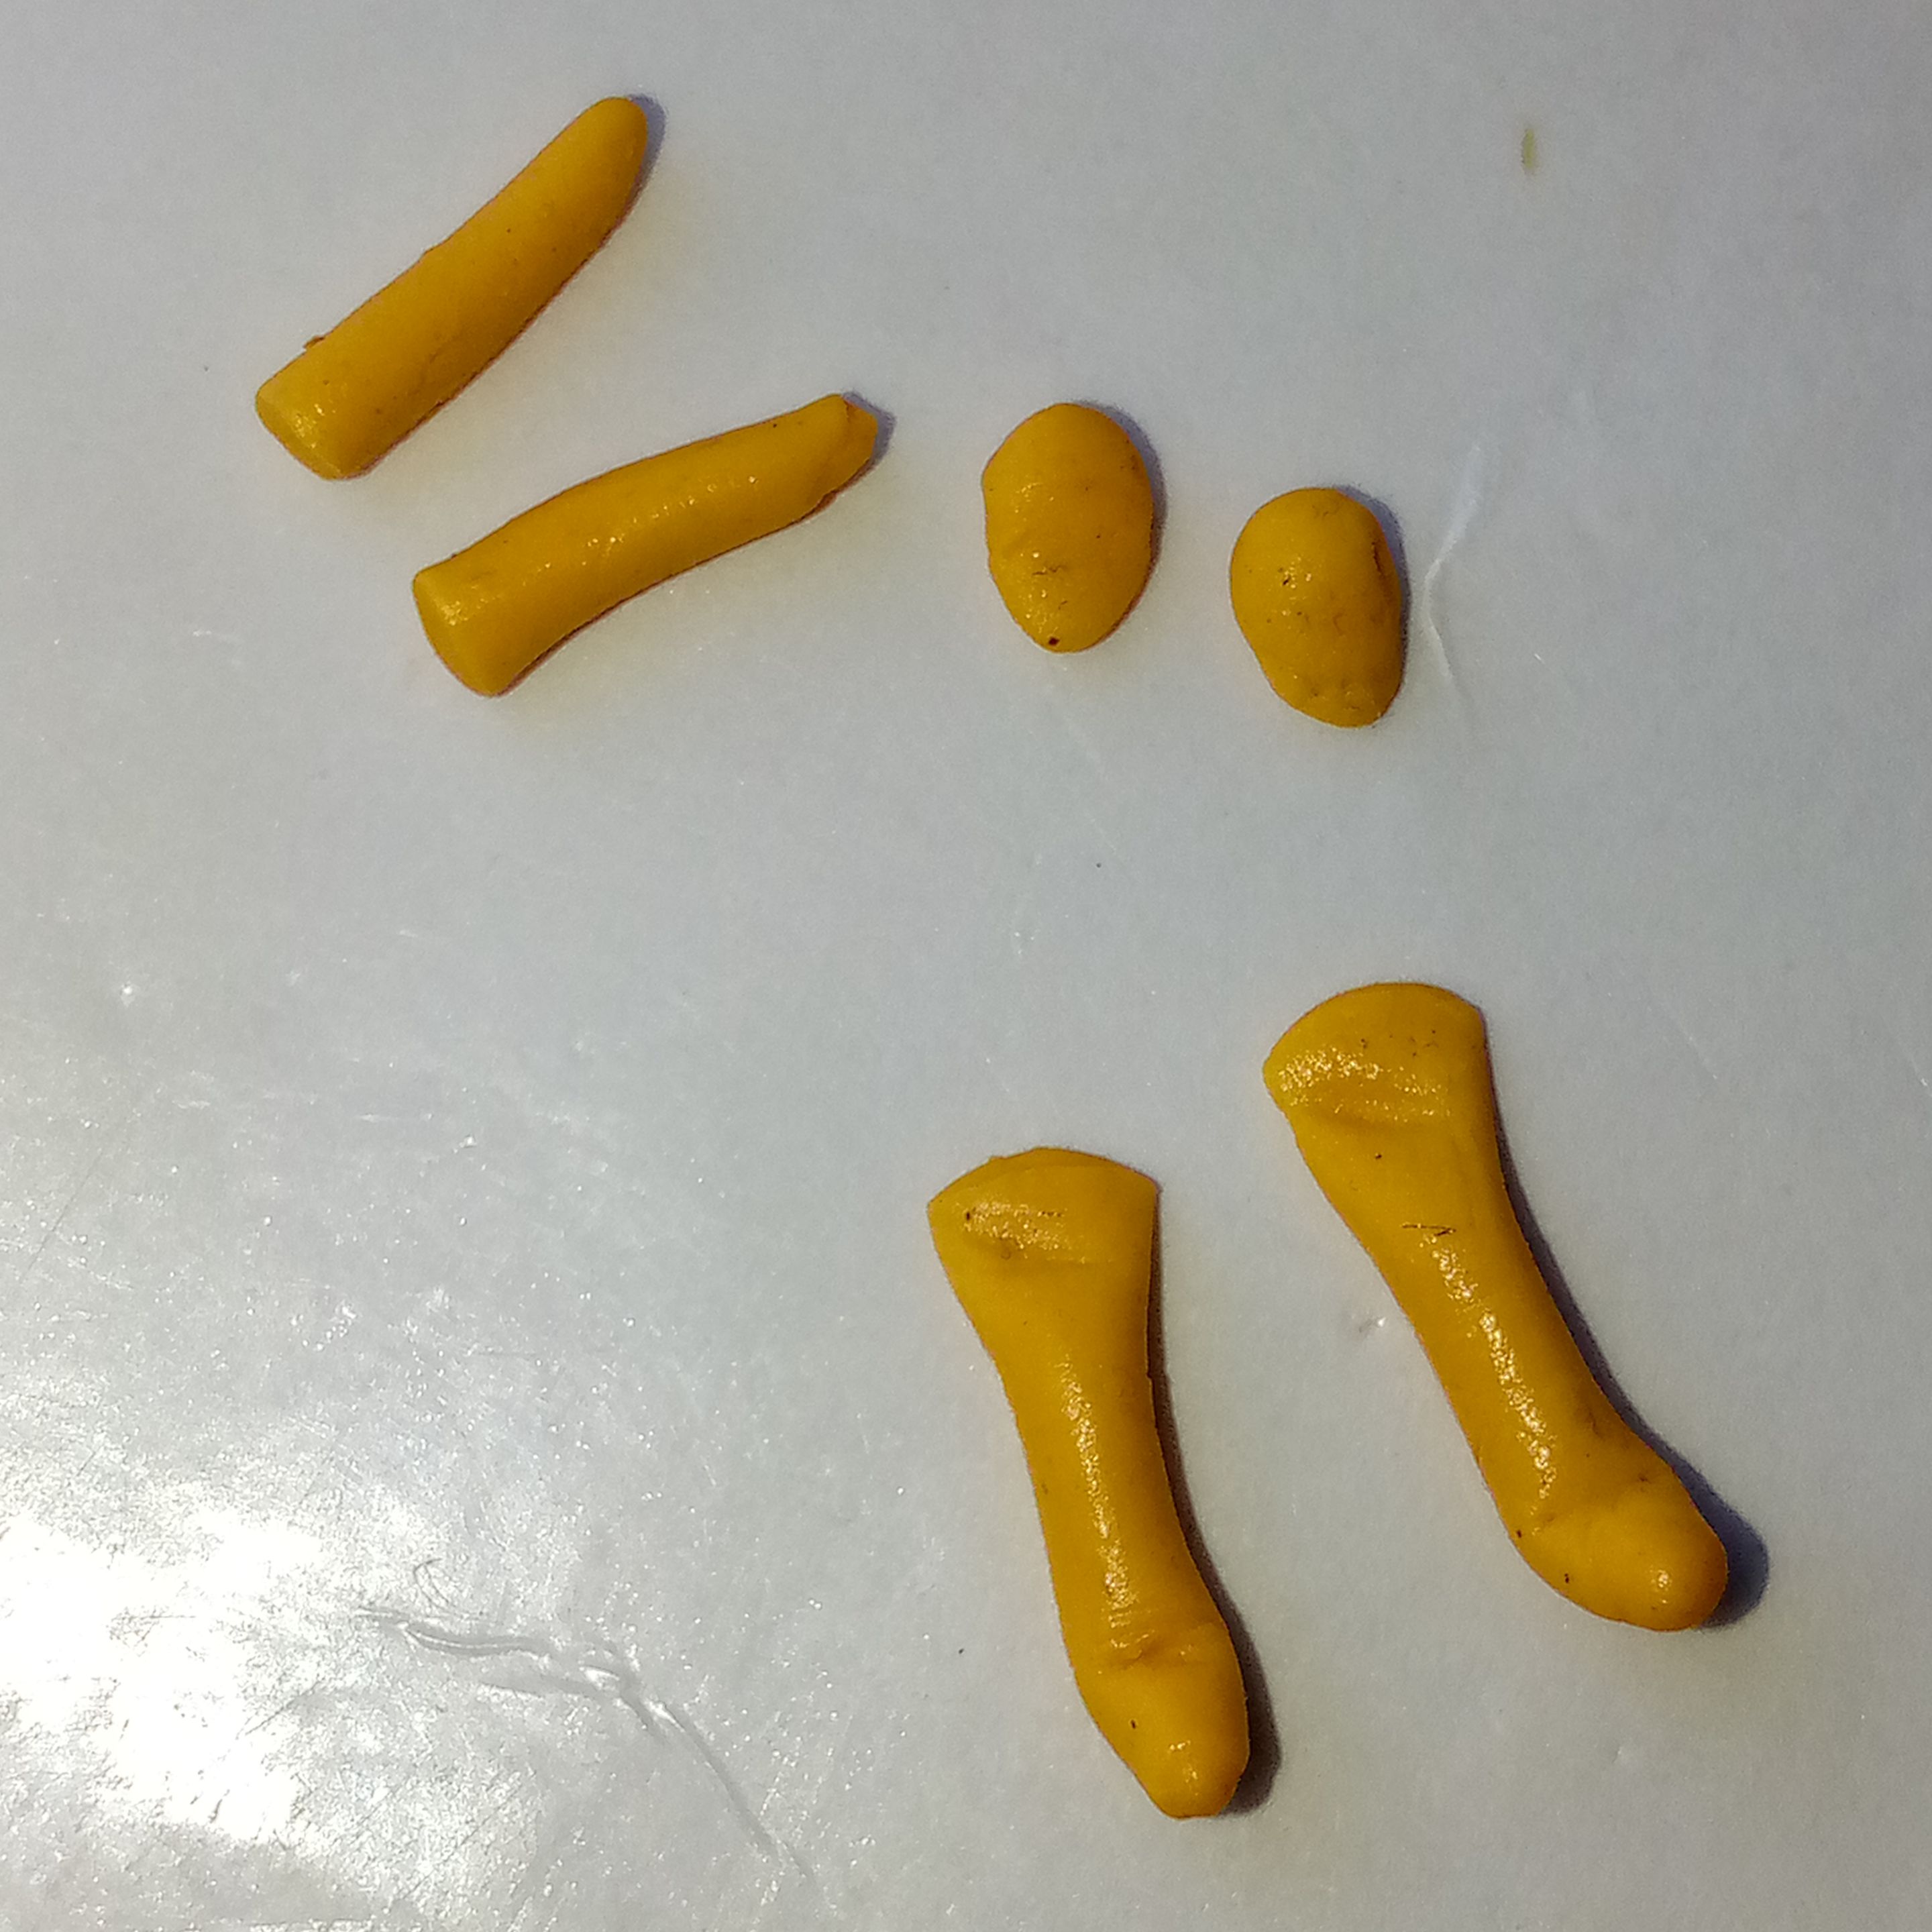
✦•┈๑⋅⋯ PATAS/PIERNAS 🦵 PAWS/LEGS ⋯⋅๑┈•✦
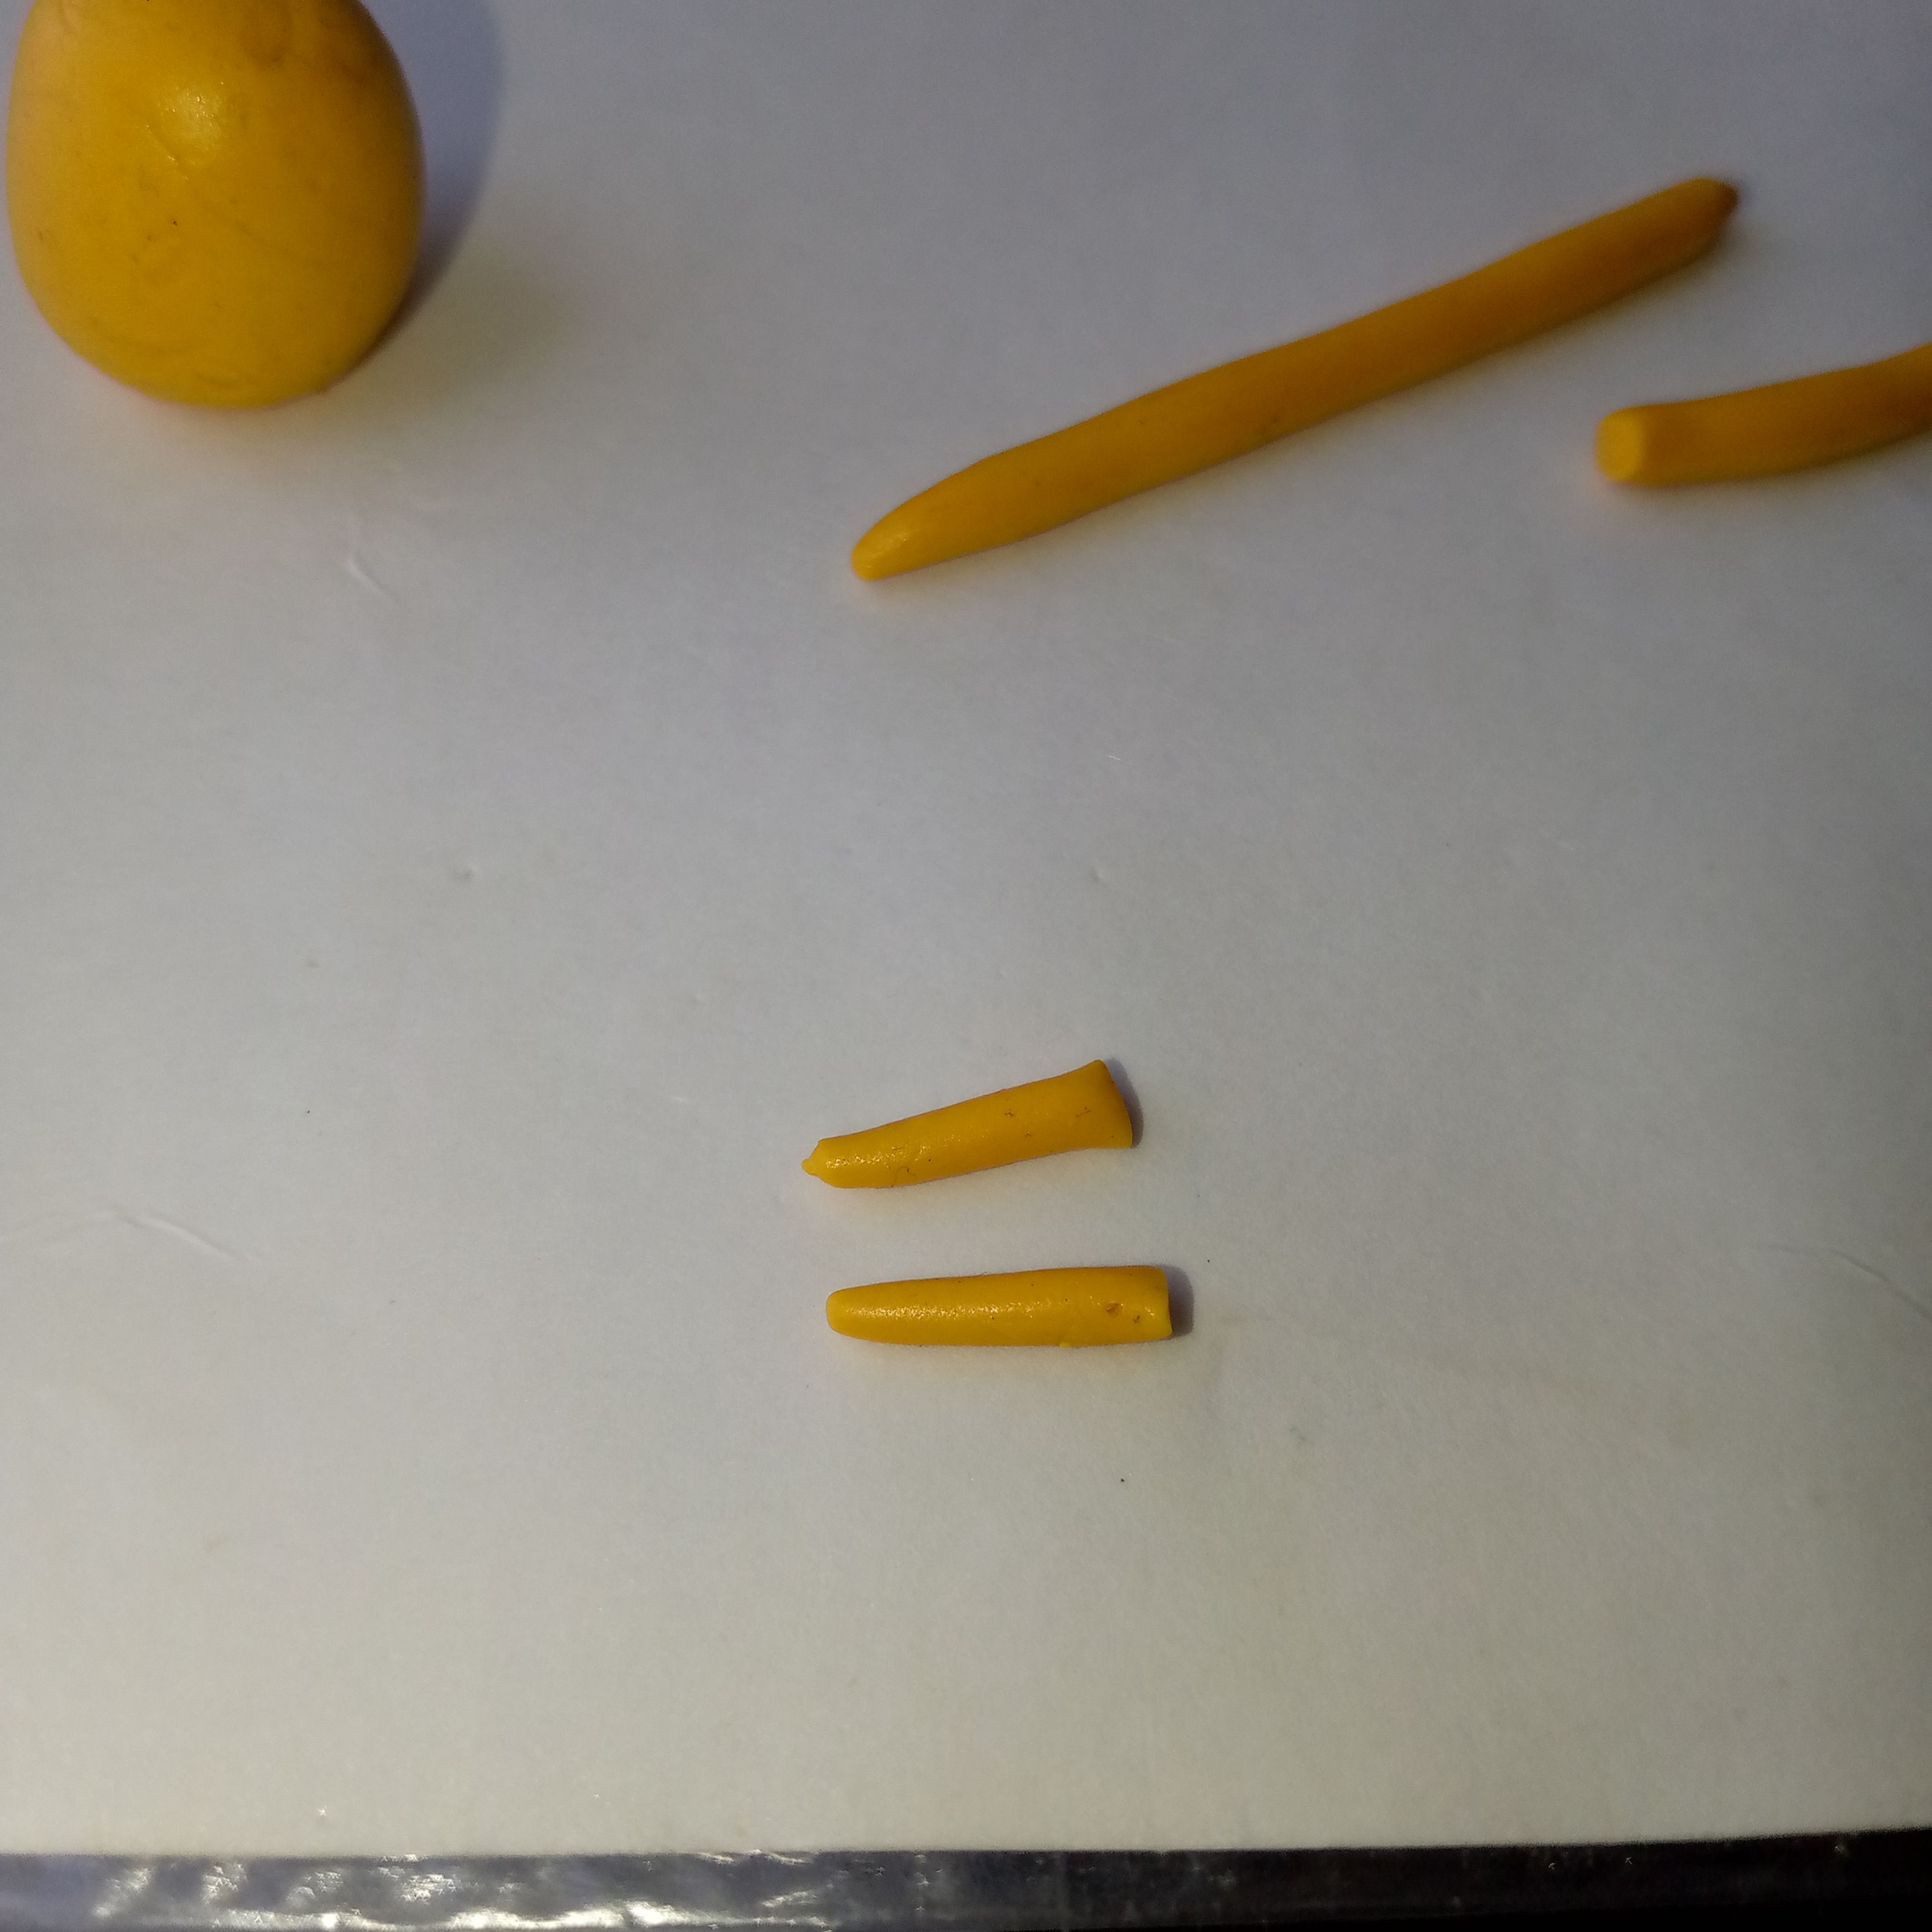
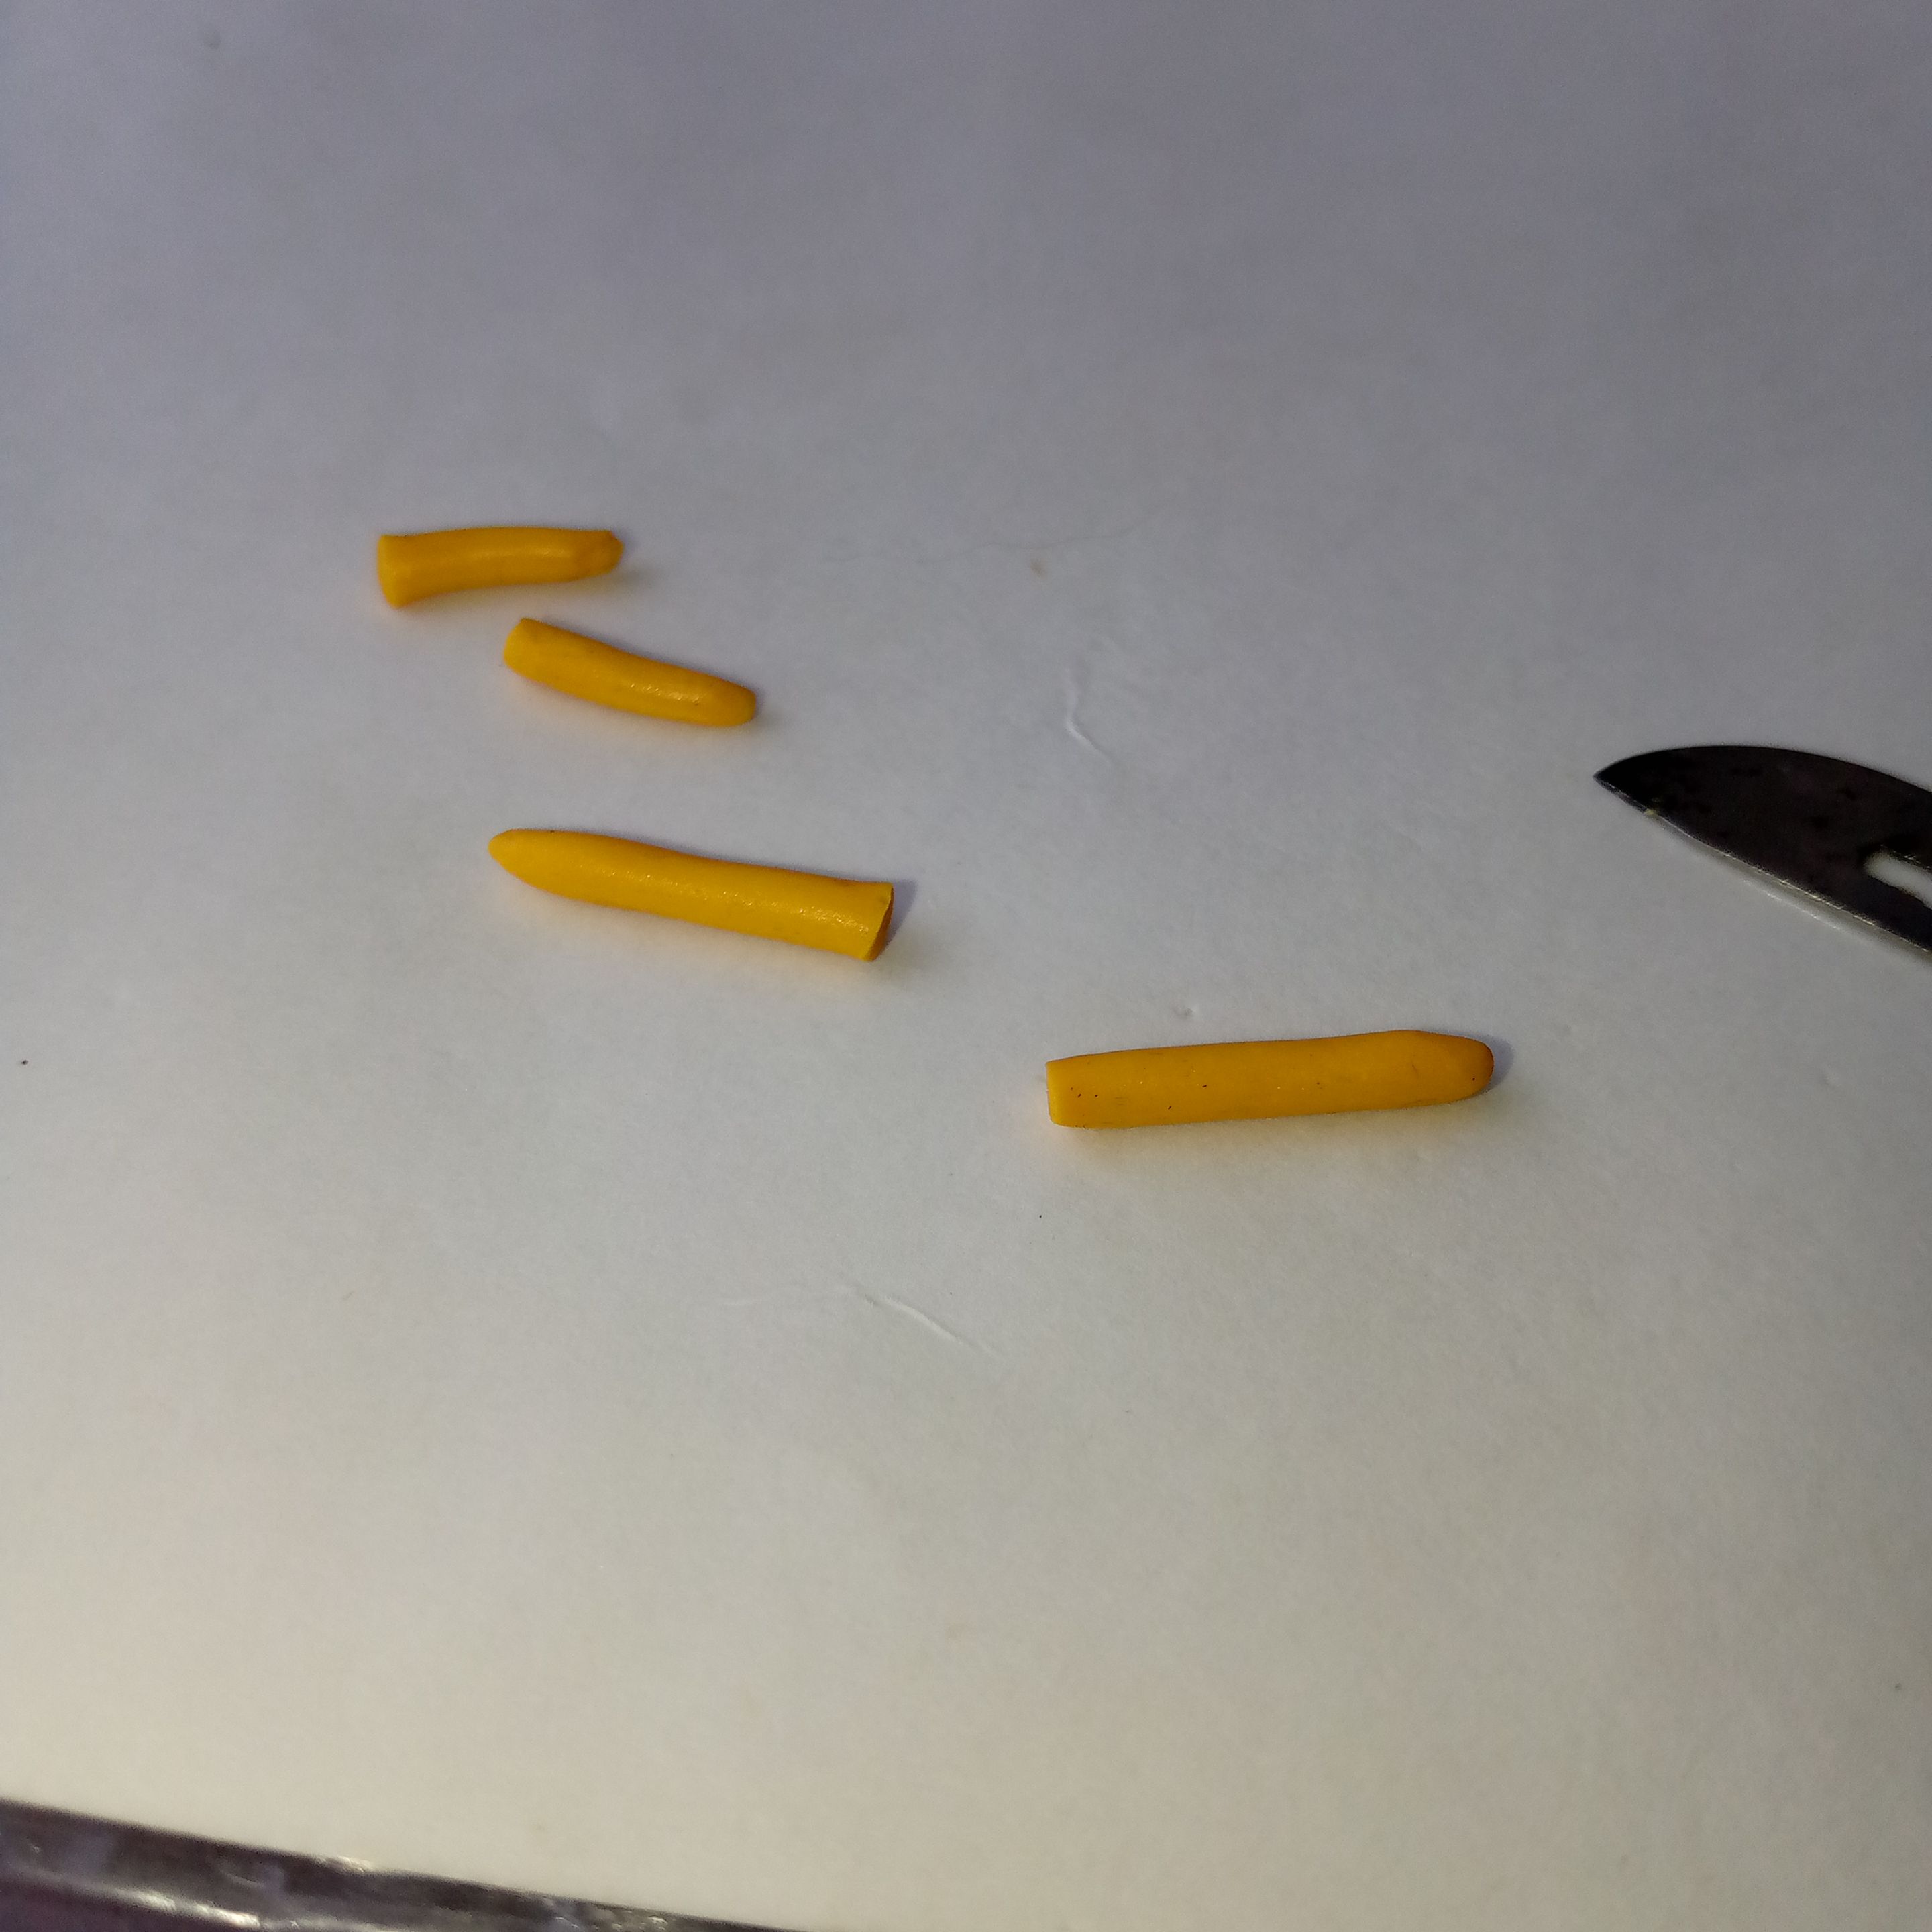
Haremos otro gusanito un poco más grueso para las piernas y también lo cortaremos a la mitad.
We’ll make another slightly thicker worm for the legs and cut it in half as well.
 |
 |
|---|---|
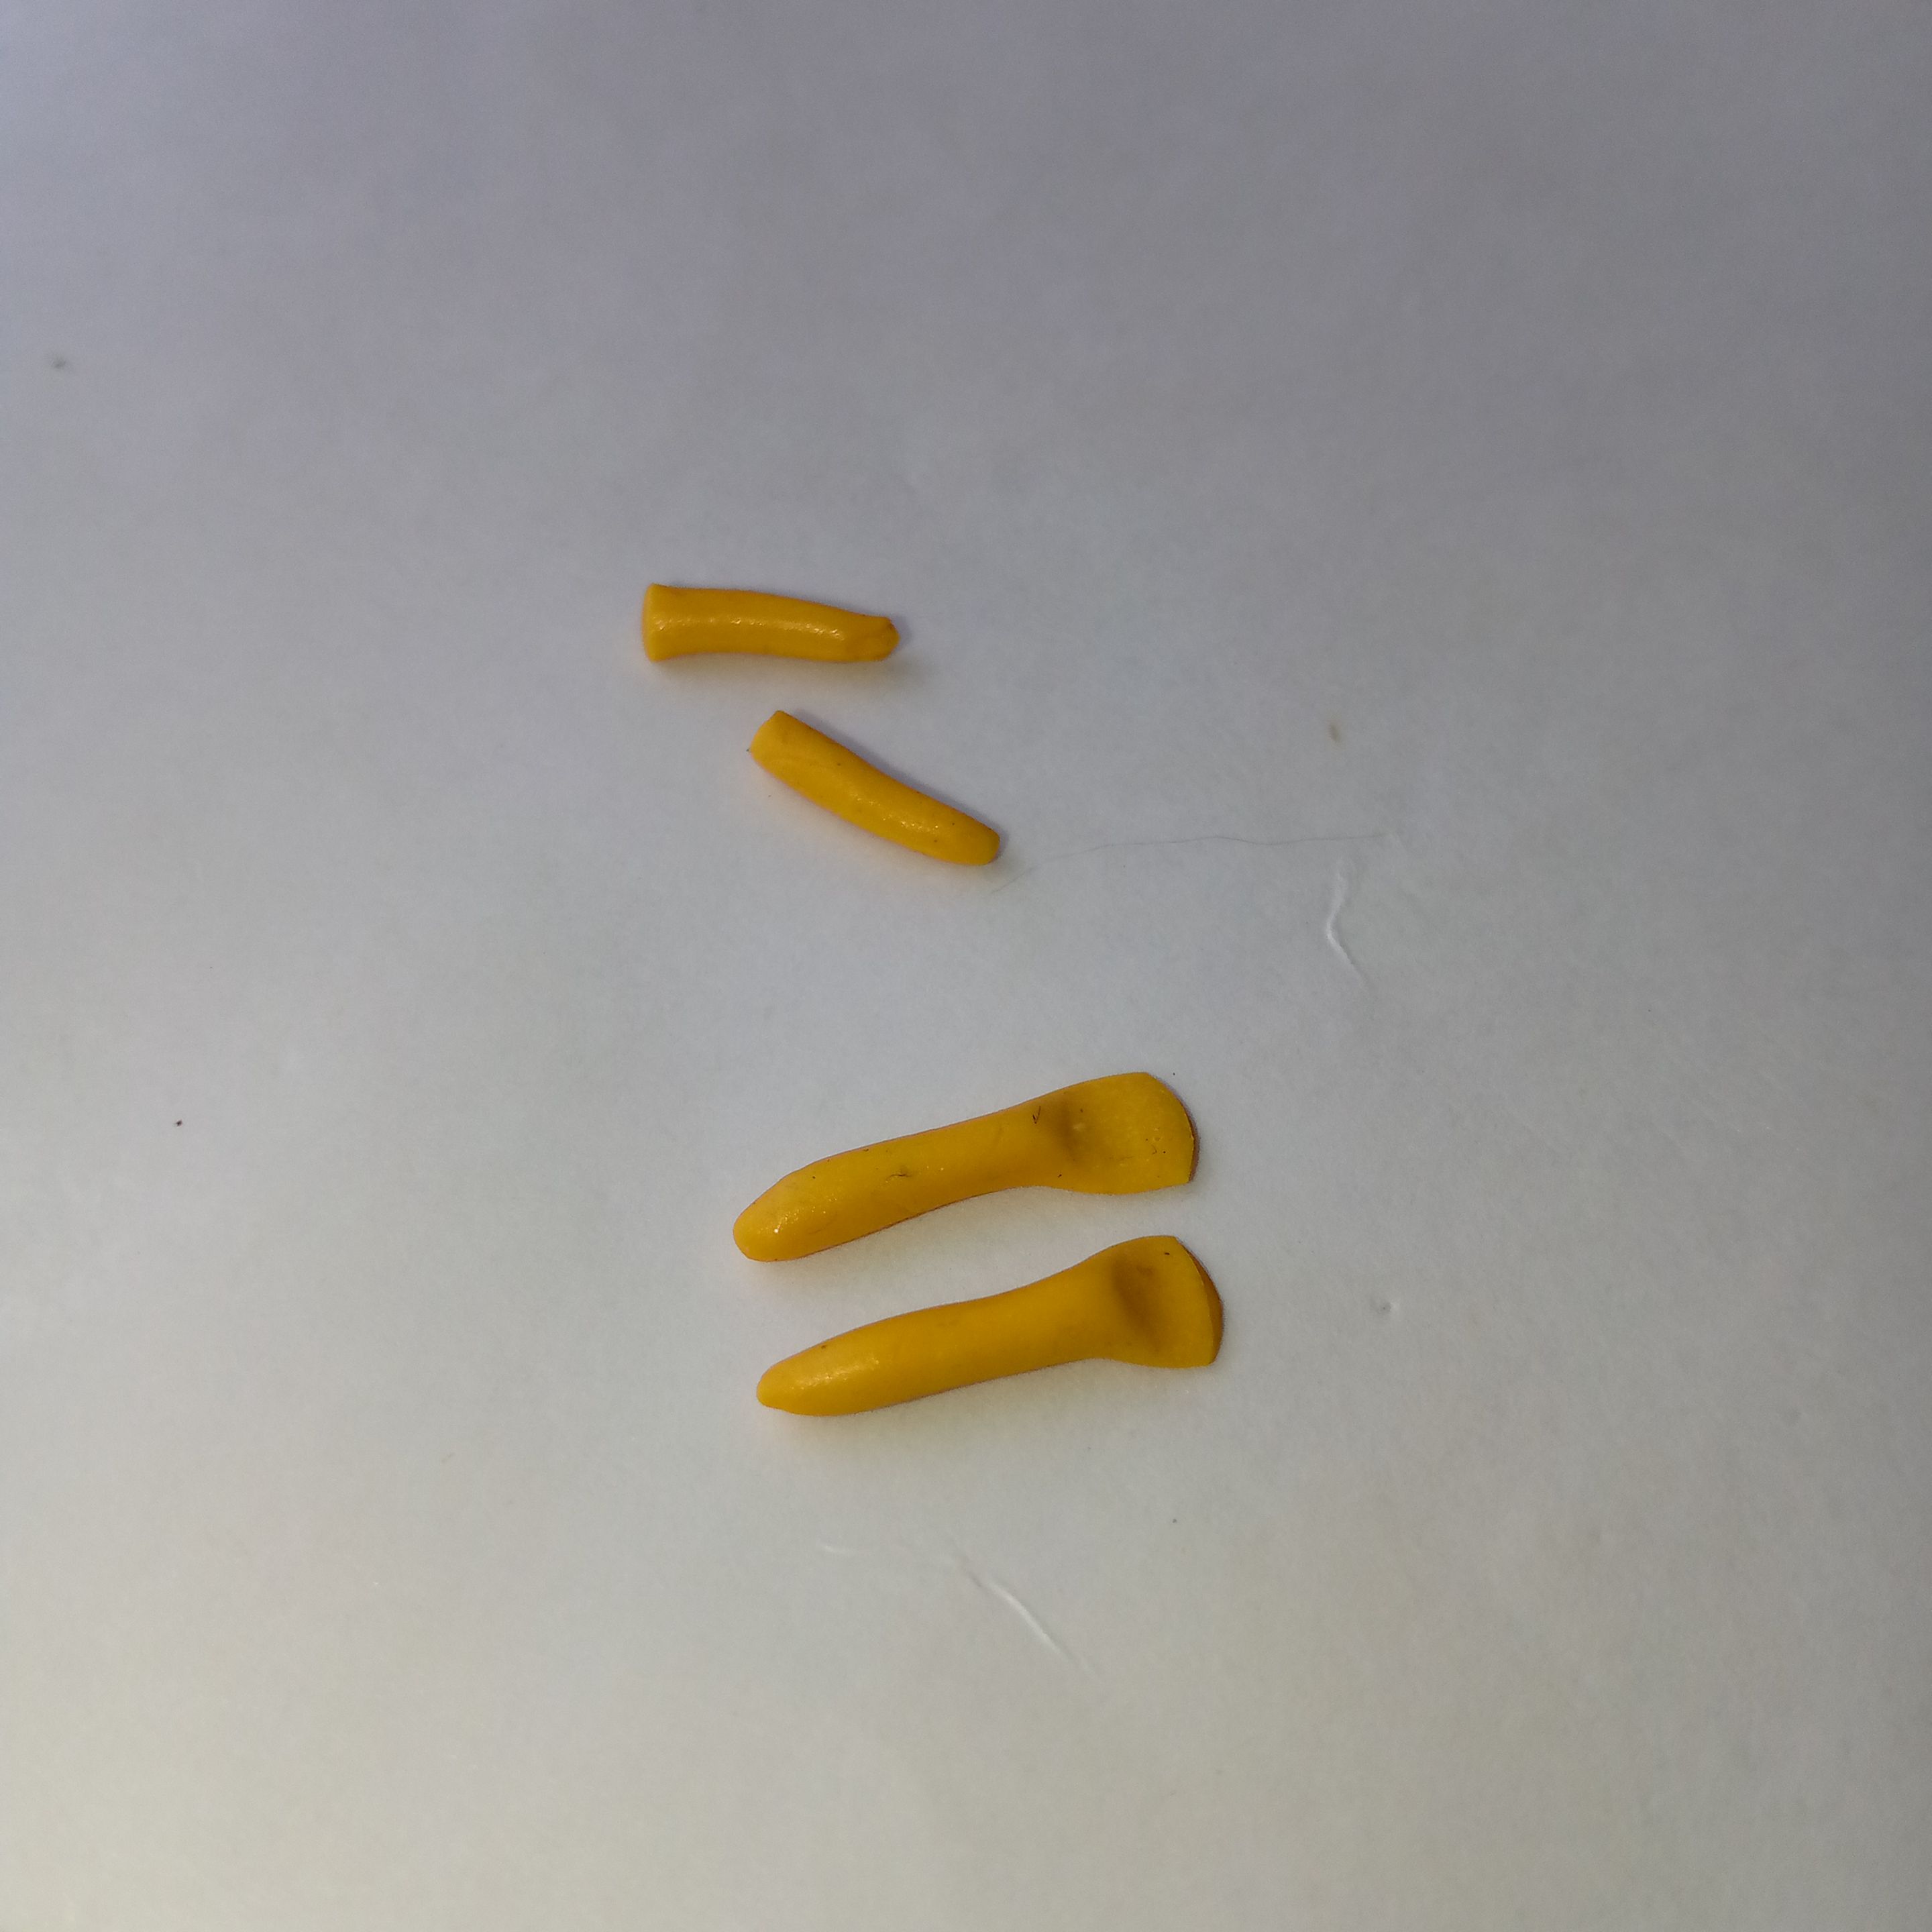
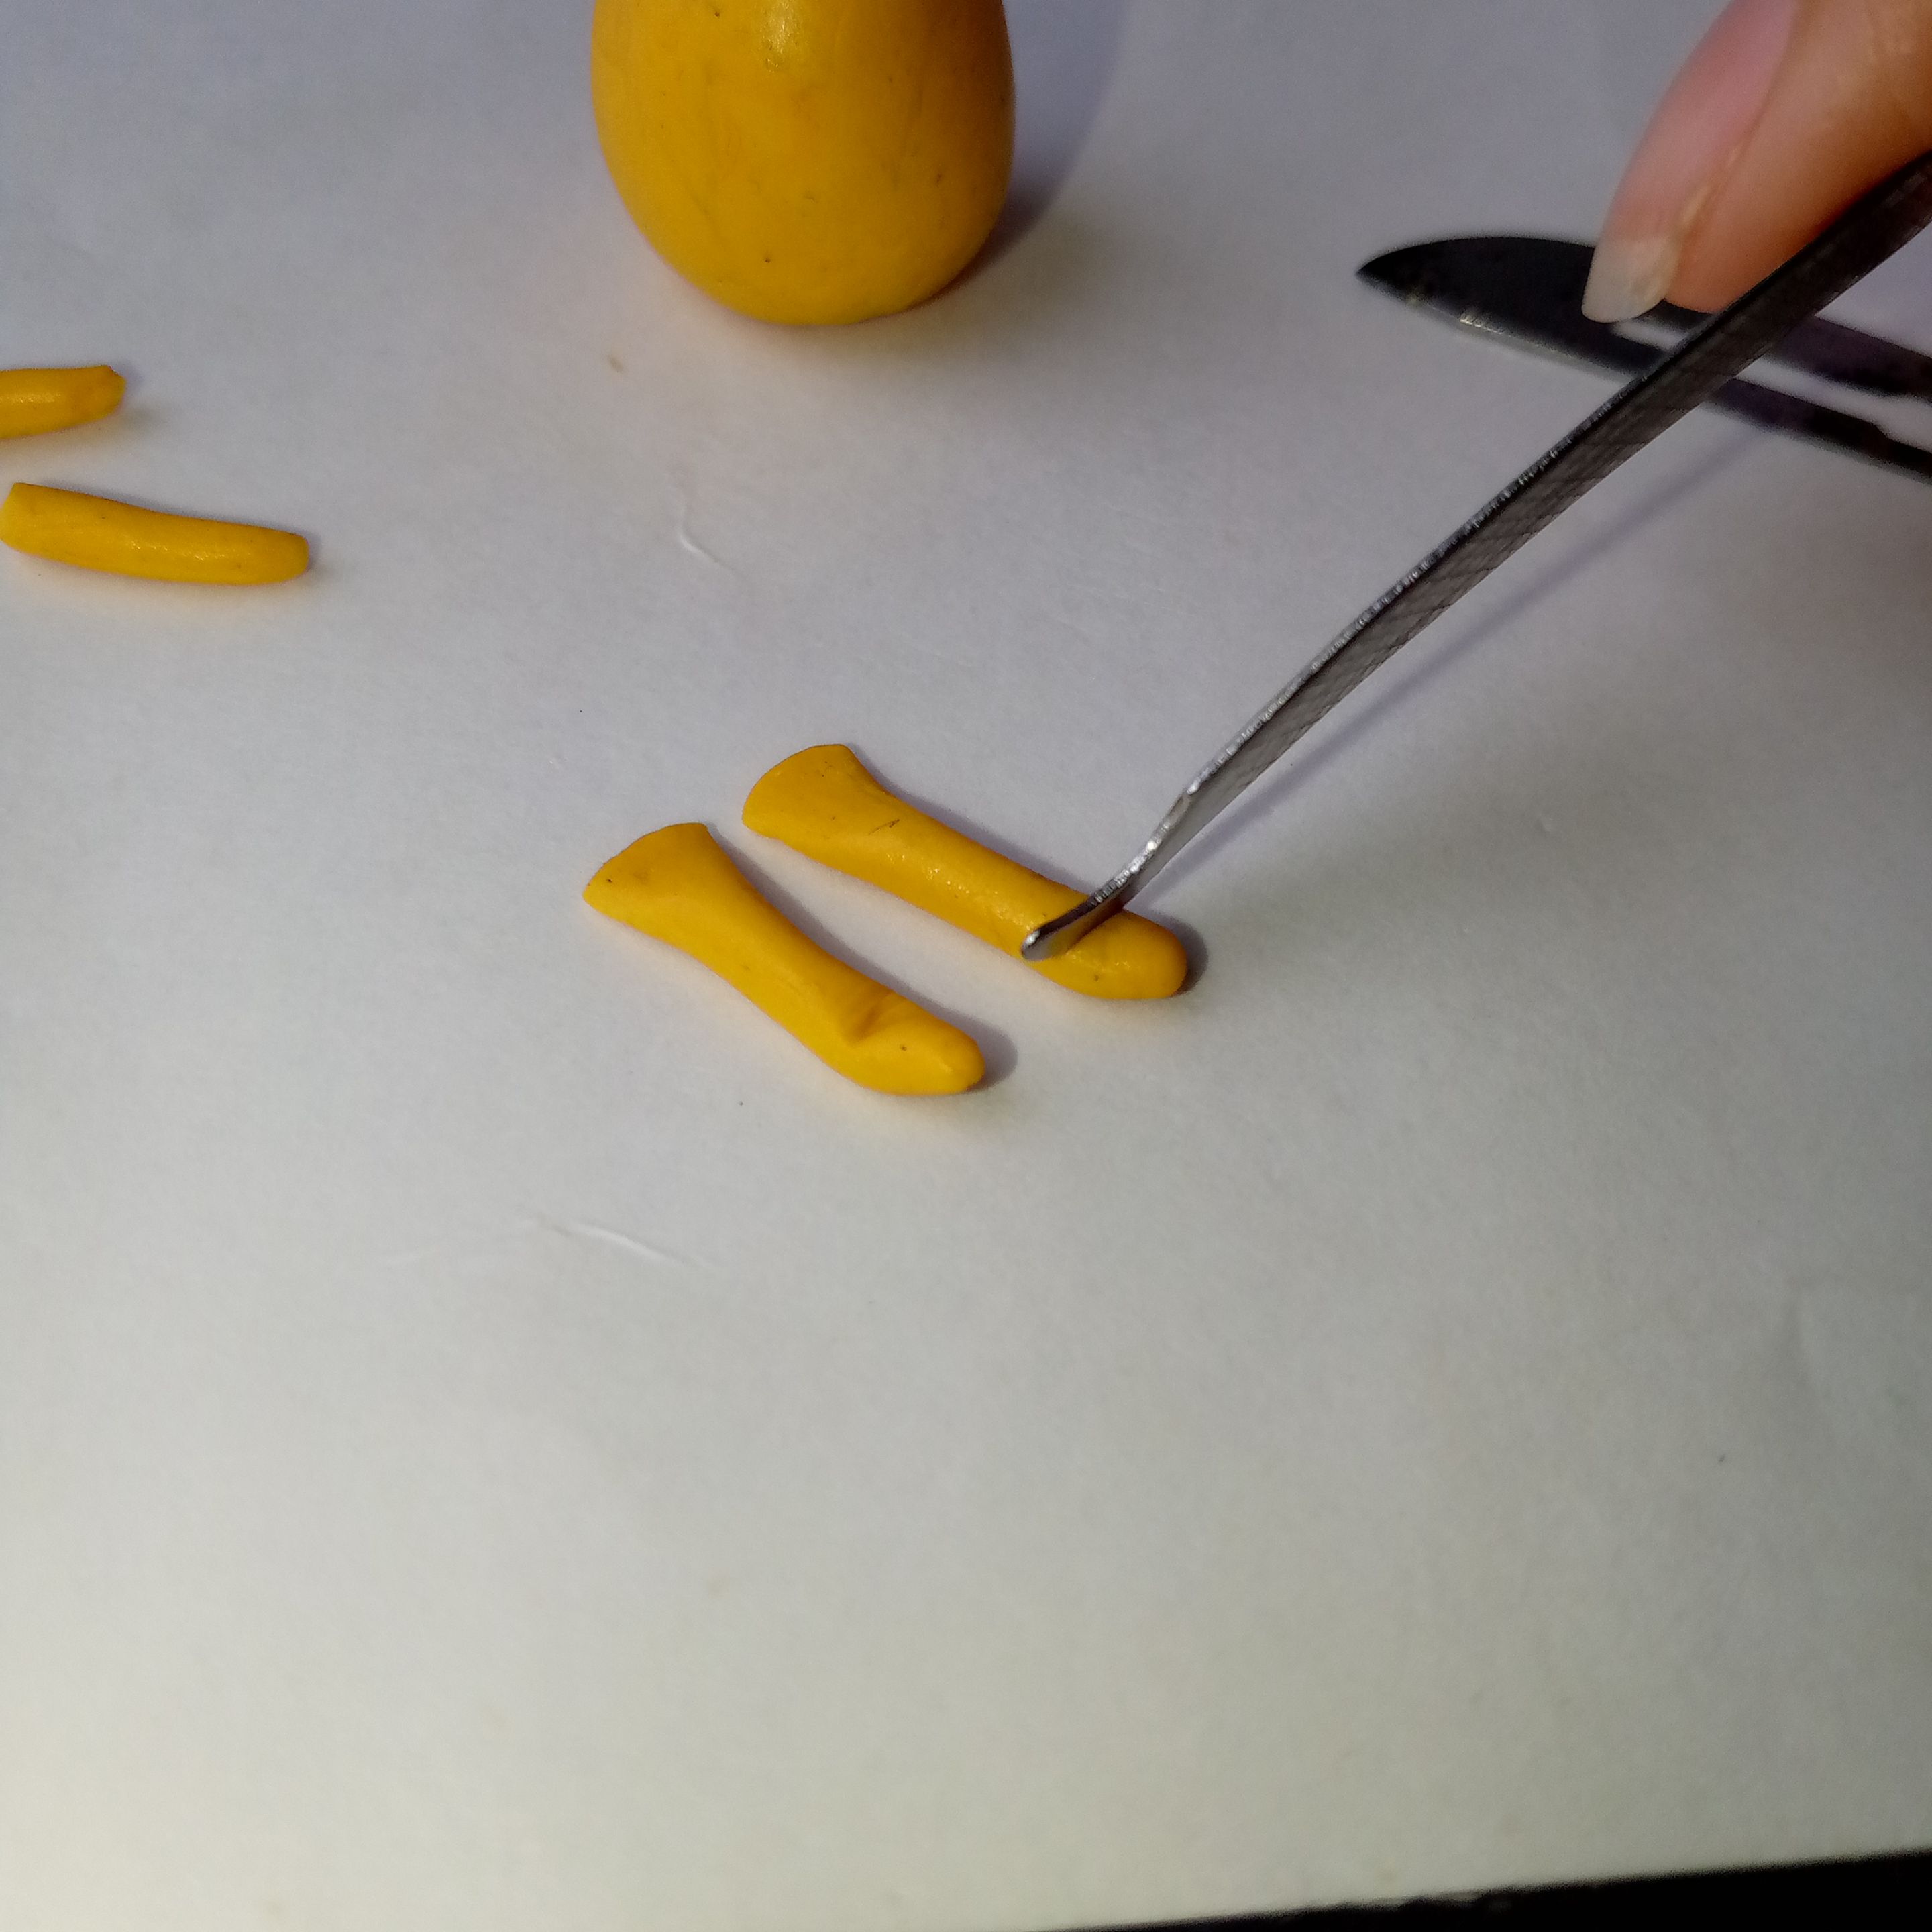
Ahora vamos a aplanarlos un poco al inicio para poder pegarlo con mayor facilidad al cuerpo de Jake, posteriormente vamos a marcar en dónde queremos que se doblen las piernas para formar los pies, en mi caso lo hice con una herramienta de uñas, luego con ayuda de nuestro dedo los levantamos o empujamos para que queden hacia arriba.
Now, we’ll flatten the ends slightly so they can stick more easily to Jake’s body. Then, we’ll mark where we want the legs to bend to form the feet. In my case, I did this using a nail tool. Afterward, using our fingers, we lift or push them upward to shape them.
 |
 |
|---|---|
 |
 |
|---|---|
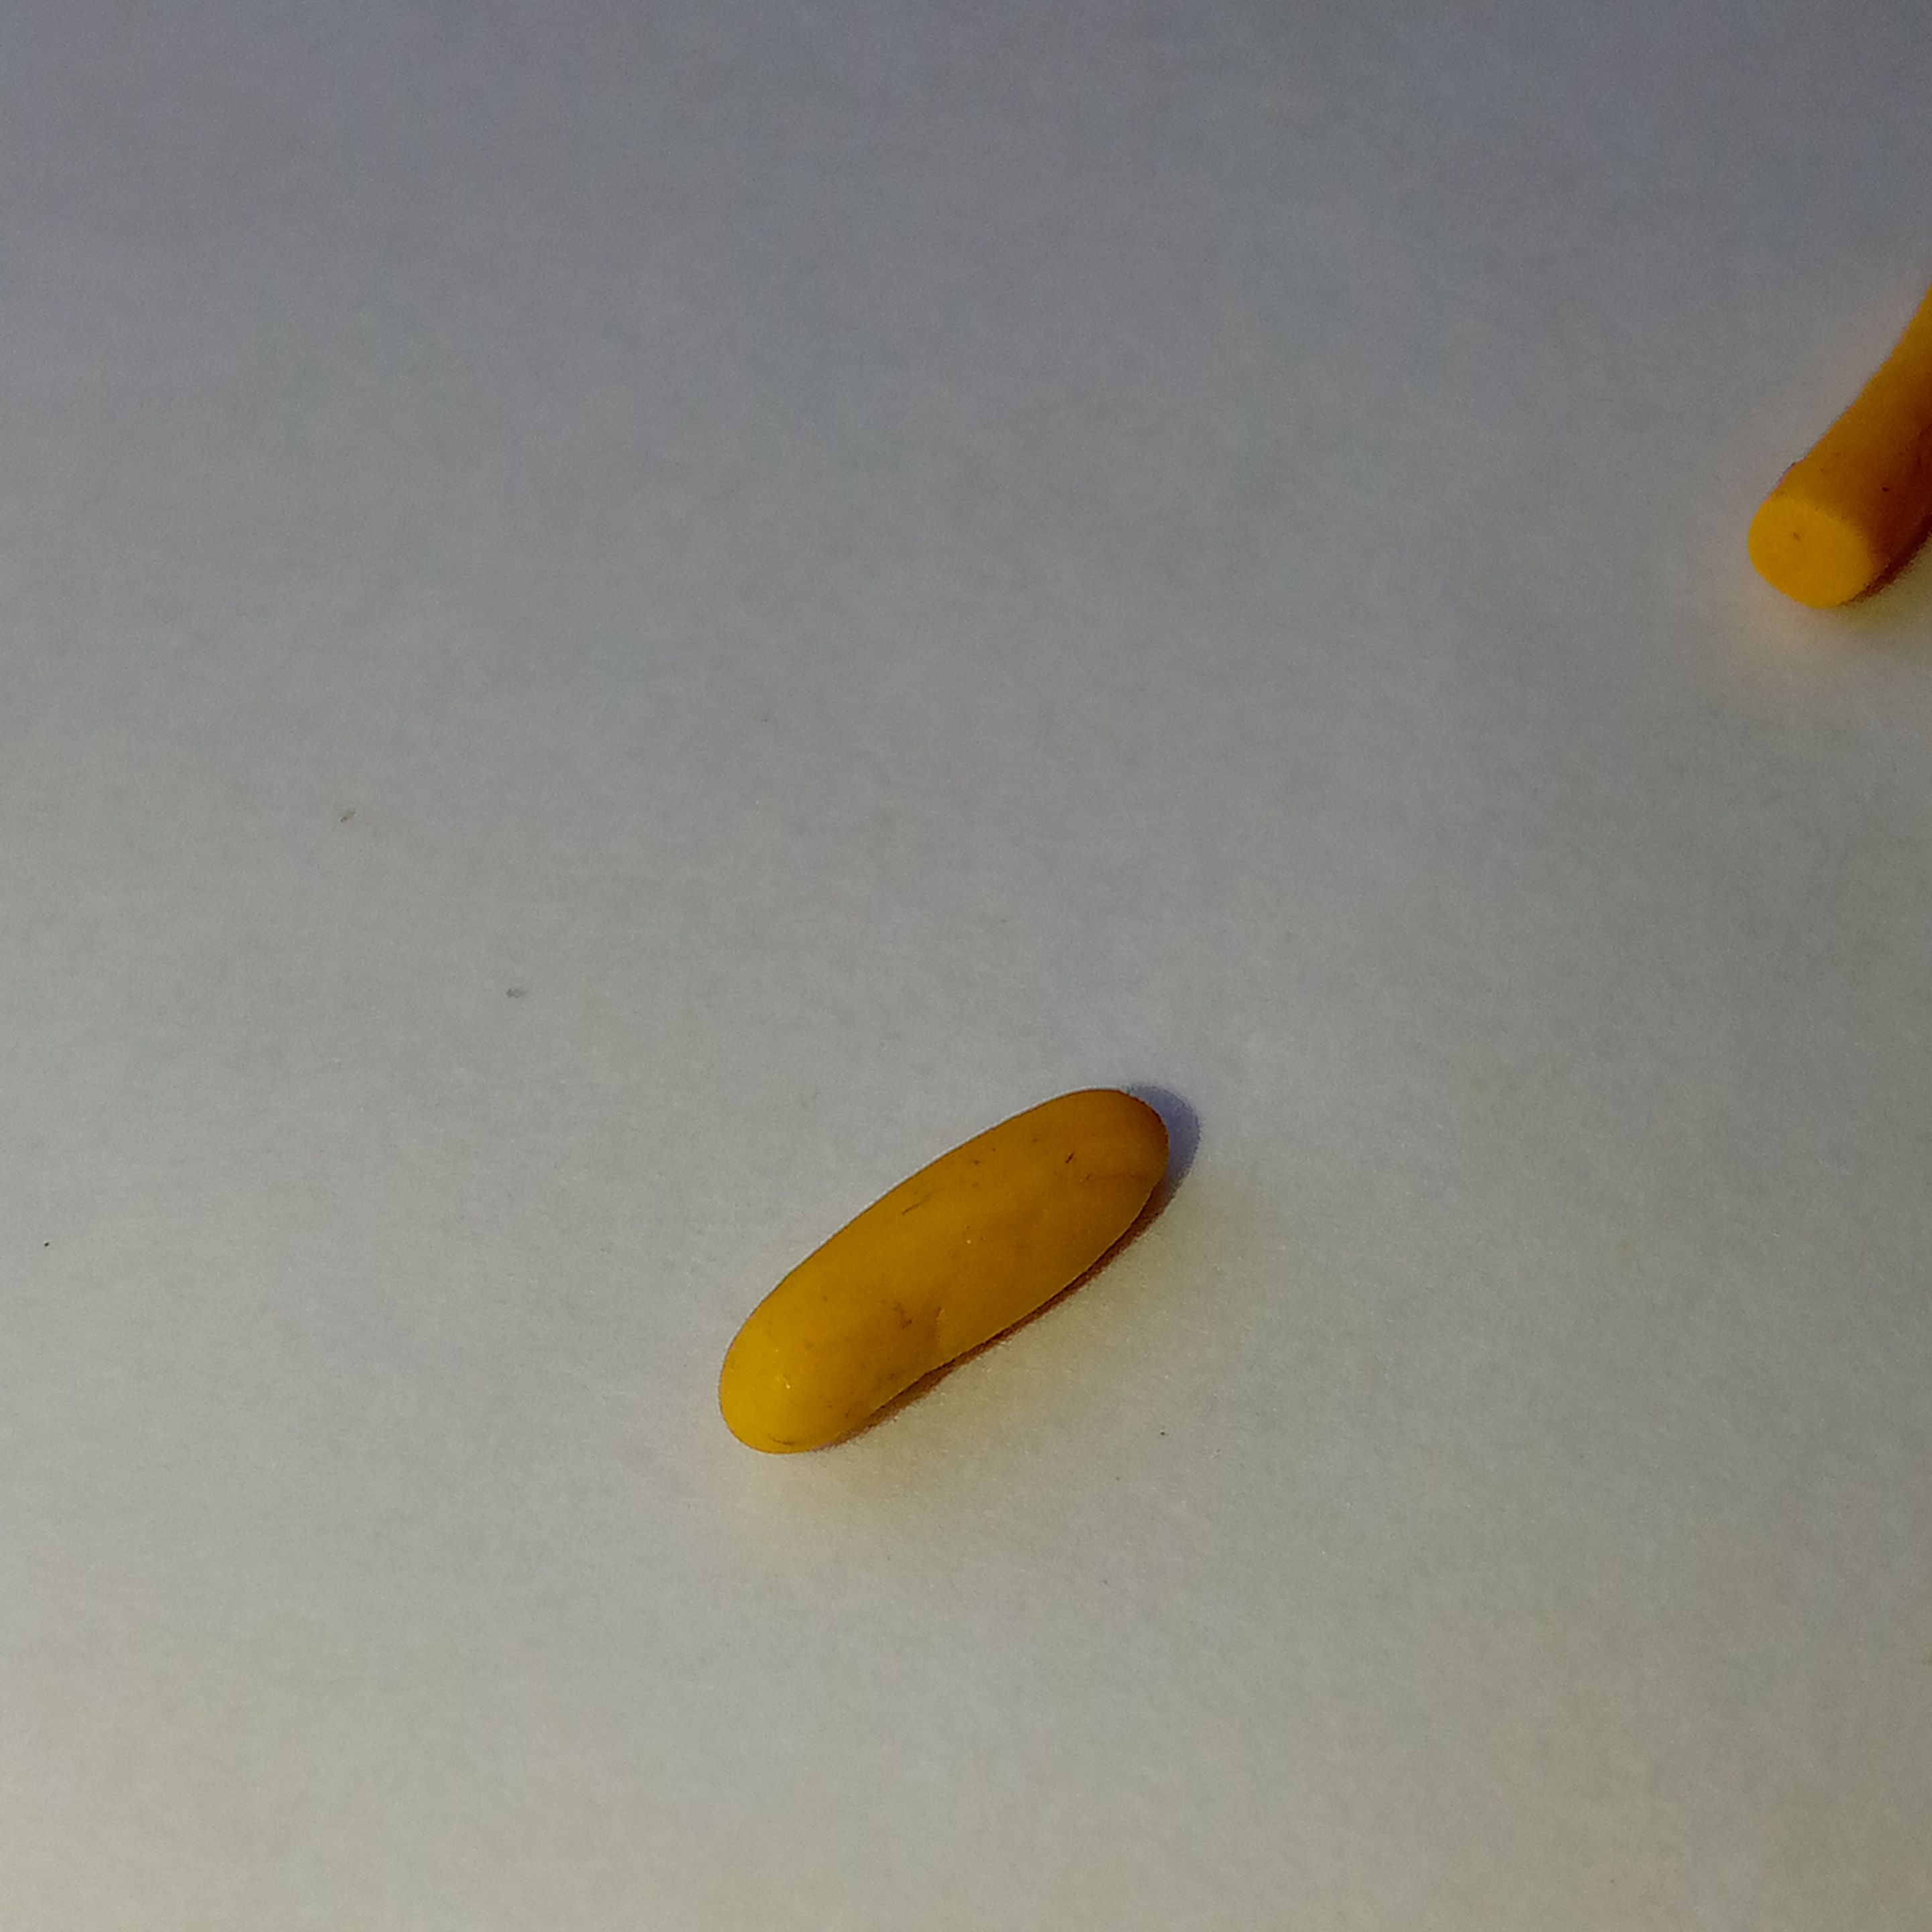
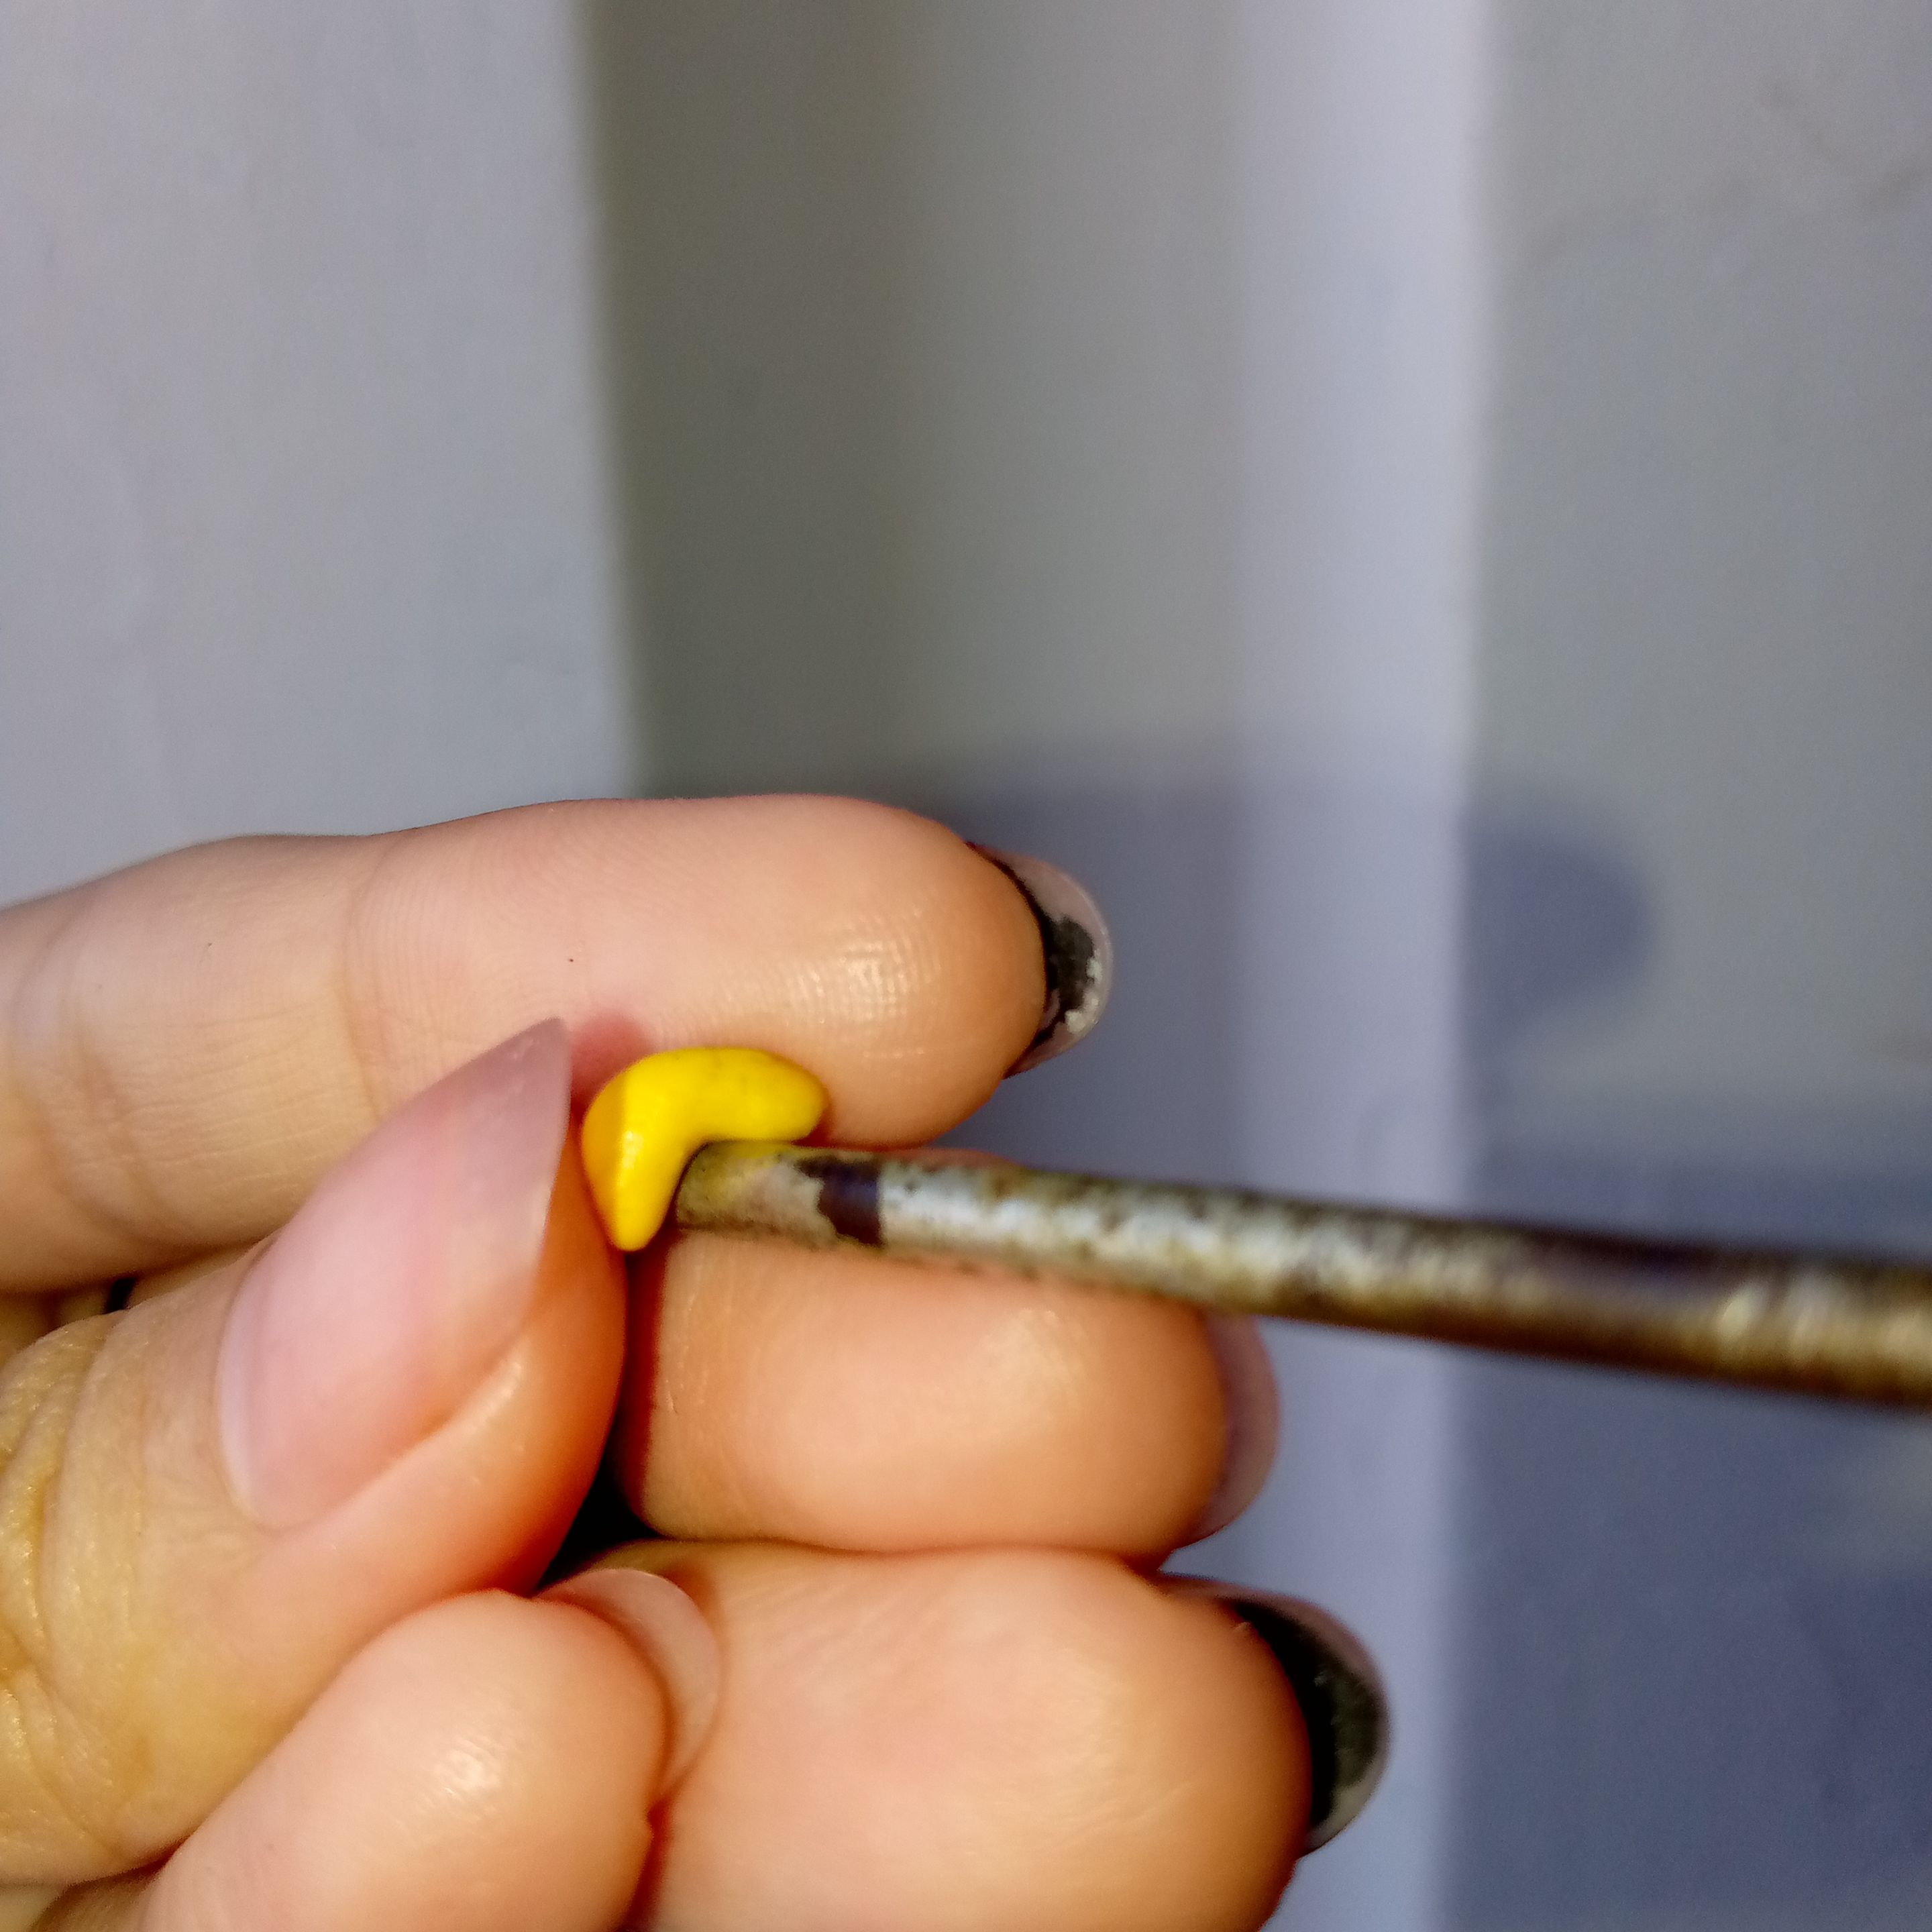
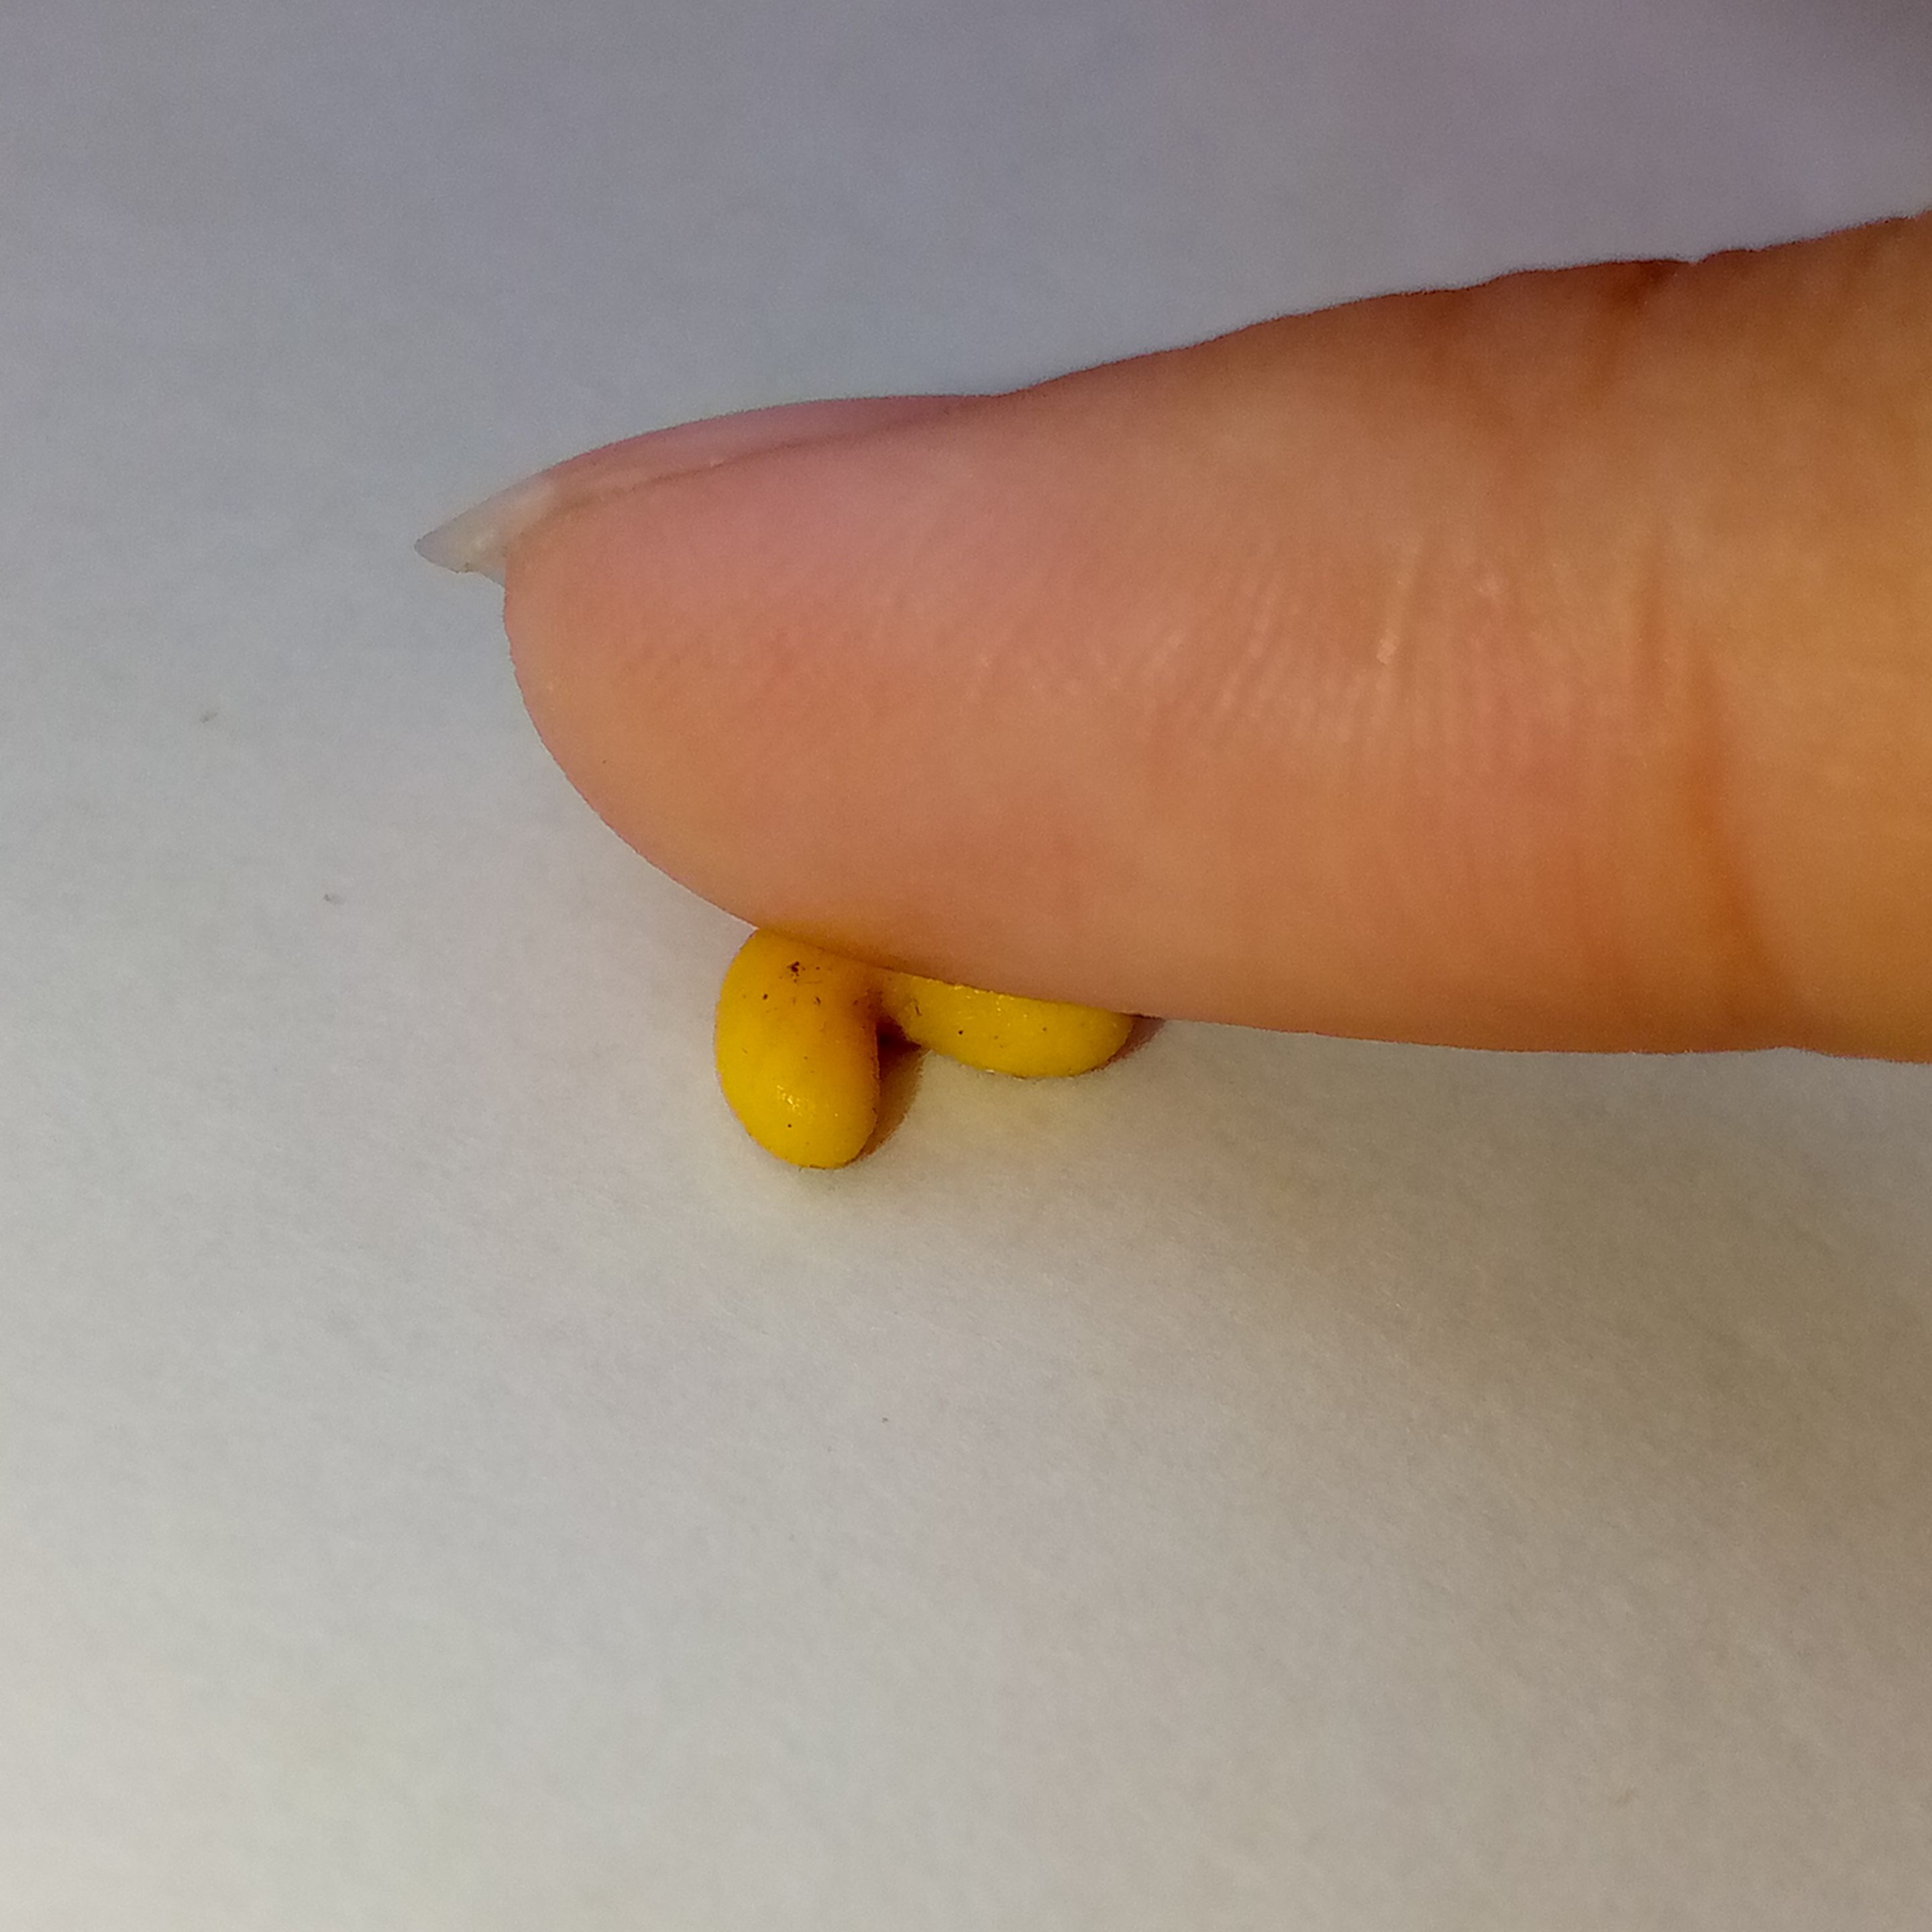
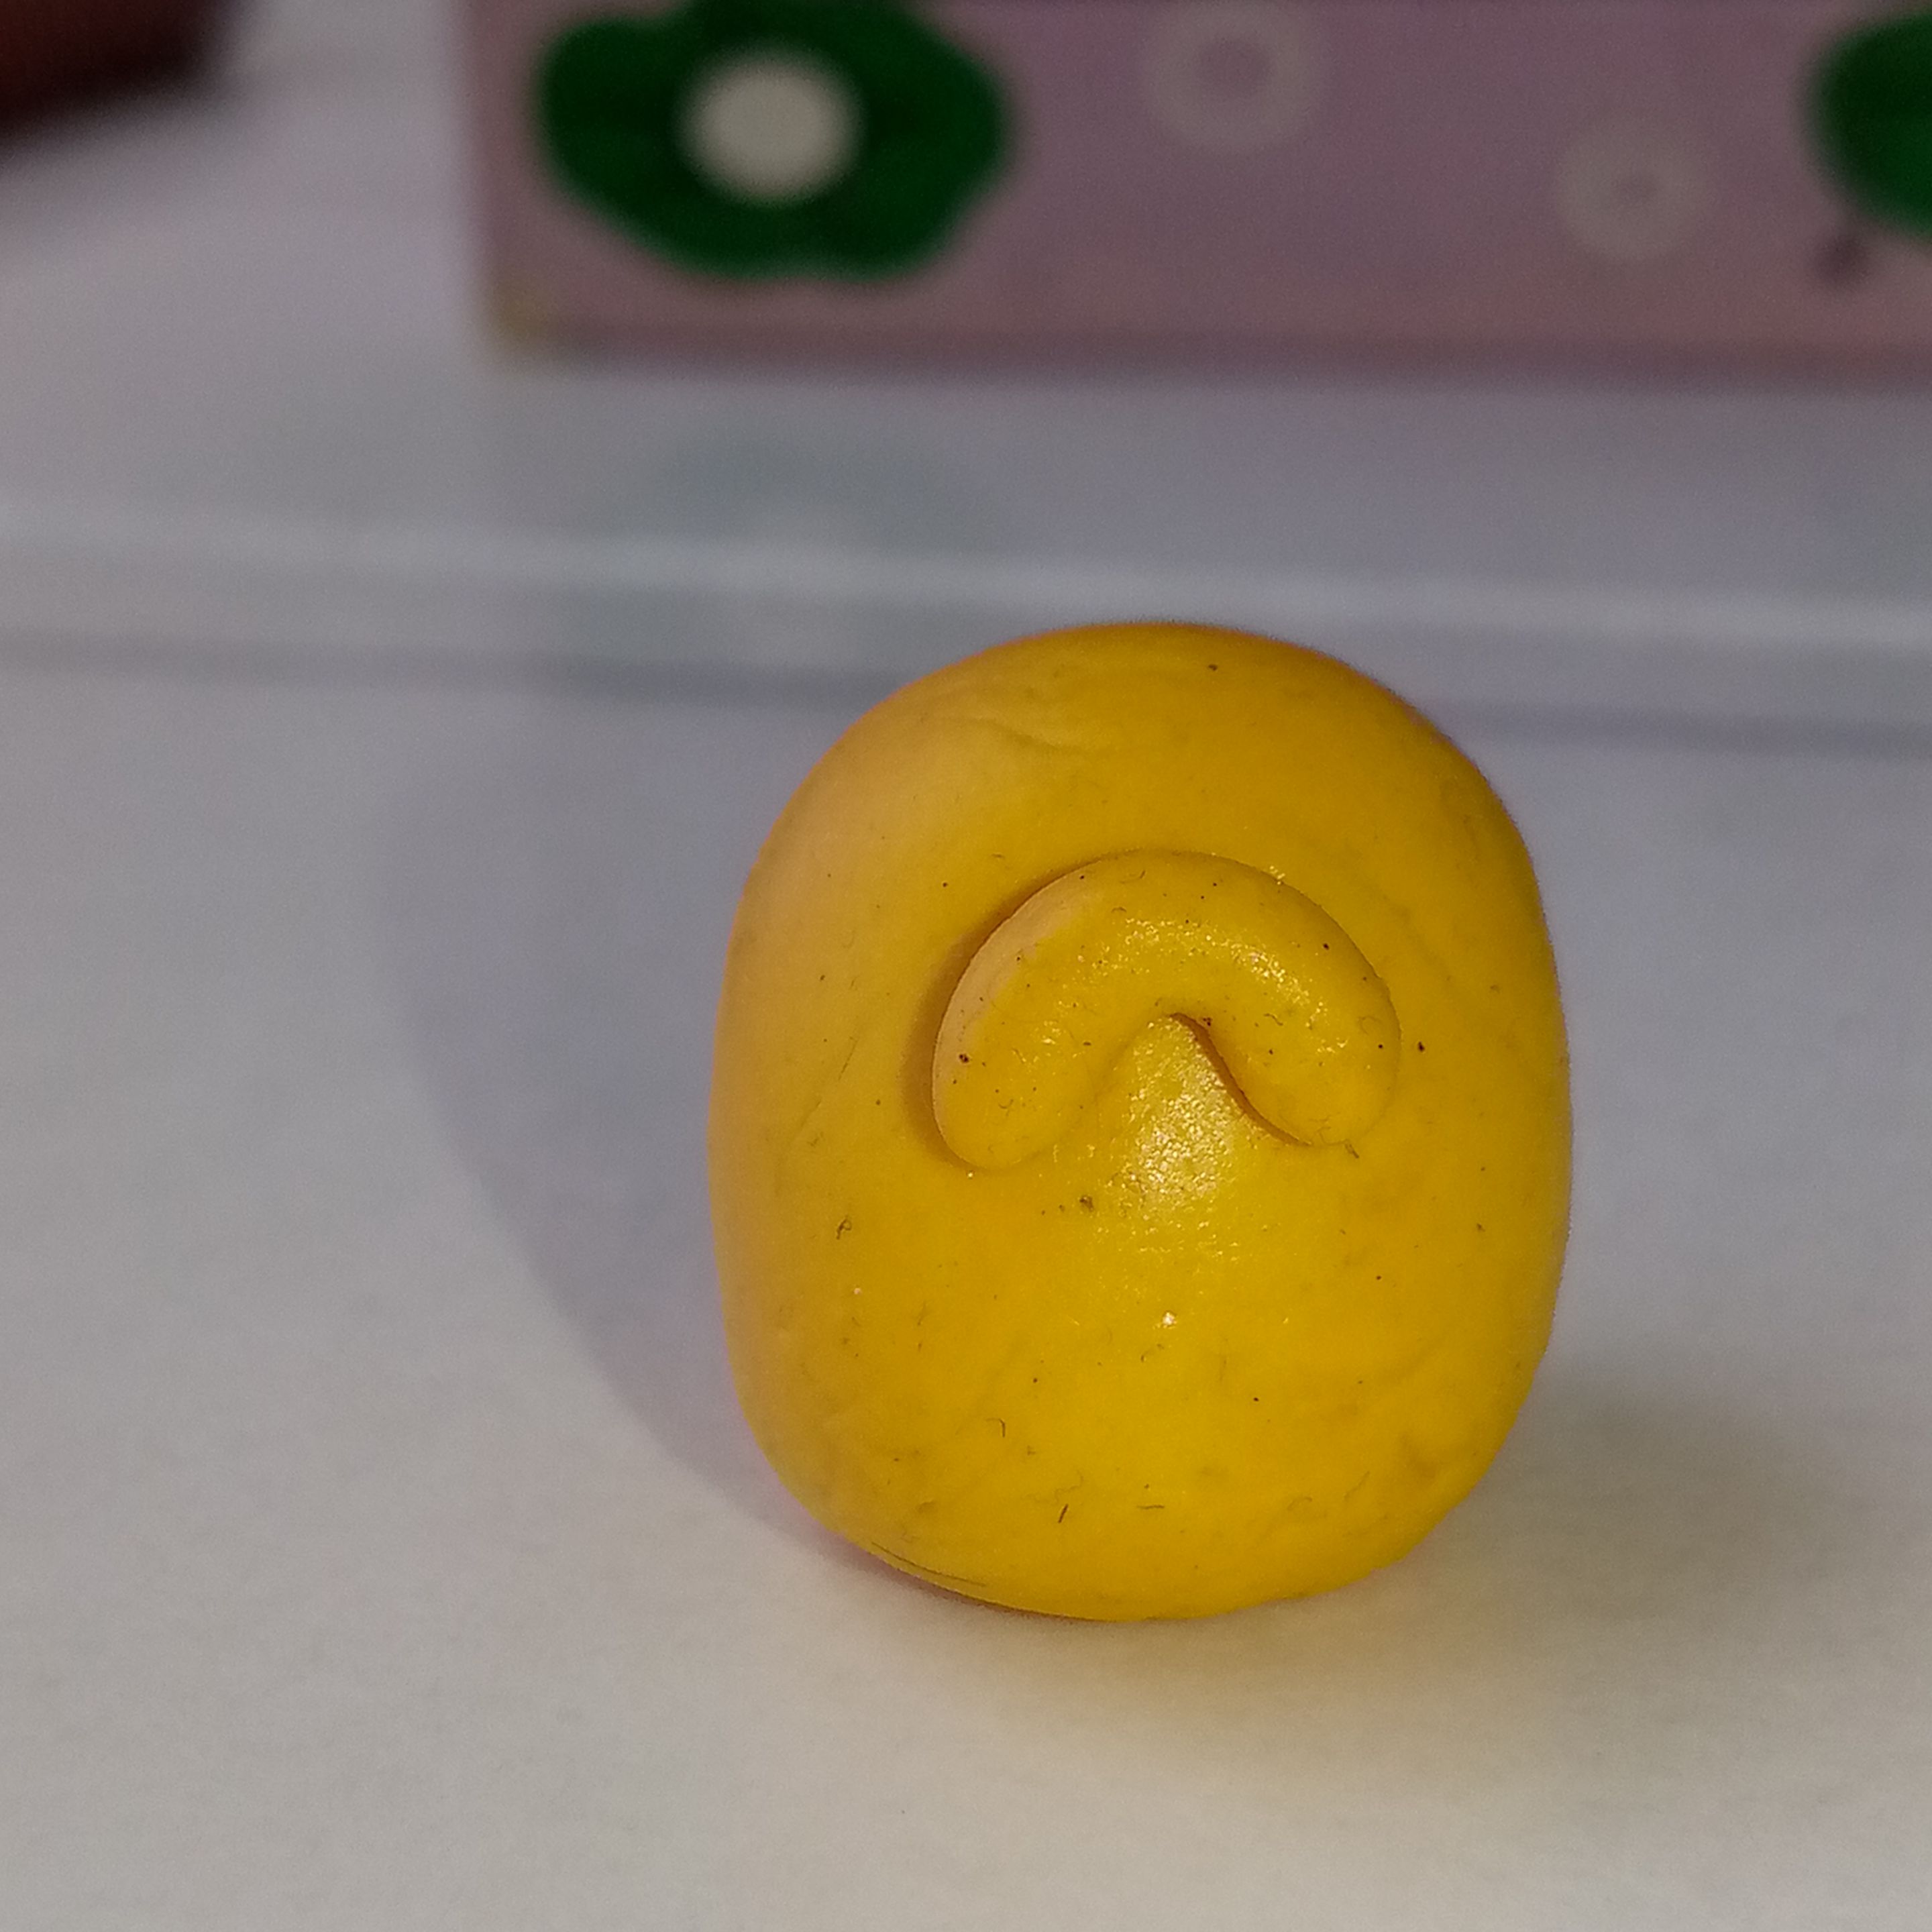
✦•┈๑⋅⋯ HOCICO 🐶 SNOUT ⋯⋅๑┈•✦
Vamos a hacer un mini gusanito amarillo y ahora con la ayuda de un palito liso vamos a darle forma redondeada, quedará algo muy parecido a una banana o una media luna. Posteriormente la aplanamos un poco con los dedos y lo colocaremos en la cara de Jake.
We’ll create a tiny yellow worm and, using a smooth stick, round it into shape. It should end up looking somewhat like a banana or a crescent moon. Then, we’ll flatten it slightly with our fingers and place it on Jake’s face.
 |
 |
|---|---|
 |
 |
|---|---|
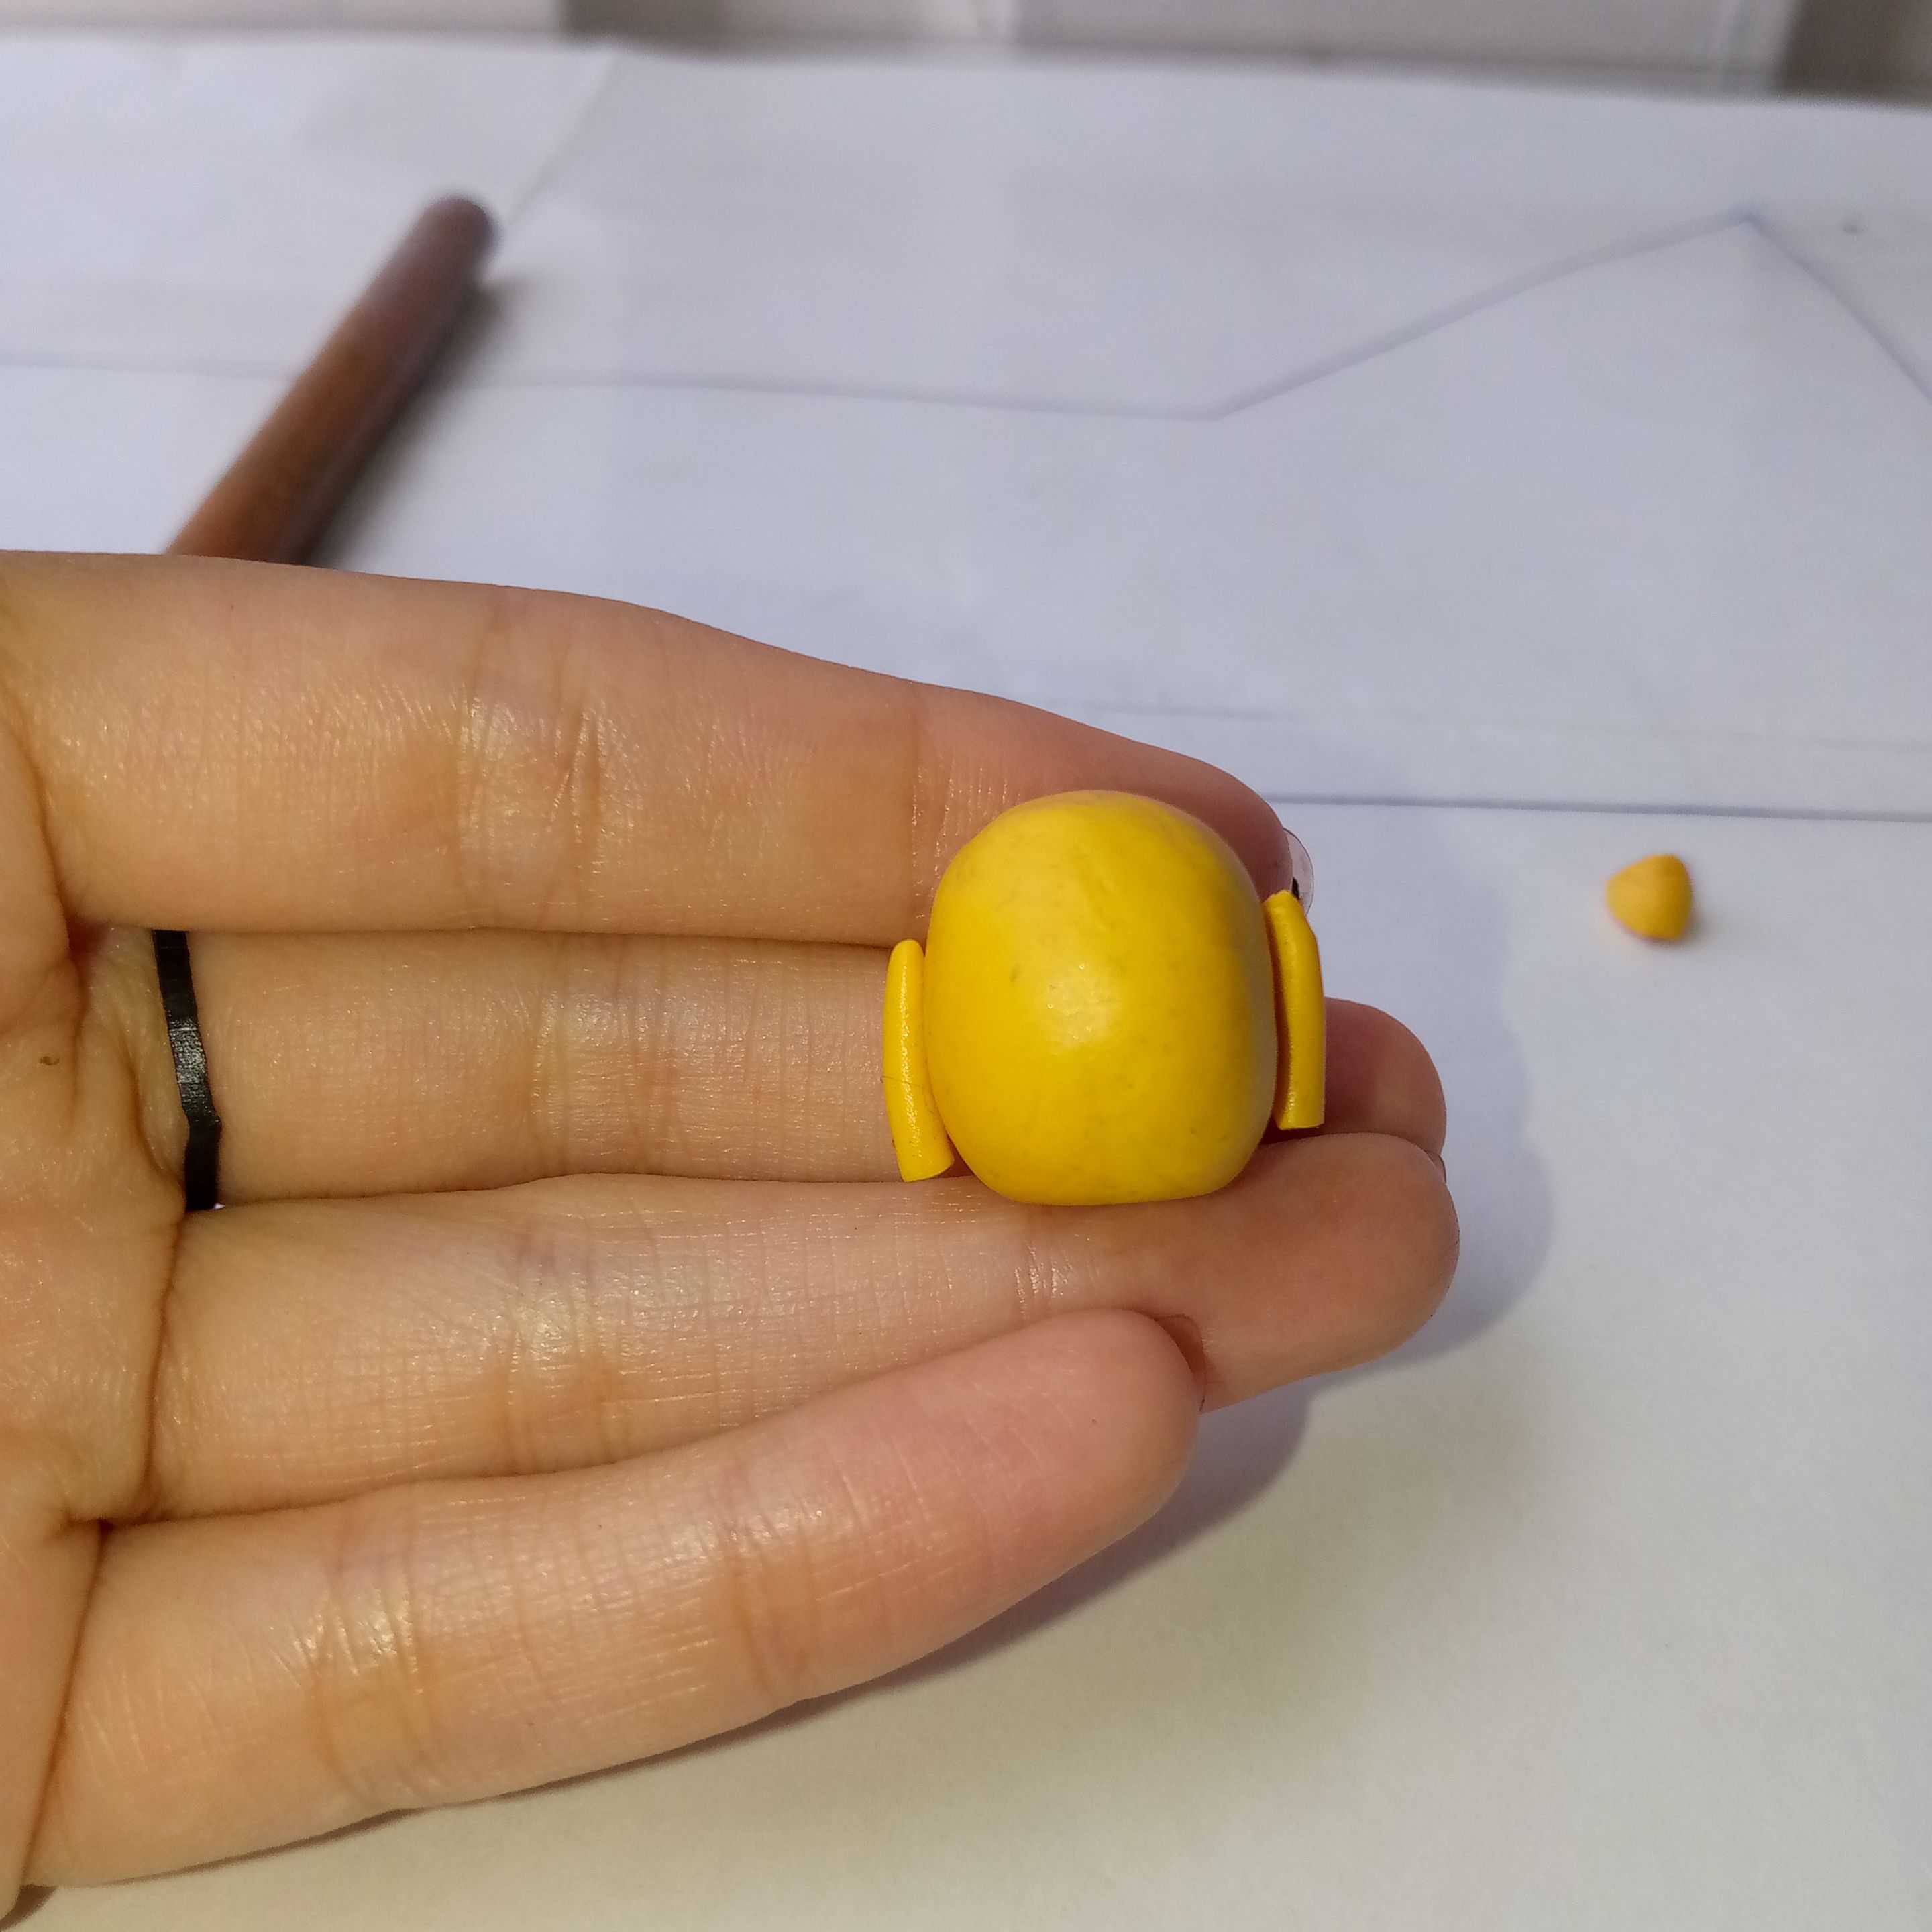
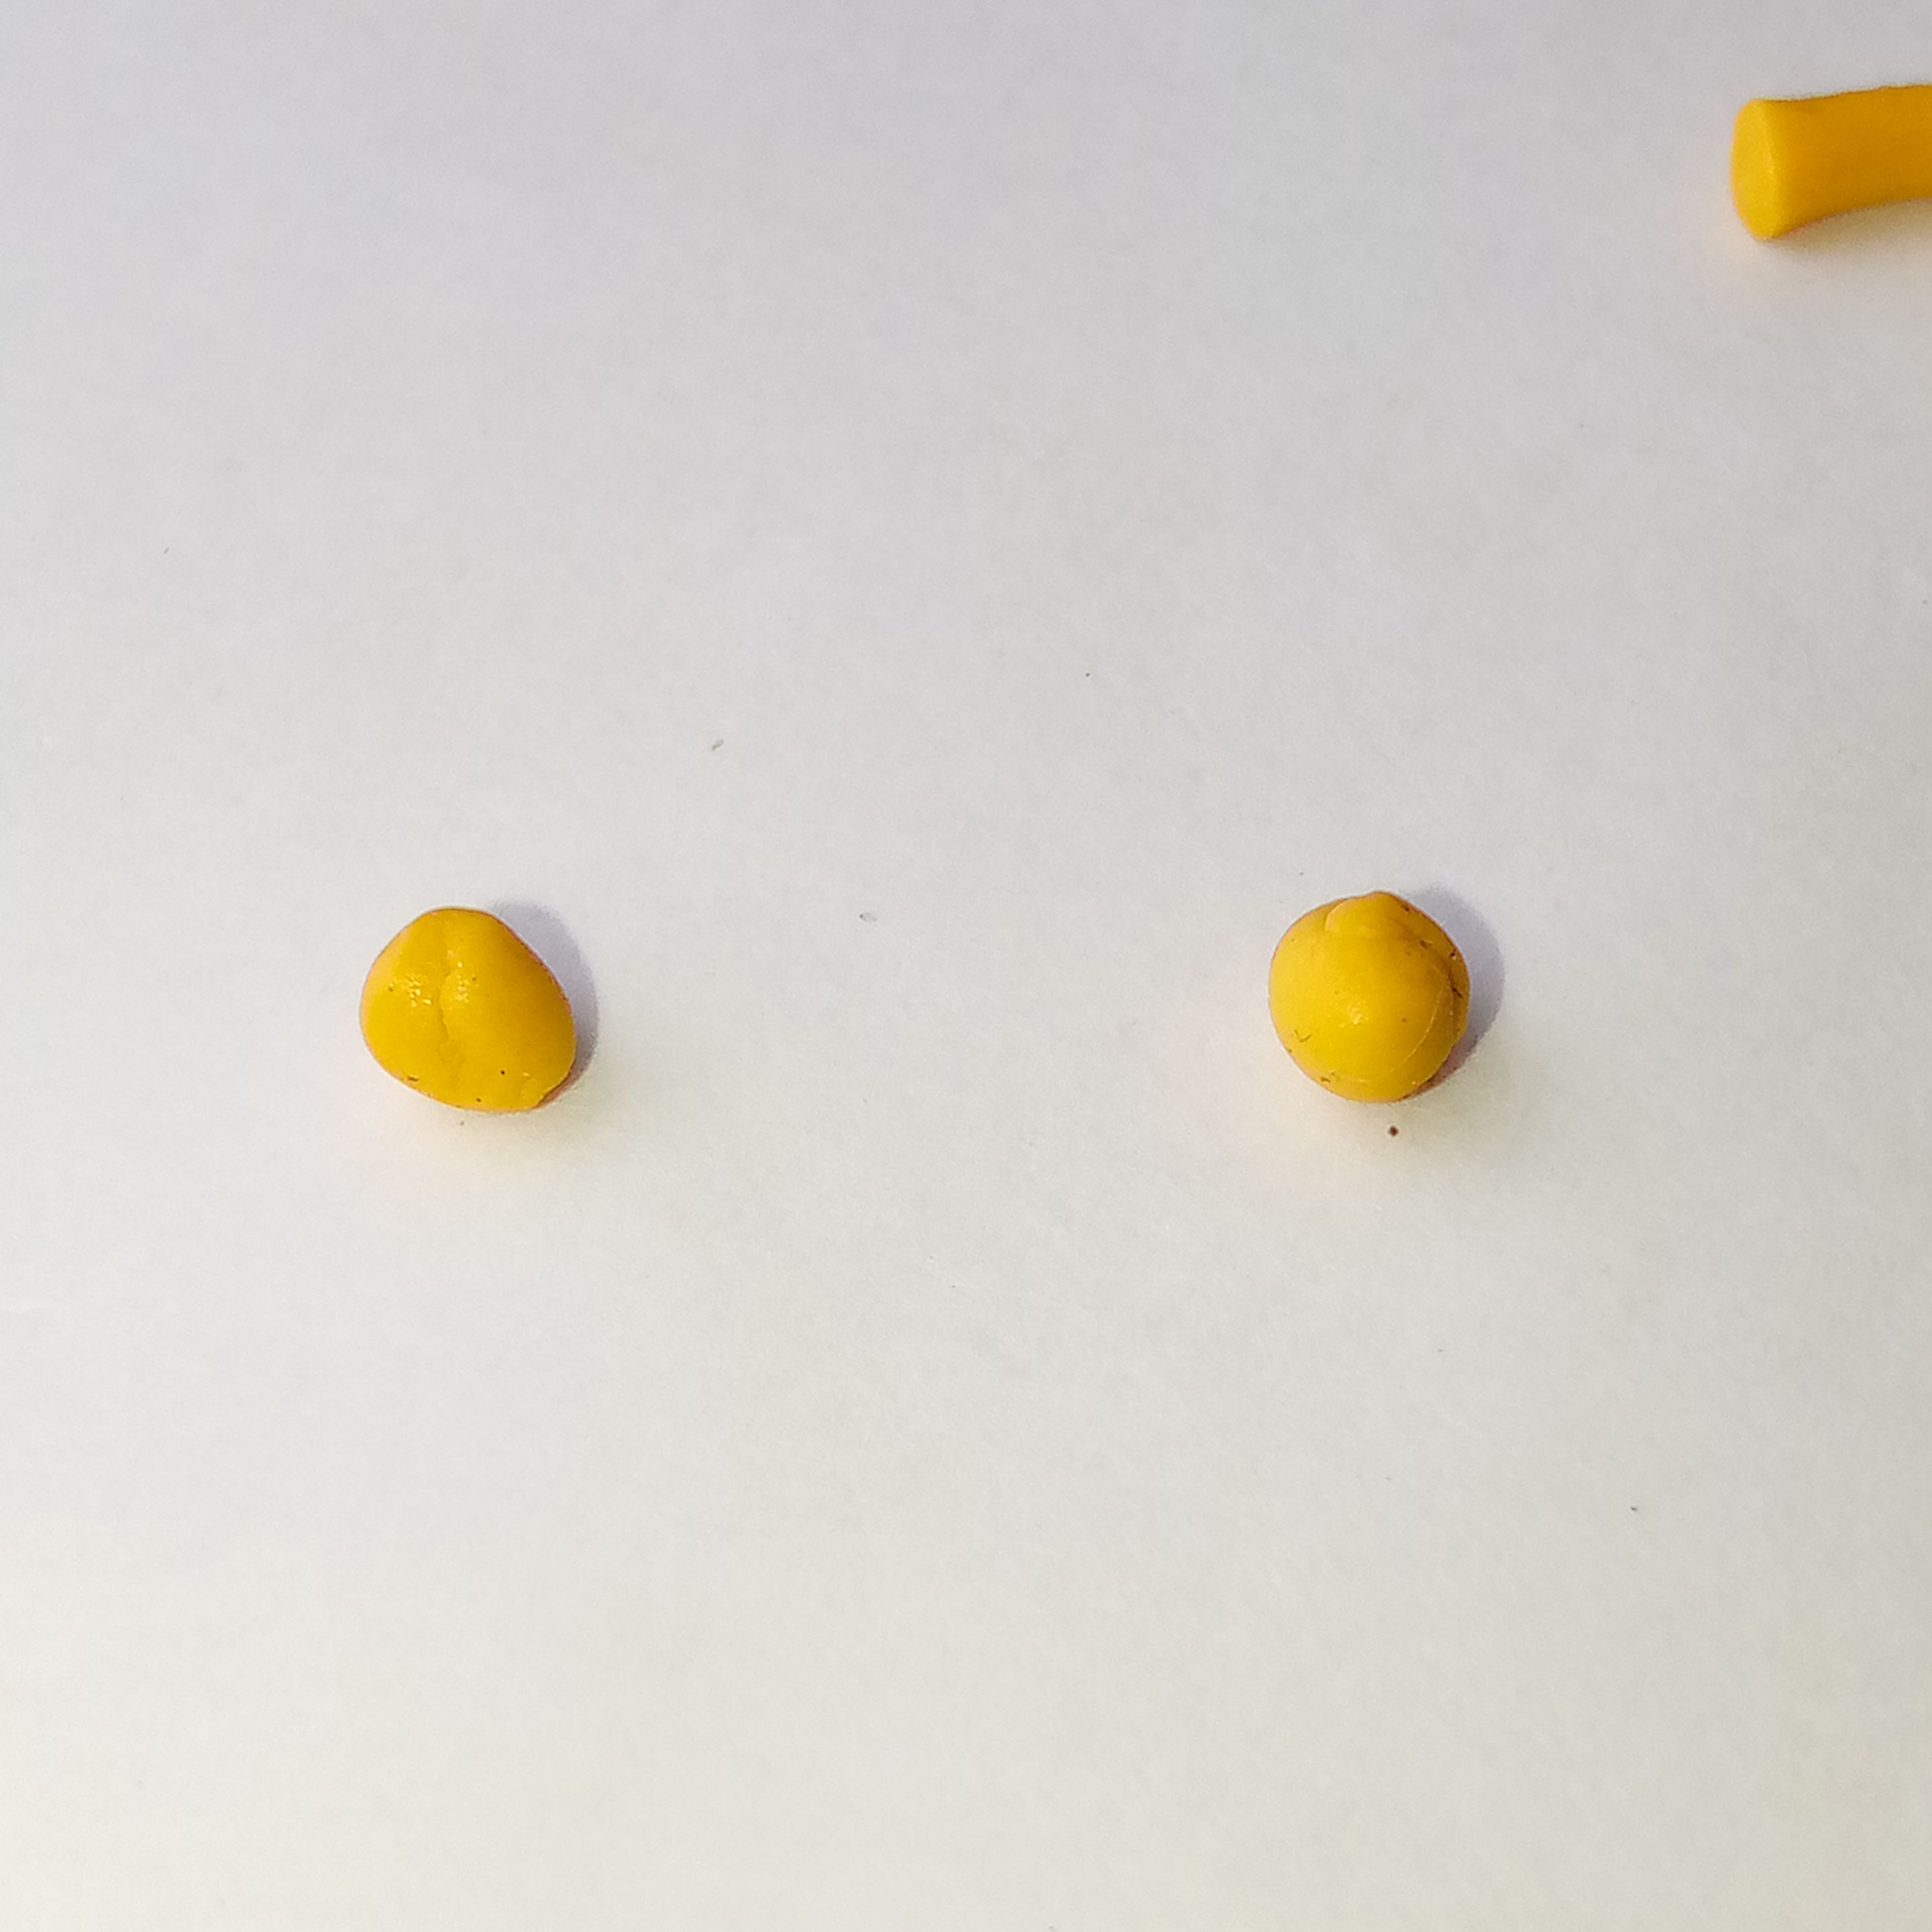
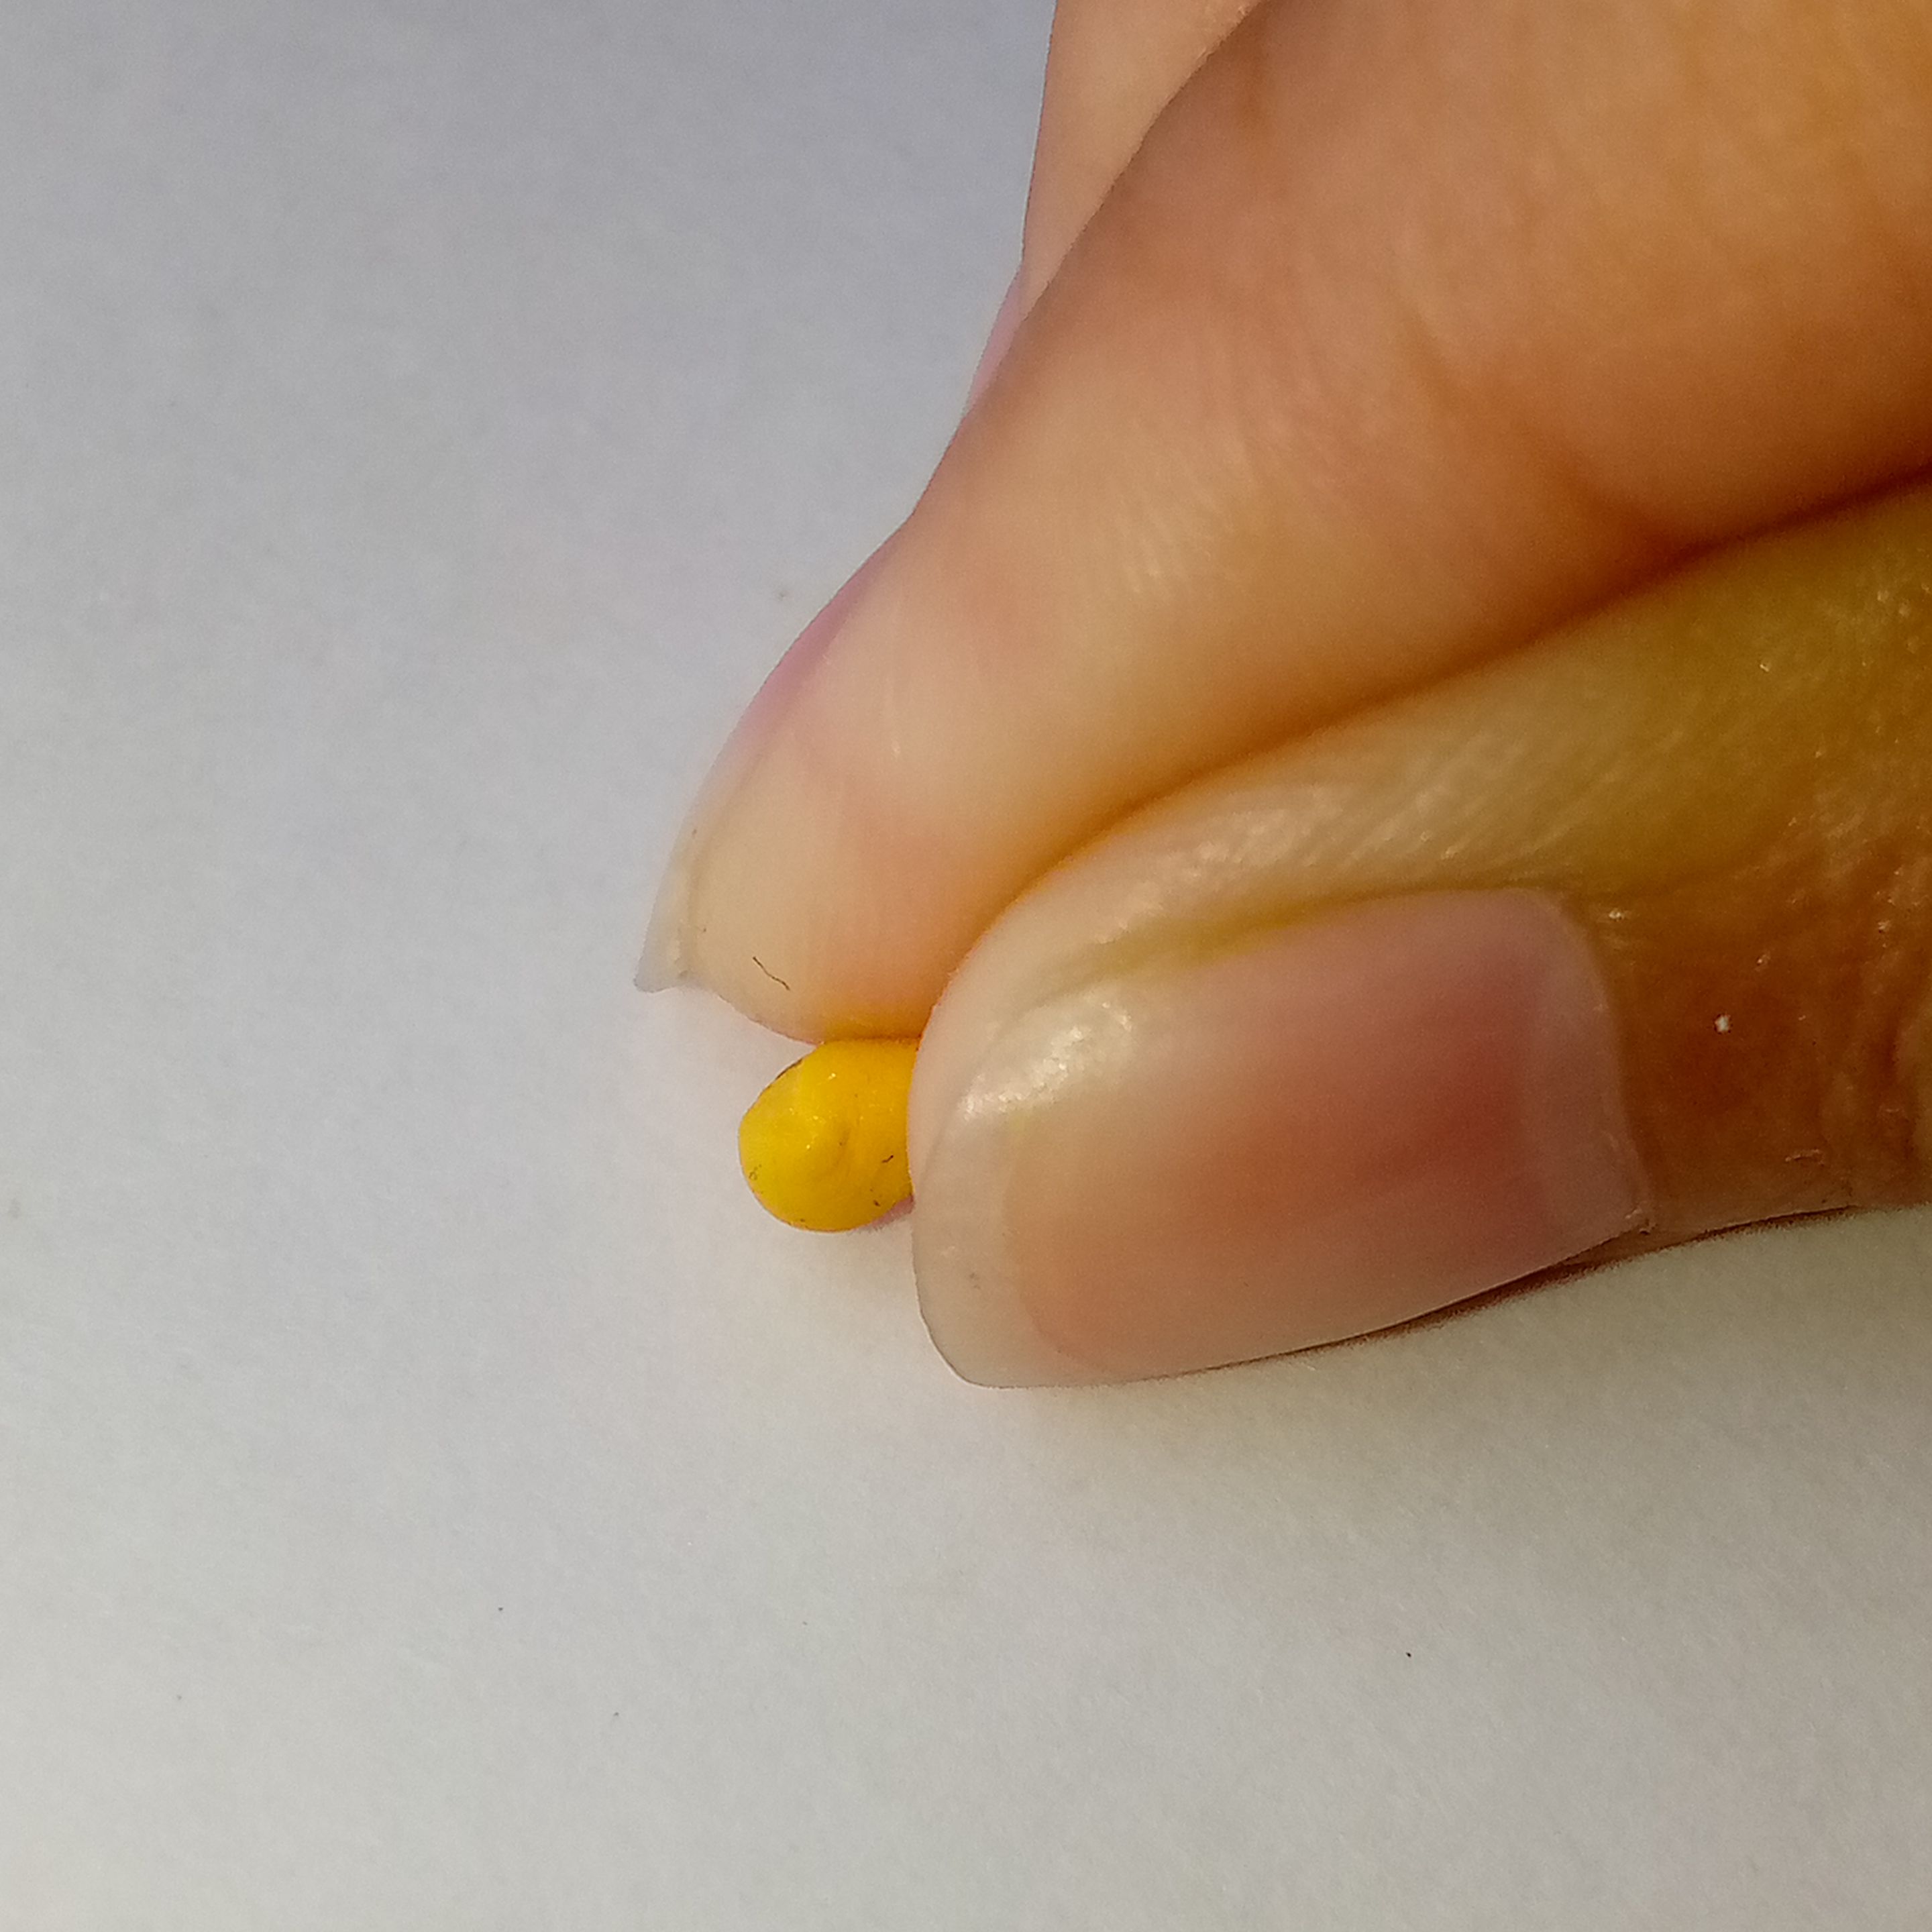
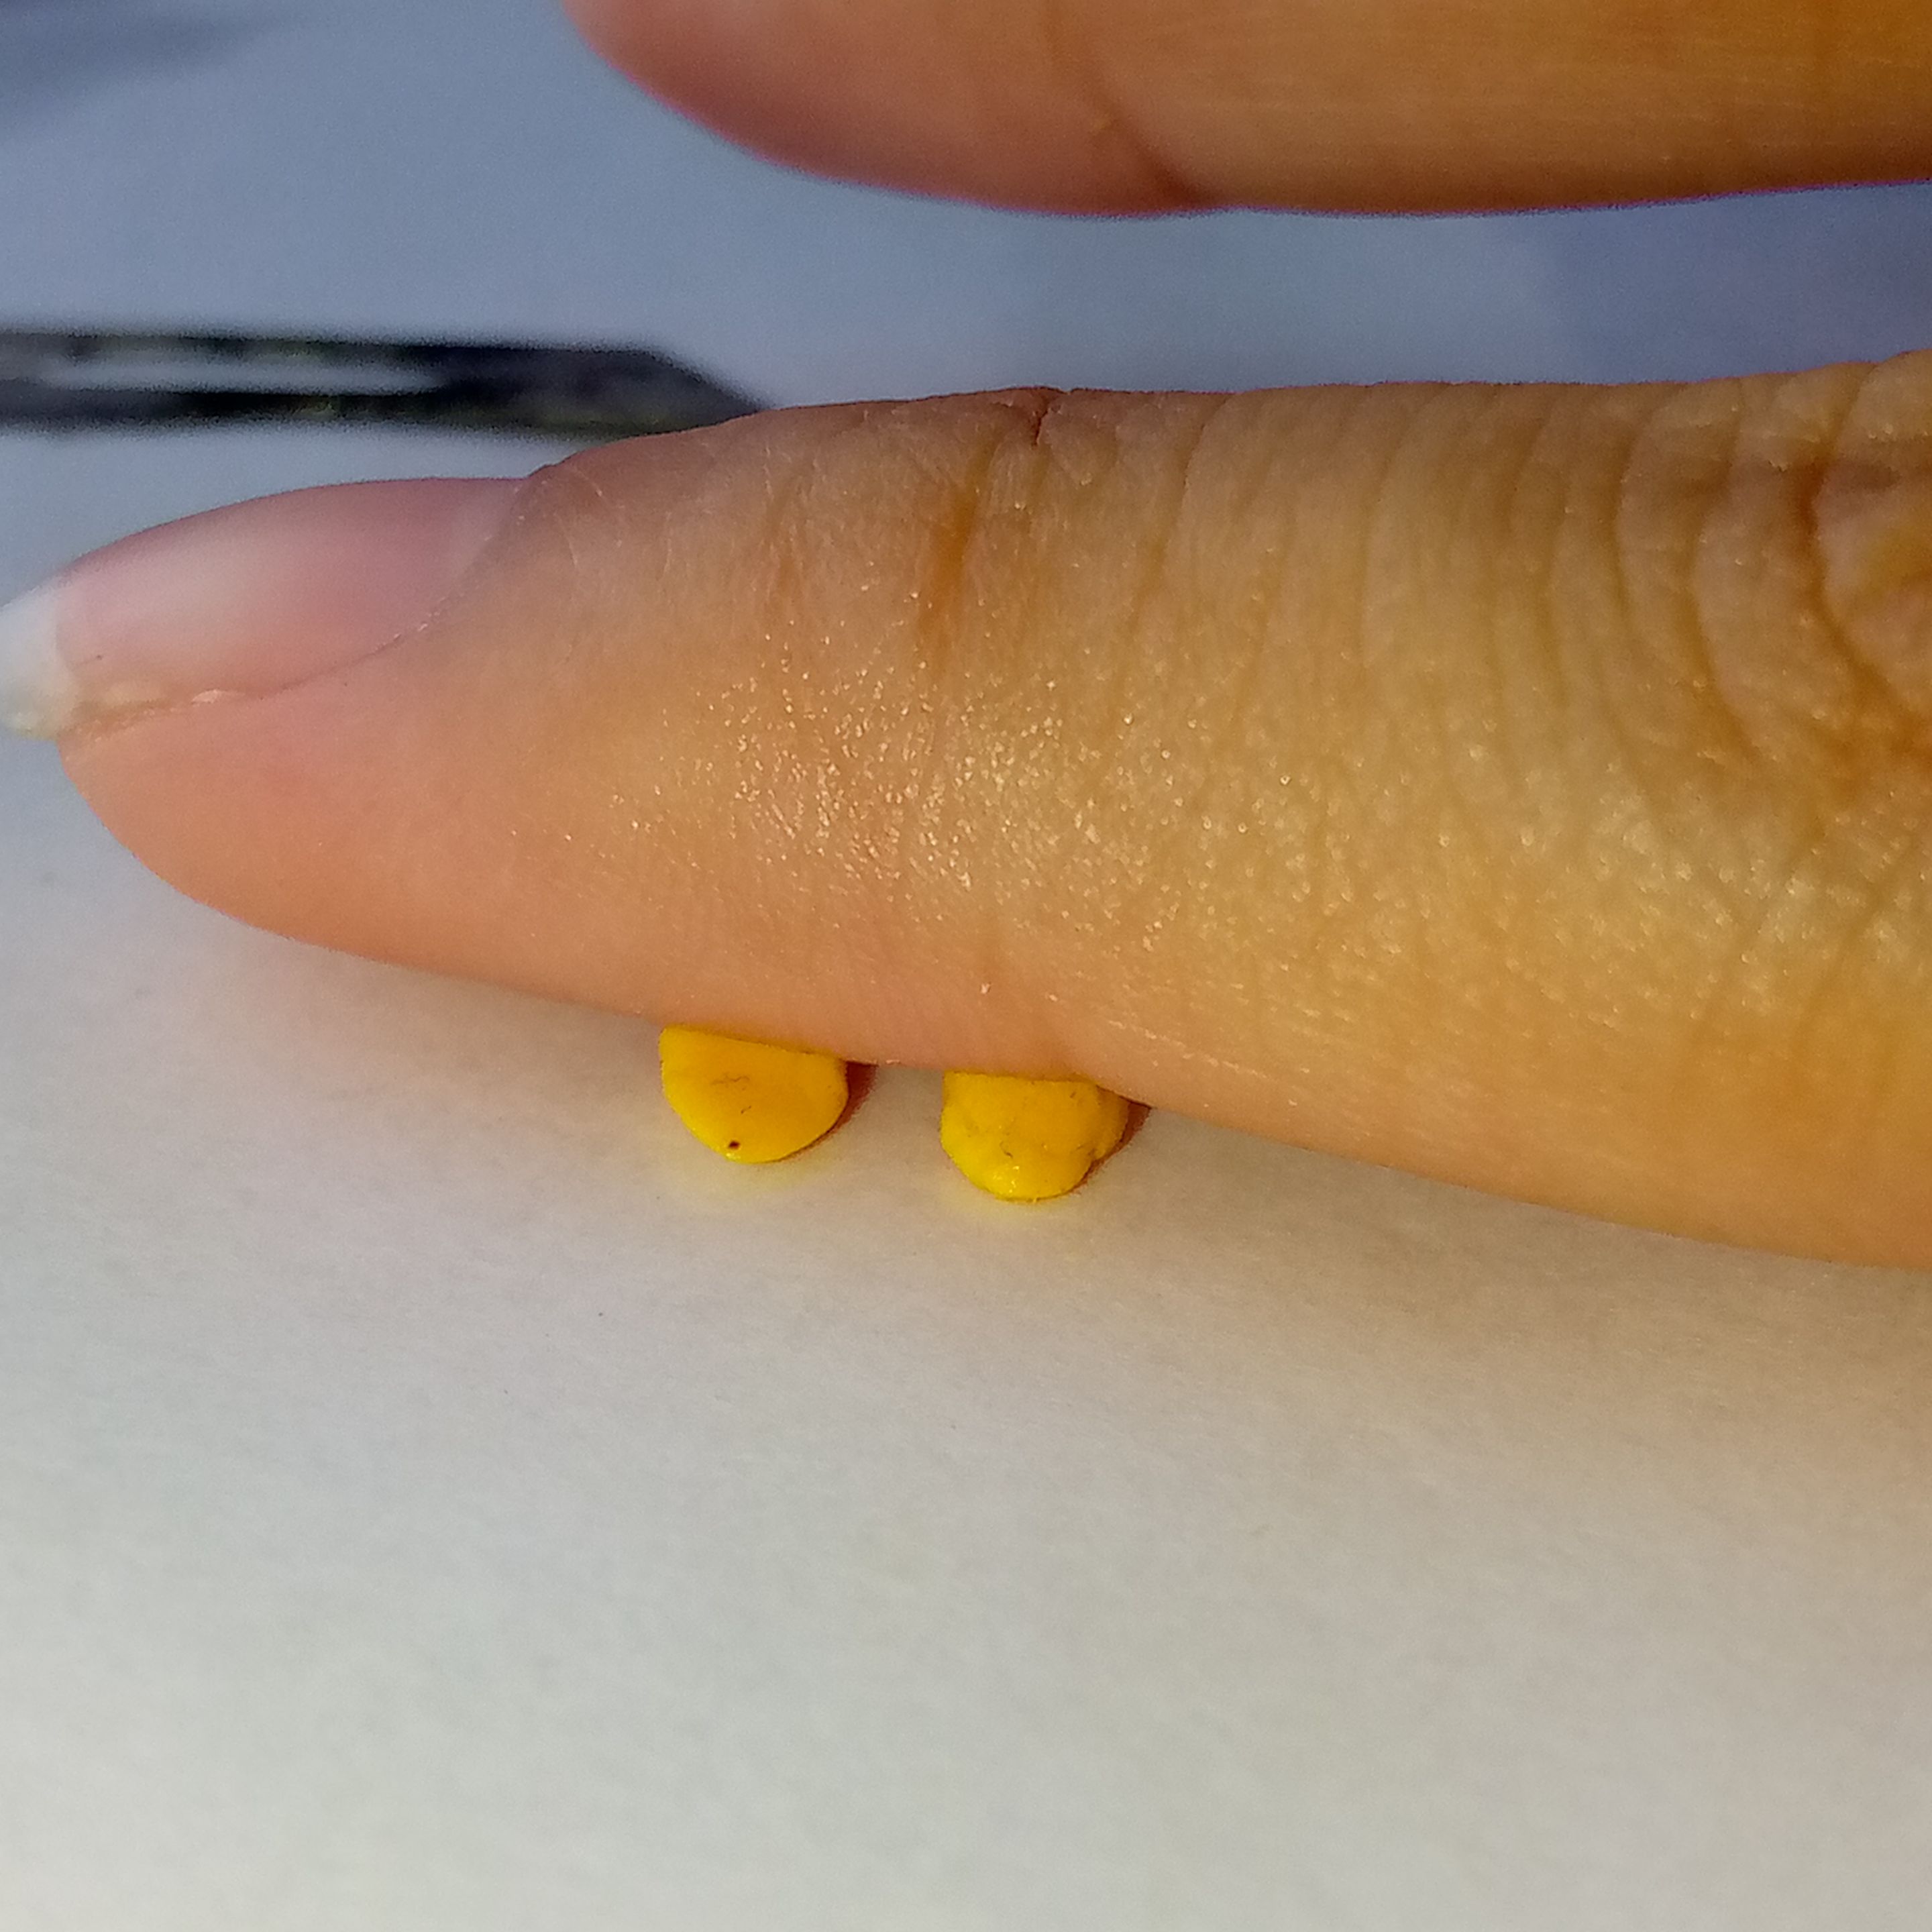
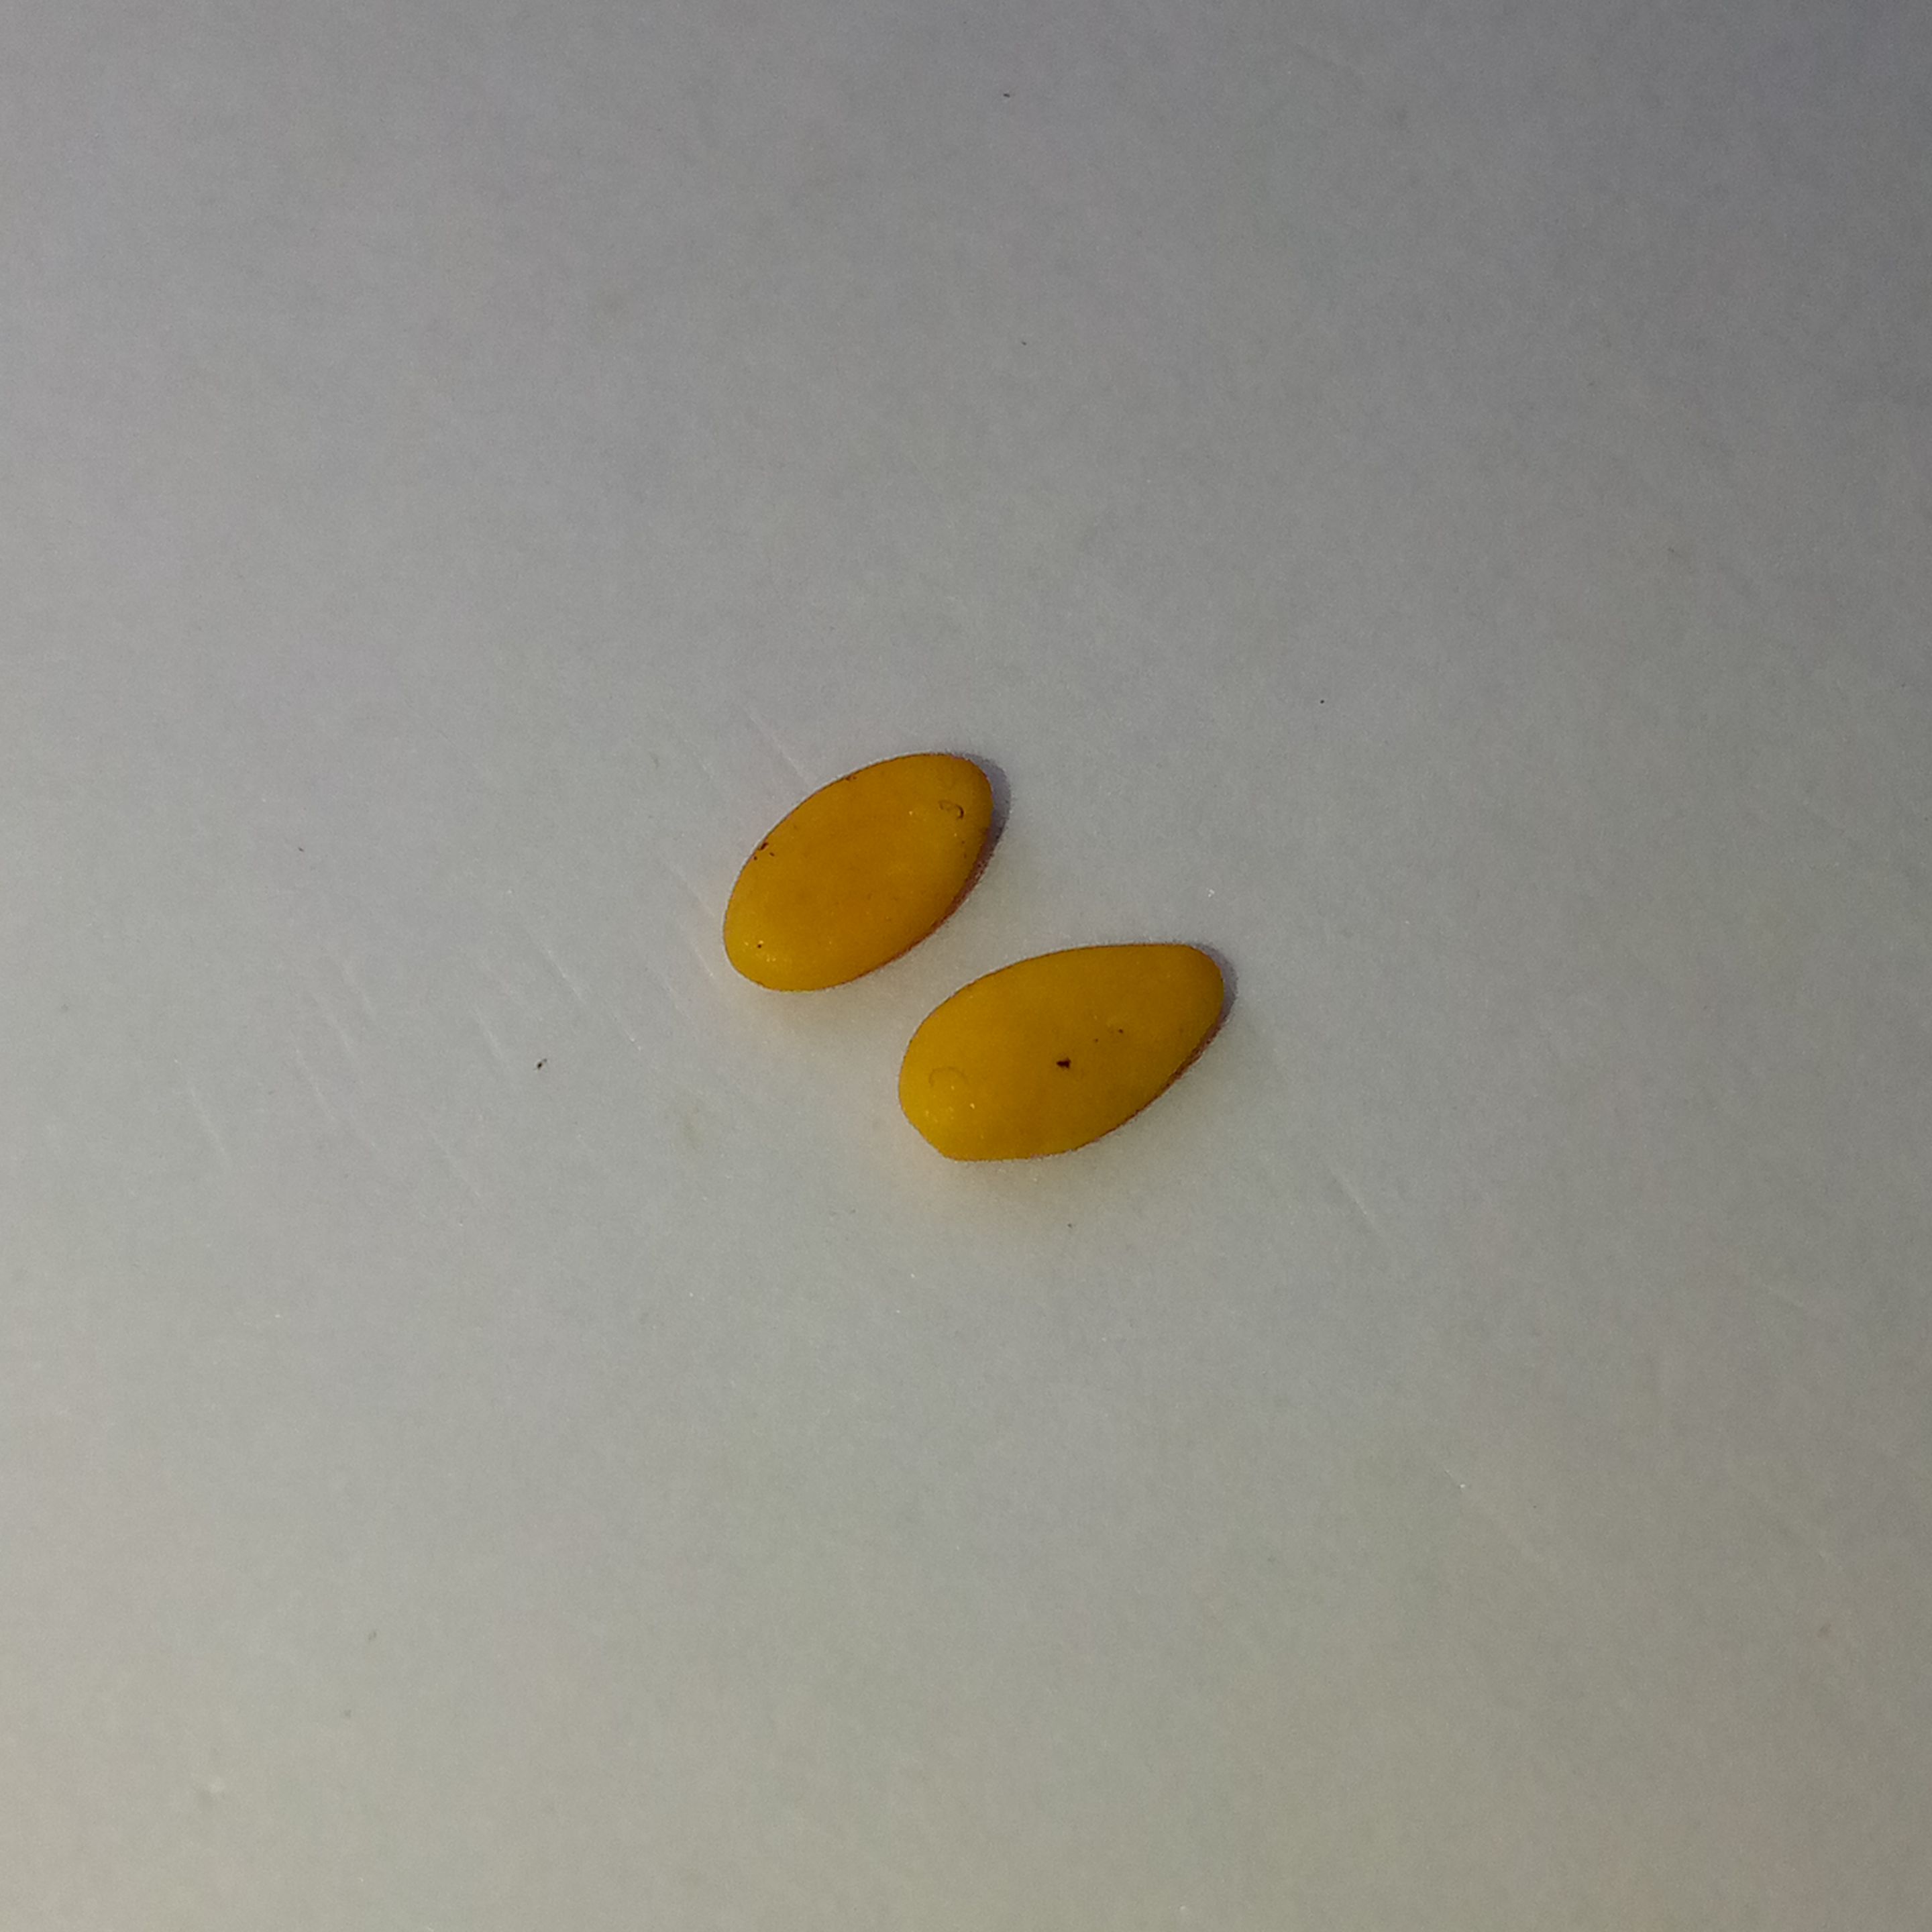
✦•┈๑⋅⋯ OREJAS 👂 EARS ⋯⋅๑┈•✦
Hacemos bolitas, las pellizcaremos por el lateral y posteriormente las aplastaremos con la yema de nuestros dedos.
We will make small balls, pinch them on the sides, and then flatten them with the tips of our fingers.
 |
 |
|---|---|
 |
 |
|---|---|
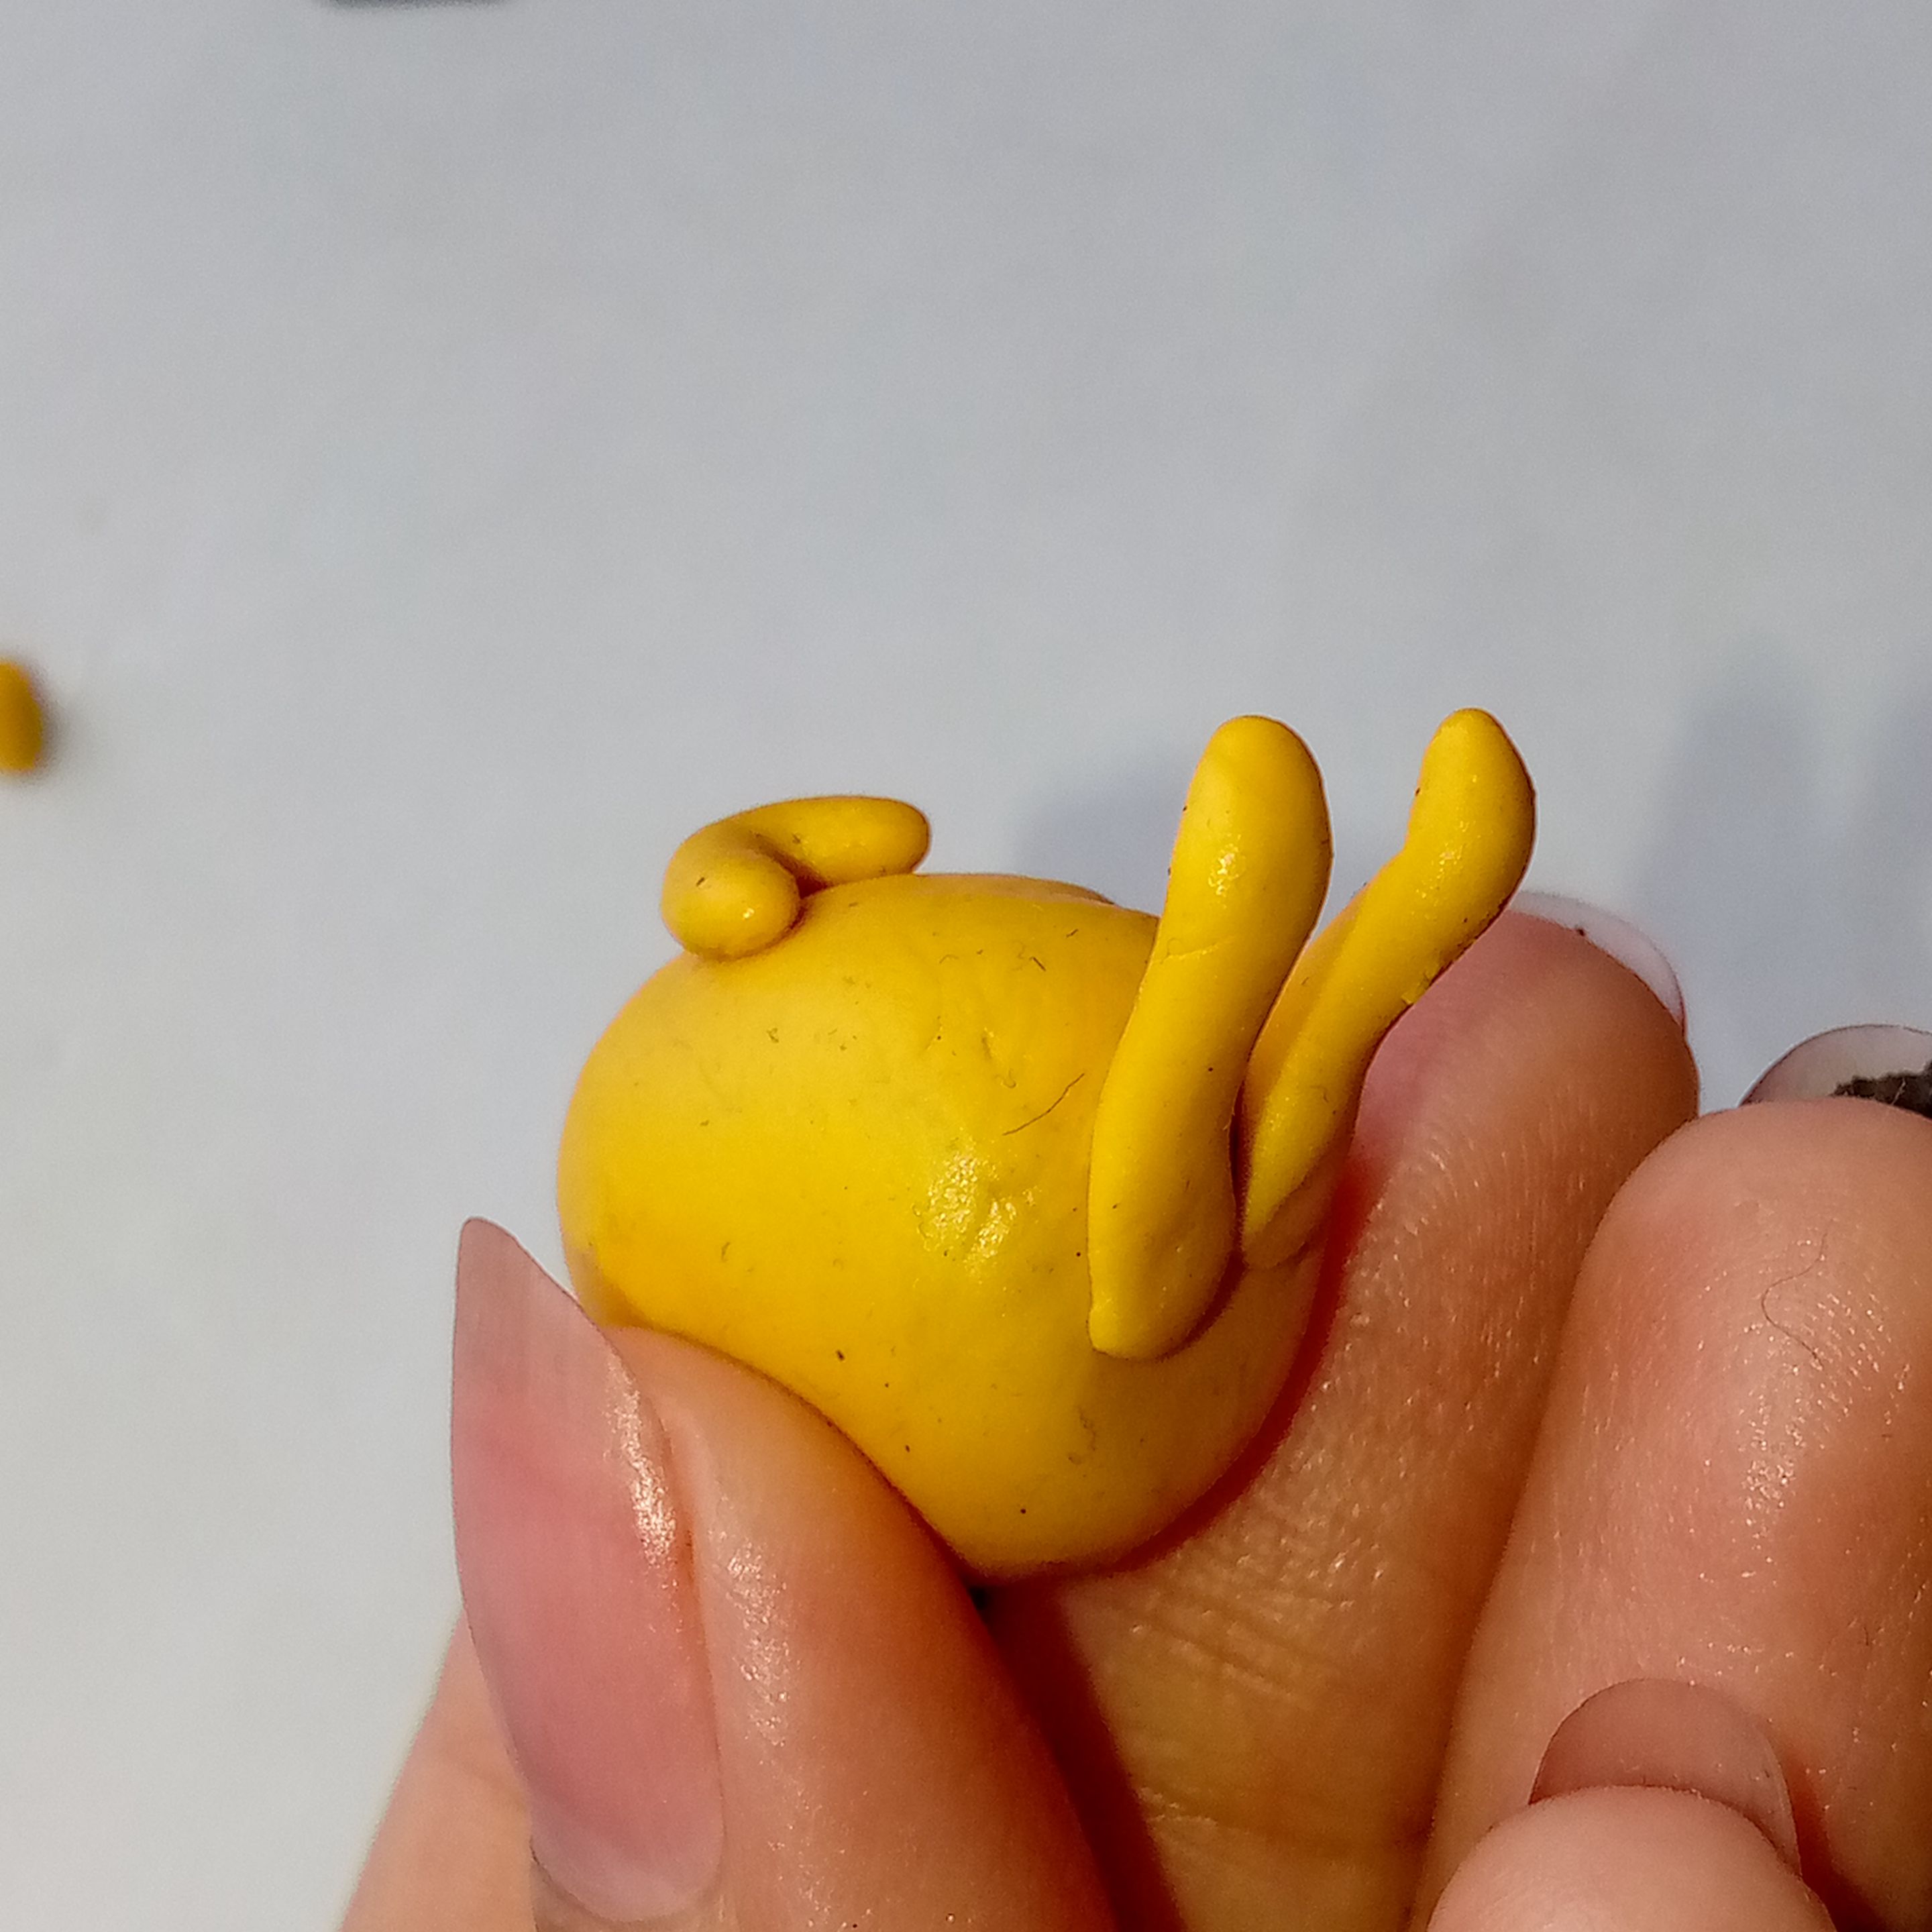
✦•┈๑⋅⋯ENSAMBLADO 🔨 ASSEMBLED⋯⋅๑┈•✦
Por alguna razón, esta me resulta una de las partes más gratificantes de hacer este tipo de esculturas. Vamos a unir todas las piezas a la base que sería el cuerpo de Jake.
For some reason, this is one of the most satisfying parts of making these kinds of sculptures. We will assemble all the pieces onto the base, which will be Jake’s body.
 |
 |
 |
|---|---|---|
Para unirlos, yo suelo utilizar un objeto con el cual pueda arrastrar un poco la plastilina y unirla, en mi caso usé una aguja pequeña de tejer y el lateral de una pinza. Lo hice de la siguiente manera:
To attach them, I usually use a tool that allows me to drag and blend the clay a bit. In my case, I used a small knitting needle and the side of a tweezer. I did it as follows:
 |
 |
 |
|---|---|---|
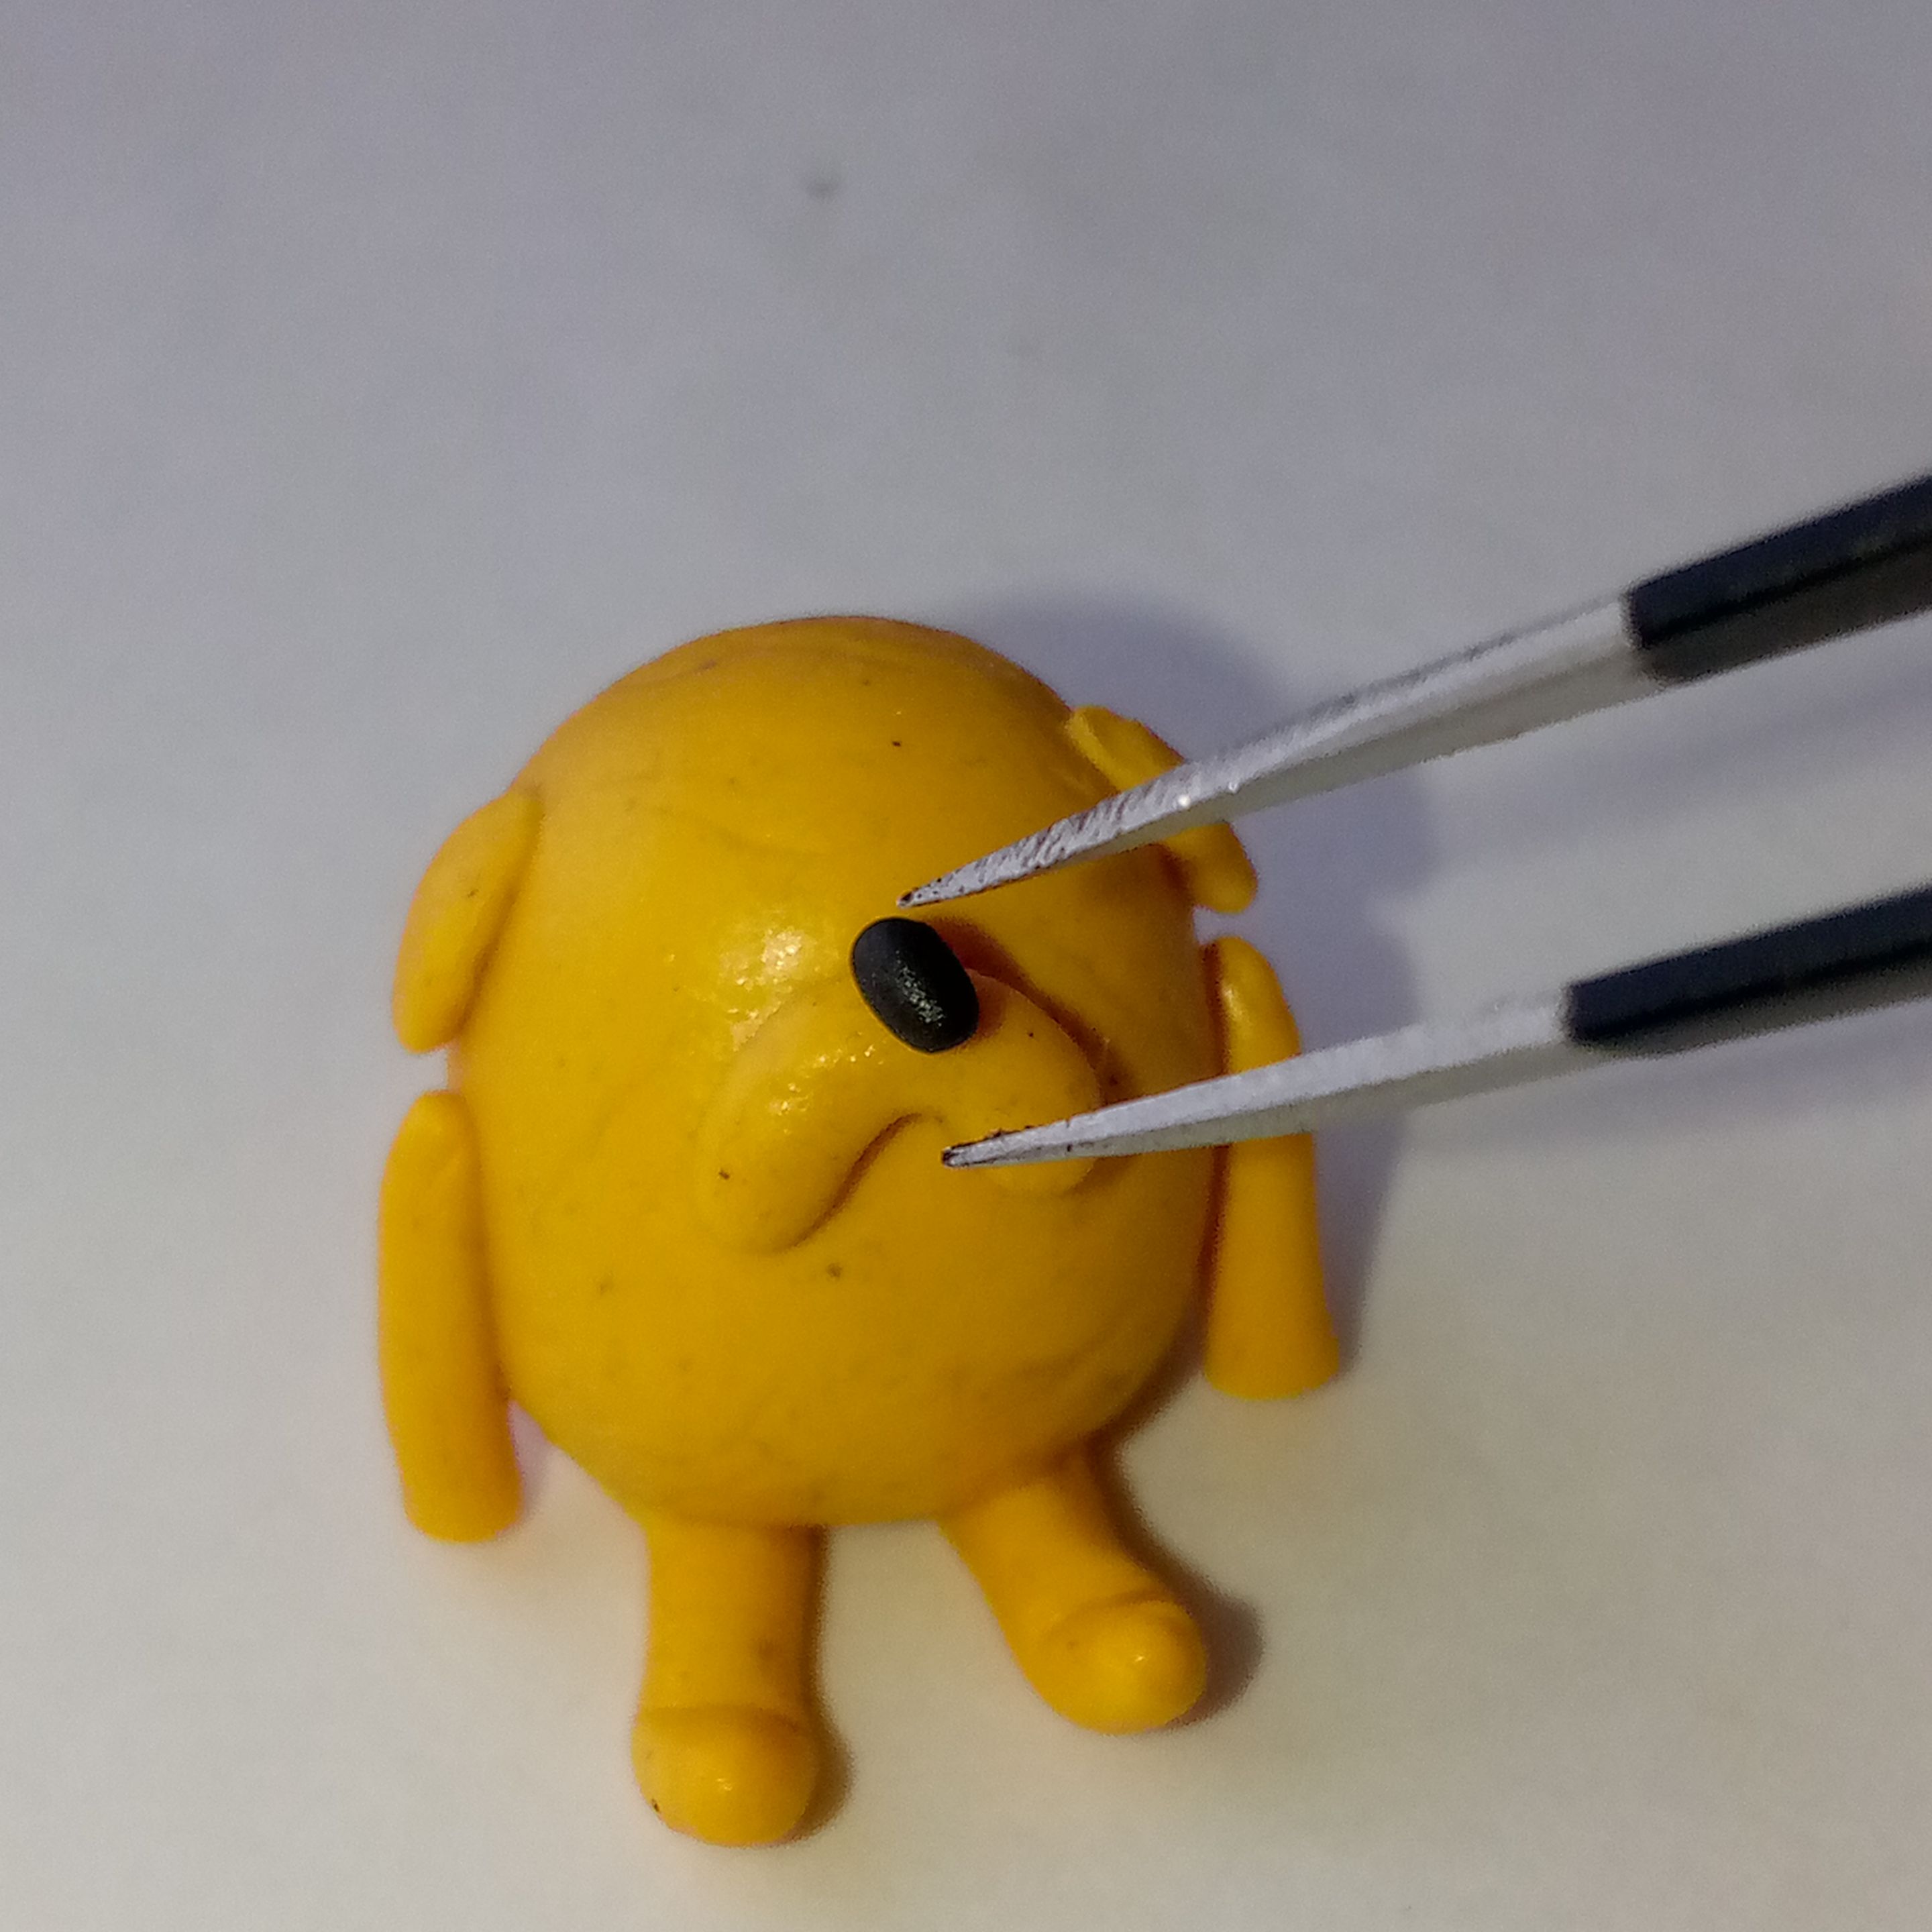
✦•┈๑⋅⋯ NARIZ 👃🏻 NOSE ⋯⋅๑┈•✦
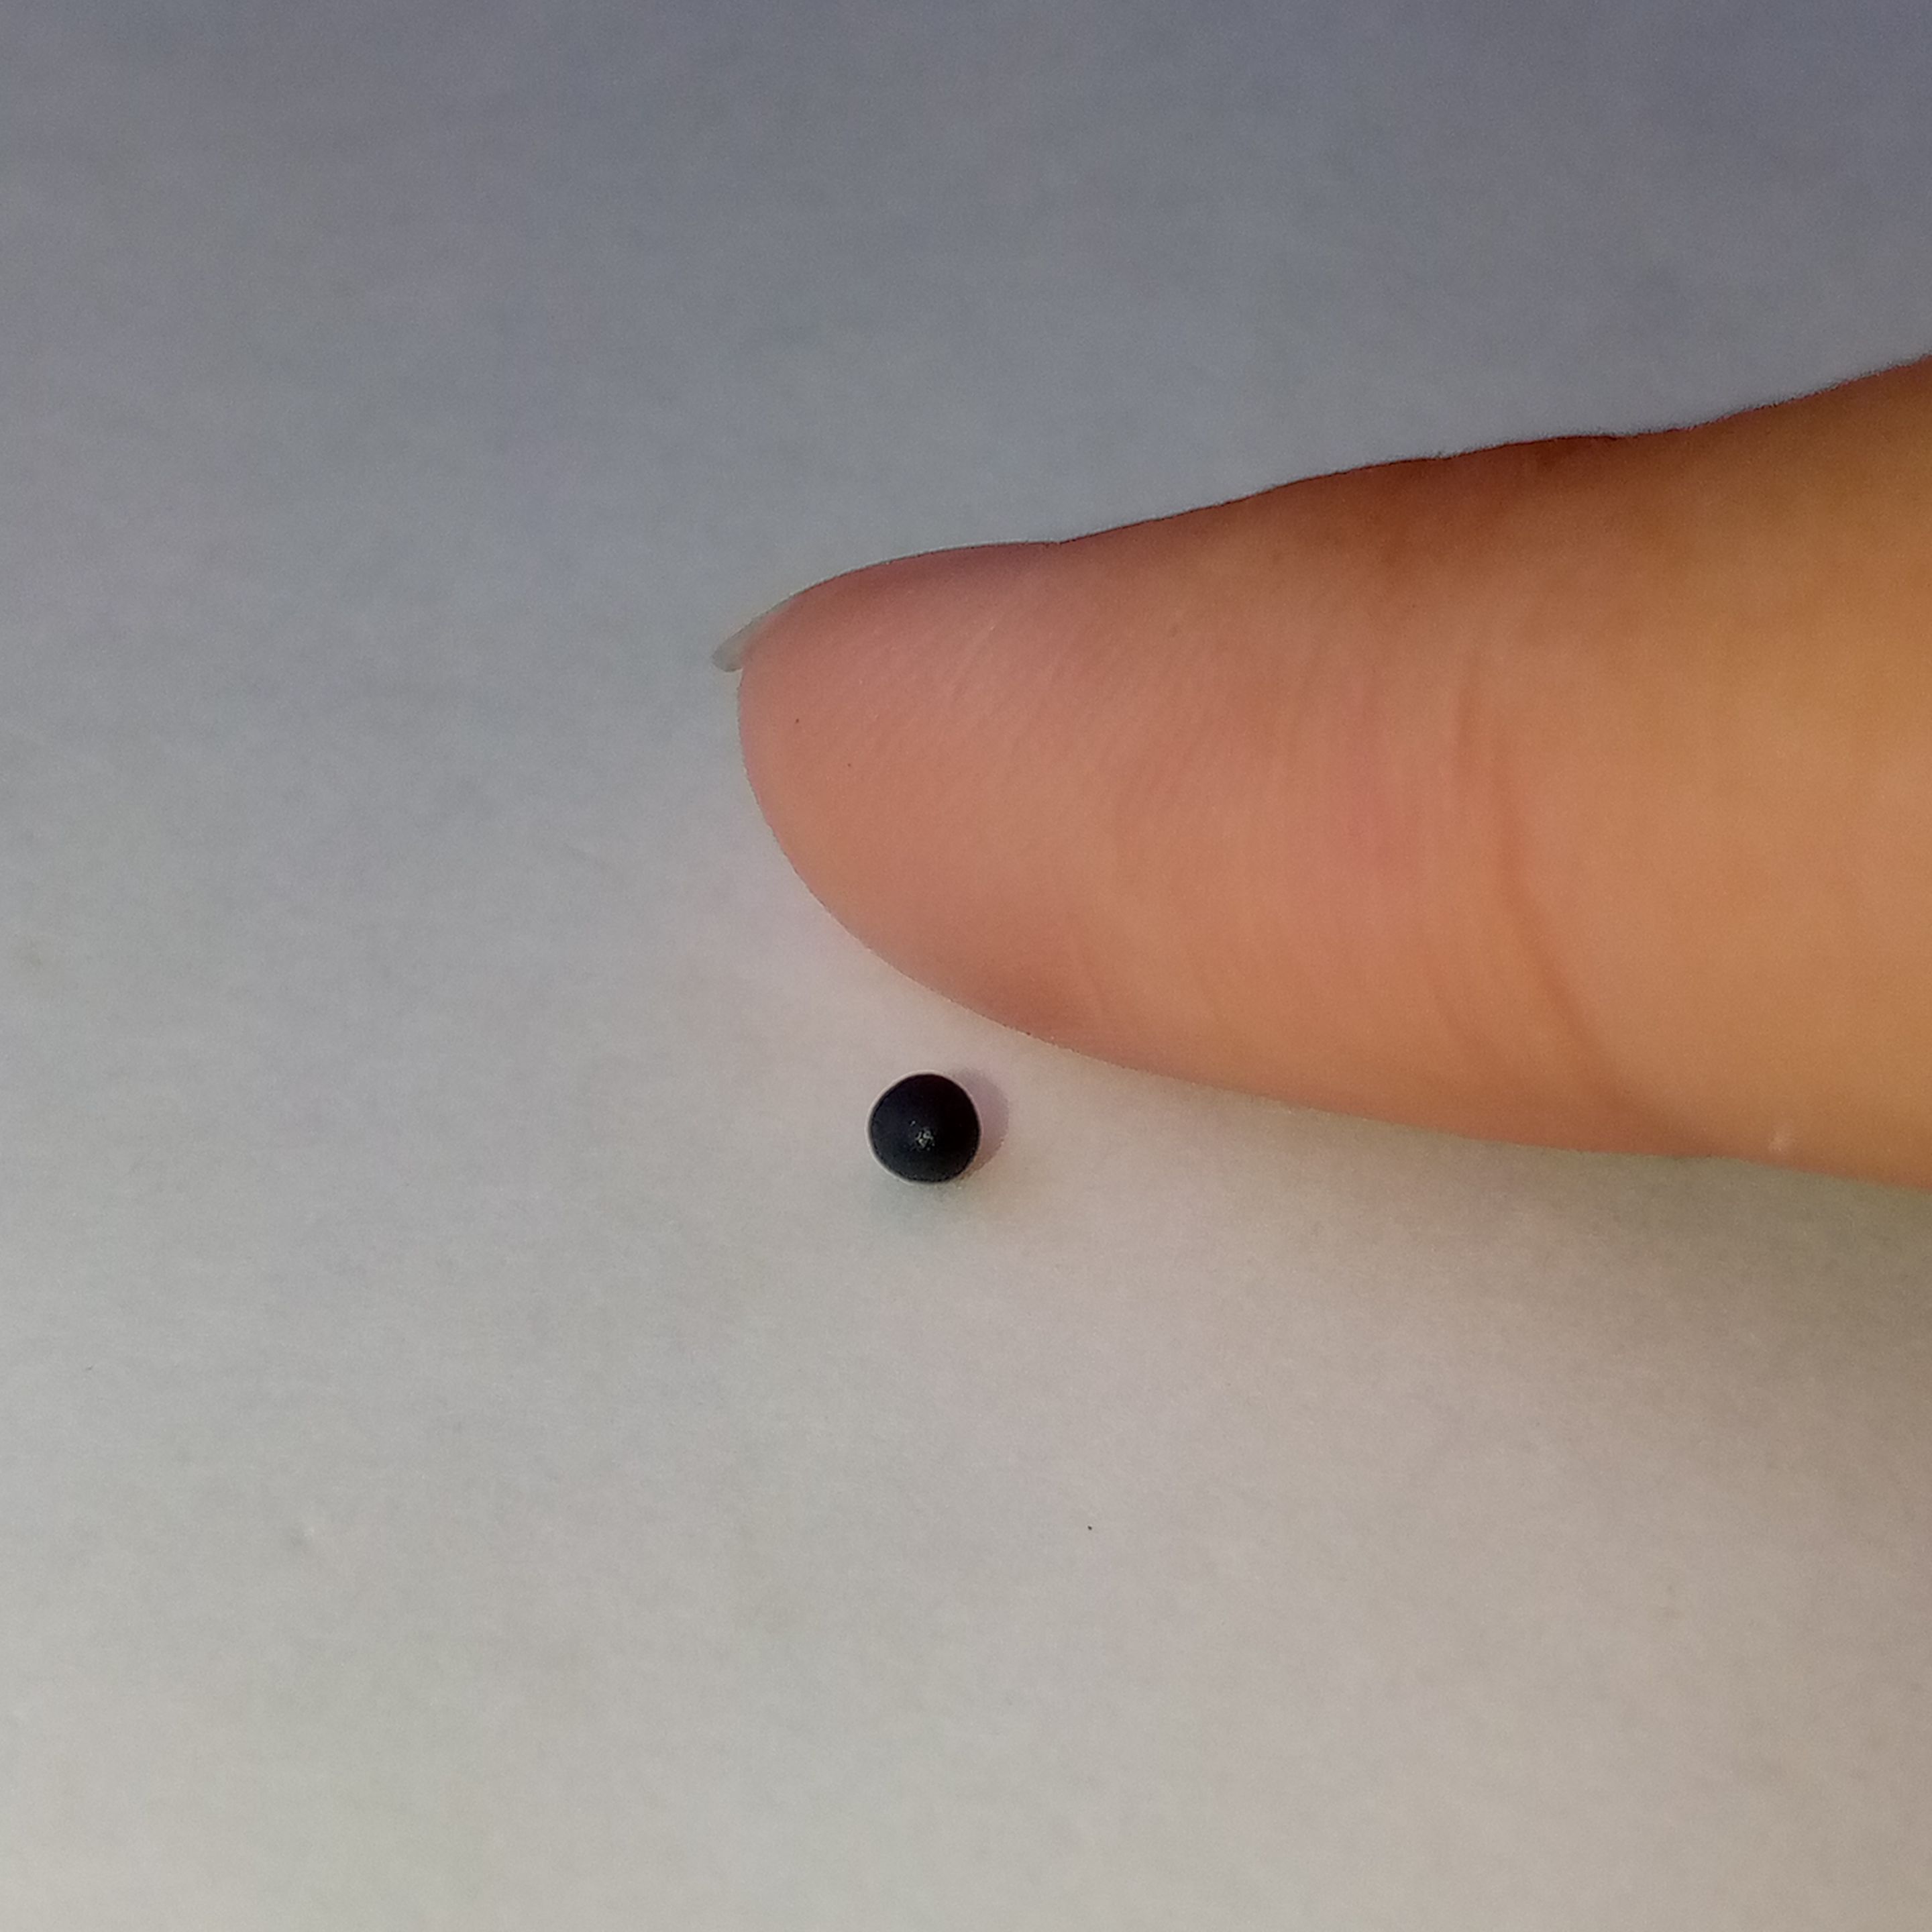
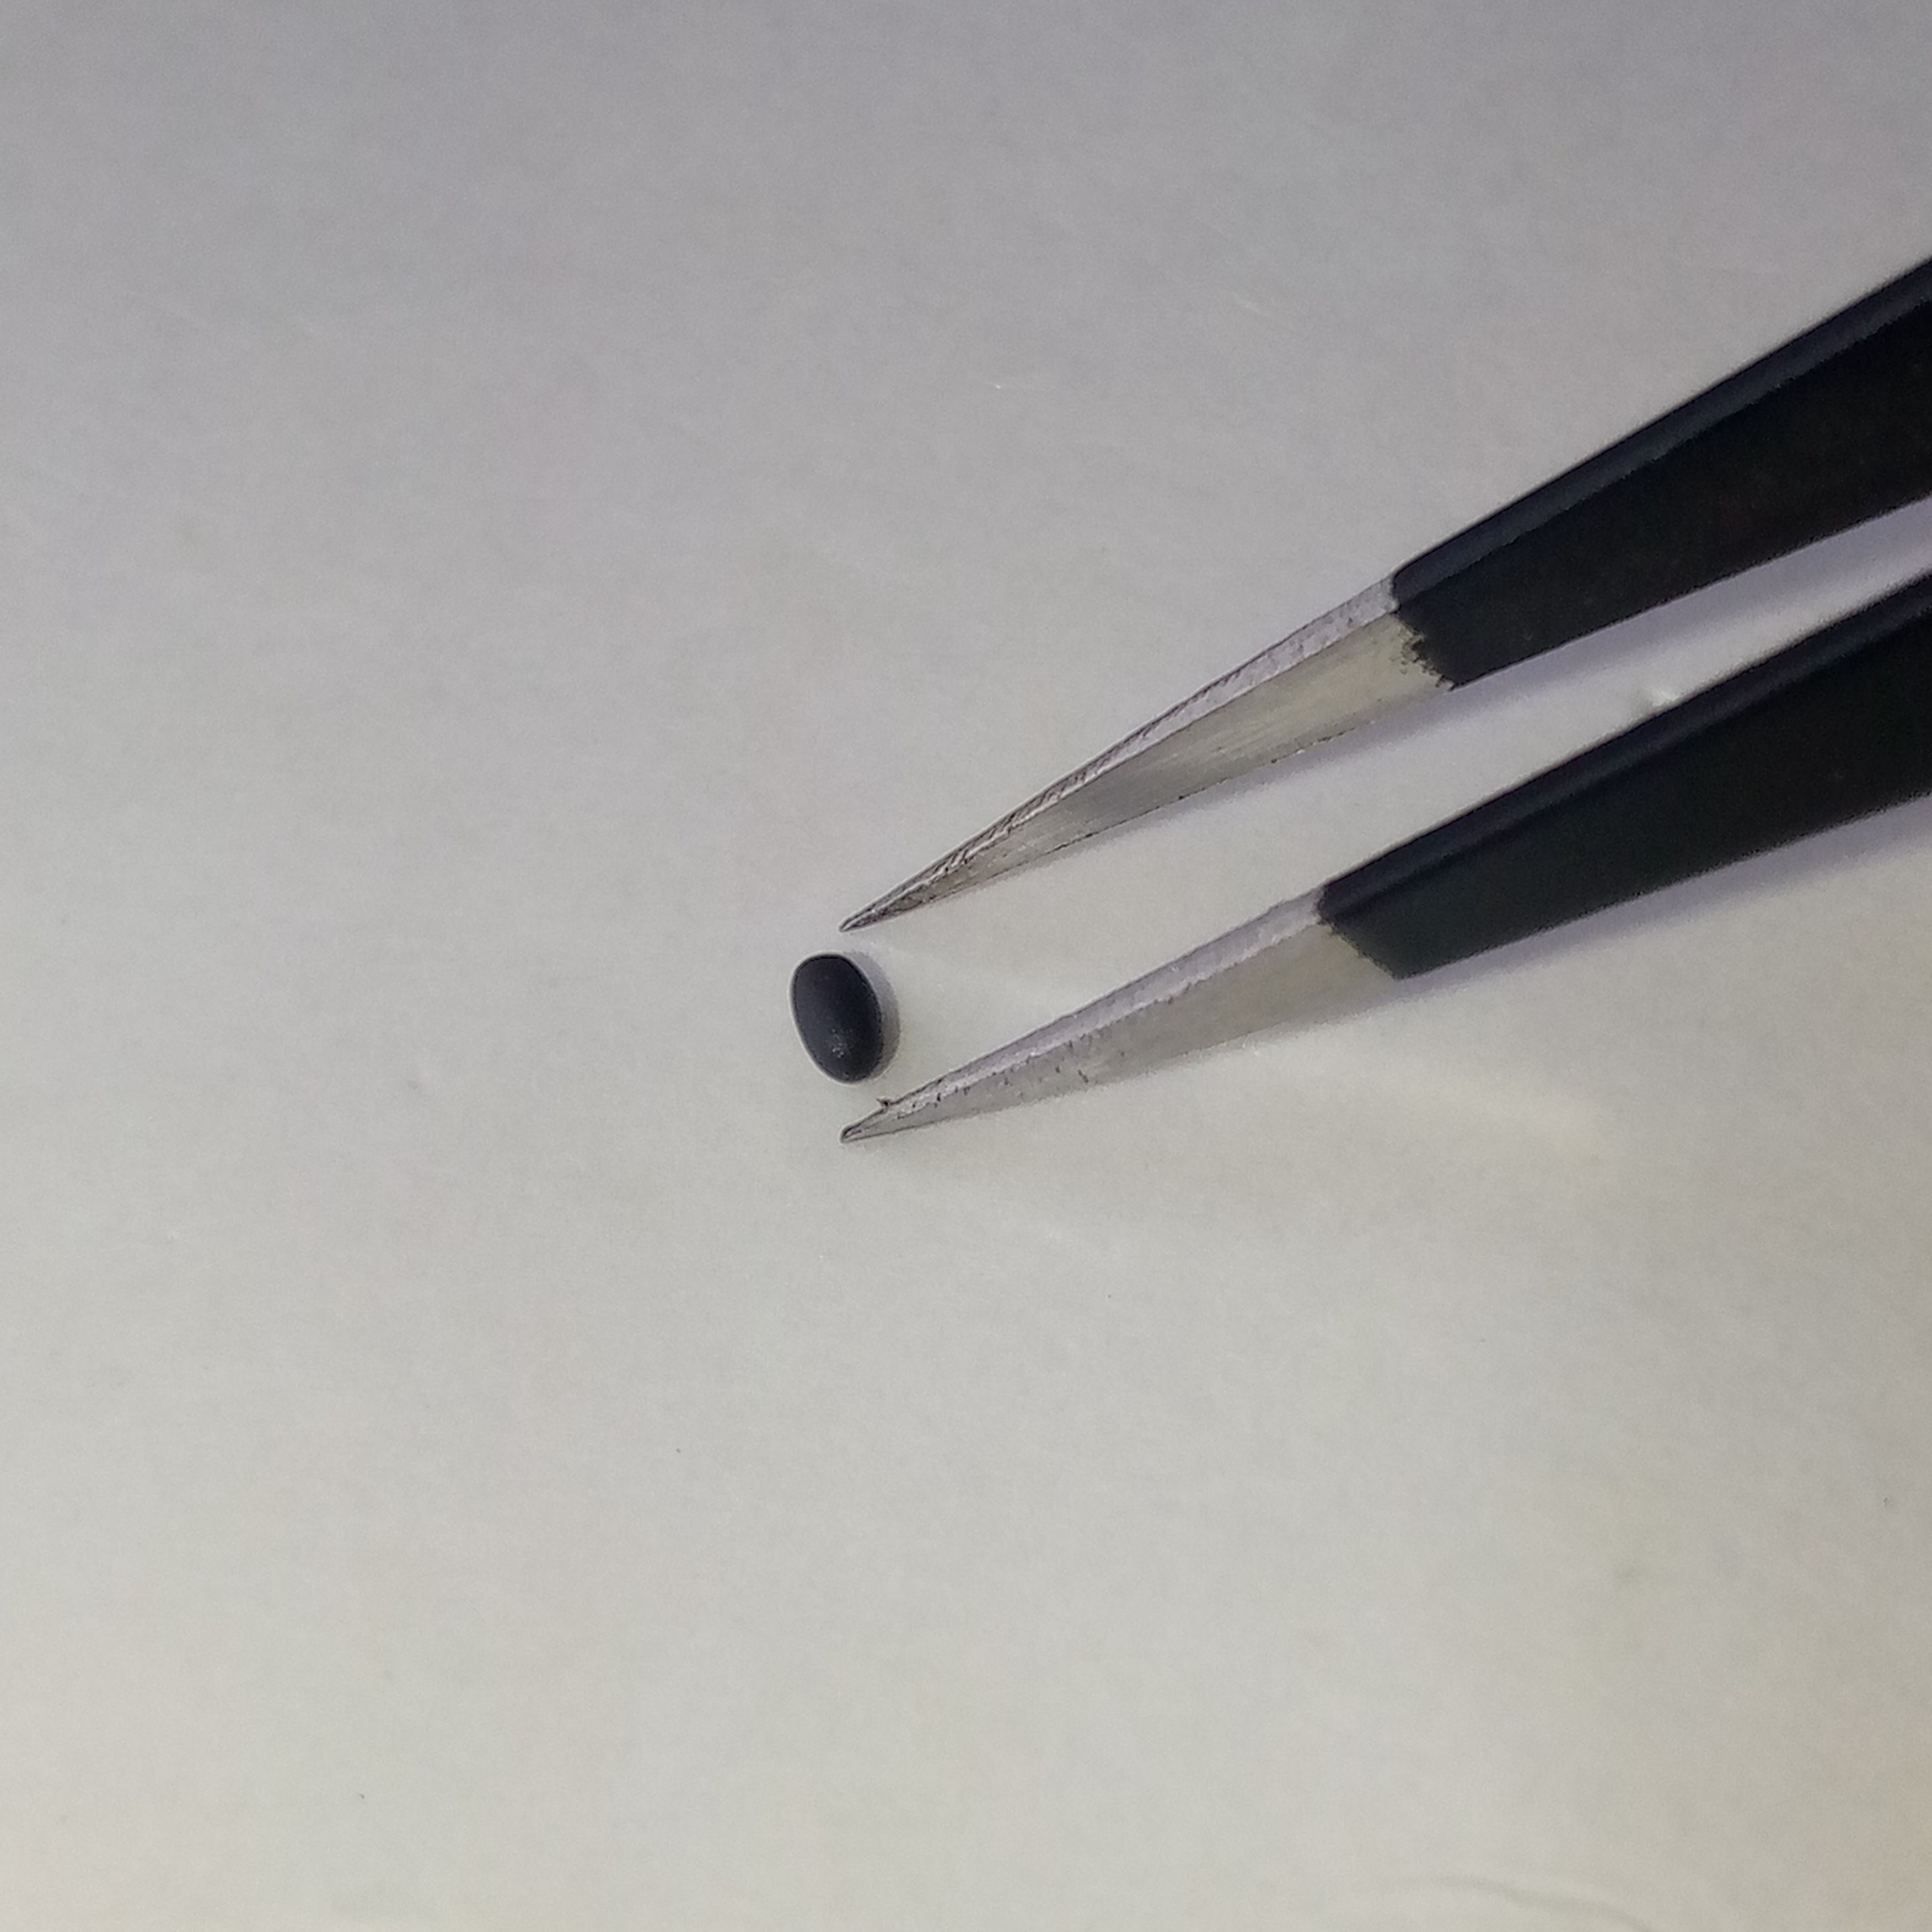
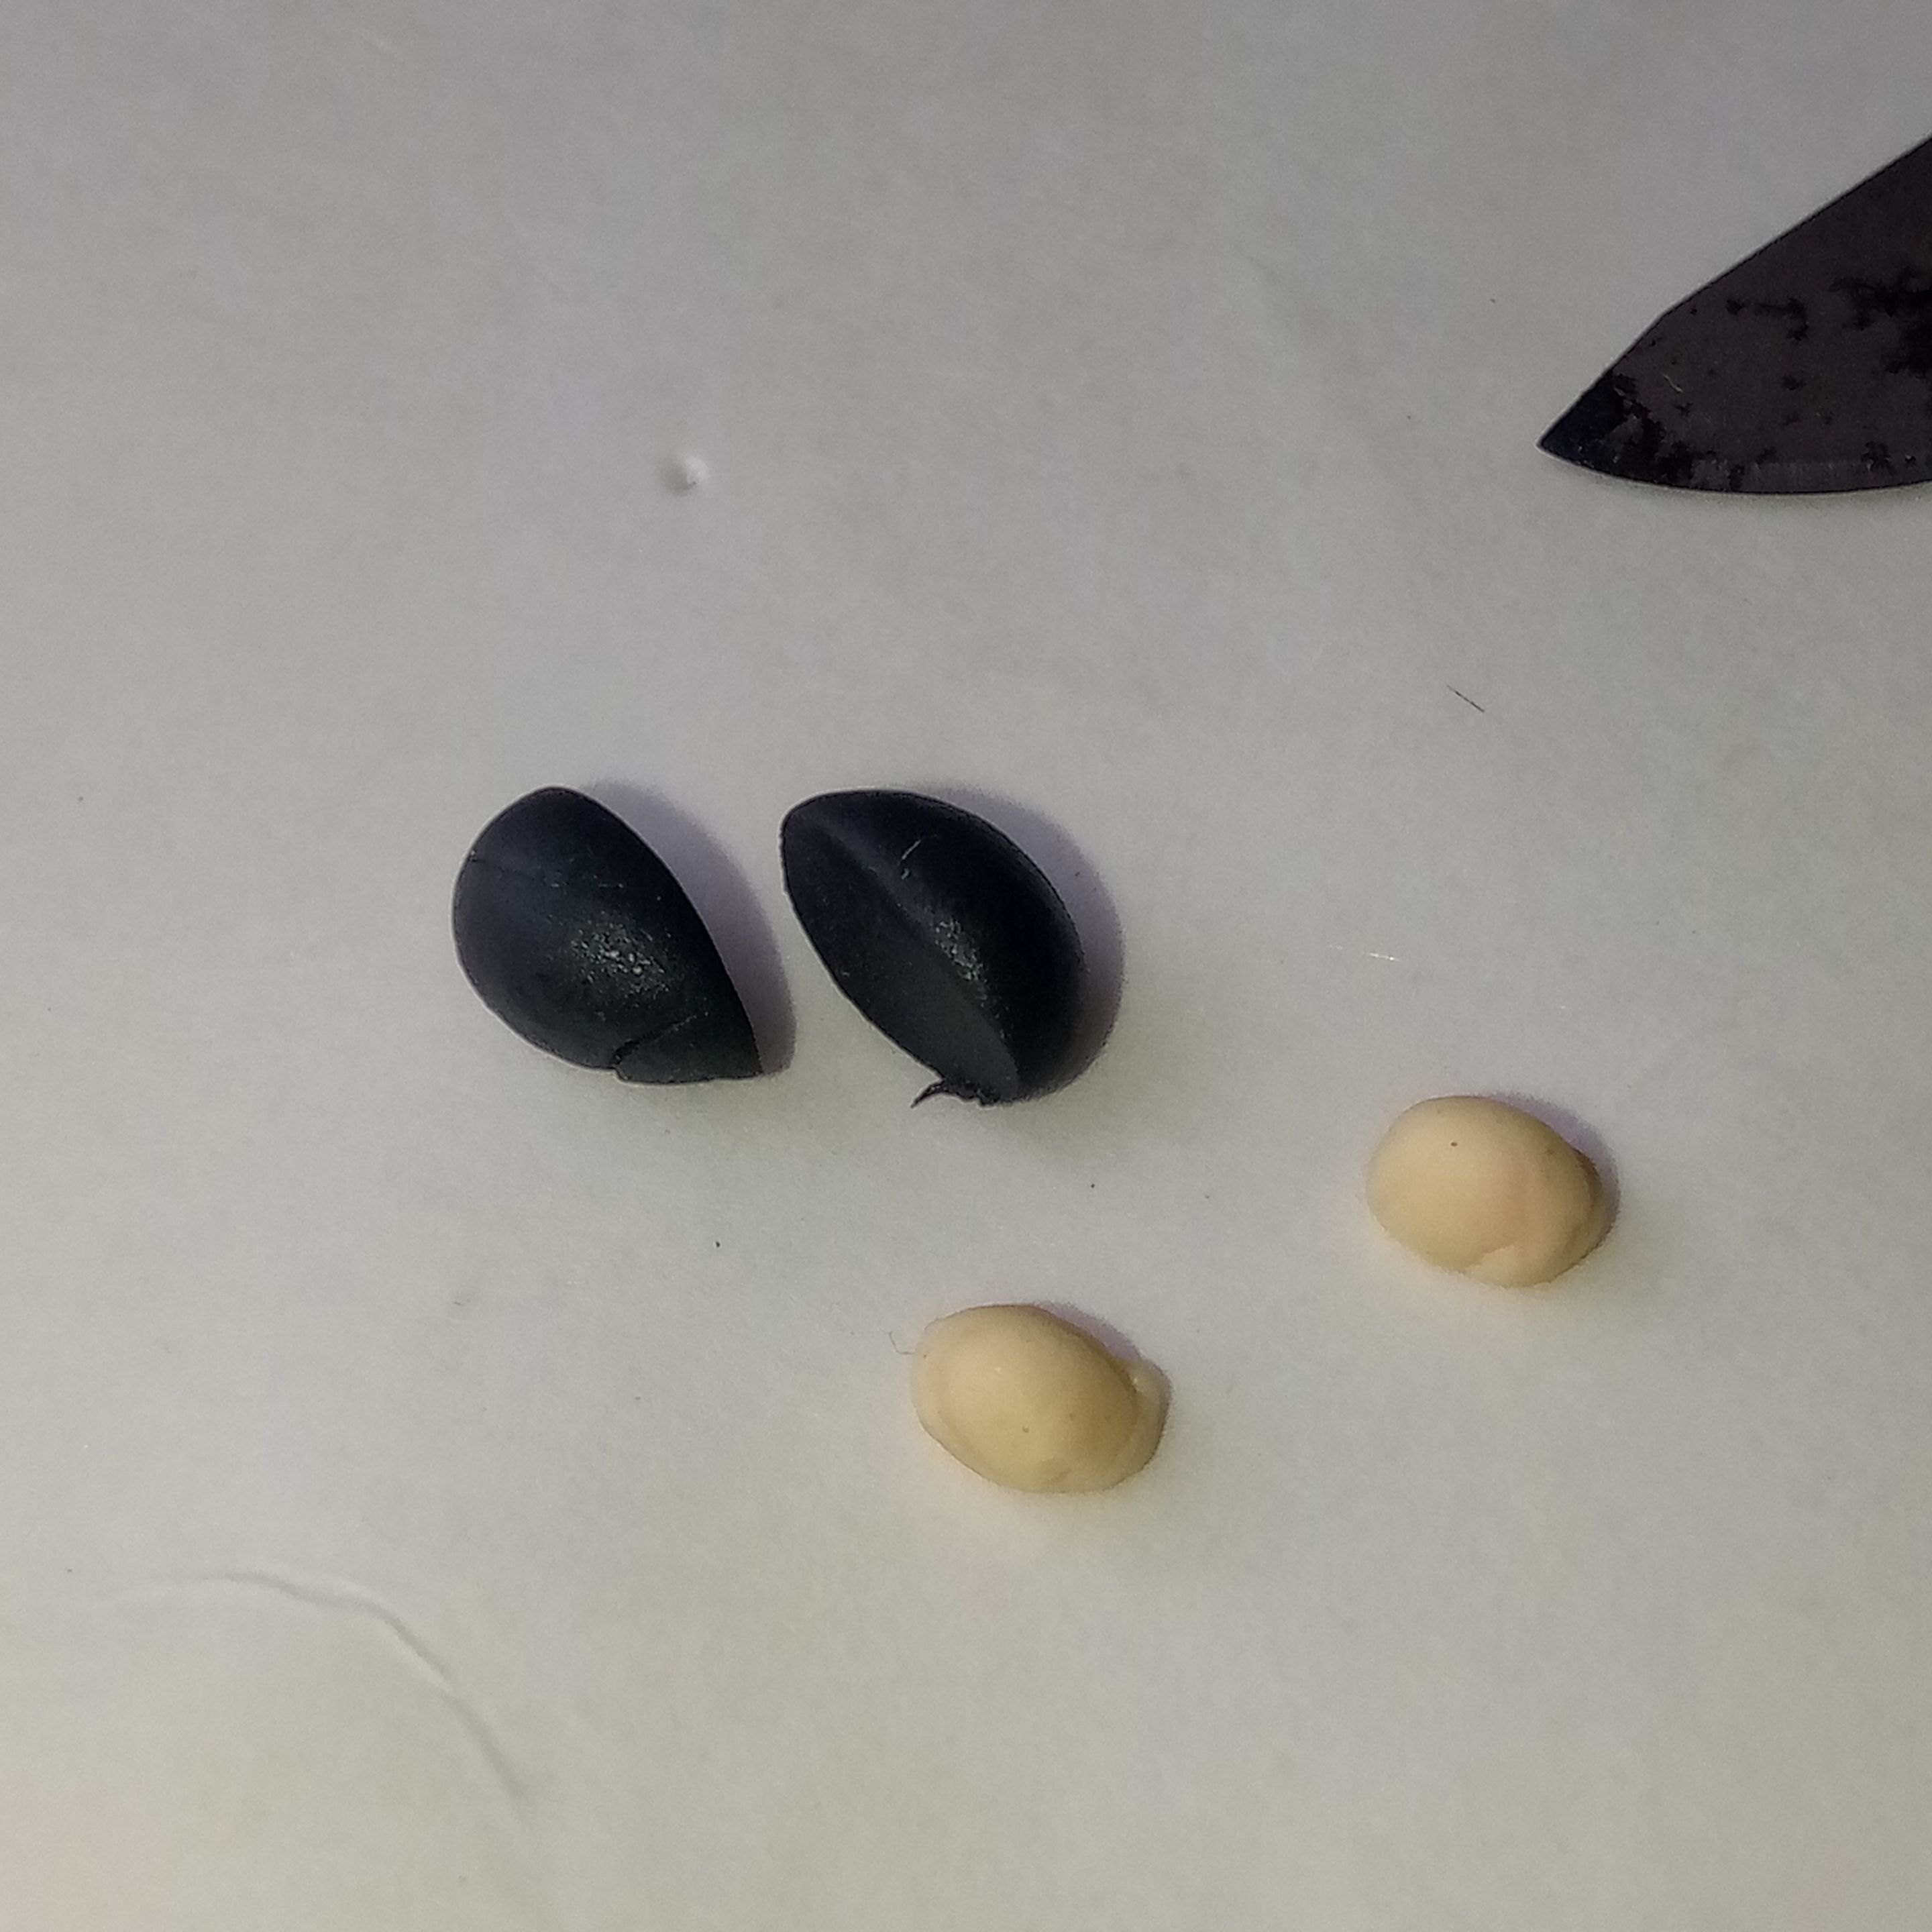
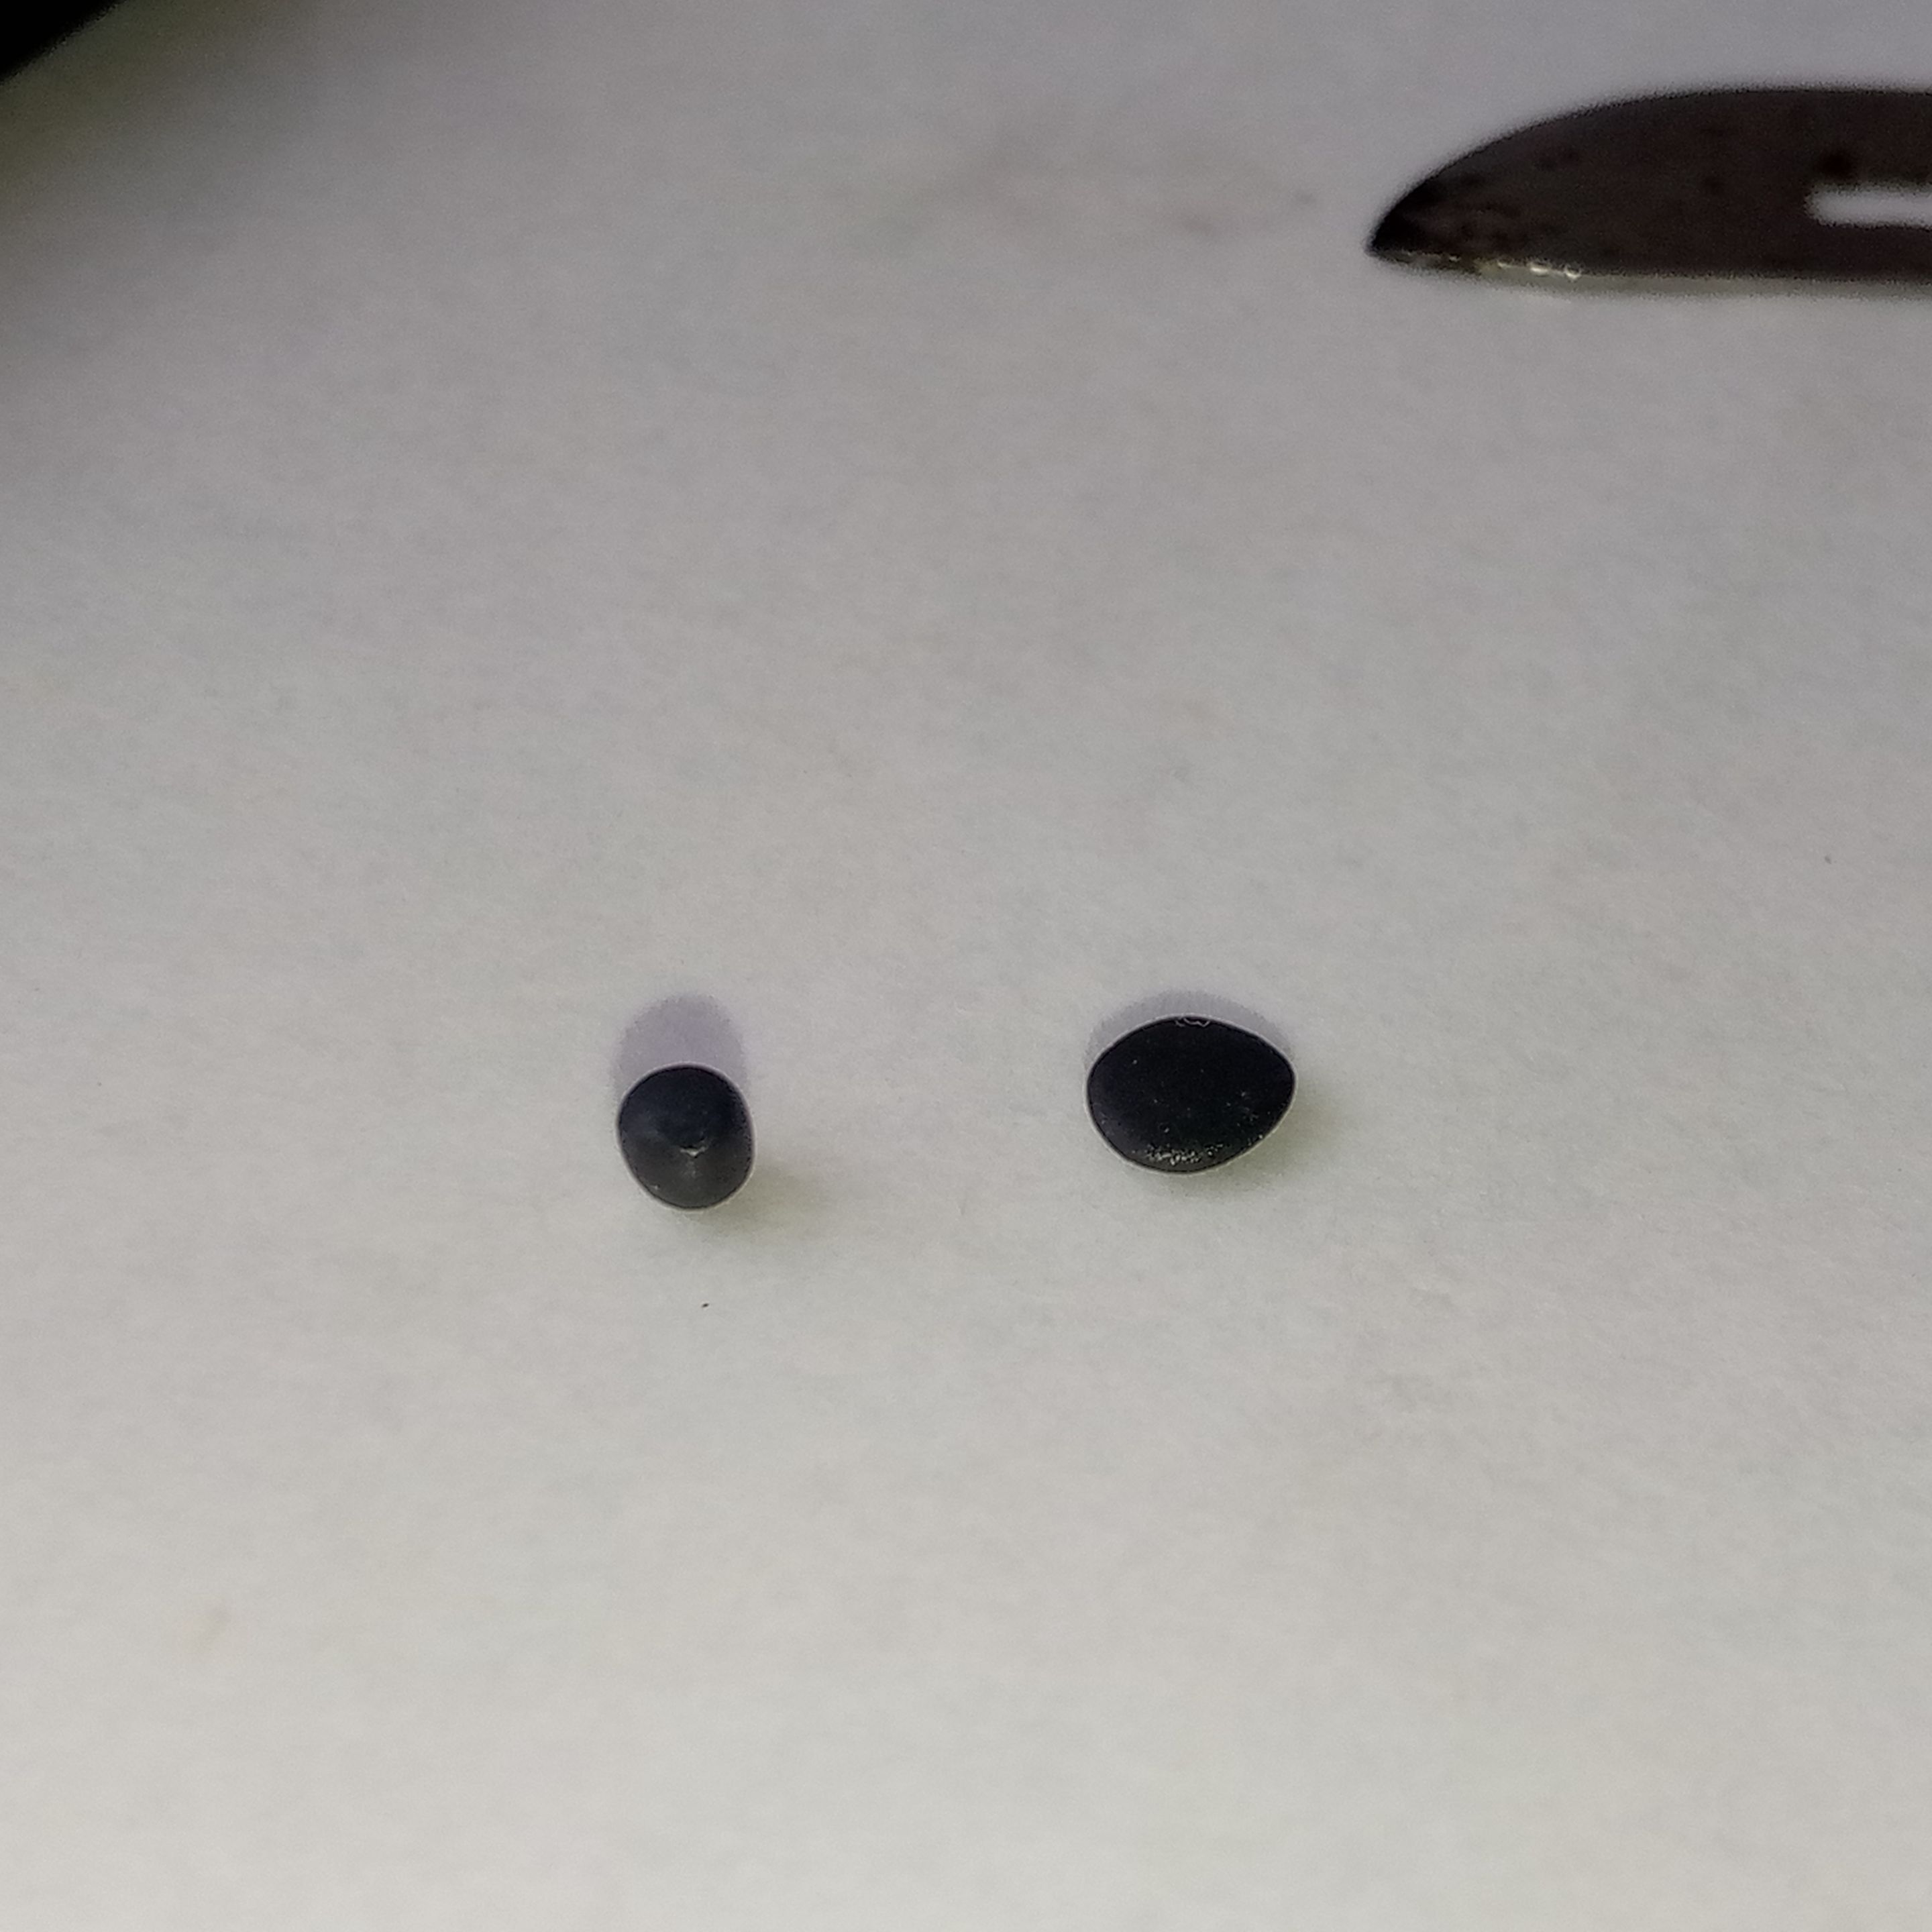
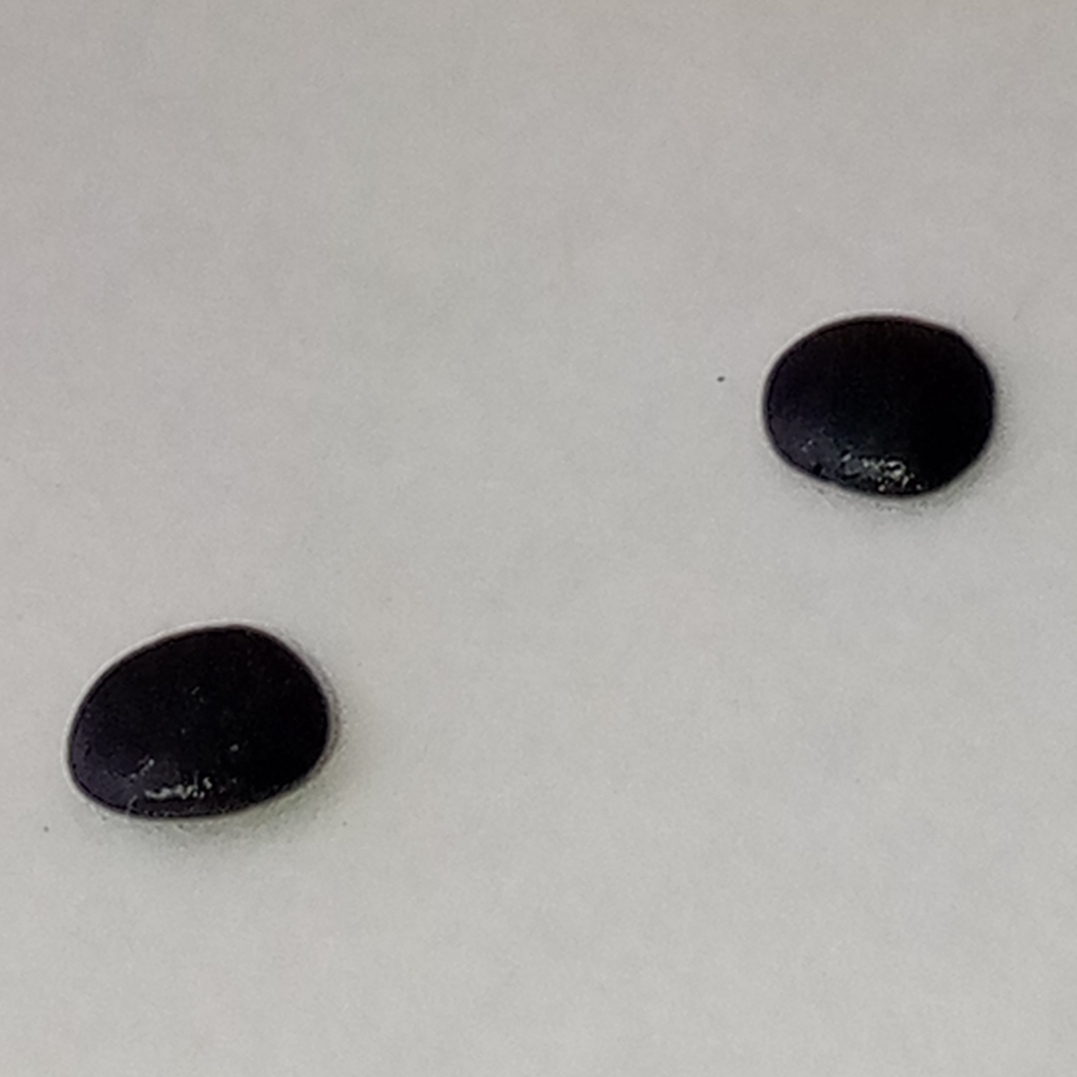
Tomaremos una pequeña porción de la plastilina negra la redondearemos y haremos como especie de un óvalo para hacer la nariz. Si quieren pueden aplastarlo un poco o pueden dejarlo con el volumen que tiene.
We will take a small portion of black clay, round it, and shape it into an oval to form the nose. If you want, you can flatten it a bit or leave it with its natural volume.
 |
 |
|---|---|
 |
 |
|---|---|
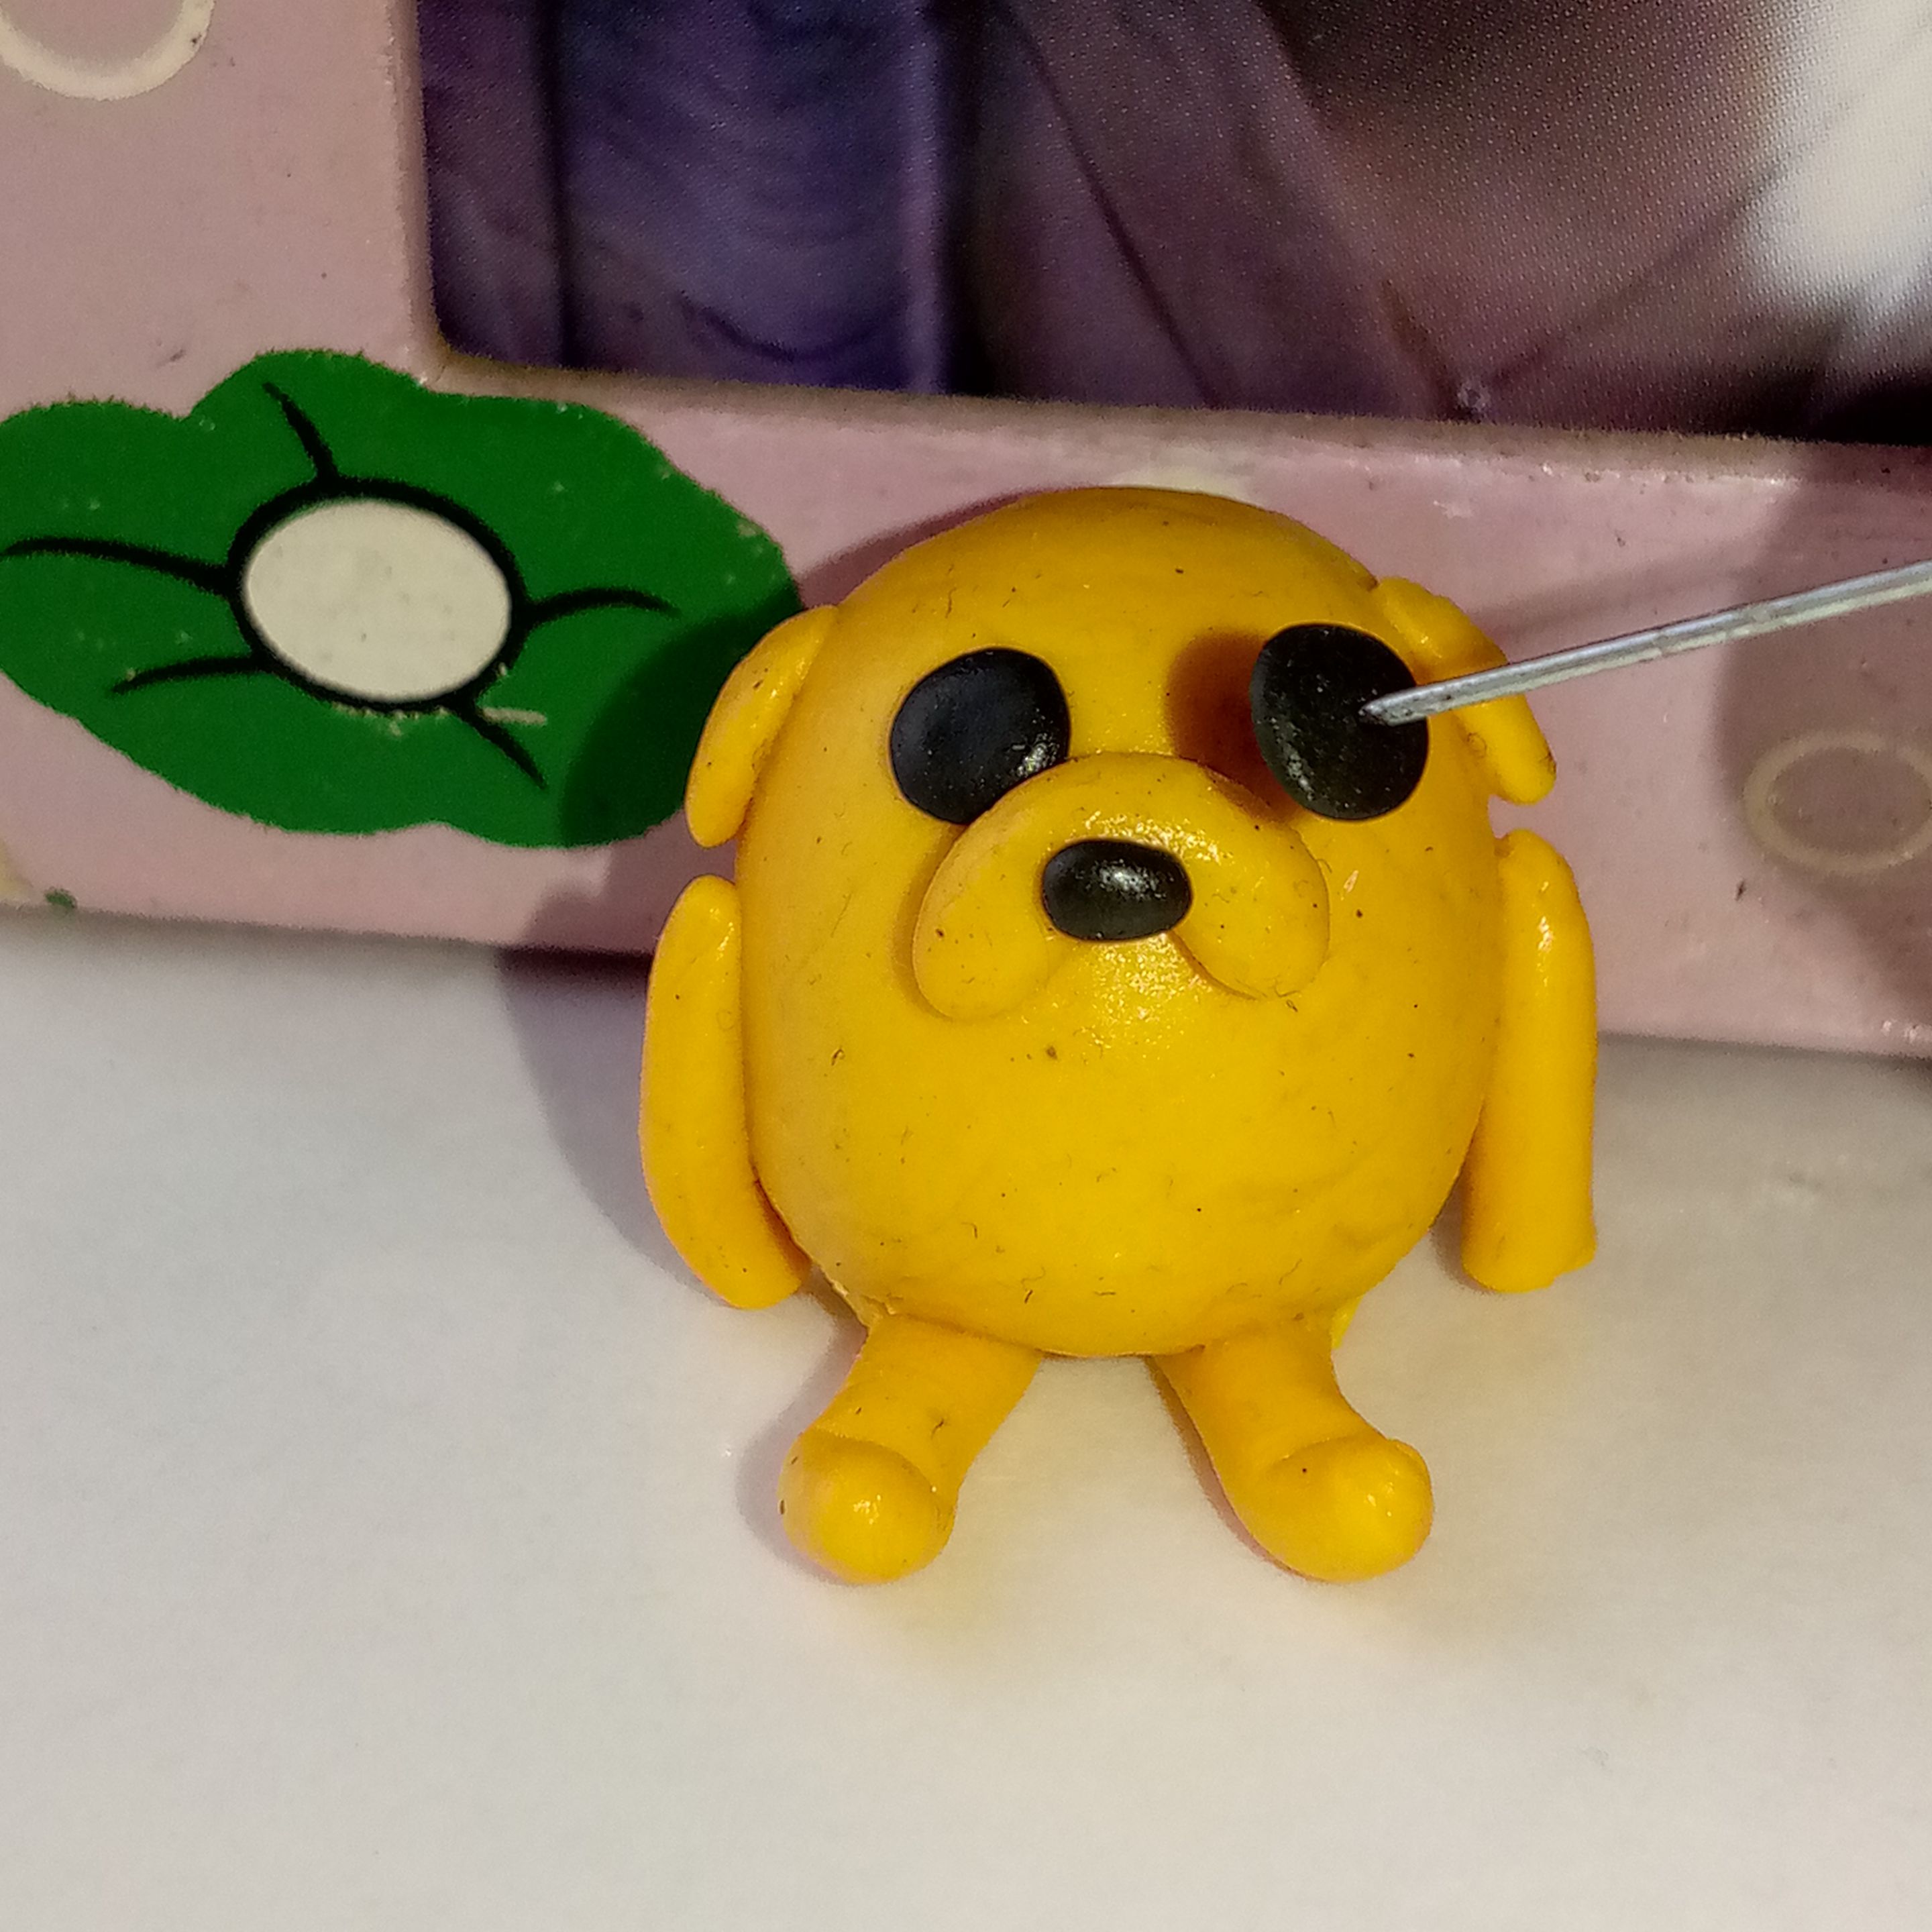
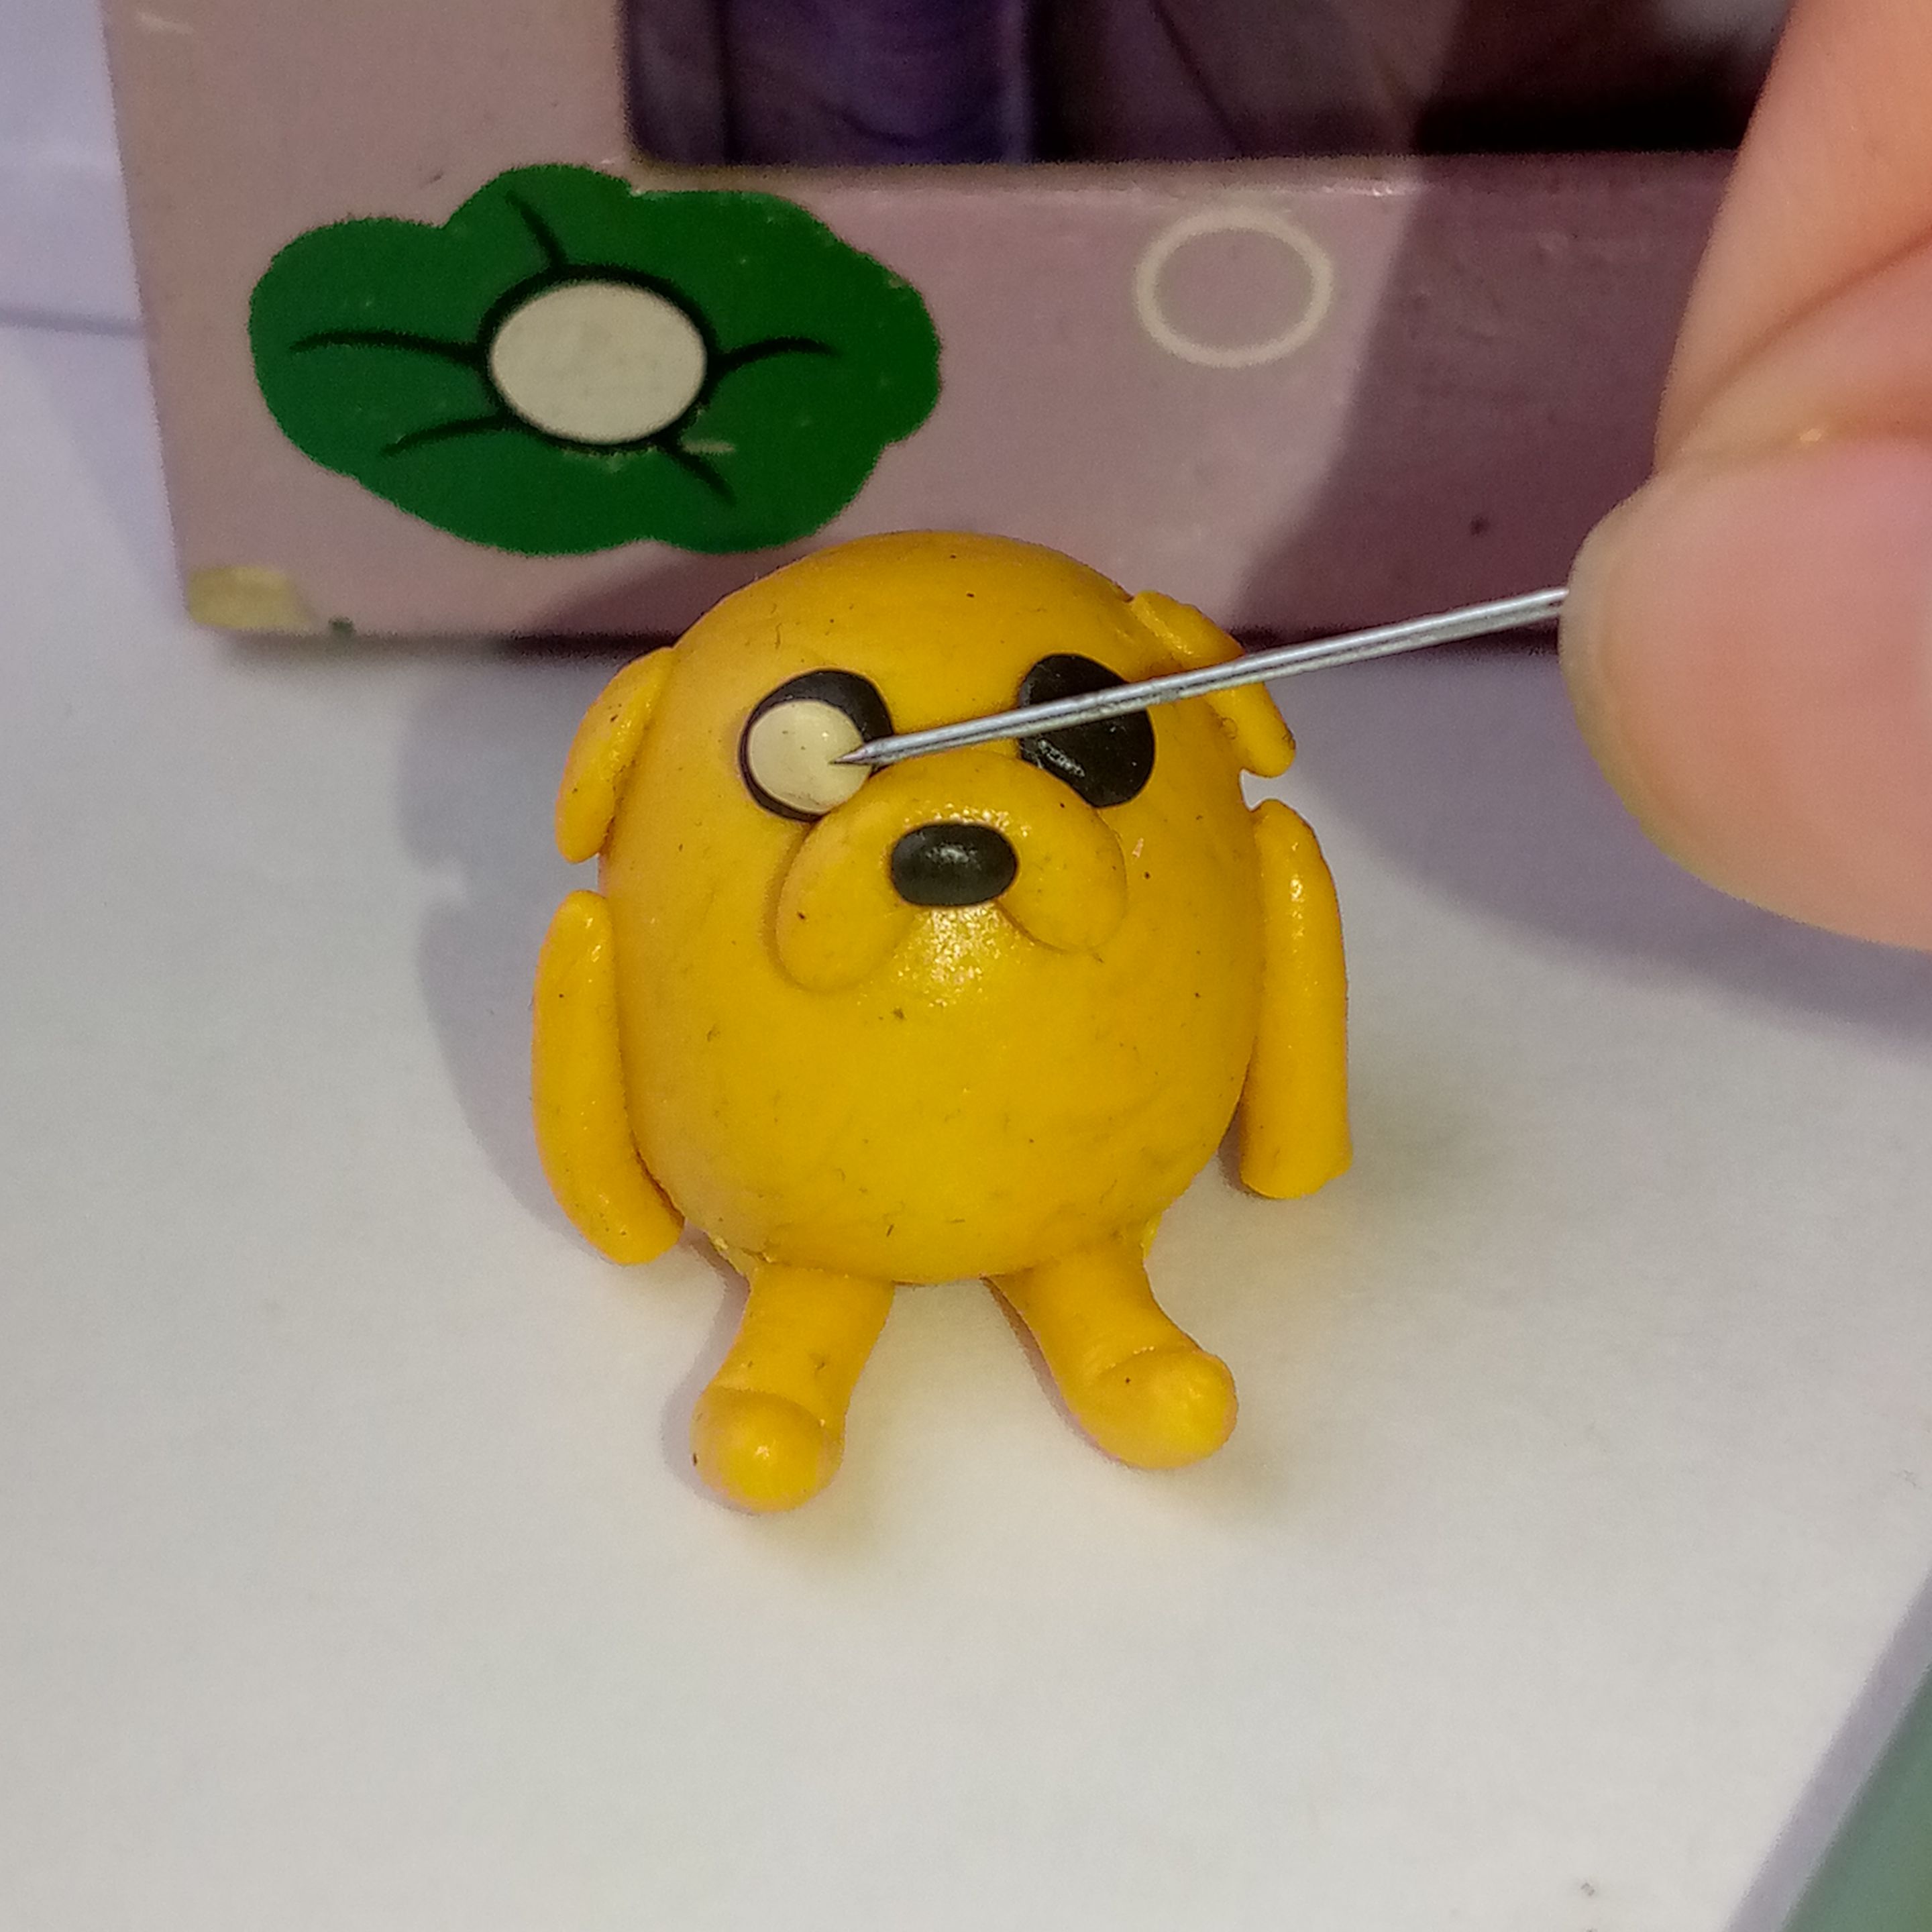
✦•┈๑⋅⋯OJOS 👀 EYES ⋯⋅๑┈•✦
Tomamos una sección de la plastilina negra y la plastilina blanca, haremos pelotitas y las aplastaremos con la yema de nuestros dedos. La base del ojo de Jake es negra por tanto tiene que ser más grande y el brillo del ojo que haremos con la plastilina blanca es más pequeño.
We will take a section of black and white clay, make small balls, and flatten them with the tips of our fingers. The base of Jake’s eye is black, so it must be larger, and the white clay will be used to create the smaller highlight.
 |
 |
 |
|---|---|---|
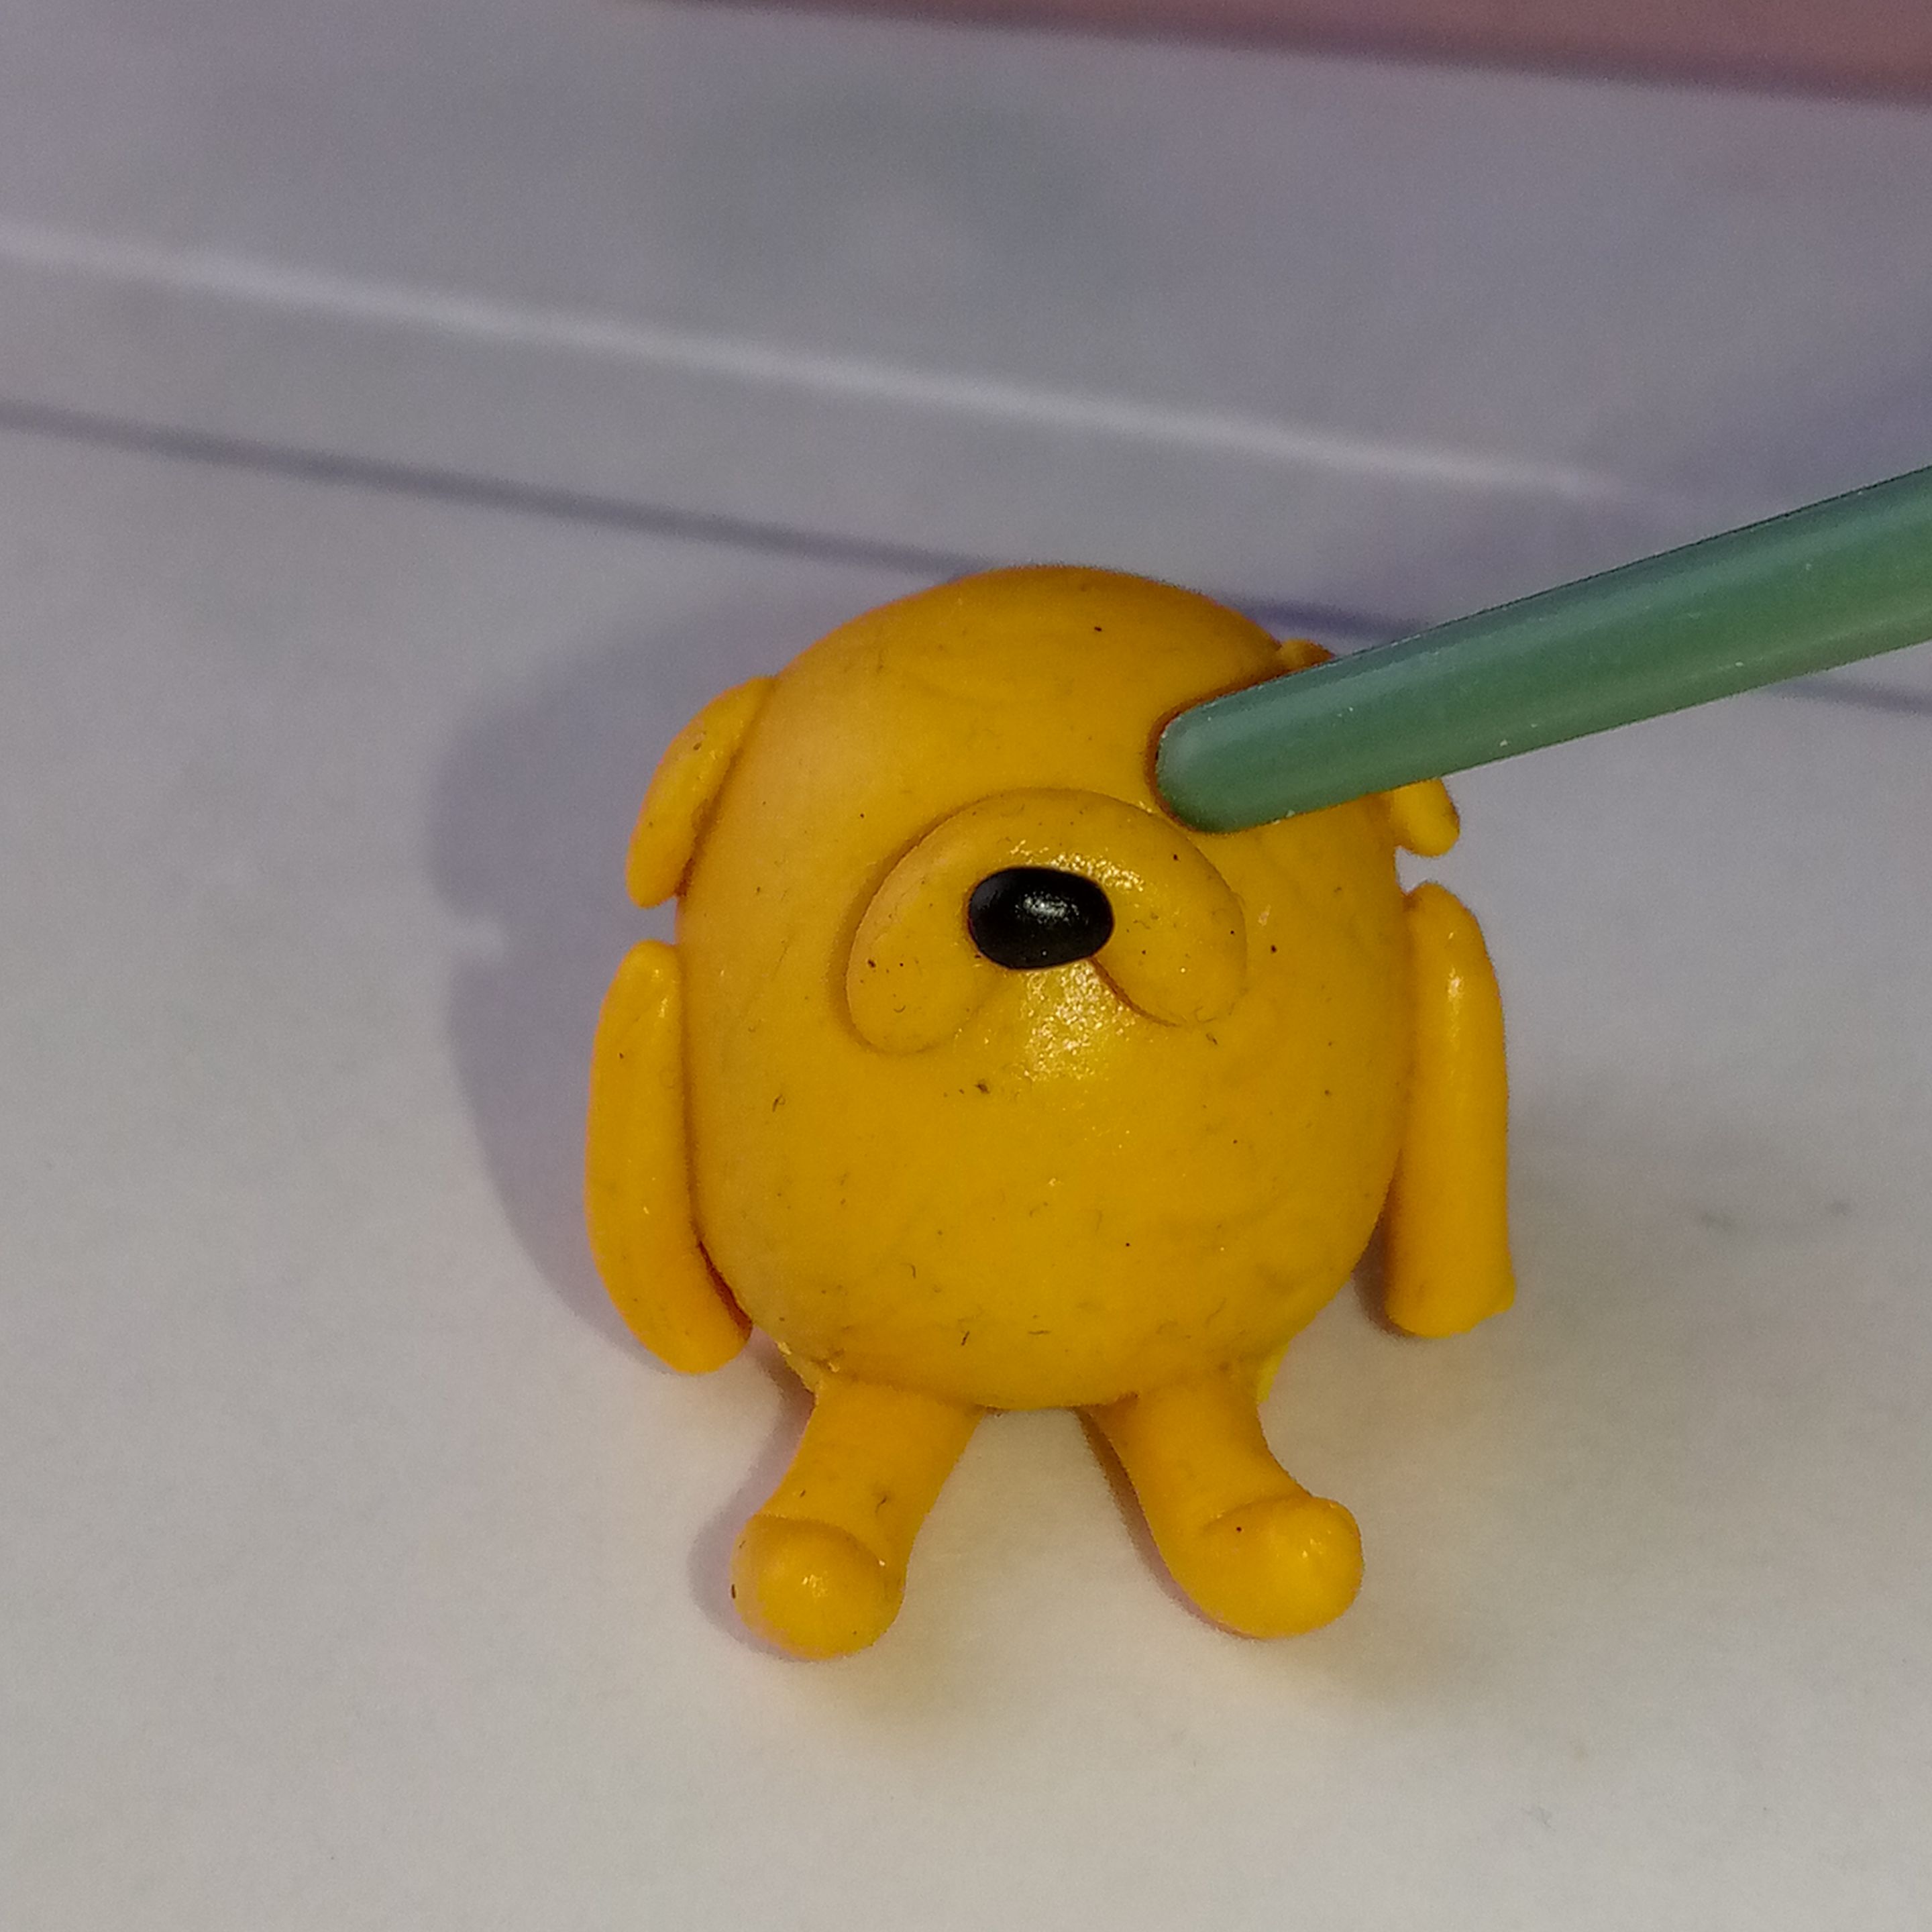
Seguidamente con la parte trasera del mango de un pincel que esté redondeado, vamos a hacer espacios para colocar los ojos en la cara de Jake sin que sobresalgan en exceso.
Then, using the rounded back of a paintbrush handle, we will make indentations to place the eyes on Jake’s face so that they don’t protrude too much.
 |
 |
|---|---|
 |
 |
|---|---|
 |
 |
|---|---|
✦•┈๑⋅⋯ BOCA 🤐 MOUTH ⋯⋅๑┈•✦
No tomé fotografías del paso a paso de la boca, pero de igual manera les doy la explicación breve: vamos a realizar un una tirita delgada con la plastilina de color negro, la vamos a curvear y la vamos a colocar debajo del hocico. Luego, con la plastilina roja, vamos a amasar una pelotita, la aplastaremos un poco y la colocamos entre el hocico y la boca para que esta sea la lengüita.
I didn’t take photos of the step-by-step process for the mouth, but I will briefly explain: We will make a thin strip of black clay, curve it, and place it below the snout. Then, with red clay, we will roll a small ball, flatten it slightly, and position it between the snout and the mouth to create the tongue.
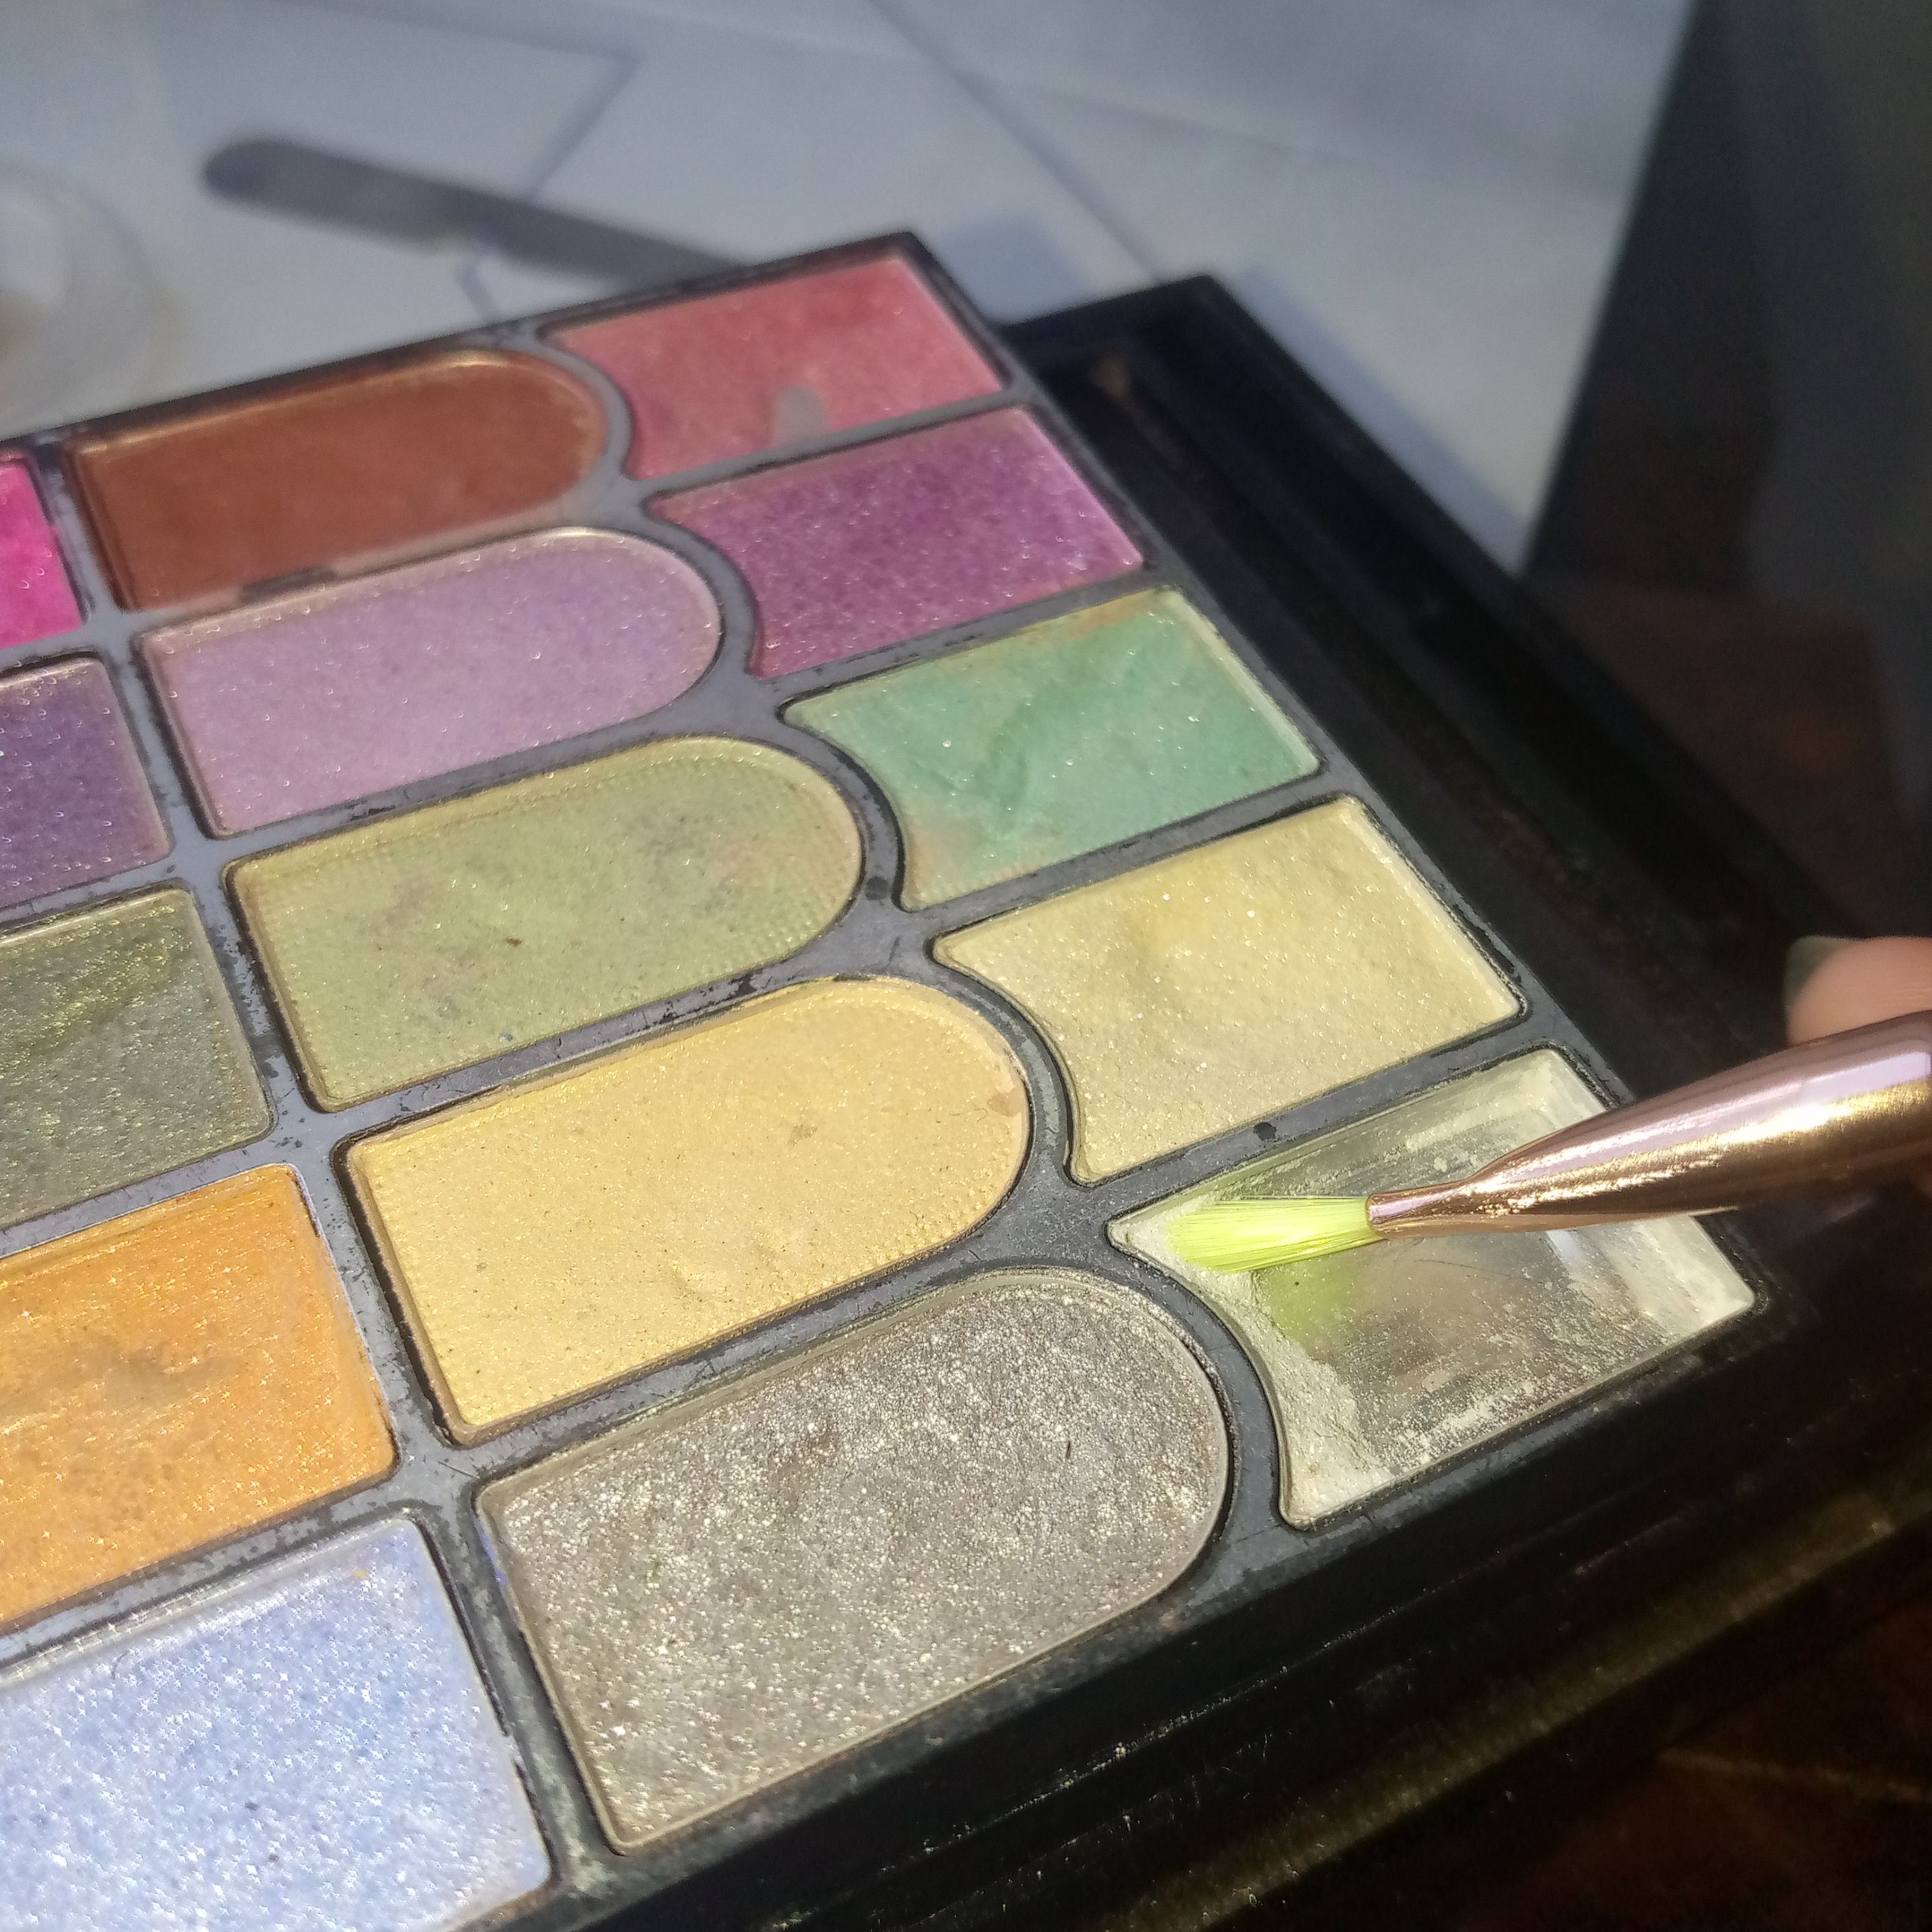
Por último vamos a añadir sombra satinada a las zonas de la cabeza las orejas los bracitos la punta de la nariz y los ojos.
Finally, we will add satin shading to areas such as the head, ears, arms, nose tip, and eyes.
 |
IMG_20250510_172235_407.jpg (https://files.peakd.com/file/peakd-hive/jhos.indigo/AK3fK1XDetjqxkgvtuJW5DRBLbEyiKQSuasLVCgWtkmp81XZFcAR8wQkdZhKW2P.jpg) |
|---|---|
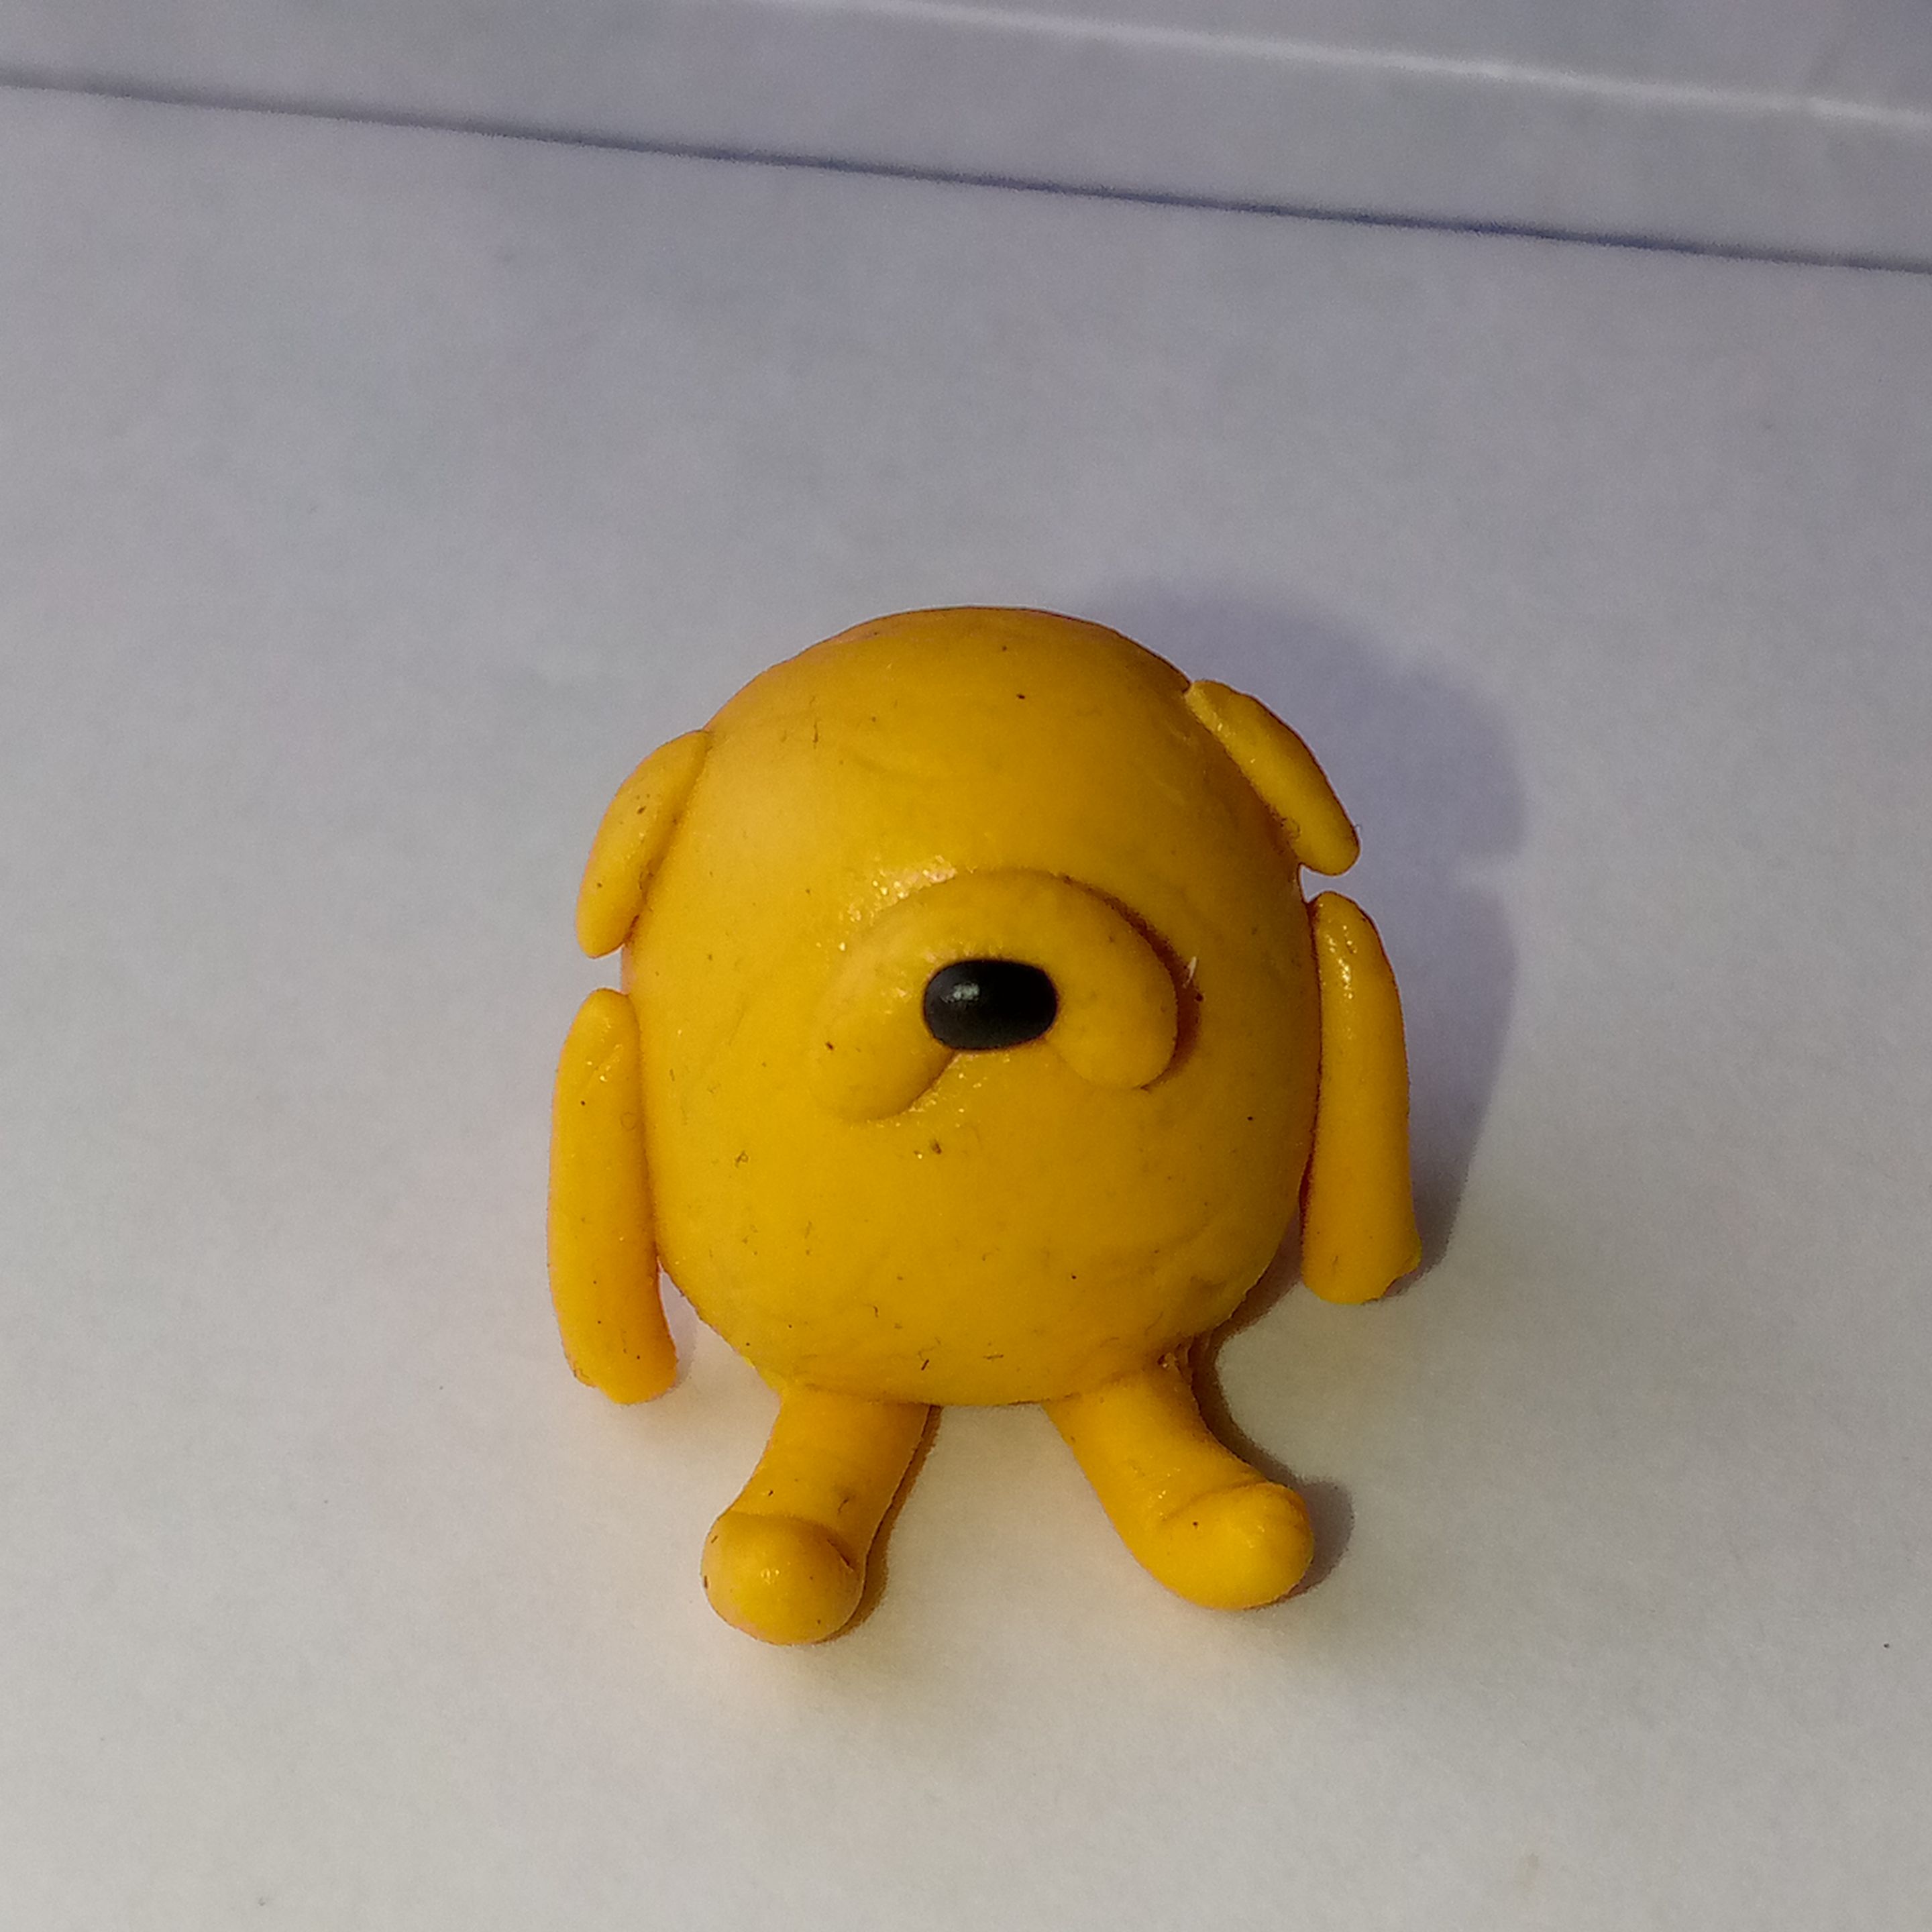
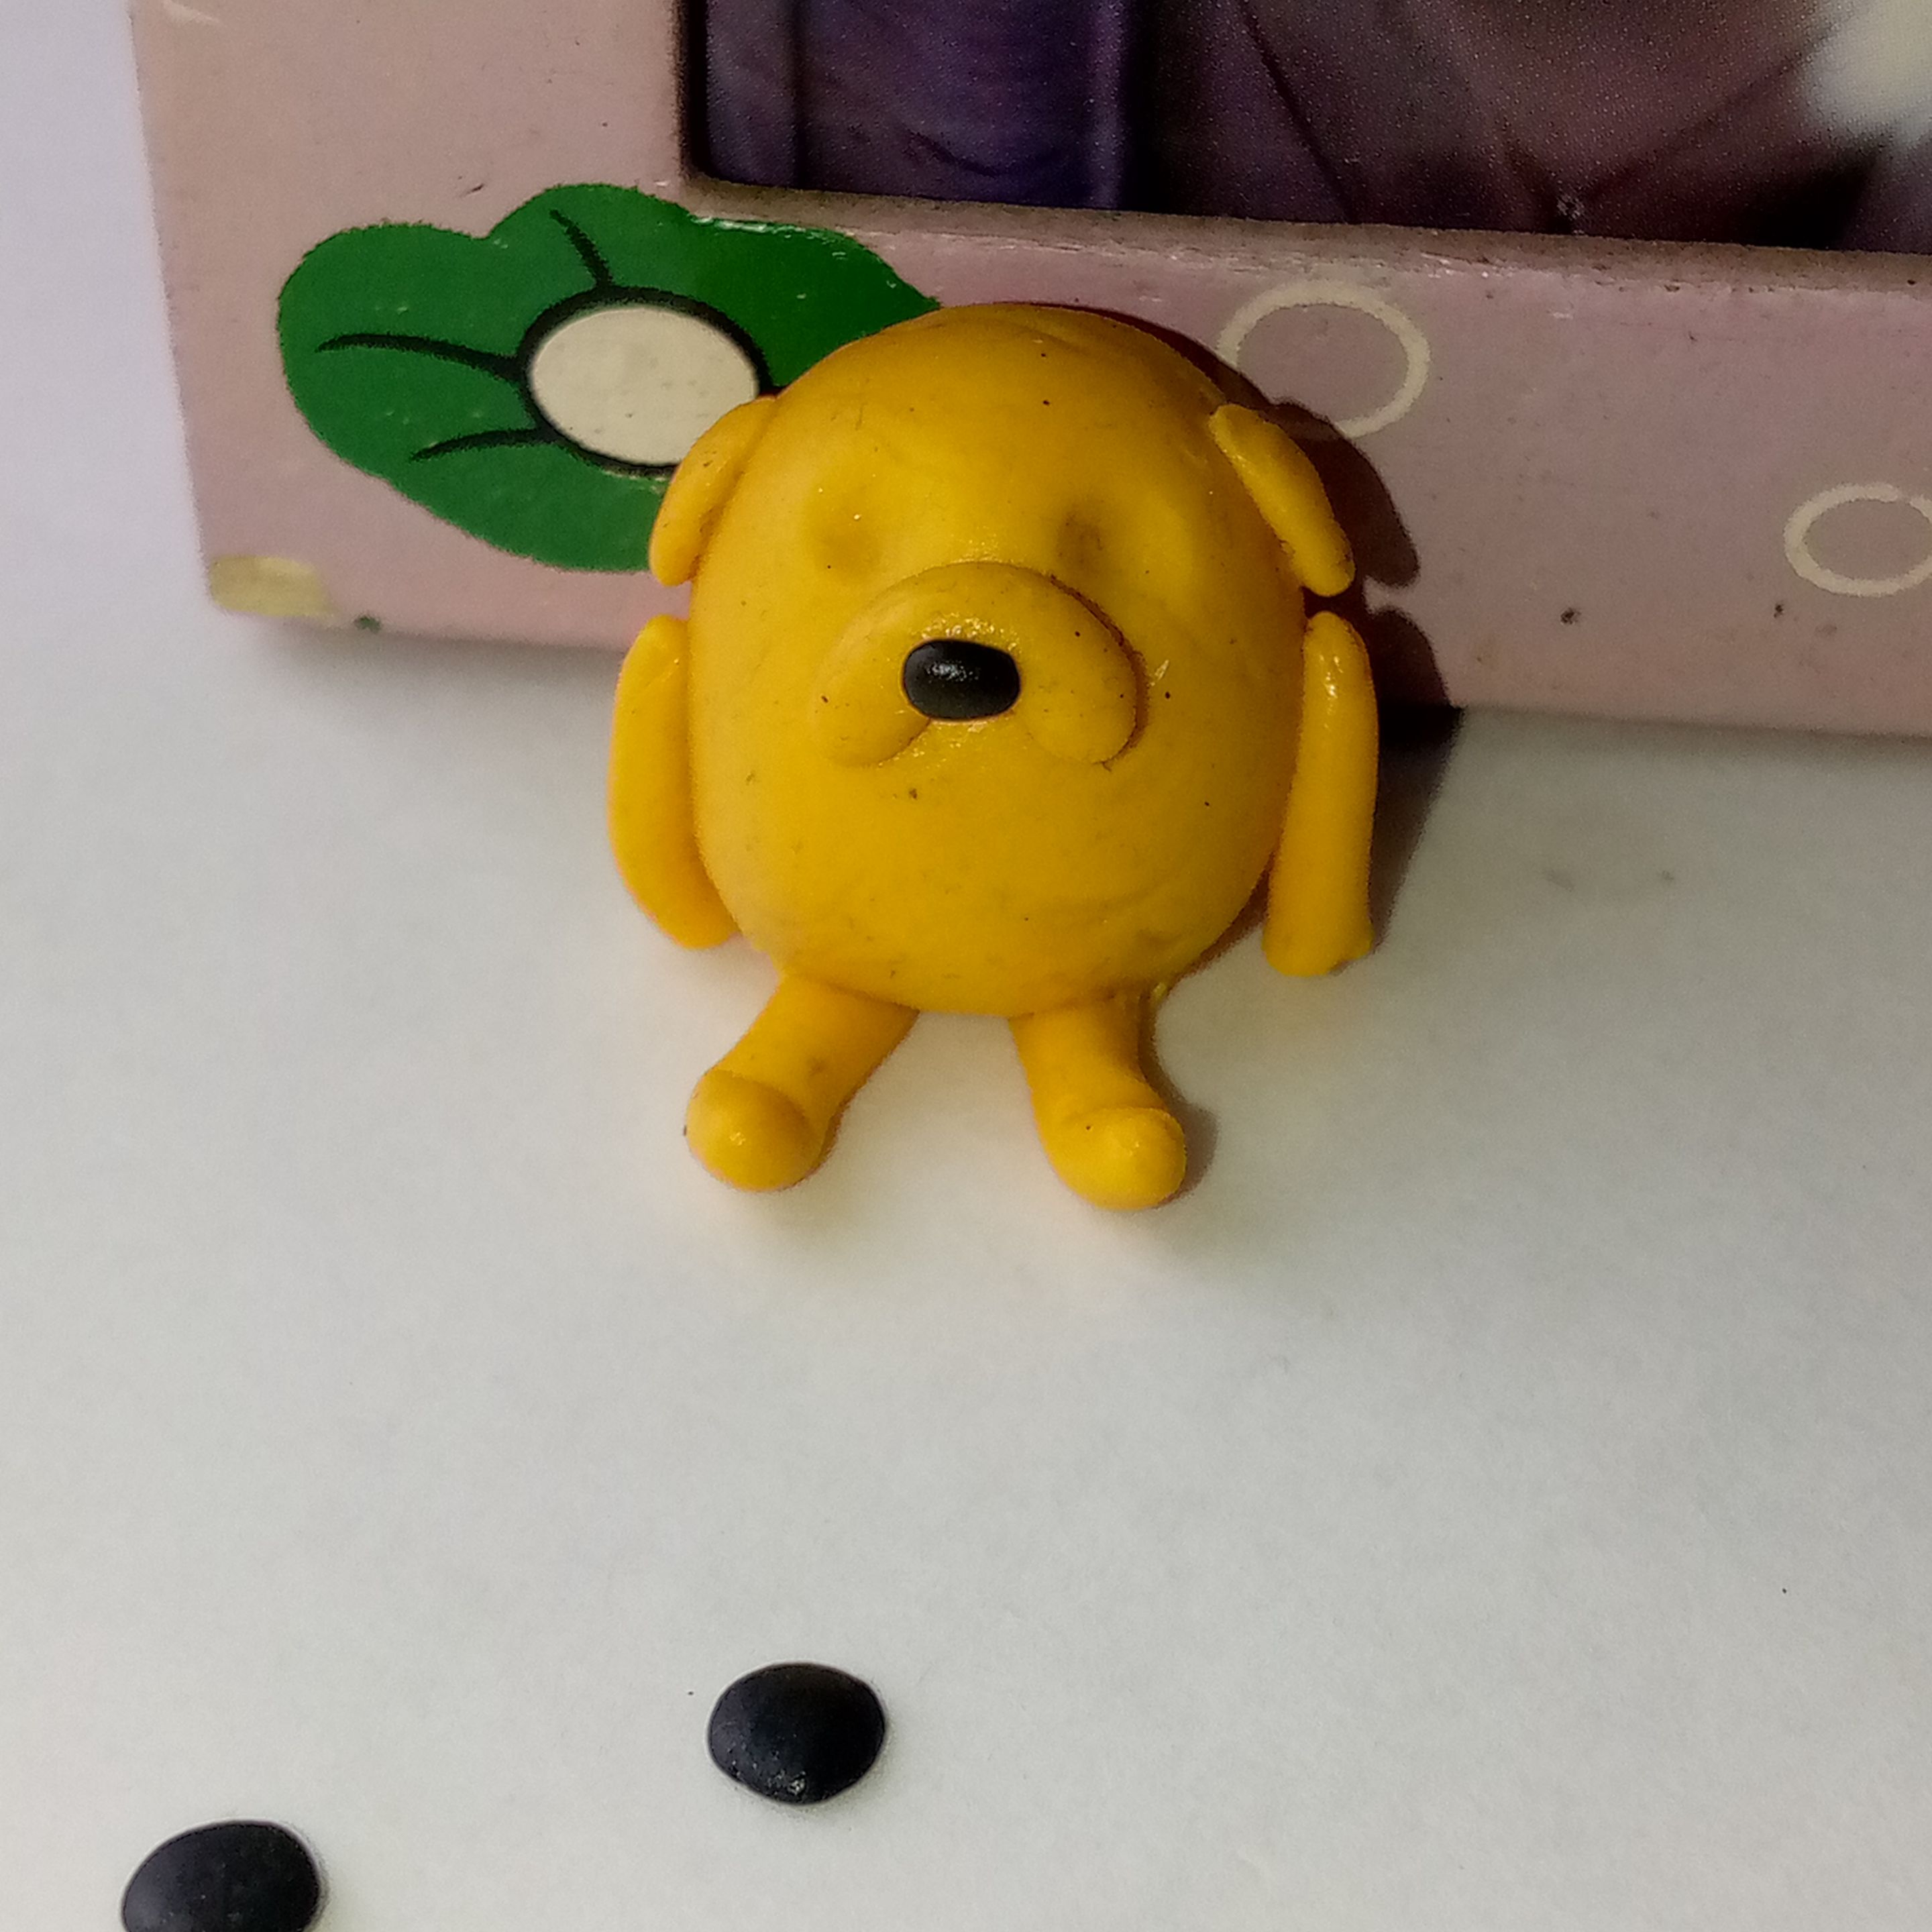
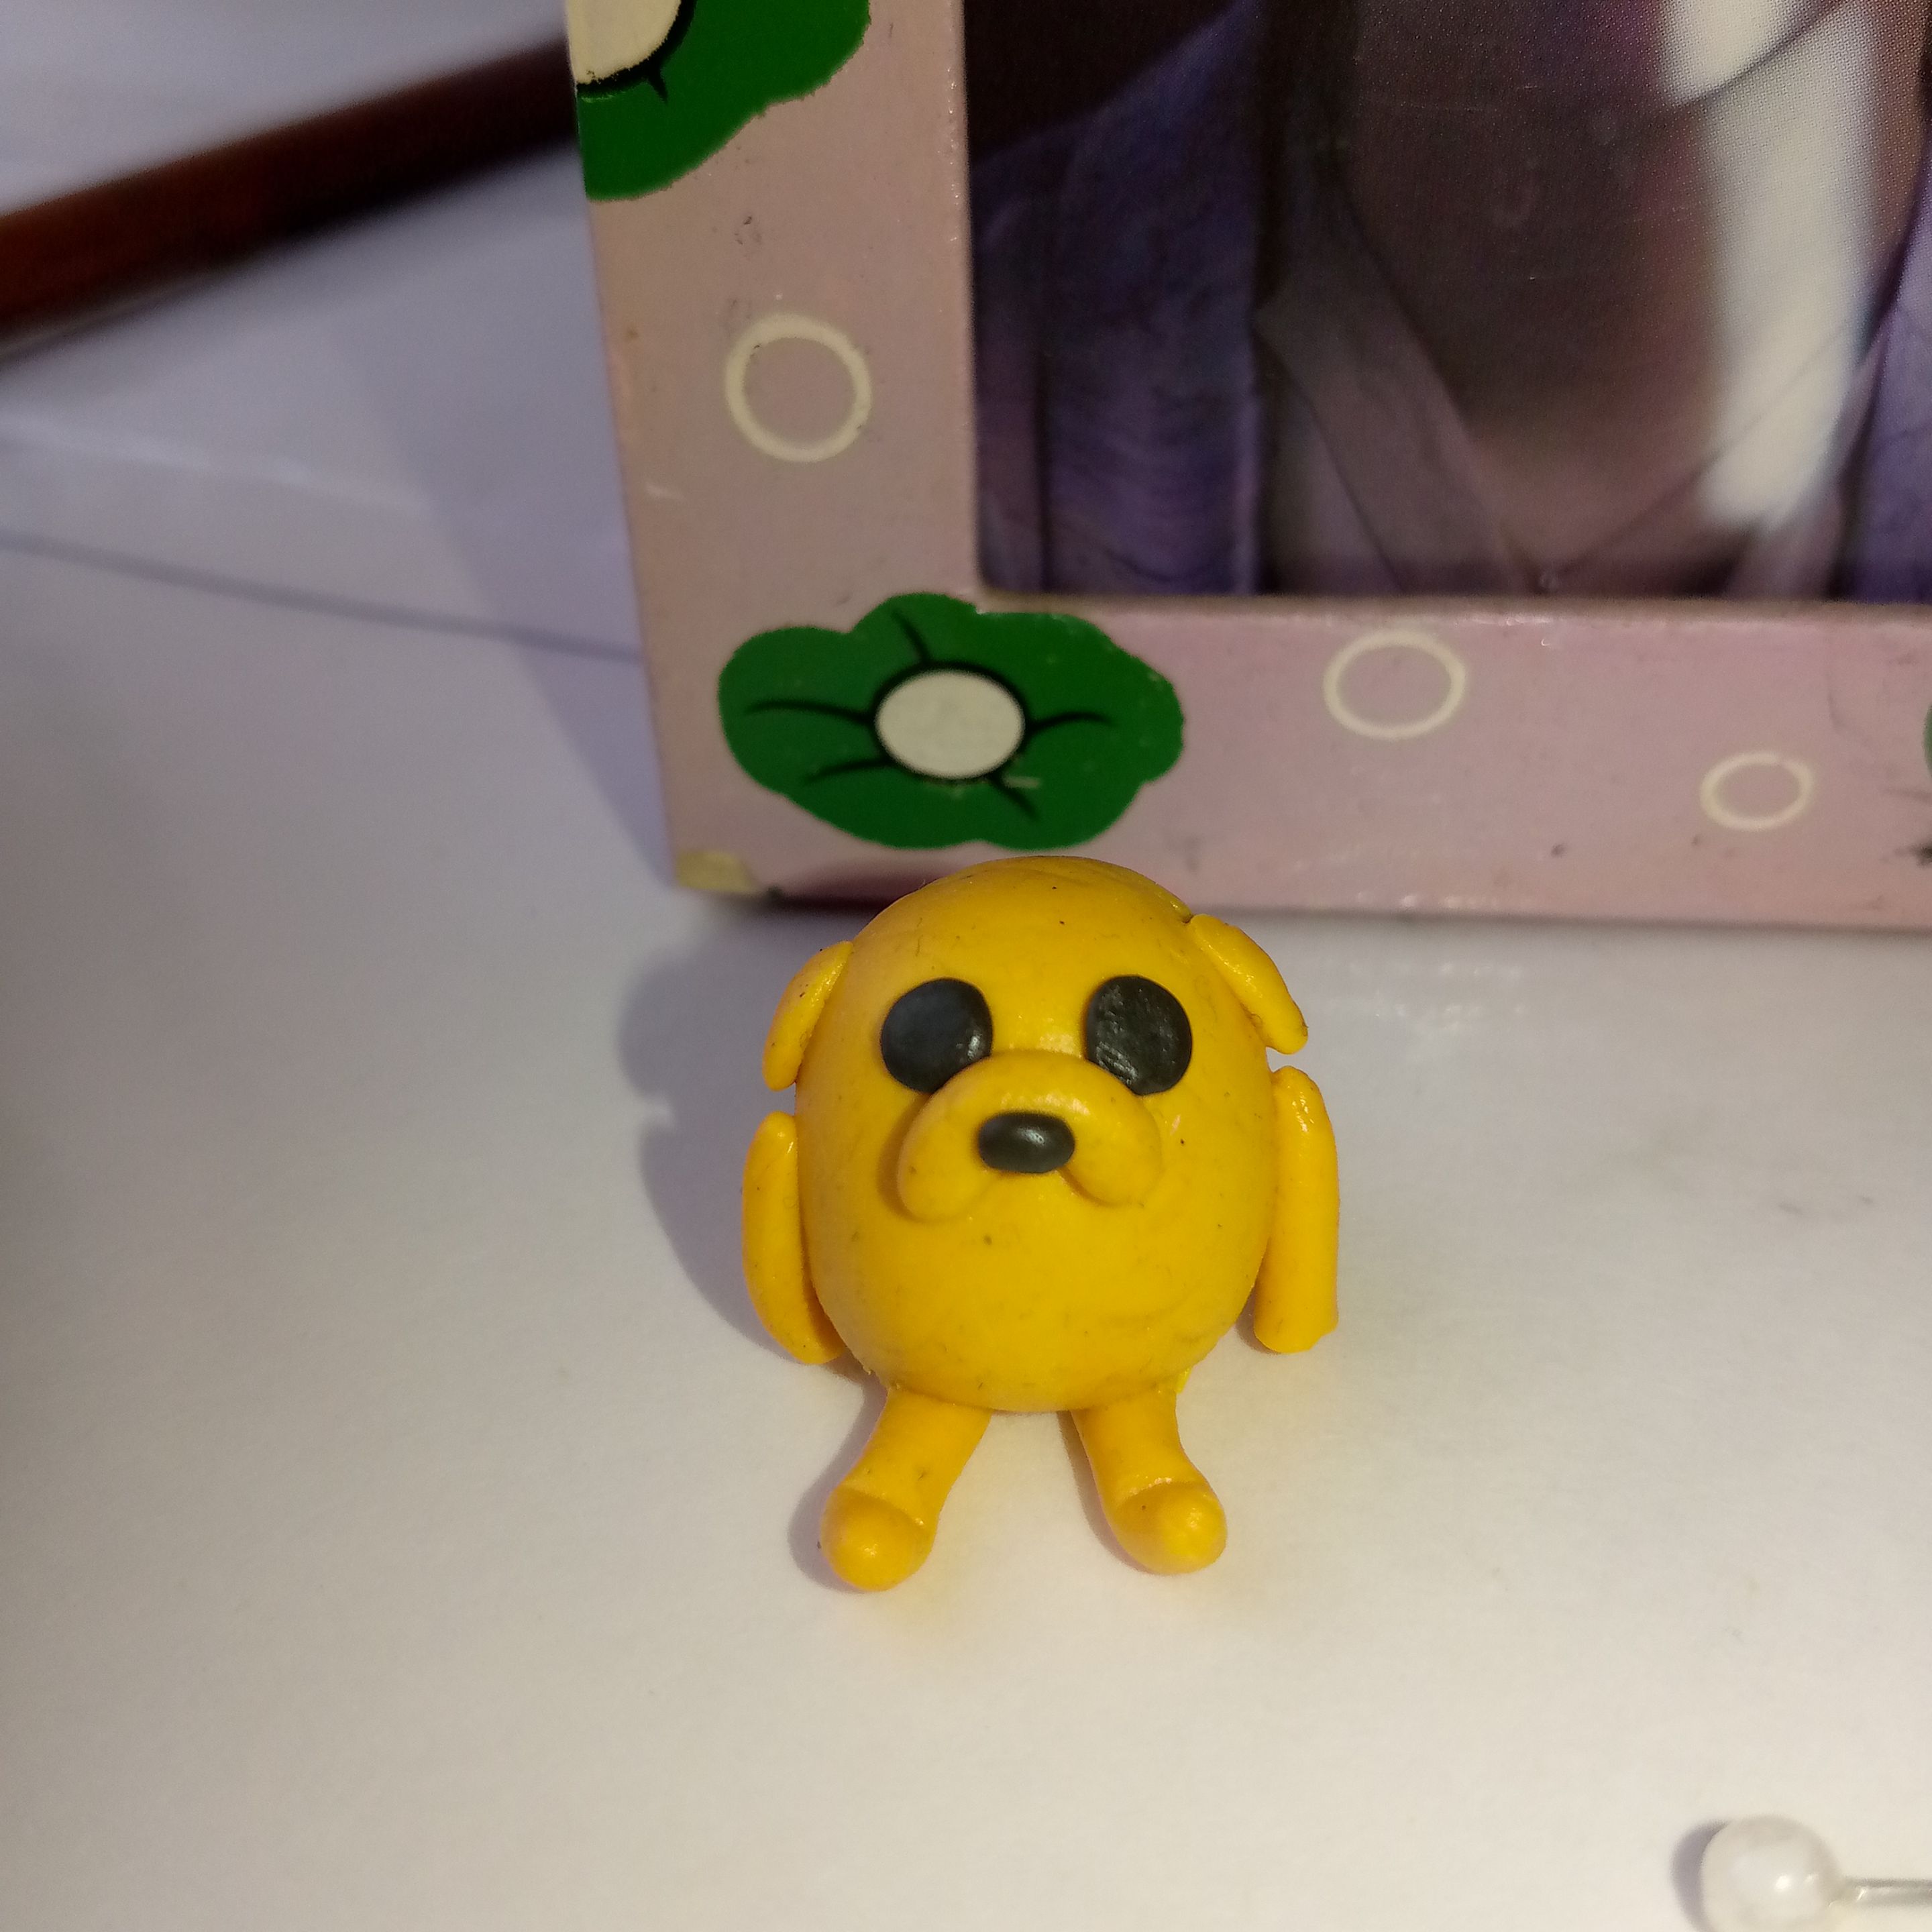
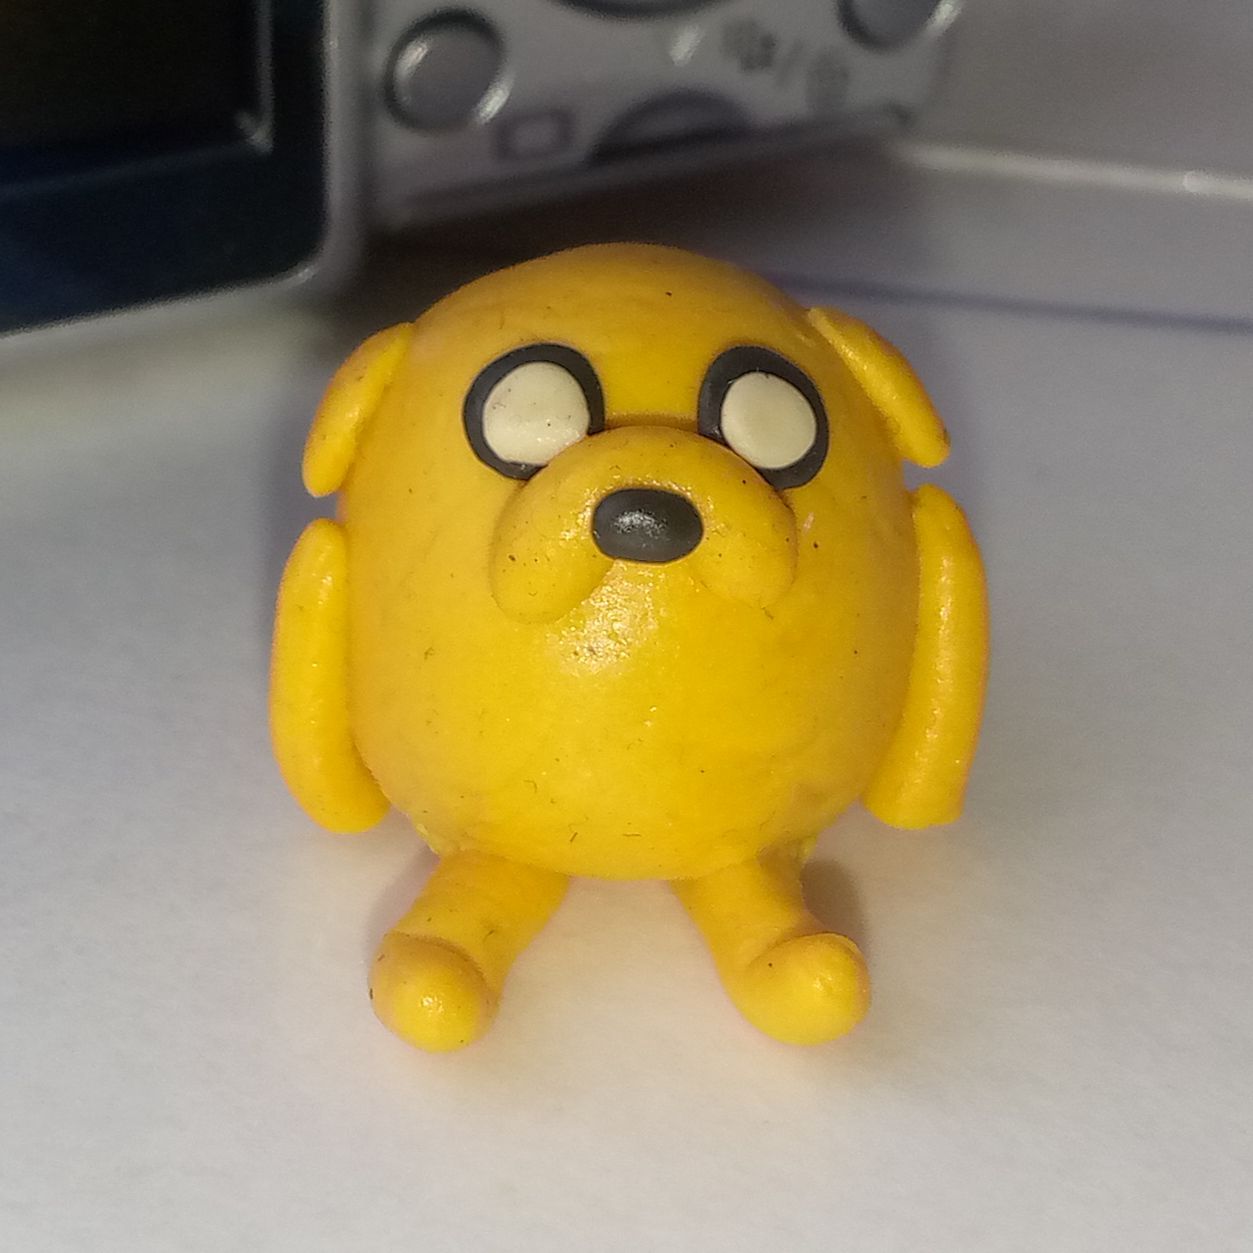
Después de toda esa paciencia esfuerzo y amor este es nuestro bonito resultado: Un Jakecito algo gordito.
After all that patience, effort, and love, here is our adorable result: A slightly chubby Jake!
| IMG_20250510_173712_890.jpg (https://files.peakd.com/file/peakd-hive/jhos.indigo/AJkTiw8AD5KZH7wi7amTW9jQaiS2RDWRaGyTbC7PnqmPtfuBVSdxkxqxA95M2c6.jpg) | IMG_20250512_171021.jpg (https://files.peakd.com/file/peakd-hive/jhos.indigo/AKVWphiEedynu6eF5twEDTdzjvjNSfpEGrRJzGGjCuhY7LQVYnahmLiQ1d1ePiA.jpg) |
|---|---|
| IMG_20250510_175226_143.jpg (https://files.peakd.com/file/peakd-hive/jhos.indigo/AK9PFbVPdnNKJ8pzSUQ42sasZHb4LCYW54Qux6d1oFUBdw4fi2isUfGgC1C3hs2.jpg) | IMG_20250510_174008_119.jpg (https://files.peakd.com/file/peakd-hive/jhos.indigo/AKApVyqT65TEGjXQXHsCZDXh8kf9FpS5HvZ3wVxdYctXMQ5WcYVntY6GJxK97kY.jpg) |
|---|---|
Esto fue todo por el post de hoy. La verdad me gustó bastante tomar fotos para exhibir el resultado final y elaborar la portada ya que tuve que experimentar bastante; espero que haya valido la pena (• ▽ •;)
That’s it for today’s post. Honestly, I really enjoyed taking pictures to showcase the final result and creating the cover, as I had to experiment qu