Hello! ✨
How is it going, guys? 😃
Coming back home, I noticed that our neighbor and the community hall have their Christmas decor already displayed, even the Christmas lights, too. Ahhh, Christmas is just around the corner. I feel like time is so fast... But I do not like to slow it down because I have things that I am looking forward to.
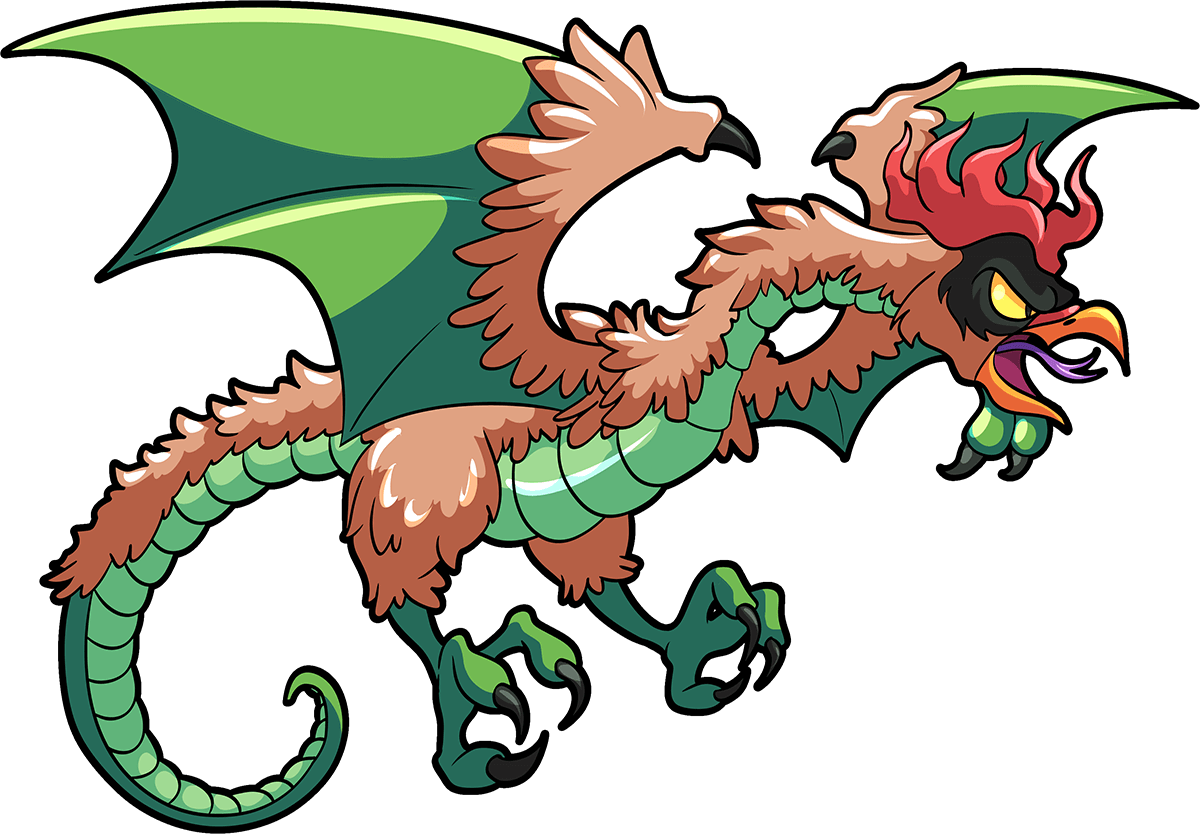
But anyway, for this week, I chose Cocatrice. This card reminds me of a monster from the video game The Witcher Wild Hunt. The name of the monster is Cockatrice. Maybe it is like a mythical creature, like the unicorns, with different versions and variations. Whatever it is, I find this monster like a rooster with some dragon mix.
Cocatrice lore: "While most Dragons live in Draykh-Nahka, the little miscreant known as Cocatrice can be found pretty much anywhere in the Splinterlands. Their favorite activity seems to be wrecking markets by night. In battle, they are annoyingly difficult to hit, and they never stop squawking."
More of its lore here.
Art Process
- sketch and line art
Before the beginning of the sketch, I looked for a similar body type of the creature on Pinterest and Google. At that moment, the monster from the game that I mentioned earlier popped into my head. So then I had to search that too to be sure, or was I just mixing up things in my head. Yeah, I was right all along! Haha. So, I wanted the pose to be in the air with its wings spread and, screeching like the morning rooster. The creature was about to attach someone up from the sky.
Next, I used a textured pencil brush for the lineart. I just used the vector eraser for the lines that were overlapping to each other.
- base color and initial shading
For faster and more time-efficient, I used a tool called bucket for coloring the space. Usually, the bucket tool does not go through the corners or bleed, so I have to mix some minors. Since I am using a tecture brush for the line art, it is always expected for that to happen. But then I have some helpful tools downloaded to fasten the process. I always fidn way to fasten the process because obviously, time is previous- well, at least for me, haha. Next was the shading for the using low and medium pressure.
- intensifying the shading and initial background
So, at this point, the art is almost coming to the fina lstage. I used the same brush with different darker shade for the corners liek the wings. I also used airbrush for the shine in different clipped layer. The technique that I used was layering and blending for the transition effect of the colors. For the background, I thought of making a firey and sunny background. Initialy, I colored the background with a dark color and then used the cloud brush for the smokey effect.
Final Art
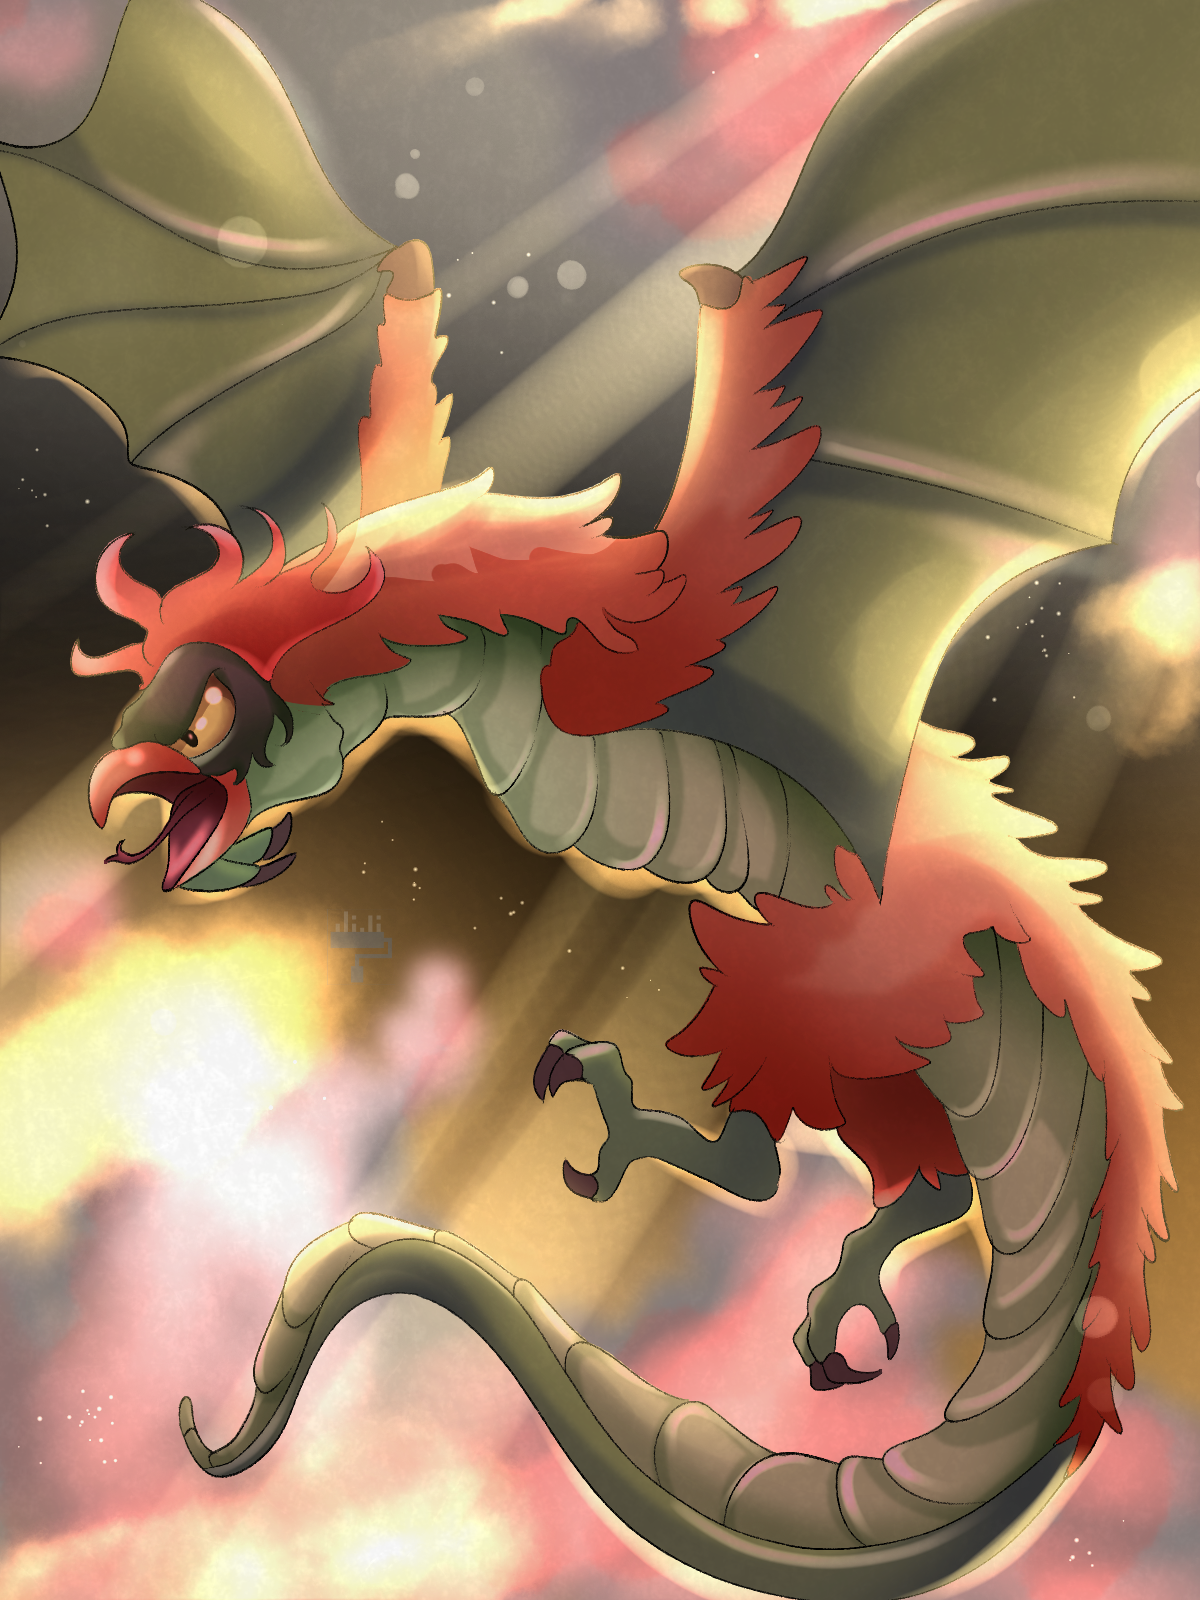
After making the background, it was time to add the shines and glows. To do so, I used another clipped layer in add glow mode and screen mode. Added a textured mask.
Tadaaa! I hope I imparted some knowledge through my art process! 😊 Feel free to ask anything in the comment section, and I will answer to the best of my skill!! 🥳💕
Software: Clip Studio Paint Pro
That is it for this art blog. I will see you at the next one! 📸 All photos are owned and taken by me, otherwise credited. ©️jijisaurart
💖 NFT Showroom: Chibis on Hive 🖌 Open for commissions!! !😊