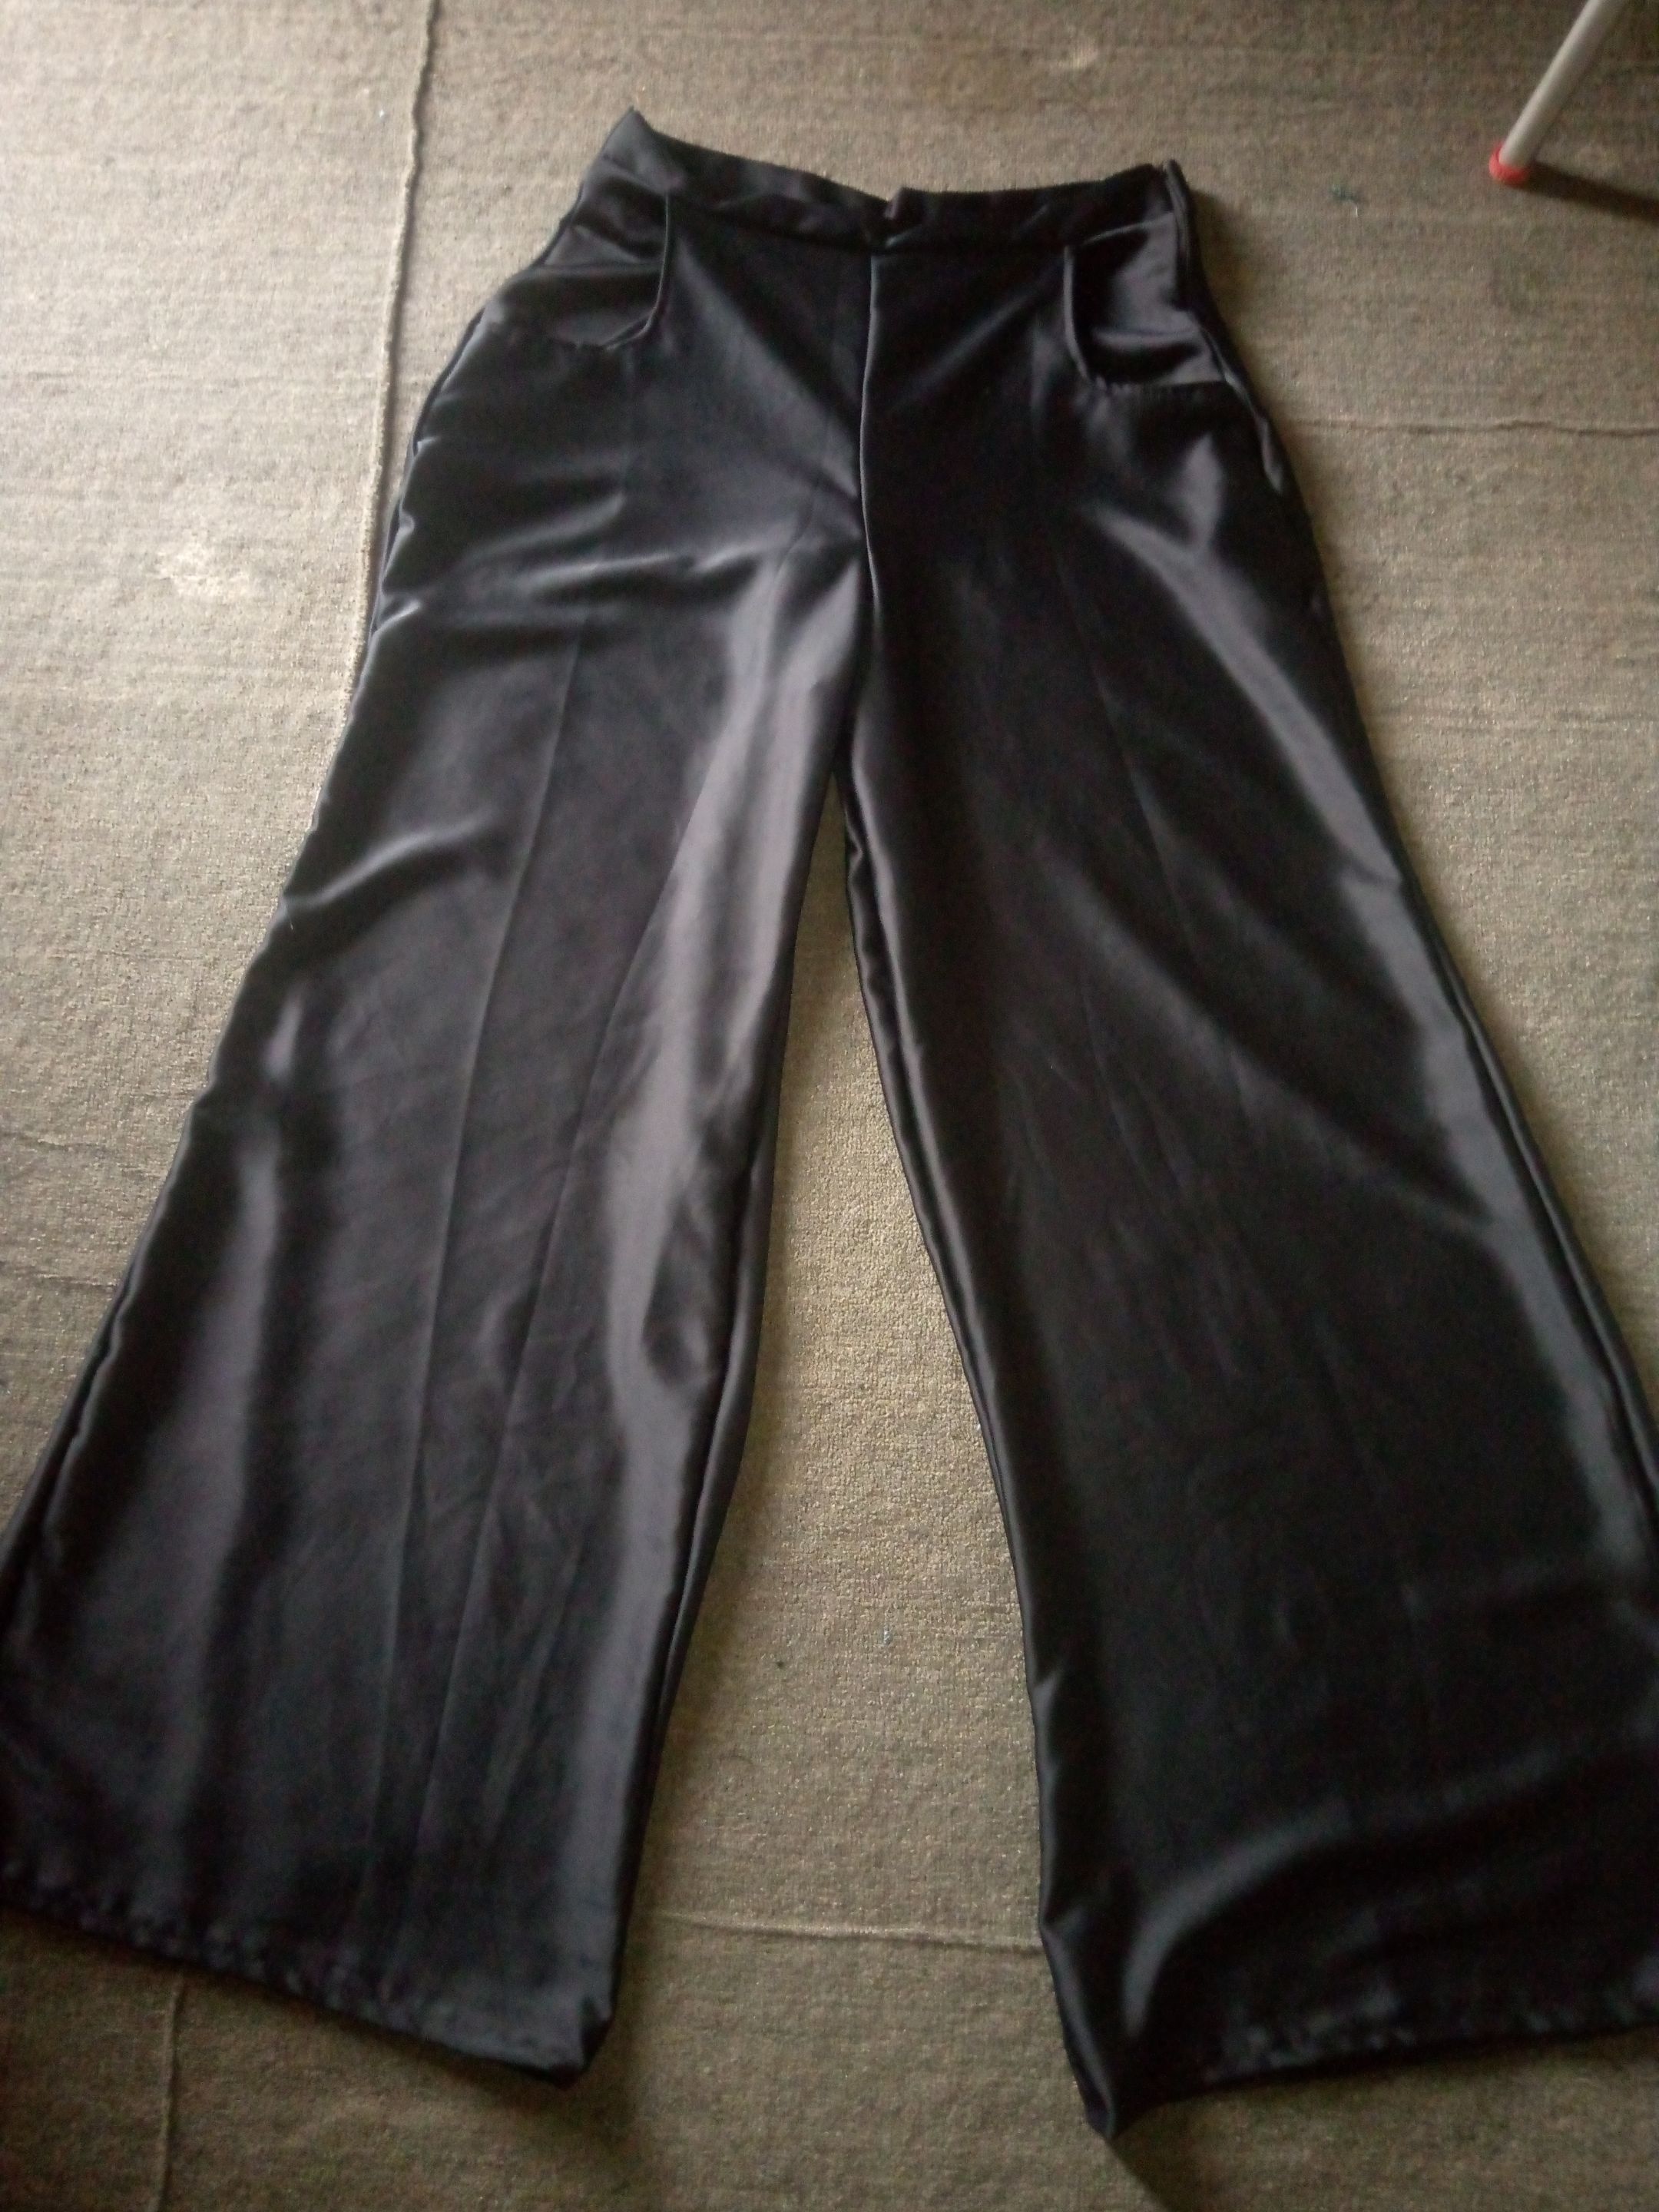
Hello great minds, greetings @diyhub I will be showing you how I made this palazzo trouser with a top.
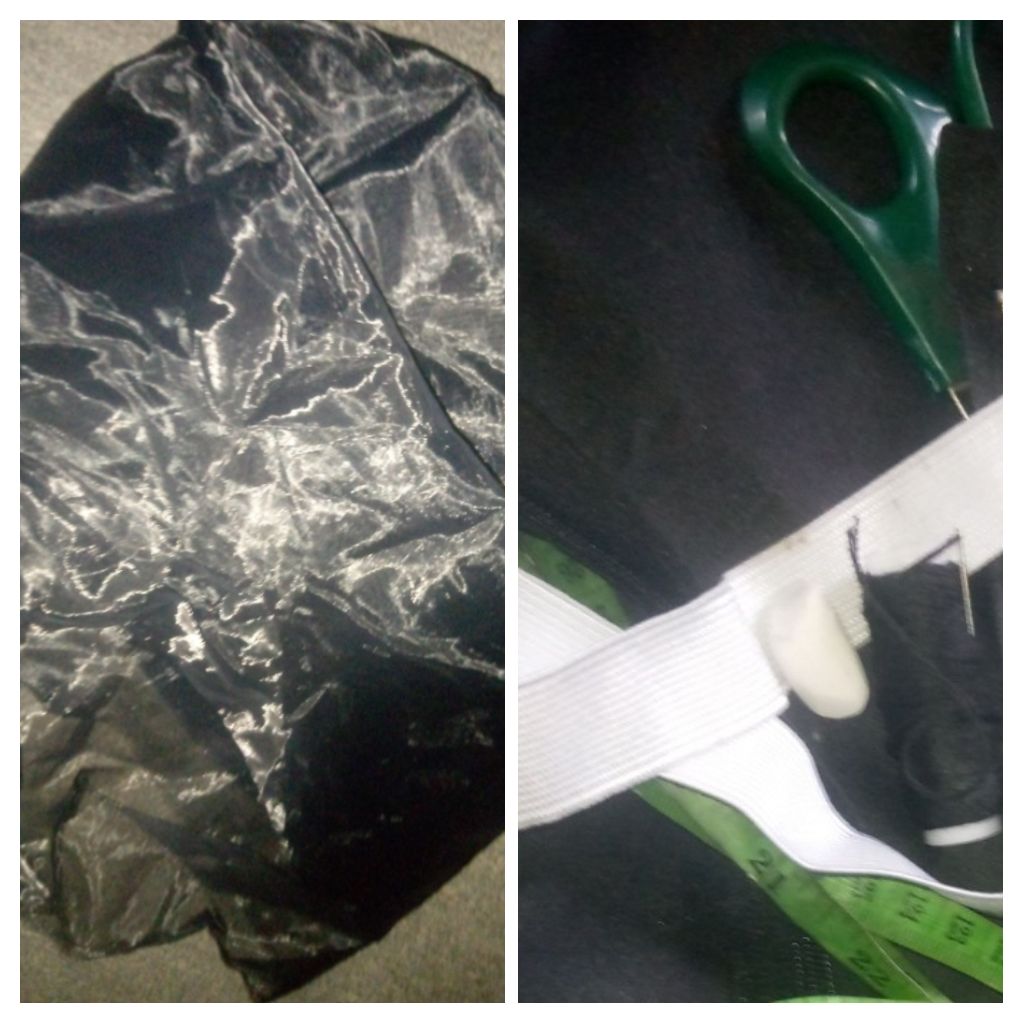
Material needed to make this. Duchess Organza Scissor Tape Chalk Zip Elastic band.
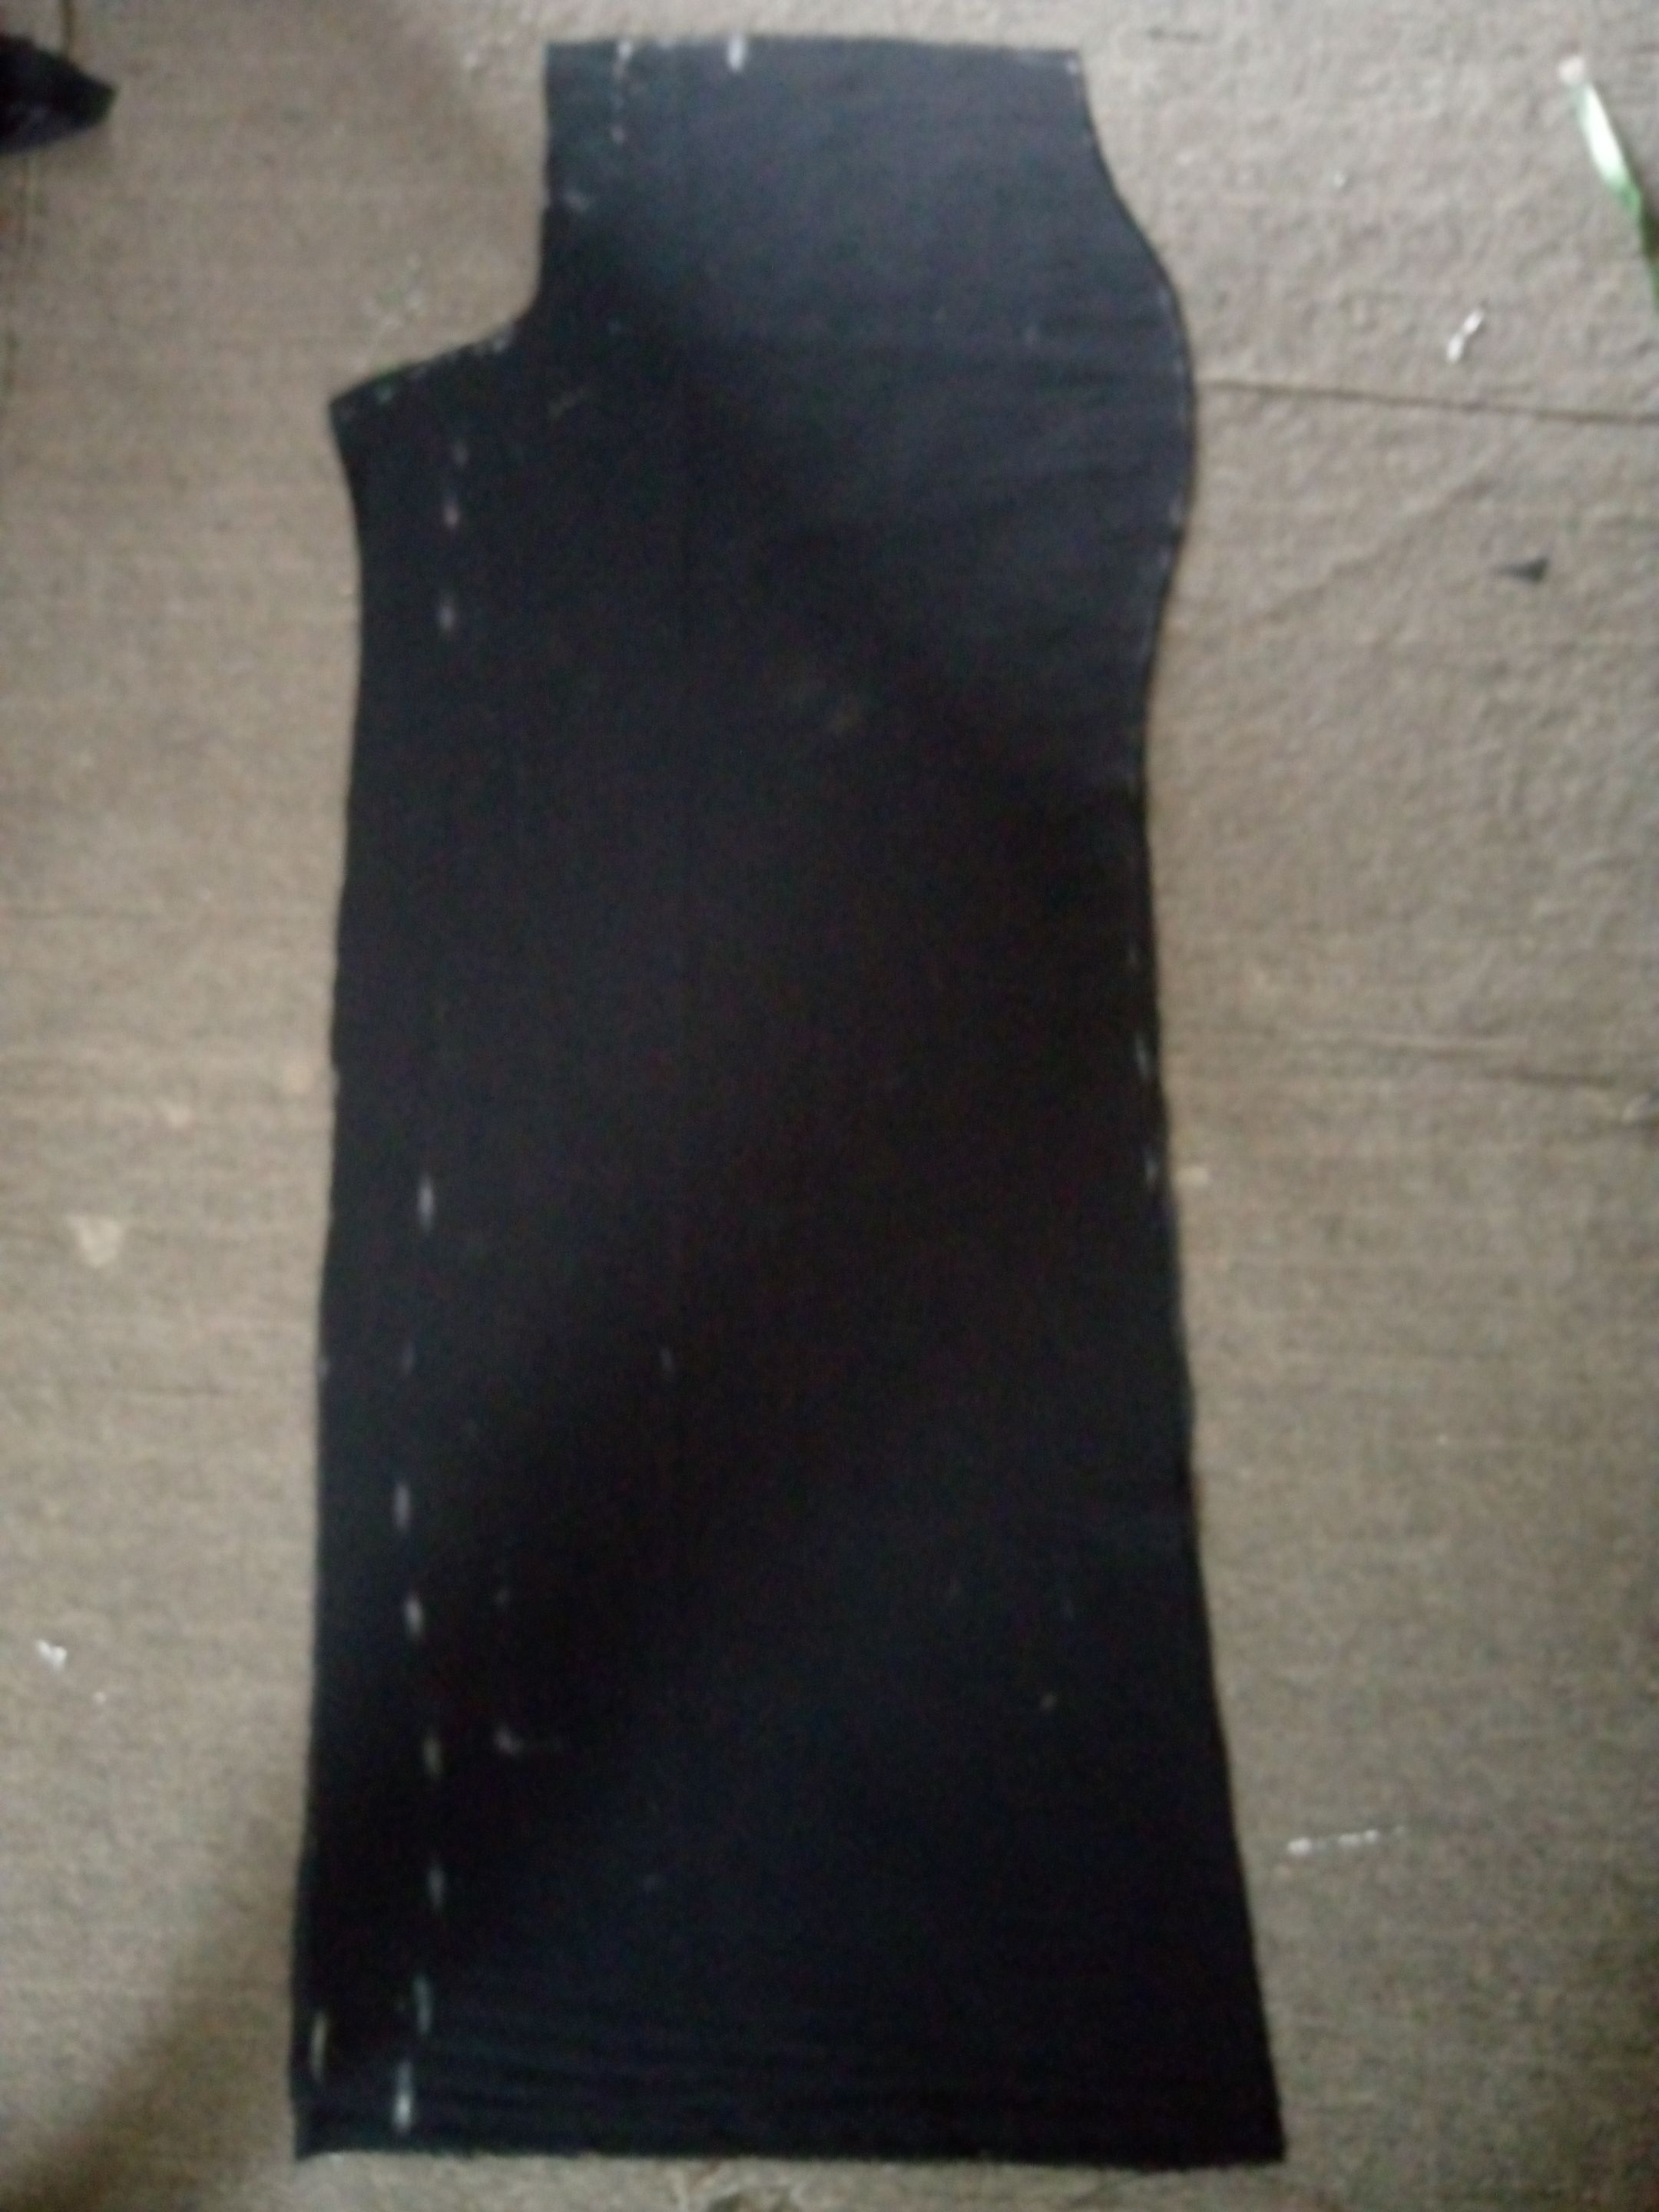
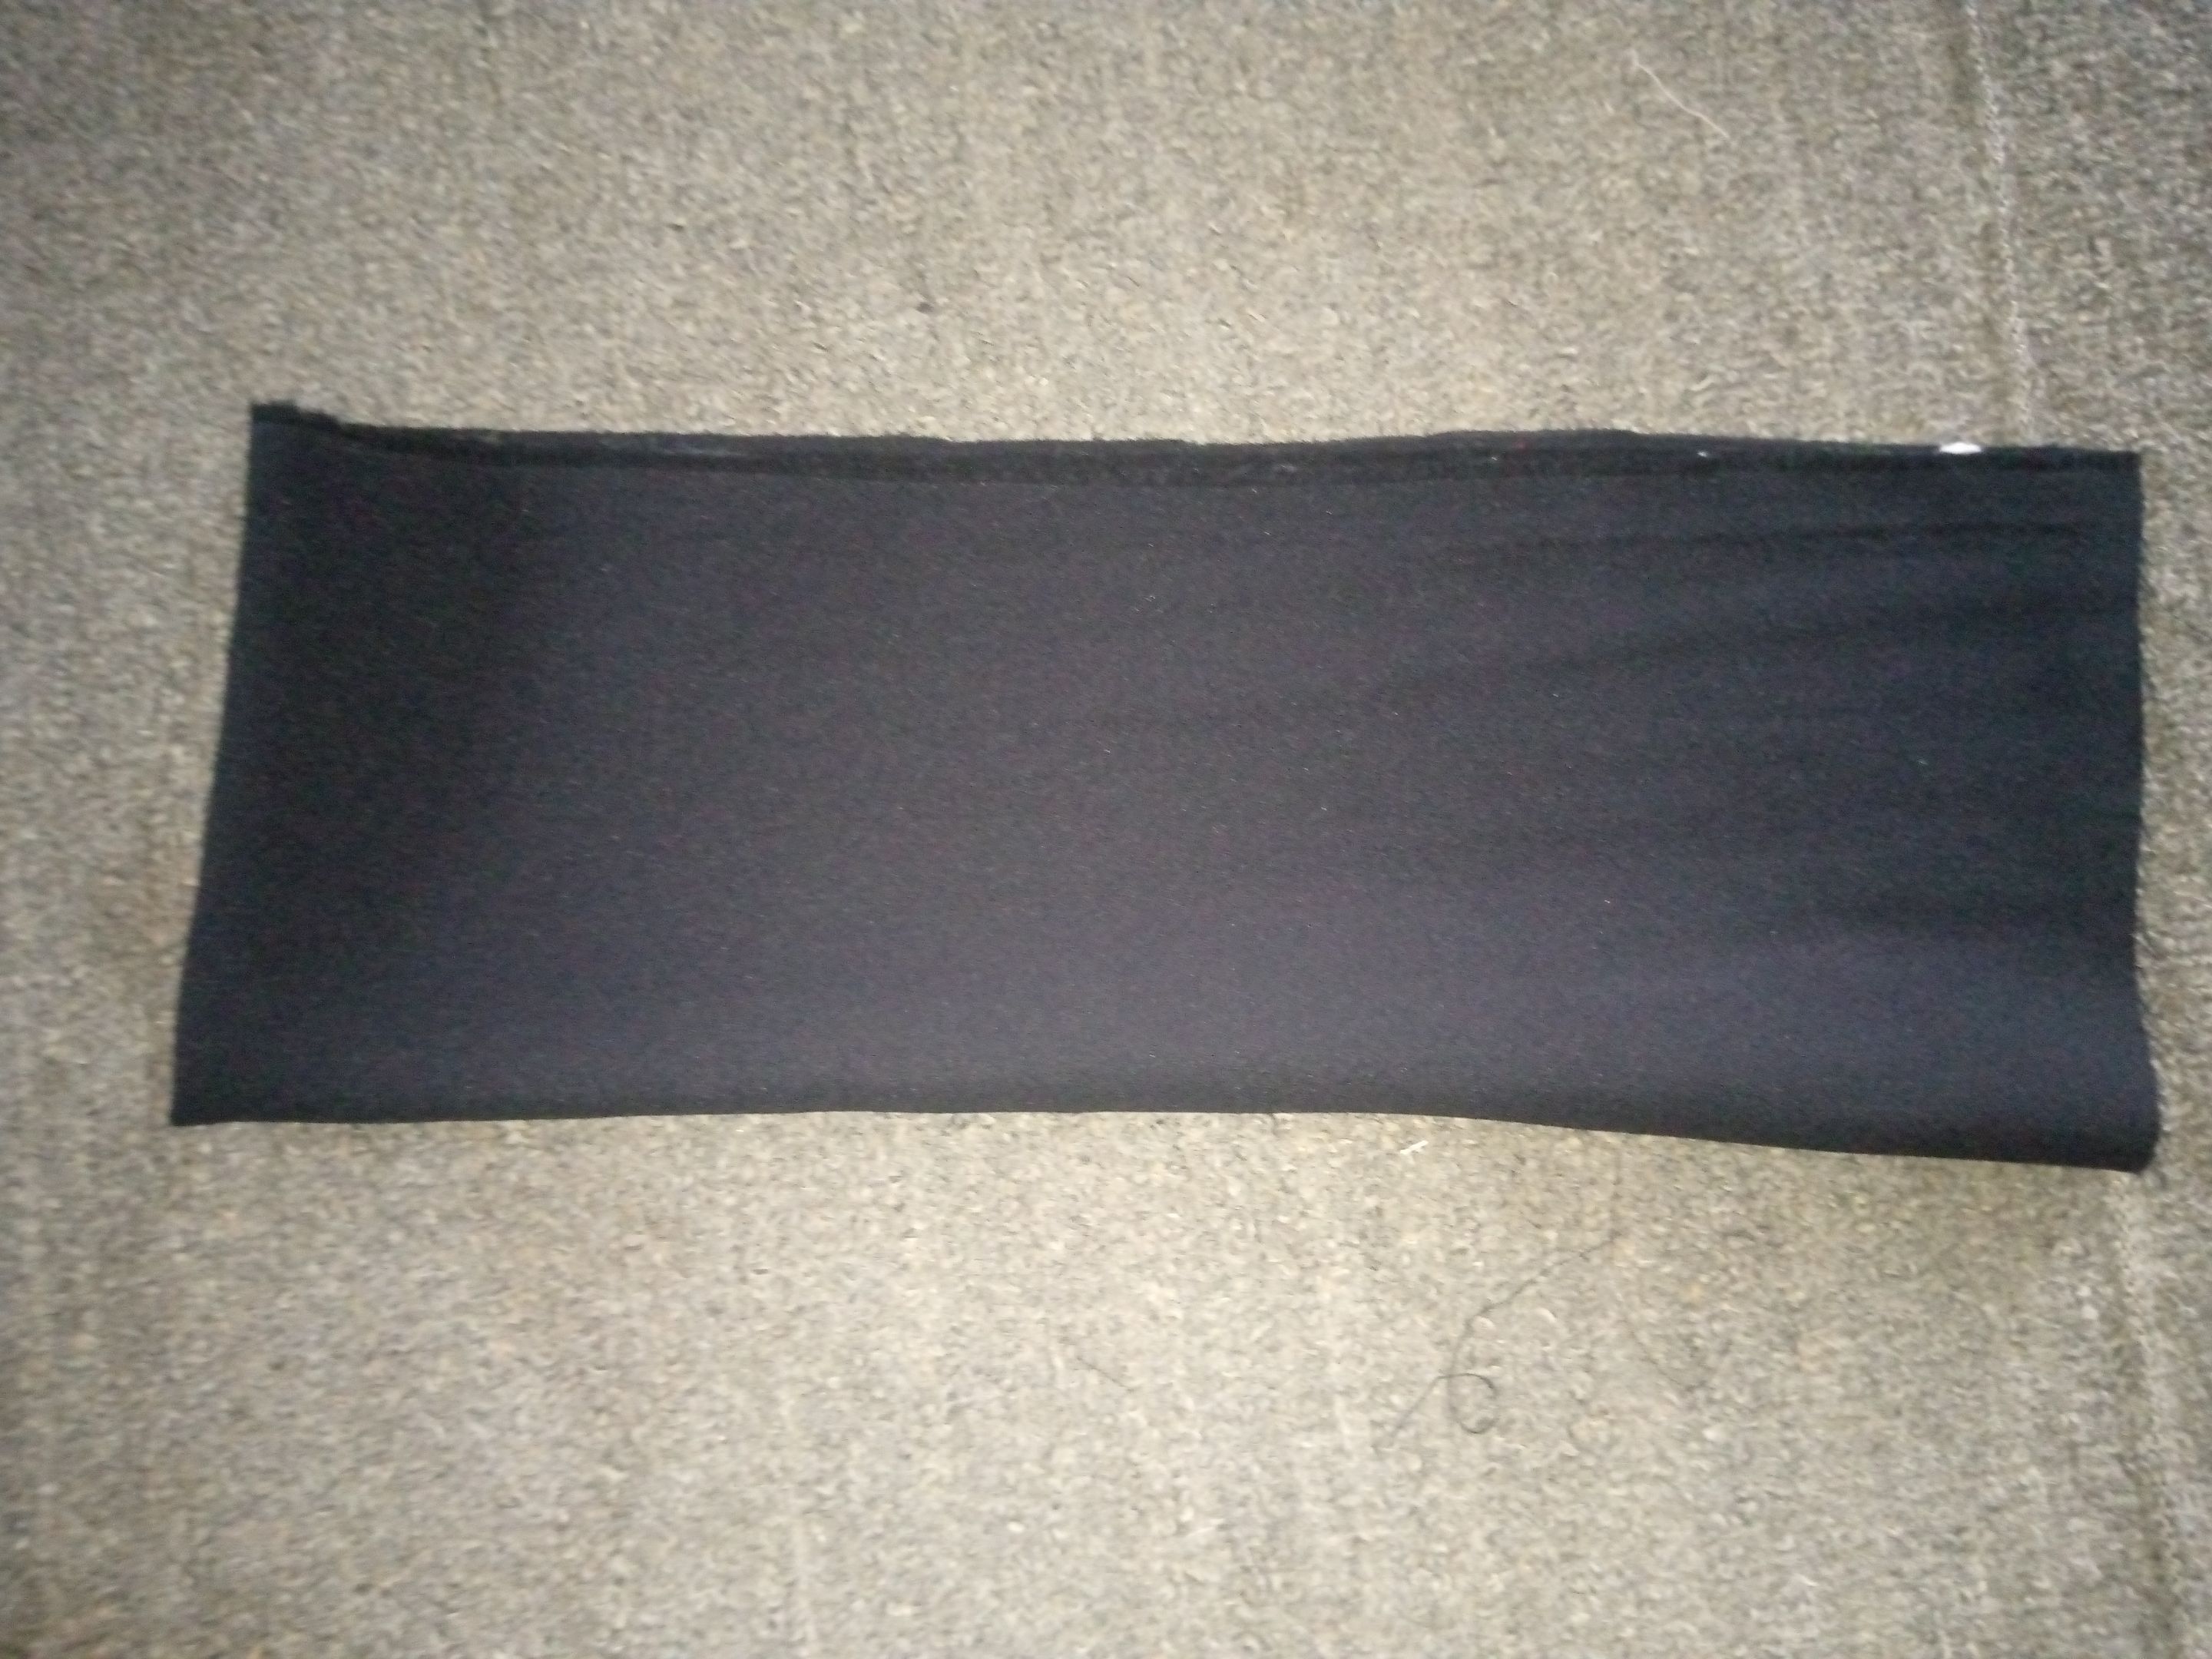
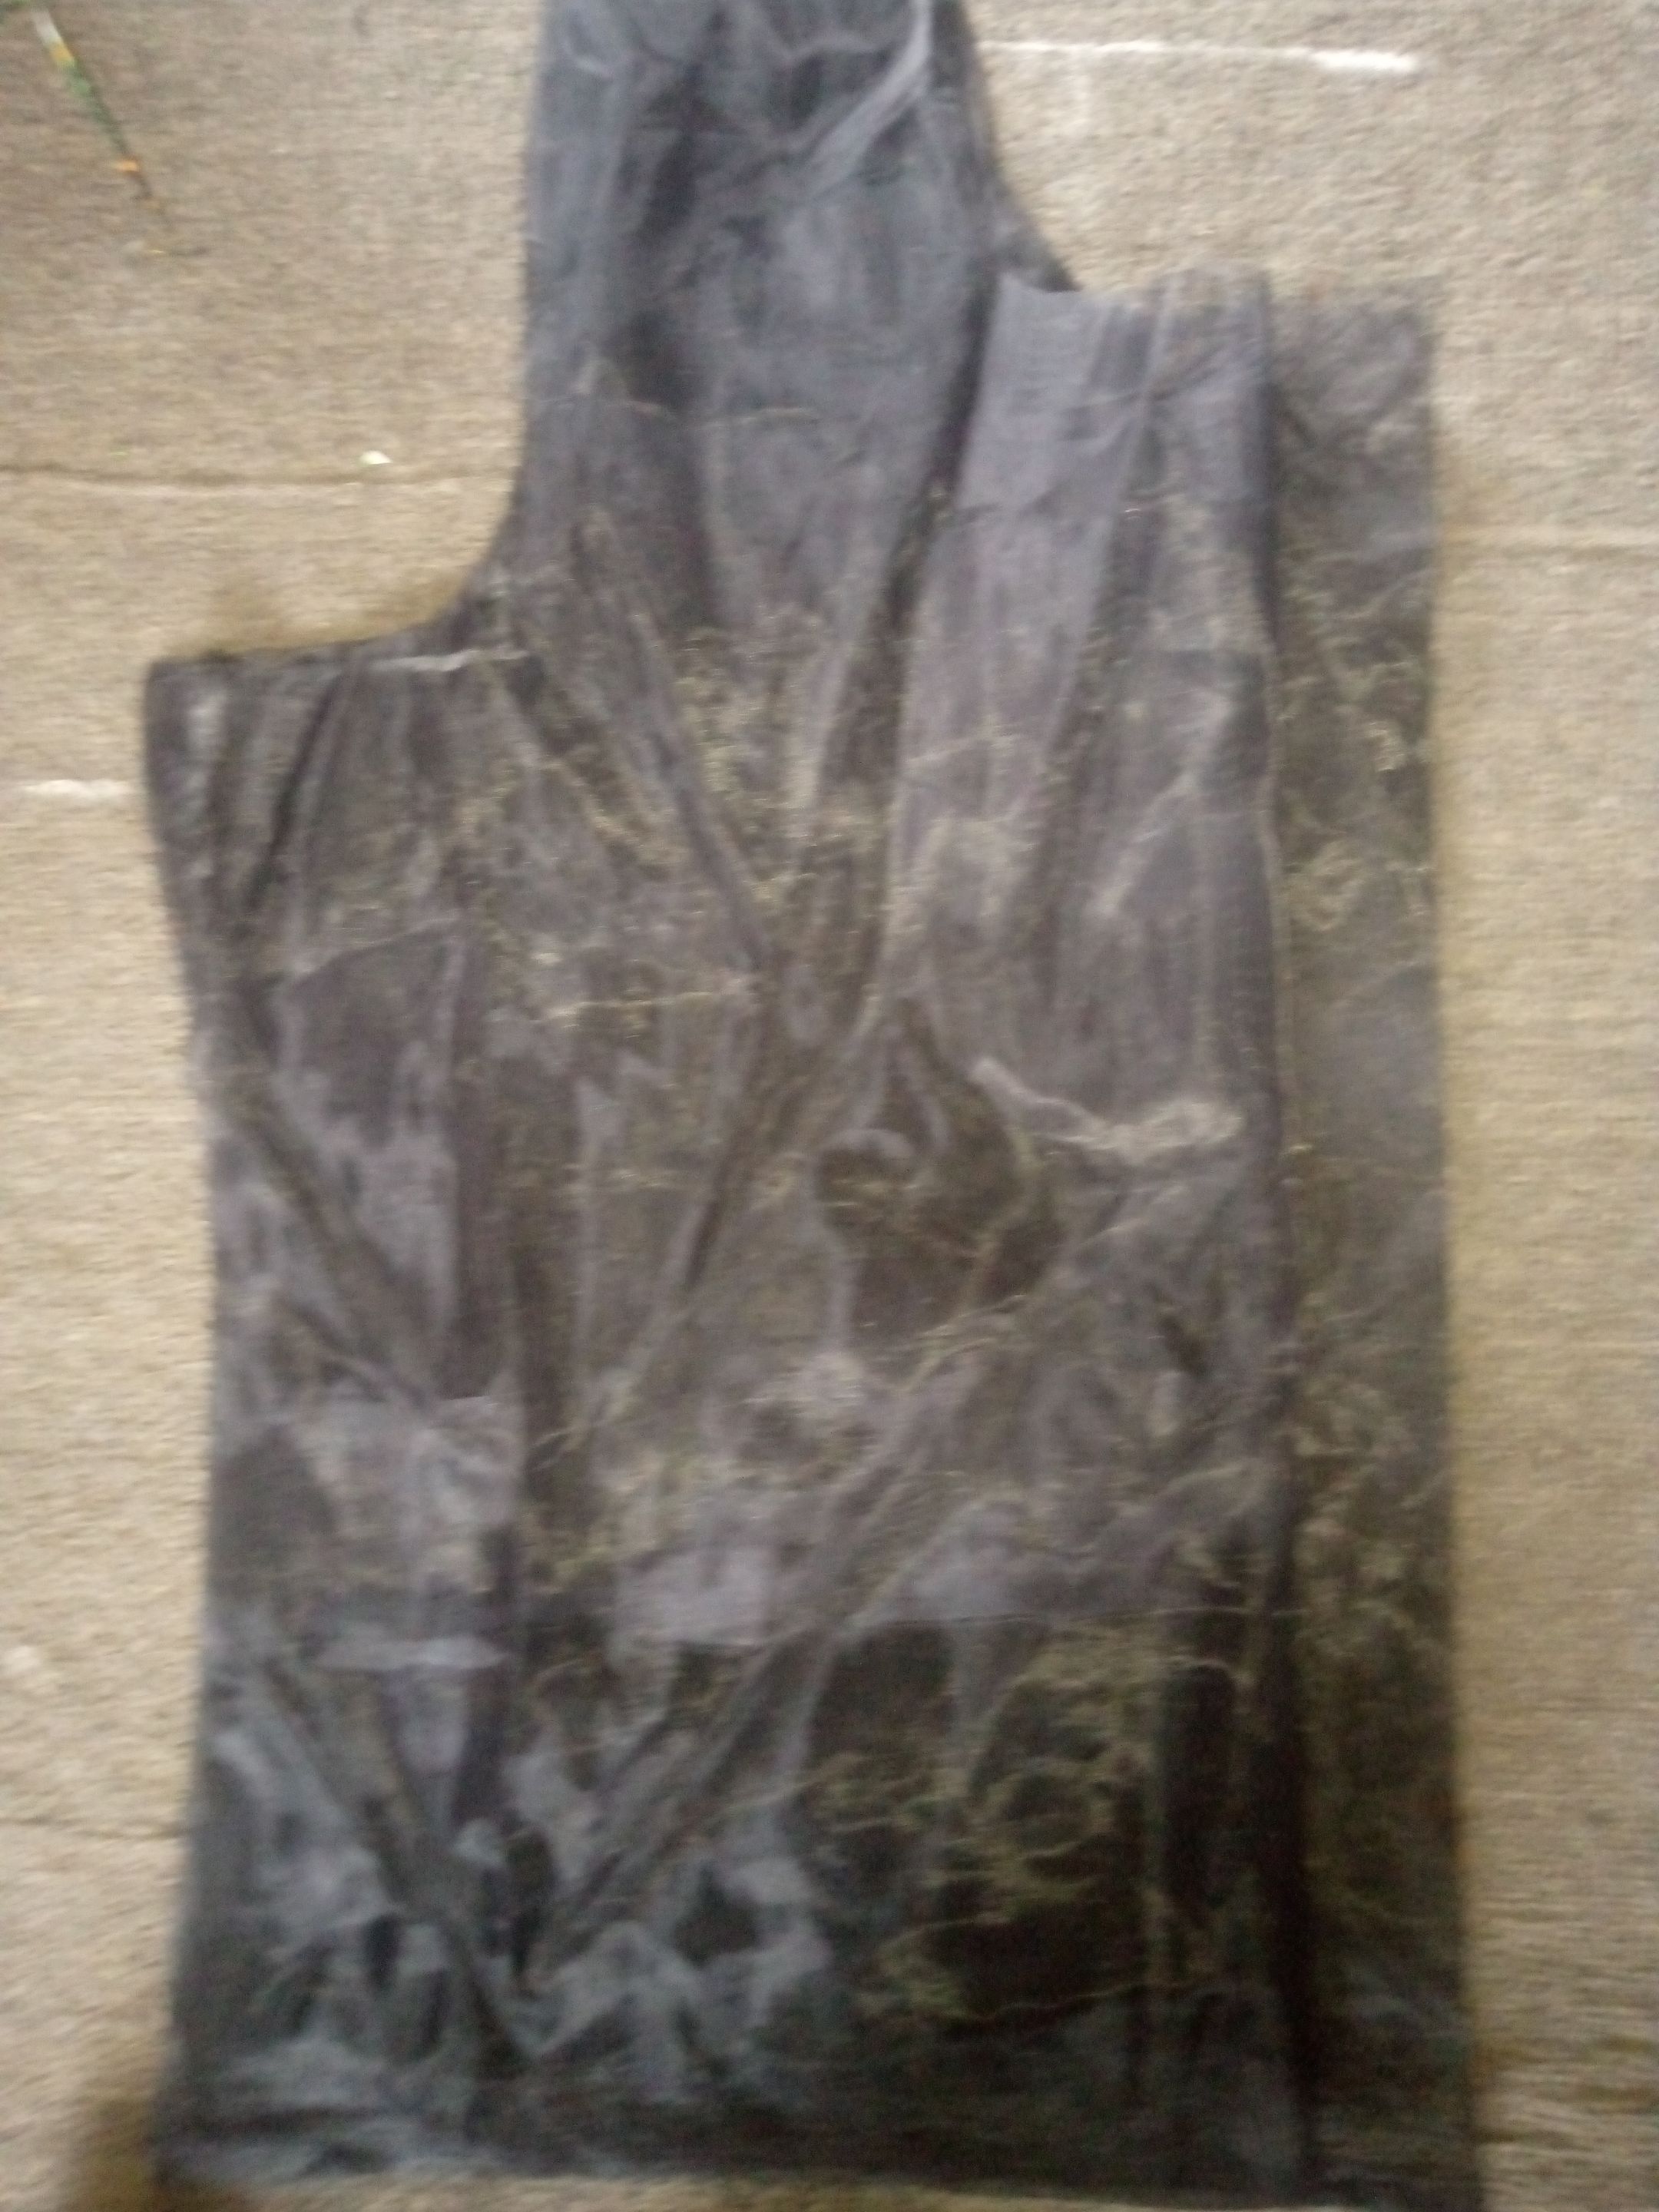
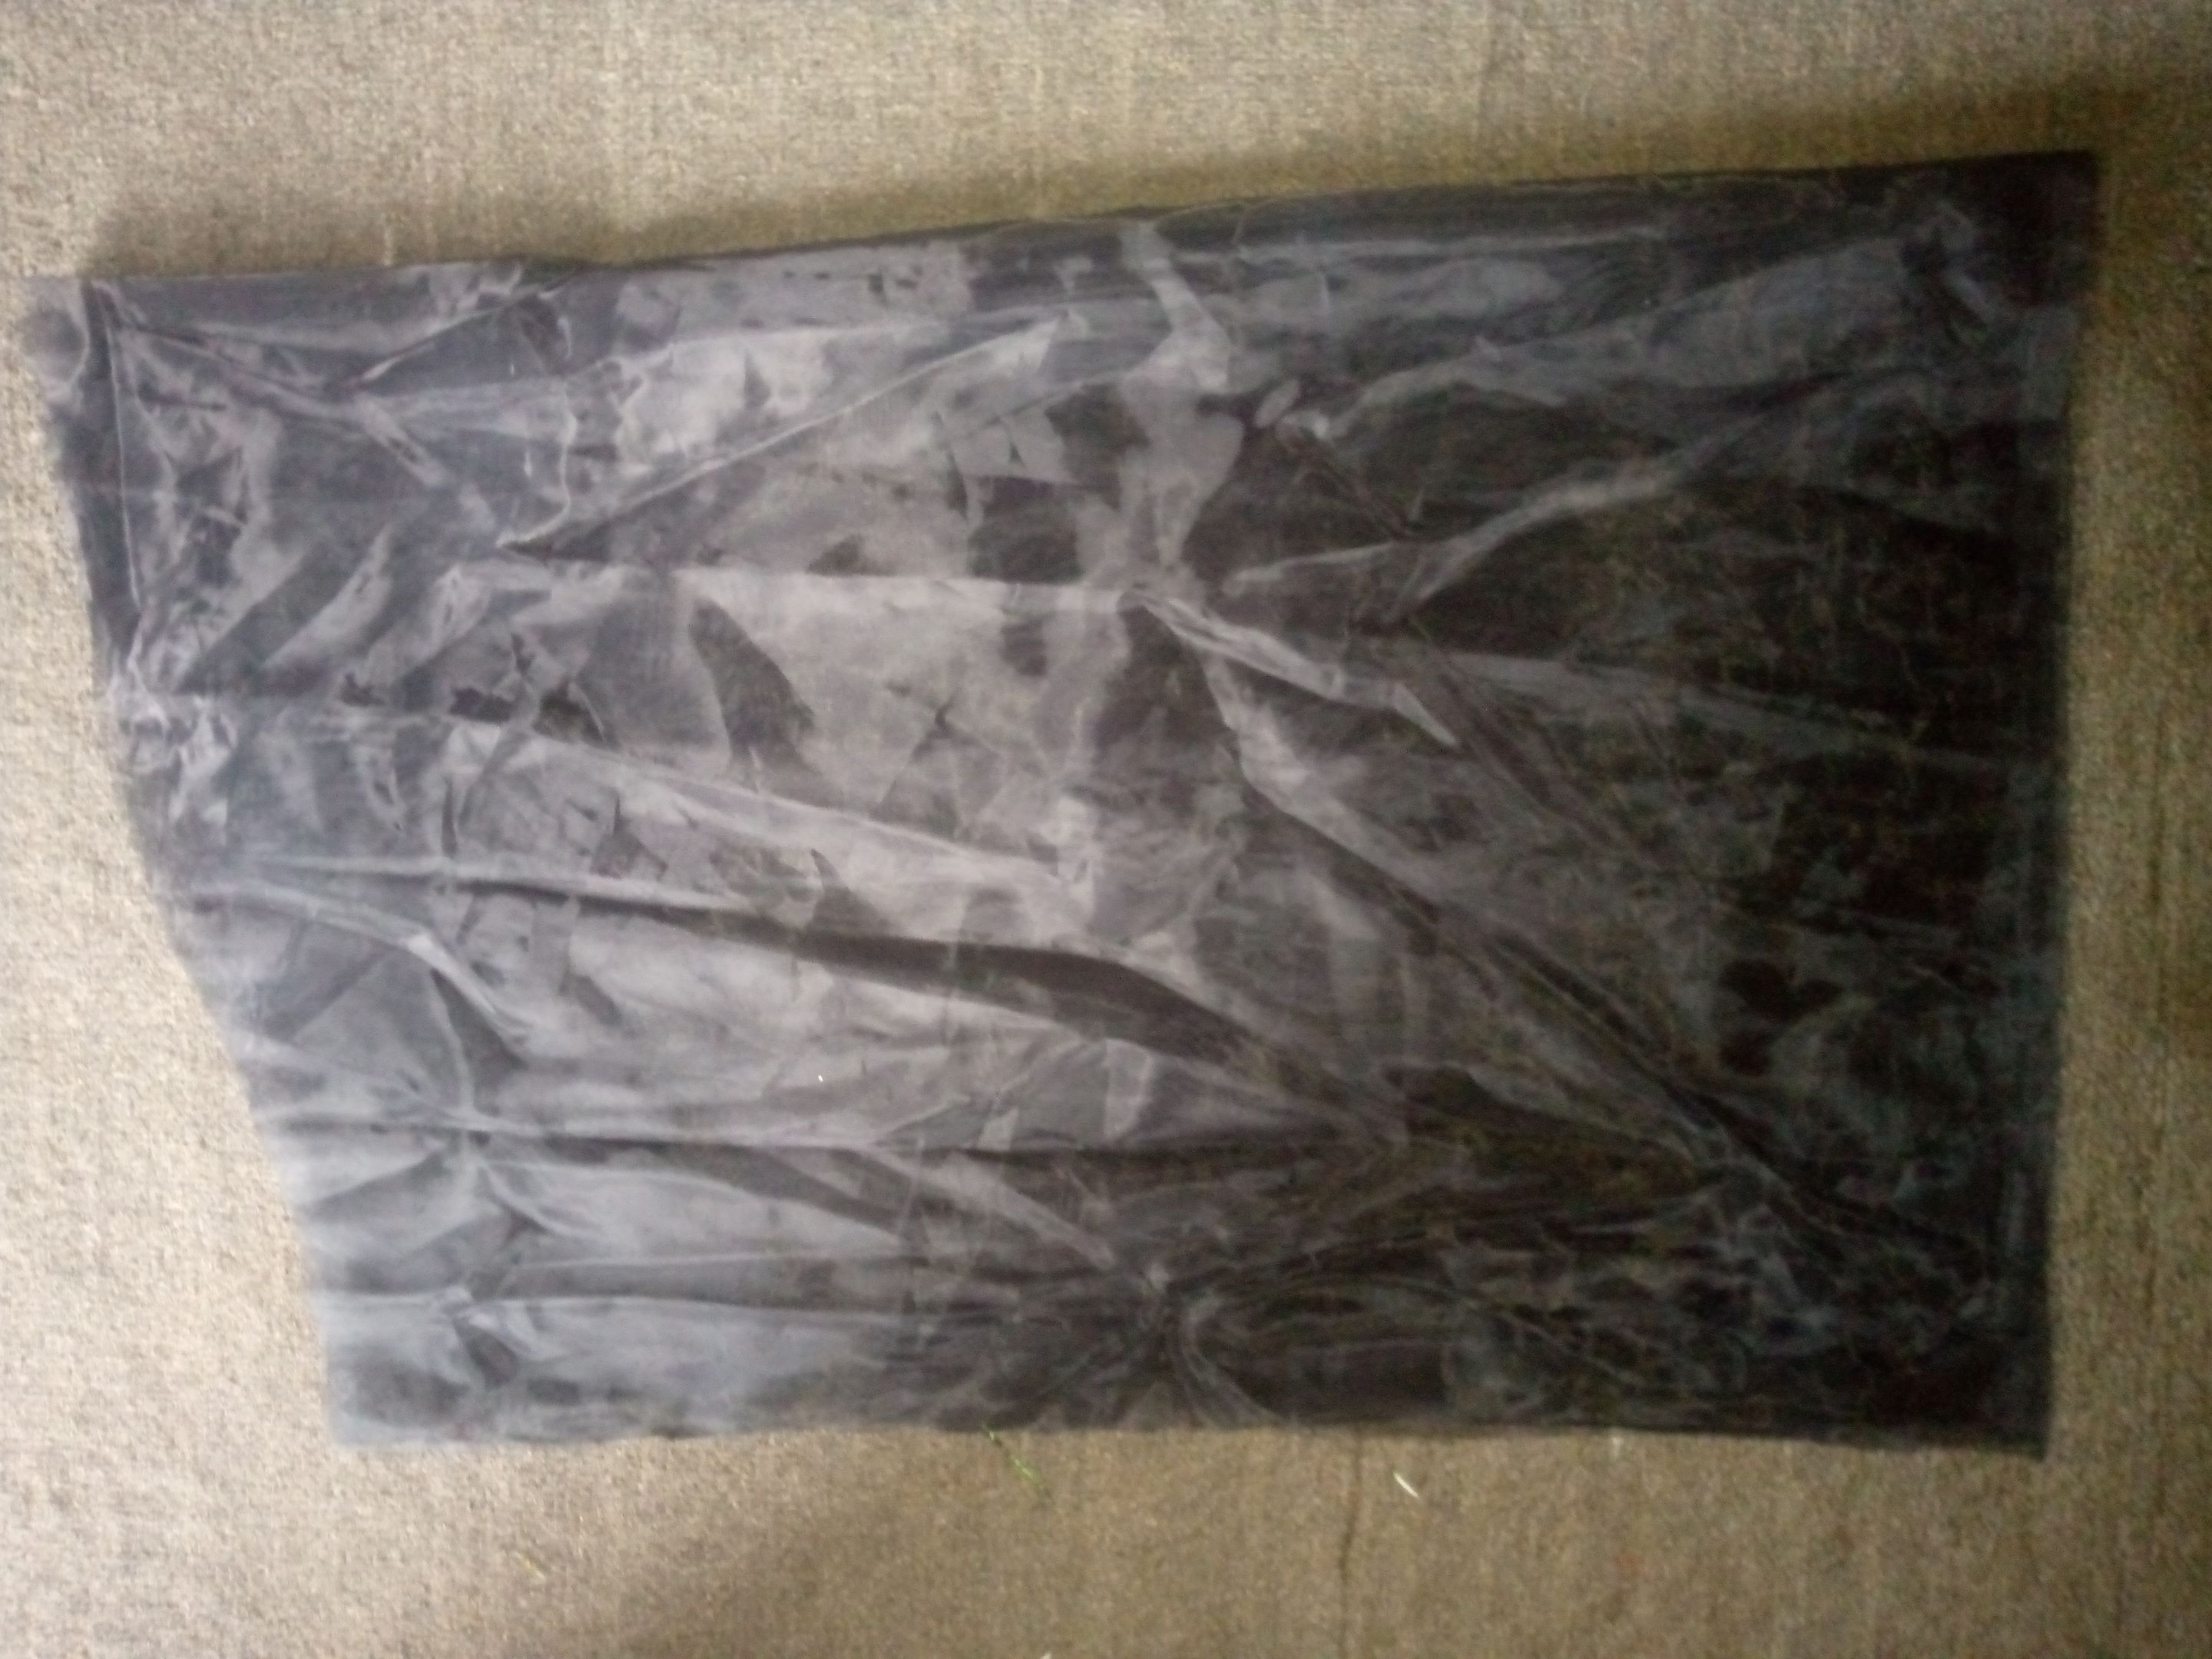
Let's start with the trouser, first thing to do is to fold your material by two, measure out my waist, hips line and take your measurement from the waist down with ten inches, that's for the middle line and use your your chalk to trace it out and cut it out, and you measure again from the waist to the knee point where the palazzo opening will start. After that you place the first one you cut on the other side of the material and in the middle line you have to give out three inches allowance inches allowance, cause the back side of the trouser should be bigger than the front a little.
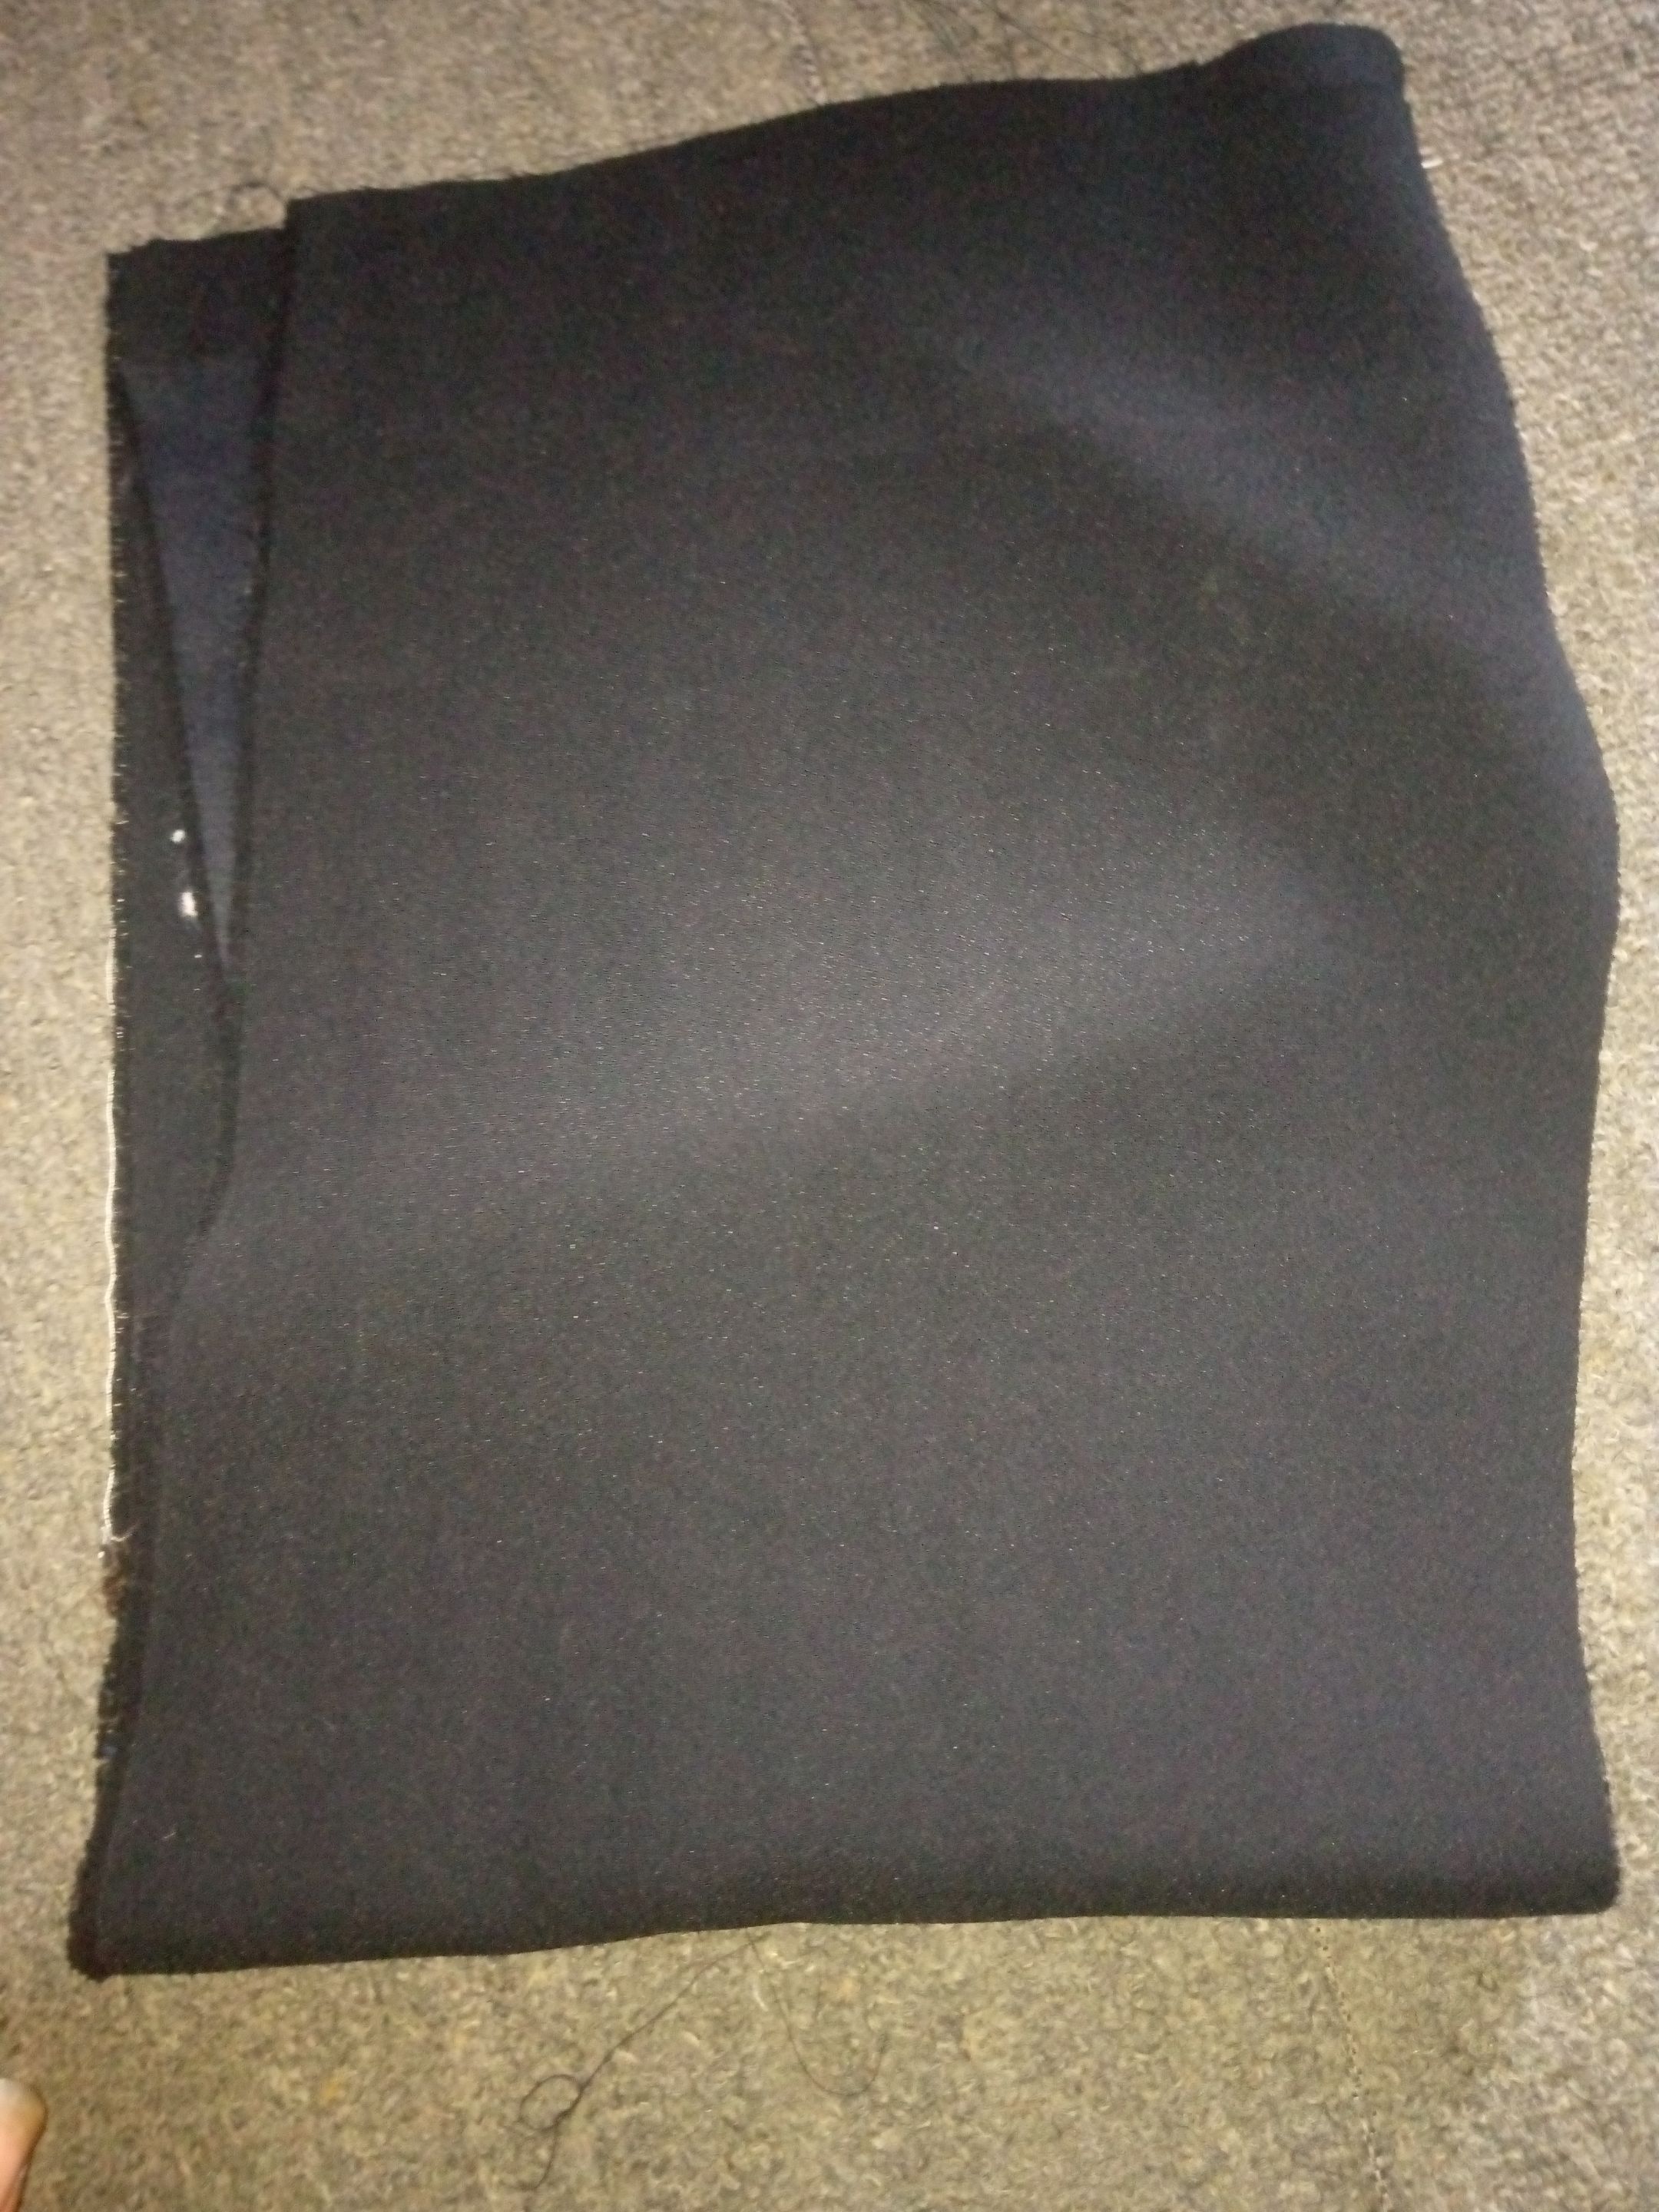
I also cut out my waist barn and pocket.
Then you proceed to fixed the pocket You measure out five inches for the length and the width by four point five inches after cutting it you place the part of the material for the pocket outside and sew it after that you turn it inside and sew it round again.
After fixing the pocket, then you proceed by sewing the middle line for the front and back,fix your waist barn.
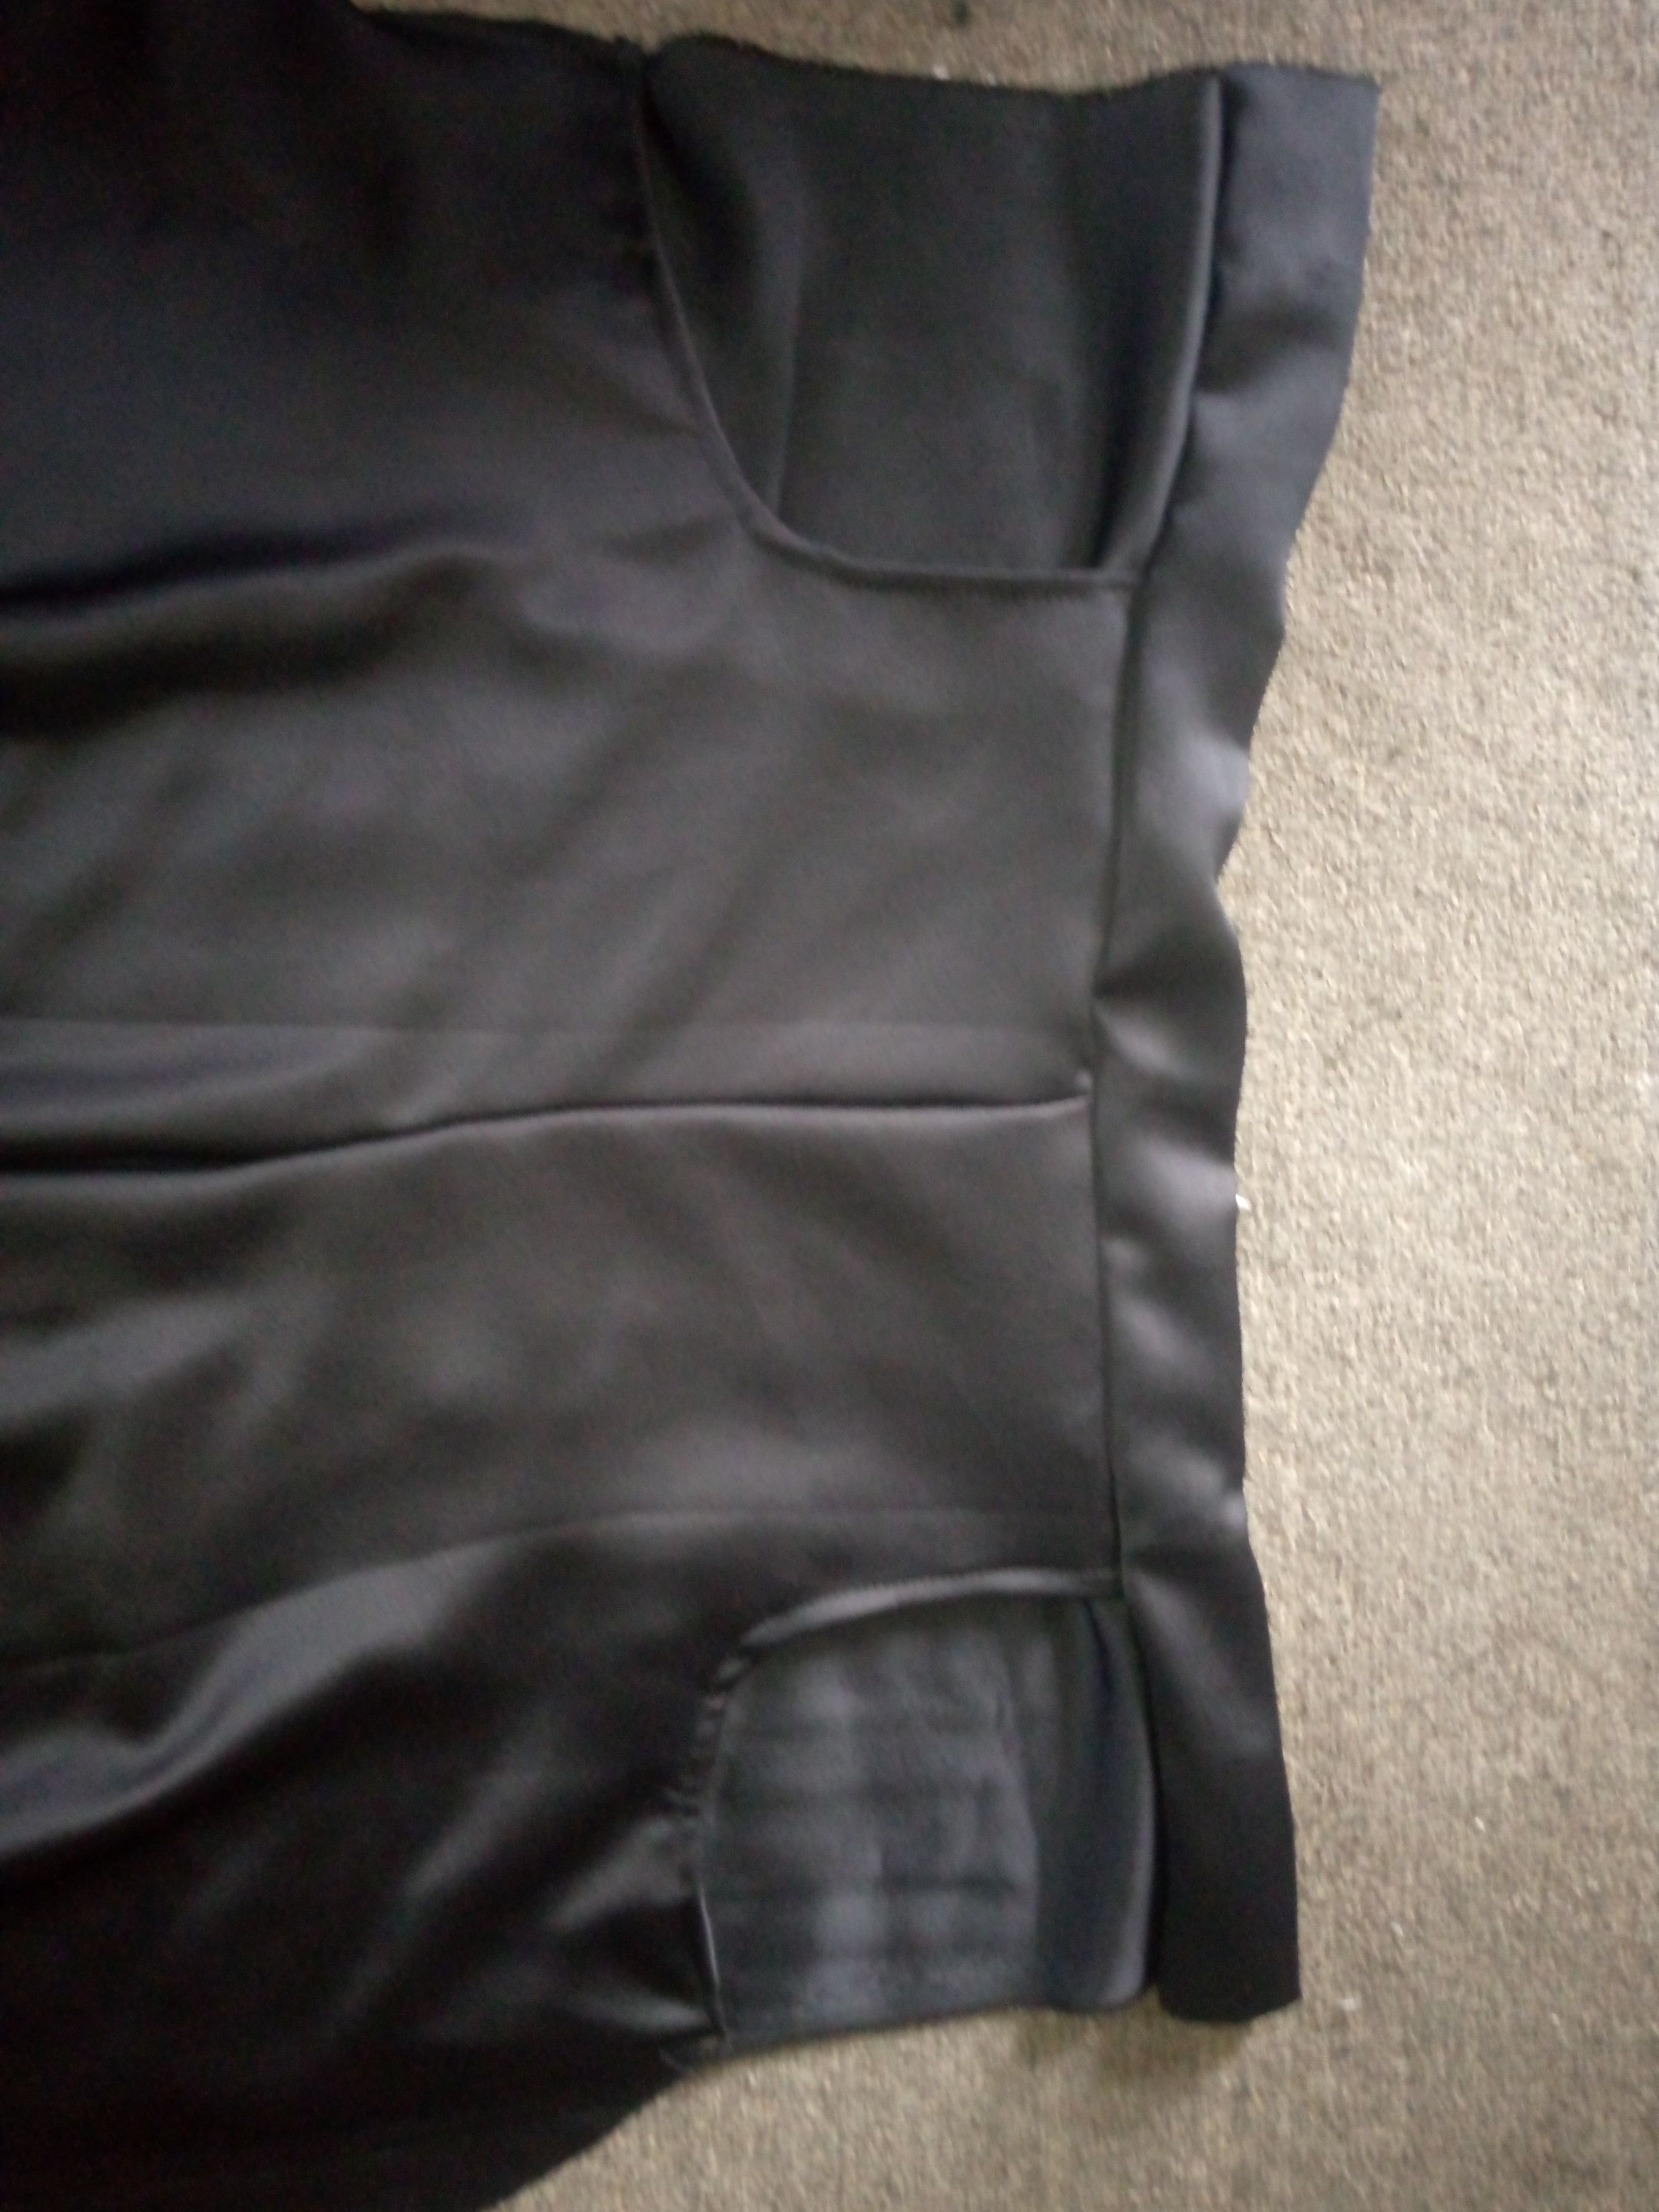
After that you proceed to join both side together and fix the zip at the left hand side of the trouser and that's it.
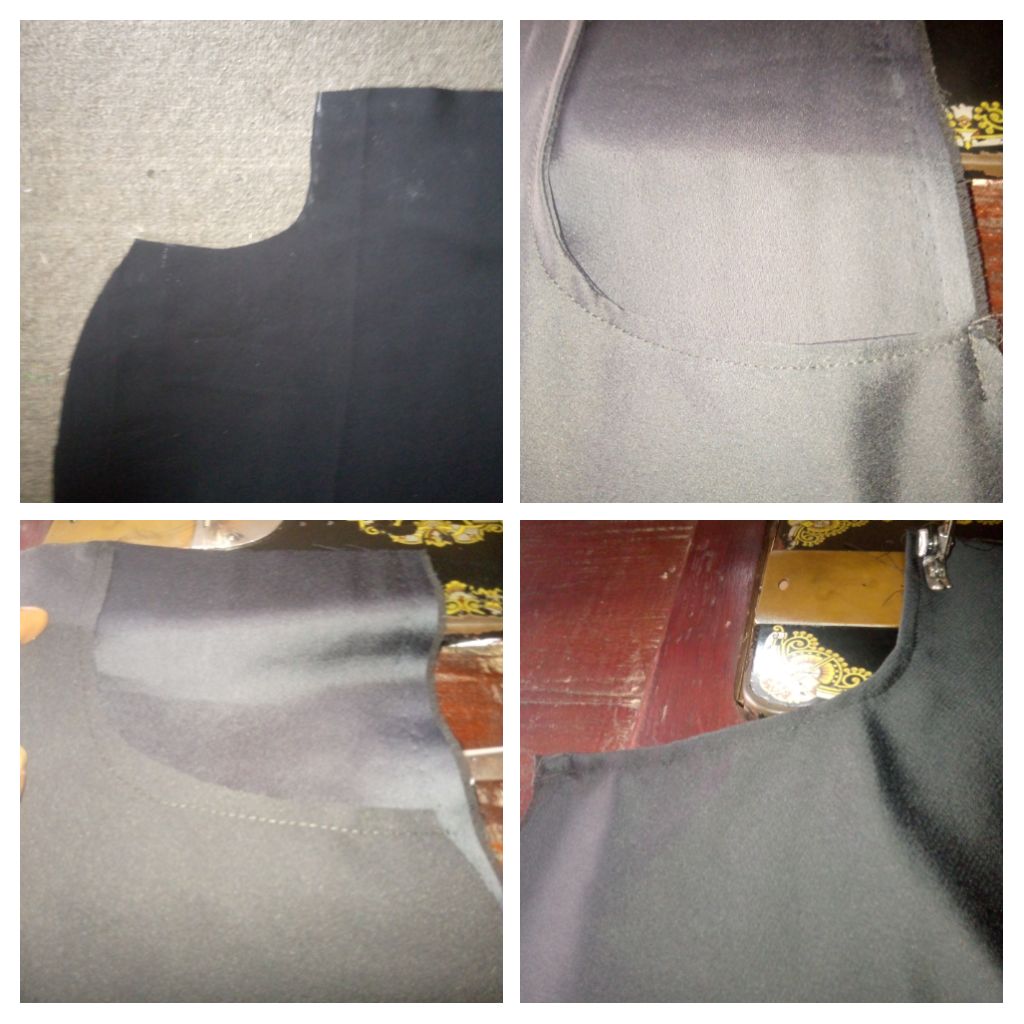
Now moving to the top, I folded the fabric by two, measure out the full length, hand pit using eight inches and the neck length is three point five inches and the width is four inches and I cut out, then I placed the first one and cut out the back given out one point five inches allowance for the zip.
I also cut the hand using twenty two inches allowance for the length, and each of the hand I use almost one yard of the organza.
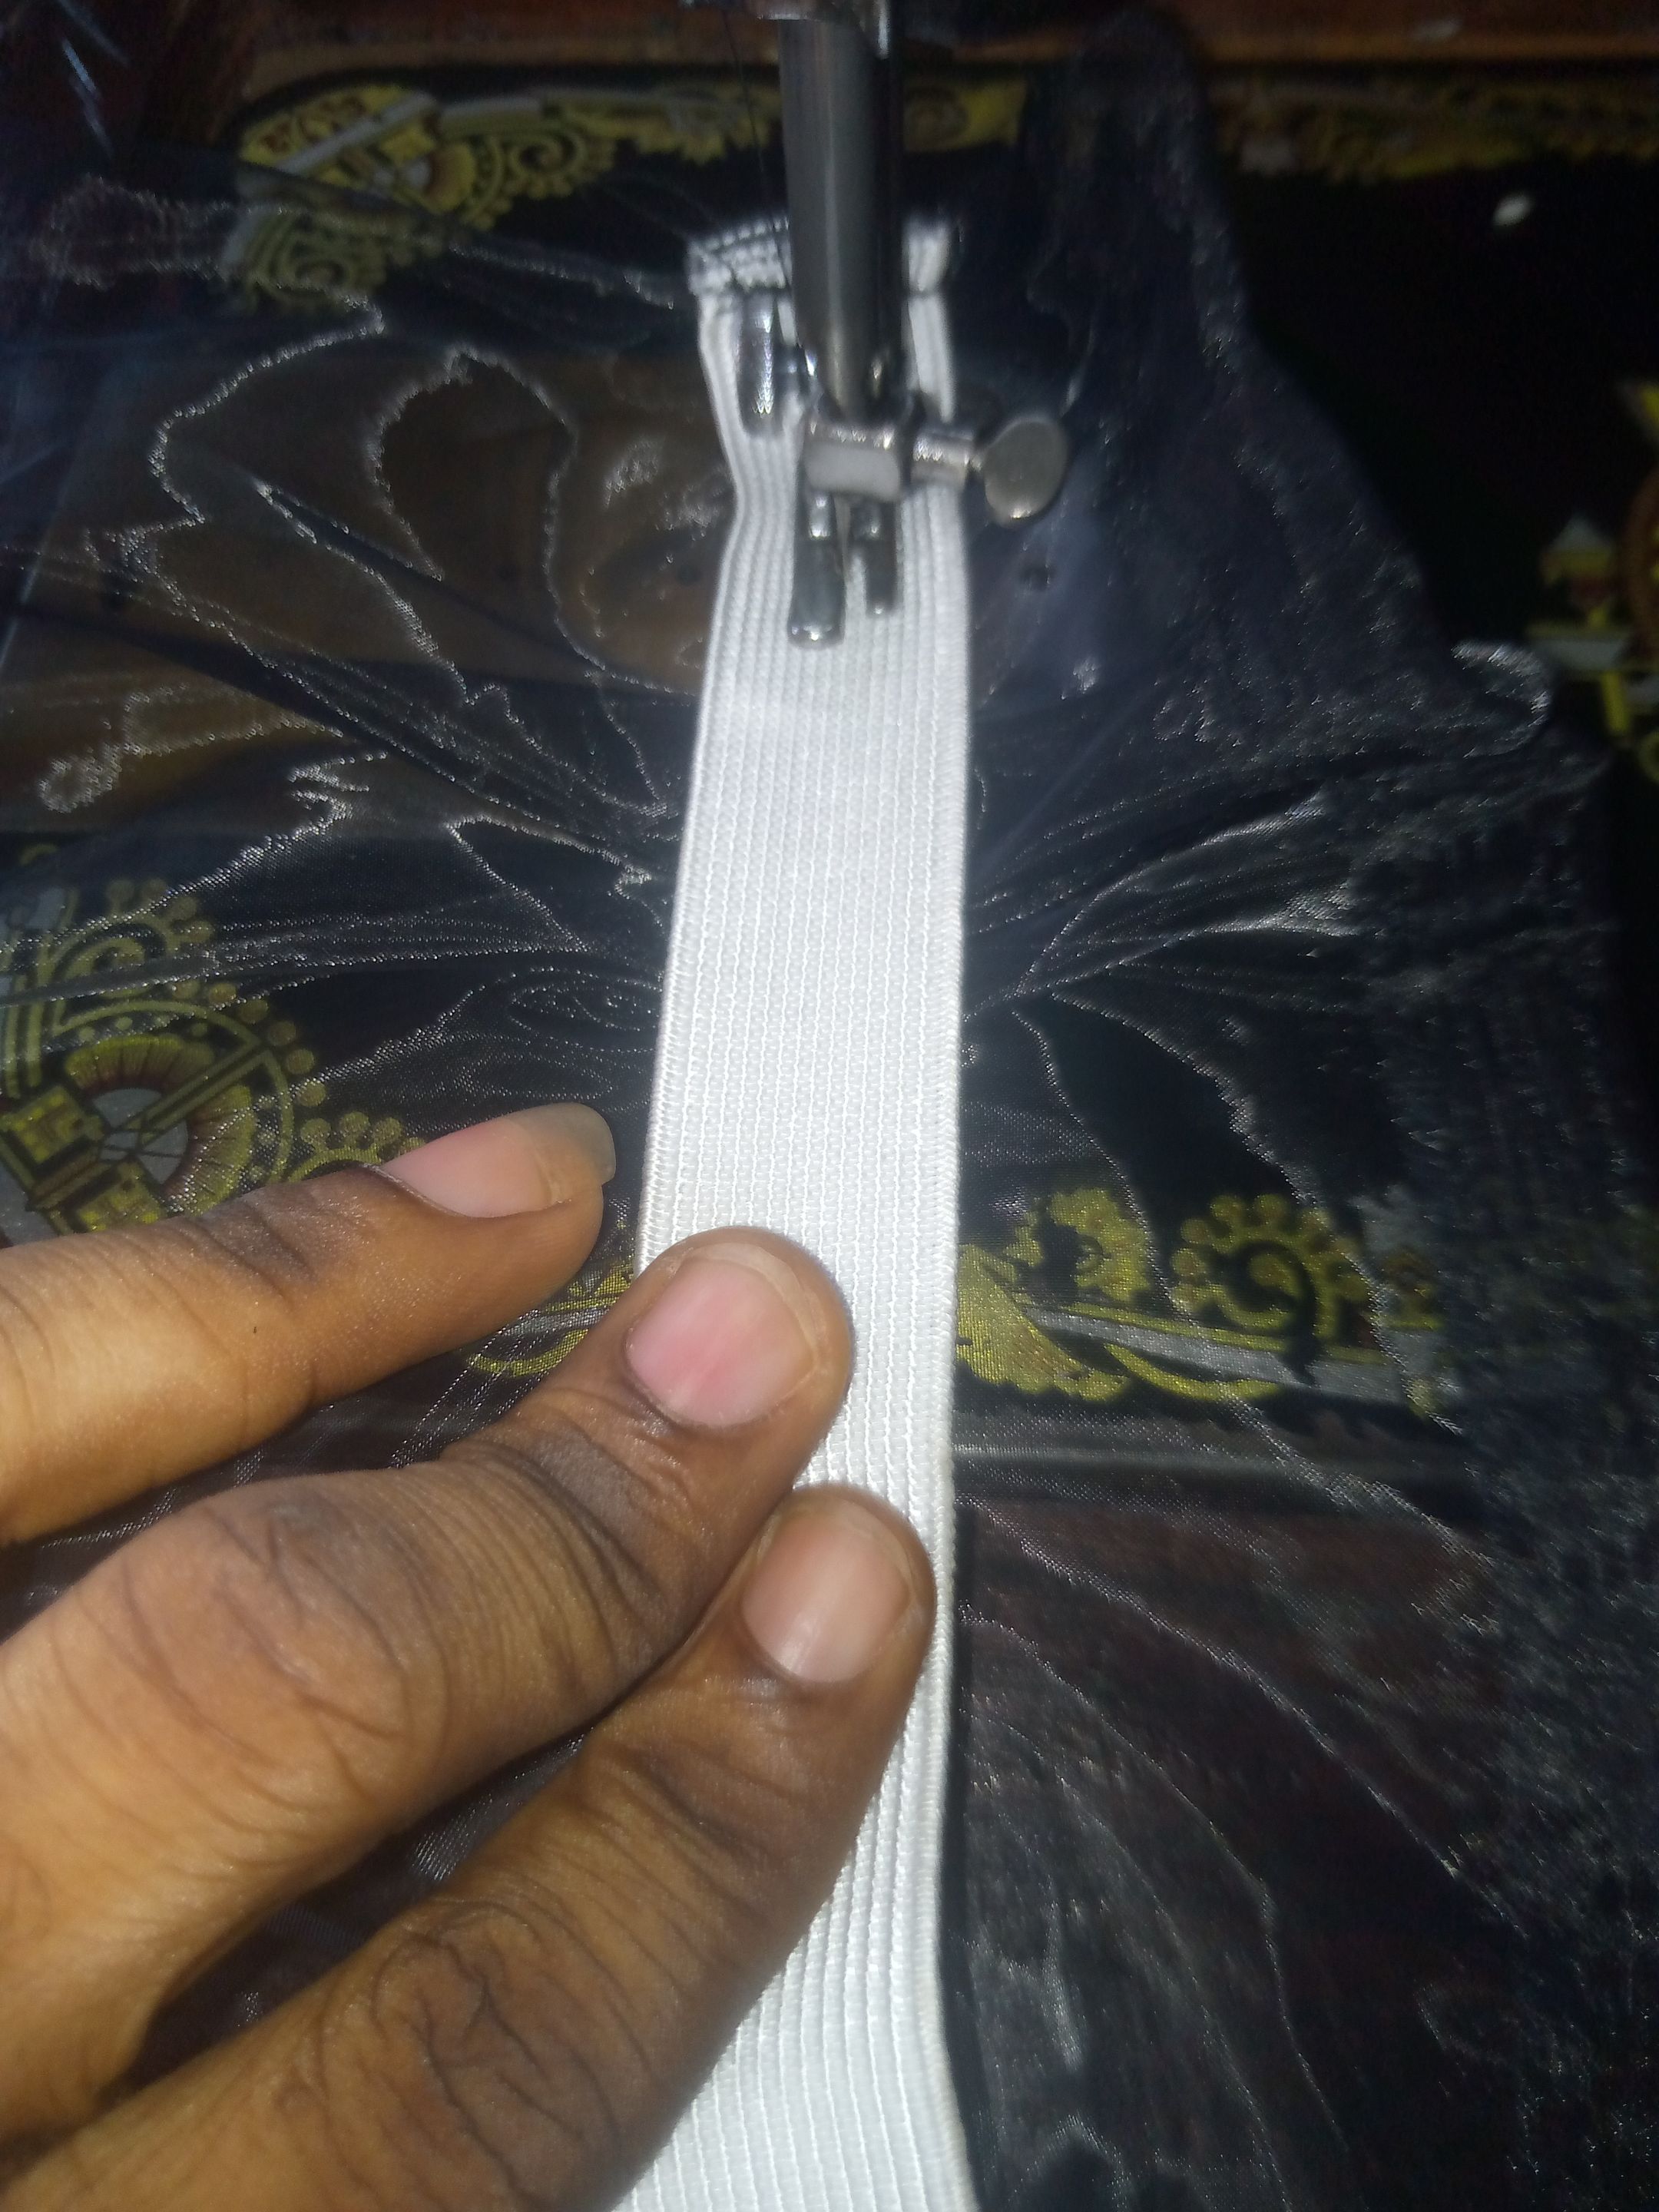
Now I join the both side together, using the organza to turn the neck, and before fixing the hand, I had to sew the elastic band at the hand and at the same time plinting it.
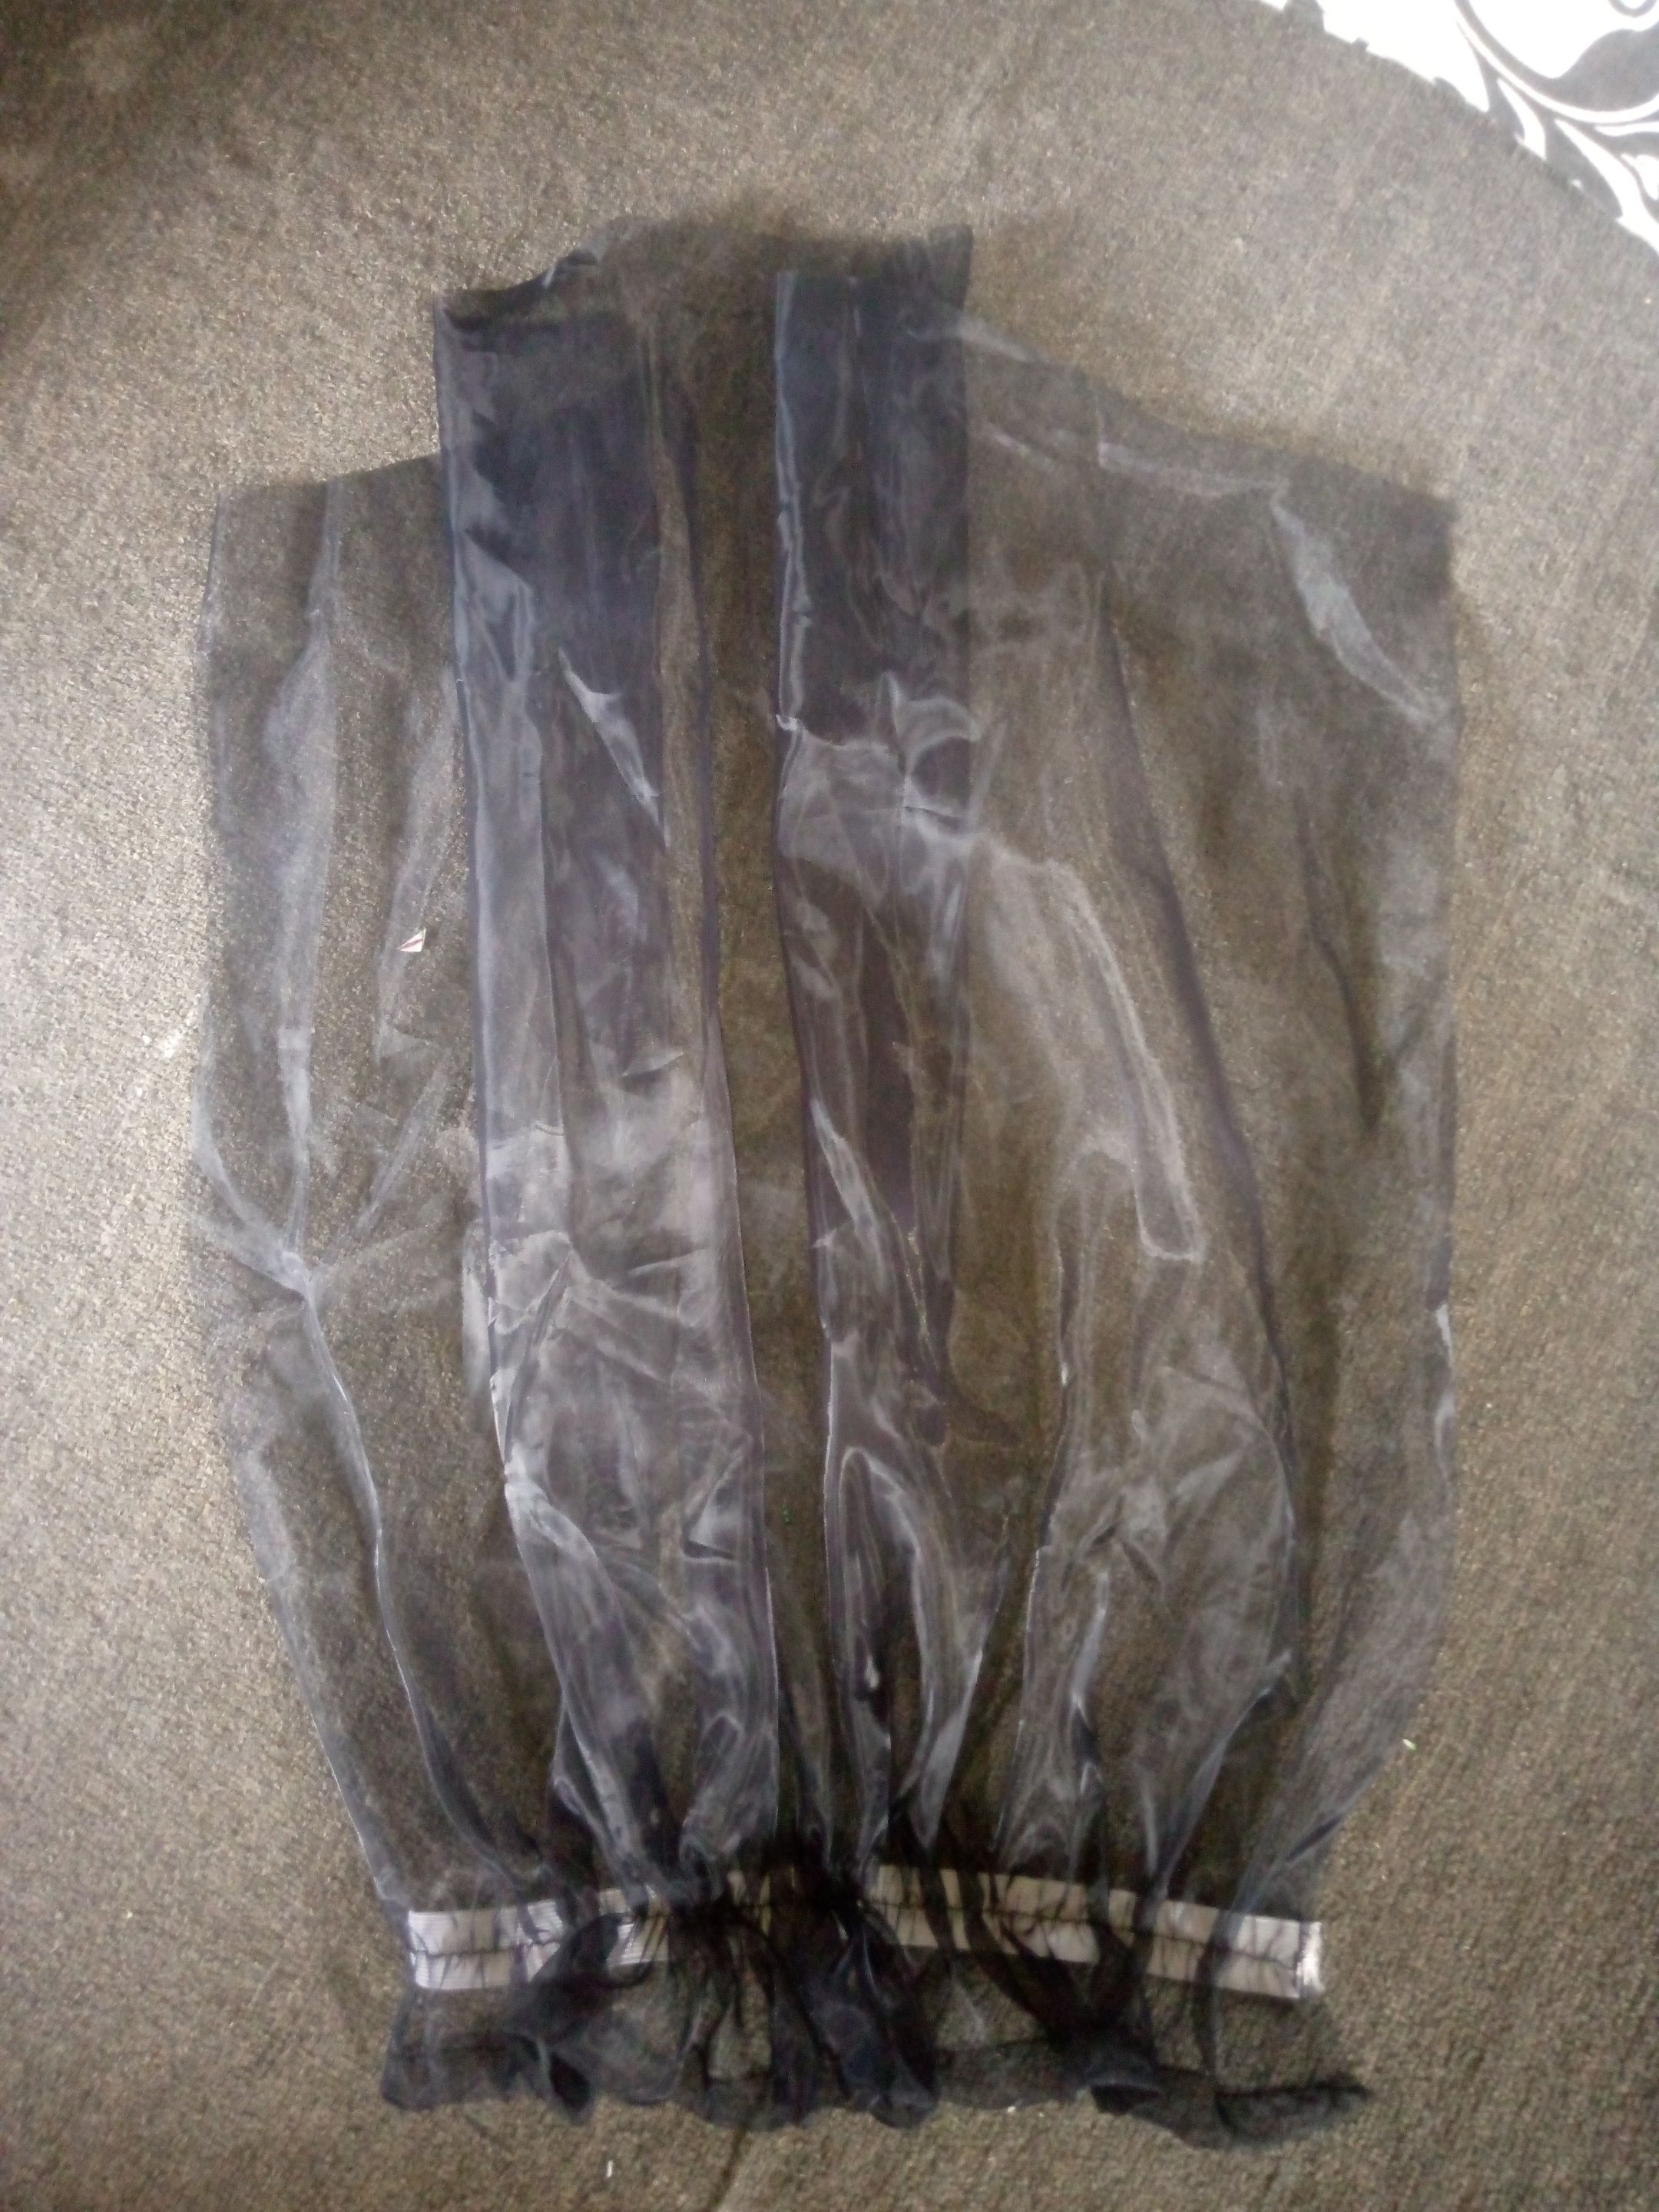
After that I proceed to fixed the hand and zip, and here is the top.
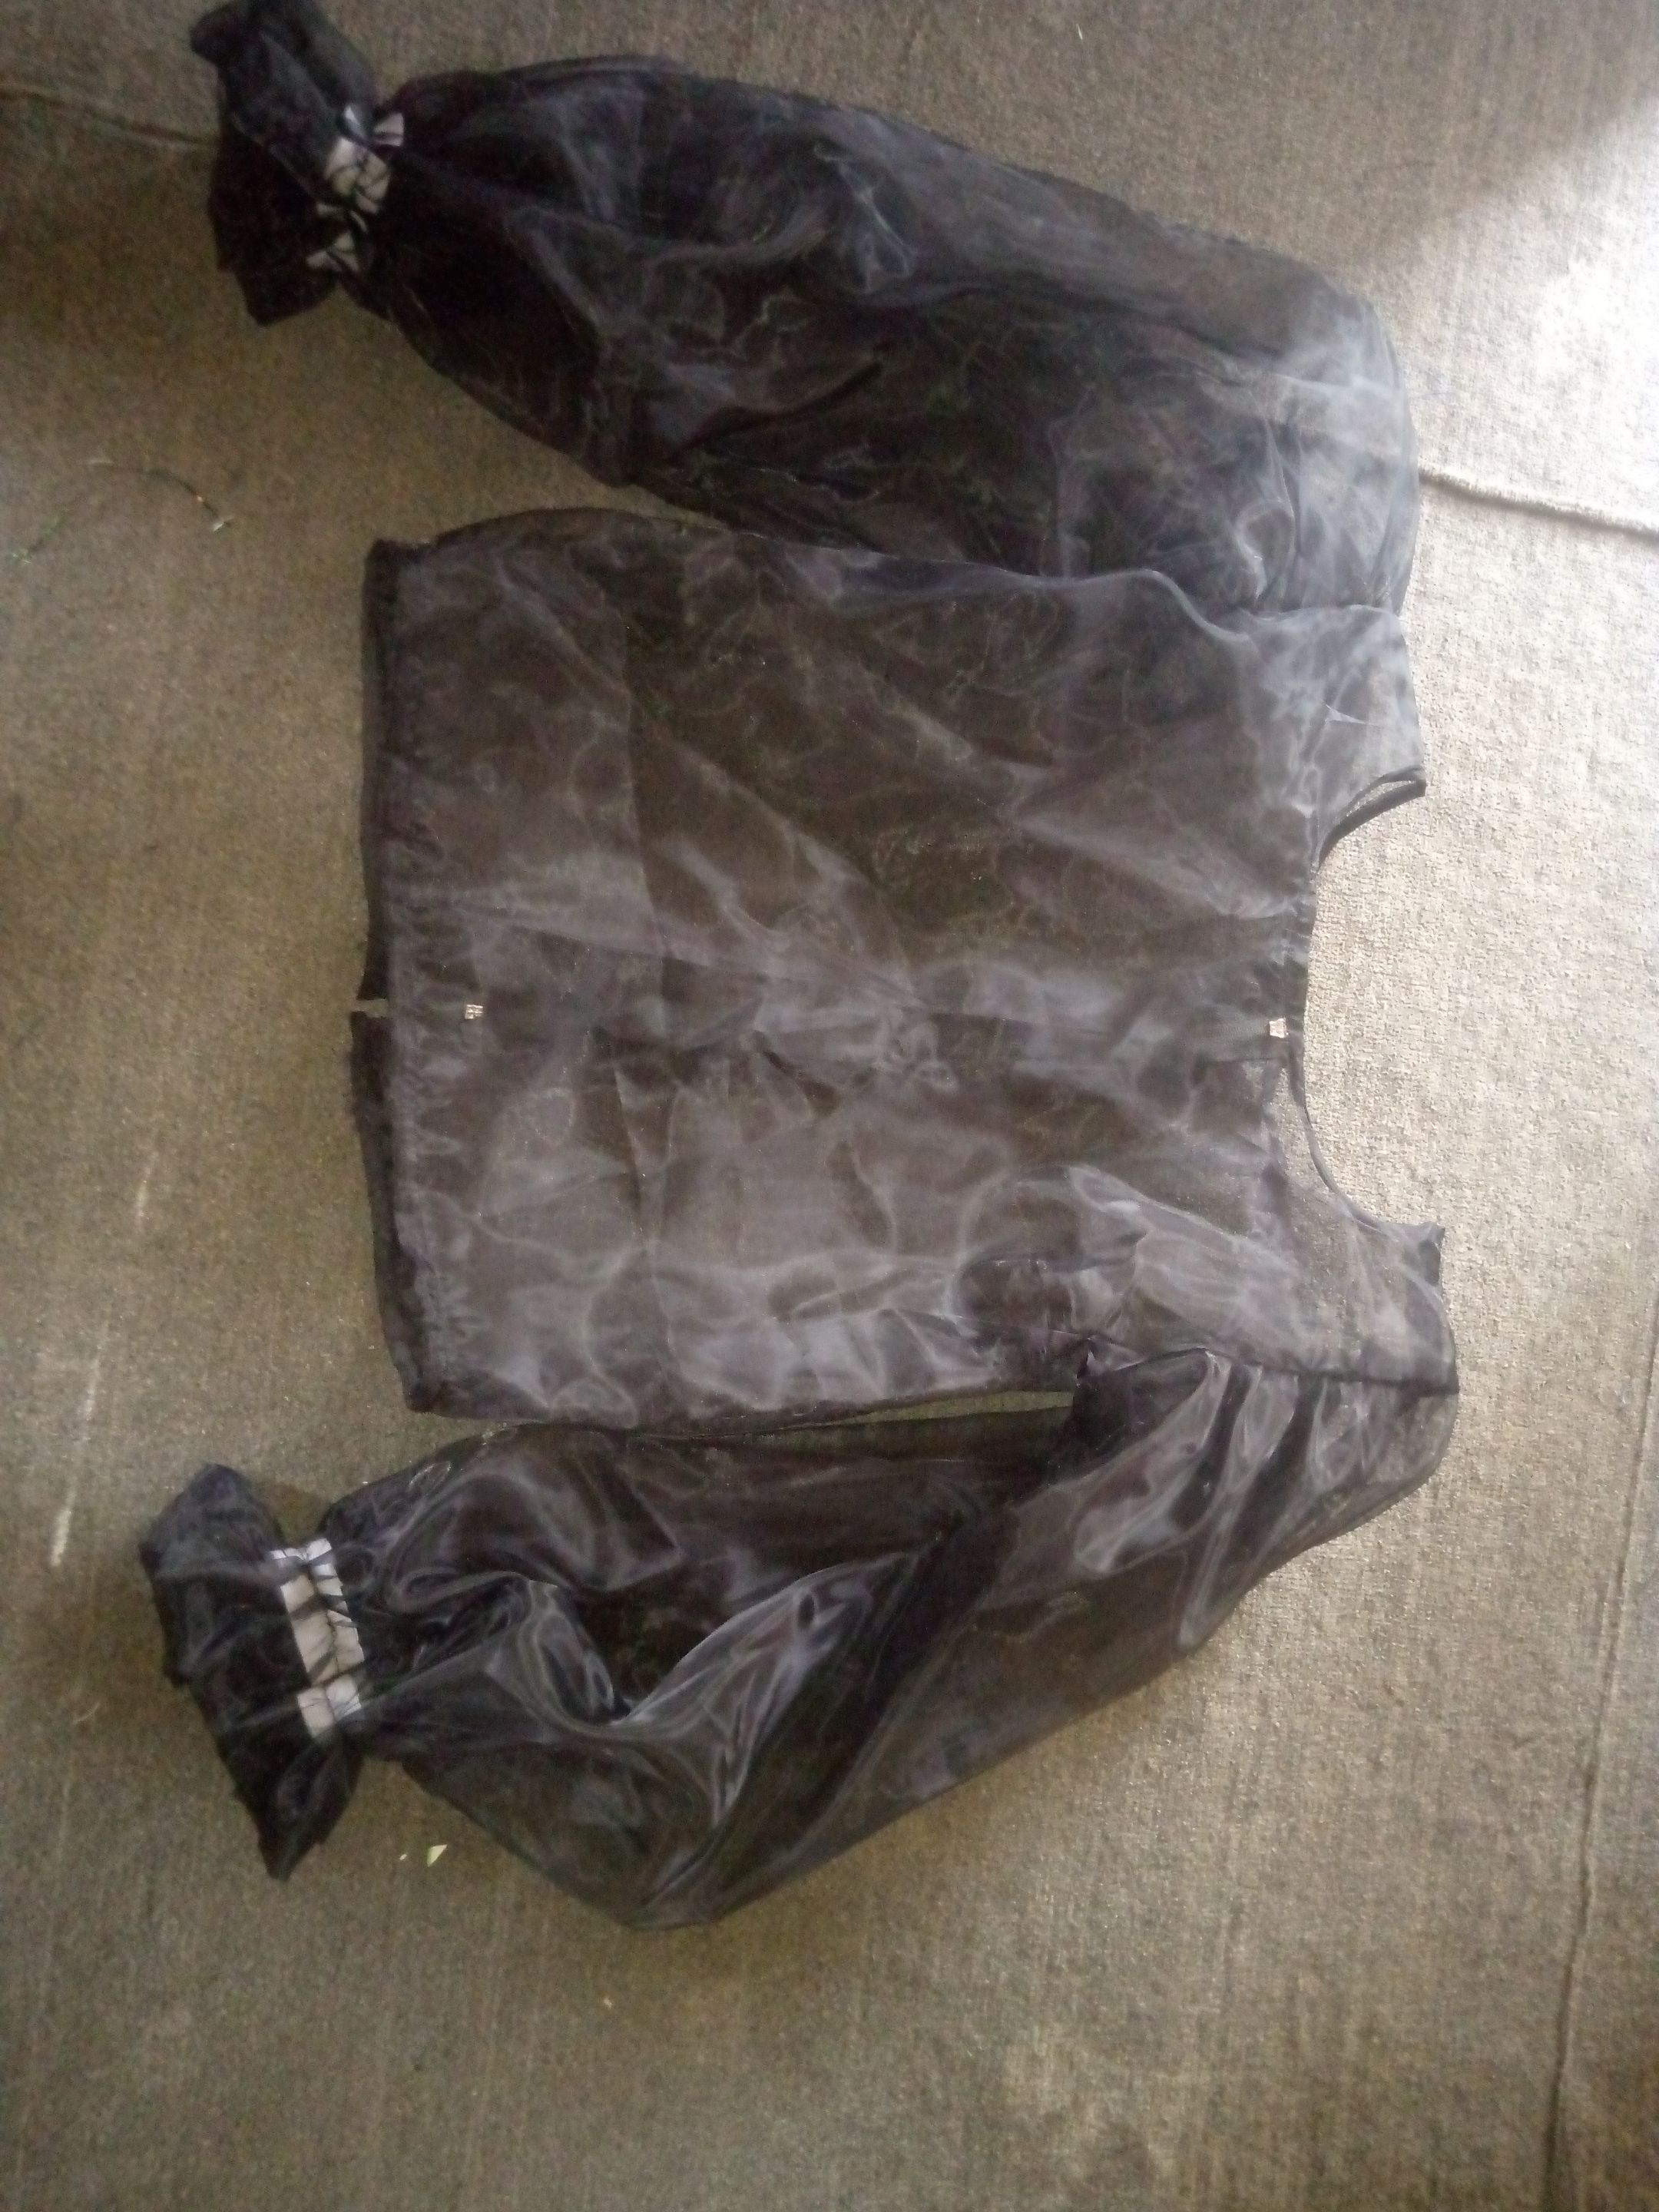
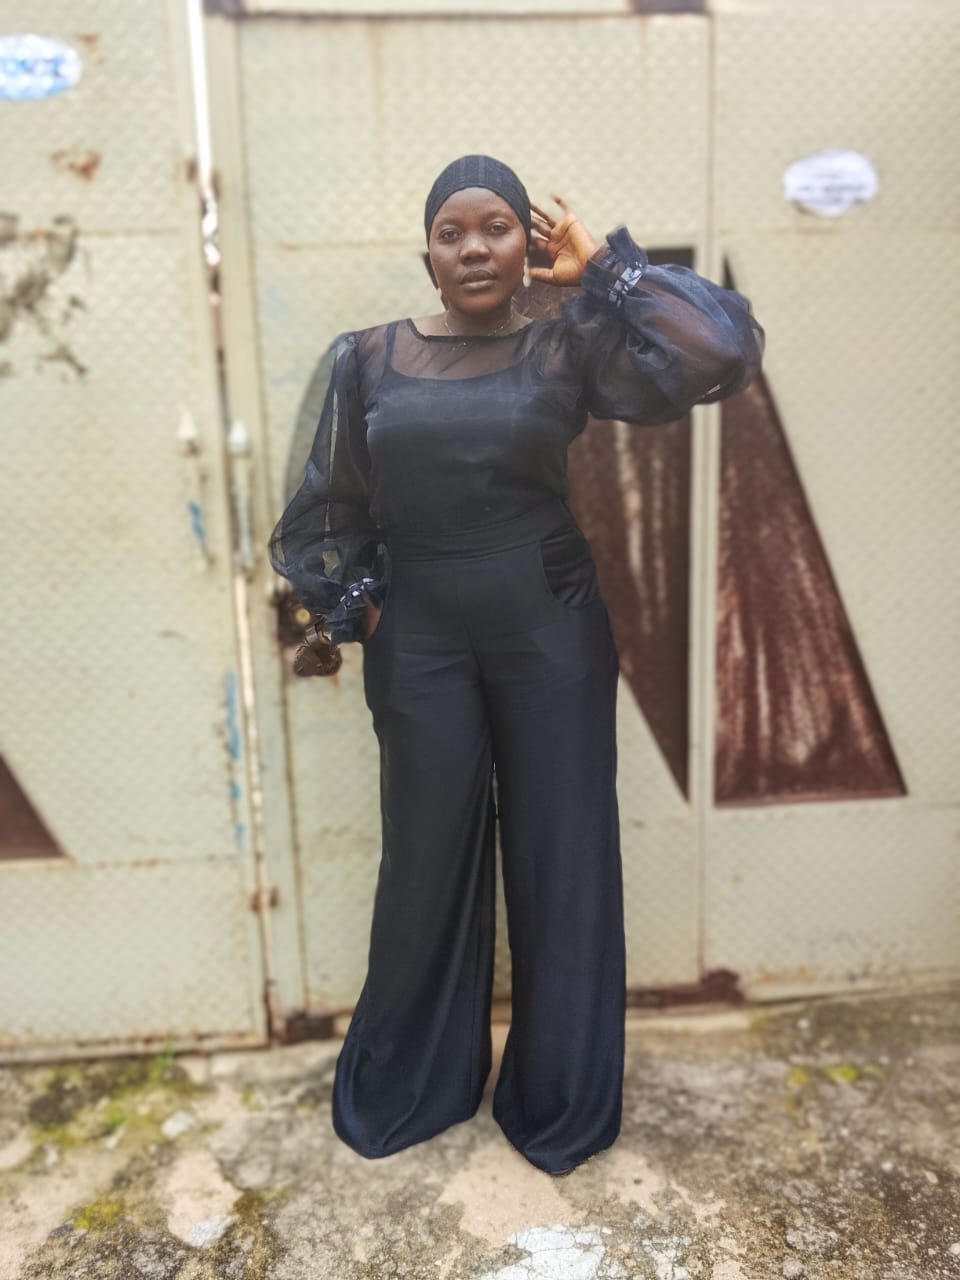
Here is the final looks on her.
Thank you for checking on my post.