Hello hive, hello @diyhub , hope your day is going well ? I still remain Jedieljonathan, and today I will be sharing with you how I made this six pieces top, and it's going to be use on wrapper.
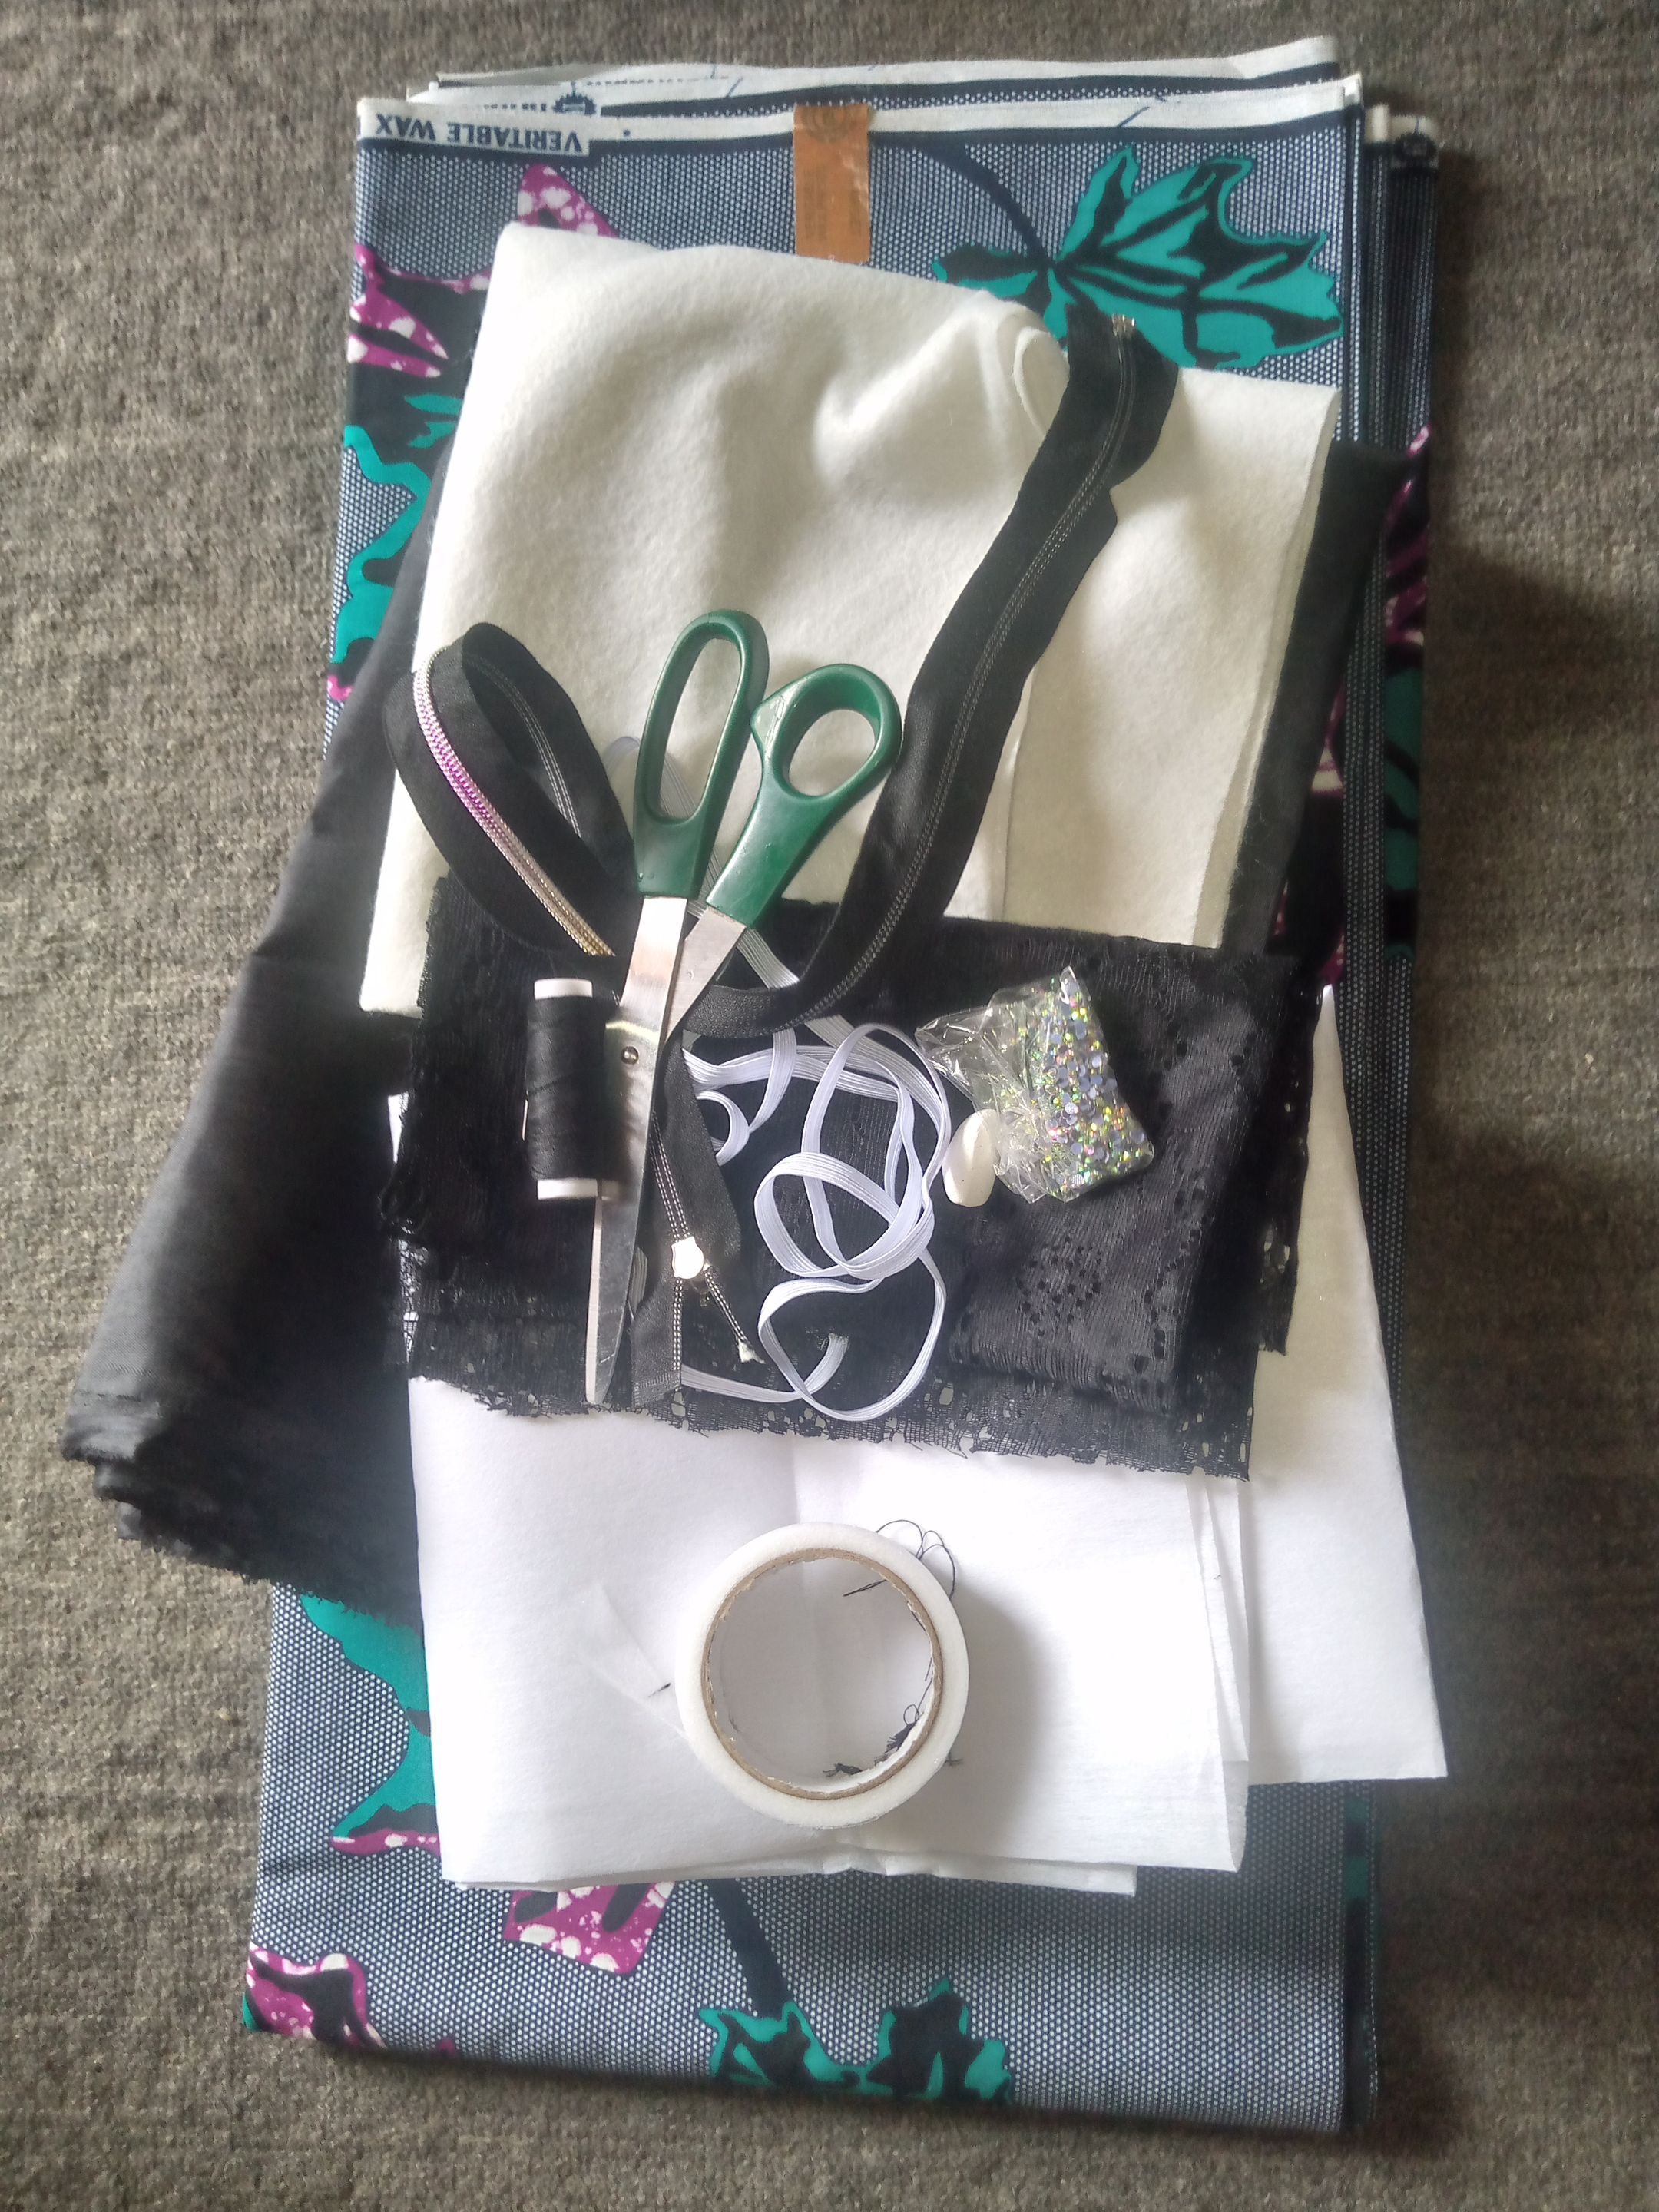
Material needed, Ankara fabric, lining, zip, gum still, stone, breast part, tape, chalk, scissor, aiming gum, Elastic band, and tread.
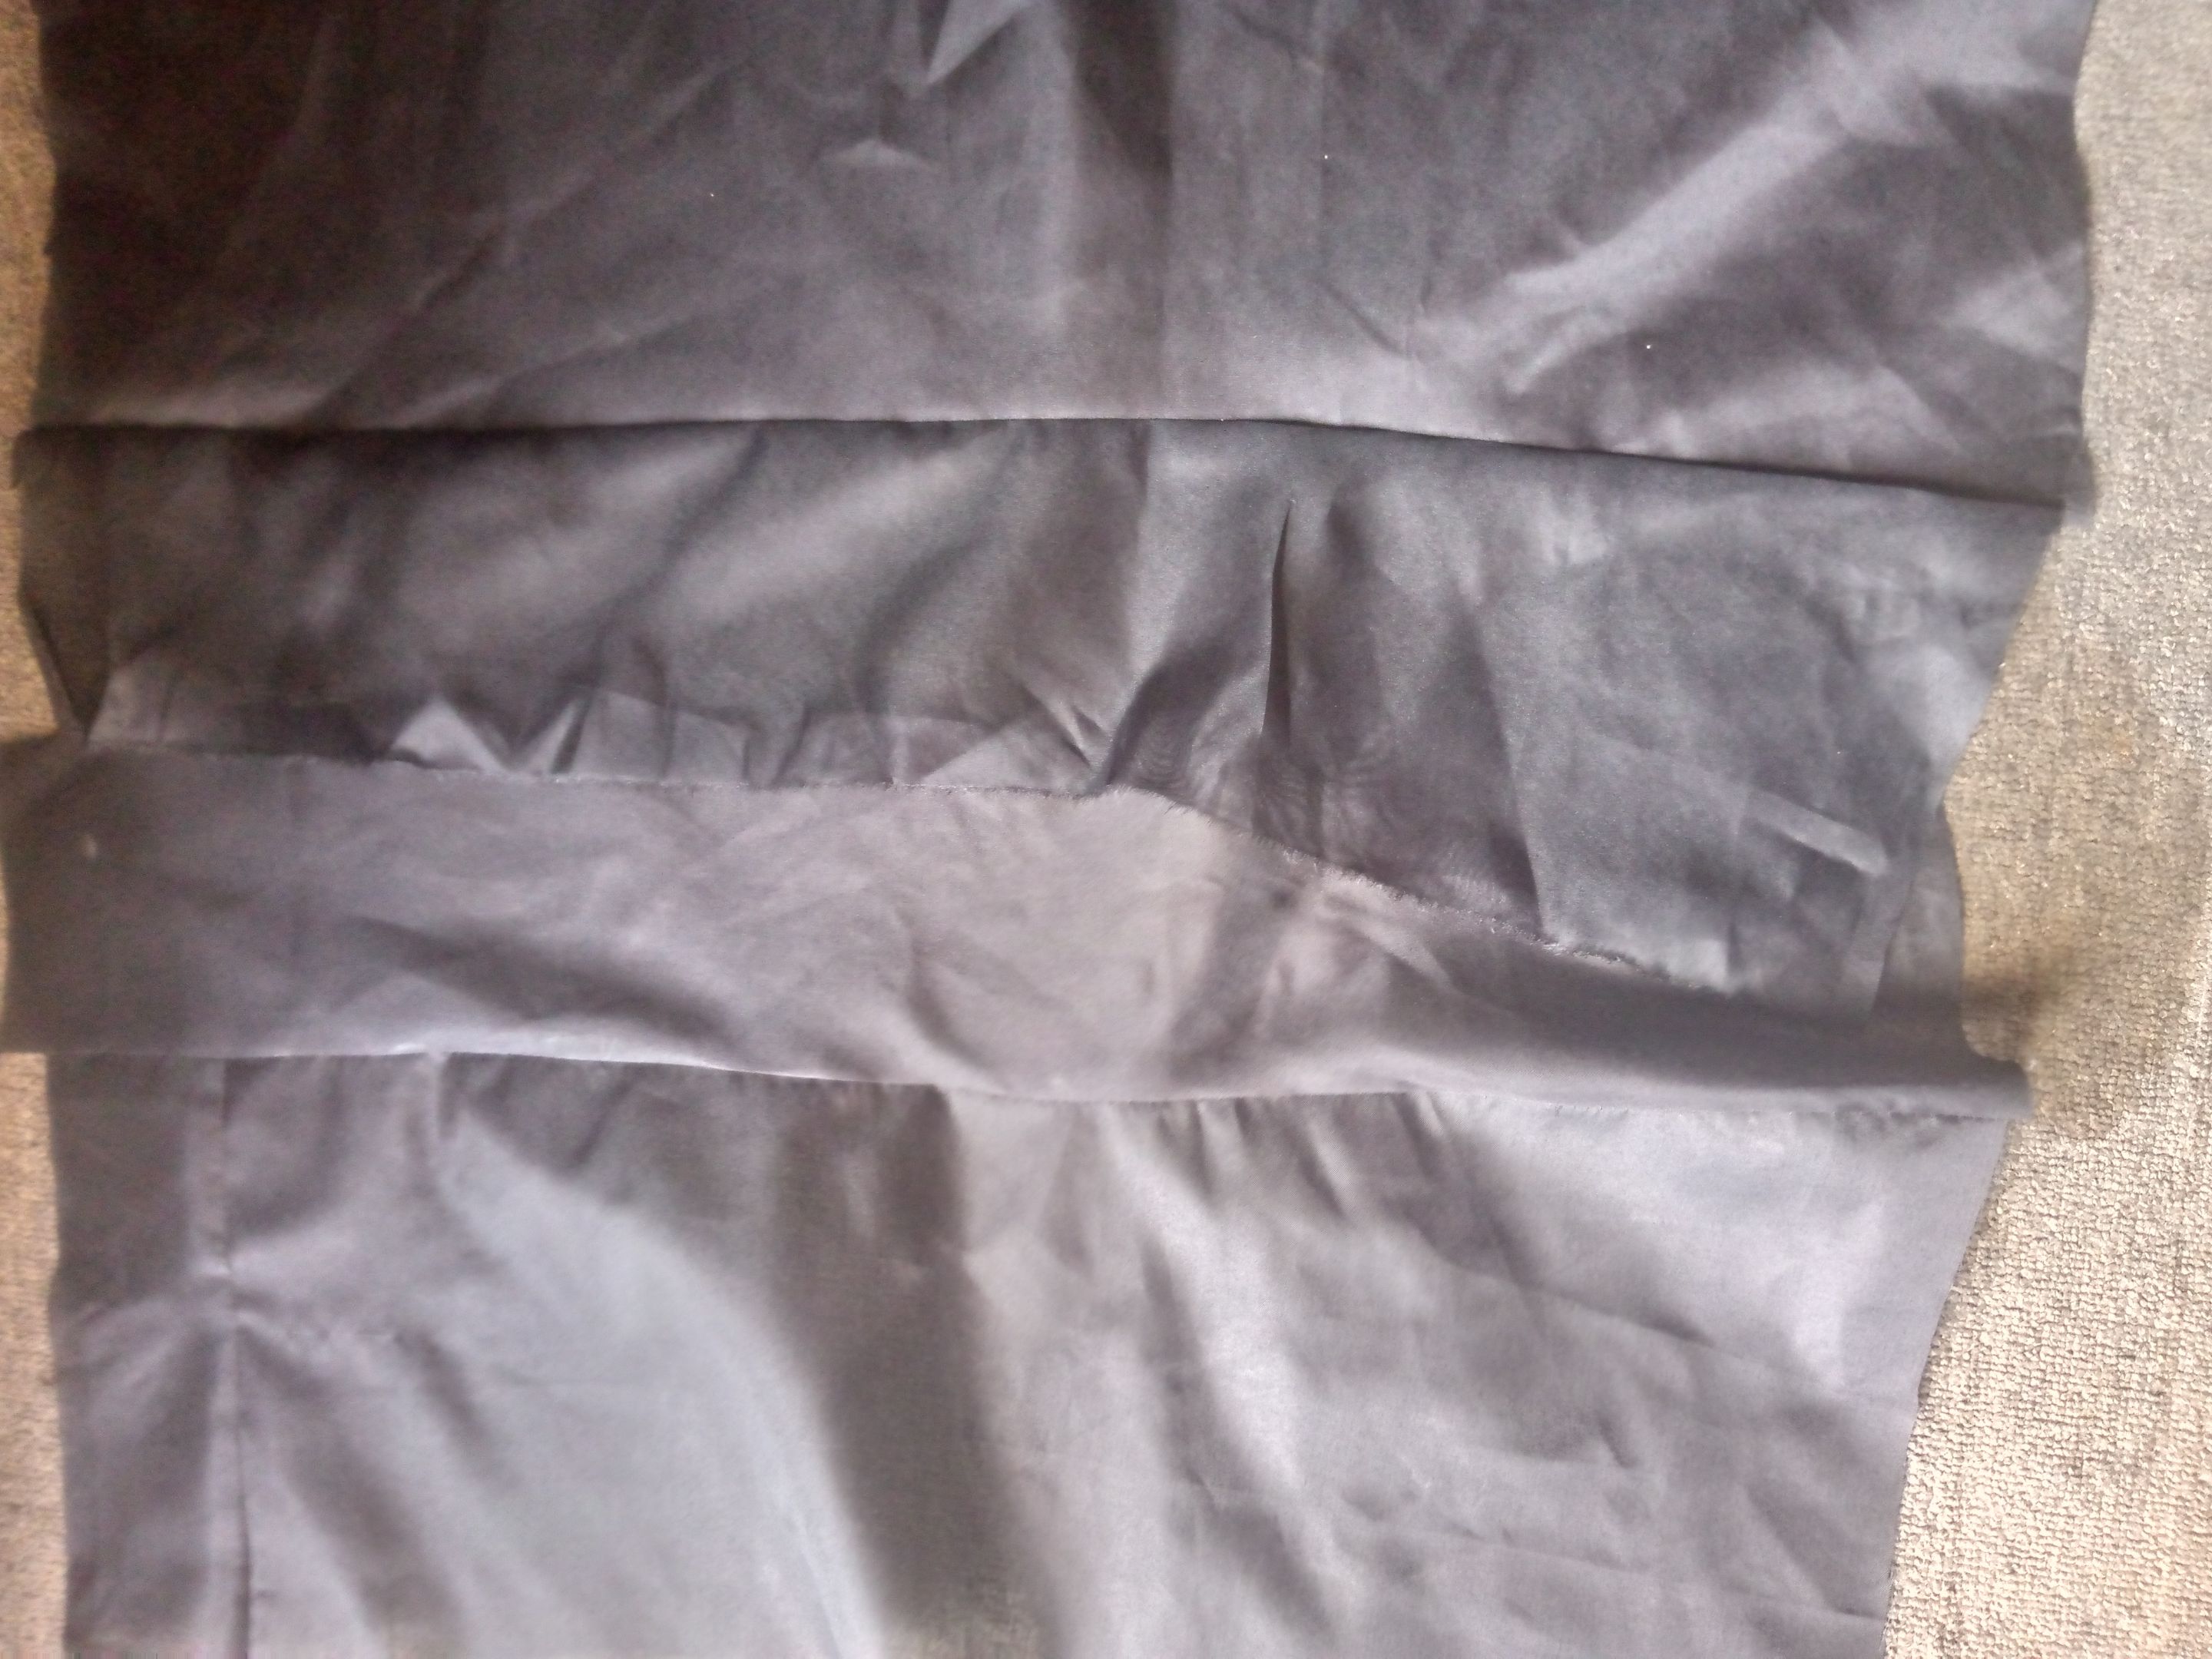
I started by cutting the back side, now I measure out the full length by twenty six inches, and I started with the middle part, then I measure out sixteen inches from the top, that's where the opening will start Trace with my chalk and cut out.
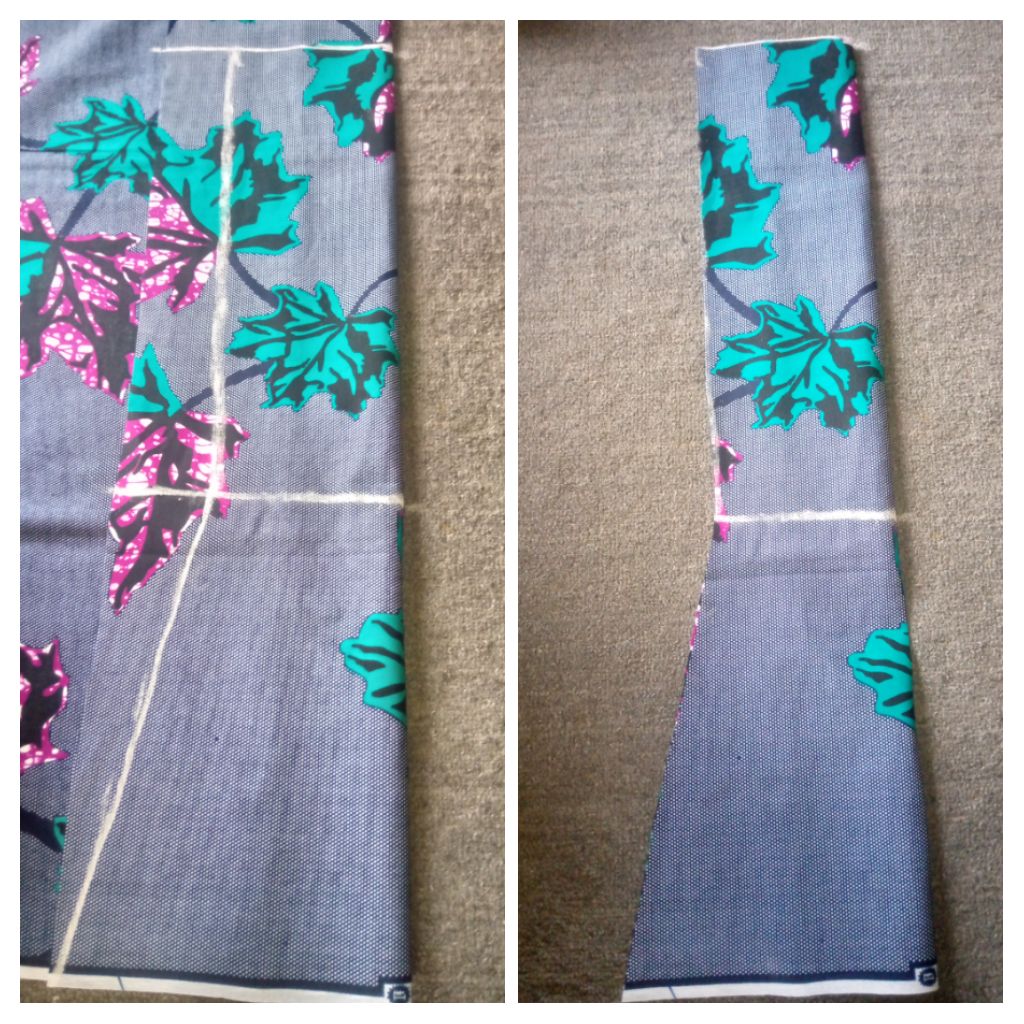
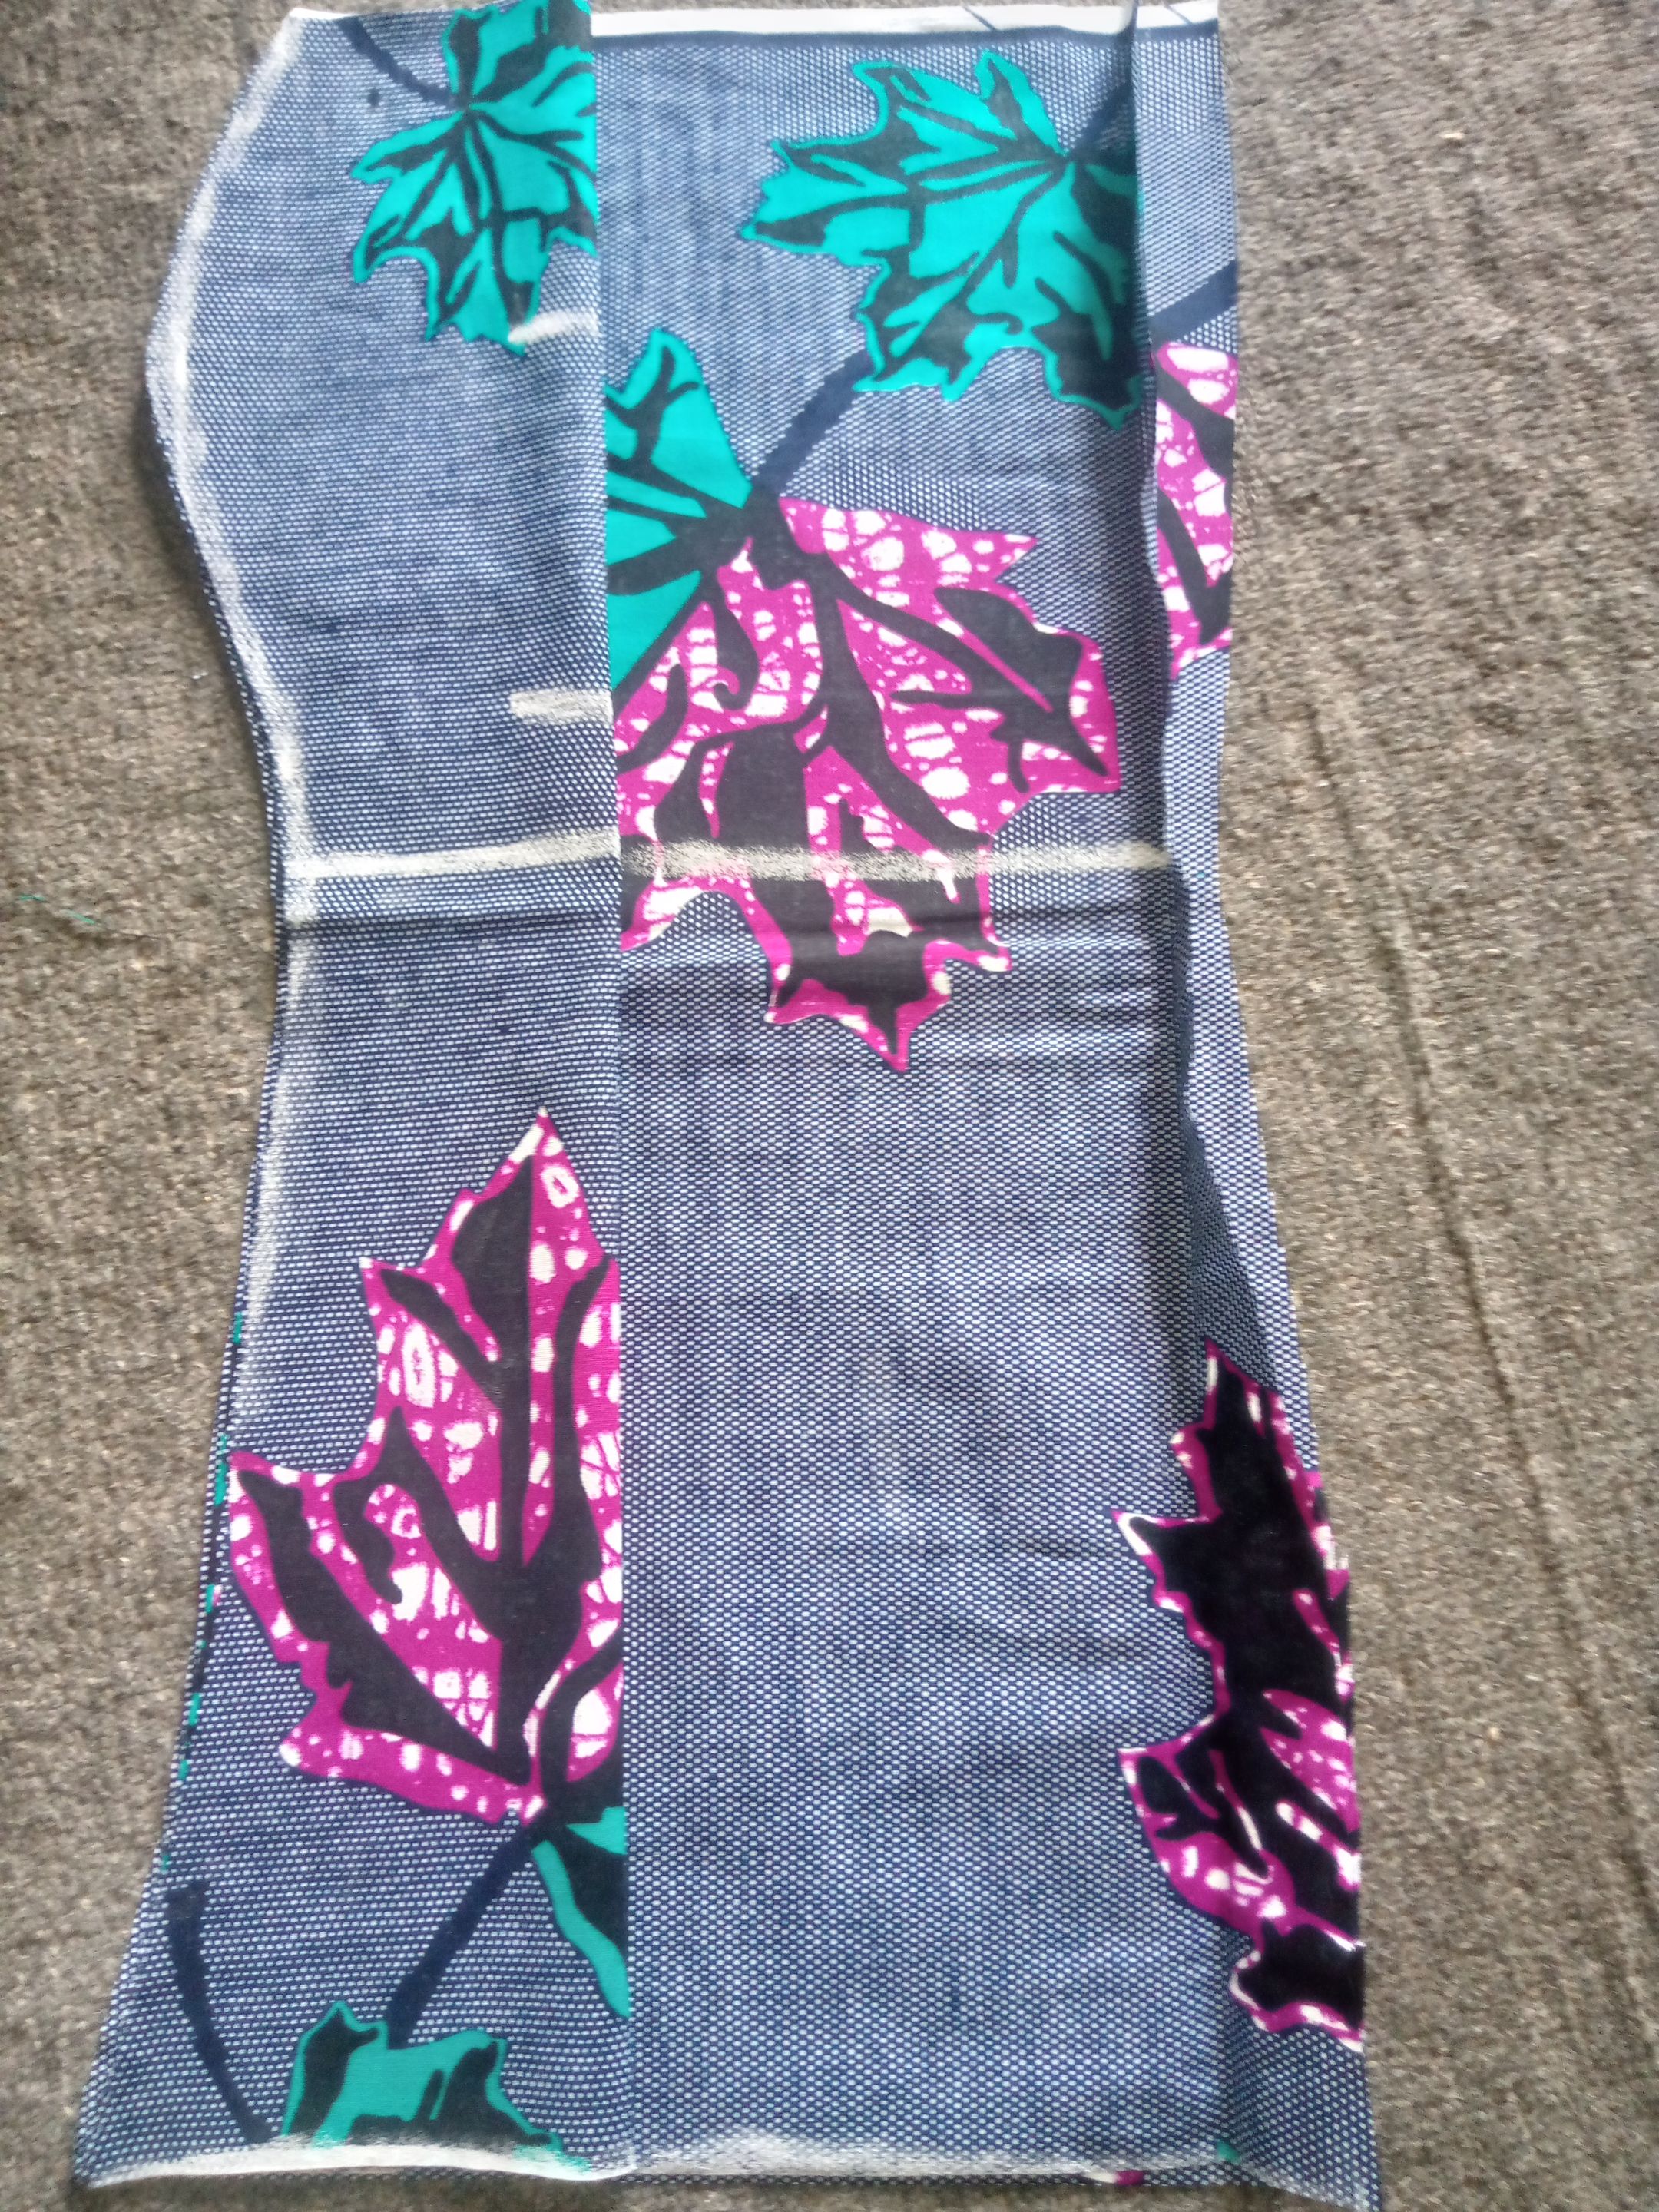
Then I placed the middle part on the other side of the fabric and give out a ten inches allowance and then I cut it out.
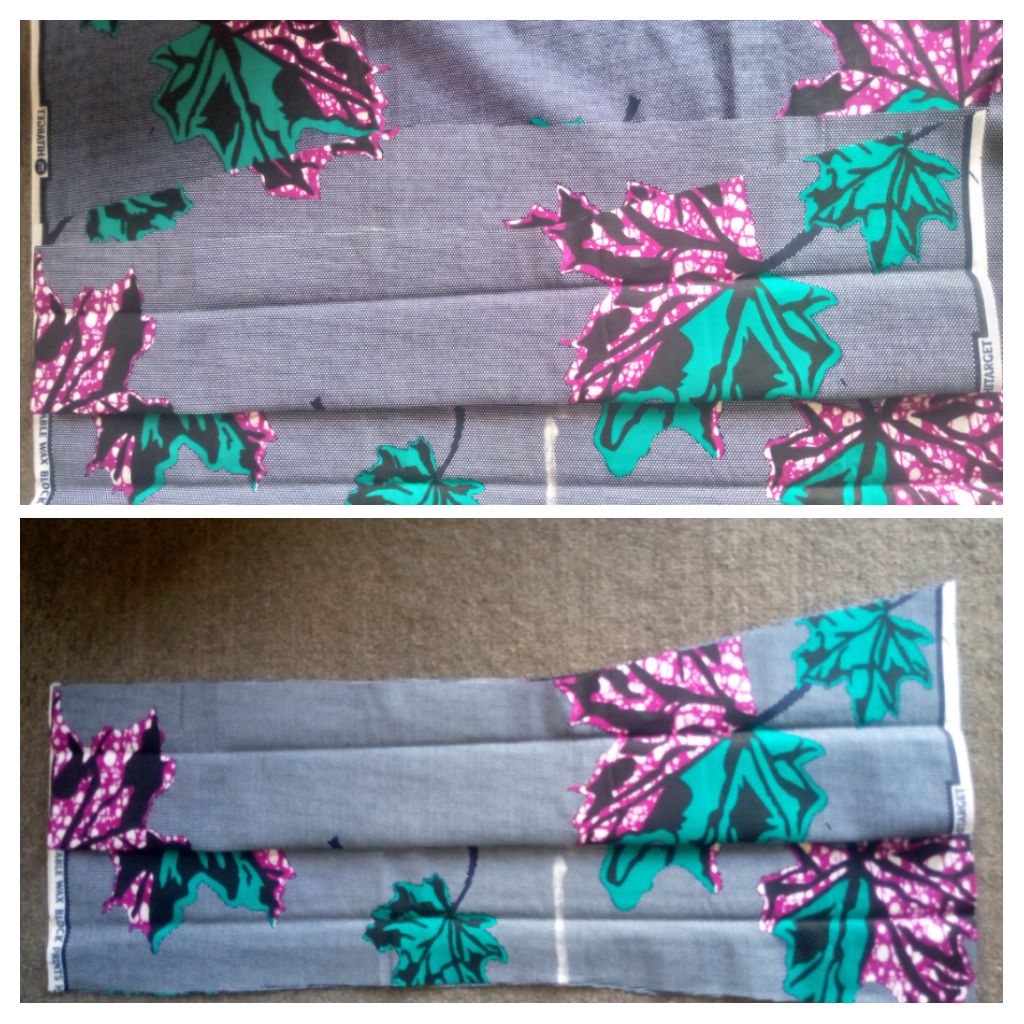
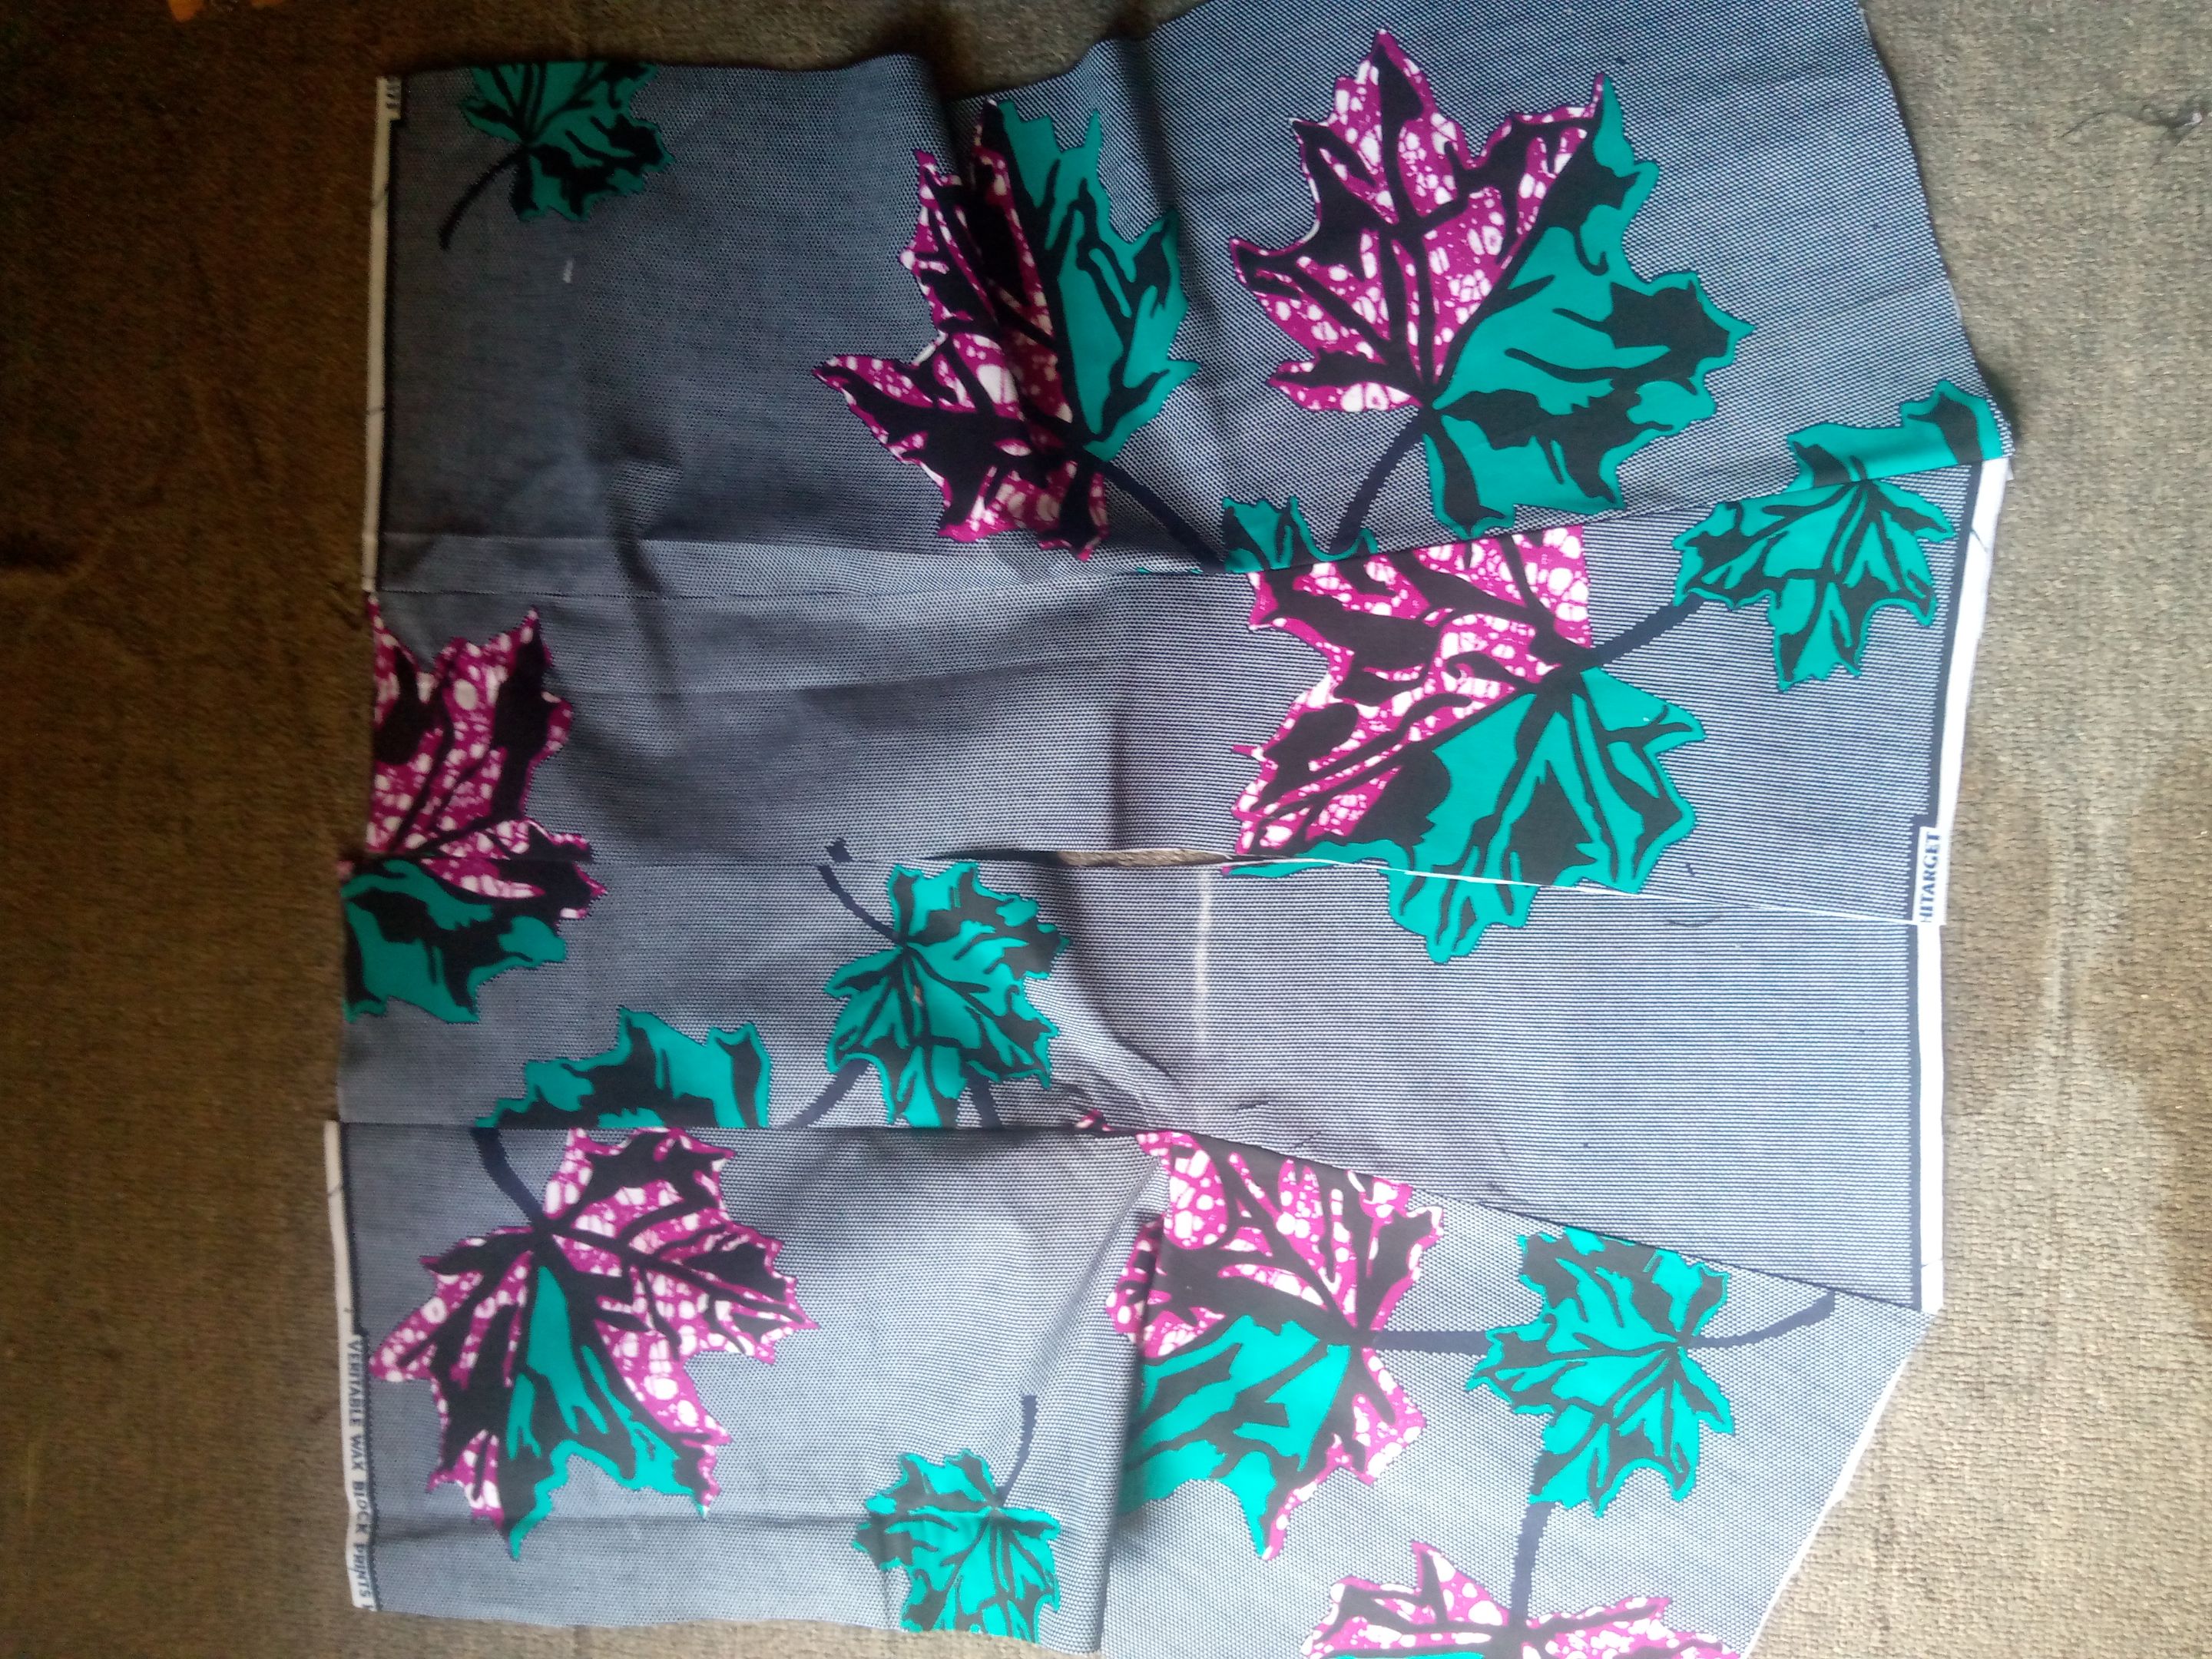
Then I proceed to cut the front part, I folded my fabric by two, and I removed six inches from the top, I will be adding lace at the top, then I measure eight from the top and I divided the the middle which will be four inches from the top, then at the top, I put in three inches for the width, the middle which is the burst point is four inches and then the under burst is also there inches and from there your opening will start, I trace it out with the chalk before cutting it out.
Then I placed it on the other side of the fabric and give out then inches allowance also and cut it out.
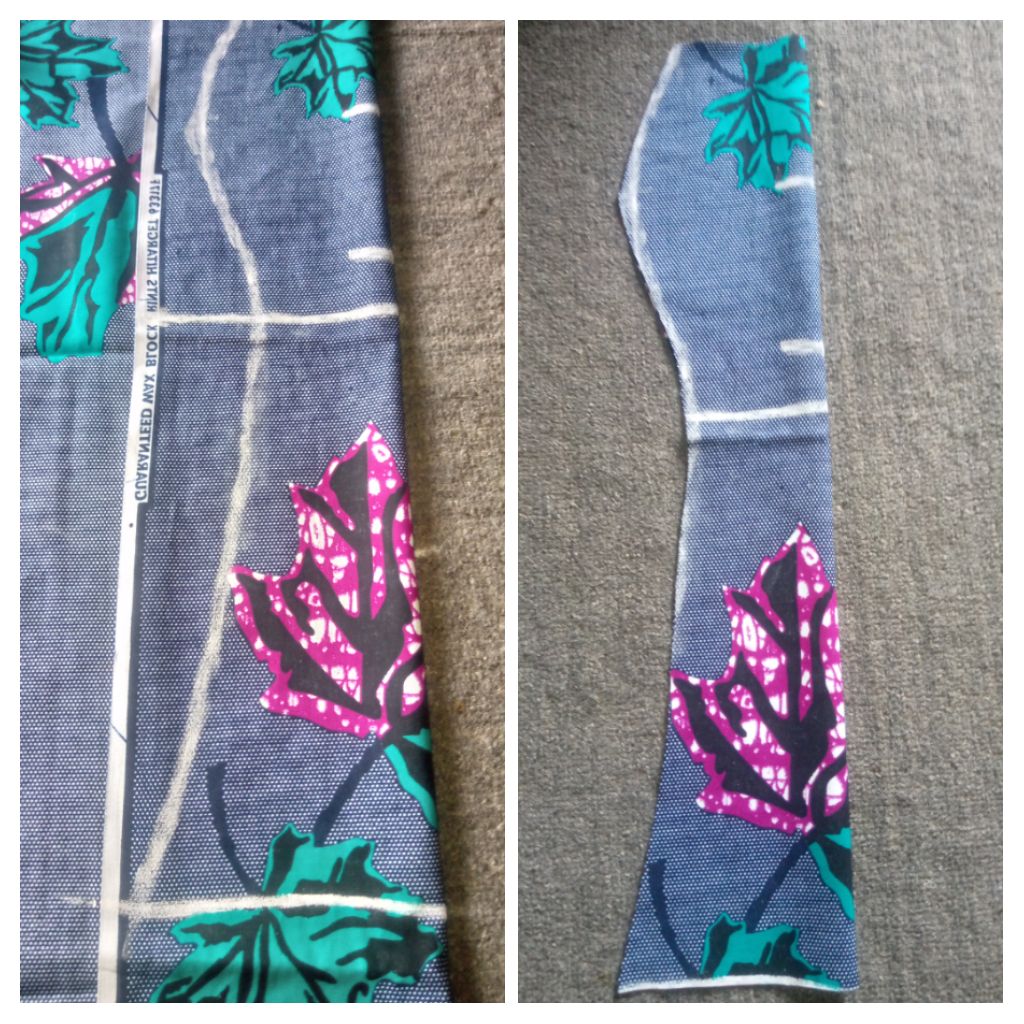
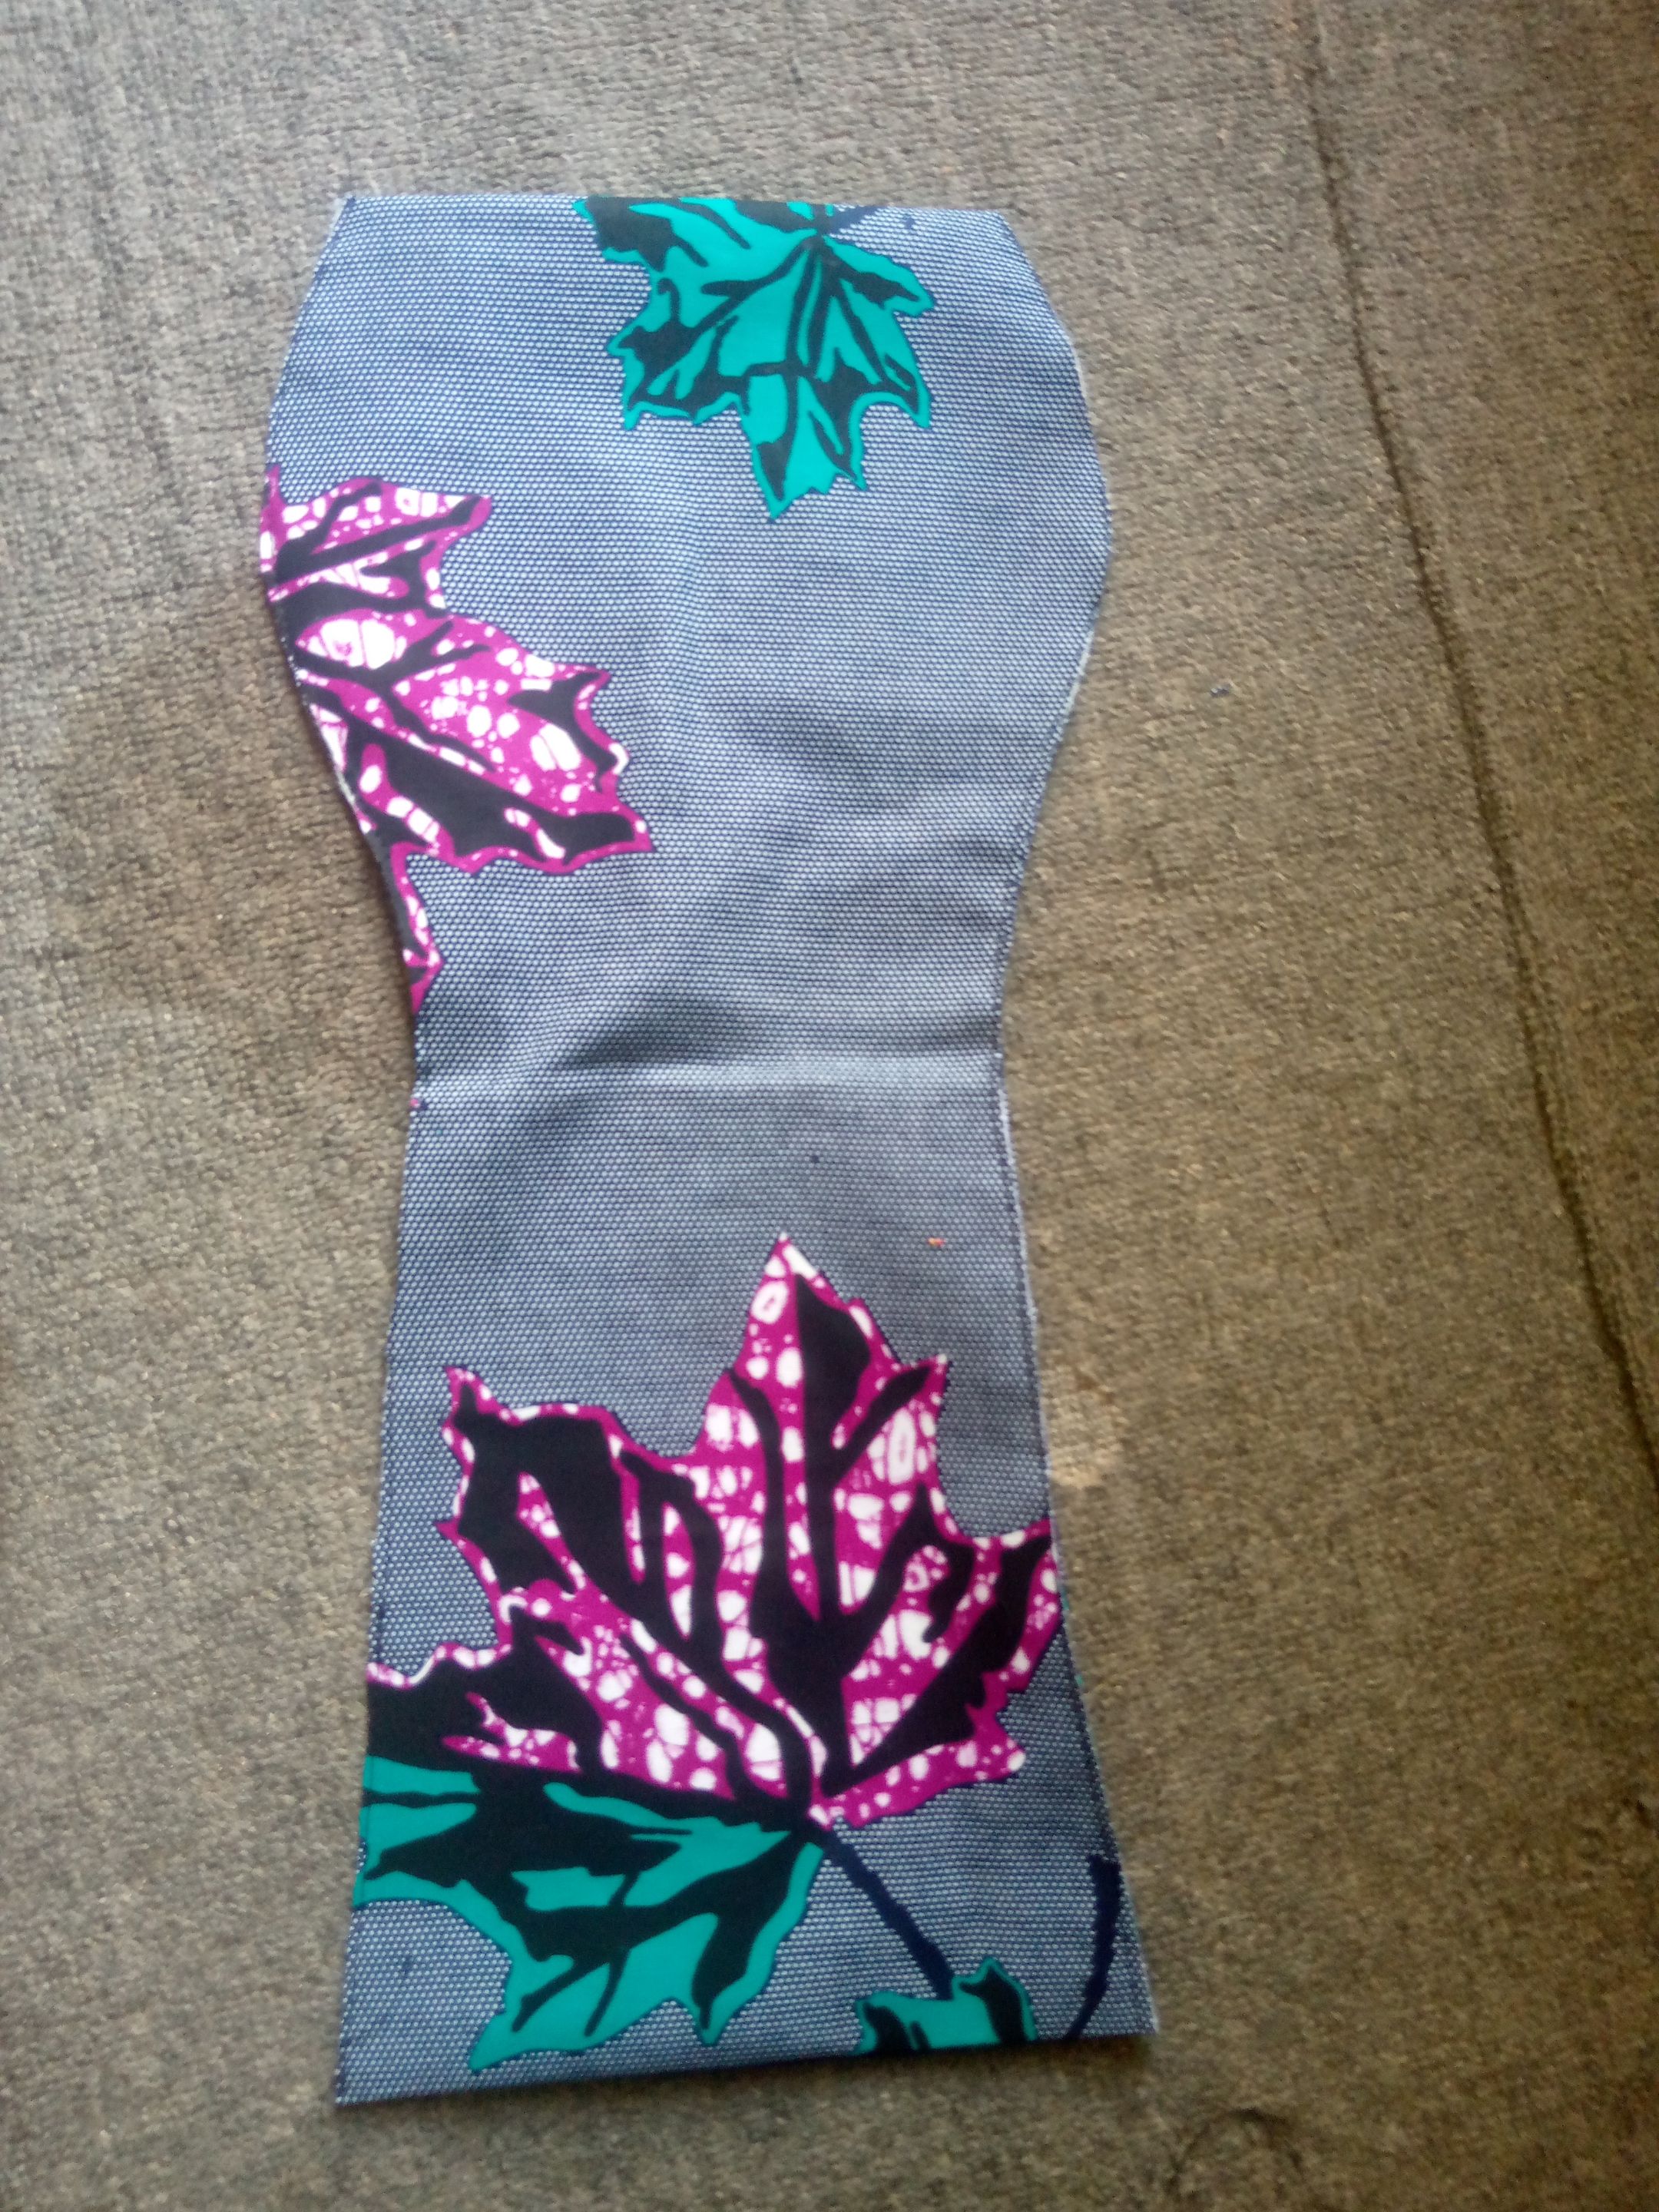
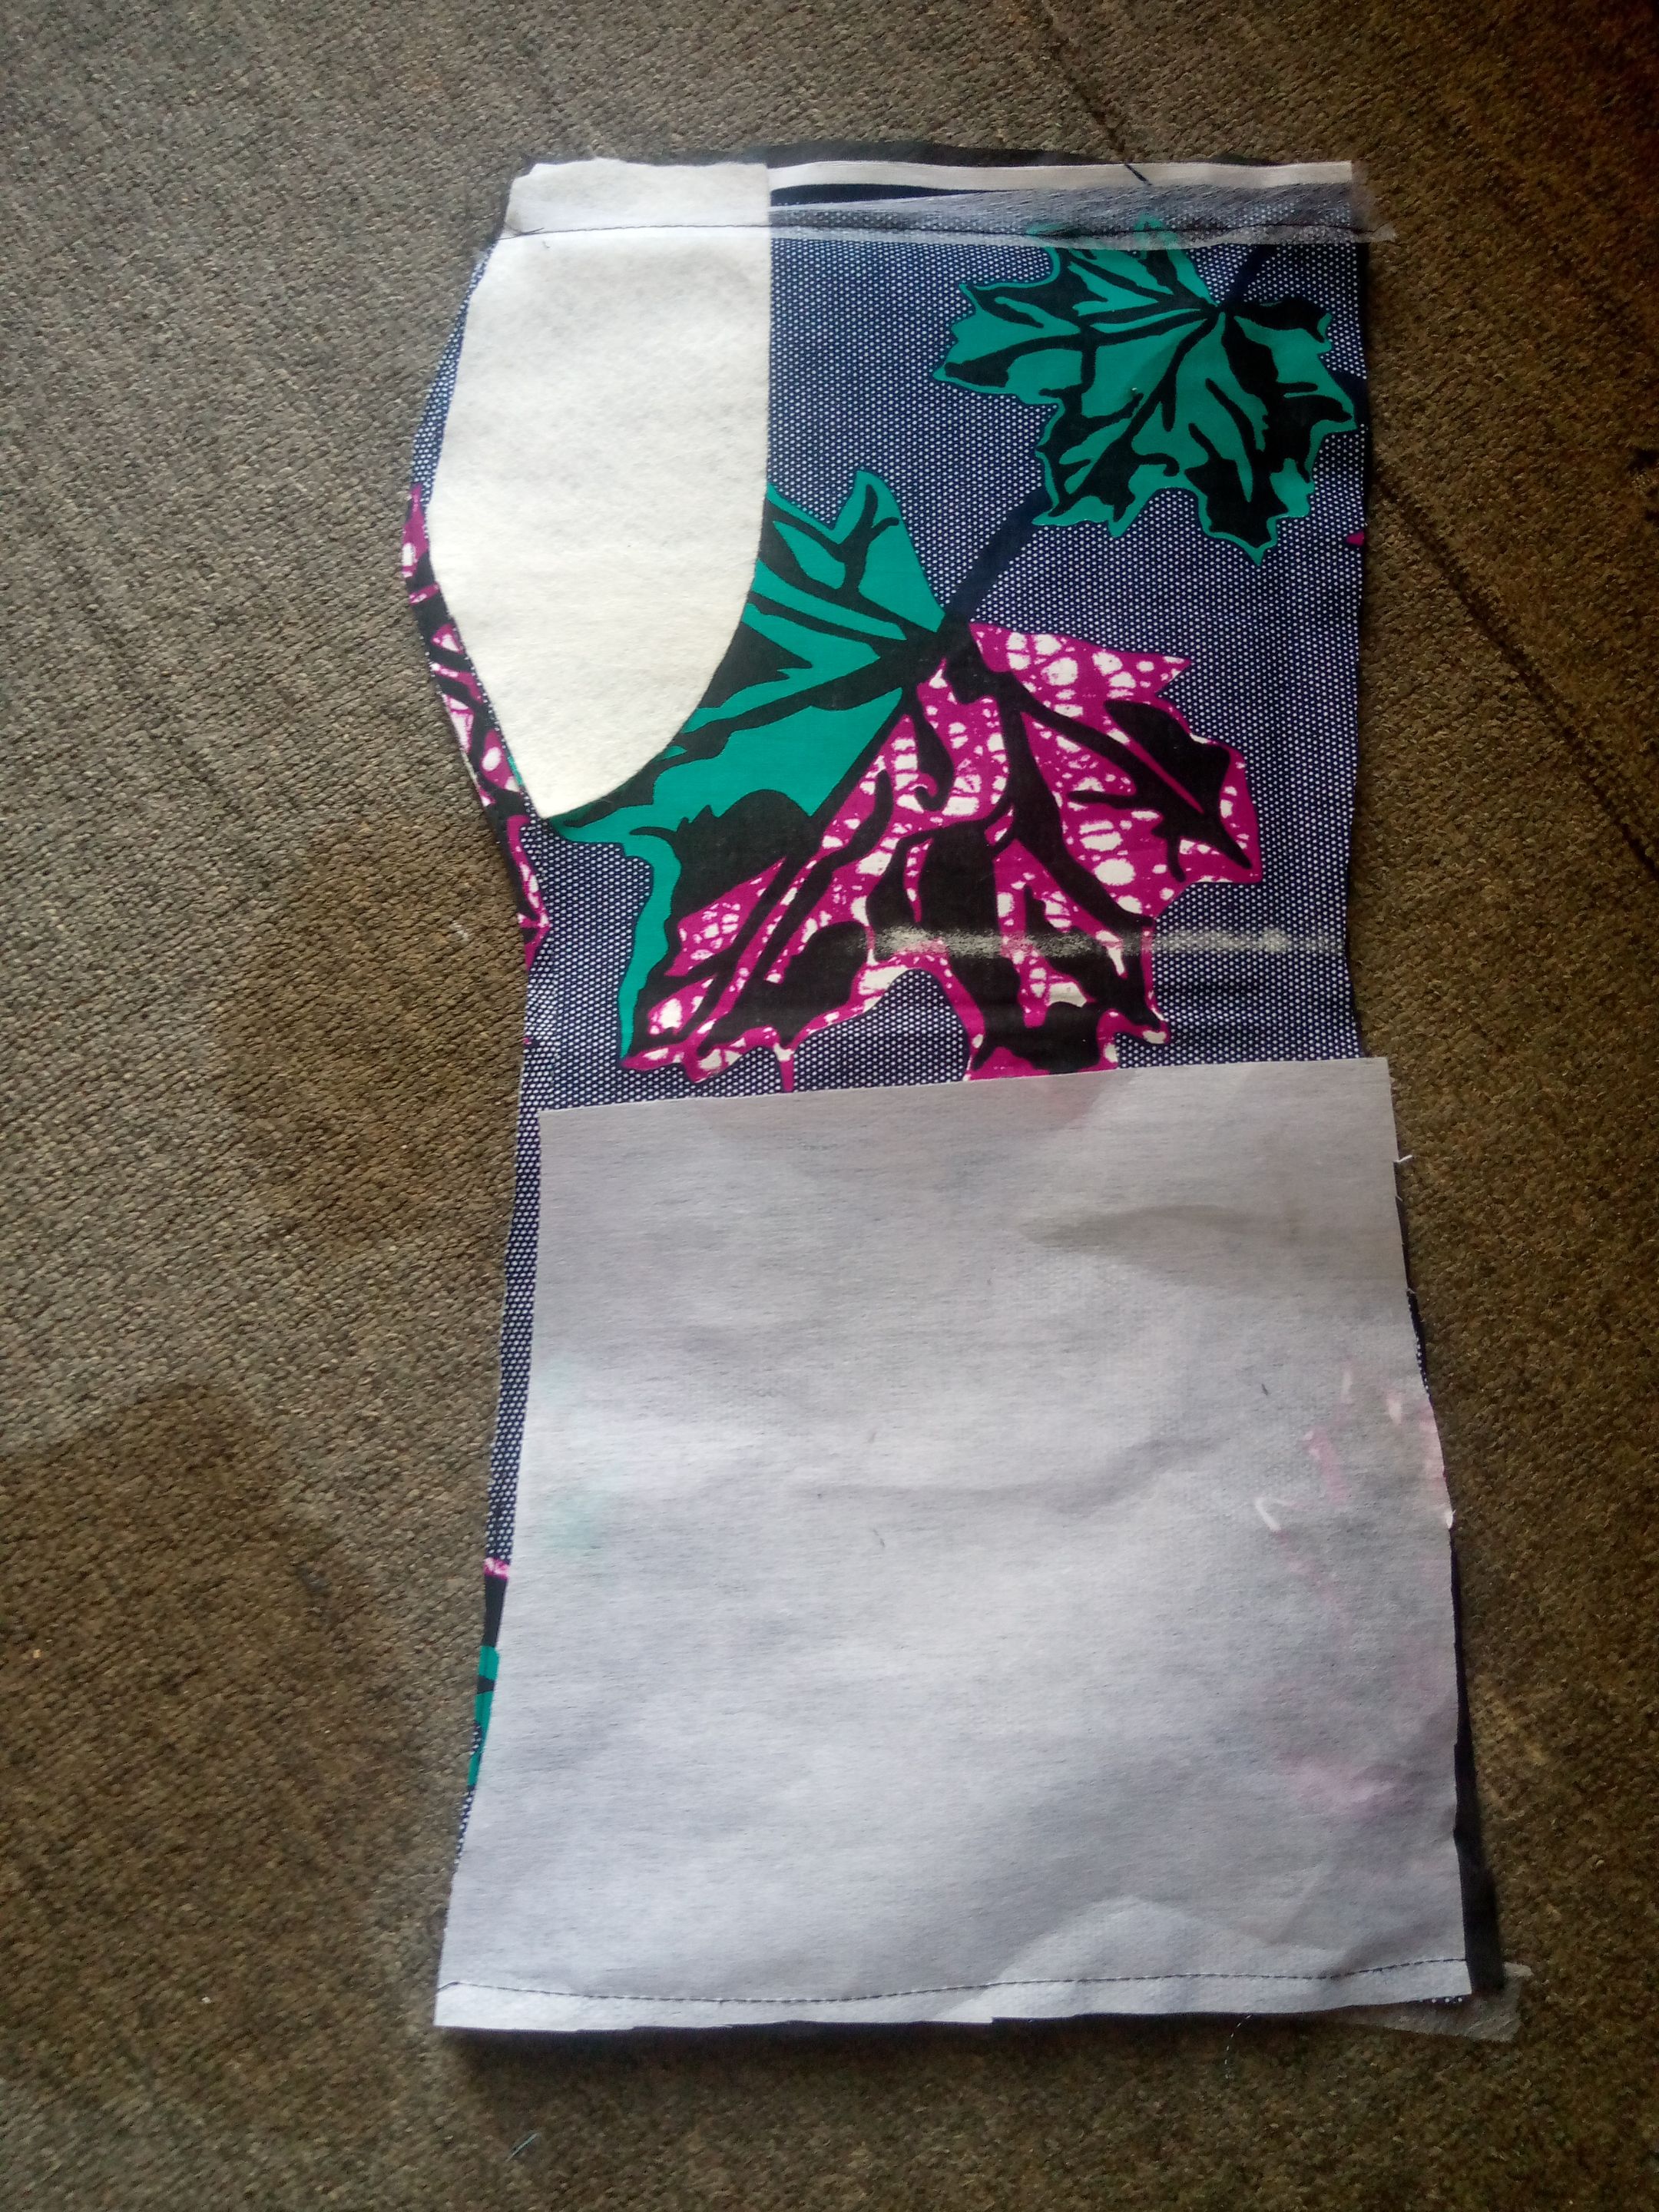
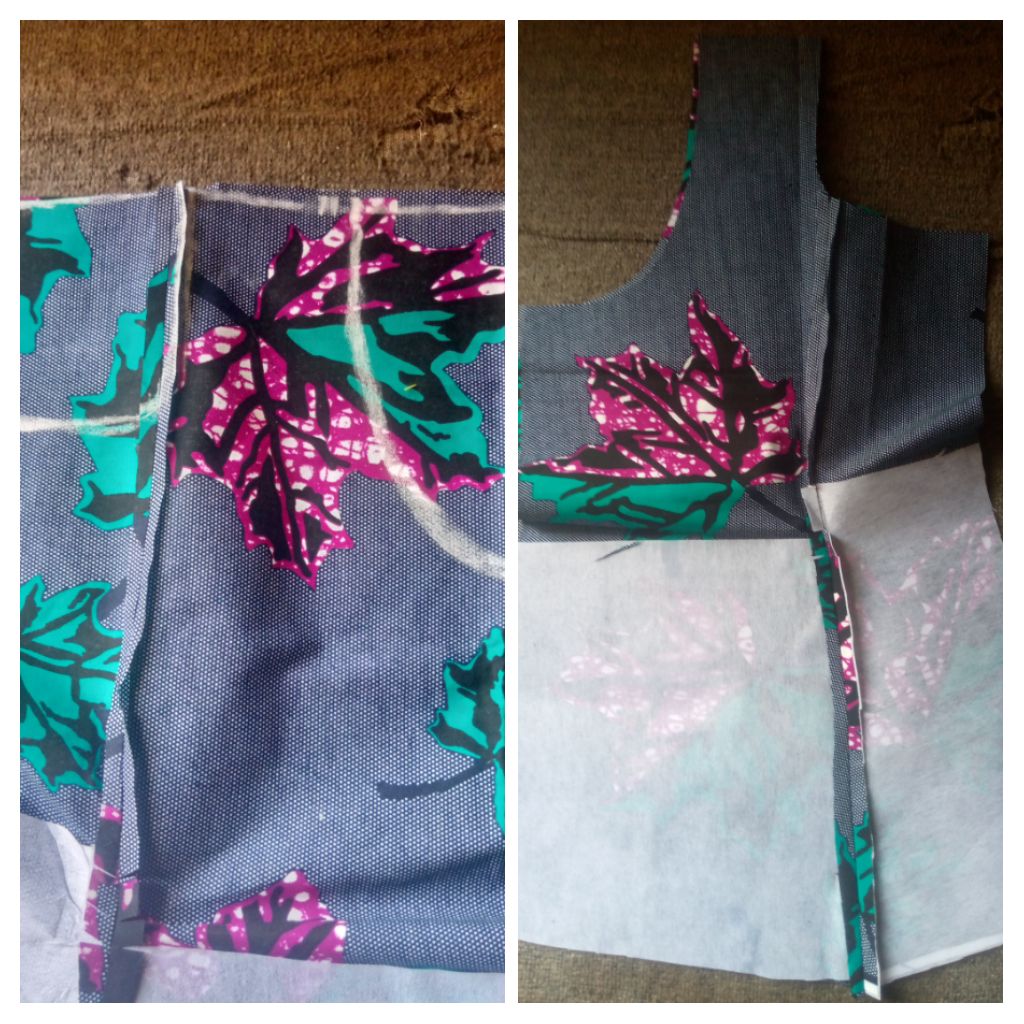
I cut out the hand using the fabric by twelve inches, and Brest foam.

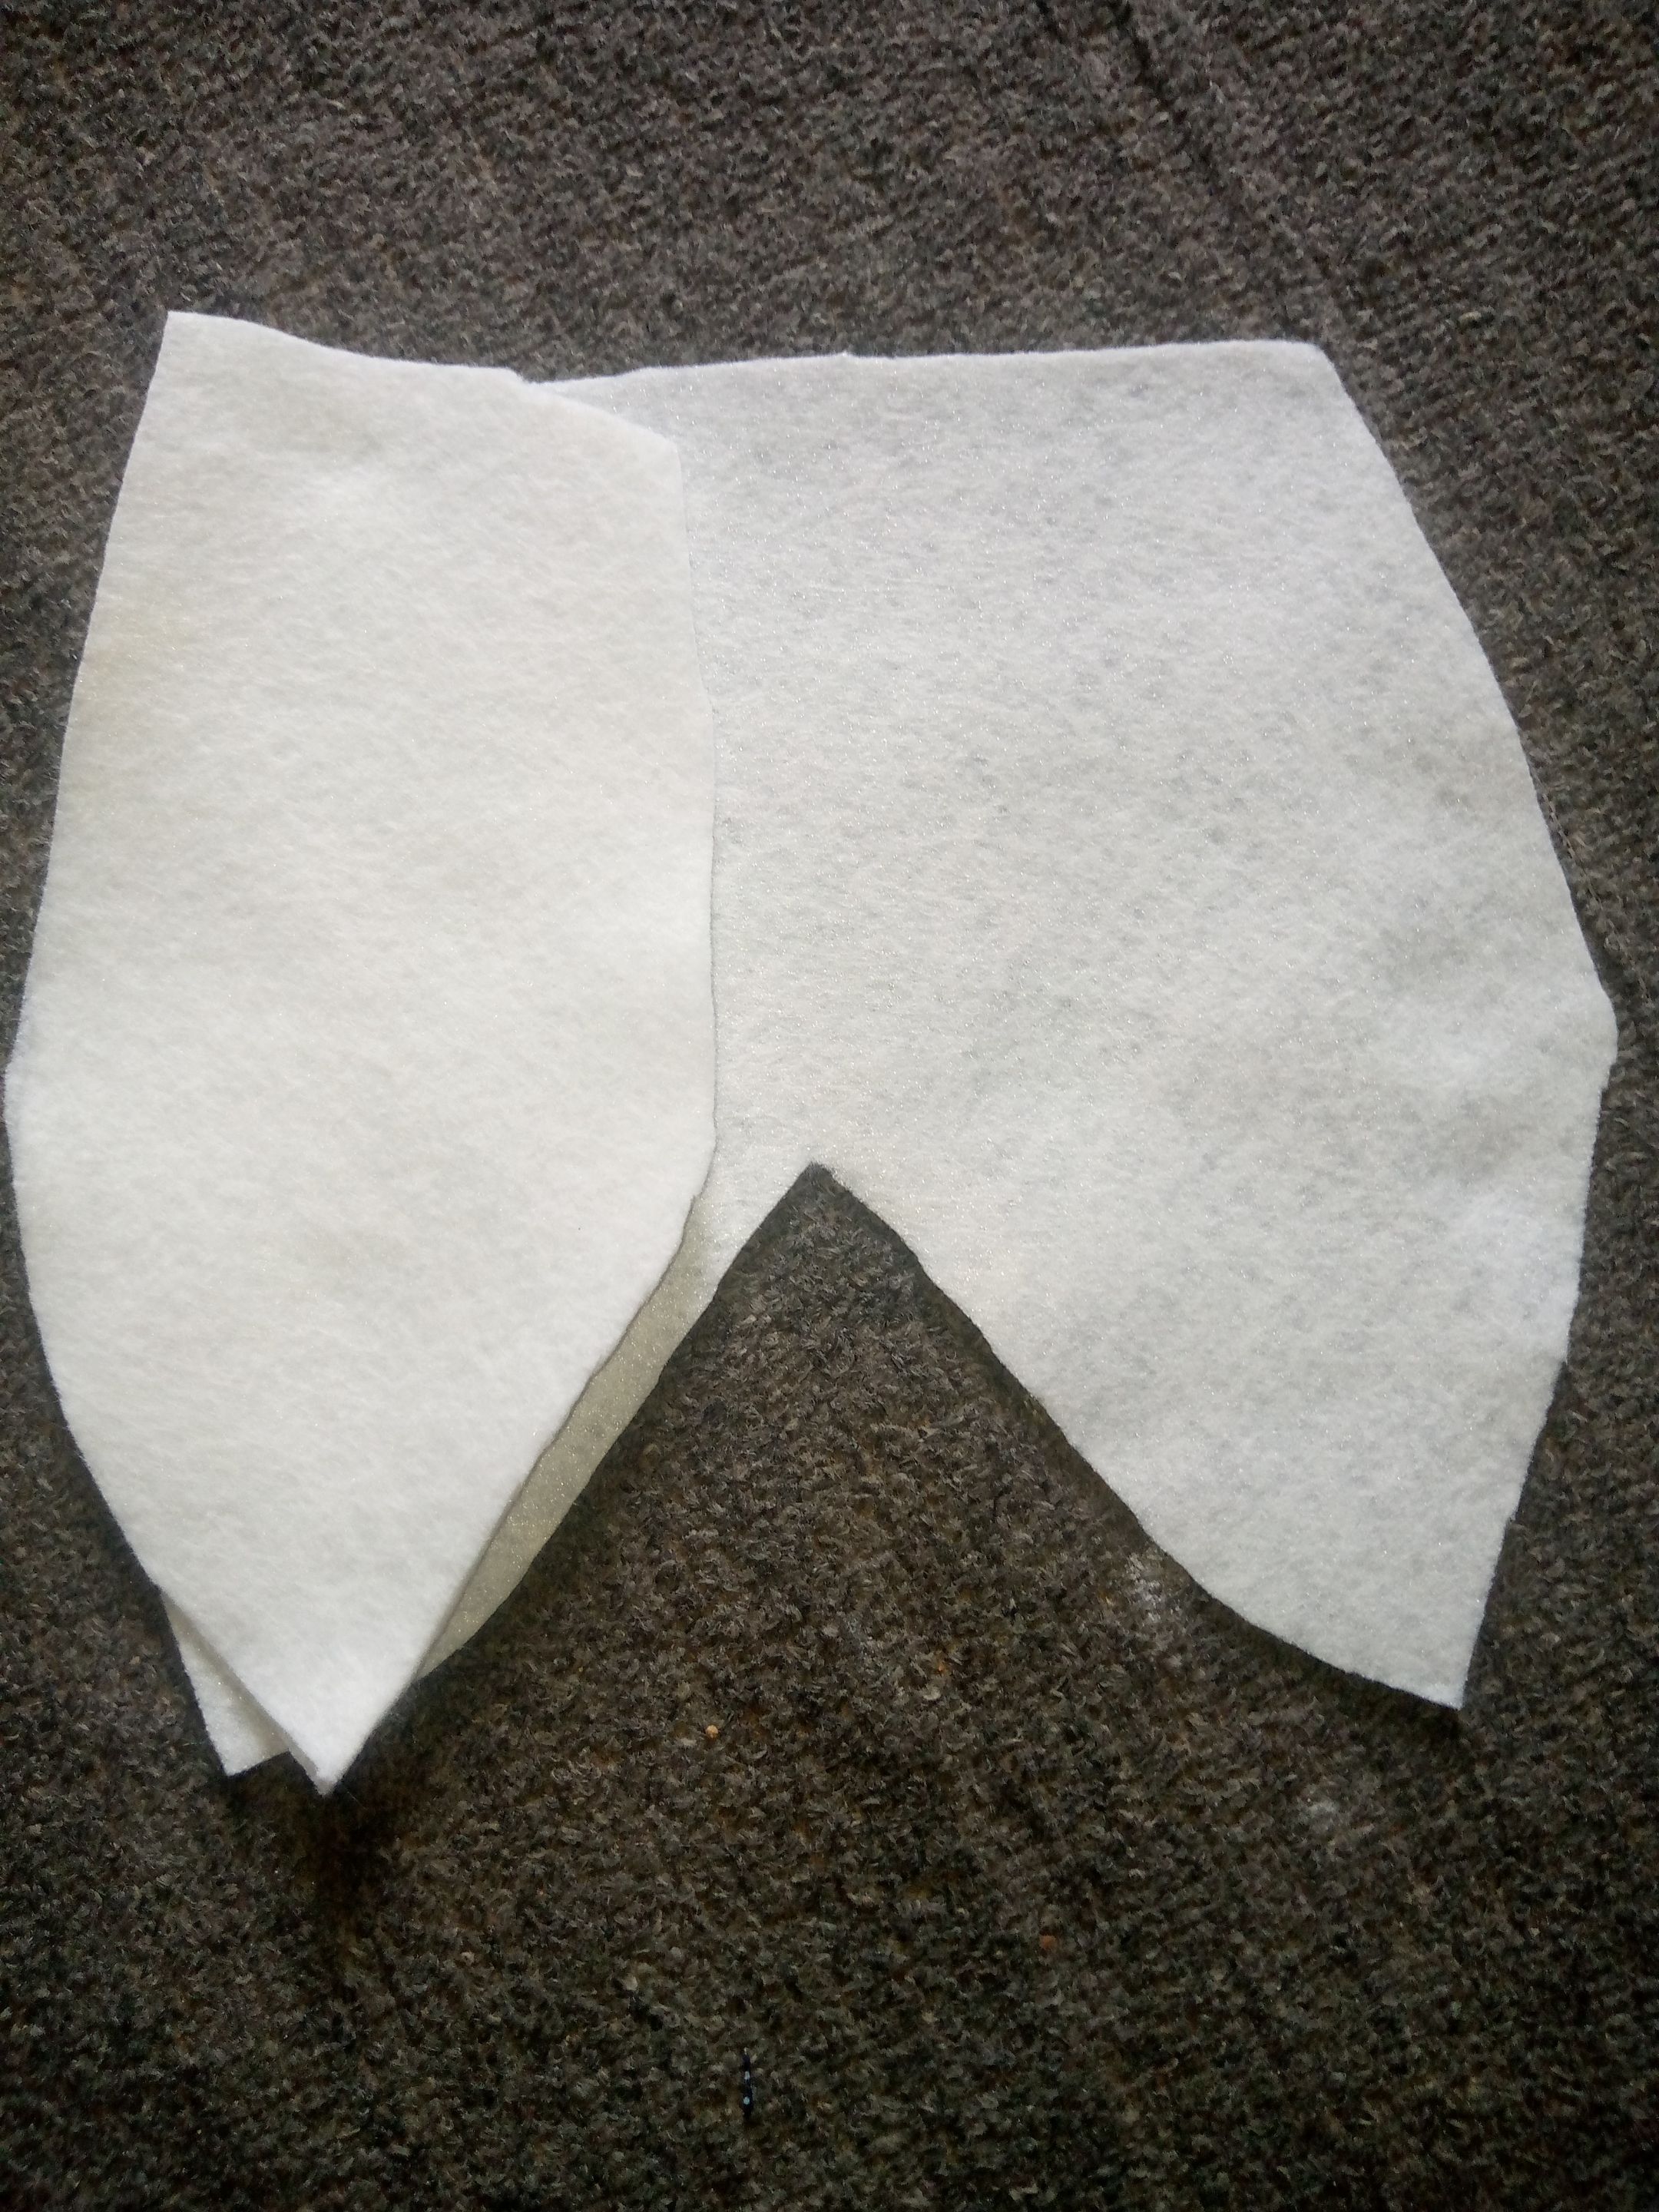
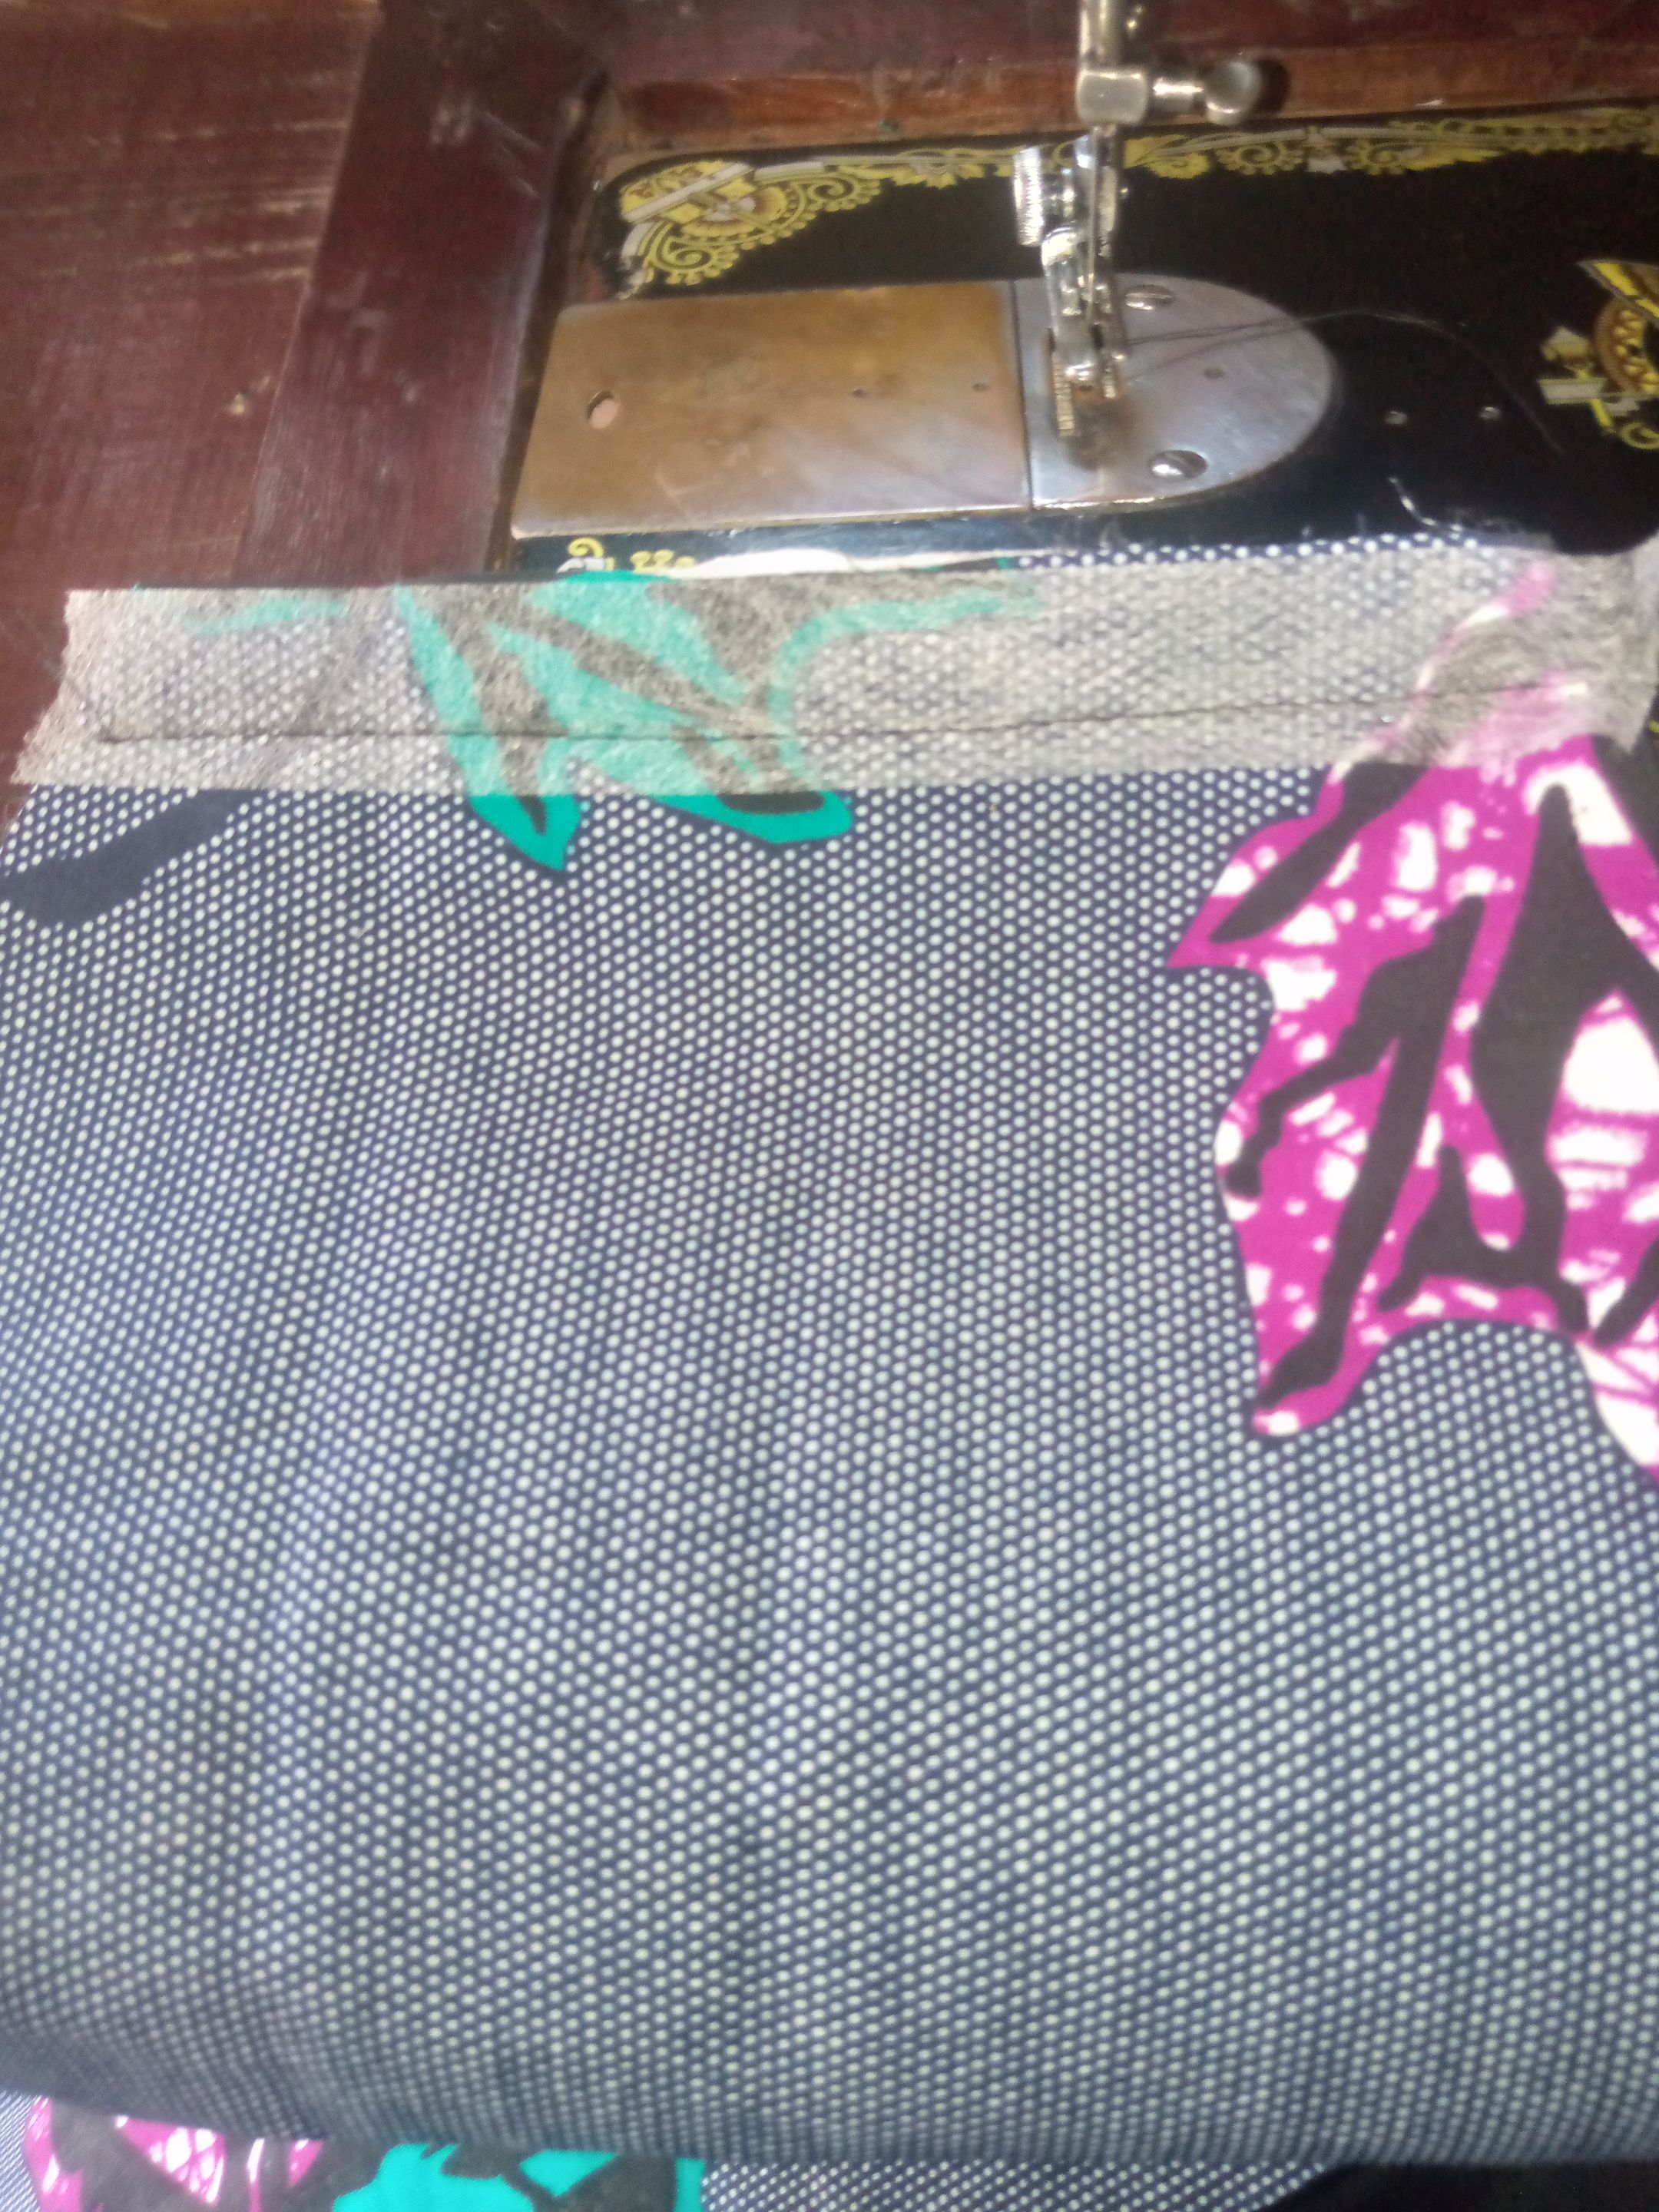
Now I proceed to cut out lining for each part and gum still, then I started by putting in the gum still at the down part of each of the pieces I cut including the back.

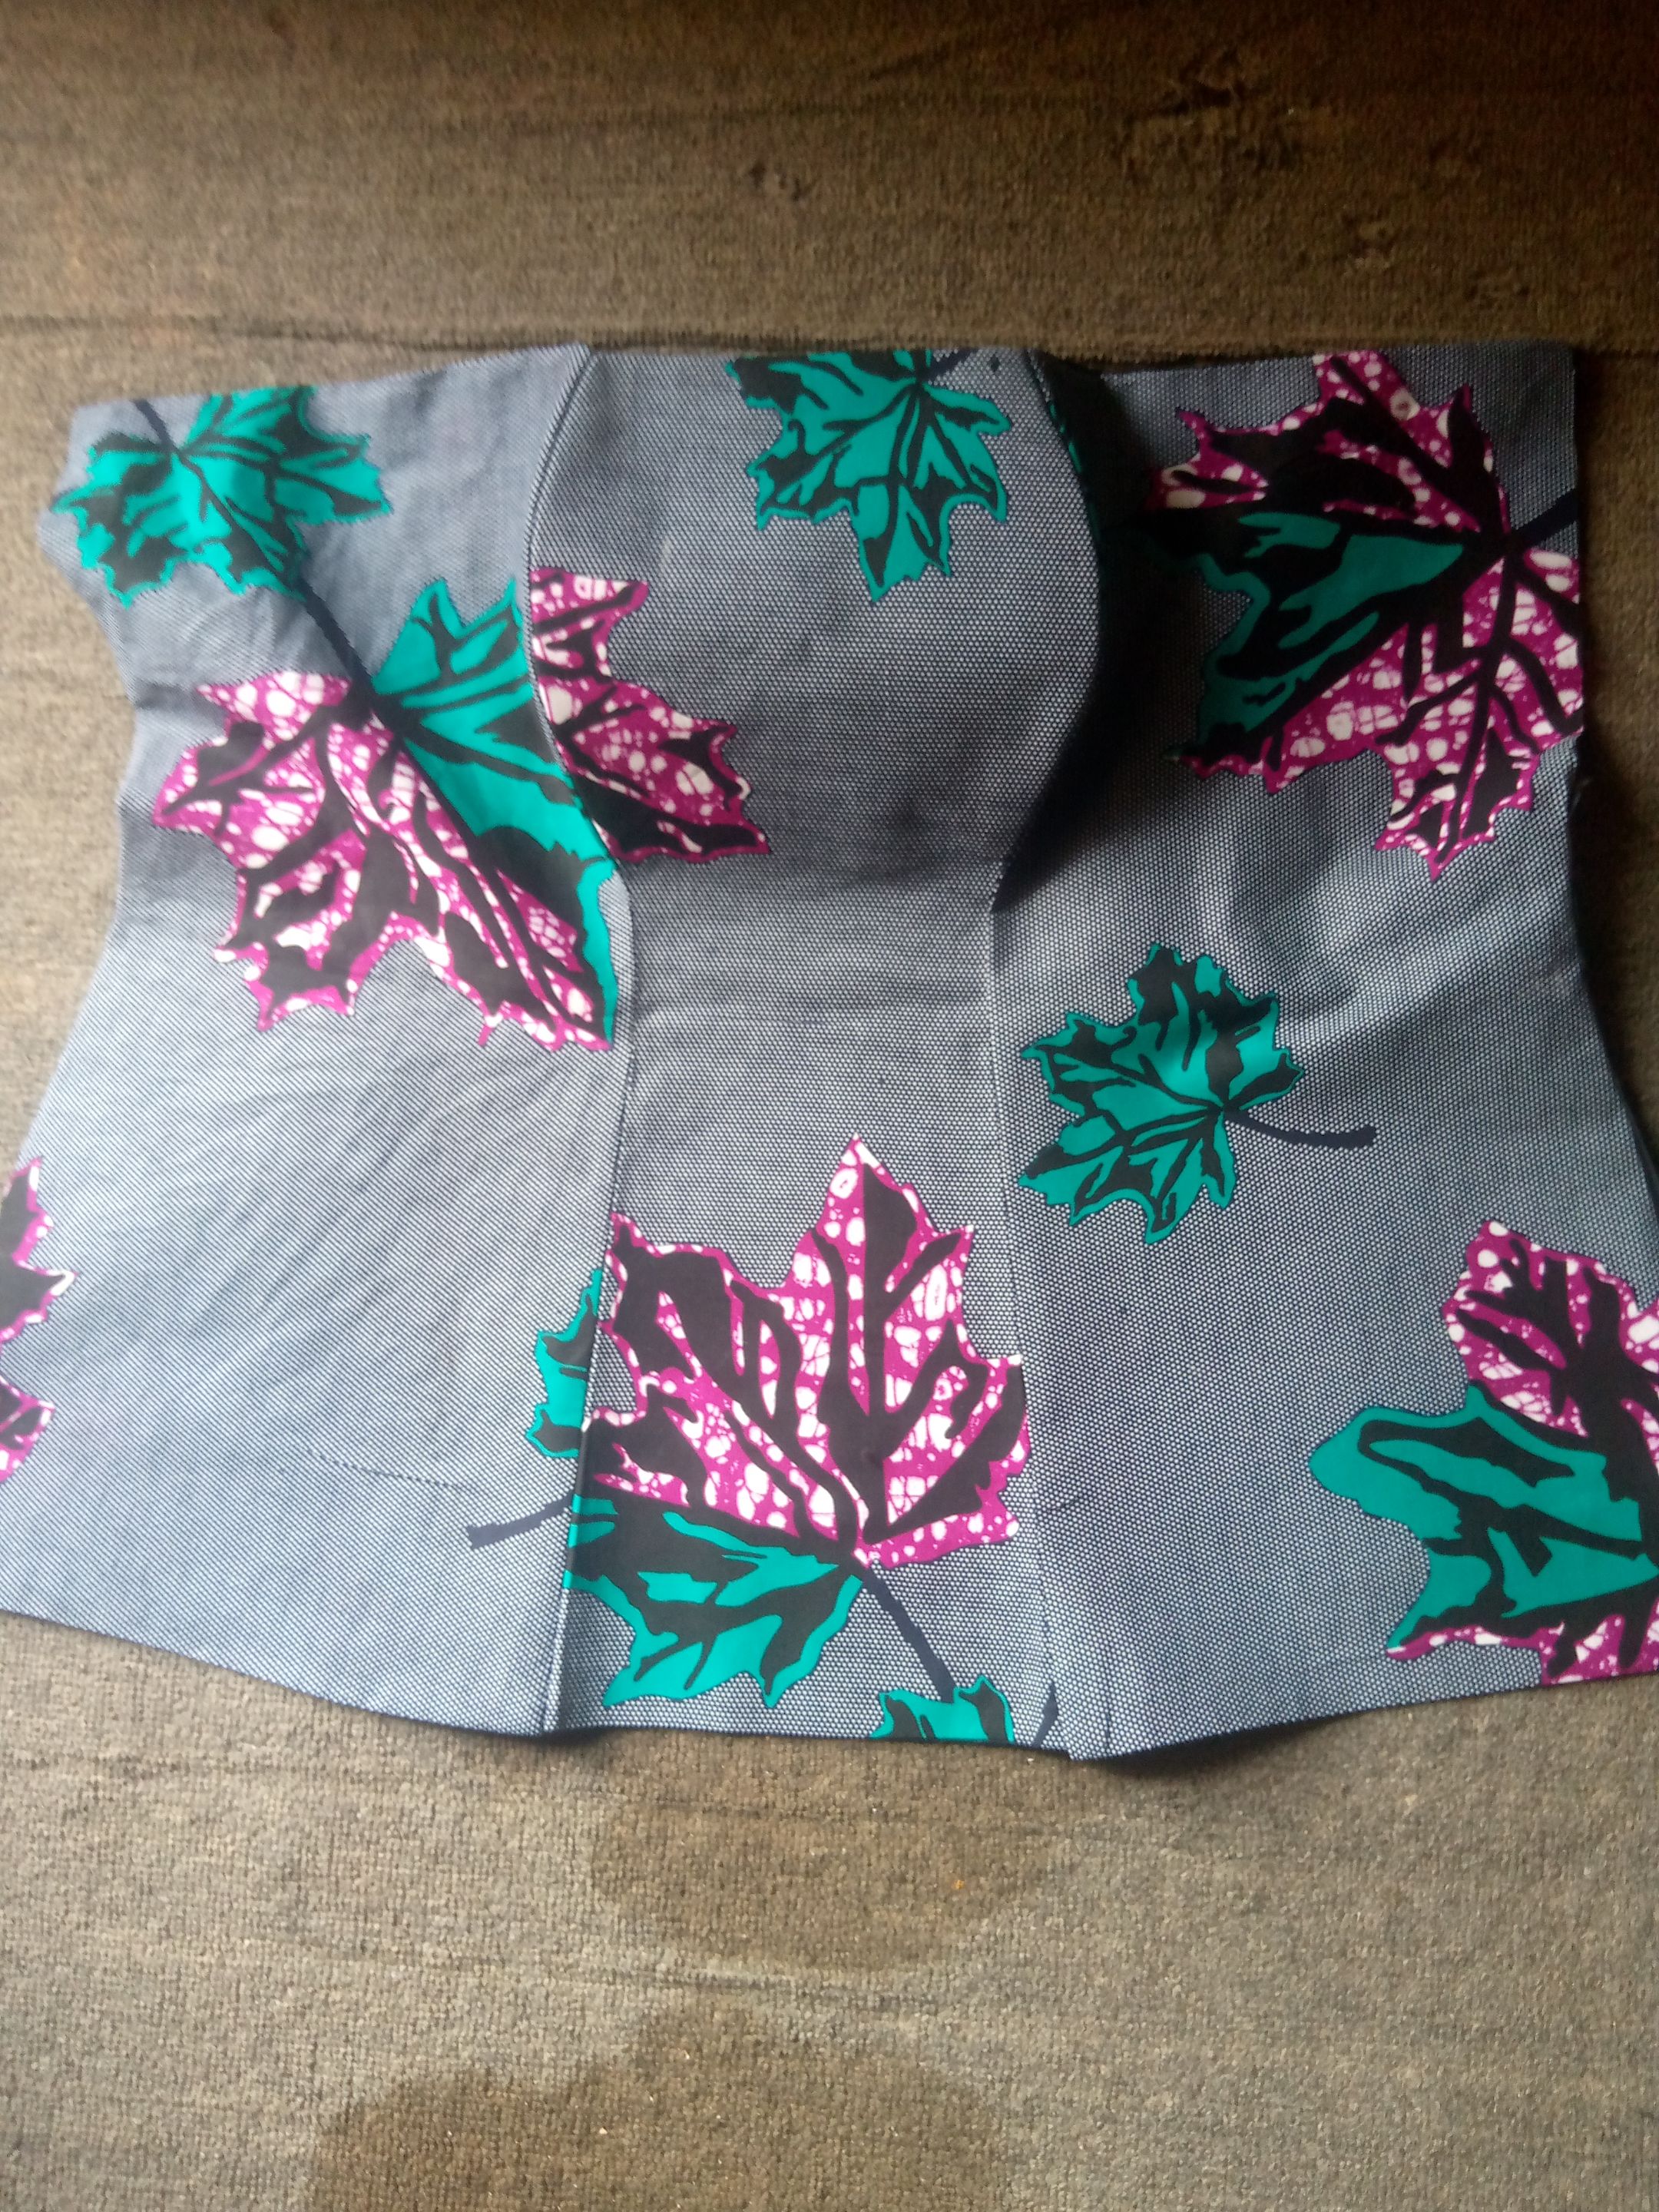
I started by sewing the front part, which I start with the middle part of the breast part by fixing the breast part and sewing the top, down and put in the aiming gum also then I turn it.
And for the side I fix the breast part and then I sewed the upper and down part of it, then I fixed in the middle part inside of it, sewing the breast point side, after that I sewed the other side and living an opening so I will be able to turn it out, and also put in the aiming gum on it also.
After fixing the both part here is the front.
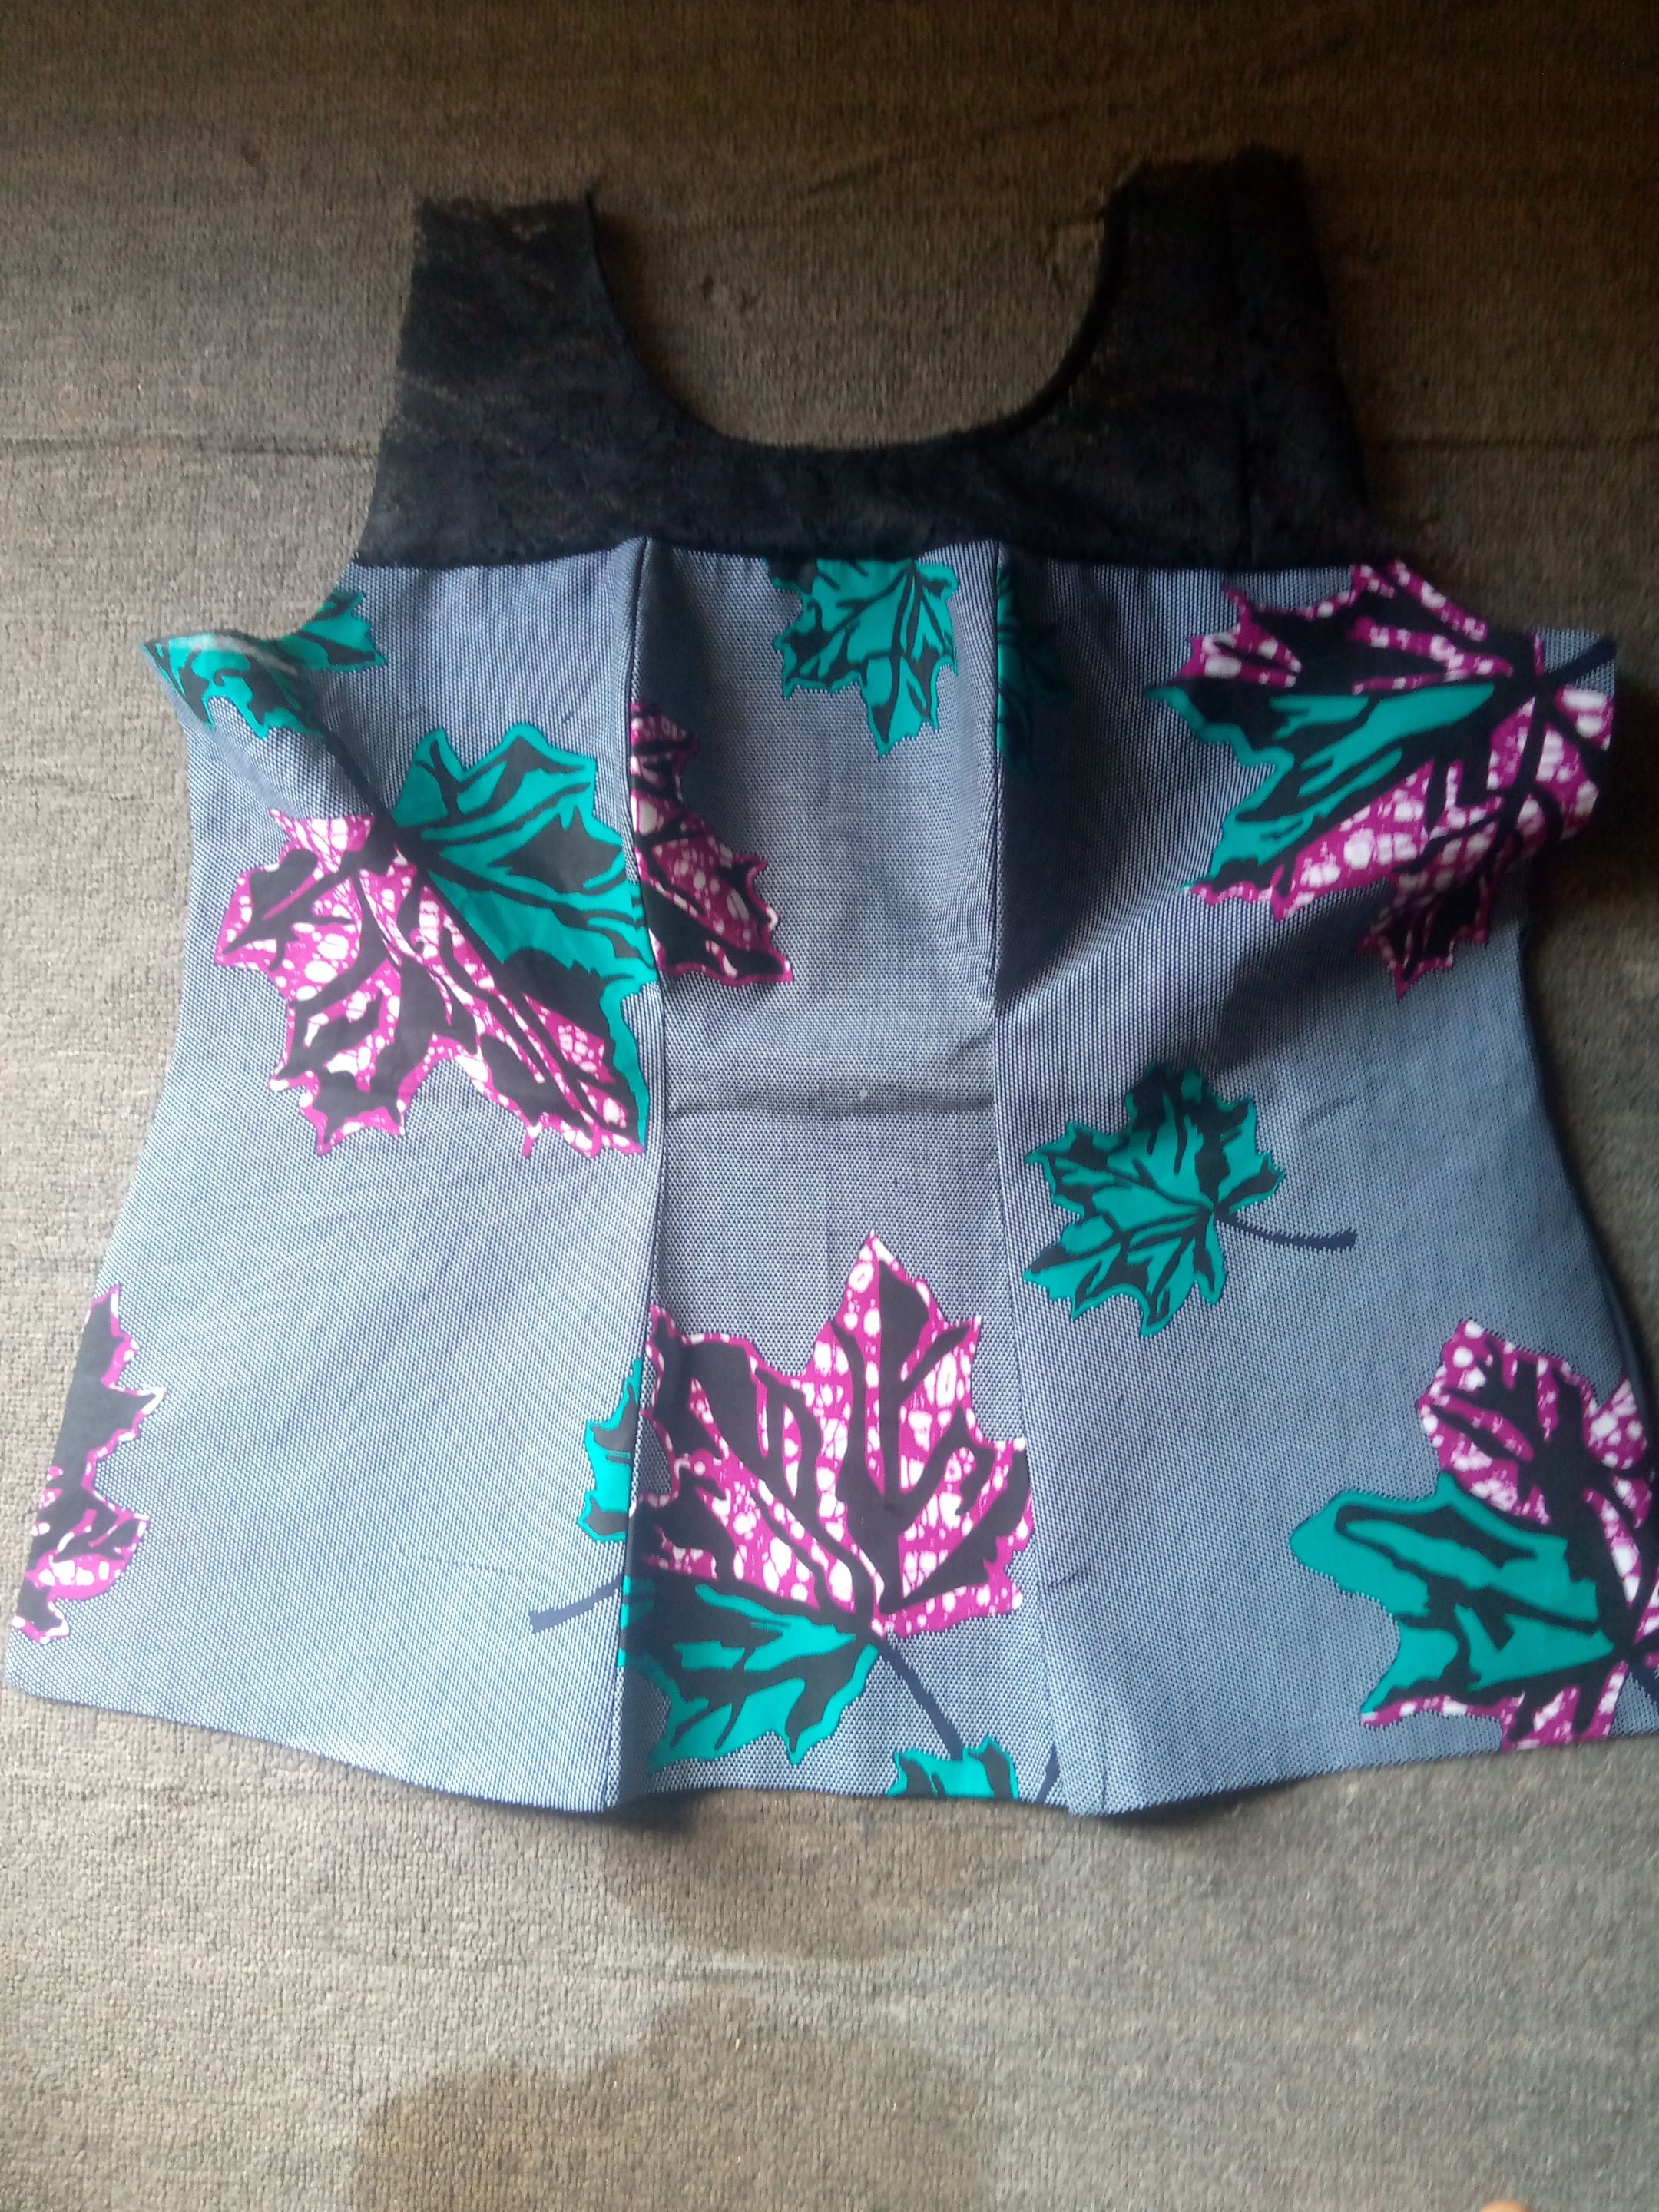
Now I fixed the baby lace at the top and then cut out the hand pit, neck and use the lace also and turn the neck.
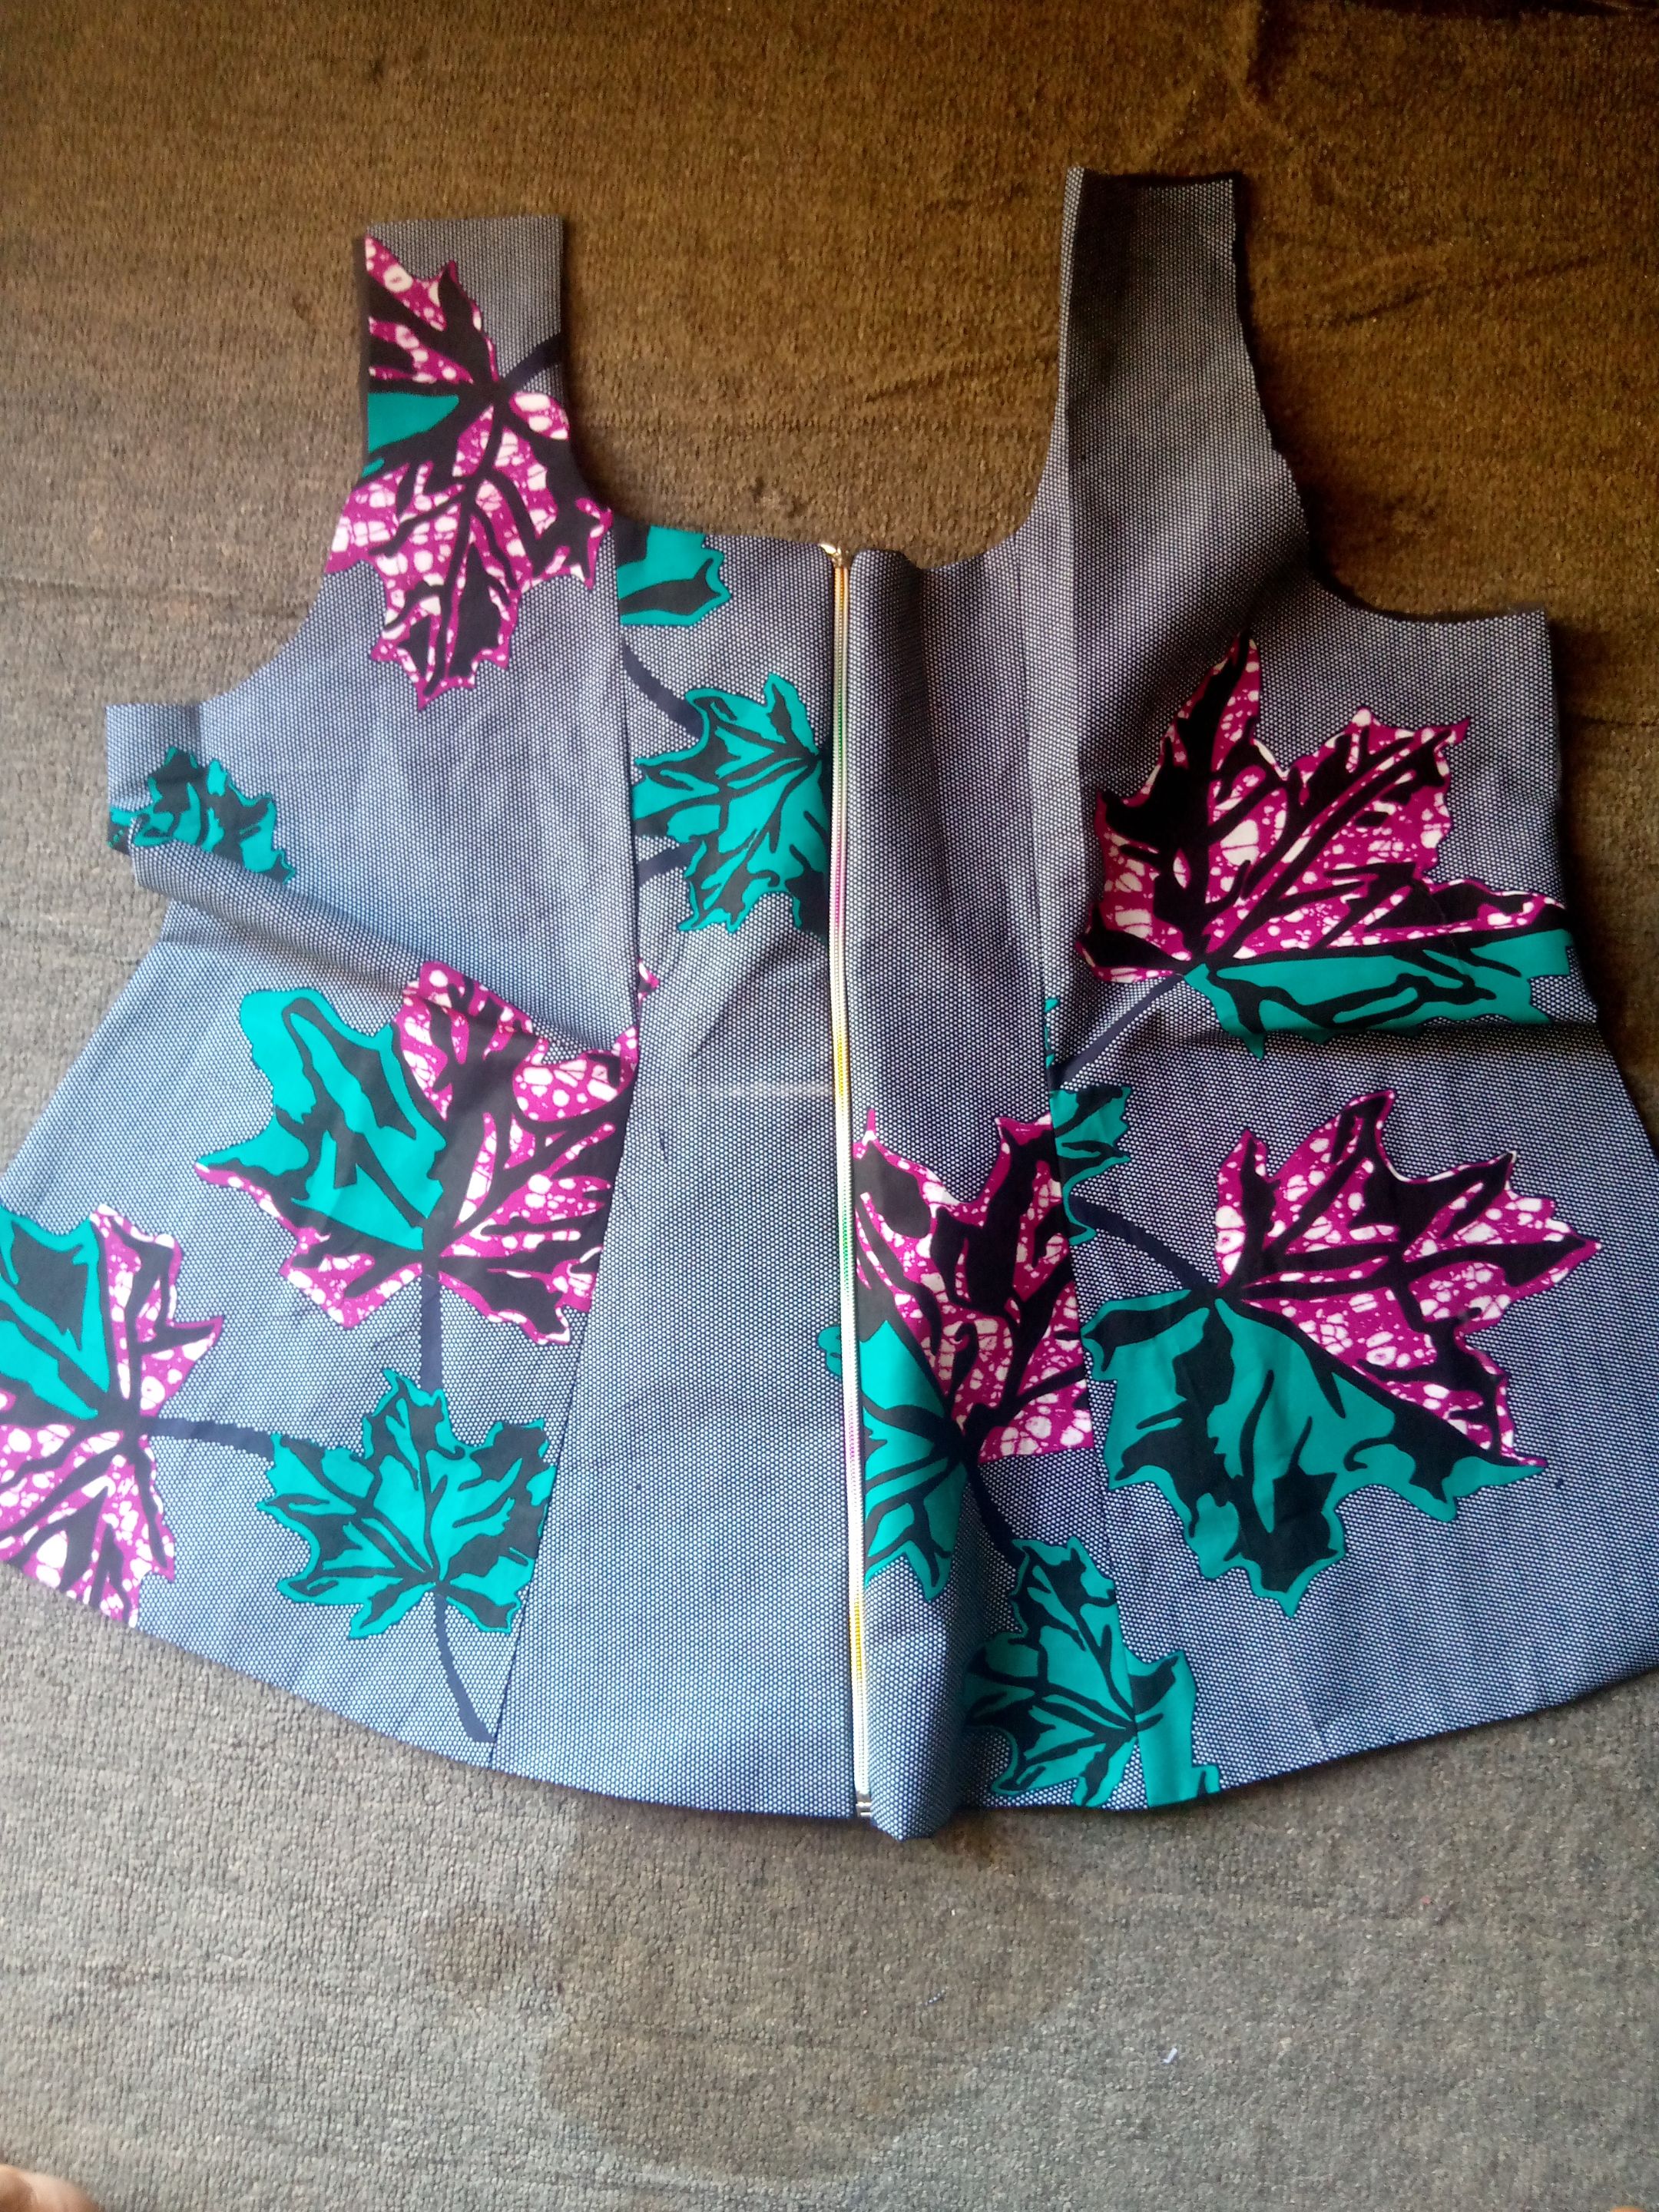
Now for the back I started by joining each part that is on side of the middle and the other of the side, same with the lining.
Then I joined the back side together and I cut out the hand pit and the neck.
Then I proceed to fixed the lining, iron it and fixed the zip.
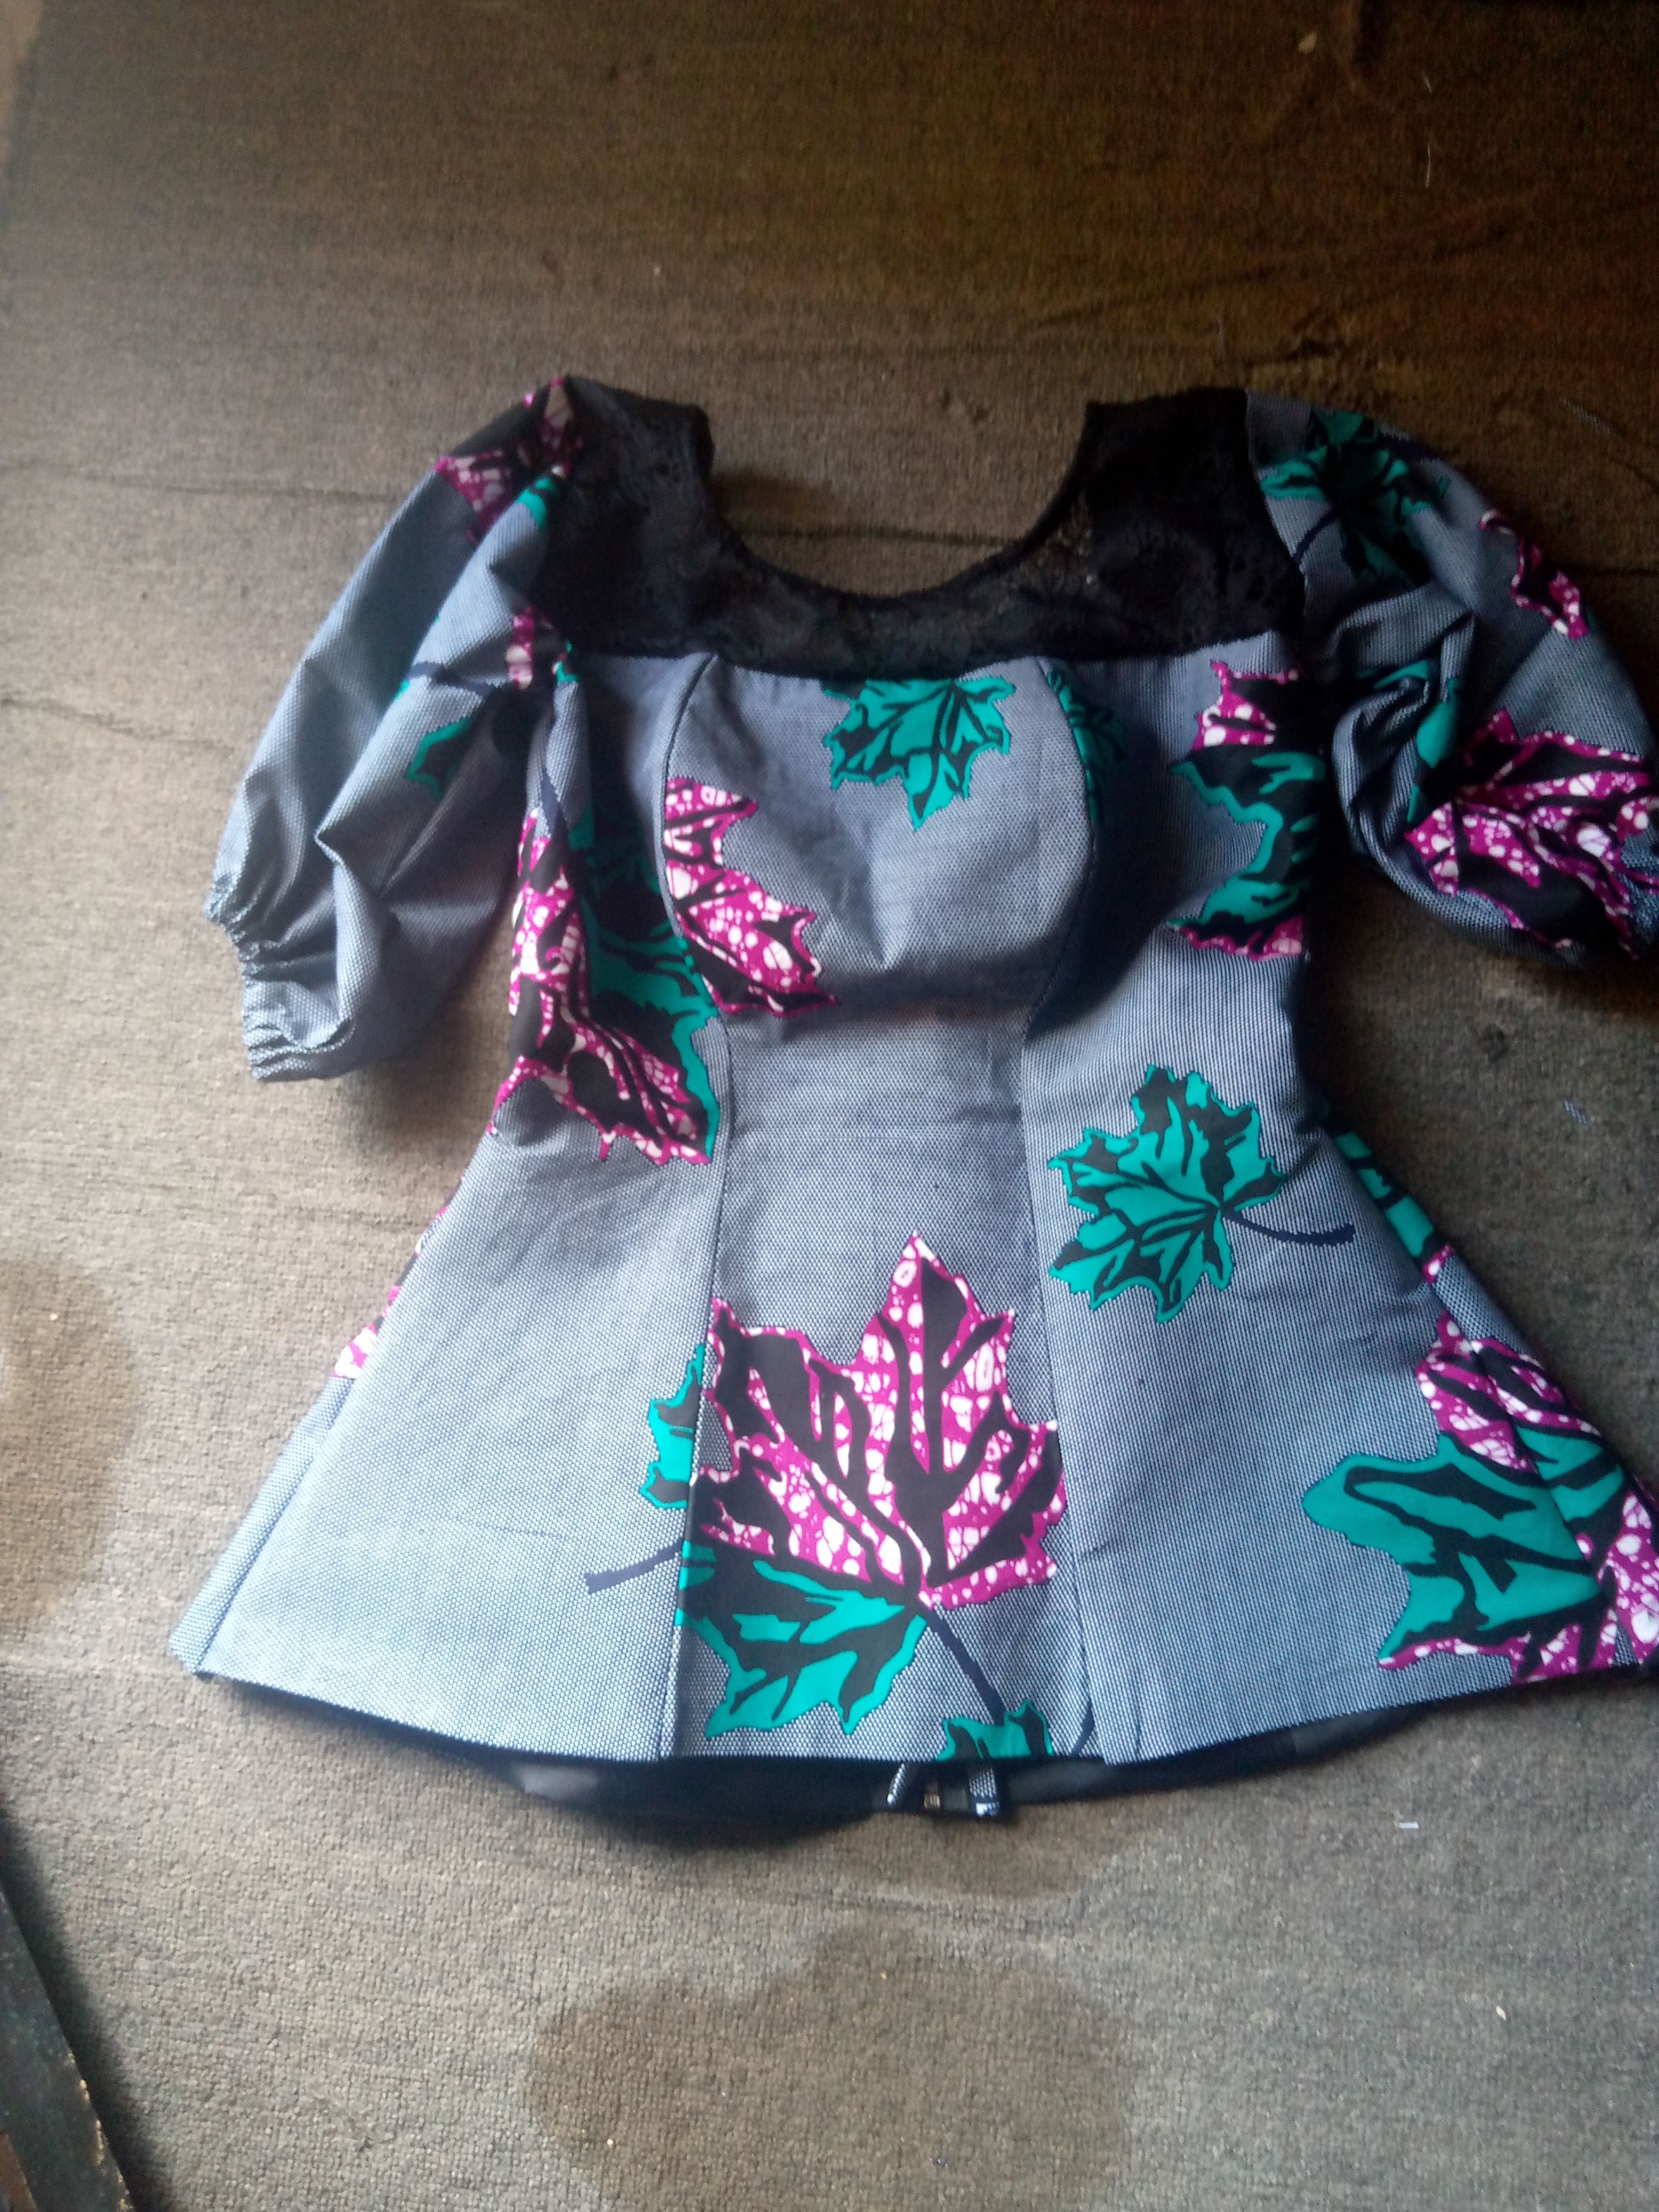
Now I move to joined the both side together, fixed the elastic band at the down part together, and fix the hand and here is the blouse.
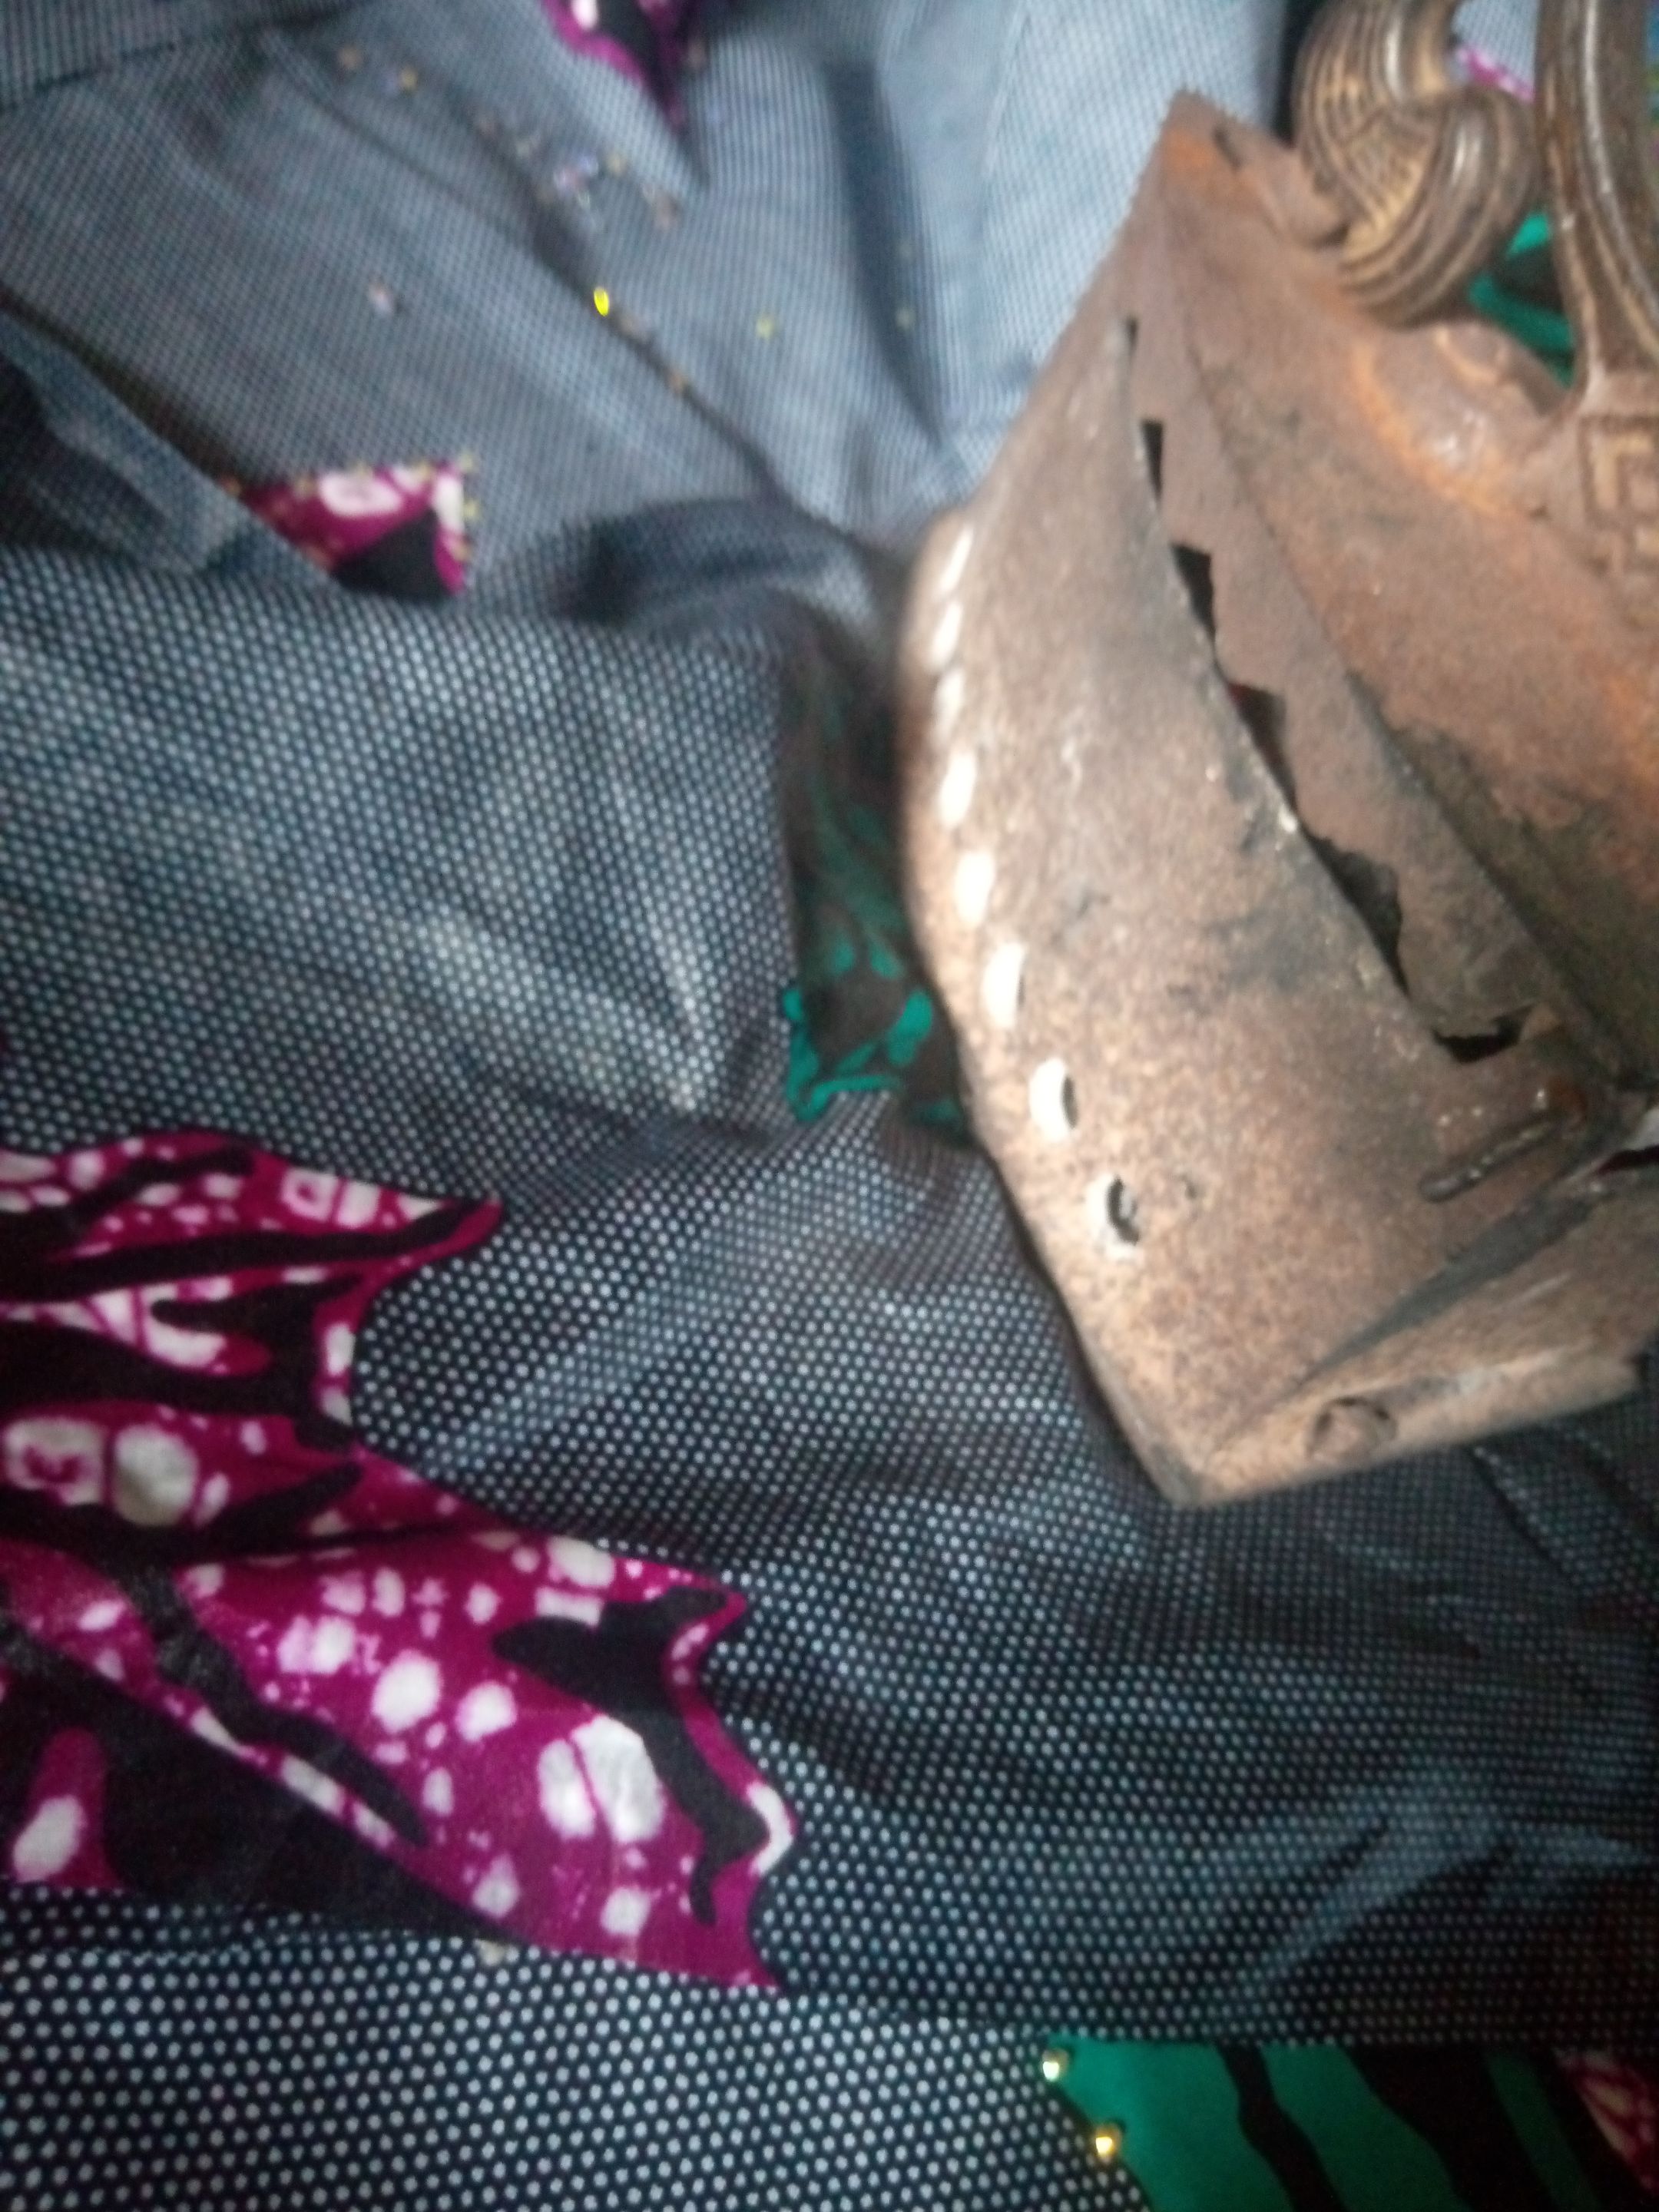
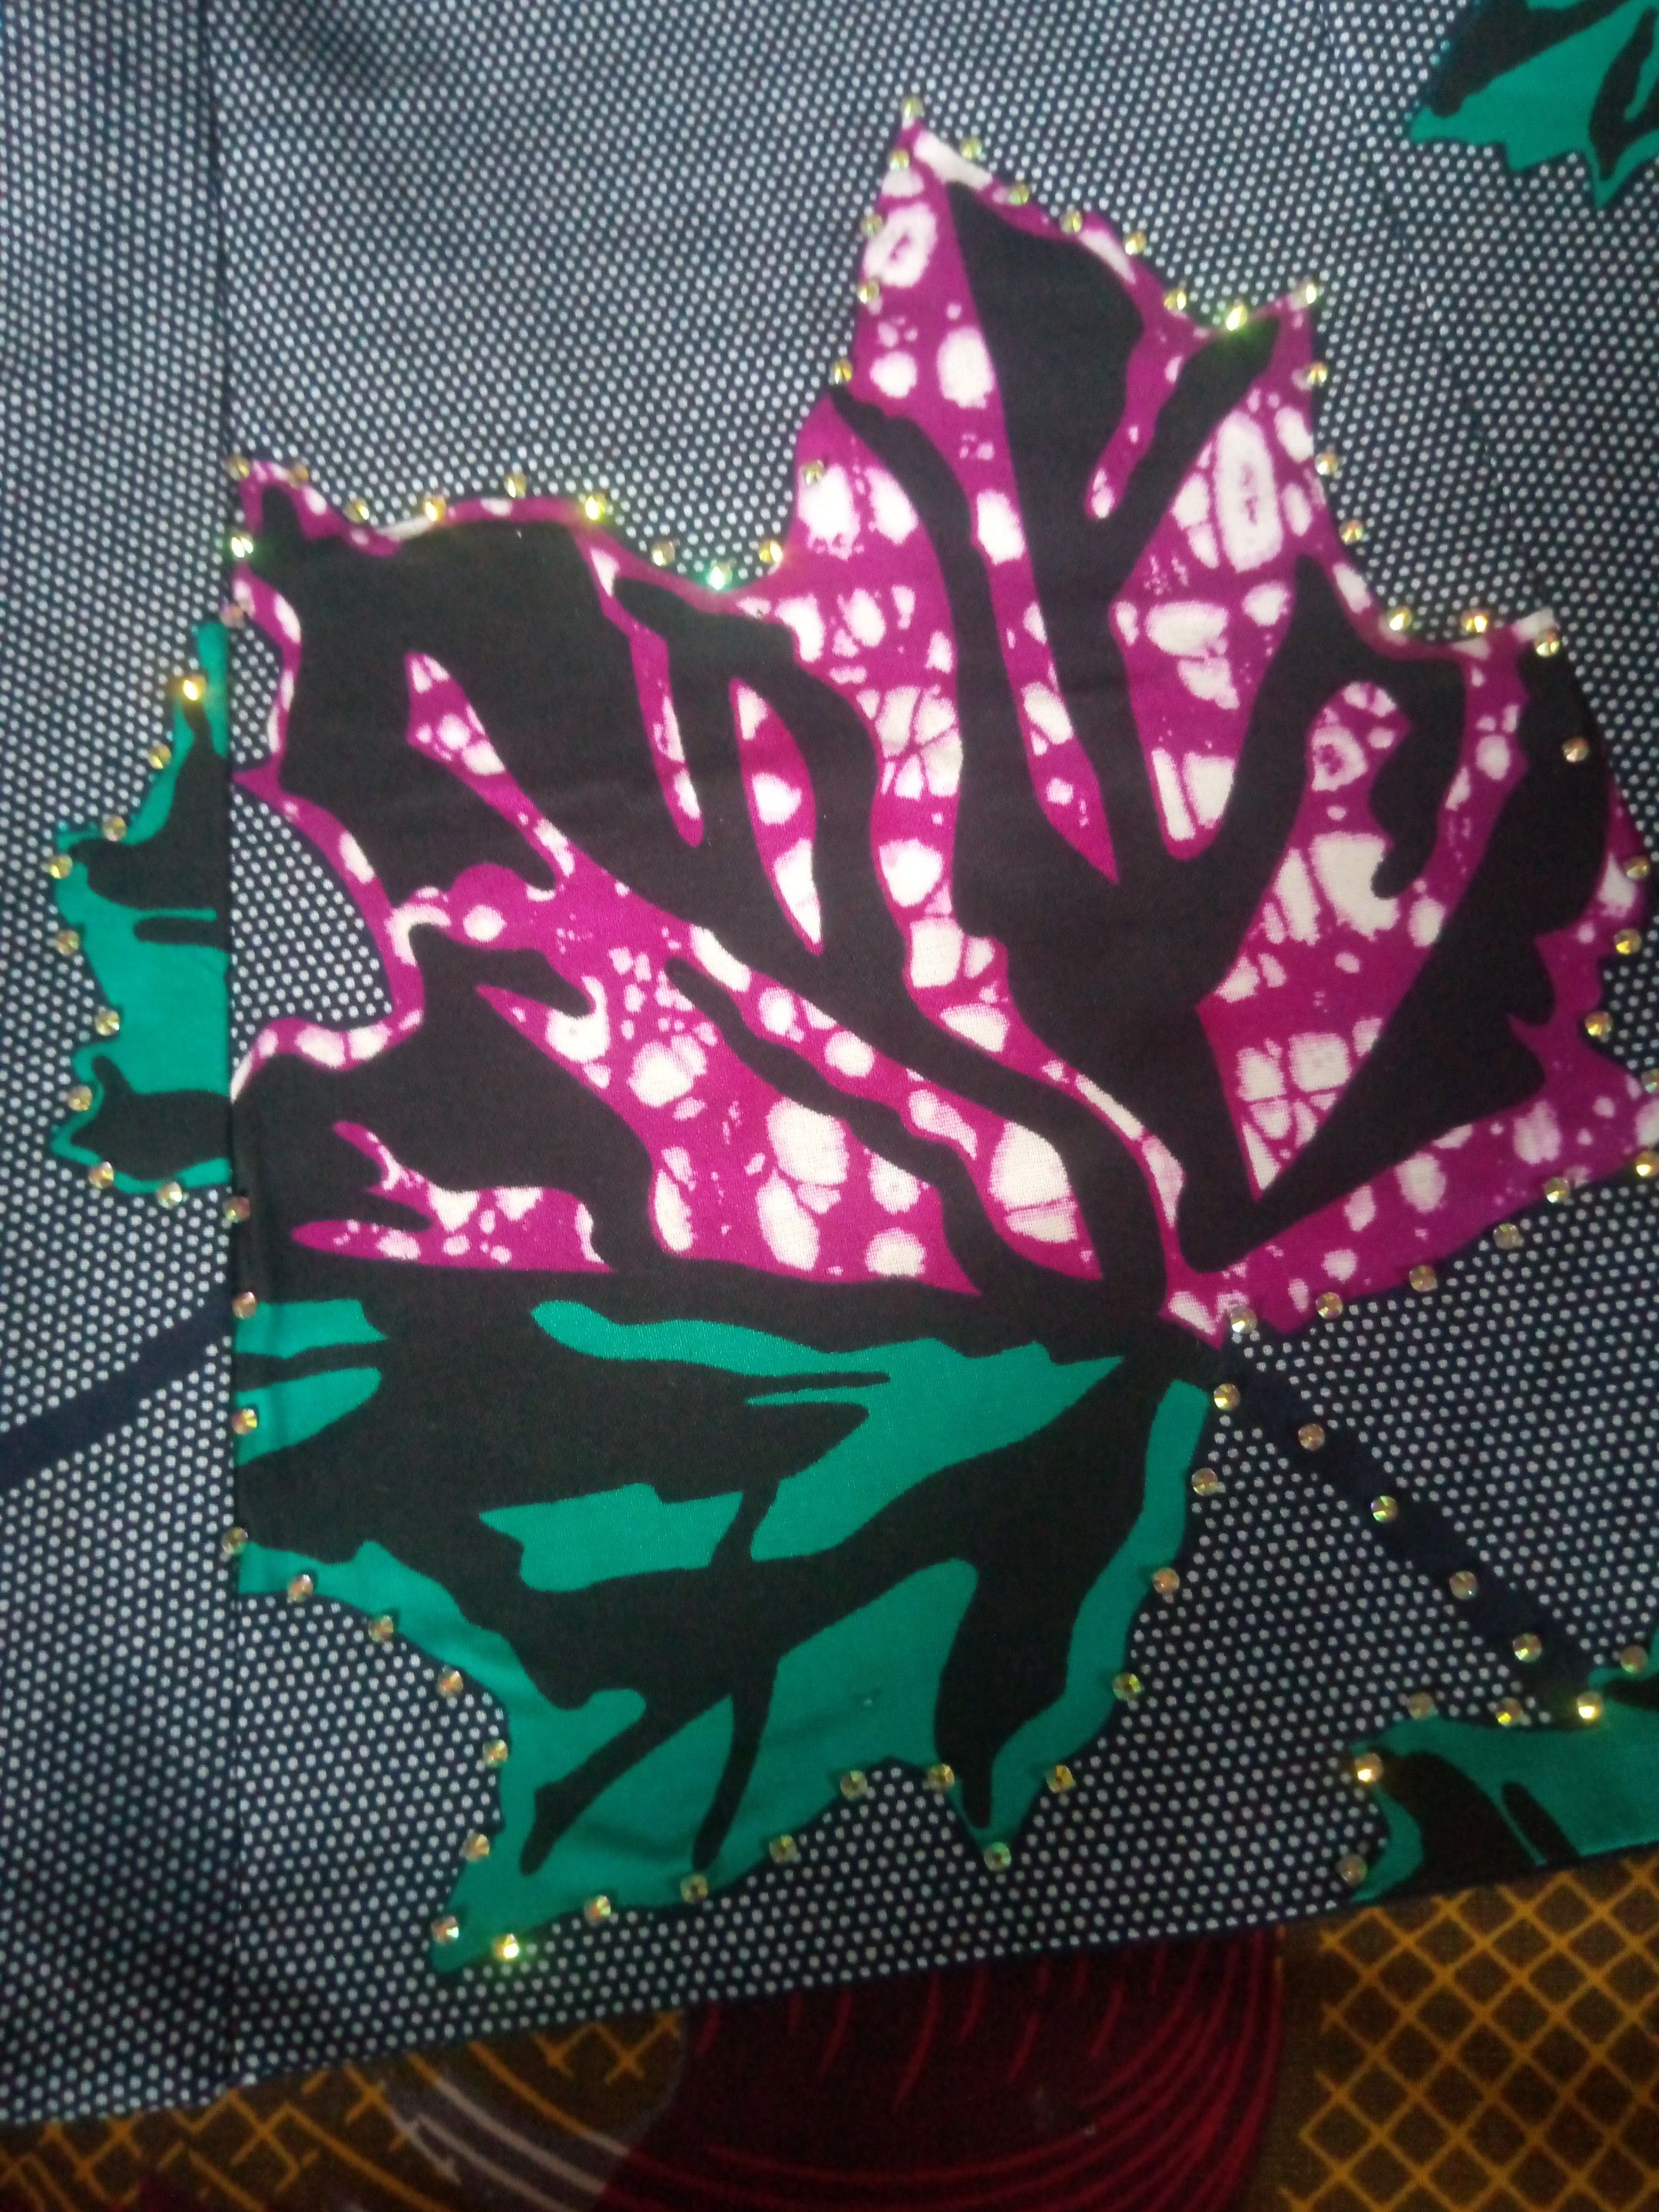
After that I proceed to put in the stones at the flowers in front of the blouse, I firstly arrange the stones, then used a socked fabric and place on the stones and place the iron on it.
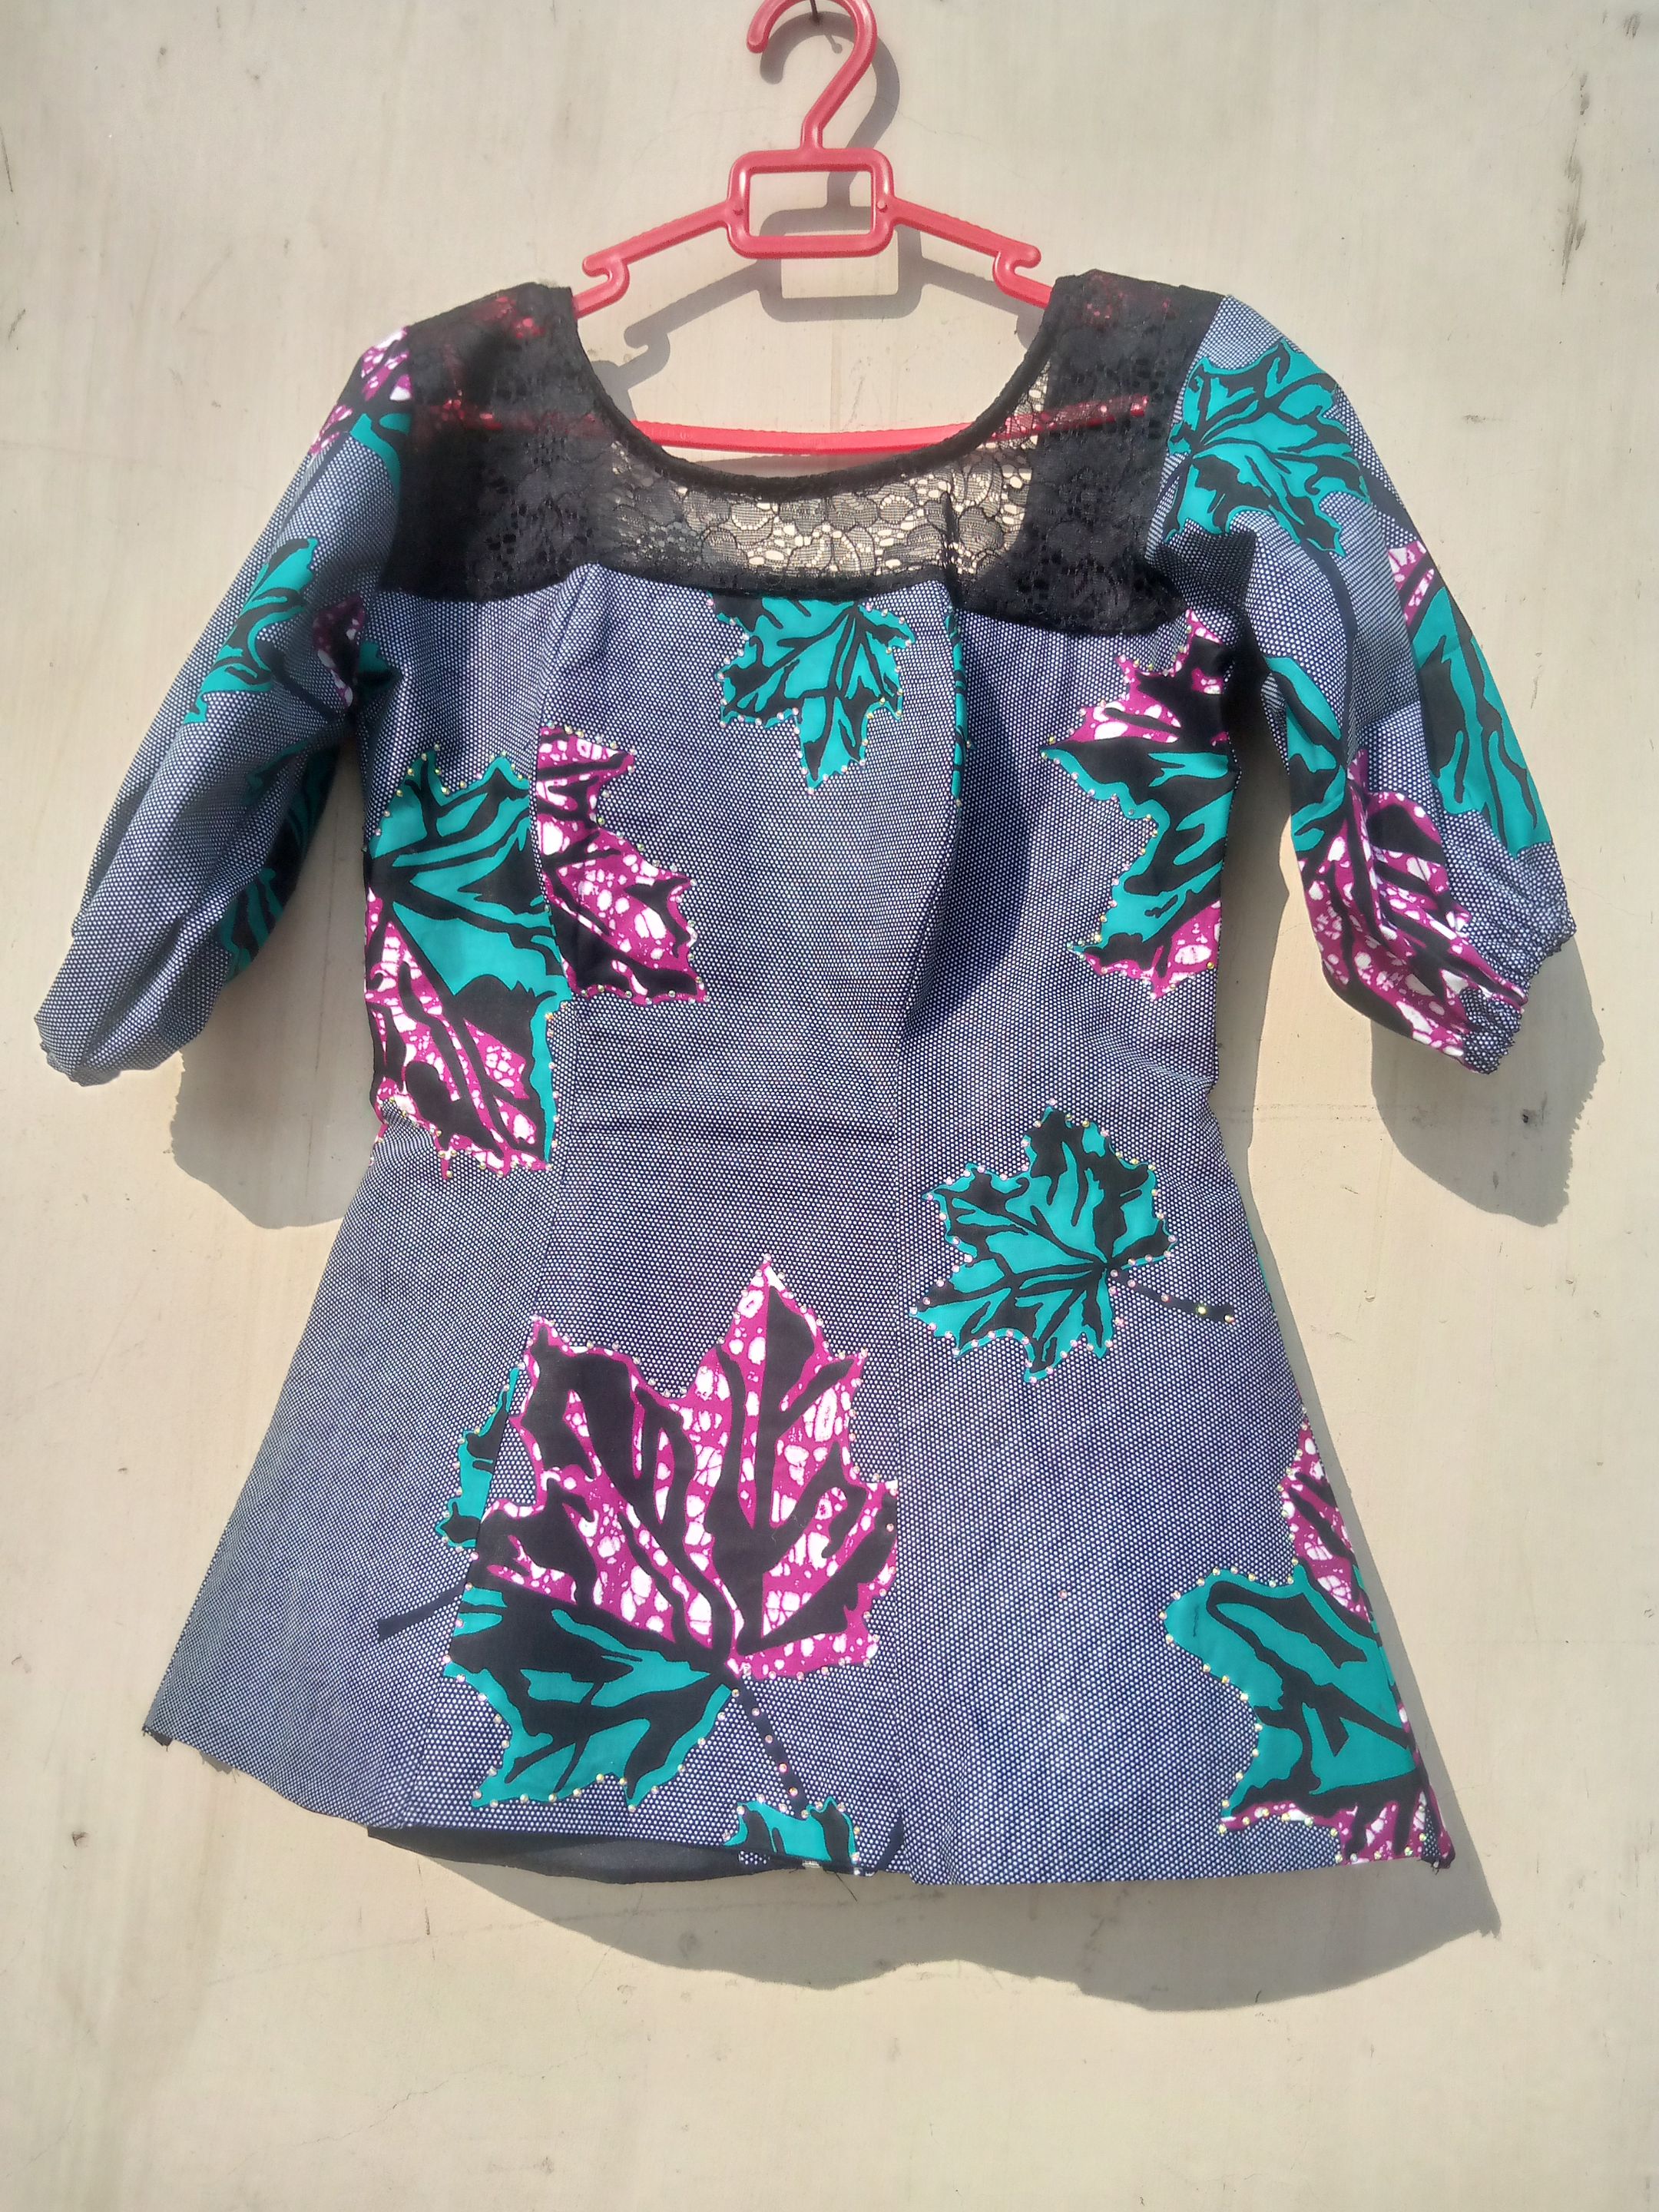
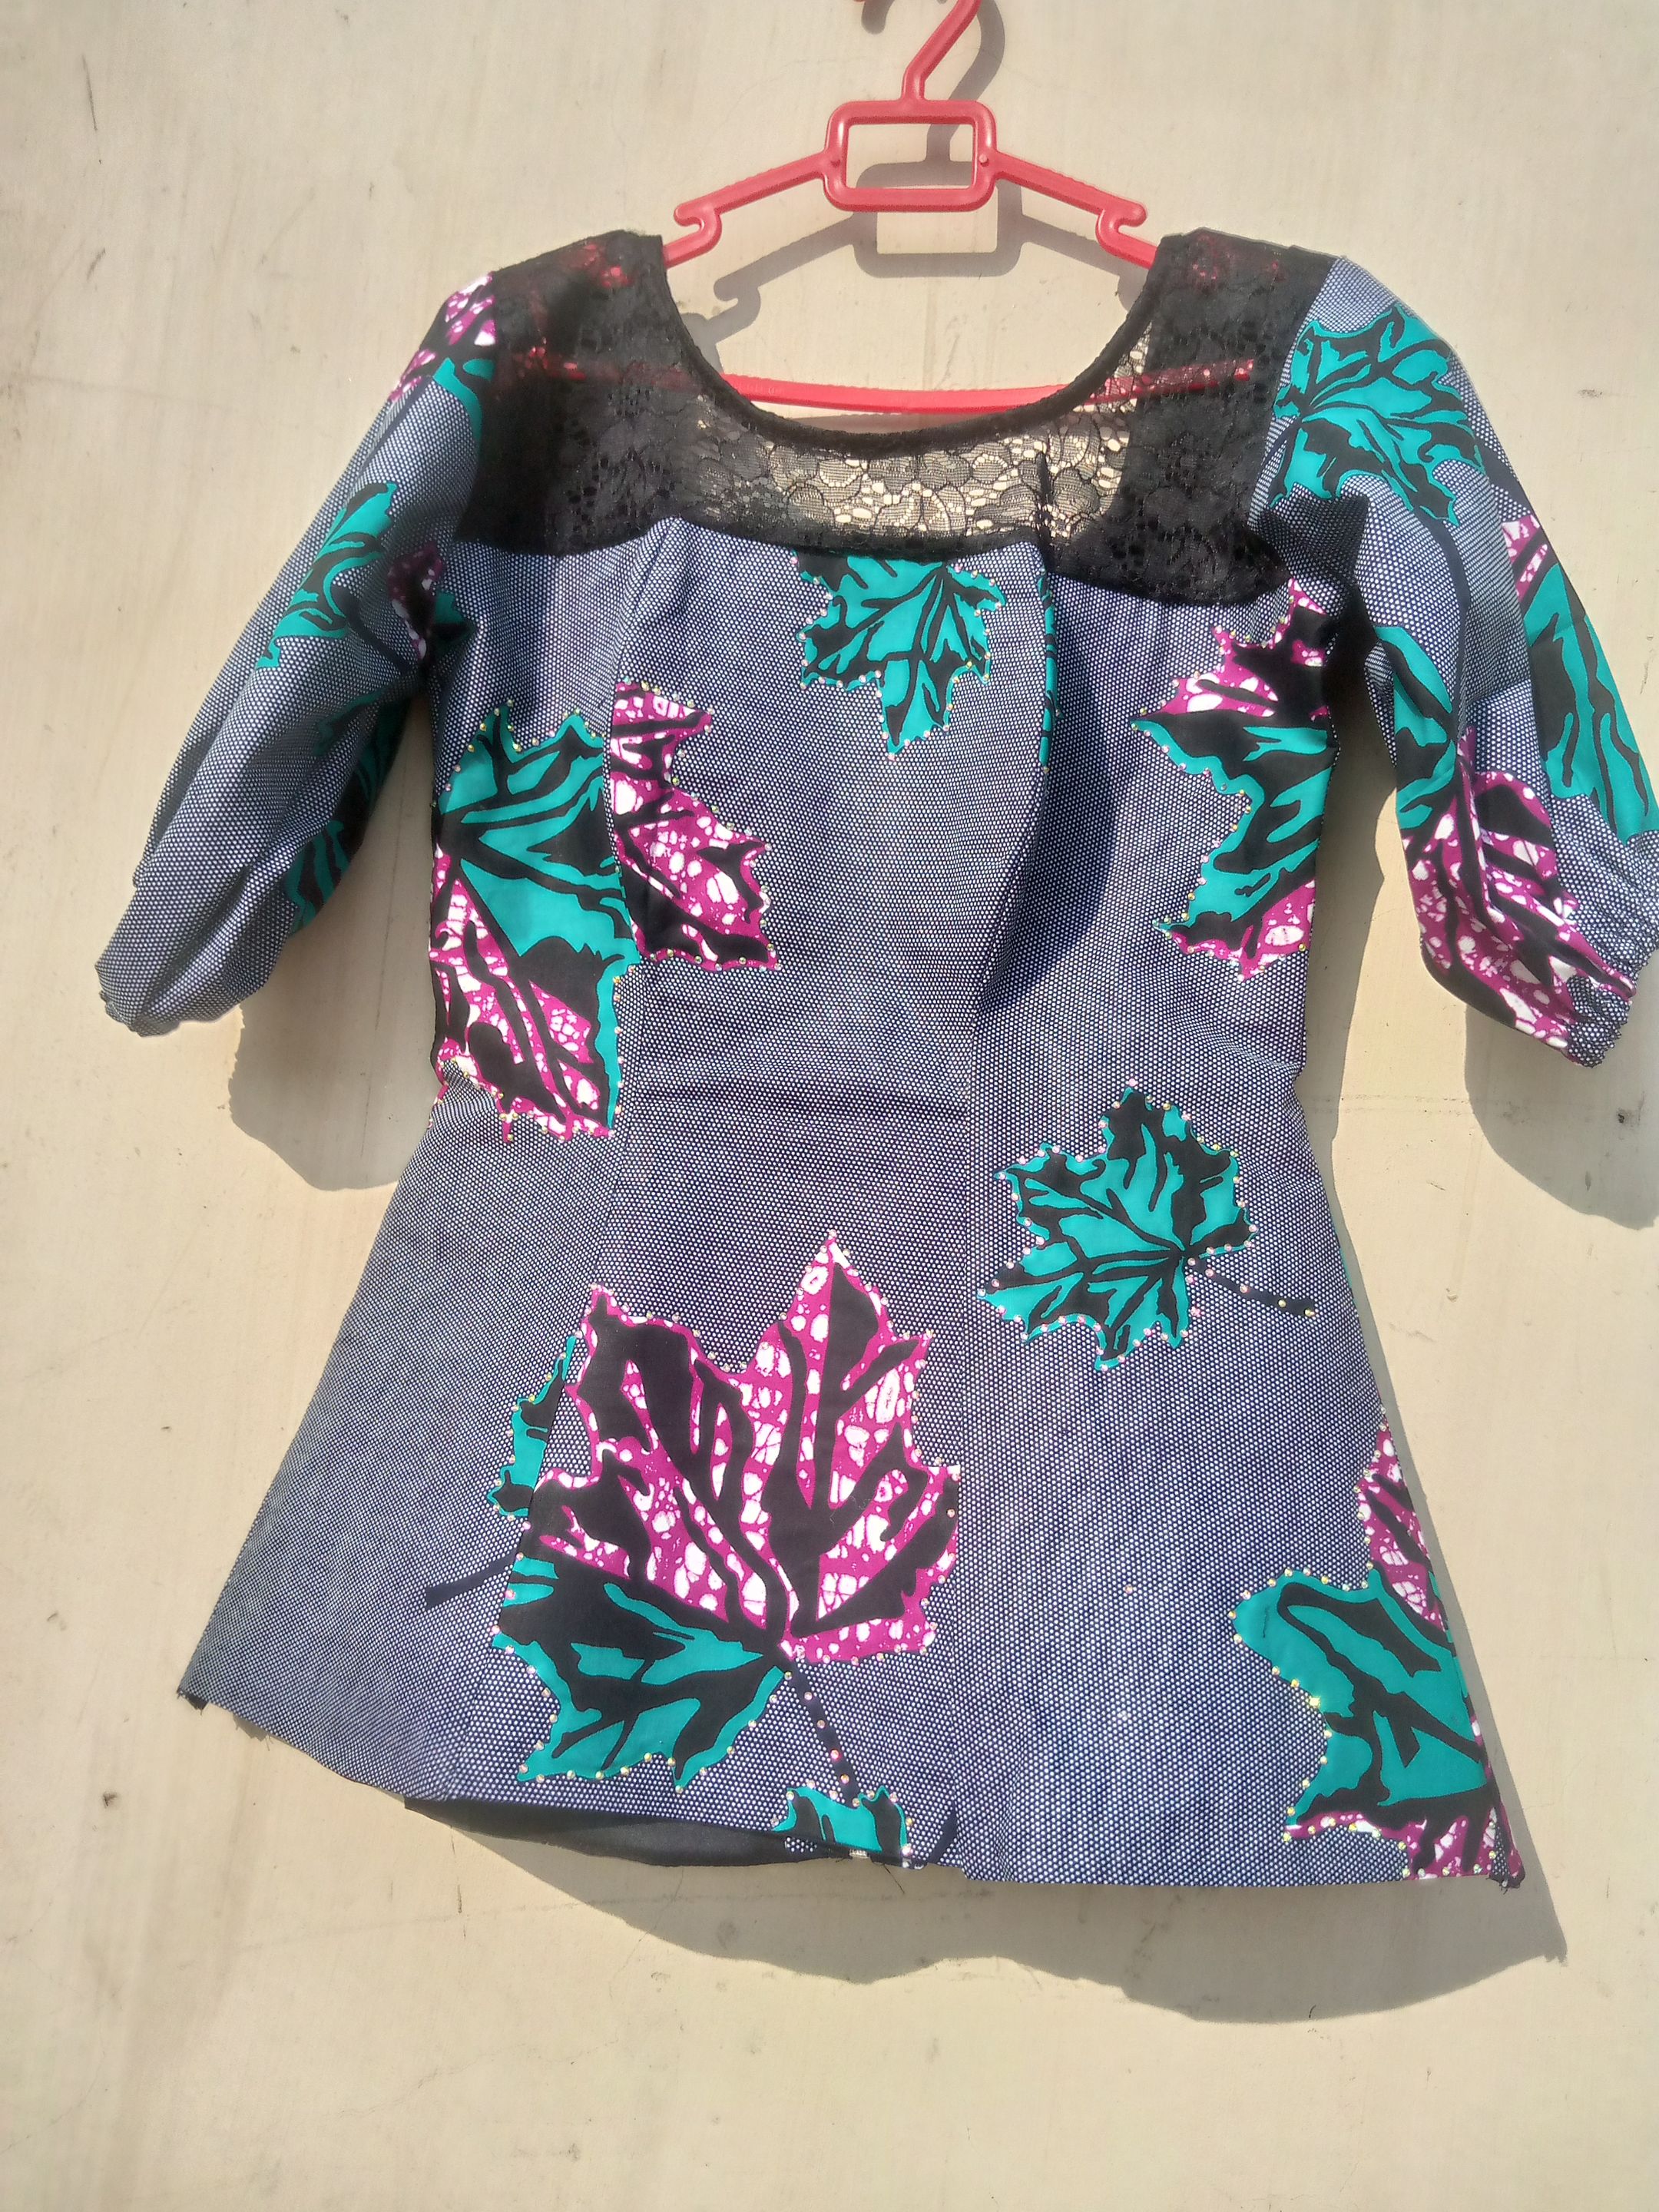
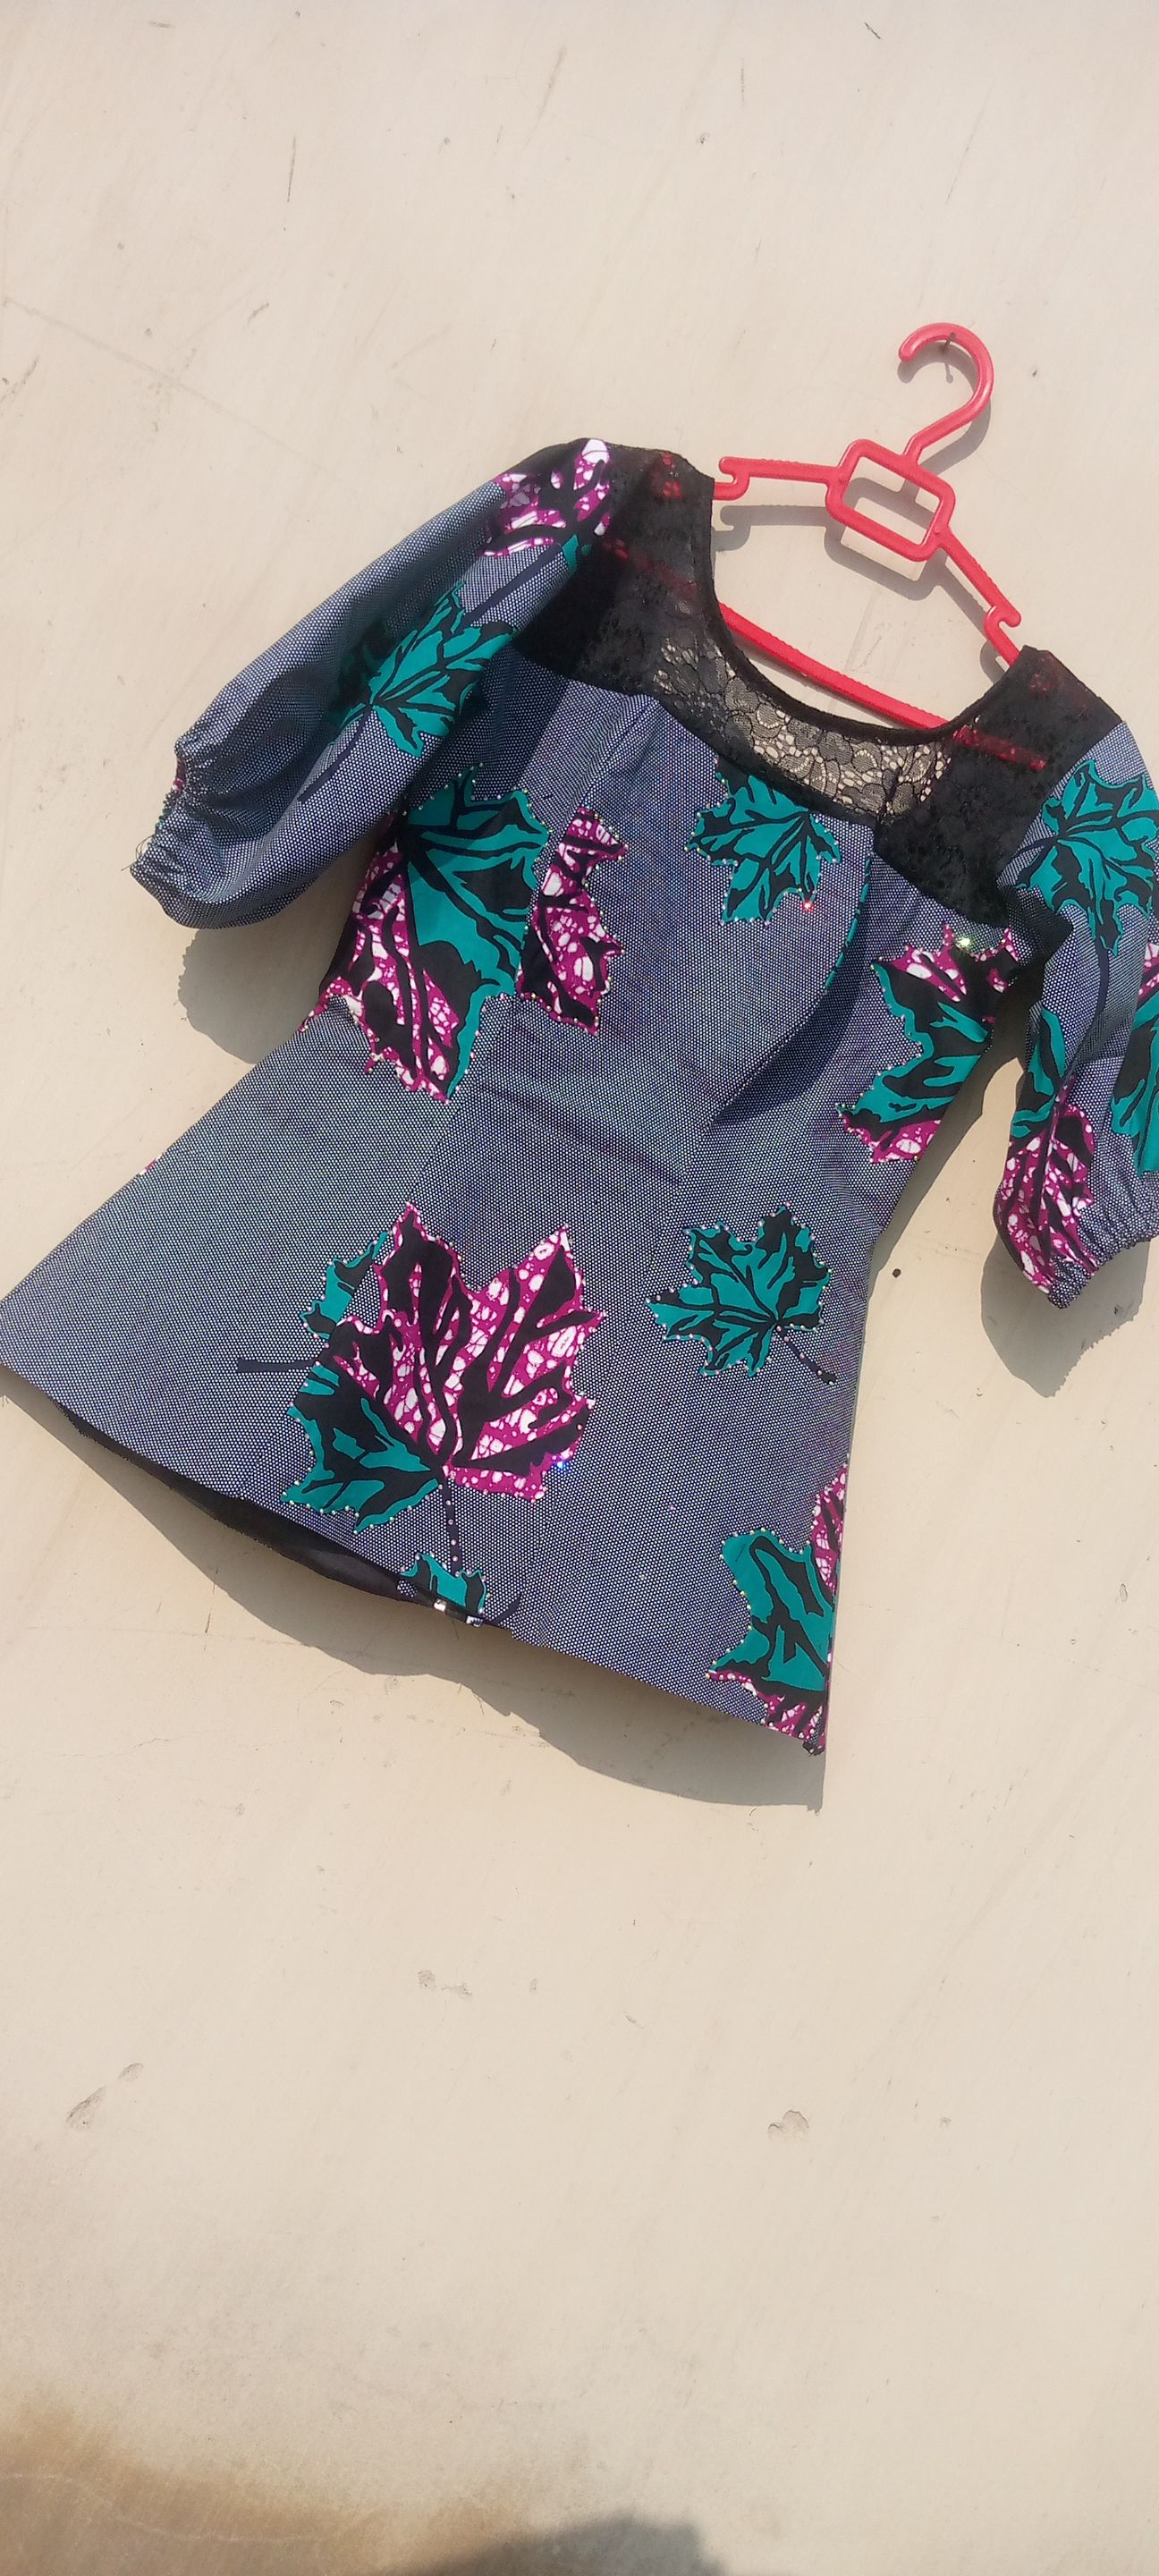
After all that, here is the six pieces blouse ready to wear.
Thank you for checking on my post.