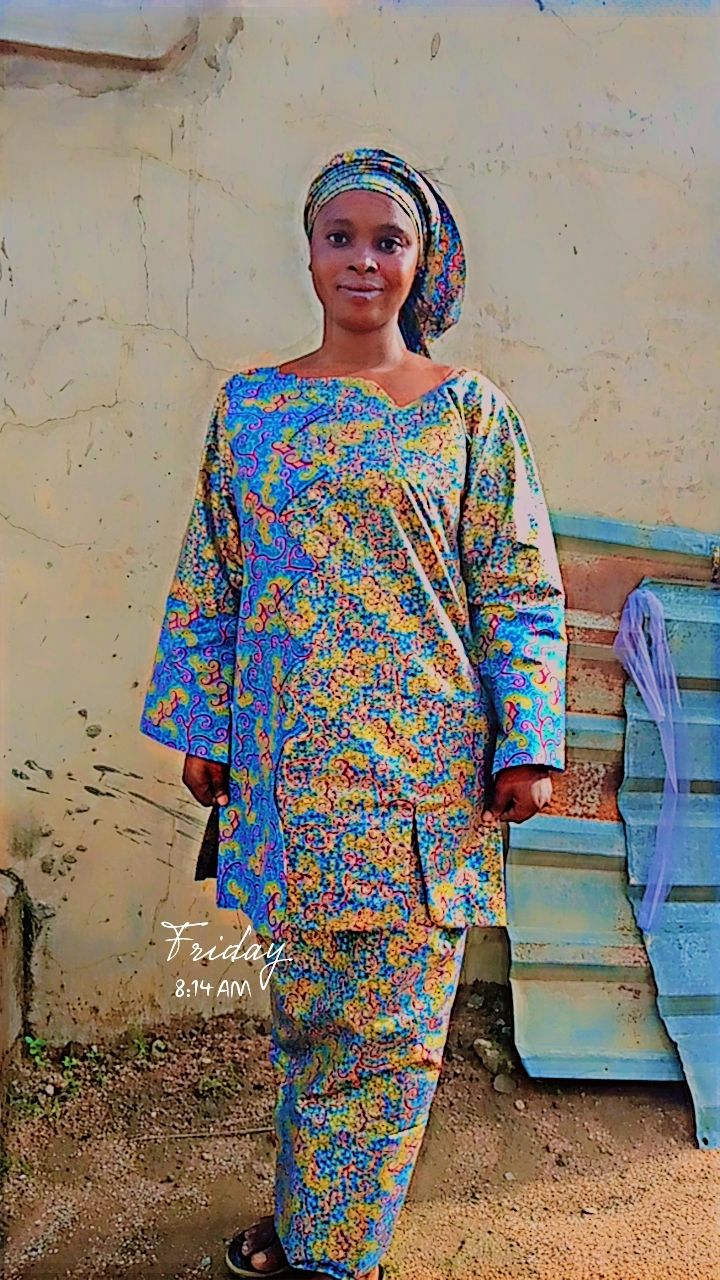
Good morning lovelies, welcome to another weekend. Today I will show you how I made this straight skirt with a top, and here in the north we call it borno style.
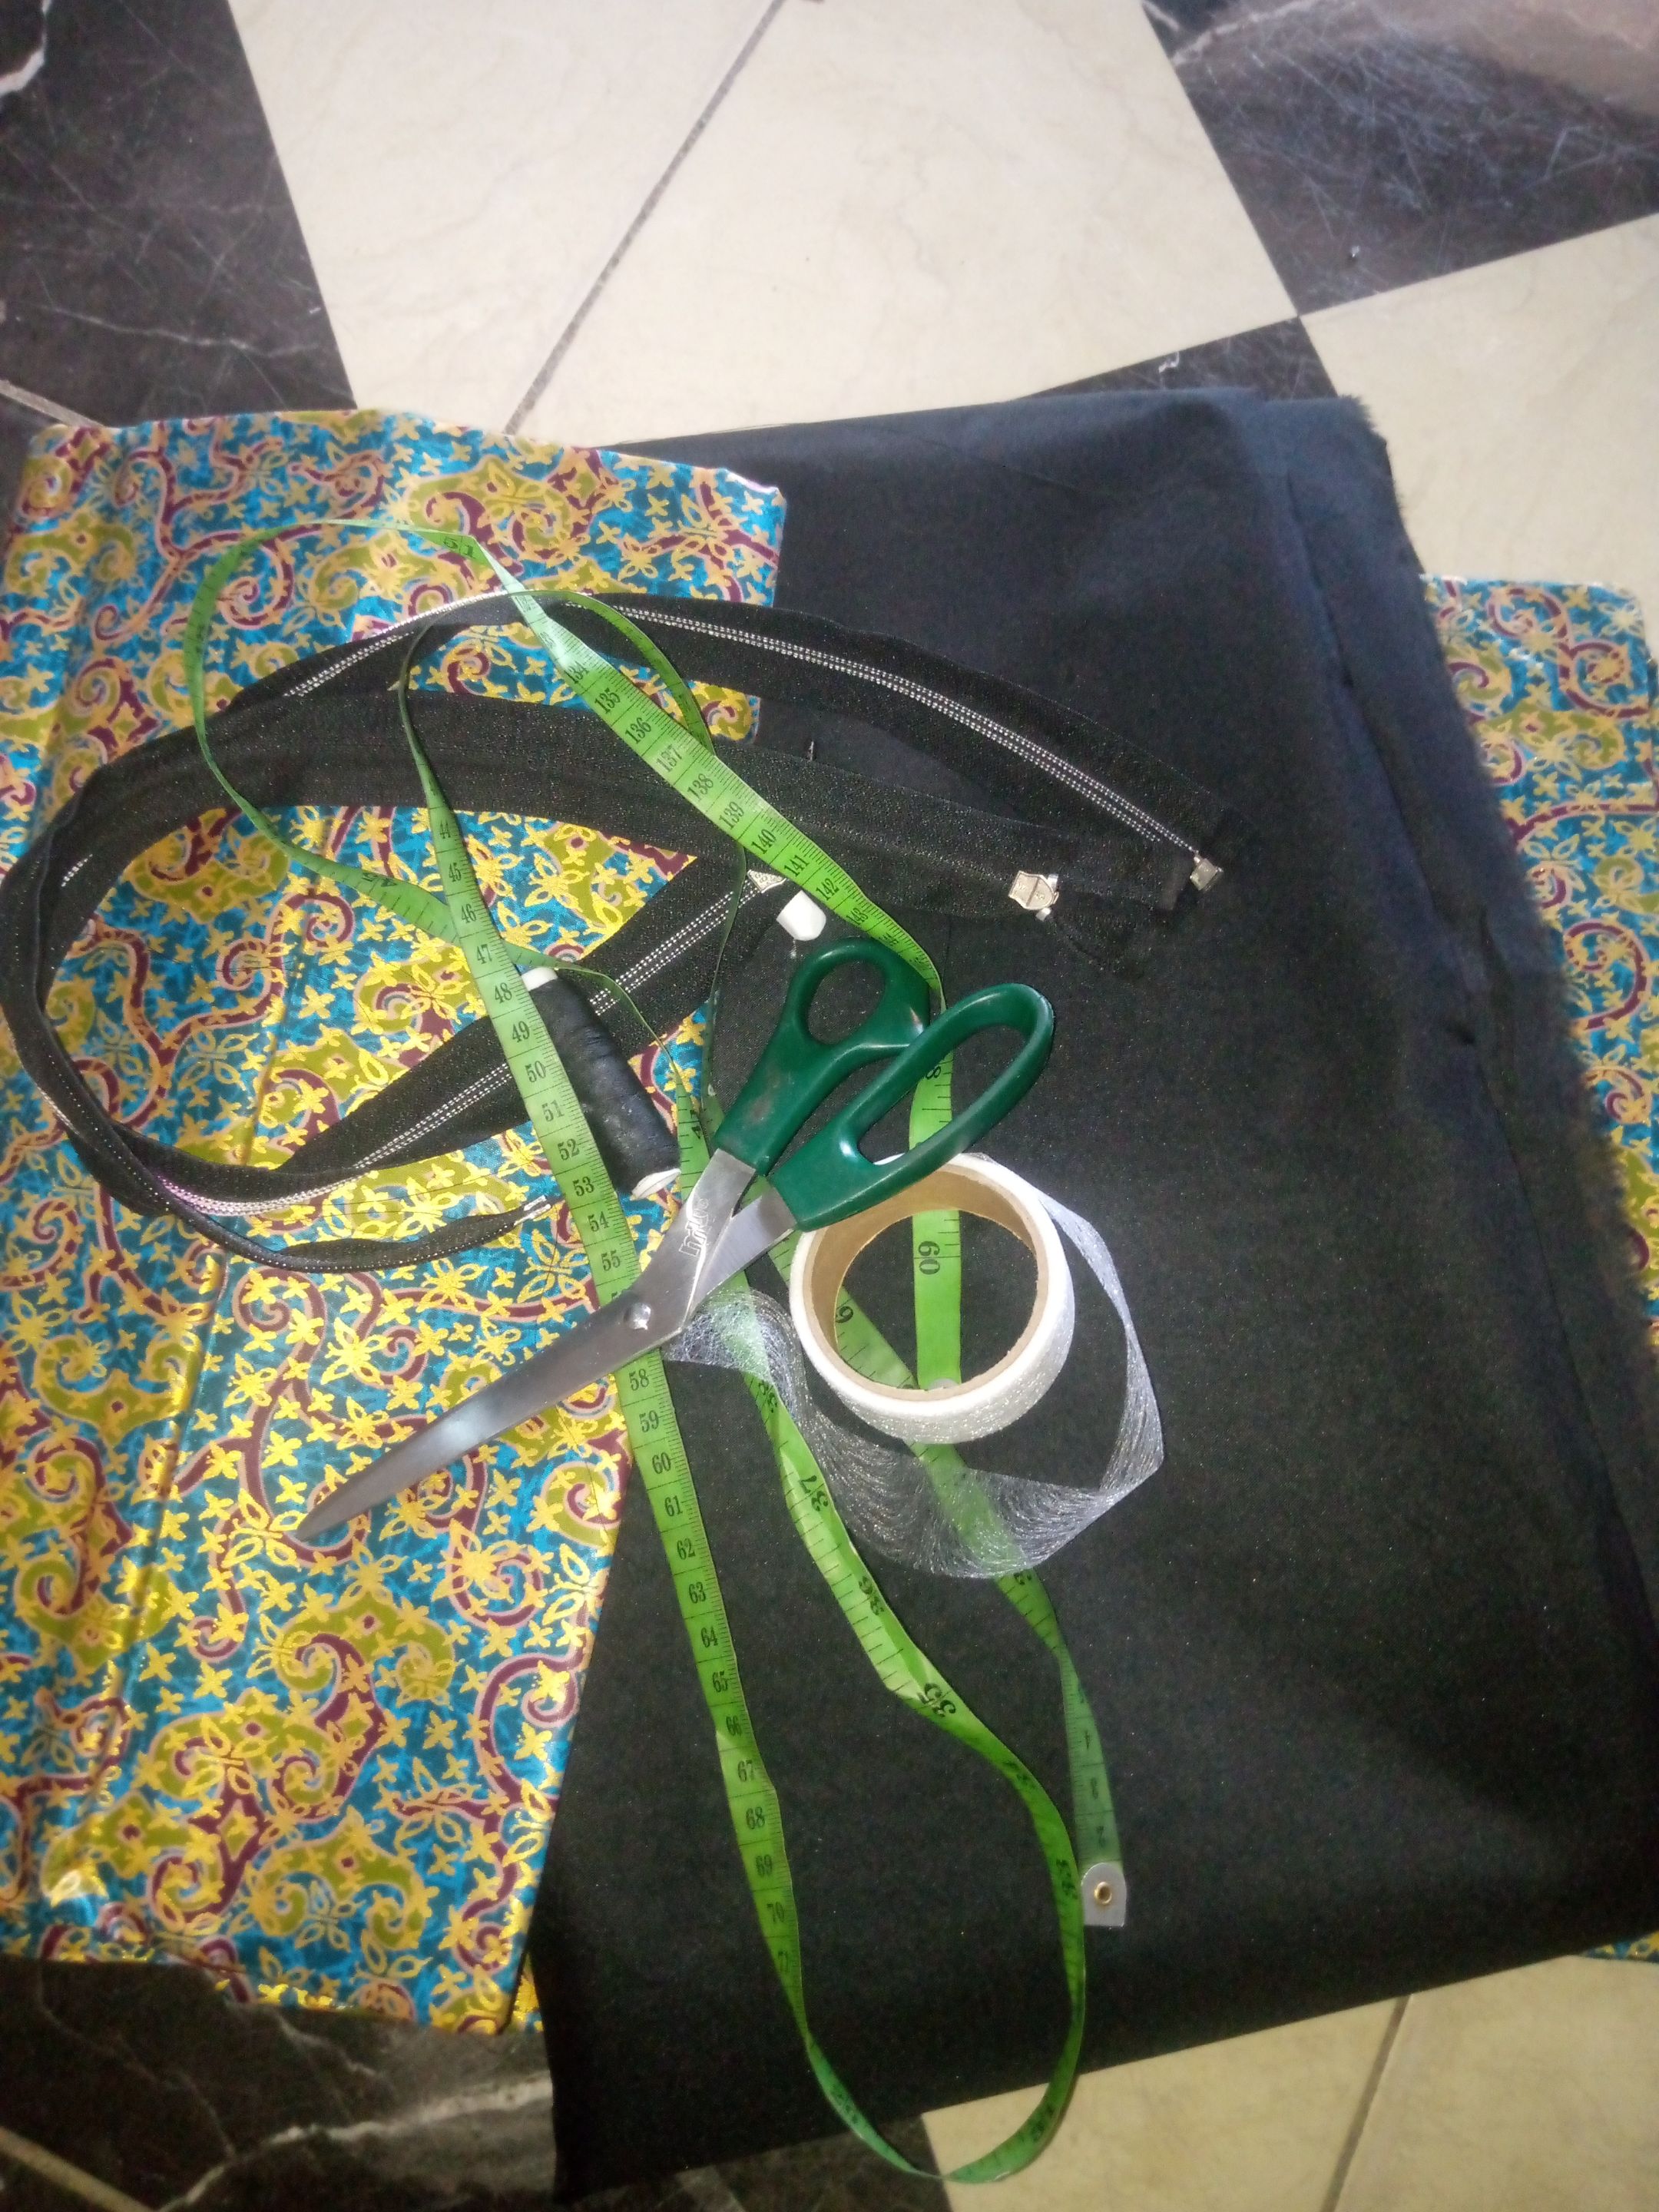
Materials needed. Lining Your Ankara Zip Tape Chalk Aiming gum And scissor.
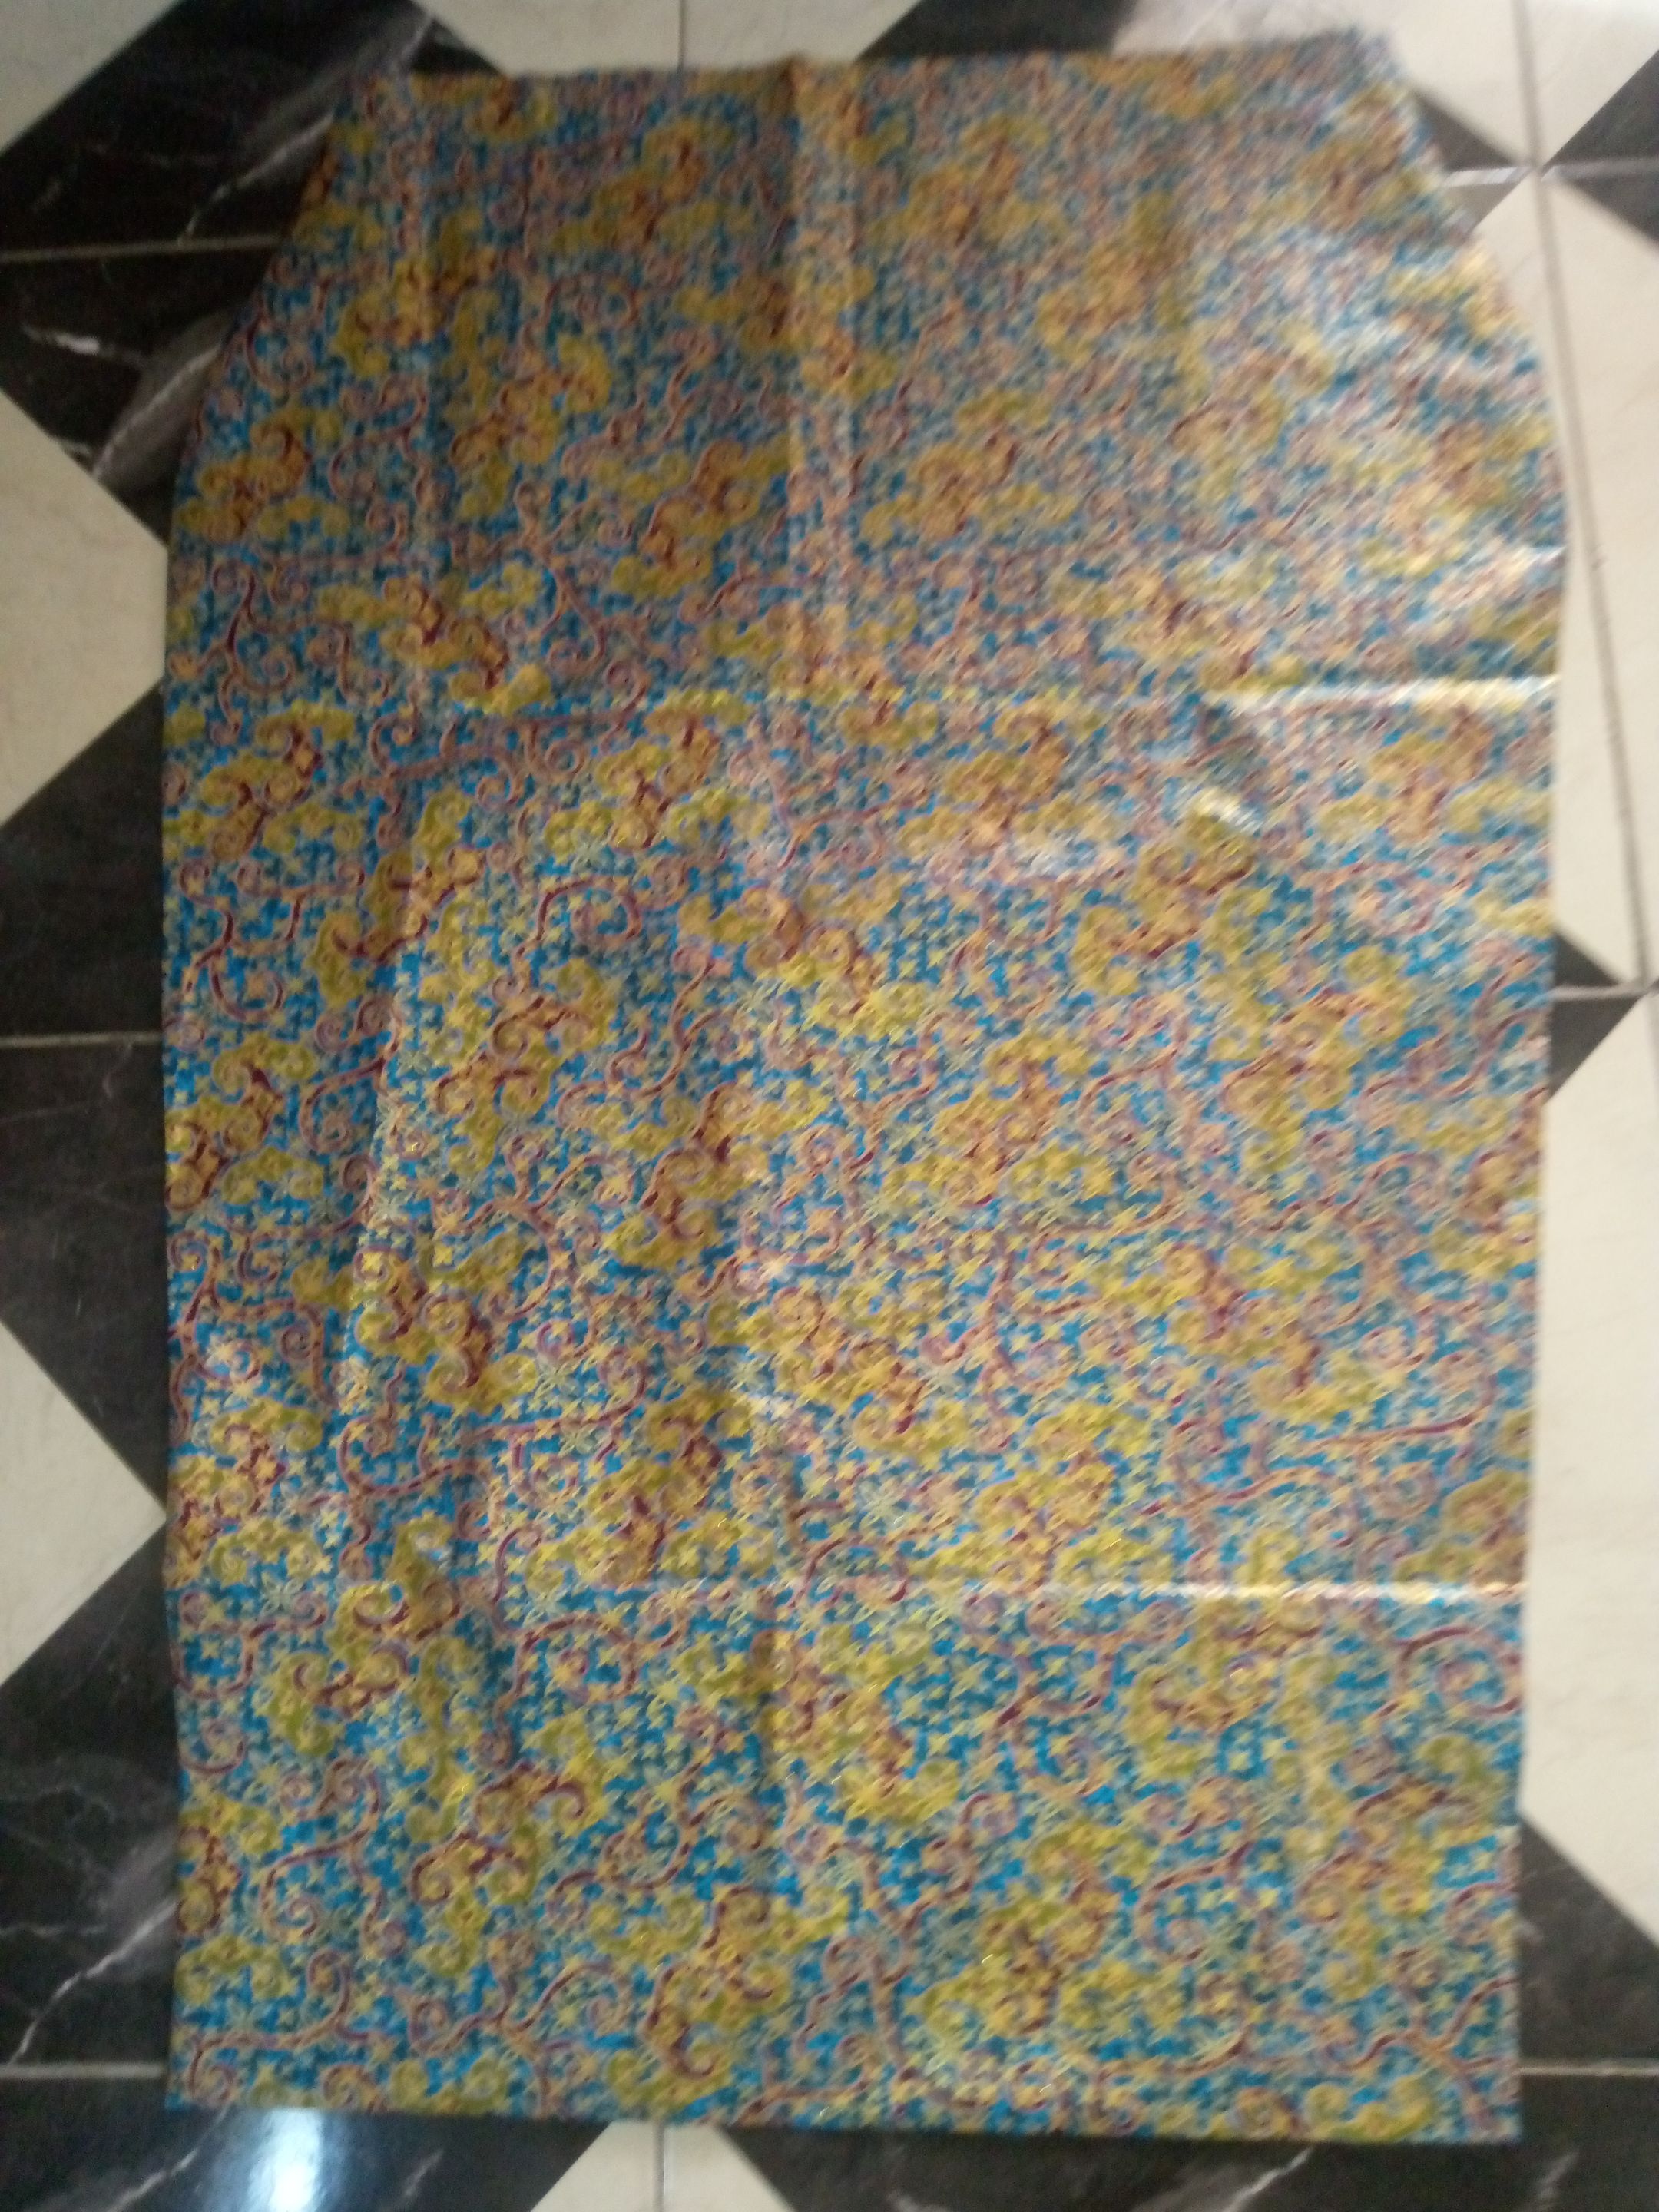
Let me start with the skirt, firstly I fold my material by two measure out the length, hip and waist then I cut it out that's for the front part, and to cut the back,I still fold my material by two and place the front part on it and give out a two inches allowance for my zip and slitting at the back of the skirt.

I also cut out my lining for the skirt and proceed to fix it, both for the back and front.
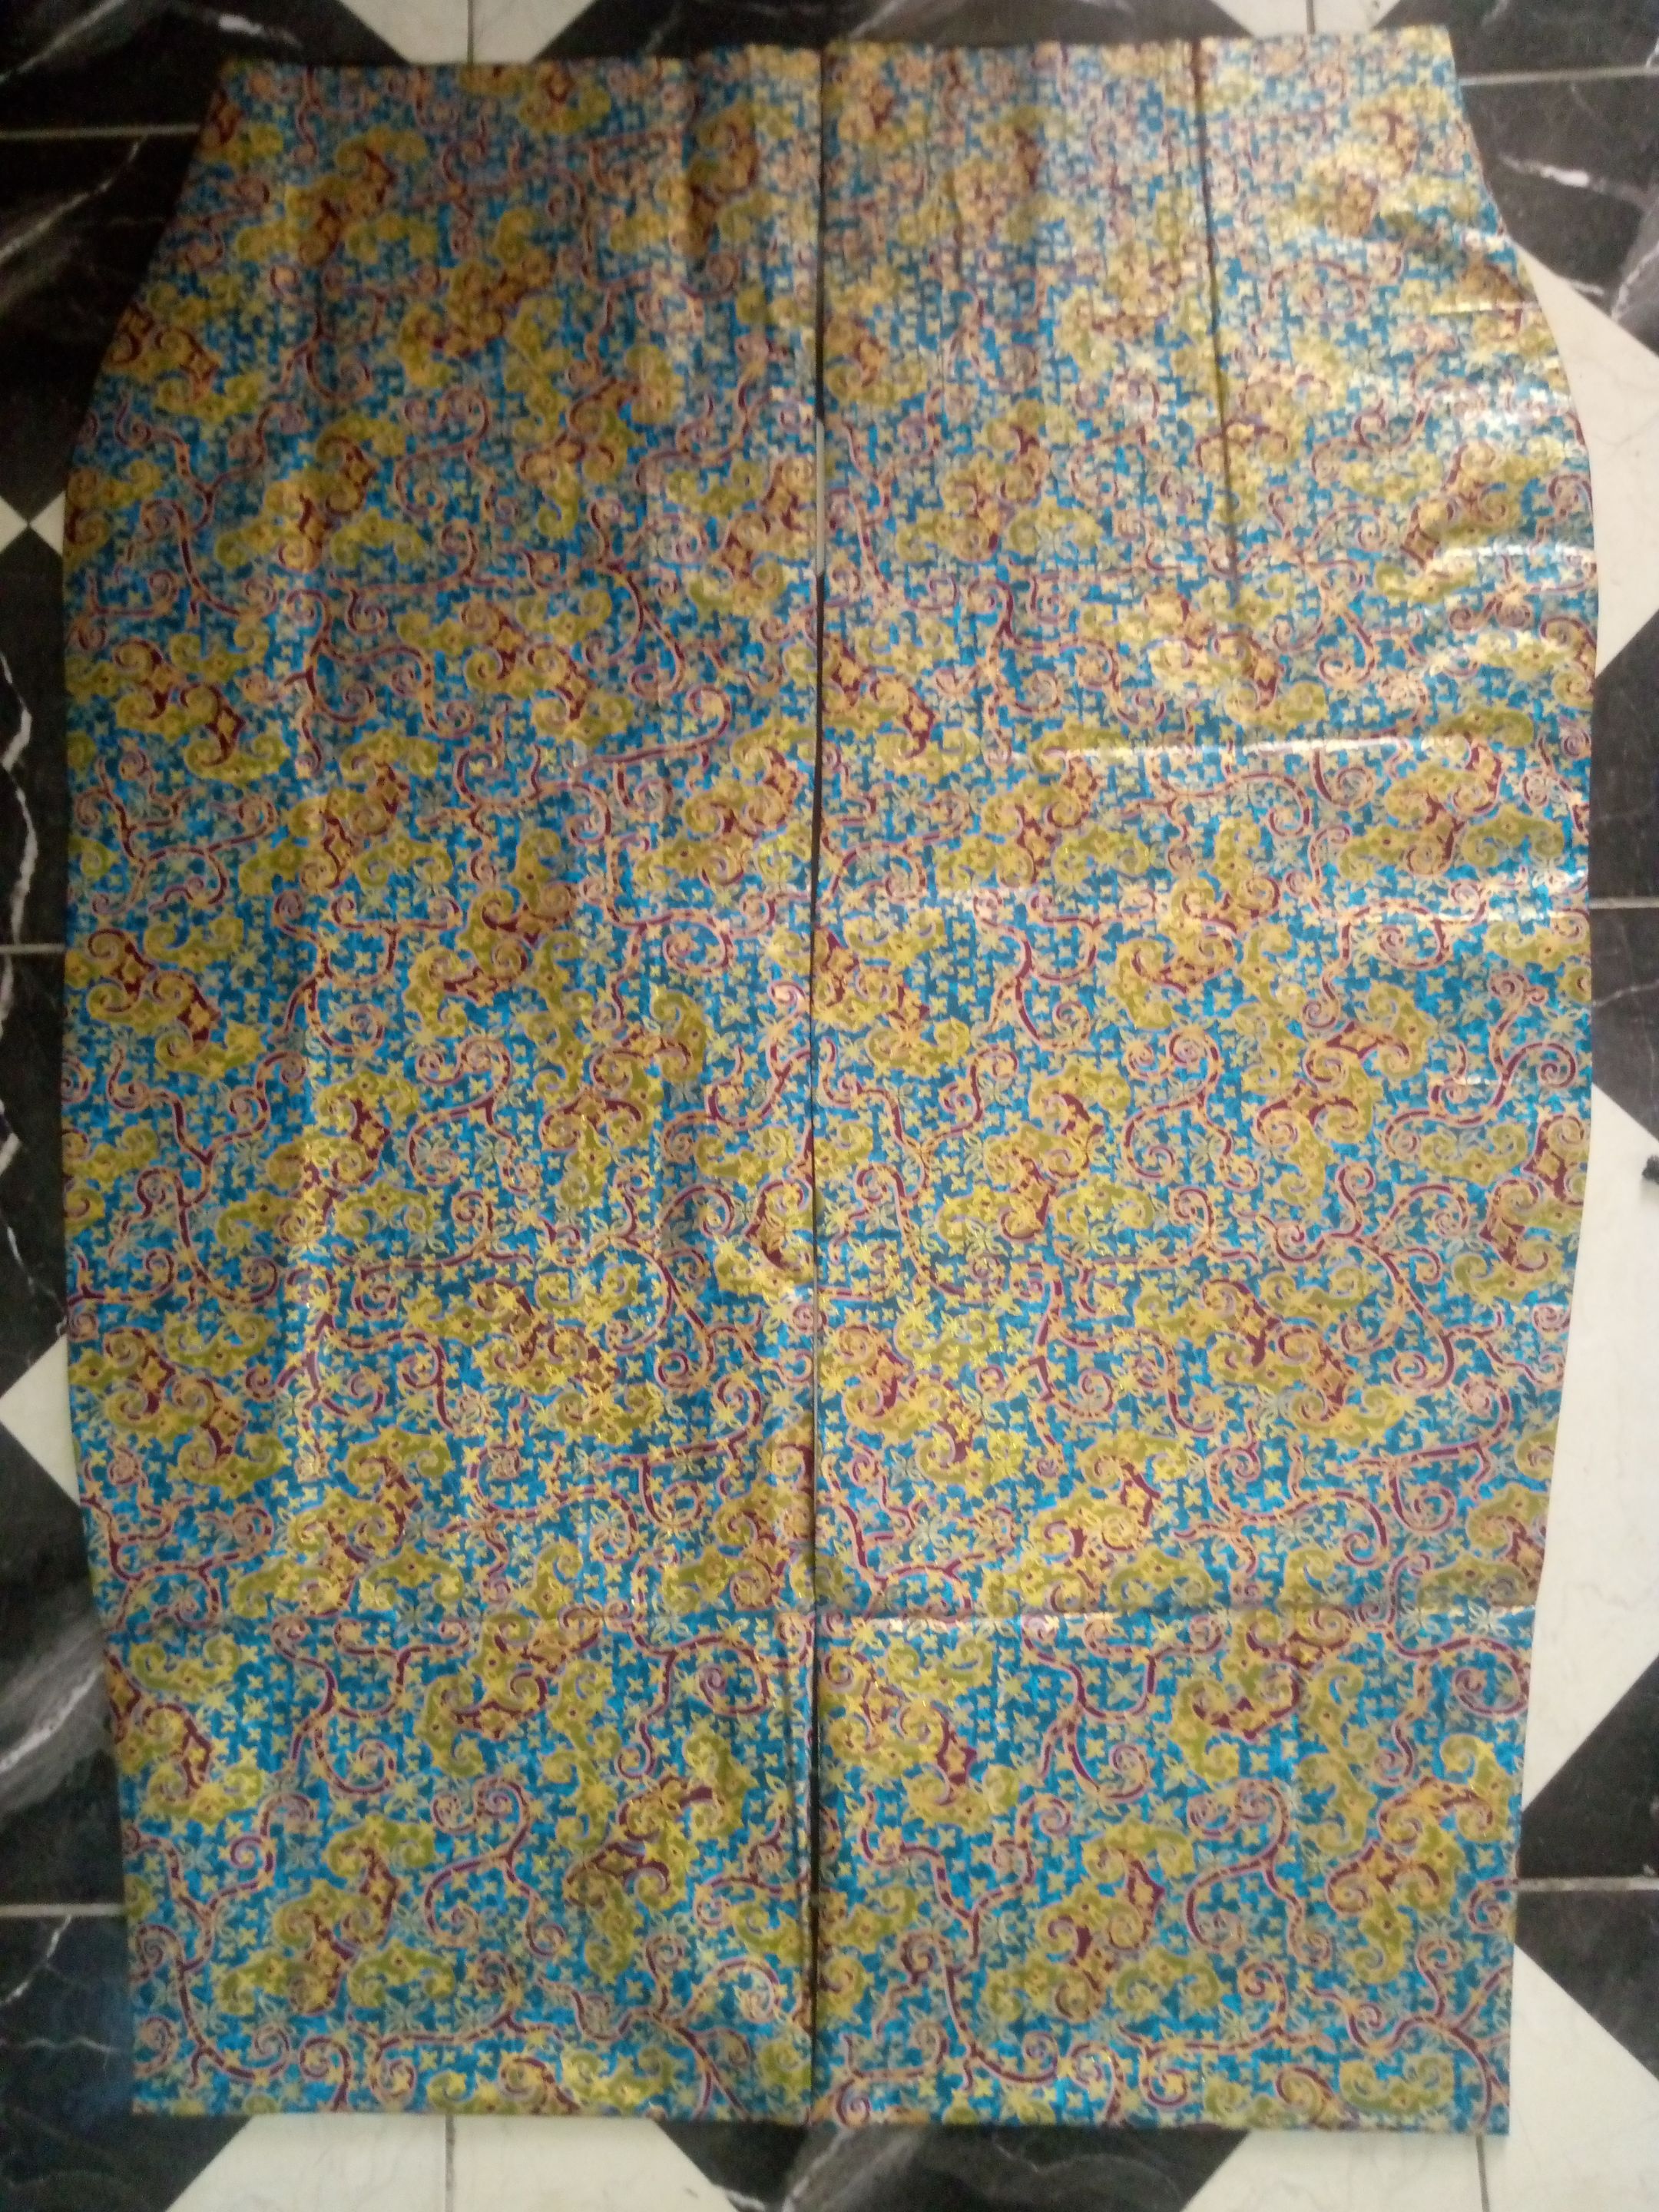
After fixing the lining I proceed to put in my dart , I know you will be wondering what is dart, when you look closely at the front of the skirt you will see some two stich sewing that's what dart is it helps to give the skirt fitting. After all that I join the skirt and fix my zip .
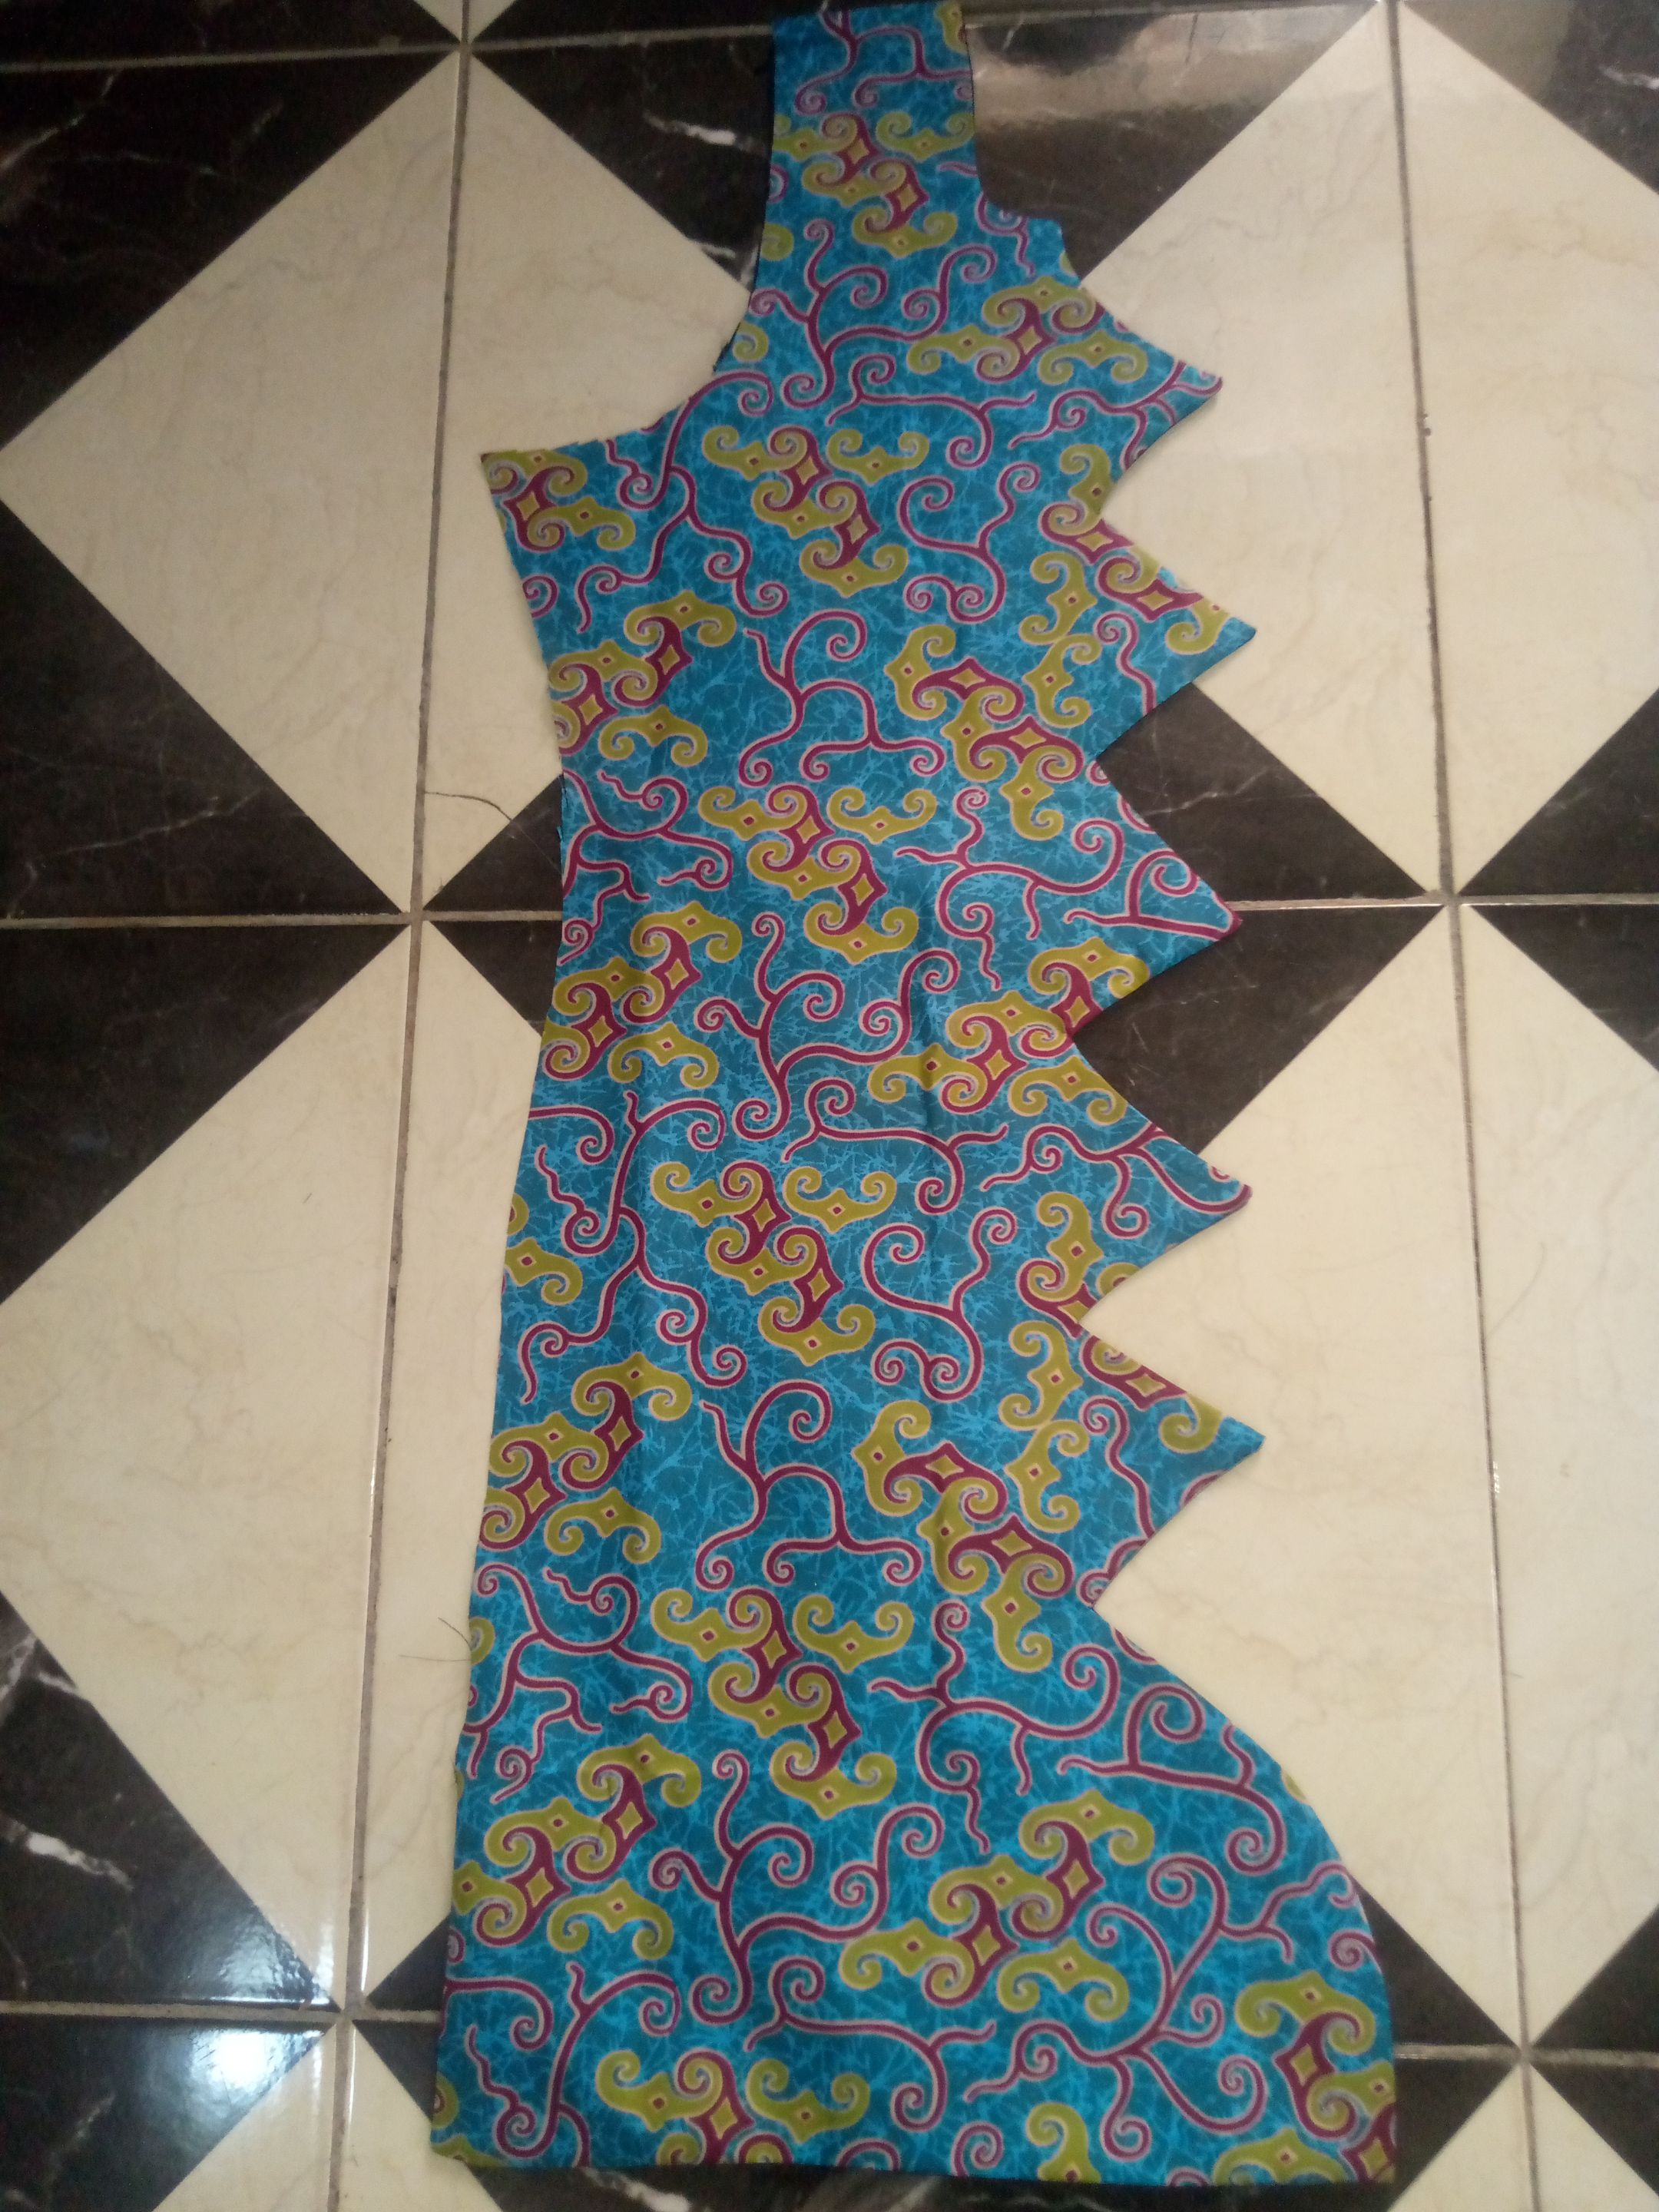
Now moving to the top, I placed my material measure out my length by thirty inches, hand pit by eight inches, shape and the neck and then I cut it out. After which I placed the first one on the other side of the material and cut out the back giving it a two inches allowance for the zip.
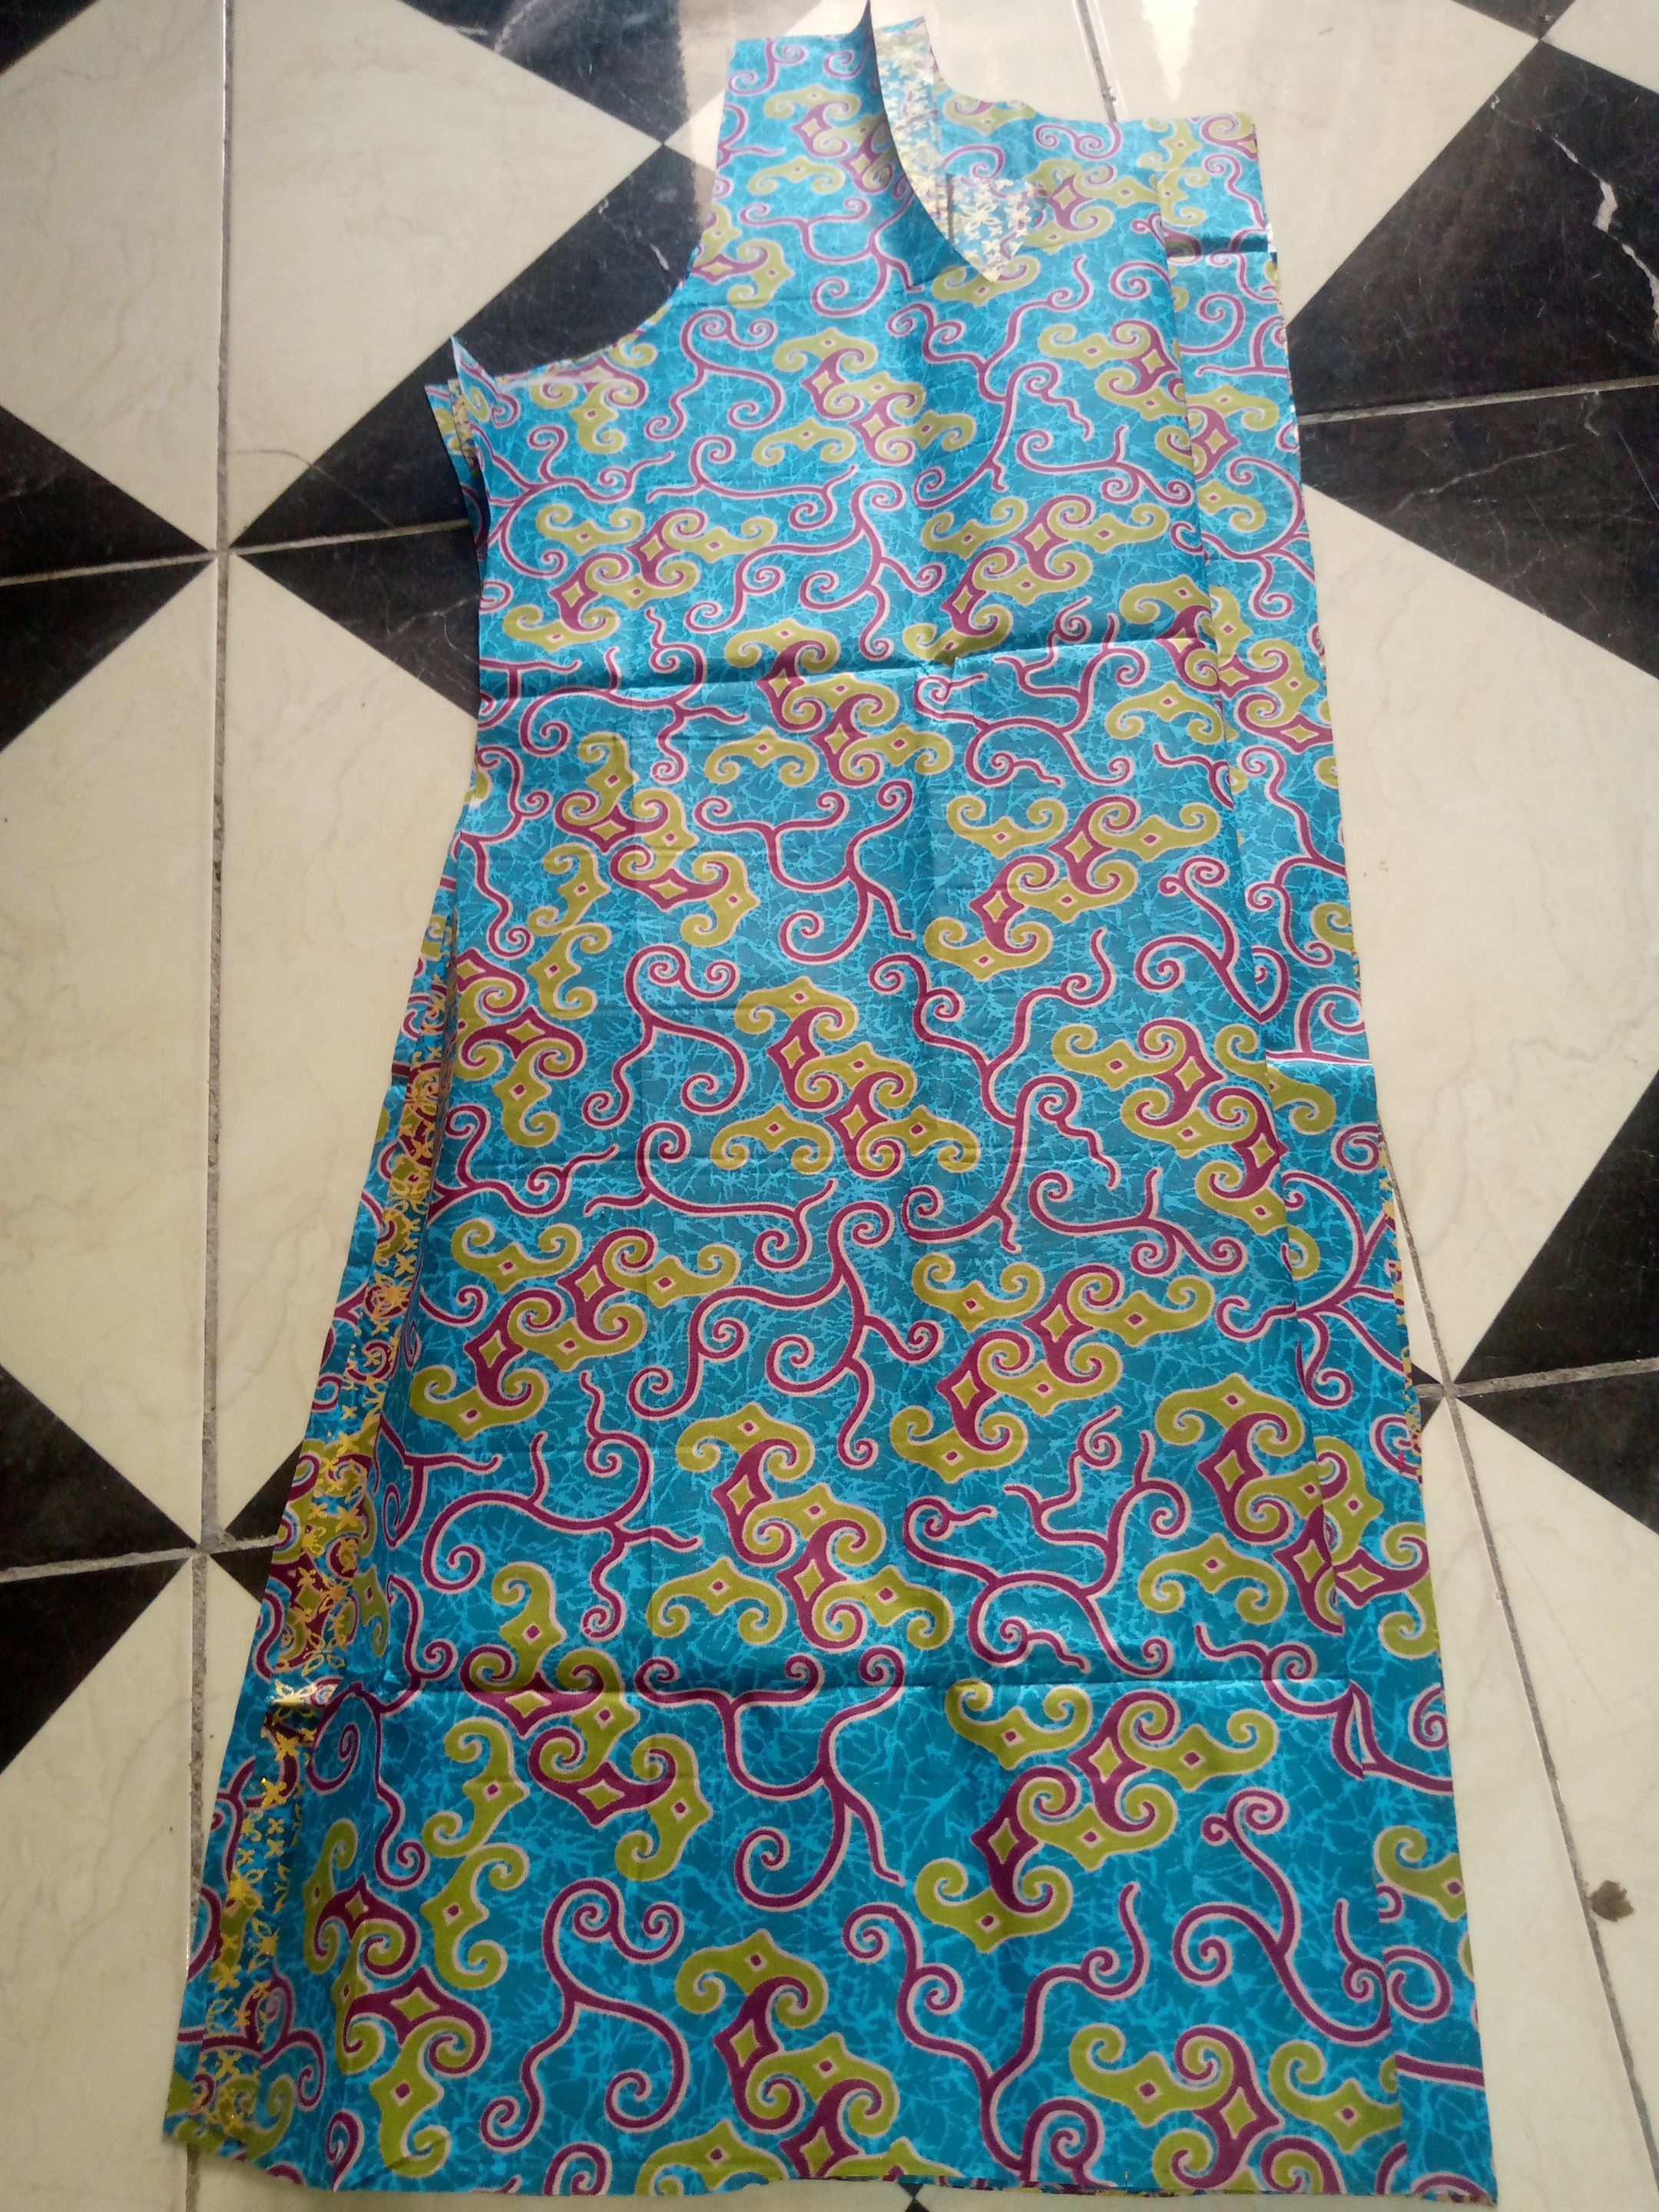
I proceed to cut out the other side of the material which I will be using to design the front part of the top, and for the design, I'm using same Ankara to make the design, I will be turning the inside to be out.
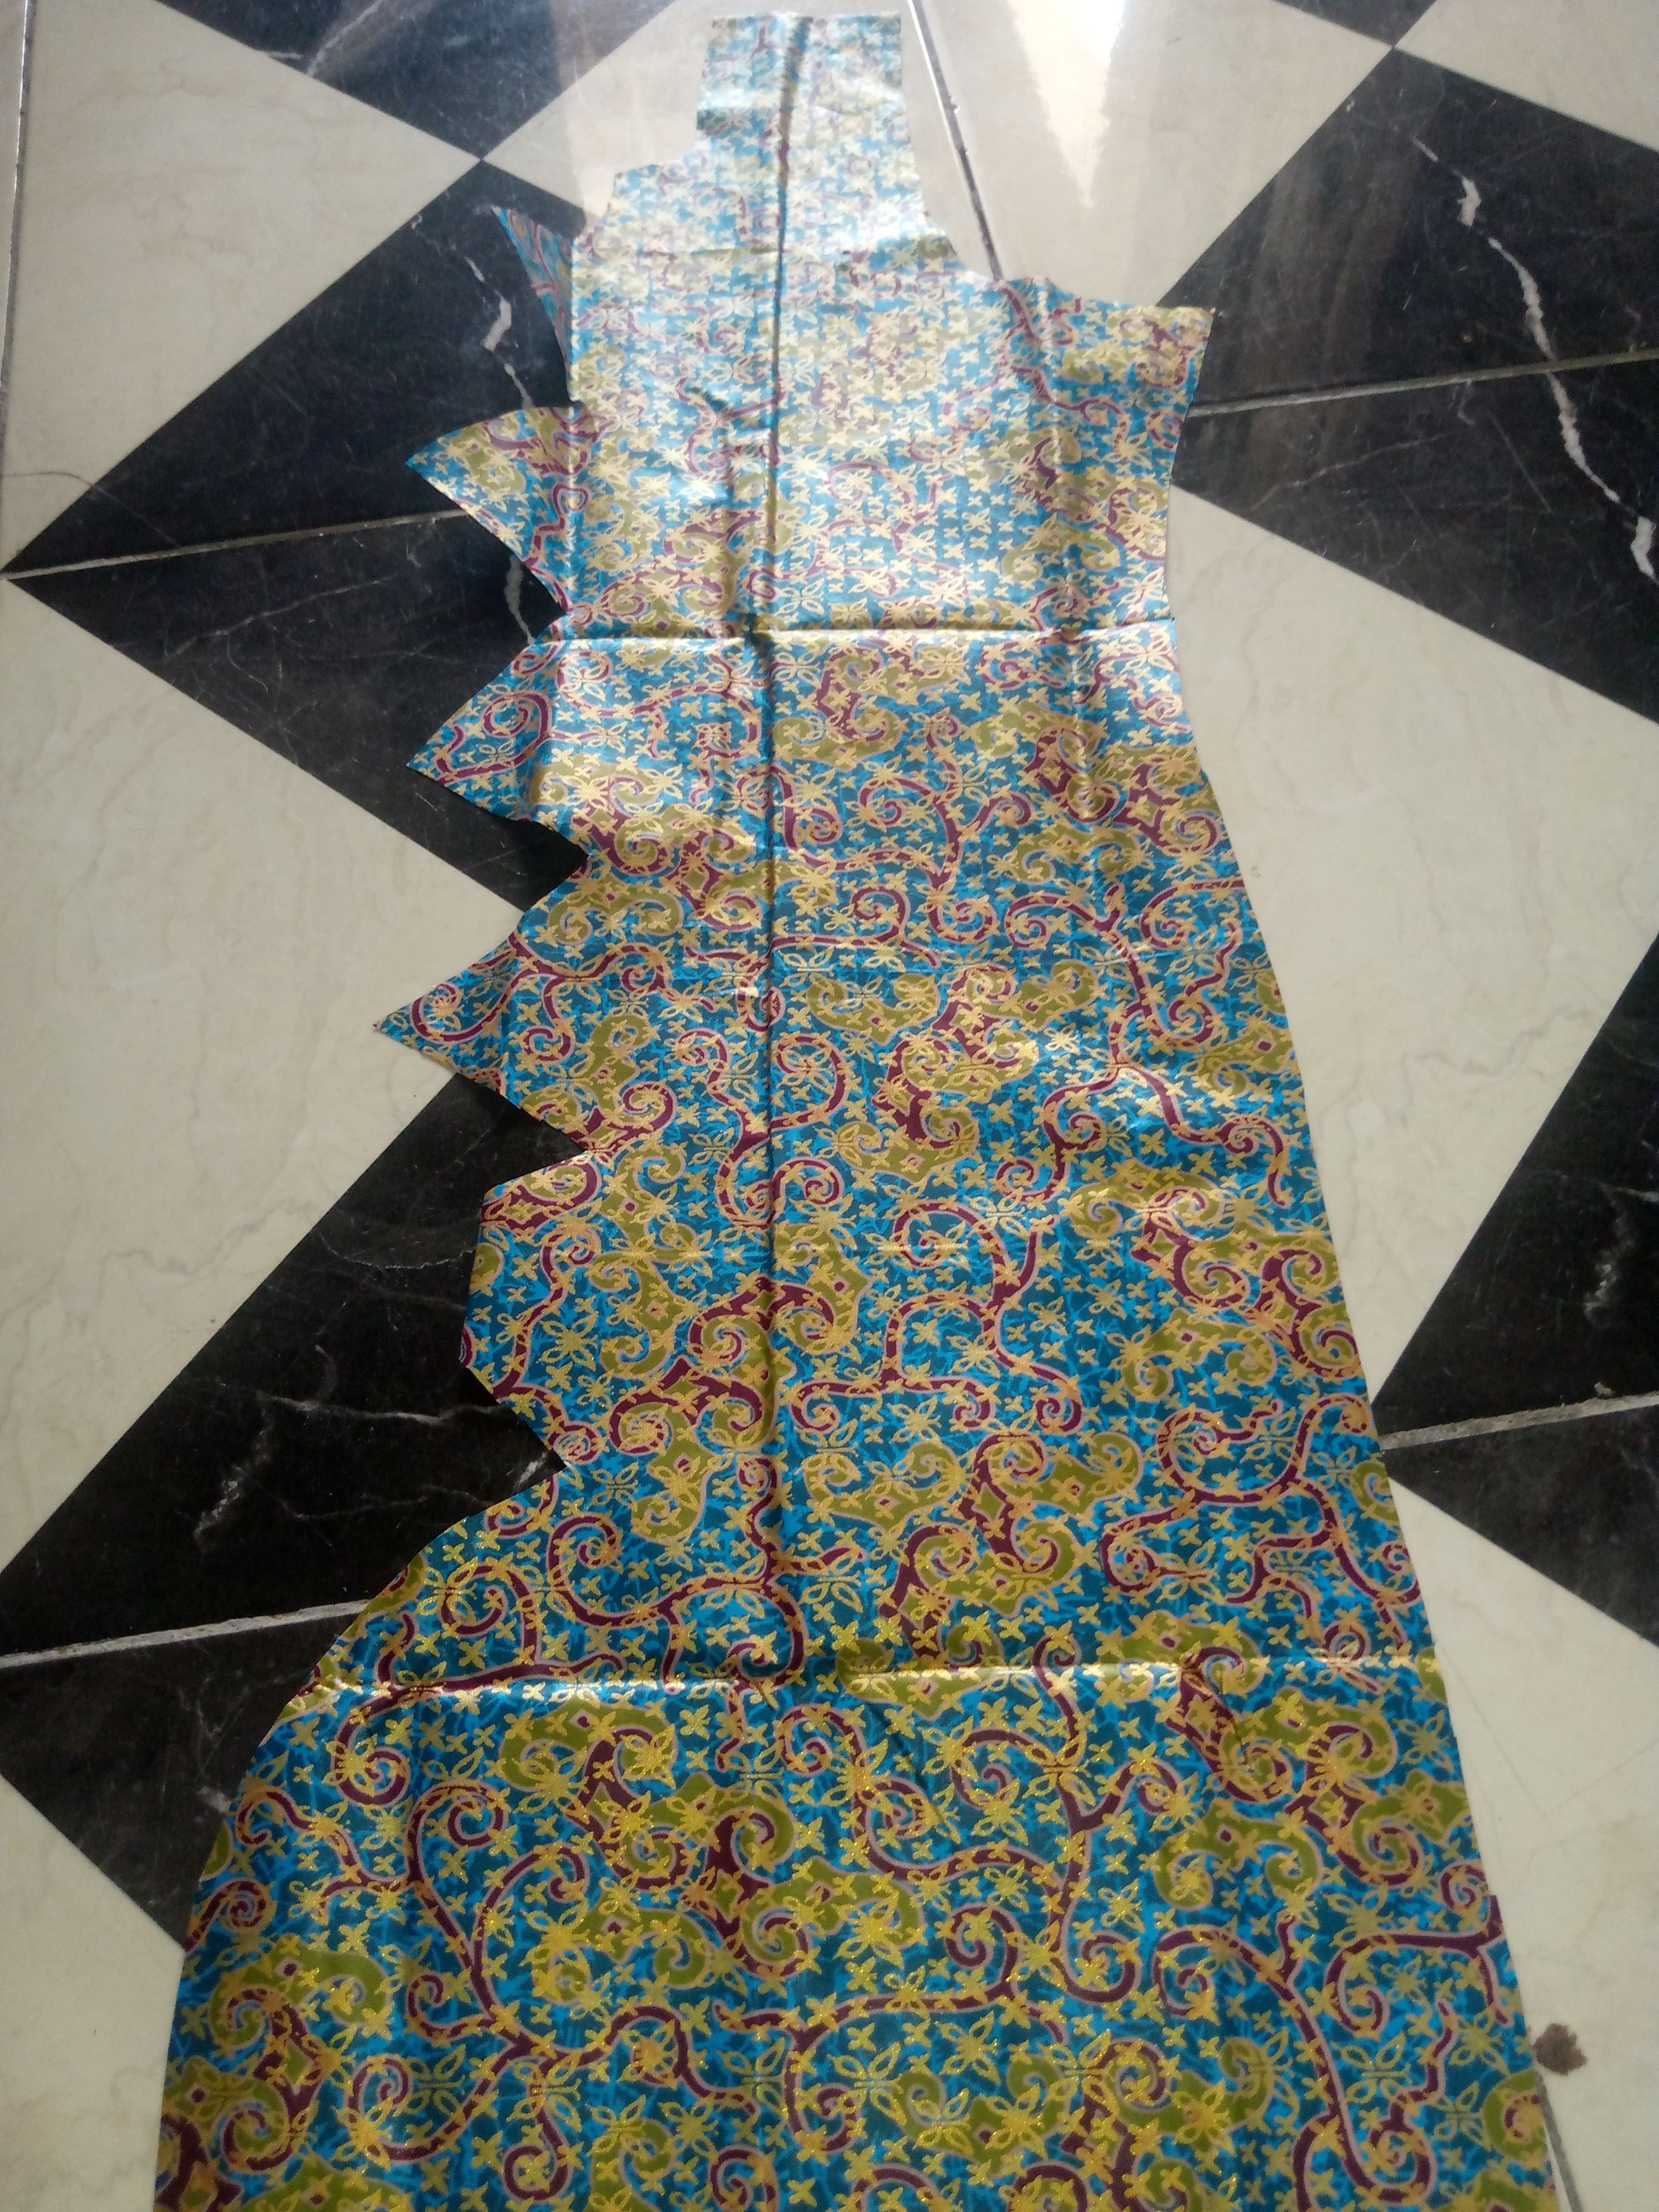
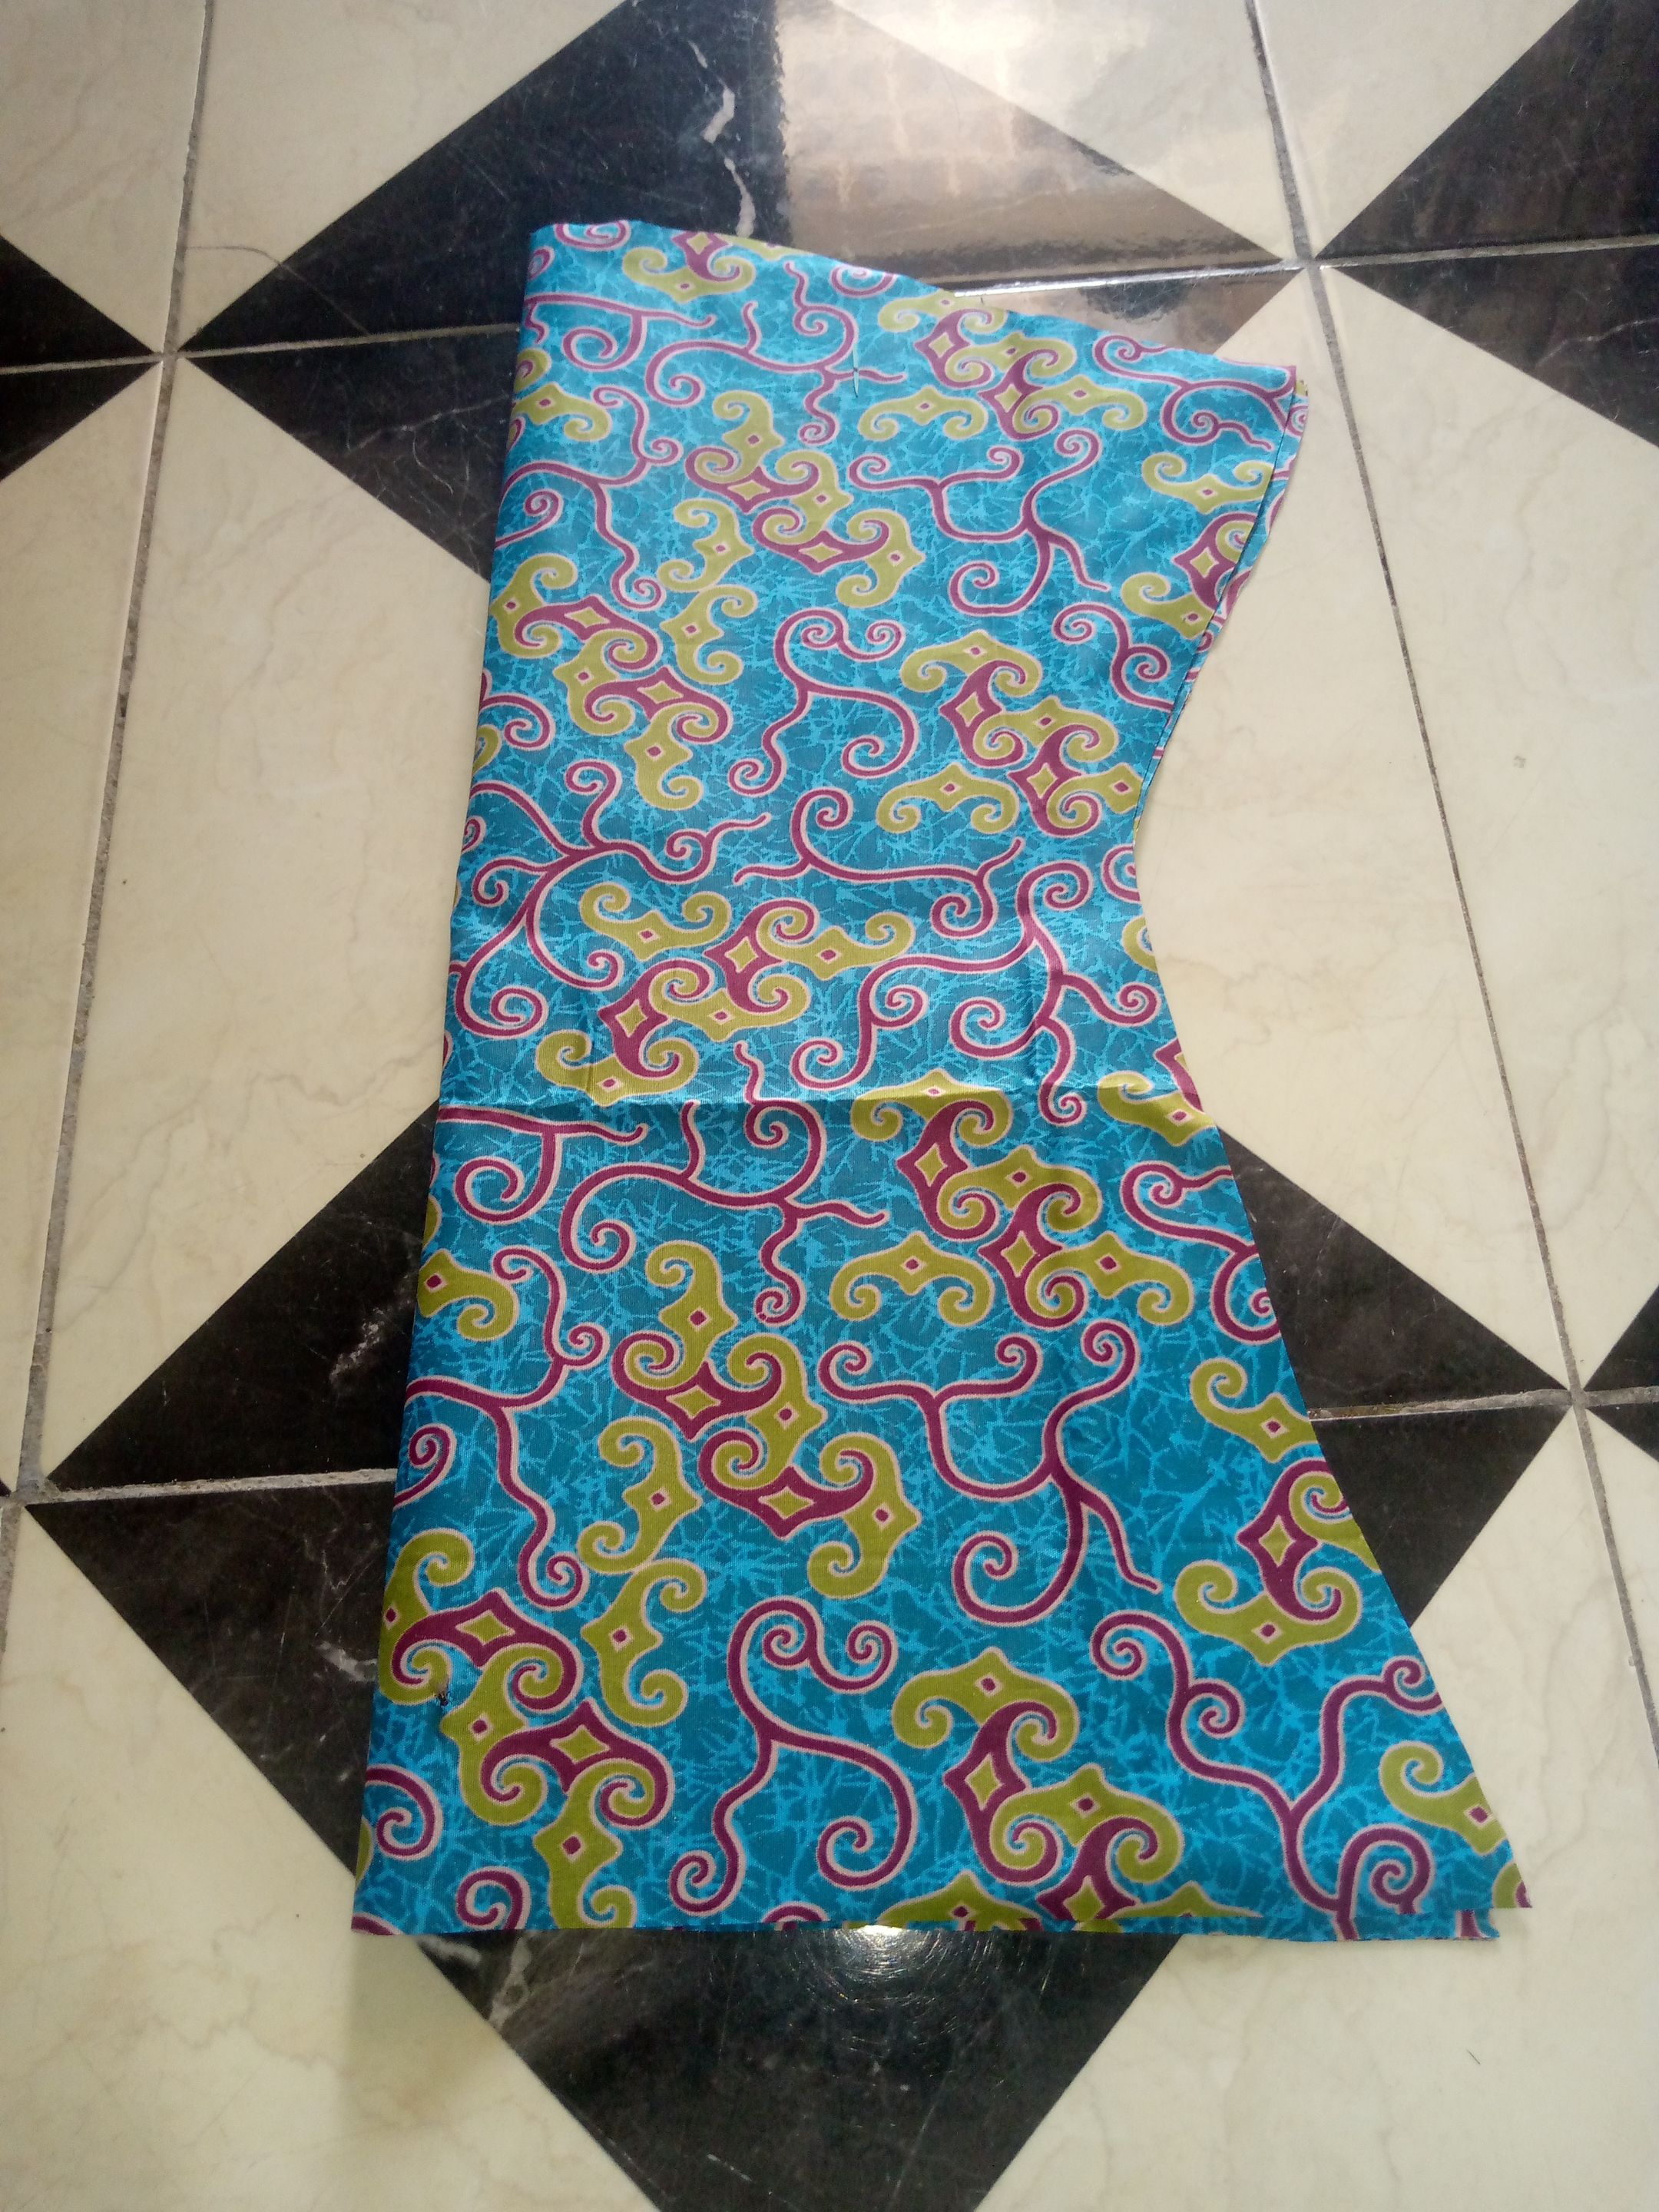
I cut out my canoe hand, with an extra material I will use to turn it. I proceed to cut out my lining for the top. For the front before the lining, o fixed in the lining for the design.
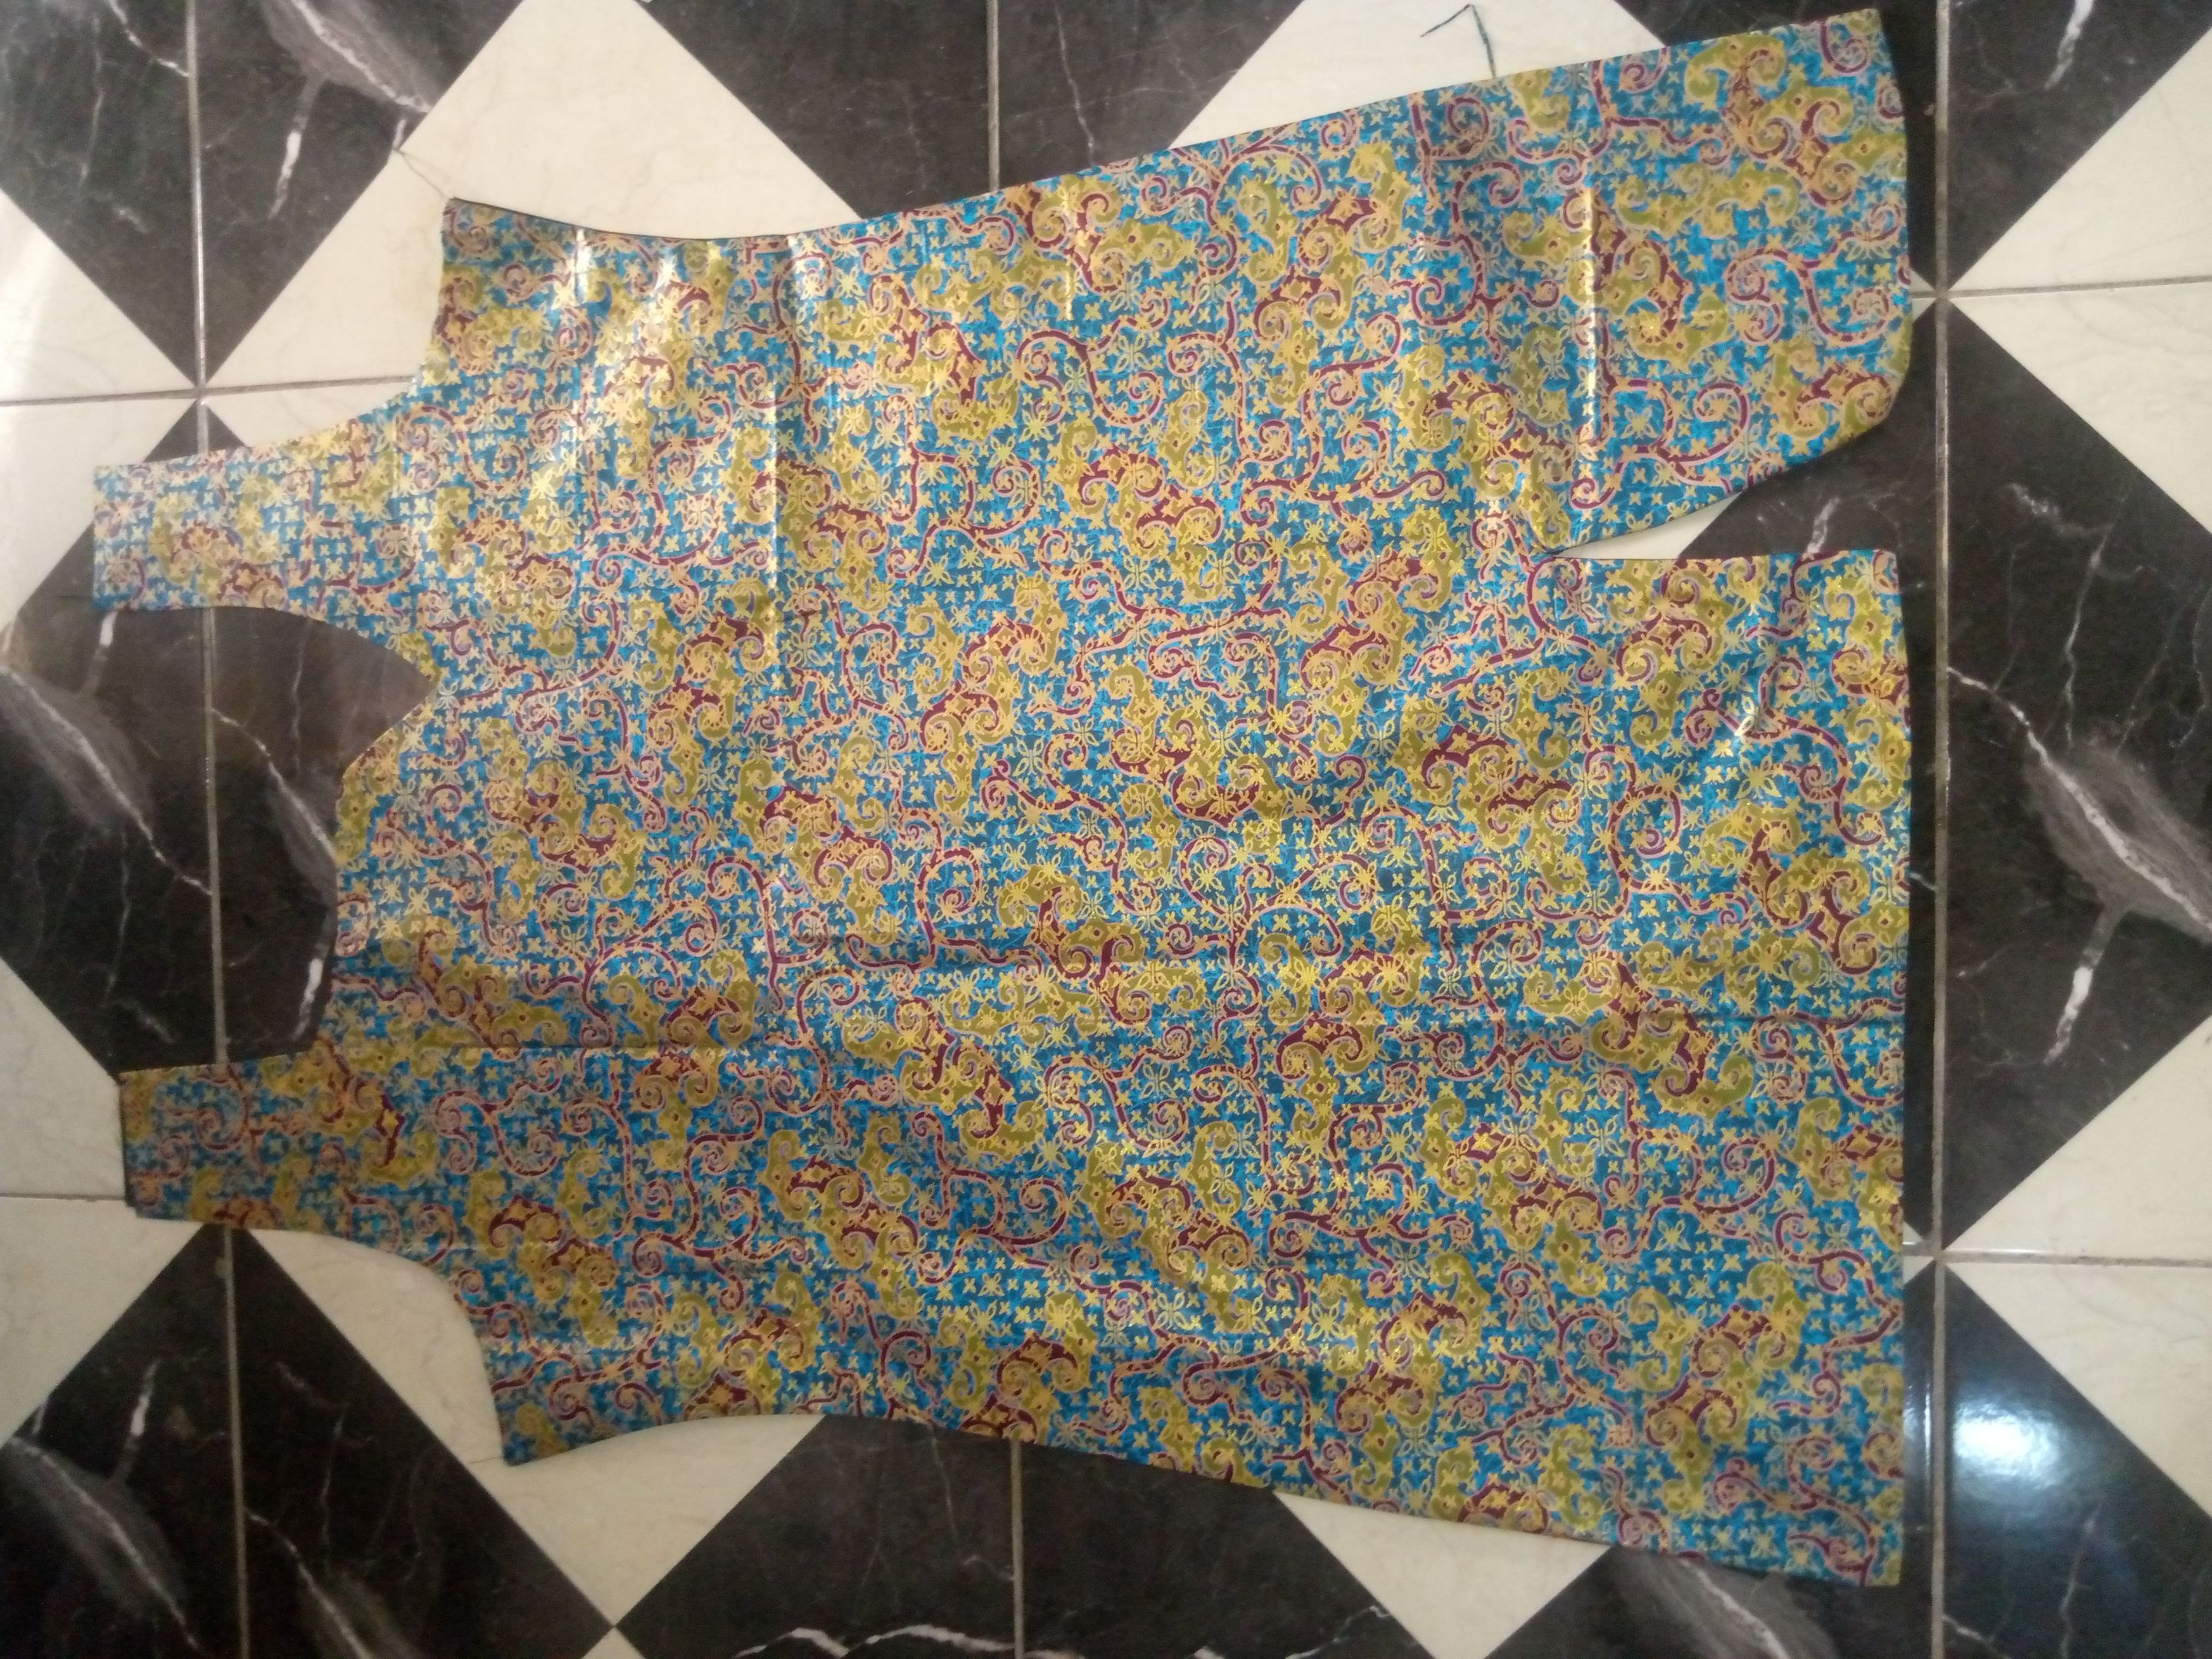
Then I fix the lining for the front.
I also fixed lining for the design.
After that I placed the design at the front, and this is how it looks.
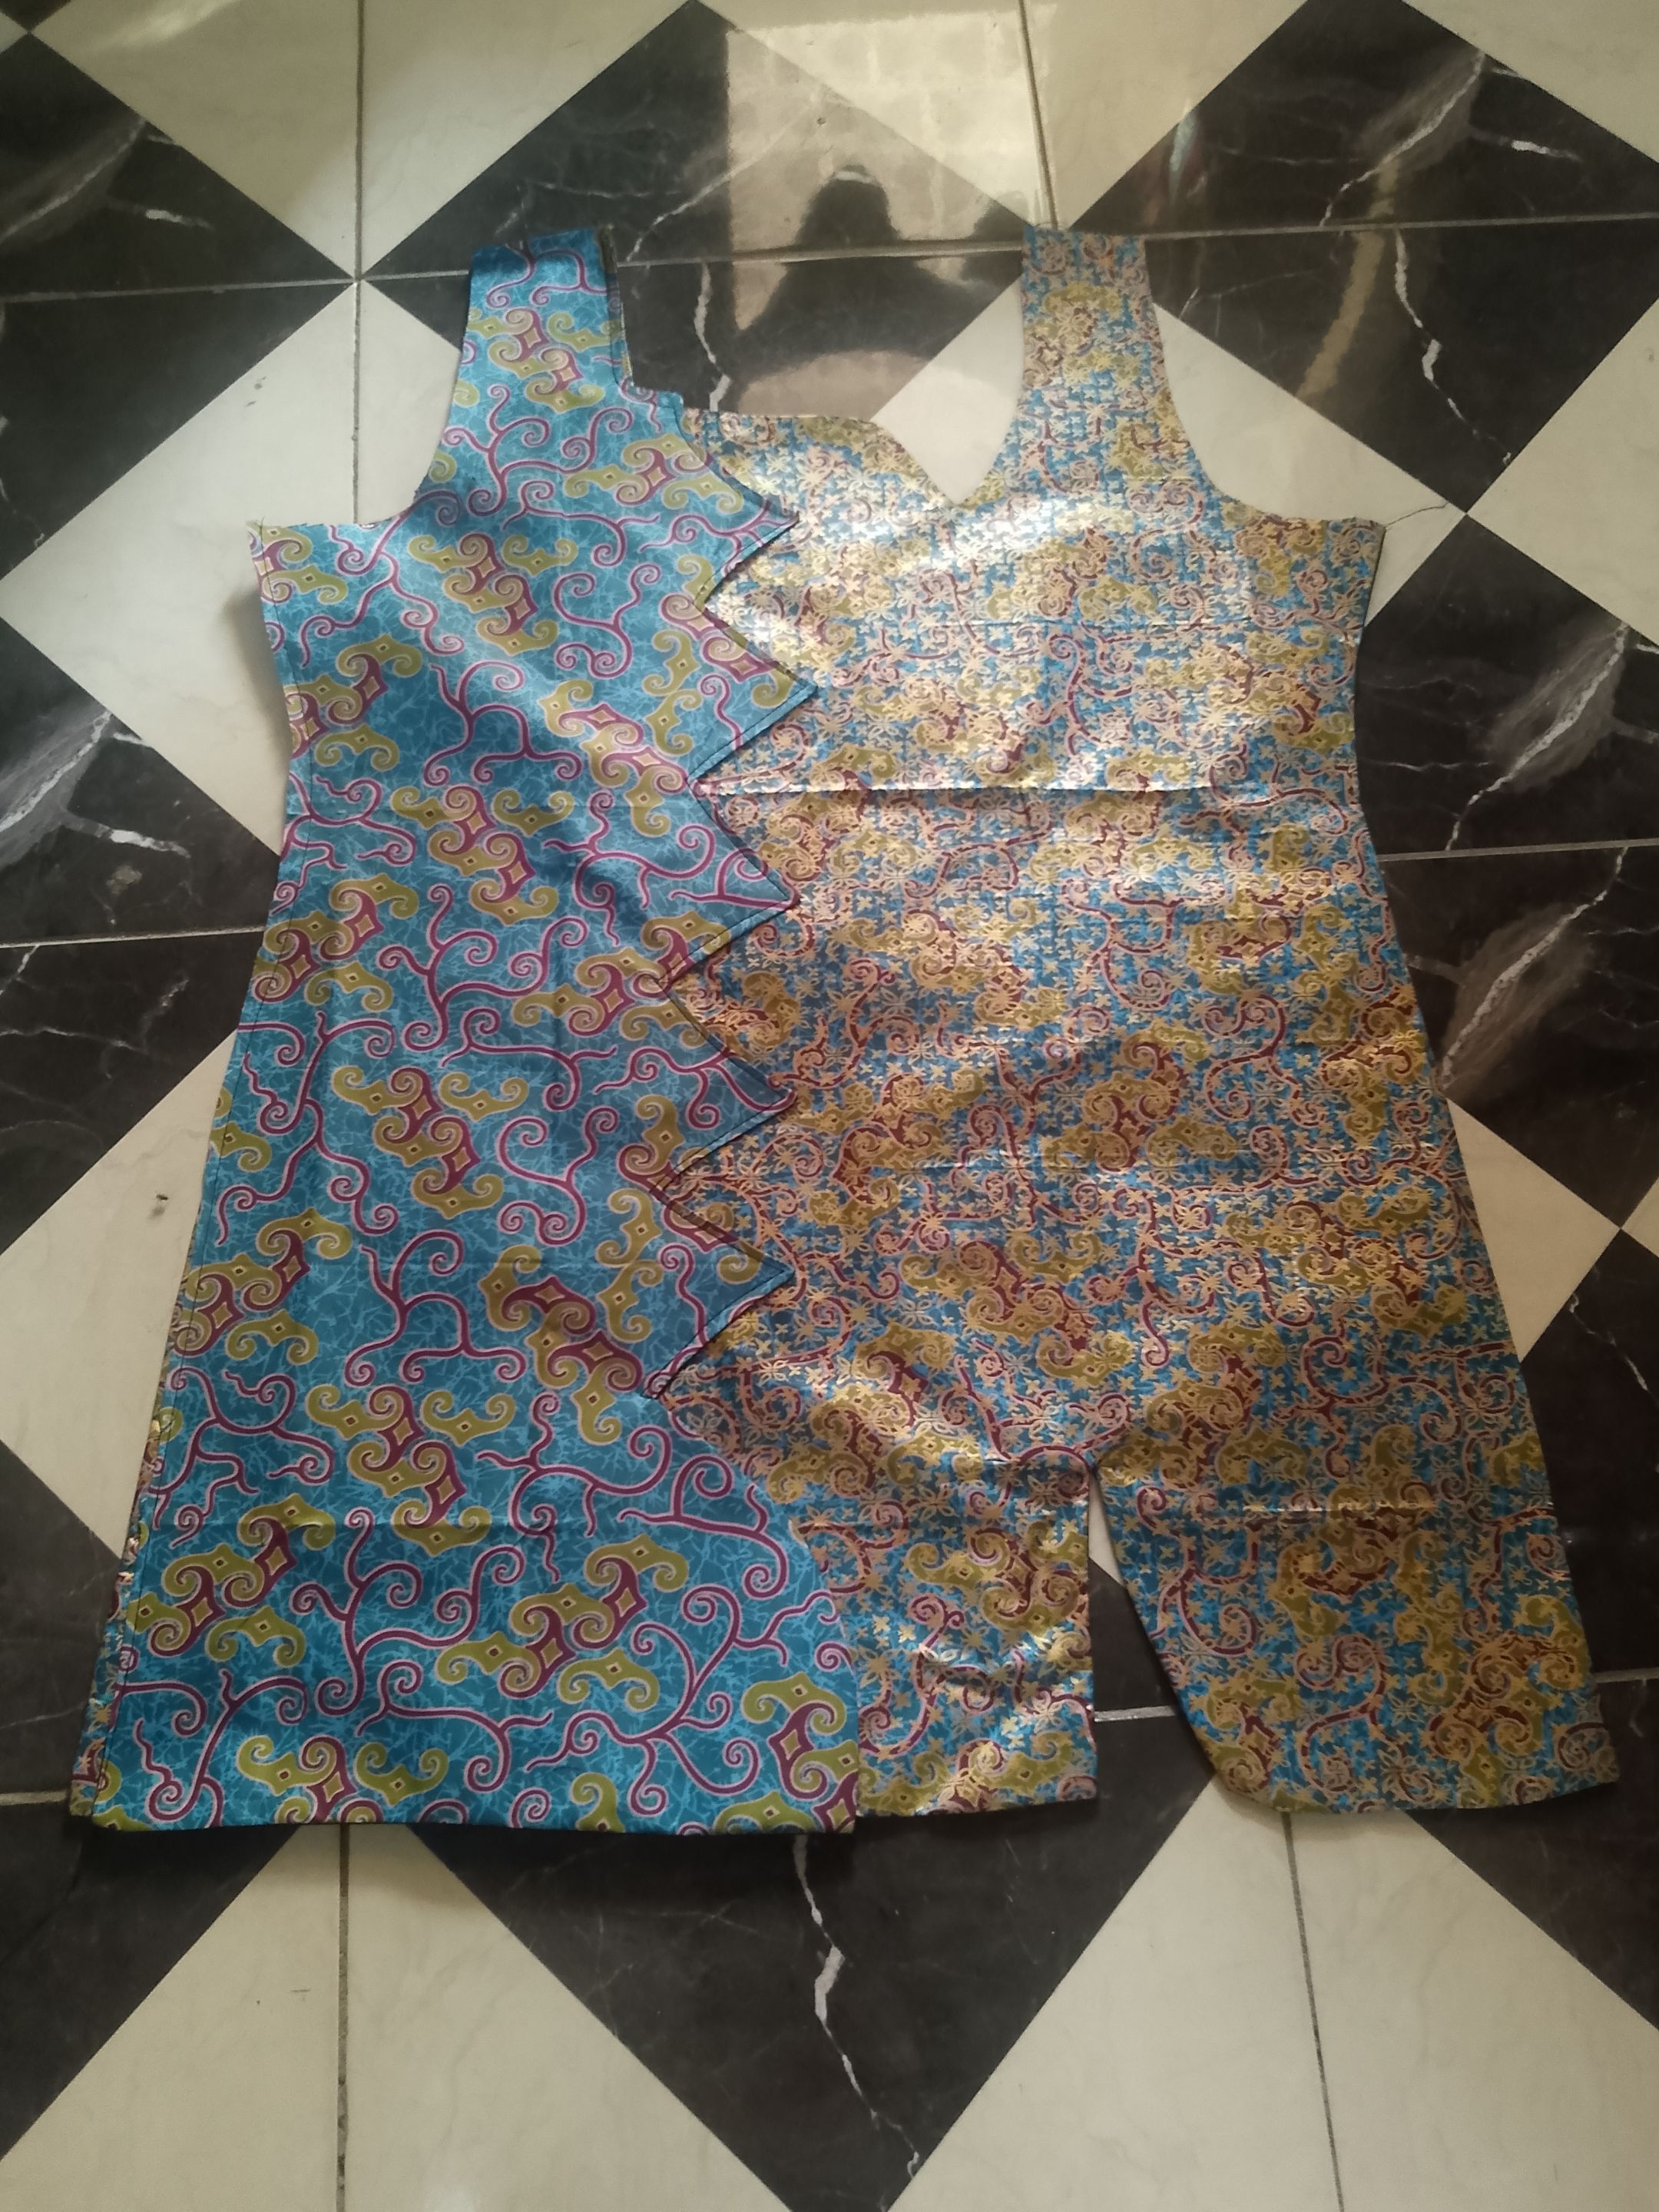
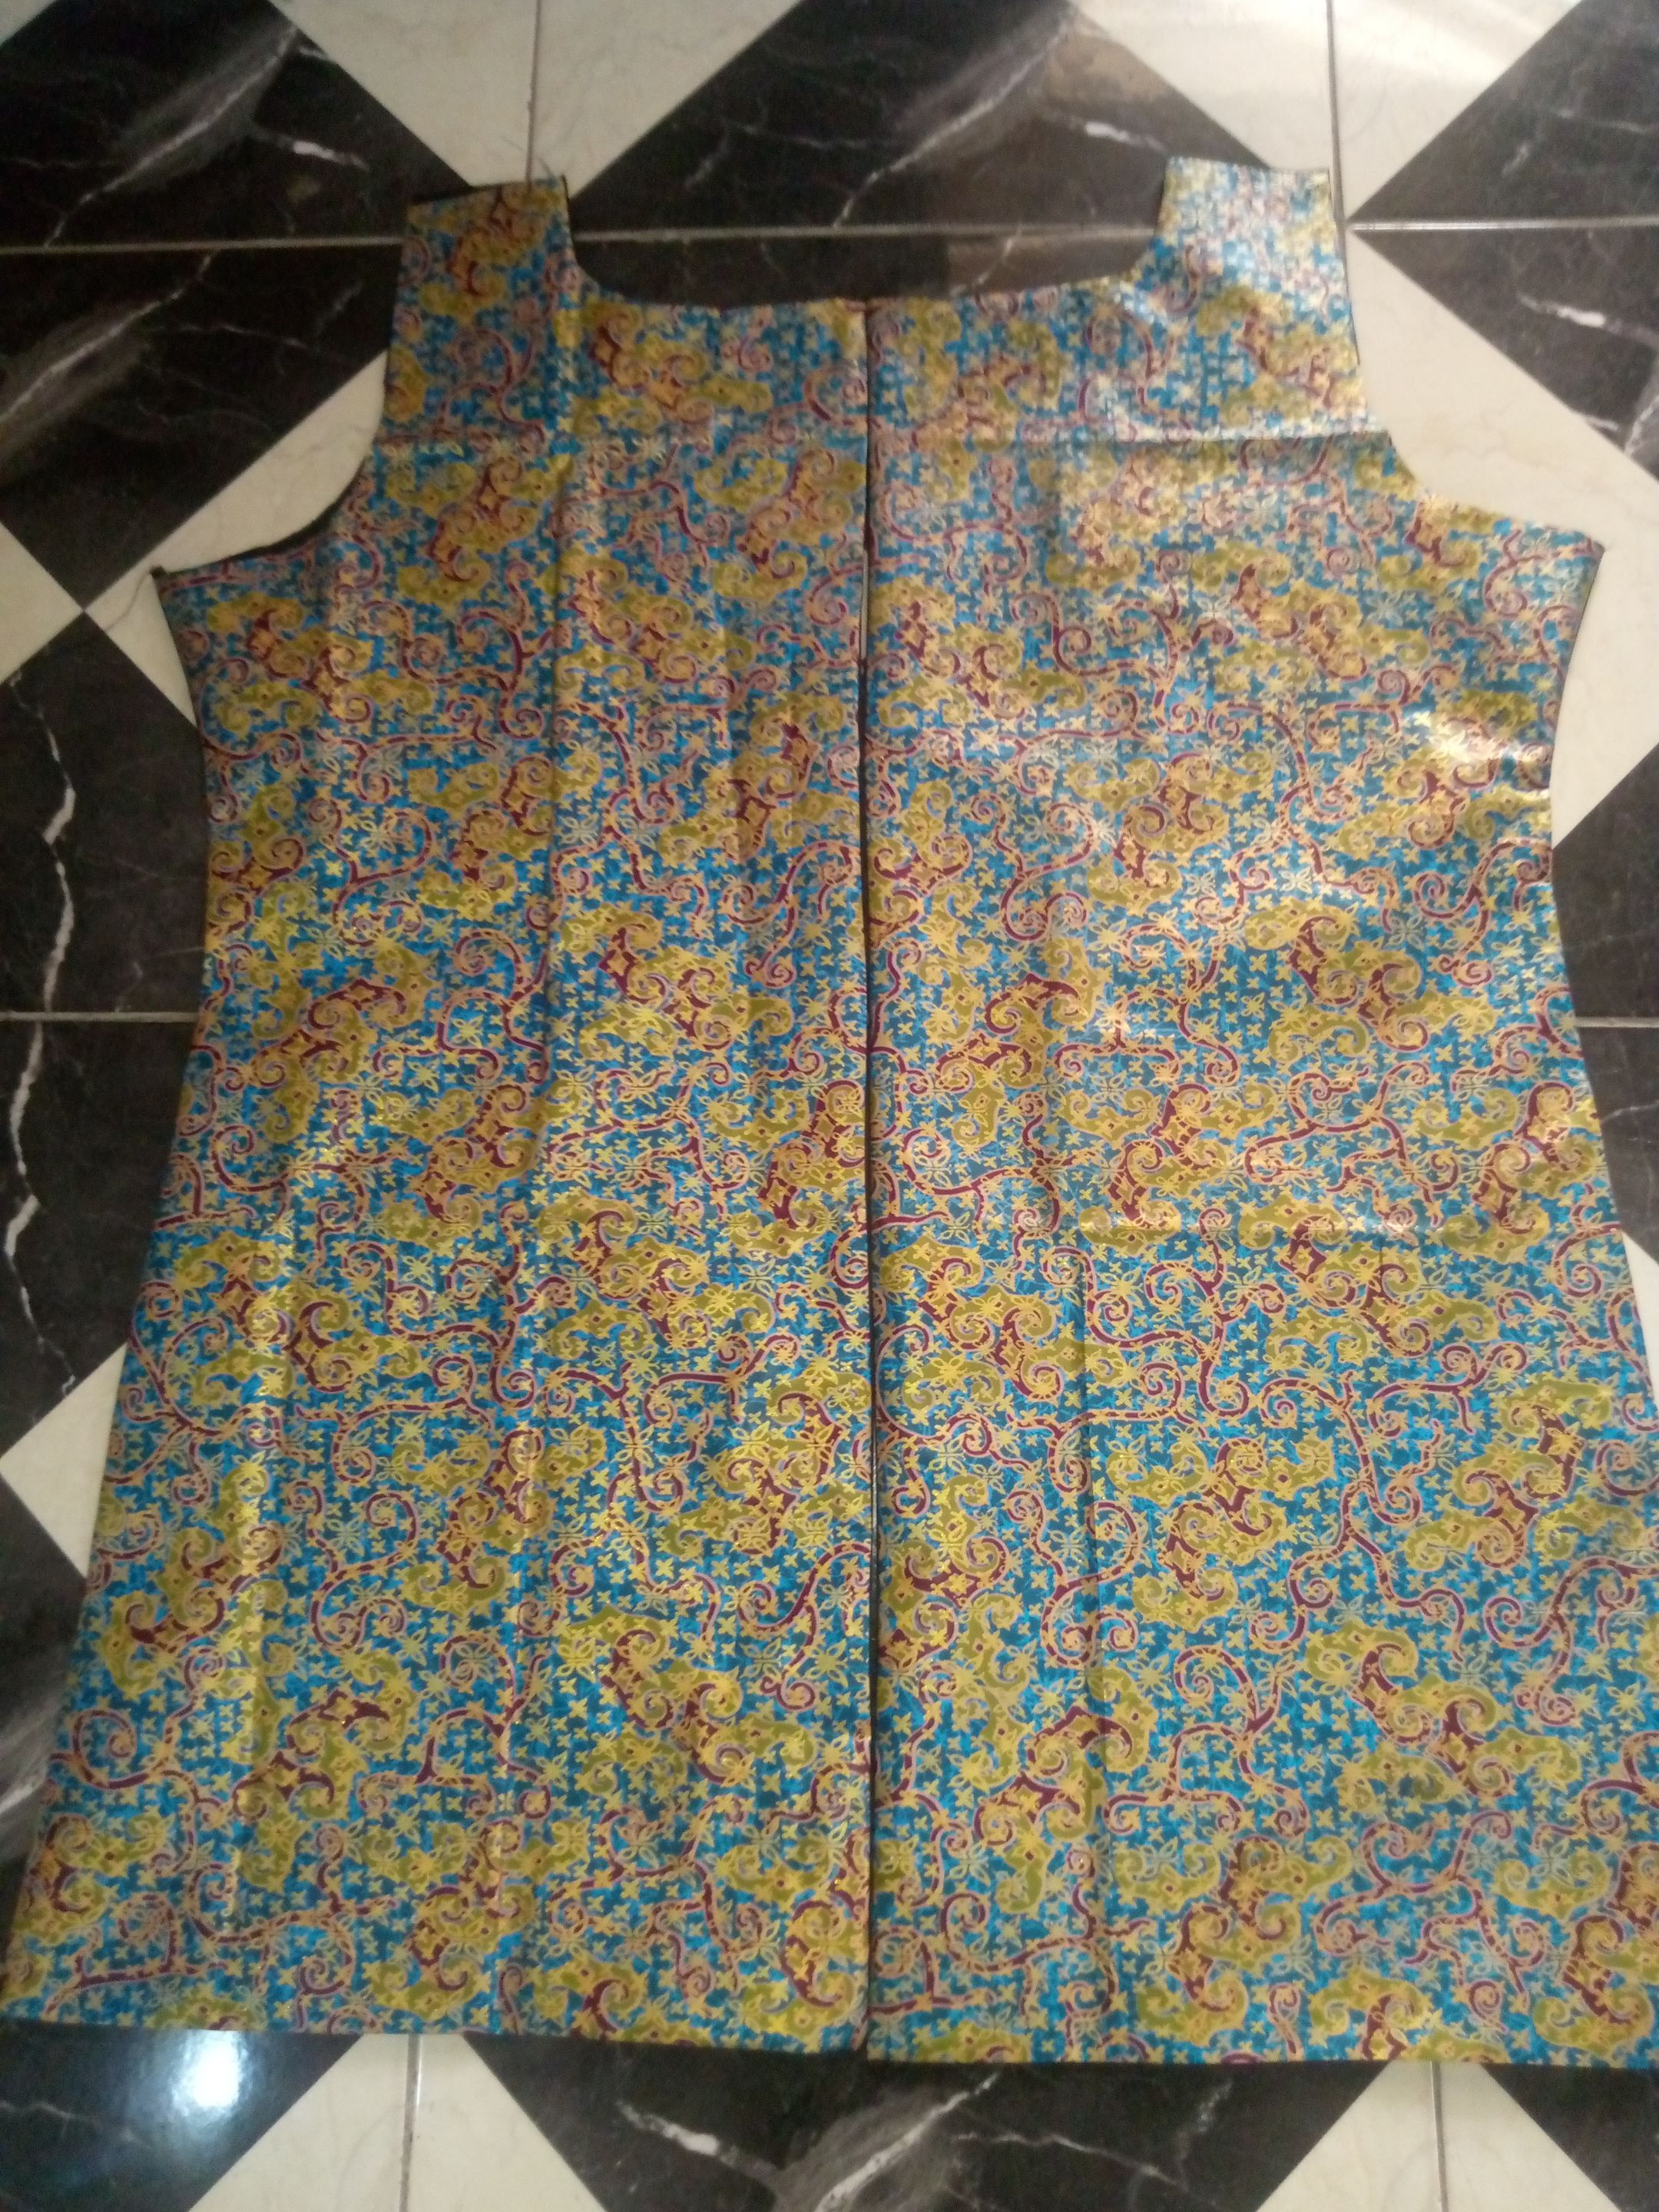
This is the back after fixing the lining.
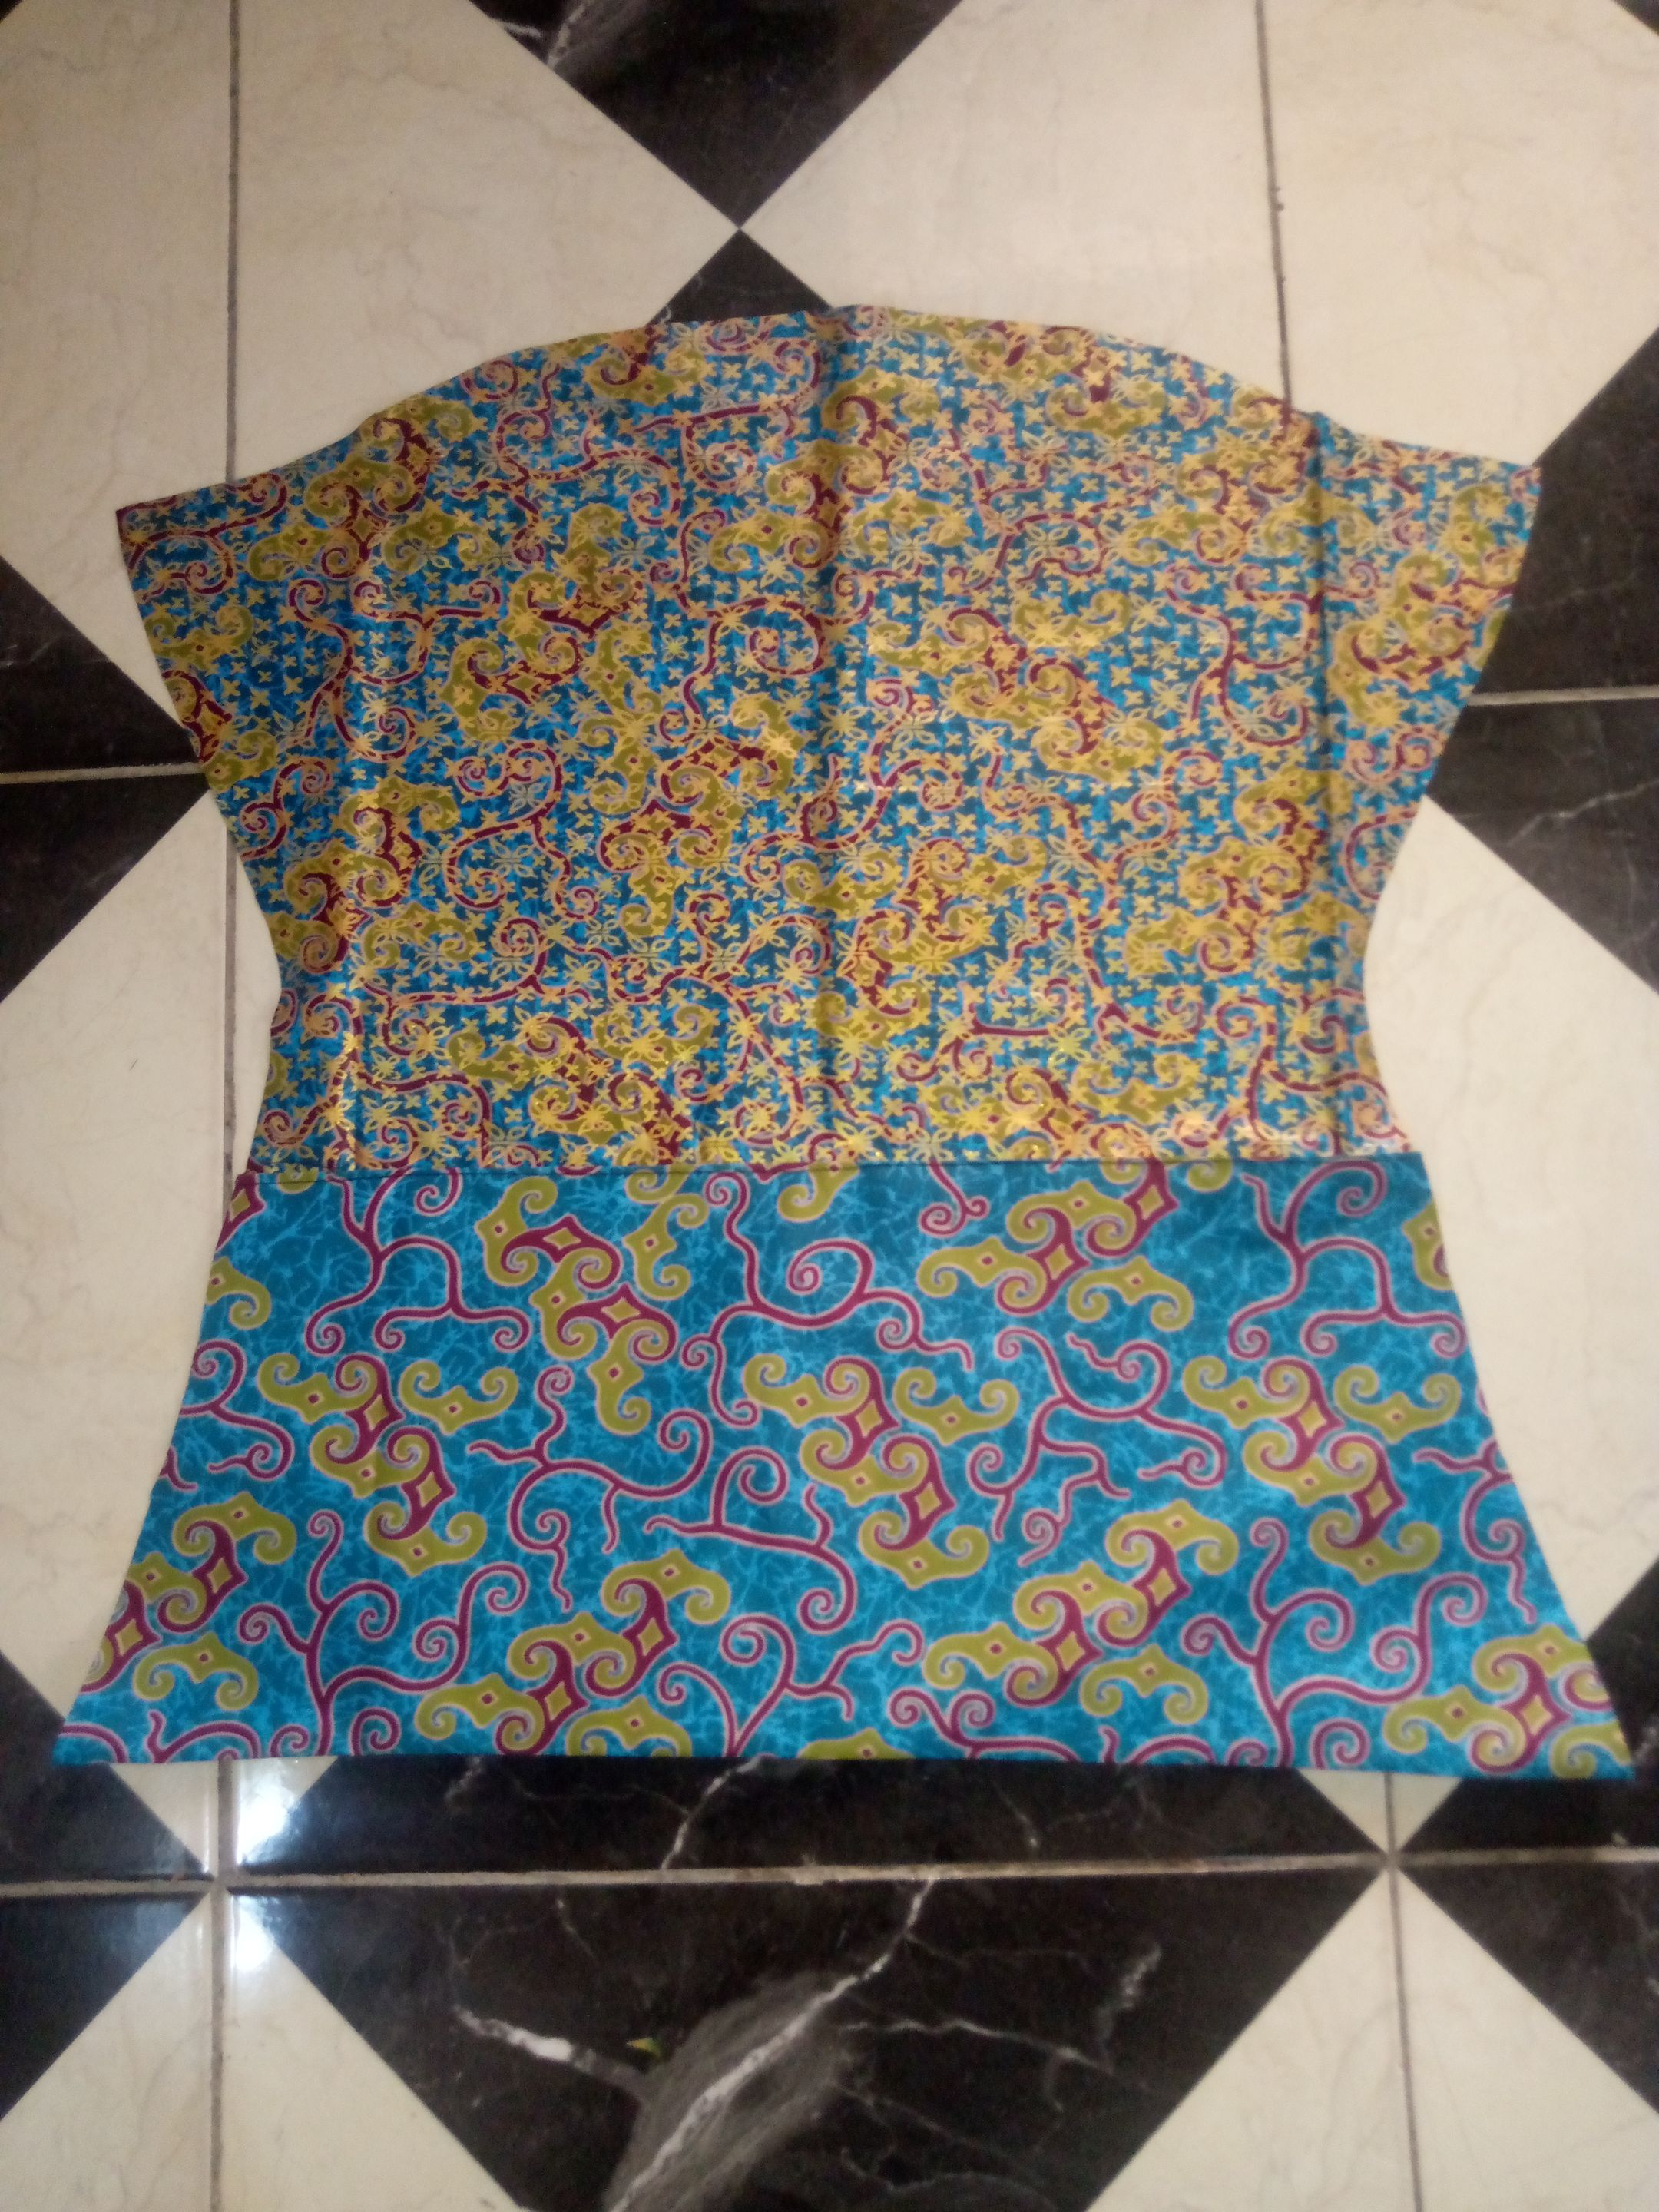
This is the hand.
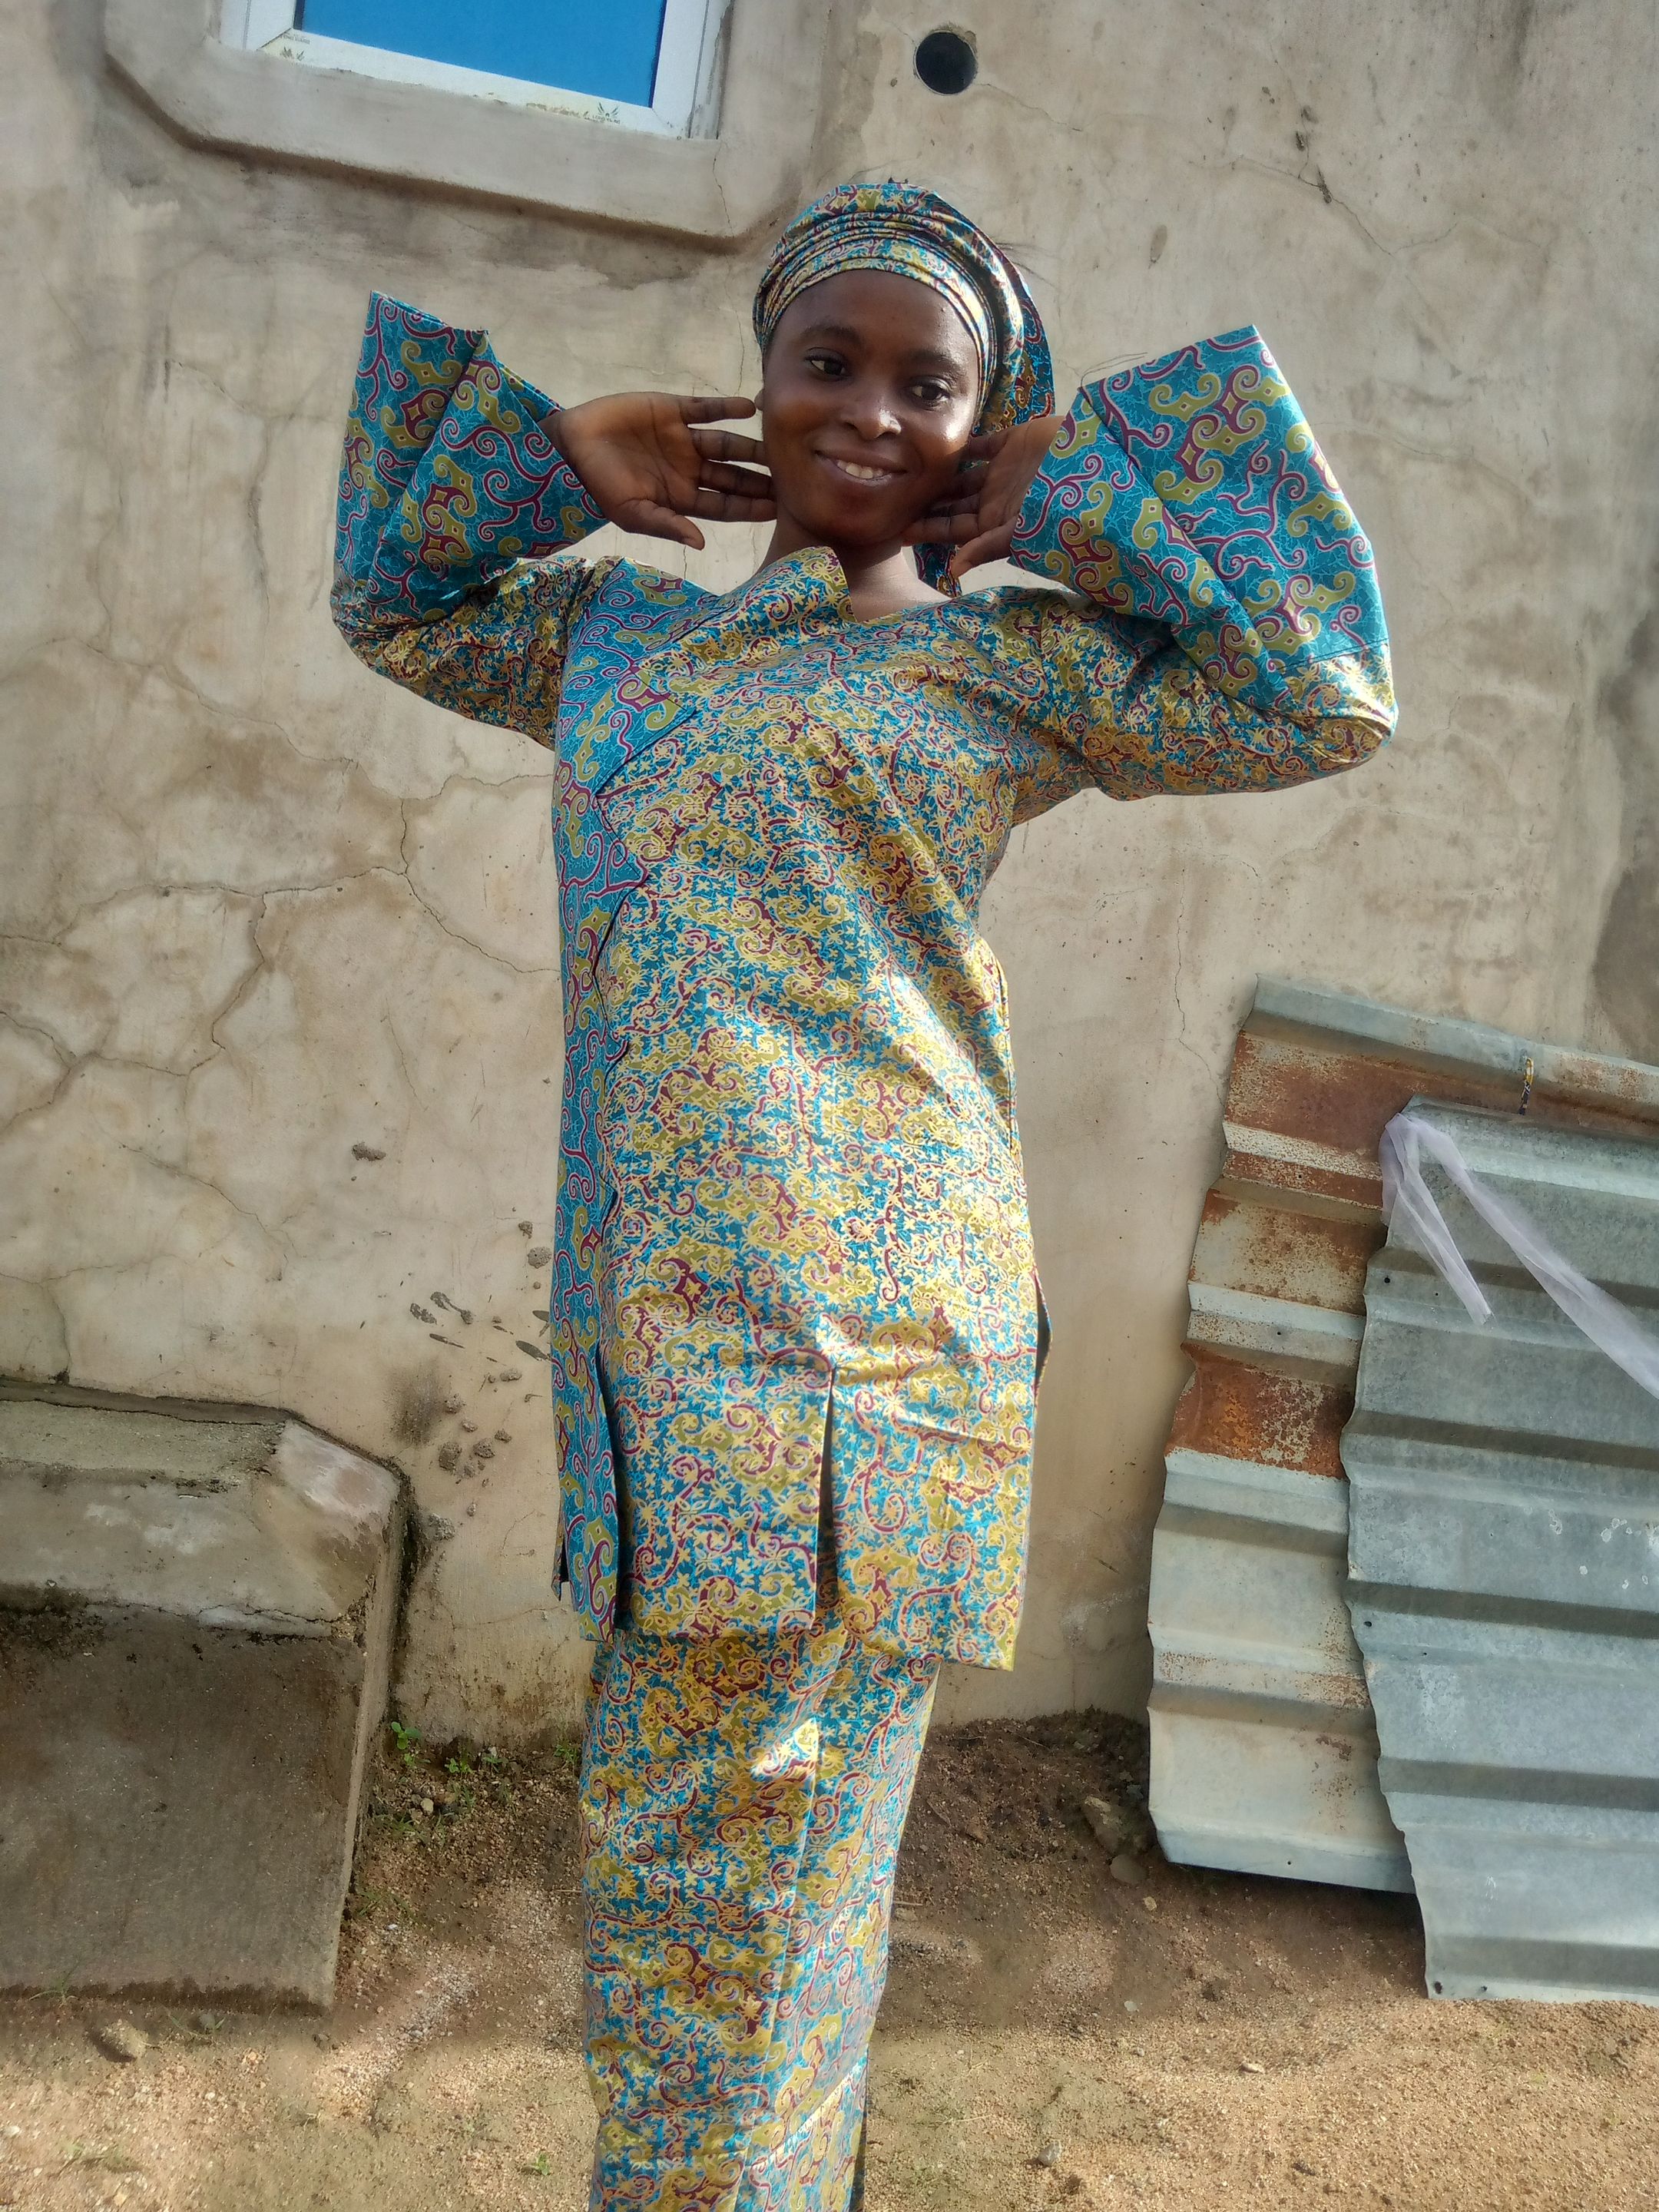
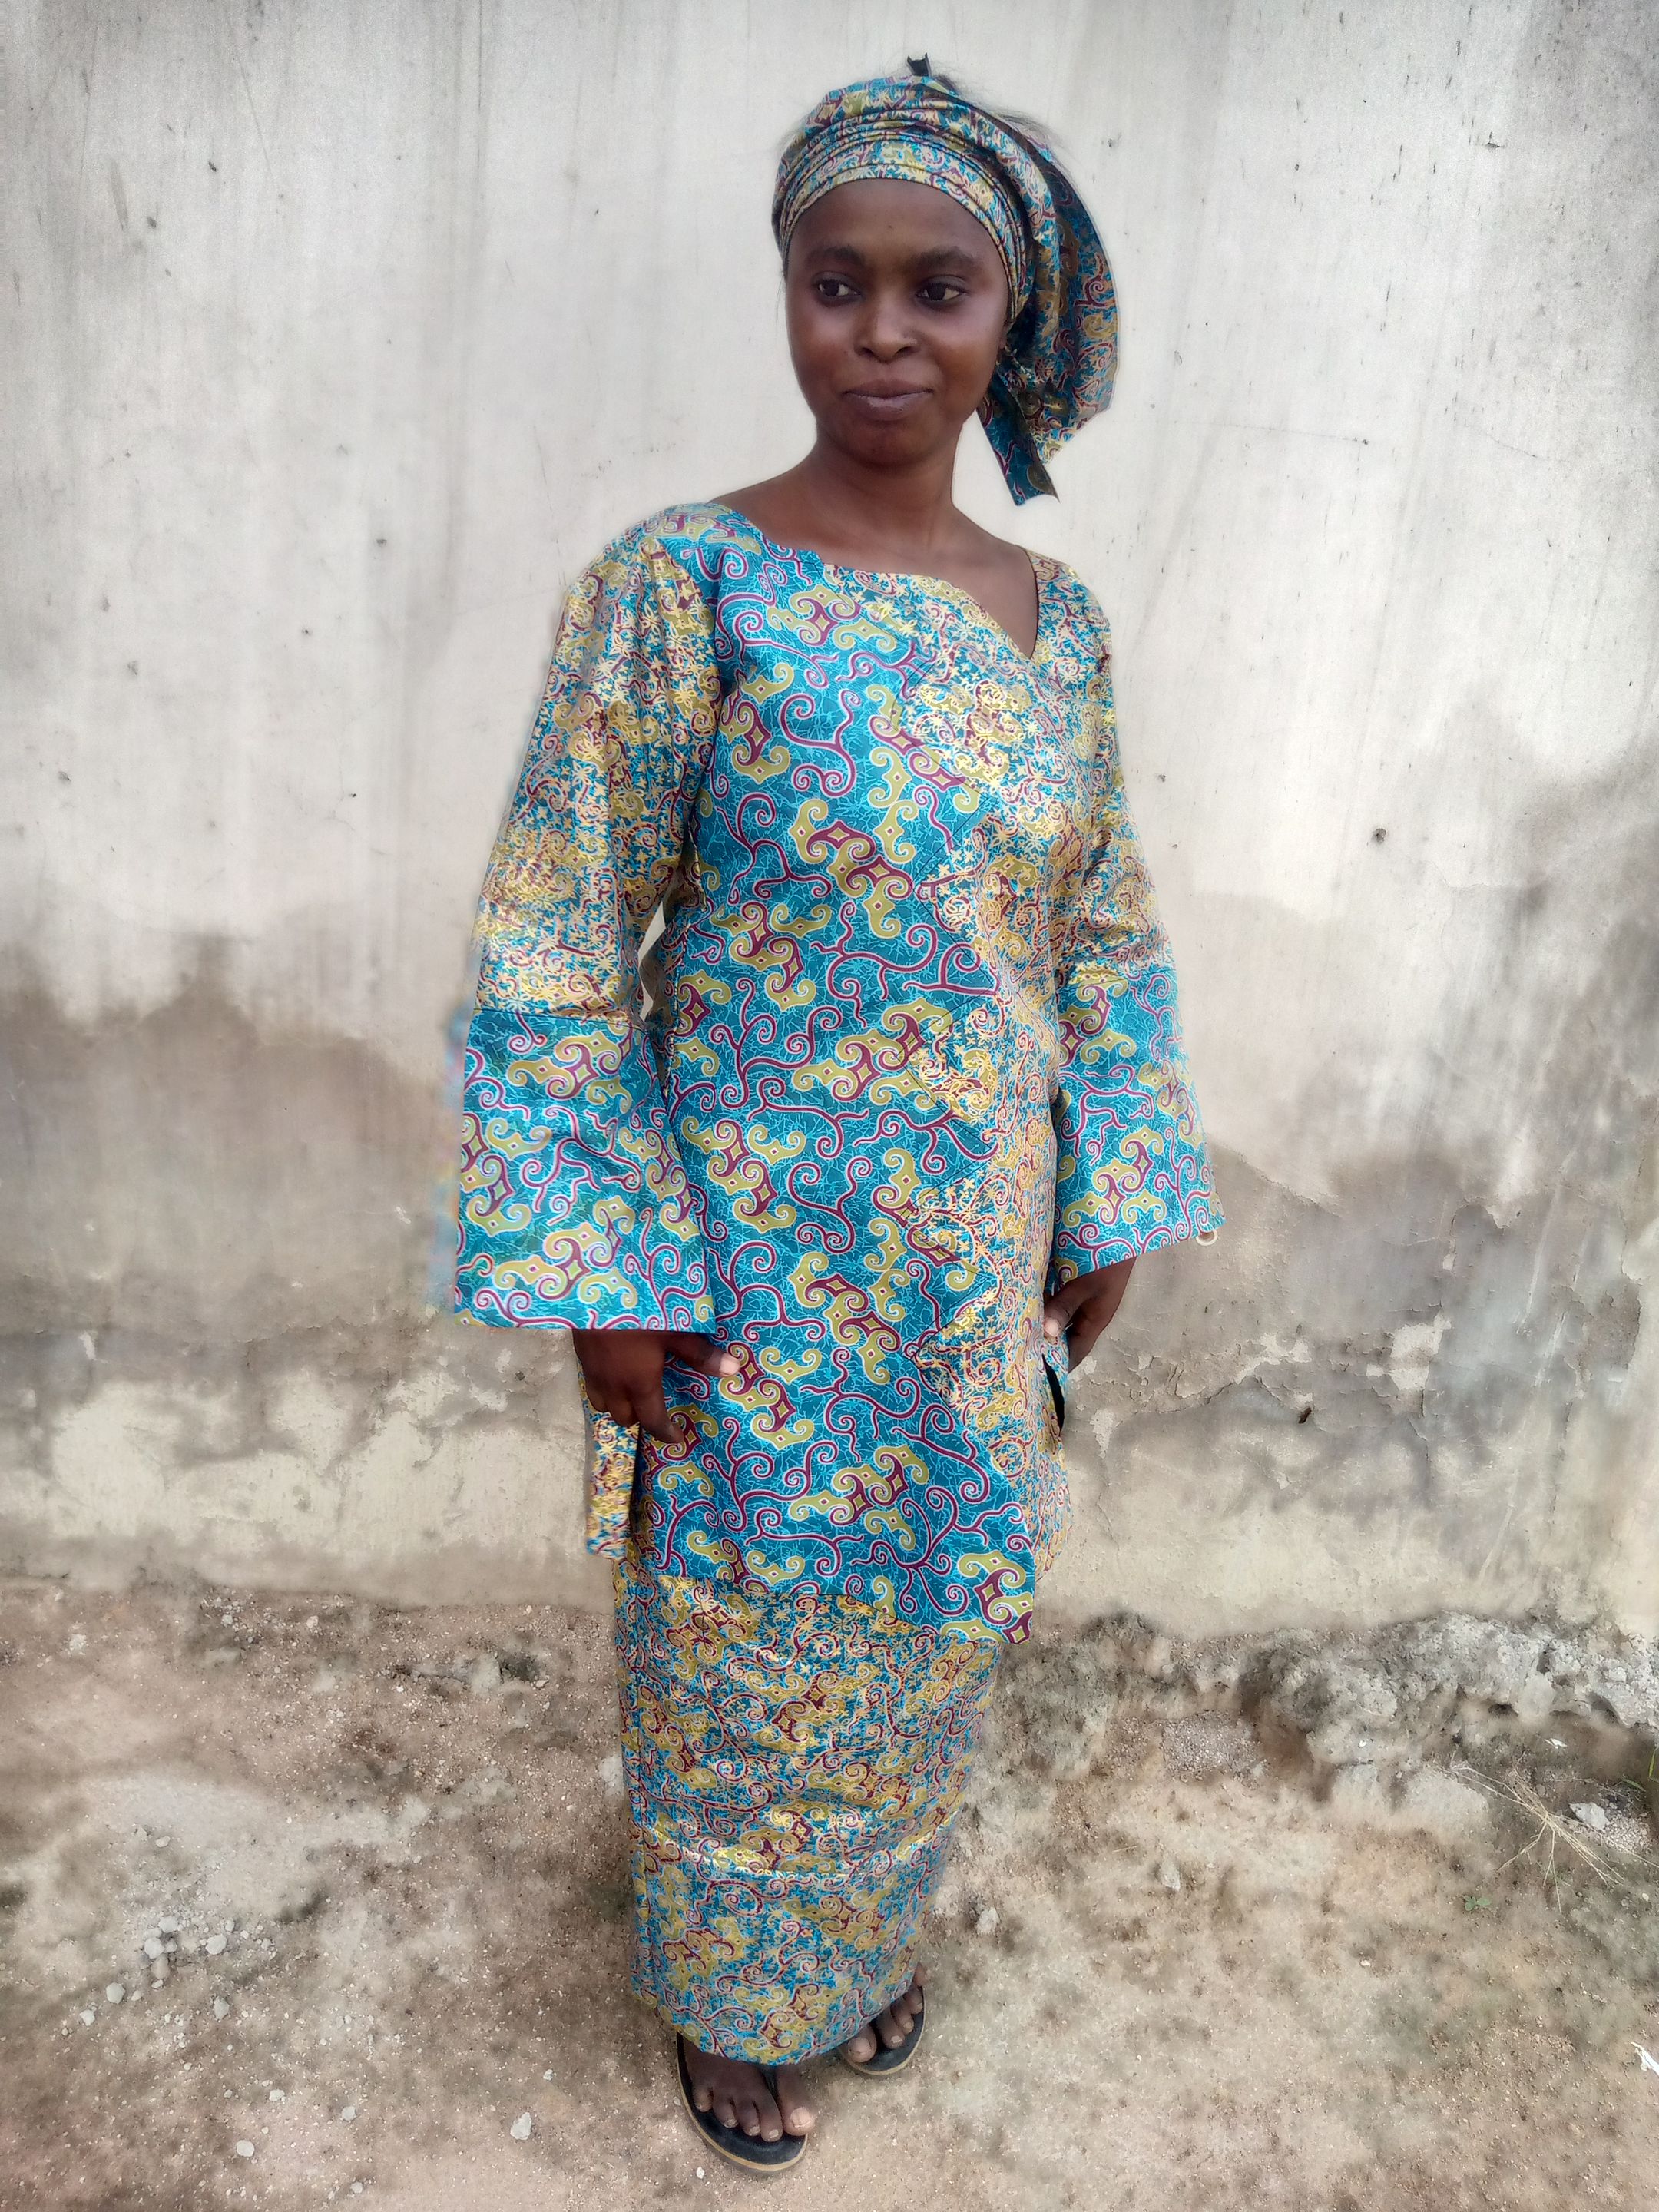
After all that I proceed to join everything together, and here is our borno style ready.
Thank you for checking.