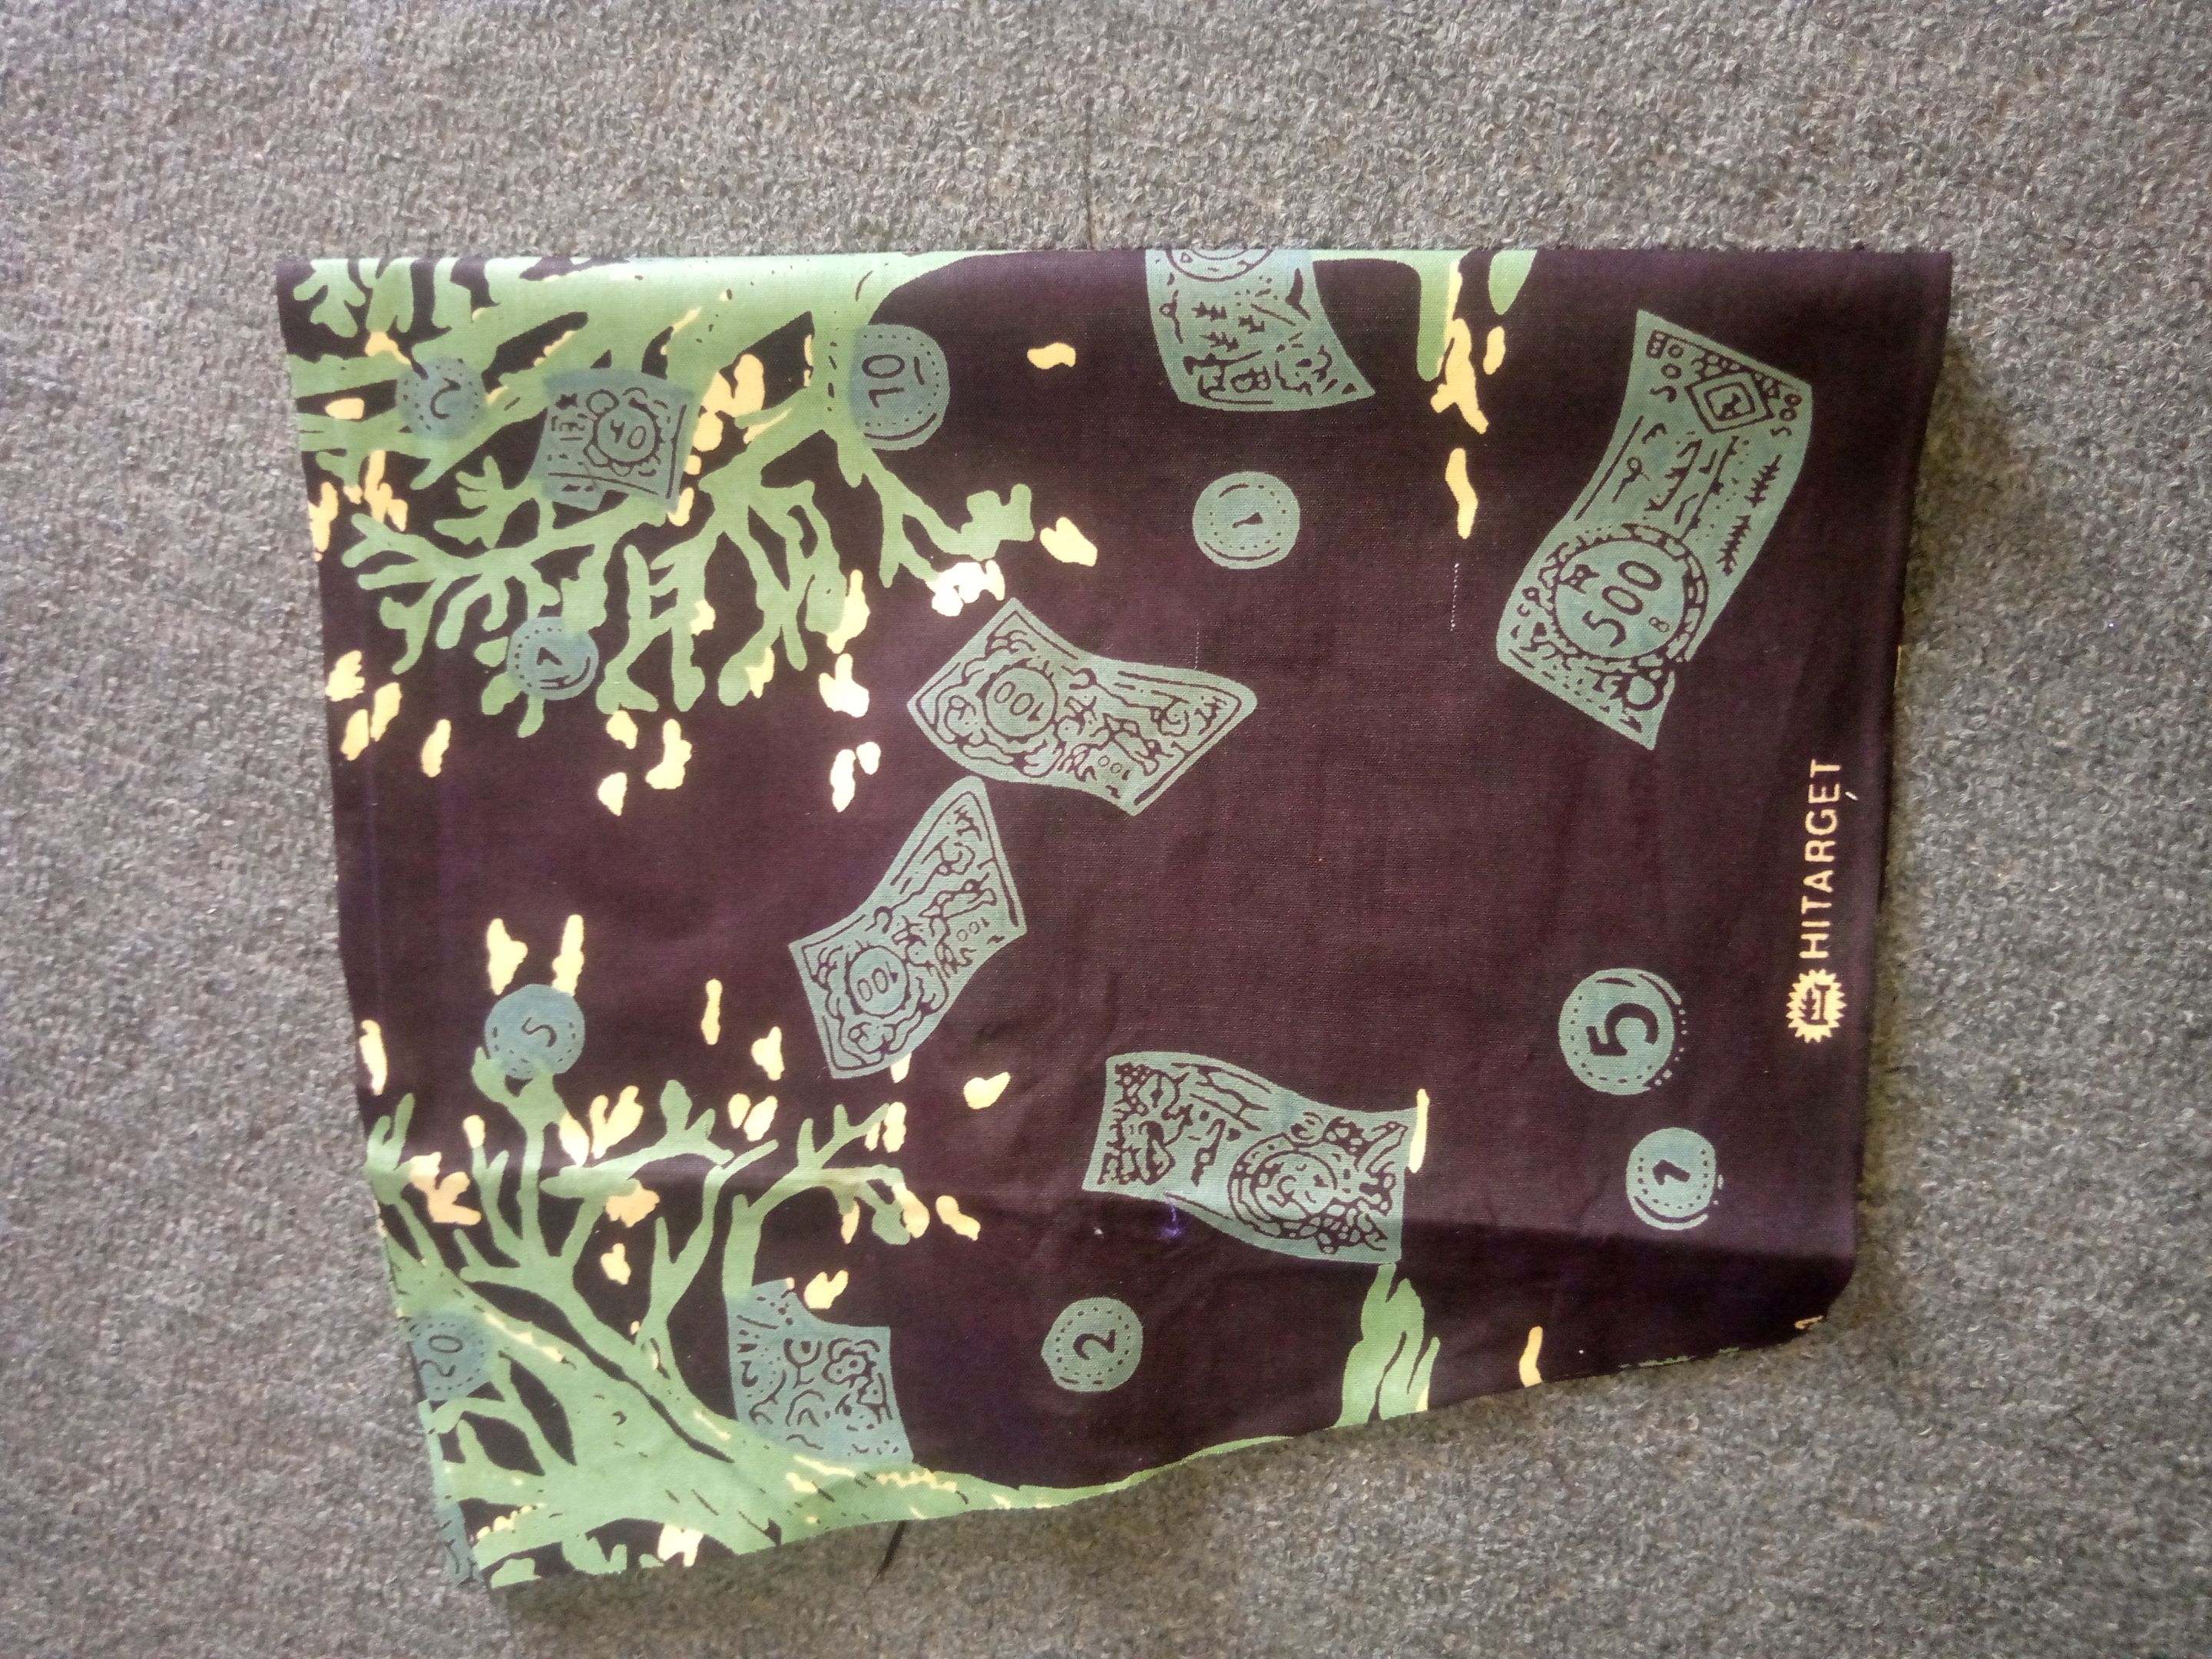
Greetings hivers, I was given this Ankara fabric without a style to sew, and I decided to come up with this straight skirt and a top, using my lining, tape, chalk, scissor, aiming gum, zip, lace design, ruler and tread.
Let me start with the skirt, firstly I fold my material by two measure out the length, hip and waist then I cut it out that's for the front part, and to cut the back,I still fold my material by two and place the front part on it and give out a two inches allowance for my zip and slitting at the back of the skirt.

I also cut out my lining for the skirt and proceed to fix it, both for the back and front.
I proceed to fixed the lining, but for the back I'll be fixing a covered slit. Now I join the back side after fixing the lining, living eighteen inches from the down. Then I cut out a separate fabric of about twenty inches, then I iron it into a plinting shape, place it at the back of the skirt using aiming gum to ensure it gum before sewing it.
And this is how it looks.
And here is the skirt.
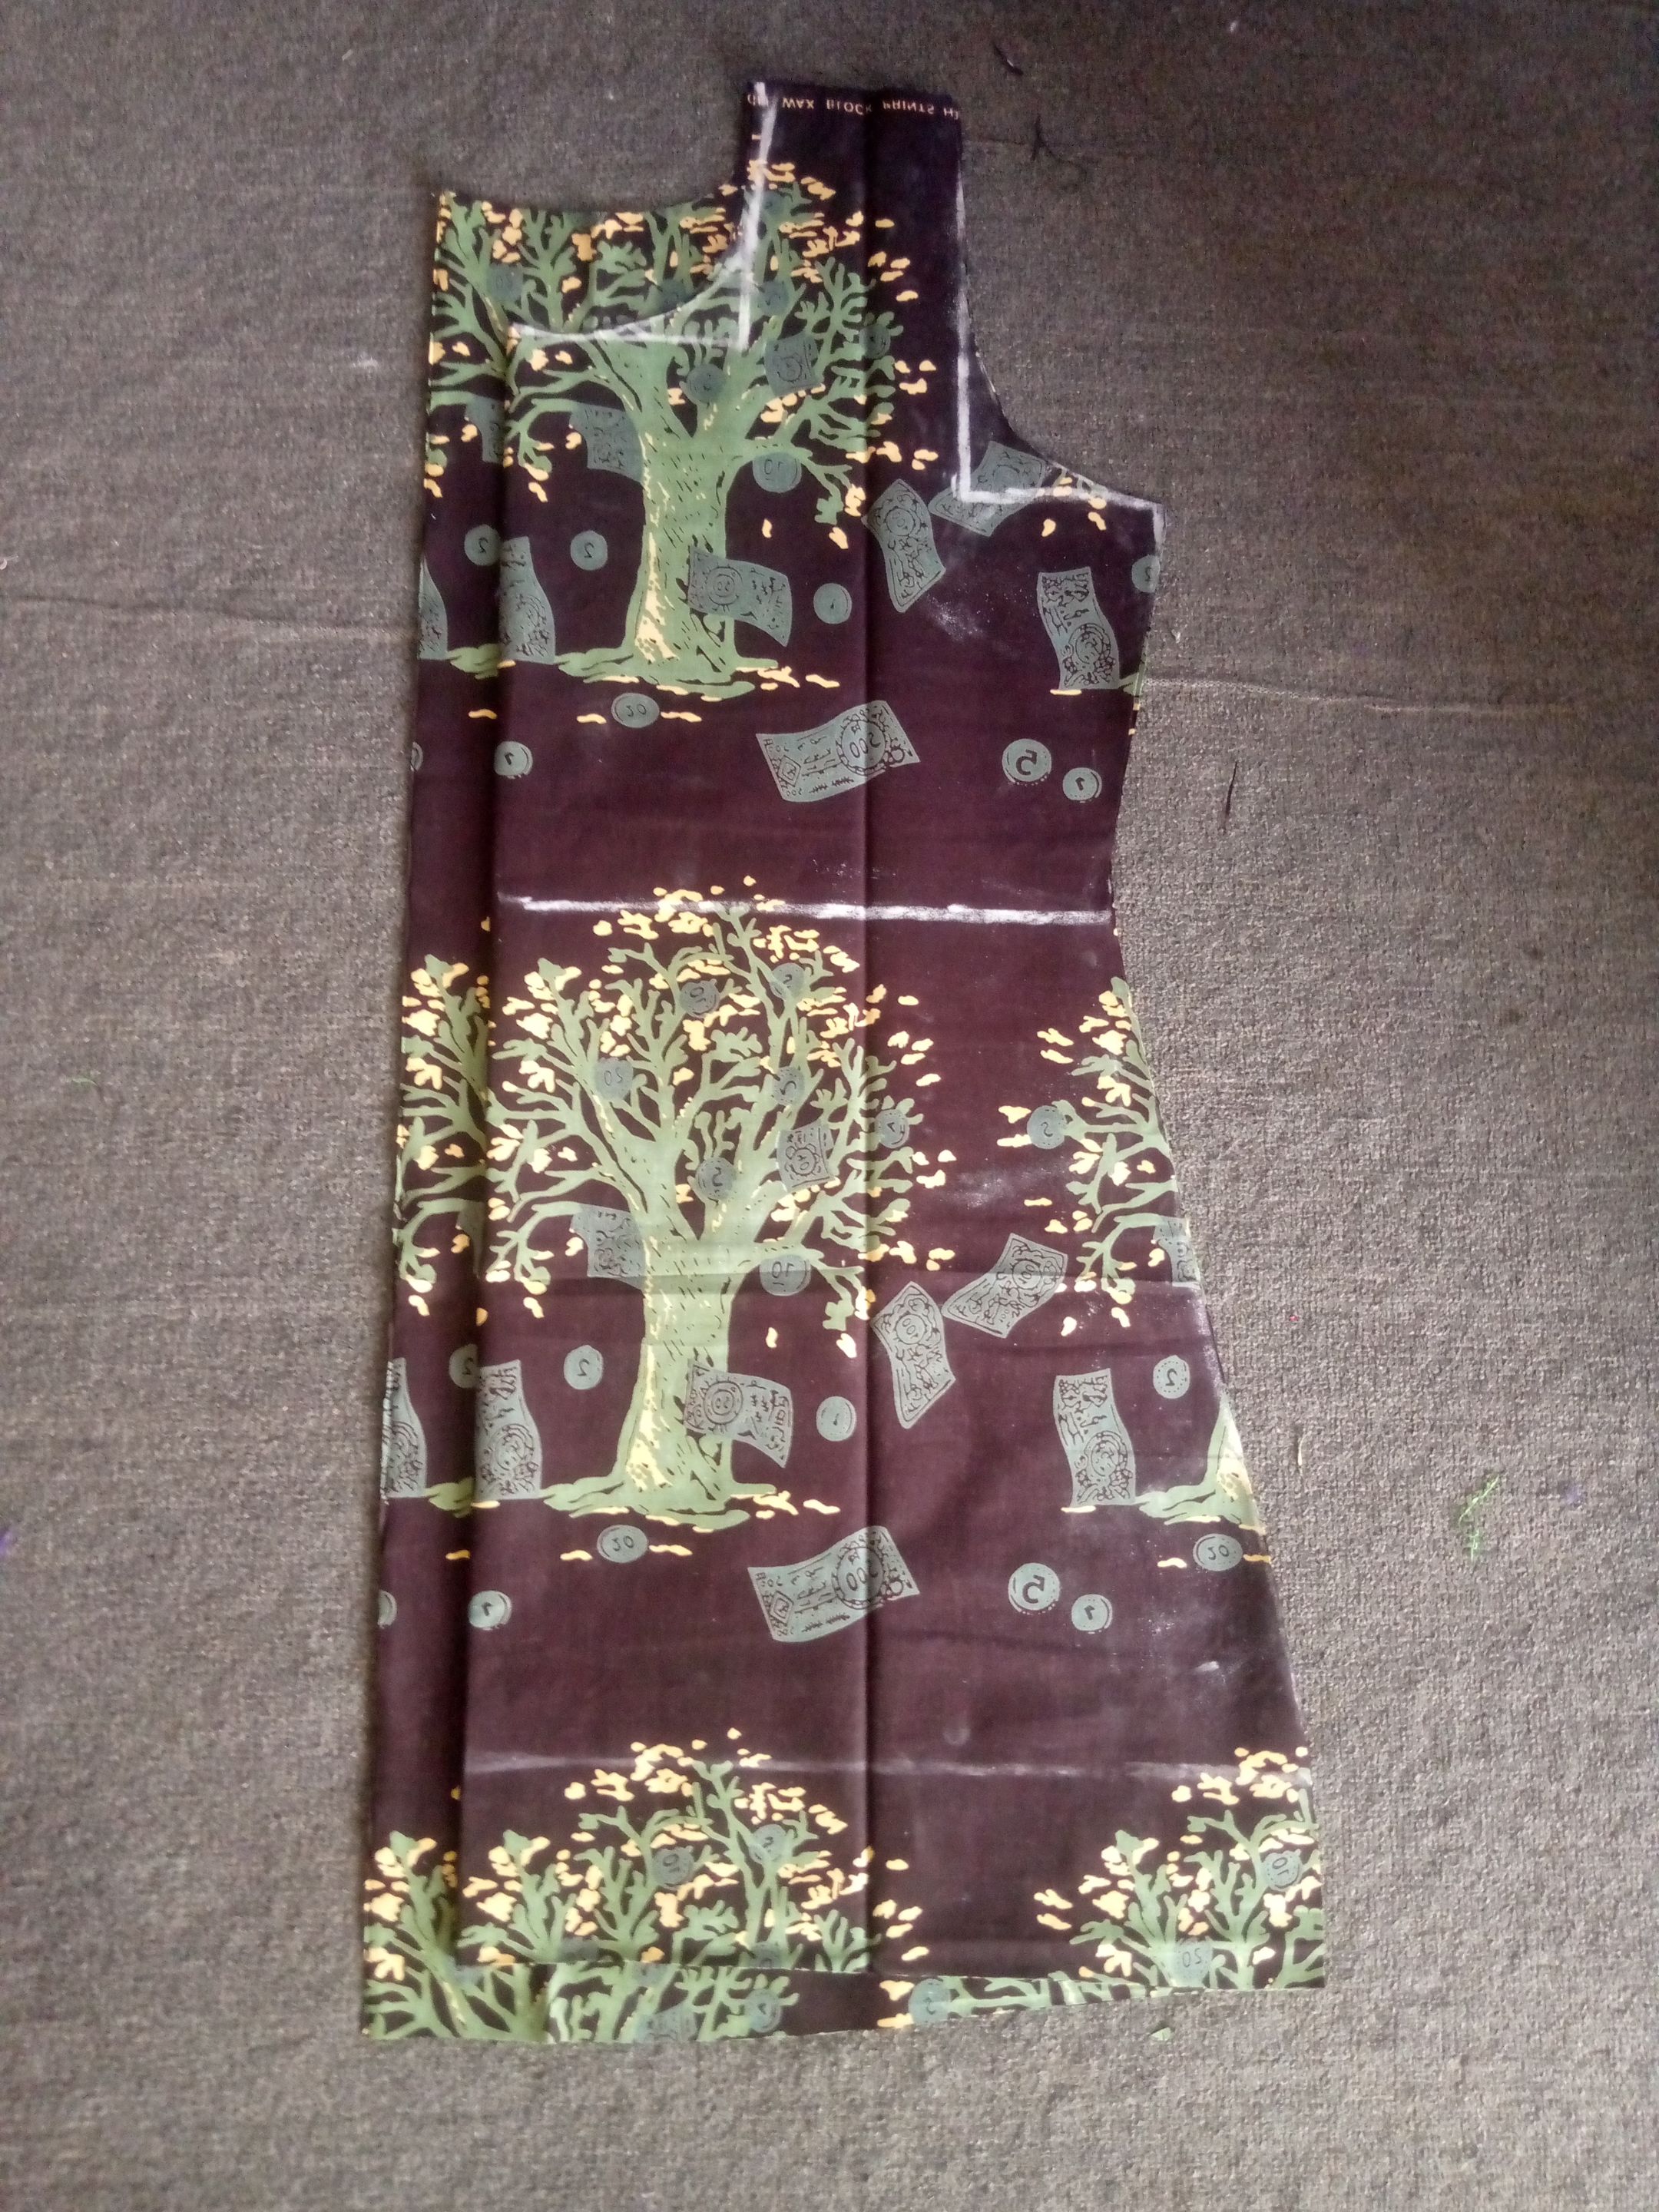
And making top I measure my full length which is thirty inches, measure out the waist line sixteen inches and the burst using my chalk and ruler to trace out the lines before cutting.
After that I cut the back side by placing the front part on the other side of the fabric material given an inch allowance for zip.
Then I cut out the hand by eleven inches.
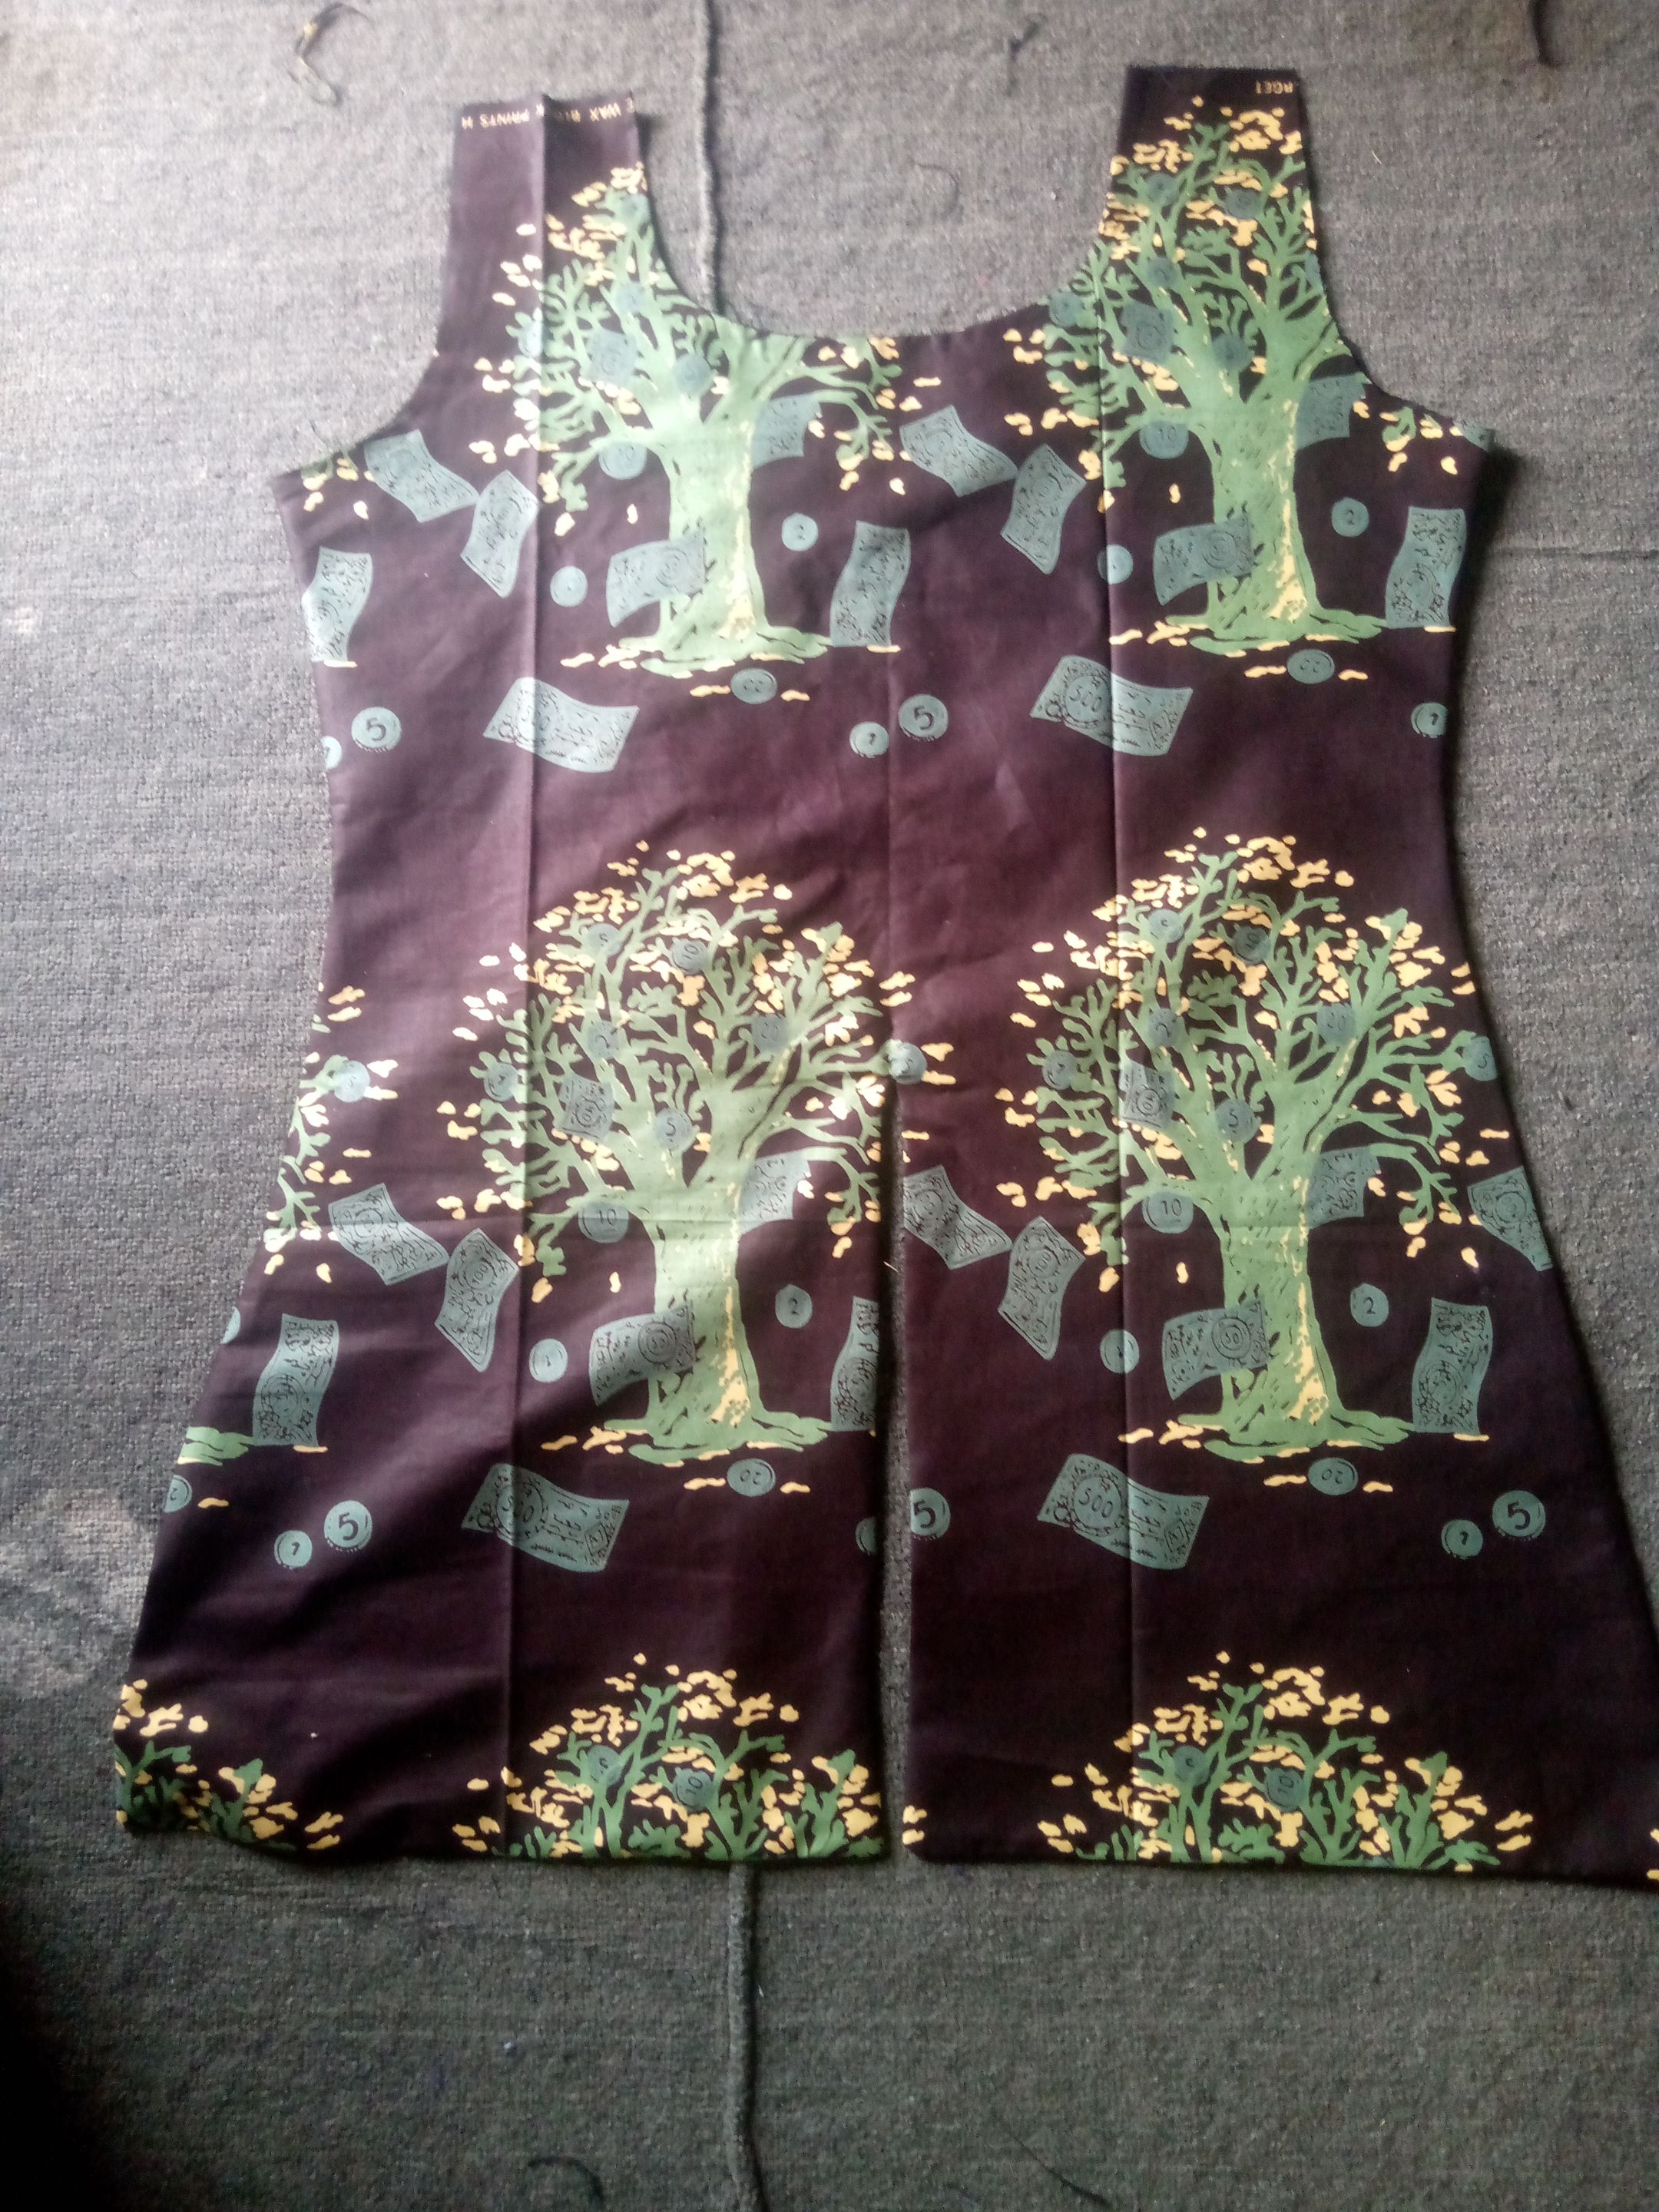
I also cut my line for the shirt. After that I proceed to fixed the lining on each side.
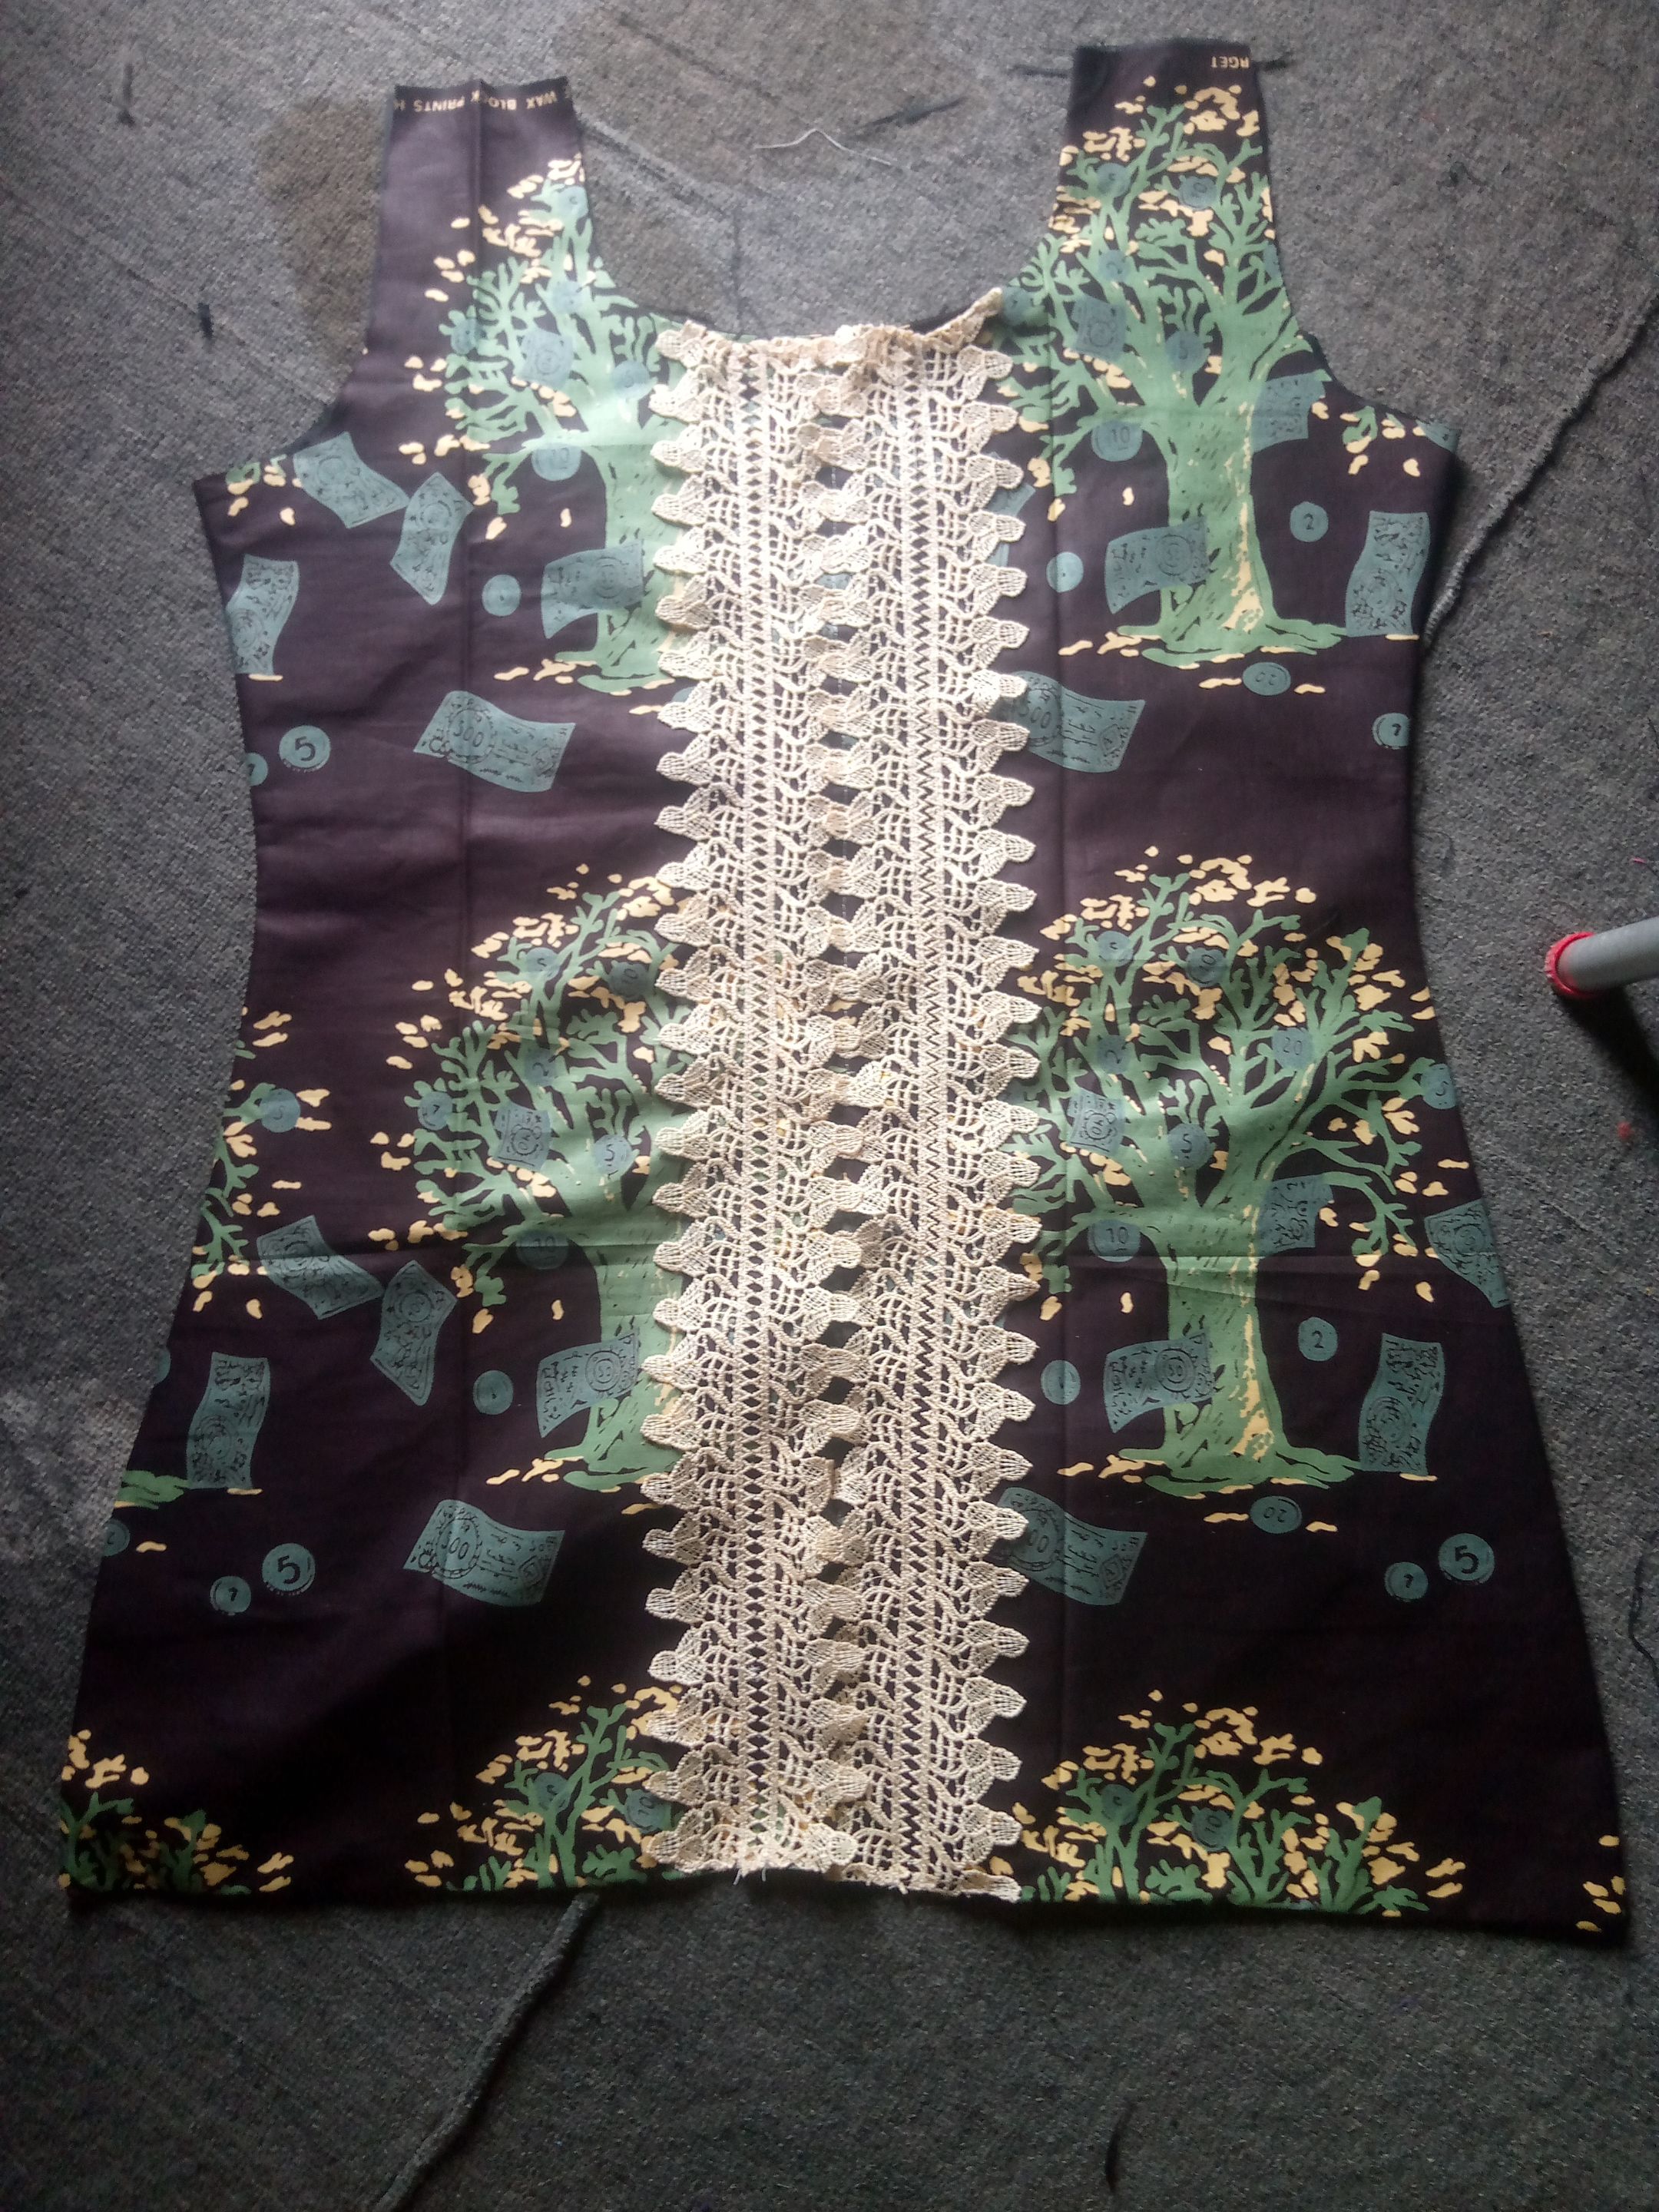
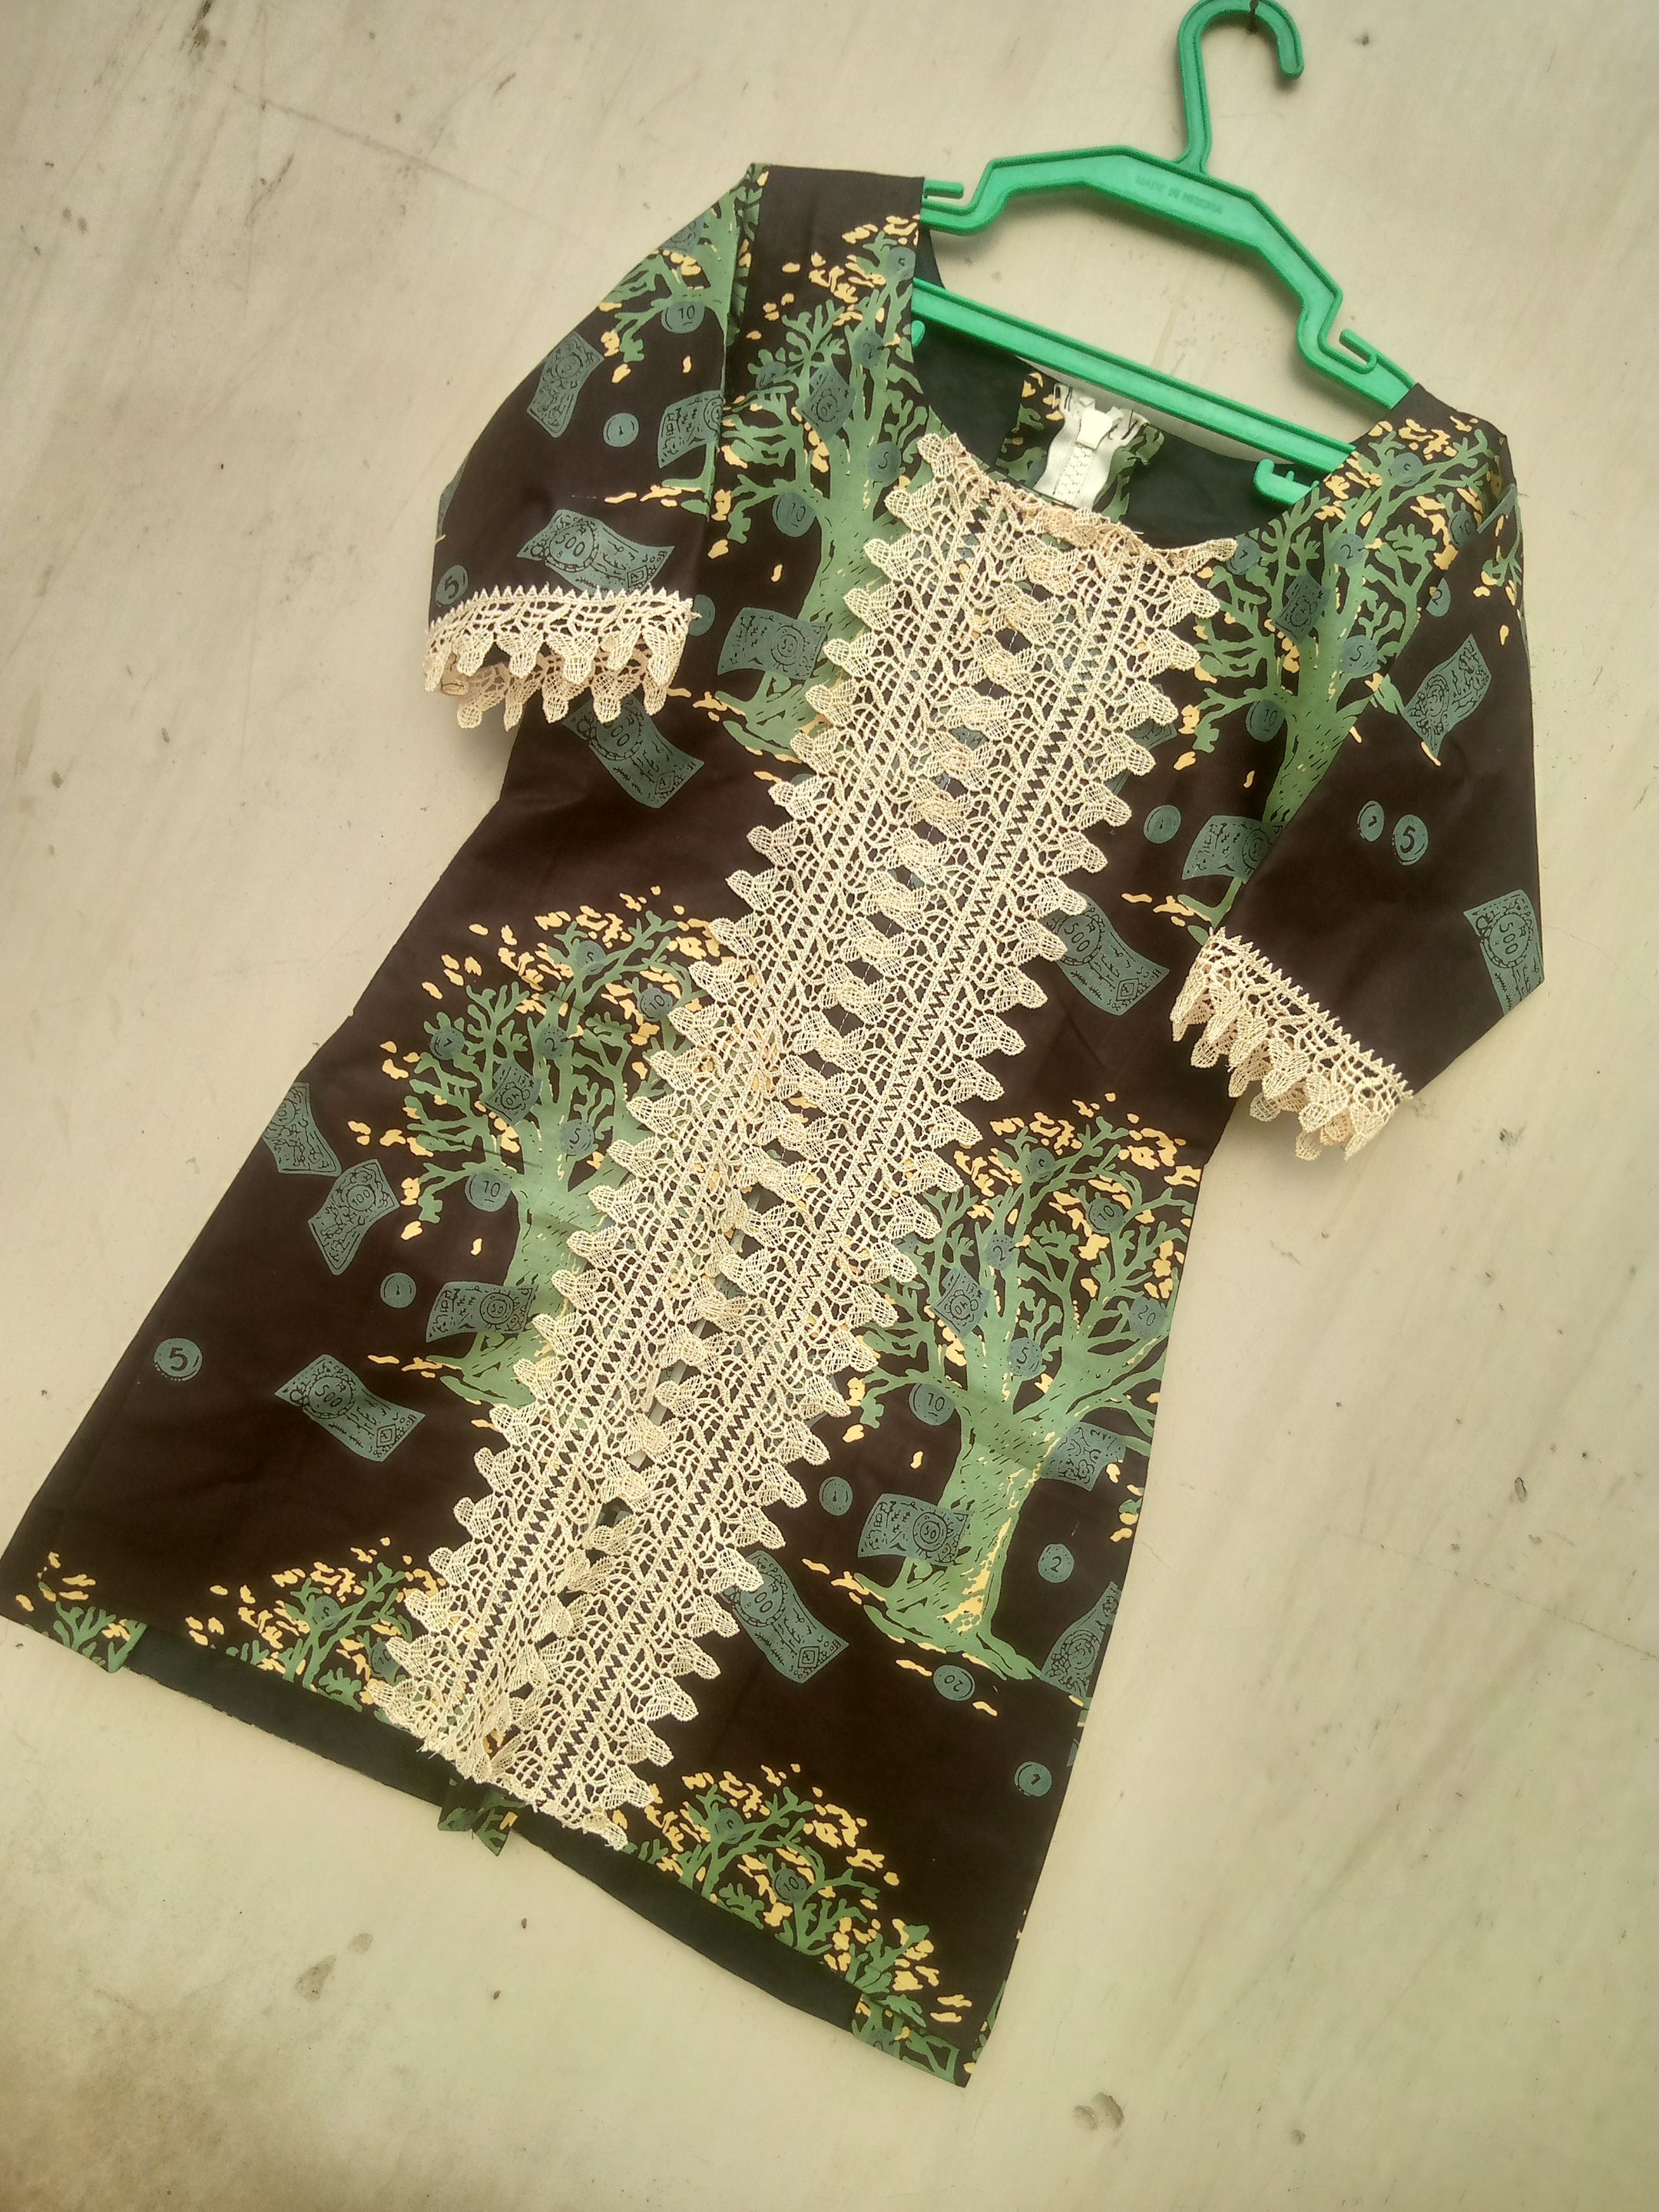
While for the front part after fixing the lining, I proceed on placing the lace design at the front part leaving the slit and I fixed at the hand also.
This is the back.
Then I proceed to join everything together, fixing the hand and put the zip.
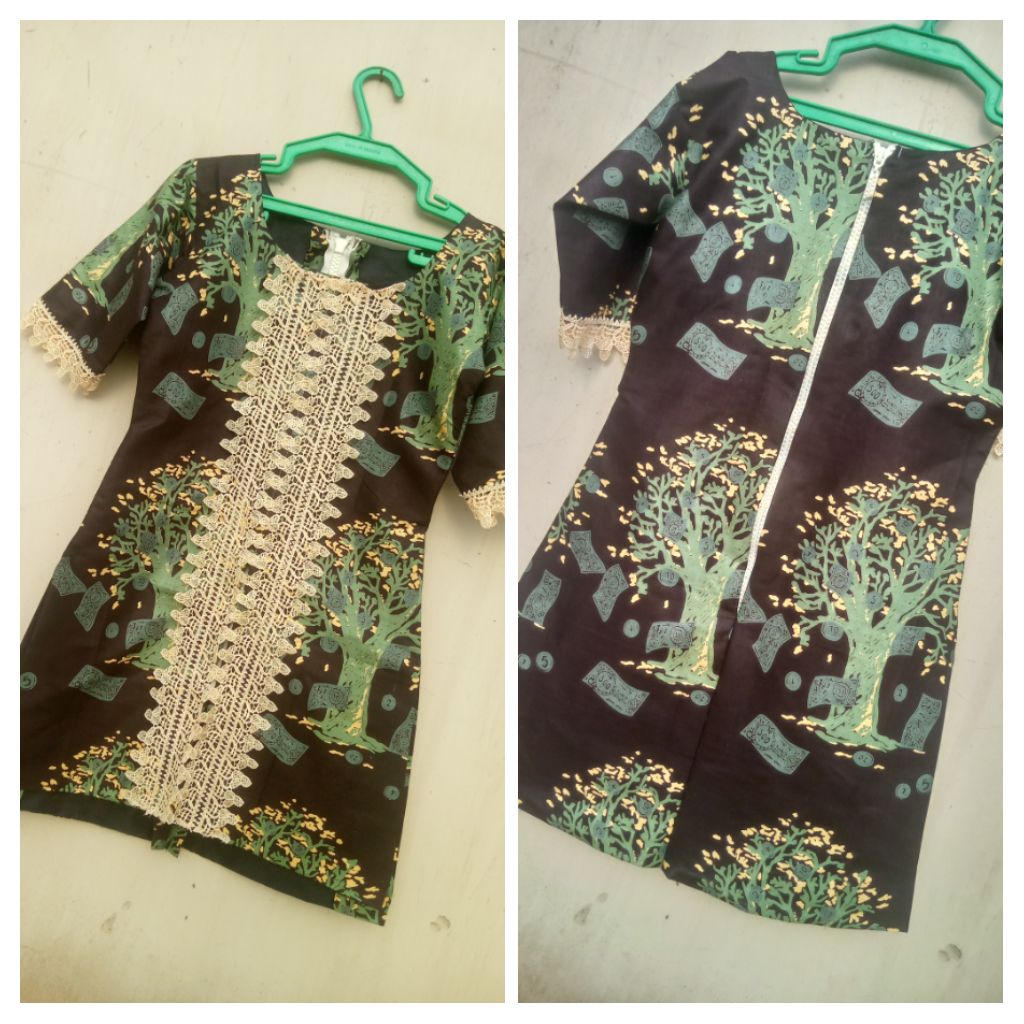
This is the final looks
Thank you for checking on my post.