
Hello, everyone! It's me, @kath-etcuban, back again with another blog post. Today, I'm excited to share my DIY (do-it-yourself) studio setup for our crochet photoshoot and my photo editing process. It's my first time sharing it with anyone, so please show support and appreciation! 🤍
___
#### What Did We Buy?🧐
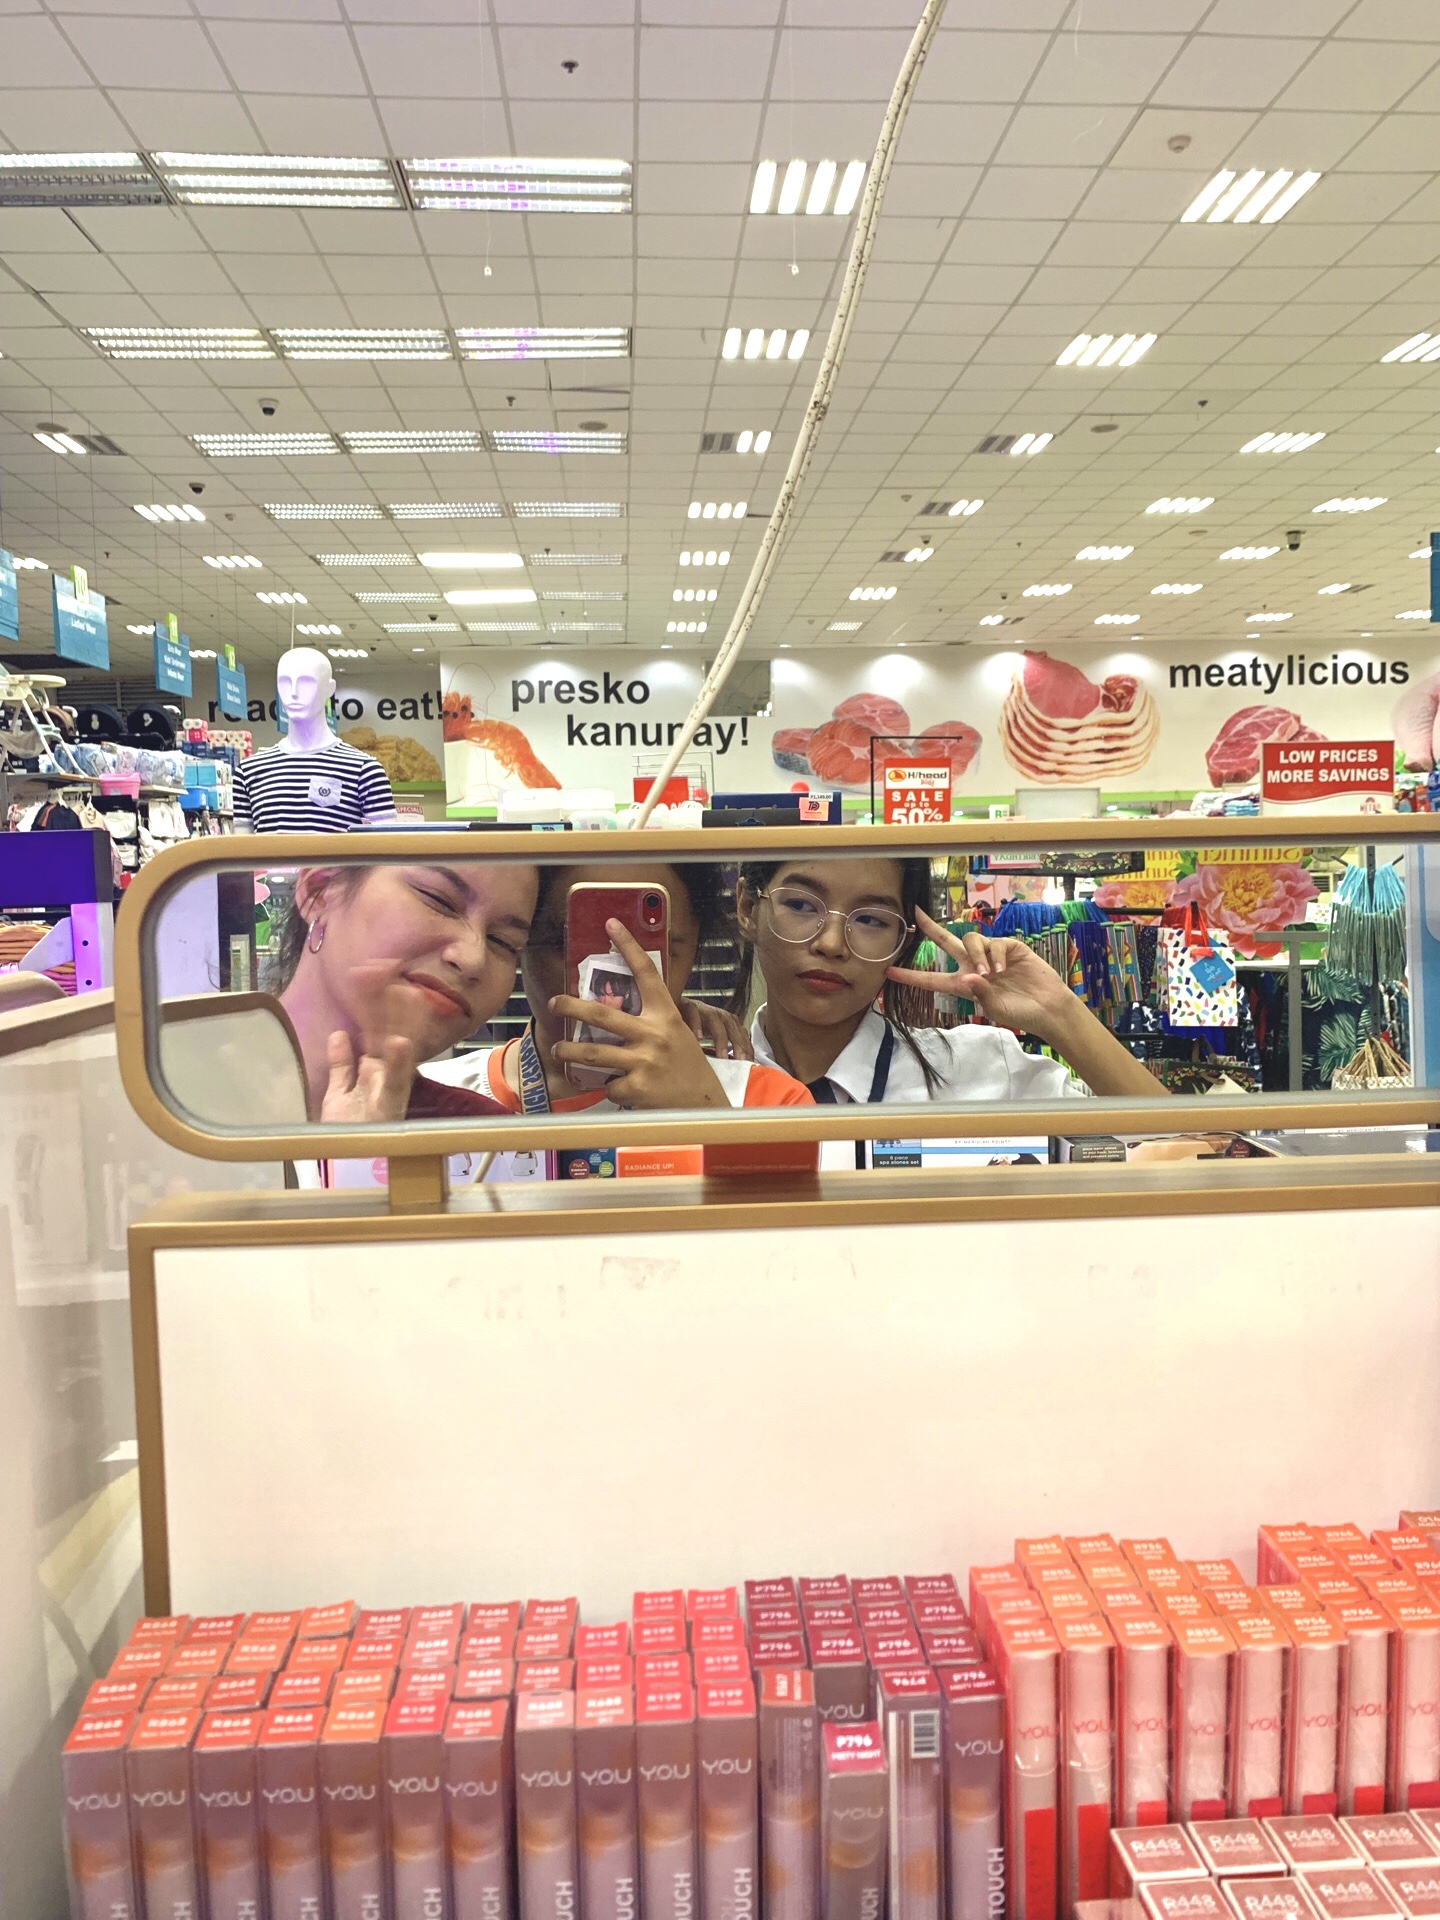
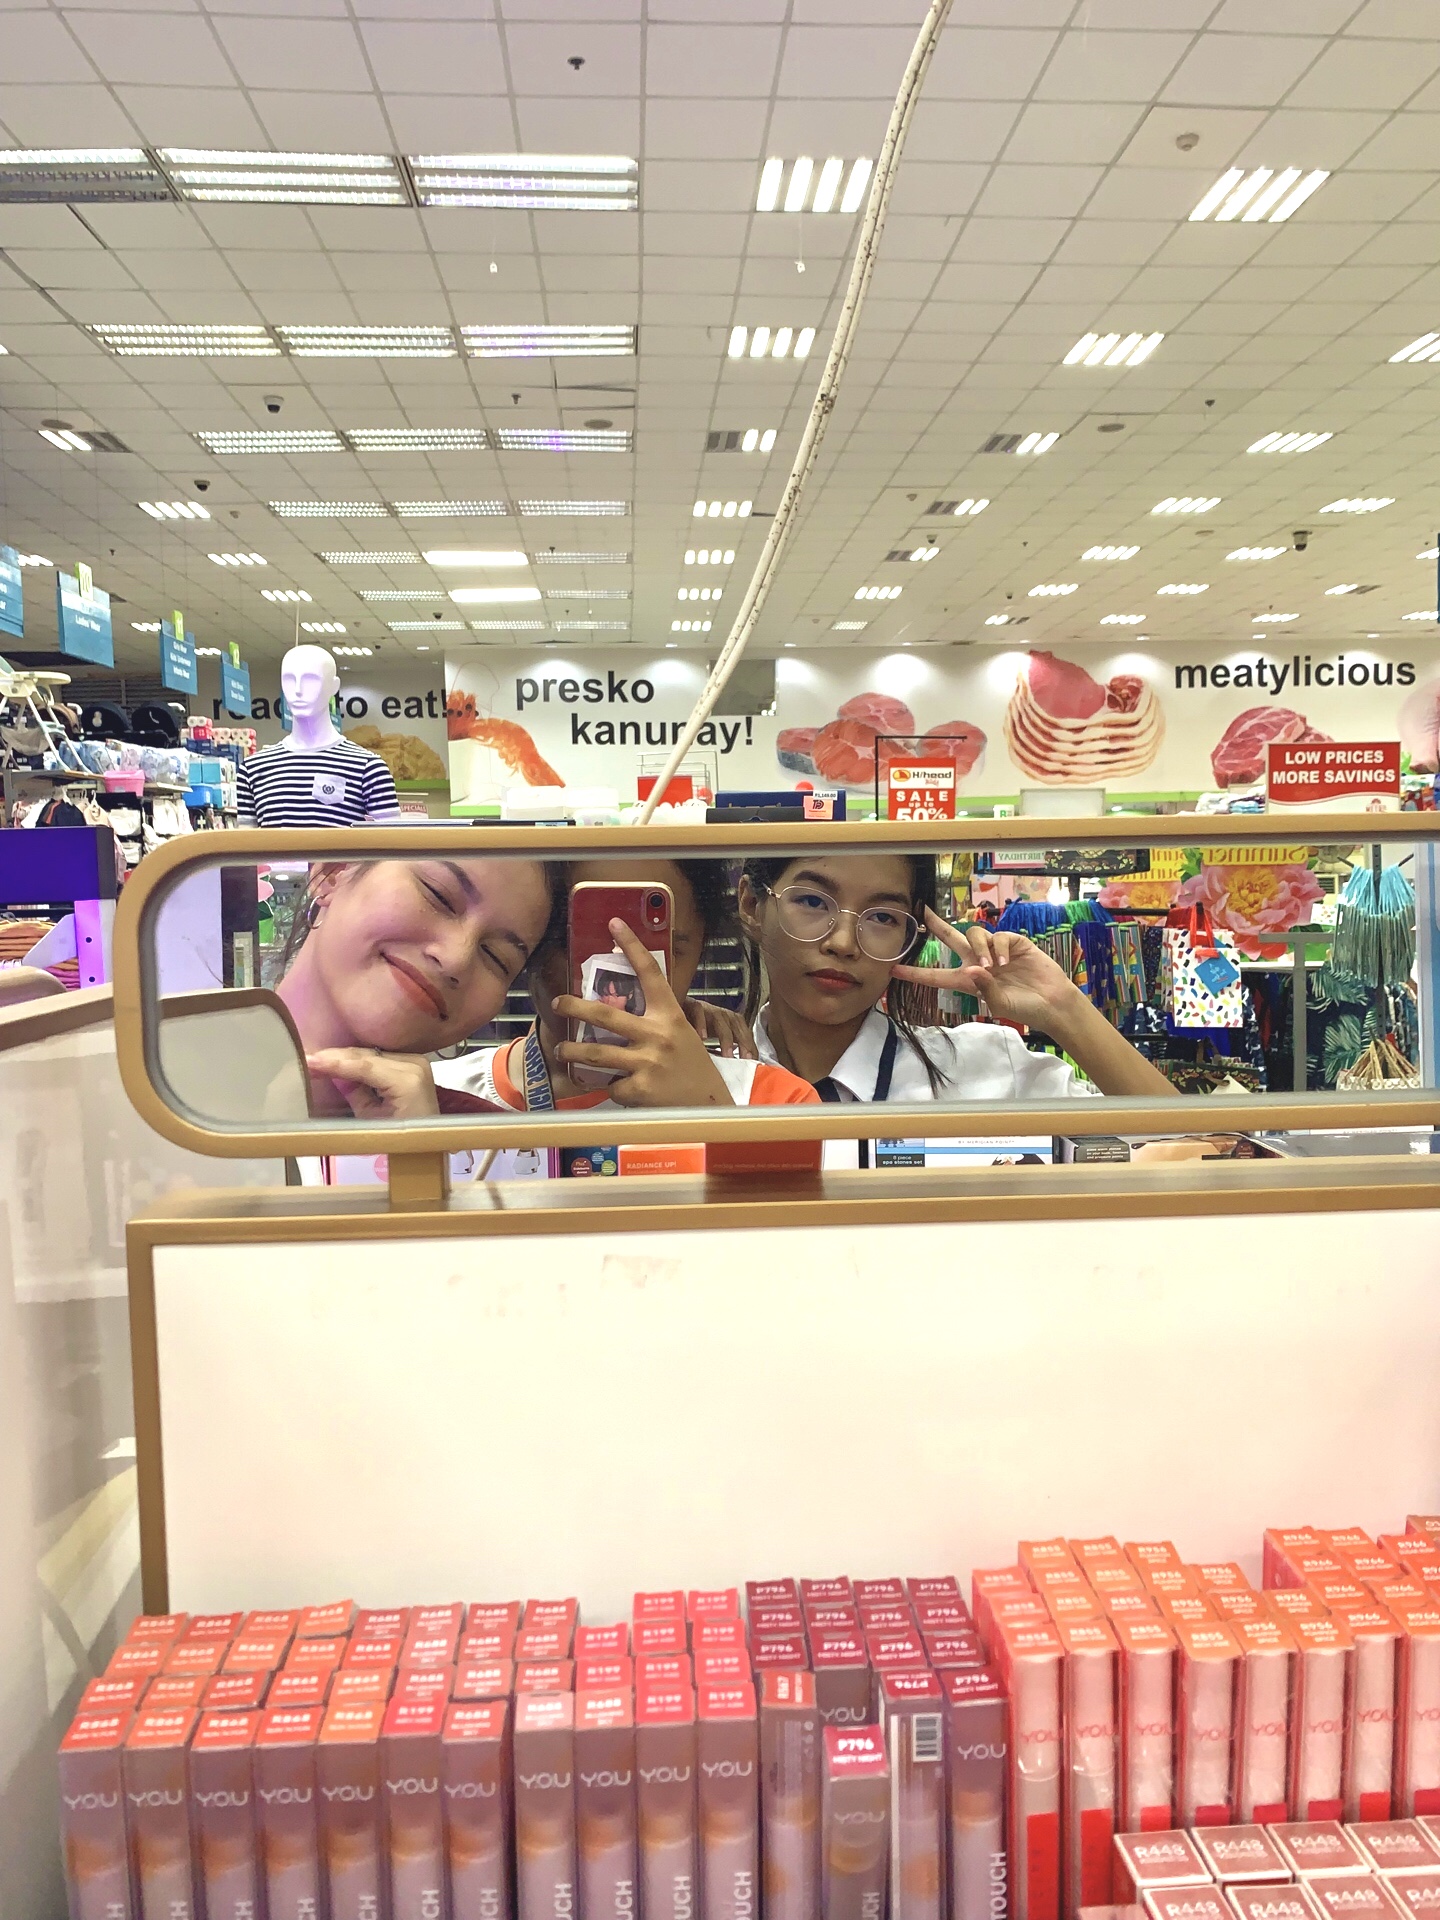
Aside from wandering around Naga's Metro and searching for makeup we didn't plan to buy, our main objective was to find high-quality construction paper. I'll use it as the background for our crochet photoshoot, aiming to create colorful and presentable images. I was excited as I imagined how it would enhance the overall look of the pictures.
___
#### DIY Location🏡
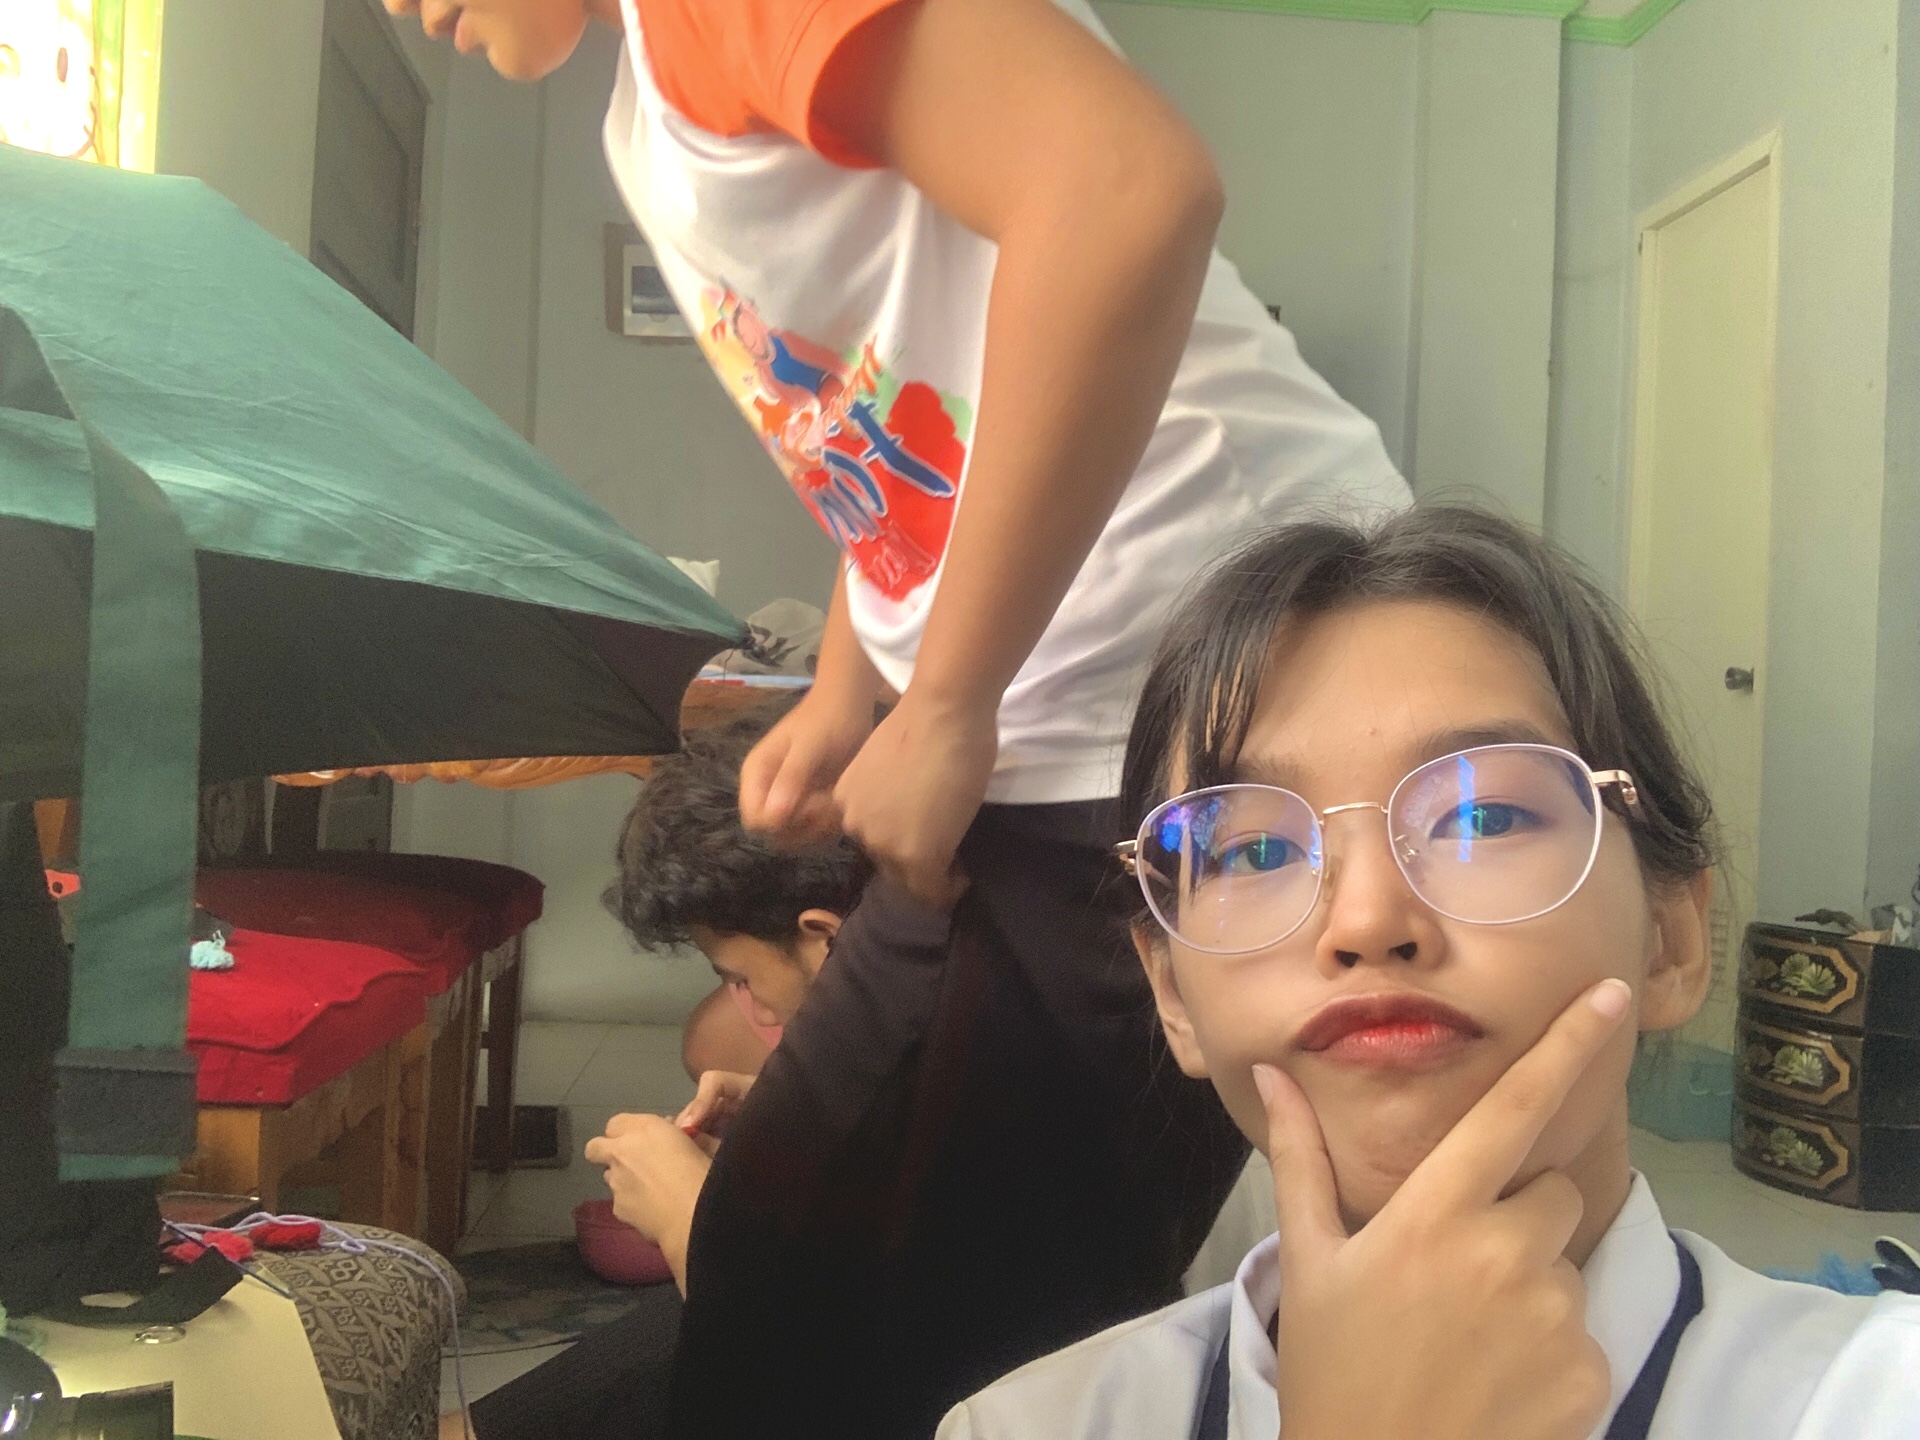
We arrived at @keith-allen15's house for the photoshoot. As the photographer, I planned the necessary equipment. I brought a ring light and borrowed Keith's umbrella, as I observed in many studios that they commonly use it to soften the light and emphasize the subject.
___
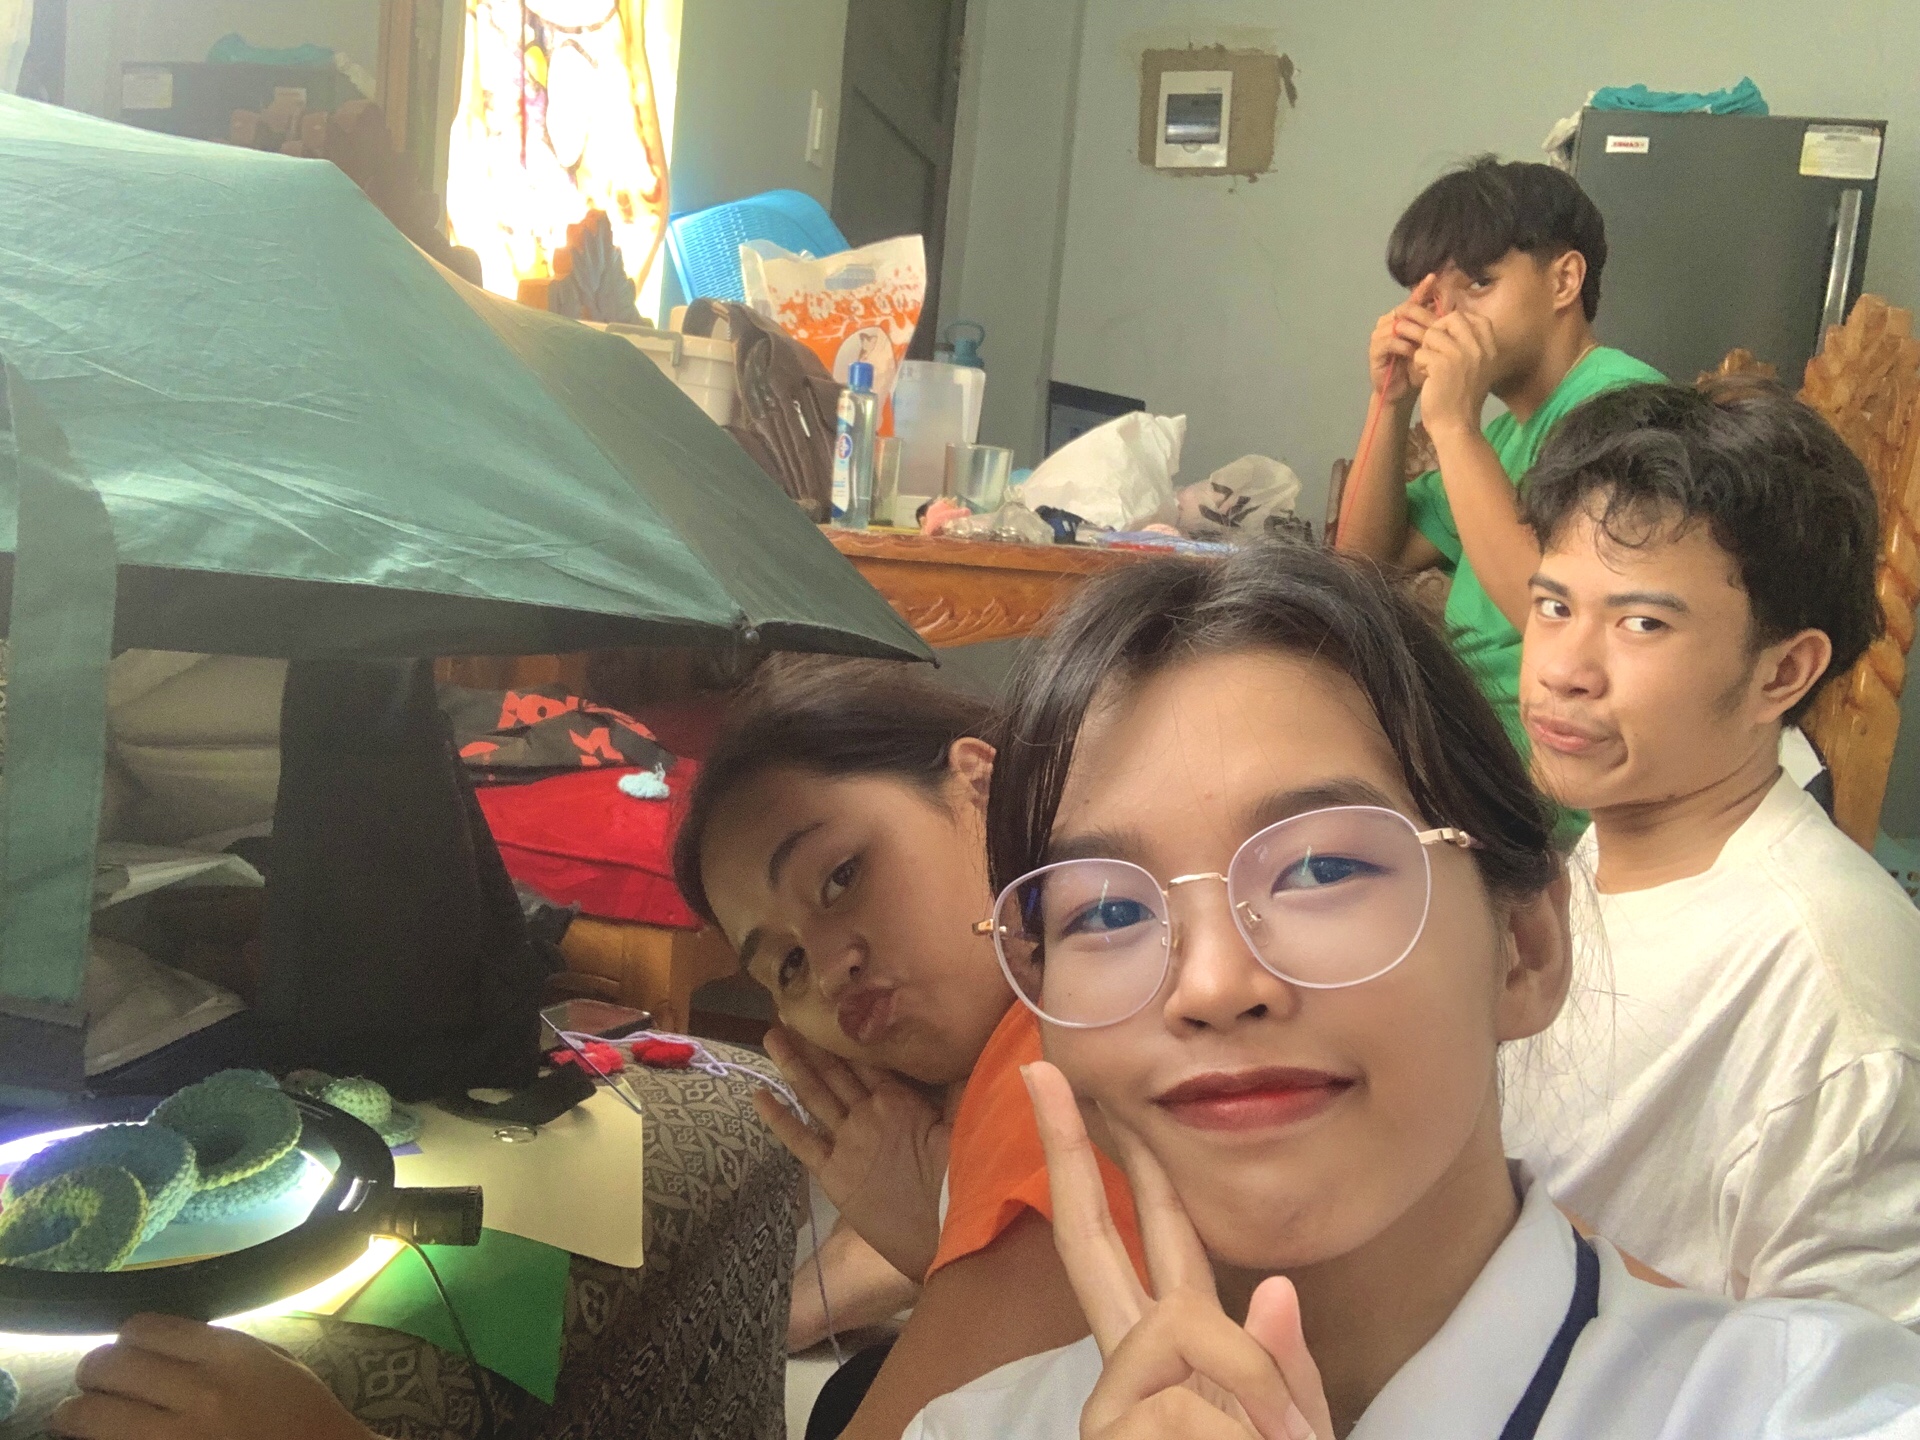
#### Teamwork✊
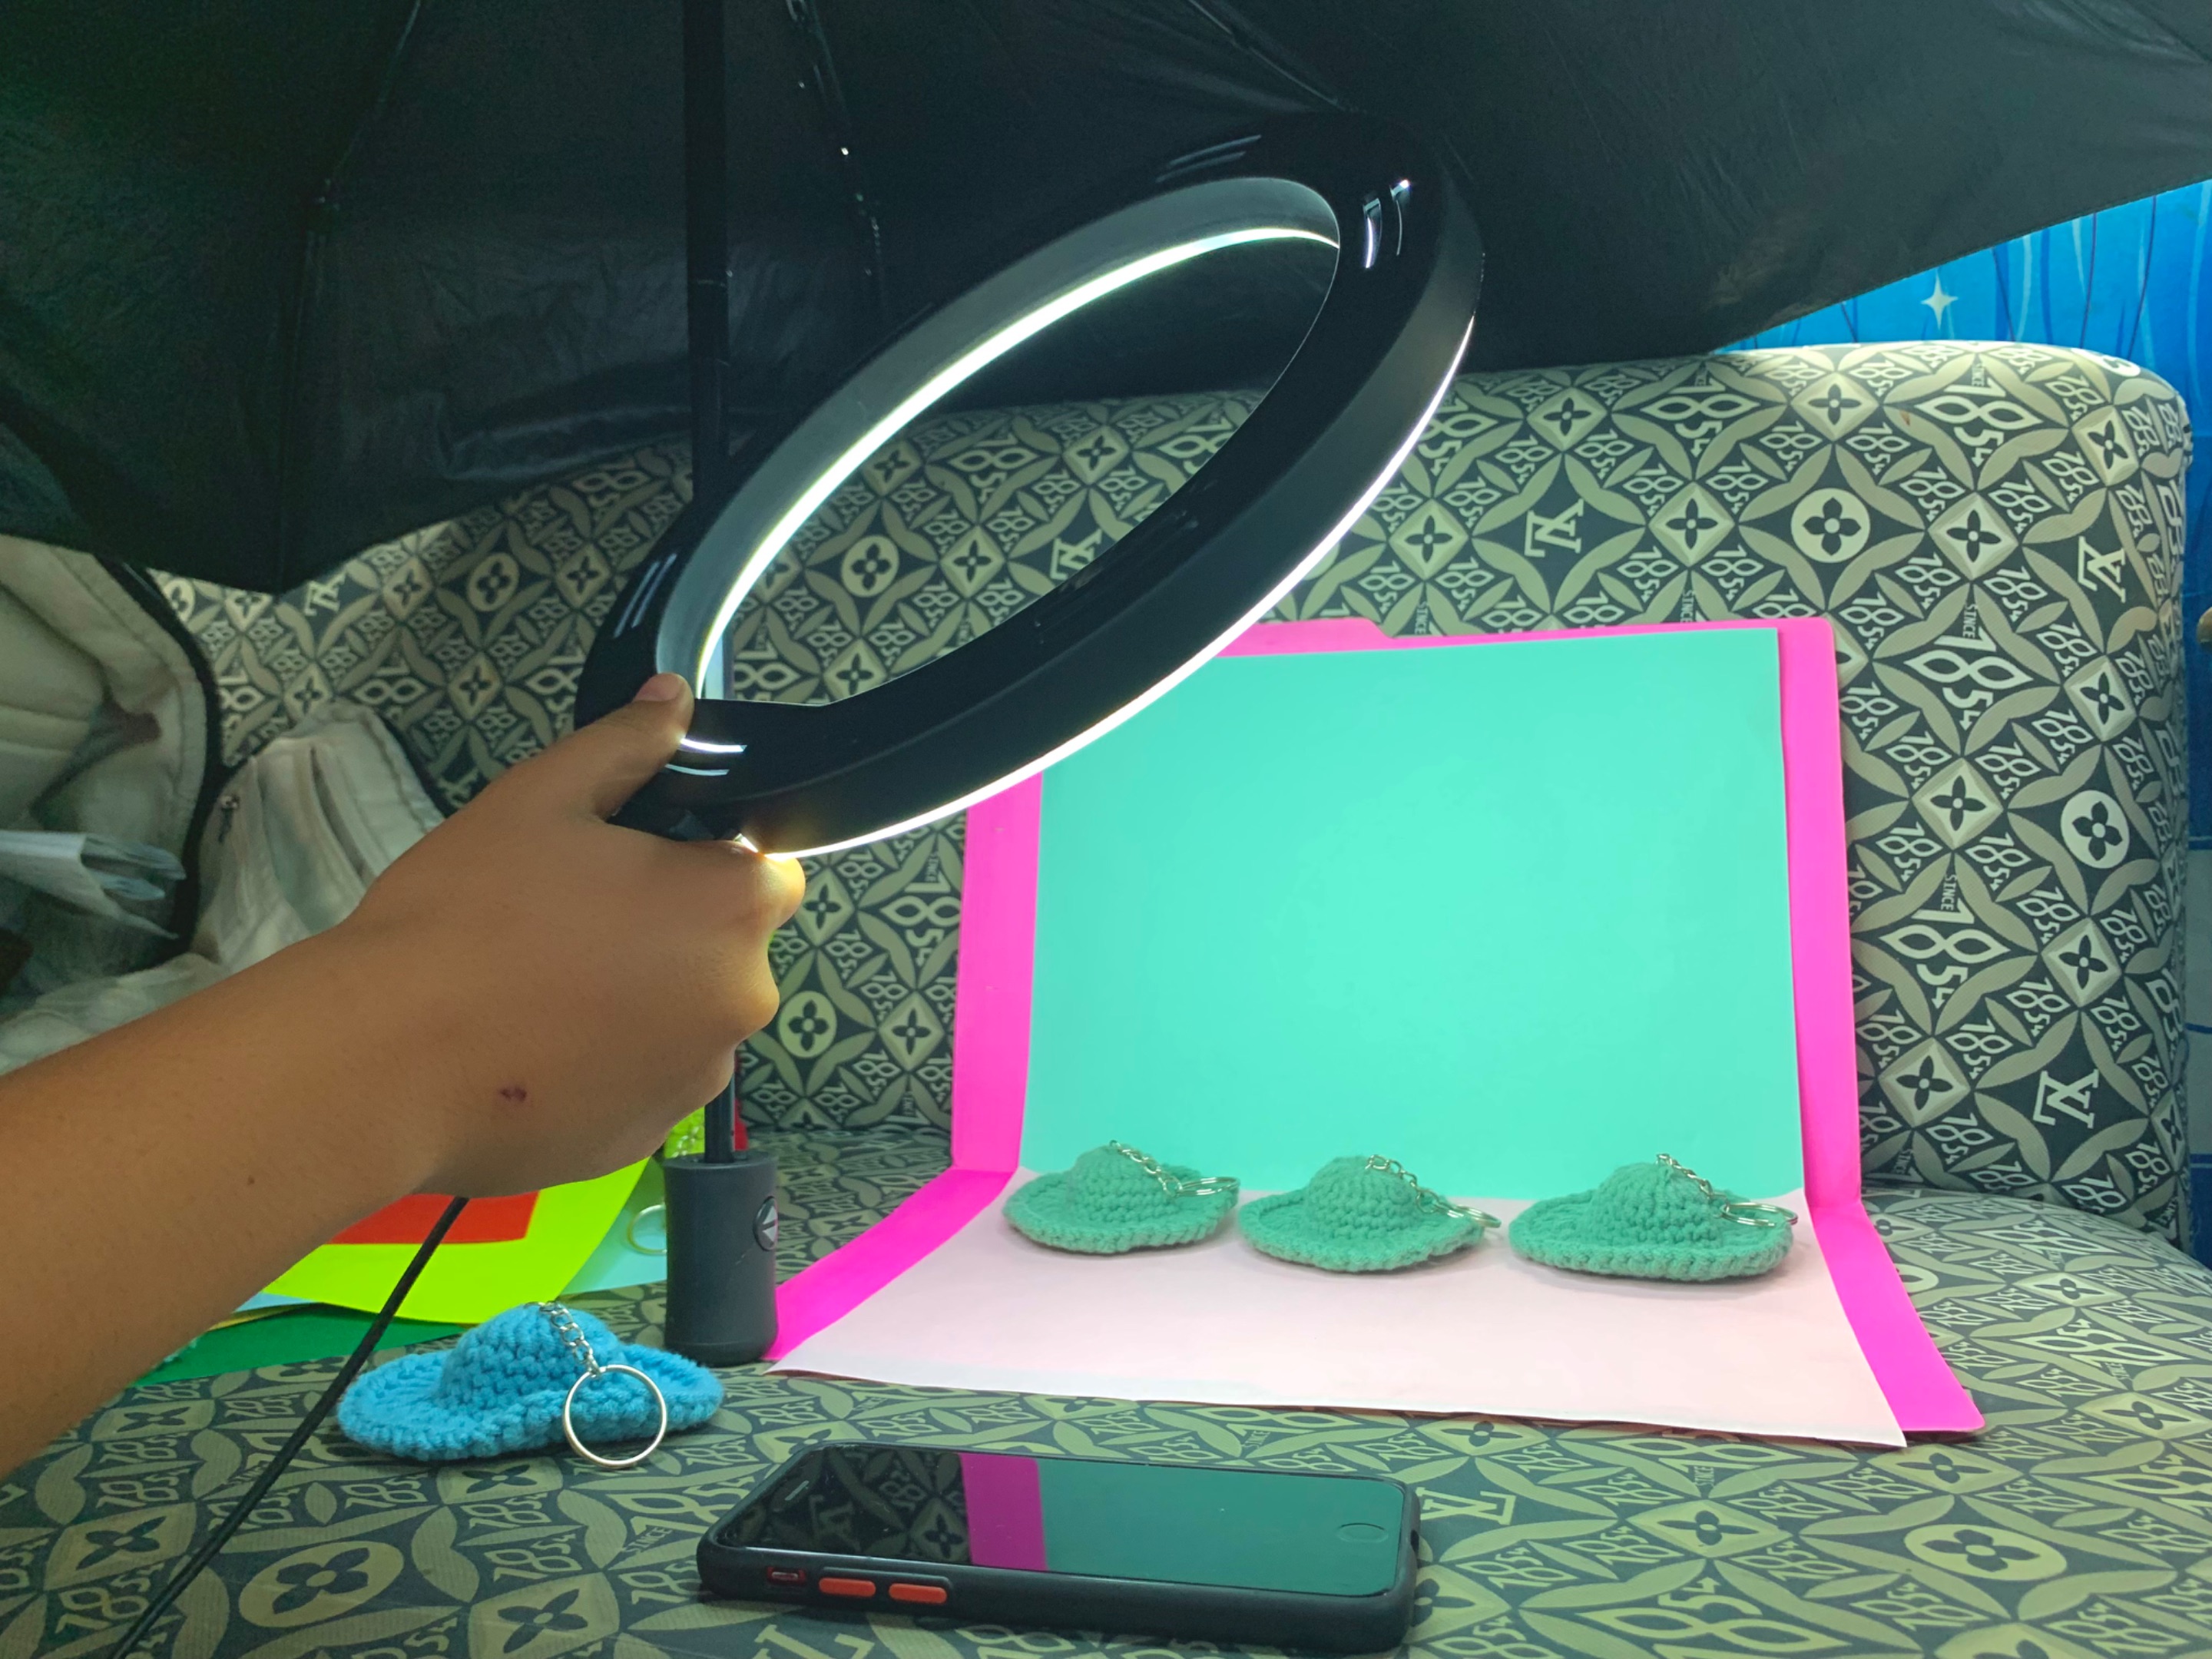
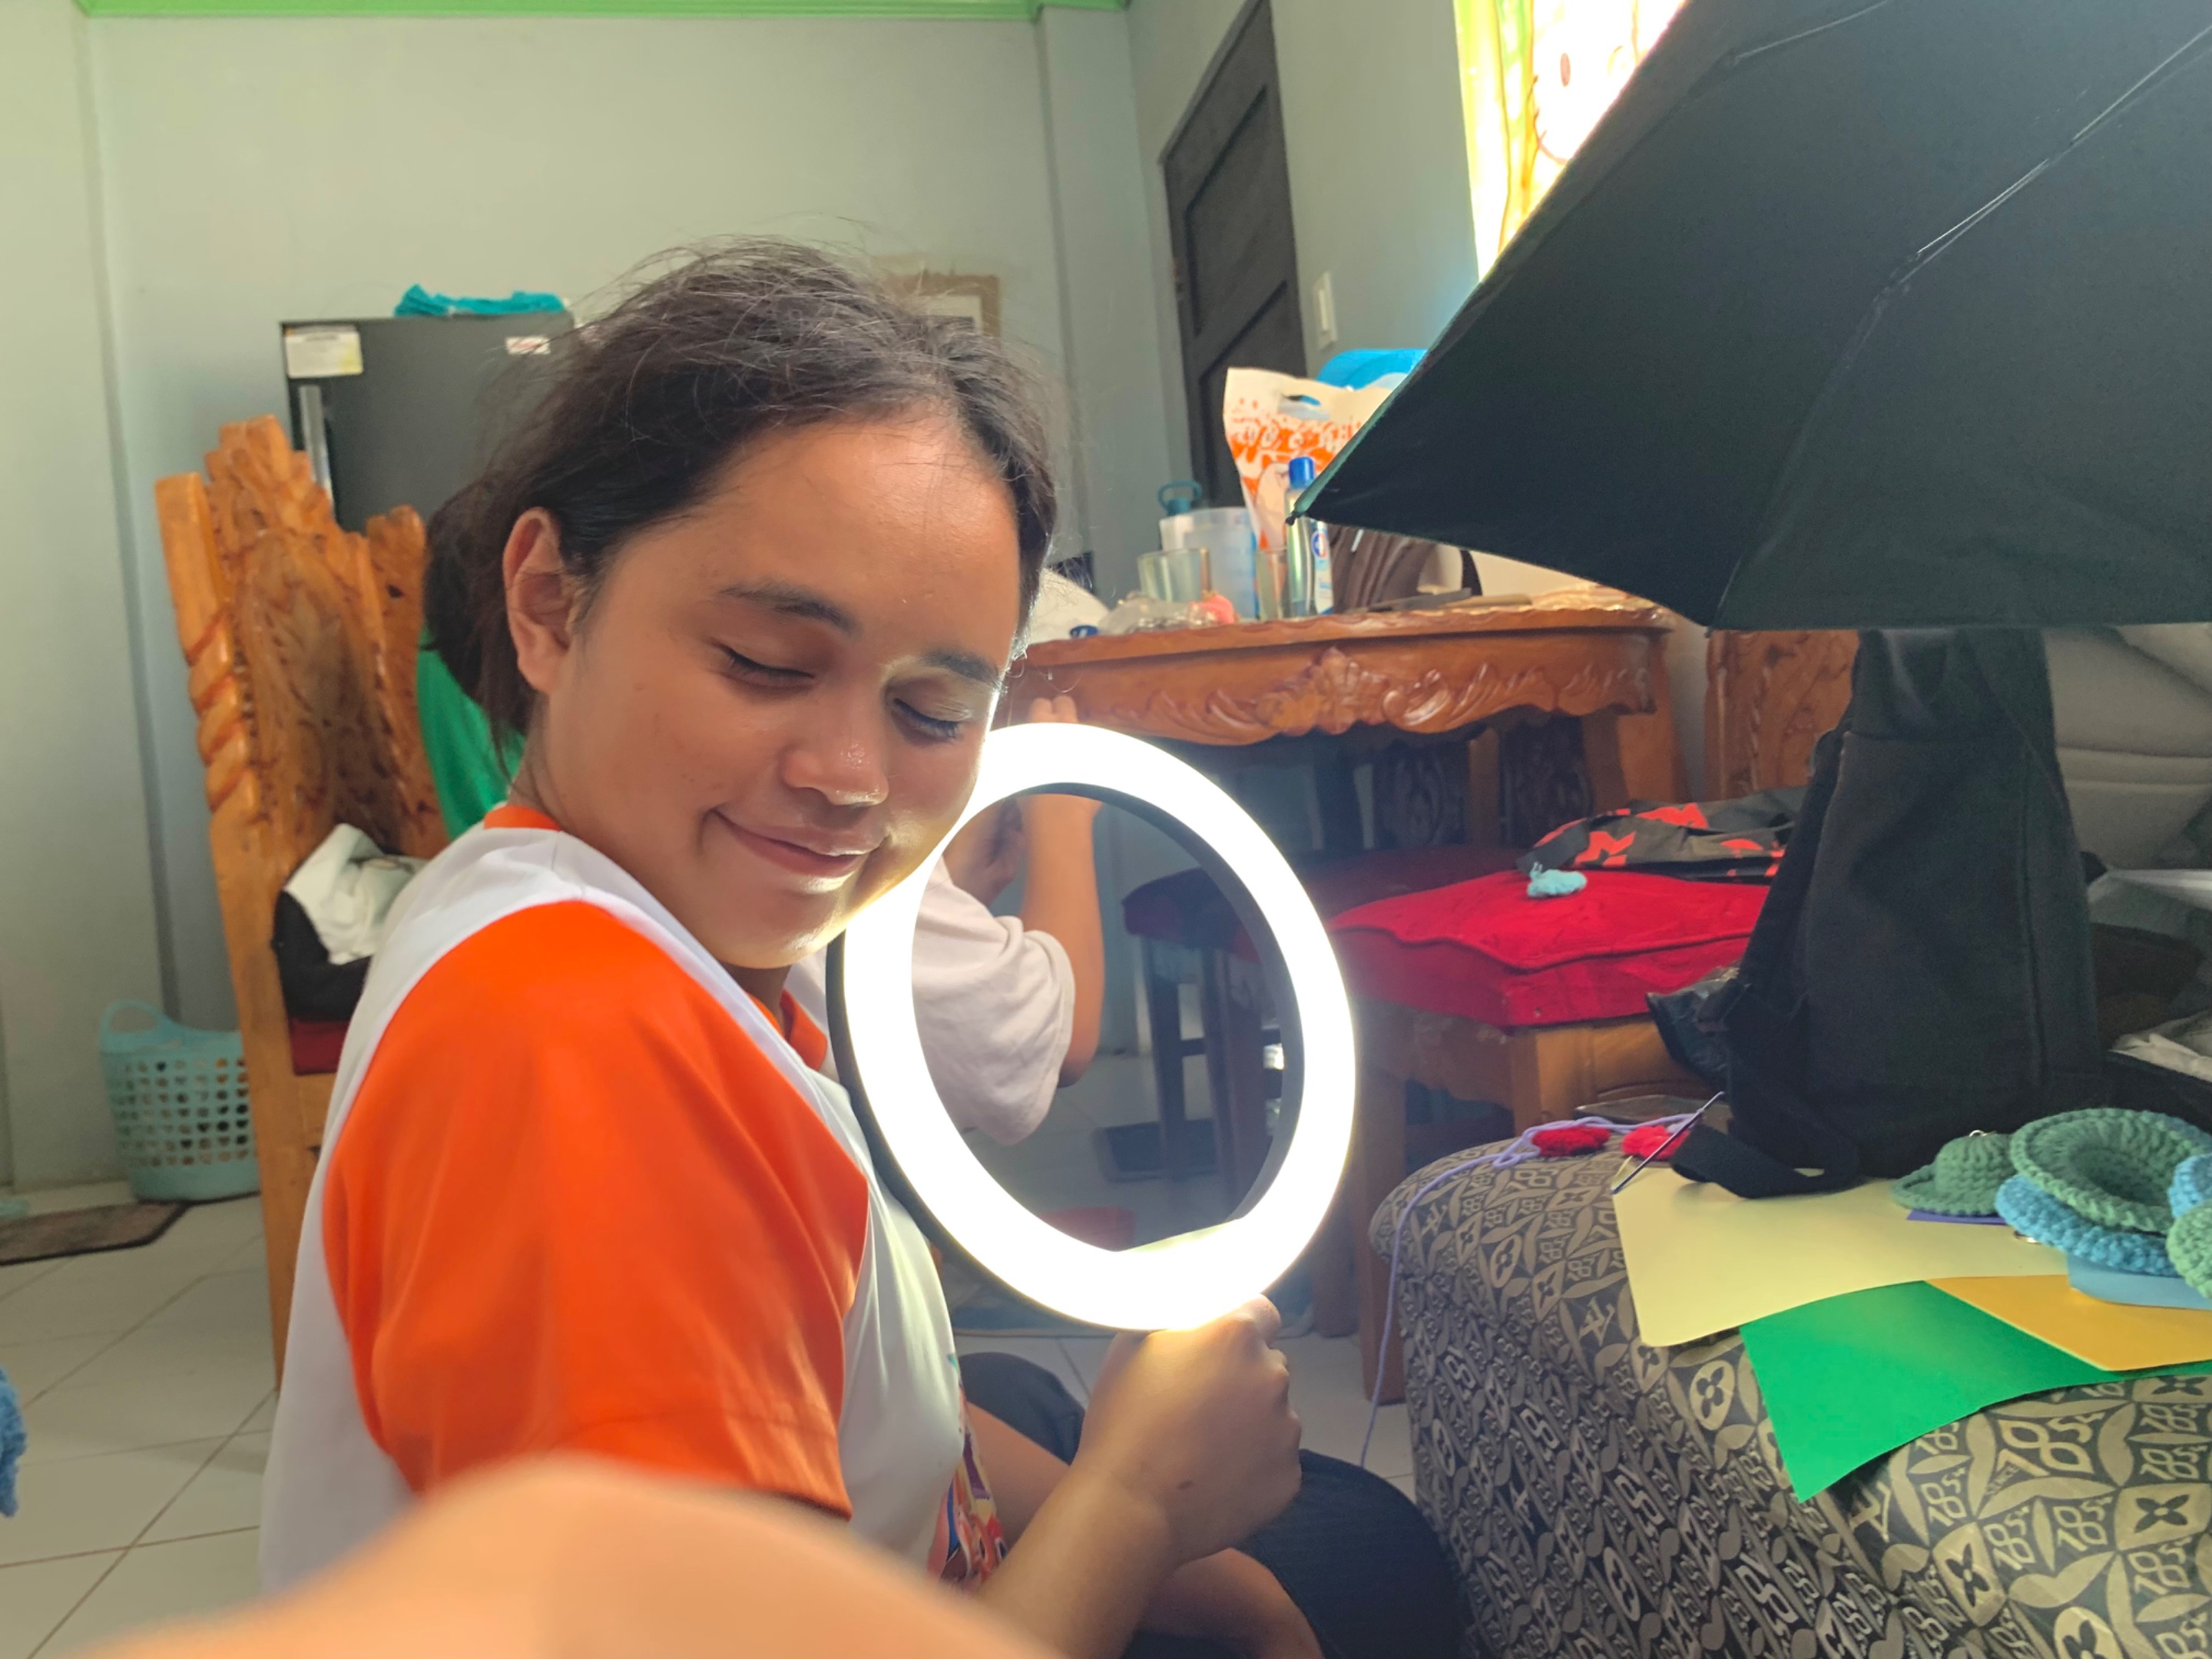
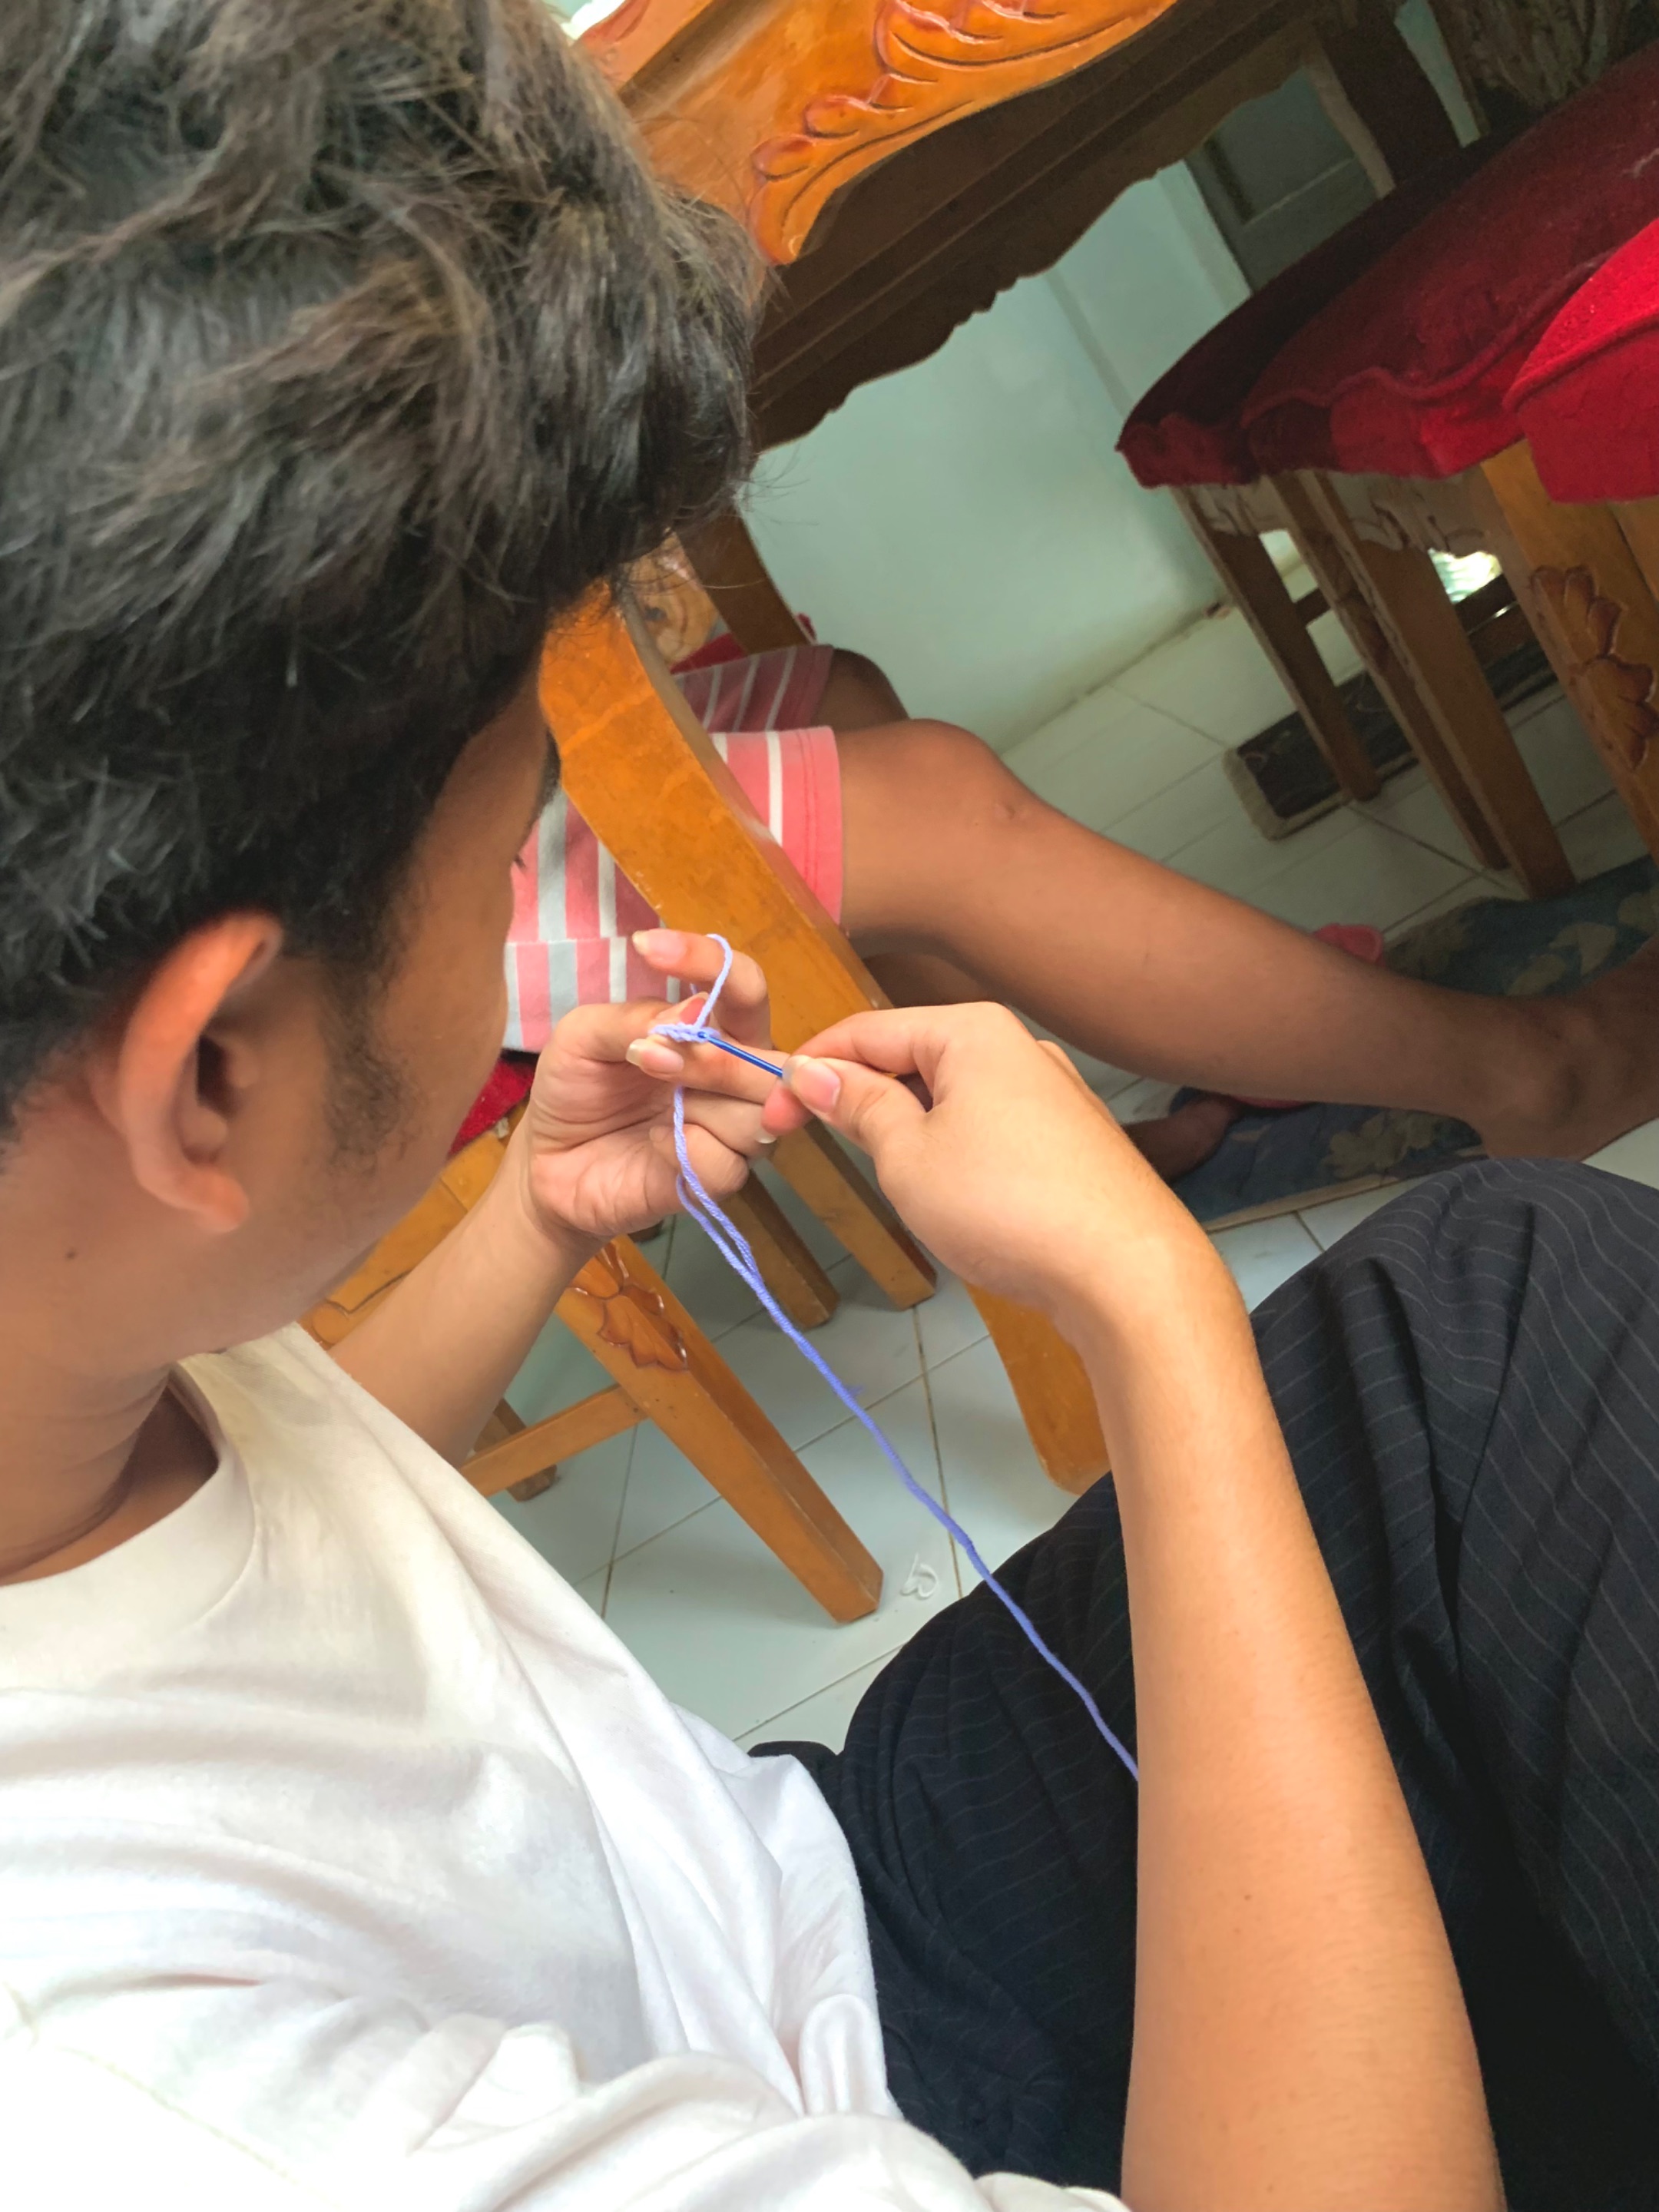
Teamwork is very important in group projects. It's great to see that one person isn't managing all the tasks alone; we're working together as a group for our grades in the Entrepreneurship subject. By the way, this photoshoot aims to promote our product, Crochain, a crochet keychain, by posting it on social media. @crissiacor helped me with the photoshoot by holding the ring light, and while we were busy, they were also working on making new crochet keychains. My boyfriend, Sean, also helped, but he still hadn't finished his chosen crochet keychain yet.
___
#### 1, 2, 3, Click! 📸
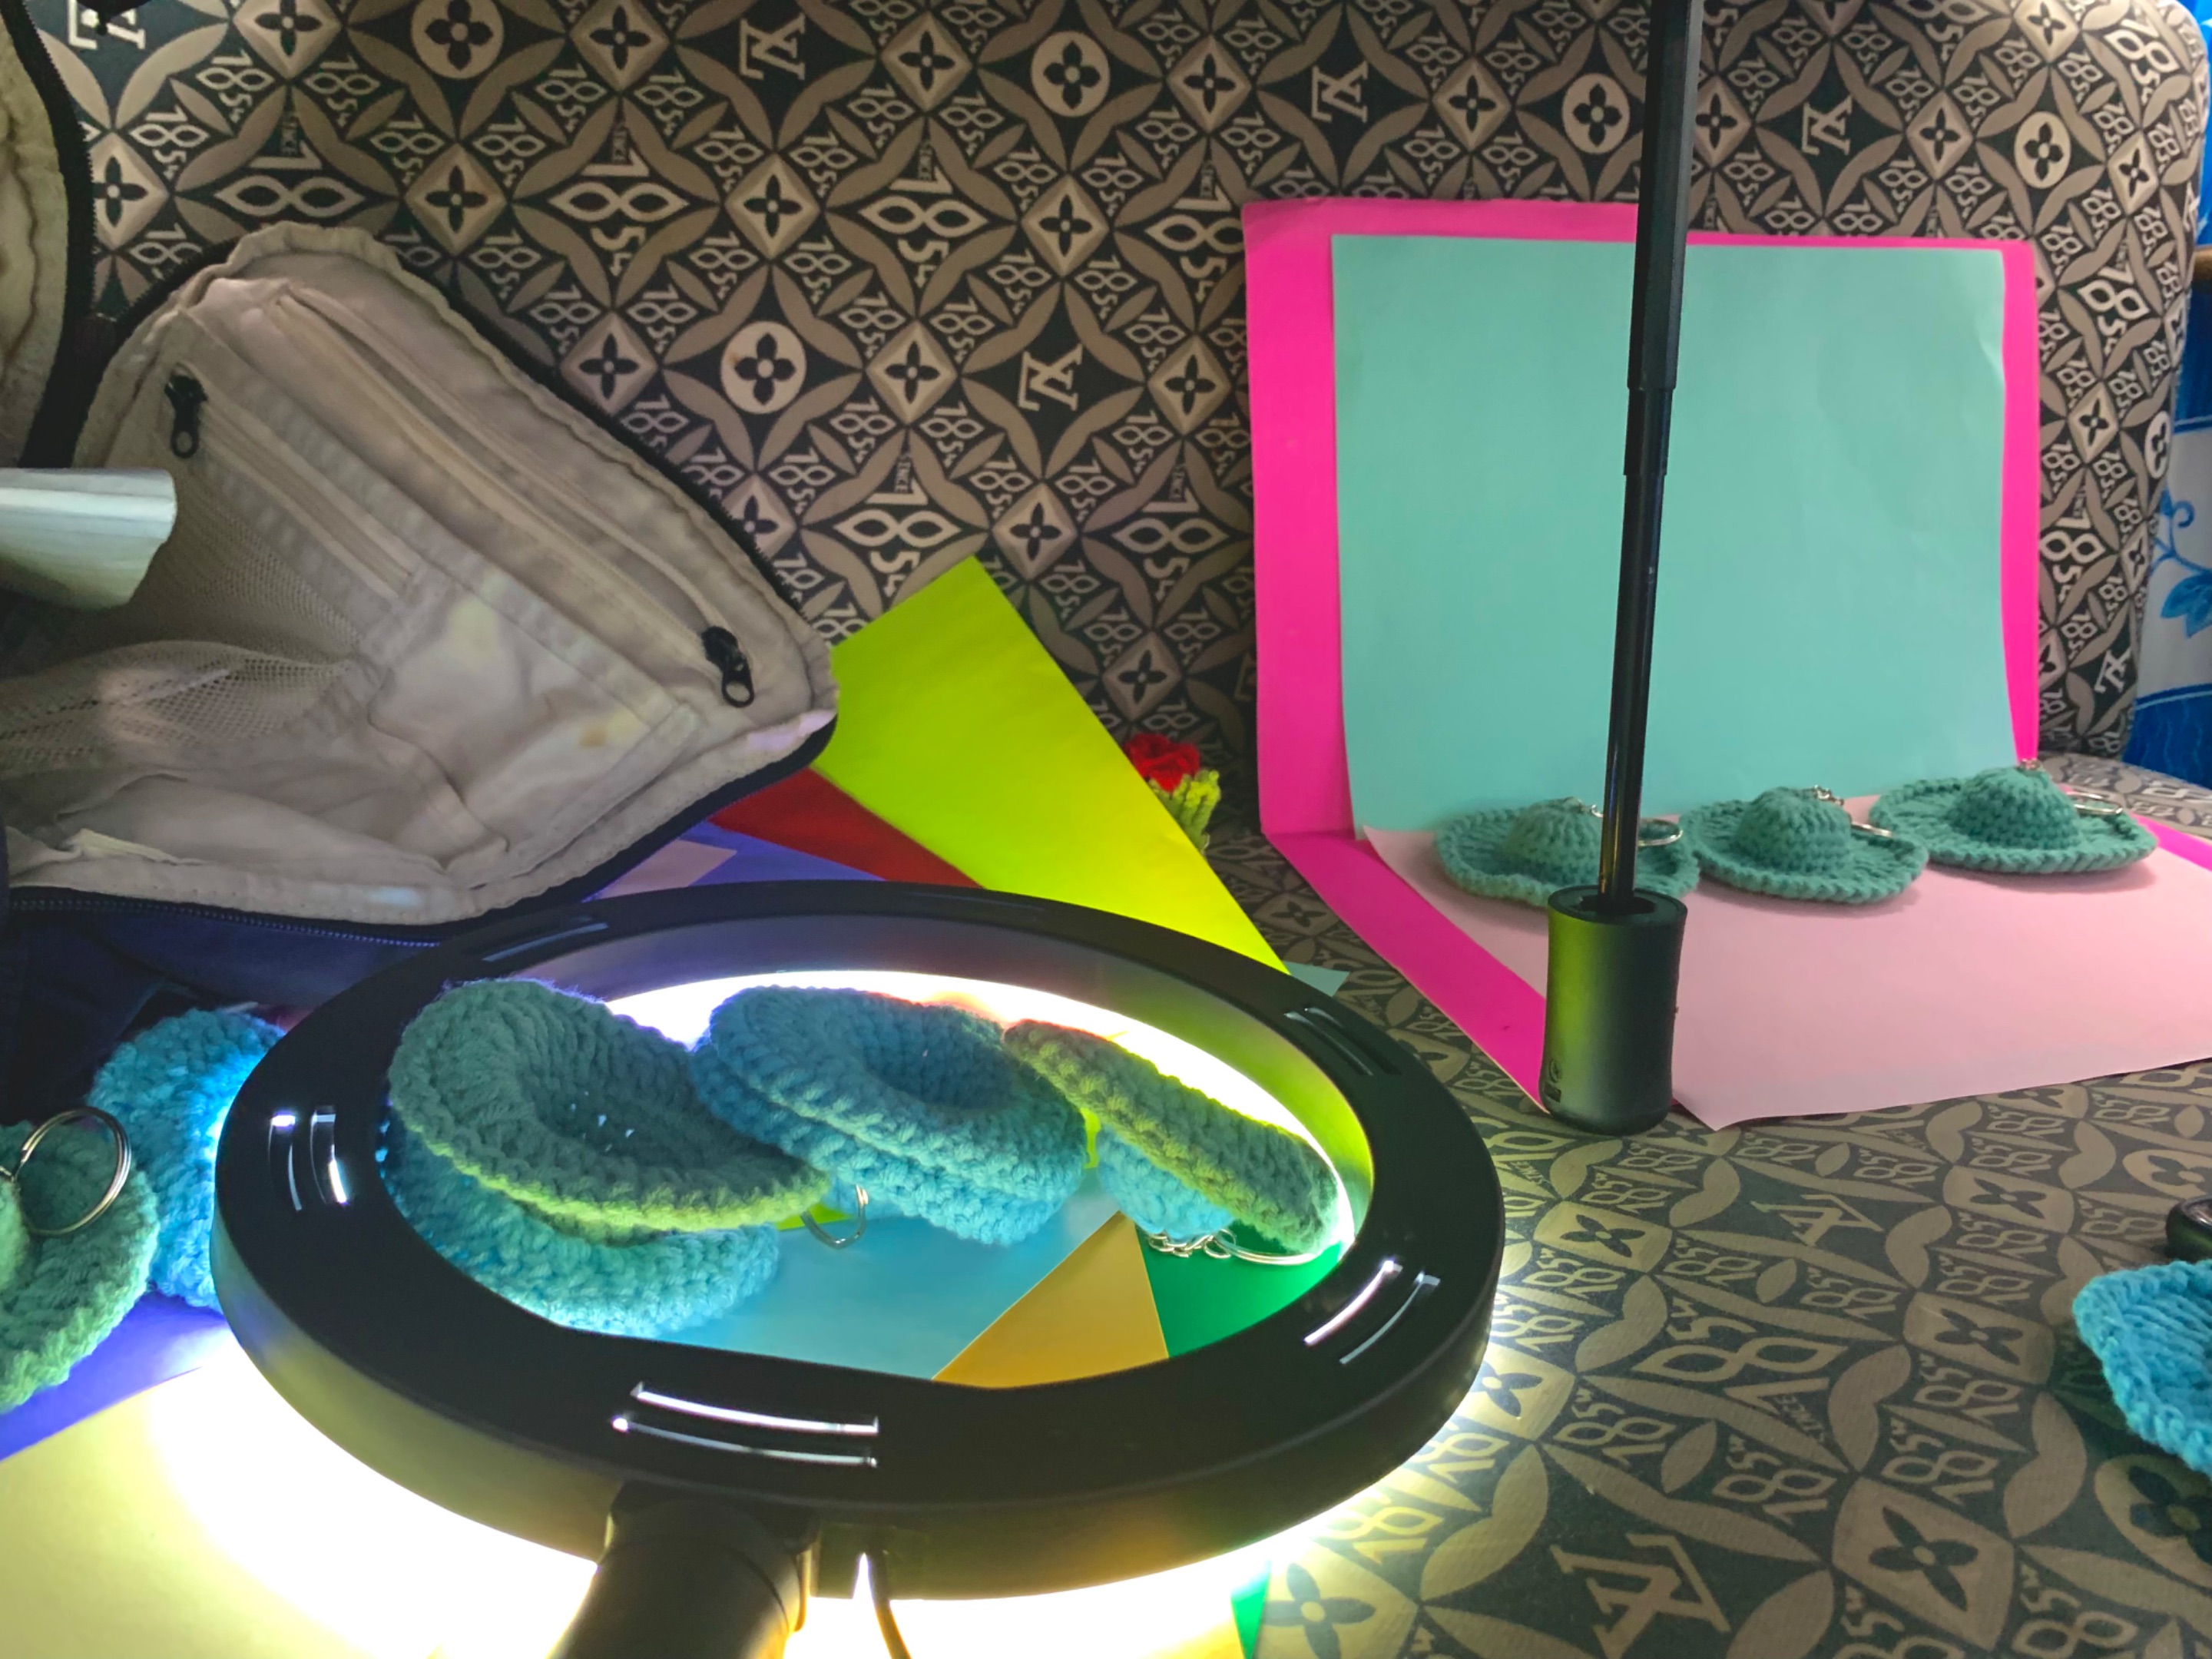
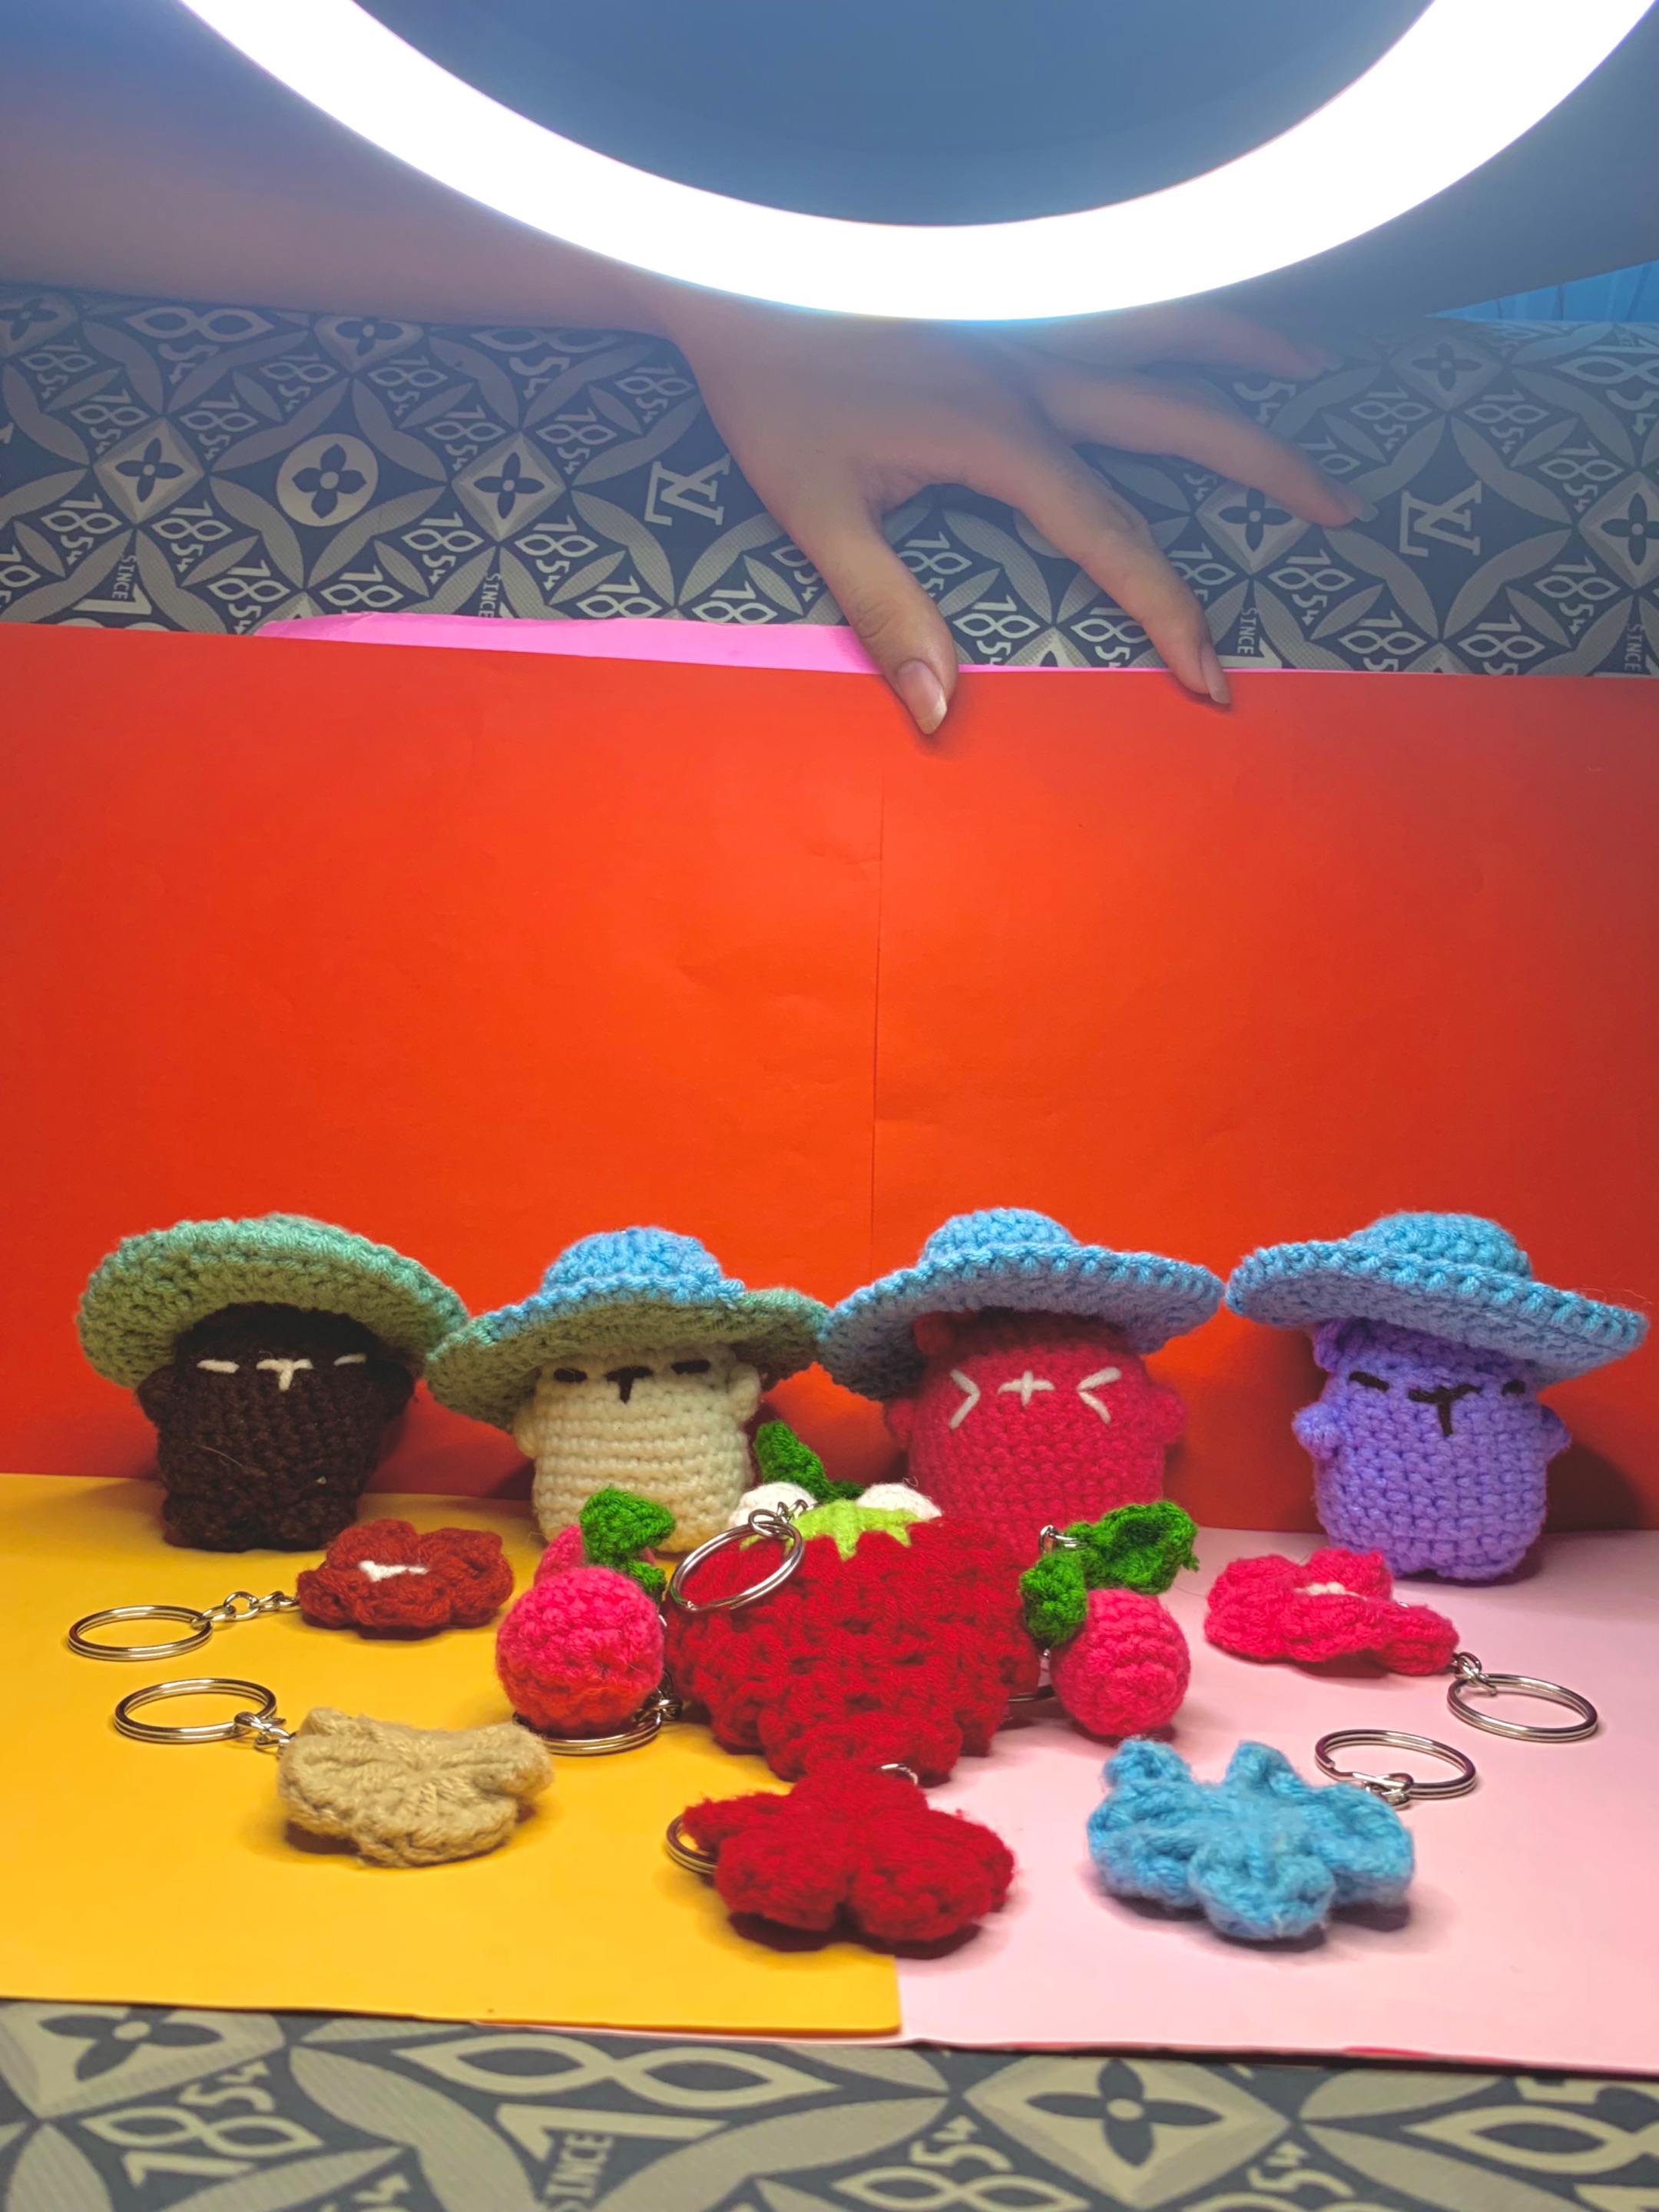
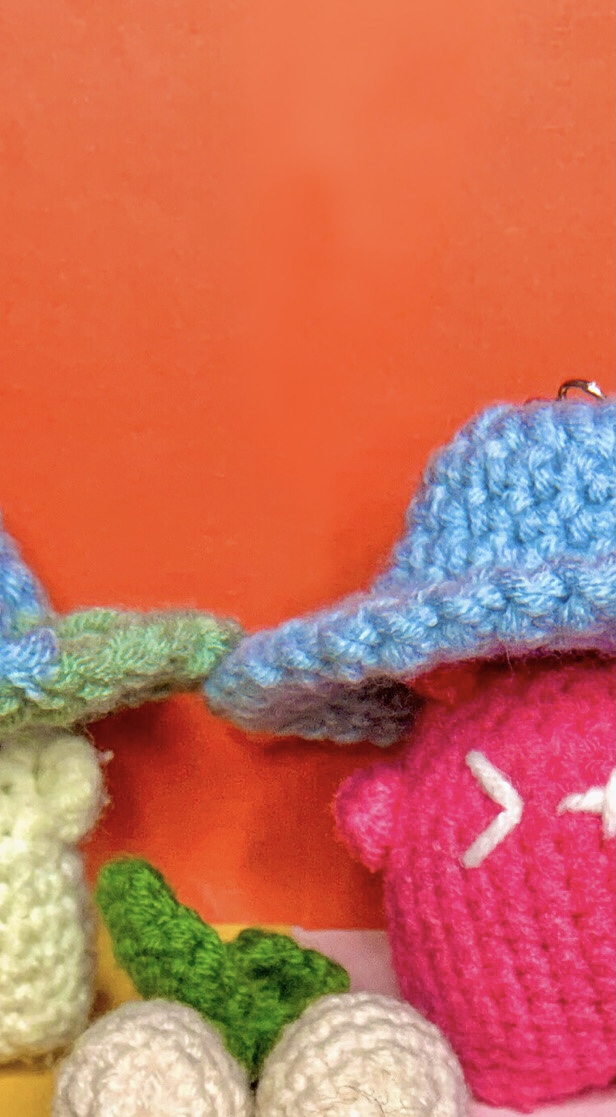
Starting to capture the subjects in our photoshoot, I arranged them to look nice on camera and fit them into a small area of the background. I faced difficulty as the mini bear crochet keychains kept falling down and wouldn't stand. In spite of that, I managed everything and am glad I succeeded.
___
#### The Editing Process🎨
#####
Original Pic
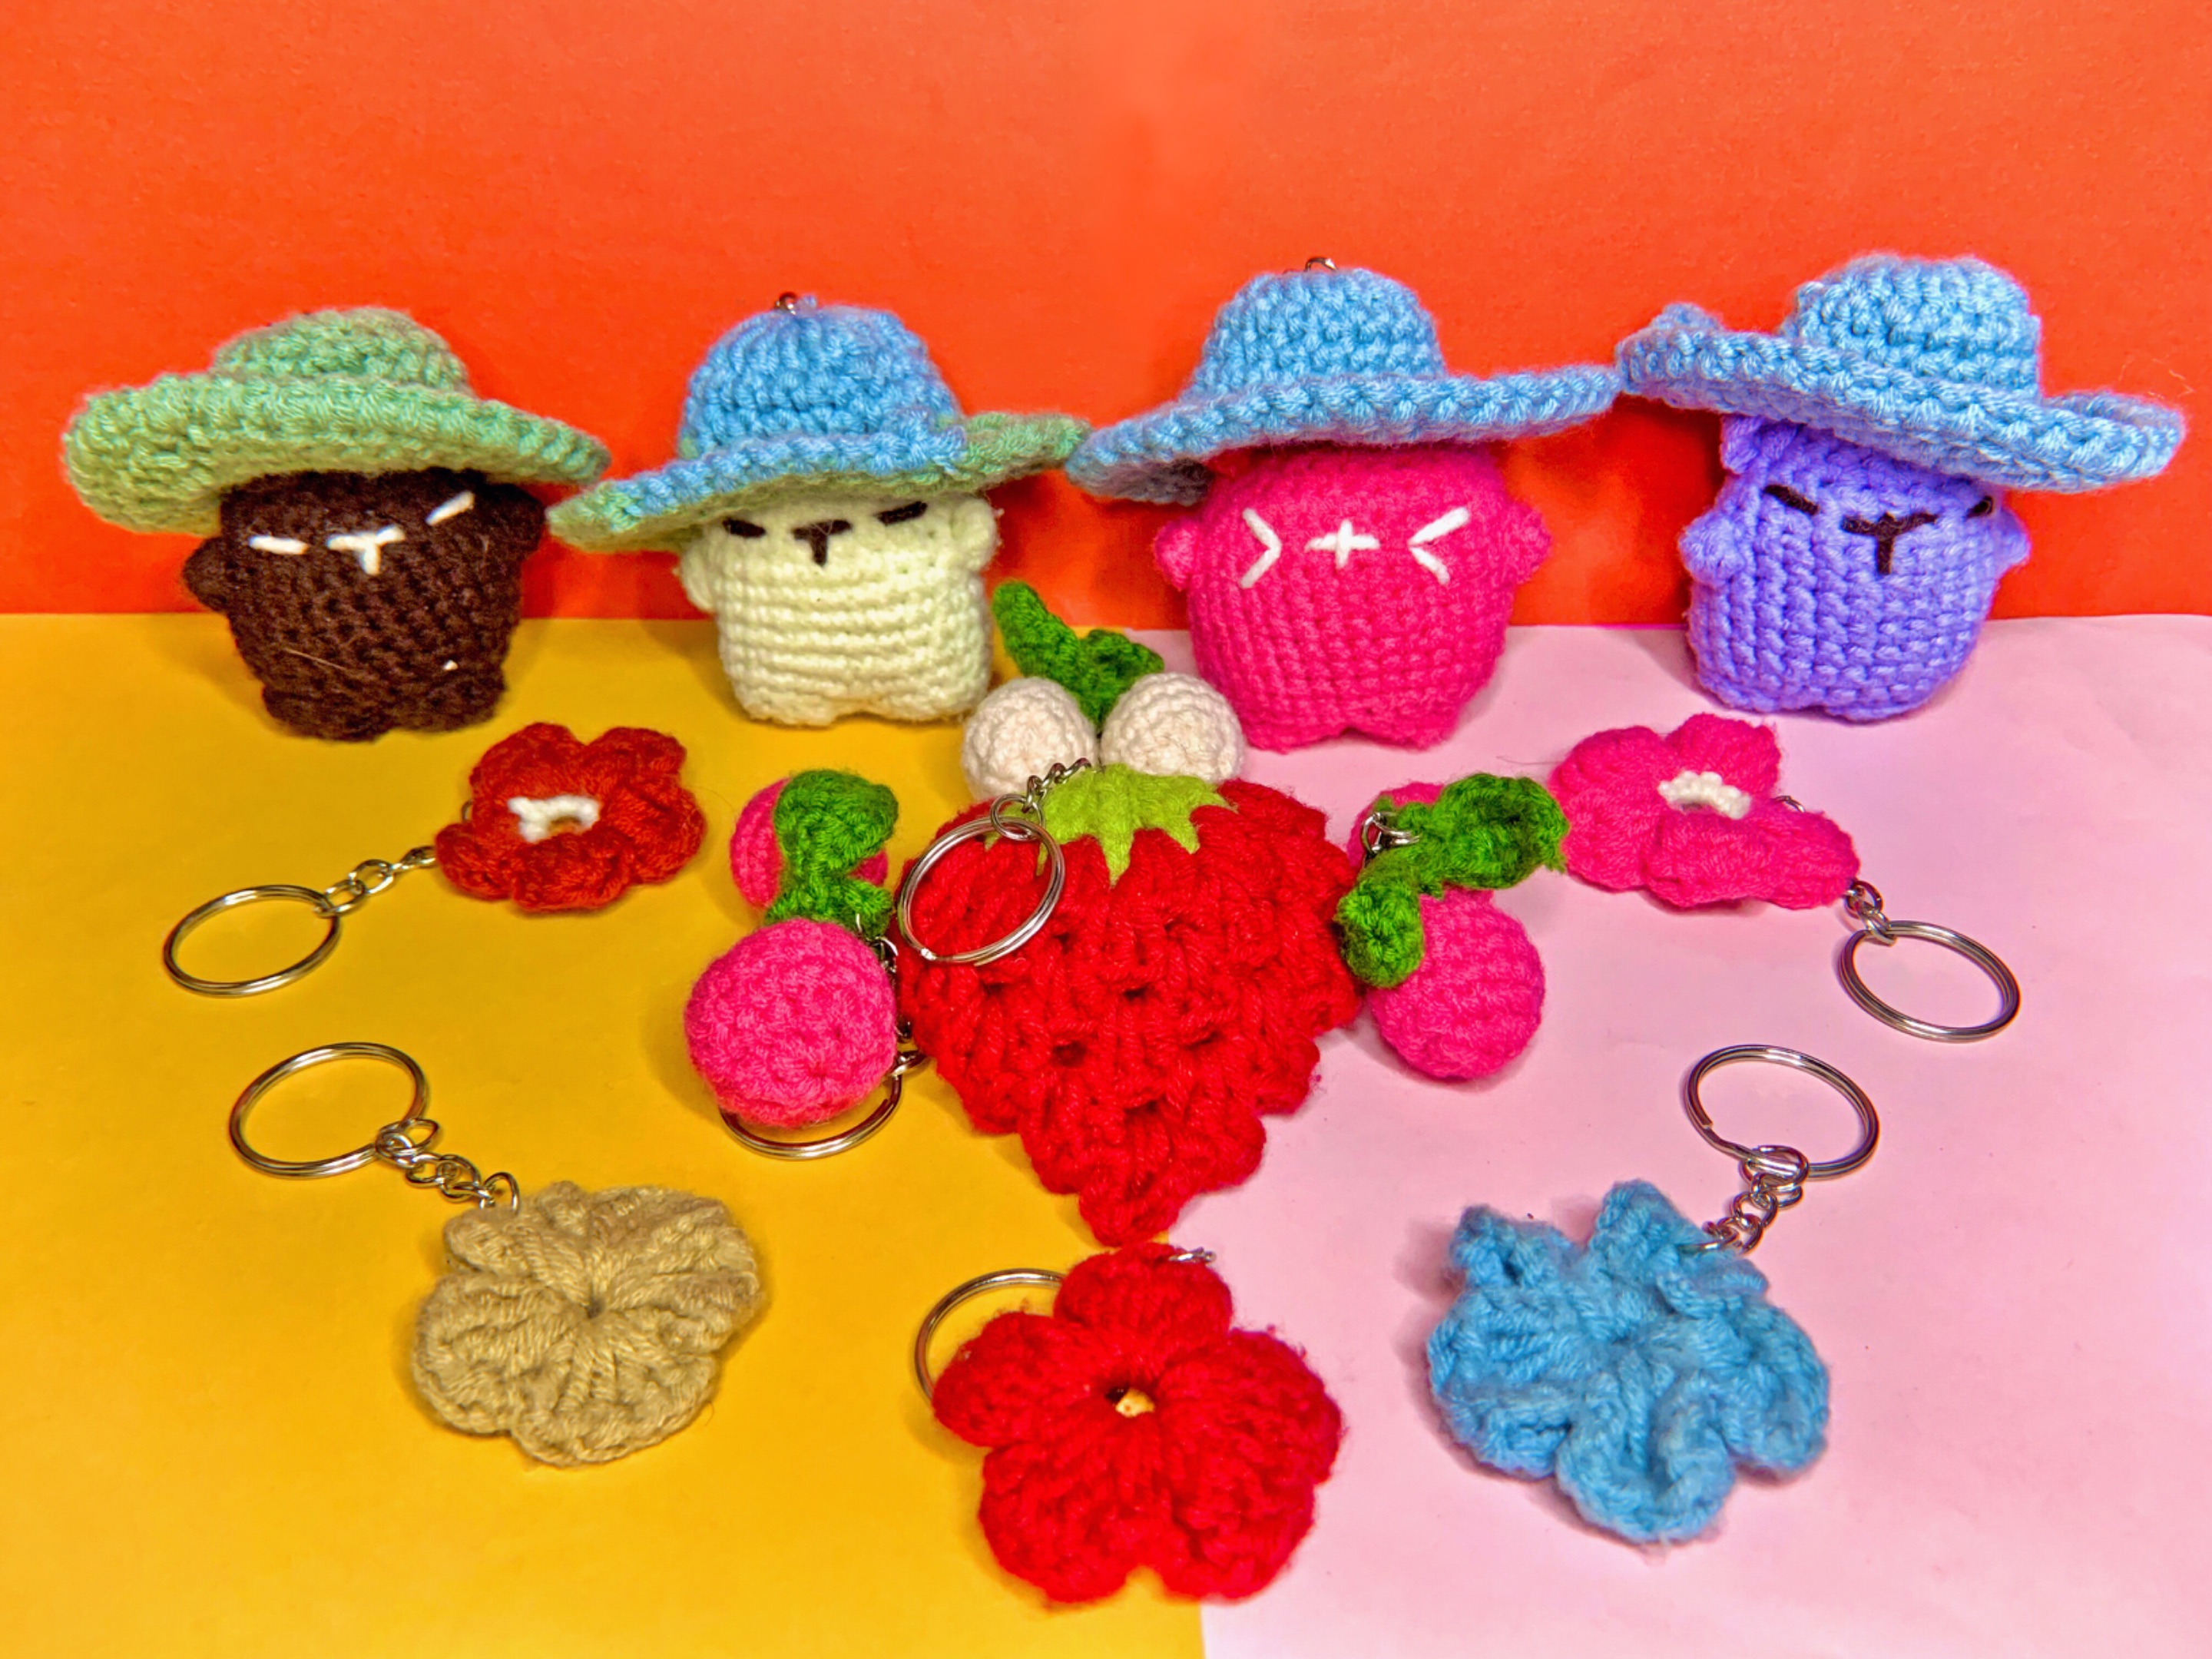
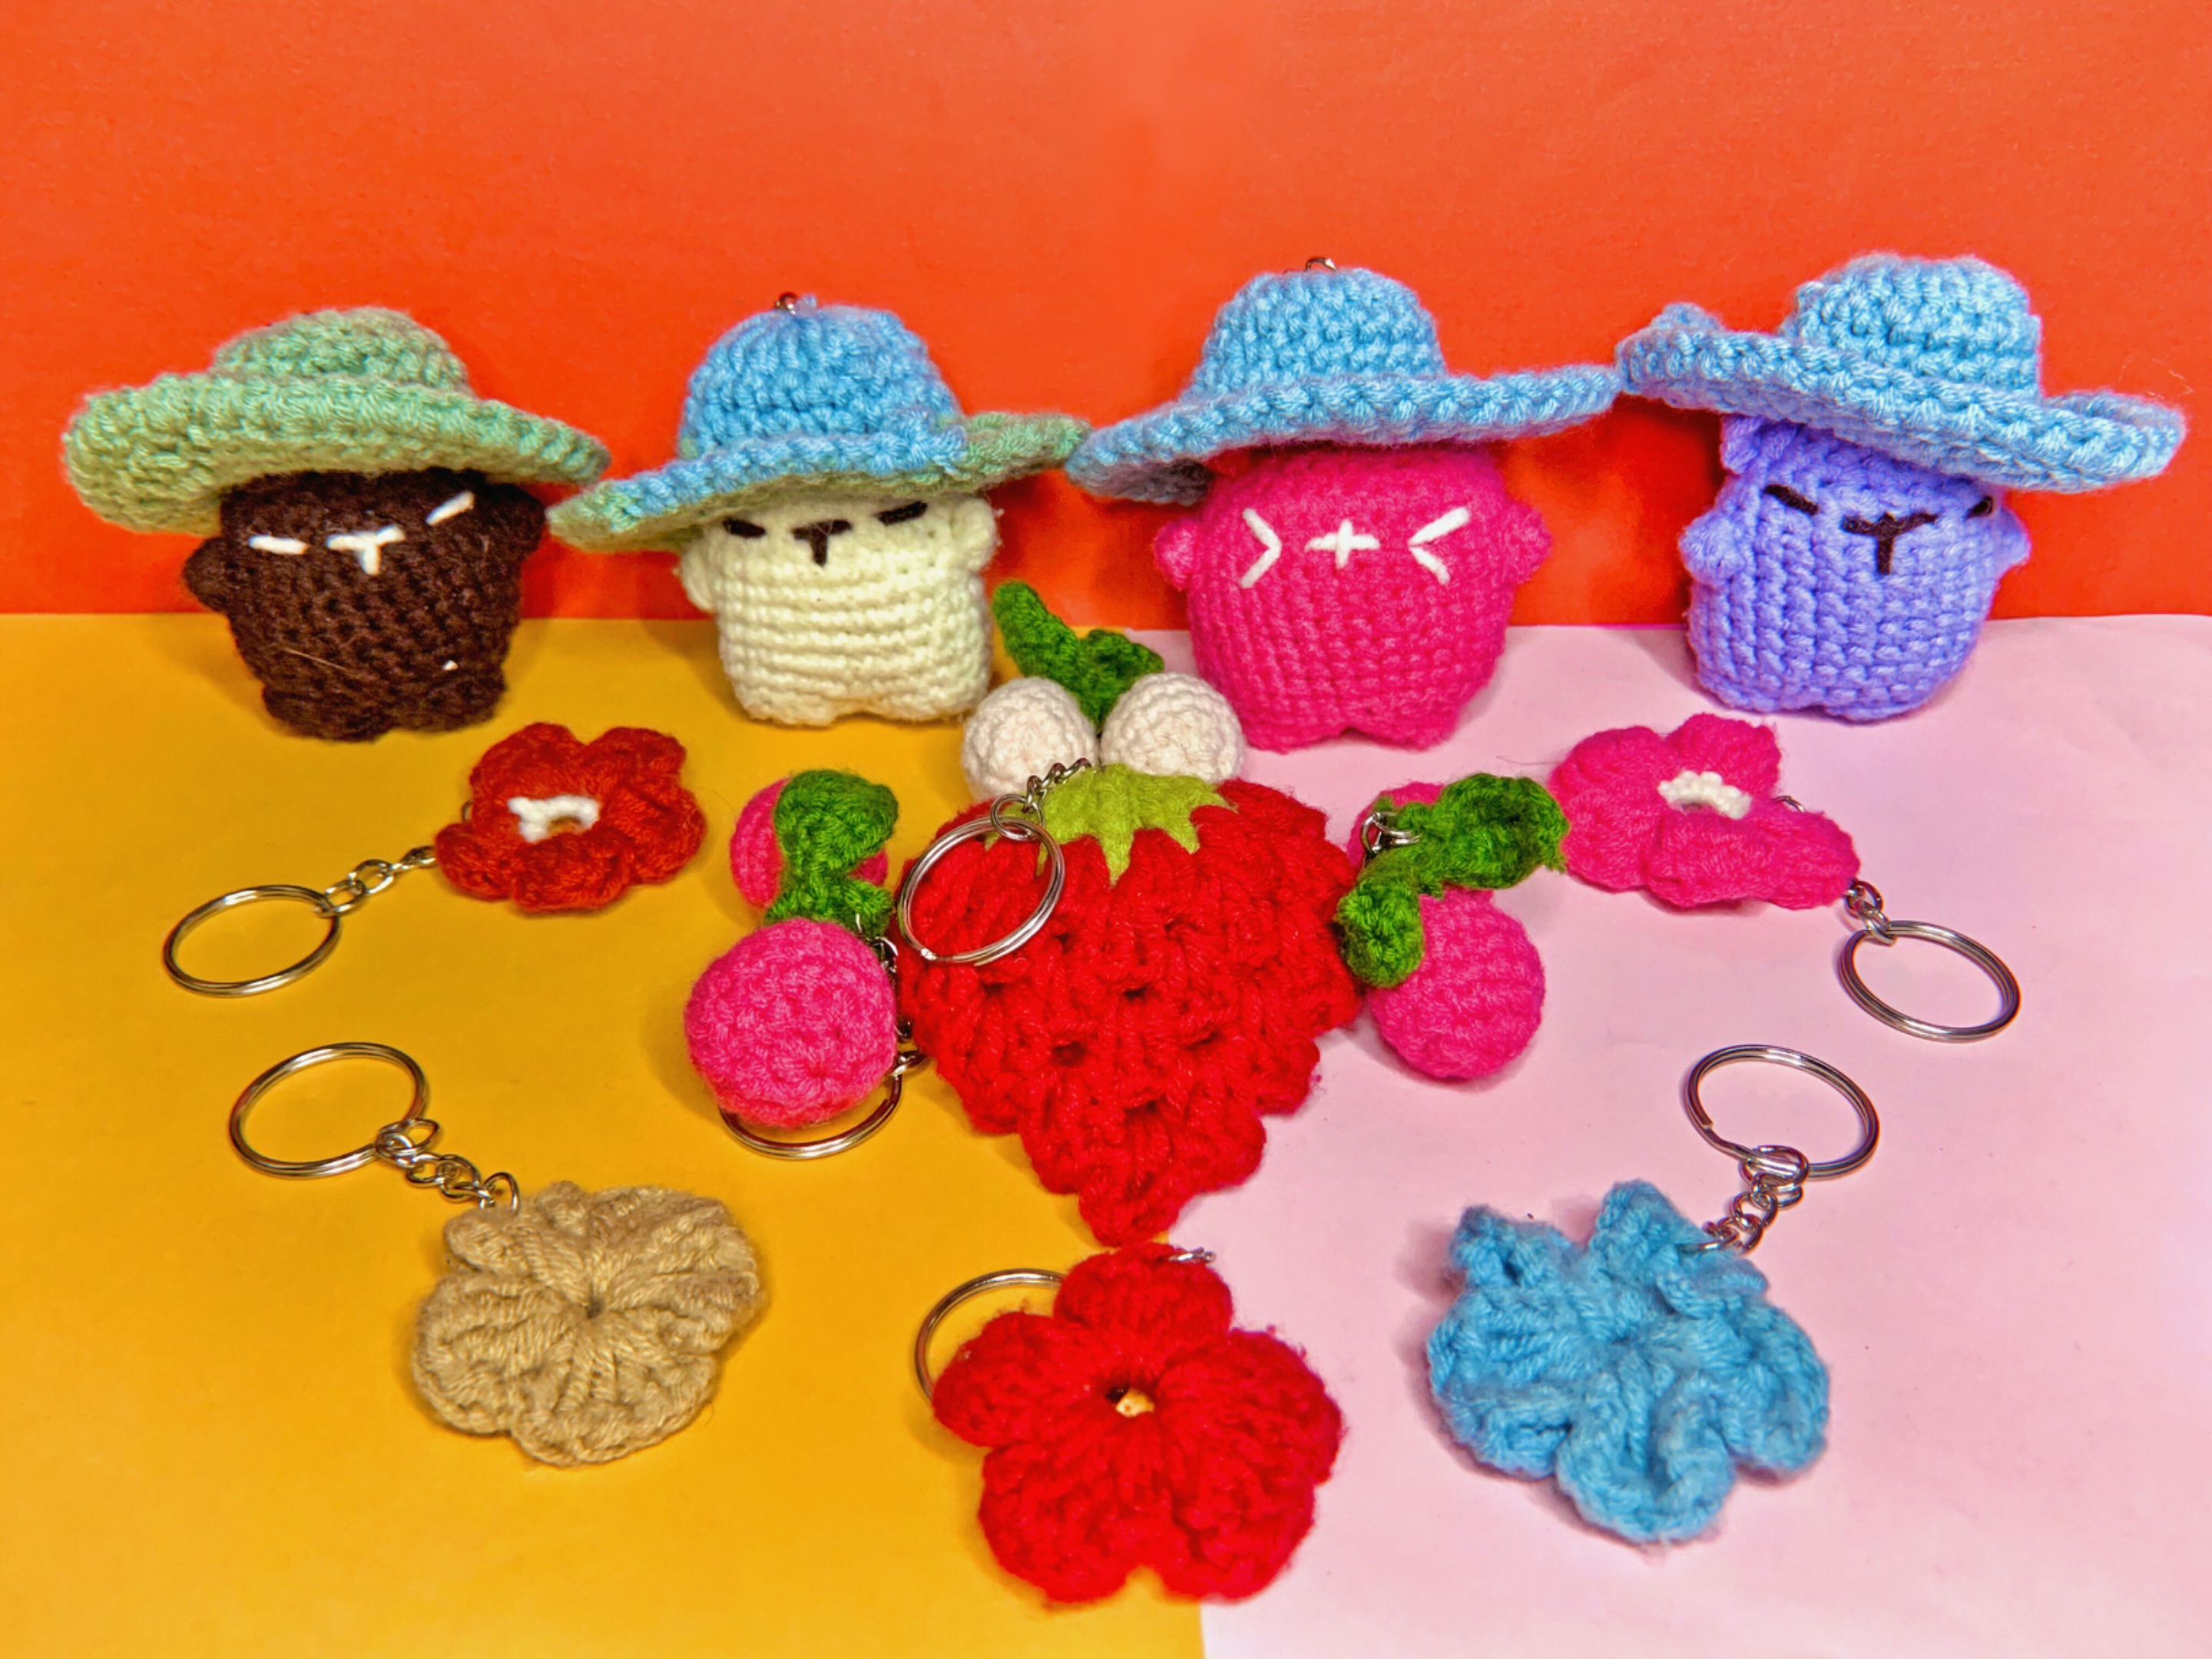
This picture you're looking at is the raw or original shot from our crochet photoshoot, completely untouched and unedited, straight from the camera. Even though we had a ring light set up, the image still comes off a bit dark, and the colors of our handmade crochets just don't pop the way they do in real life. They look a little dull and lifeless, if I'm being honest. So, I'm turning to my trusty Polarr editing app to work some magic and hopefully bring out the true colors and details of our beautiful crochet keychains.
#####
Edited in Polarr App
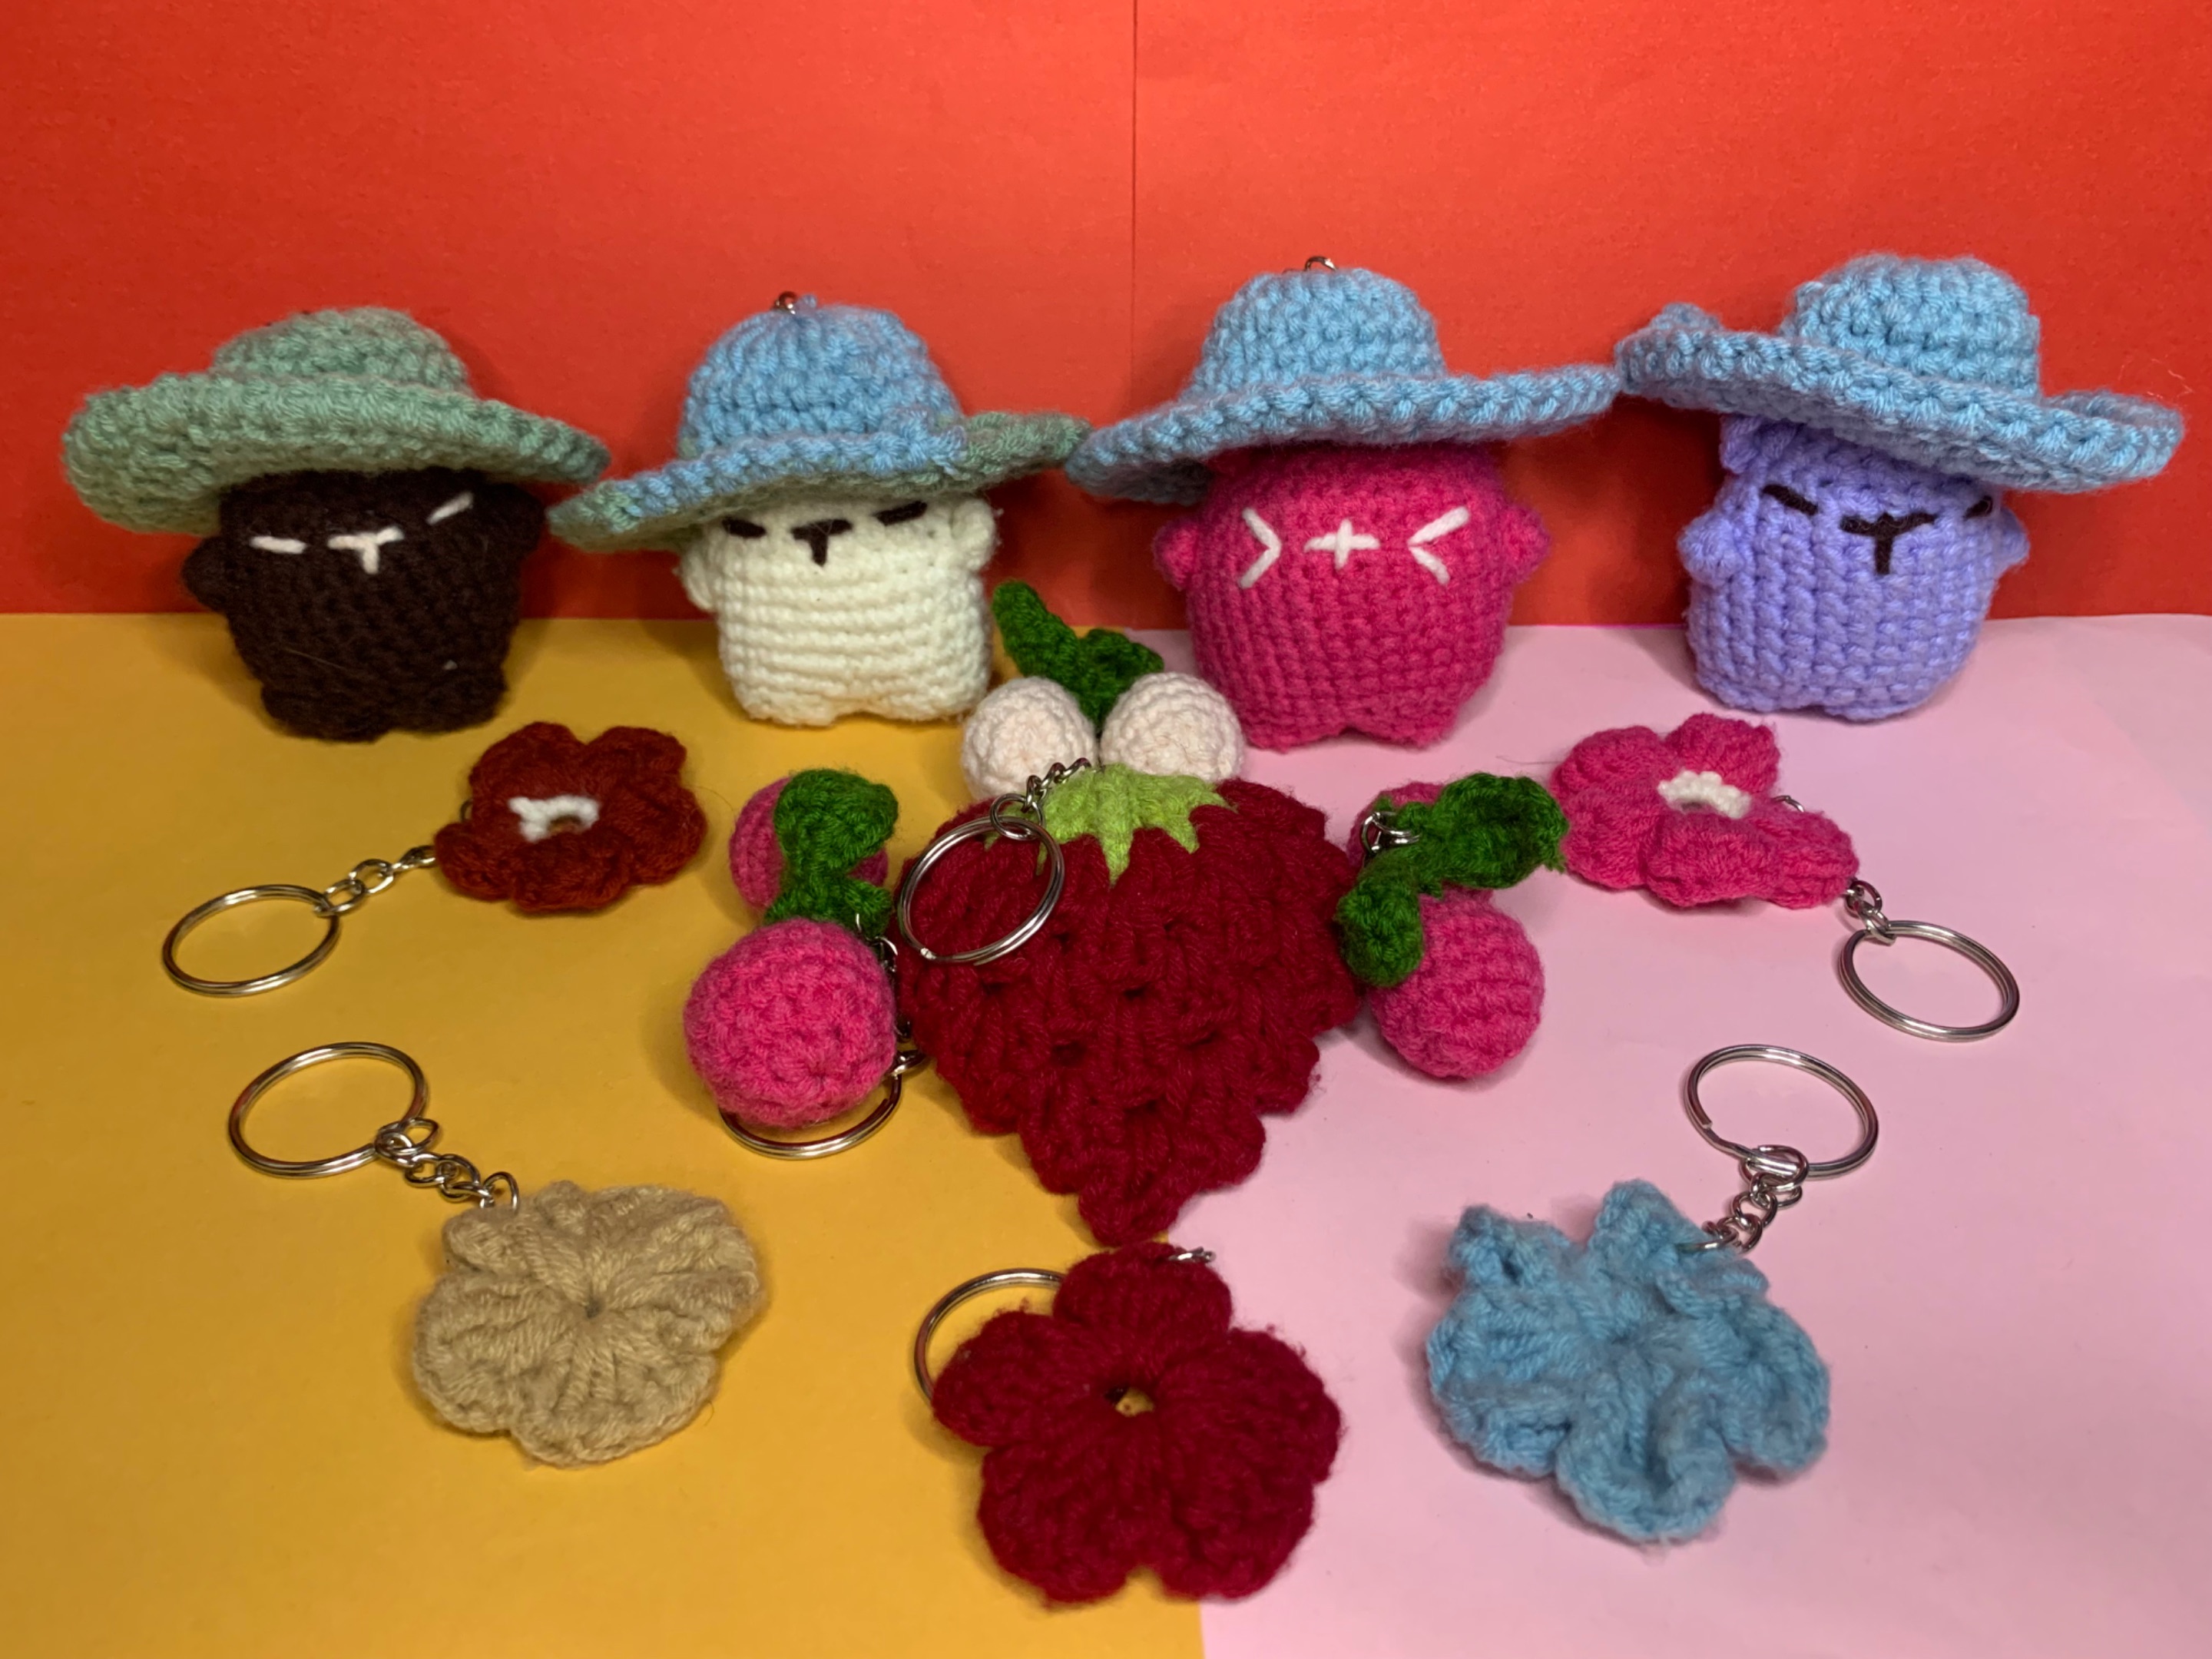
As you can see from the picture, the Polarr app has worked its magic, enhancing the colors and details of our lovely crochet keychains. However, despite the improvement, I still find myself unsatisfied with the results. So I've decided to make further adjustments using the color grading feature available only when you edit a picture in iPhone photos.

#####
Enhanced By Color Grading in iPhone
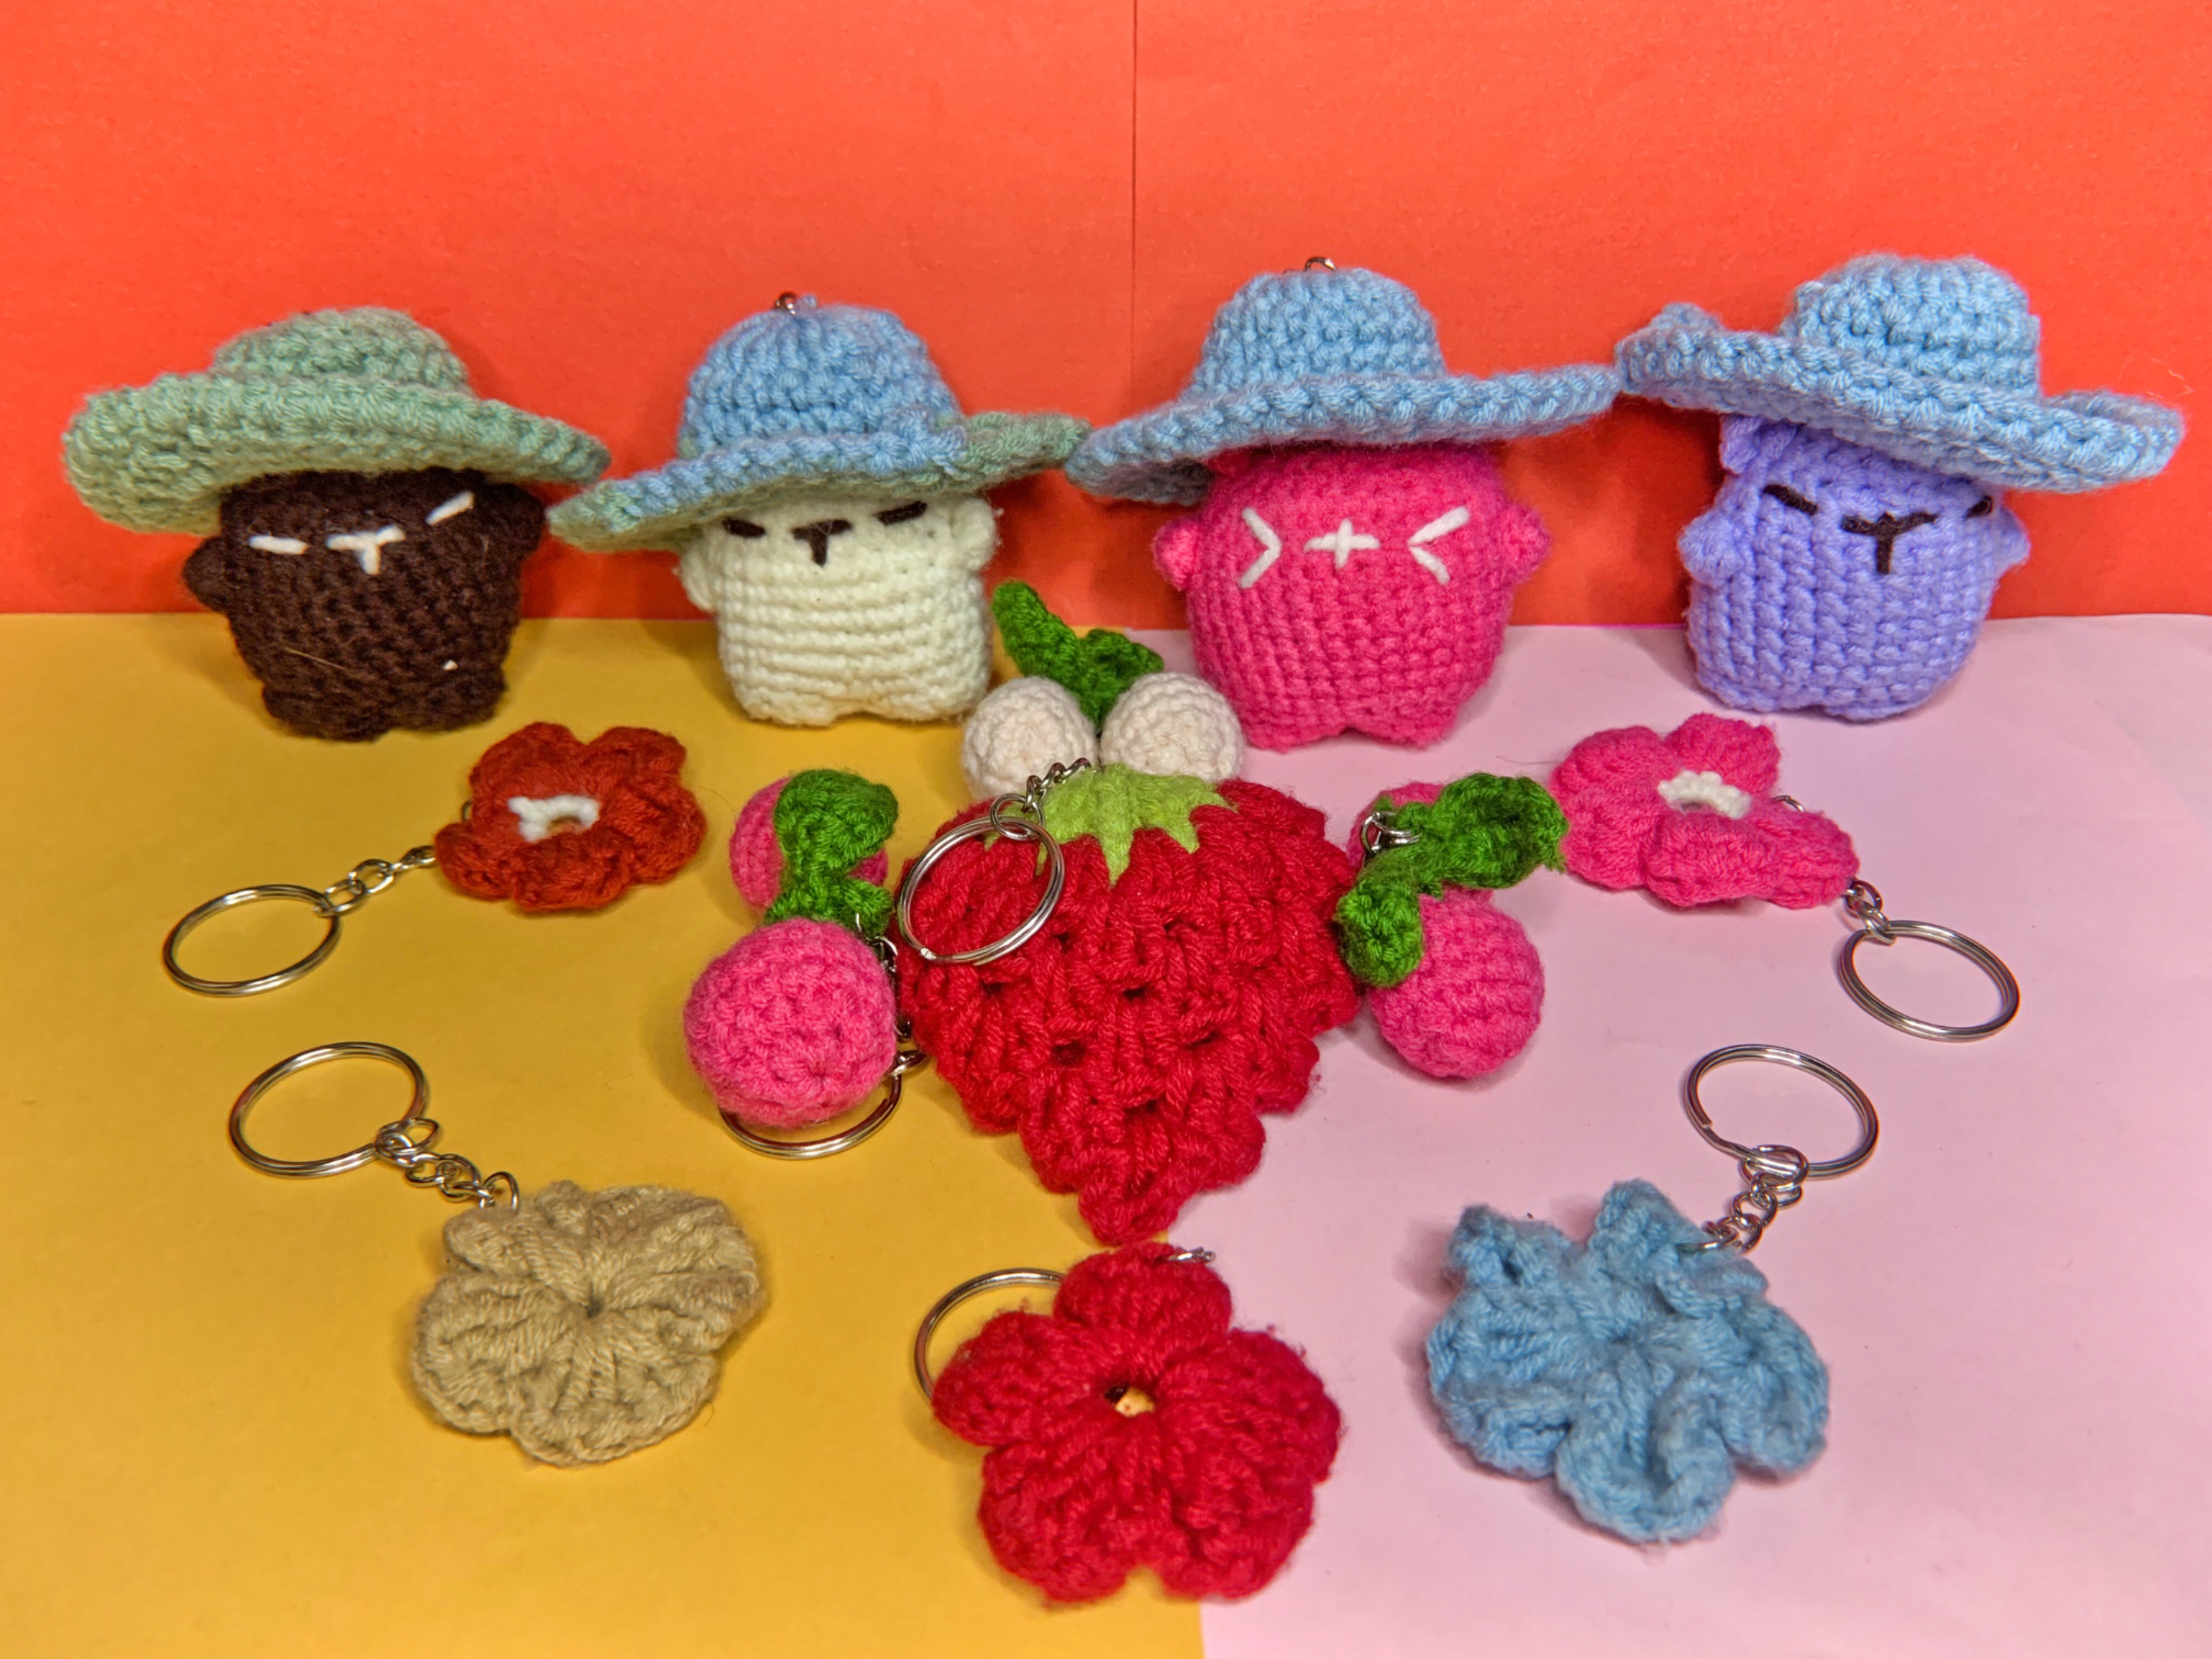
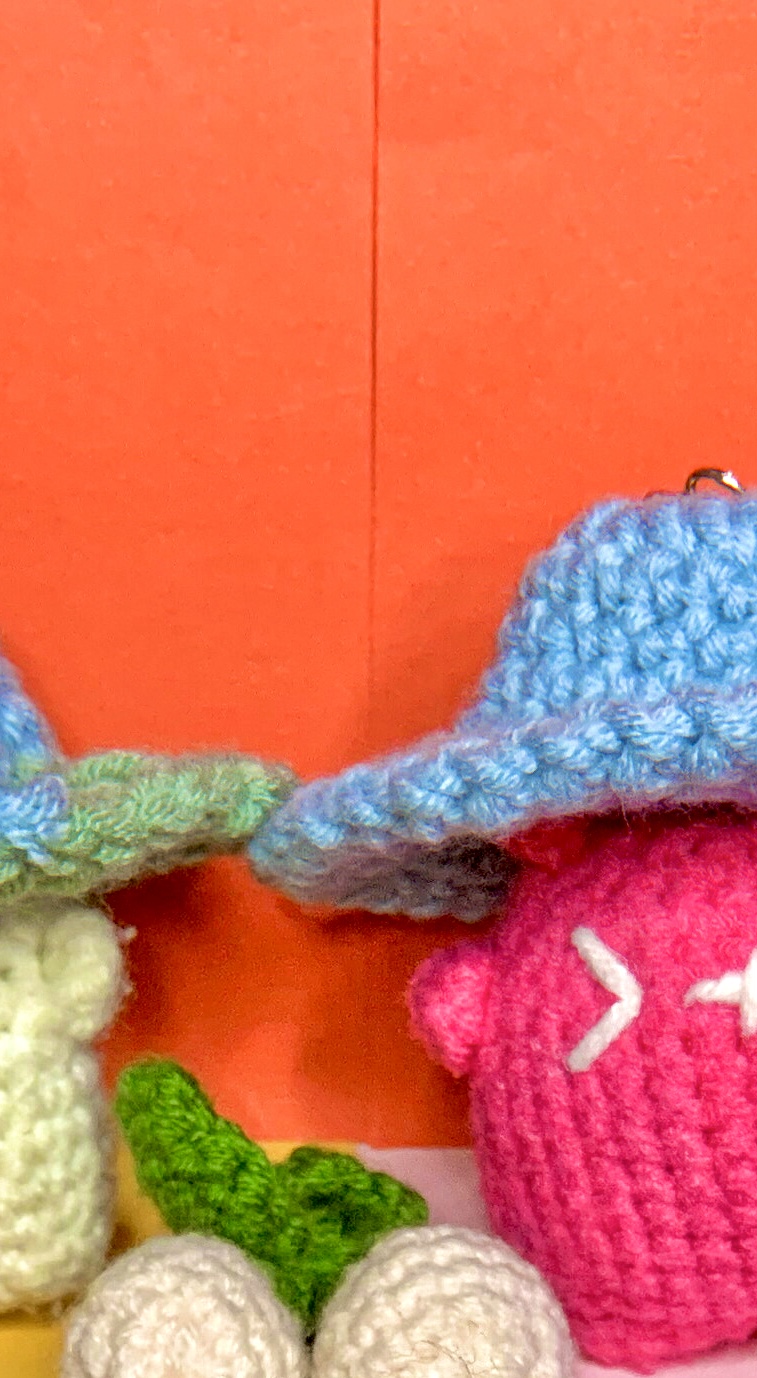
In this updated picture, the crochet keychains now looks brighter and more vibrant appearance. However, despite the improvement, I find myself still unsatisfied with the overall results. What's bothering me this time is the background; the visible line where the two construction paper sheets connect is a bit distracting. It's really bothering me, so I've decided to smooth it out using the PicsArt editing app.
___
#####
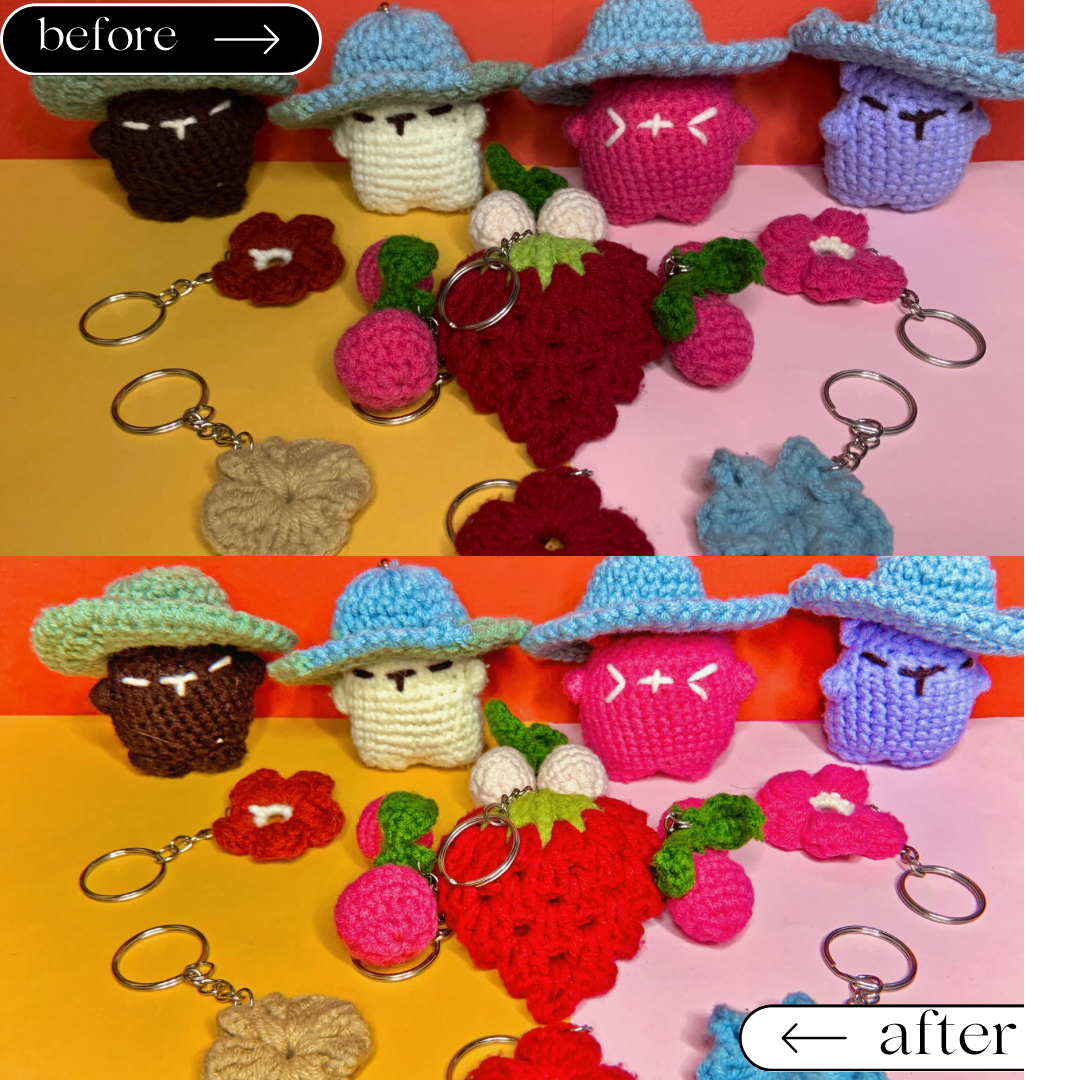
Before and After
#####
PicsArt Smooth Background Result
I'm really proud of this edit because I successfully managed to conceal the visible line created by the two connected construction paper sheets. The editing process went smoothly, and the final result looks incredibly natural, as if it wasn't edited at all. Overall, I'm quite pleased with how it turned out. However, upon closer inspection, I noticed that the picture appears a bit too bright for my liking. As a result, I decided to adjust the brightness and tone down the vibrancy of the colors using my favorite editing app, VSCO.
#####
Final Edit From VSCO
At last, it's finally done. The overall edit is so satisfying. It's not too bright and too dull like a lifeless quality to me. For me, everything about this final look is perfect finally. All of my plans is exceeded my expectations for this photoshoot. I'm beyond grateful and proud of myself for having skills like this. Looking forward to improve and I'm all ears on hearing your suggestions for me to improve.
___
#### Looking back🔙👀
Reflecting on the journey from the original picture to the final edited version, I'm amazed by how these editing apps worked to achieve the desired results for the photoshoot. I hope my experiences provide you all with new learnings and insights, along with shared tips, techniques, and behind-the-scenes glimpses of my DIY studio journey for this crochet photoshoot.
___
#### Our Crochet Keychains🧶✨
Let's take a glance at our finished products!
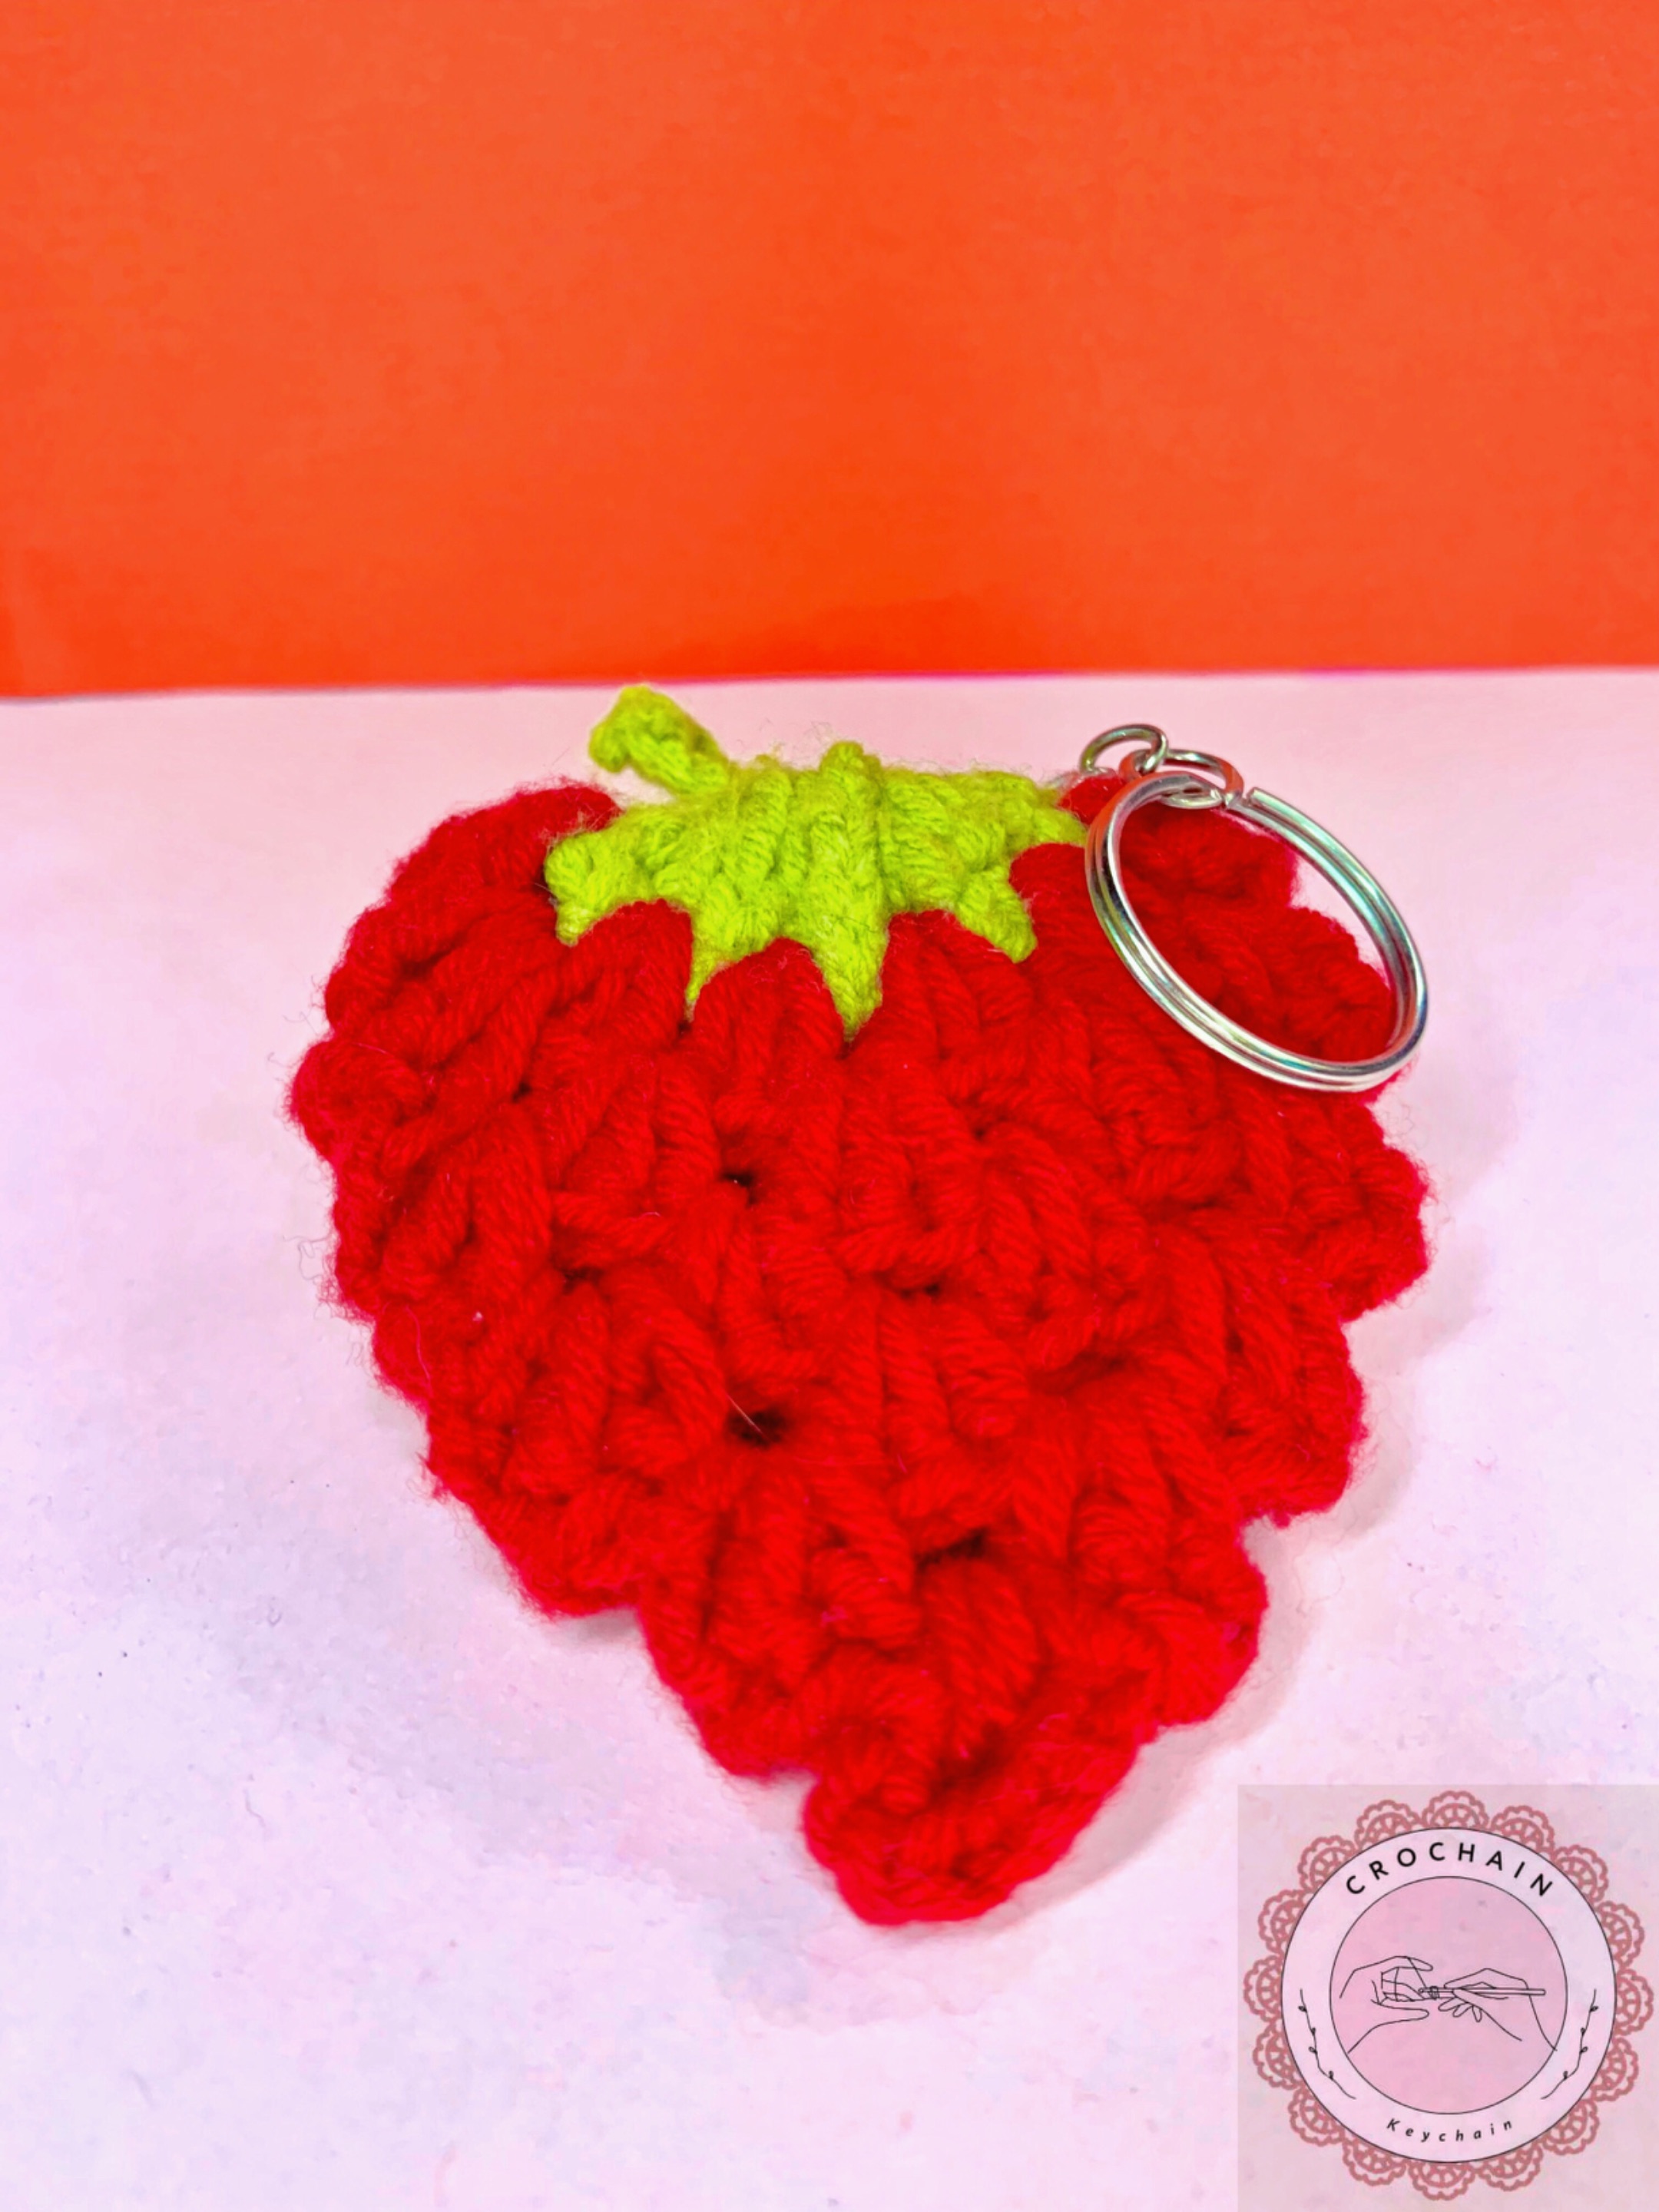
Strawberry Keychain🍓
I was the one who made this strawberry keychain.
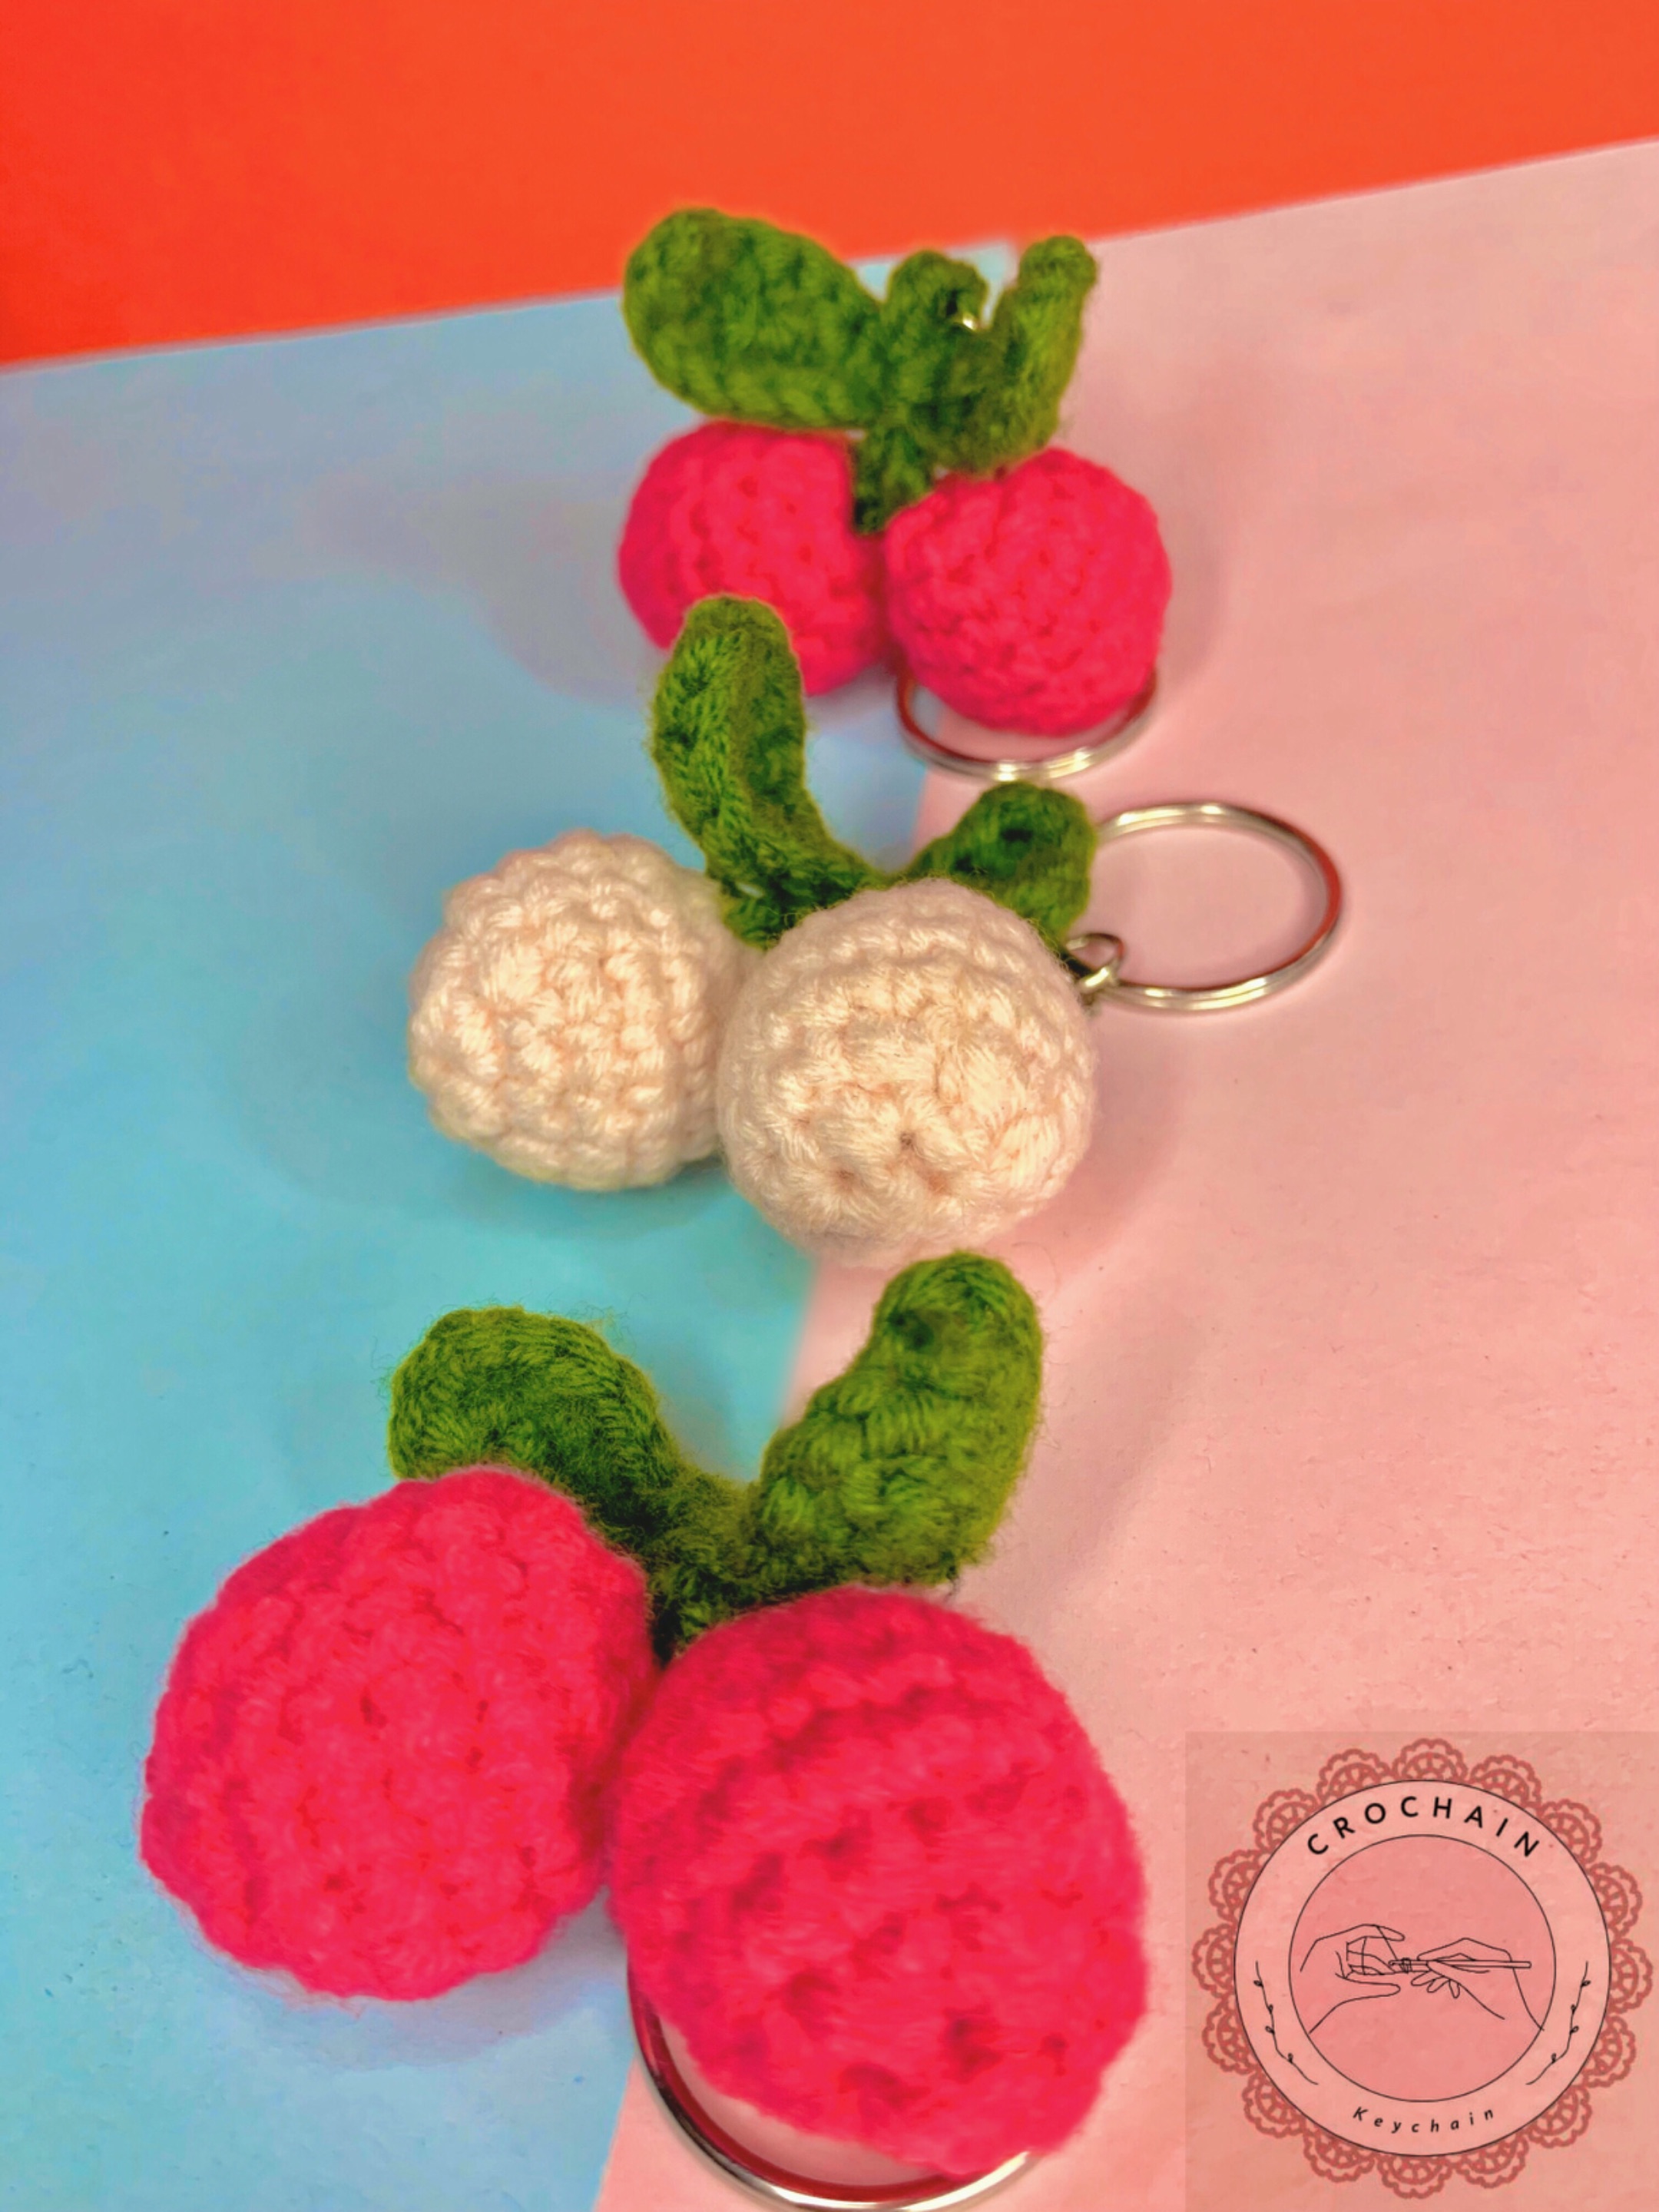
Cherry Keychain🍒
This eye-catching cherry keychain was made by @dark.rose.
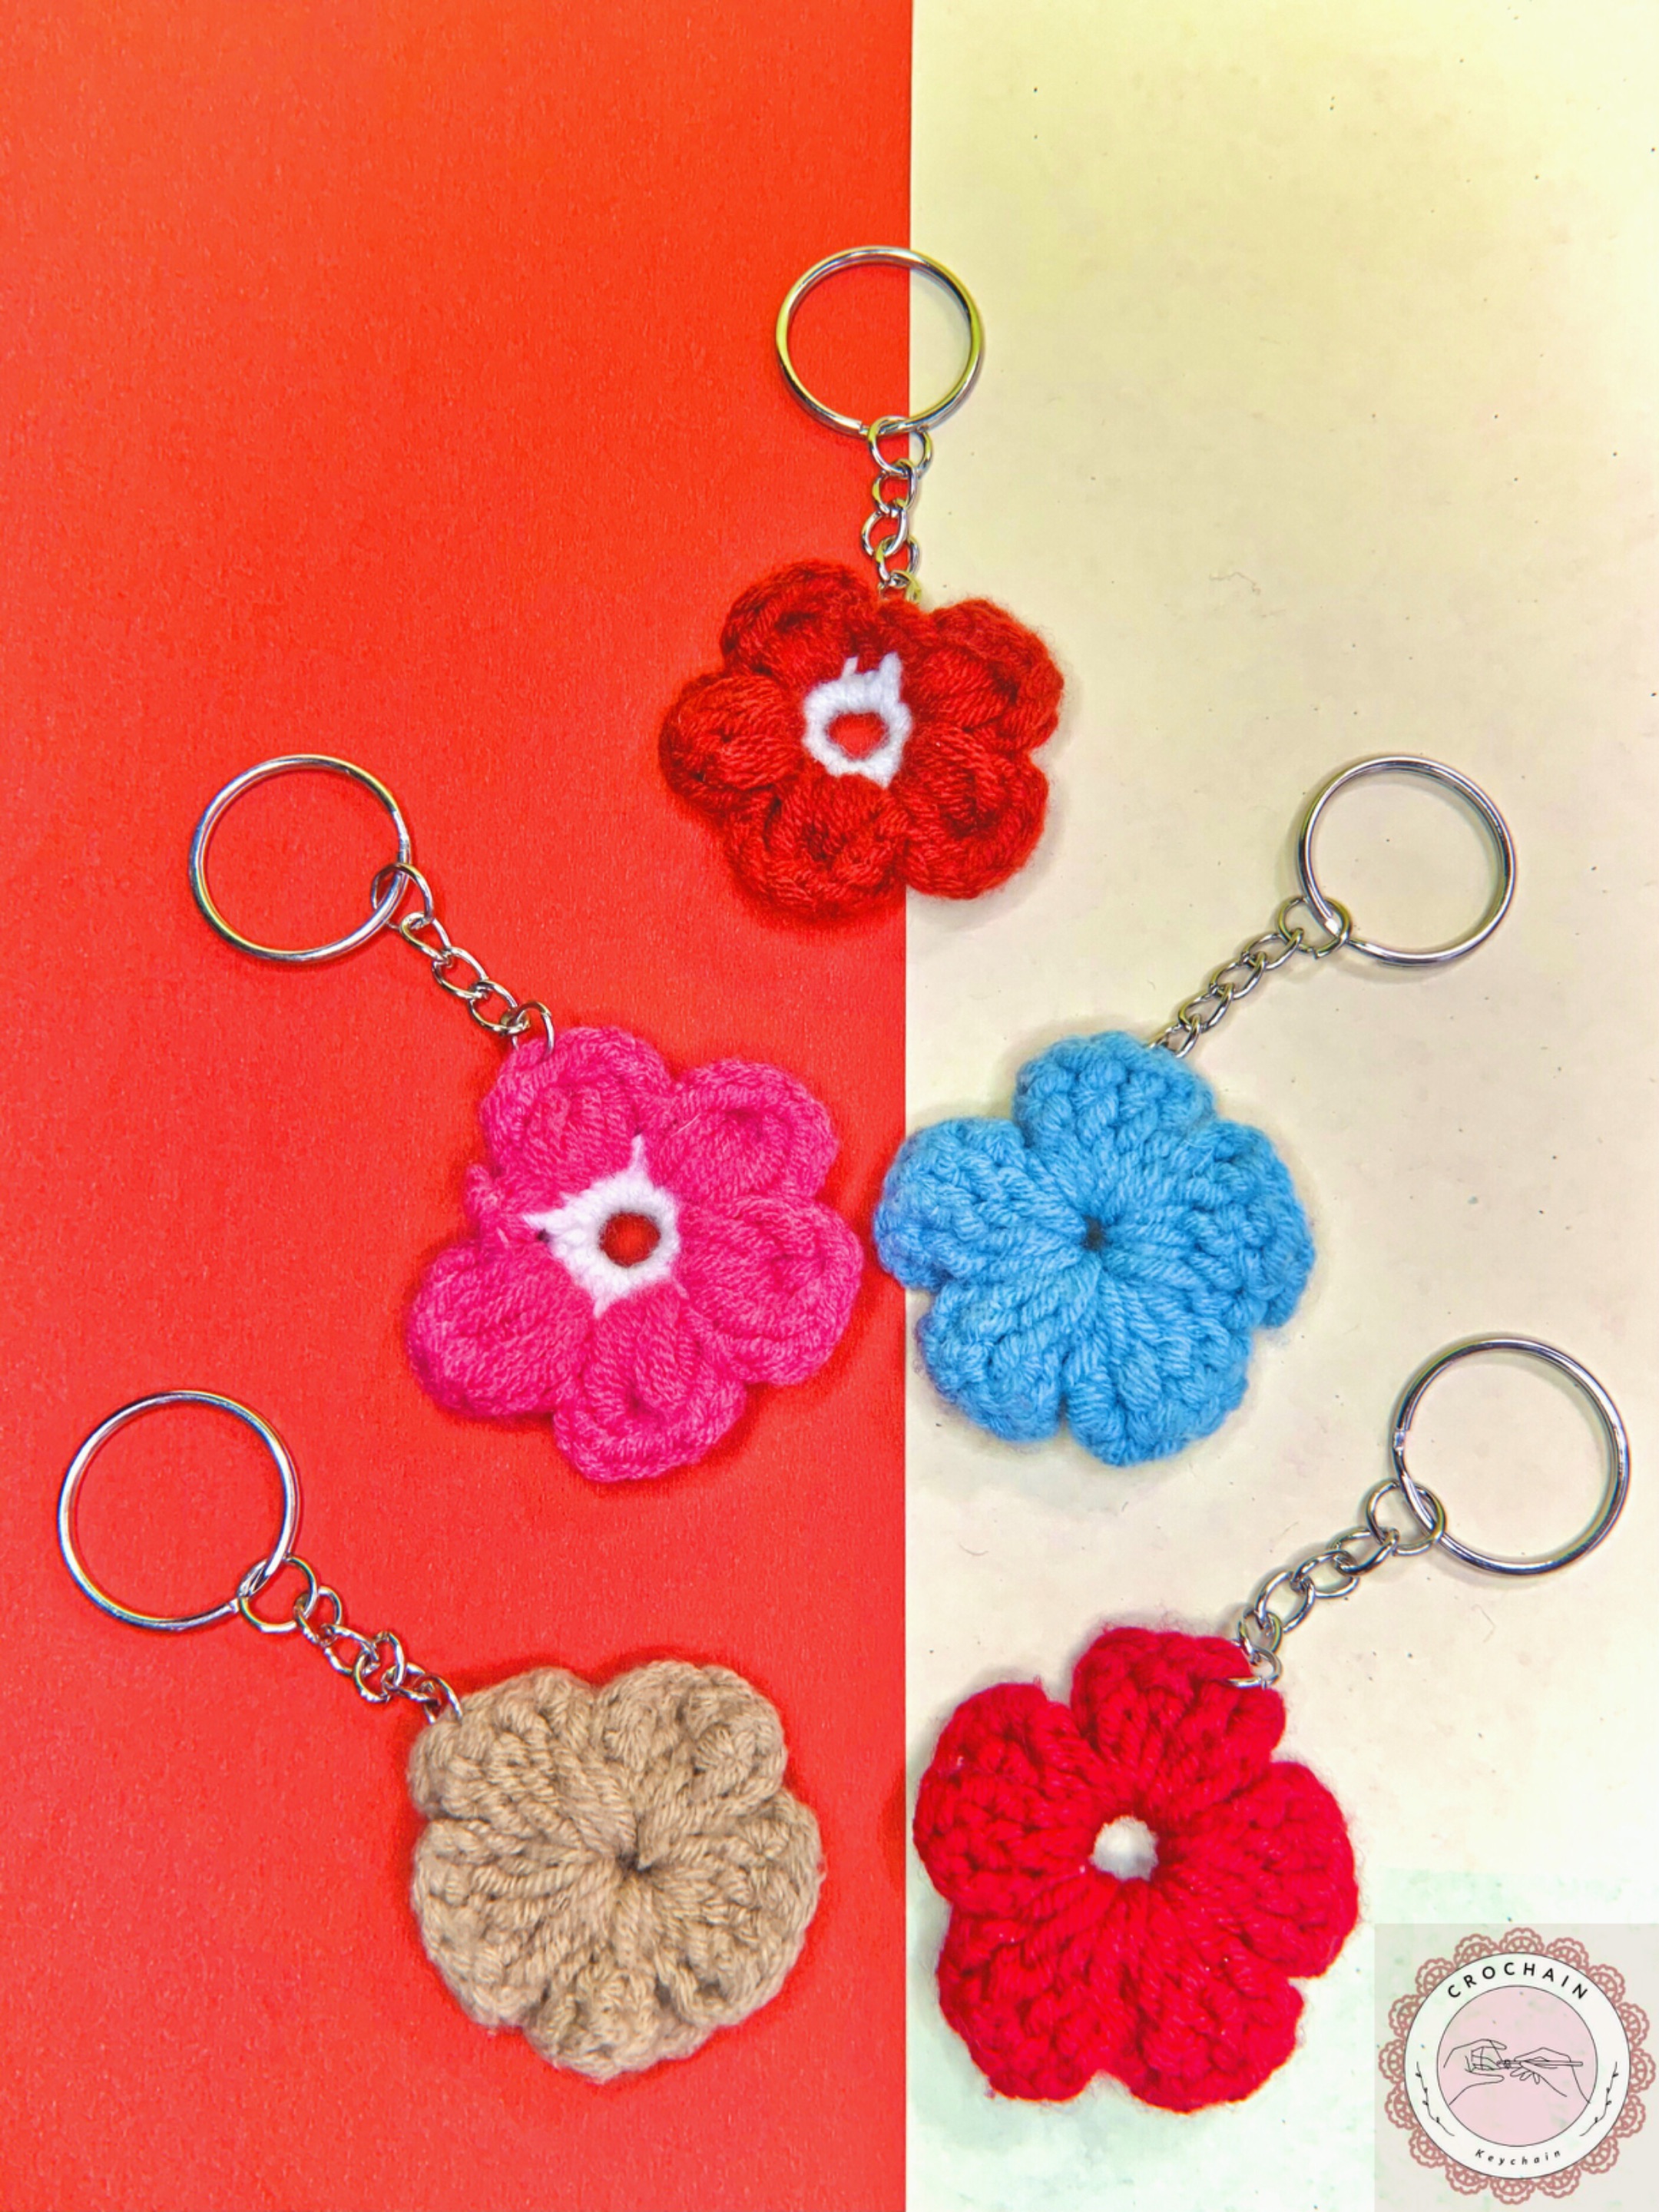
Flower Keychain🌸
@dark.ross and I were the ones who made these cute crochet flowers.
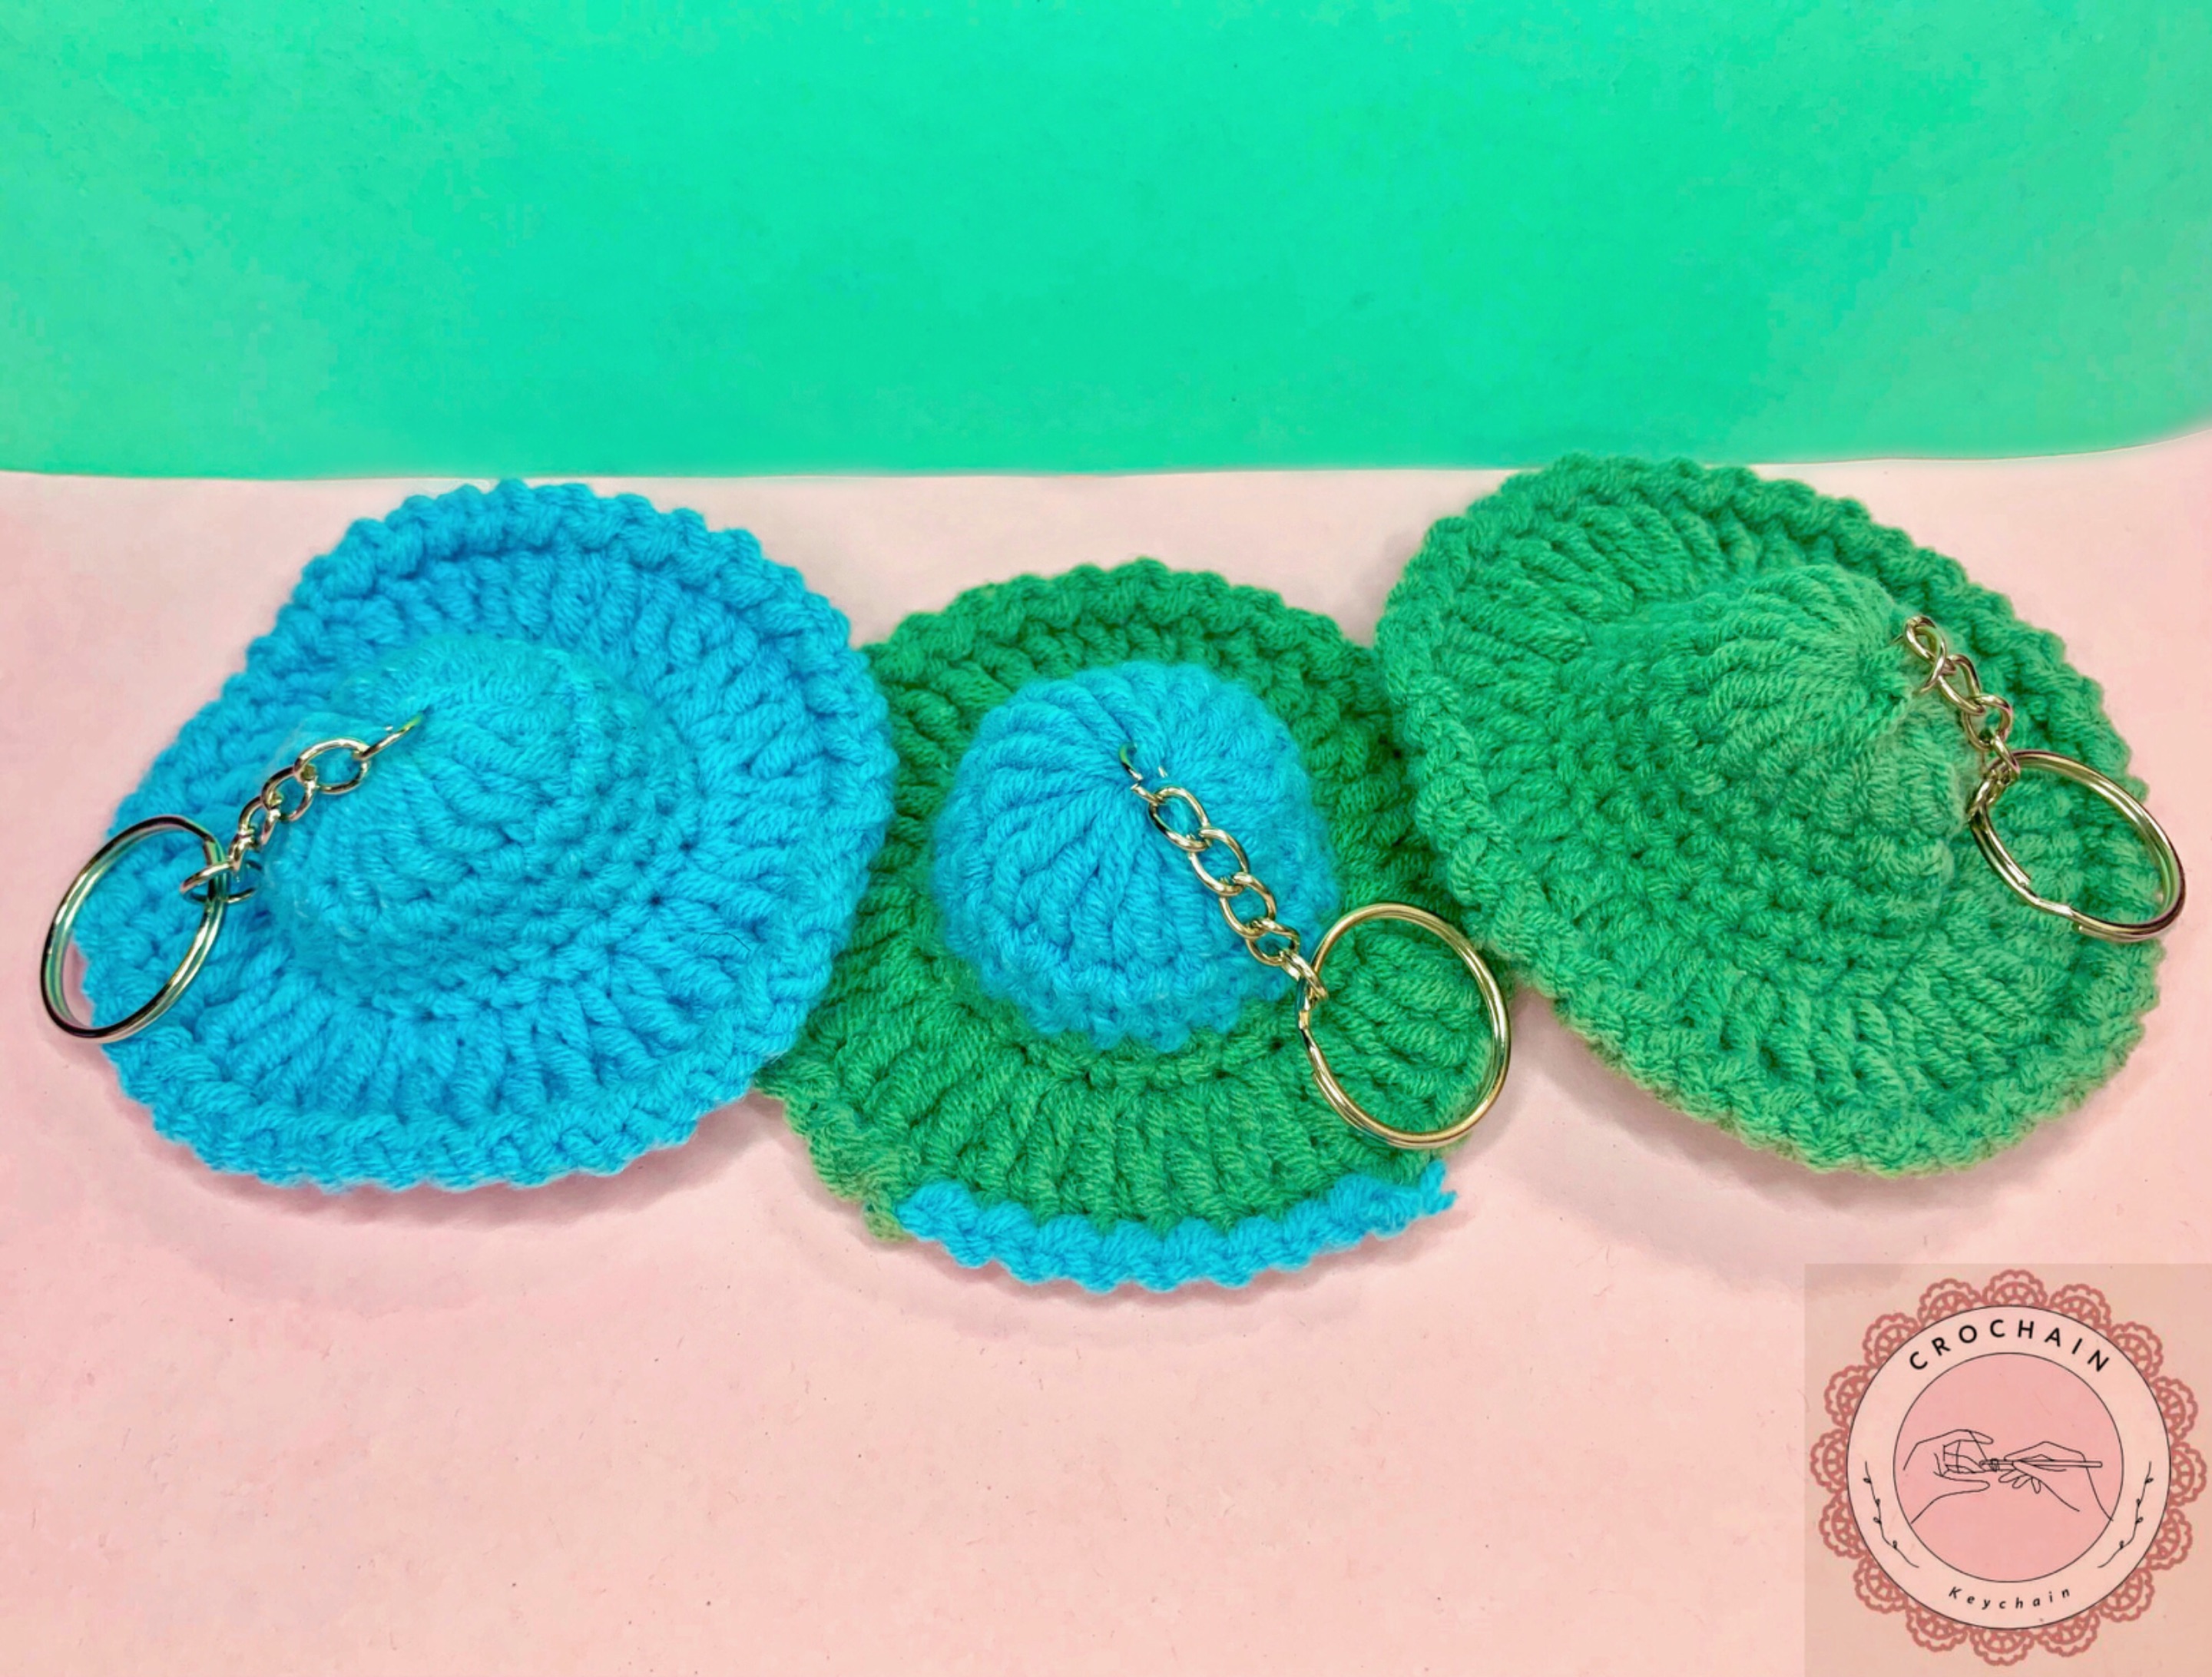
Hat Keychain👒
This detailed straw hat was handmade by our one and only @crissiacor.
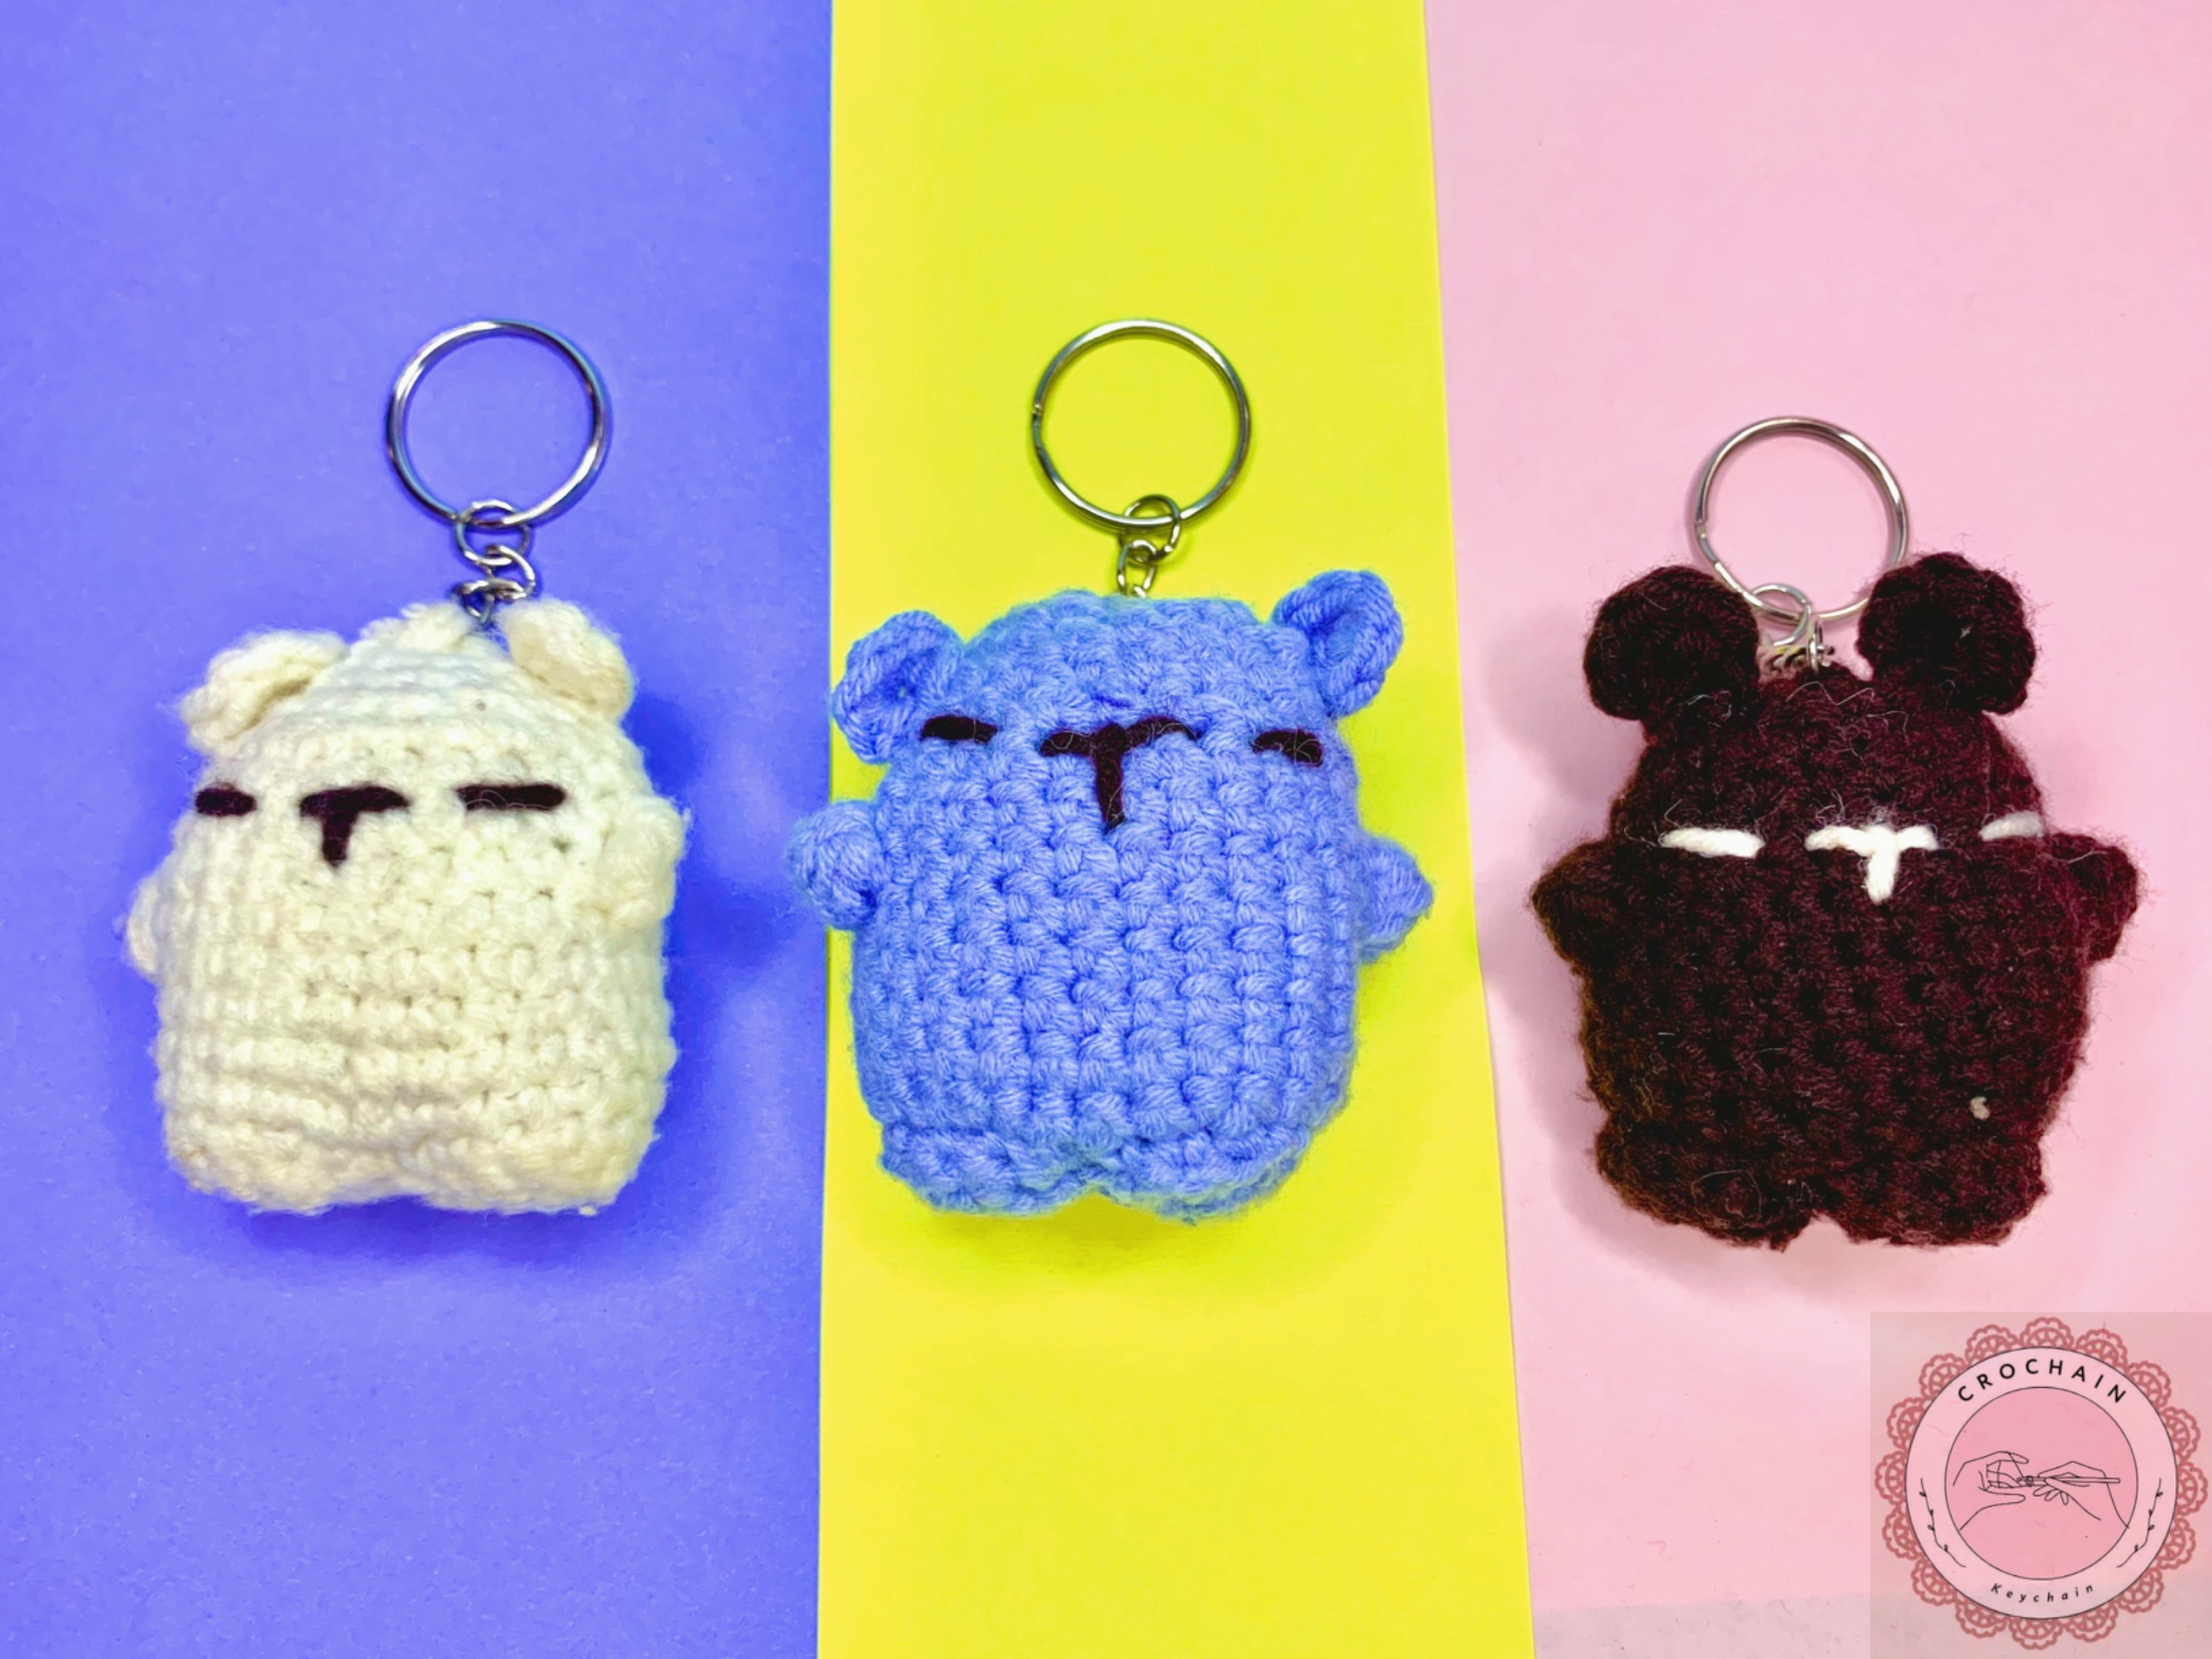
Mini Bear Keychain🐨🐻❄
Beautifully made by @keith-allen15.
___
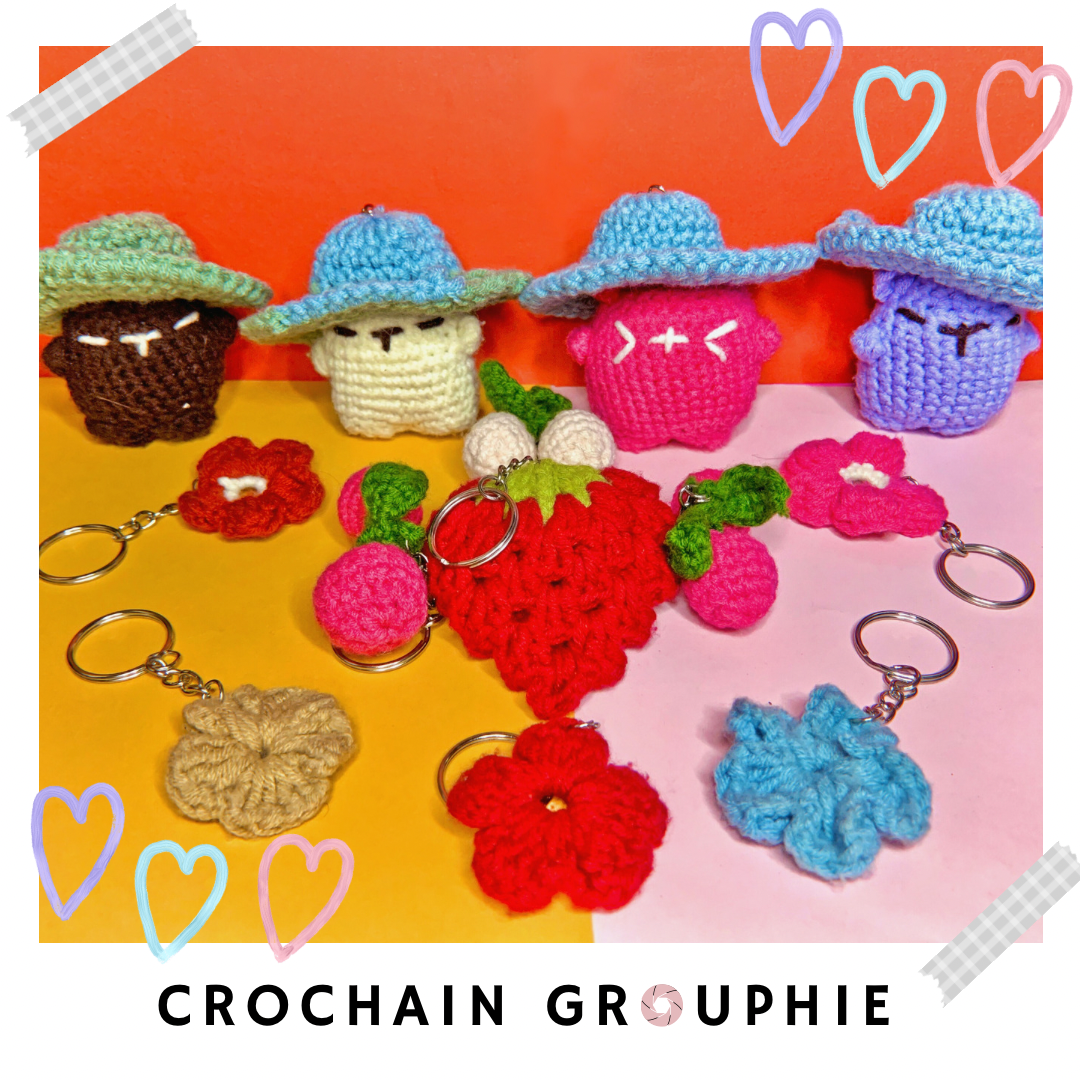
So these are all our handmade crochets that were made with love and creativity.
___
That wraps up today's blog. Until next time, please continue to show your support. See you!😉🤍