

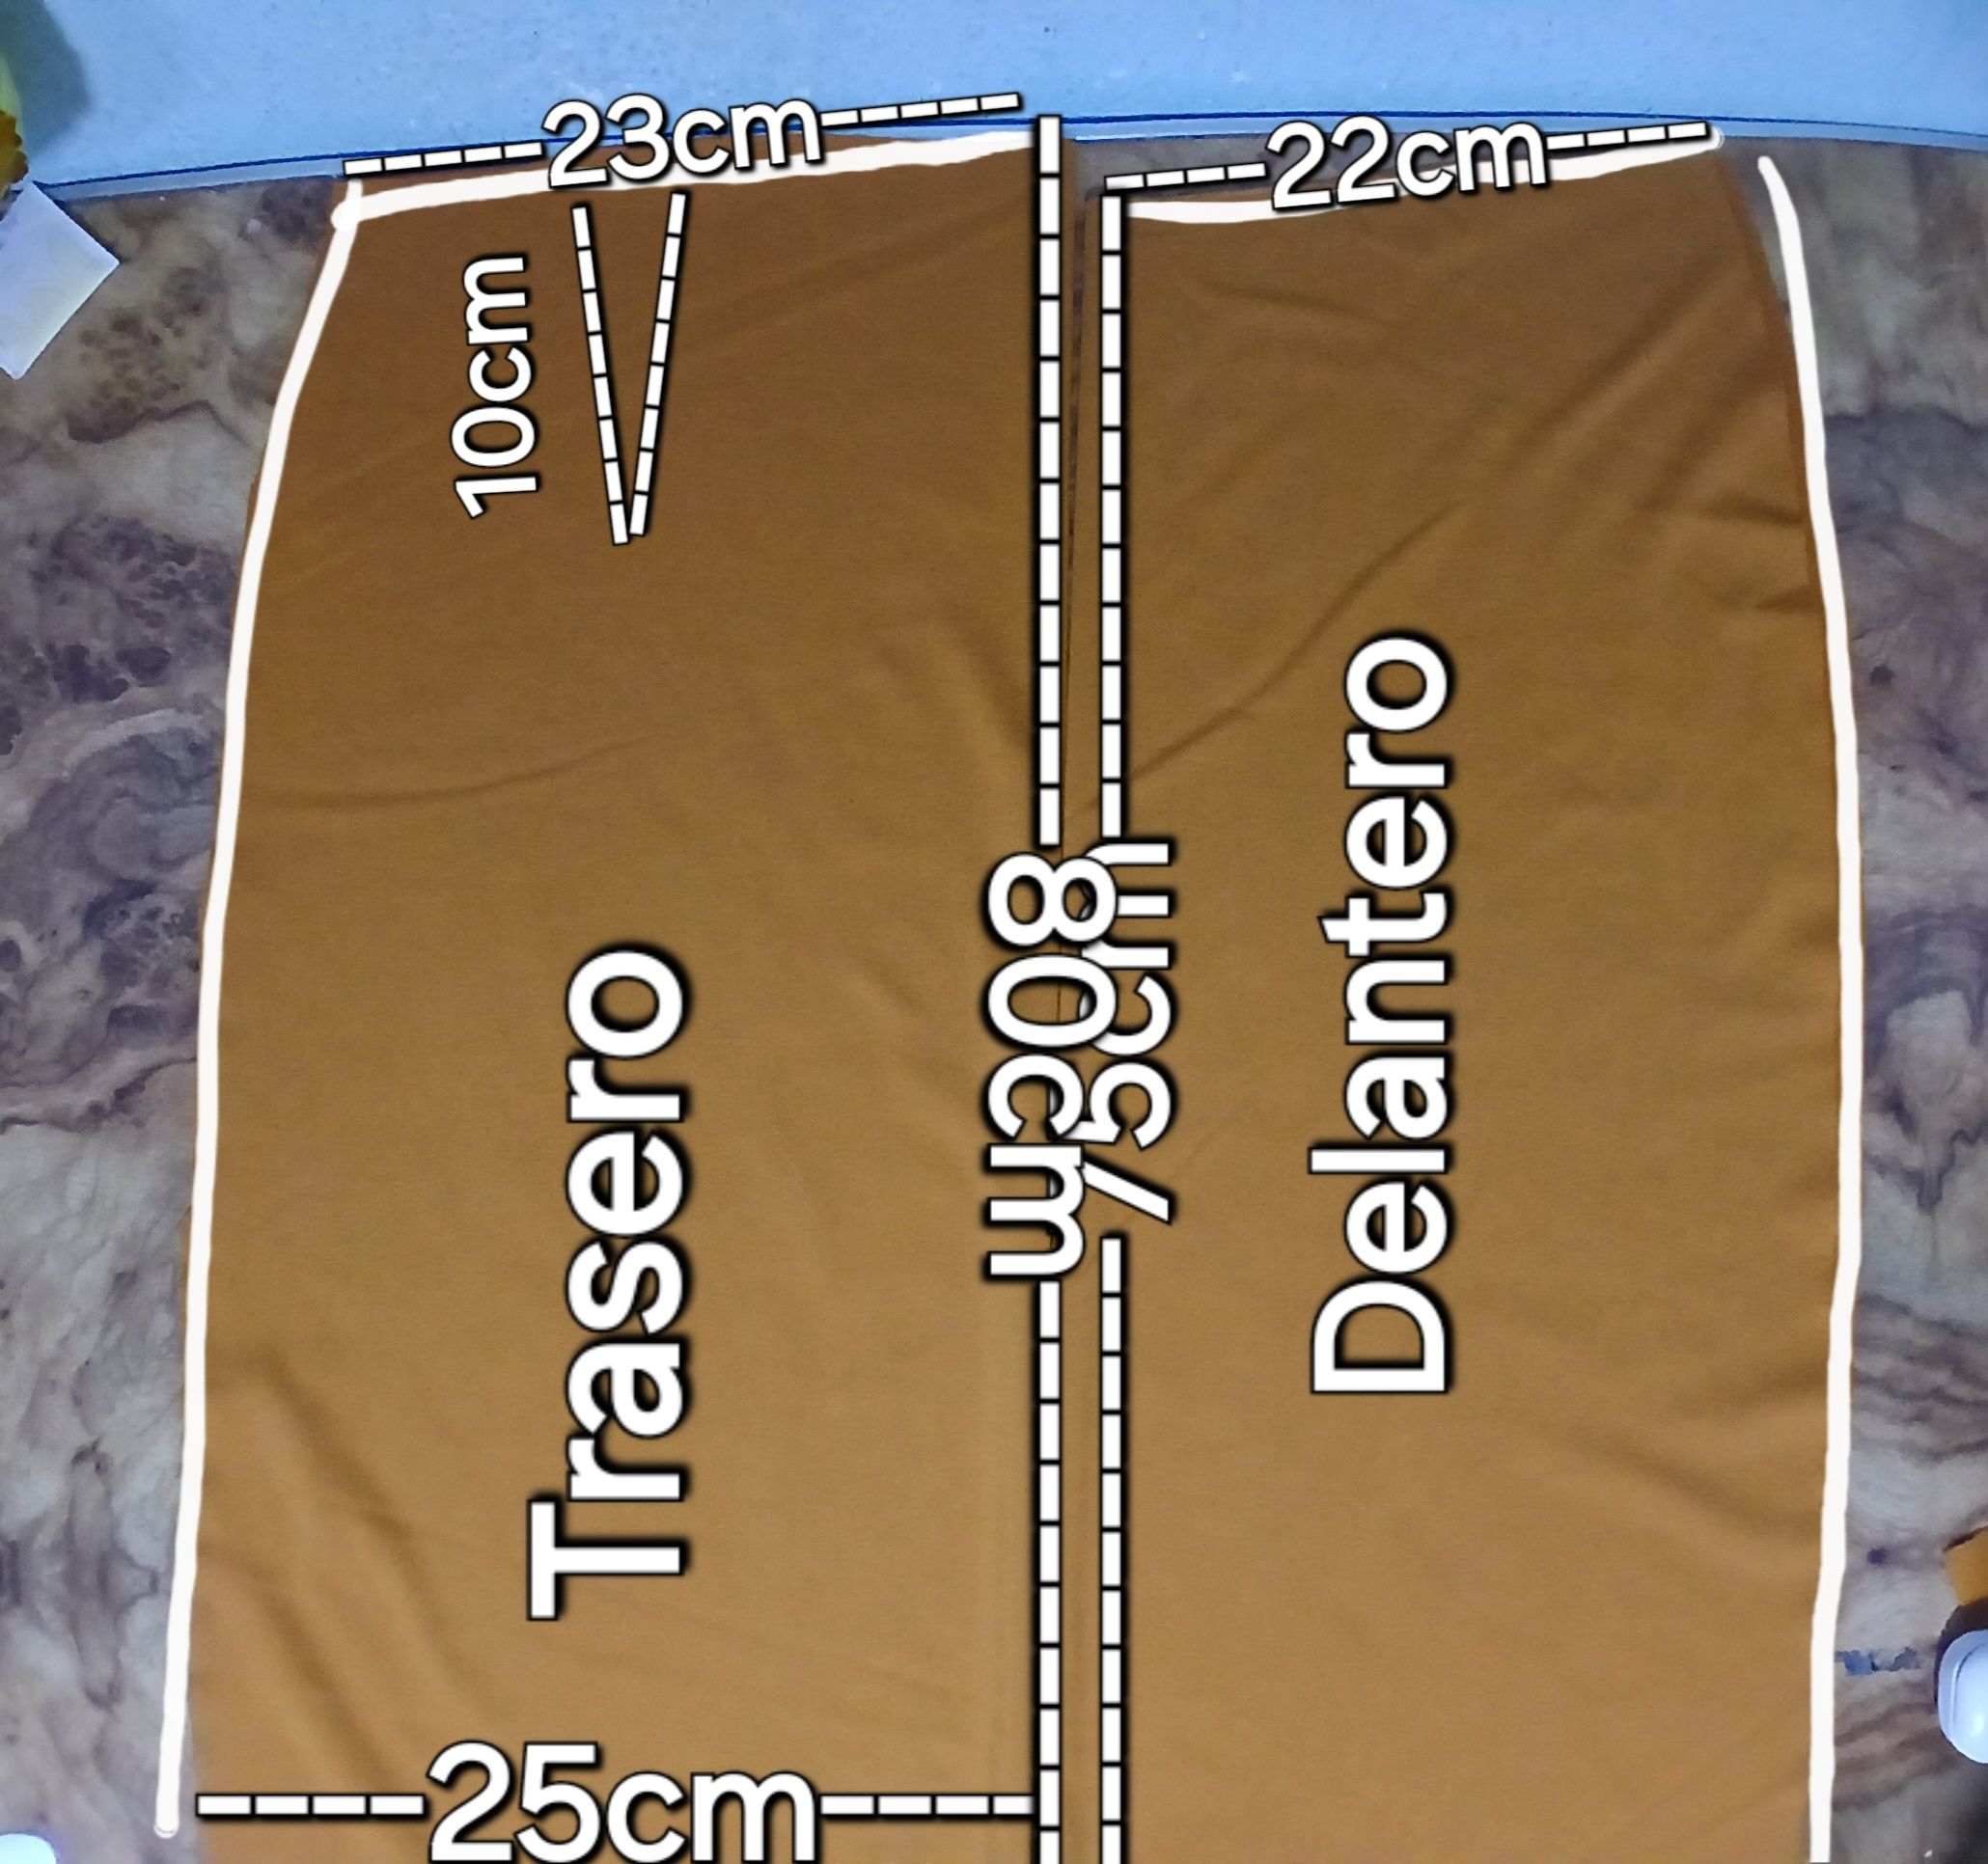
Primero saqué mis piezas delanteras y traseras, con las medidas que se muestran en la imagen.
First I took out my front and rear pieces, with the measurements shown in the image.
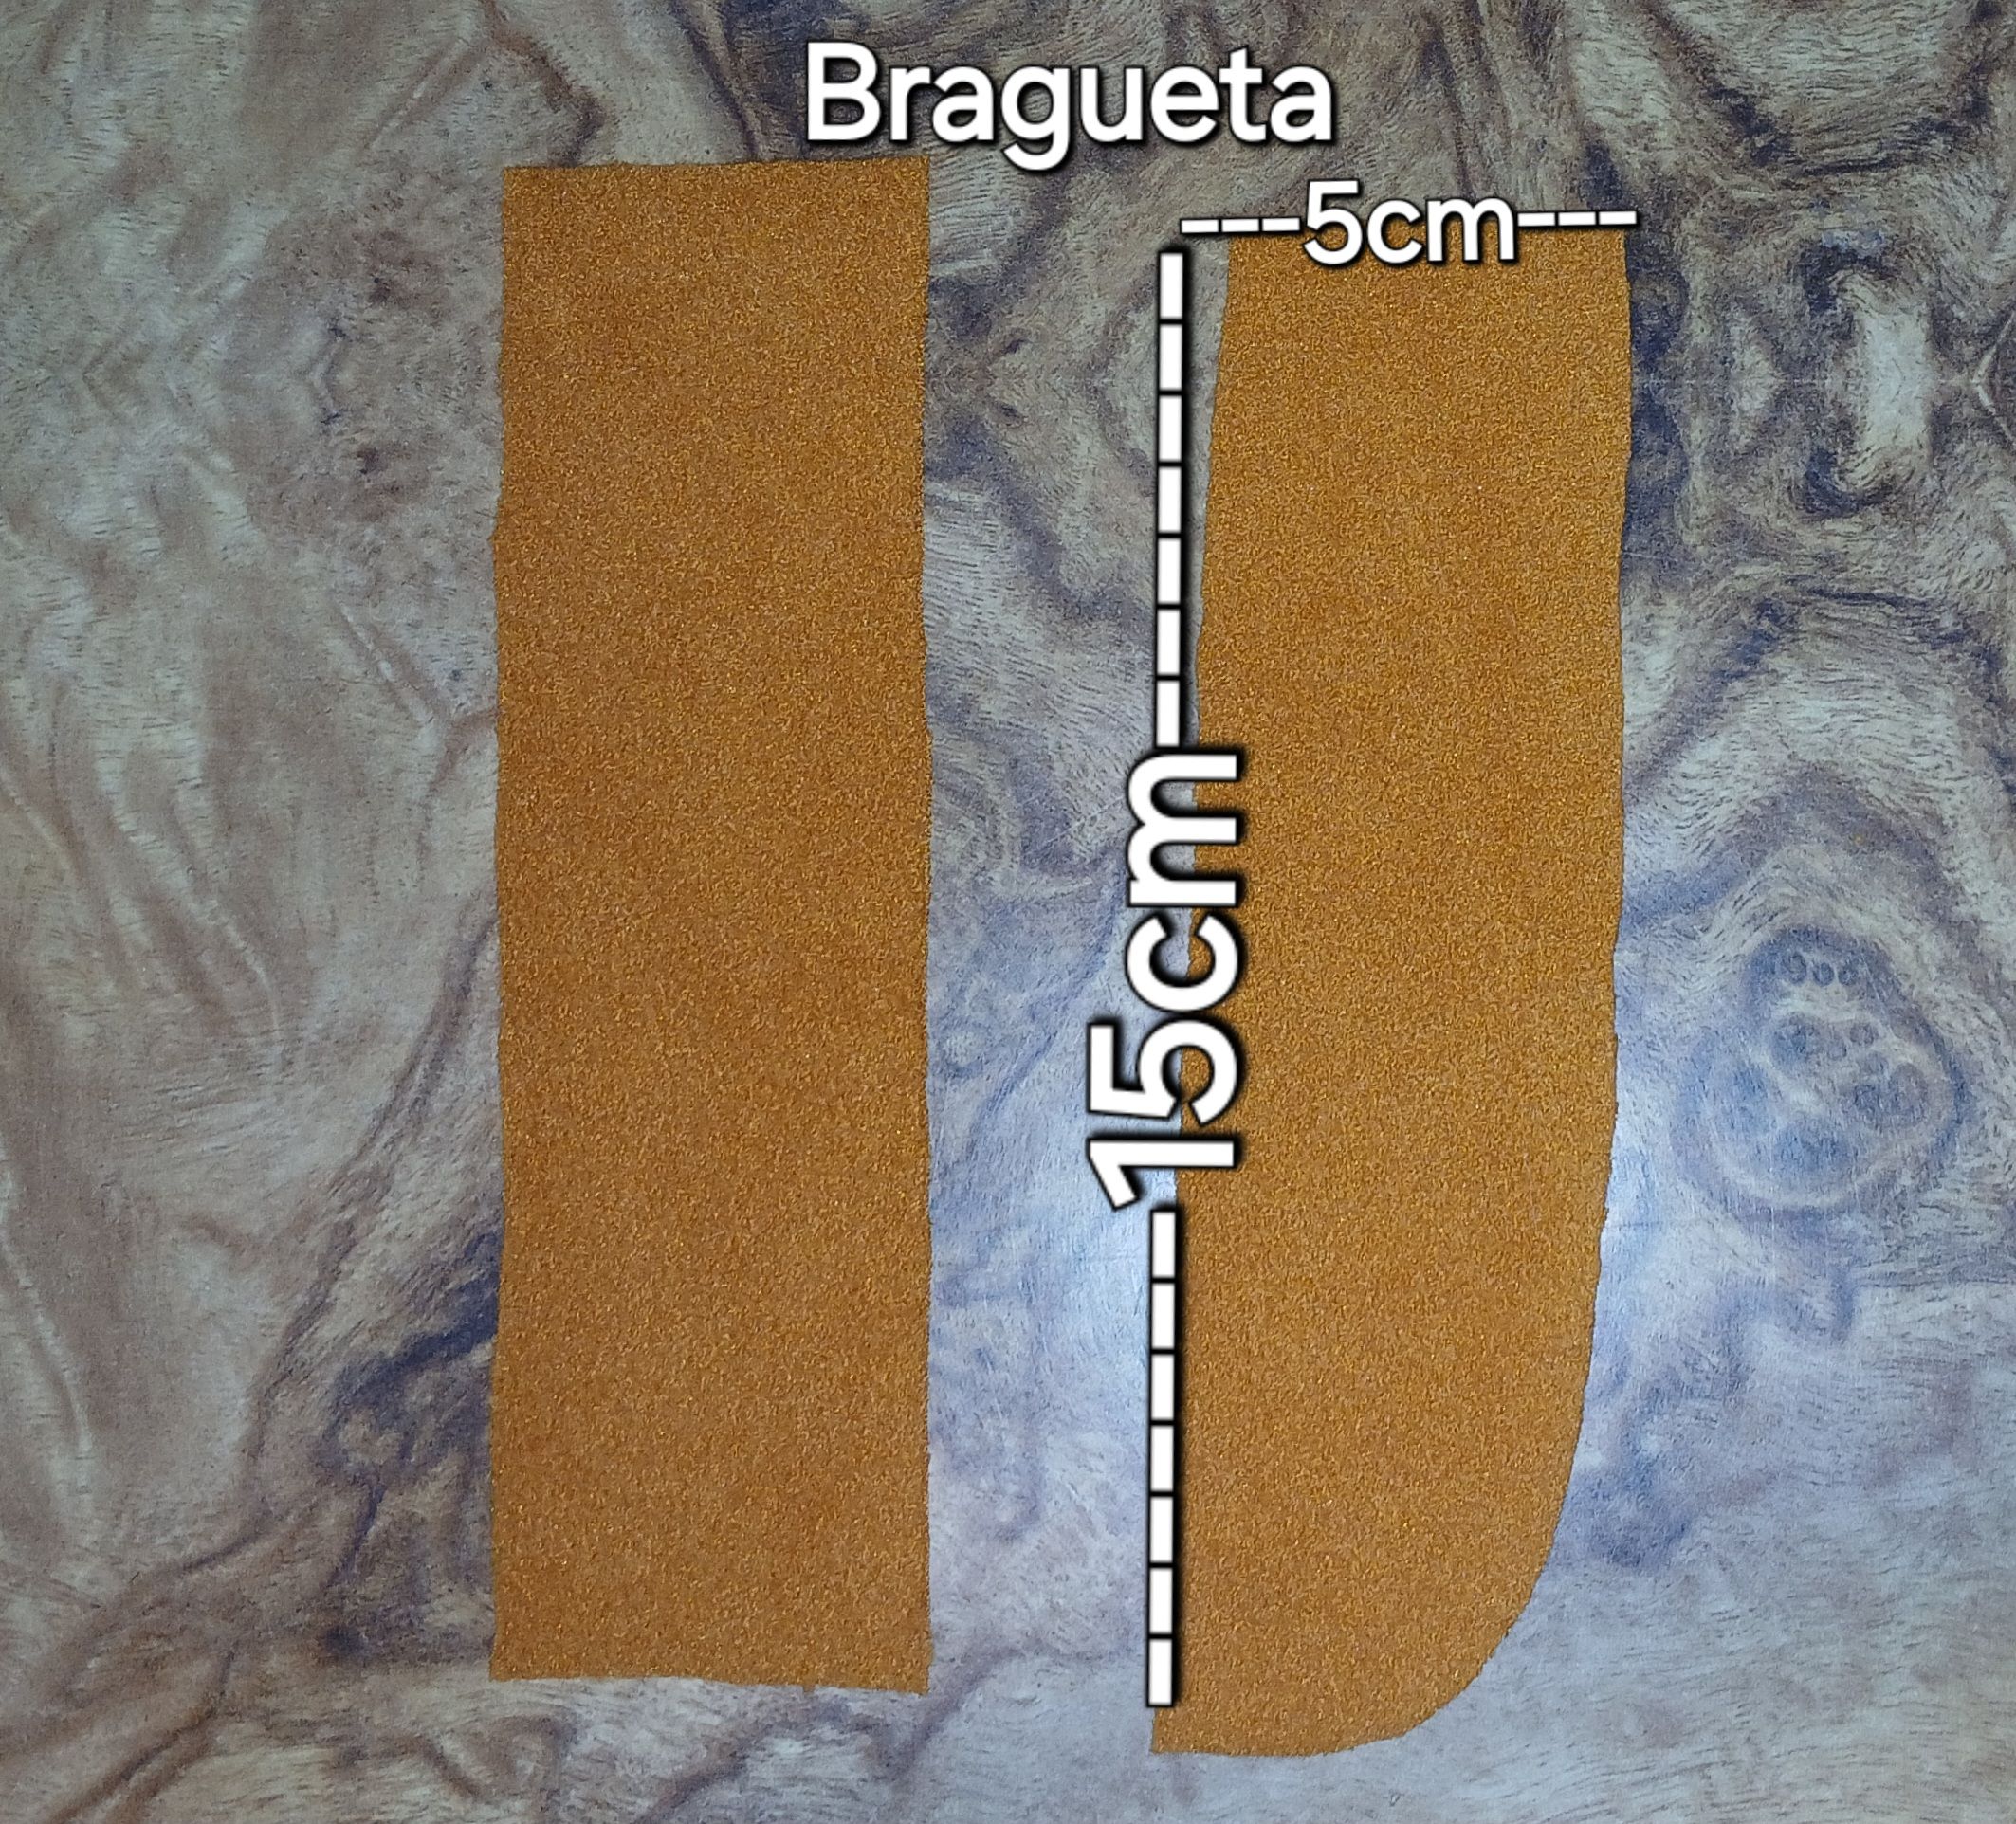
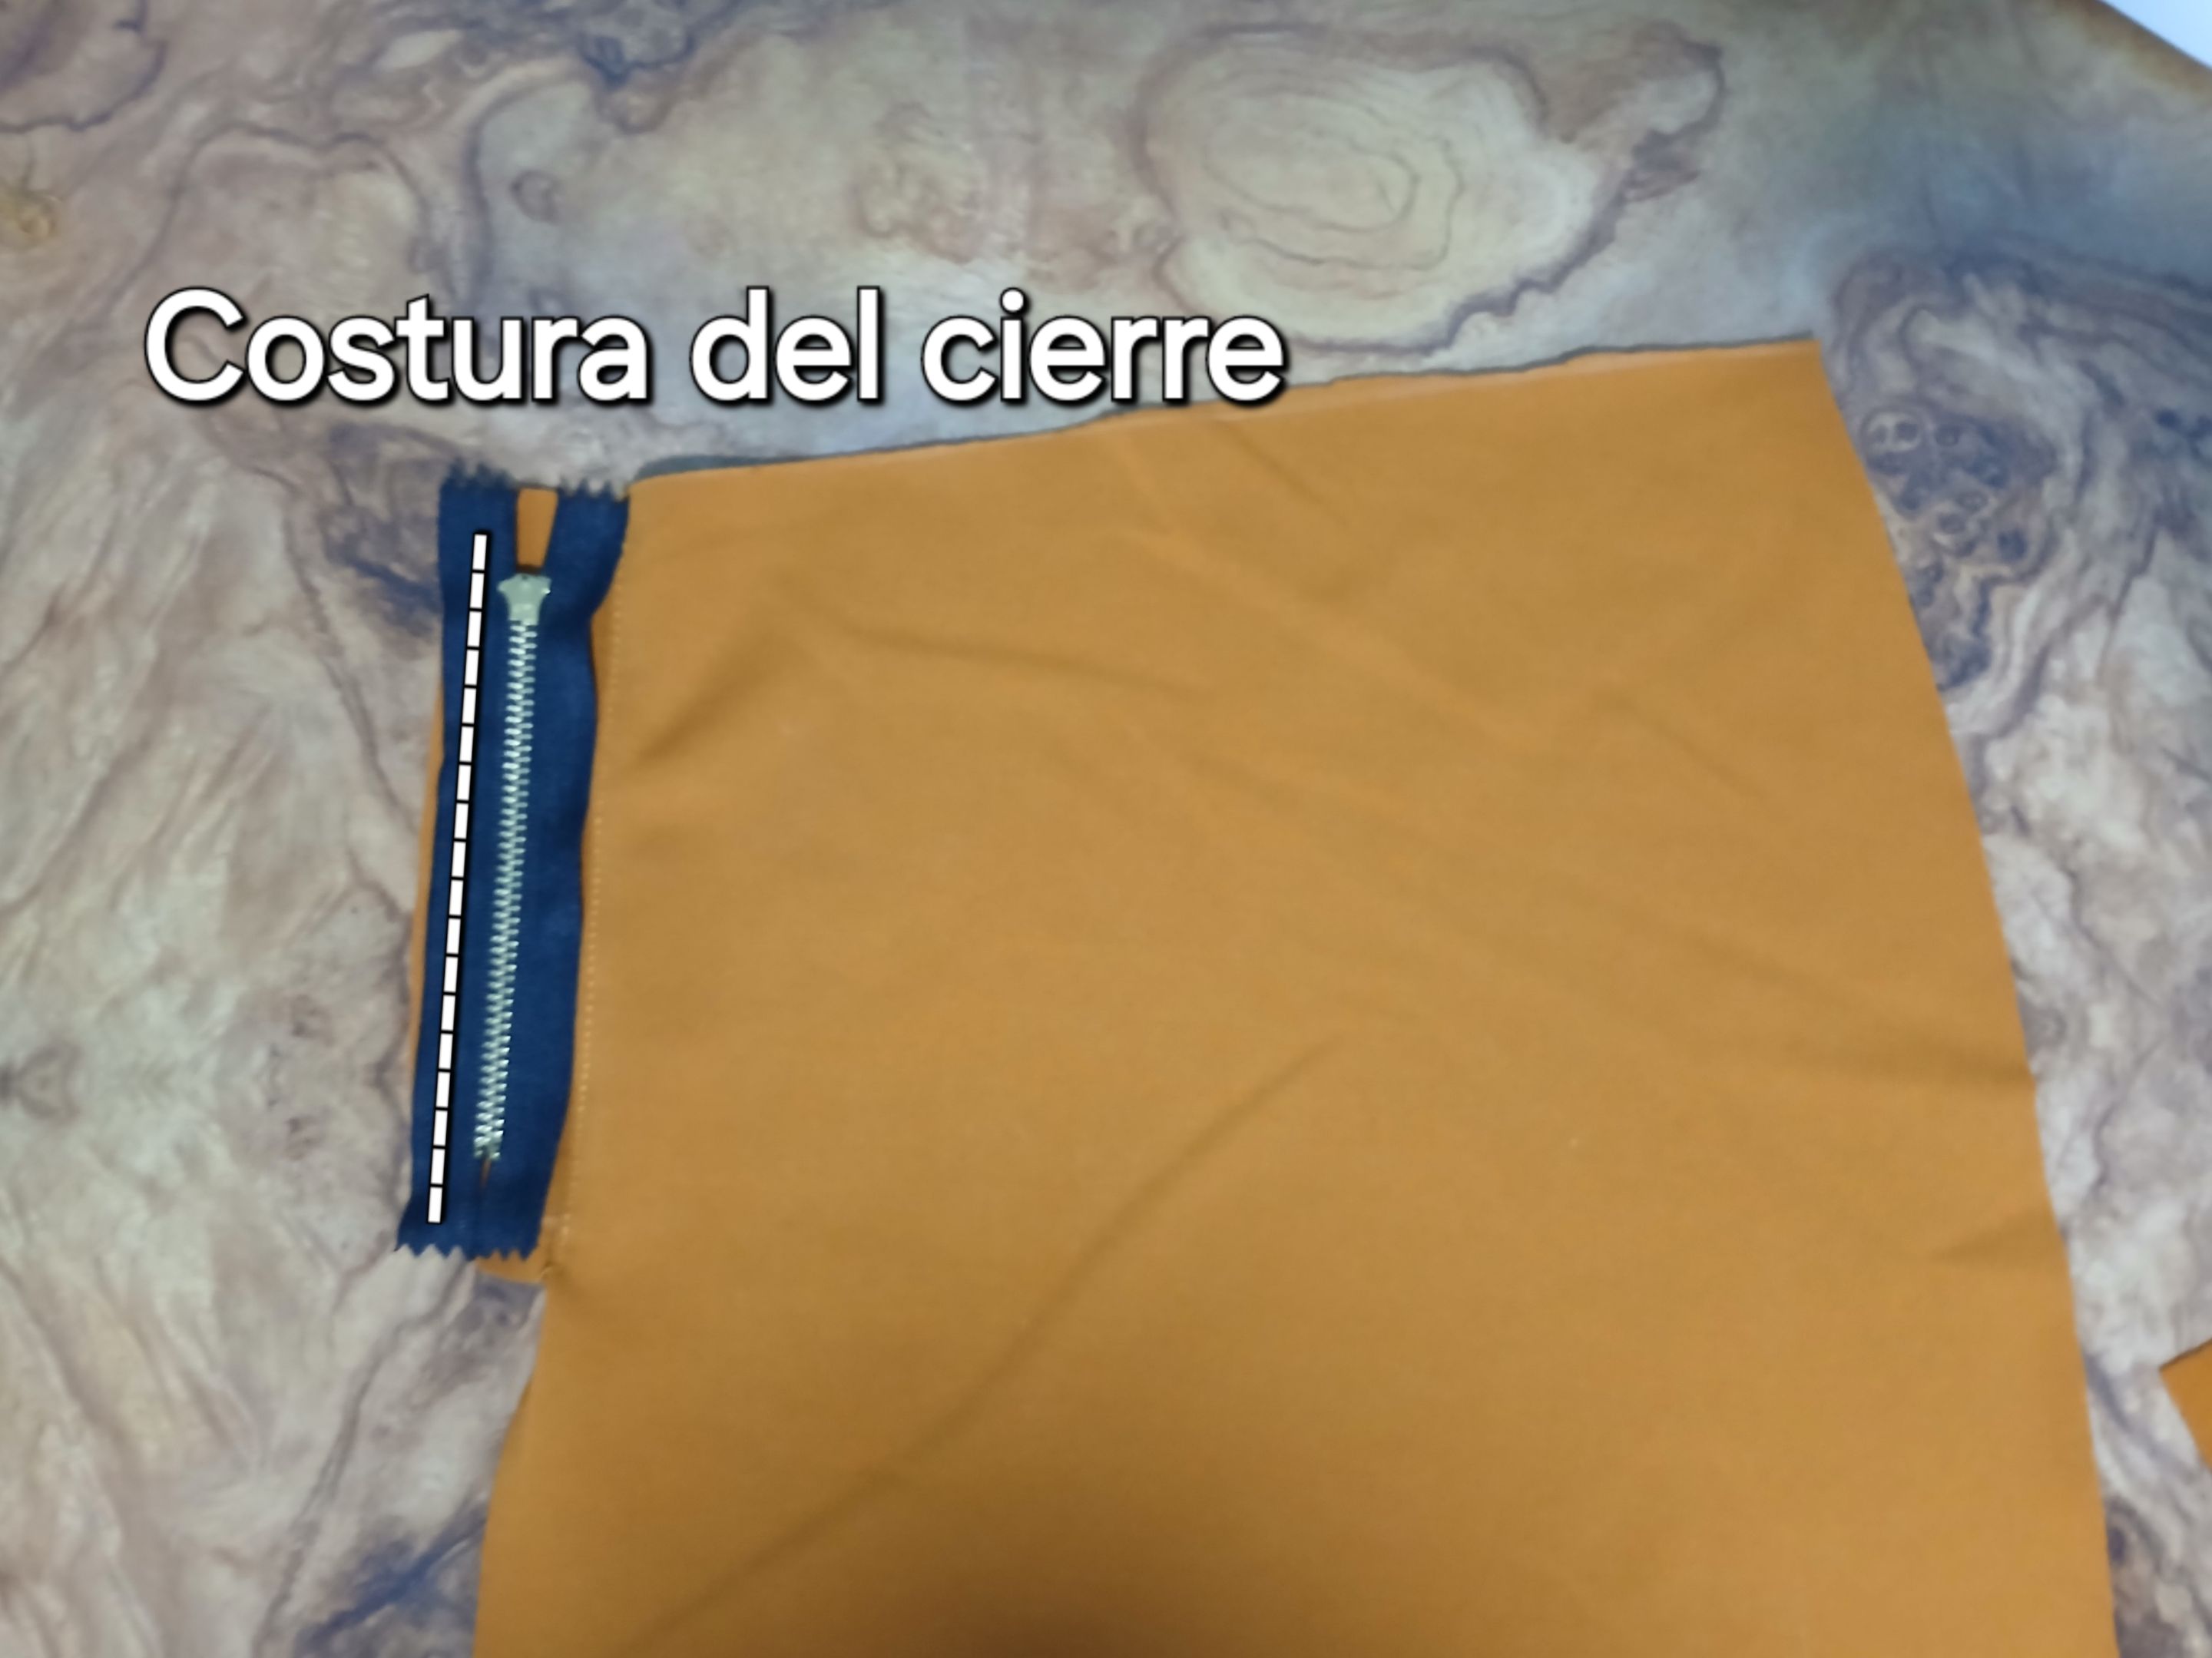
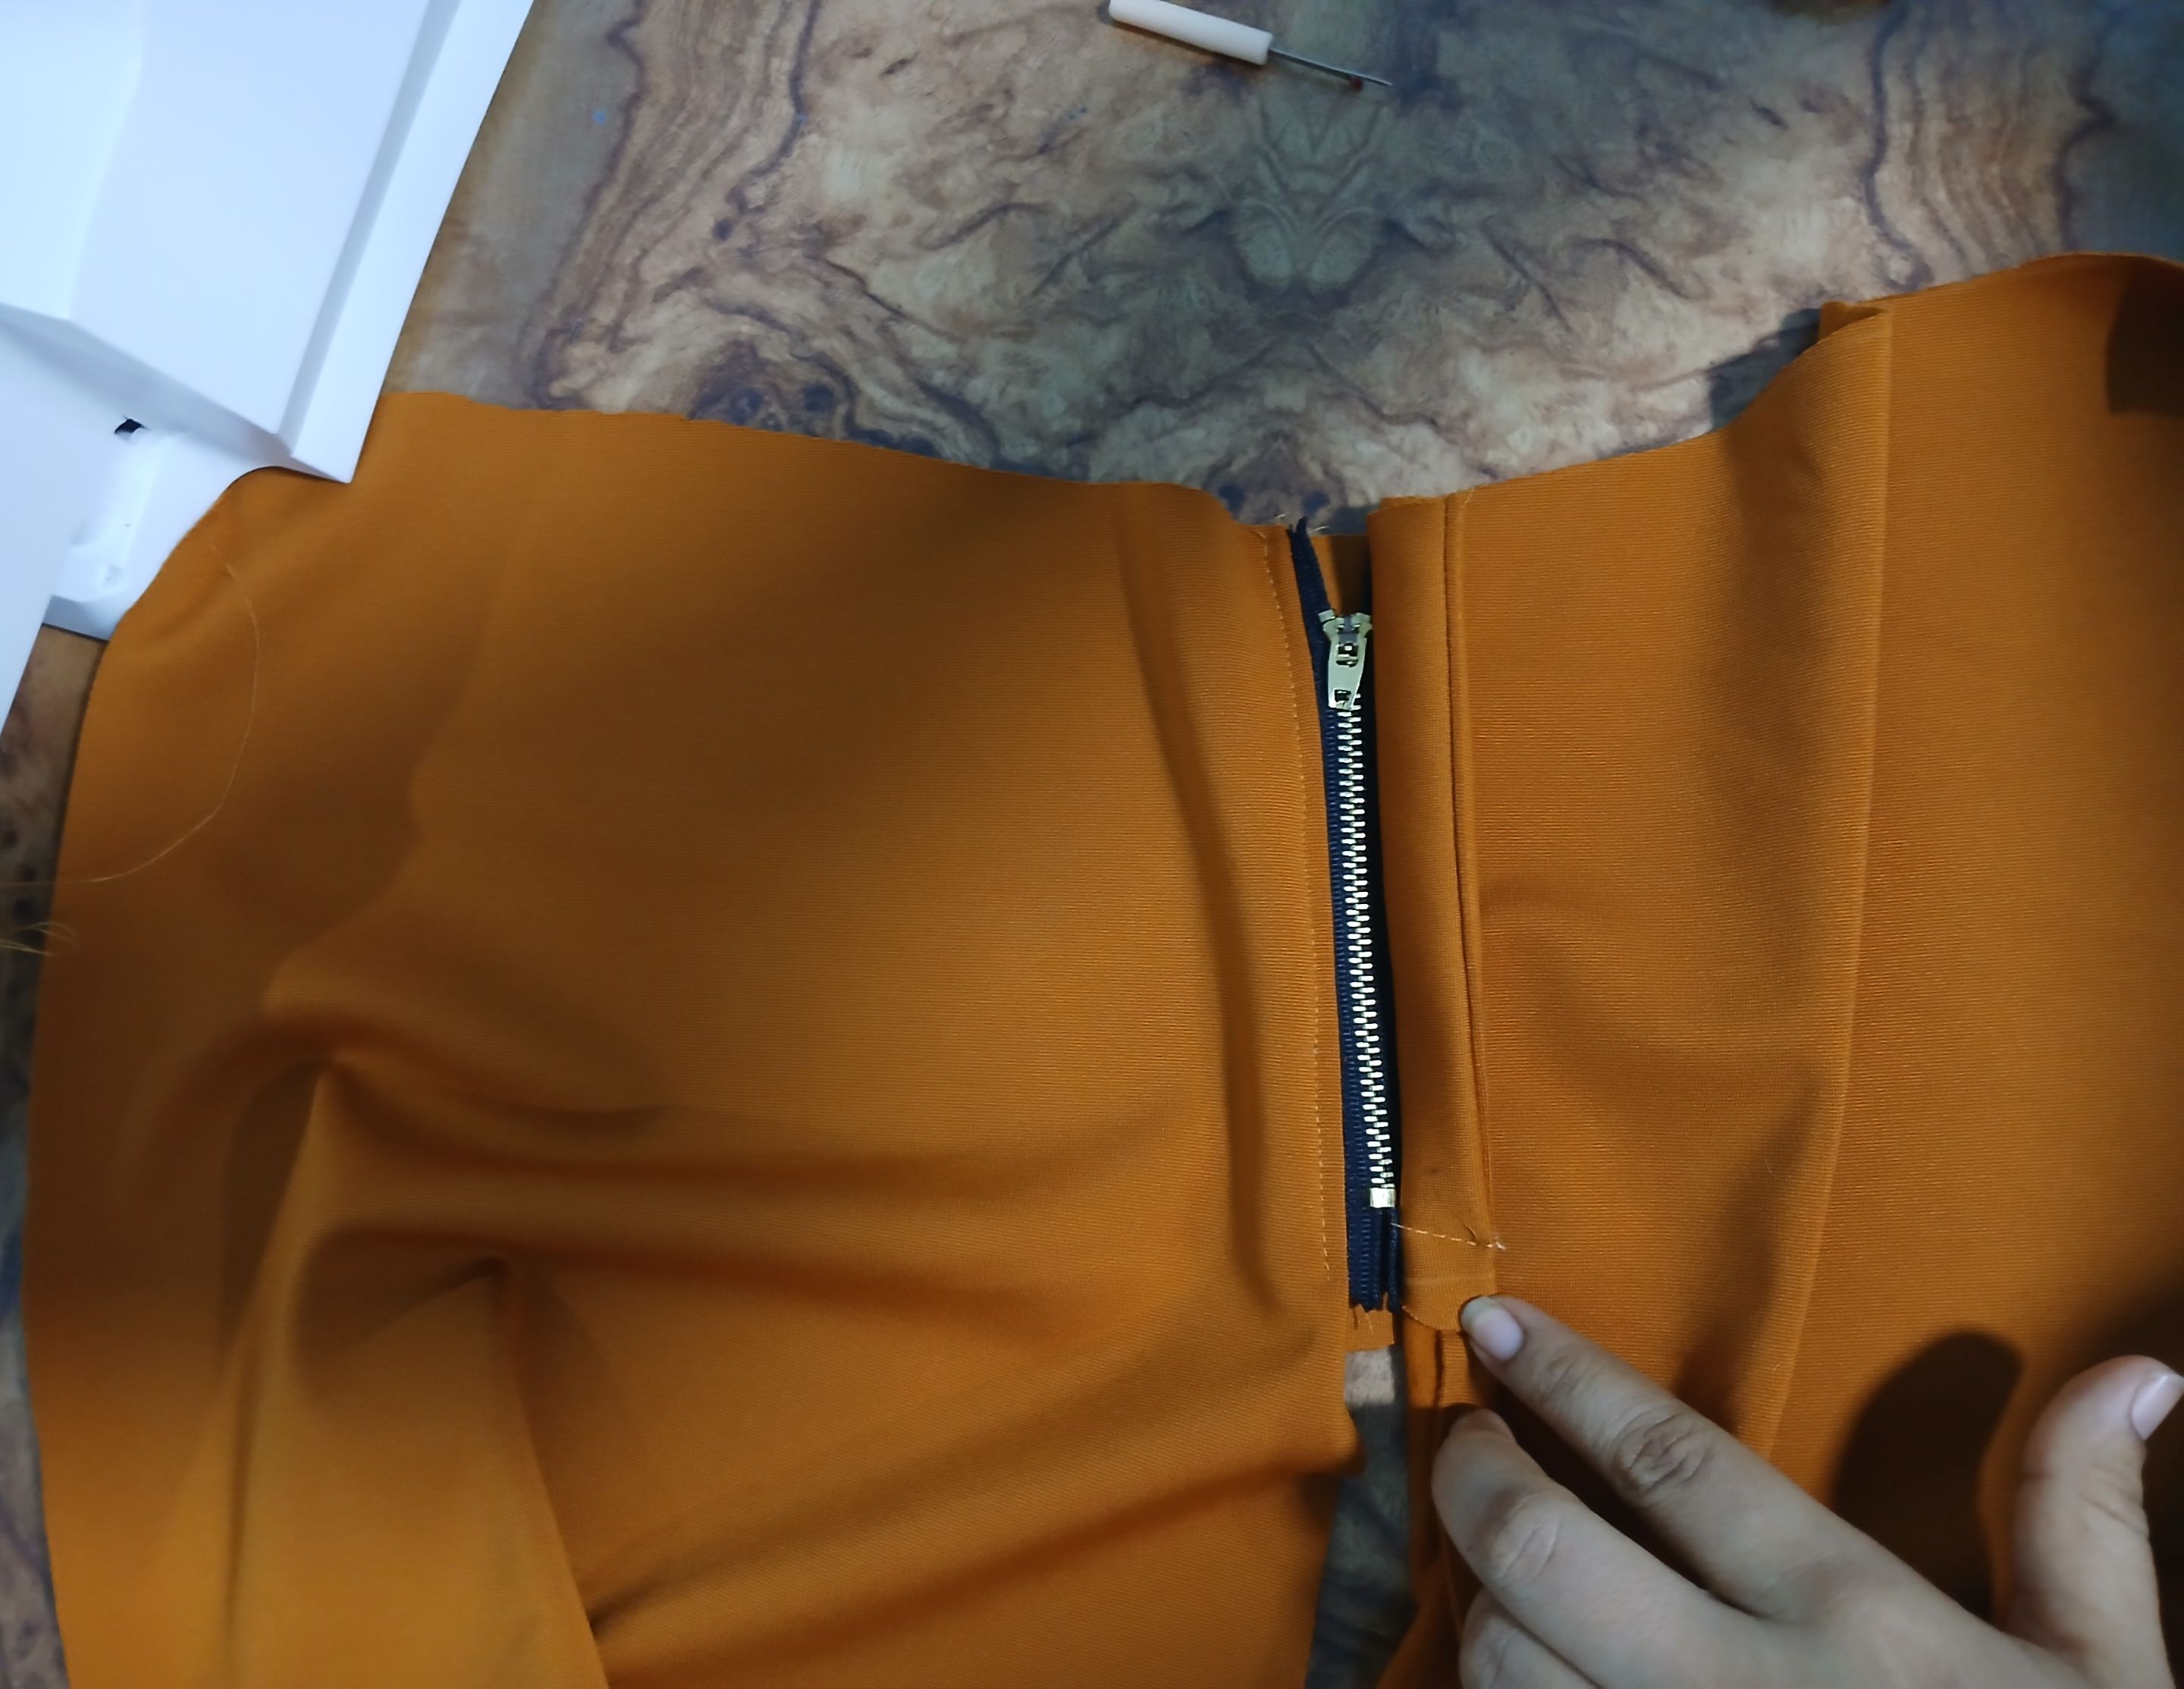
Luego saqué las dos piezas de la bragueta y cosí la bragueta izquierda, que es la que tiene la forma curva abajo, en la orilla del centro de la pieza izquierda delantera de la falda.
I then pulled out the two fly pieces and sewed the left fly, which is the one with the curved shape below, to the center edge of the front left skirt piece.
Sobre la bragueta izquierda coloqué el cierre con la cara hacia abajo y pasé costura del lado derecho de éste.
On the left fly I placed the zipper face down and sewed the right side of it.

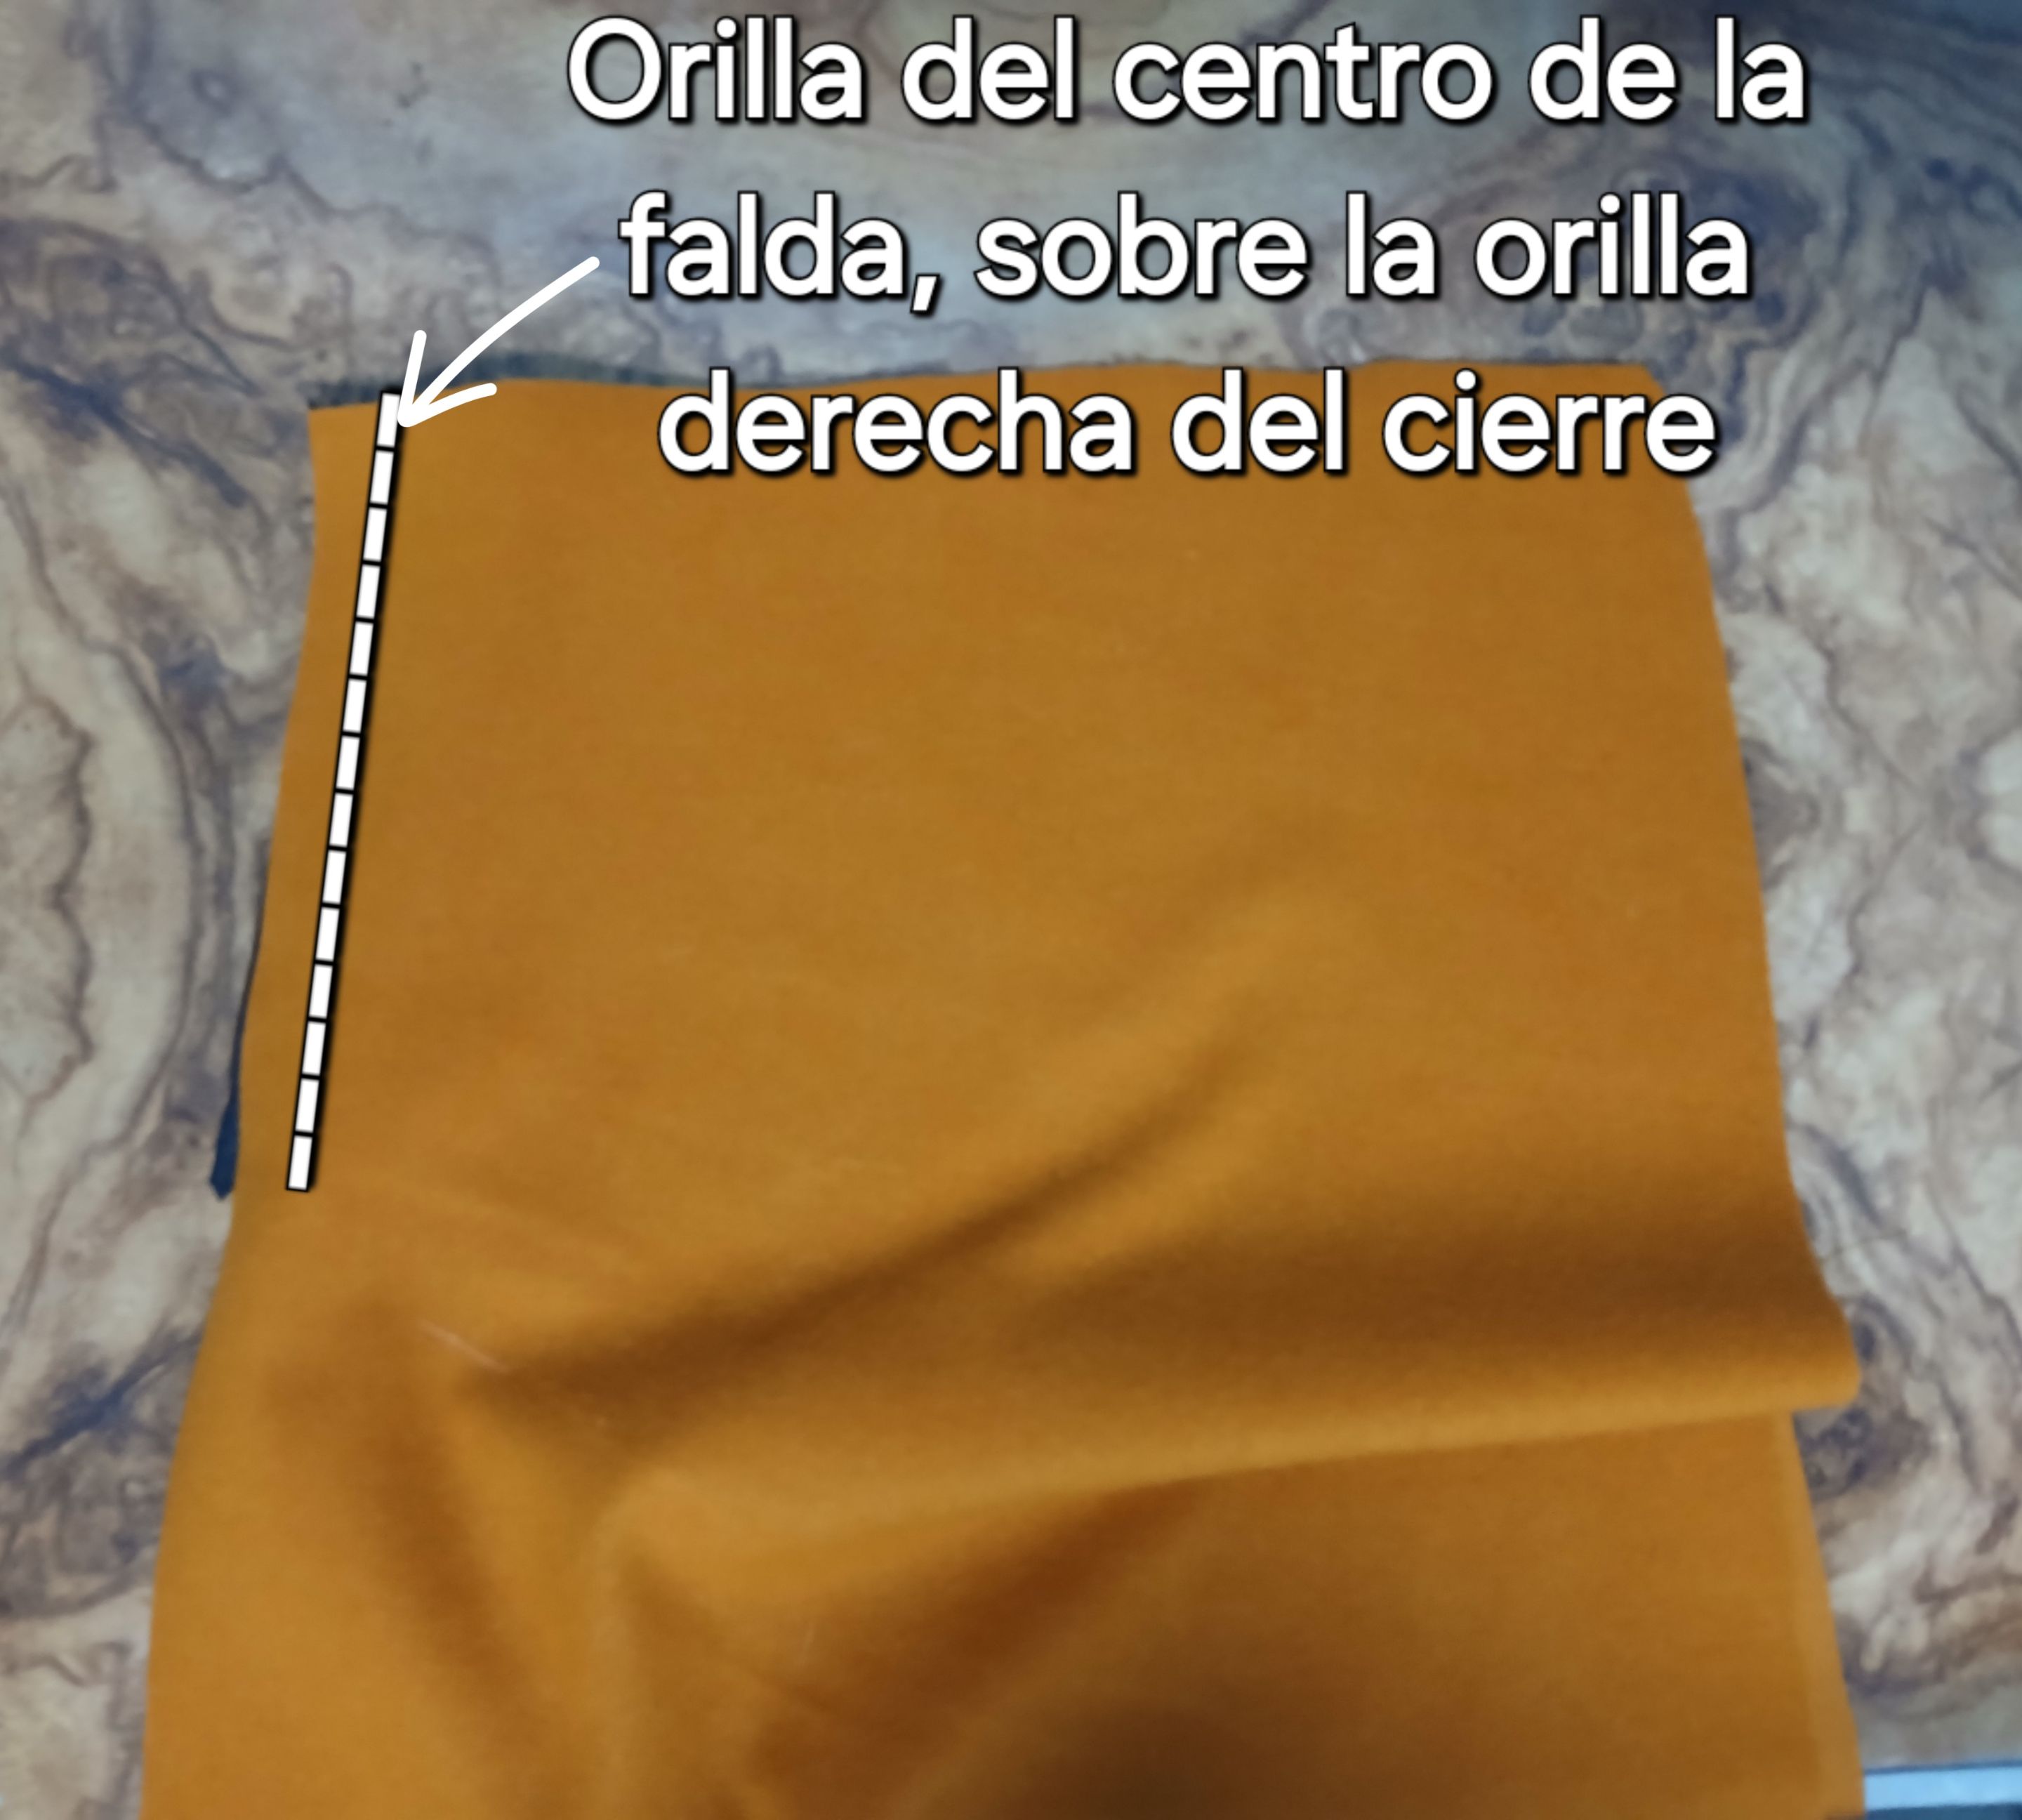
Sobre la orilla derecha cosí la orilla del centro de la otra pieza delantera, enfrentando el derecho de la pieza de la falda, con el derecho del cierre.
On the right edge I sewed the center edge of the other front piece, facing the right side of the skirt piece, with the right side of the zipper.
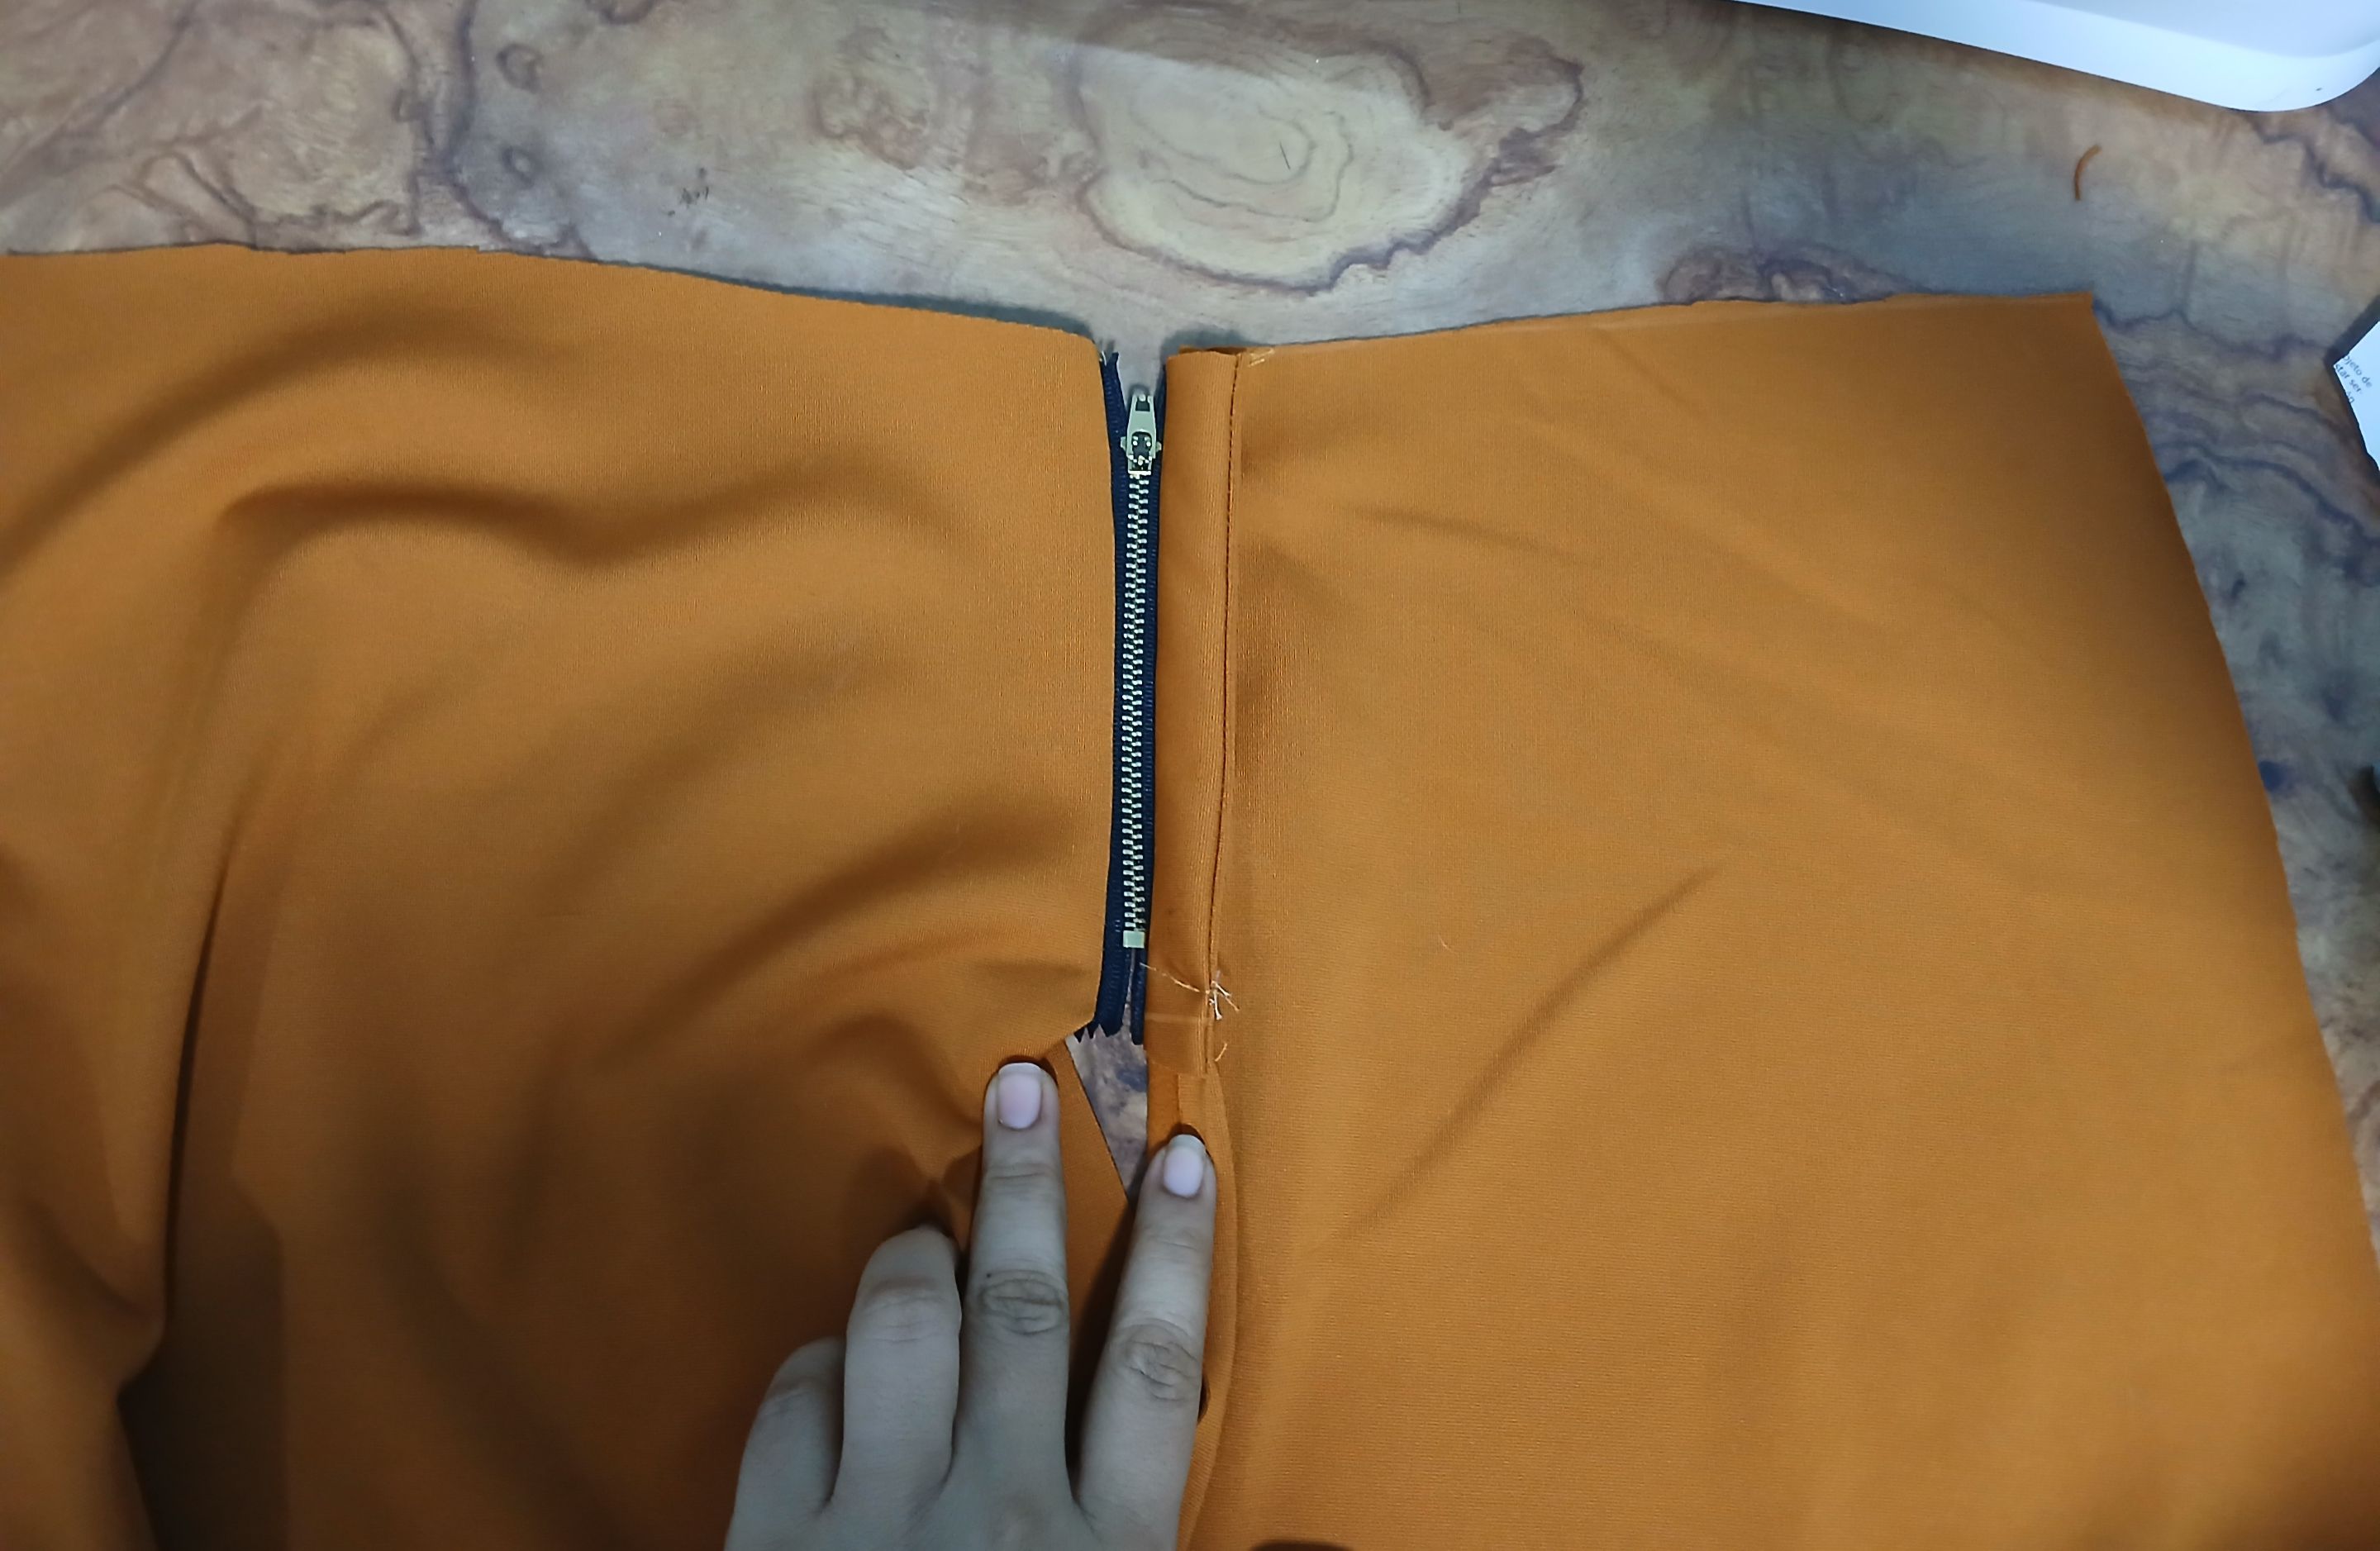
Debajo del lado derecho del cierre, cosí la otra parte de la bragueta.
Under the right side of the zipper, I sewed the other part of the fly.
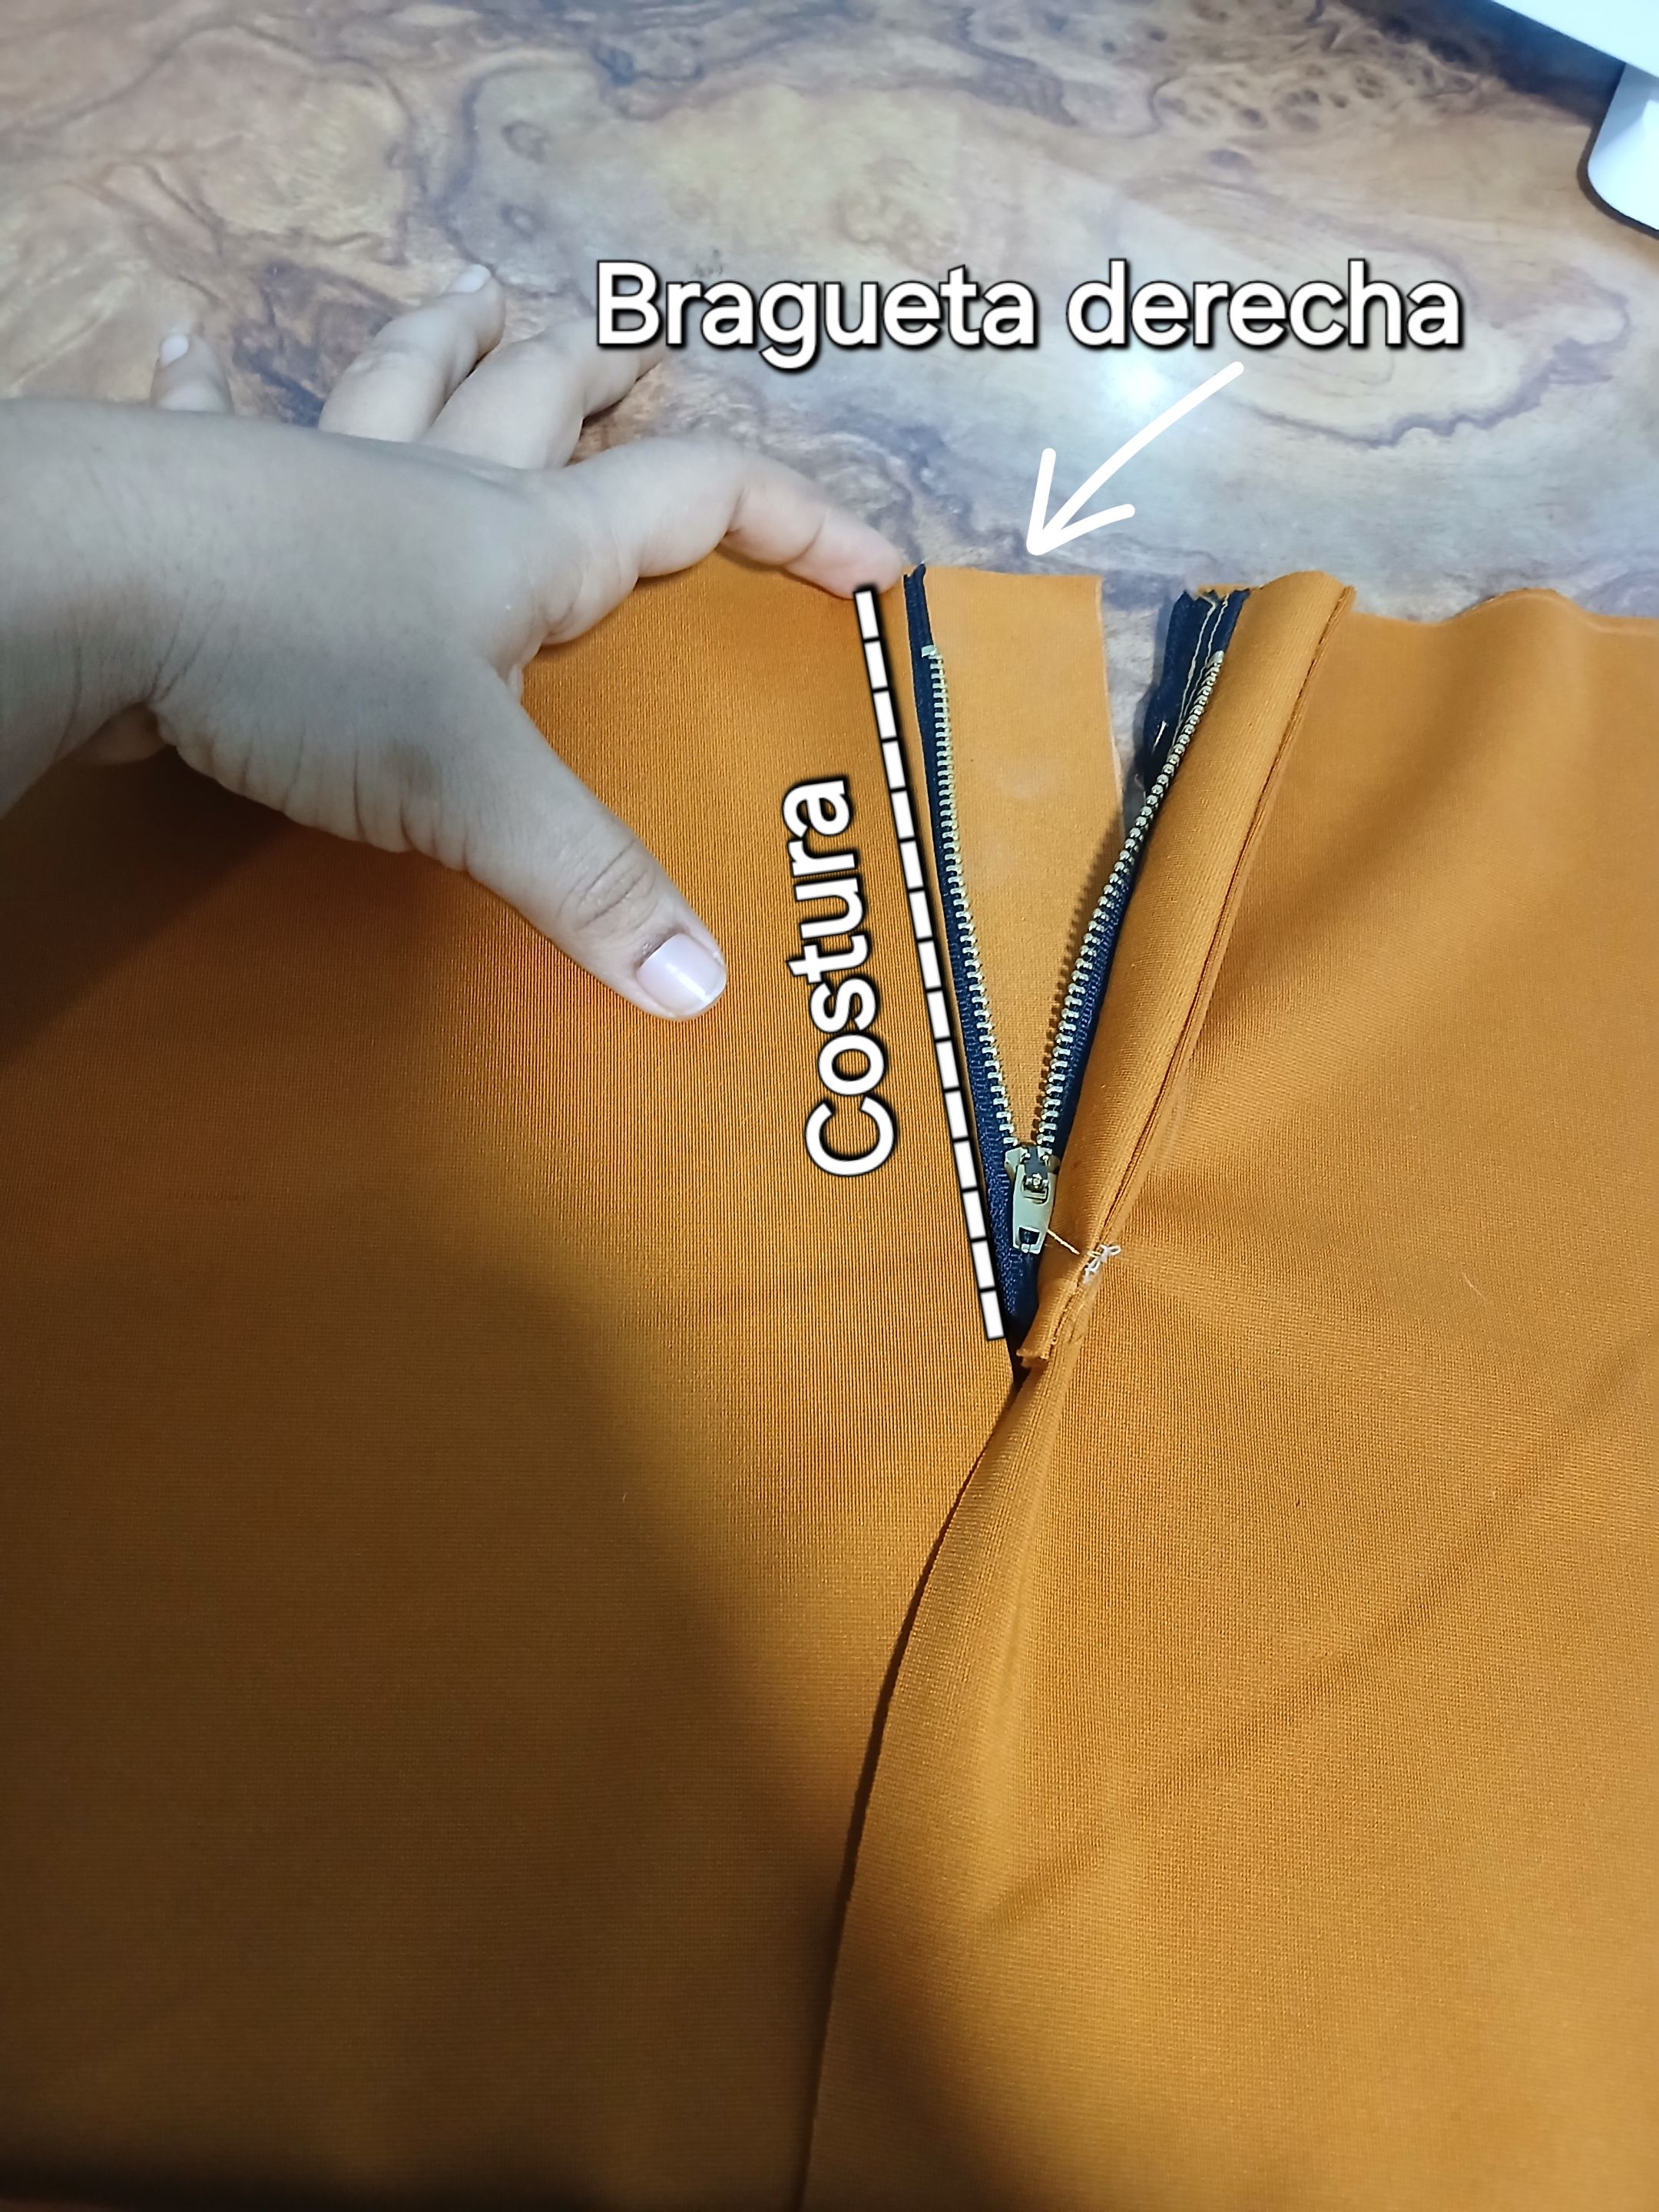
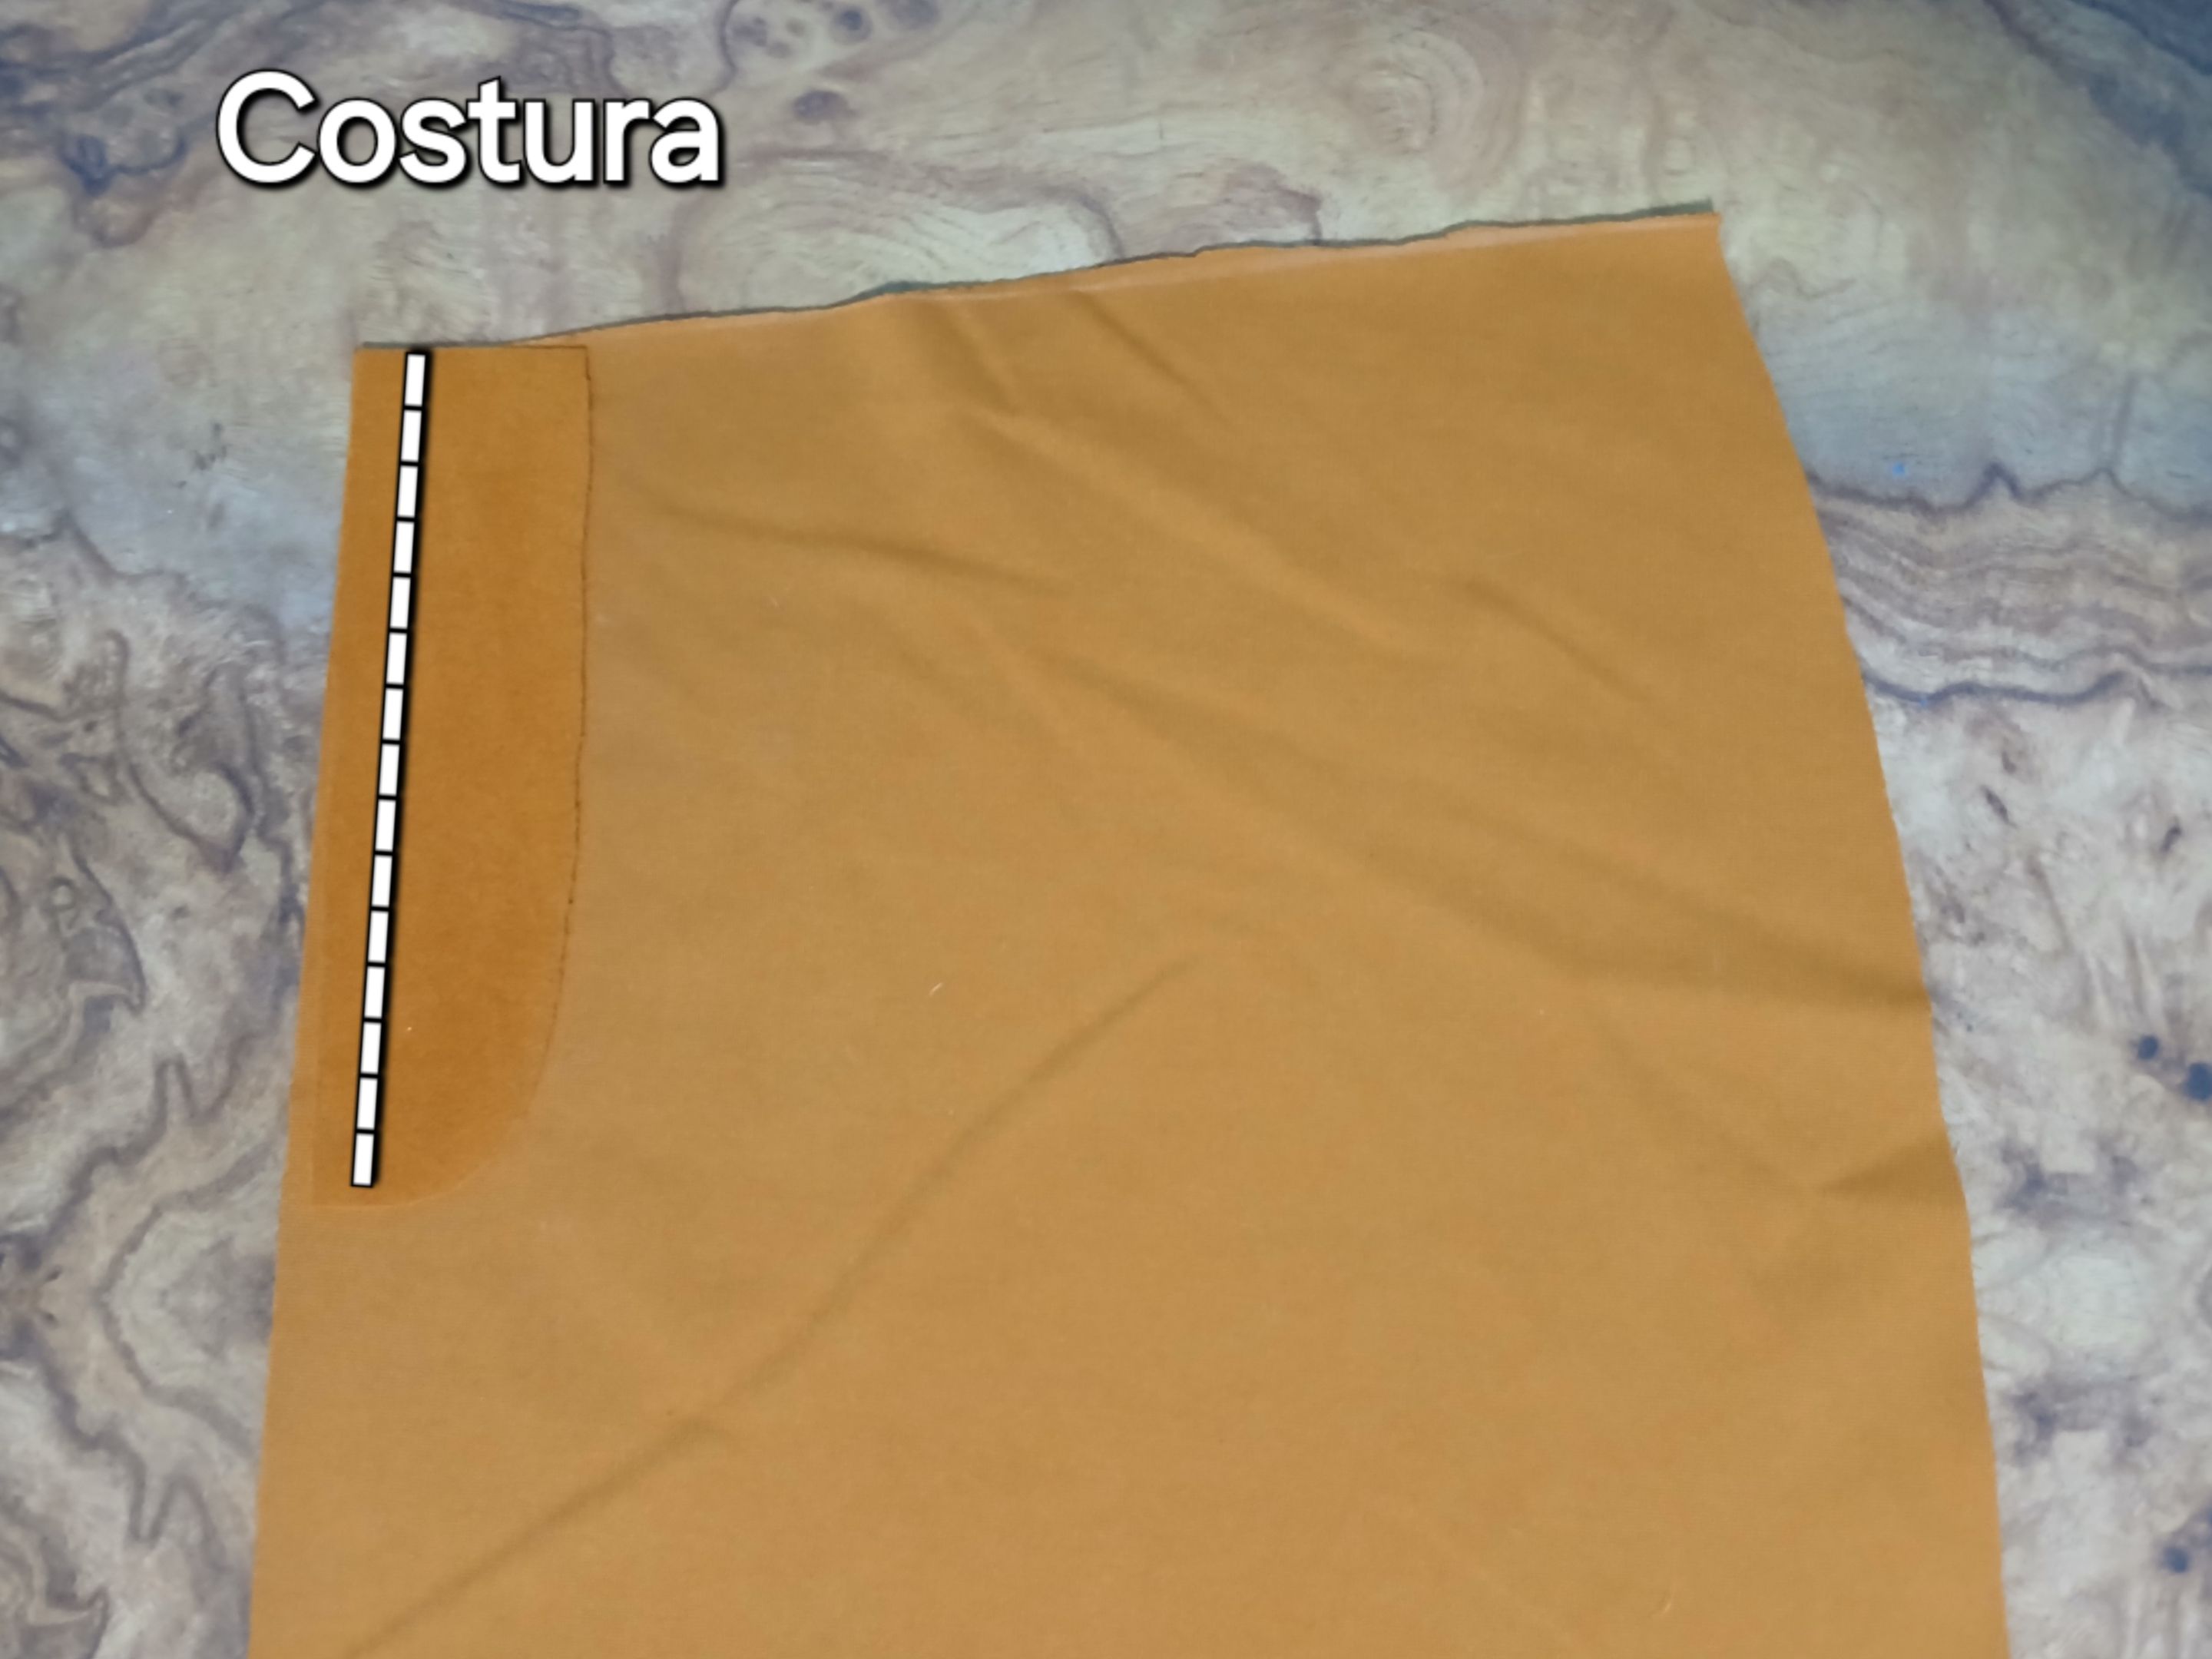
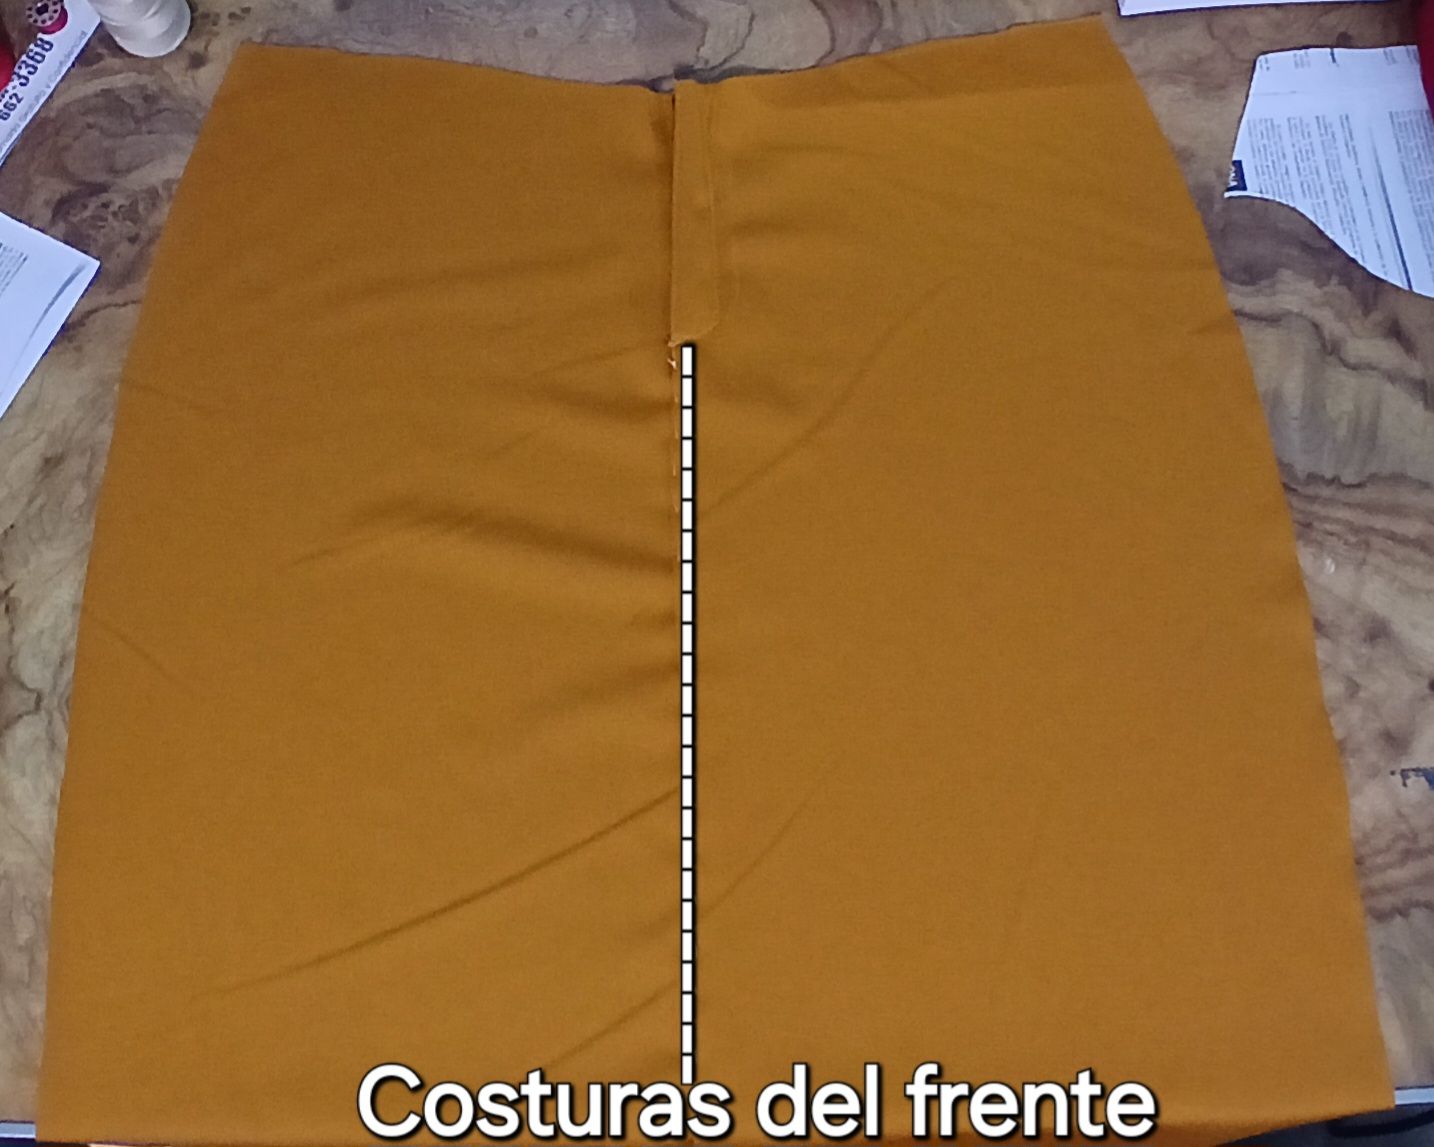
Cuando terminé de poner las braguetas, procedí a pasar la costura qué une las dos mitades de la parte delantera de la falda.
When I finished putting on the panties, I proceeded to pass the seam that joins the two halves of the front of the skirt.
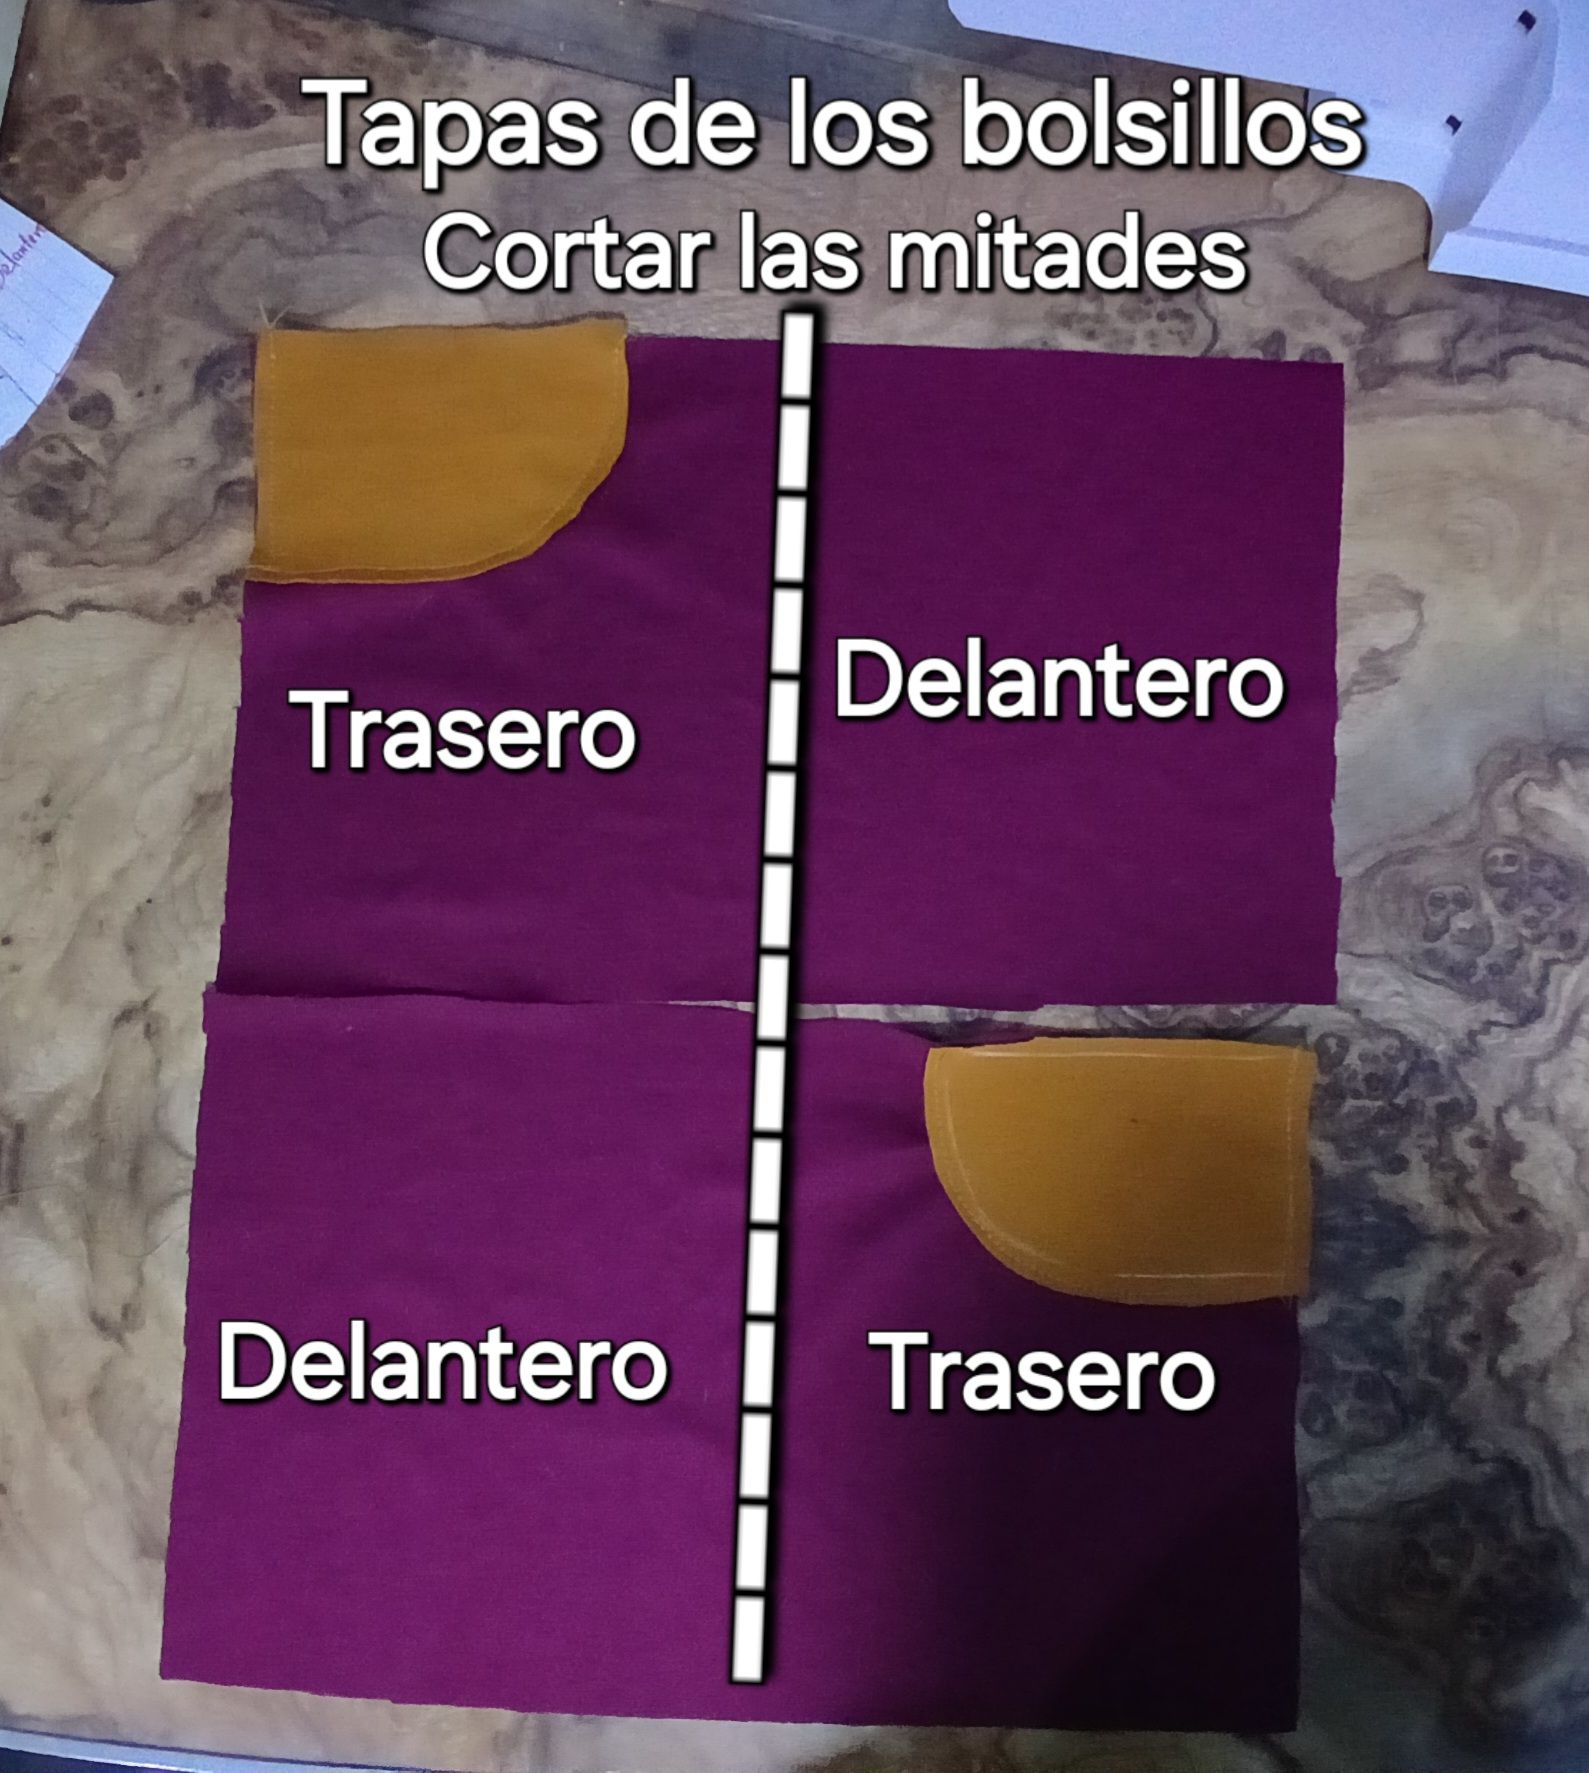
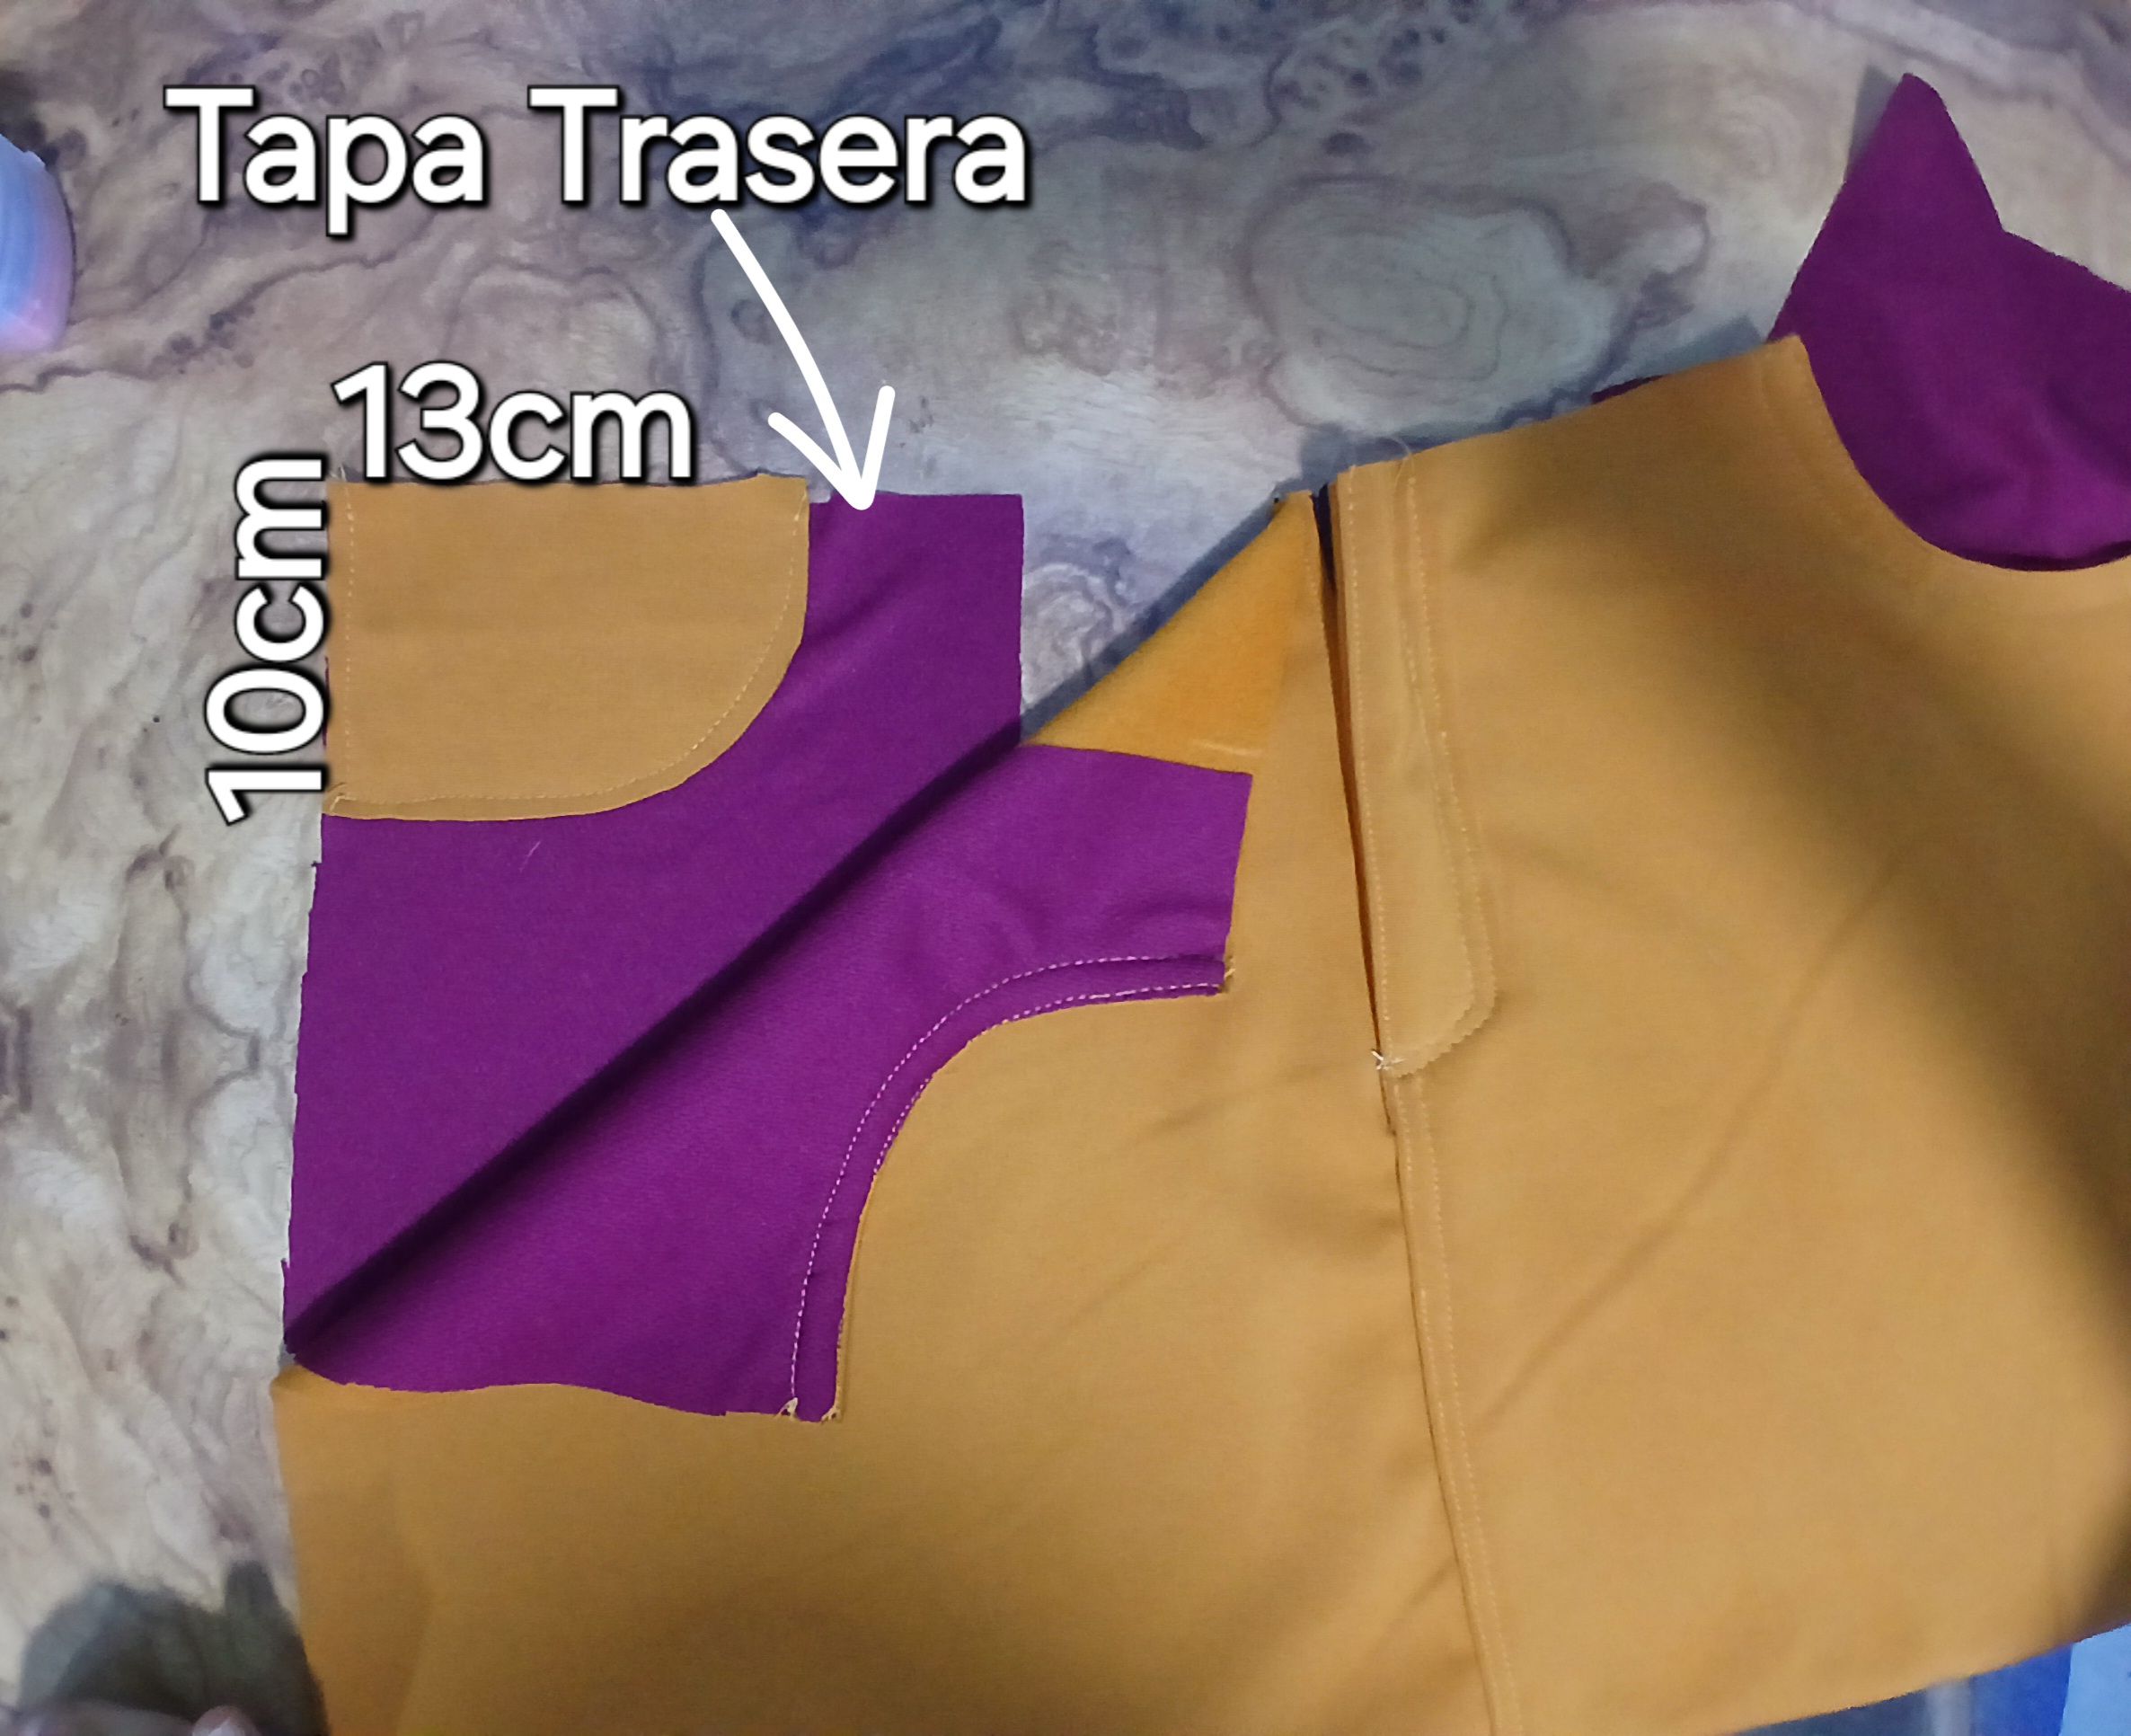
Para los bolsillos delanteros, corté cuatro piezas de tela de 16cm de ancho y 19cm de largo, dibujé una forma de parche de ojo 🕶 de 13 cm de ancho y 10 cm de alto y la cosí en las tapas traseras de los bolsillos.
For the front pockets, I cut four pieces of fabric 16cm wide and 19cm long, drew an eye patch shape 🕶 11cm wide and 8cm high and sewed it onto the back covers of the pockets.
Coloqué las tapas delanteras encima de los costados de la parte delantera de la falda y dibujé la misma forma de parche de ojos, pero con las medidas de 11 cm de ancho y 8 cm de alto, pasé costura a 1 cm después de la orilla curva y corté a 1 cm por encima de la costura.
I placed the front flaps on top of the sides of the front of the skirt and drew the same eye patch shape, but with the measurements of 11 cm wide and 8 cm high, sewed 1 cm after the curved edge and cut 1 cm above the seam.
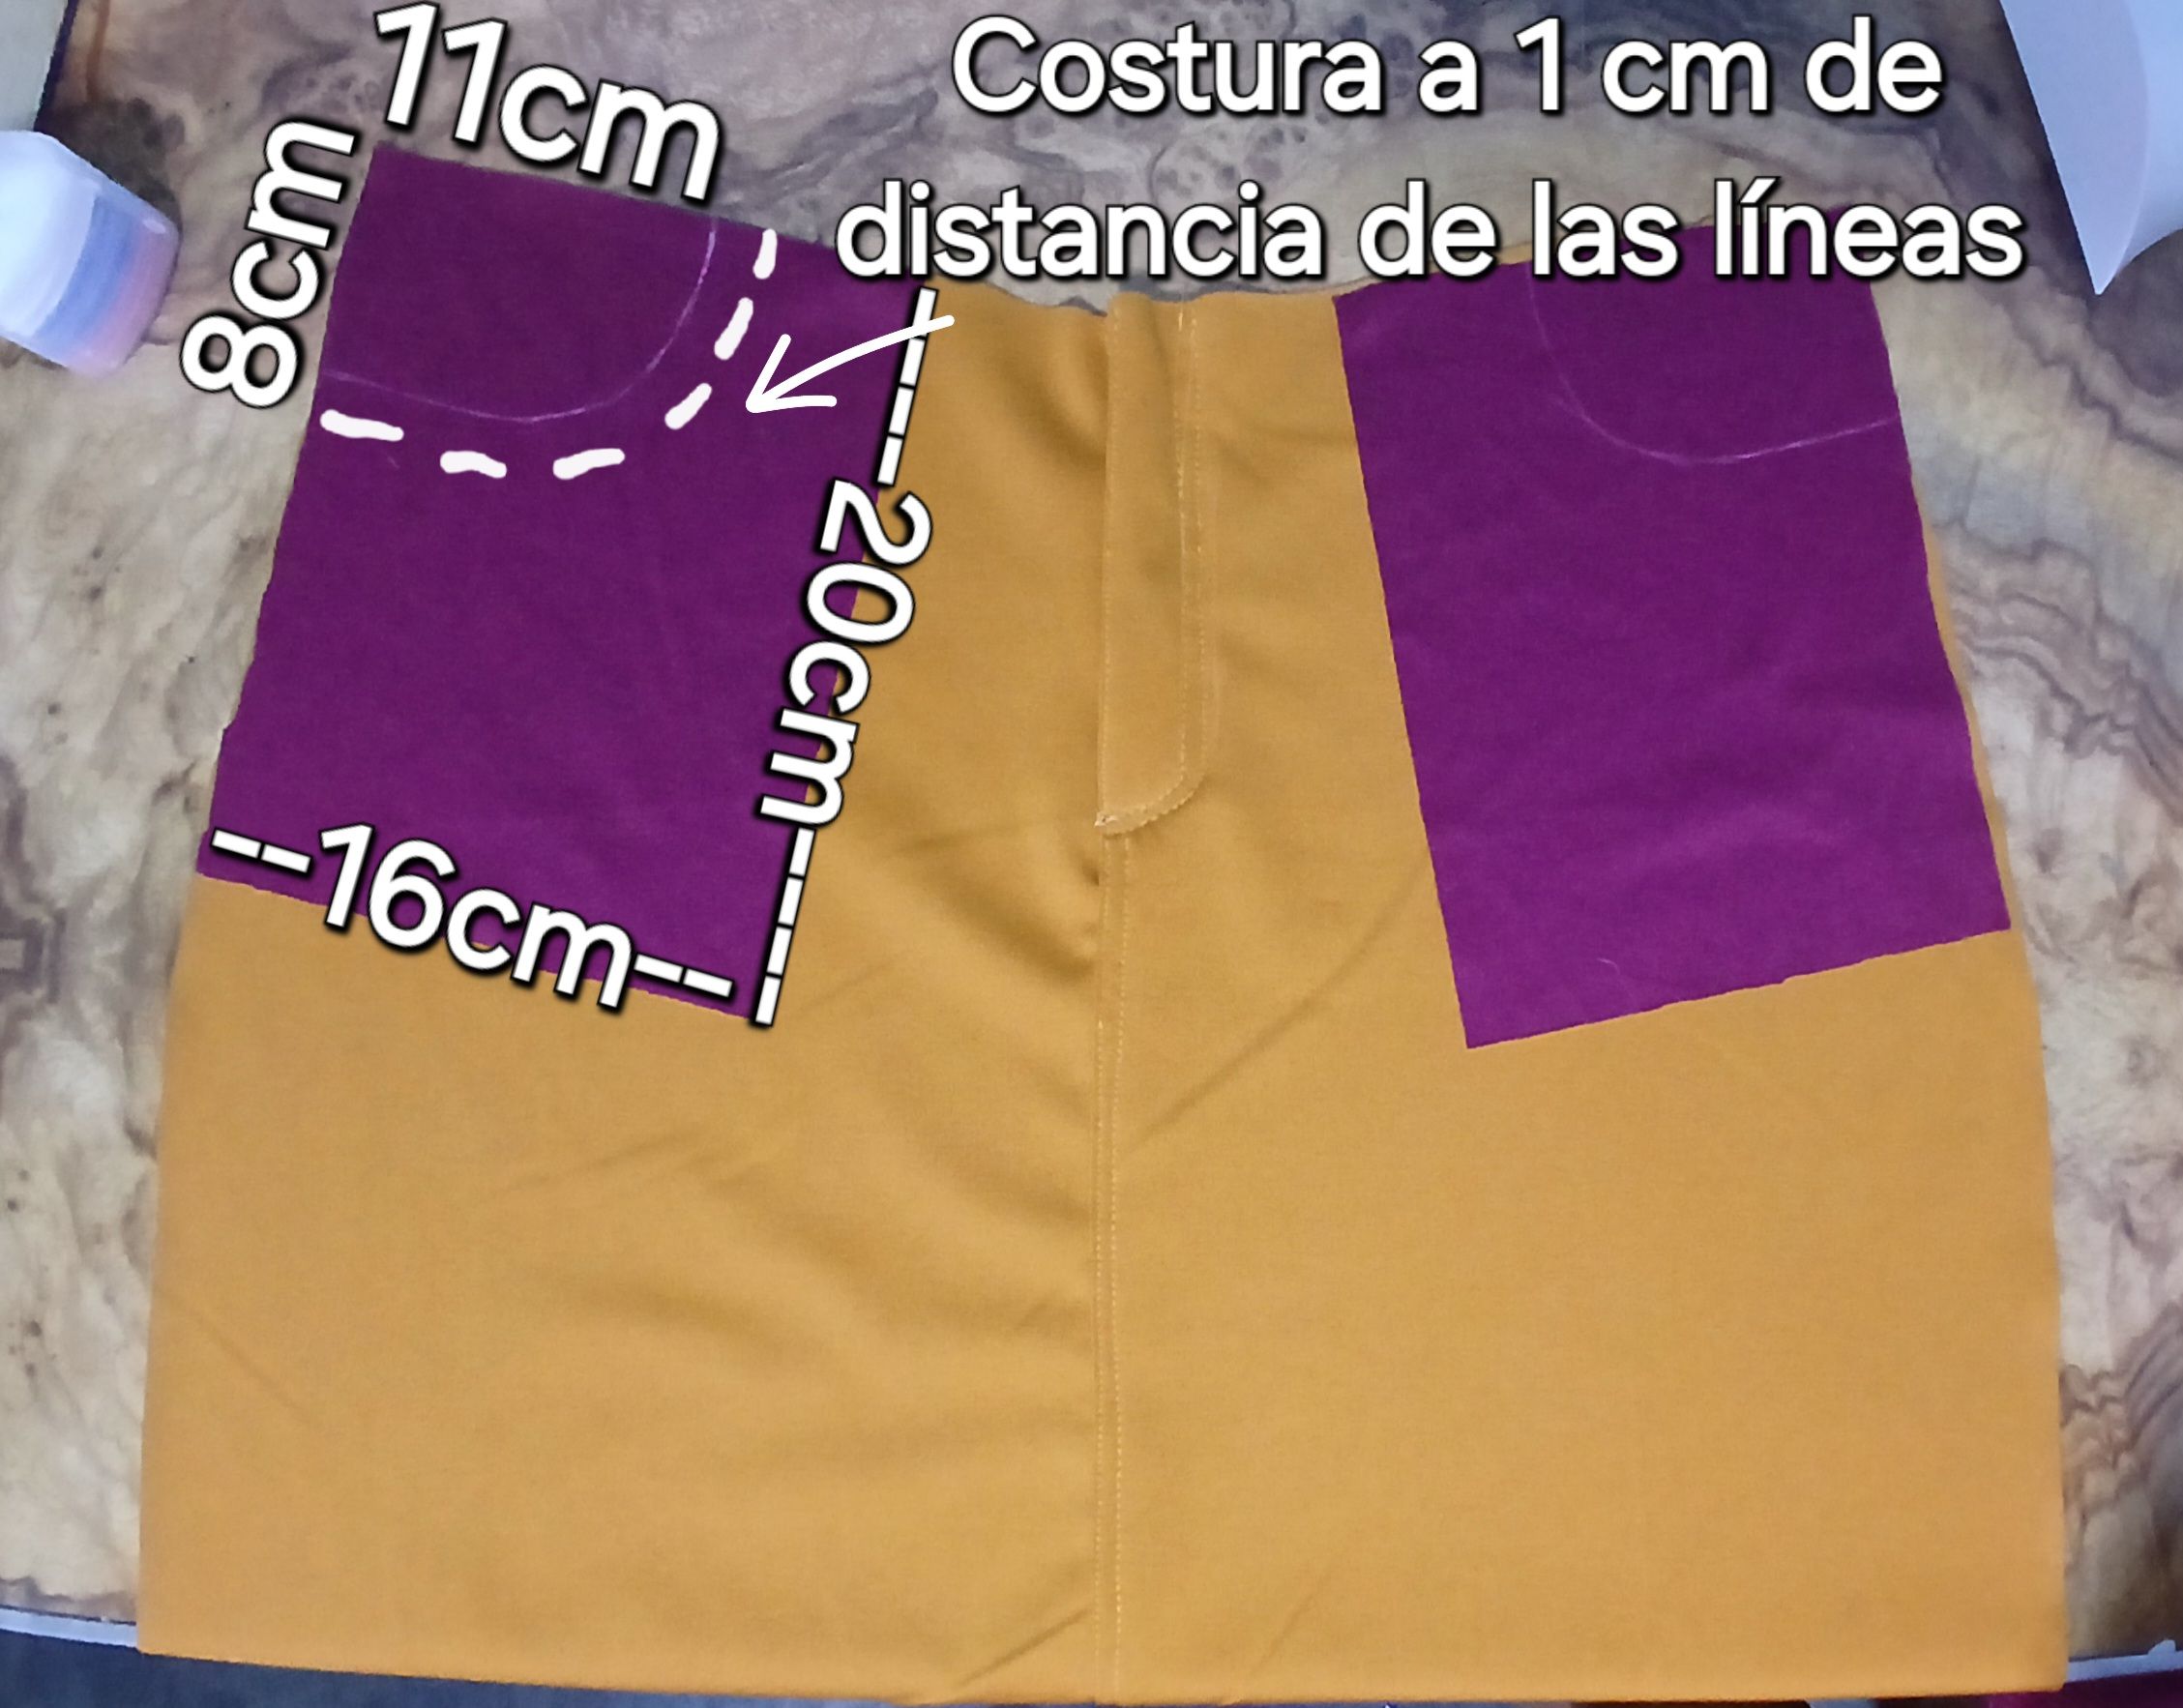


Después de colocar las tapas delanteras, coloqué detrás de éstas las tapas traseras y aseguré en la parte superior y en los costados.
After placing the front covers, I placed the rear covers behind them and secured them at the top and sides.

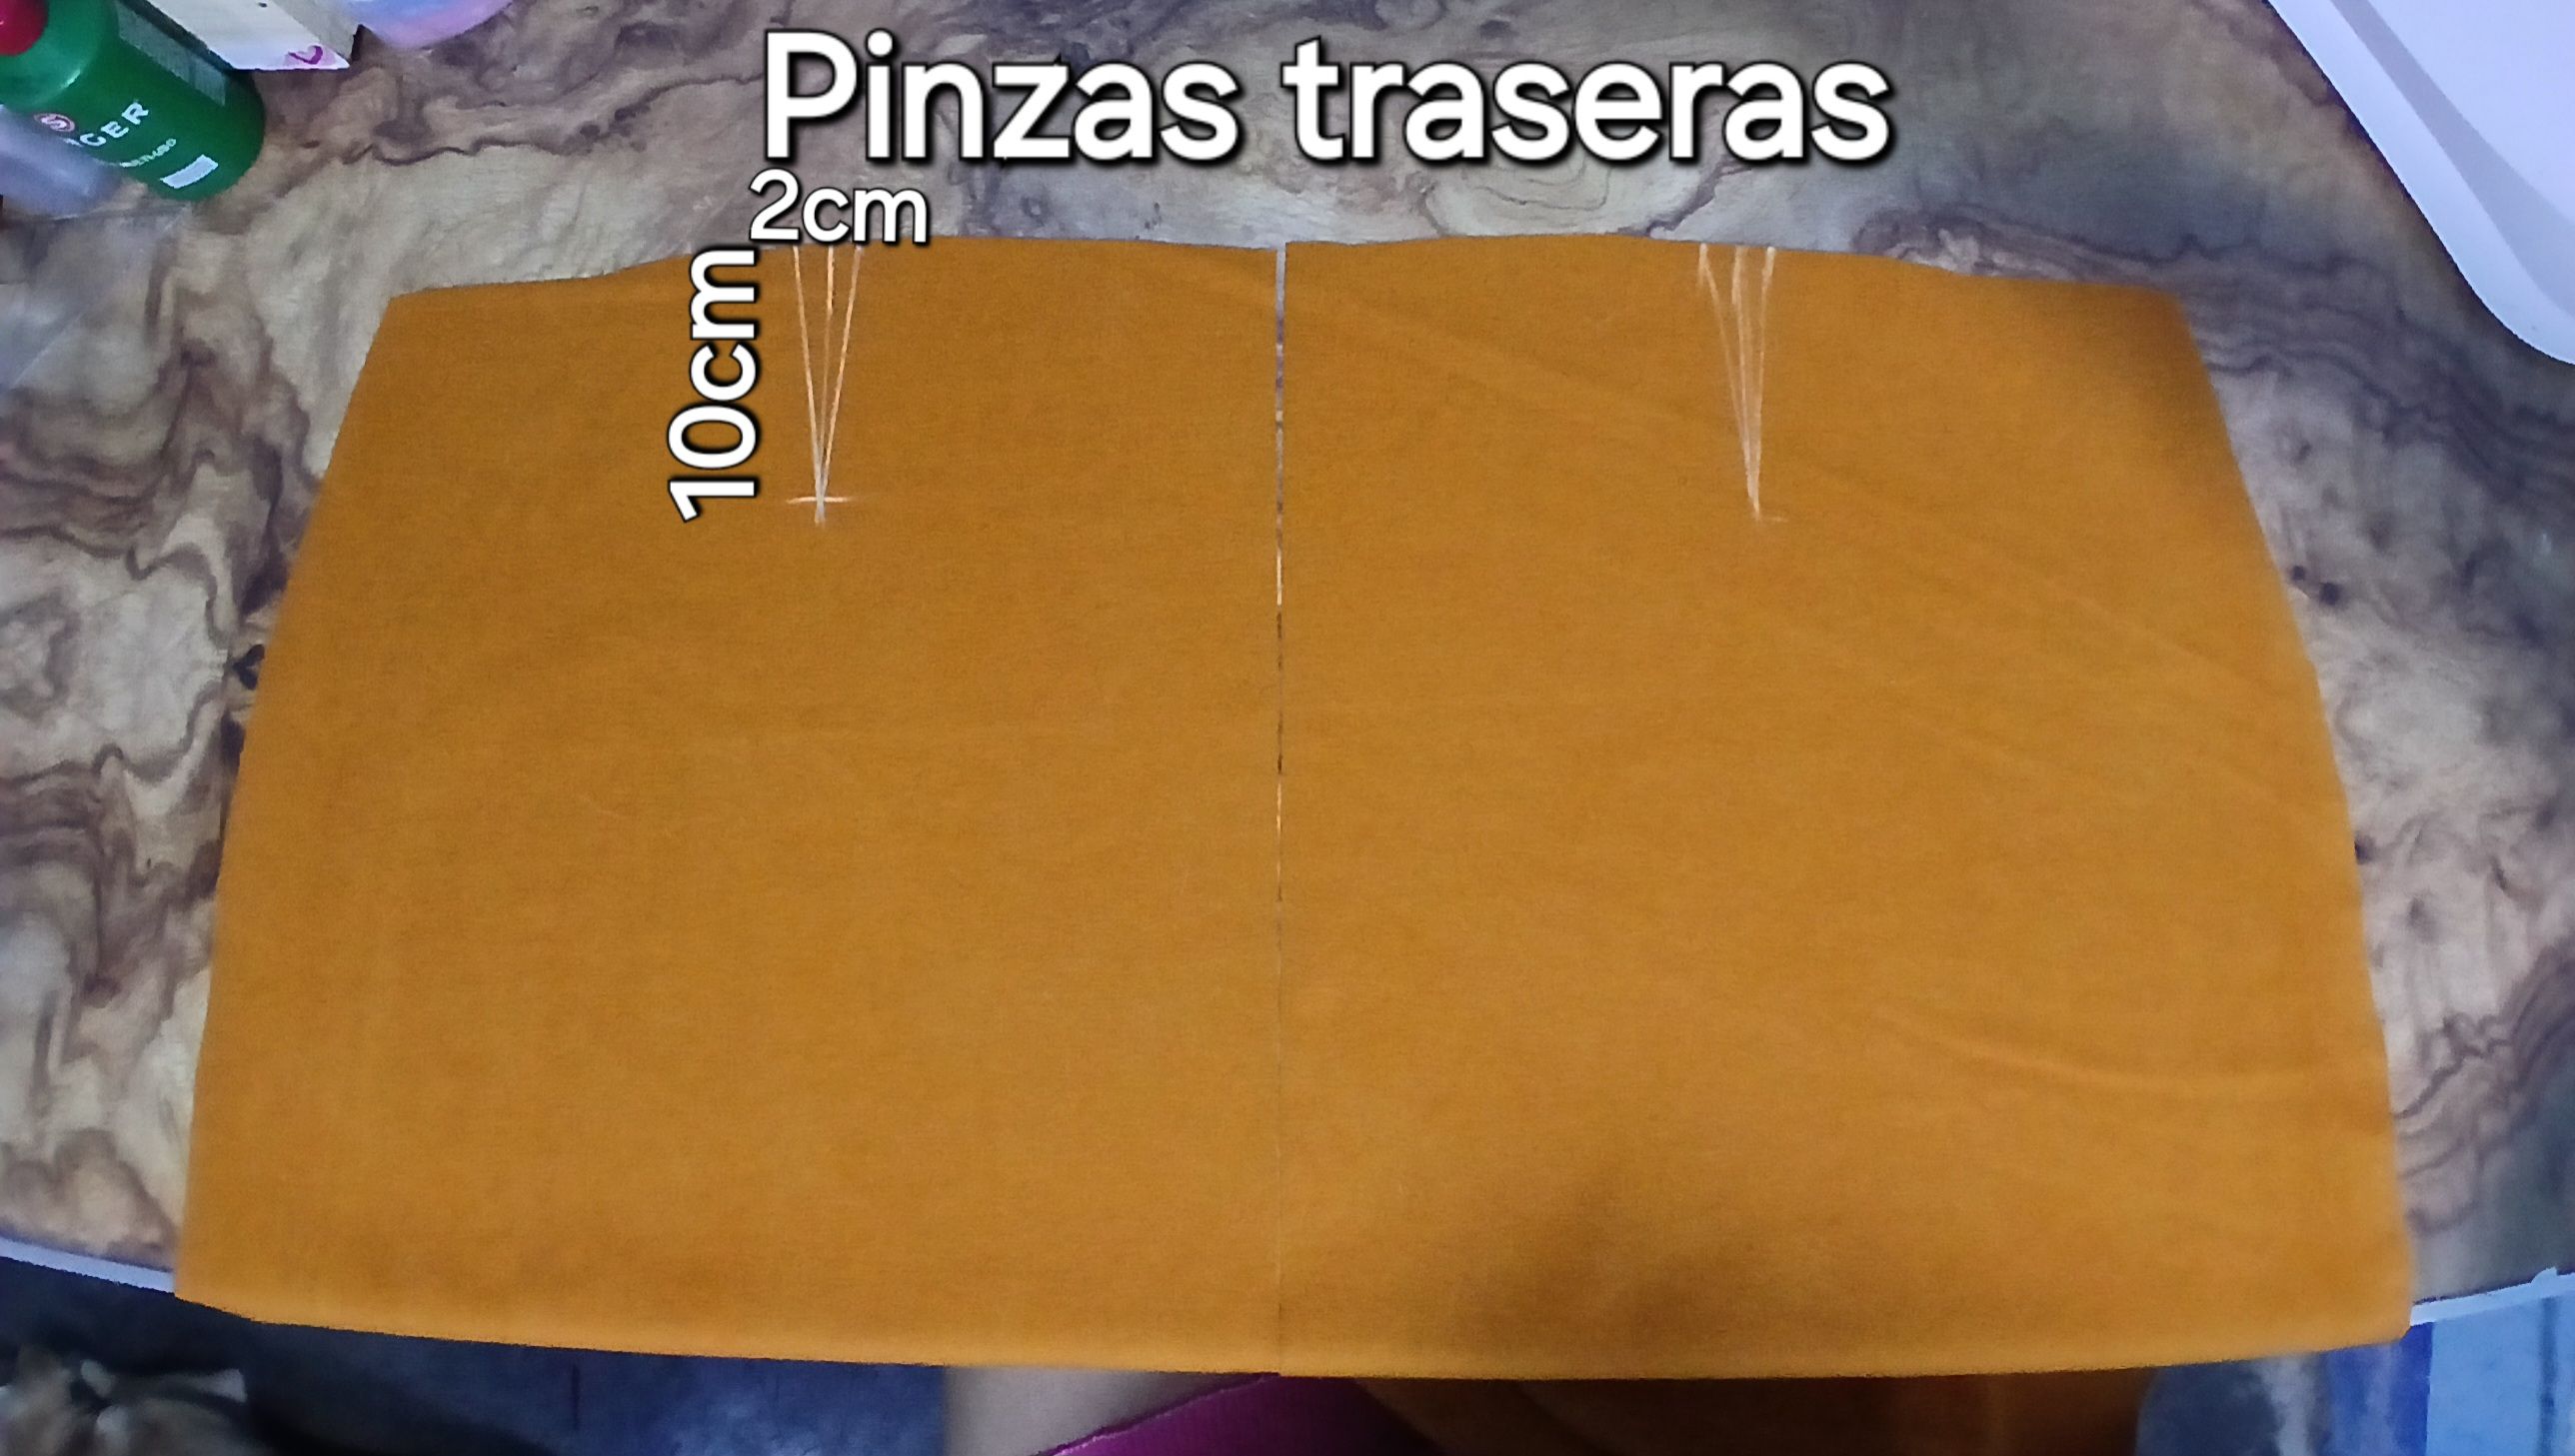
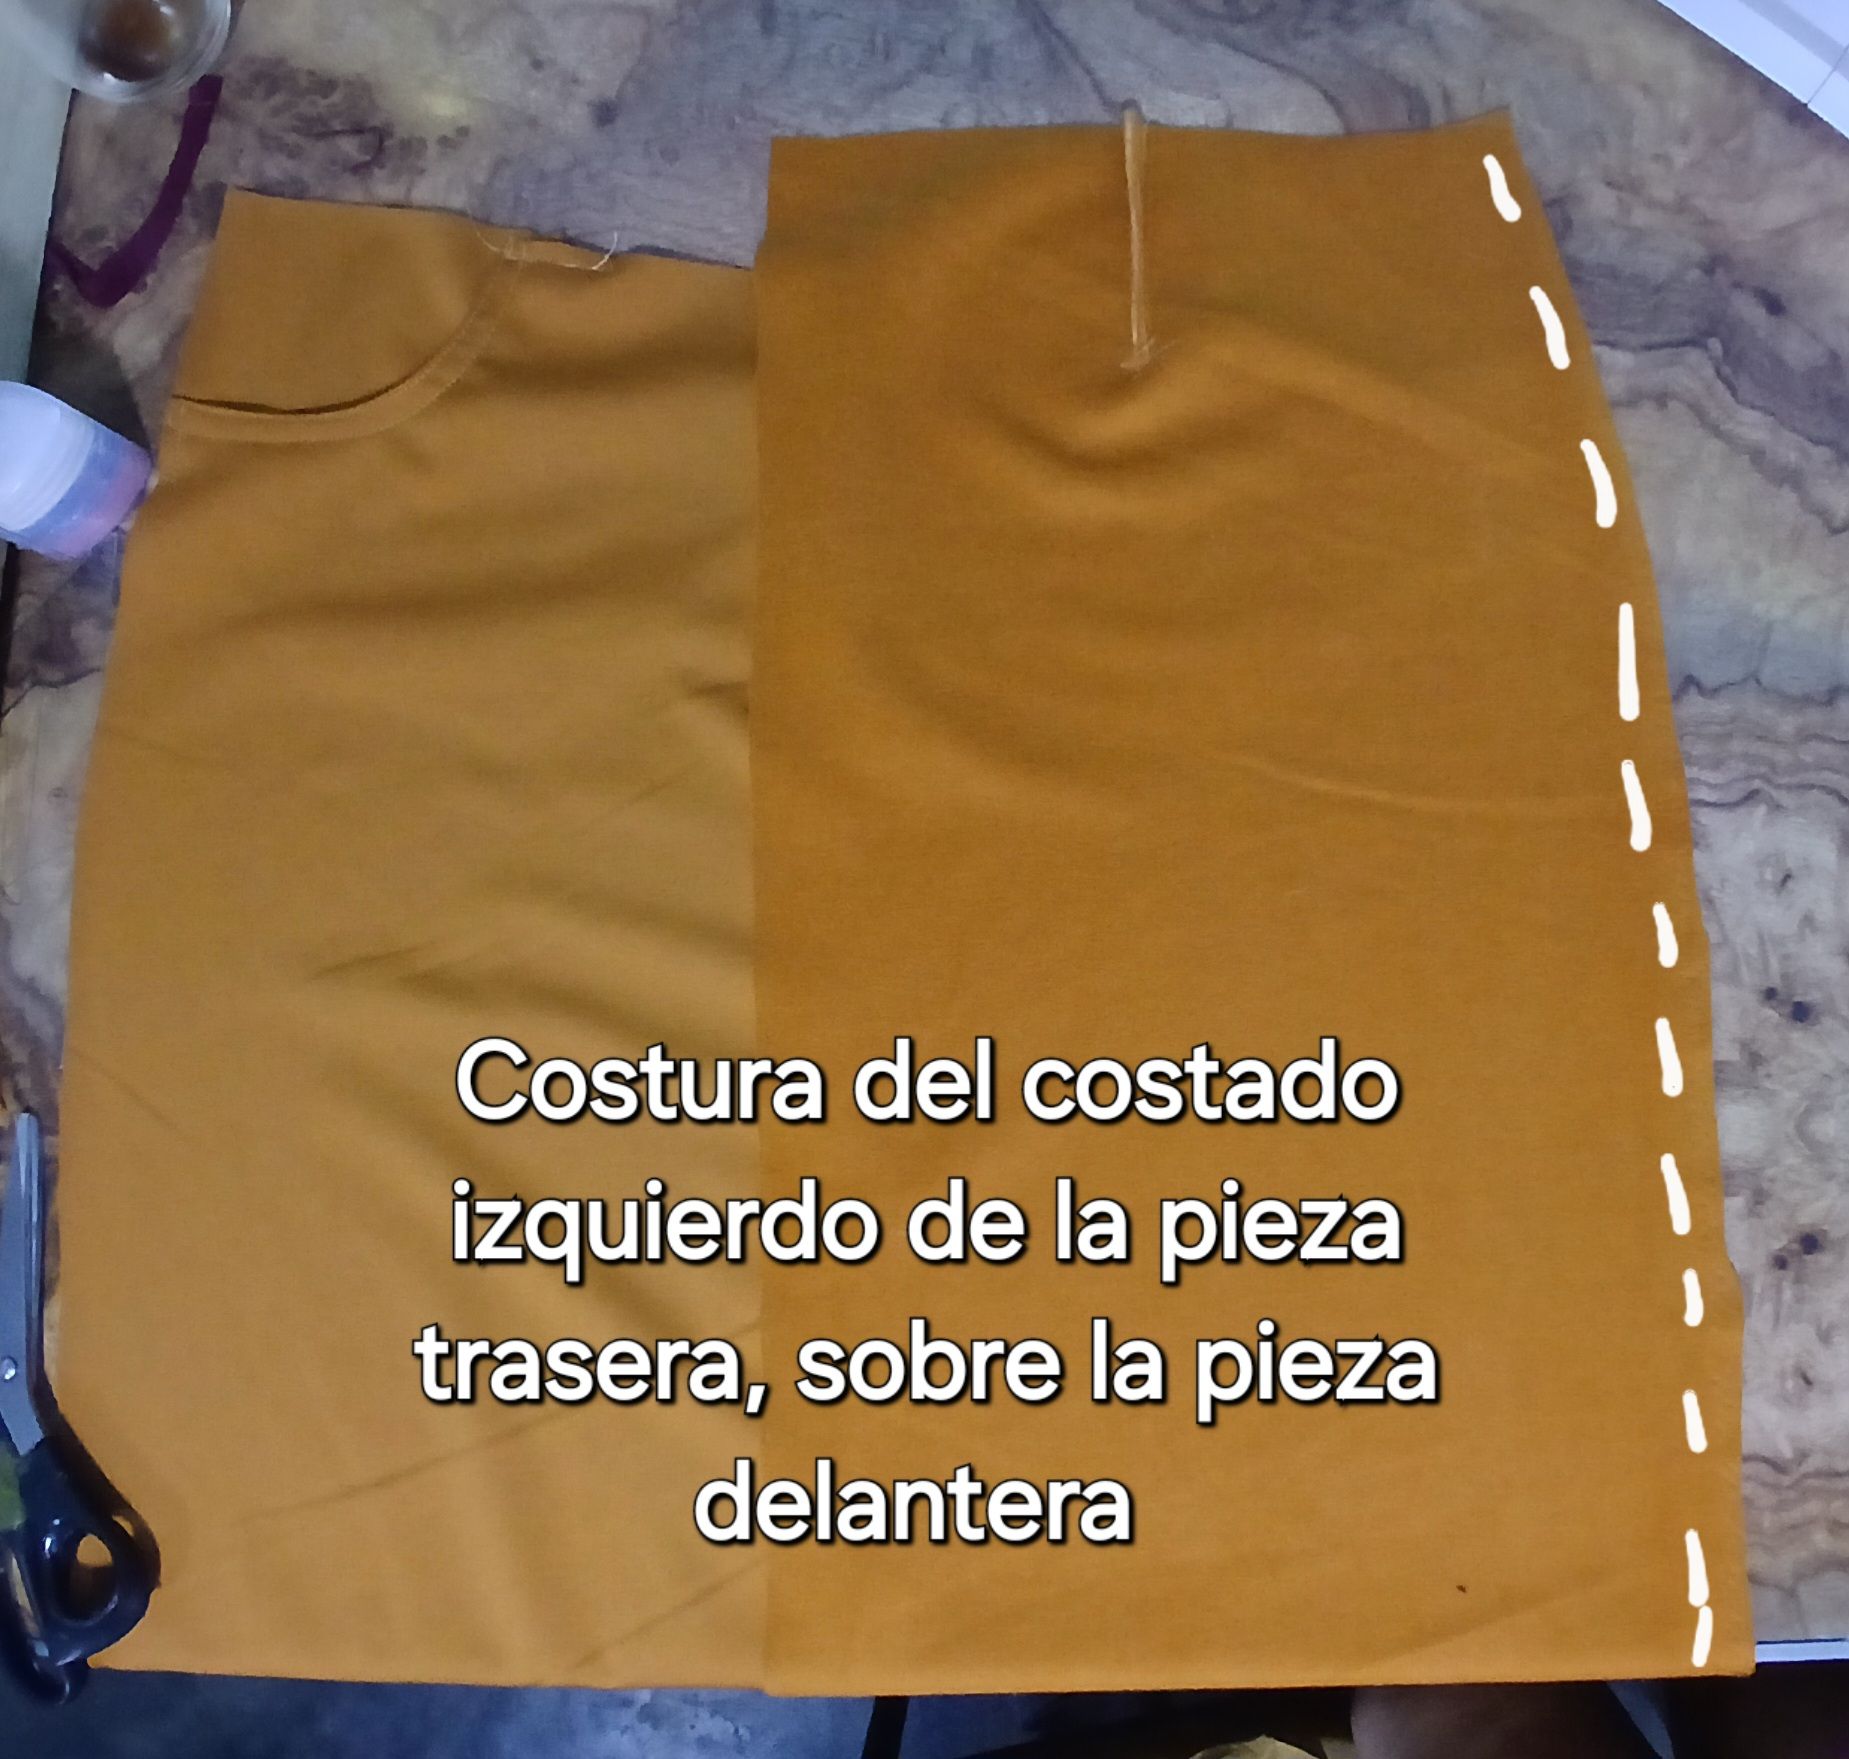
Hice las pinzas de las piezas traseras de la falda y cosí solo los costados de las piezas traseras sobre los costados de las piezas delanteras, colocándolas con los derechos enfrentados sin coser el centro. Ésto es para colocar de forma más cómoda los bolsillos Cargo laterales.
I made the darts for the back pieces of the skirt and sewed only the sides of the back pieces over the sides of the front pieces, placing them right sides together without sewing the center. This is to place the Cargo side pockets more comfortably.
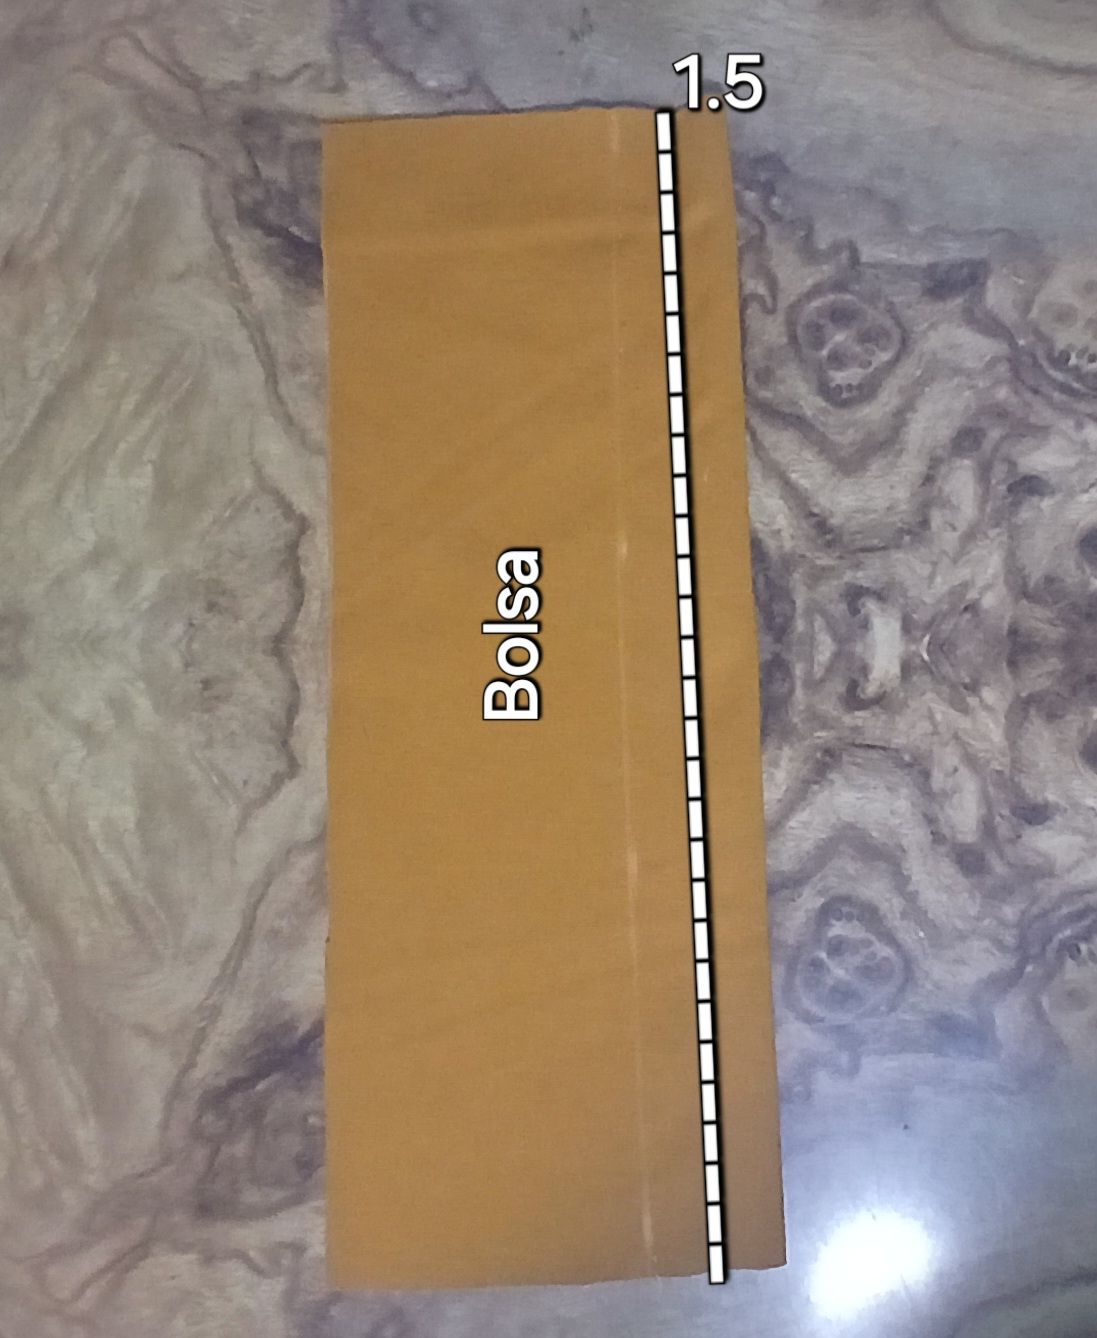
Para los bolsillos cargo, corté dos piezas de tela de 21cm de ancho y 24 cm de largo, además corté 4 rectángulos de 18 cm de ancho y 9 cm de alto para hacer las tapas de los bolsillos
For the cargo pockets, I cut two pieces of fabric 21 cm wide and 24 cm long, and cut 4 rectangles 18 cm wide and 9 cm high to make the pocket covers.

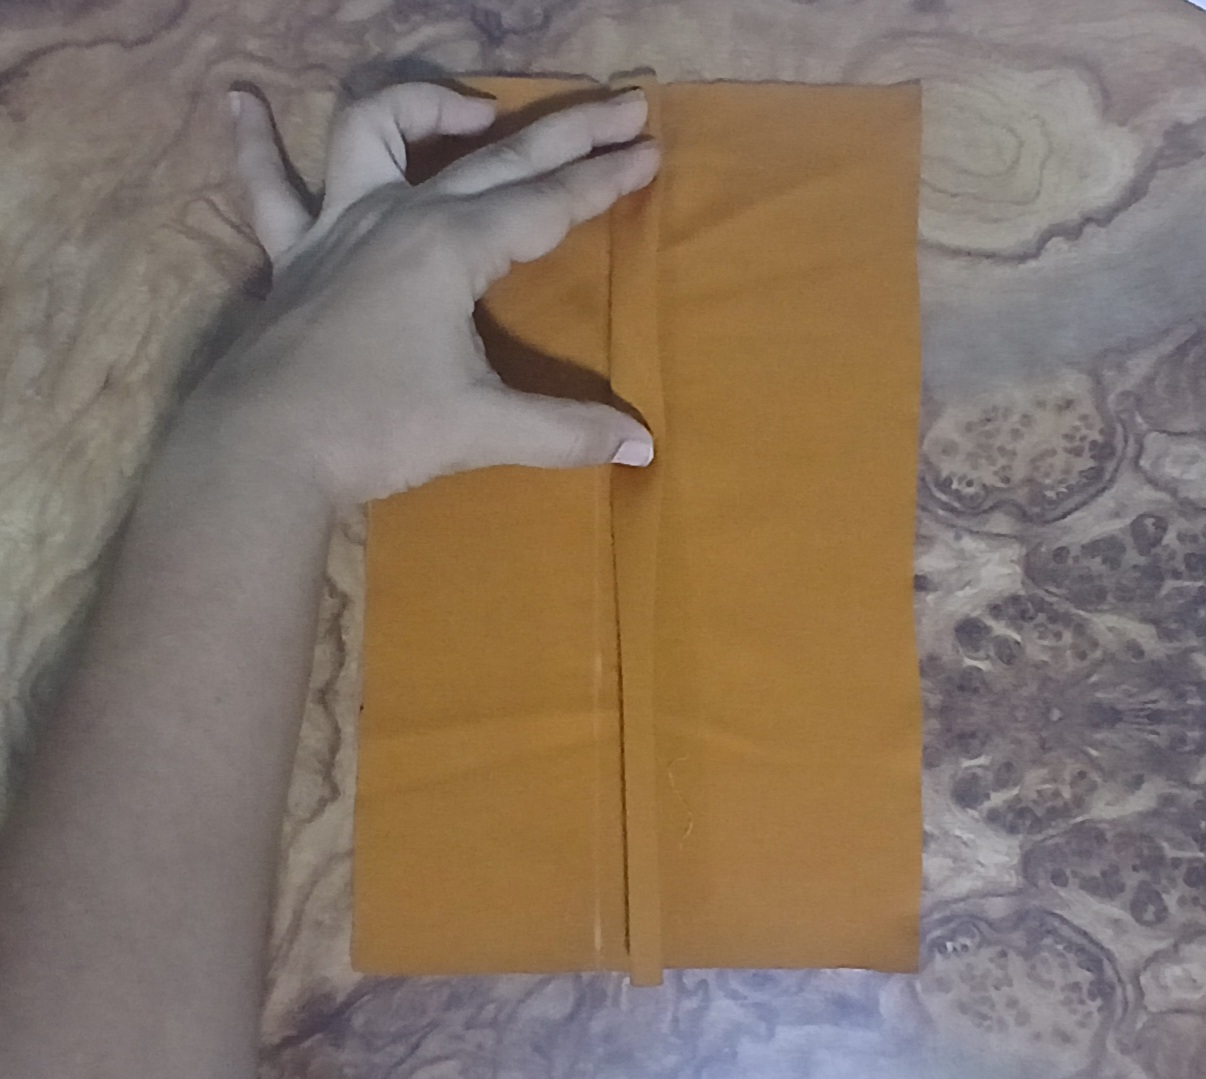
Doblé por la mitad, en forma vertical, las piezas de los bolsillos e hice una costura de 1.5 cm de ancho, abrí el bolsillo pasé con los dedos para crear una franja.
I folded in half, vertically, the pocket pieces and made a 1.5 cm wide seam, opened the pocket, and ran my fingers through it to create a stripe.
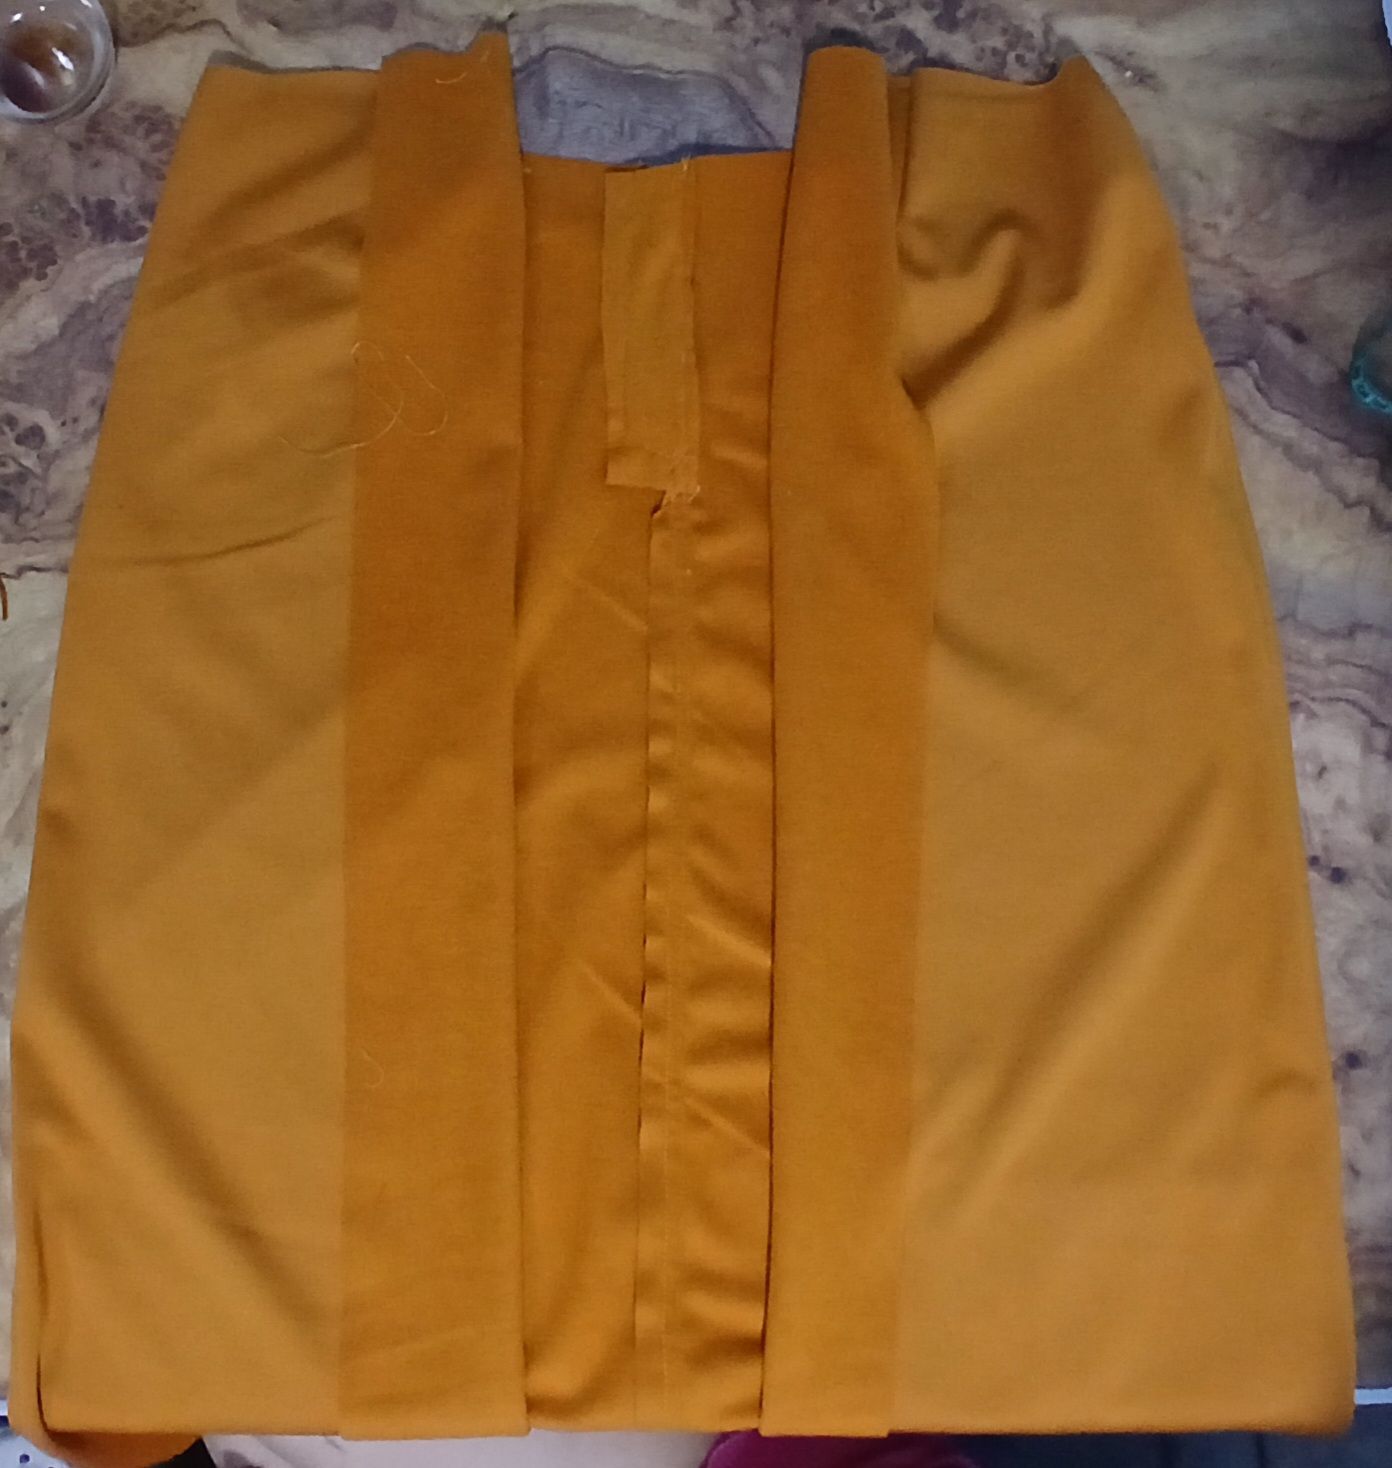
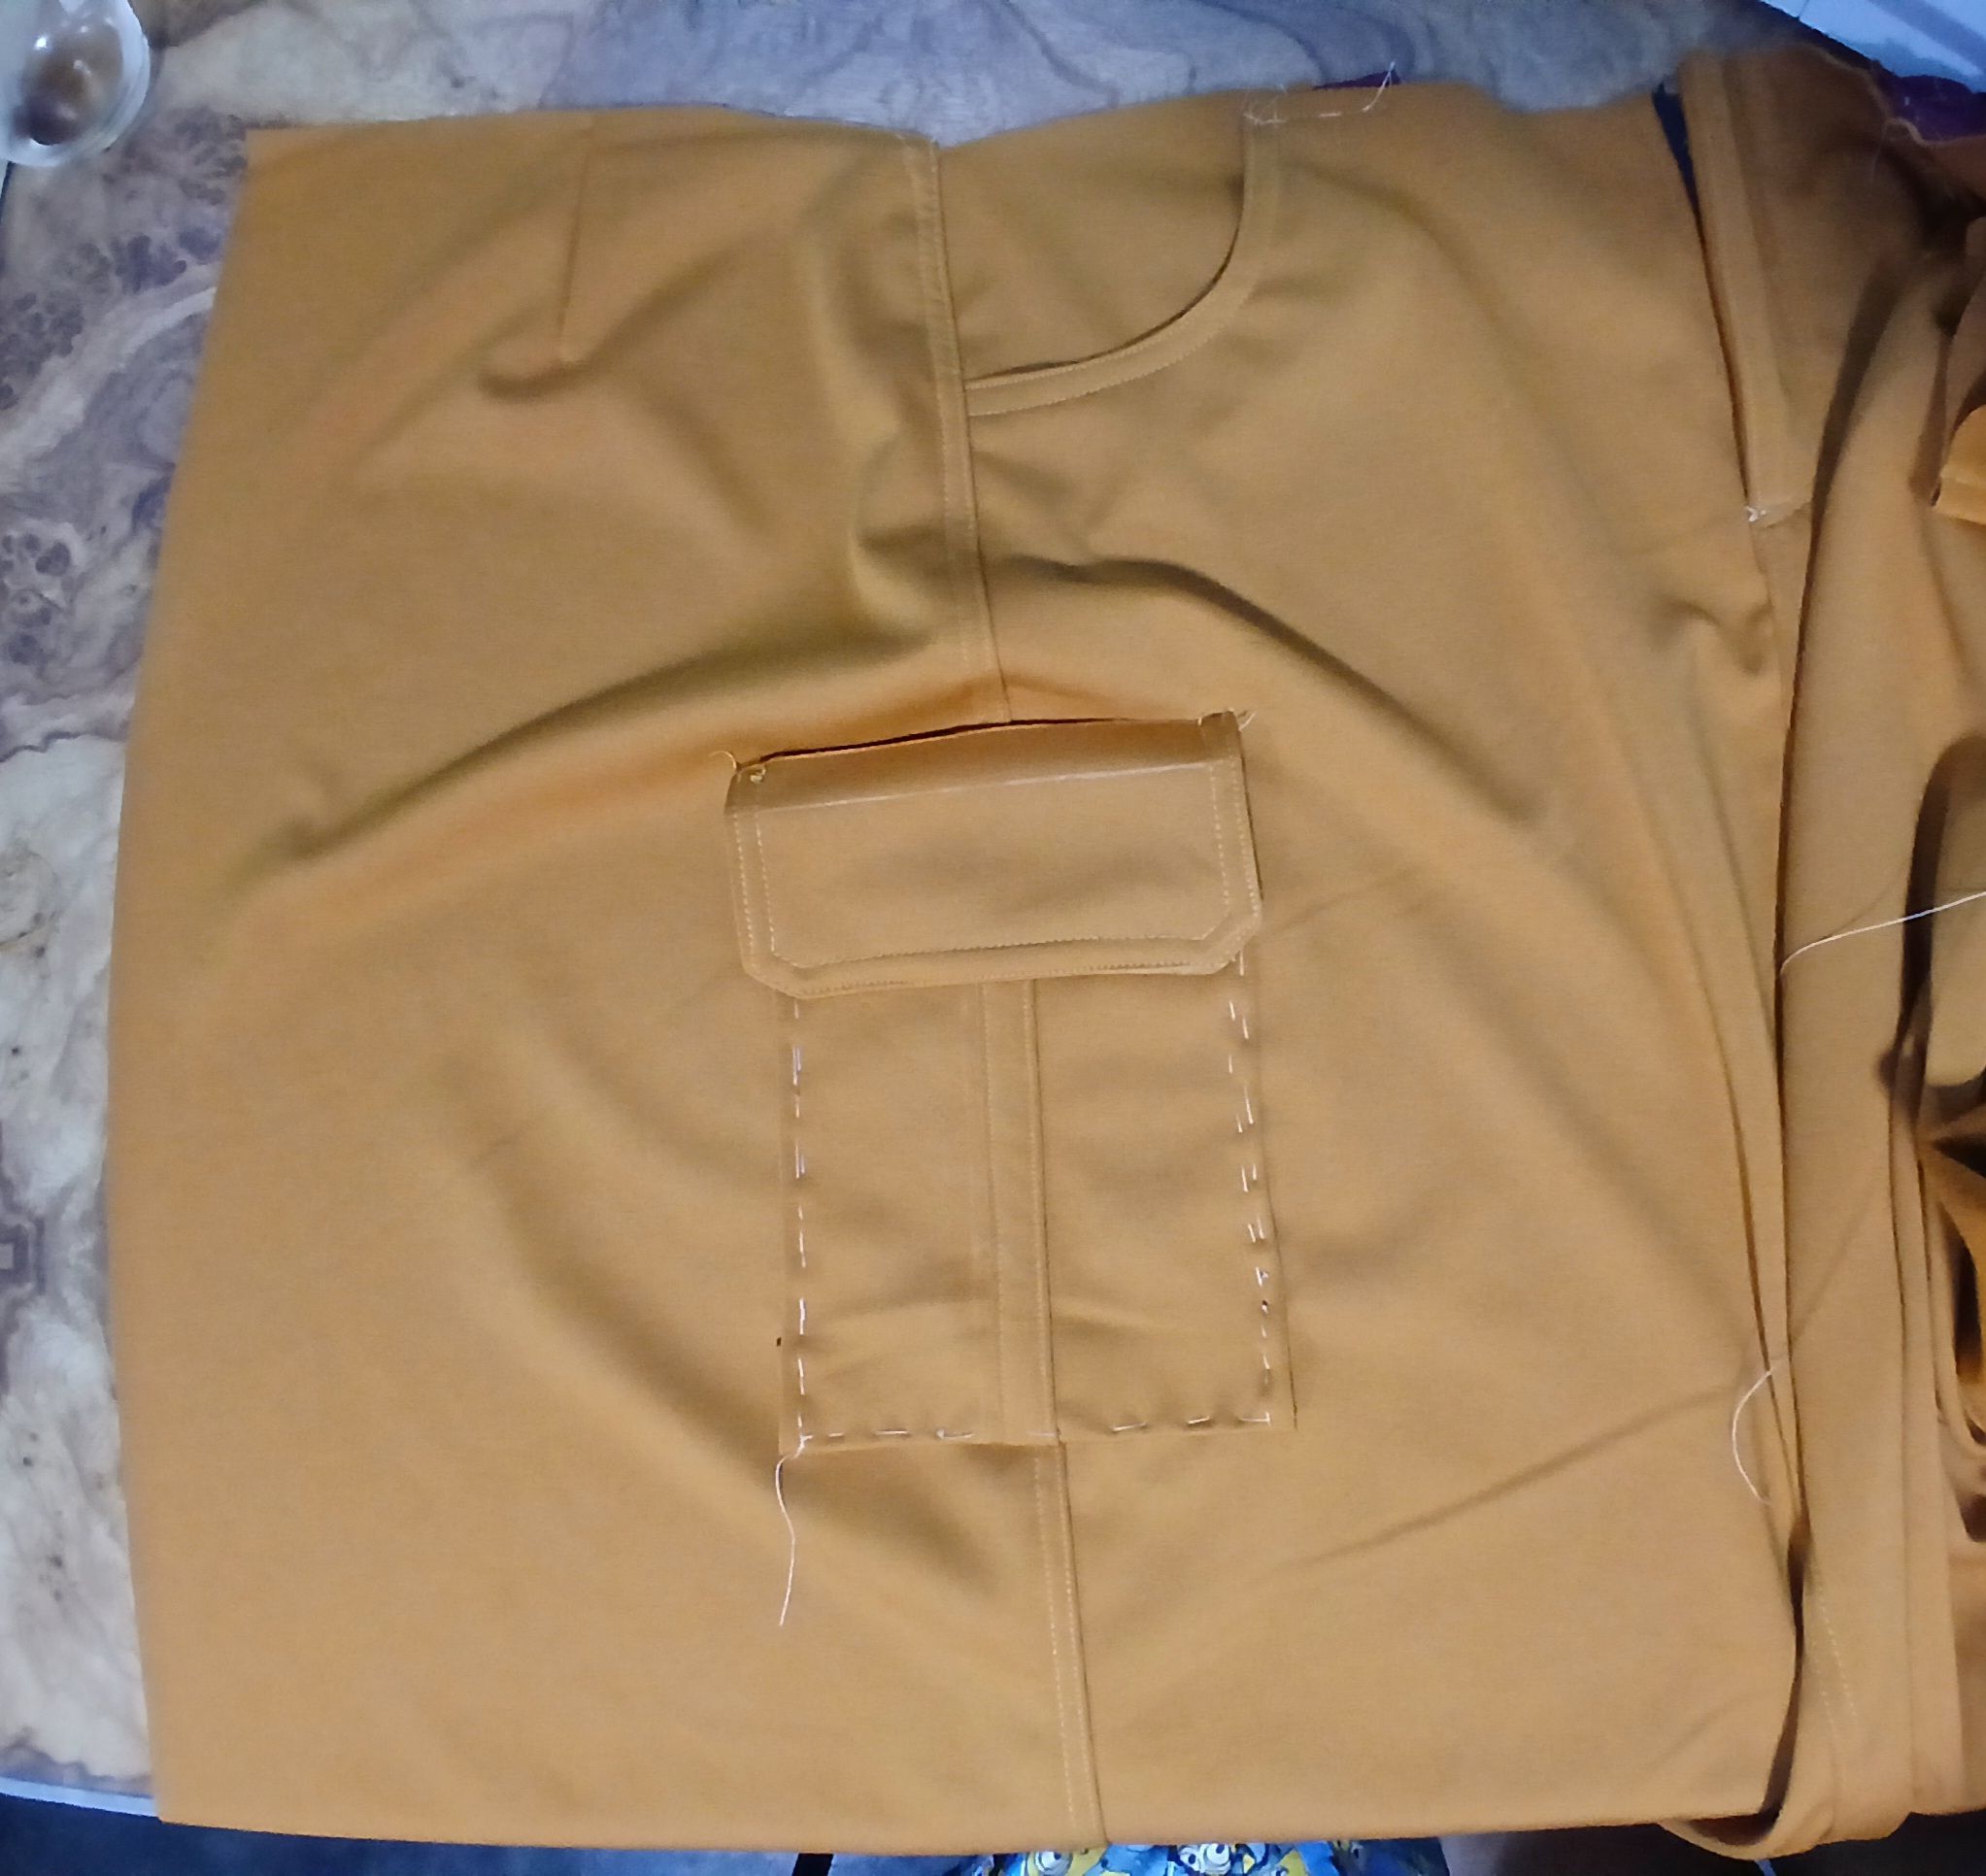
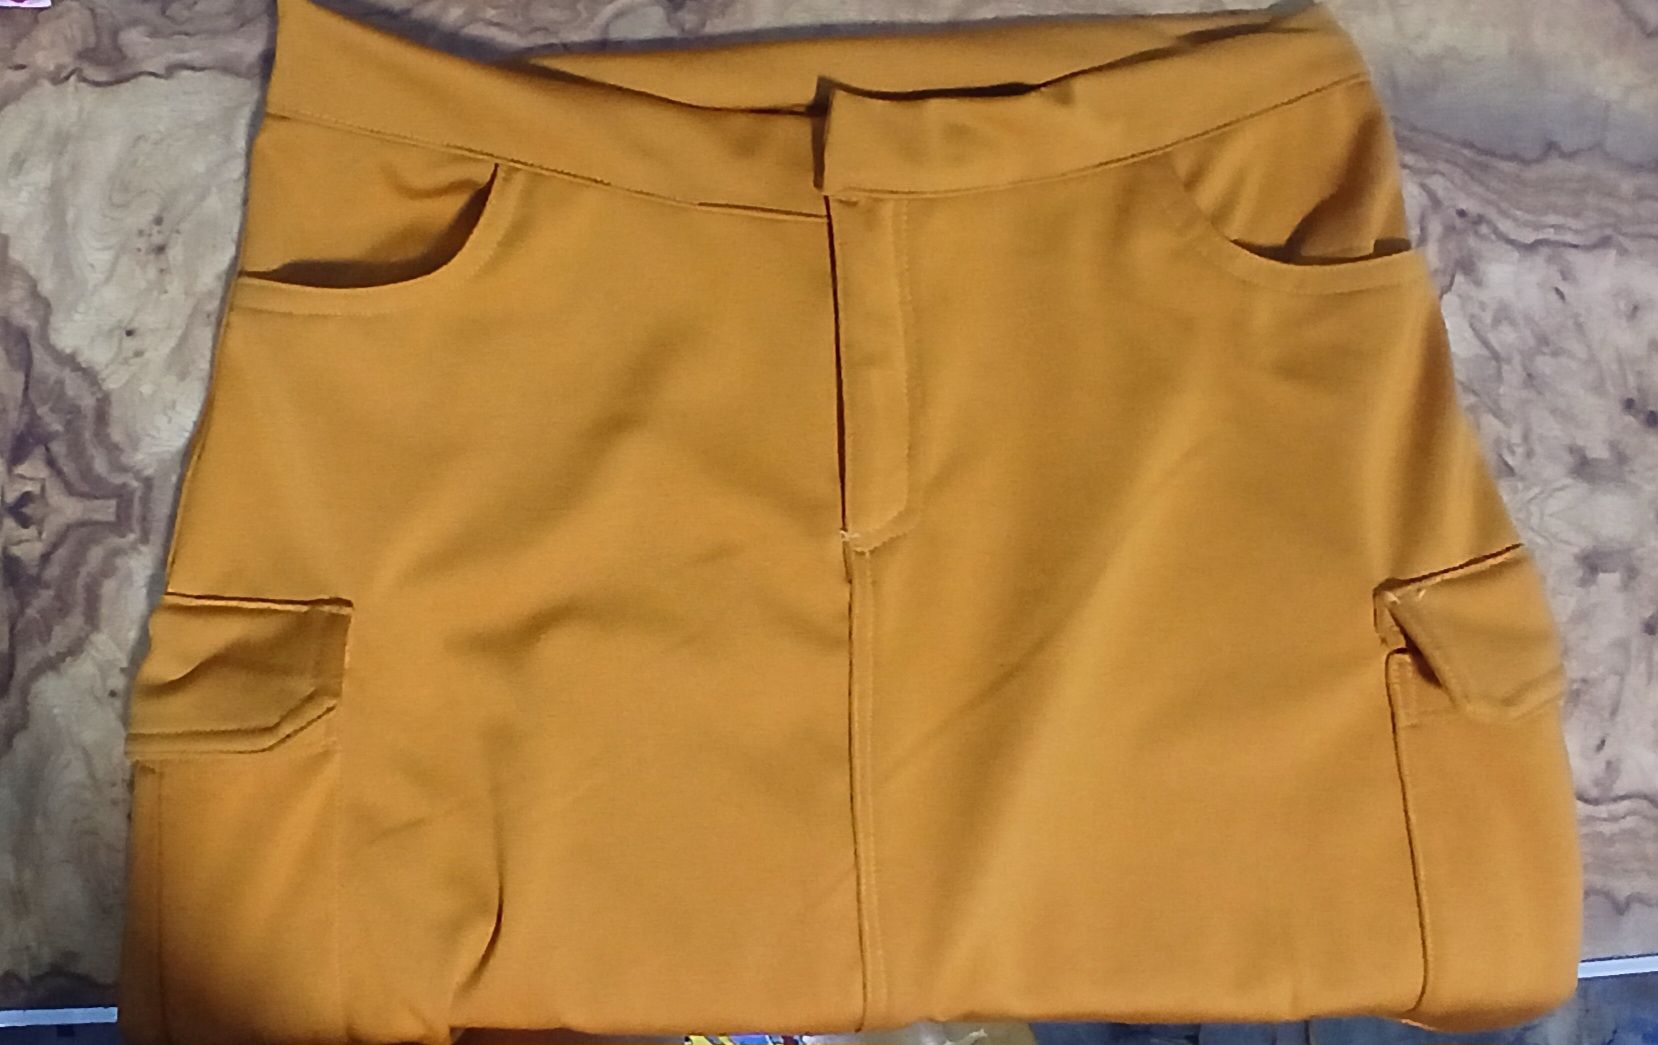
Posteriormente procedí a colocar los bolsillos con sus tapas, en los costados de la falda.
I then proceeded to place the pockets with their covers on the sides of the skirt.
Realicé la costura trasera para cerrar la falda y coloqué la pretina.
I made the back seam to close the skirt and placed the waistband.
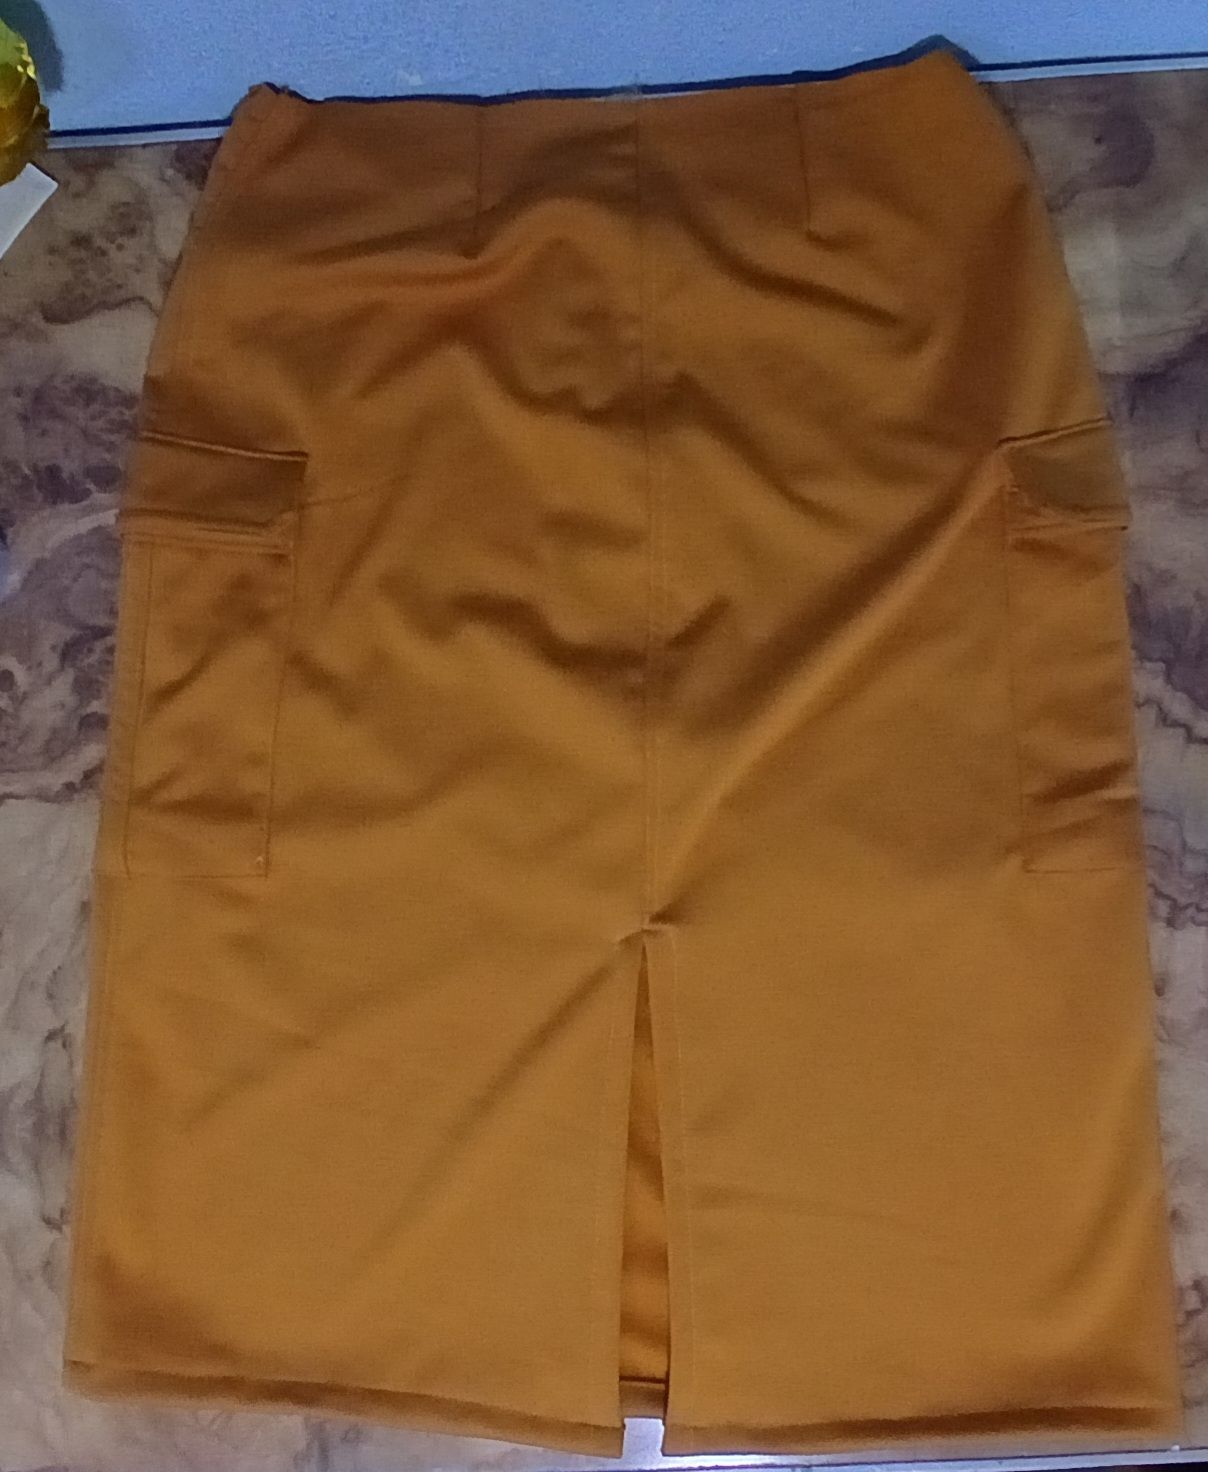

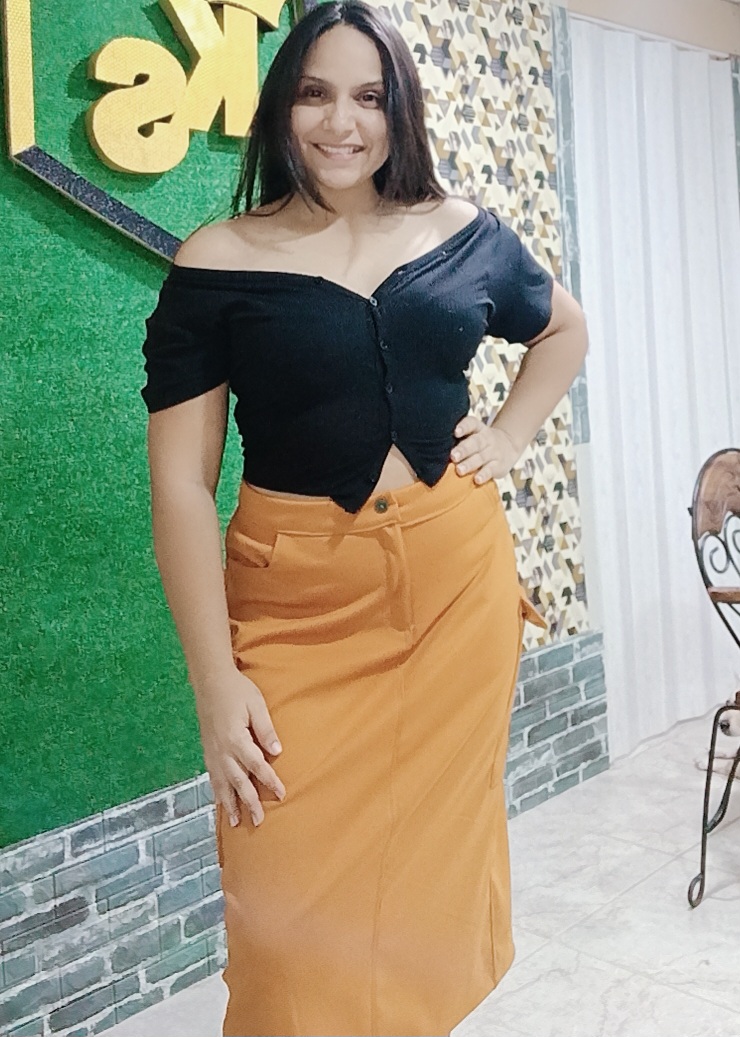
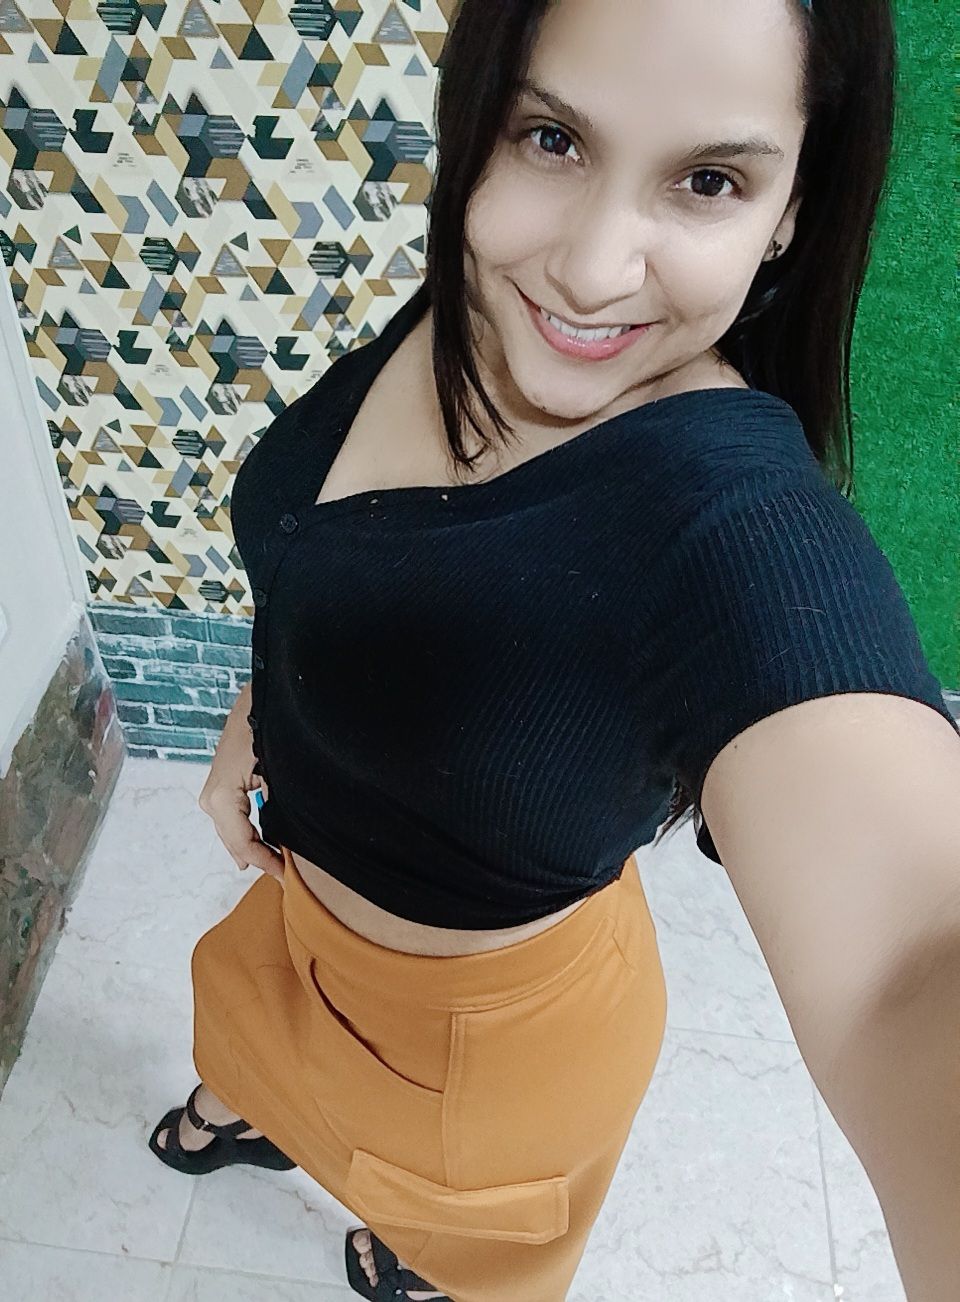
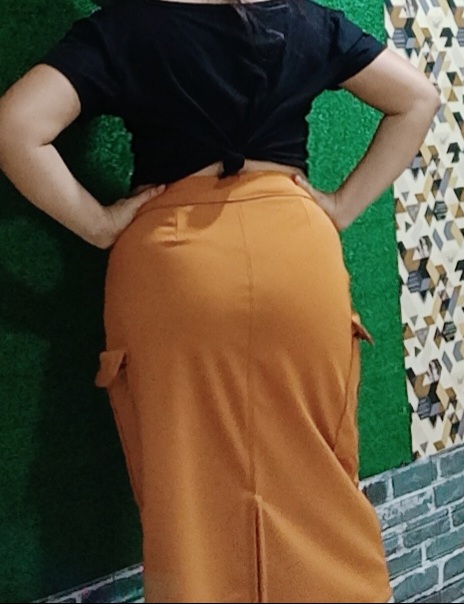
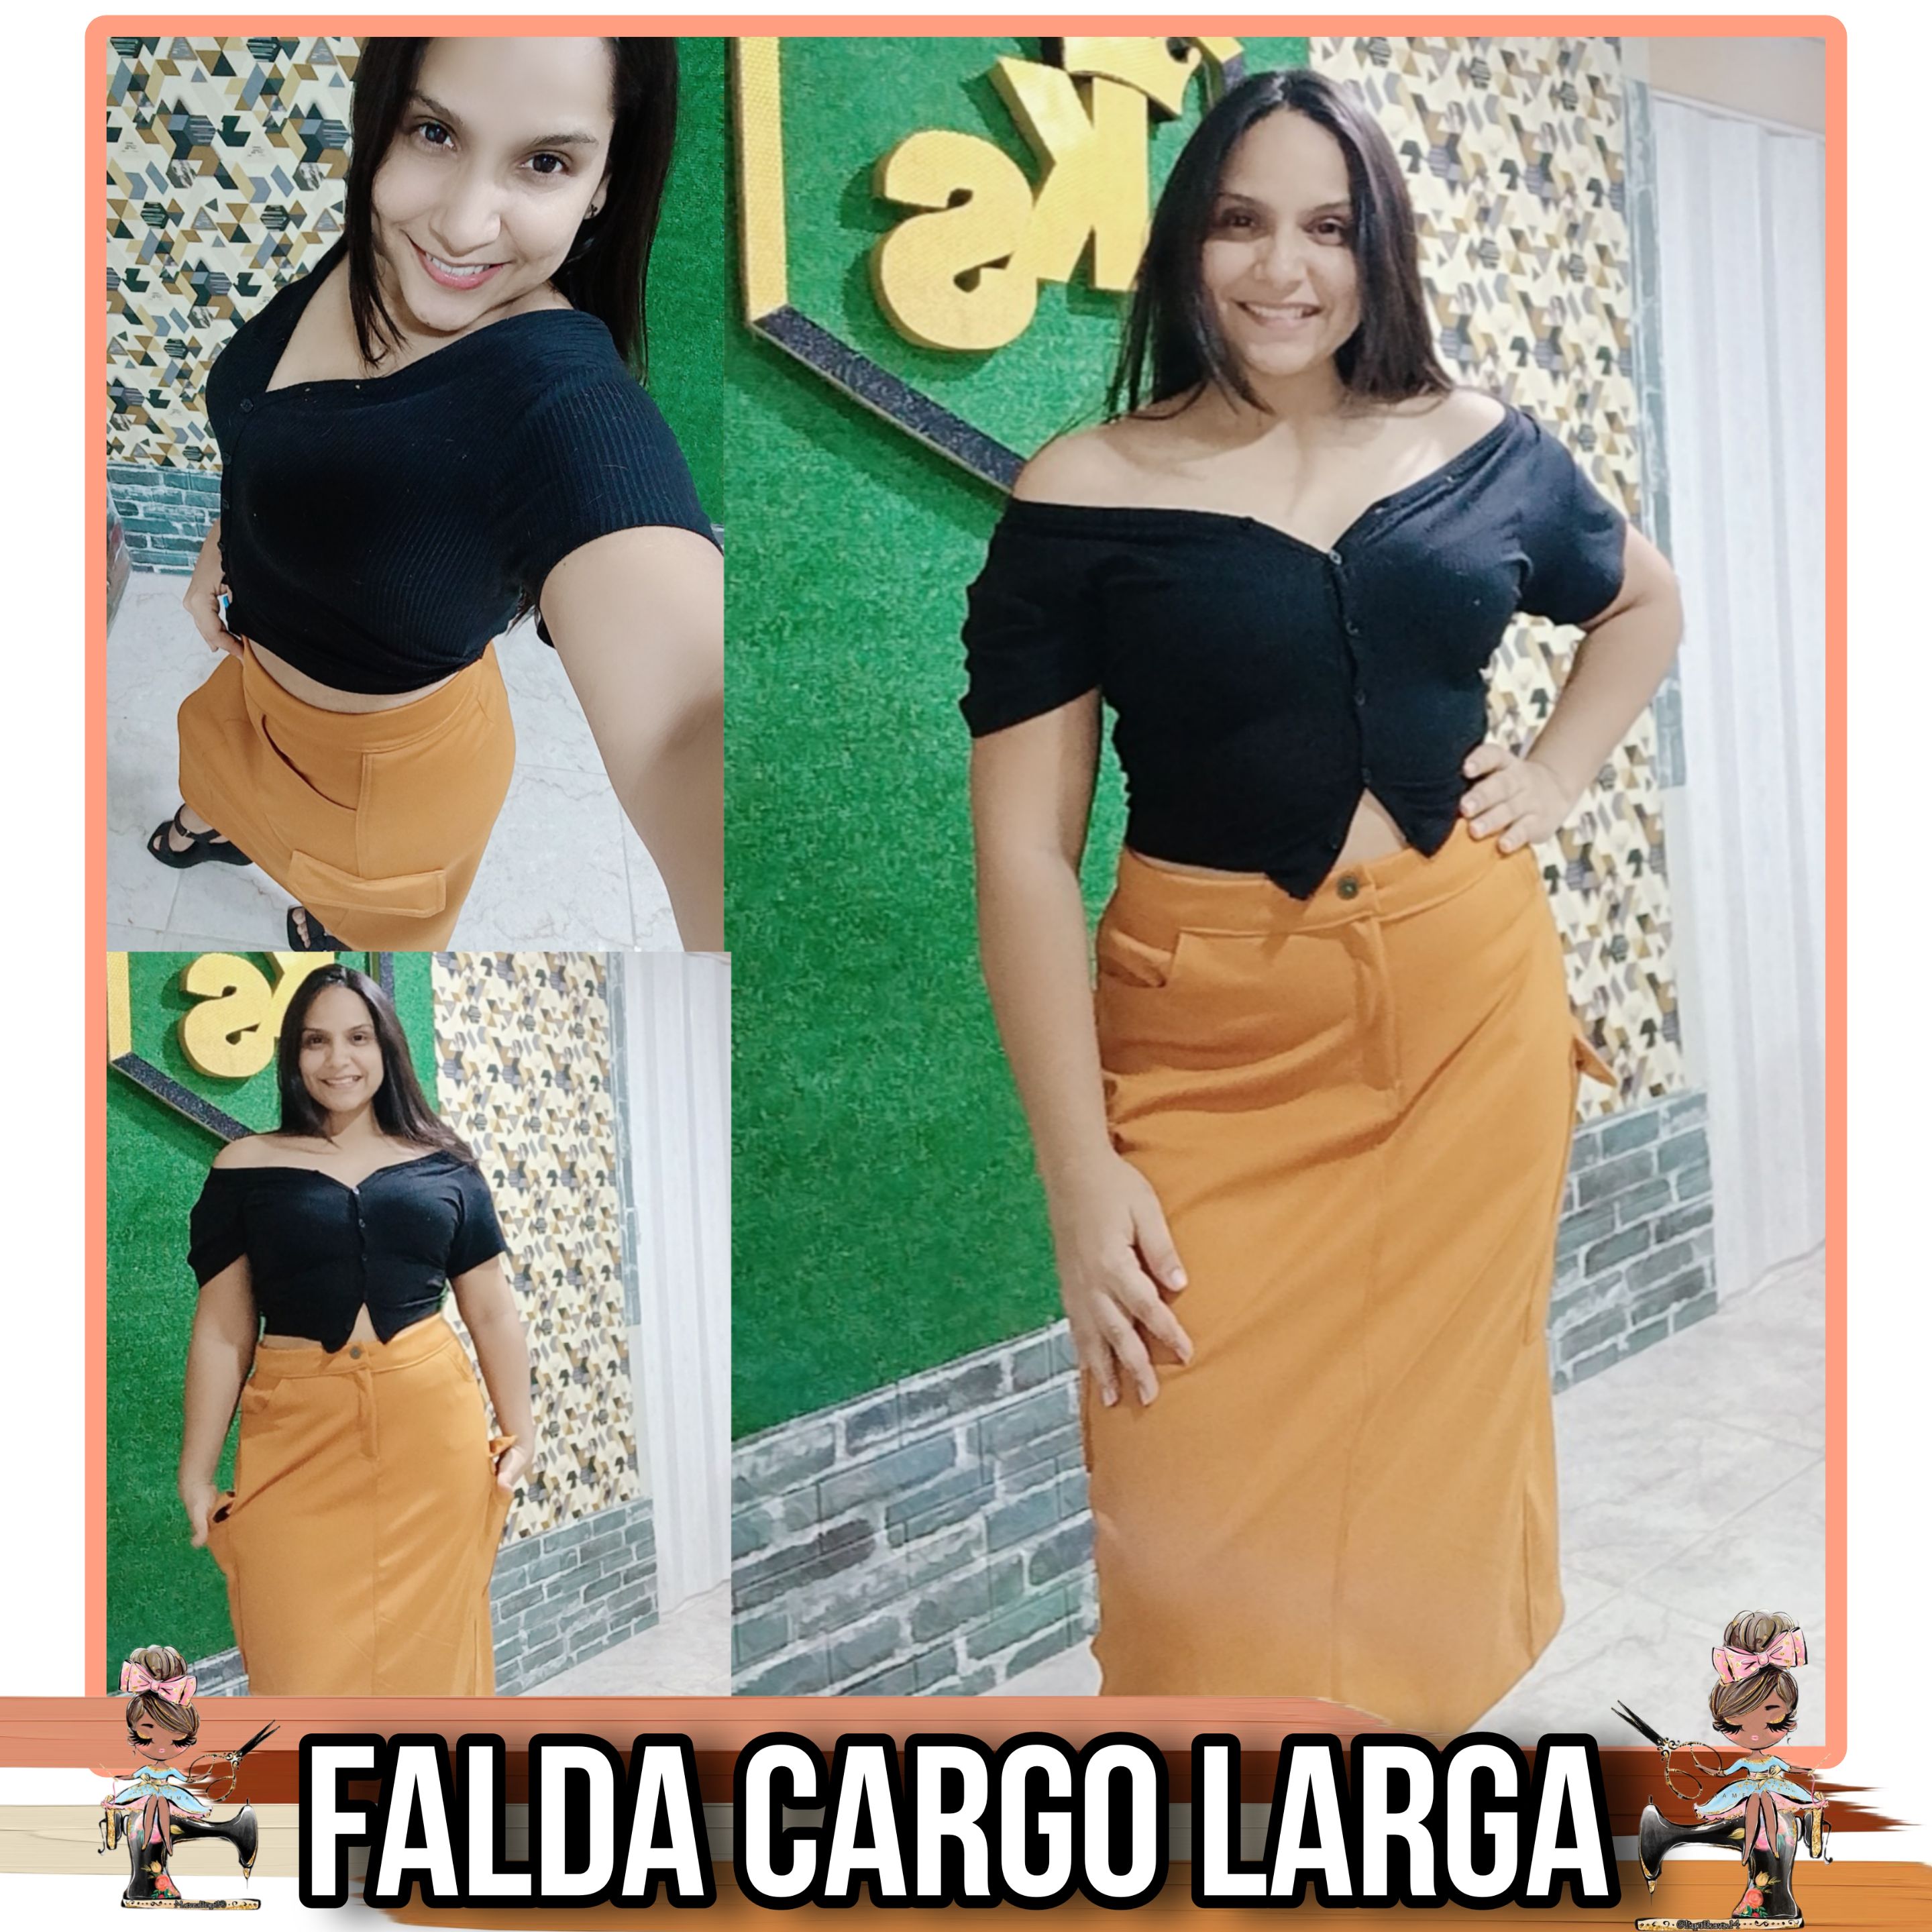
Y así obtendremos una nueva prenda de vestir elegante y a la moda, espero te haya gustado tanto como a mi y el tutorial sea de gran utilidad. Muchas bendiciones apreciada colmena 🙏🏻 💗.
And so we will get a new elegant and fashionable garment, I hope you liked it as much as I did and the tutorial will be very useful. Many blessings appreciated hive 🙏🏻 💗.