

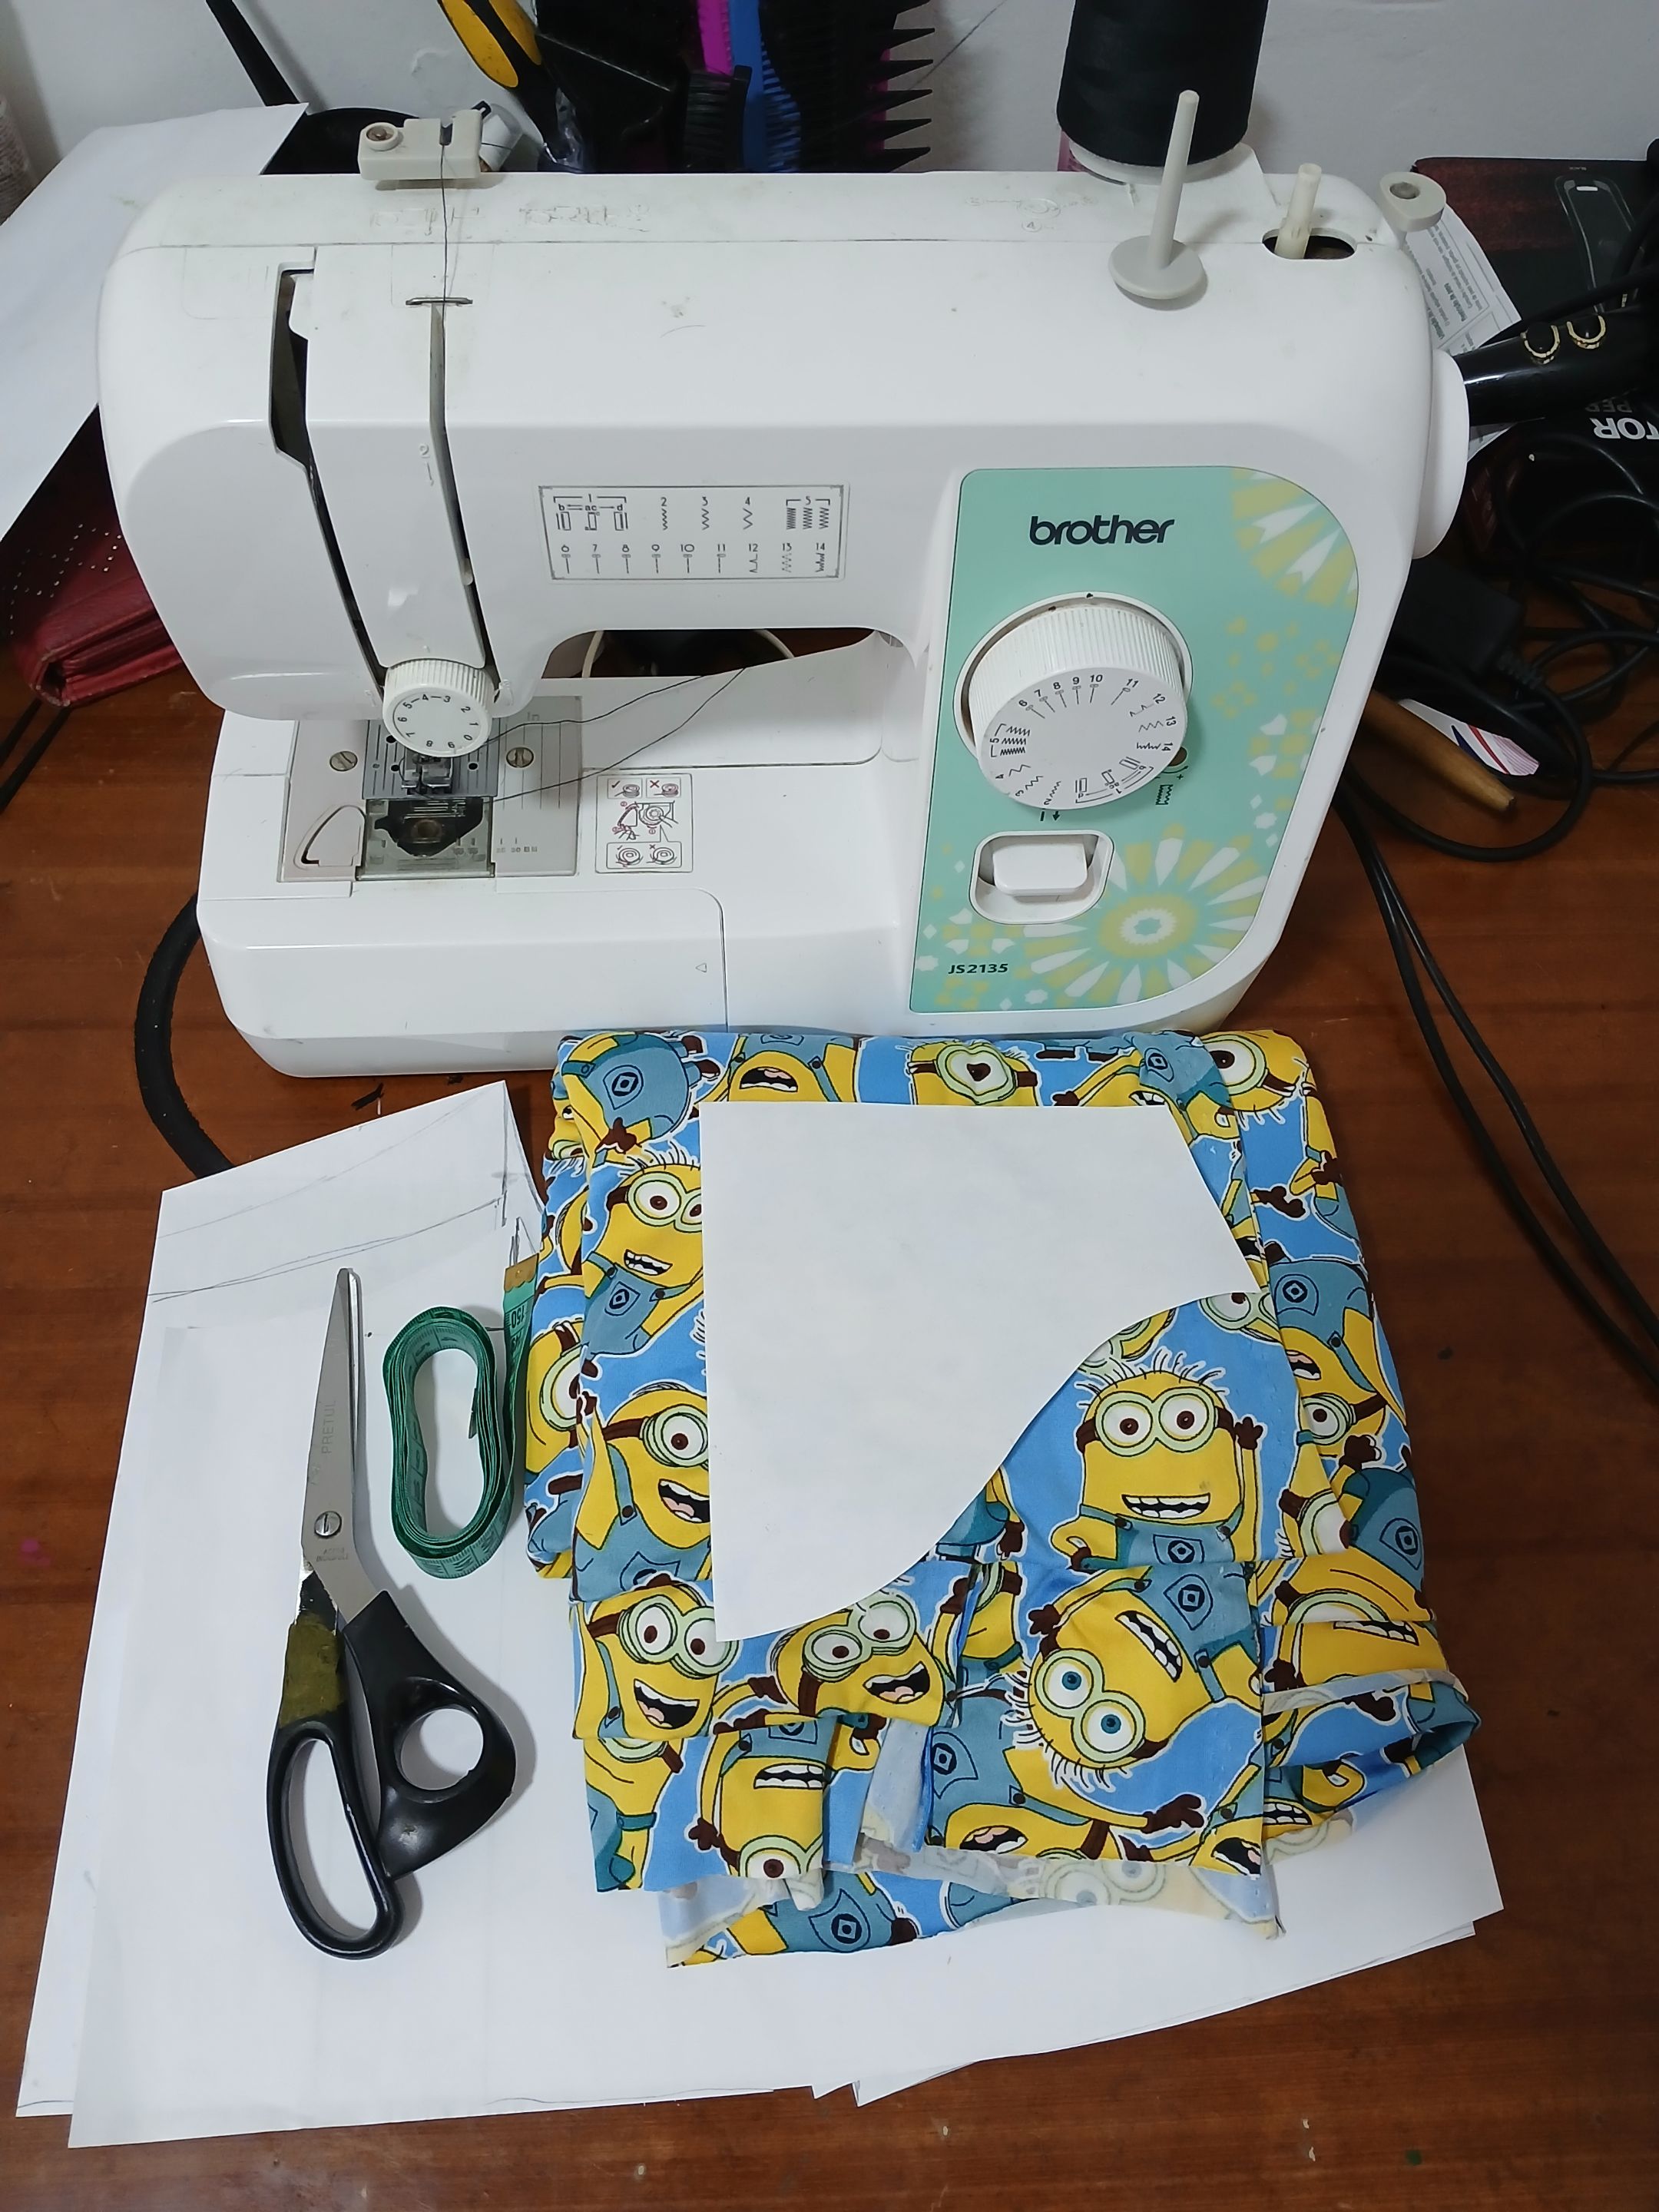

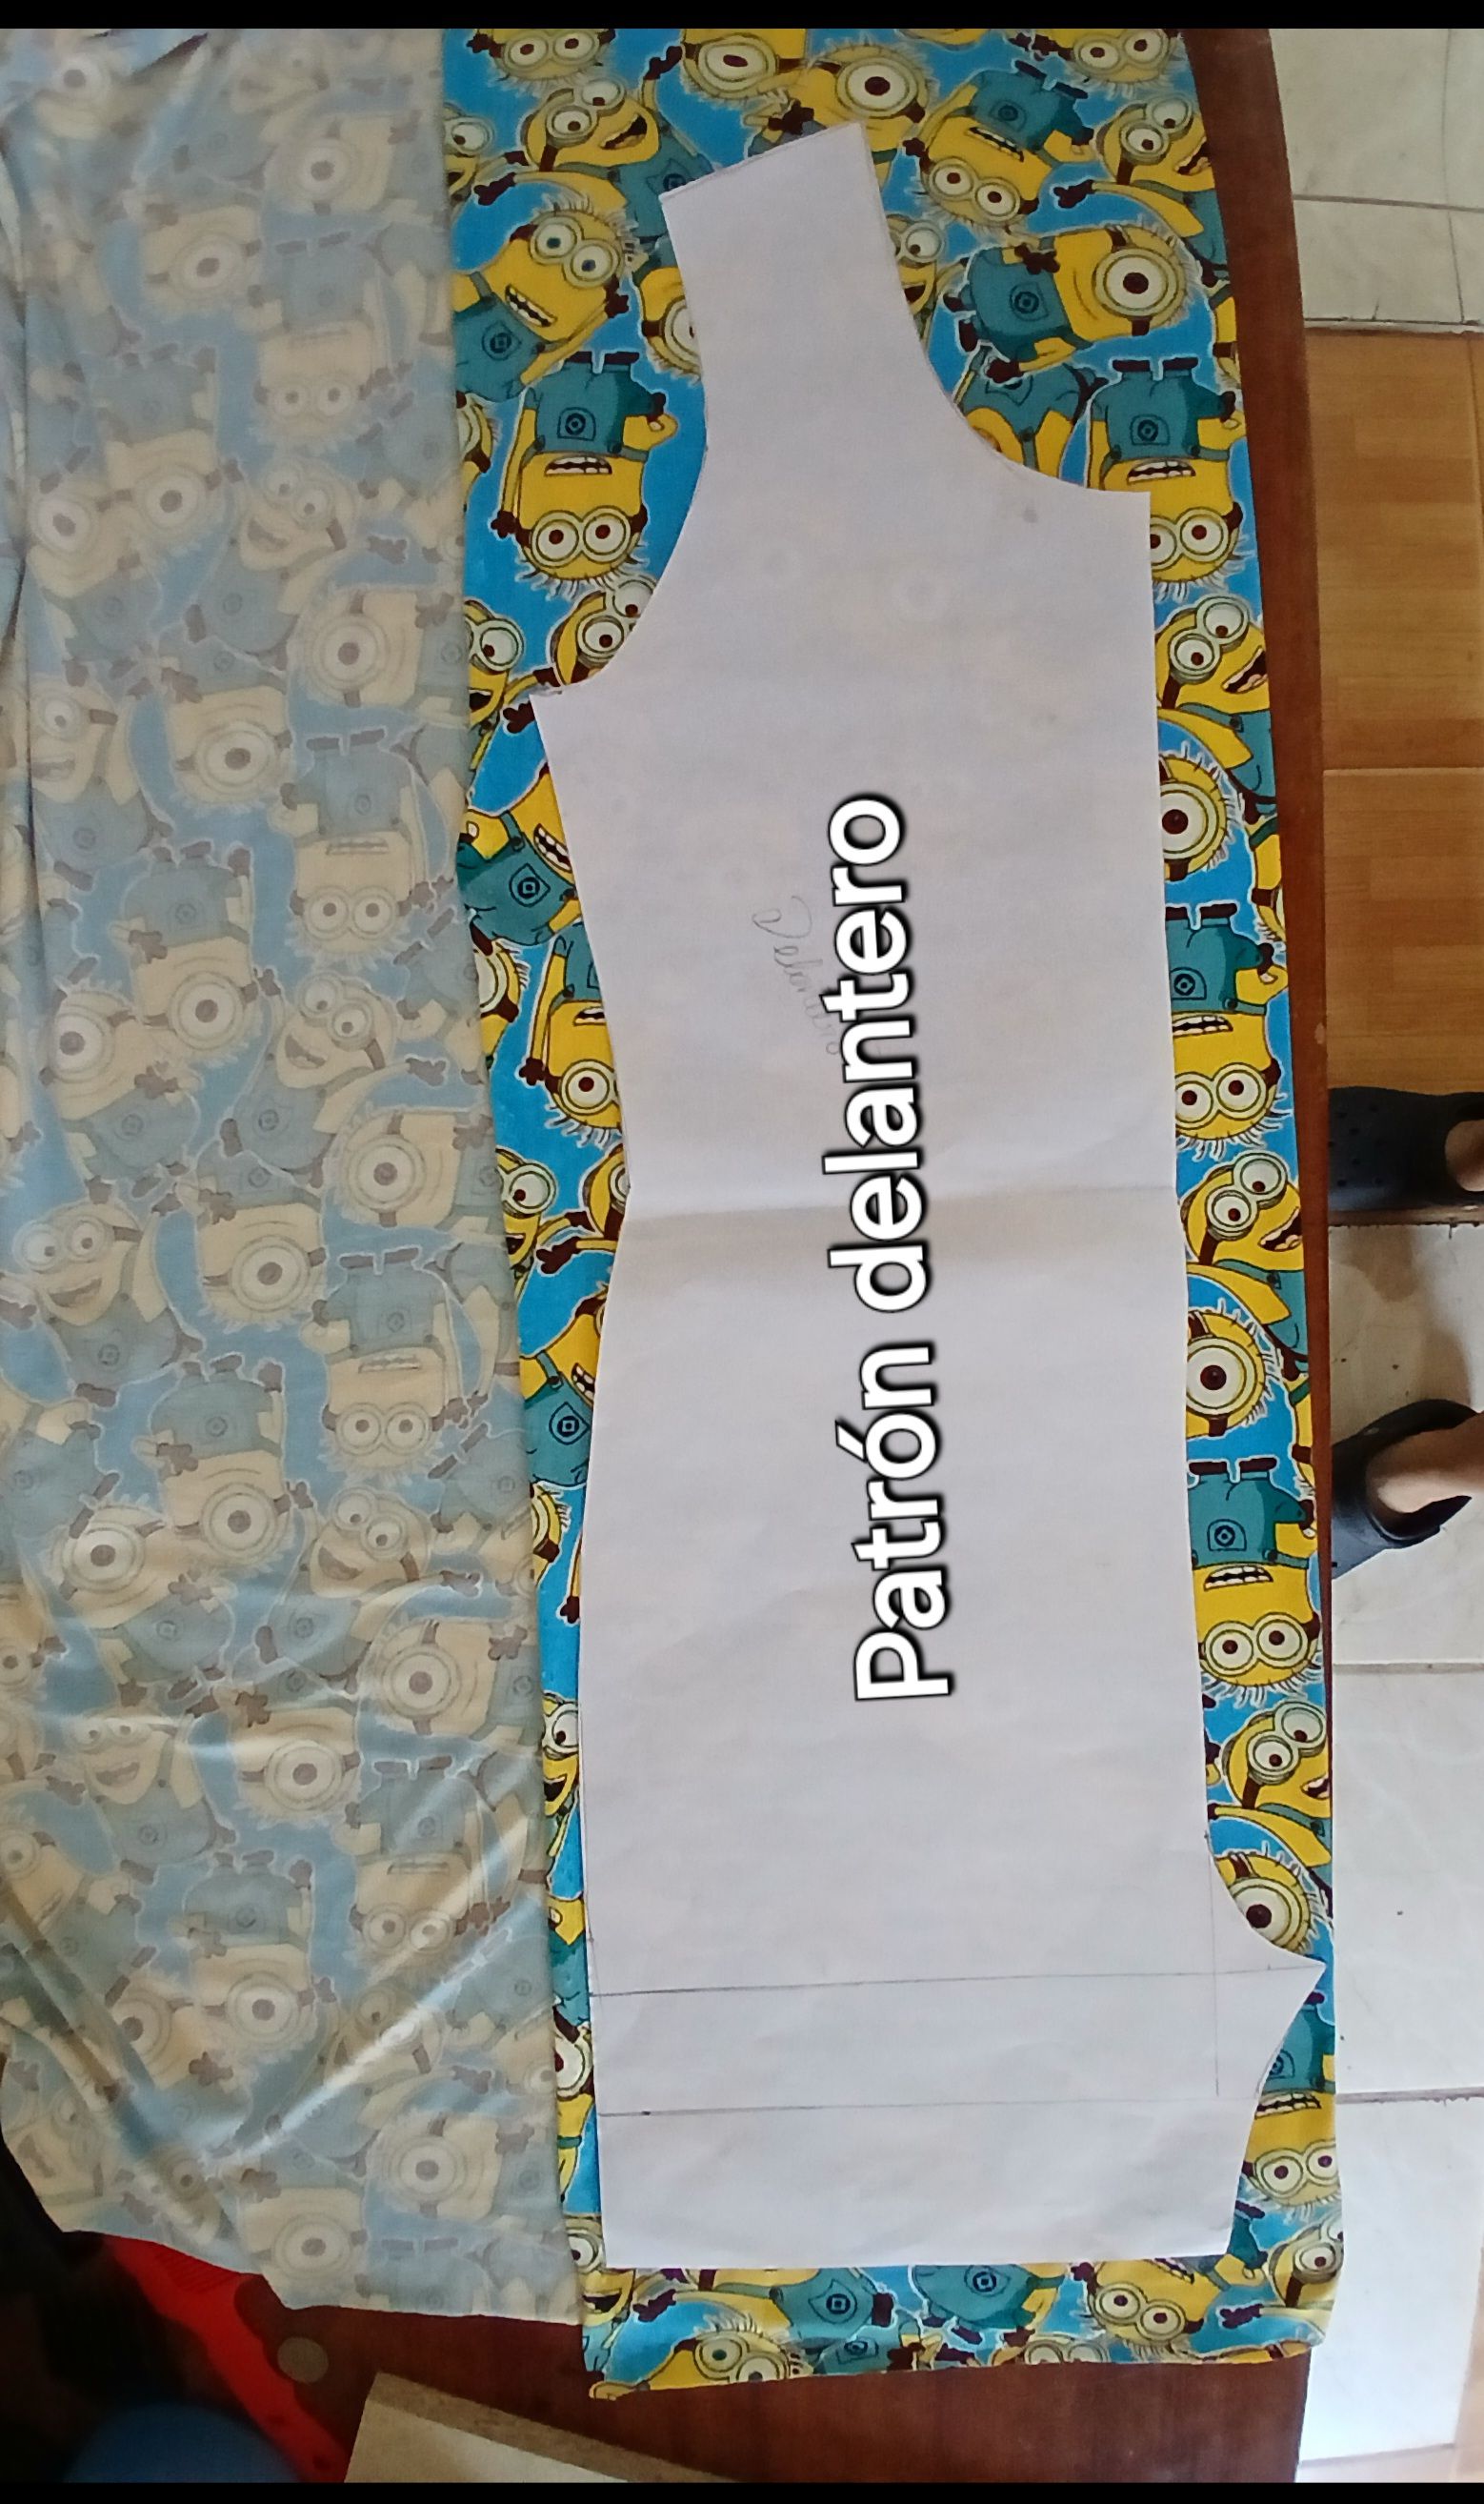
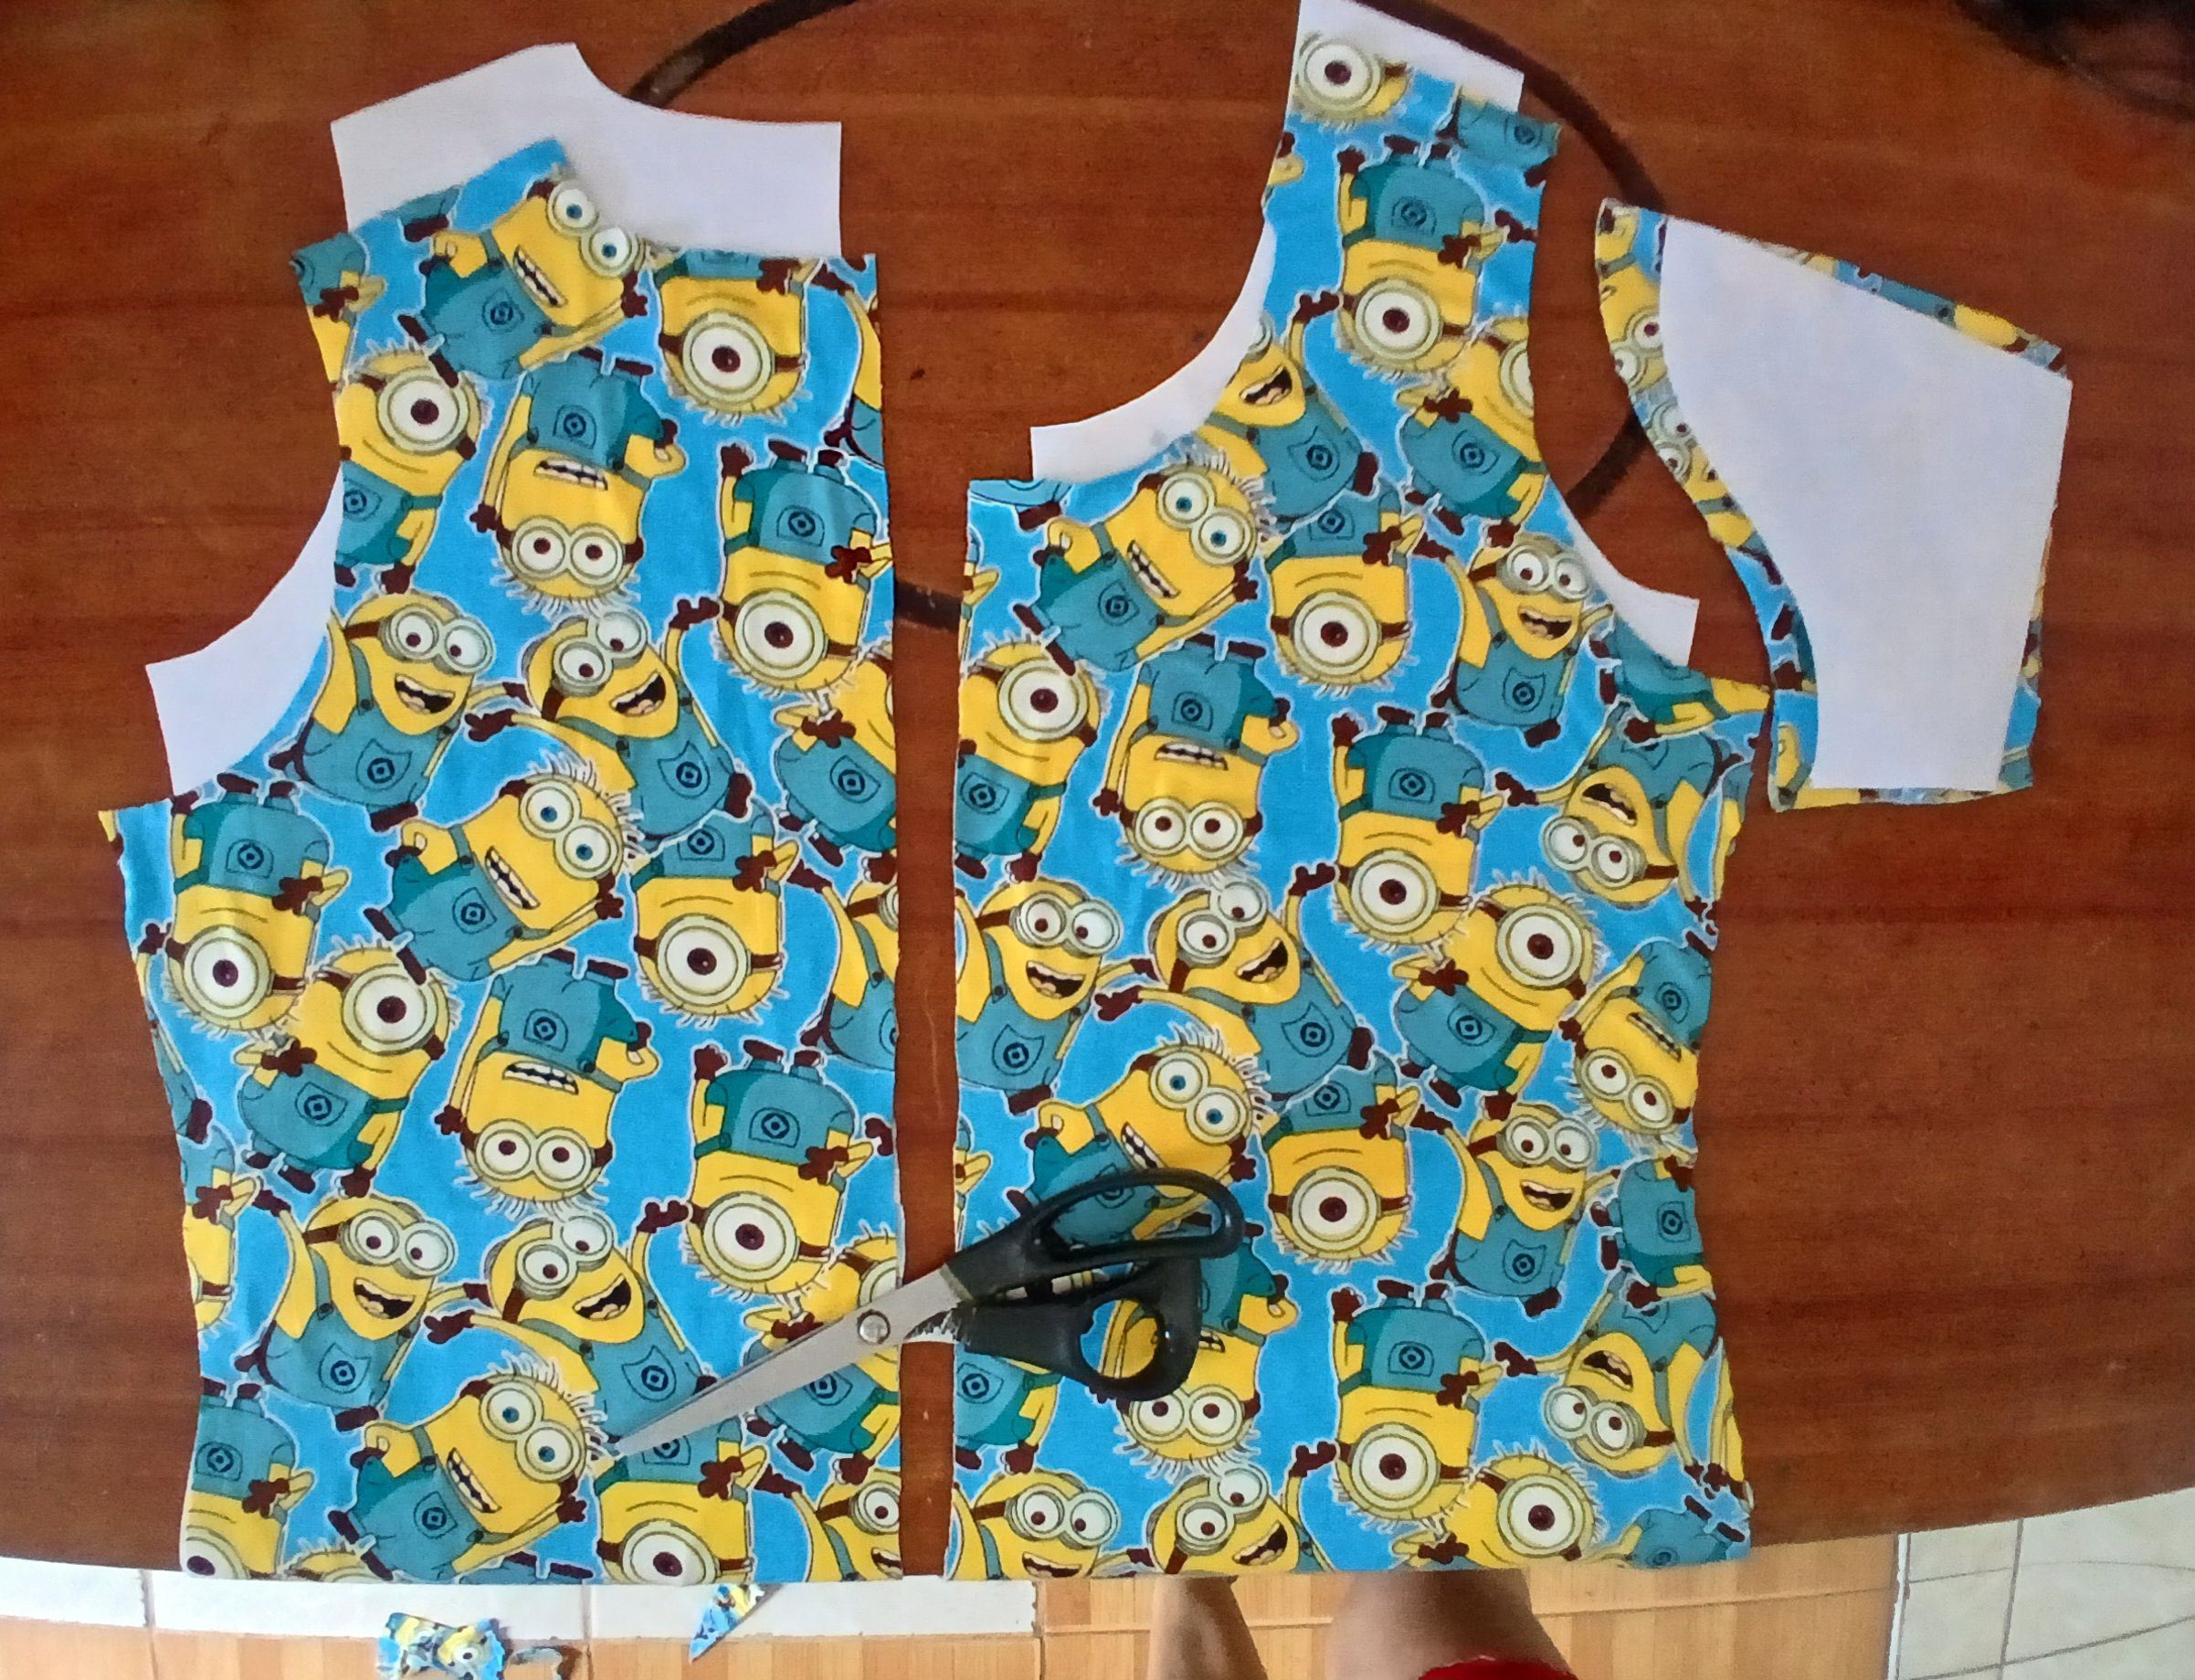
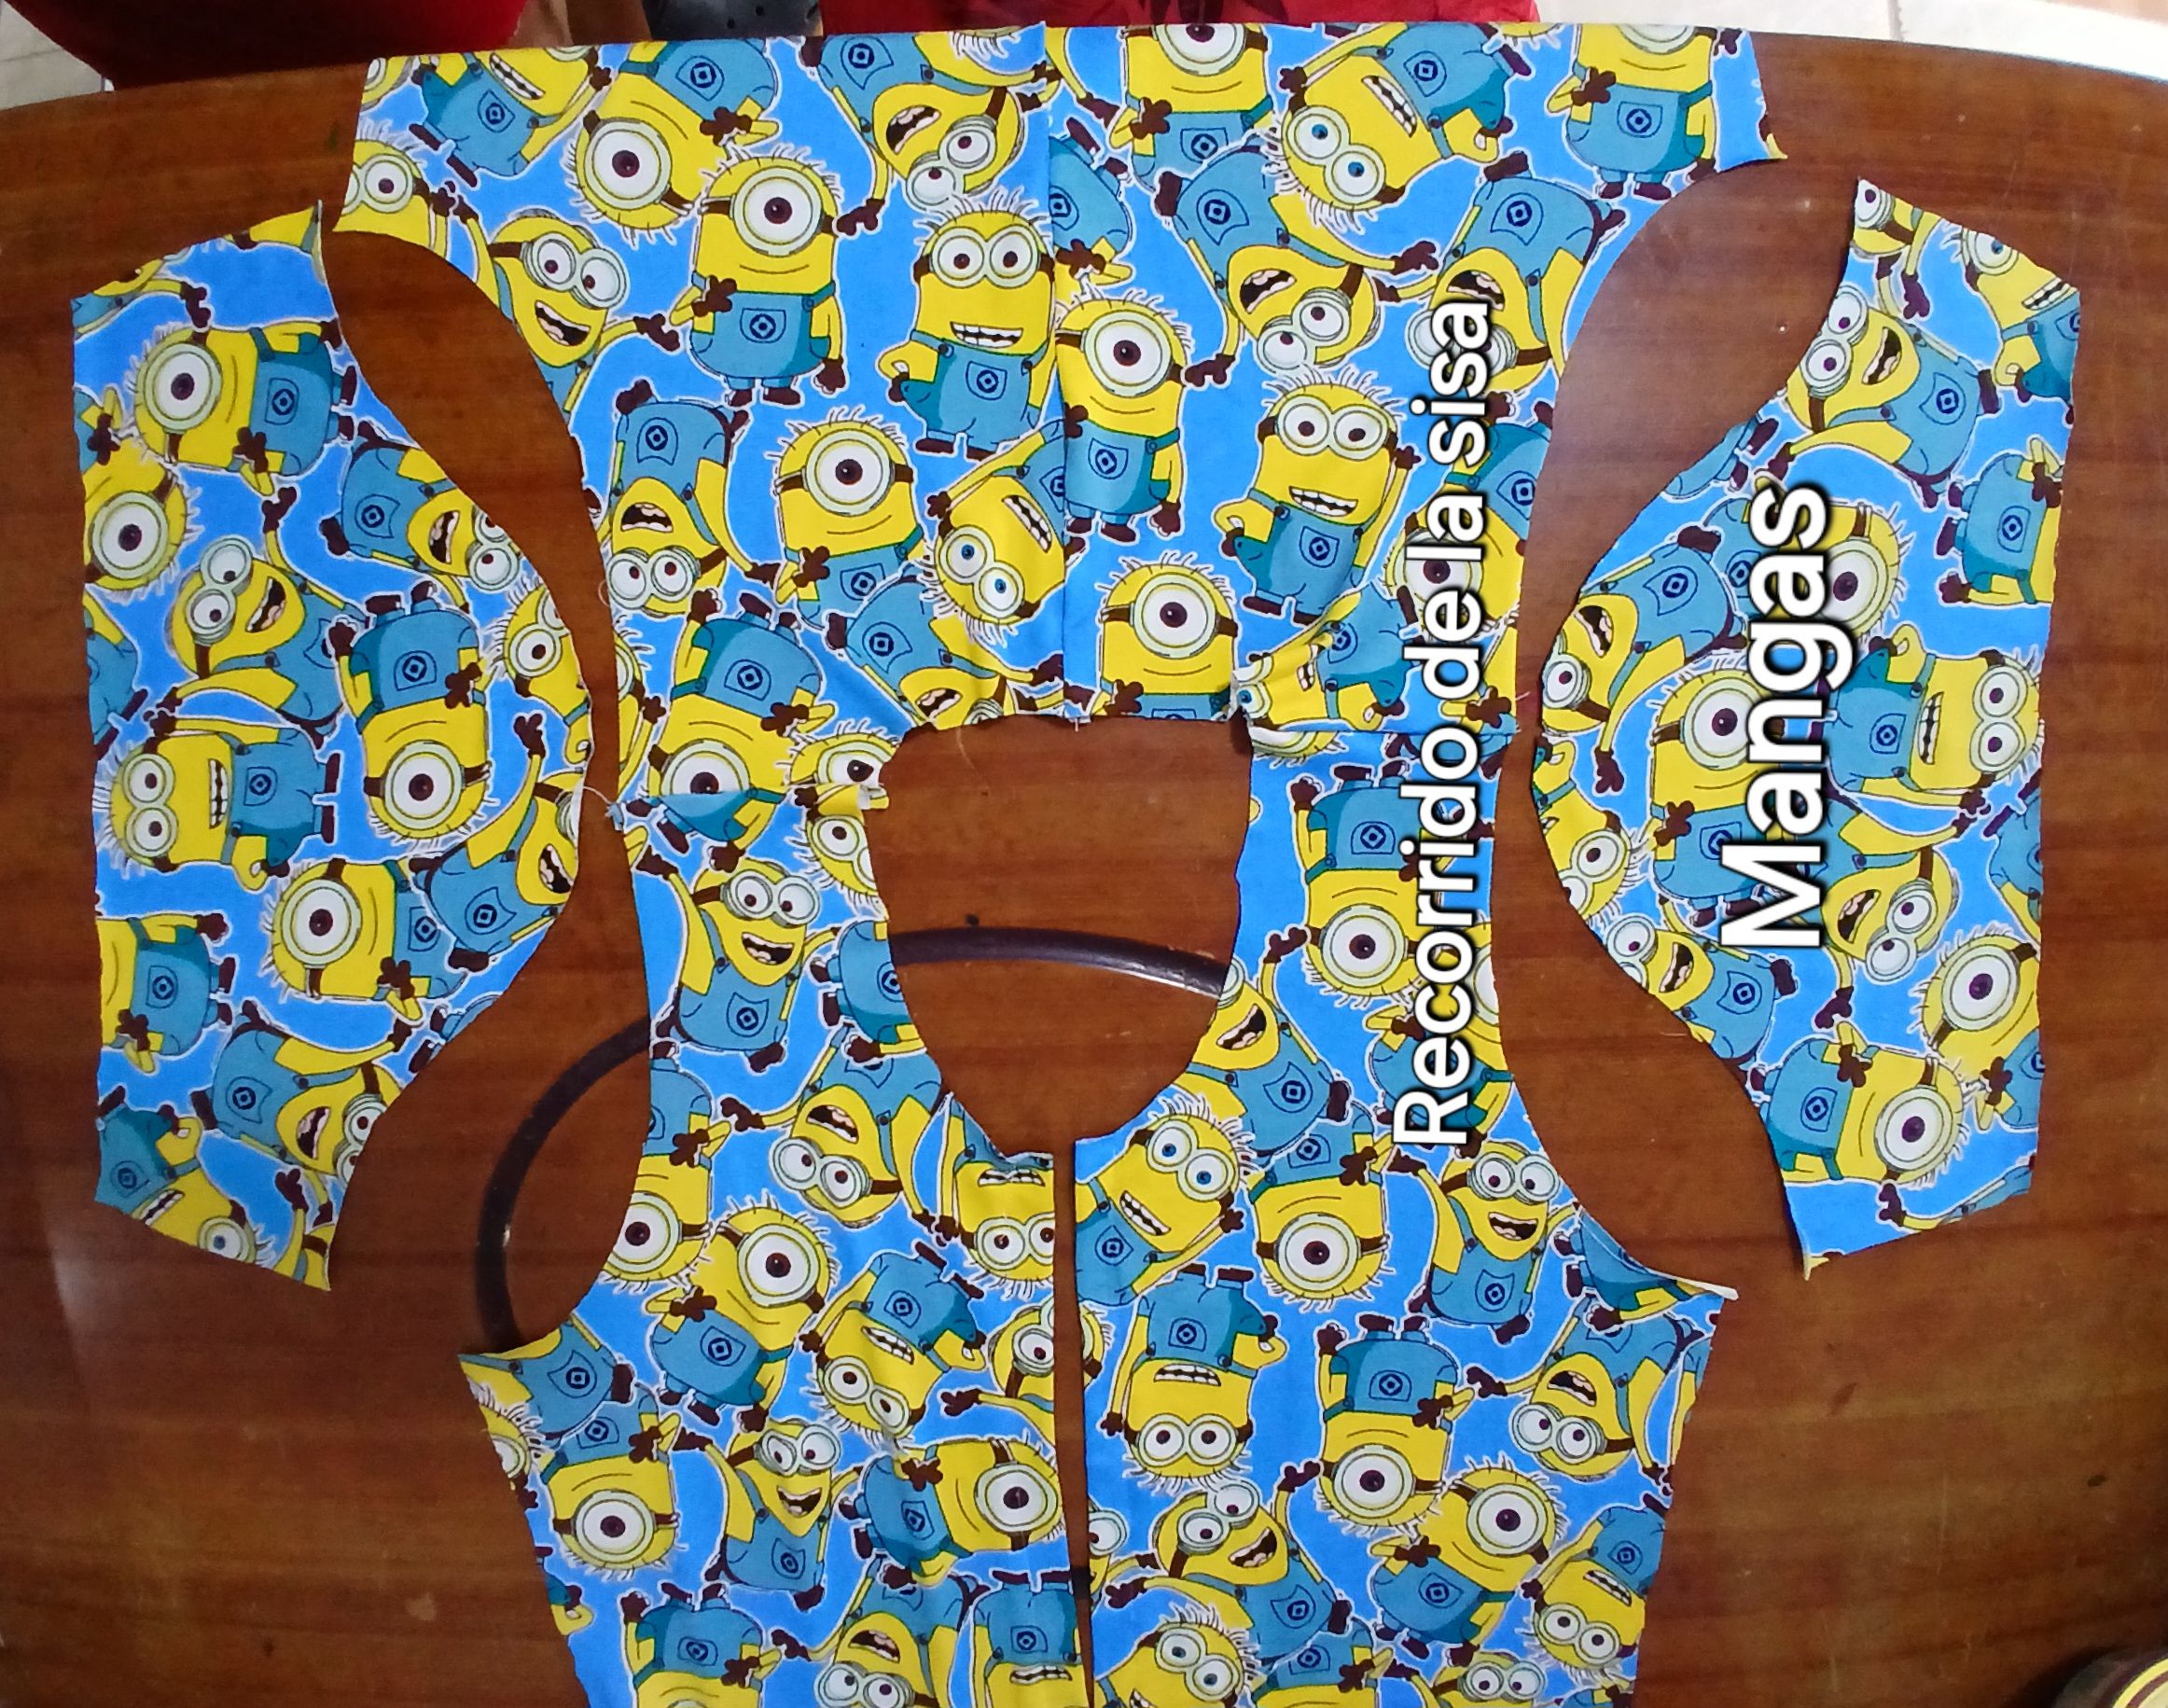
Para confeccionar éste enterizo pijamero, lo primero que hice fue Sacar 4 piensas, 2 delanteras y 2 traseras, para esto doblé la tela en 2 y coloqué encima de esta, primero el patrón de las piezas delanteras y luego el patrón de las pieza traseras.
To make this one-piece pajama set, the first thing I did was to make 4 patterns, 2 front and 2 back, for this I folded the fabric in 2 and placed on top of it, first the pattern of the front pieces and then the pattern of the back pieces.

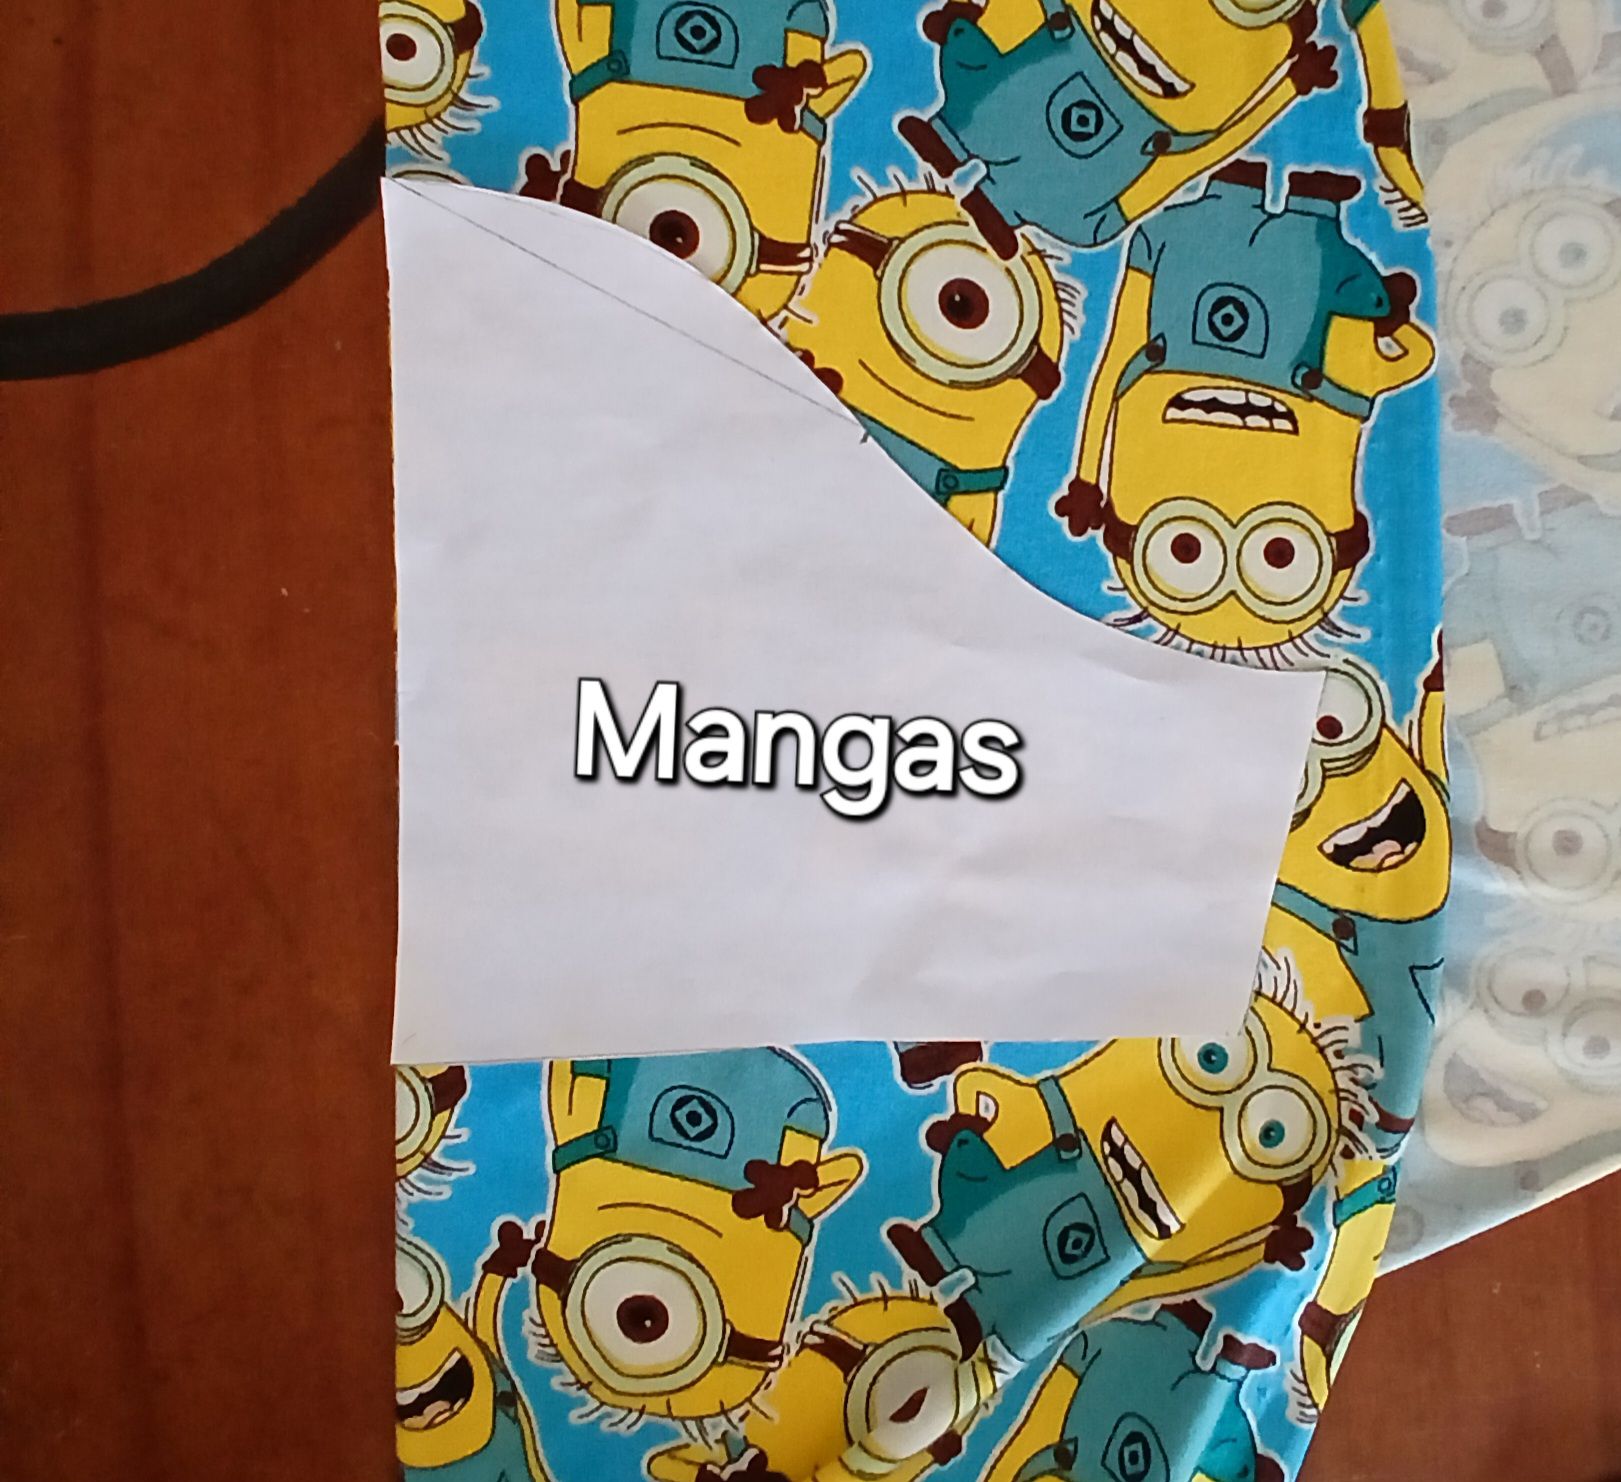
Después procedí a sacar el patrón de las mangas.
I then proceeded to pull out the pattern for the sleeves.
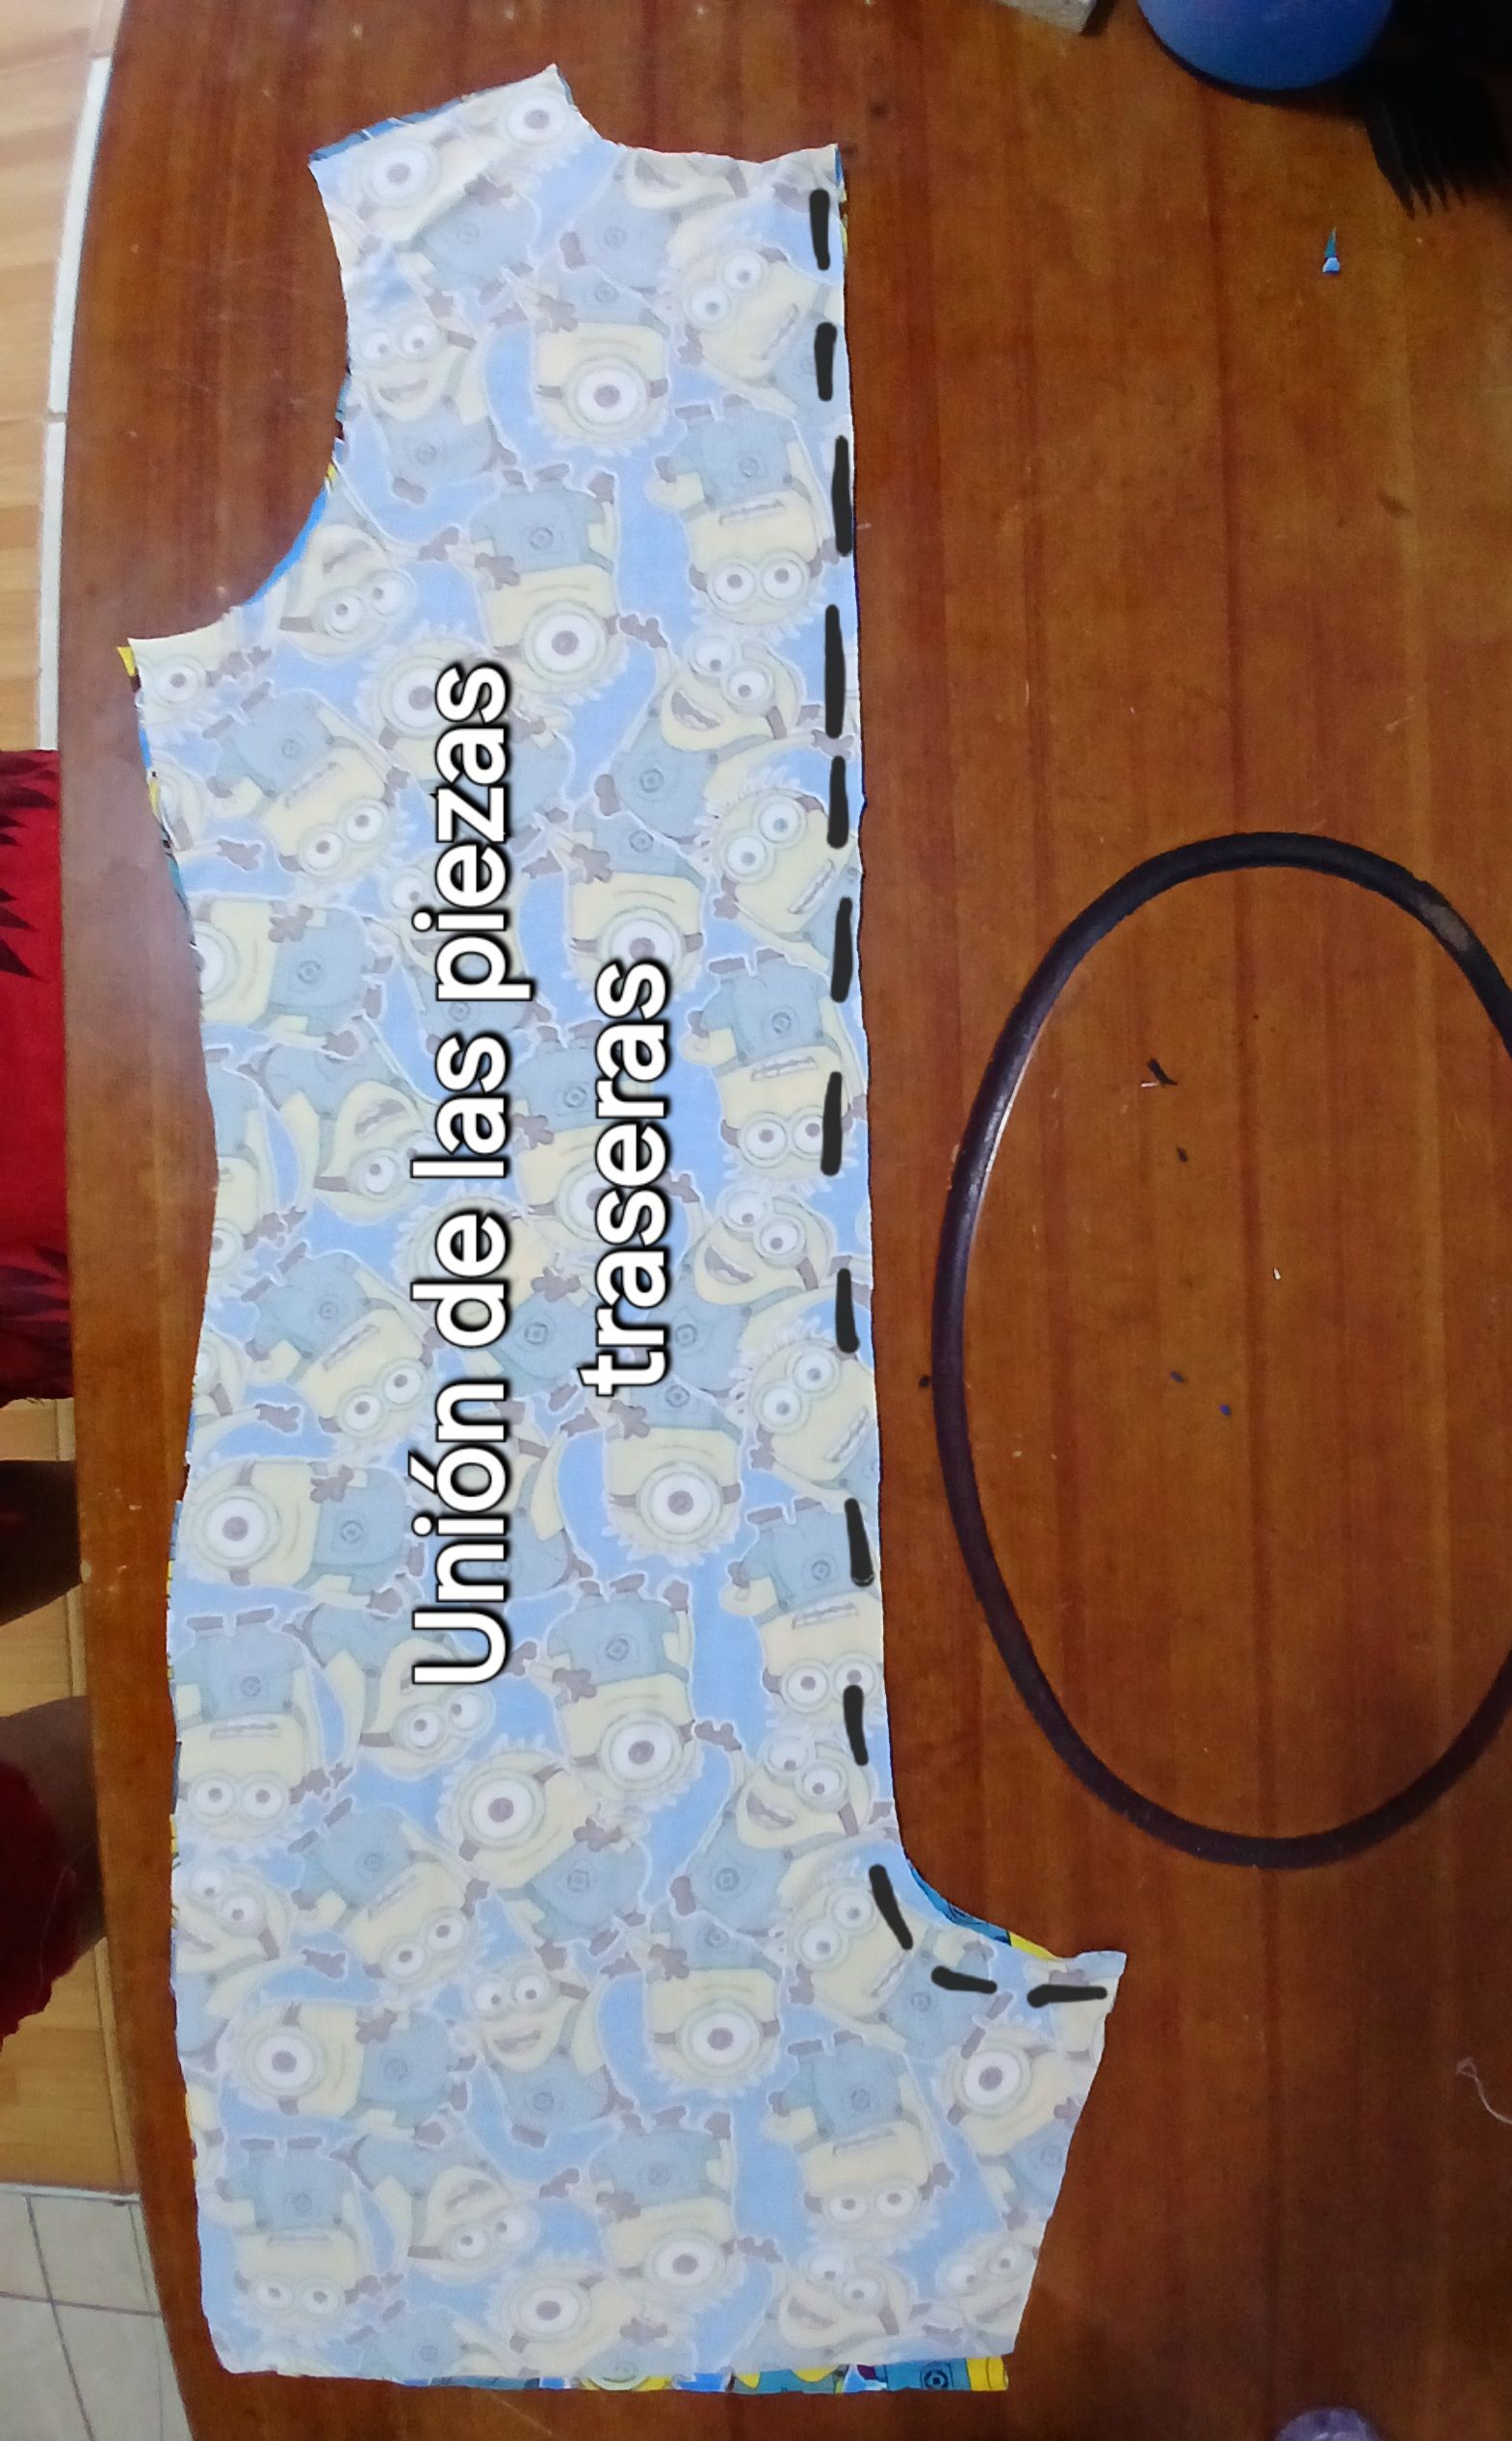
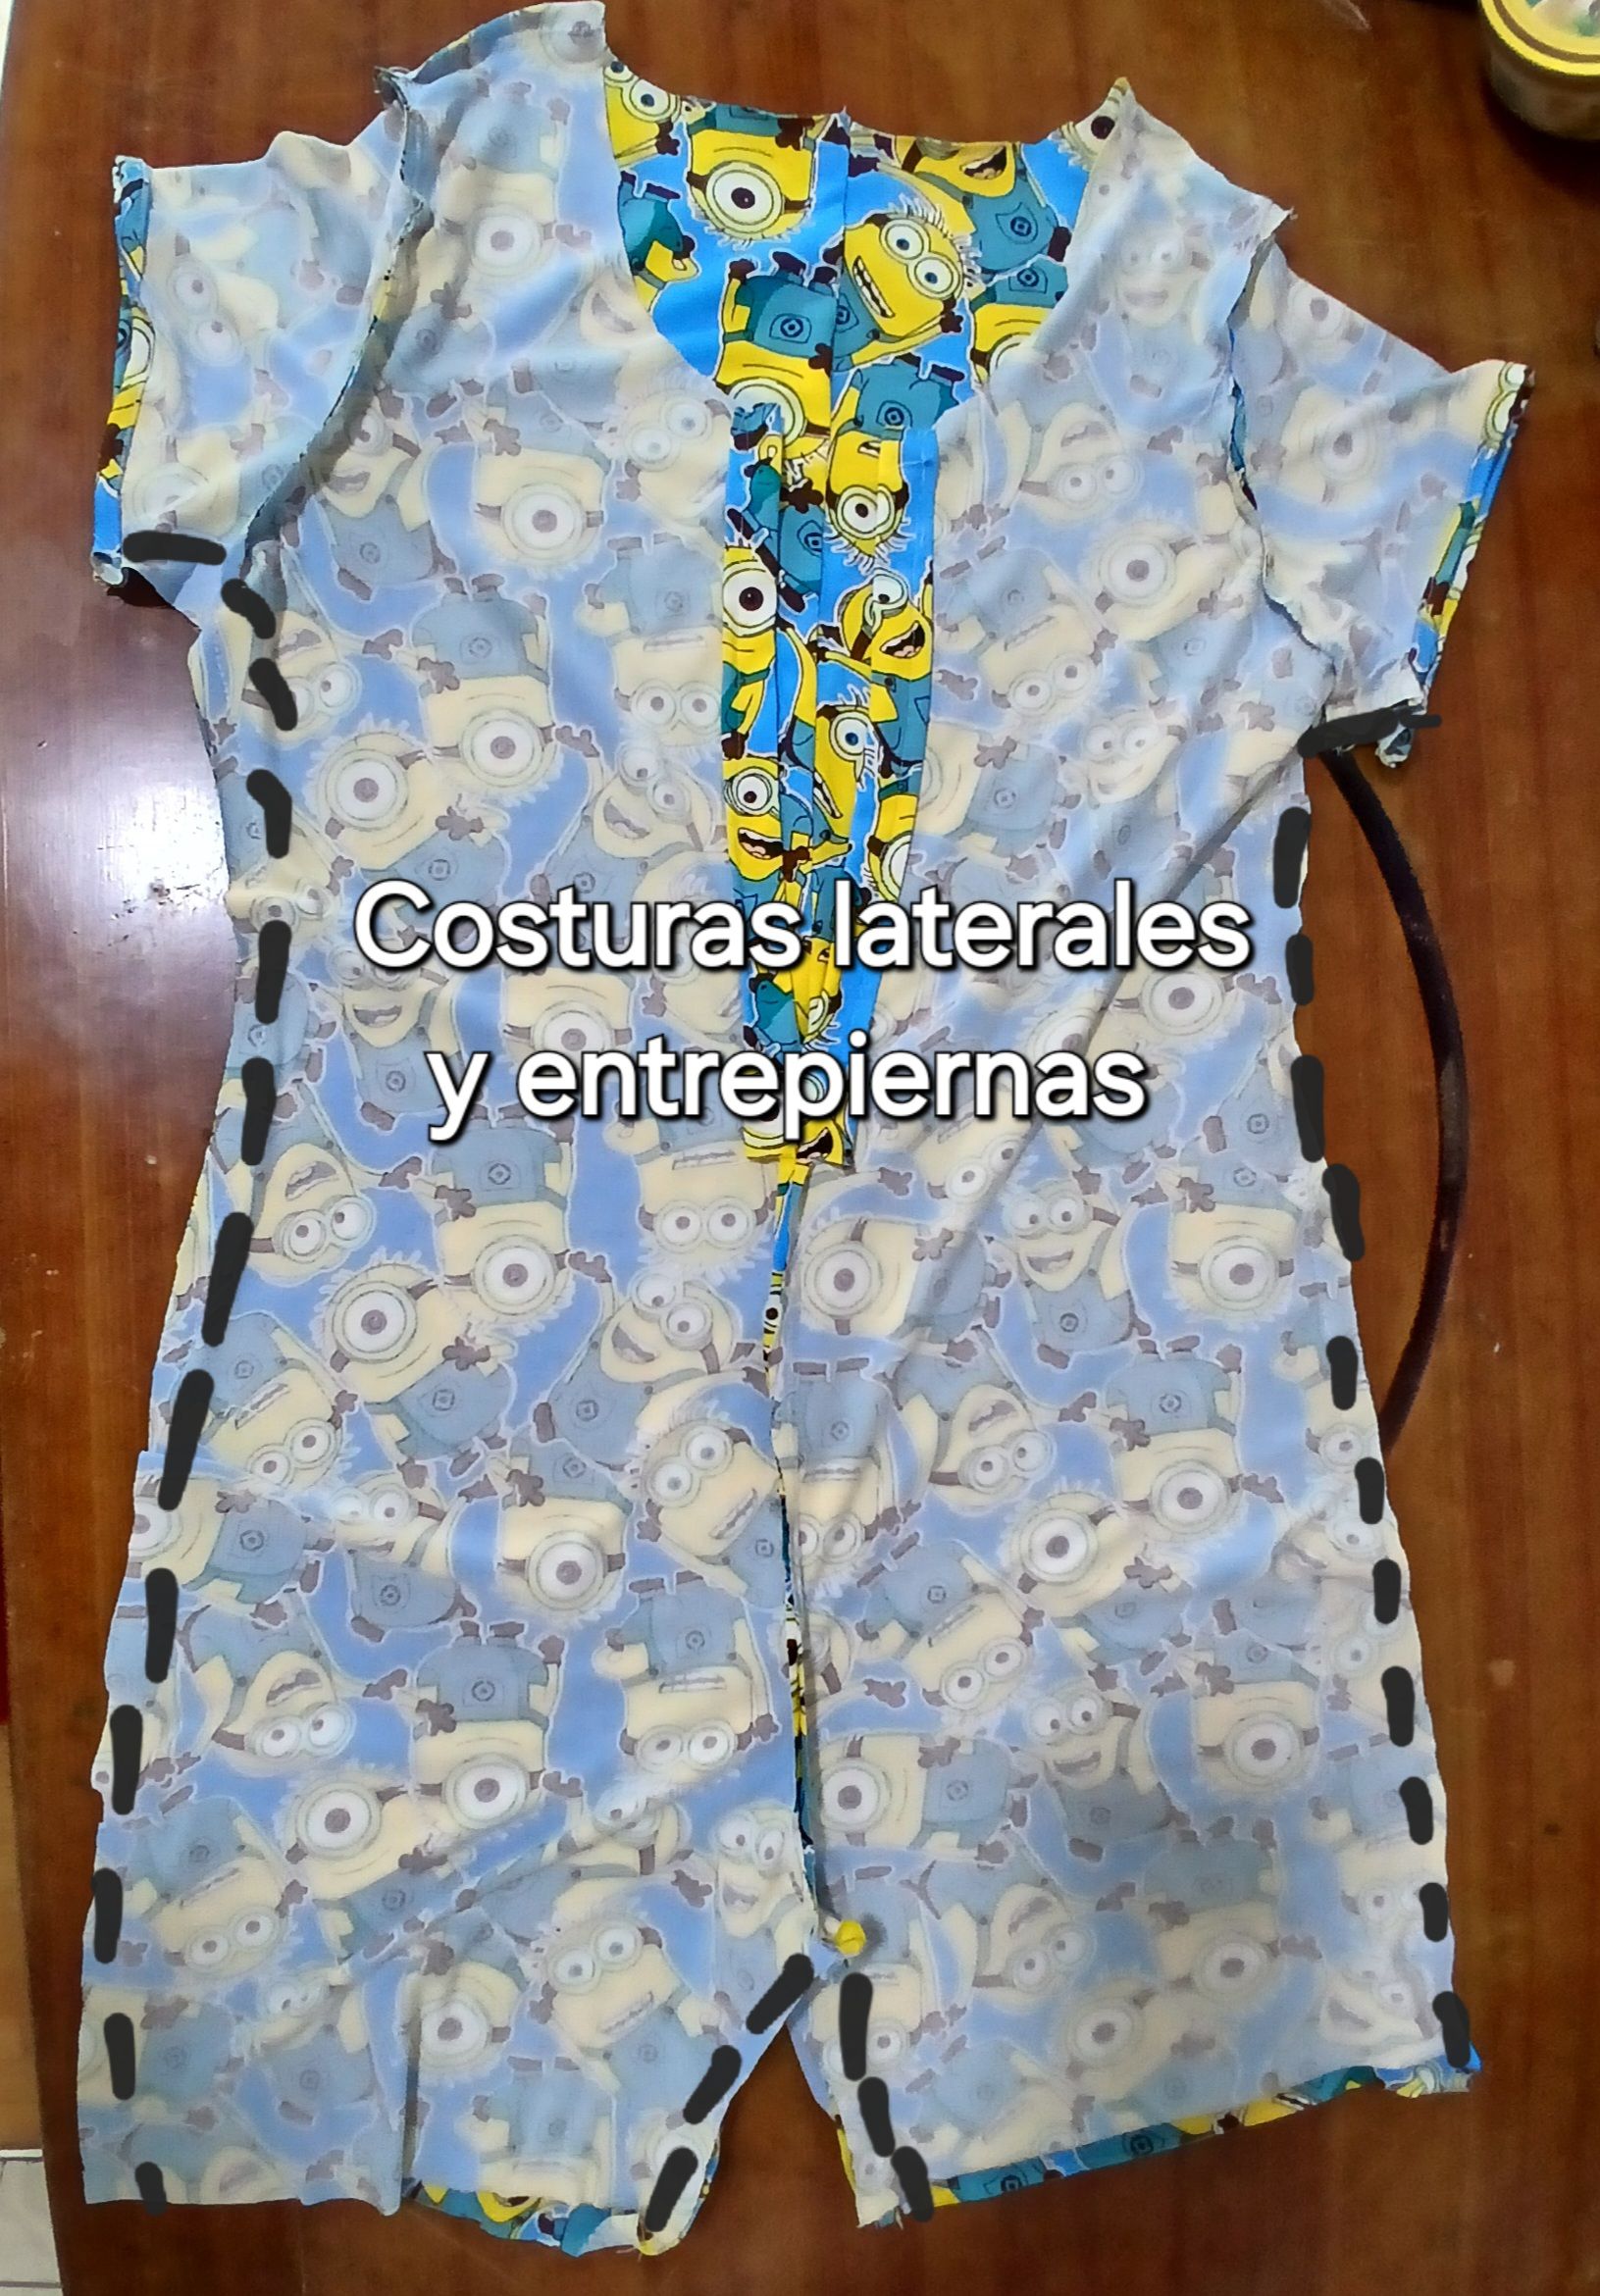
Cuando terminé de tener todas las piezas listas, procedí a unir bien las 2 piezas traseras, pasando costura desde el inicio del tiro hasta la parte alta de la espalda.
When I finished having all the pieces ready, I proceeded to join well the 2 back pieces, sewing from the beginning of the back to the top of the back.
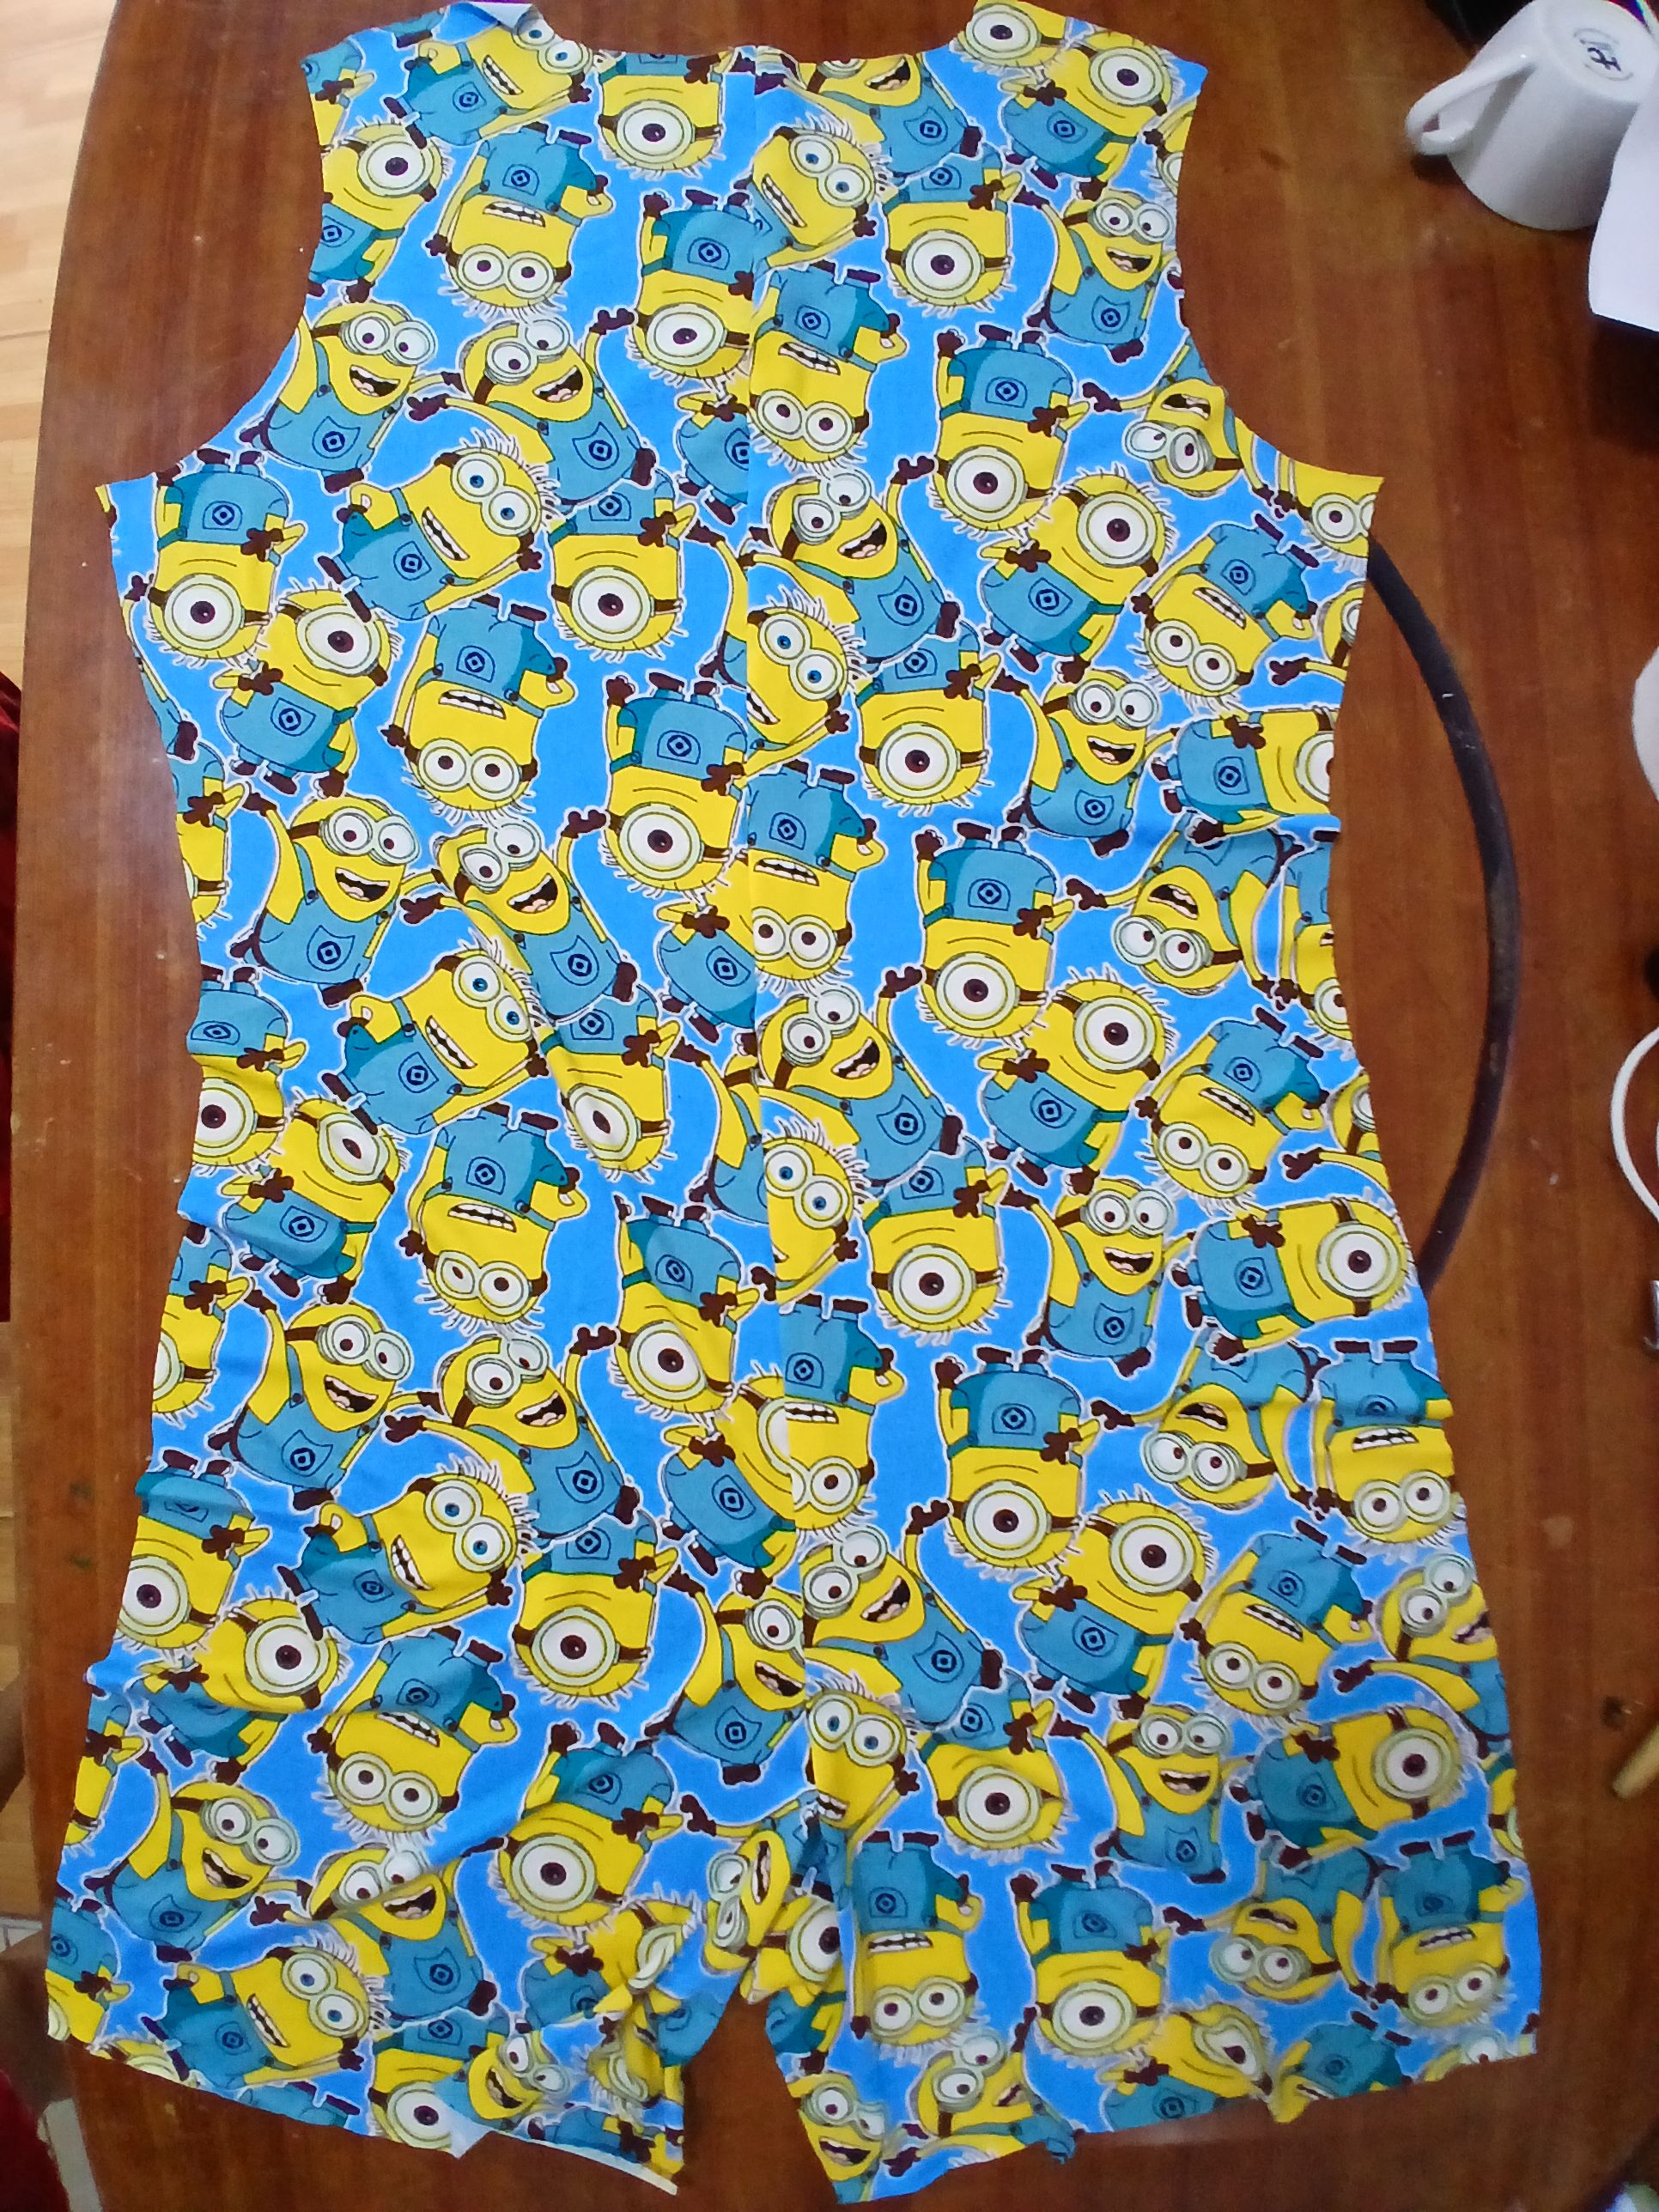
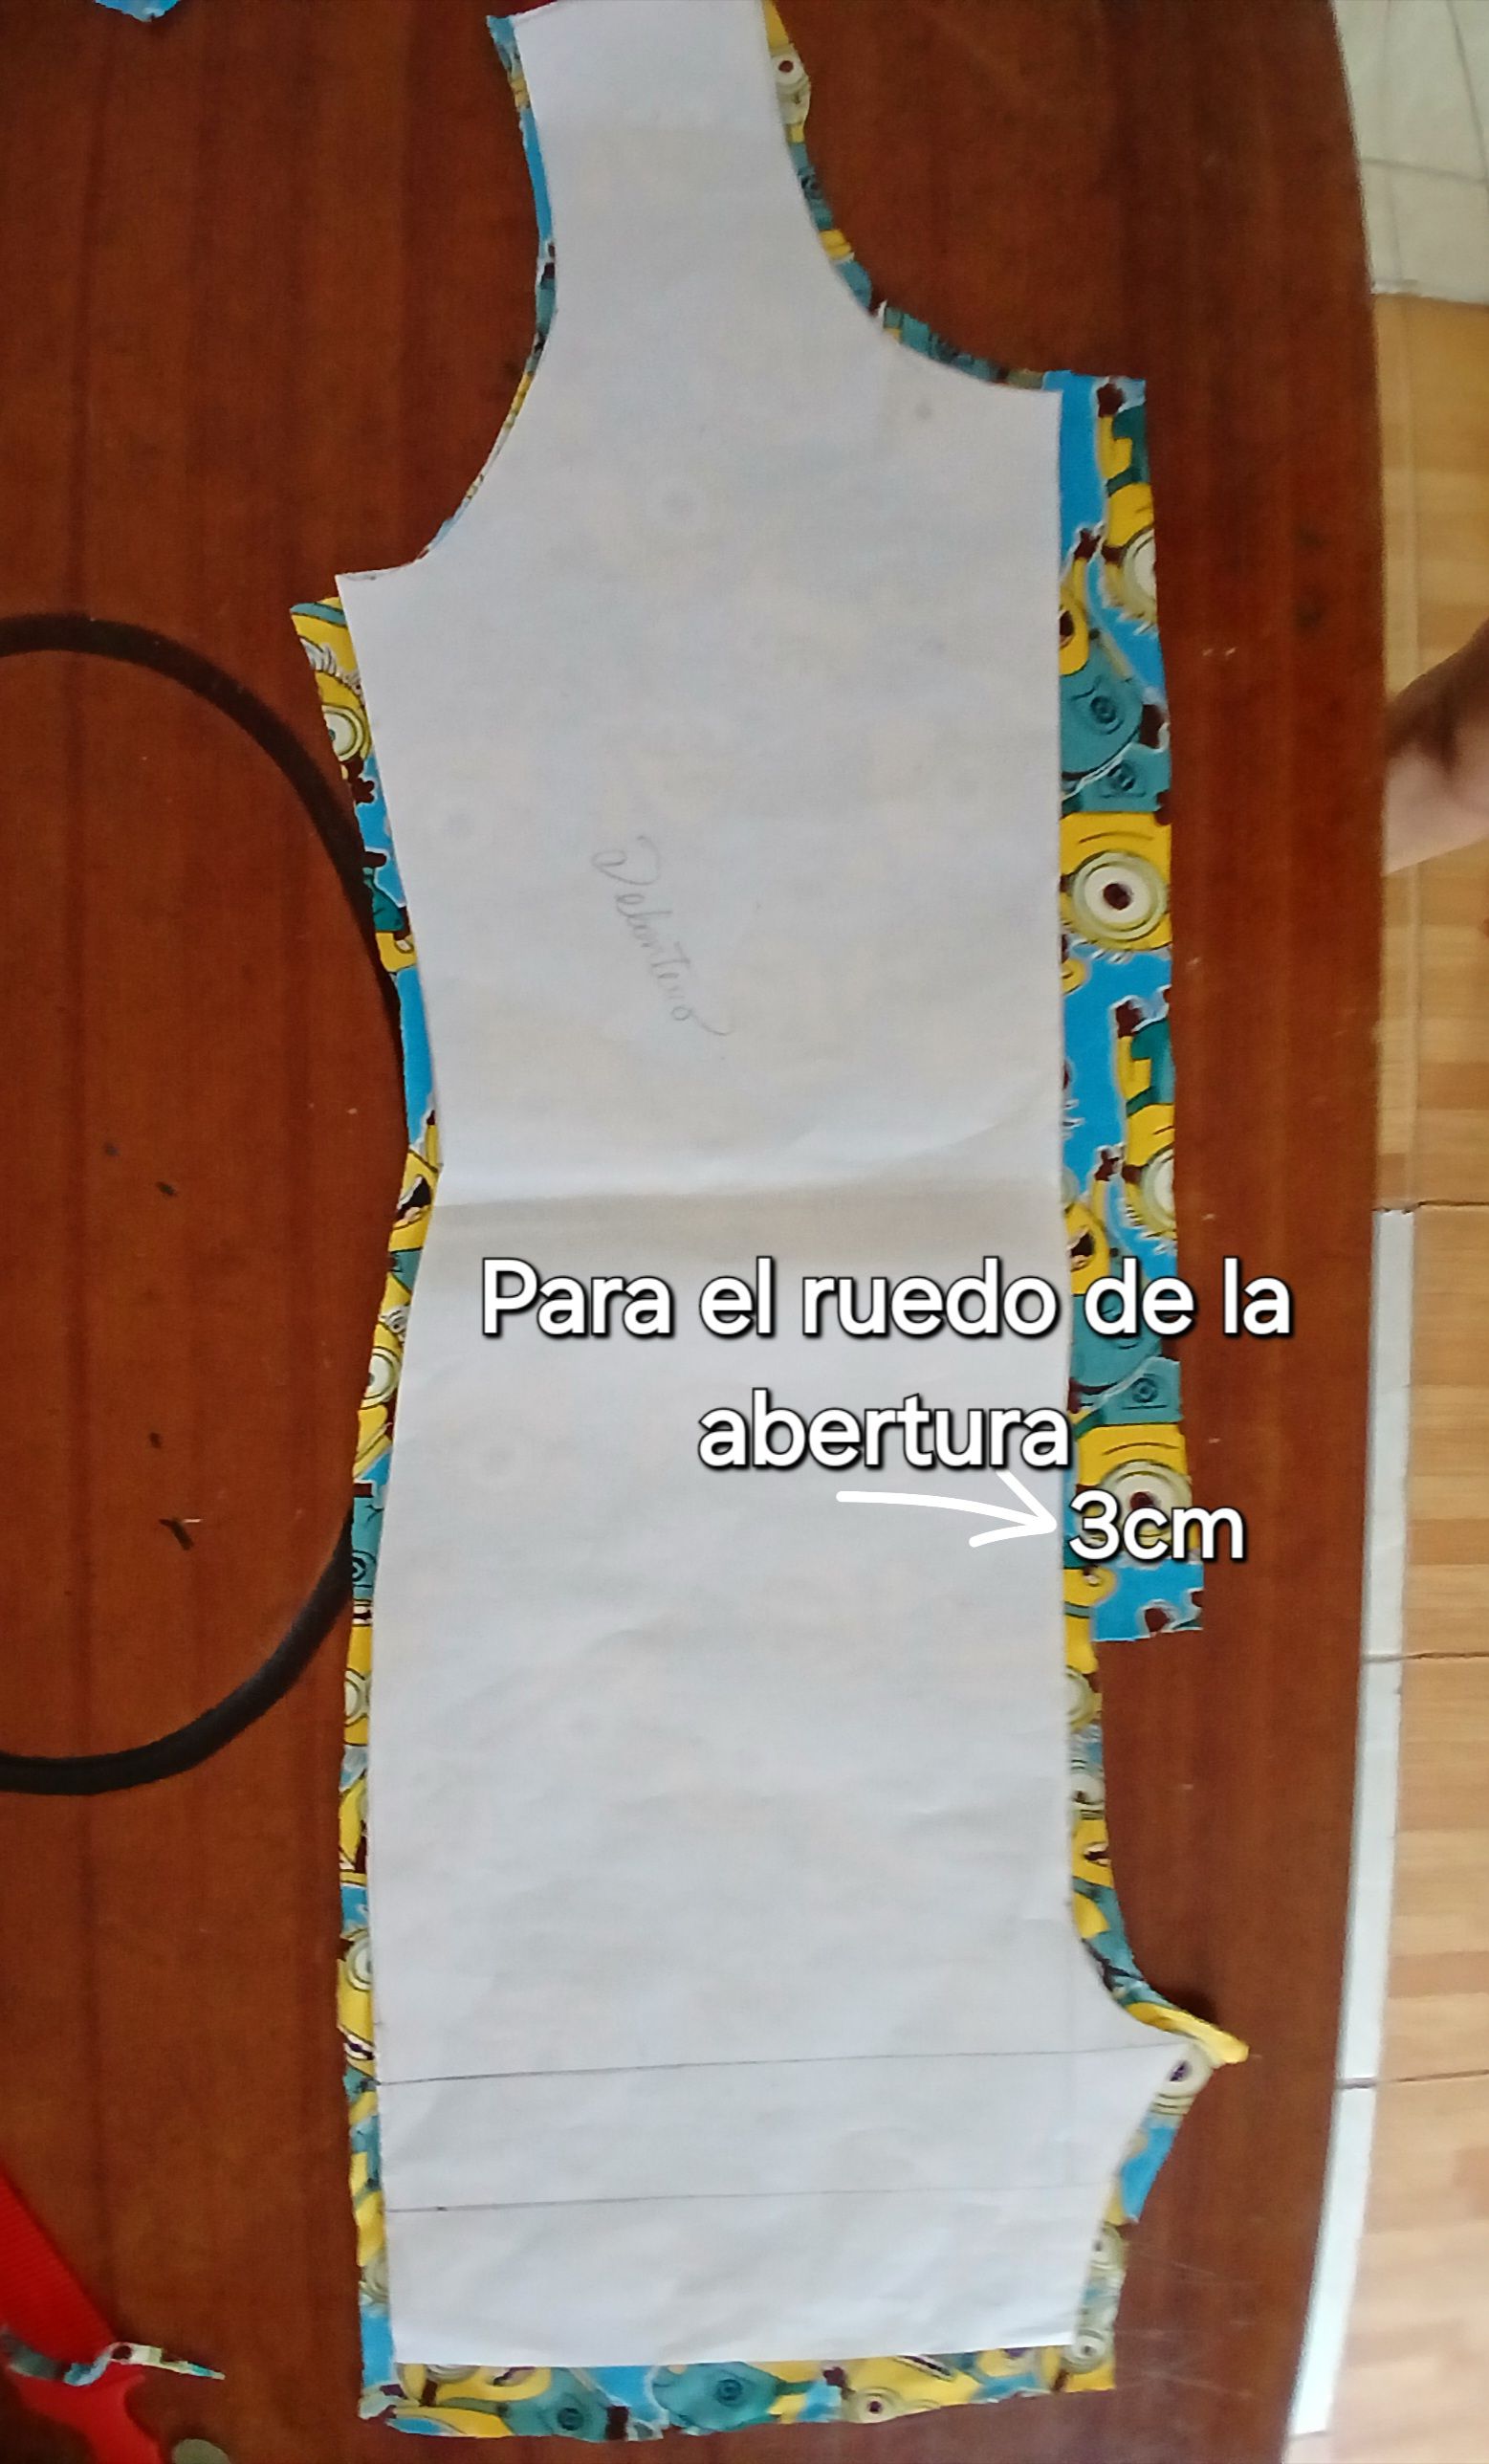
Seguidamente procedí a unir las 2 piezas delanteras comenzando desde el inicio del tiro, hasta el punto que escogí donde iba a comenzar la abertura, en éste caso, decidí hacer la abertura 6 cm más arriba del ombligo.
Next, I proceeded to join the 2 front pieces starting from the beginning of the draft, up to the point I chose where the opening was going to start, in this case, I decided to make the opening 6 cm above the navel.
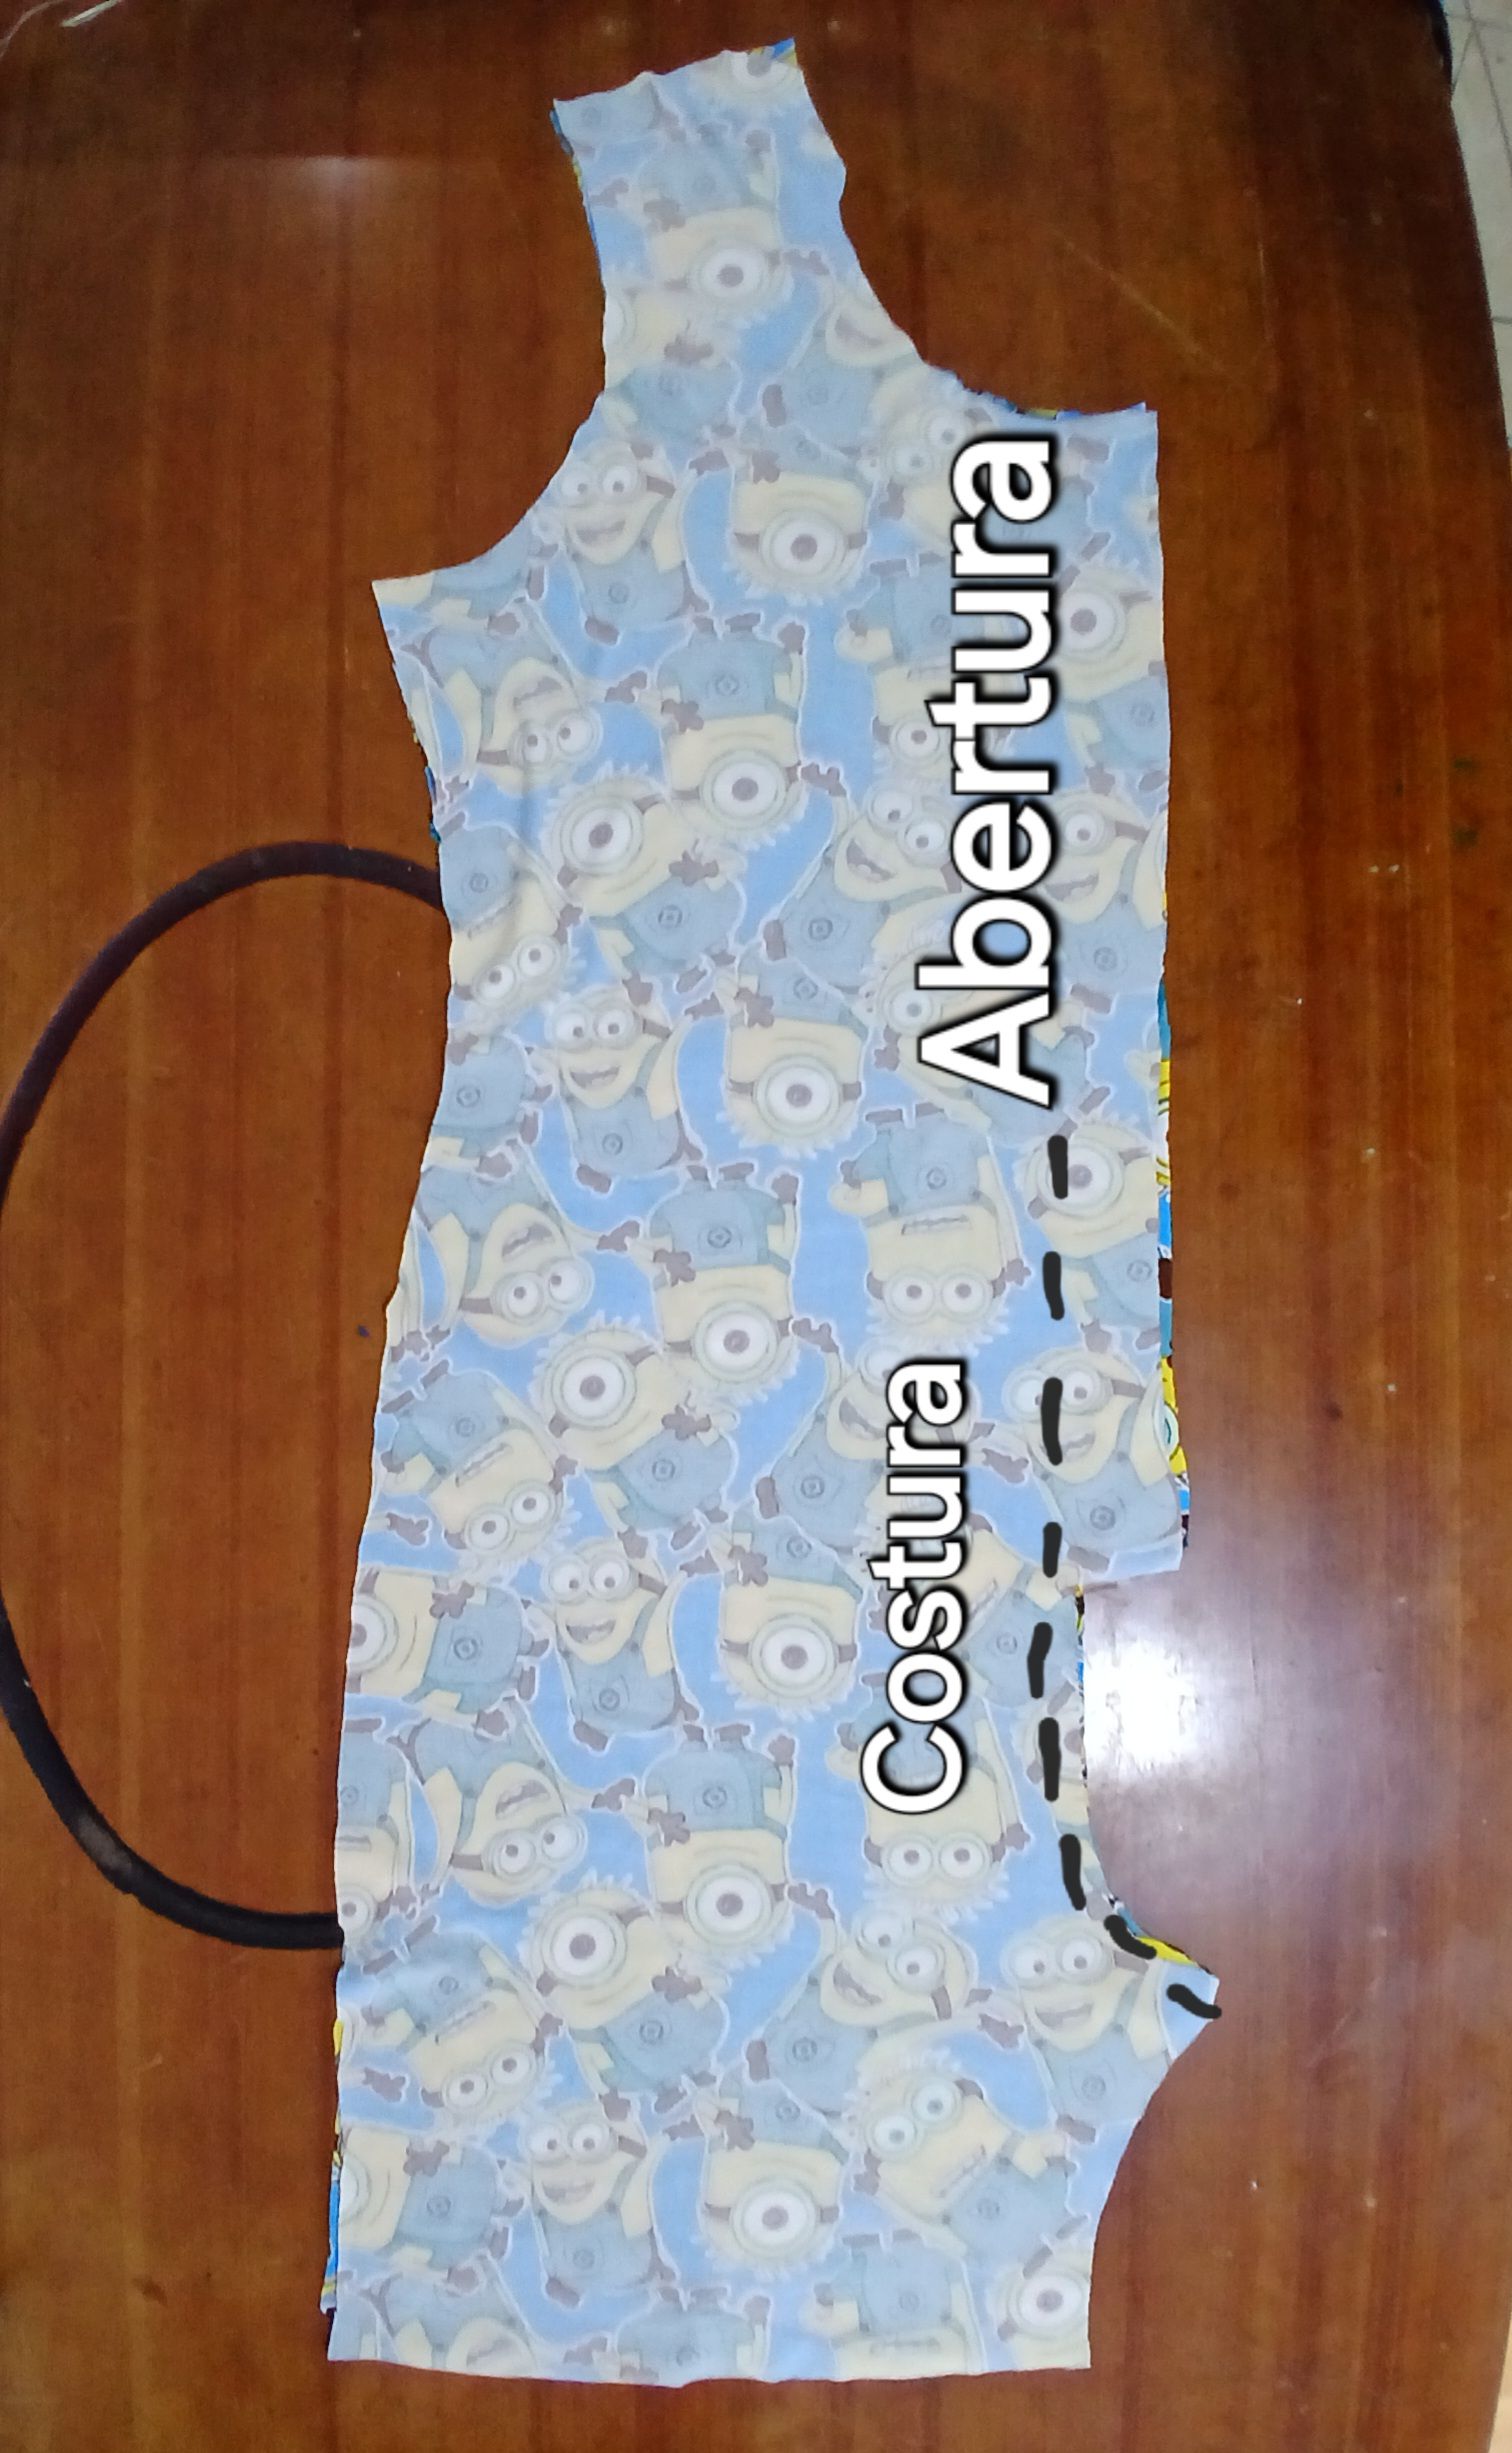
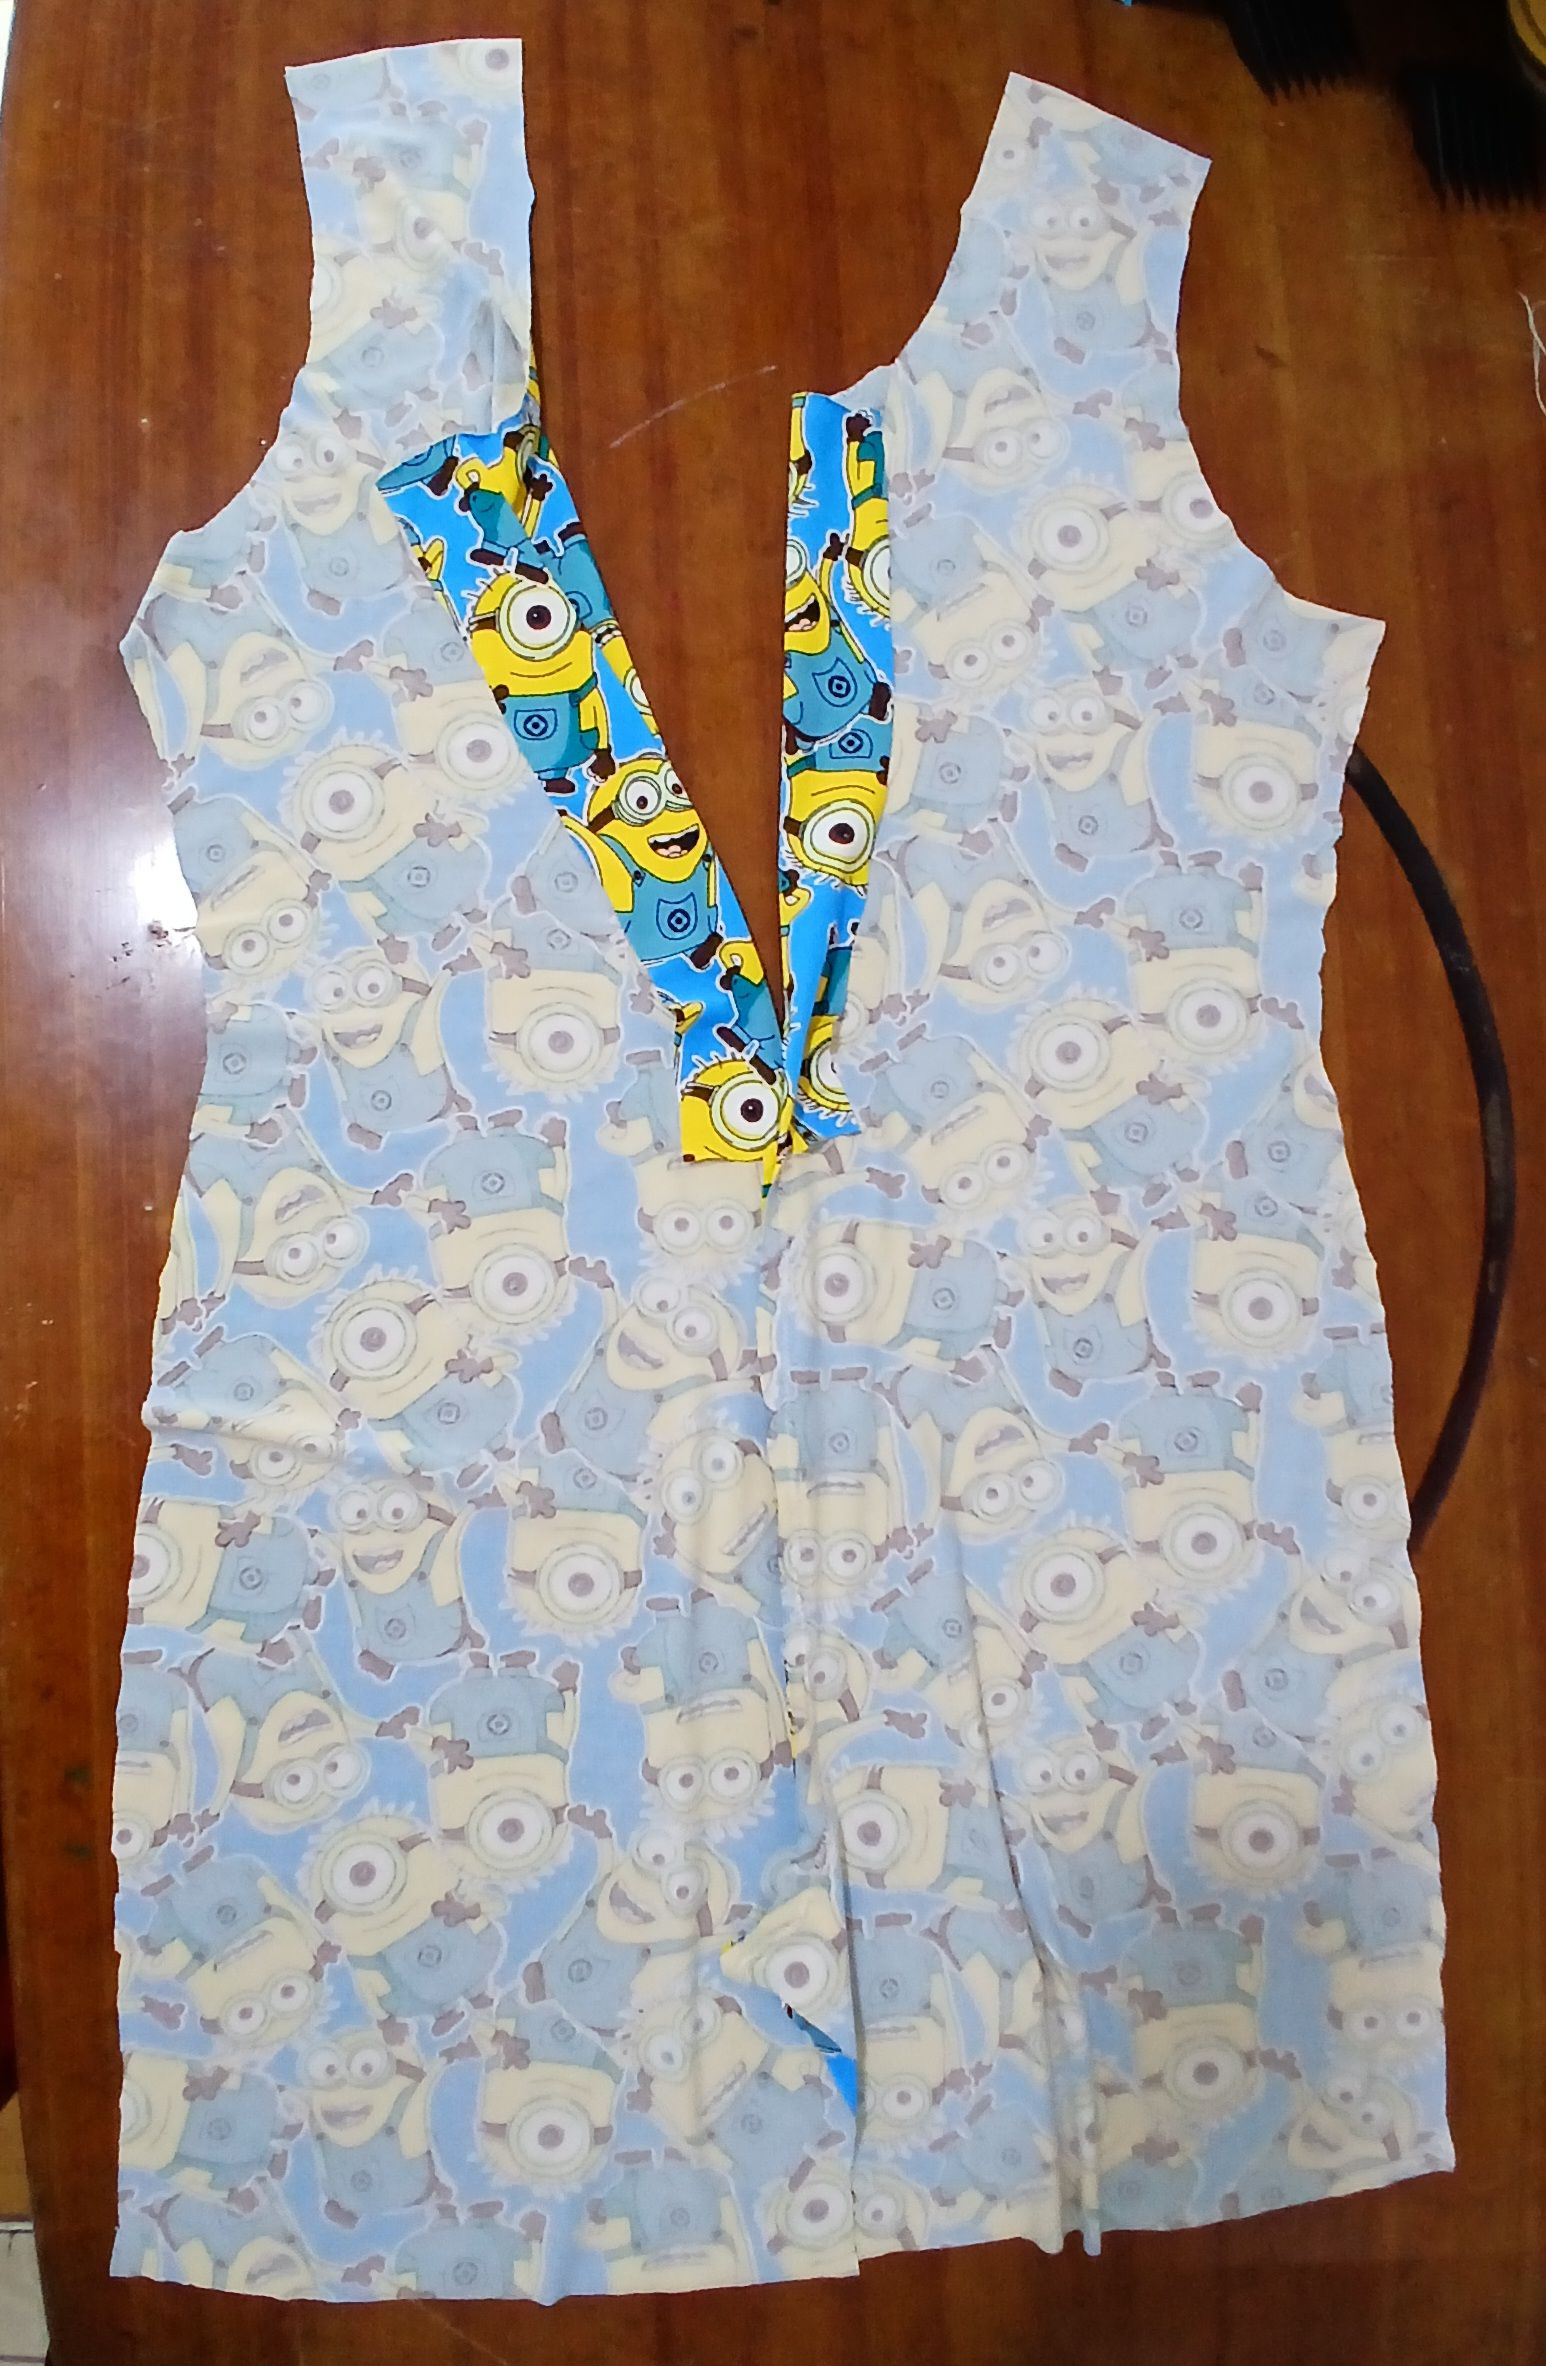
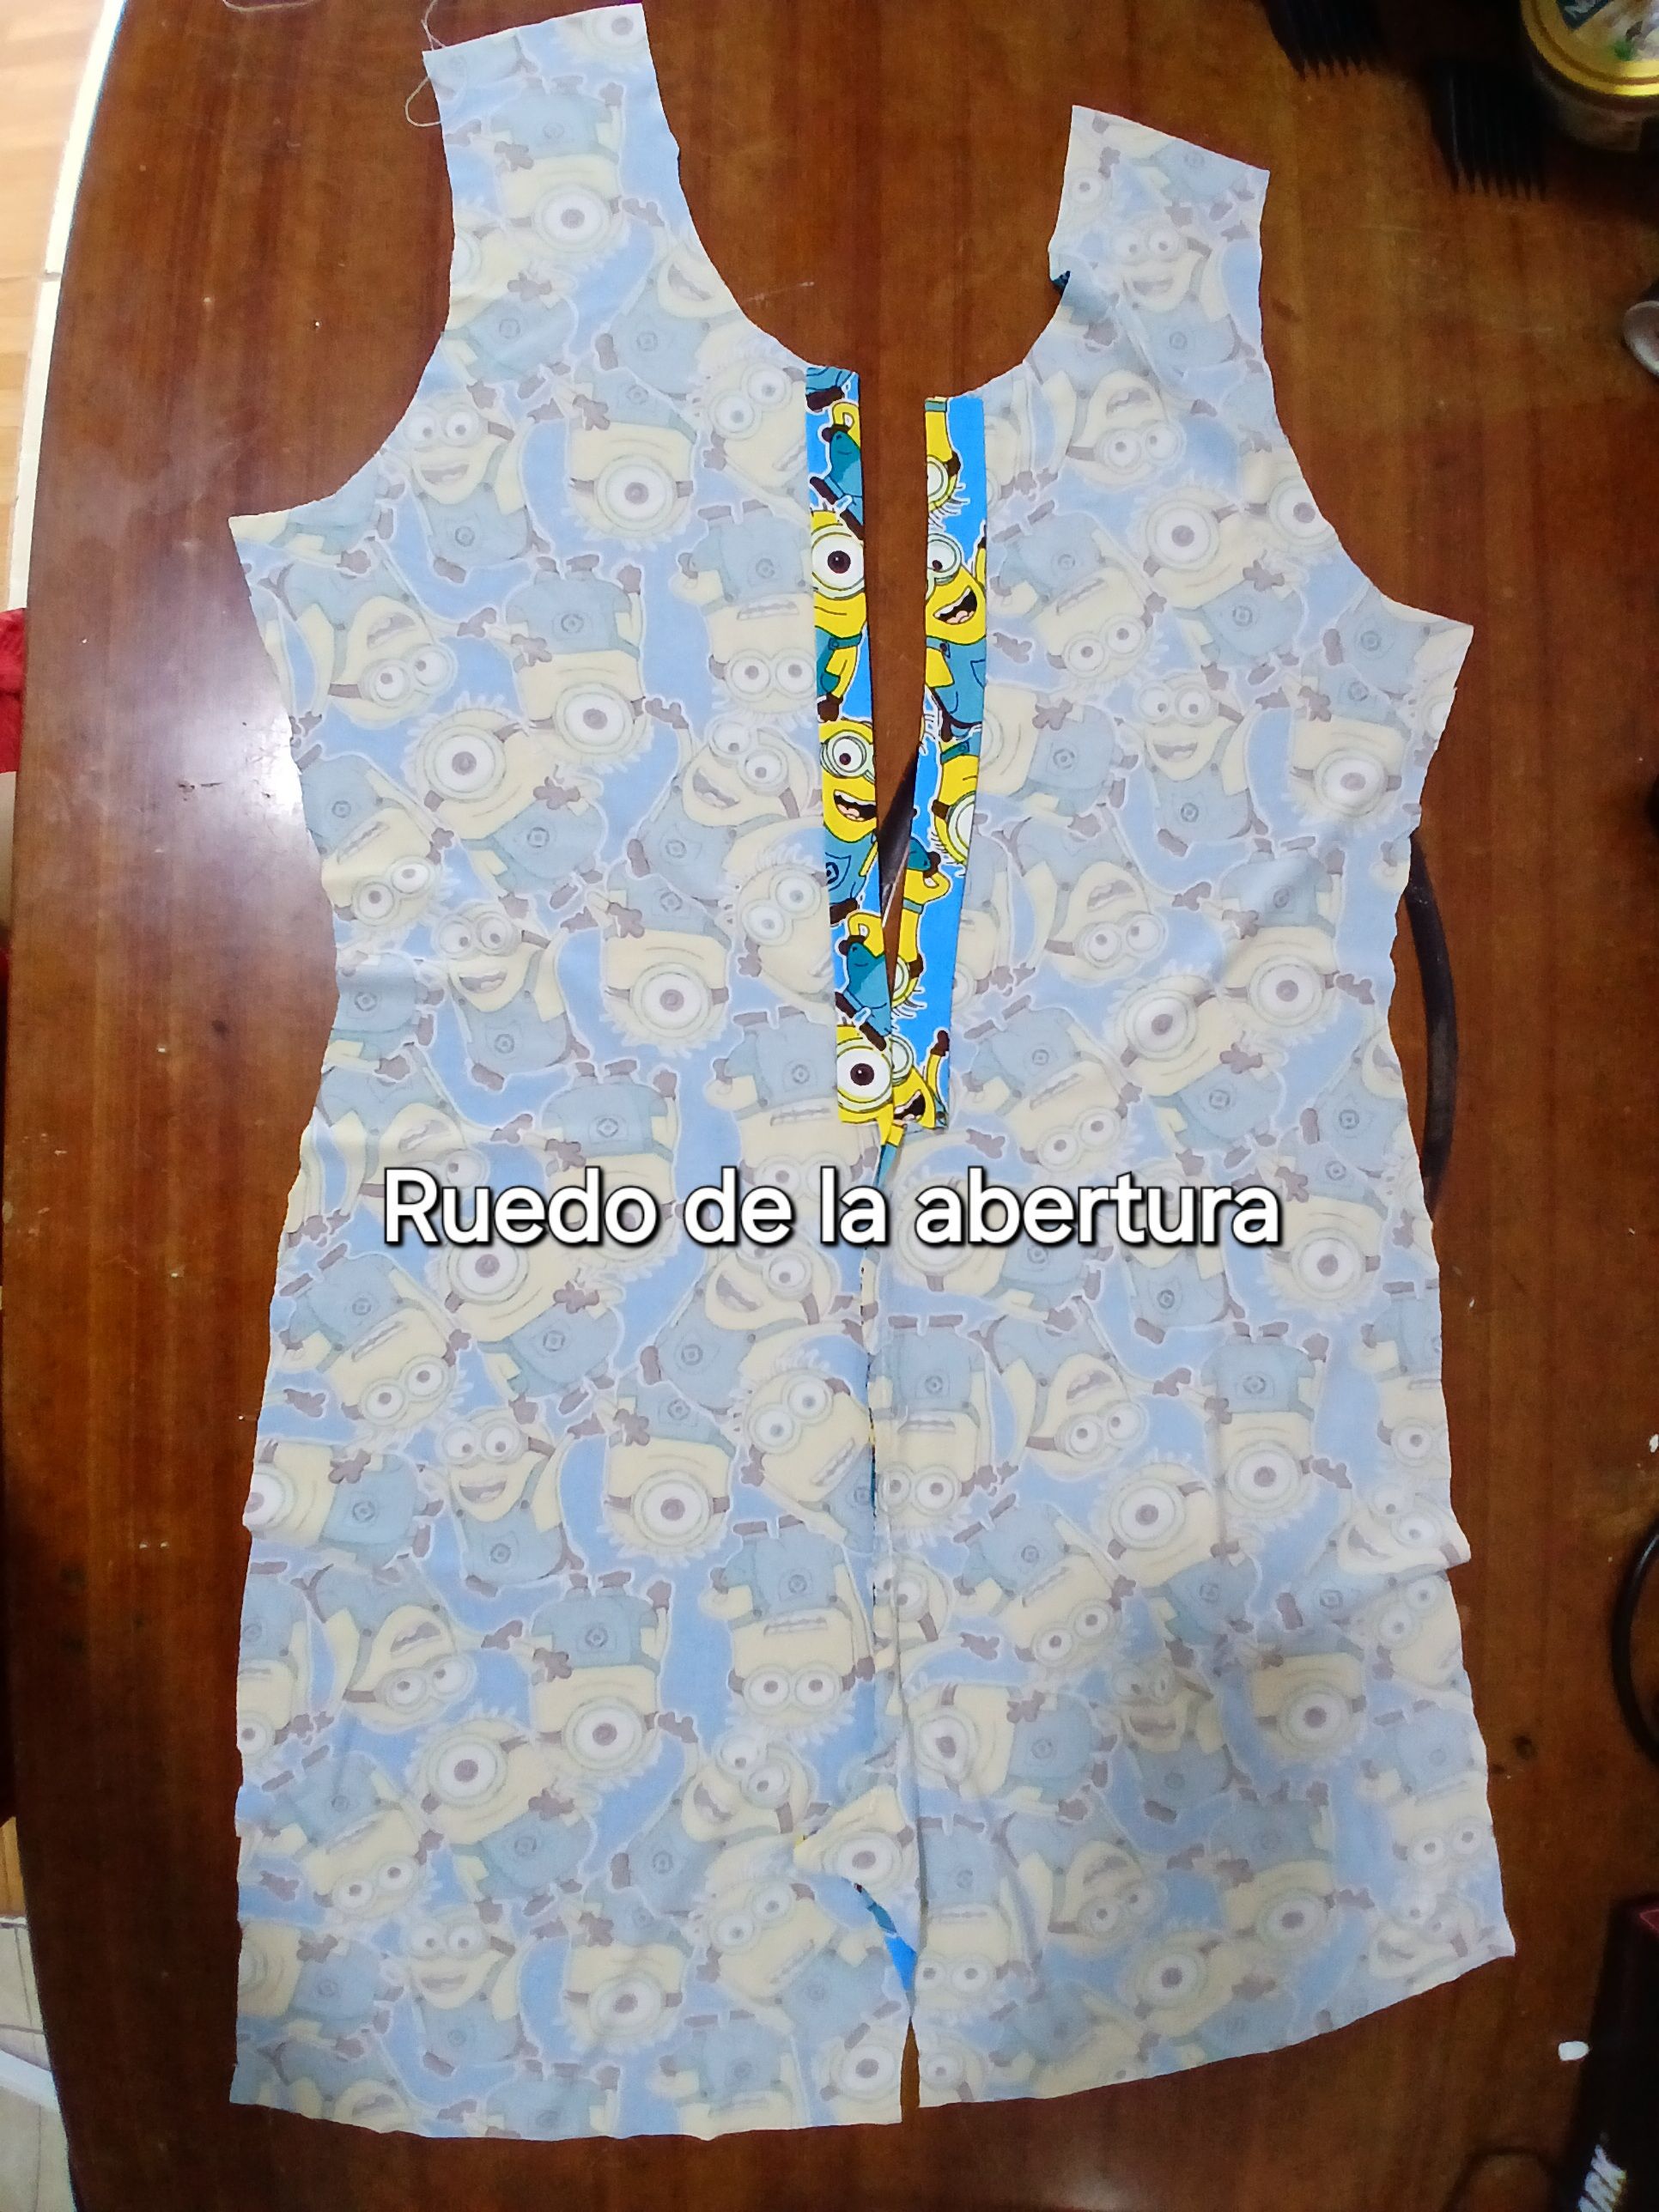
Cómo se observa en la imagen de las 2 piezas delanteras, sobran 3 cm más de tela, esto es para hacer el dobladillo del ruedo de la abertura, y así darle un buen acabado a las orillas.
As can be seen in the image of the 2 front pieces, there is 3 cm more fabric left over, this is to hem the hem of the hem of the opening, and thus give a good finish to the edges.
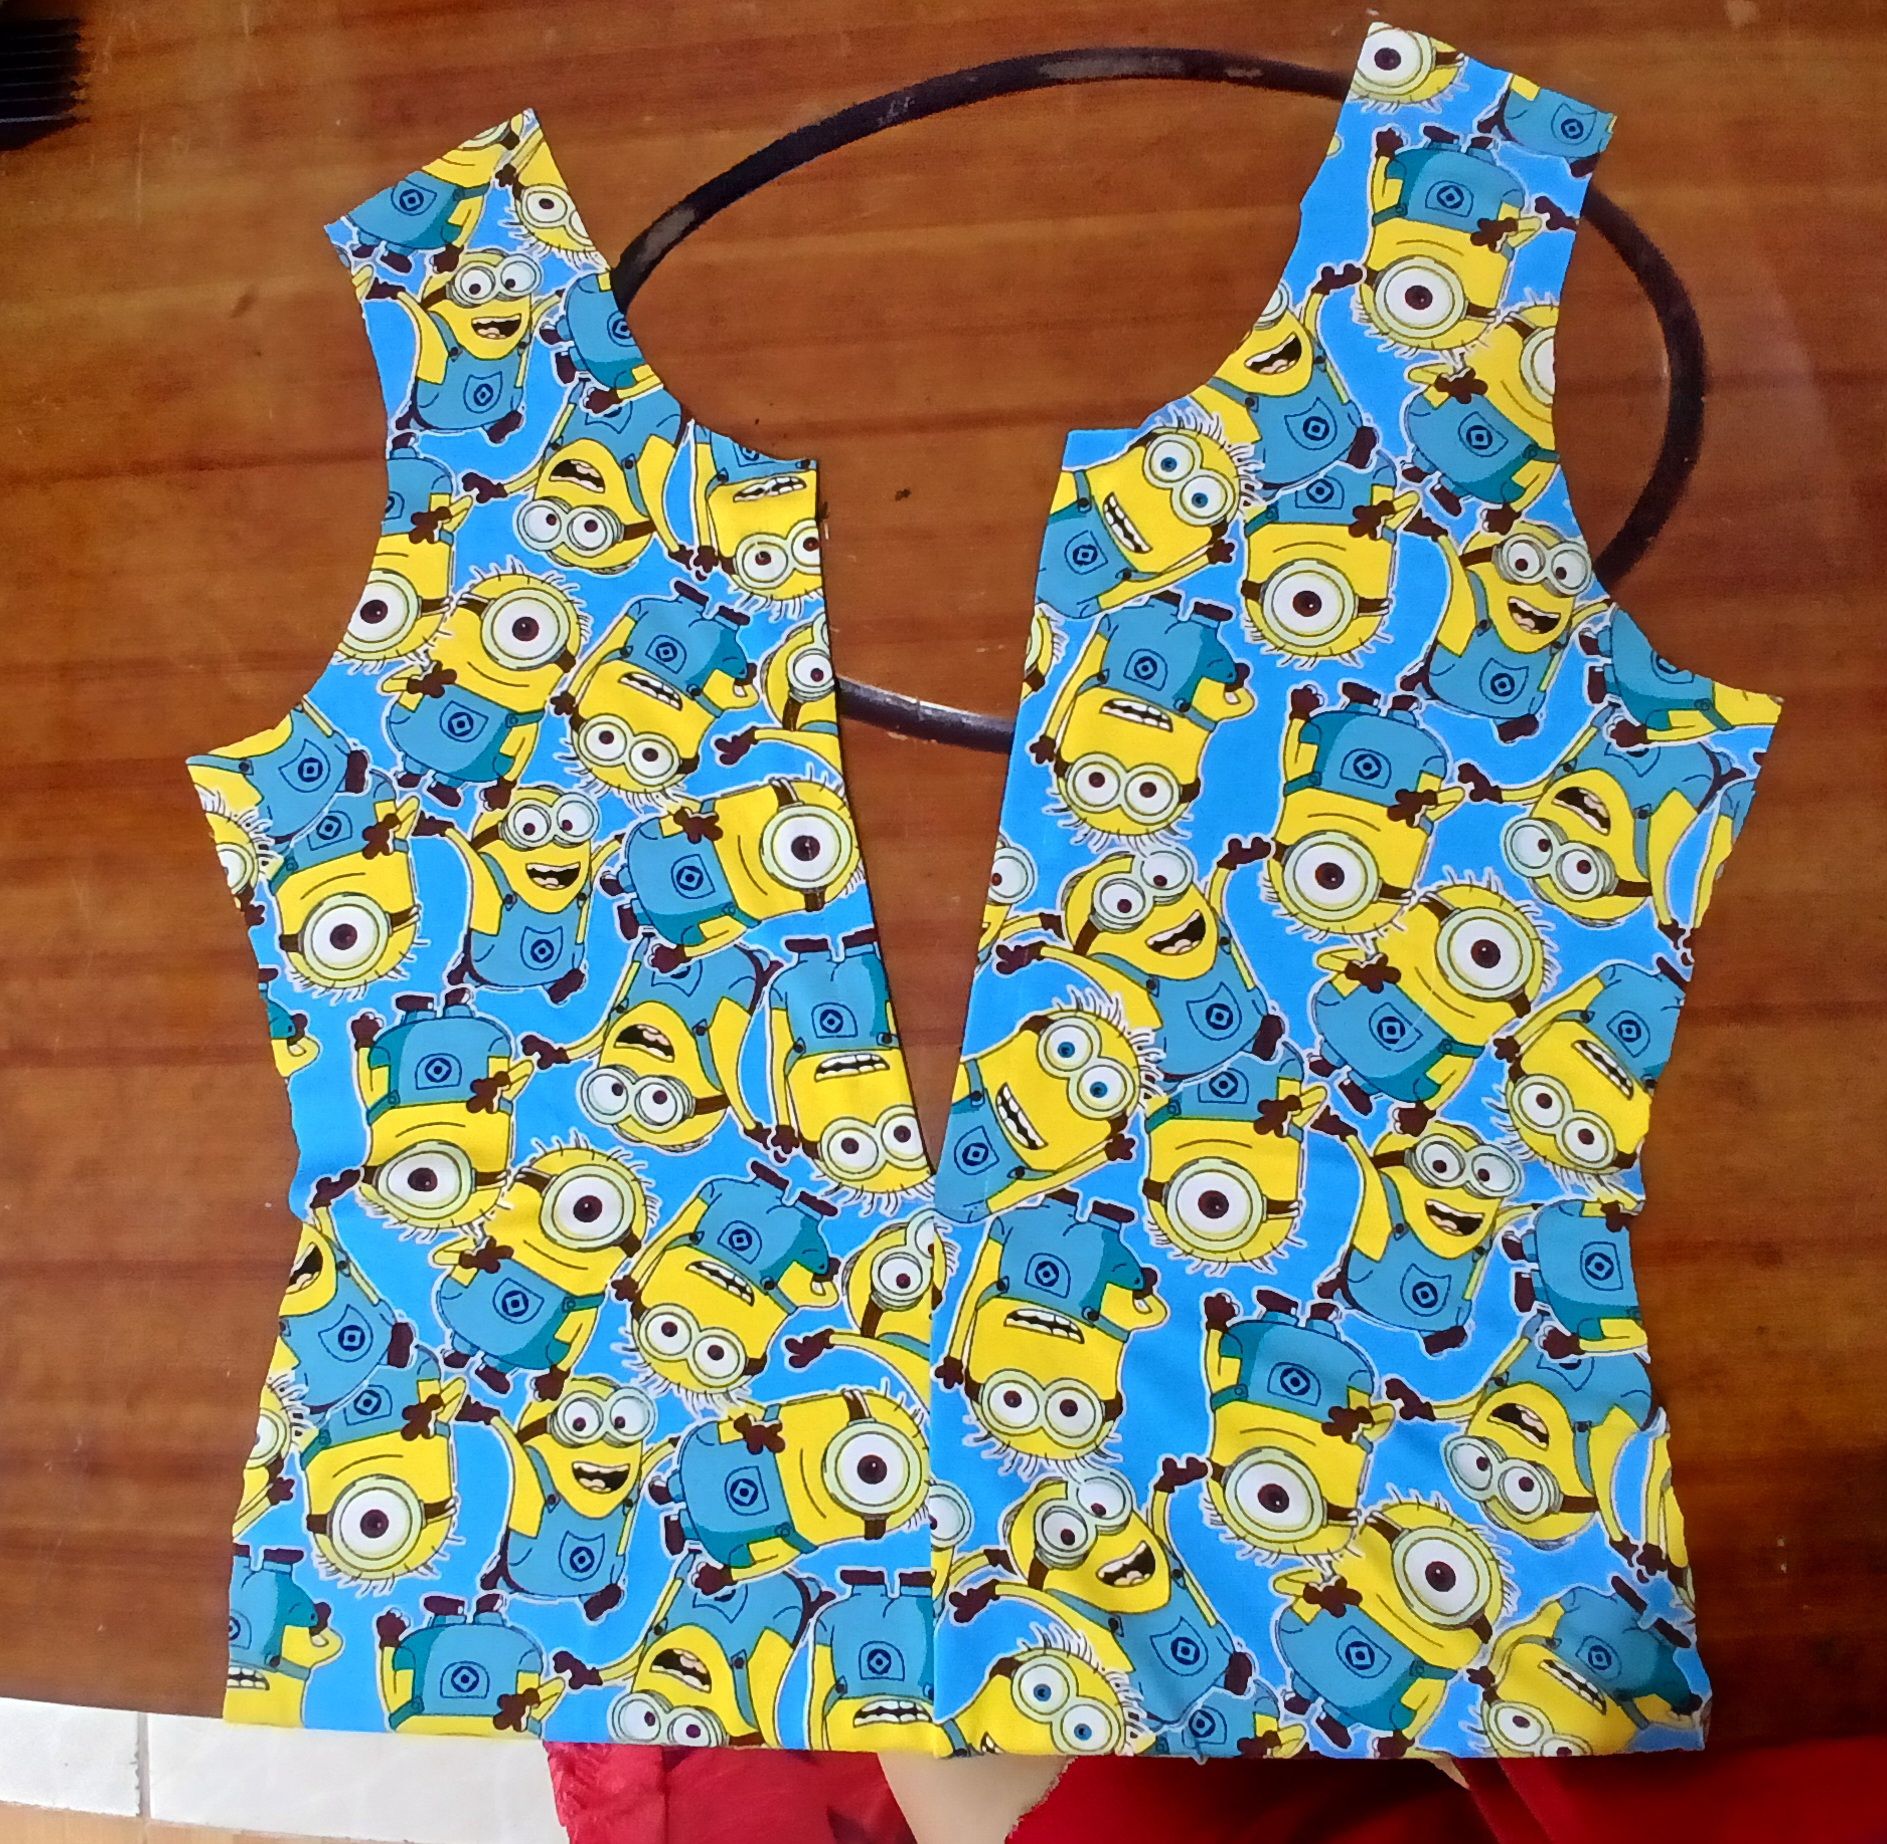
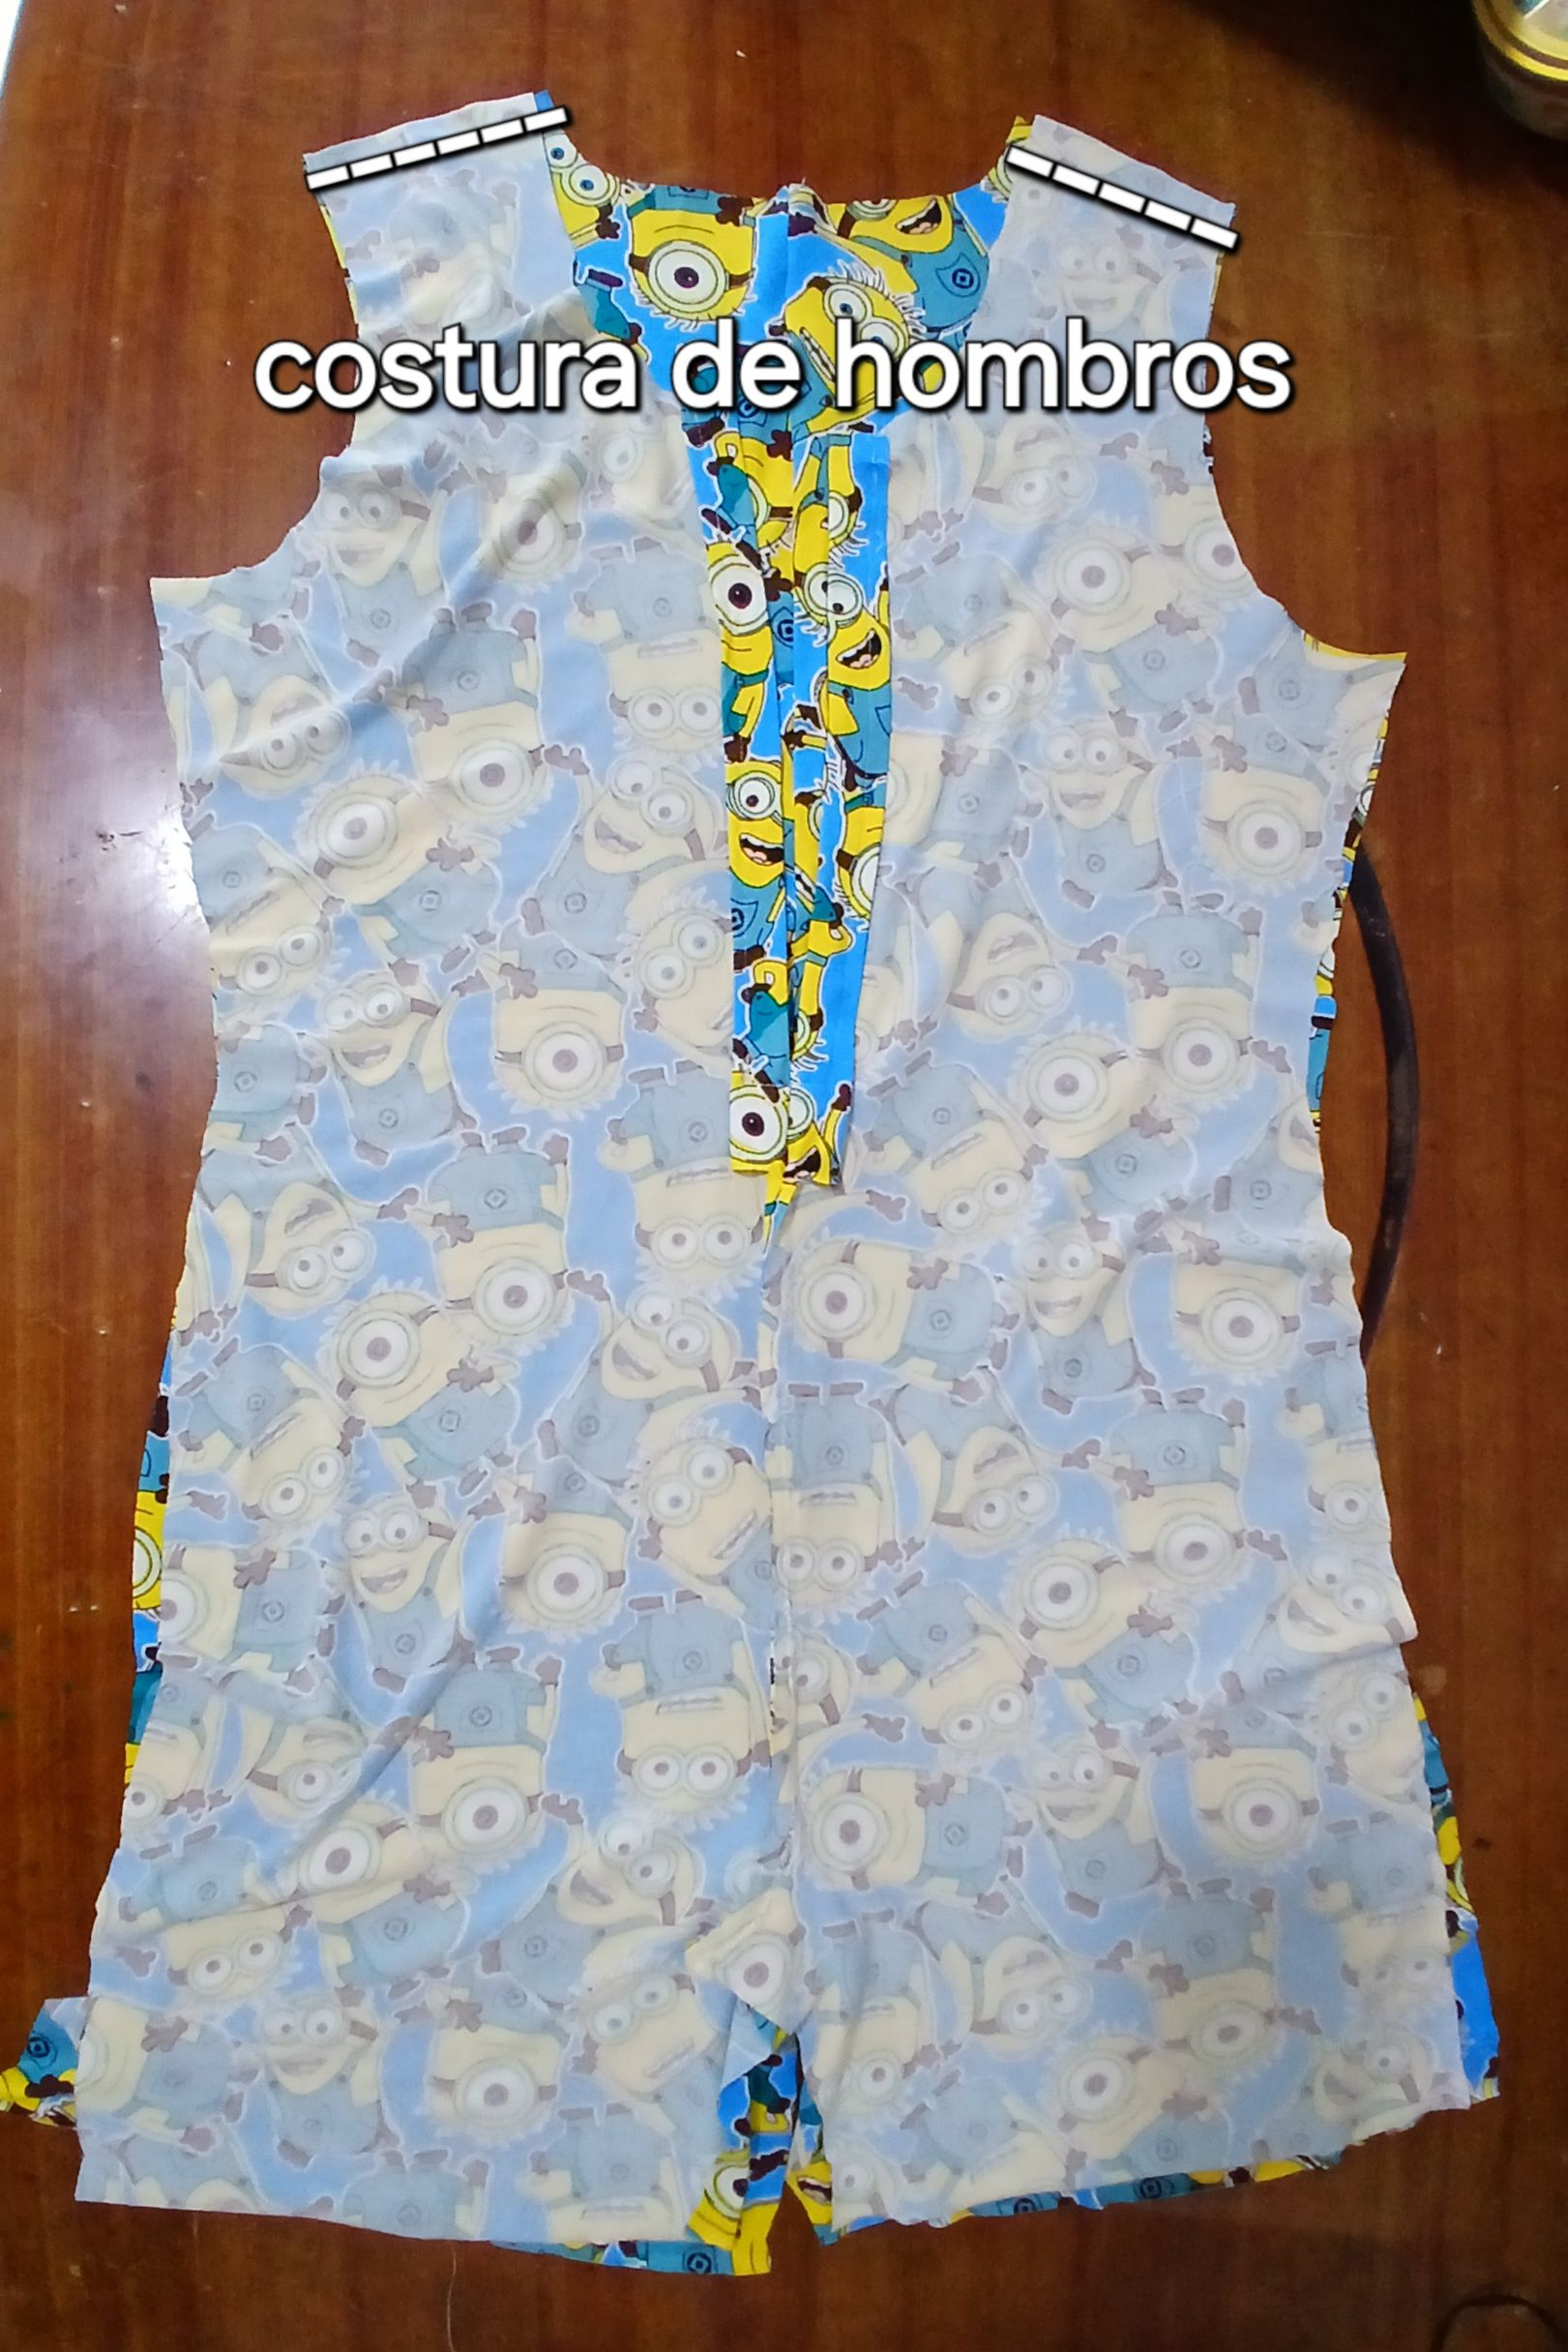
Después coloqué La pieza delantera, sobre la pieza trasera, haciendo coincidir sus derechos para pasar costura por los hombros y luego pegar las mangas por todo el recorrido de la ciza sin cerrar los laterales aún.
Then I placed the front piece on top of the back piece, matching their rights to sew through the shoulders and then glue the sleeves along the whole length of the seam without closing the sides yet.
Una vez de haber terminado de pegar las mangas, procedí a pasar costura por la entrepiernas y los laterales de todo el enterizo, para cerrar toda la pieza.
Once I finished gluing the sleeves, I proceeded to sew the crotch and the sides of the whole bodice, to close the whole piece.
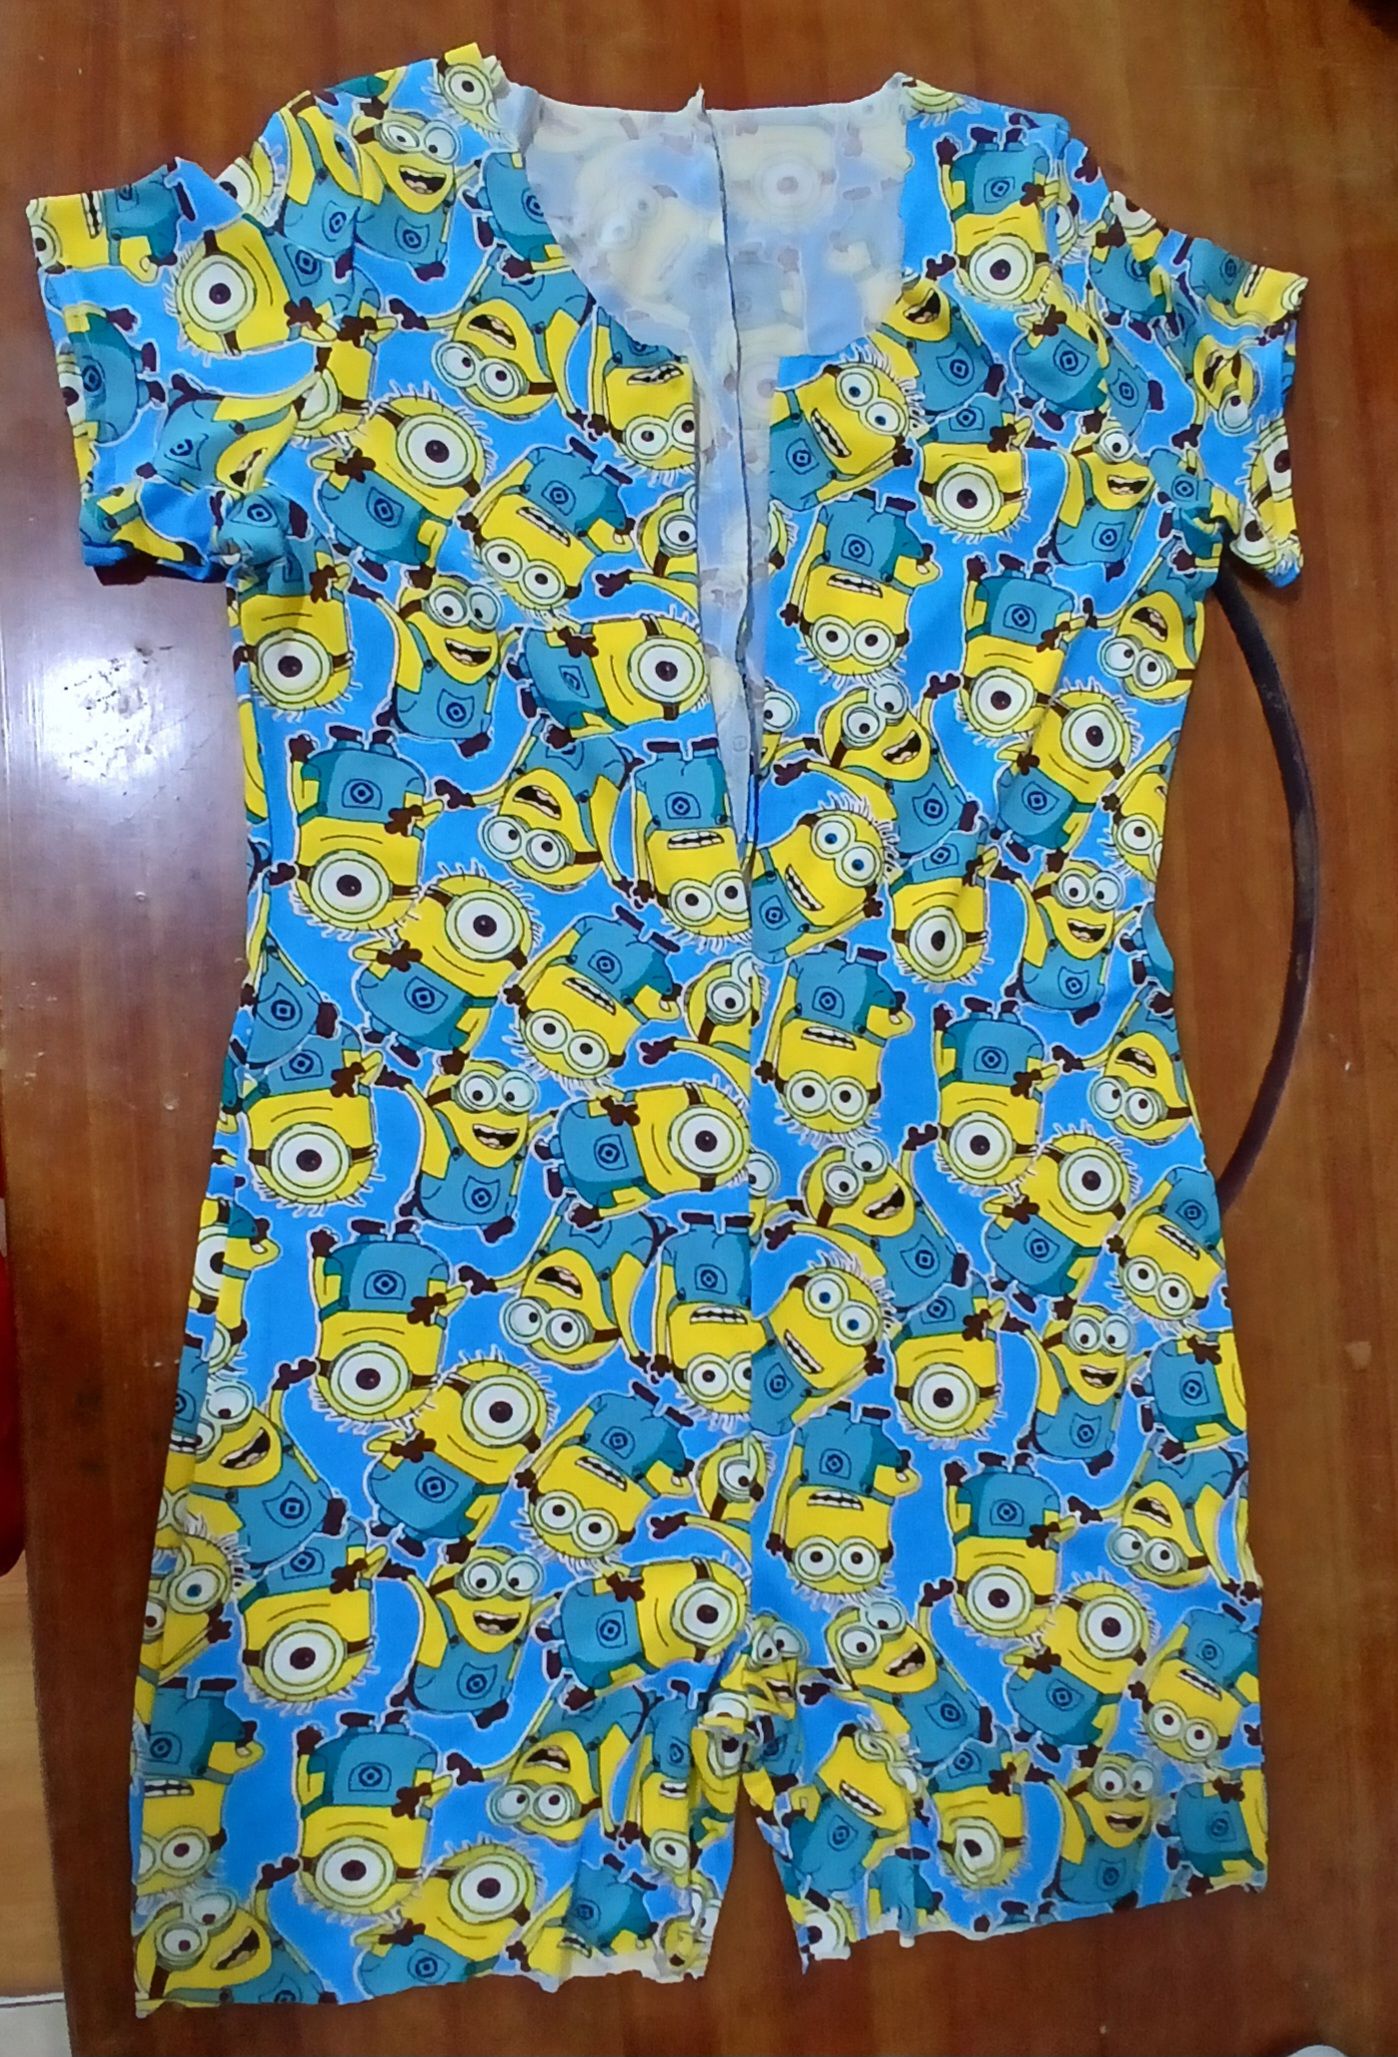
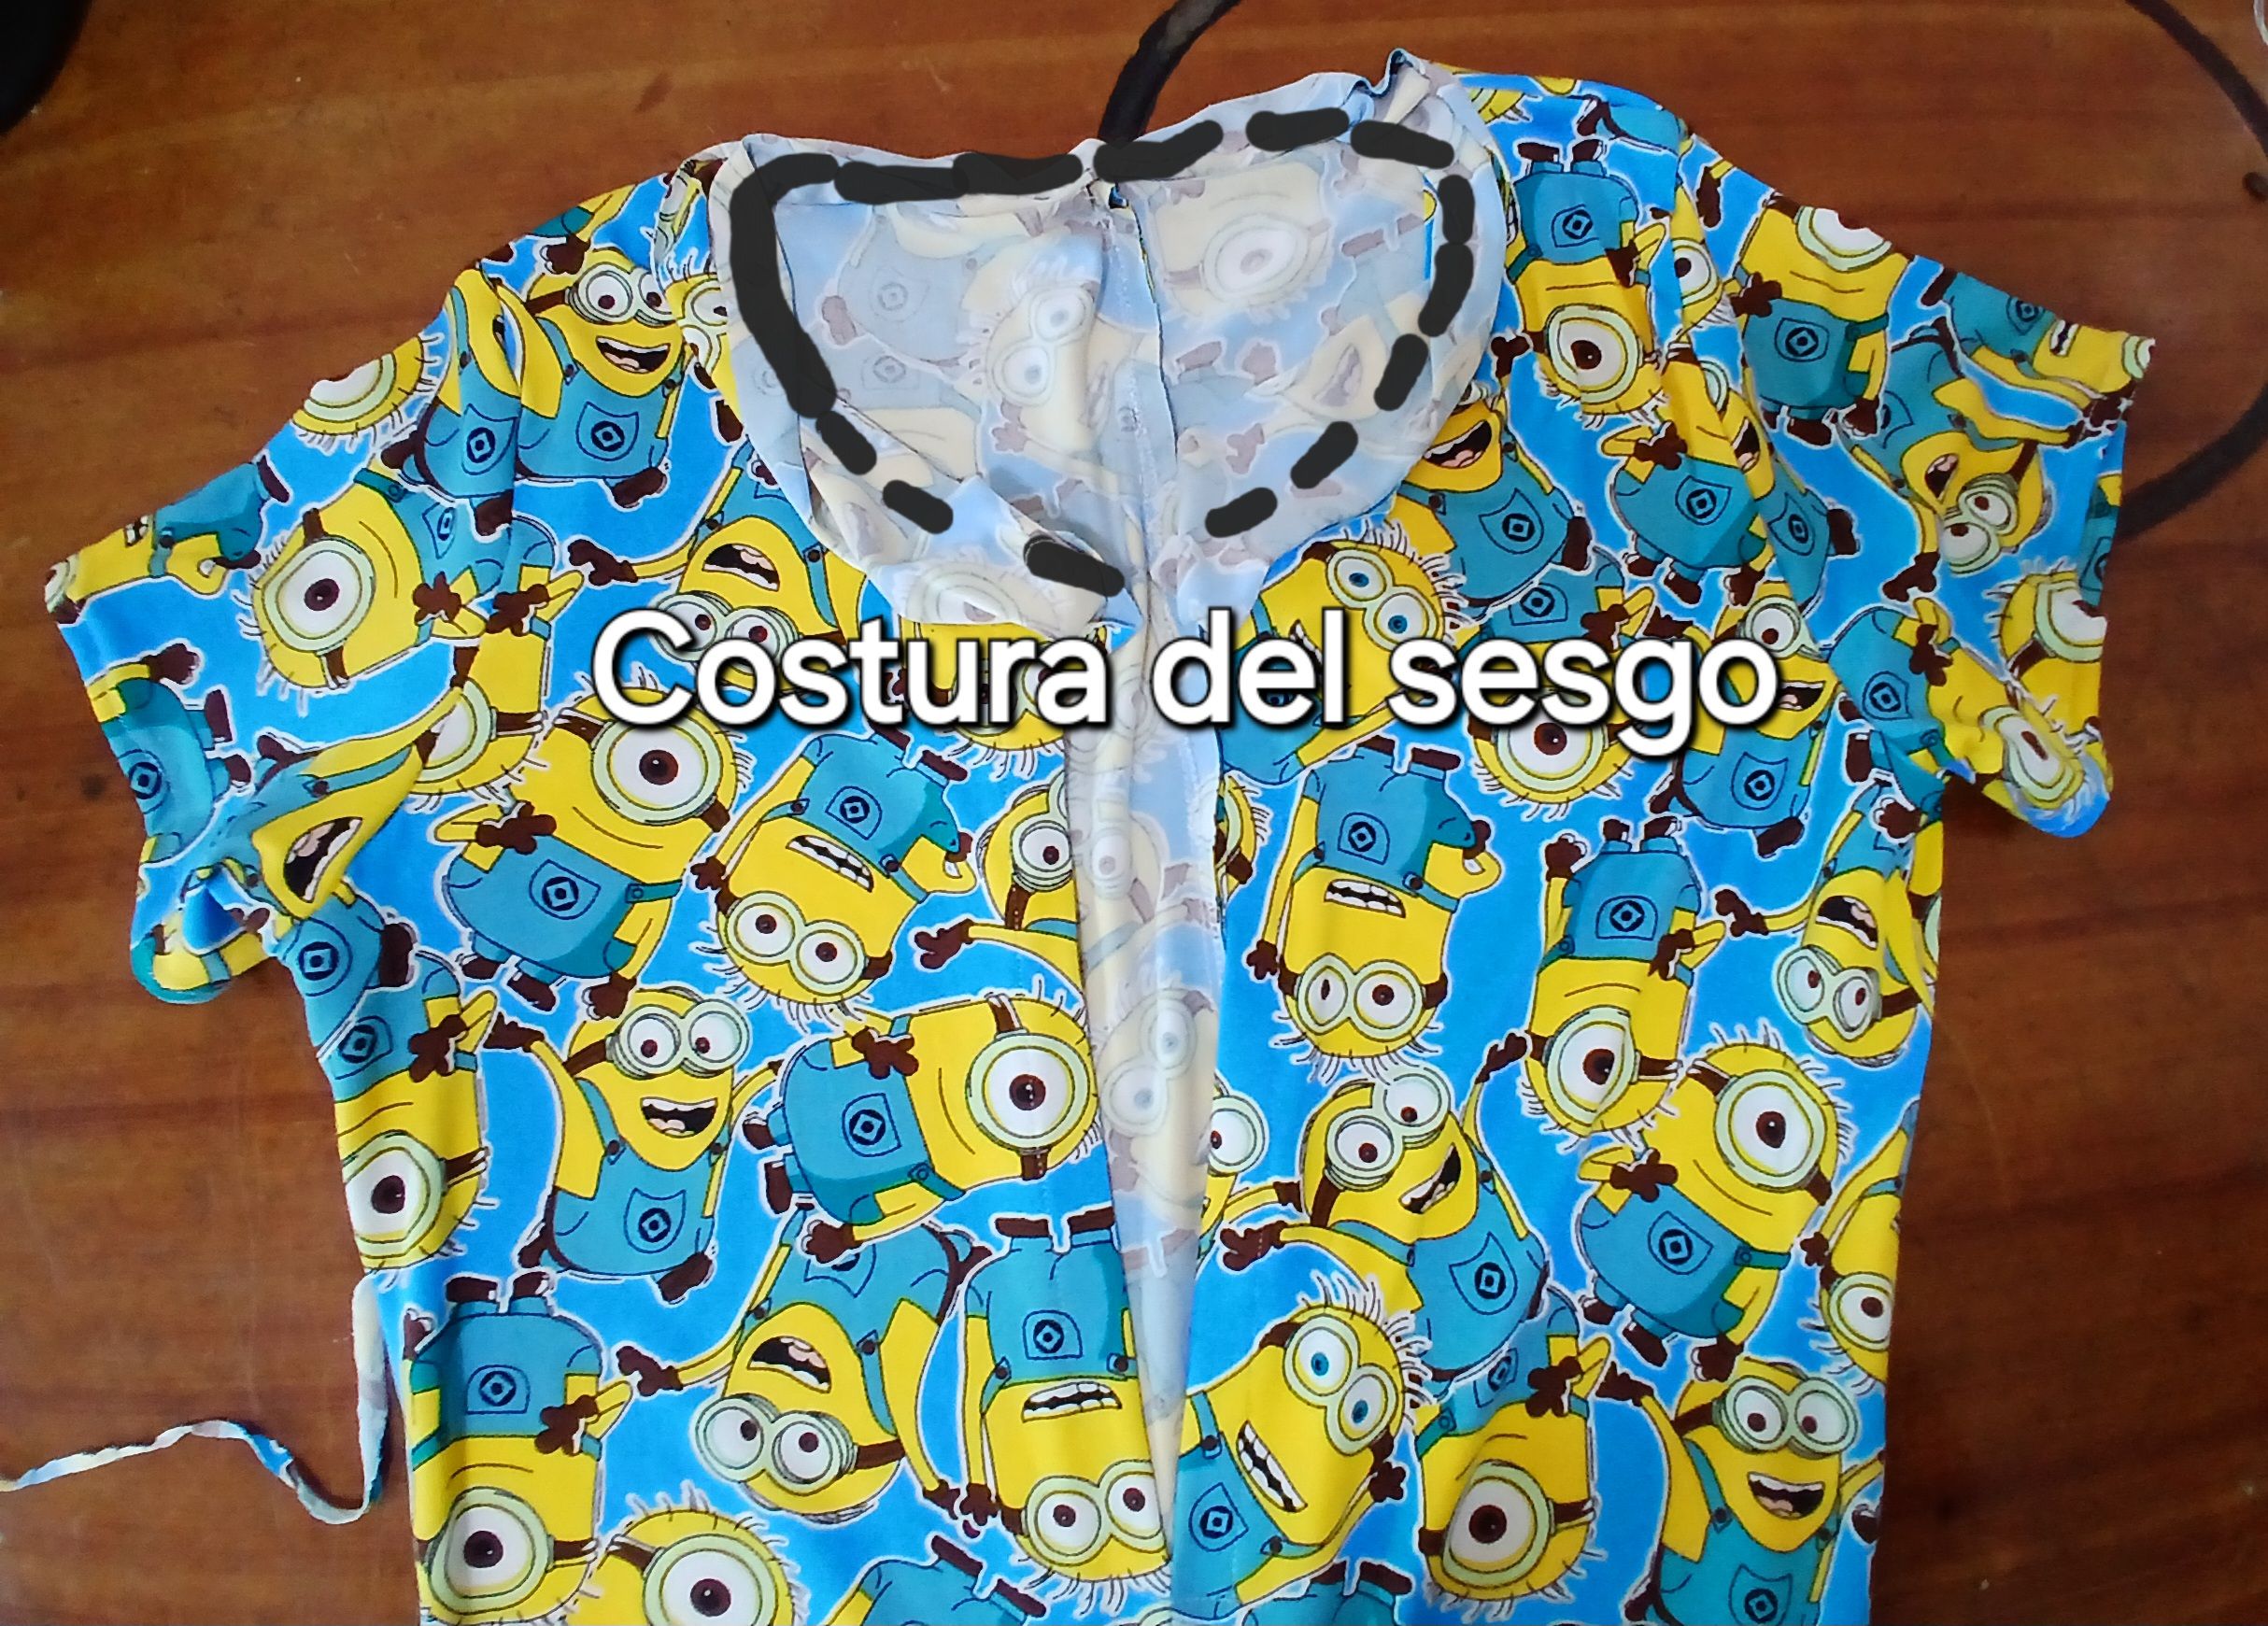
Luego que terminé de cerrar todo el enterizo, procedí a colocar el sesgo para el cuello de éste
After I finished closing the entire bodysuit, I proceeded to place the bias binding for the neck of the bodysuit.

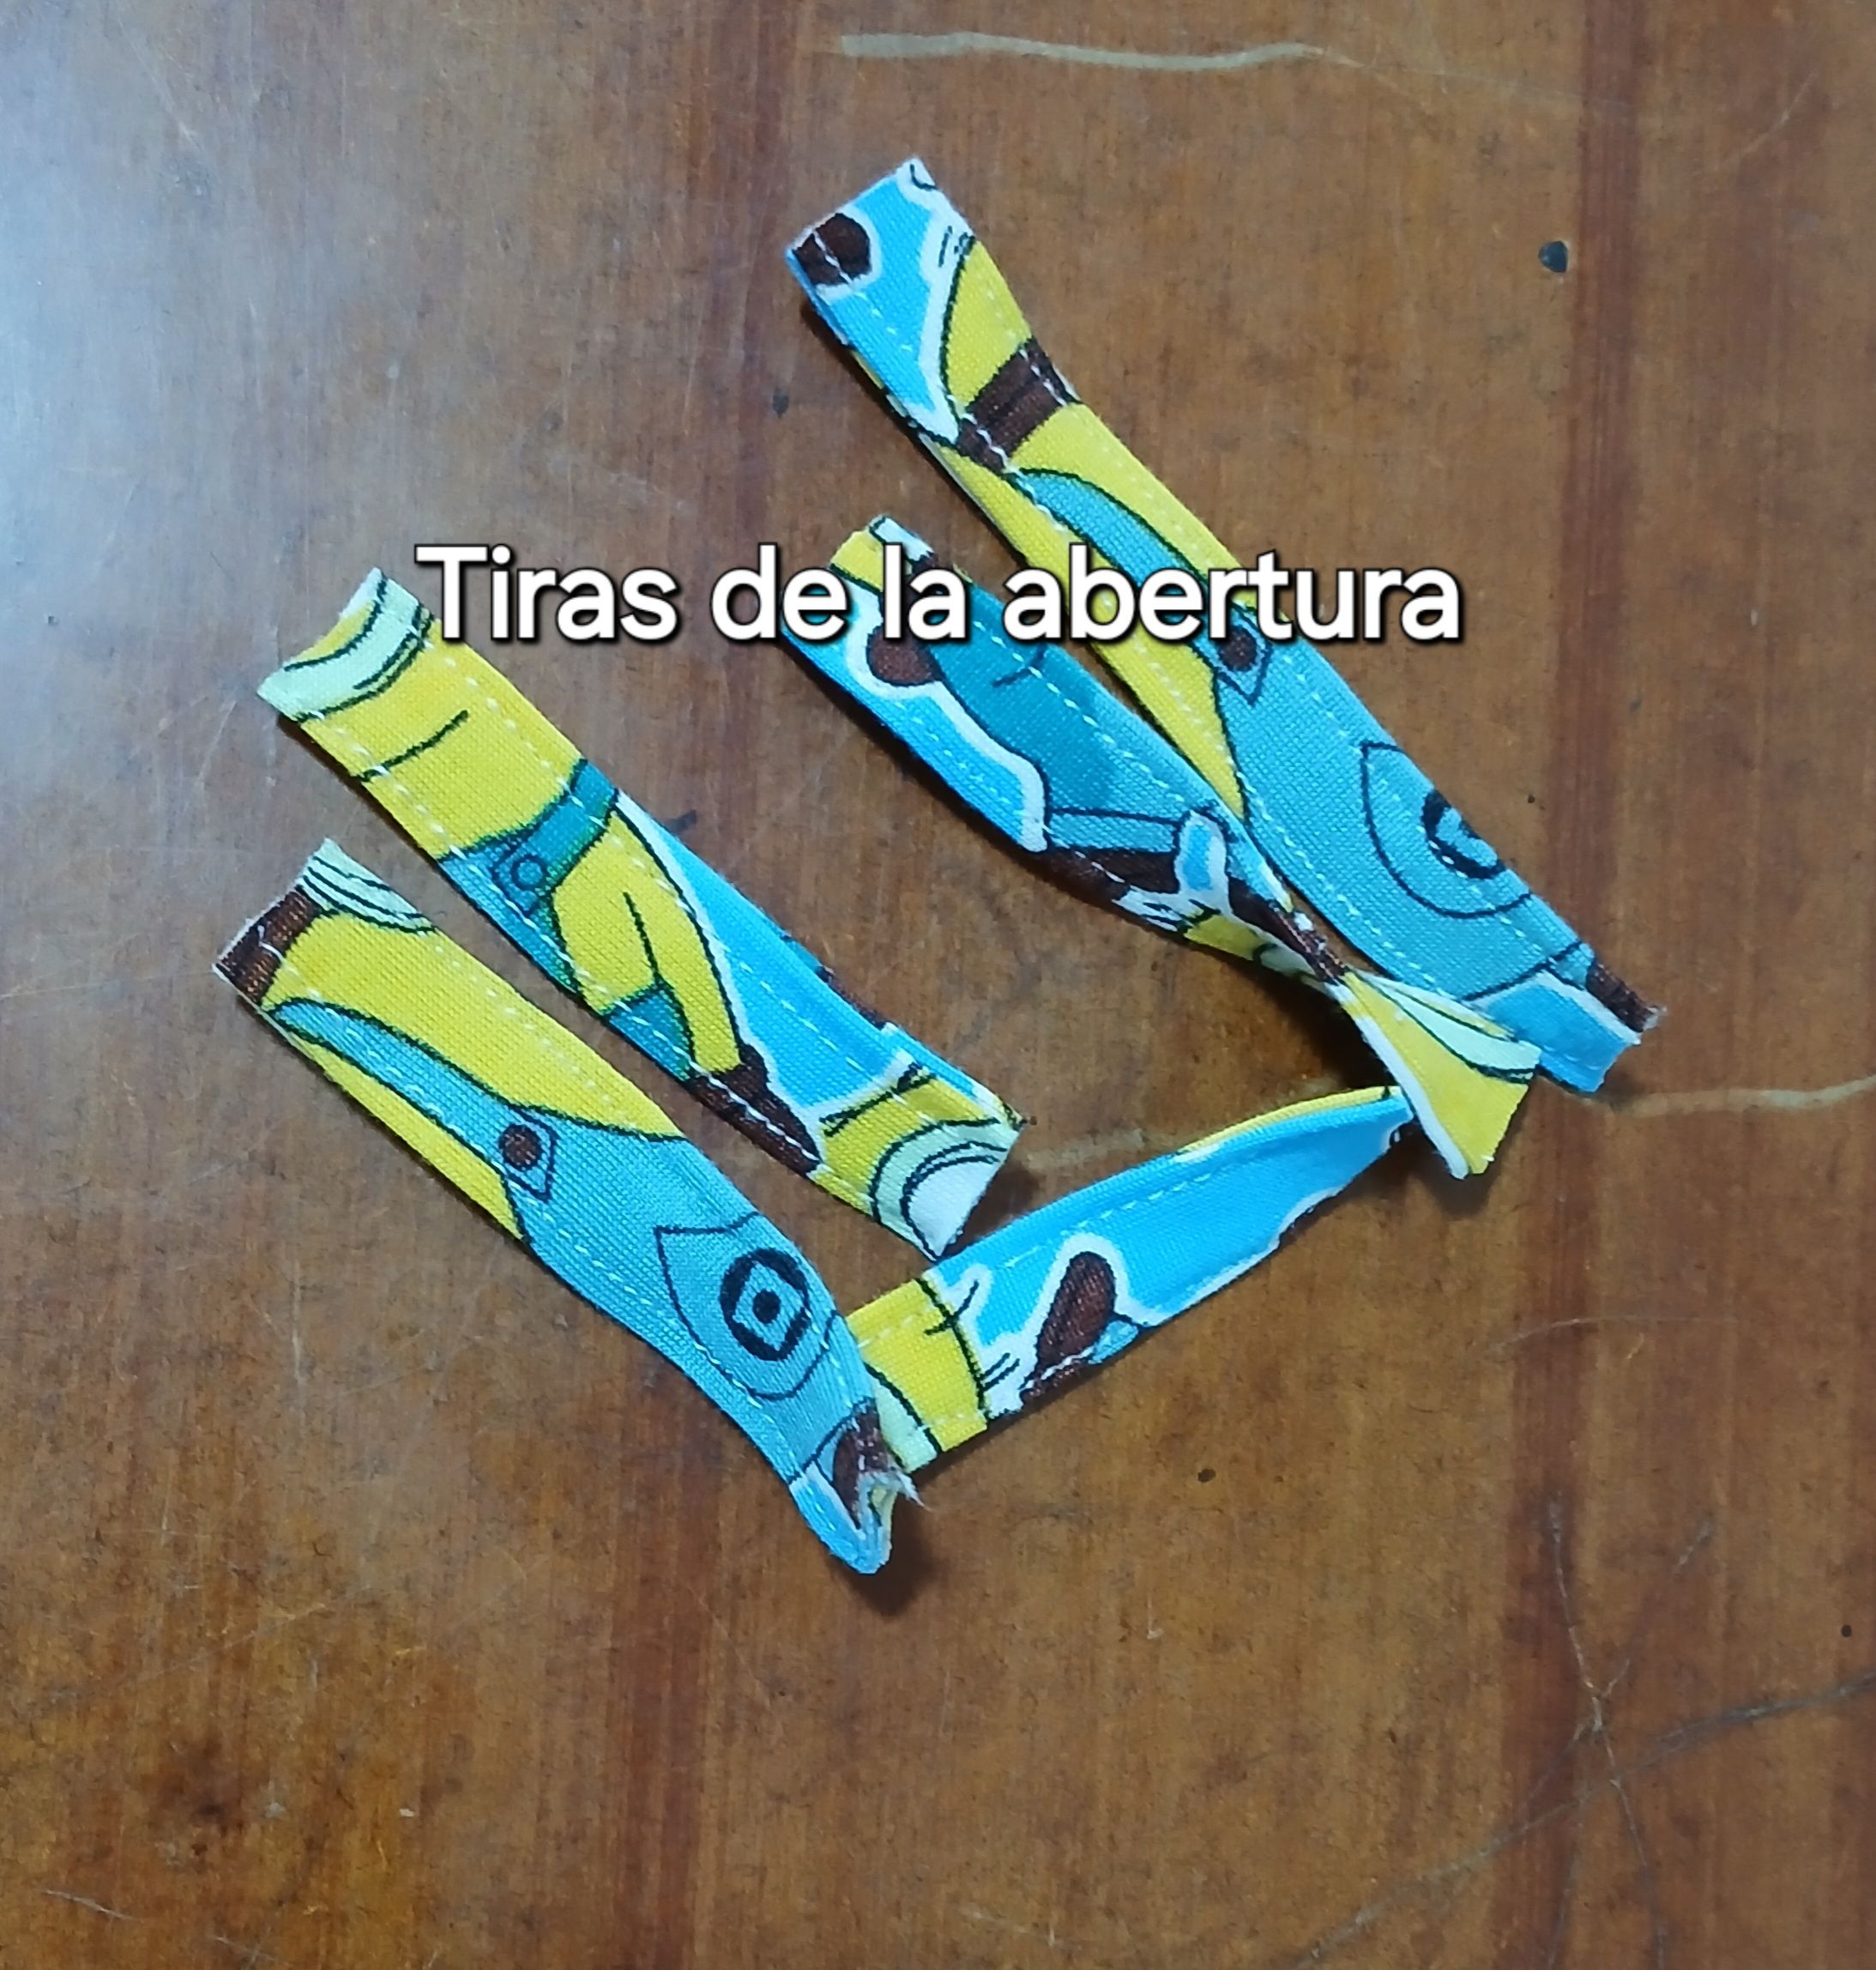
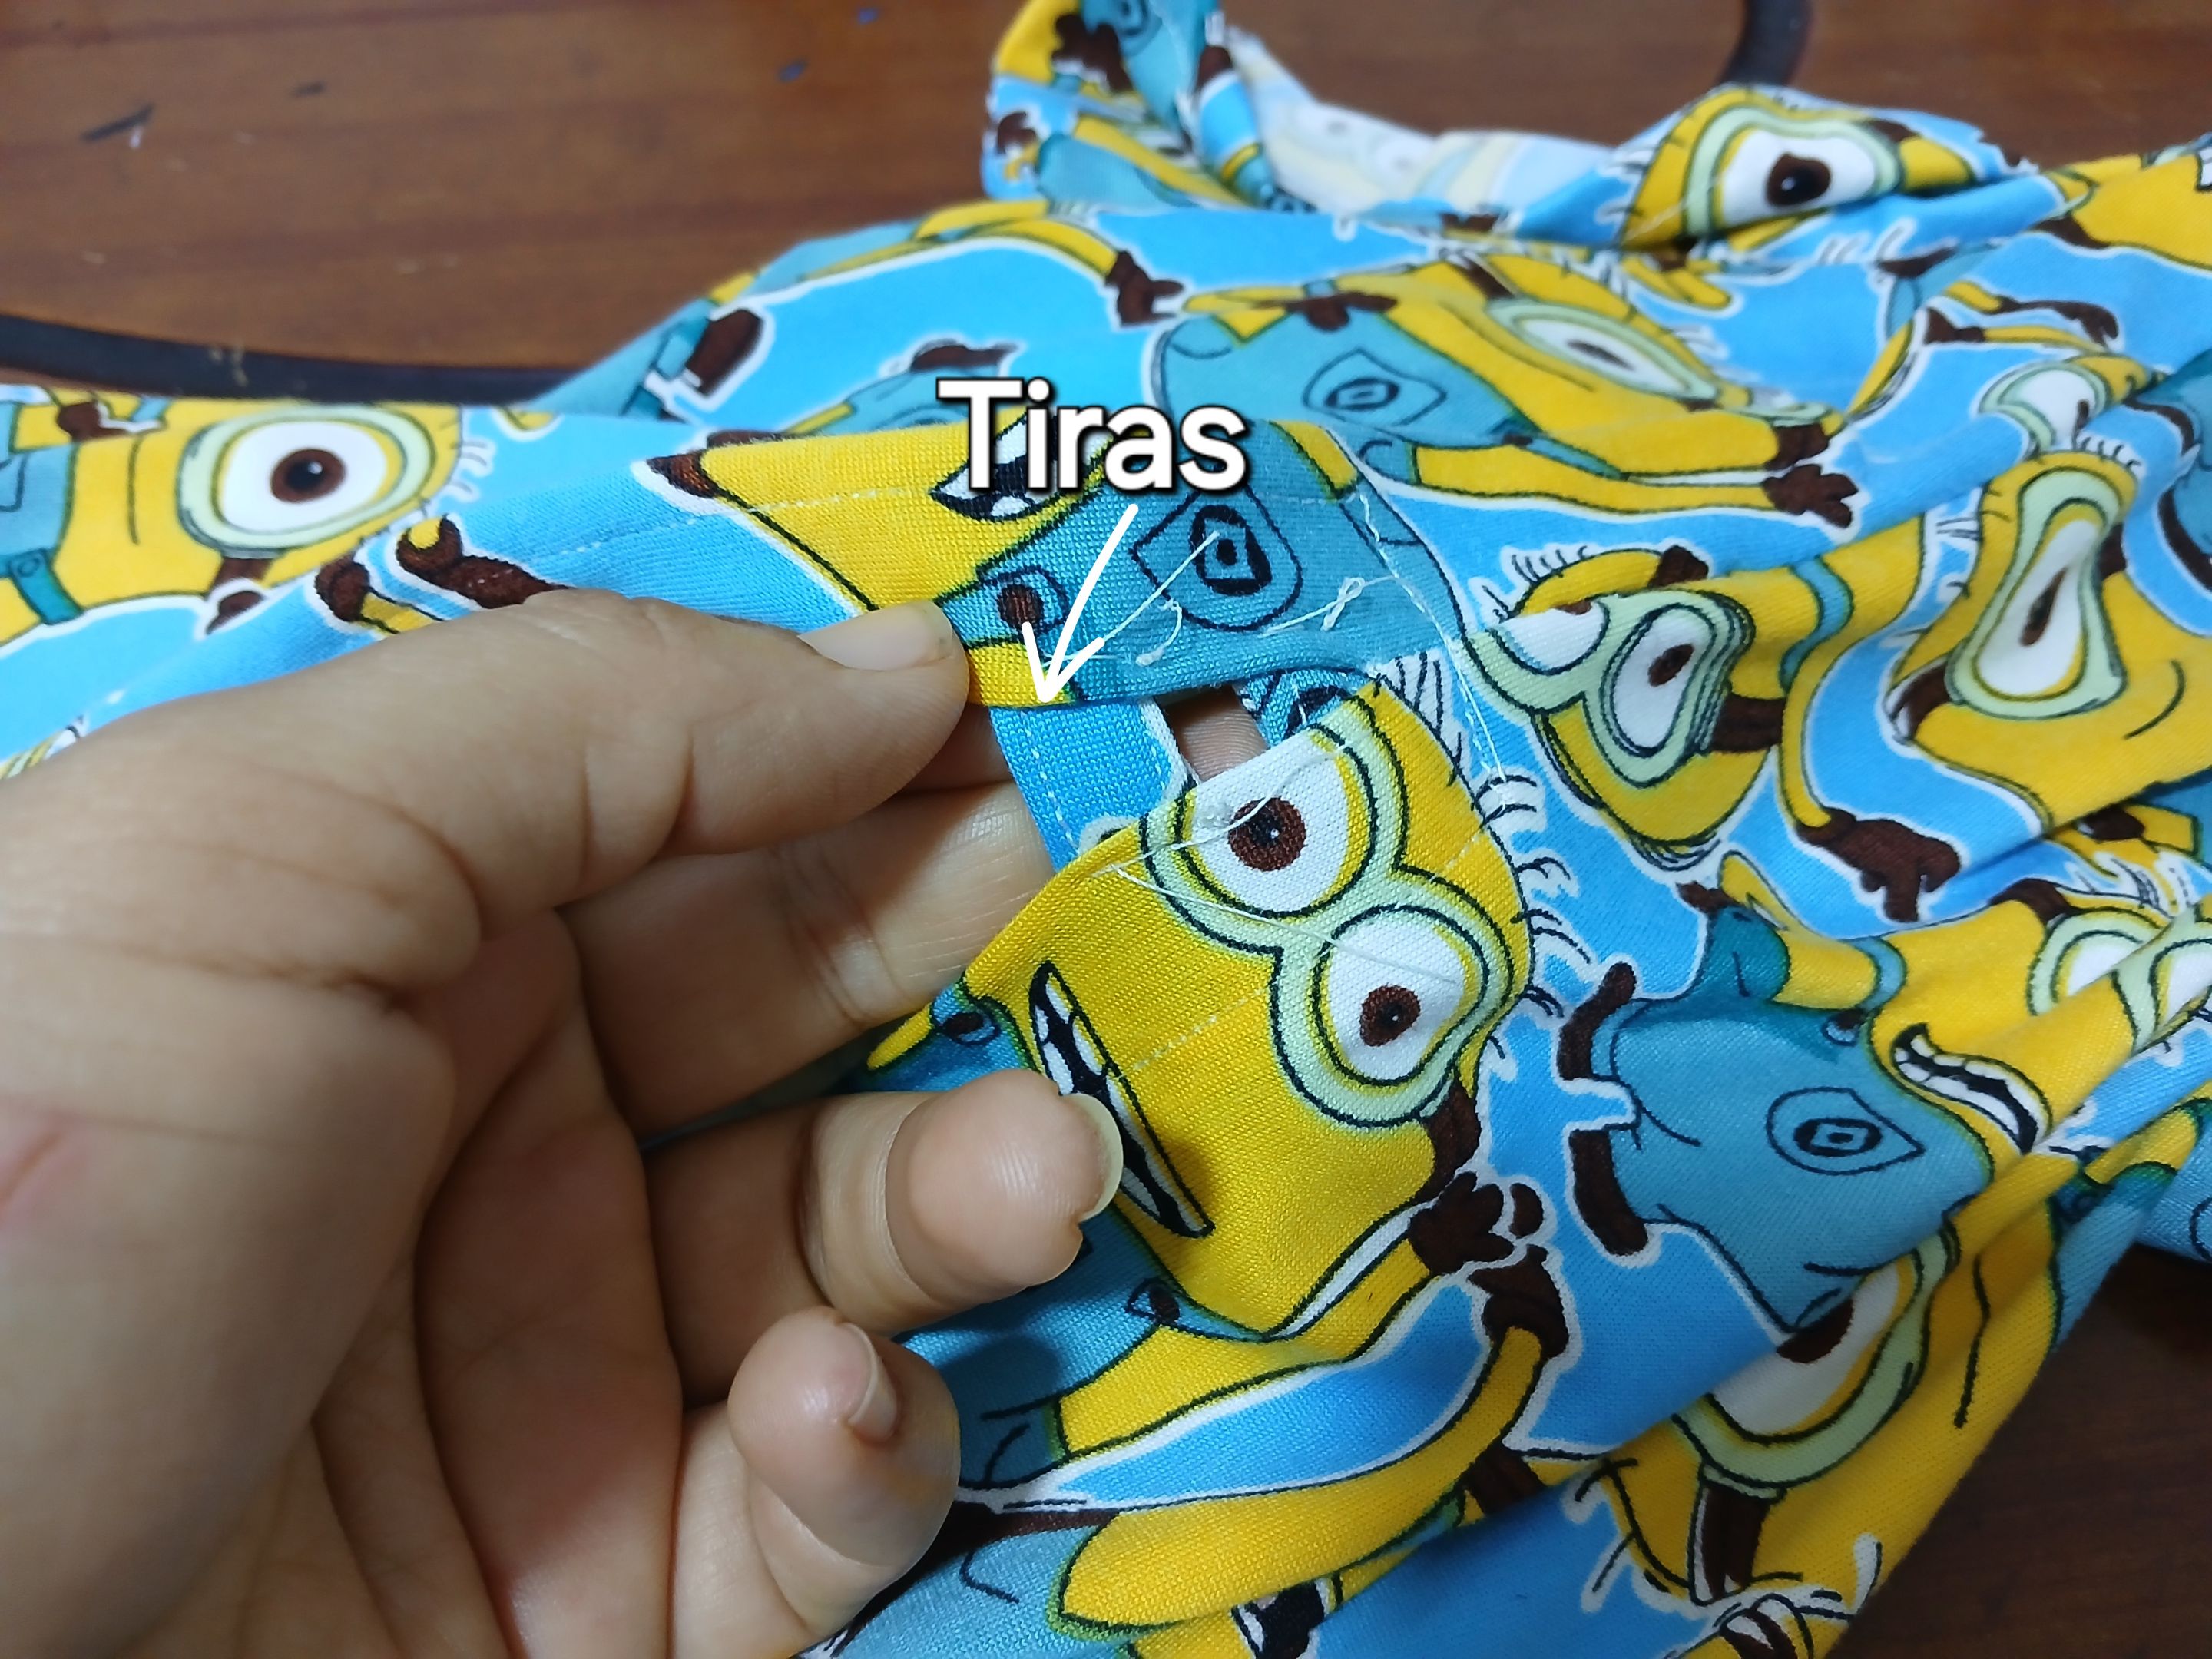
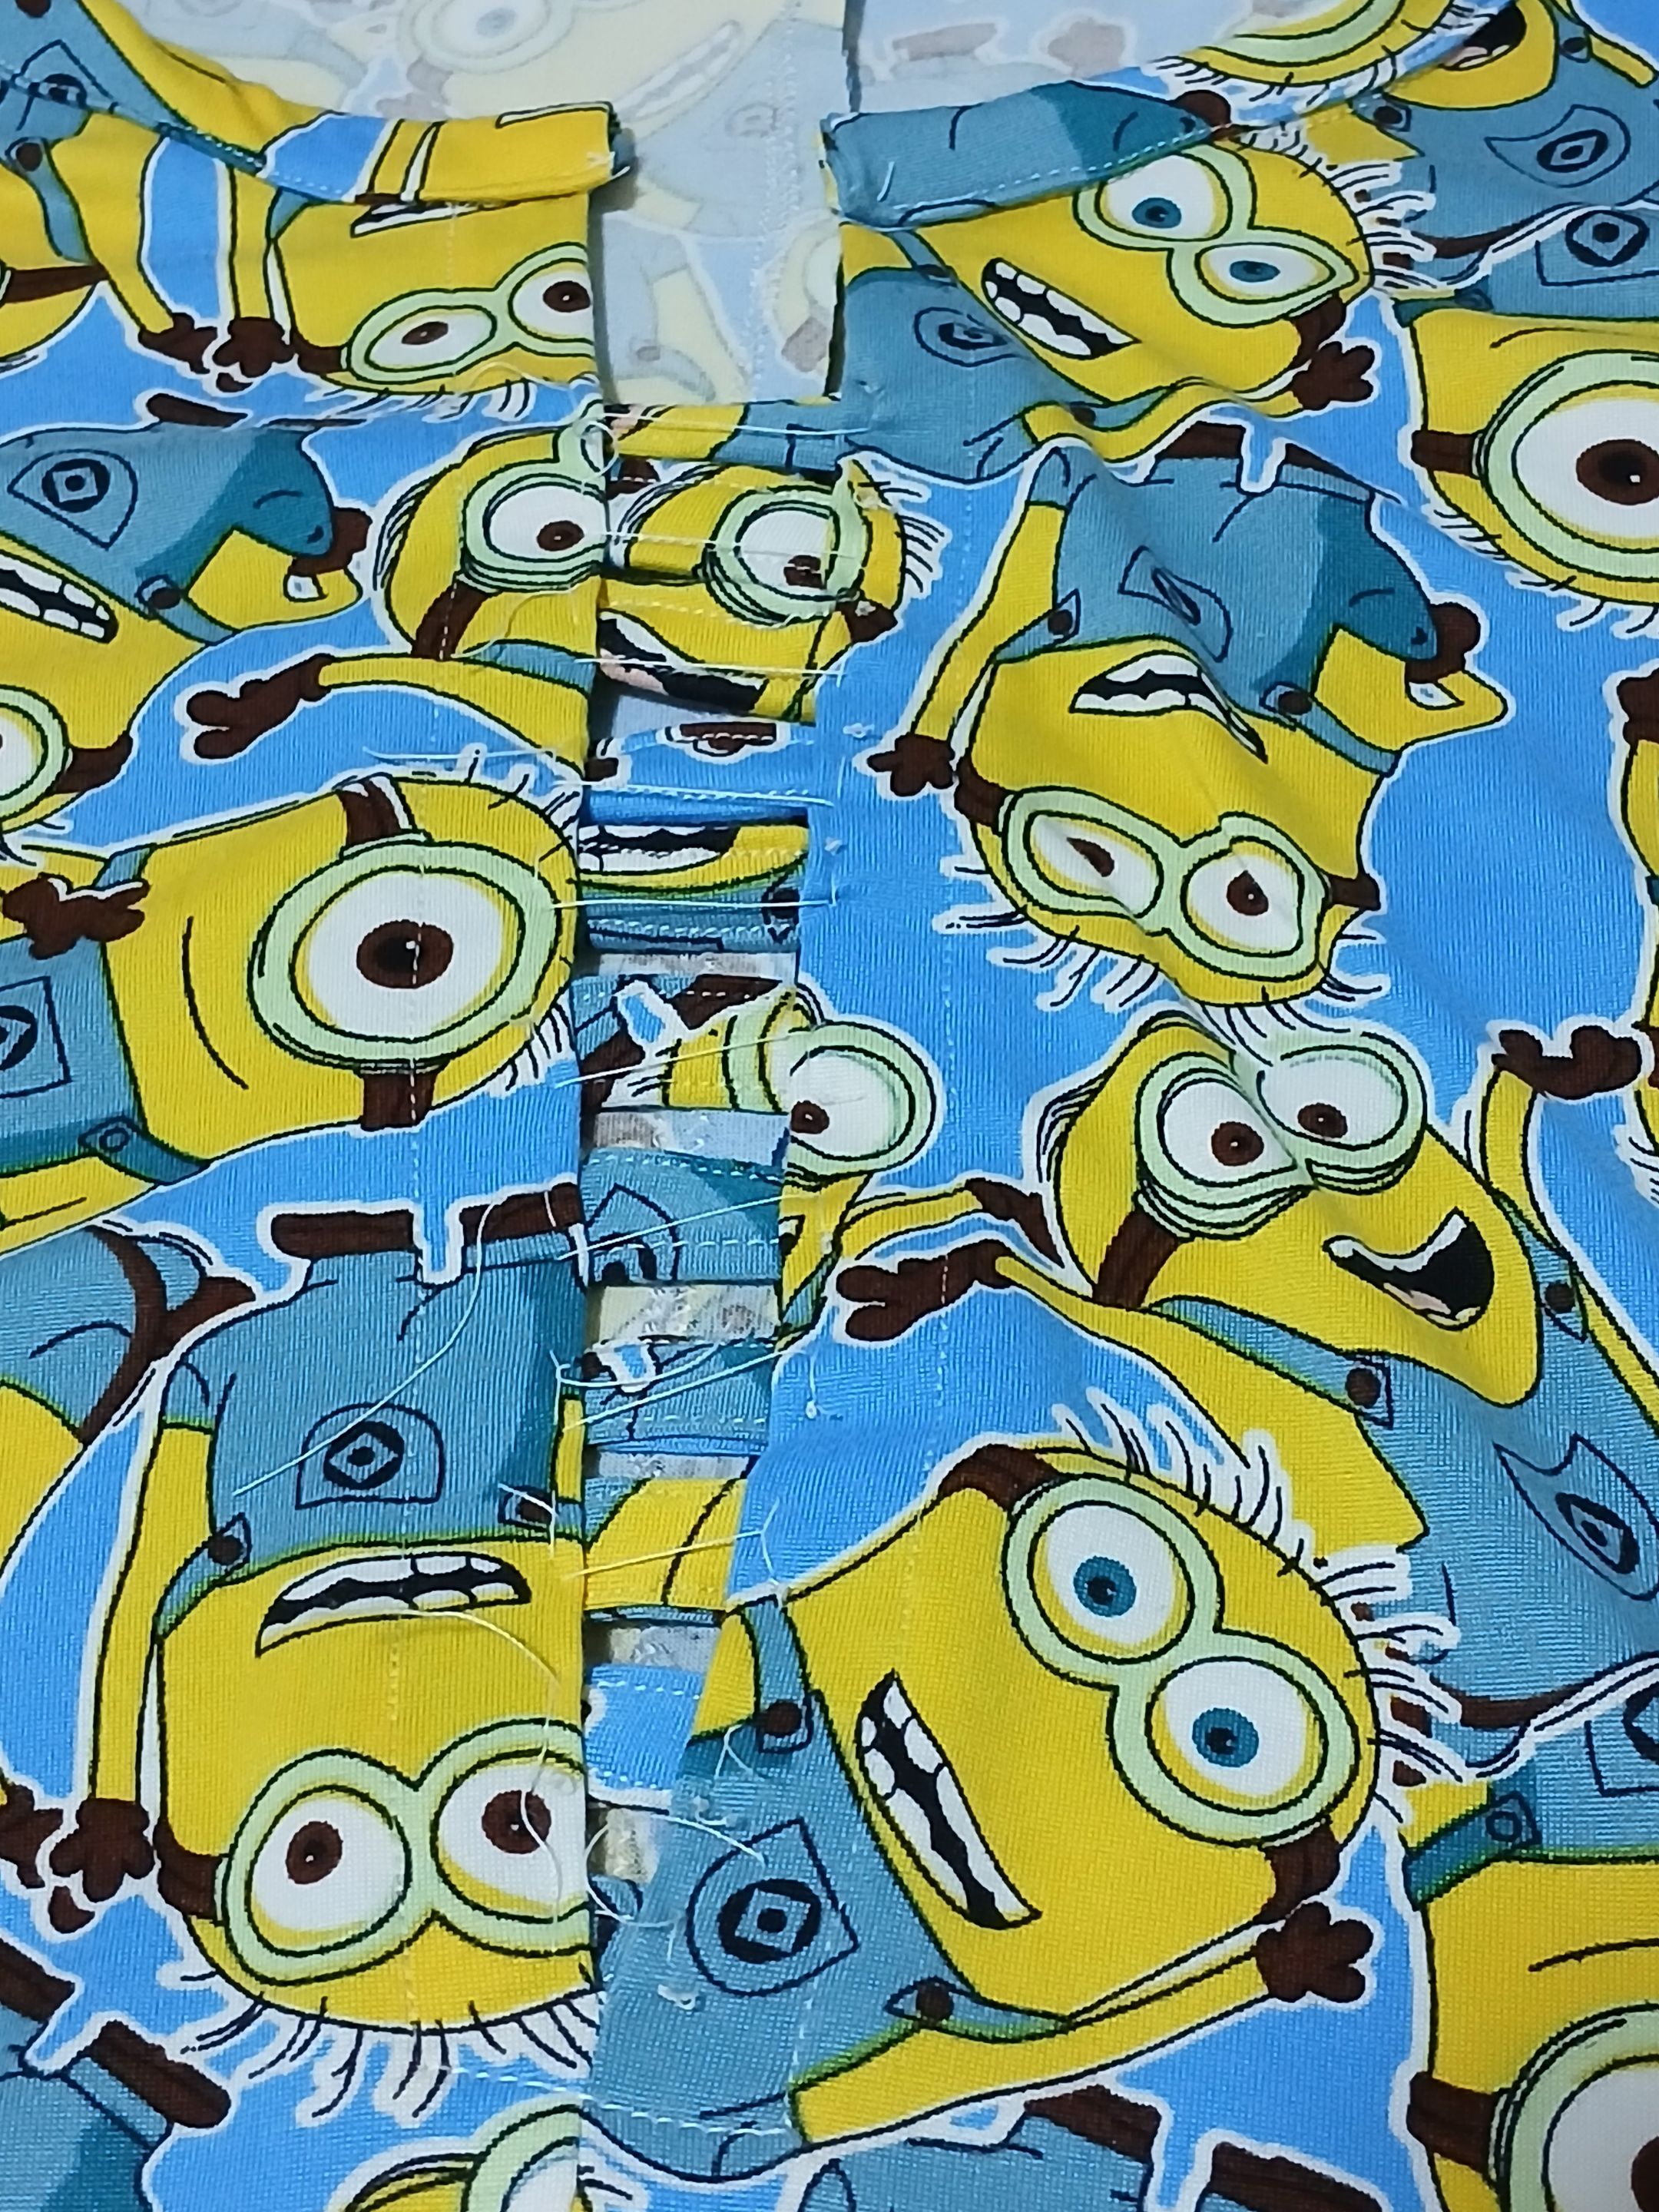
Por último corté pequeñas tiras de diferentes tamaños, dobladitas con costura en las orillas, para pegarlas en la abertura de la parte delantera del enterizo, haciendo la forma de una pirámide invertida, es decir, La abertura va a ir abriendo desde el inicio de la abertura hacia arriba del pecho.
Finally, I cut small strips of different sizes, folded with stitching on the edges, to glue them in the opening of the front part of the bodice, making the shape of an inverted pyramid, that is, the opening will be opening from the beginning of the opening upwards from the chest.


Espero que te haya gustado el resultado y que puedas utilizar el tutorial para futuros proyectos, ya que es una buena idea no solamente para crear pijamas sino también para crear licras u overoles deportivos, Que por cierto también están muy de moda. Será hasta otra oportunidad muchas bendiciones mi muy apreciados 🙏🏻💗.
I hope you liked the result and that you can use the tutorial for future projects, as it is a good idea not only to create pajamas but also to create lycra or sports overalls, which by the way are also very fashionable. Will be until another opportunity many blessings my much appreciated 🙏🏻💗.