
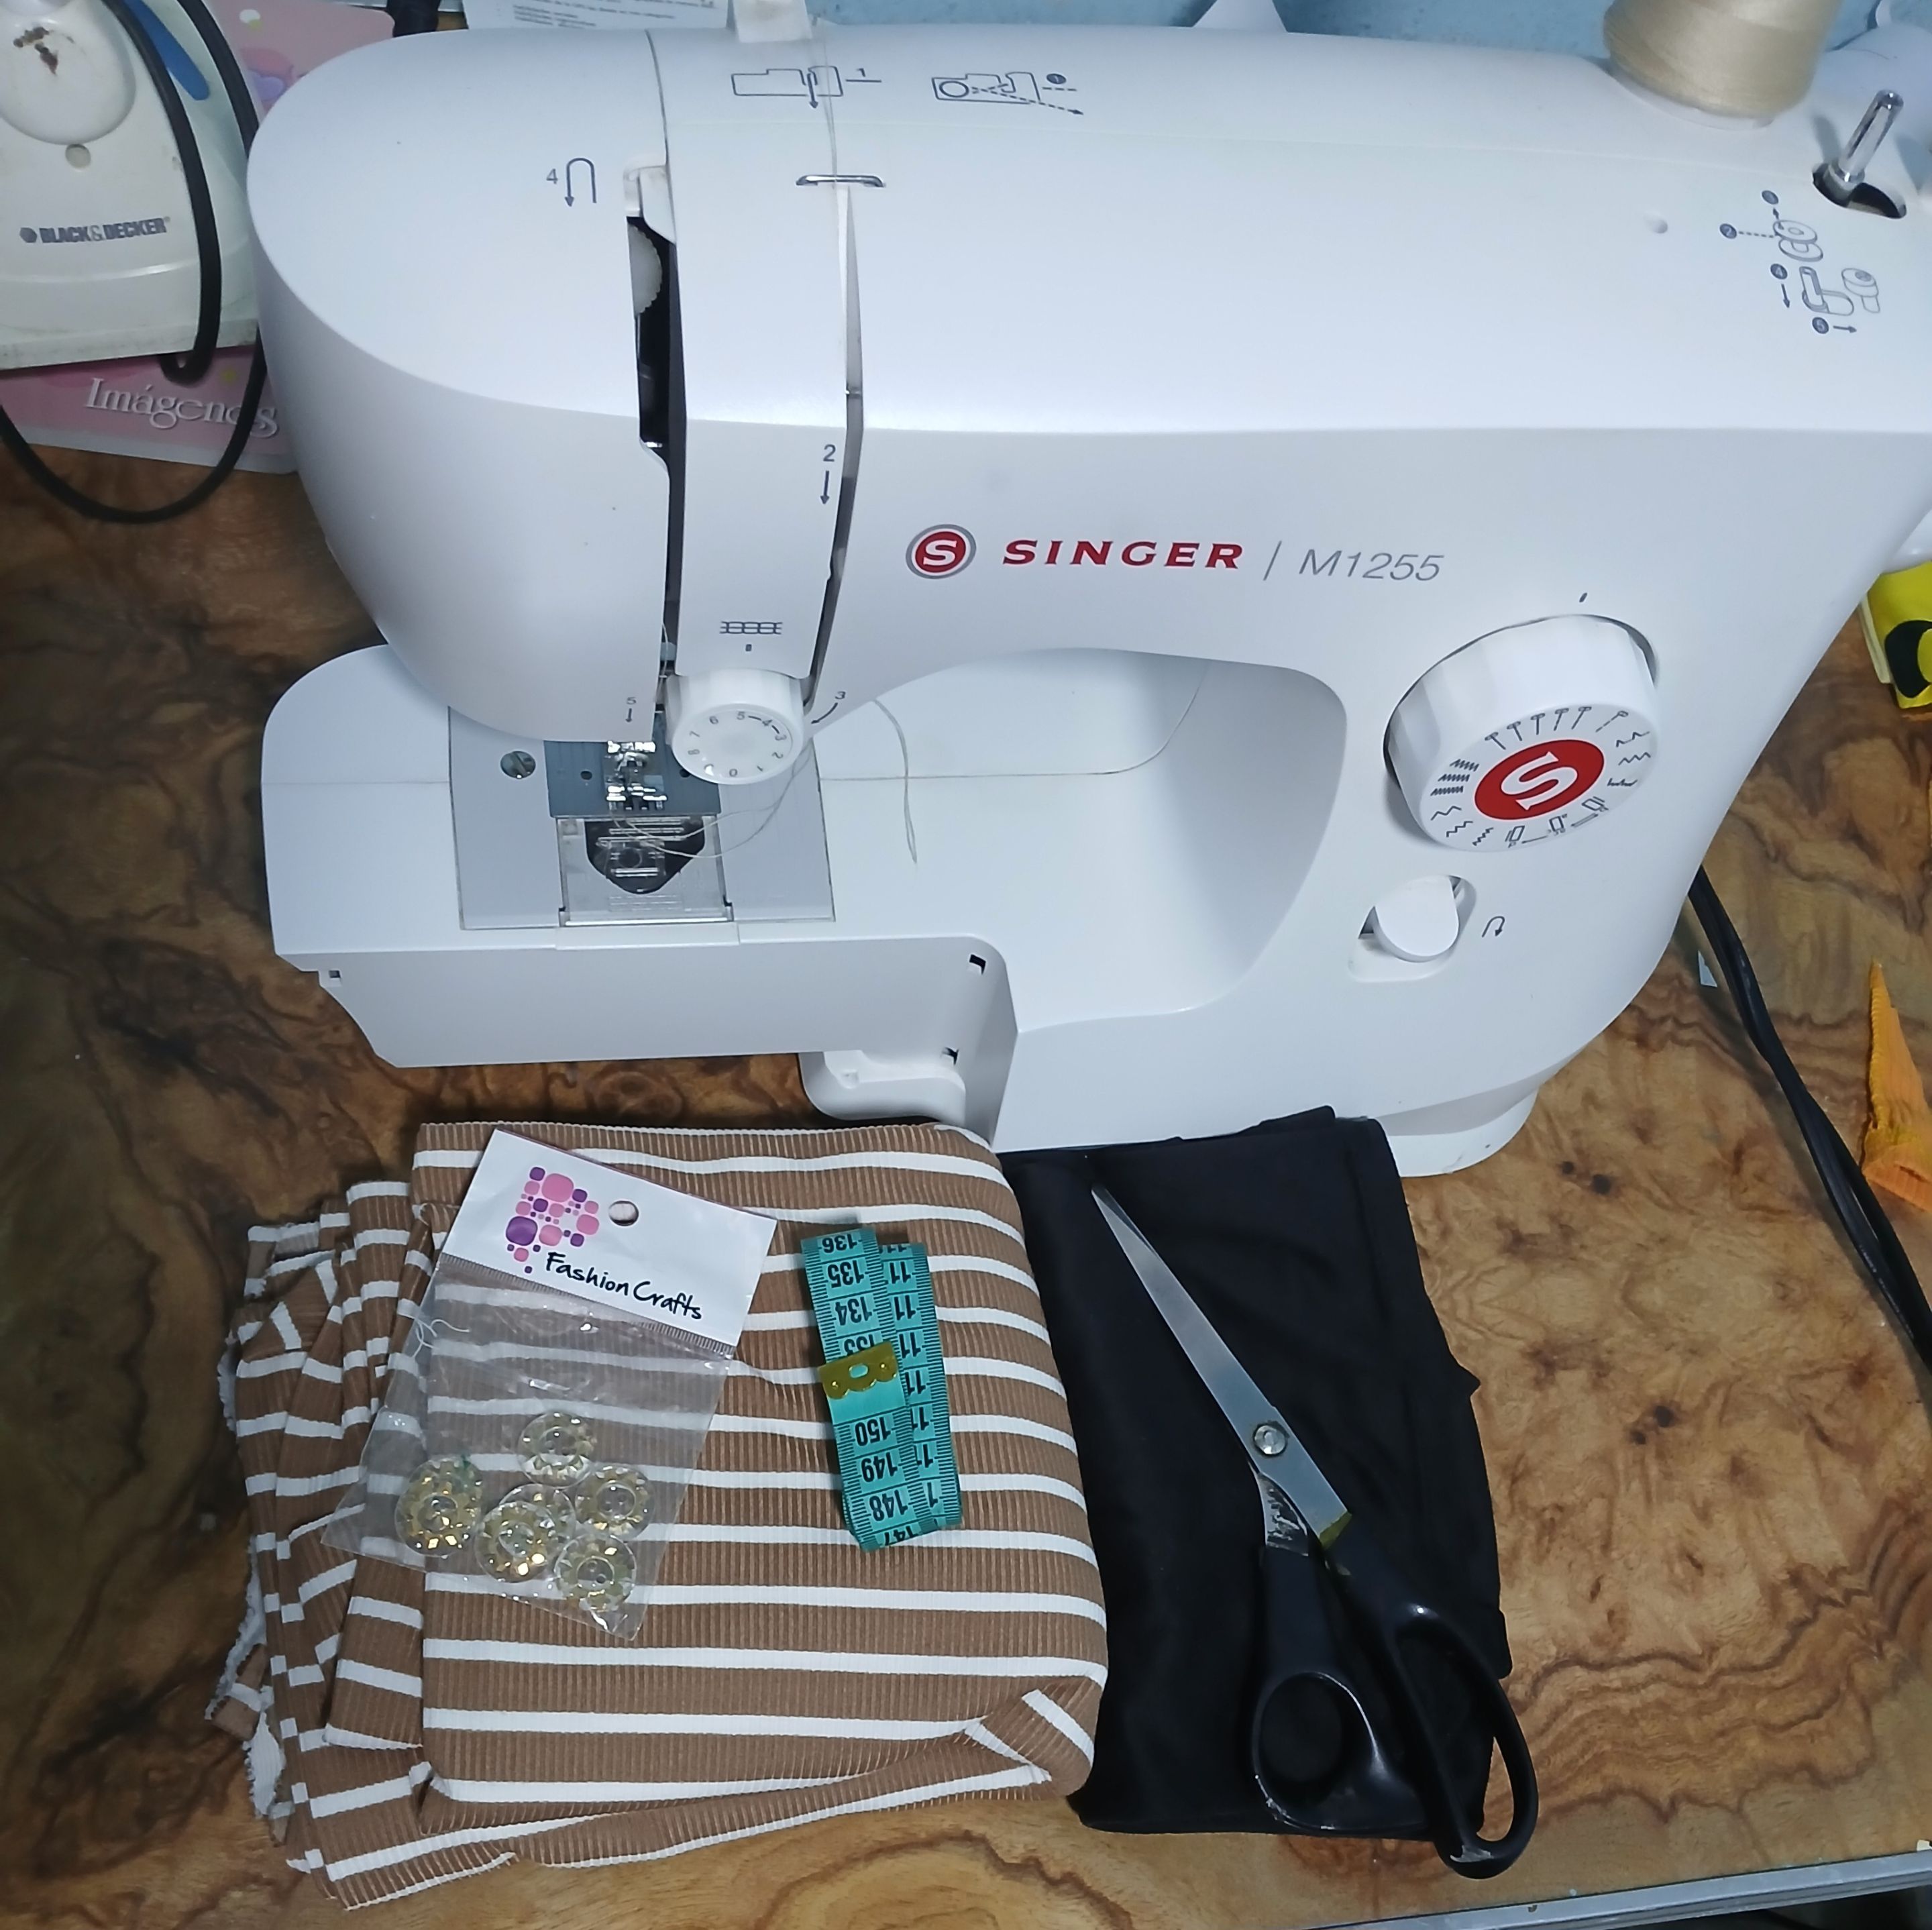

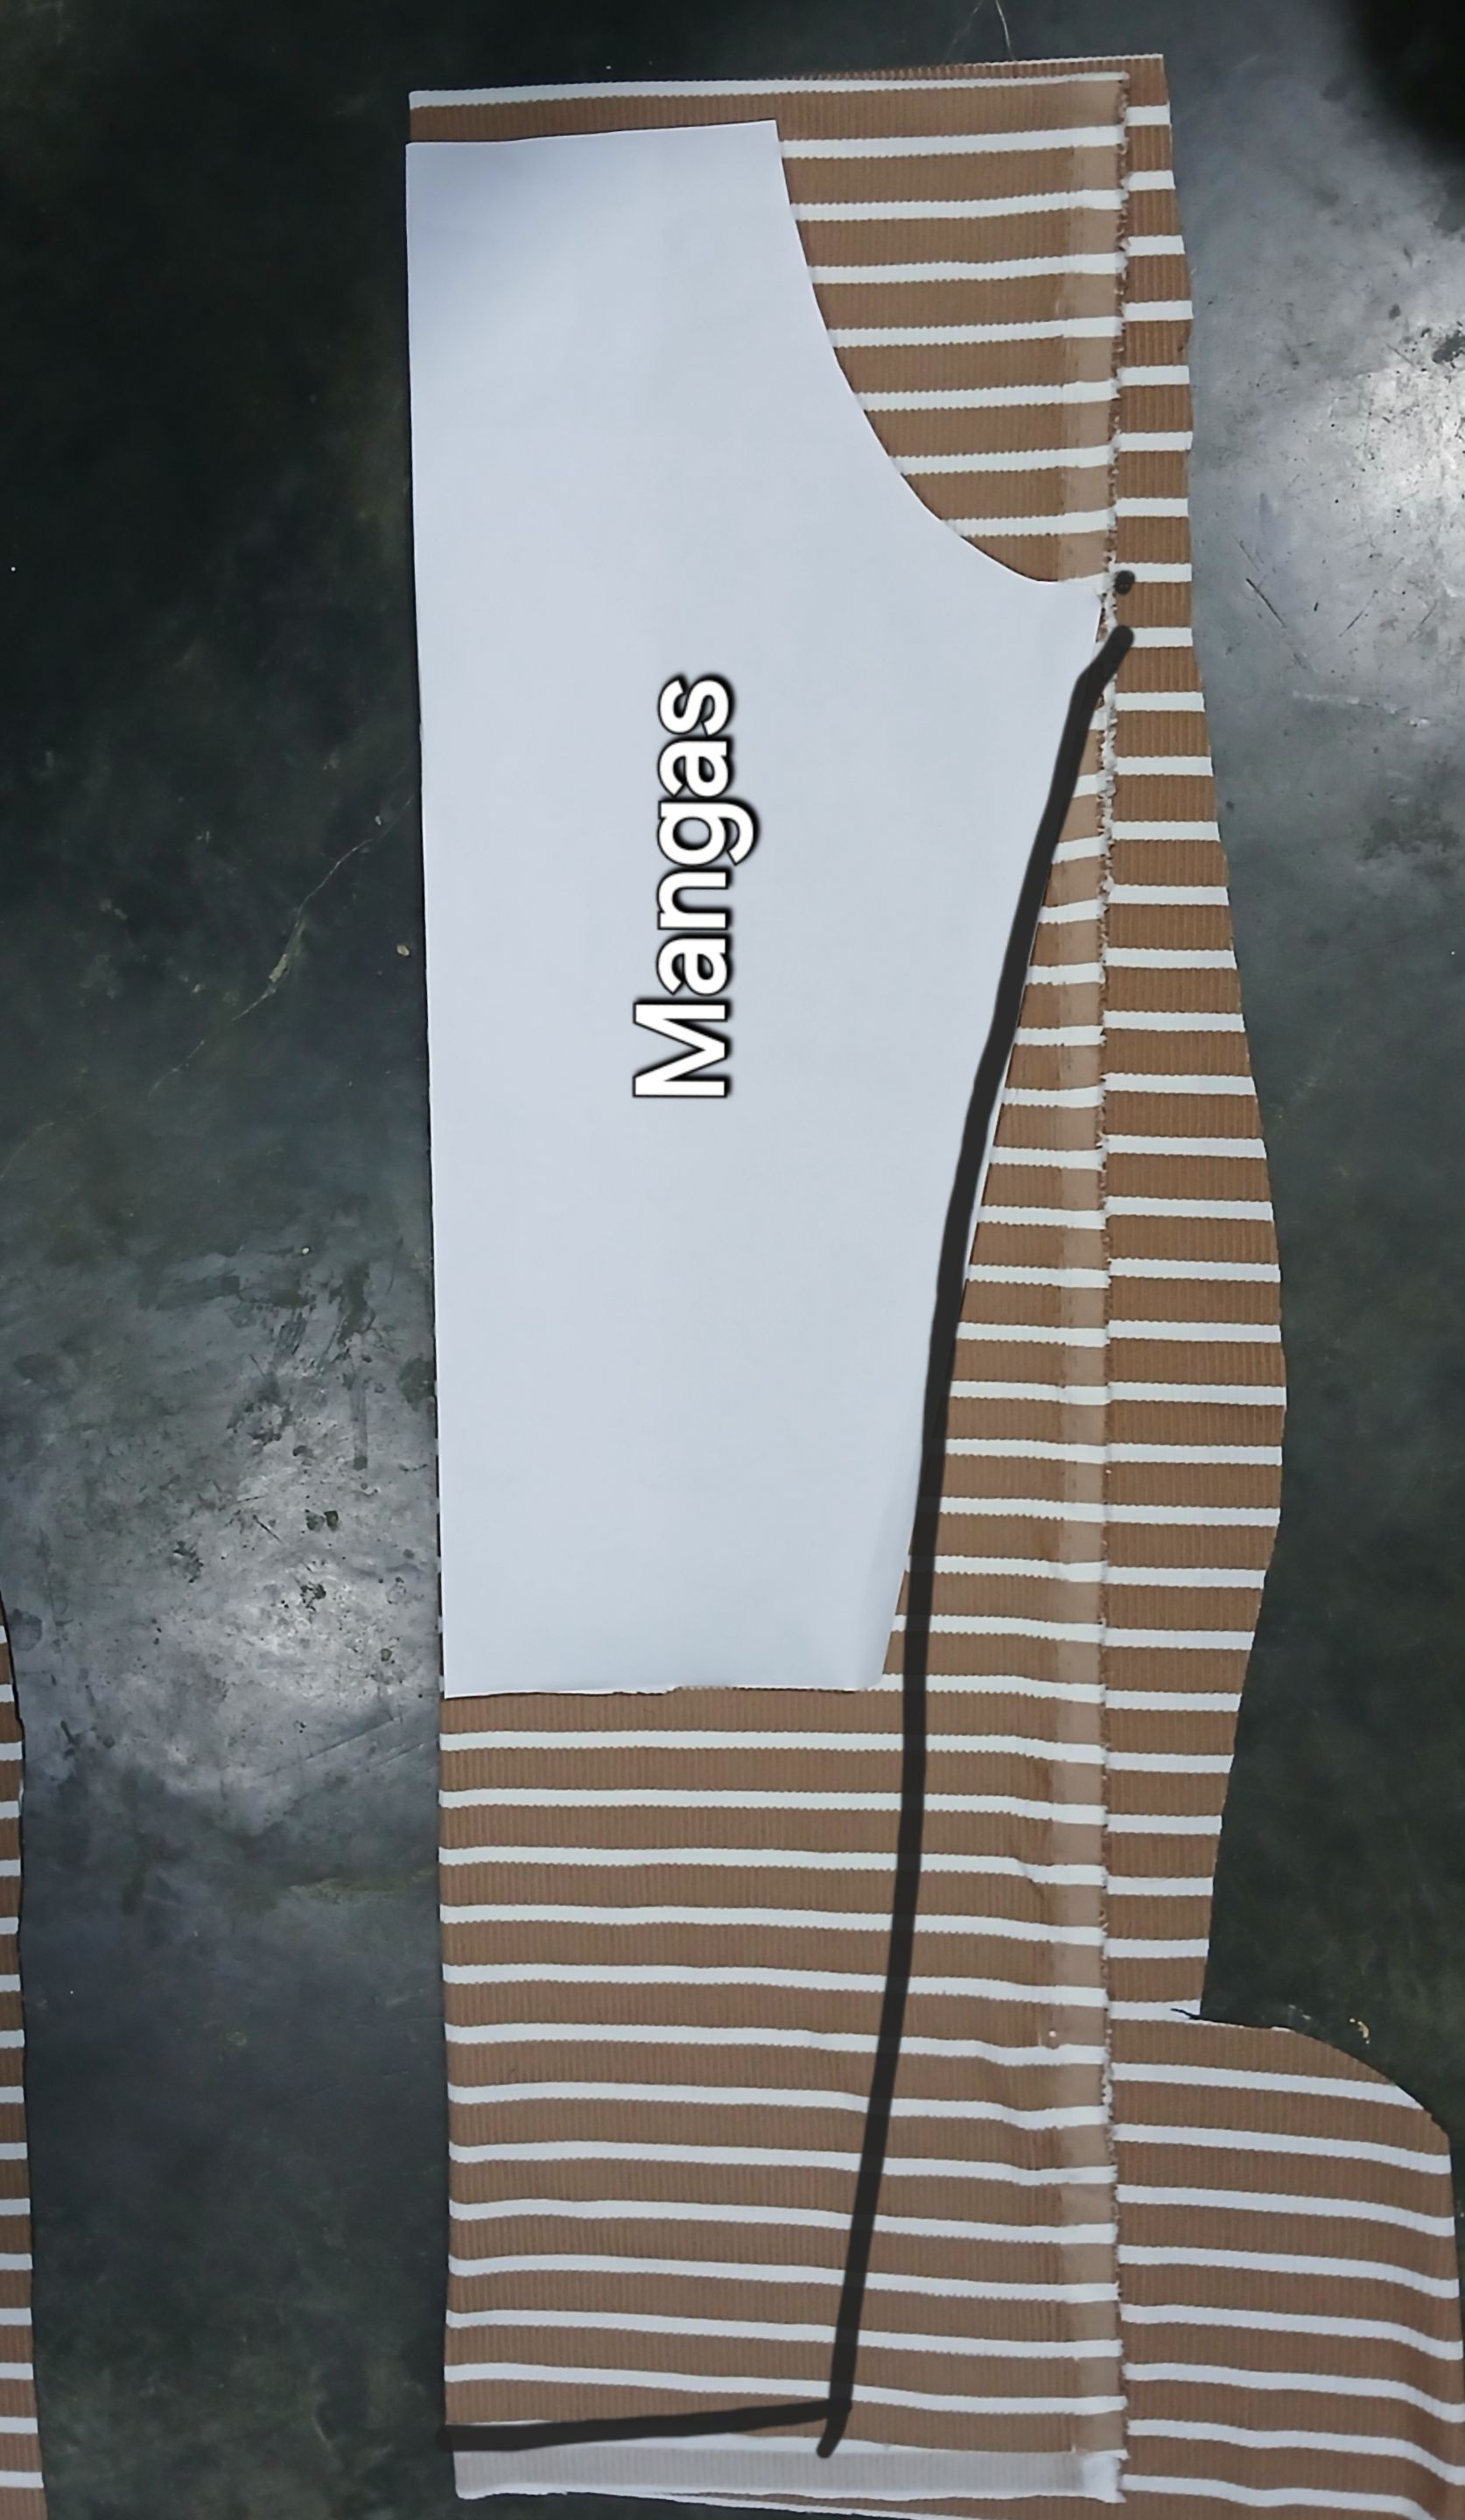
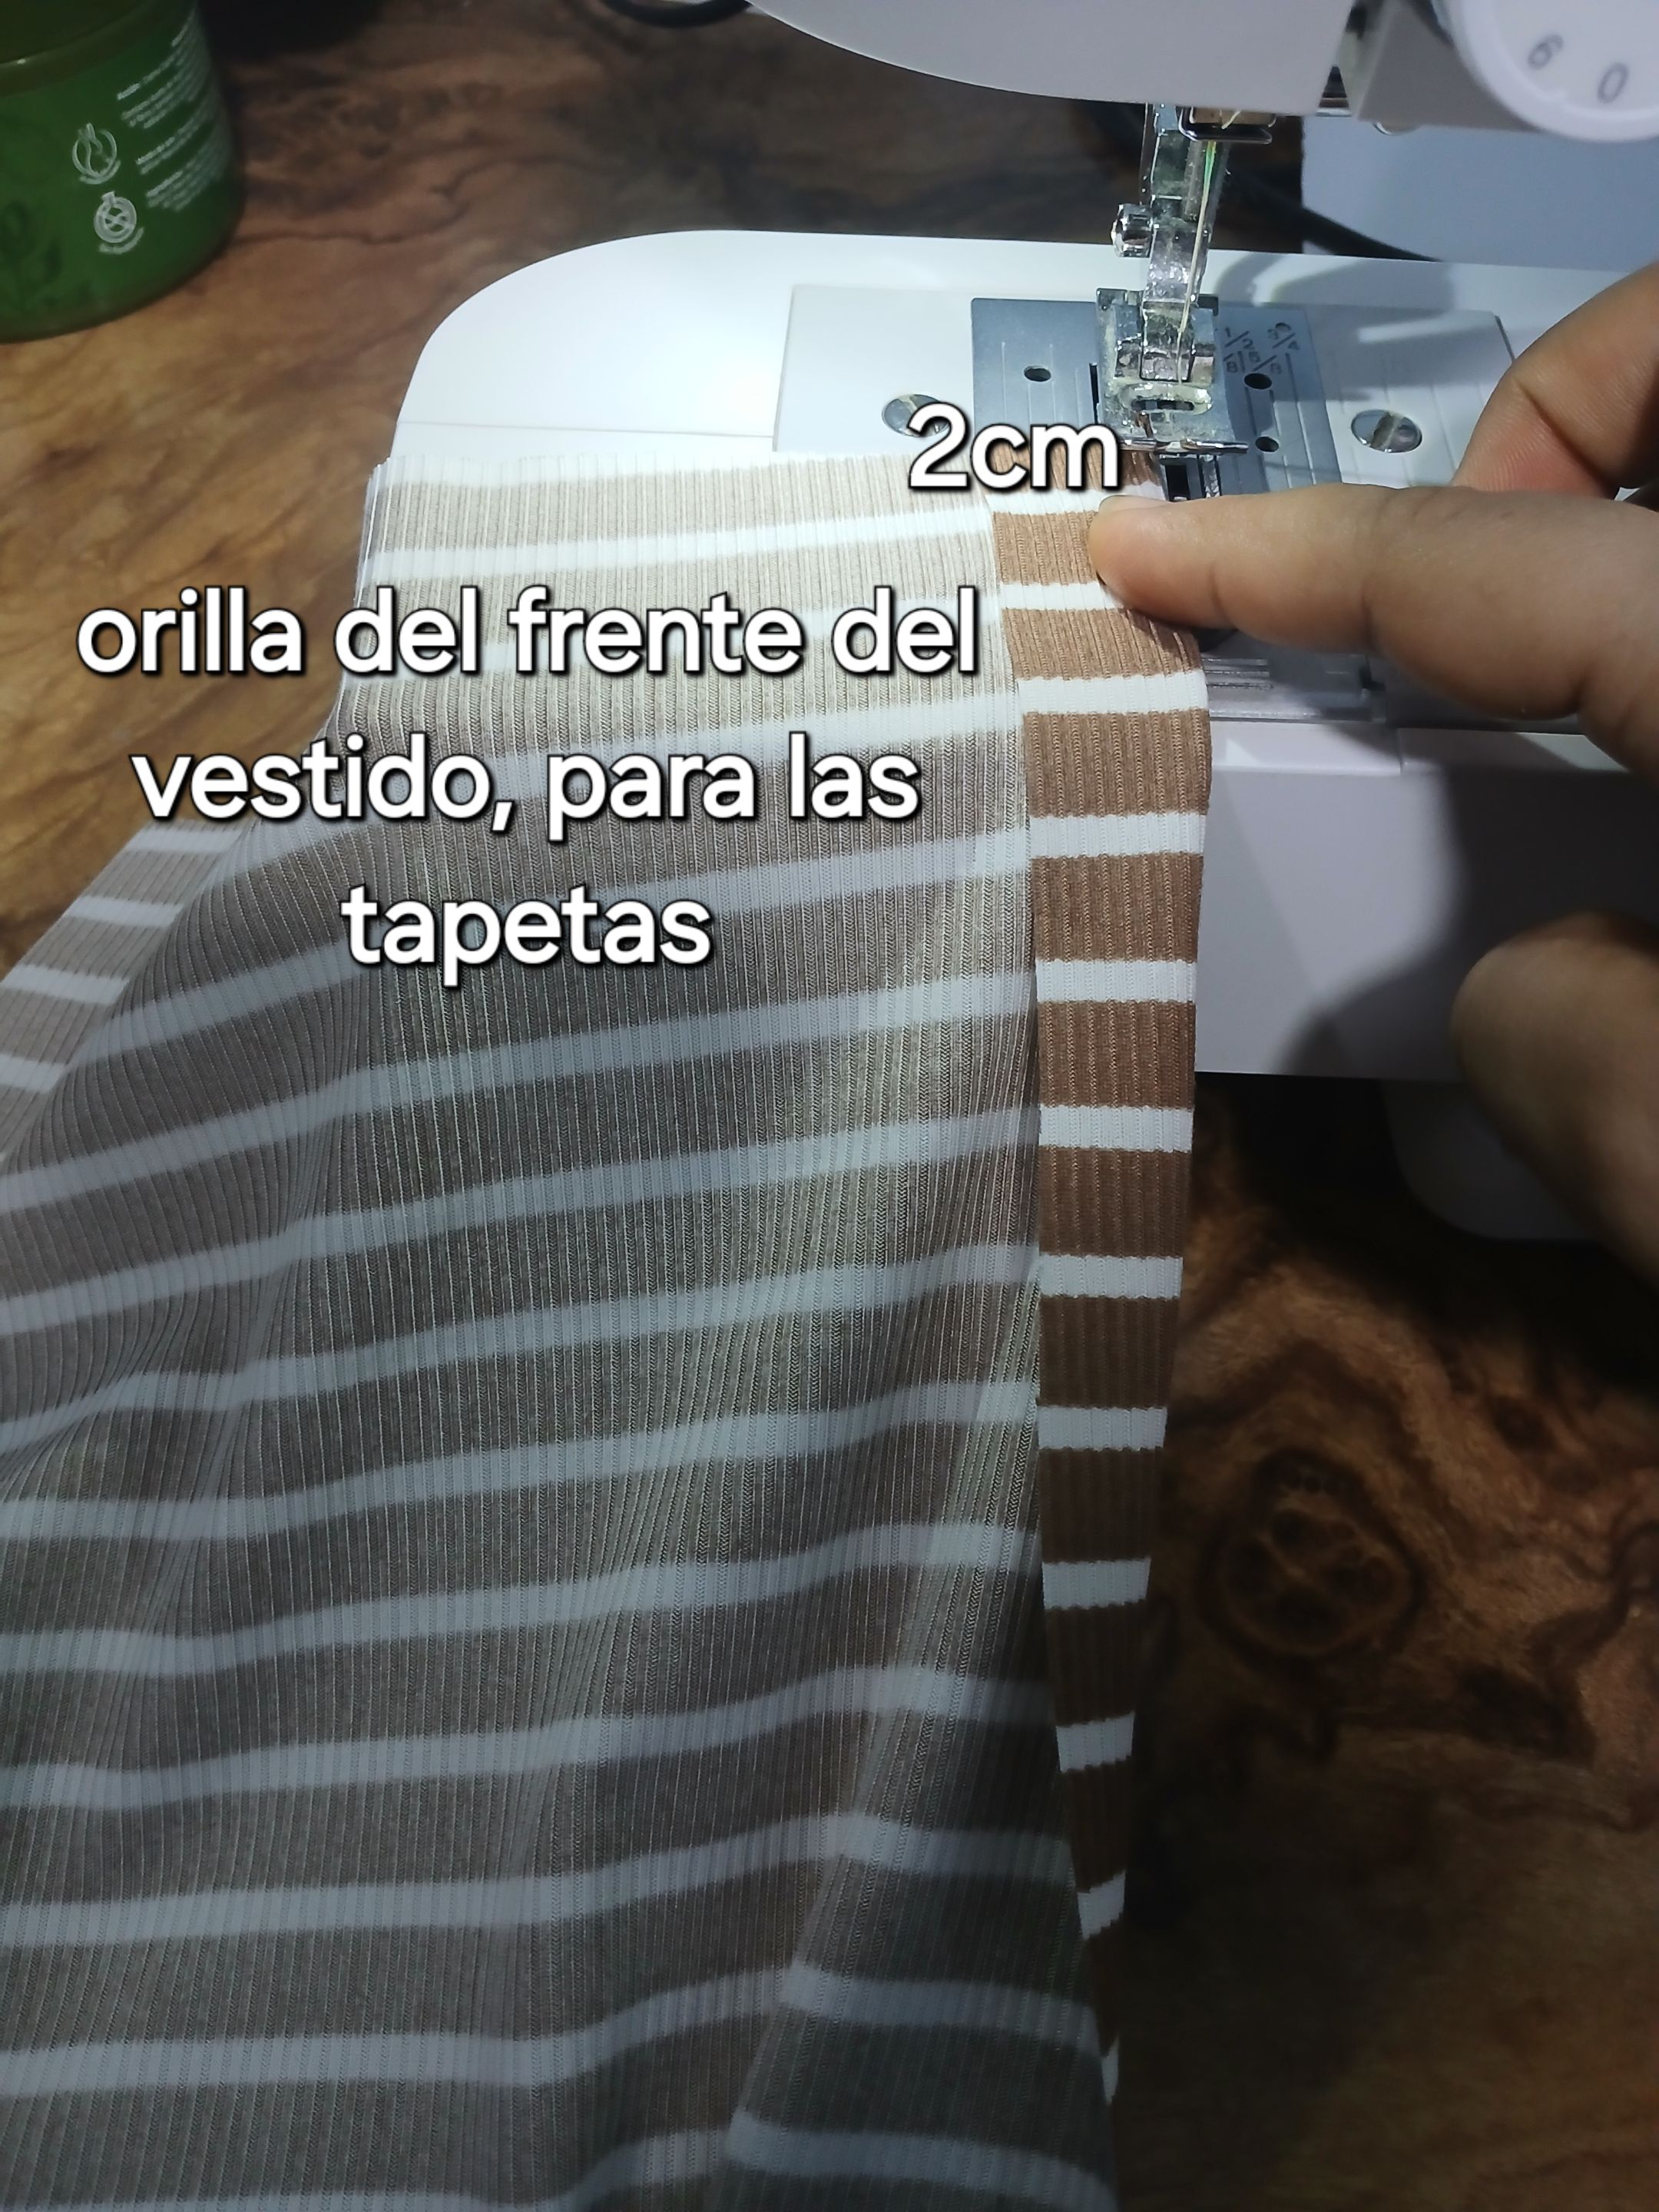
Para comenzar con la confección de éste vestido, coloqué el patrón sobre la tela doblada en dos, para sacar la pieza delantera, la cual tendrá 2cm más que la pieza trasera, para las tapetas de los ojales y botones.
To start with the making of this dress, I placed the pattern on the fabric folded in two, to take out the front piece, which will have 2cm more than the back piece, for the buttonholes and buttons.

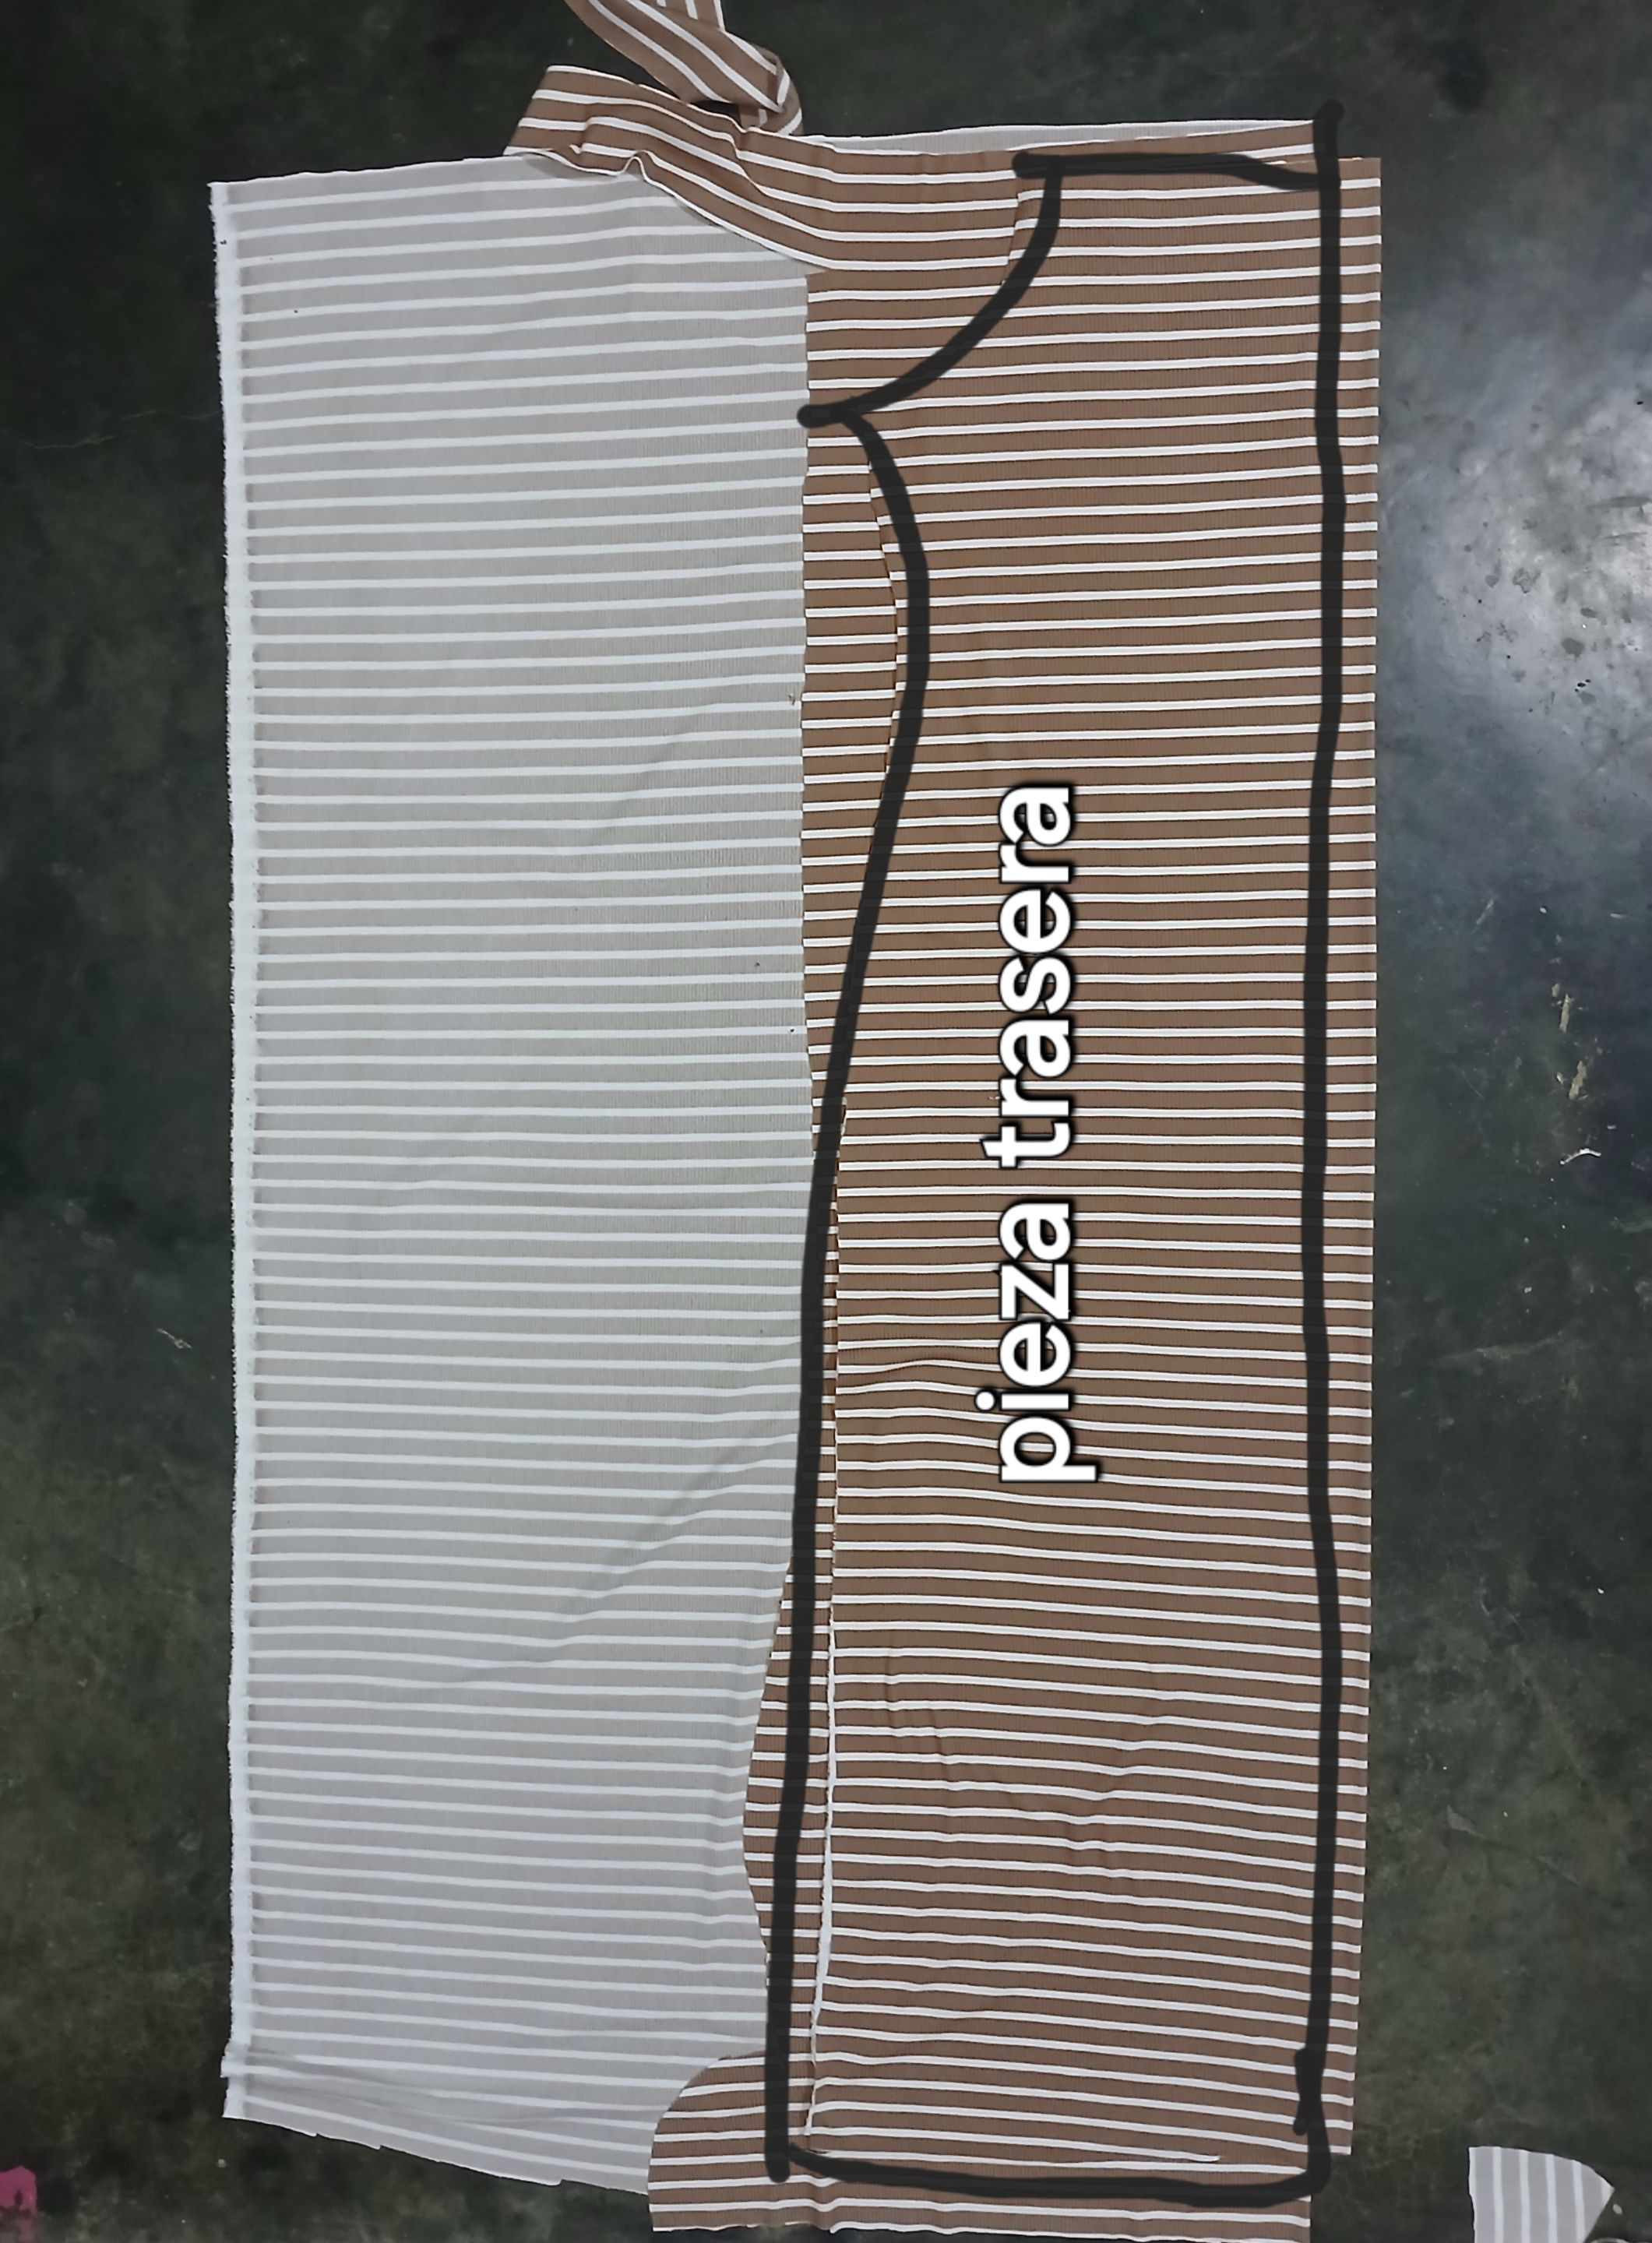
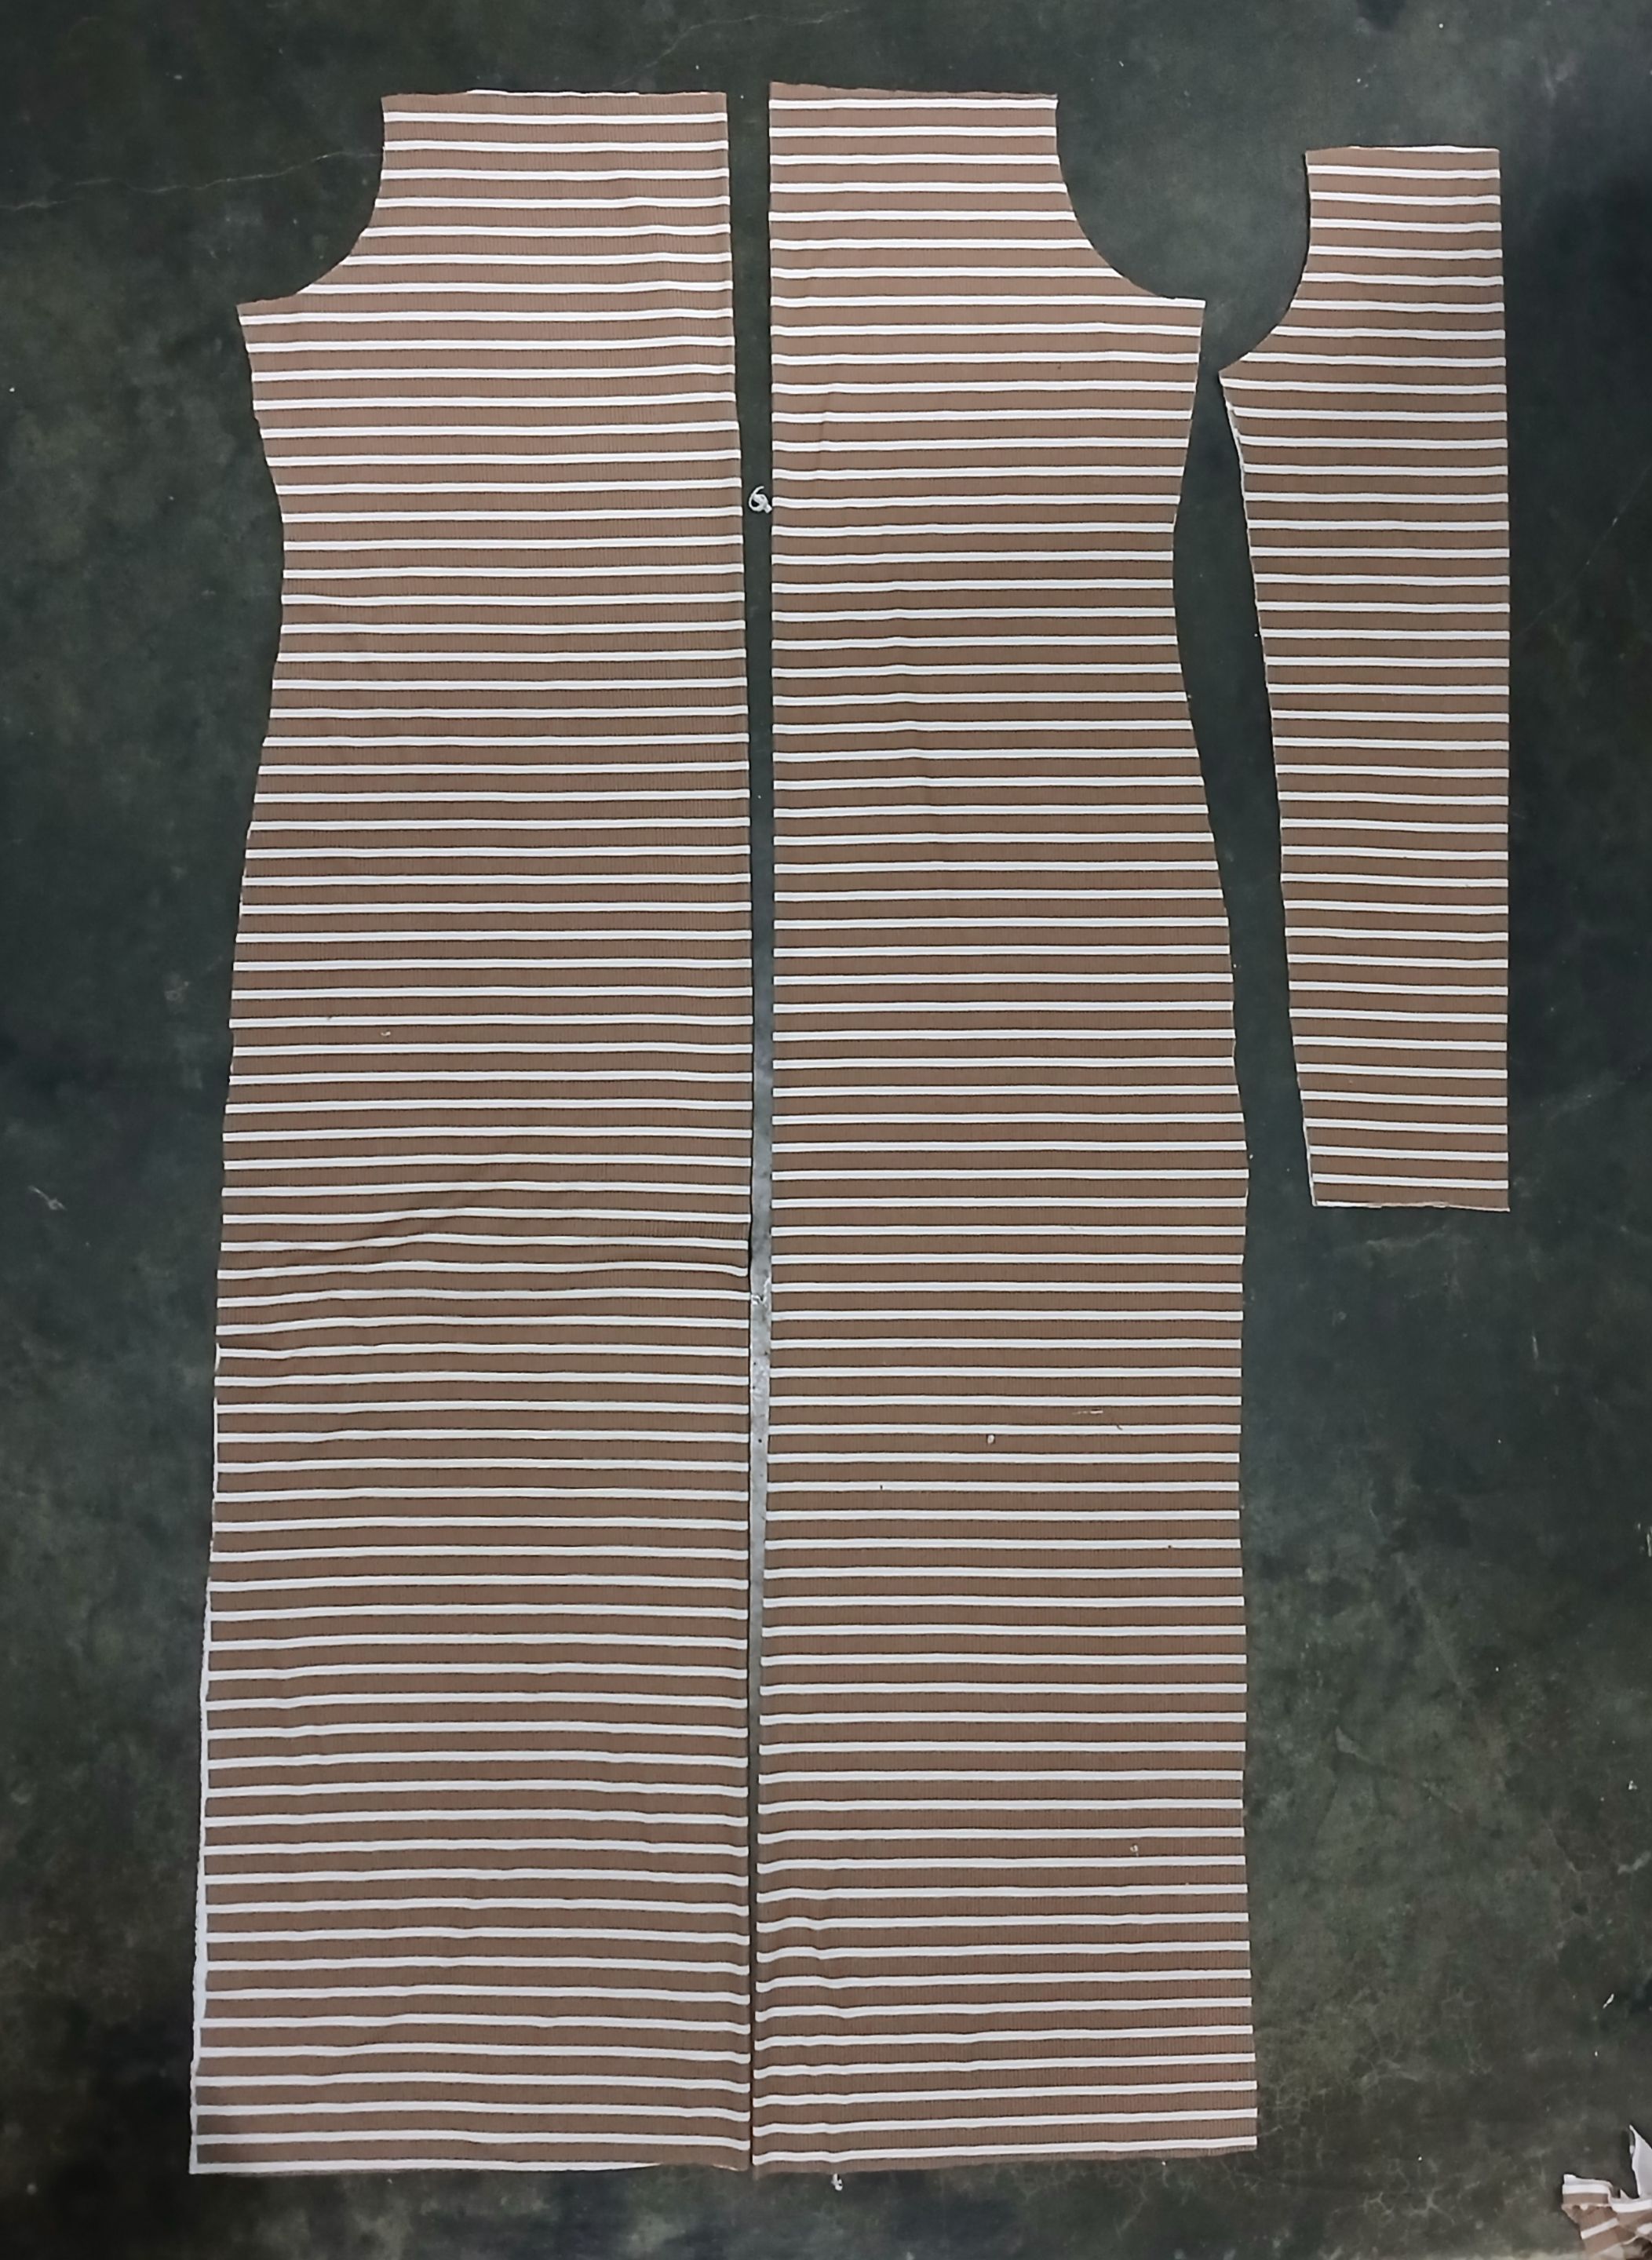
La pieza trasera, la saqué utilizando la pieza delantera, ya que ésta última tiene el largo deseado.
The rear piece, I took it out using the front piece, since the latter has the desired length.
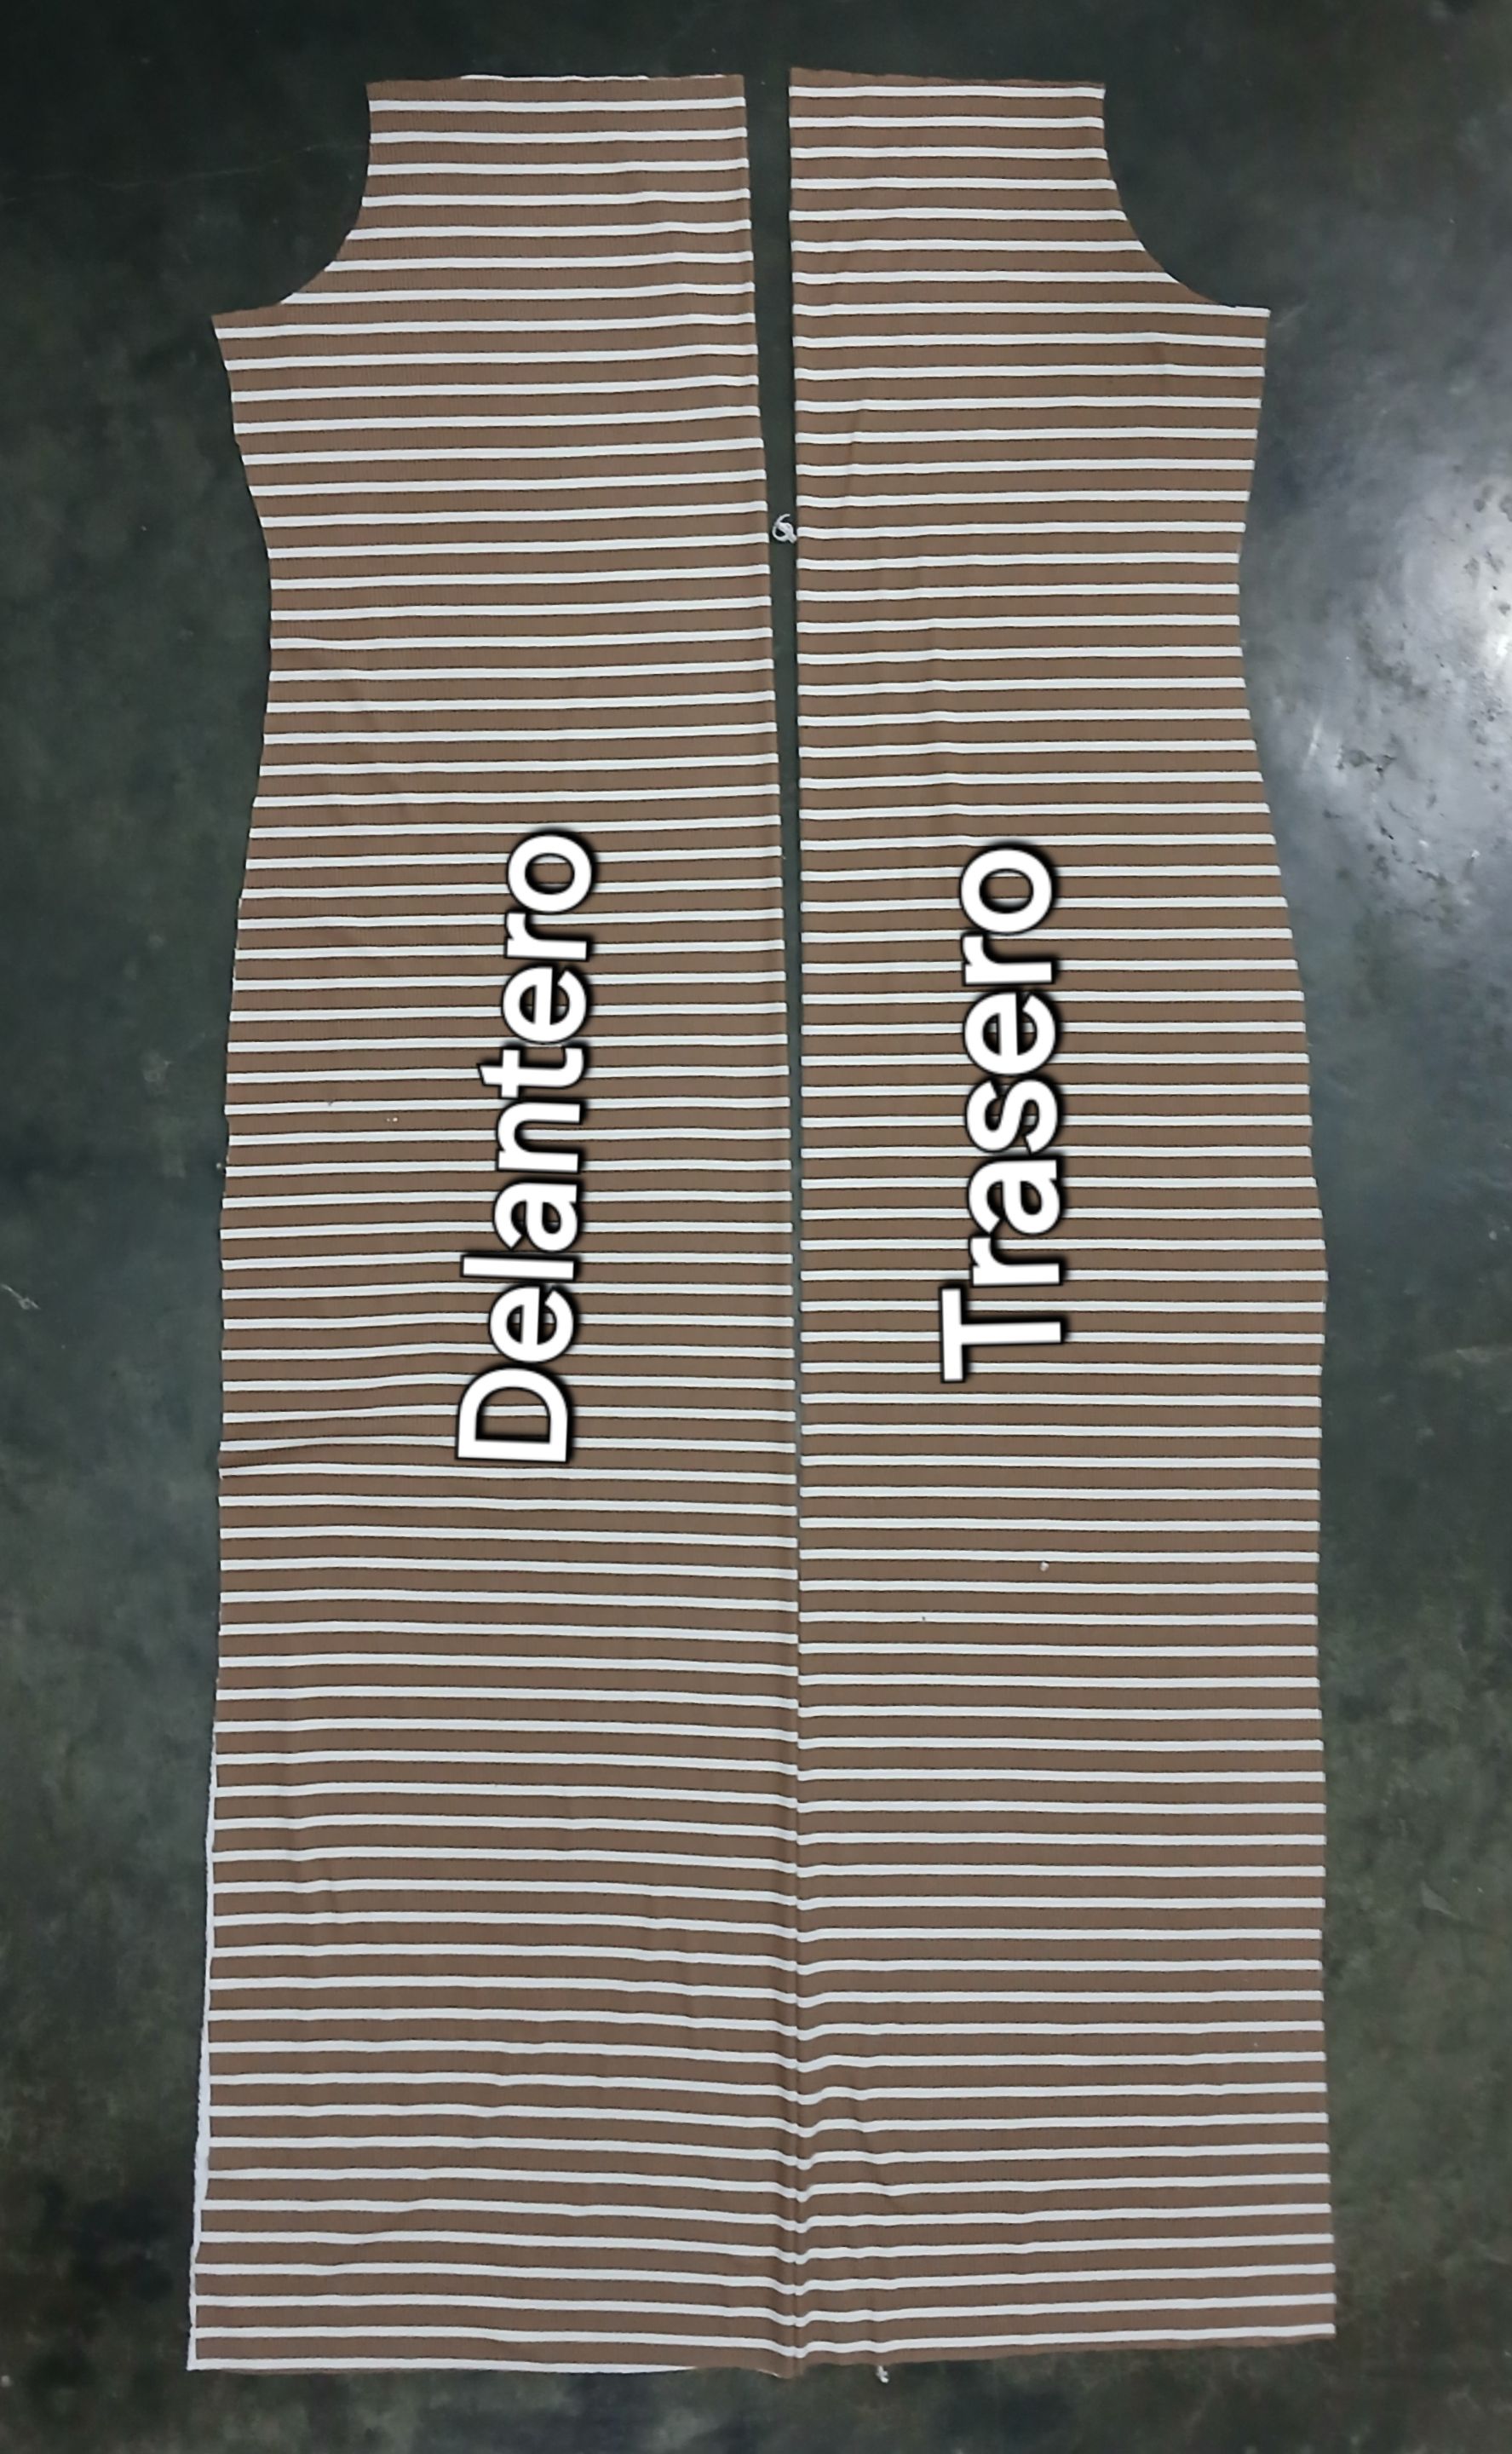
Una vez que saqué los patrones delanteros y traseros, procedí a sacar el patrón de las mangas.
The rear piece, I took it out using the front piece, since the latter has the desired length.
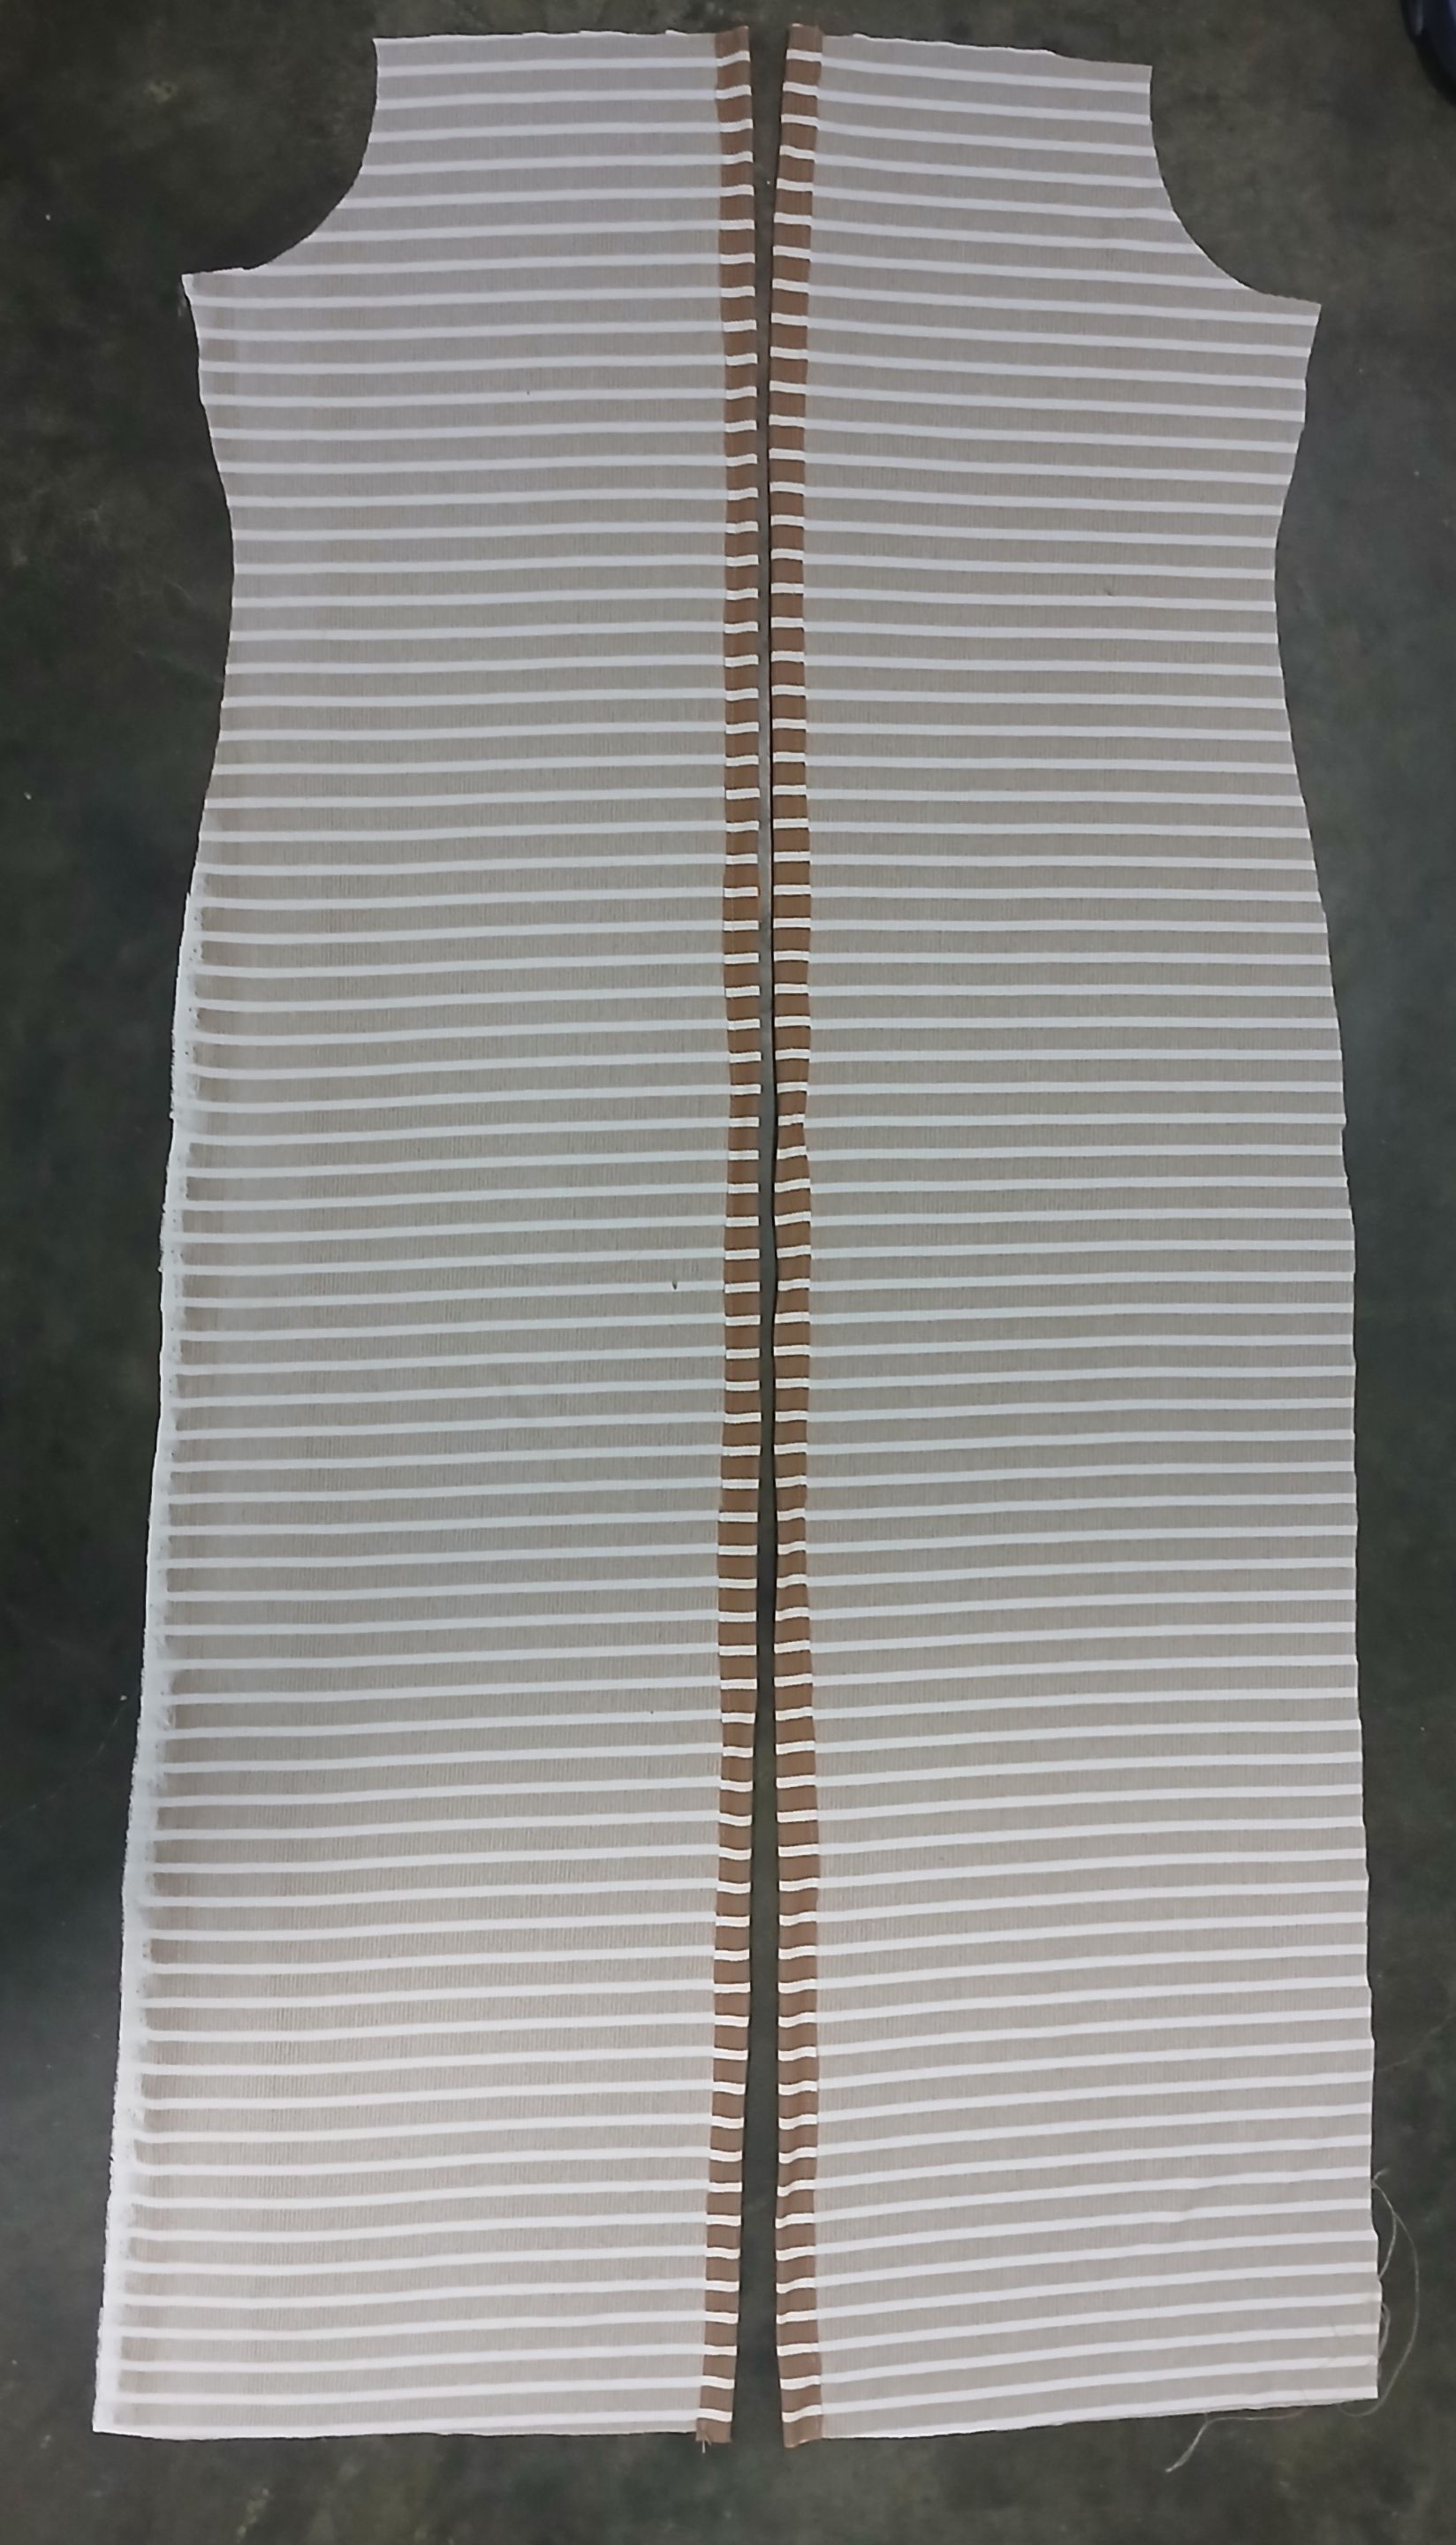
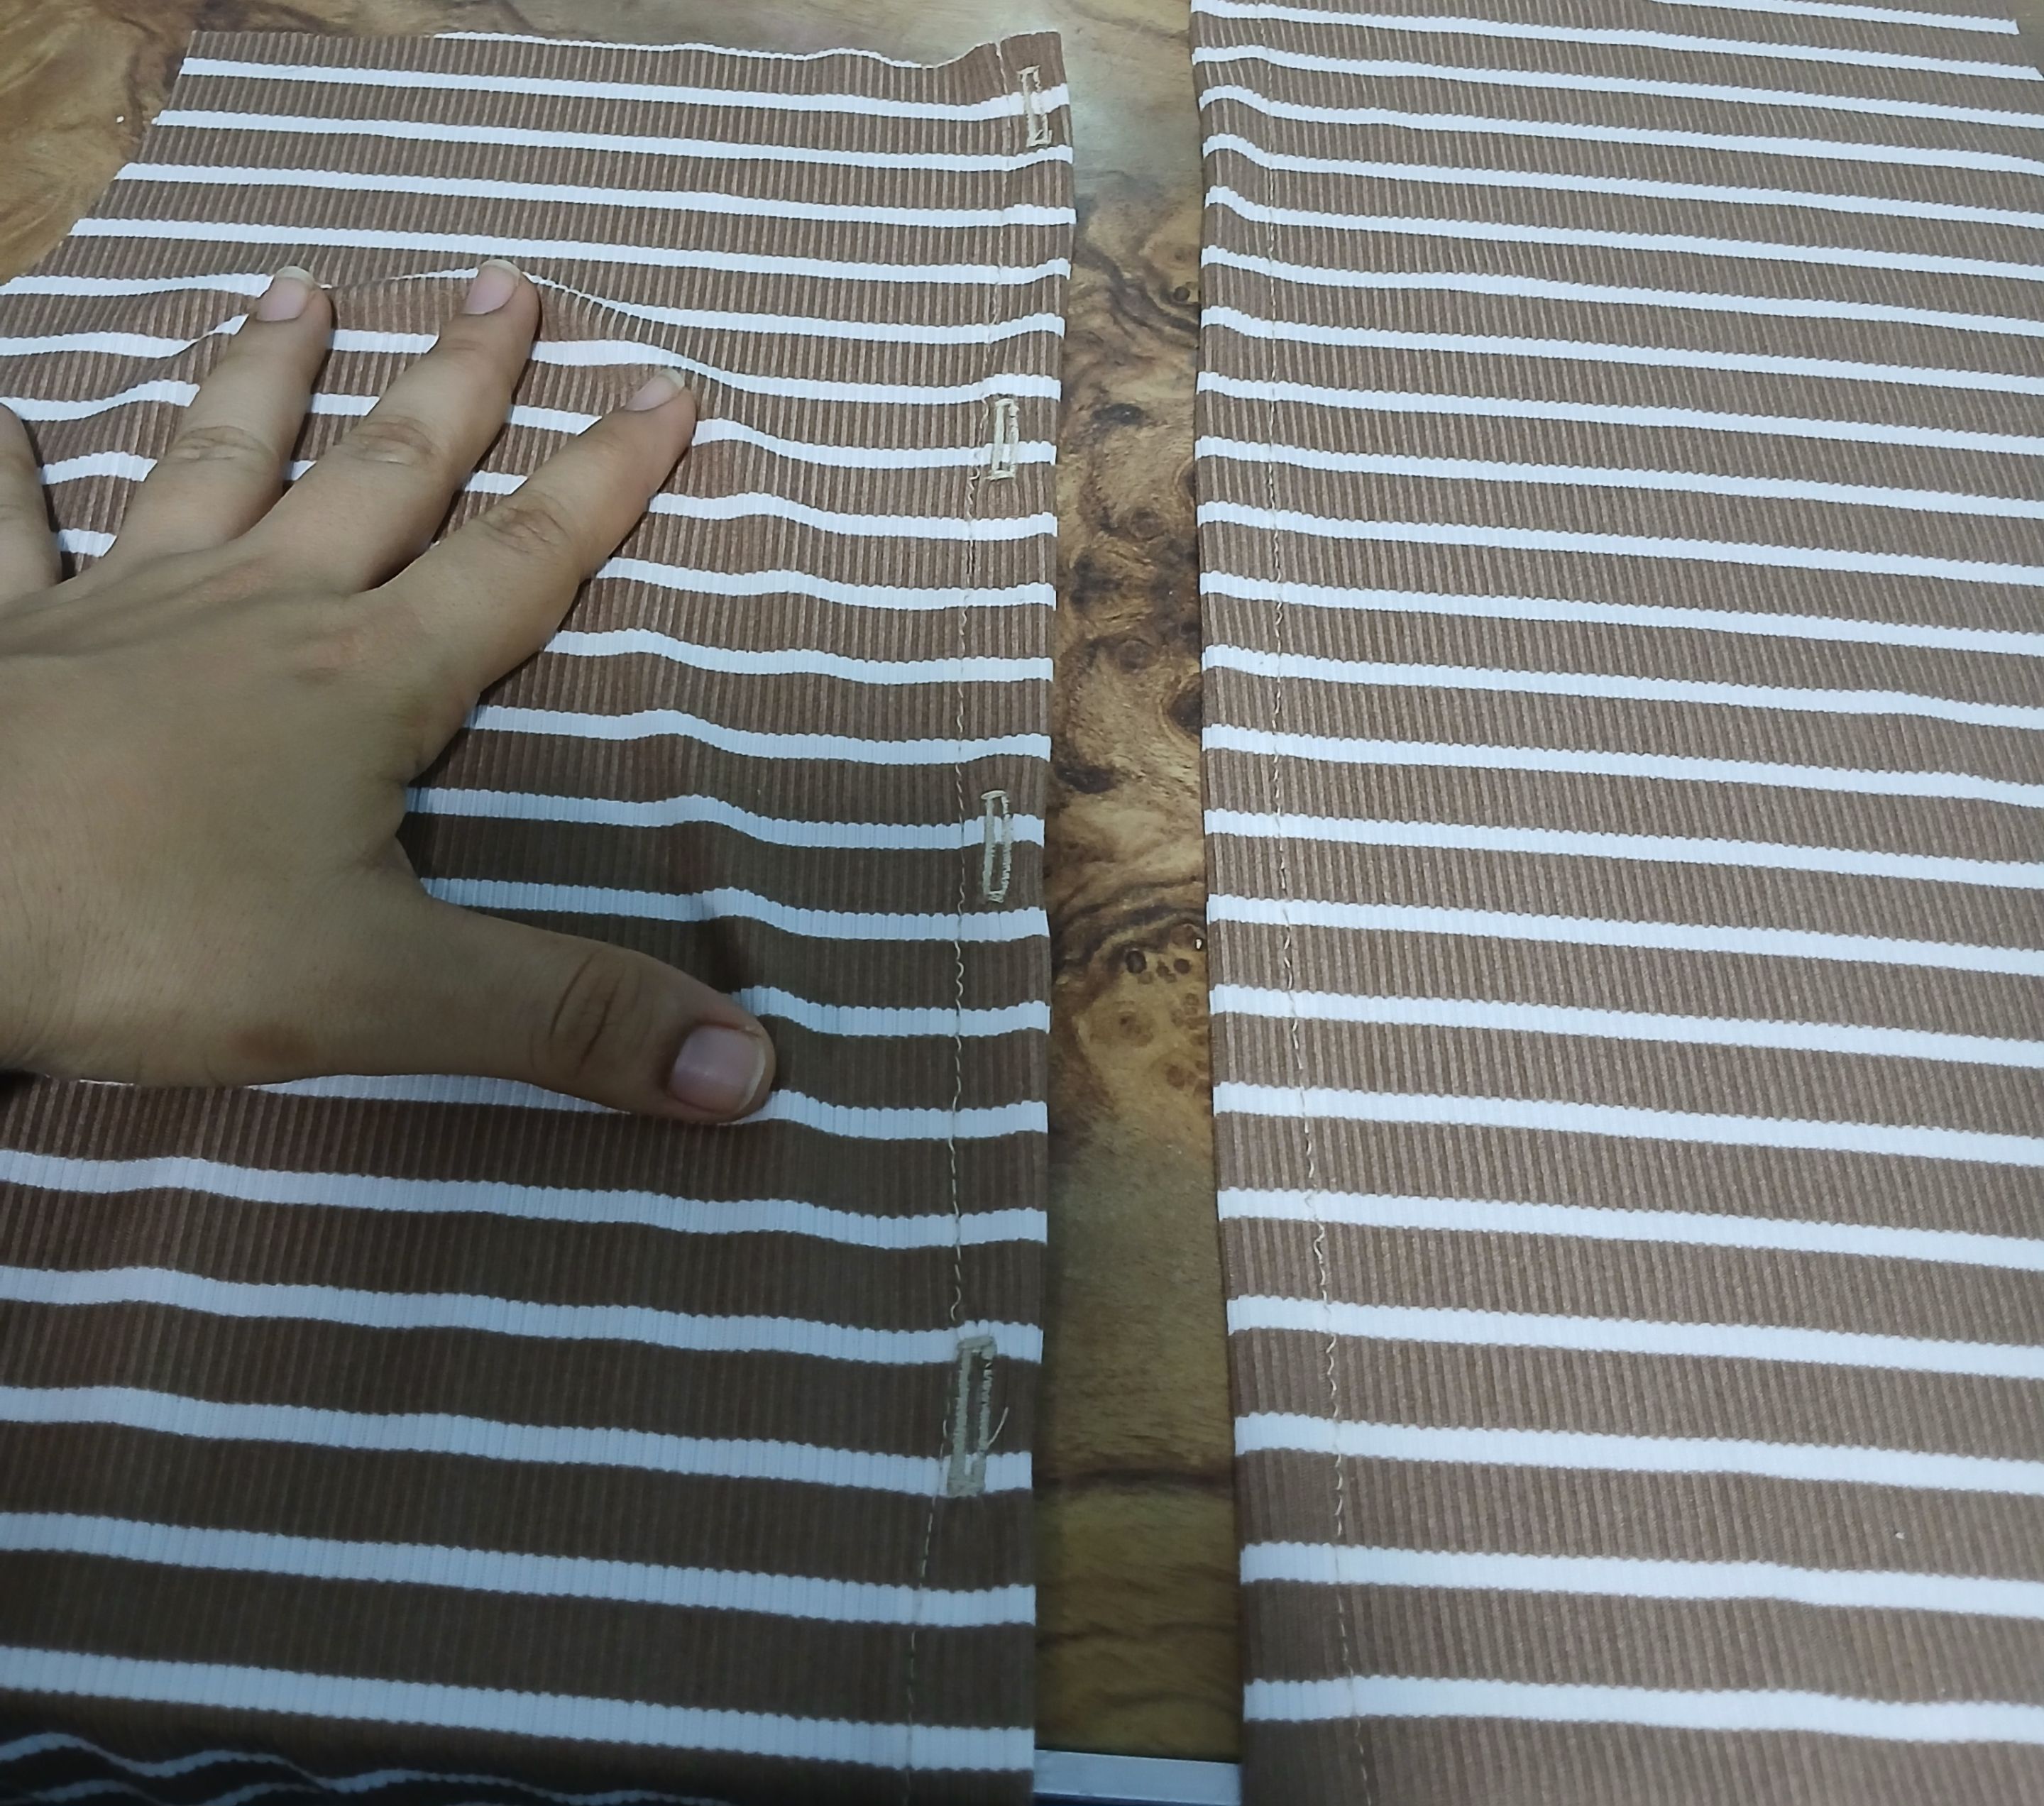
Doblé los 2 cm sobrantes de tela, que dan hacia el medio de las piezas delanteras y pasé costura para hacer las tapetas.
The rear piece, I took it out using the front piece, since the latter has the desired length.
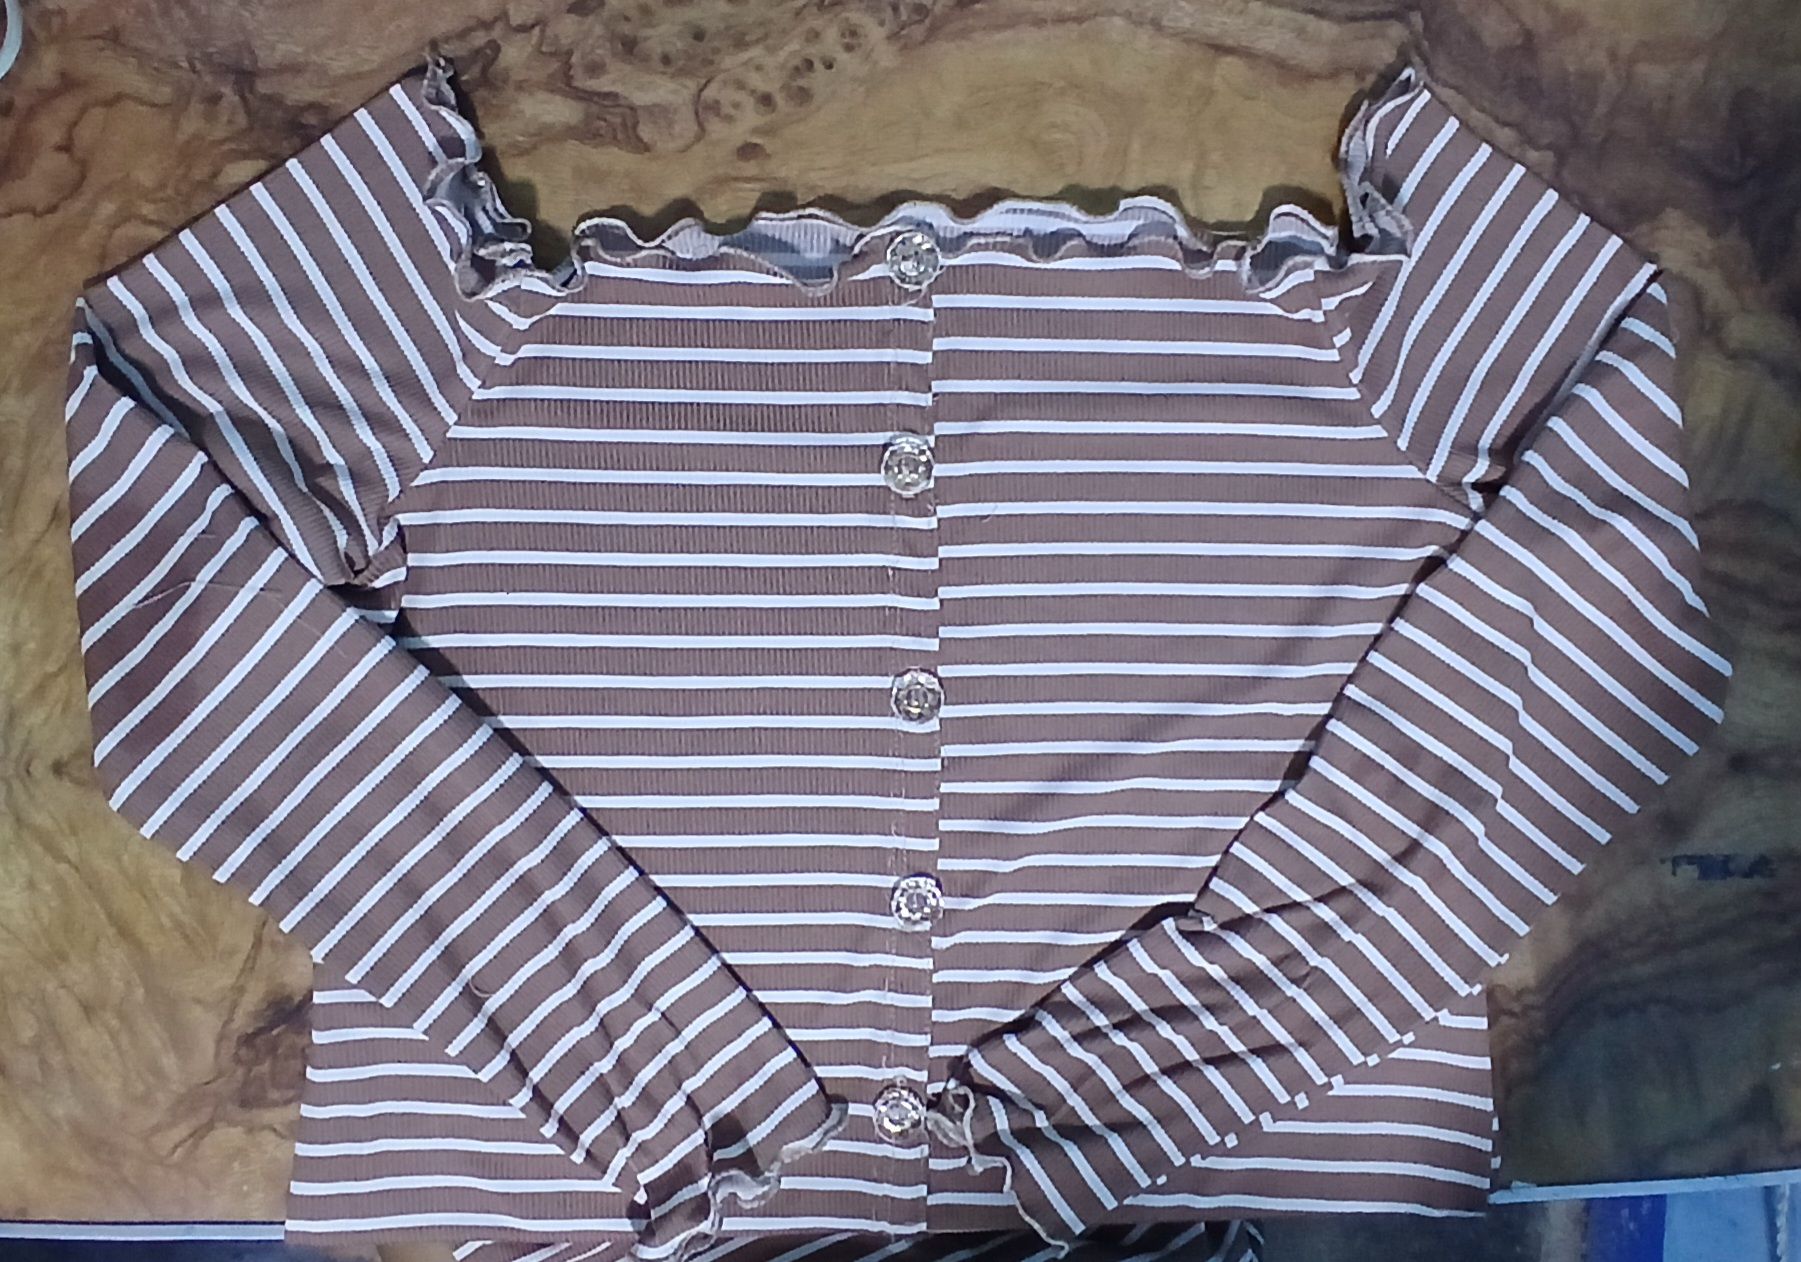
Hice los ojales en la tapeta derecha.
I made the buttonholes on the right placket.

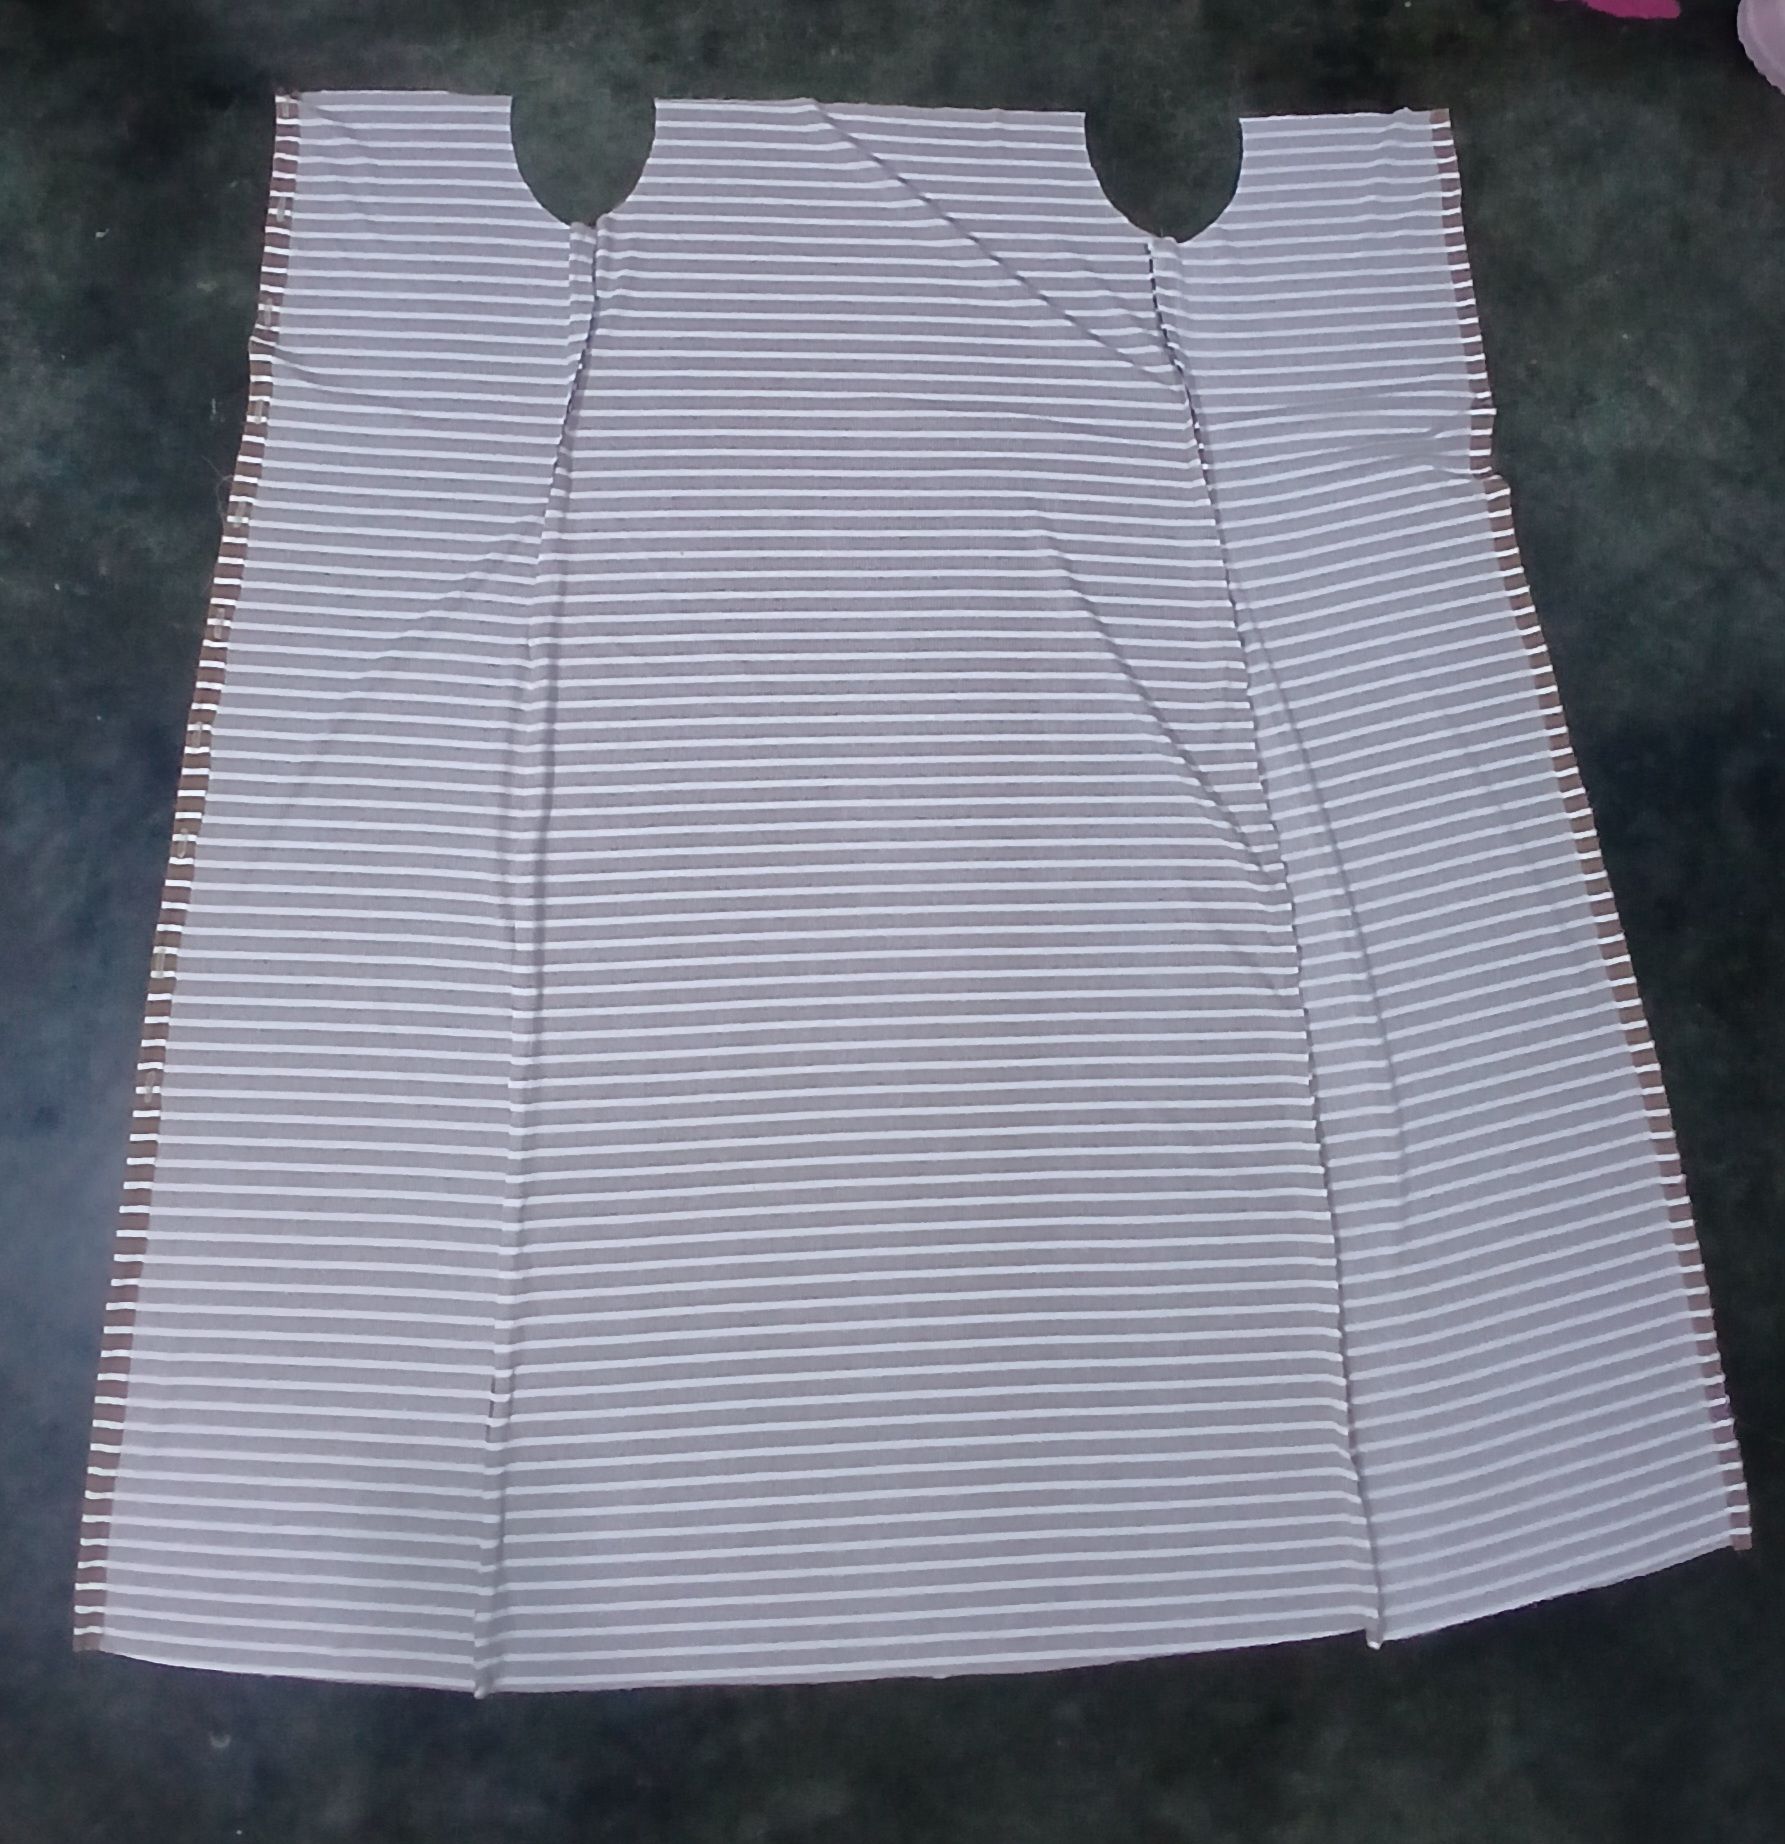
Luego uní las piezas delanteras con la pieza trasera, colocándolas con sus derechos enfrentados.
I then joined the front pieces to the back piece, placing them with their rights sides facing each other.
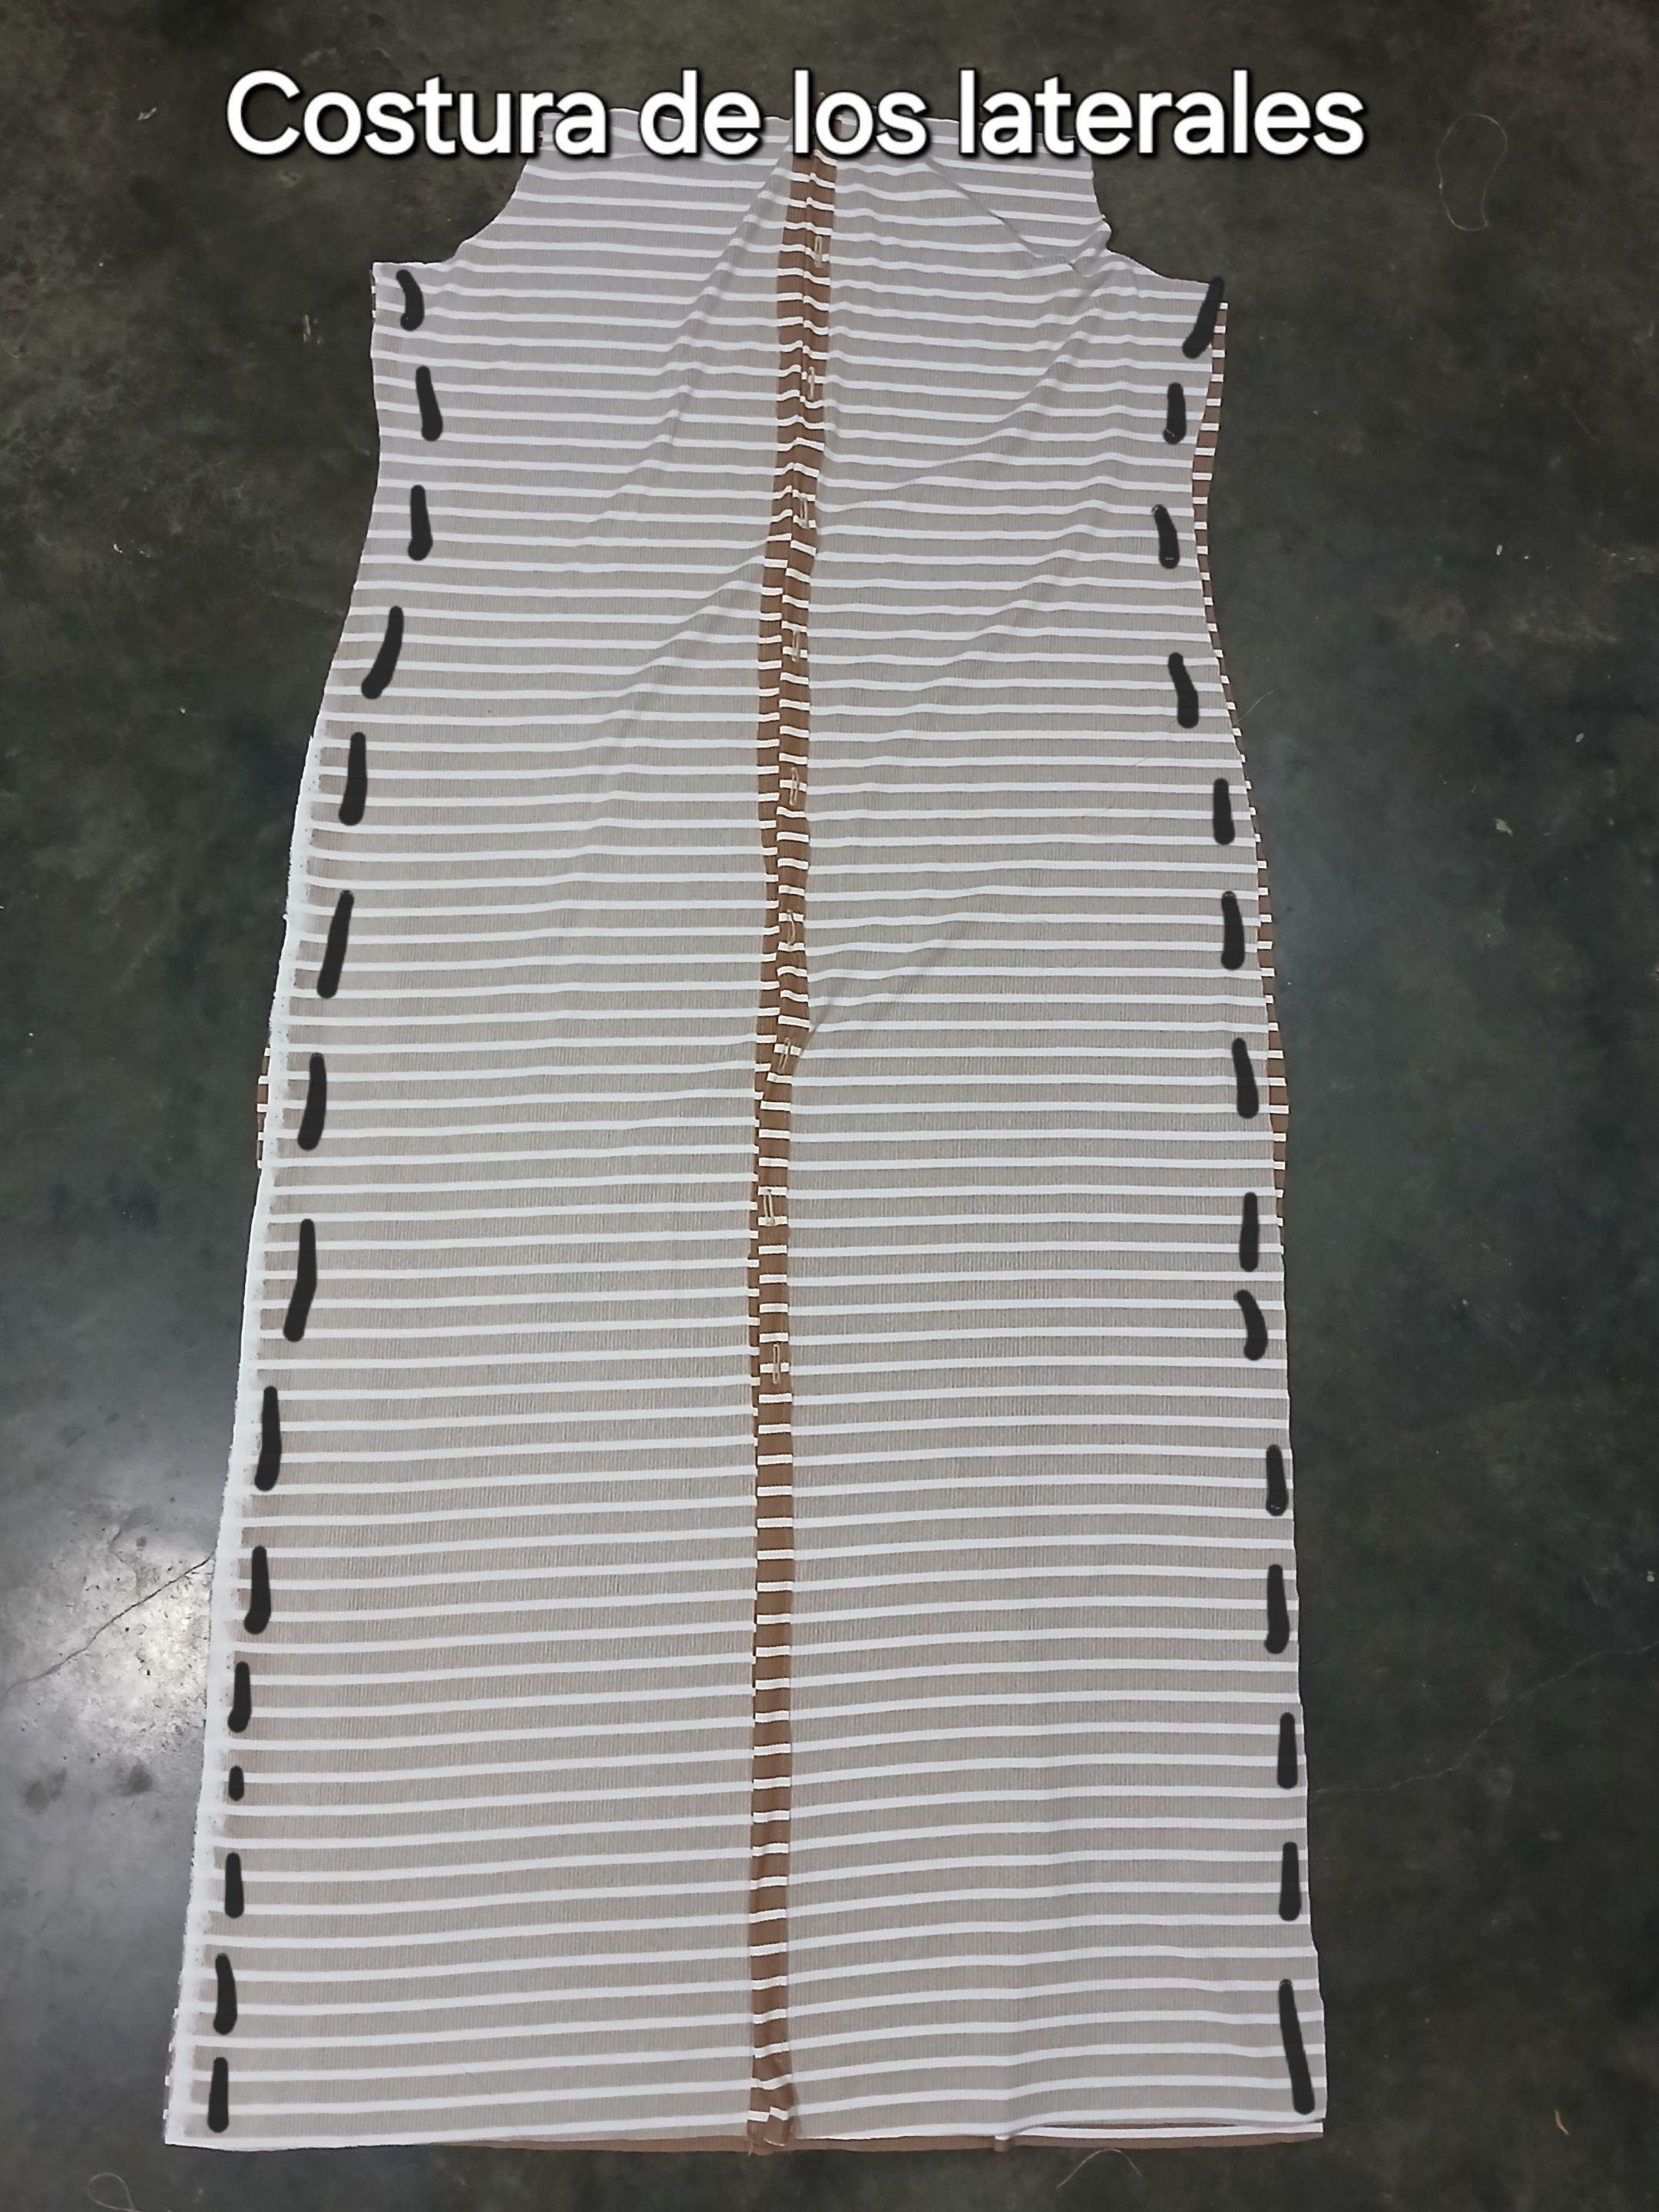
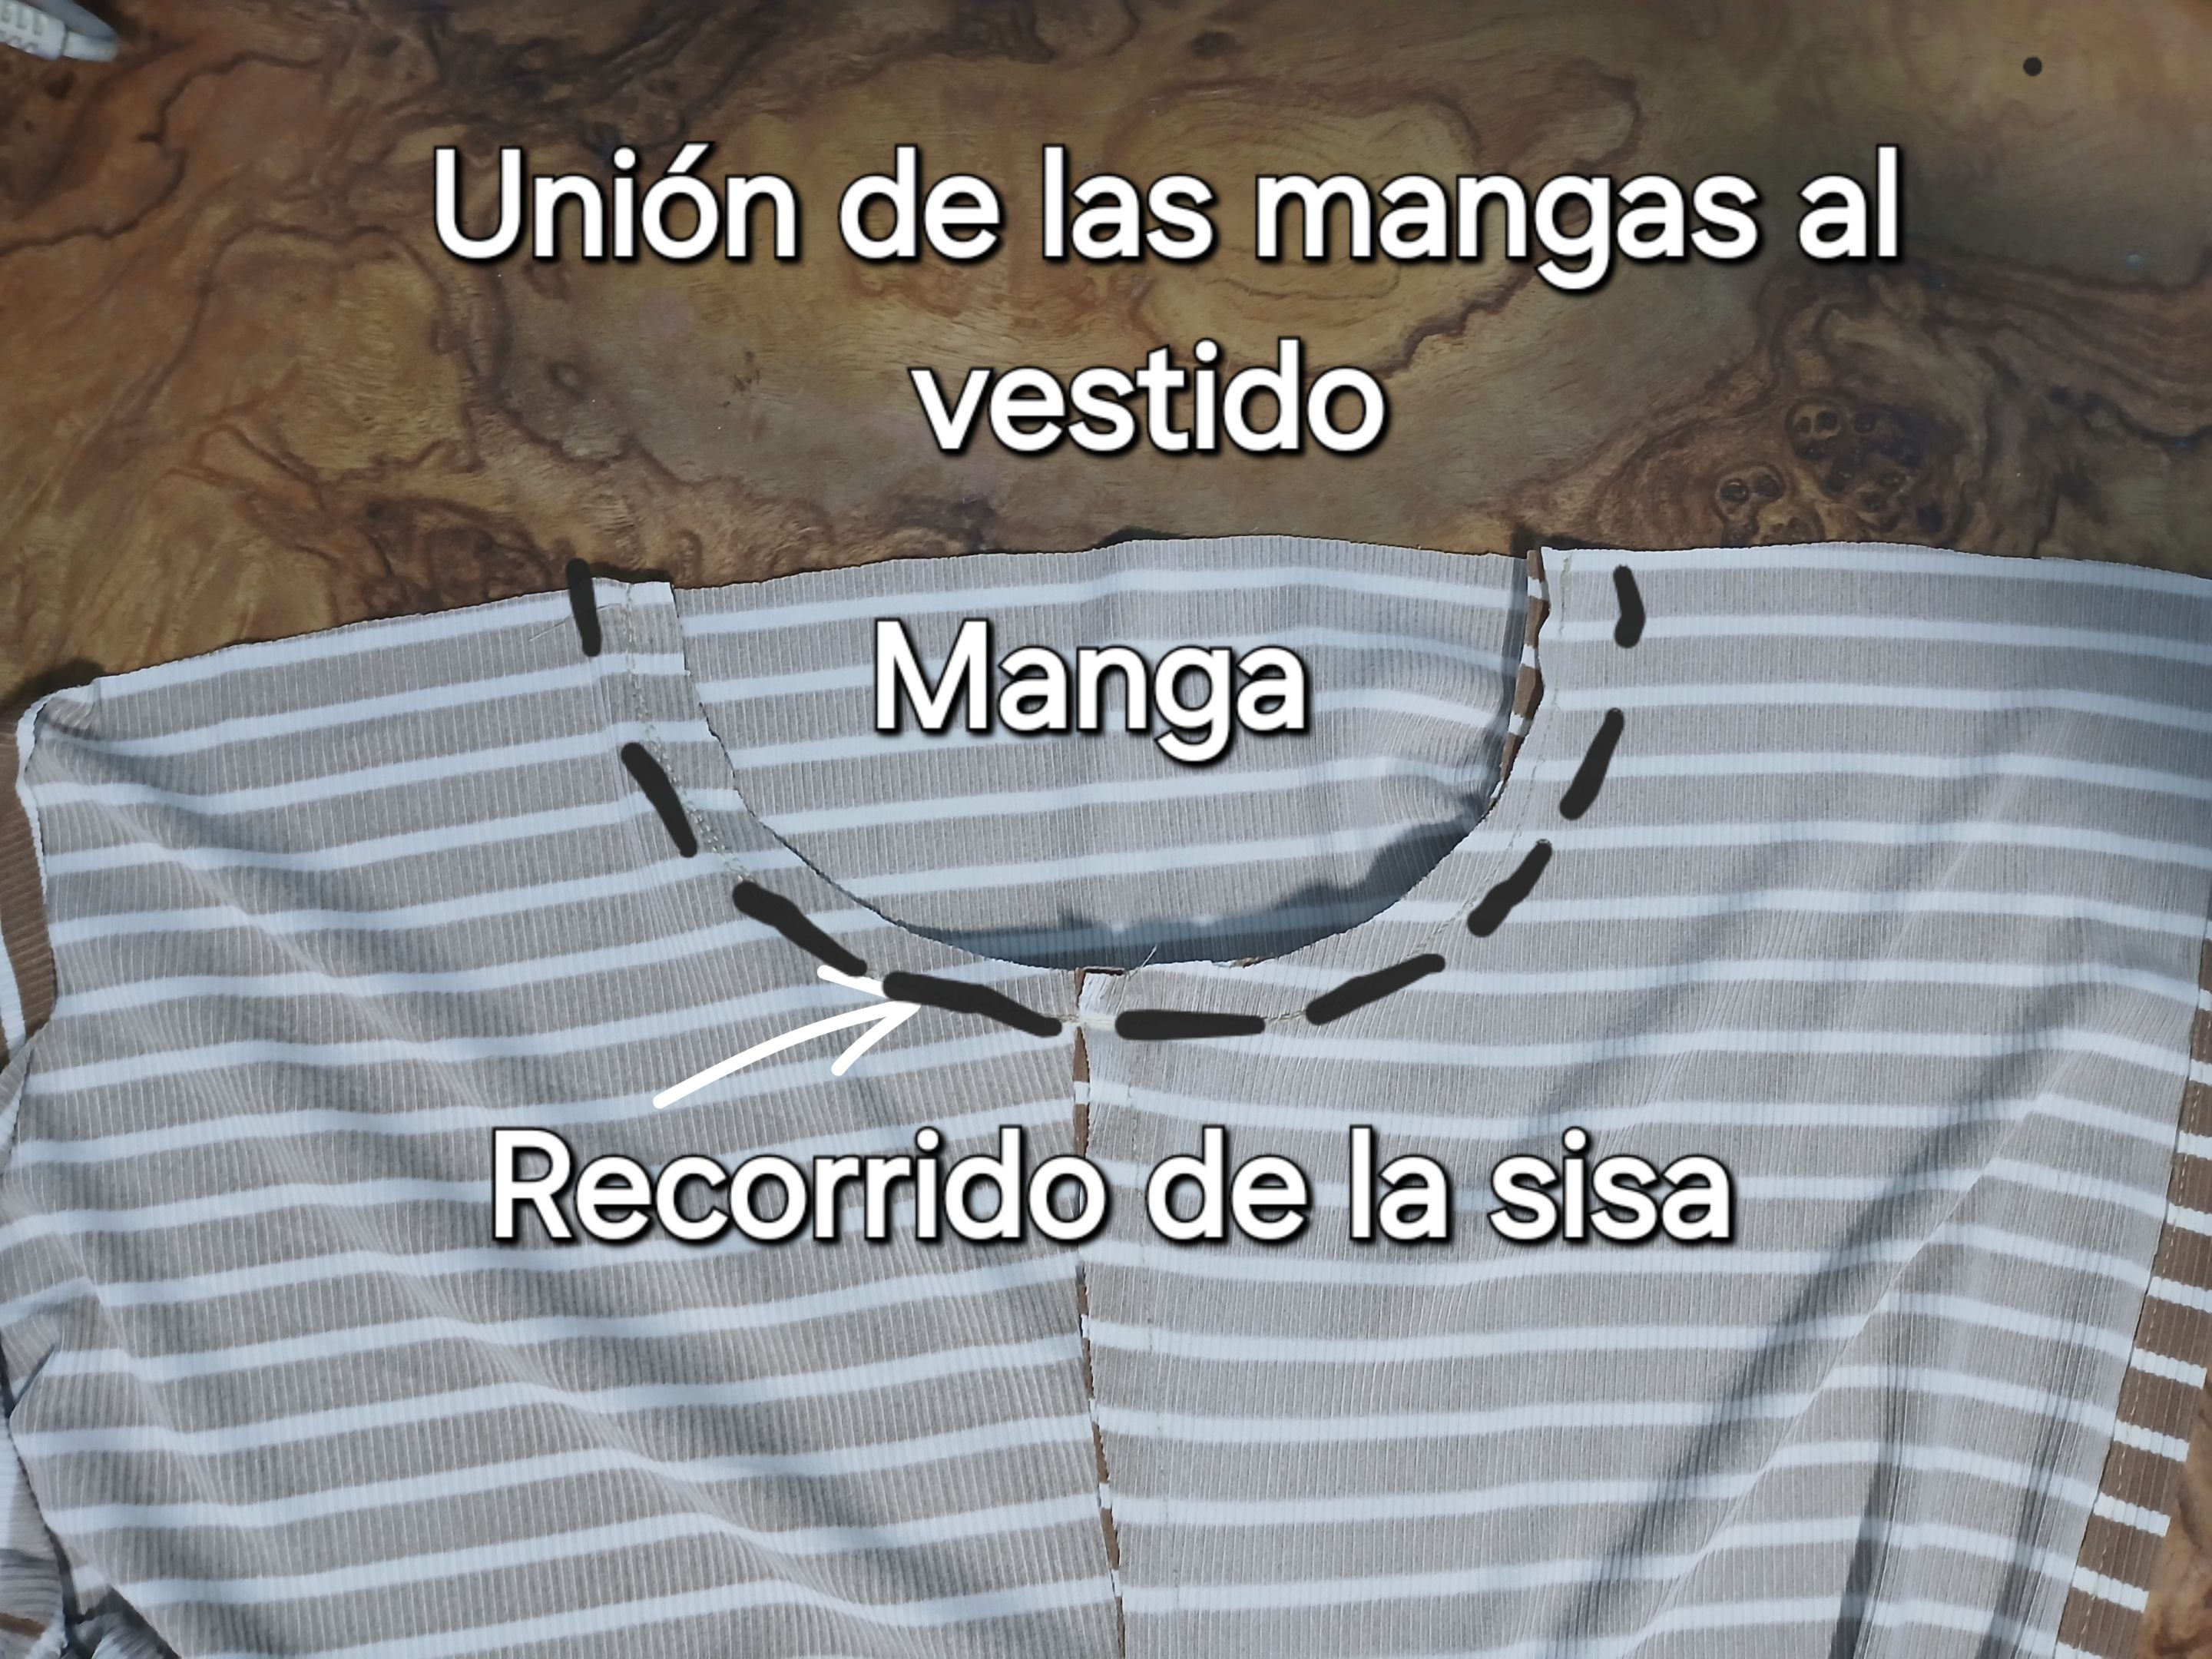
Después cosí los costados de la manga y la uní al vestido haciendo coincidir la costura del costado con la costura de la unión lateral de los vestidos, siguiendo el recorrido de la sisa de ambas piezas.
Then I sewed the sides of the sleeve and attached it to the dress, matching the seam of the side seam with the seam of the side seam of the dresses, following the armhole of both pieces.
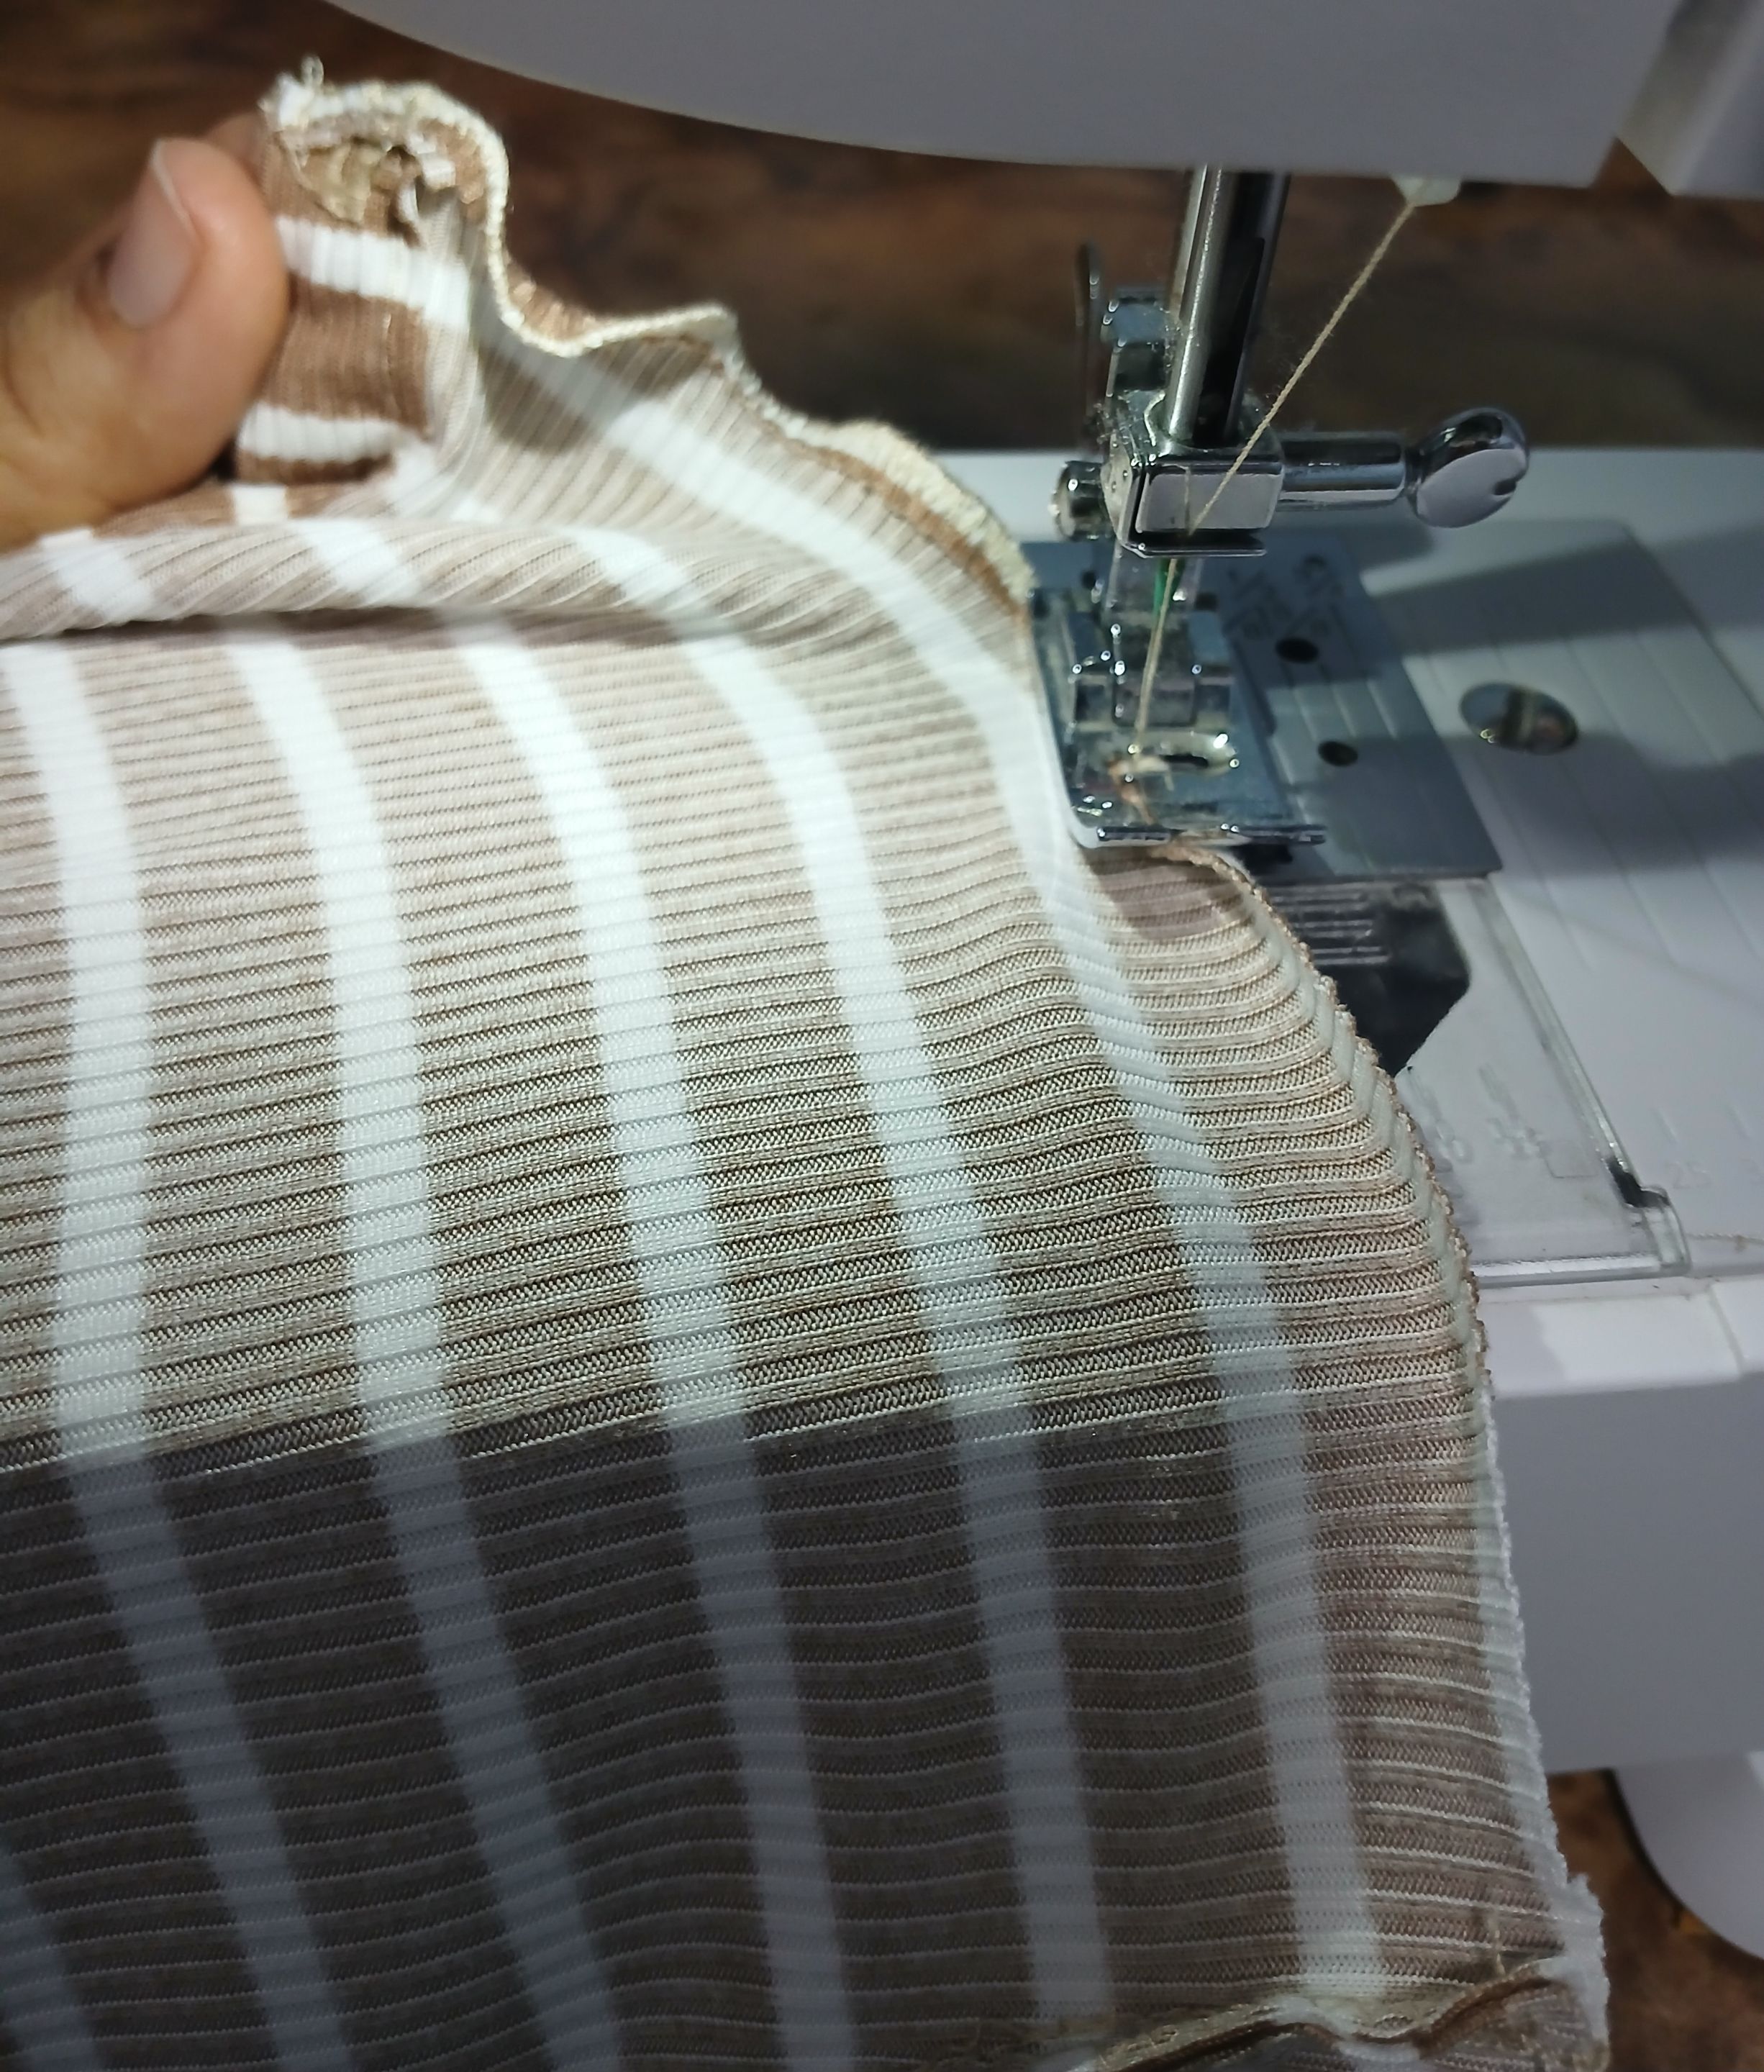
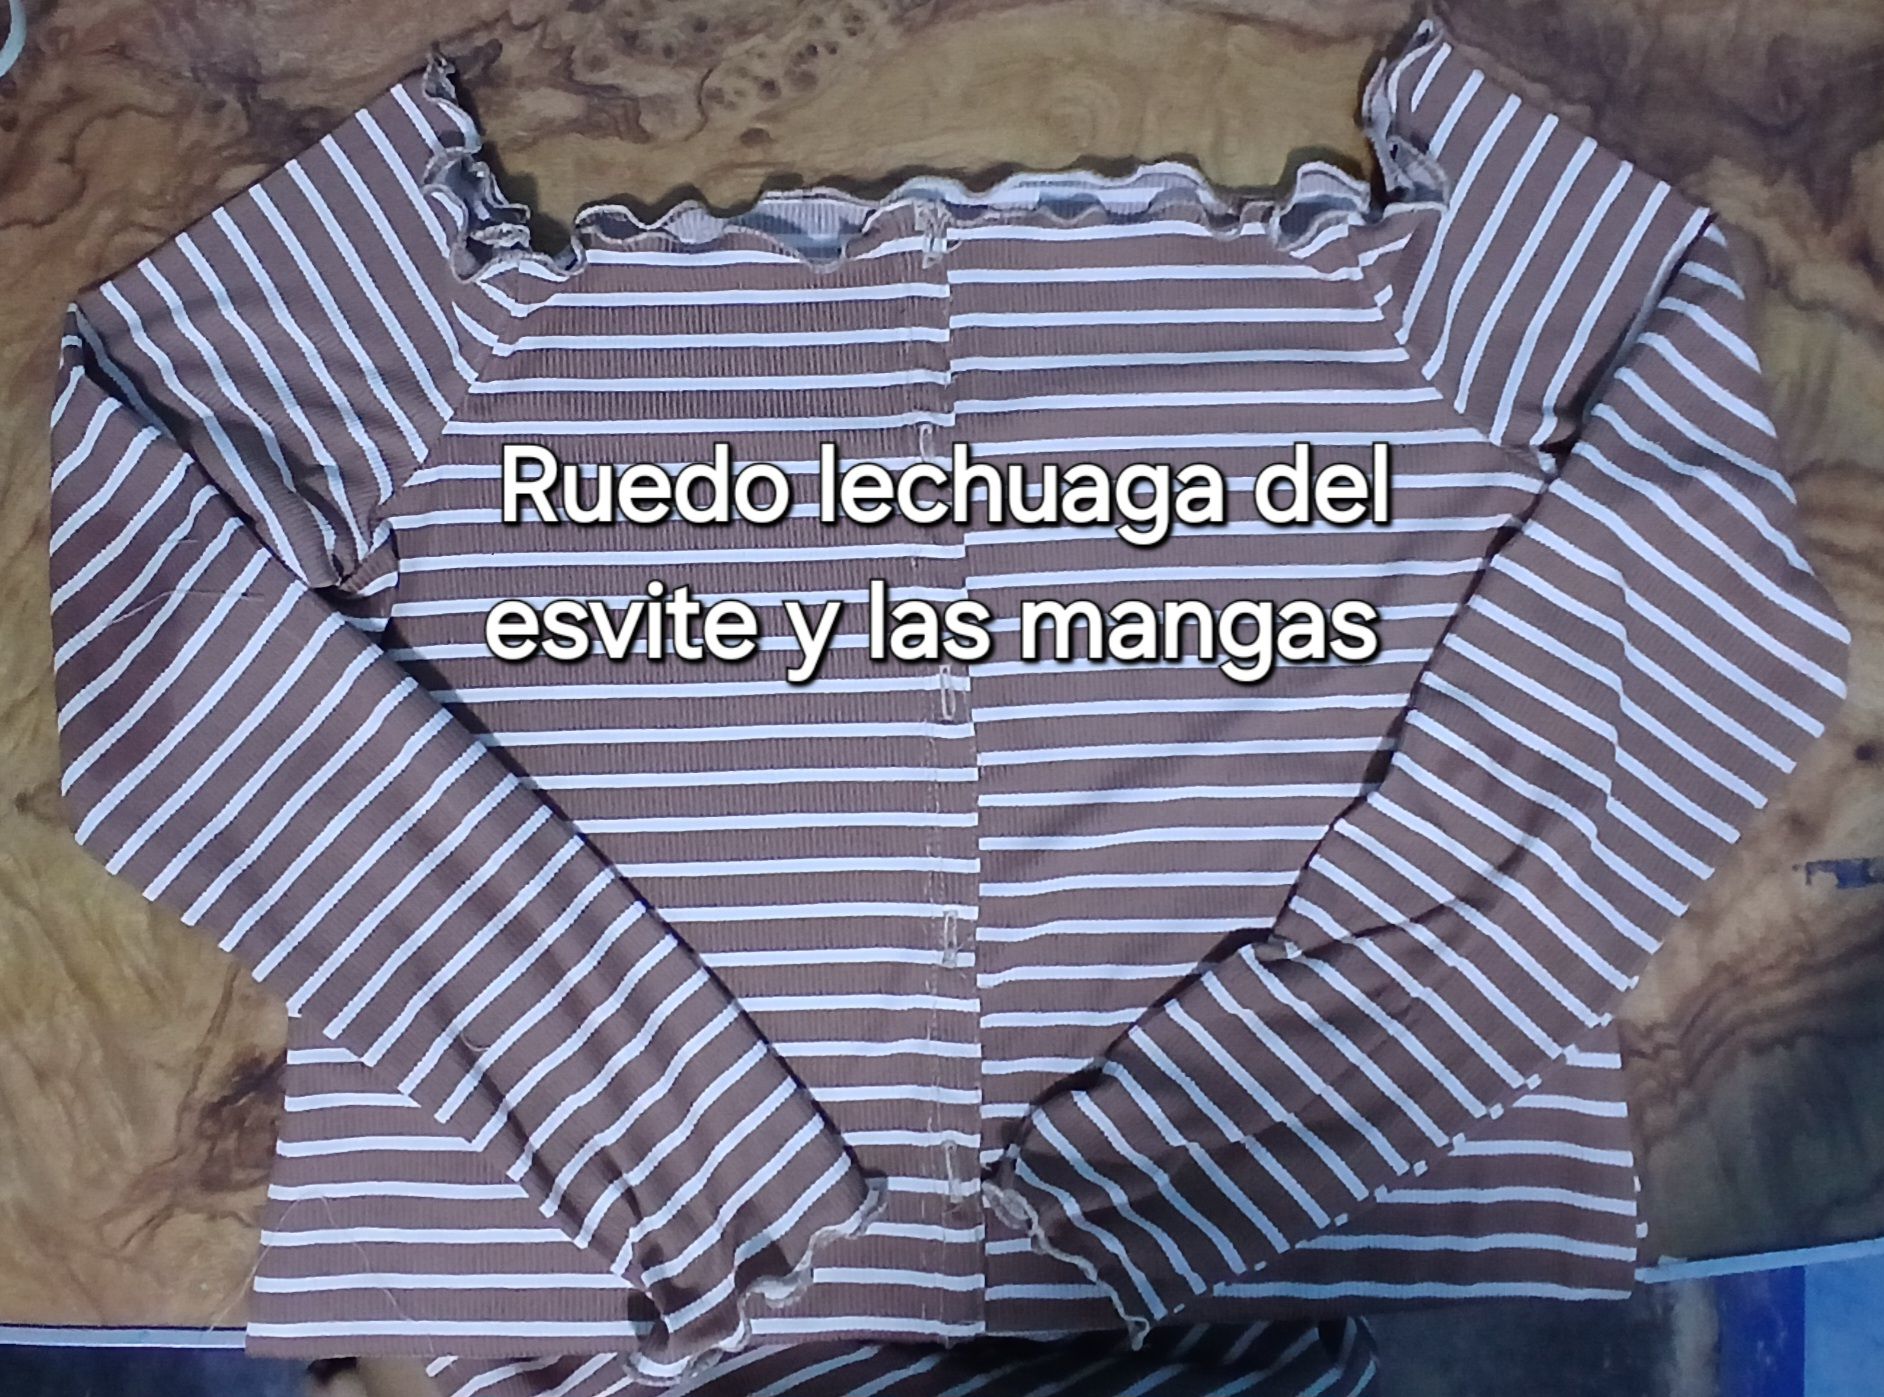
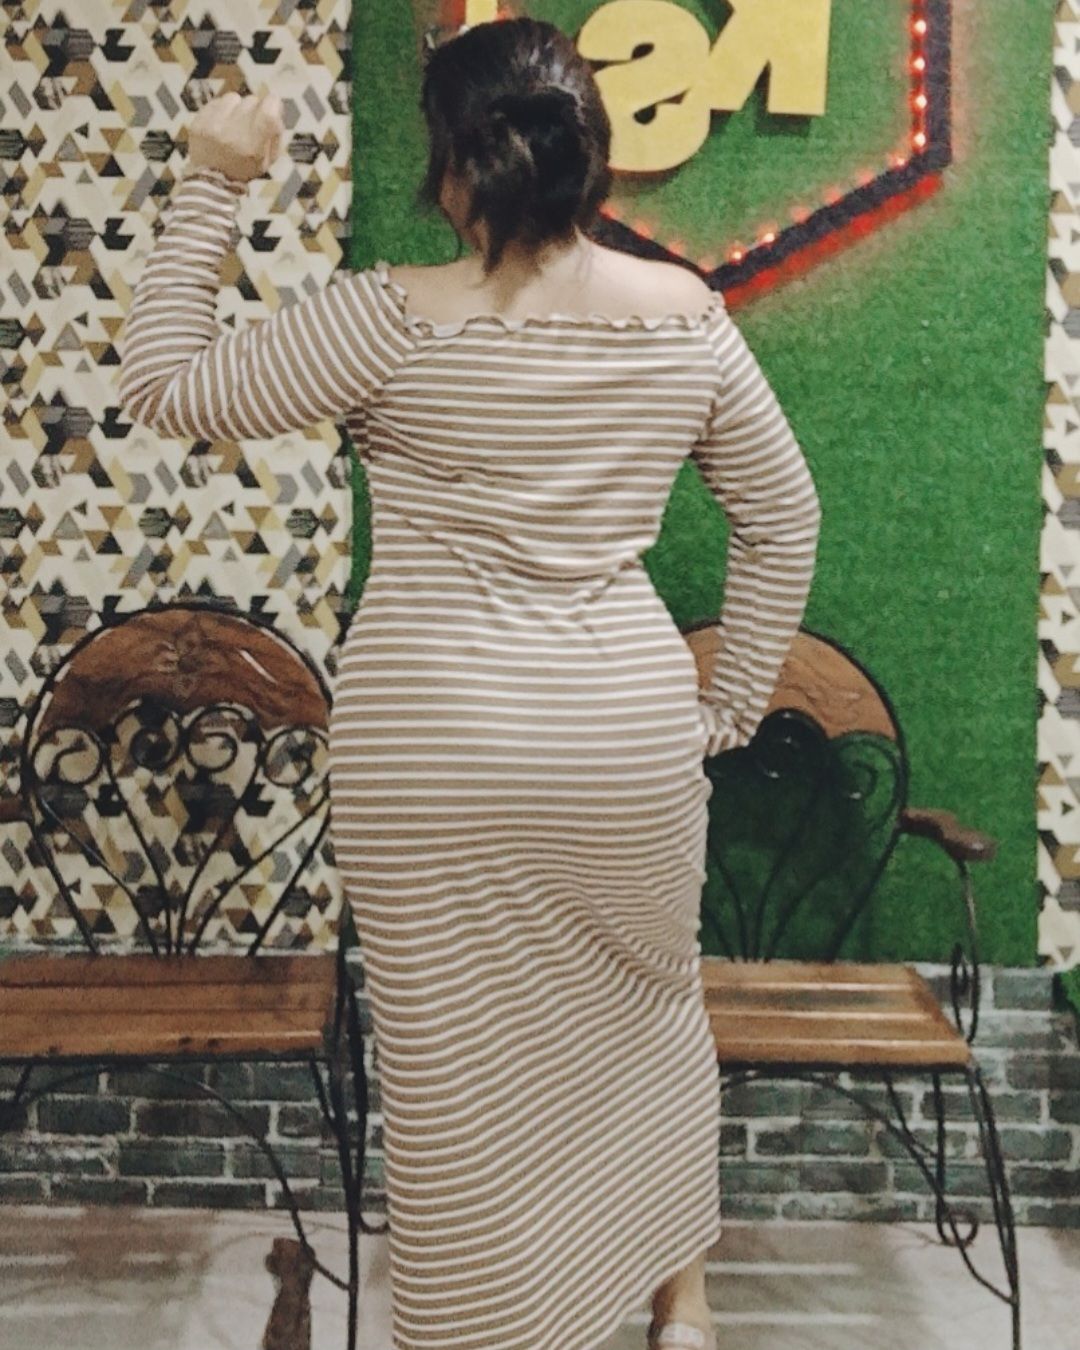
Terminadas las mangas, procedí a hacer el ruedo del escote de los hombros y pecho, más el ruedo de los puños de las mangas.
Once the sleeves were finished, I proceeded to make the hem of the neckline of the shoulders and chest, plus the hem of the sleeve cuffs.
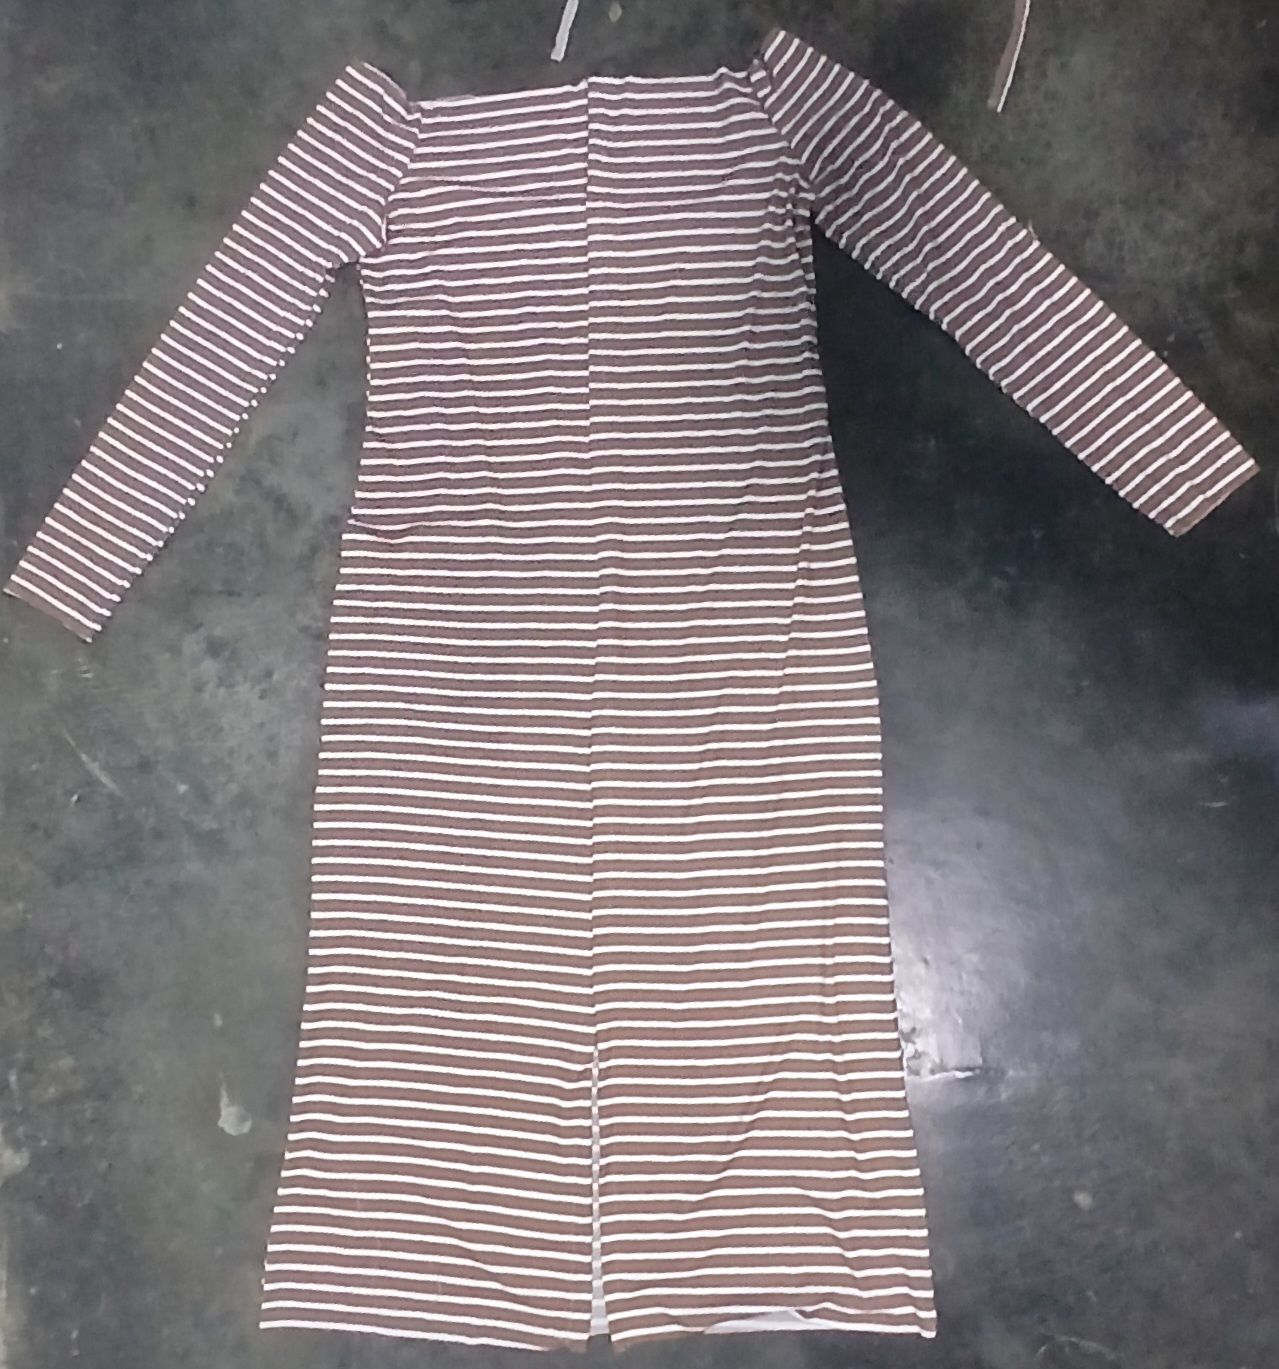
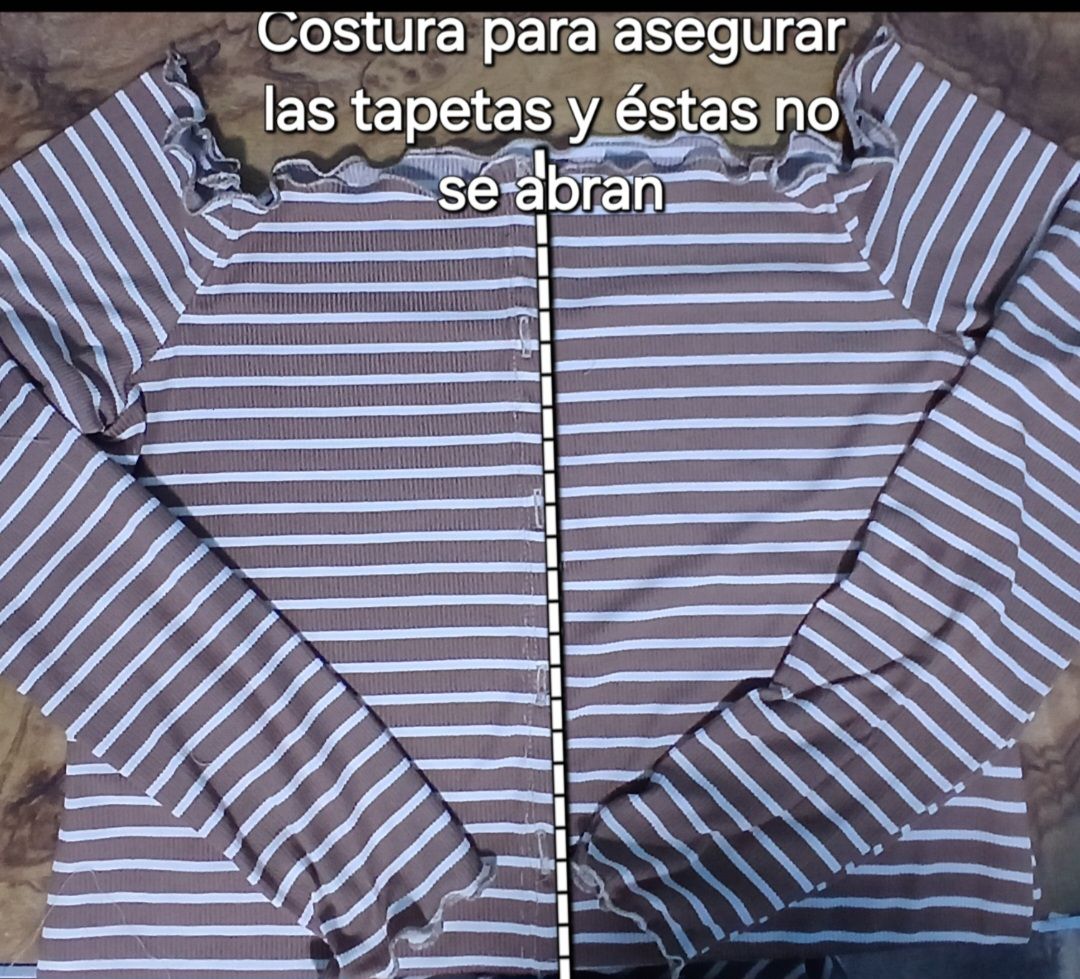
Finalmente cosí aseguré las tapetas con costuras para que estas no se habrán y pegué los botones, dejando una abertura de 30 cm de largo al final del vestido.
Finally, I secured the tops with seams so that they would not split and glued the buttons, leaving a 30 cm long opening at the end of the dress.

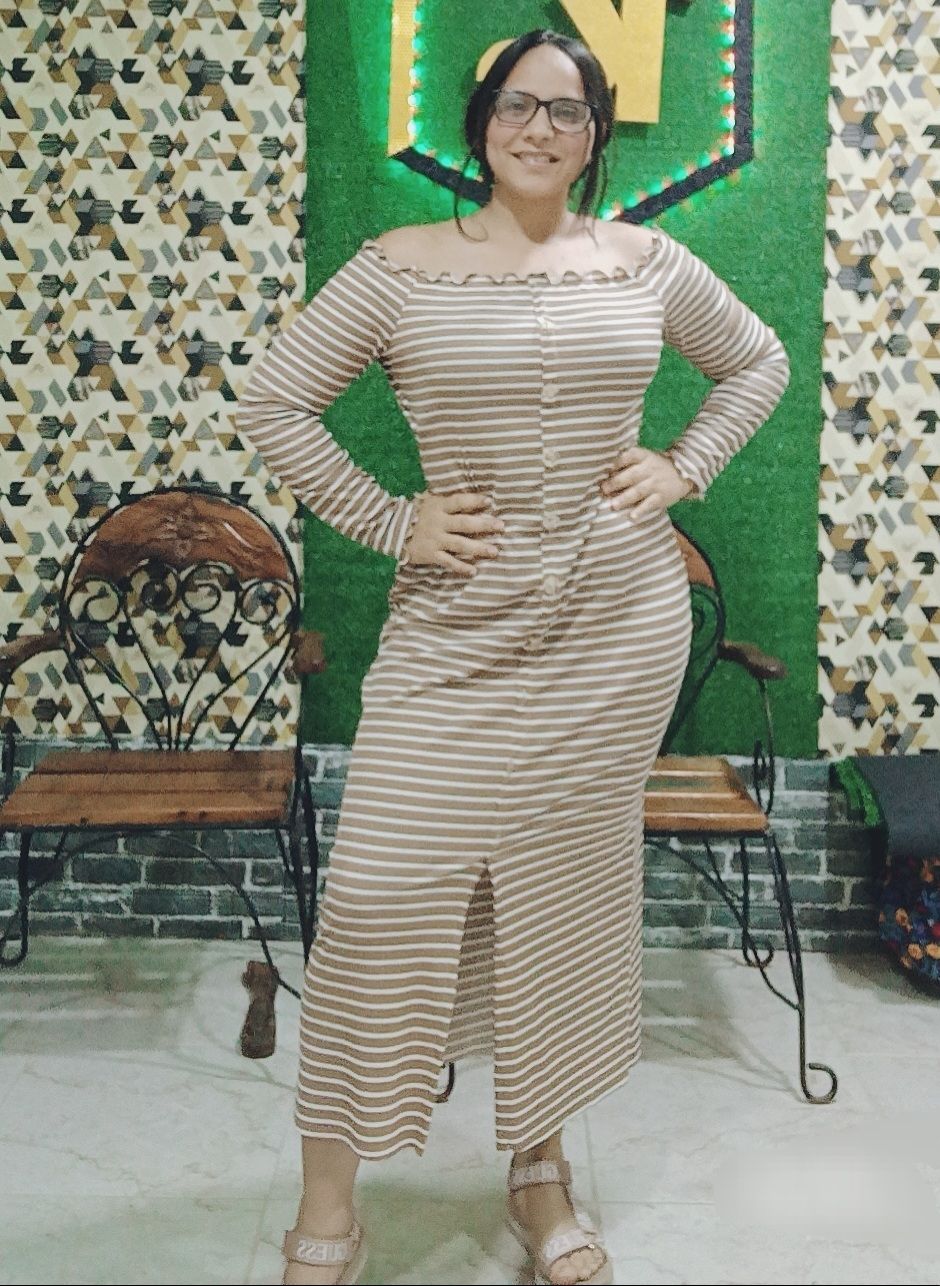

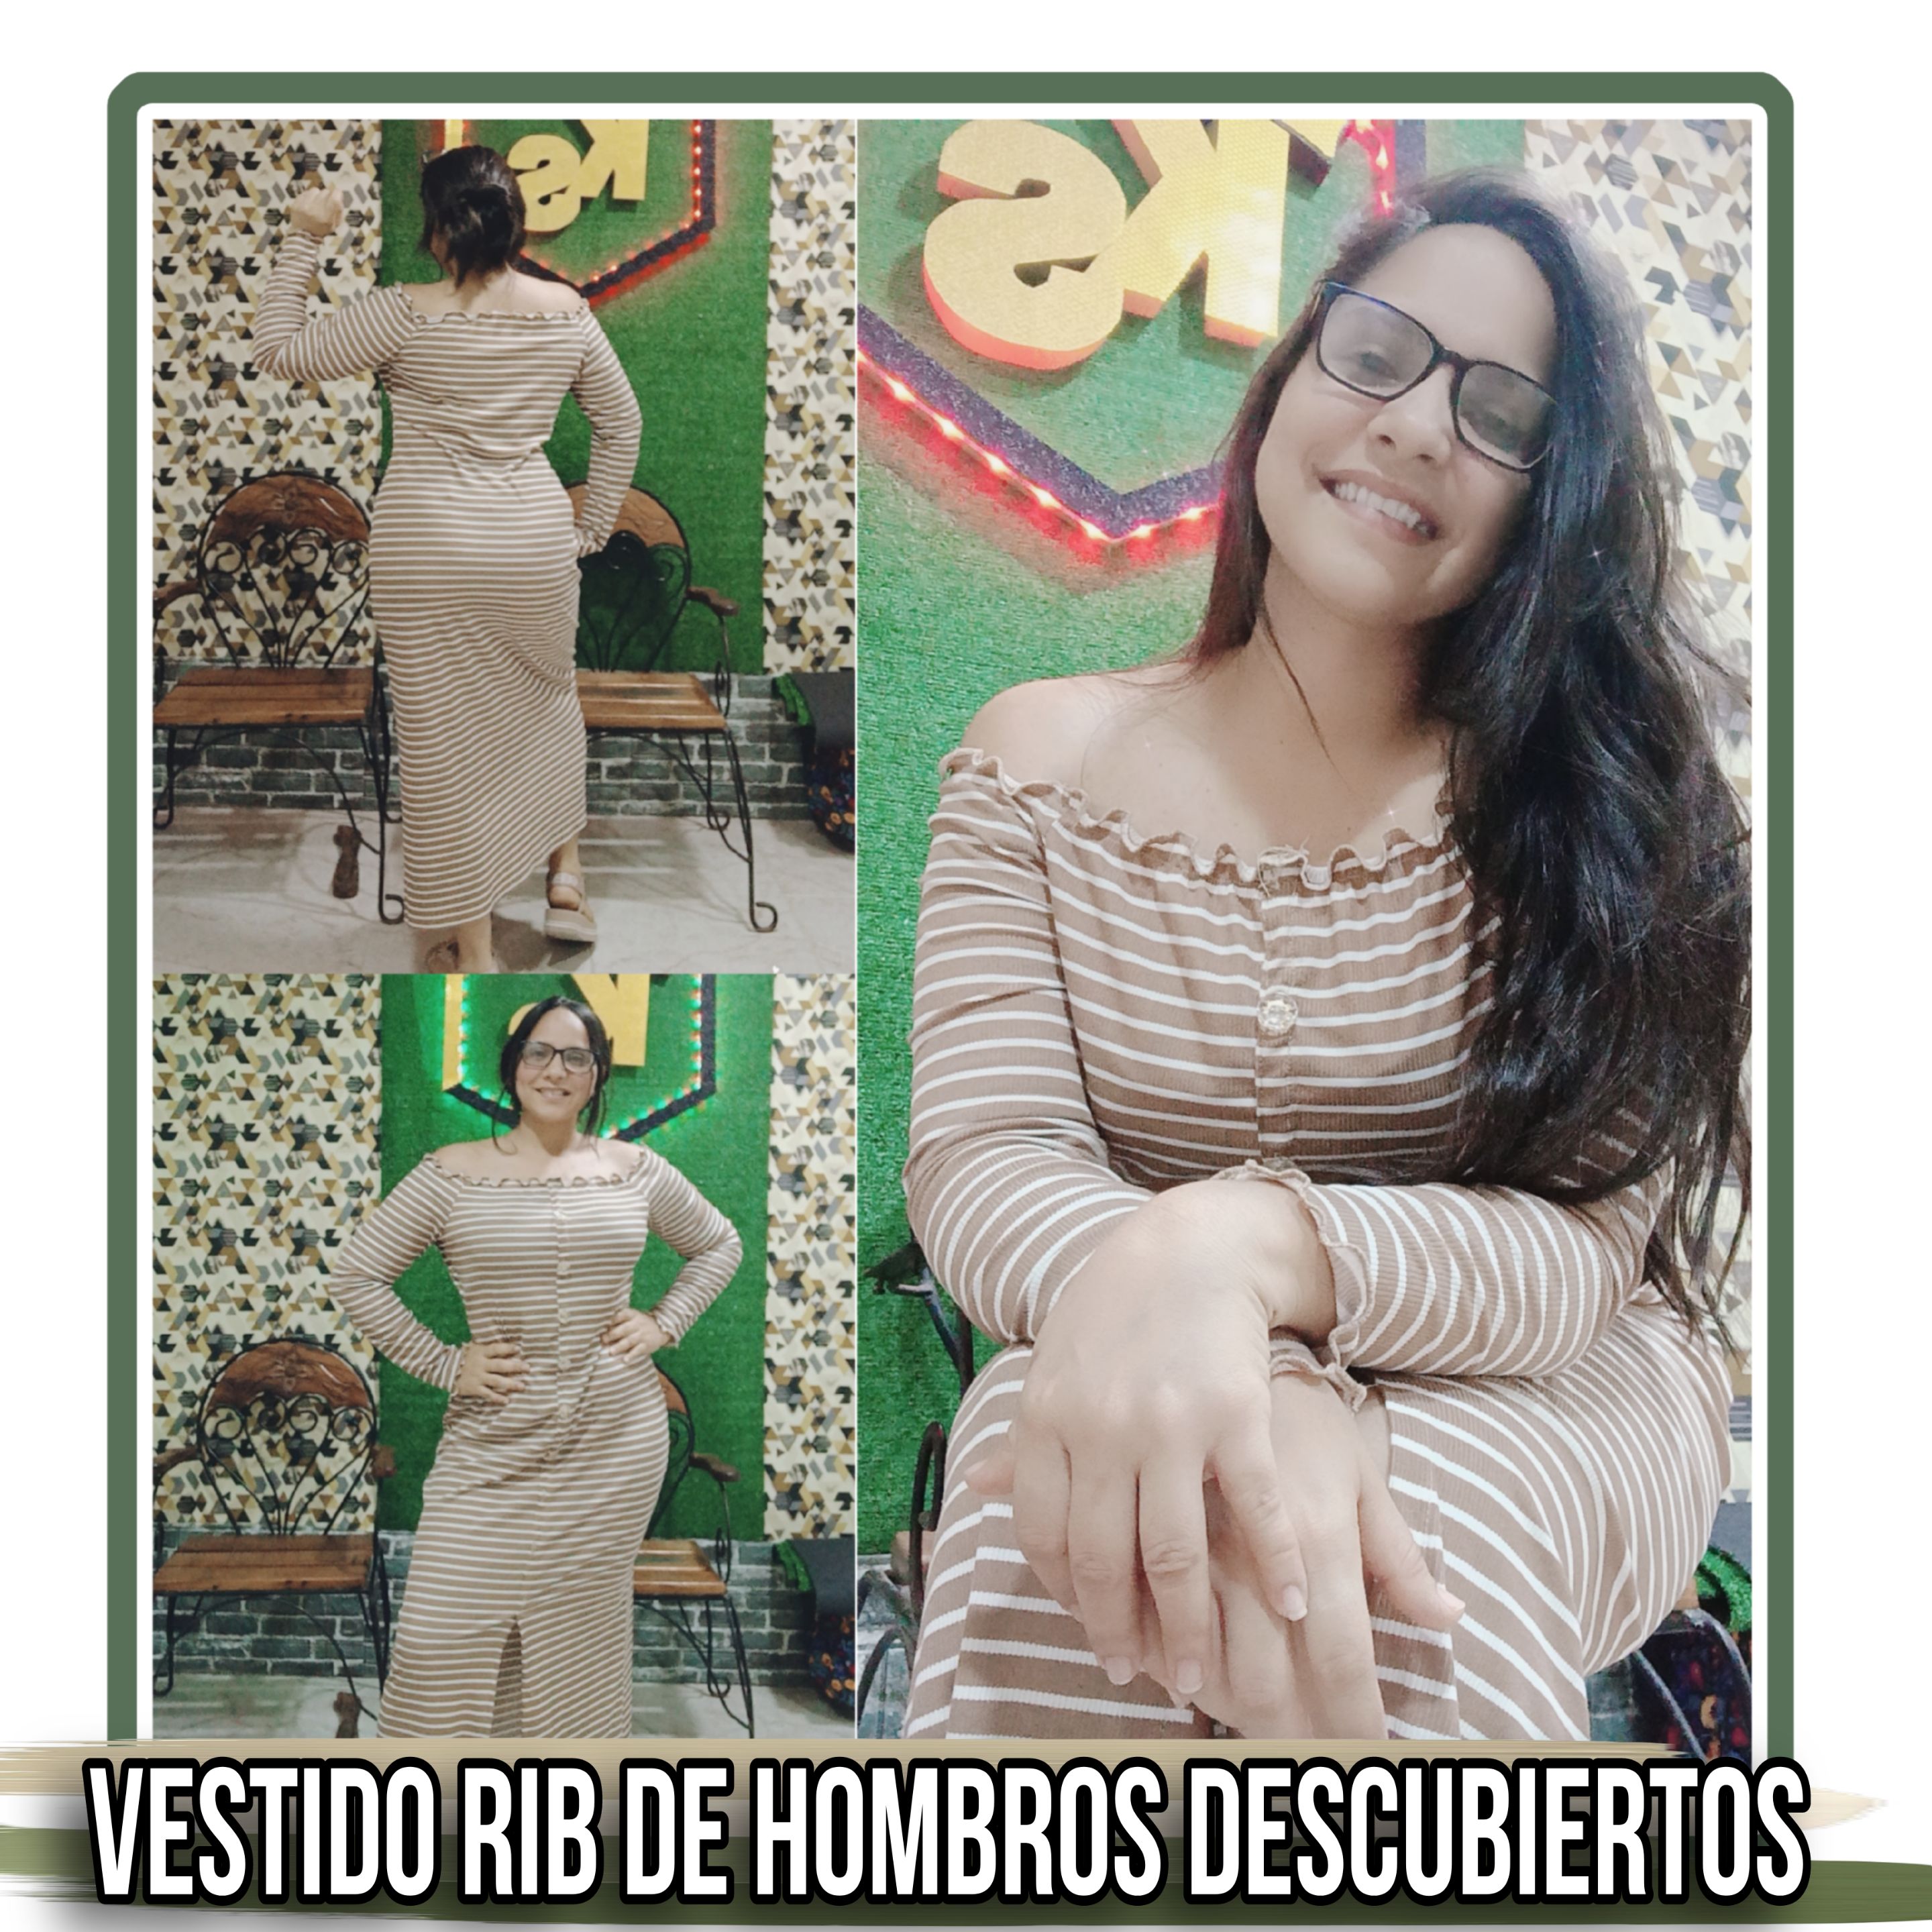
De ésta manera tan sencilla, podremos obtener una nueva prenda de vestir, muy útil para distintas ocasiones, además cómoda. Espero te haya gustado el resultado tanto como a mi, y que éste tutorial sea de gran utilidad para futuros proyectos. Muchas bendiciones apreciados 🙏🏻 💗.
In this simple way, we can get a new garment, very useful for different occasions, also comfortable. I hope you liked the result as much as I did, and that this tutorial will be very useful for future projects. Many blessings appreciated 🙏🏻 💗.