If you follow my blog post you may recall that I started a laundry room renovation a few weeks back. I thought that it would be a simple project that I would complete in just a few weekends but it has taken a lot longer then expected.
As what usually happens with any home renovation, I underestimated how long things would take or forgot to factor in others, or I had to make changes on the fly.
All that to say that I've spent several weekends up to this point working on it. Here is an update on most of what I've accomplished so far. Enjoy!
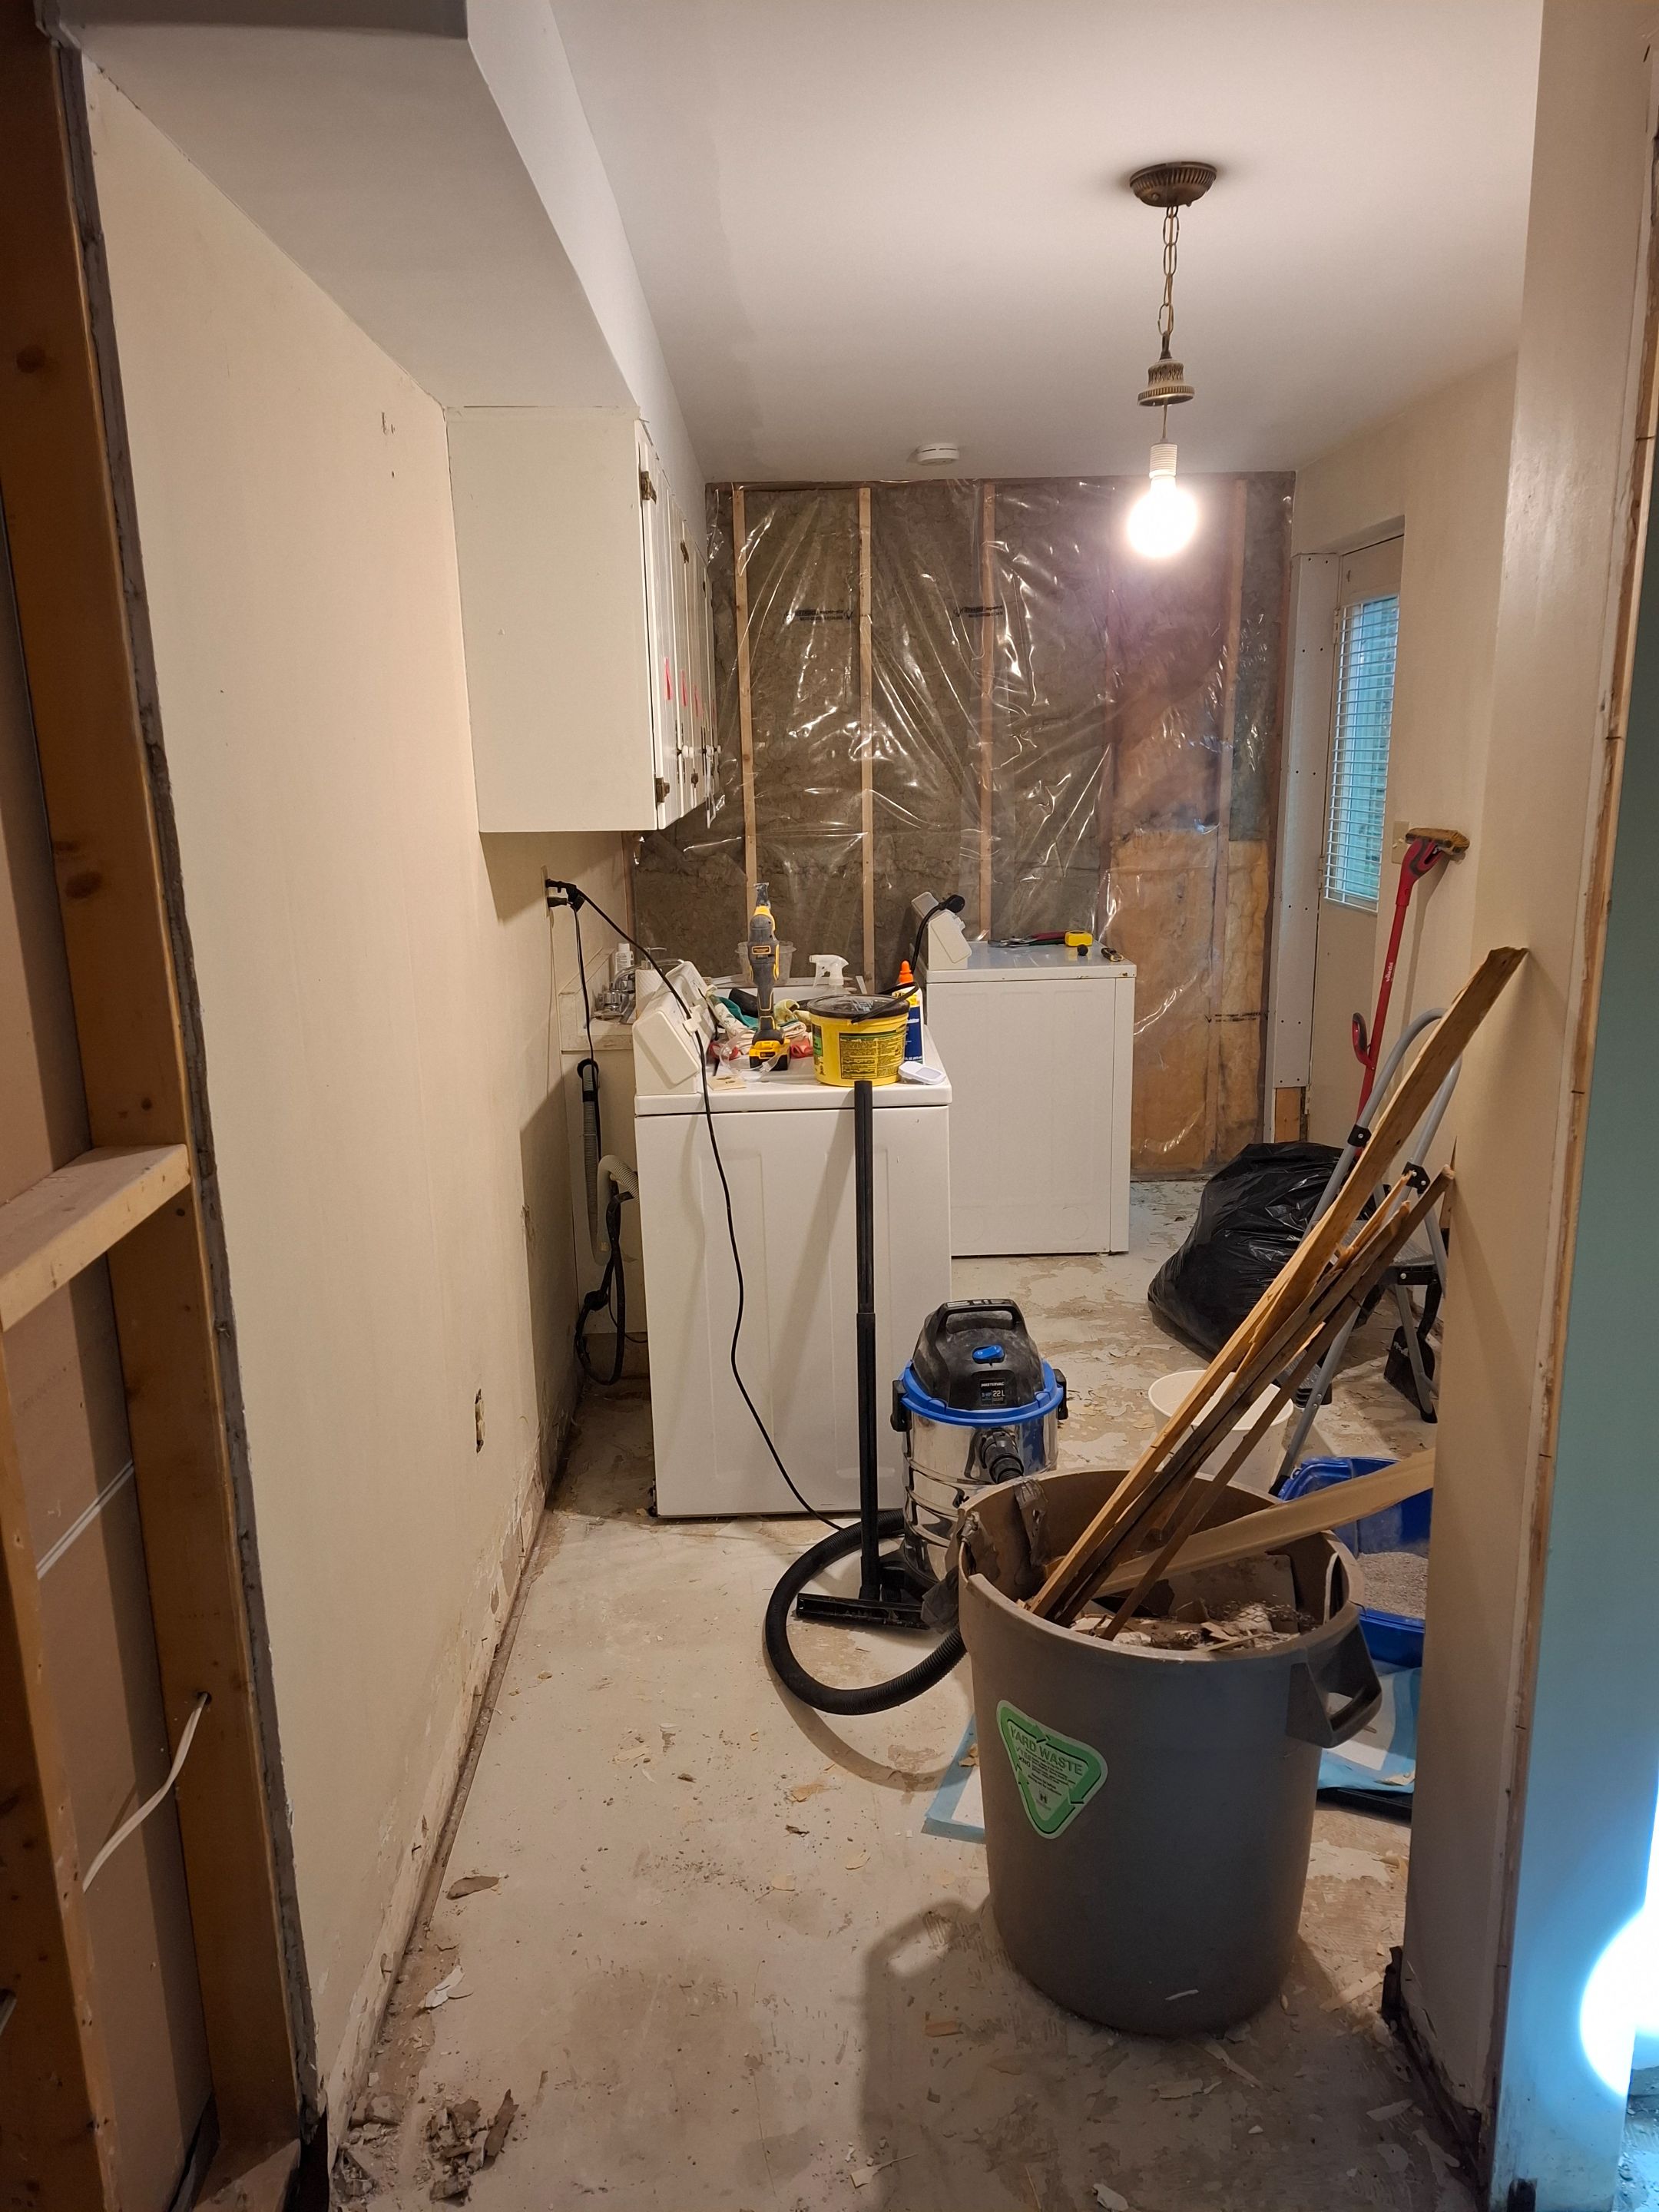
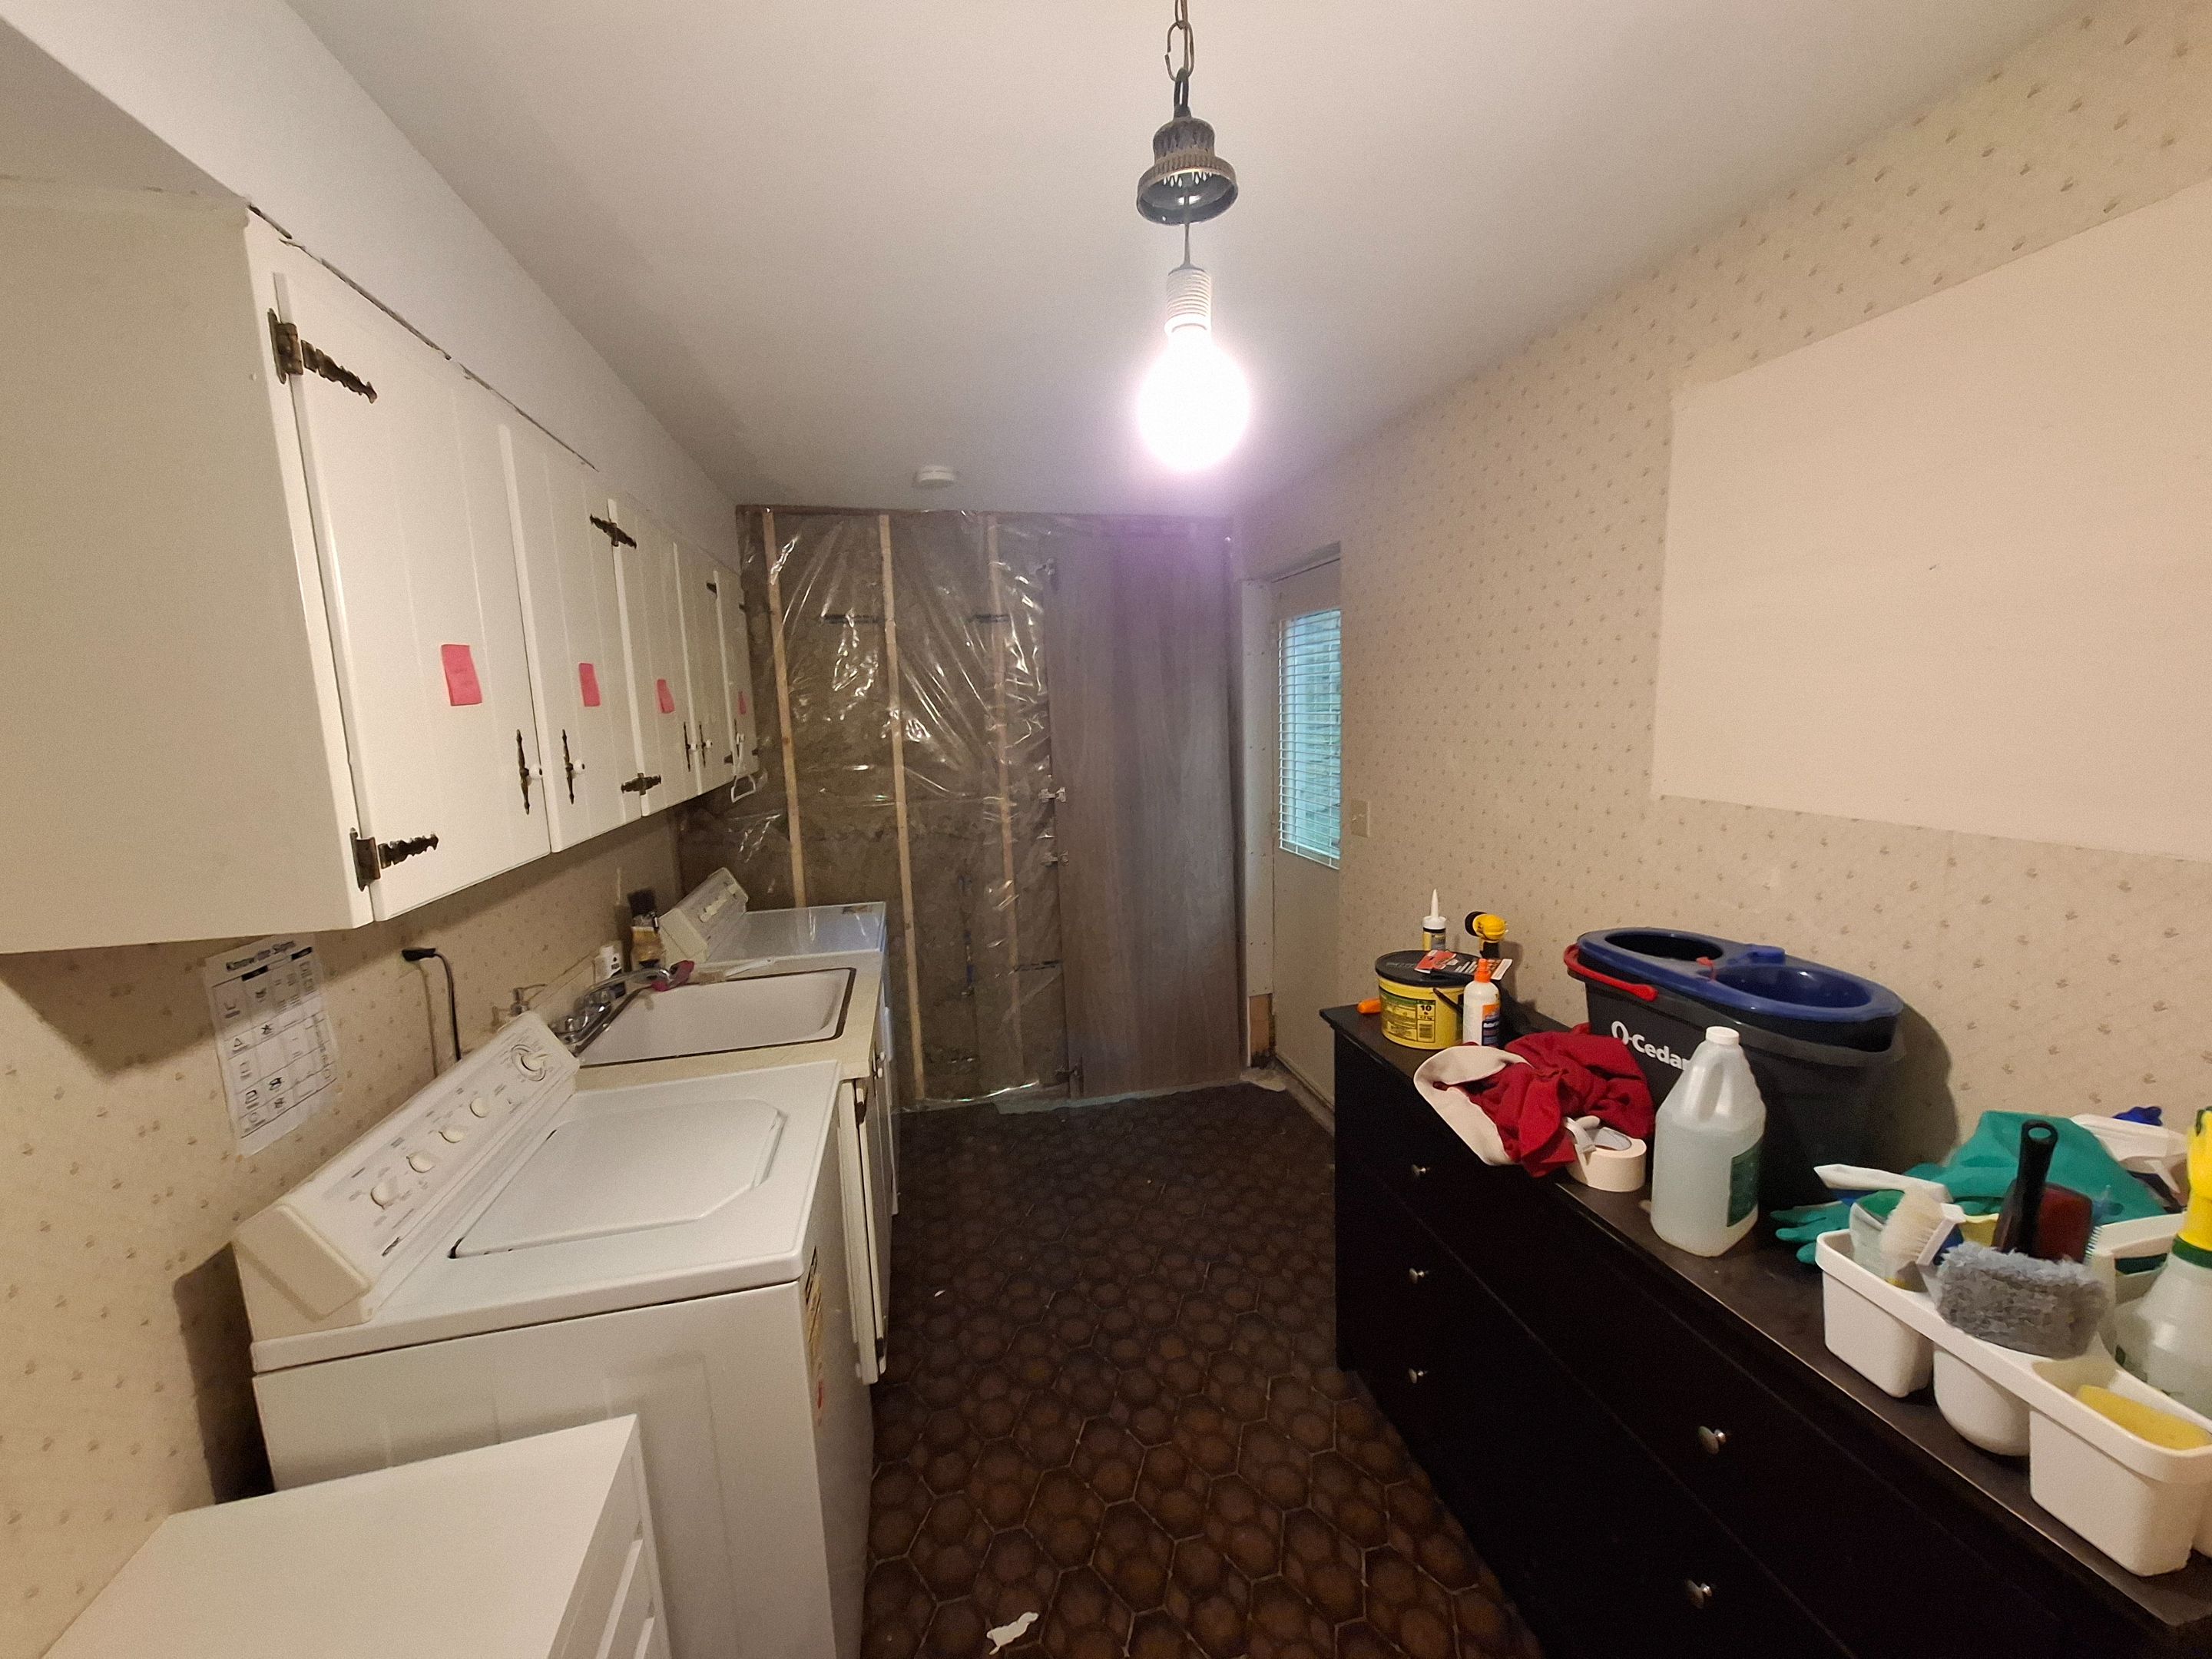
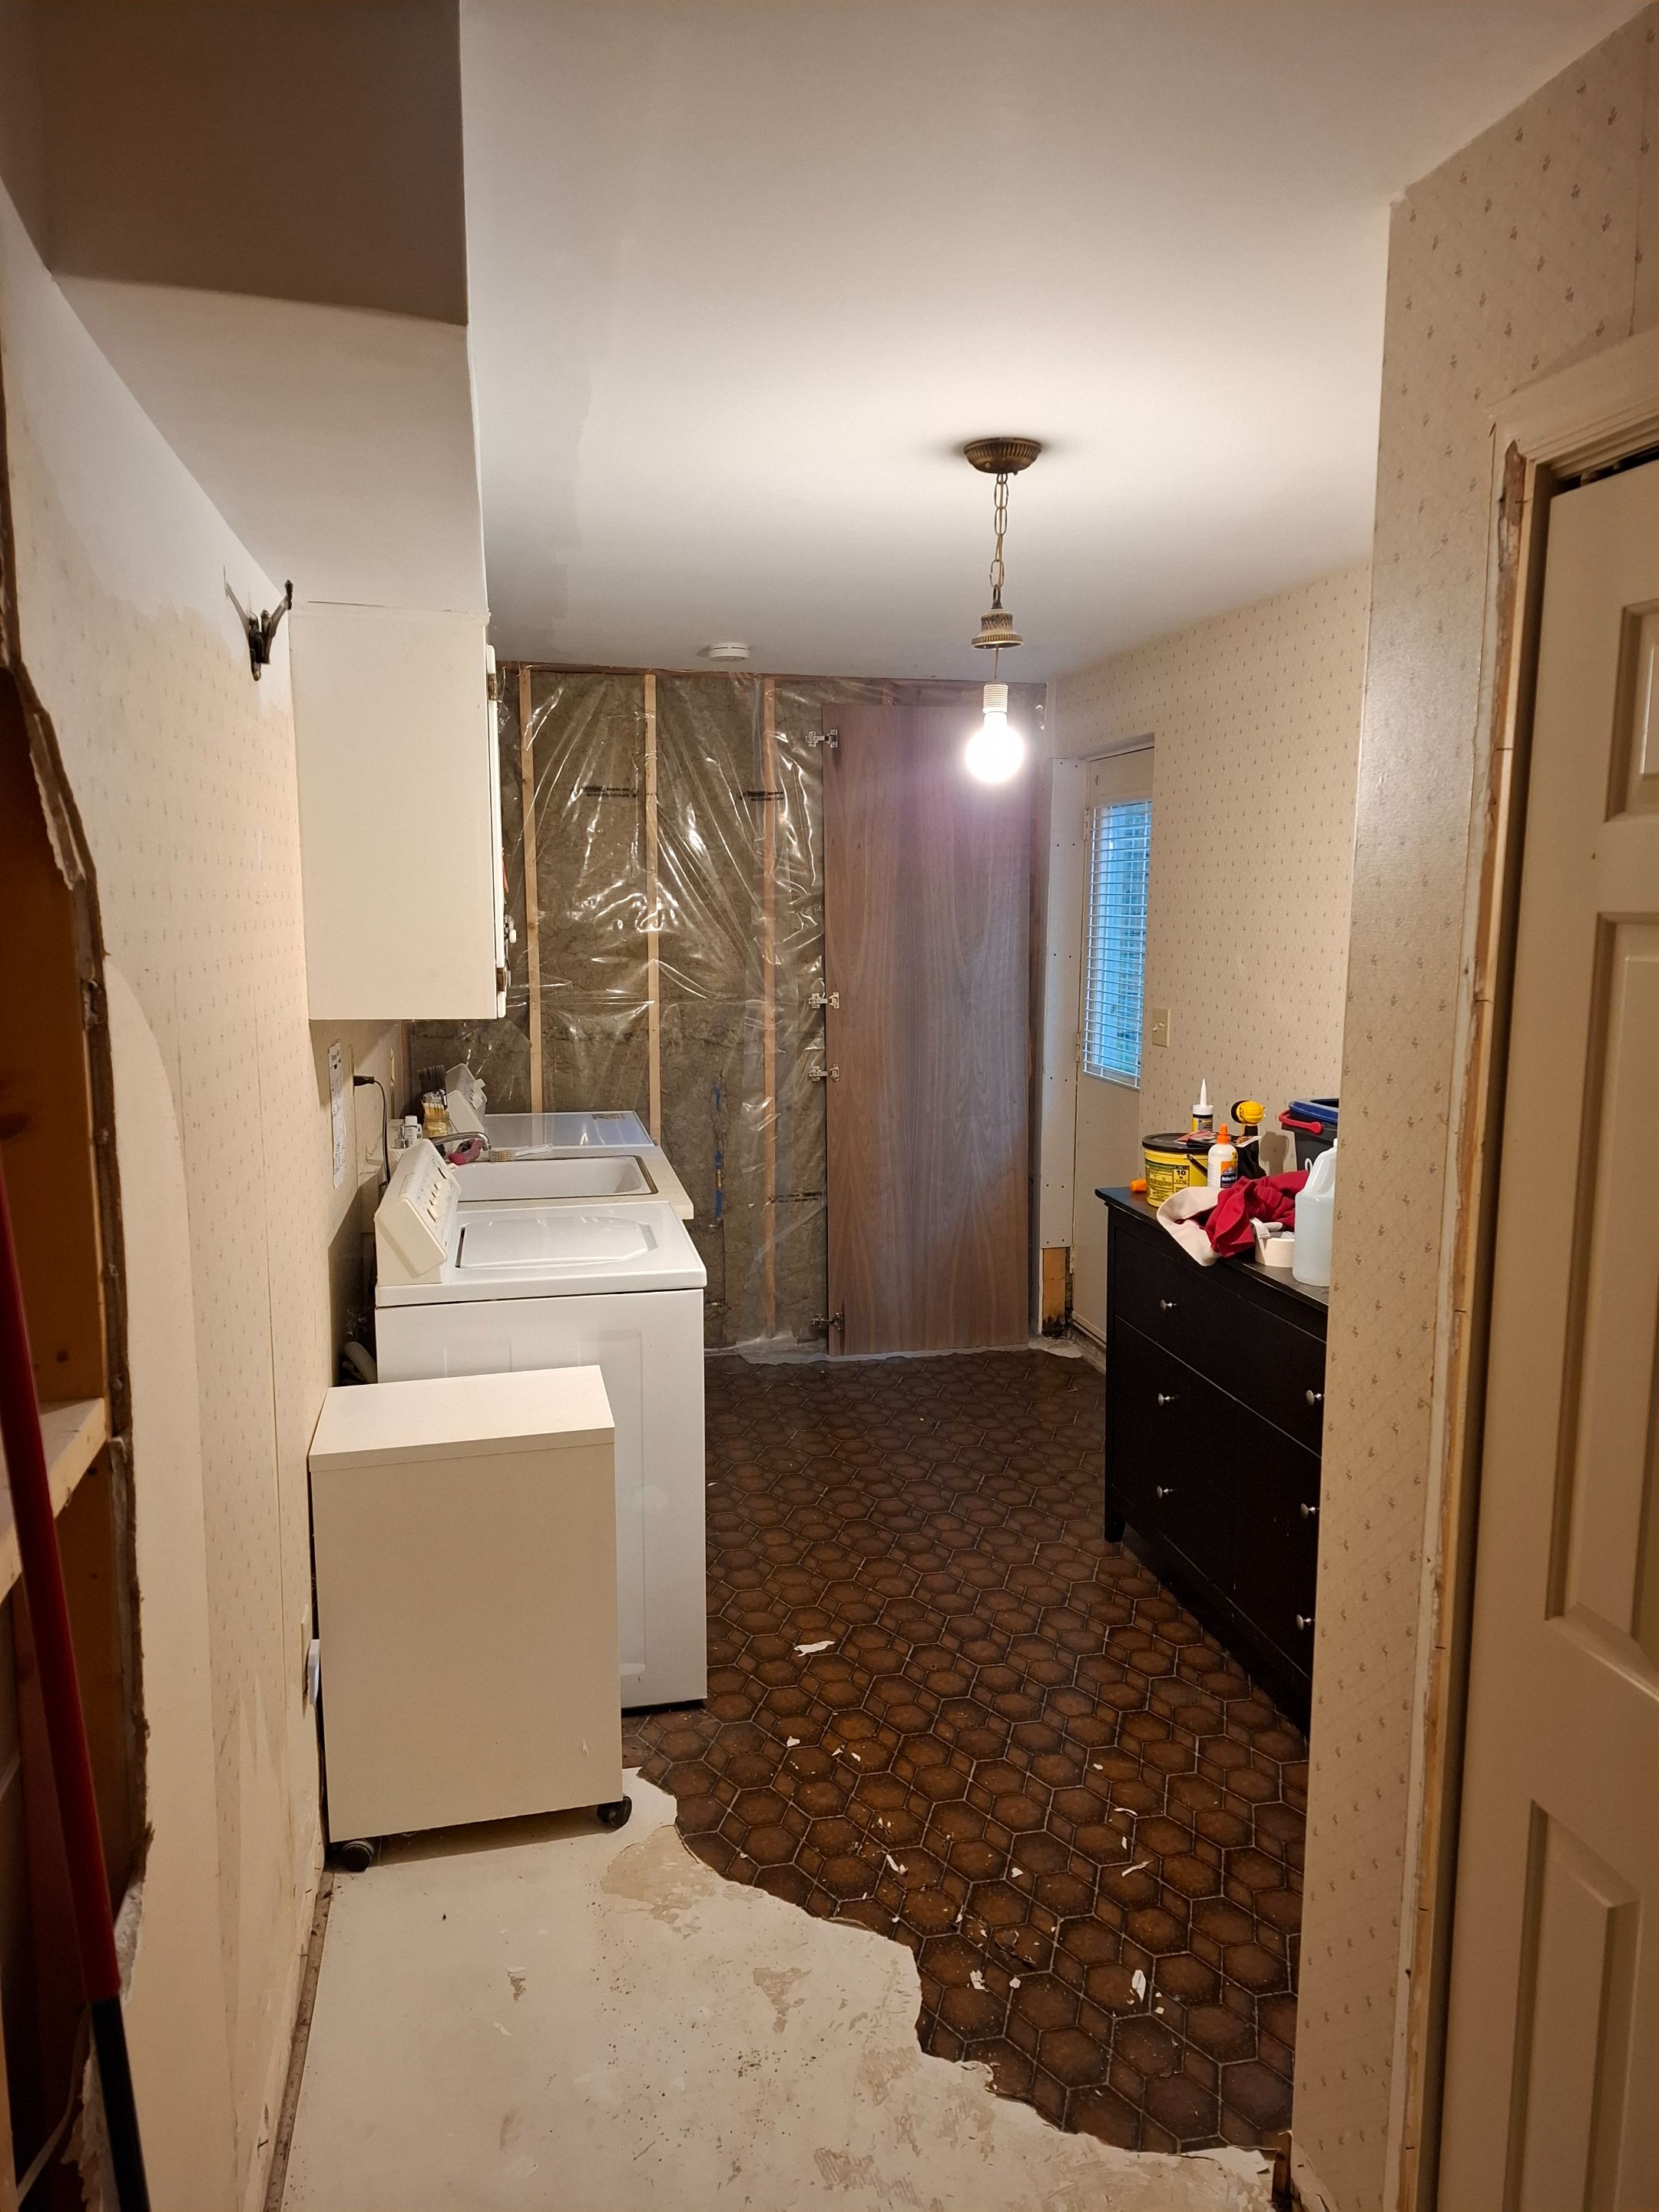
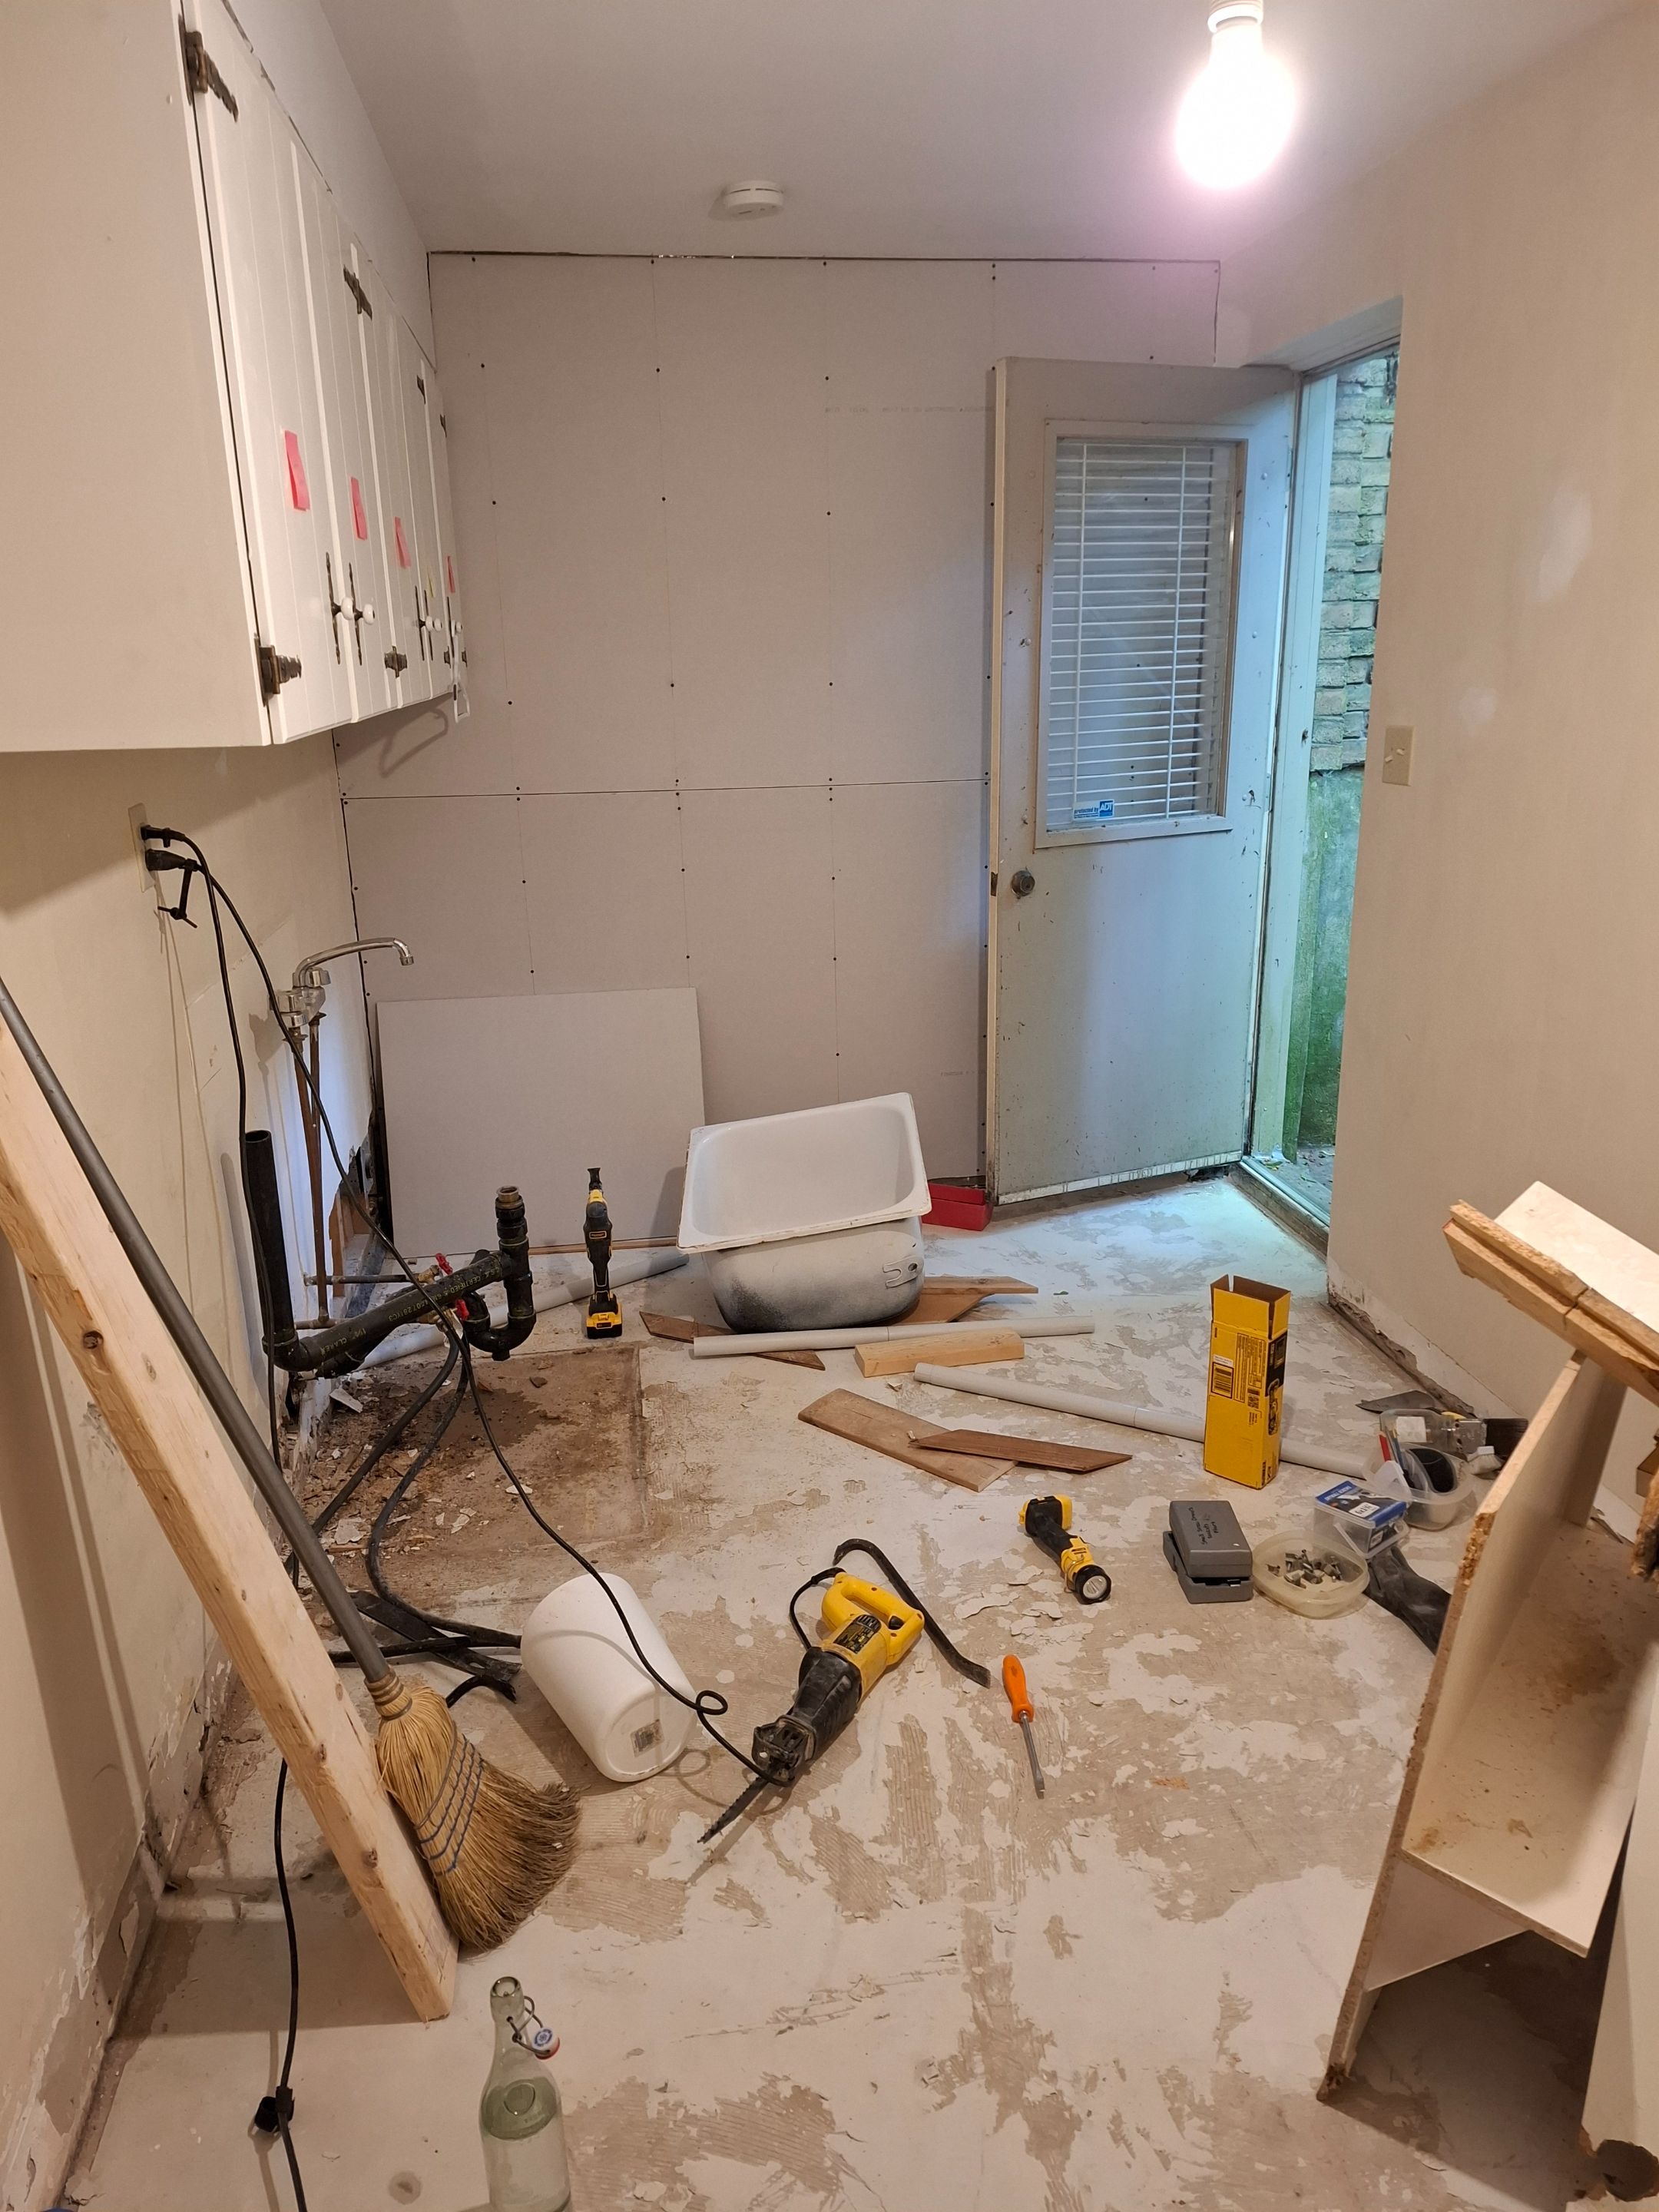
I started by demoing the room and removing the existing linoleum flooring.
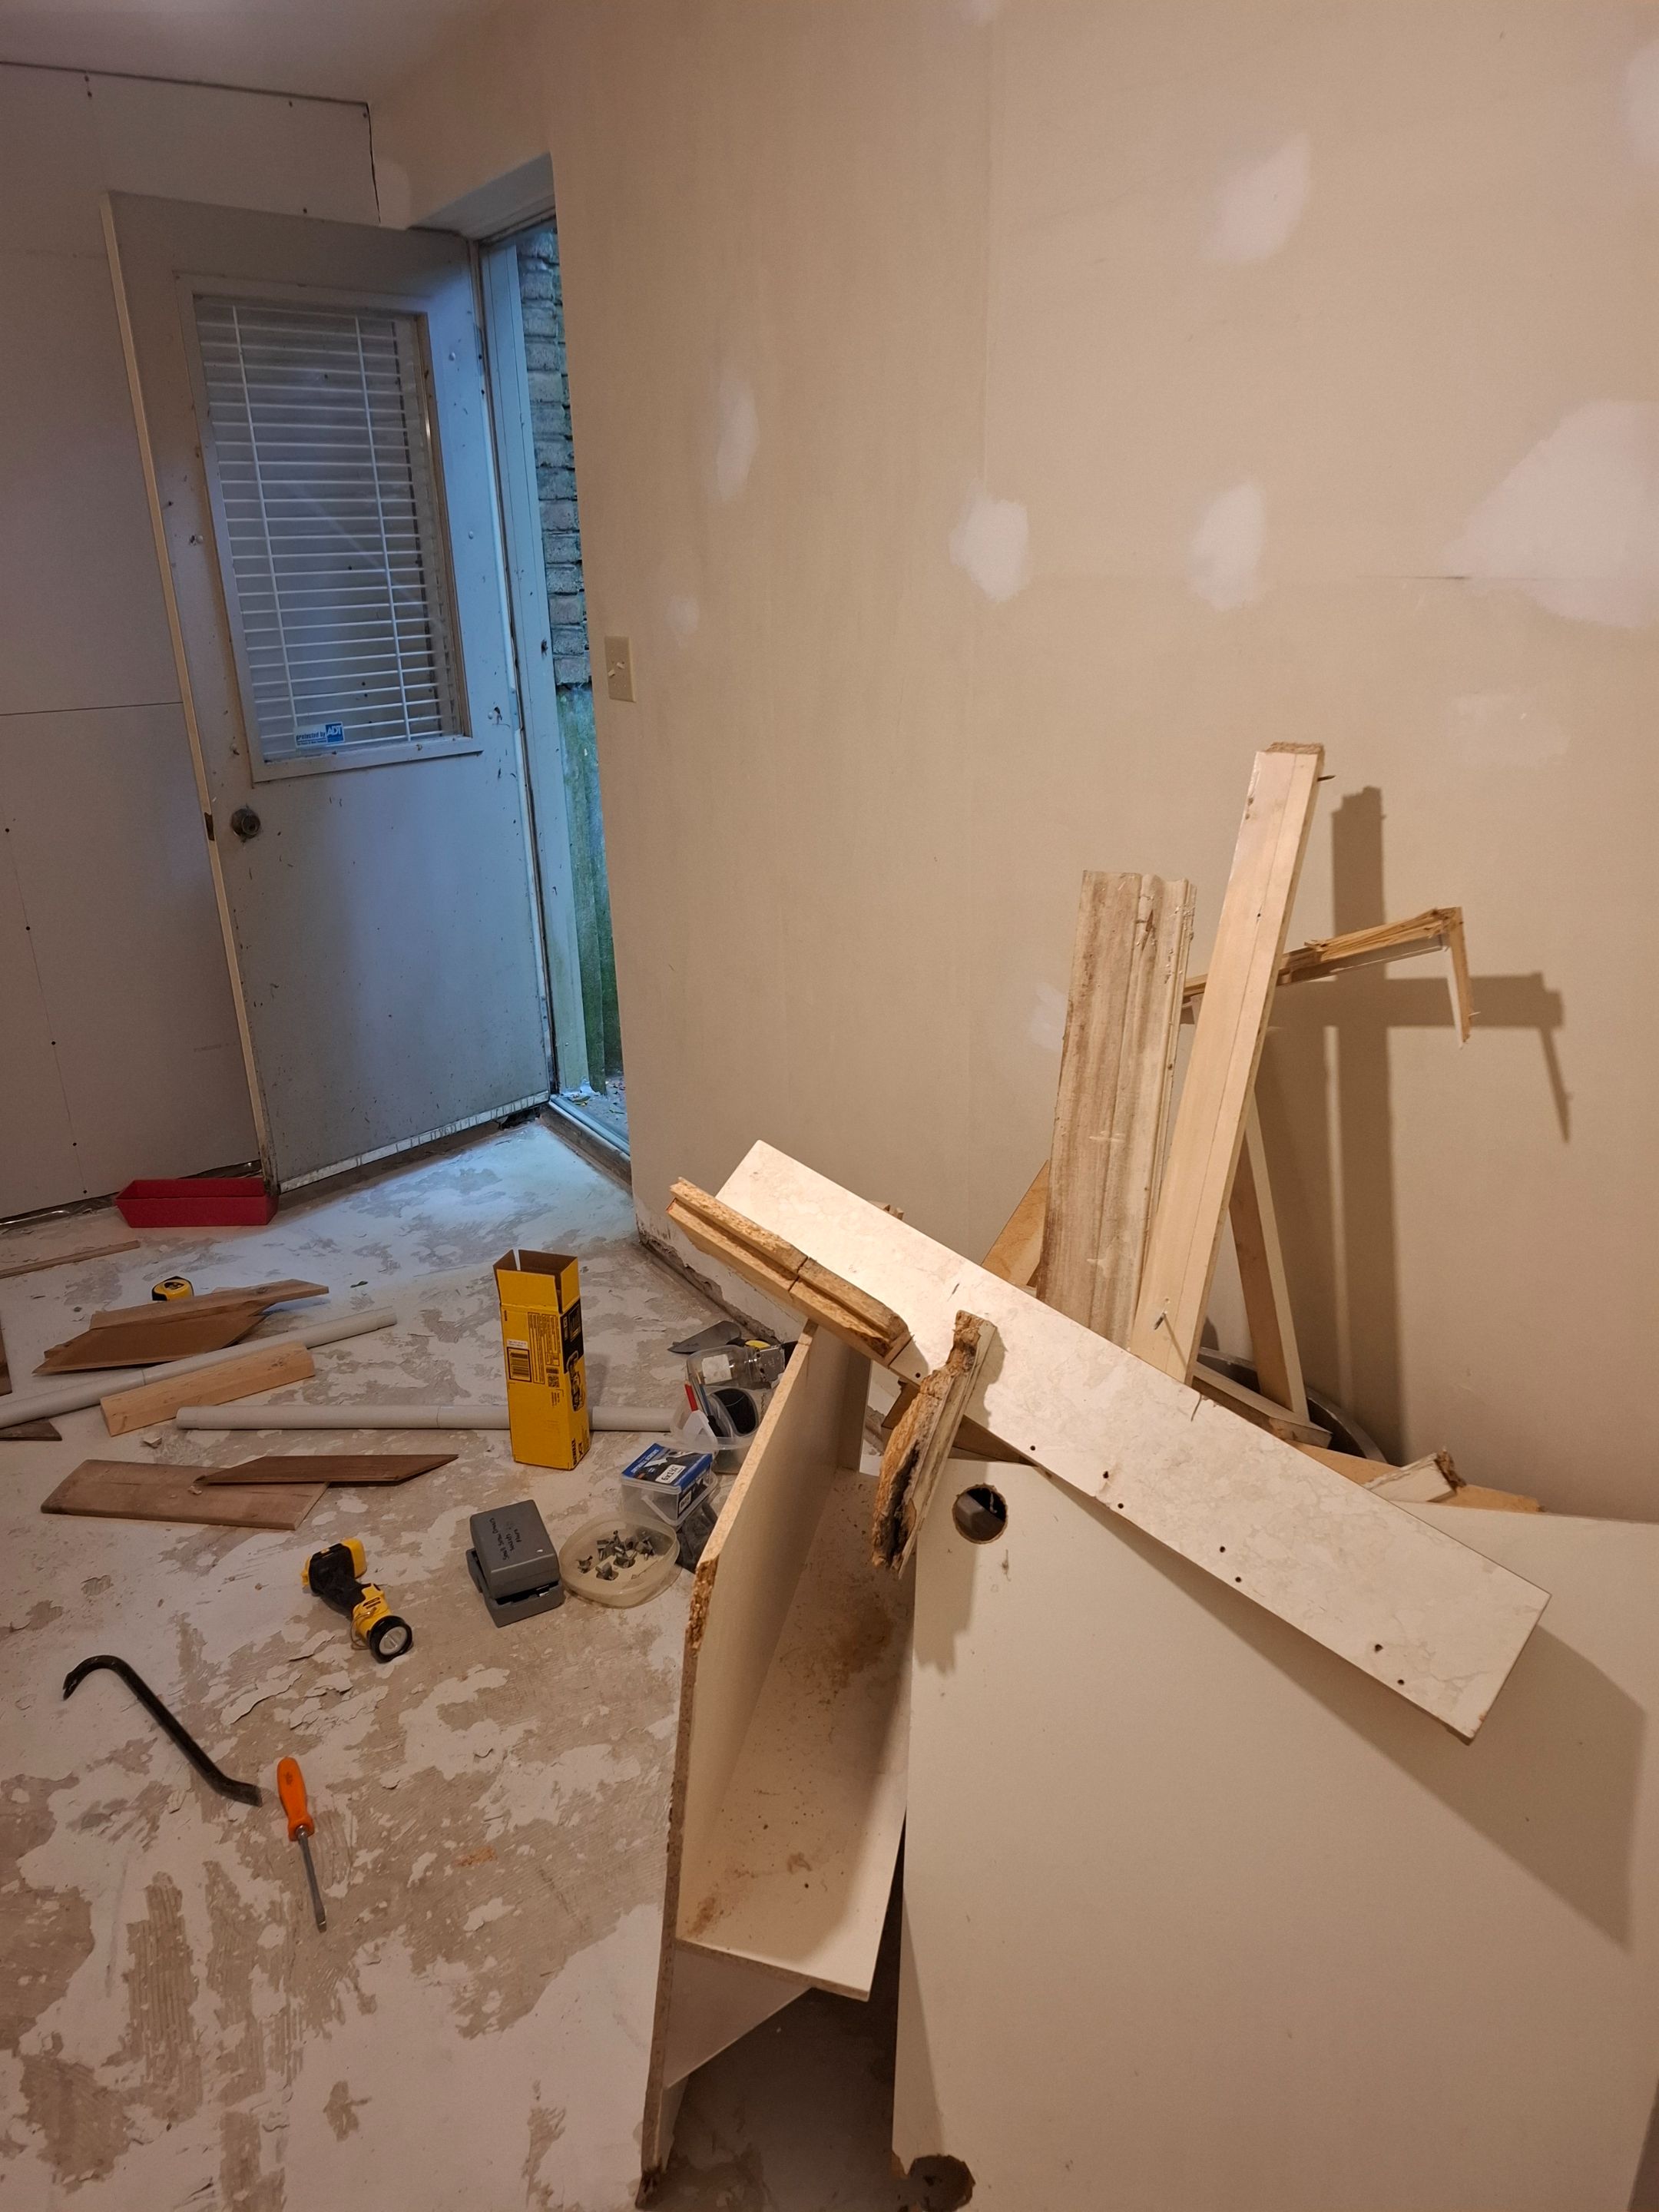
This took quite some time because the paper backing and adhesive remained on the cement floor when I pulled up the outer layer.
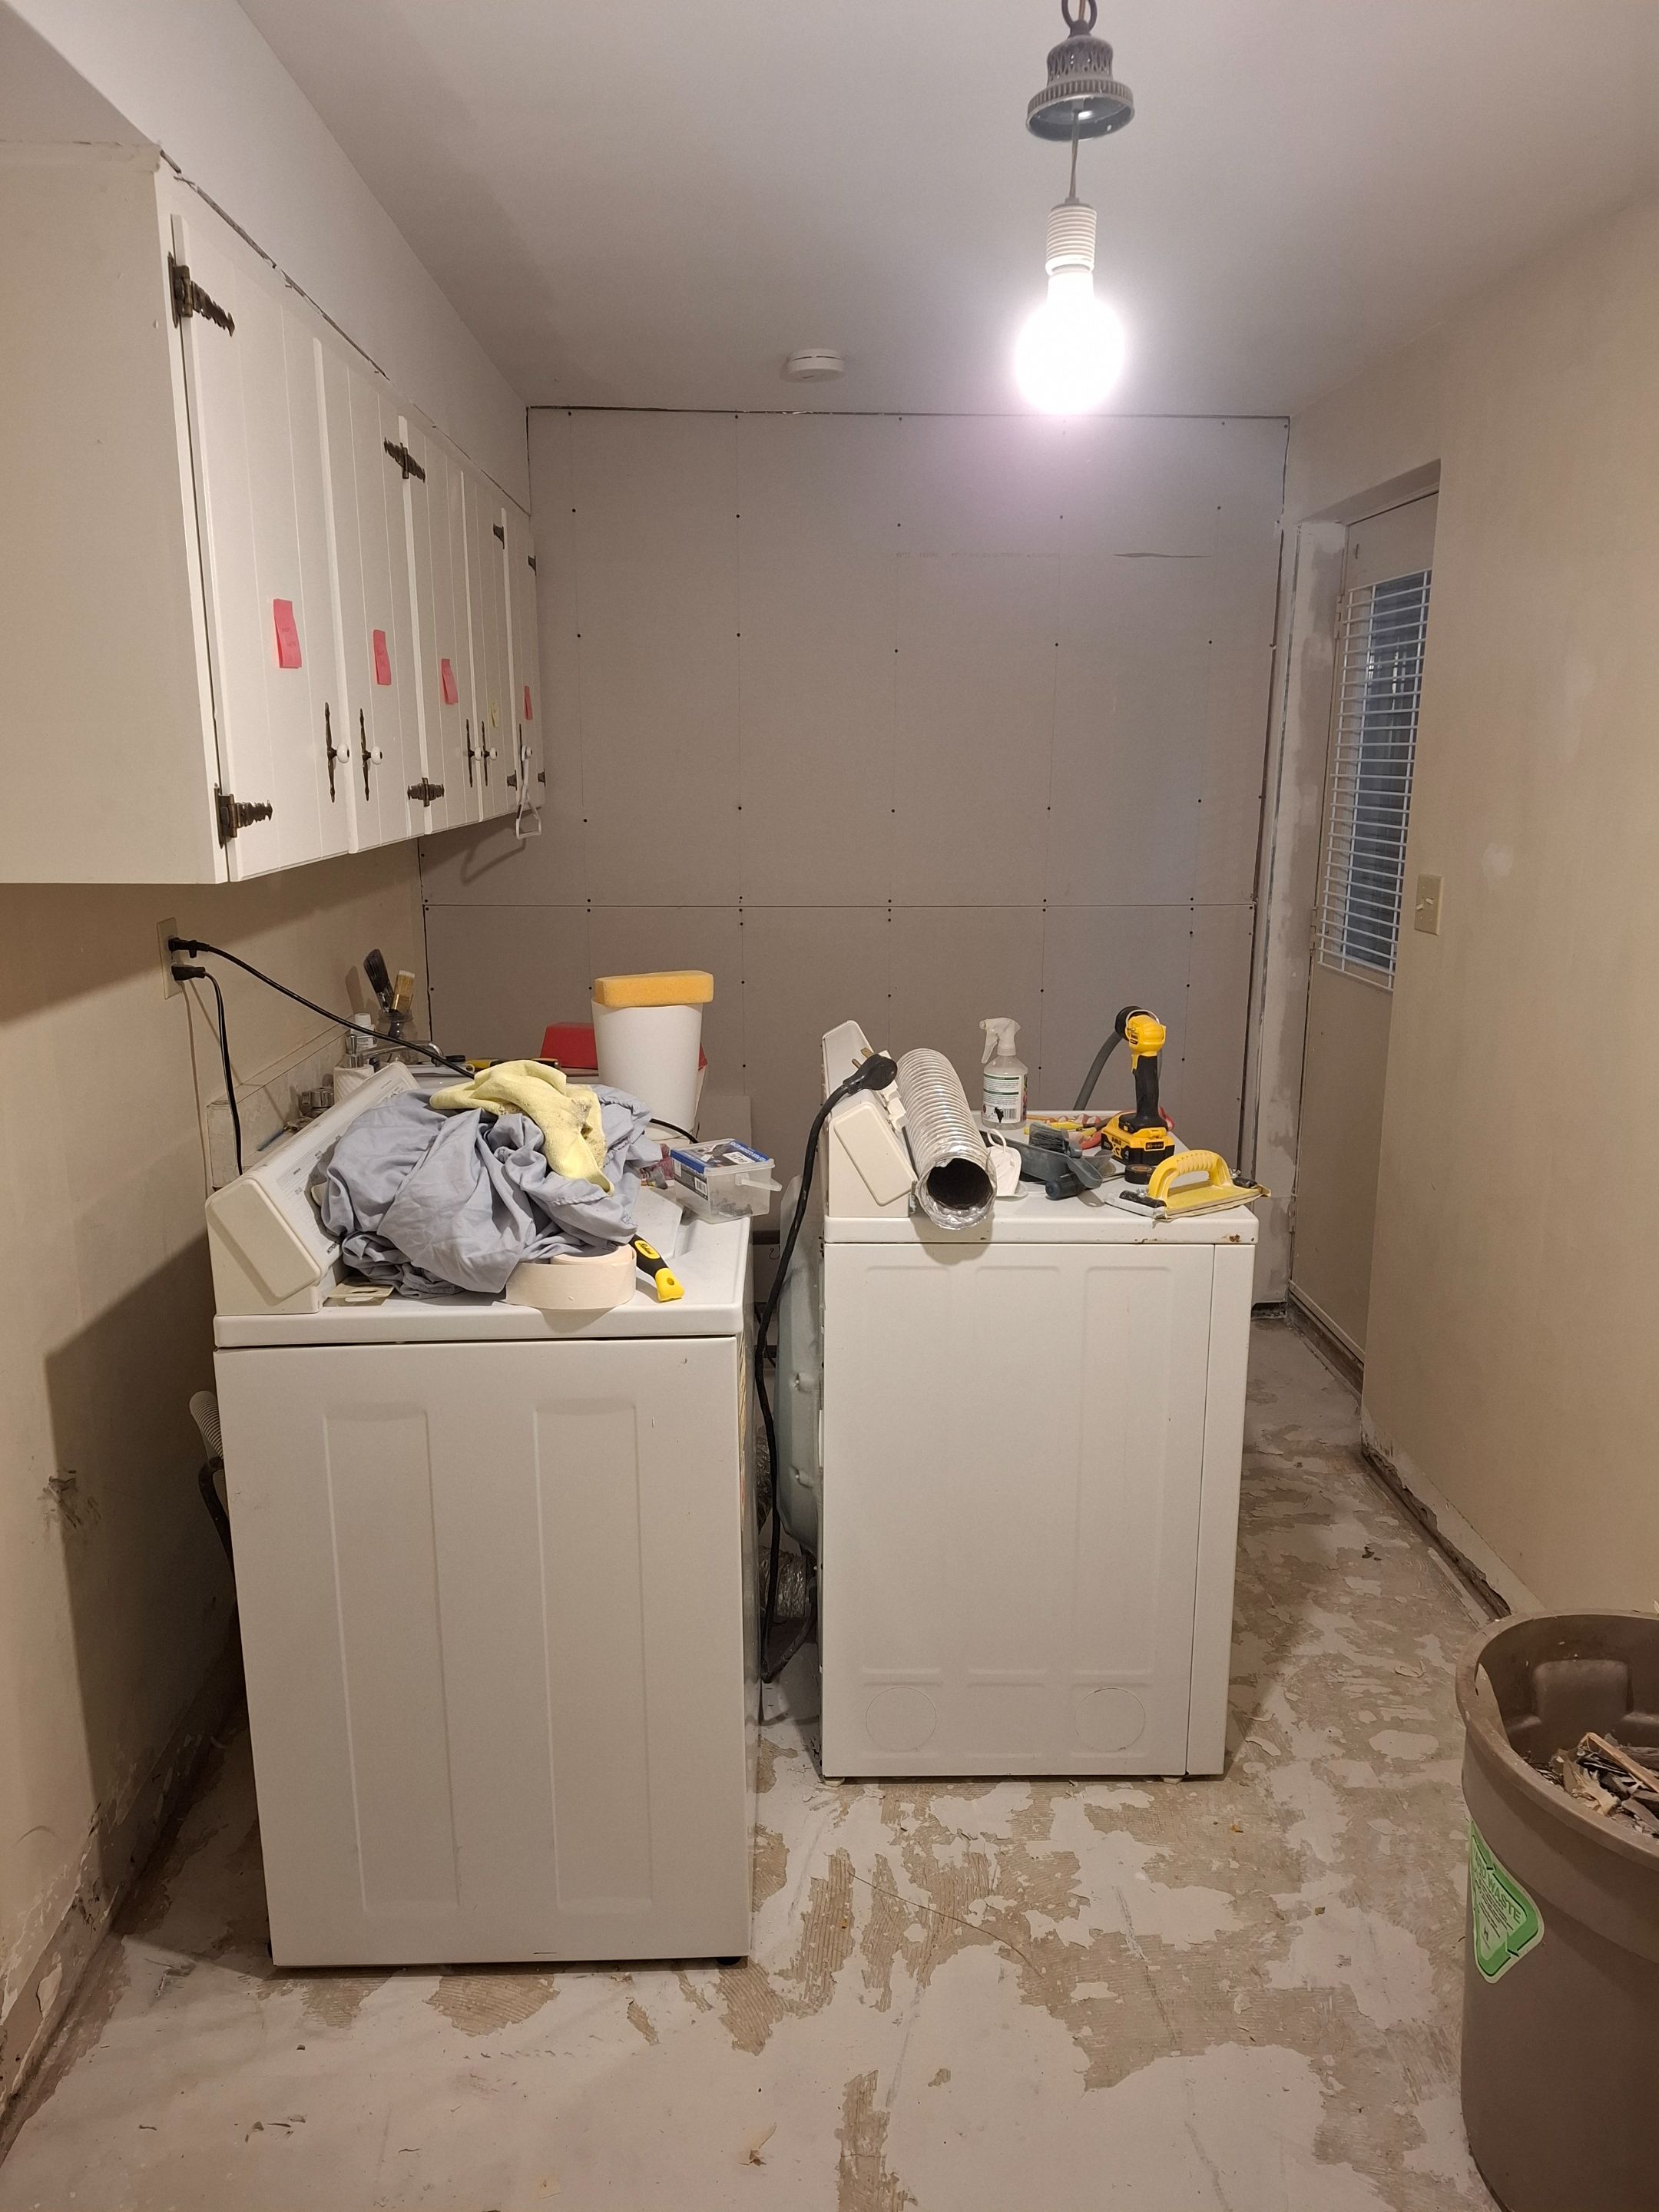
I wanted to scrape off as much of the paper as possible before starting to lay the tiles to ensure a good bond with the cement.
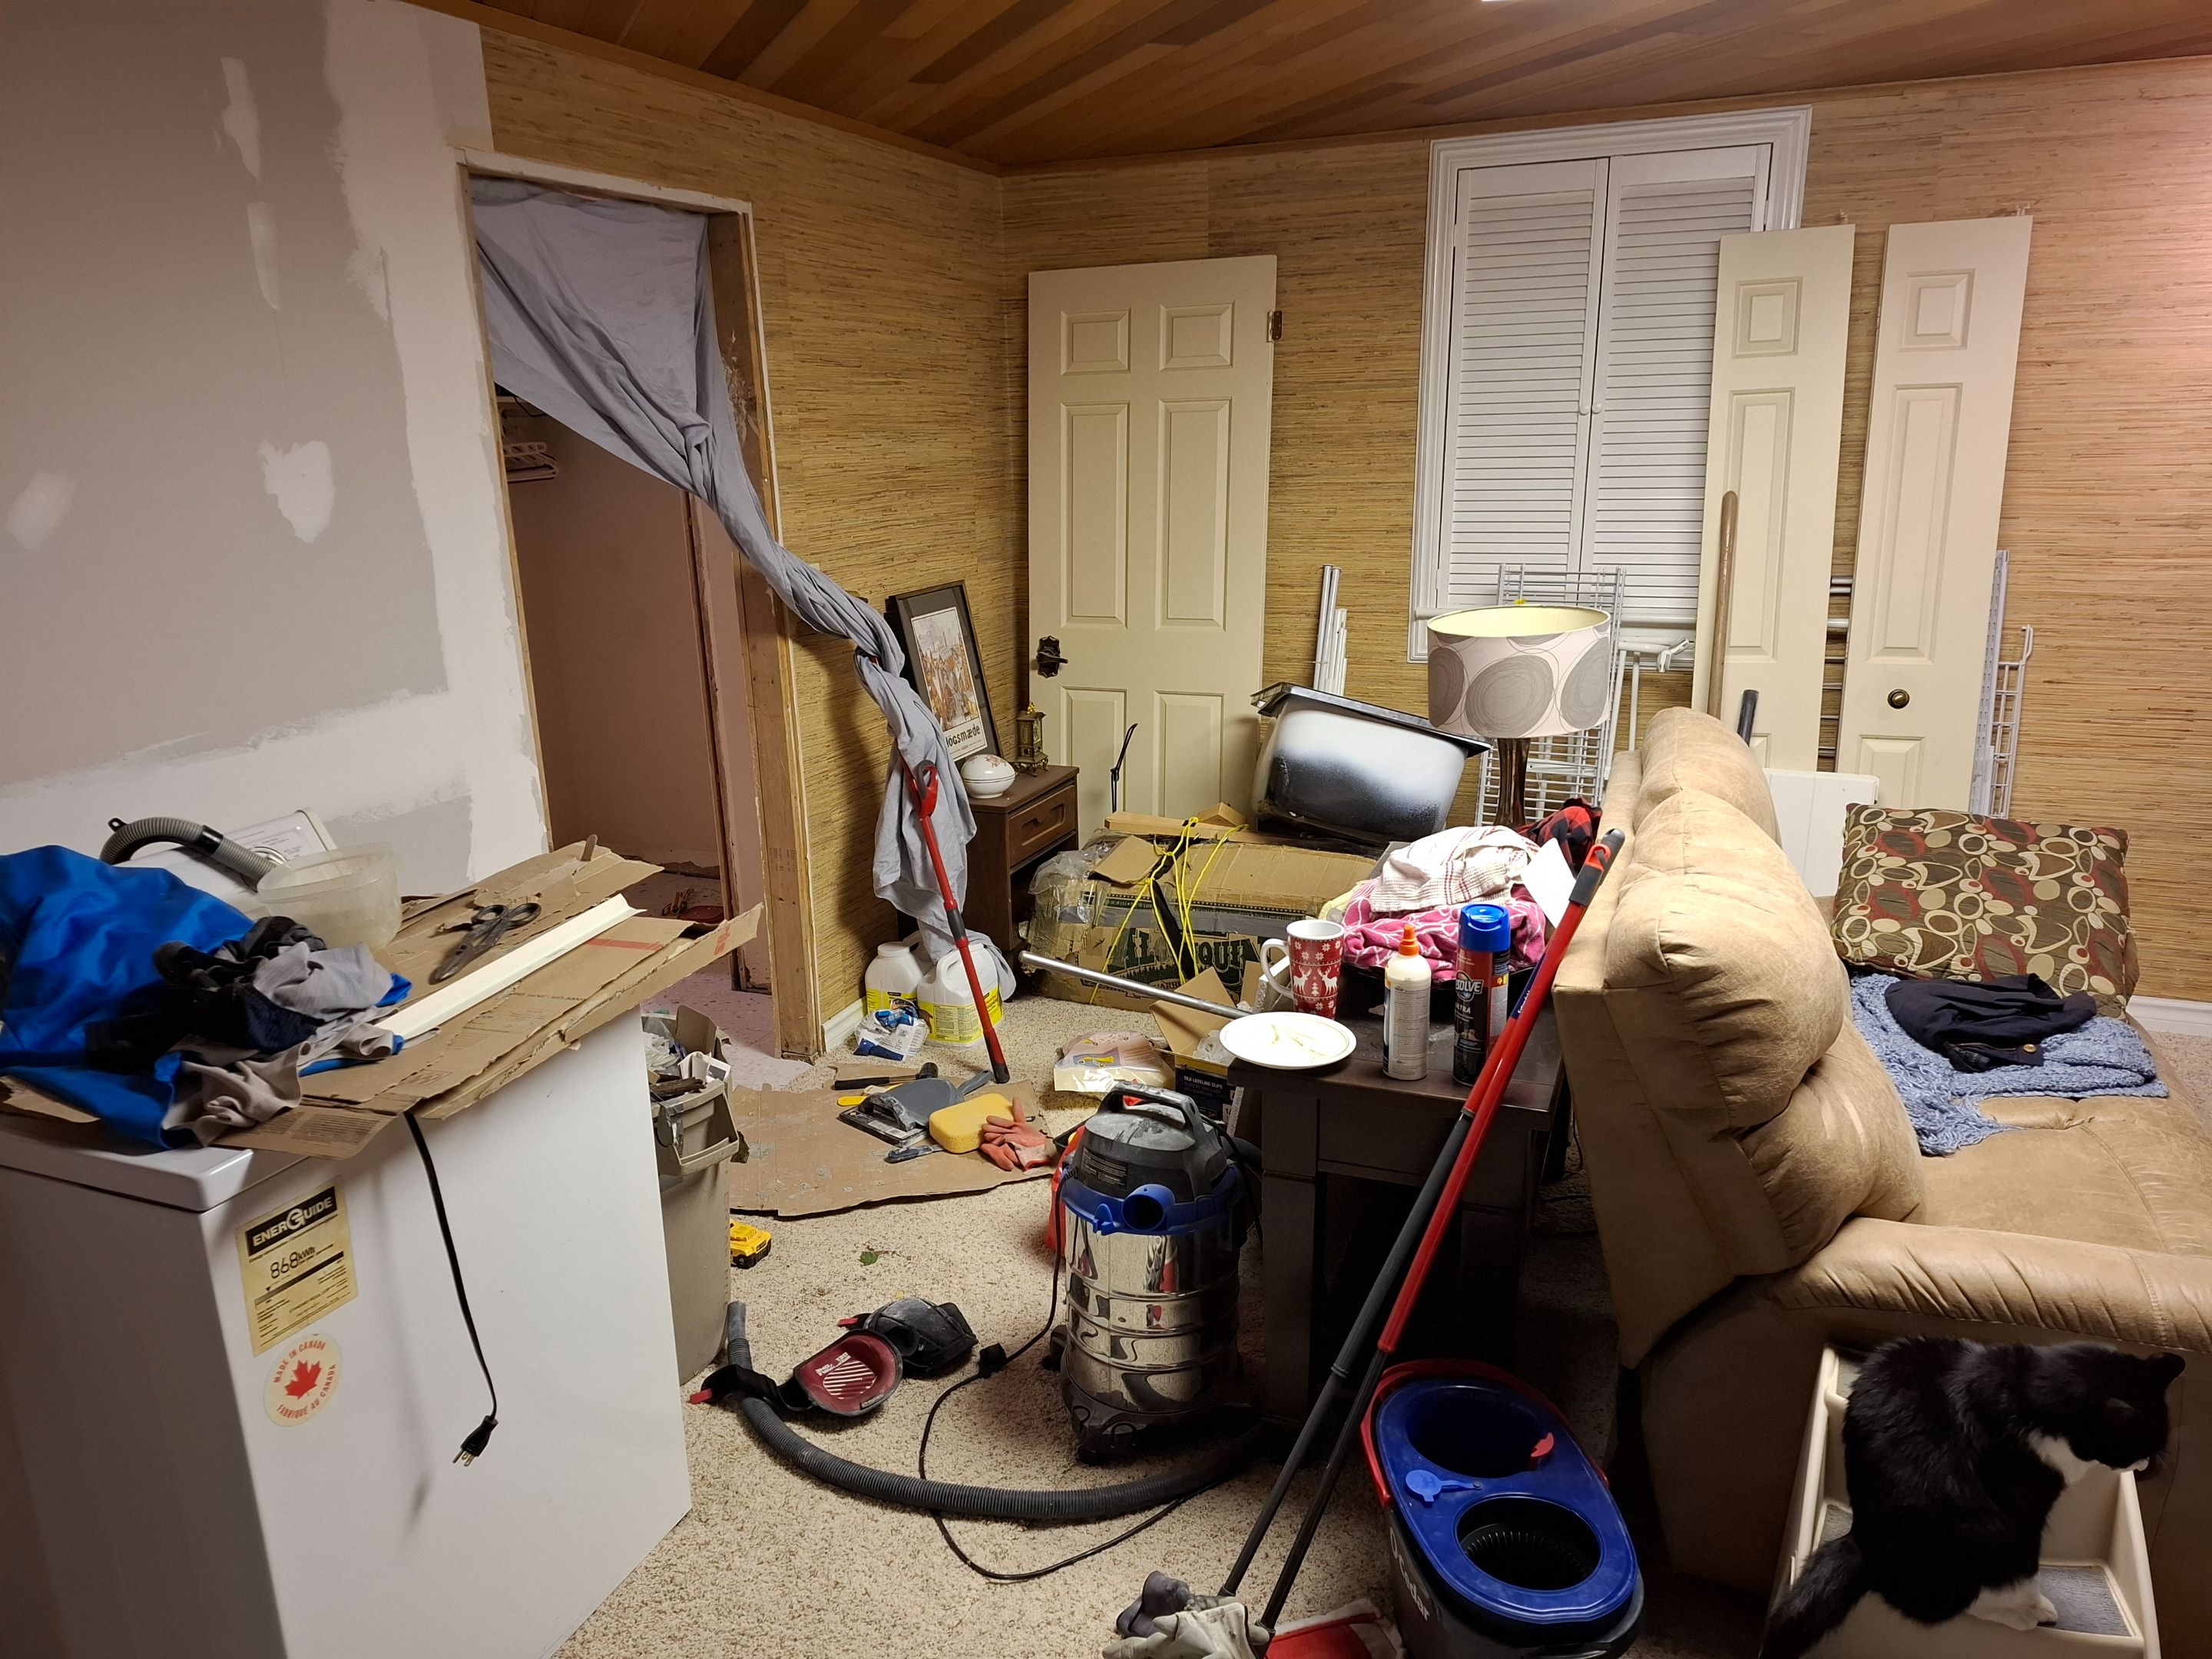
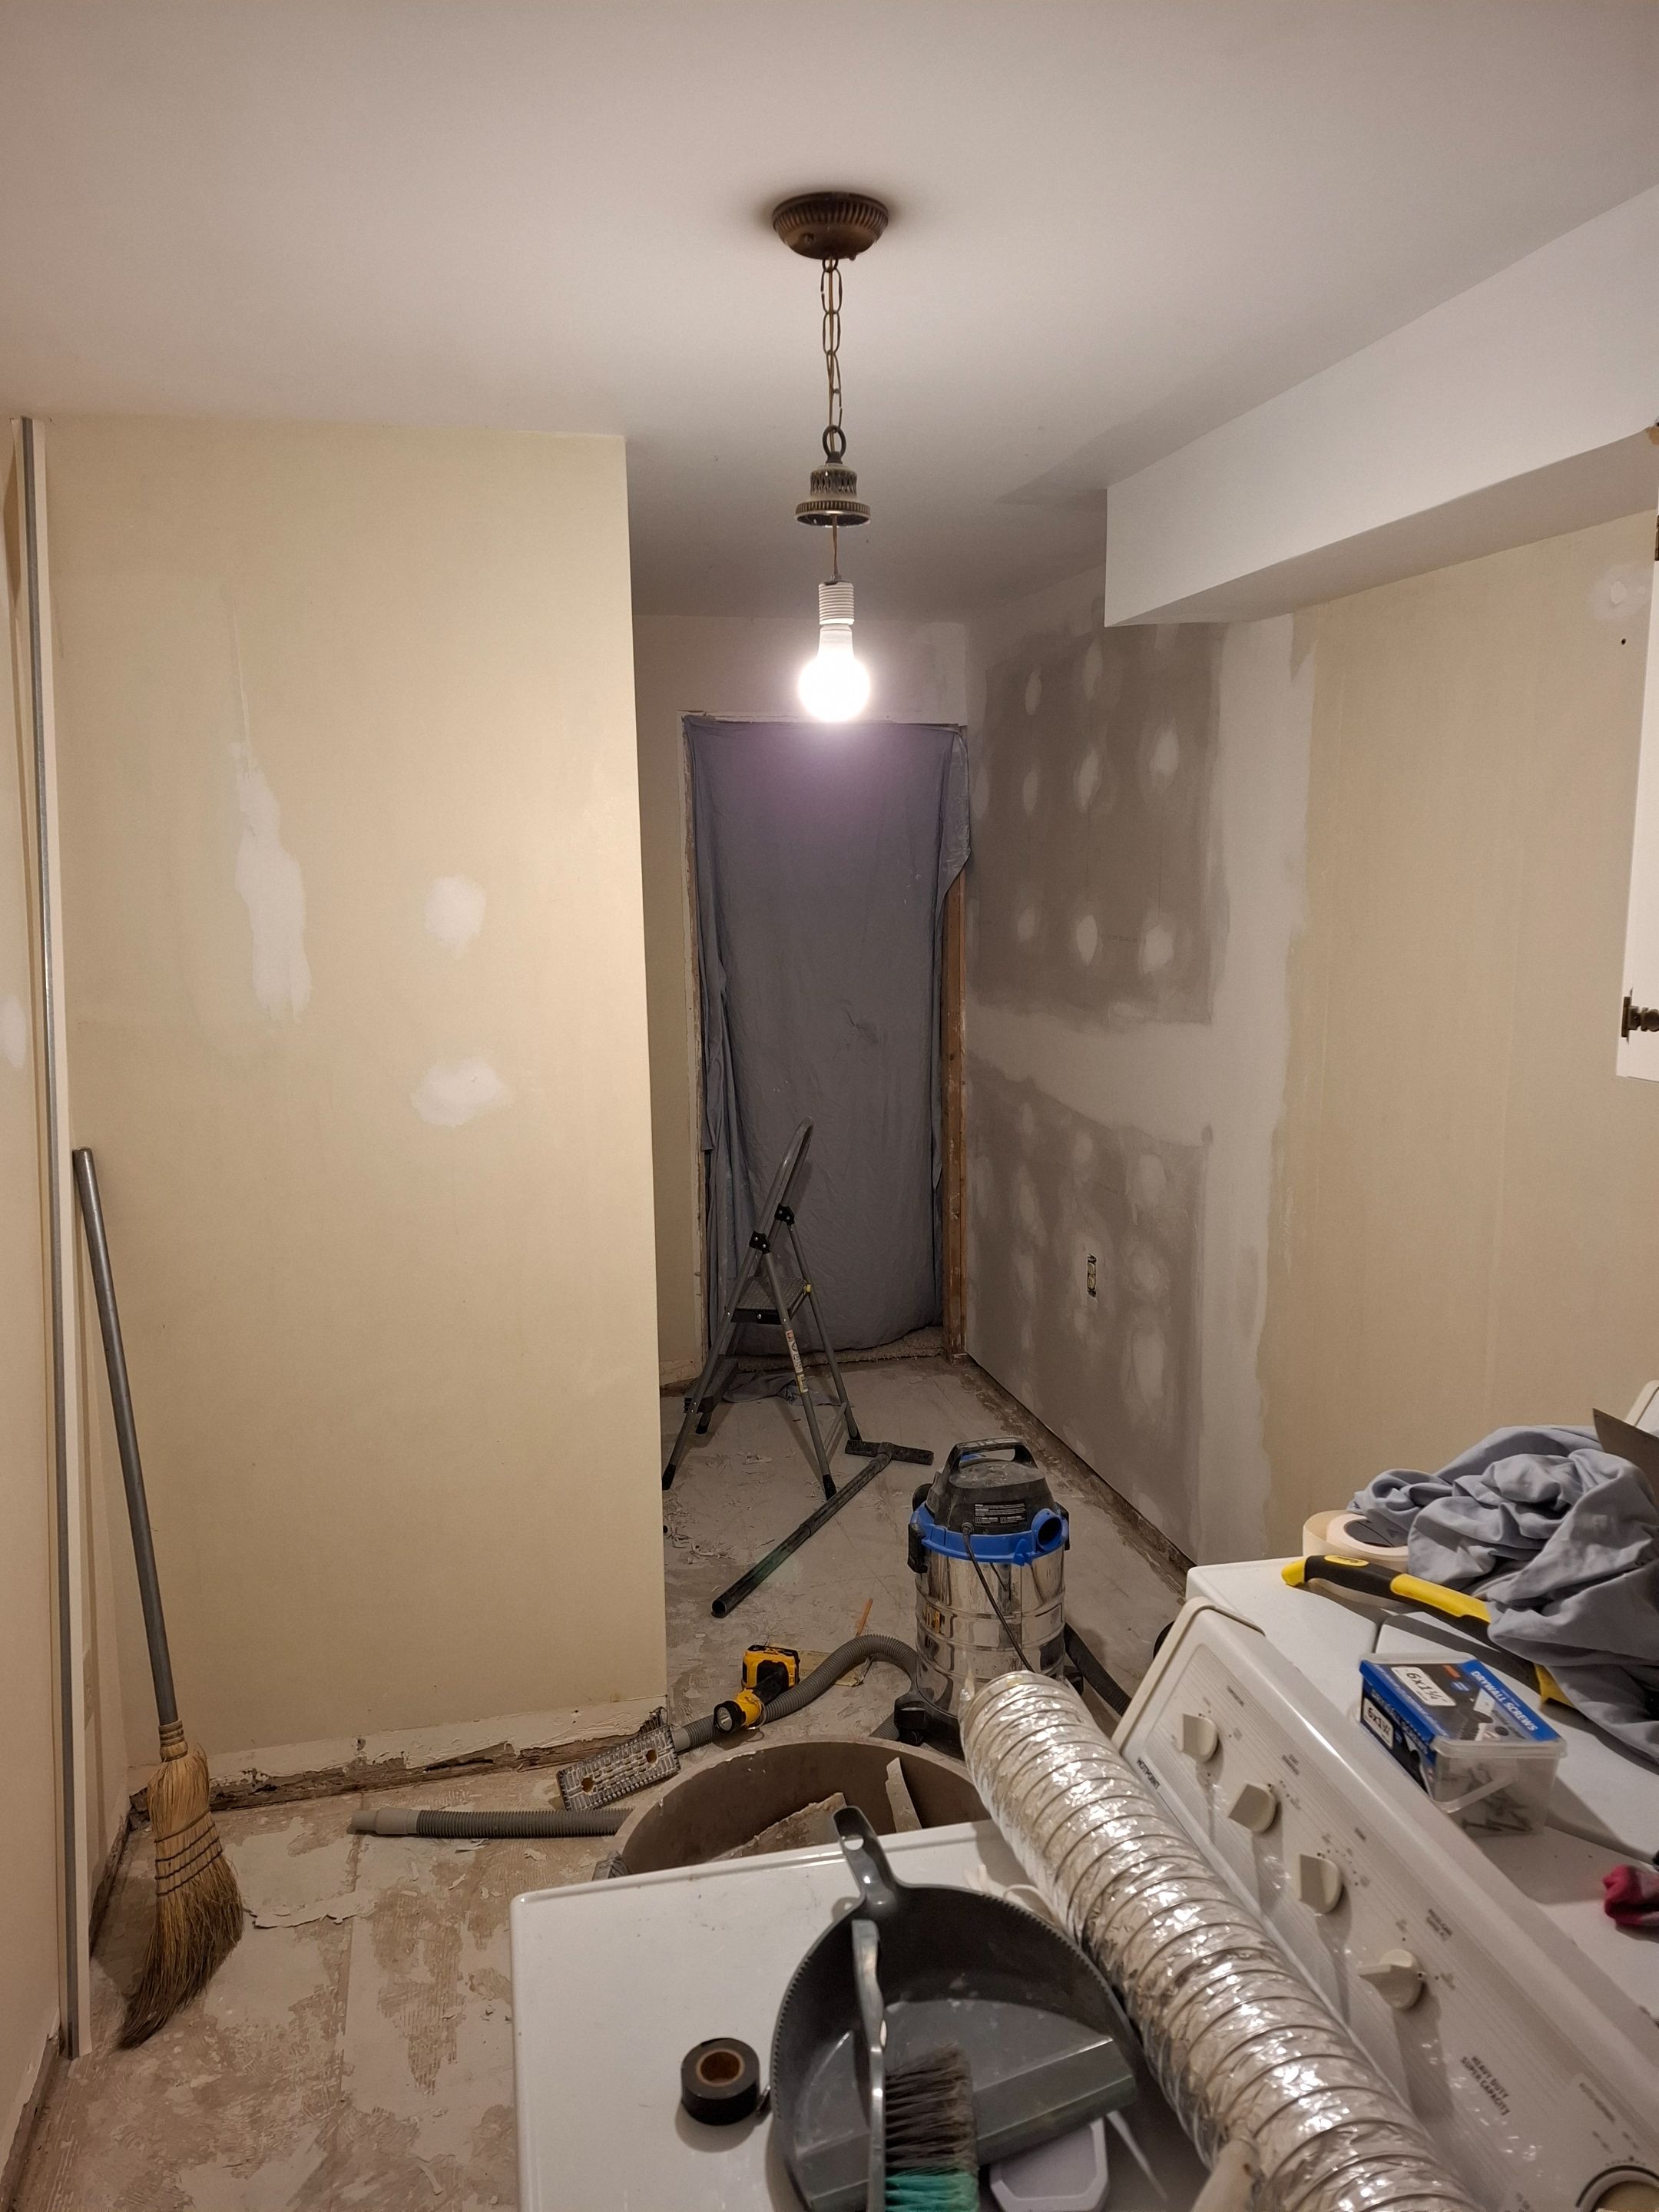
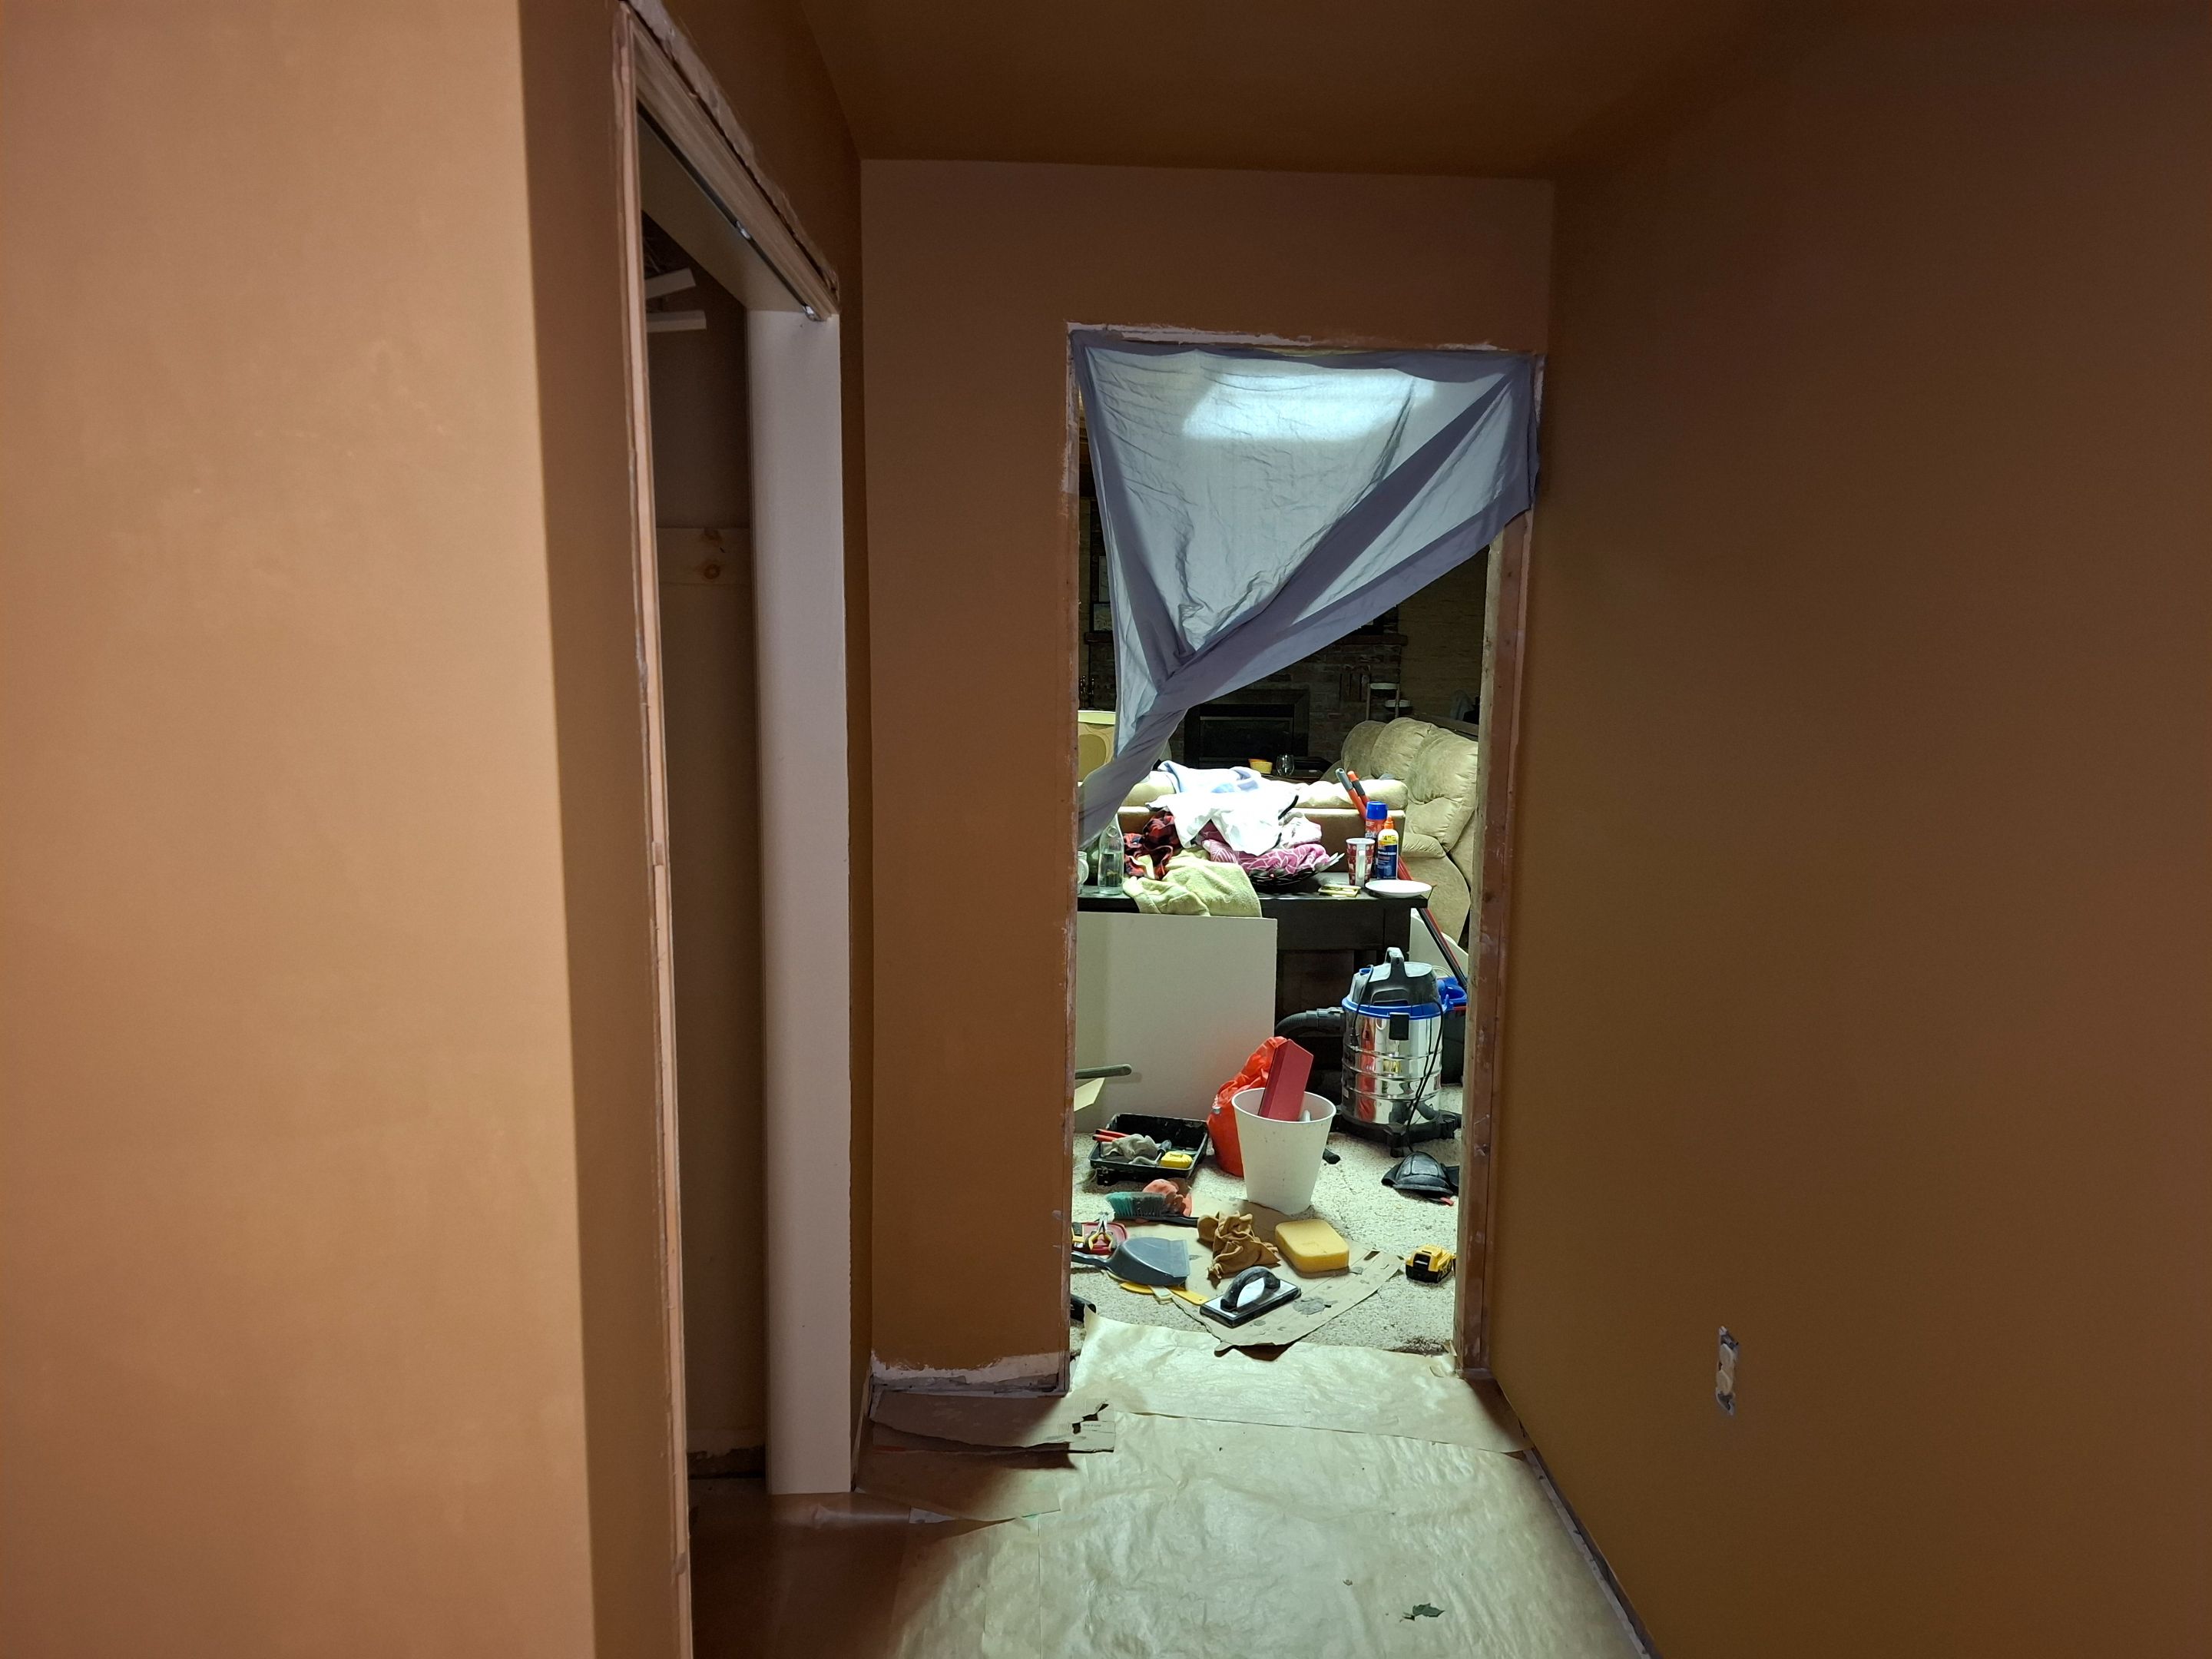
Our basement is an absolute disaster right now with everything piled into it as you can see.
Next I installed some new drywall where the previous had been removed for another project.

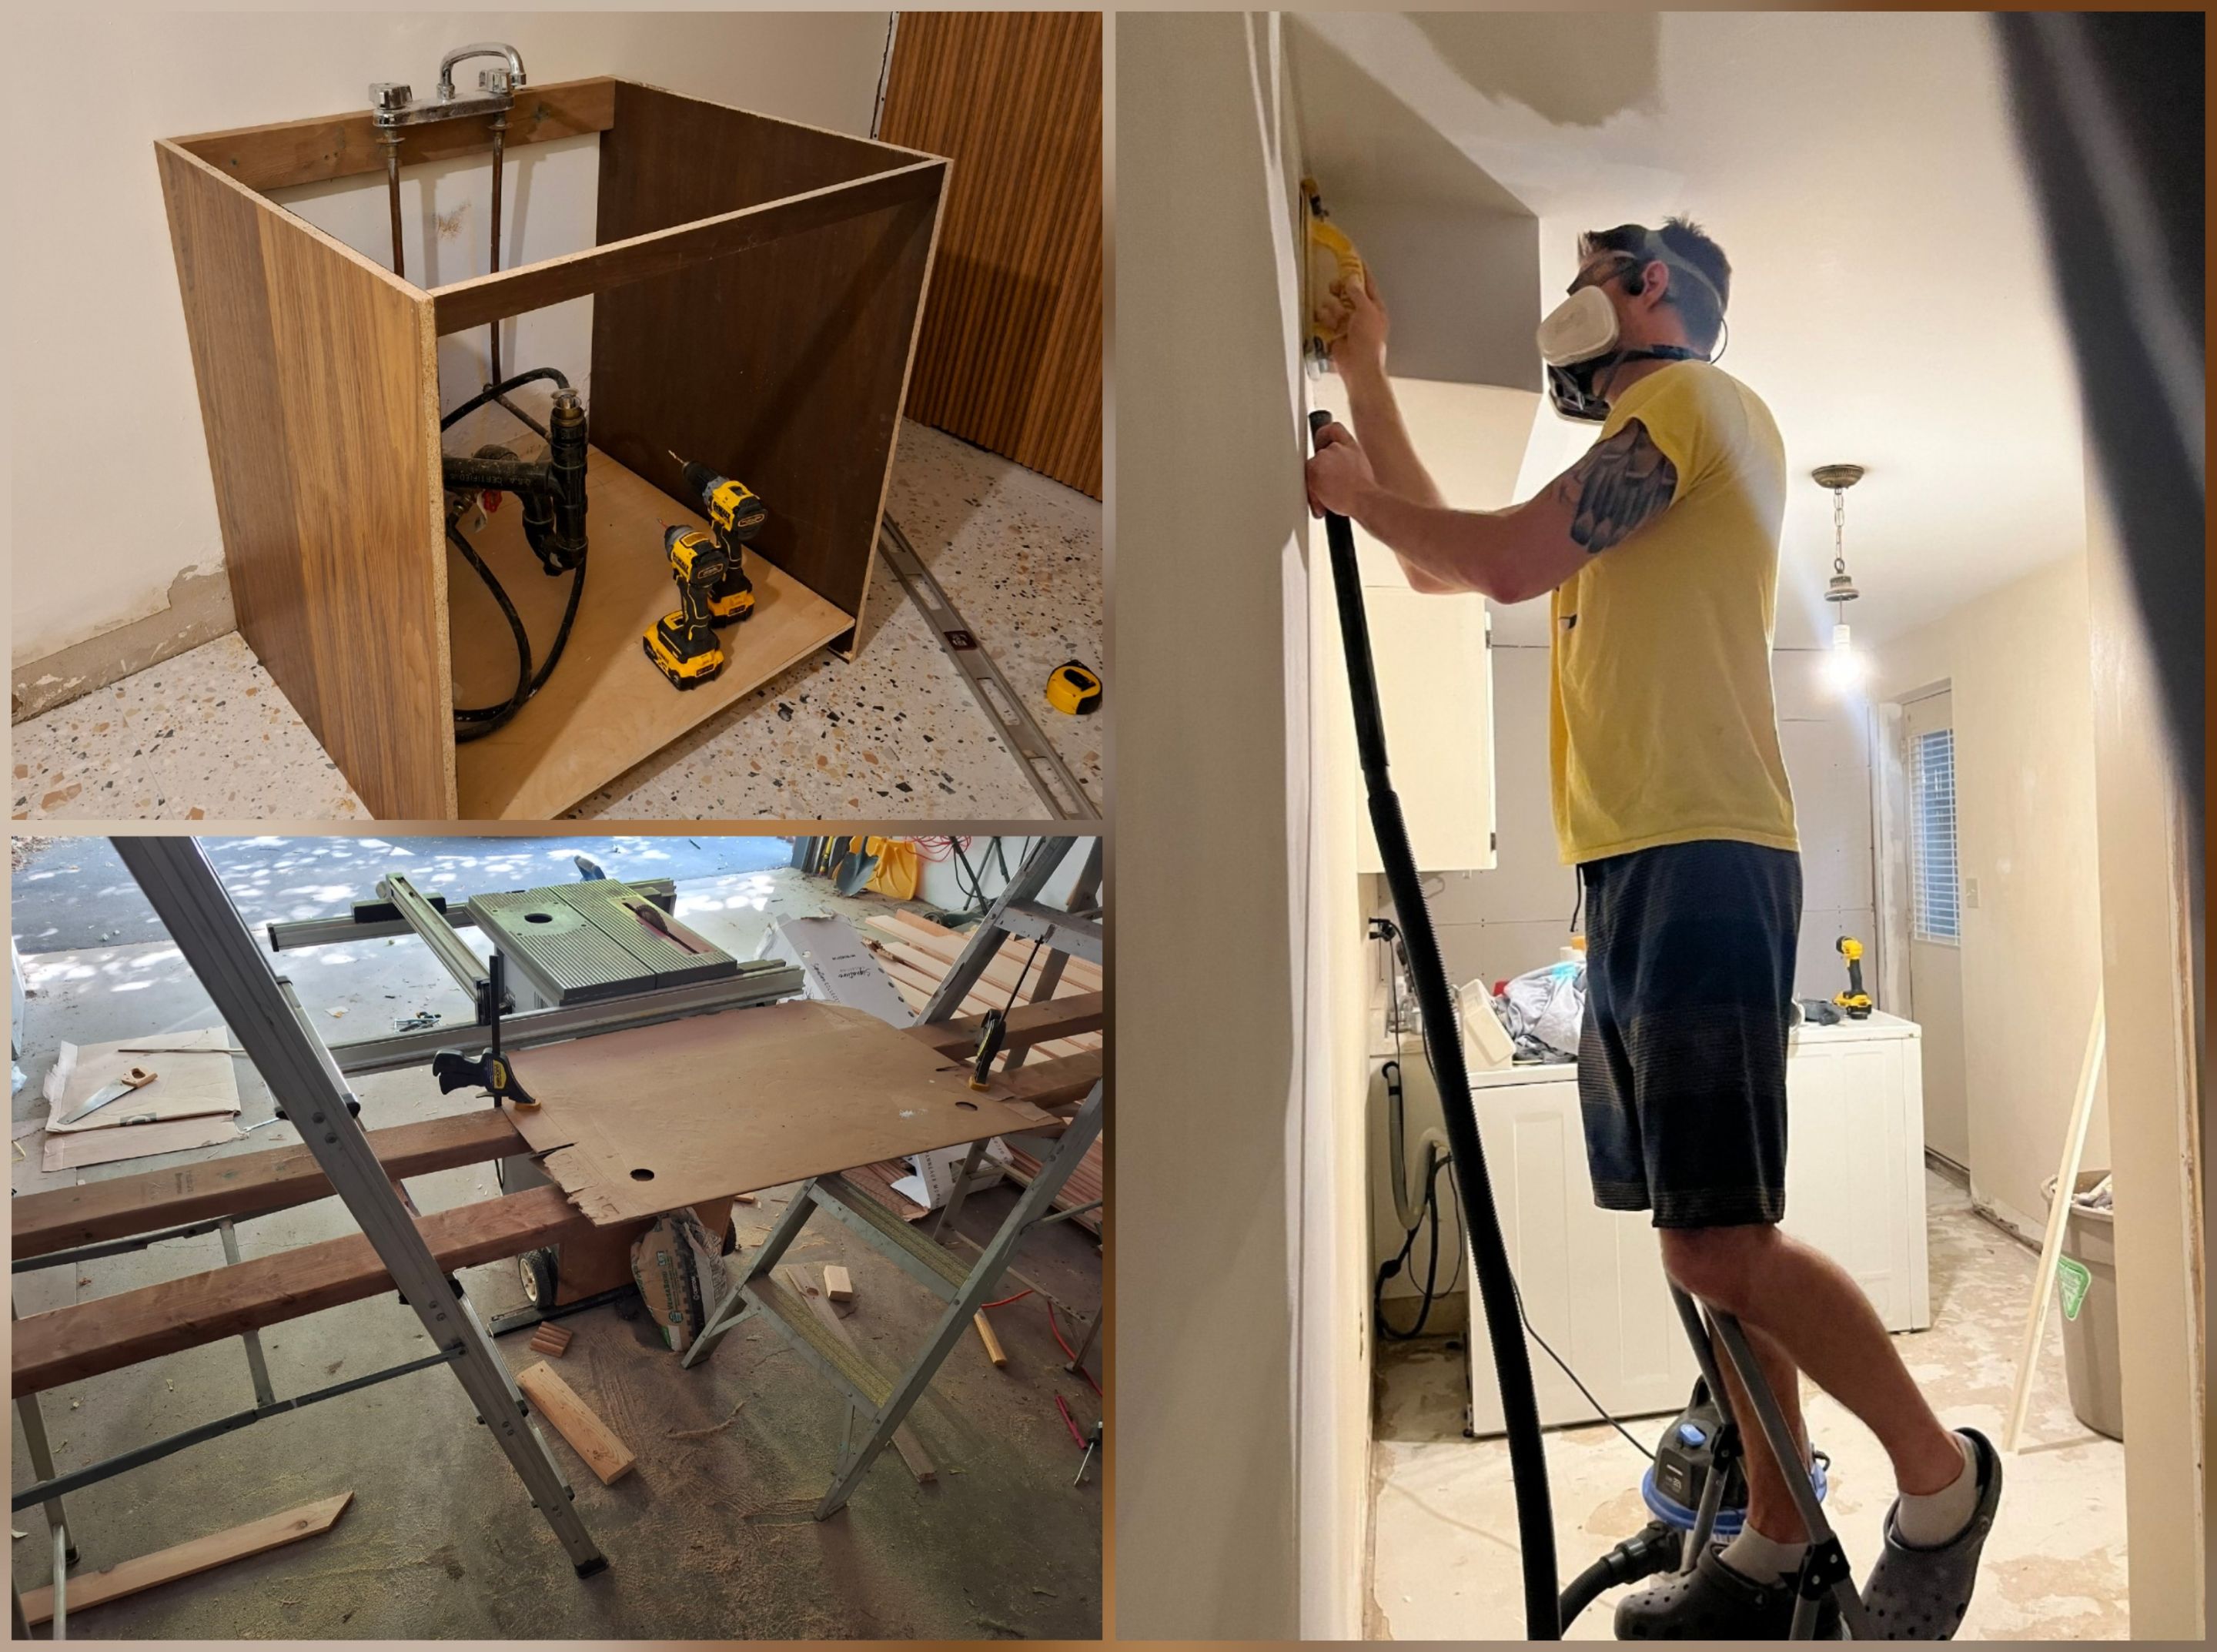
My wife helped with this. I did the mudding and taping, which is my least favorite thing to do because it's difficult to do well and I am not great at it. I also hate the dust that it produces when sanding it down.
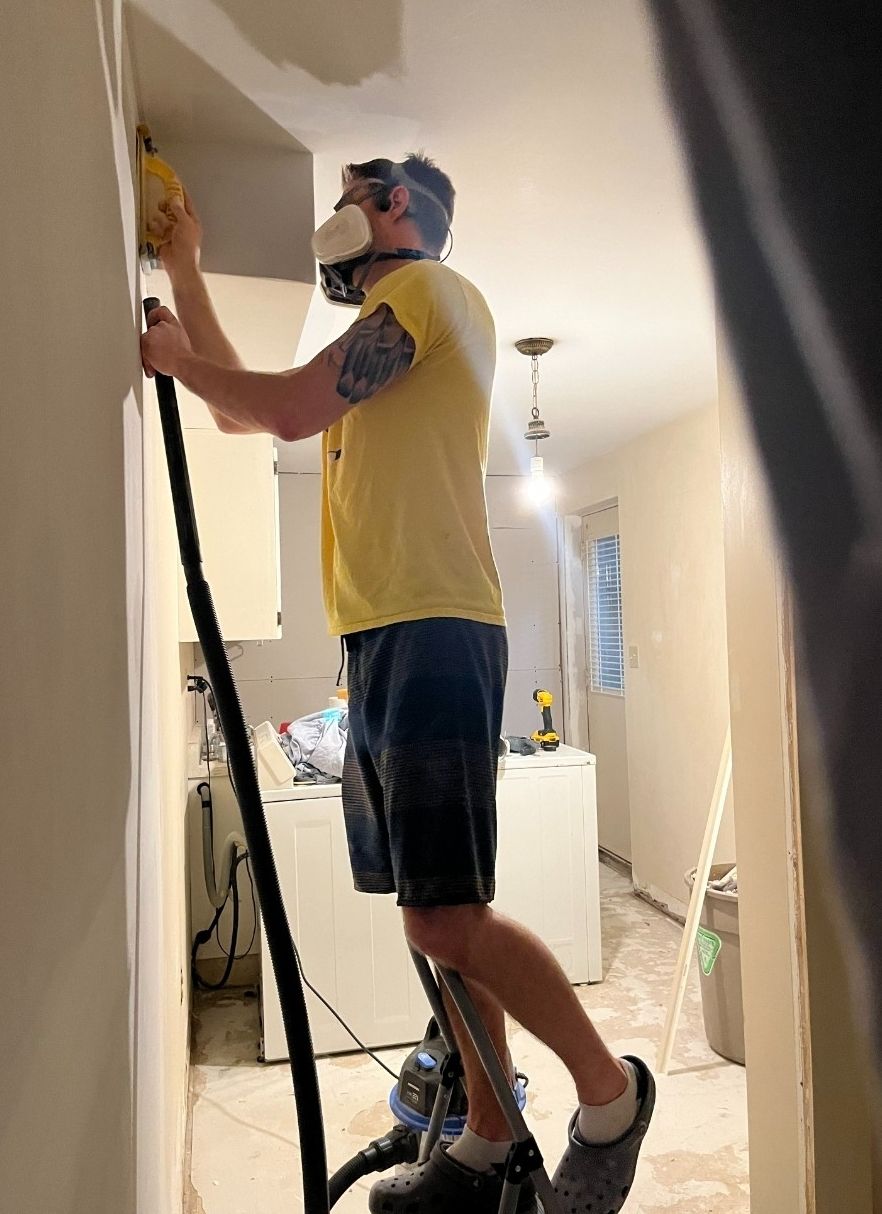
I always wear a respirator for any work like this because the dust drives my allergies crazy for days afterwards.
It took me several days of mudding and then sanding it smooth and then repeating the process over again until things were seemless and even, or as close to that as I could get it.

I made several trips to the hardware store to pick up supplies. My wife took some photos of me without me knowing at the time but since I have them I may as well add them in.
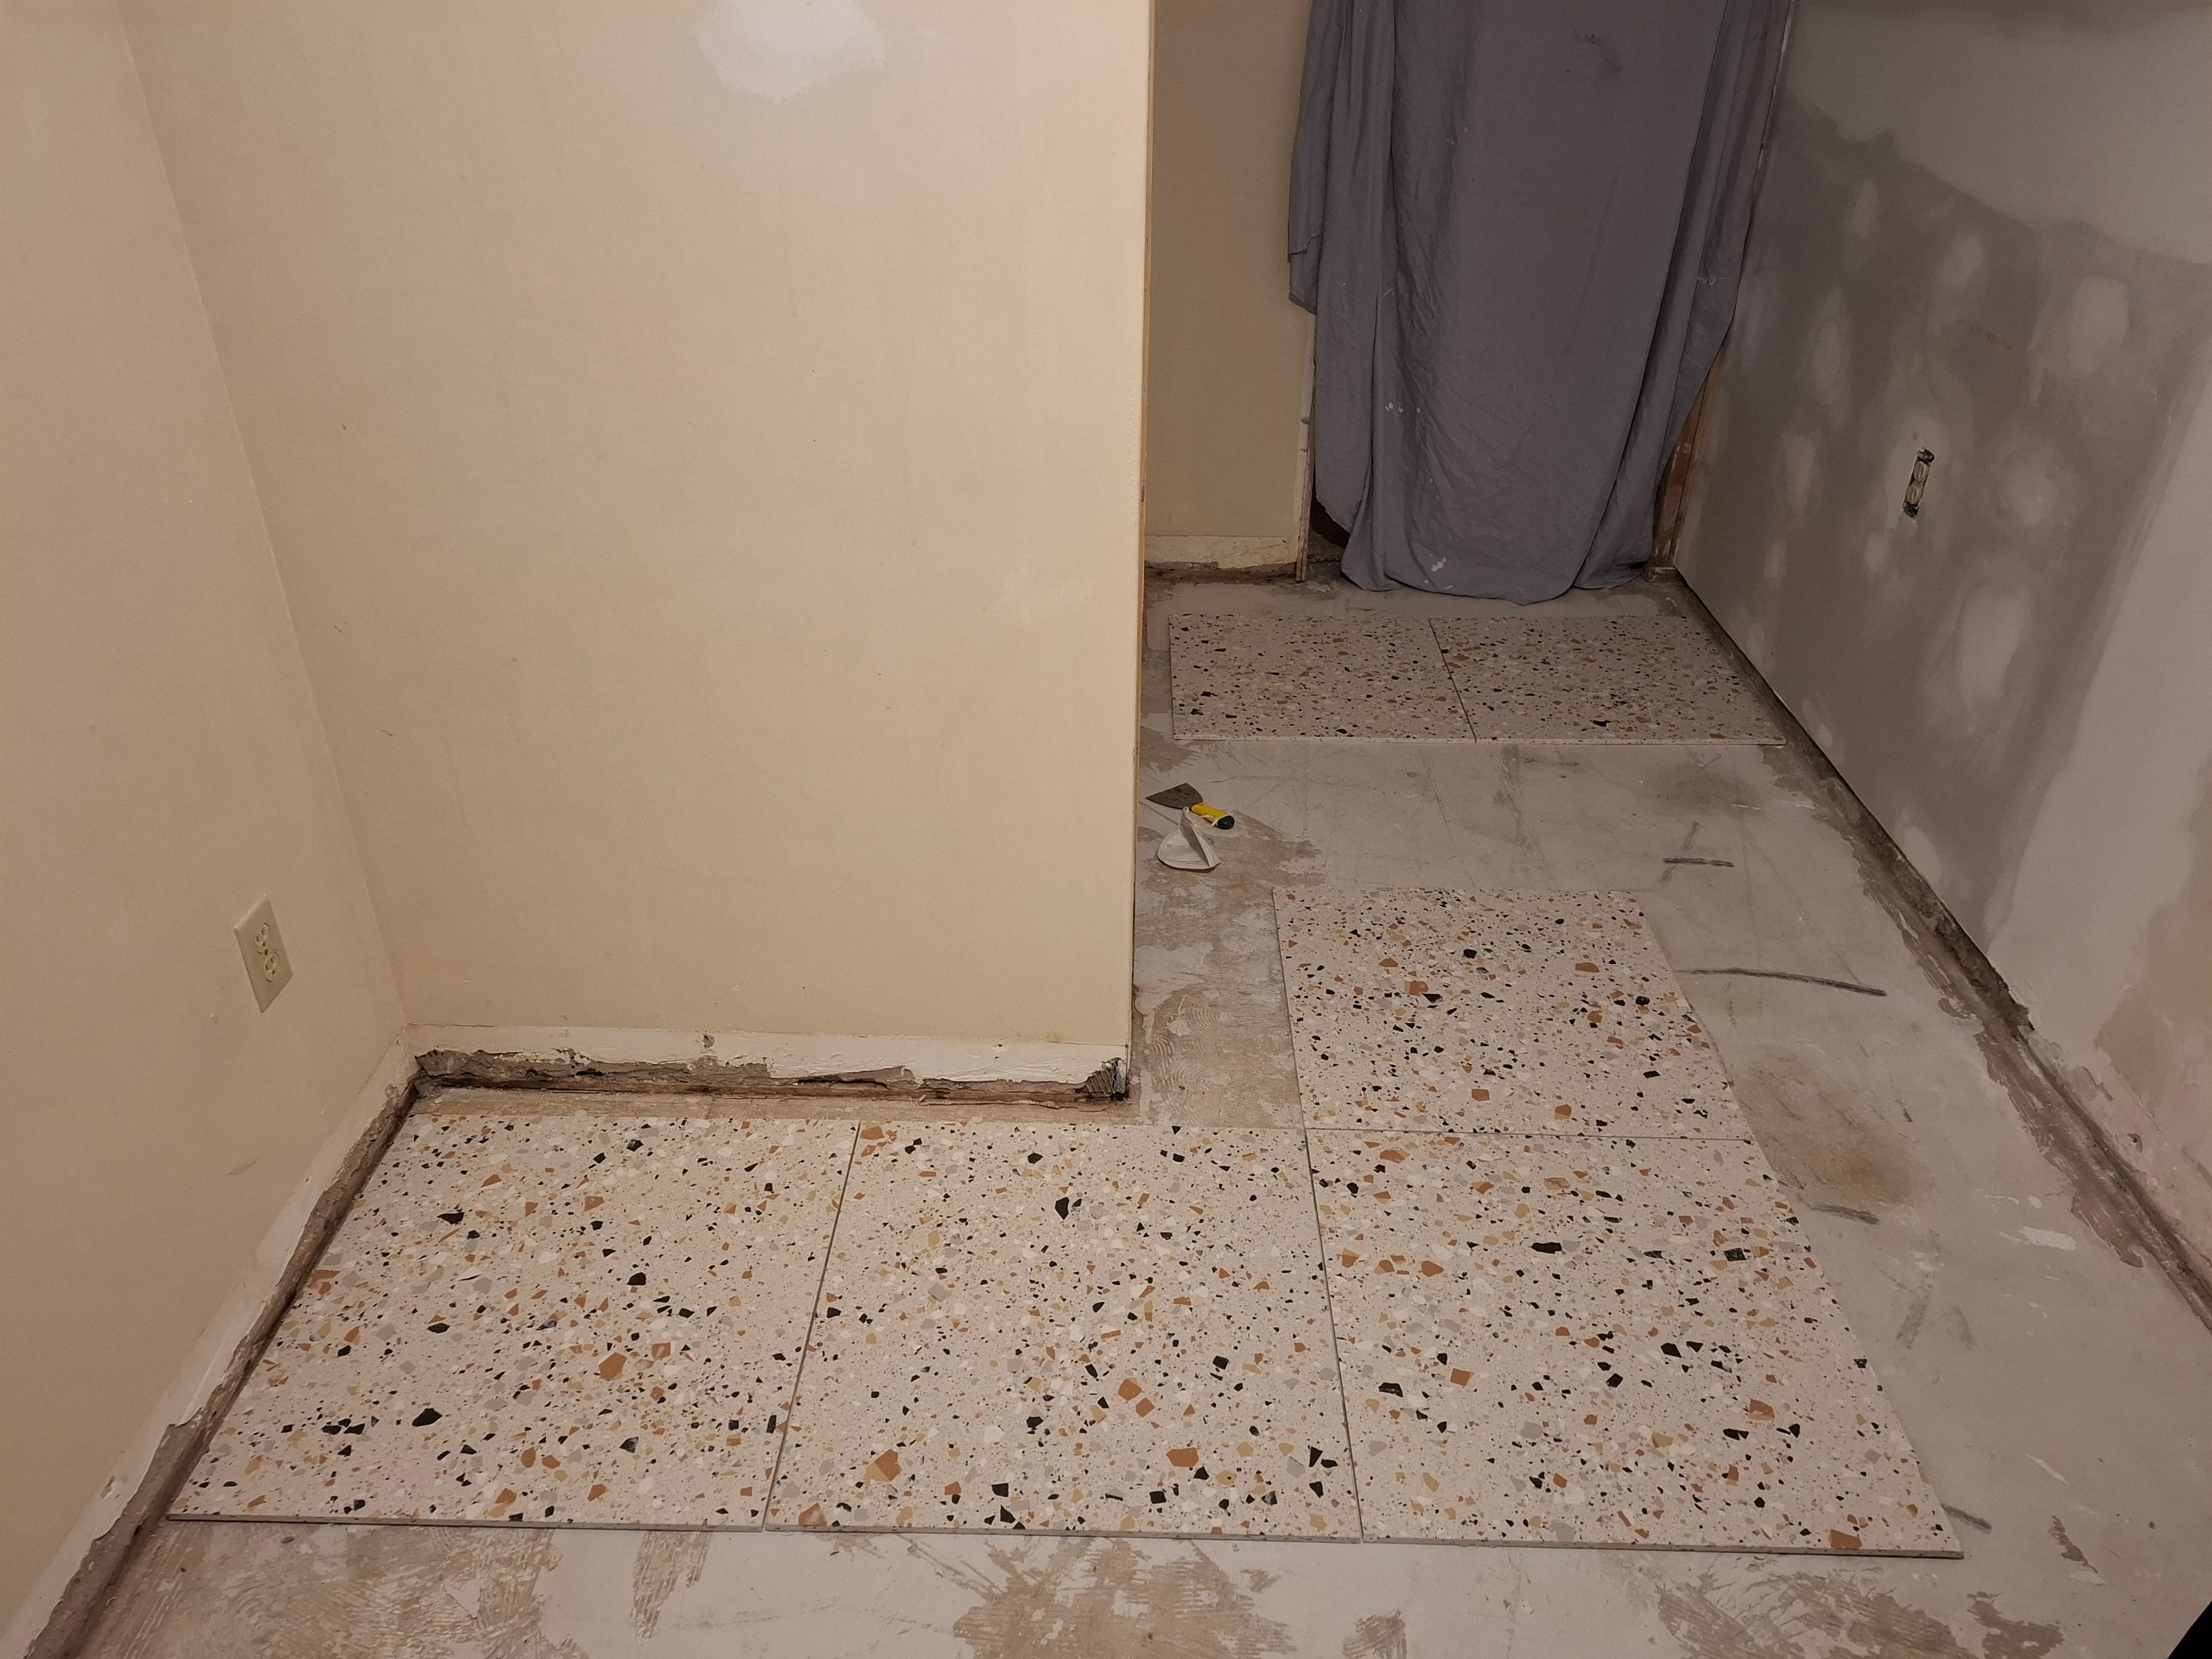
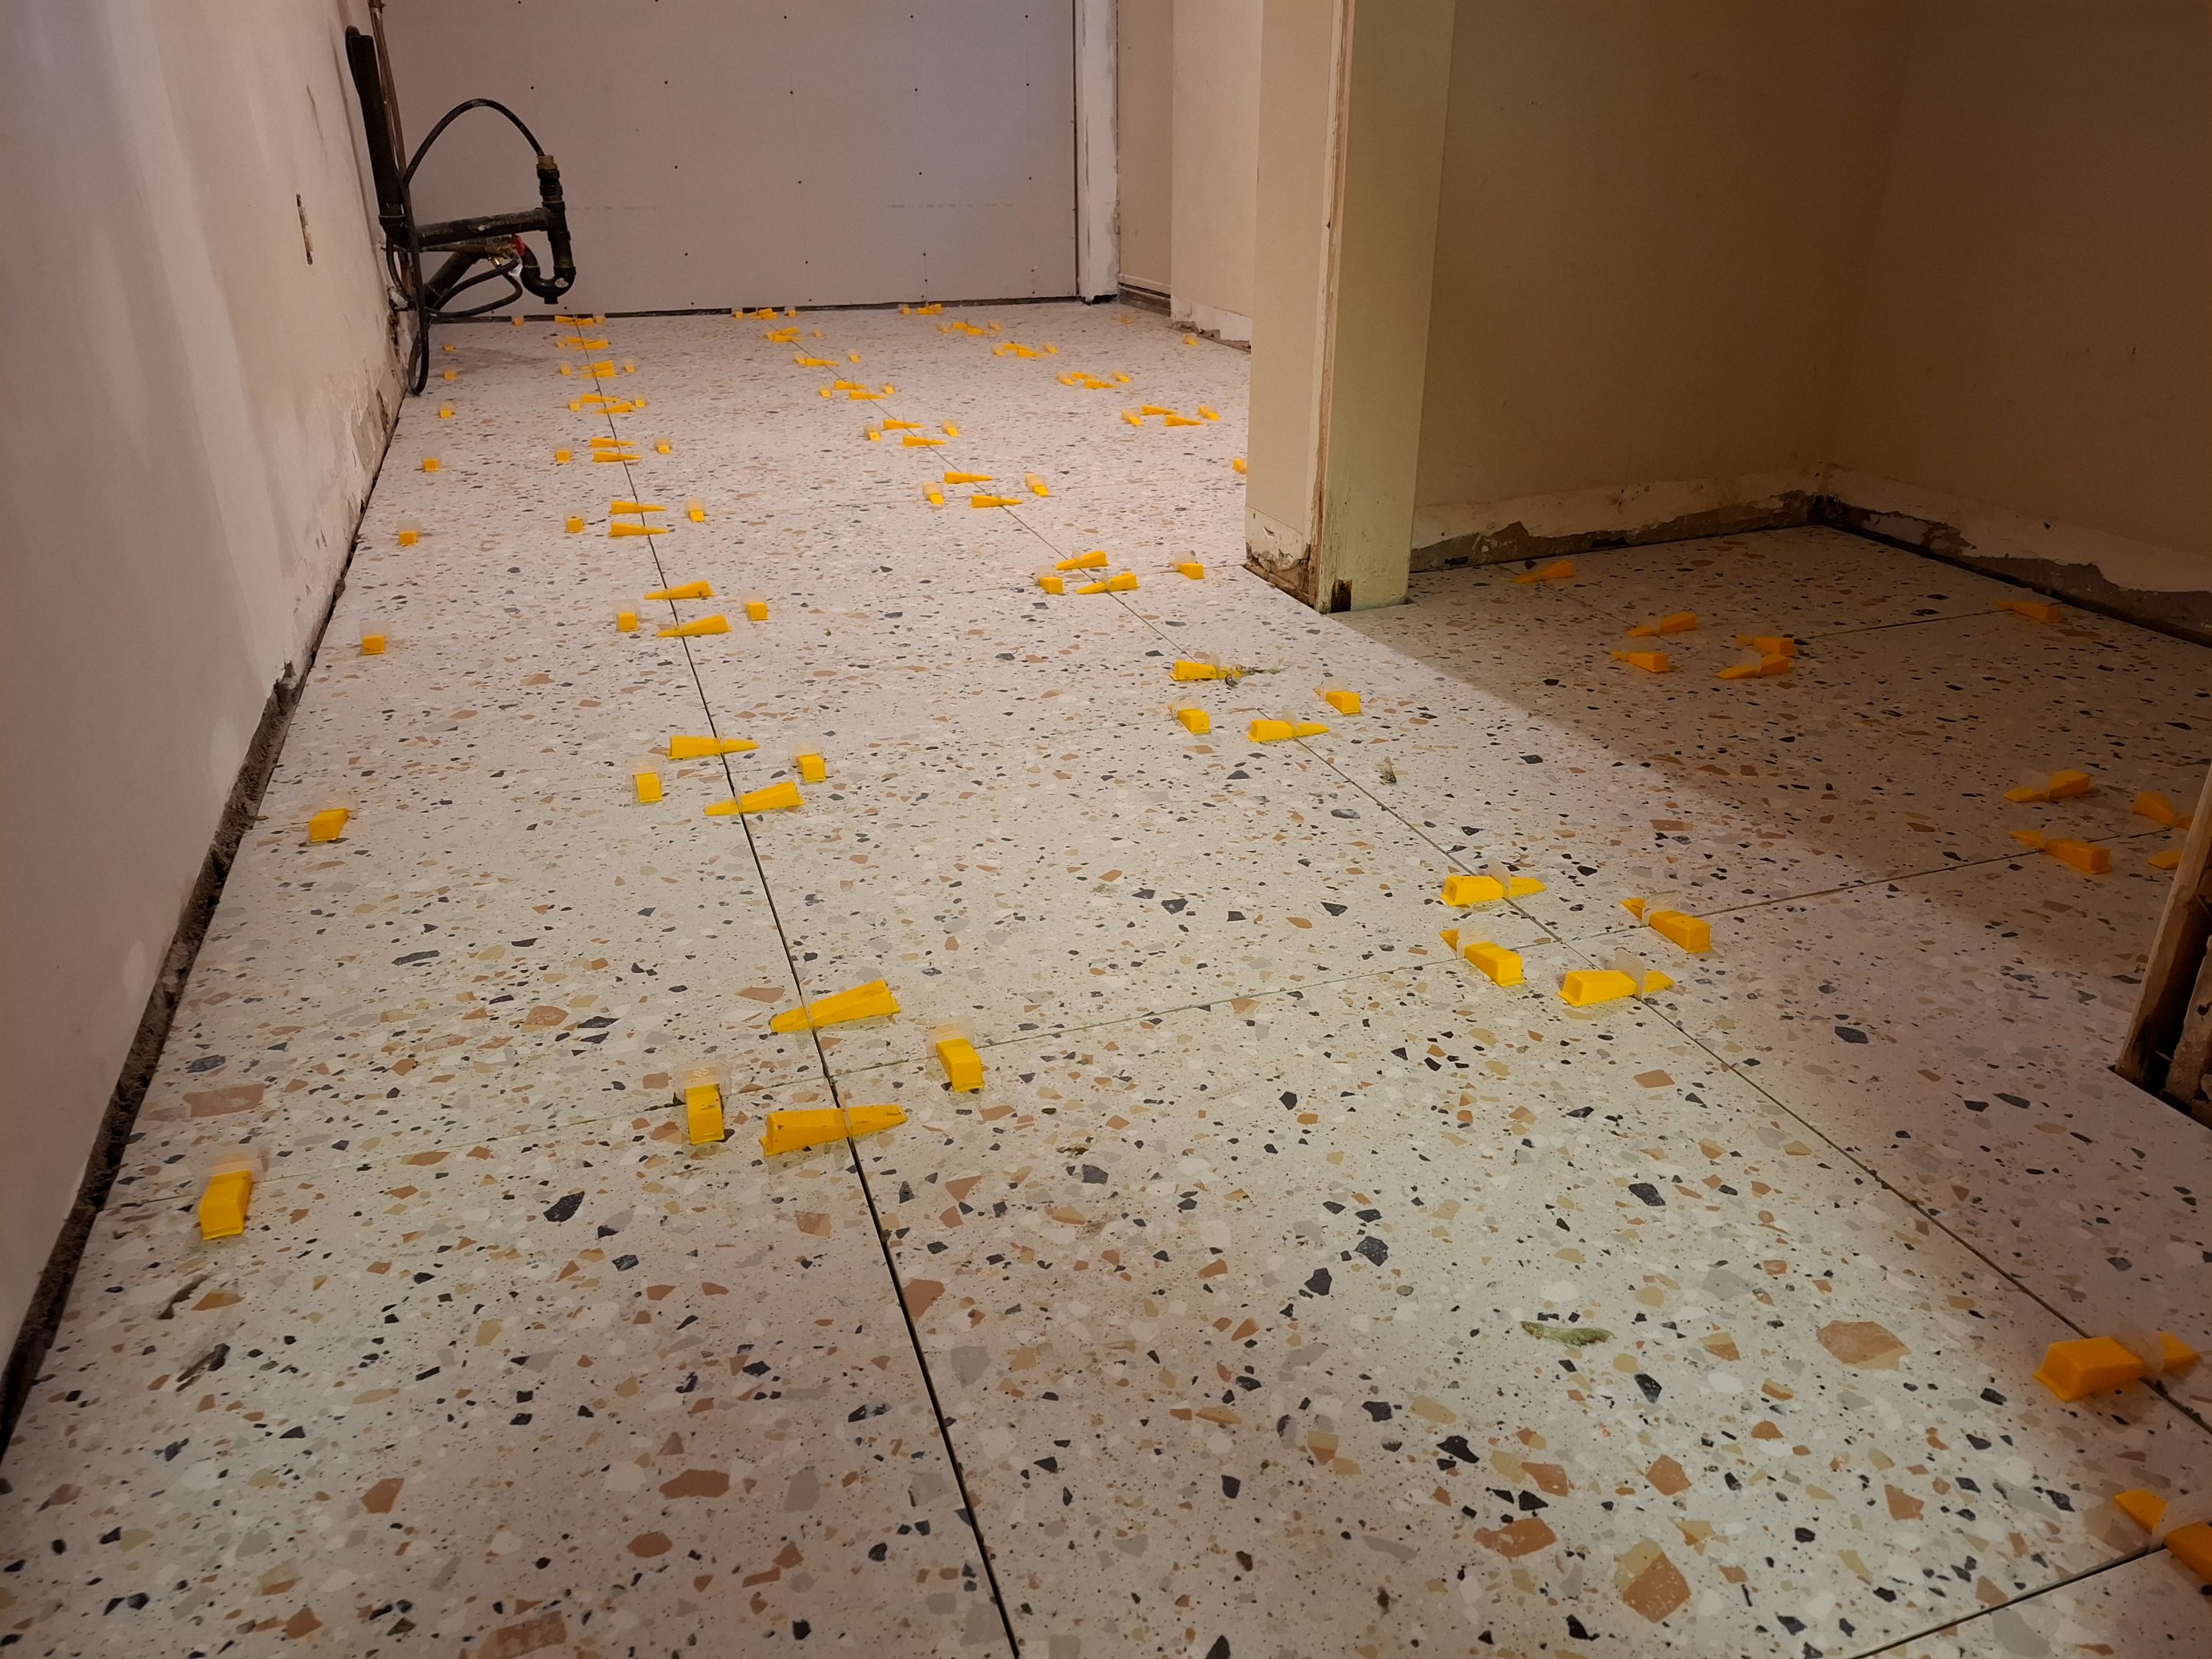
Next I installed the tiles on the floor. We chose a 24"x24" terrazzo tile because my wife and I are into Mid-century modern and vintage designs. We also wanted to experiment with it to see if we liked the look enough to put terrazzo tiles in our foyer as well.
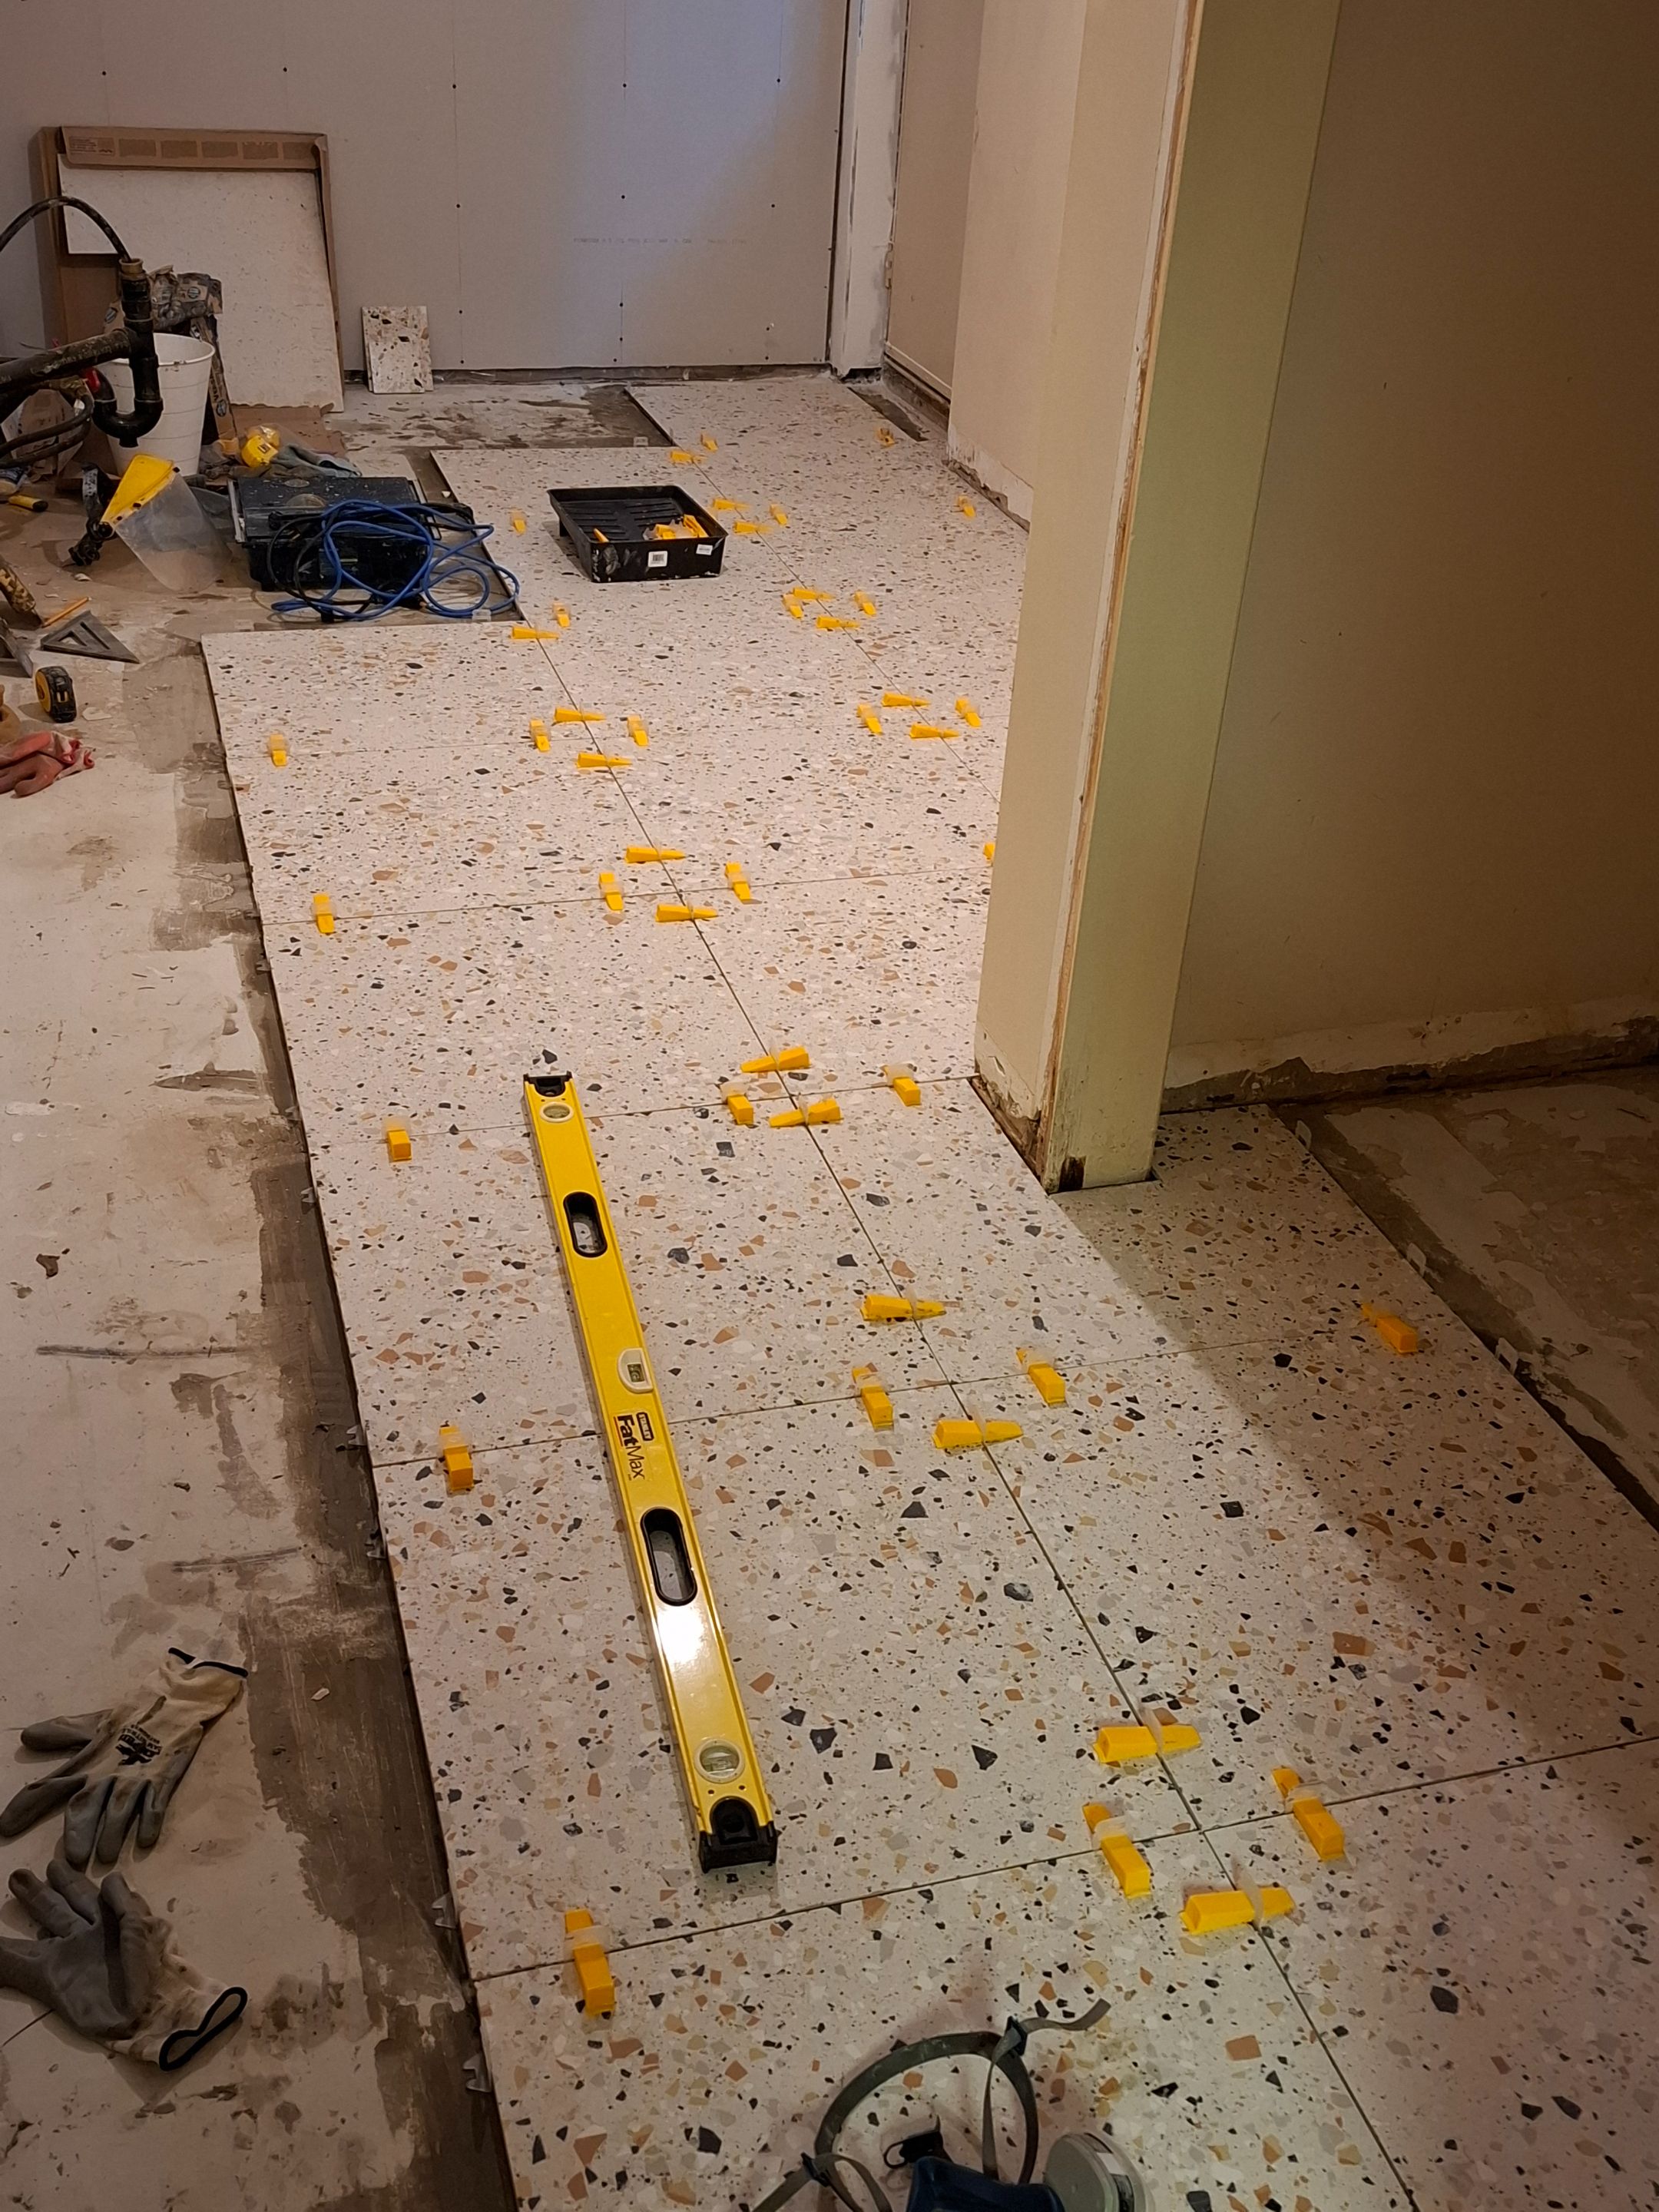
The tiles being square and the room being relatively simple made laying out the design pretty easy.
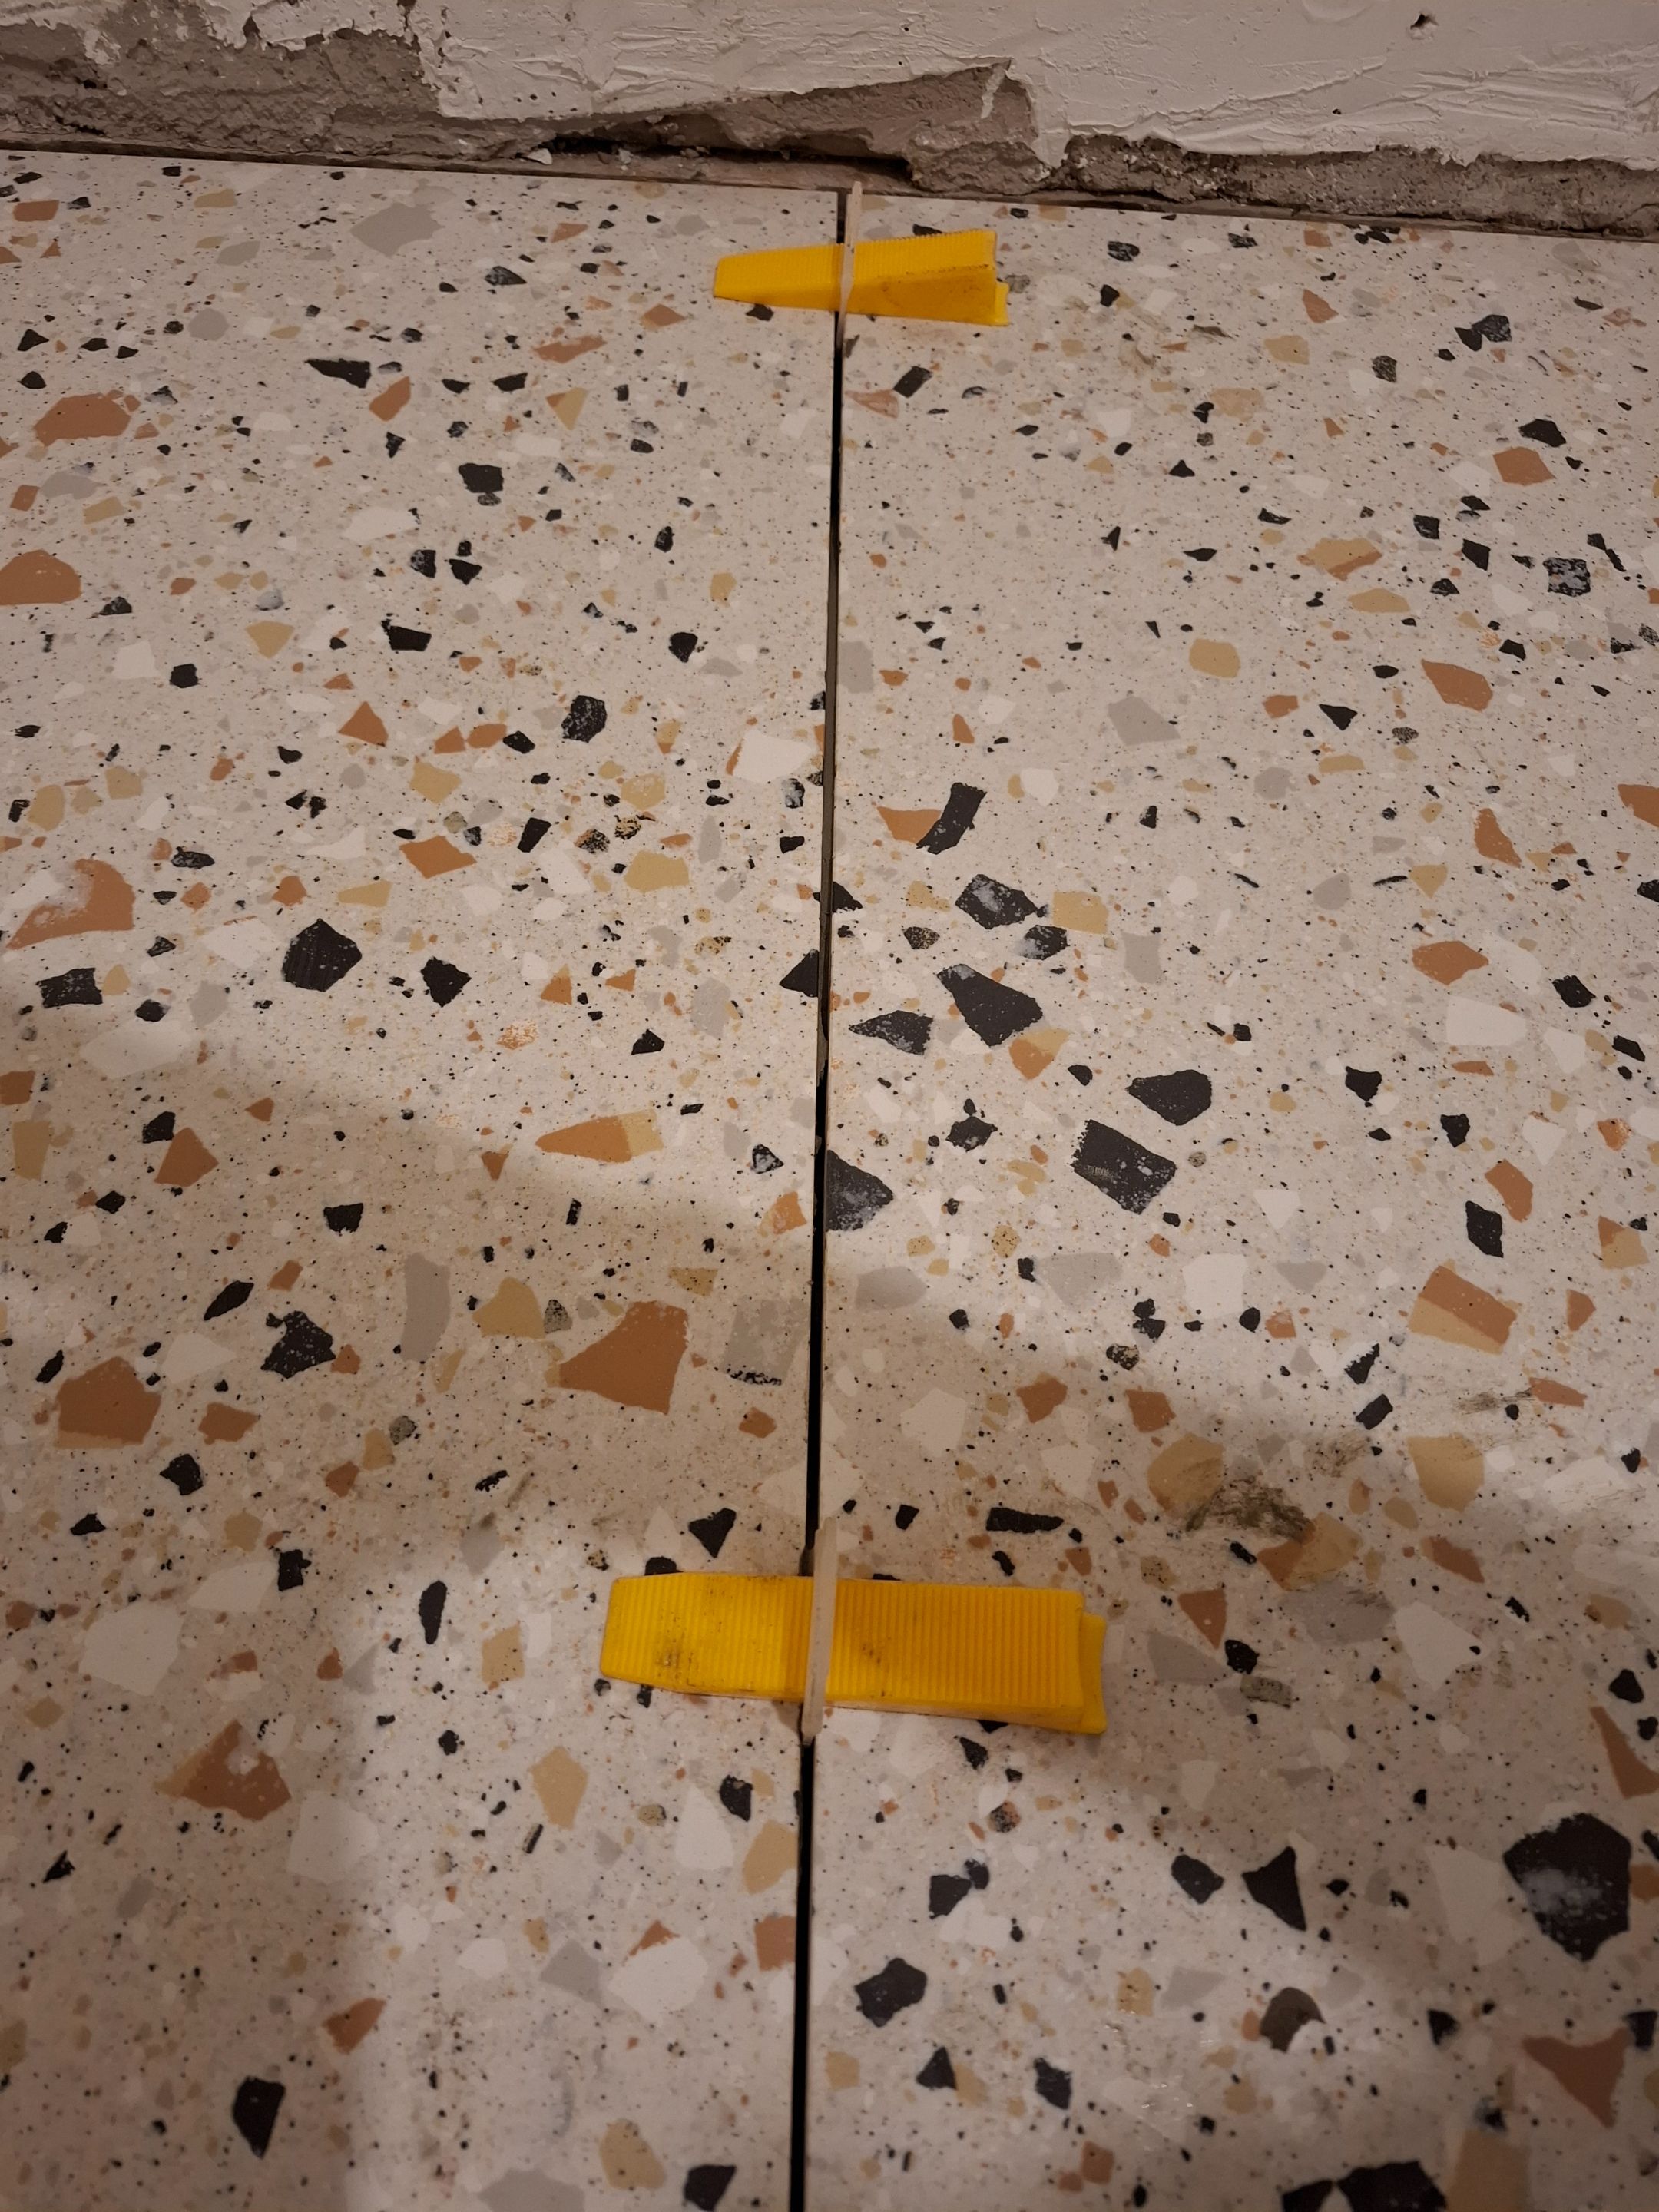
I didn't prelevel the cement floor because that is a little above my skill set, but using some standard plastic leveling devices worked quite well.
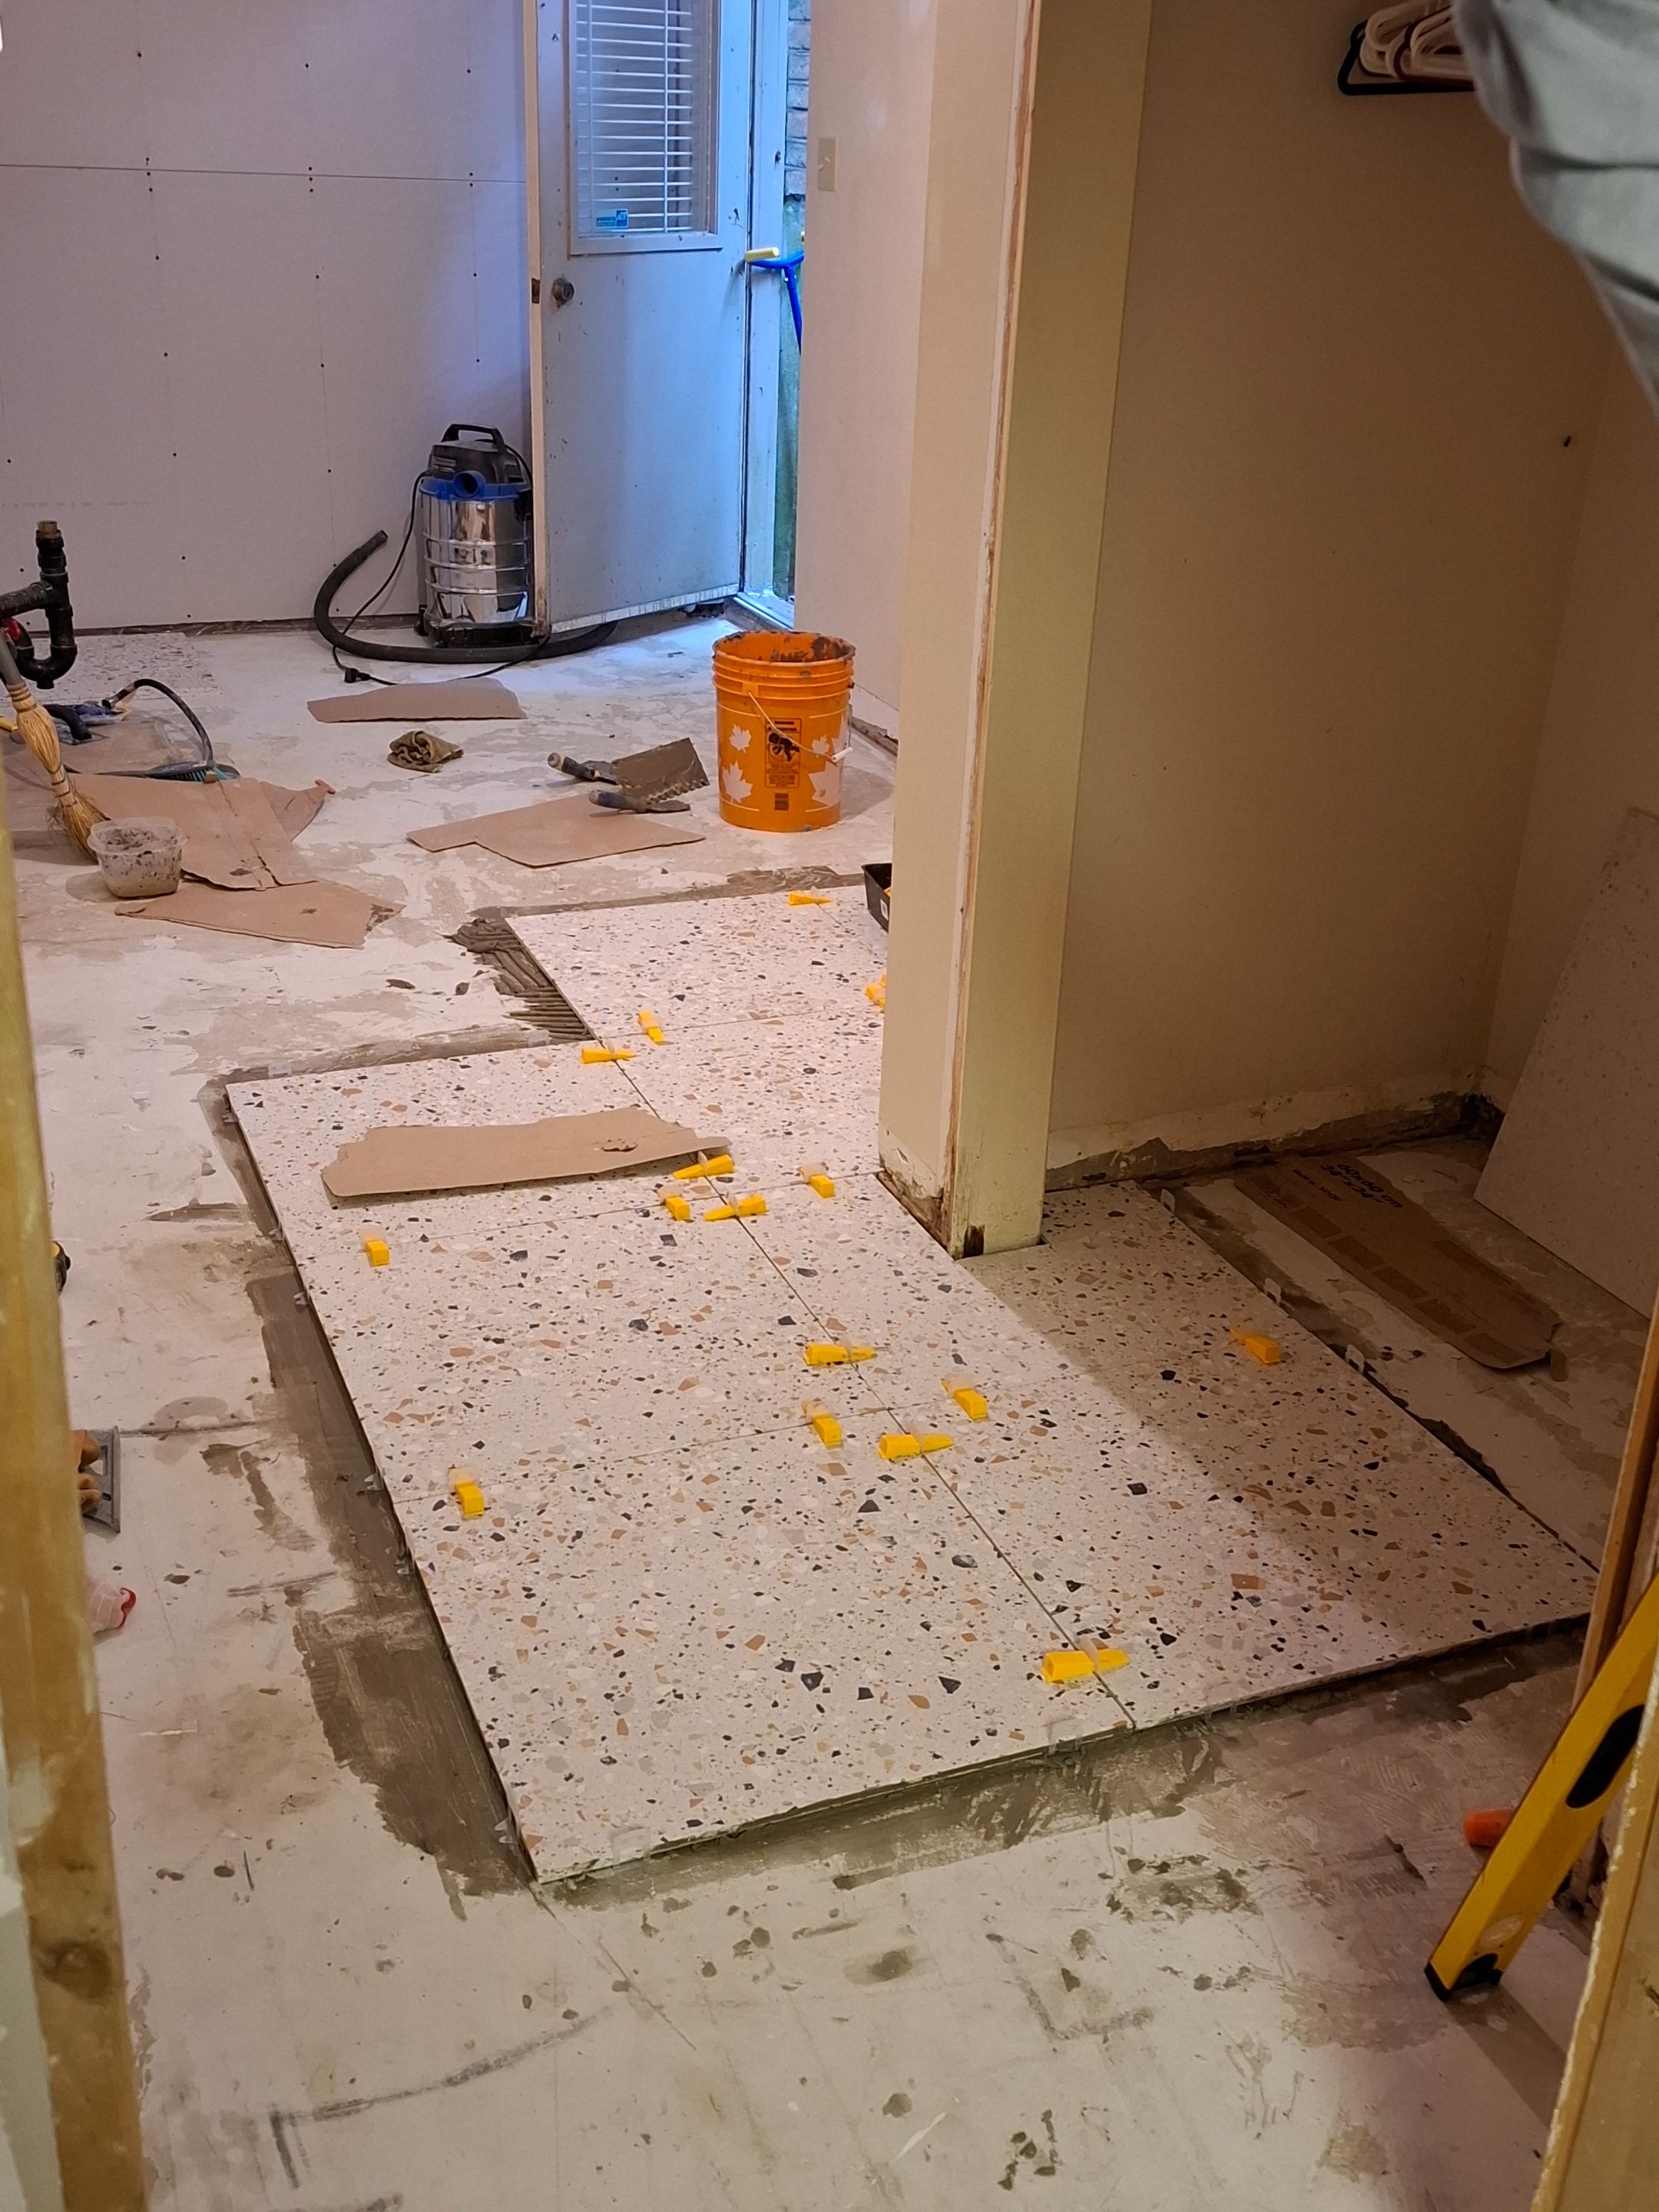
The tiles turned out pretty level in the end, with only a few places showing minor unevenness.
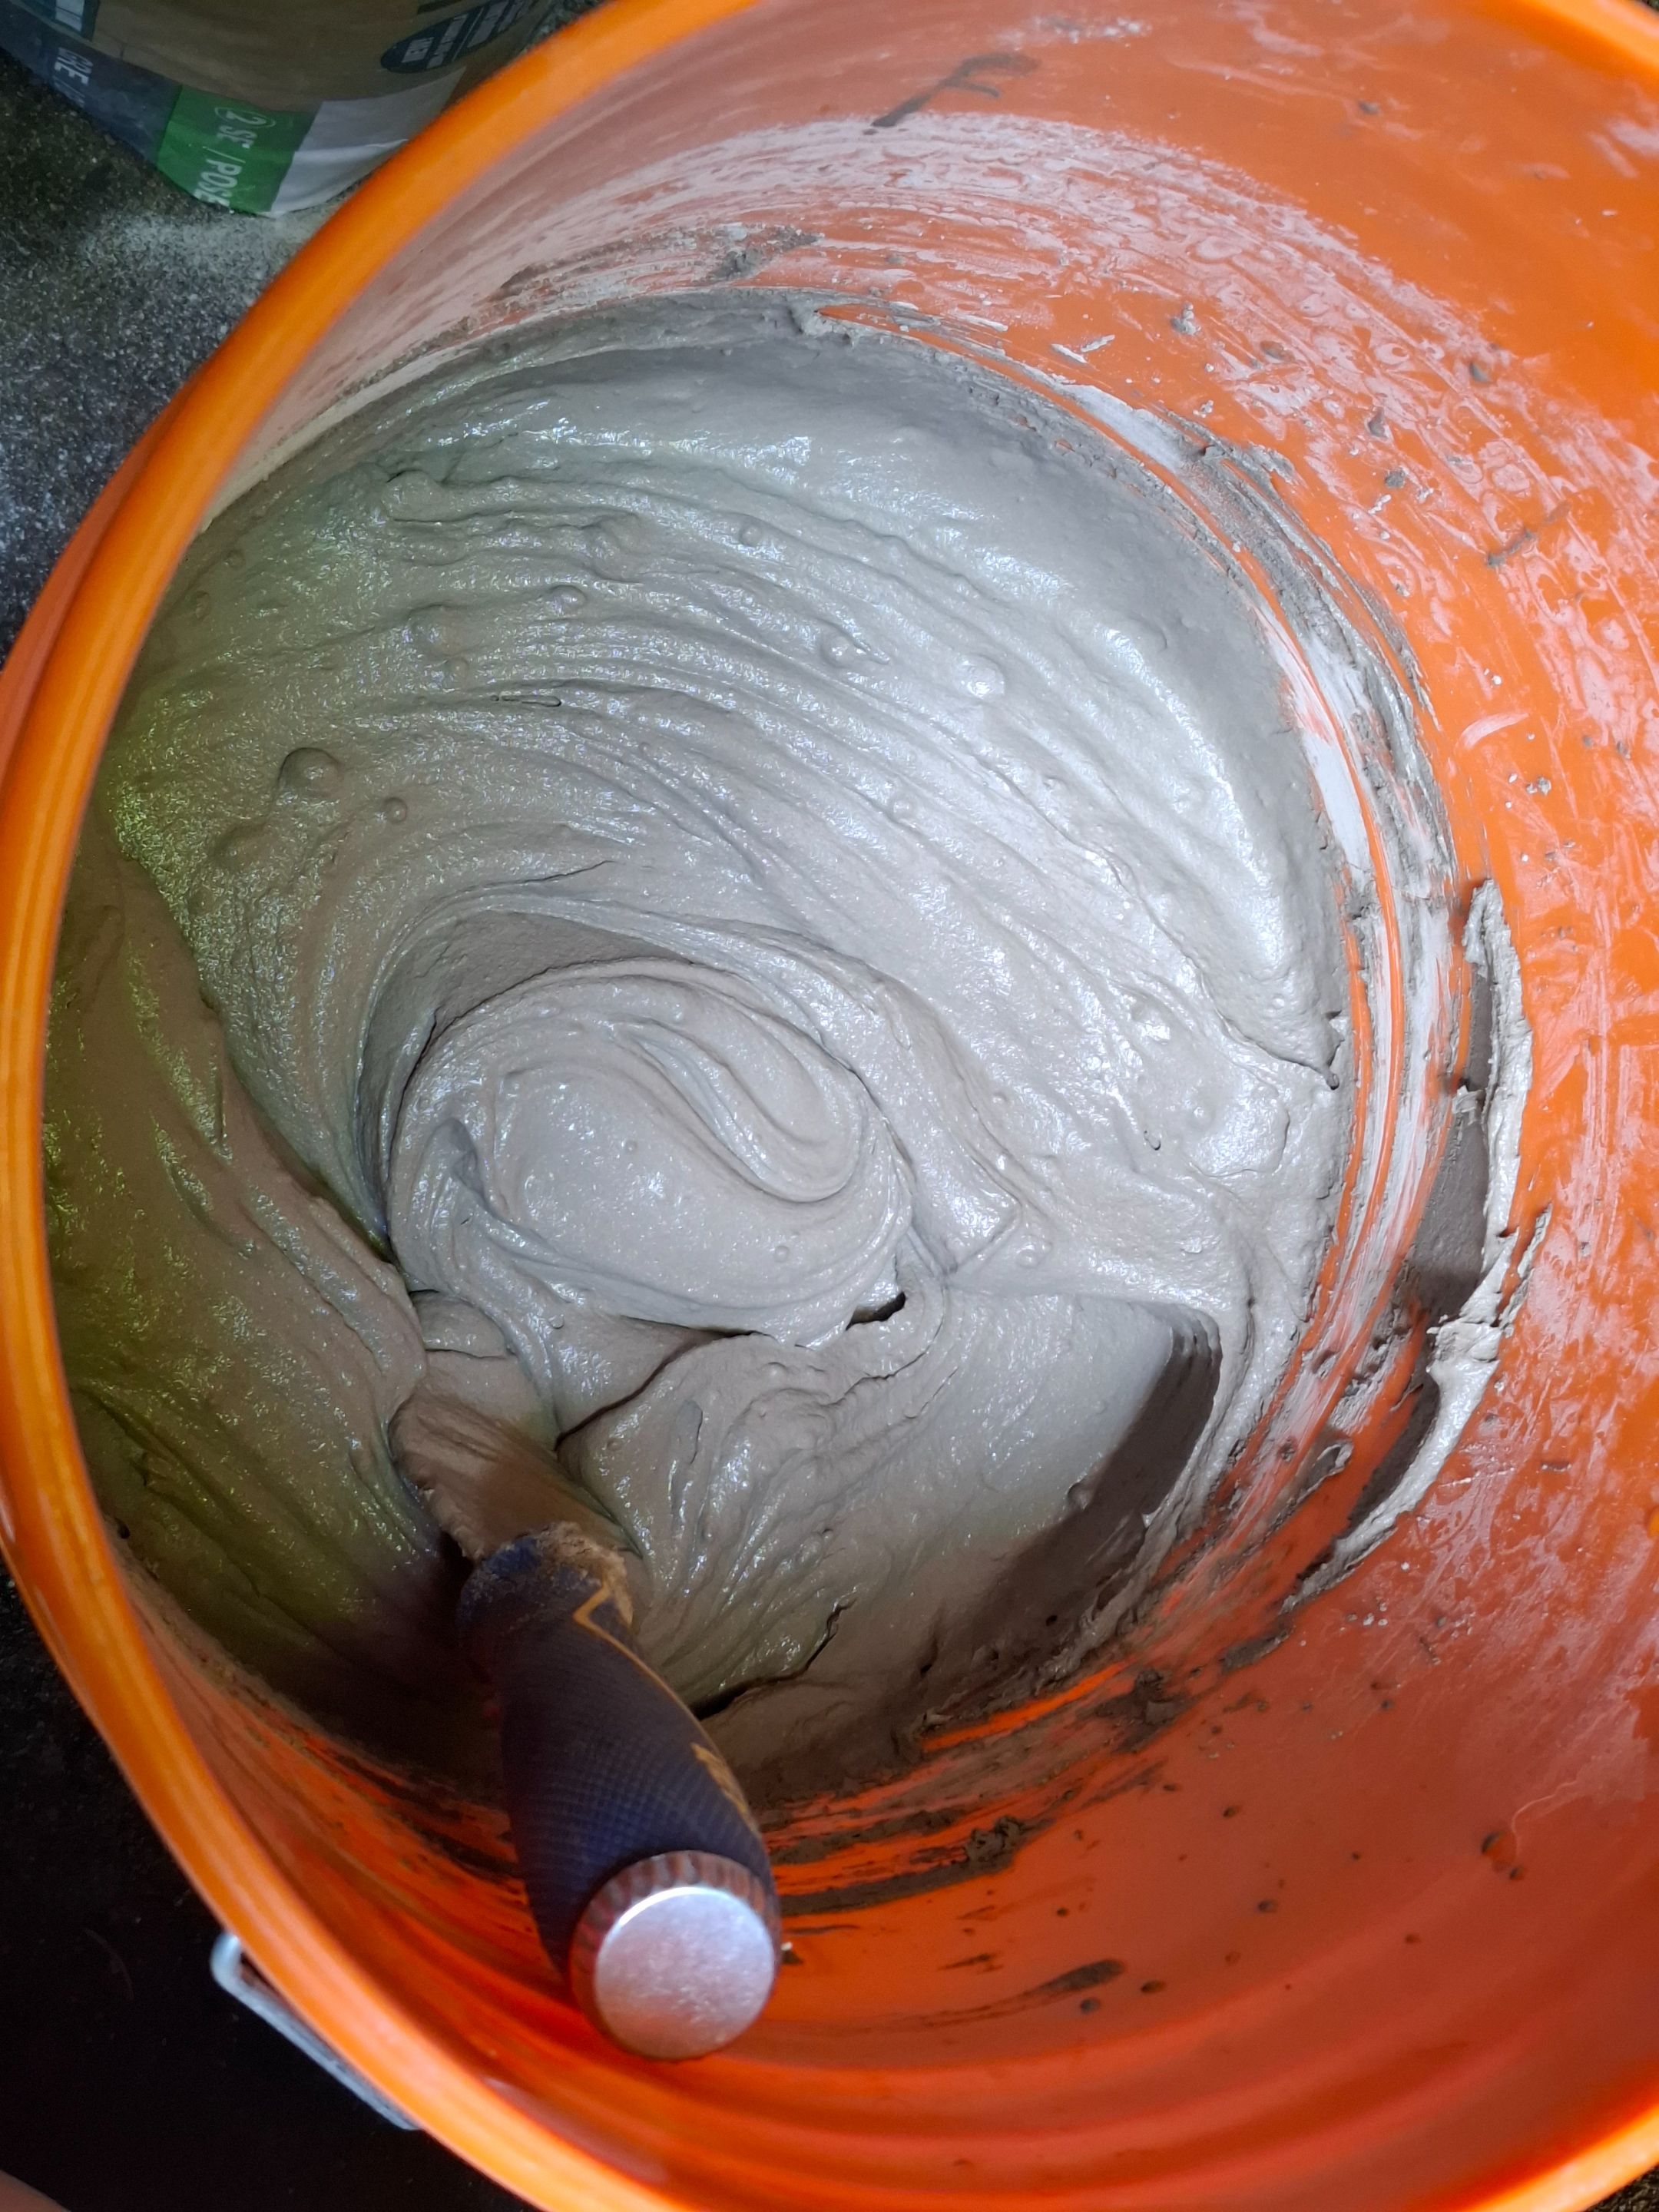
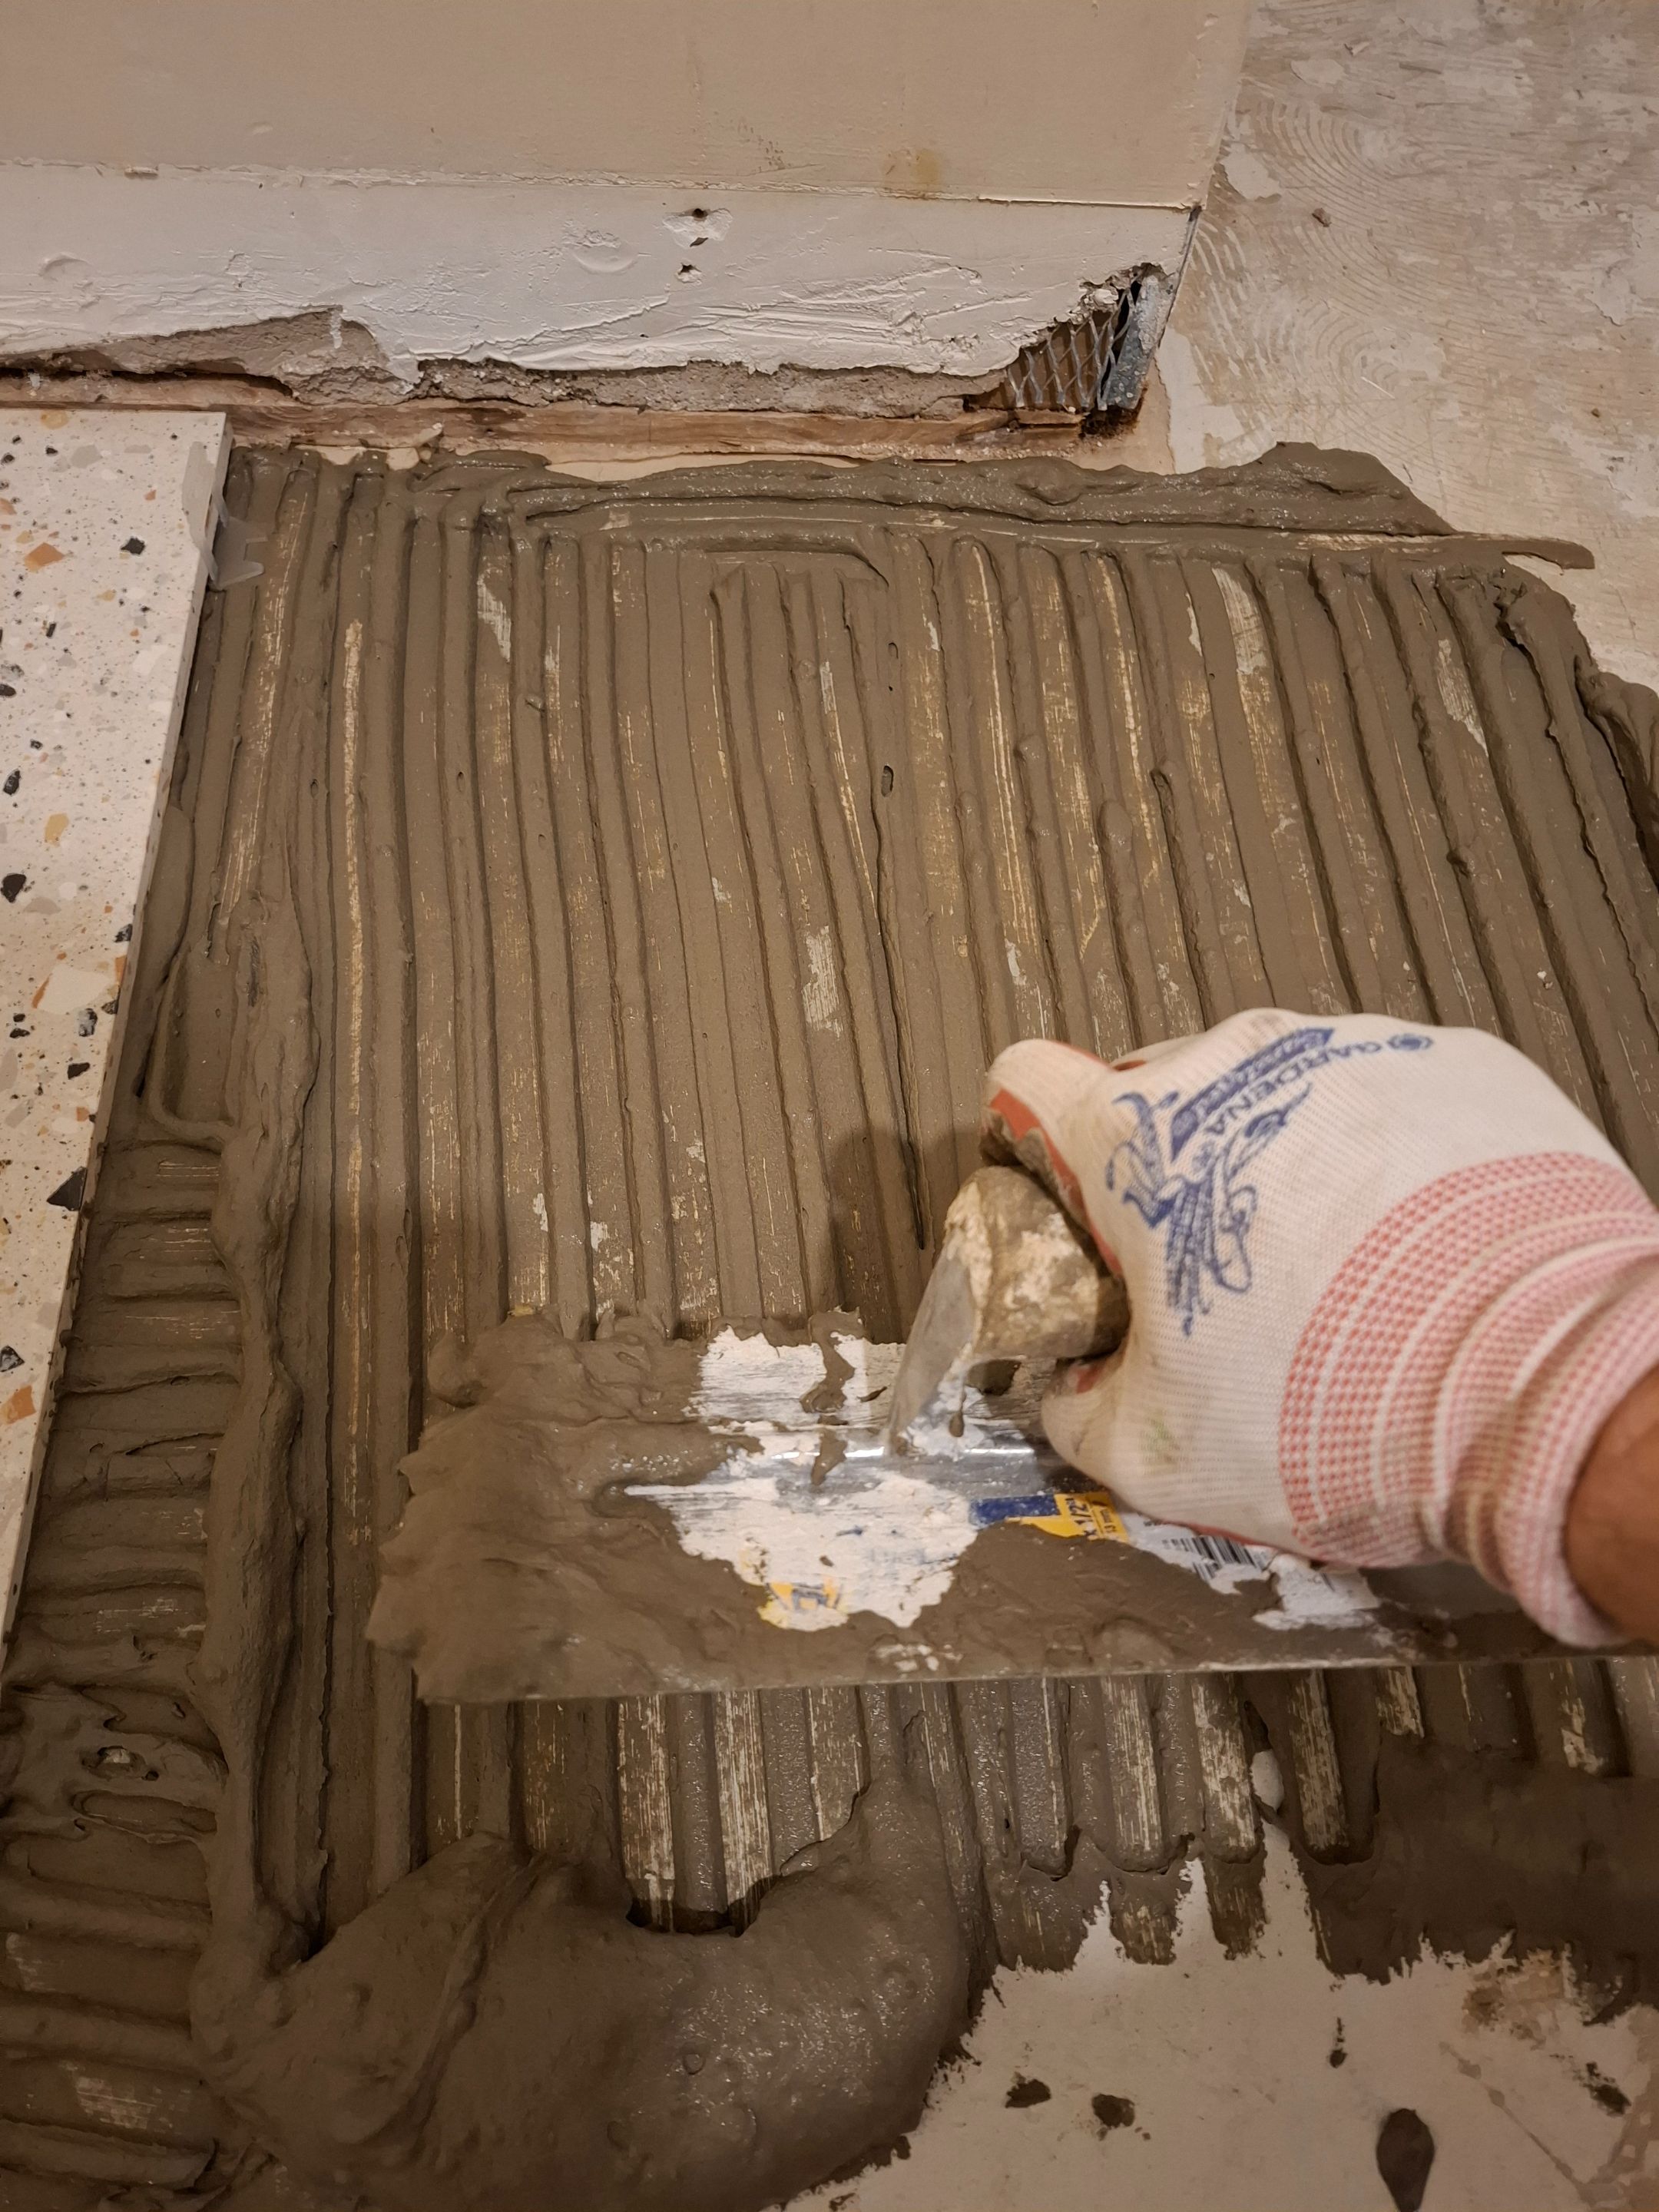
I wish that I would have used white mortar since the grout we chose is quite light, but the grey mortar was fine overall.
This is the first time that I've installed such large tiles and they were significantly more difficult than the 12"×24" tiles I did for my mudroom renovation. Installing them took me a full weekend to complete and I'm happy with how they turned out.
Something that burned up a lot of time in the room was painting.
My wife and I had originally talked about painting the room an off white cream color to go with the tiles and wood panels that we planned to install.
We ended up grabbing a few different olive green and mustardy yellow colored paint chips just to see how they looked against the wood and tiles. I really liked the idea of the bolder options but was skeptical for such a small space that already had very poor lighting in it. We decided to try a tumeric yellow as you can see. Halfway through the painting process I knew I was going to hate it.

I could feel the light getting absorbed by the color with each pass of the roller. By the end I had full on anxiety just being in the room. The poor lighting reminded me of a police interrogation room or jail cell.
The first few photos above make it look okay. In reality it was actually much darker than it appears in the pictures. It took me an extra two full days to paint over it all and I had to put on 3 coats of "single coat" off white paint to cover up the yellow. I should have started with a primer. Regardless, painting the small room took me an entire long weekend to complete.
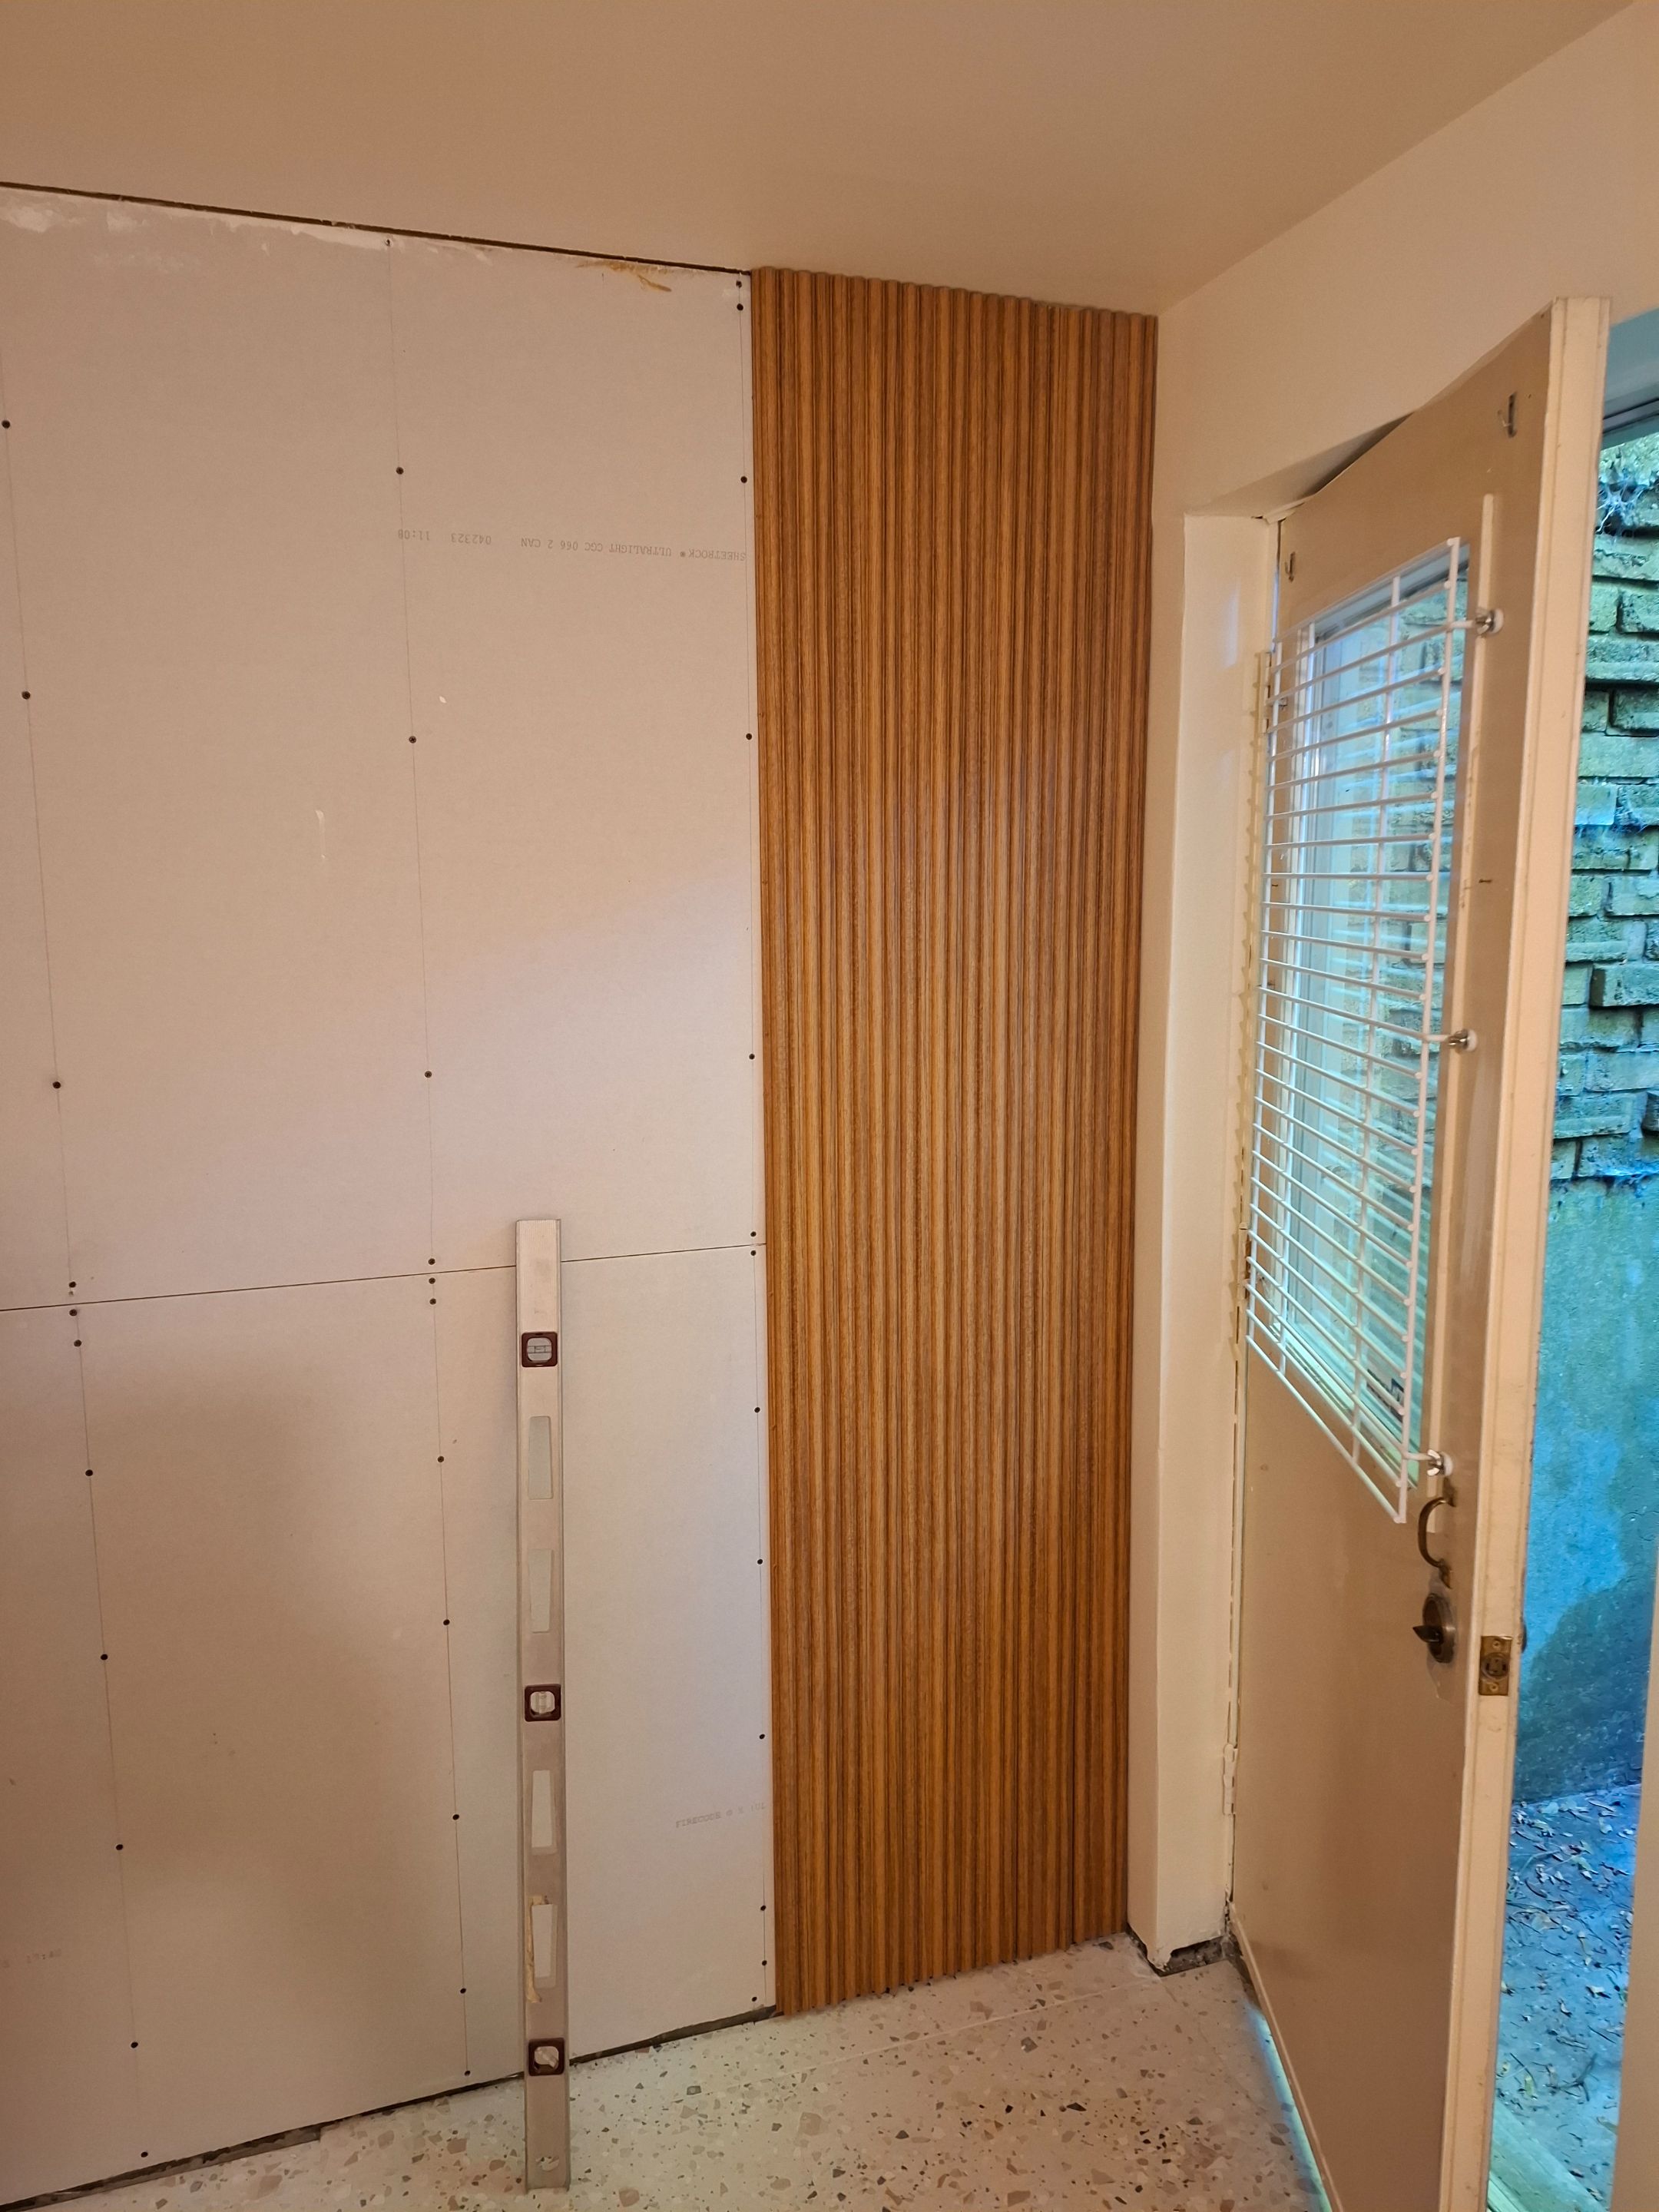
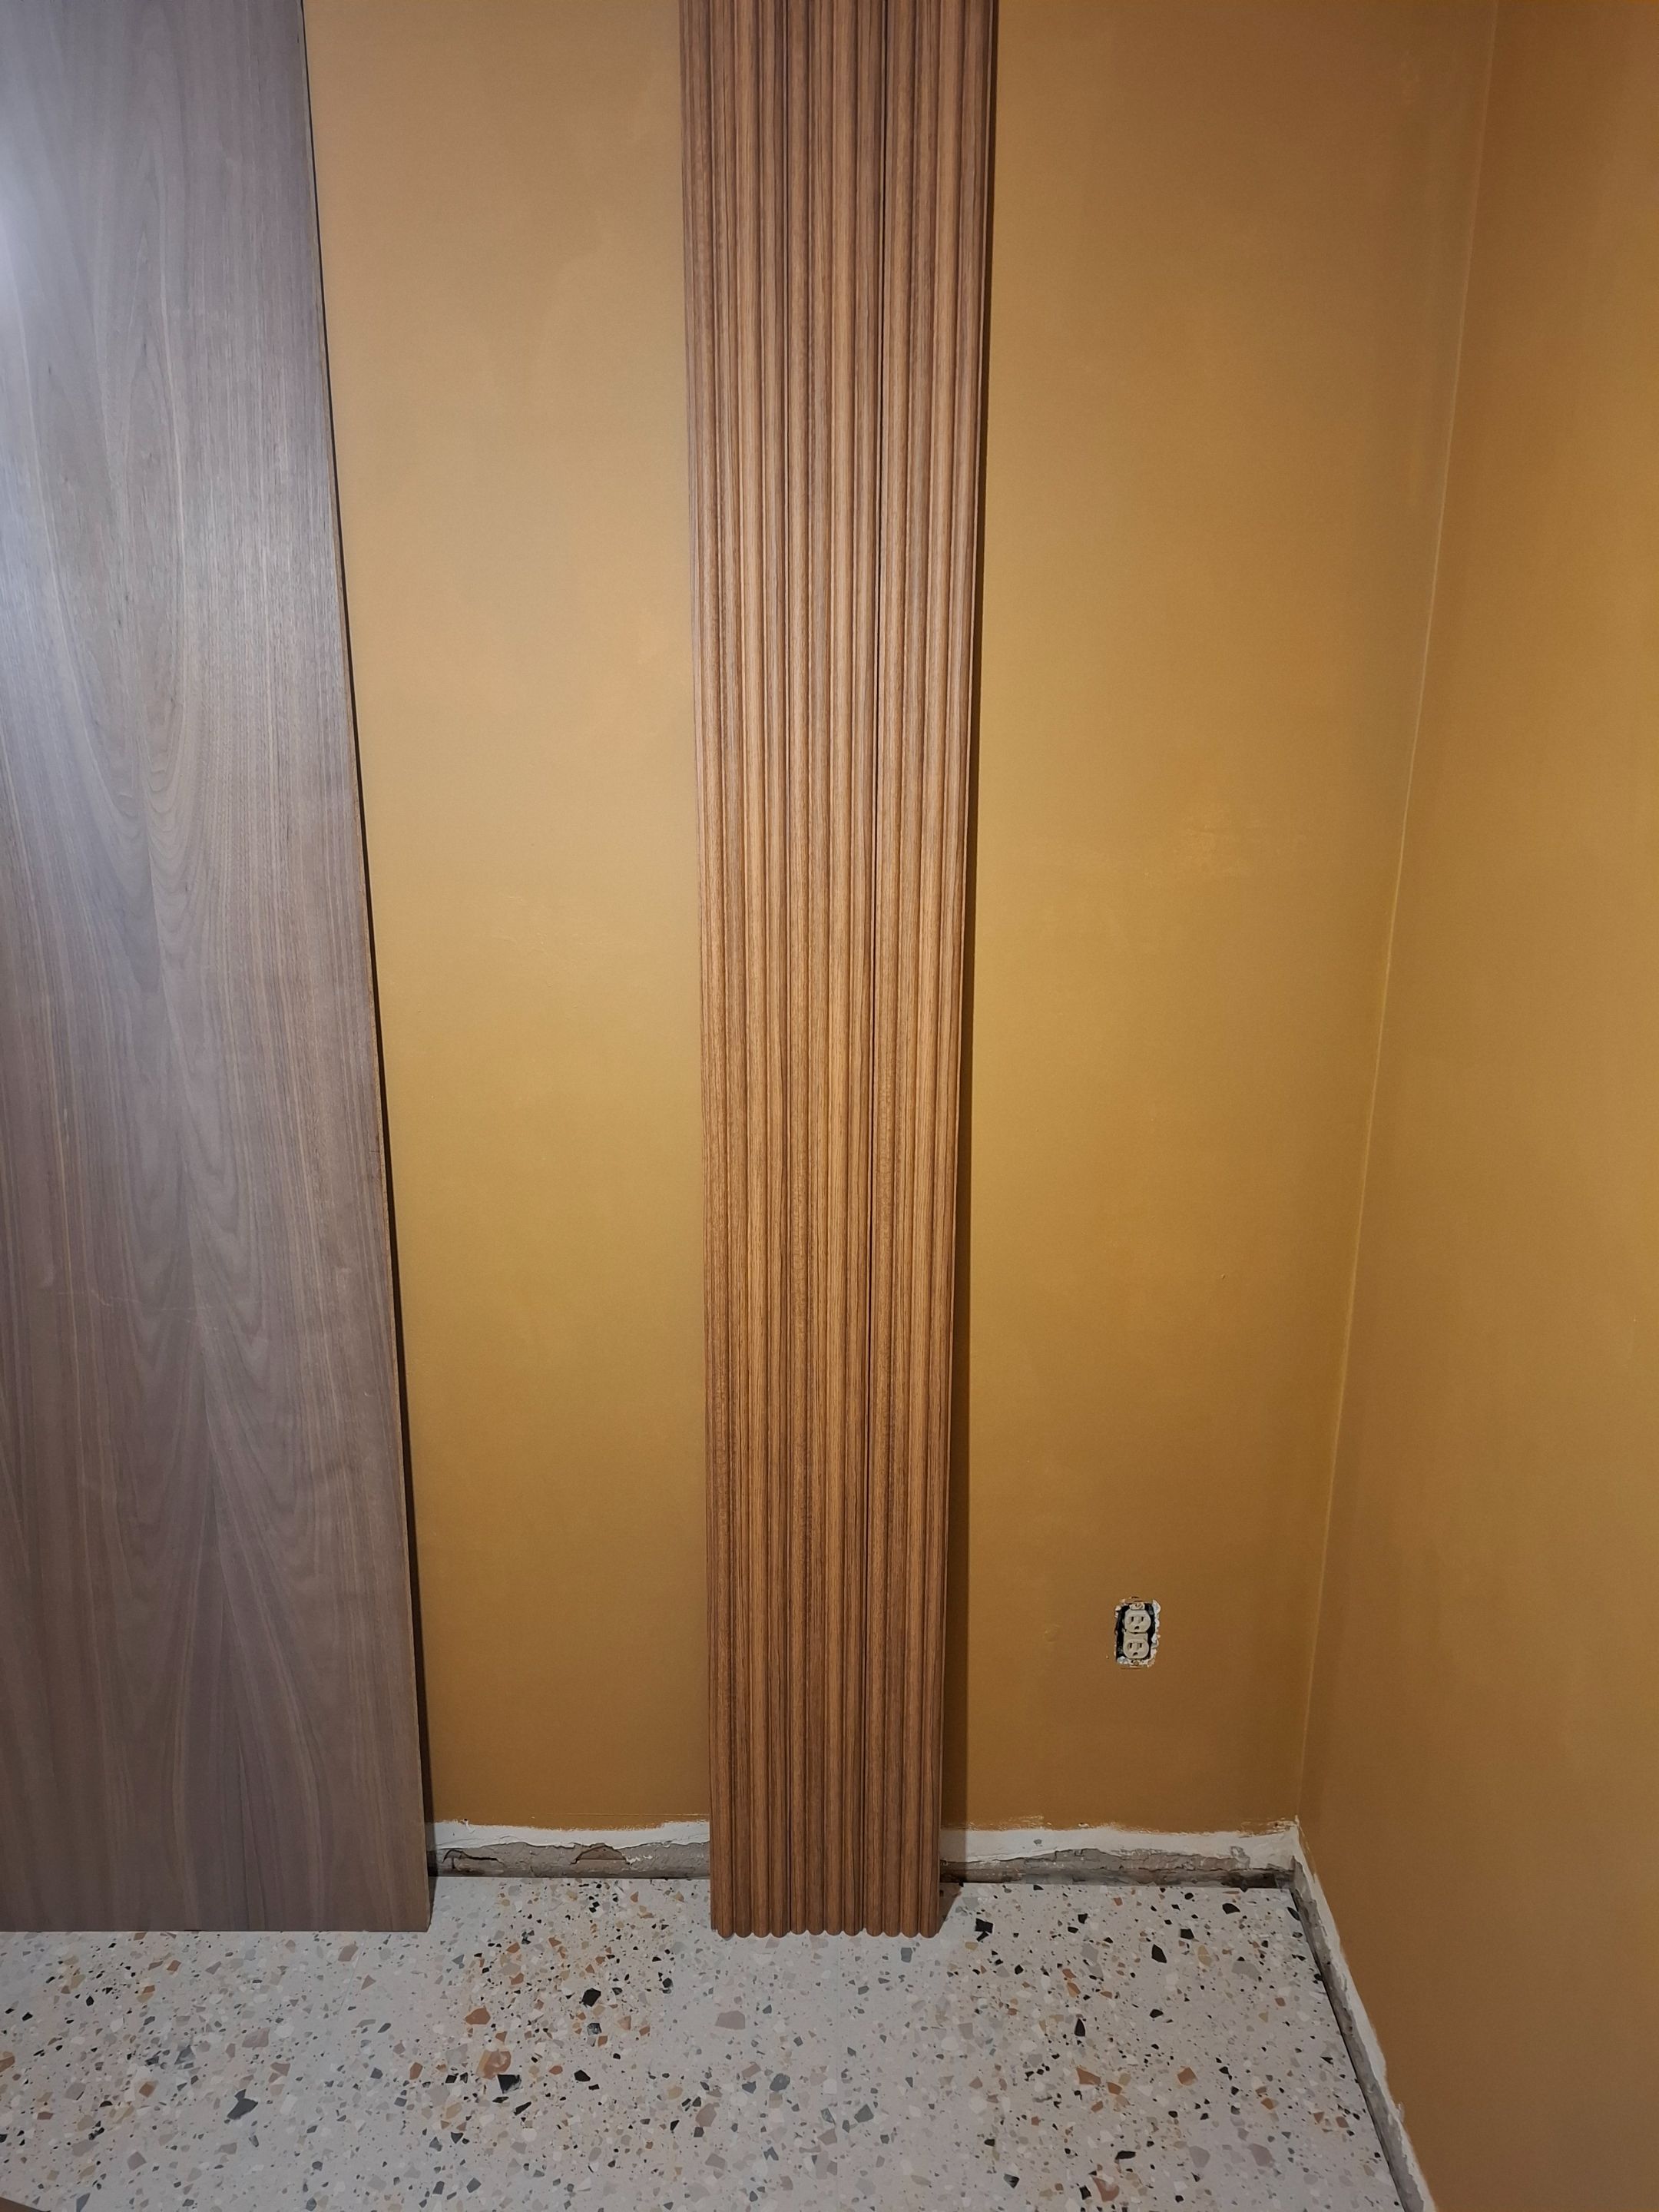
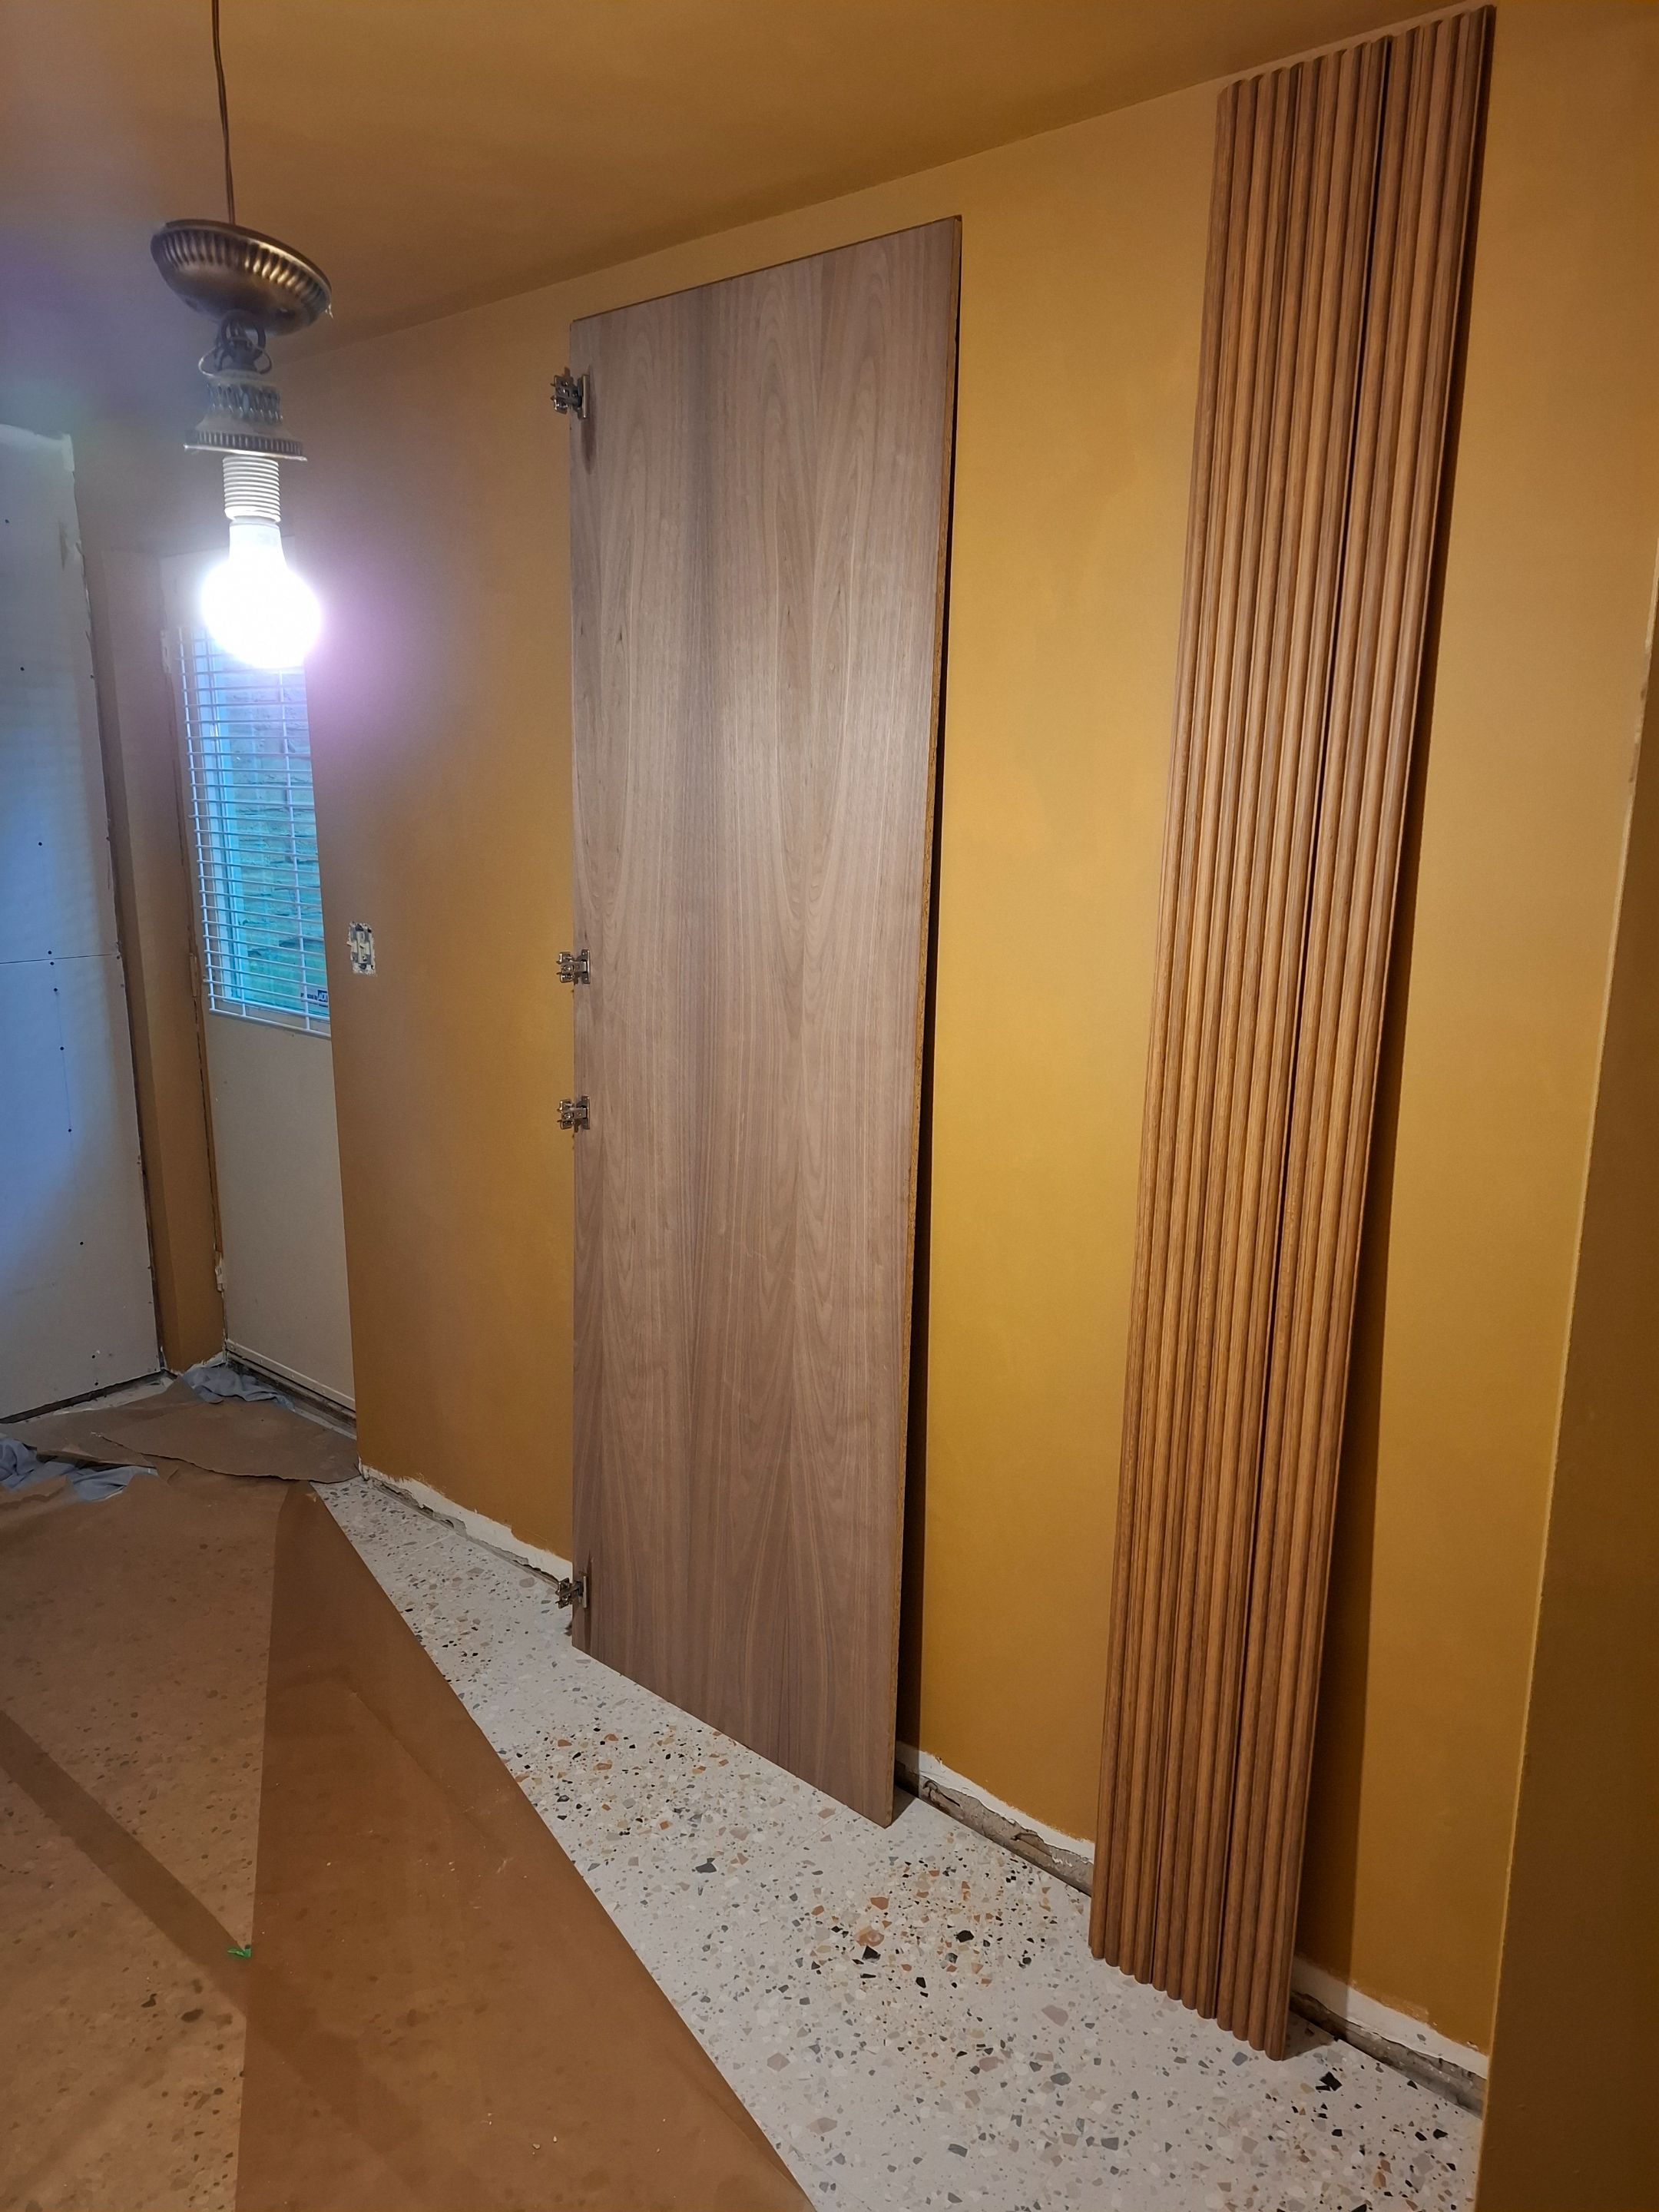
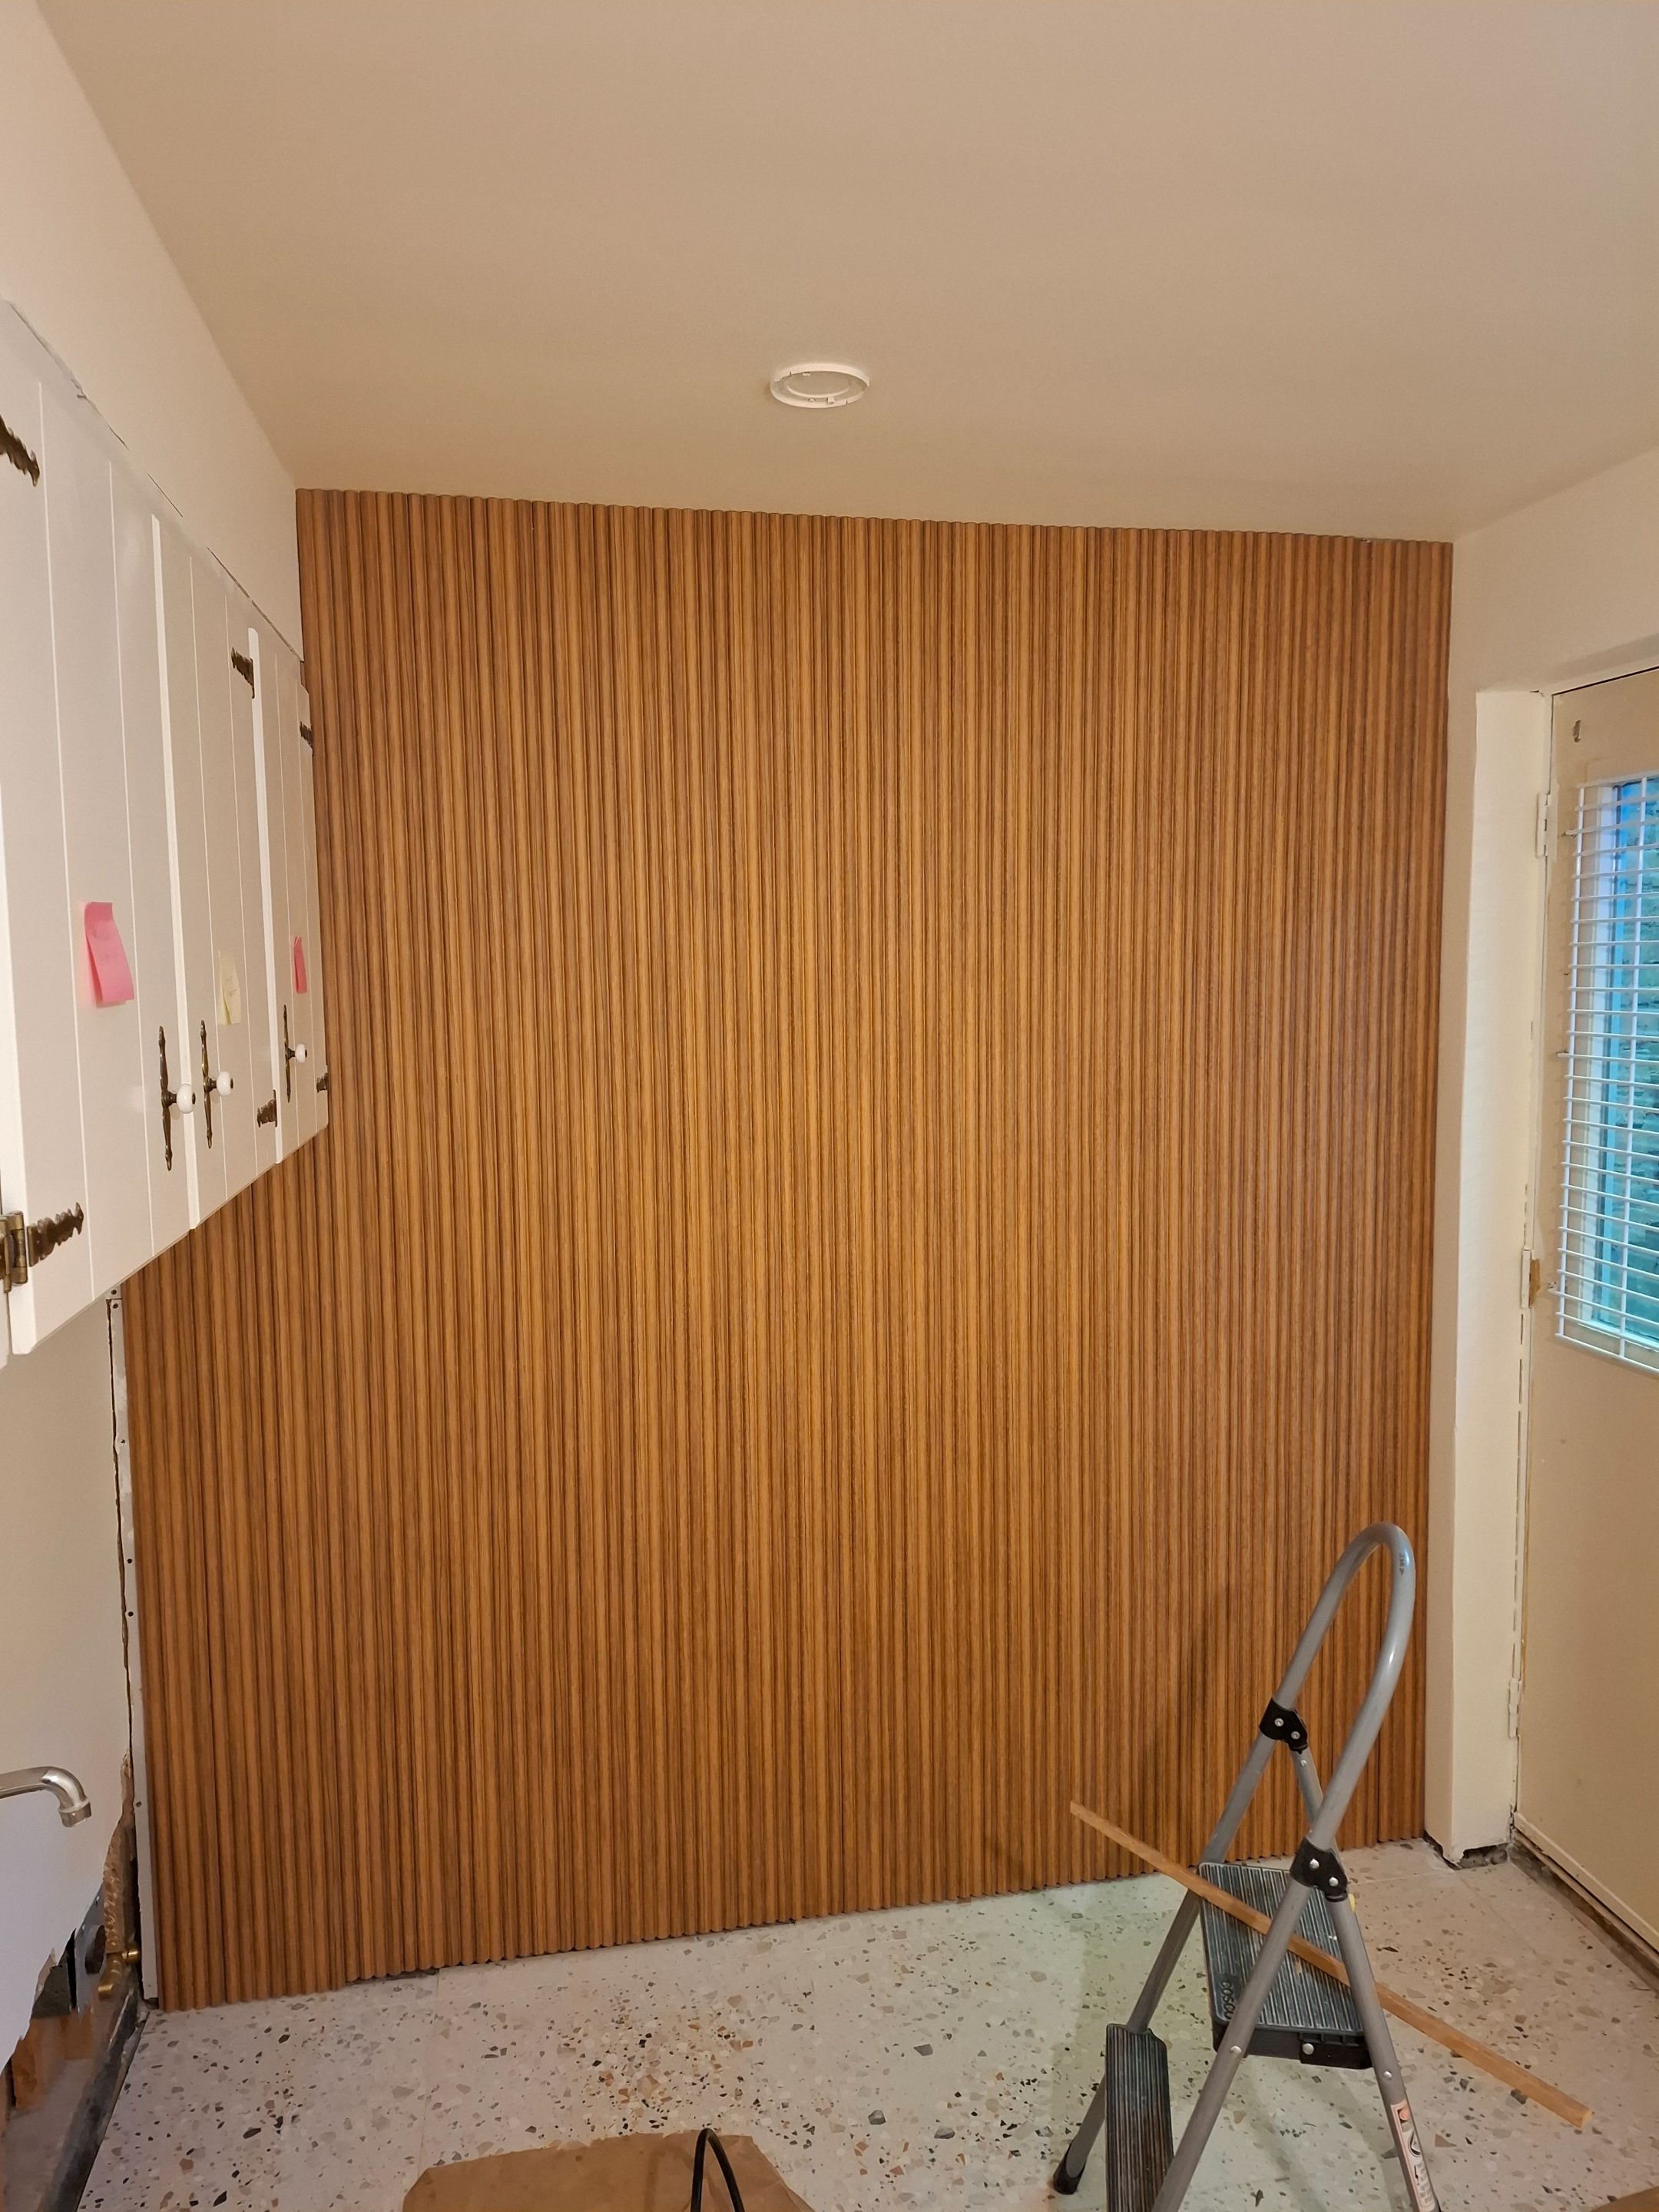
Next I installed some wood panels that we found. They are fluted MDF with a faux teak finish. Normally I would avoid cheap materials like this but the laundry room is an inconsequential room and like the tiles, the panels are kind of an experiment to see if we like the look enough to do something similar in the foyer. They actually seem like a decent product though and look really good installed, so they were kind of a win in that regard. The photo below doesn't do them justice. They don't look quite so yellow orange in real life.
One pain in the ass though is that they were on sale from $76/box to $32 which I should have realized meant that they were on clearance and being discontinued. I had enough panels to finish the wall with one box to spare but later I decided that I wanted to continue on with them to another part which would take at least three boxes total. Looking online we saw that the panels couldn't be ordered and a trip to the store informed us that they were indeed discontinued and no longer being carried. Okay, moving on.
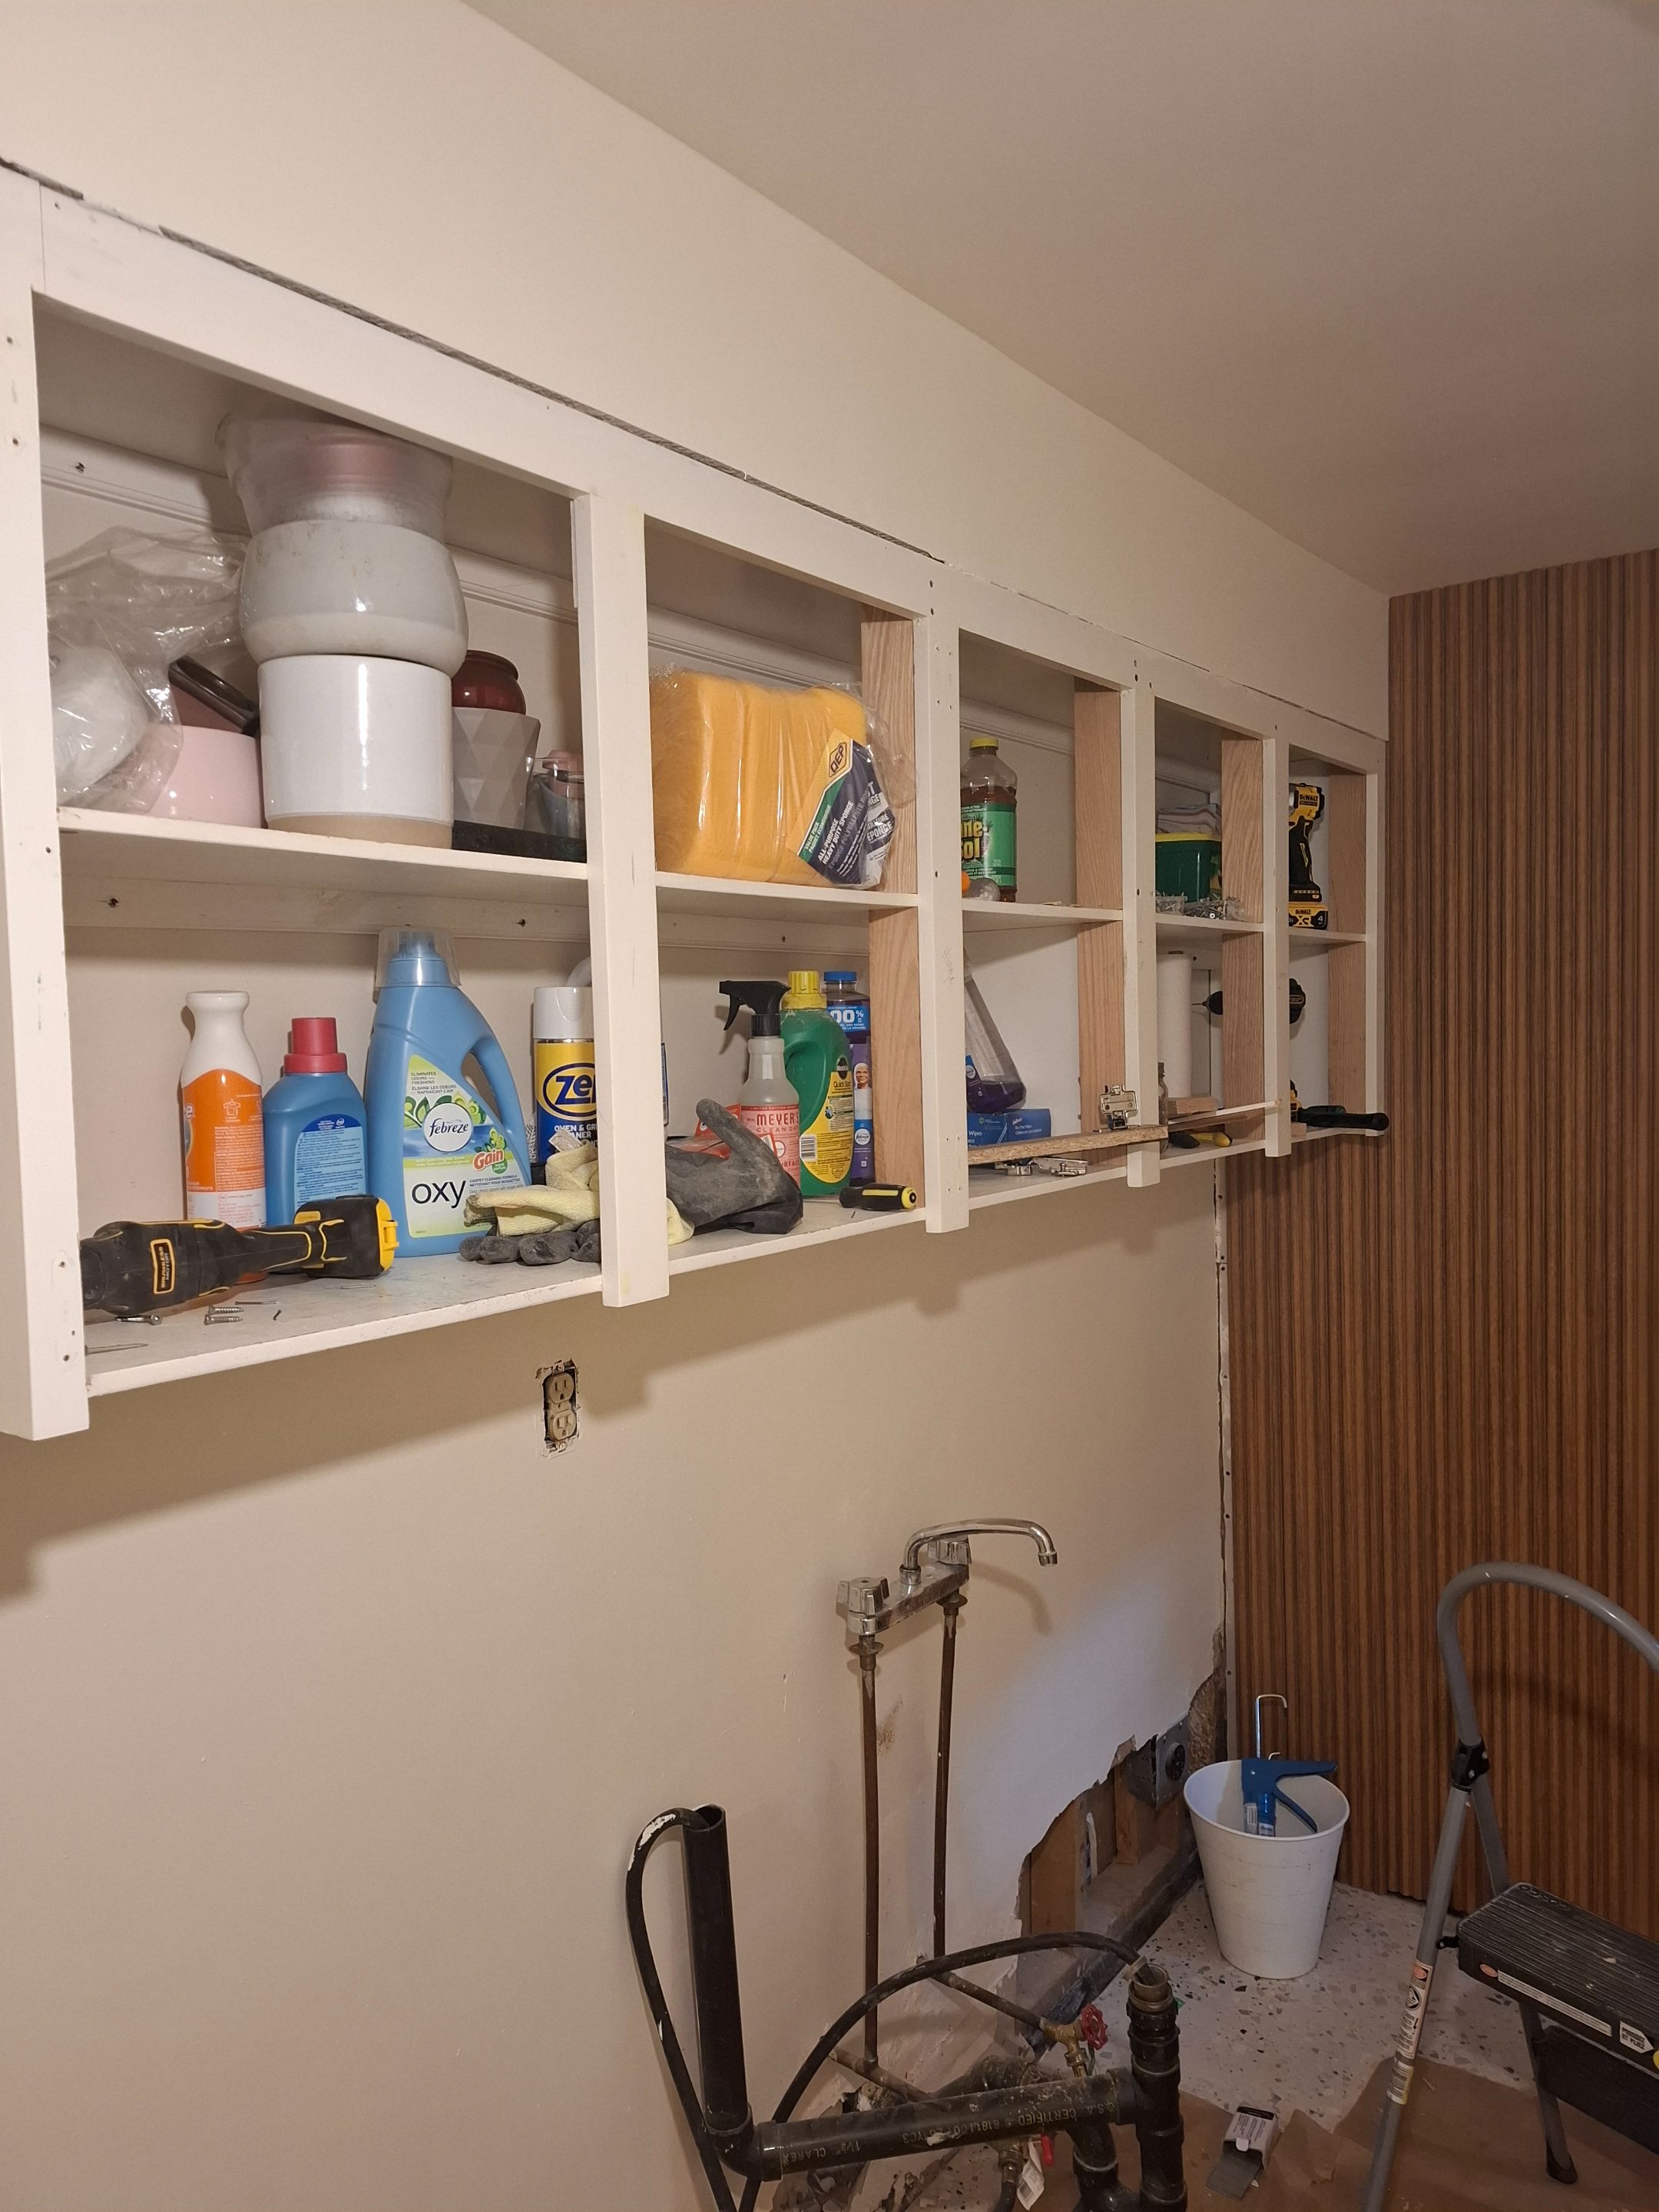
The existing cupboard doors were pretty basic and outdated and the vanity that held the sink was completely rotten from age and water damage.
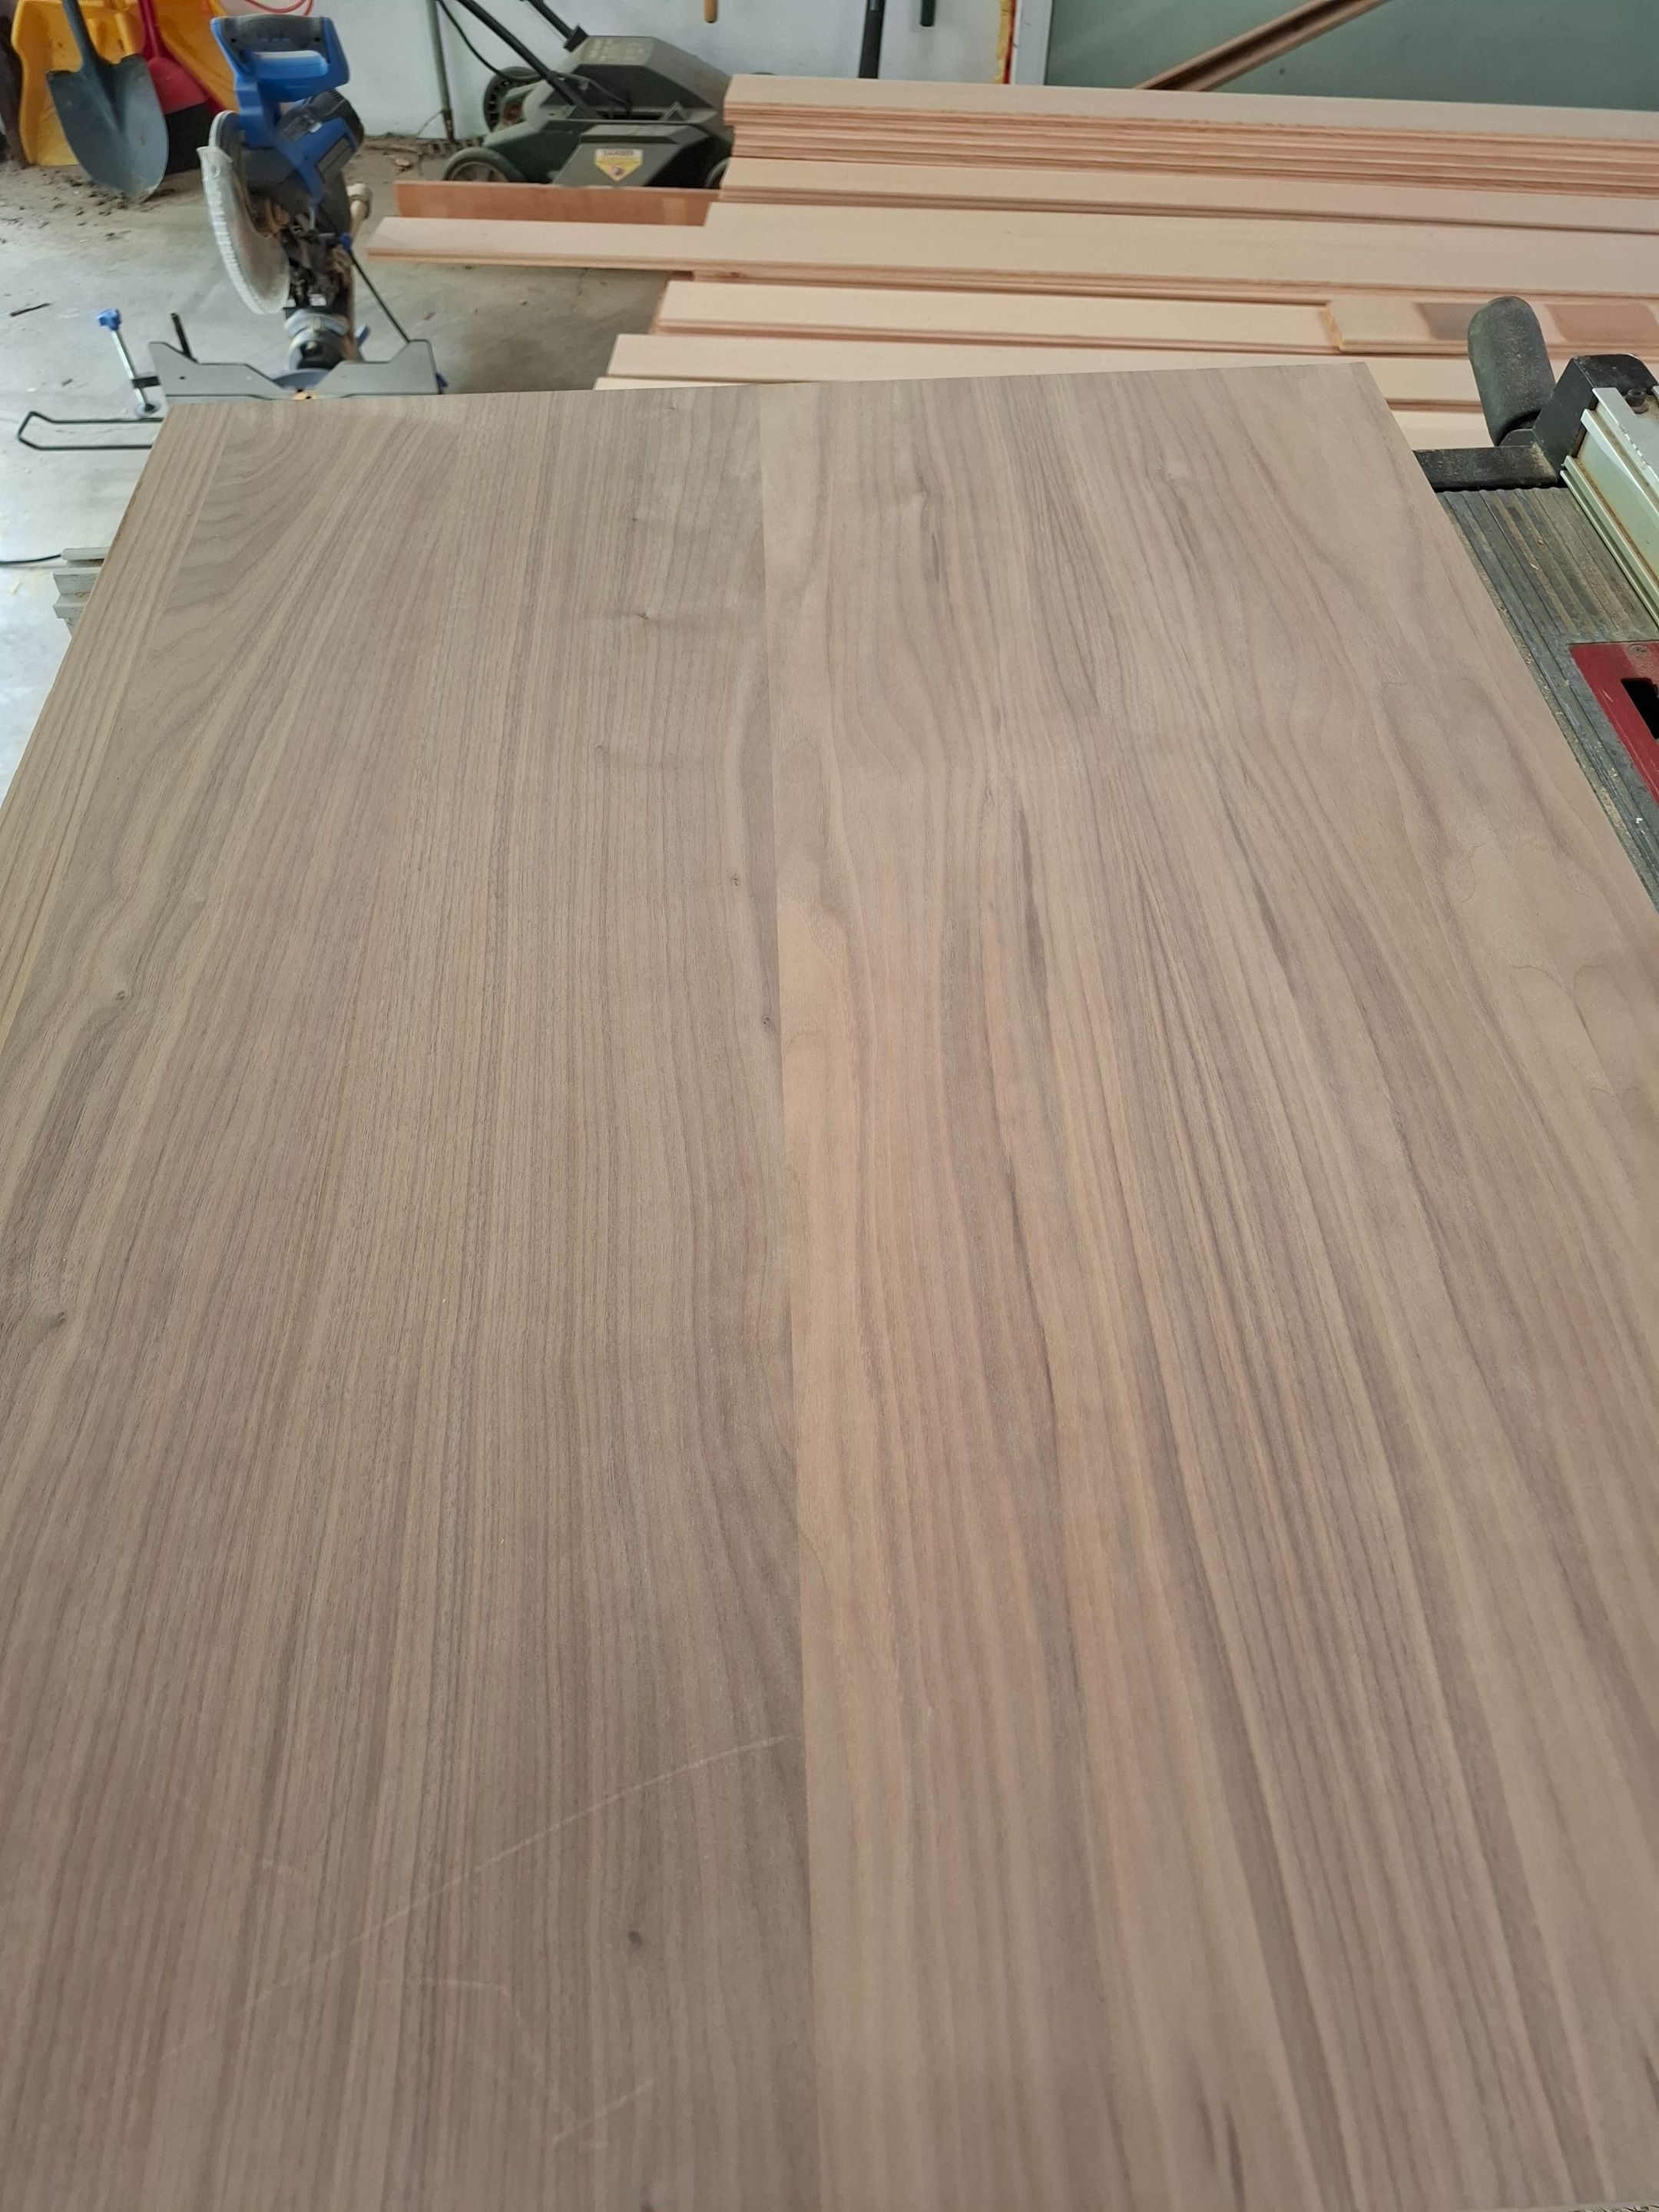
I have a bunch of scrap sheets of walnut veneer wood so I decided to attempt to build the cabinet myself along with the doors.
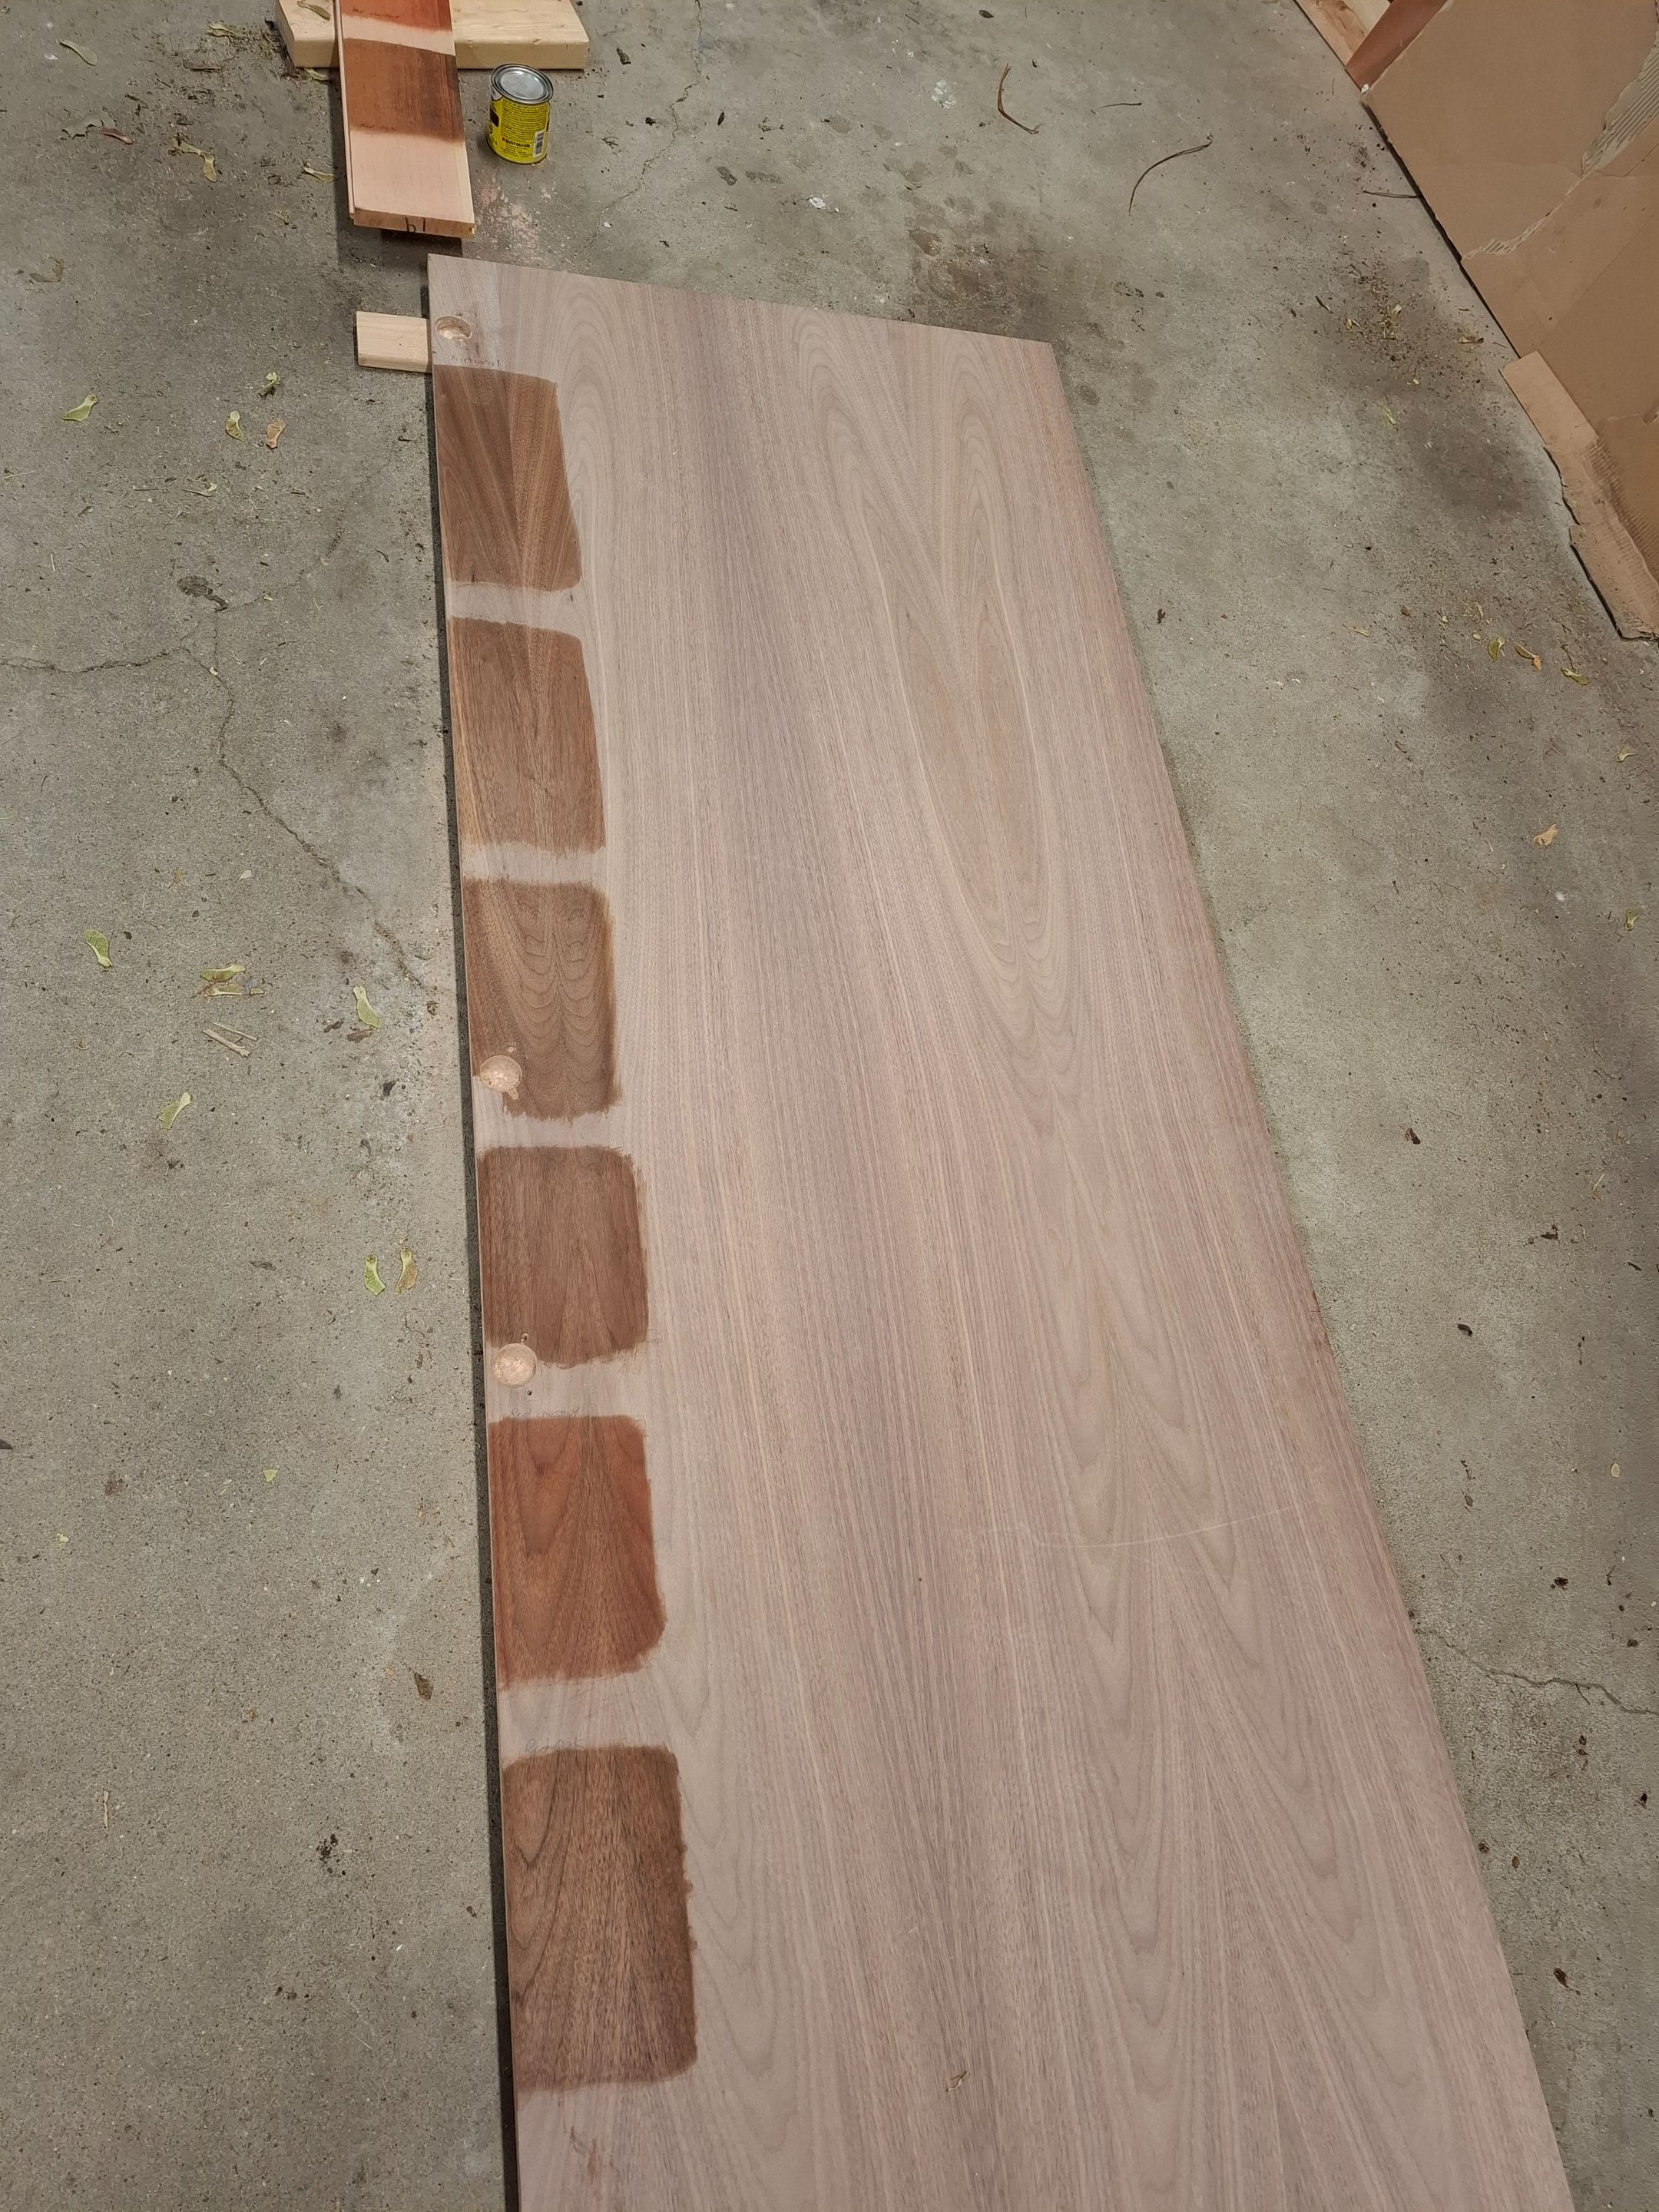
The photo above is me testing stain colors on the wood. I chose natural stain in the end.
Remind me never to bother trying to build cabinets myself. This stage has of the project has been the worst so far. Its taking a very long time and I have no experience with this sort of thing so I'm basically making it up as I go and hoping that it turns out nice.
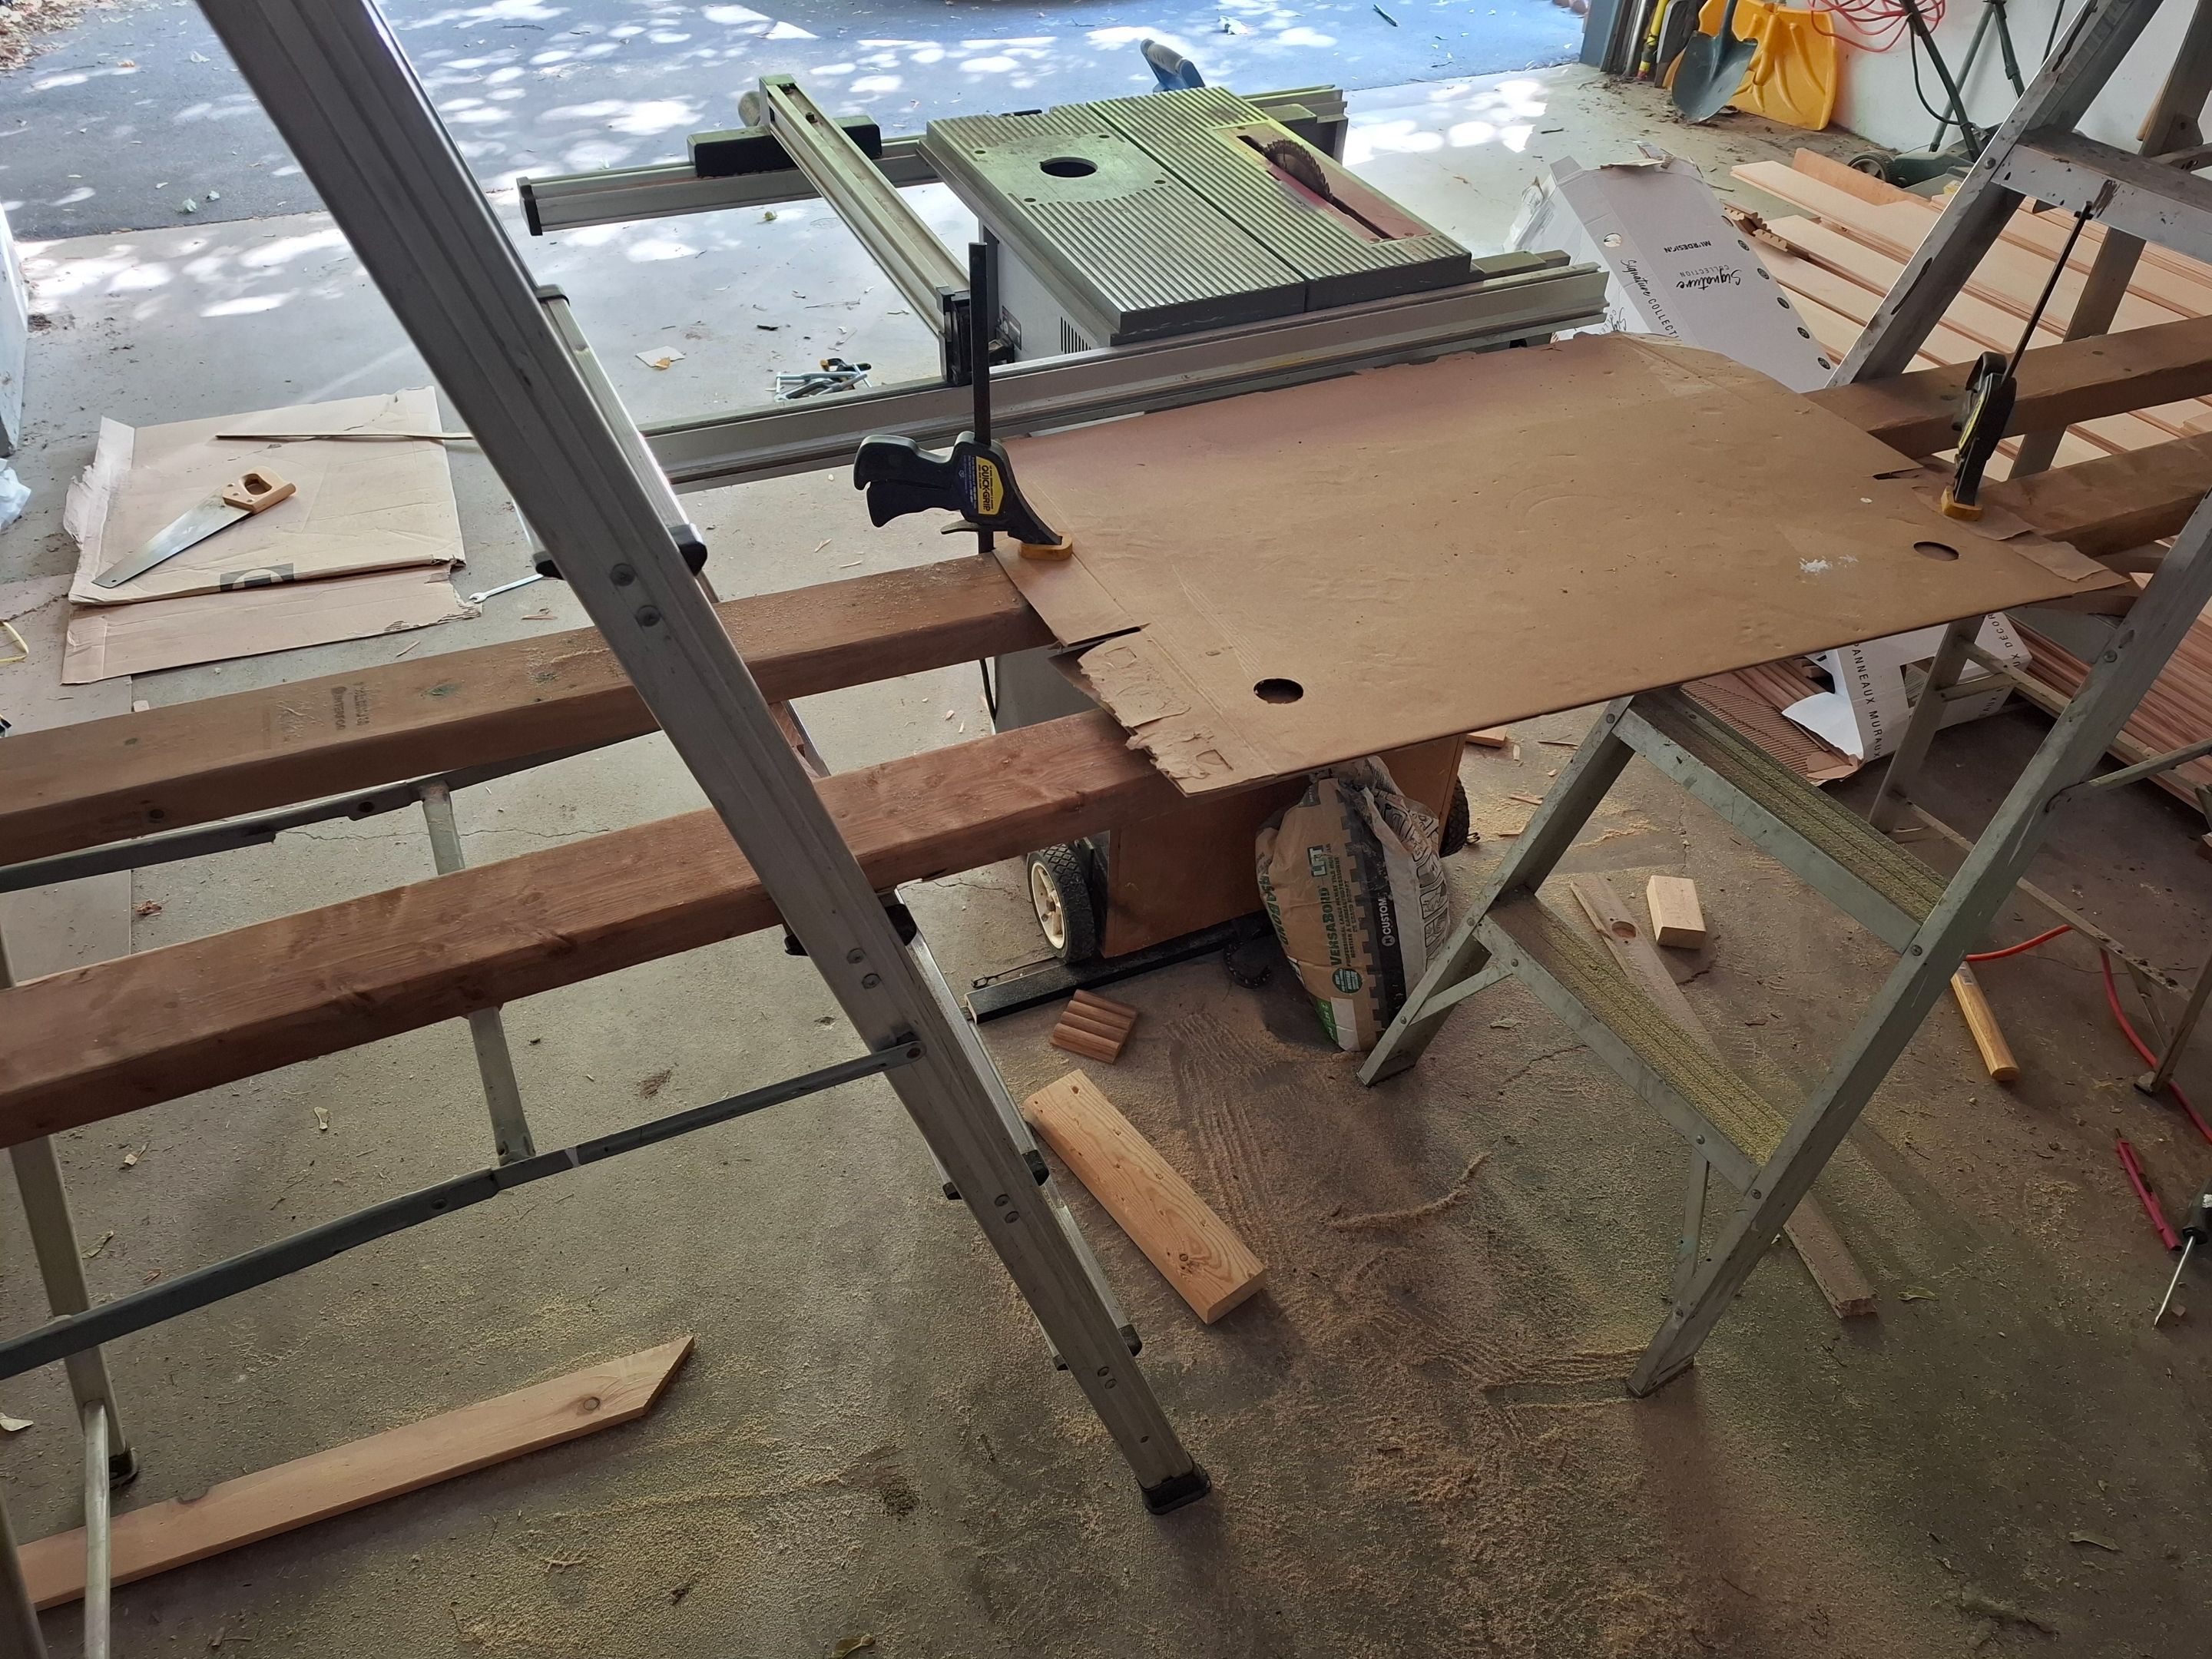
I also hate using the table saw. Its a dangerous tool and the sheets of wood I have are much larger than the tables surface. I either need a second person to balance and catch the wood for me or I have to rig something up to catch it after it passes through the saw. You can see what I mean in the photo.
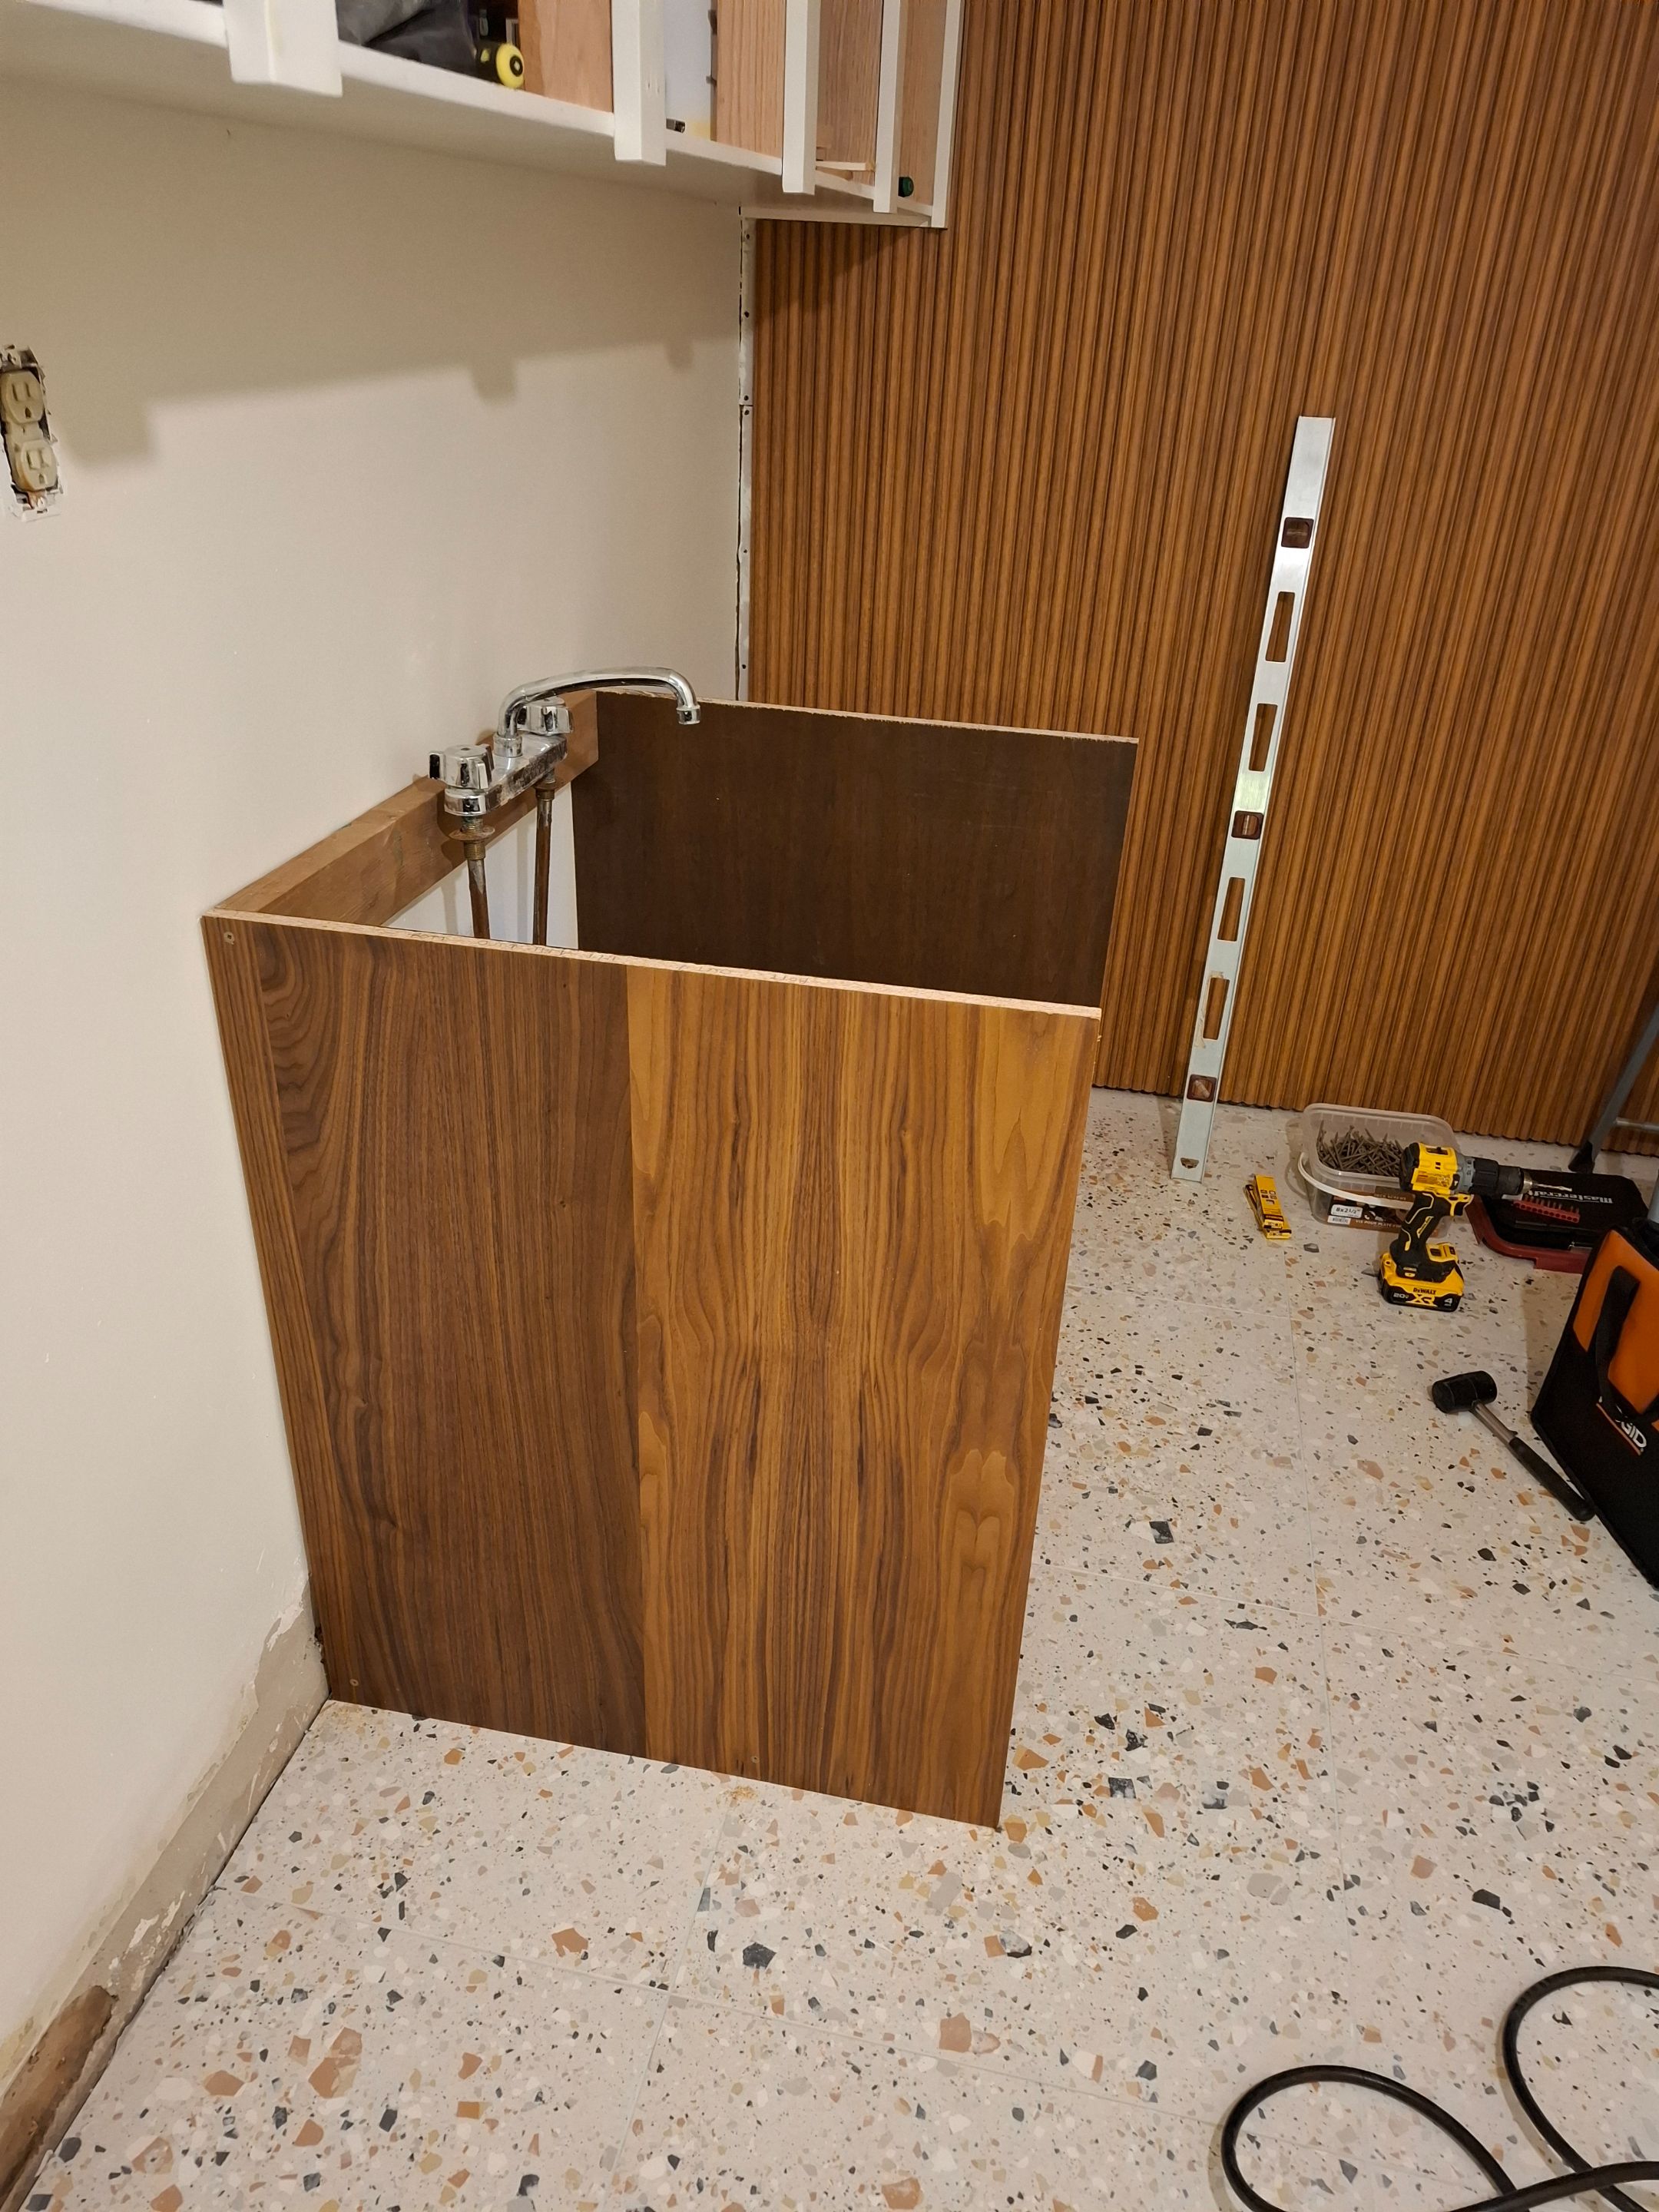
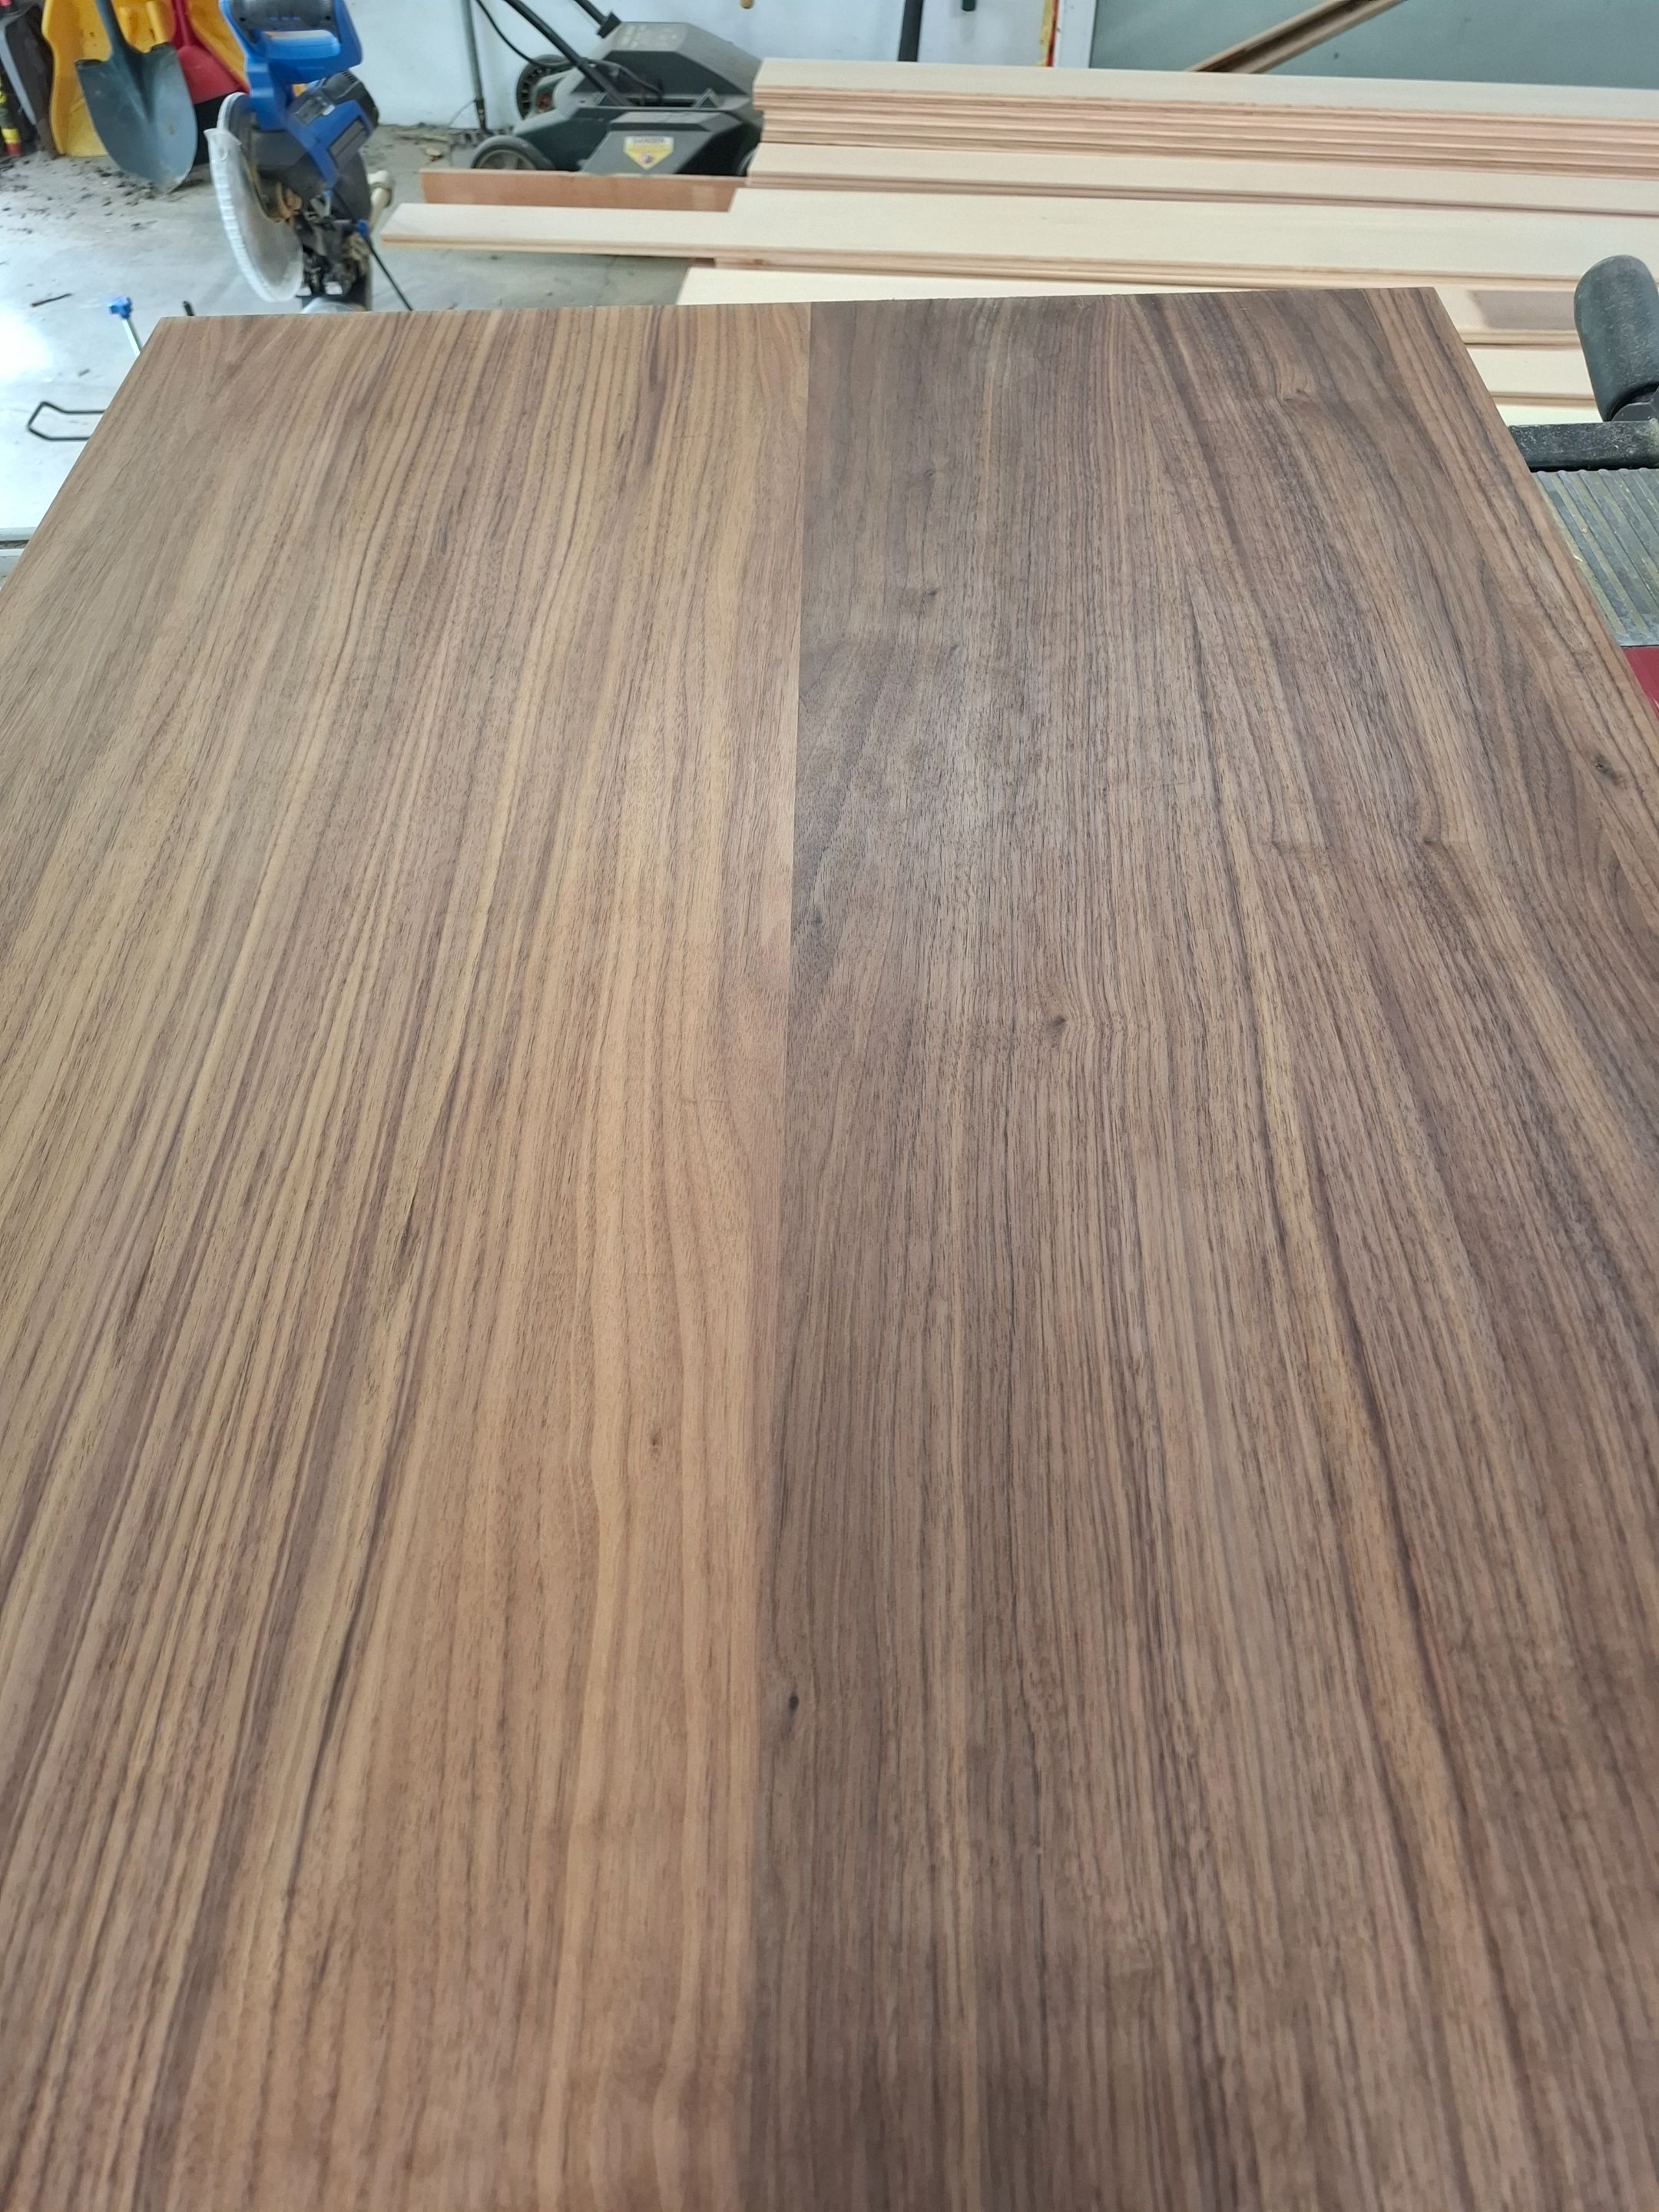
The last two photos are the cabinet mostly complet. I still need to put in another vertical cross piece in the front center where the doors will hit but then the box is complete. As you can see the veneer is laid in sheets on the boards and the different sections absorb stain differently. In this case it created a two tone look.
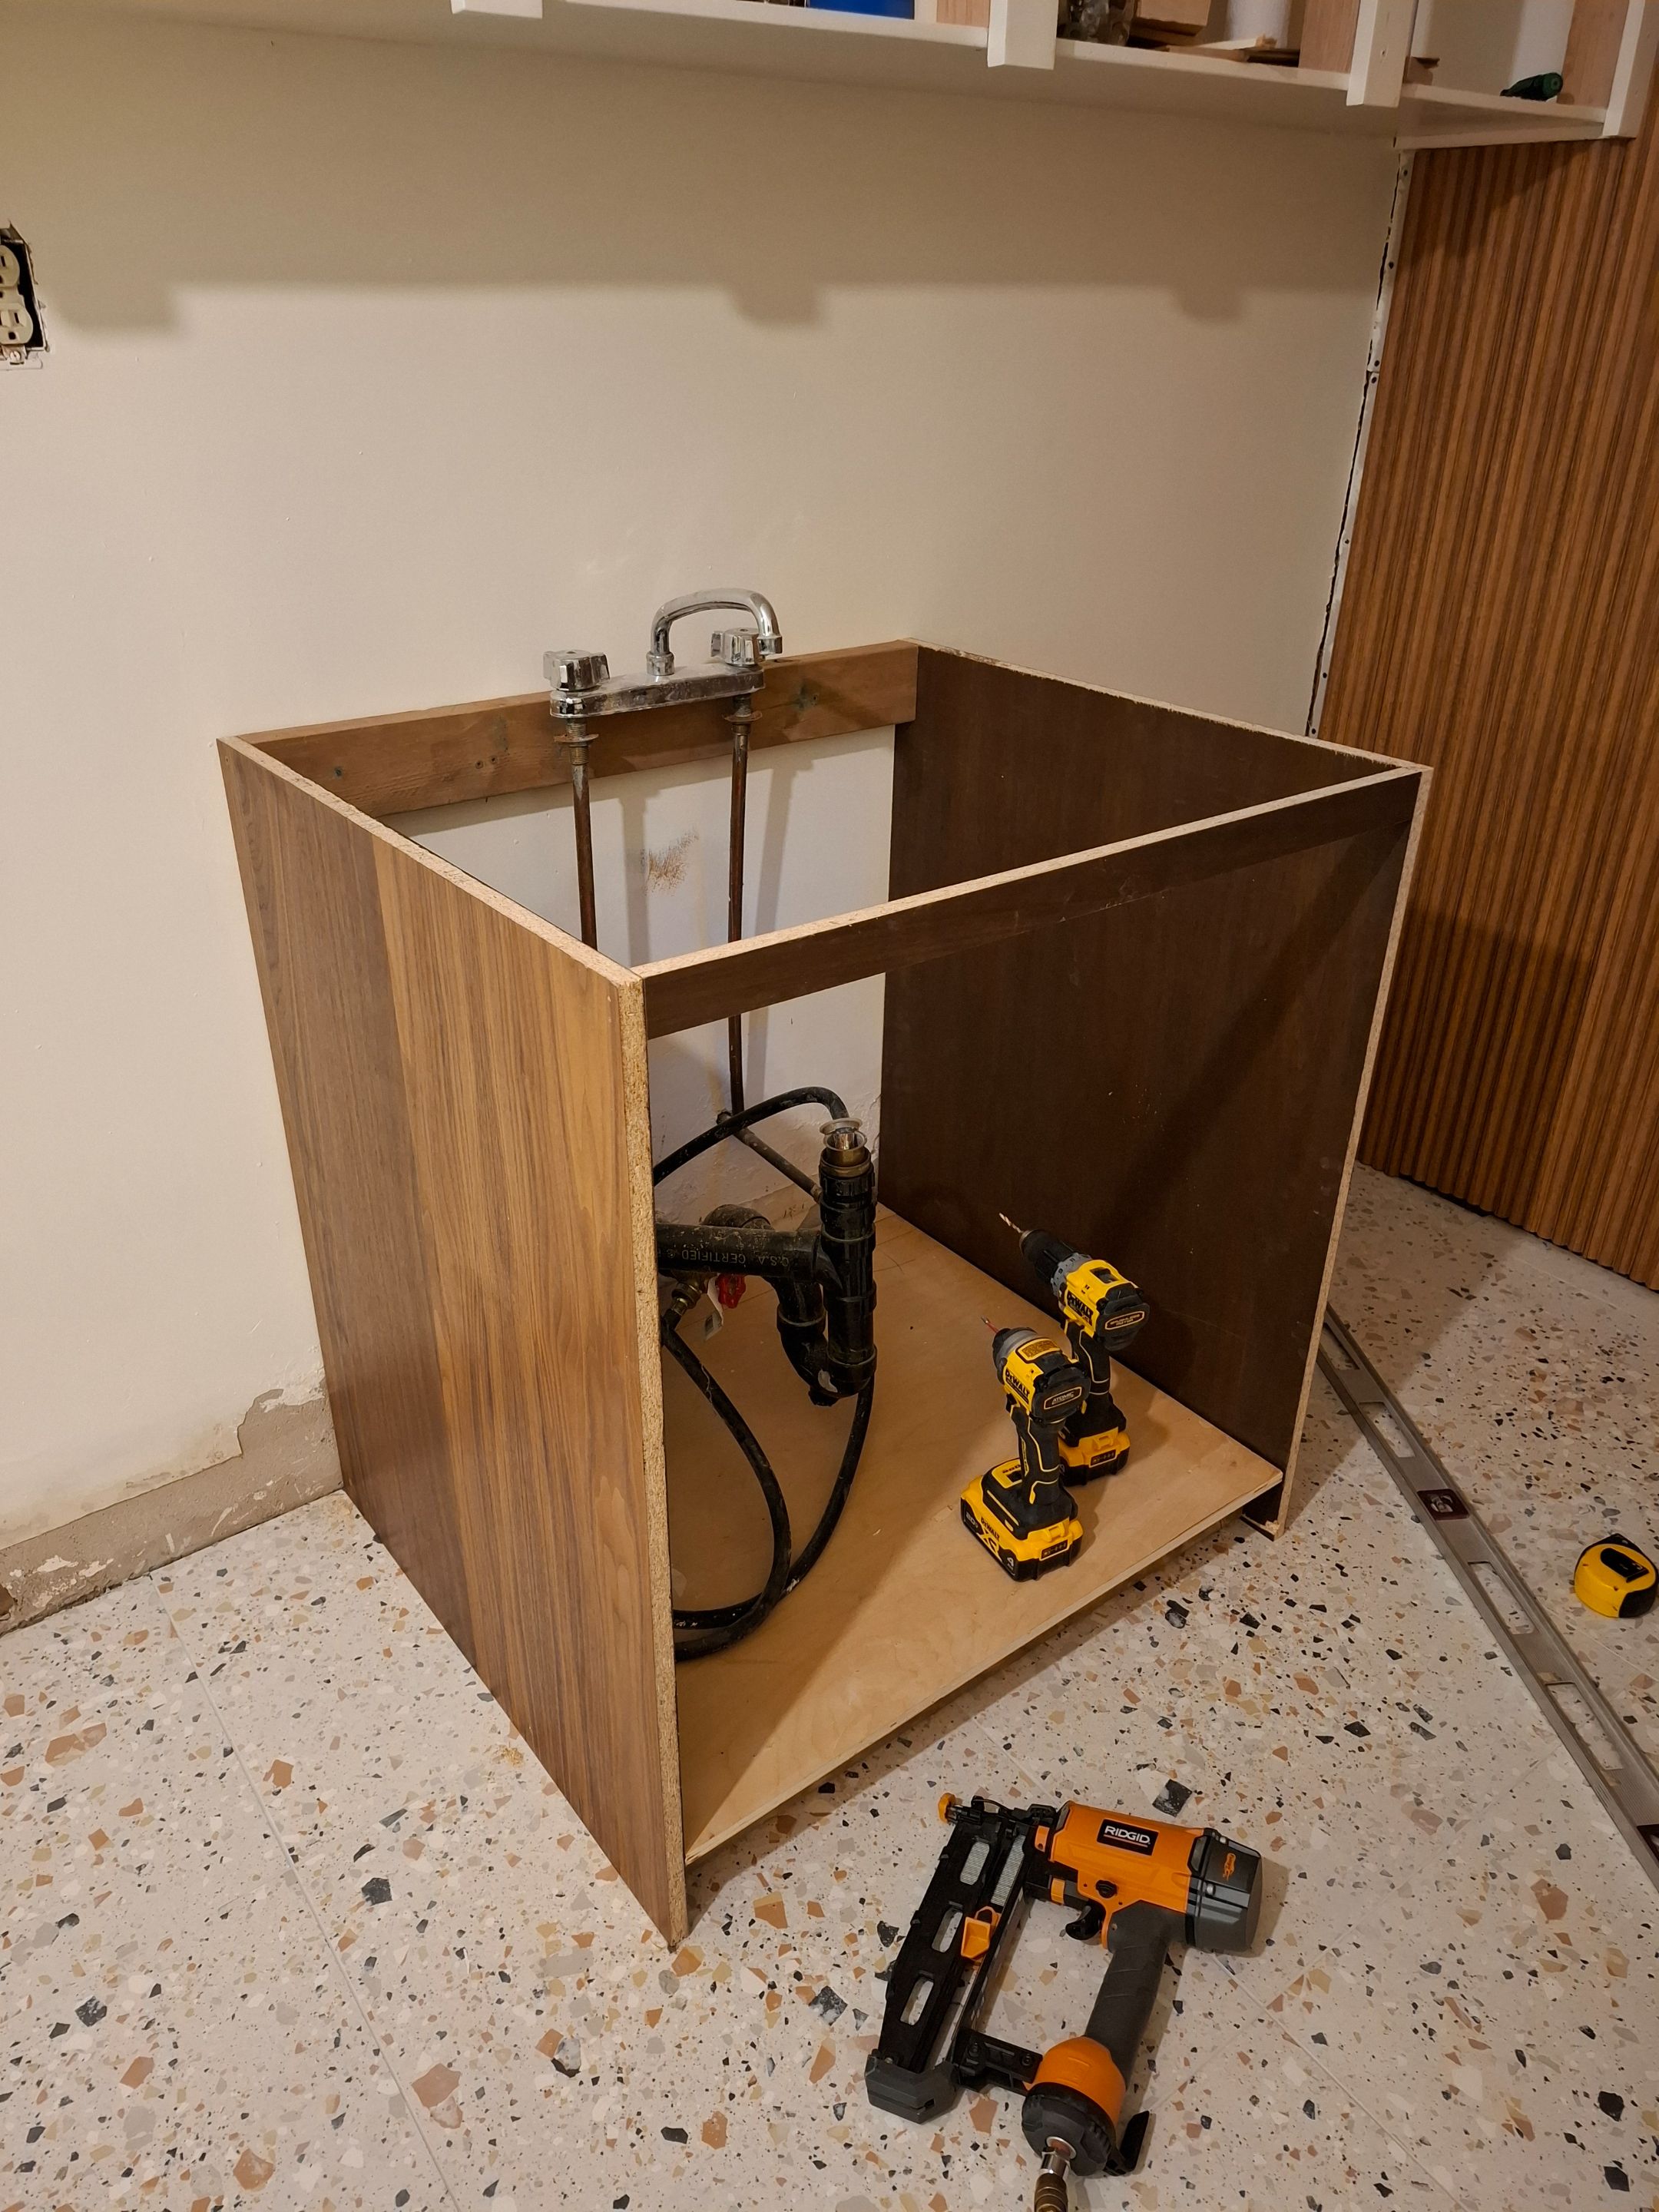
I still have to put edge tape around the exposed parts of the cabinet and cut the cabinet doors and edge them. I have to install a counter as well and do some plumbing work. I'm hoping to be done everything over the next two weekends but we'll see.