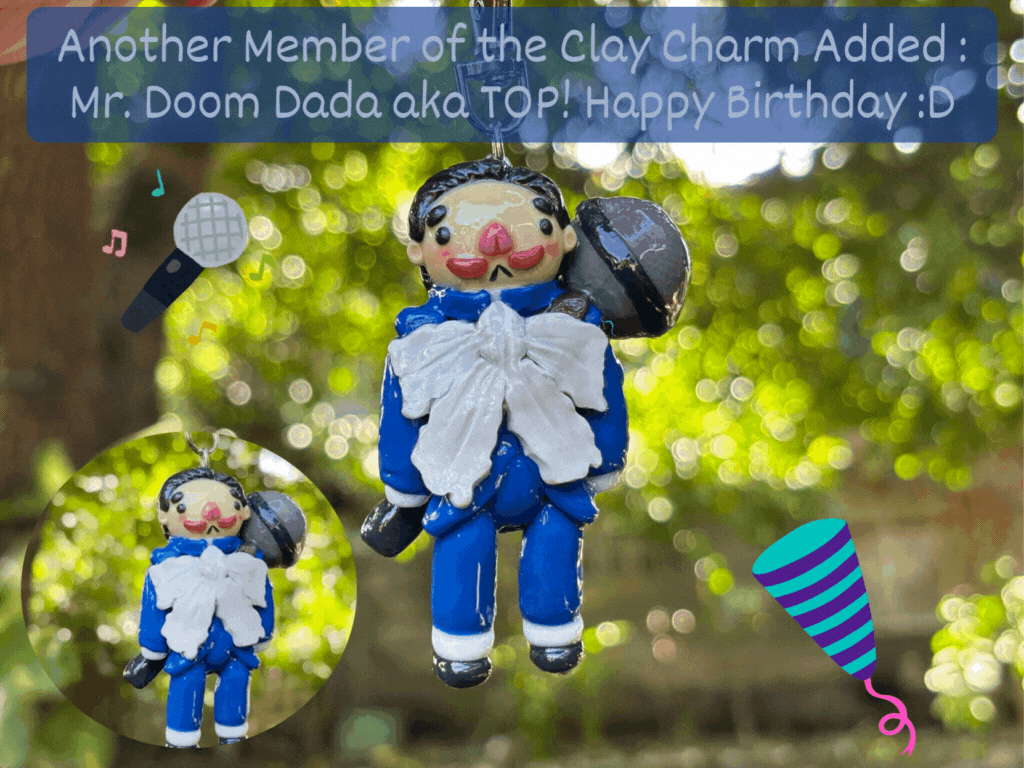
Hello, how are you? Since I posted the clay charm I made a few days ago, I've been inspired to make more, but this time I will make a charm of Choi Seunghyun, aka TOP of BigBang, who made me like K-pop.
It is his birthday today, so it is more special. I have something to revisit in my past post, and the inspiration for the design comes from his iconic song Doom Dada, in which he is dressed in a blue suit with a big bow and the iconic big microphone.
It is my second time making charms, so I can say I am more comfortable doing it, and I've been feeling confident about so if you wanted to see the process, keep scrolling LOL.
----
 -----
-----
---

Materials I Used:
- Polymer Clay
- Portable Weighing Scale
- Soft Pastels
- X-Acto Knife
- Wire
- Alcohol
- Qtip
- Makeup Brush
- Eyepin
- Acrylic Rolling Pin
- Jump ring
- Gum Container
- Oven
- Silicone Mat
- Uv Resin
- Face Shield/Facemask
- Disposable Gloves
- Uv Lamp
- Pliers
- Keychain
Craft Time!
The Sketch:
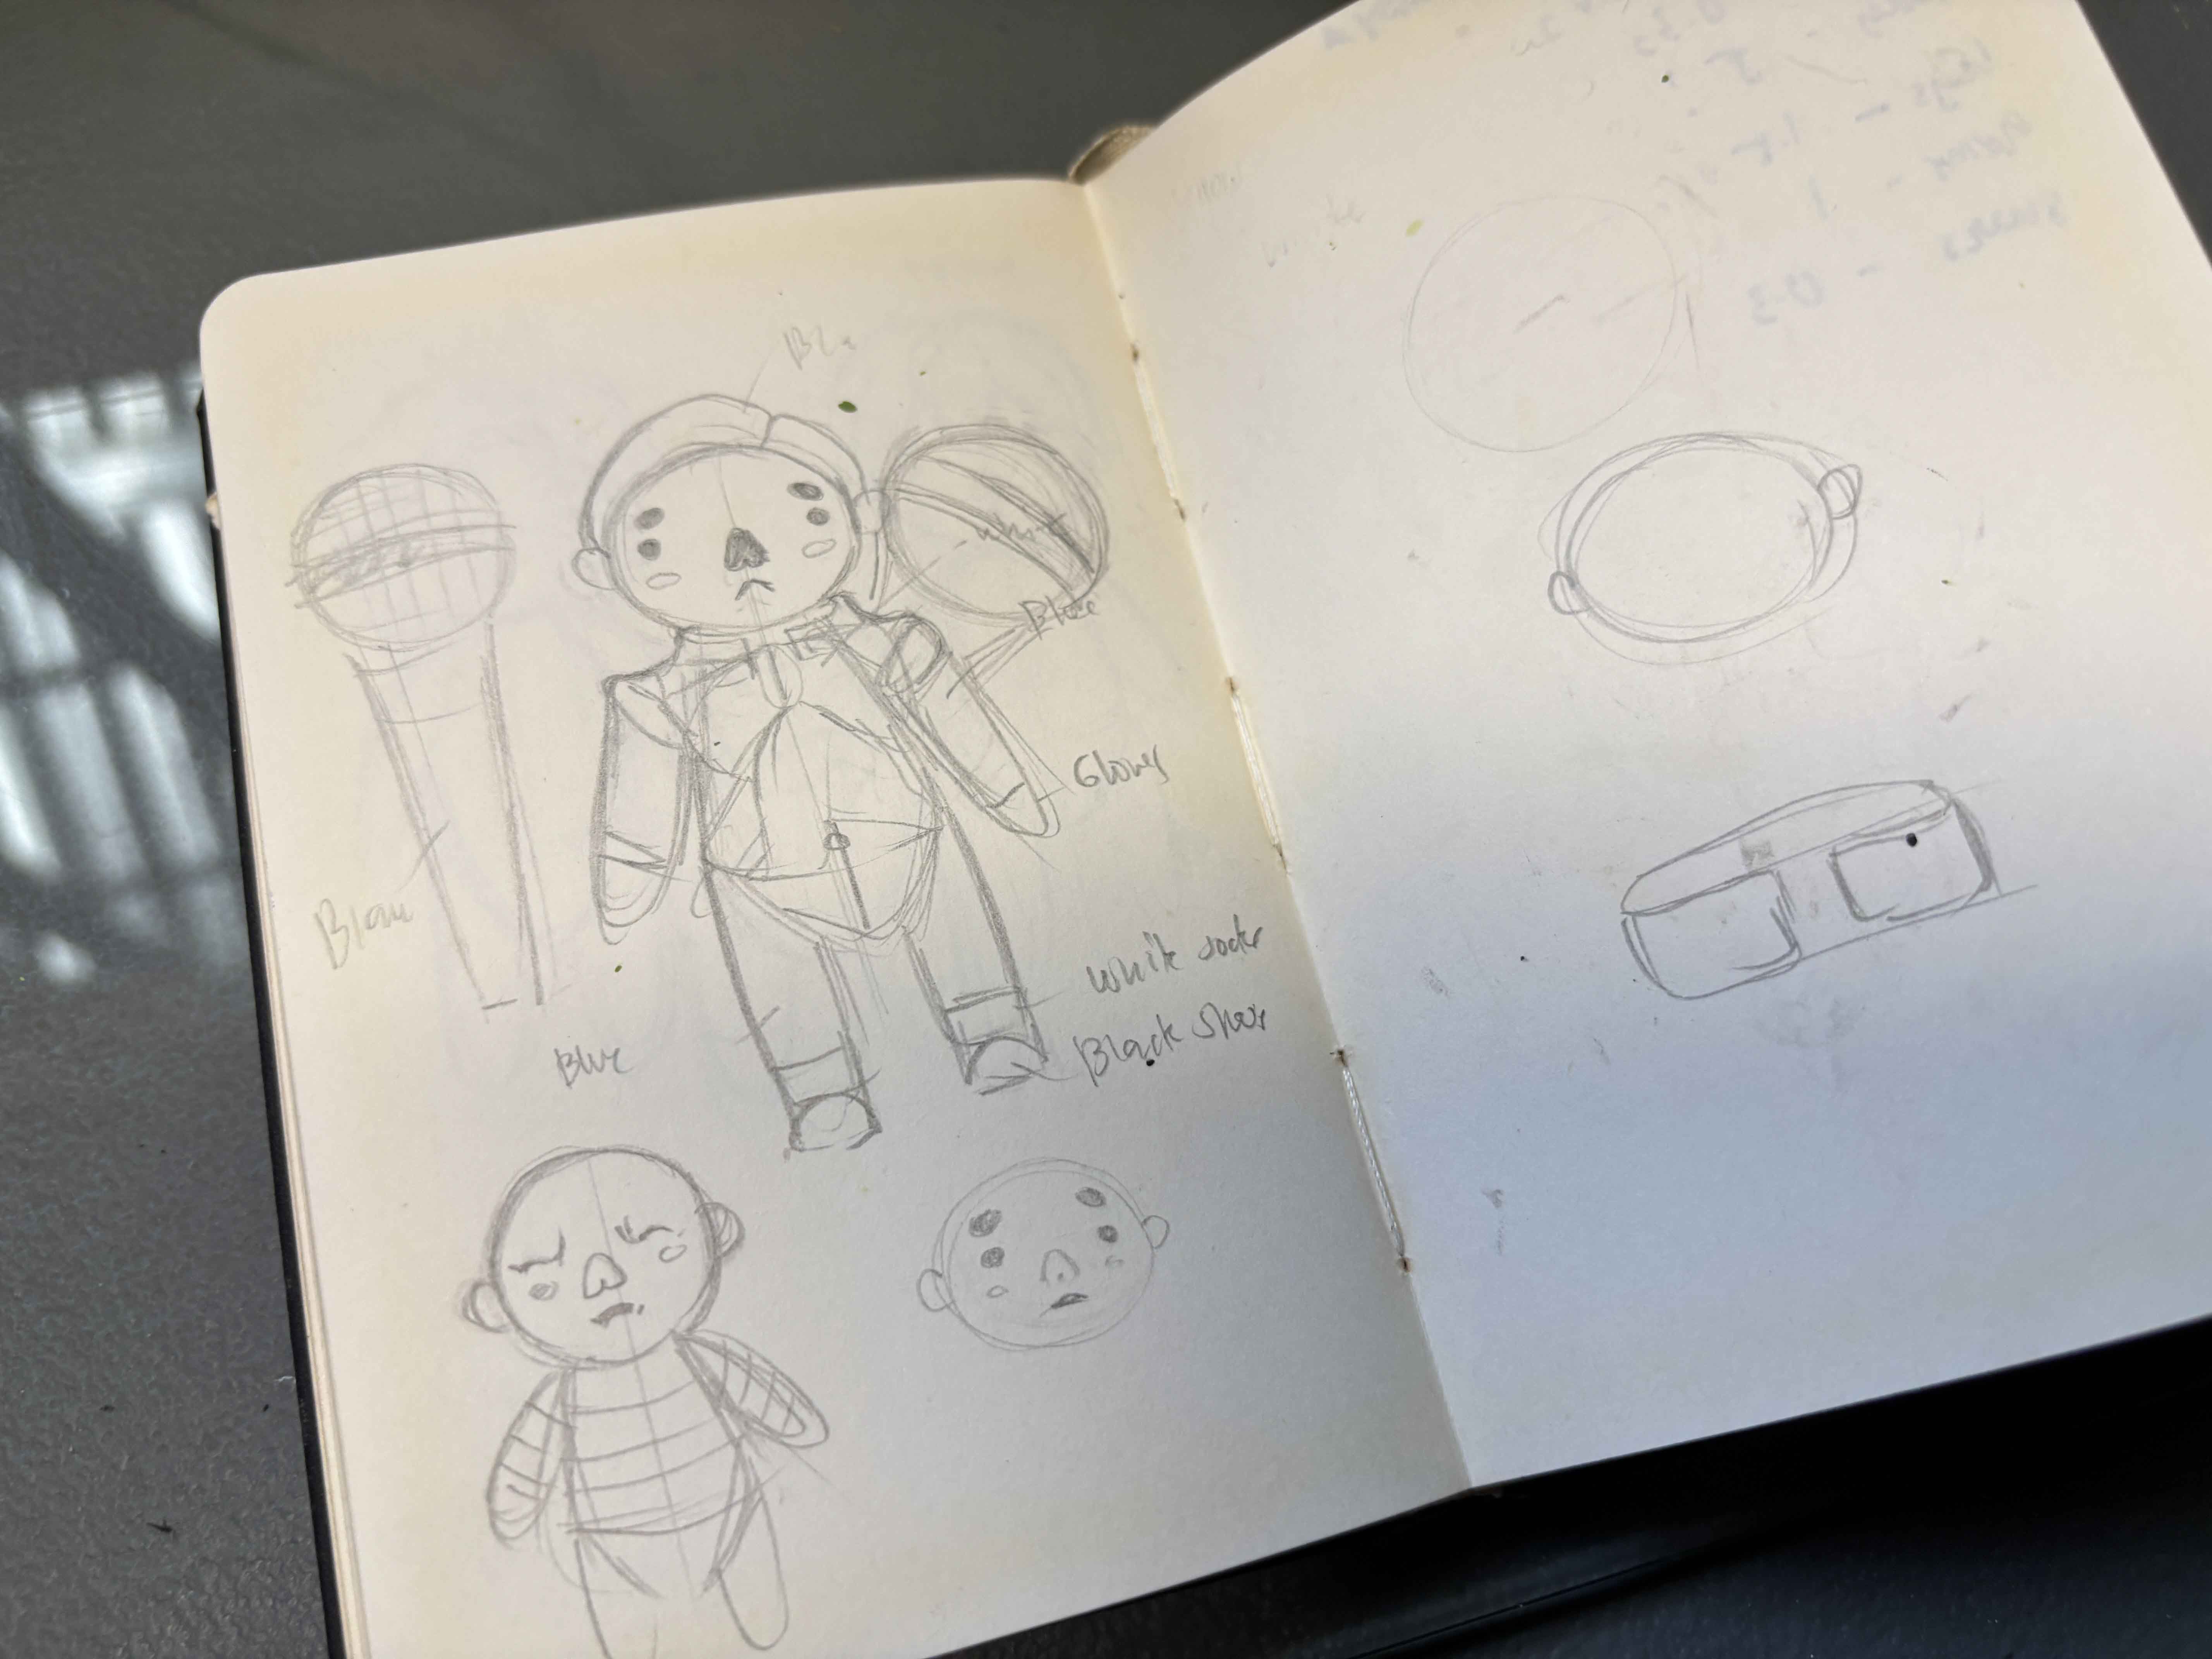
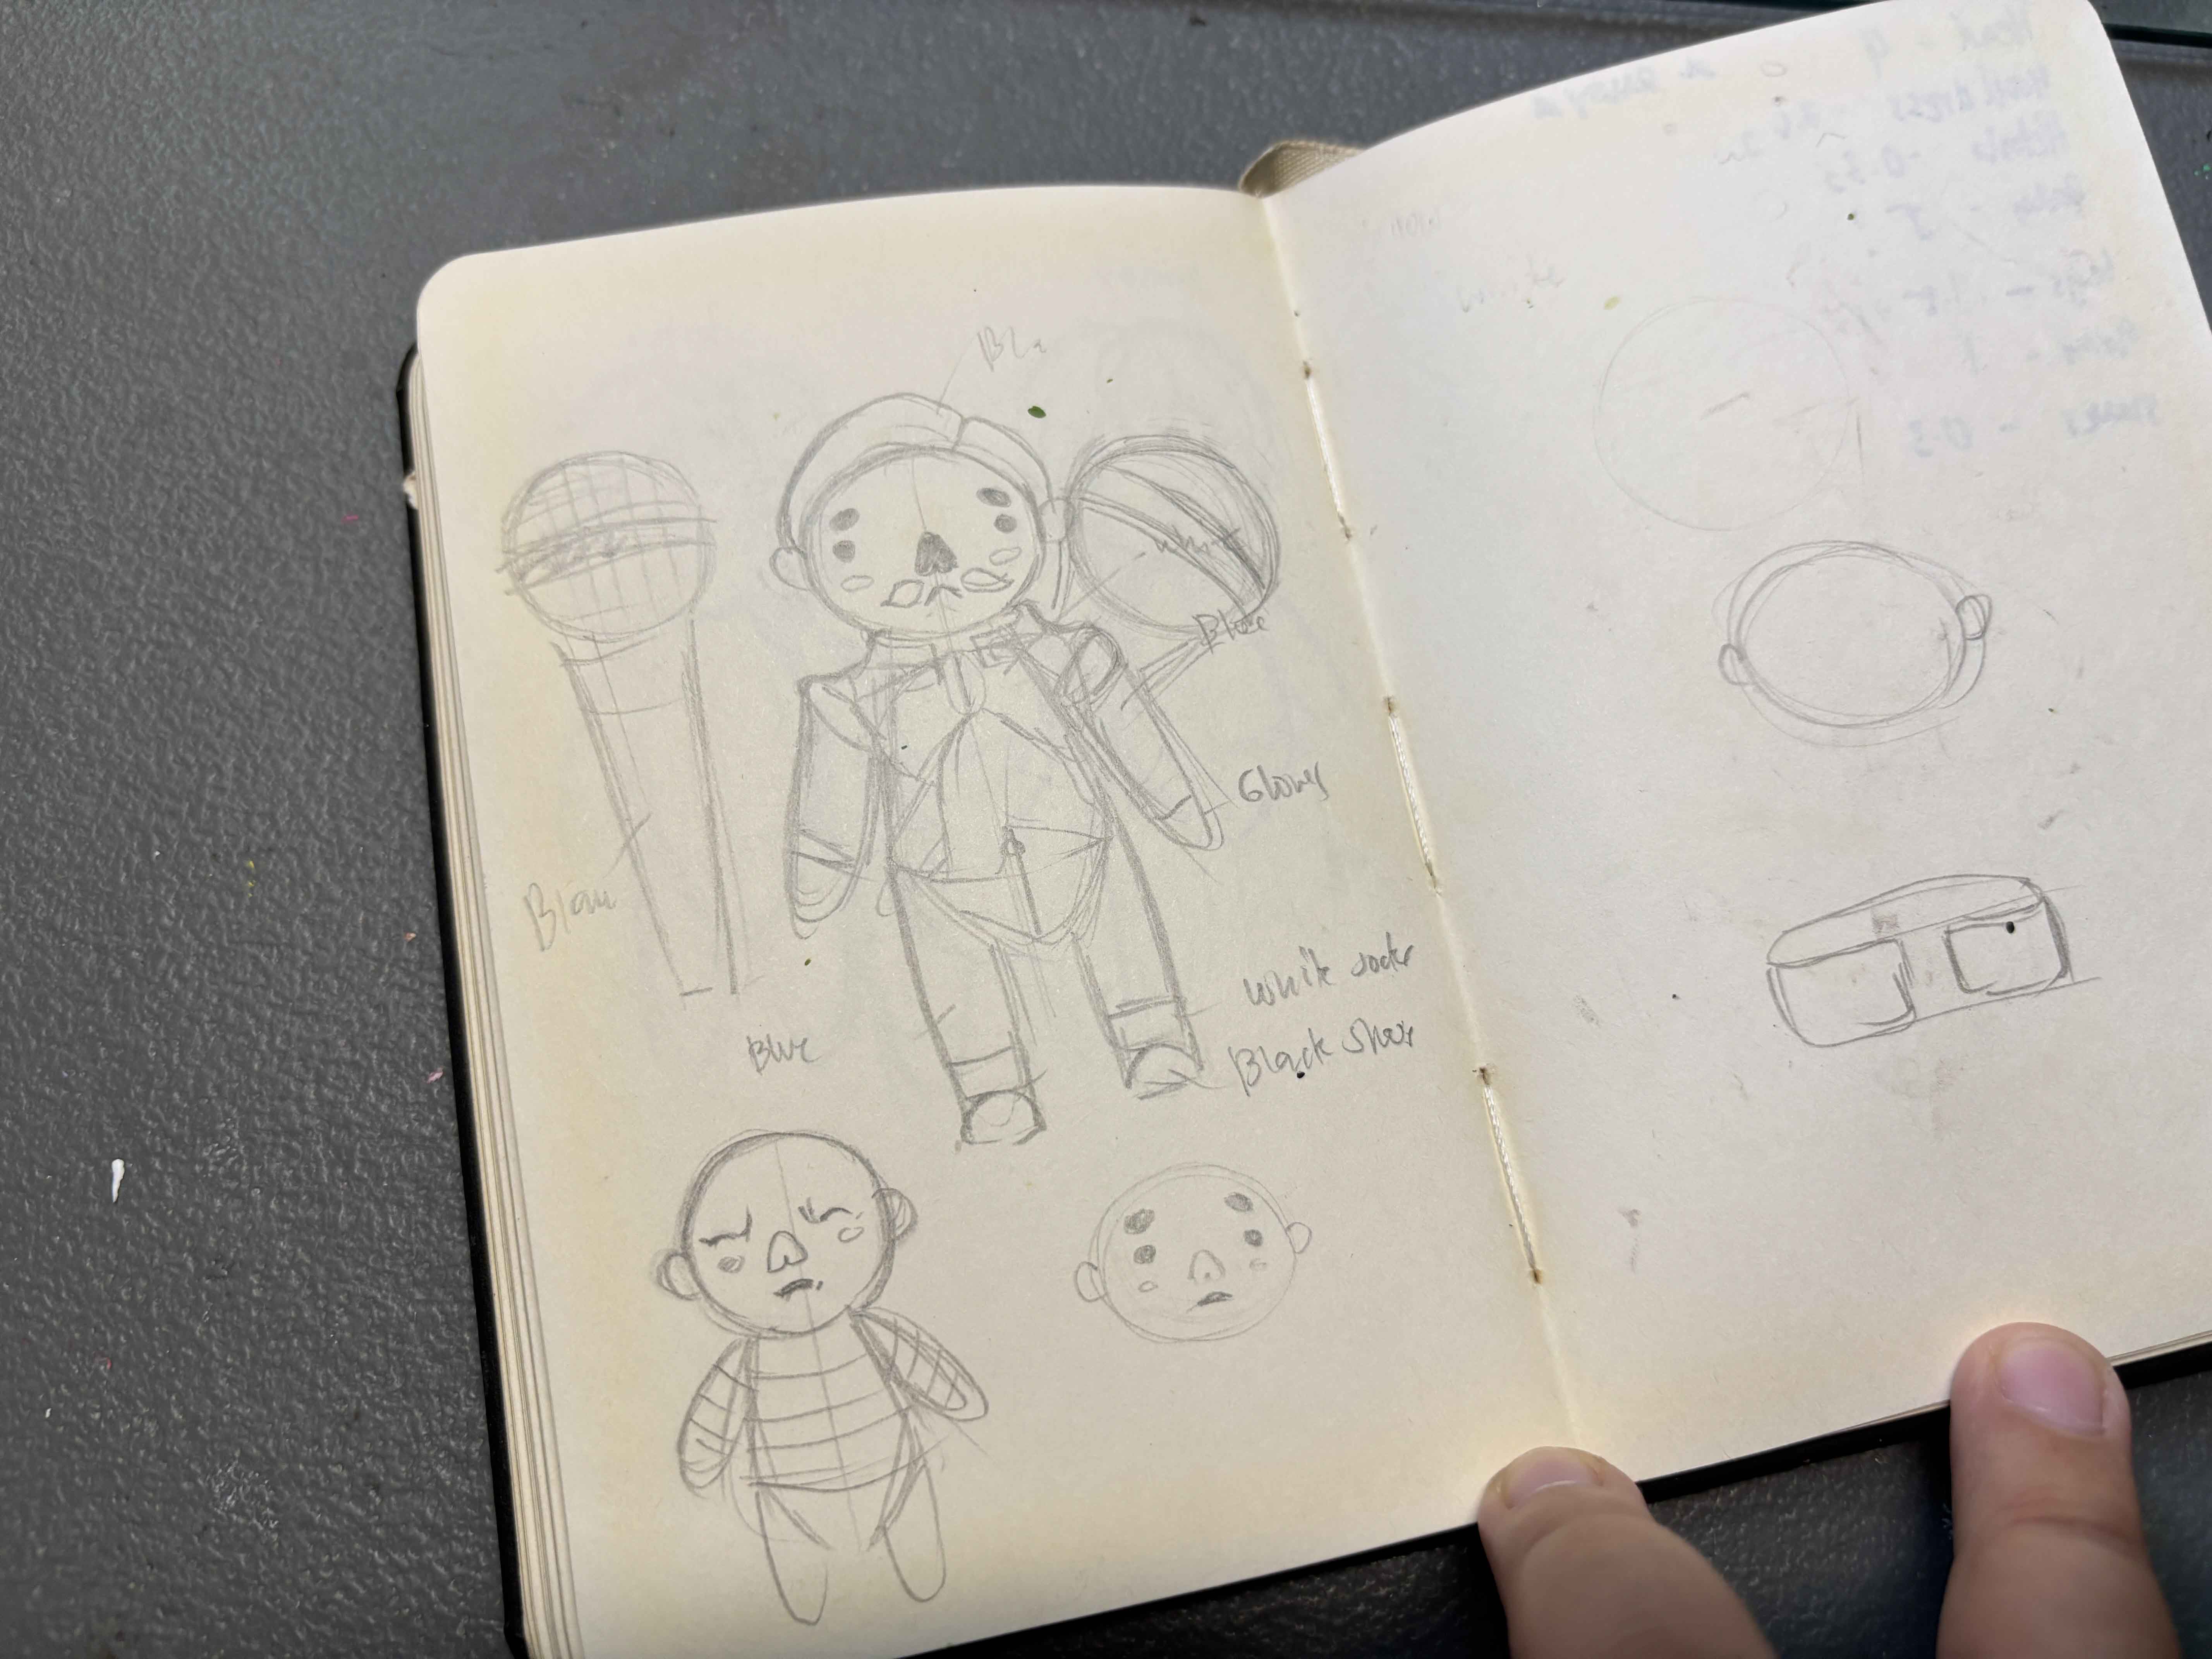
So I like to sketch the reference in a sketchbook rather than digitalize it, this is less stressful, maybe when I have the time, I will. I was staring at it, something was missing on it, and that's a red beard LOL.
-----
-----
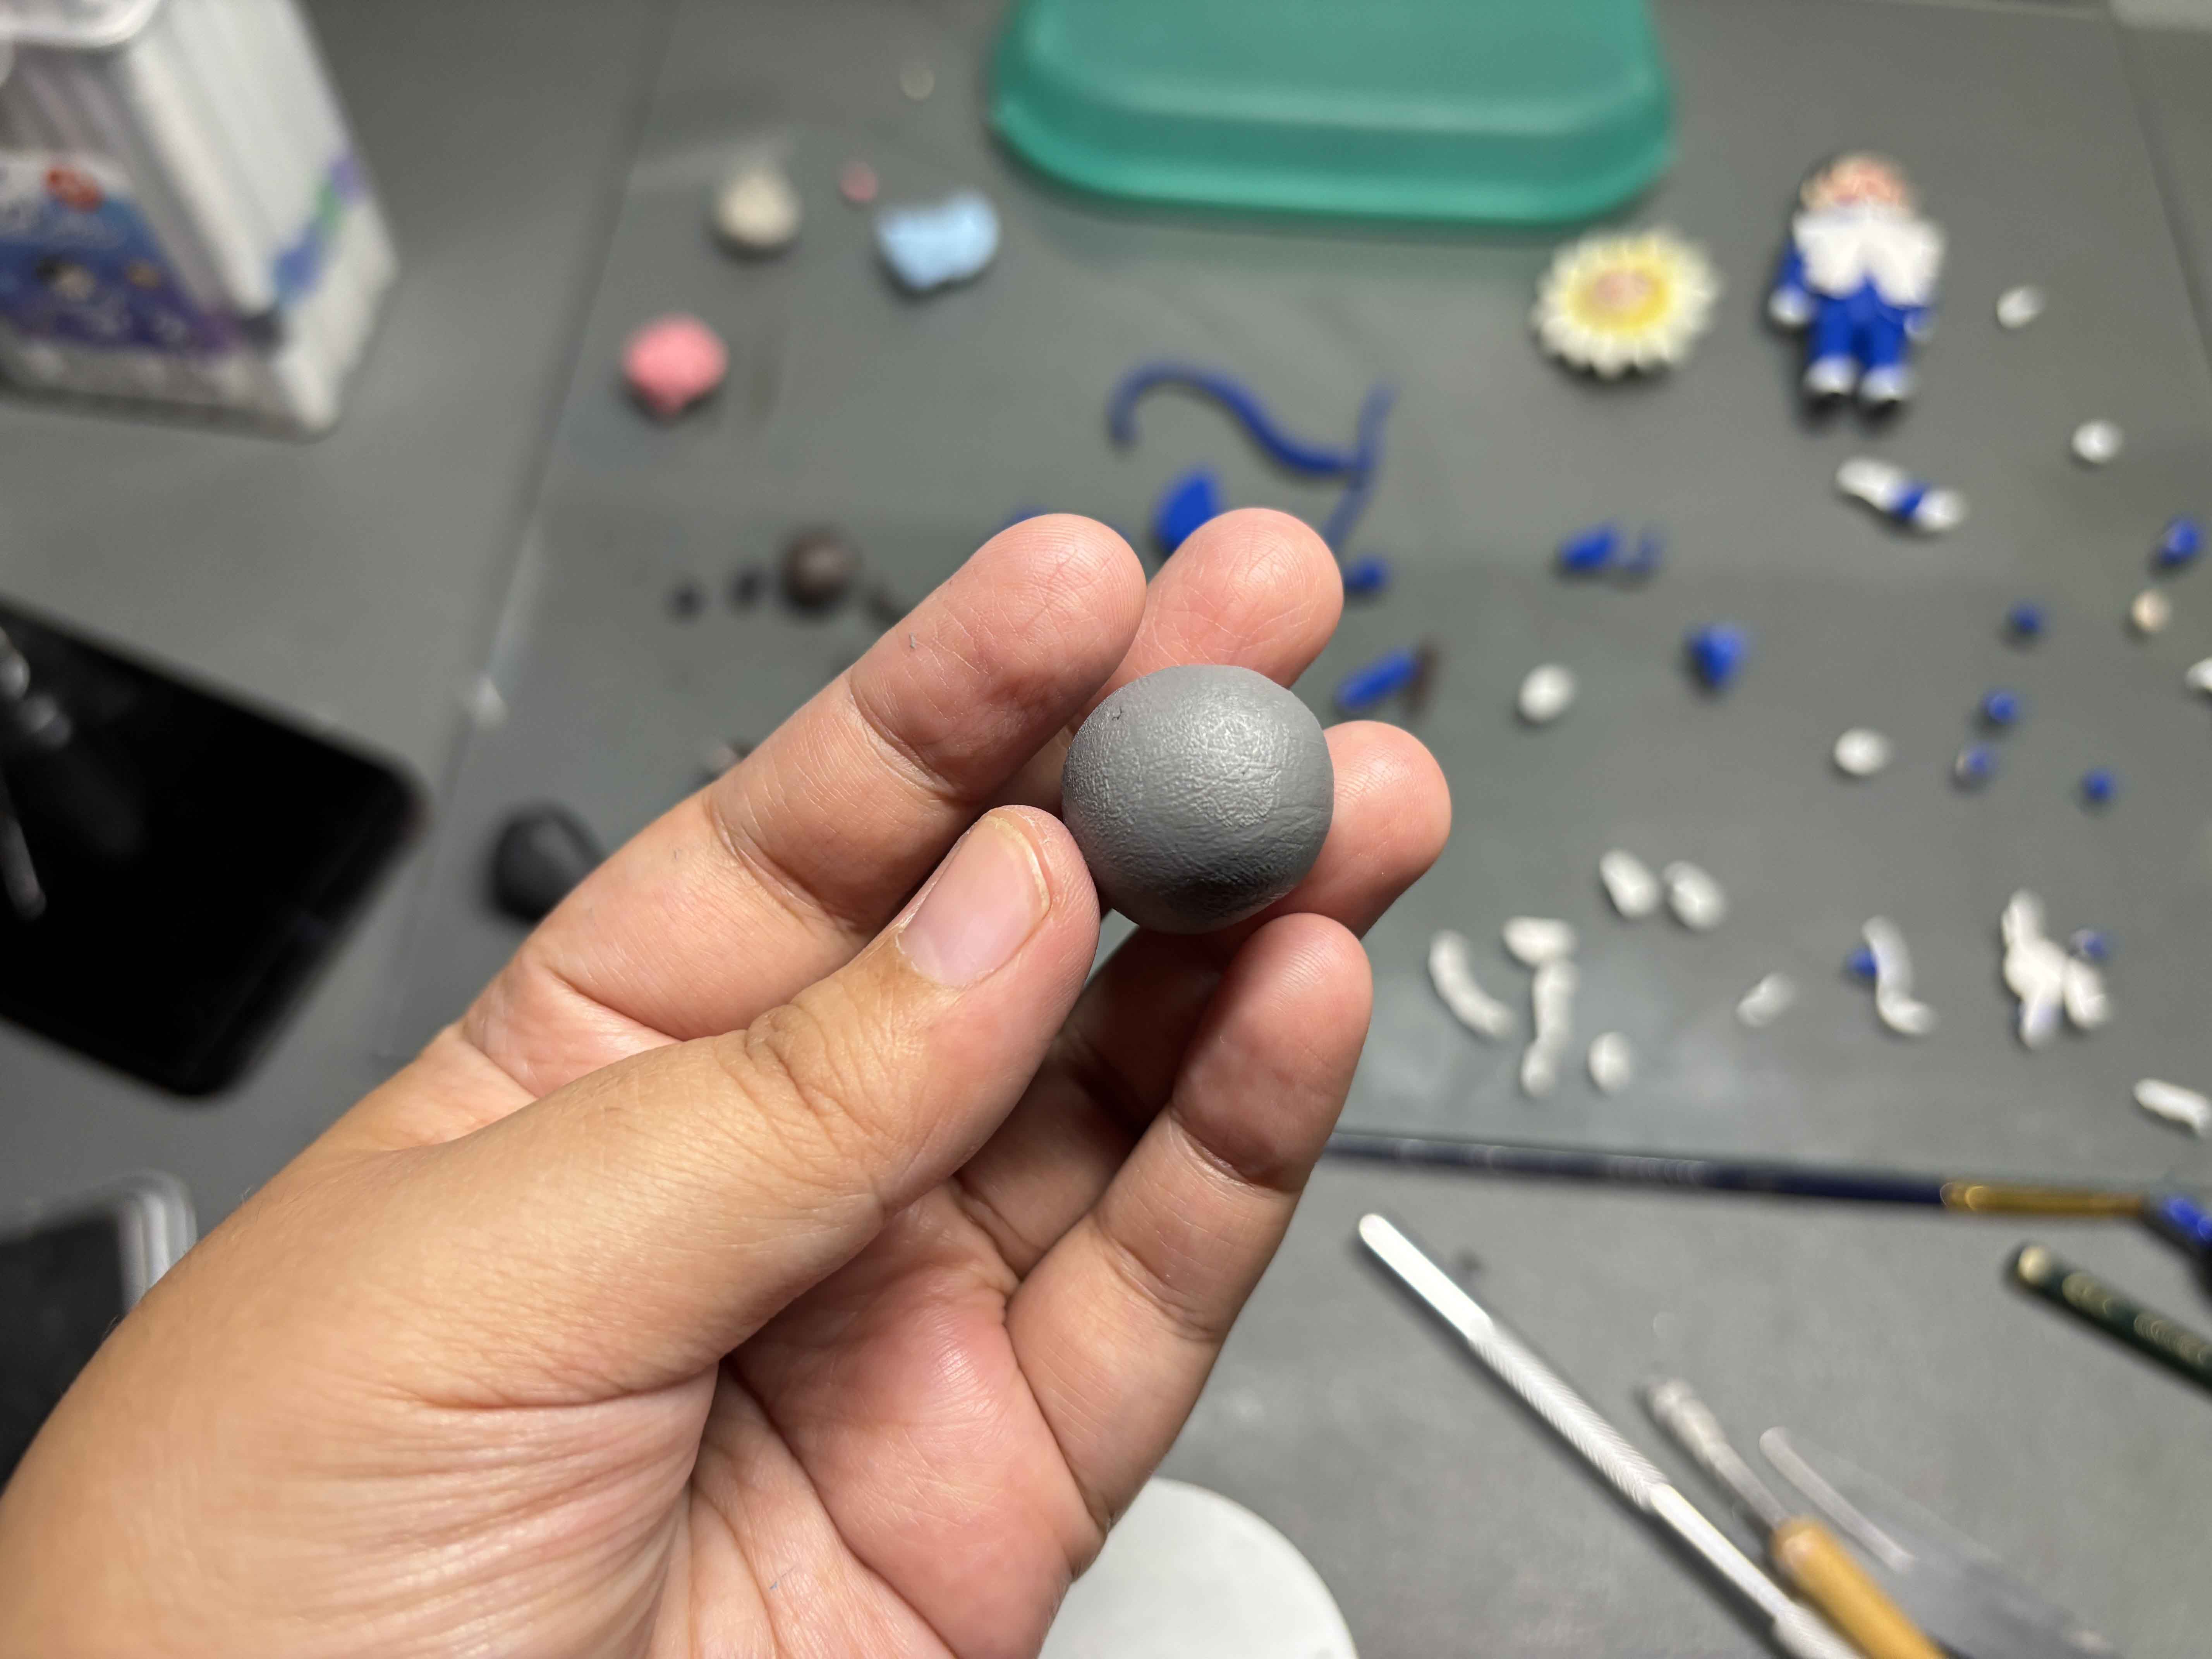
Conditioning the Clay:
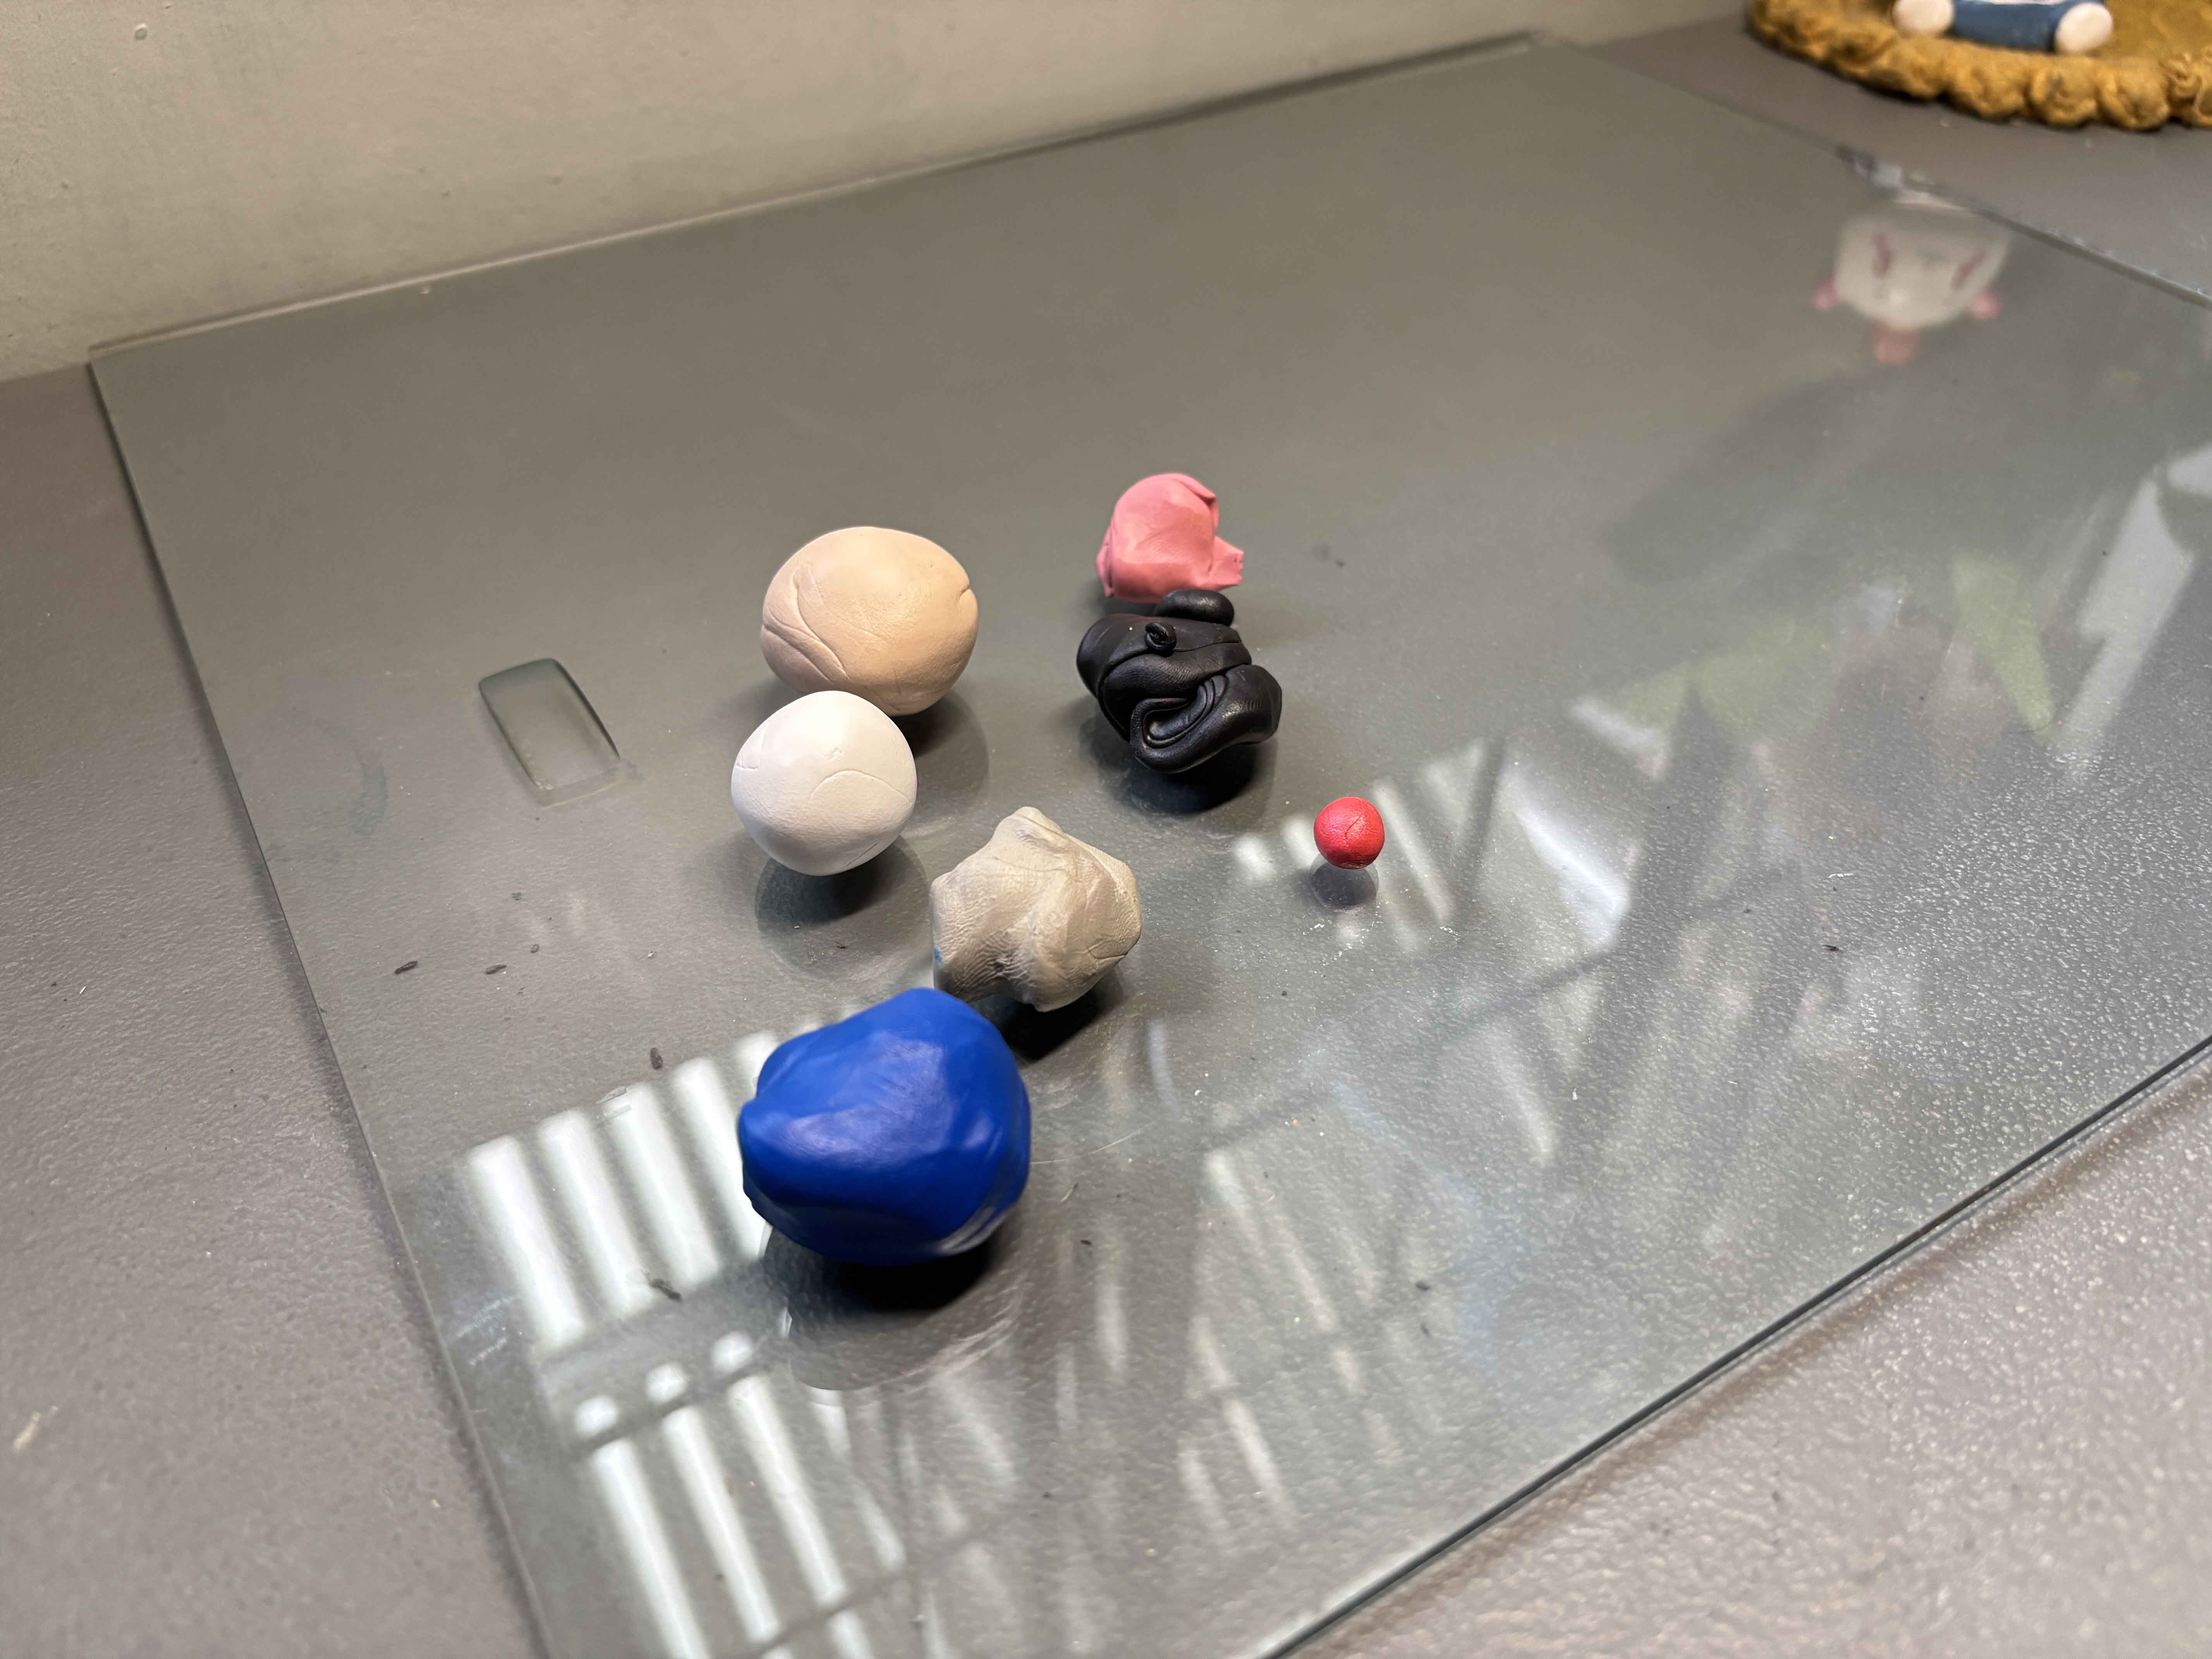
These are the colors I am going to use. Then I condition them one by one. I start with the lighter clay first because the blue one leaves a stain on my hand when conditioning it.
-----
-----
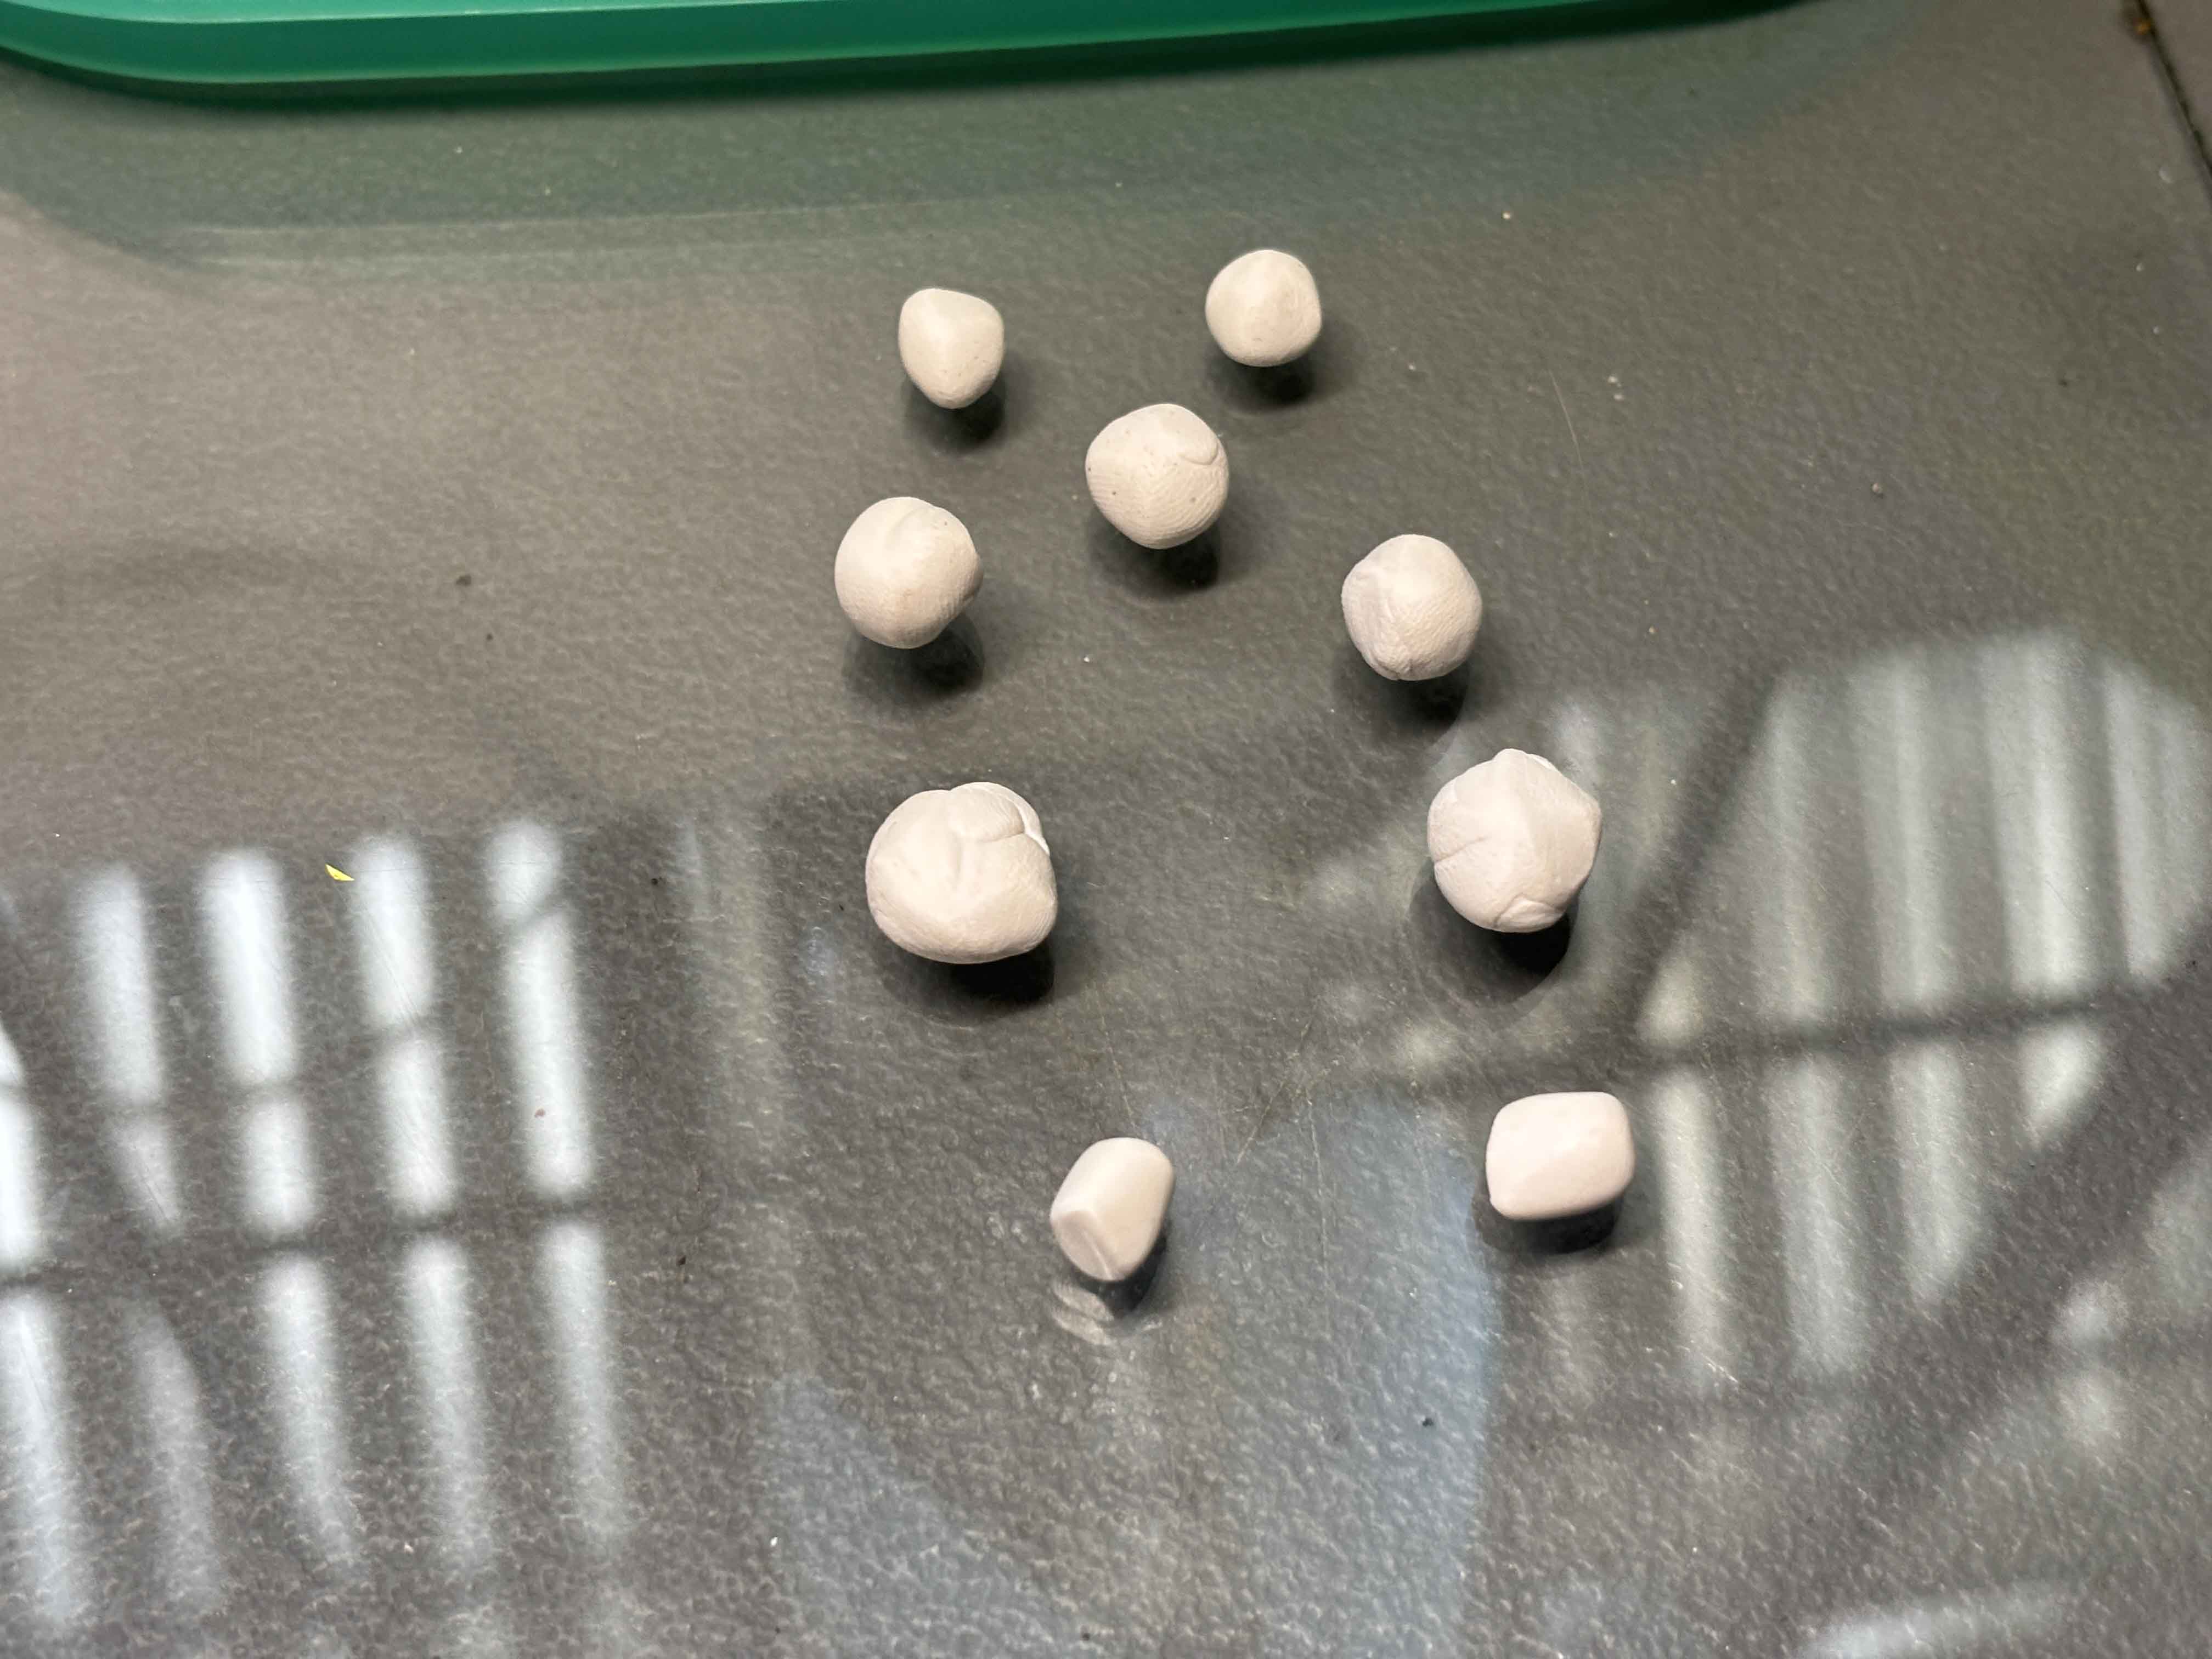
Weighing the Clay:
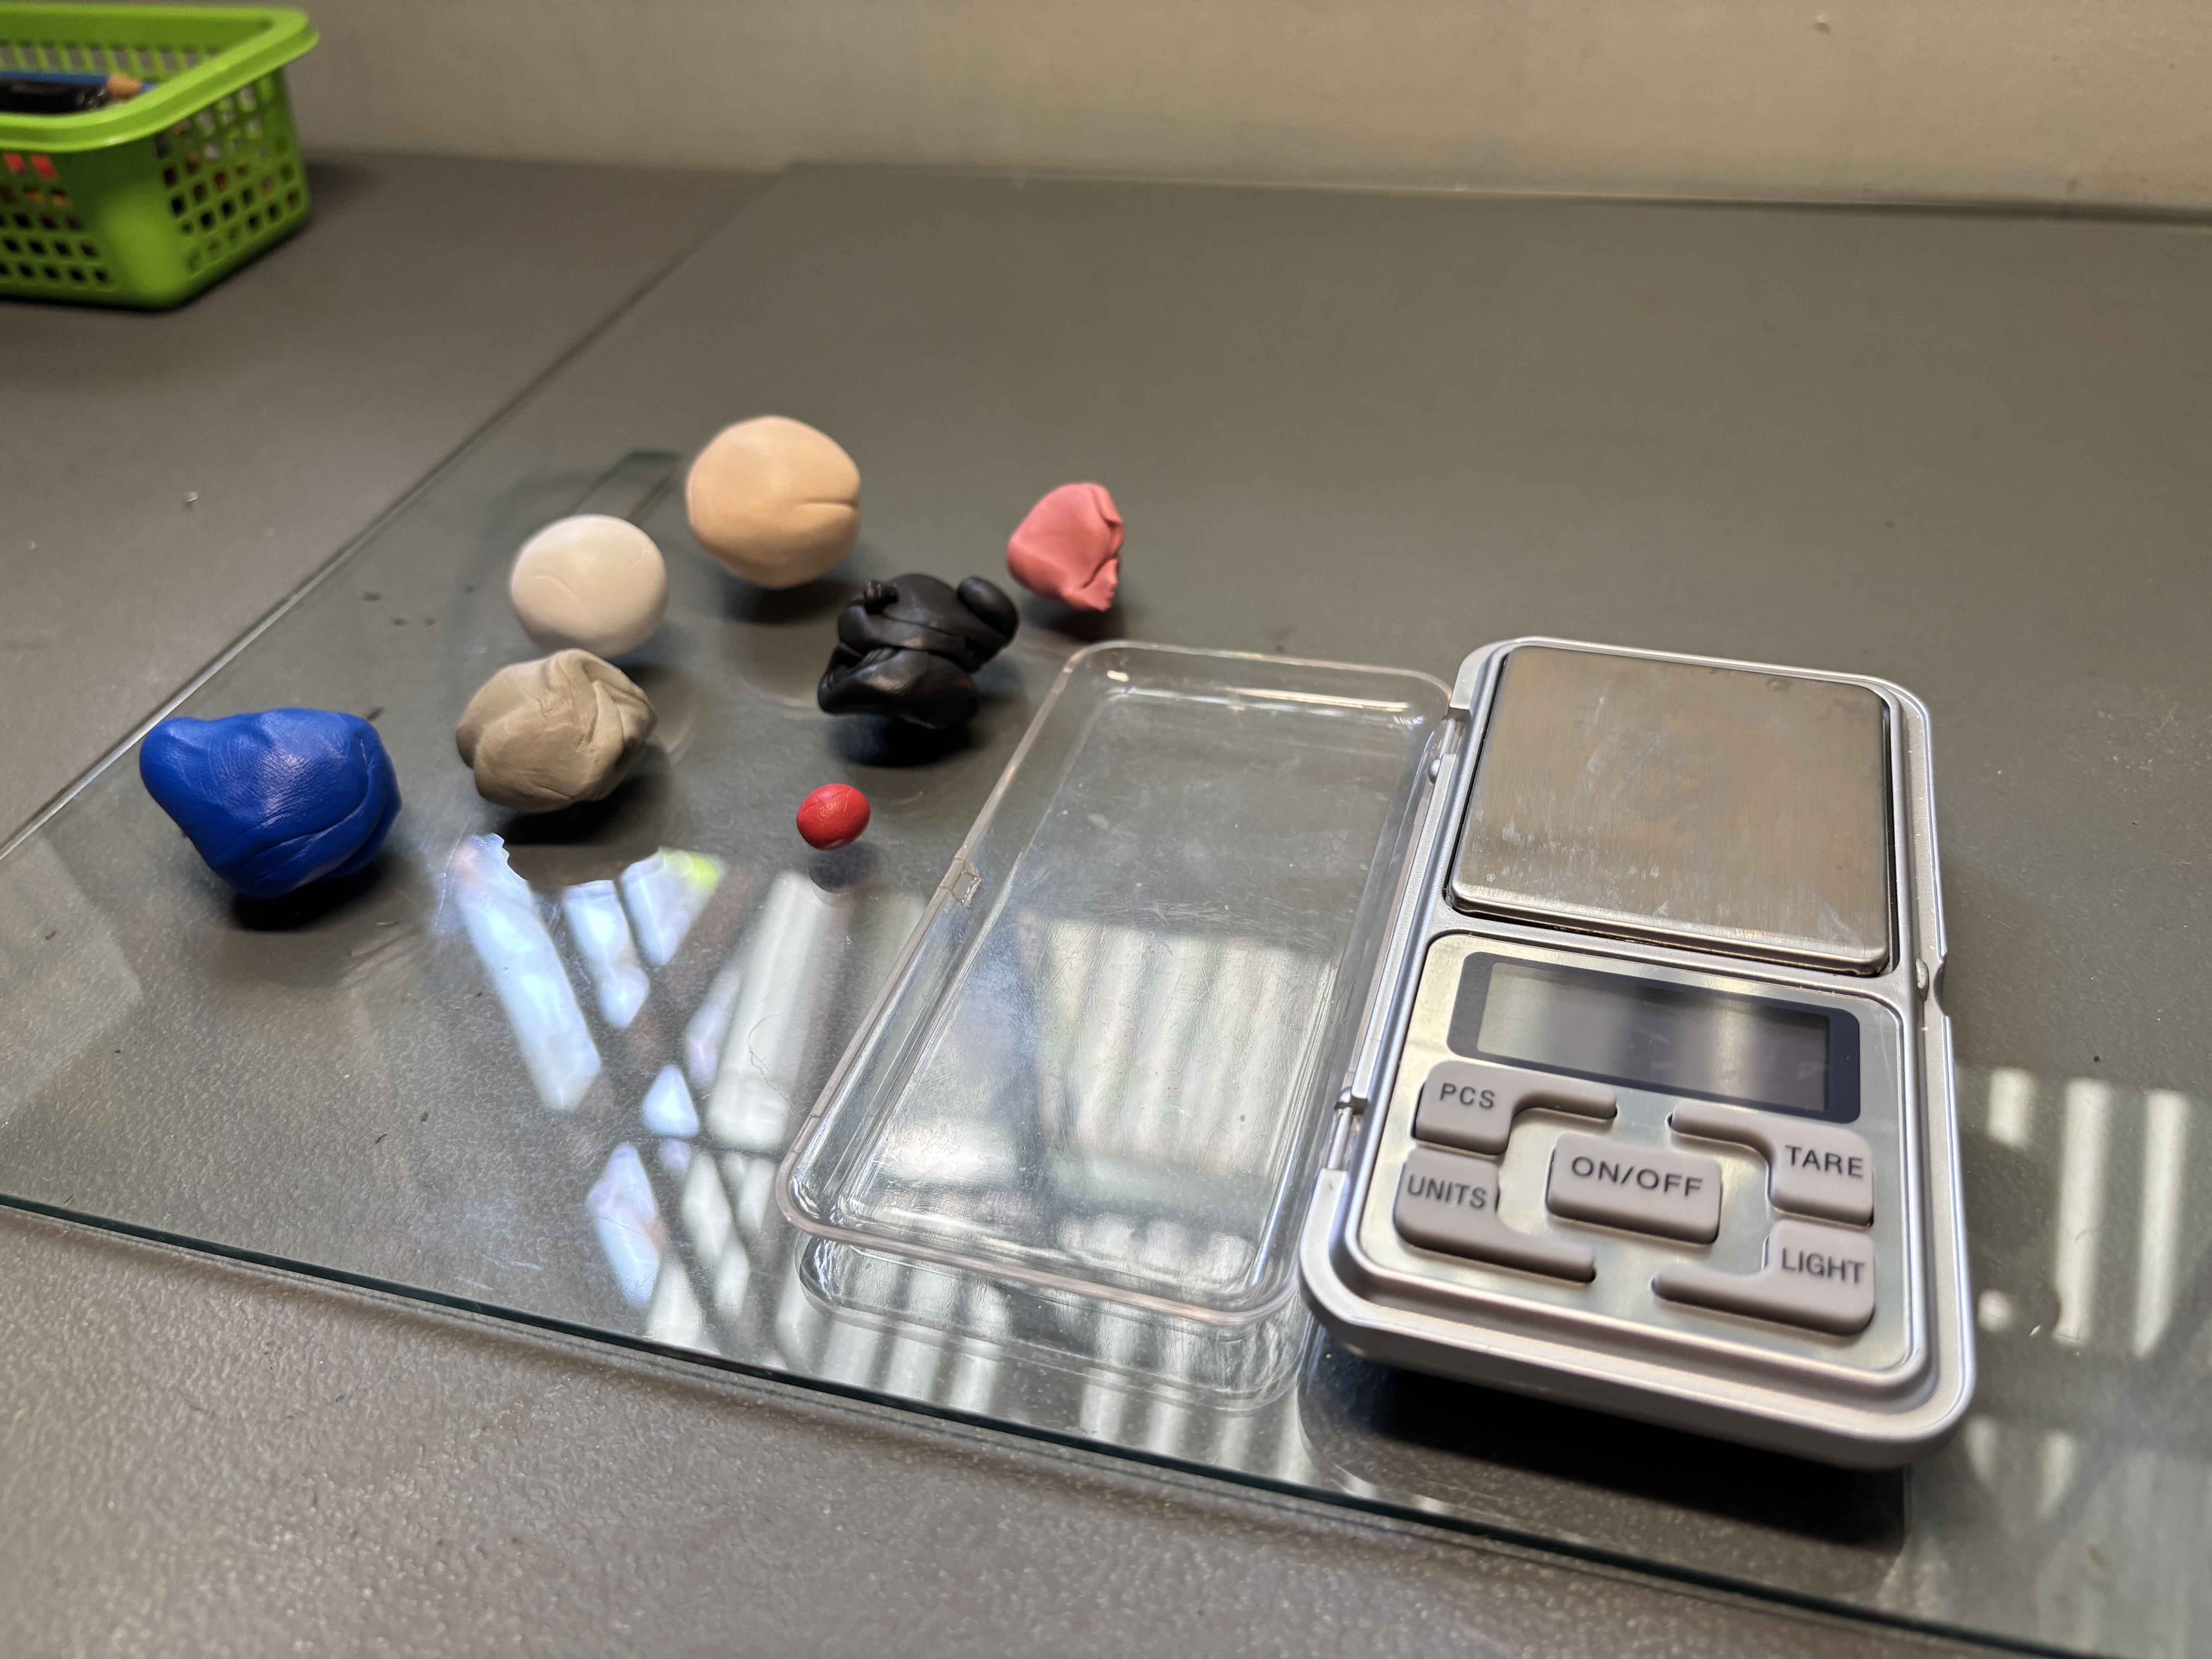
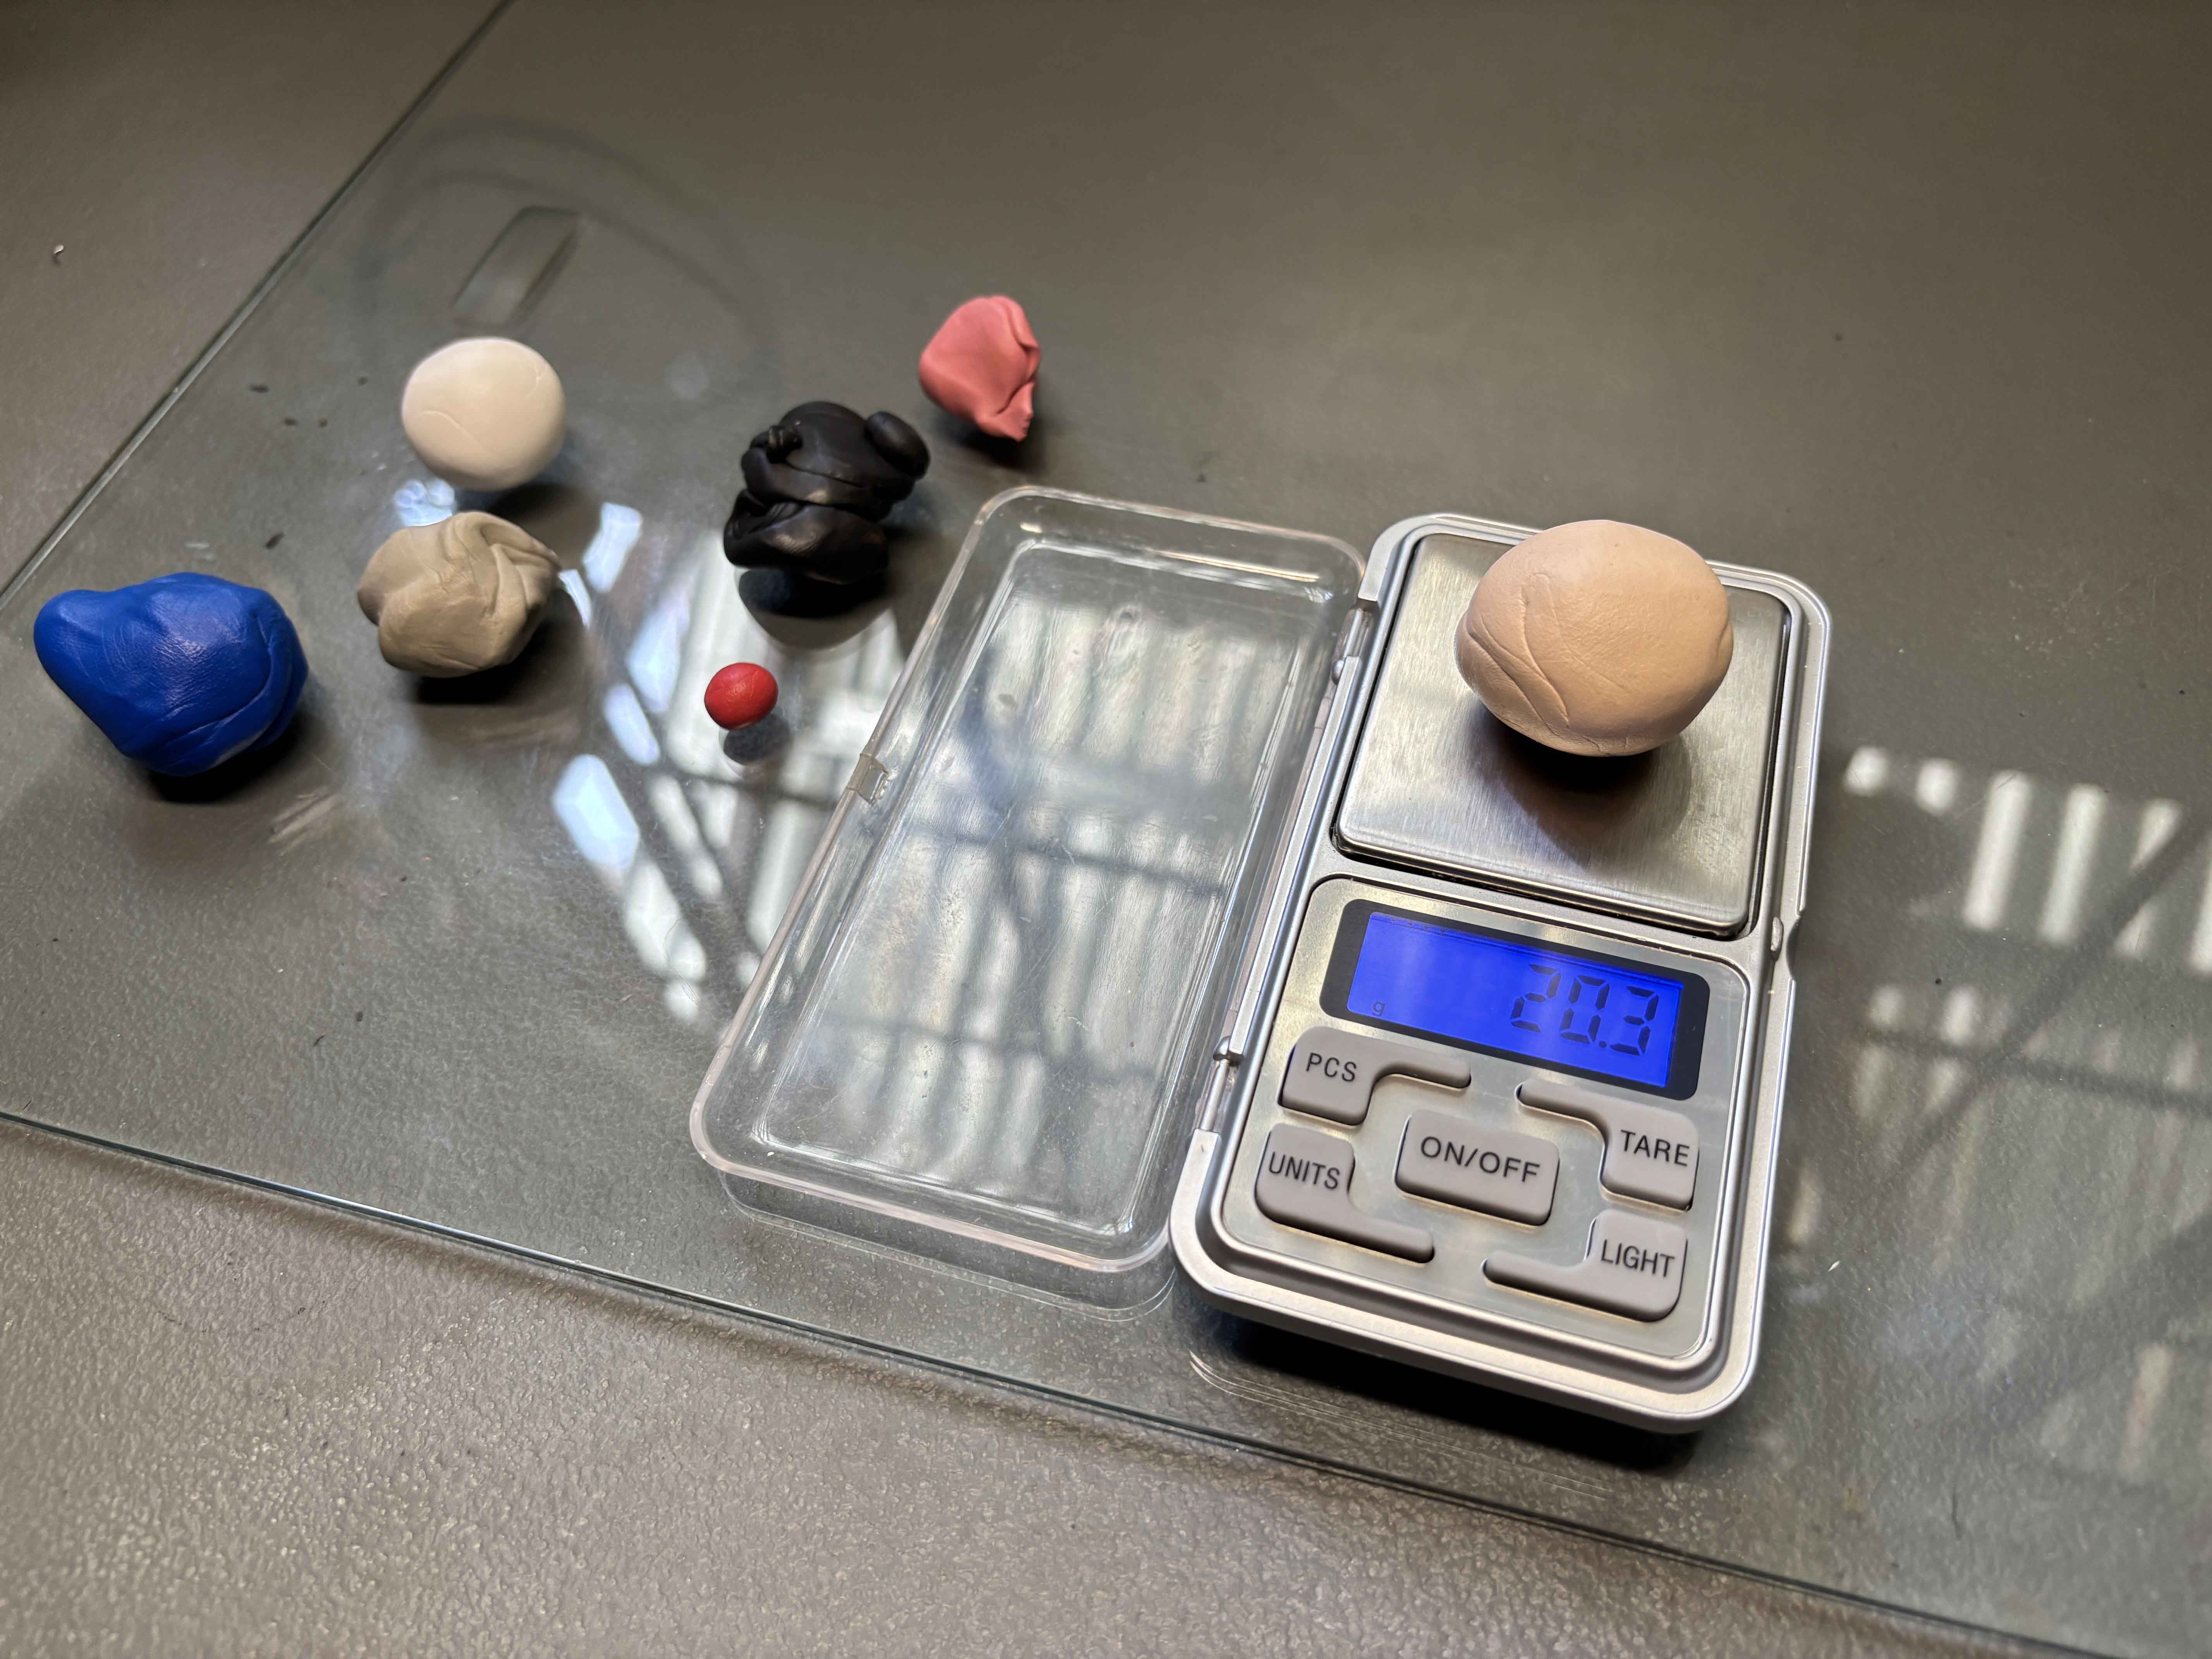
And then I weigh them on their specific weight by parts using this portable weighing scale.
-----
-----
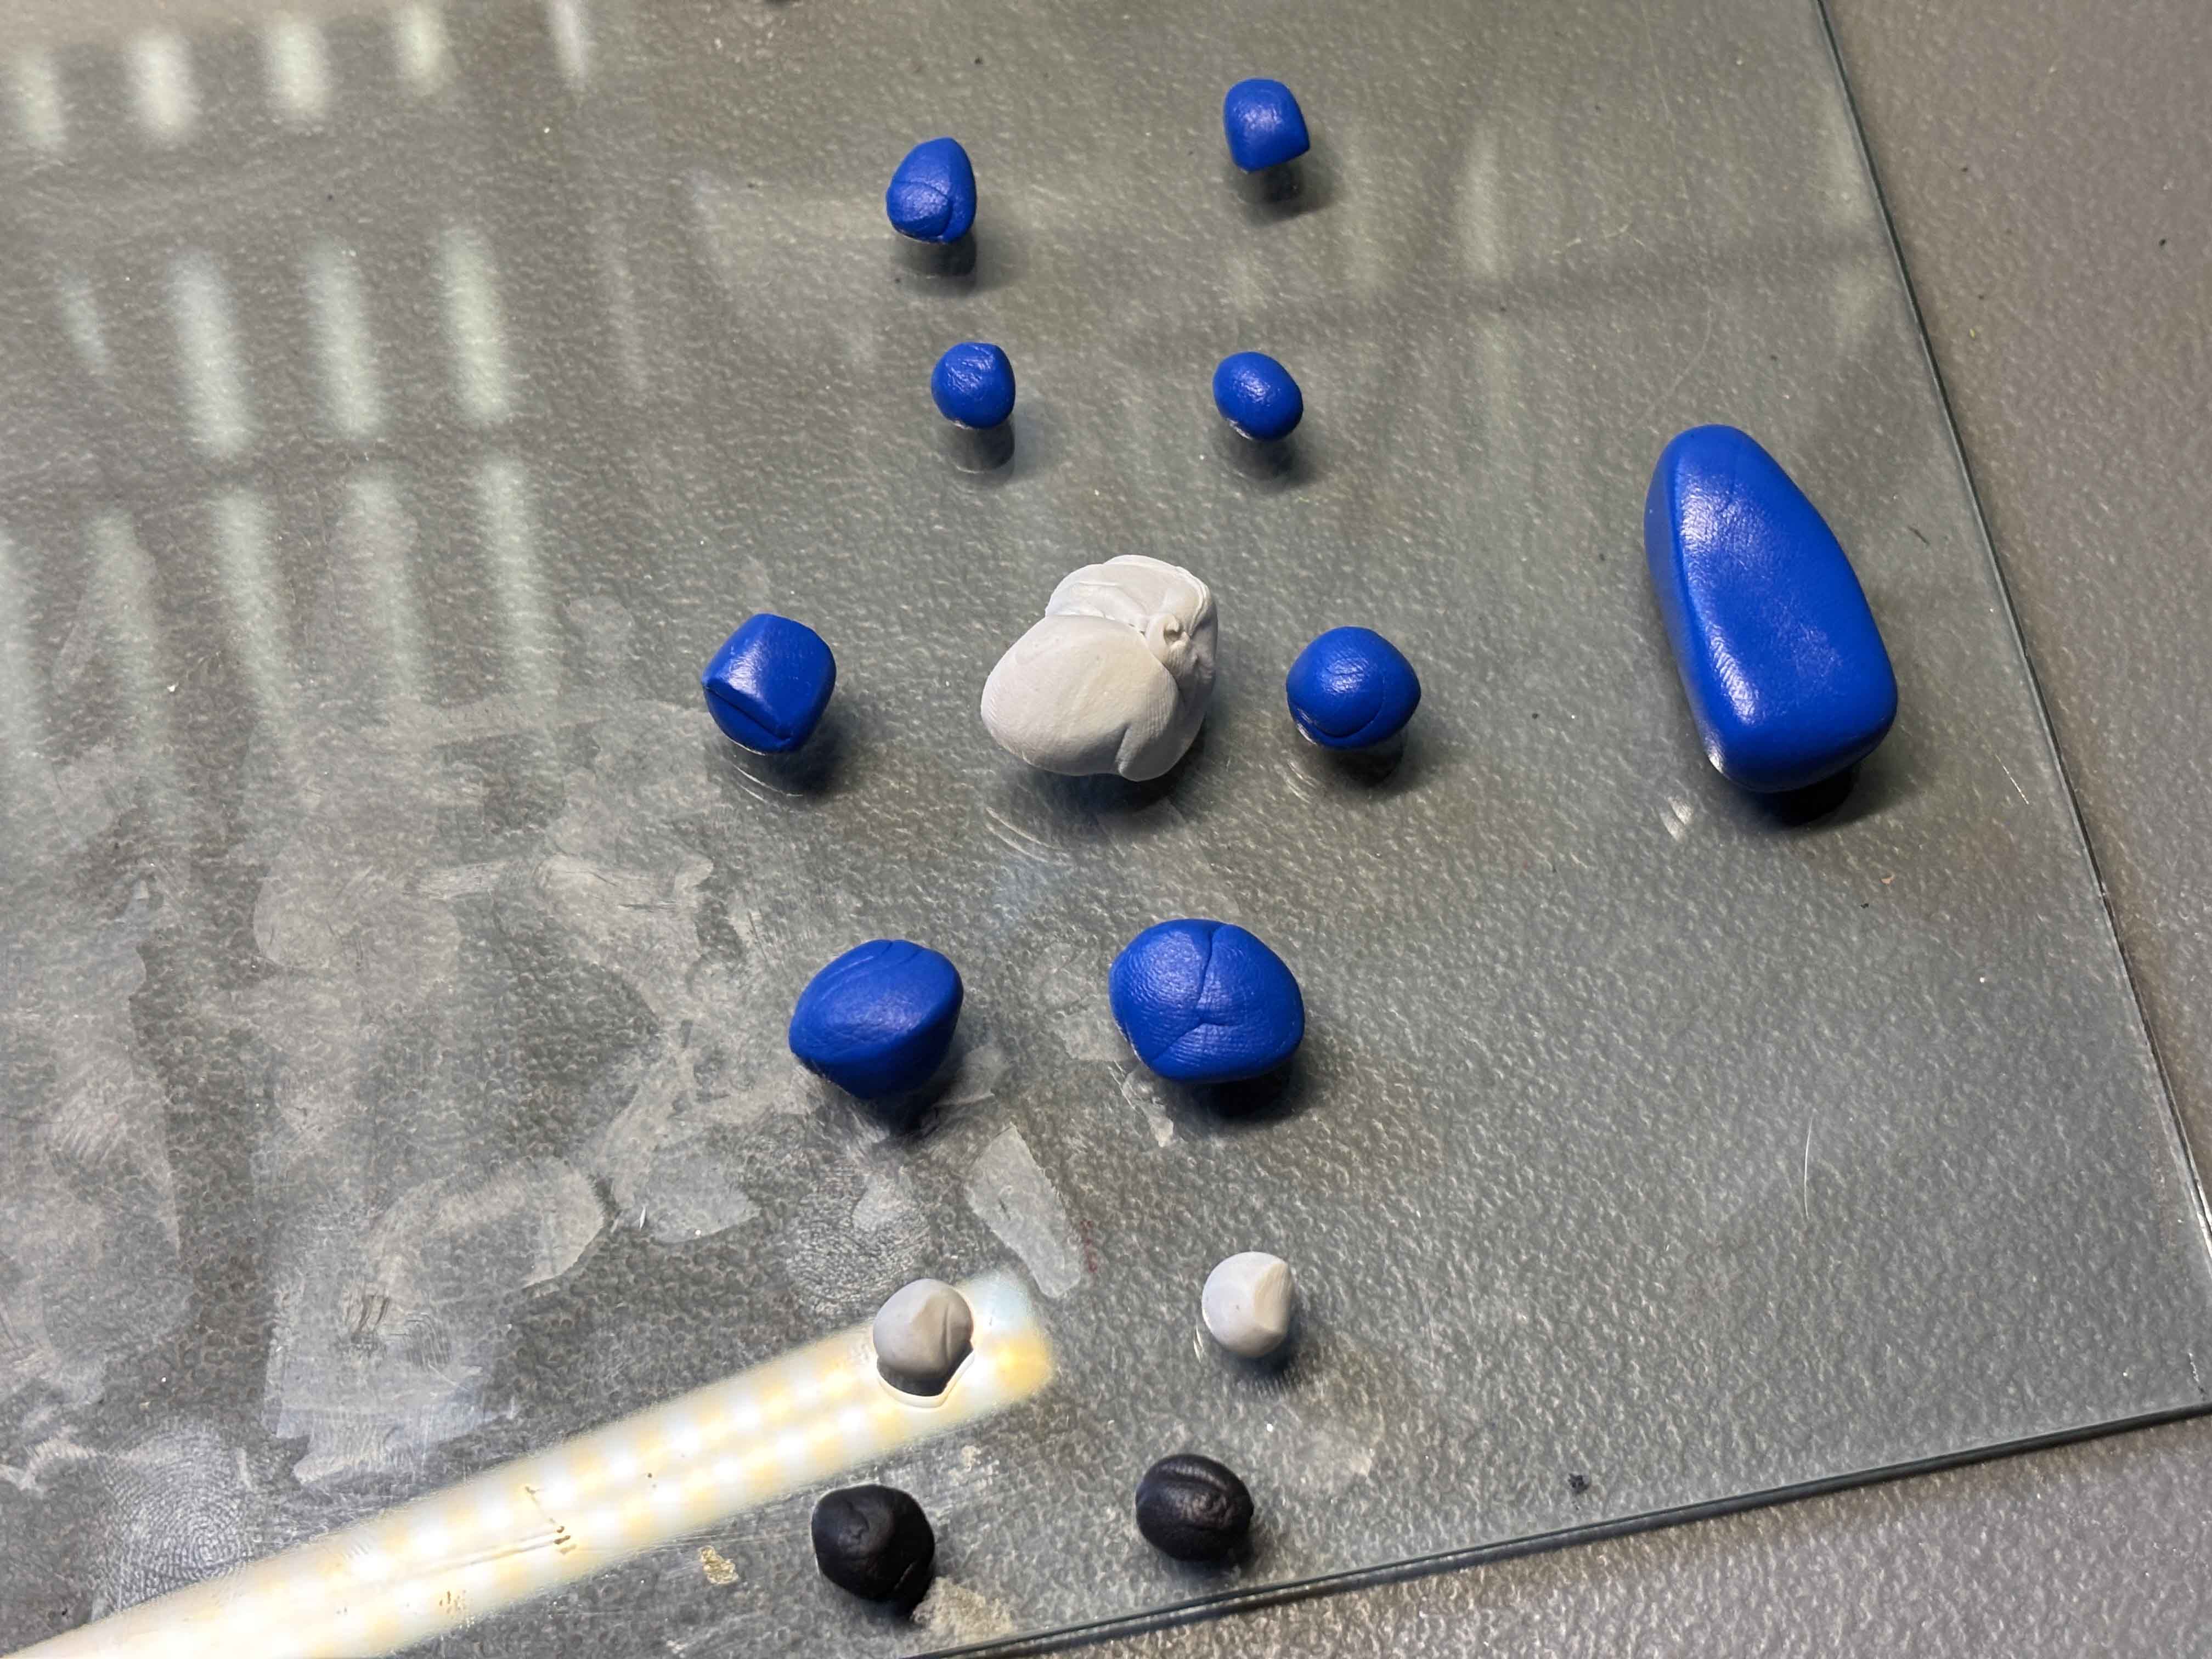
Shaping Each Part:
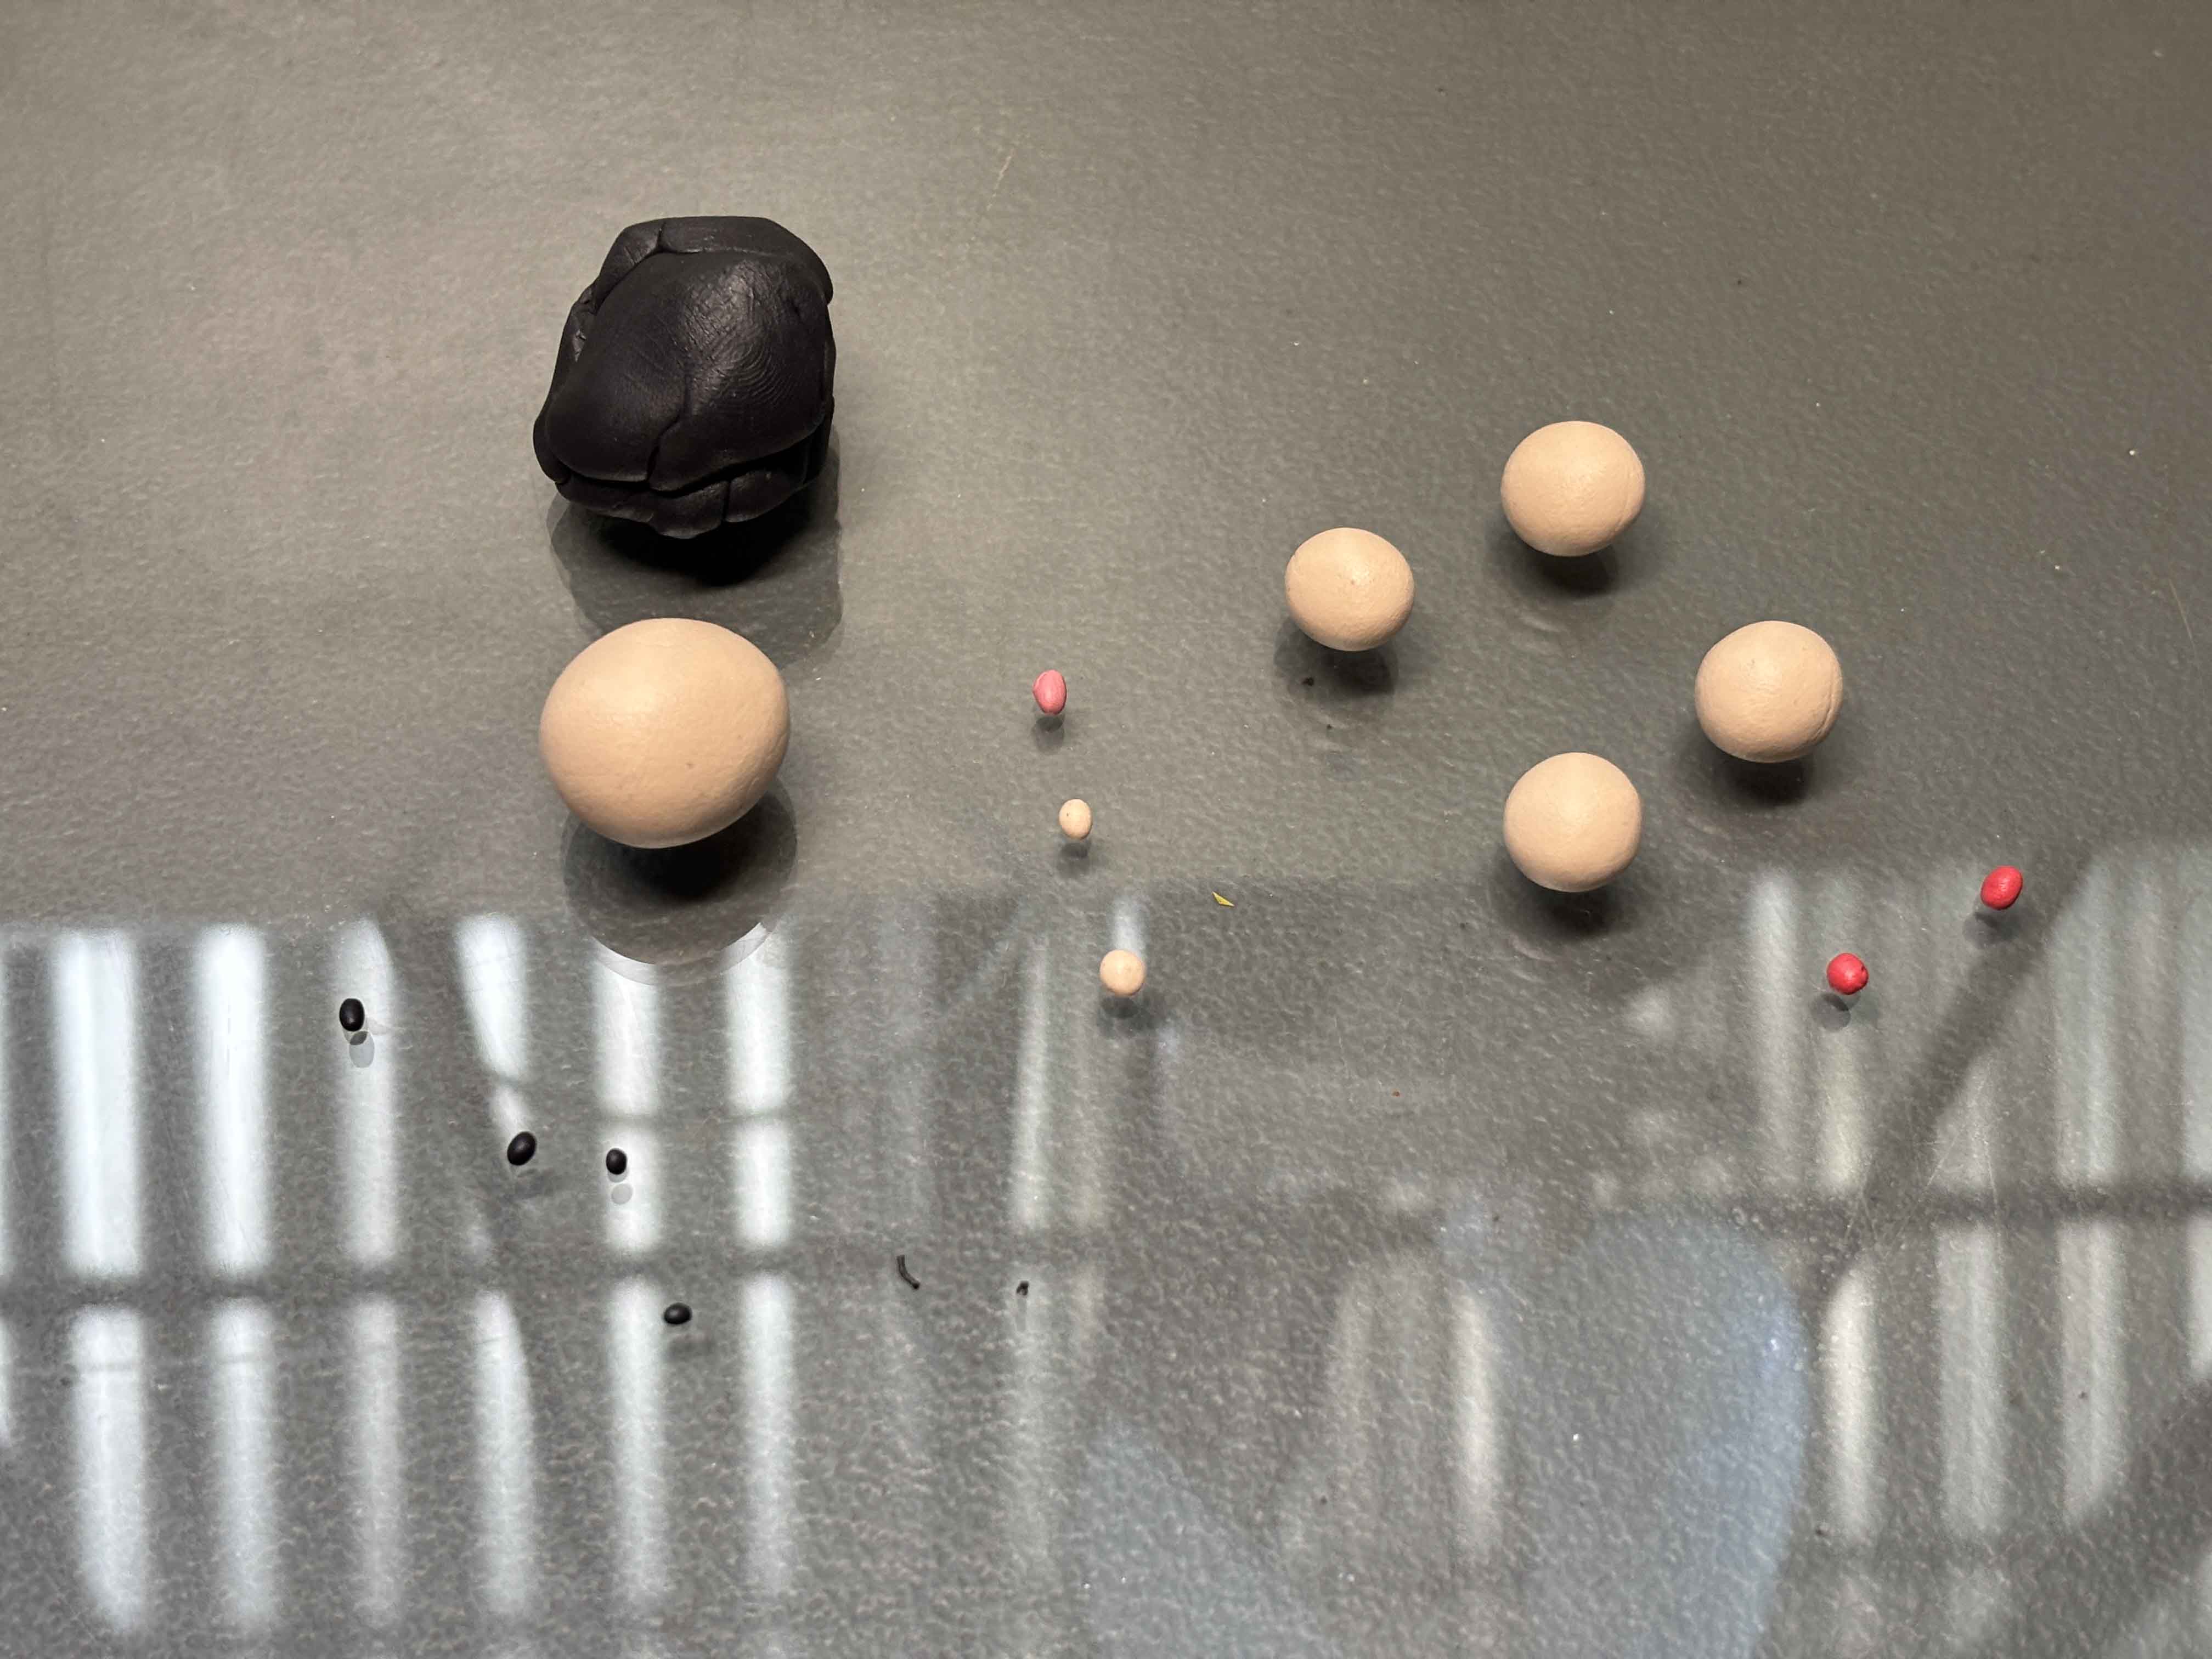
One thing that I discovered is prepping all the parts that are needed for each part of the body. For example, I do the head first, it contains eyes, nose, lips, eyebrows, and ears, and the hands and legs. And then the bow so bows have a lot of parts, so I divided it into each part.
----
And then for the mic, I use aluminum foil to save a lot of polymer clay and to lessen the weight of the clay, too.
----
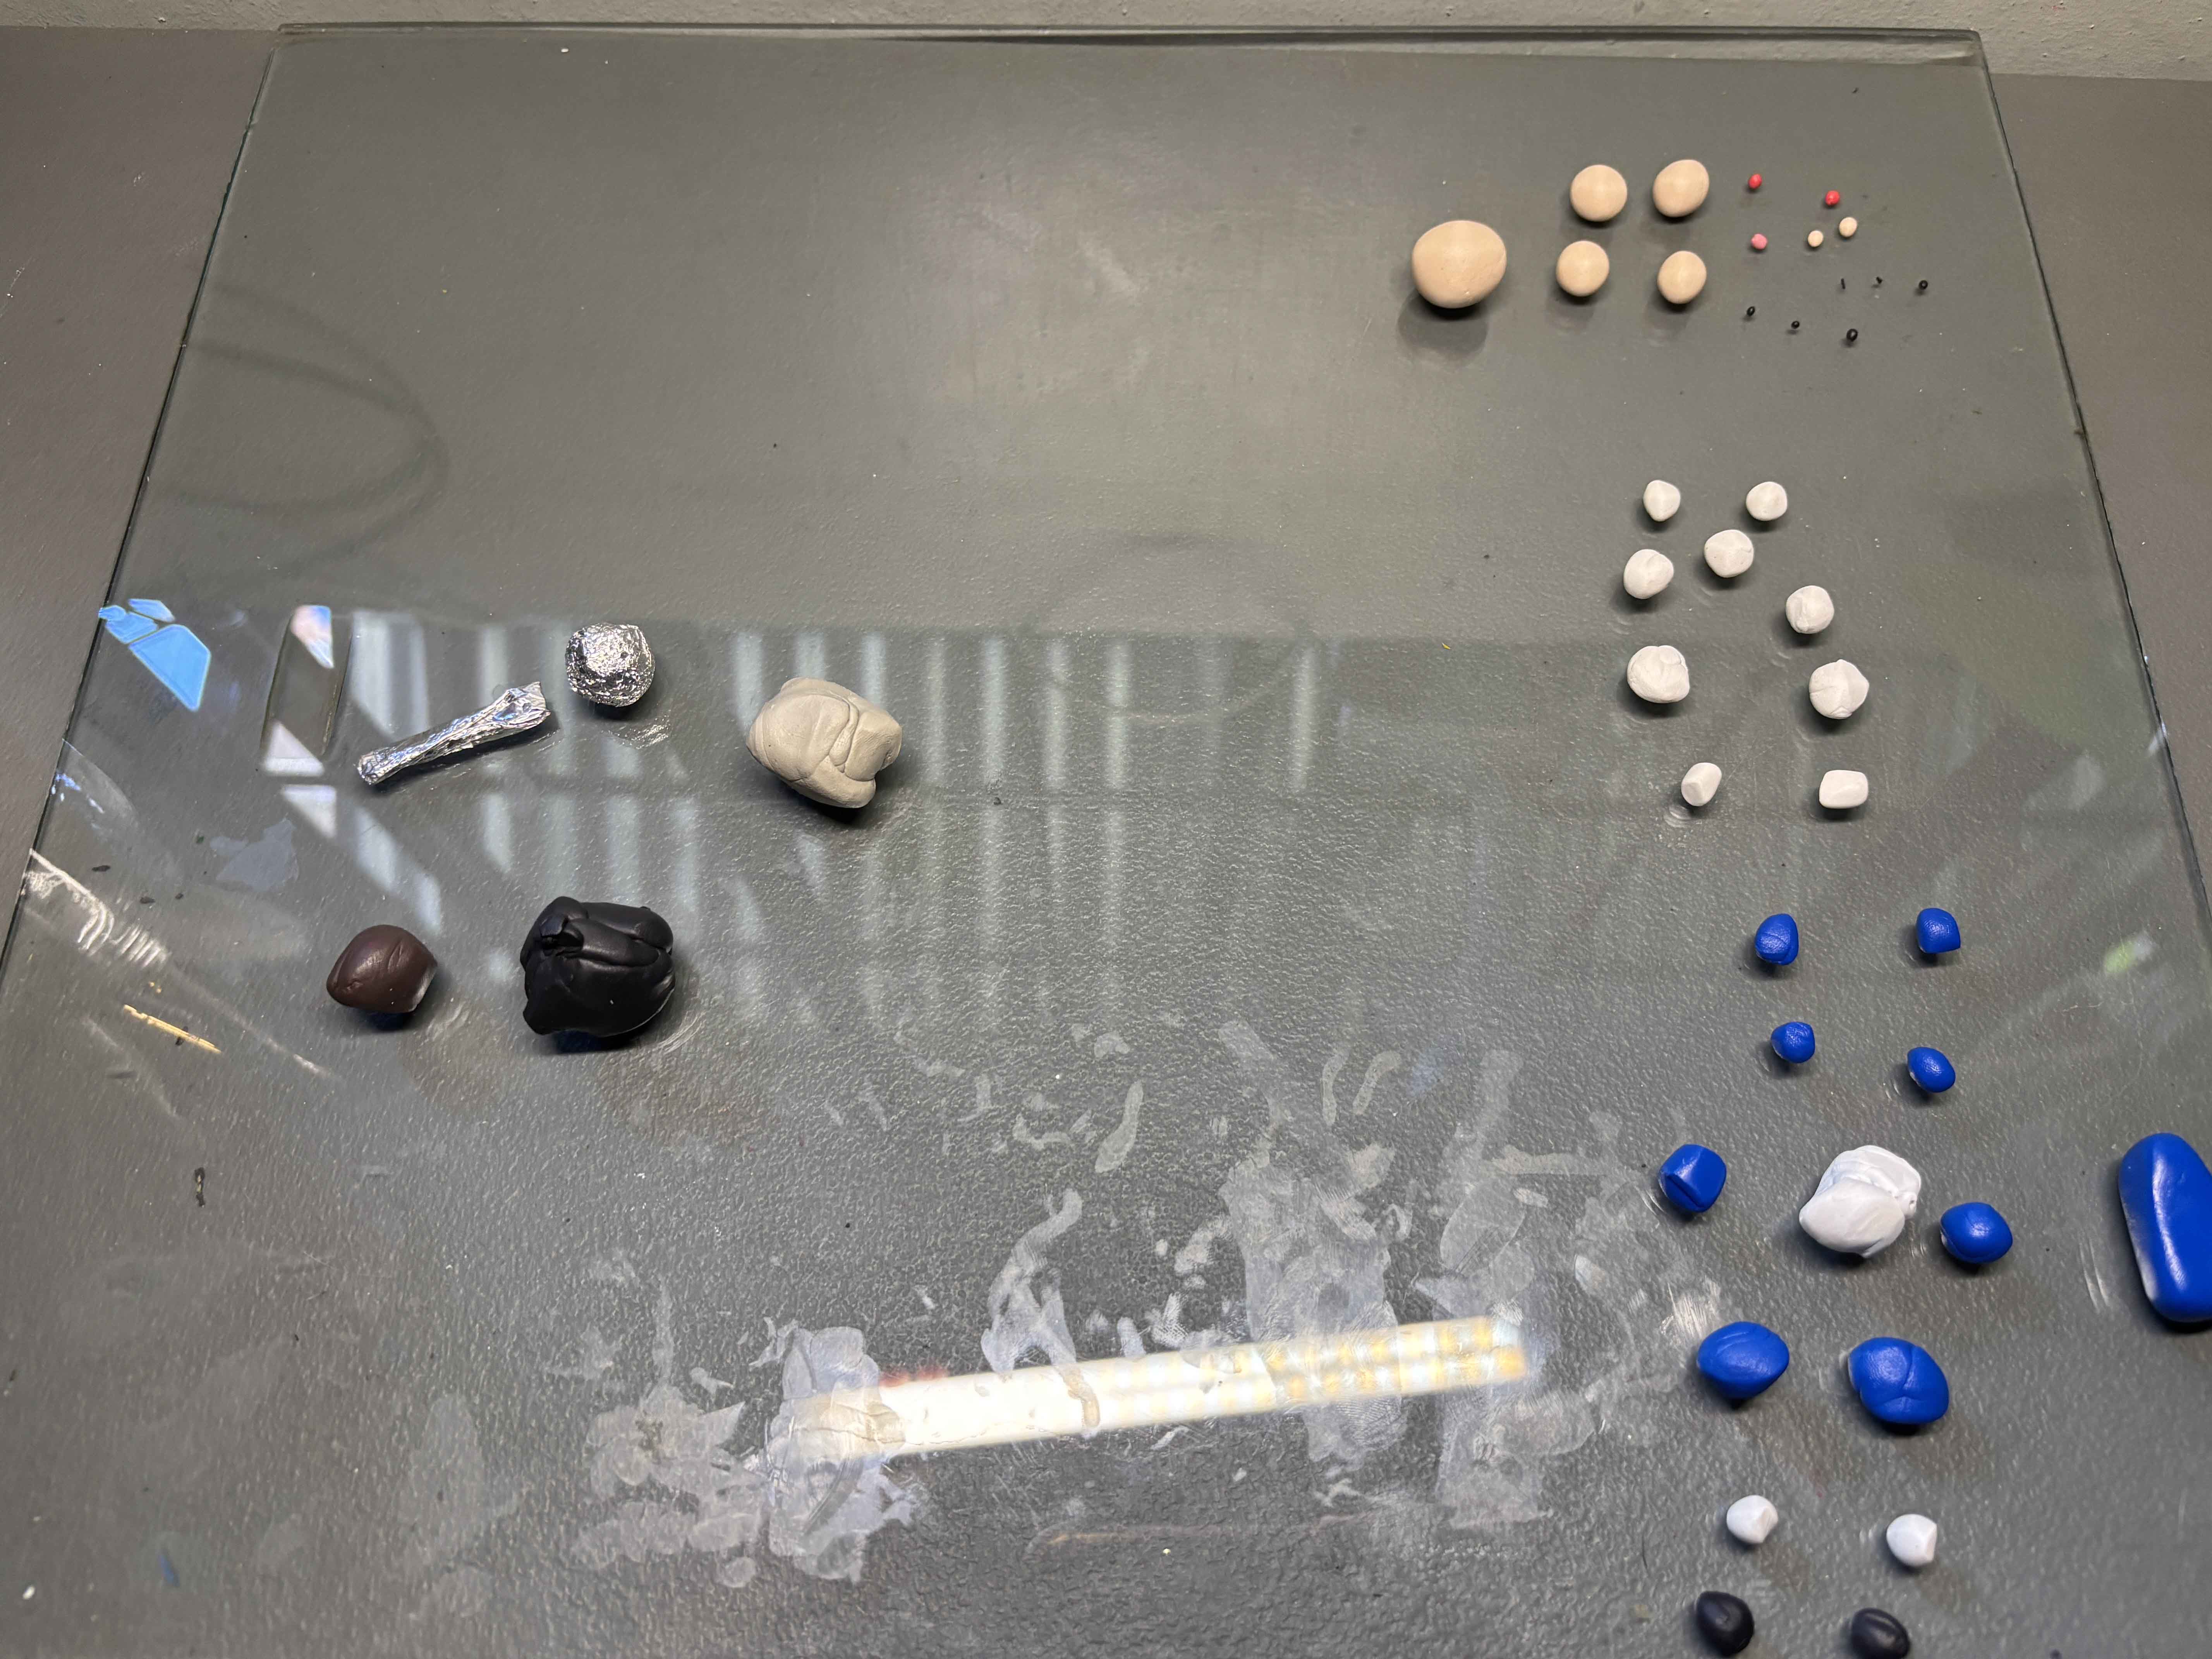
And last is the clothing.
-----
-----
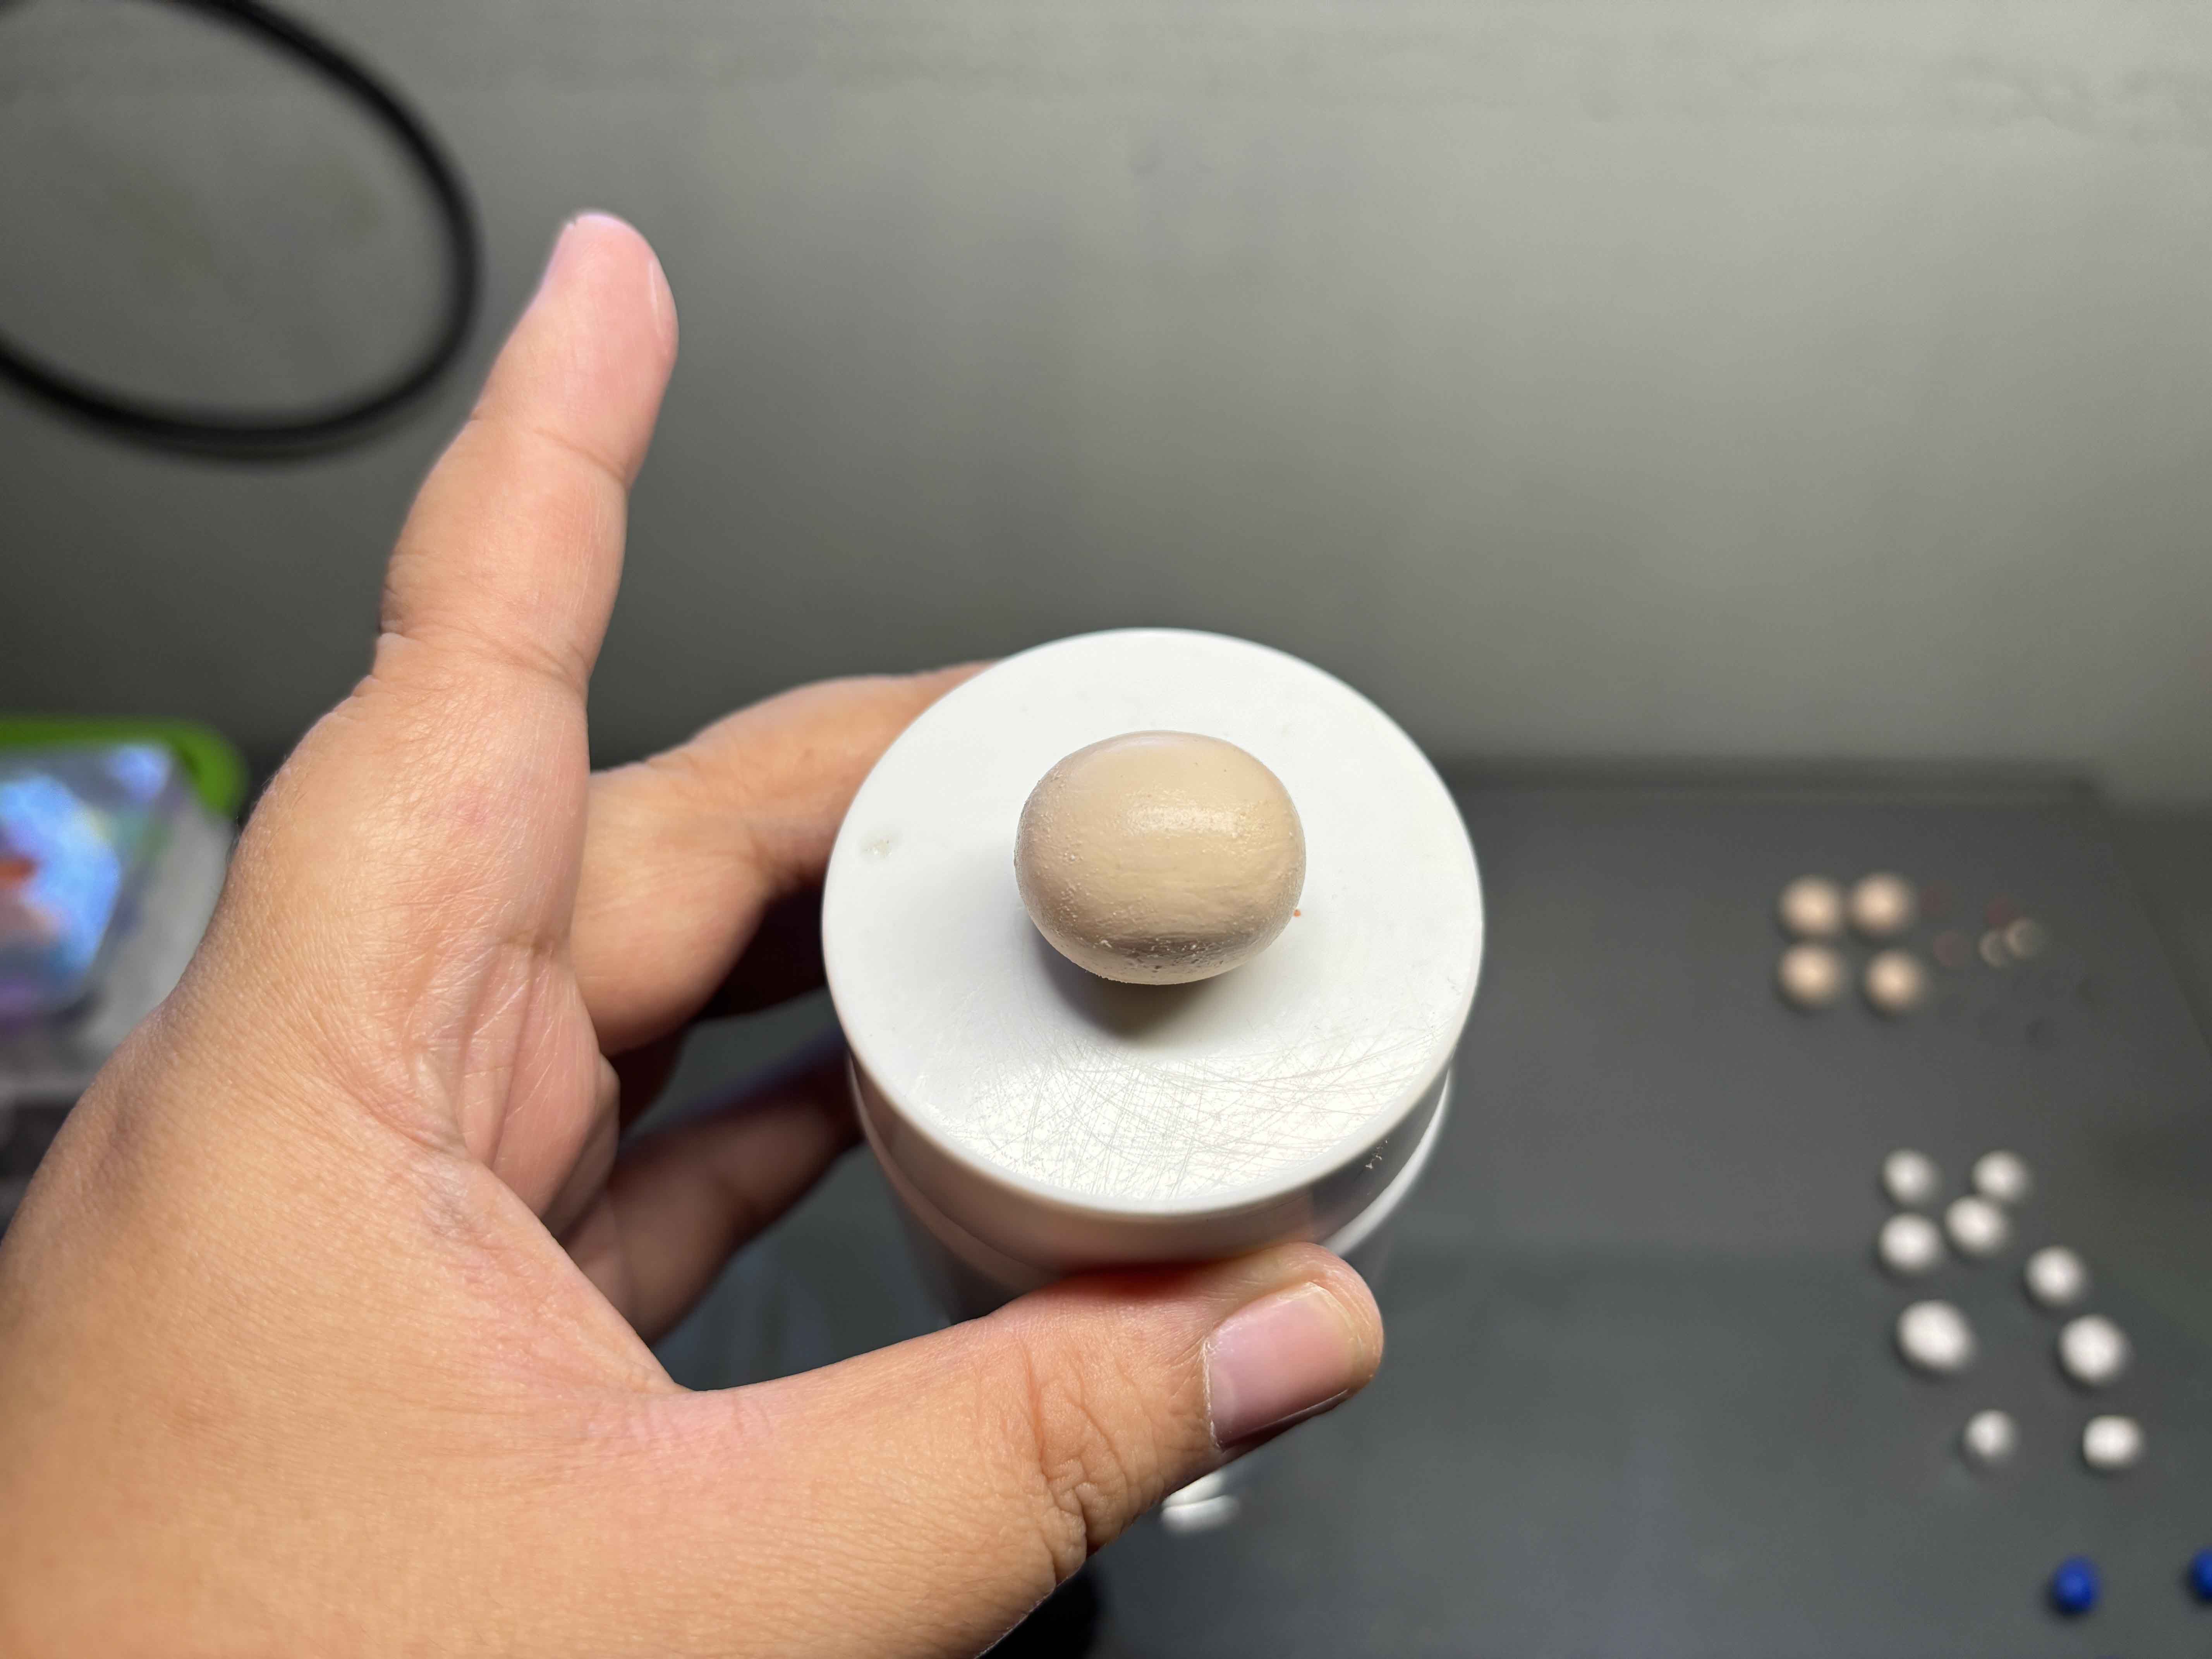
Sculpting the Face:
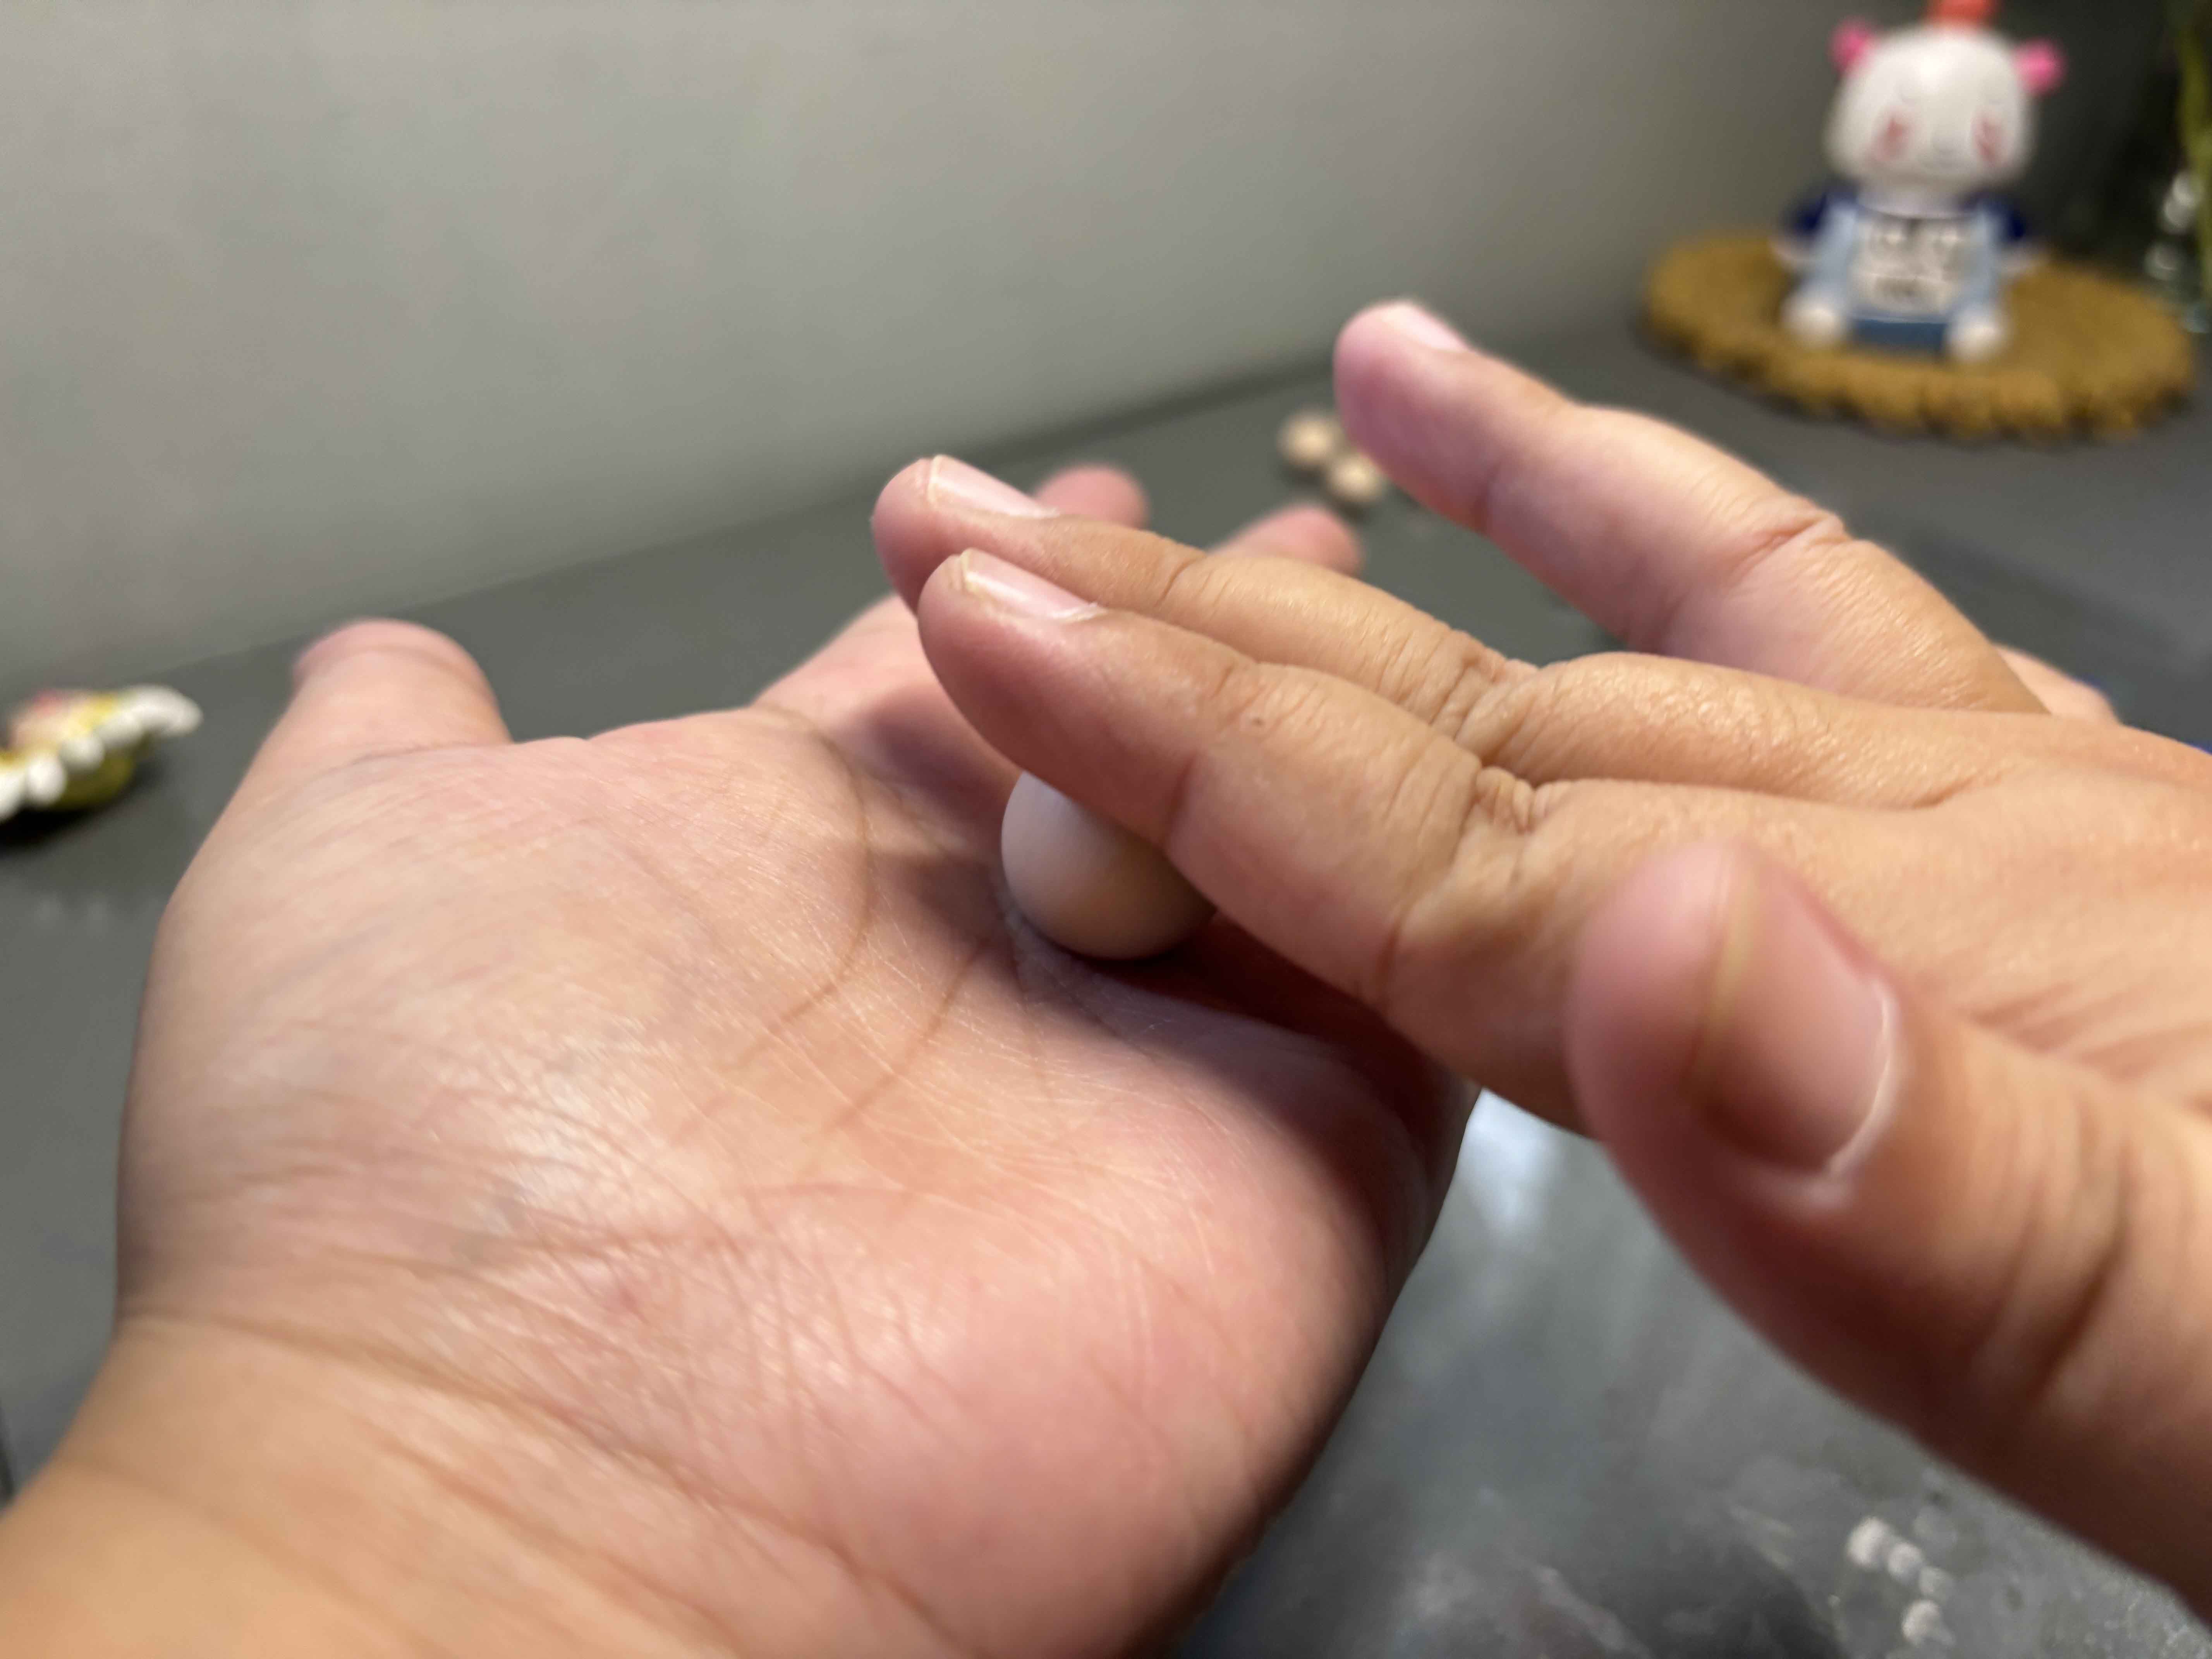
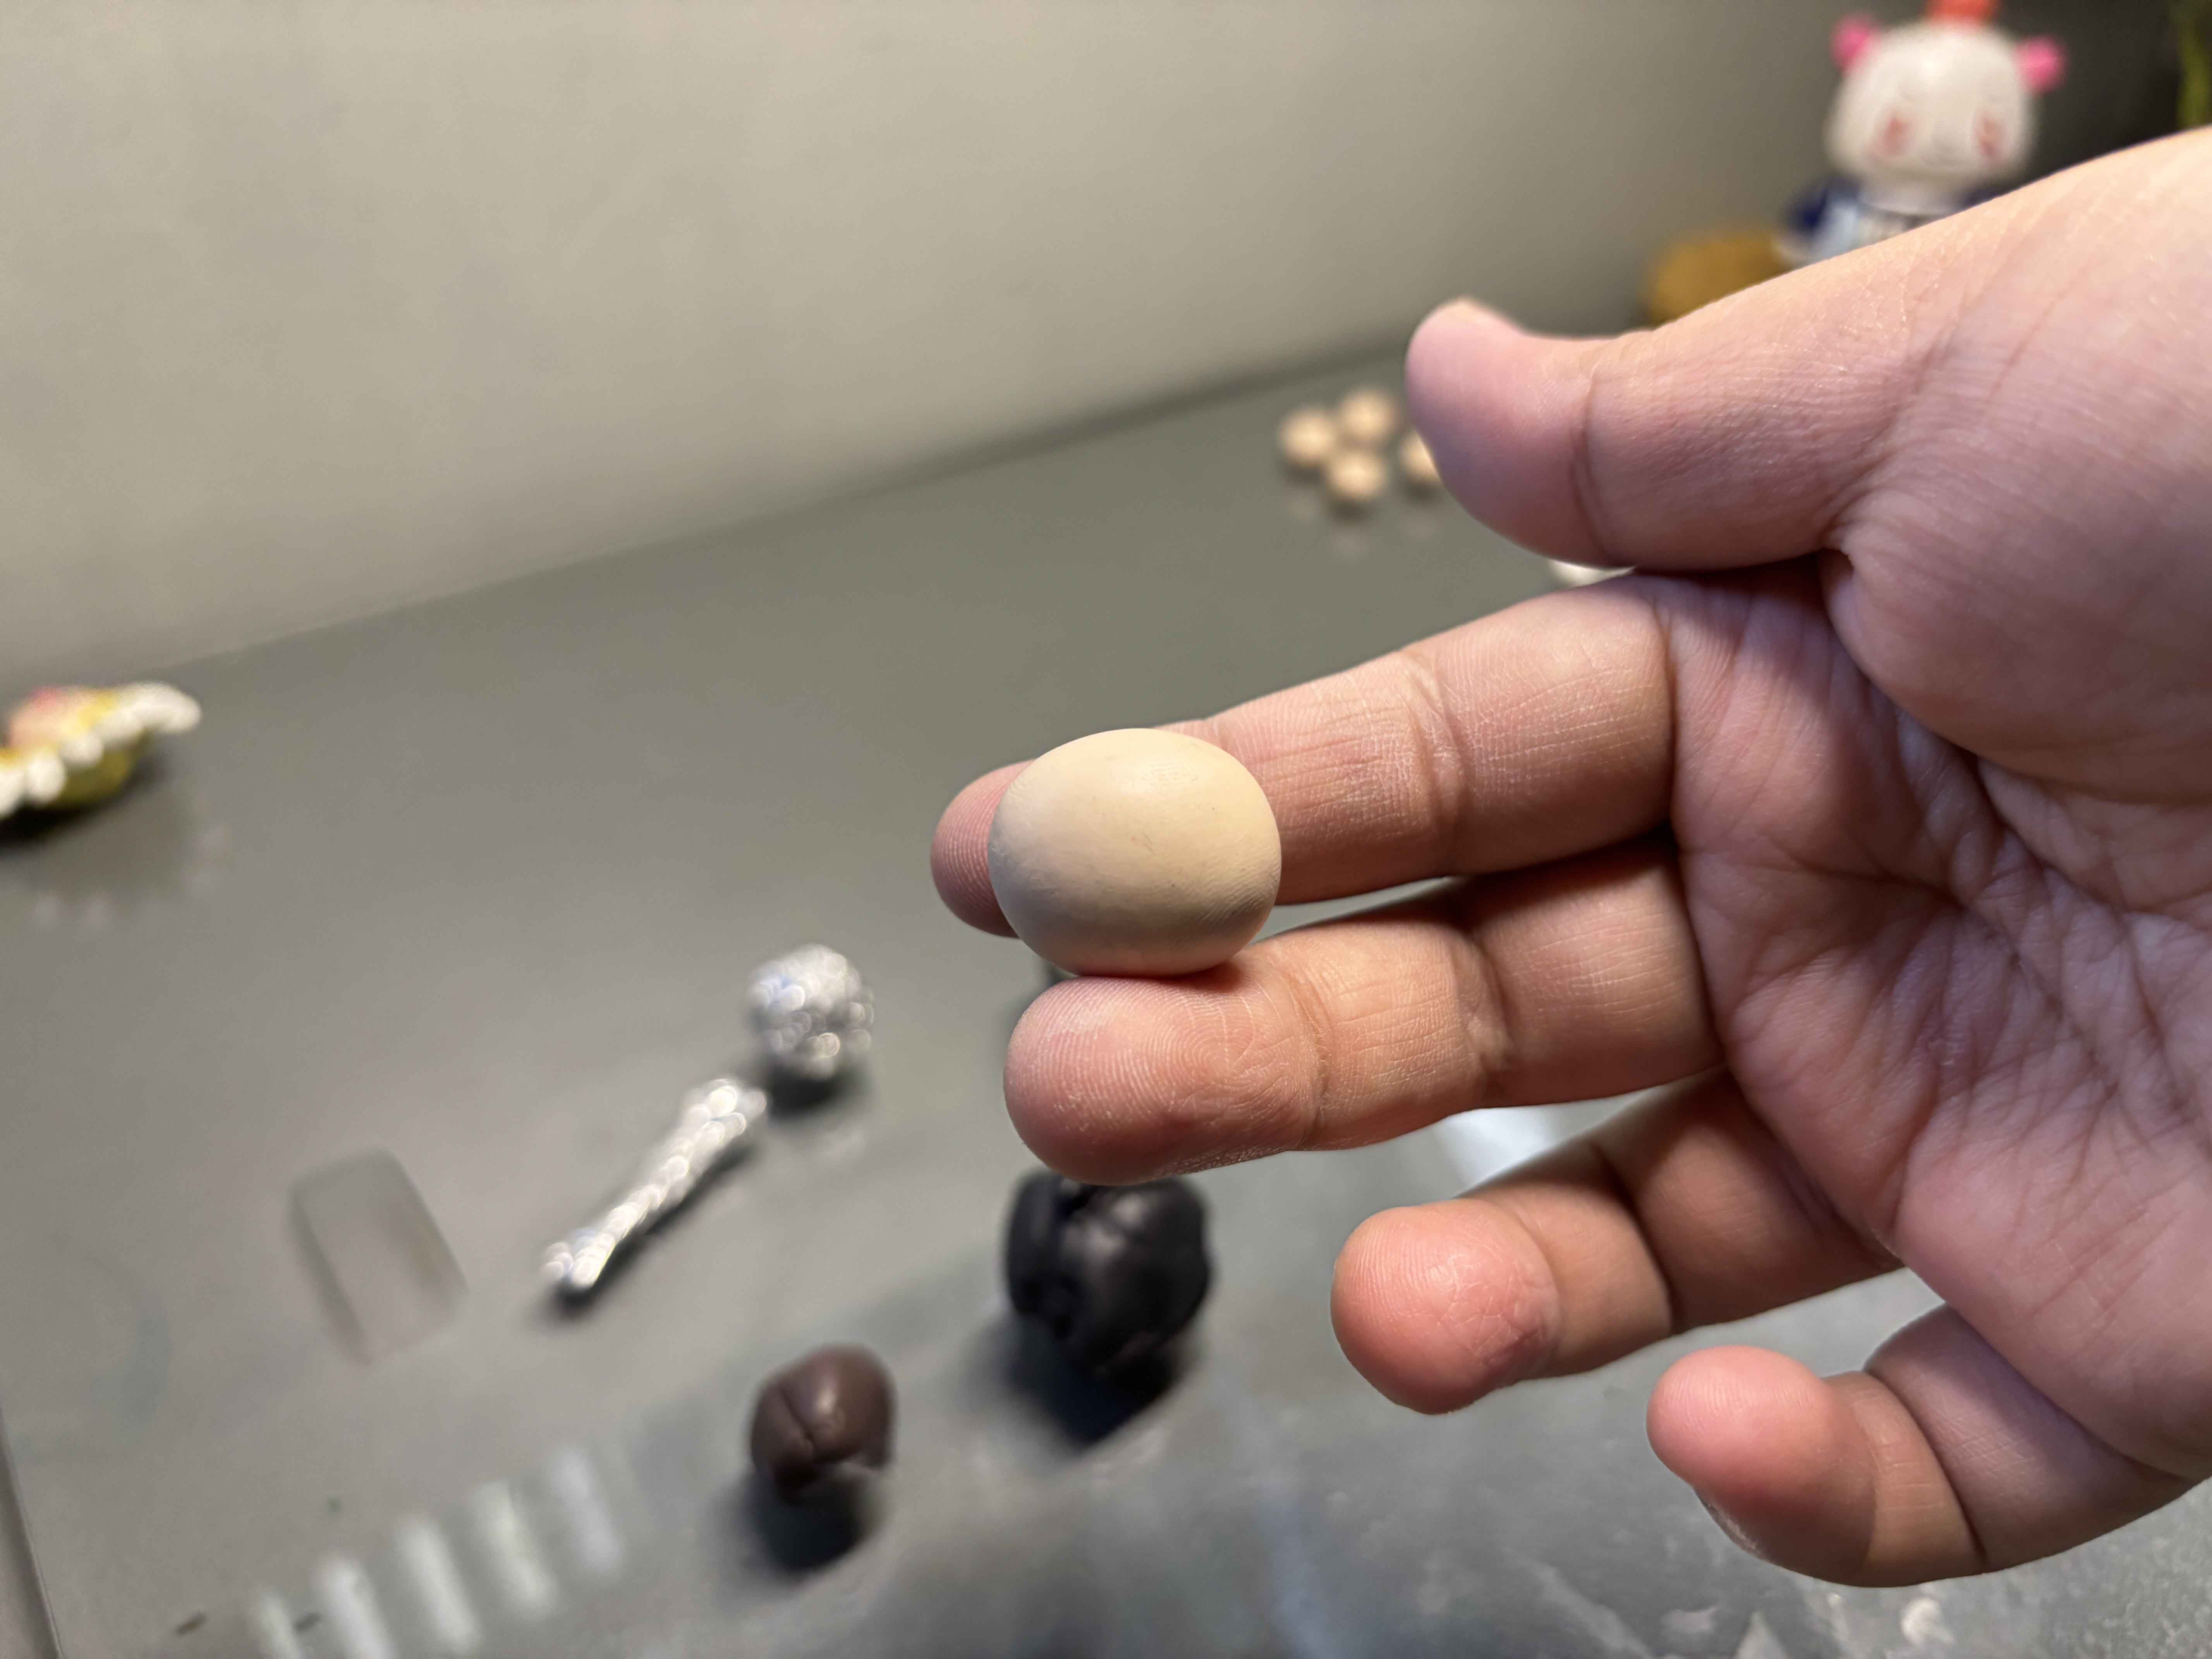
I shape the head into the specific shape of head I usually do.
----
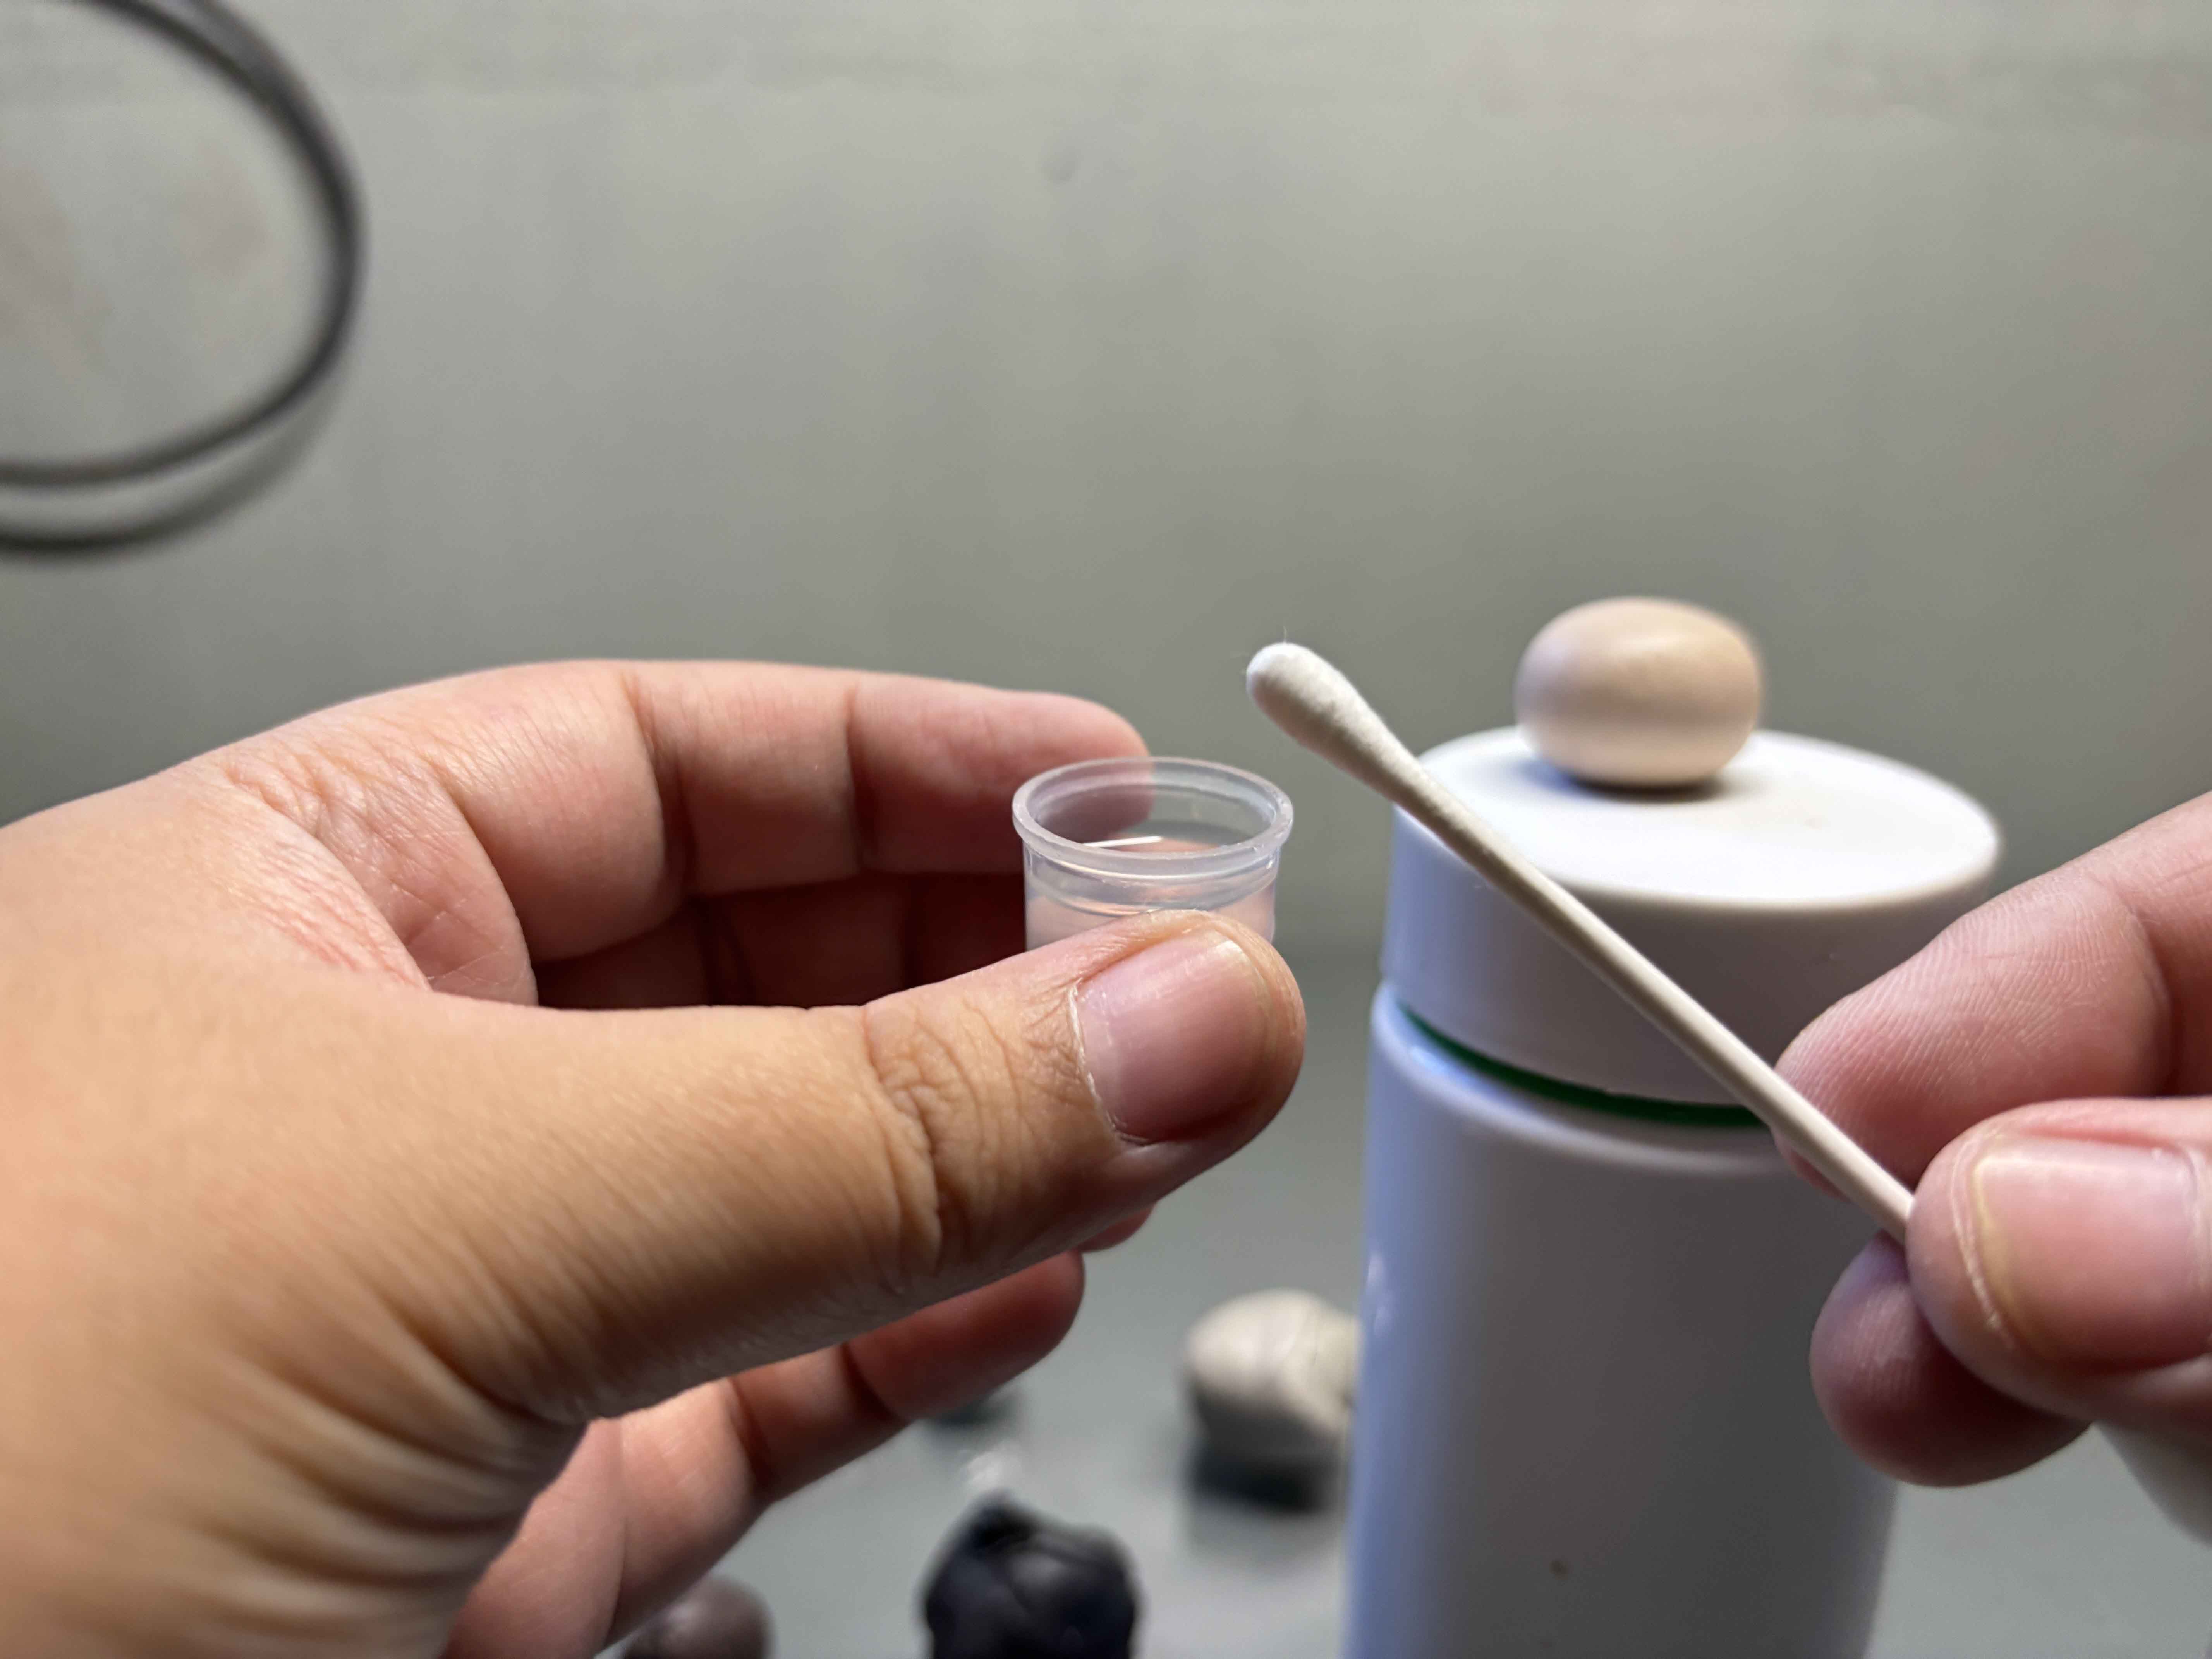
Before I start adding the other parts, I clean any lint and dust off the clay using a Q-tip and alcohol.
---
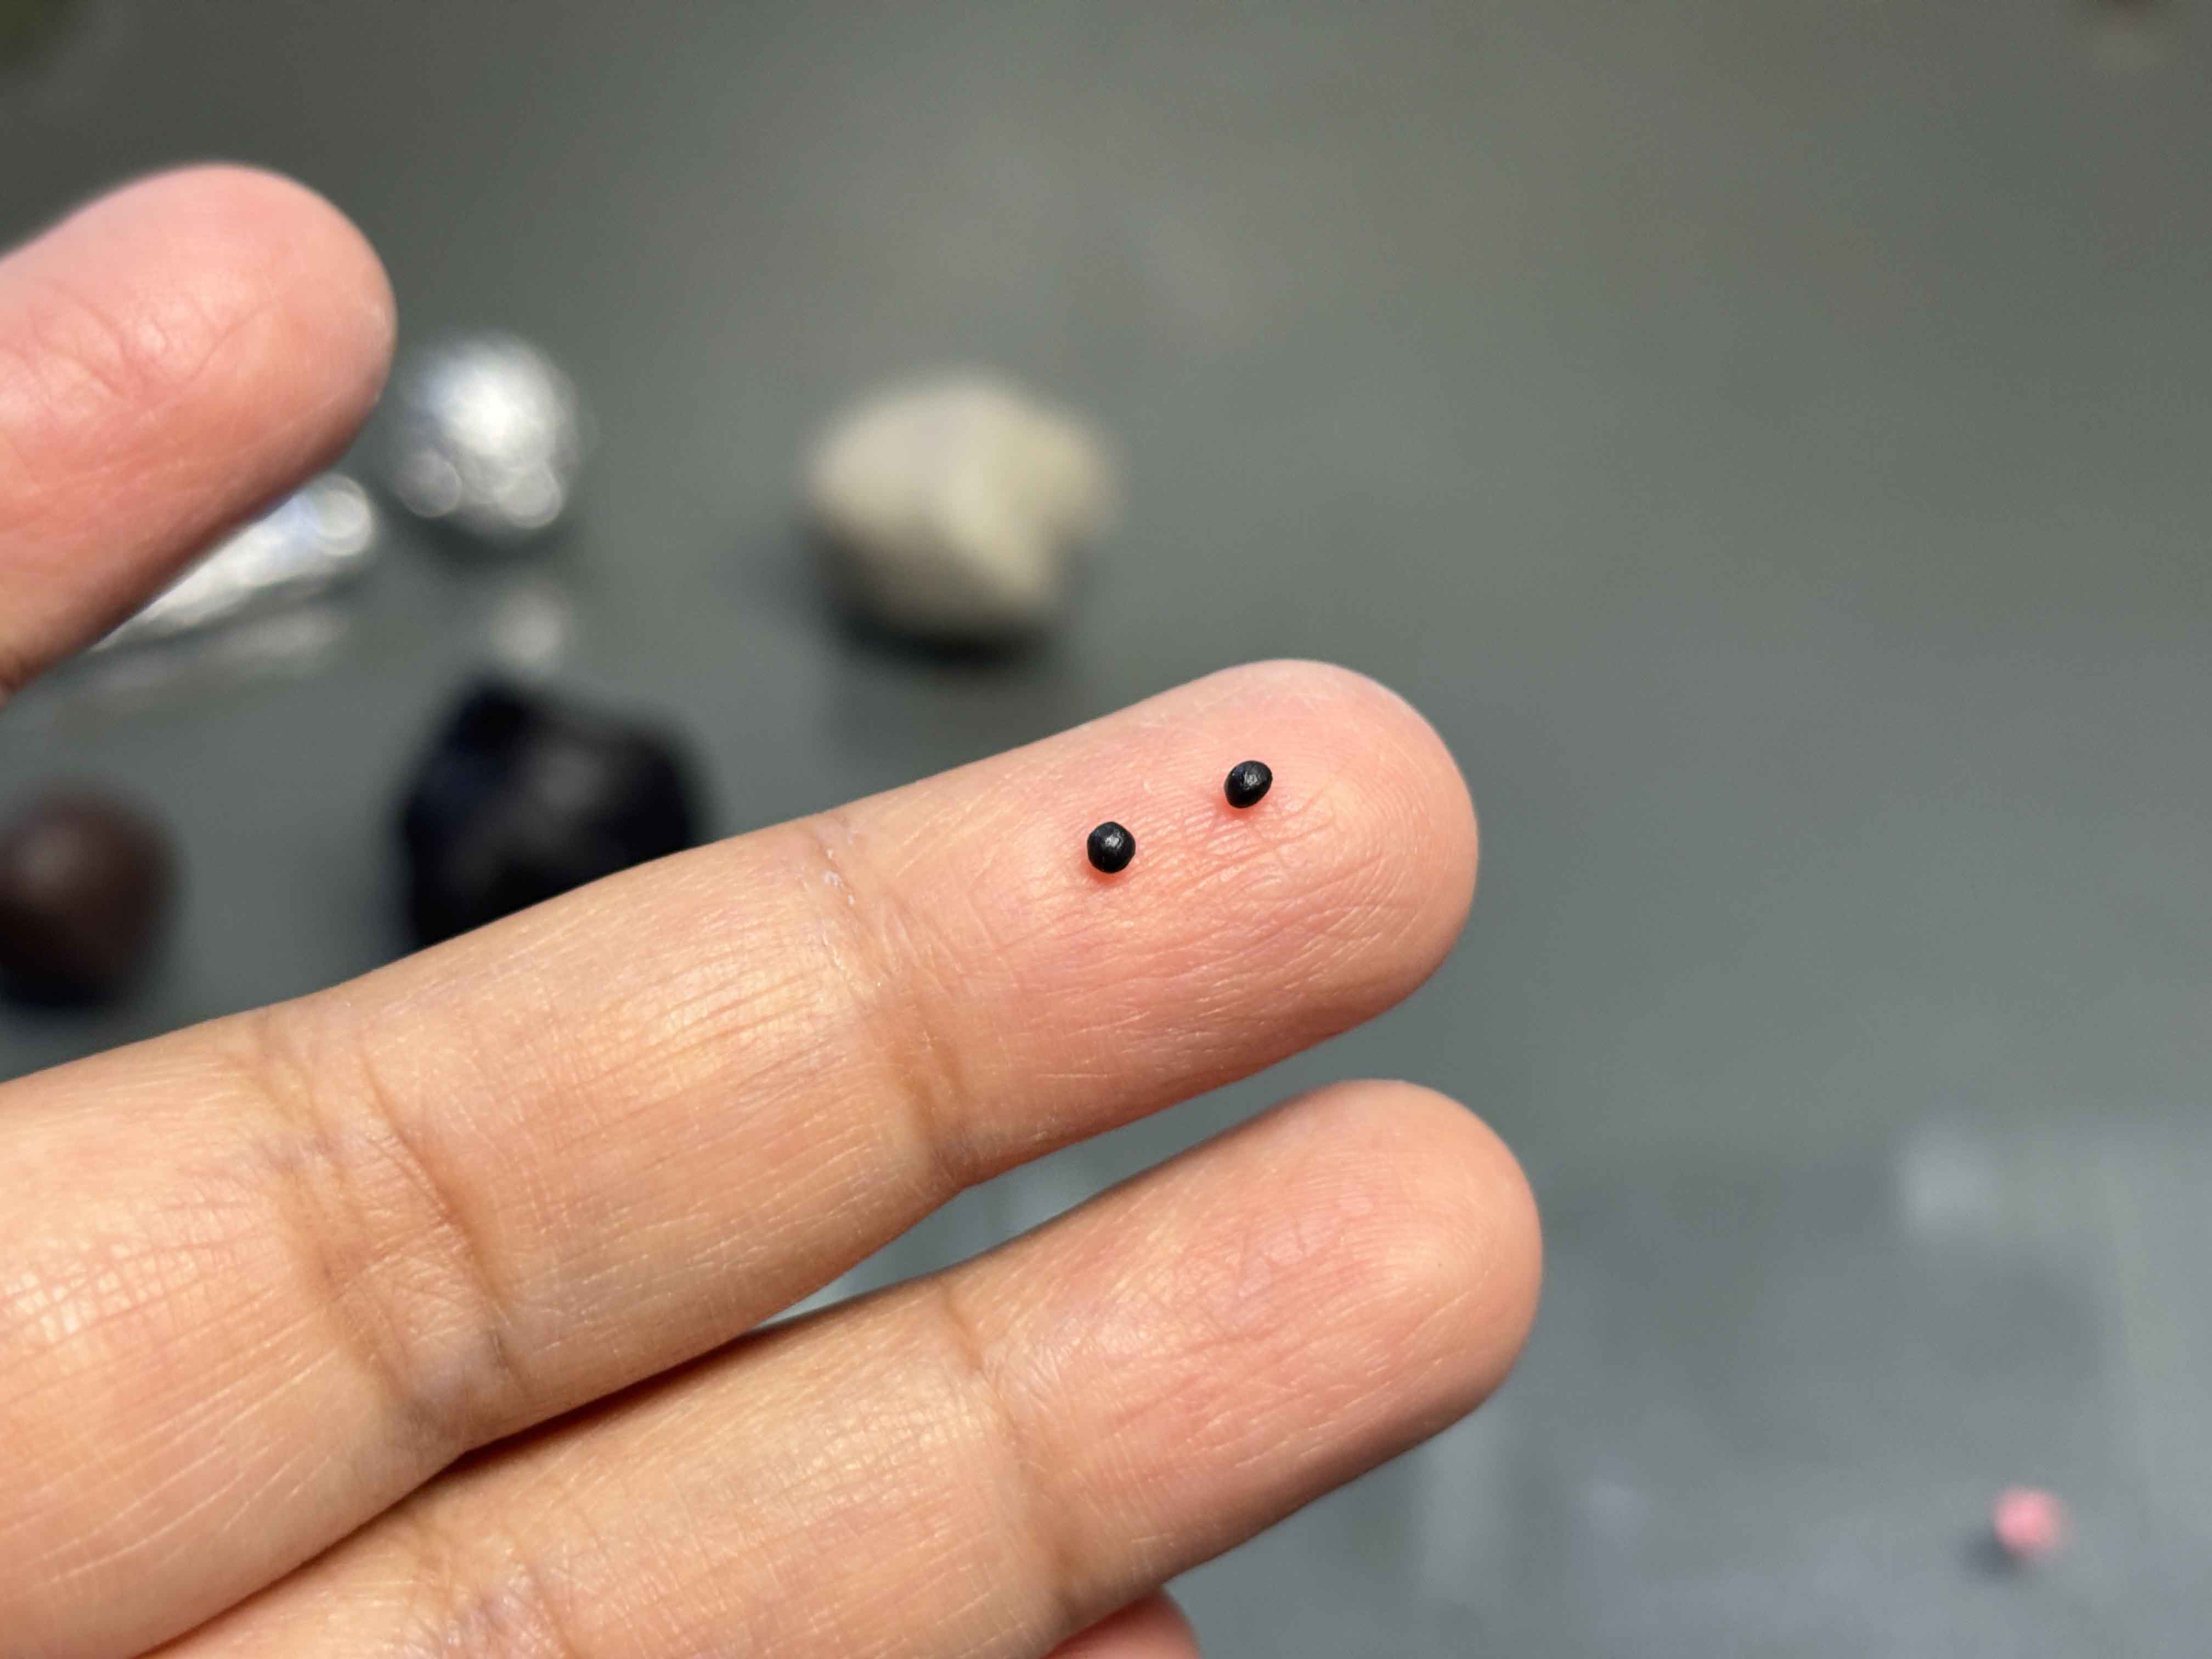
Then I started to add the eyes, usually the eyes are placed in the middle part of the face.
-----
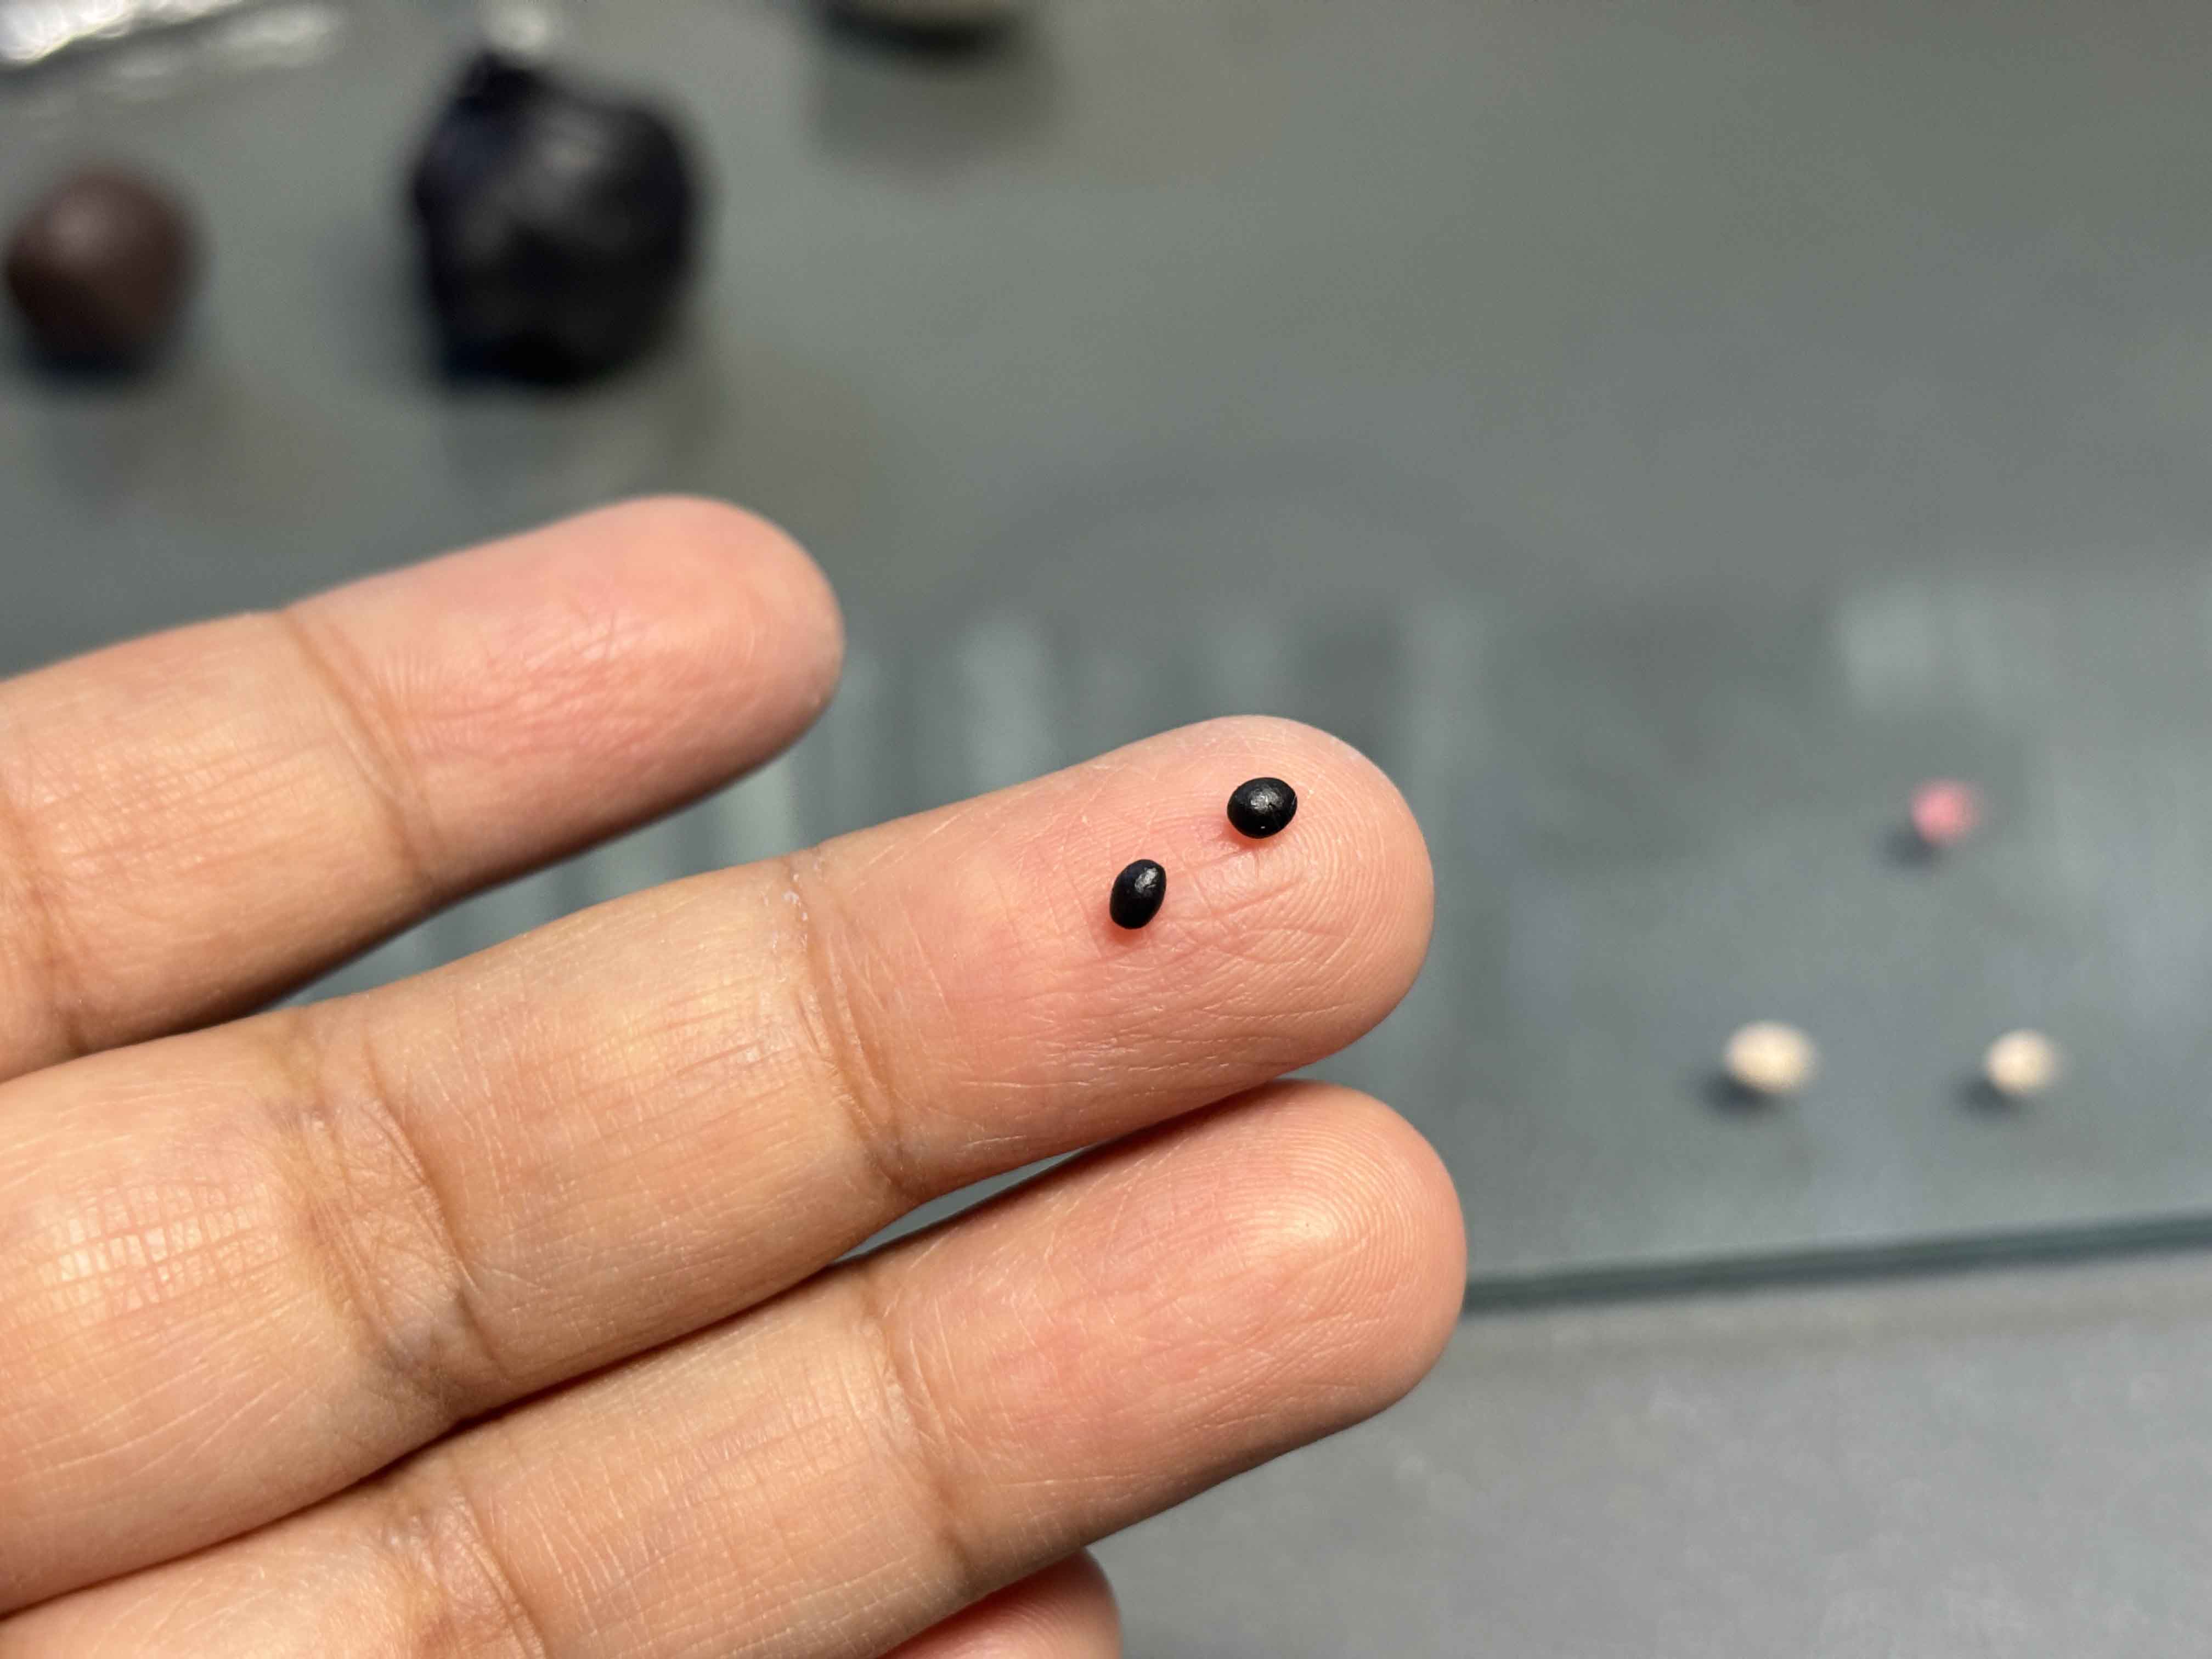
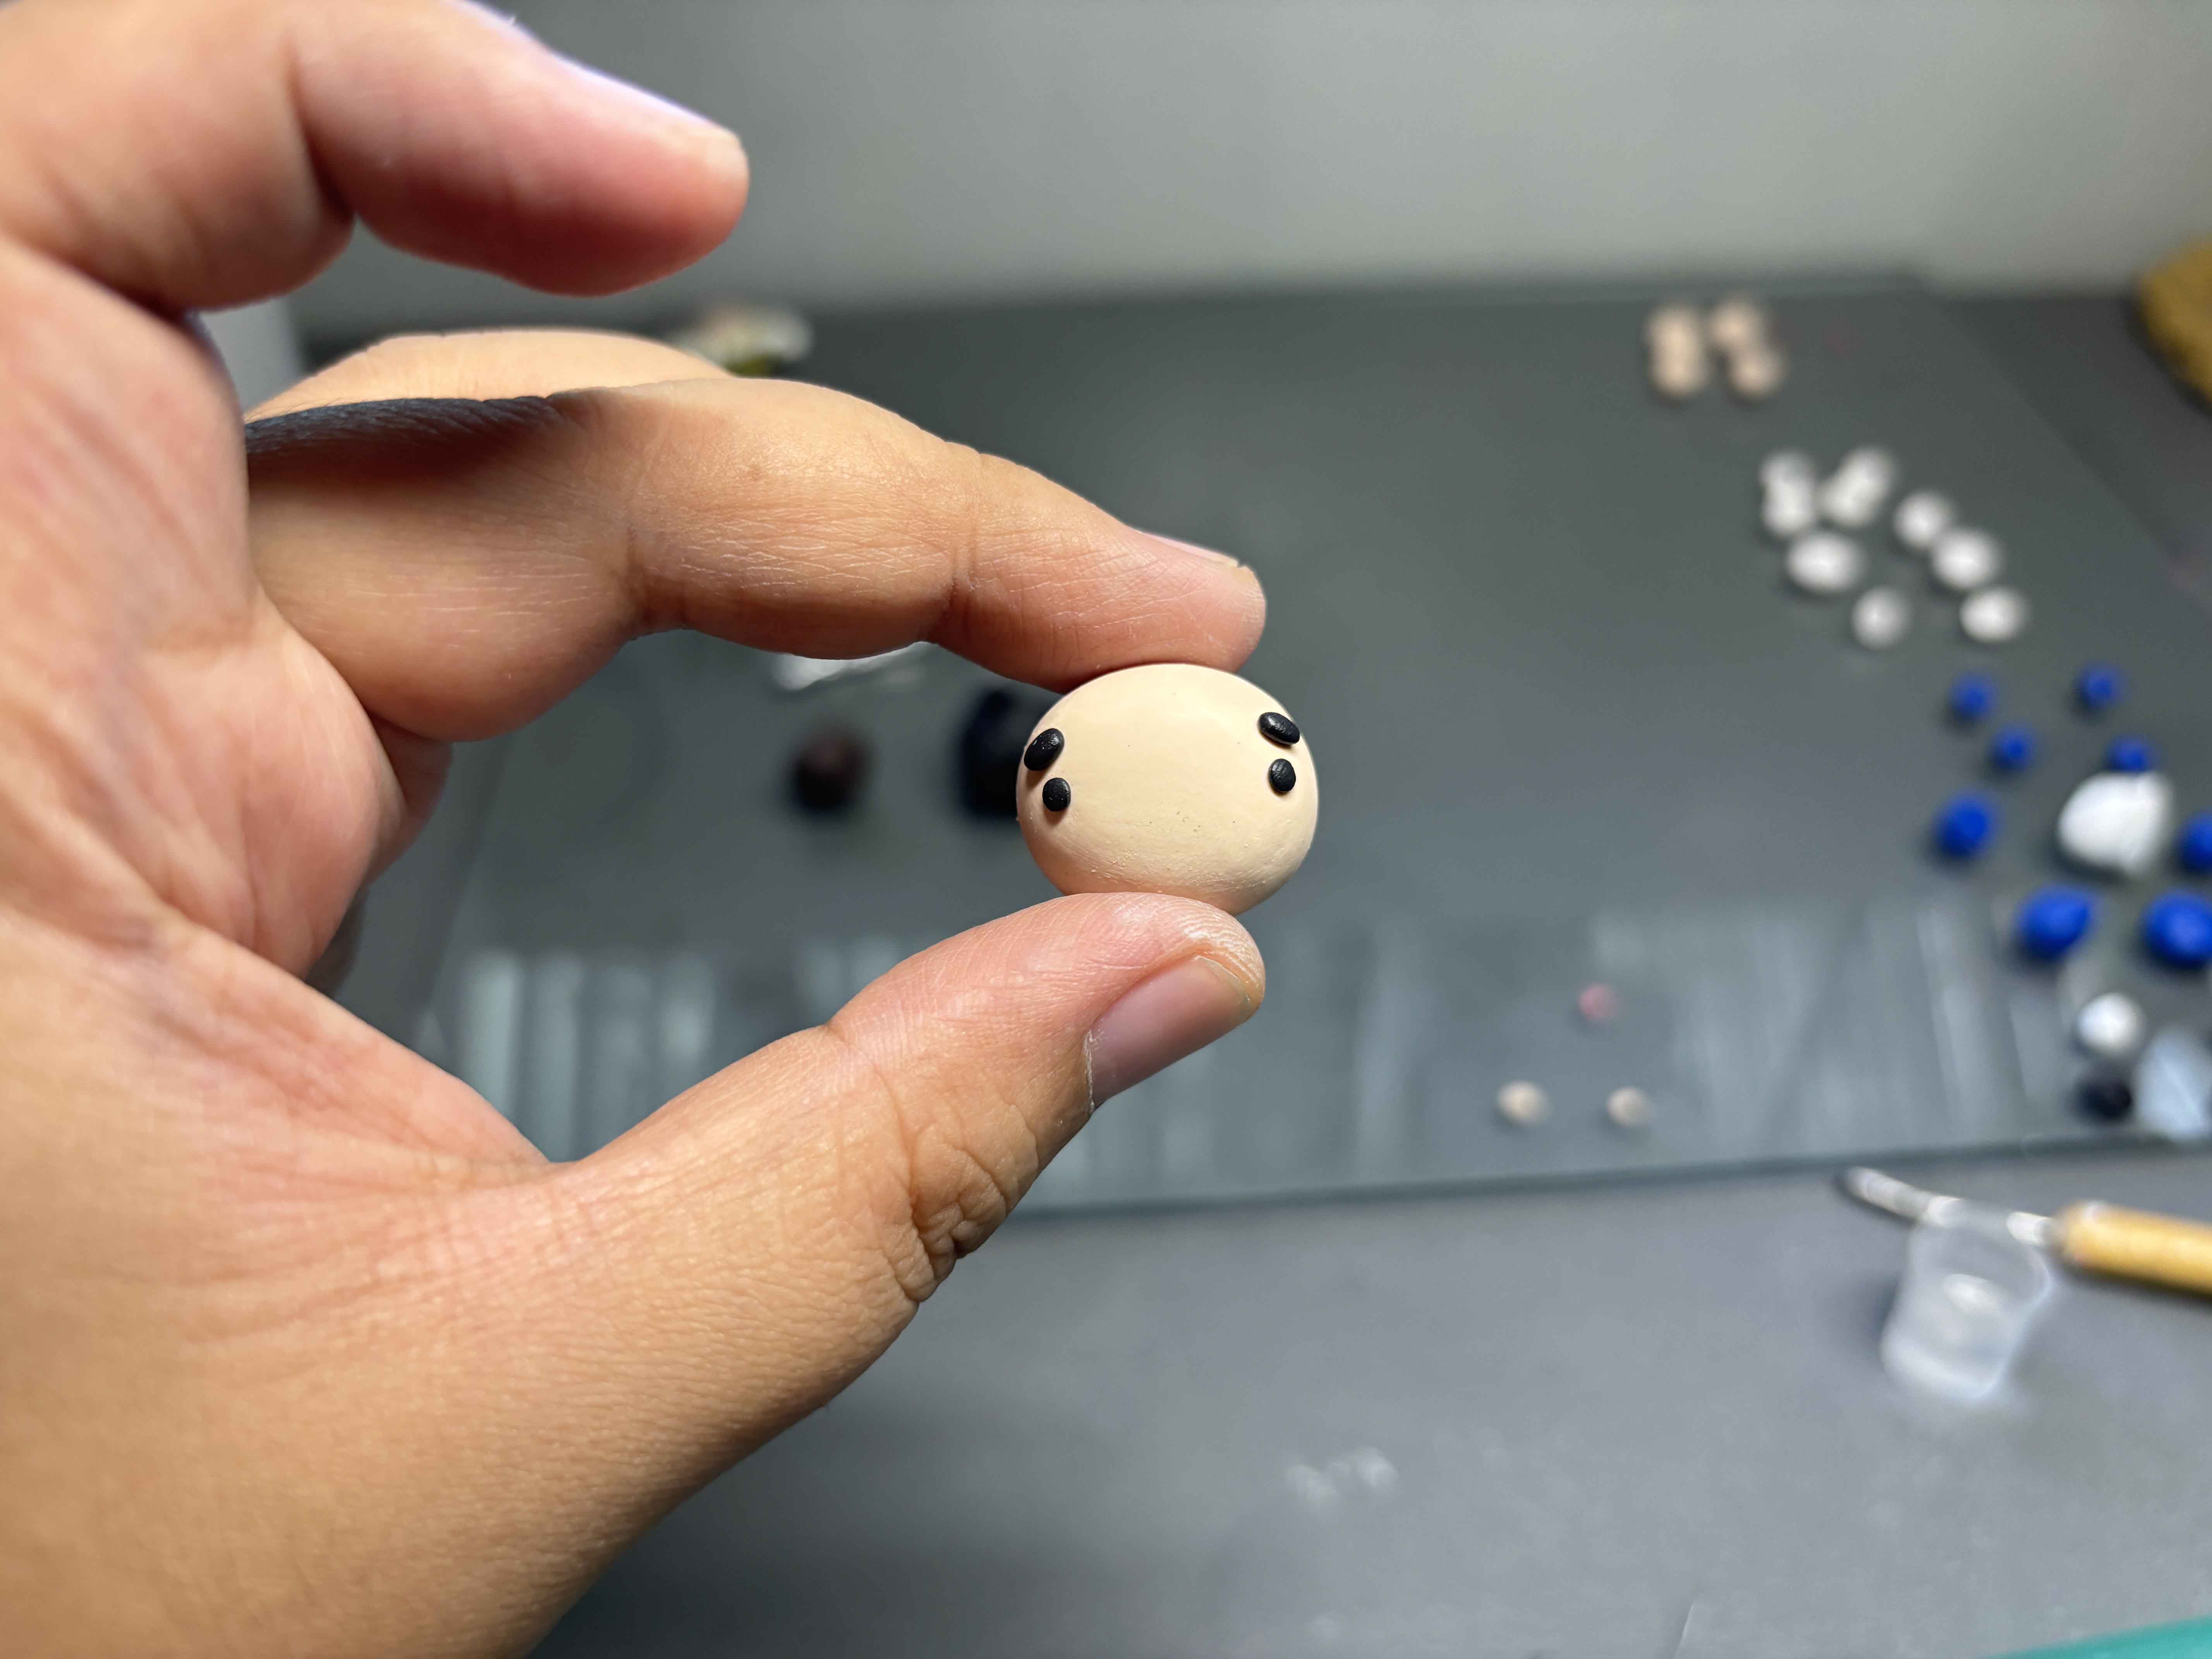
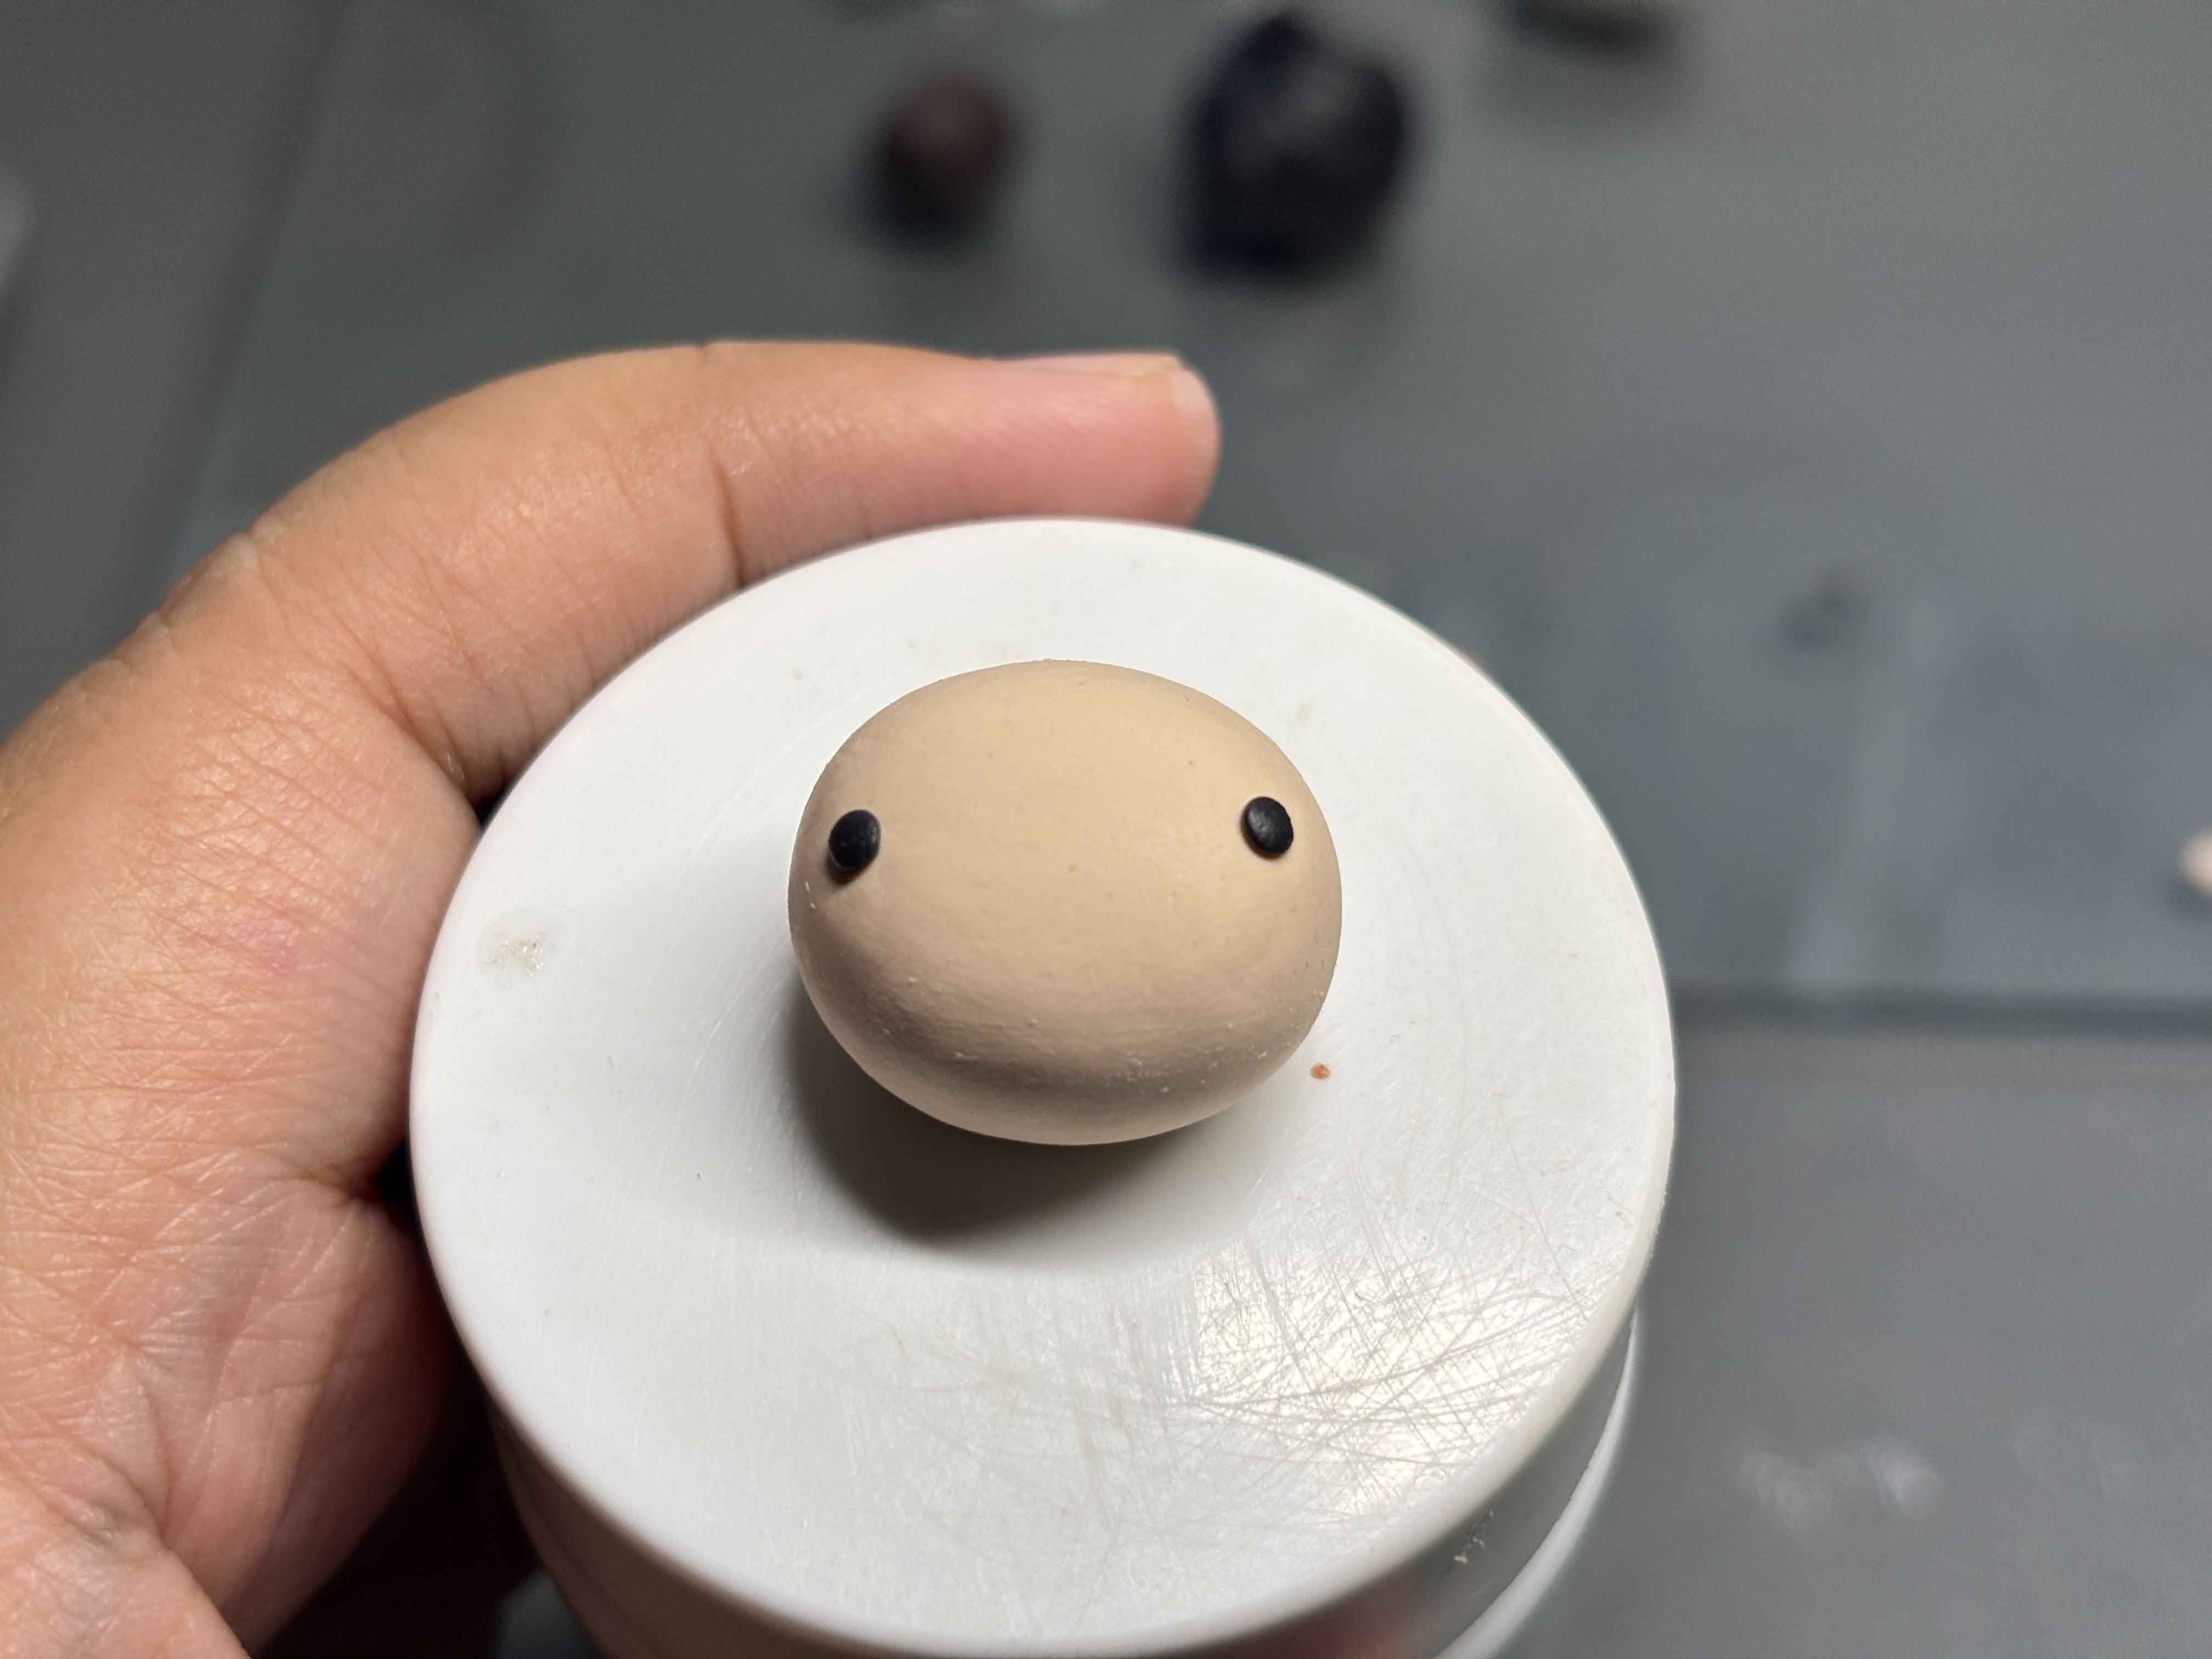
Next are the eyebrows. I did them thick because TOP has really thick eyebrows.
----
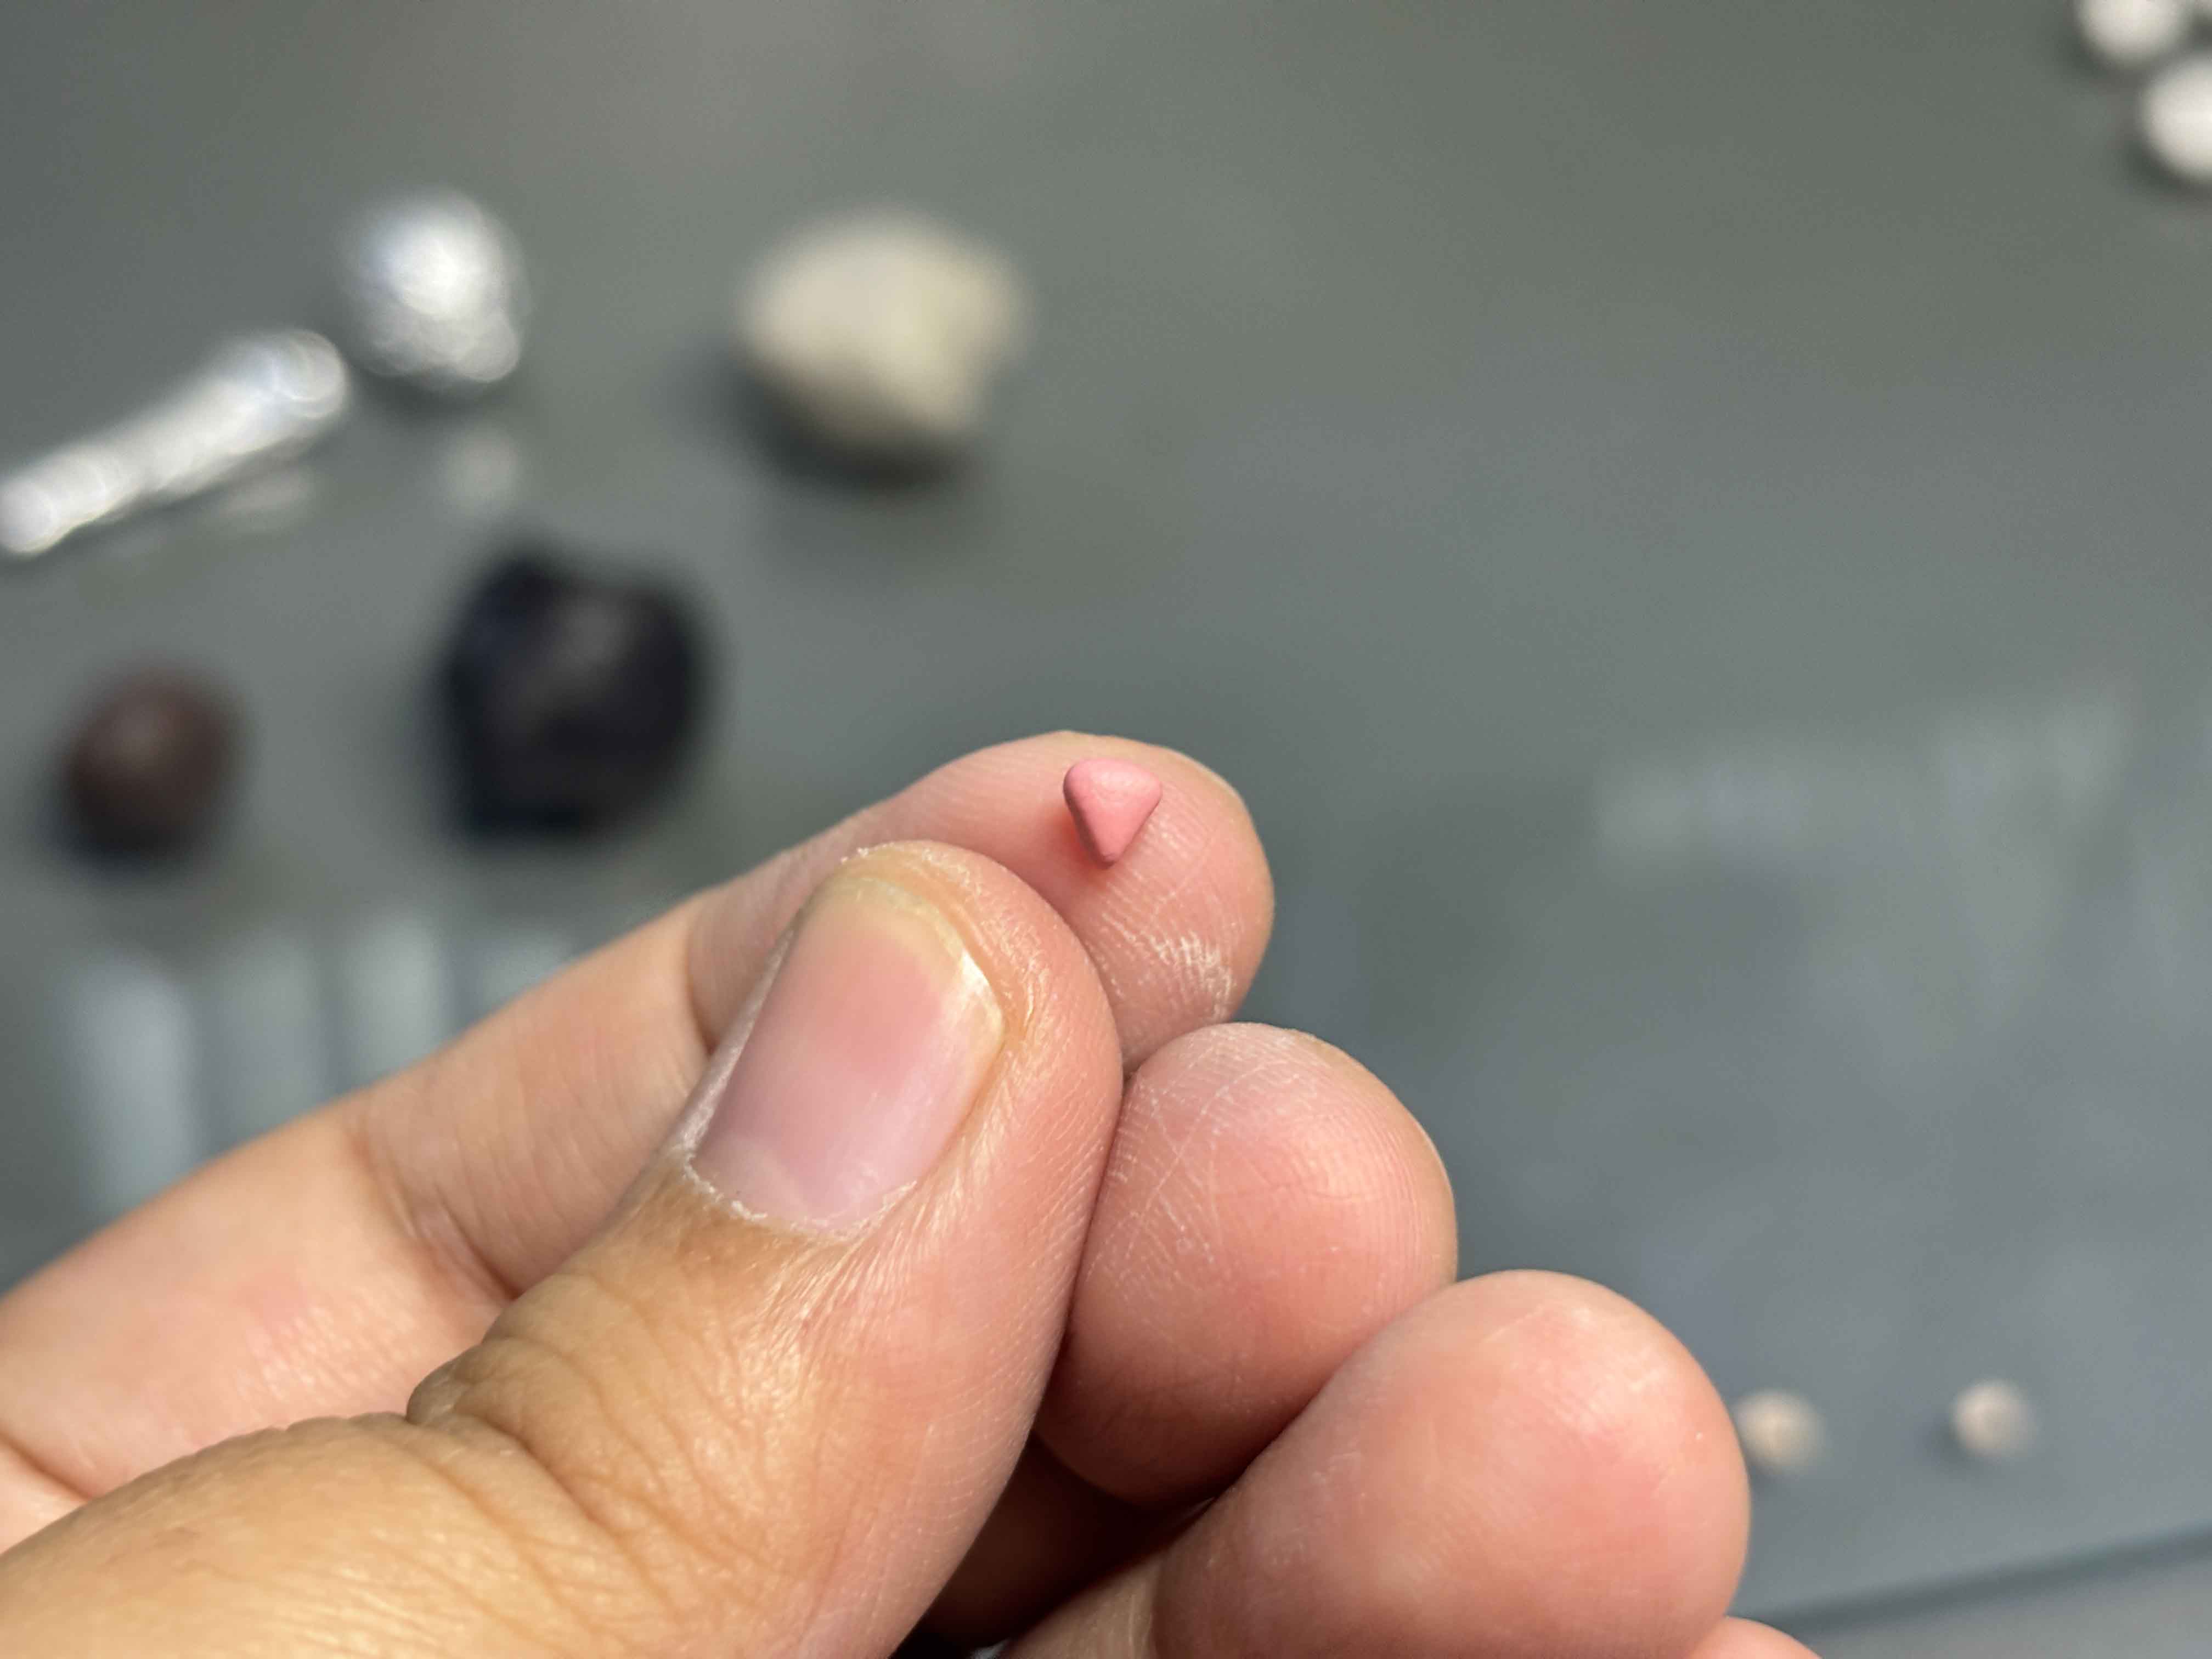
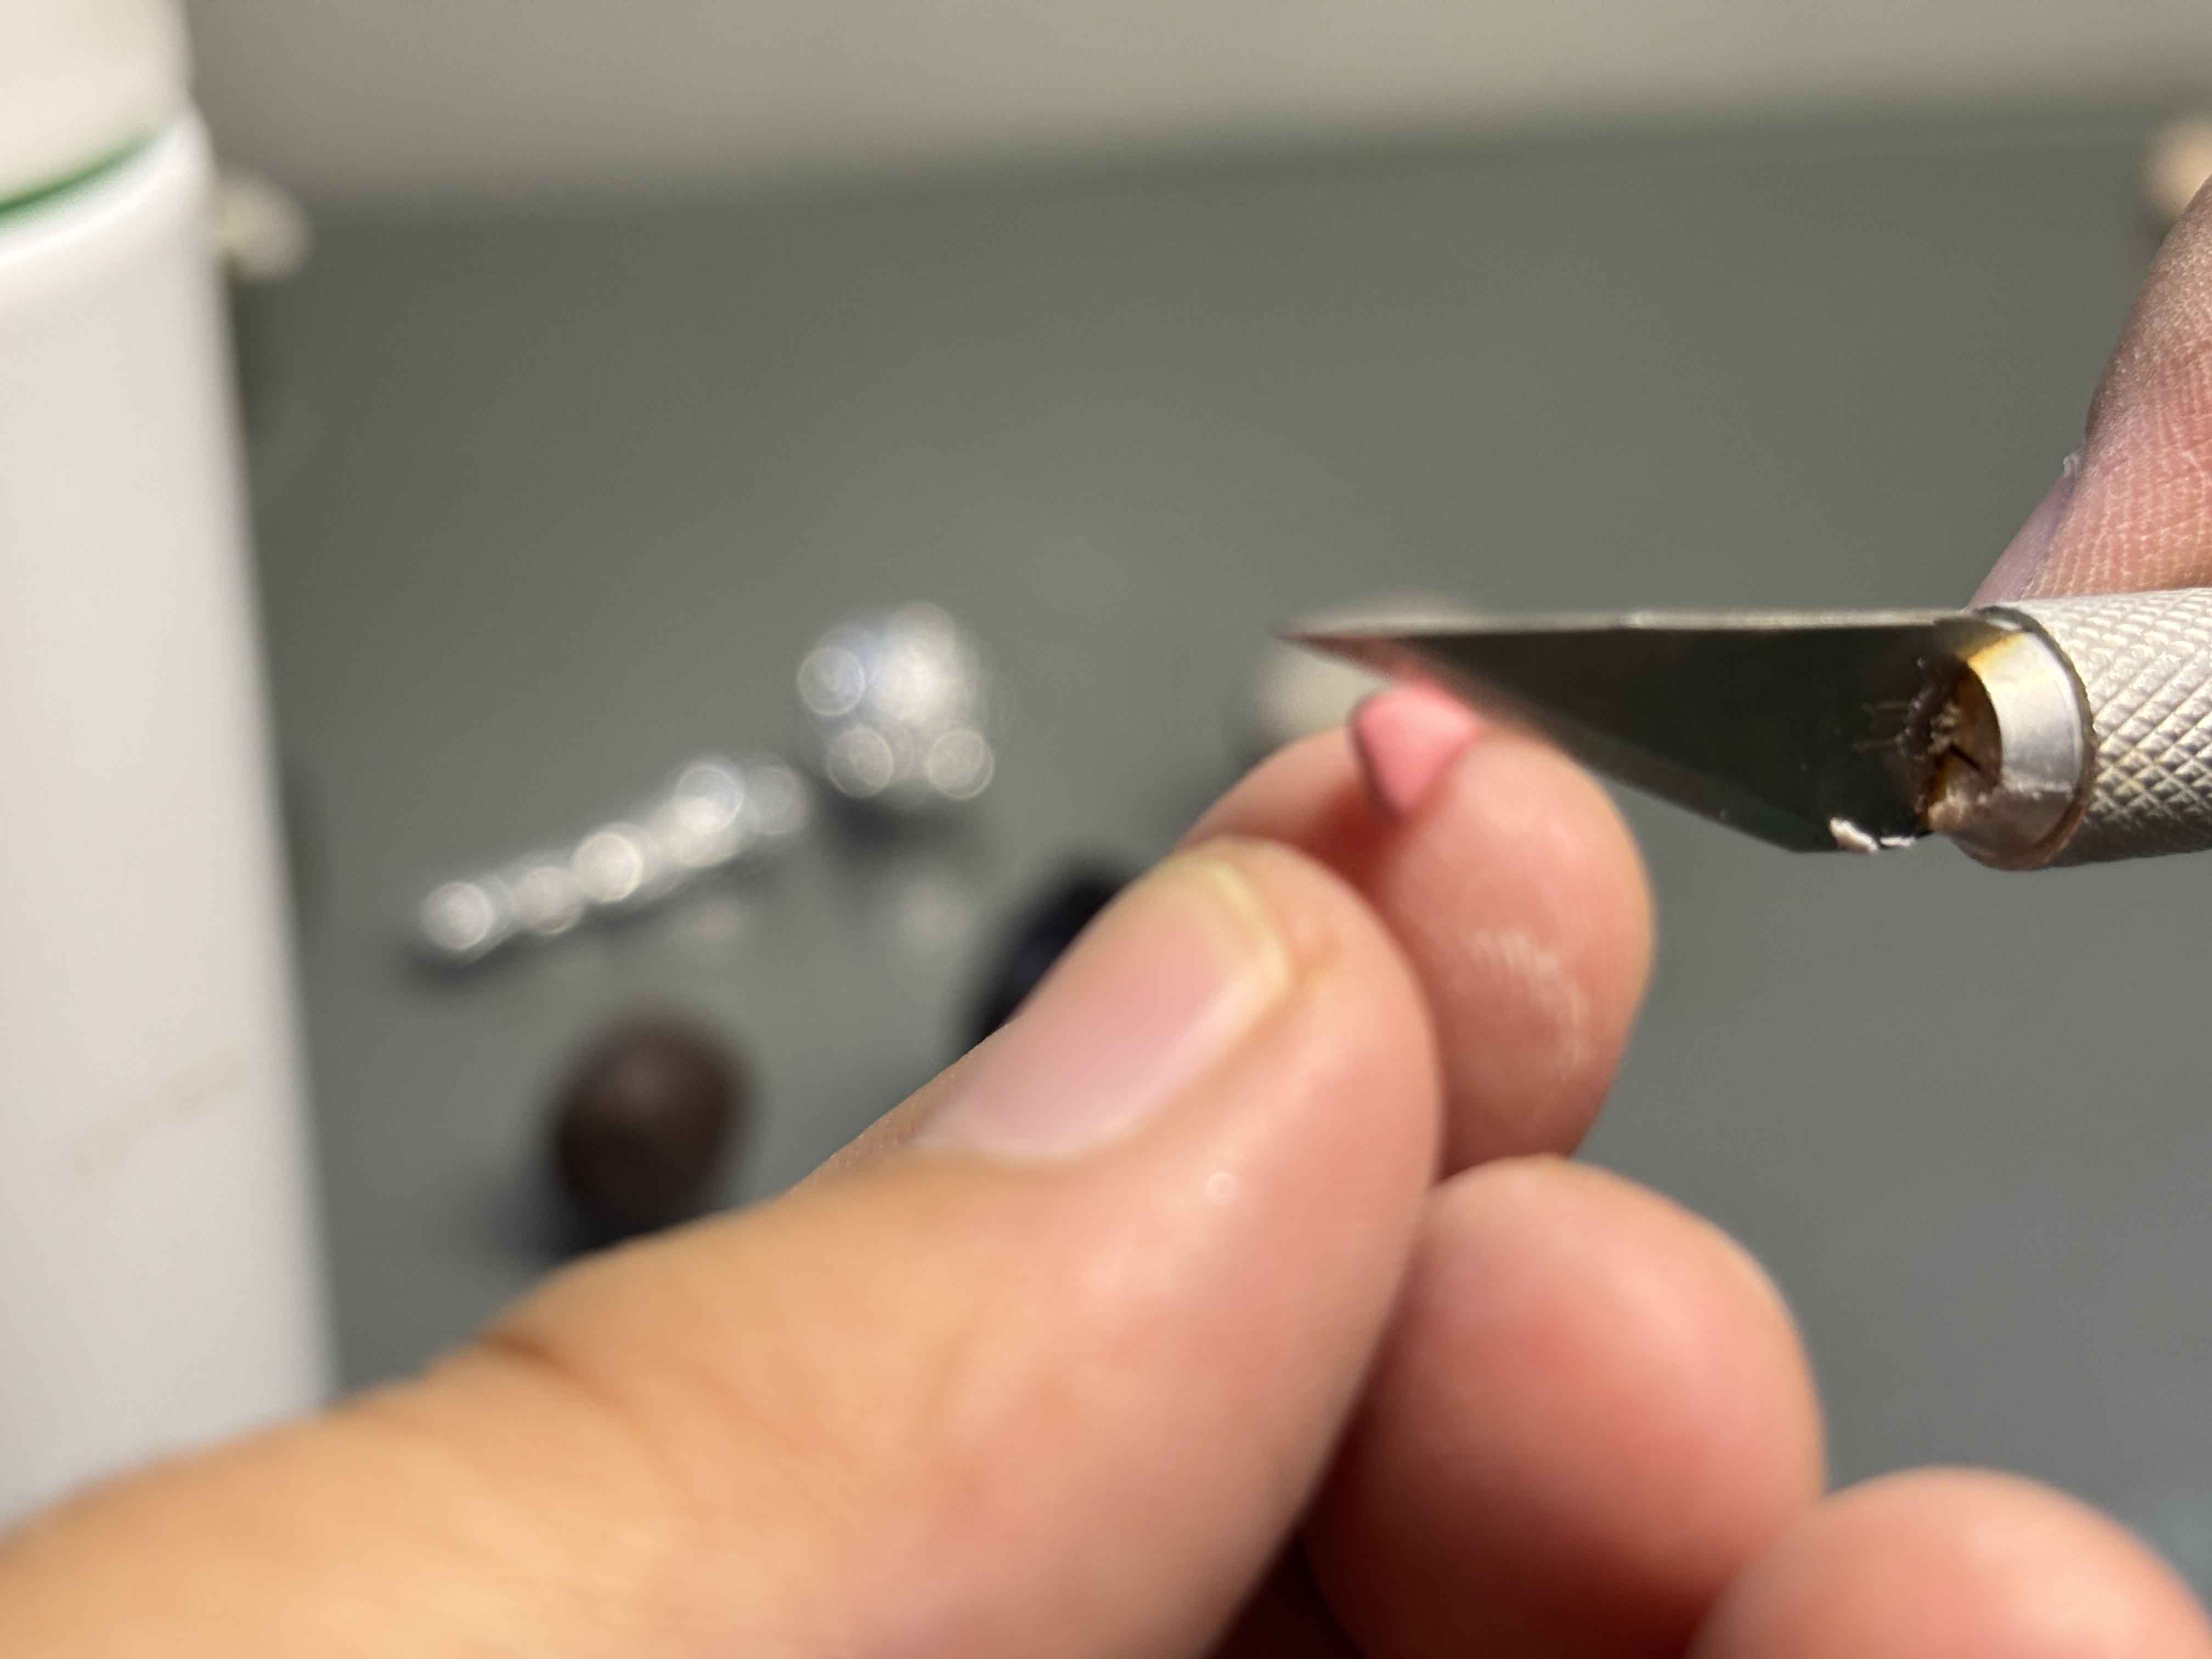
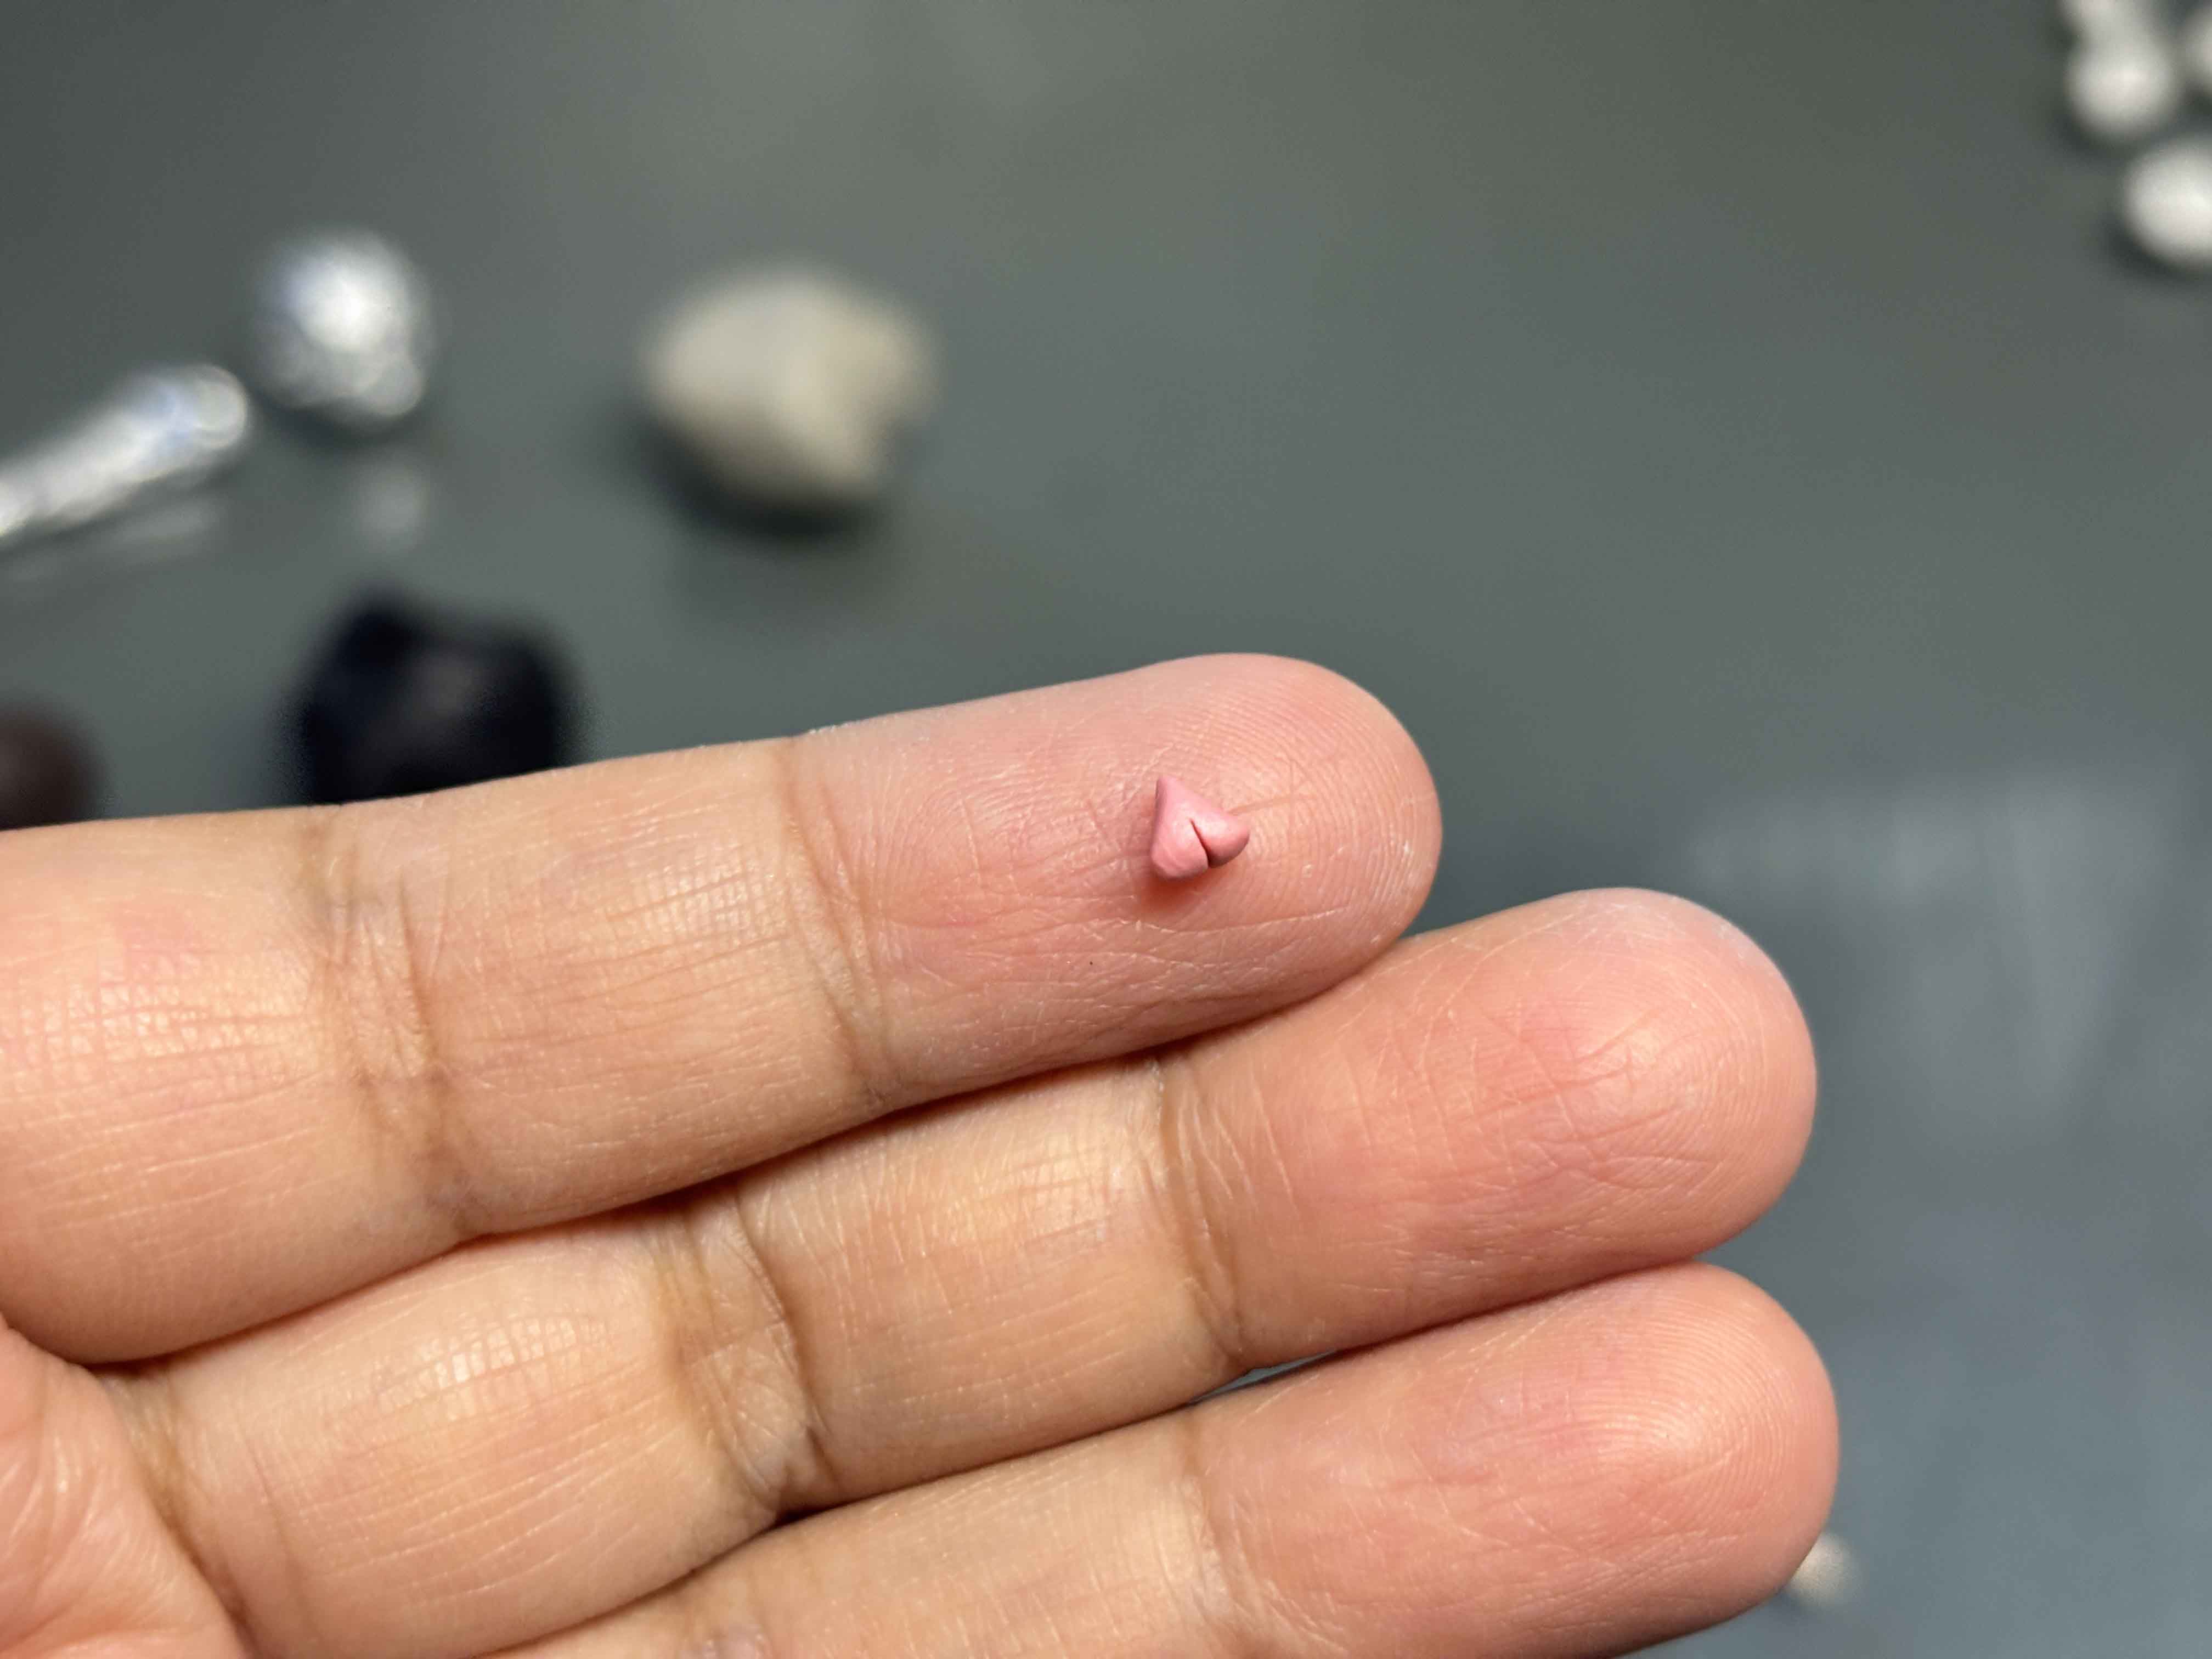
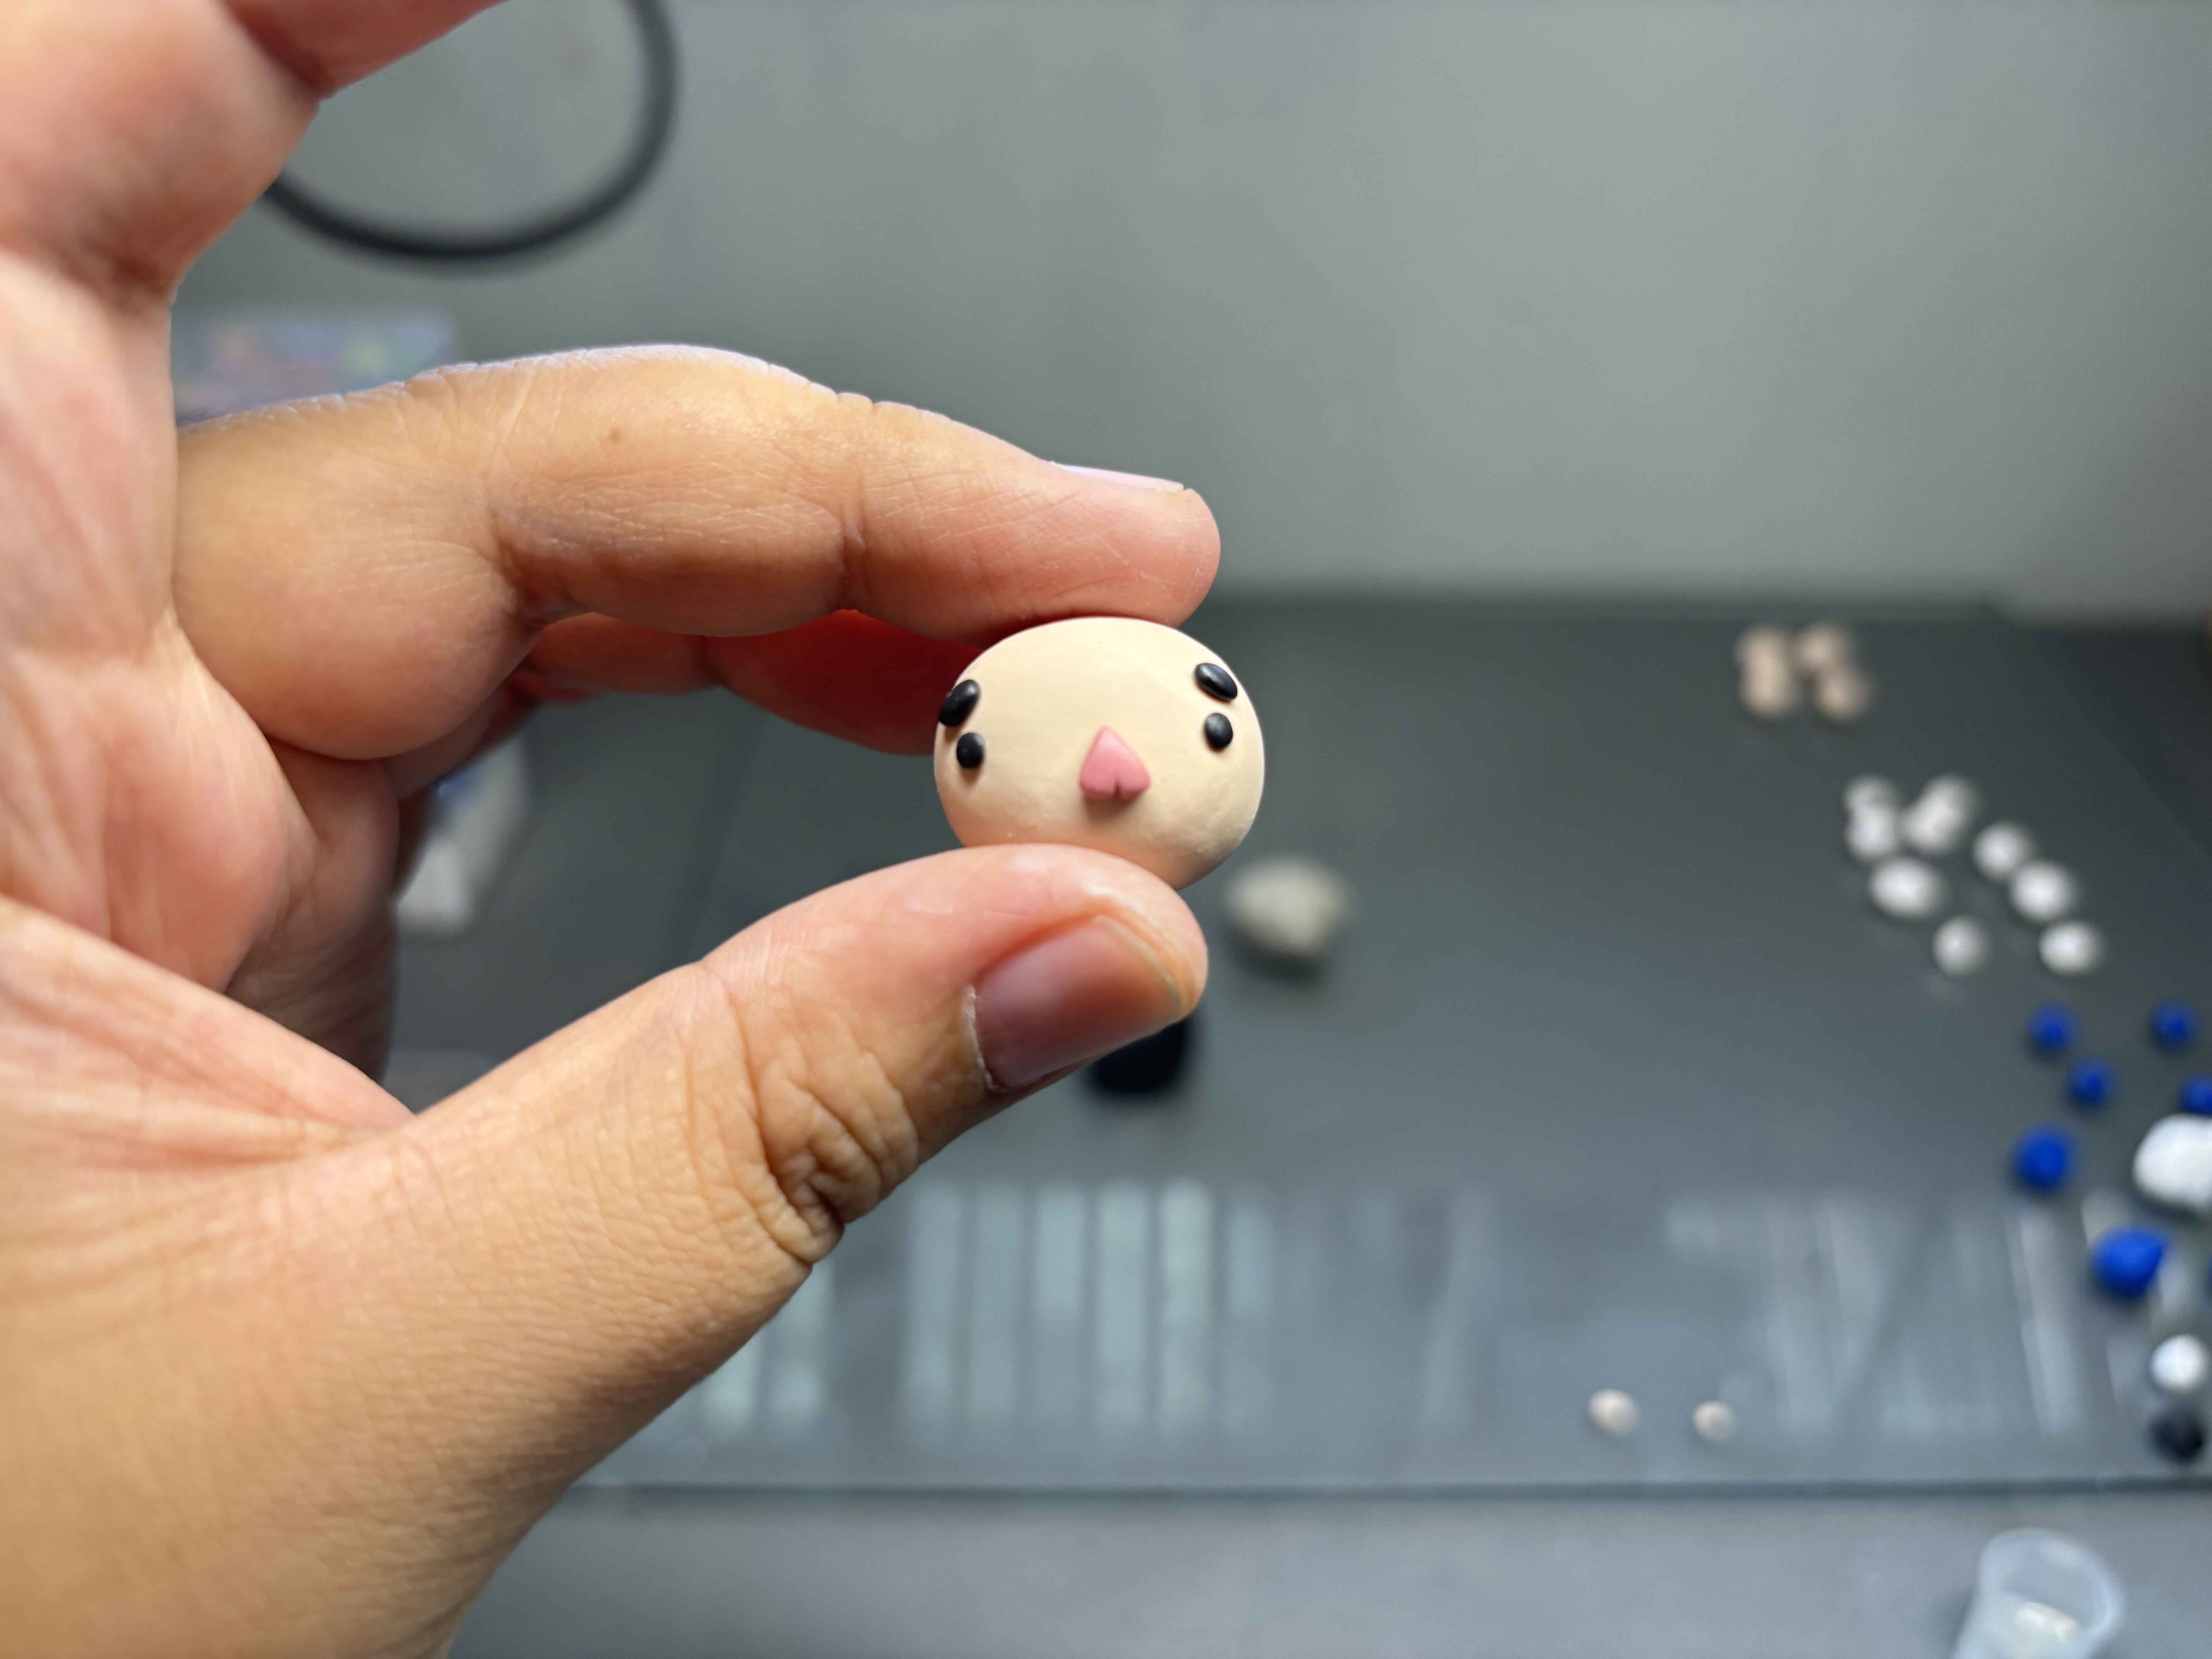
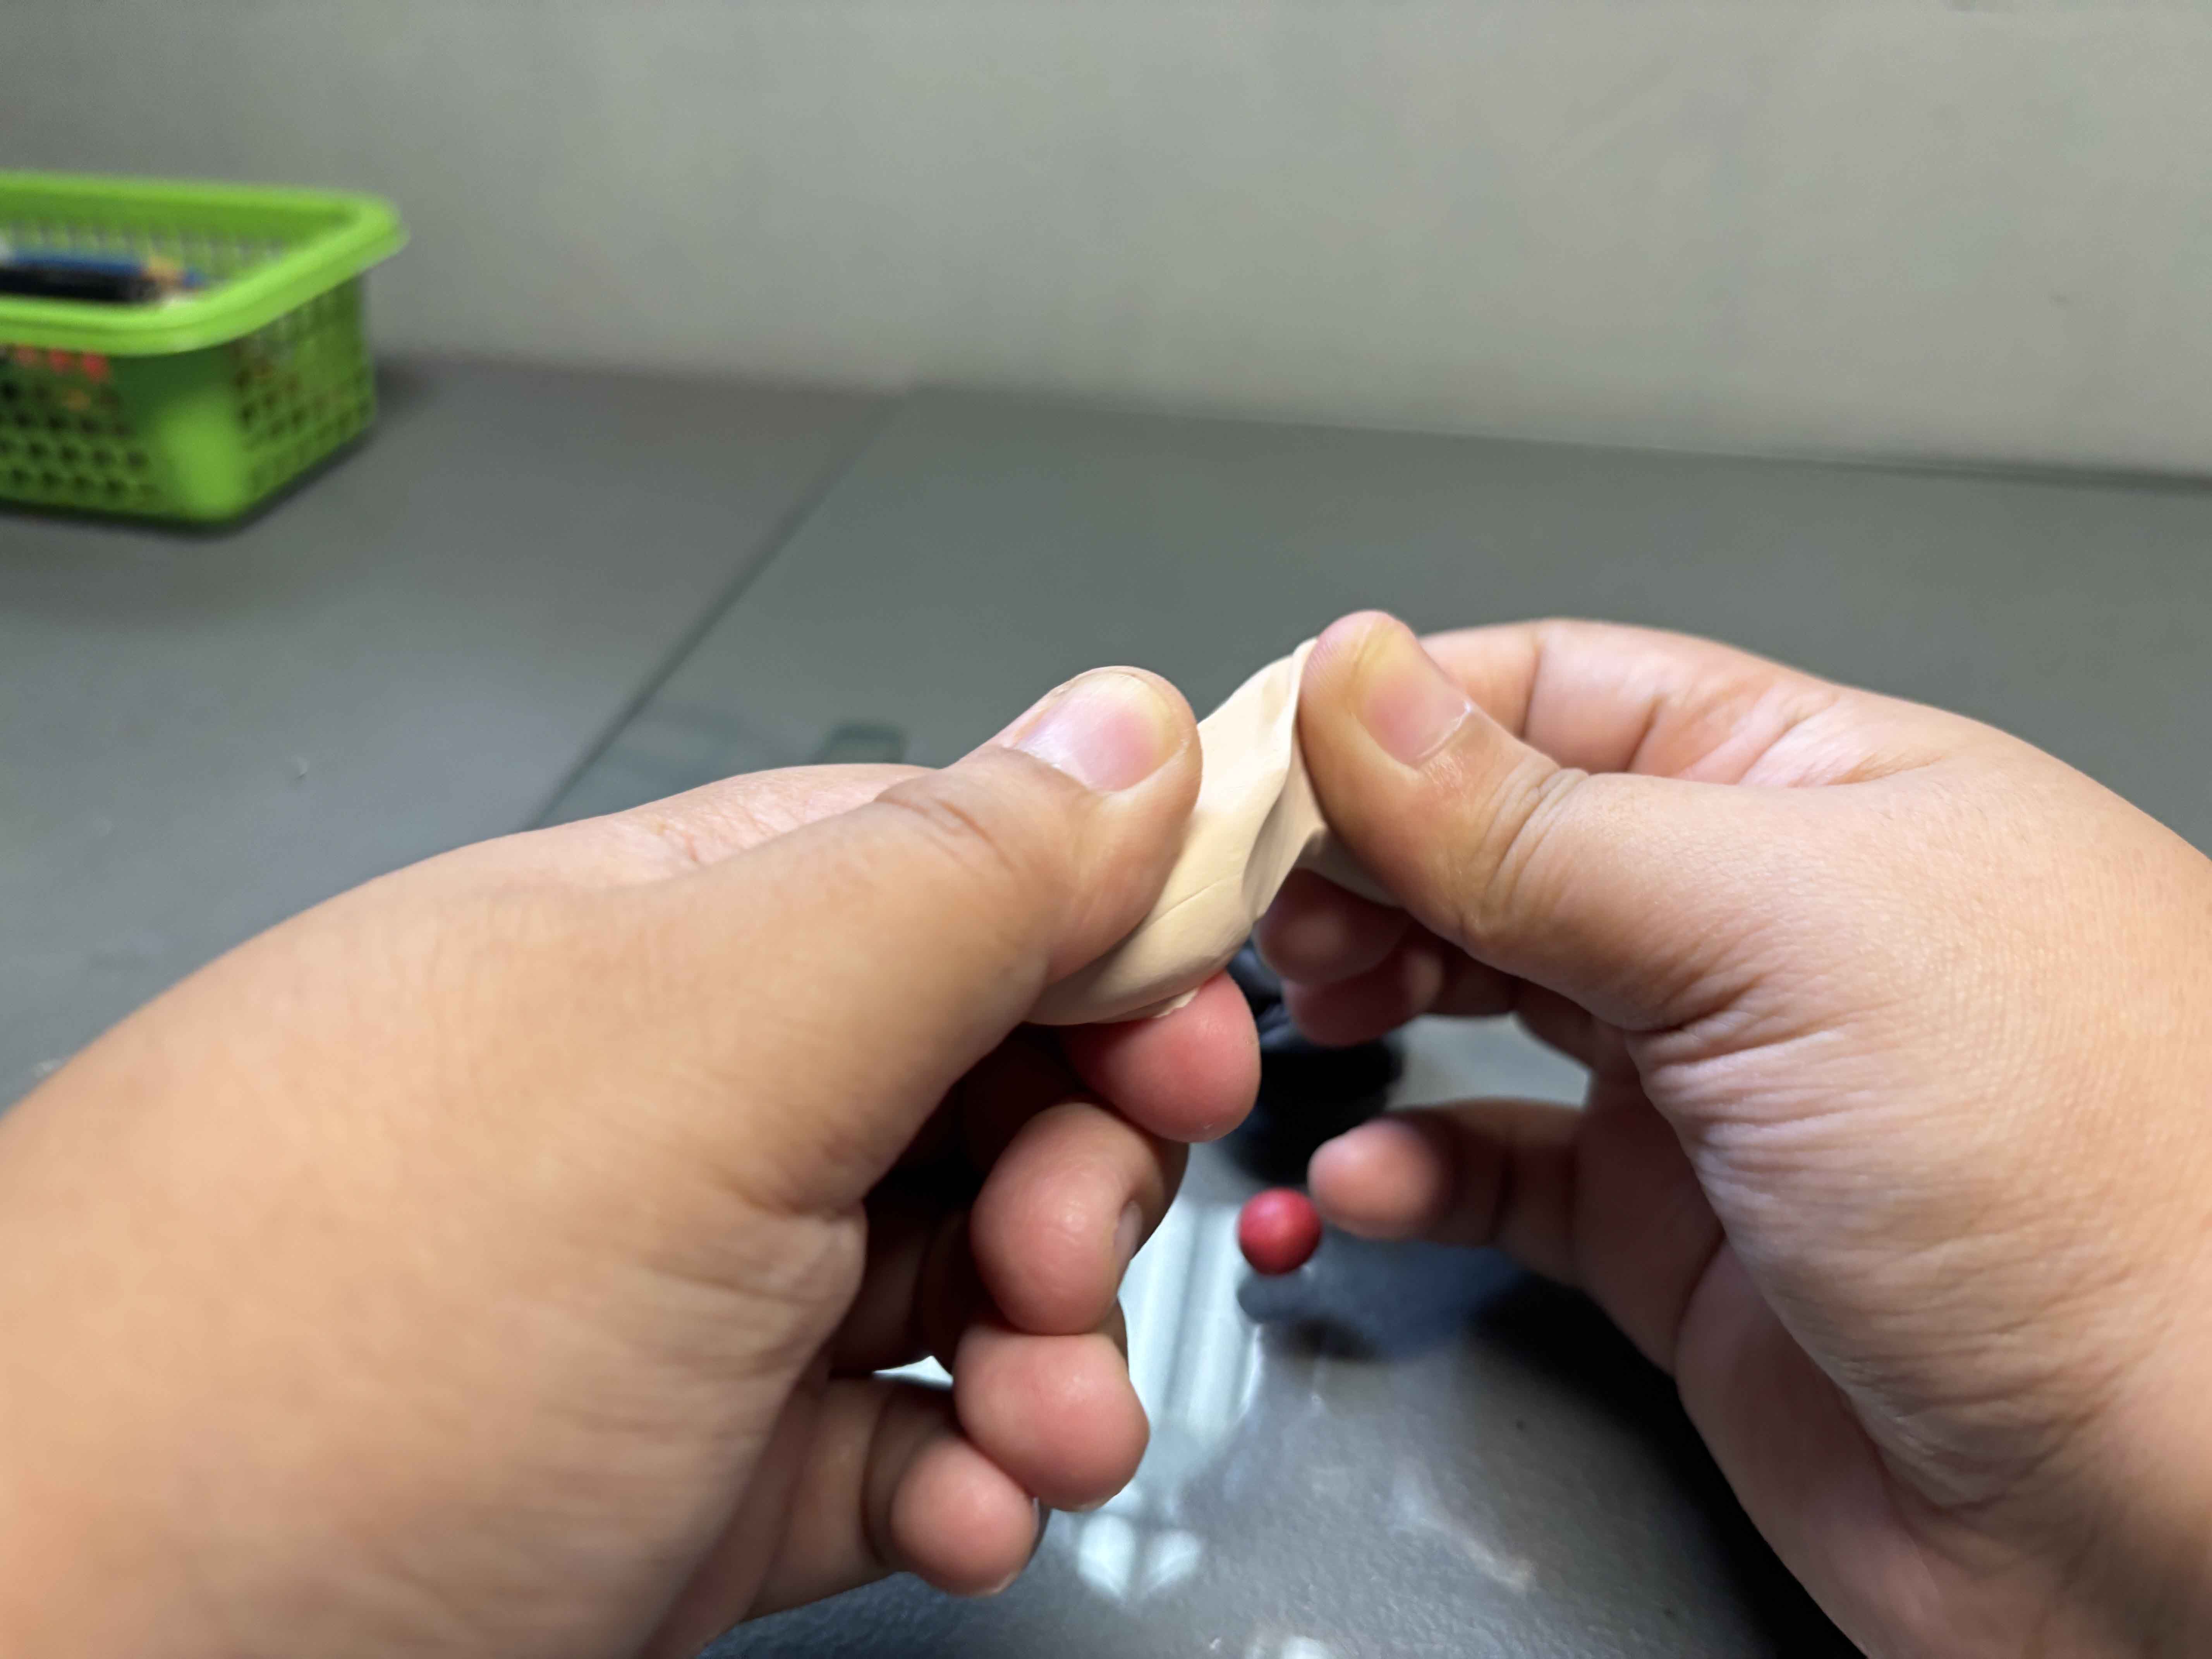
For the nose, I use this pinkish color, and then I shape it like a triangle, and then I cut the middle of it just like the shape of a heart. Then I added it in the middle of the face.
-----
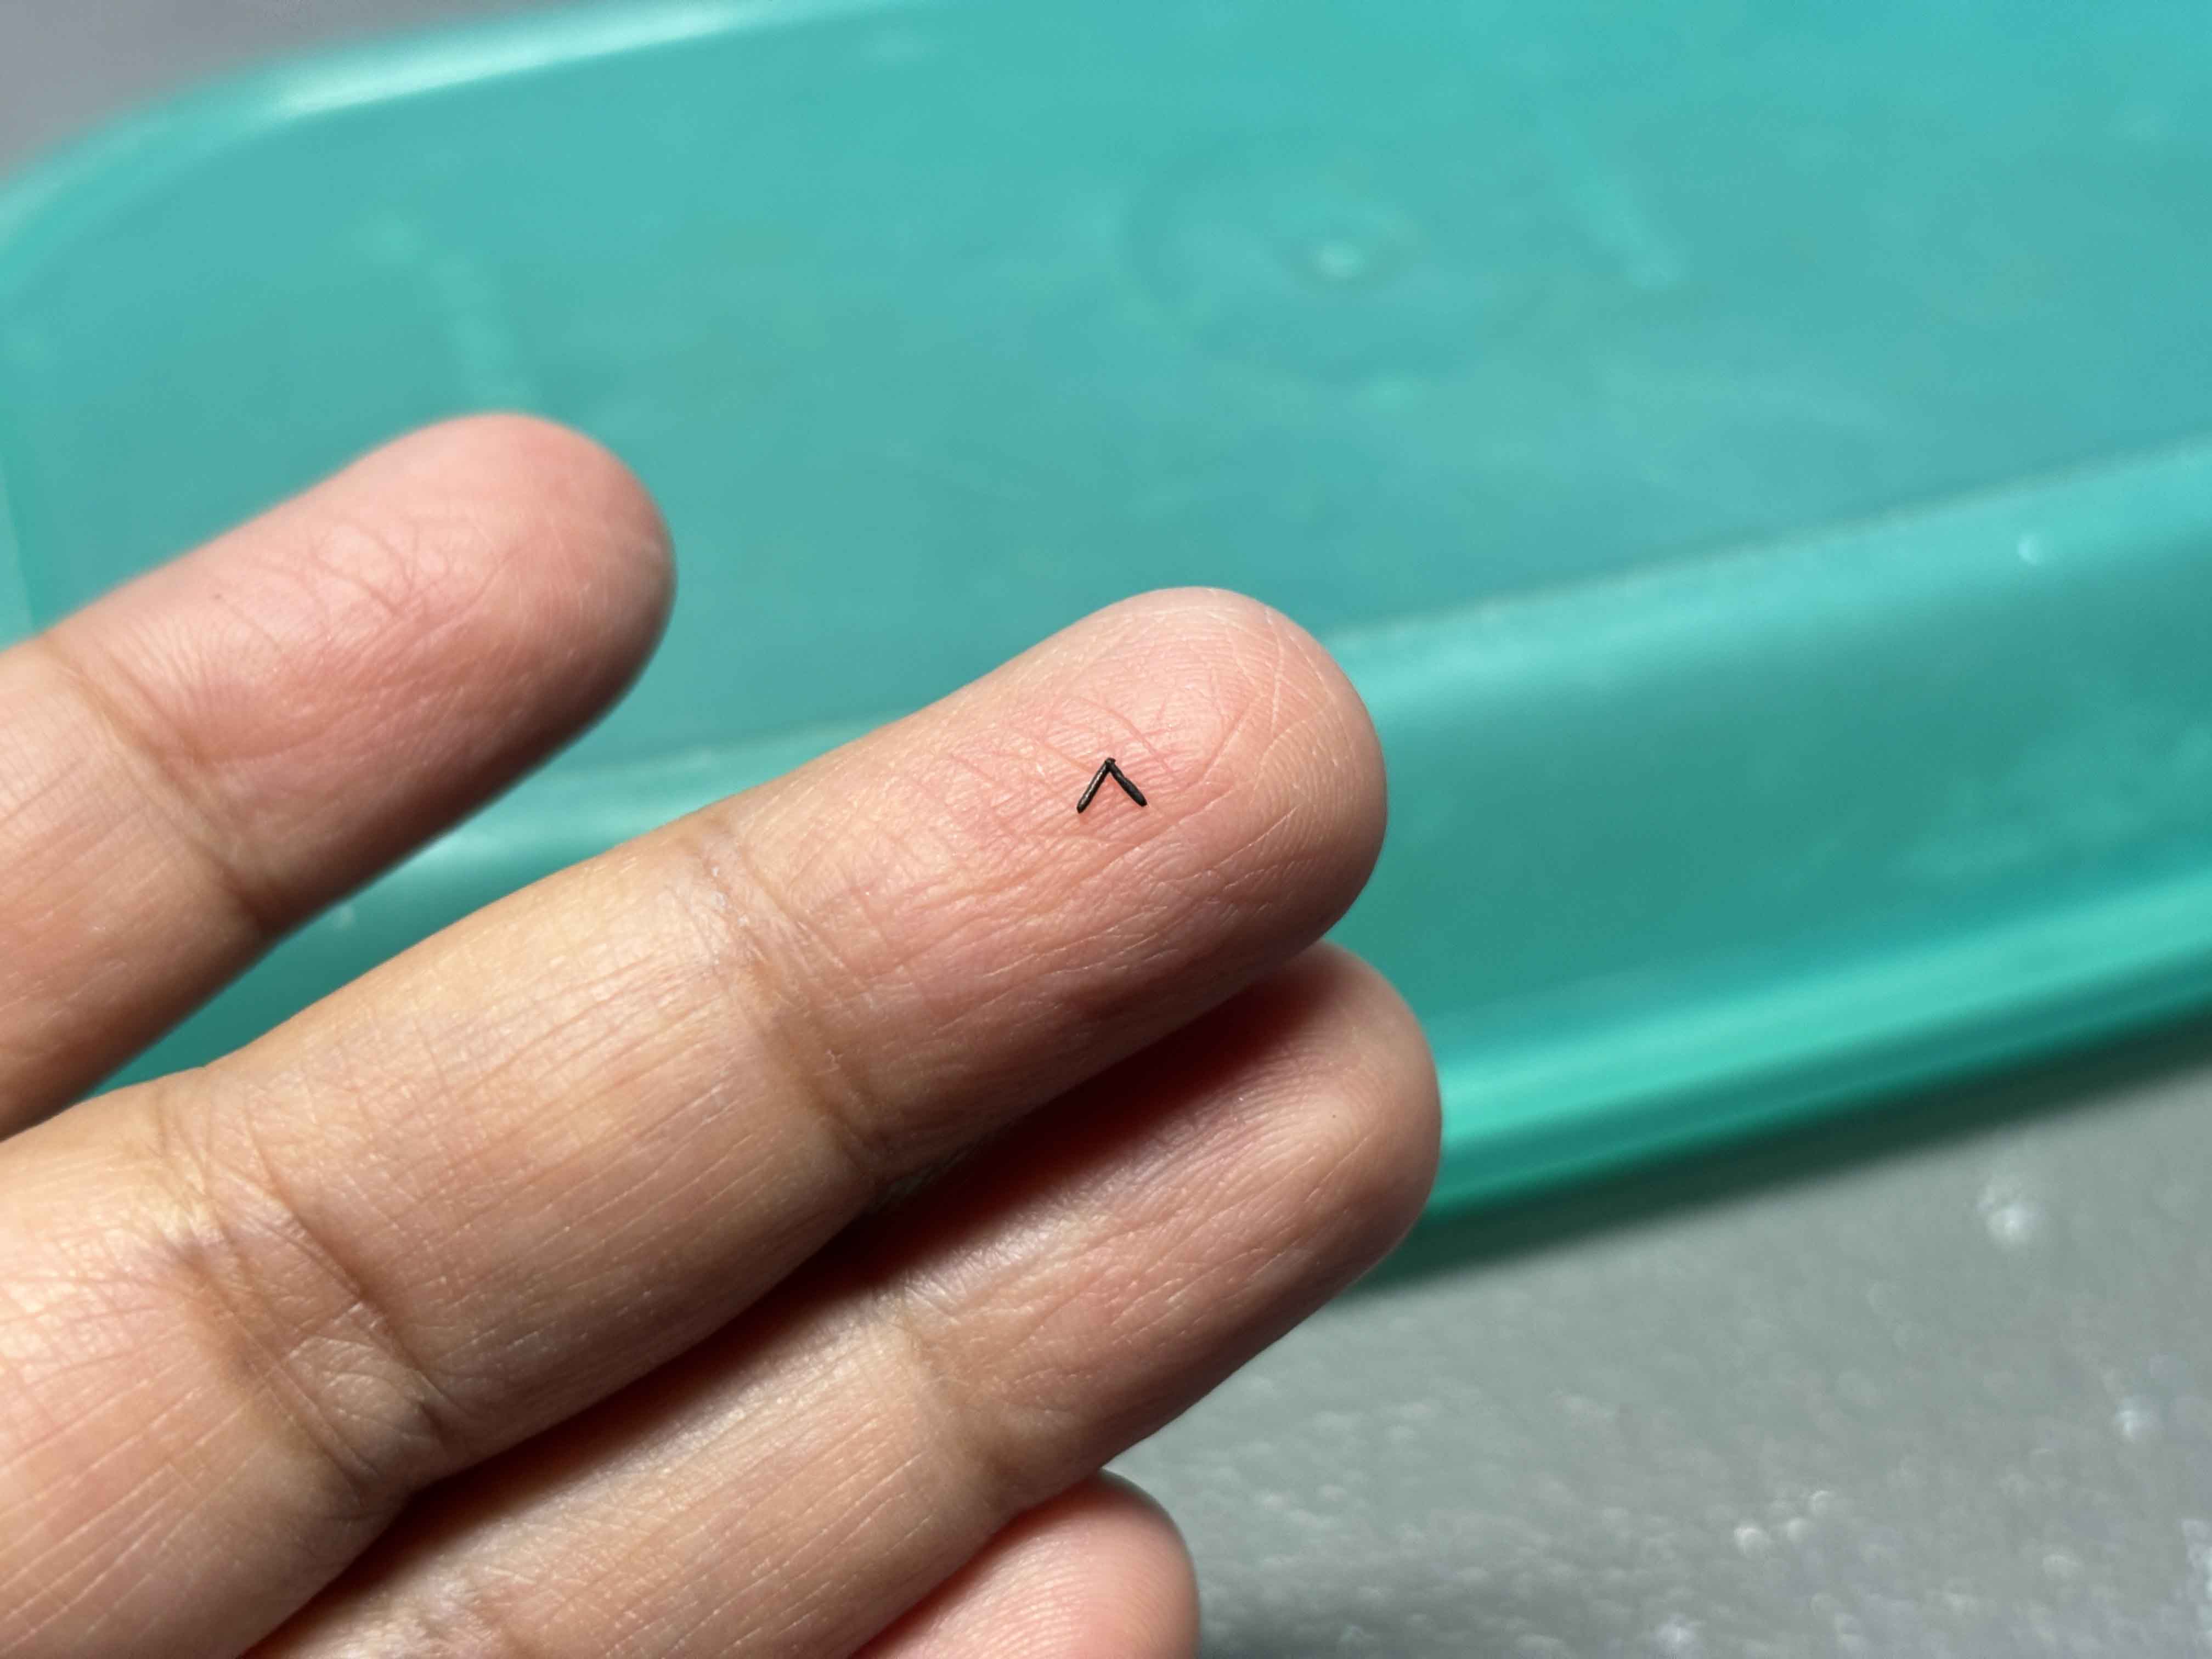
For the mouth, I cut a tiny piece of black clay and then rolled it into a piece of paper until it became thin, and then I cut it into two lines and then connected them like I do in the photo.
----
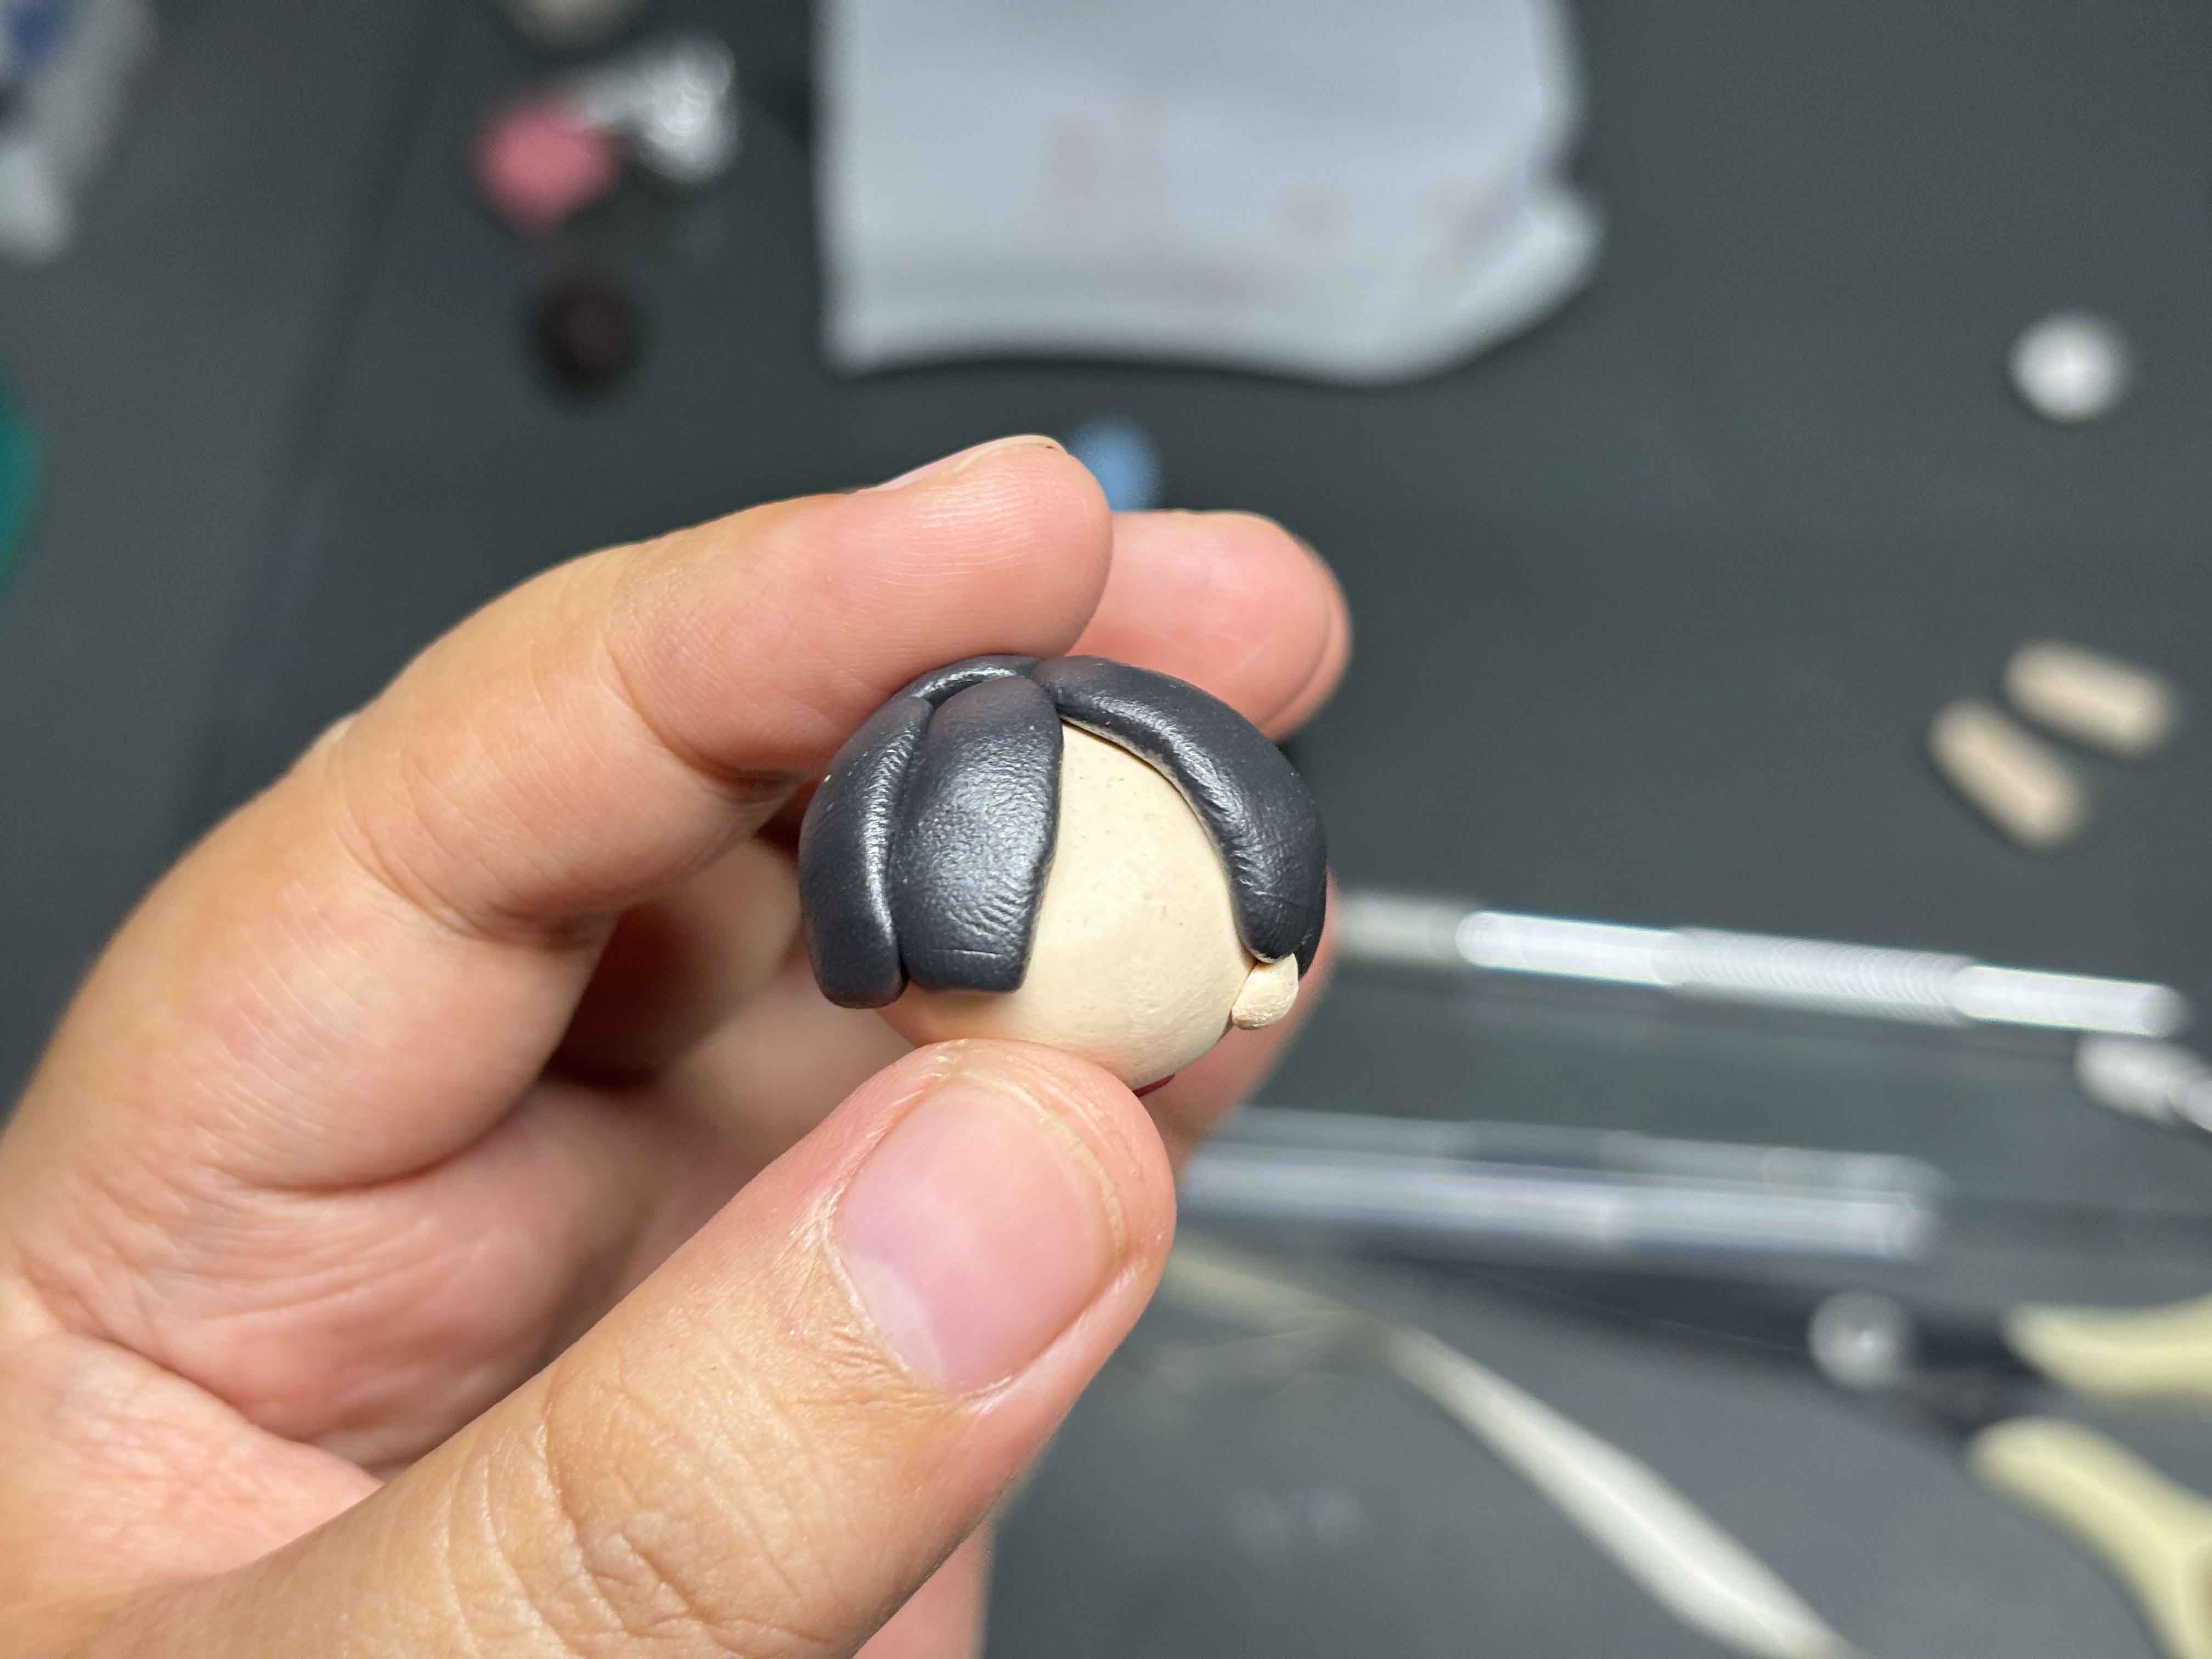
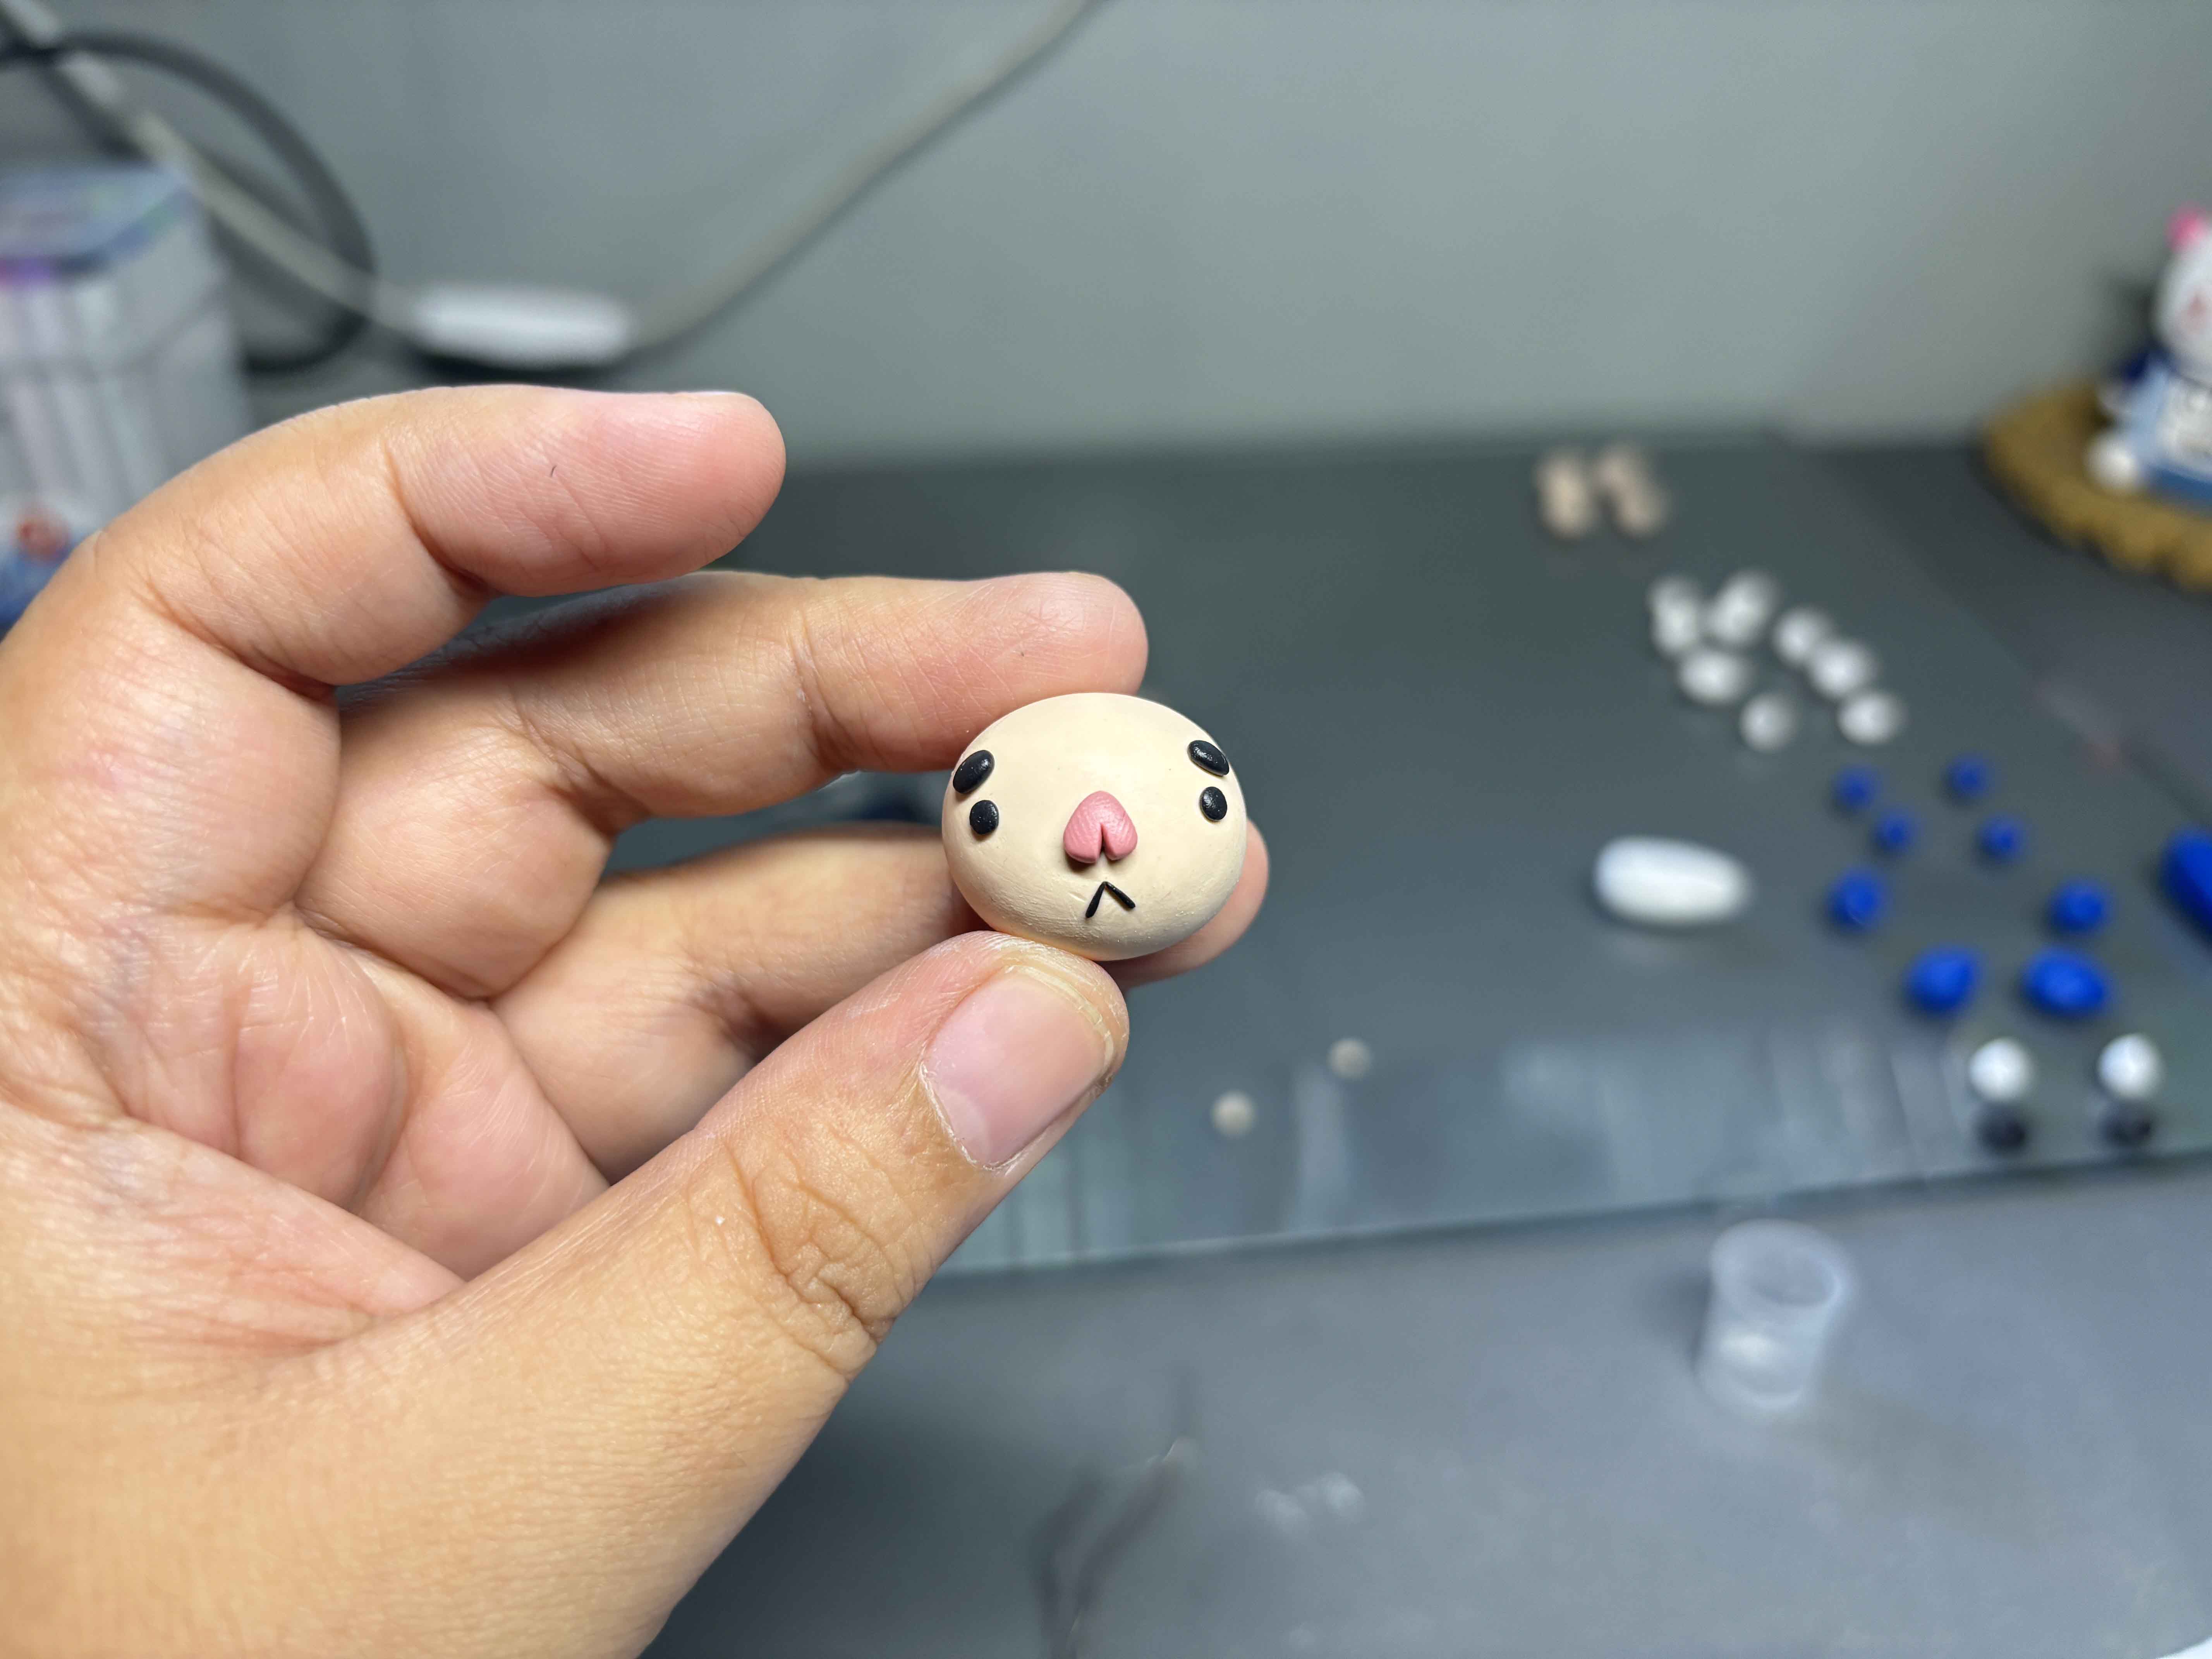
For the hair, I grab black clay and divide it into parts according to how the hair flows. I used to not like doing hair, but when I suddenly learned the technique, I got used to it fast.
-----
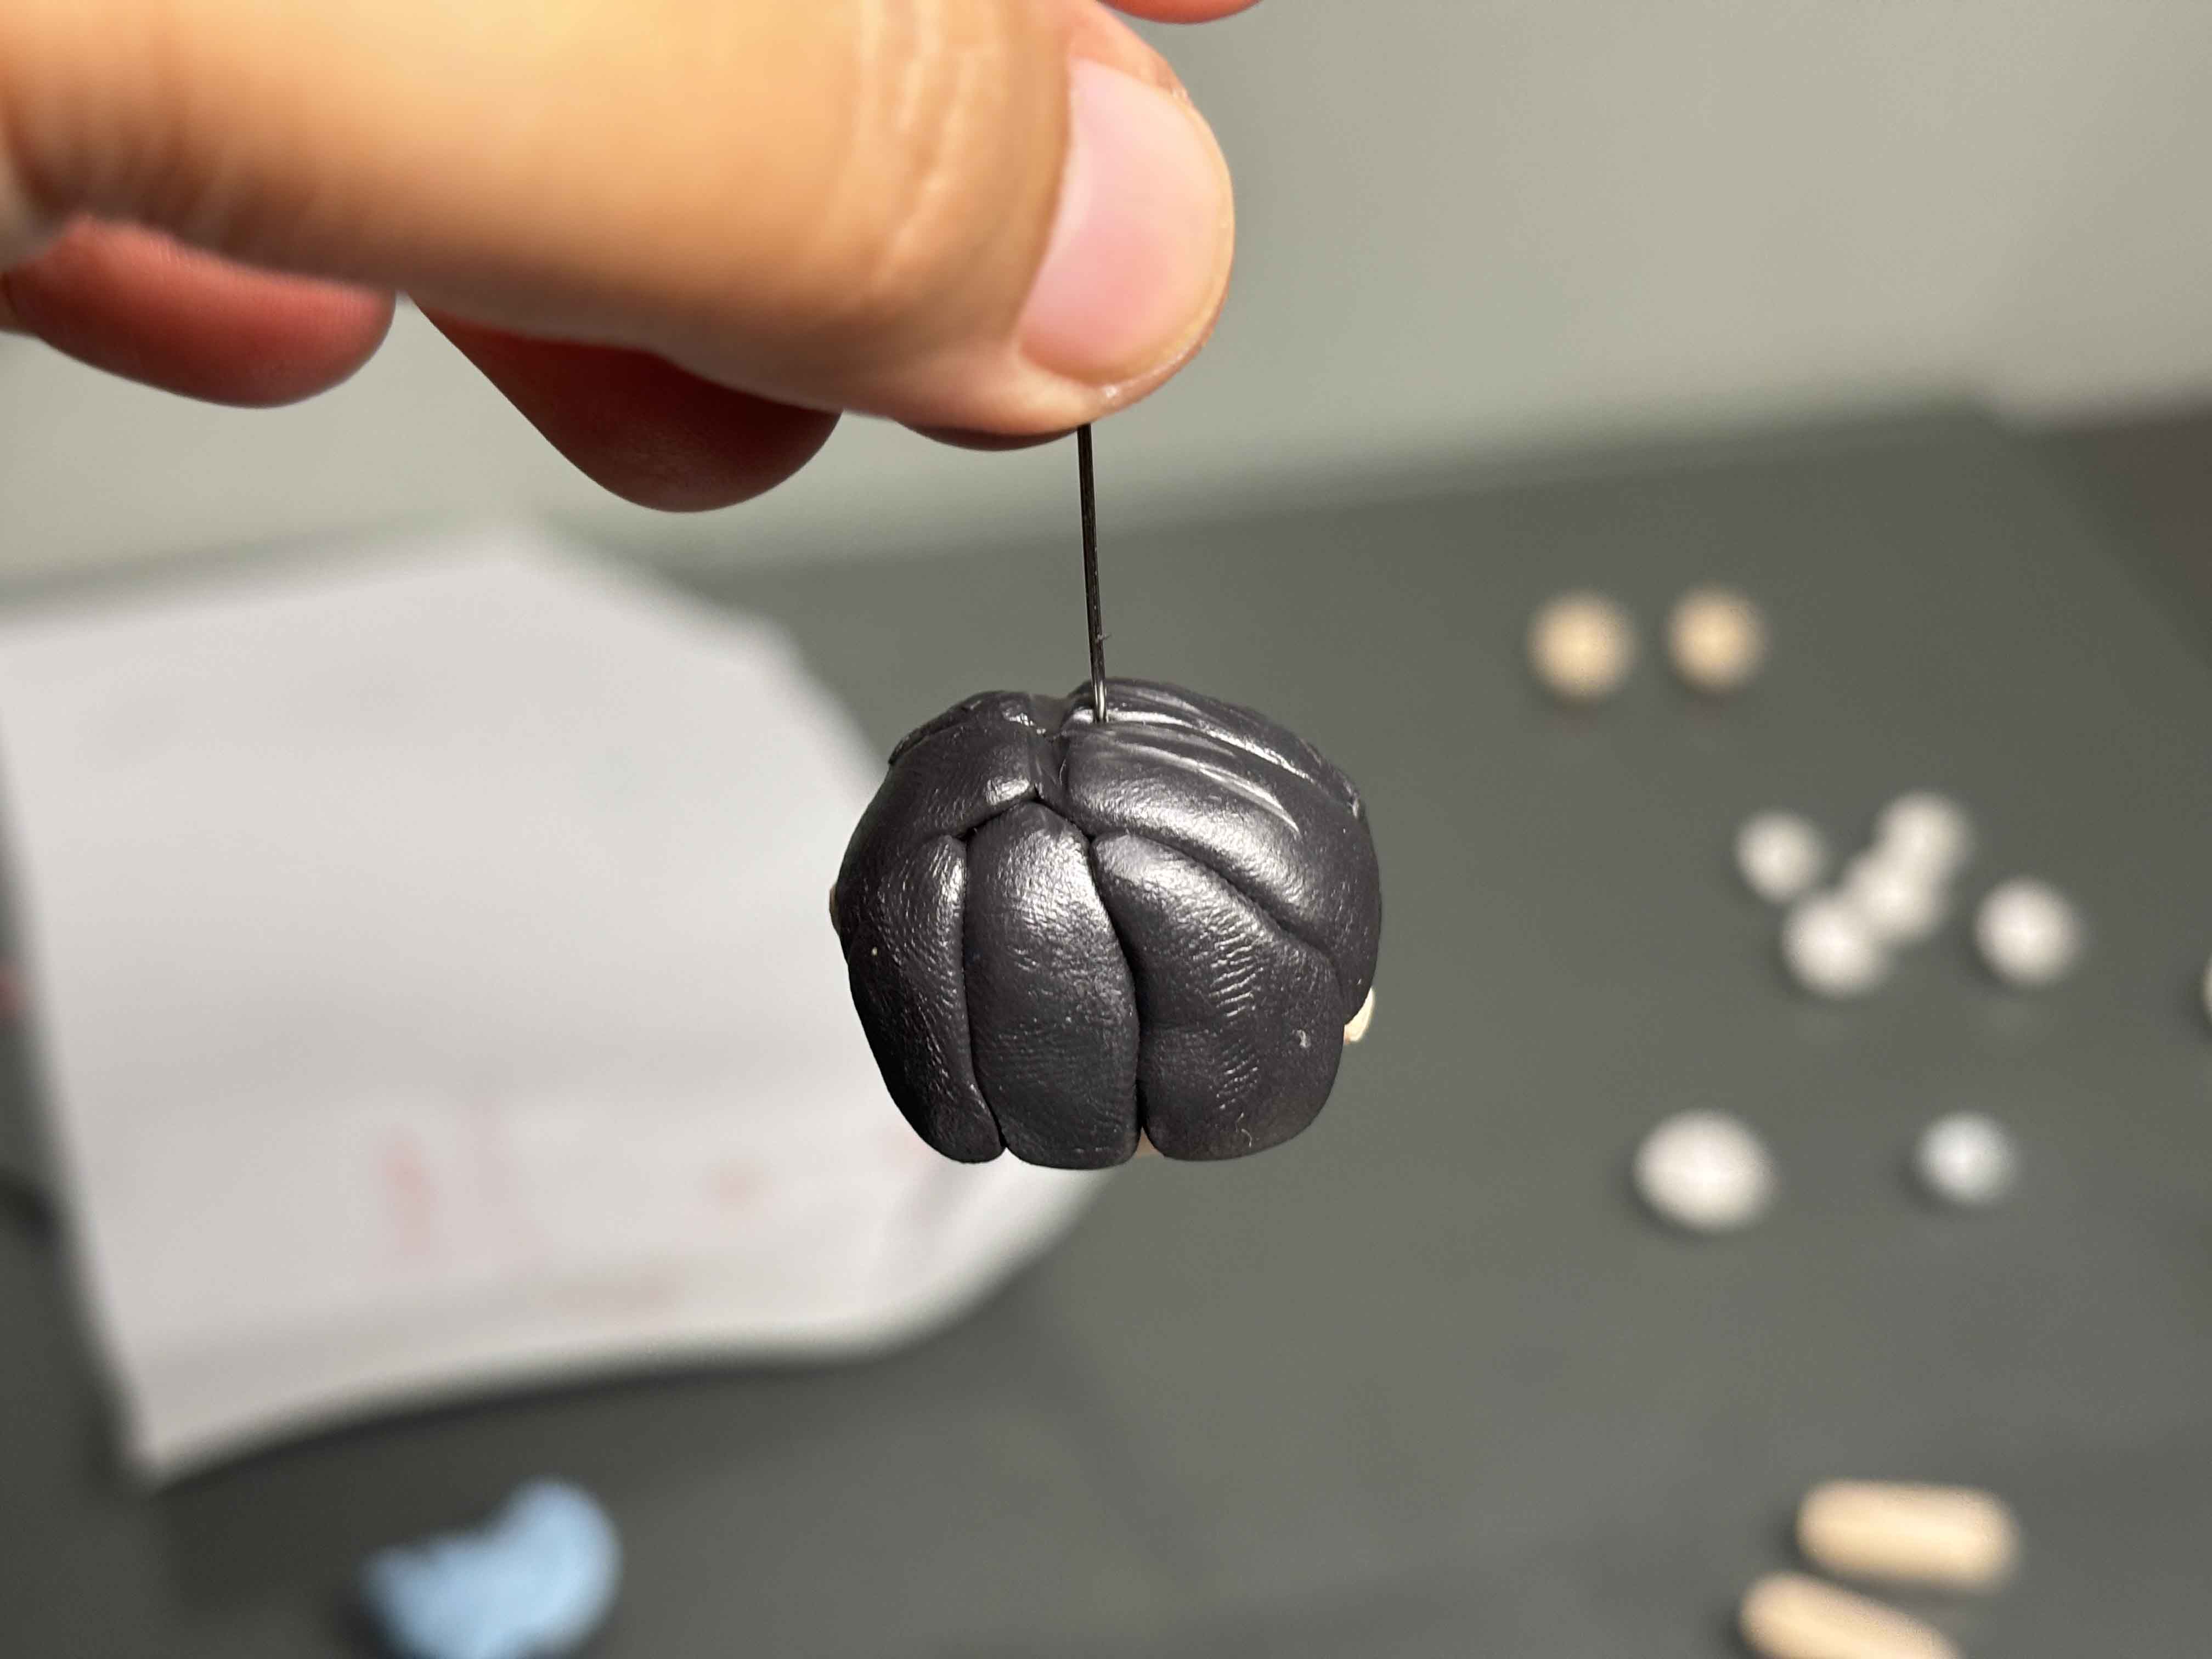
When I fill up the head with hair, I am going to blend then using this dotting tool.
----
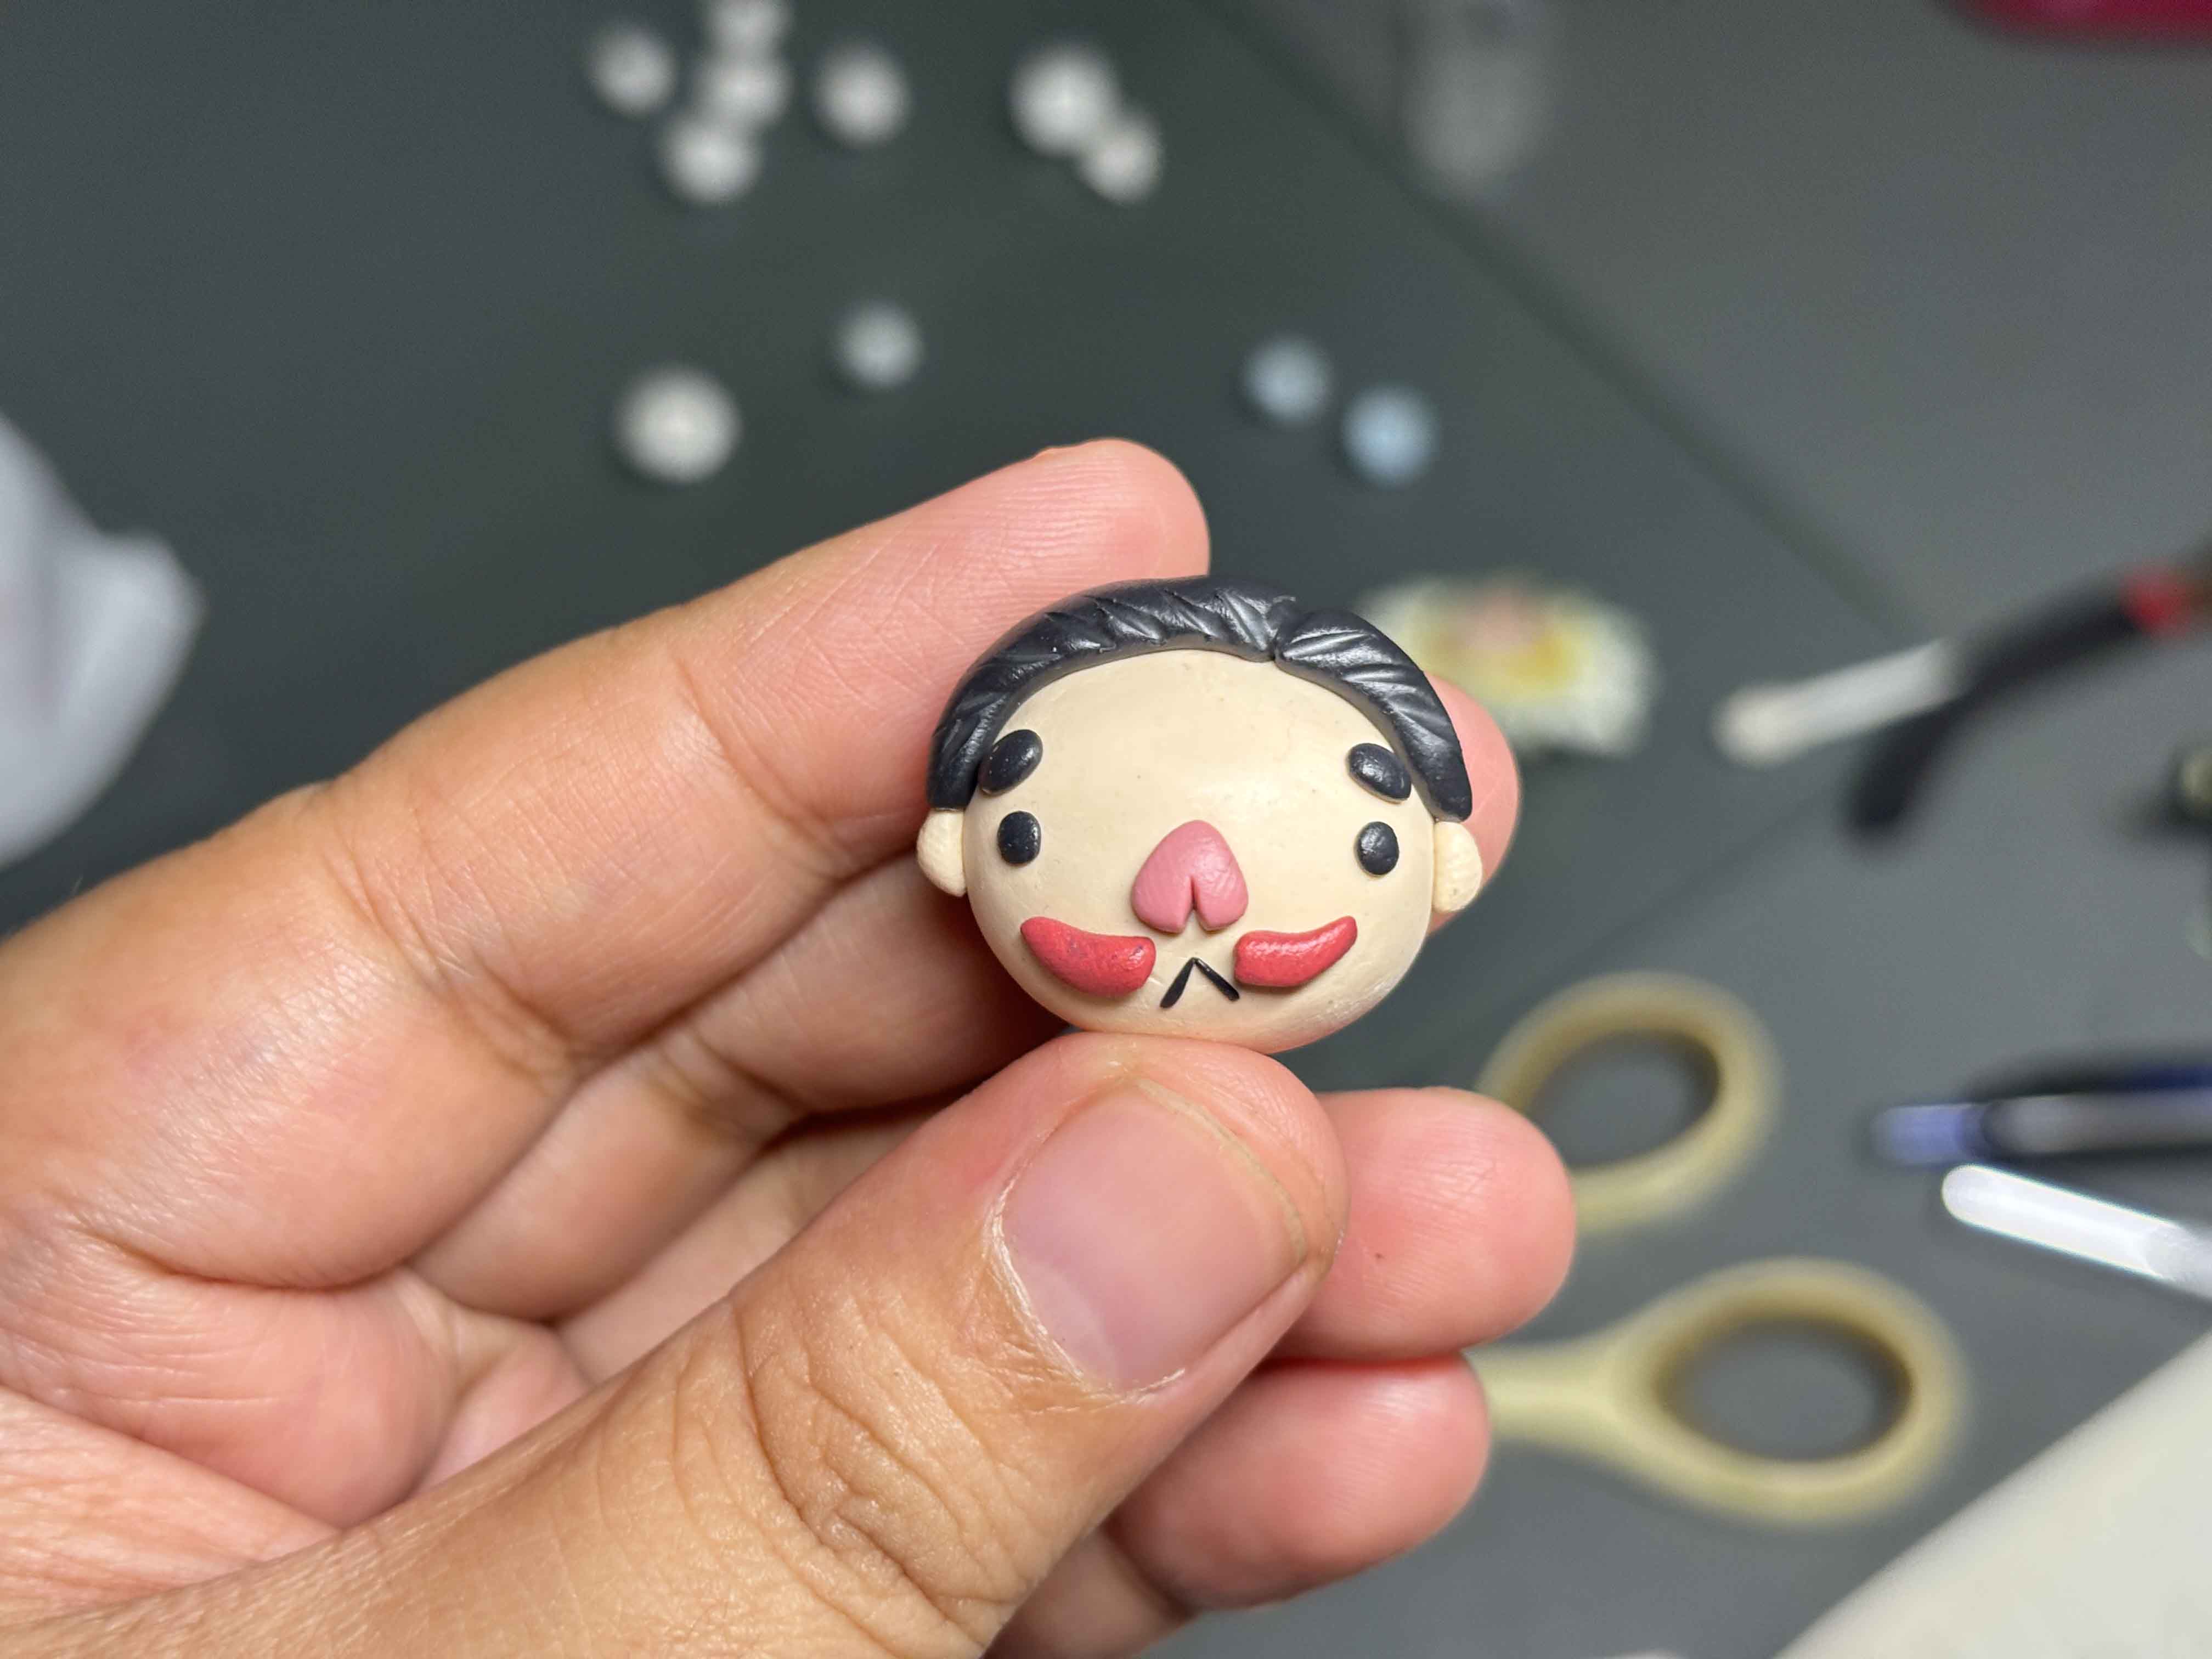
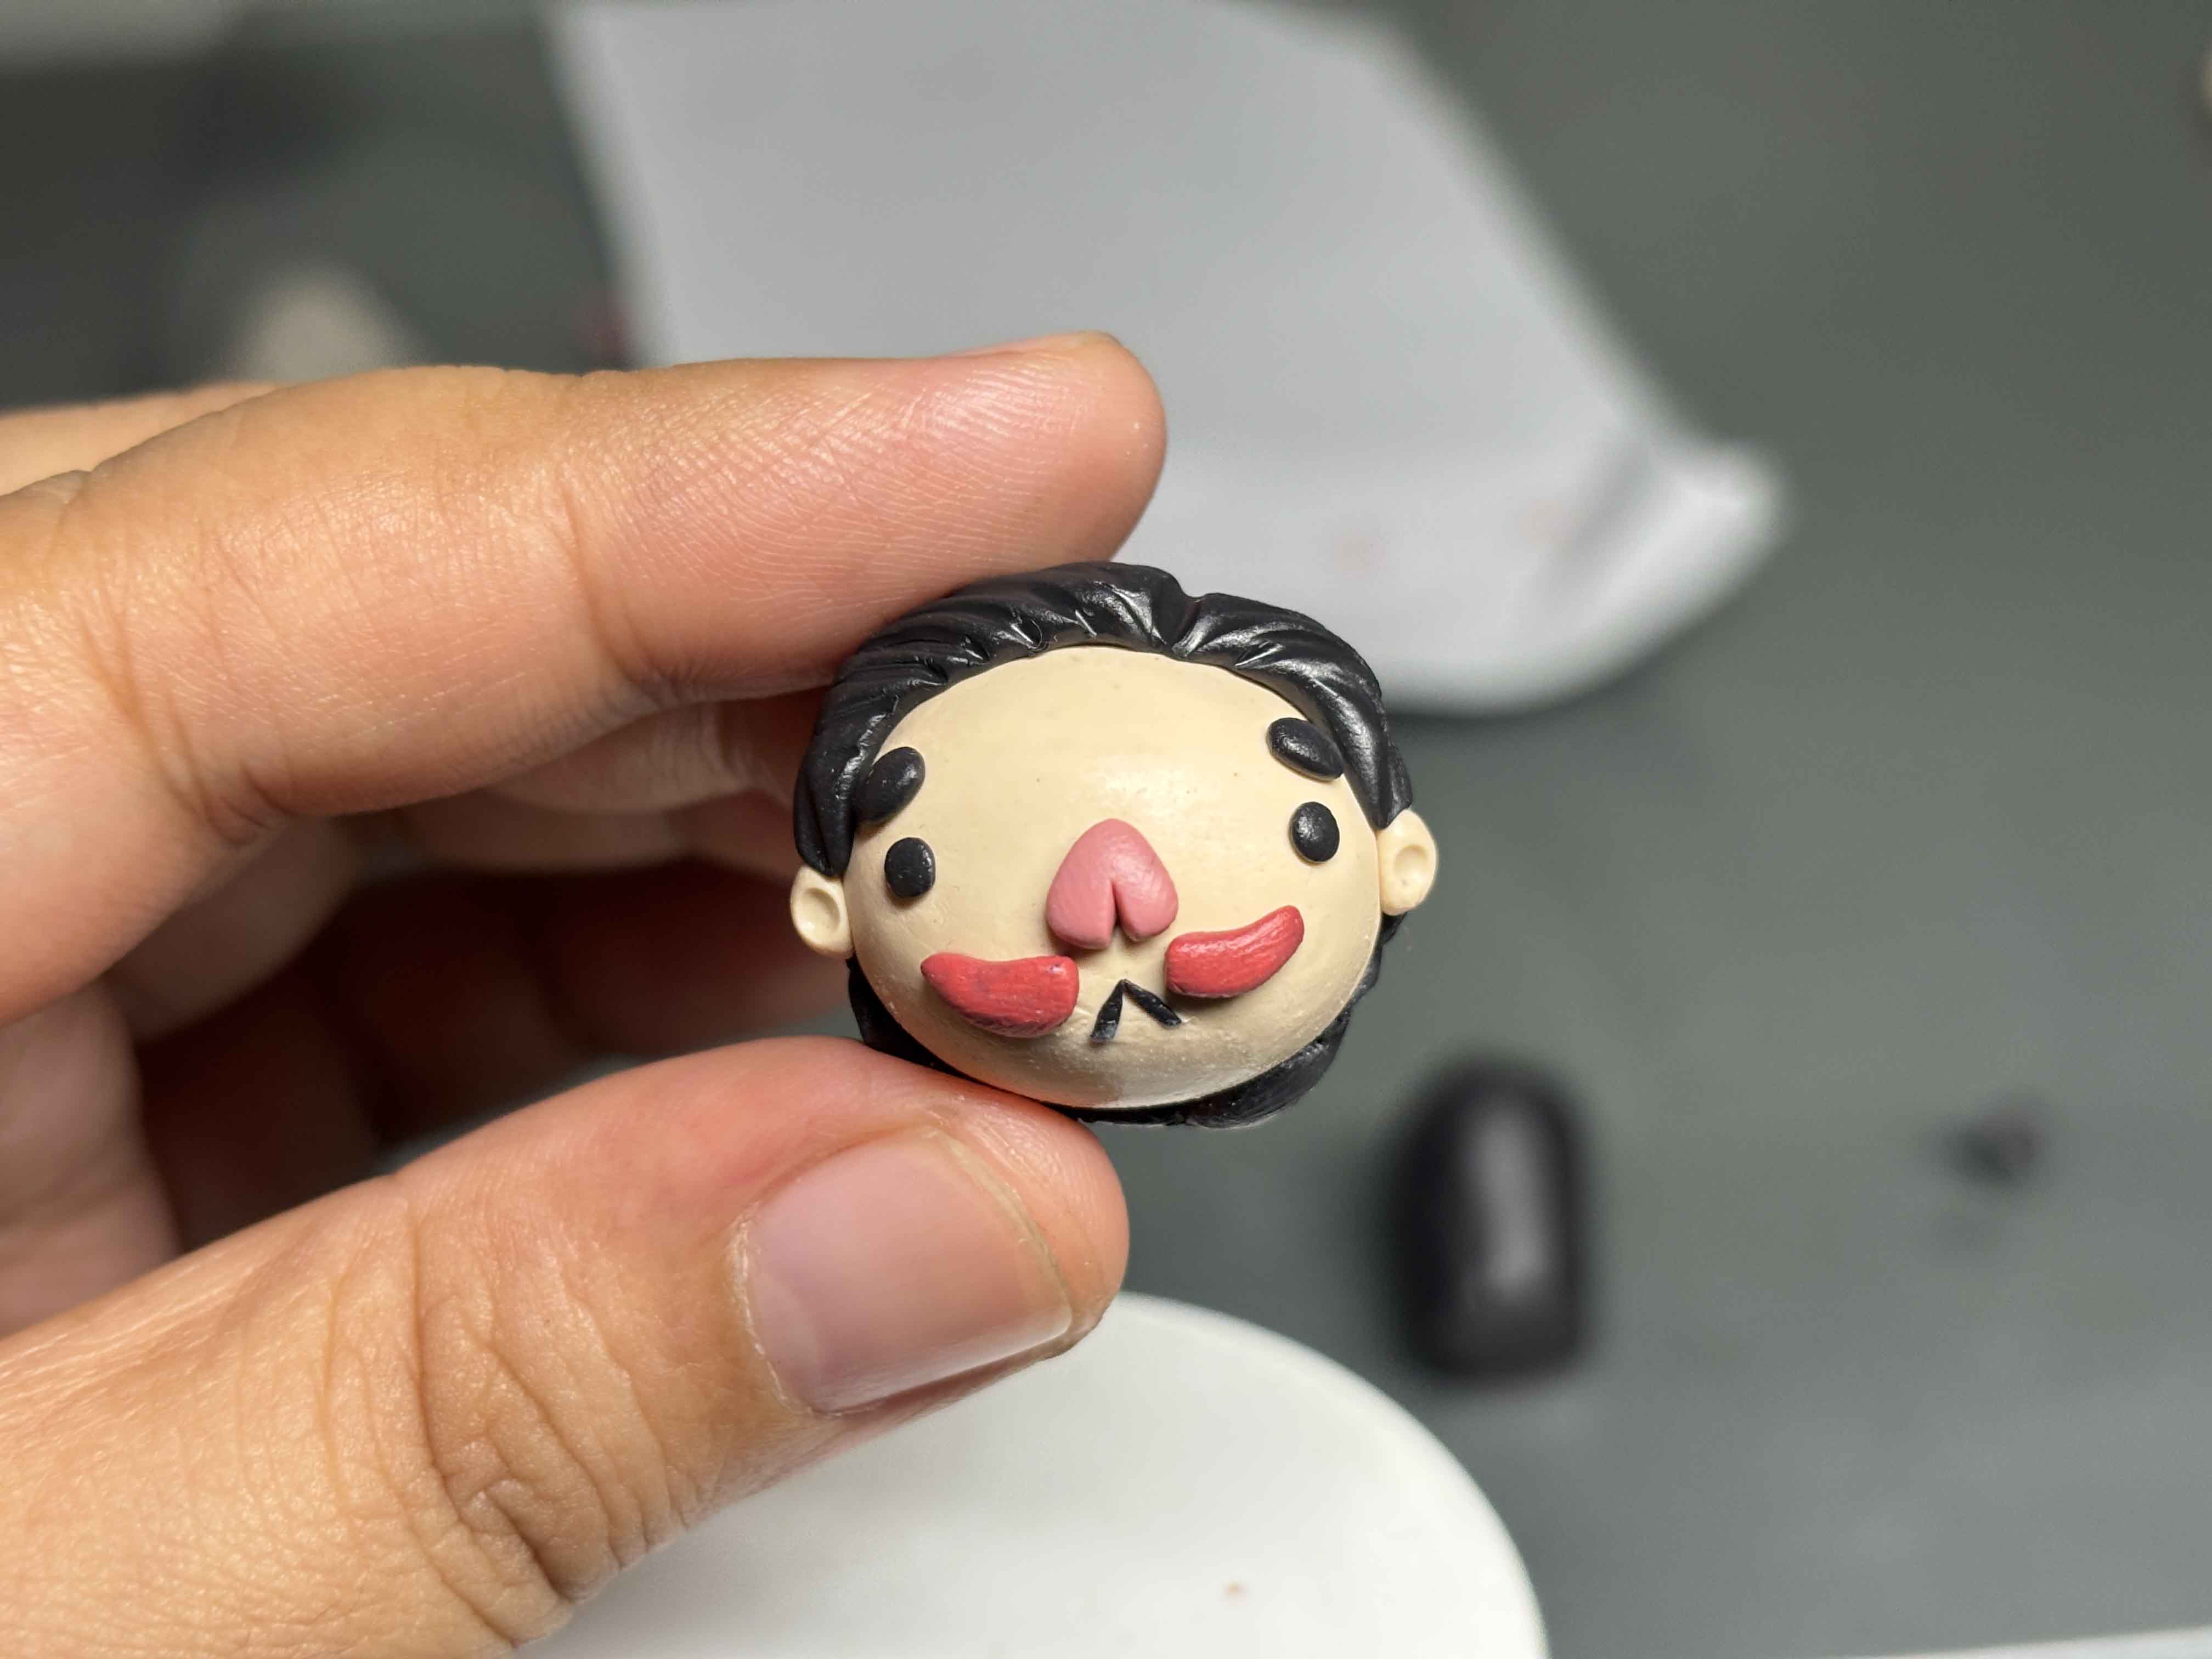
This is what it looks like. By the way, I added the beard I forgot to add earlier LOL.
----
-----
Arranging and Sculpting the Body:
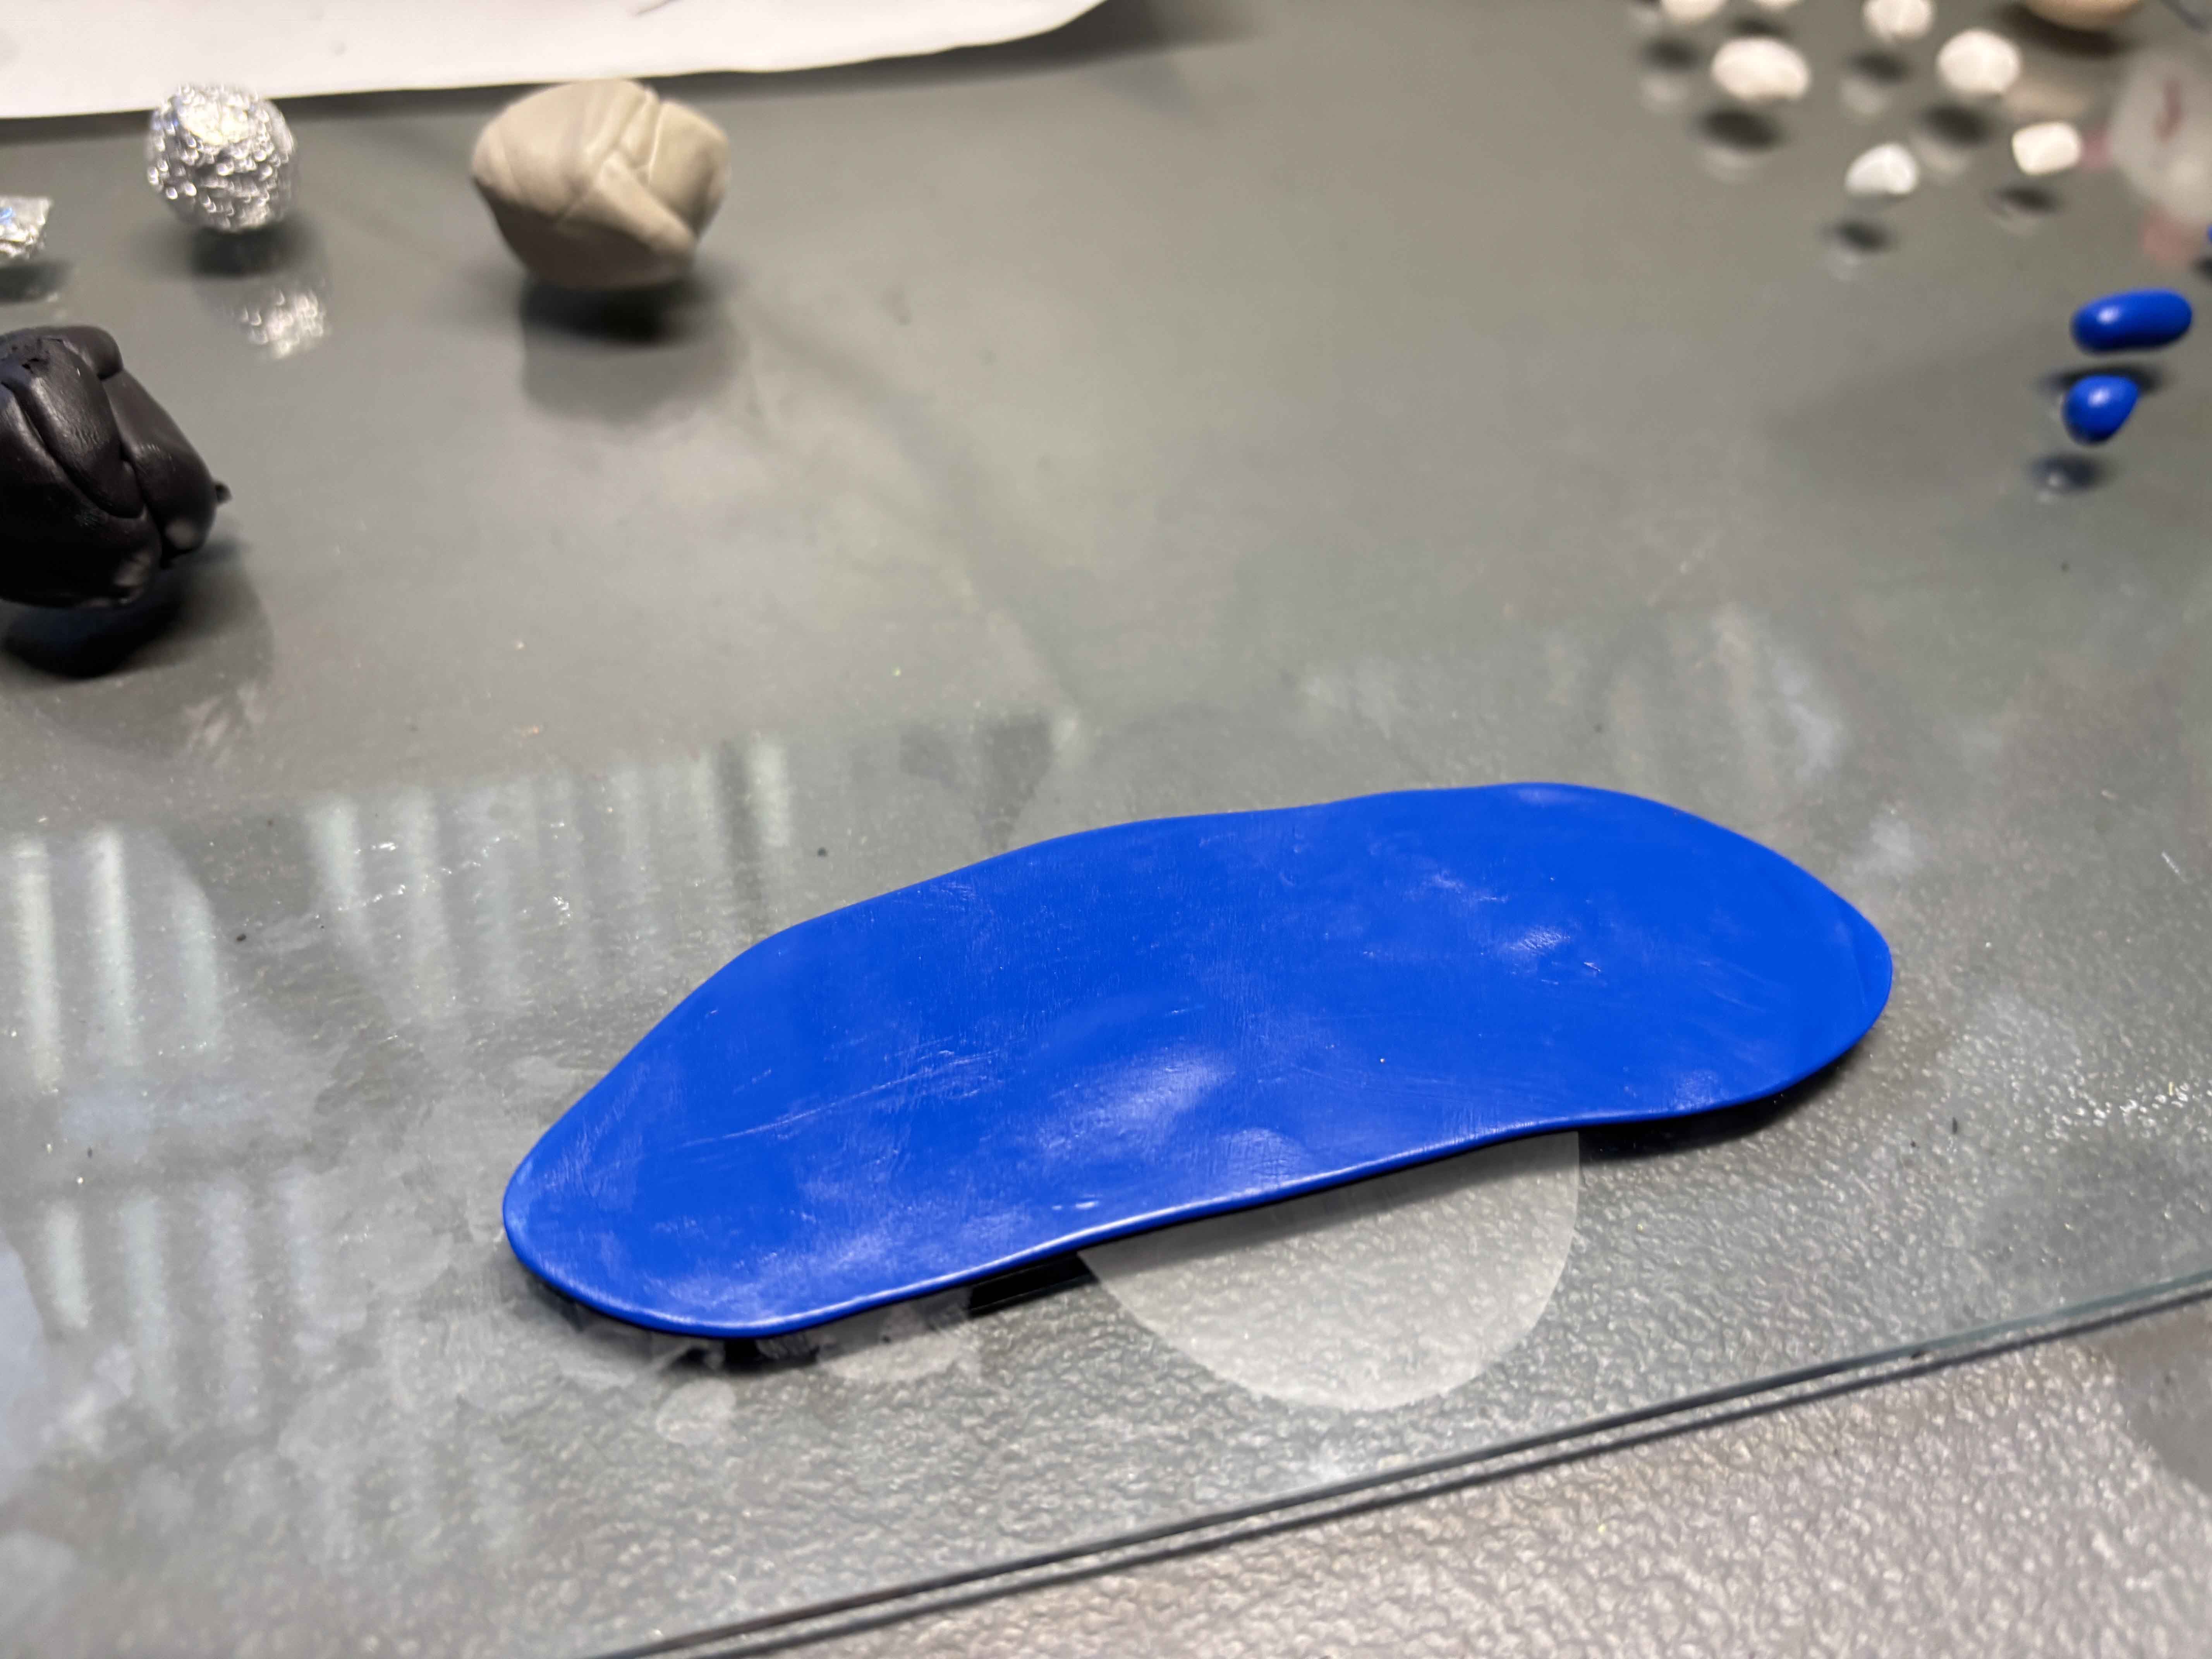
I roll some of the blue clay into a thin shape like this.
----
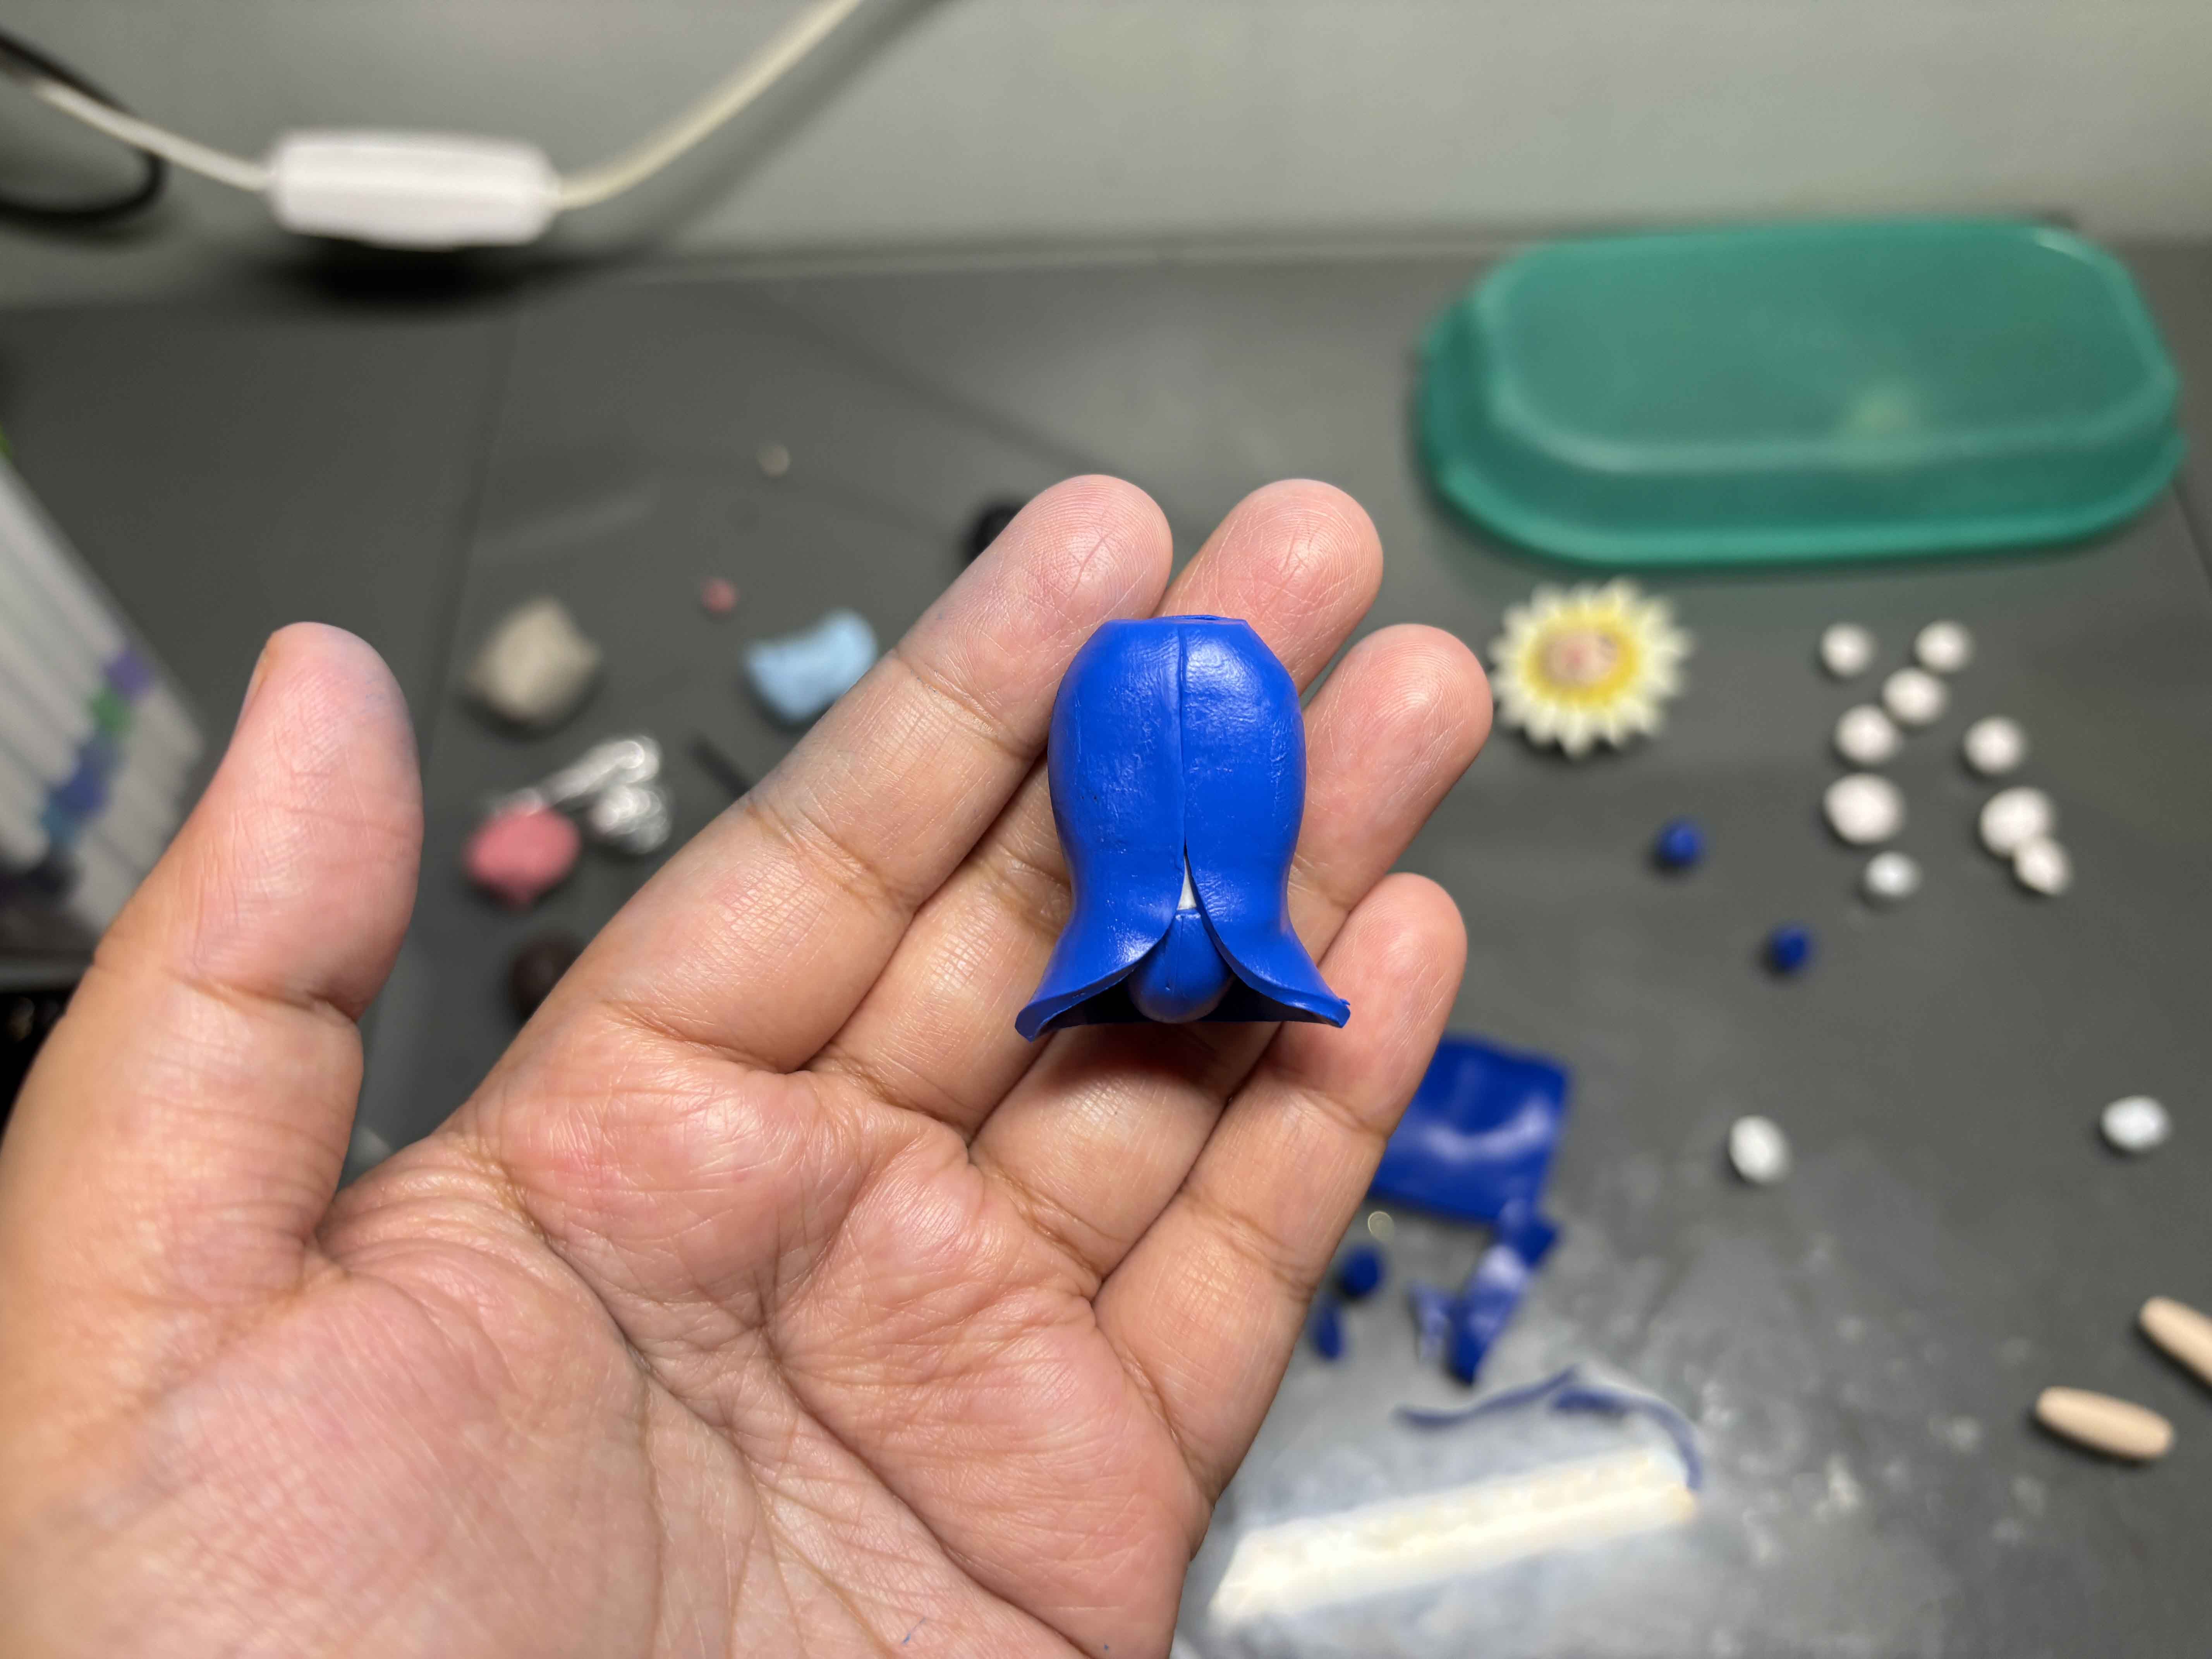
And then I wrapped the body with that rolled clay and shaped it like clothes.
----
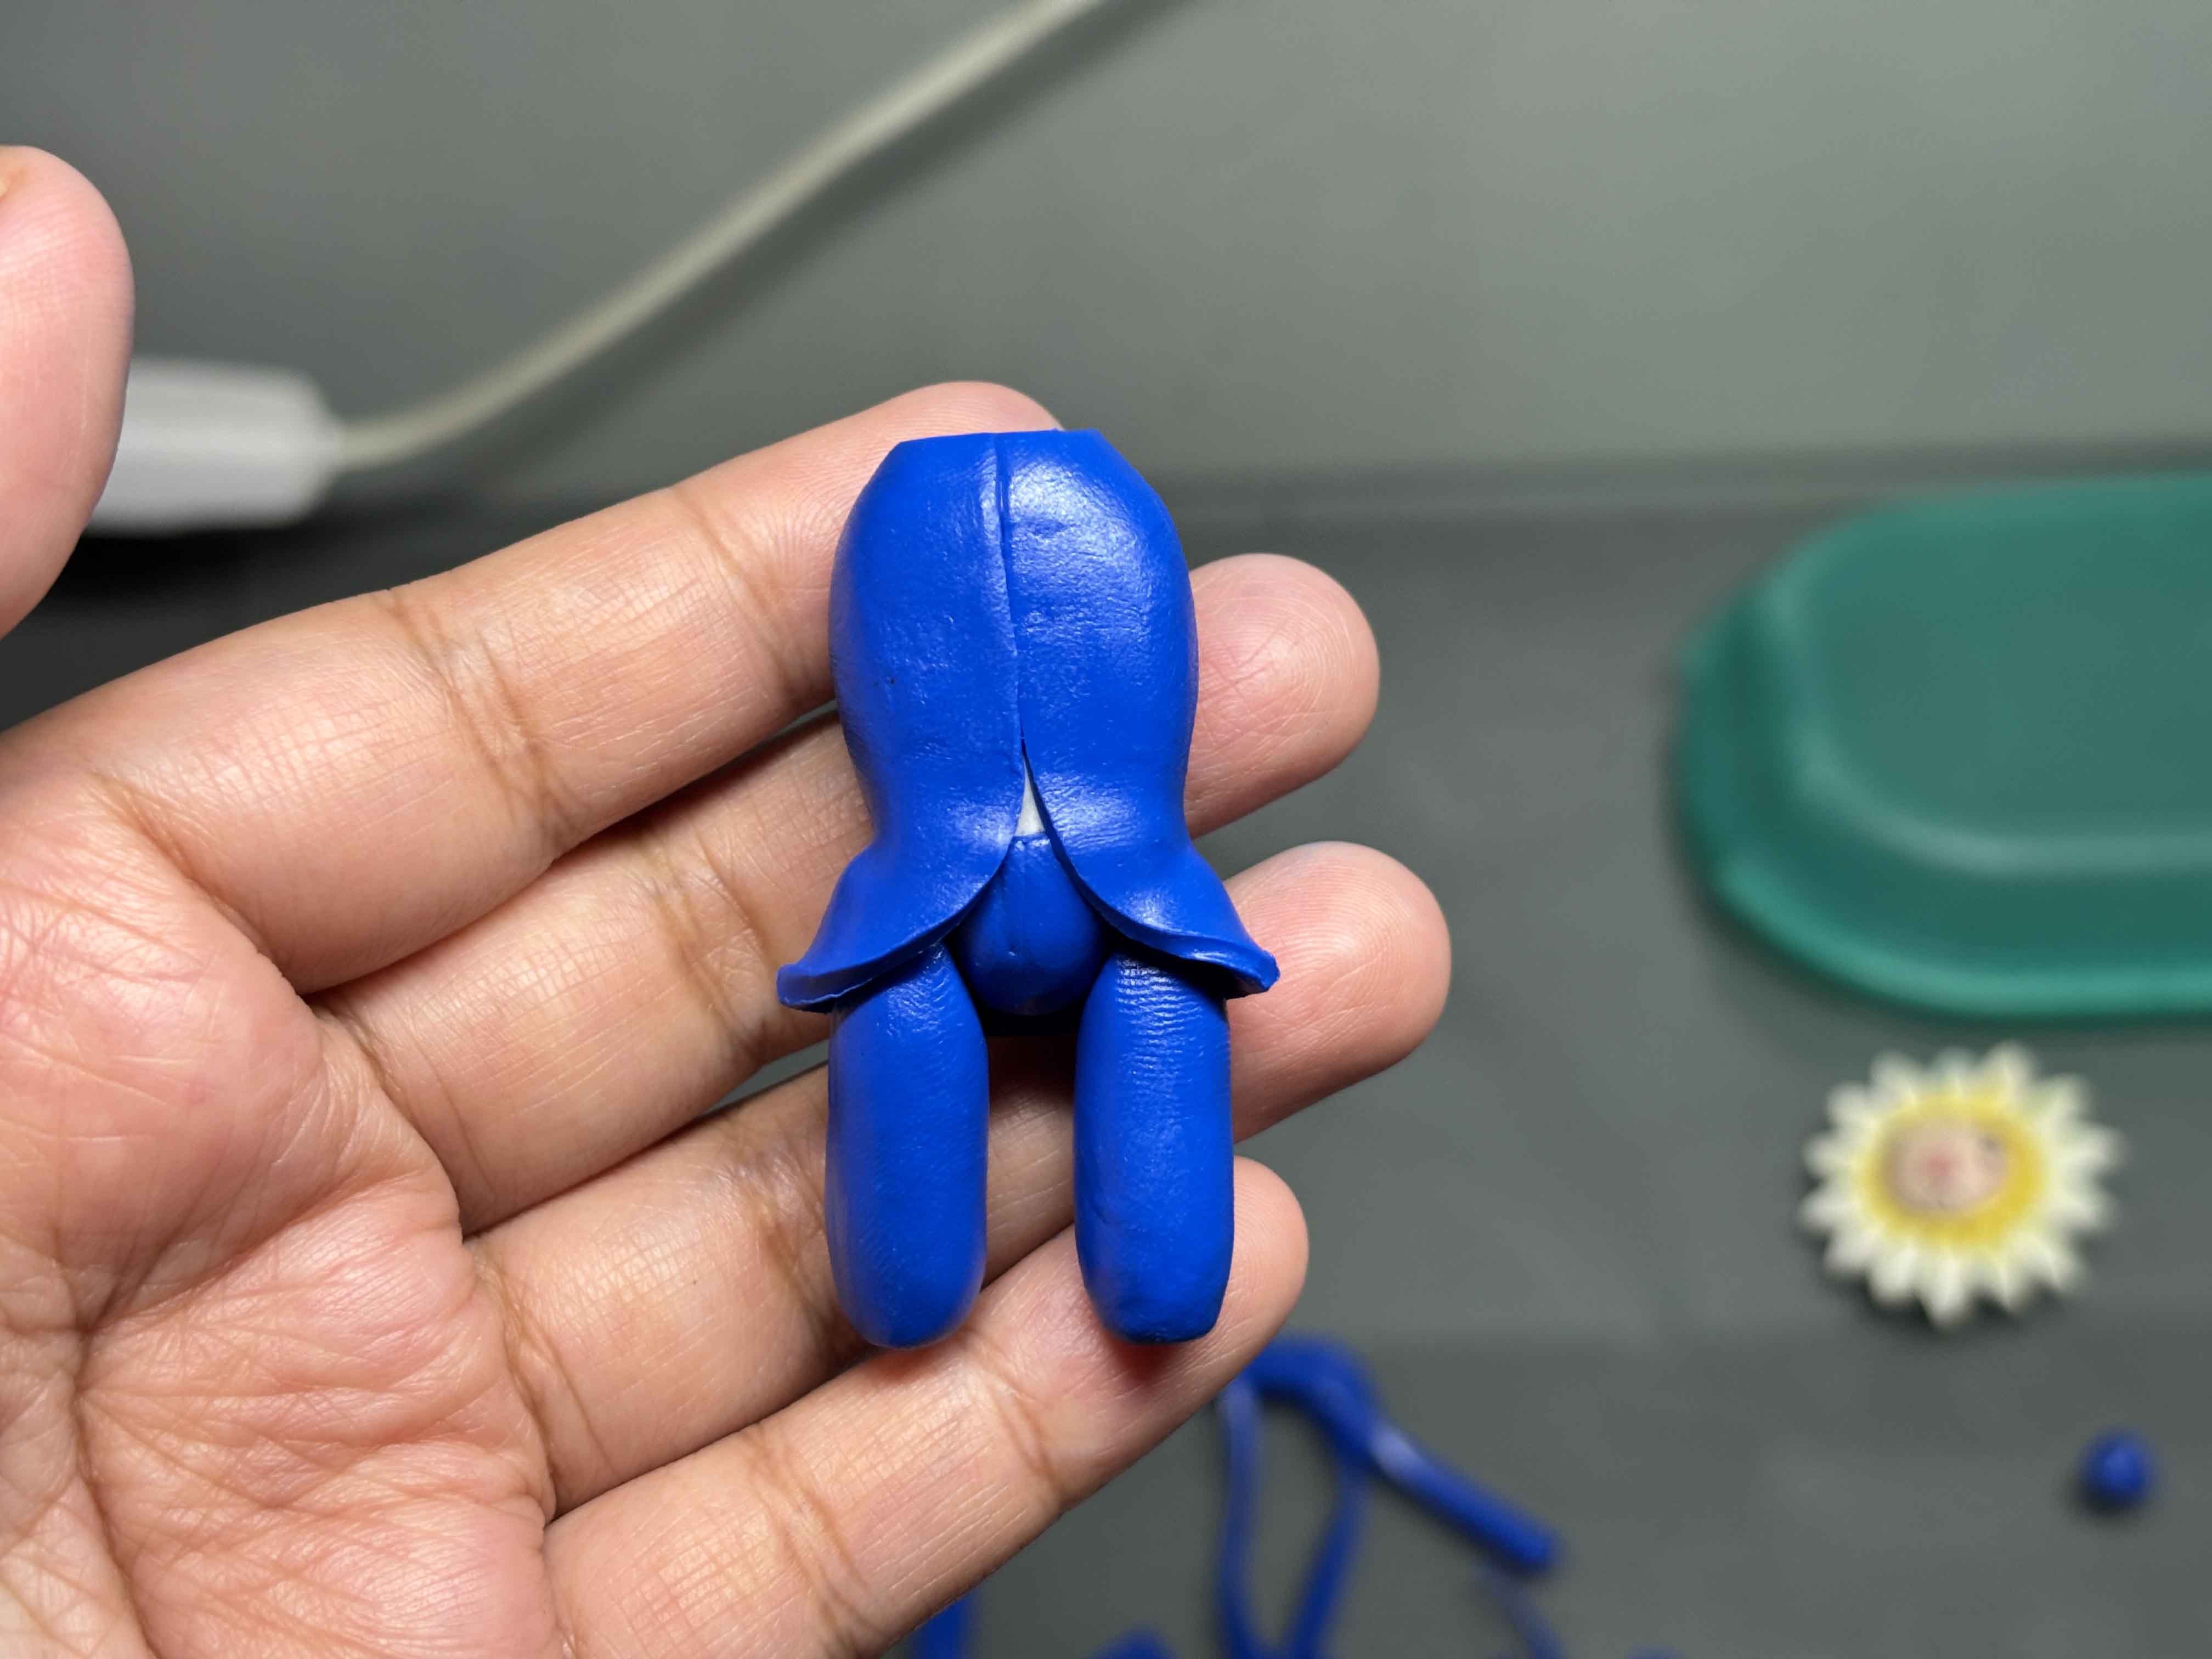
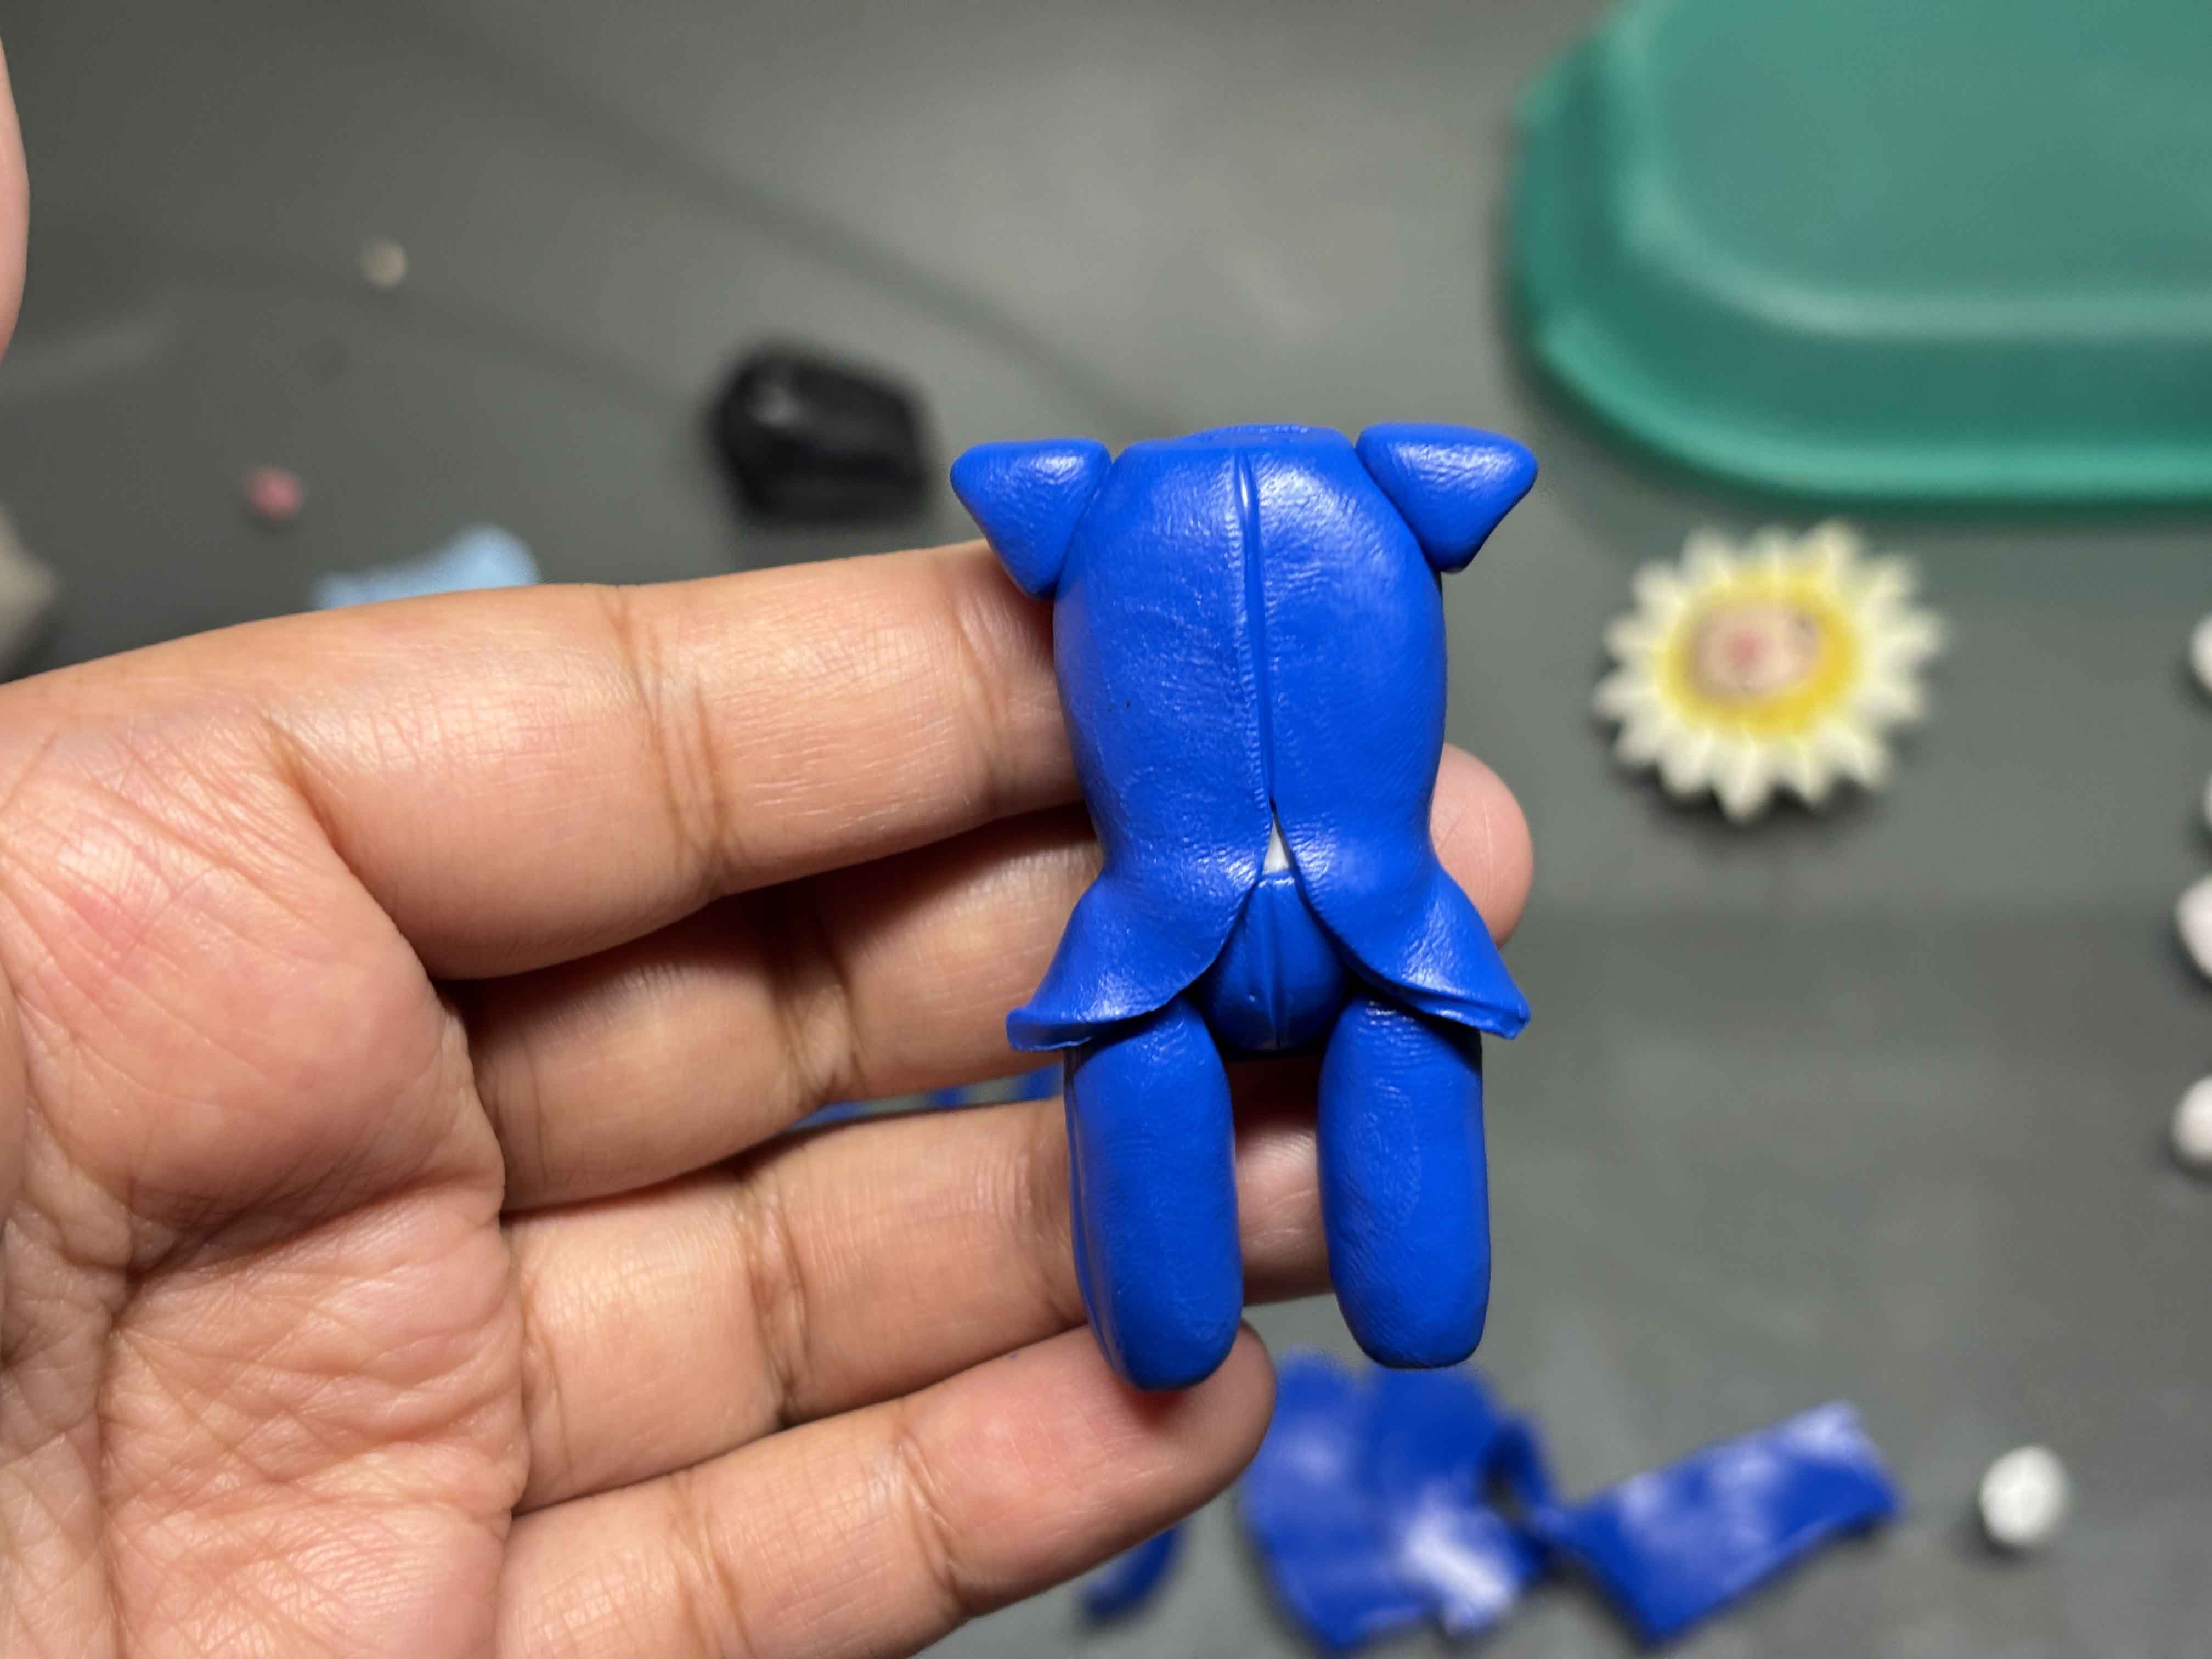
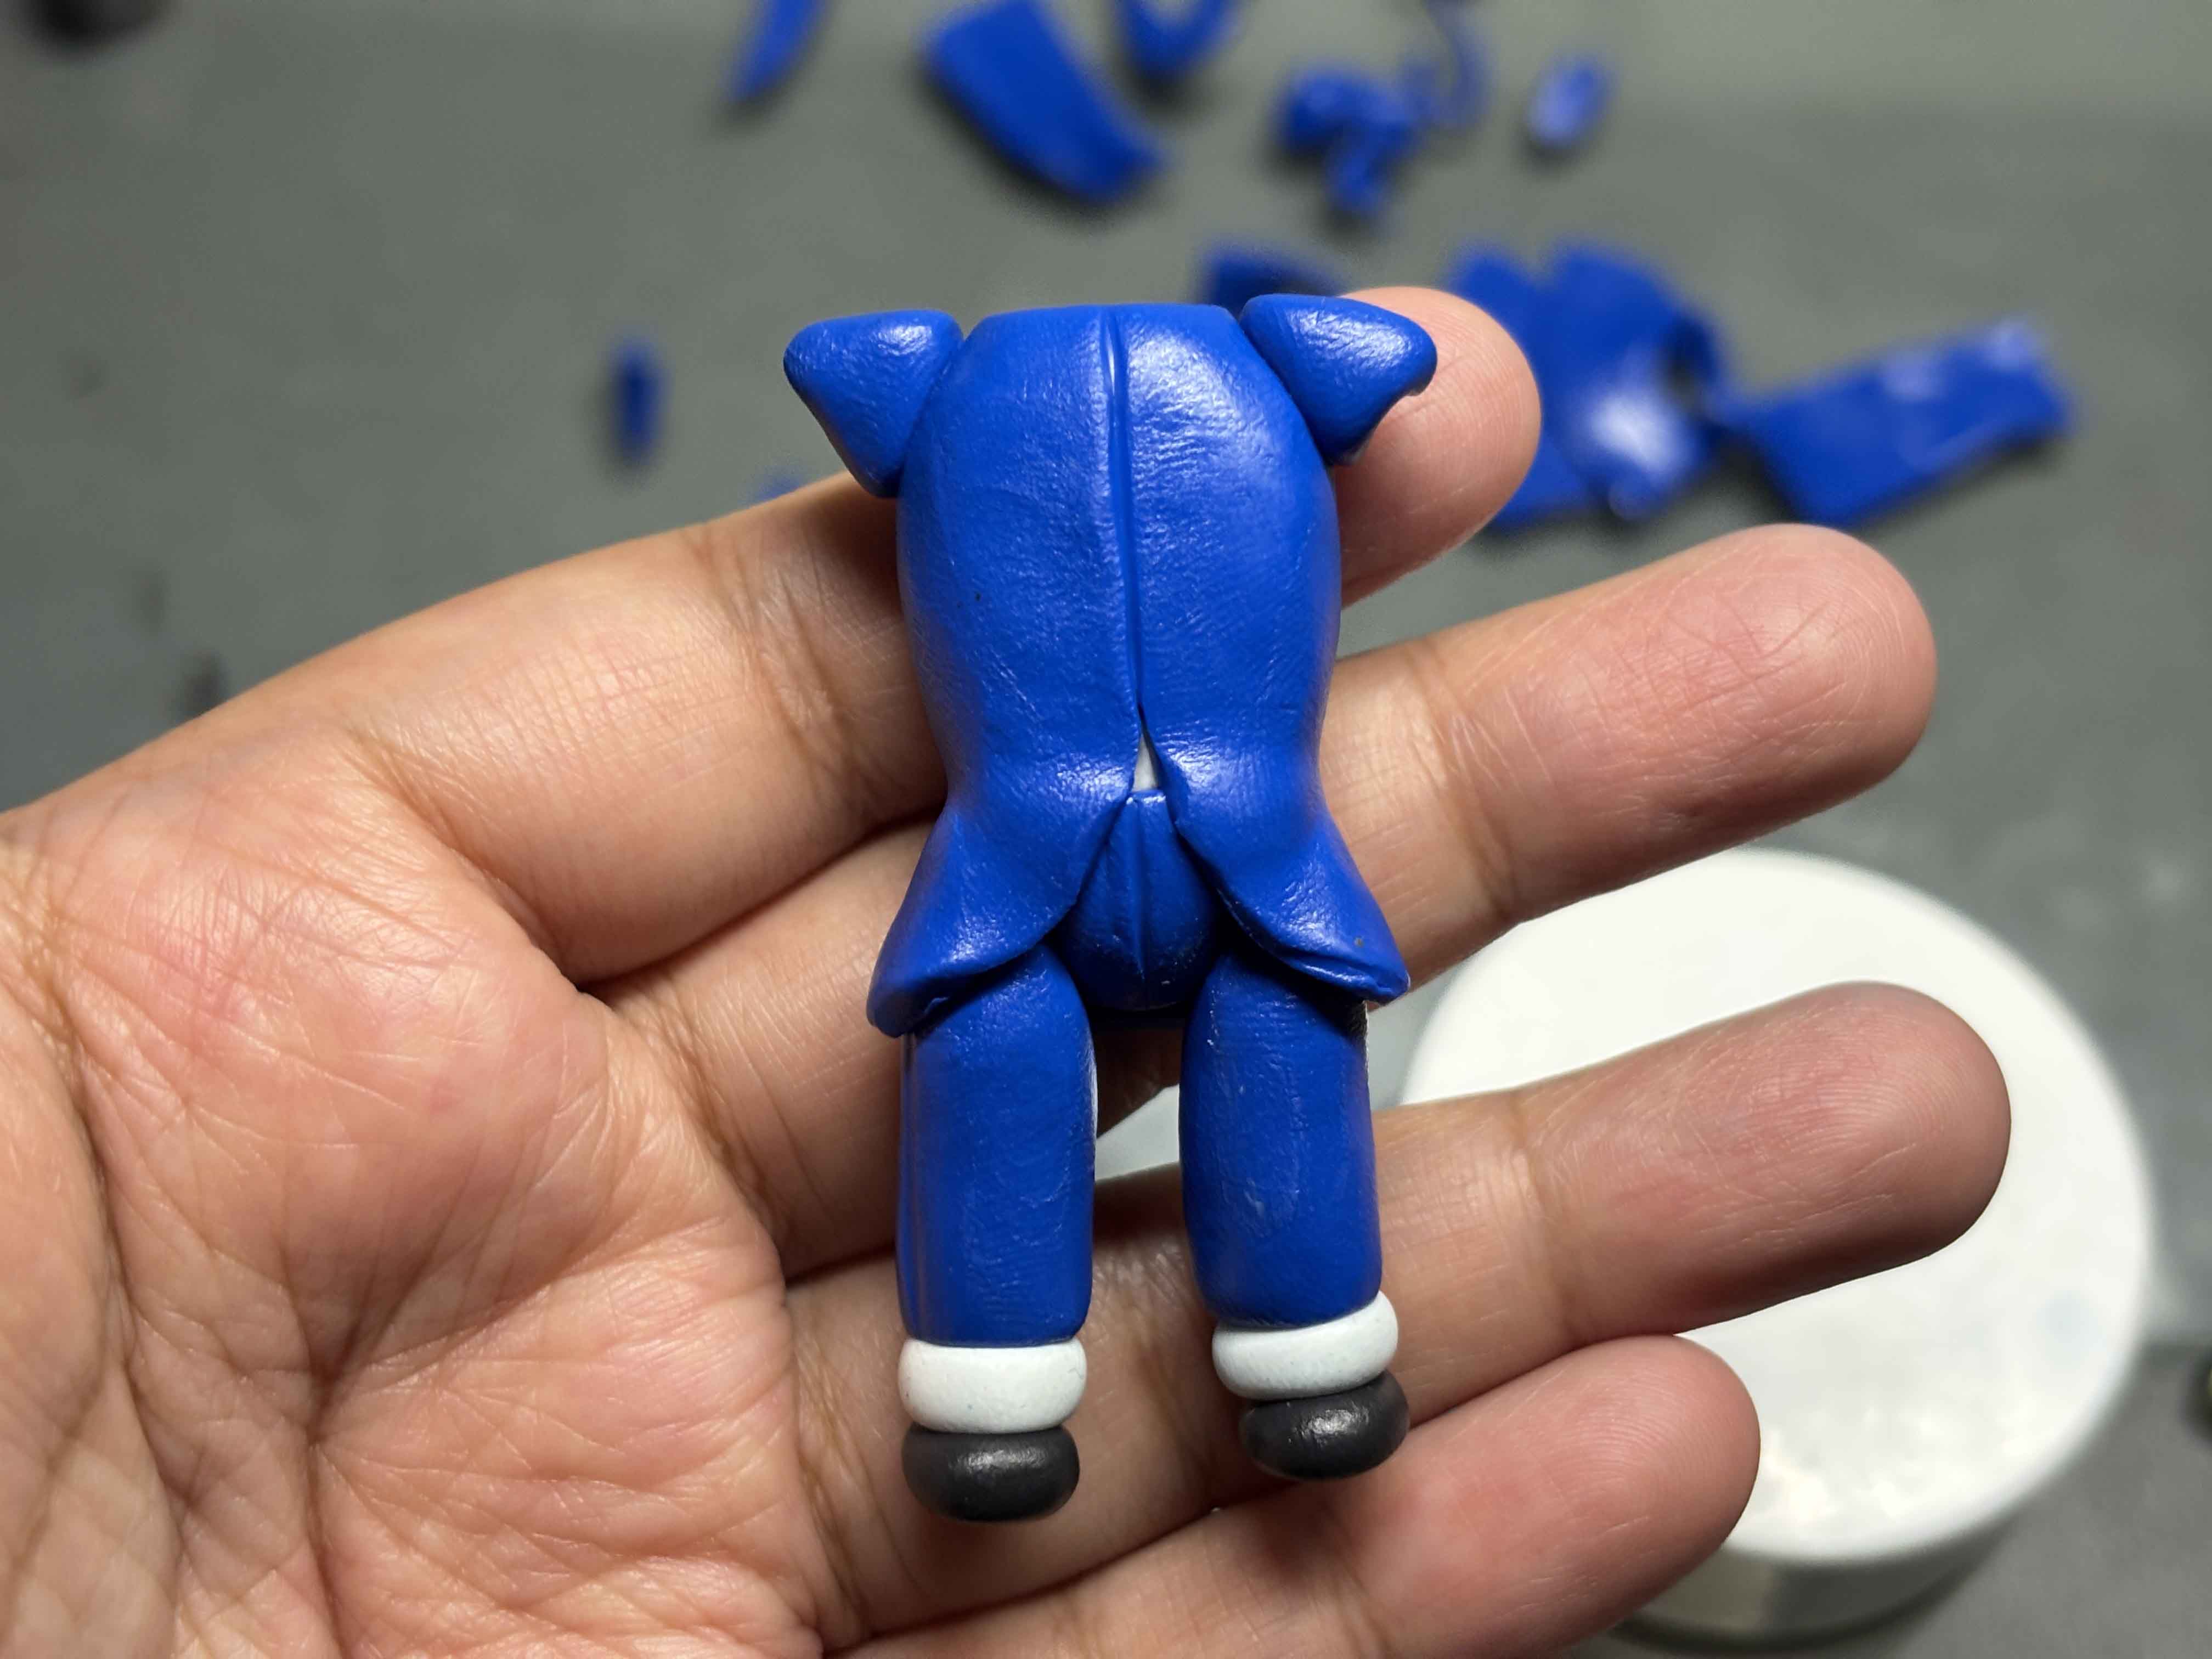
And then I added the feet, and then the shoulder part.
-----

Then I connected the head and the body by using a wire with a little hook to make each other stick together.
----
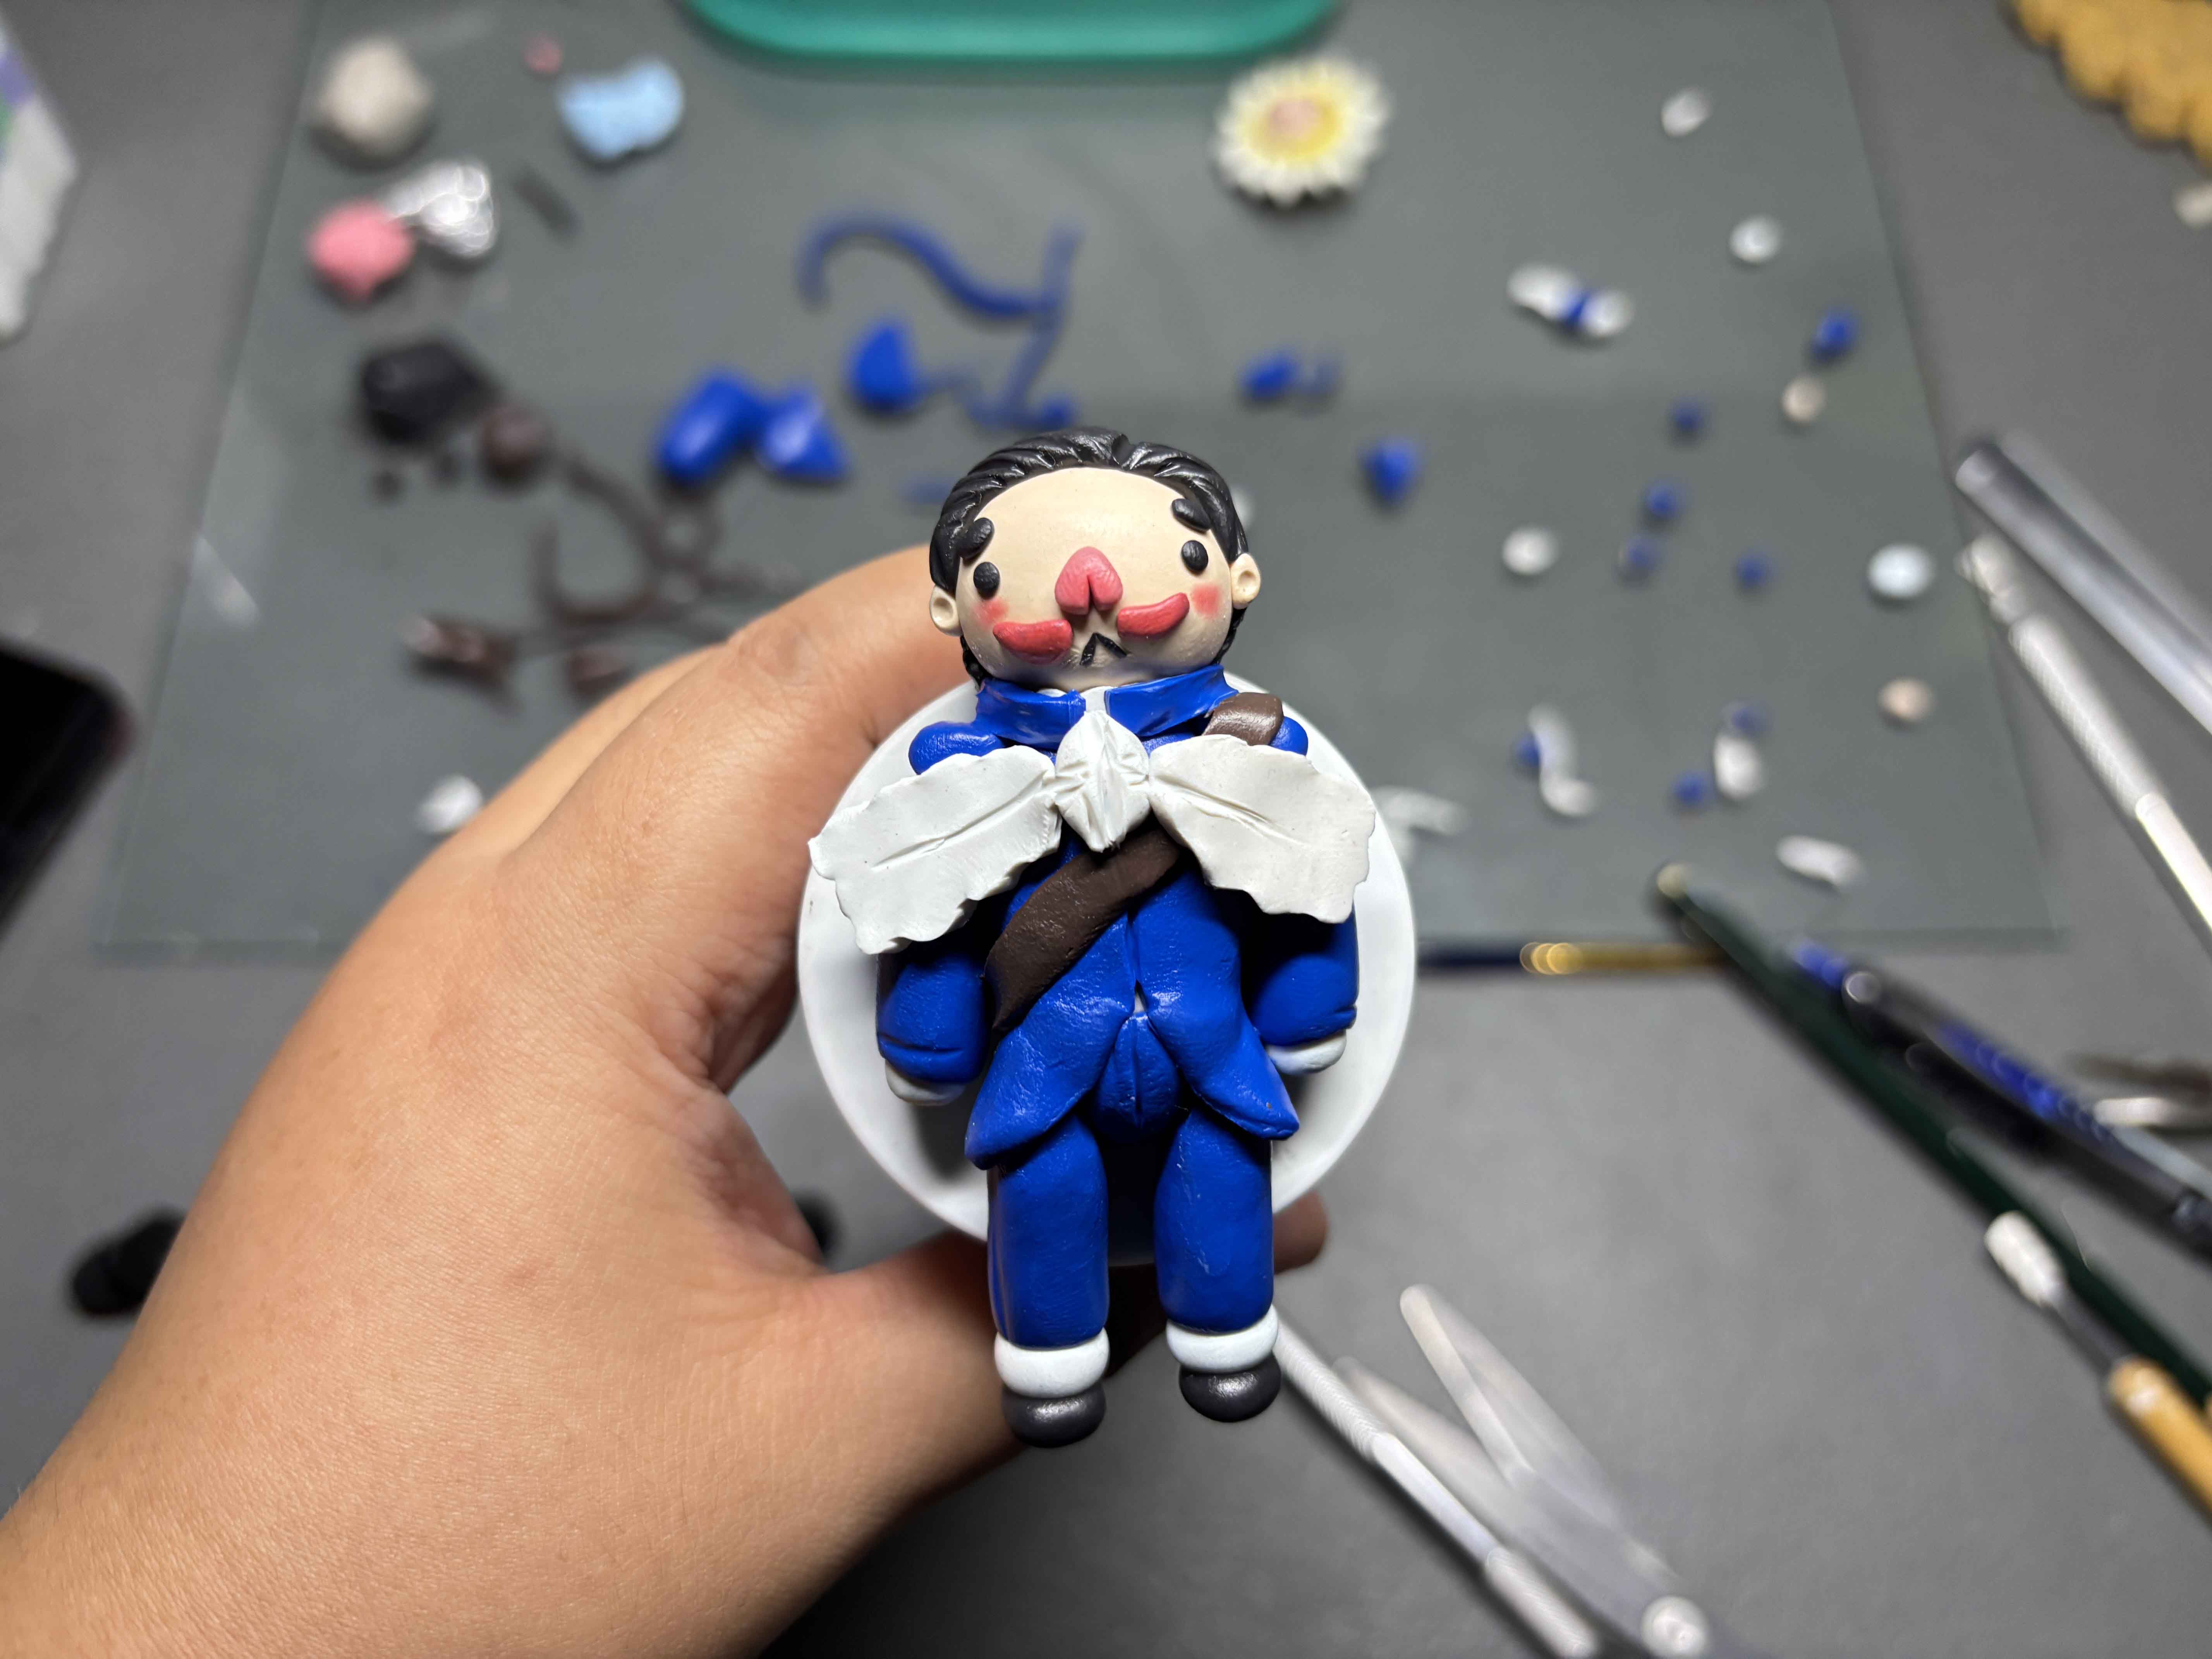
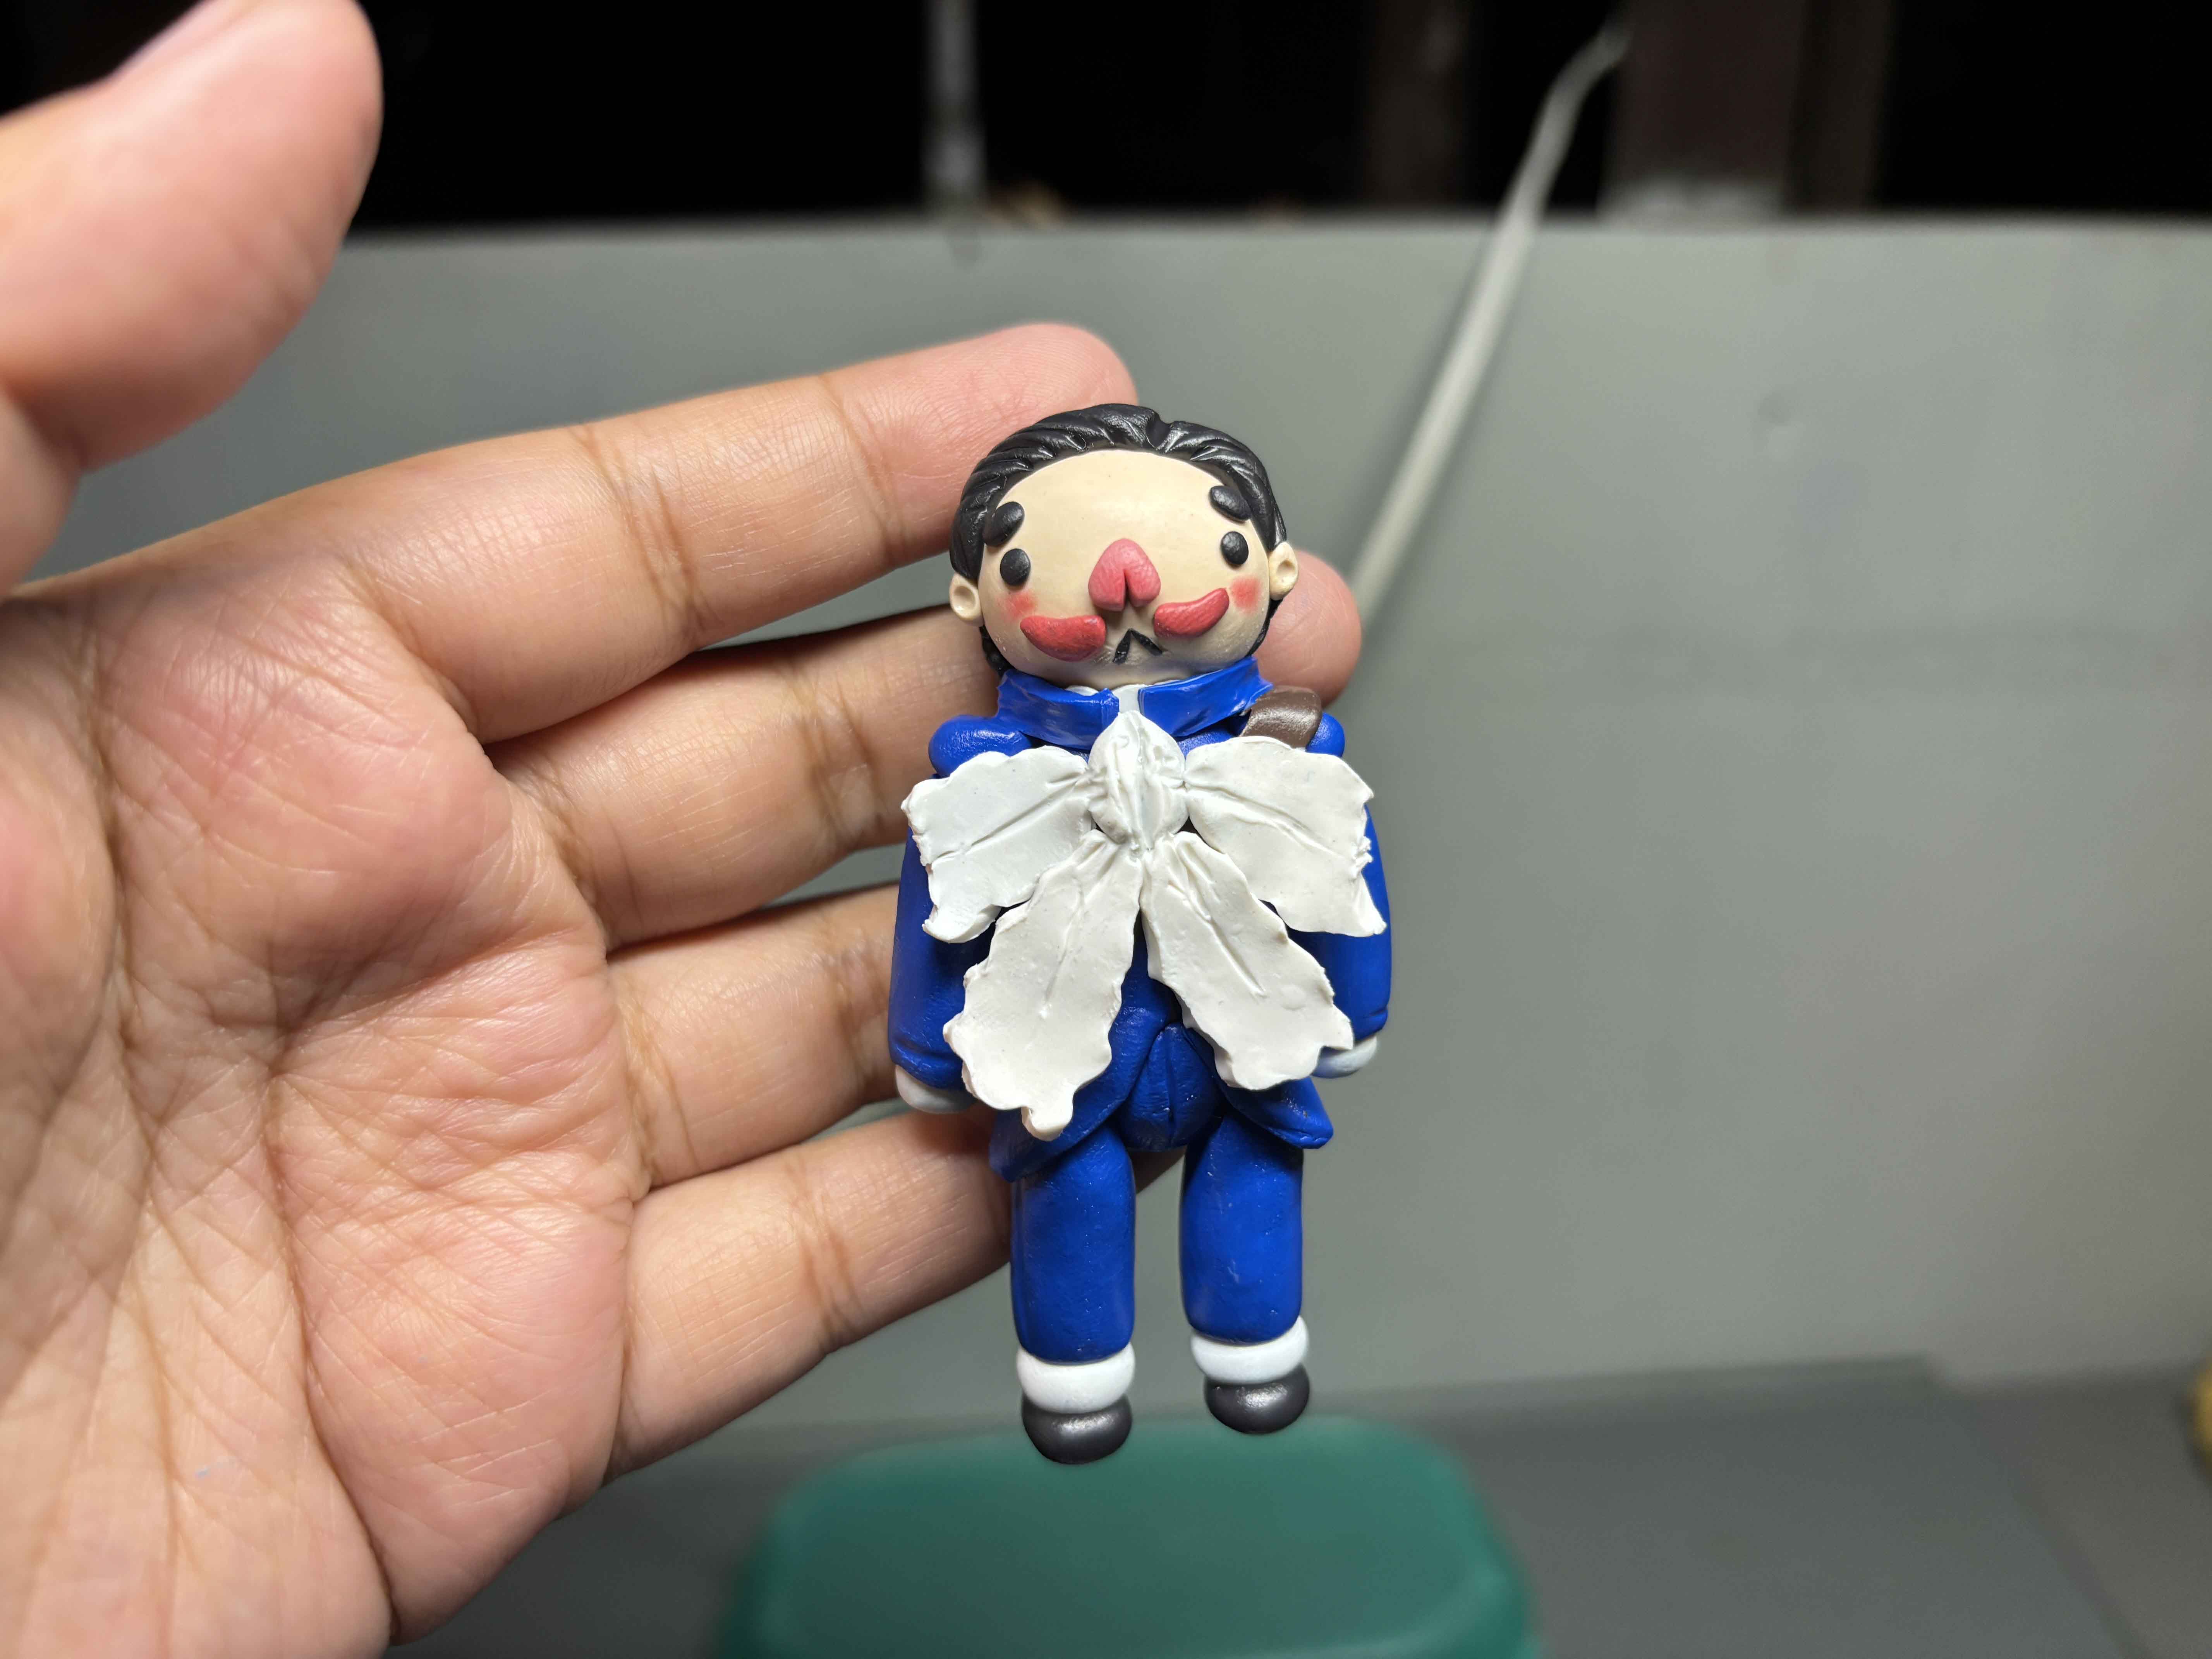
And then I added the mic strap and bow.
-----
-----
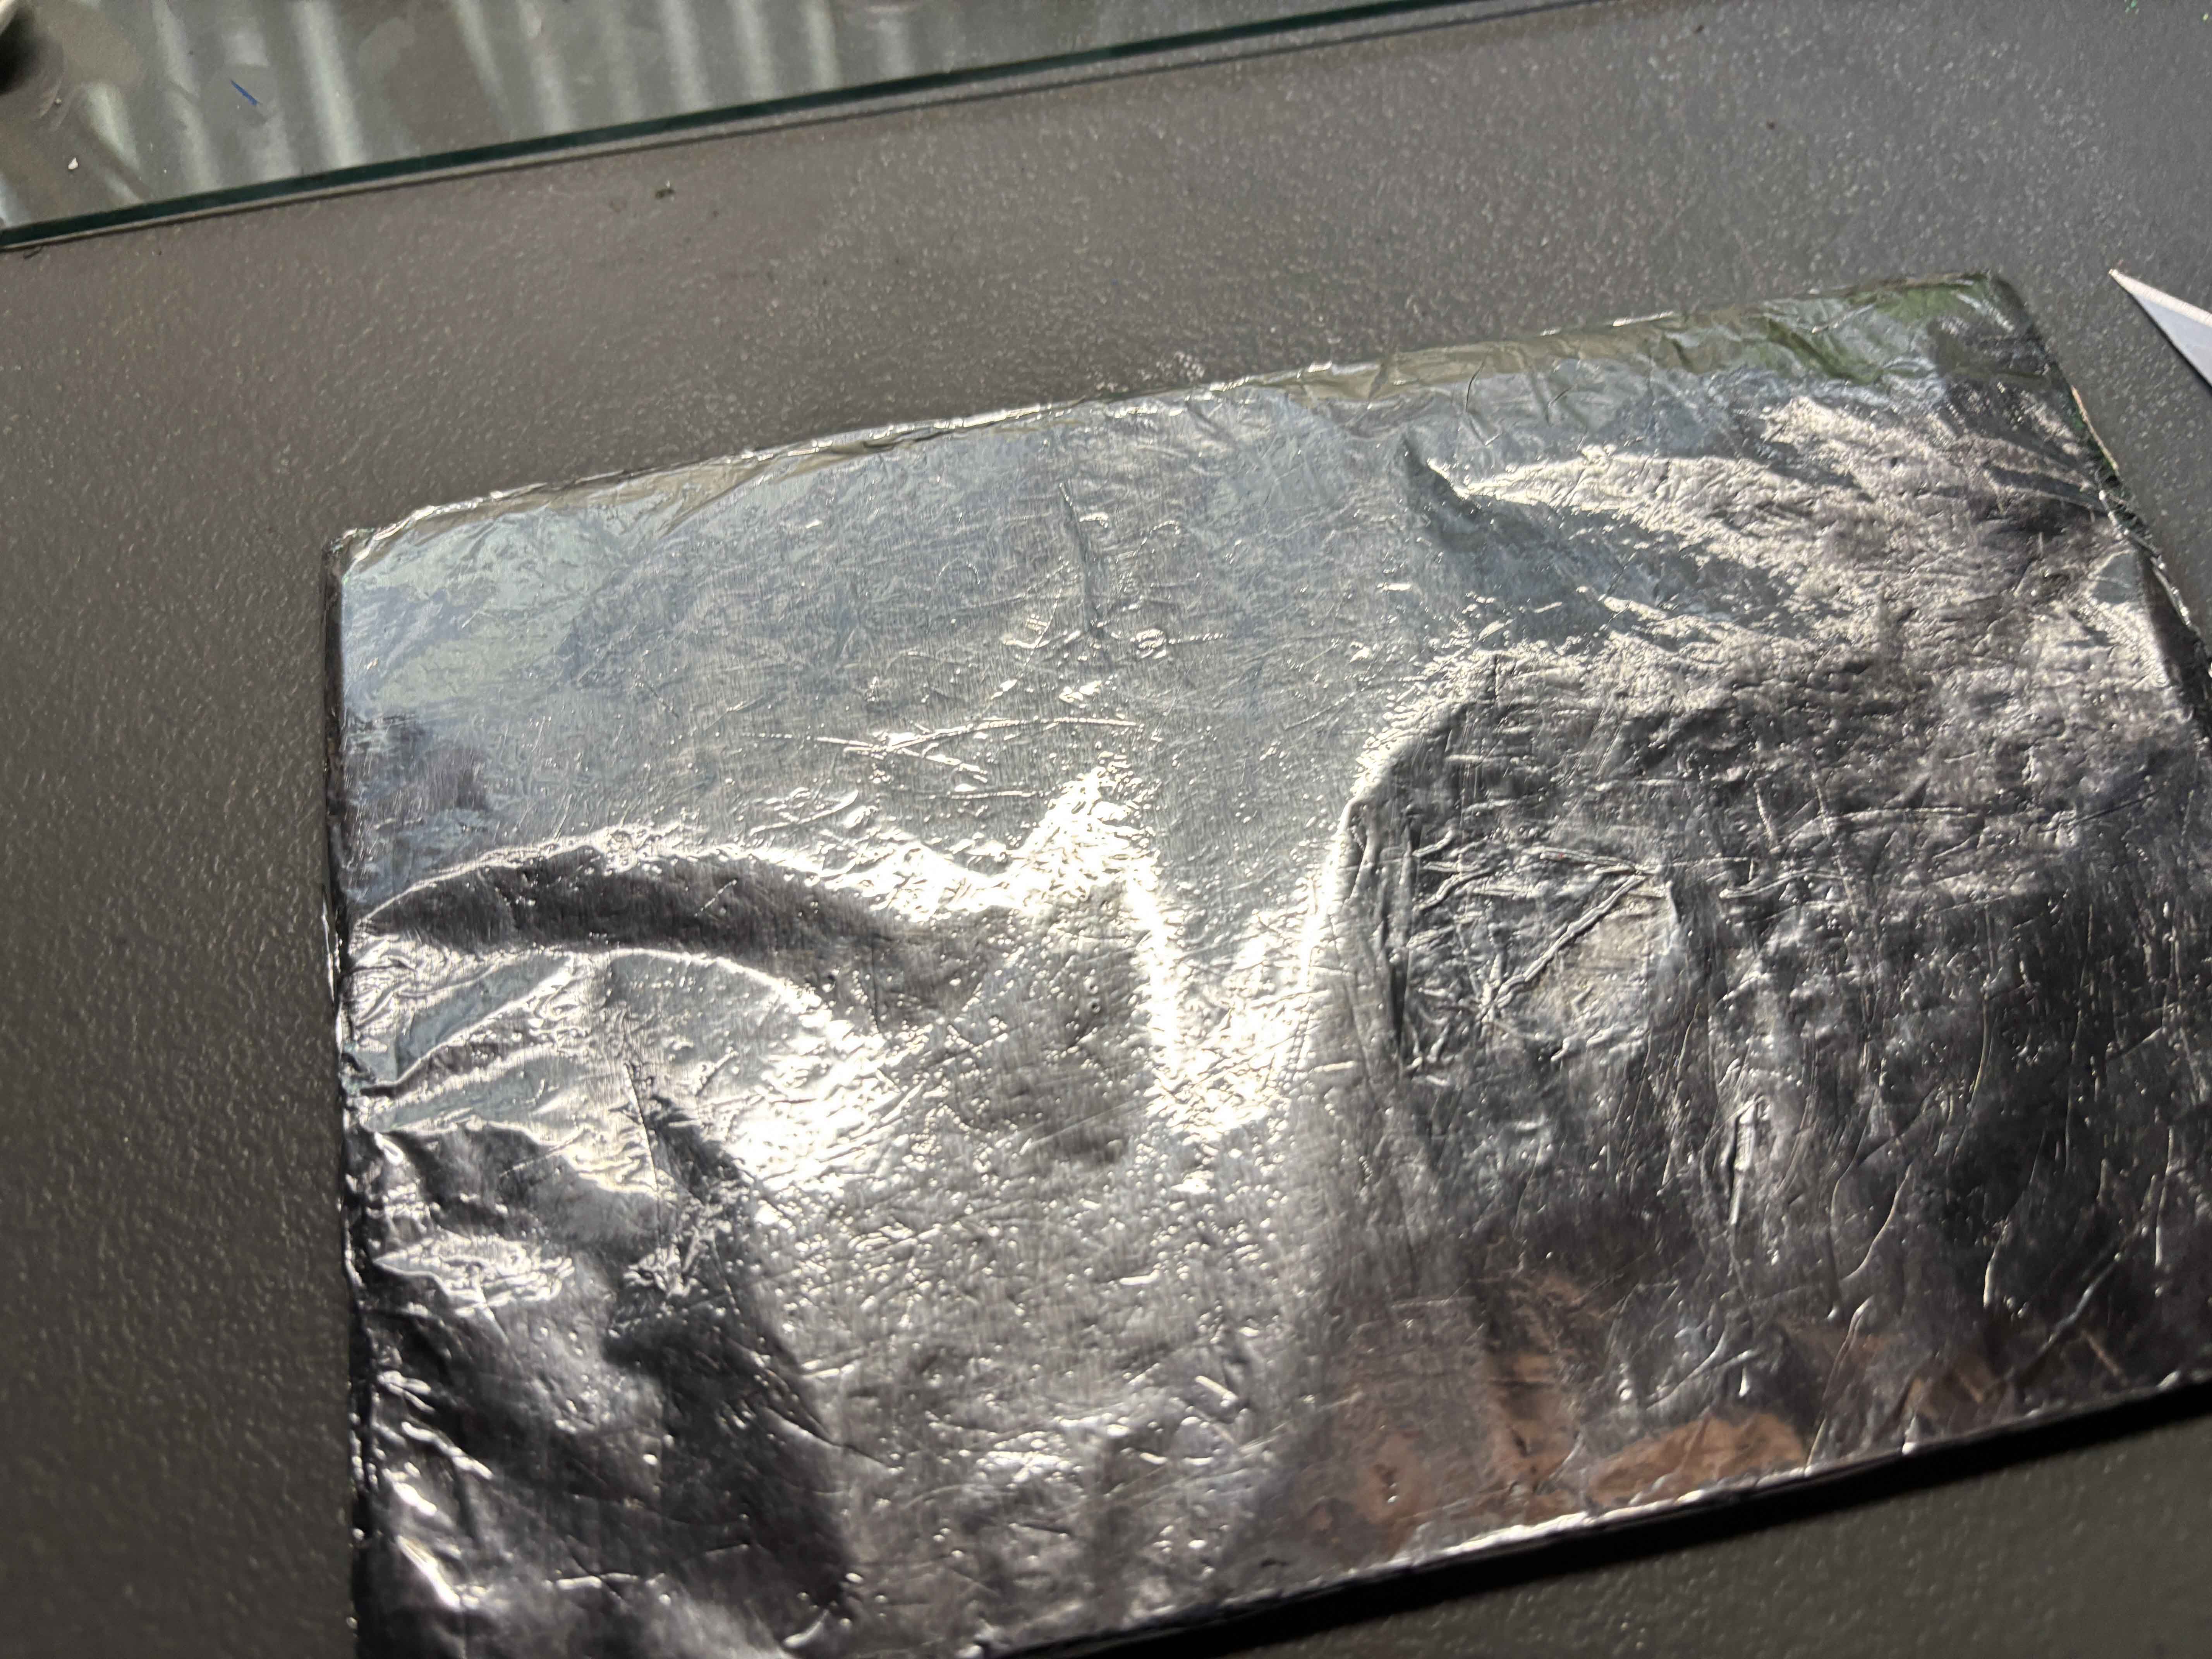
Making the Big Mic:
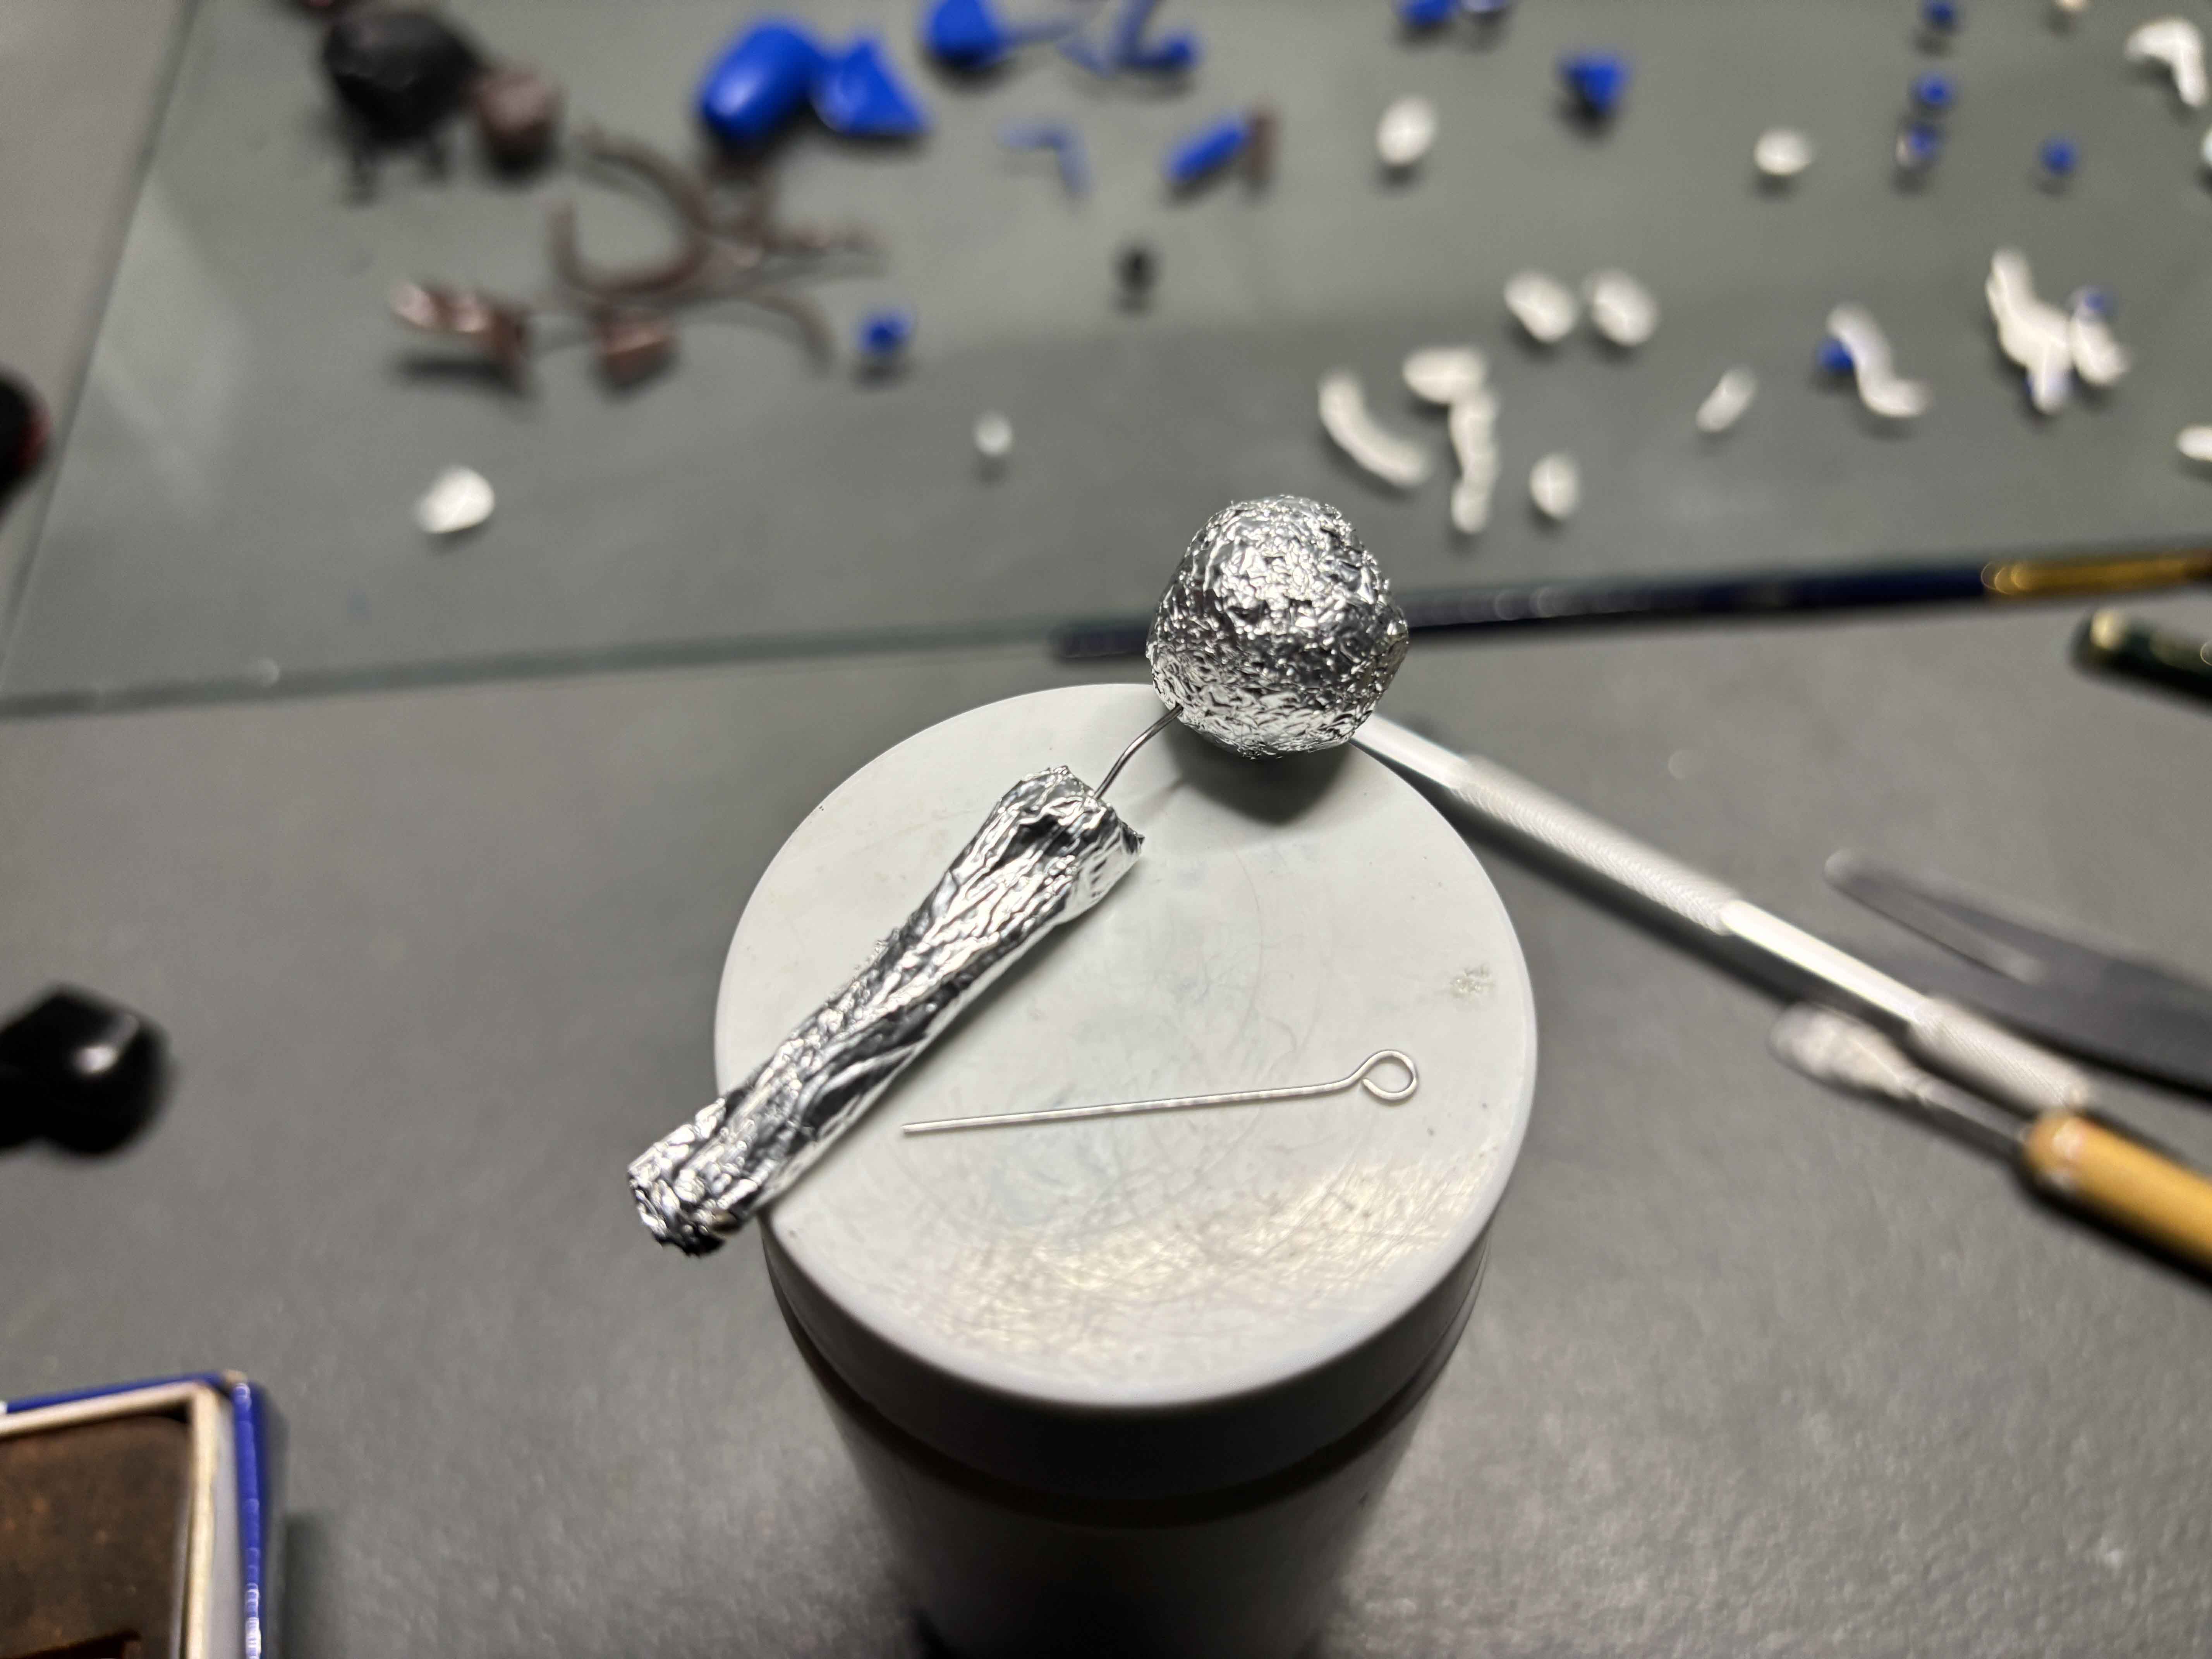
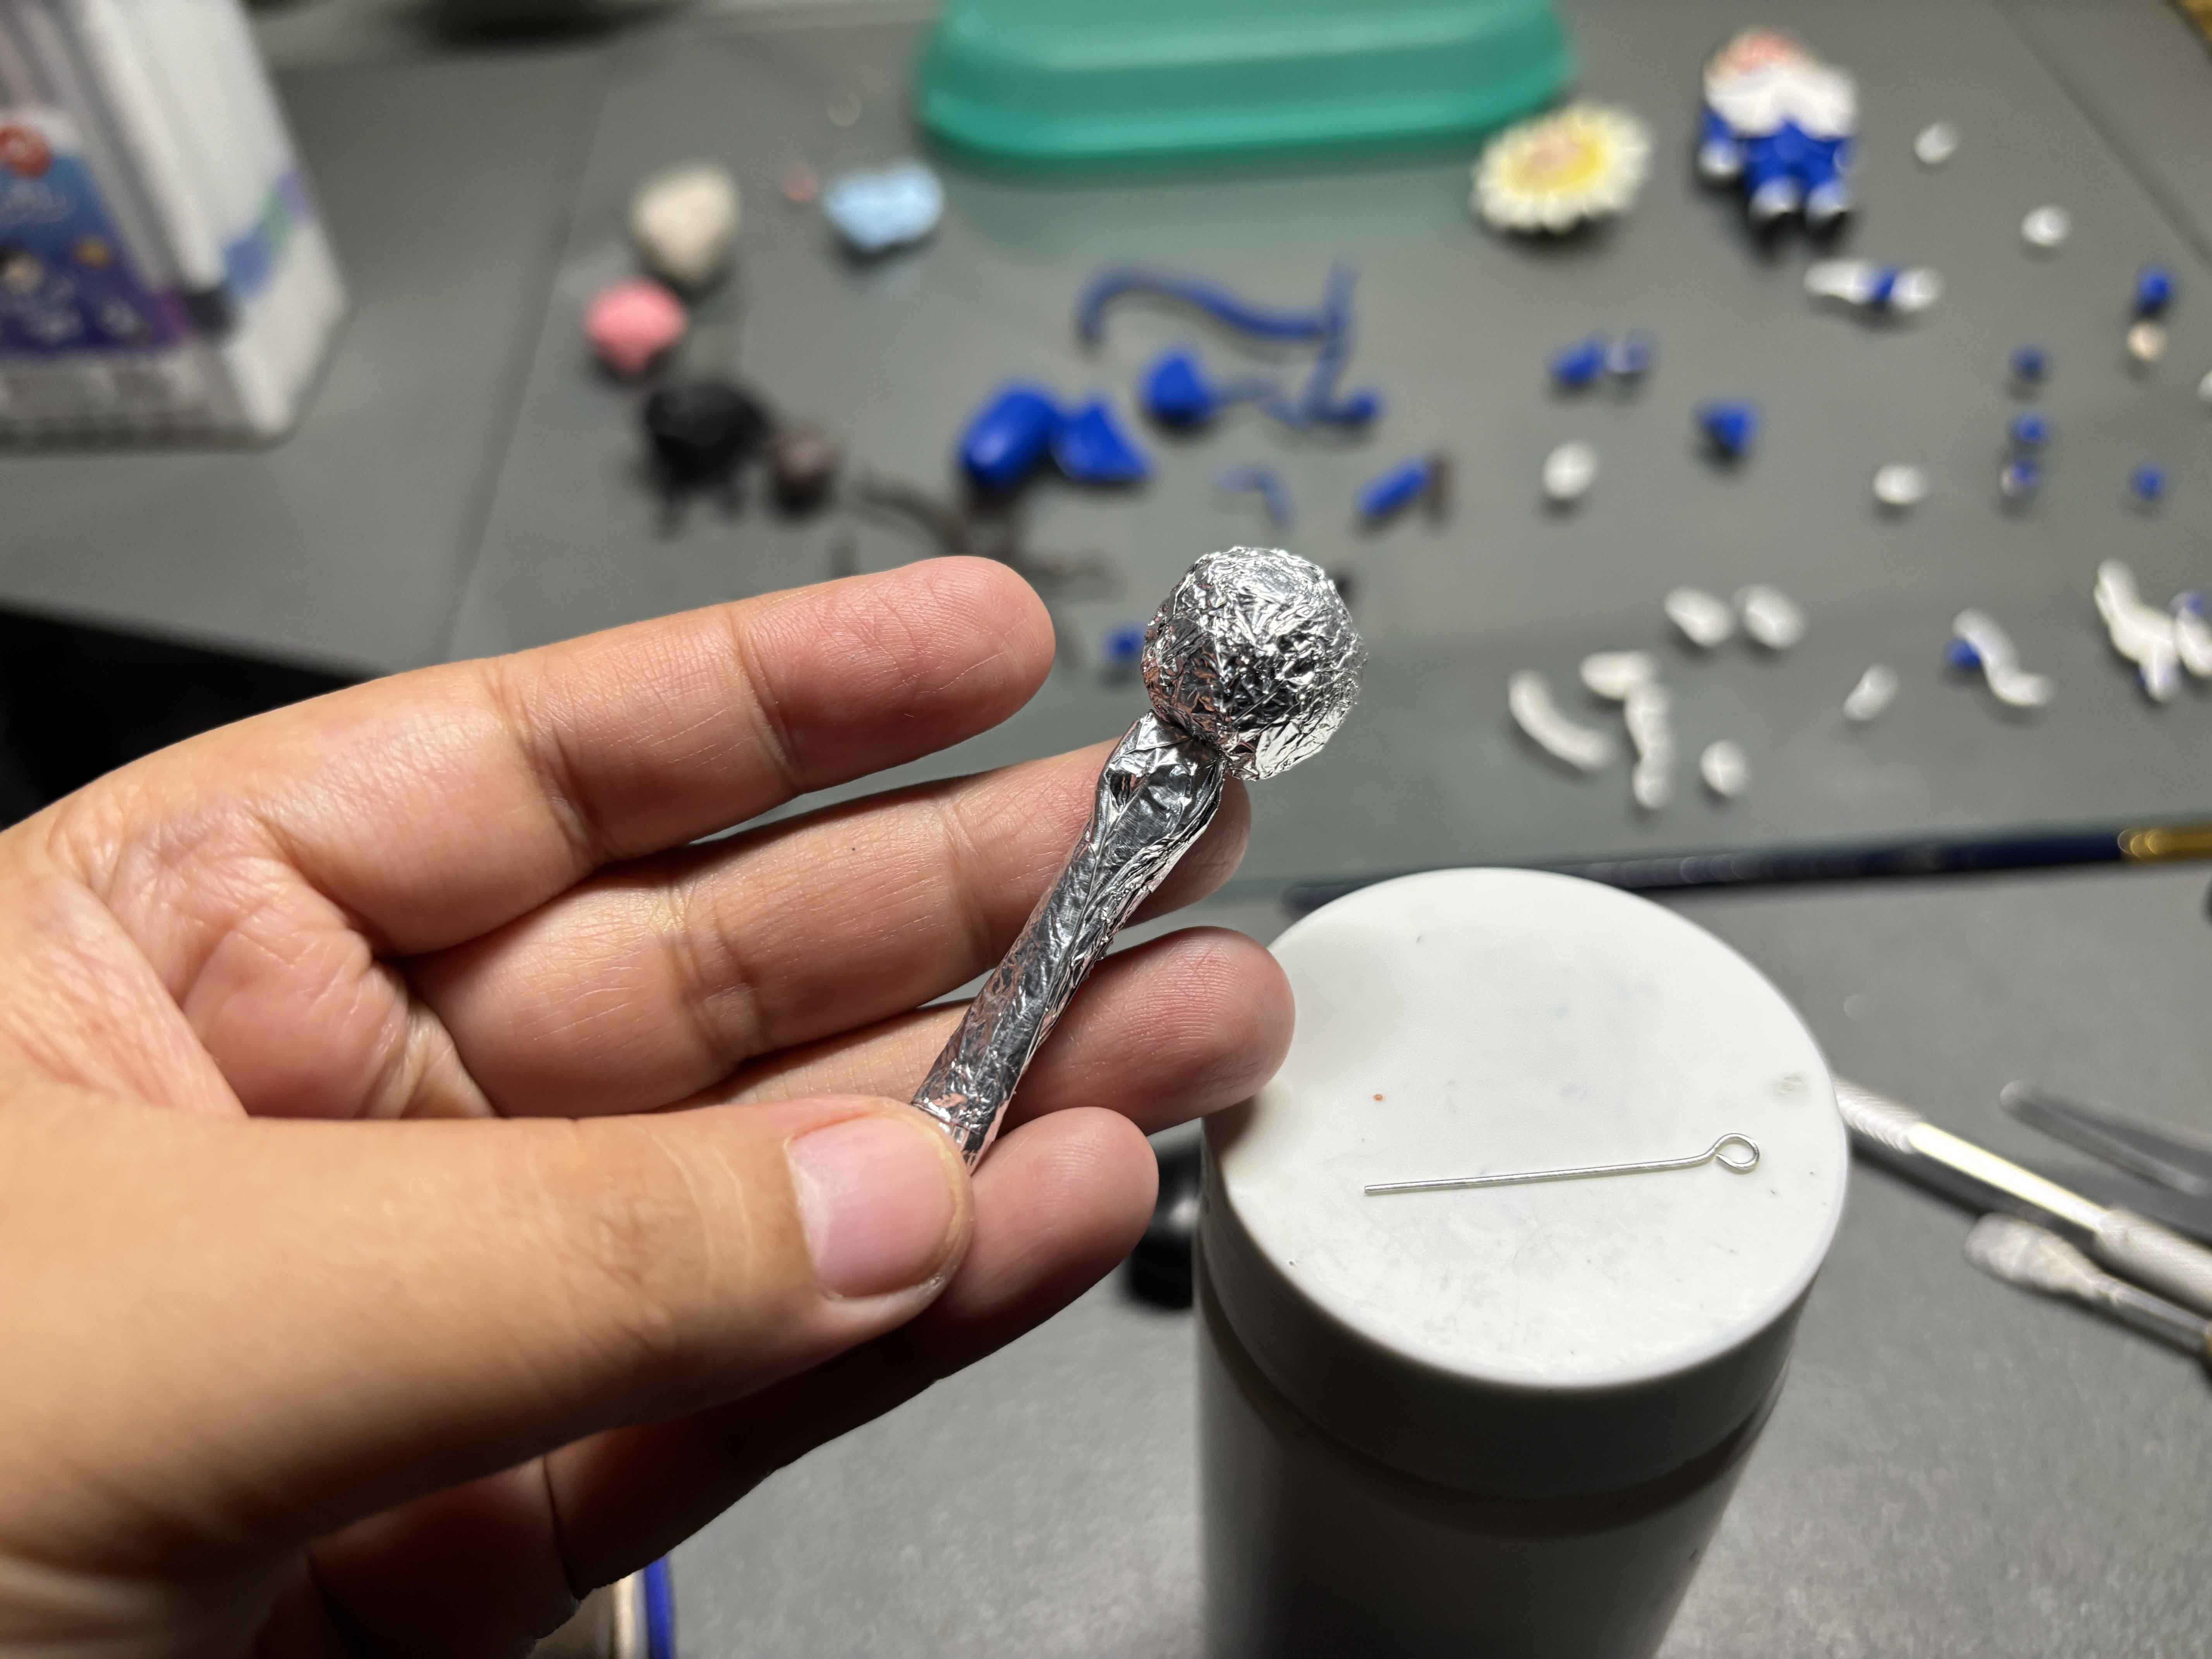
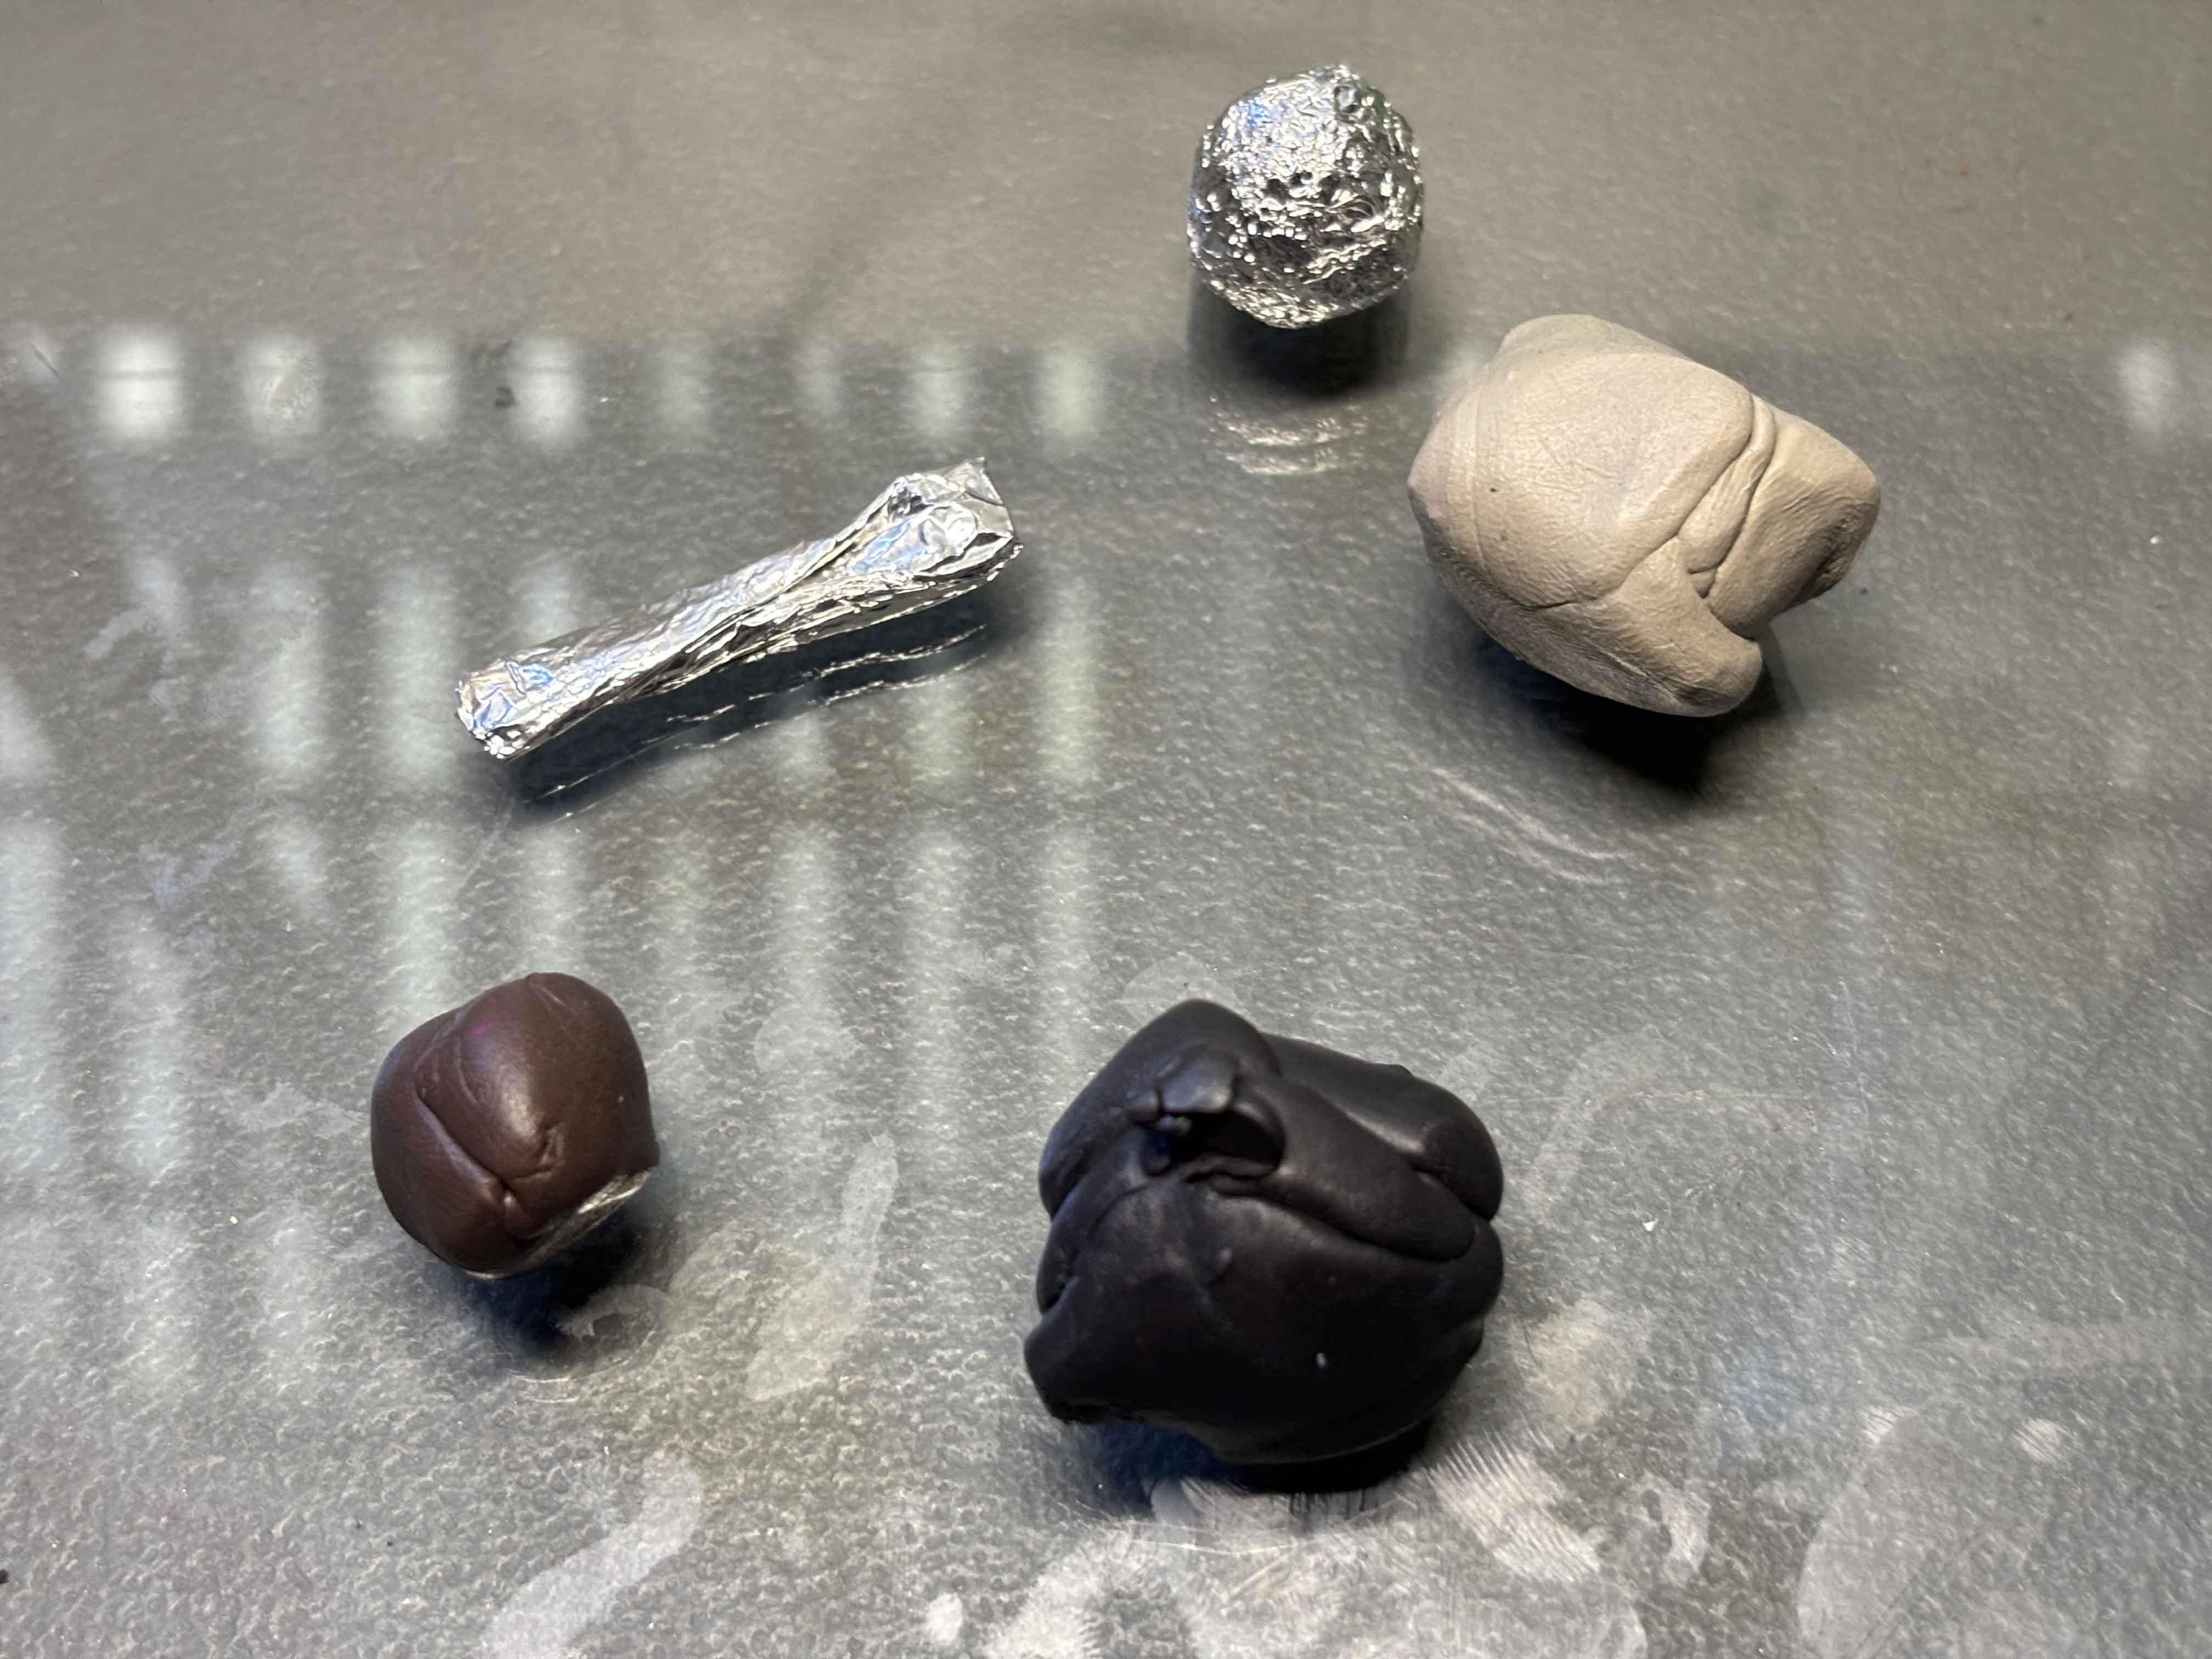
To make the mic, I first shape aluminum foil into a circle and the handle of the mic.
-----
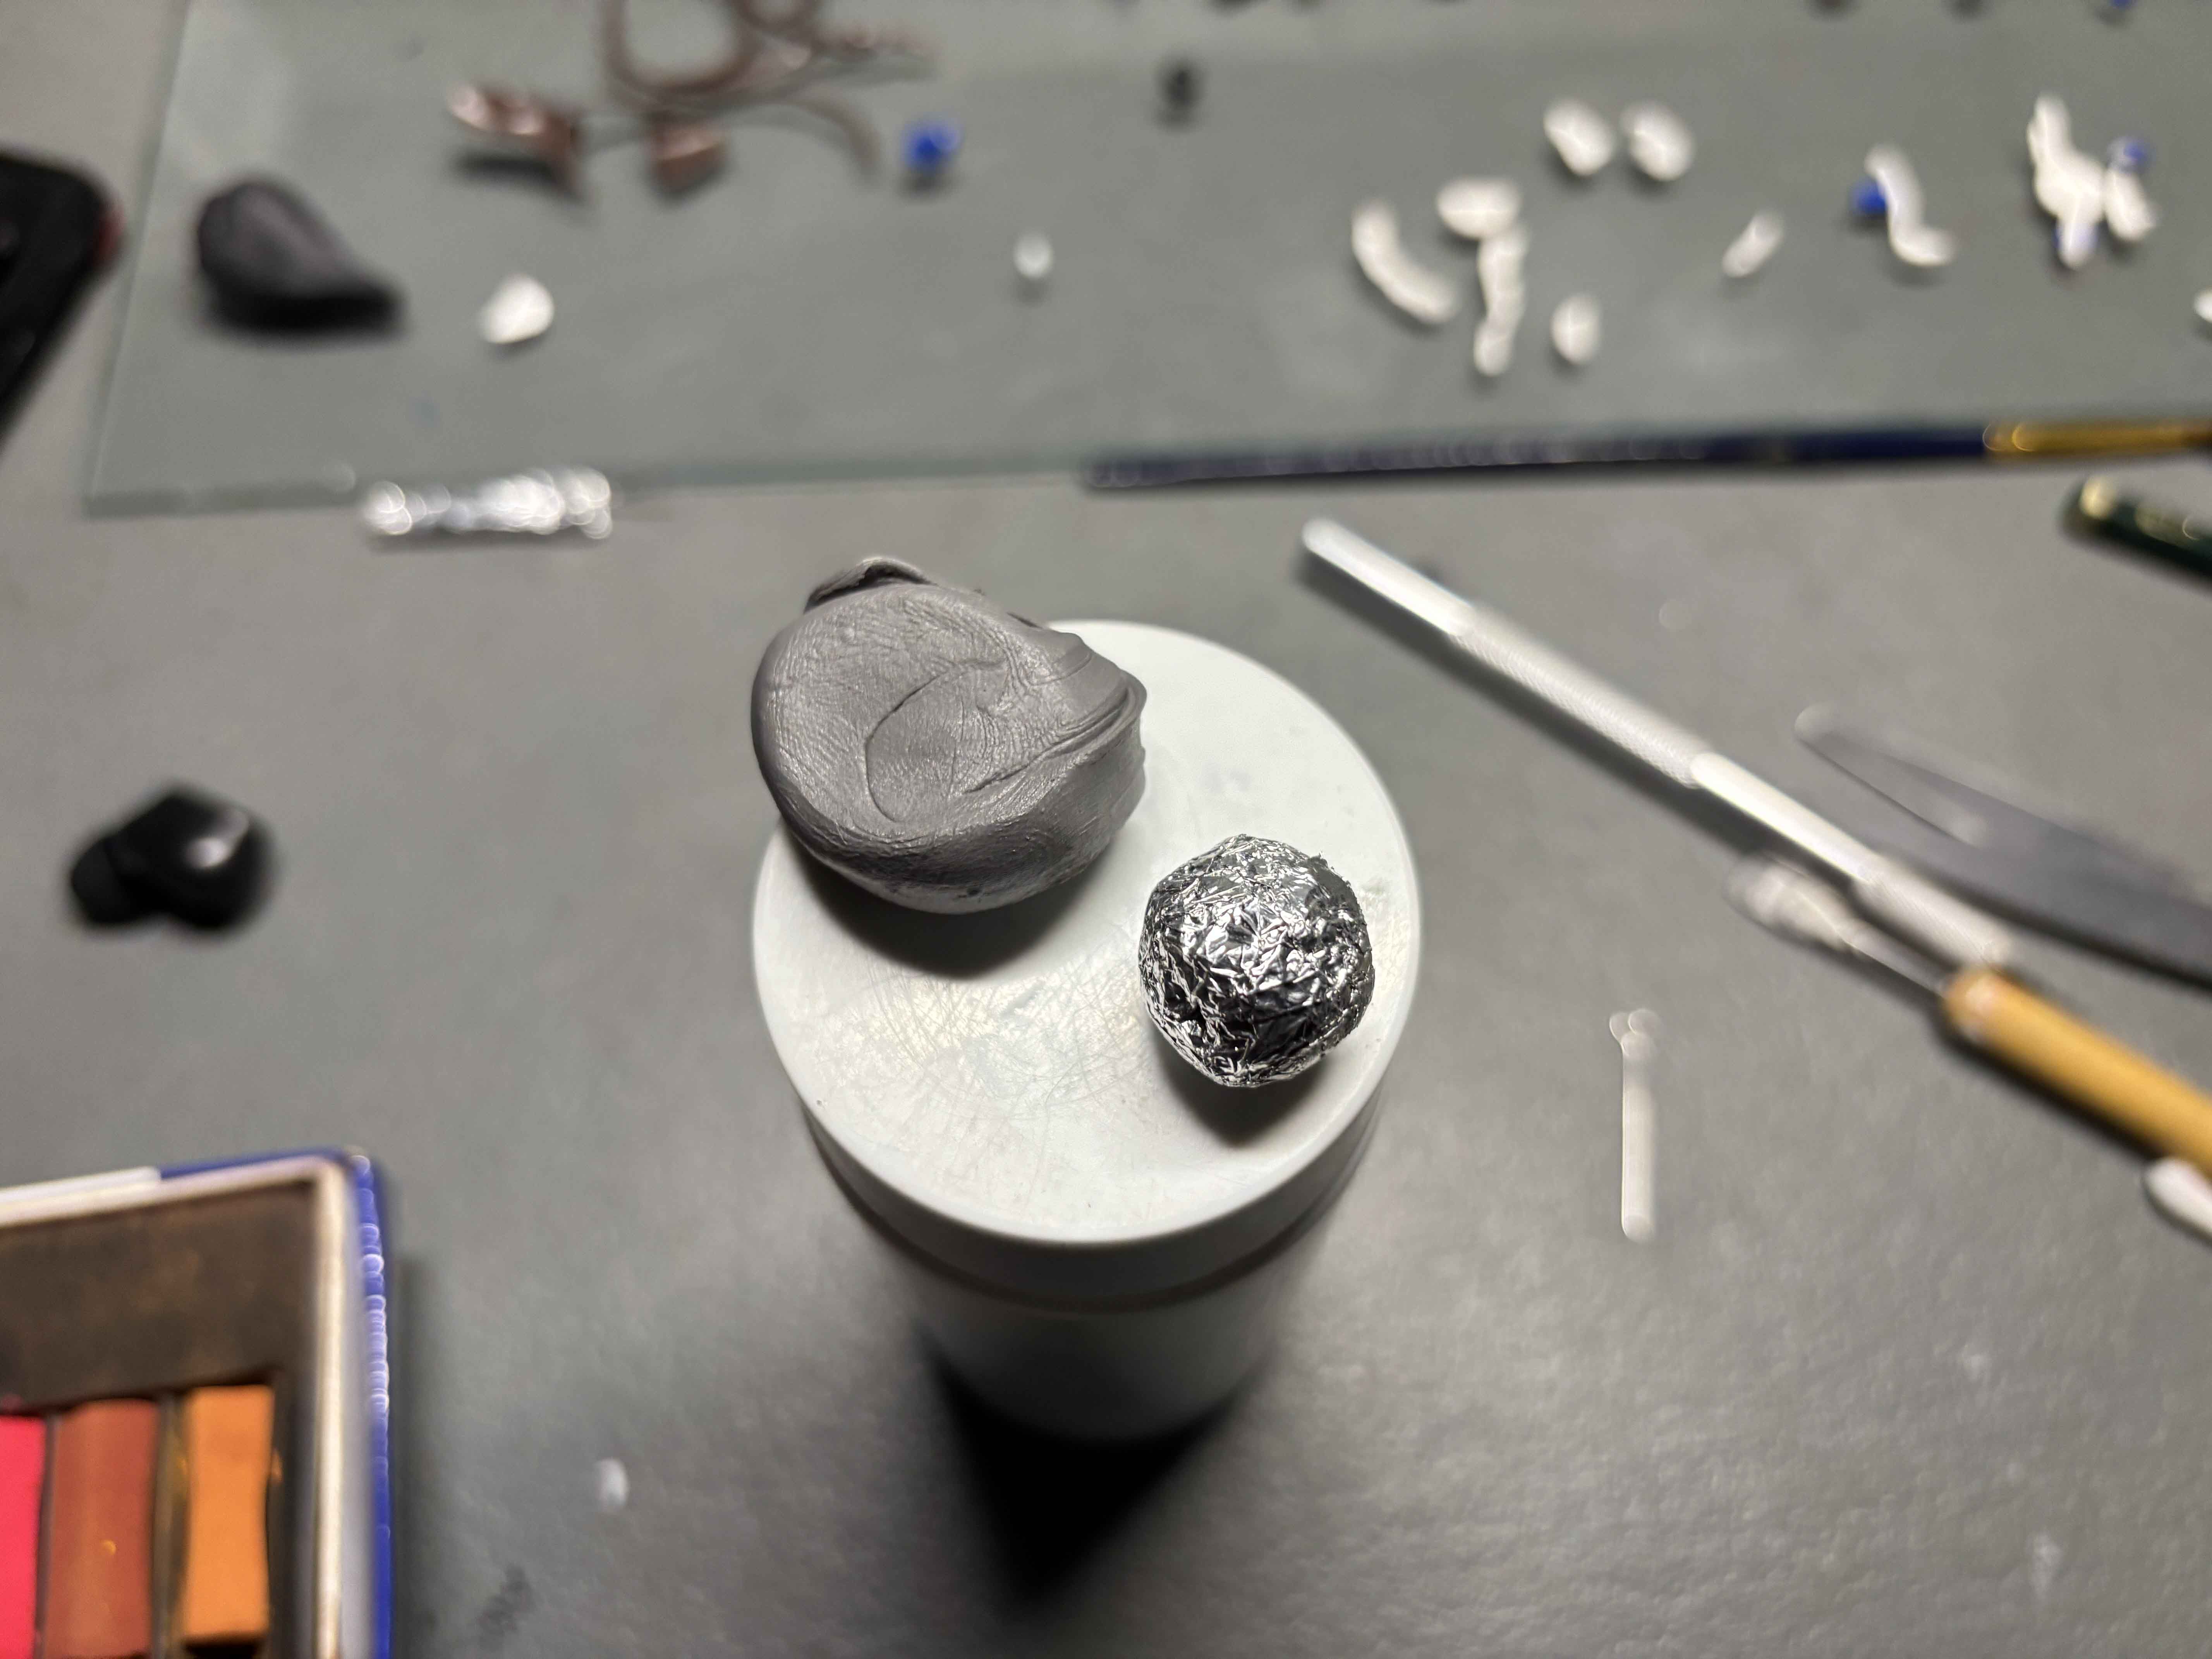
Using this dark grey clay, I wrap the circle foil until it is fully coated.
-----
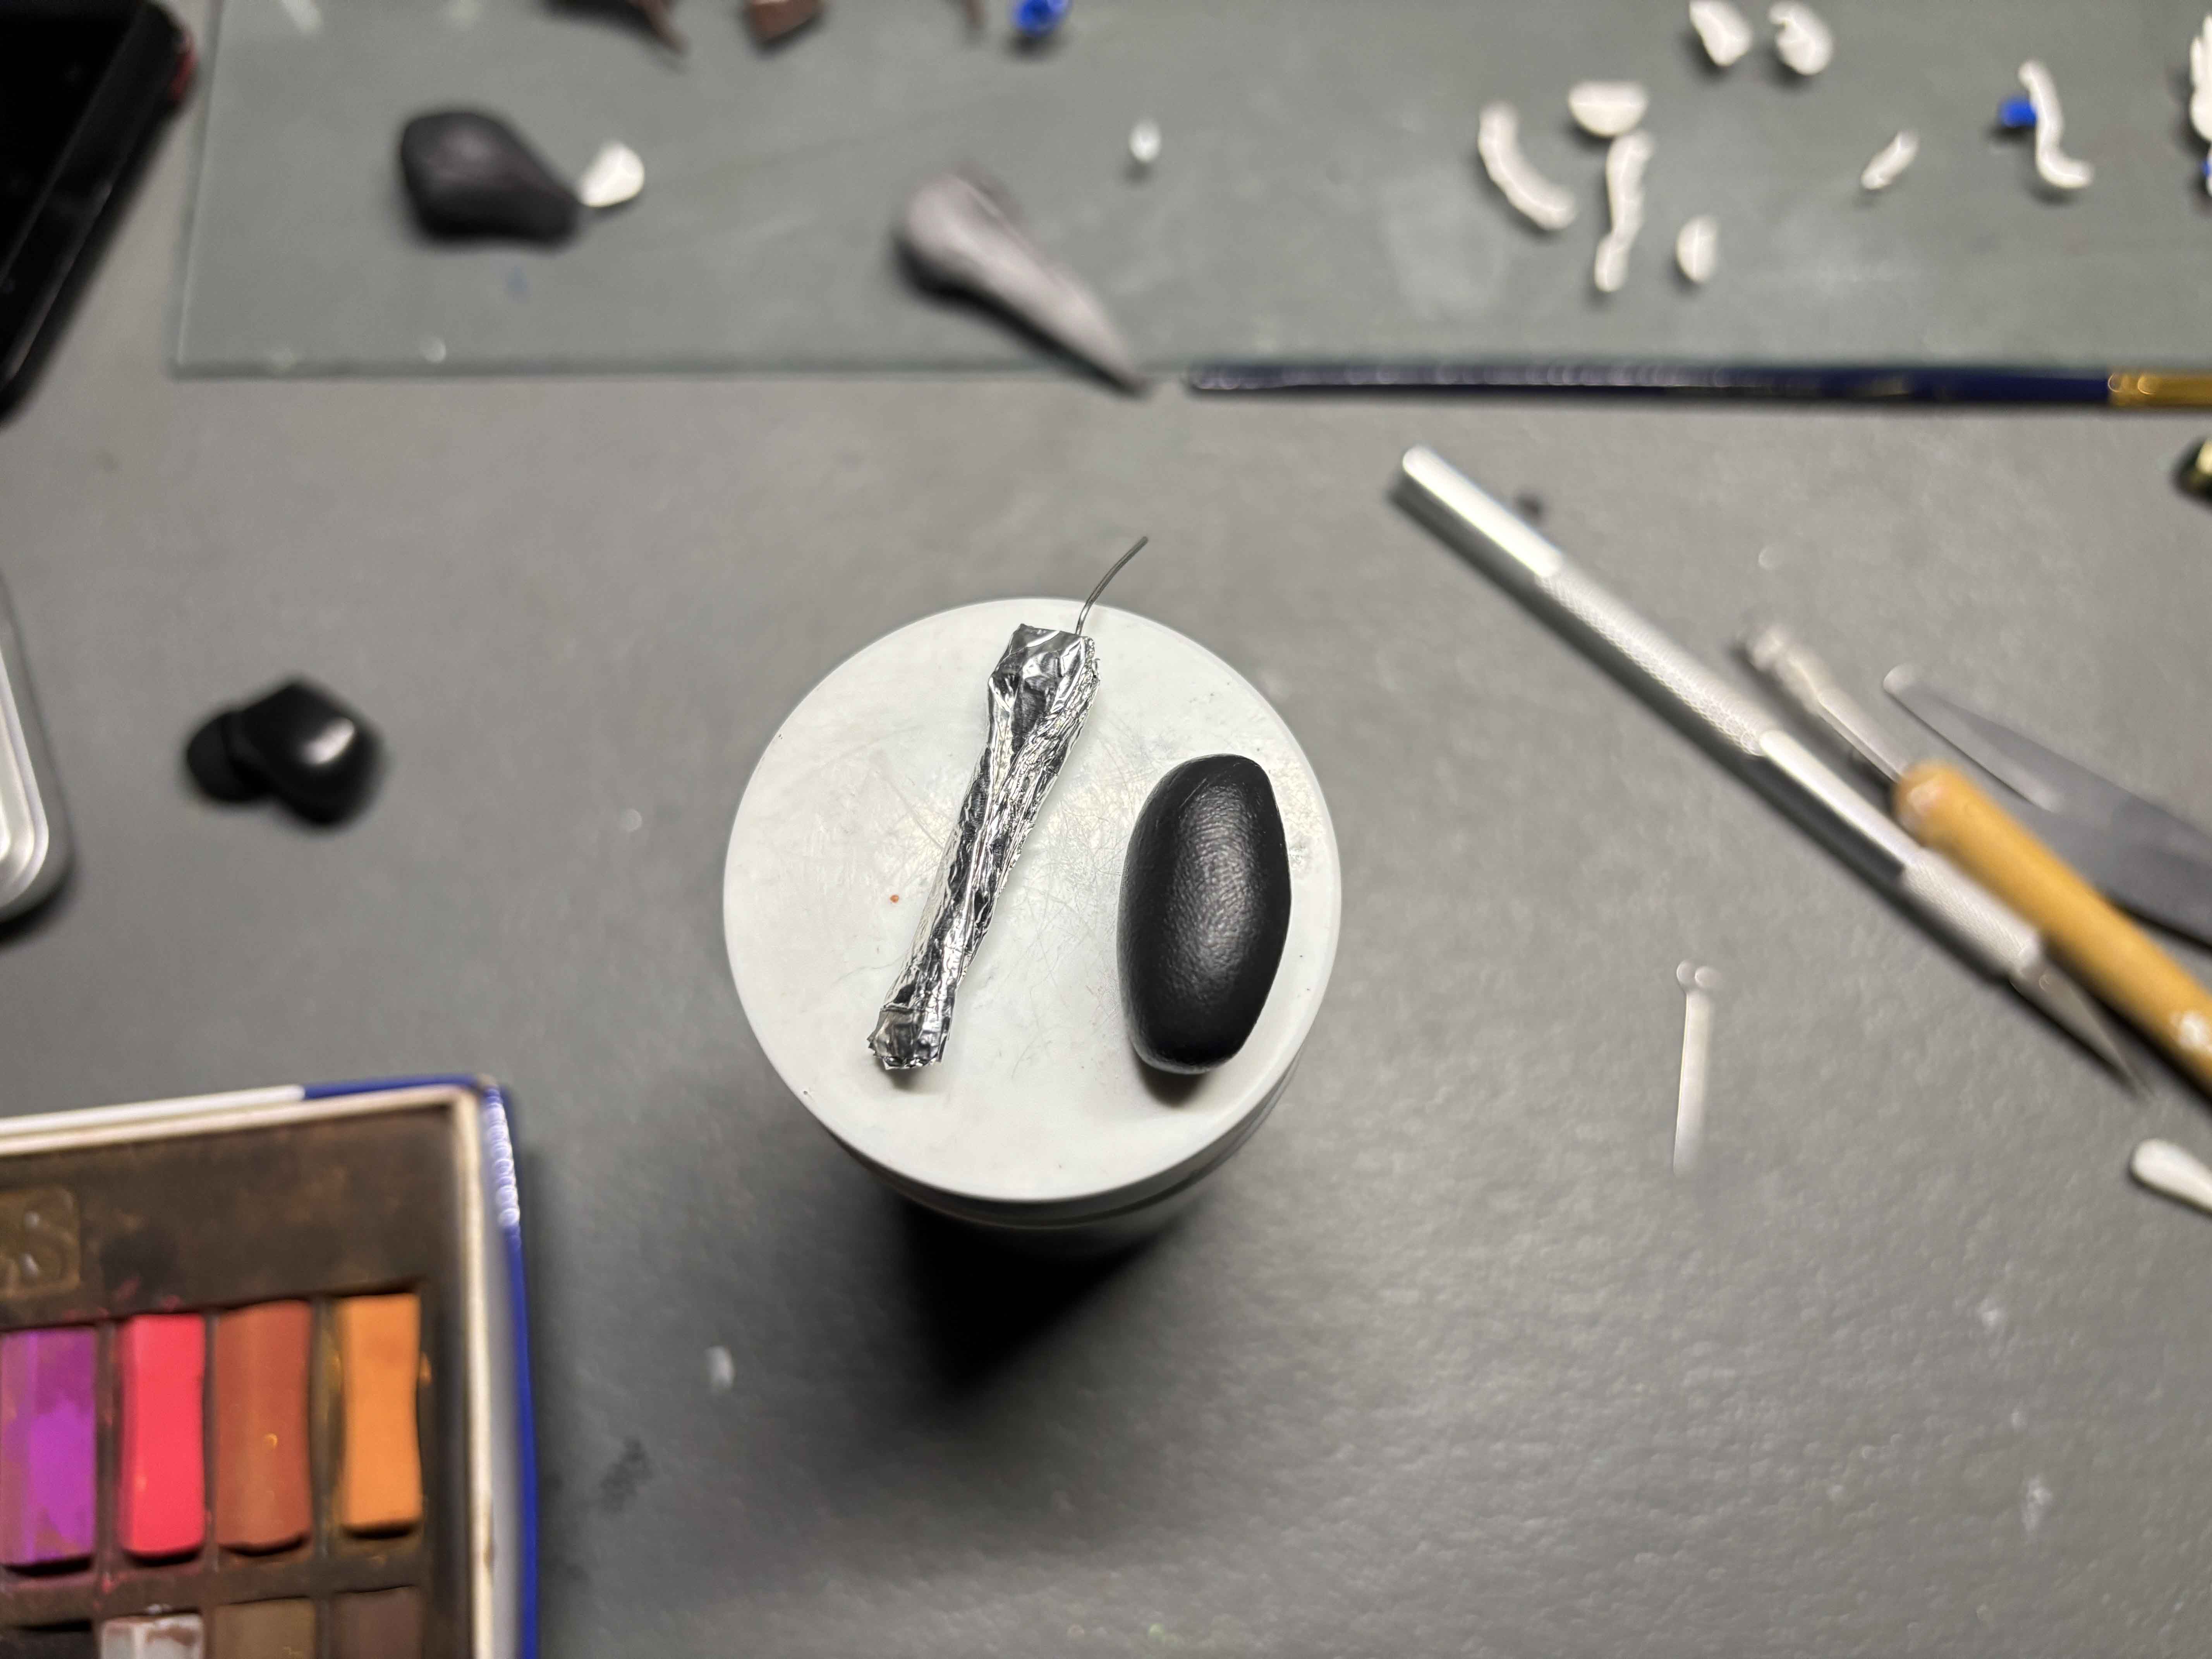
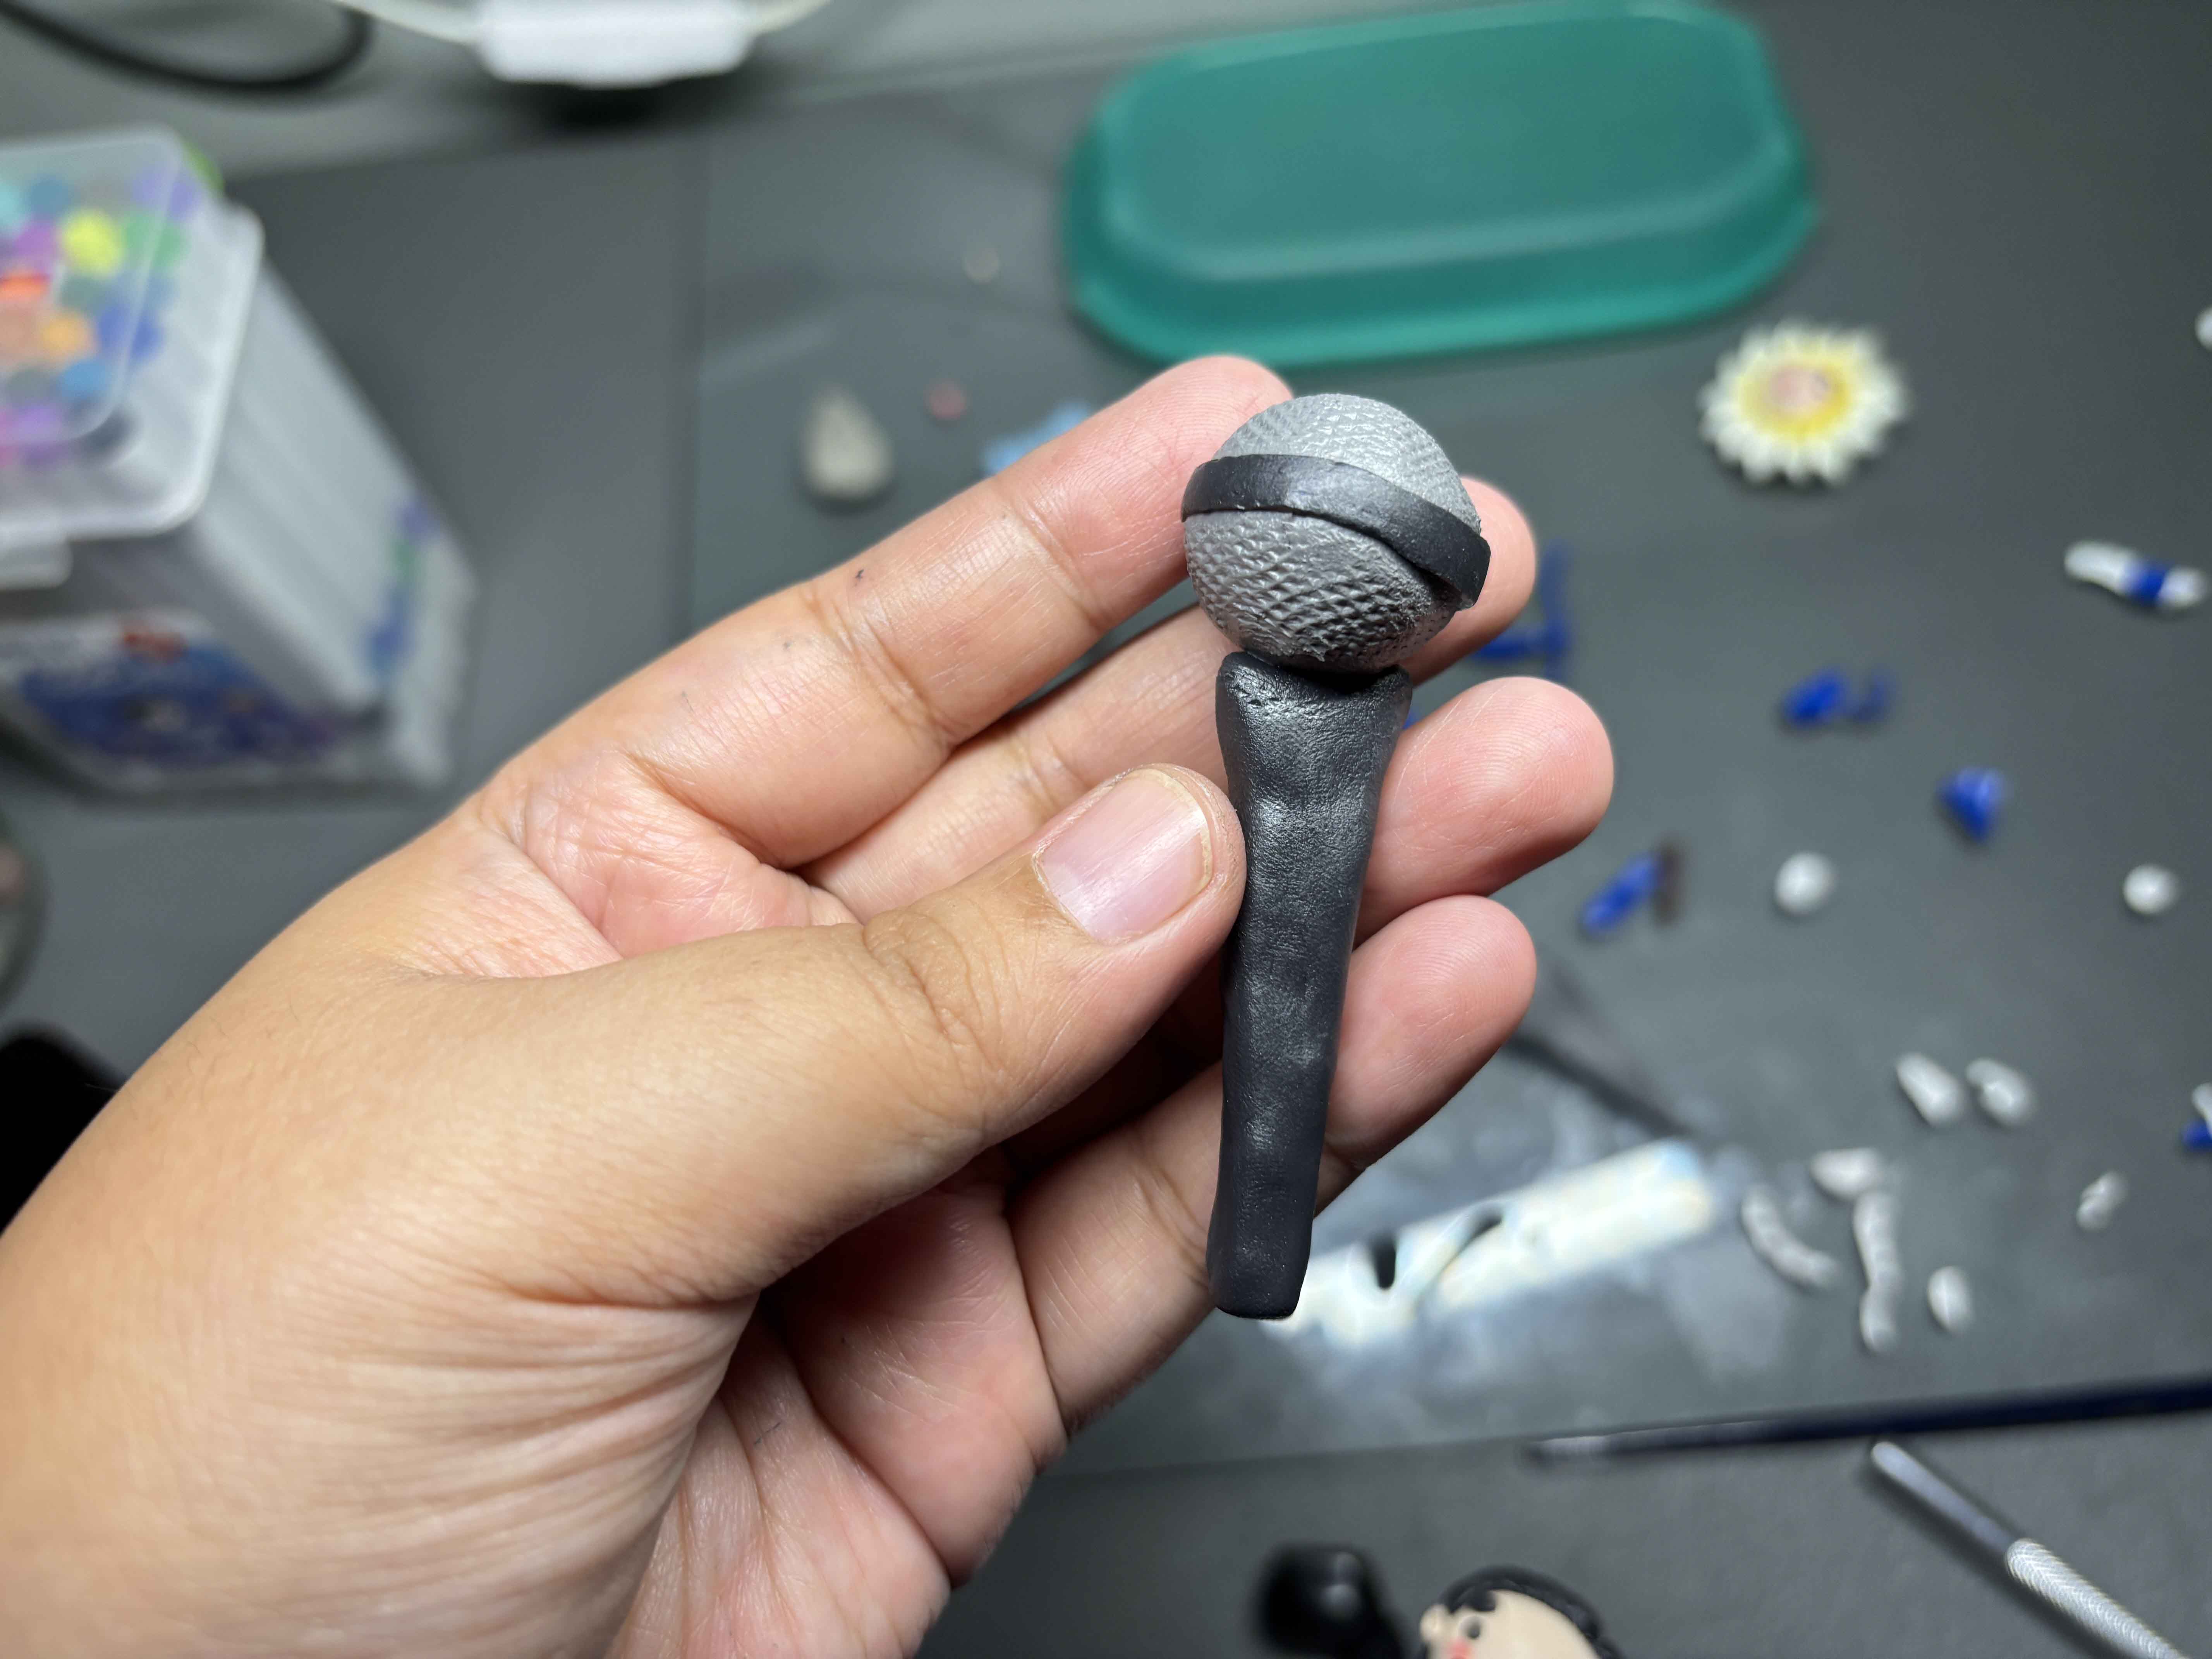
I did the same thing with the handle. Then I added details to it, too.
----

64.JPG (https://files.peakd.com/file/peakd-hive/leannwithdoublen/EoK6im9AxfVSJhN6ZRt3dDpnegDSGspNxS4xW1k98VuJ5t8oMjYG1NuHrZy6bzd7sZX.JPG)
Then I connected the body and the mic. I just pray that the mic will not fall when baking LOL.
-----
-----
Adding the Eyepin:
65.JPG (https://files.peakd.com/file/peakd-hive/leannwithdoublen/EoyRtbmjf1jr7mLE1hCHi1DwWuzmd16toeG7JcqxymtNyUWWQ6PE1YPeqJgVG4qJQNW.JPG)
66.JPG (https://files.peakd.com/file/peakd-hive/leannwithdoublen/Eoc9PdZtgo2pUbEJrF921X3S9xBoZVc7fMQrLjogNegvn5npNX9eT8uPDjJgLcbeYuz.JPG)
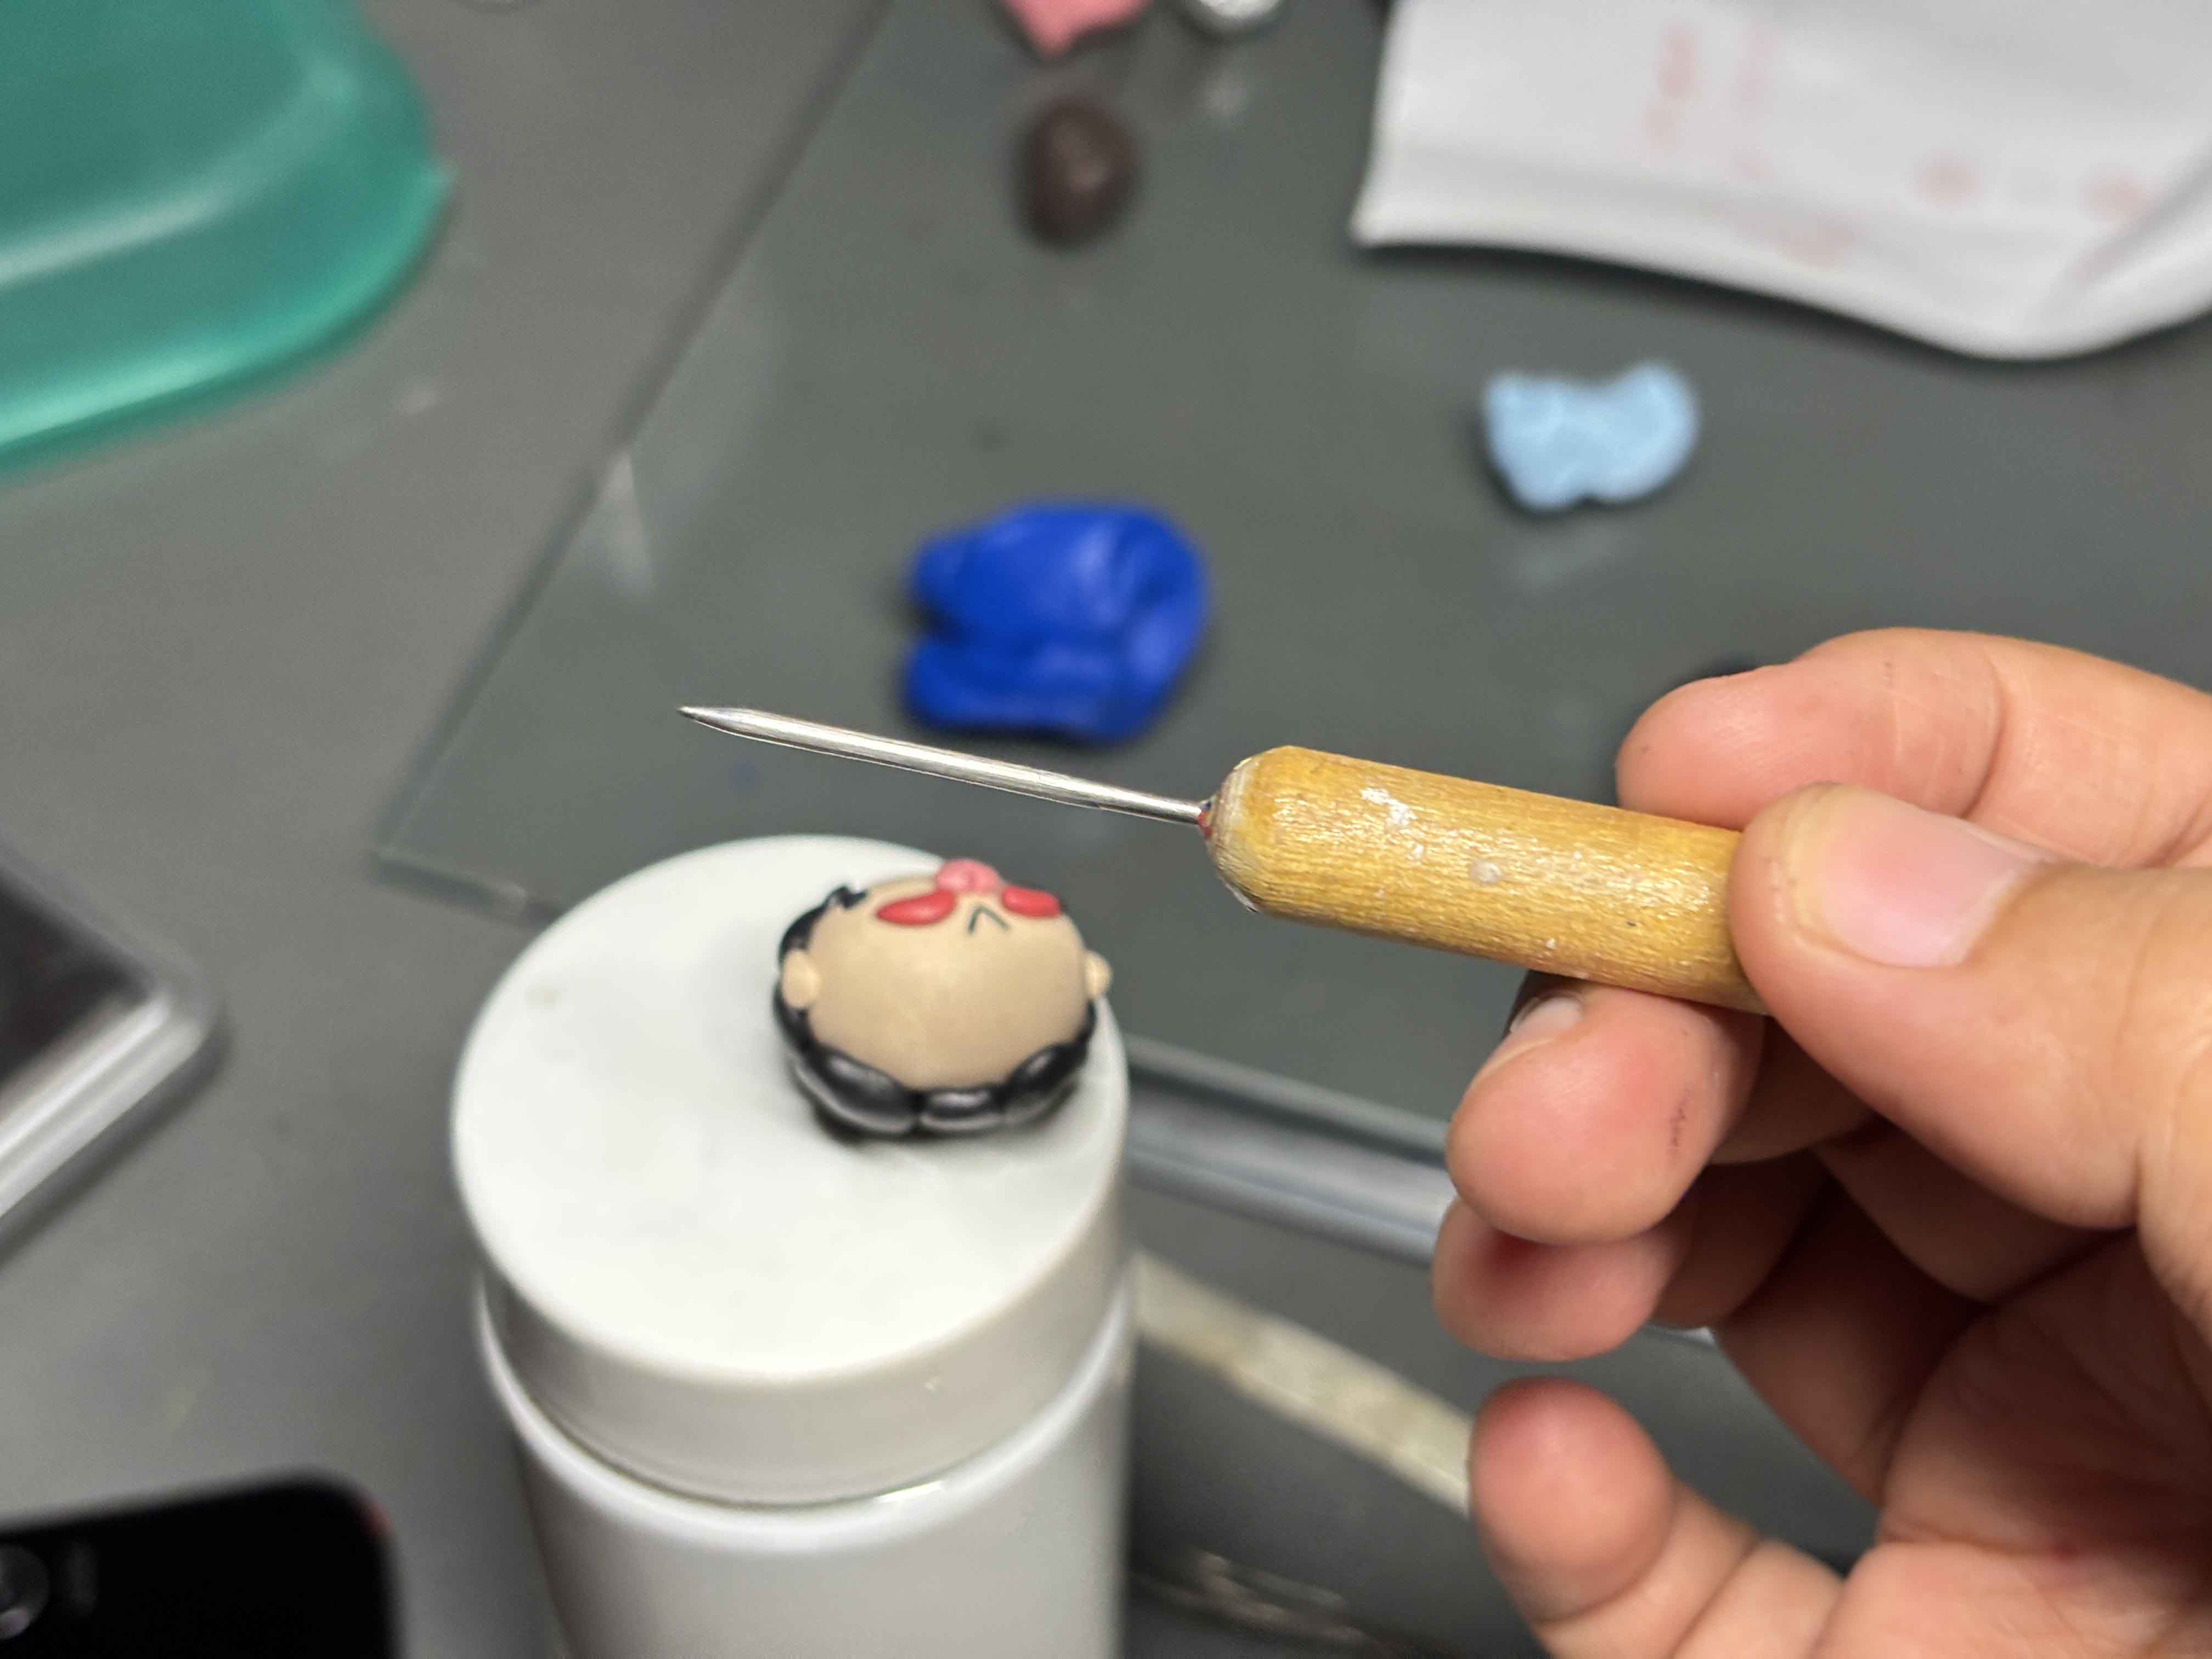
Before I bake the clay, I added the eyepin in the top middle of the head.
---
-----
Baking the Polymer Clay:
67.JPG (https://files.peakd.com/file/peakd-hive/leannwithdoublen/Eoc84RniMfVySL9bCBDY2SQkePCfSrwmUAa9qXZ9uj59dDzSHX45vmi1fzK7jcGNfZu.JPG)
68.JPG (https://files.peakd.com/file/peakd-hive/leannwithdoublen/EoeGnqC5S4djj41vWnJzoKYApuPhkvbBHnpq2CE1m8Ty498g8A8Gy9ApPCX6S4ergU5.JPG)
And then baked in pre preheated oven at the temperature and time on the packaging said. After baking, let it cool down first before proceeding to the next step.
-----
-----
Glazing the Clay:
70.JPG (https://files.peakd.com/file/peakd-hive/leannwithdoublen/EoK7MFrcuz3KMTJj49DiwBgeePmpGve5qBnYsNbvsvhn5t2sTT2wsQsFb9JFhjHo2DP.JPG)
71.JPG (https://files.peakd.com/file/peakd-hive/leannwithdoublen/EogPoJFSHTnMitM7mYCKgzCqs7pQVQiRT5A6ydEkSj4NnaRnGP3HWFqgjRZHnoyxQT1.JPG)
73.JPG (https://files.peakd.com/file/peakd-hive/leannwithdoublen/Eokf5ytEjPXJSbsBaSXiPkARfWmBXKyXGkGtXX9bj1BdUJfwMyFzMiB4SnxDWmJTqMG.JPG)
74.JPG (https://files.peakd.com/file/peakd-hive/leannwithdoublen/EonmuQe23PrDbxRh6VitQYYHjgJBMEN69GDD5fxX1TAJzsJKzJmiAAd7mLeWE8WQn3J.JPG)
75.JPG (https://files.peakd.com/file/peakd-hive/leannwithdoublen/EoK7kjMenqjkZRXi6ru7yagmZRDgANw3Ha85gHG31DAwhFZD8RE381YVJkm9S7Atd3d.JPG)
76.JPG (https://files.peakd.com/file/peakd-hive/leannwithdoublen/EoCj9ghUnZoTjWVU8kbhREfZW1dH2EW3uQZem59wH111s88emr1oef6P2n3anat6nCA.JPG)
77.JPG (https://files.peakd.com/file/peakd-hive/leannwithdoublen/EoK4Mq2AFgr3MQjaZkRD6kXHgTFHCy9Qfea37b51JE64kWZgcAoxXkcsrnGSLzv2HRj.JPG)
79.JPG (https://files.peakd.com/file/peakd-hive/leannwithdoublen/EpA4QWcfMRj4TAJG5UjgK9egzWY34MavP1hb8mTwqzNJYwTwL9qeXZsE8DdEsWsJCpS.JPG)
Before I apply UV Resin, I make sure to tape the back of the clay to prevent it not moving when applying UV Resin. I apply the first coat as thin a possible and then carefully spread it using a brush, and then cure it under UV Light until the stickiness is gone, and then keep layering it with UV Resin, and to completely remove the stickiness, I cure it under the sun for about an hour.
----
-----
Adding the Keychain:
80.JPG (https://files.peakd.com/file/peakd-hive/leannwithdoublen/EokeZ3zgo56fG8y9449Ge21ppRUoYovovGLeskA5tEdUApANhSx3ZV29vu23pVcC8YE.JPG)
81.JPG (https://files.peakd.com/file/peakd-hive/leannwithdoublen/EpNopDomPZ9udxPz1gdbFkBuEXfYgF4KNtQzhVLFubtVsk8RaXiUReGxVjcXZWj3dri.JPG)
Then I added the keychain using the two pliers, and this is how it looks.
----
----
Mr. Sun Meet His New Friend!
82.JPG (https://files.peakd.com/file/peakd-hive/leannwithdoublen/EpEJJvwyXPqpWSaKgA9tTgEVZbgYkRjwJhj6gKHAvdZb54MLXvEHn6JamuktN9azcVx.JPG)
83.JPG (https://files.peakd.com/file/peakd-hive/leannwithdoublen/Eos2DQi5g1Y7jp1yUygoy3ecusRUxJz58QXQHfzuP46DKYF3YsMsS8gFbatqZnBtG7s.JPG)
They look cute together!
-----
-----
Photoshoot Time!
85.JPG (https://files.peakd.com/file/peakd-hive/leannwithdoublen/Ep1WsZrXL9DqQCZeDG8uMrDaKJpVDcNk4A3TrD7j5jgbmUdwGdysCCS3cFfBzE9k8X5.JPG)
87.JPG (https://files.peakd.com/file/peakd-hive/leannwithdoublen/EoK6JyA3mRFs26BUo7cZikXxSnDHLe8Eb2wxjdSoM1W6QUoGAfWB4F9gnc1XjD4v1T9.JPG)
----
88.JPG (https://files.peakd.com/file/peakd-hive/leannwithdoublen/EoeEyXvSEcm1Yxd9Abb4mH6o9njpzDDehBF51ryNX3sS7DZ8mJWX43tyovnnHZ2kZRo.JPG)
89.JPG (https://files.peakd.com/file/peakd-hive/leannwithdoublen/EoK6E9xtckcb6dFDpQhaAc19URVwJooPvesGhKju7E5St7m9Ewf6r1MztYF2REX5JWb.JPG)
Our cat smells Mr. Doom Dada. LOL
-----
----
Thank you for visiting, see you on my next blog. :D
Please take care of your mental health as well.
I hope you are okay today :))
---