Hello, how are you? Last week, I was planning on doing clay art again because I cannot organize or clean our home when my parents are home, but suddenly the inspiration popped like a bubble, which is a shame, my clay kit is just sitting on the floor waiting for me to open it.
So I know I will be busy tomorrow, so I did what my heart tells me, just go for it, if I don't like continuing, I will stop immediately. Still, I do enjoy it so much, it's like the feeling of not meeting your best friend and then suddenly meeting them, that feeling of nothing changing, just best friend being best friend LOL.
I am making a clay keychain of Kamote Cue, which is a famous Filipino sweet snack that I have loved since my elementary days, which I love with a lot of melted sugar on it LOL.
------
-----
---

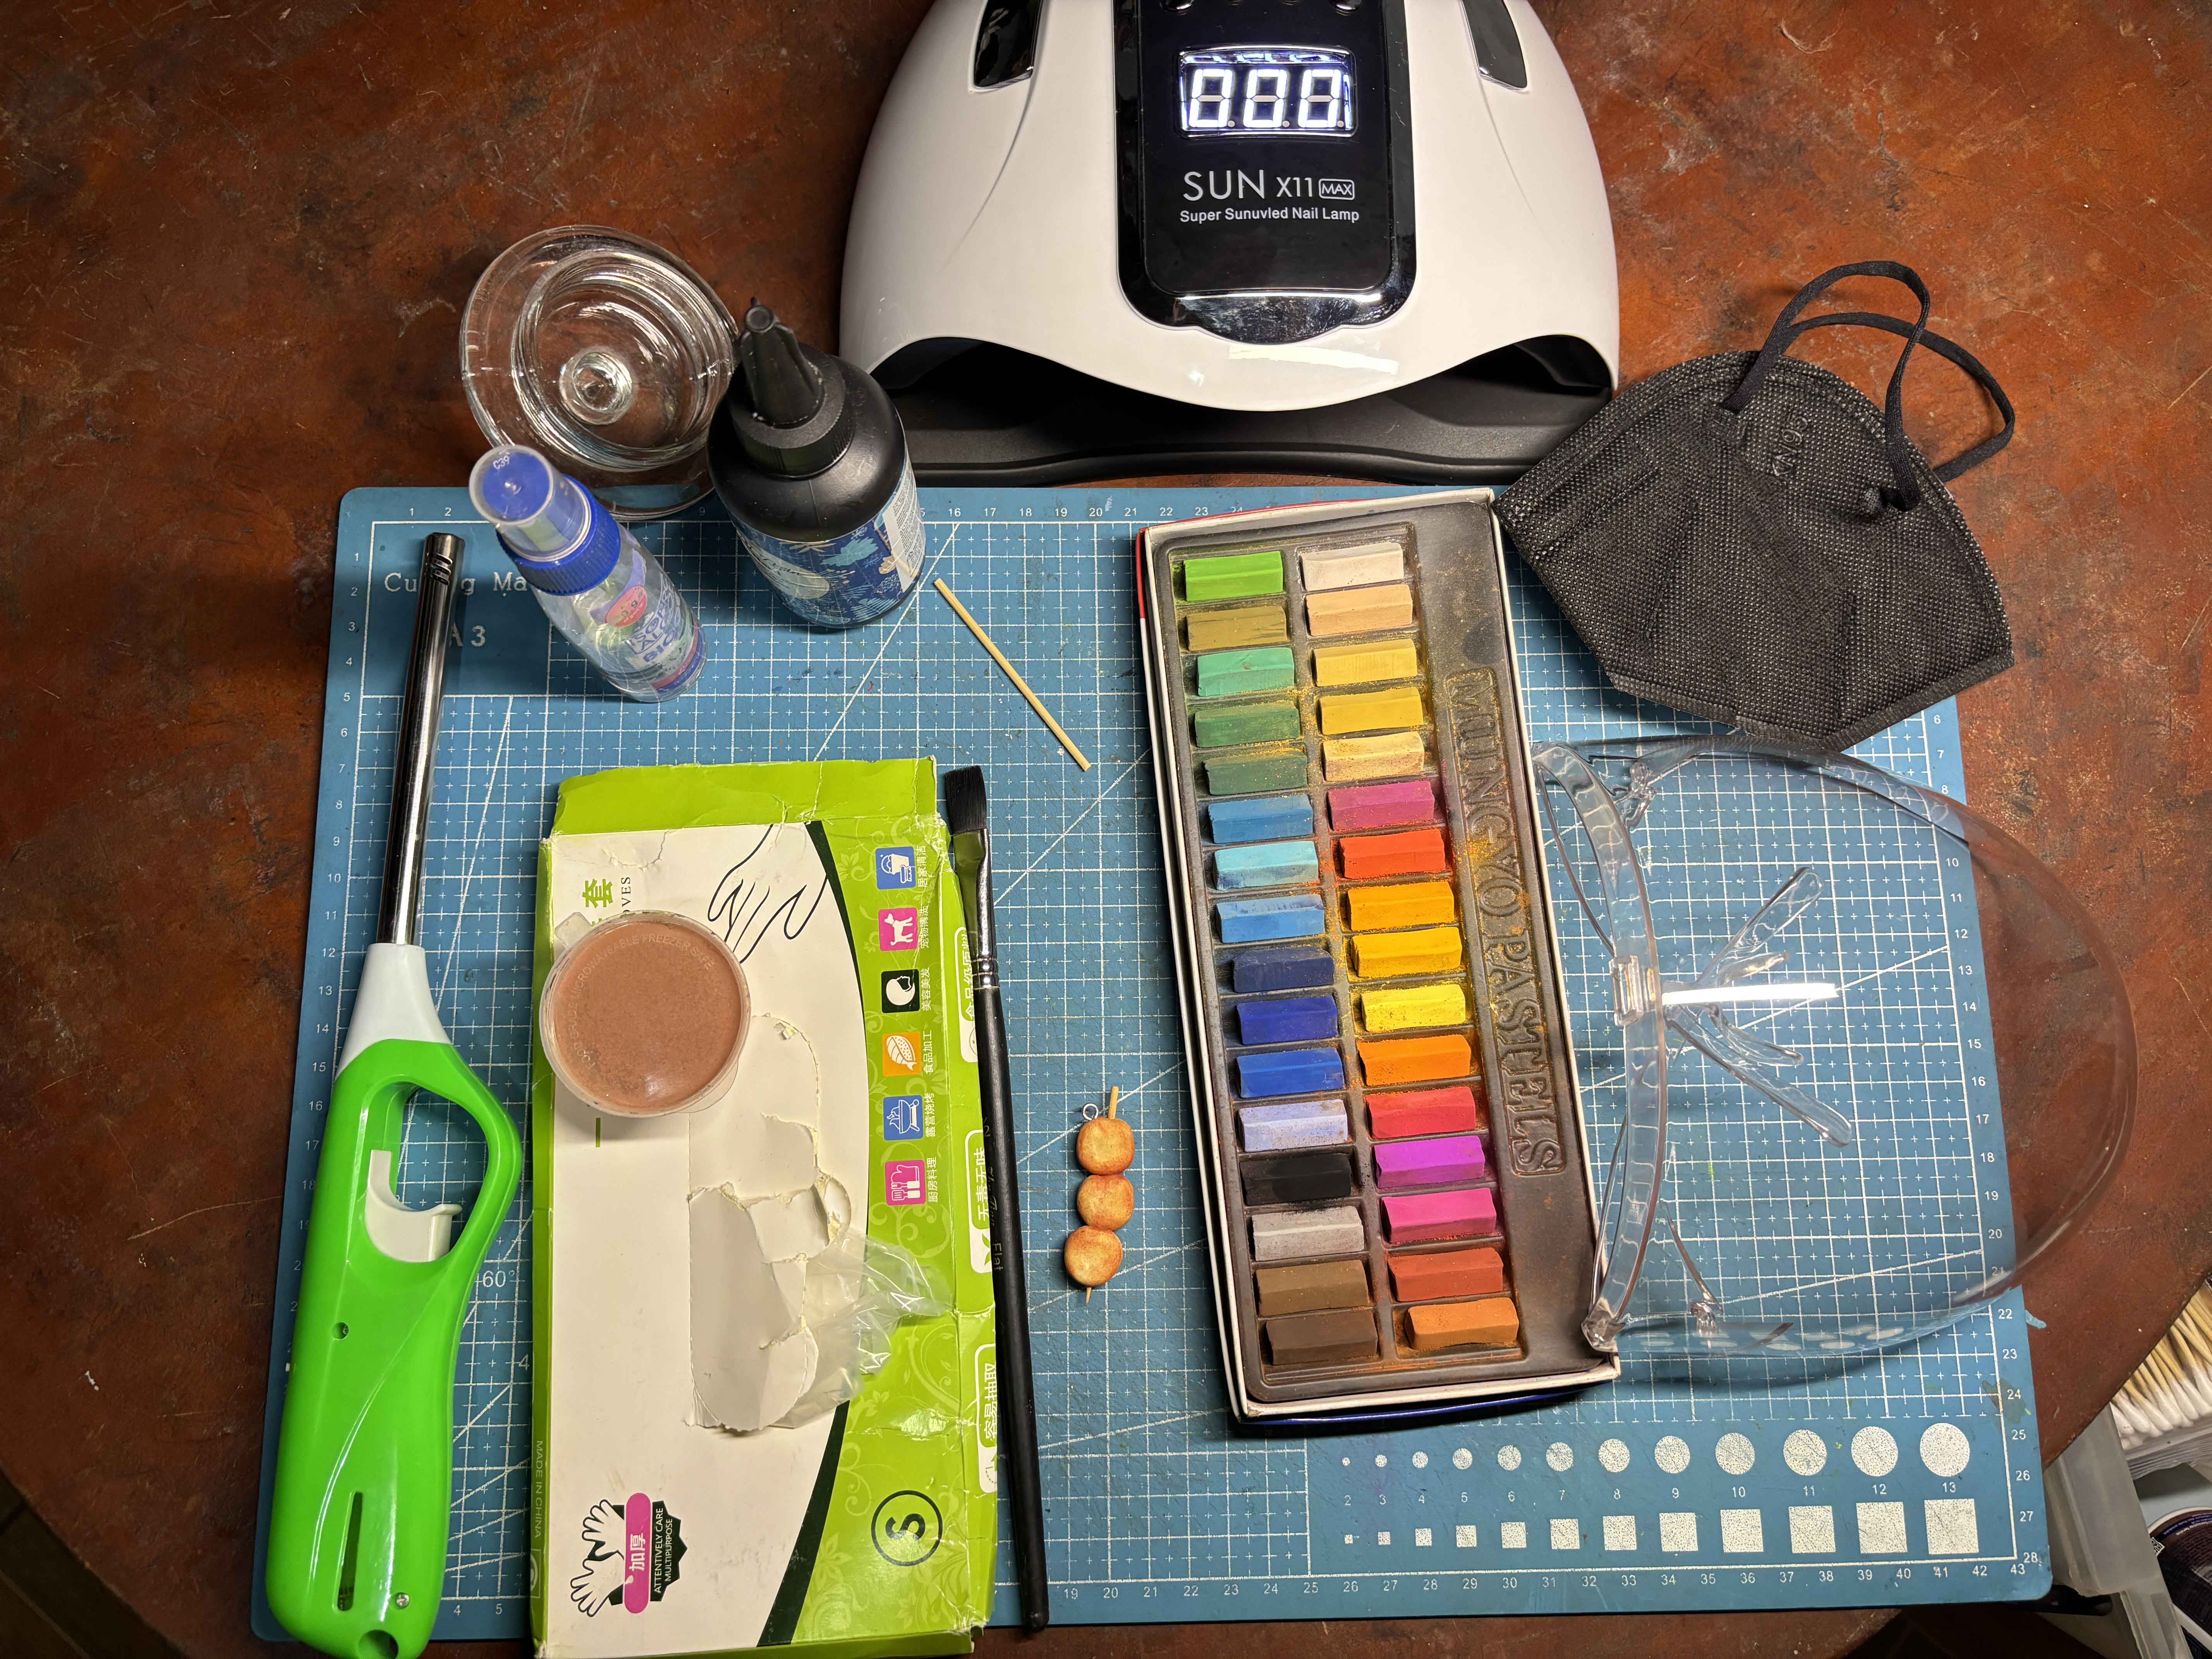
Materials I Used:
- White Polymer Clay
- Soft Pastels
- X-Acto Knife
- Portable Weighing Scale
- Toothpick
- Dotting Tool and Clay Tools
- Alcohol
- Qtip
- Makeup Brush
- Eyepin
- Gum Container
- Oven
- Silicone Mat
- Uv Resin
- Colored Sand
- Face Shield/Facemask
- Disposable Gloves
- Uv Lamp
- Pliers
- Keychain
Let's Do Craft:
Conditoning and Sculpting the Clay:
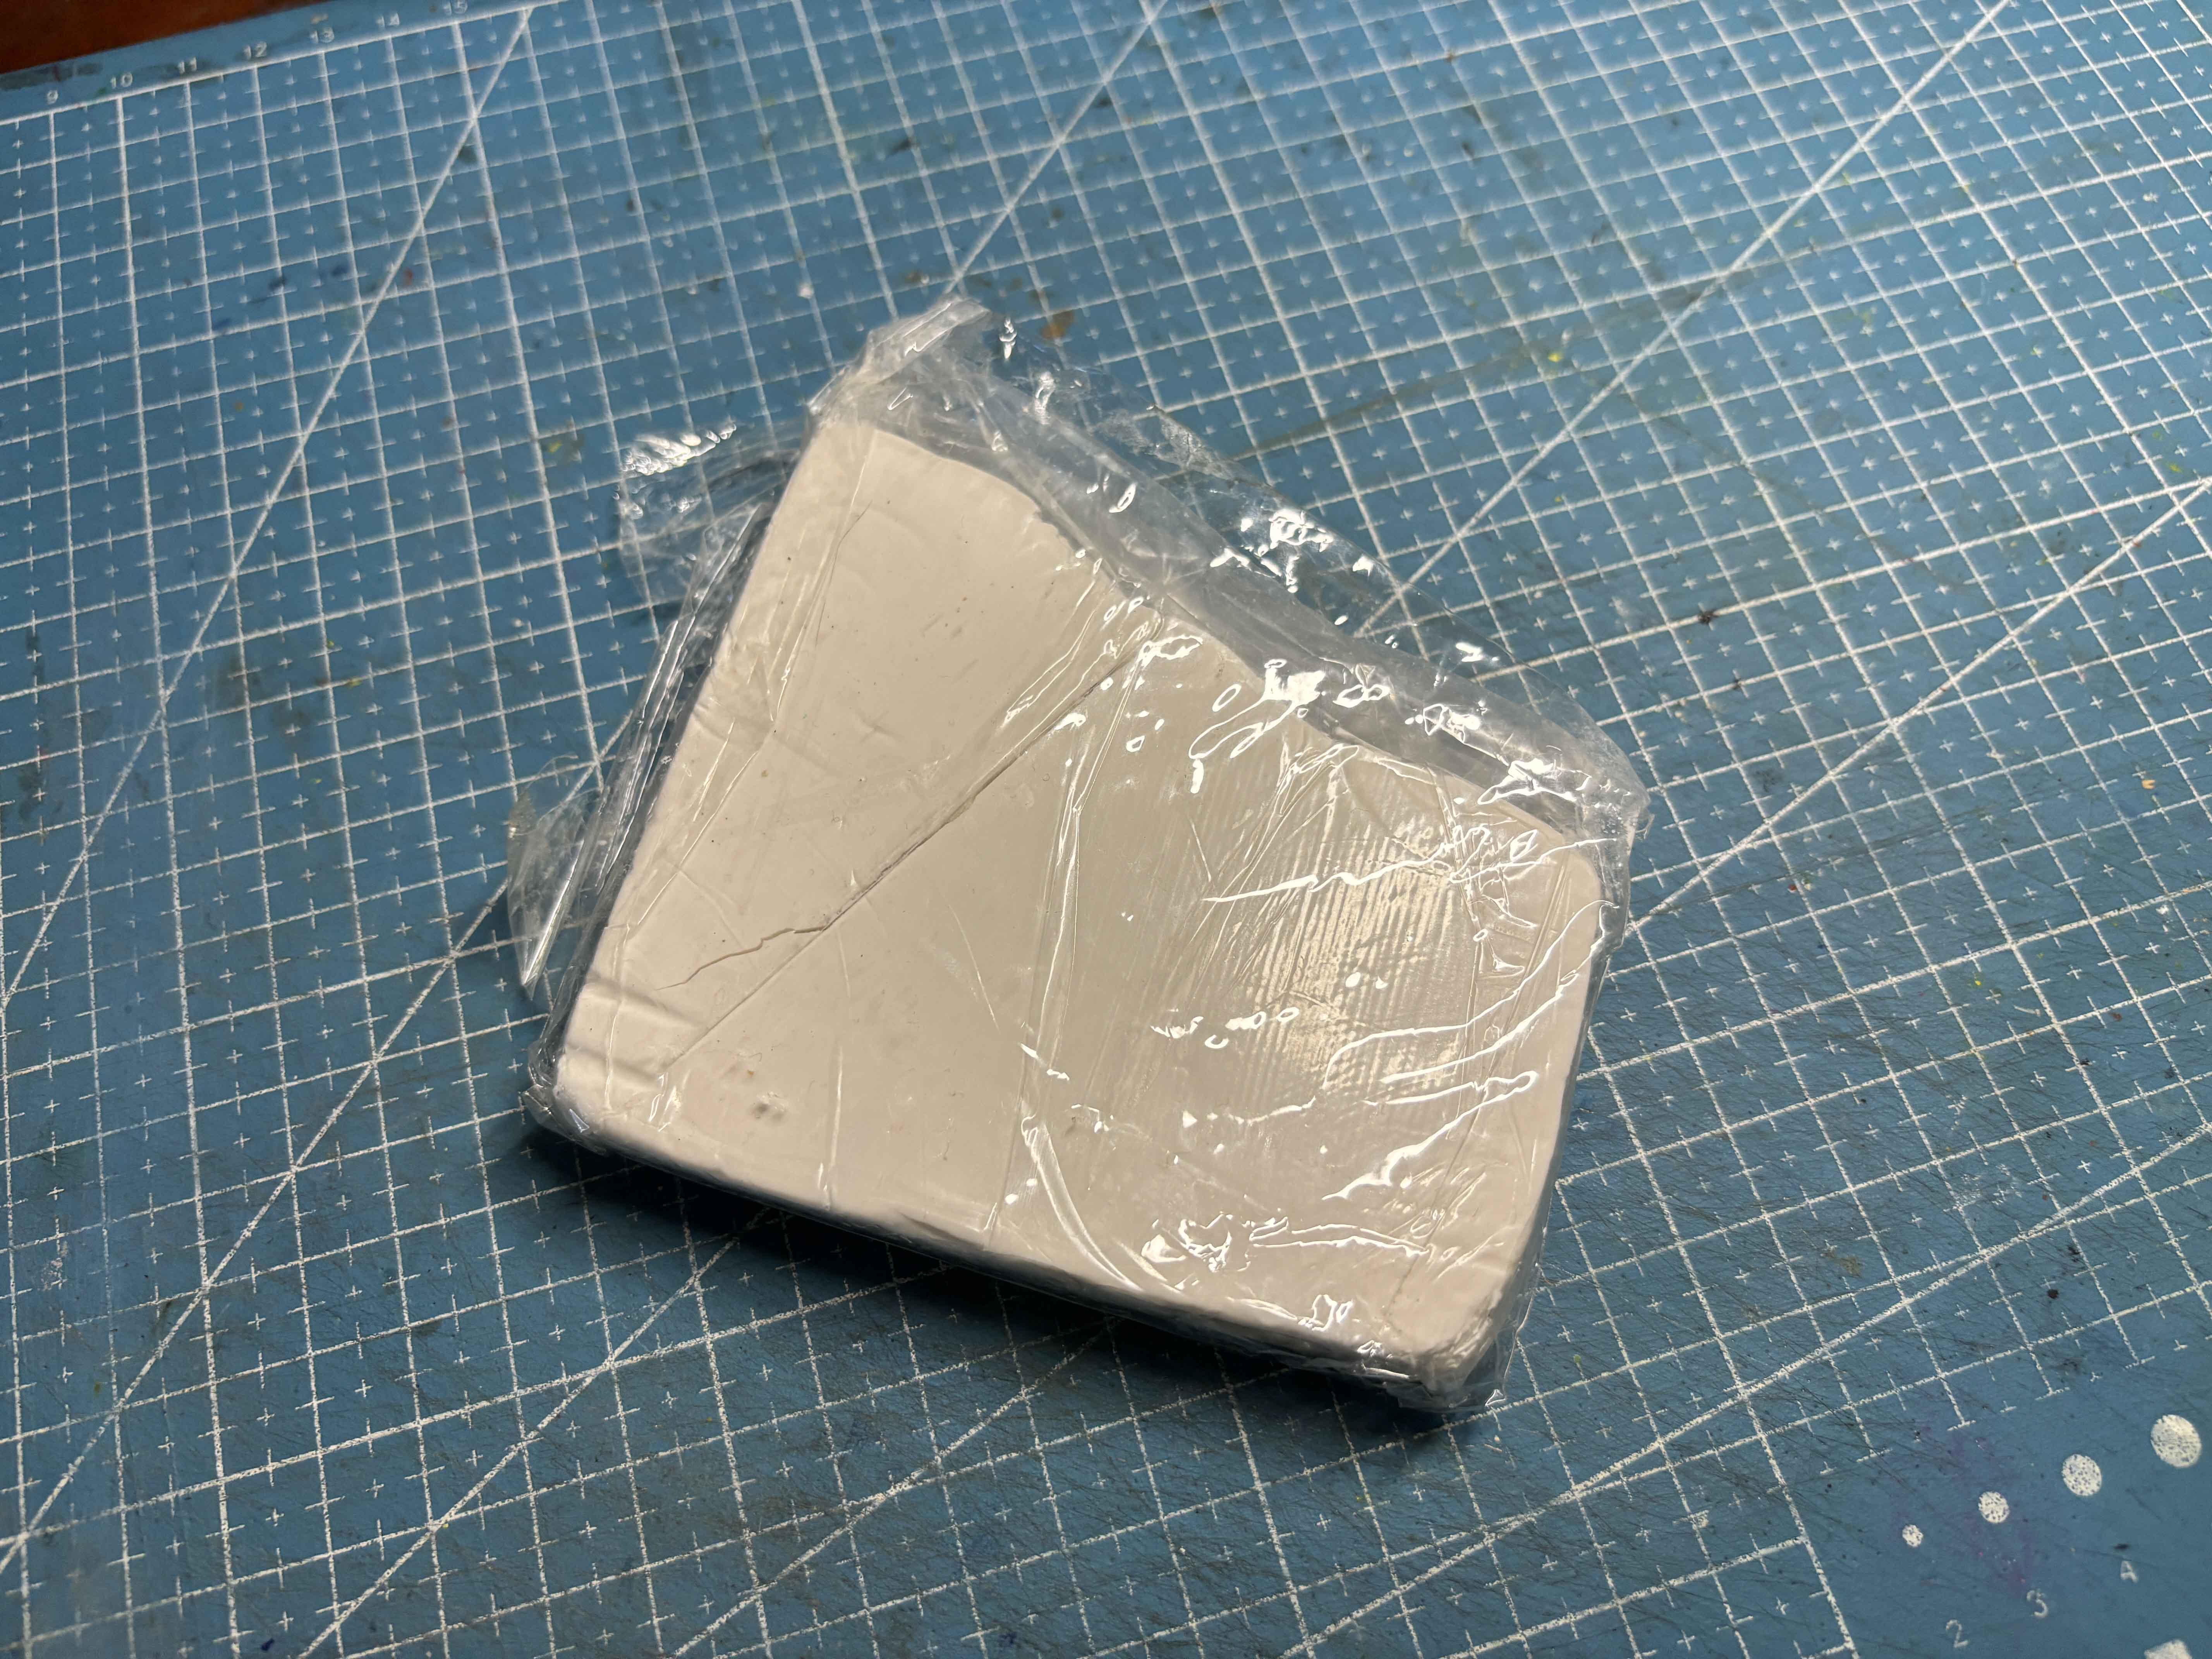
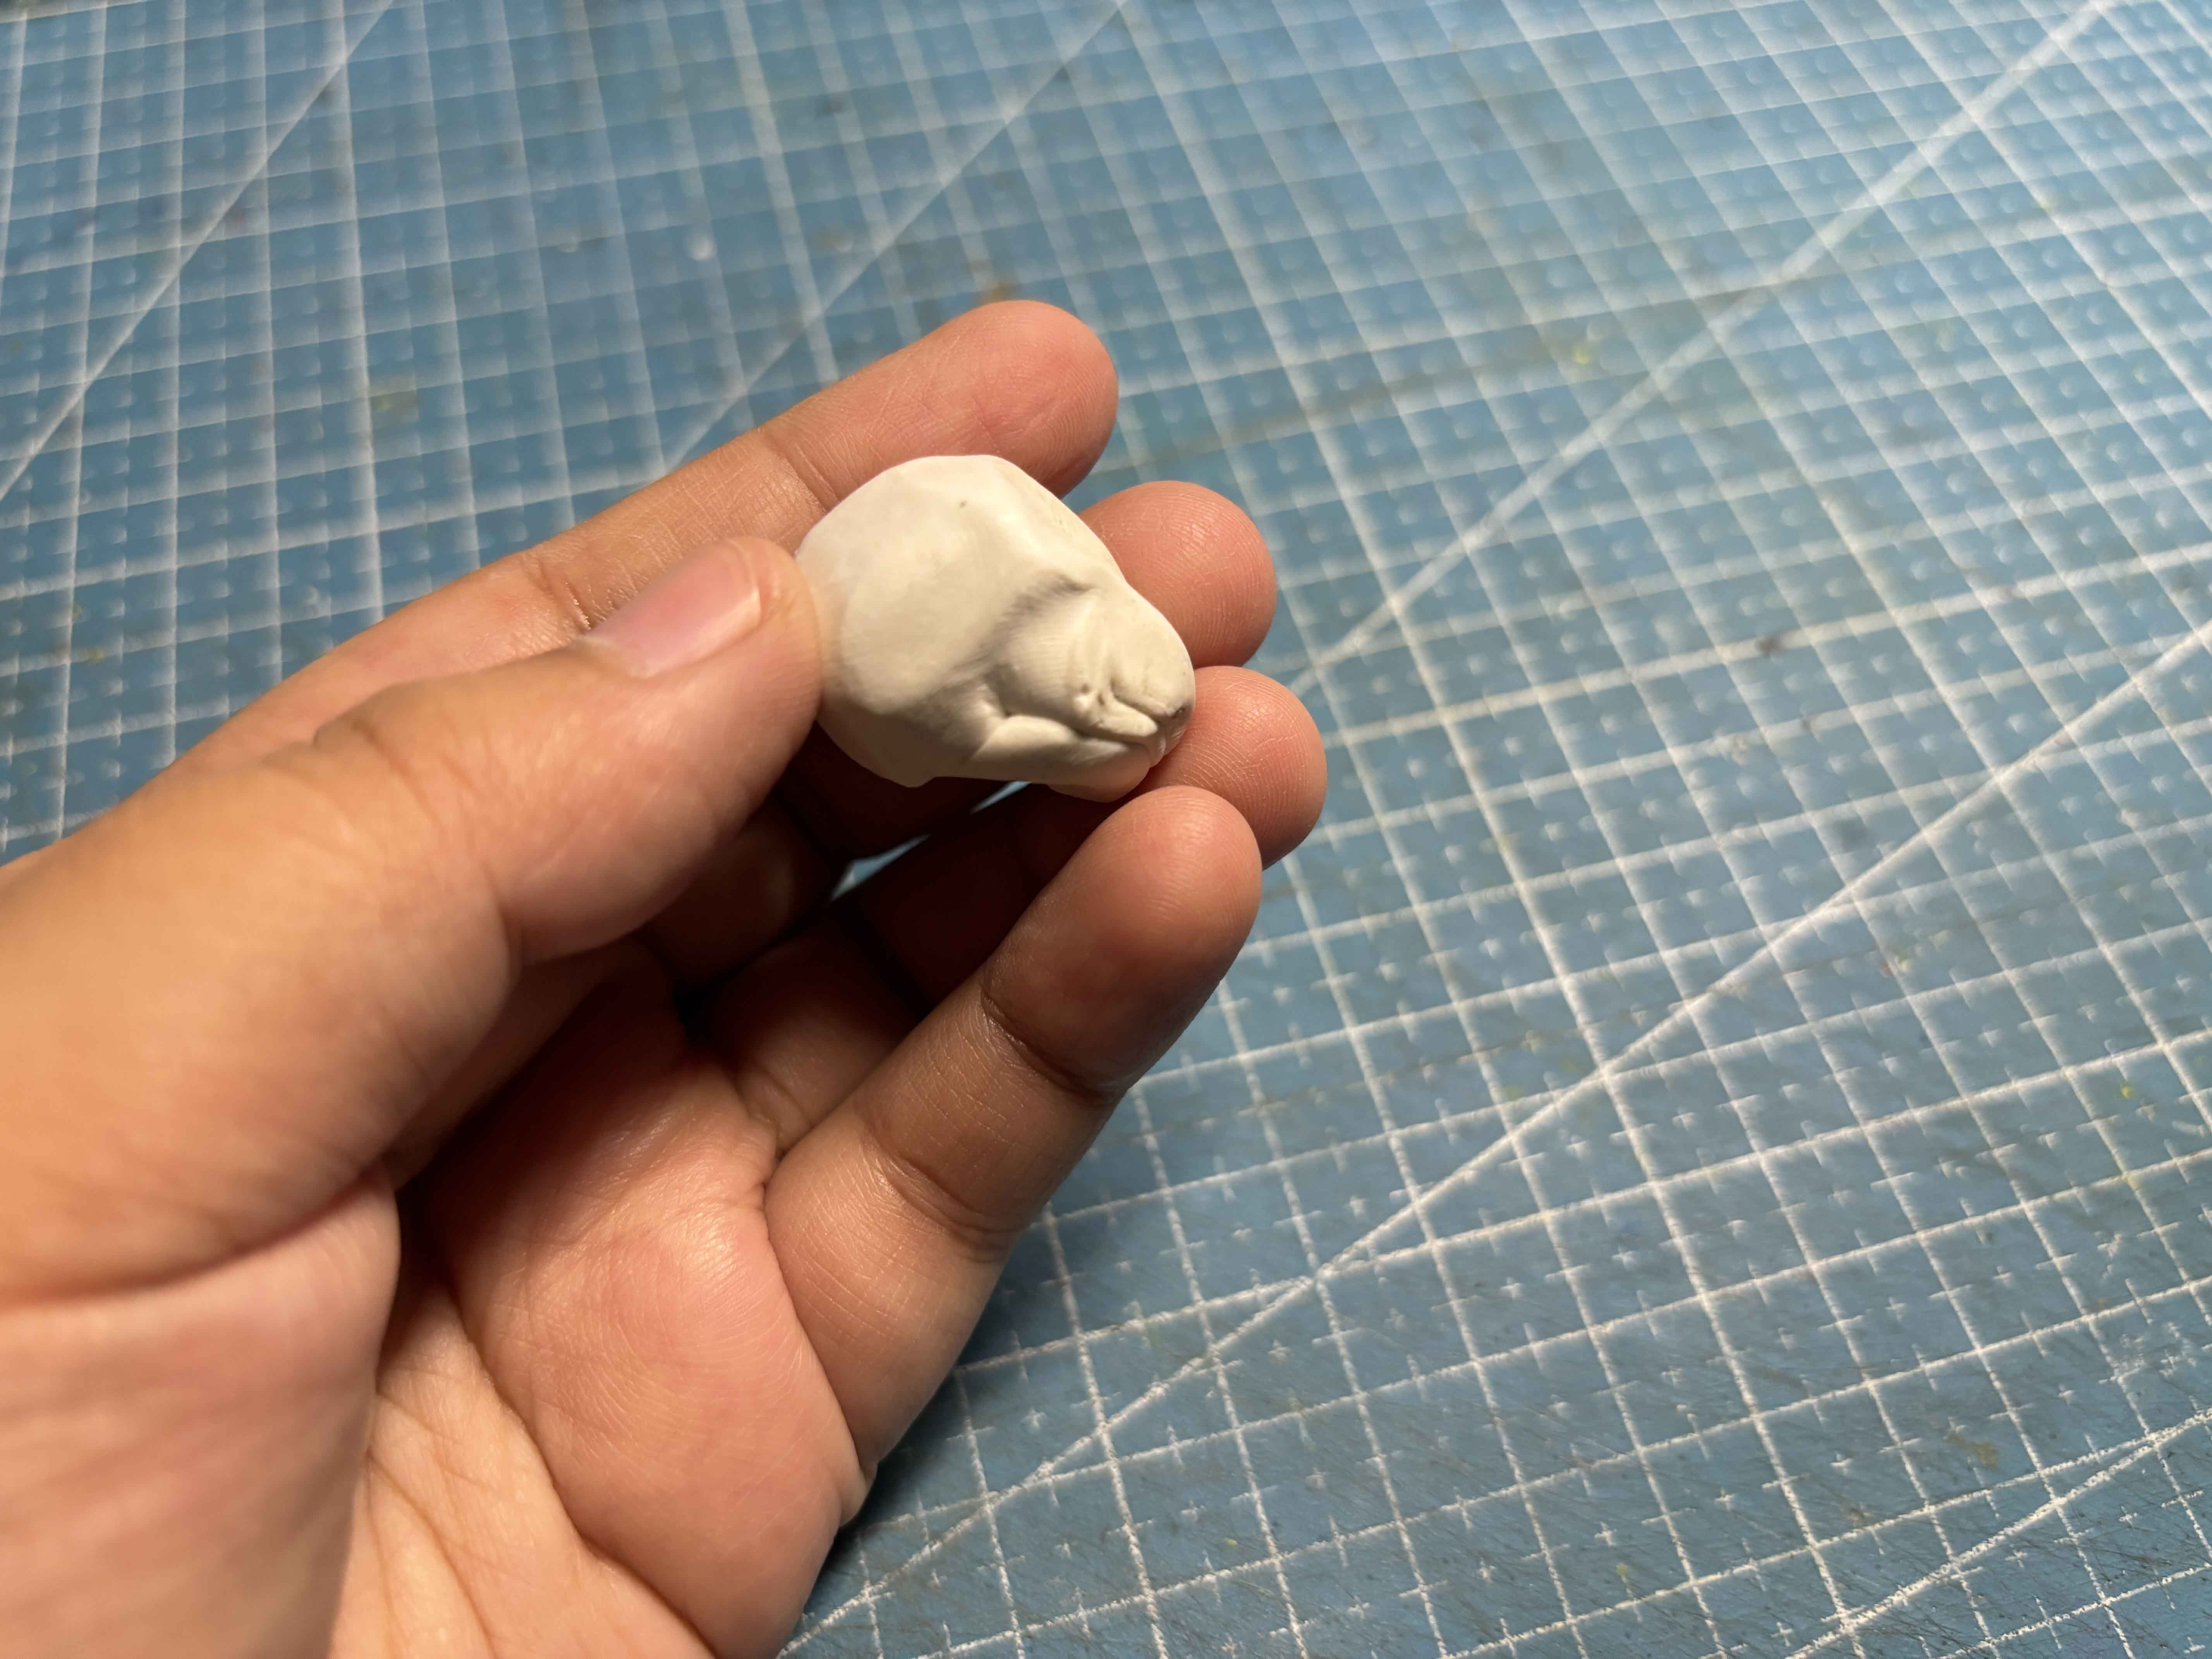
I prepare the clay I am going to use, which is this polymer clay. I only take a small one.
-----

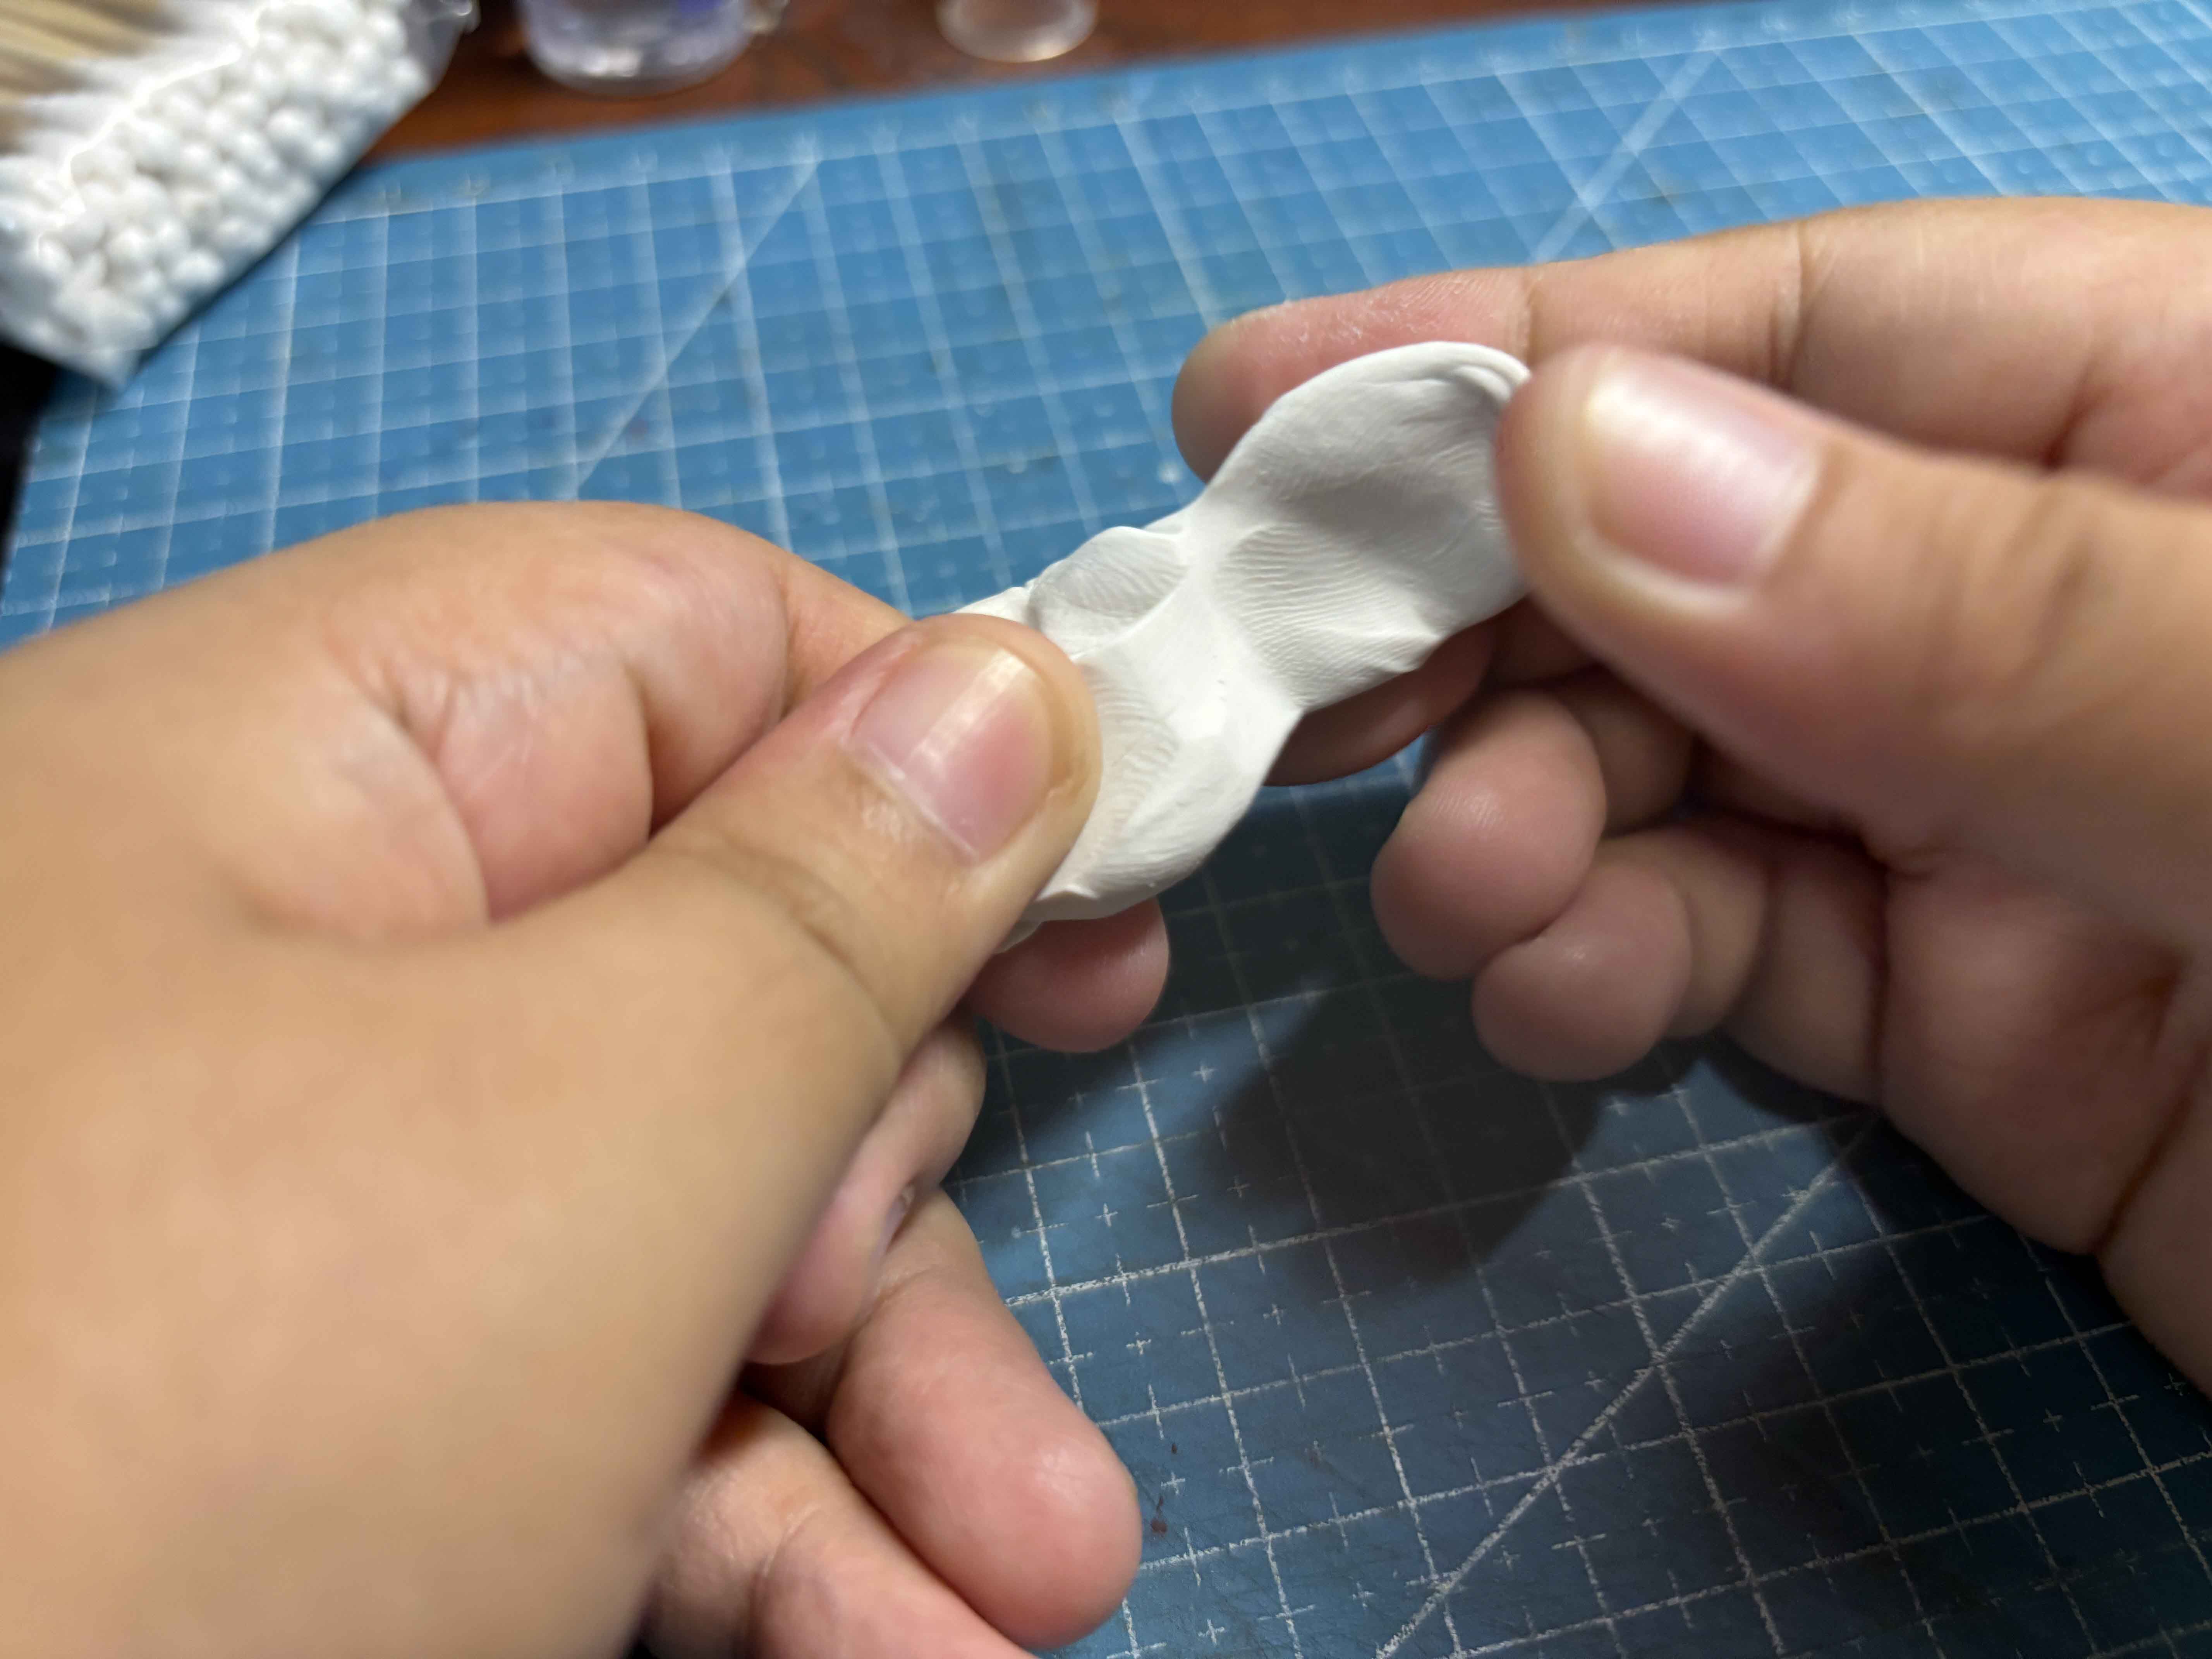
And because clay is a little bit harder than when it comes out of its plastic, it needs to be conditioned until it is soft, and if it is too hard, you need to add just a little bit of translucent clay, which makes the clay softer if it's too lumpy.
-----
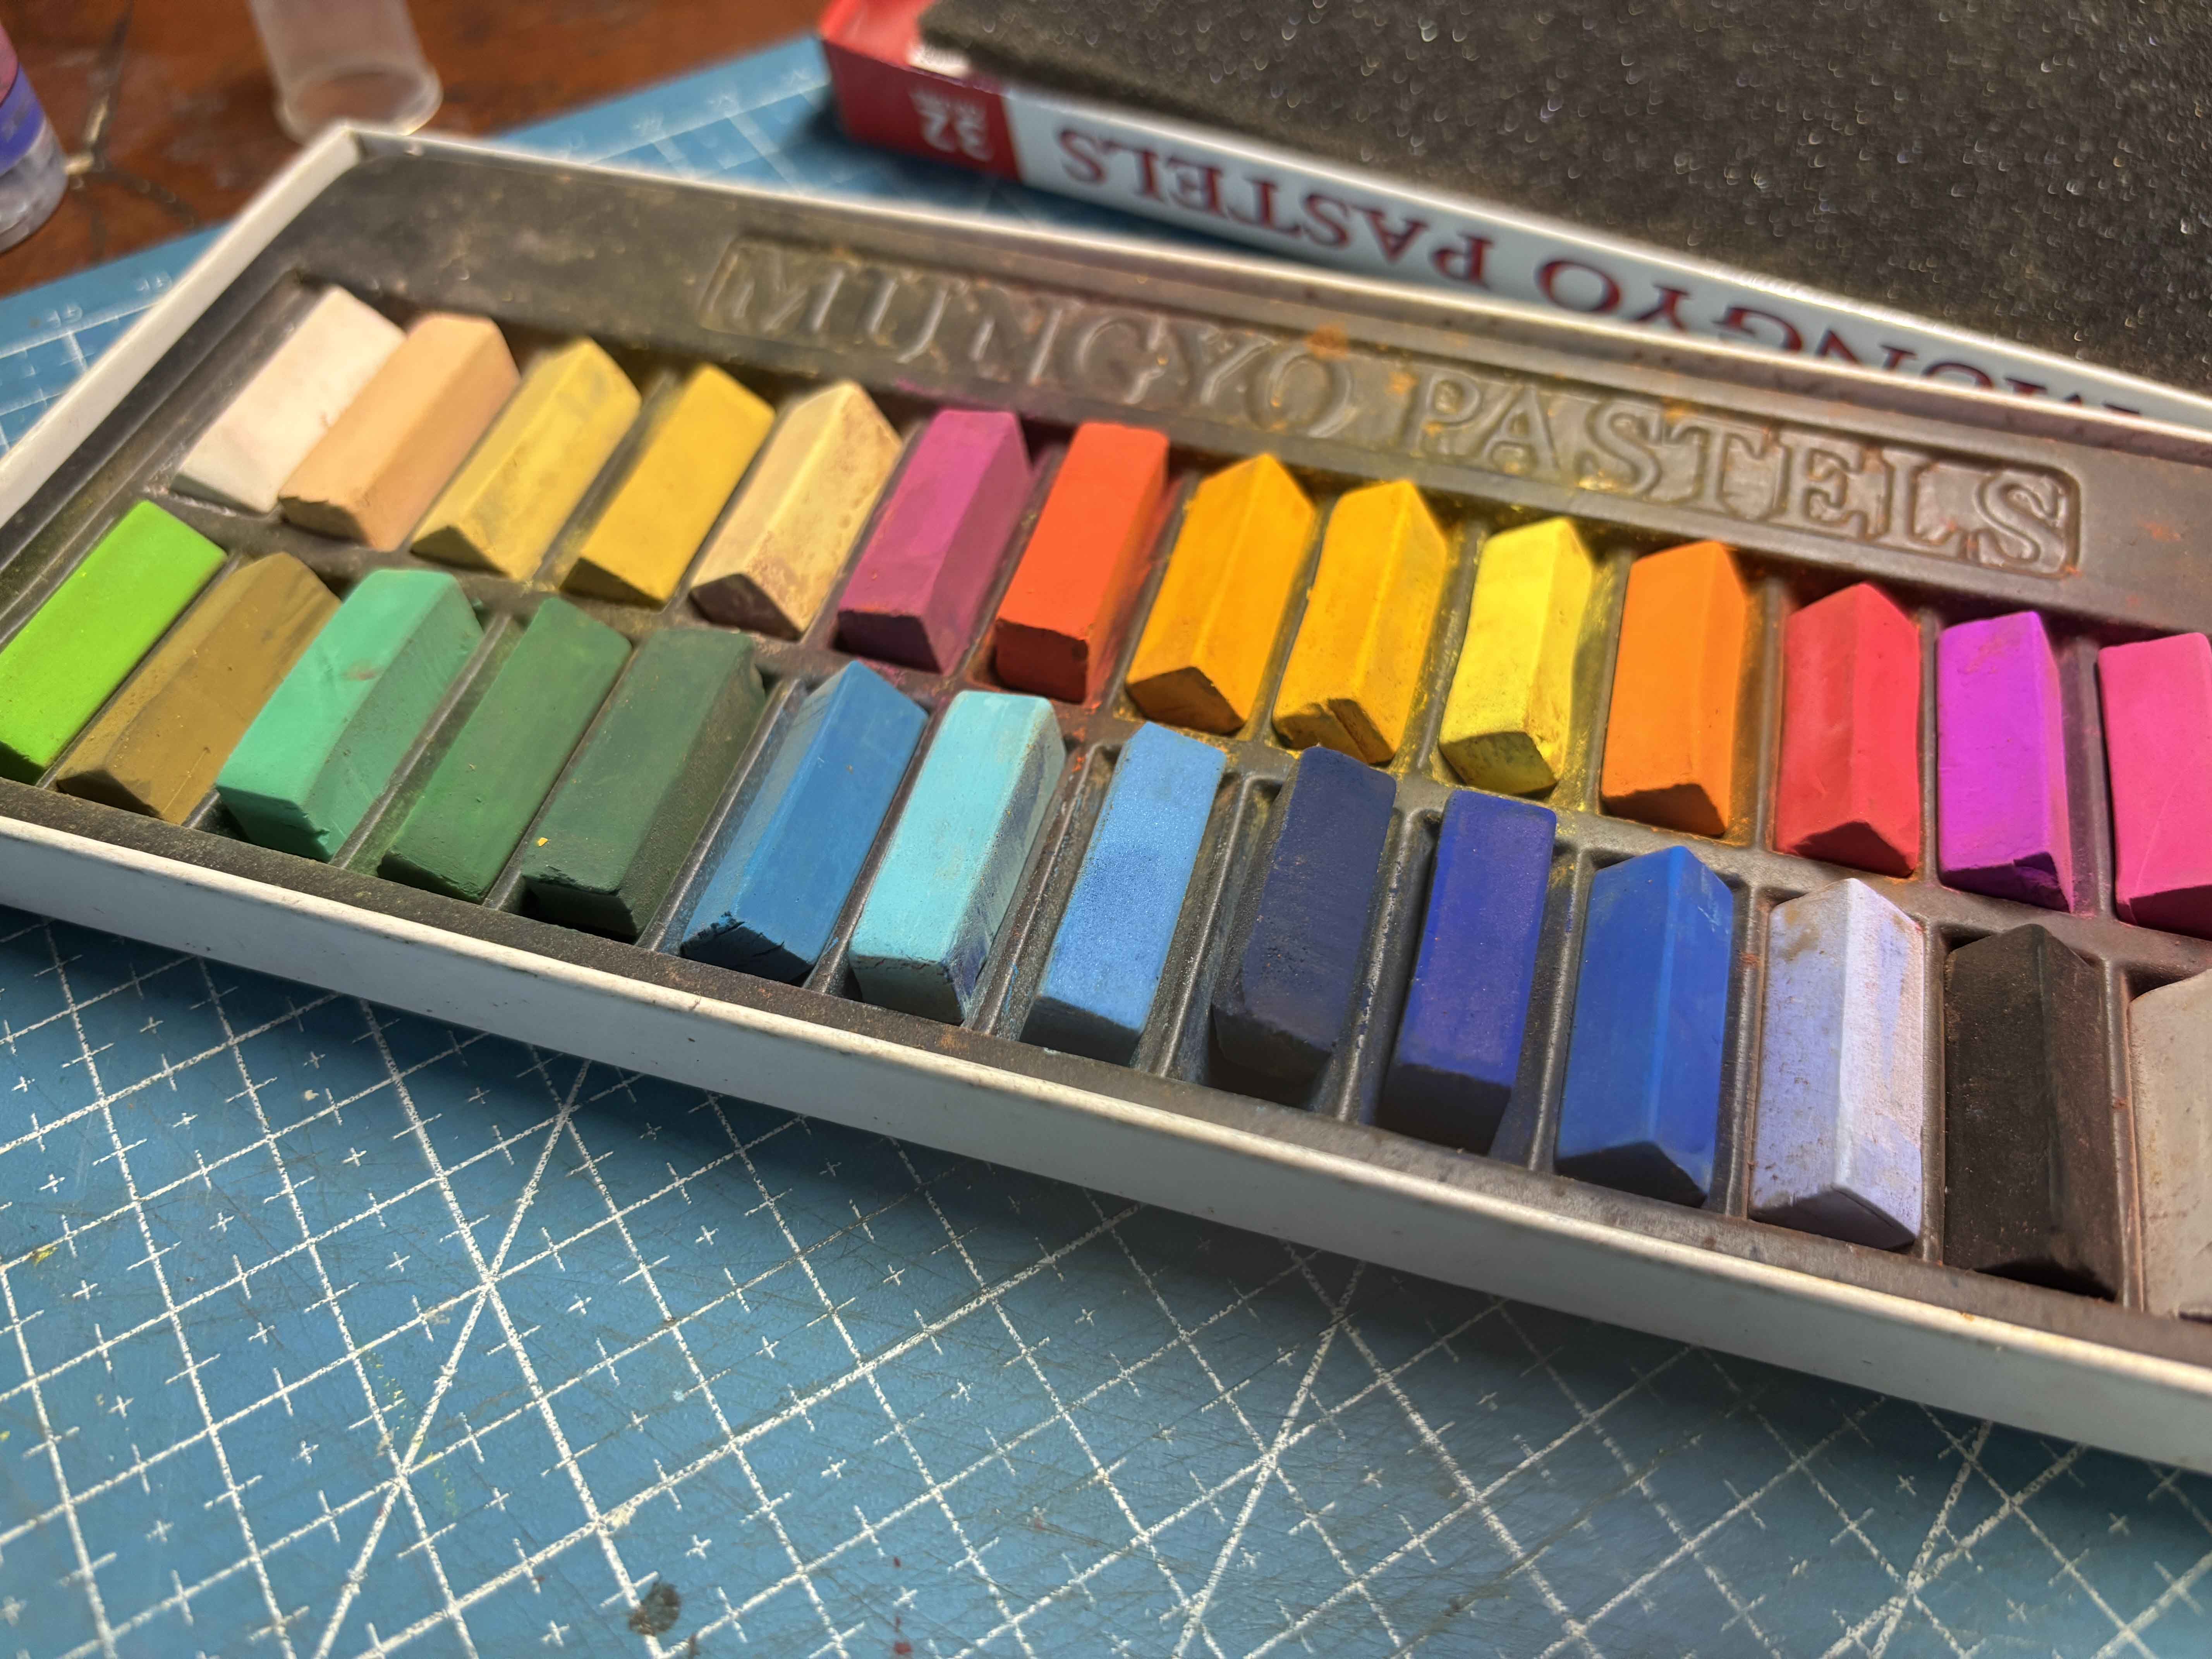
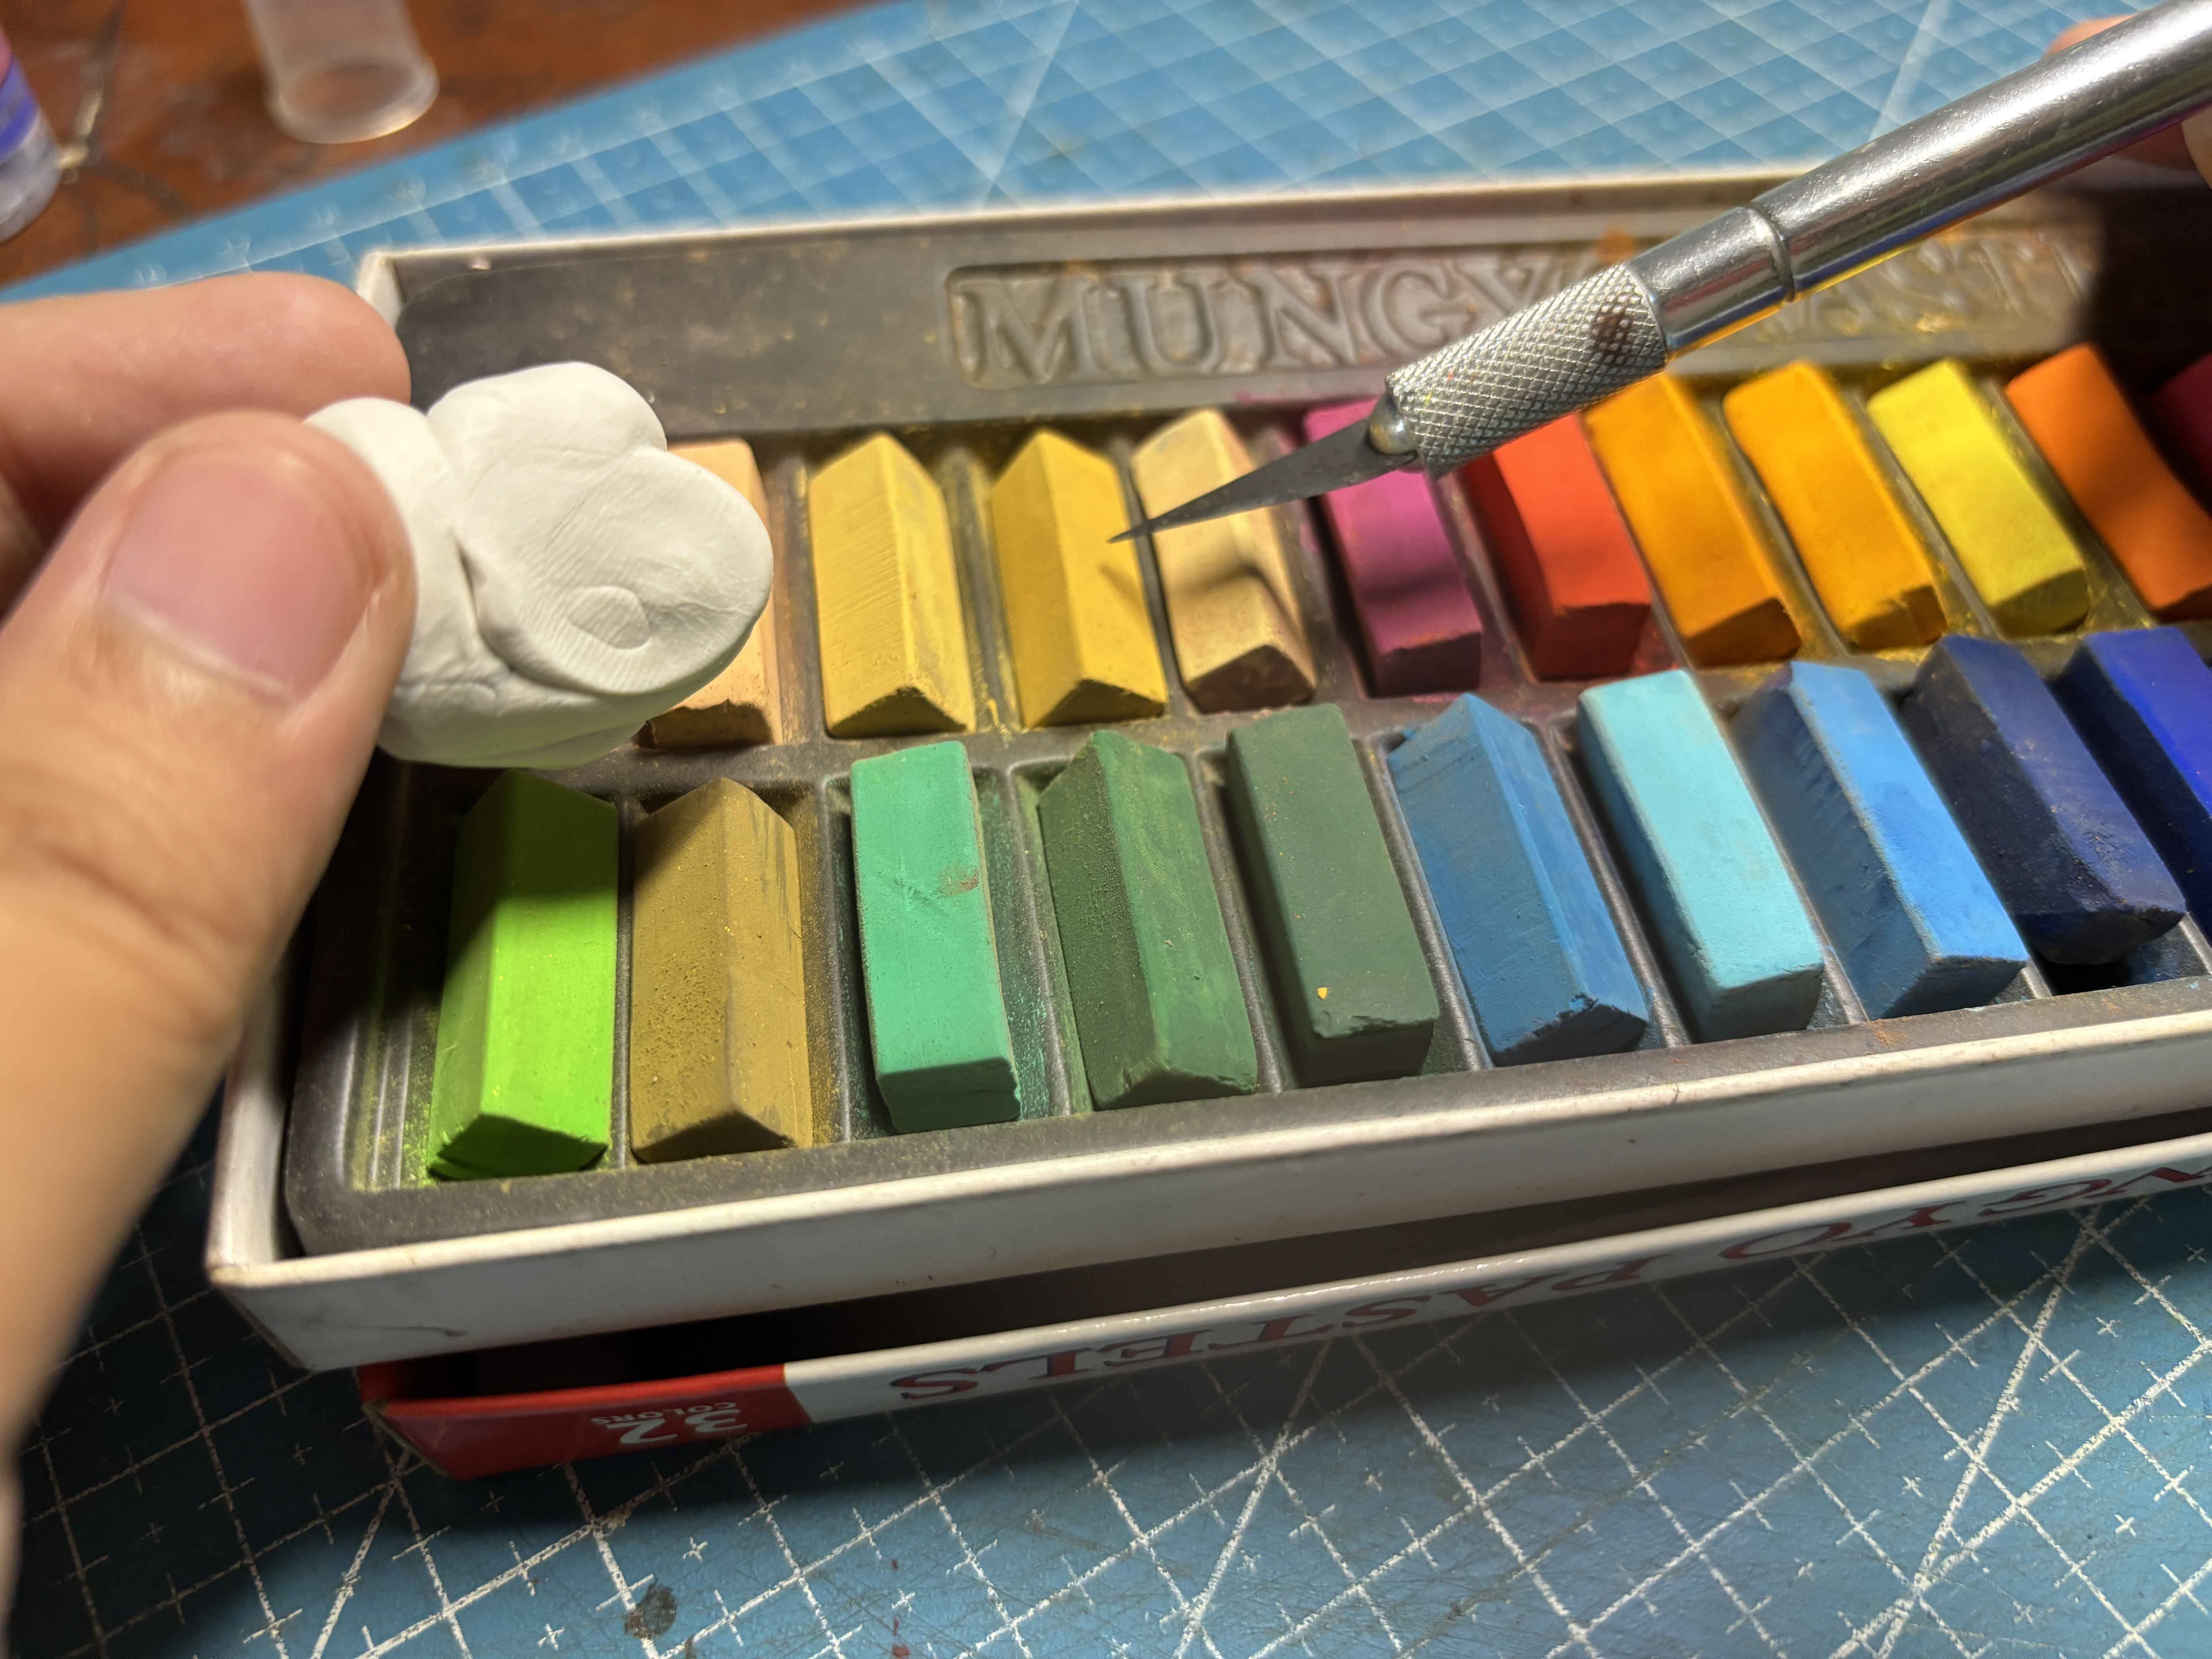
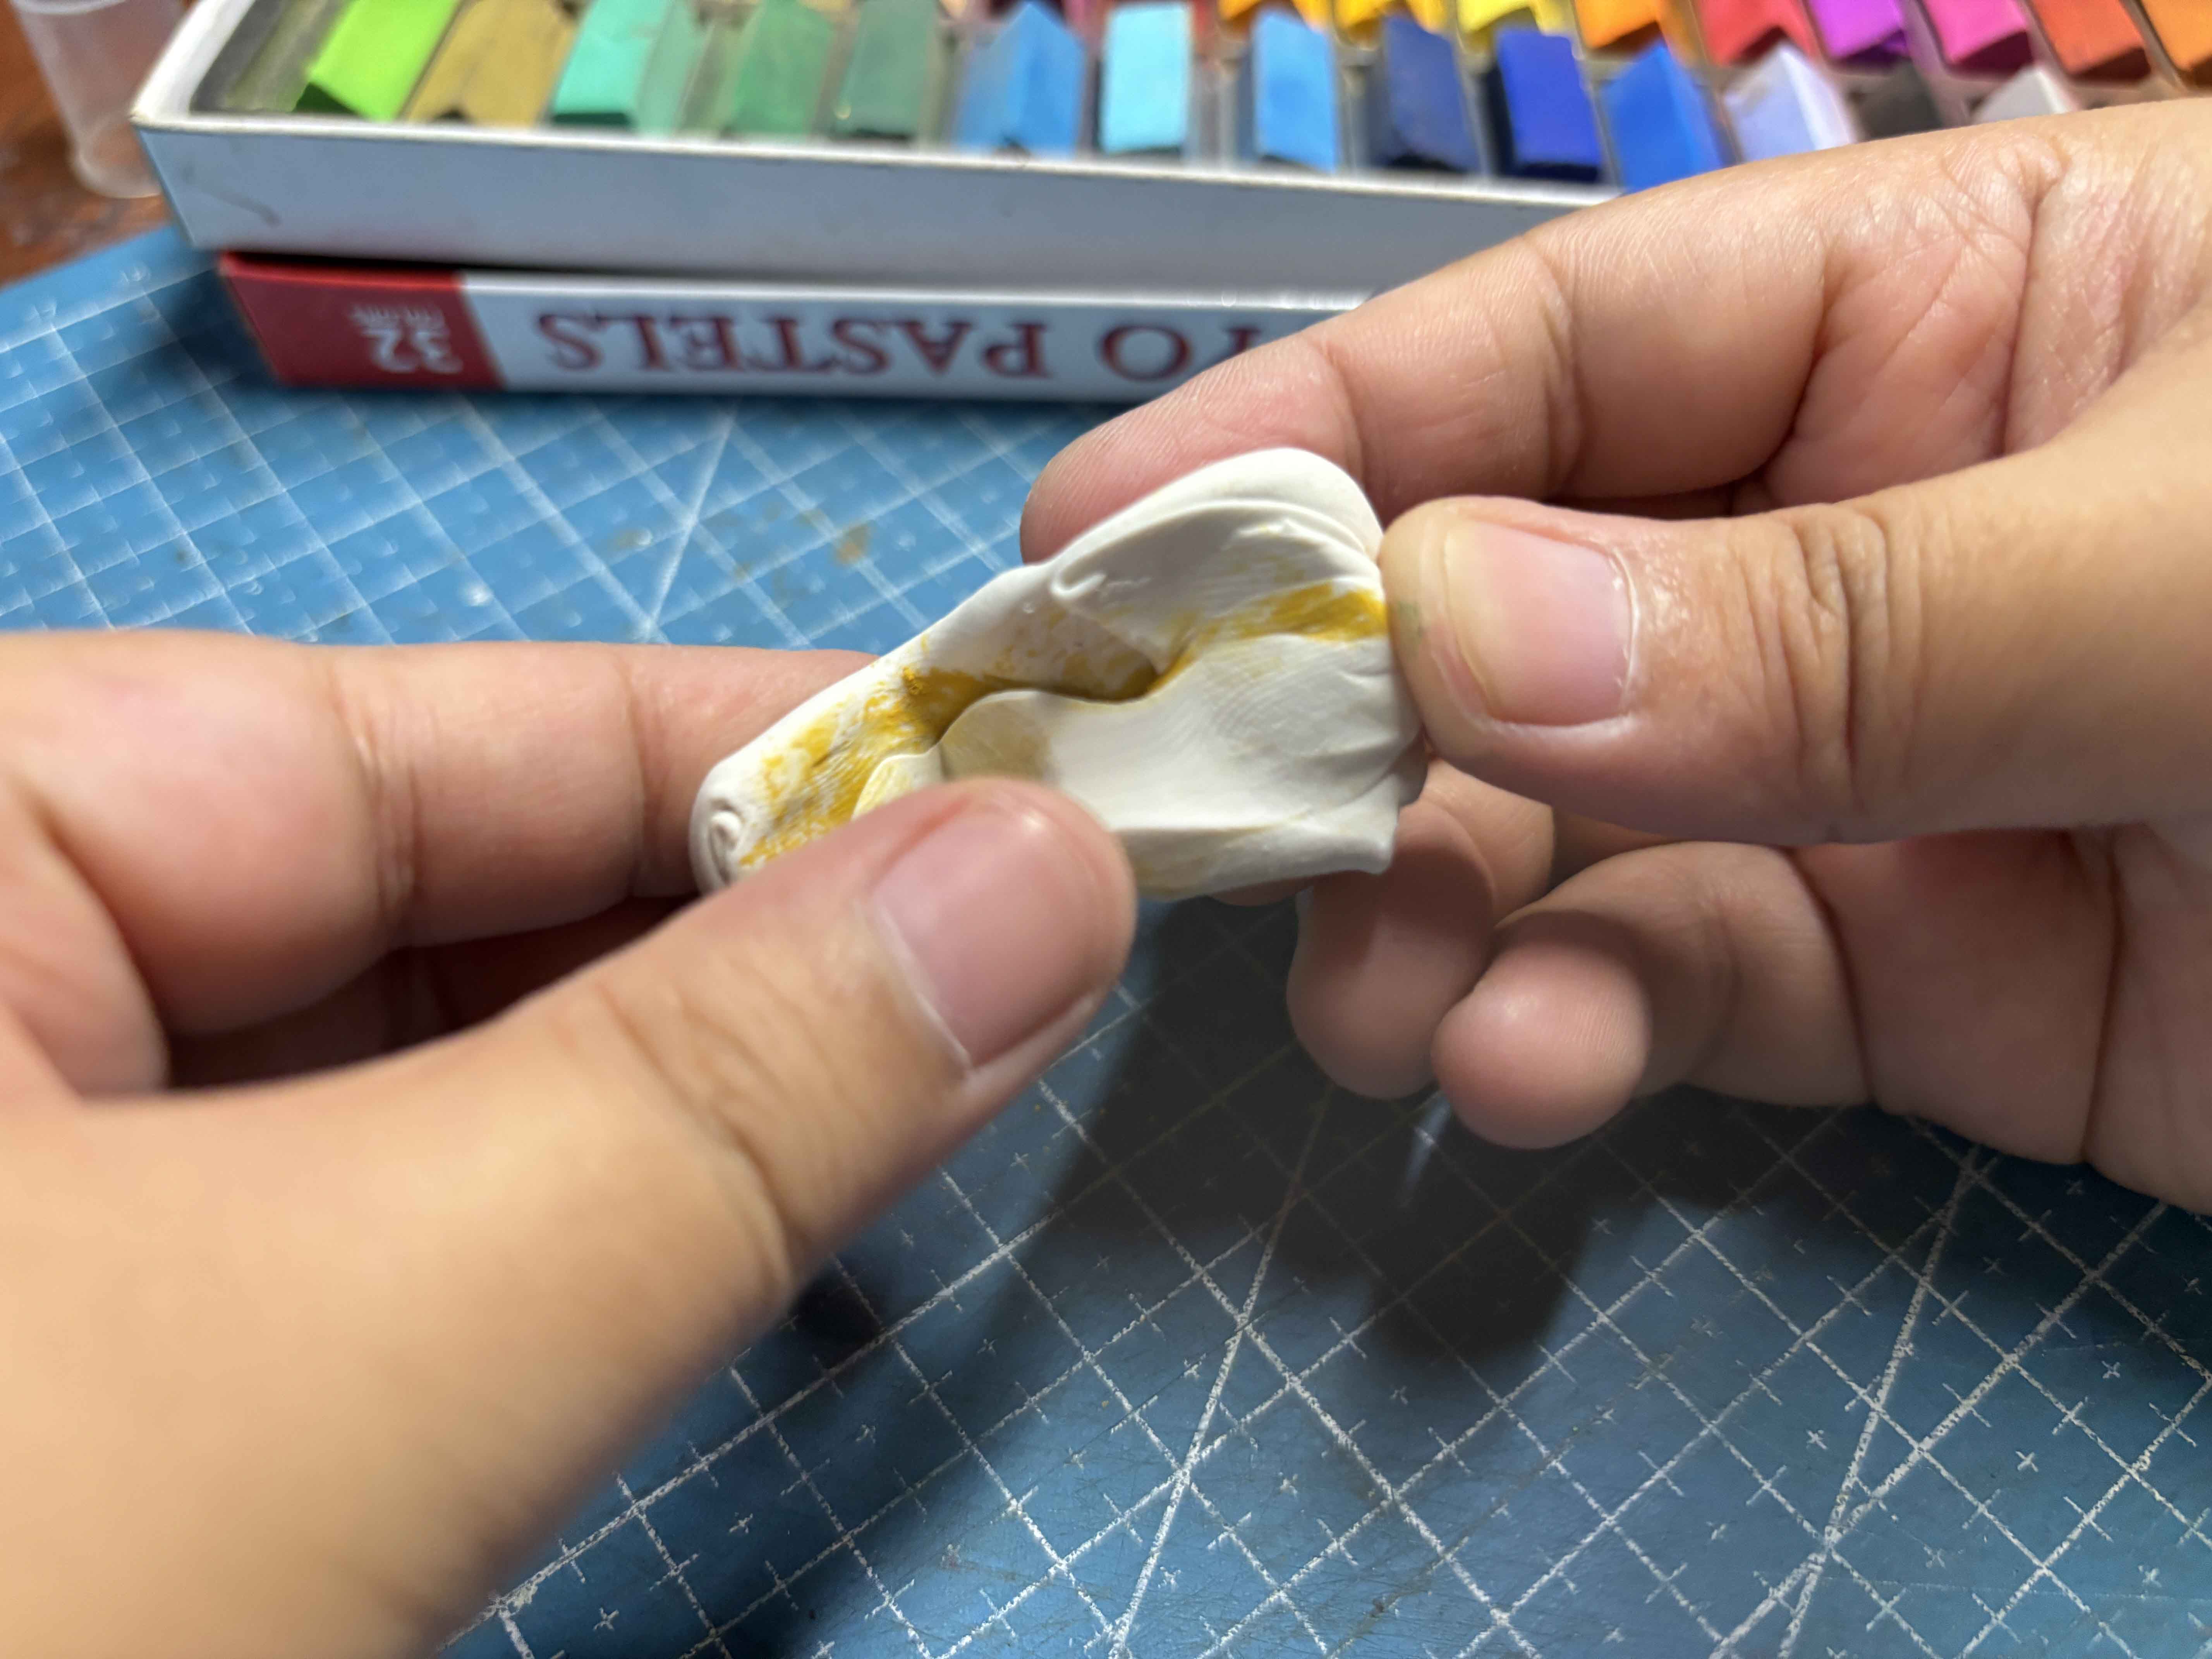
I like to add color to the clay before I start sculpting it, so I scrape some of the soft paste.l I choose the color that matches the shade of Kamote (Sweet Potato).
-----
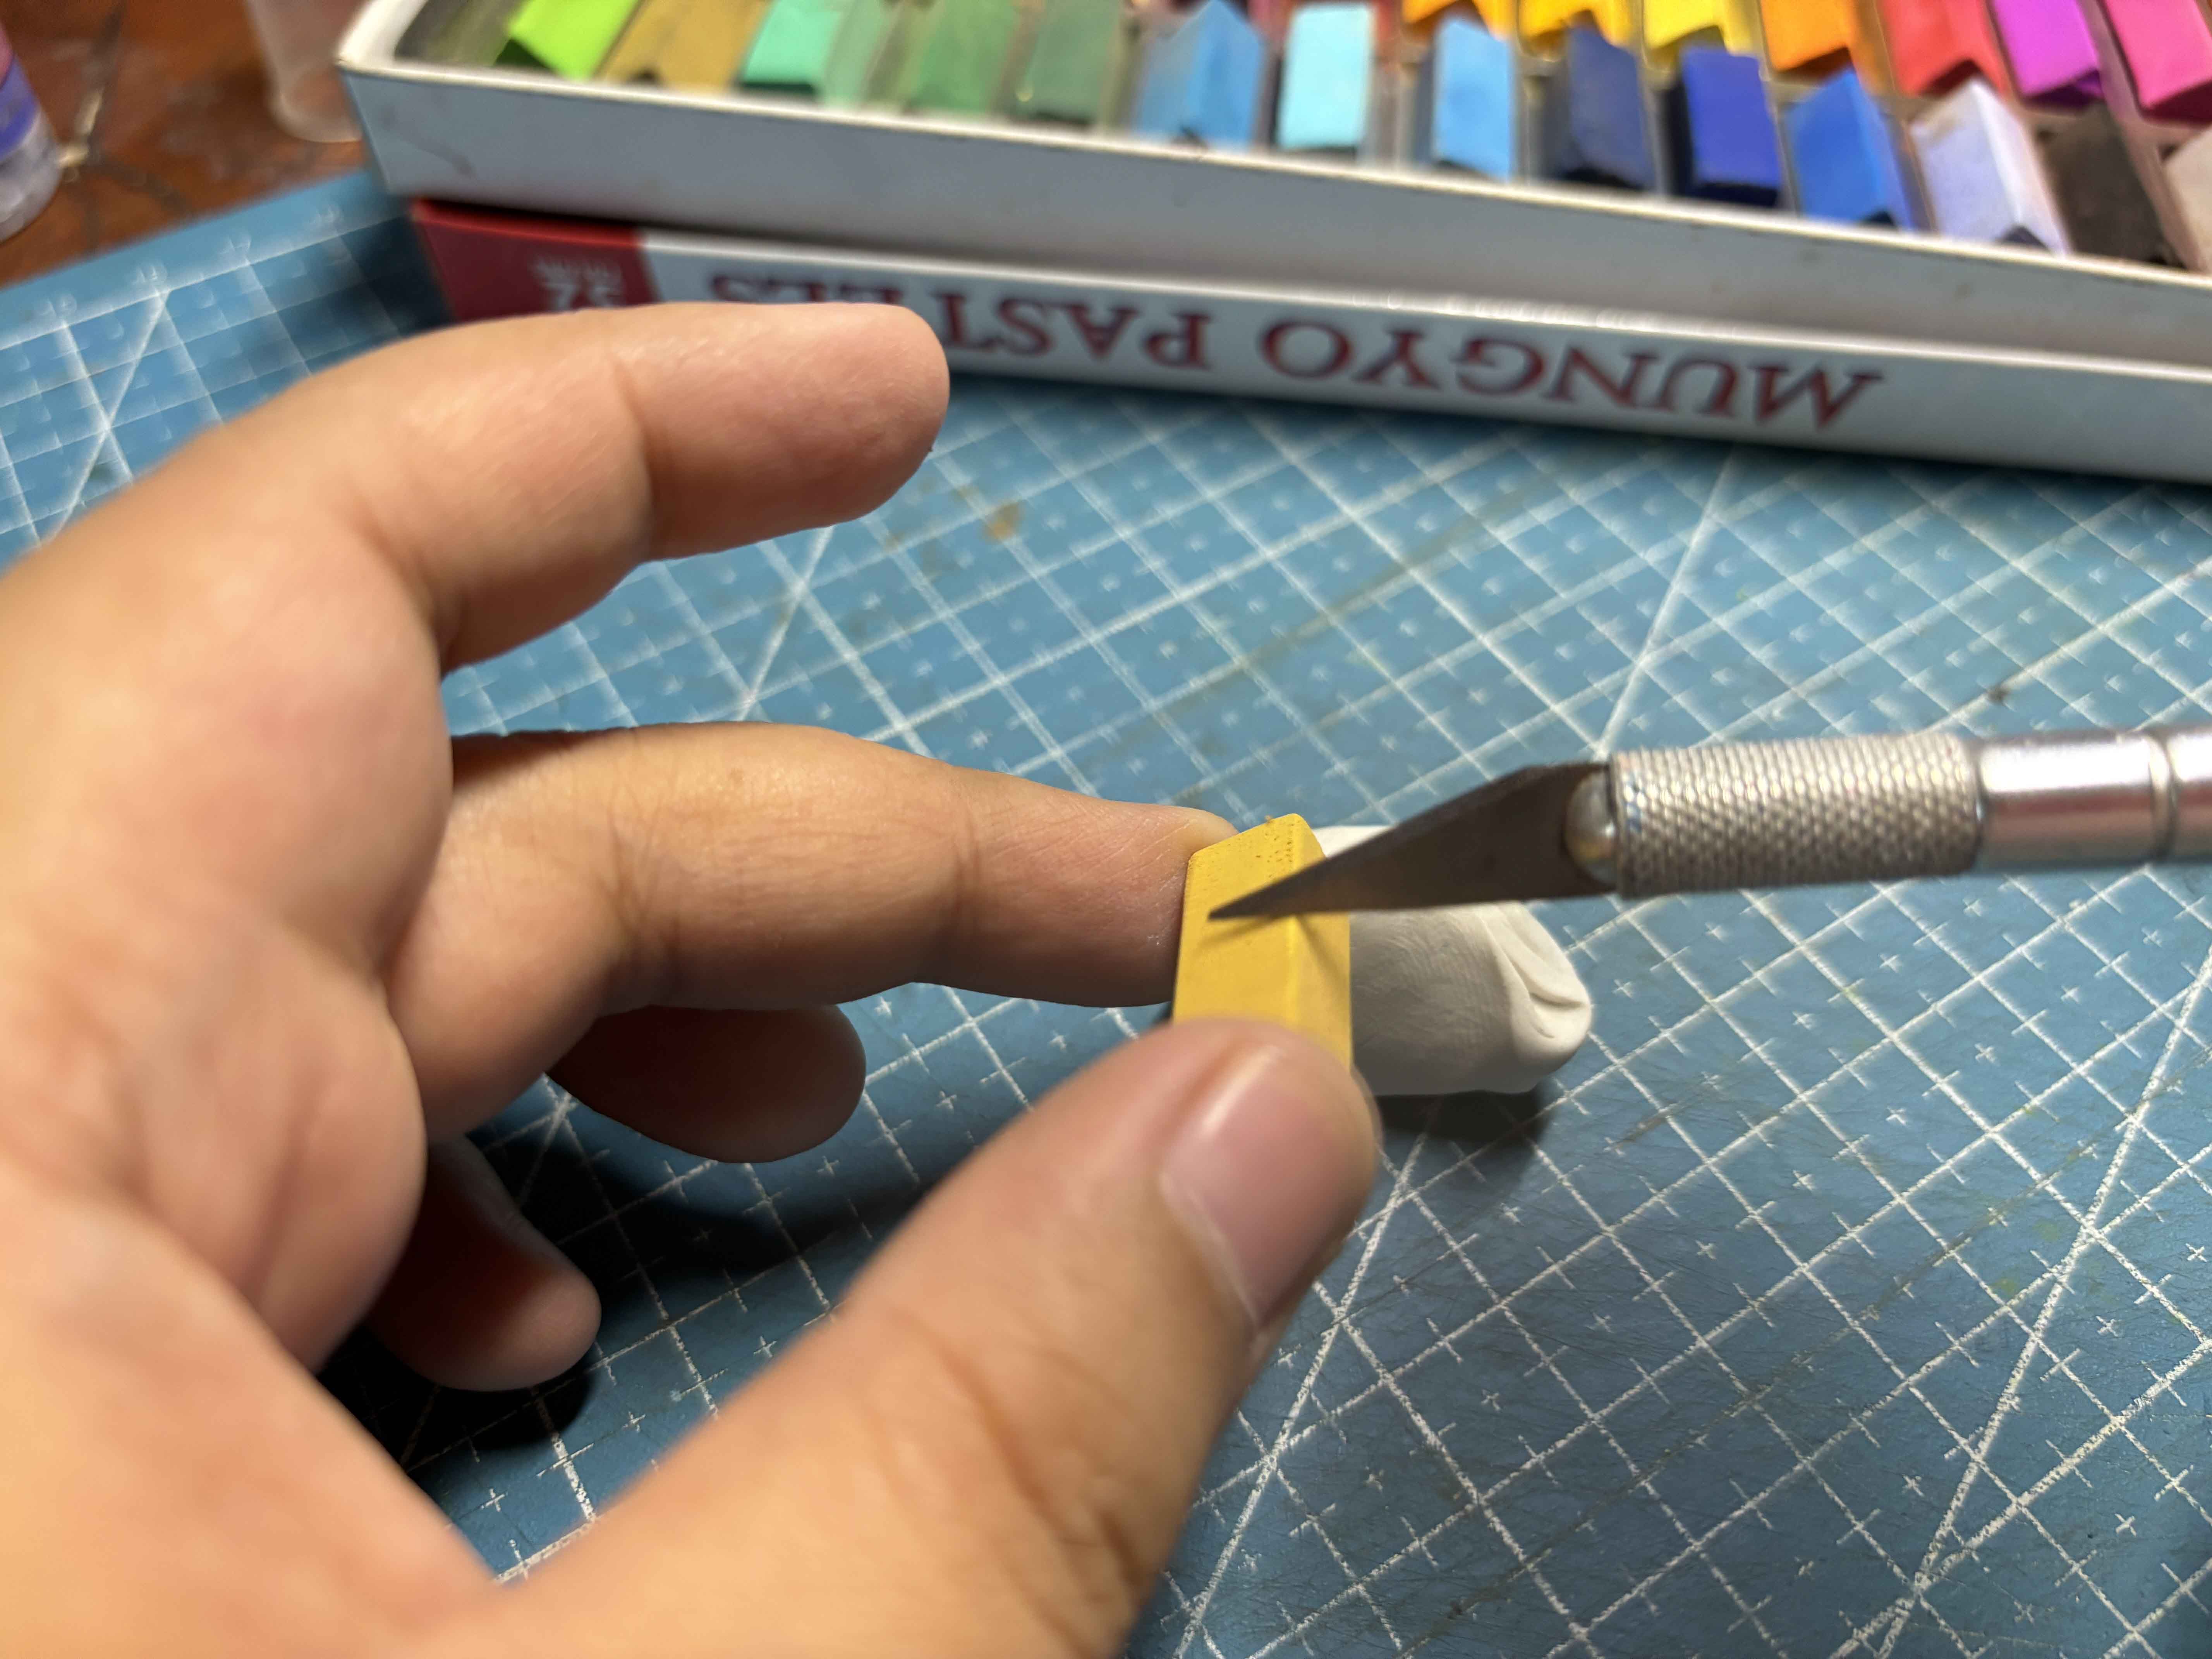
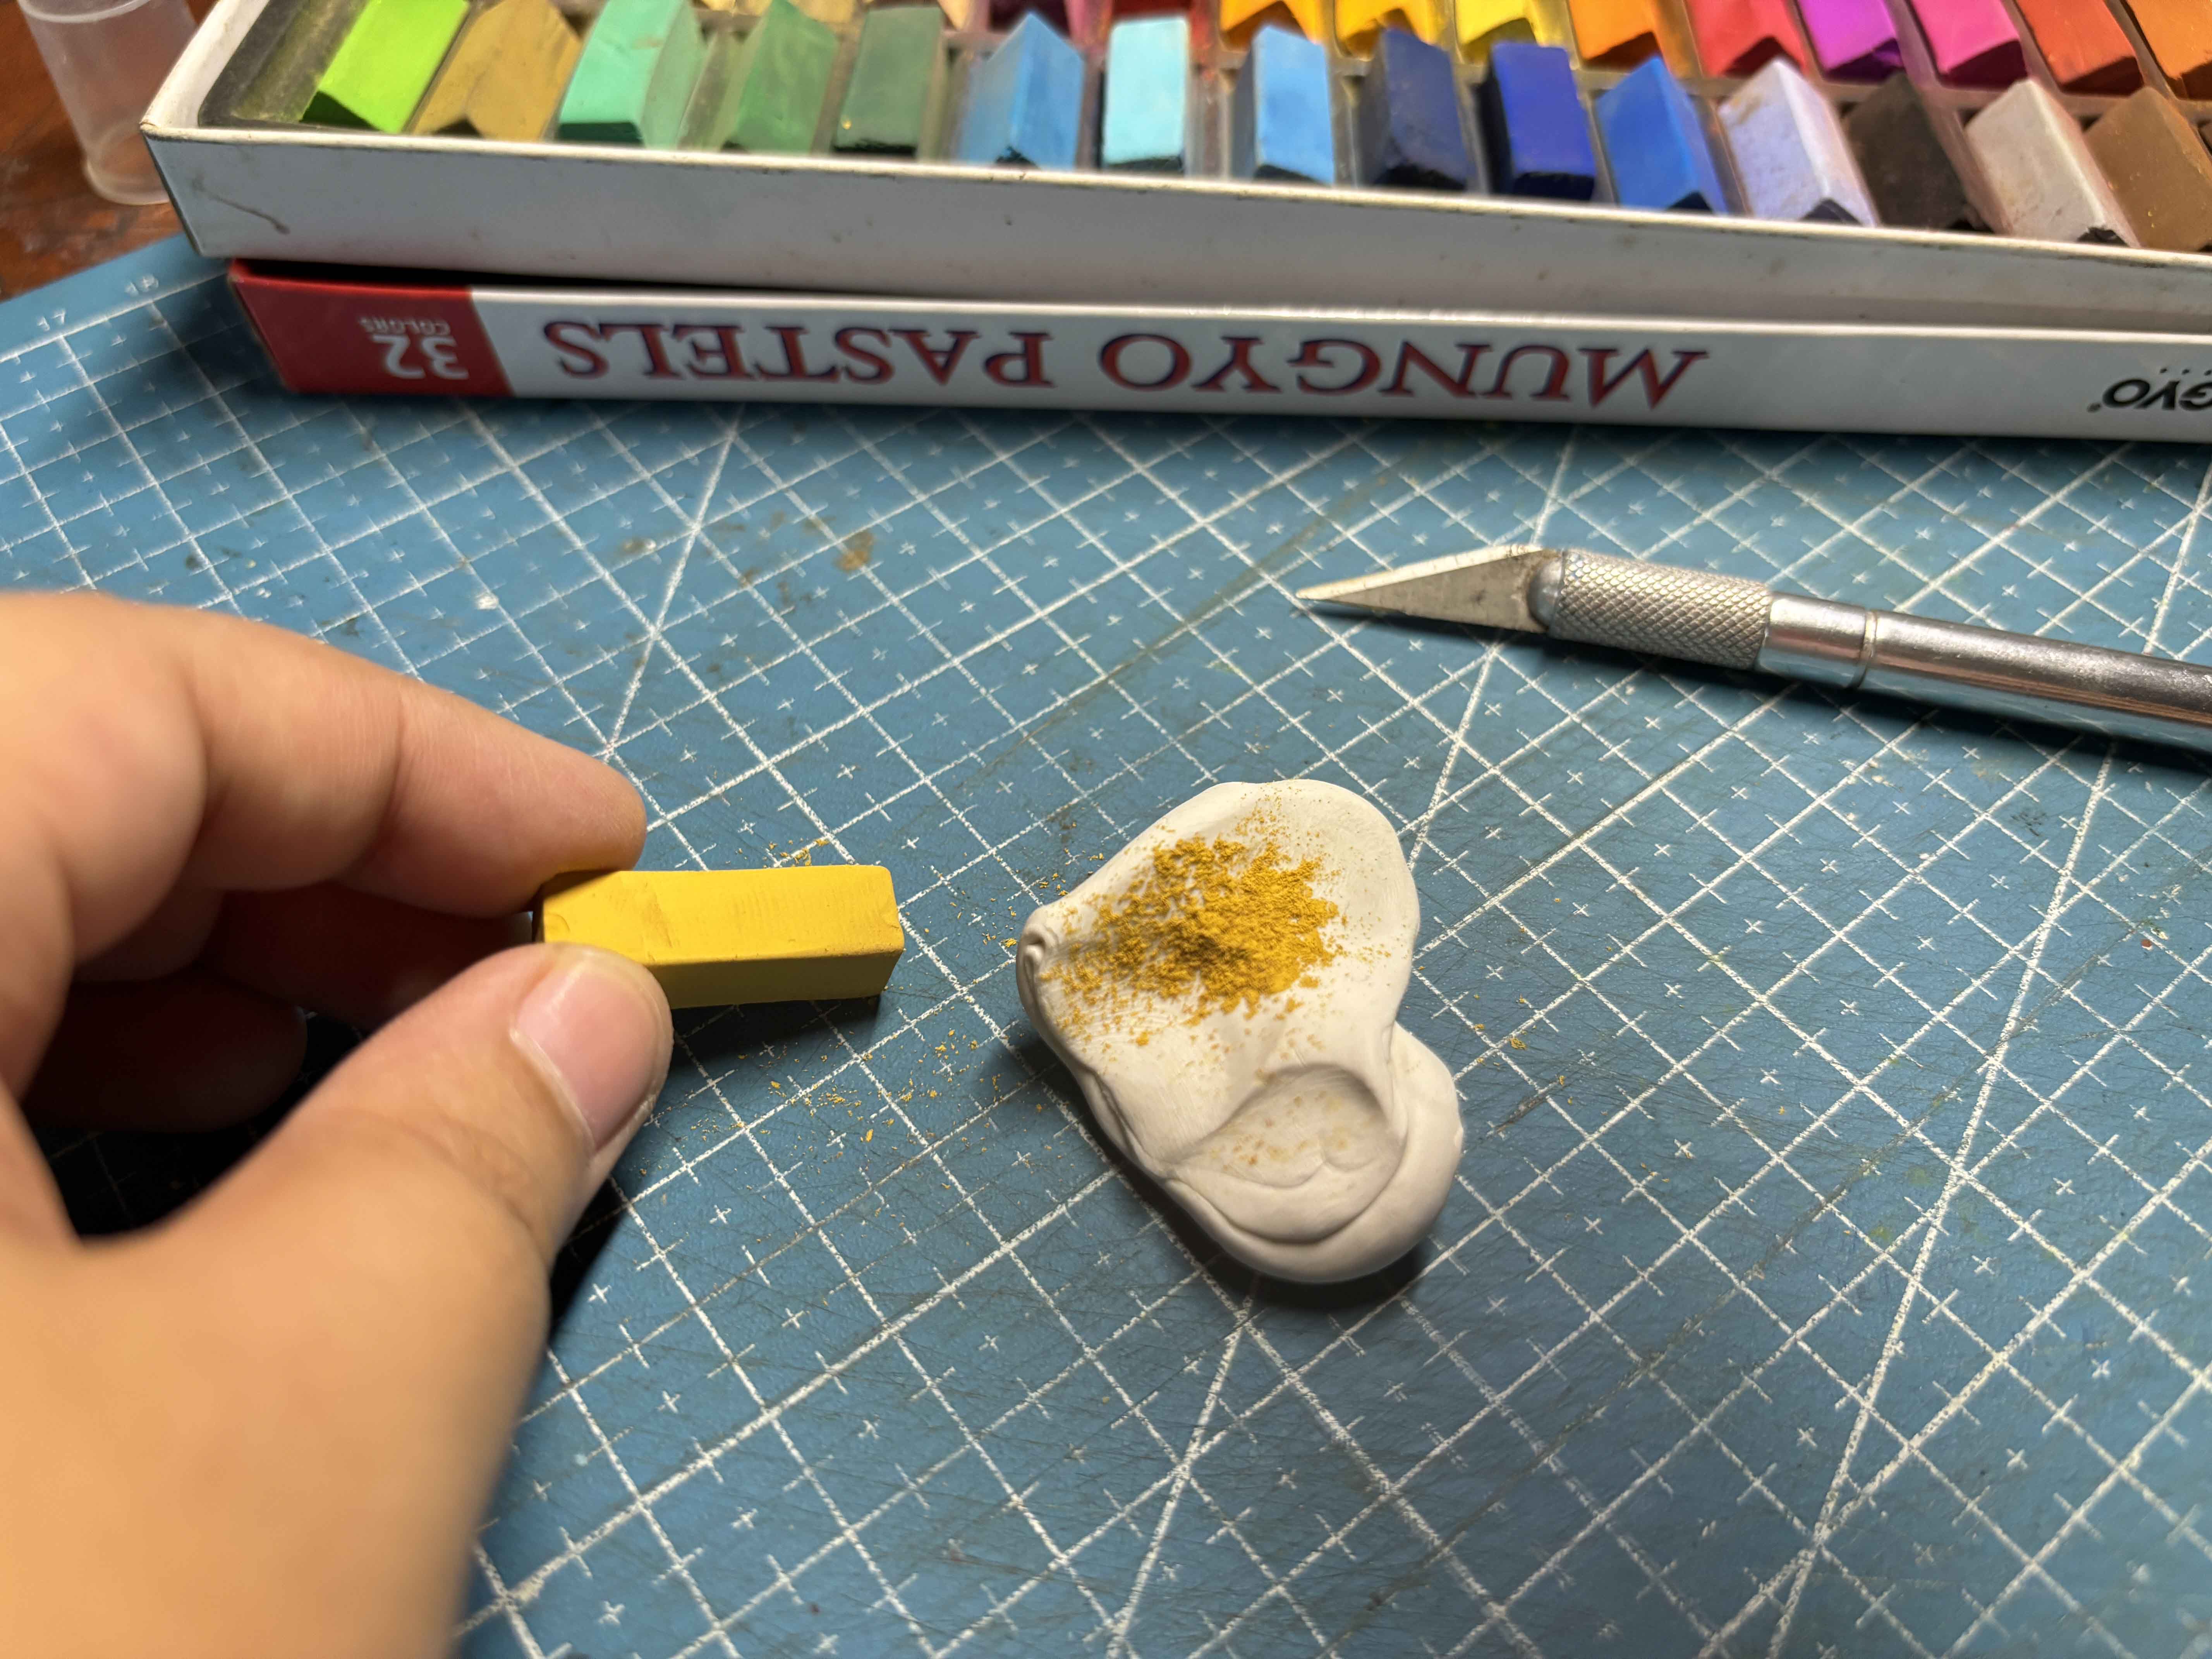
What I do is I add little by little just to estimate the shades I want.
-----
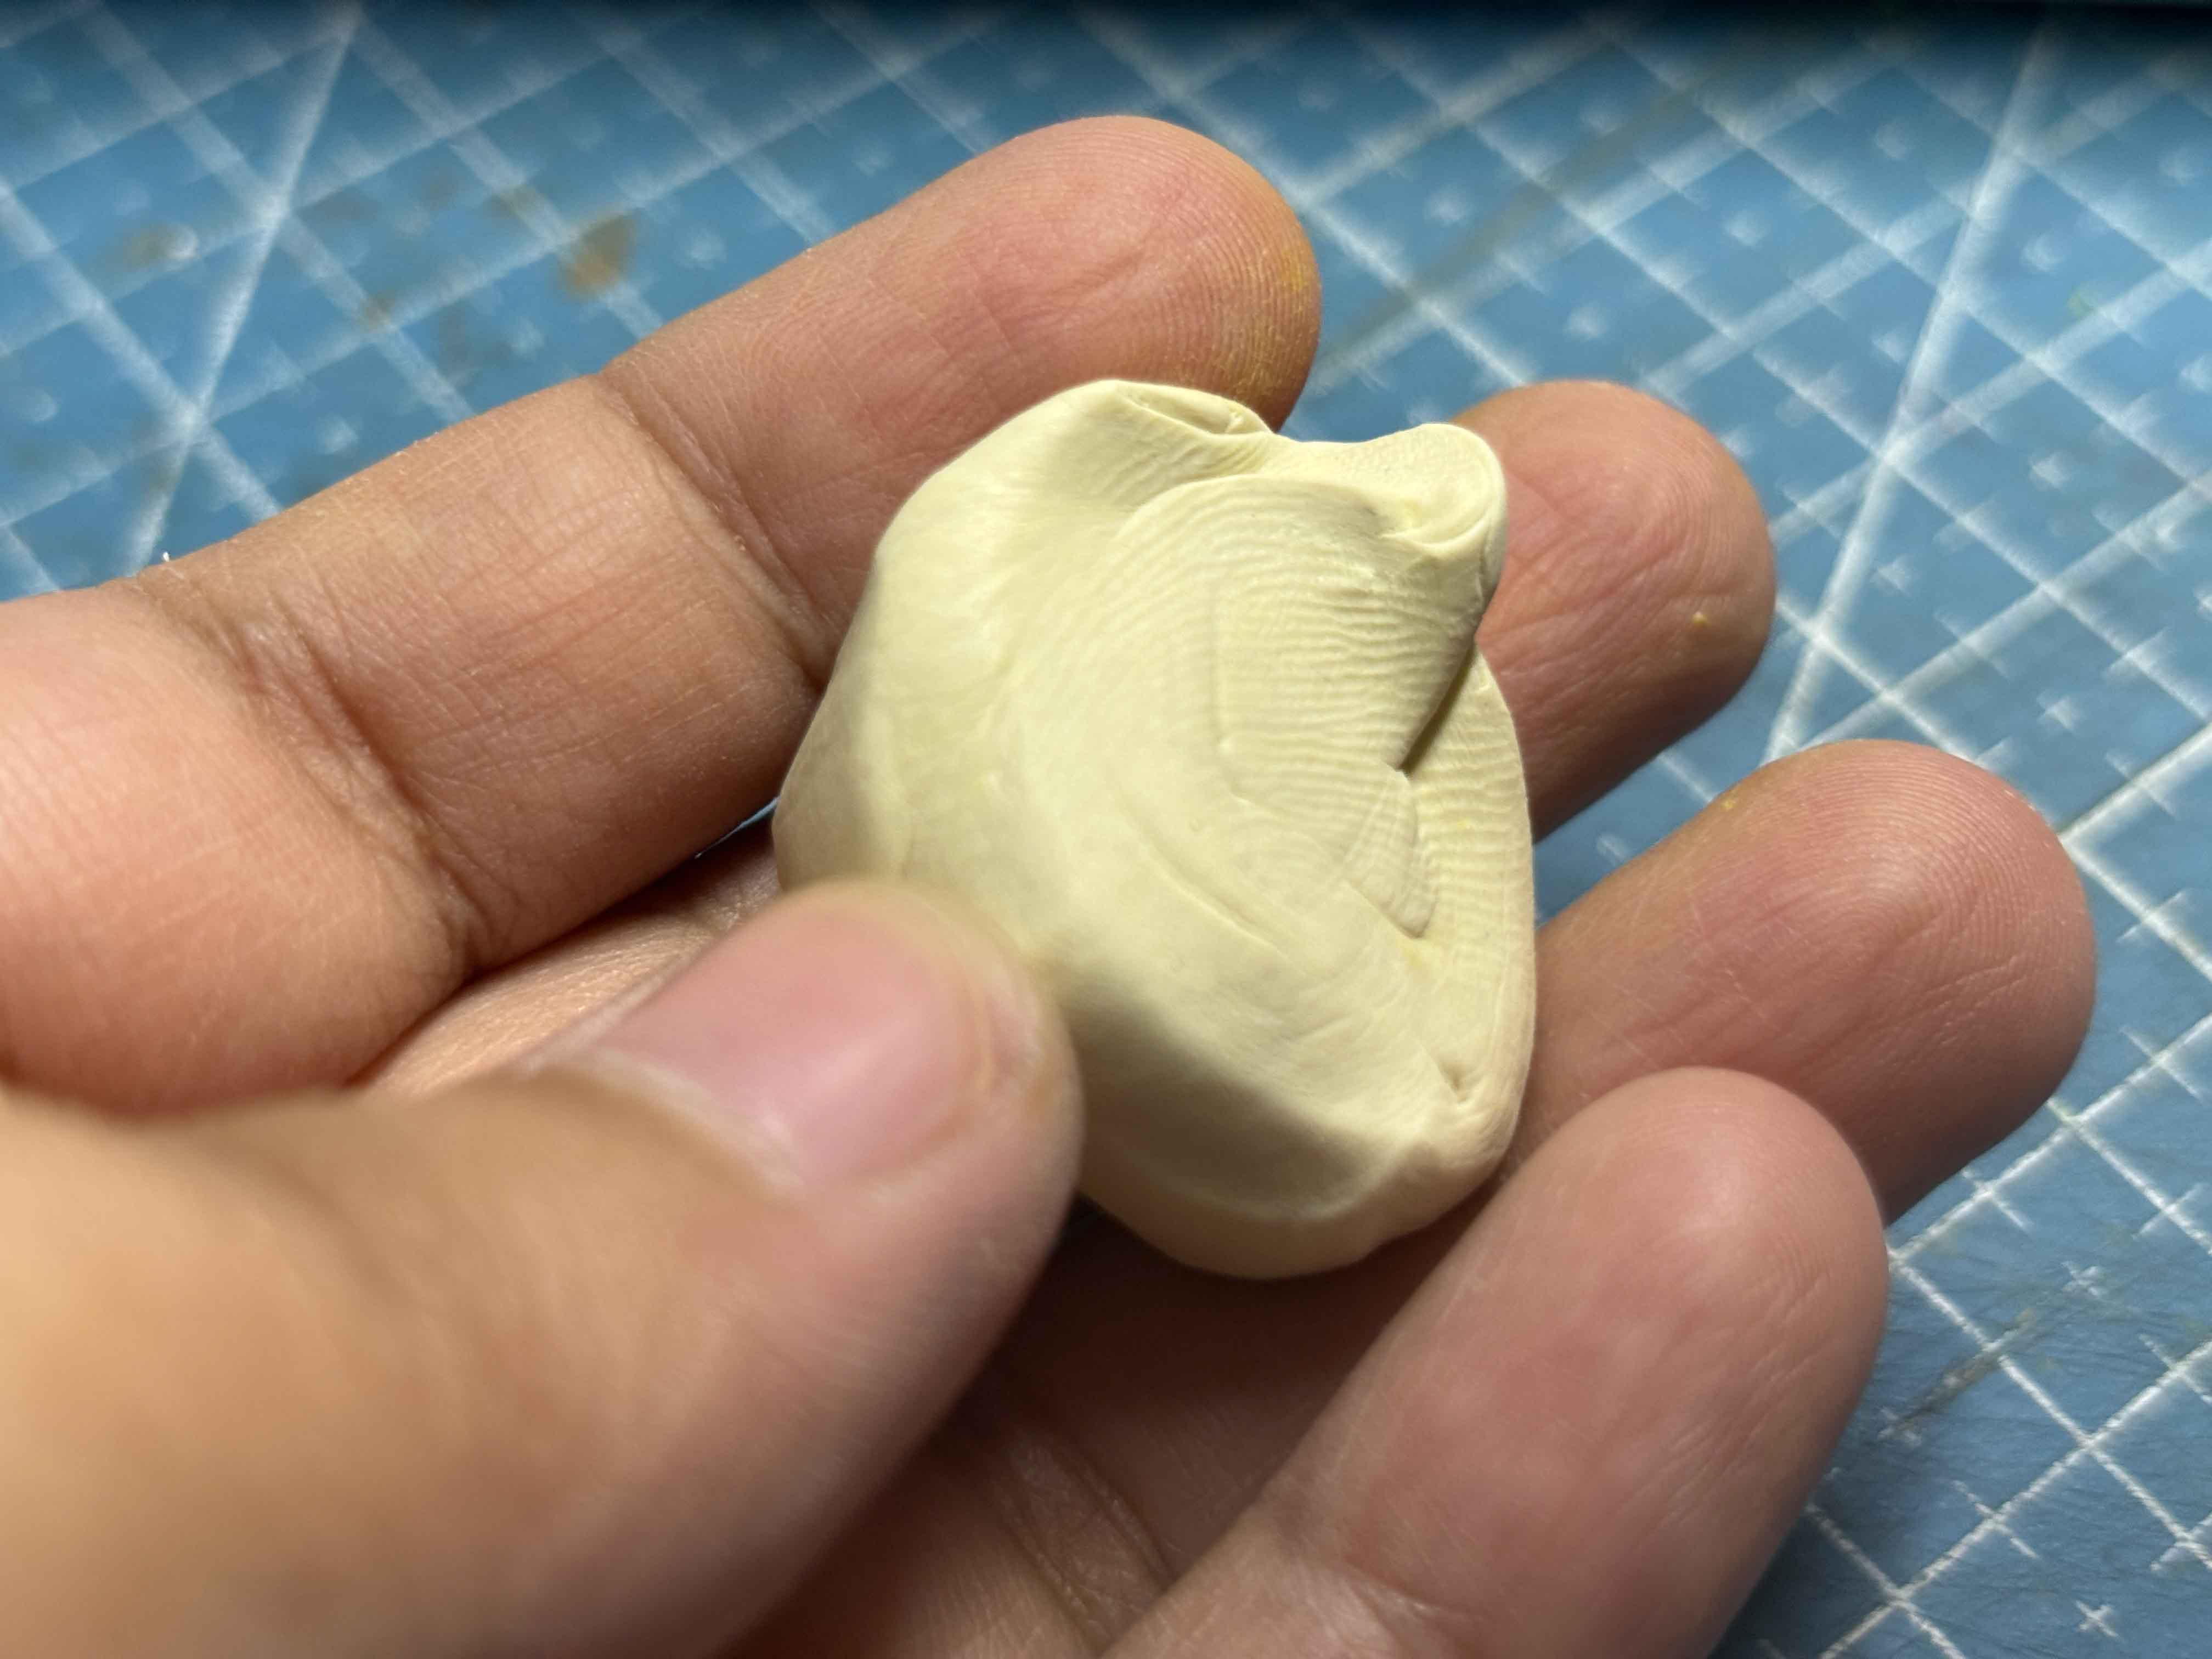
If I am satisfied with the color, I am going to proceed to the next step.
-----
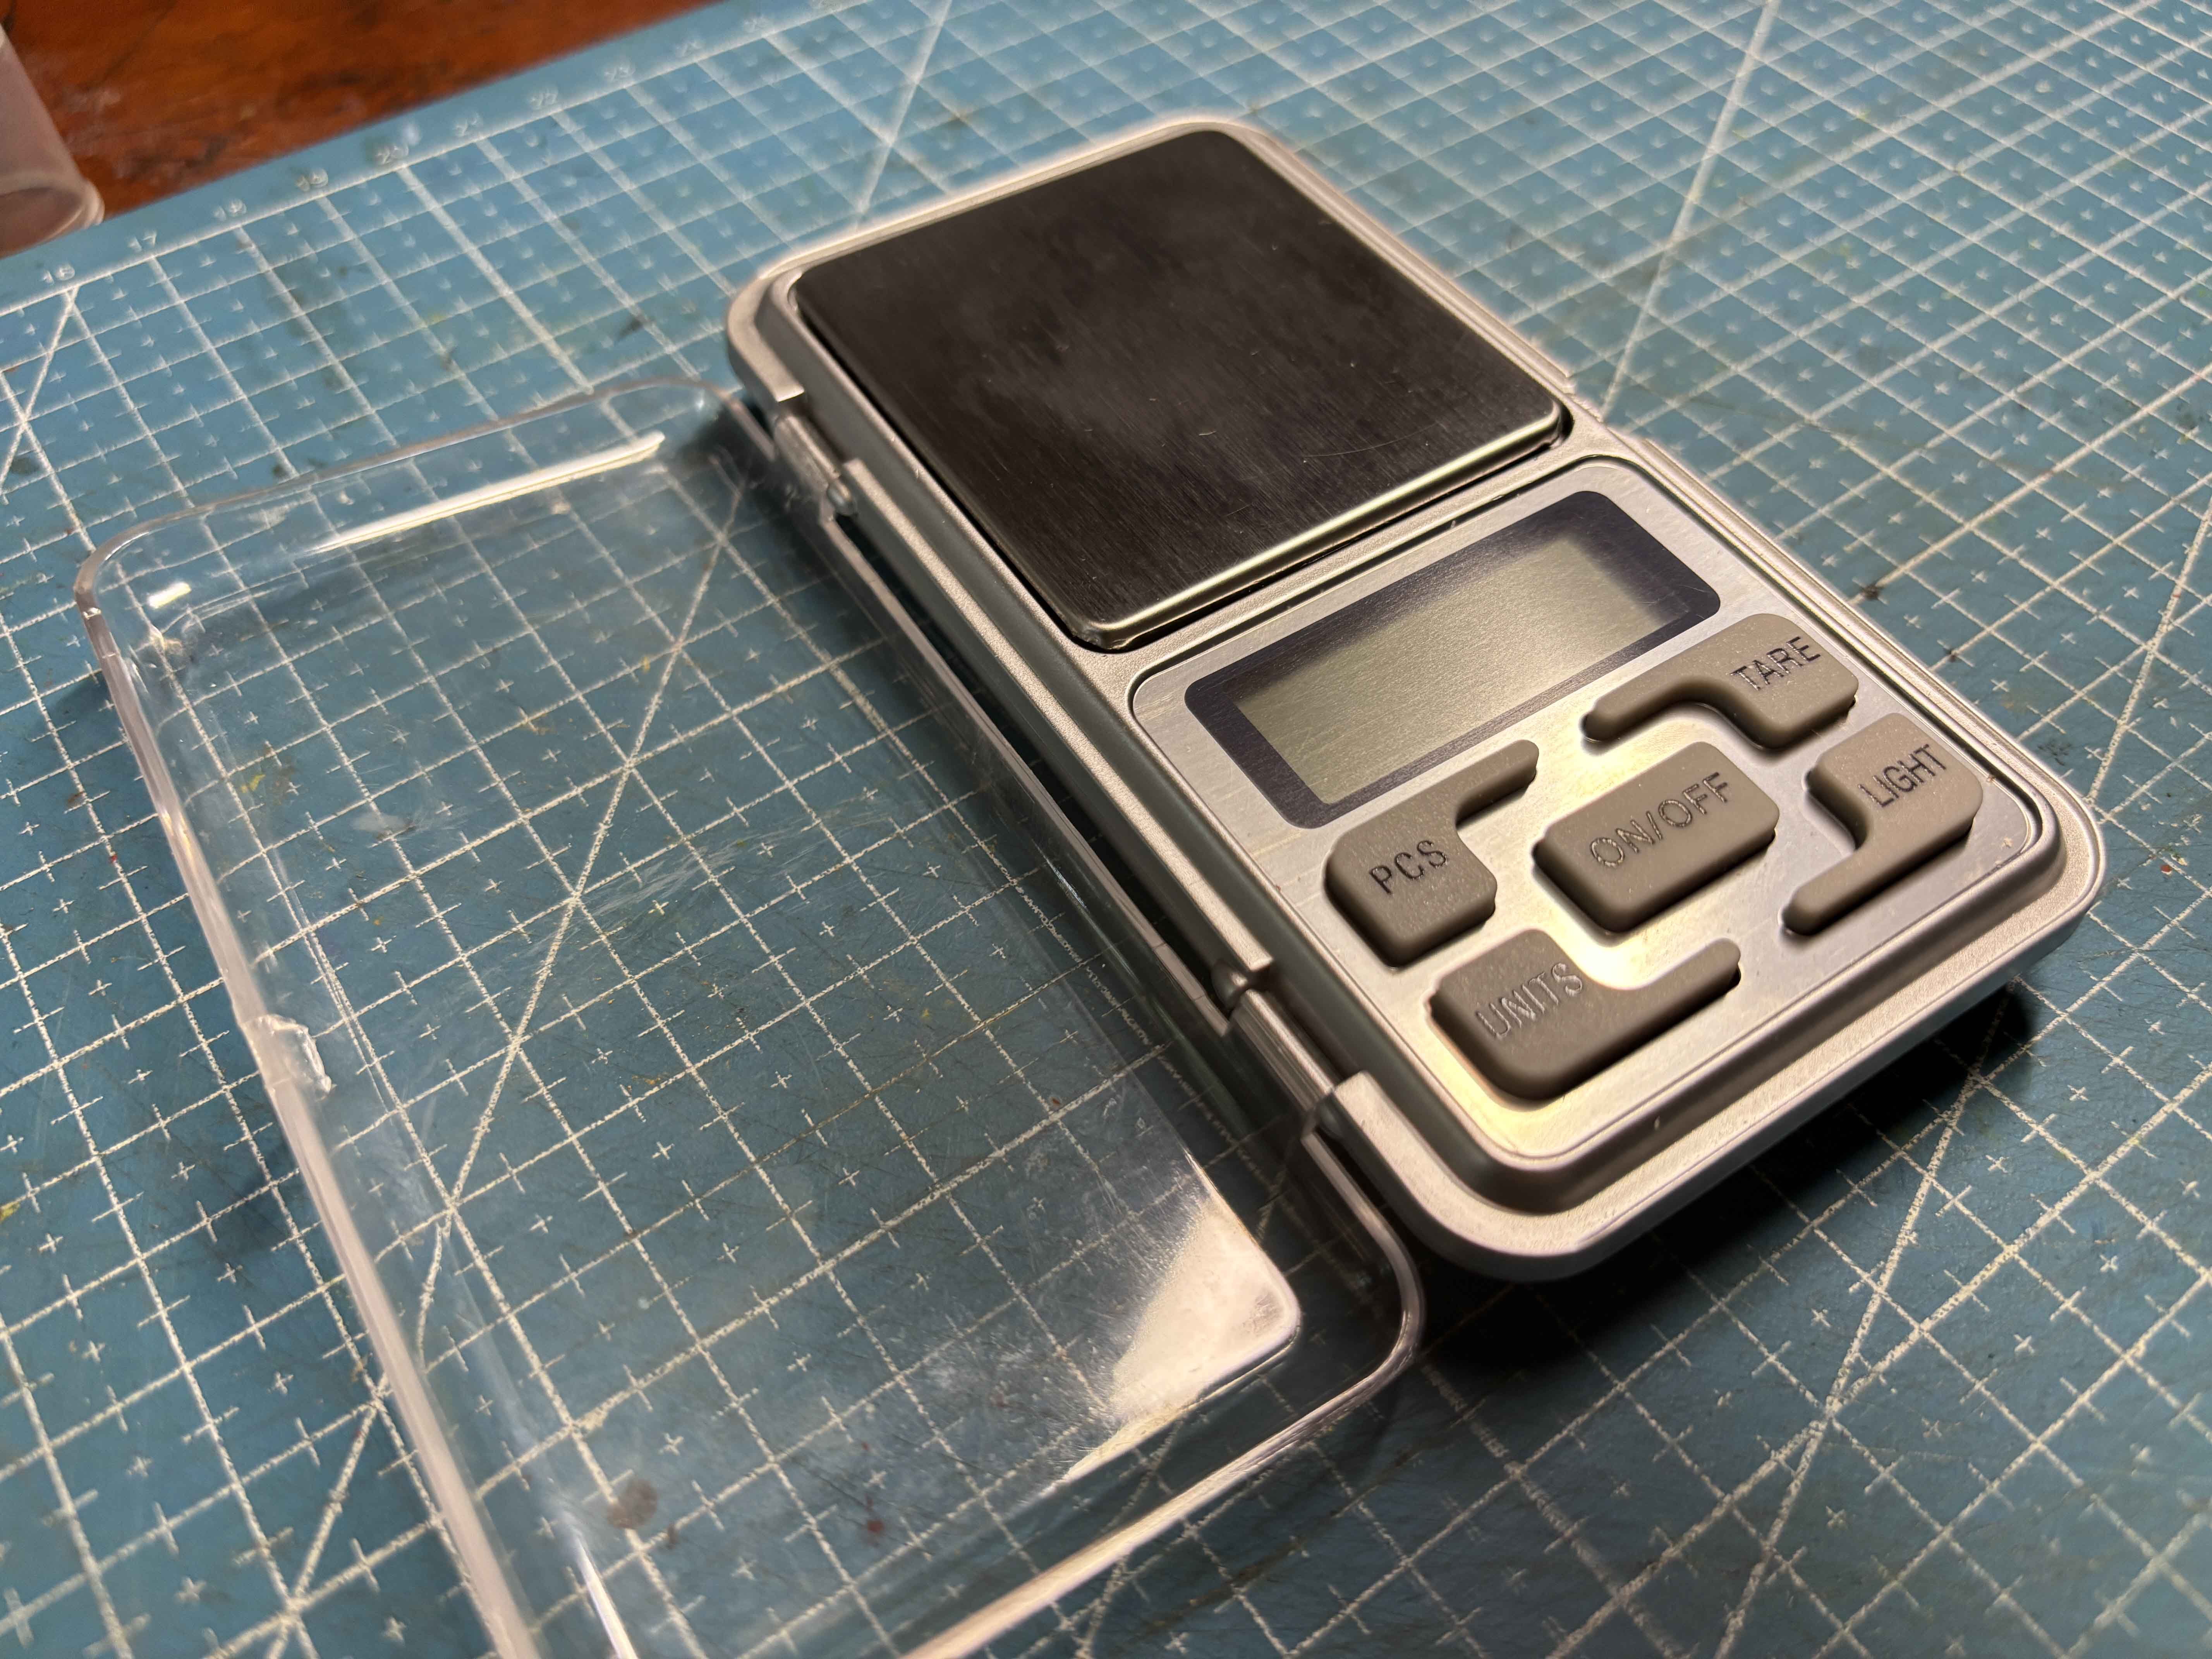
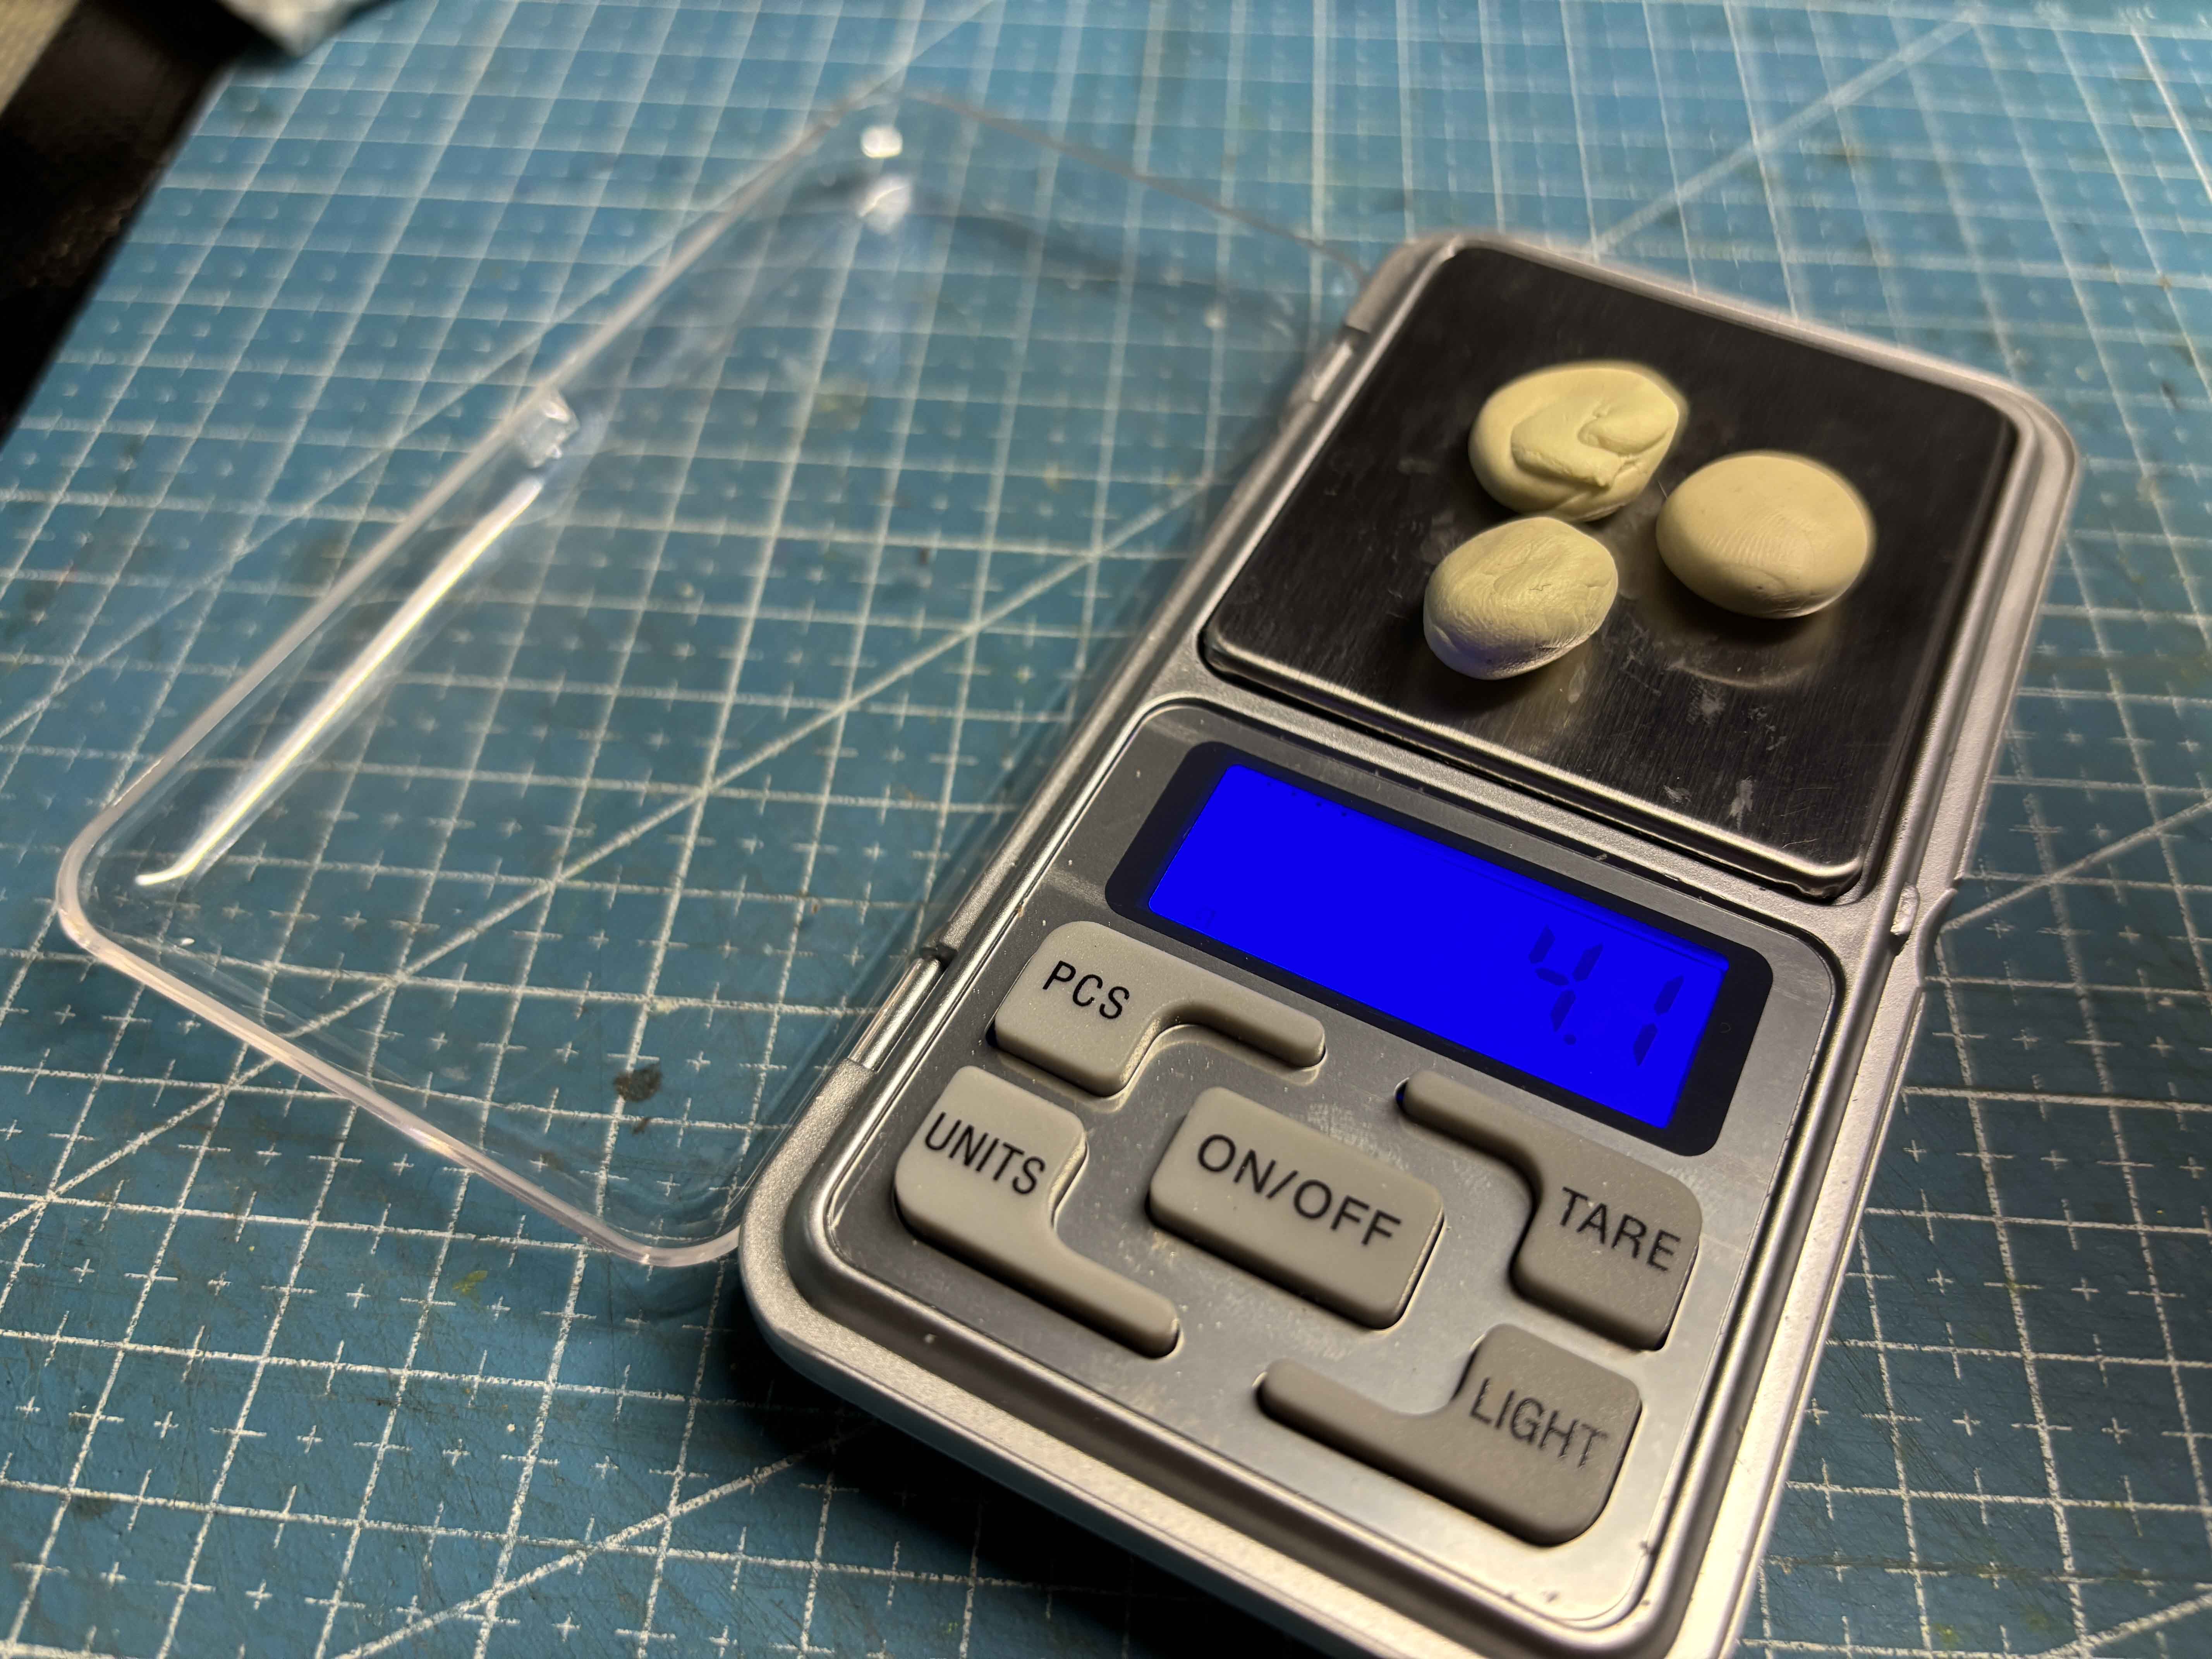
To make the Kamote (Sweet Potatoes) have the same size, I used this portable scale to weigh them equally. If you're getting serious with clay art, especially making keychains, I suggest you invest in one of these.
-----
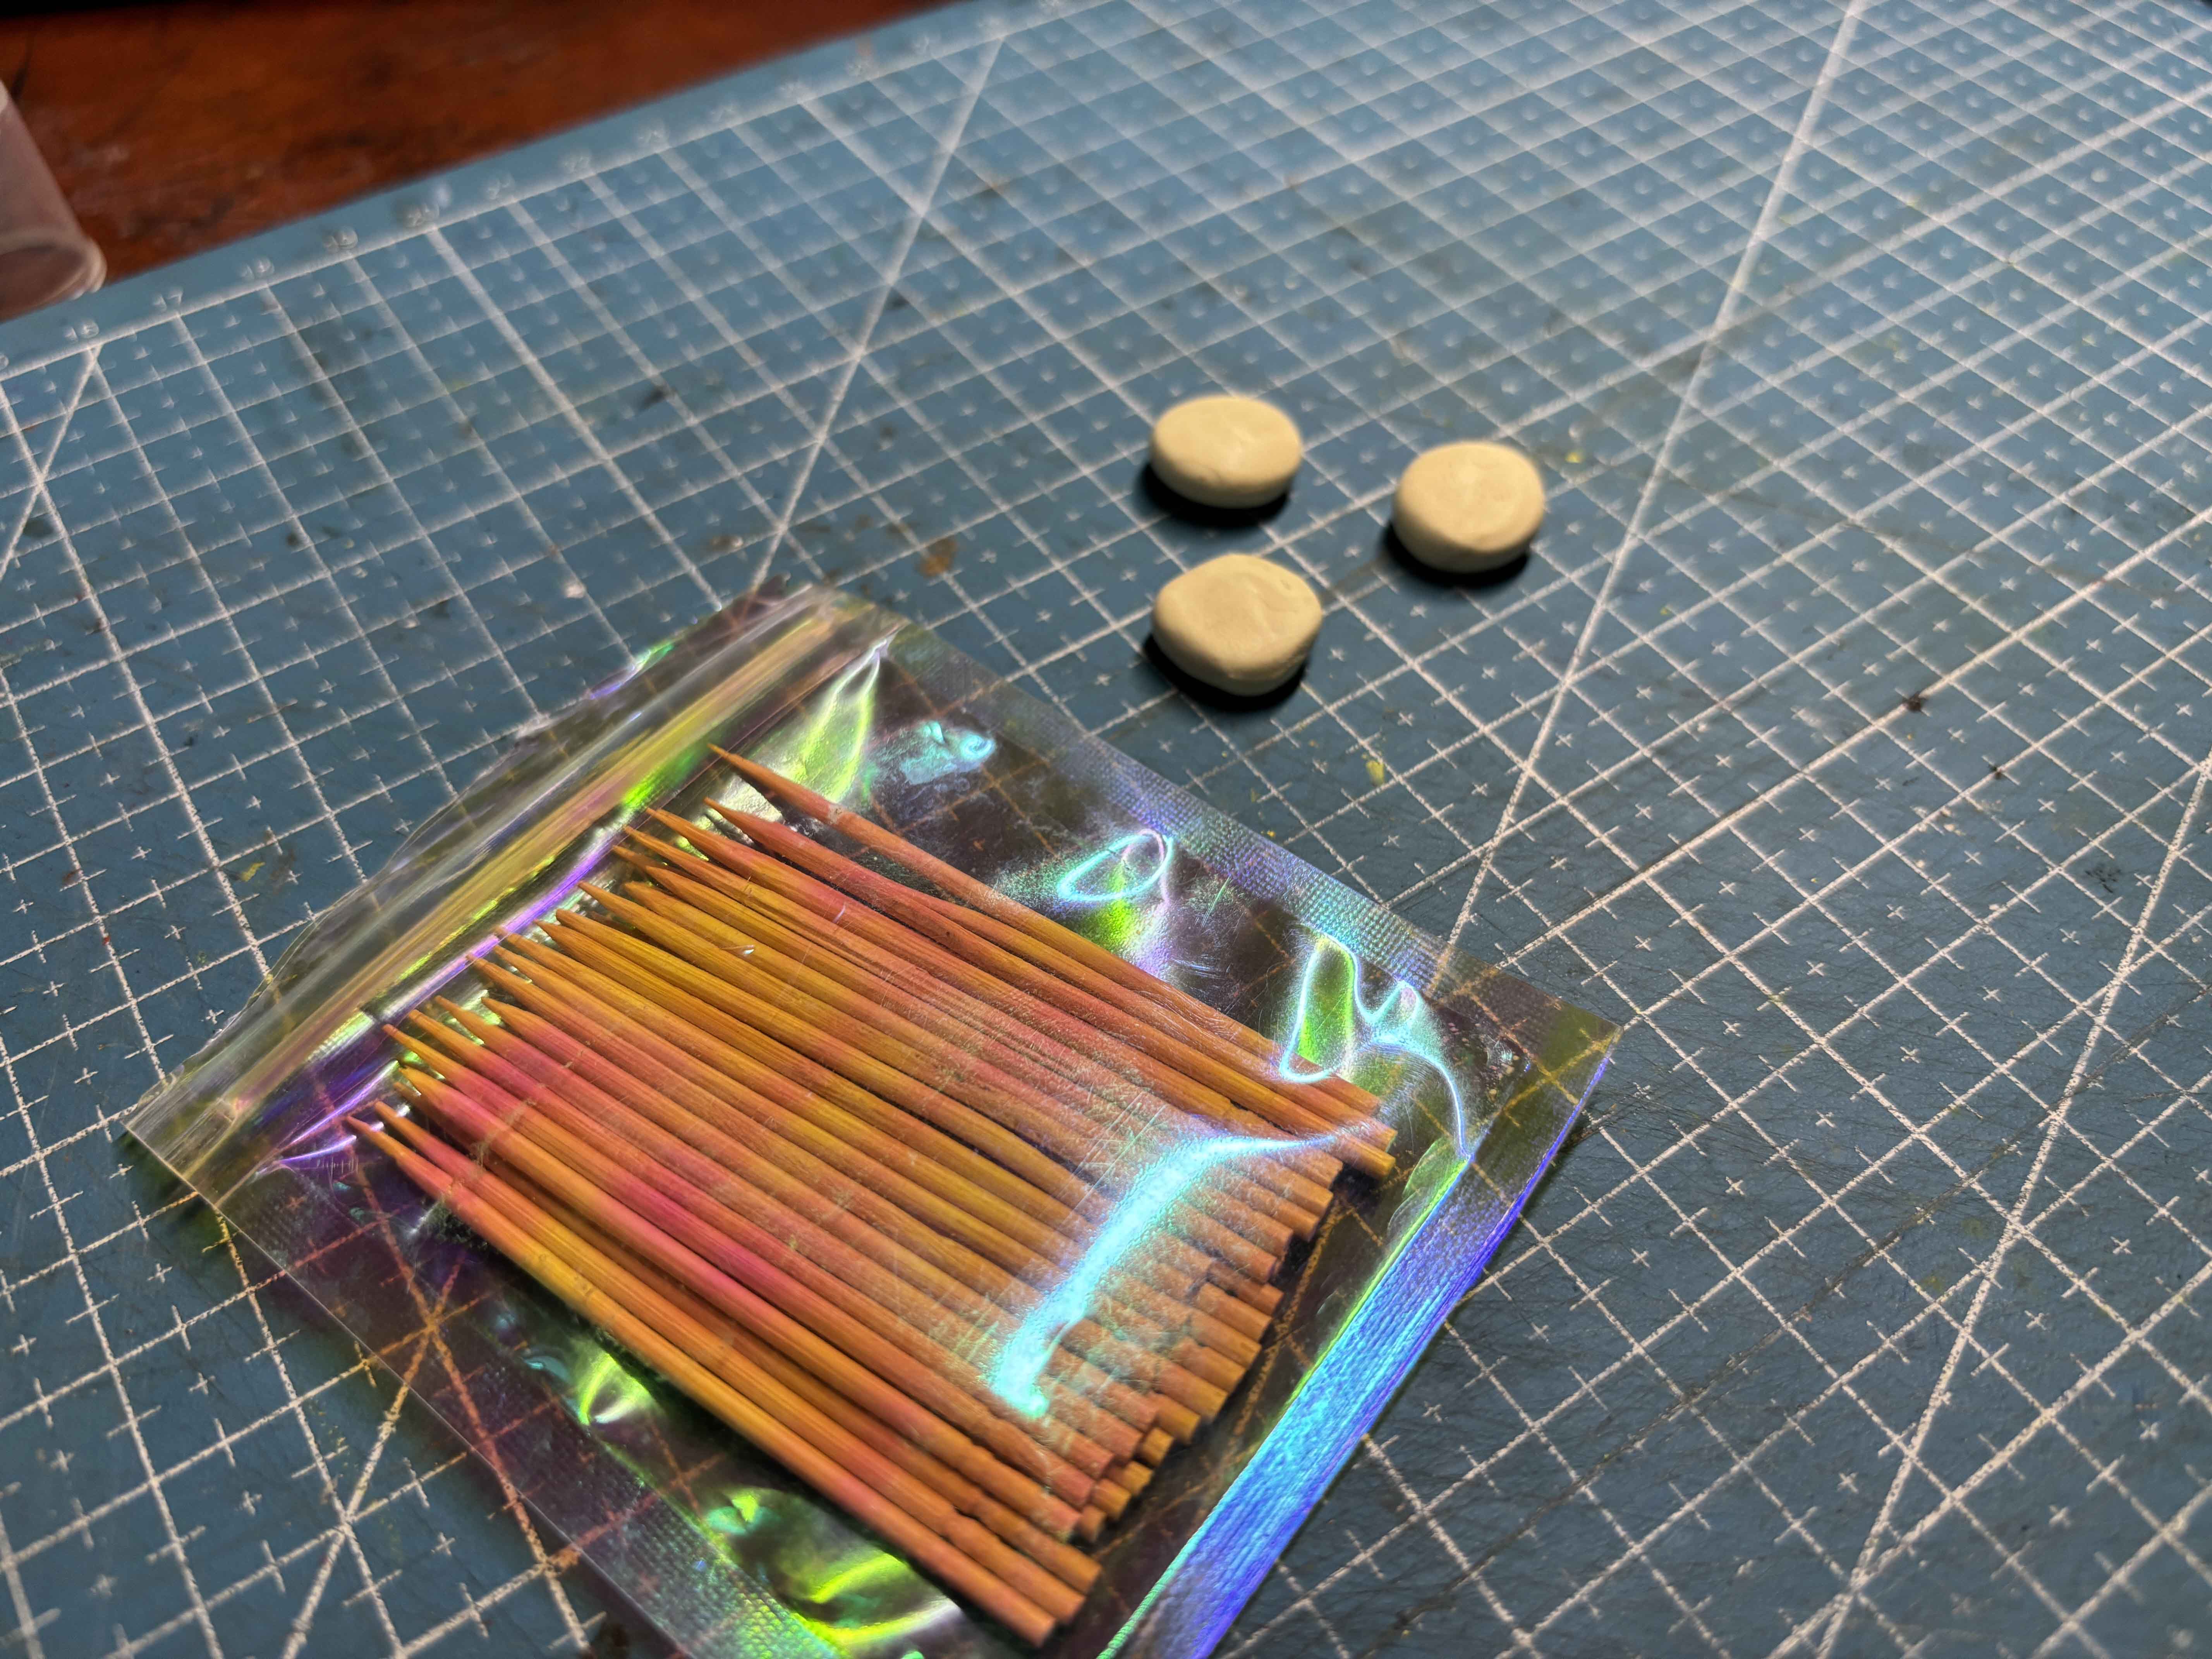
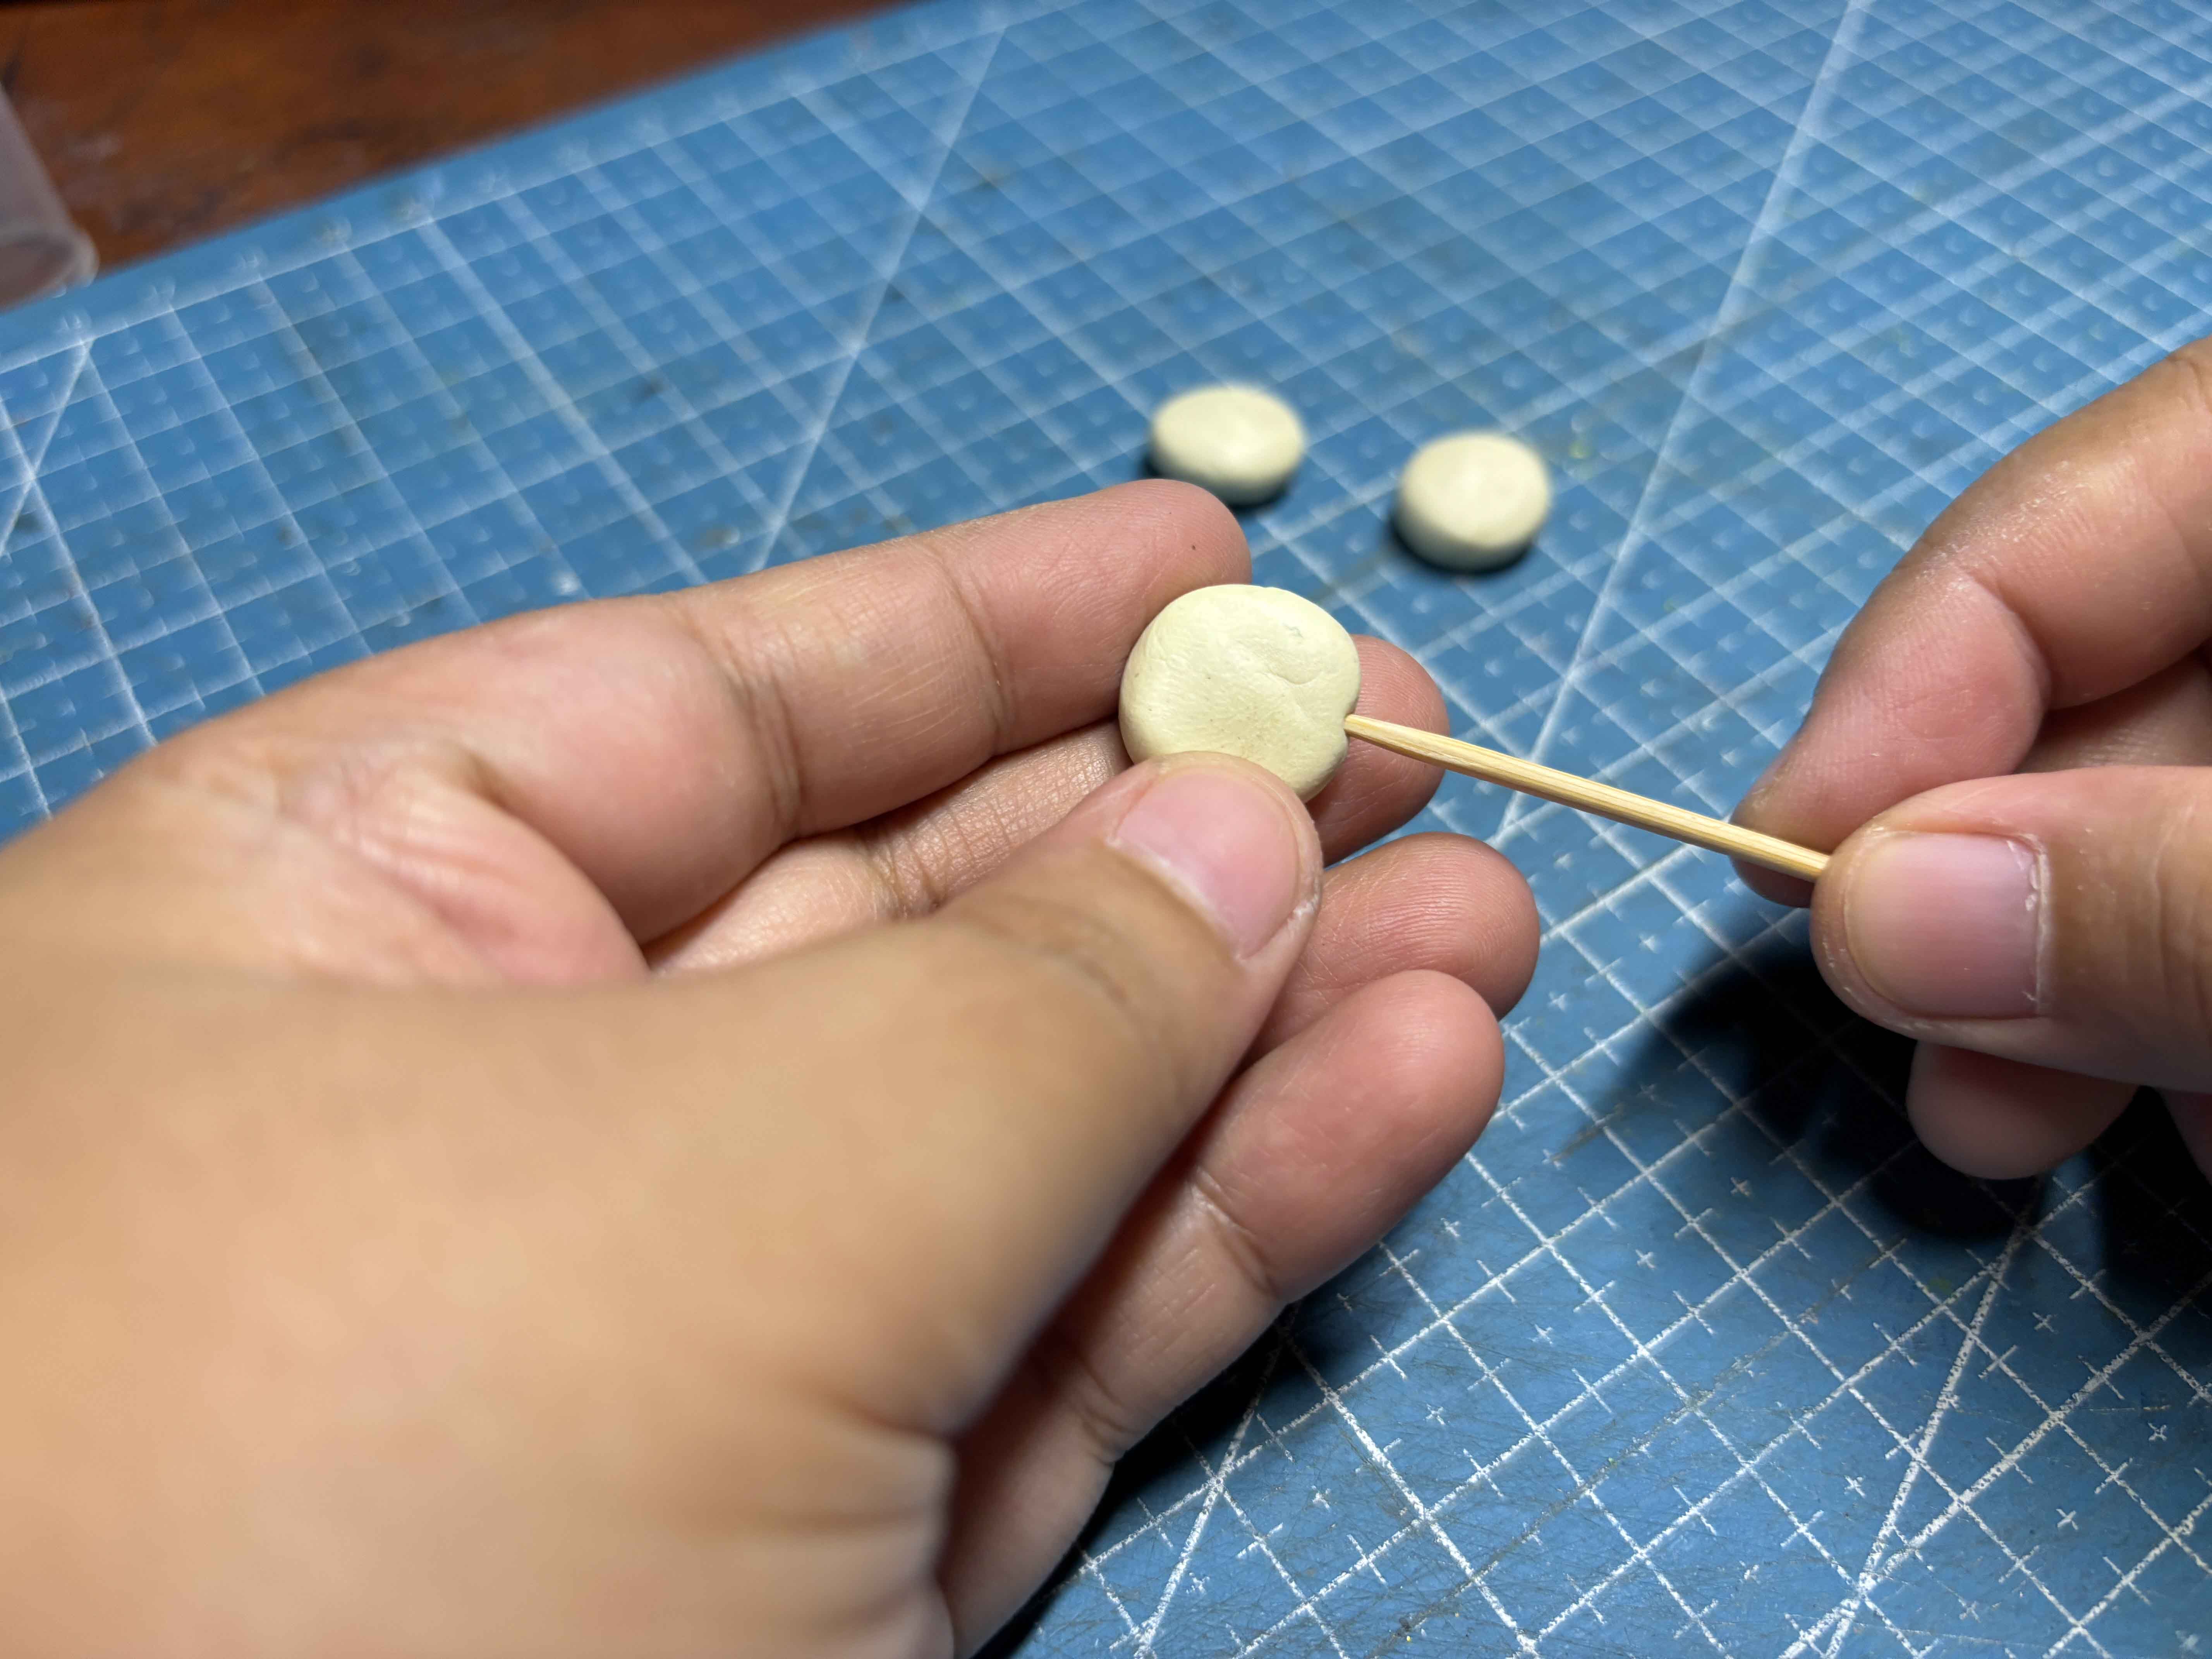
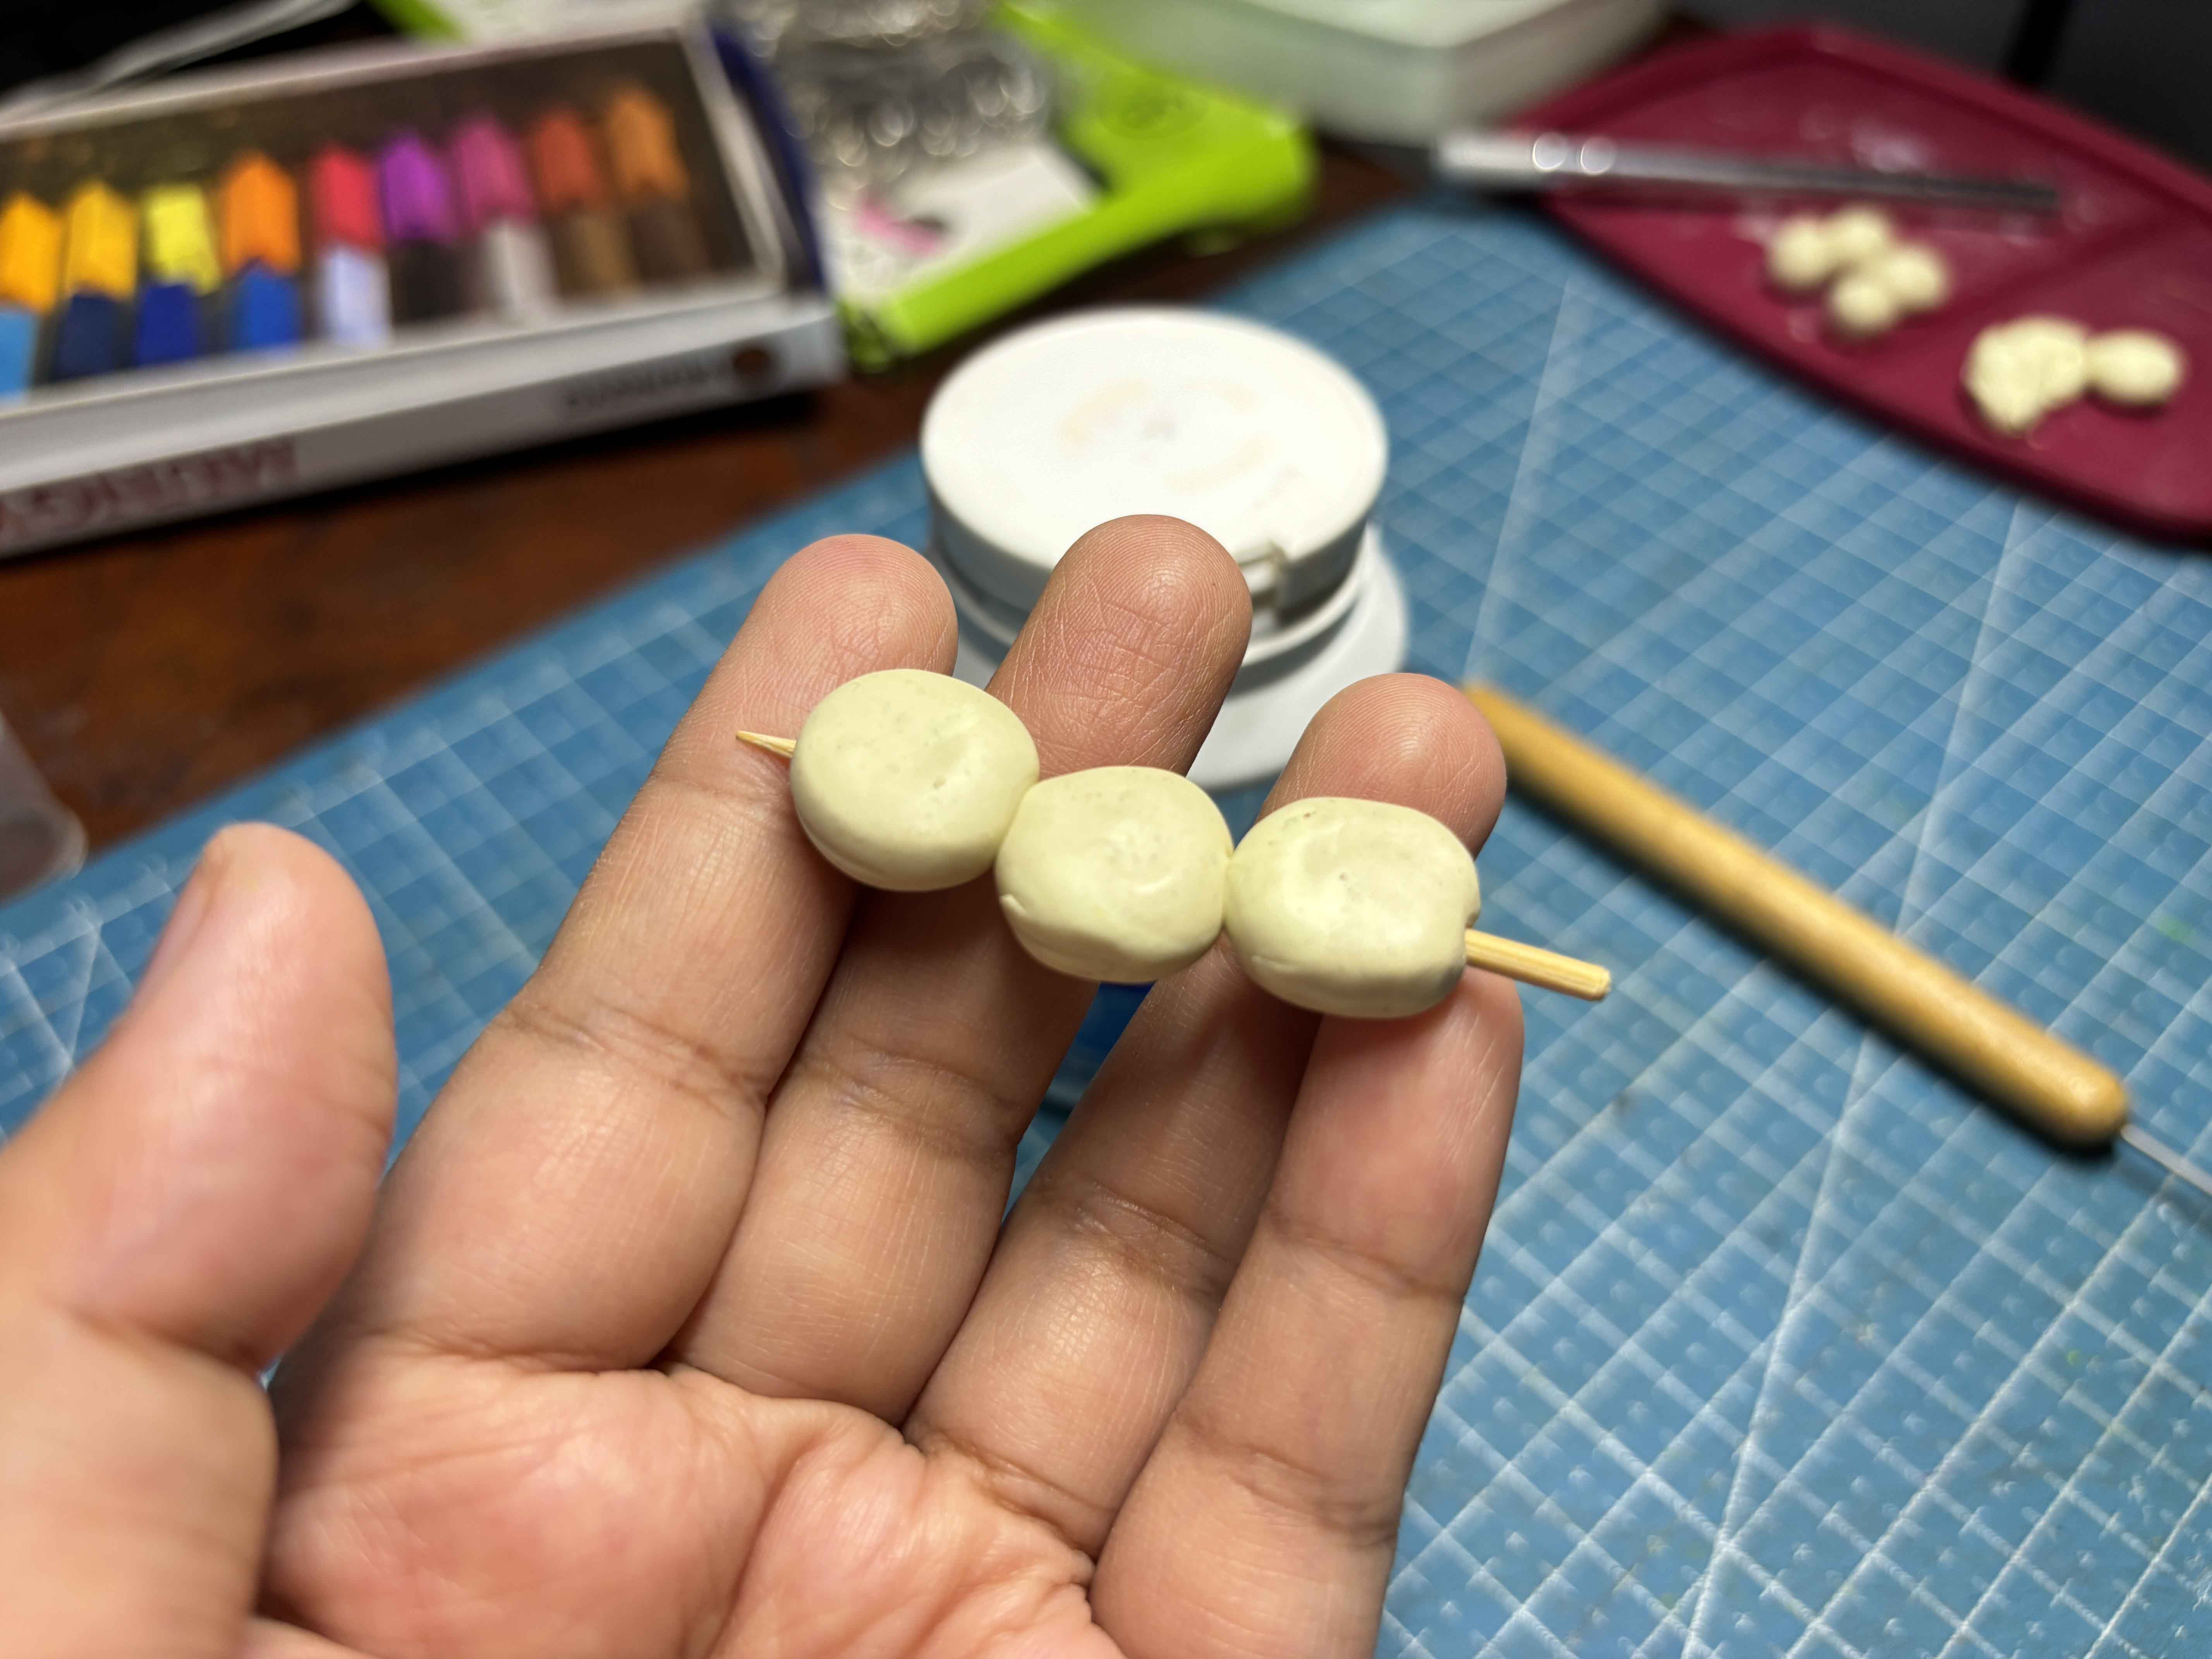
And then it is time to stick those to the toothpick, this will serve as a BBQ stick.
-----
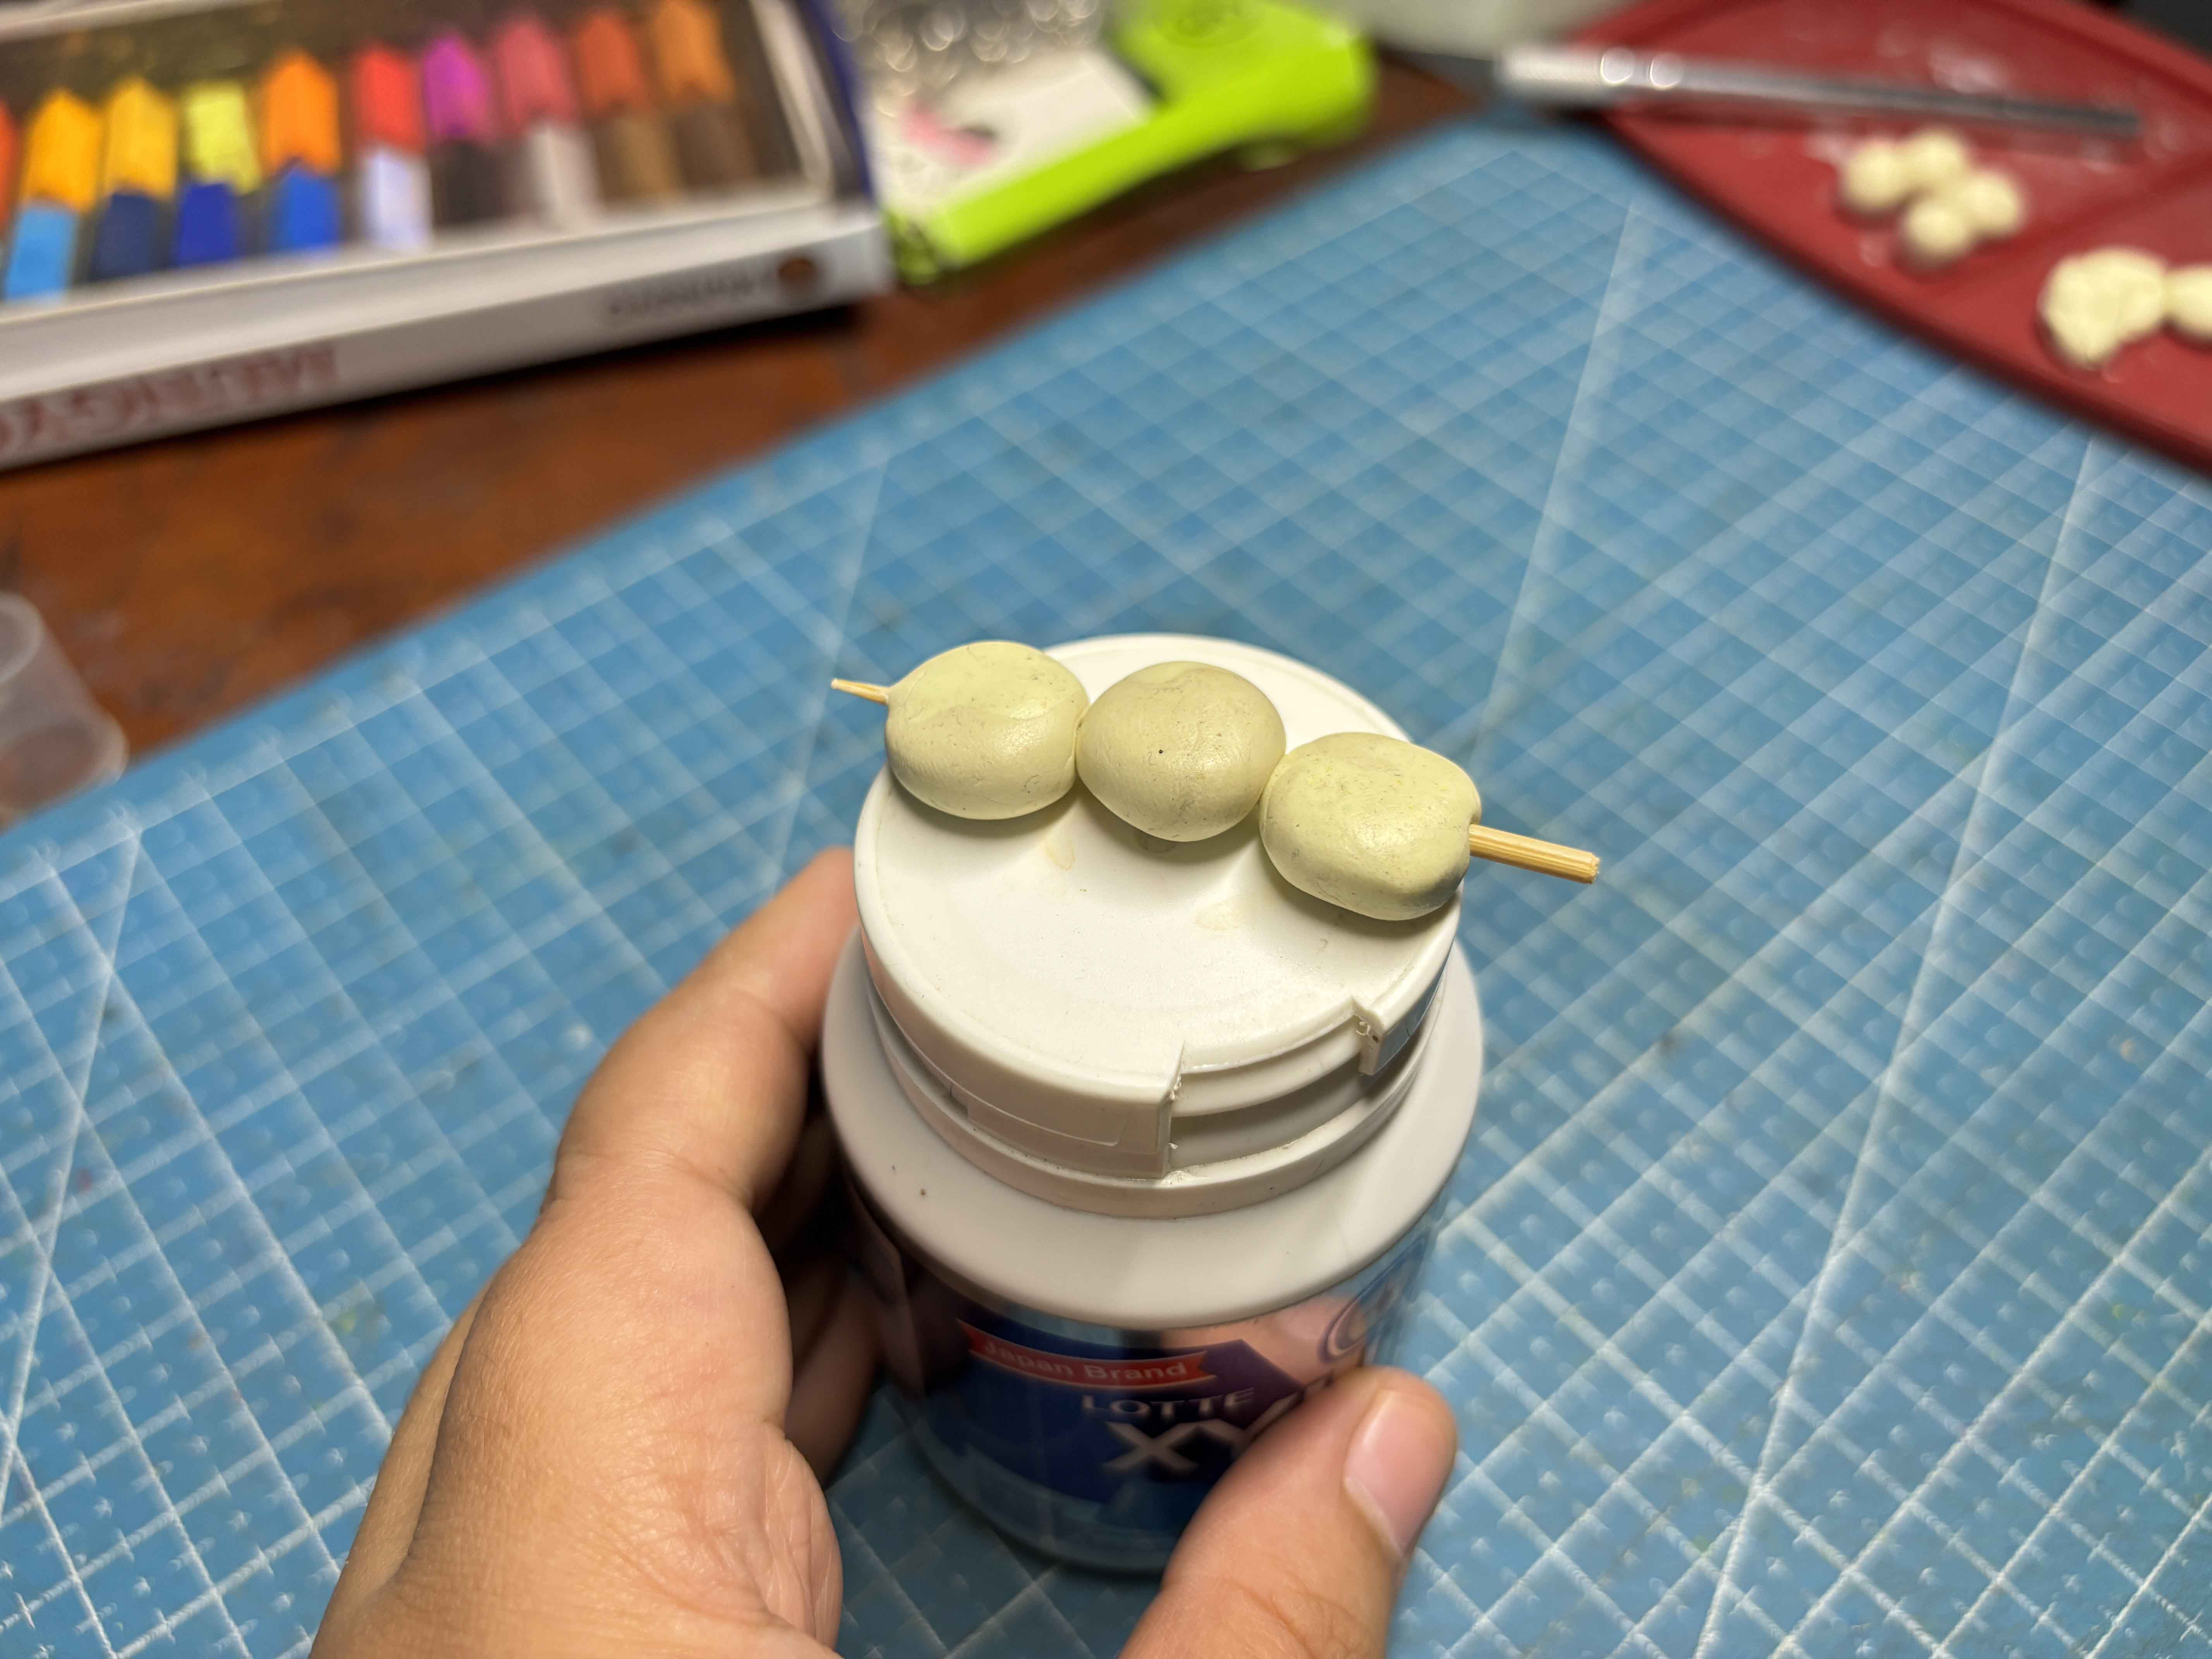
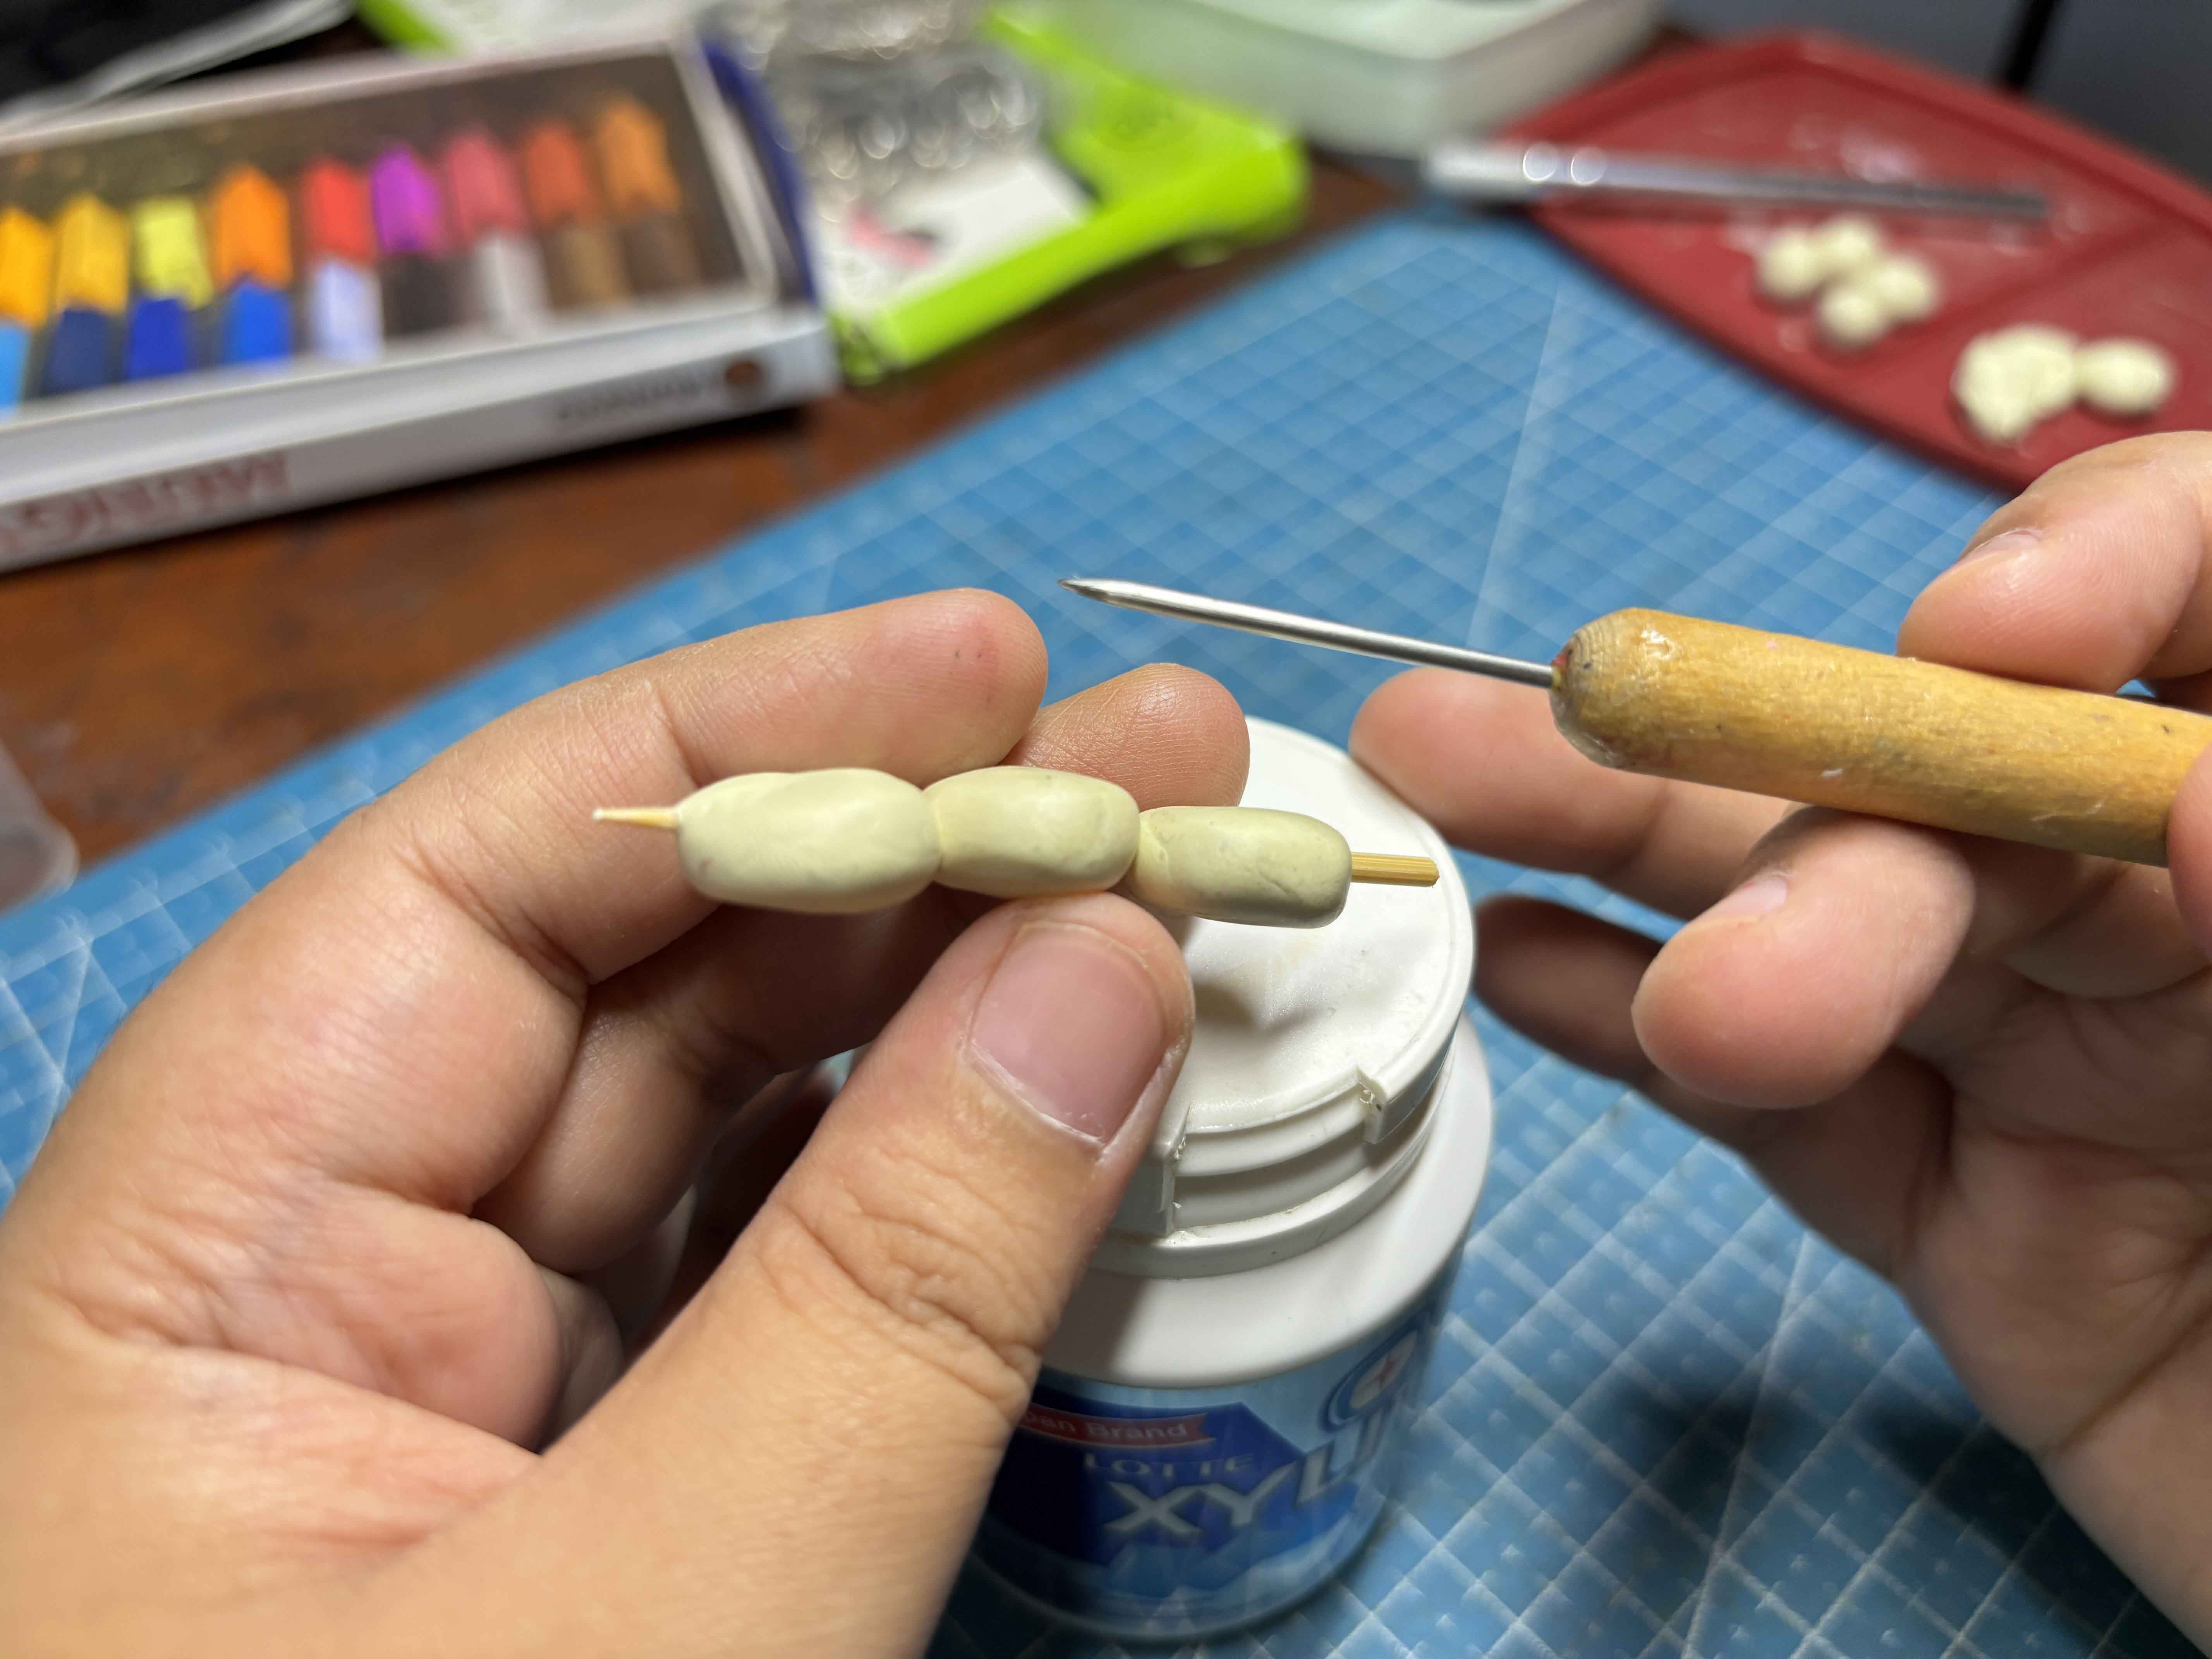
Next is I am going to add a little bit of texture to make it look more like chopped sweet potatoes.
----
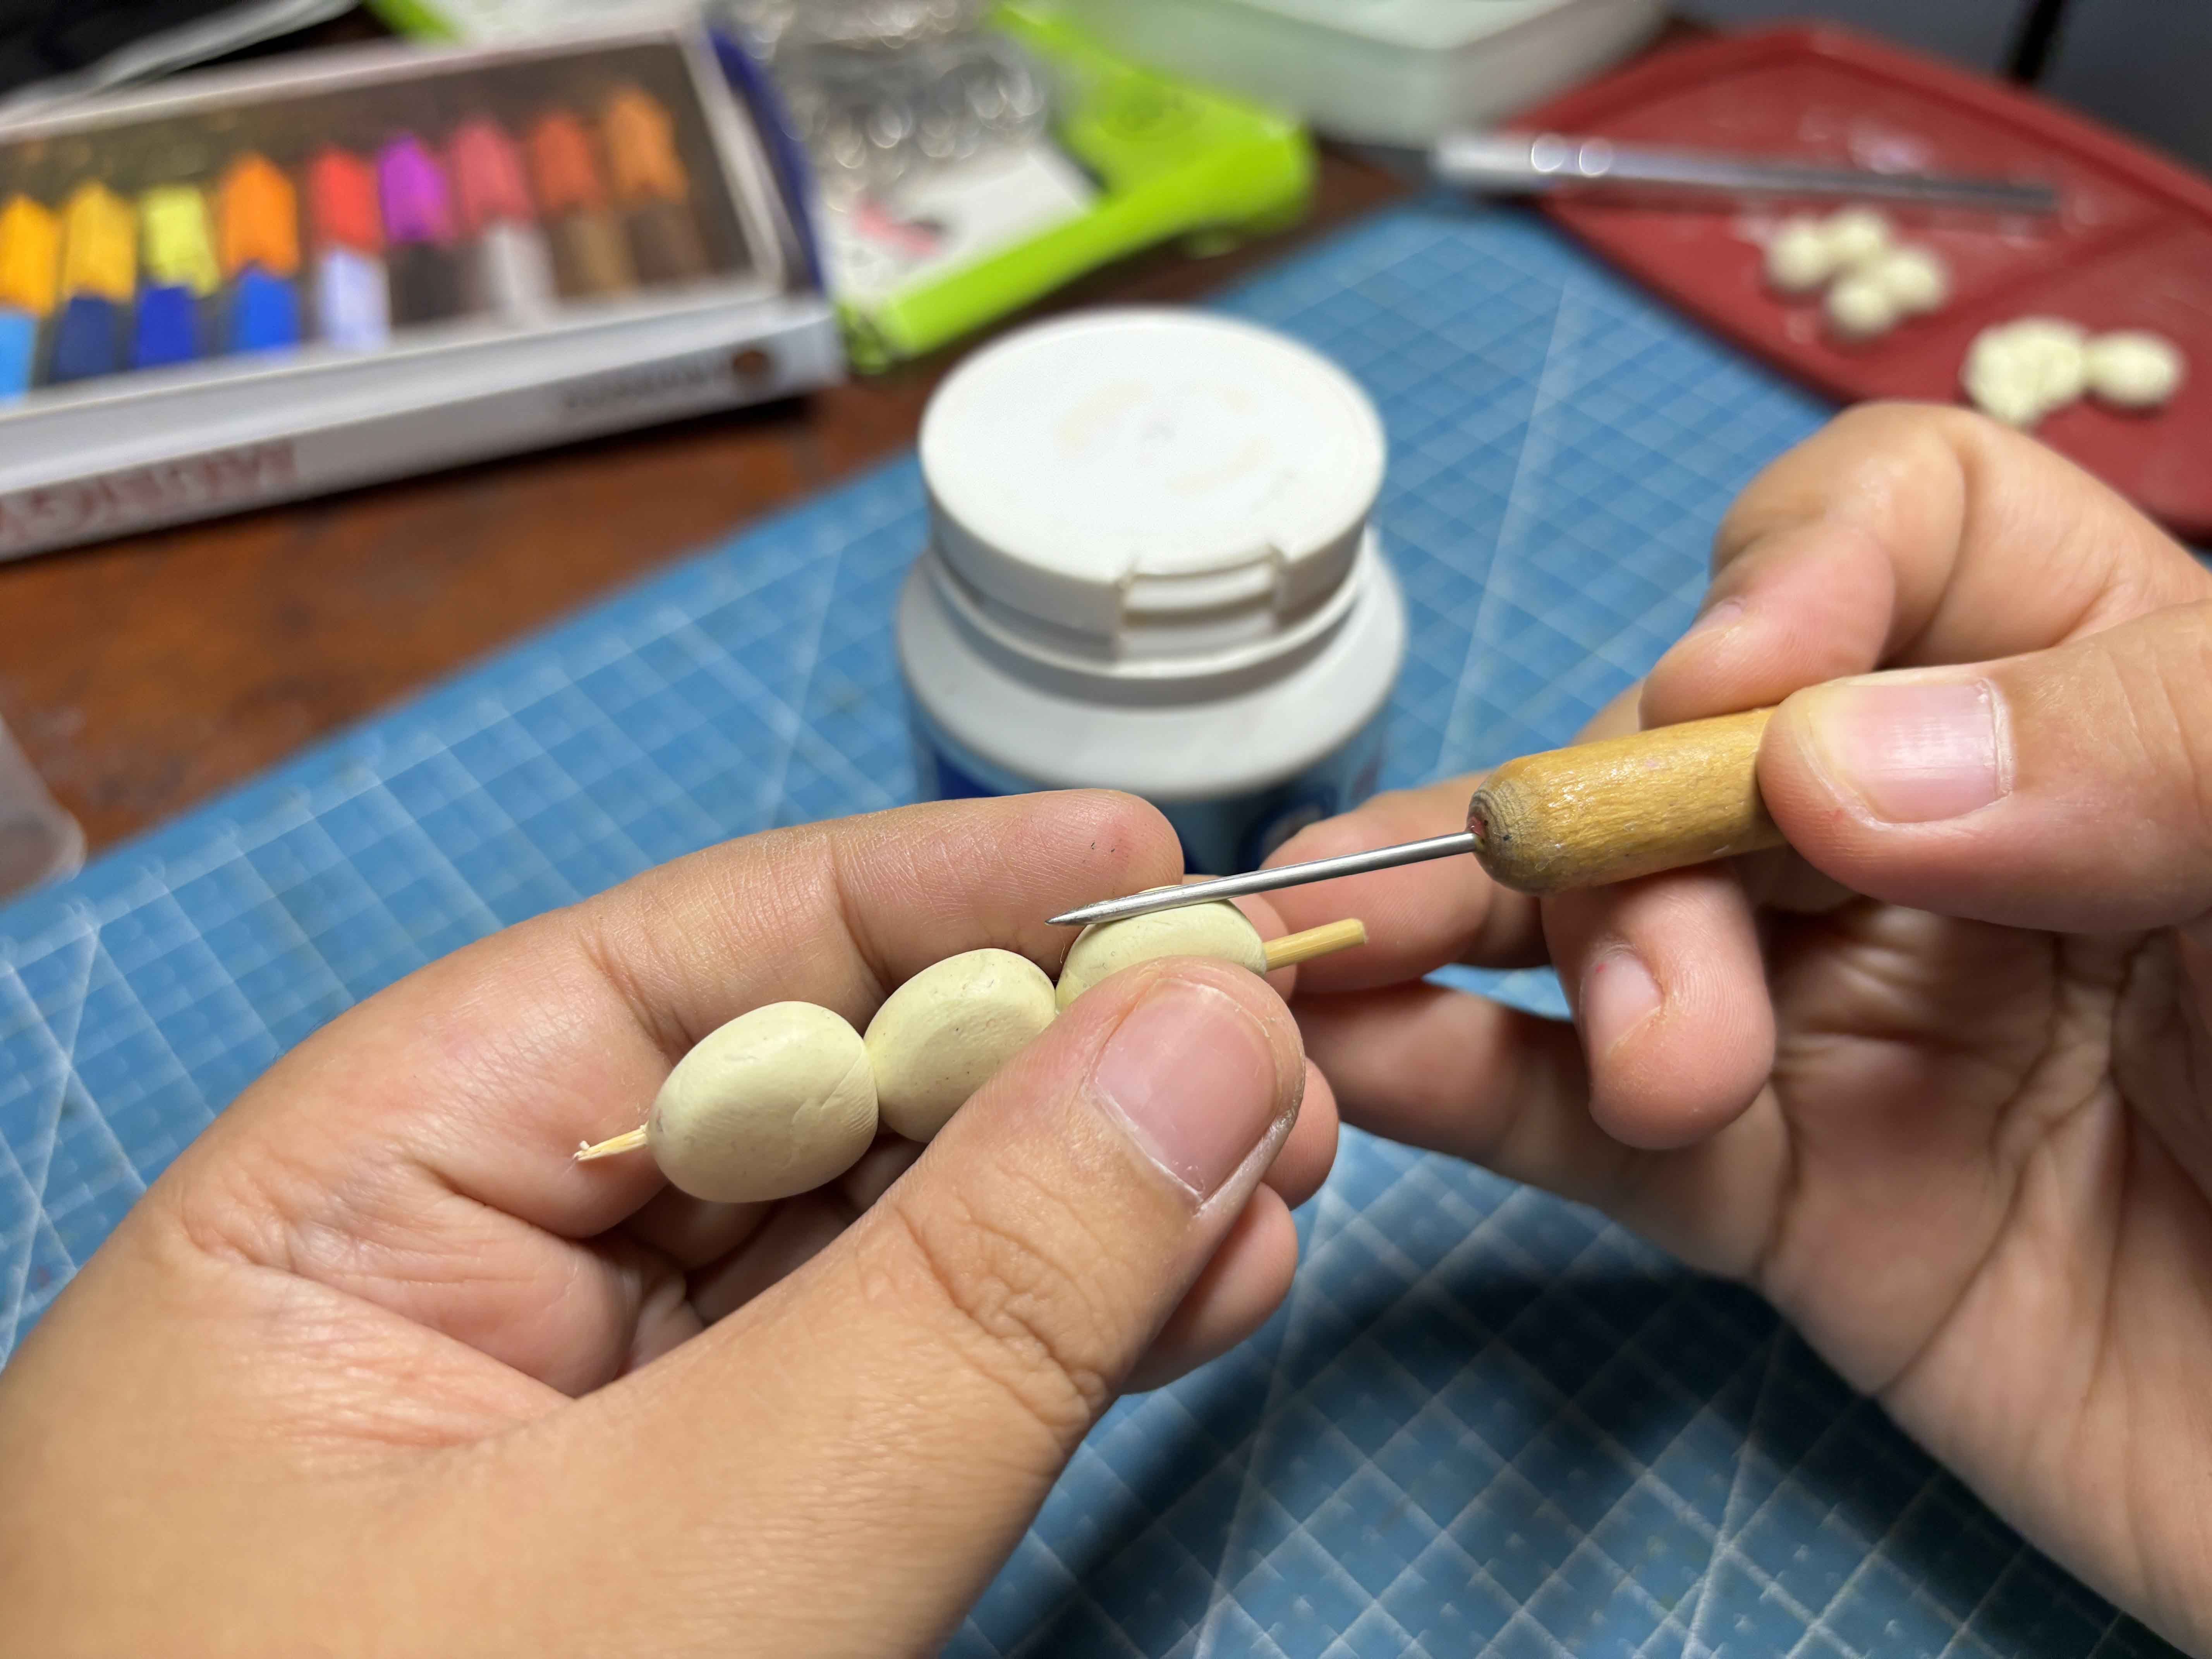
I used these dotting tools to add texture to it.
-----
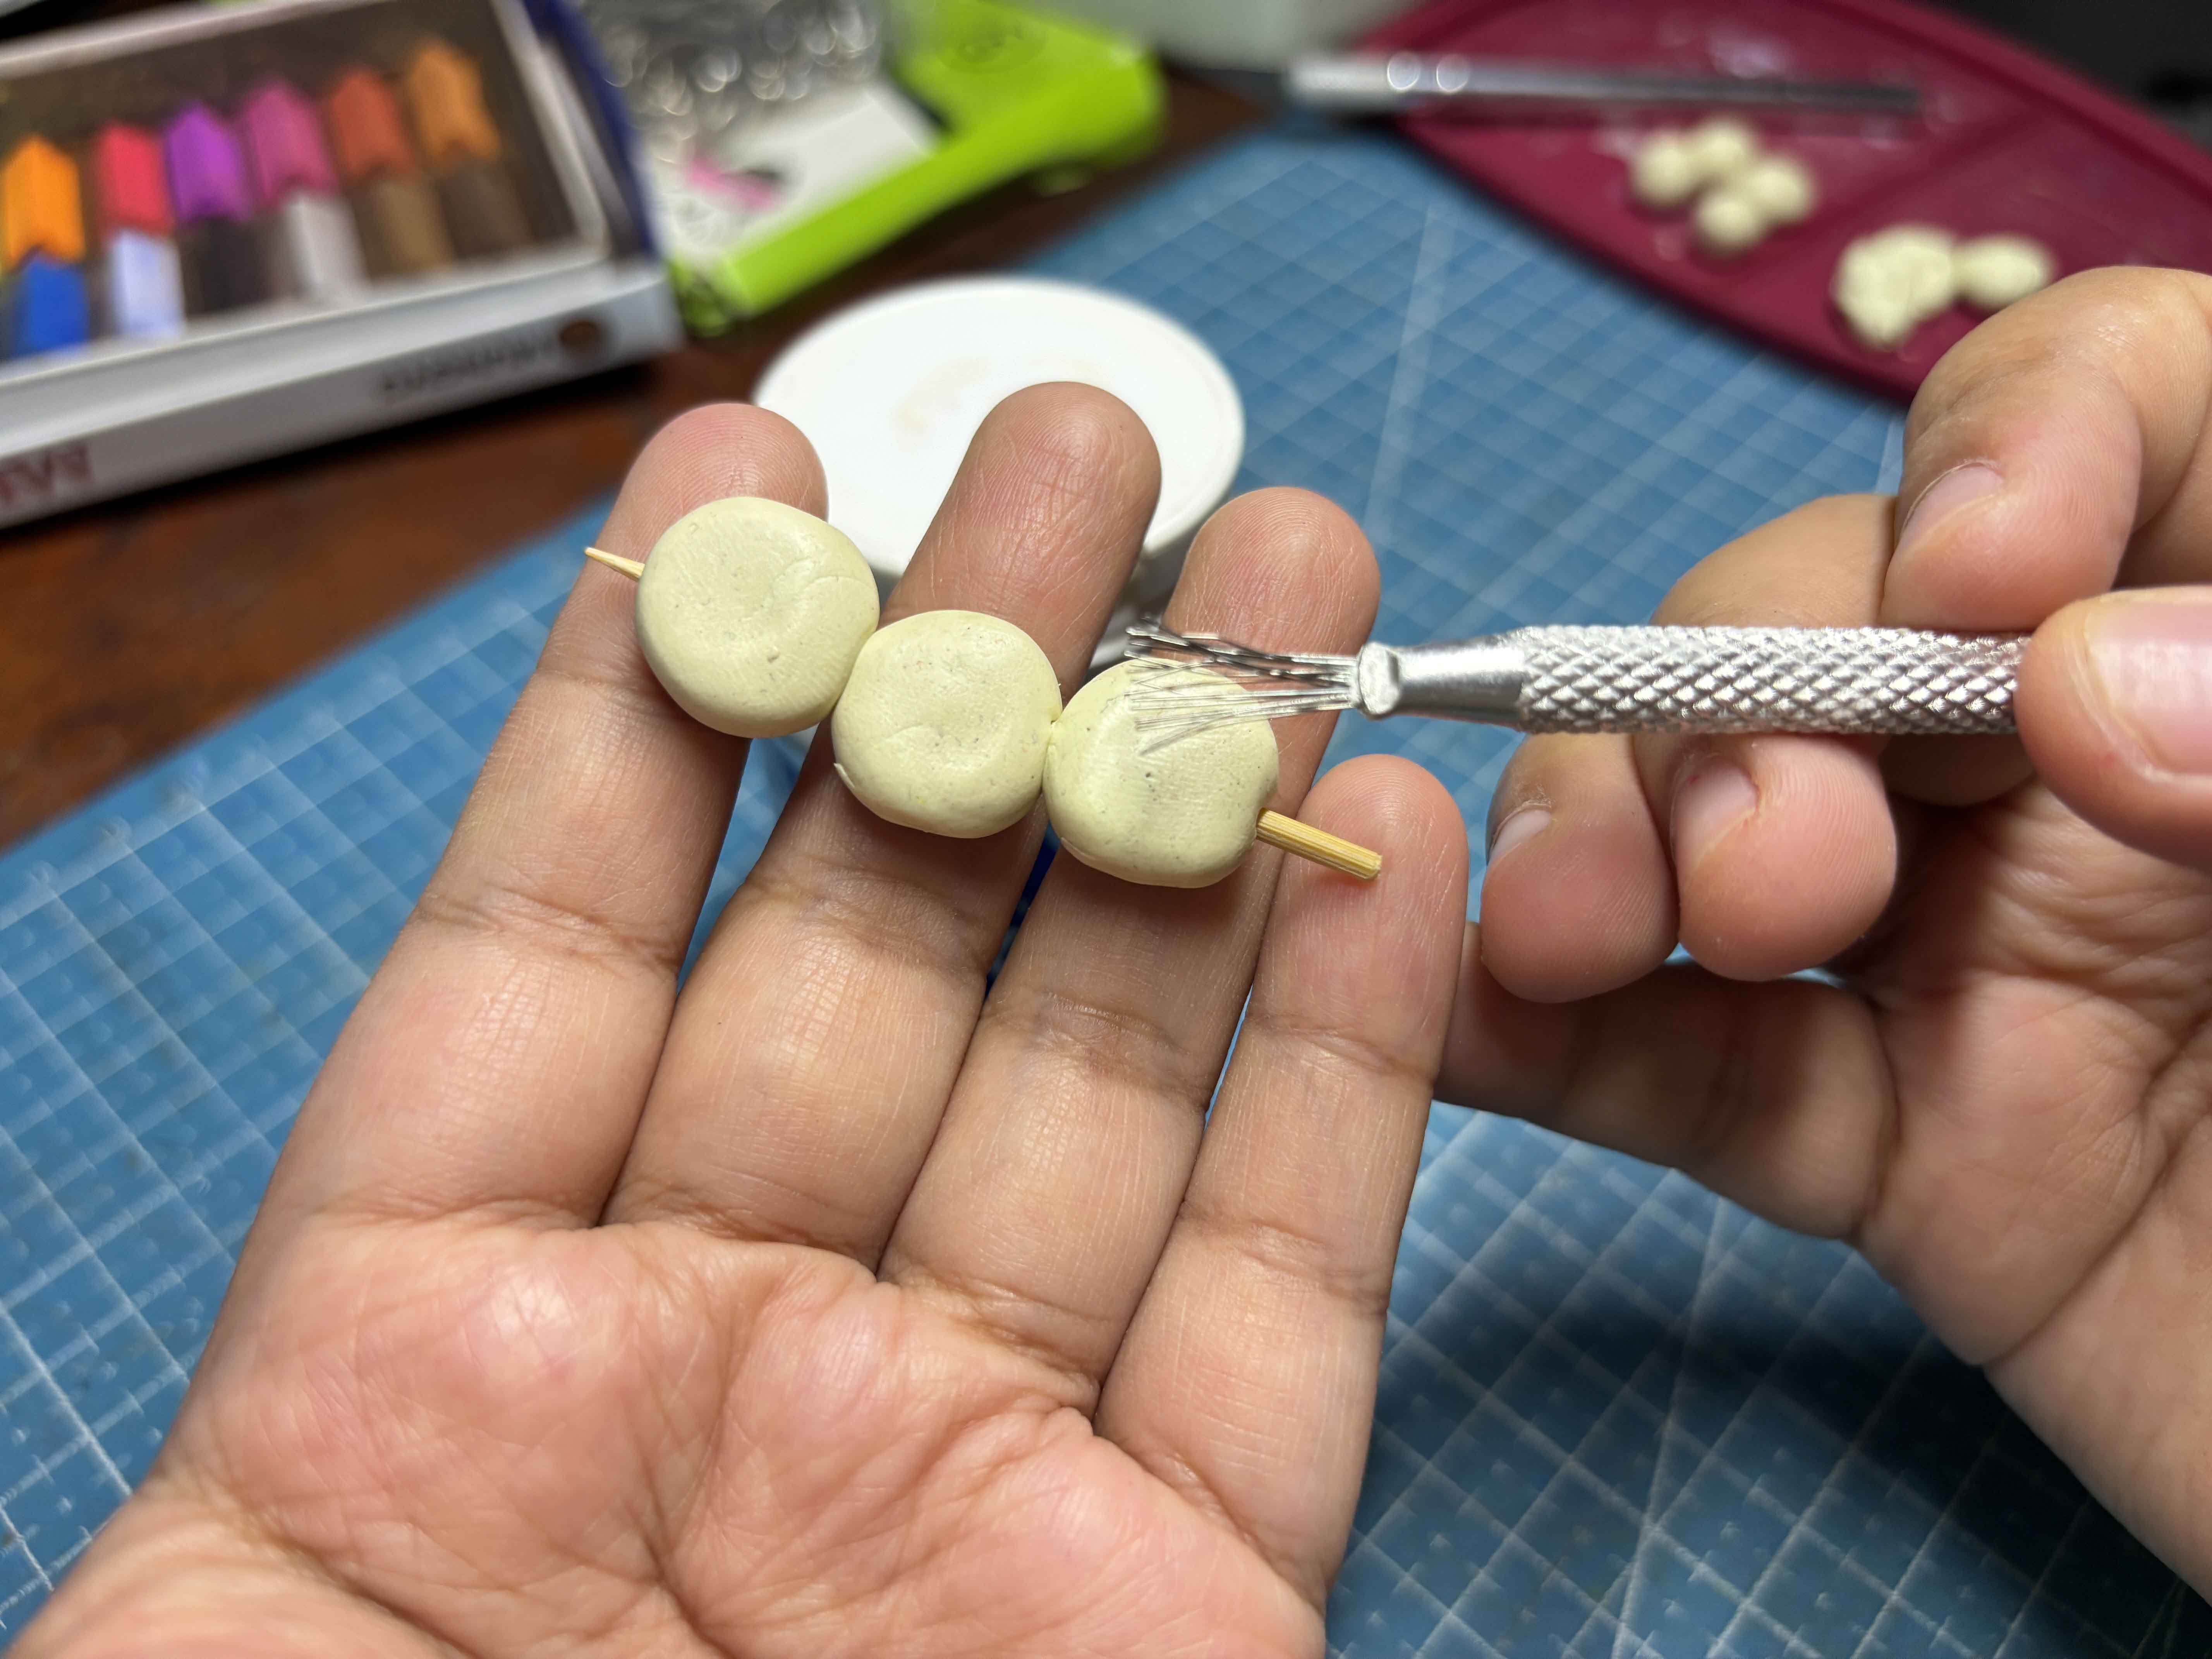
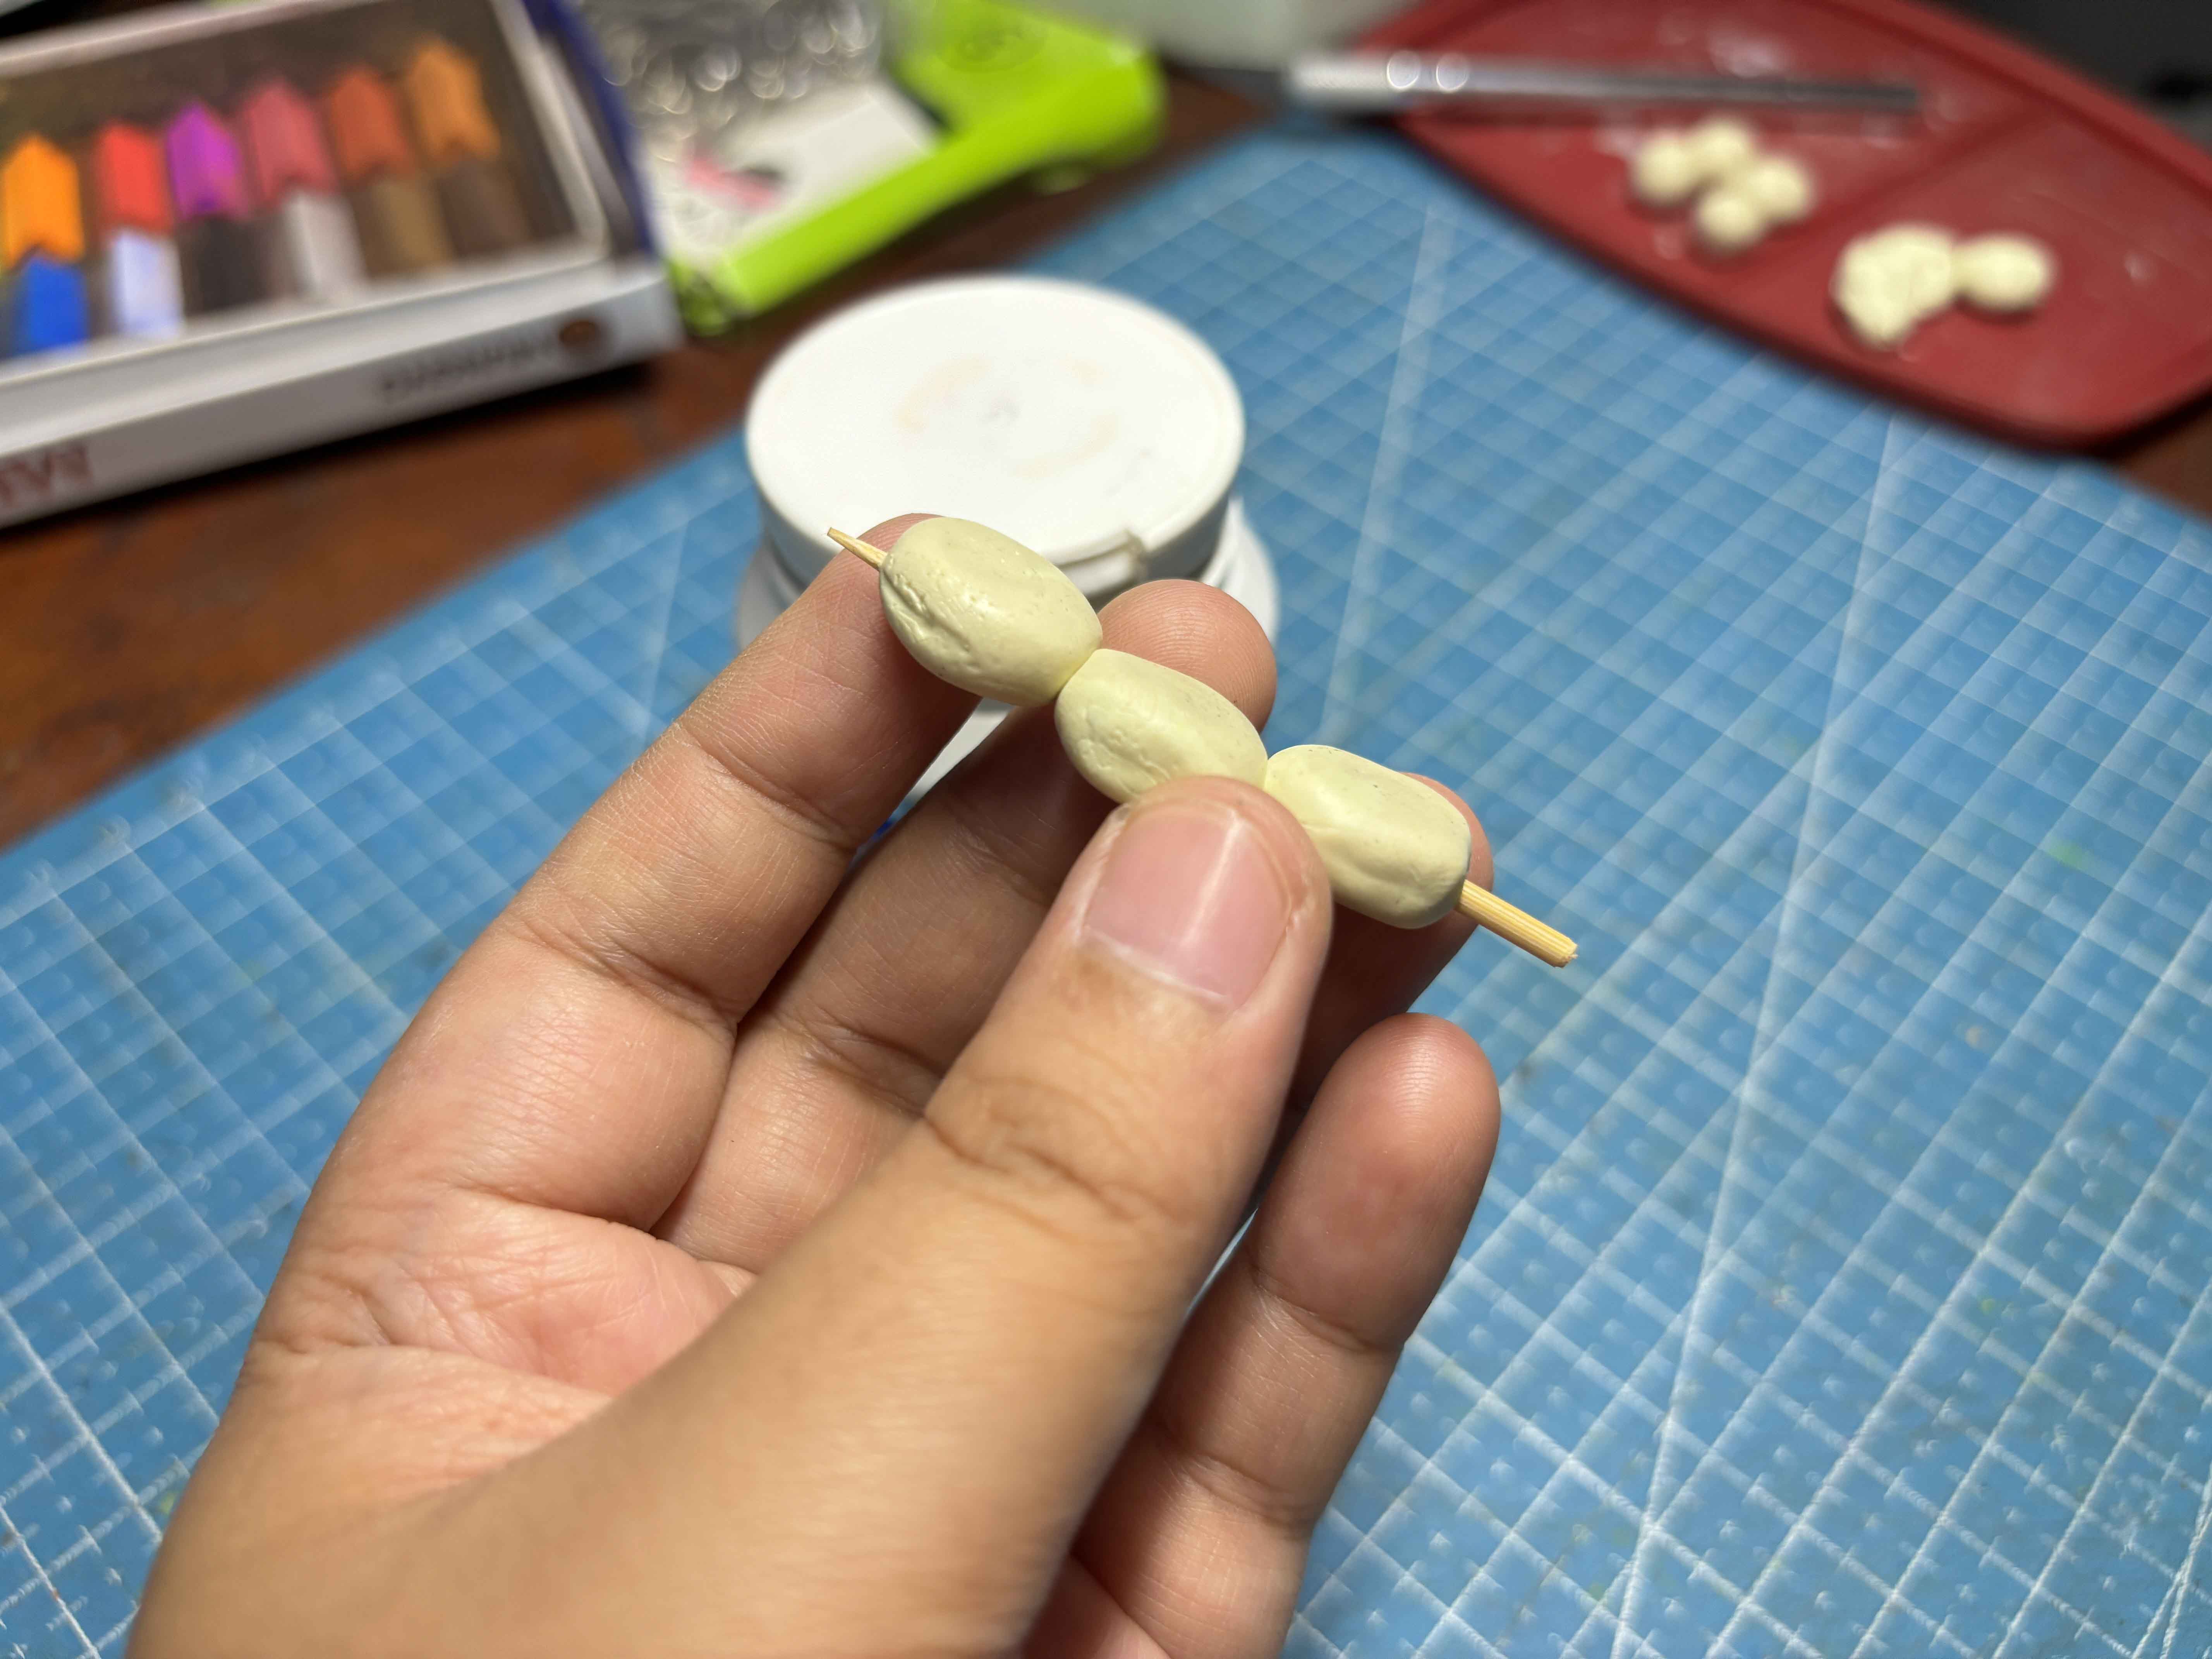
And then I like to use these wire tools to add texture too.
-----

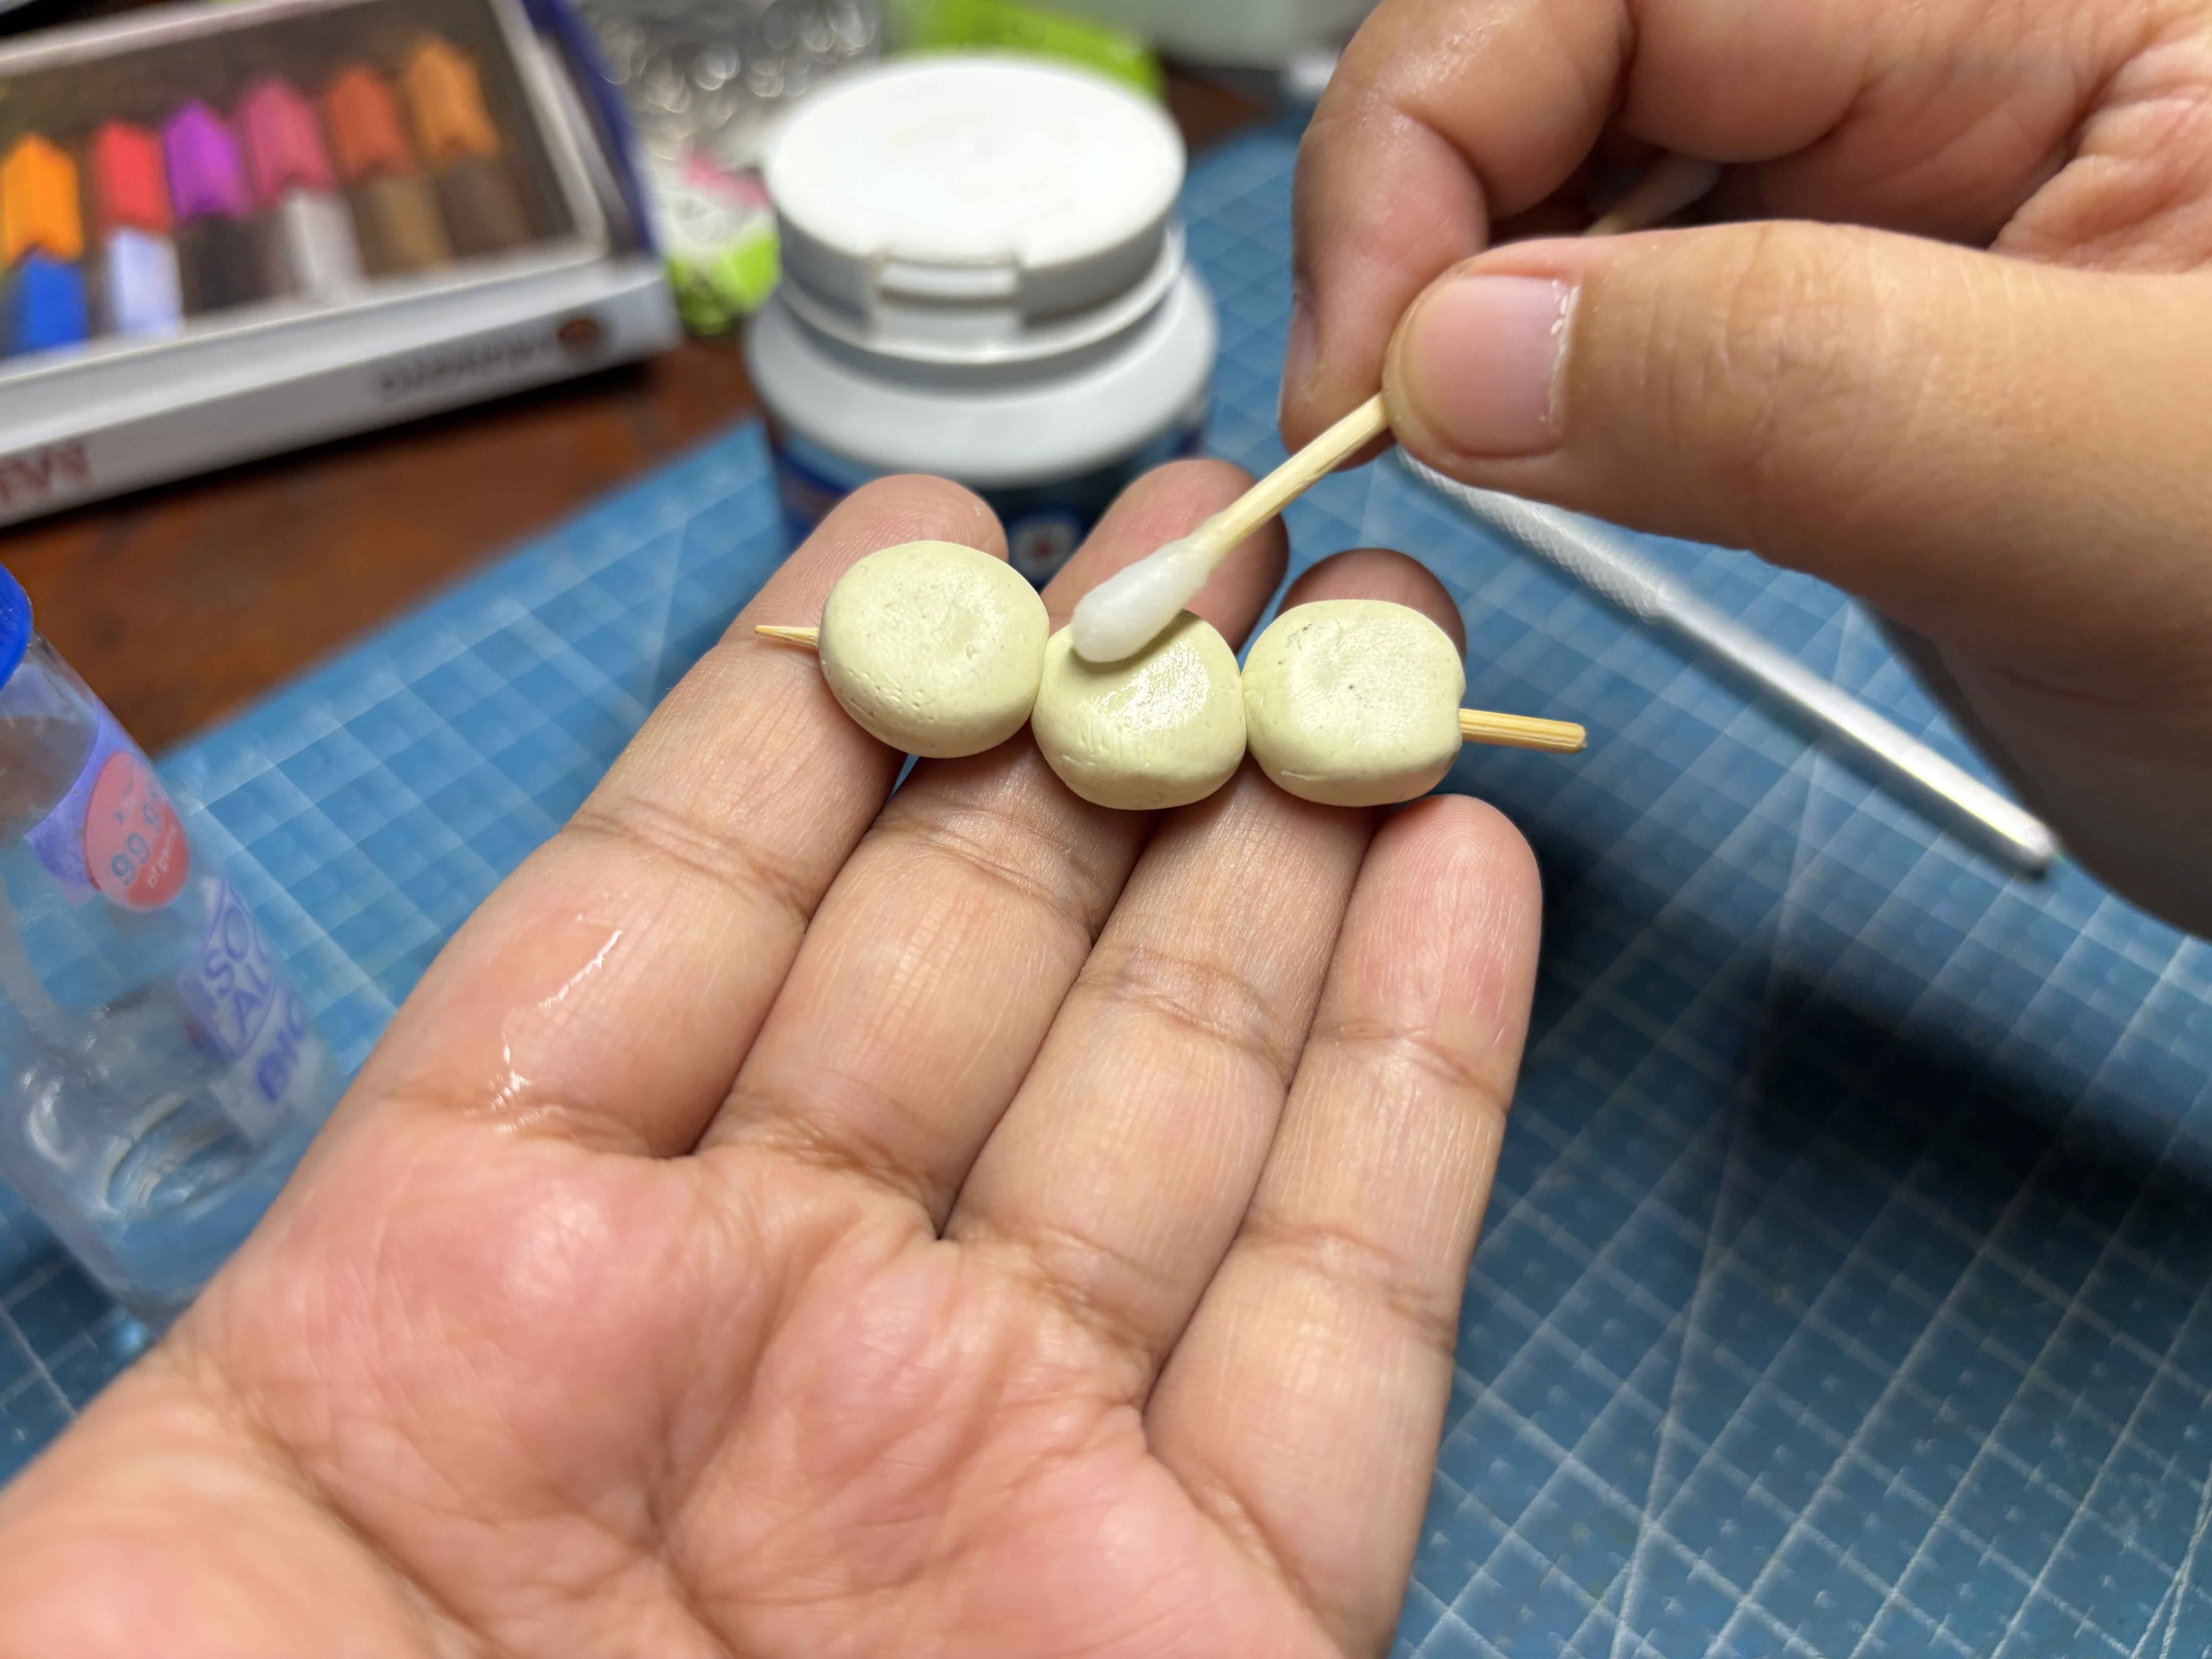
After that, I used alcohol and a Q-tip to clean off some of the fine dust and some noticeable debris.
-----
Adding Color and Shades To The Clay:
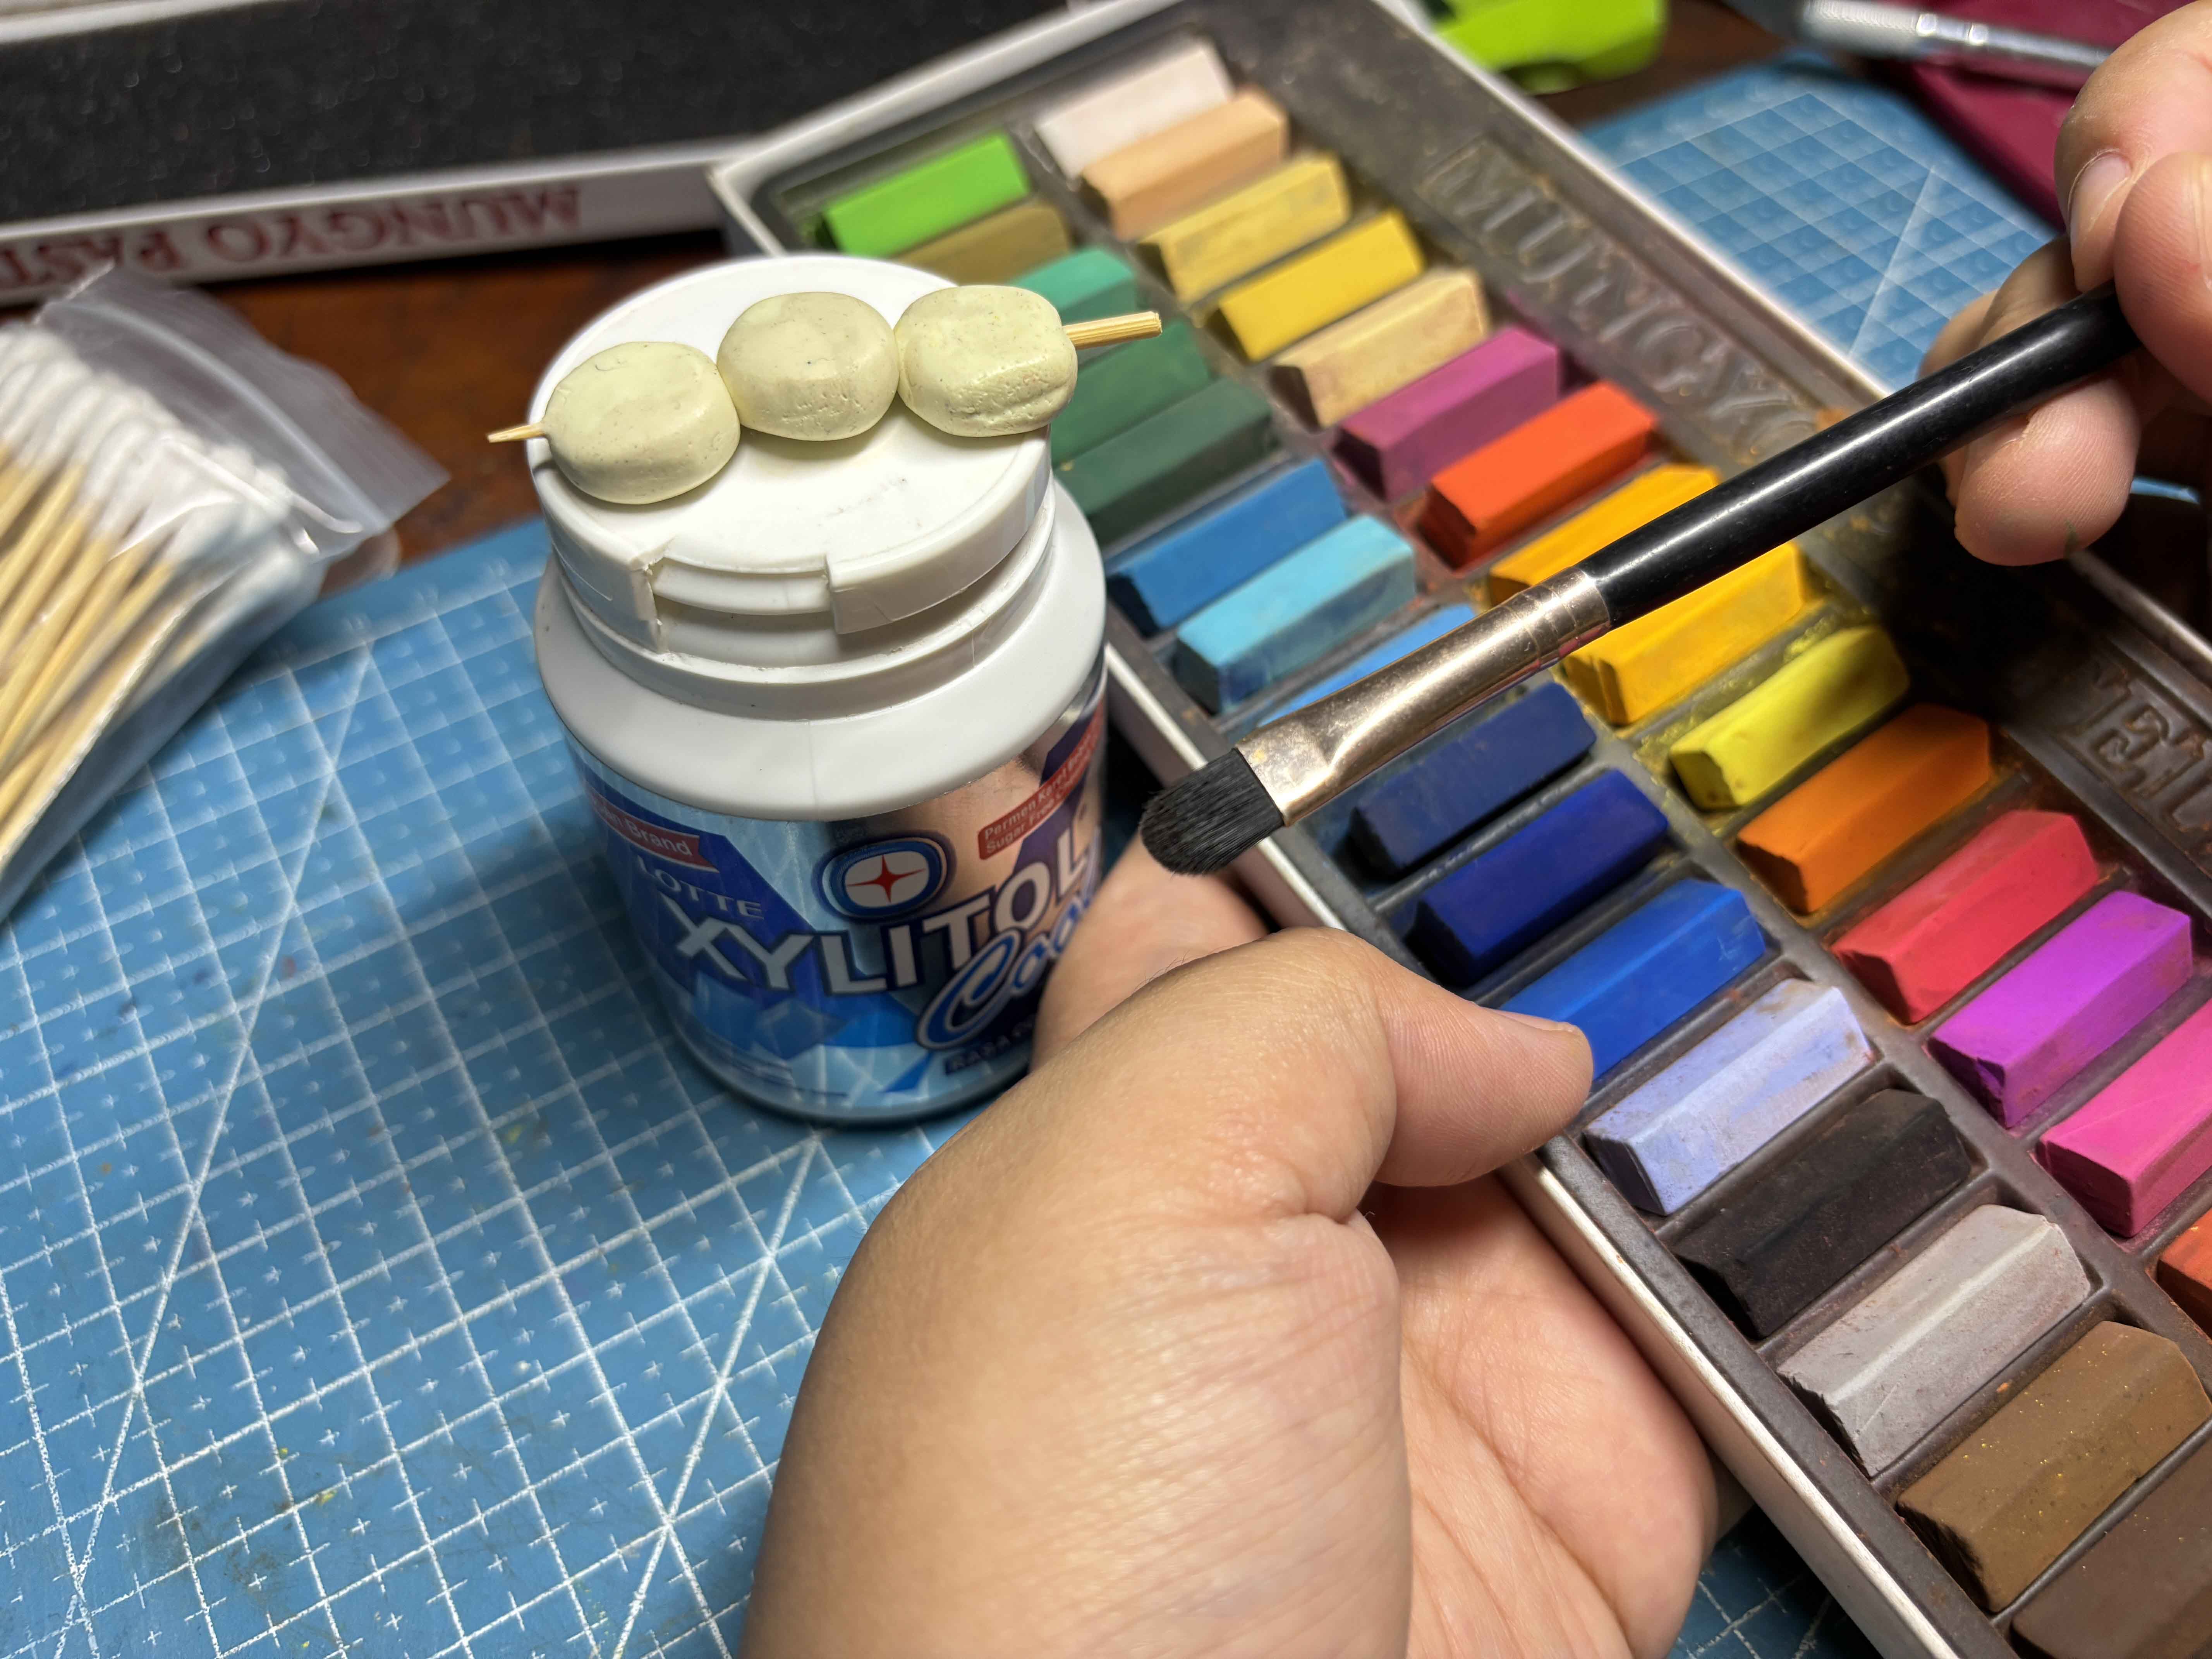
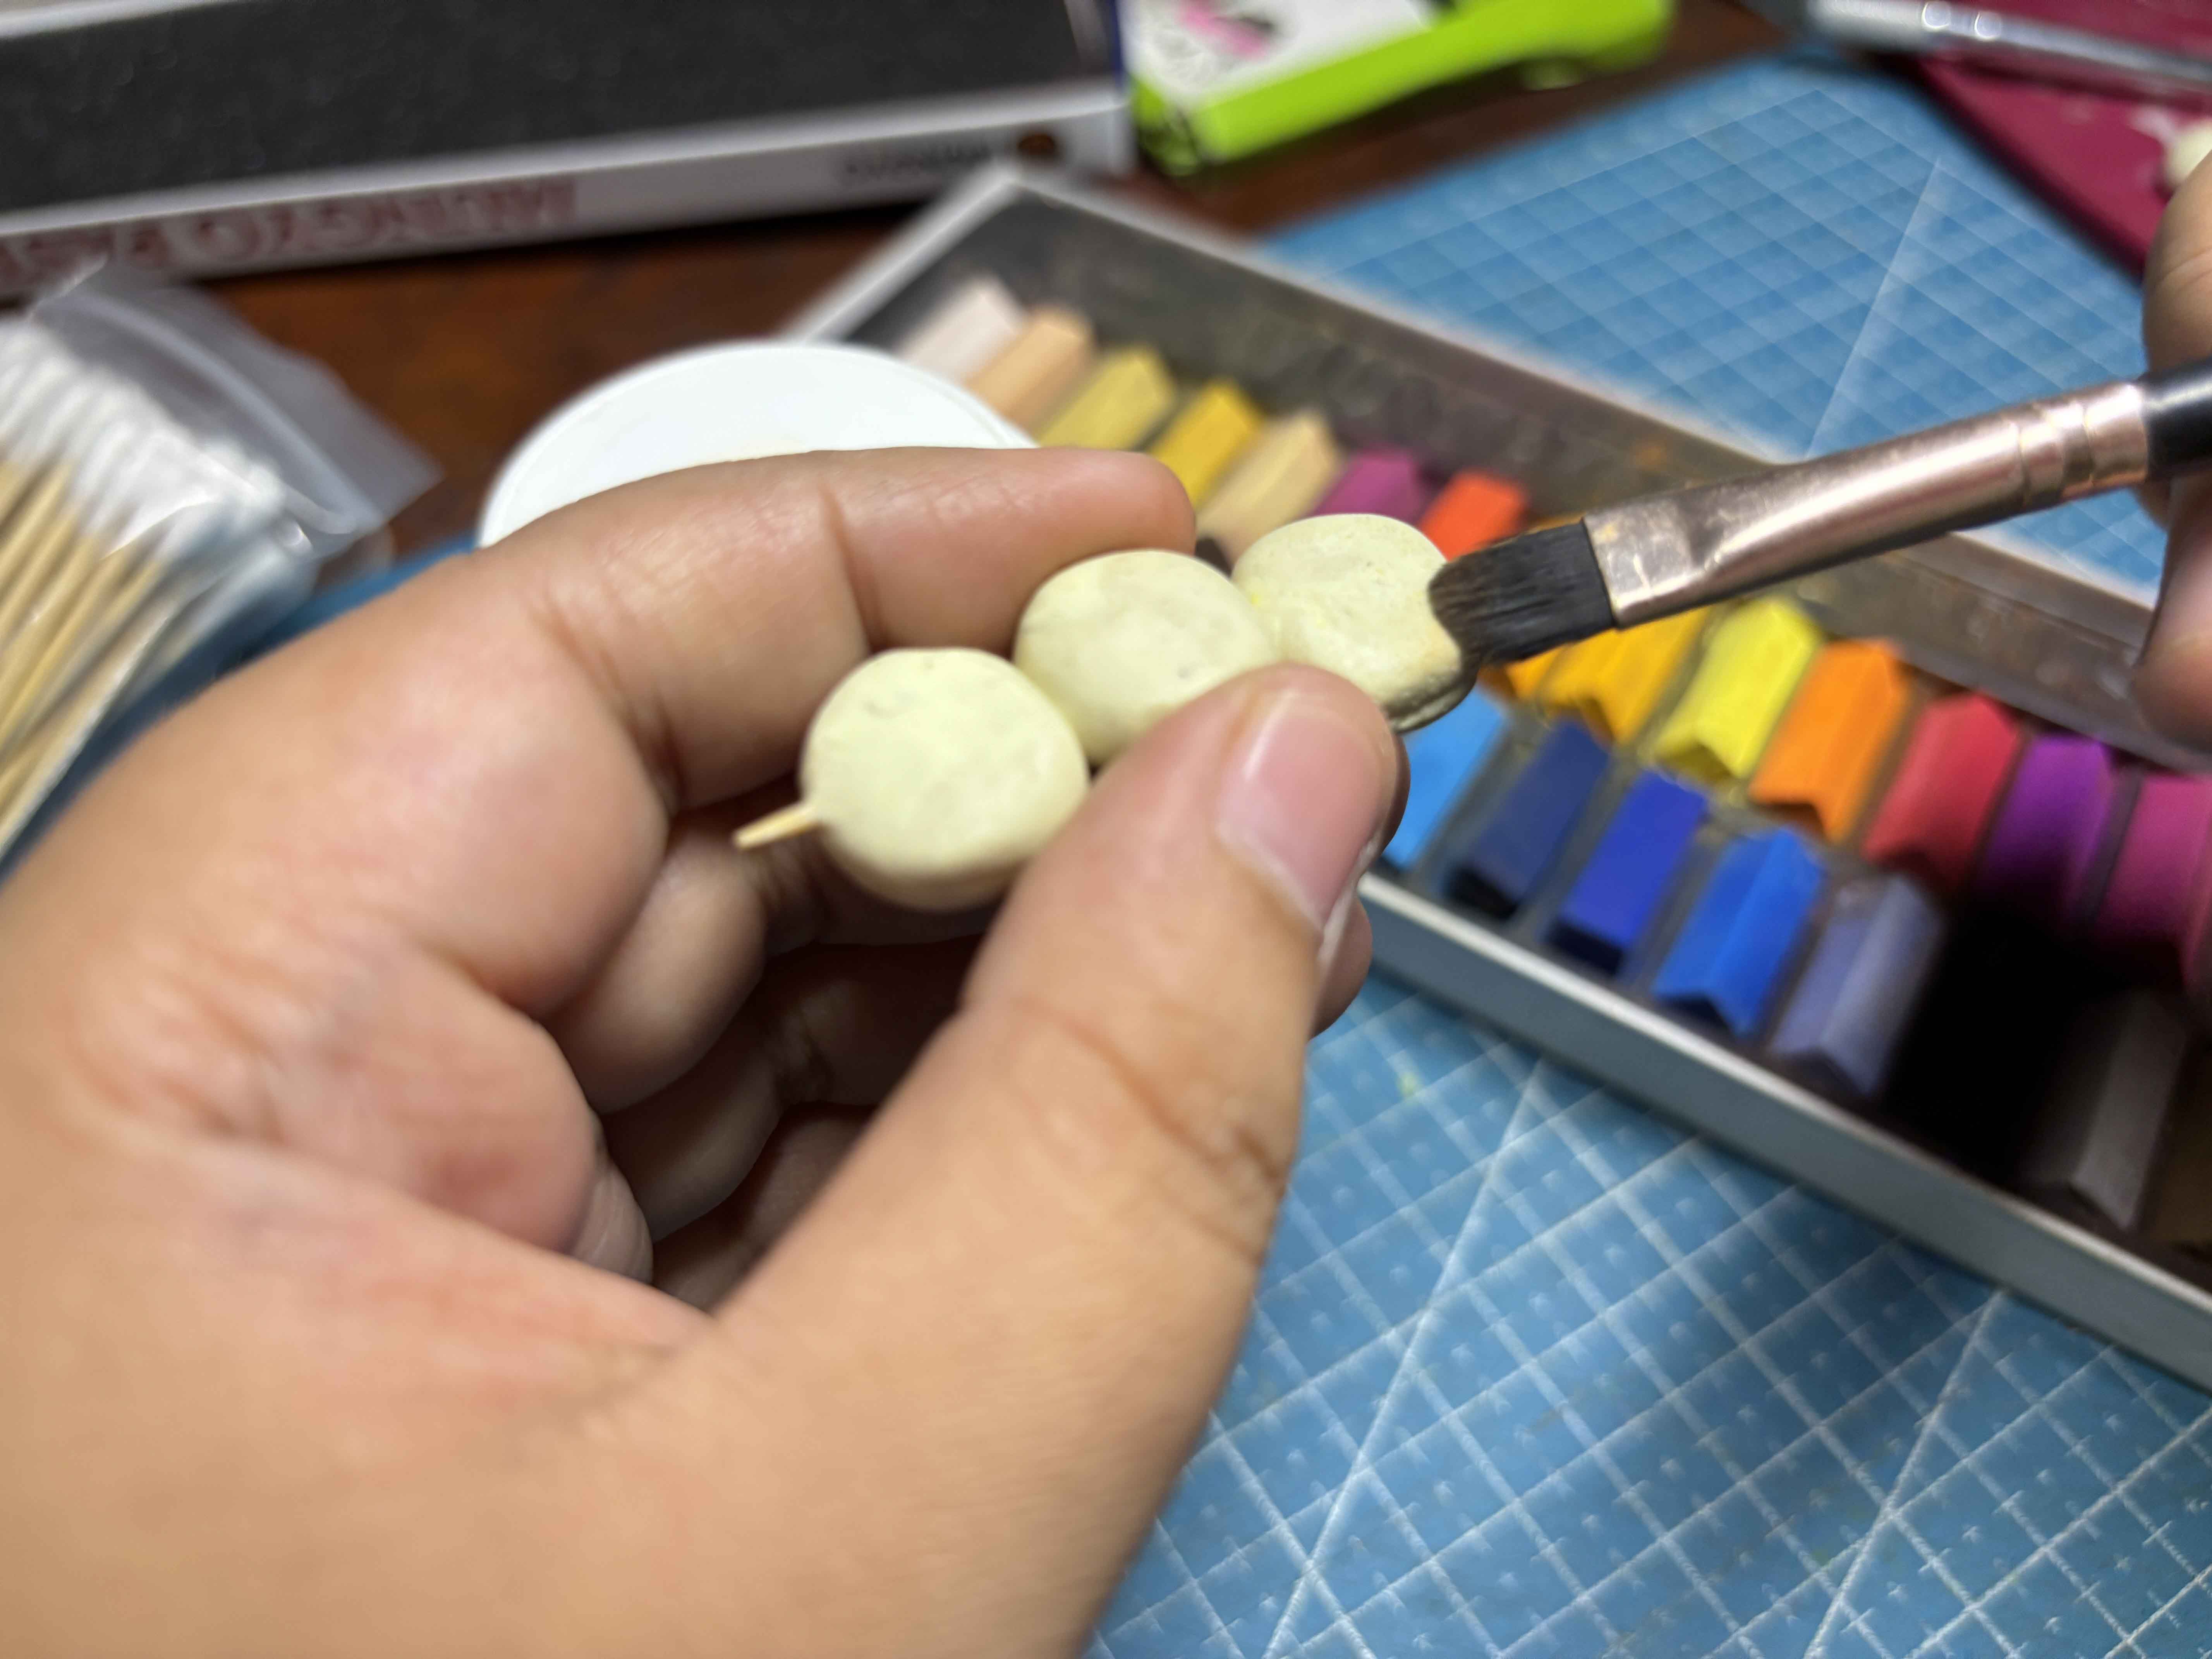
For this part, I used soft pastel and a makeup brush to add color and shades to the clay. Using soft pastel is recommended if you like a more realistic feel to the clay
----
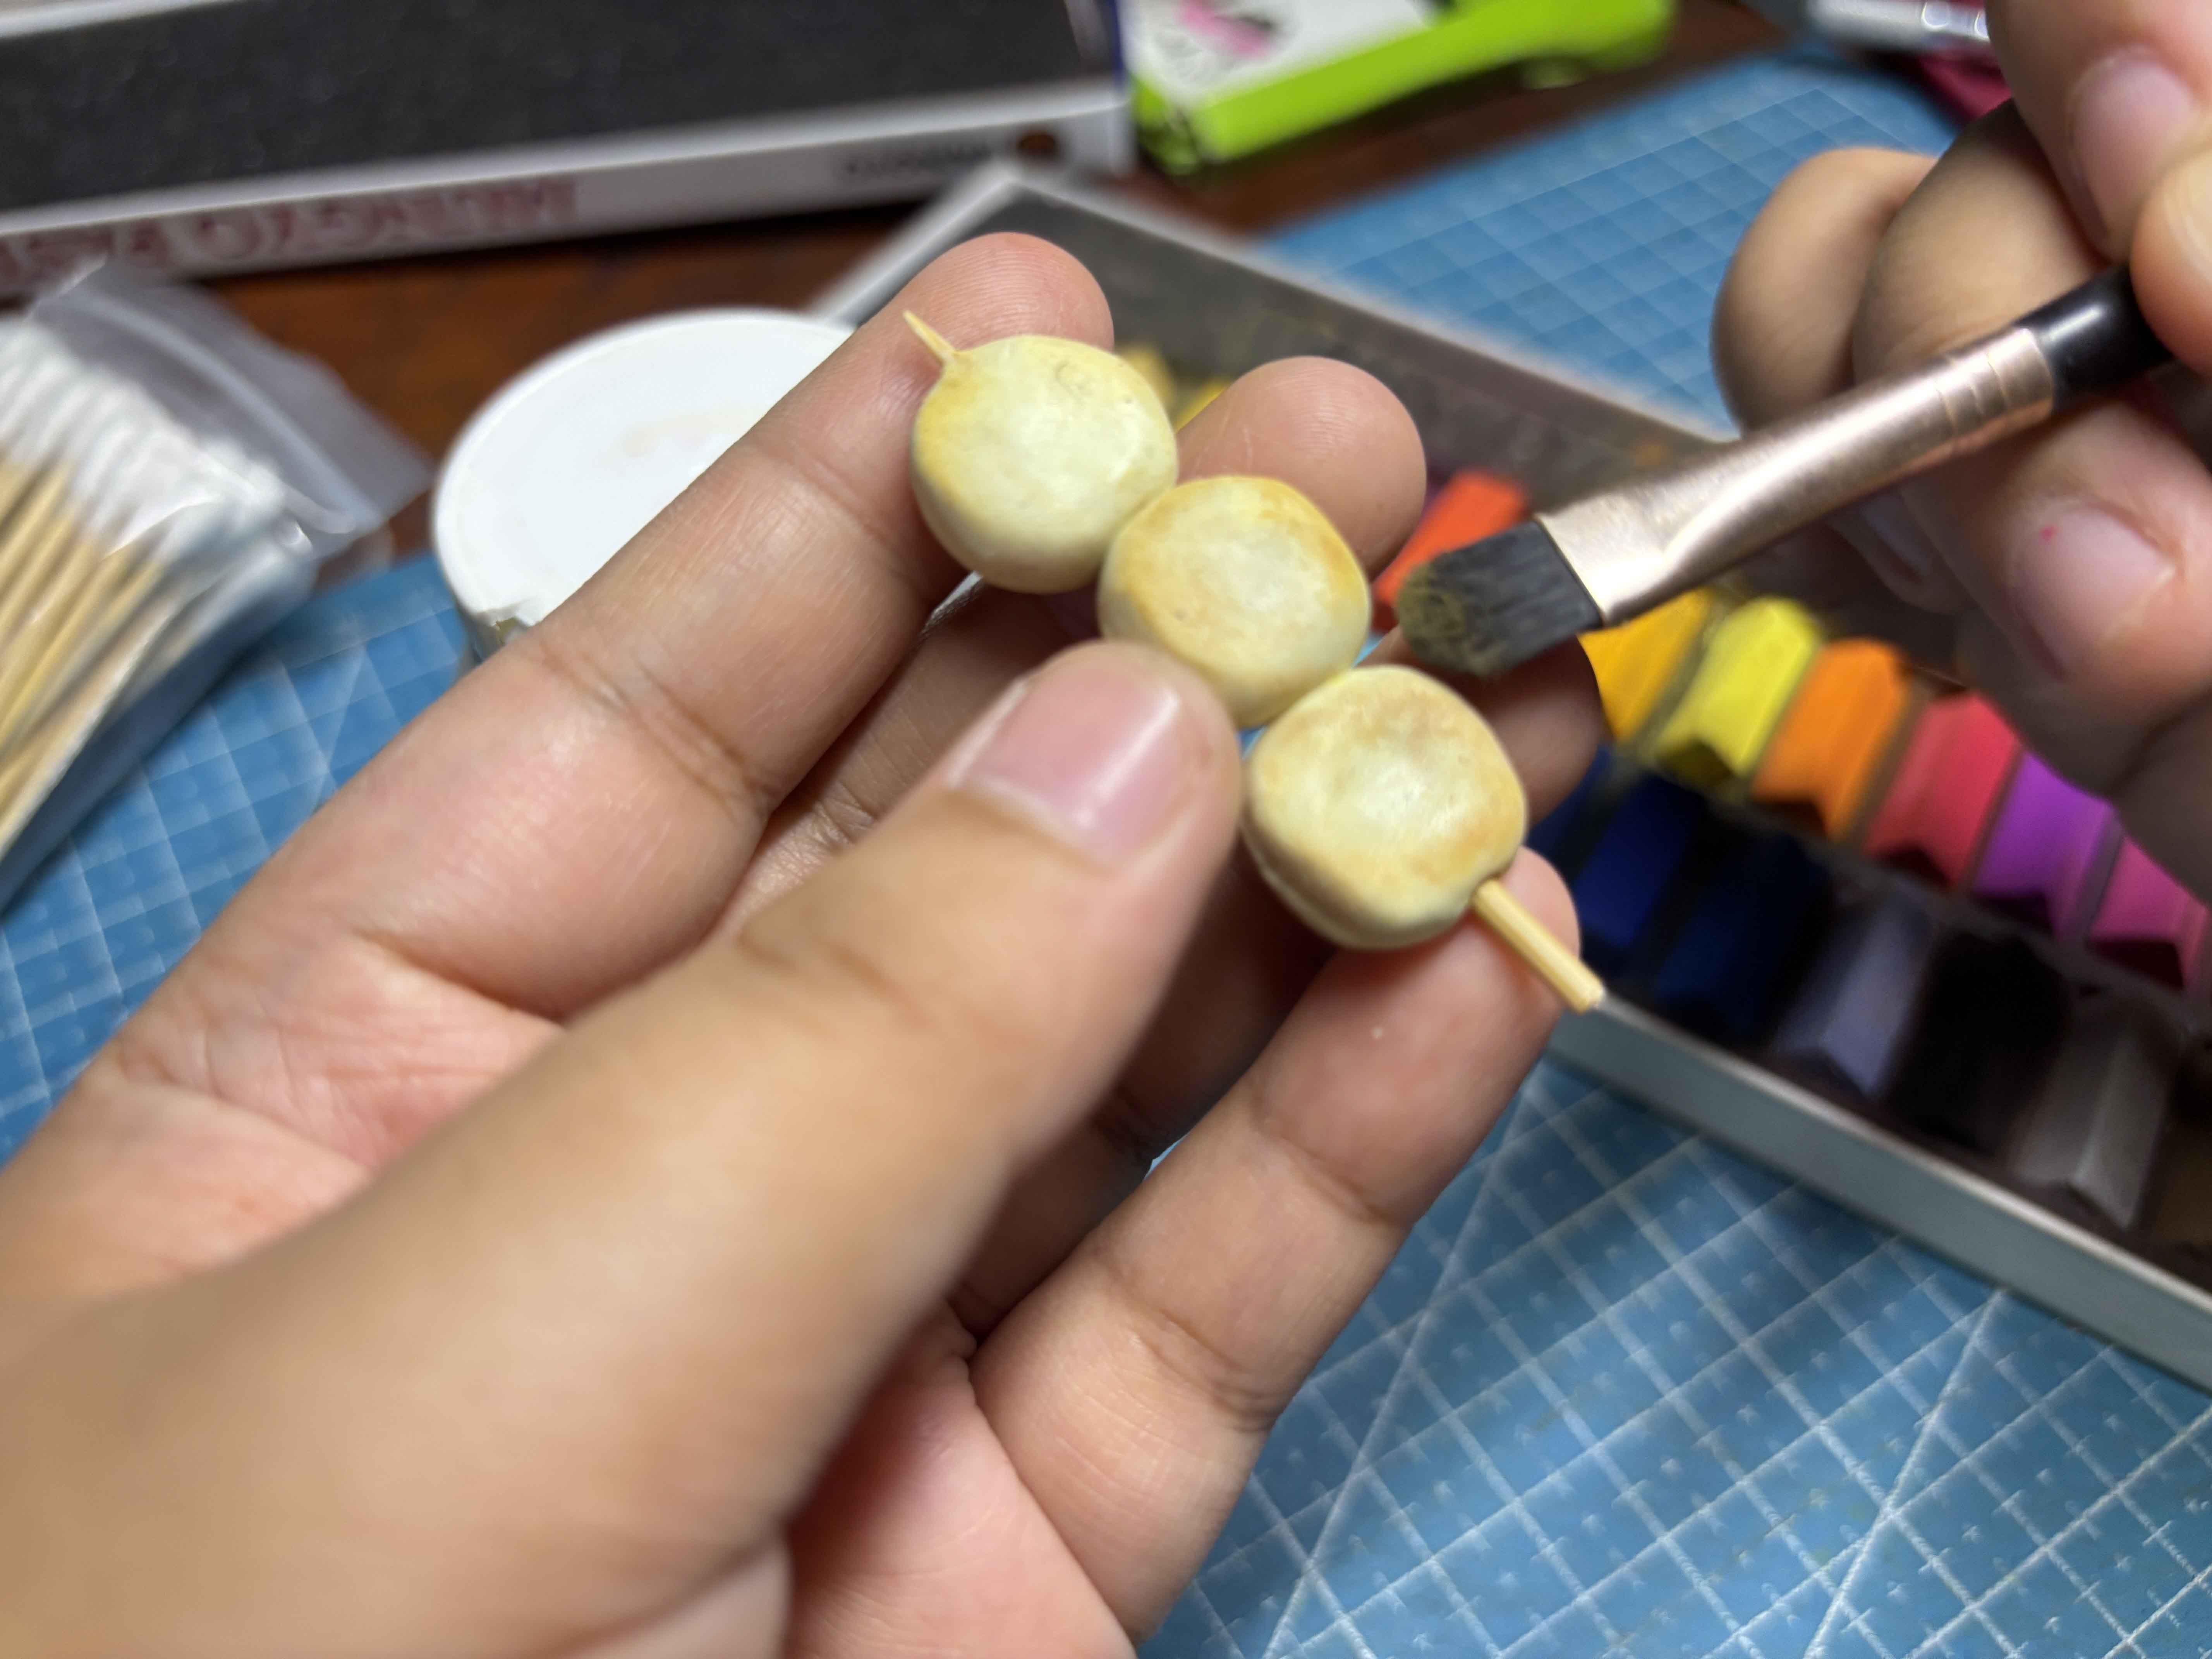

I just keep layering the clay until I get the right shades that I want.
-----
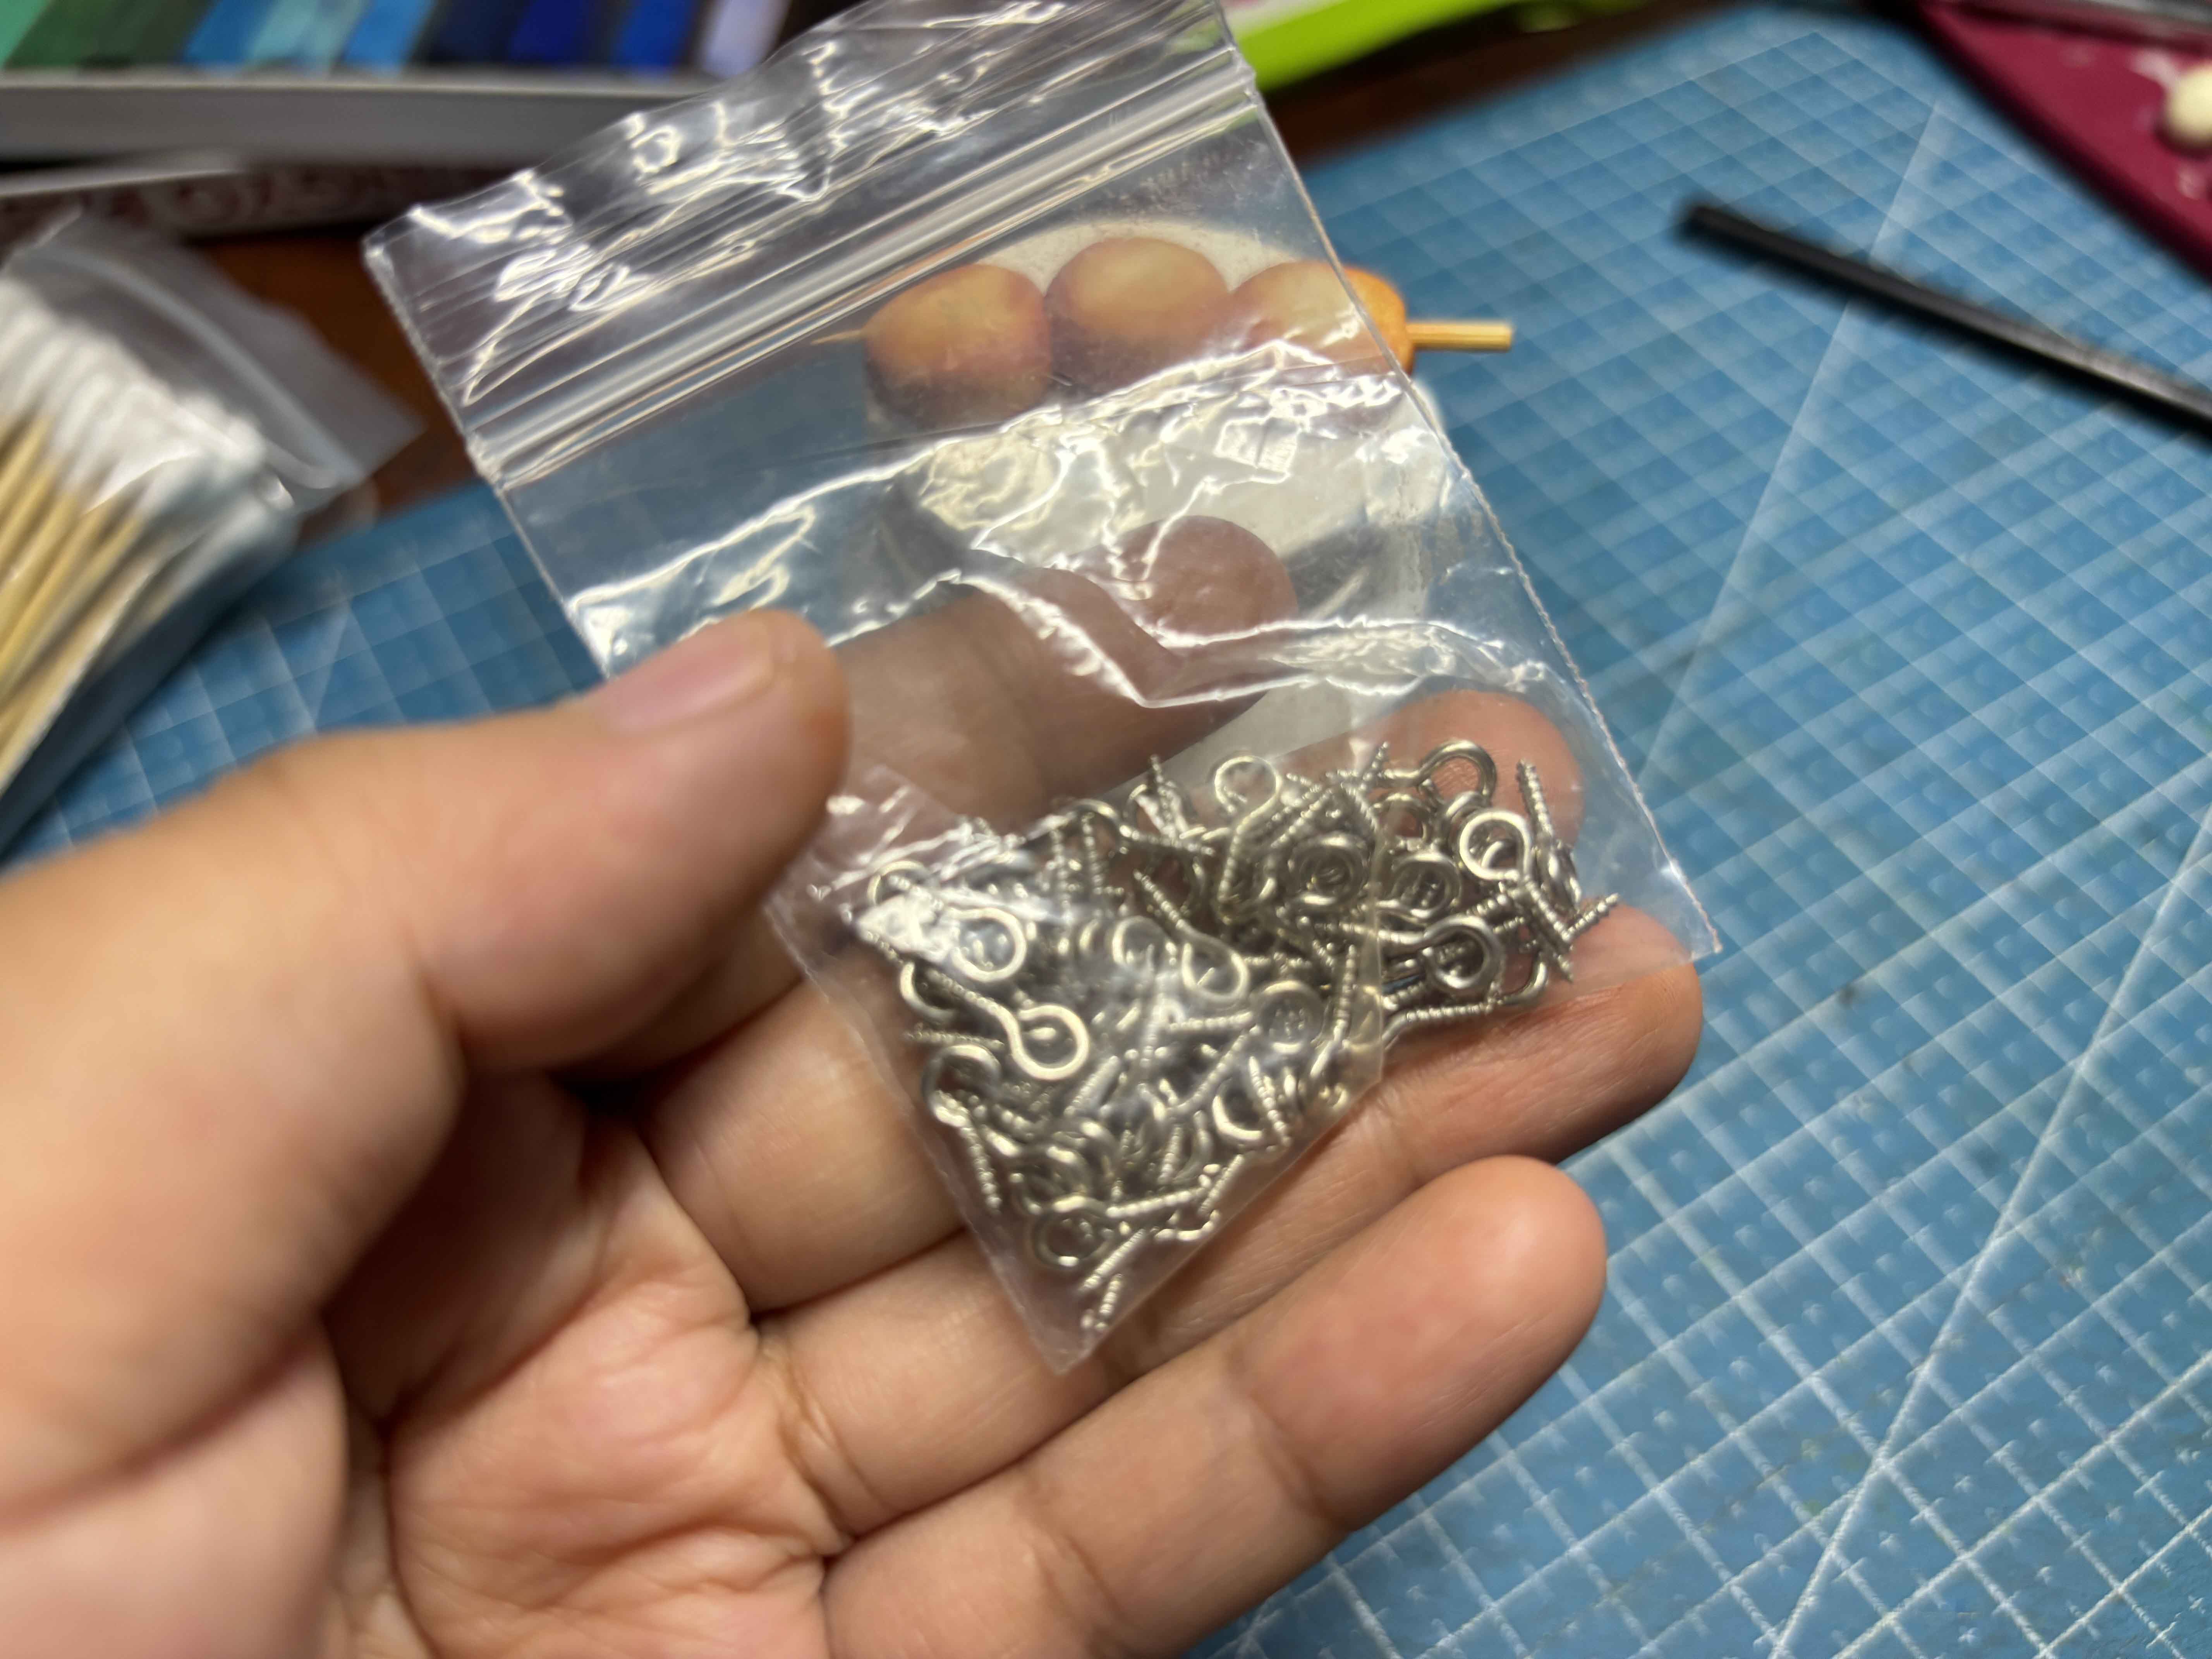
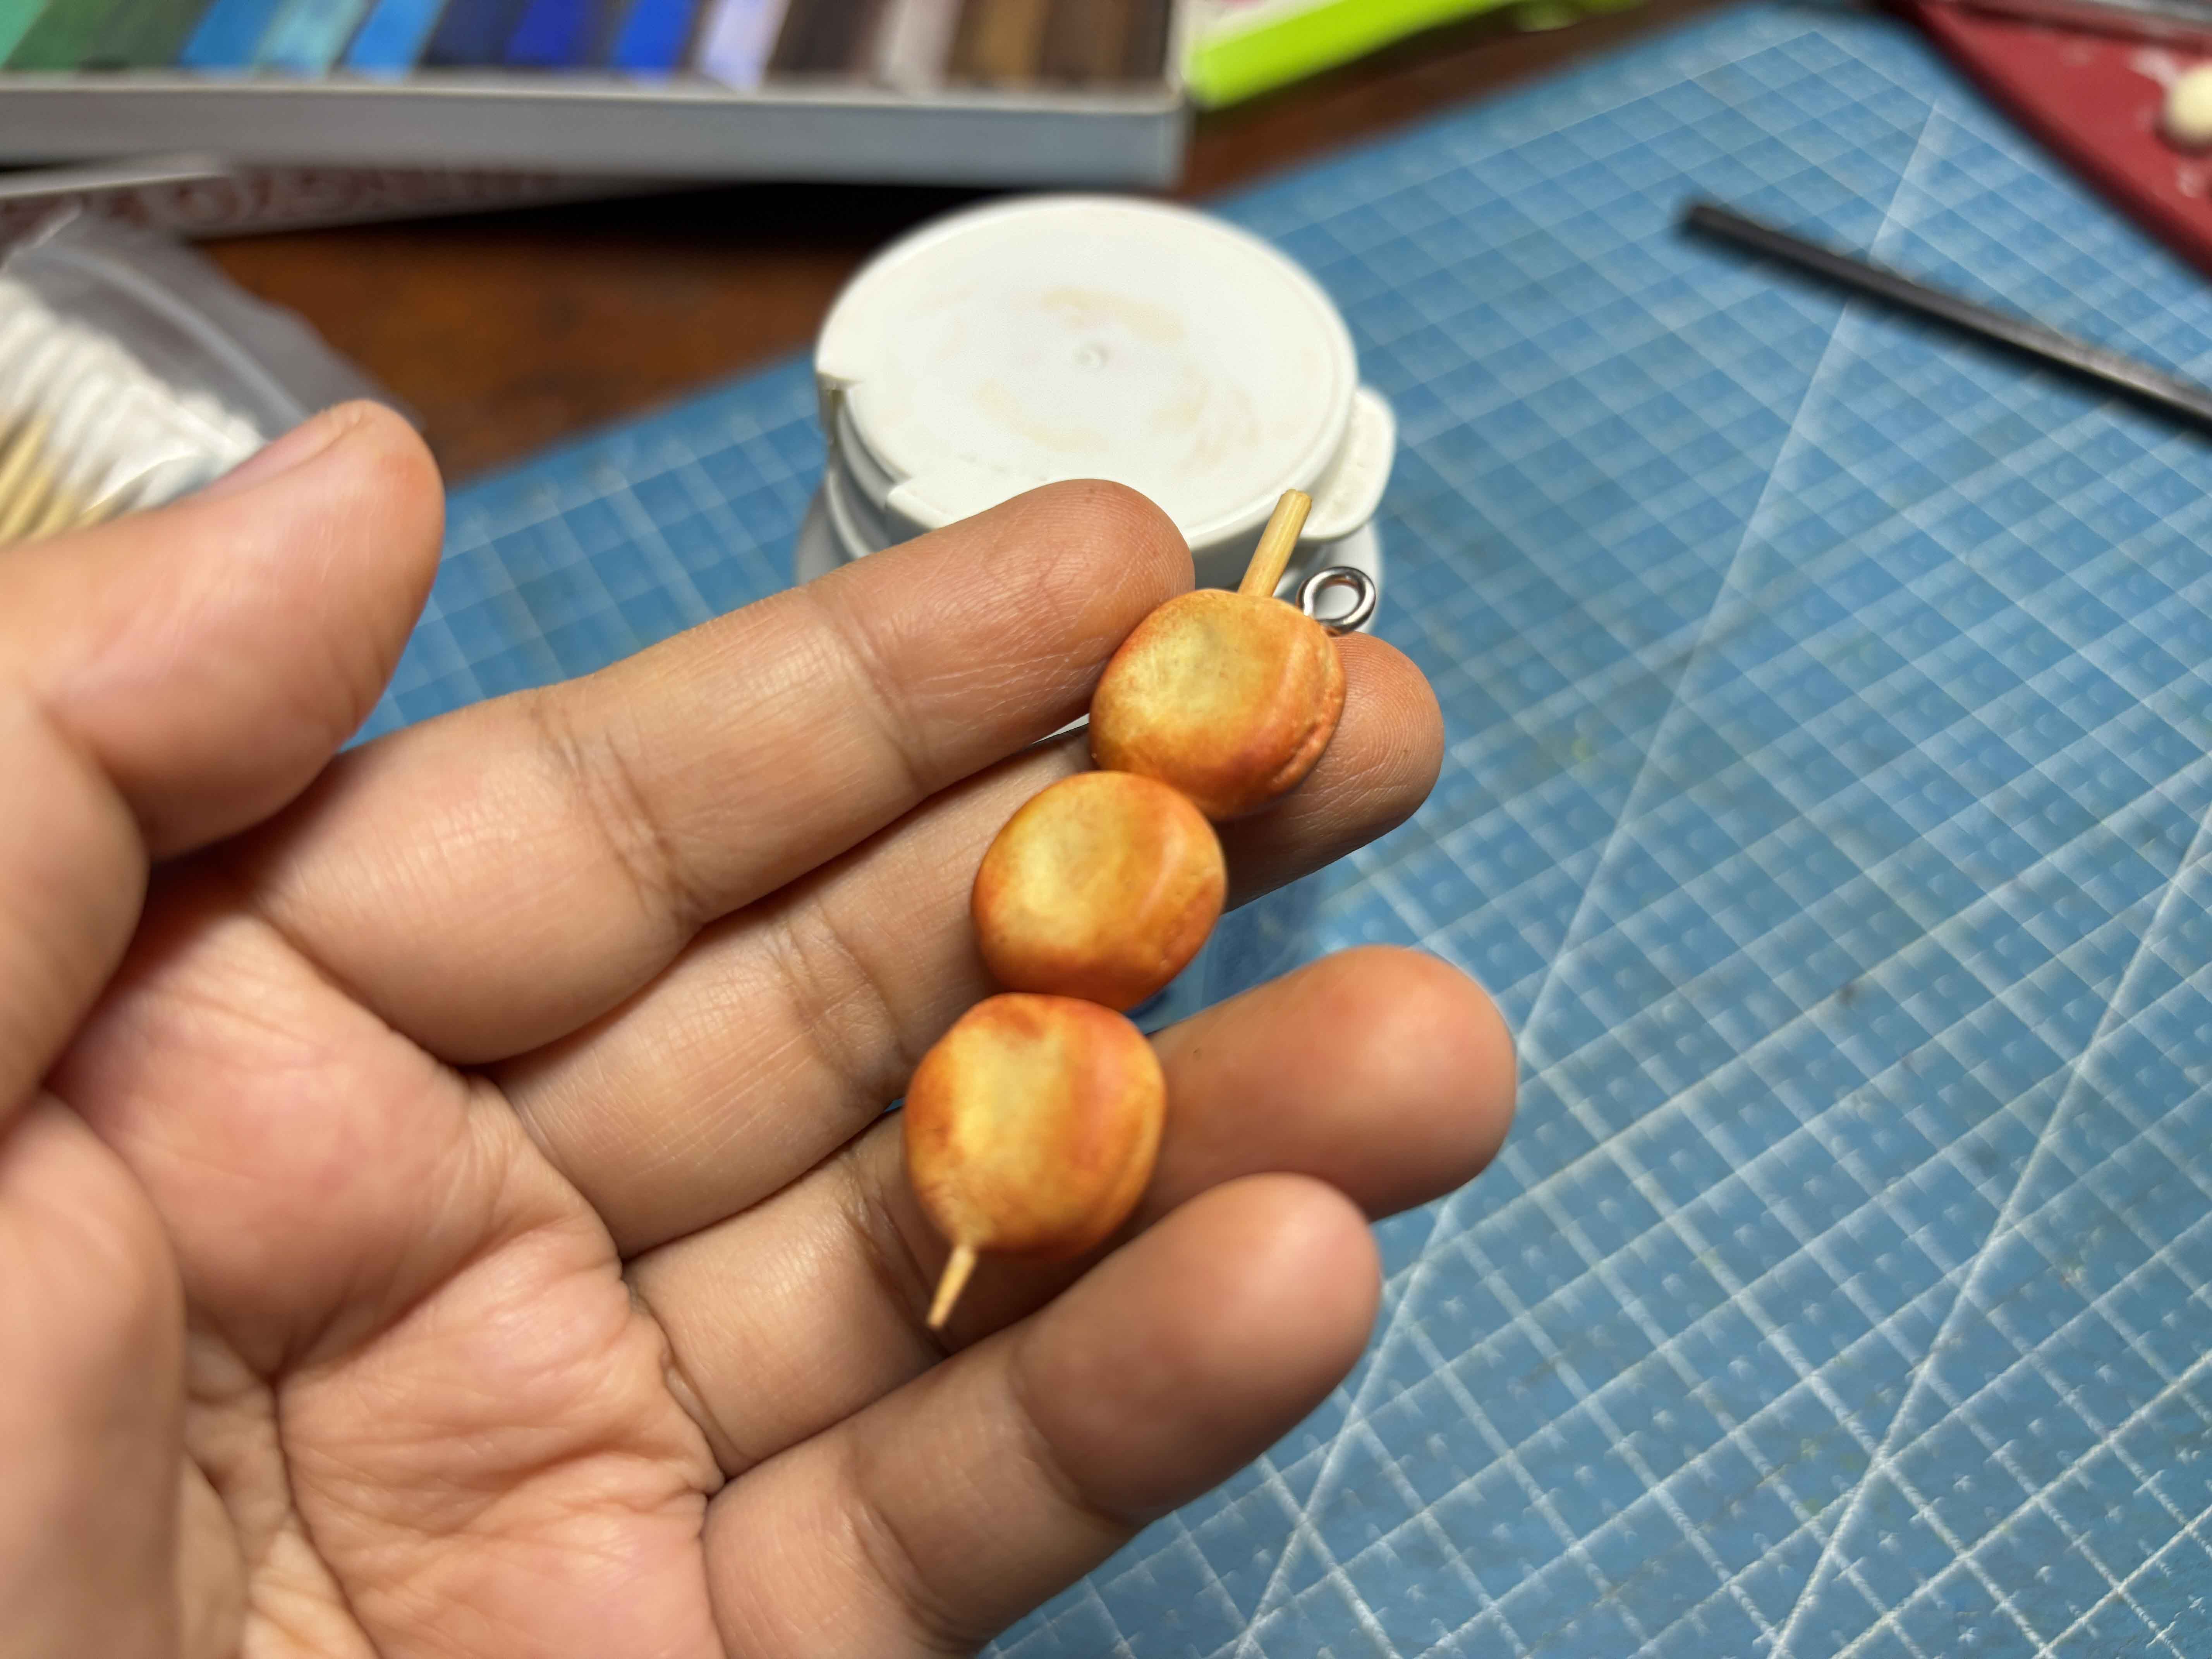
Before I bake the clay, I usually add the eyepin into the clay to secure it in. She is ready to be baked
-----
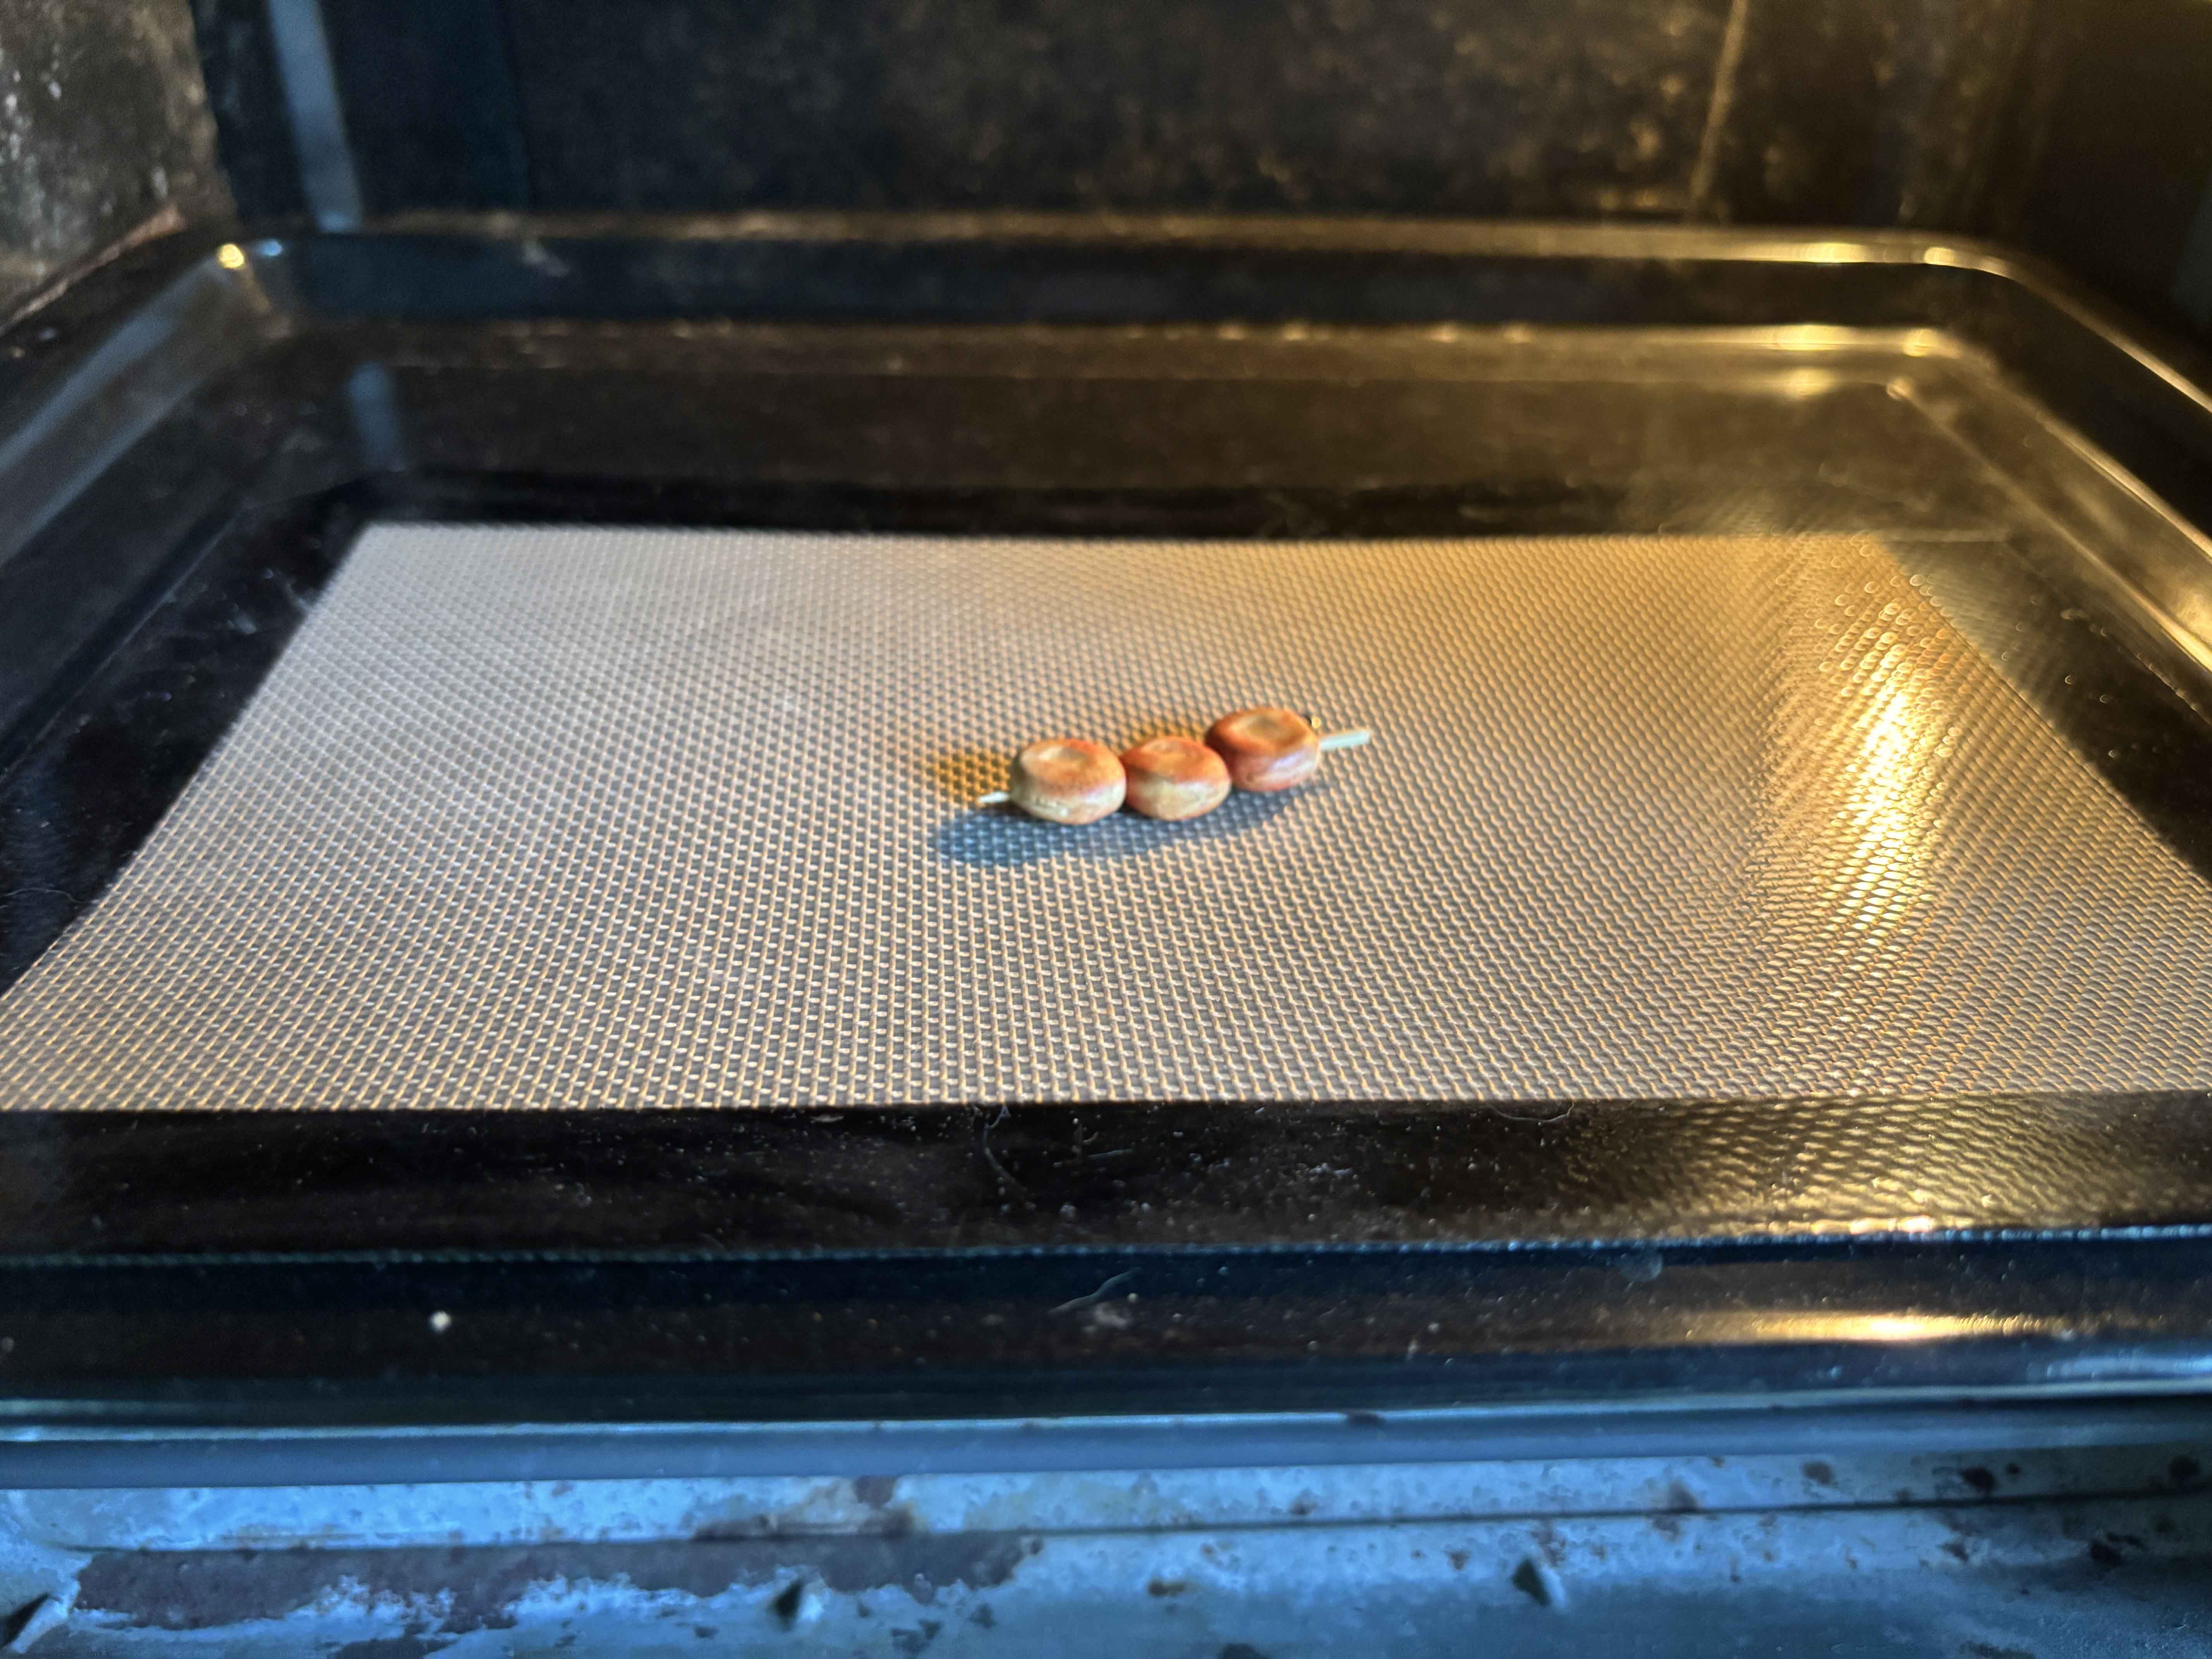
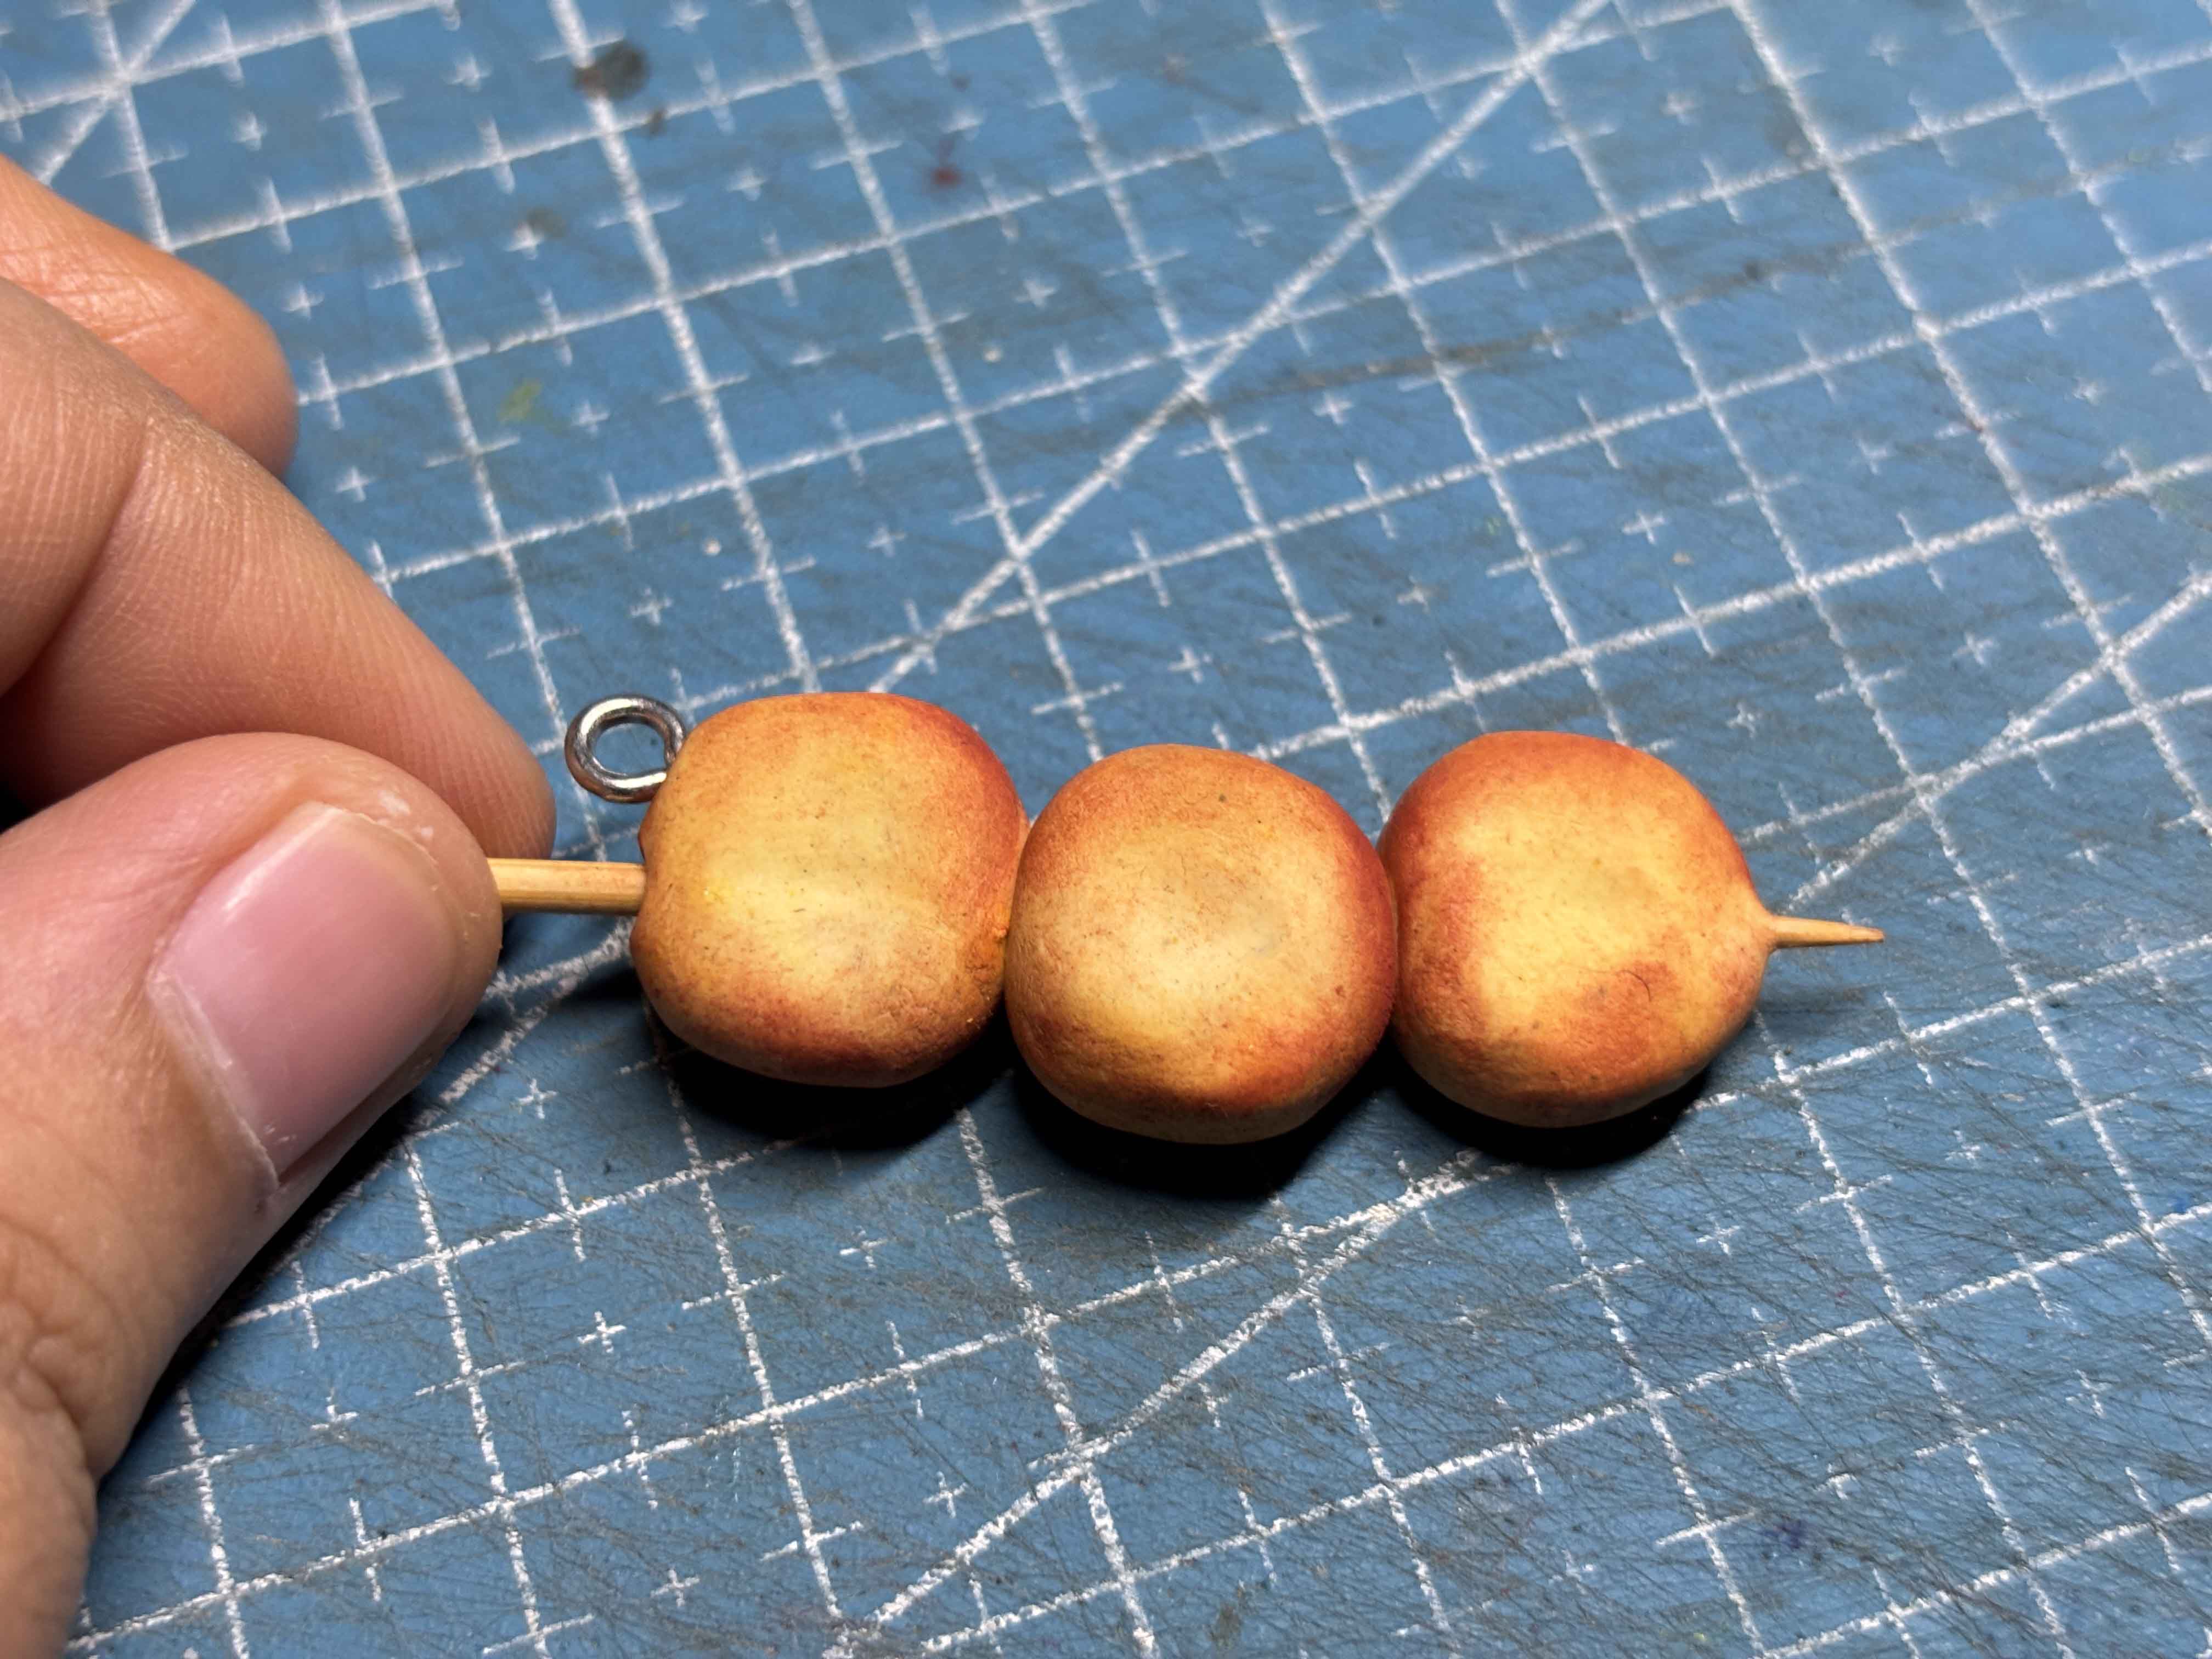
I preheated the oven first, and then I just followed the instructions on what temperature and time to bake the clay to be bake and then when the clay is baked, the texture turns into matte. Let the clay cool off, then I will go on to the next process.
-----
Adding Melted Sugar:
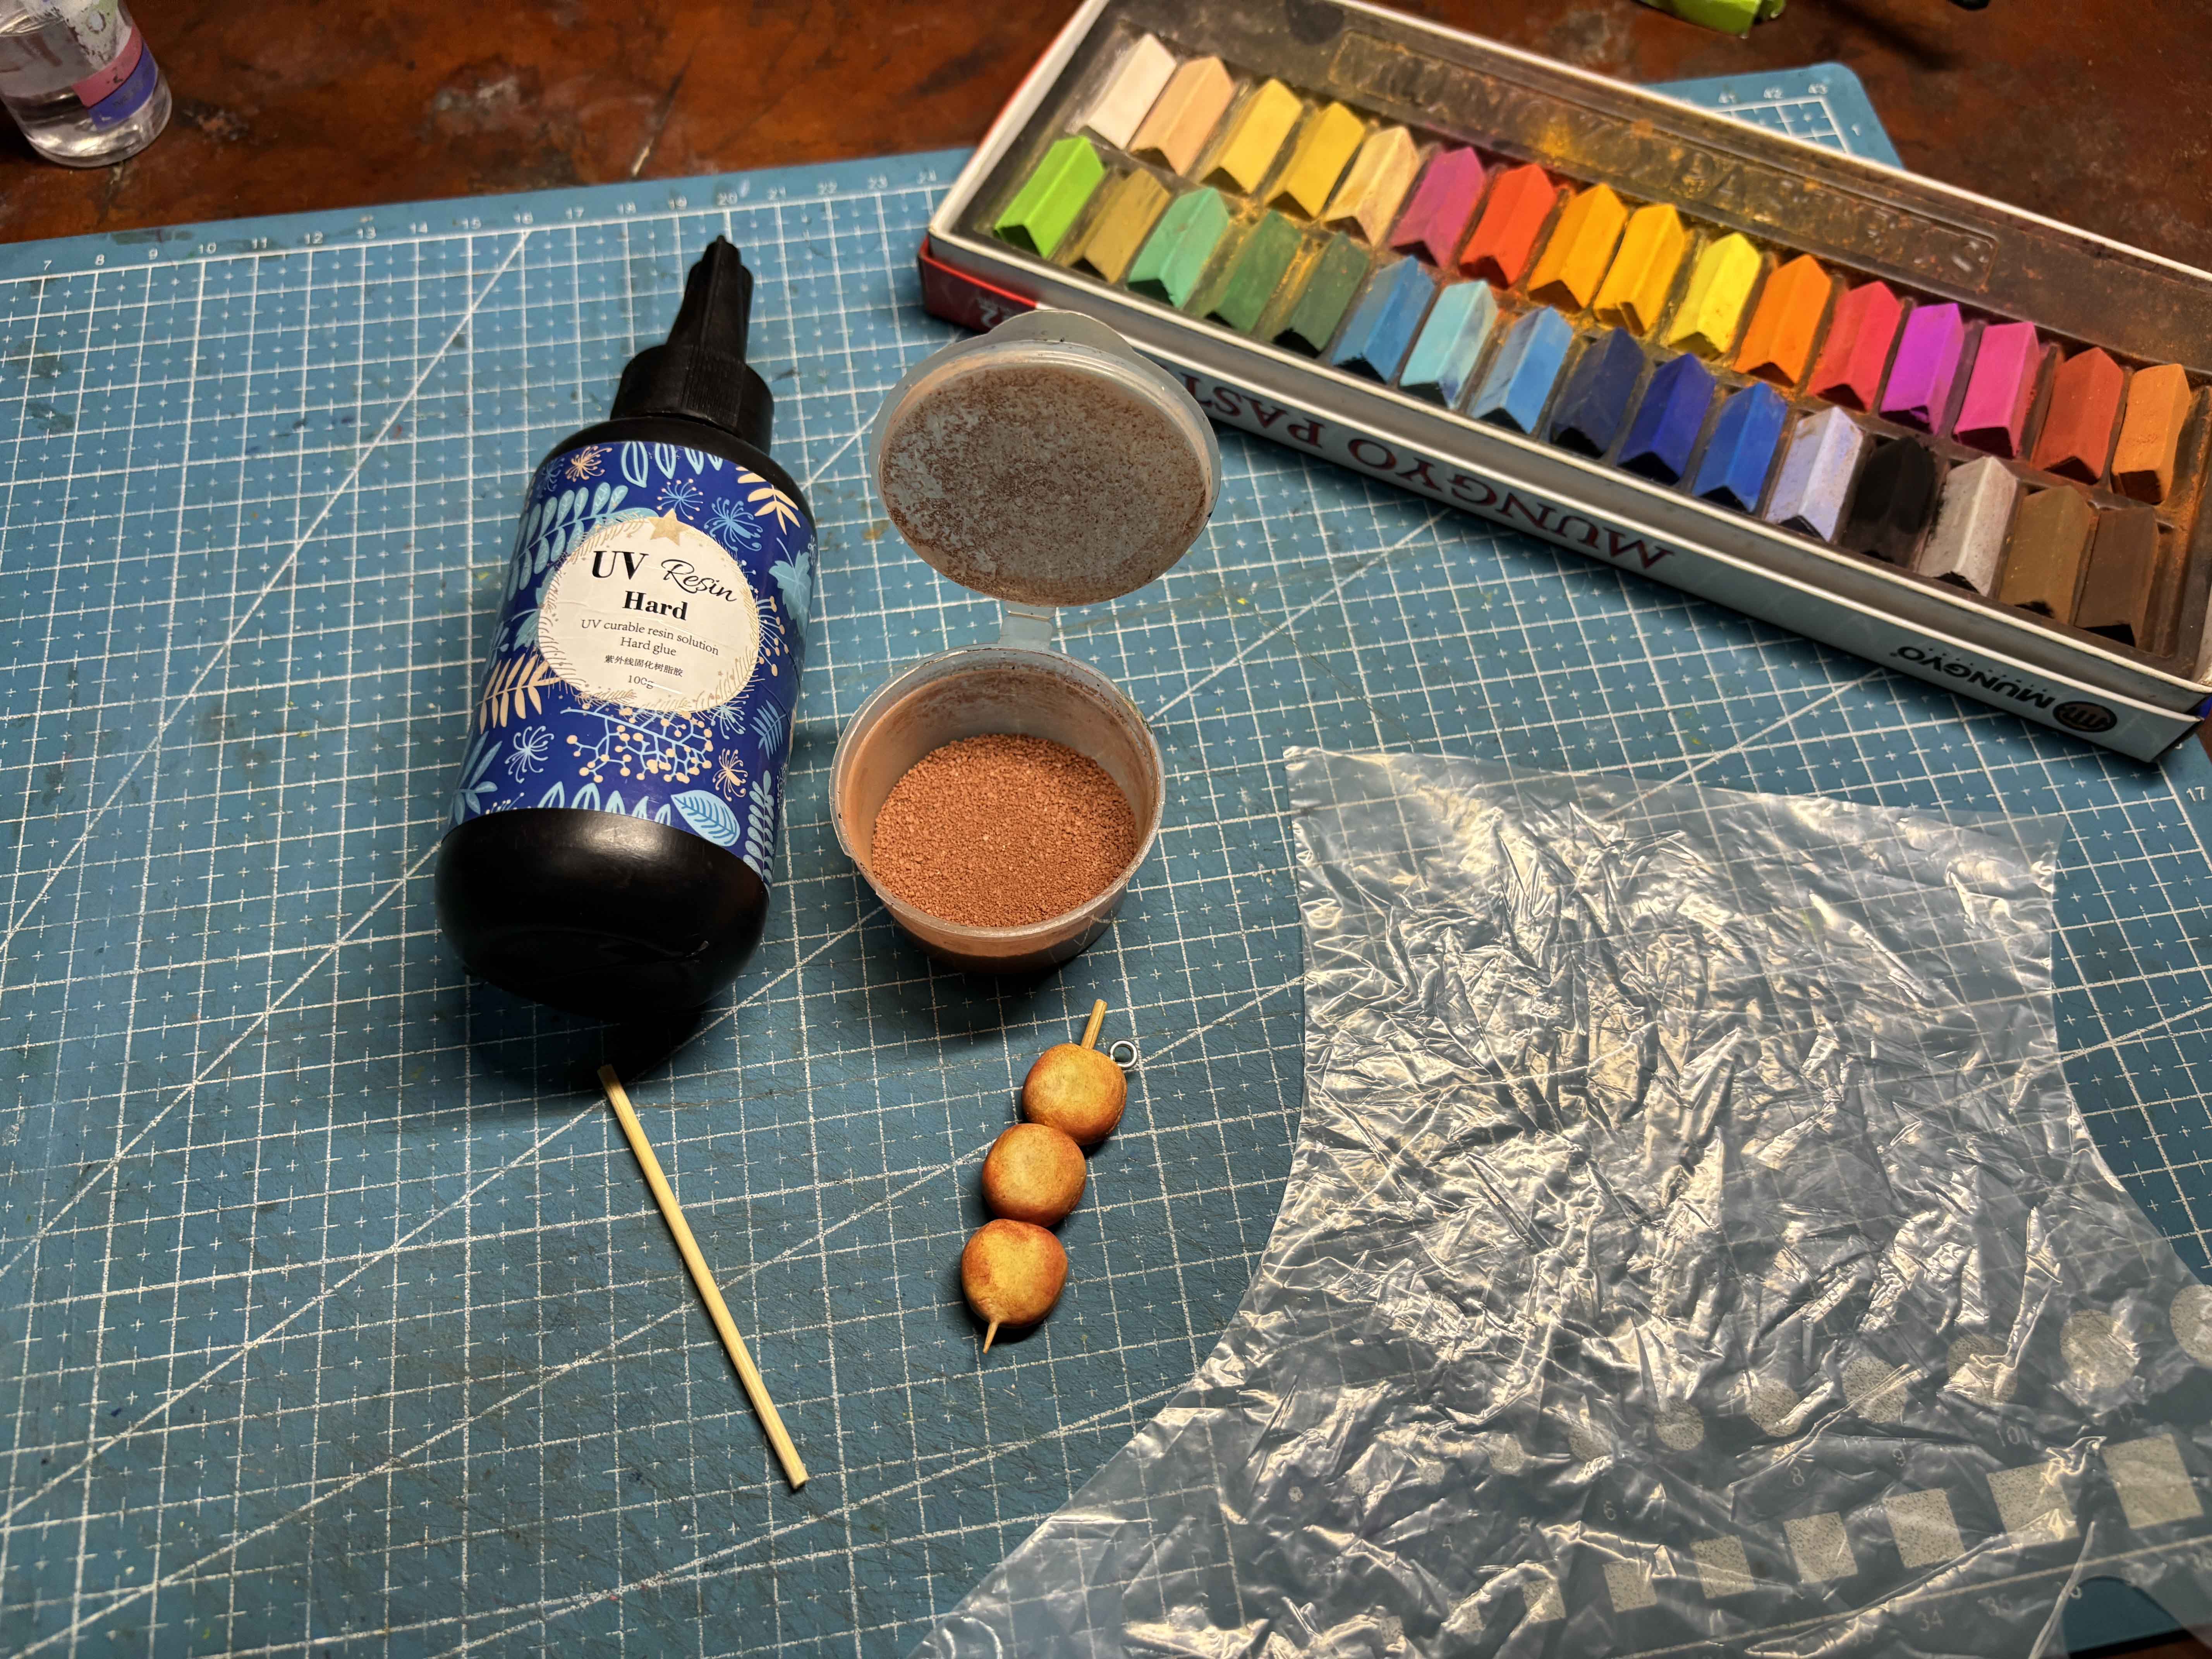
I prepared all the materials I am going to use.
-----
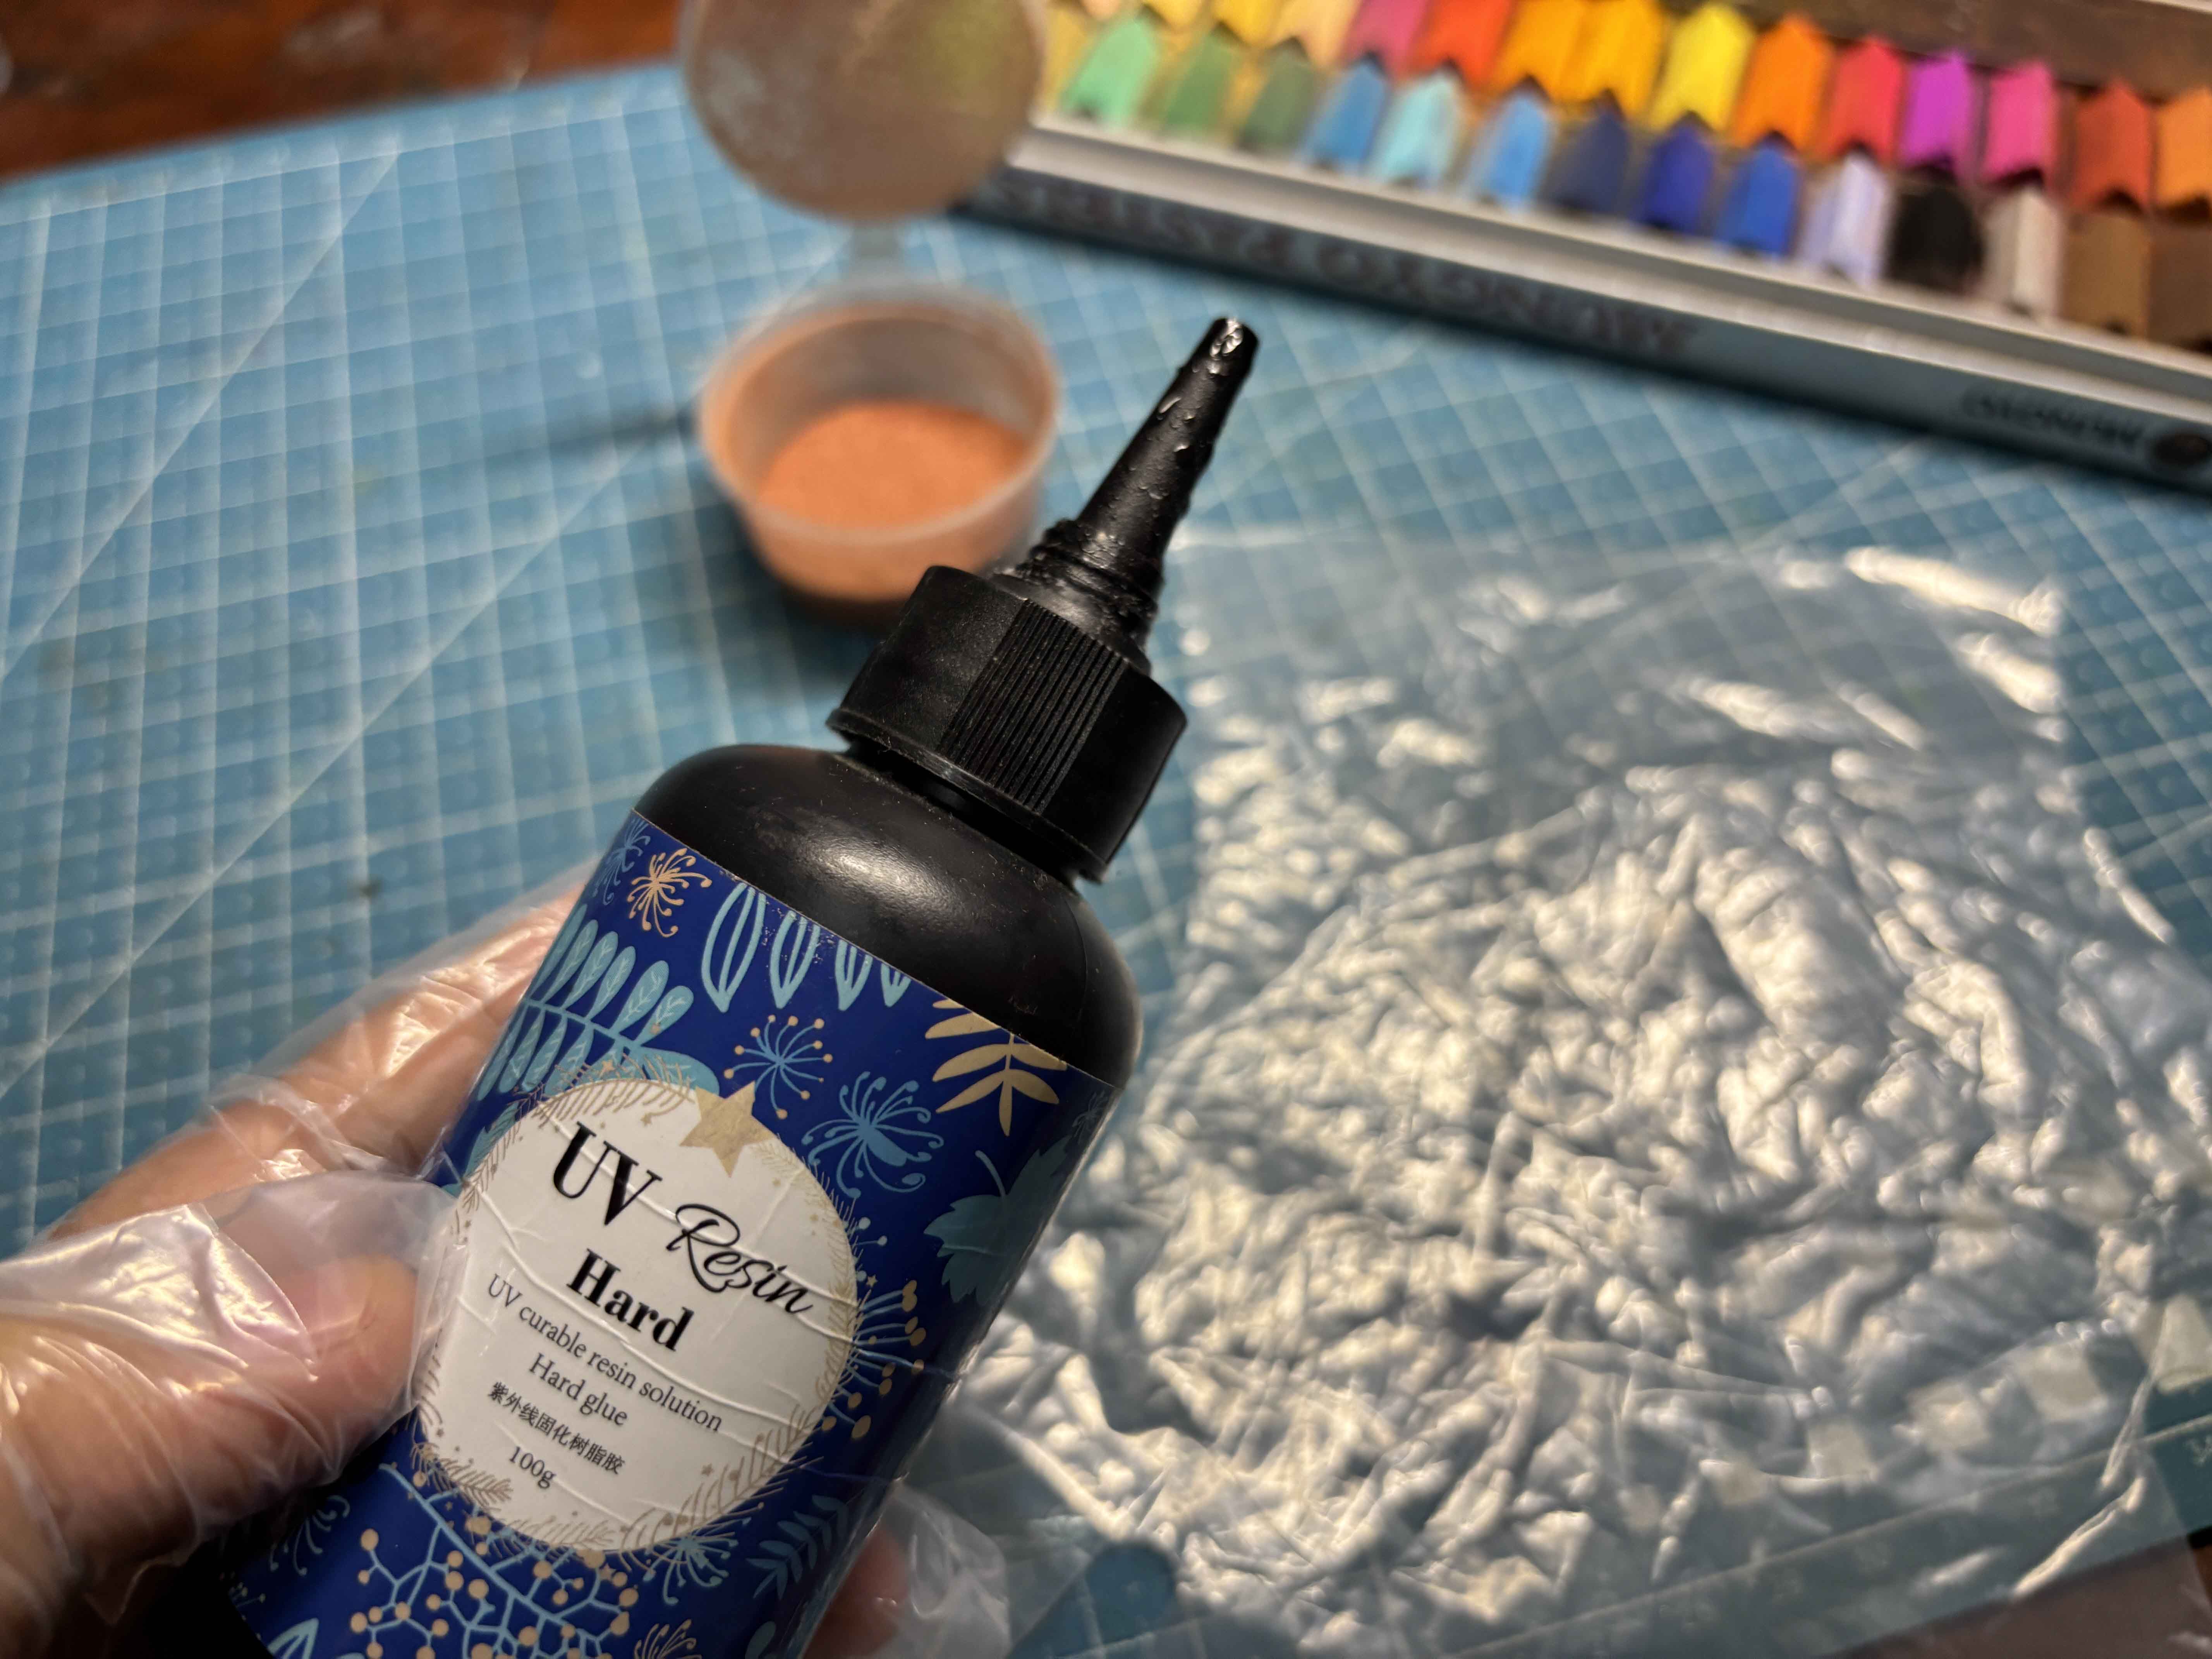
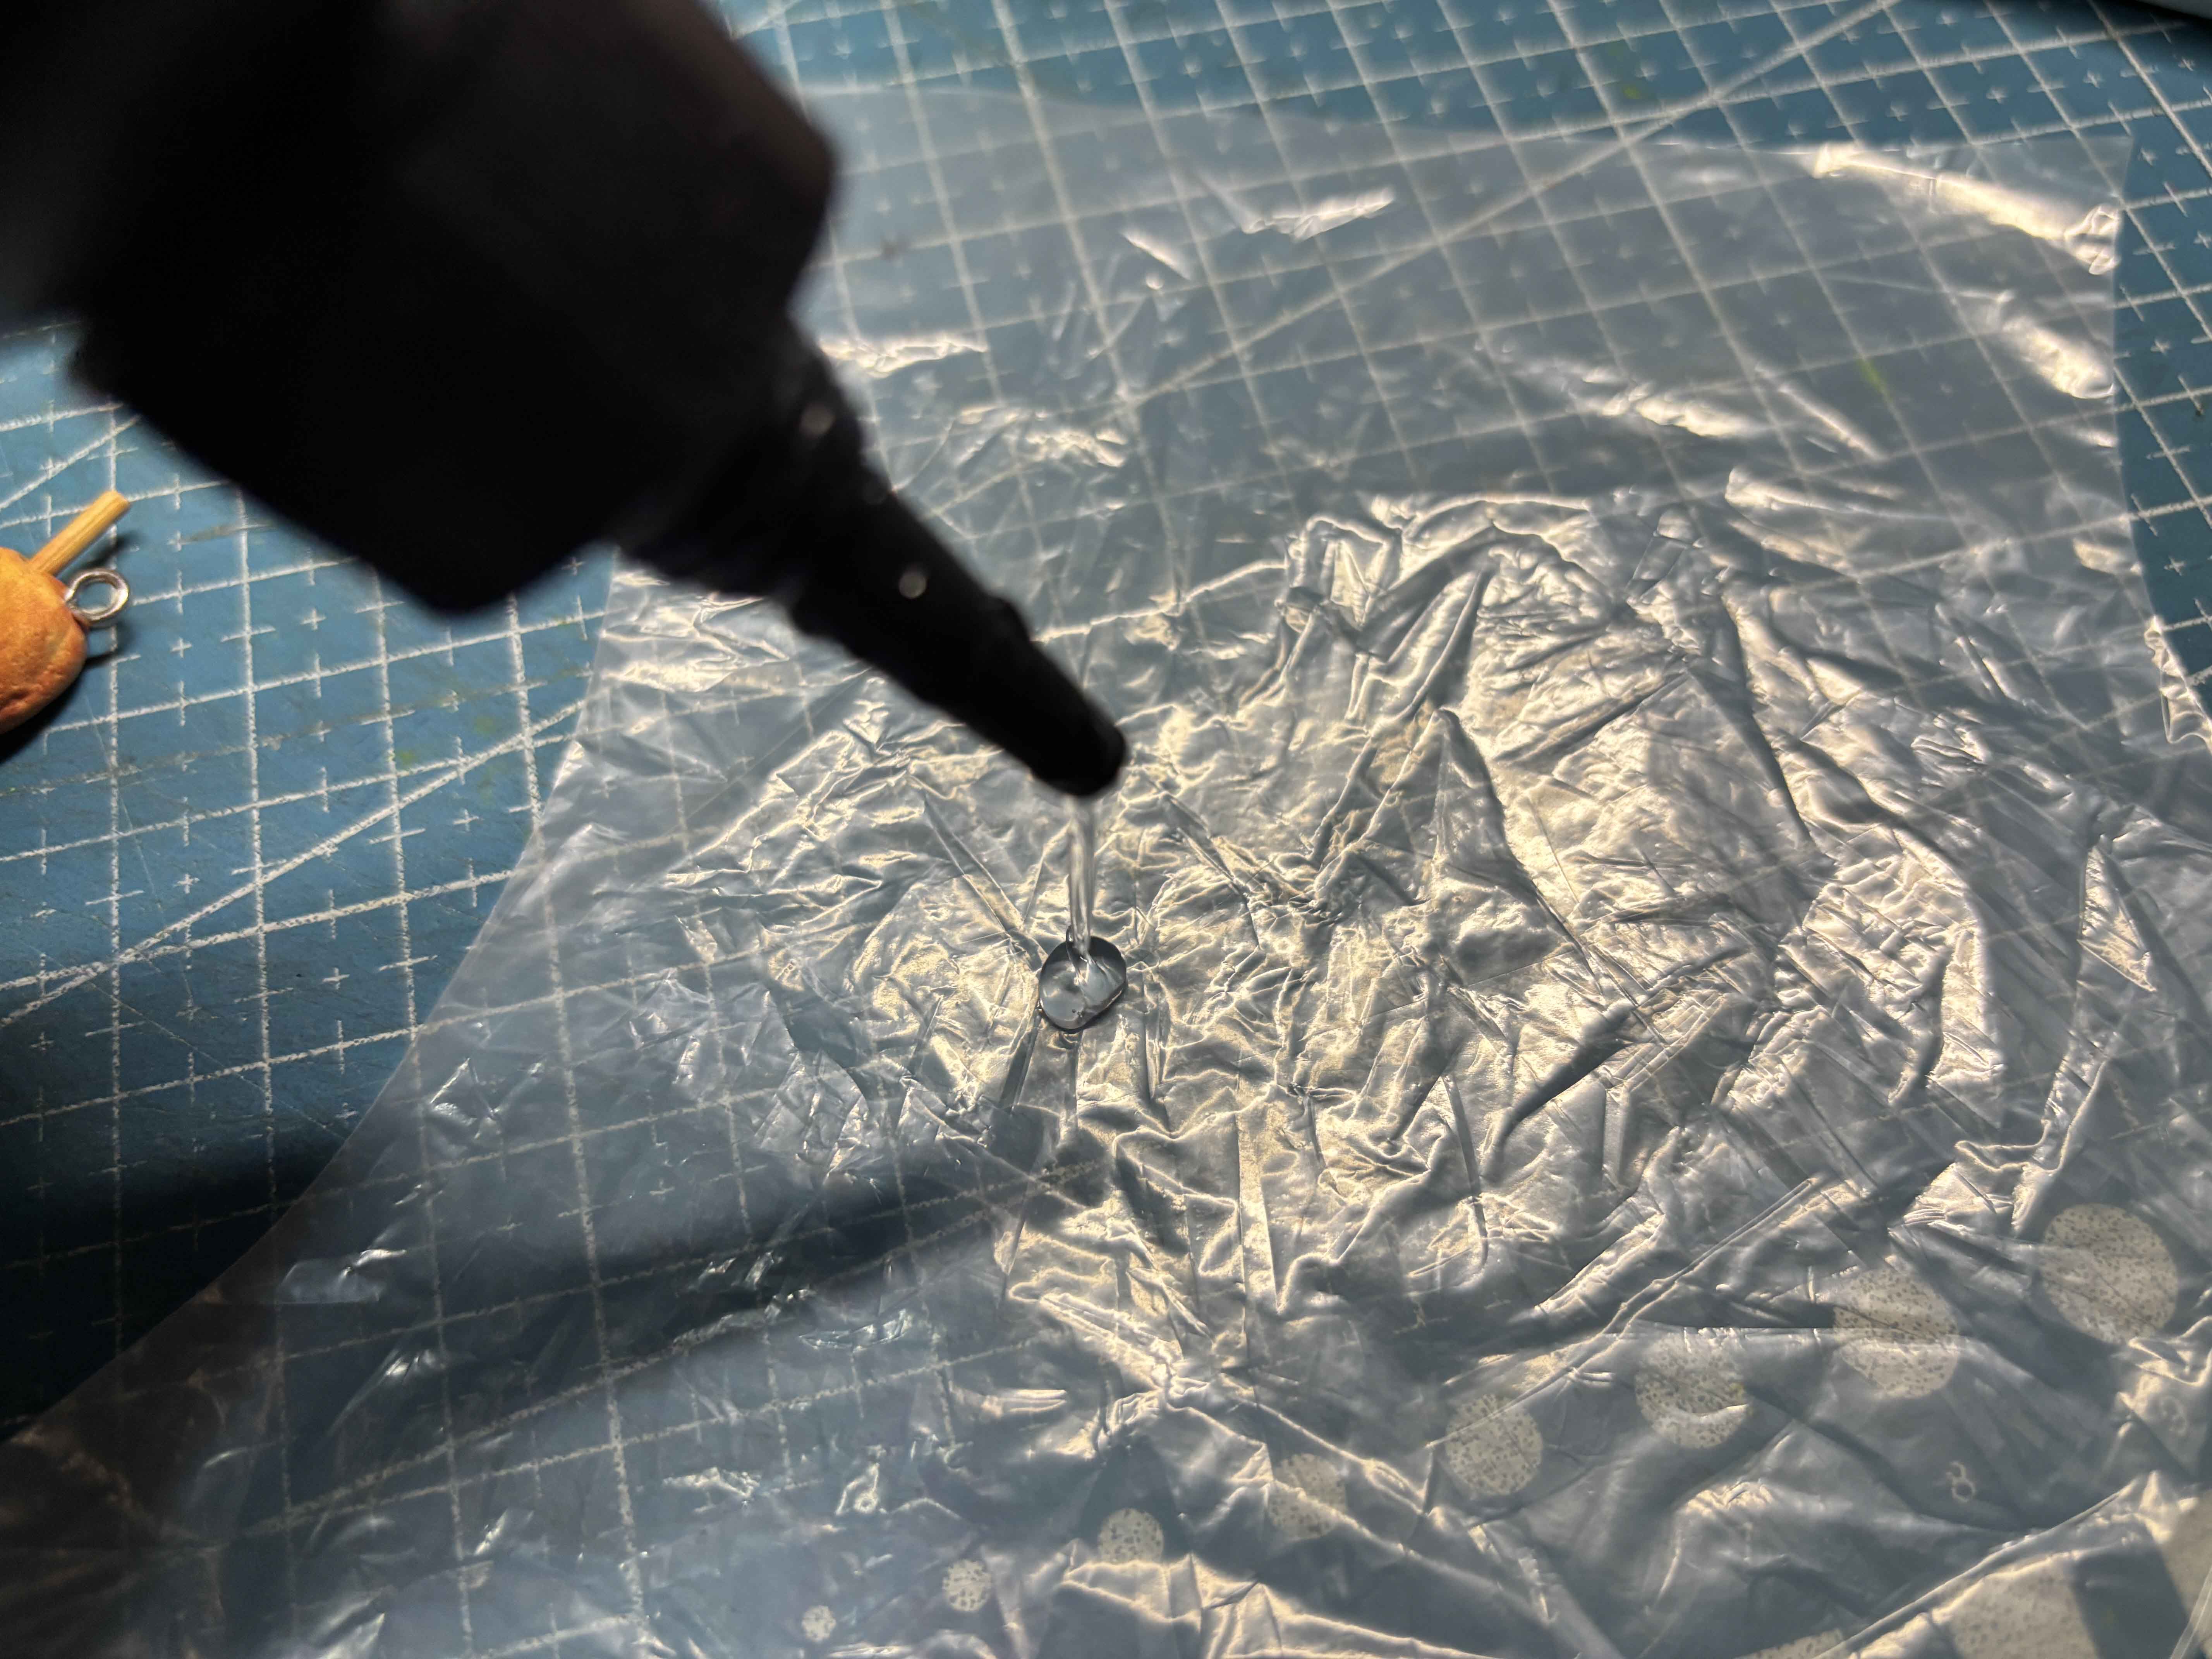
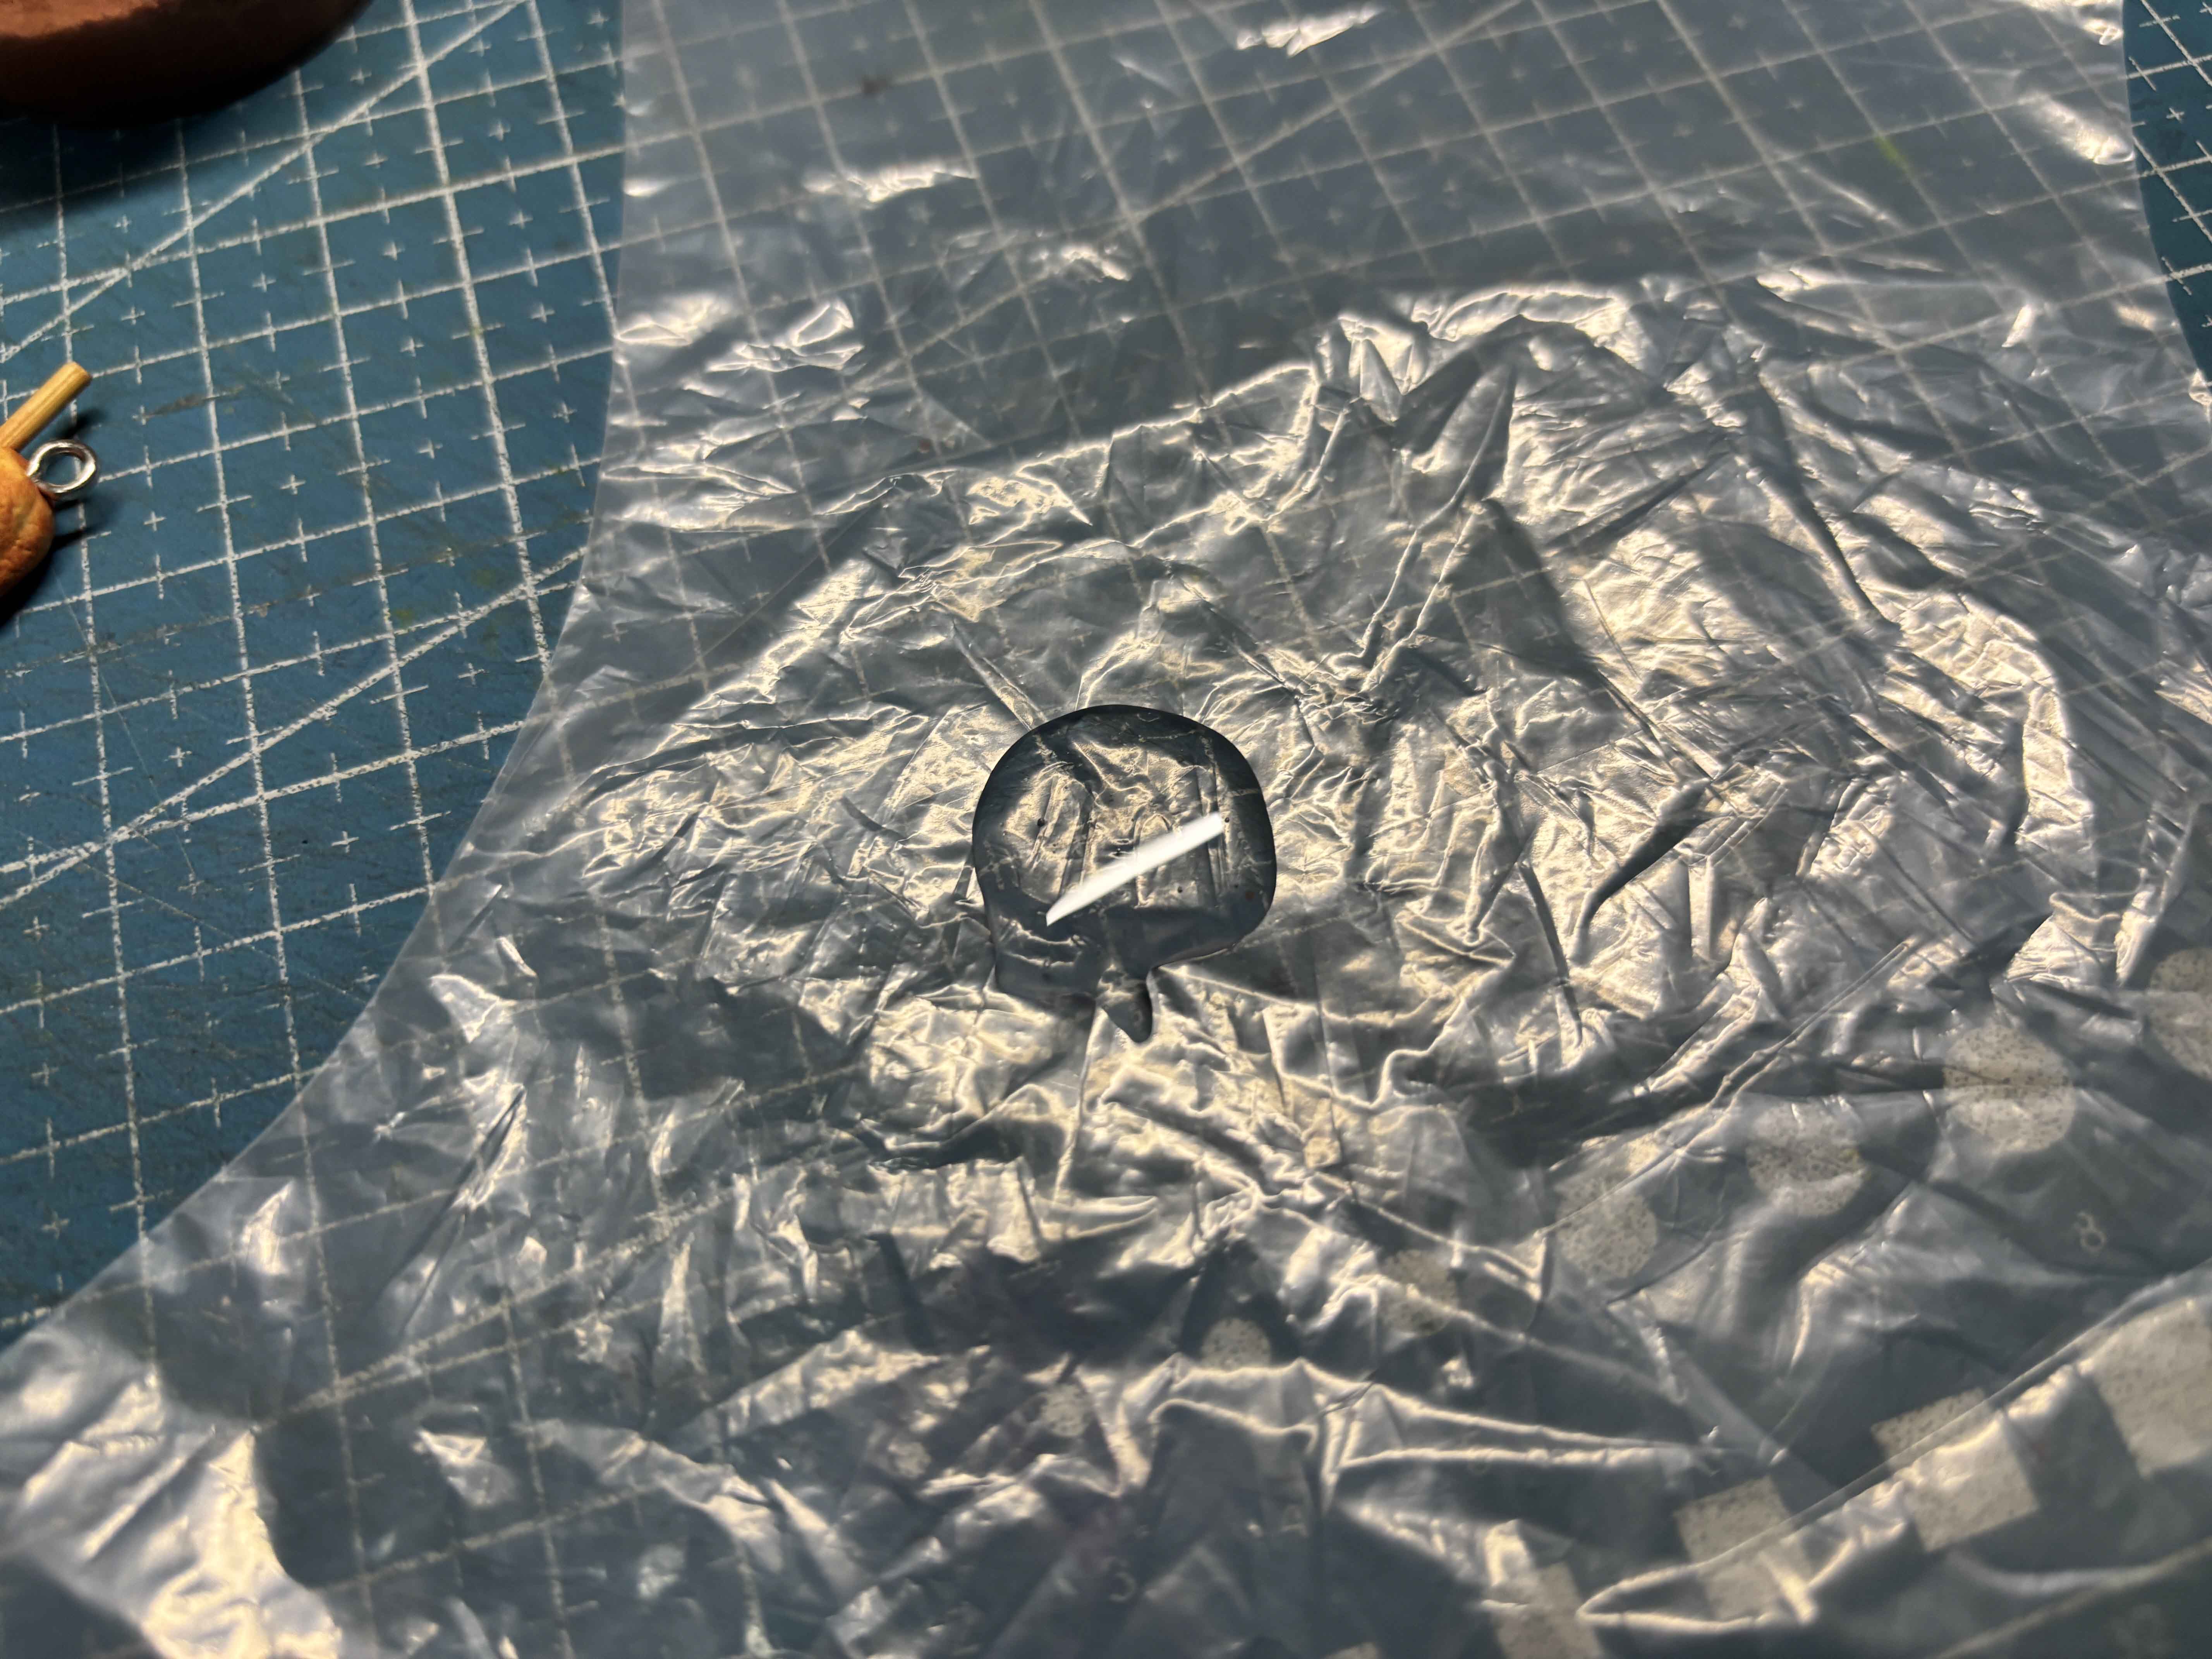
I make sure I wear disposable gloves and then a face shield for protection, and then I grab extra gloves and lay them flat, and I squeeze enough UV Resin.
-----
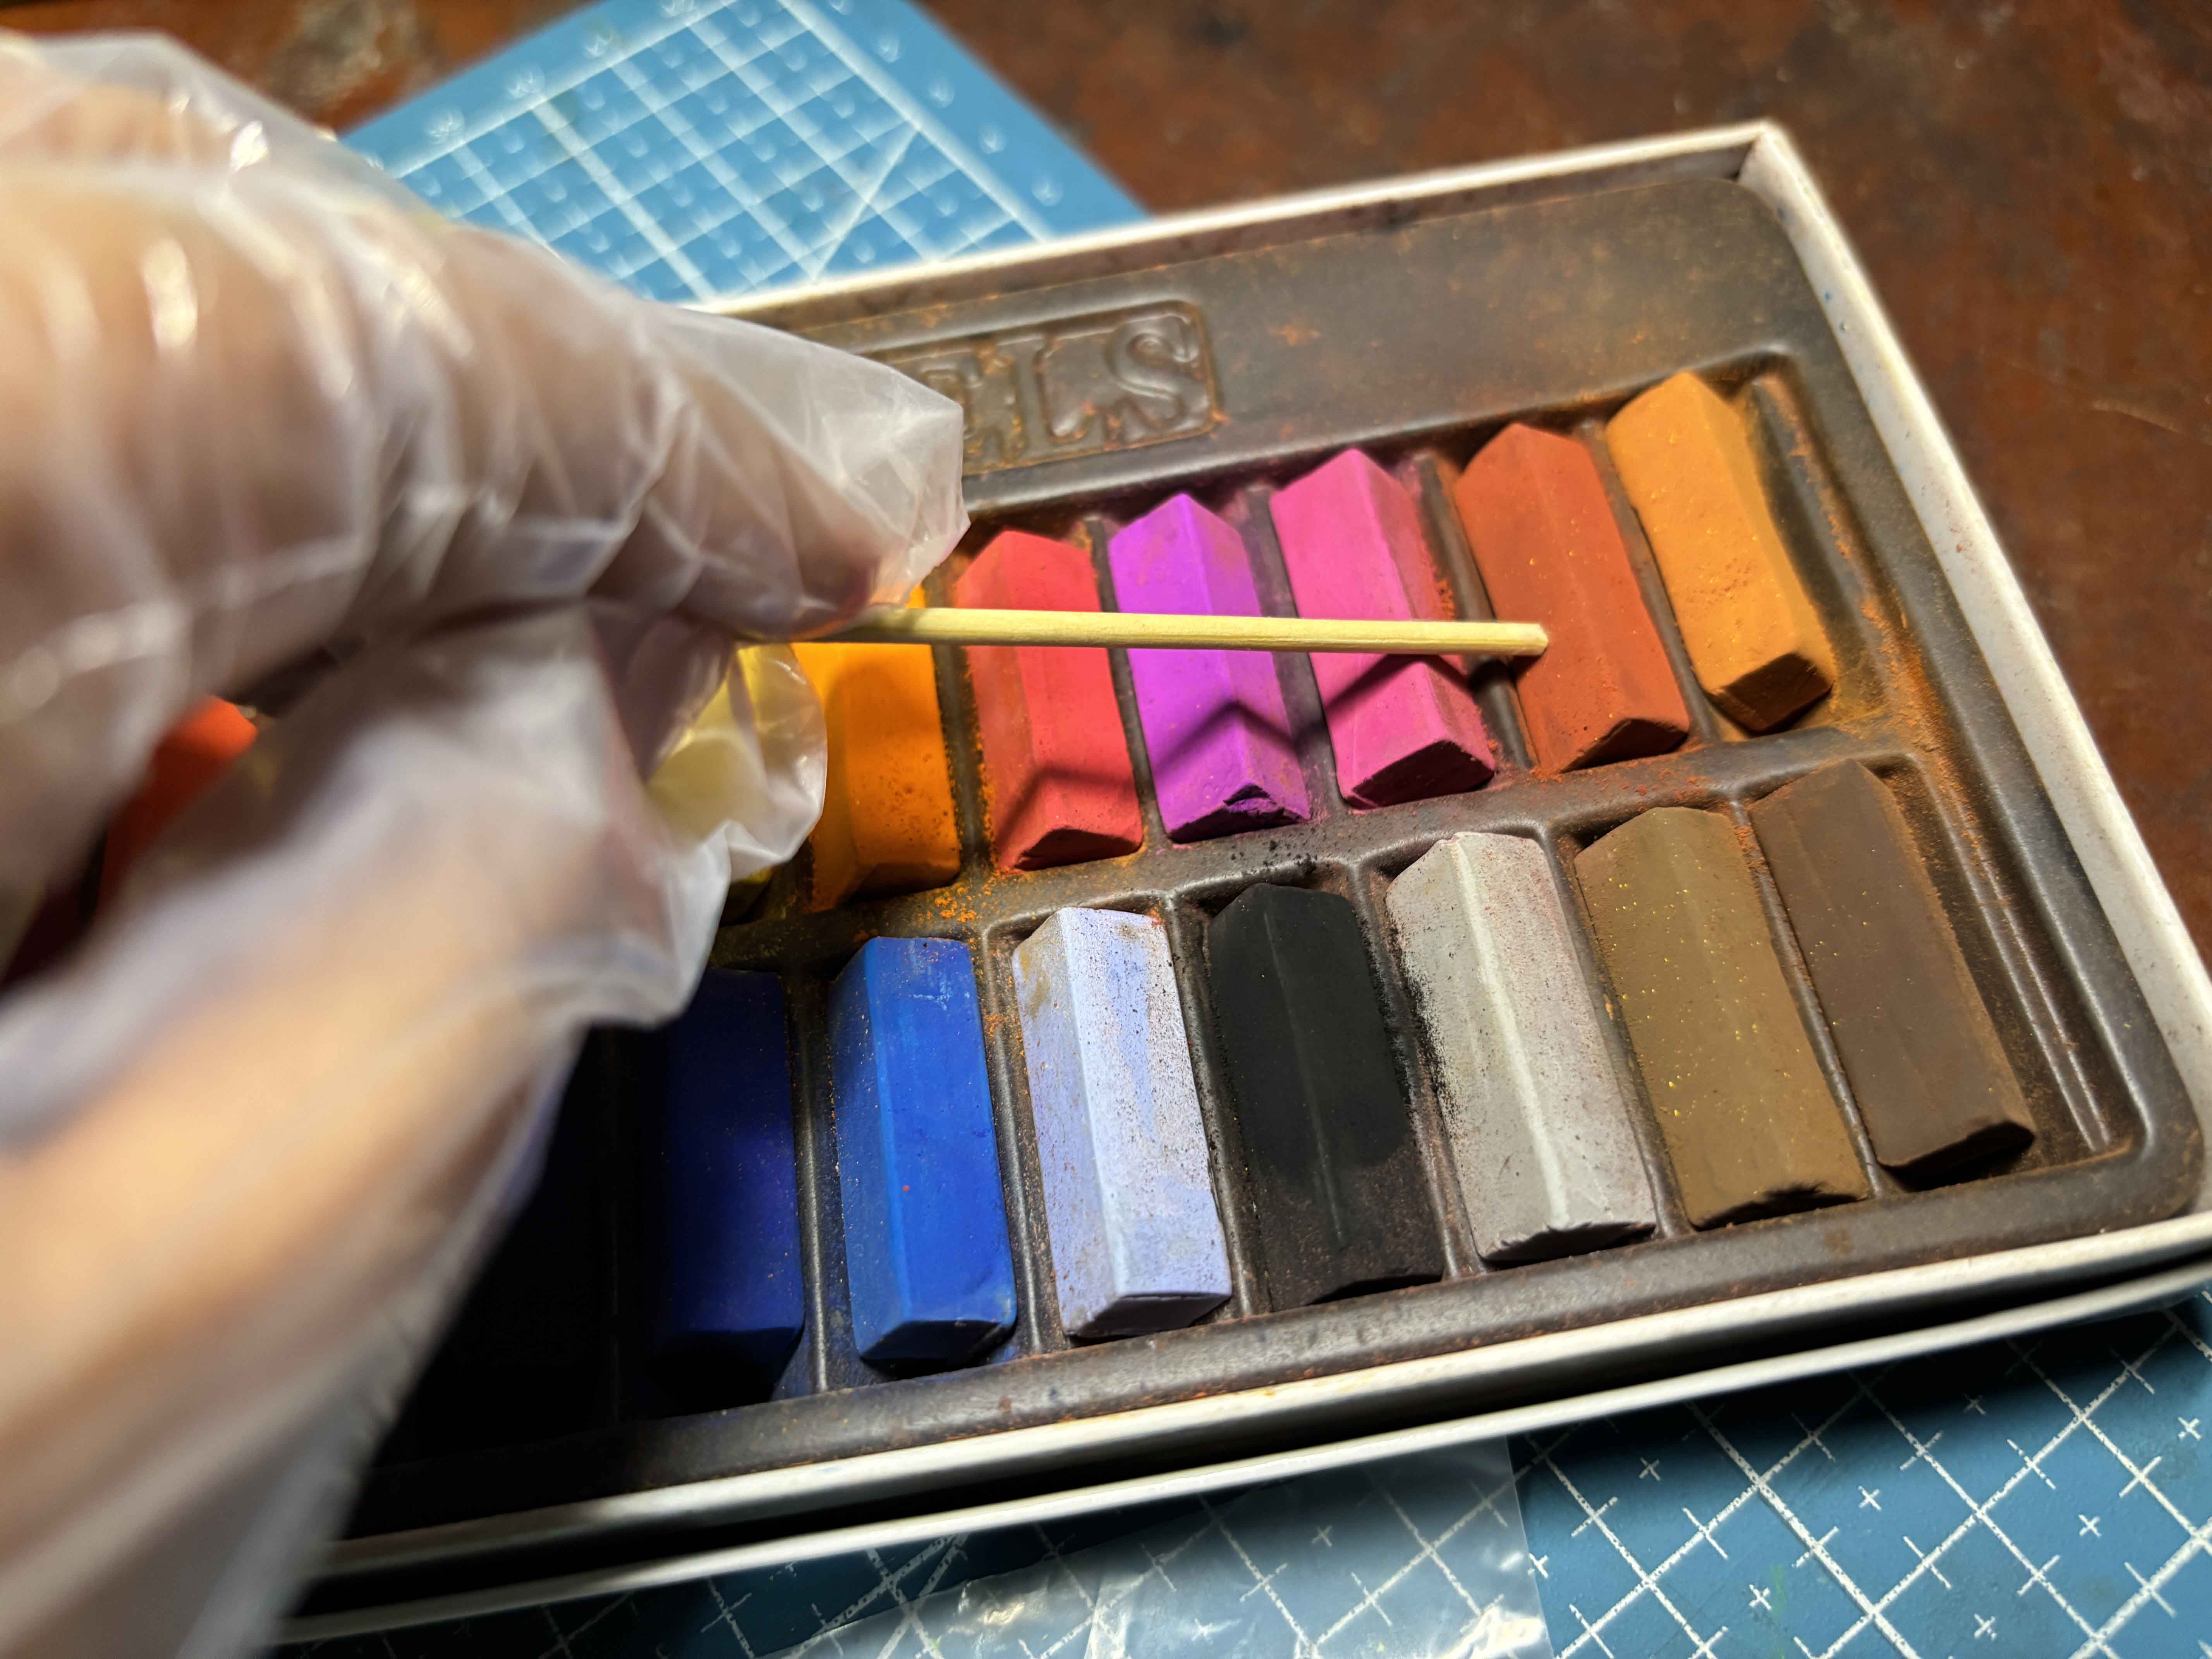
To imitate the color of the brown melted sugar, I added soft pastel to the UV Resin.
-----
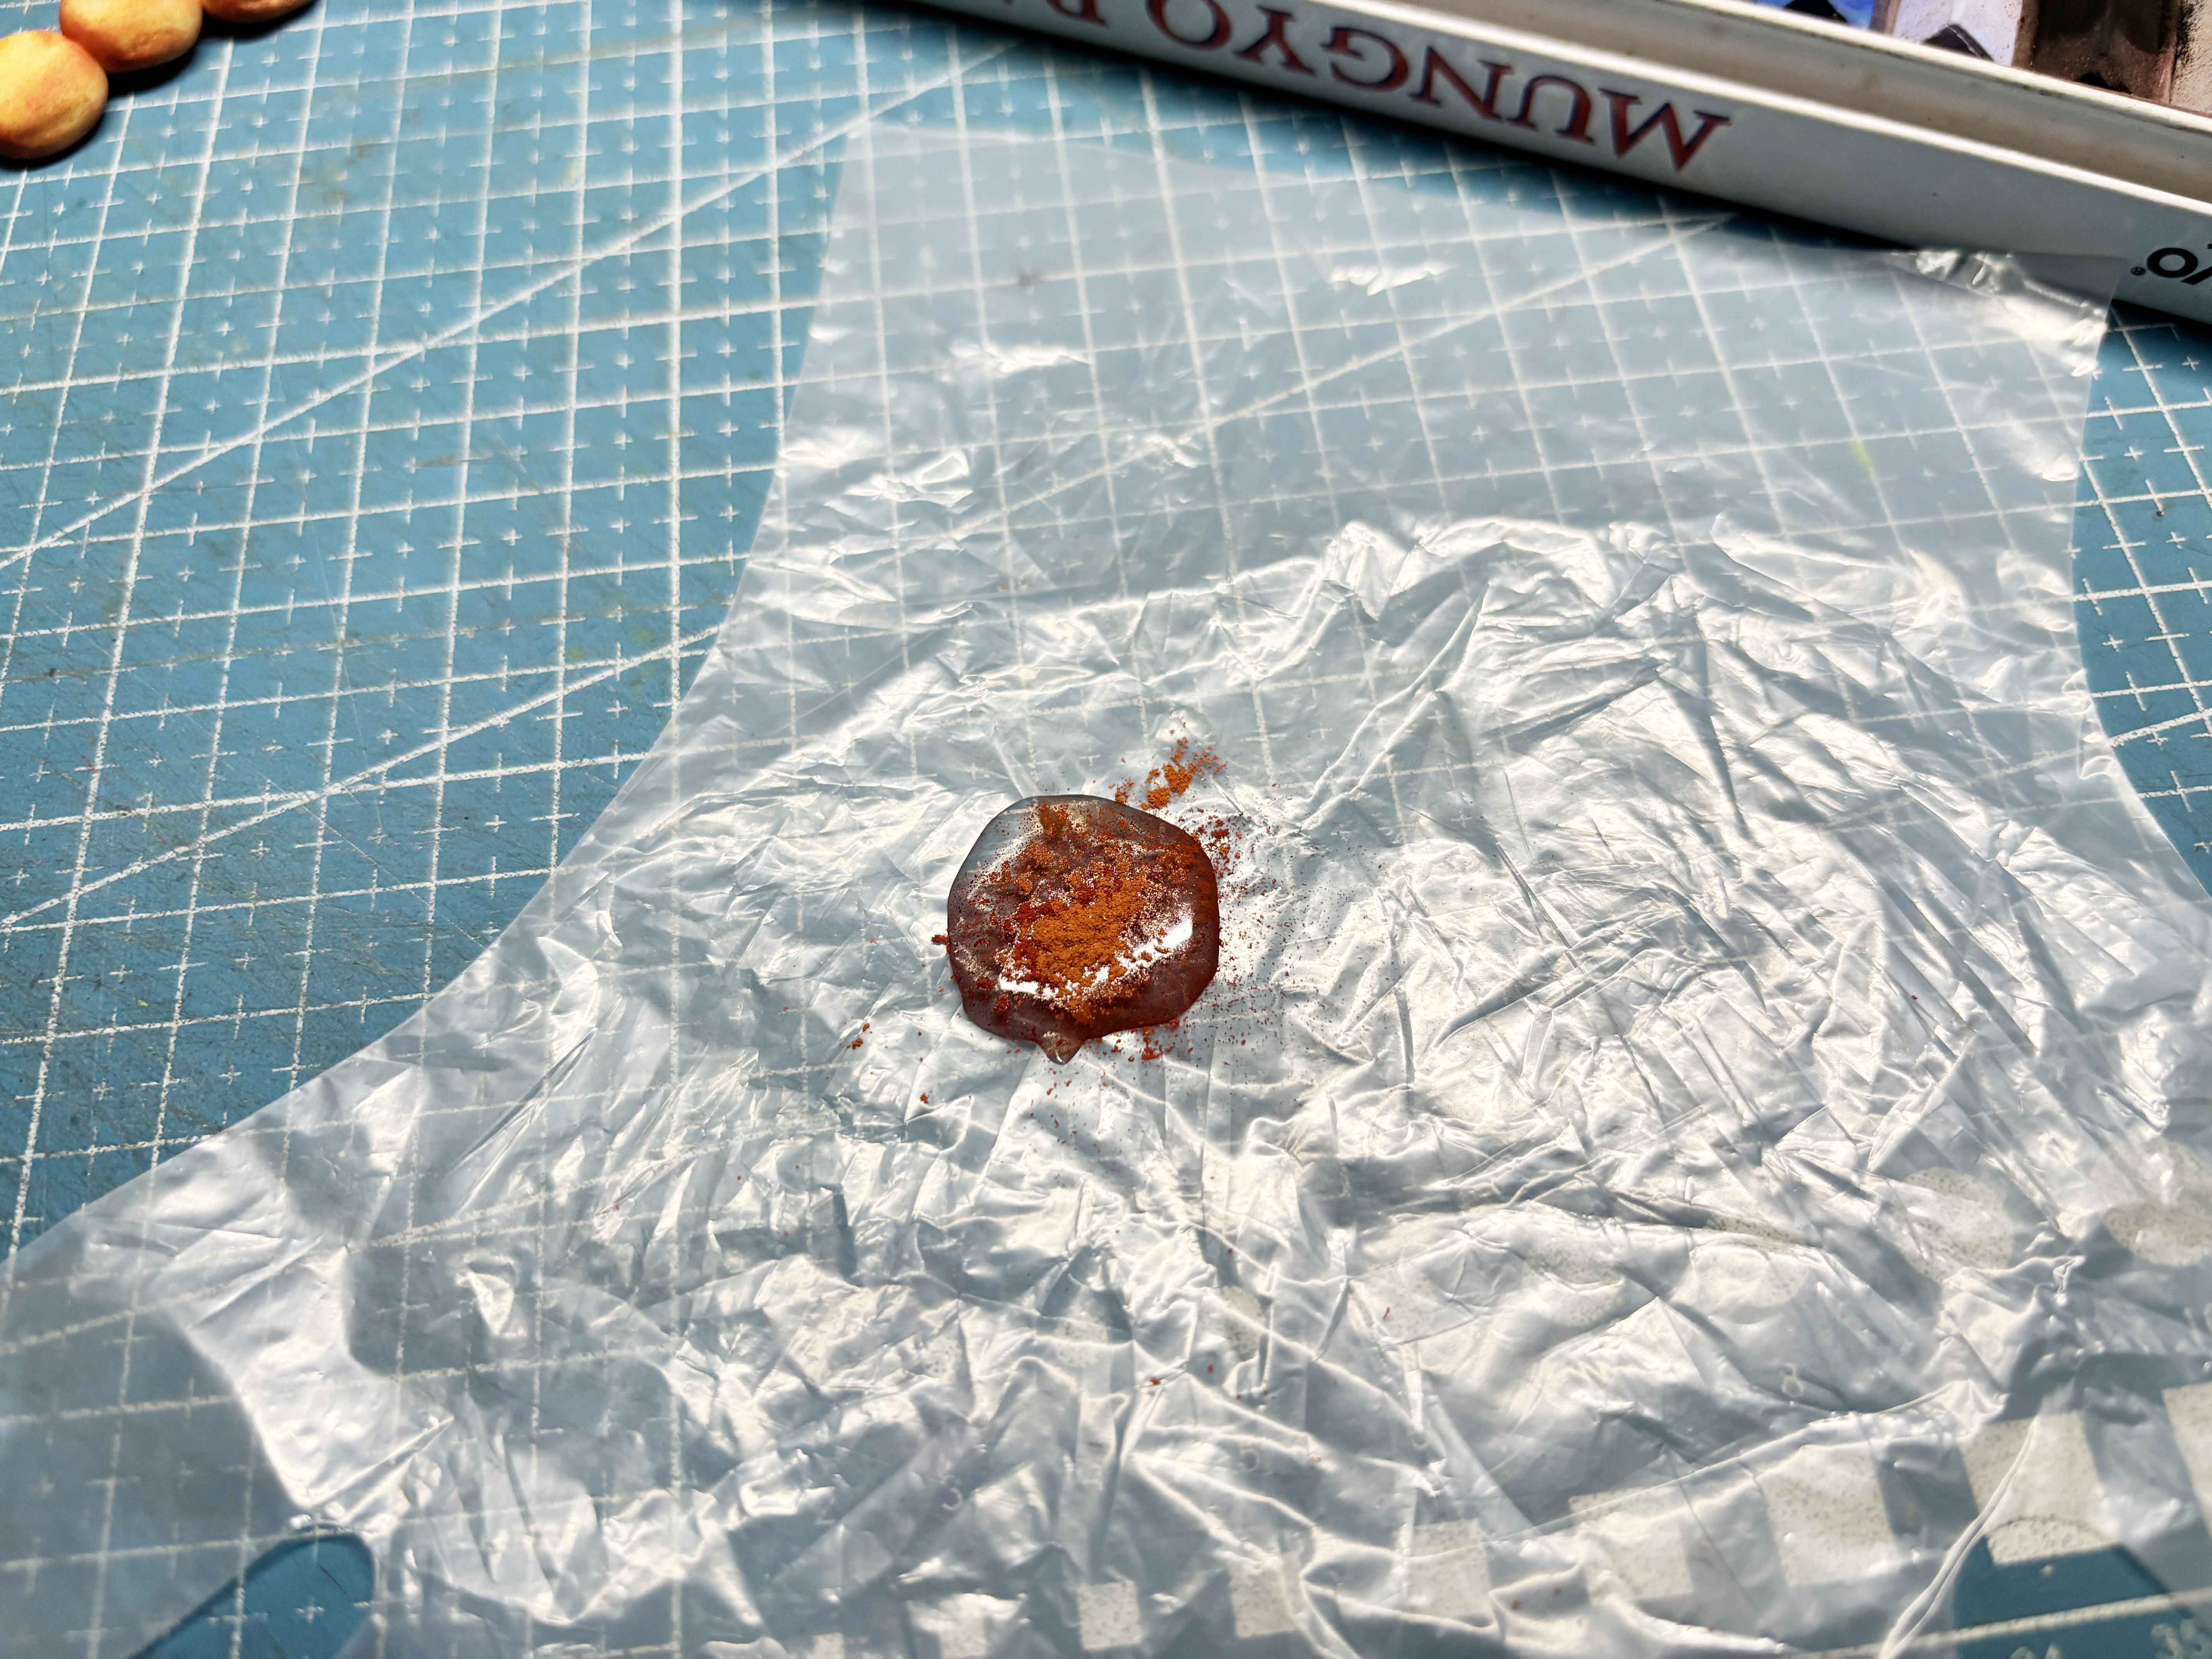
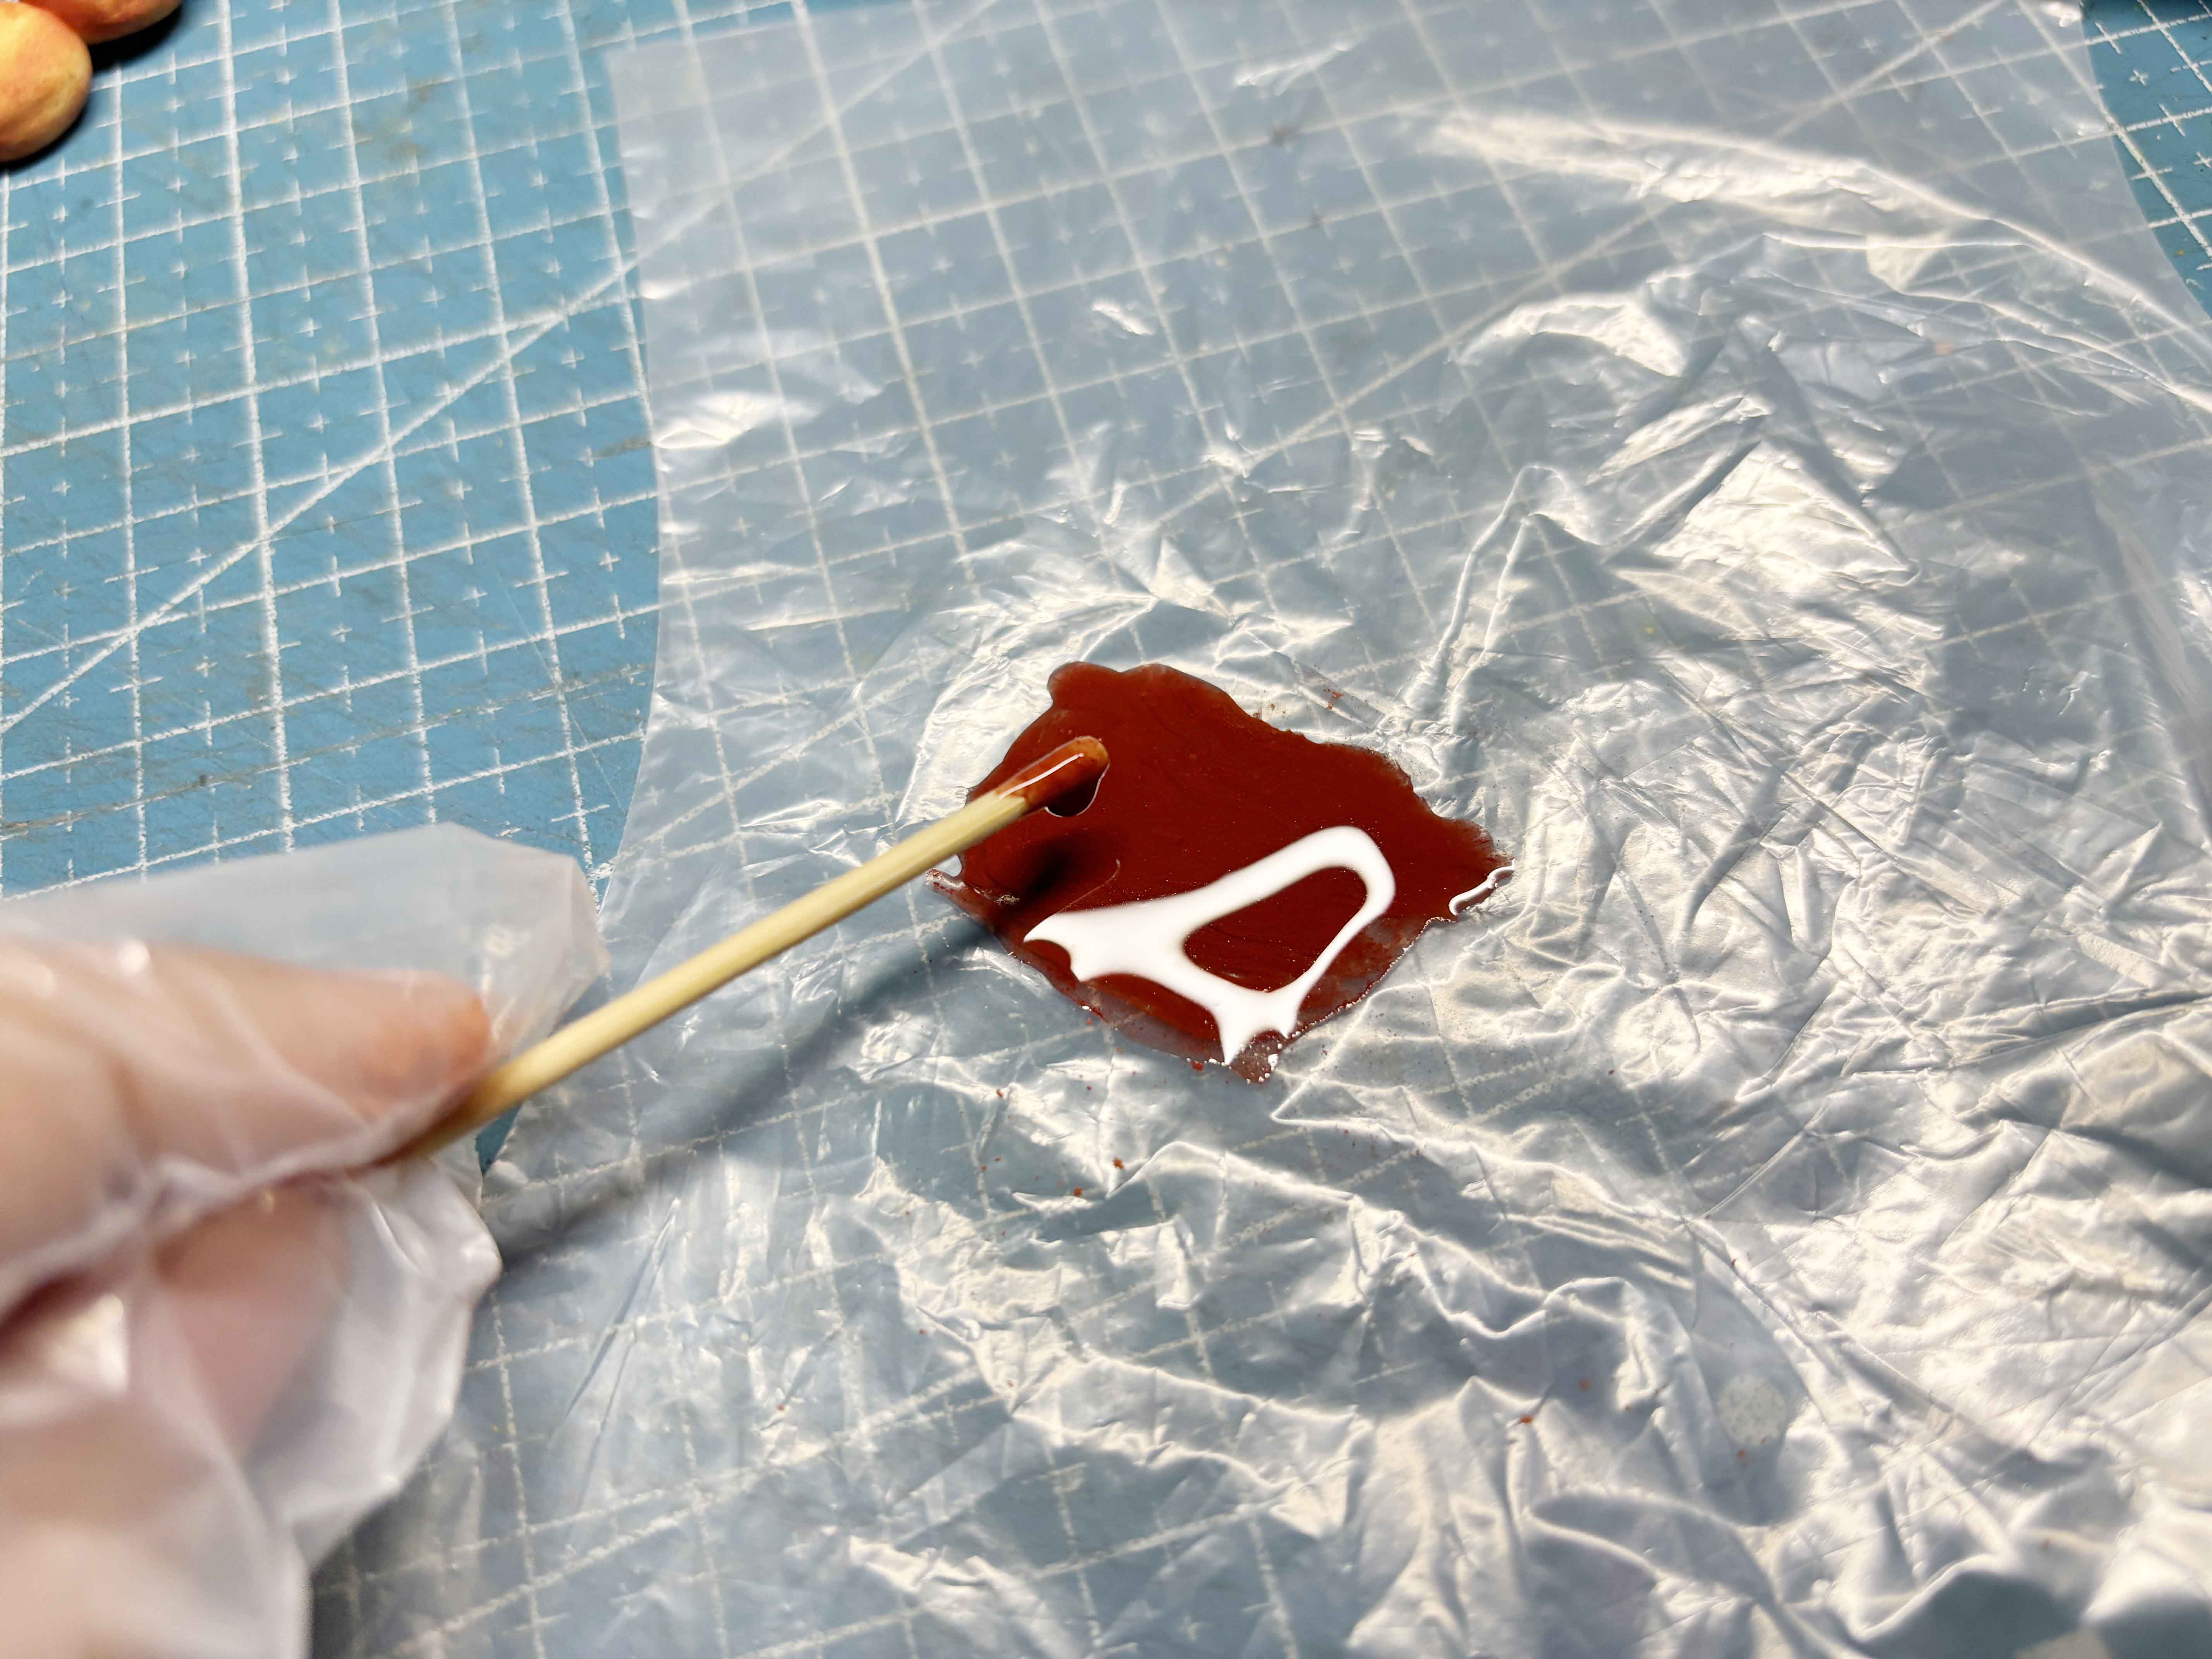
Scrap little by little until I am satisfied with the color, and then just mix it until well combined.
-----
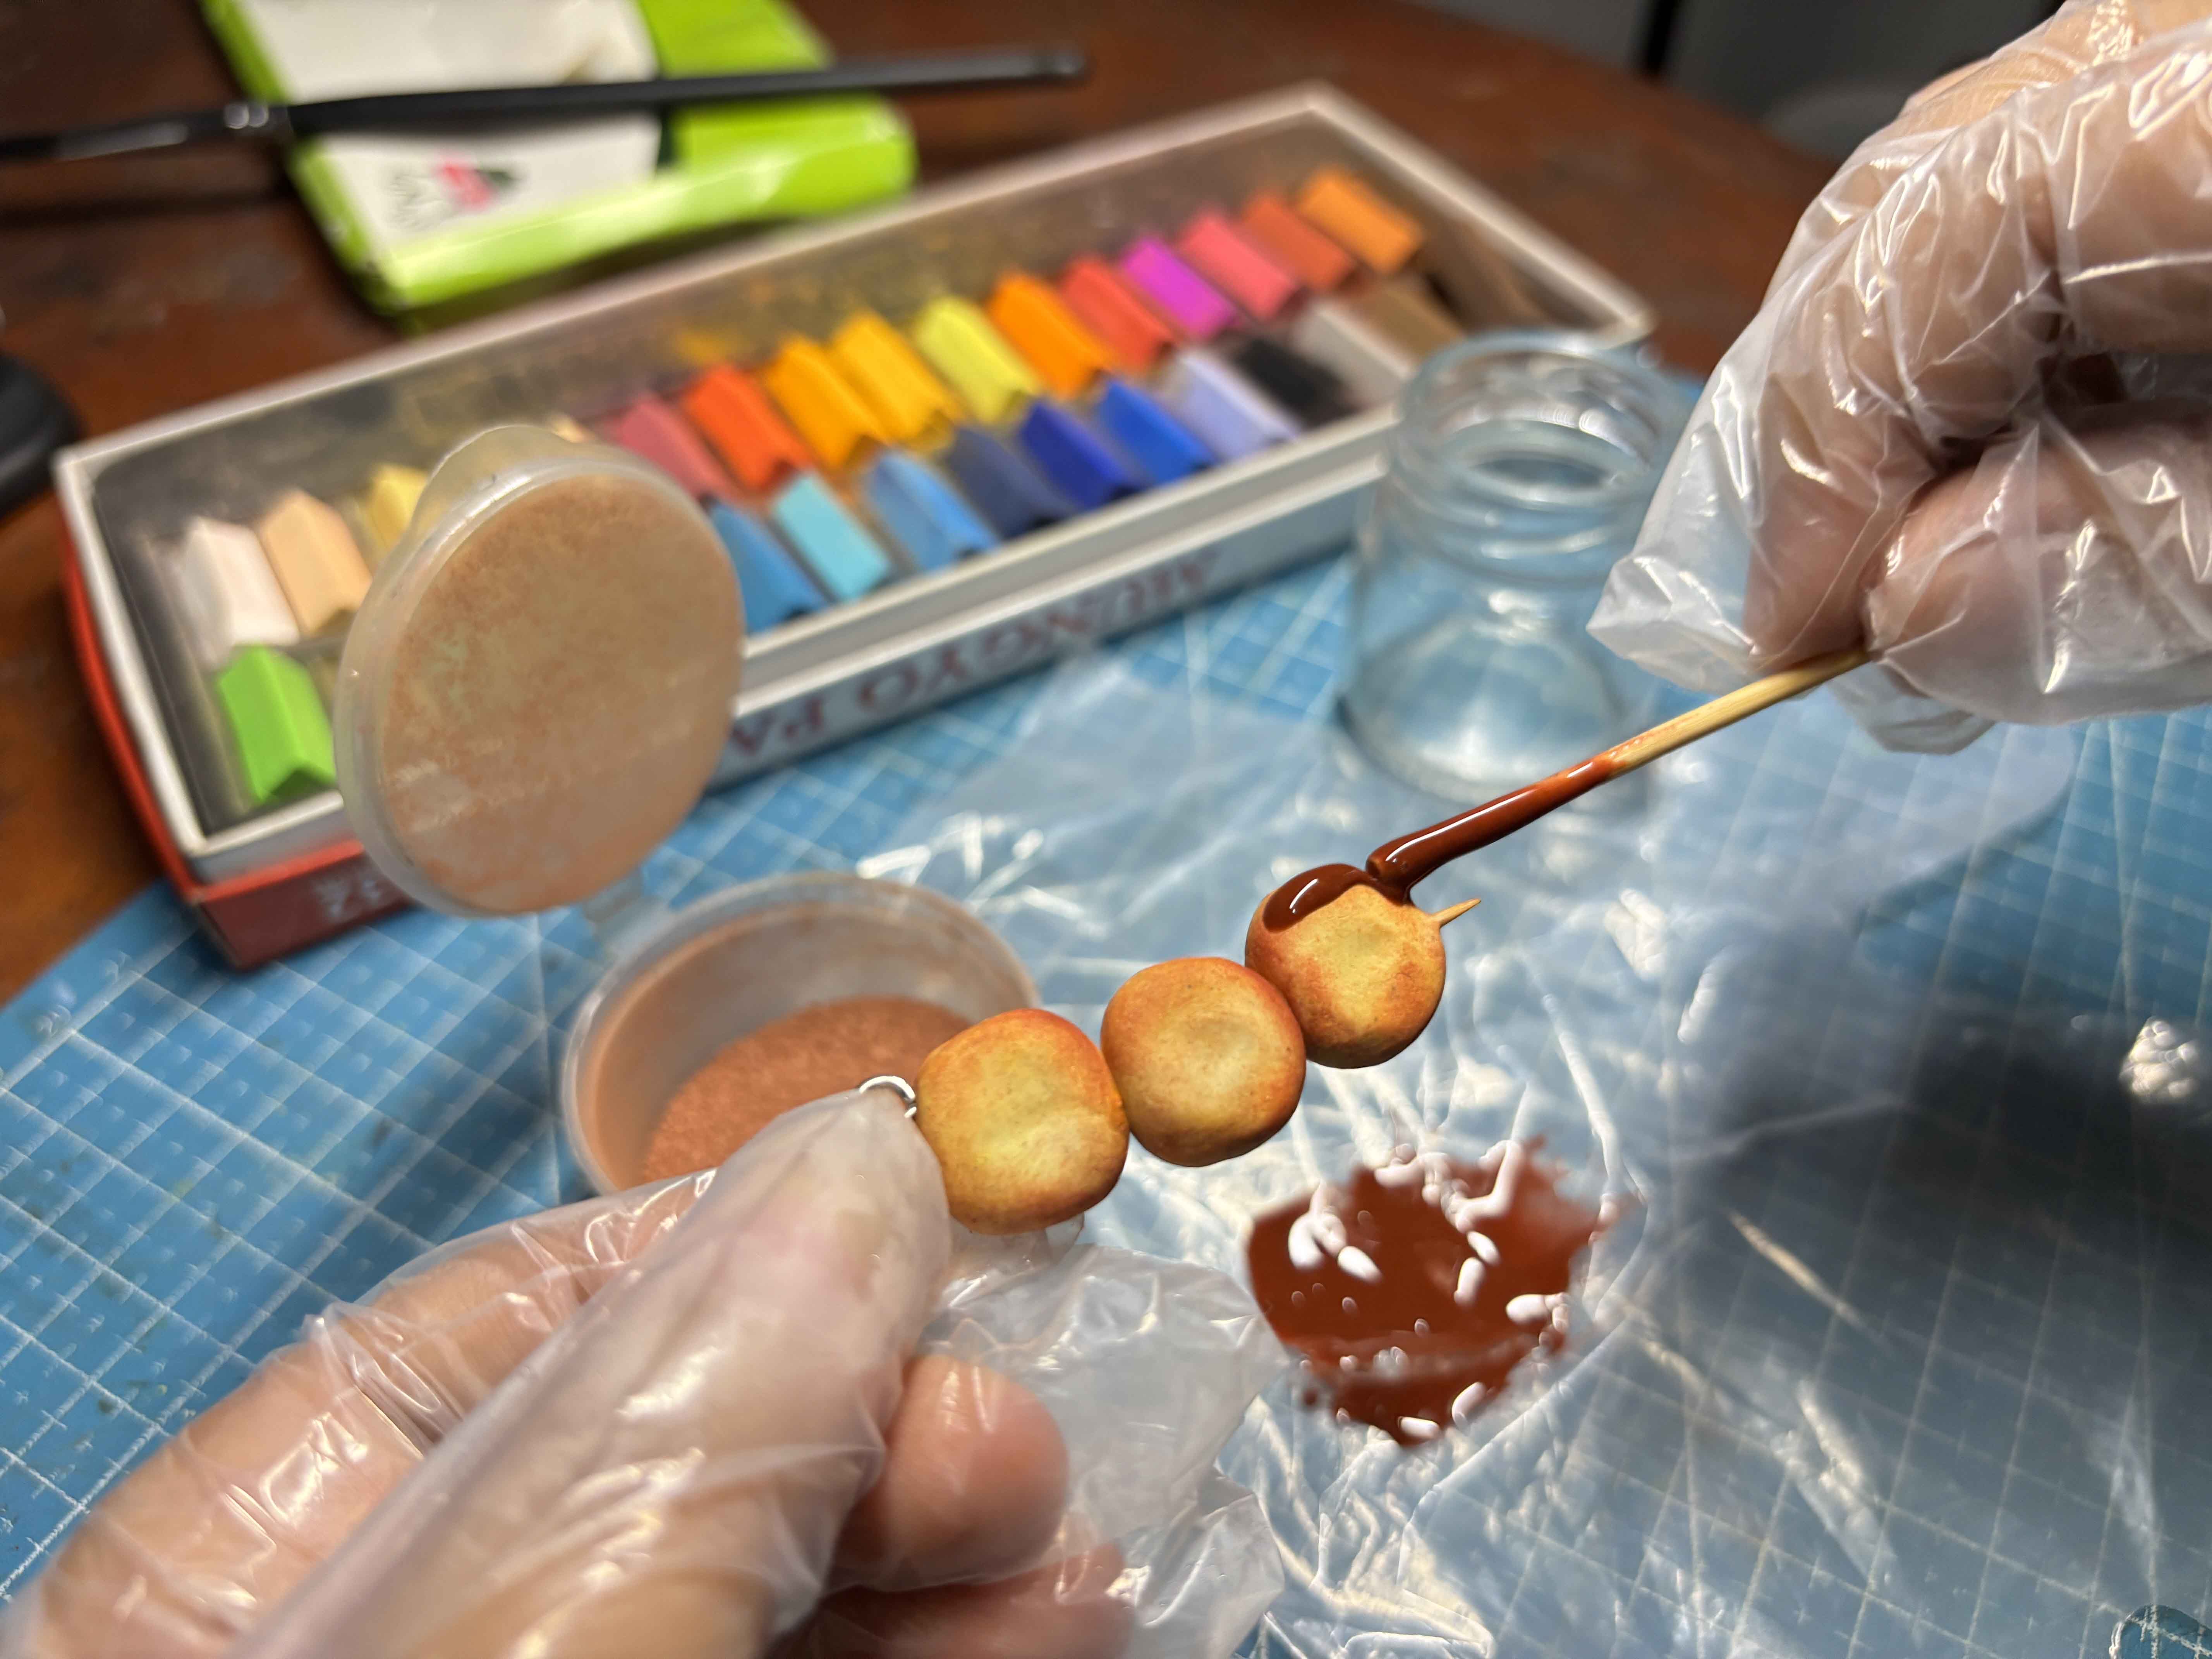
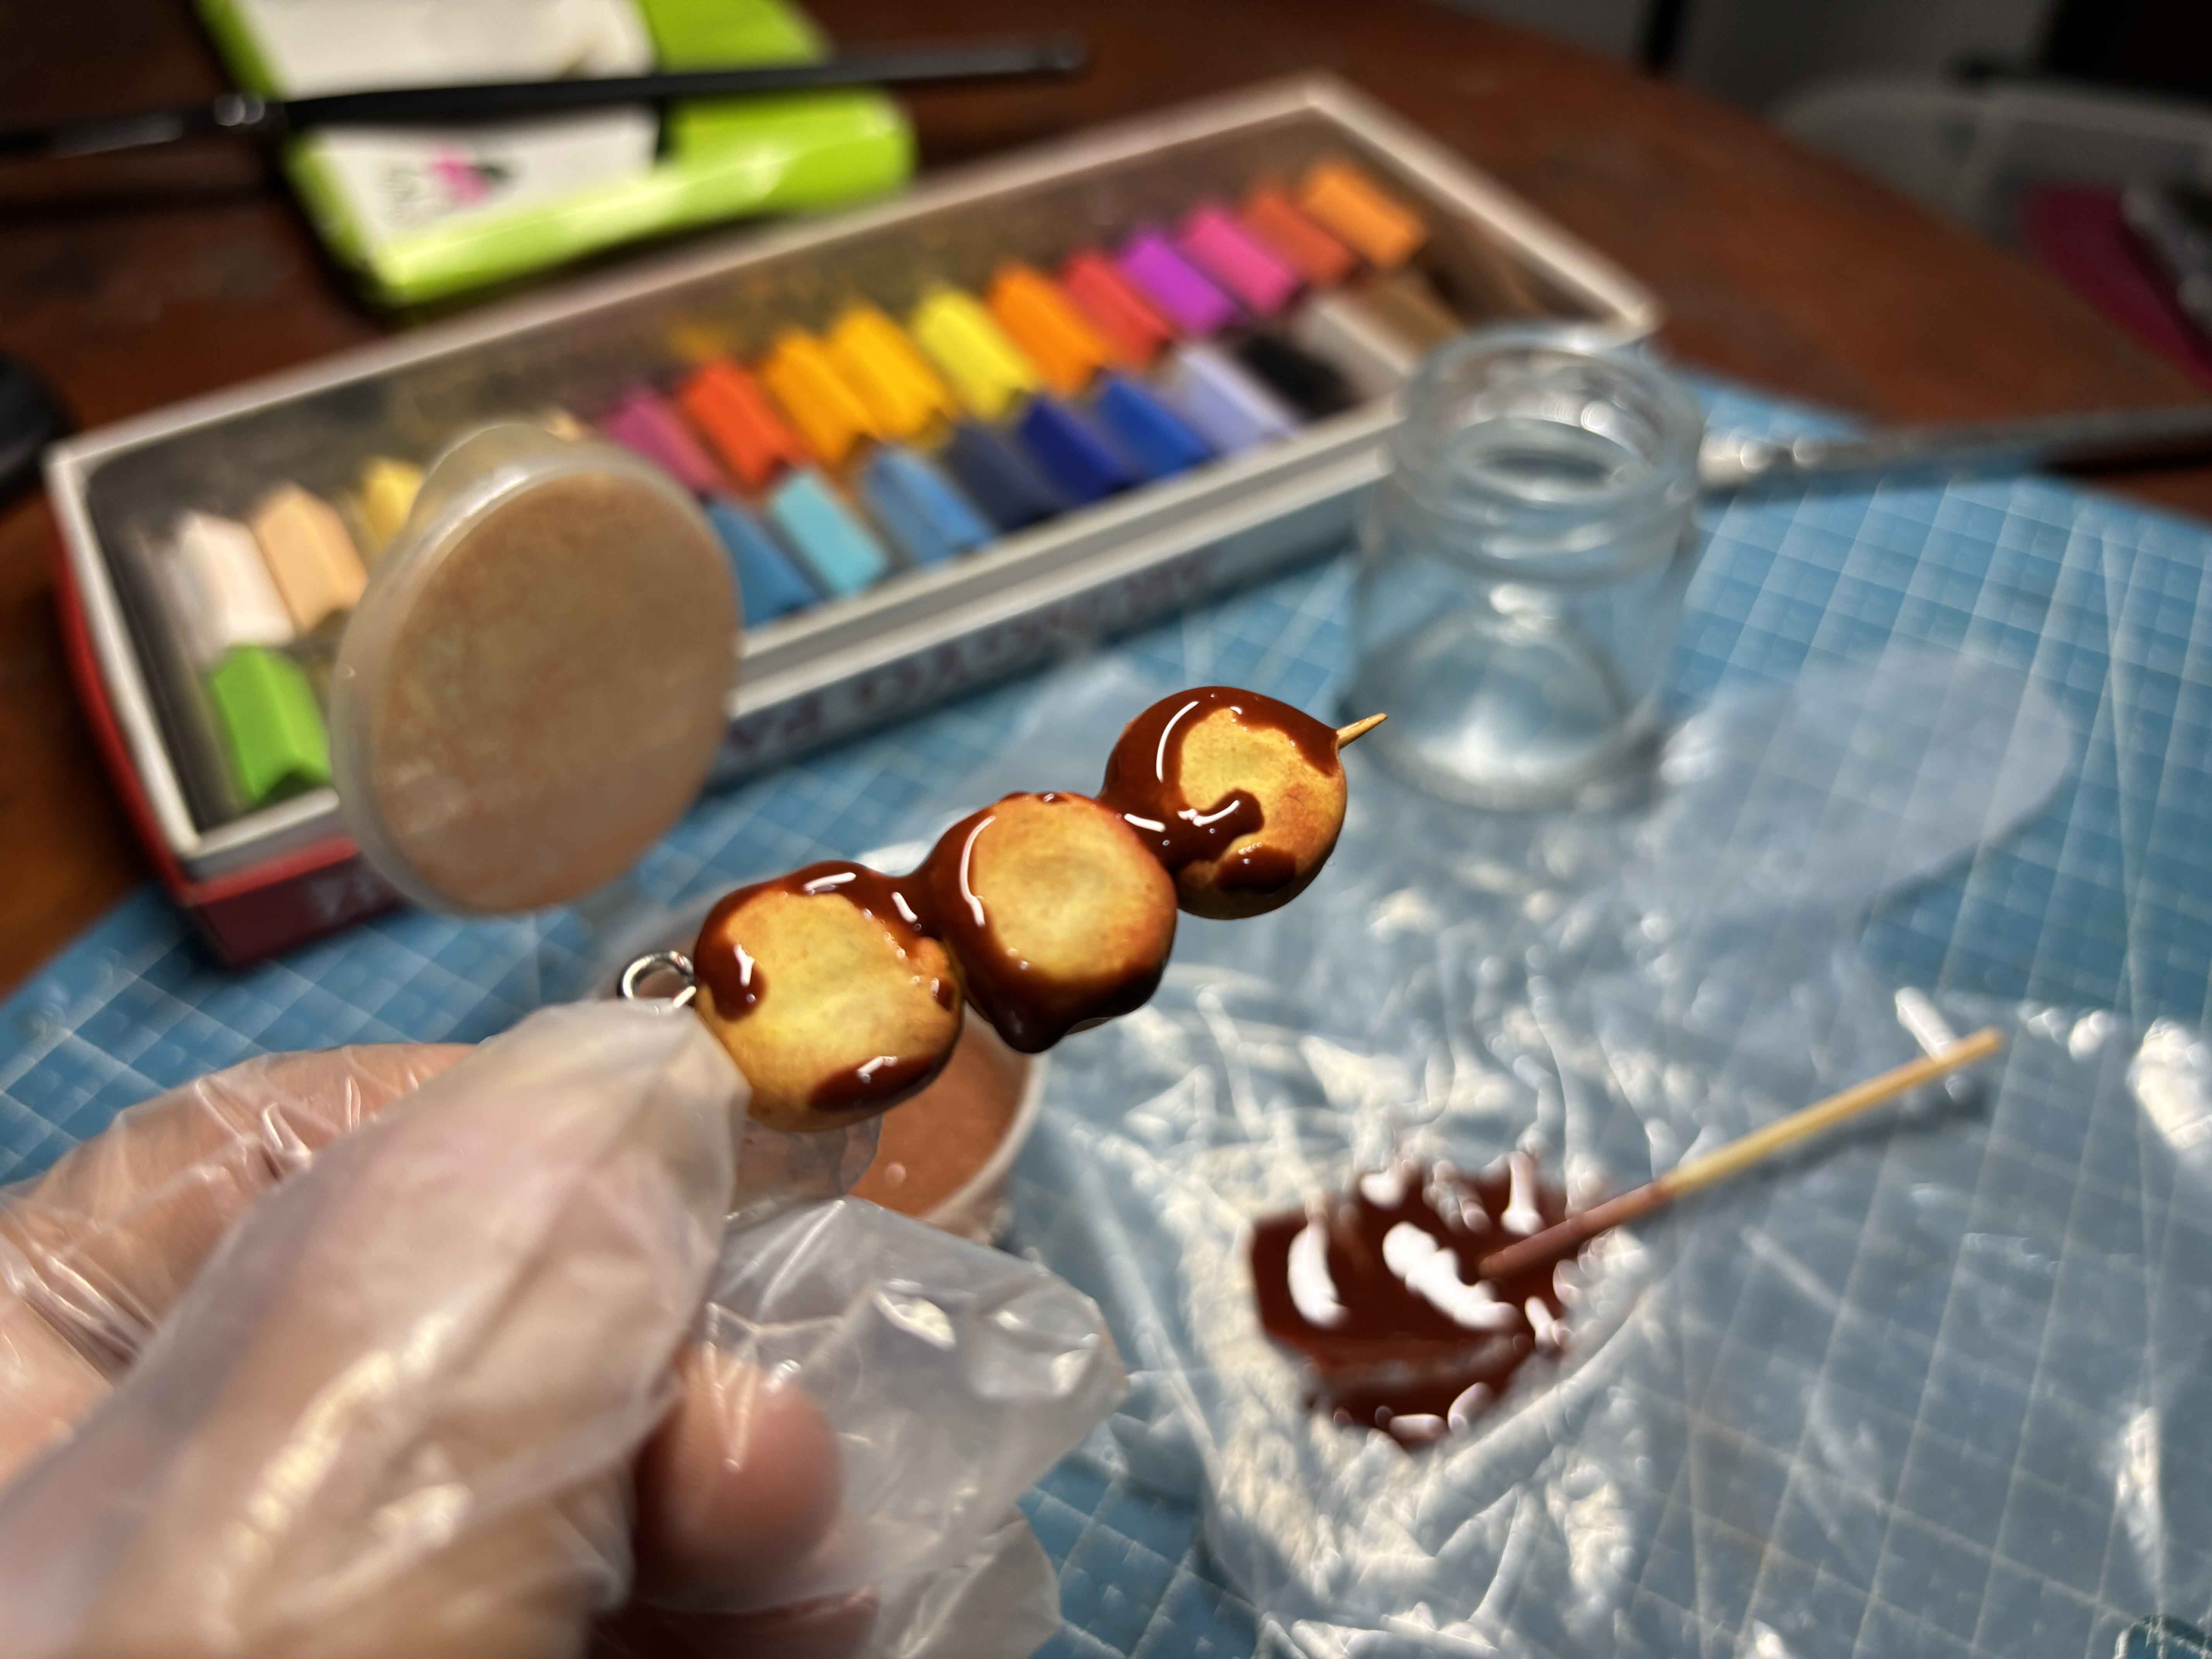
After that, I added the mixture to the clay just to imitate how the melted sugar sticks to the sweet potato.
-----
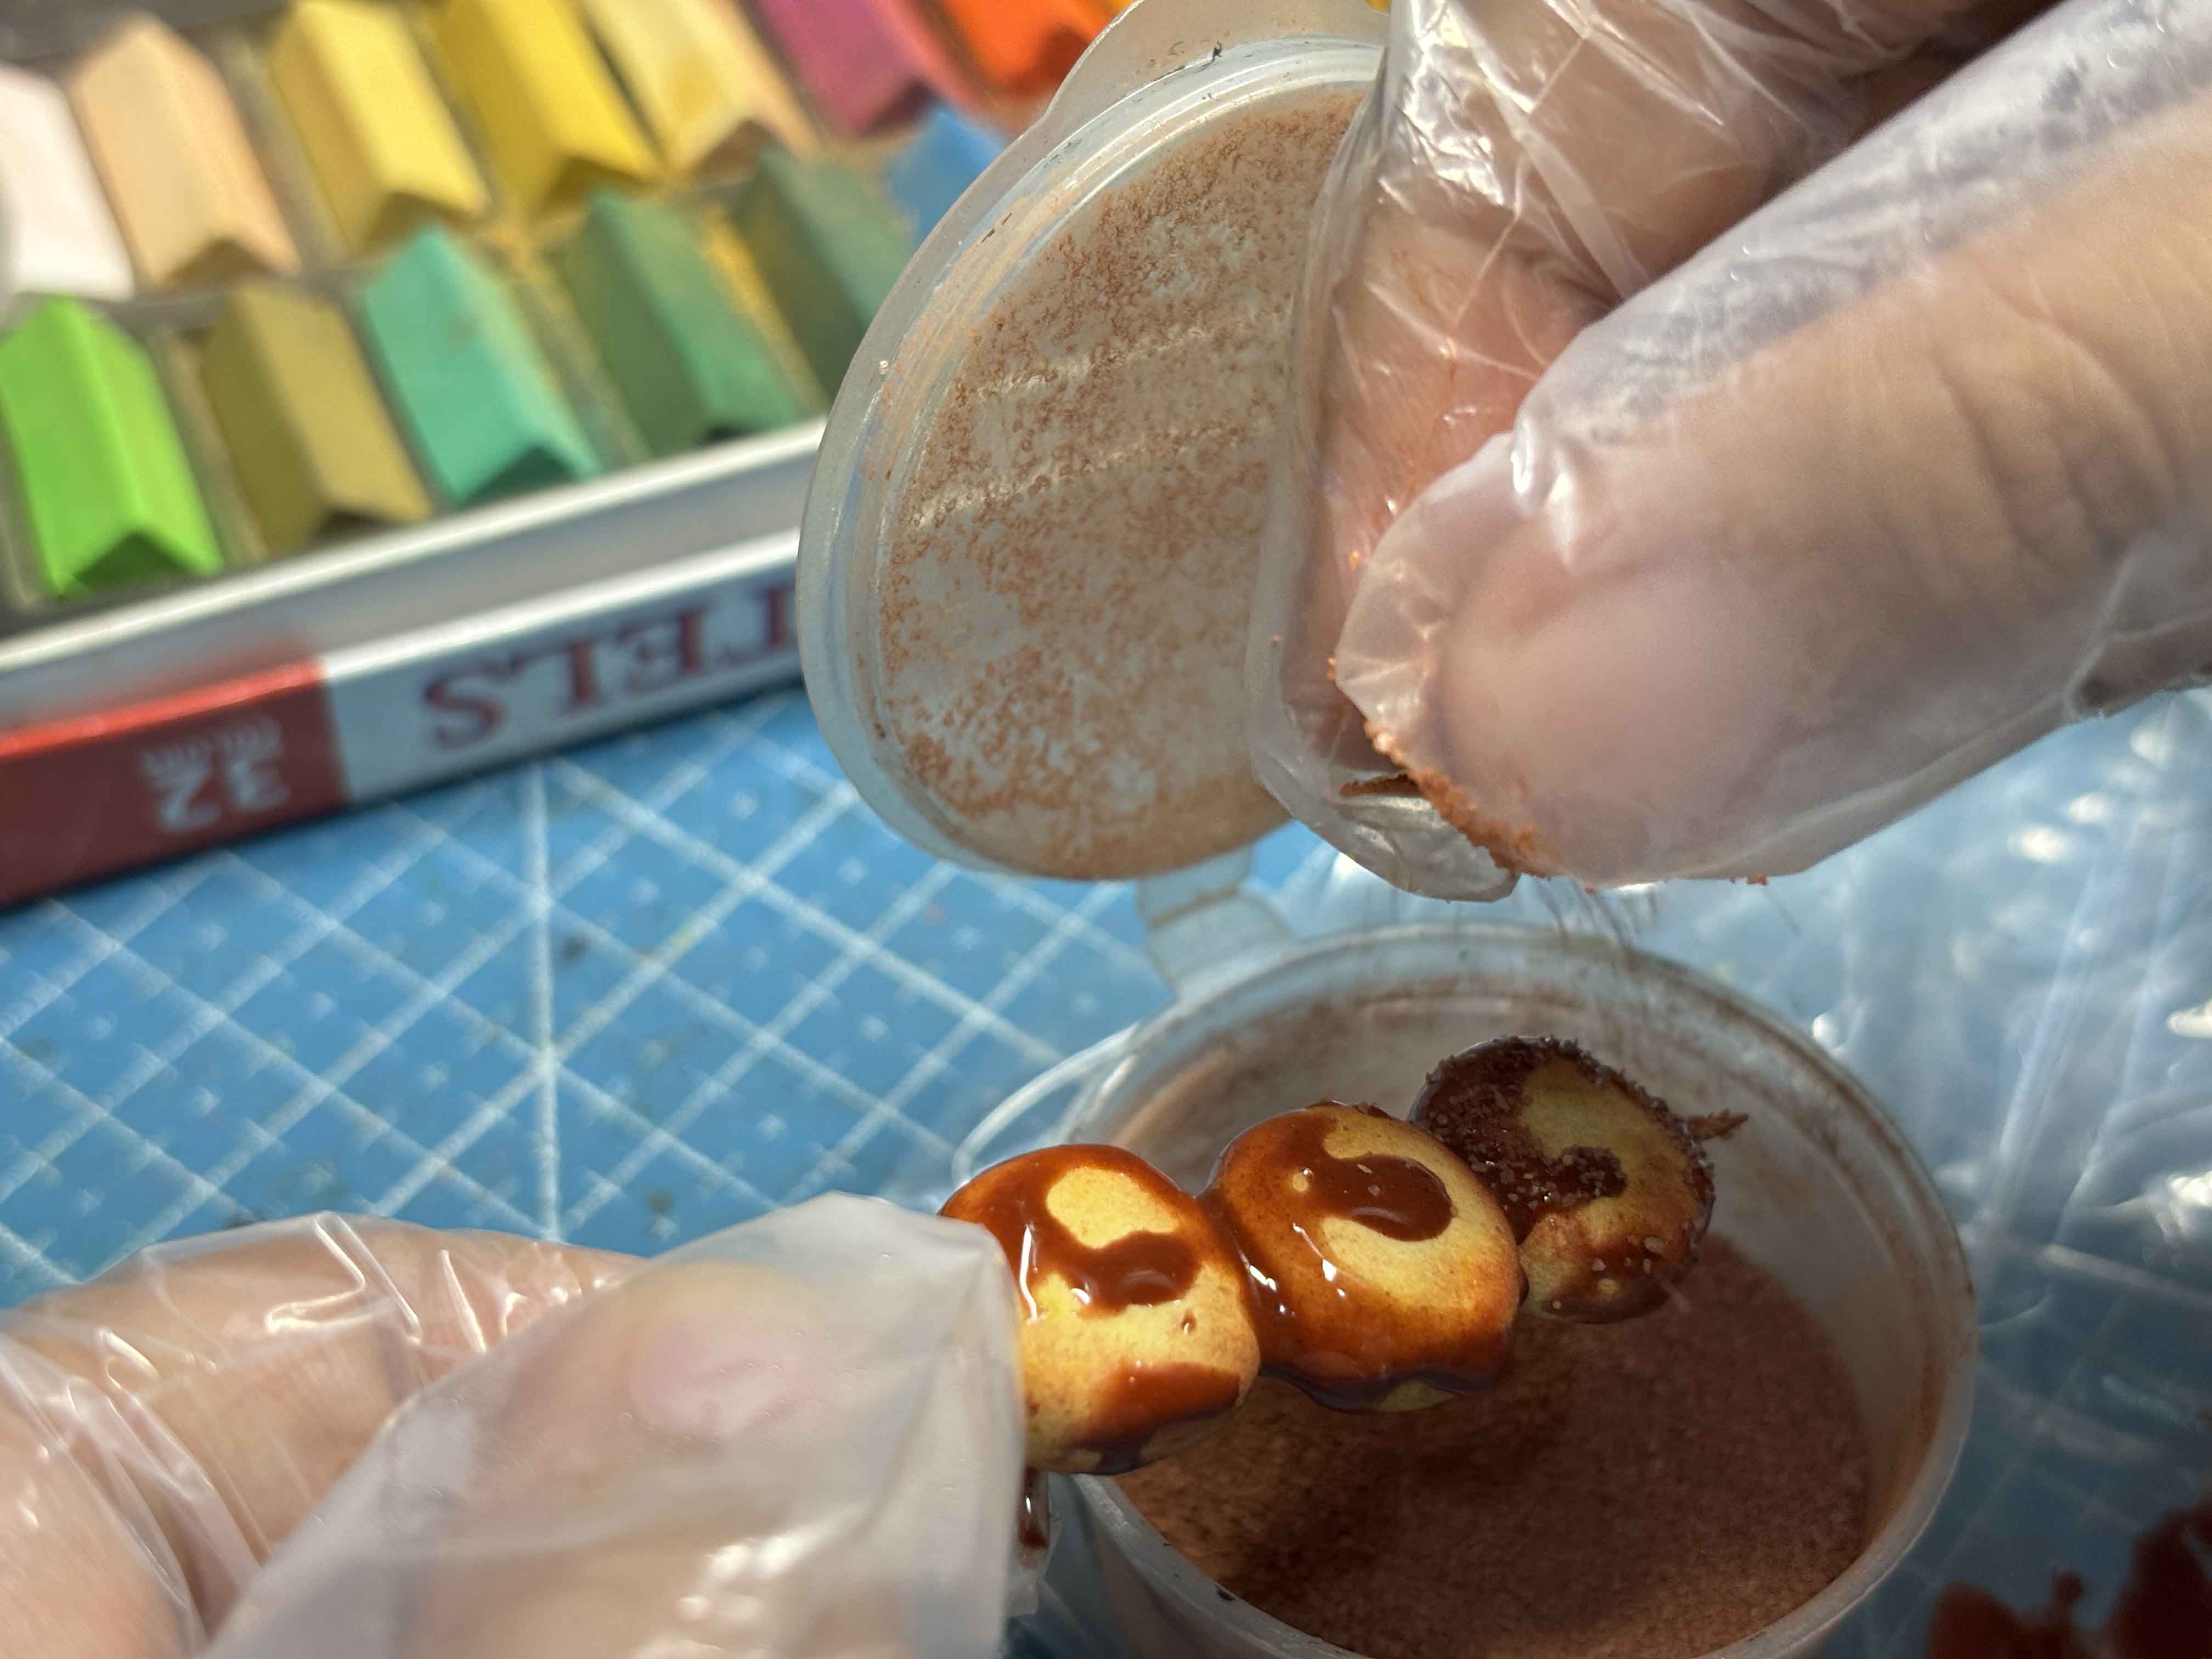
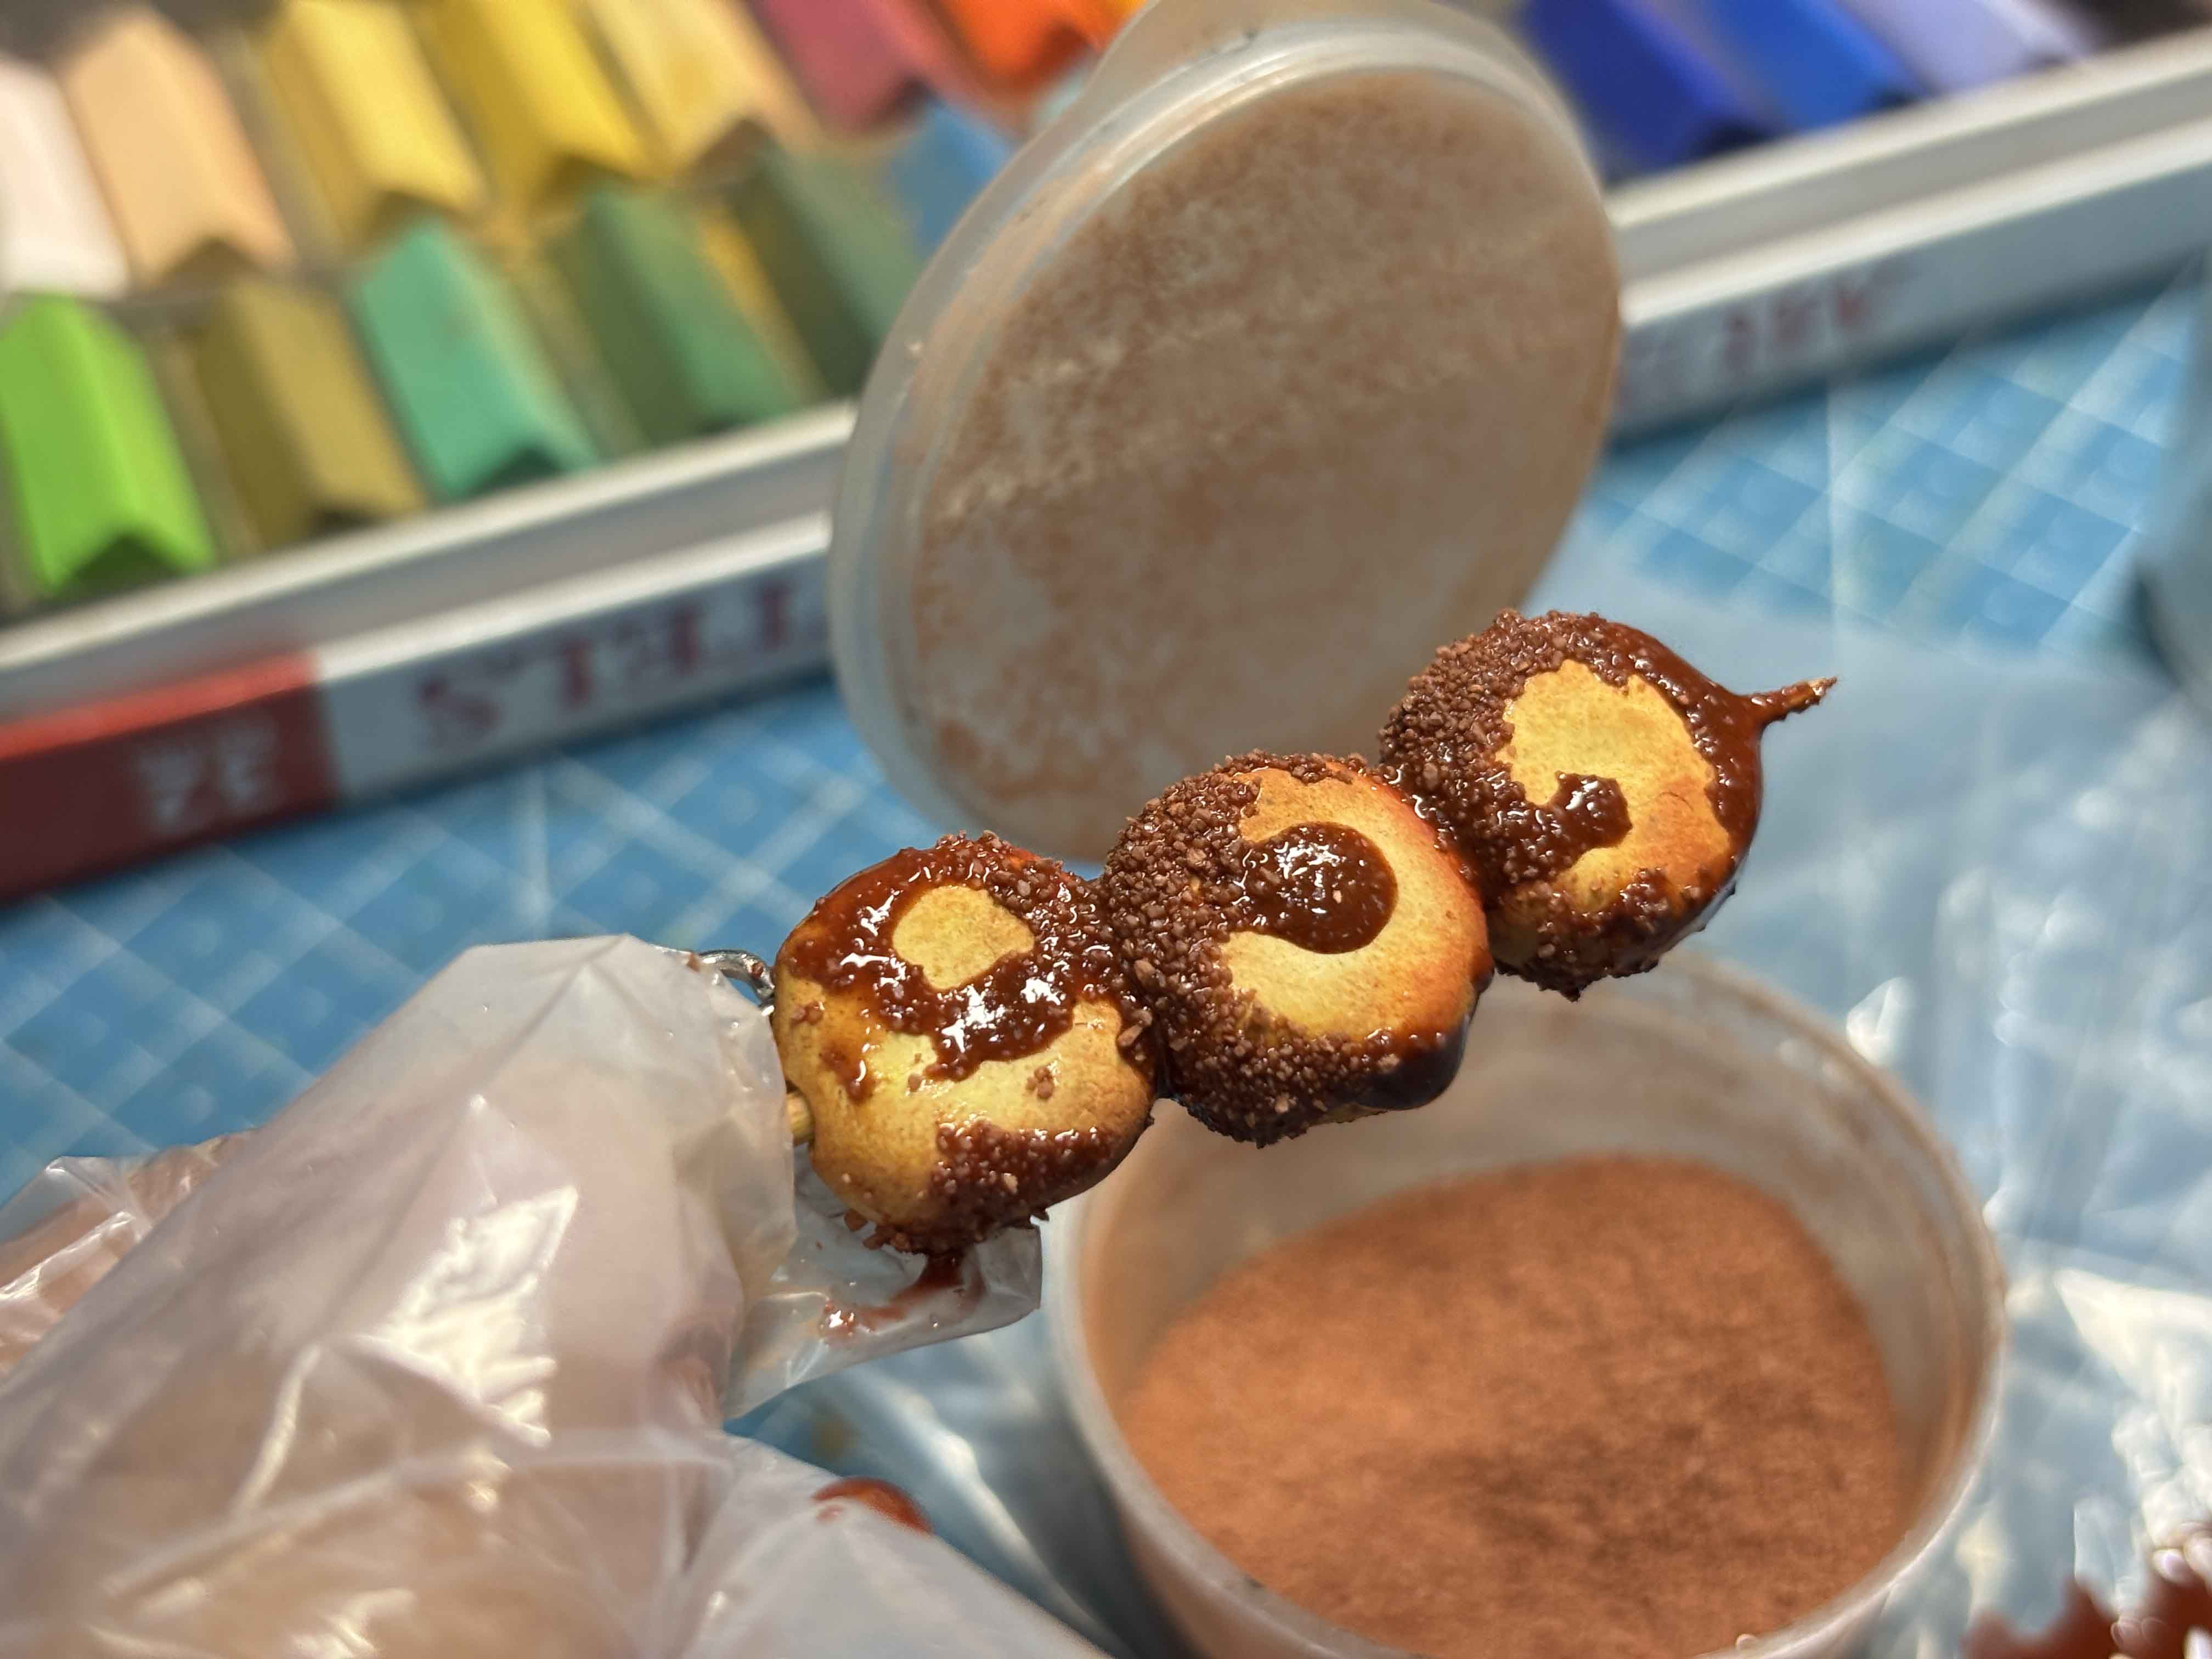
To make it more realistic, I added some brown colored sand to imitate the sugar texture.
-----
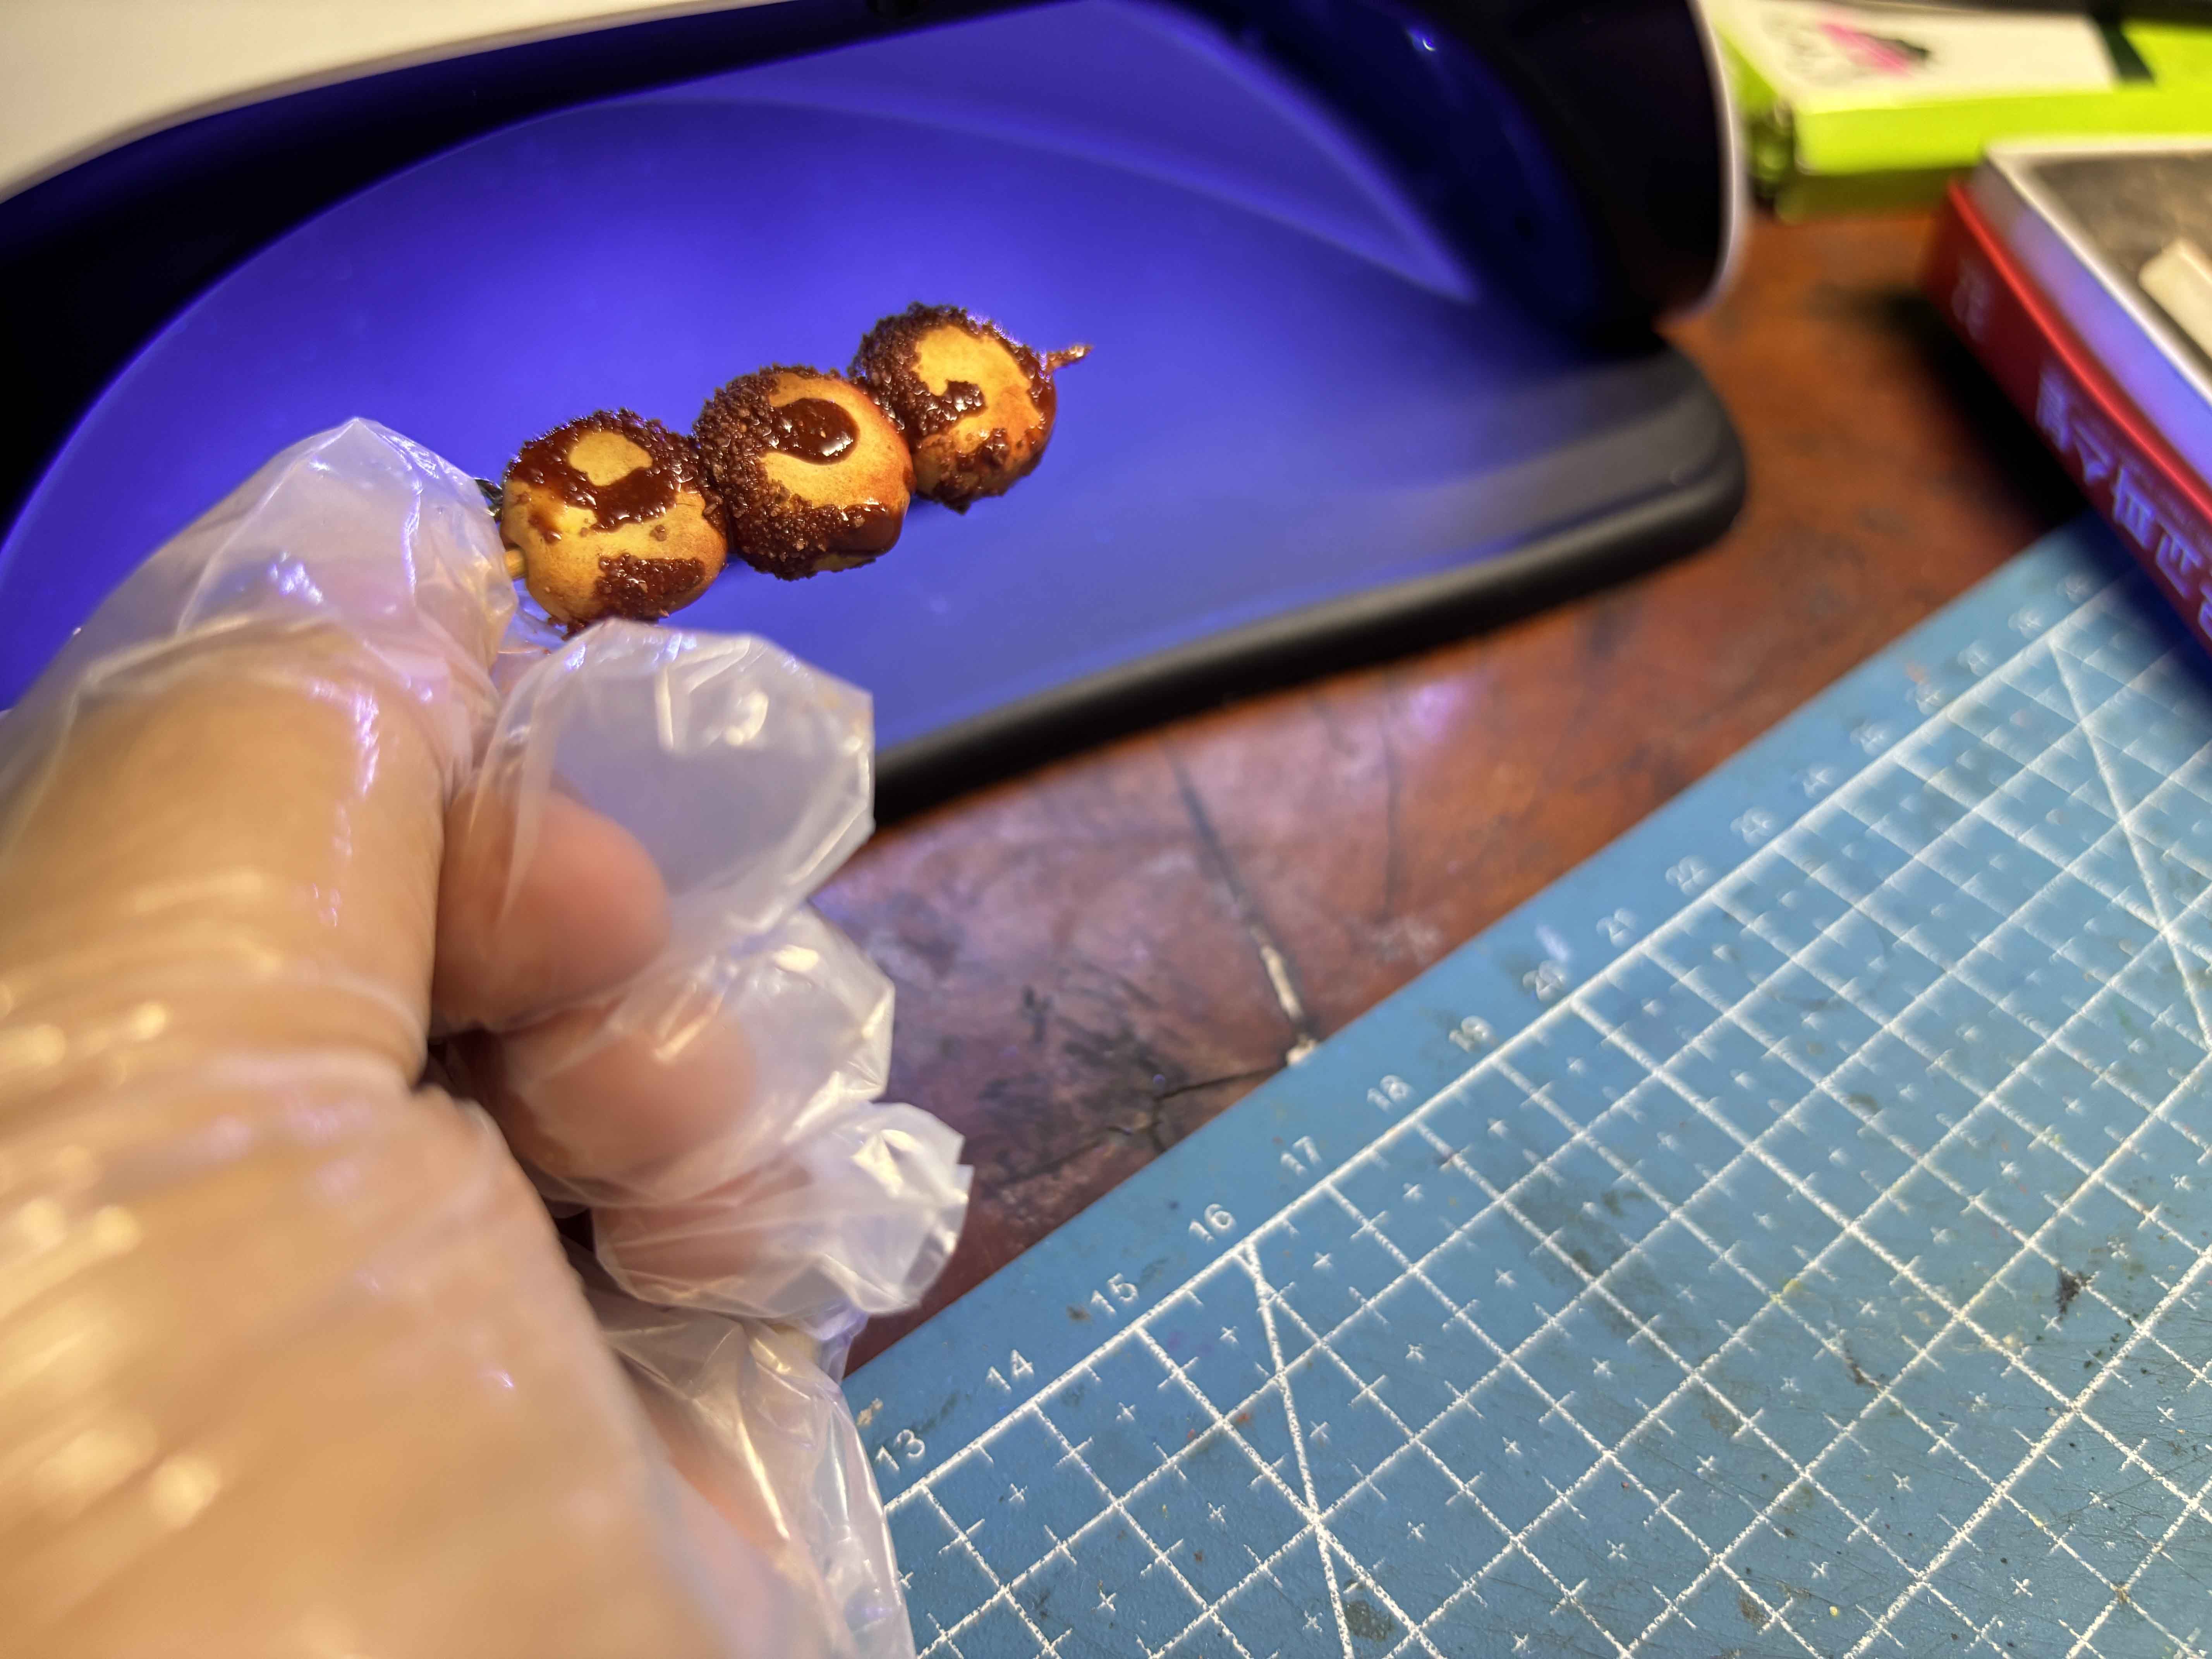
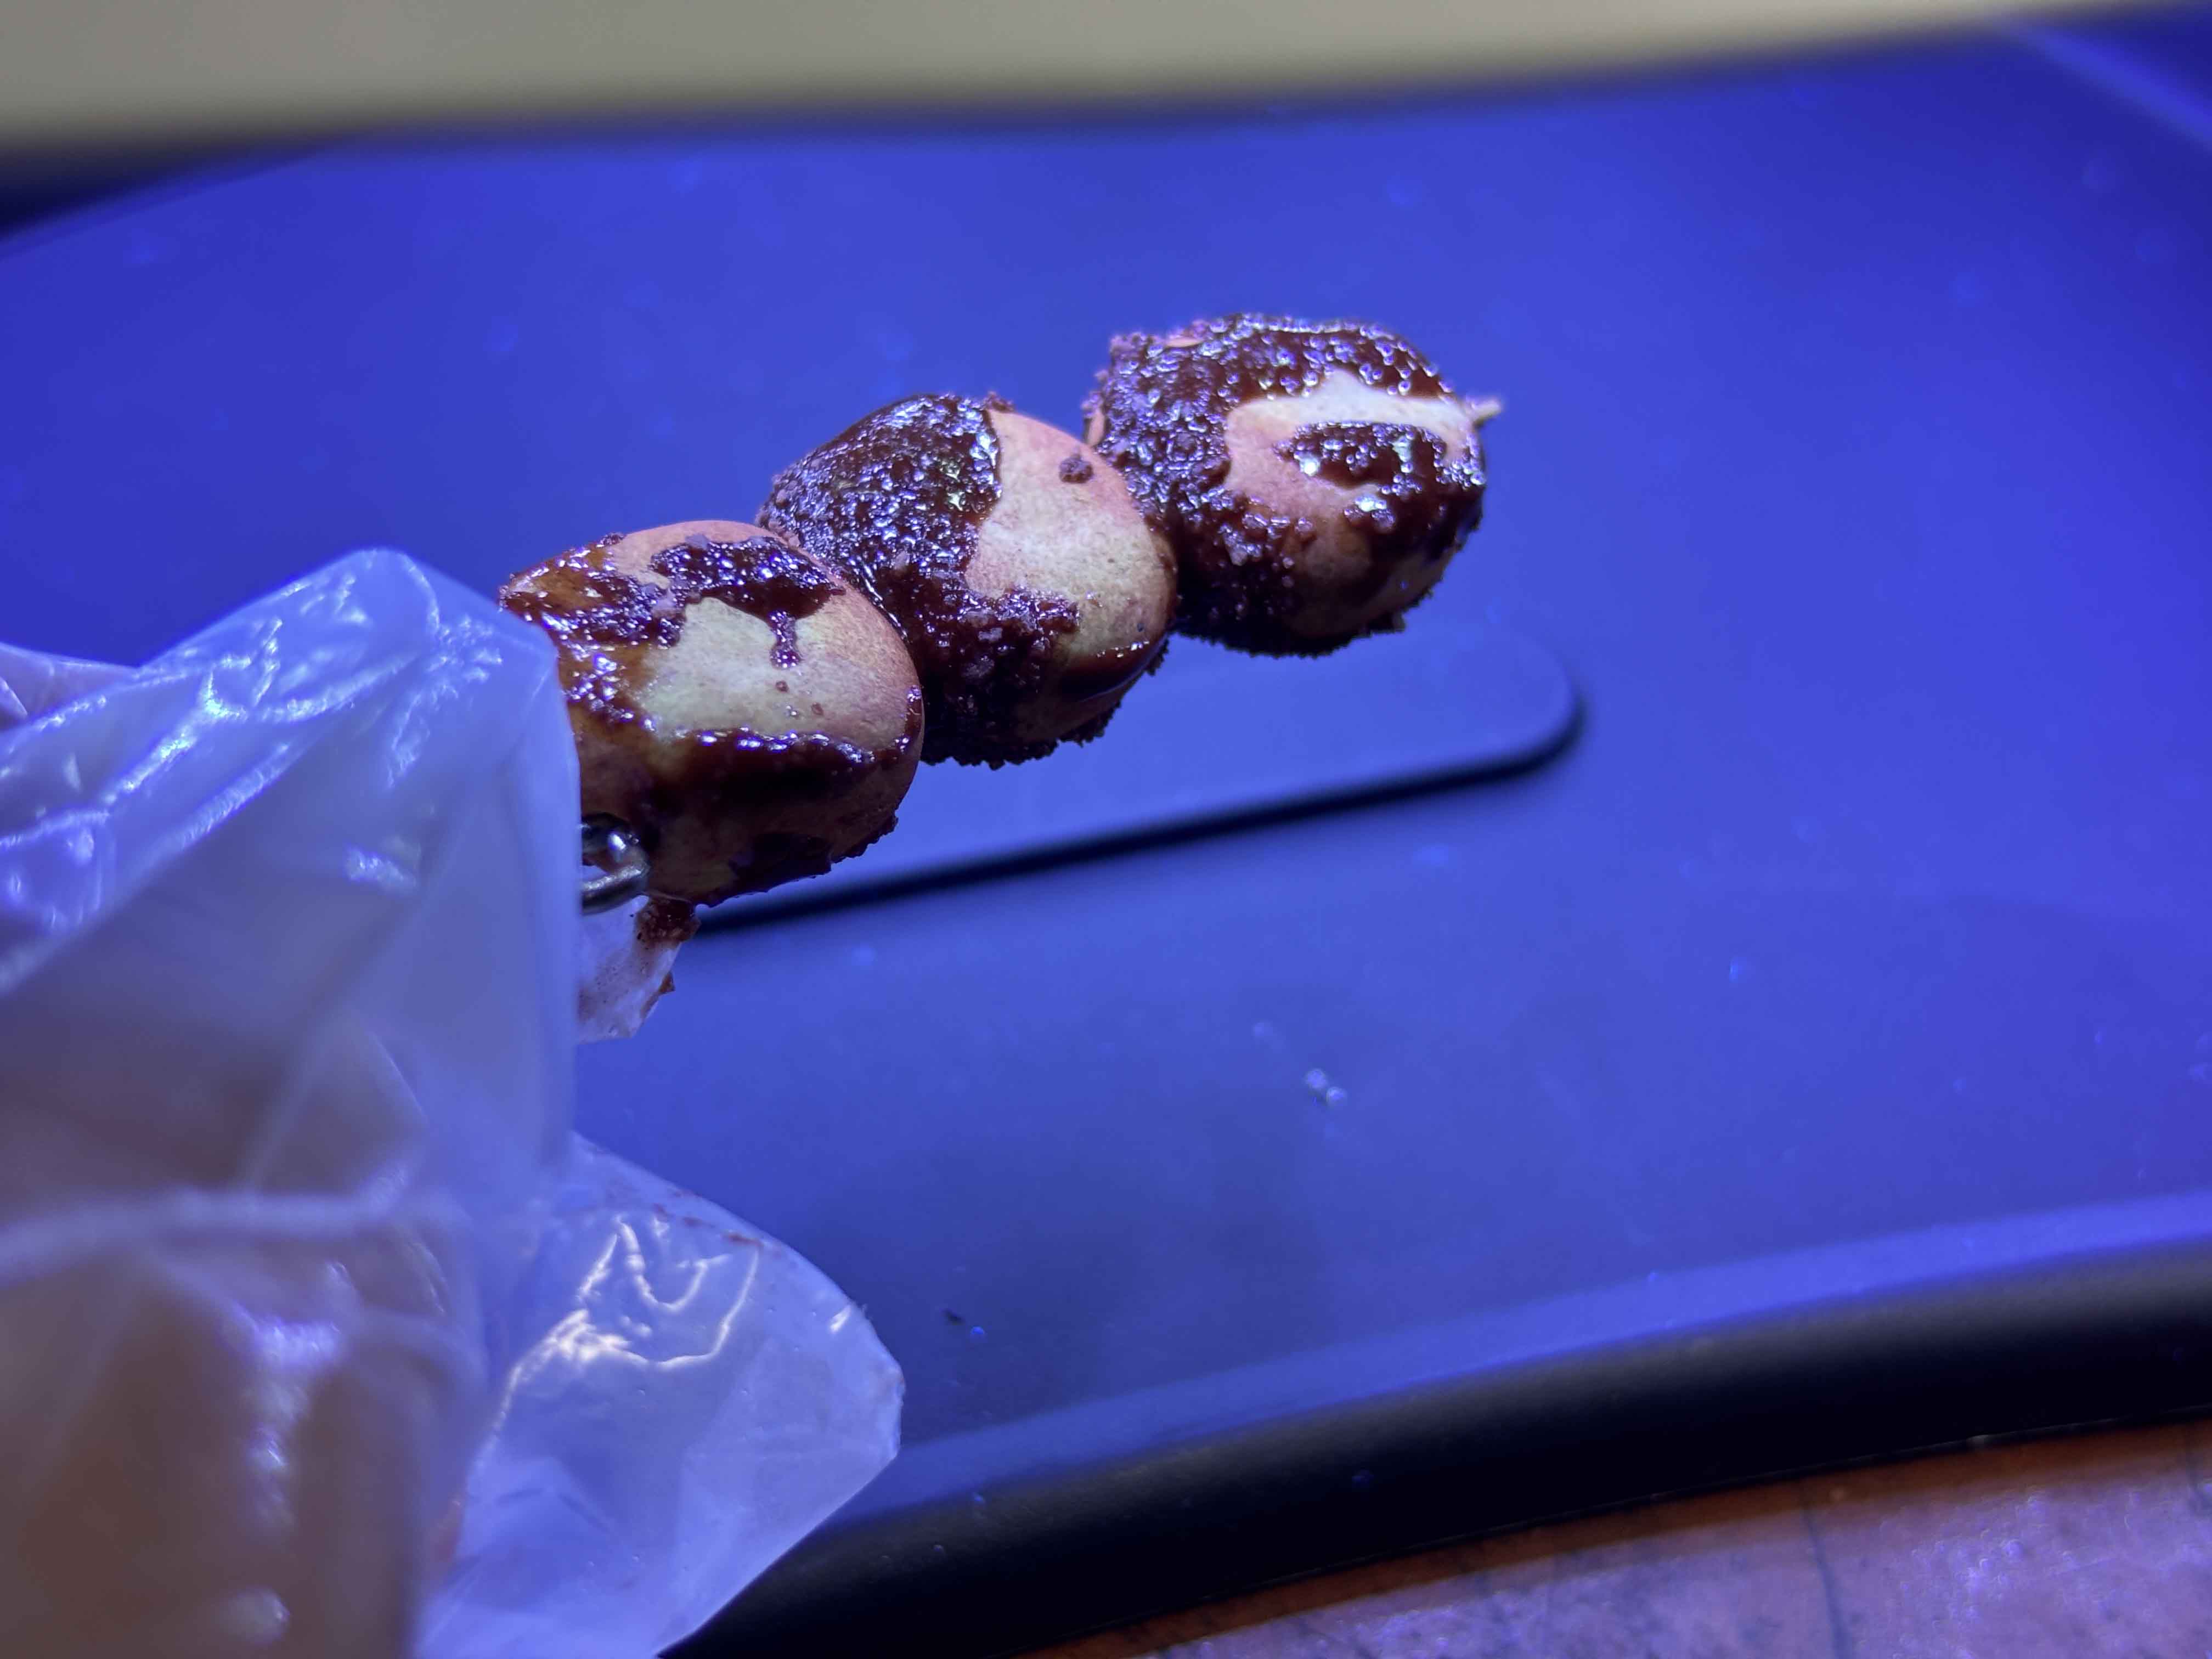
When everything is good, I cure the UV Resin mixture to the UV Lamp, to cure it evenly, I rotate the clay each every side.
-----
Adding the Keychain:
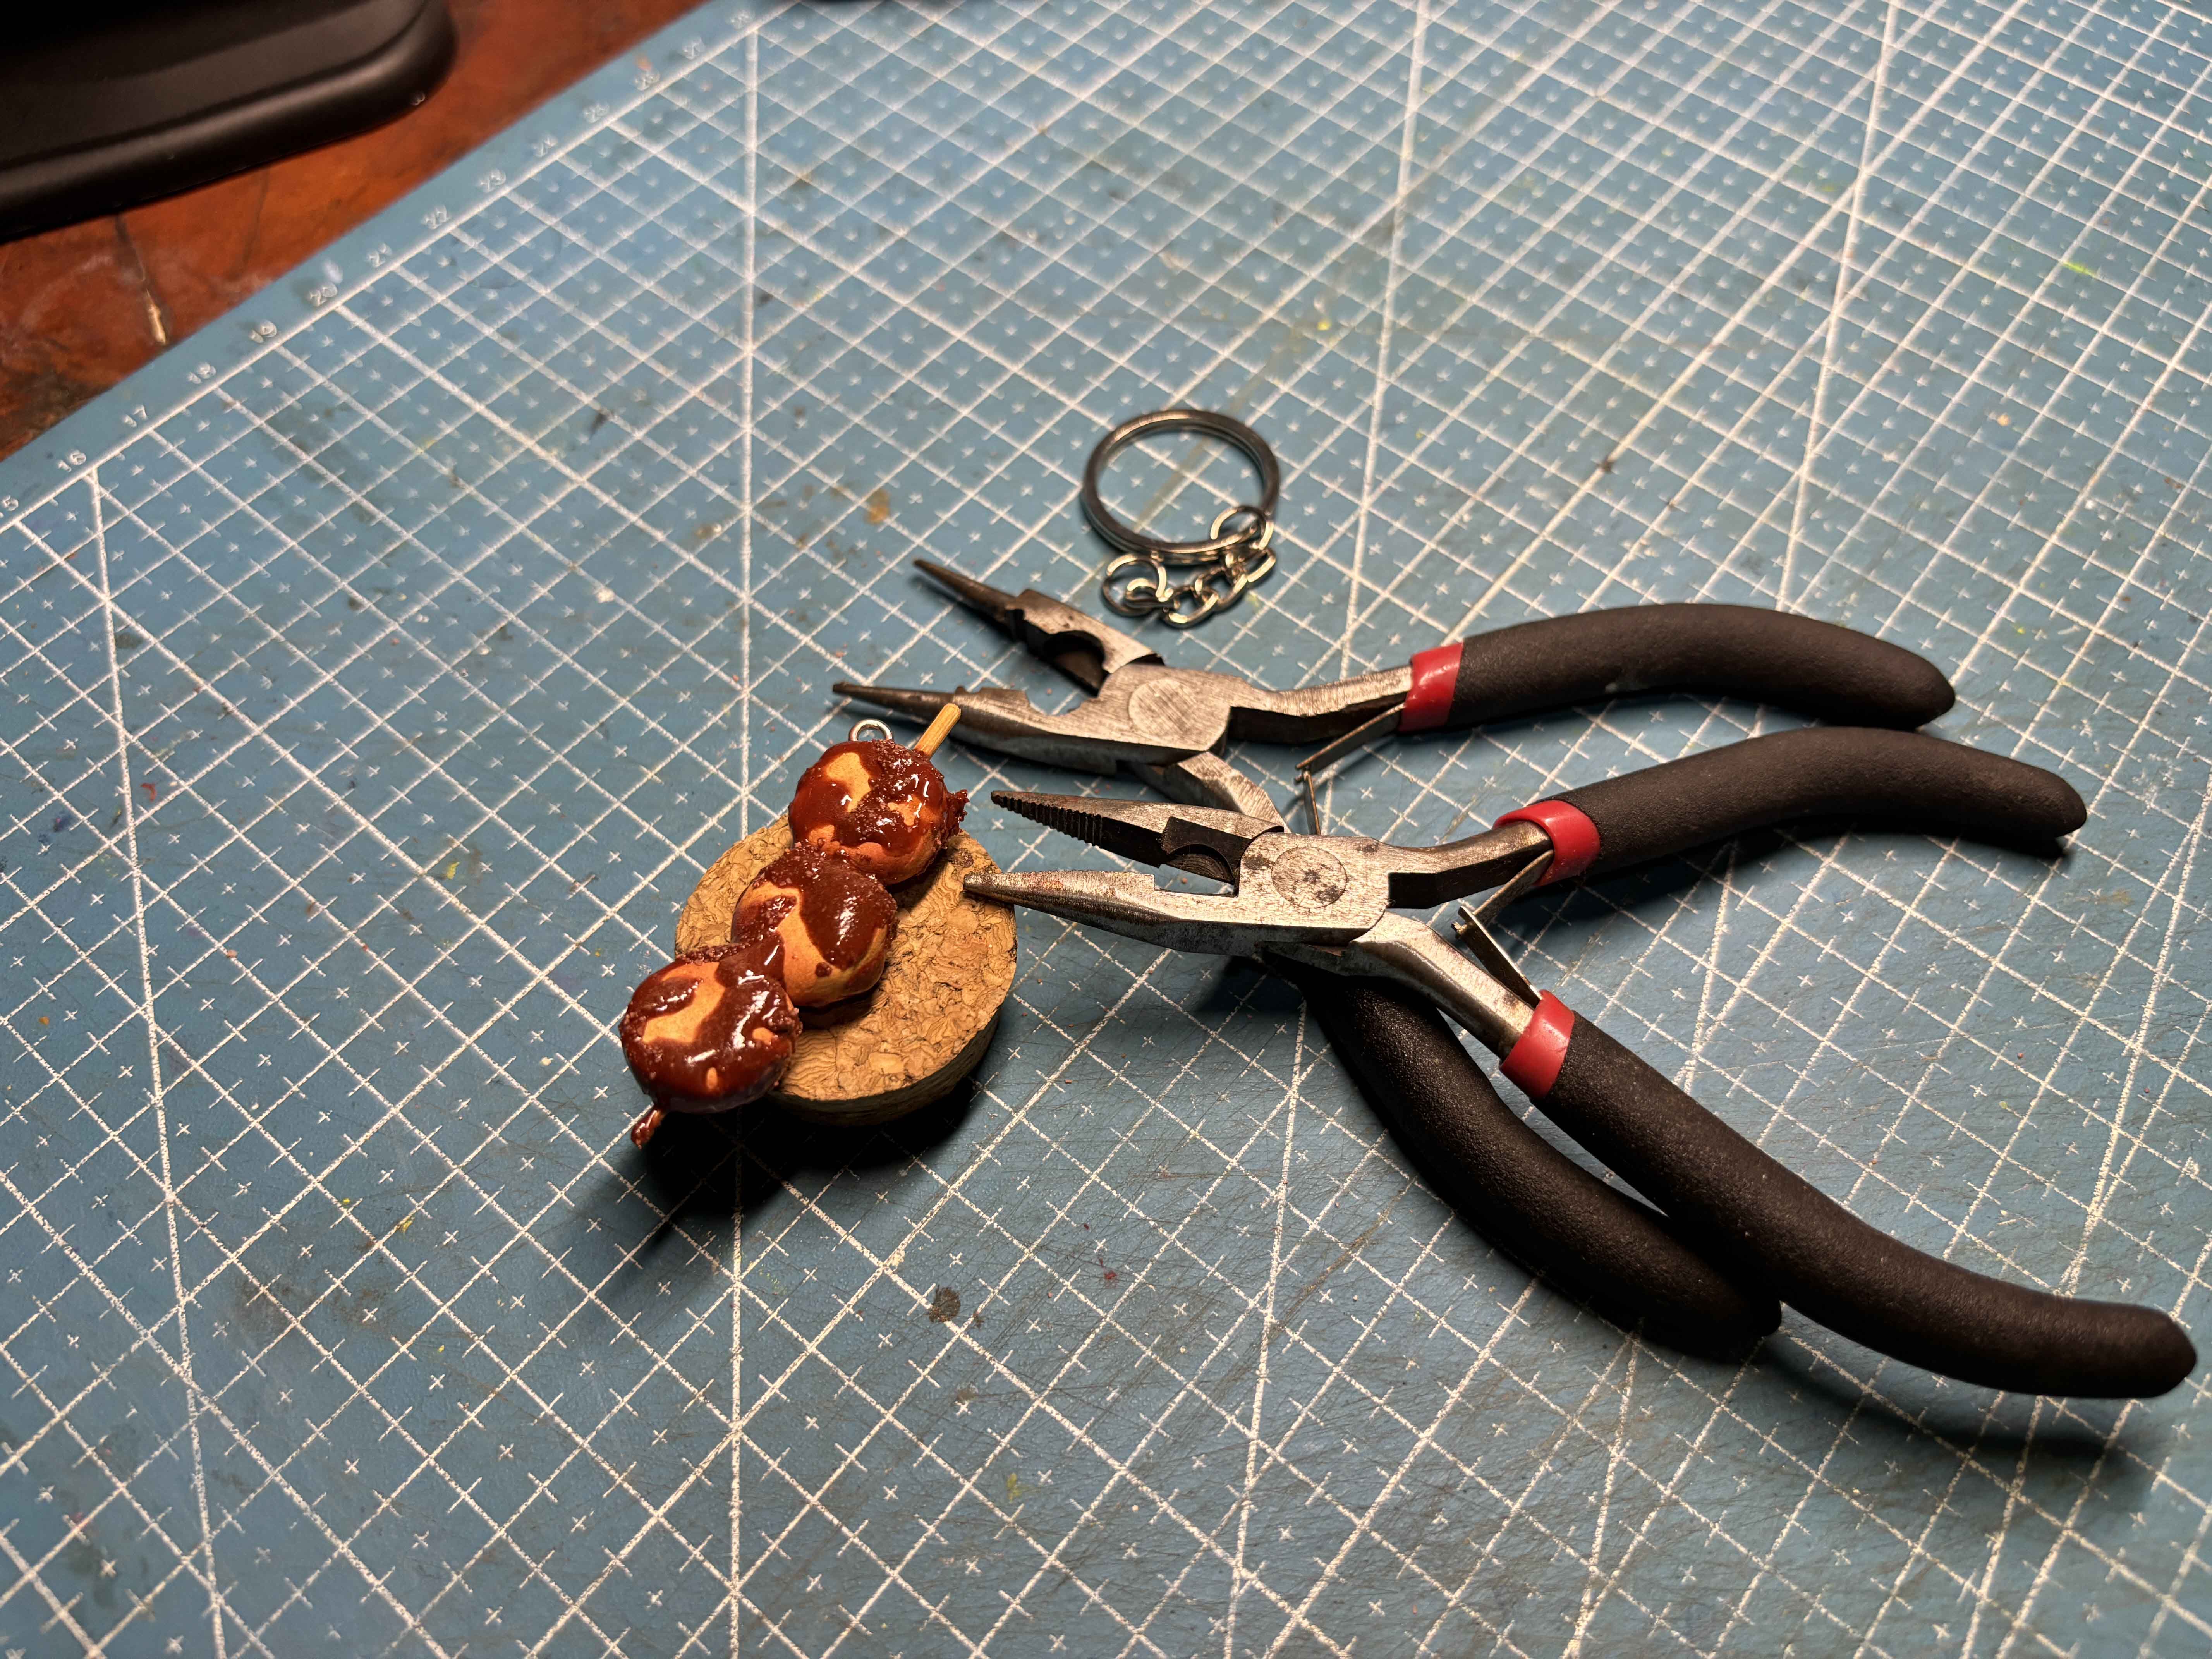
For this part, I will need pliers and a keychain. What I do is to hoop the jump ring into the eyepins.
----
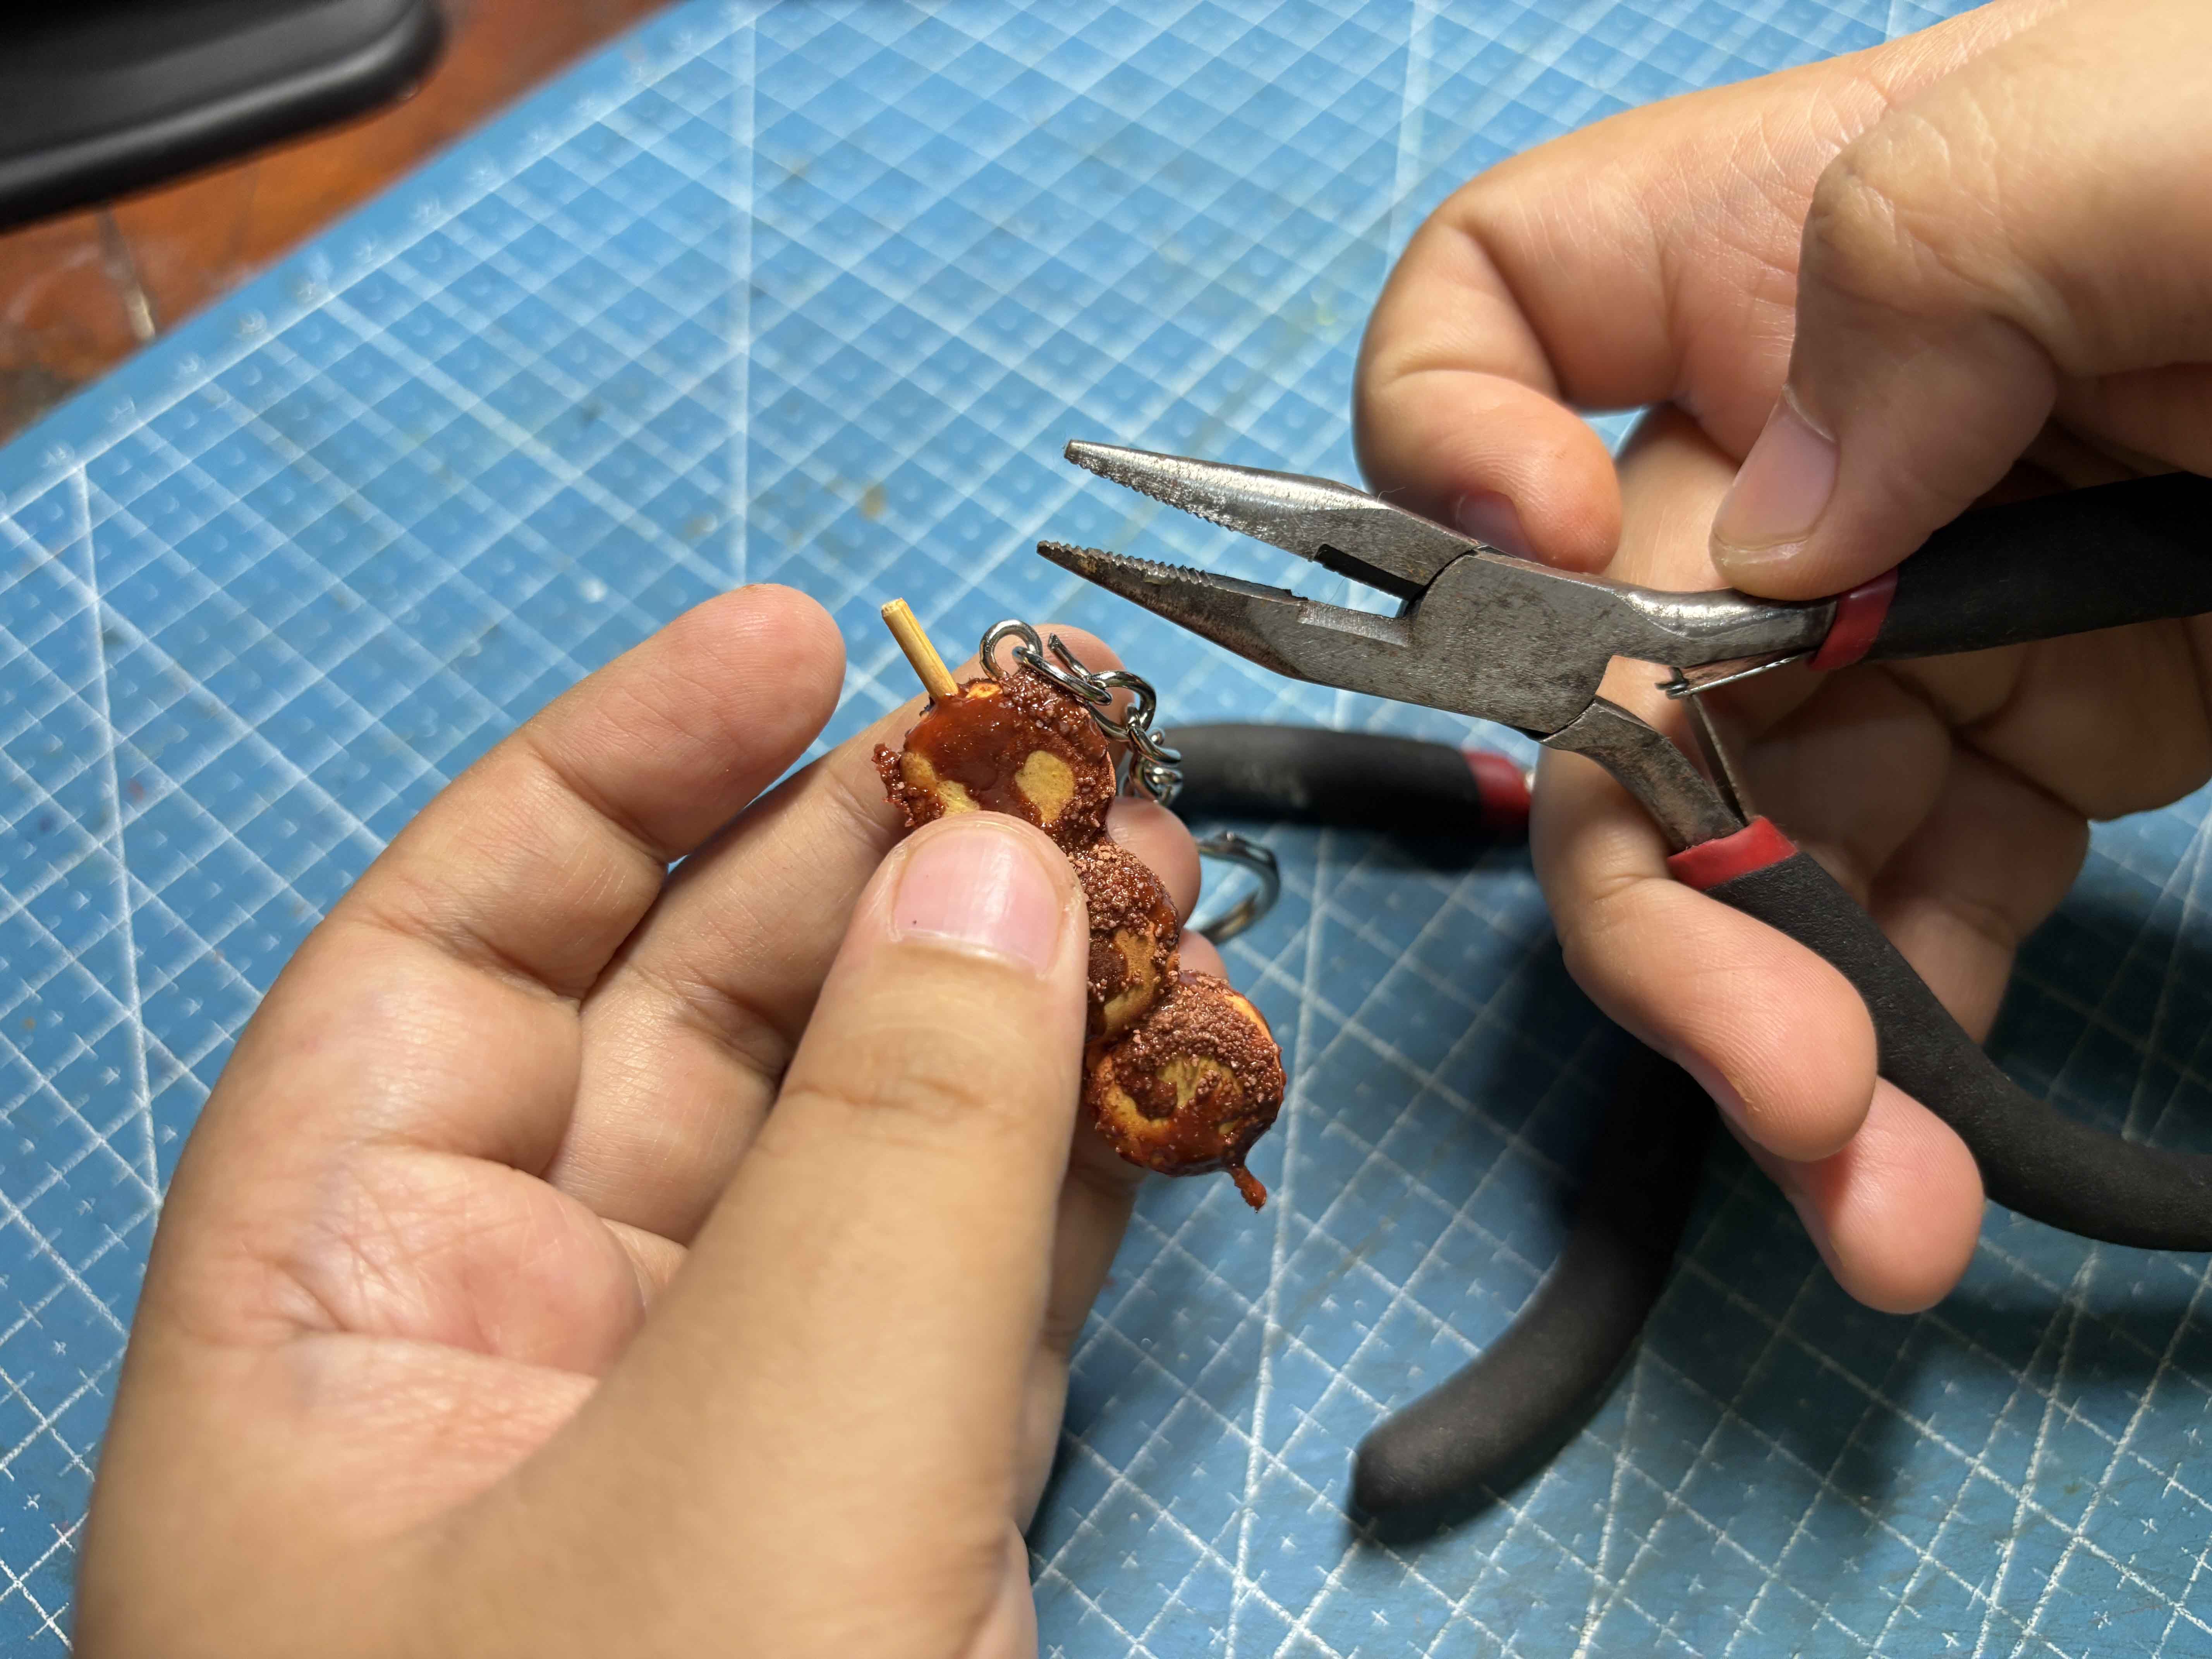
Using the plier, I close the jump ring. This part is hard, so excuse the failed jump ring. By the way, the jump ring is connected to the keychain.
-----
55.JPG (https://files.peakd.com/file/peakd-hive/leannwithdoublen/Eoc7WWUMbgxg6hSzSjiPJcFDhk7pWPEr669Y7127eDqc4LpQzhSn5VqYGA8SwNVUGm9.JPG)
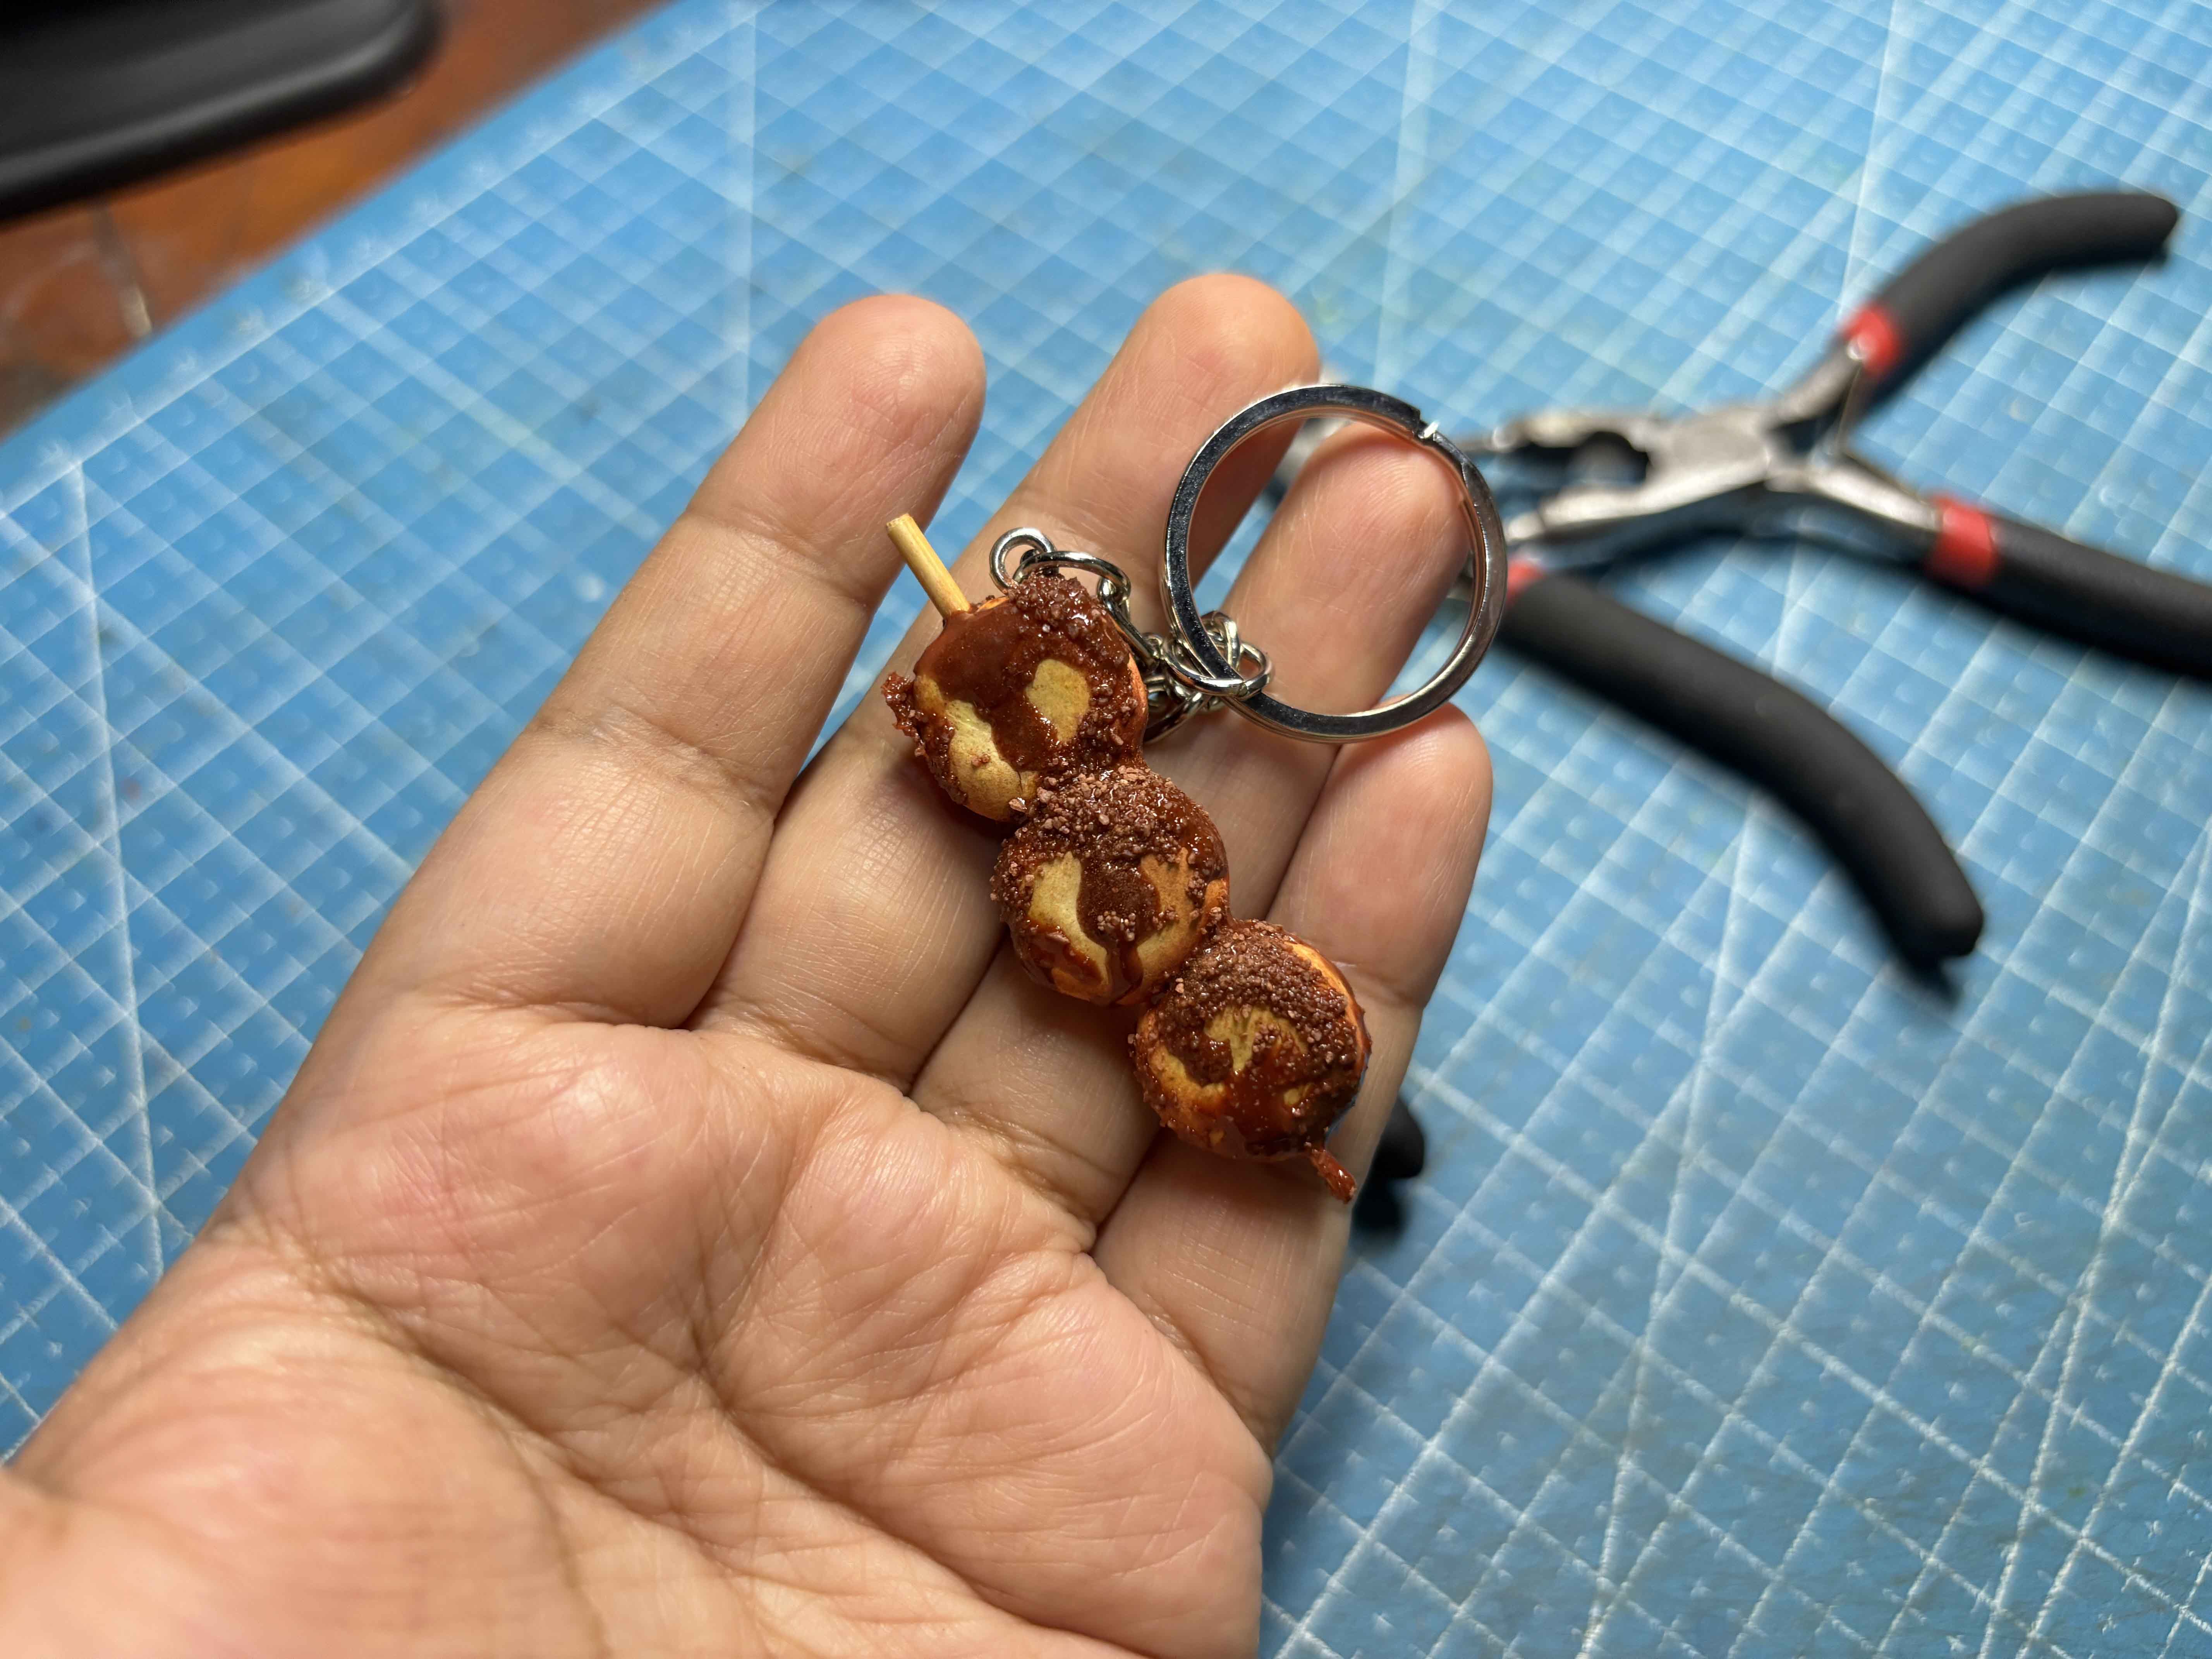
Here is the finished product of Kamote Cue!
-----
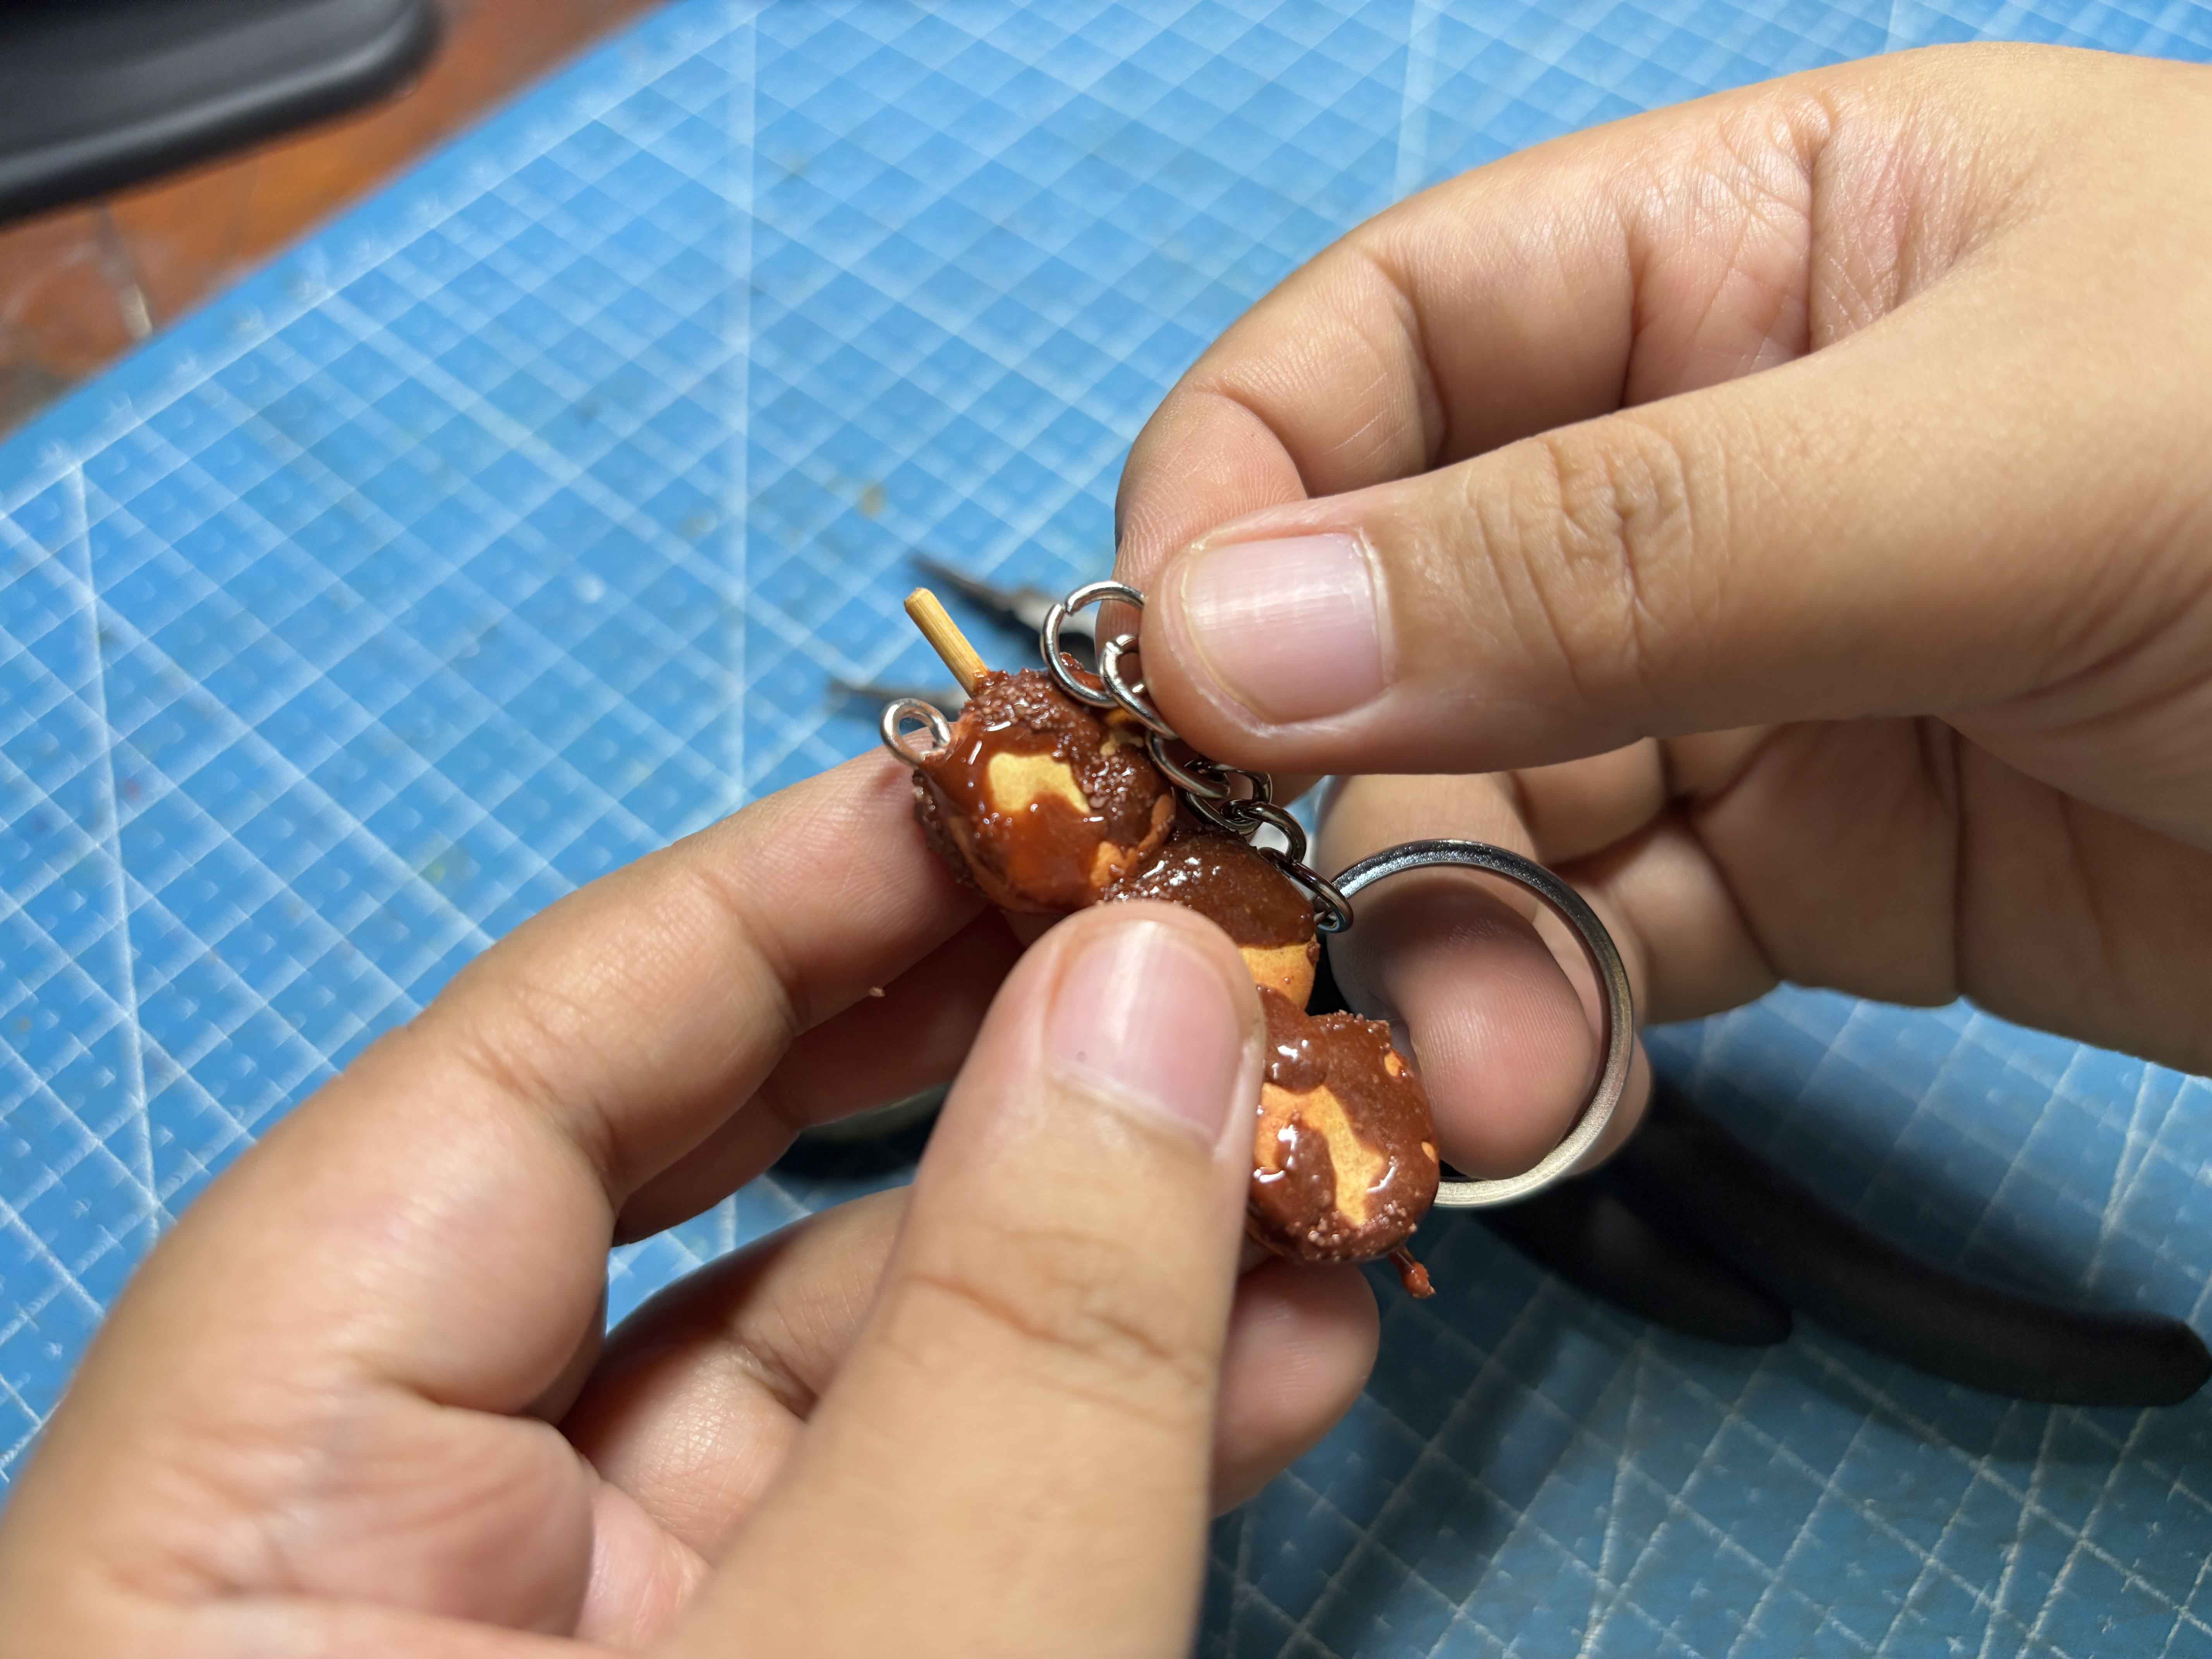
58.JPG (https://files.peakd.com/file/peakd-hive/leannwithdoublen/EpT4kGq3HWHsqLZkBCmDrL6QmnpLJWcVgipMbWyfqm5g8d6R8u6c4ZCCaEvcQ6NpKtU.JPG)
59.JPG (https://files.peakd.com/file/peakd-hive/leannwithdoublen/EppM8bEjE8V852My3grAReWQRF27AJLBpzyMha7mGZPhpKSoT5XB6BvToSF31oceTkR.JPG)
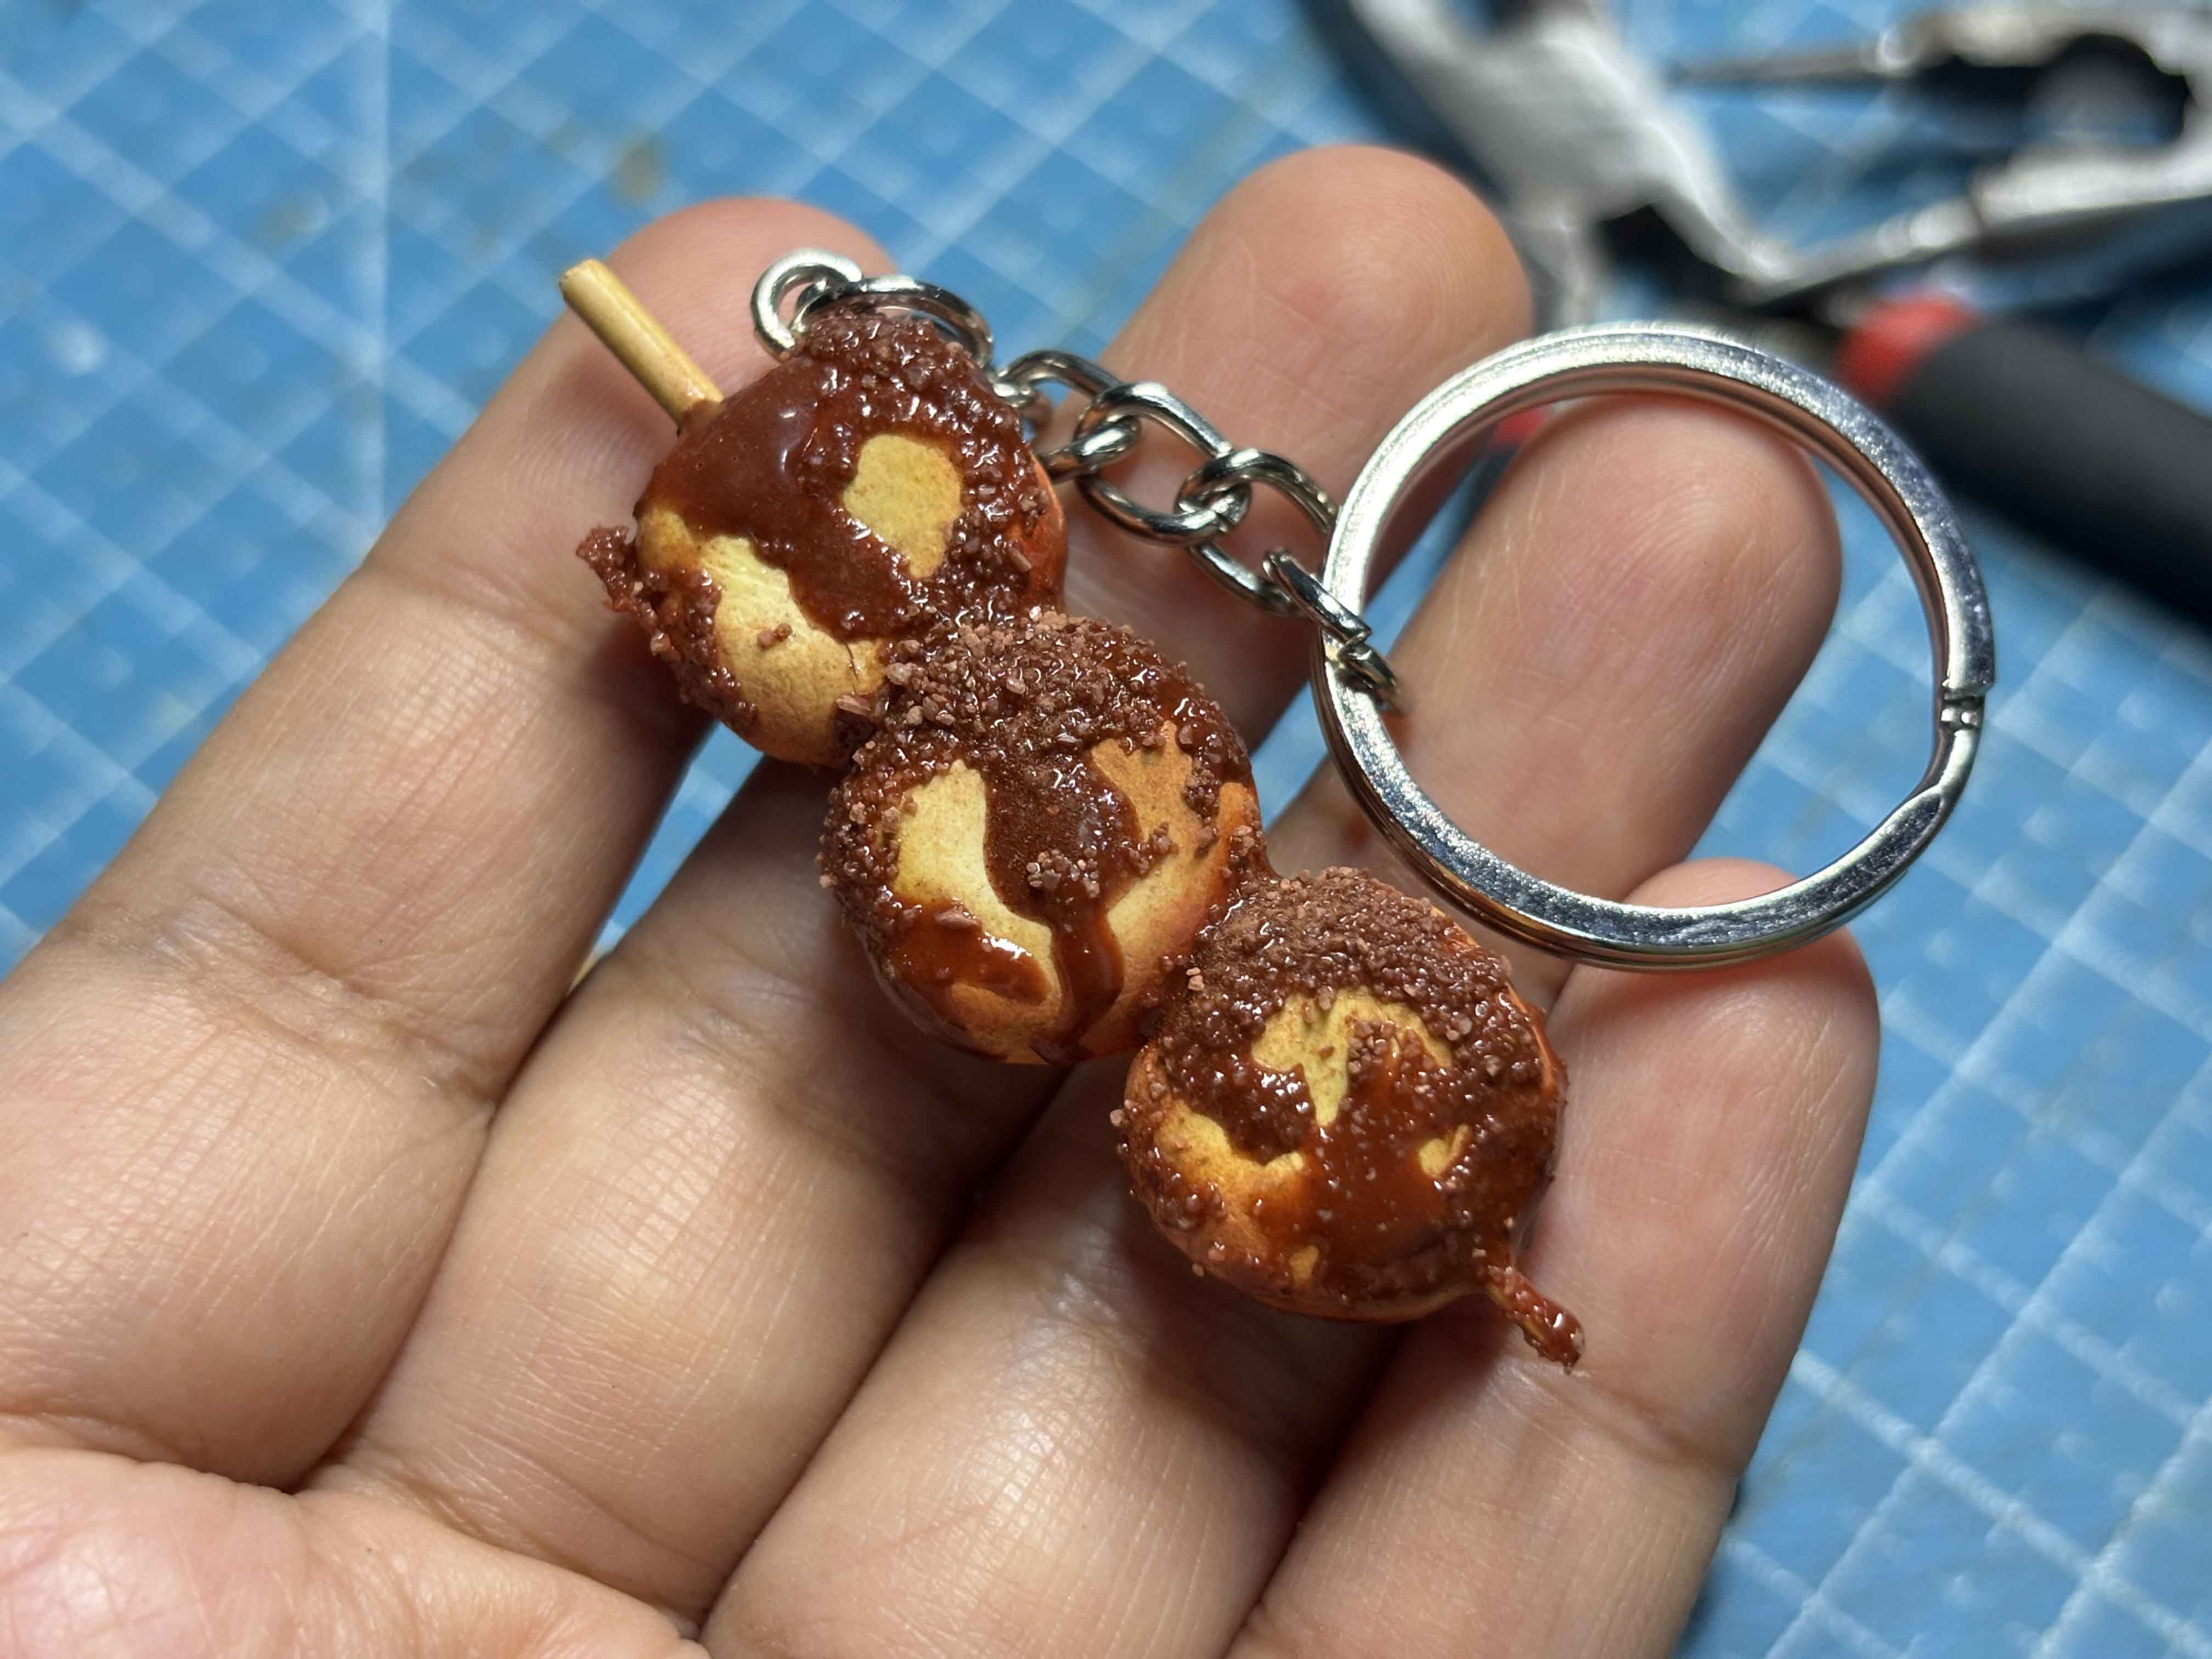
Close up!
----
----
Thank you for visiting, see you on my next blog. :D
Please take care of your mental health as well.
I hope you are okay today :))
---