Hello, how are you? Every time I paint something, I always accidentally stain my desk, which is so inconvenient to clean, and sometimes just placing my paintbrush flat may damage the brush, which is not good for me.
I always wanted a solution for this, and I was scrolling through social media. I saw that you can make a paintbrush rest holder using air-dry clay, and you know I always have those stored on my craft organizer, so I might use it before it dries out.
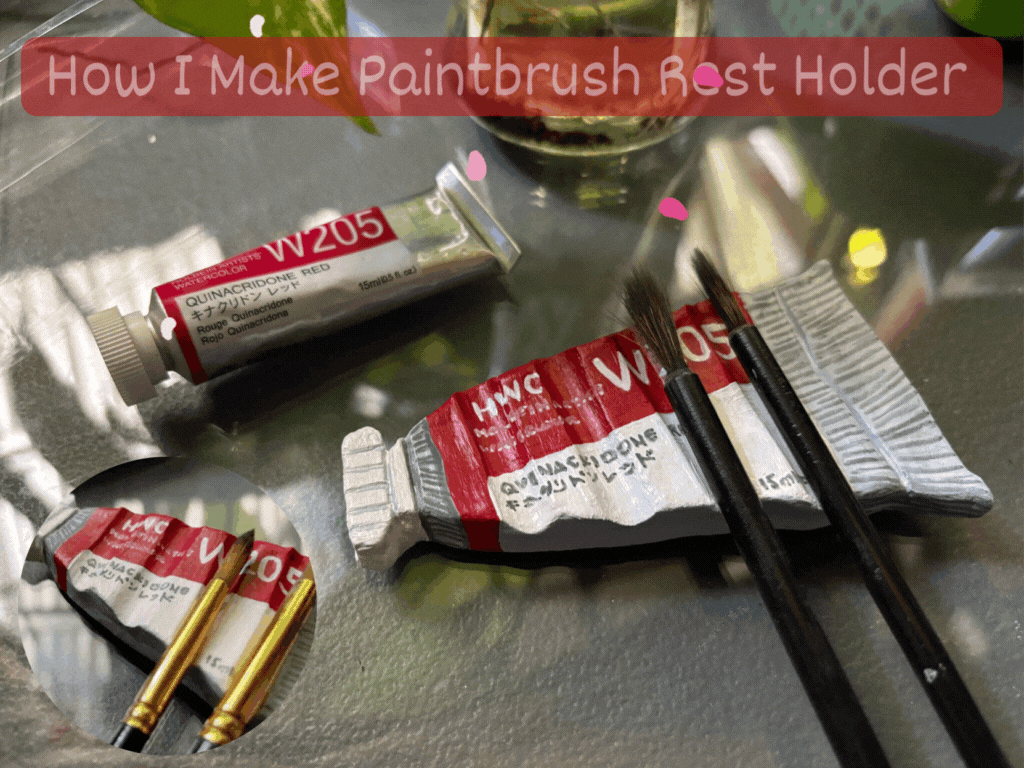
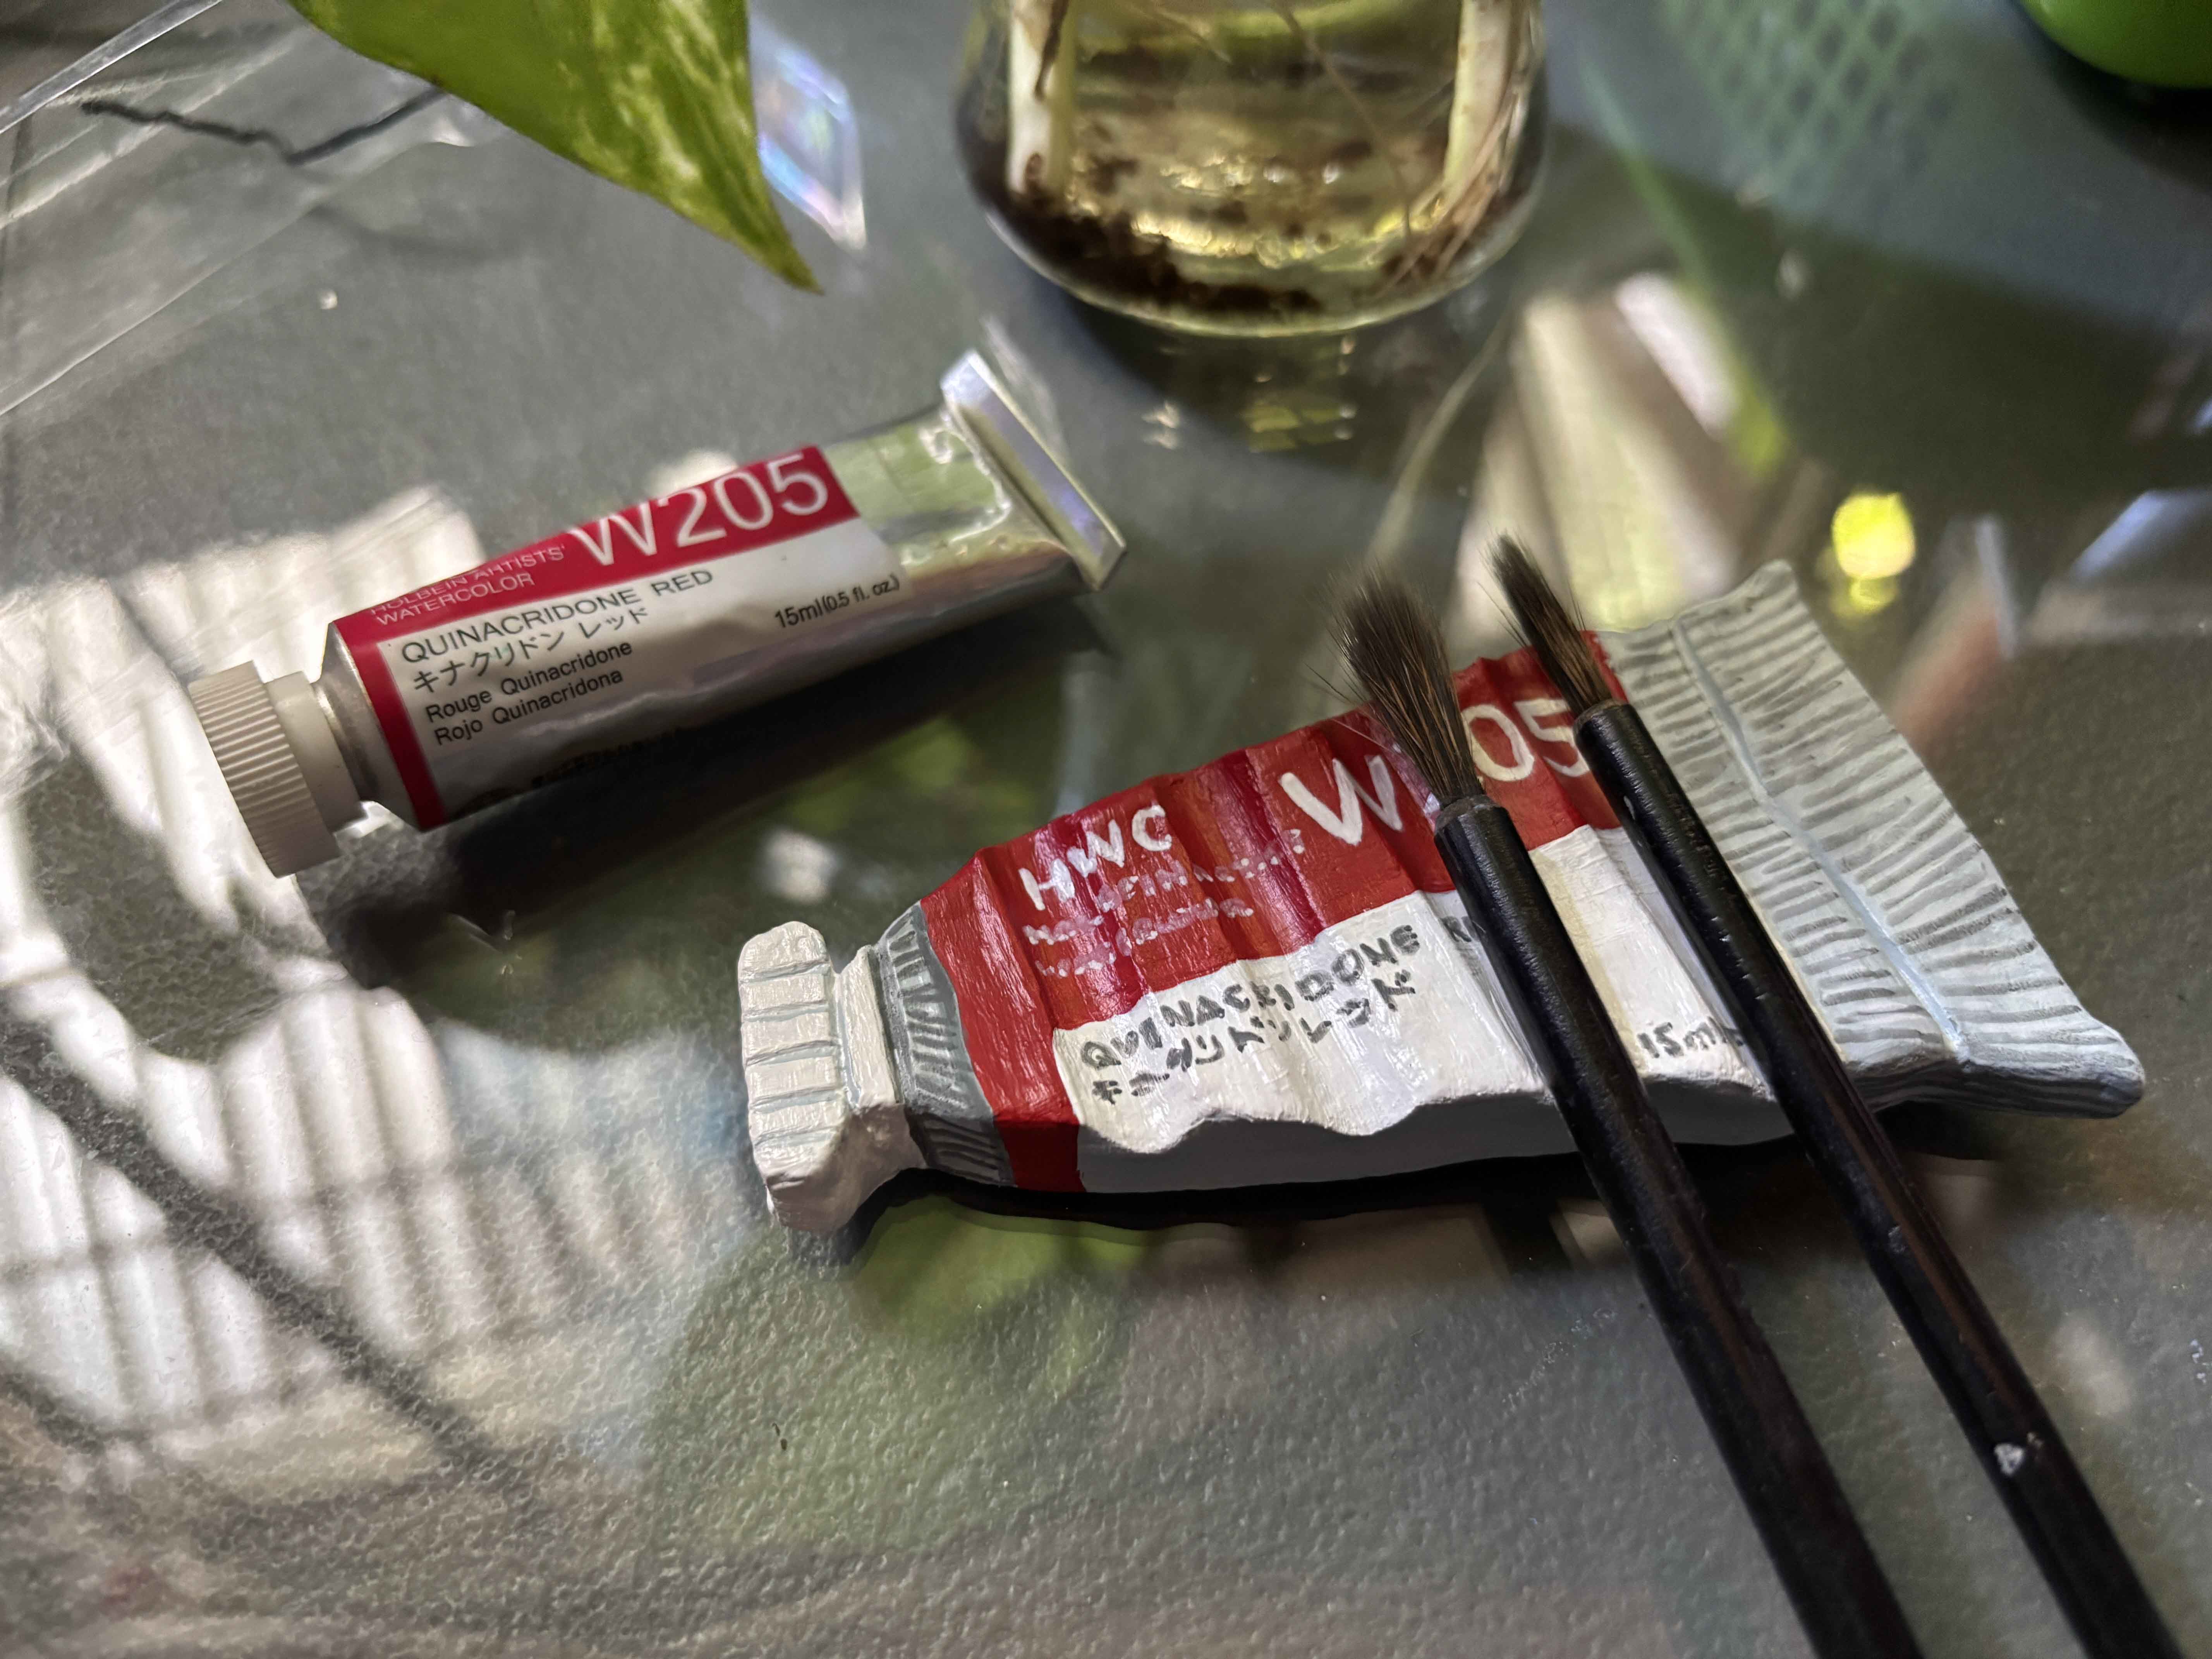
So for today's craft, I attempt to make my own paintbrush rest holder, and because I almost always use my paintbrush for watercolor paintings, I decided that the design of the paintbrush holder is a watercolor tube I have.
------
------
---

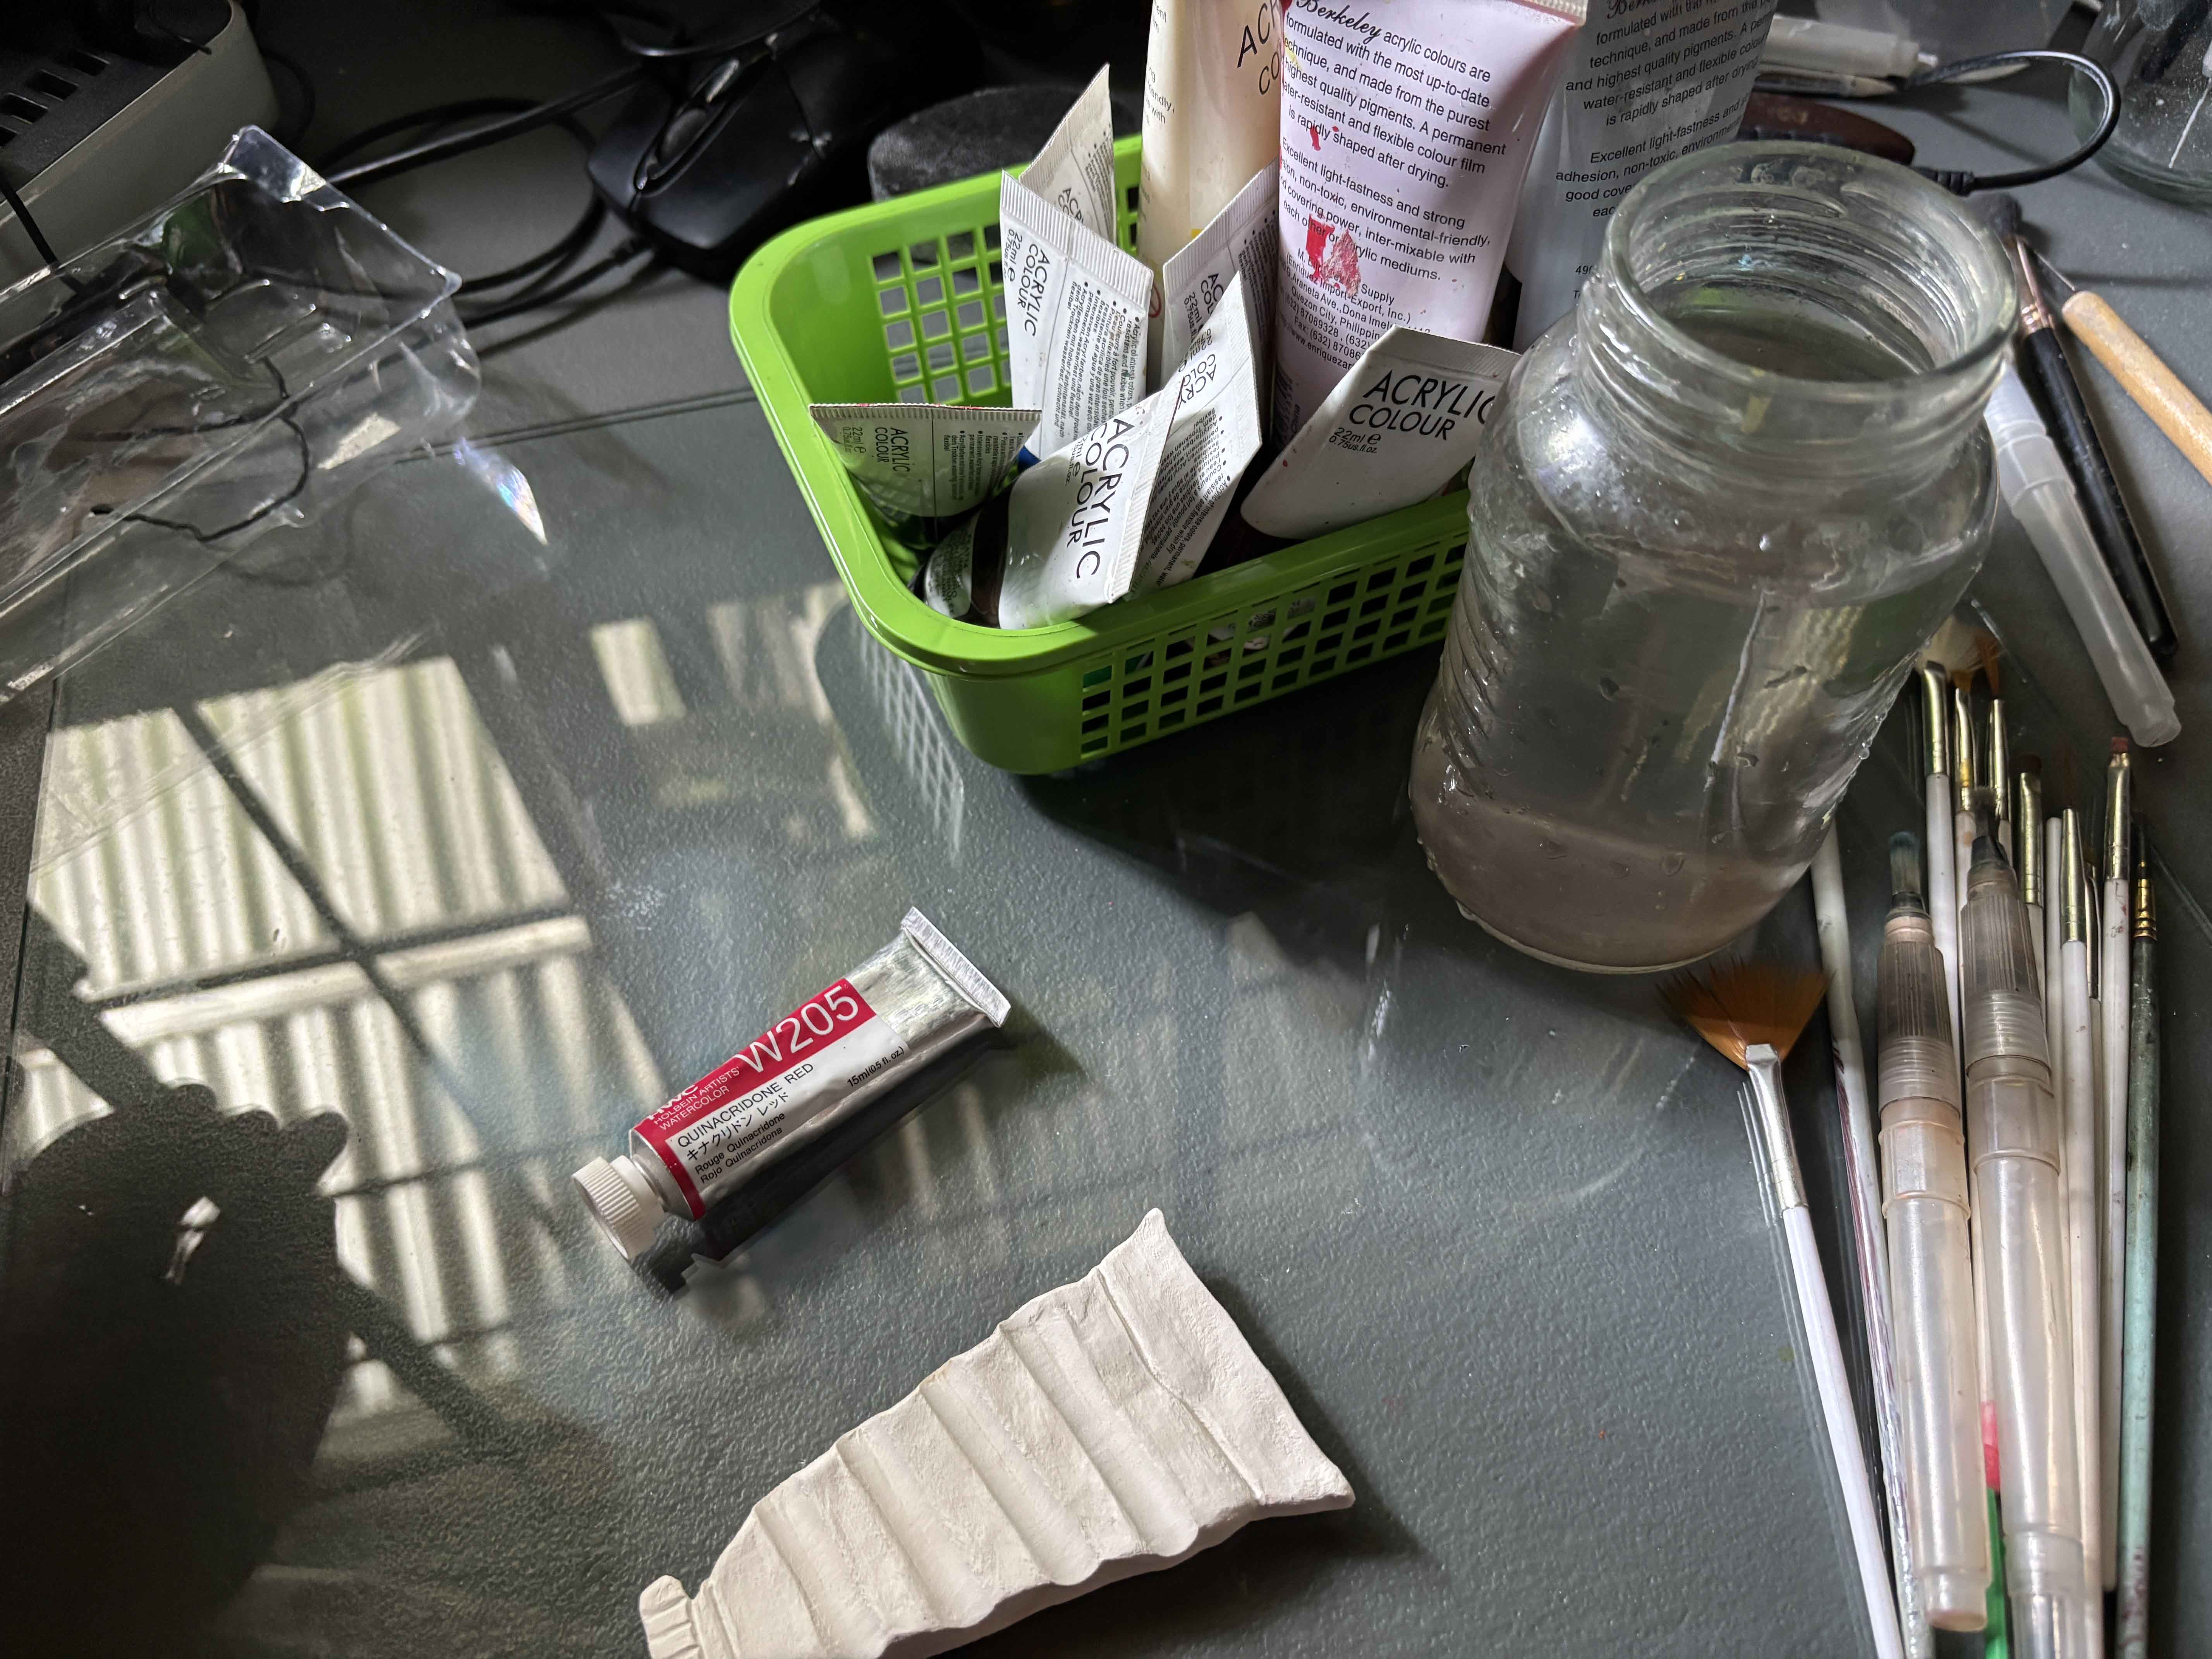
Materials I Used:
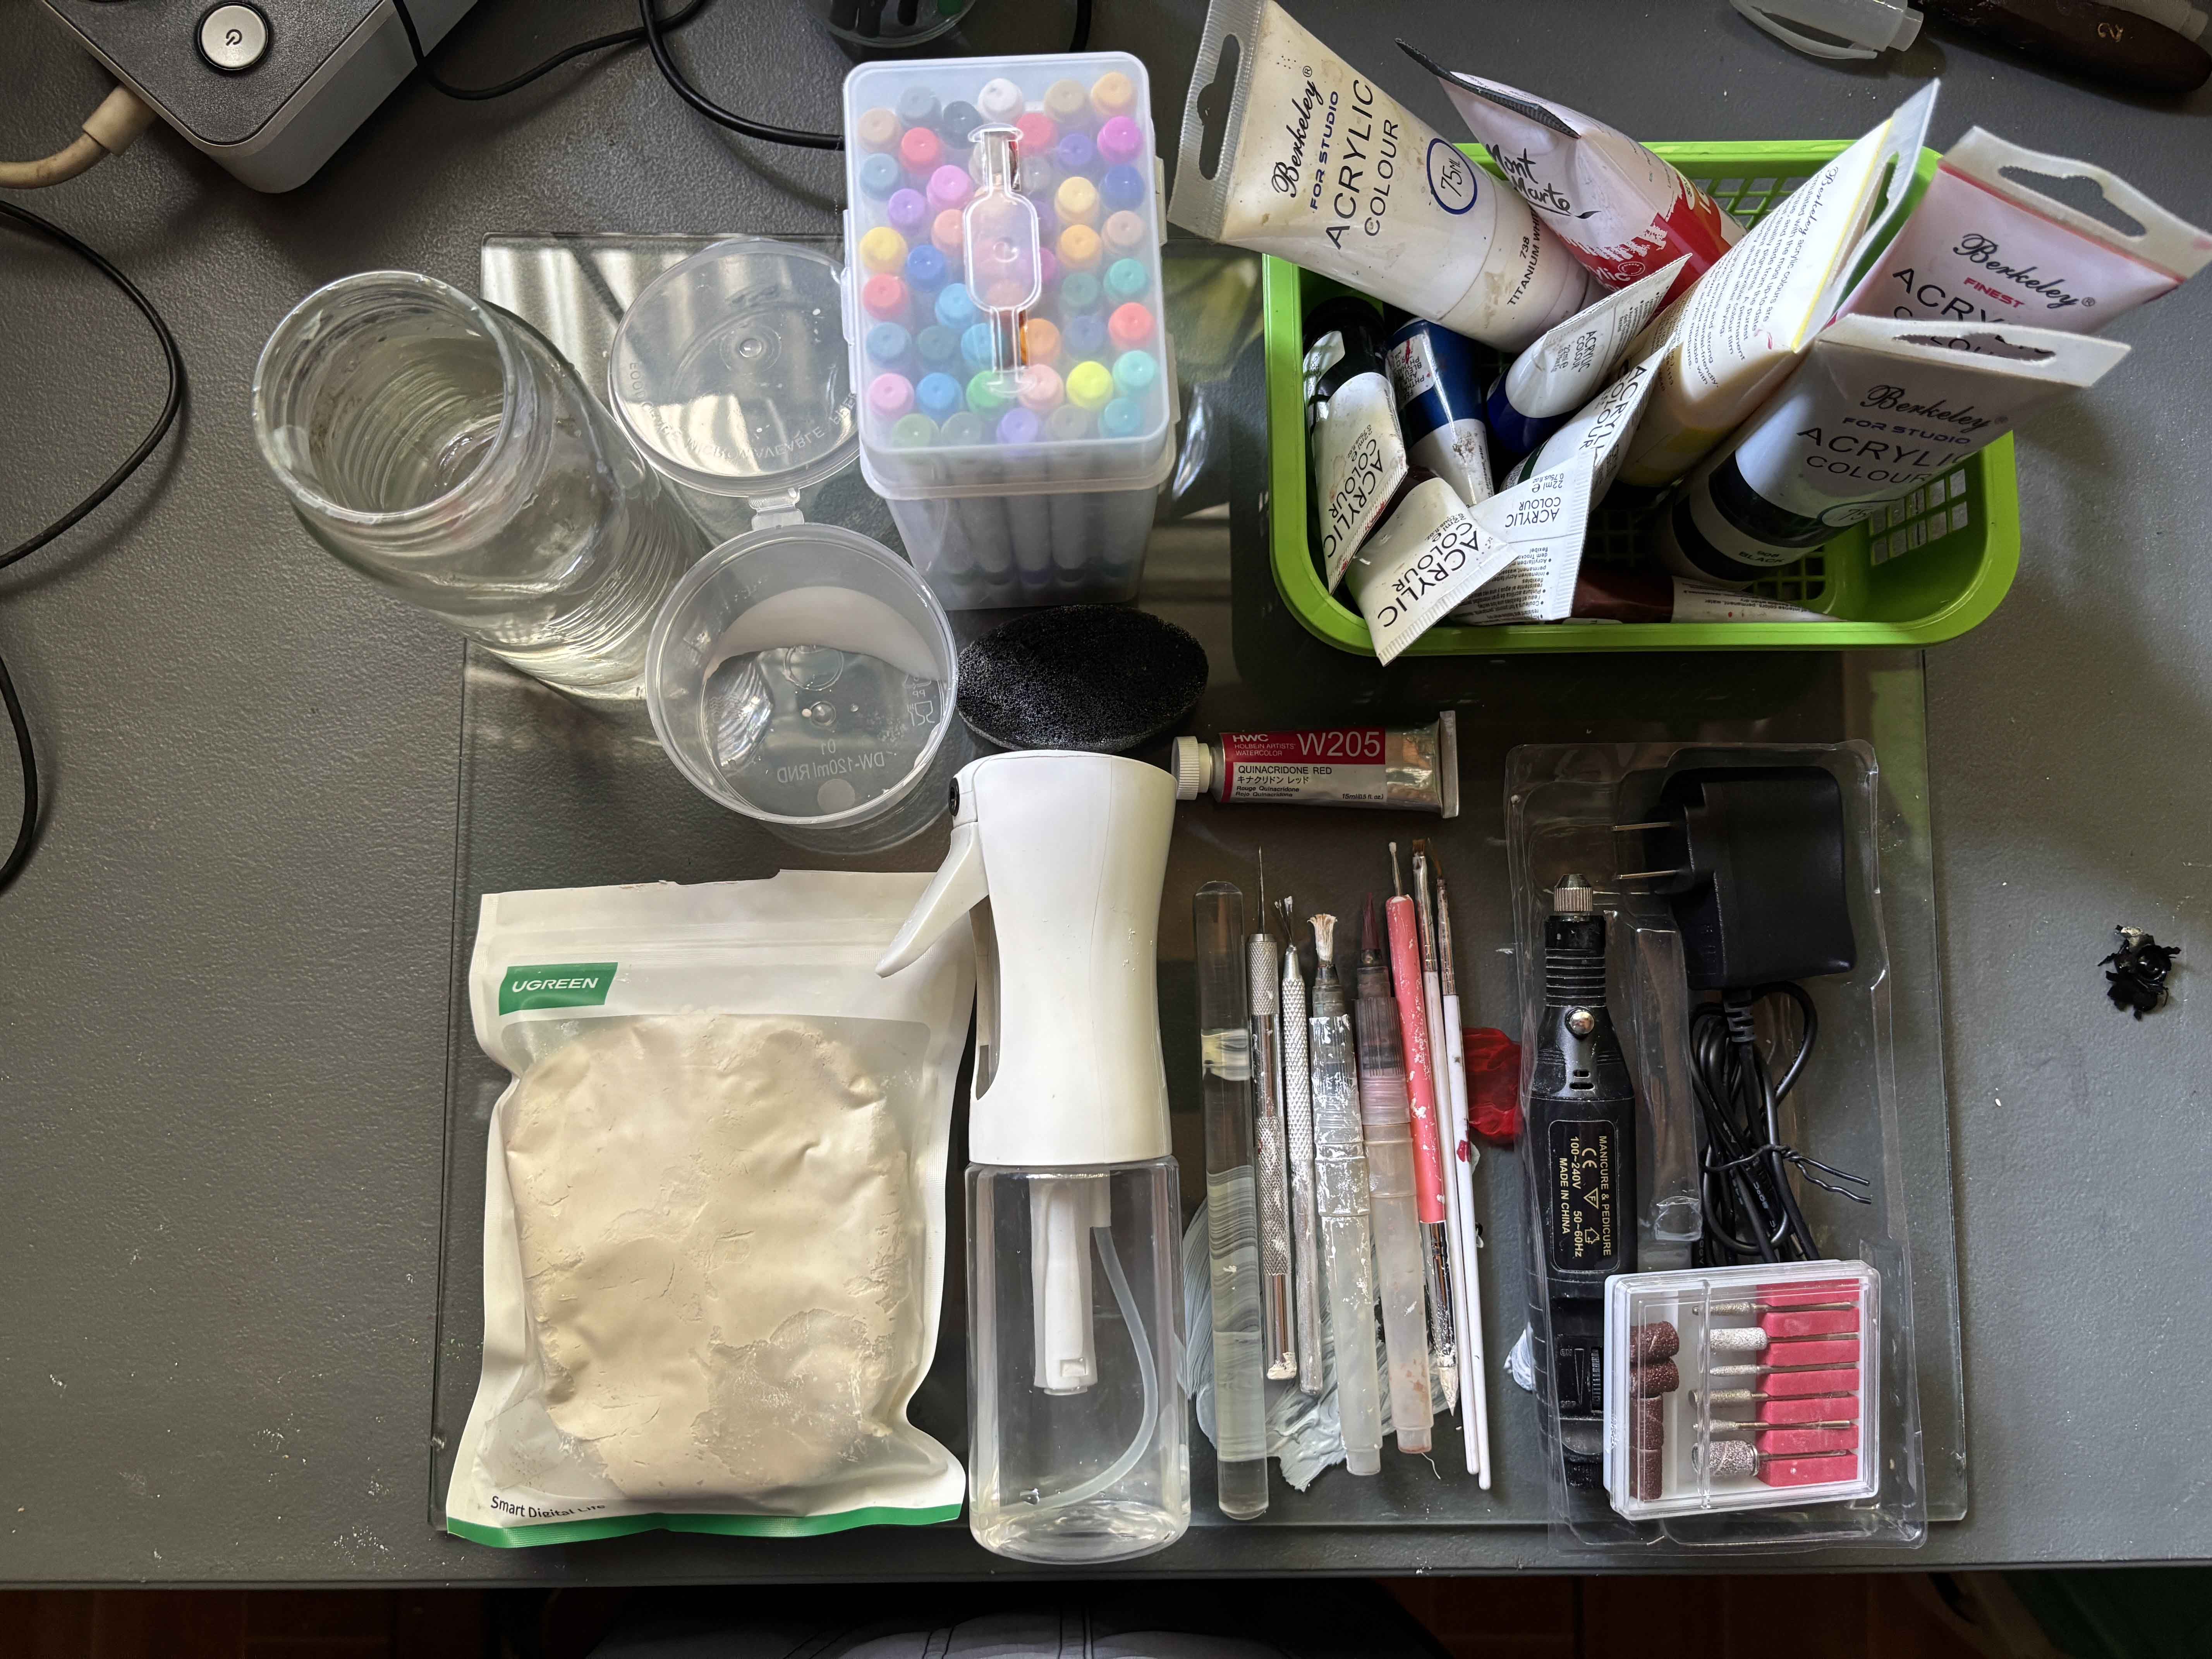- Air Dry Clay
- Glass Sheet
- Acrylic Rolling Pin
- X- Acto Knife
- Sponge
- Plastic Container
- Water Spray Bottle
- Clay Tools
- Rotary Detail Carver
- Paper Towel
- Acrylic Paints/Acrylic Marker
- Water Glass Bottle
- Paintbrush
Craft Time!
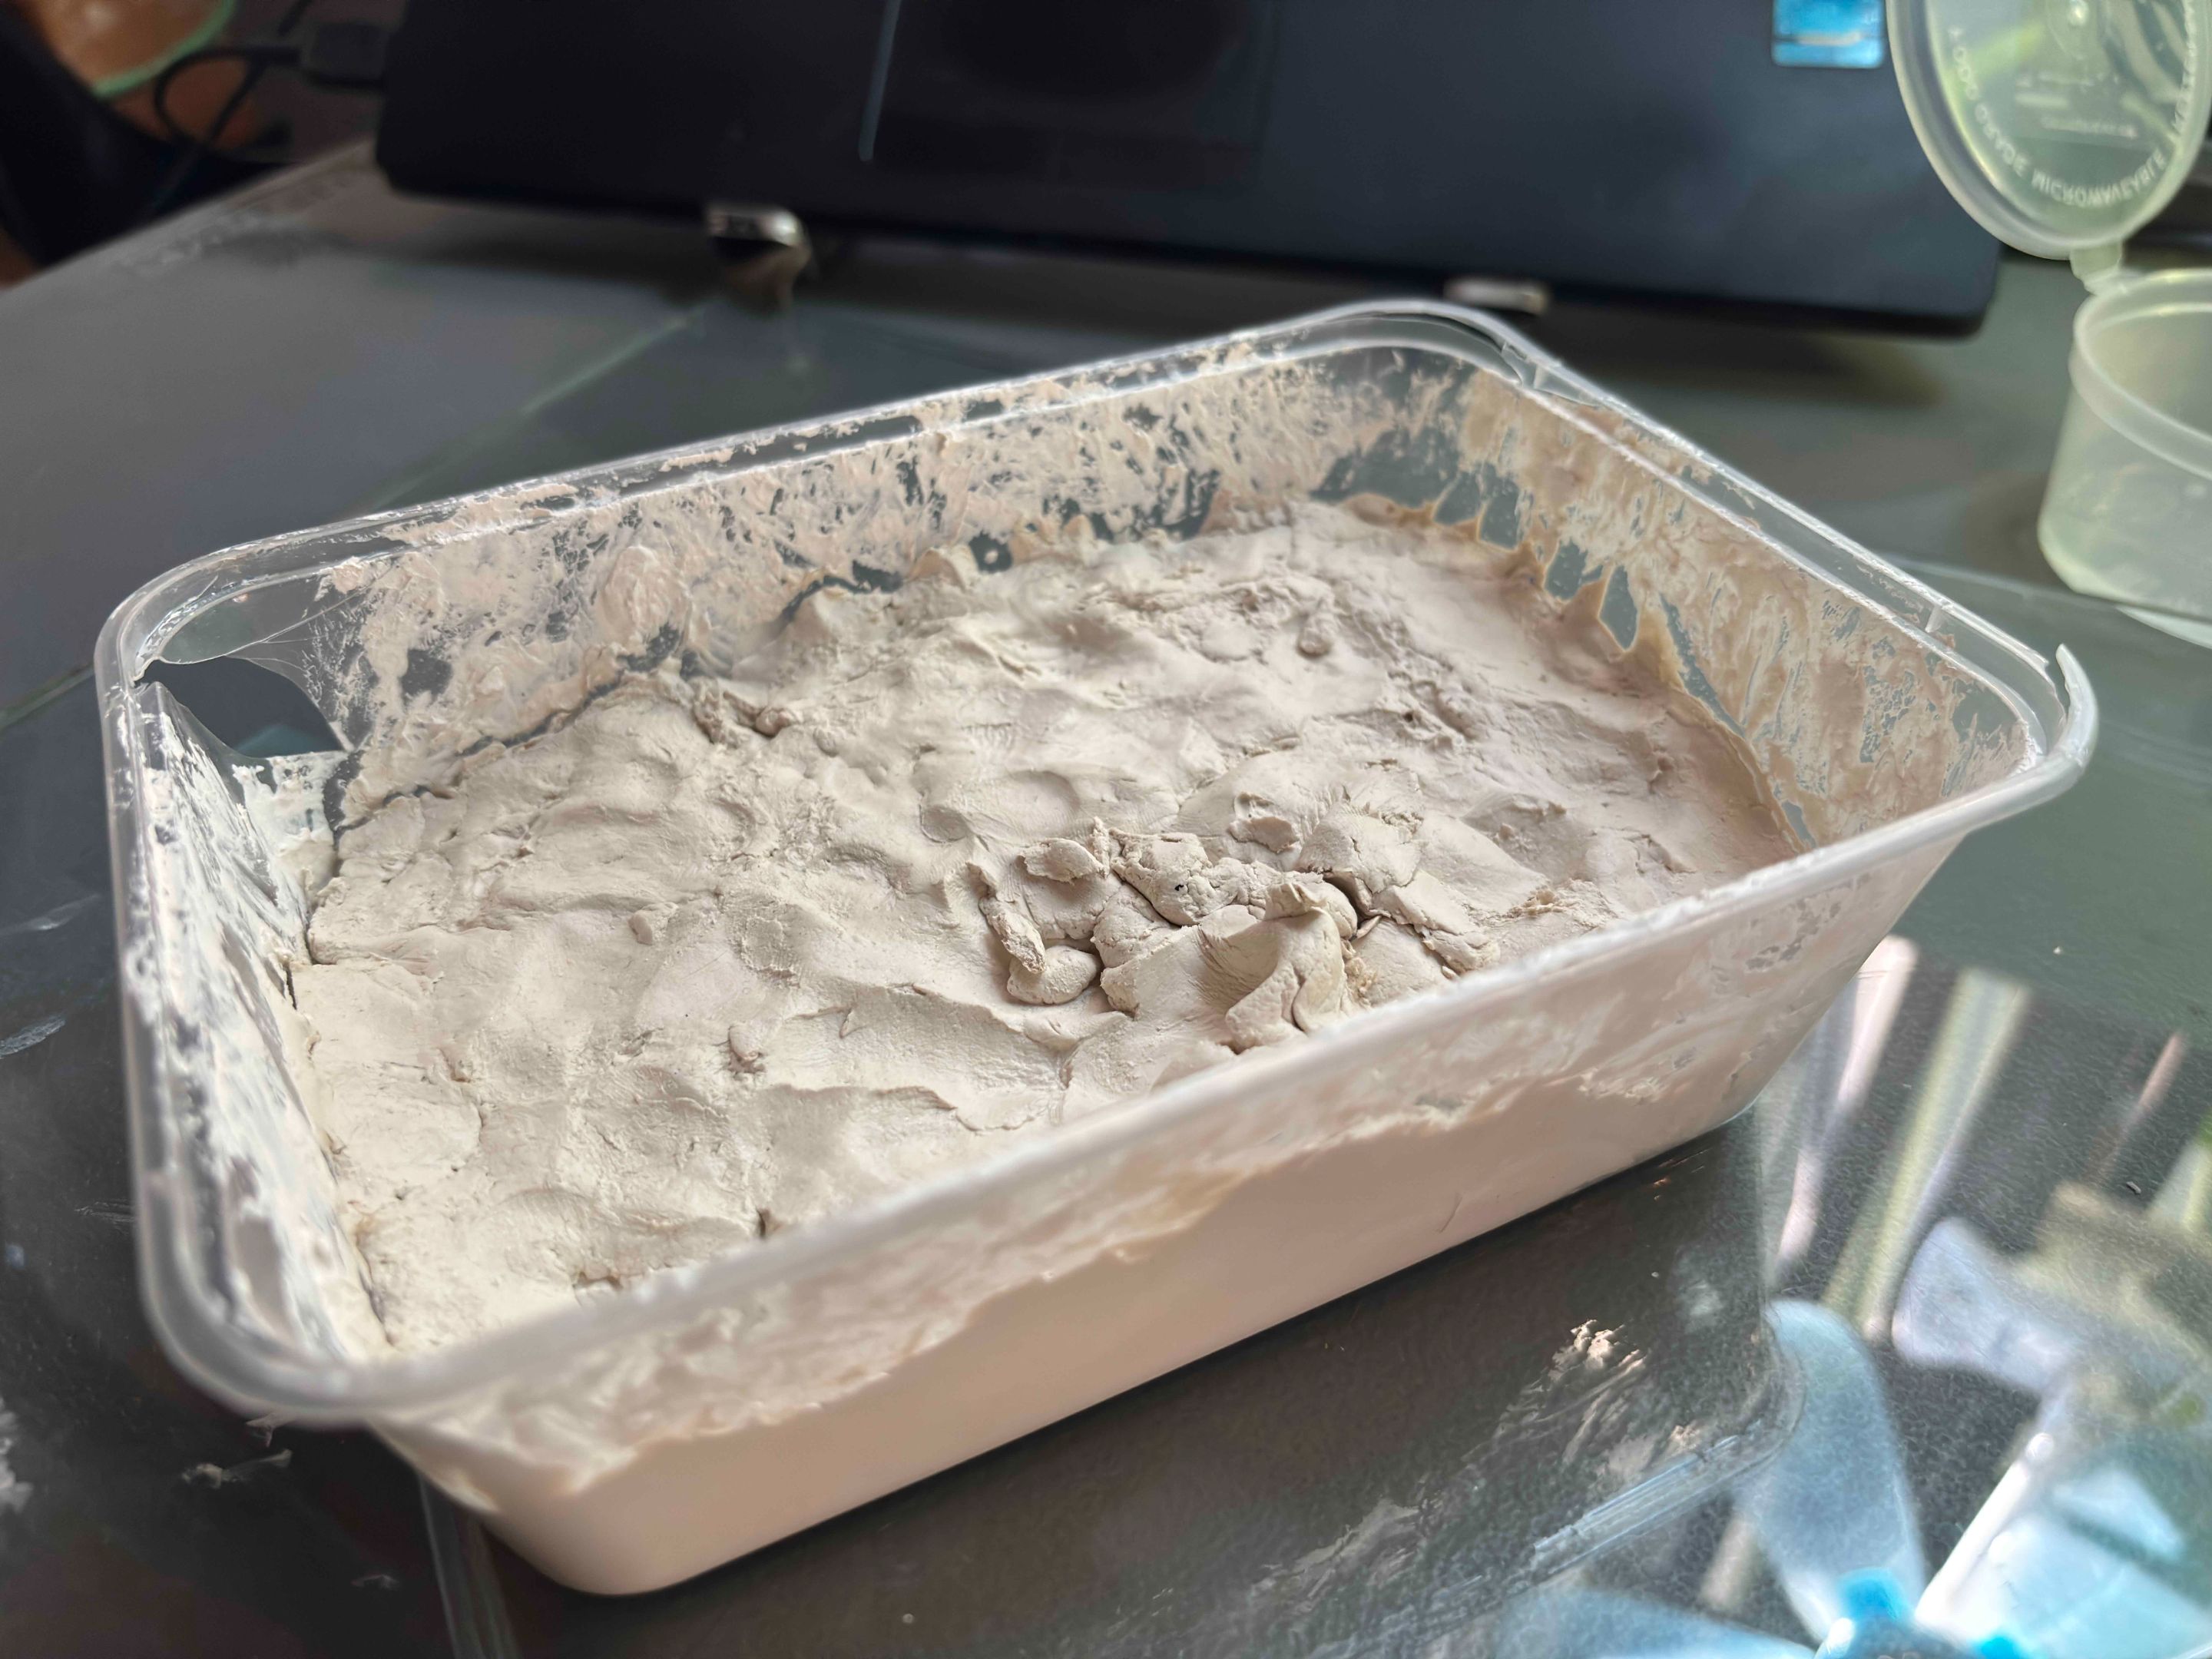
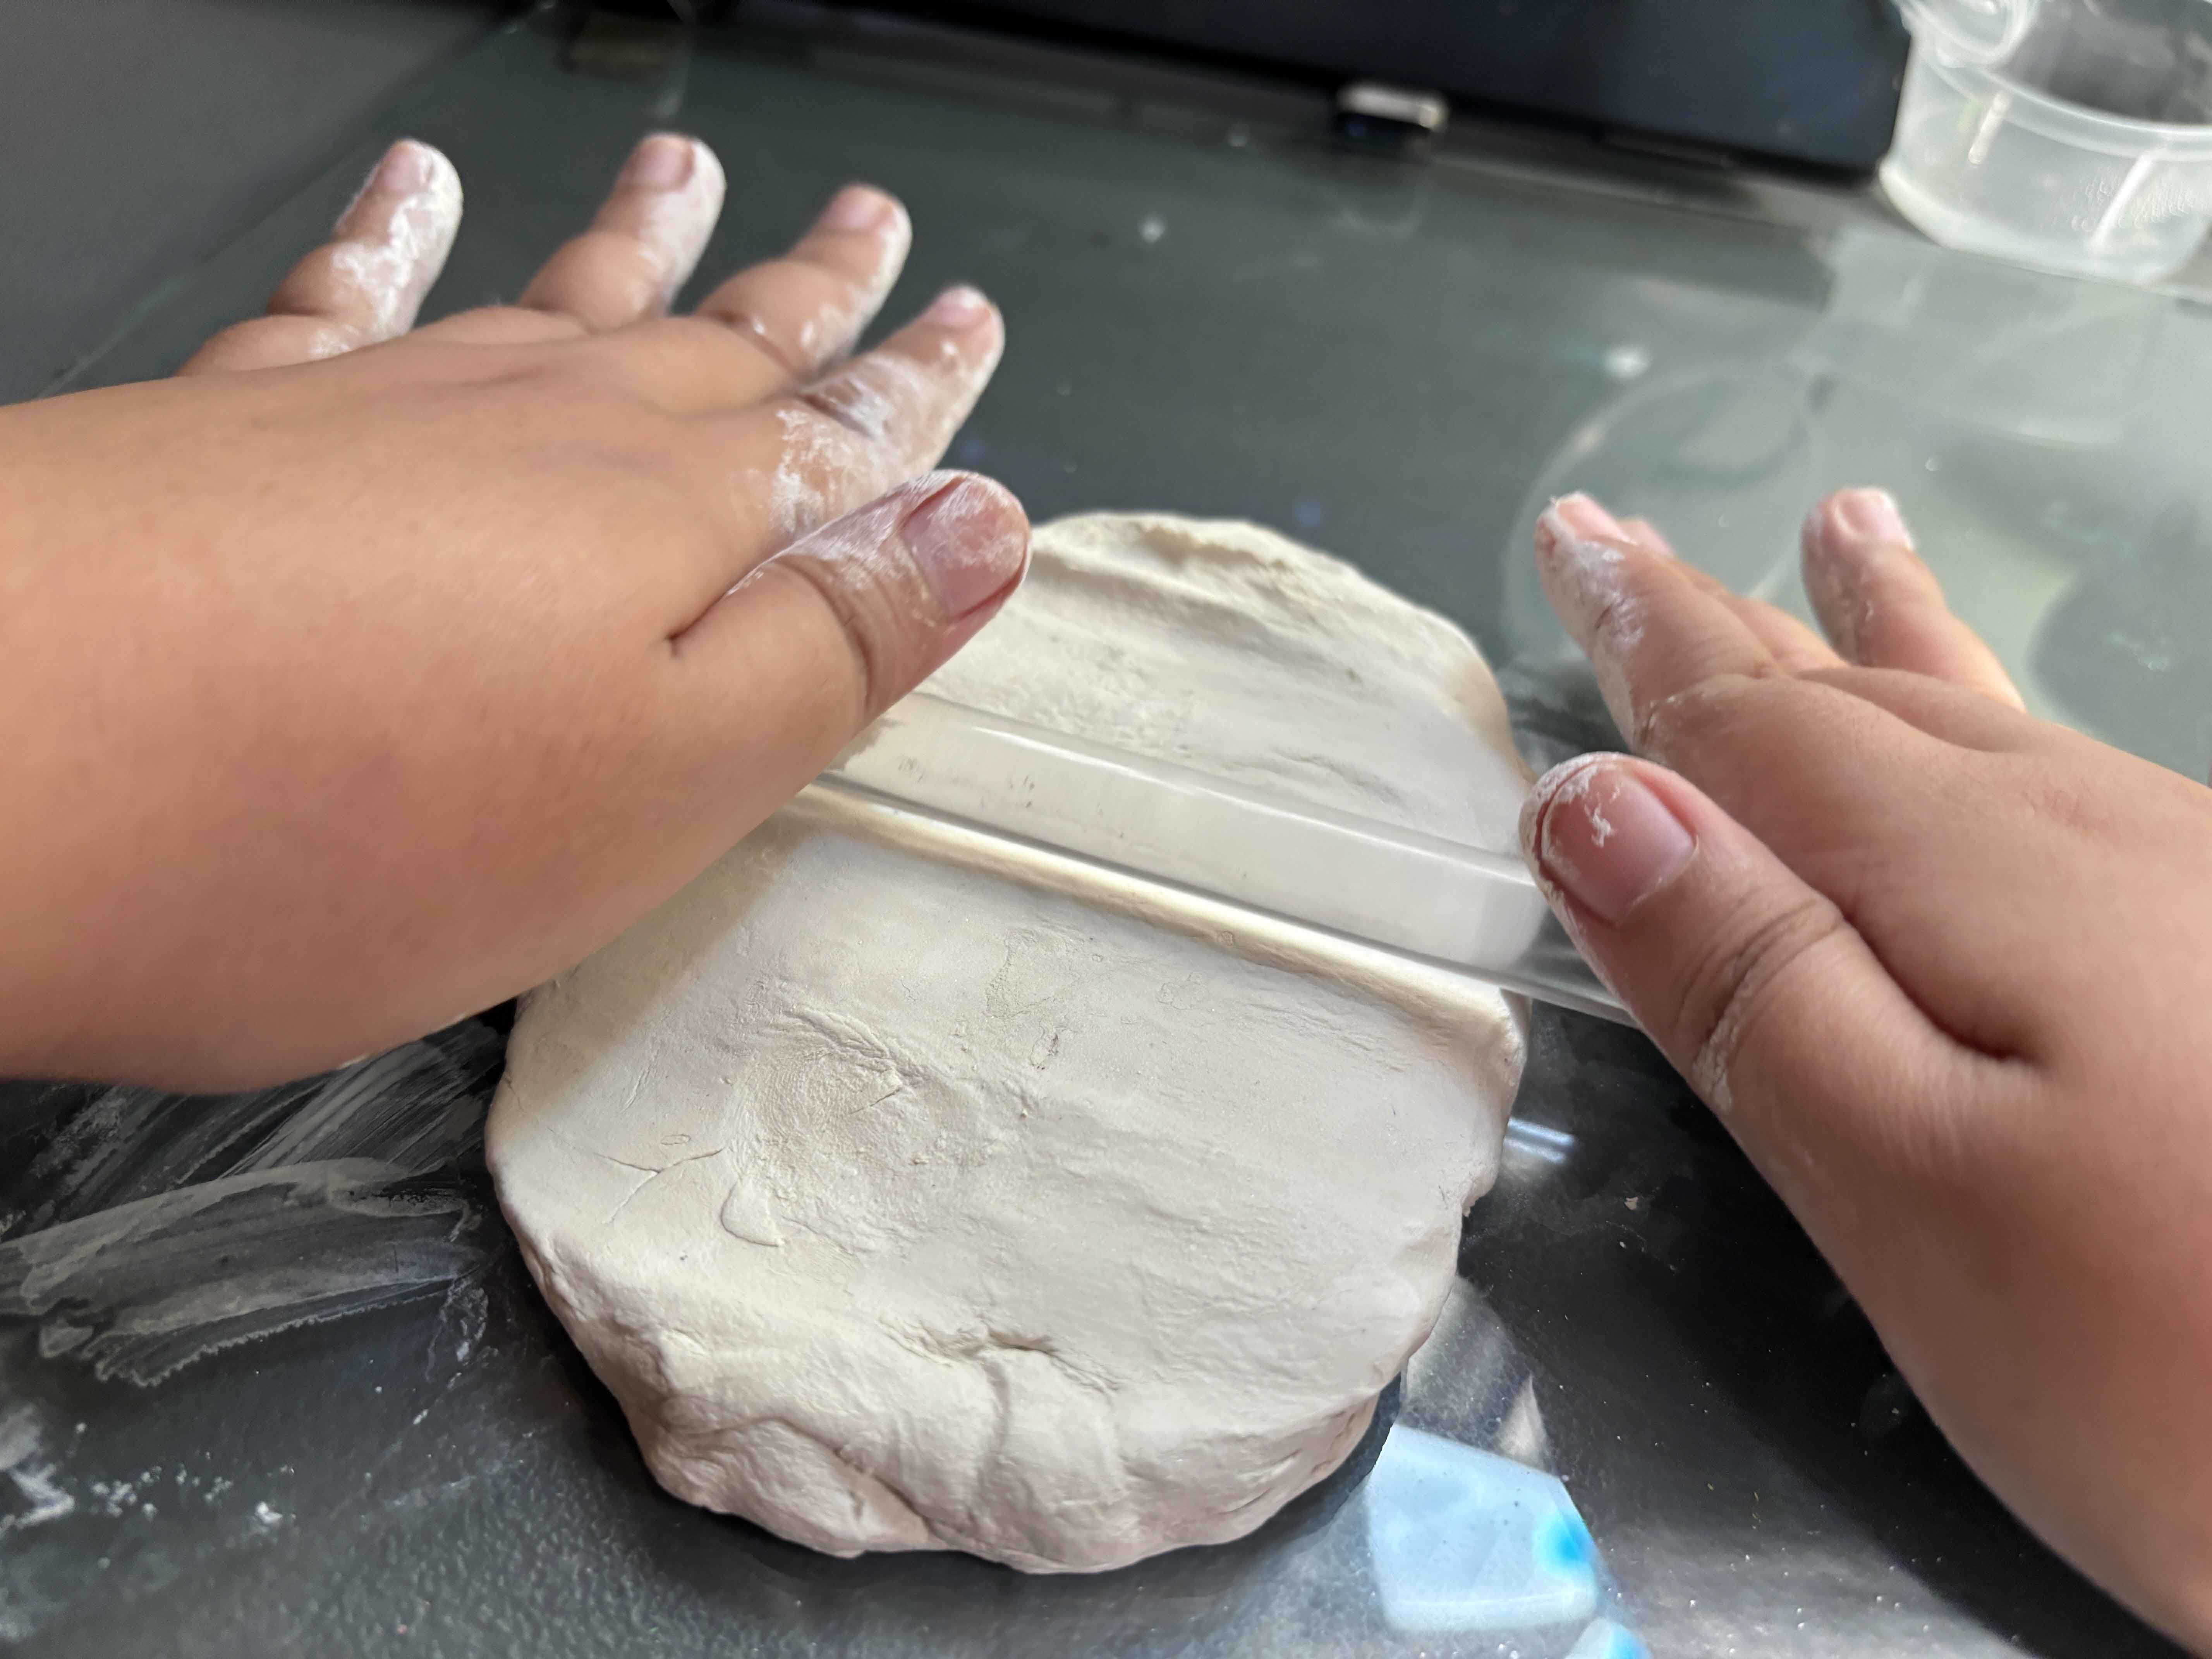
First is I am going to condition the air-dry clay by spraying my hand with water and kneading the clay for about 10 seconds, and then I am going to use an acrylic rolling pin to flatten it out to my desired thickness. It doesn't have to be perfect.
------
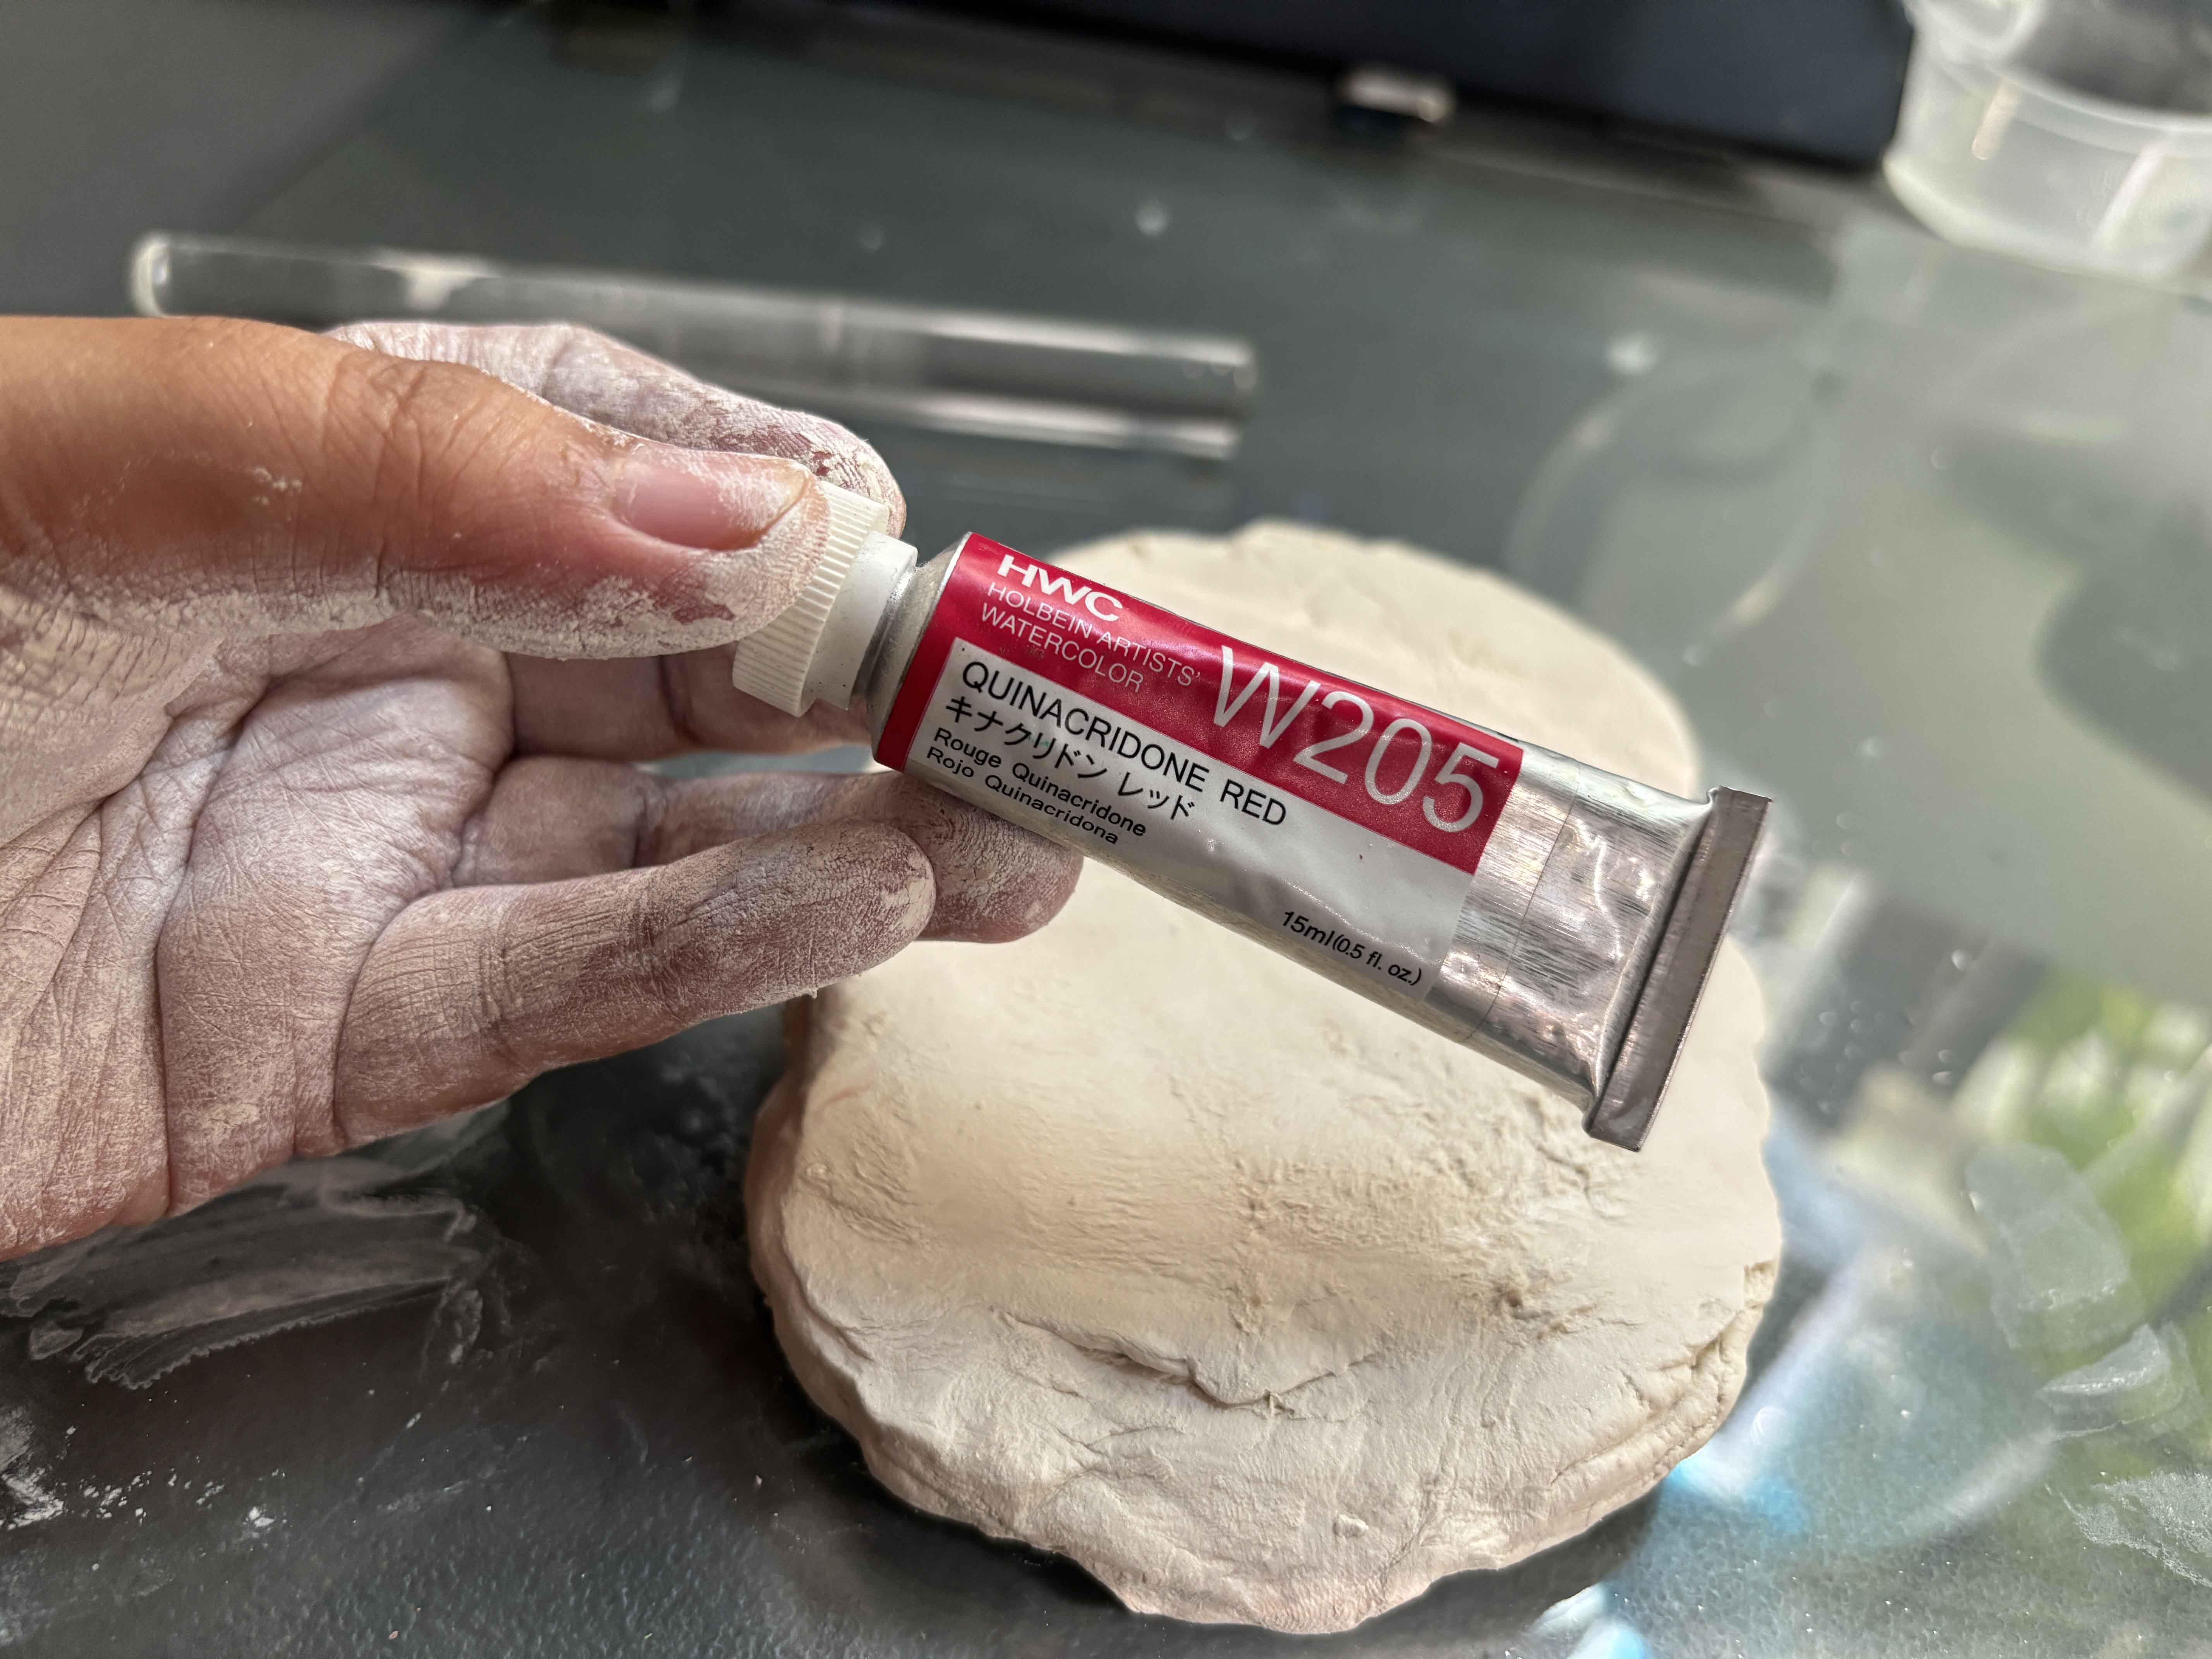
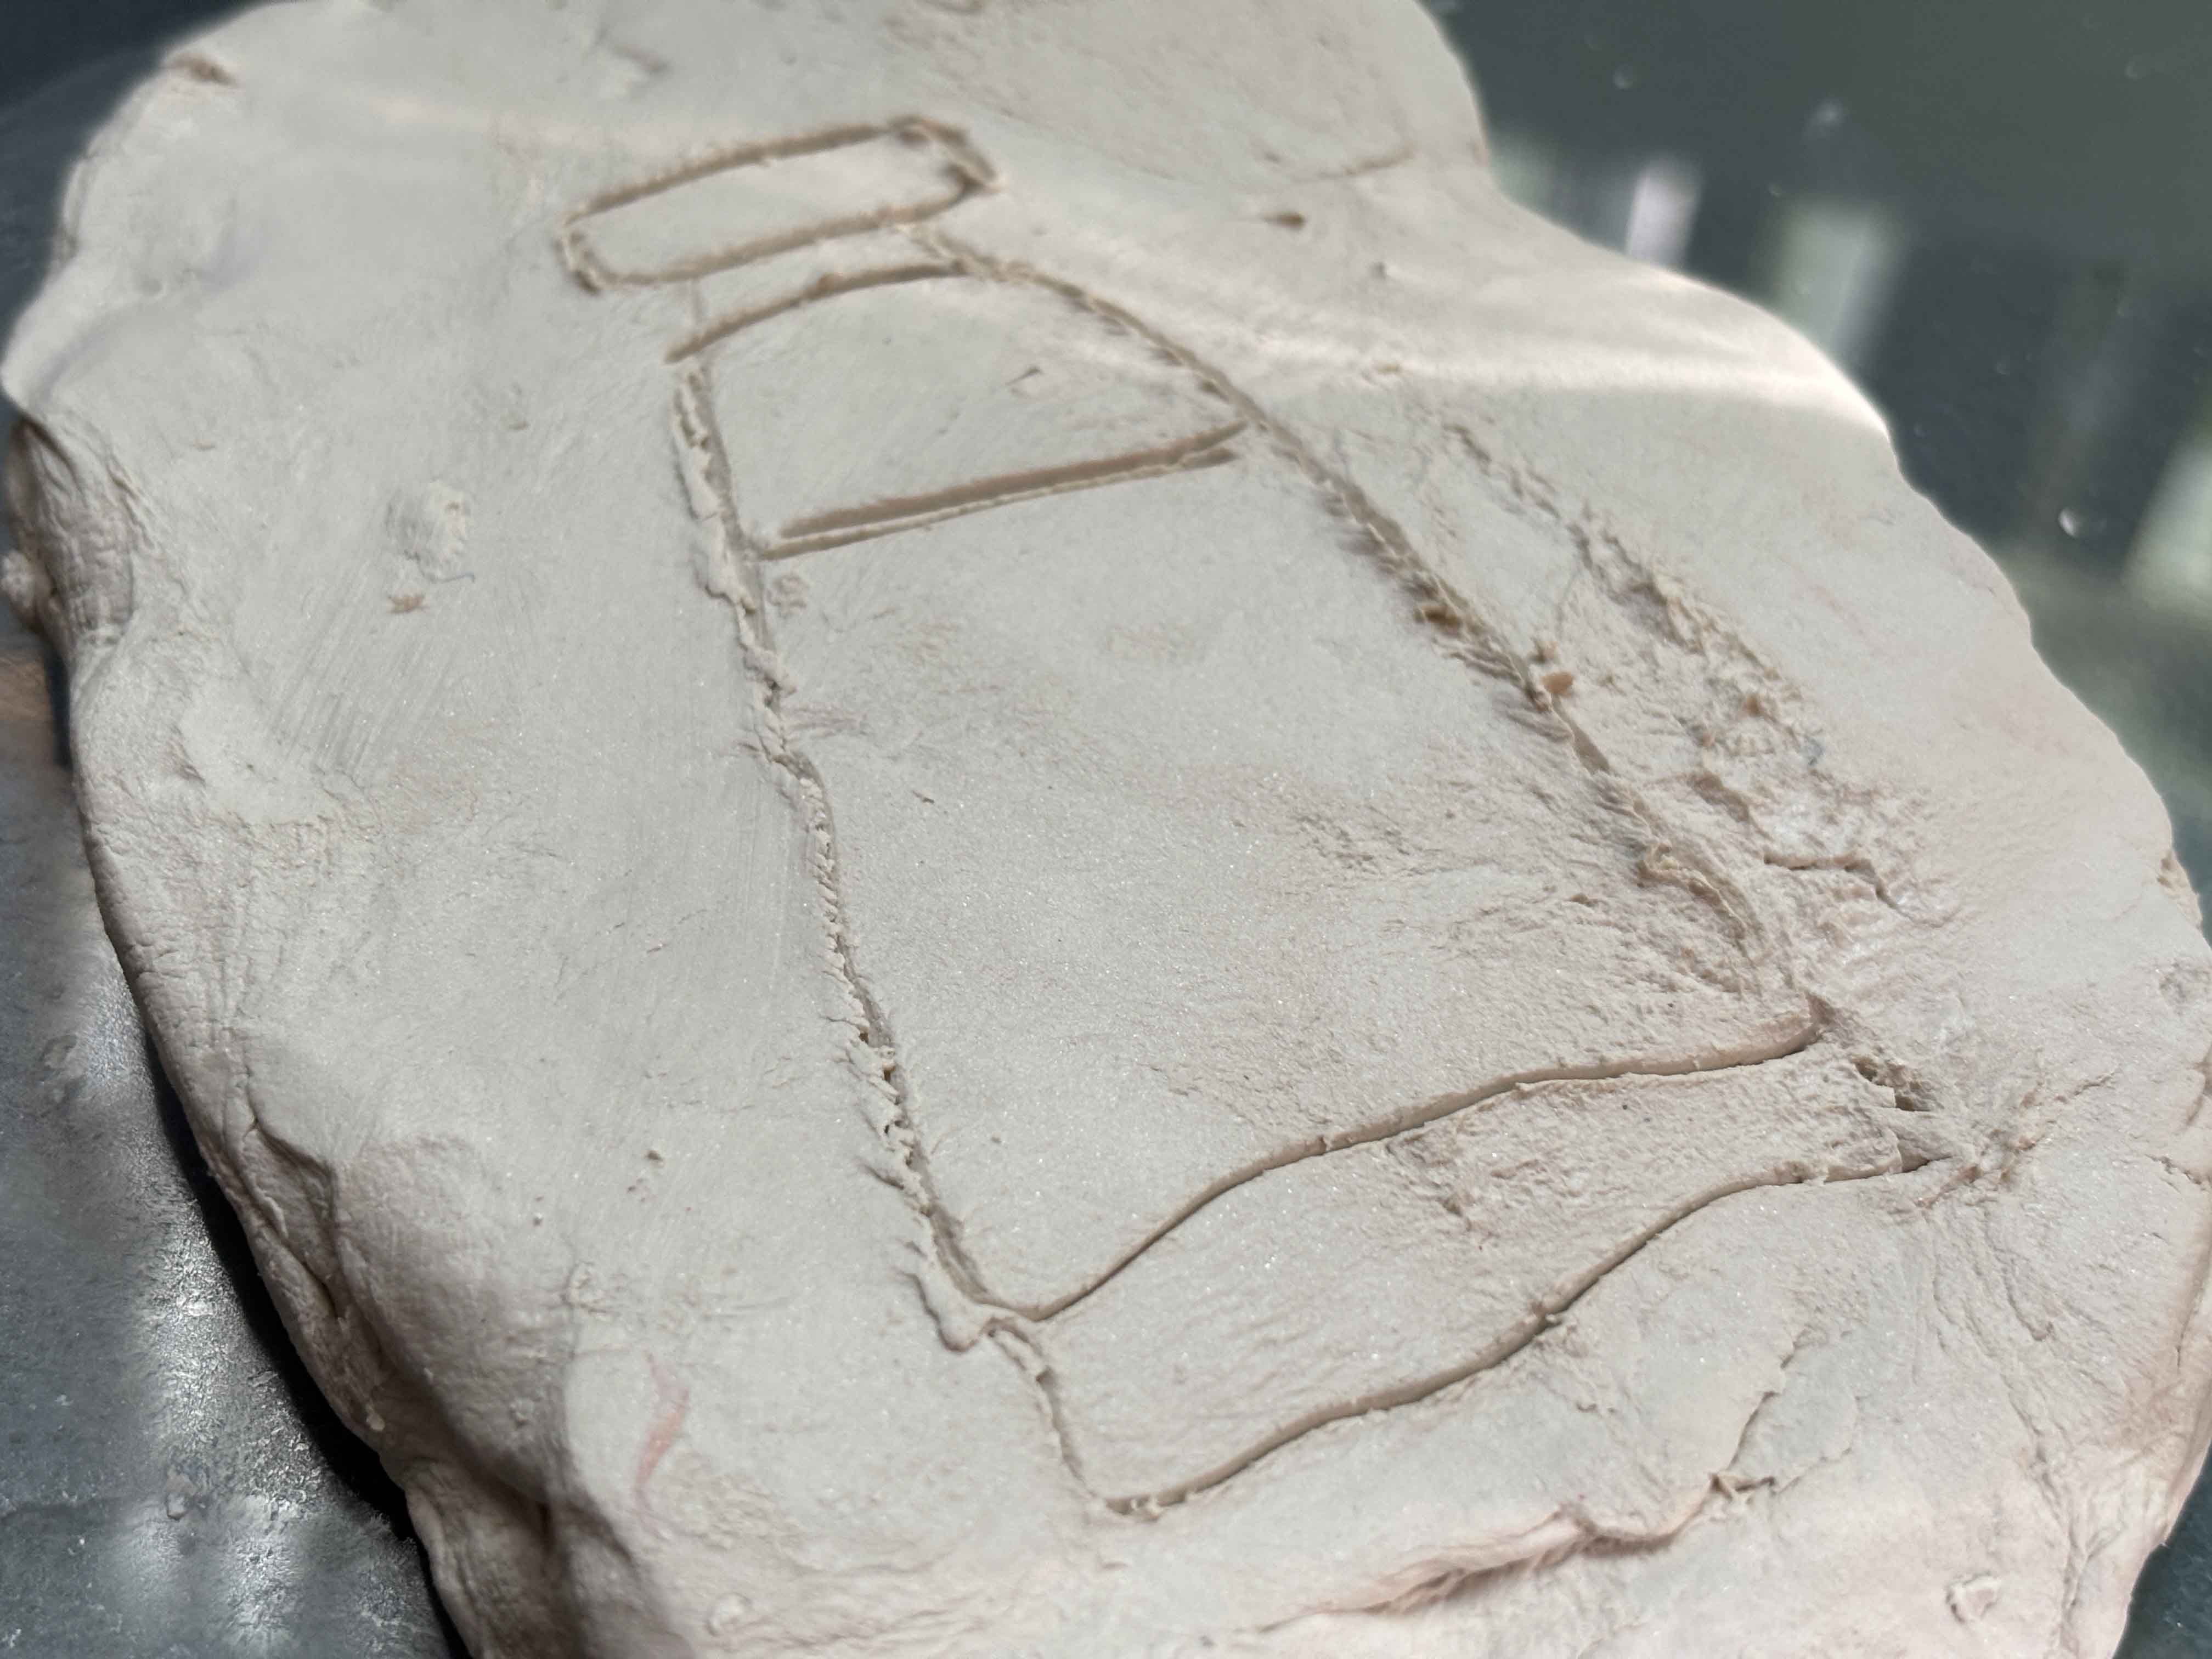
I am going to use my watercolor paint tube as my reference for this paintbrush holder, and then, using the point tool needle, I will draw the reference.
------
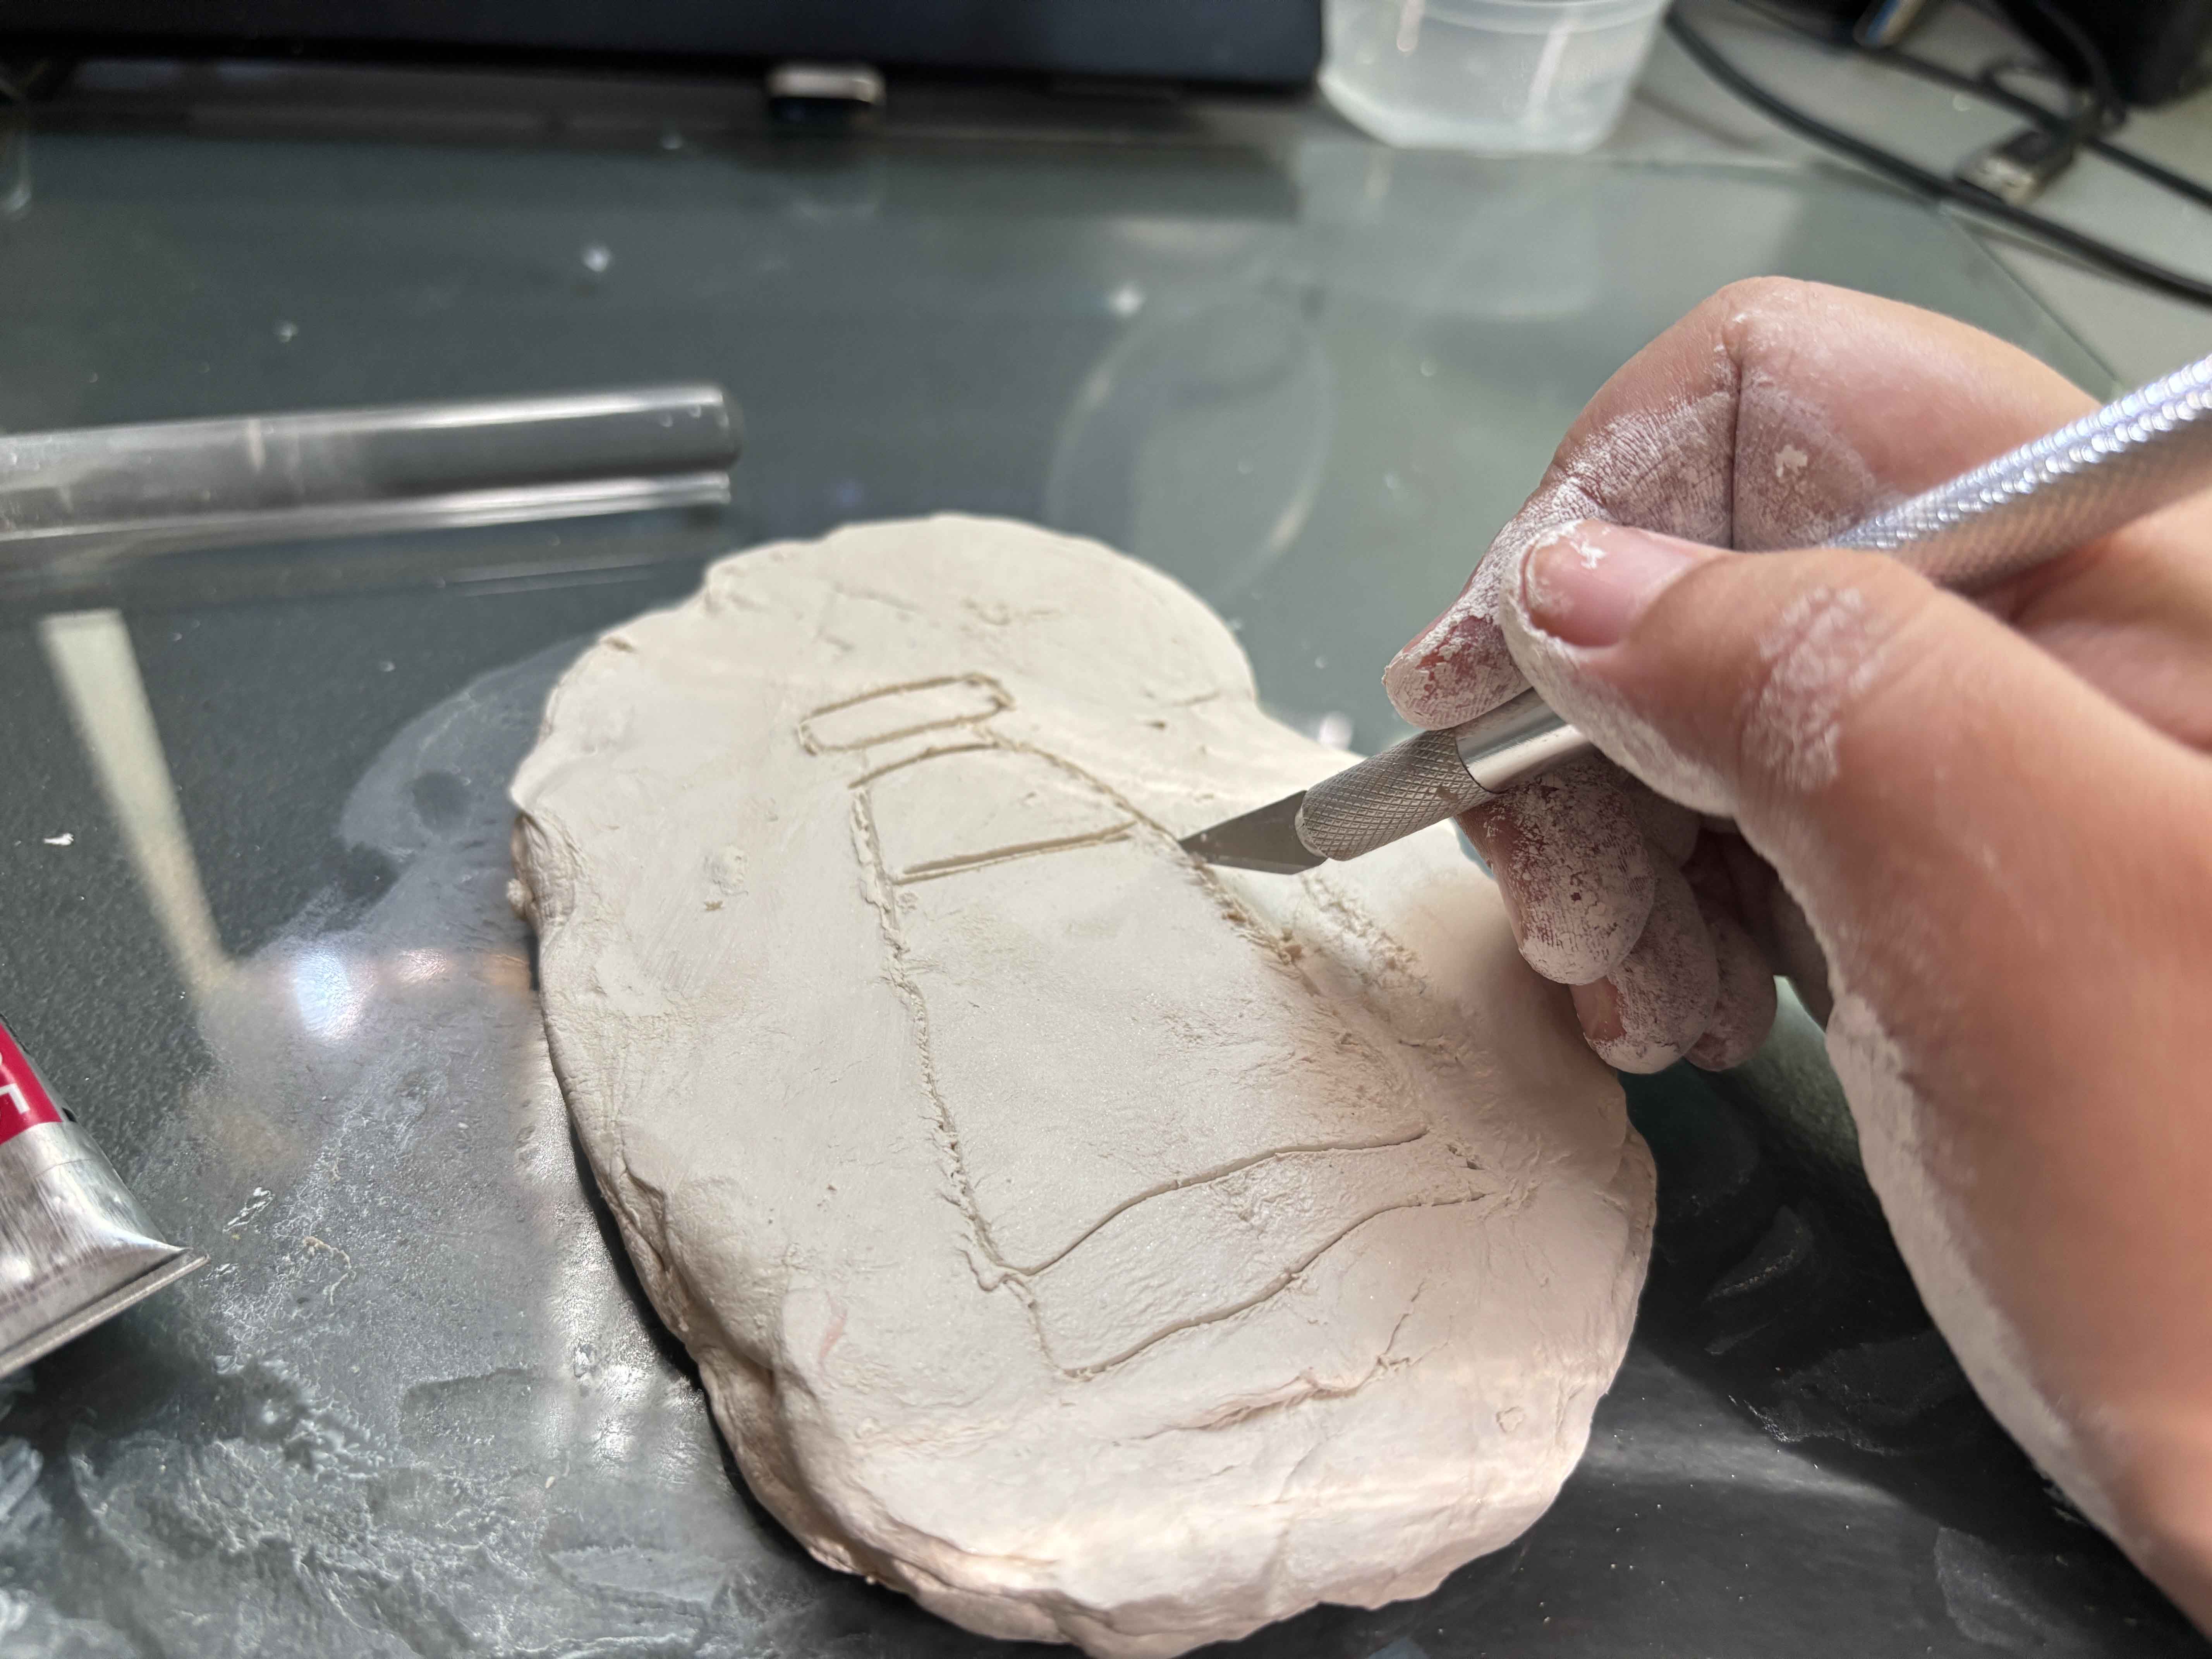
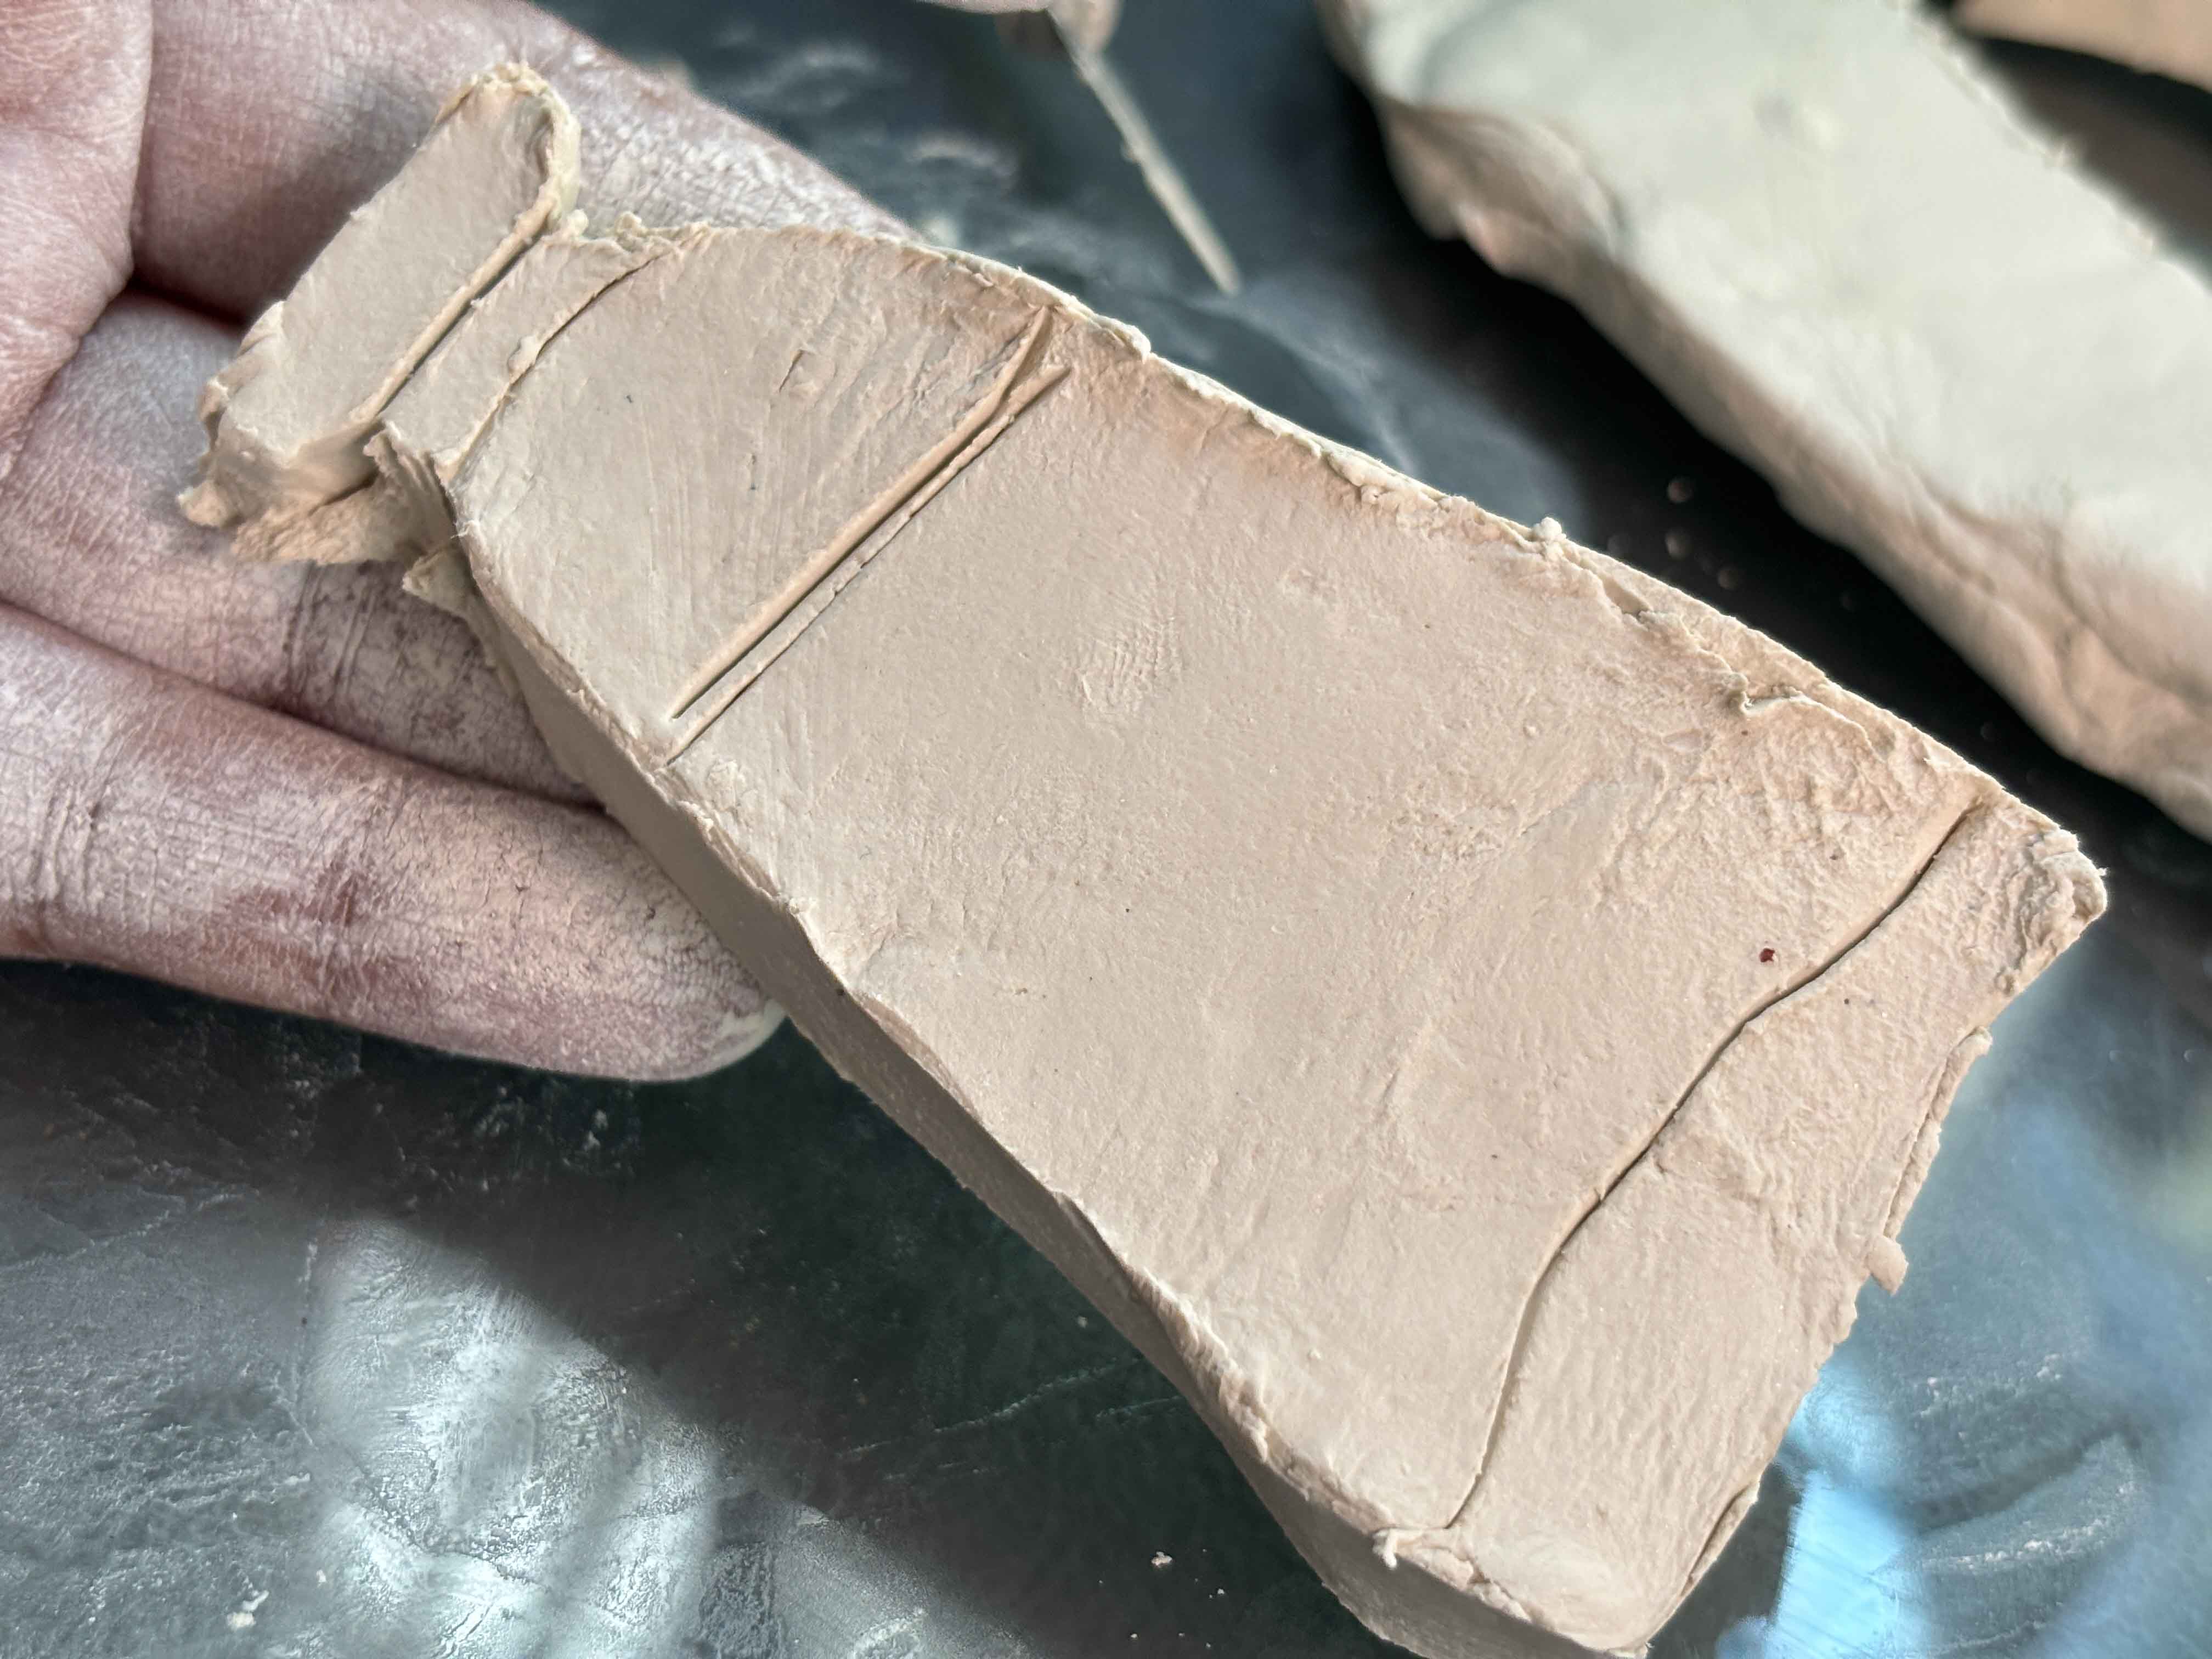
After that, I use the X-Acto knife to outline the clay I drew. And this is what it looks like, and it doesn't have to be perfect.
------
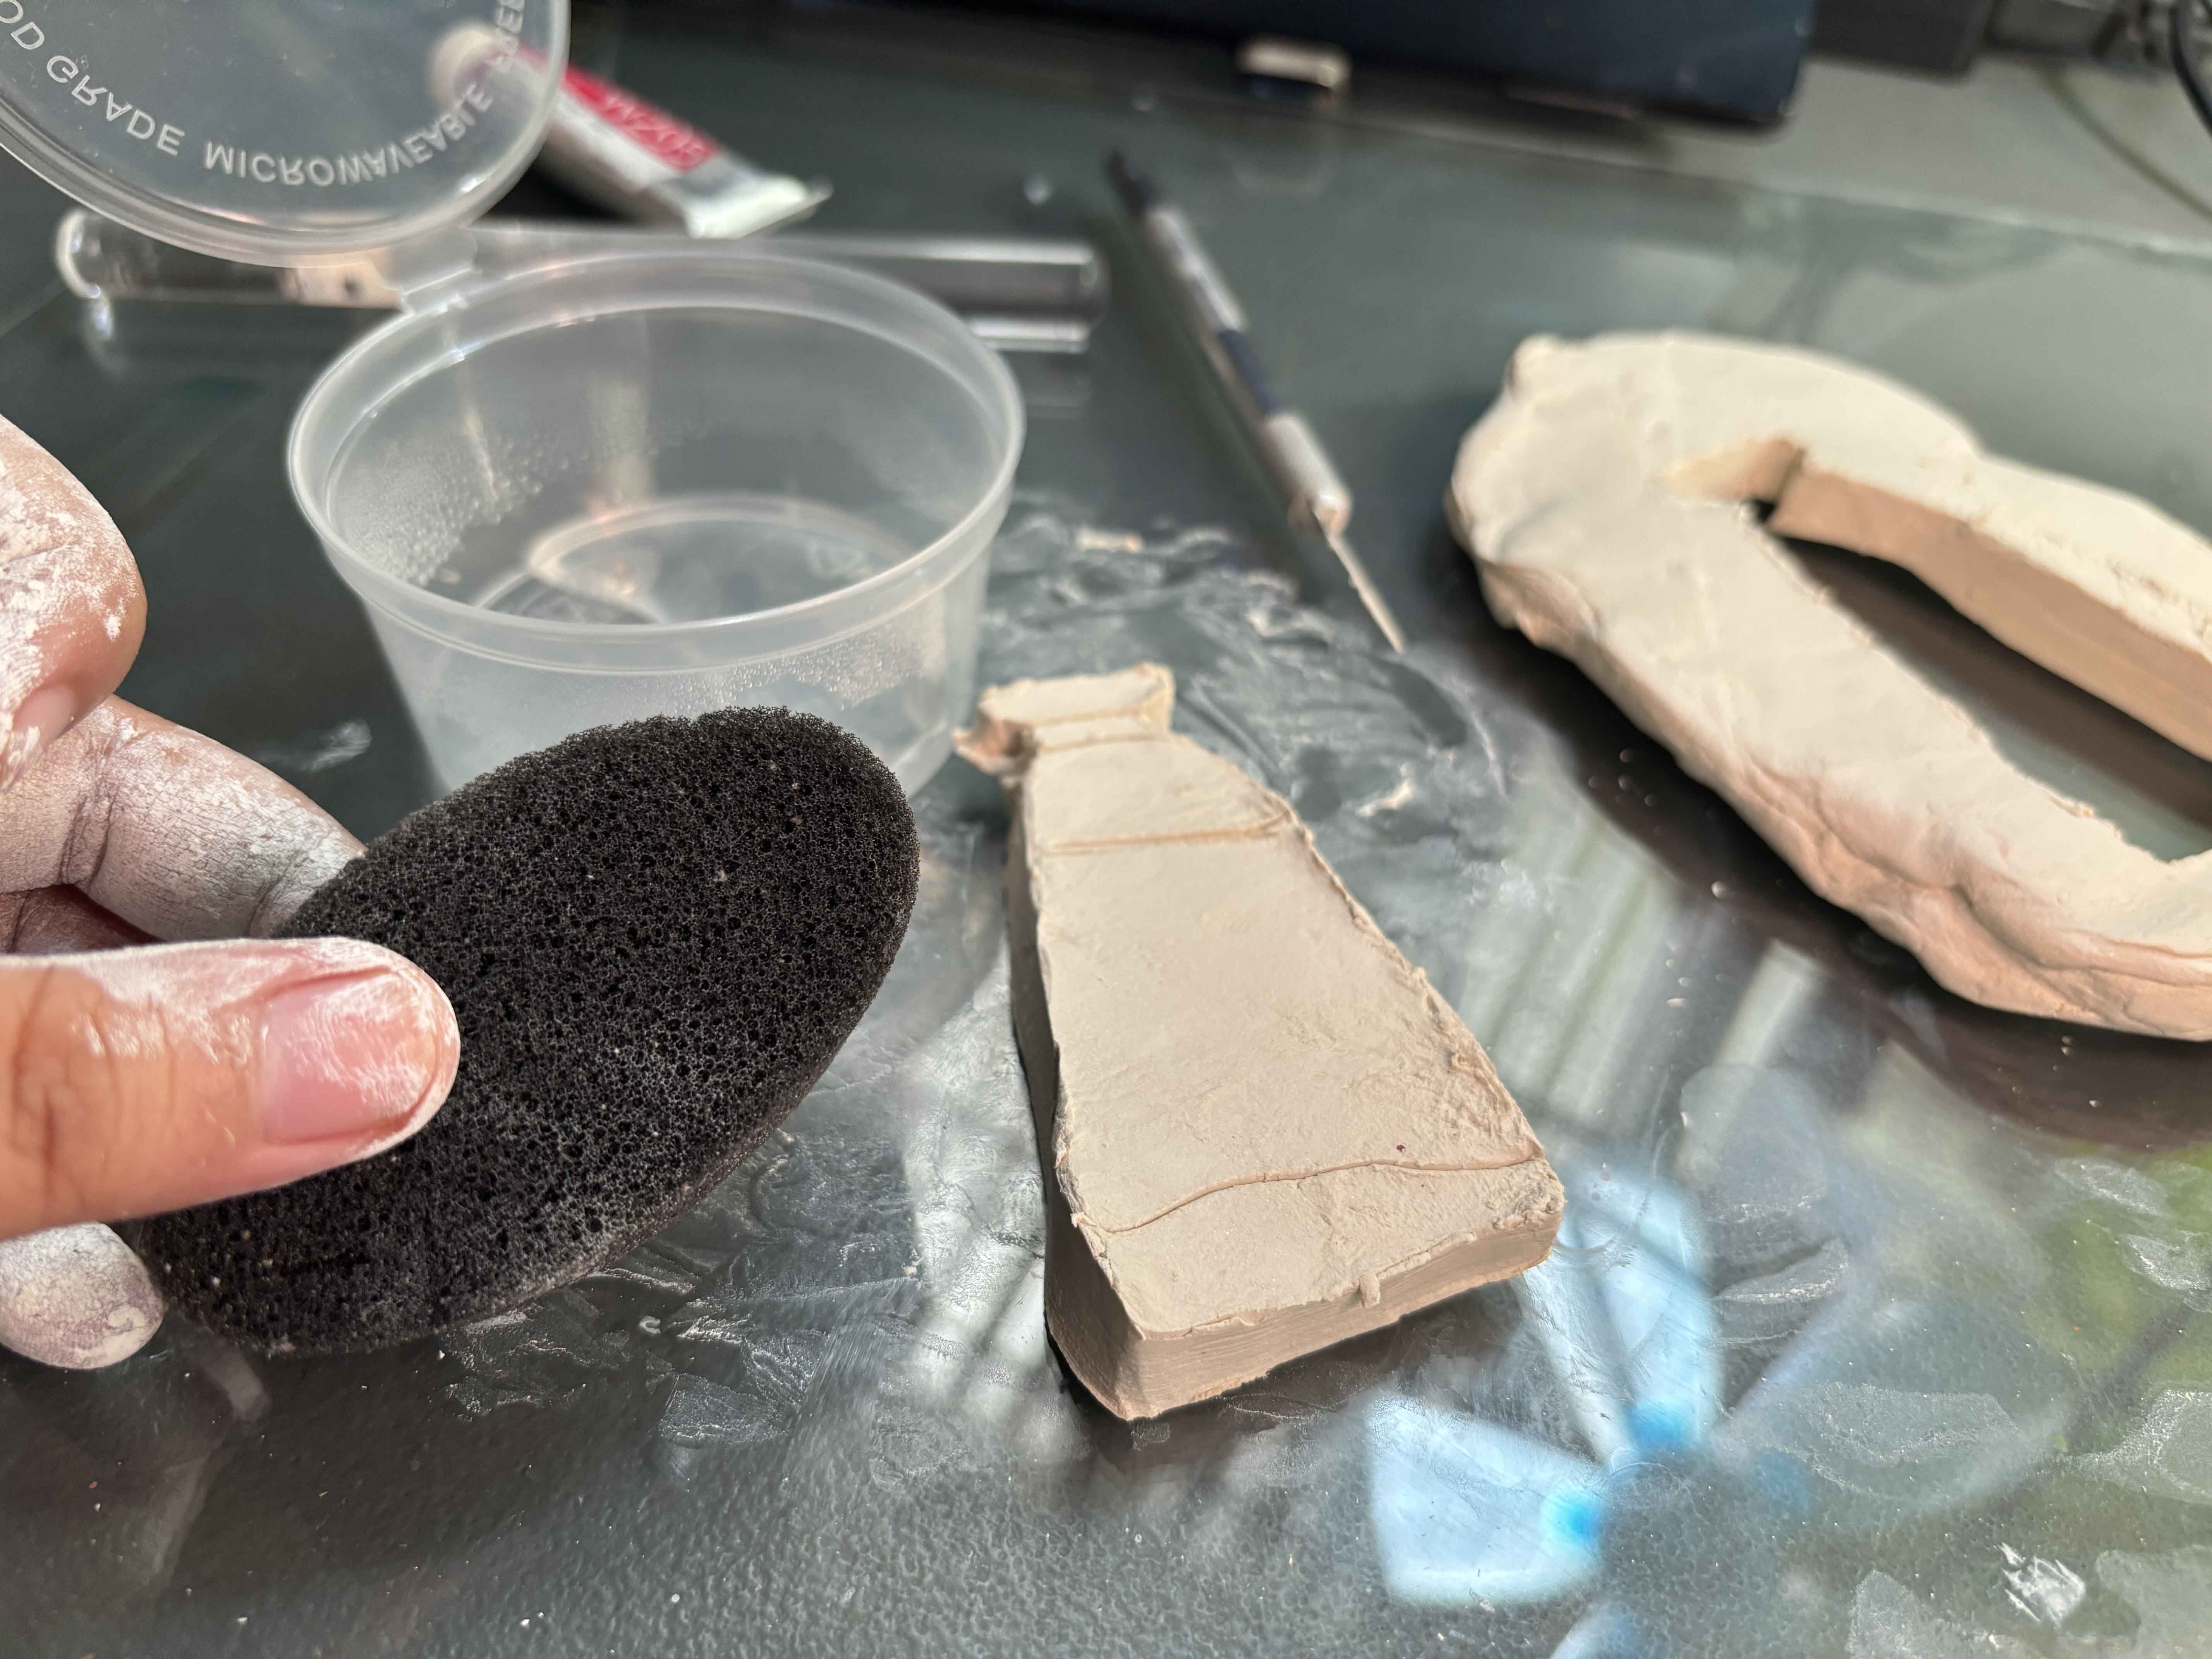
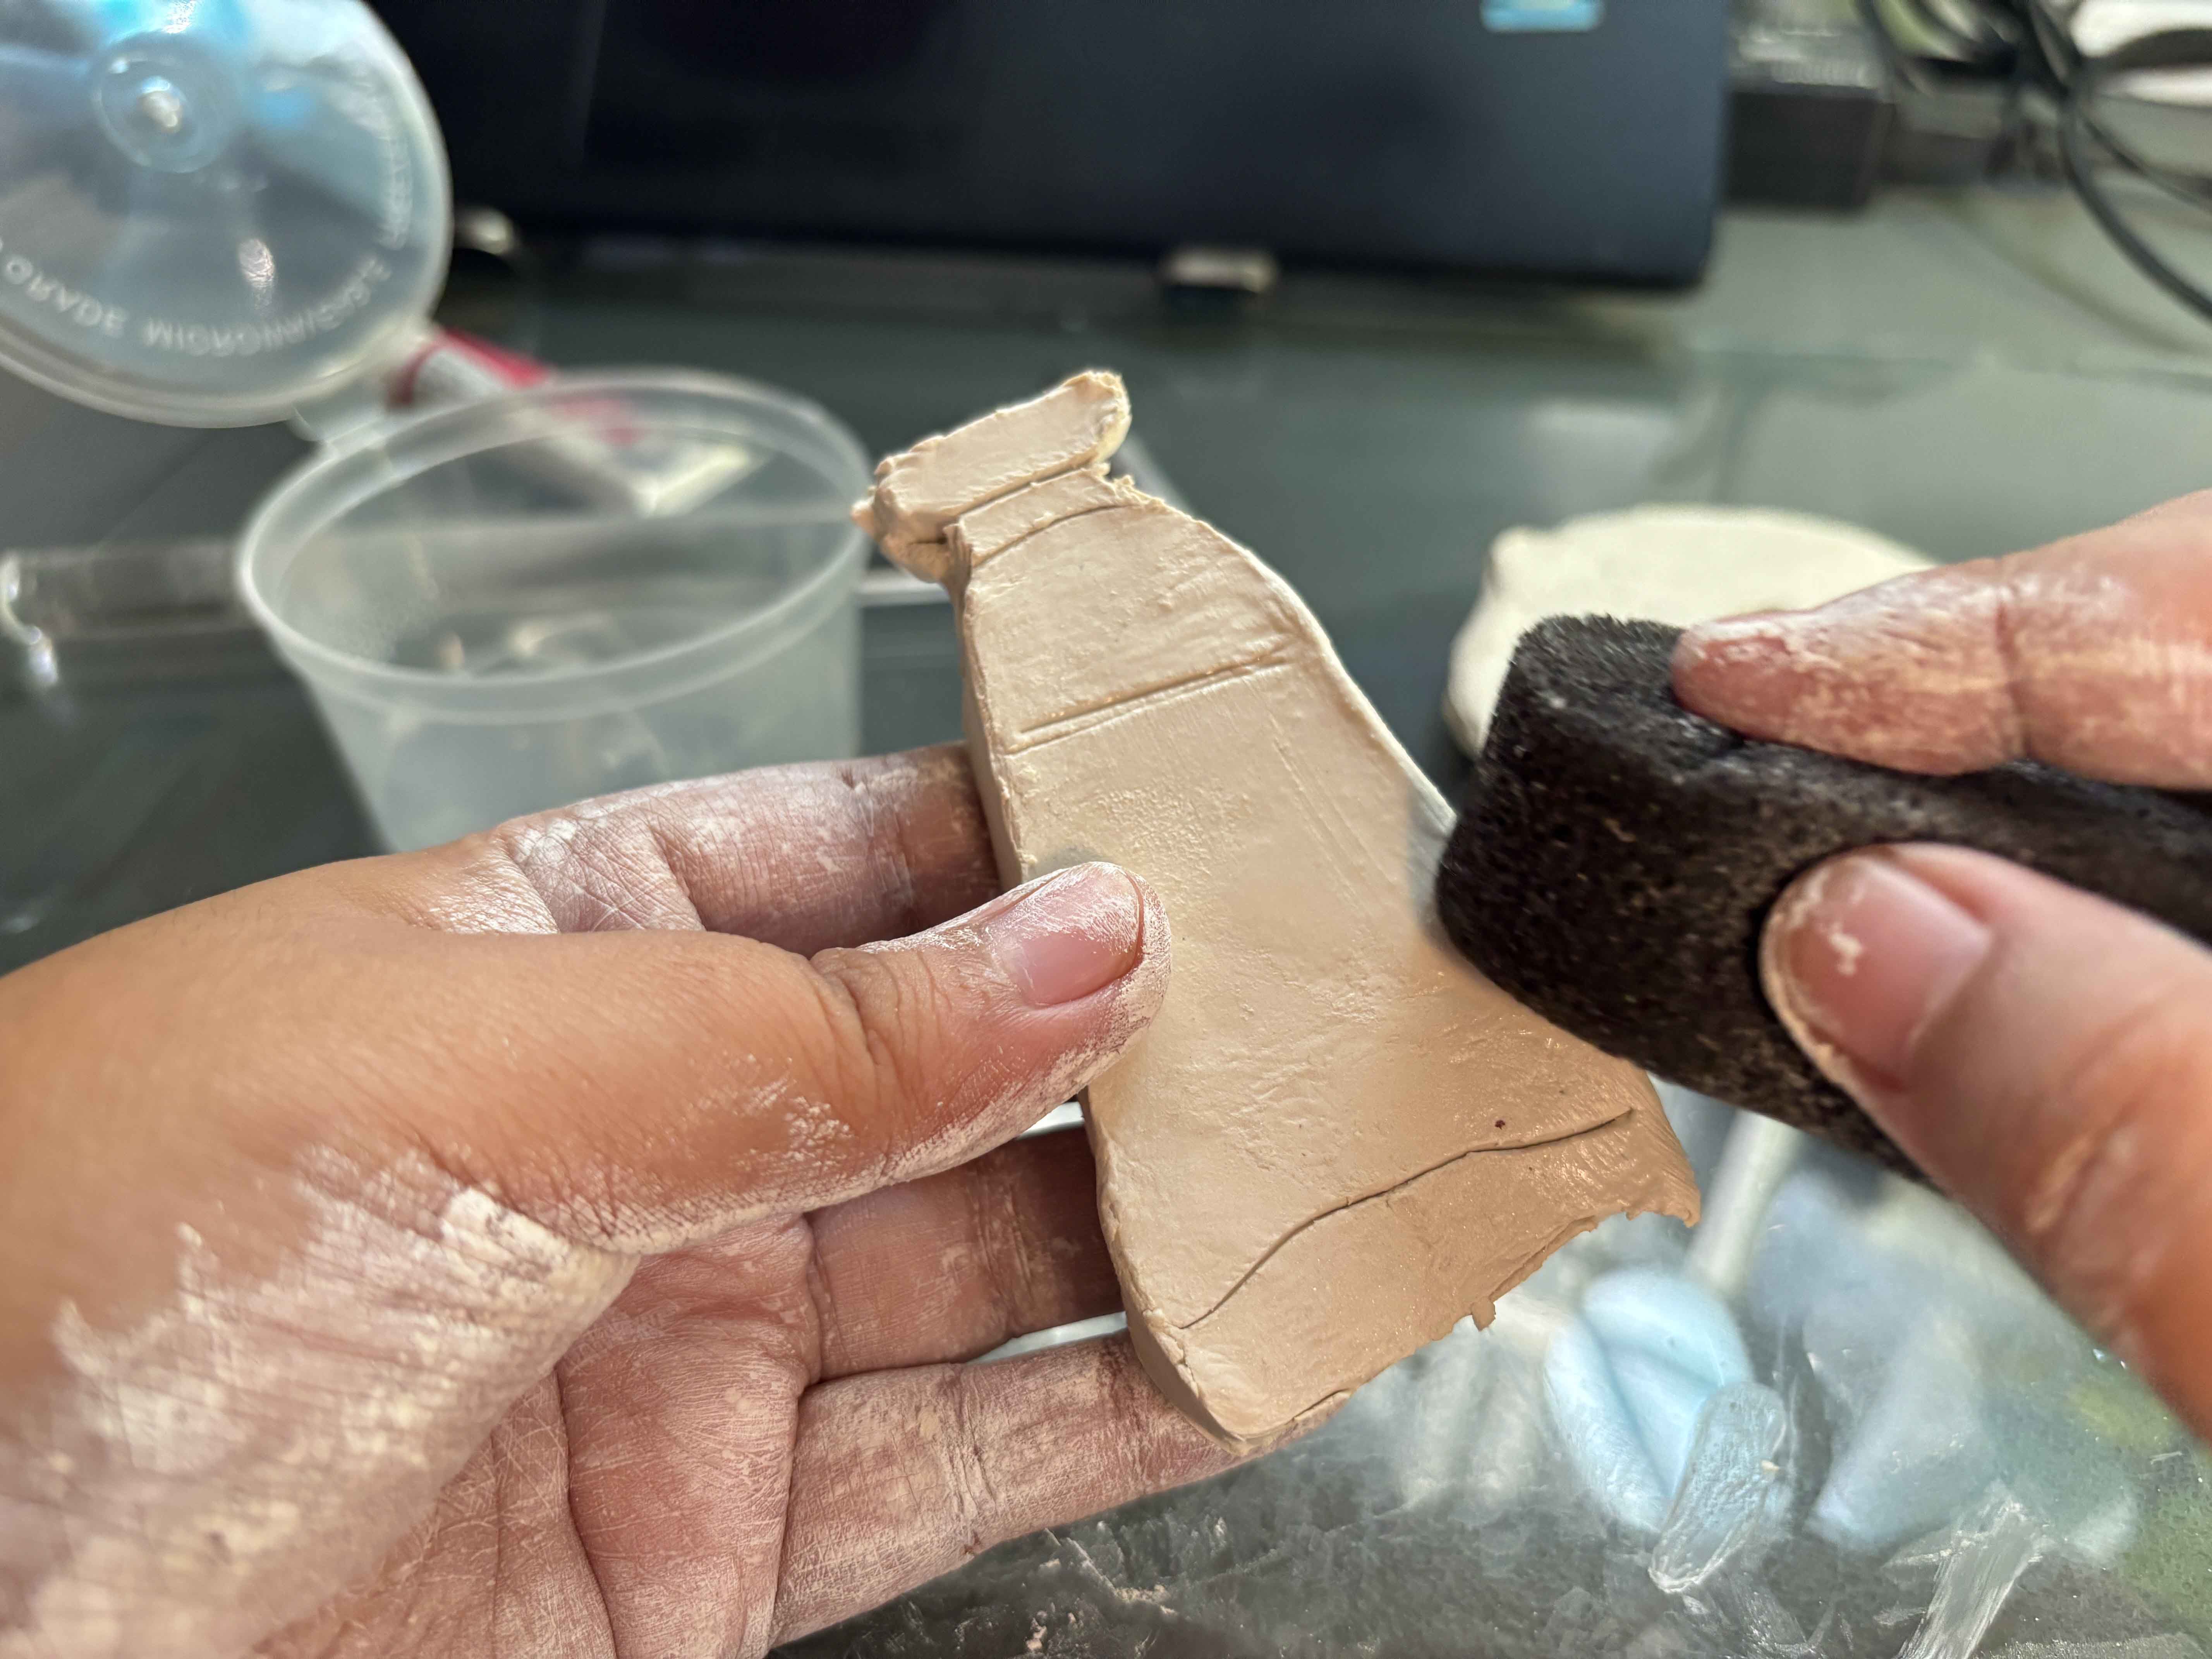
To smooth the clay, I use a sponge and a plastic container with water in it, and smooth those imperfections in the clay.
------
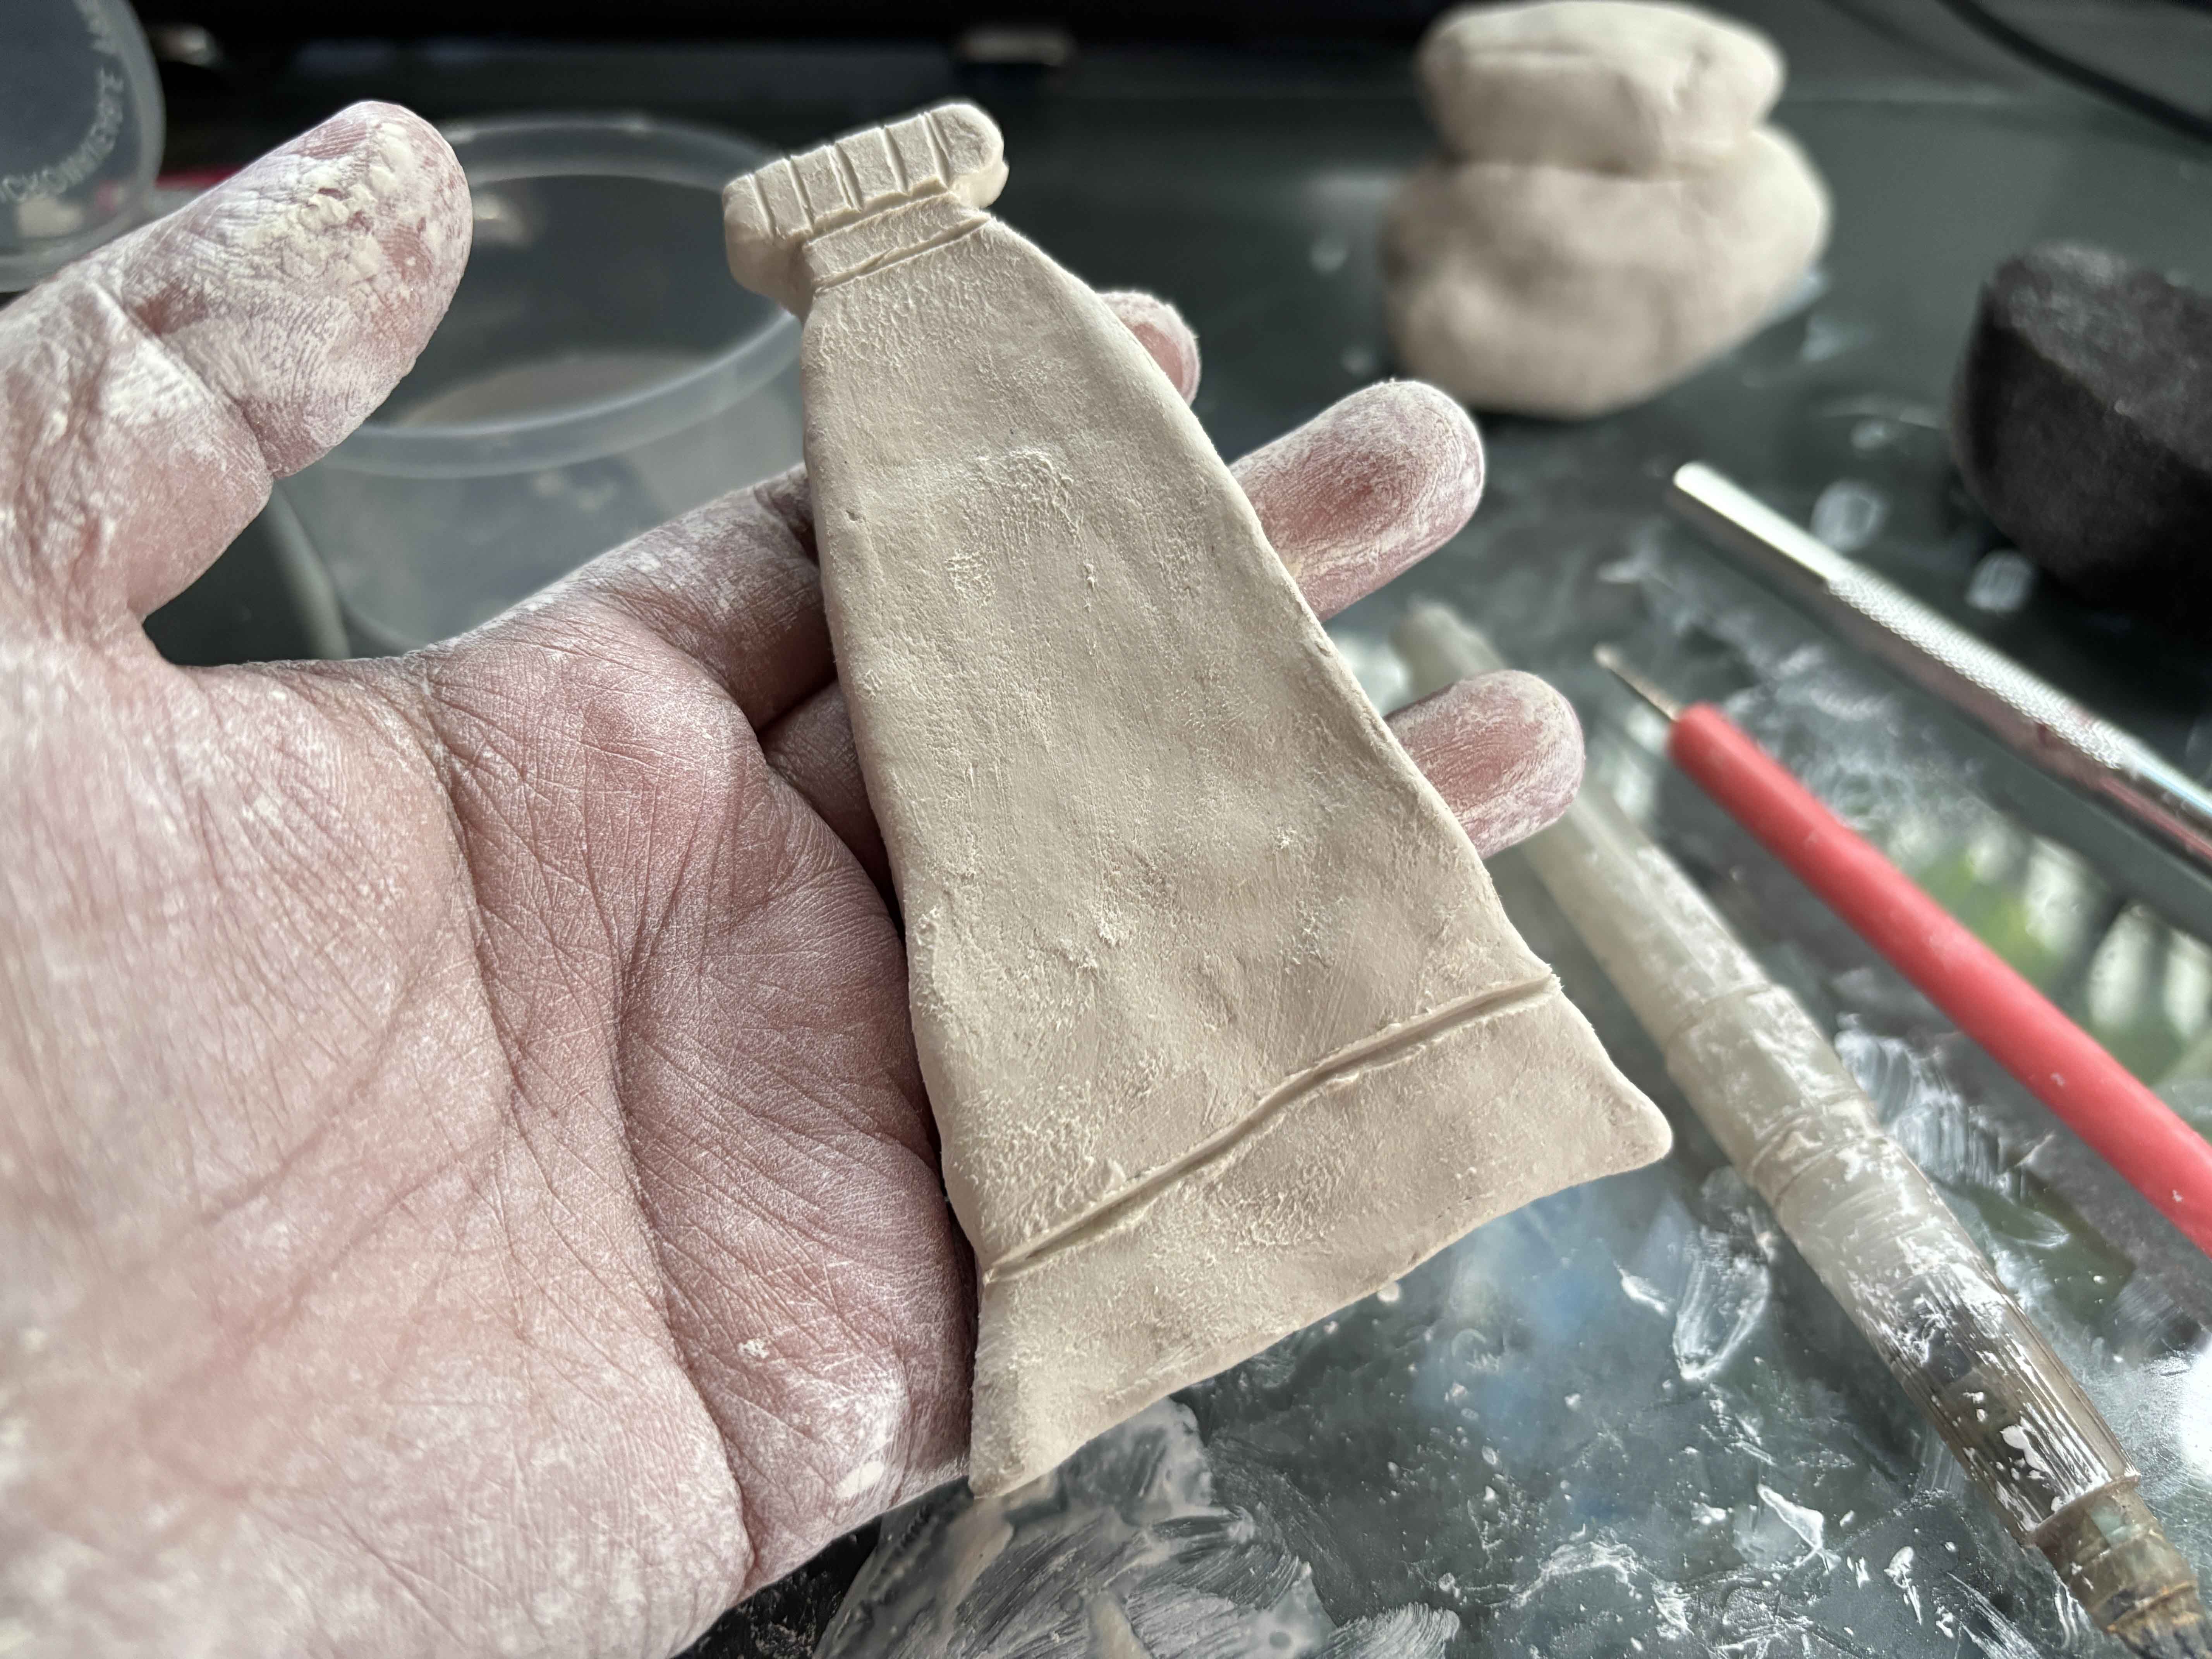
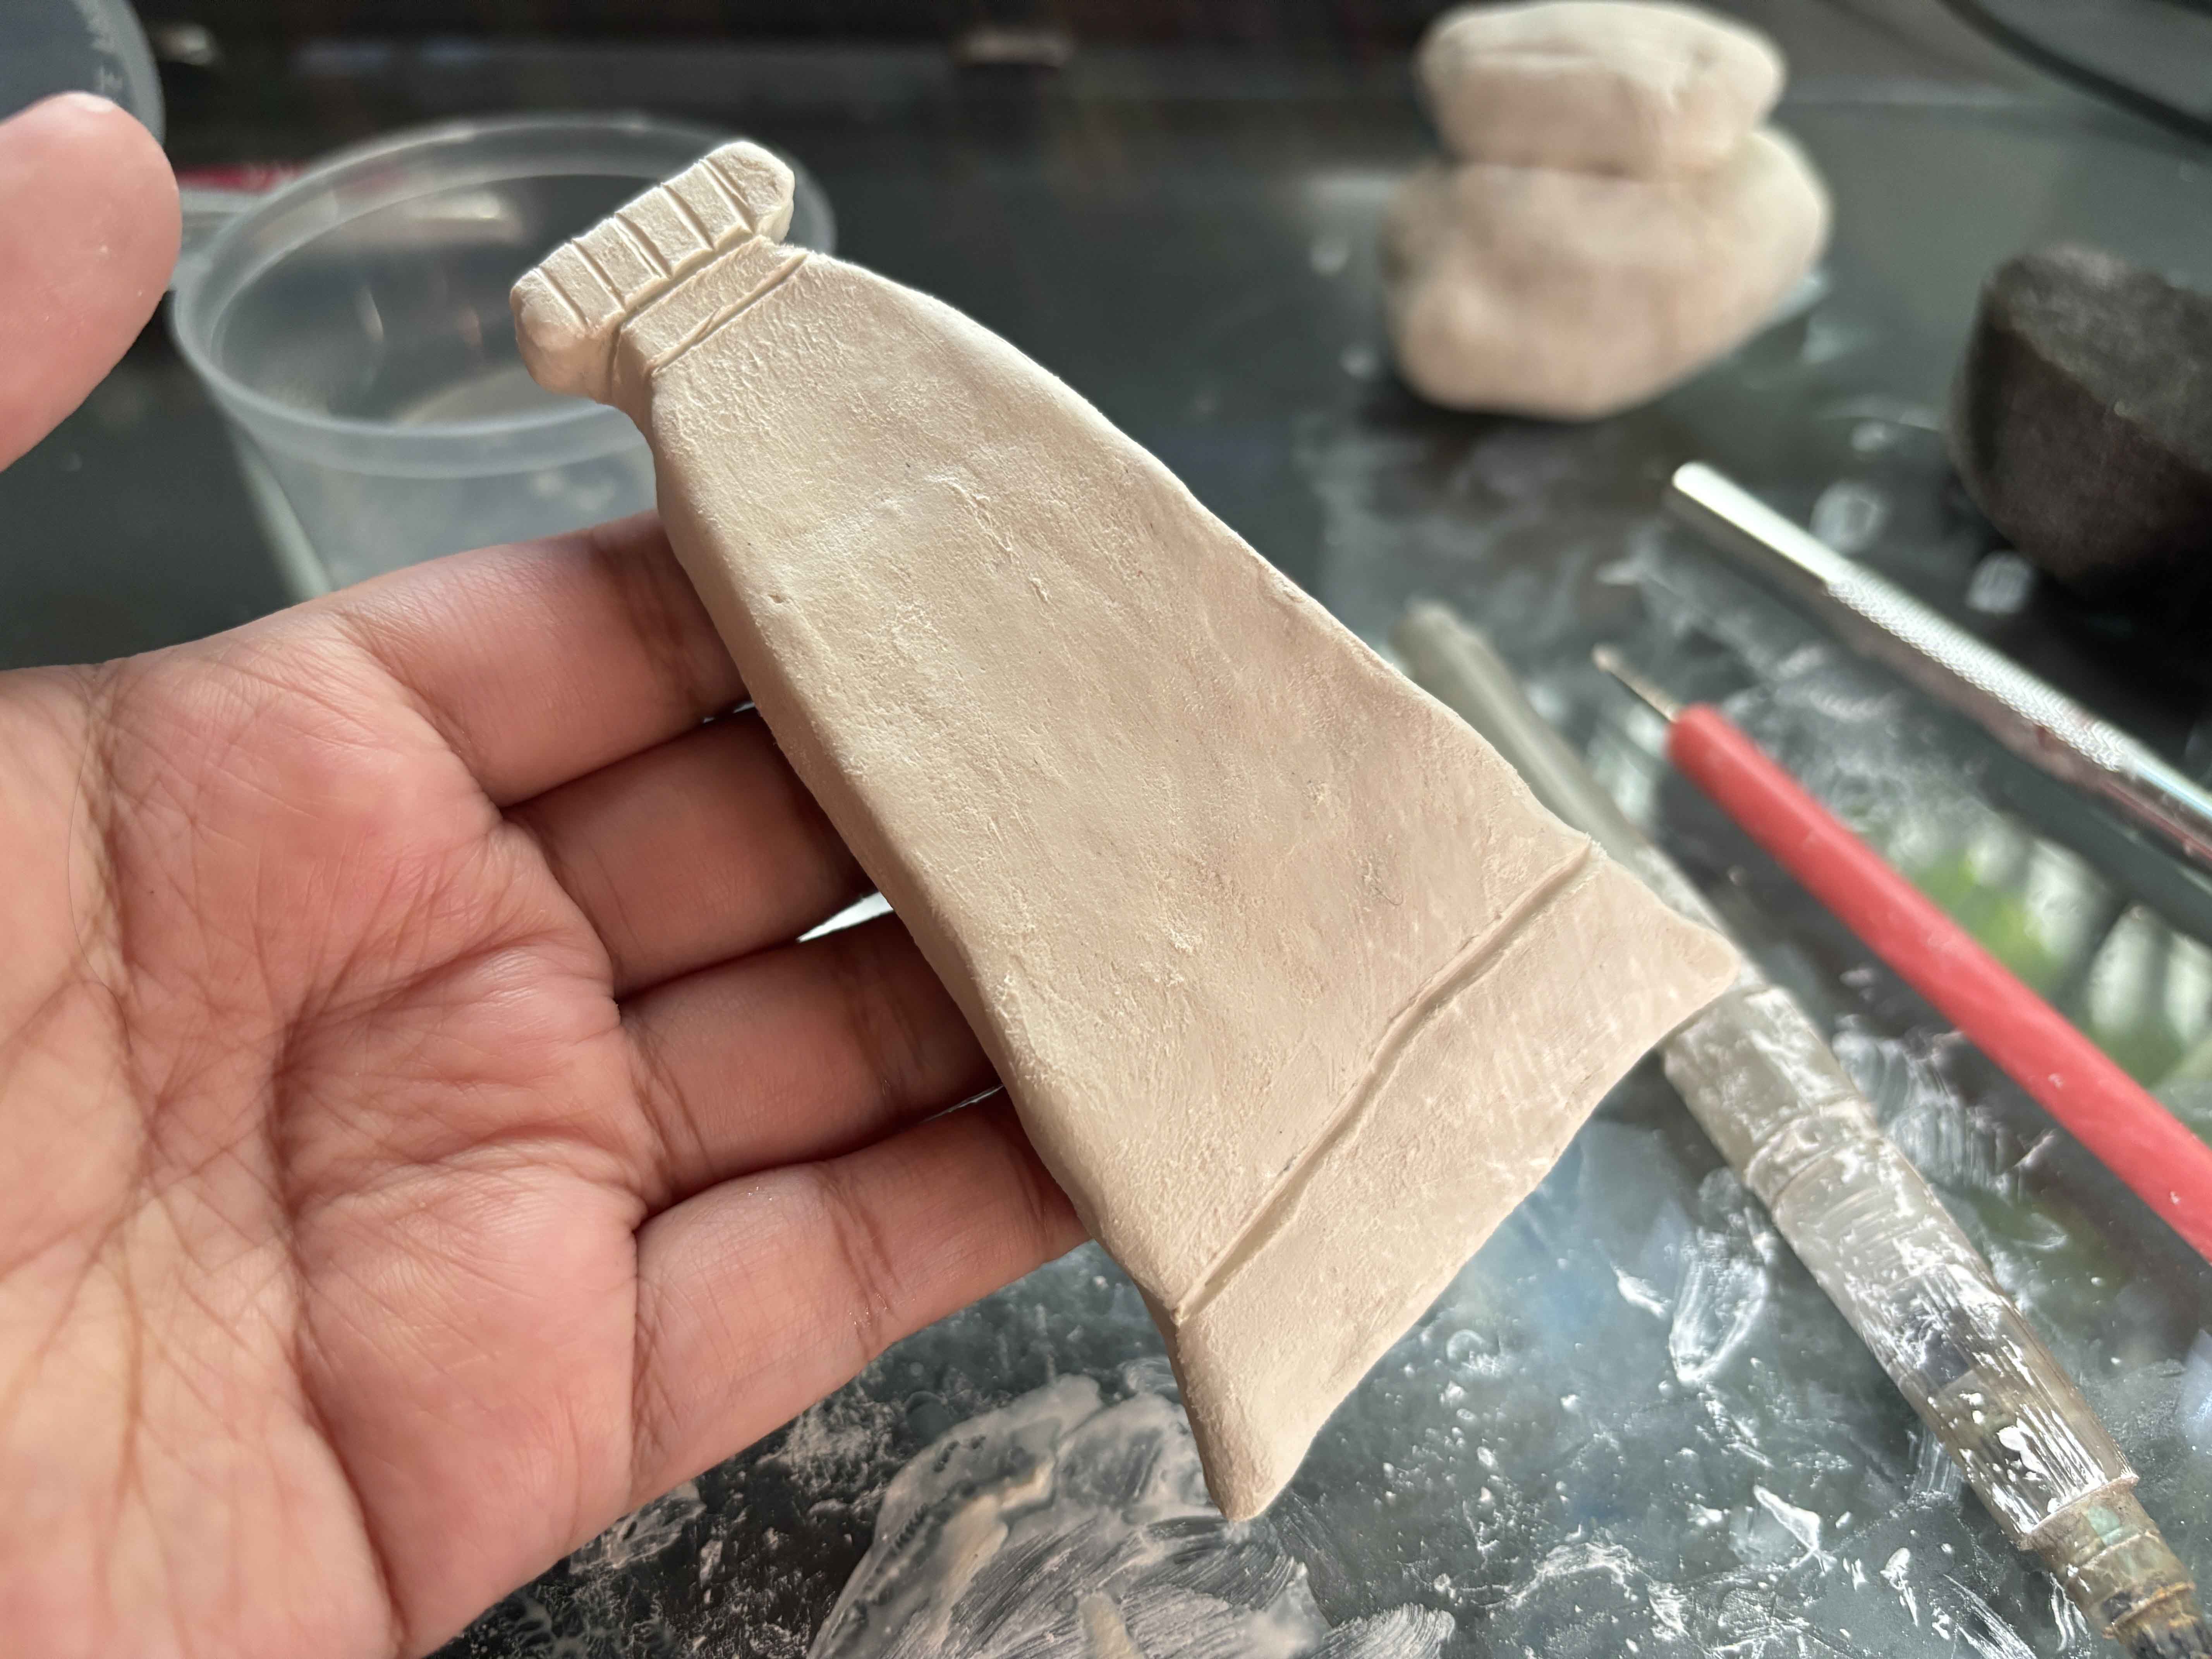
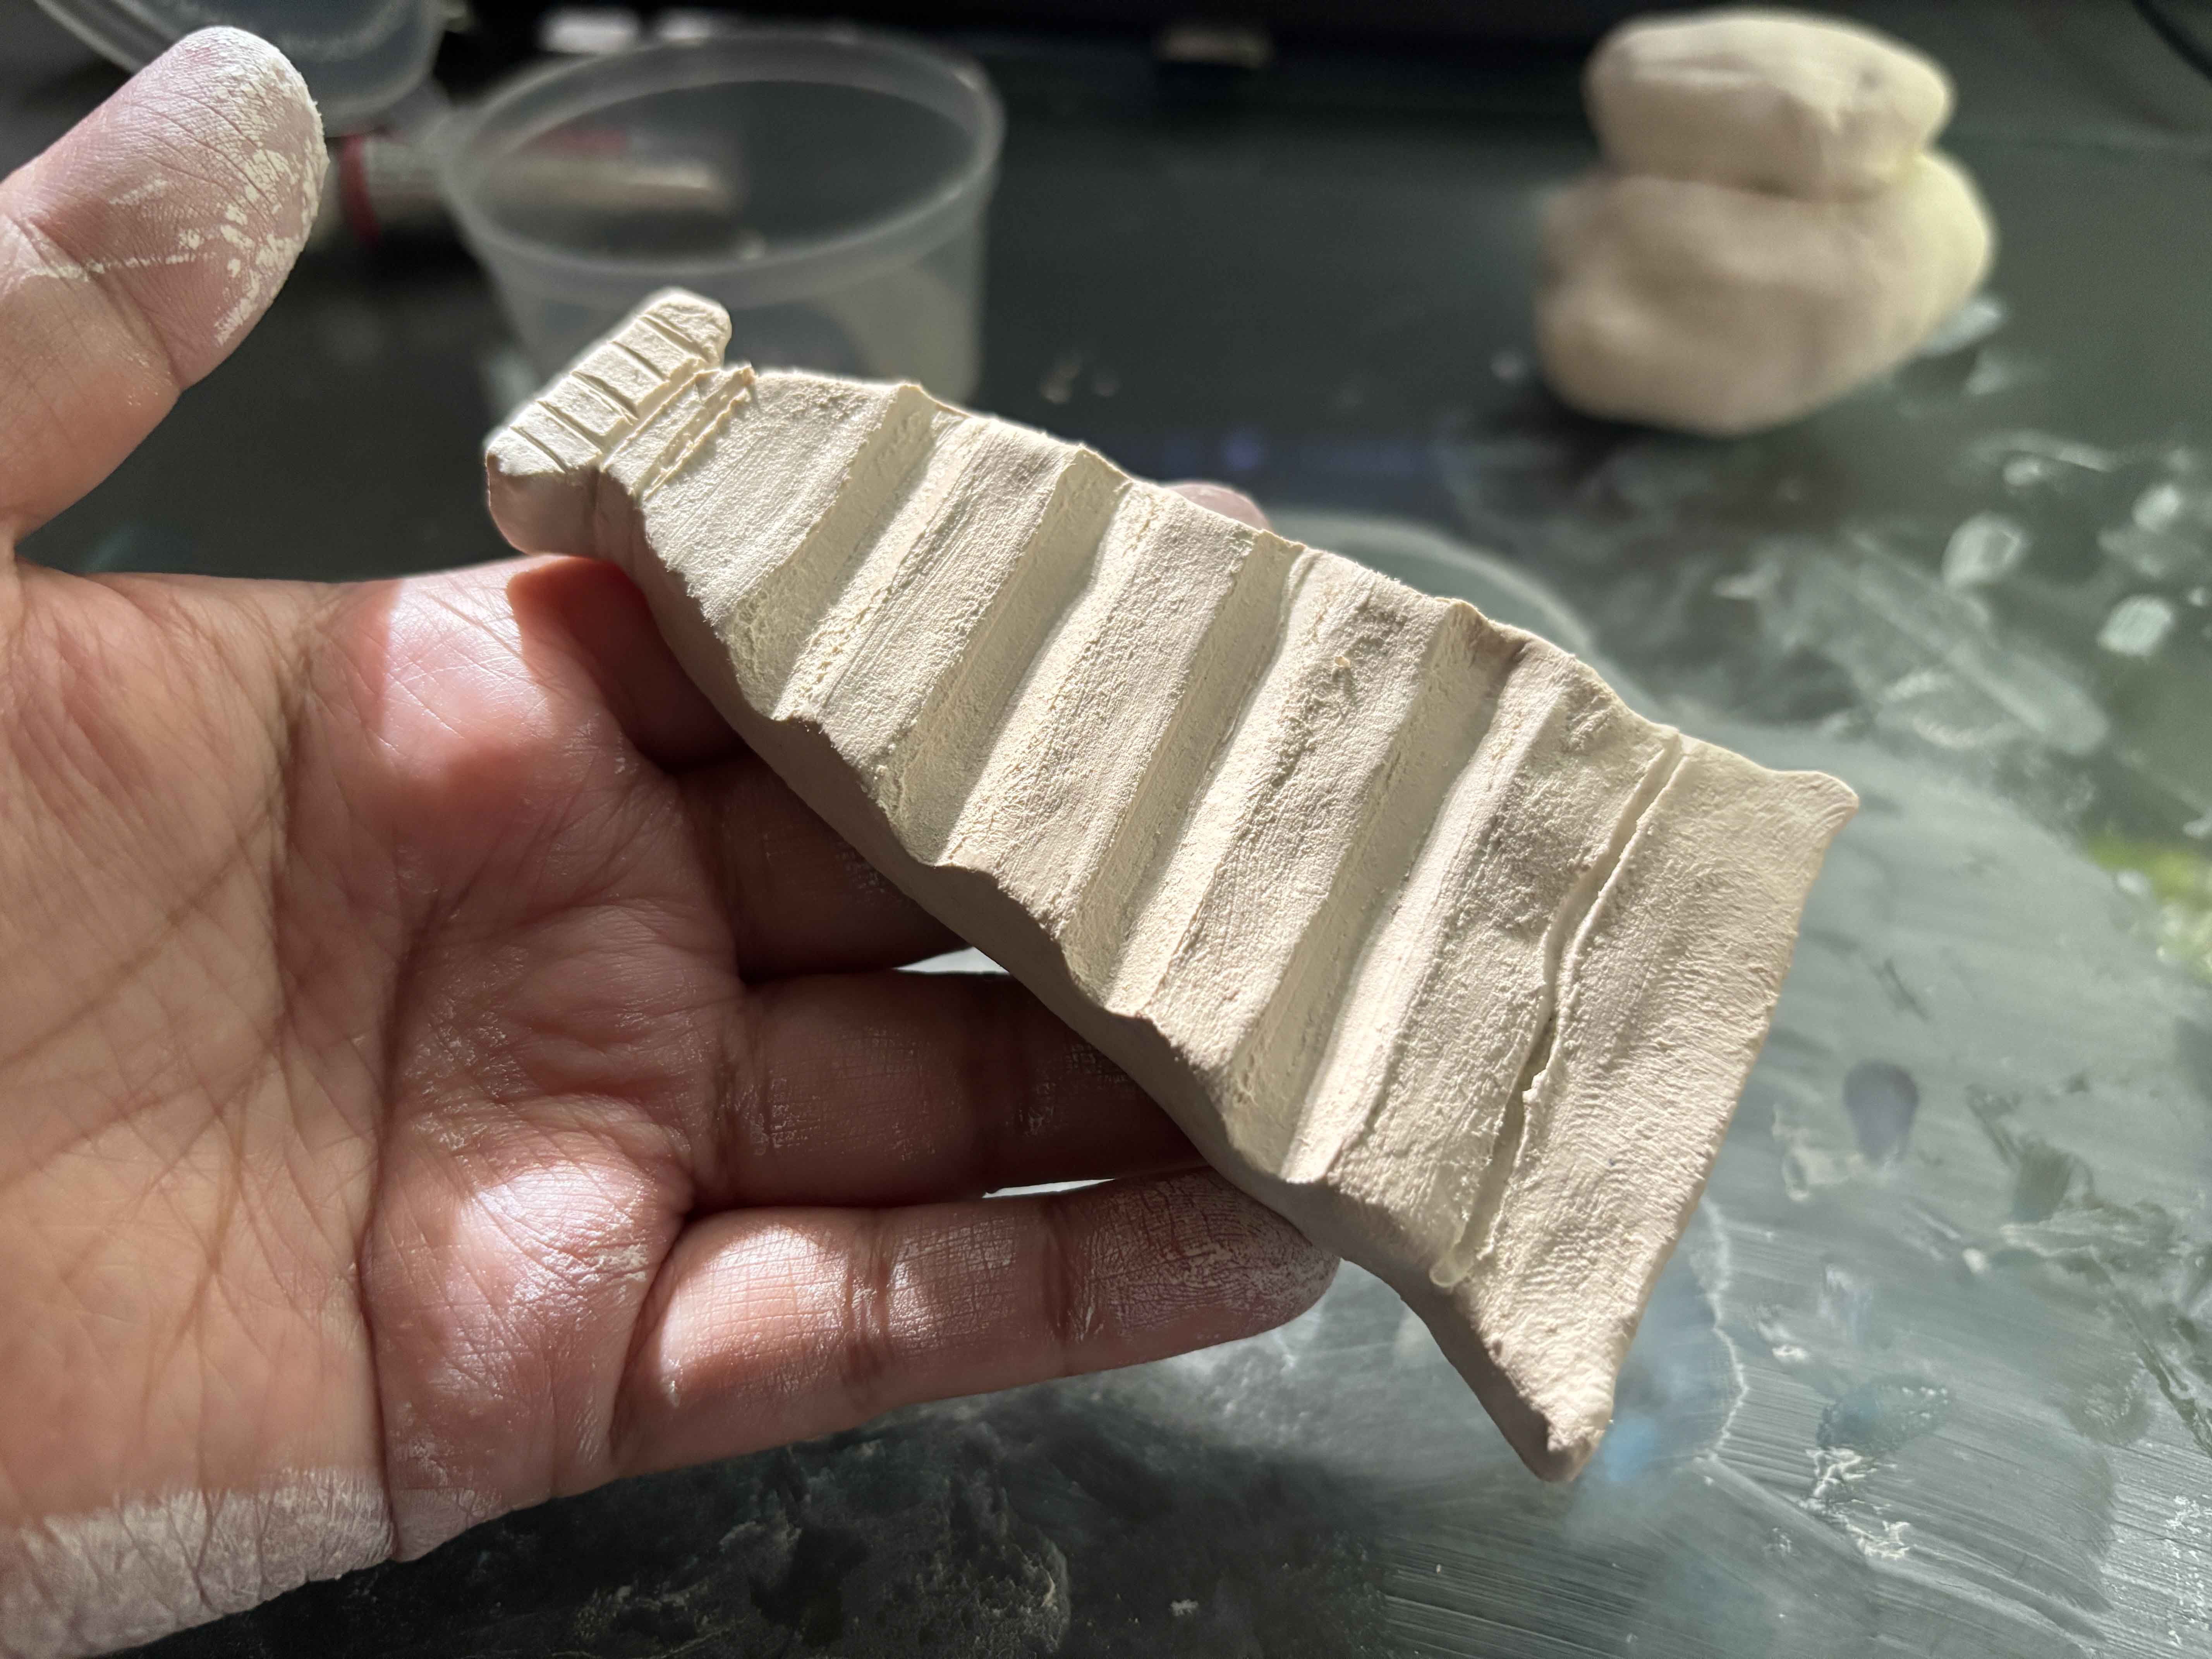
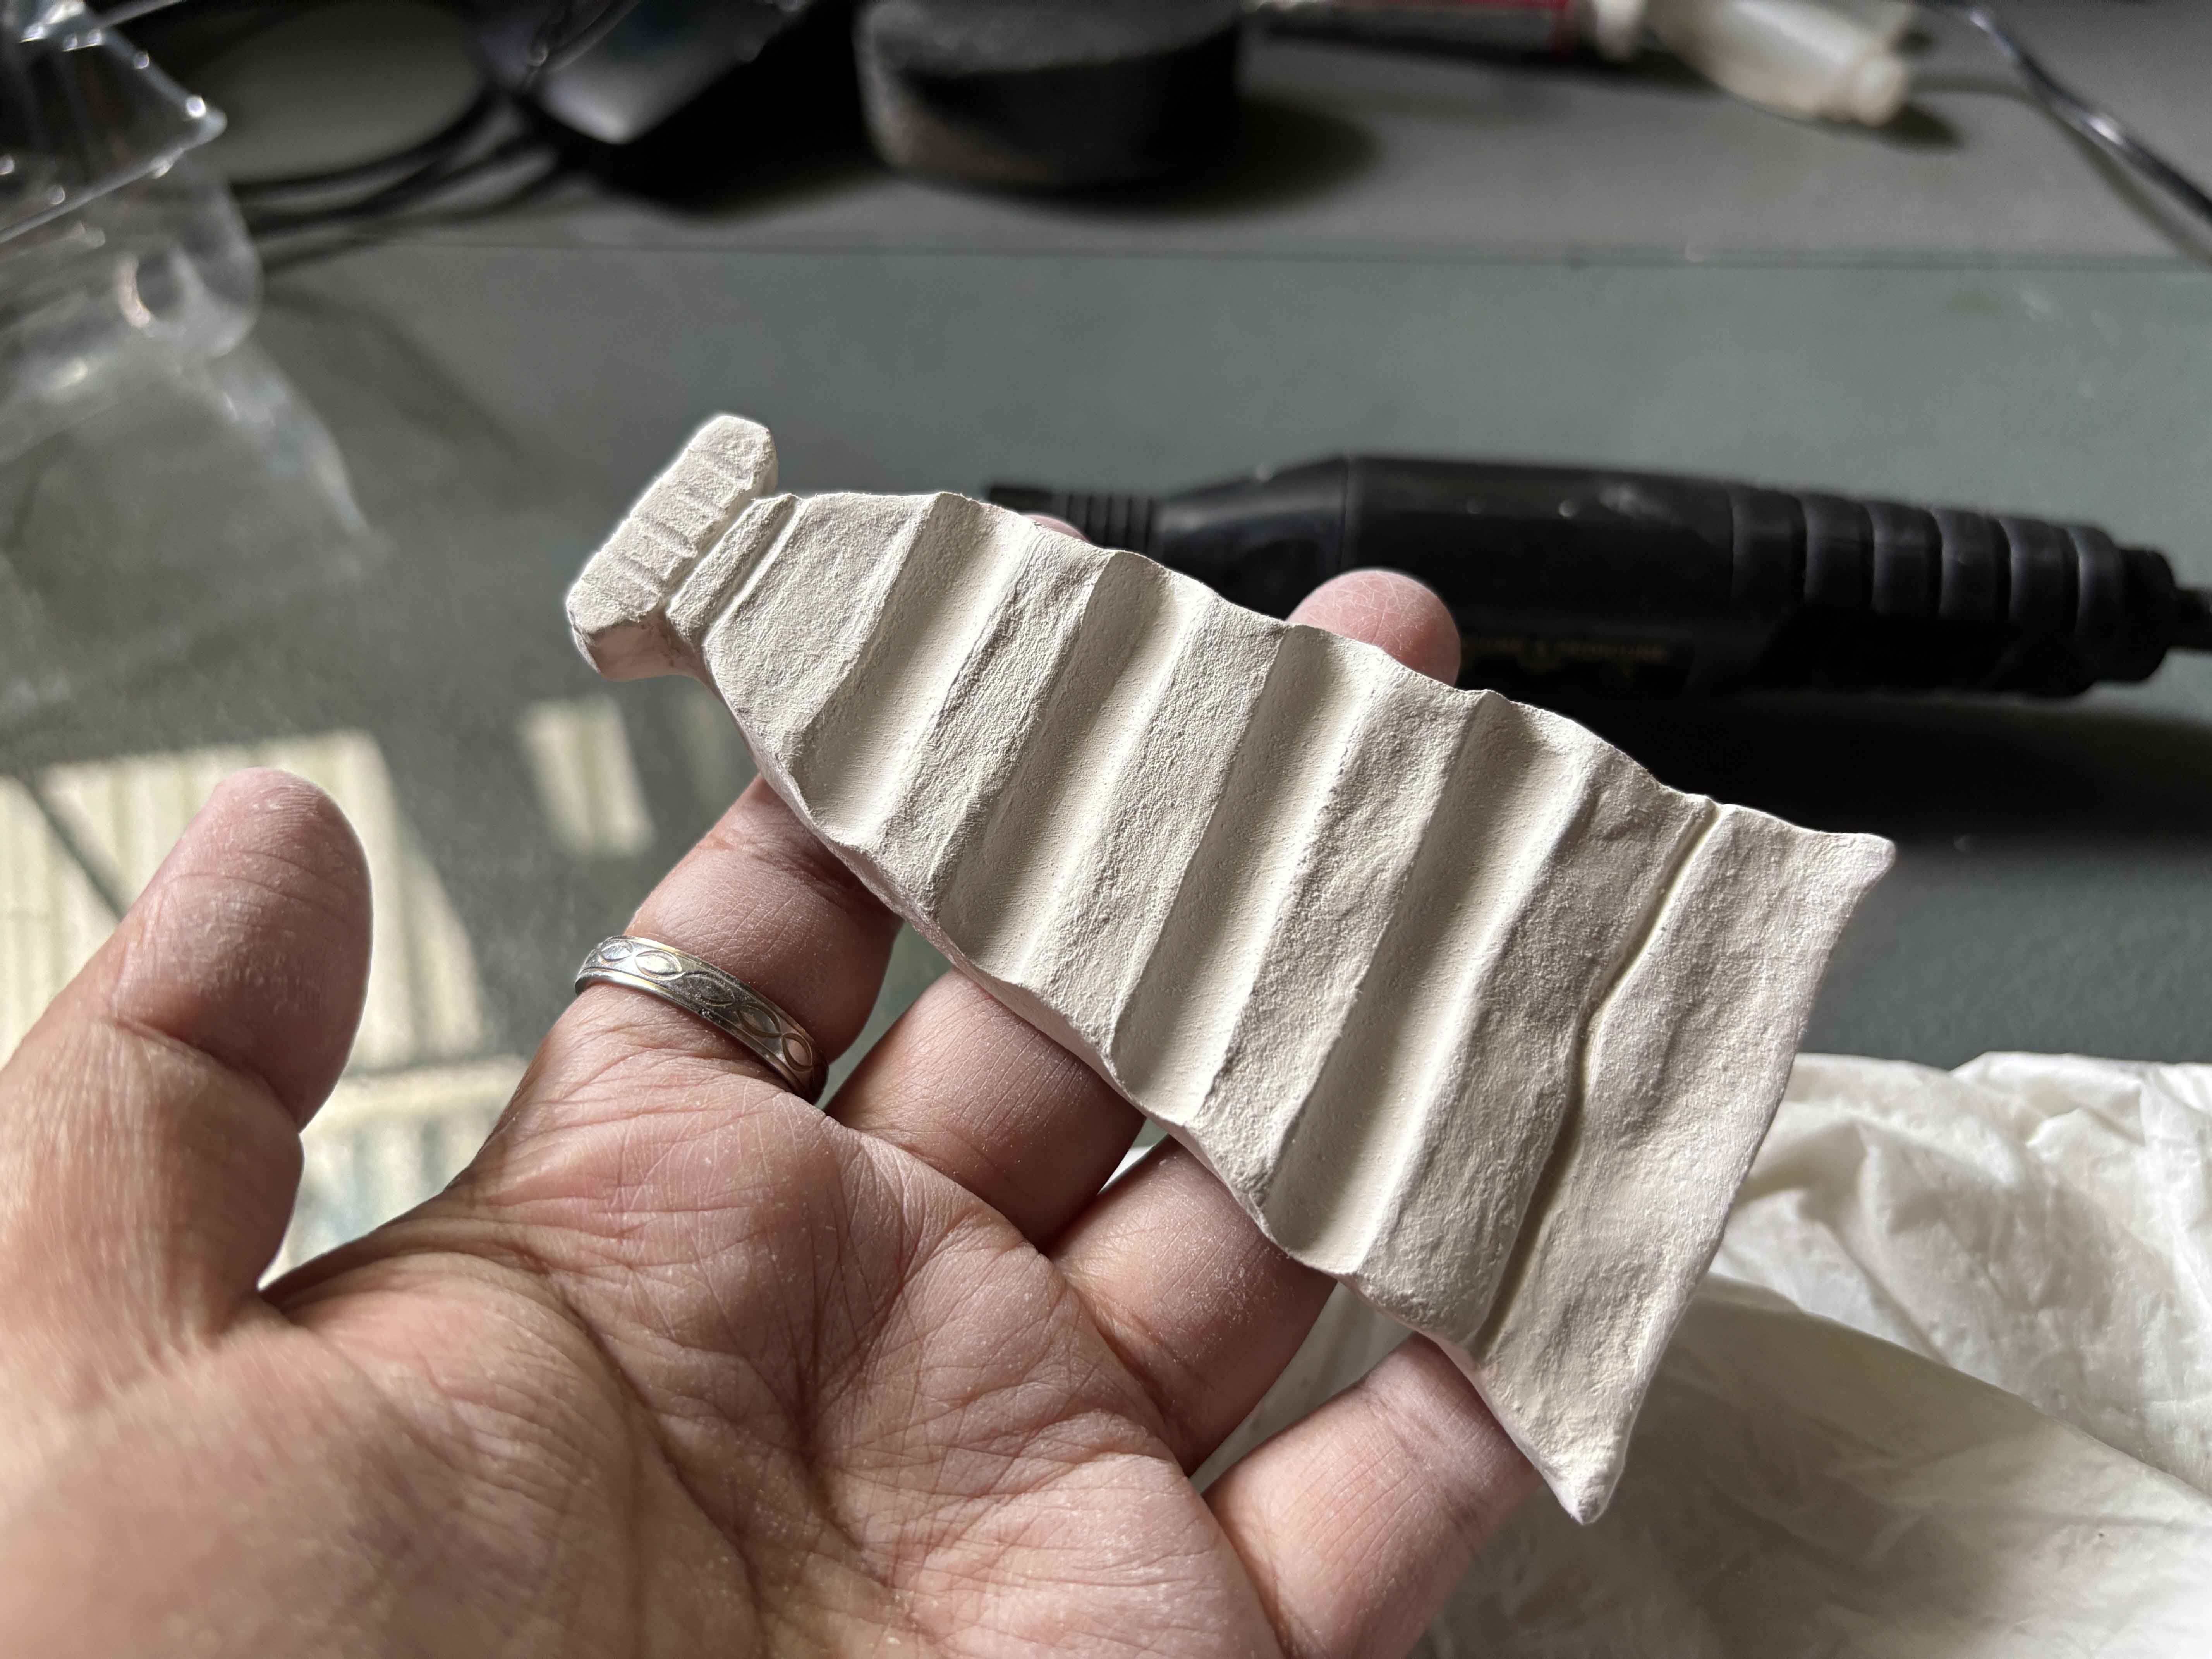
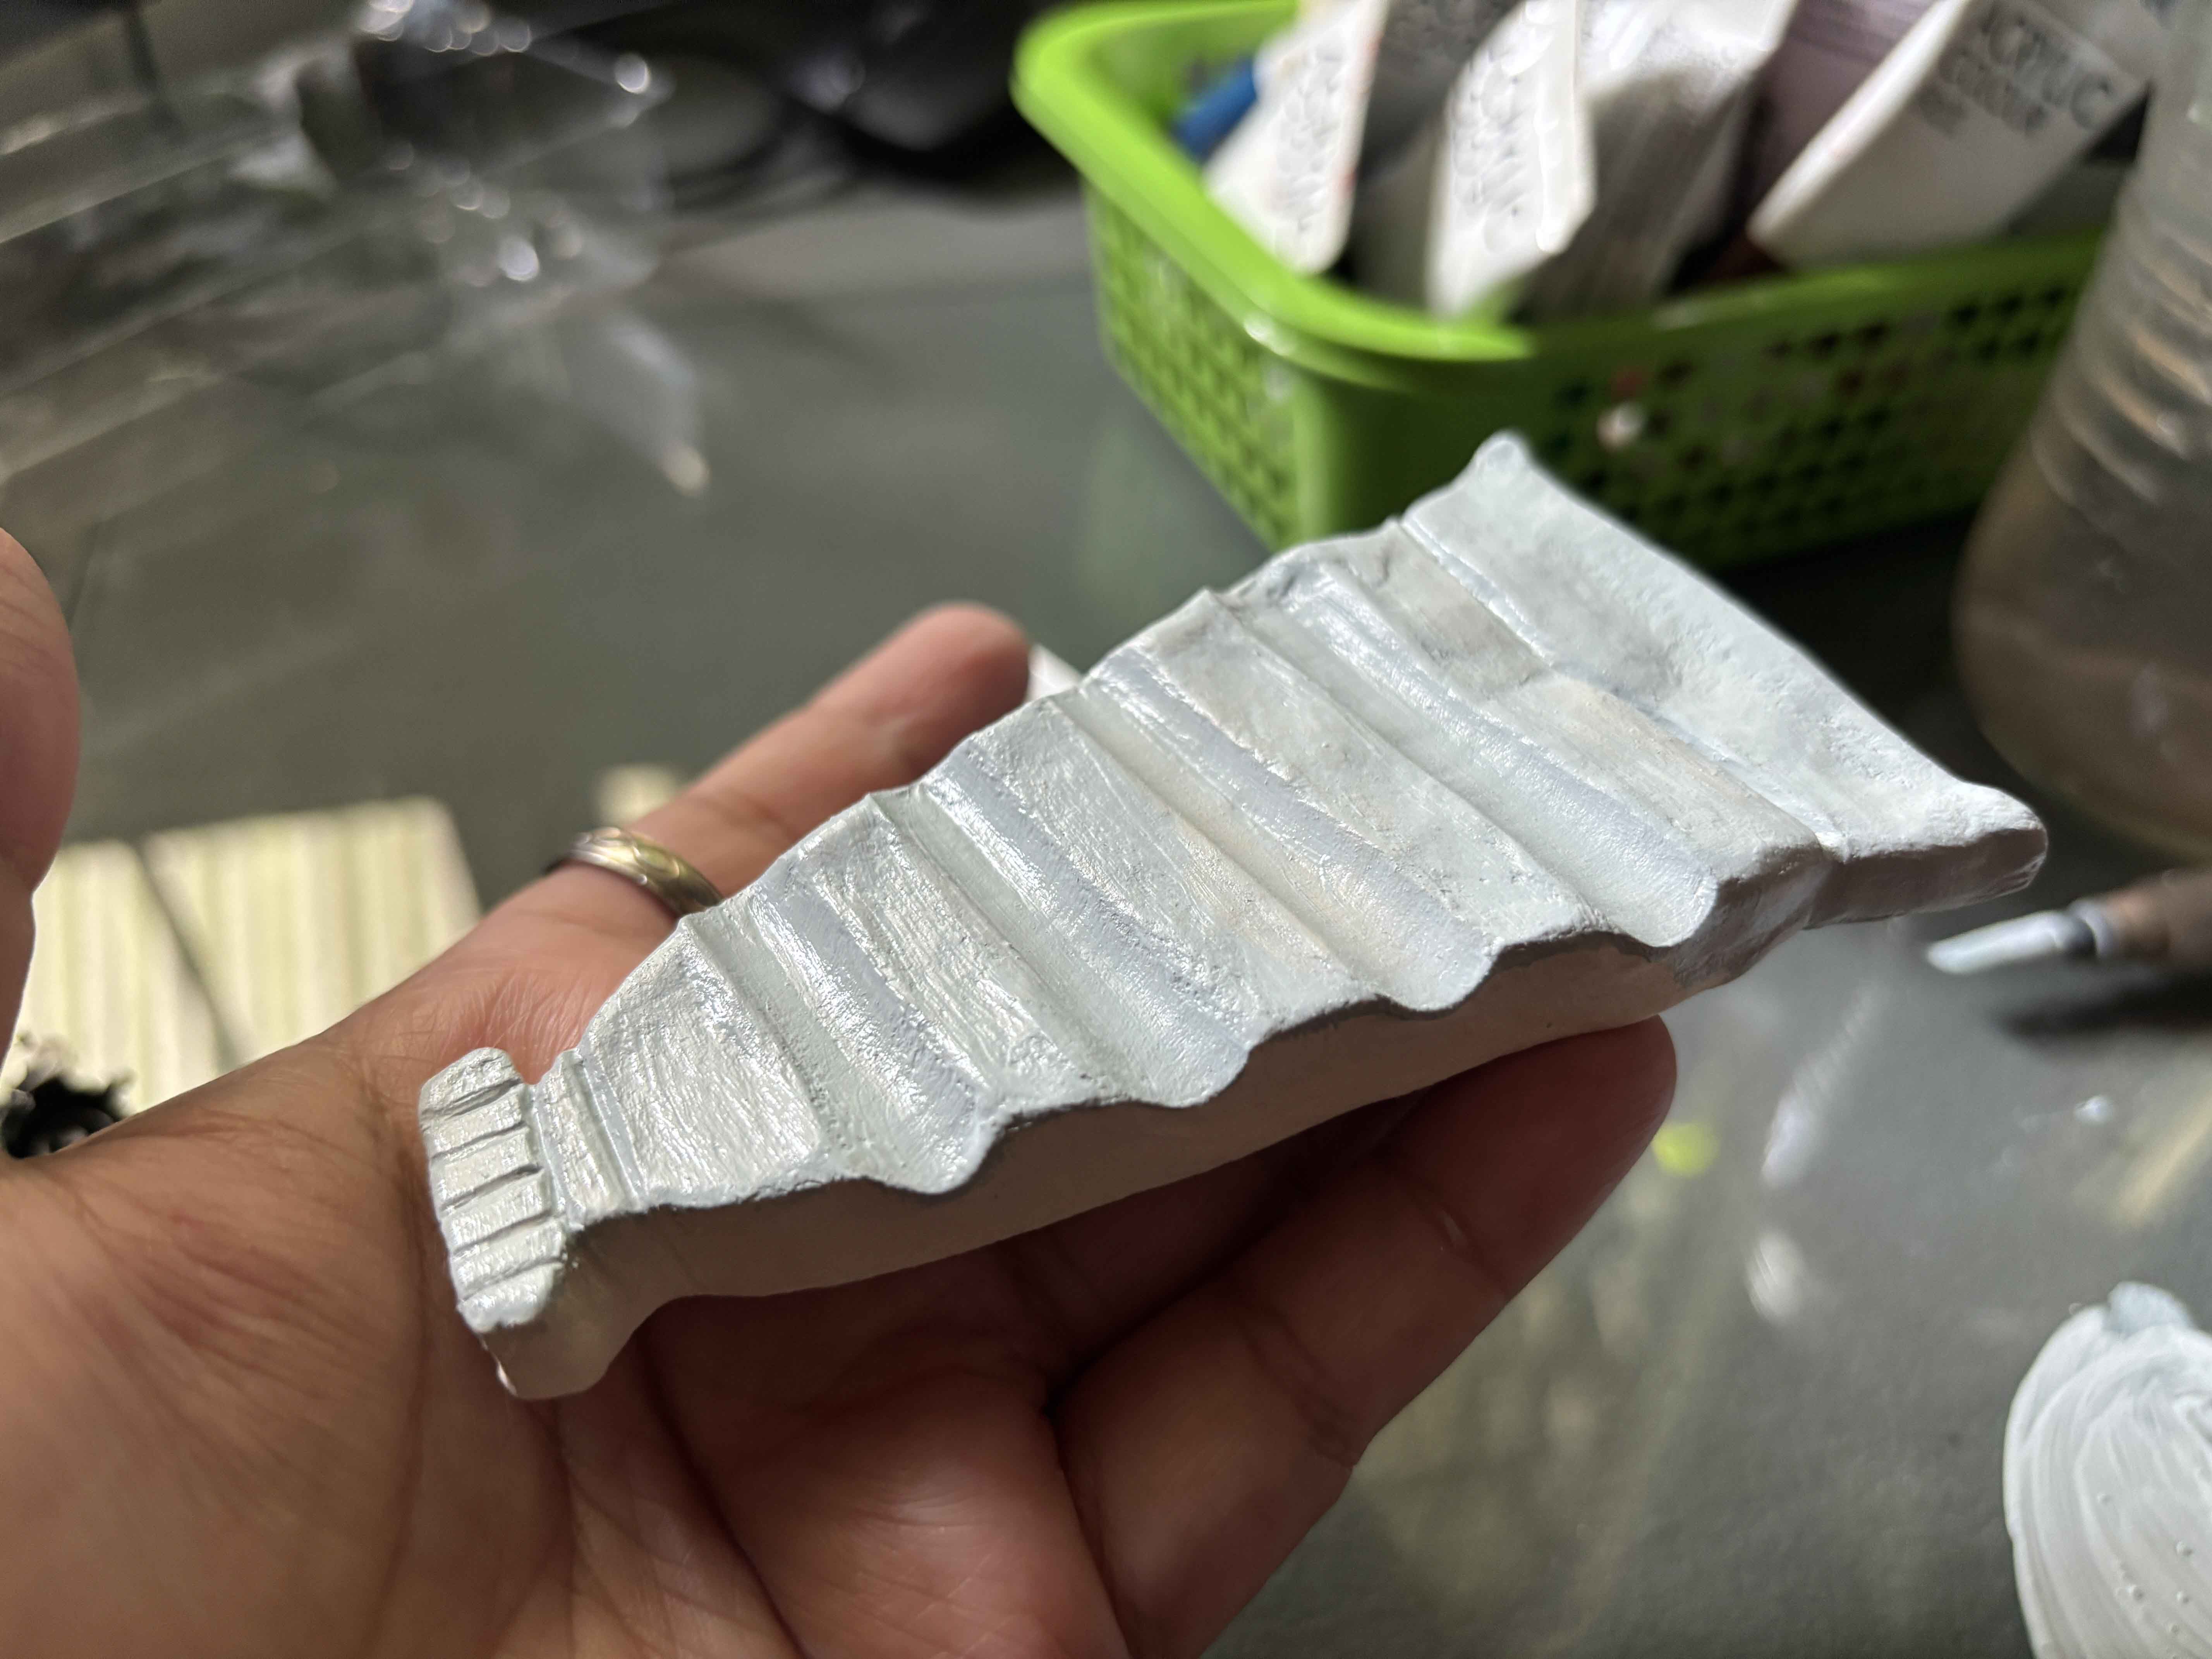
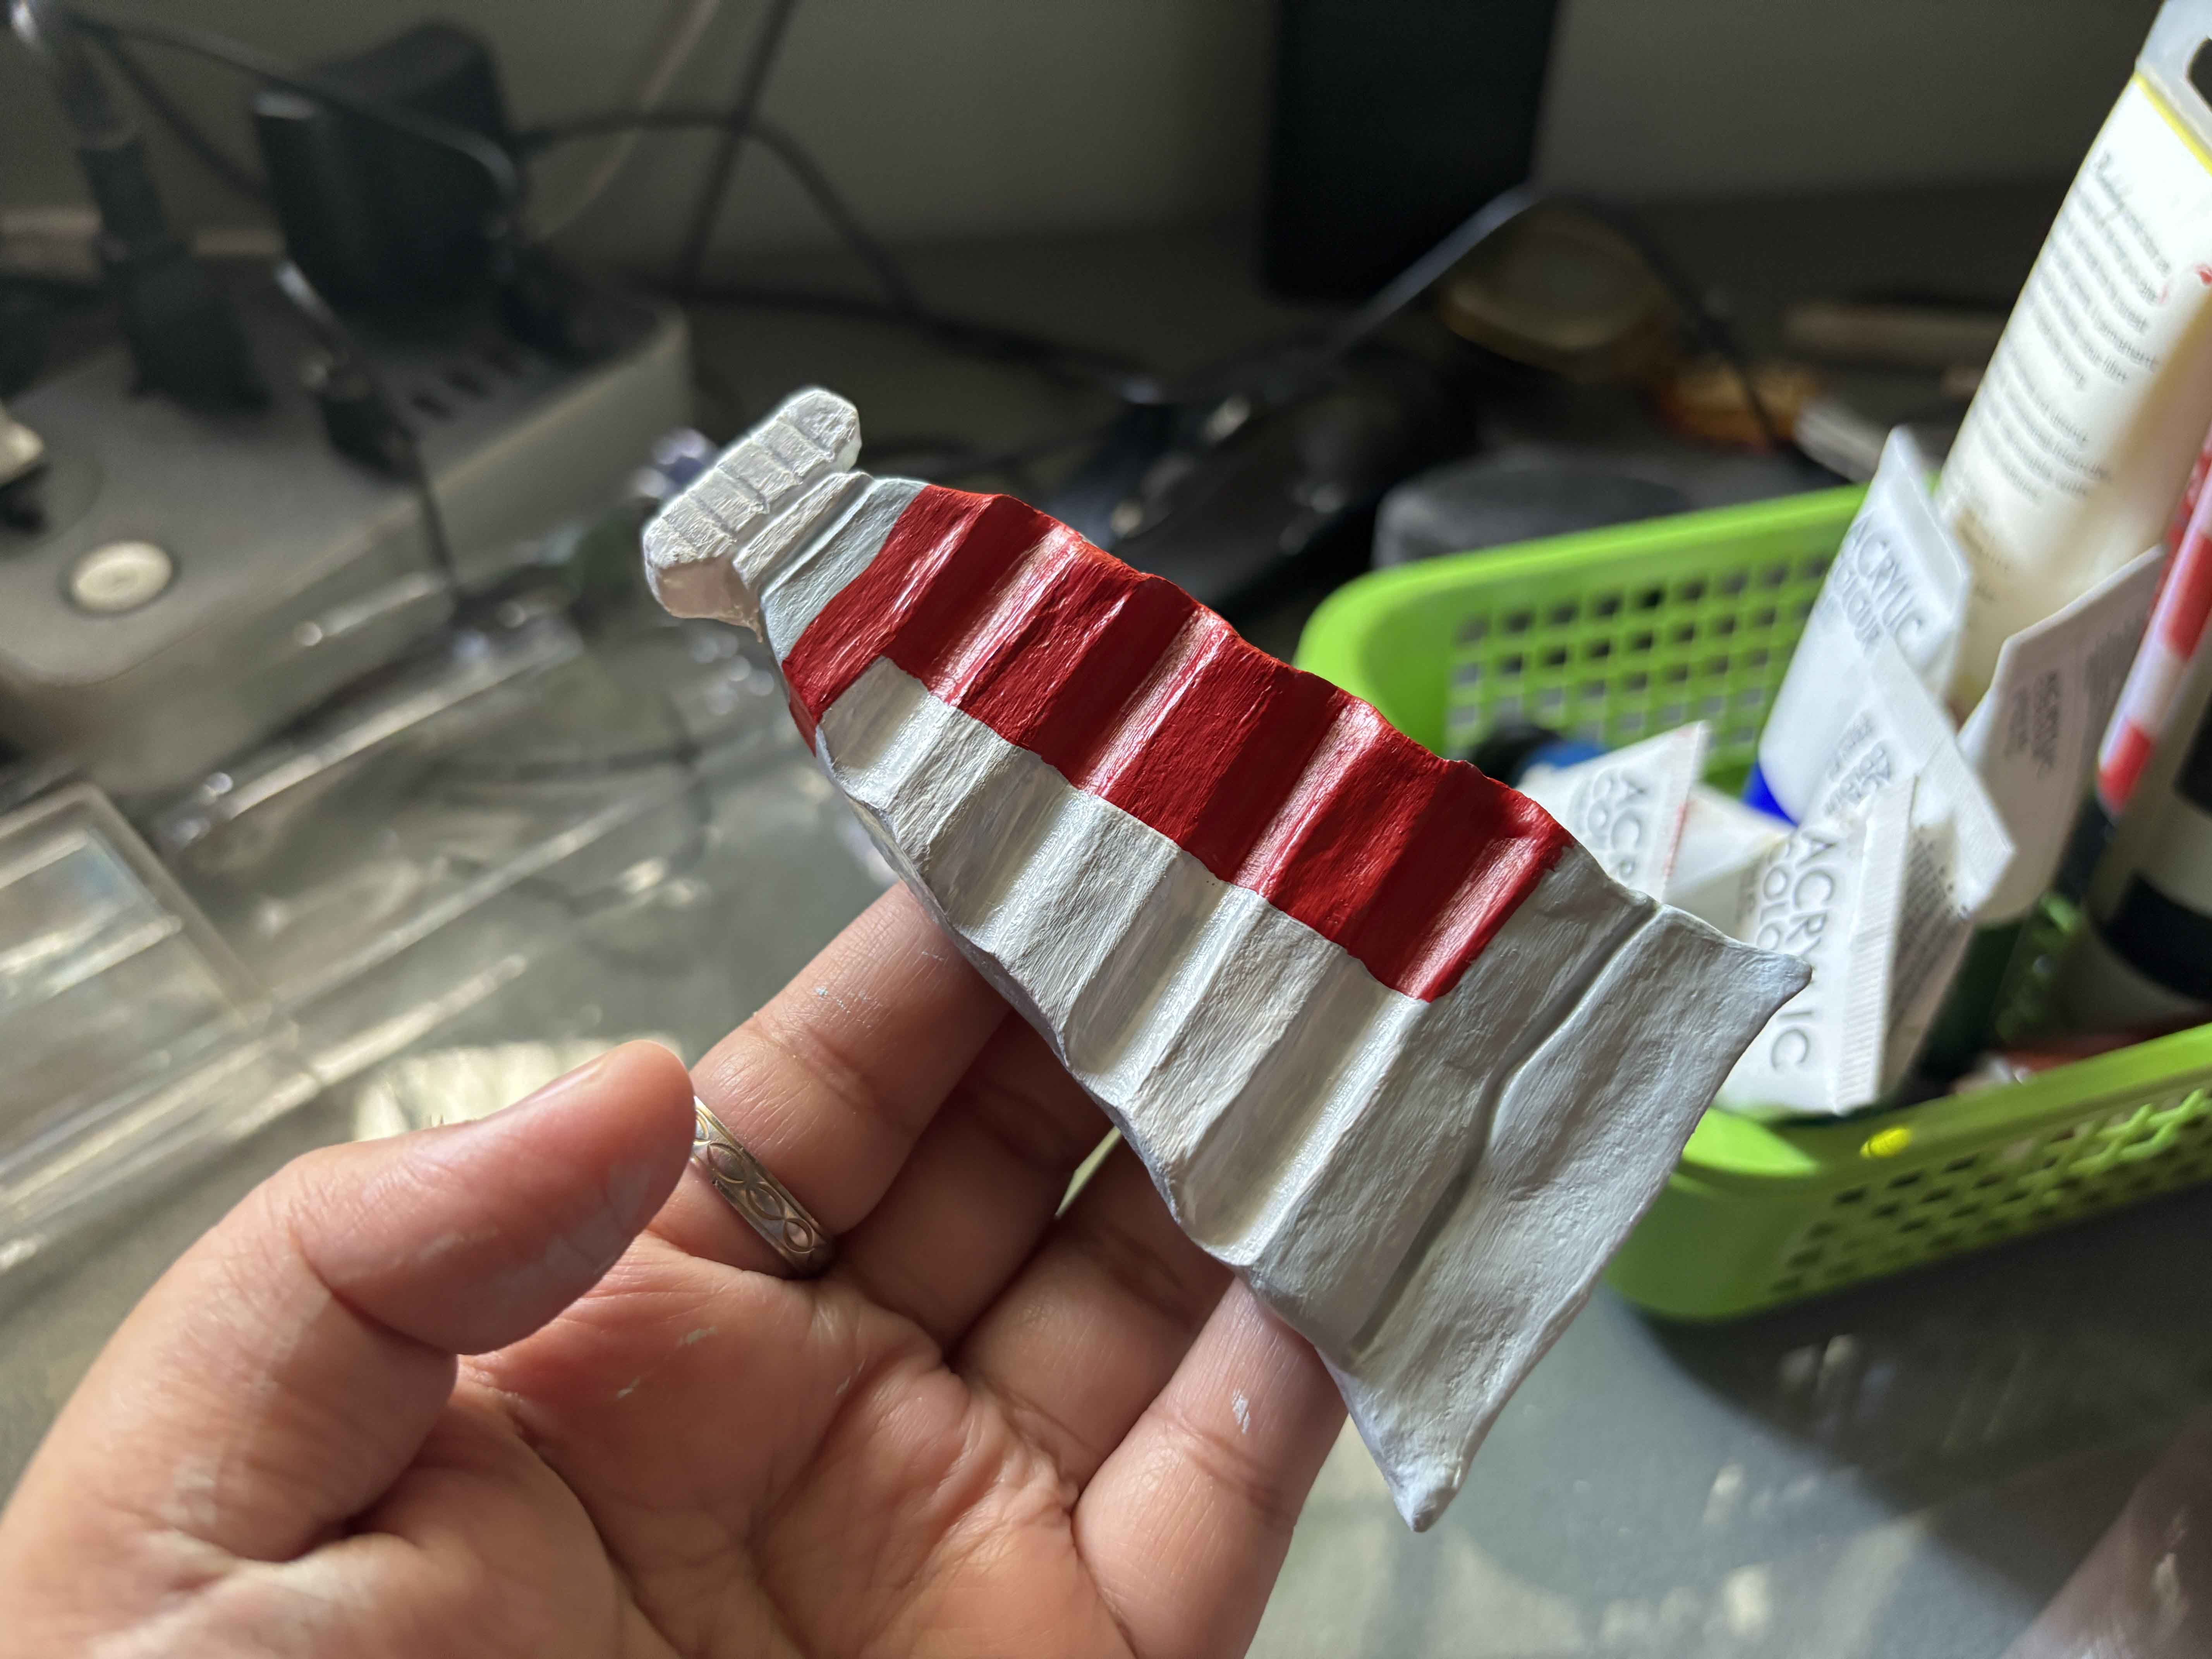
This is how it looks like and I added texture to it too to make it more realistic.
------
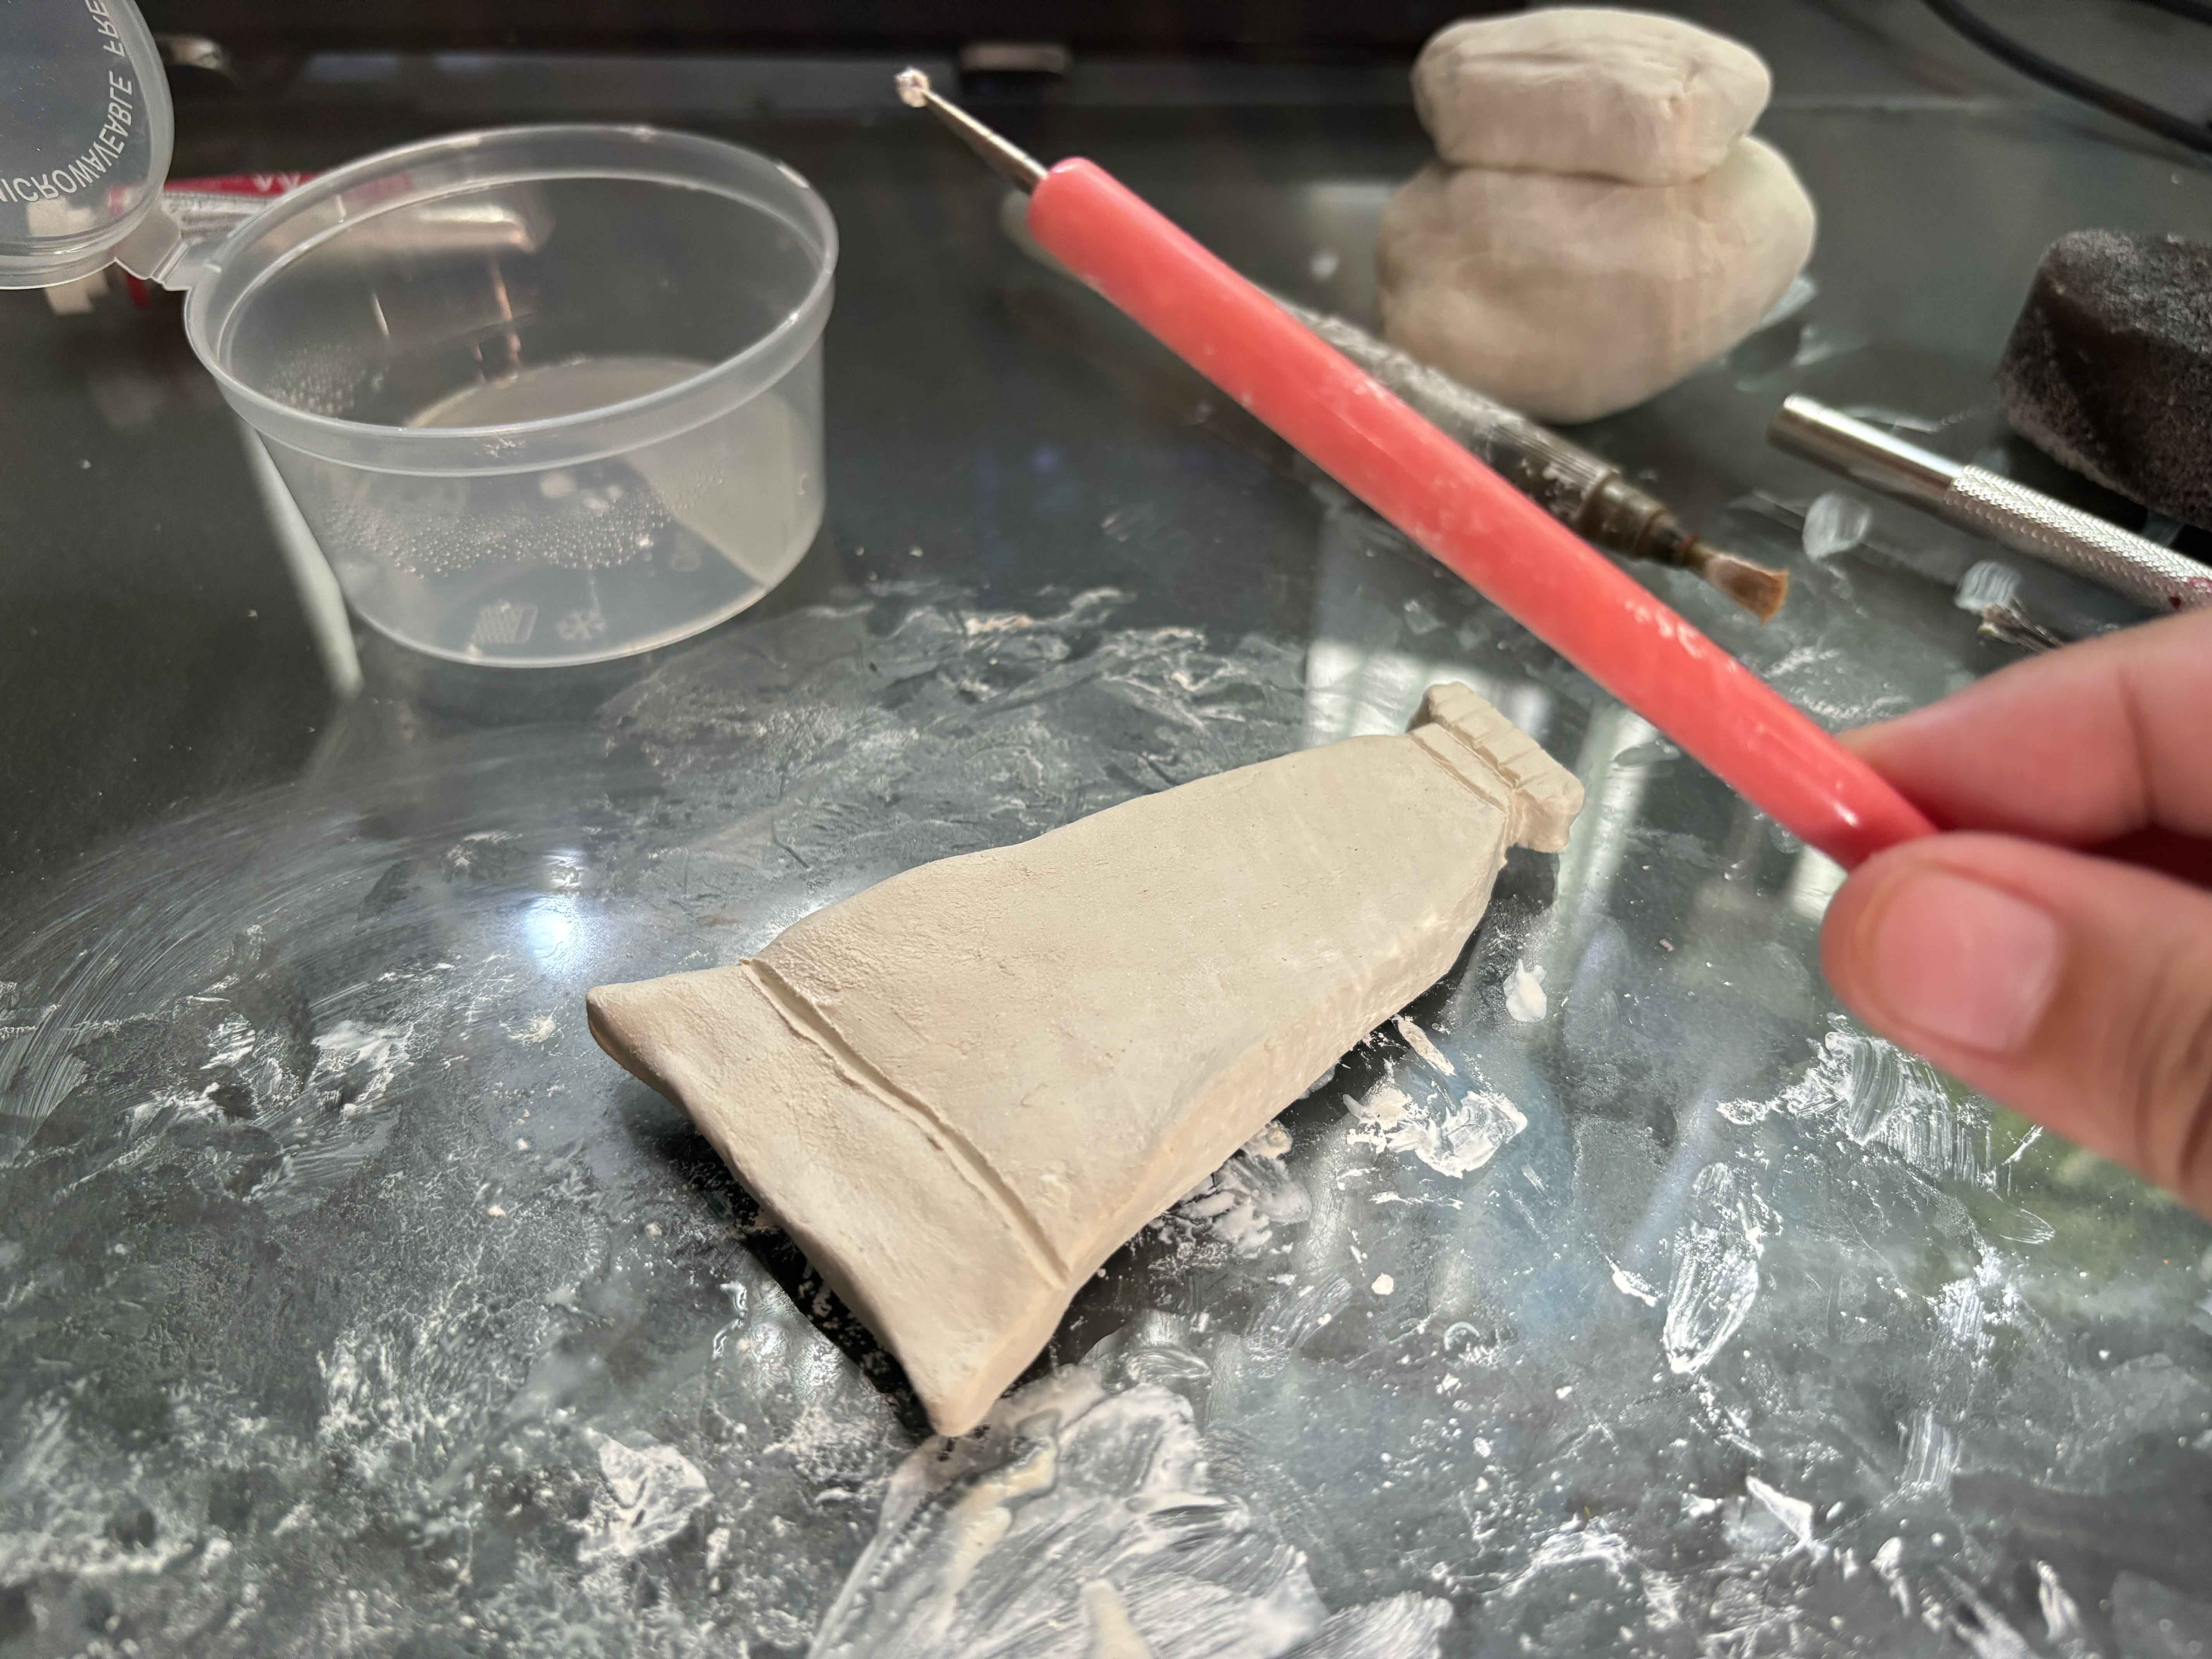
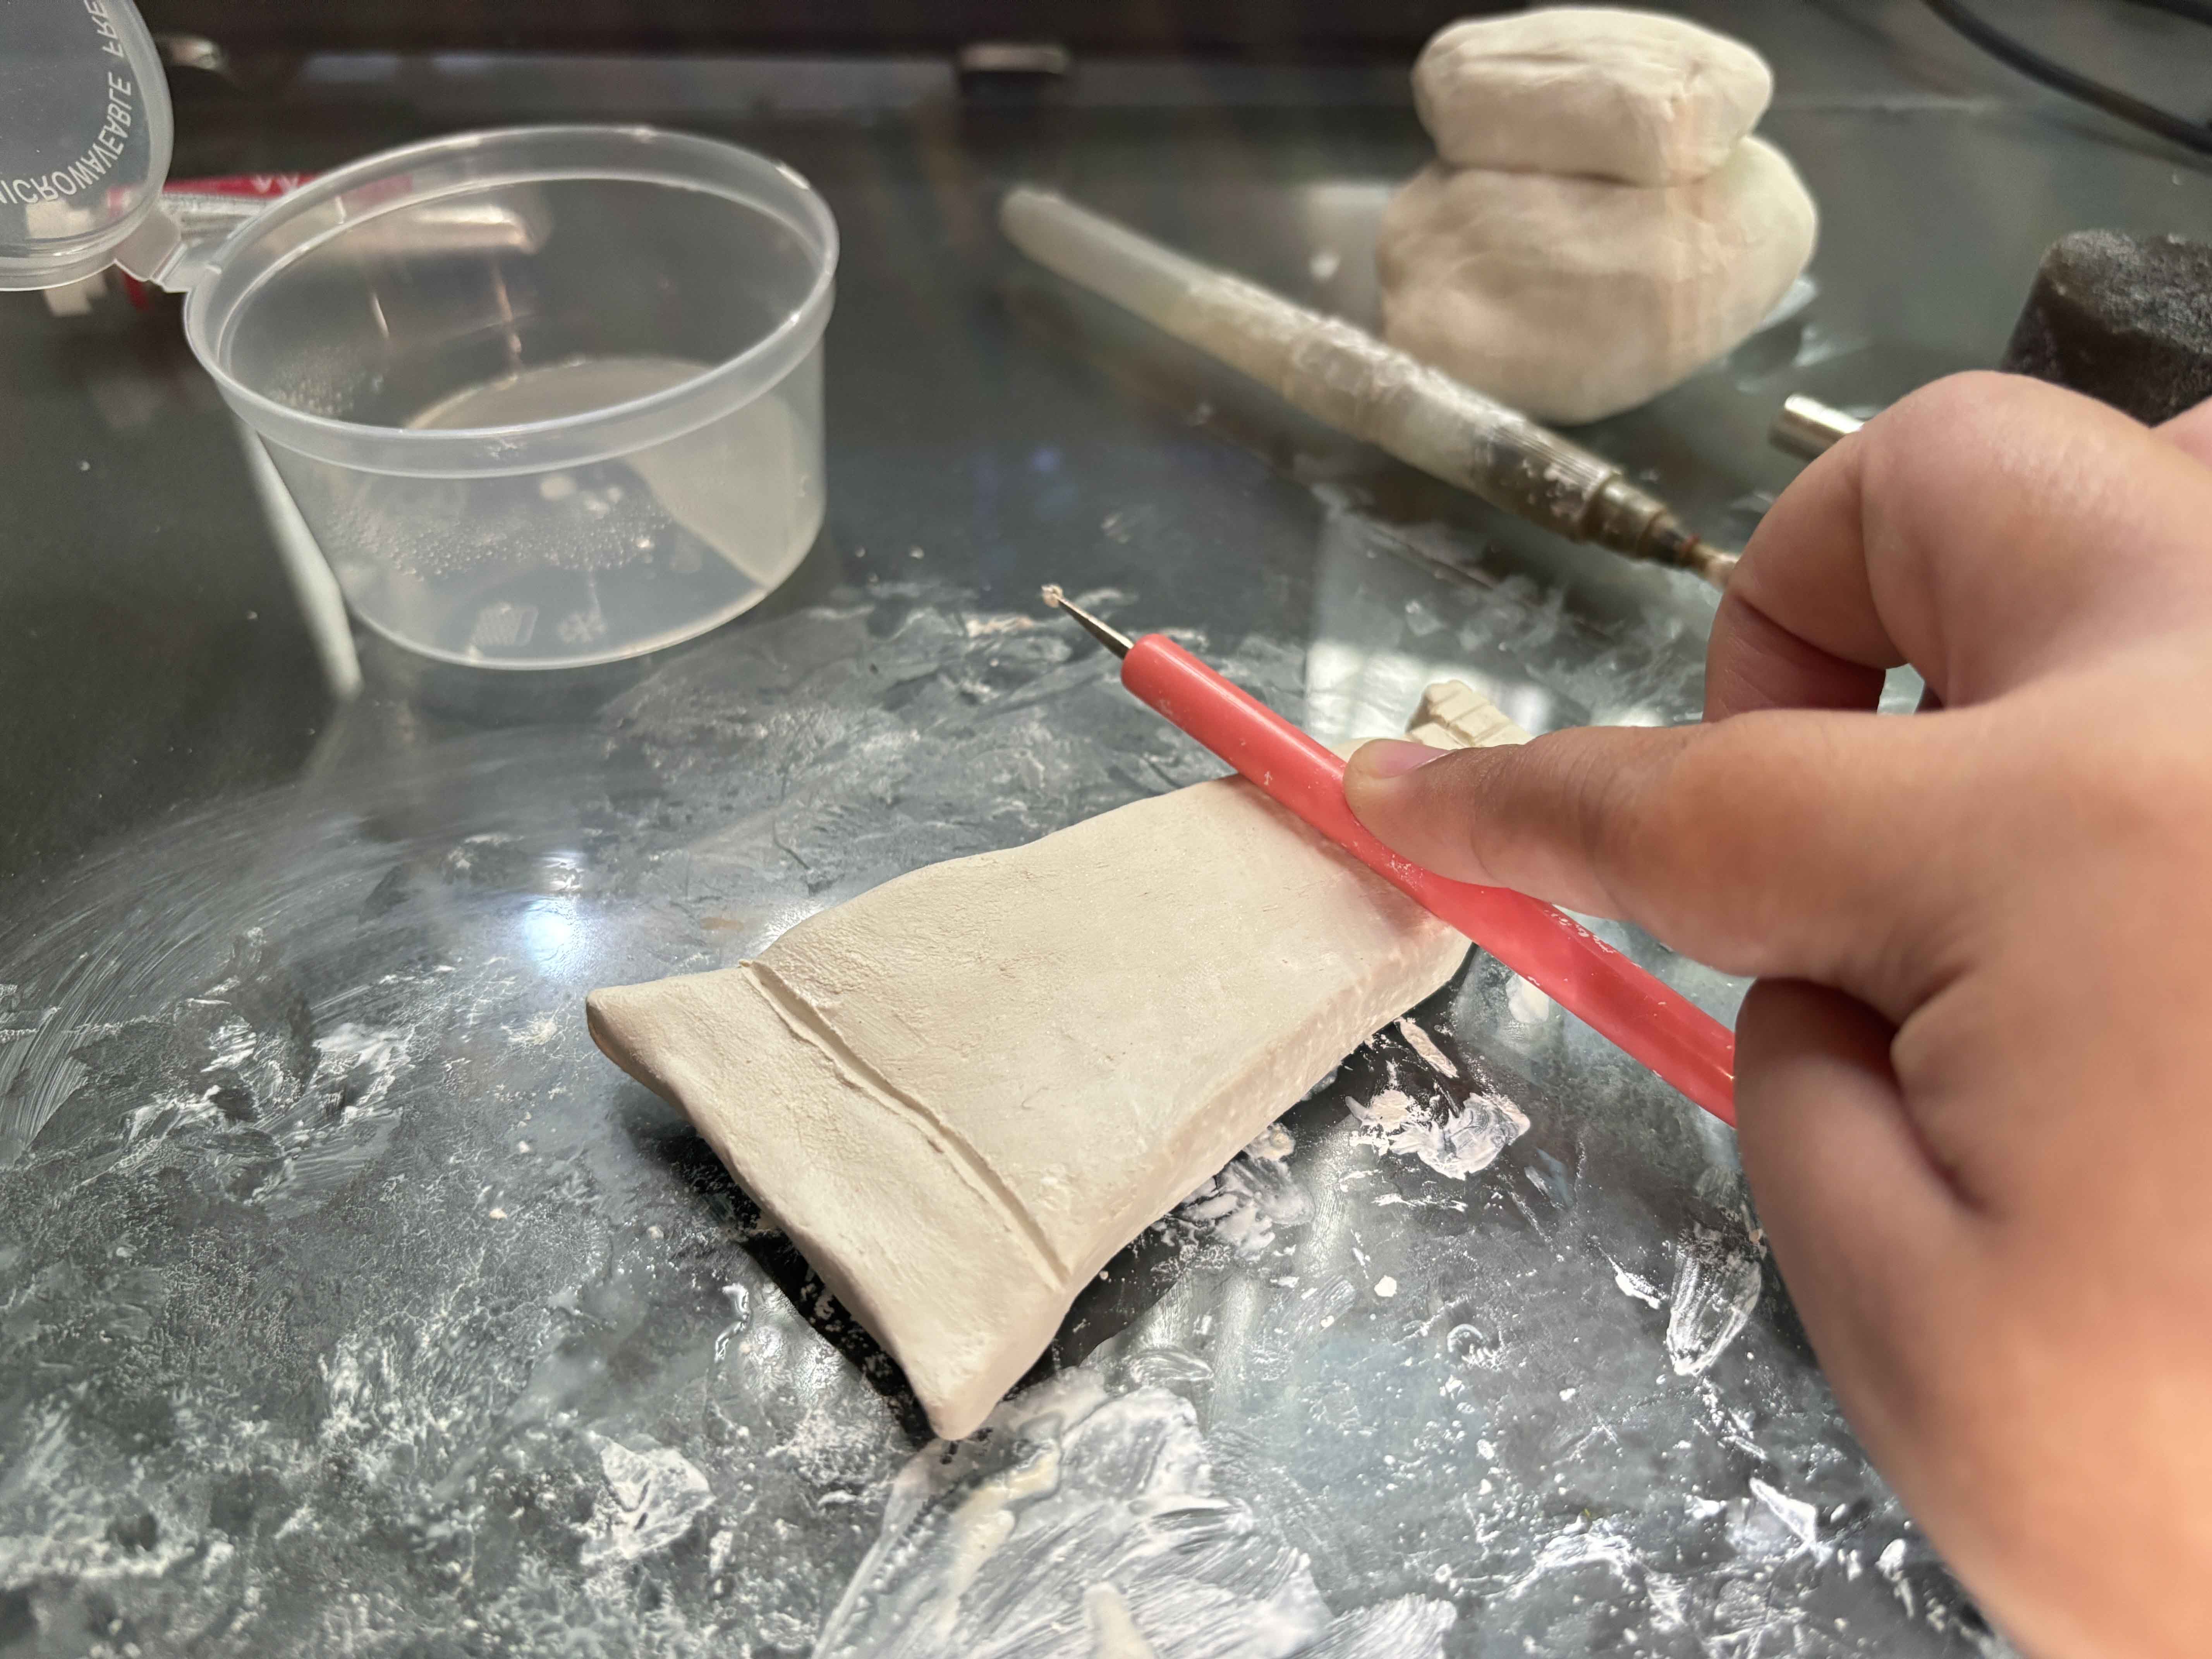
And then to add the dent to place the paintbrush, I use this clay tool and press it to where the paintbrush is.
------
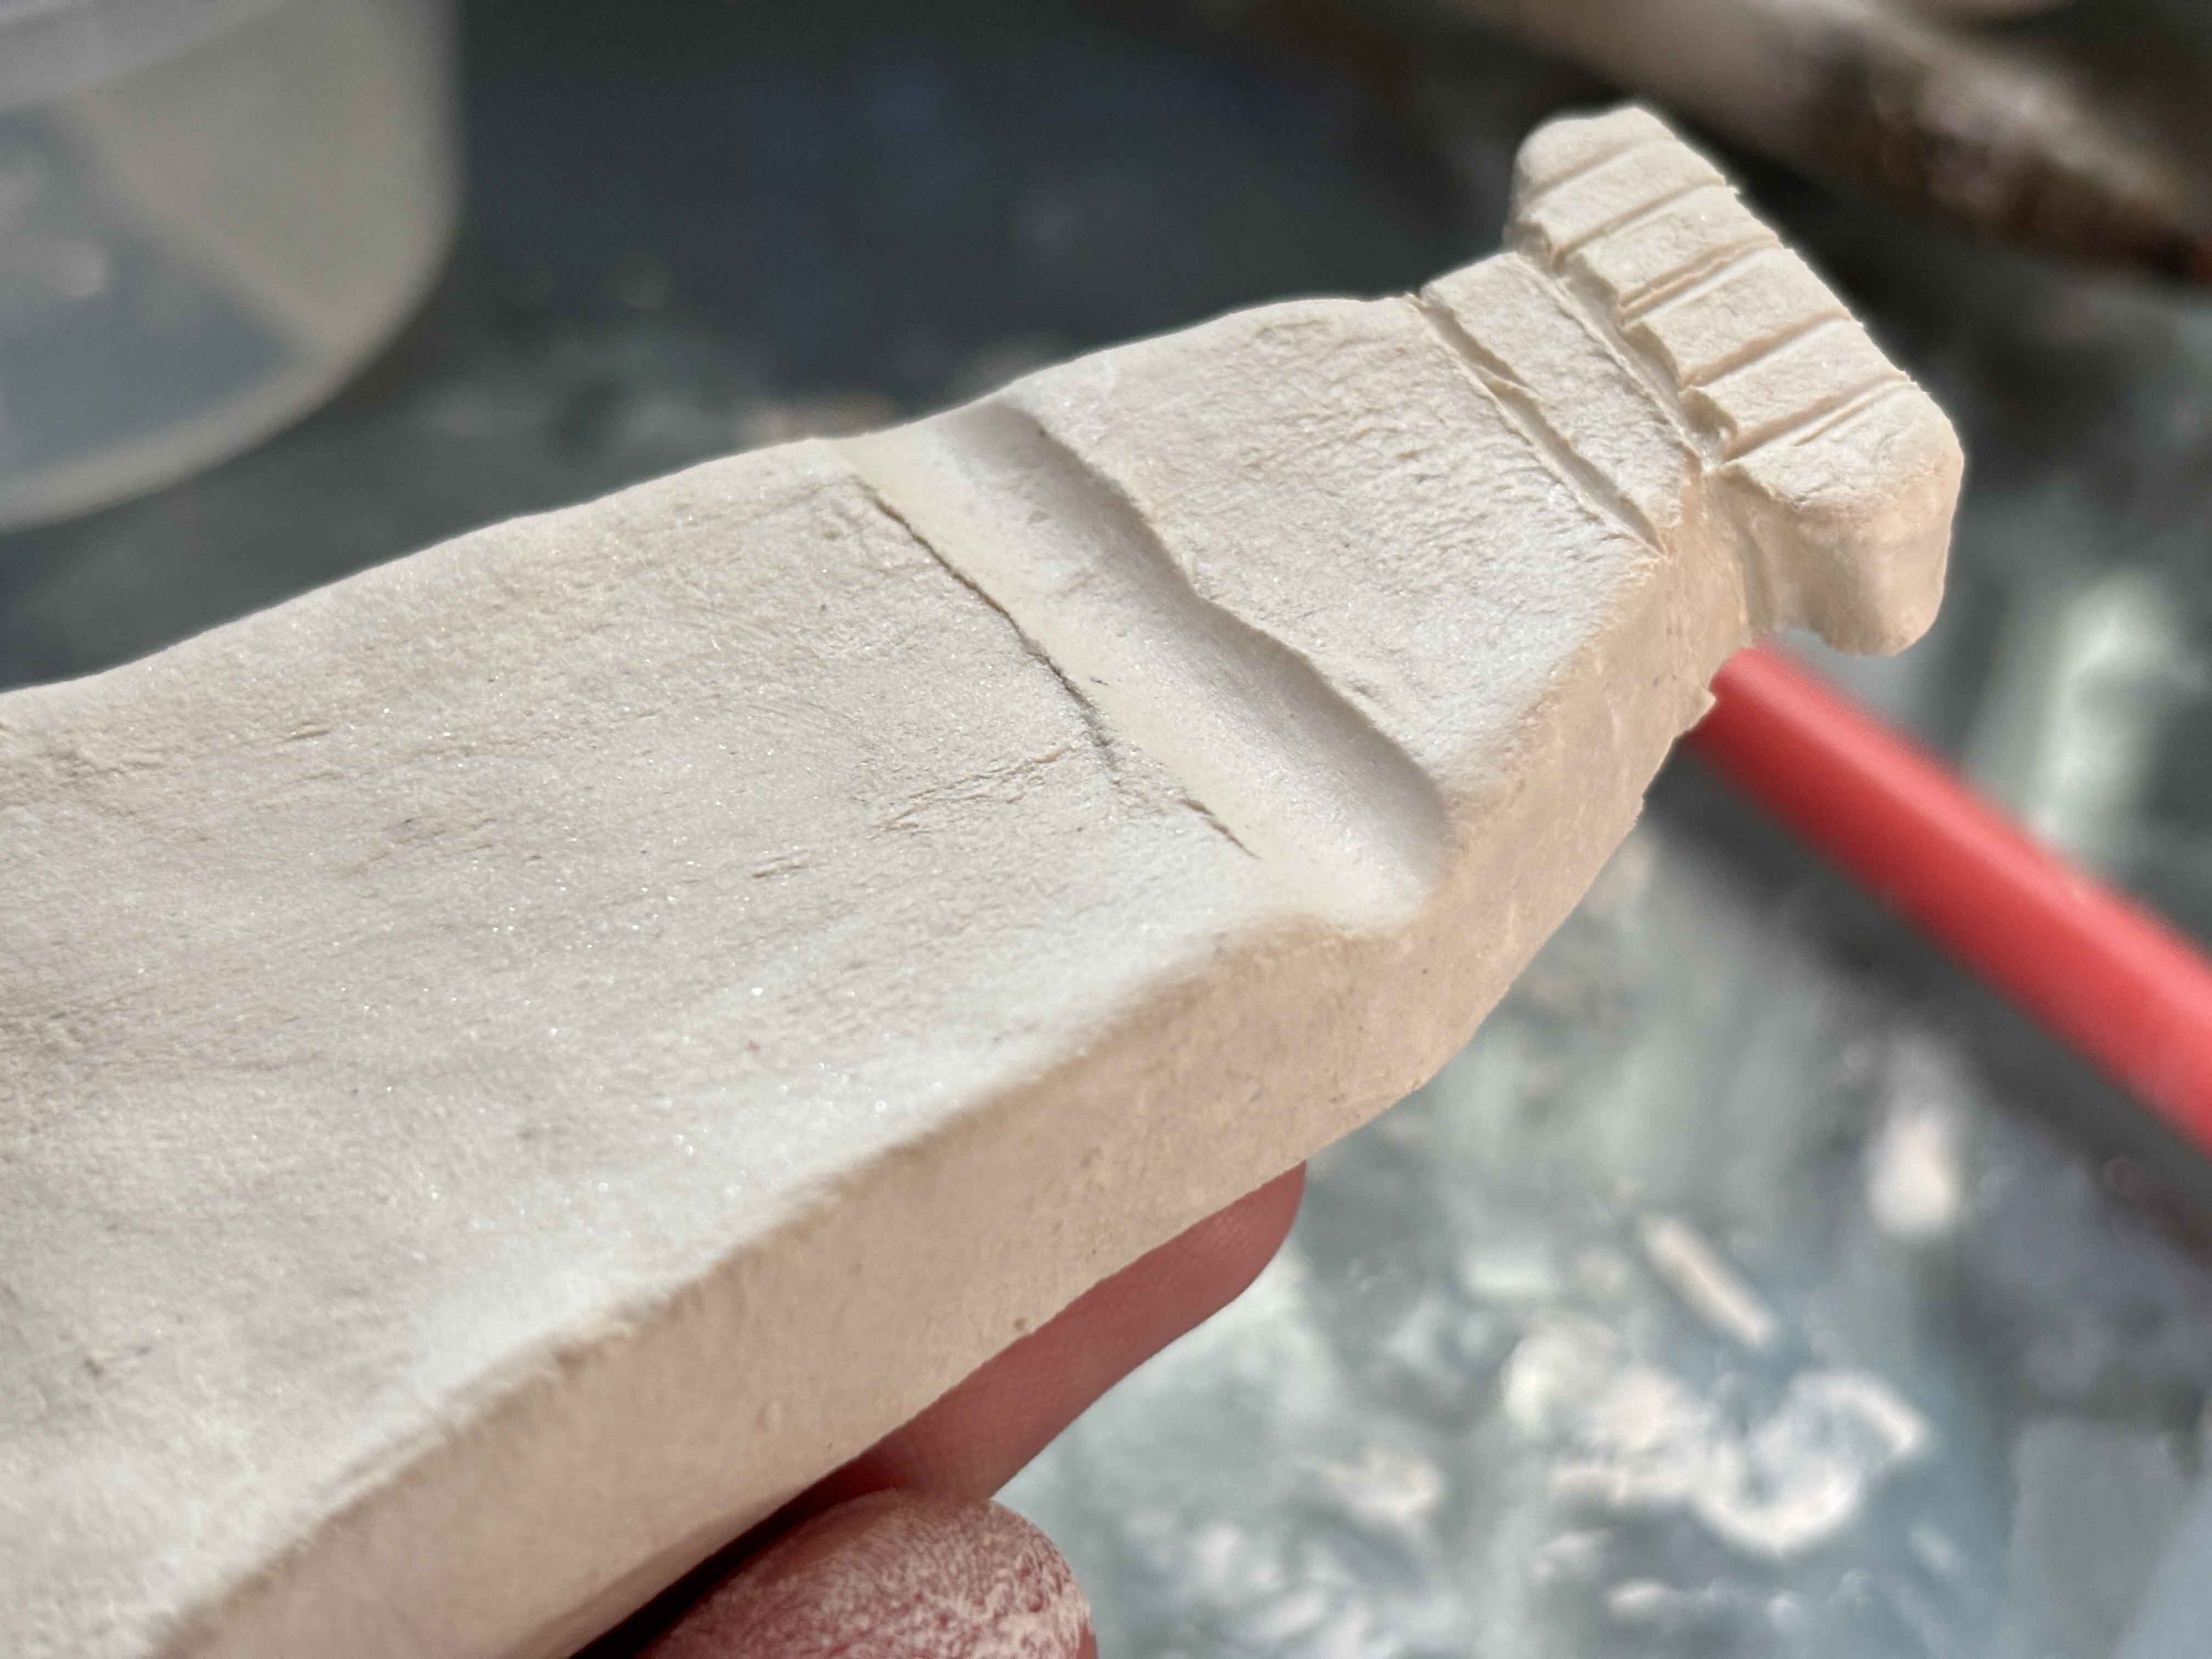
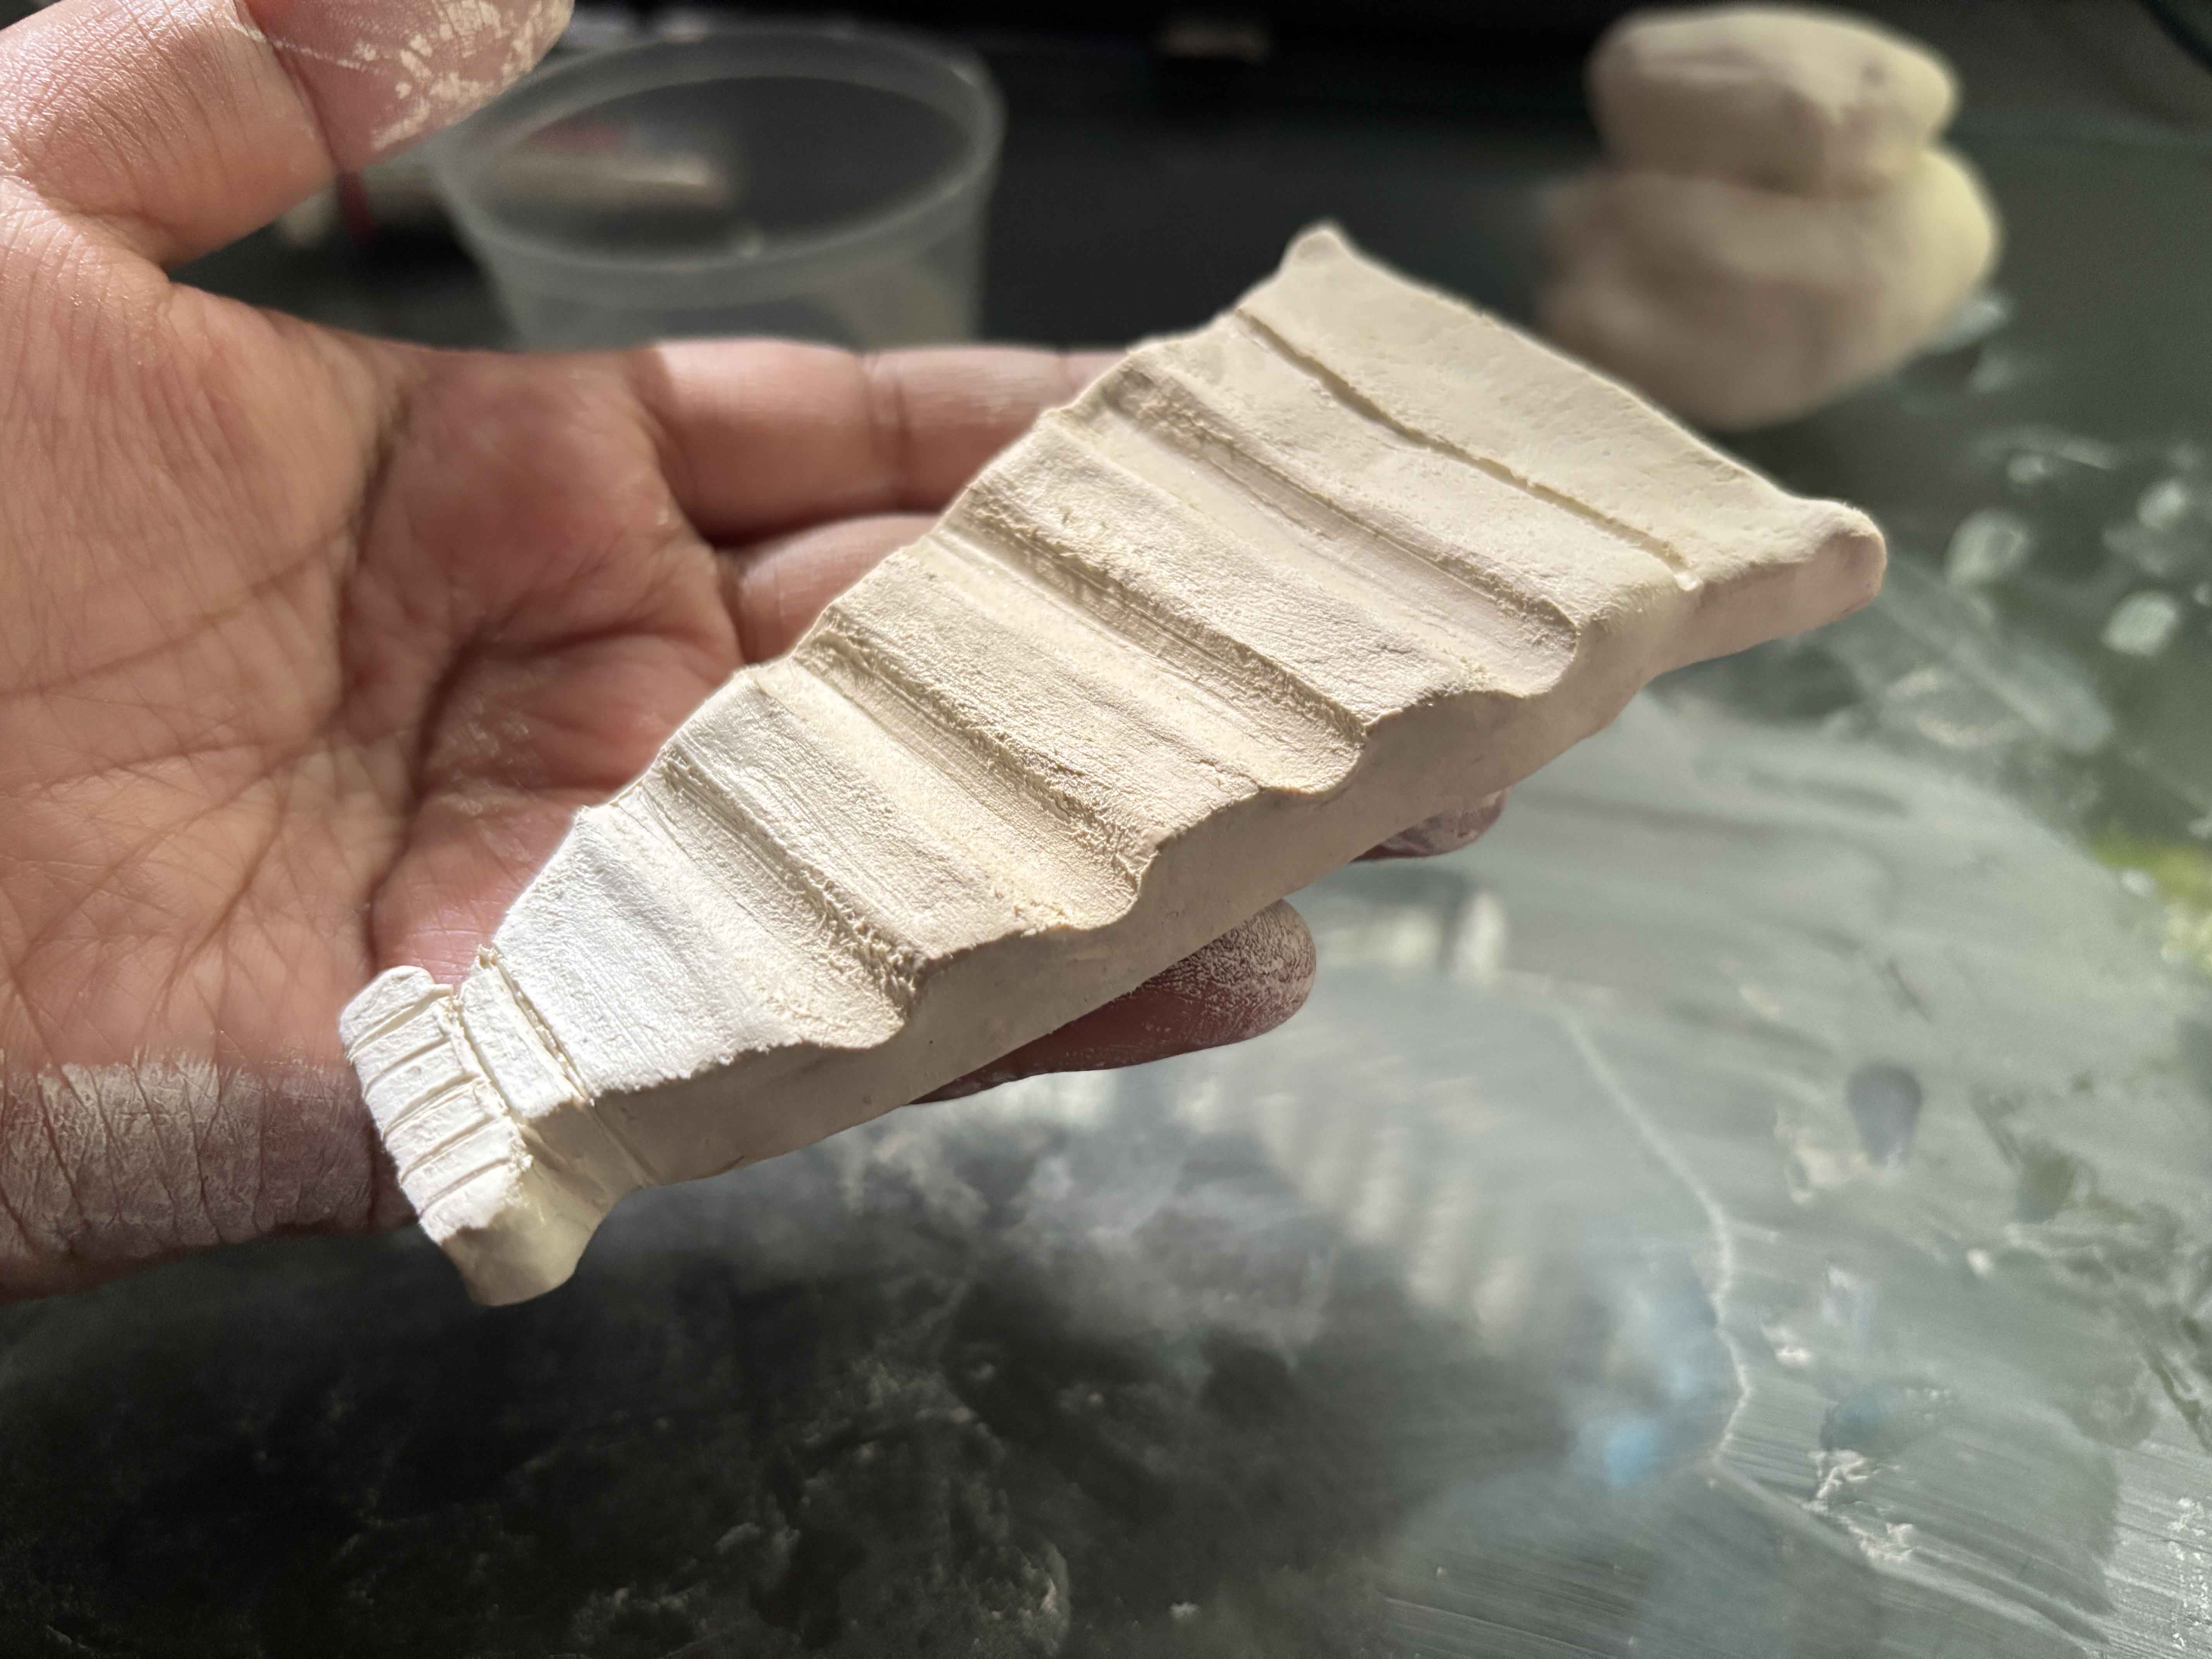
I made it as thick as I wanted. If you wanted something thicker and deeper, it is up to you. So the one I made has four paintbrush rests. I think it is enough for me.
------
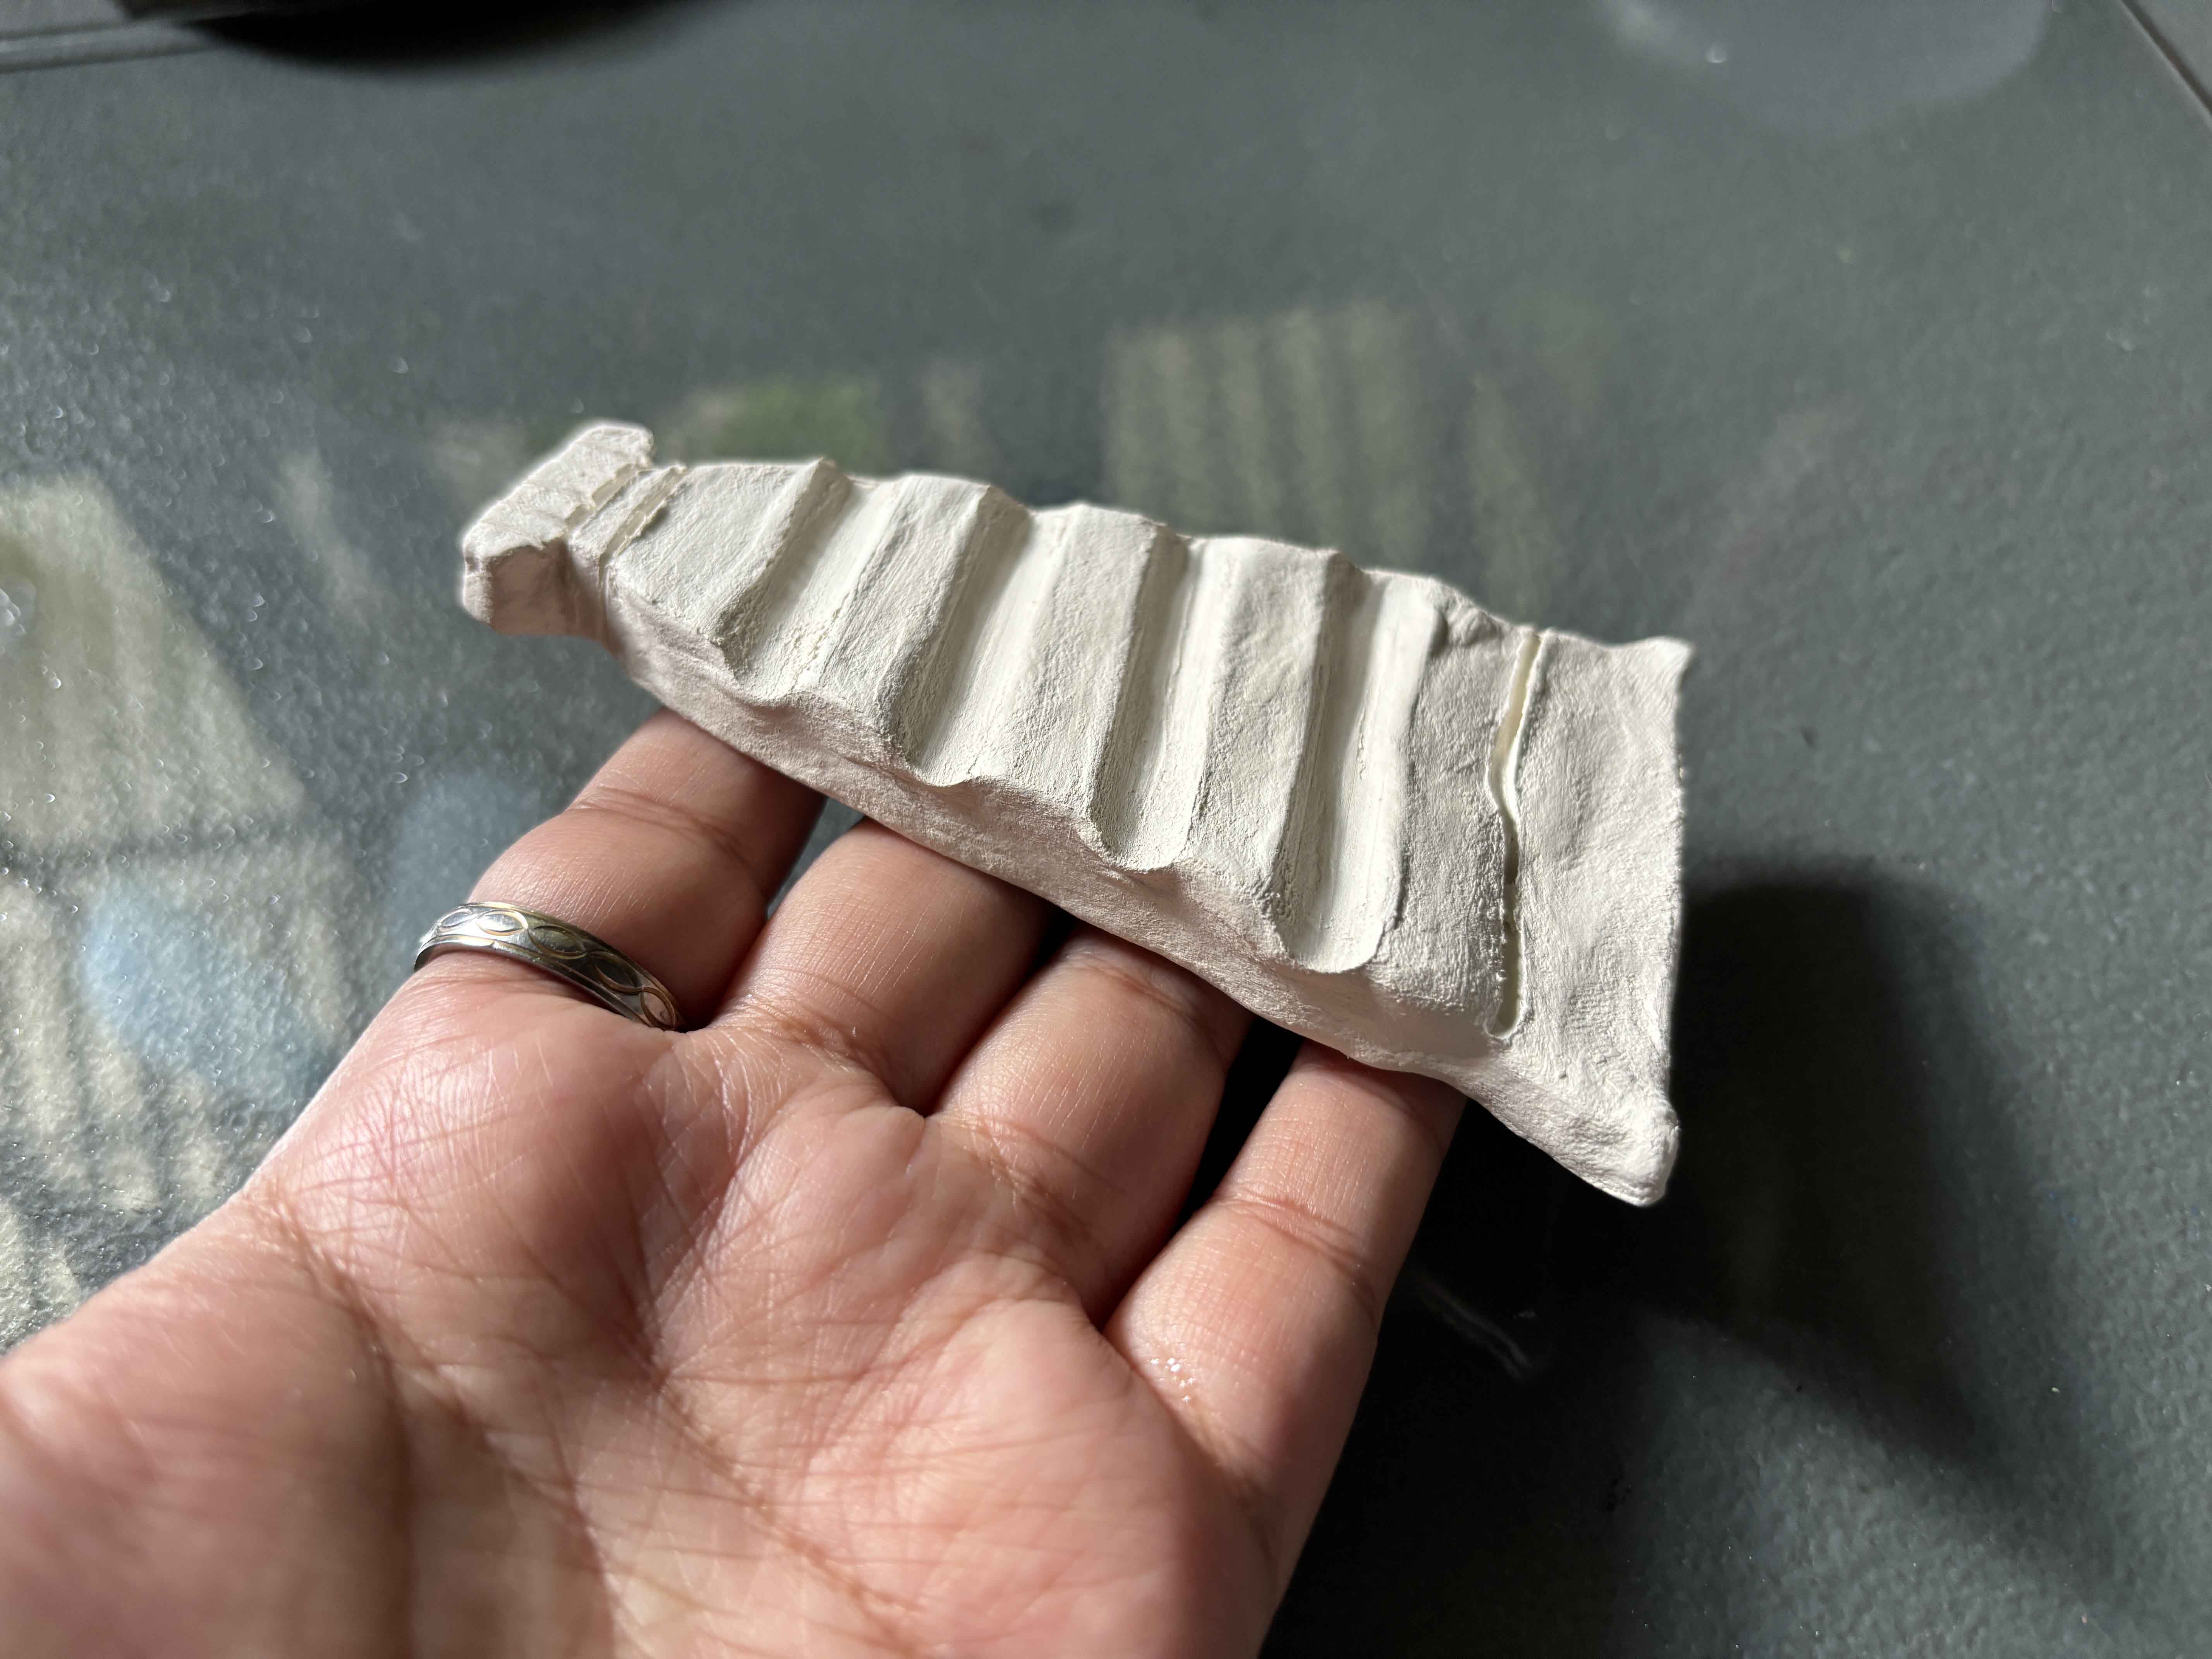
Before I can paint it, it needs to be dry for at least 1 to 2 days.
------
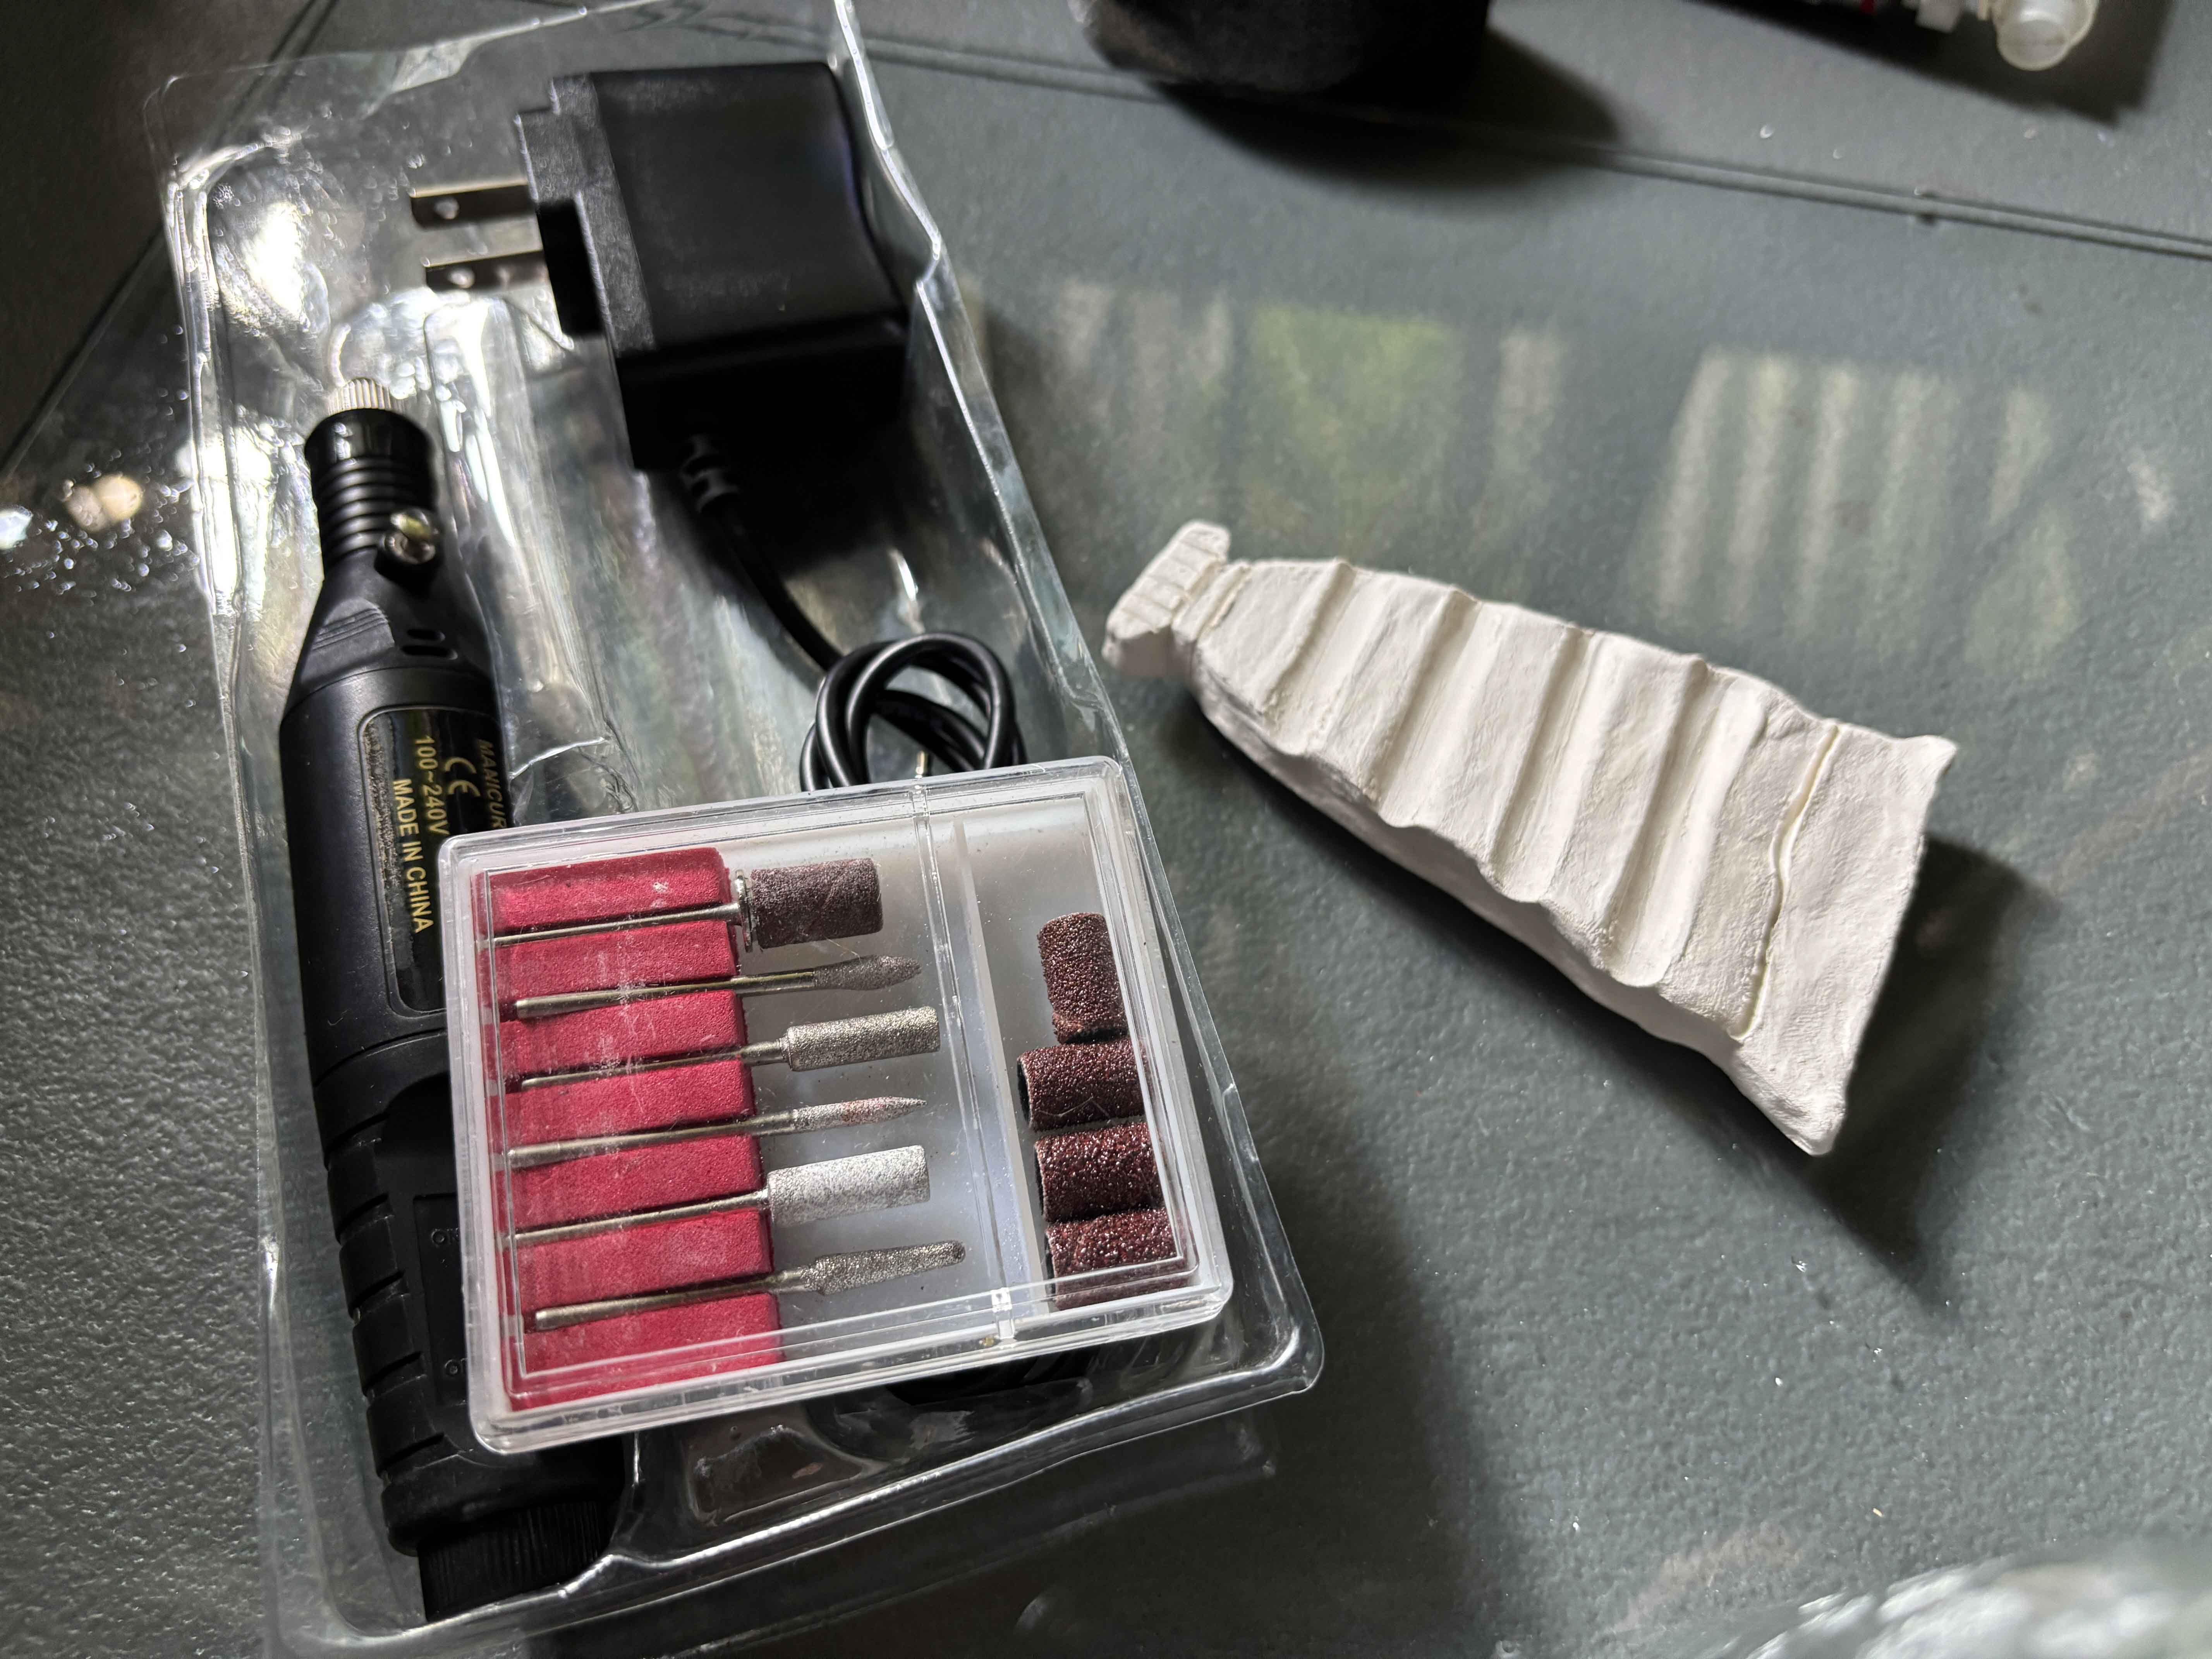
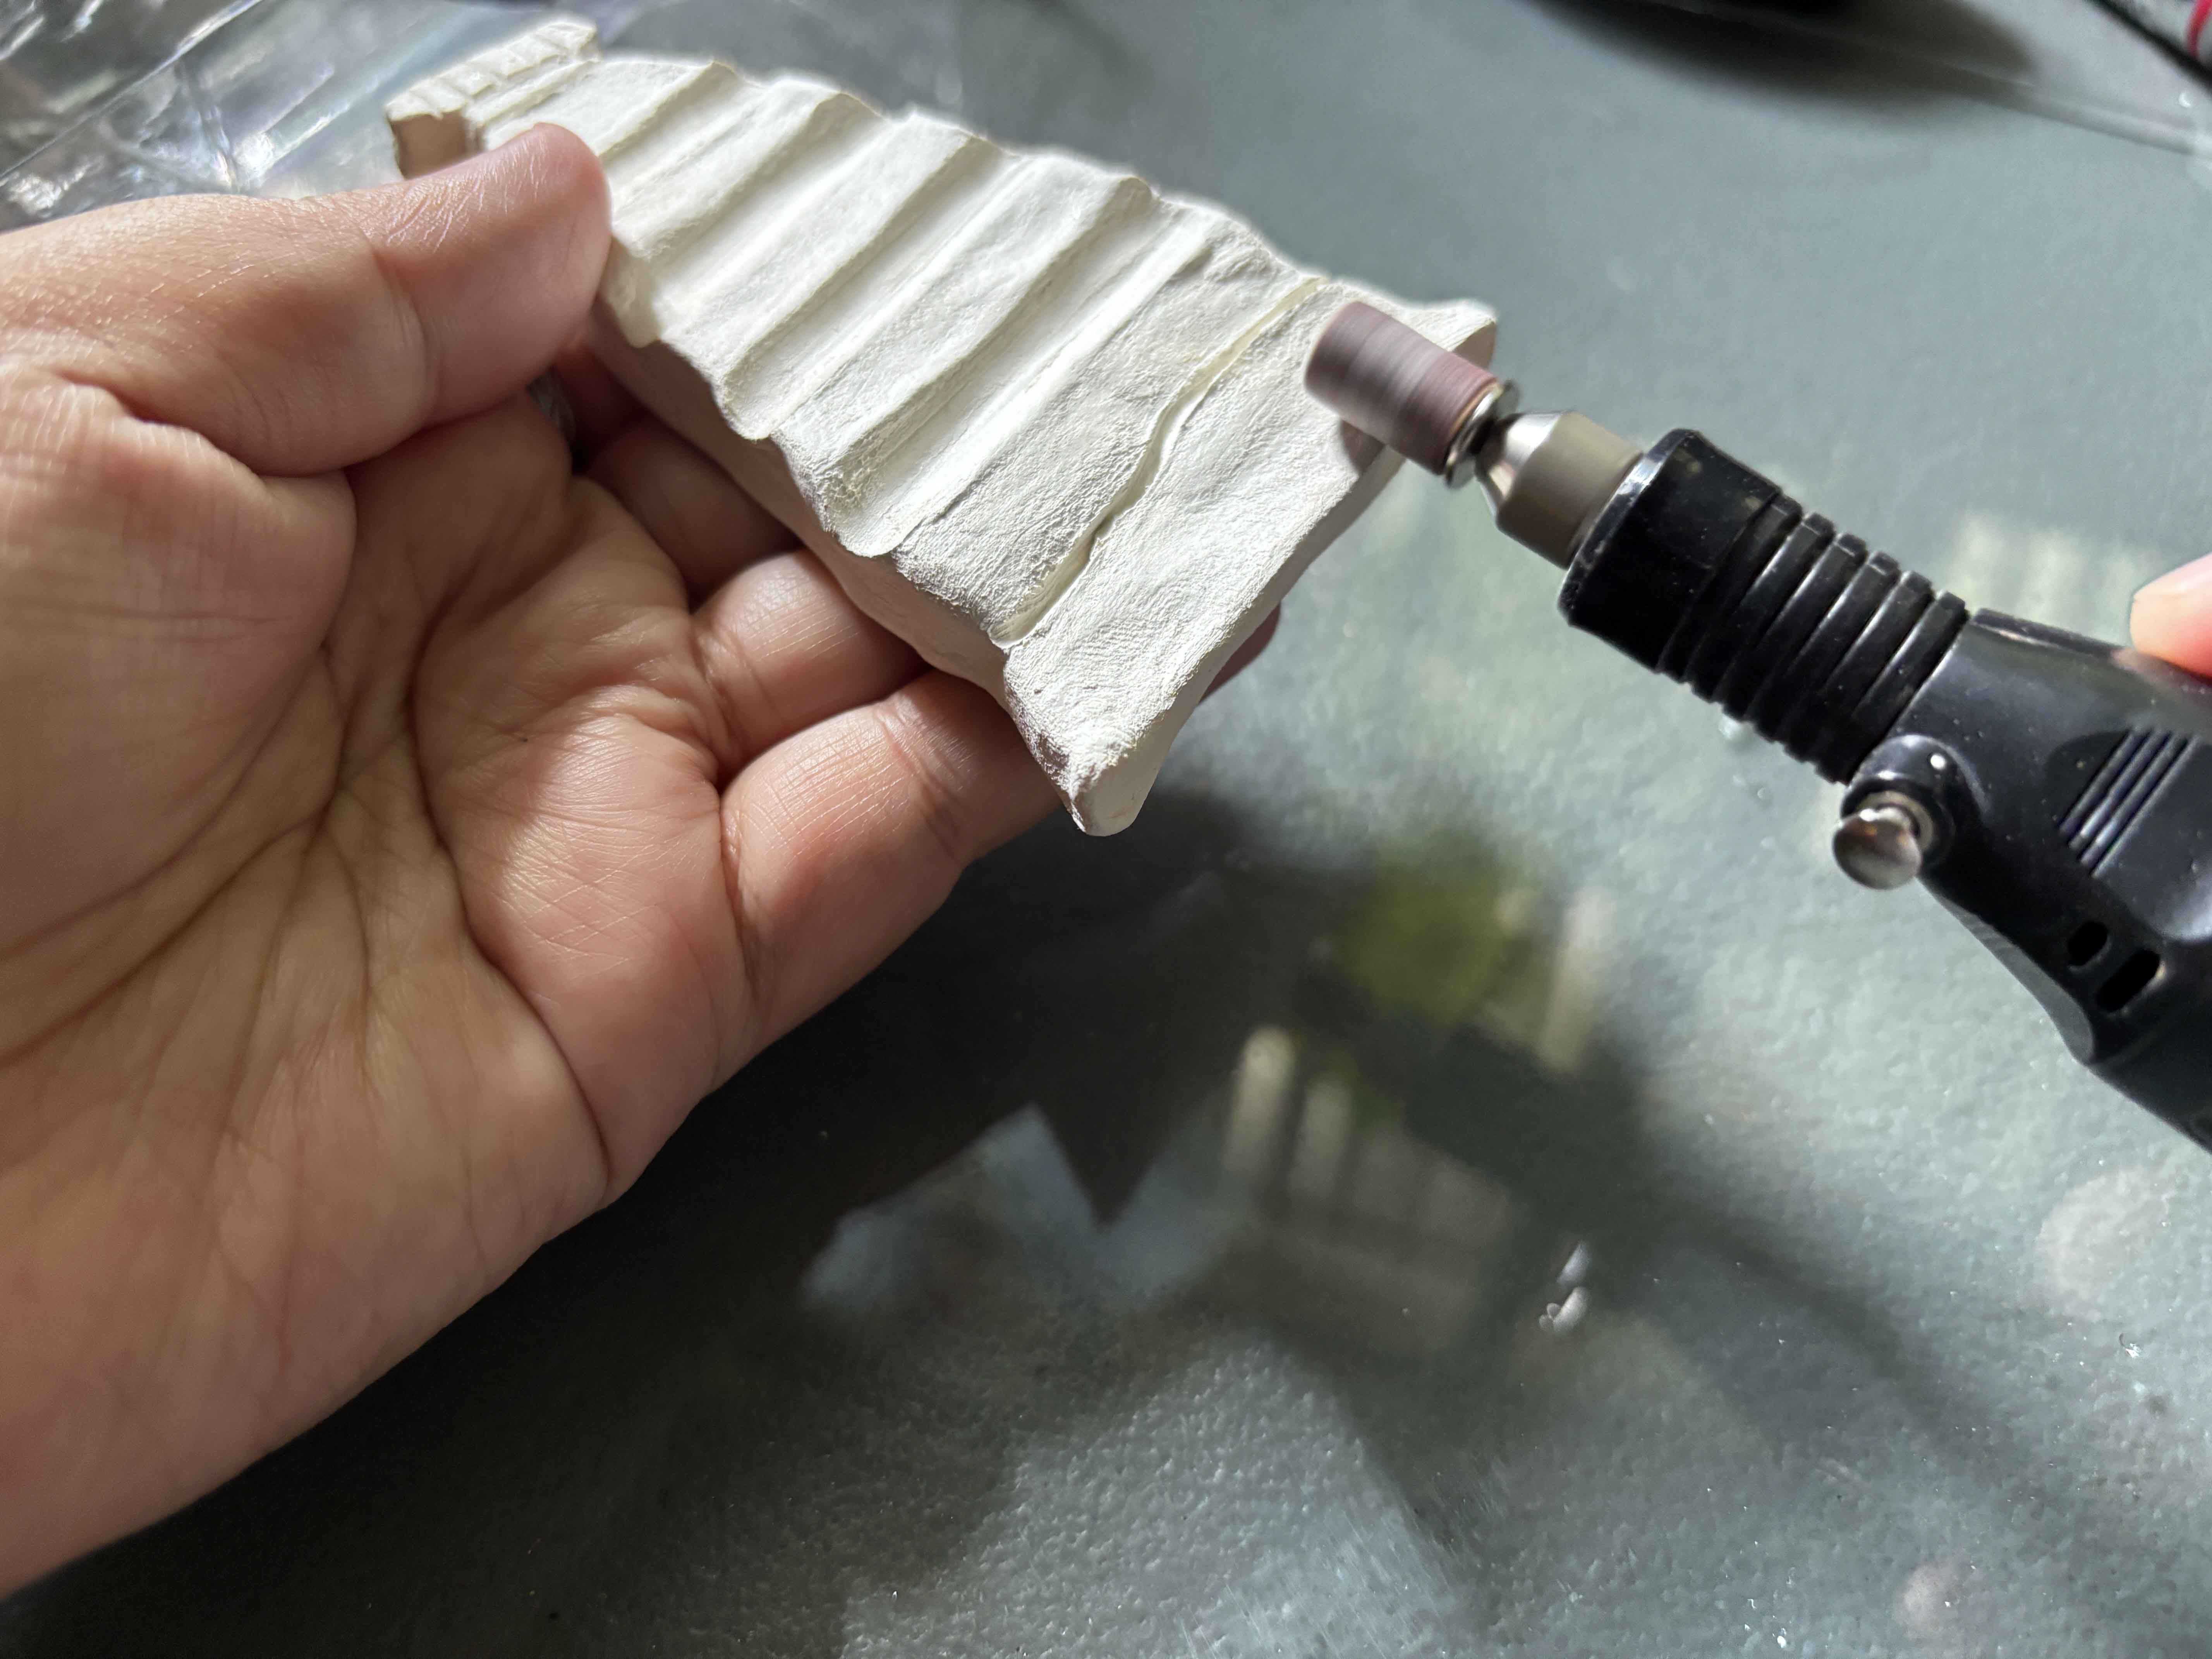
When the air-dry clay is completely dry. I will use this rotary detail carver to smooth out some imperfections. You can use sandpaper, too. And then brush off the clay dust.
------

Now it is ready to be painted.
------
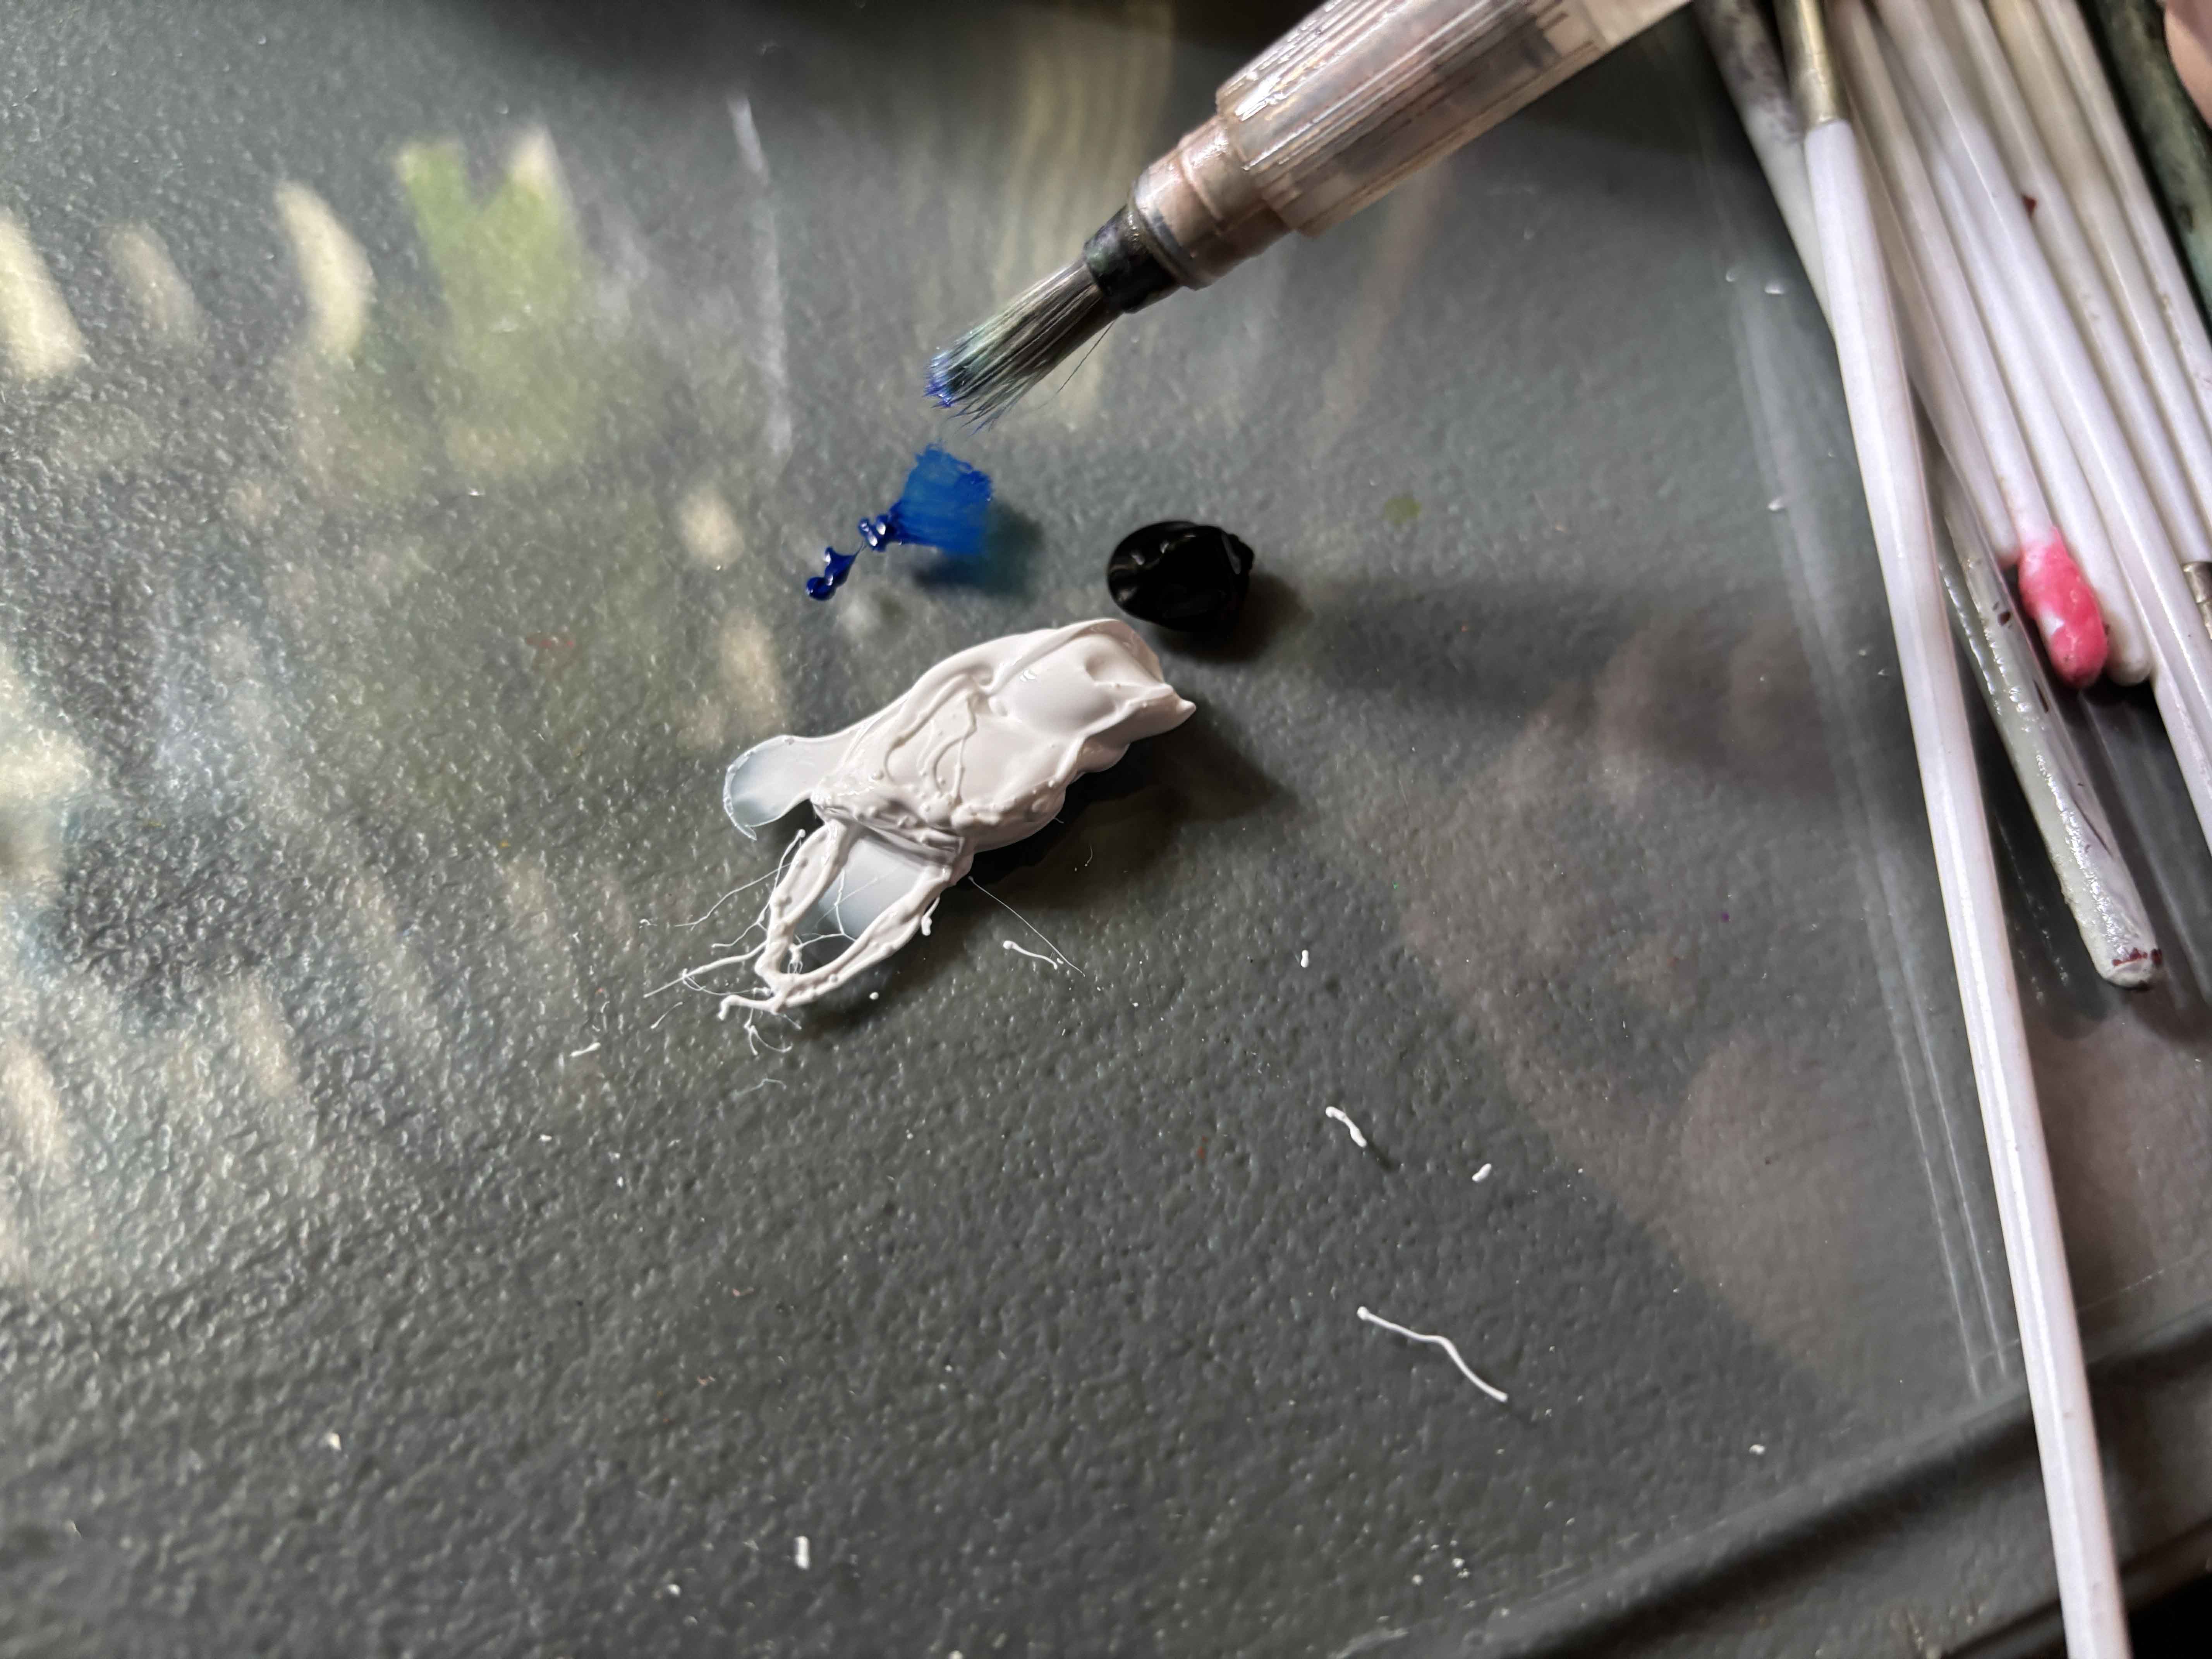
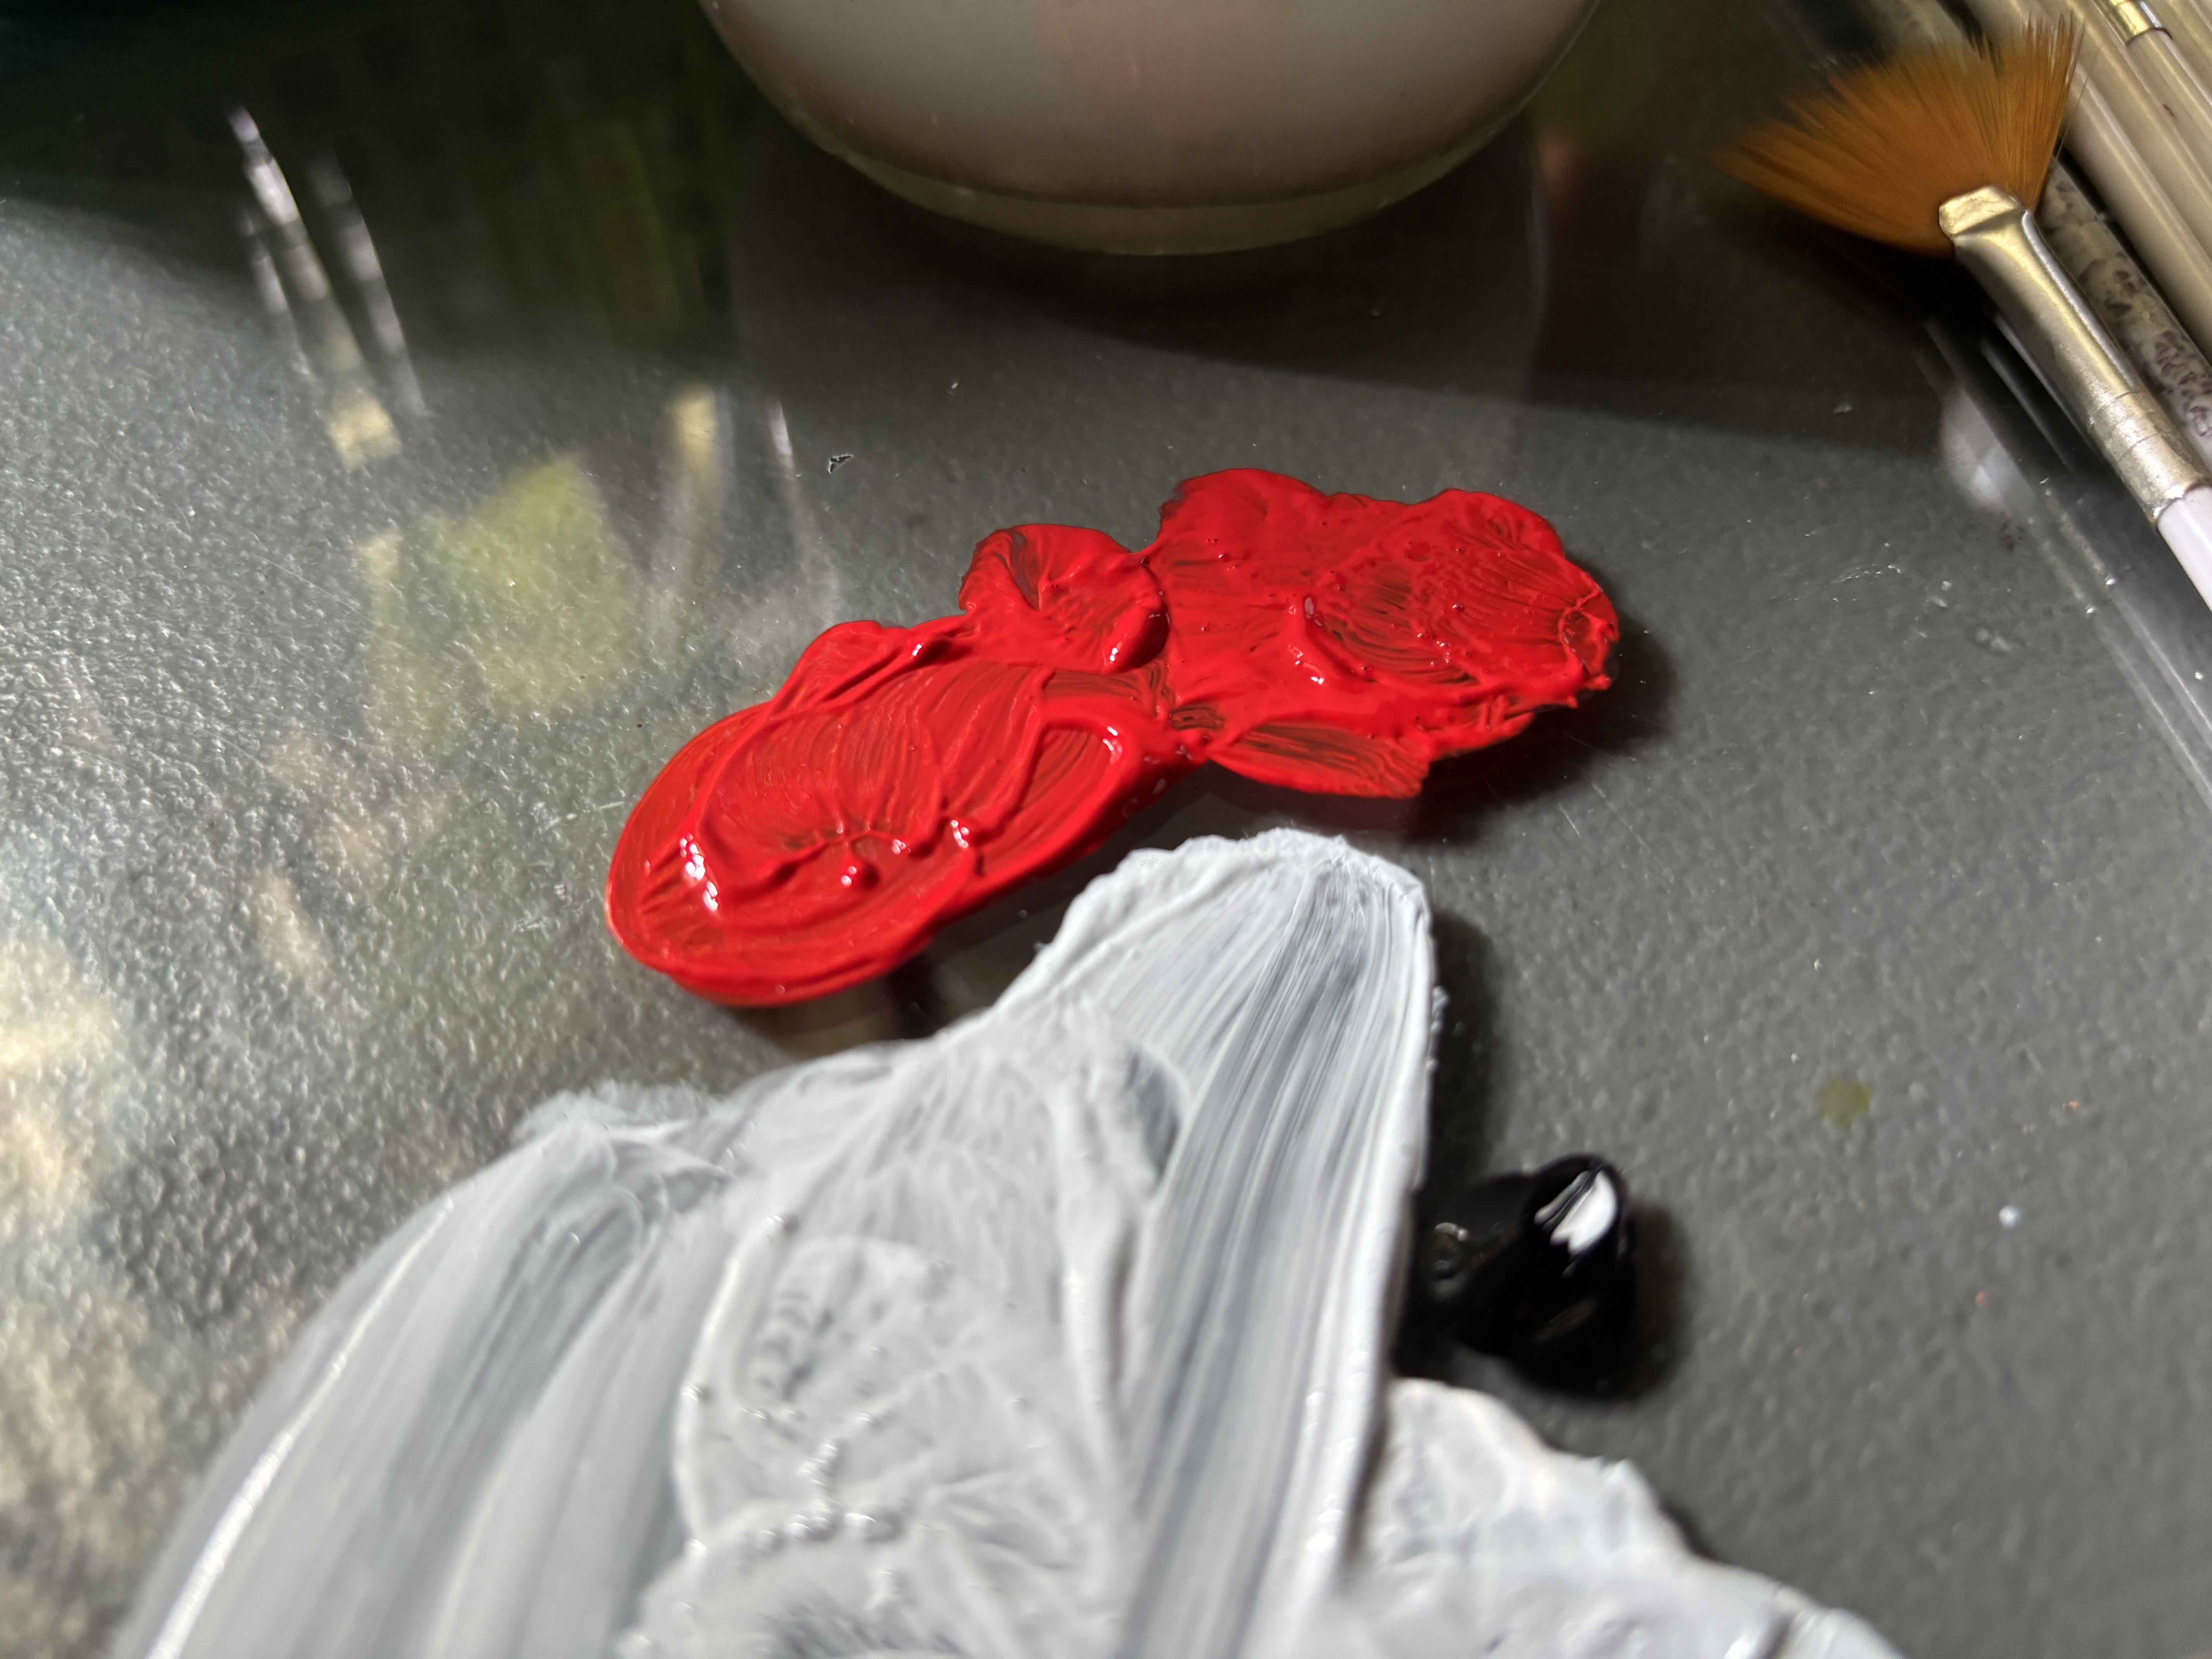
I used acrylic paints and acrylic markers to paint the air-dry clay and paint brush too, so what I do is I mix the color I want to paint the clay.
------
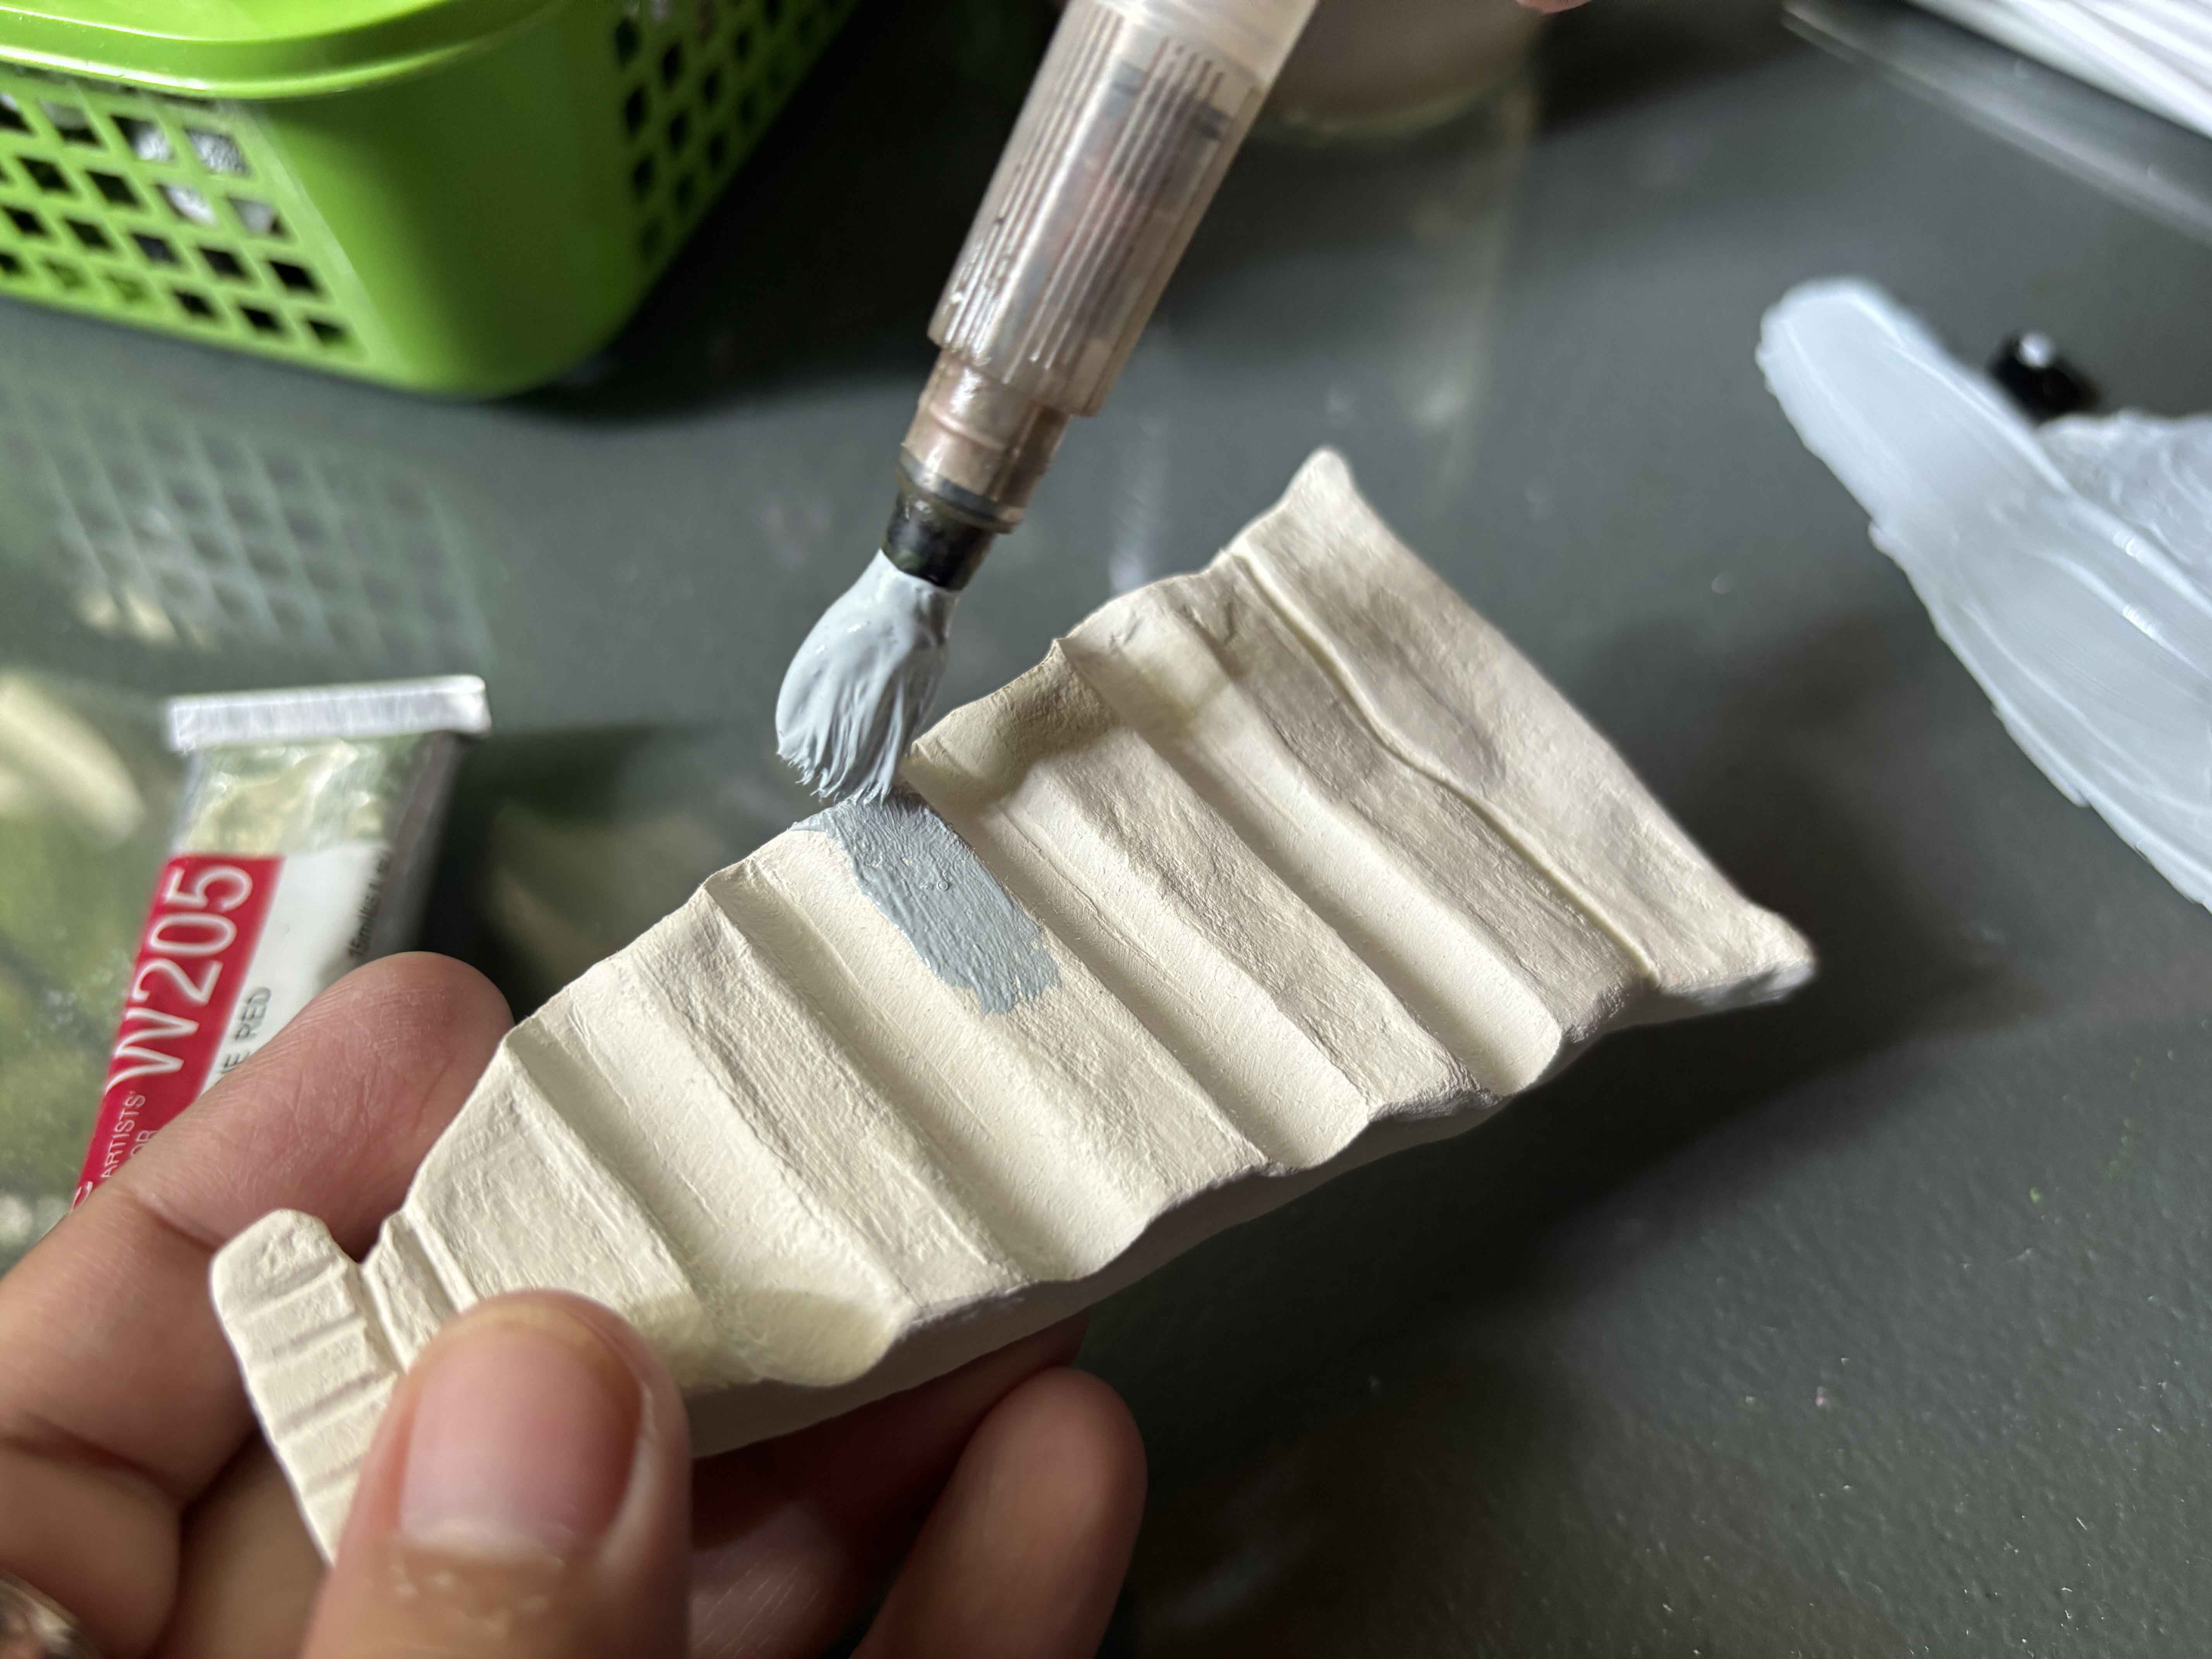
Paint it carefully from the front to back and layer it with paint until it is completely covered.
------
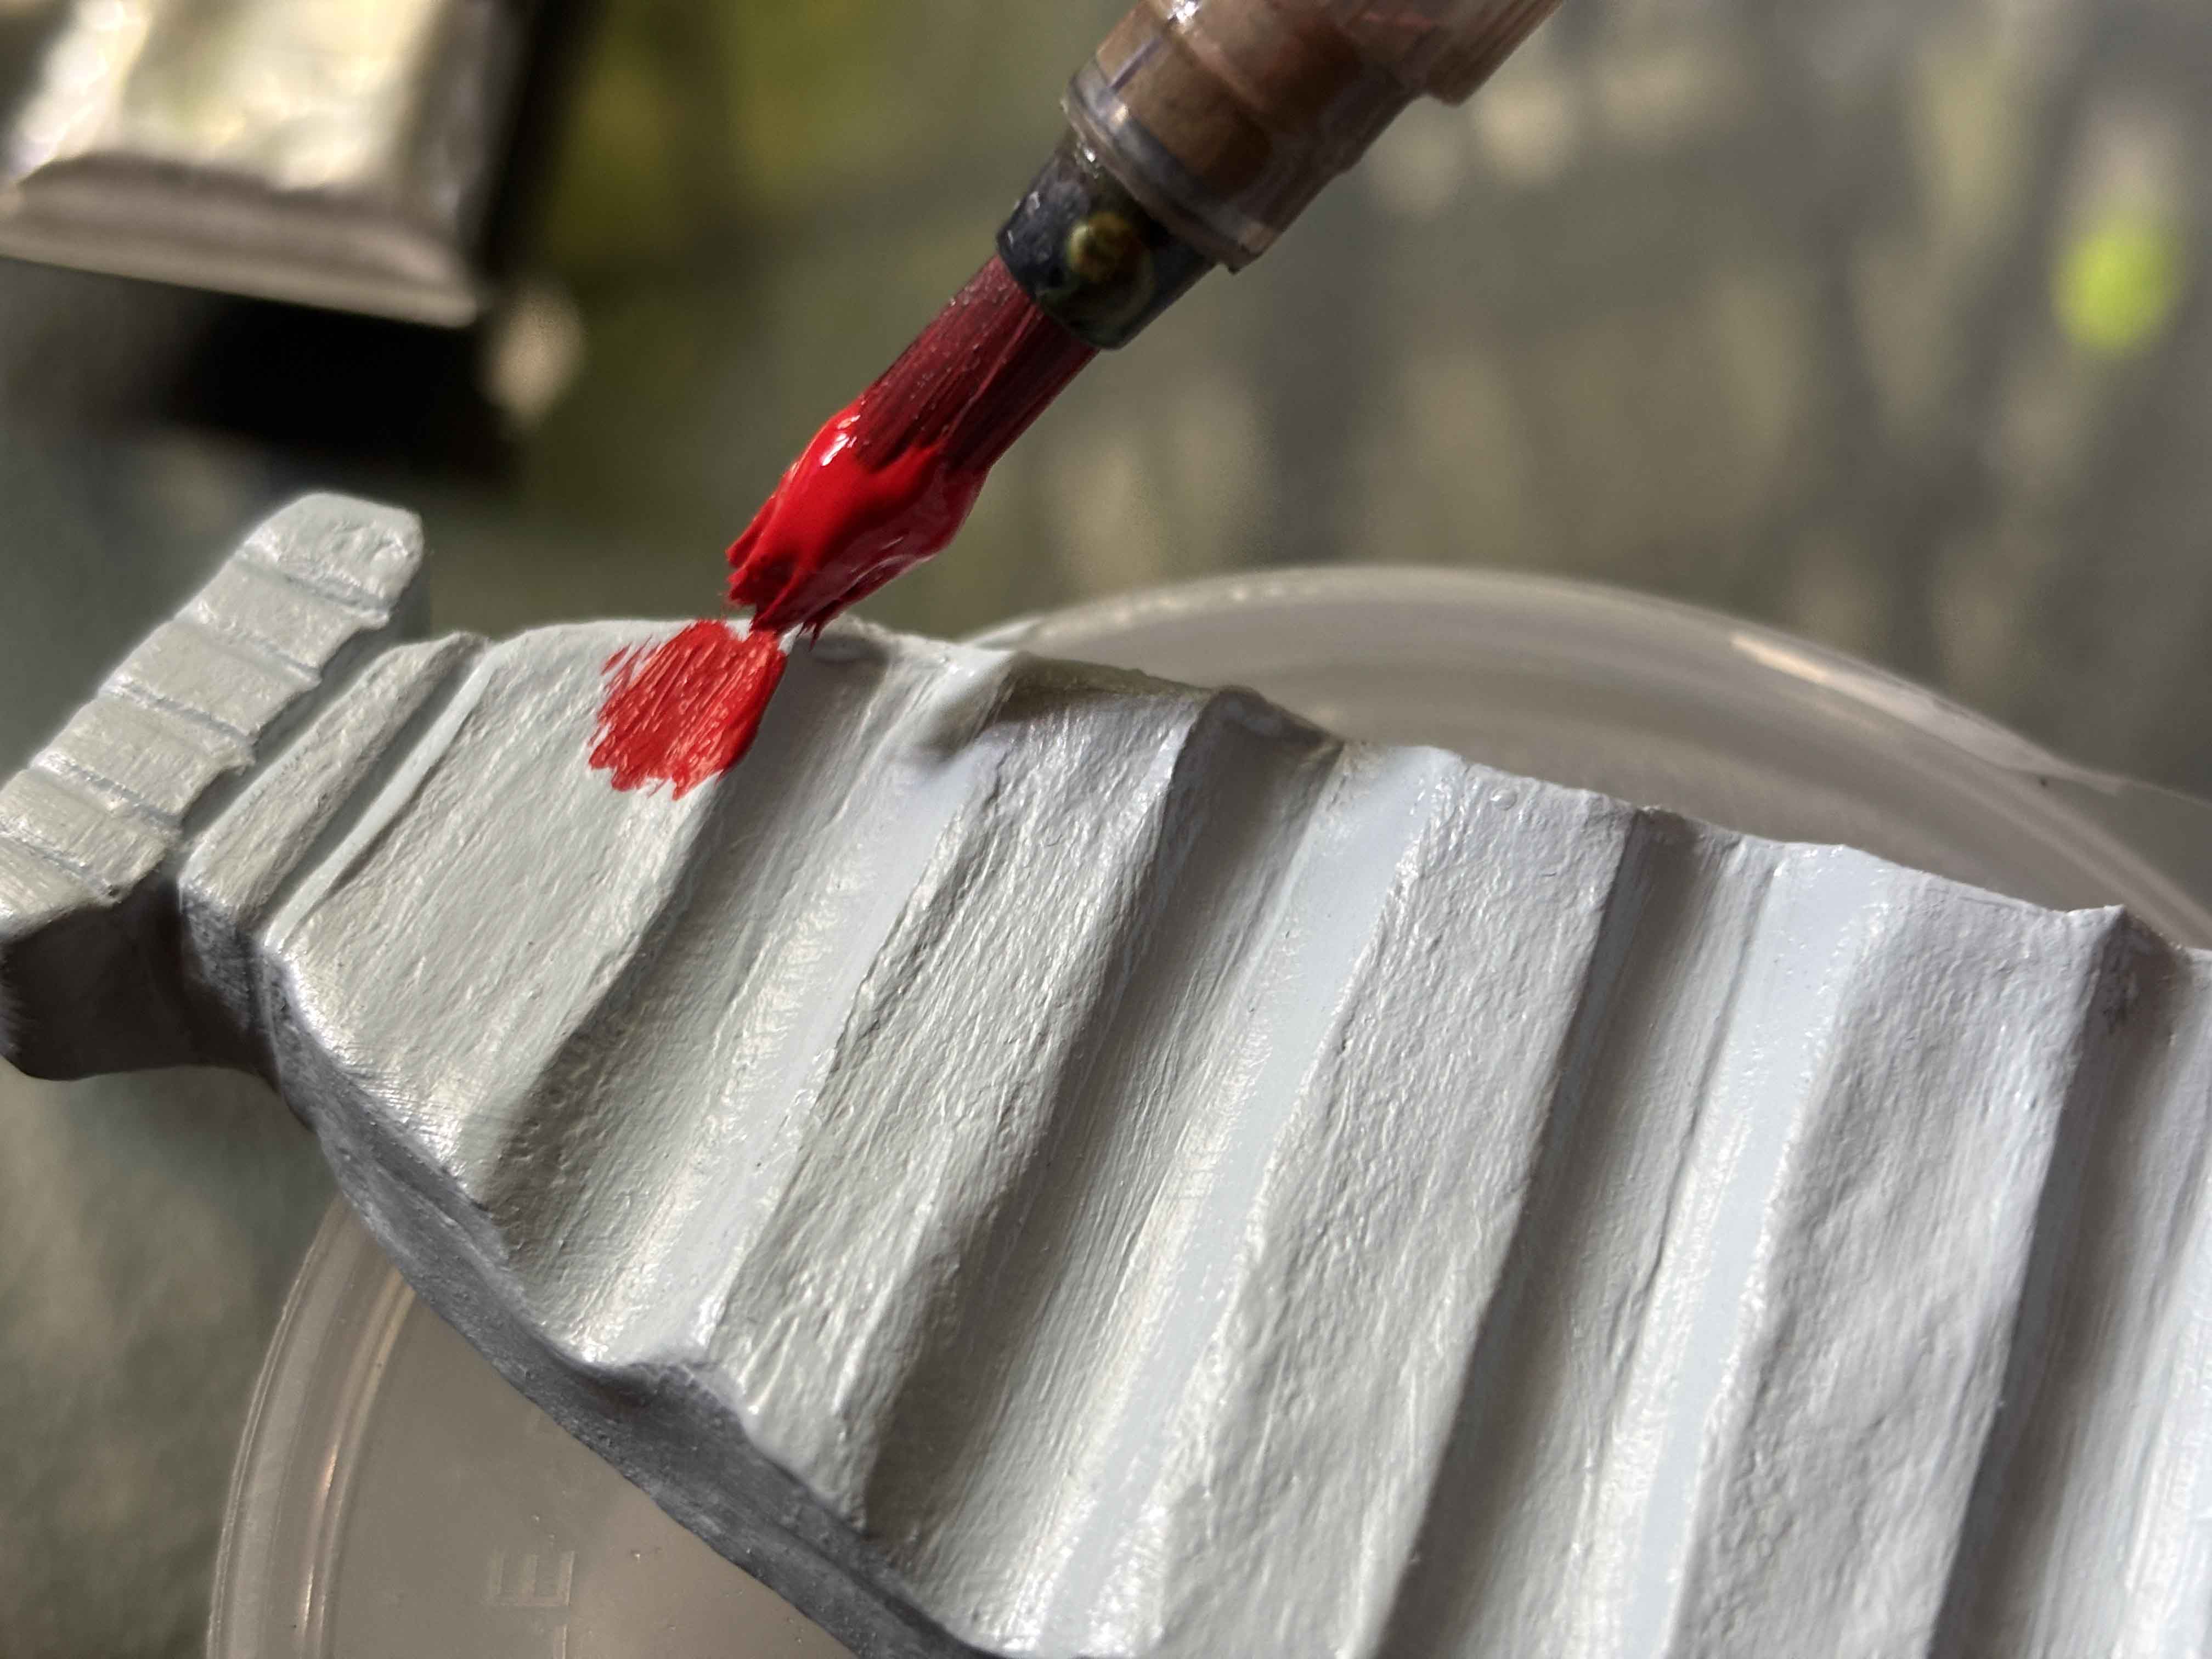
After that, I layer it with red as the color of the reference, you can choose what color you want. Make sure to dry the paint first before layering it again.
------
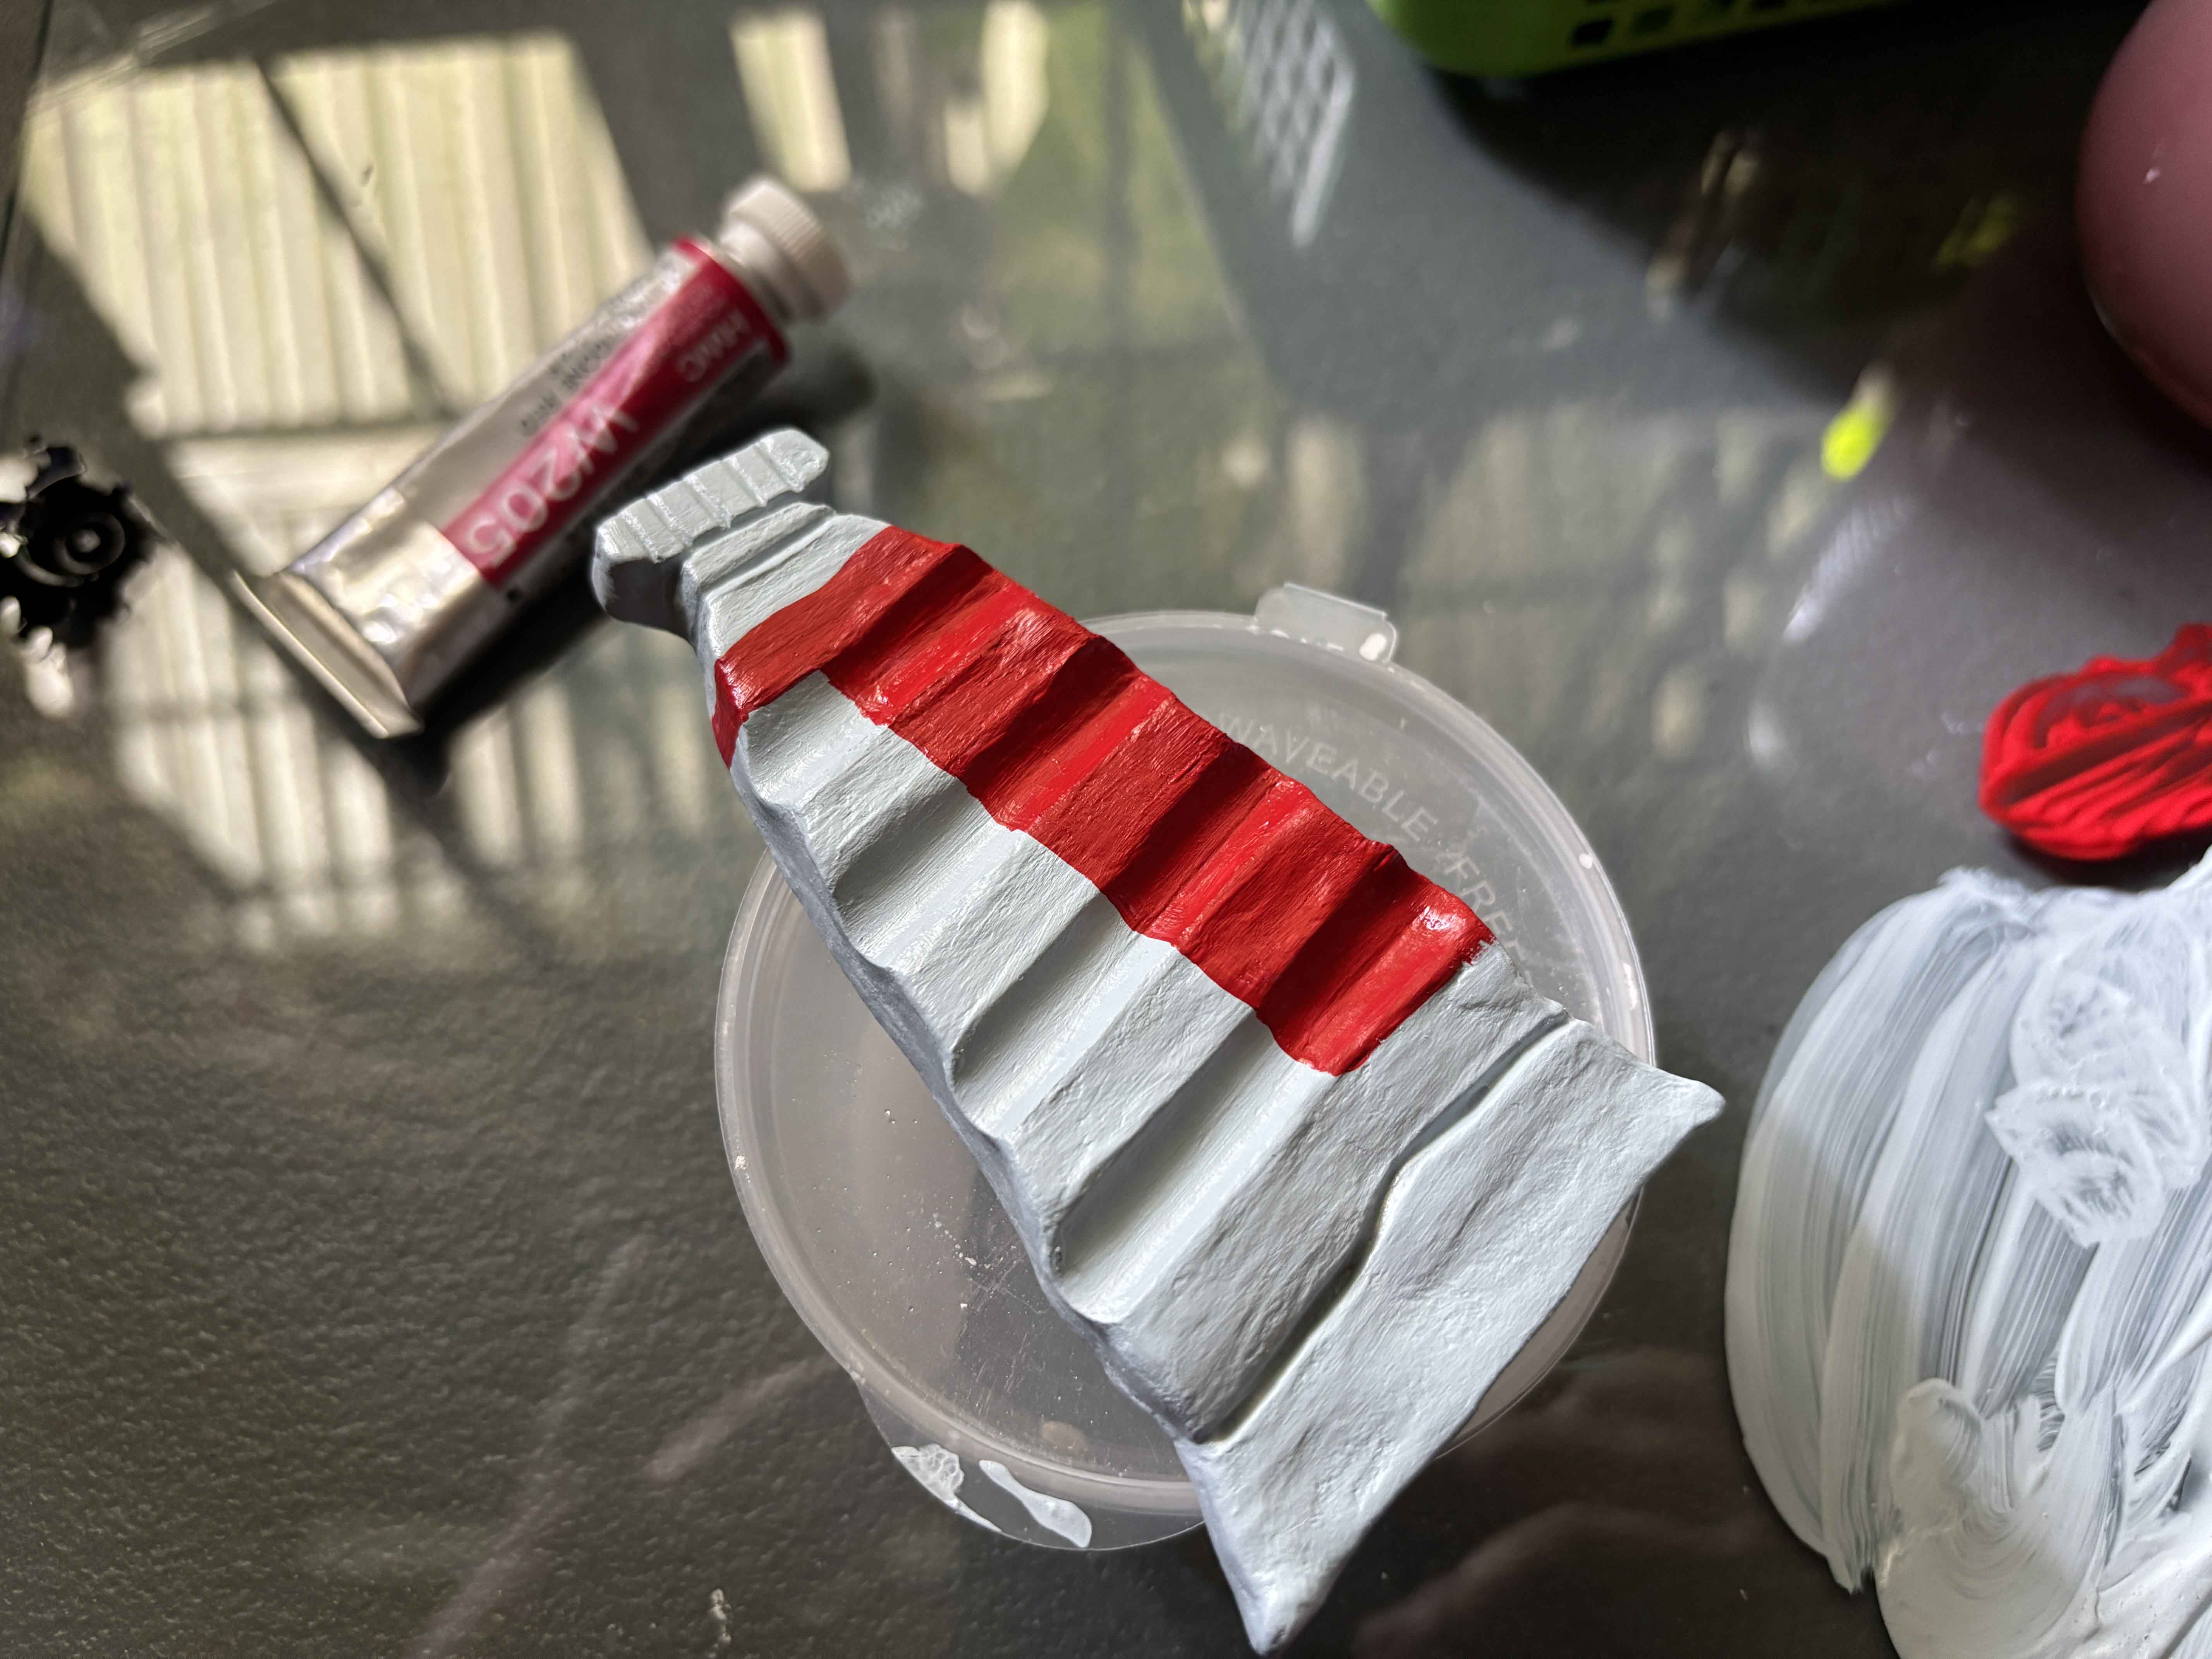
Then I painted the tube cap and the left part of the body of the paint tube with white.
------
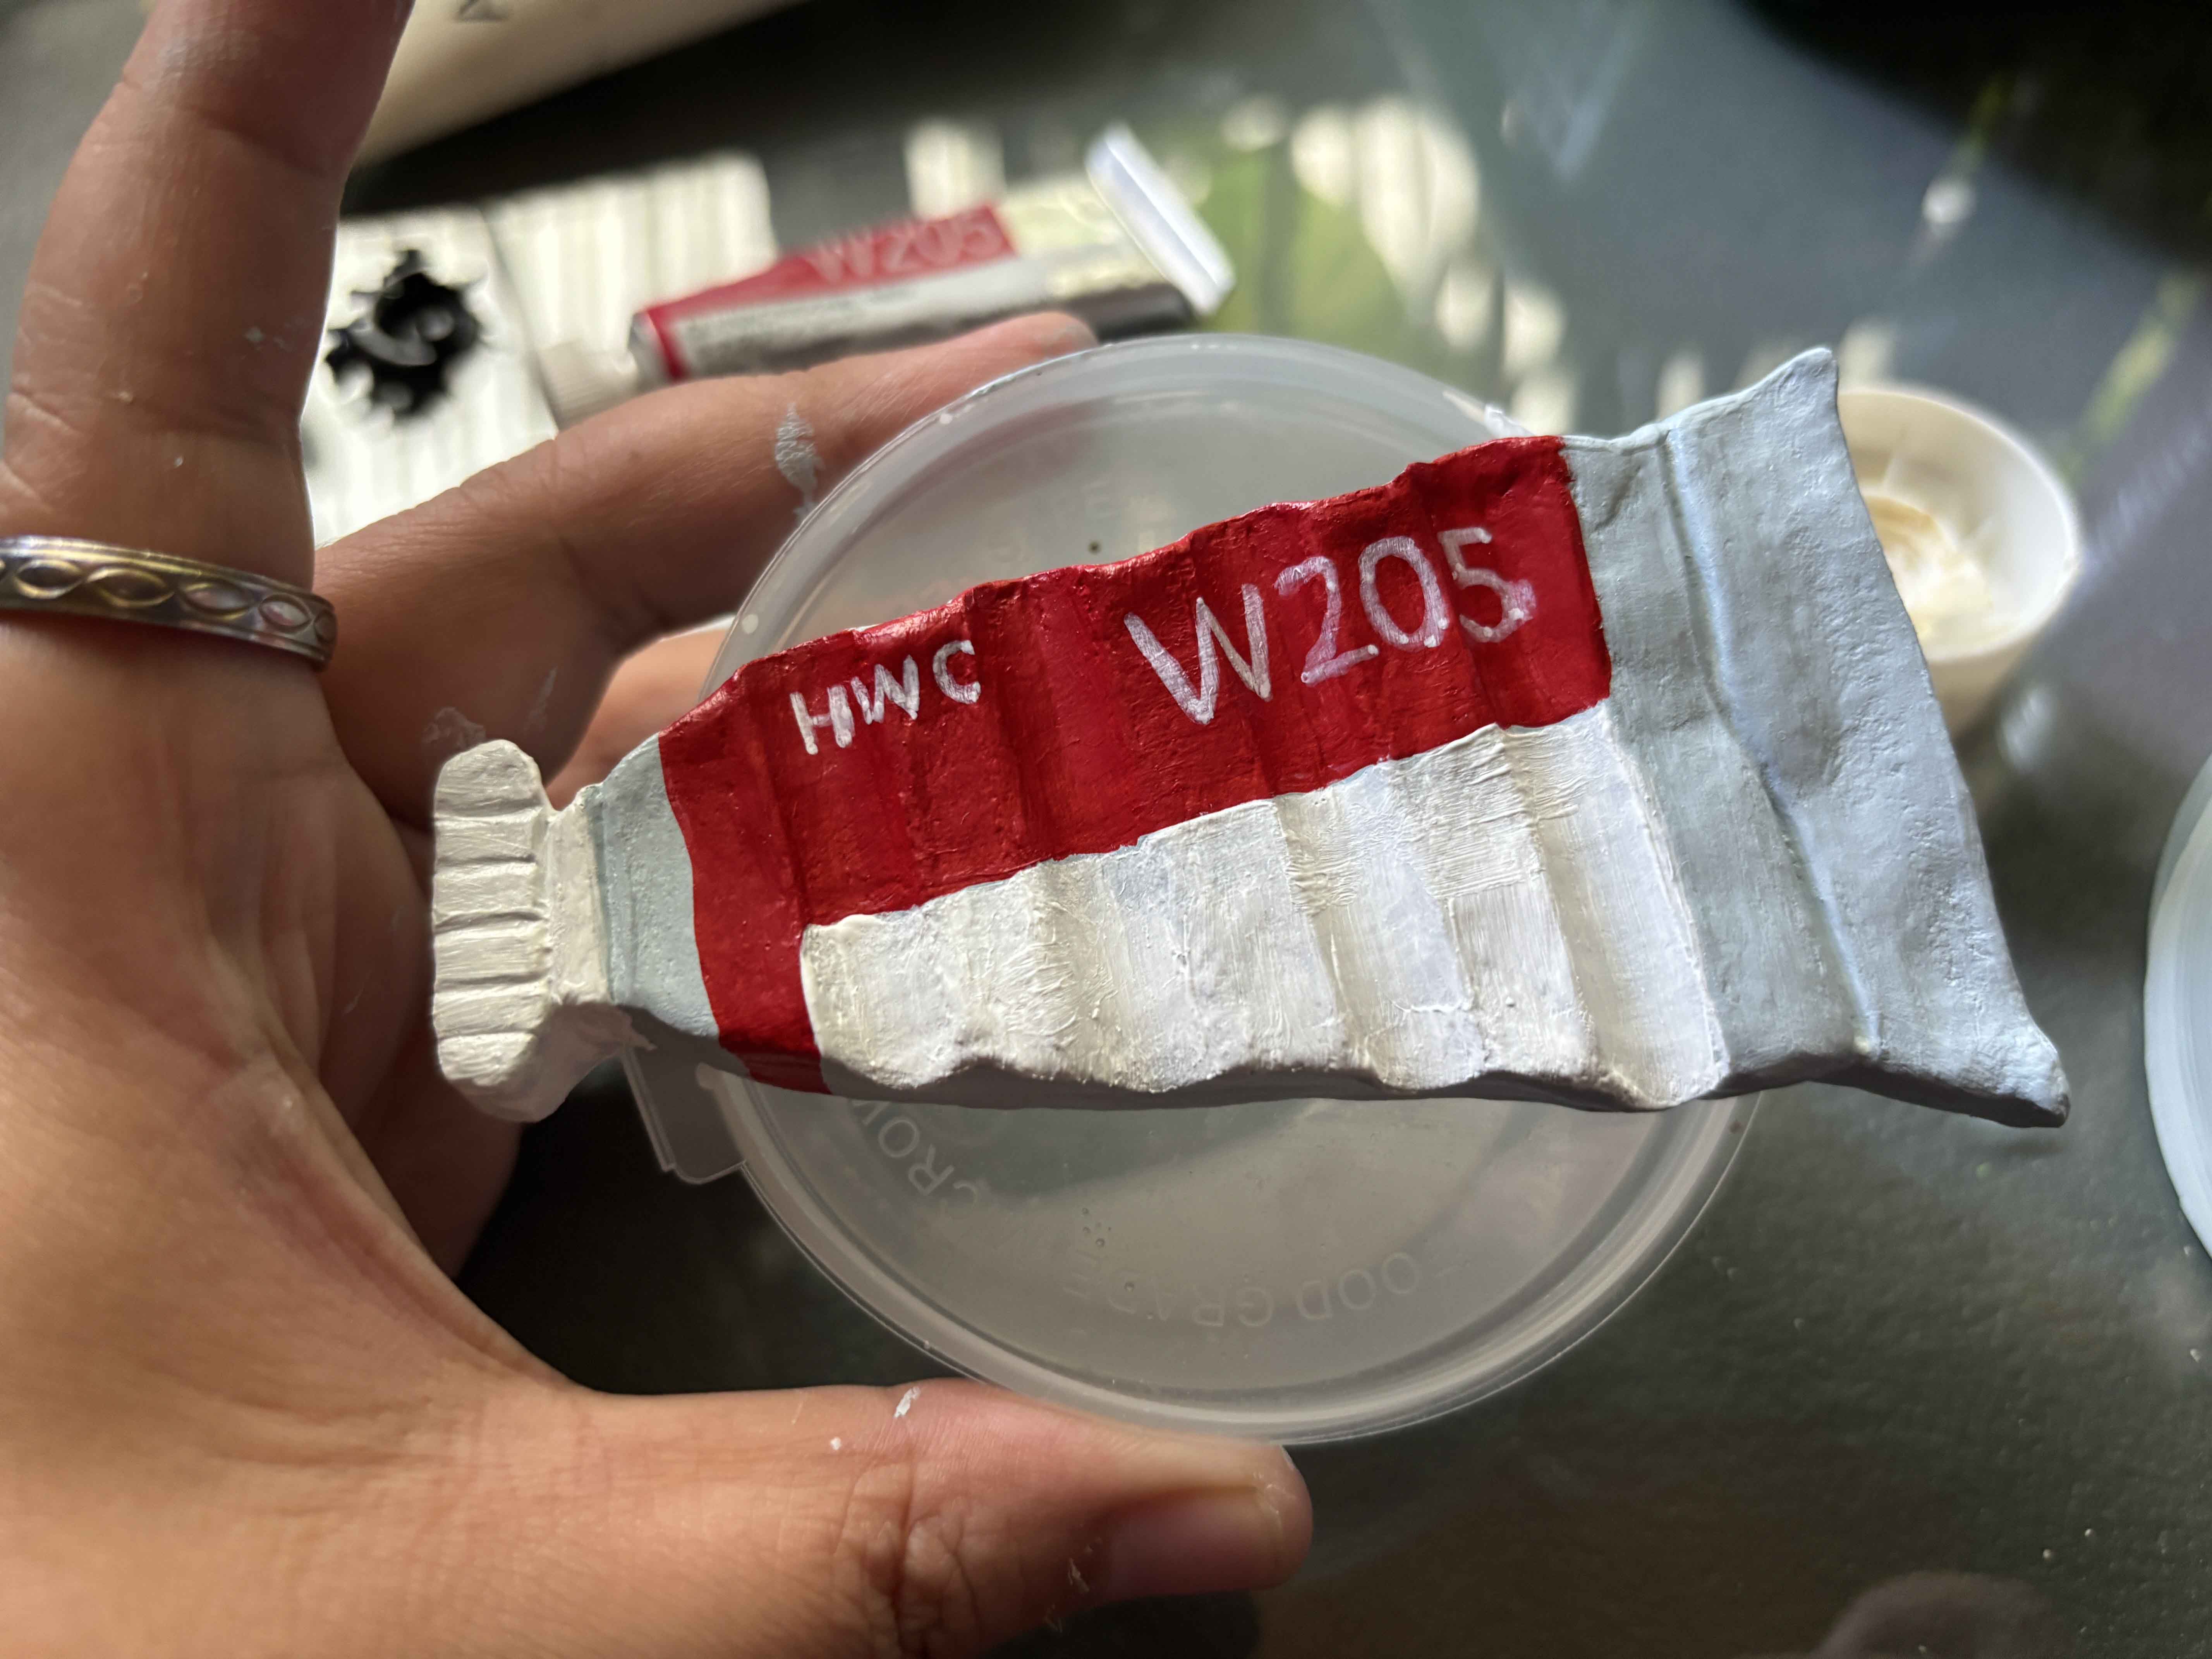
After that, I start adding the details like the letter. I first layer it with acrylic marker and then finish it with acrylic paint so it will look more opaque.
------
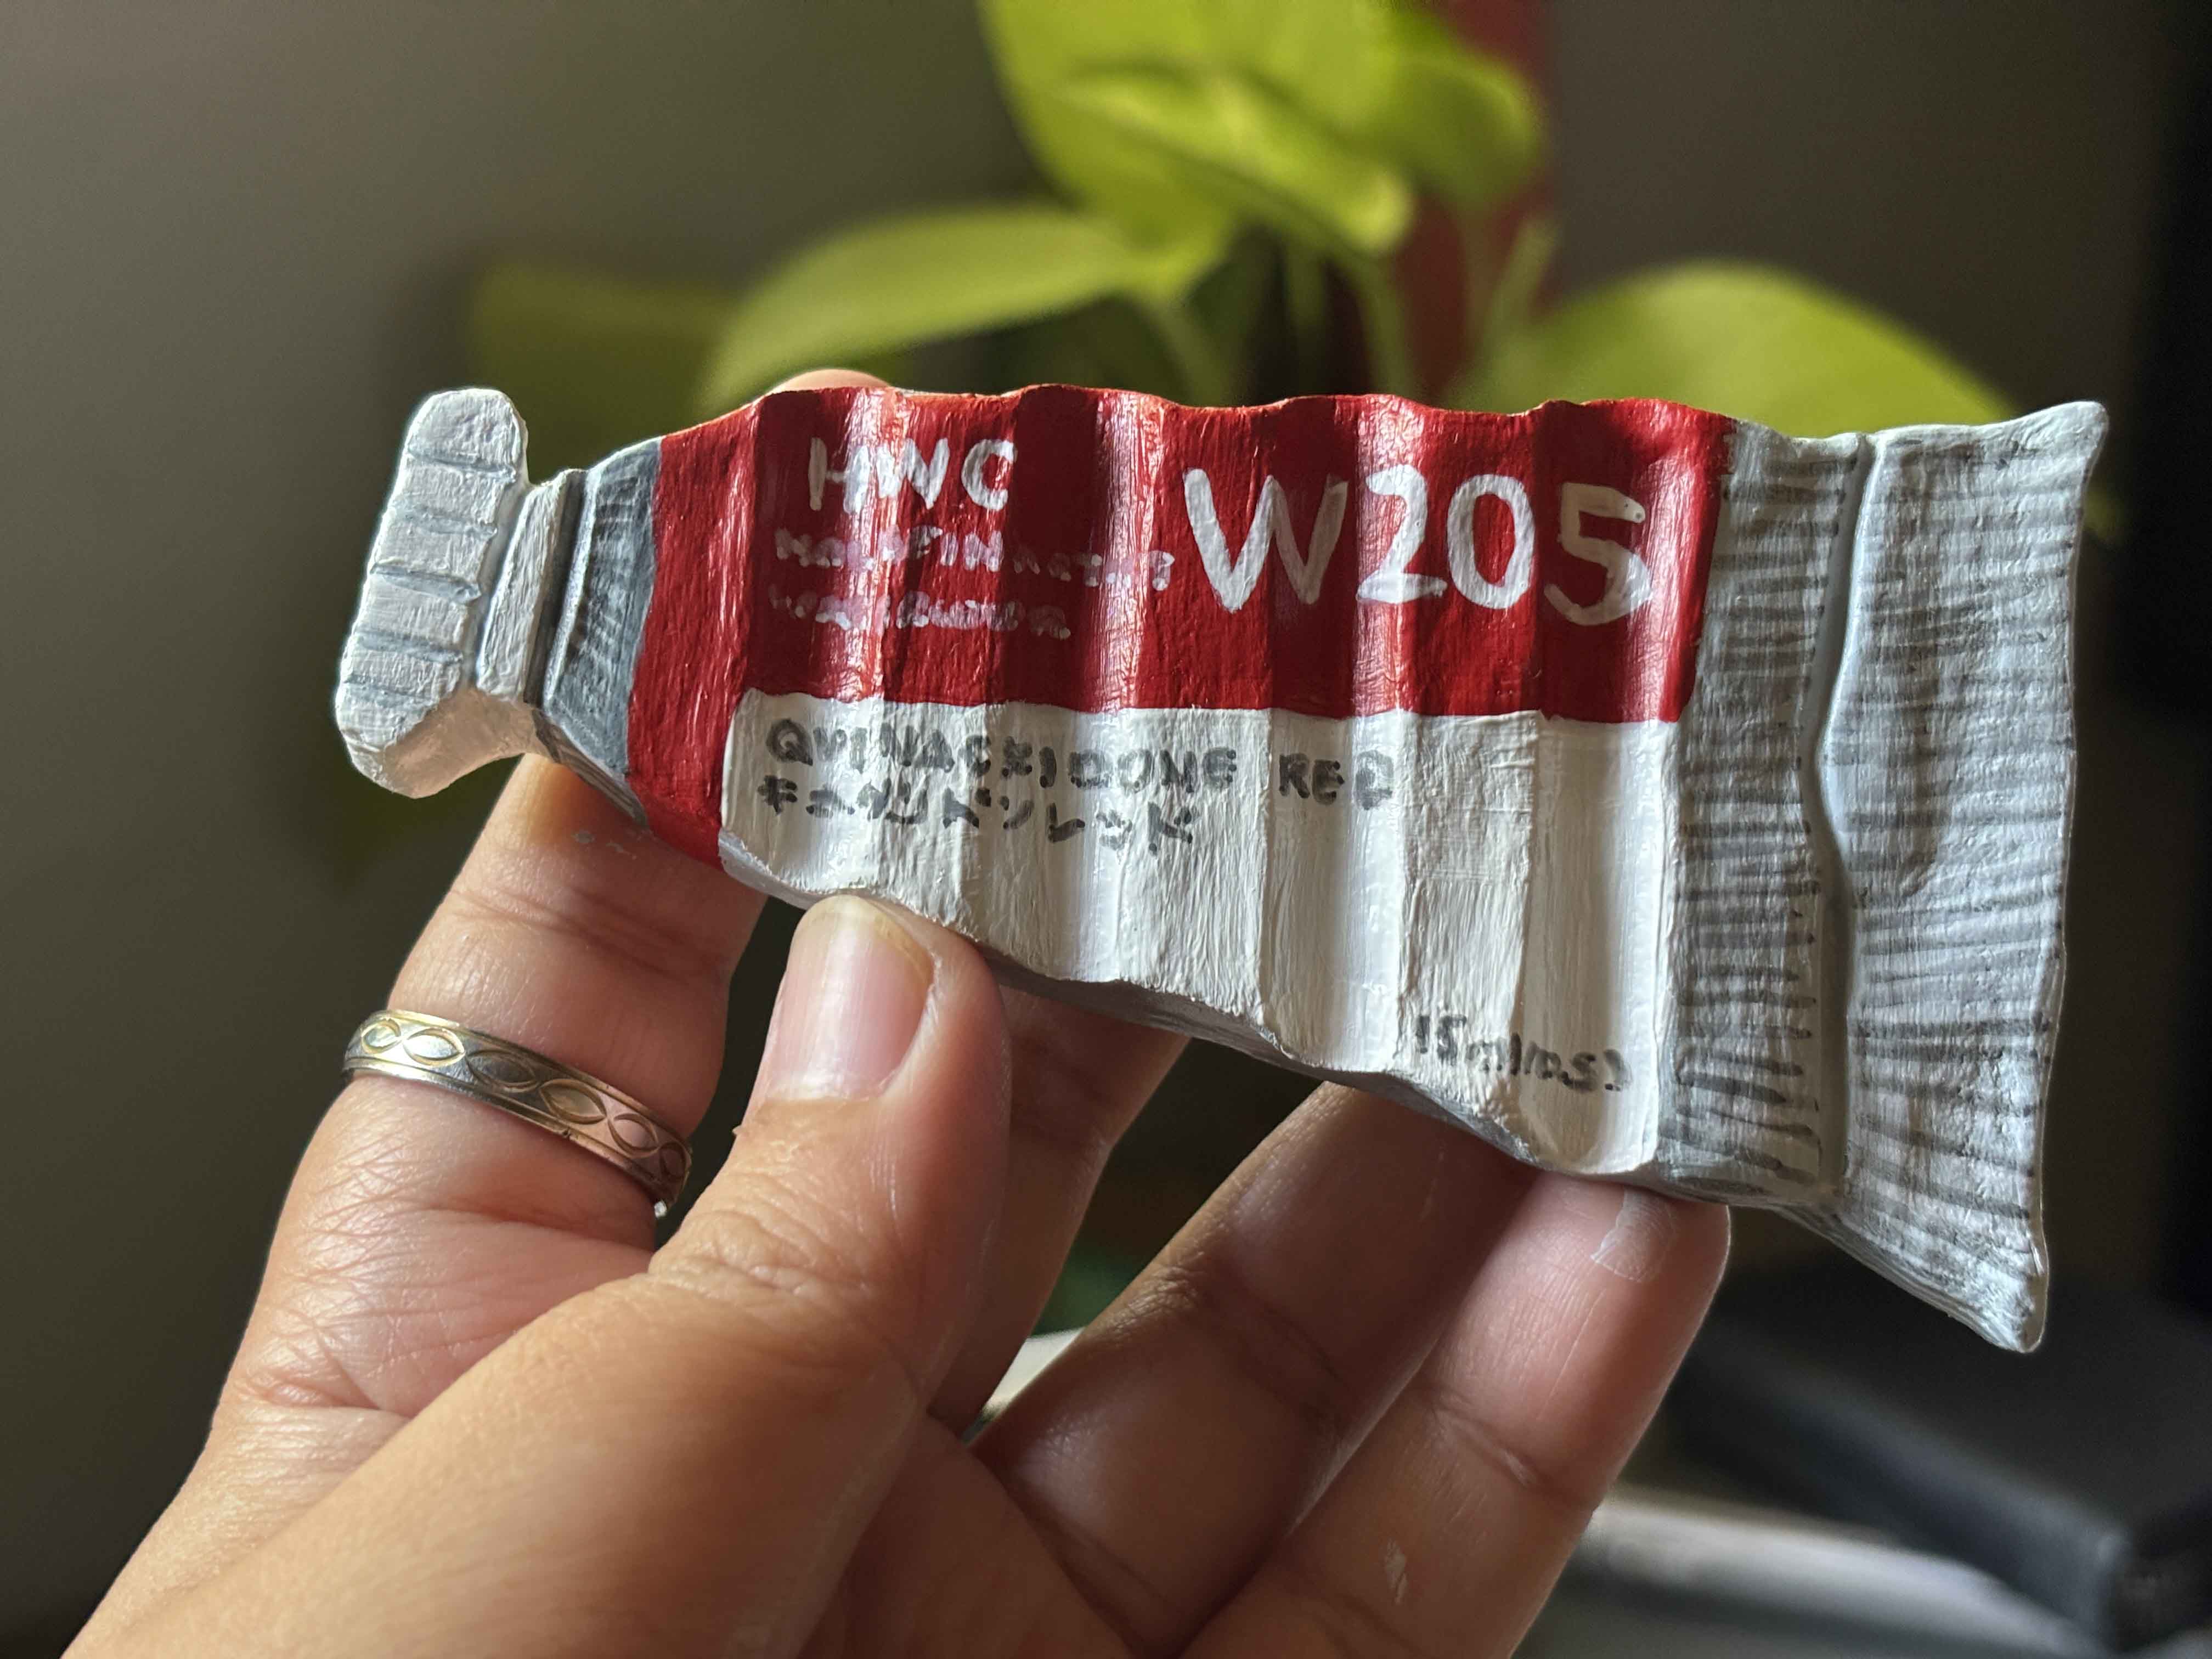
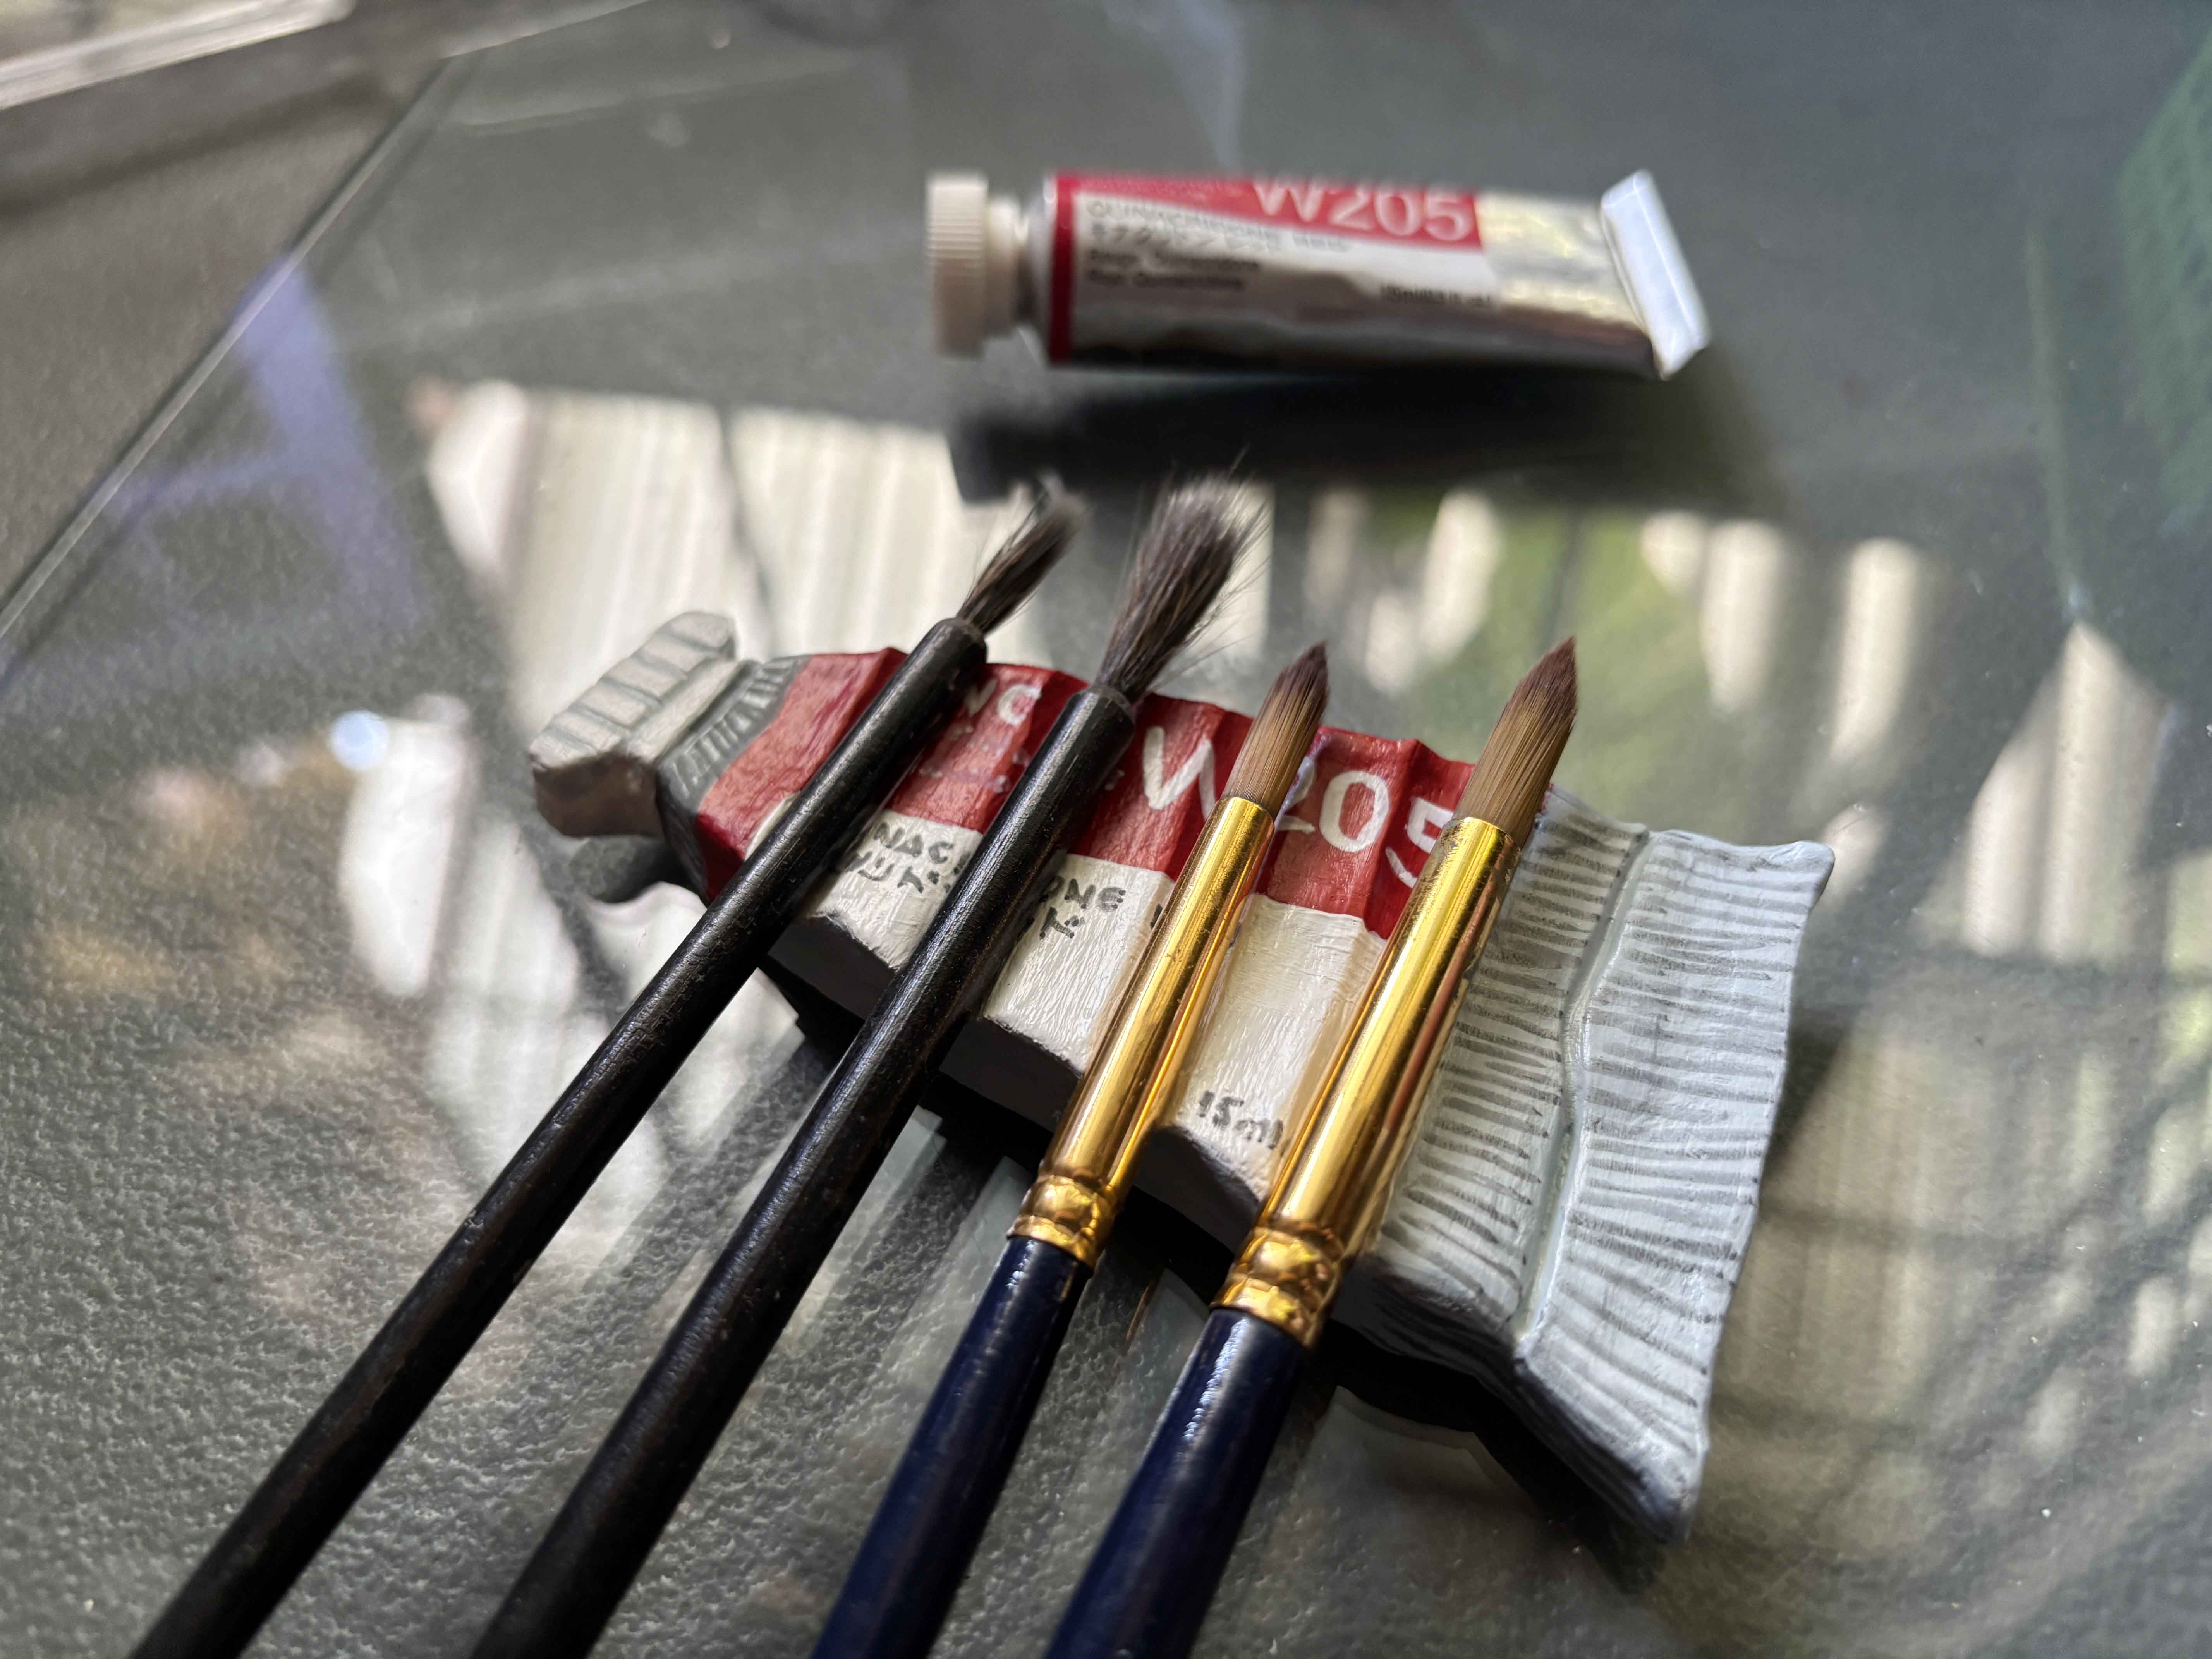
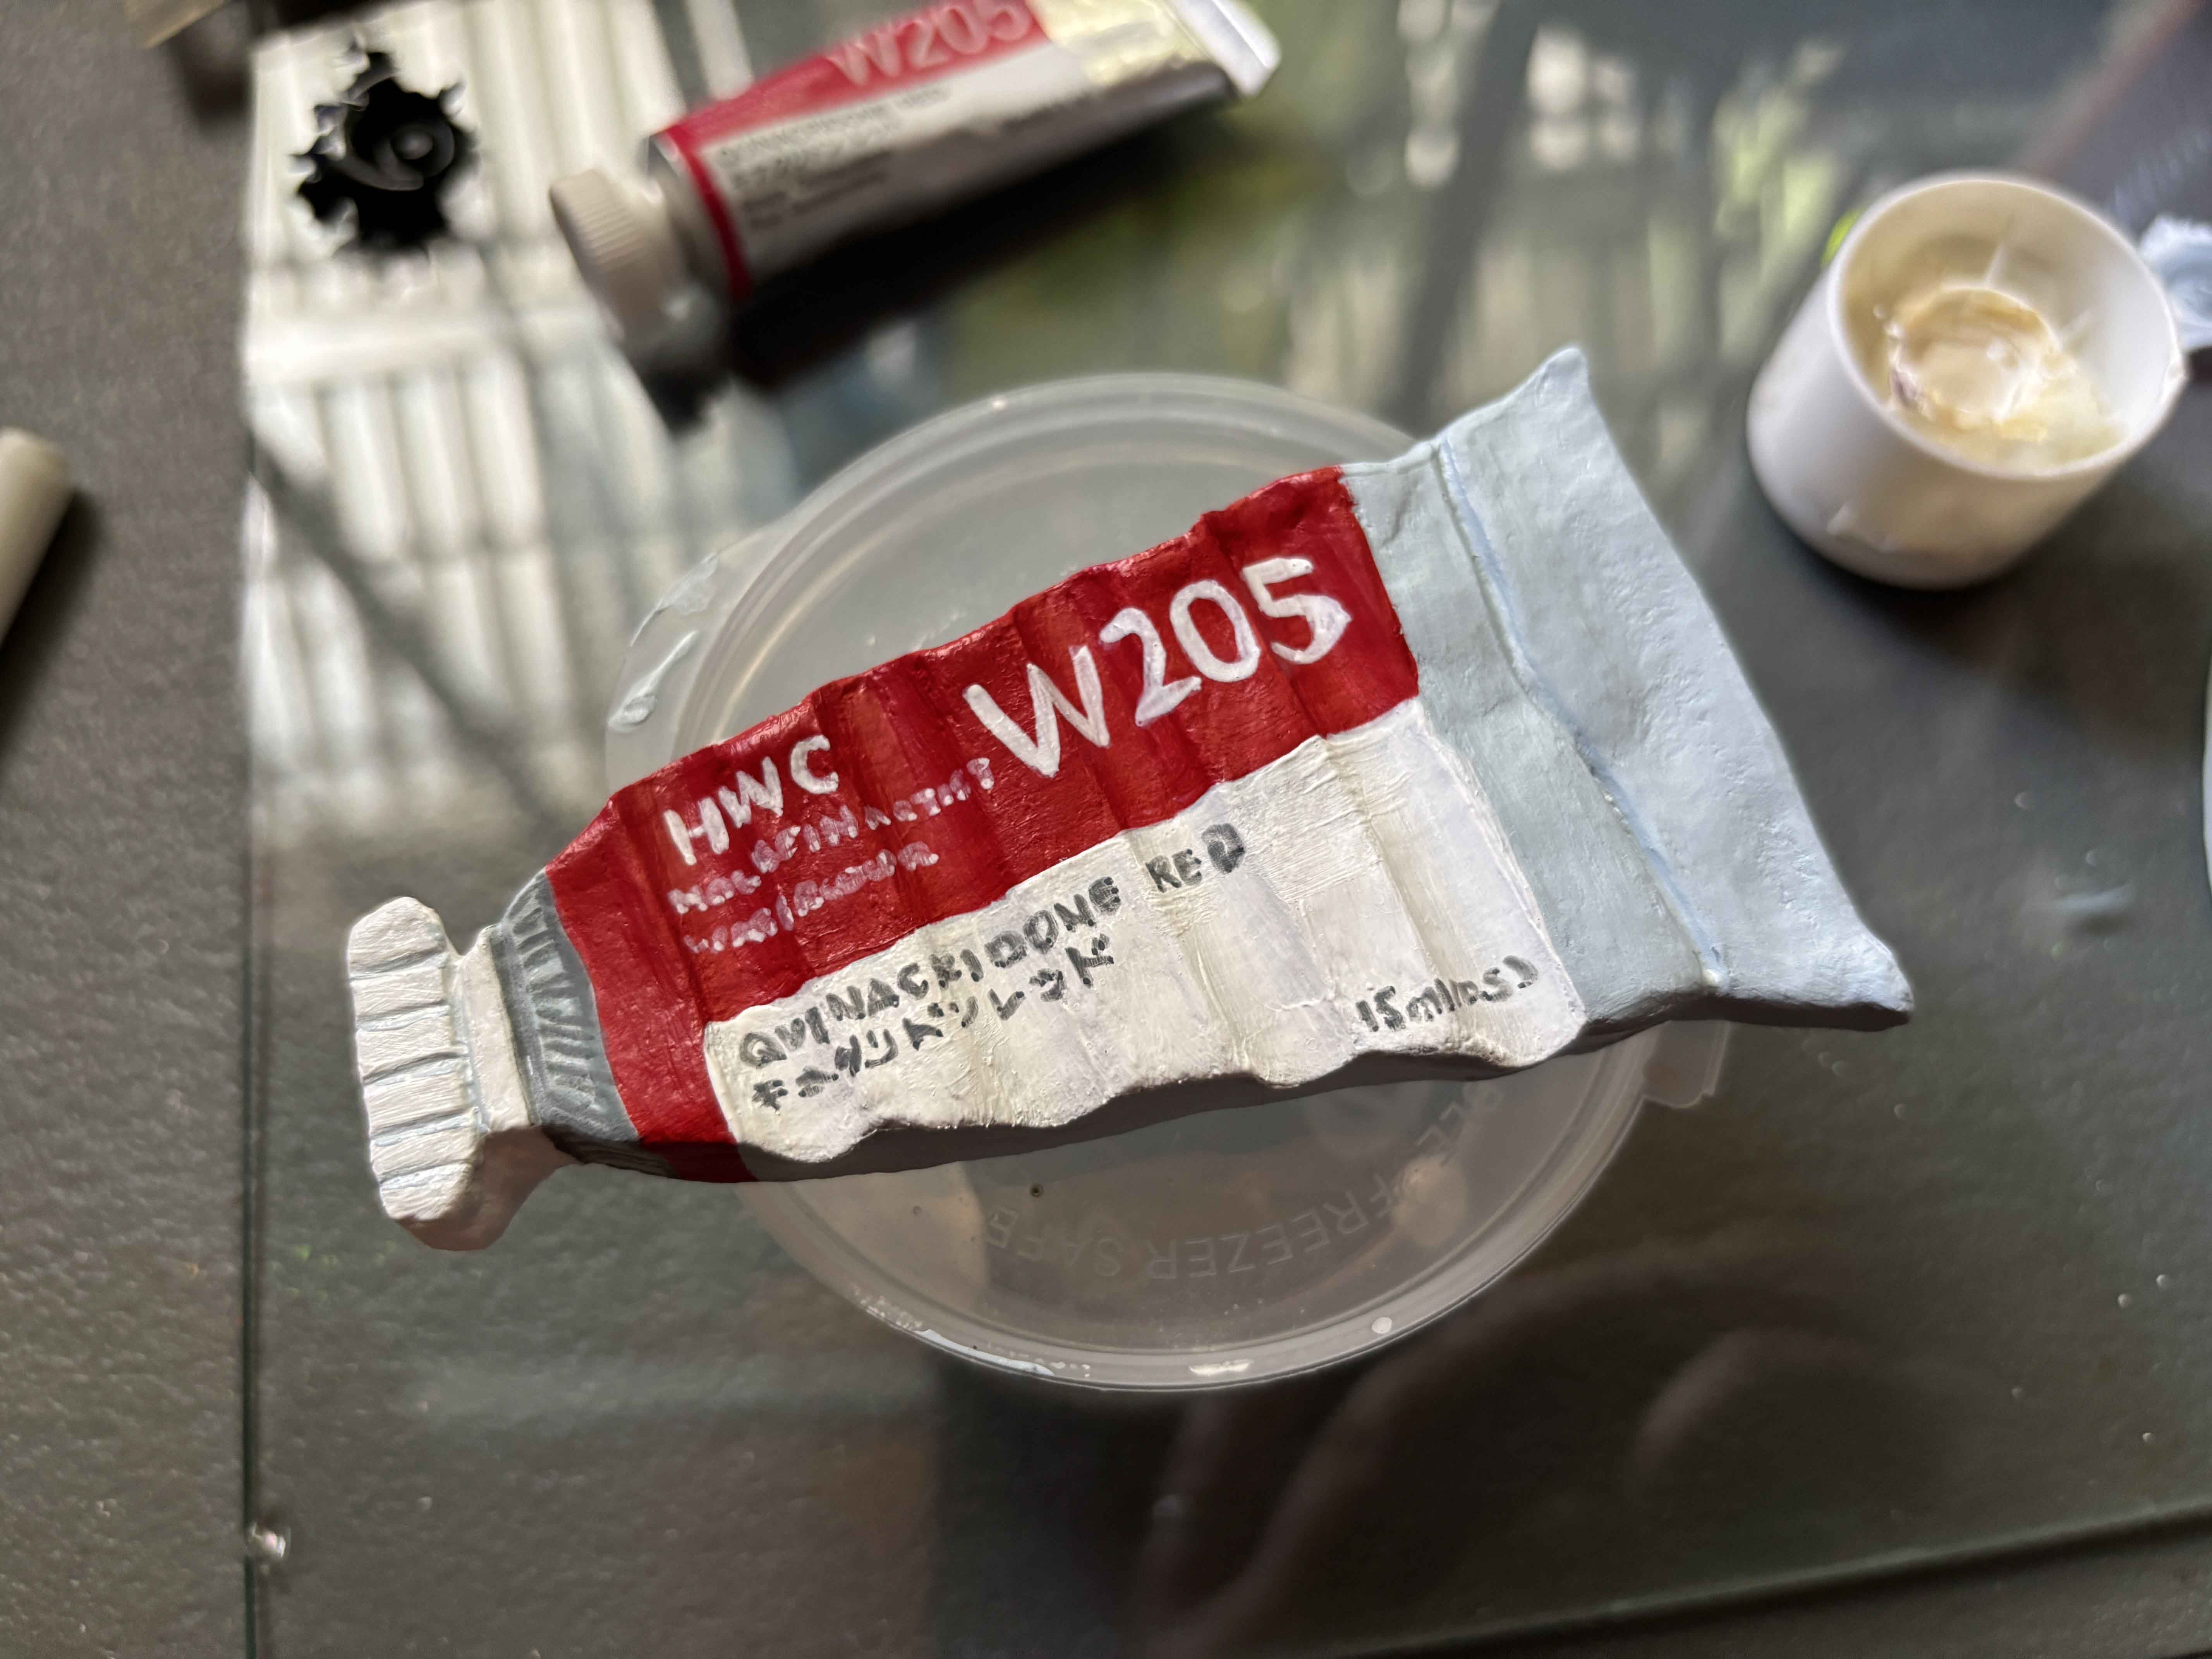
I decided to add more detail off cam, and I made it look better! And of course, I need to try it on my paintbrush, and it fits perfectly!
-----
No more stain on my desk! :D
---
Thank you for visiting, see you on my next blog. :D
Please take care of your mental health as well.
I hope you are okay today :))
---