Hello, how are you? It feels like forever since I last posted here, and I am trying my best to do it more frequently. However, this month hasn't been ideal for me, if I am being honest. I hope next month will bring a change in energy, LOL.
I've been practicing and exercising my muscle memory, getting back to what I love to do, and one of those things is making clay keychains. I had posted some of them from the past.
So for today's blog, I am going to show you how I make "Isaw", one of the famous street foods here in the Philippines, made from grilled chicken intestine. It has a unique taste, and I love it when I dip it in a sauce full of chili.
-----
 -----
-----
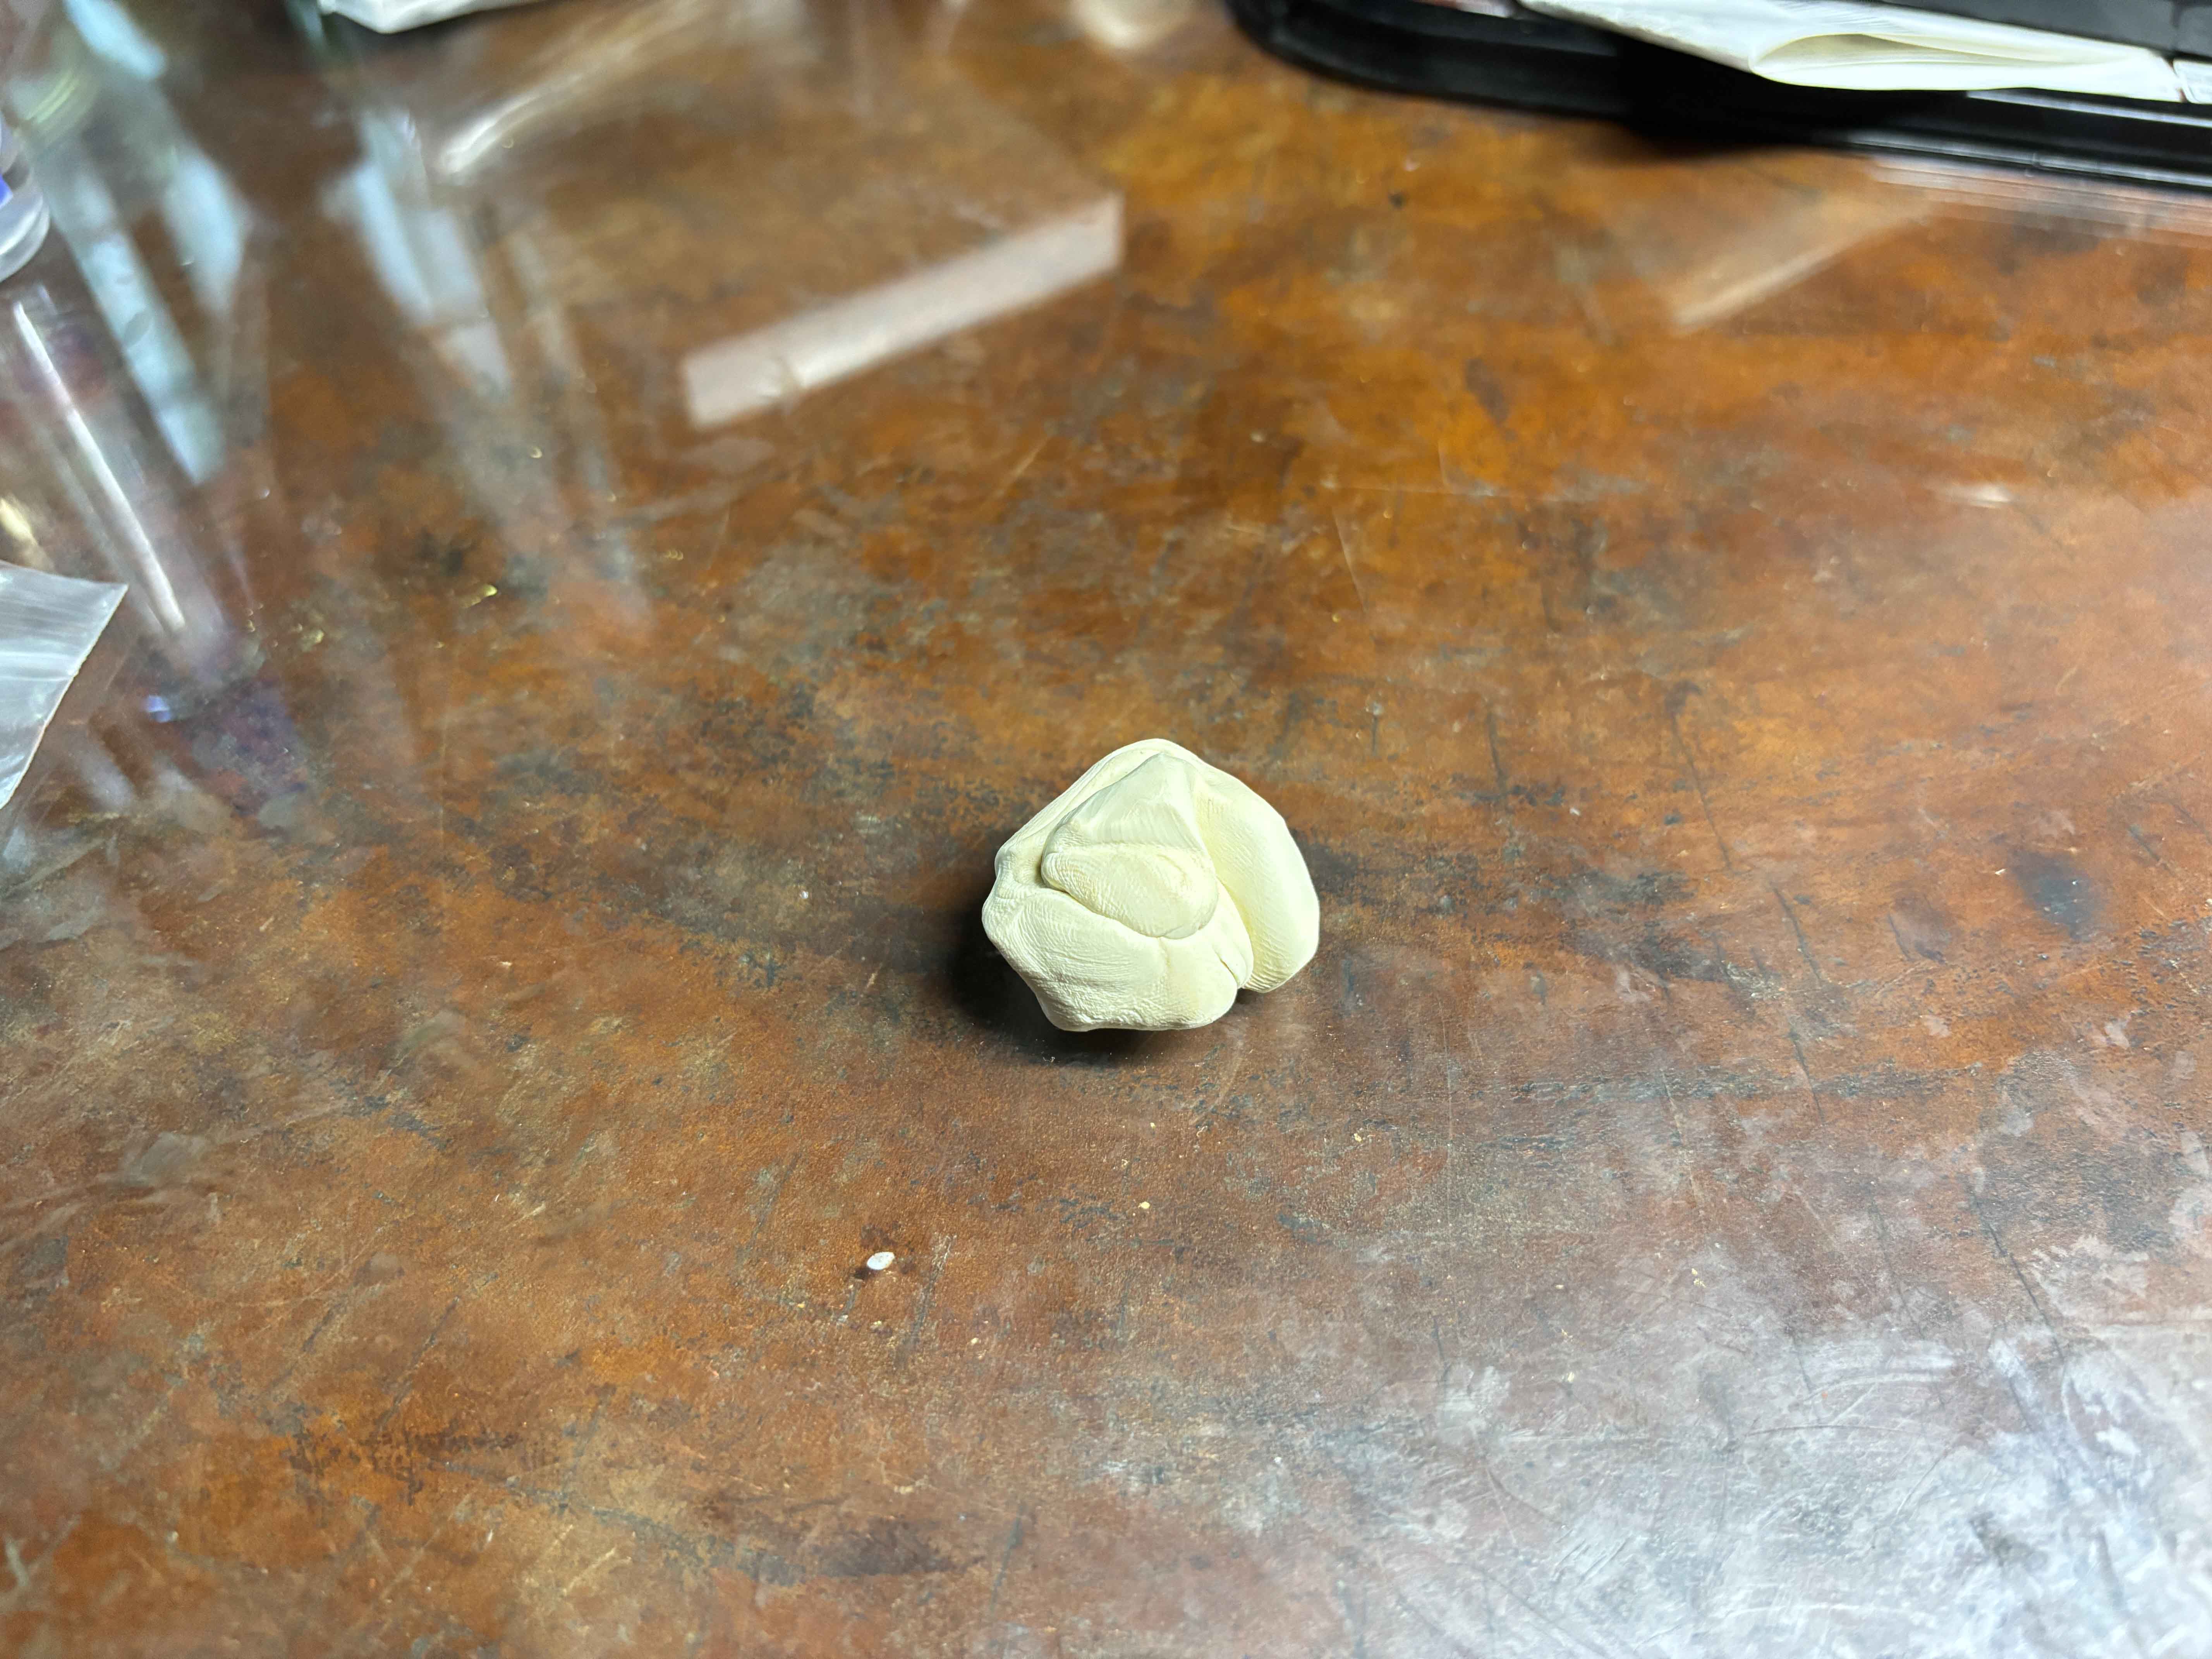
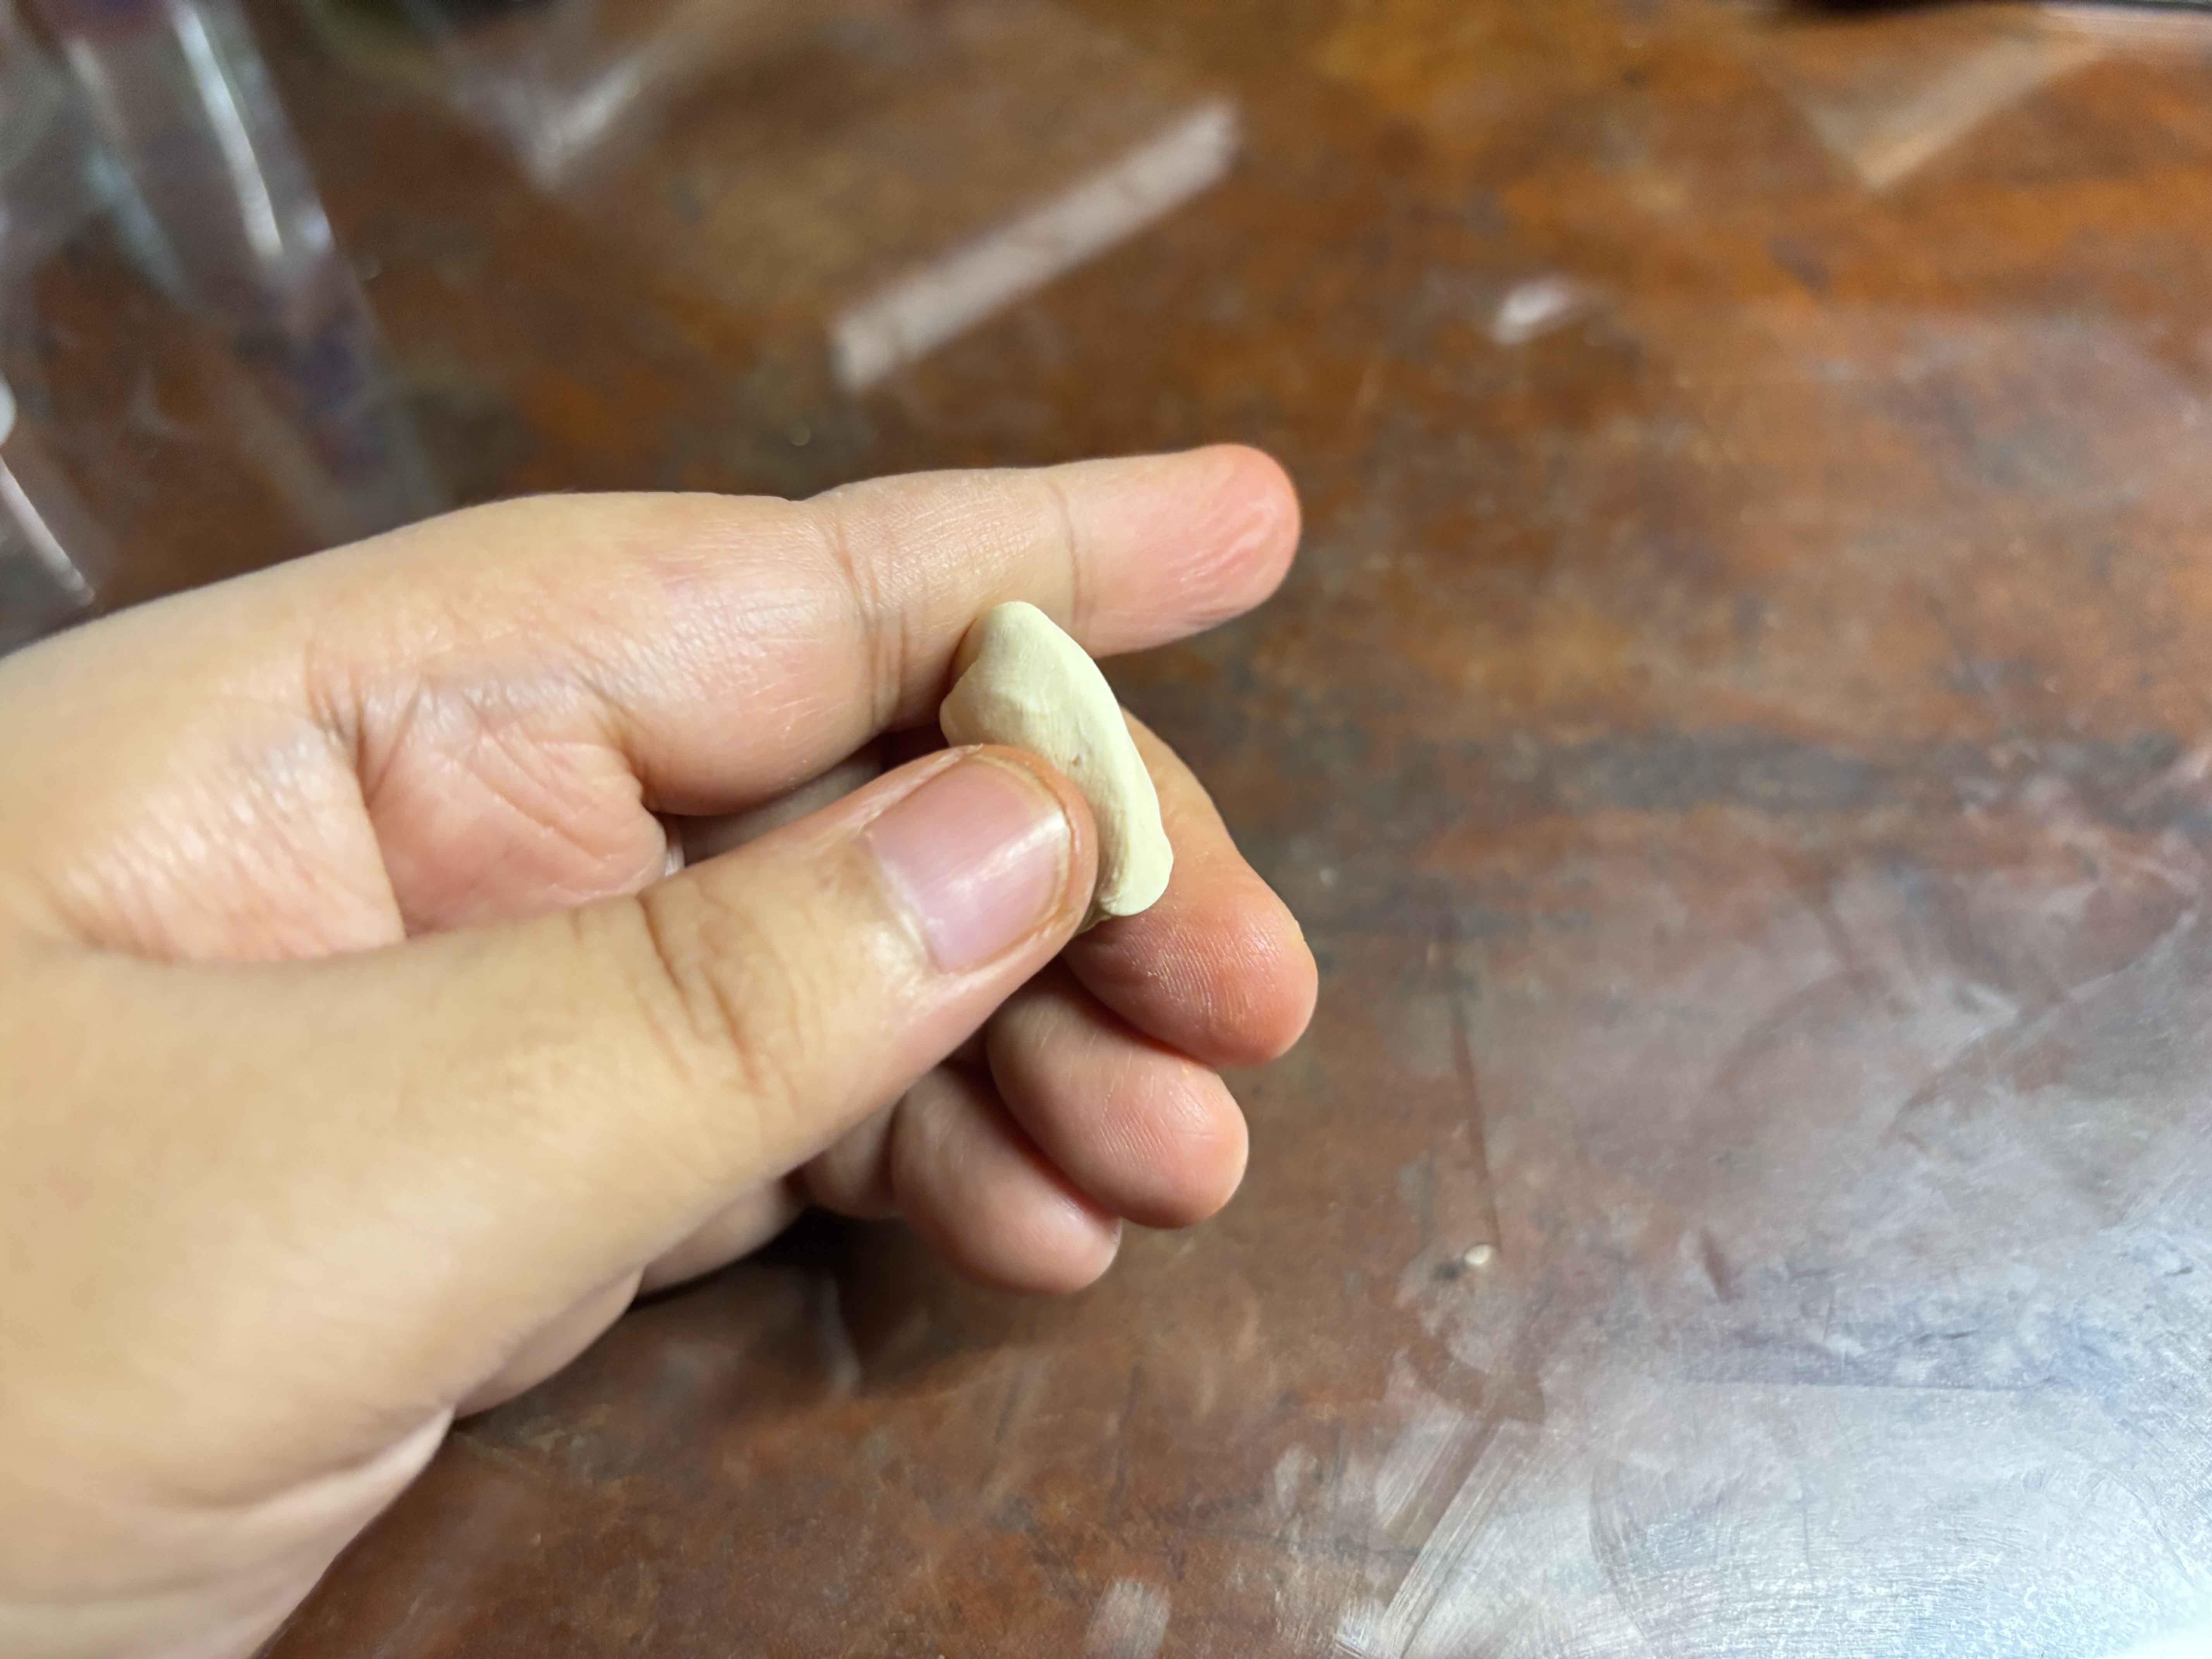
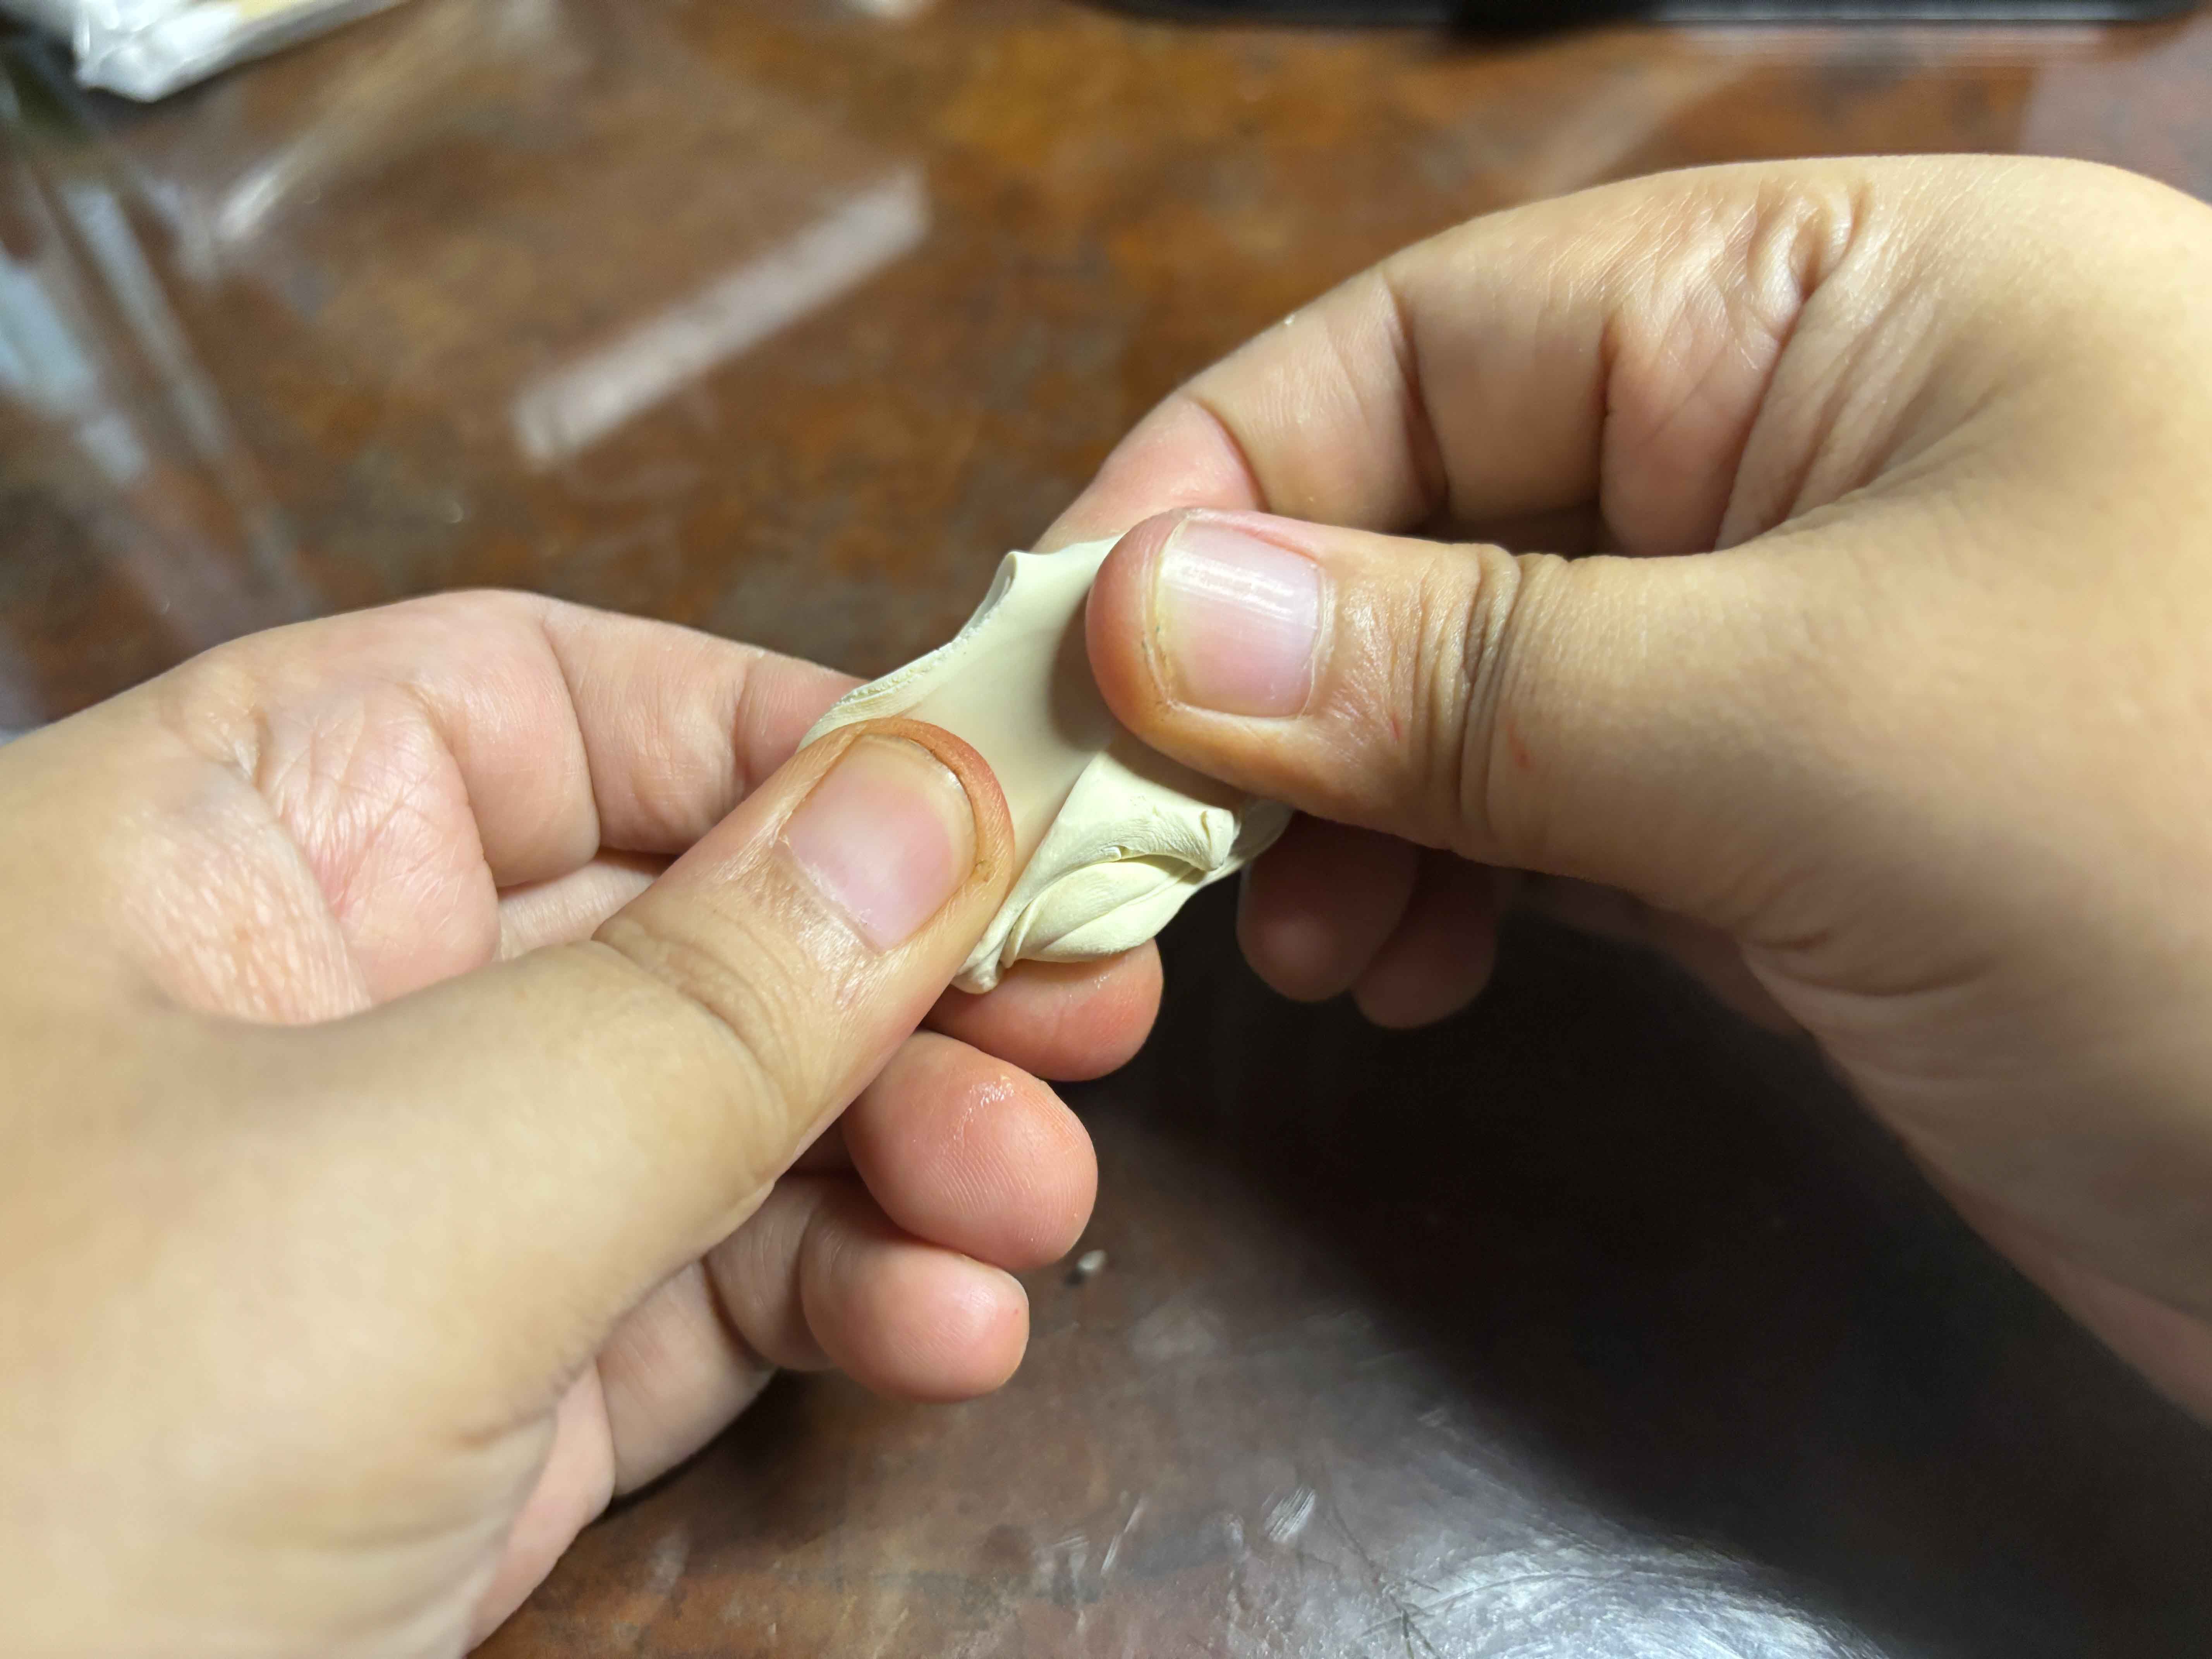 First, I condition the clay by kneading it until it is smooth enough to work with. What I mean by that is the clay is supposed to stretch enough when pulled, which means it is conditioned perfectly. Clay tends to have a hard texture when it sits long enough in a container, so conditioning it is important.
-----
First, I condition the clay by kneading it until it is smooth enough to work with. What I mean by that is the clay is supposed to stretch enough when pulled, which means it is conditioned perfectly. Clay tends to have a hard texture when it sits long enough in a container, so conditioning it is important.
-----

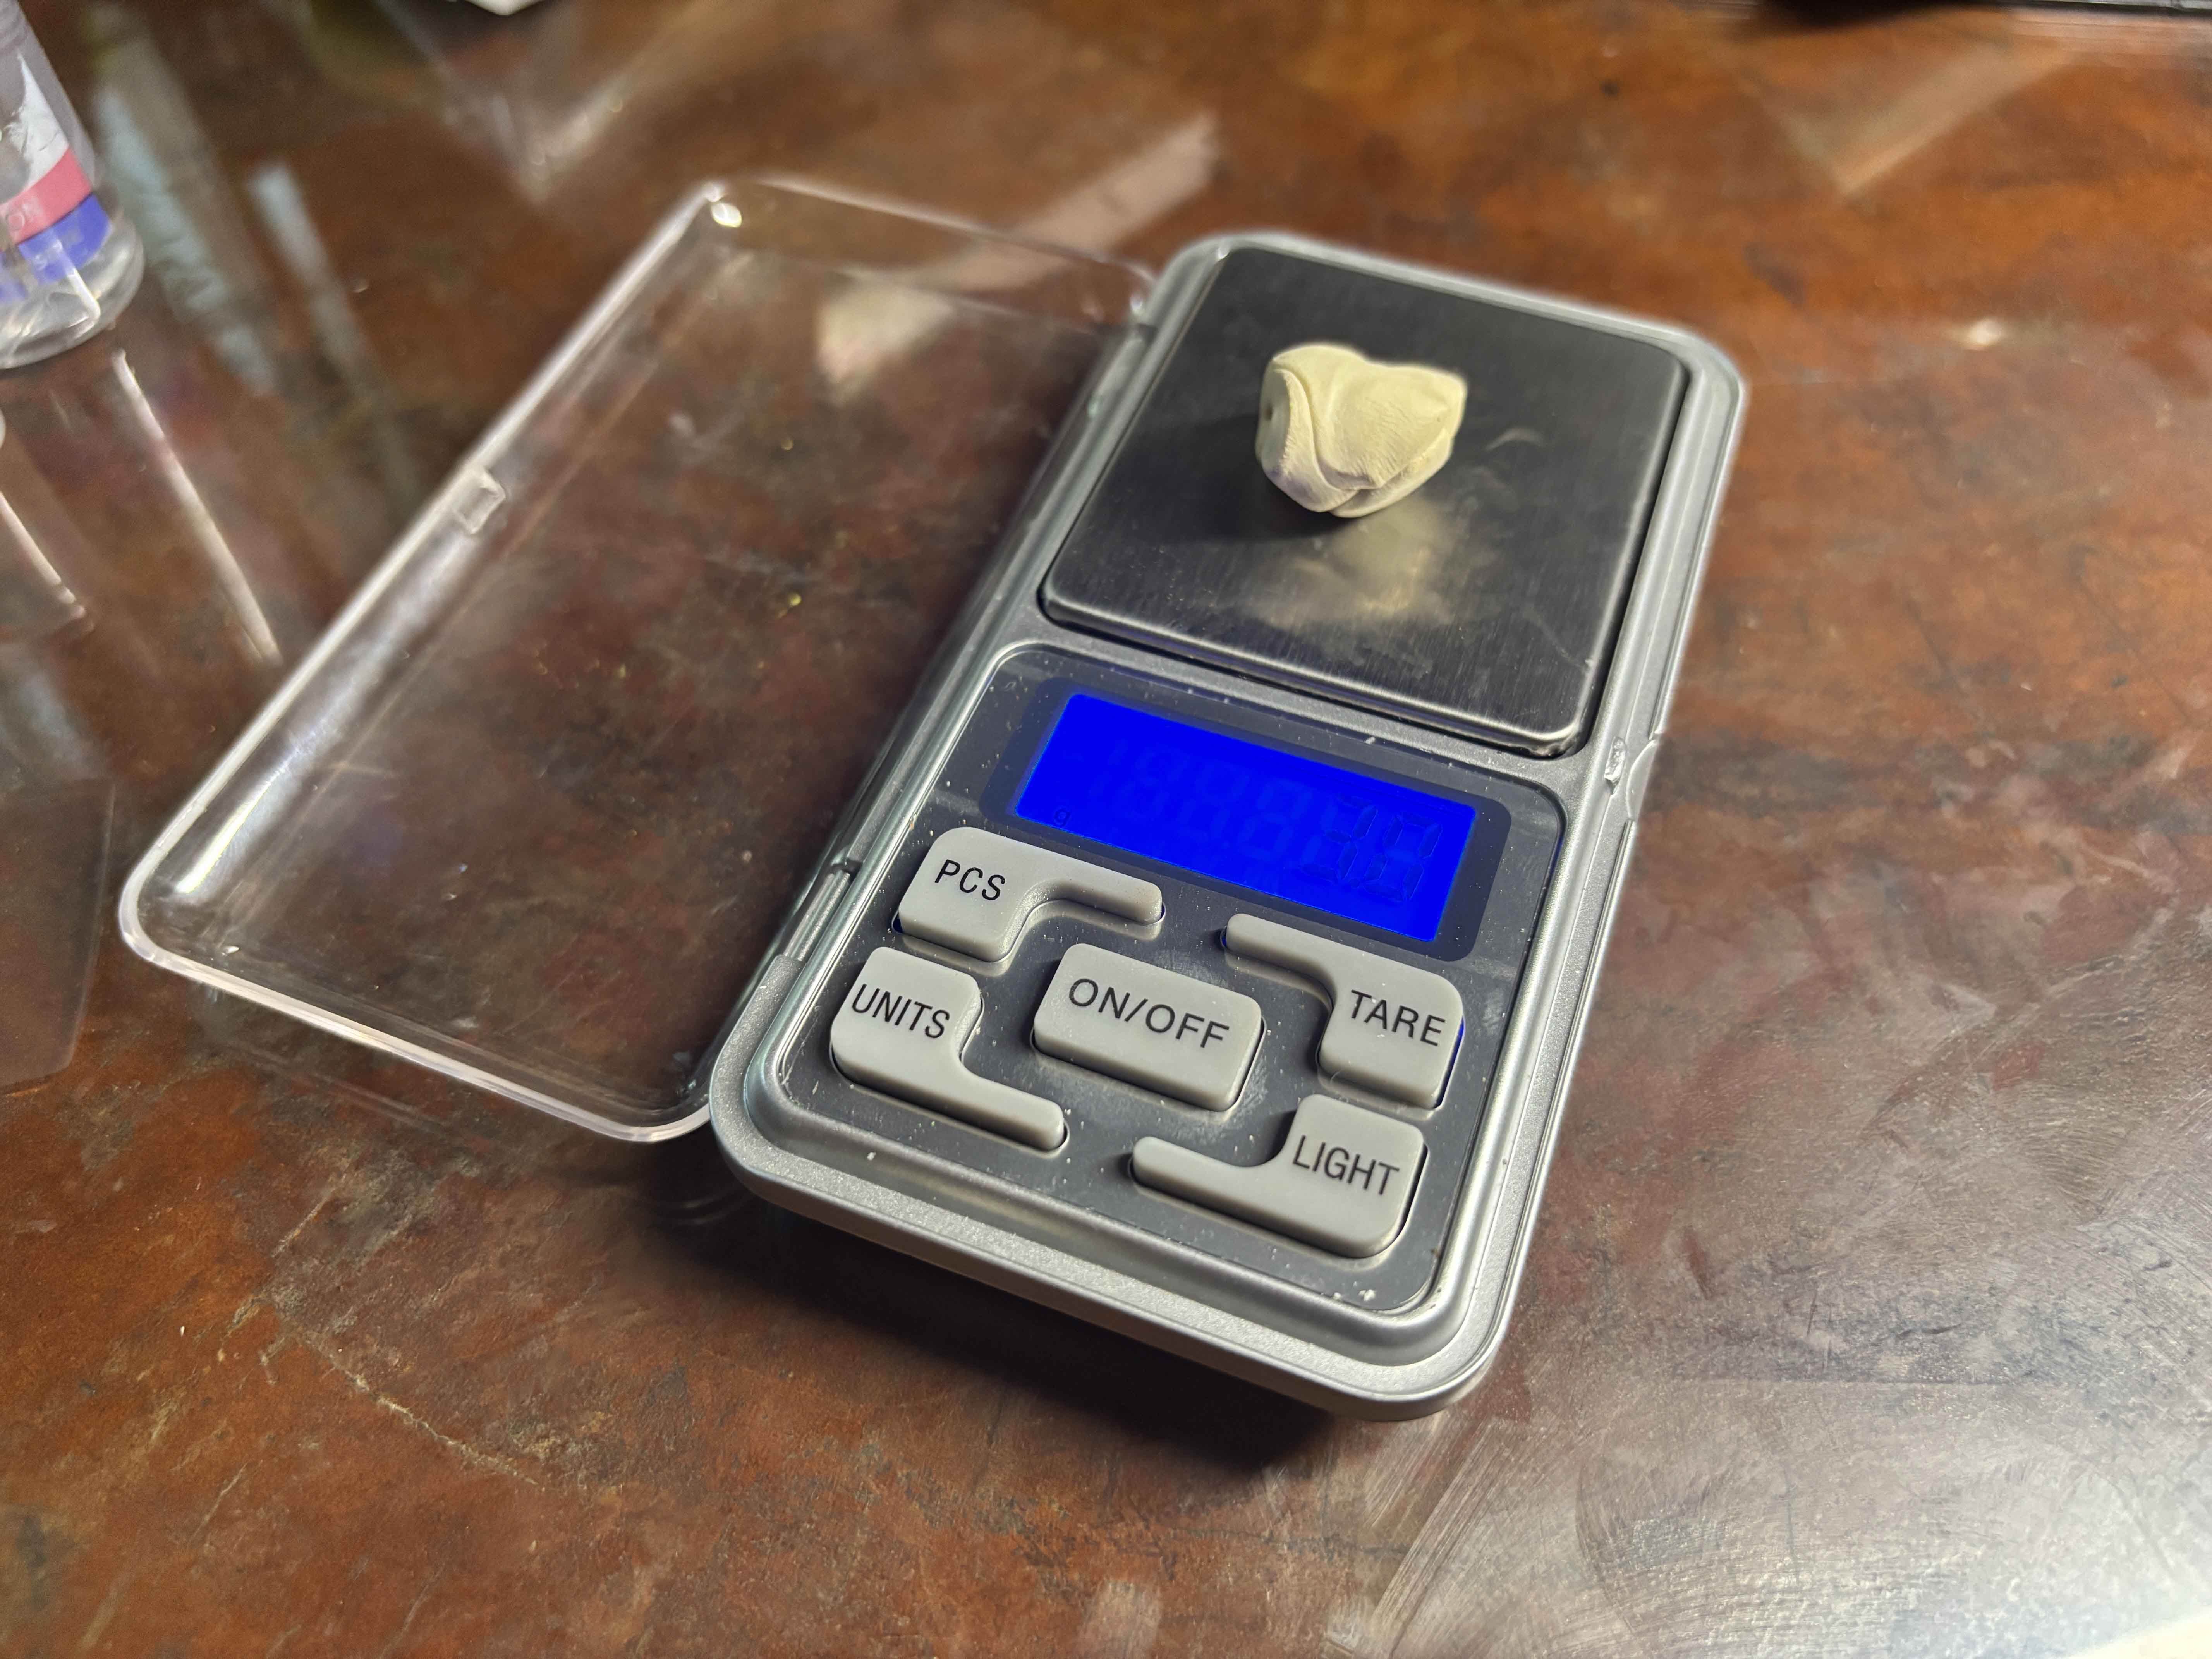 If you wanted an equally perfect size, you would need to weigh it in a portable weighing scale, which is a big help to not just eyeballing if the clay is equally in weight.
-----
If you wanted an equally perfect size, you would need to weigh it in a portable weighing scale, which is a big help to not just eyeballing if the clay is equally in weight.
-----
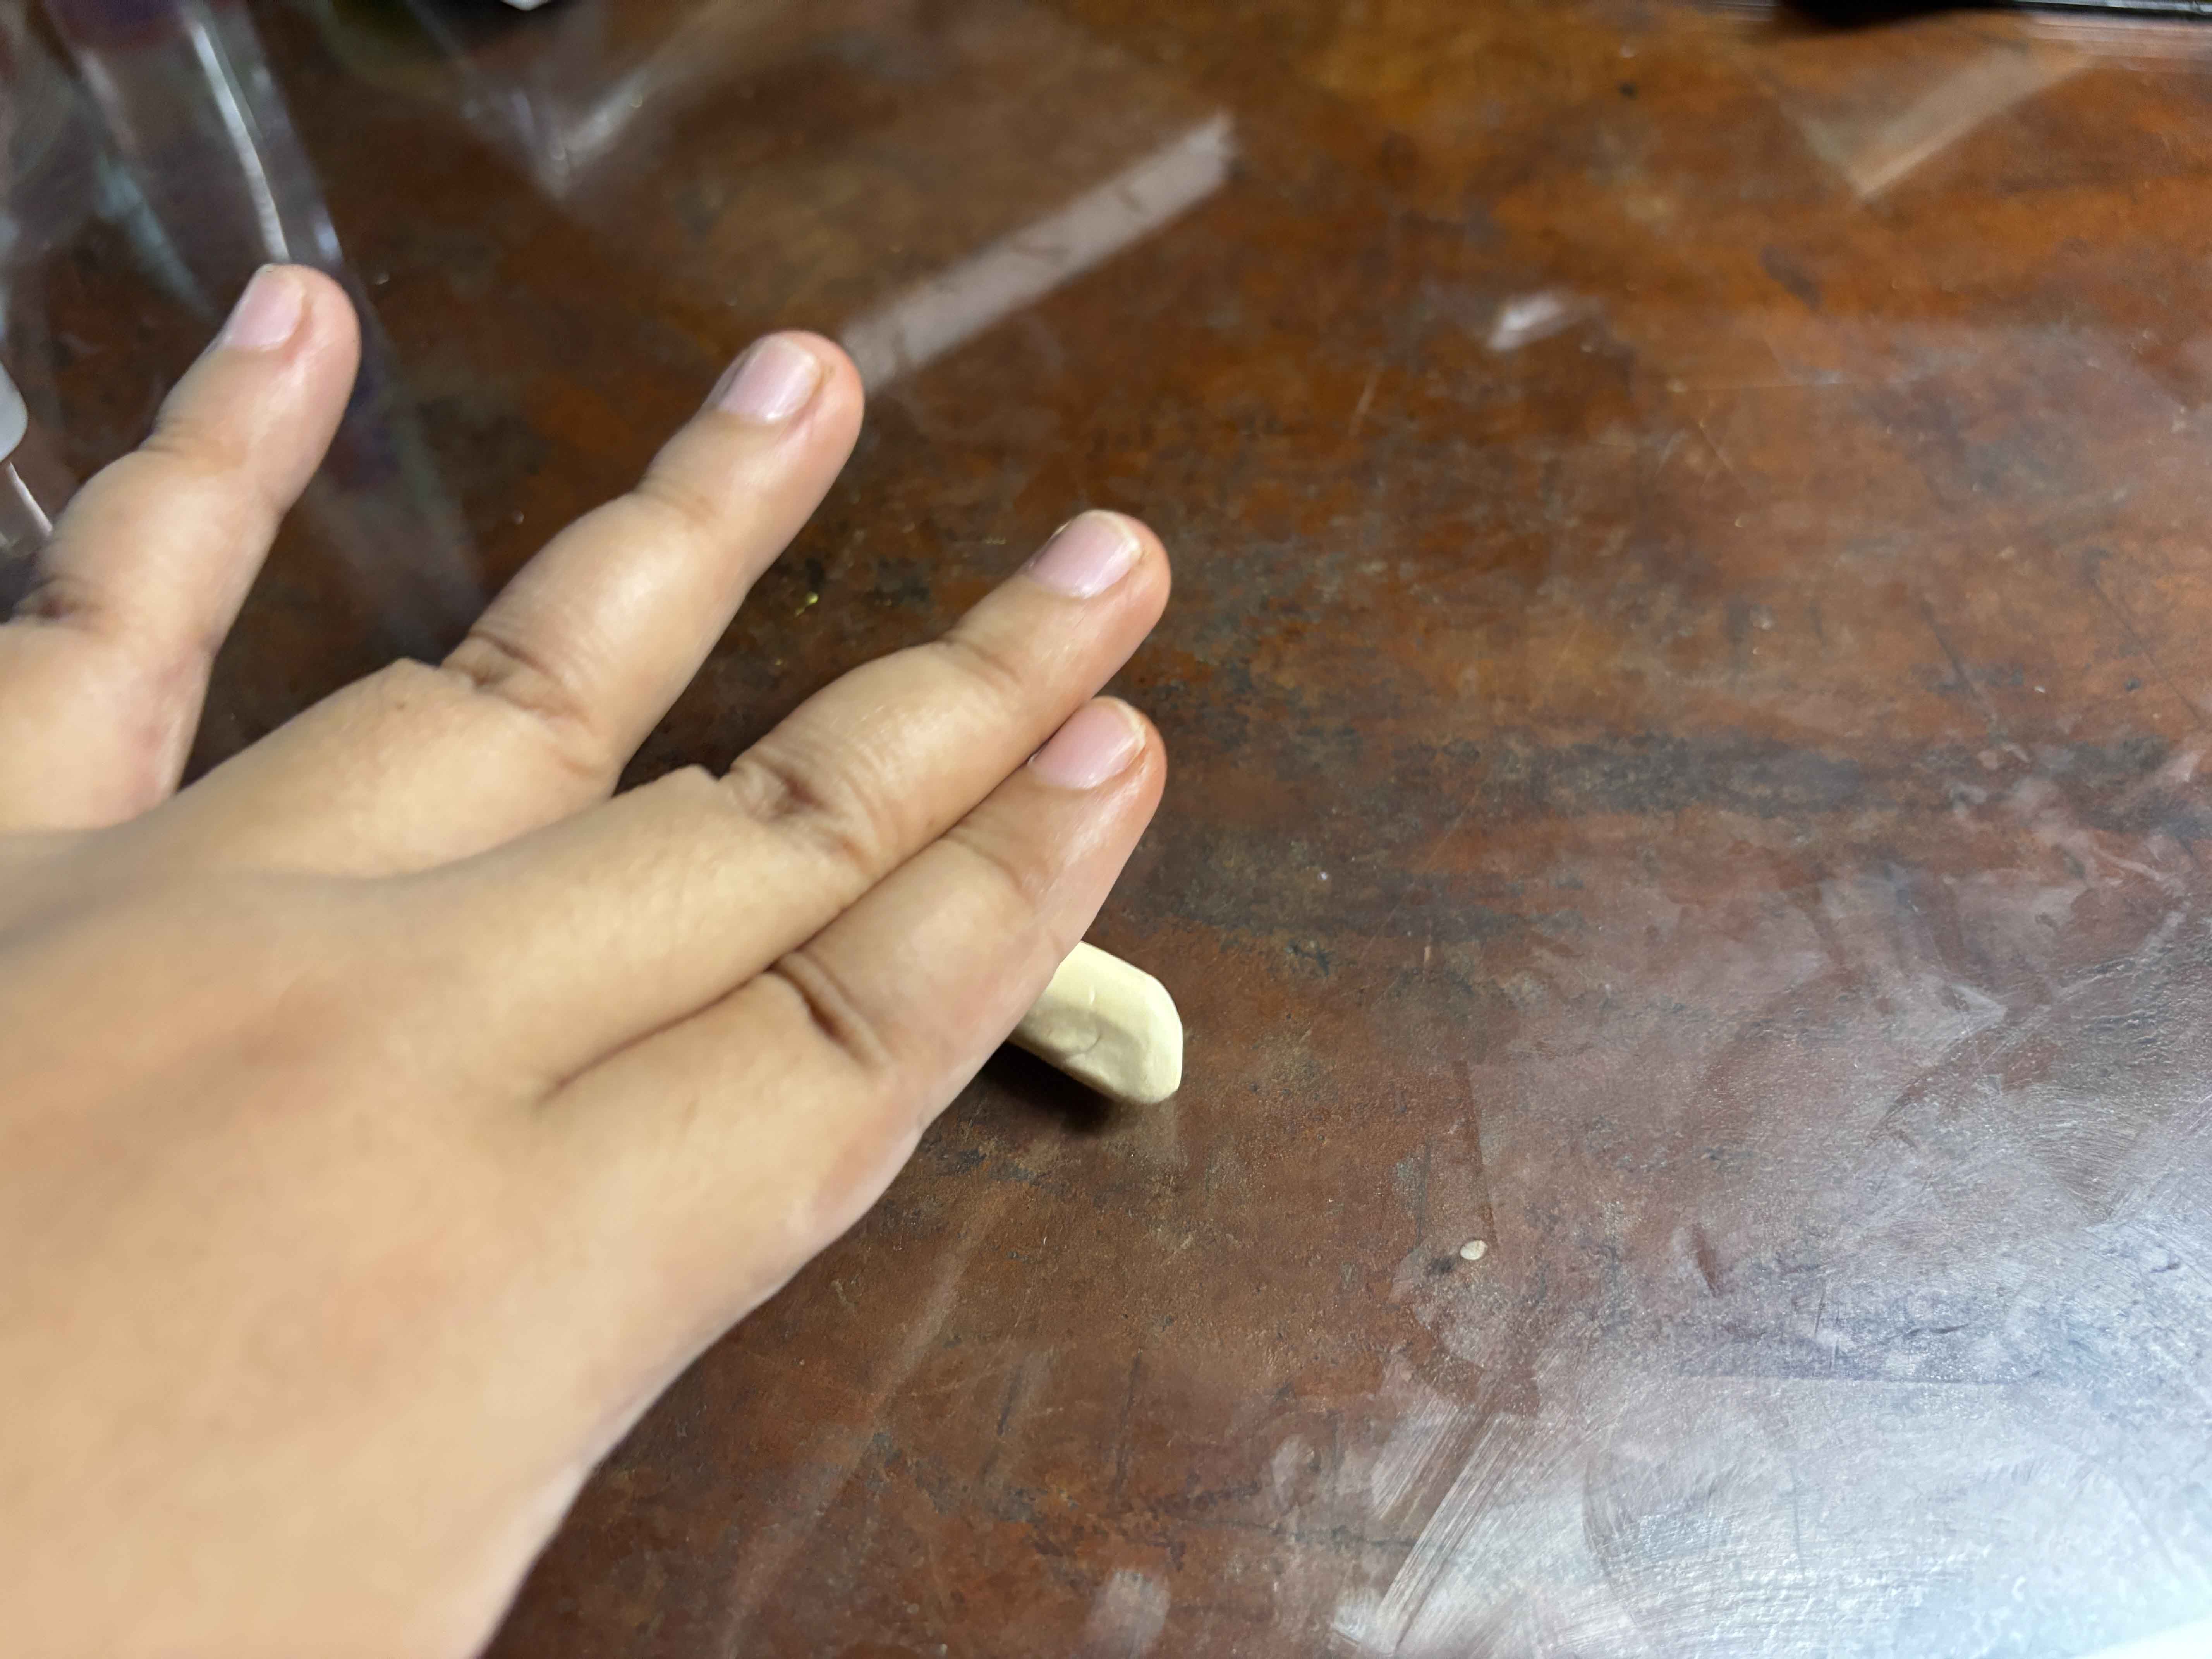 After that, I carefully shape the clay into a long, thin stick shape.
-----
After that, I carefully shape the clay into a long, thin stick shape.
-----
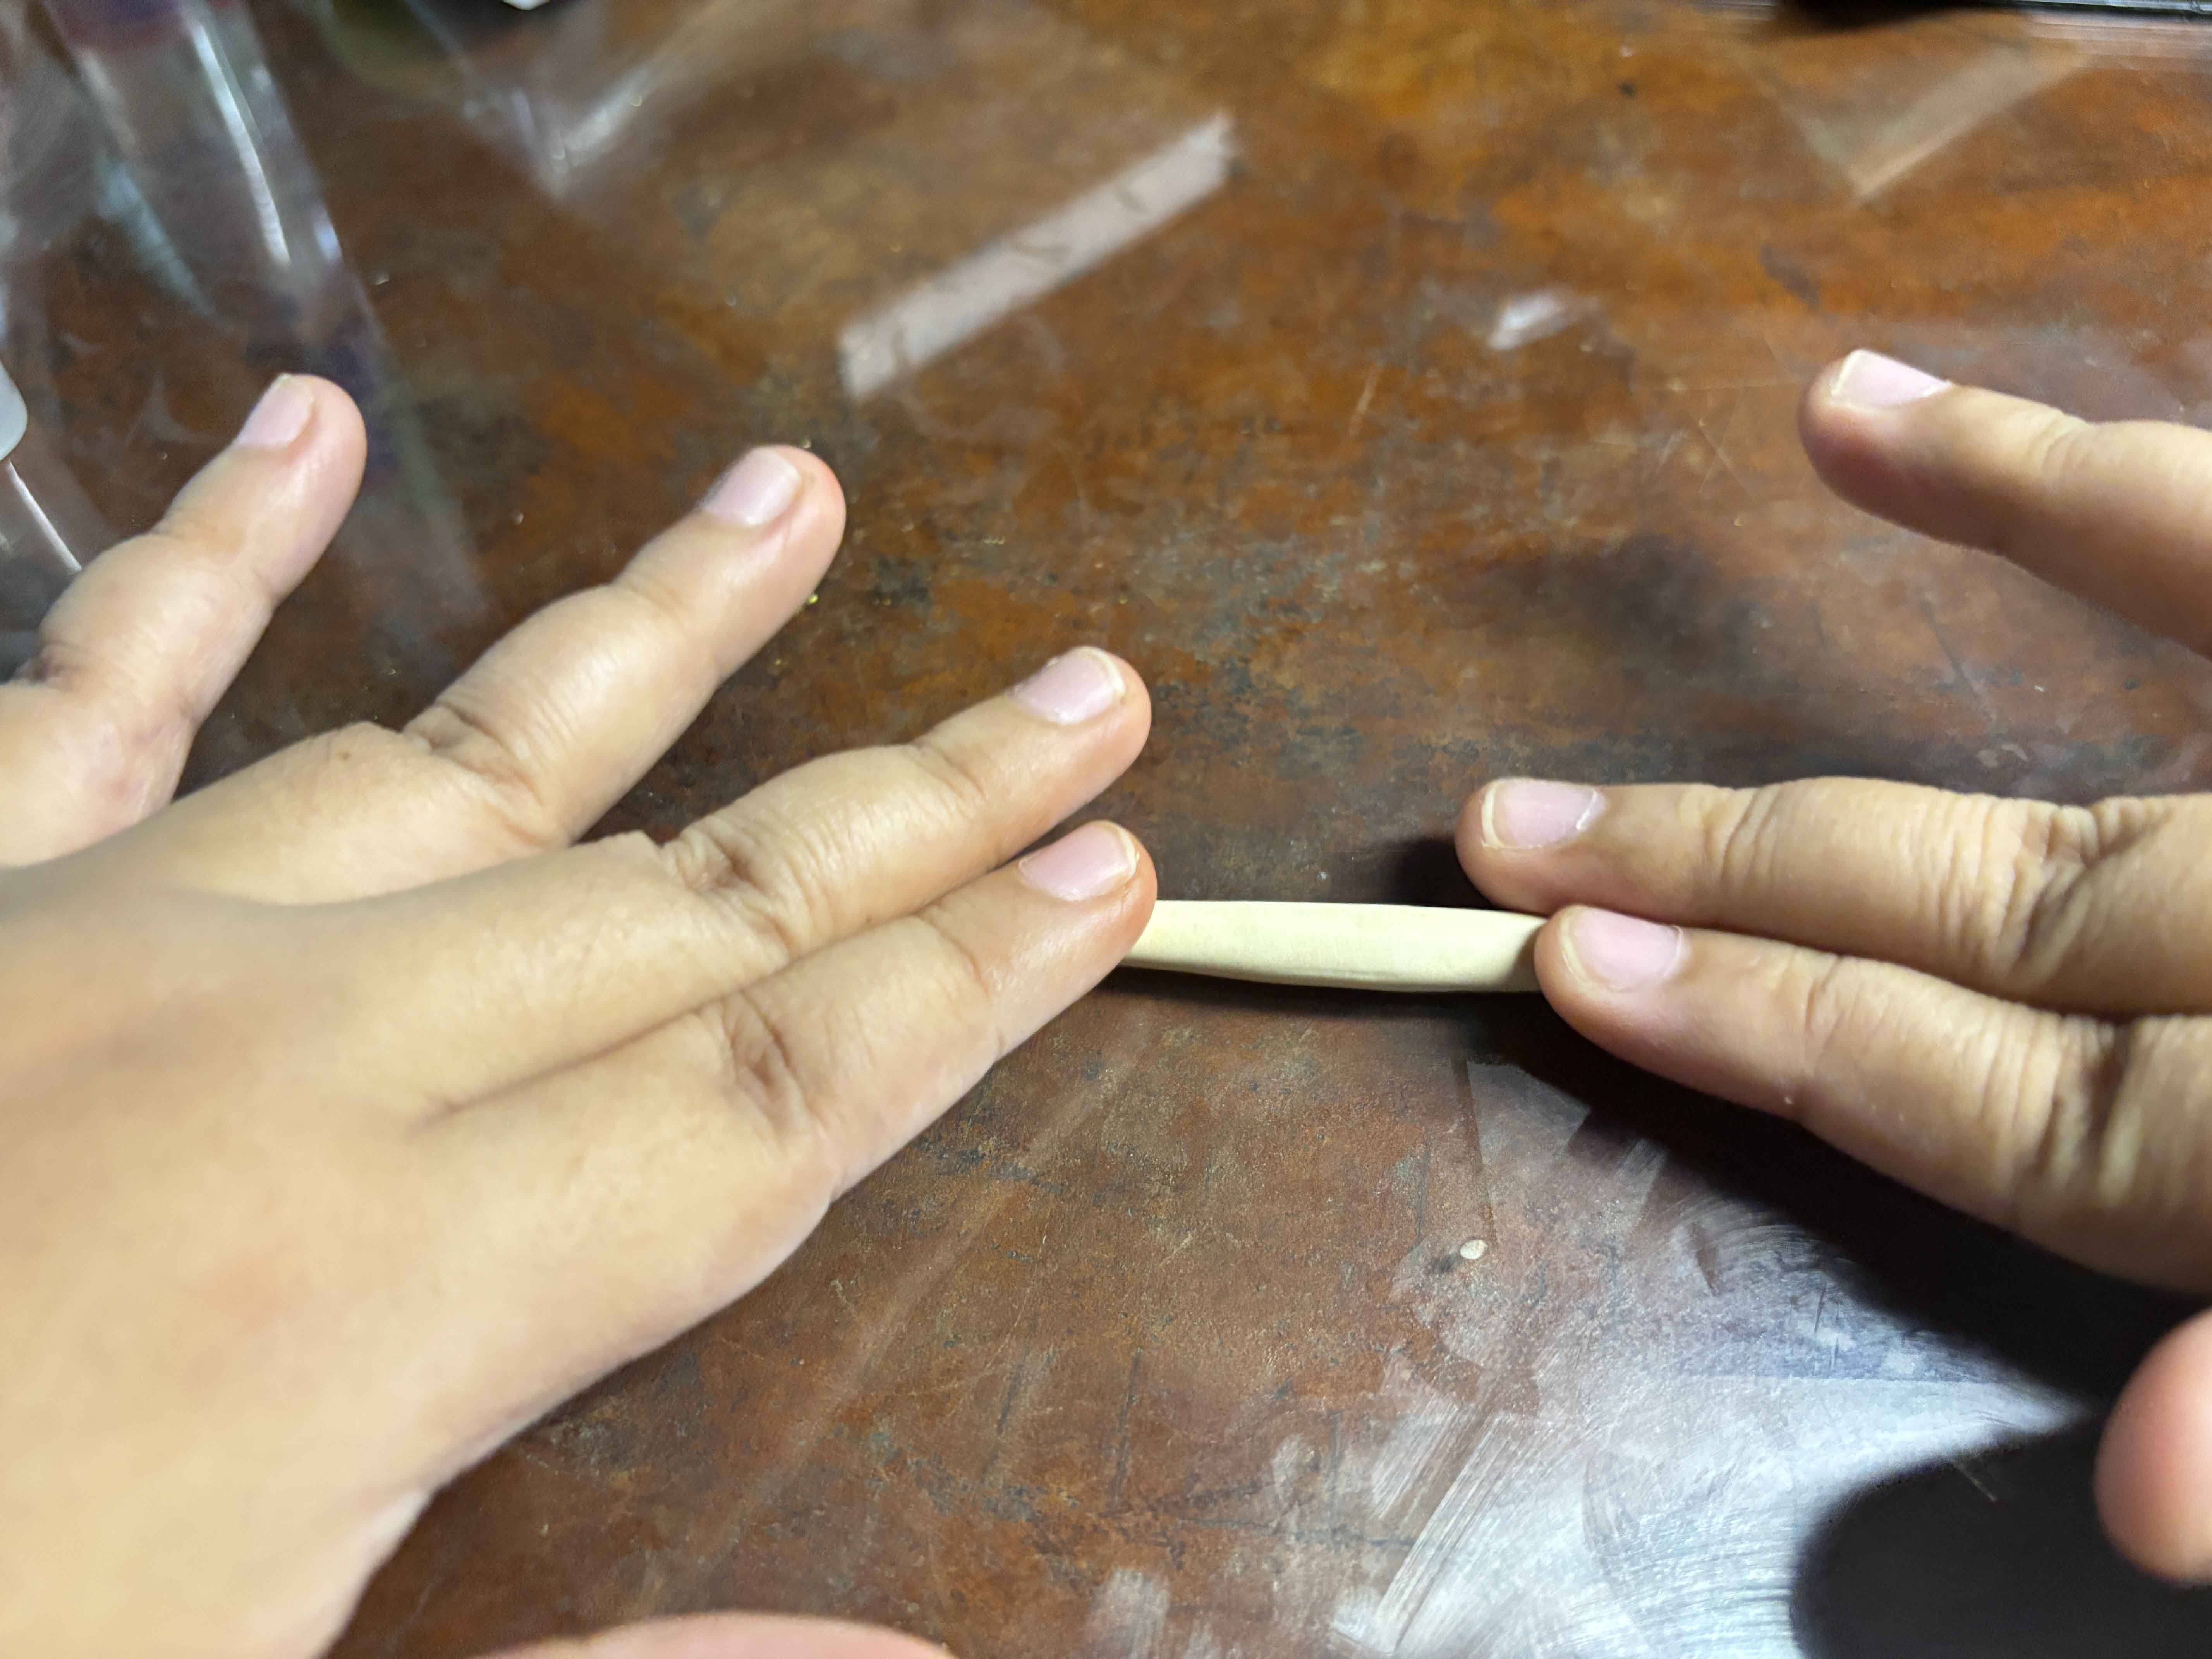
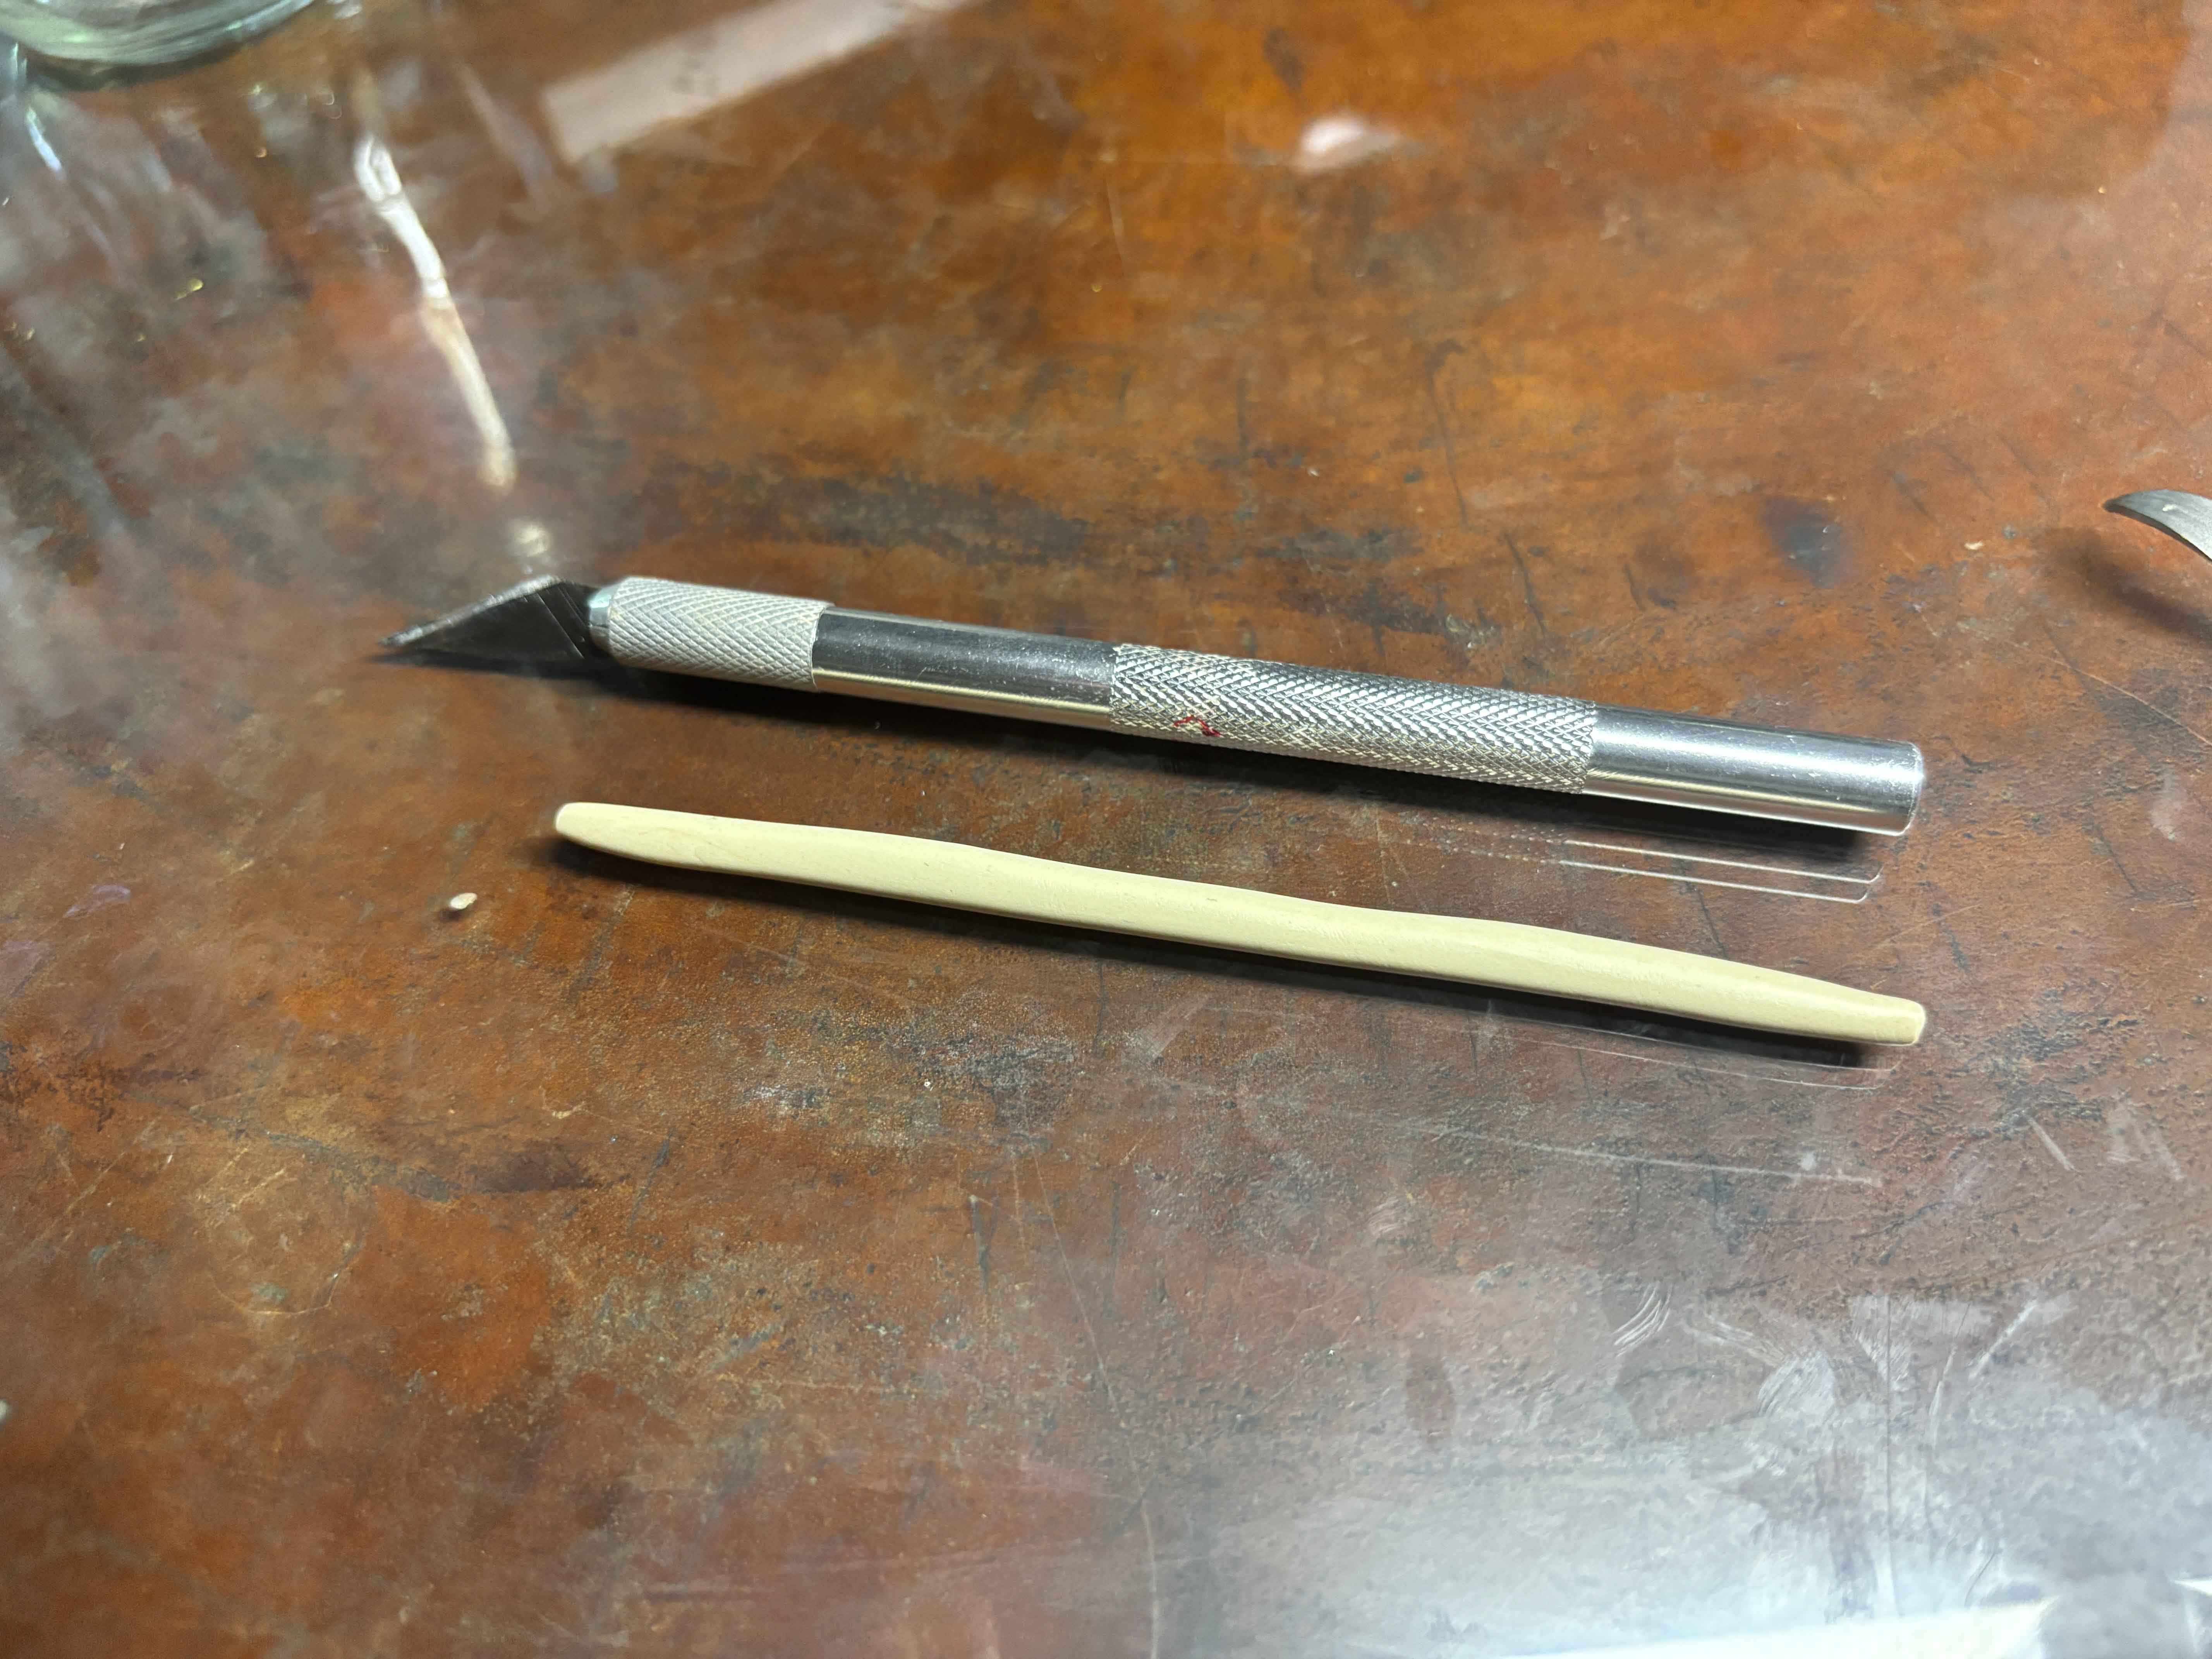 I use my two hands to equally shape it. It is okay if you fail at first, and I use my X-Acto knife width to determine how long the isaw size.
-----
I use my two hands to equally shape it. It is okay if you fail at first, and I use my X-Acto knife width to determine how long the isaw size.
-----
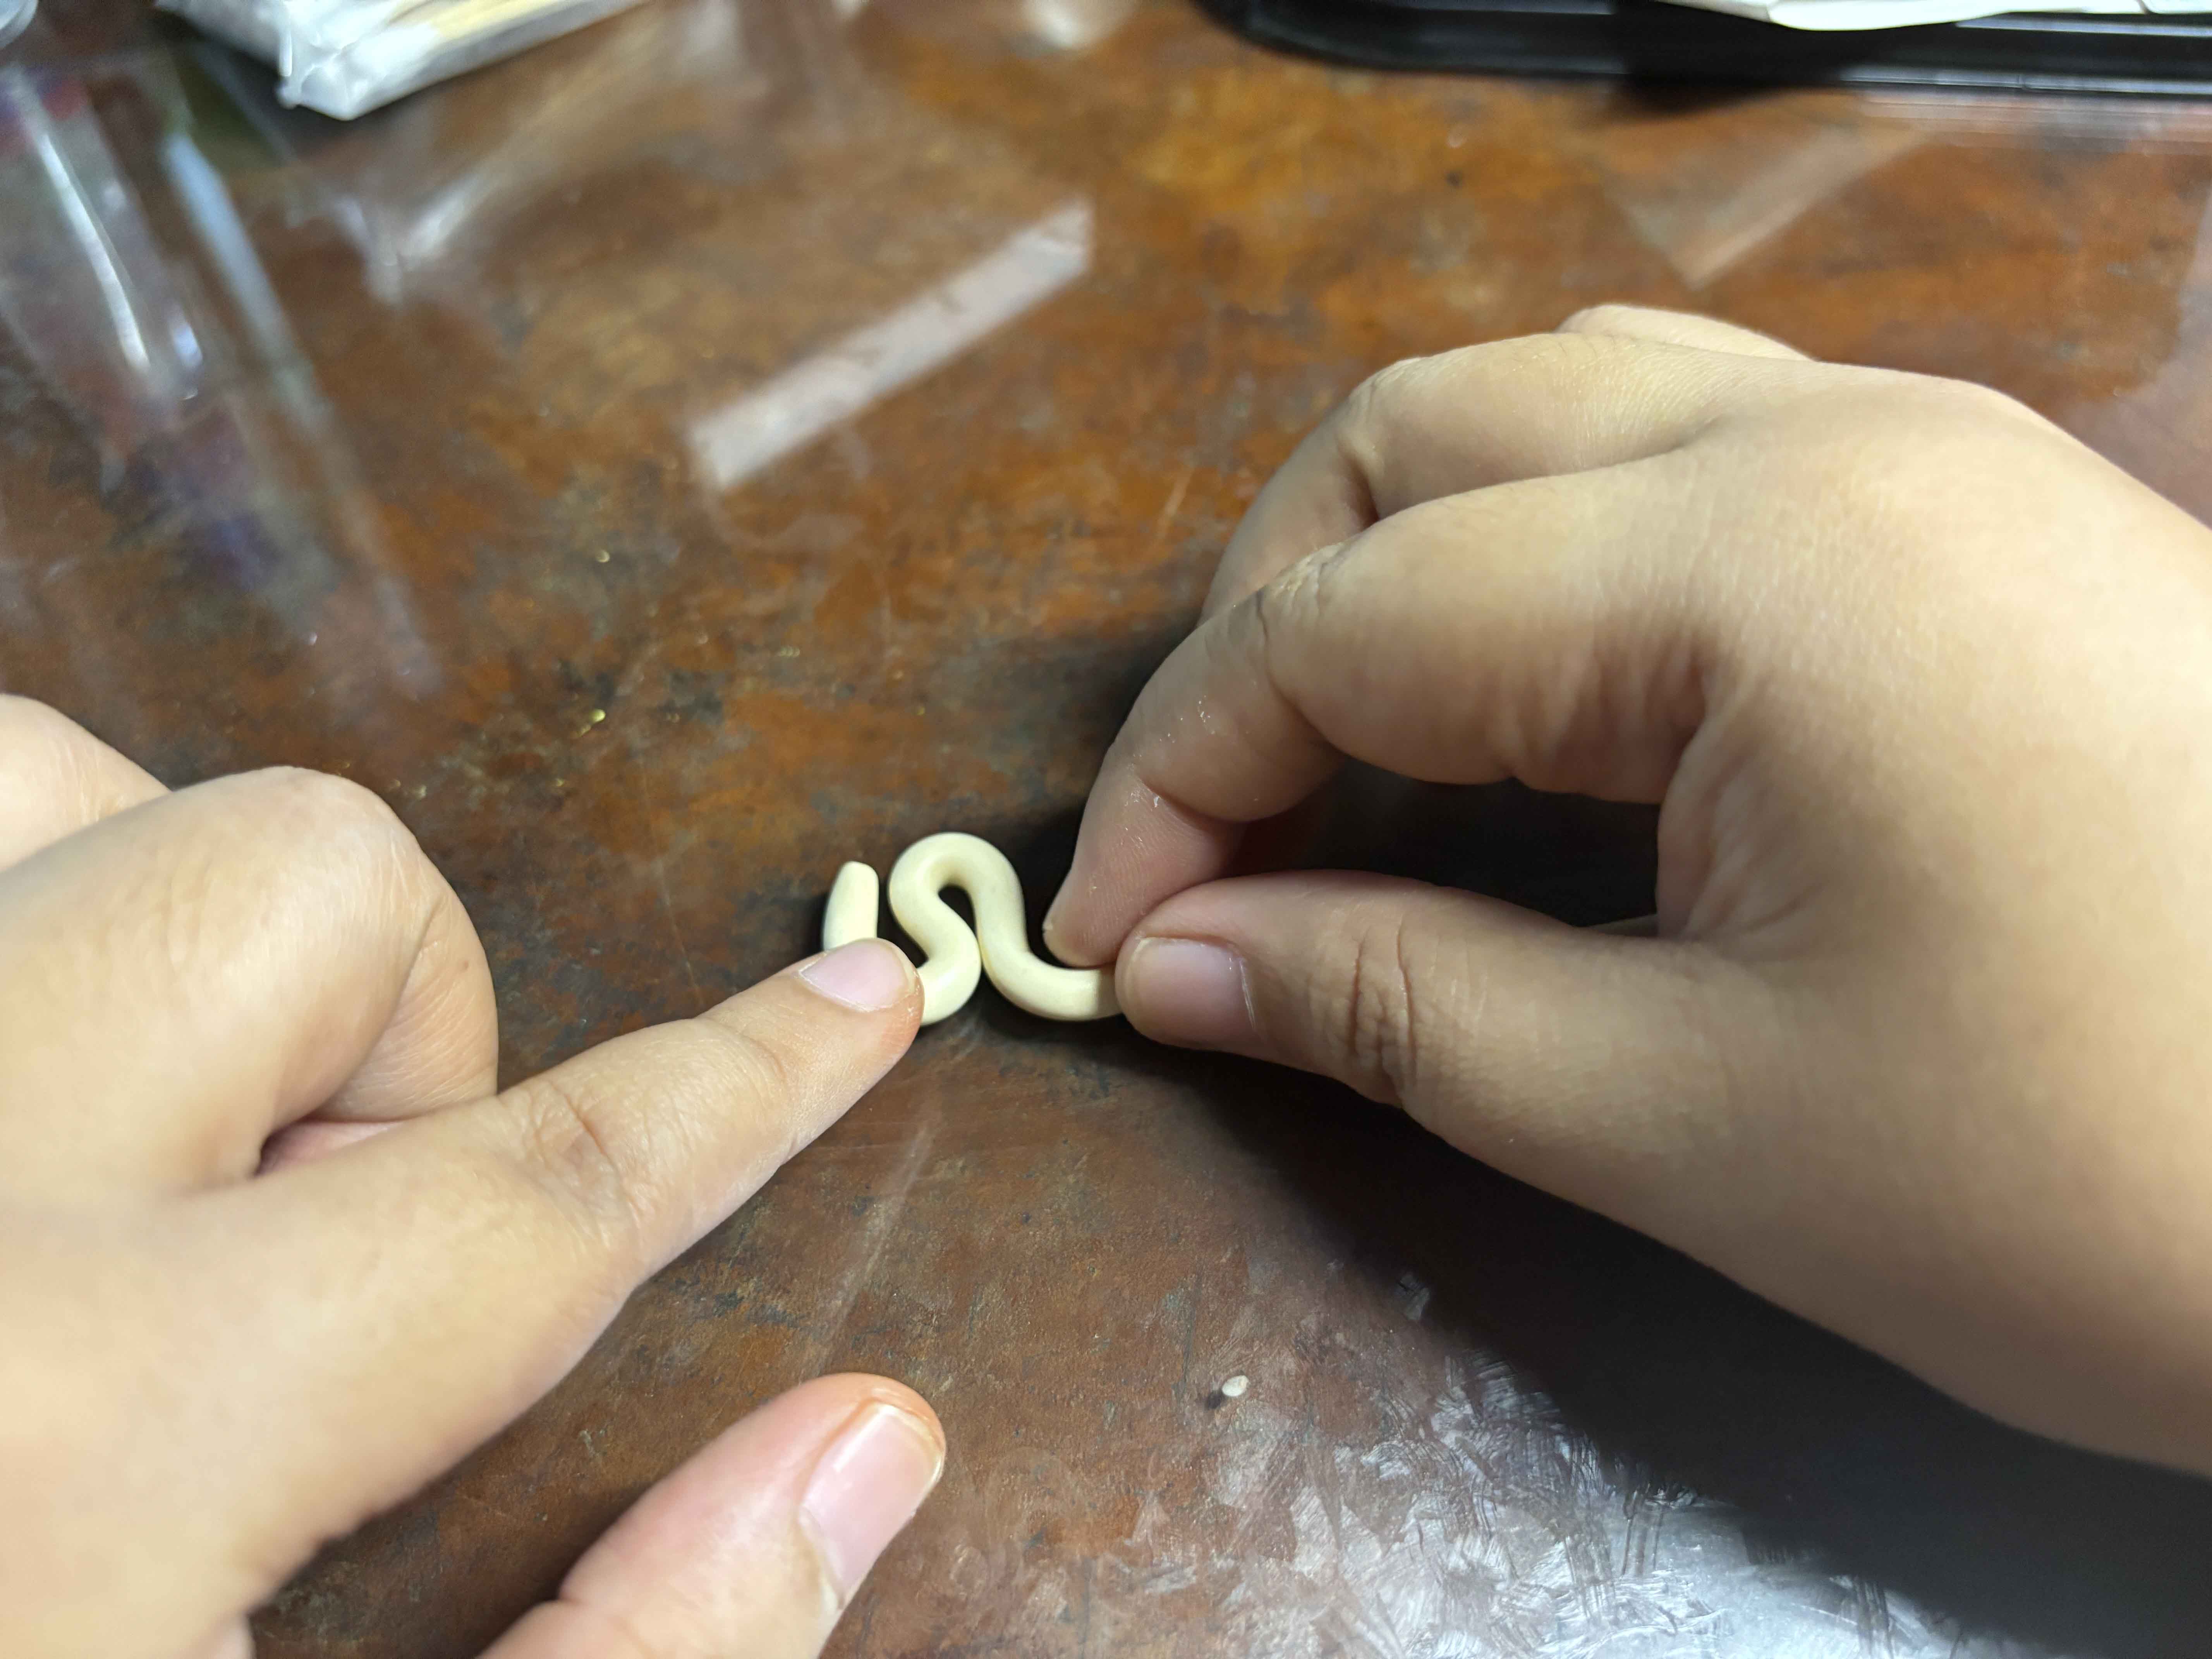
 And then I shape it this way, it doesn't have to be perfect.
-----
And then I shape it this way, it doesn't have to be perfect.
-----
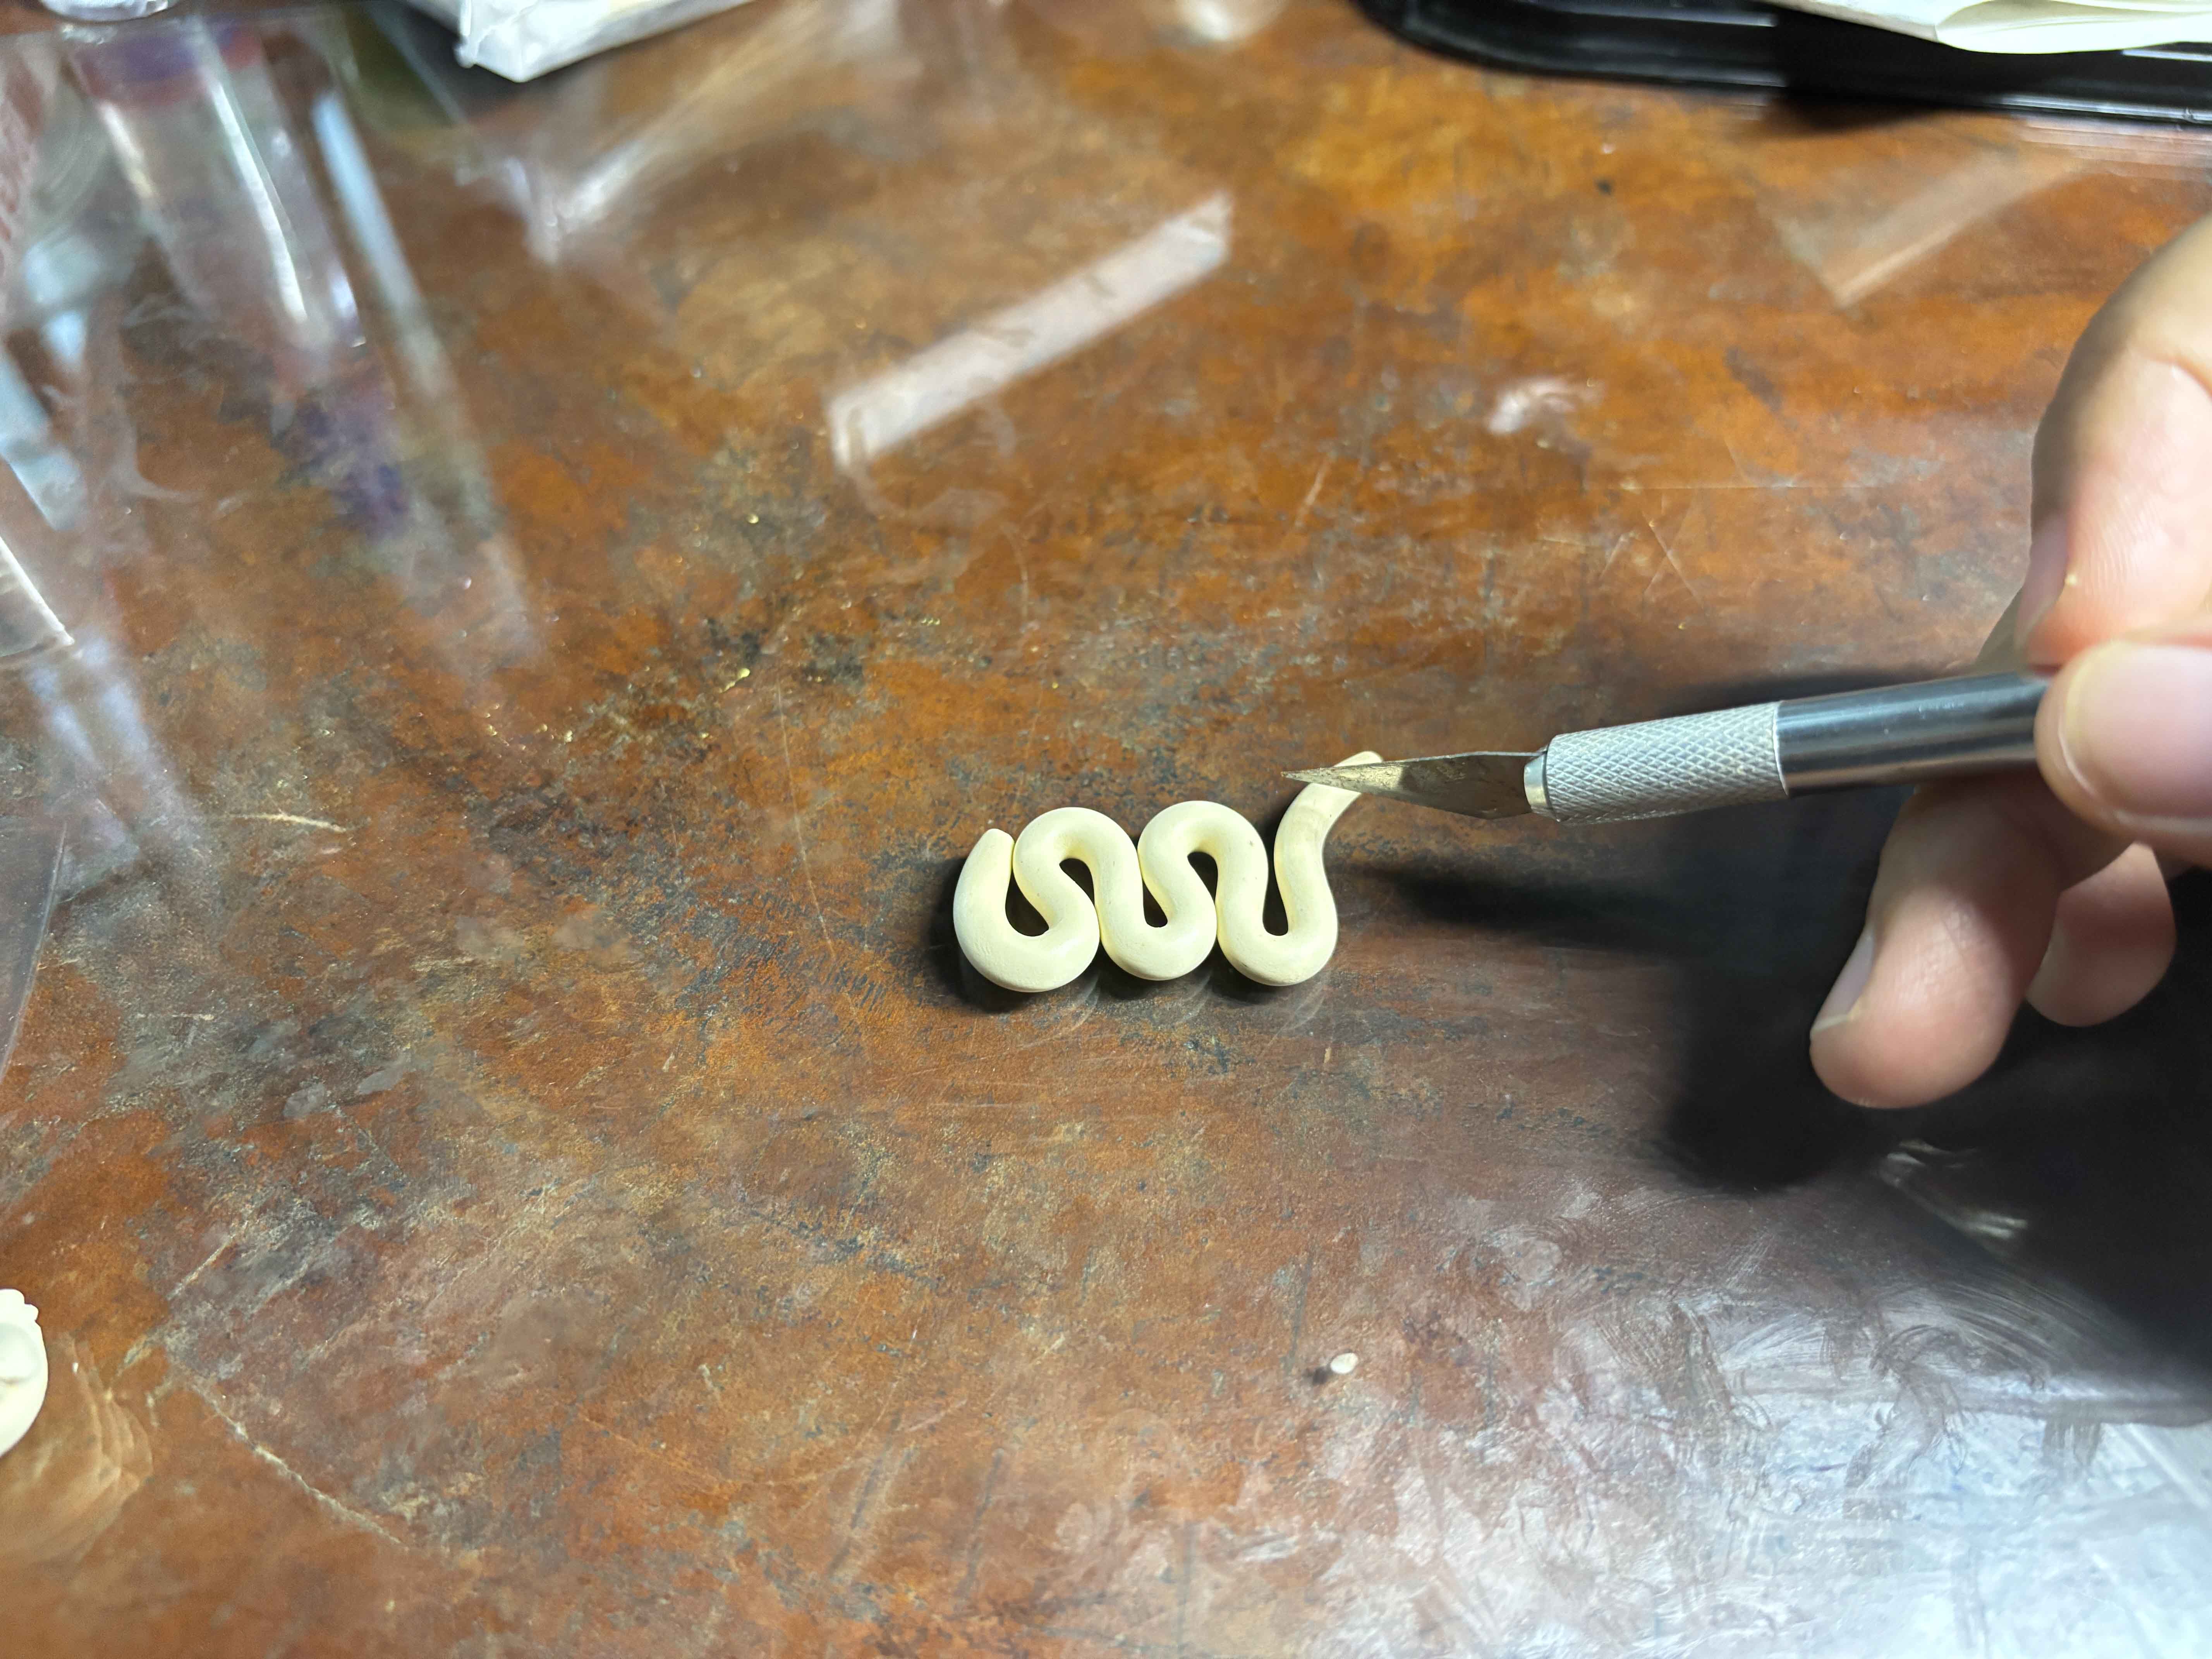
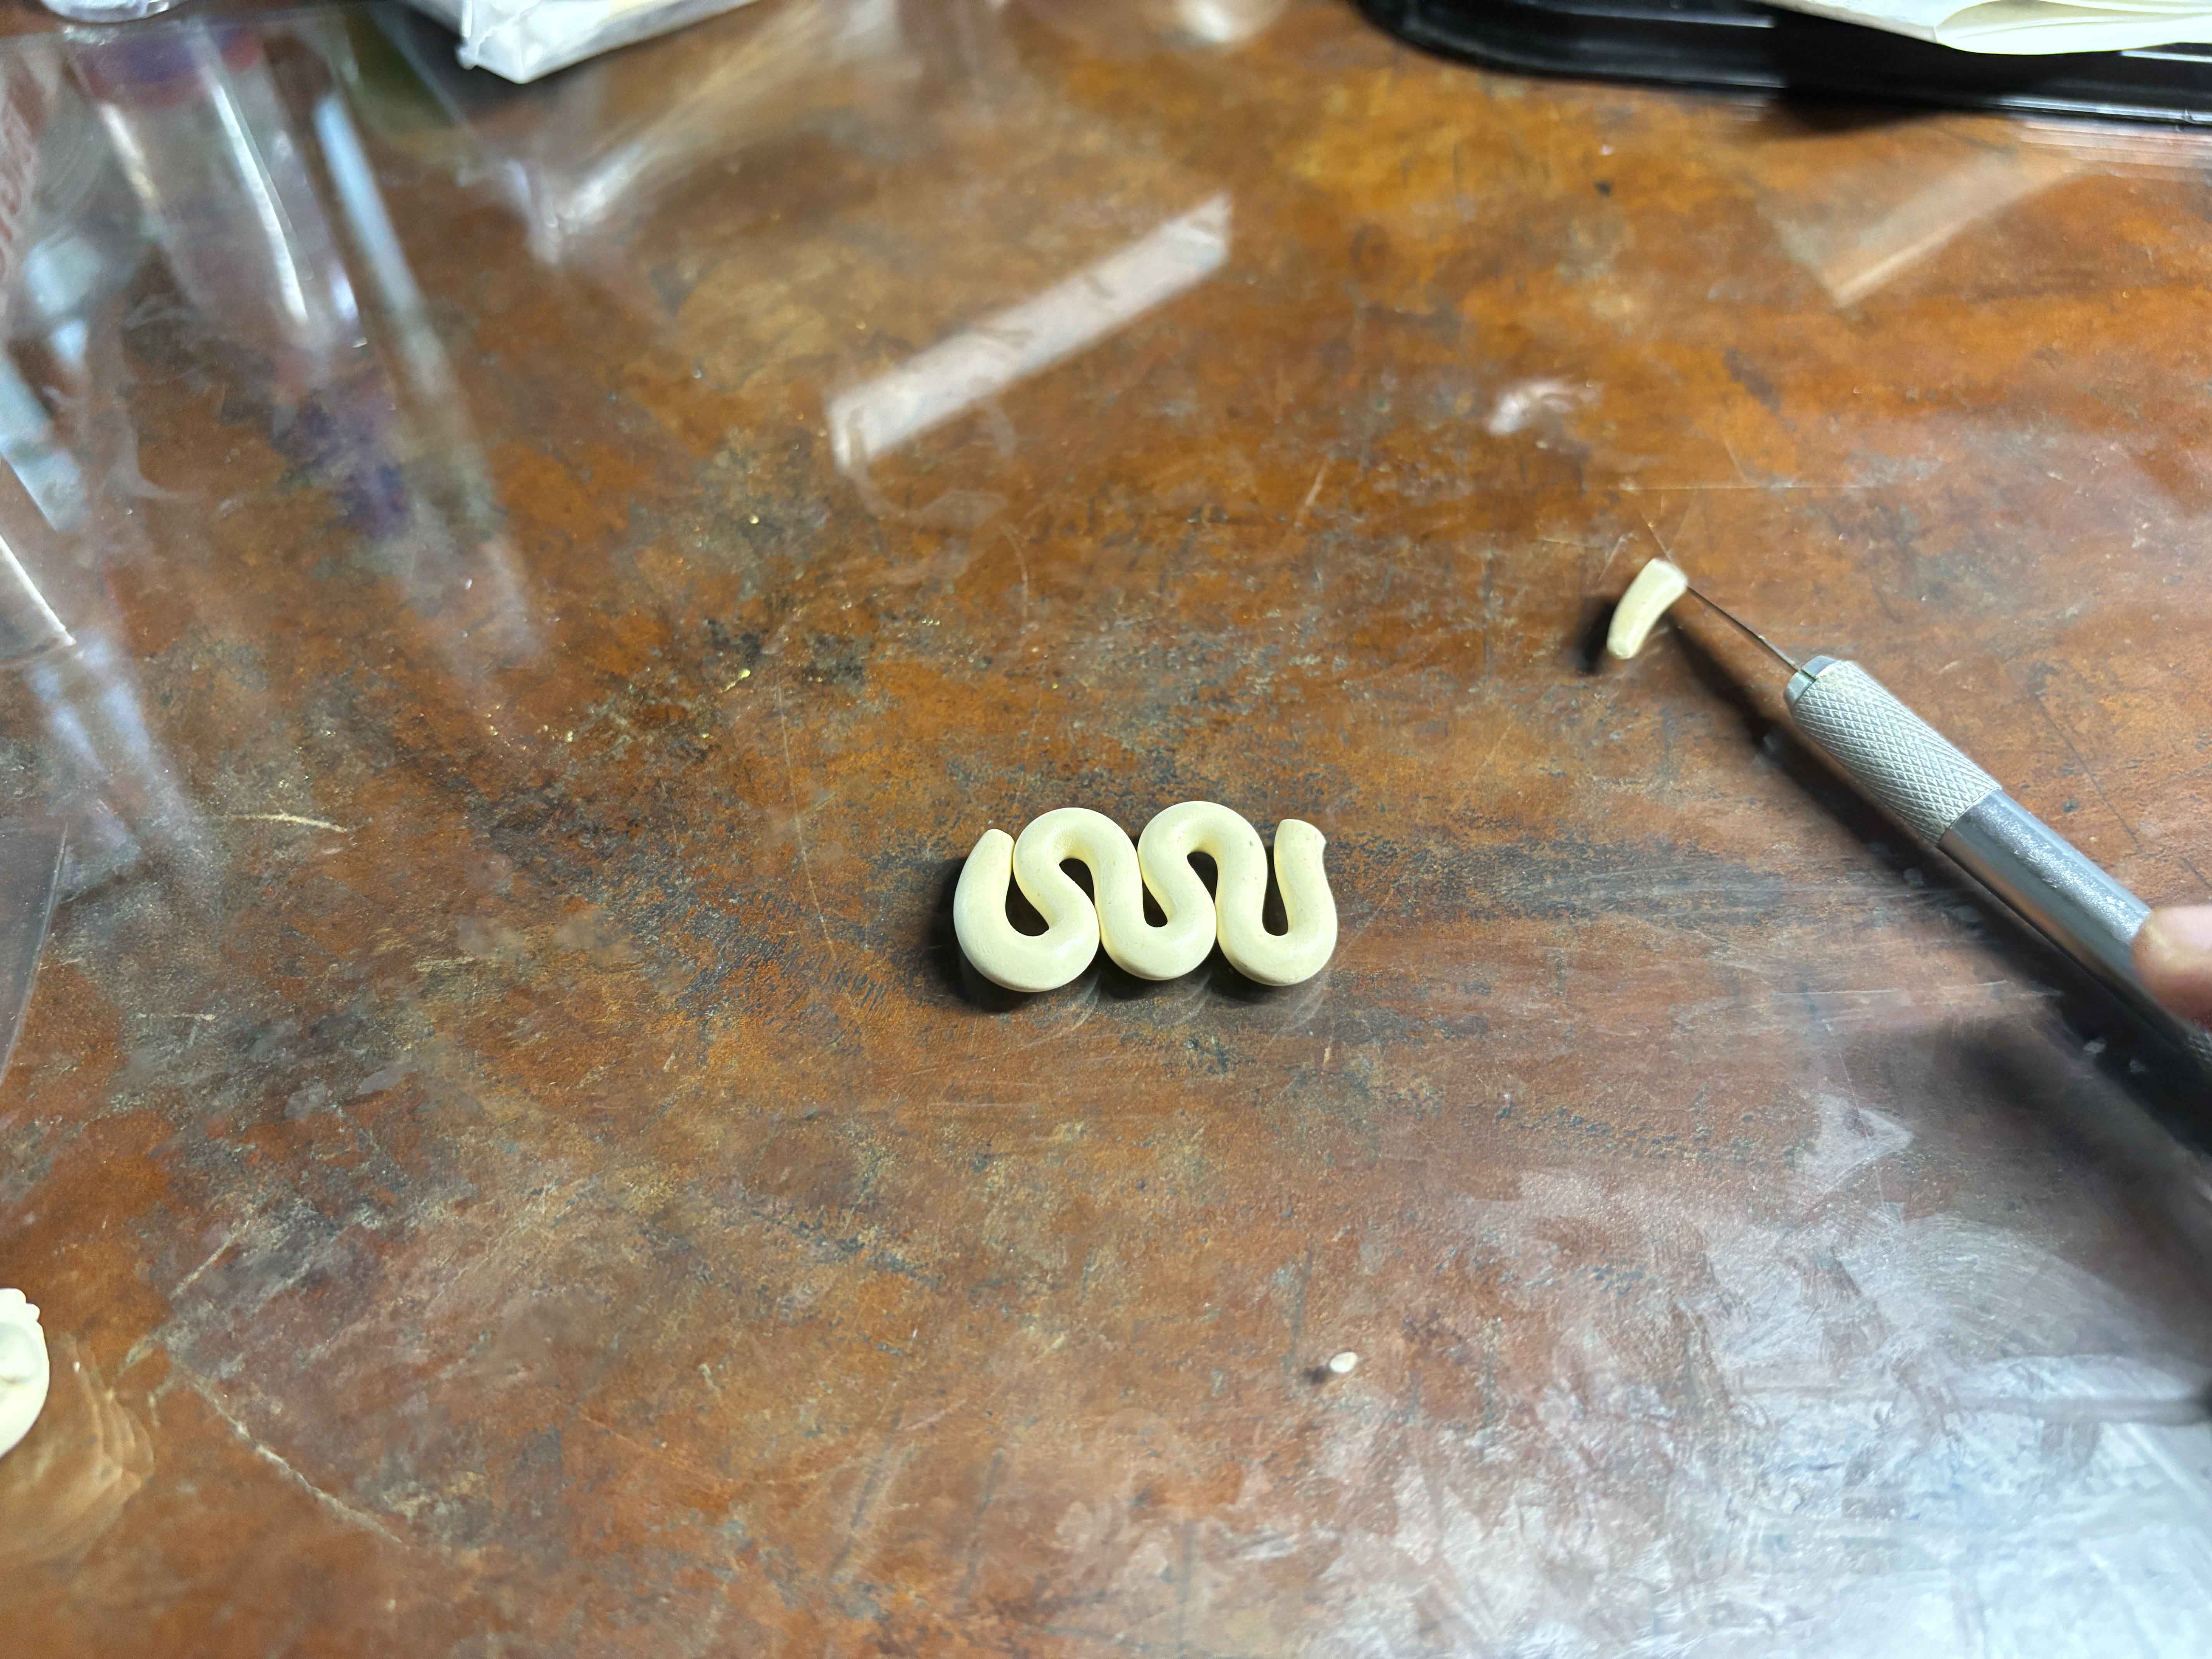 And then I cut the excess part with an X-acto knife.
----
And then I cut the excess part with an X-acto knife.
----

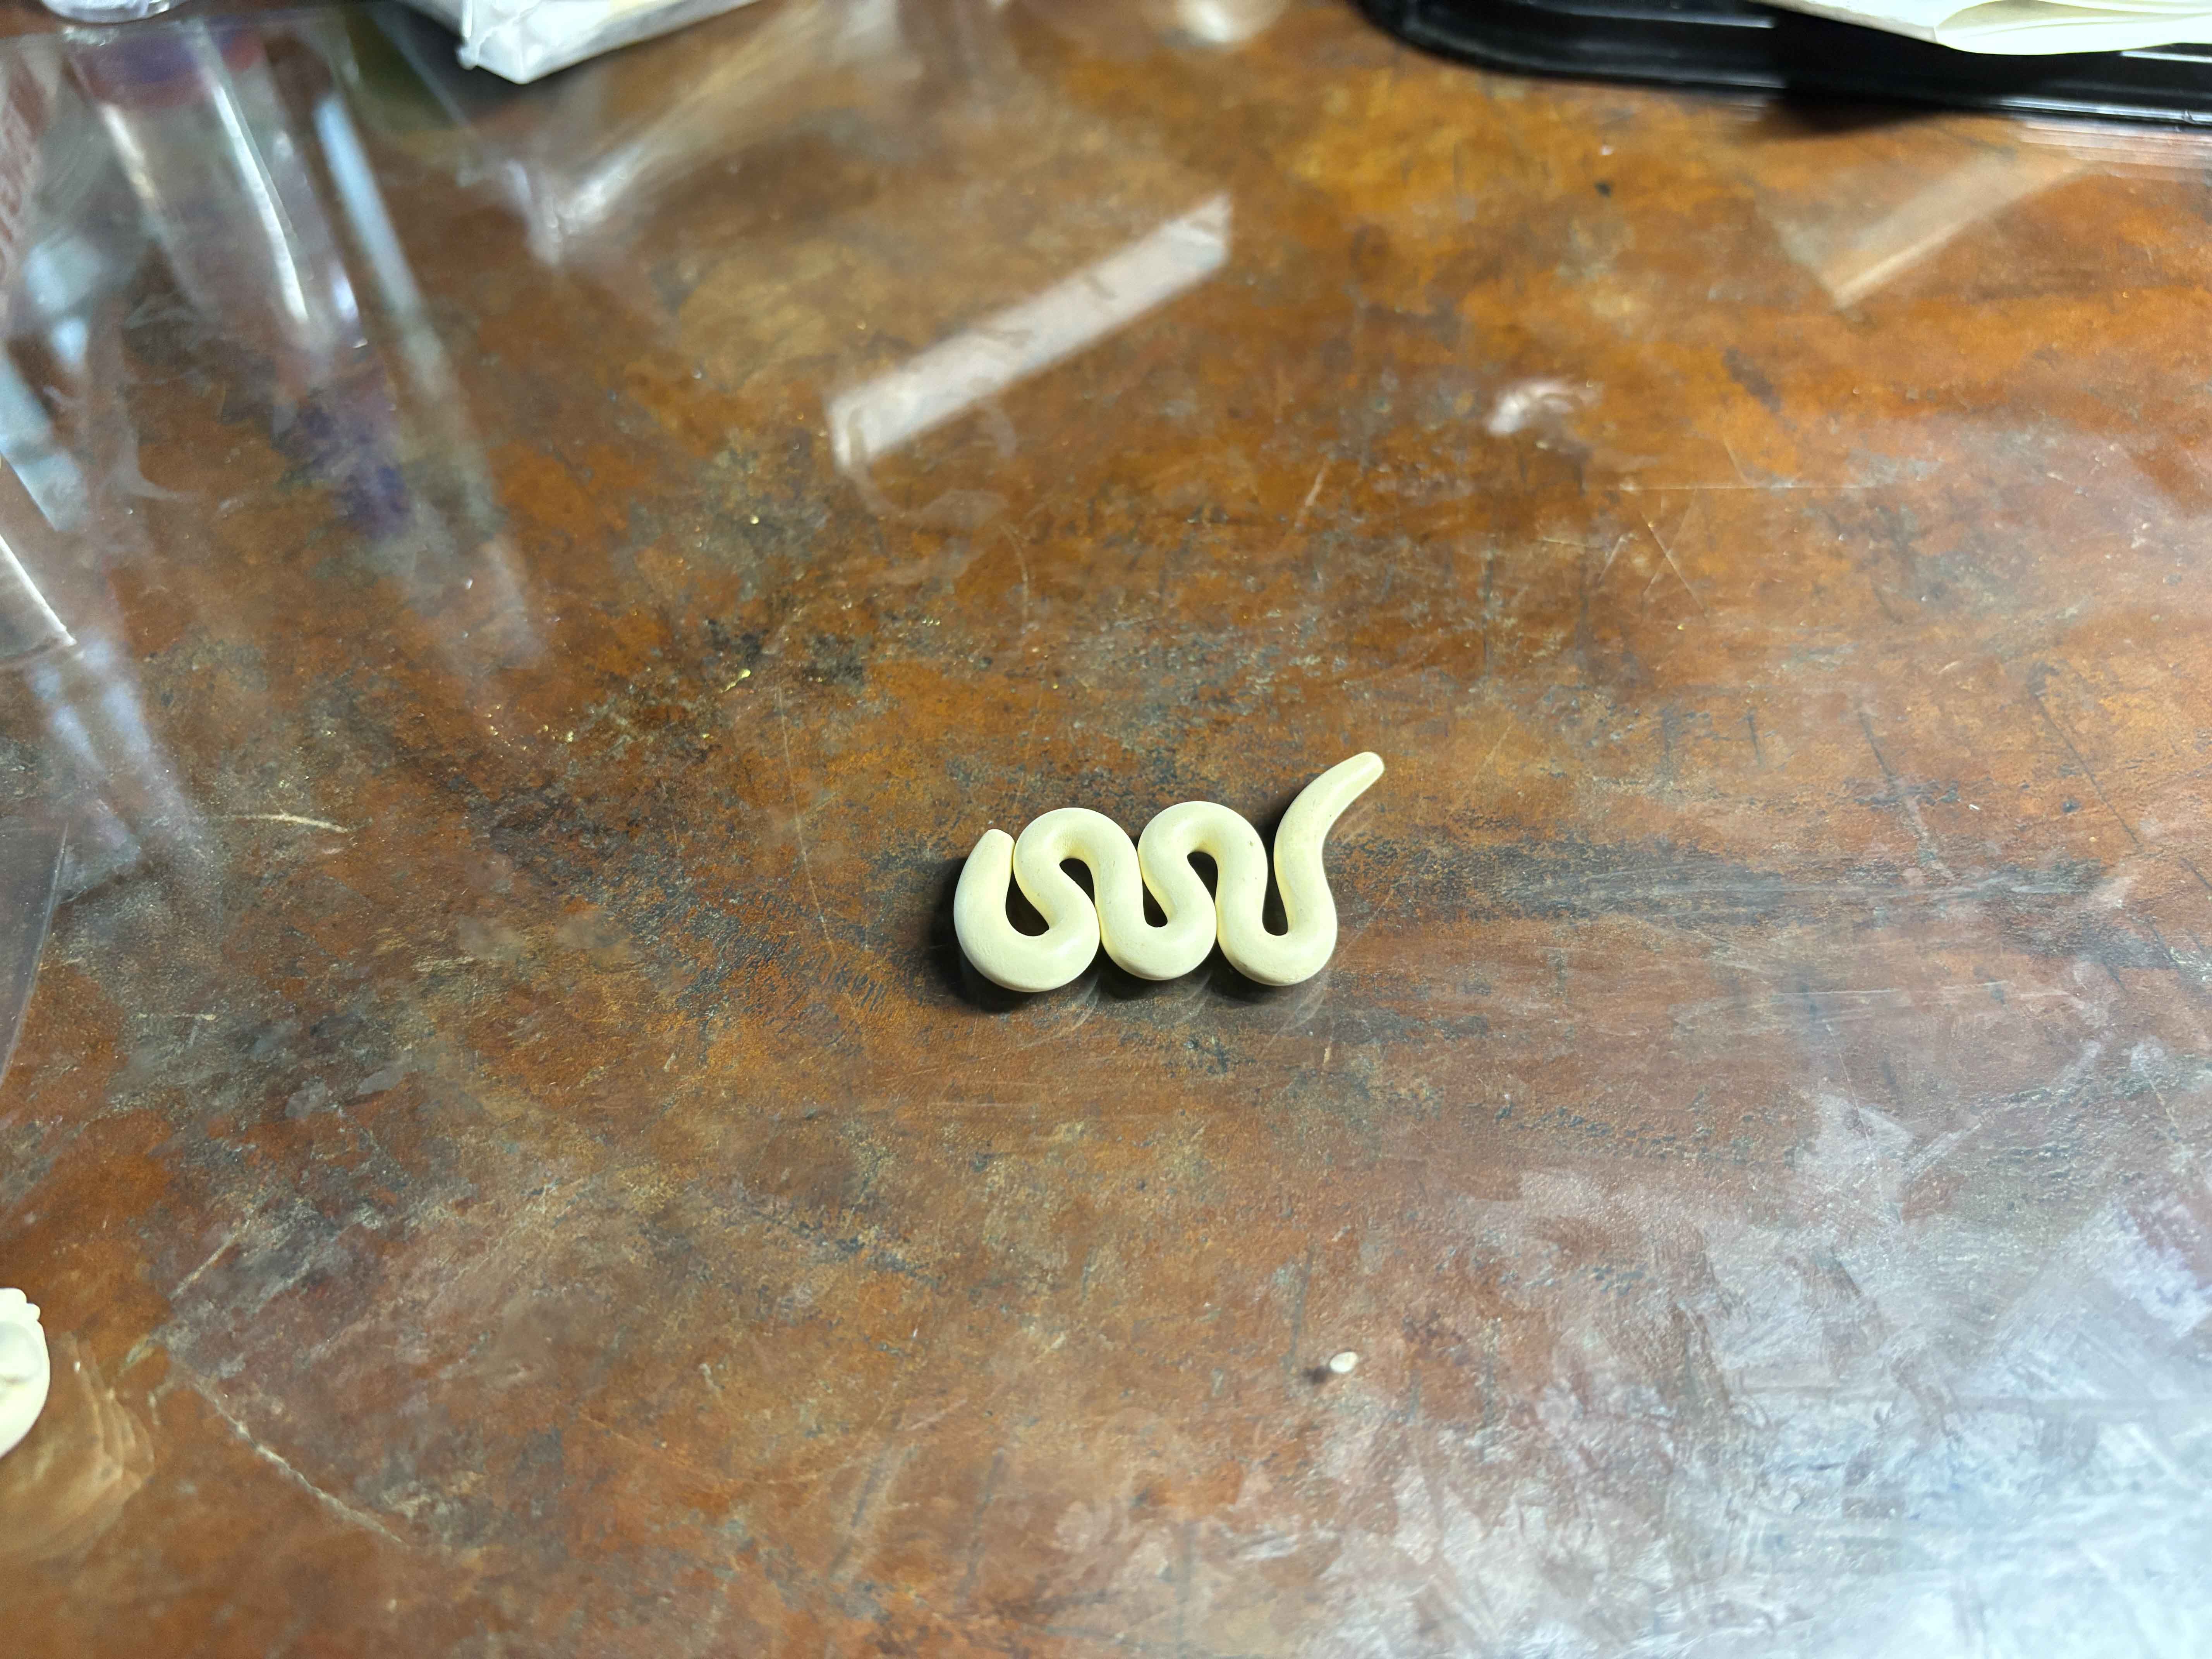
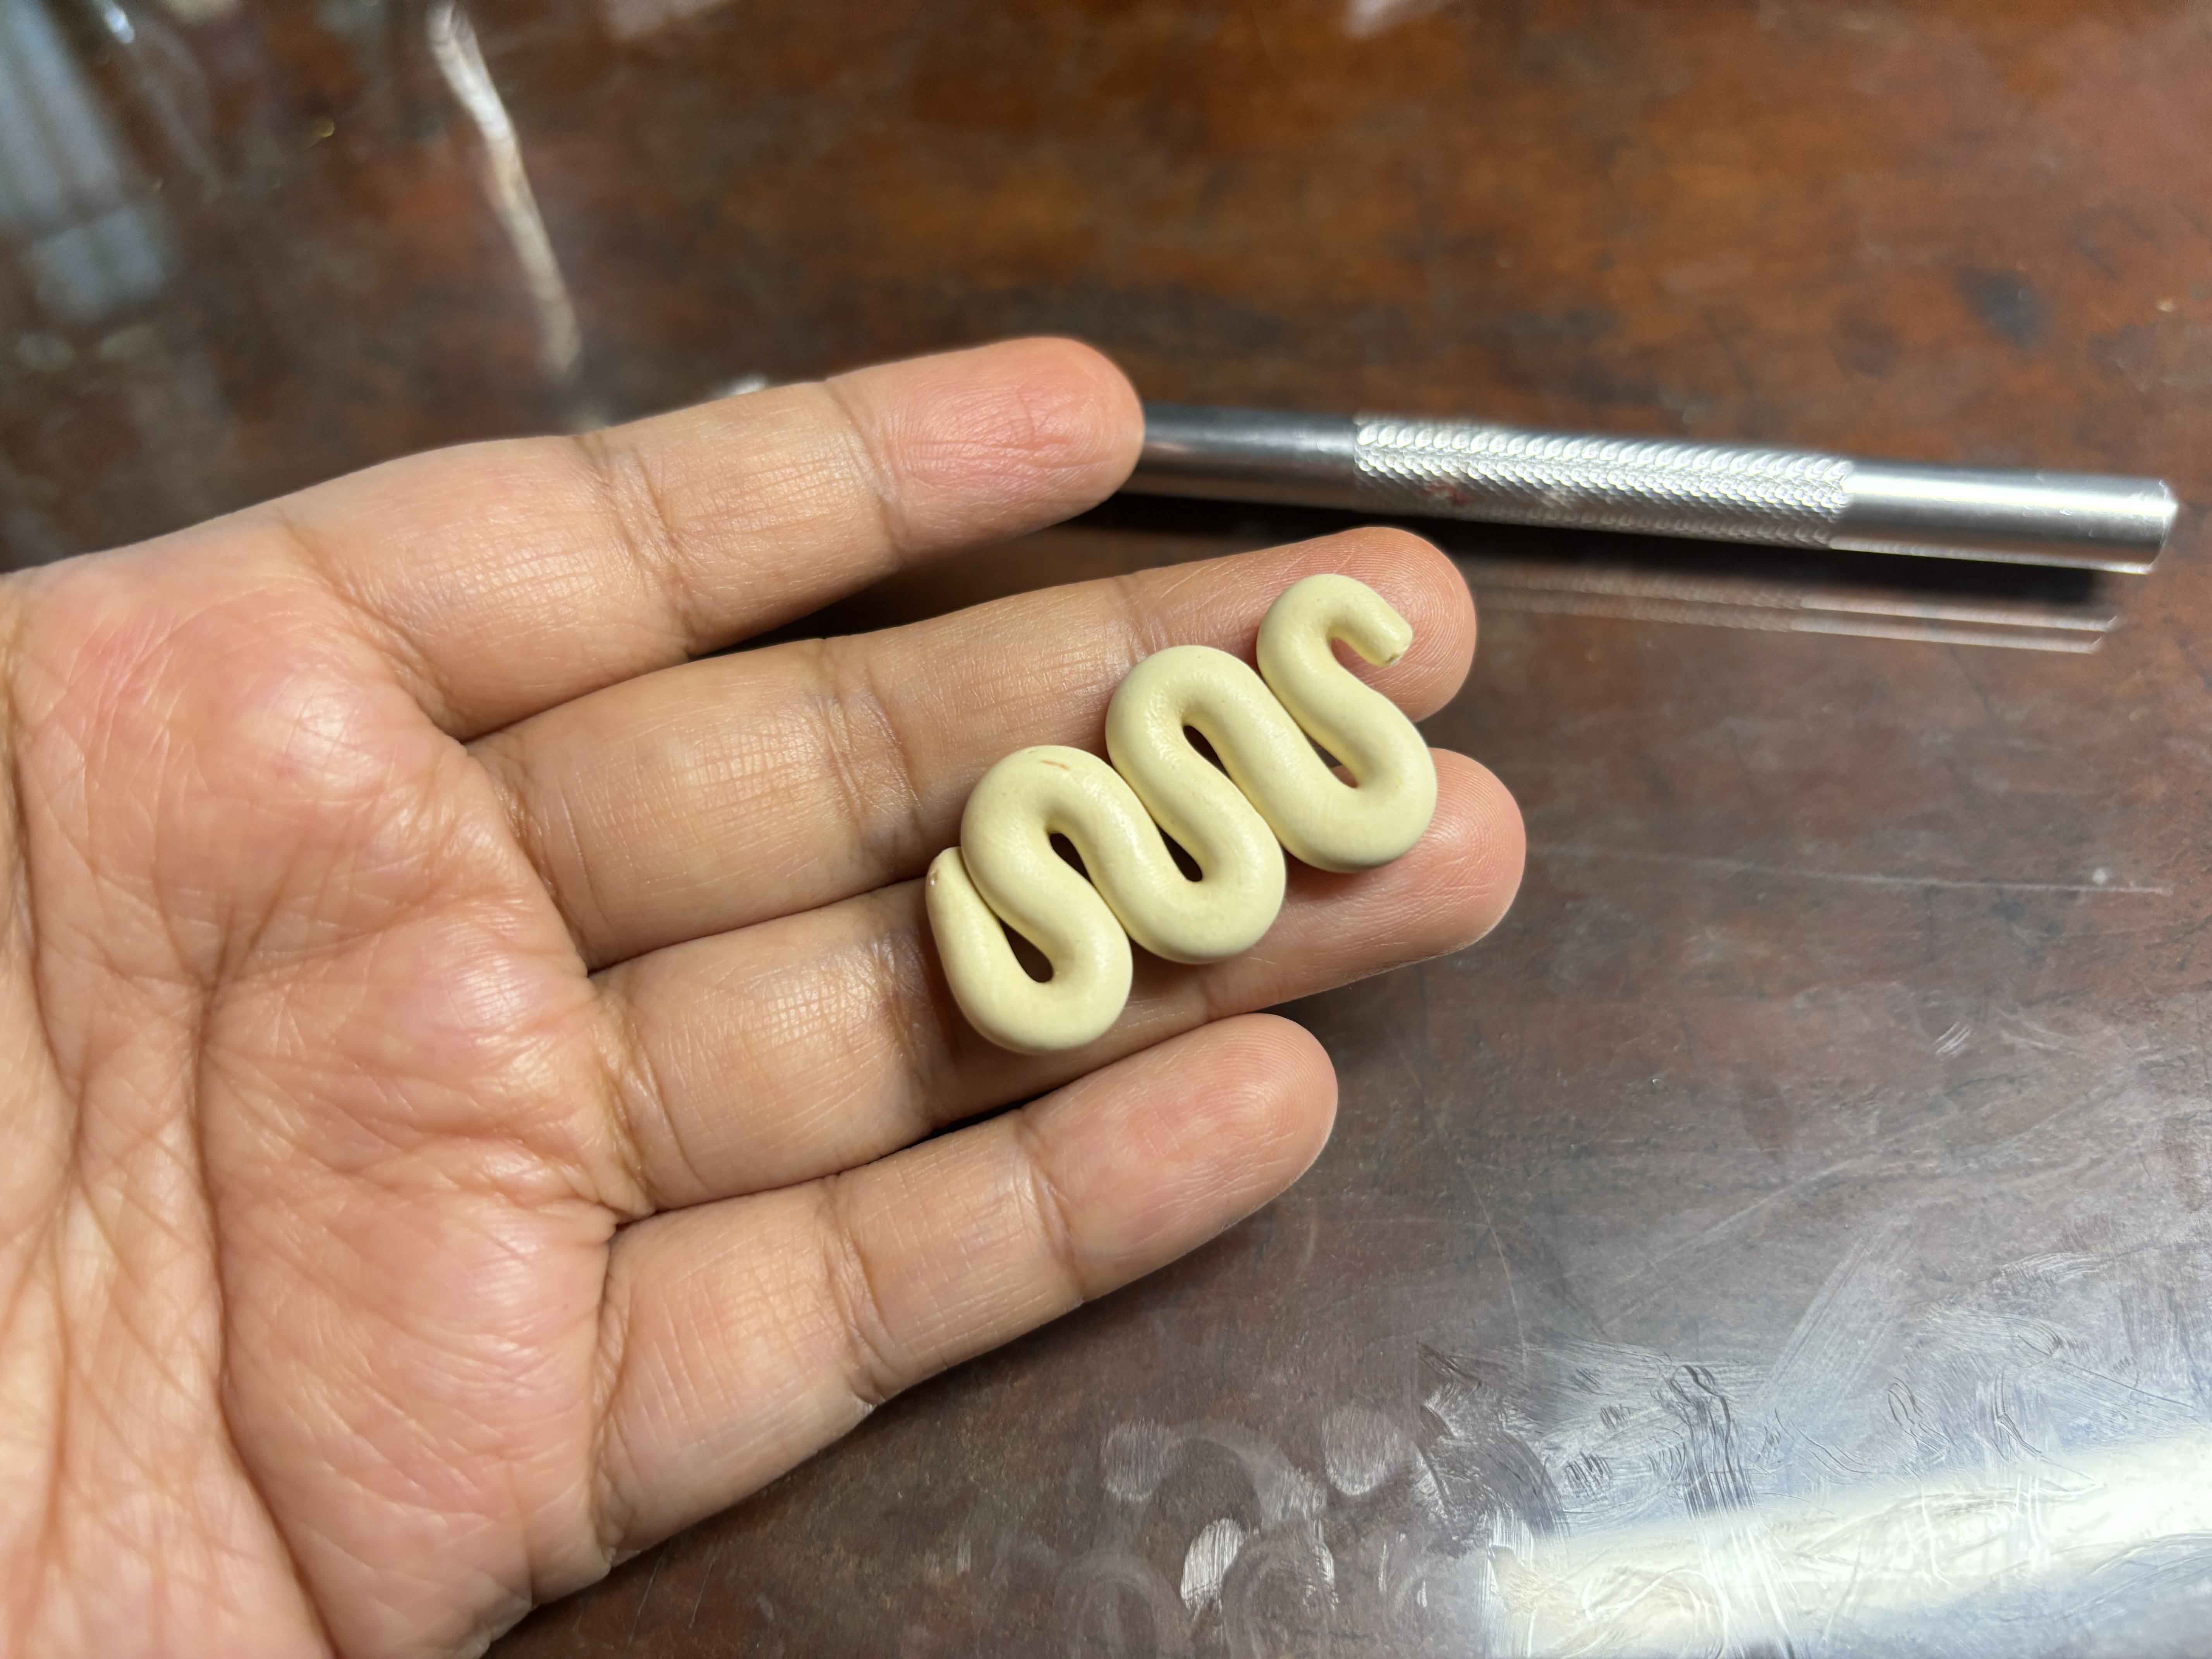 Now I have the isaw!
-----
Now I have the isaw!
-----
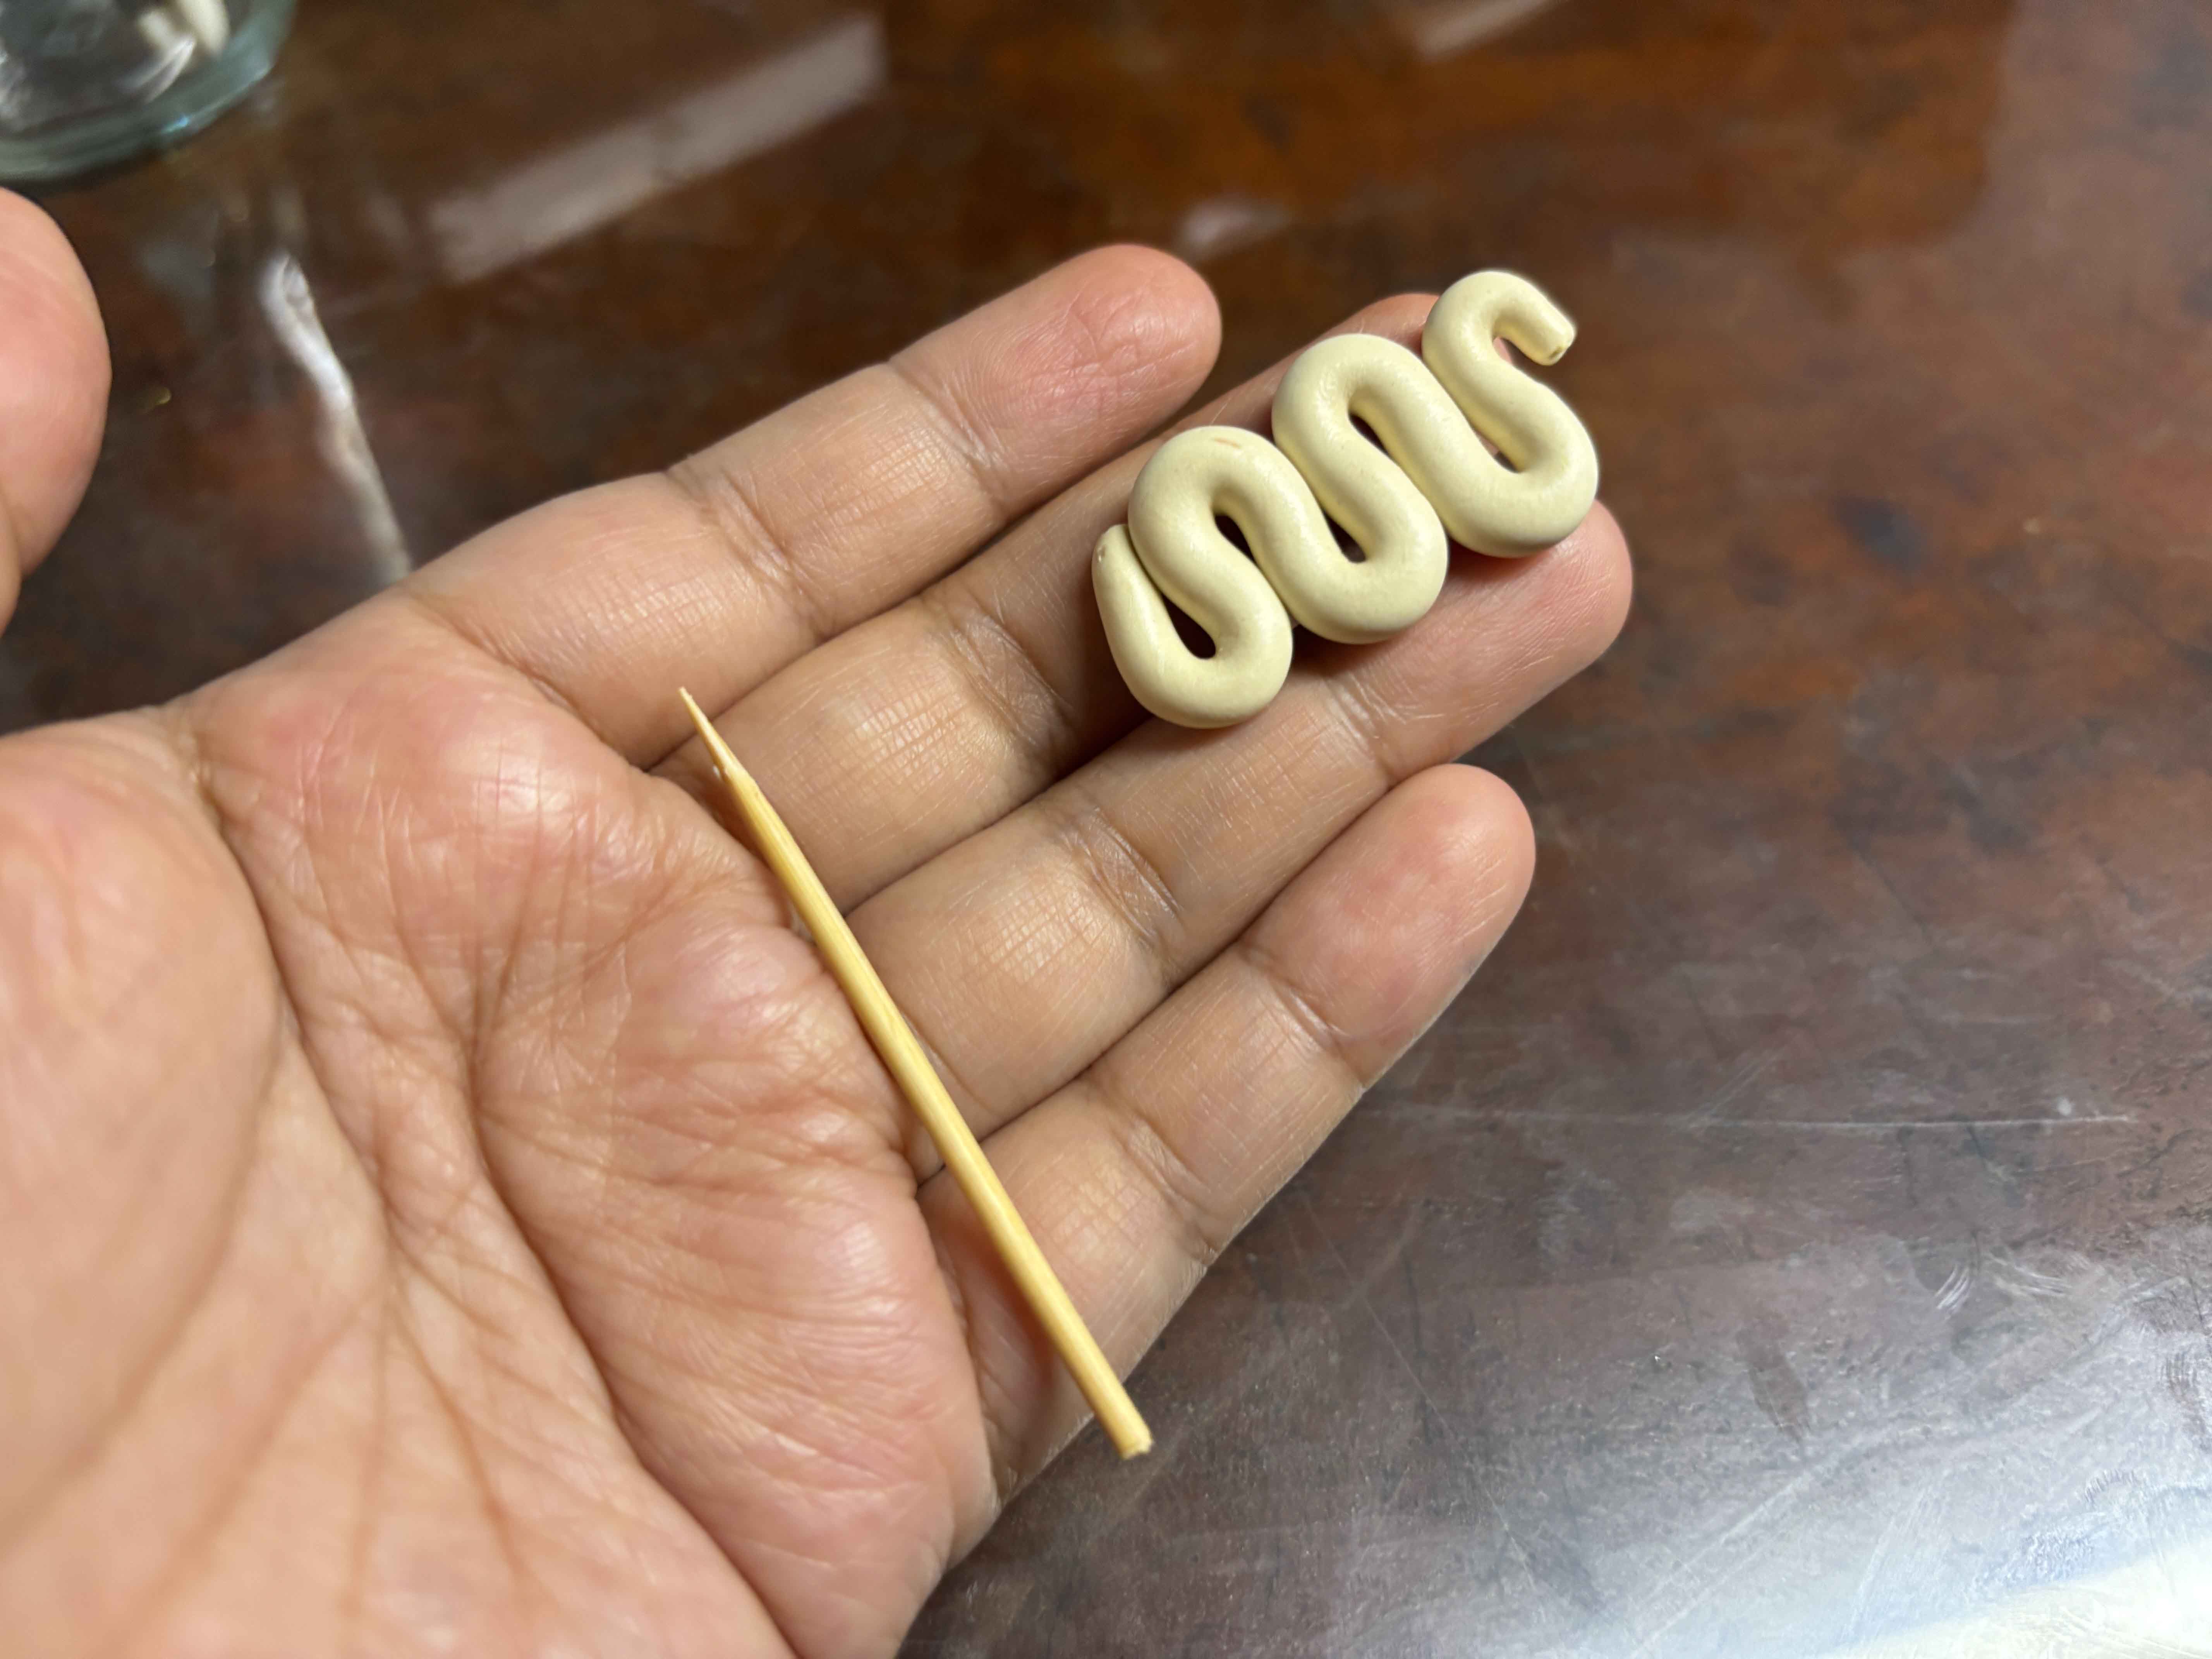
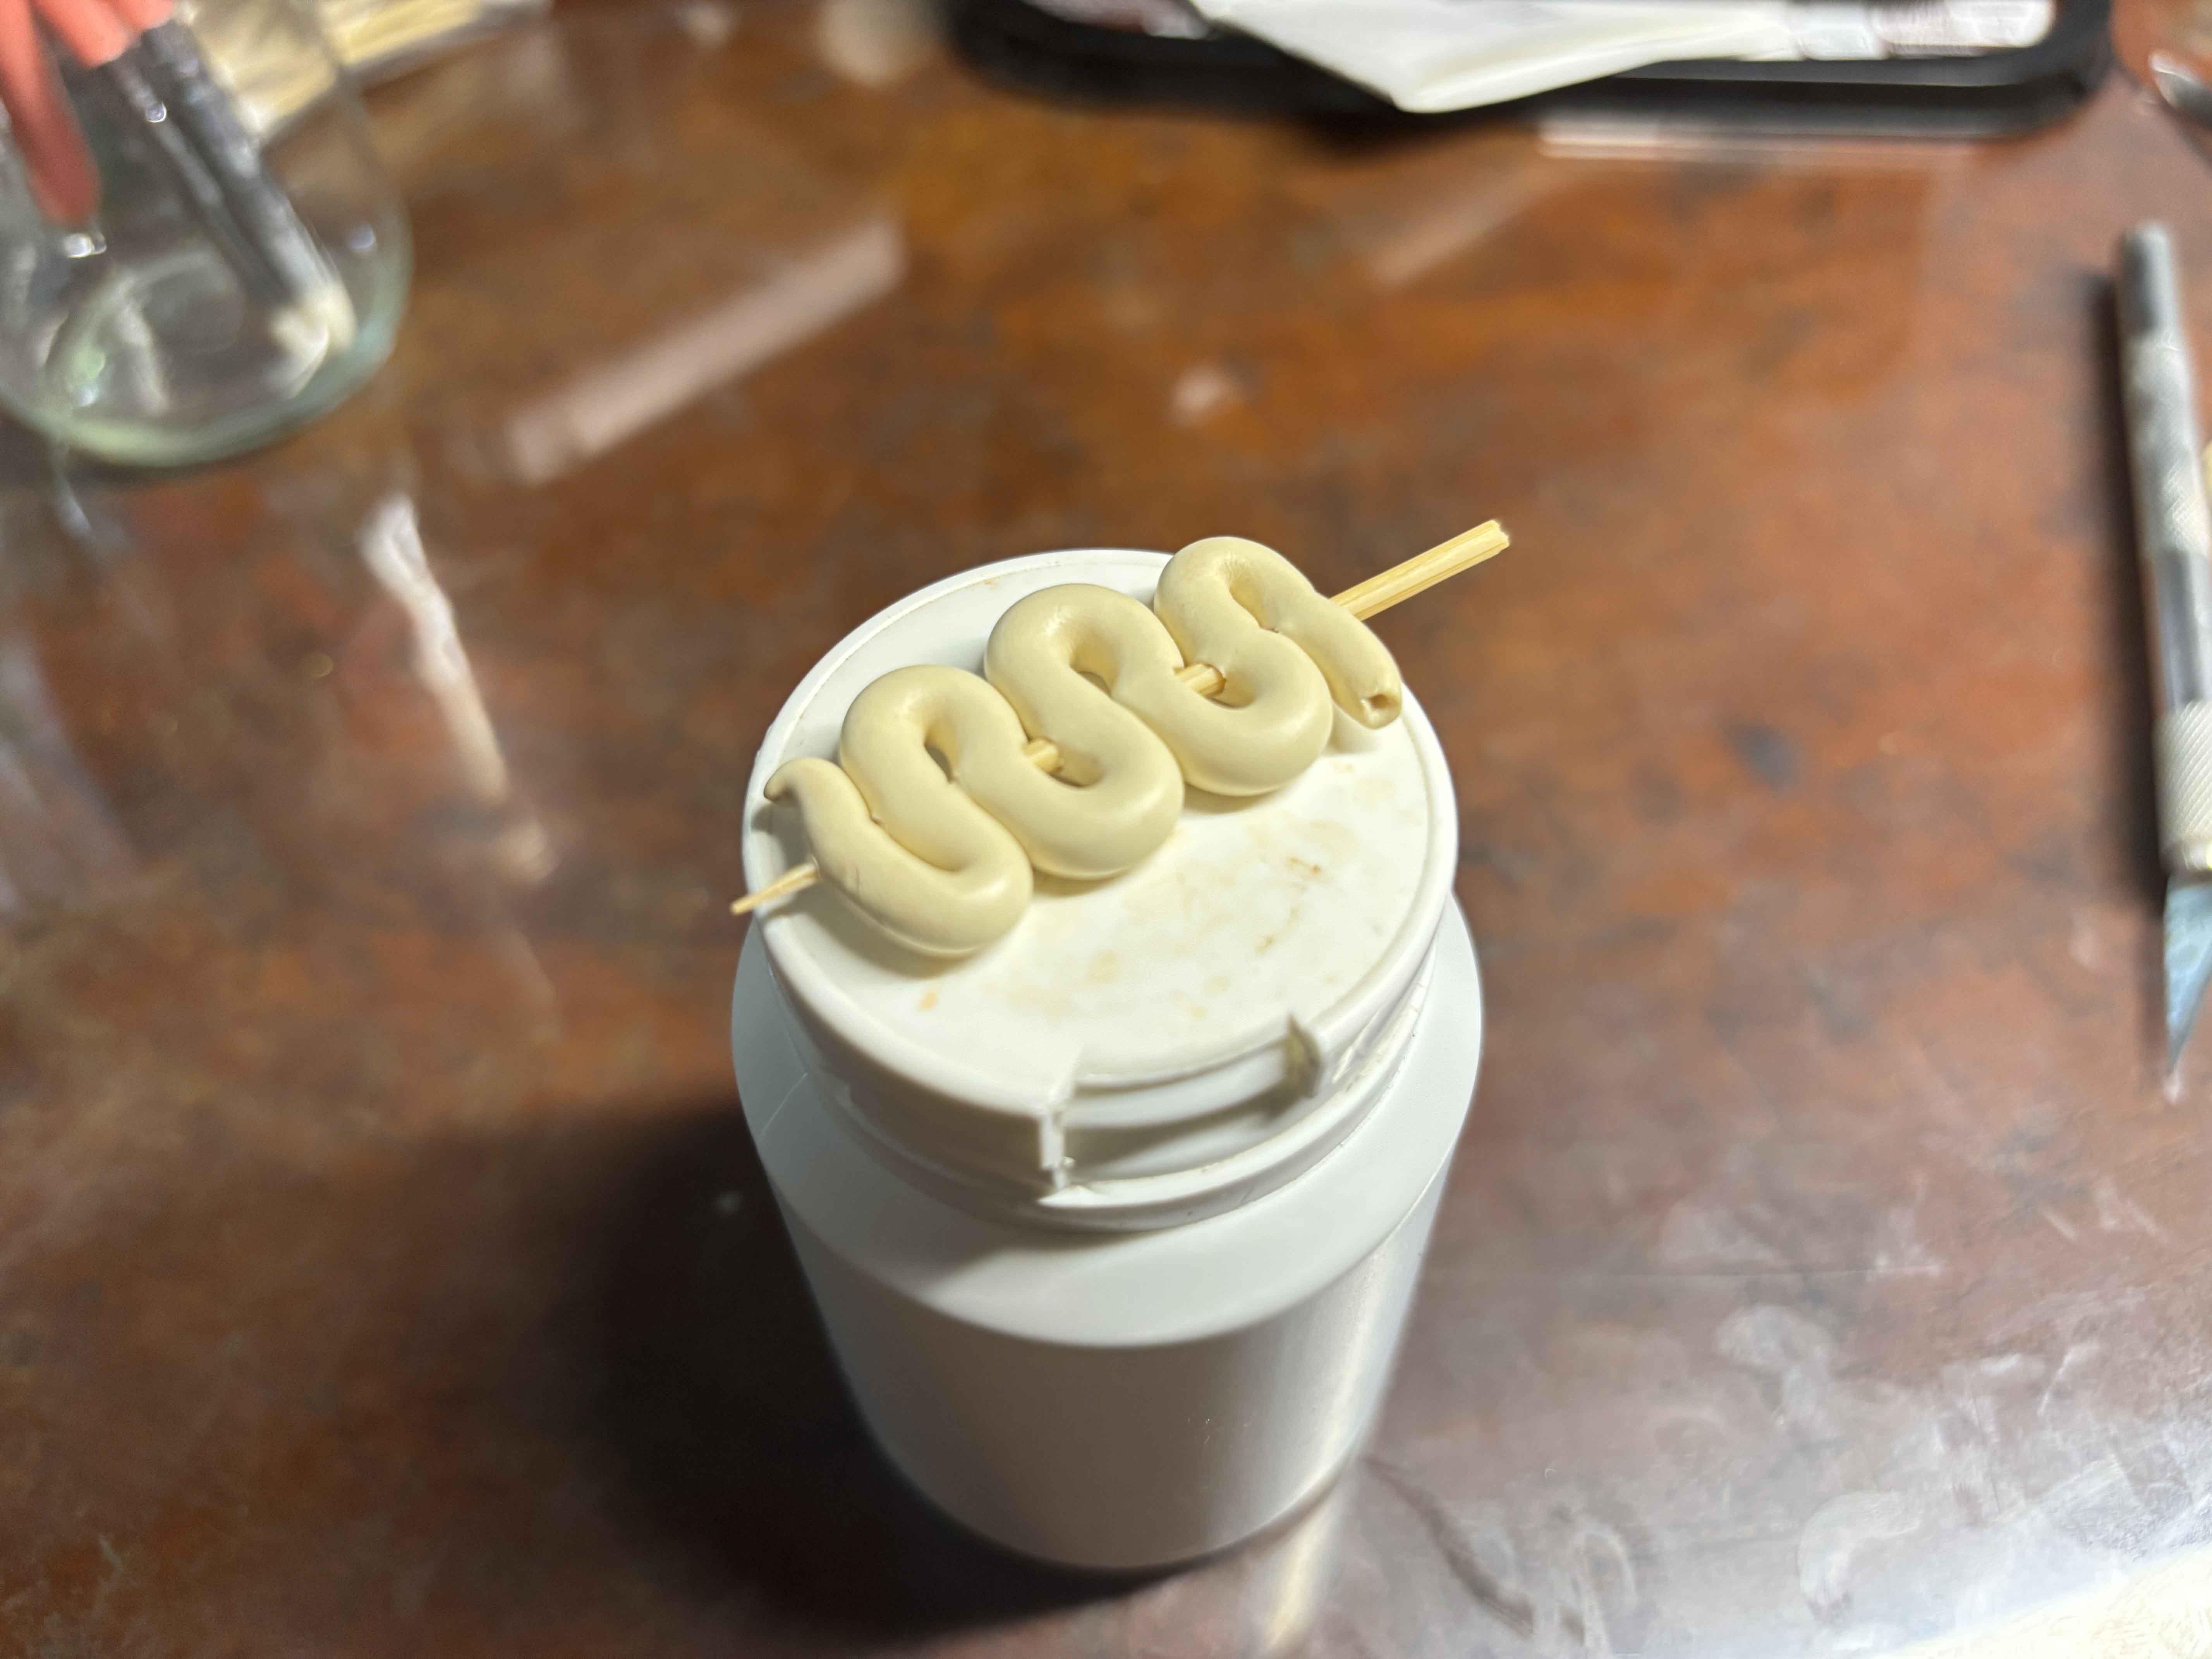 Next, I am going to put the toothpick into the clay. I start to poke it from the right side to the left.
-----
Next, I am going to put the toothpick into the clay. I start to poke it from the right side to the left.
-----
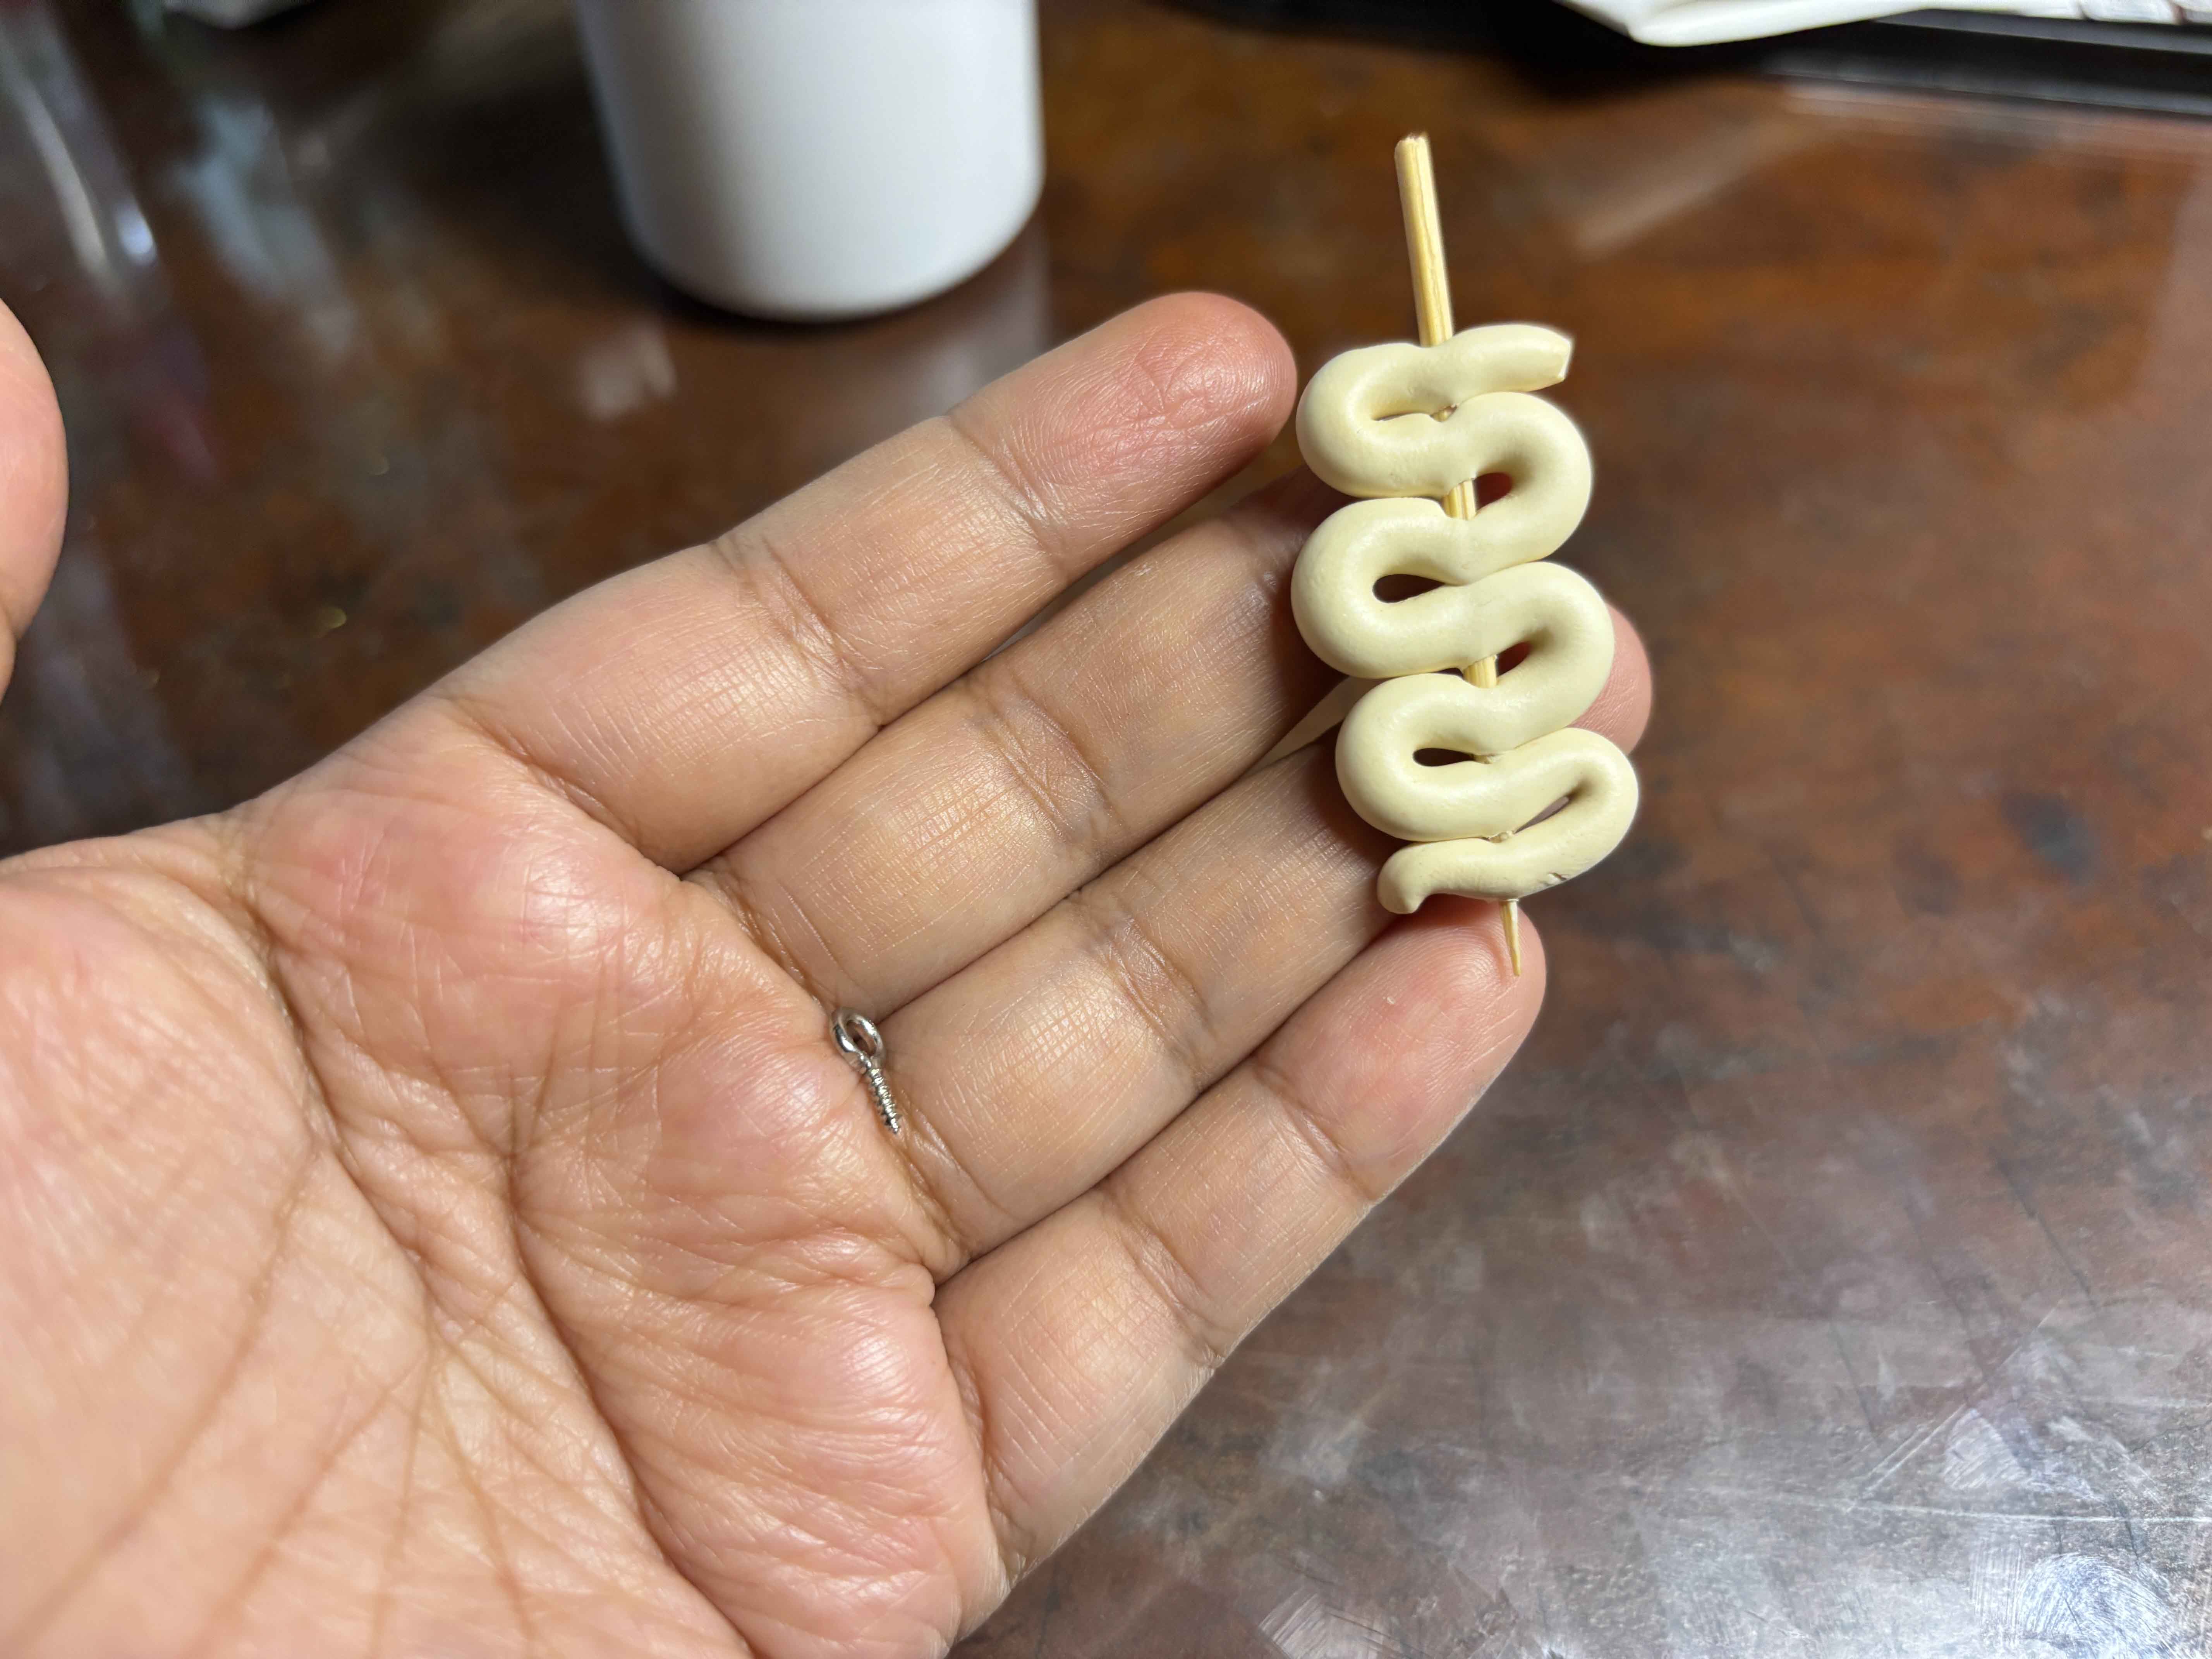
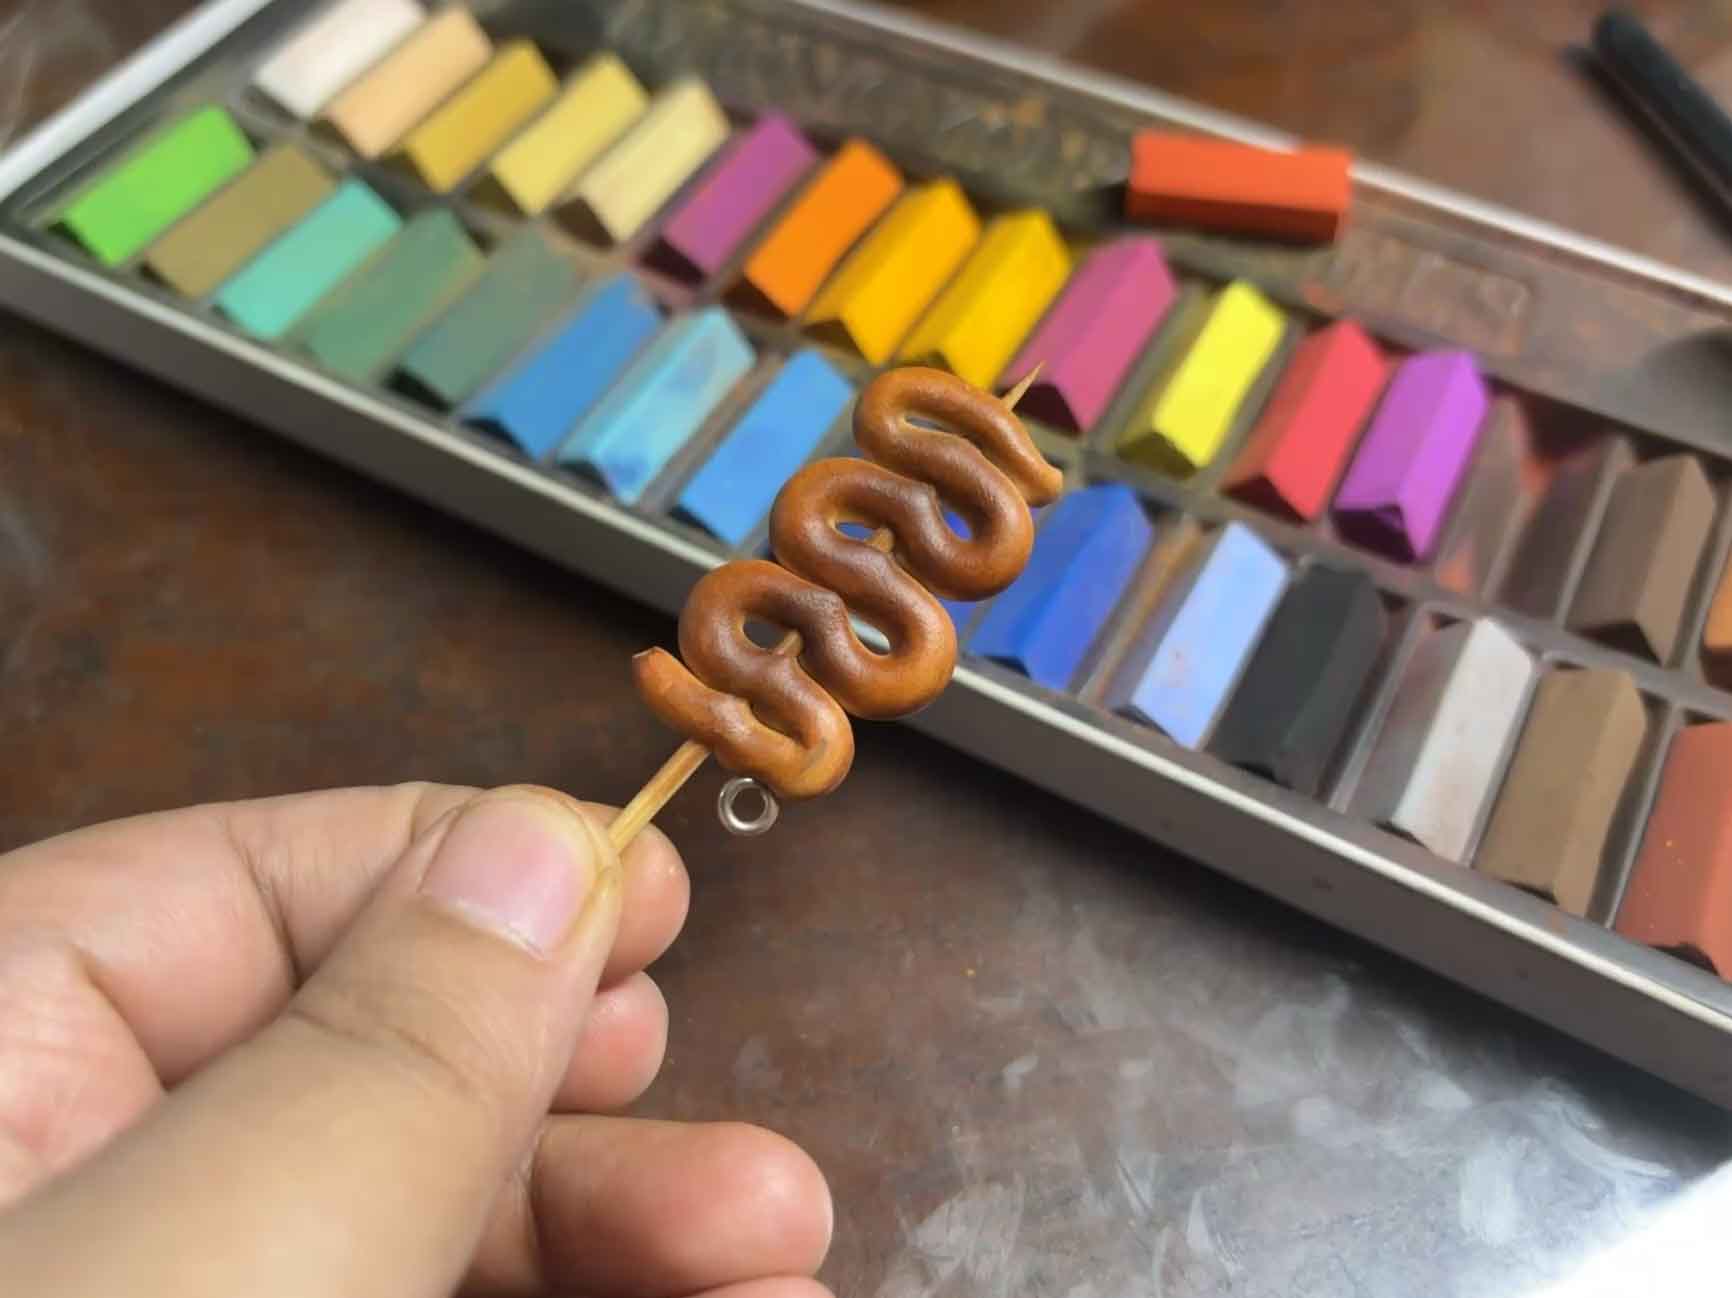
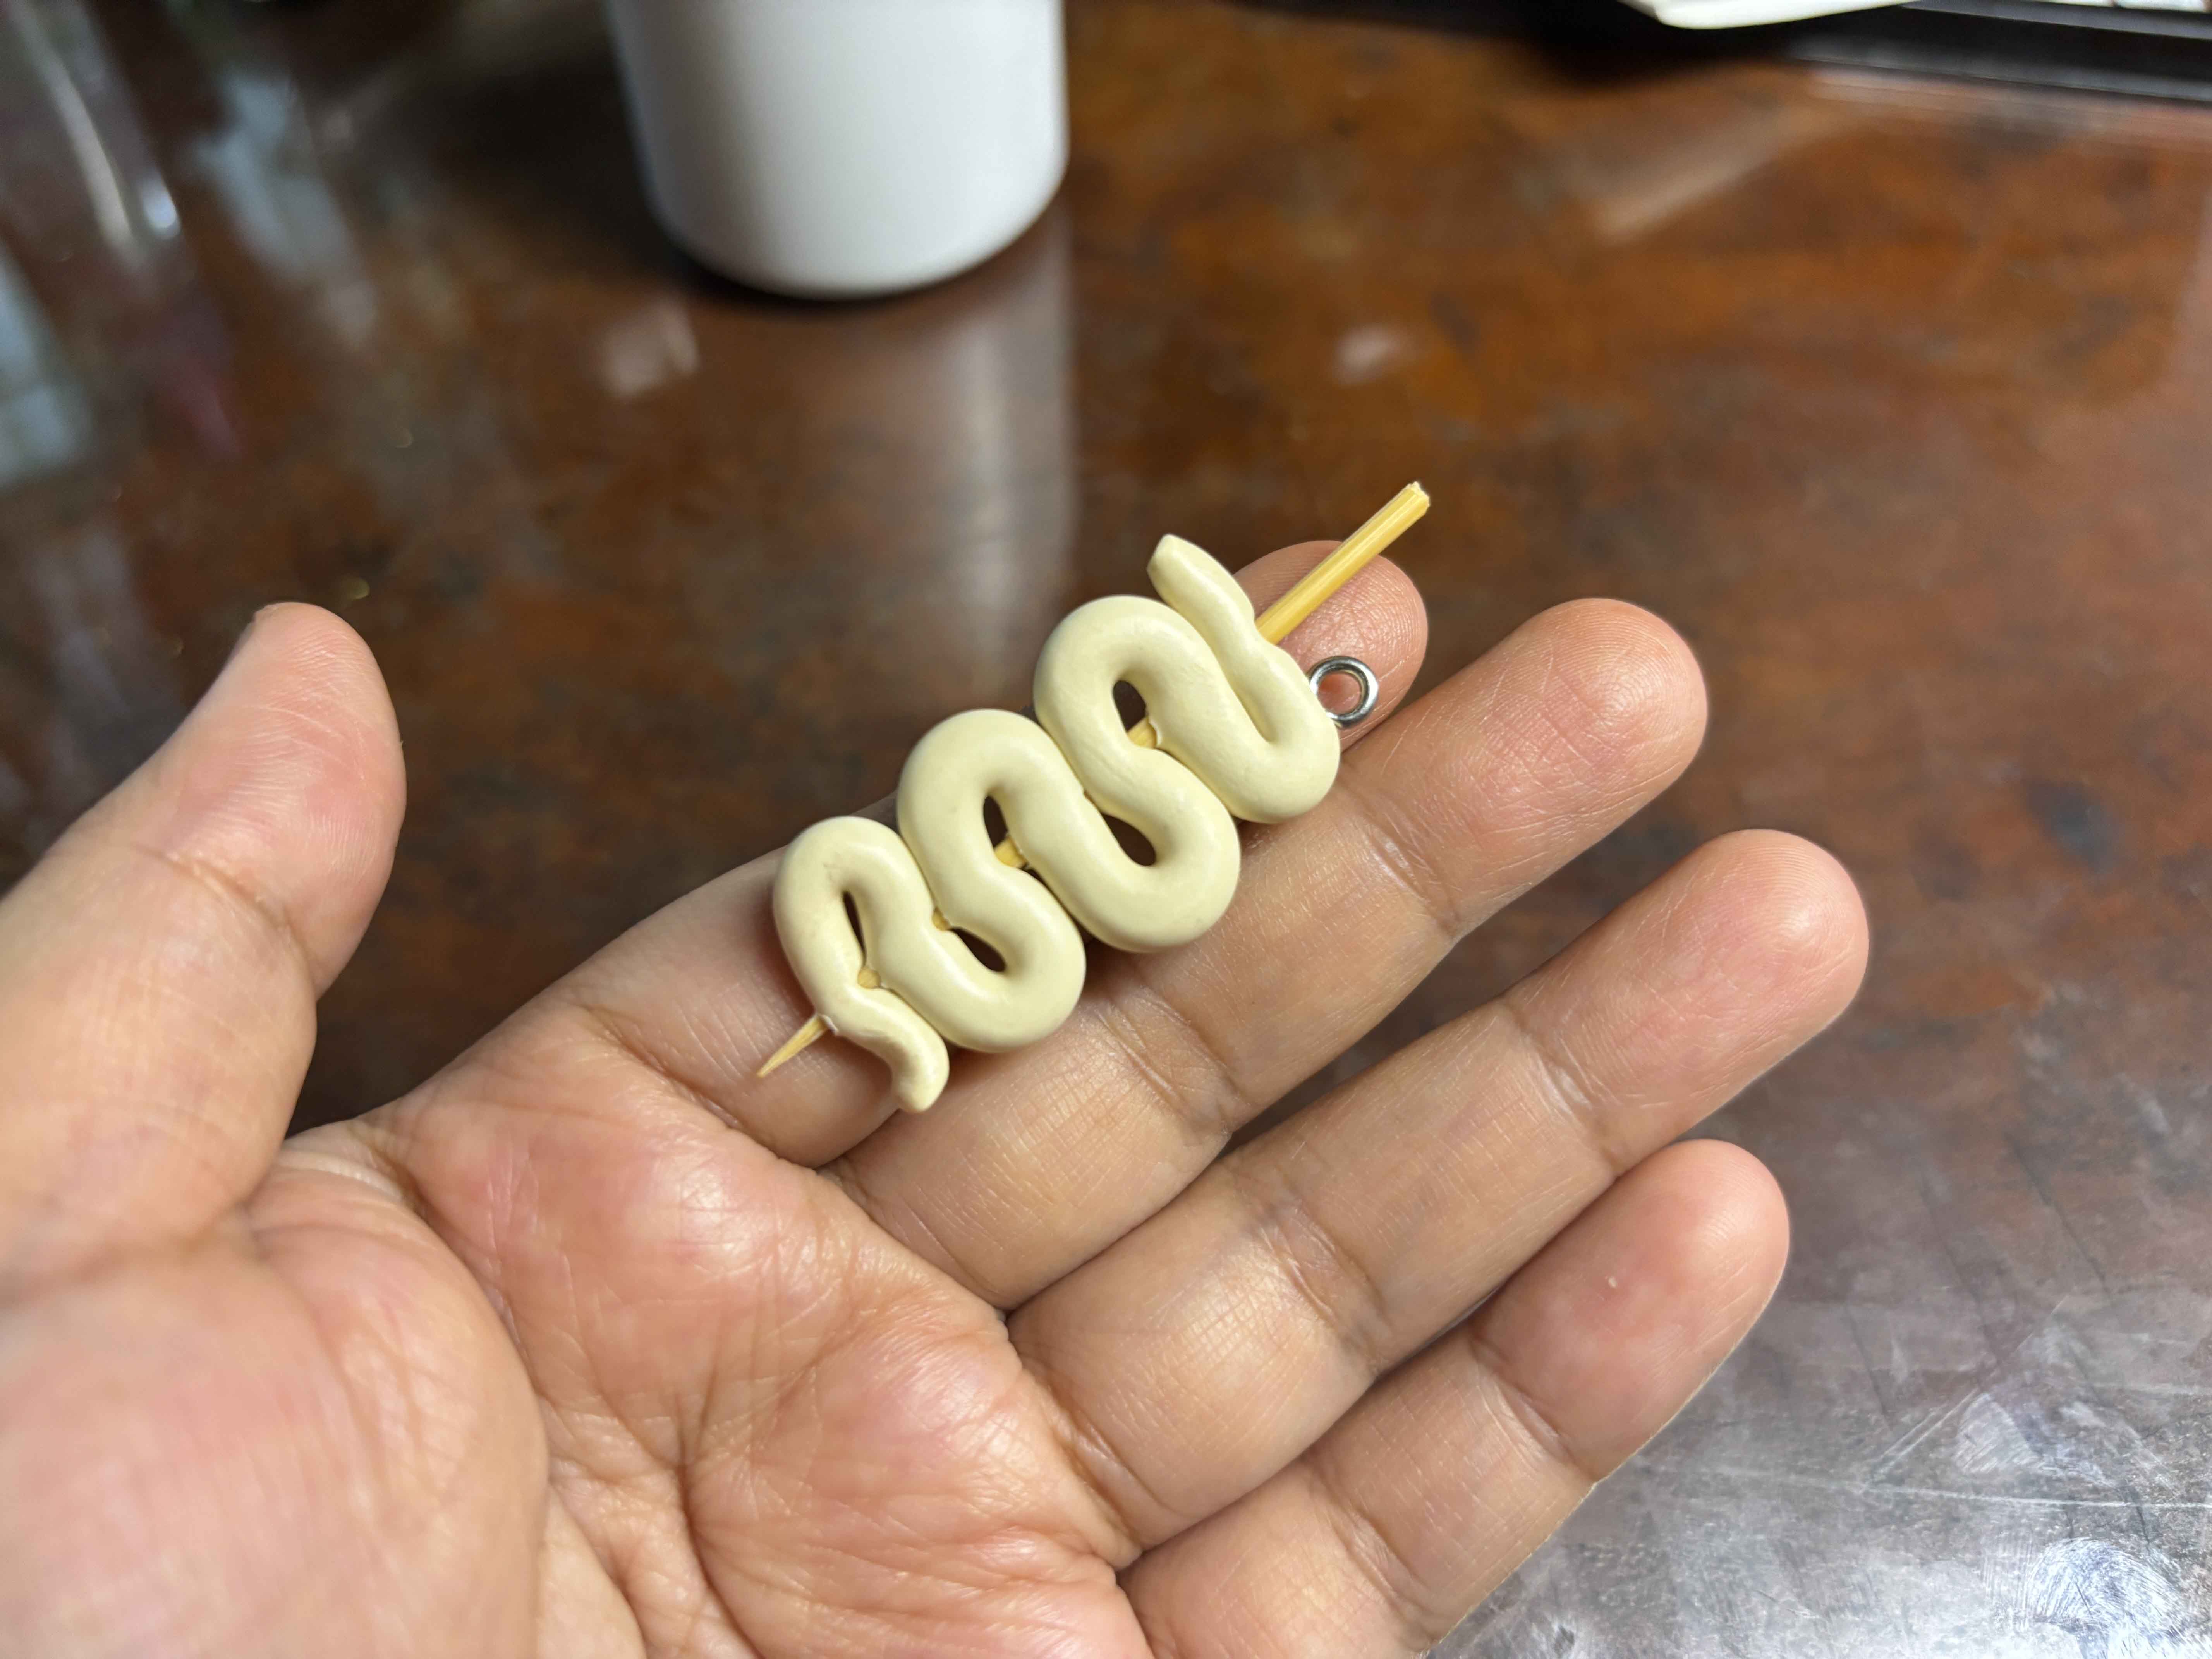 This part I am going to put in the eyepin, I usually put it on the corner part of the clay.
-----
This part I am going to put in the eyepin, I usually put it on the corner part of the clay.
-----
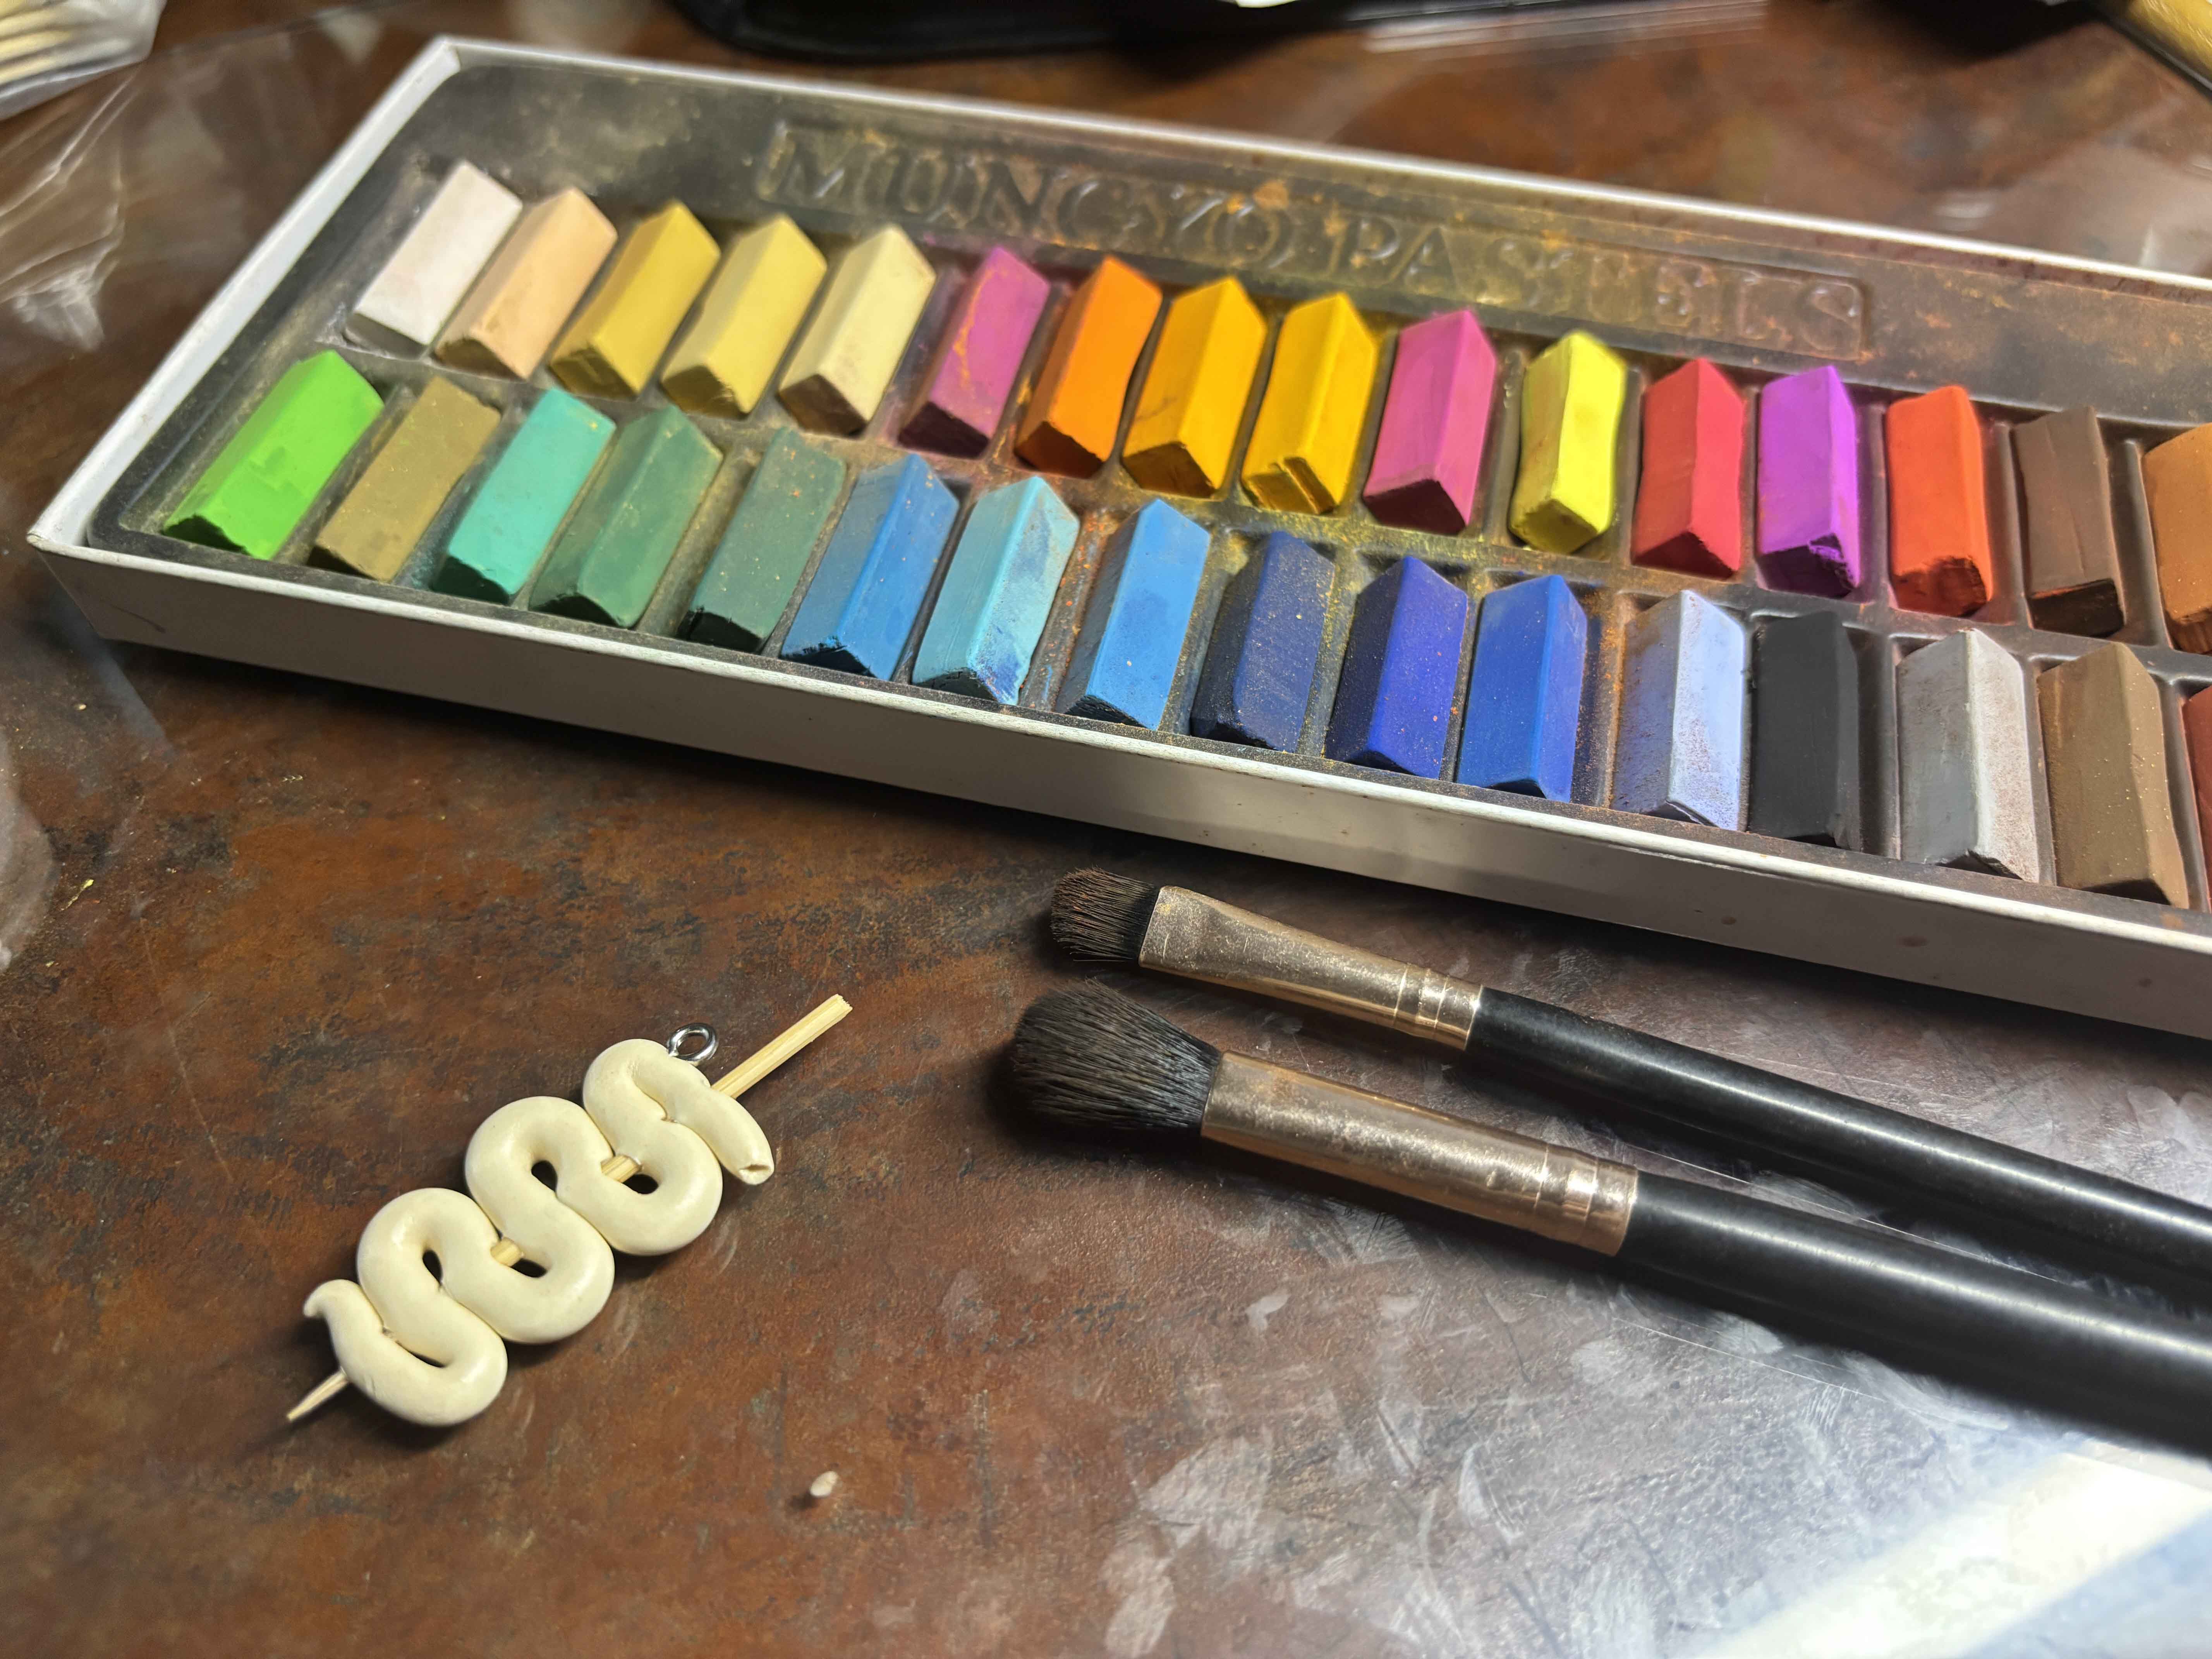
 This part is my favorite part! Adding color to the clay. I use a makeup brush for this part. I use the fluffy one and the flat shape one.
-----
This part is my favorite part! Adding color to the clay. I use a makeup brush for this part. I use the fluffy one and the flat shape one.
-----
 ---
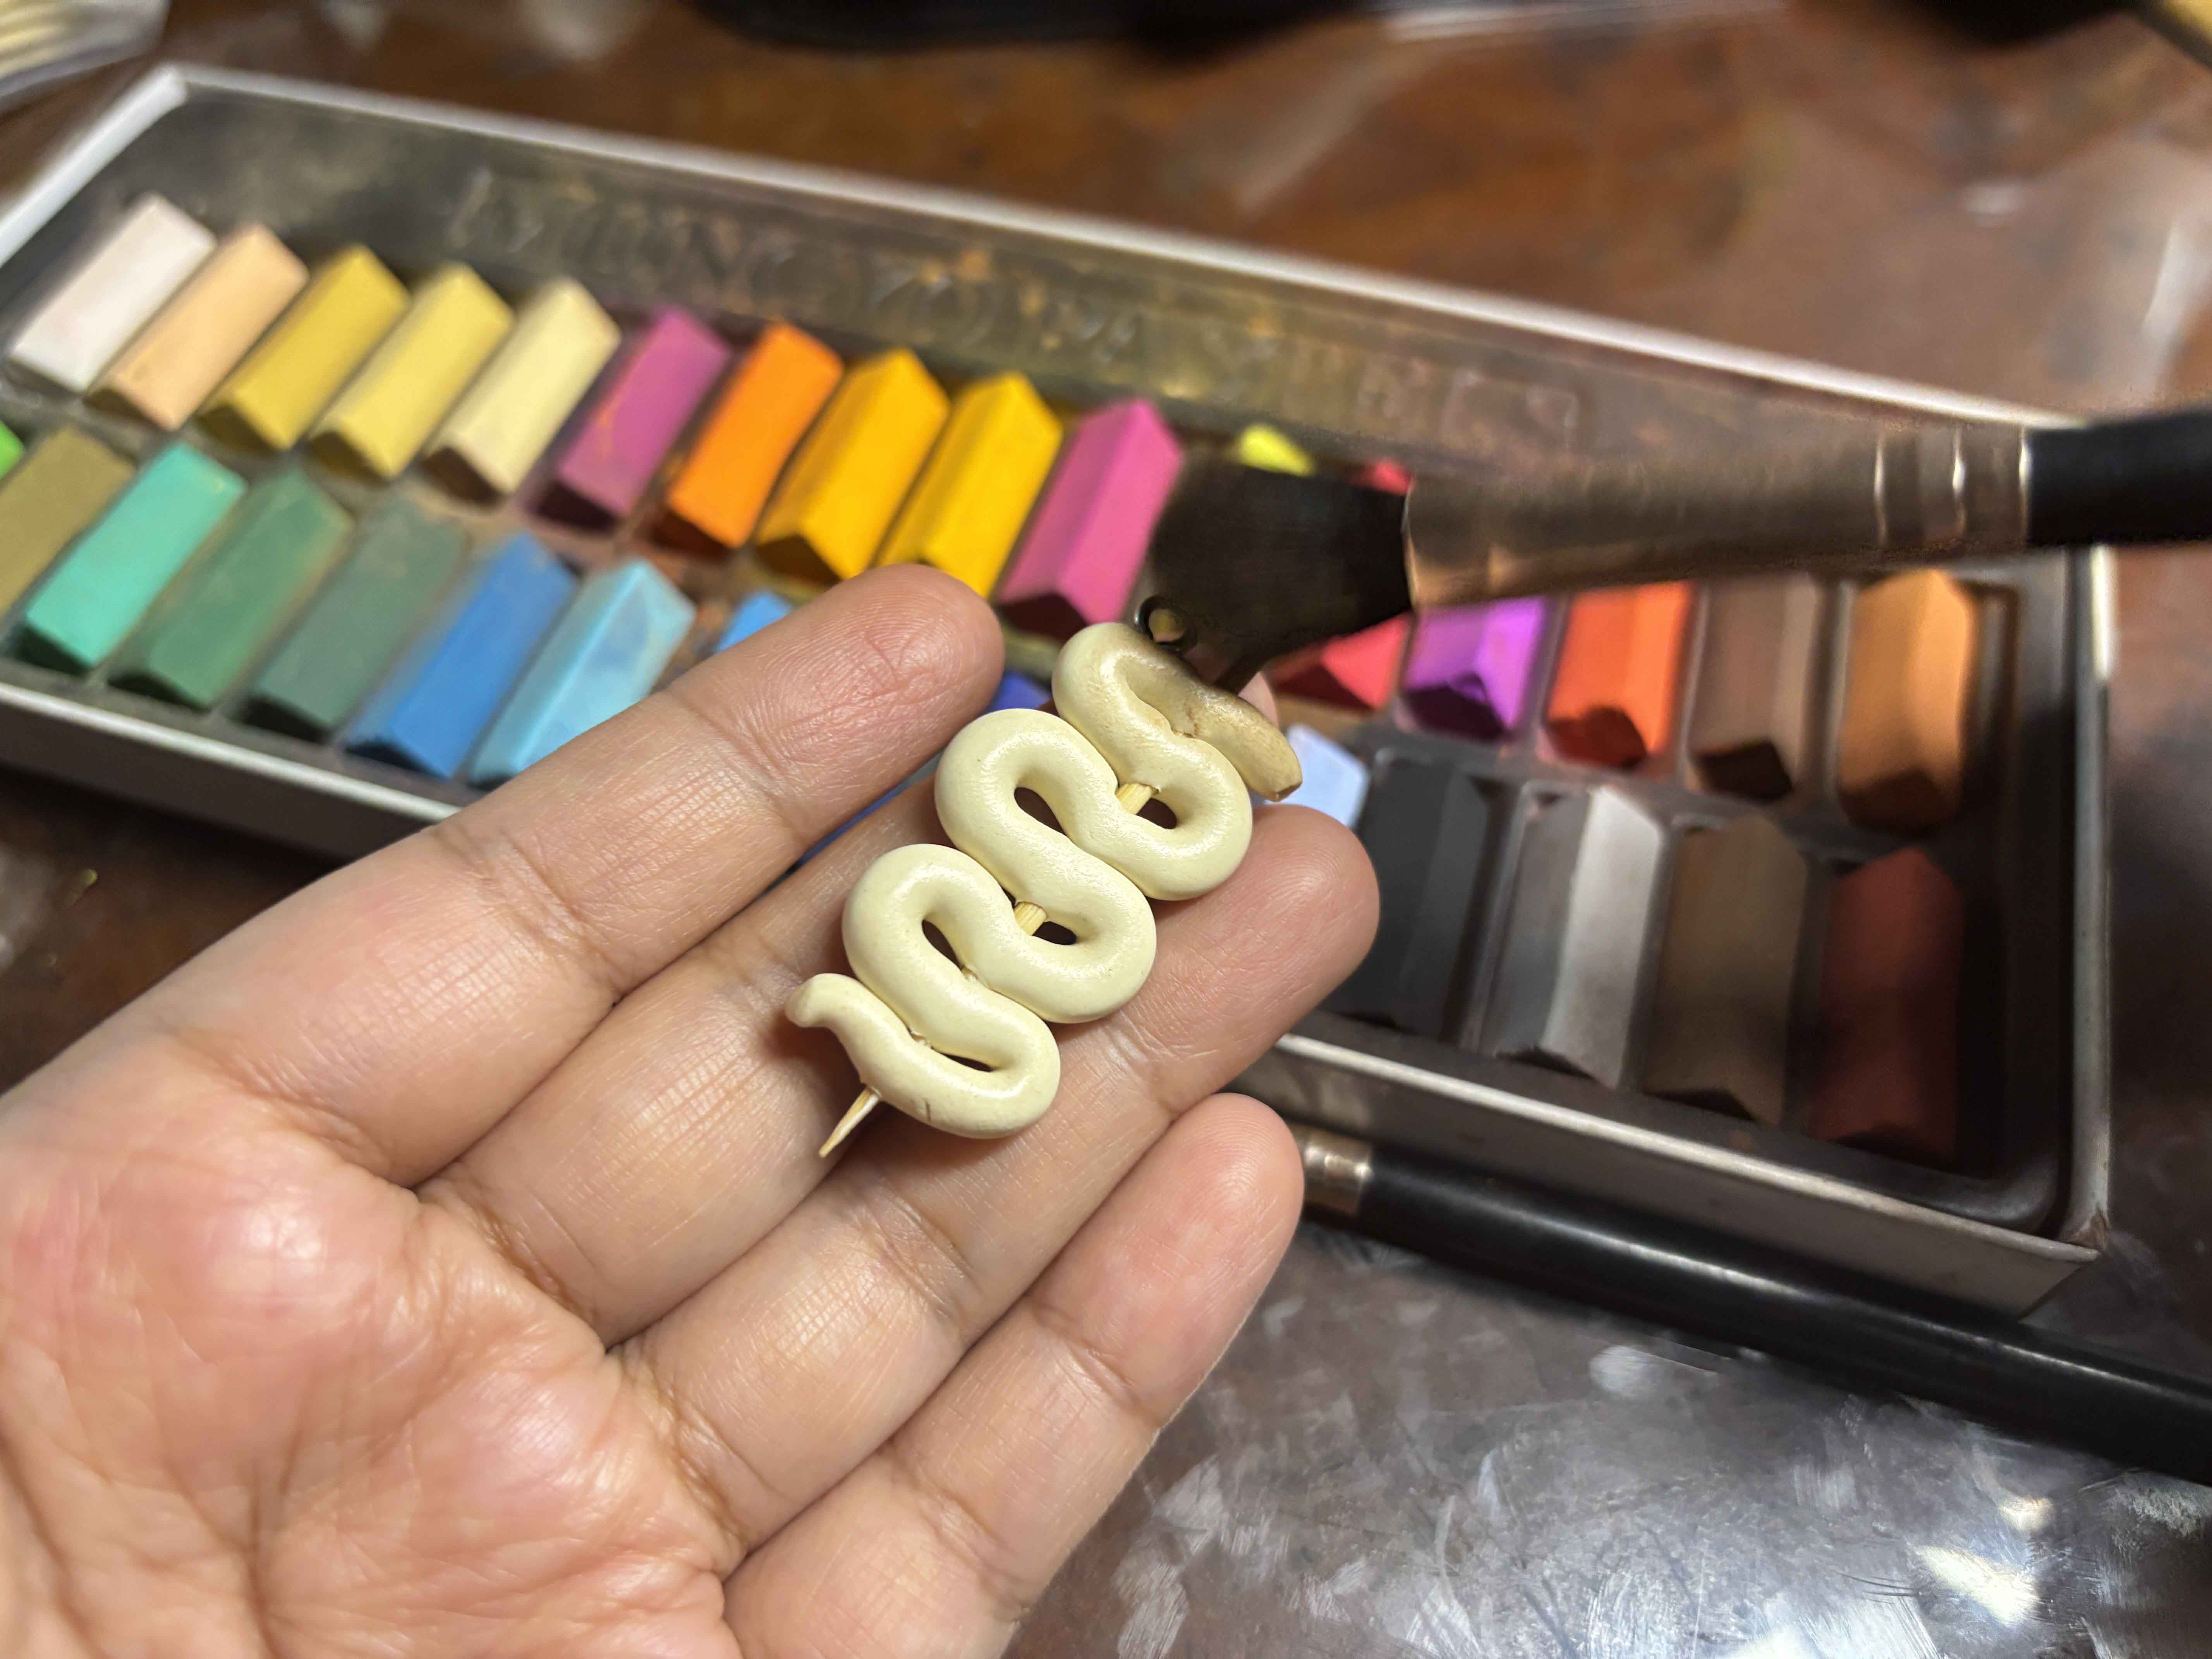
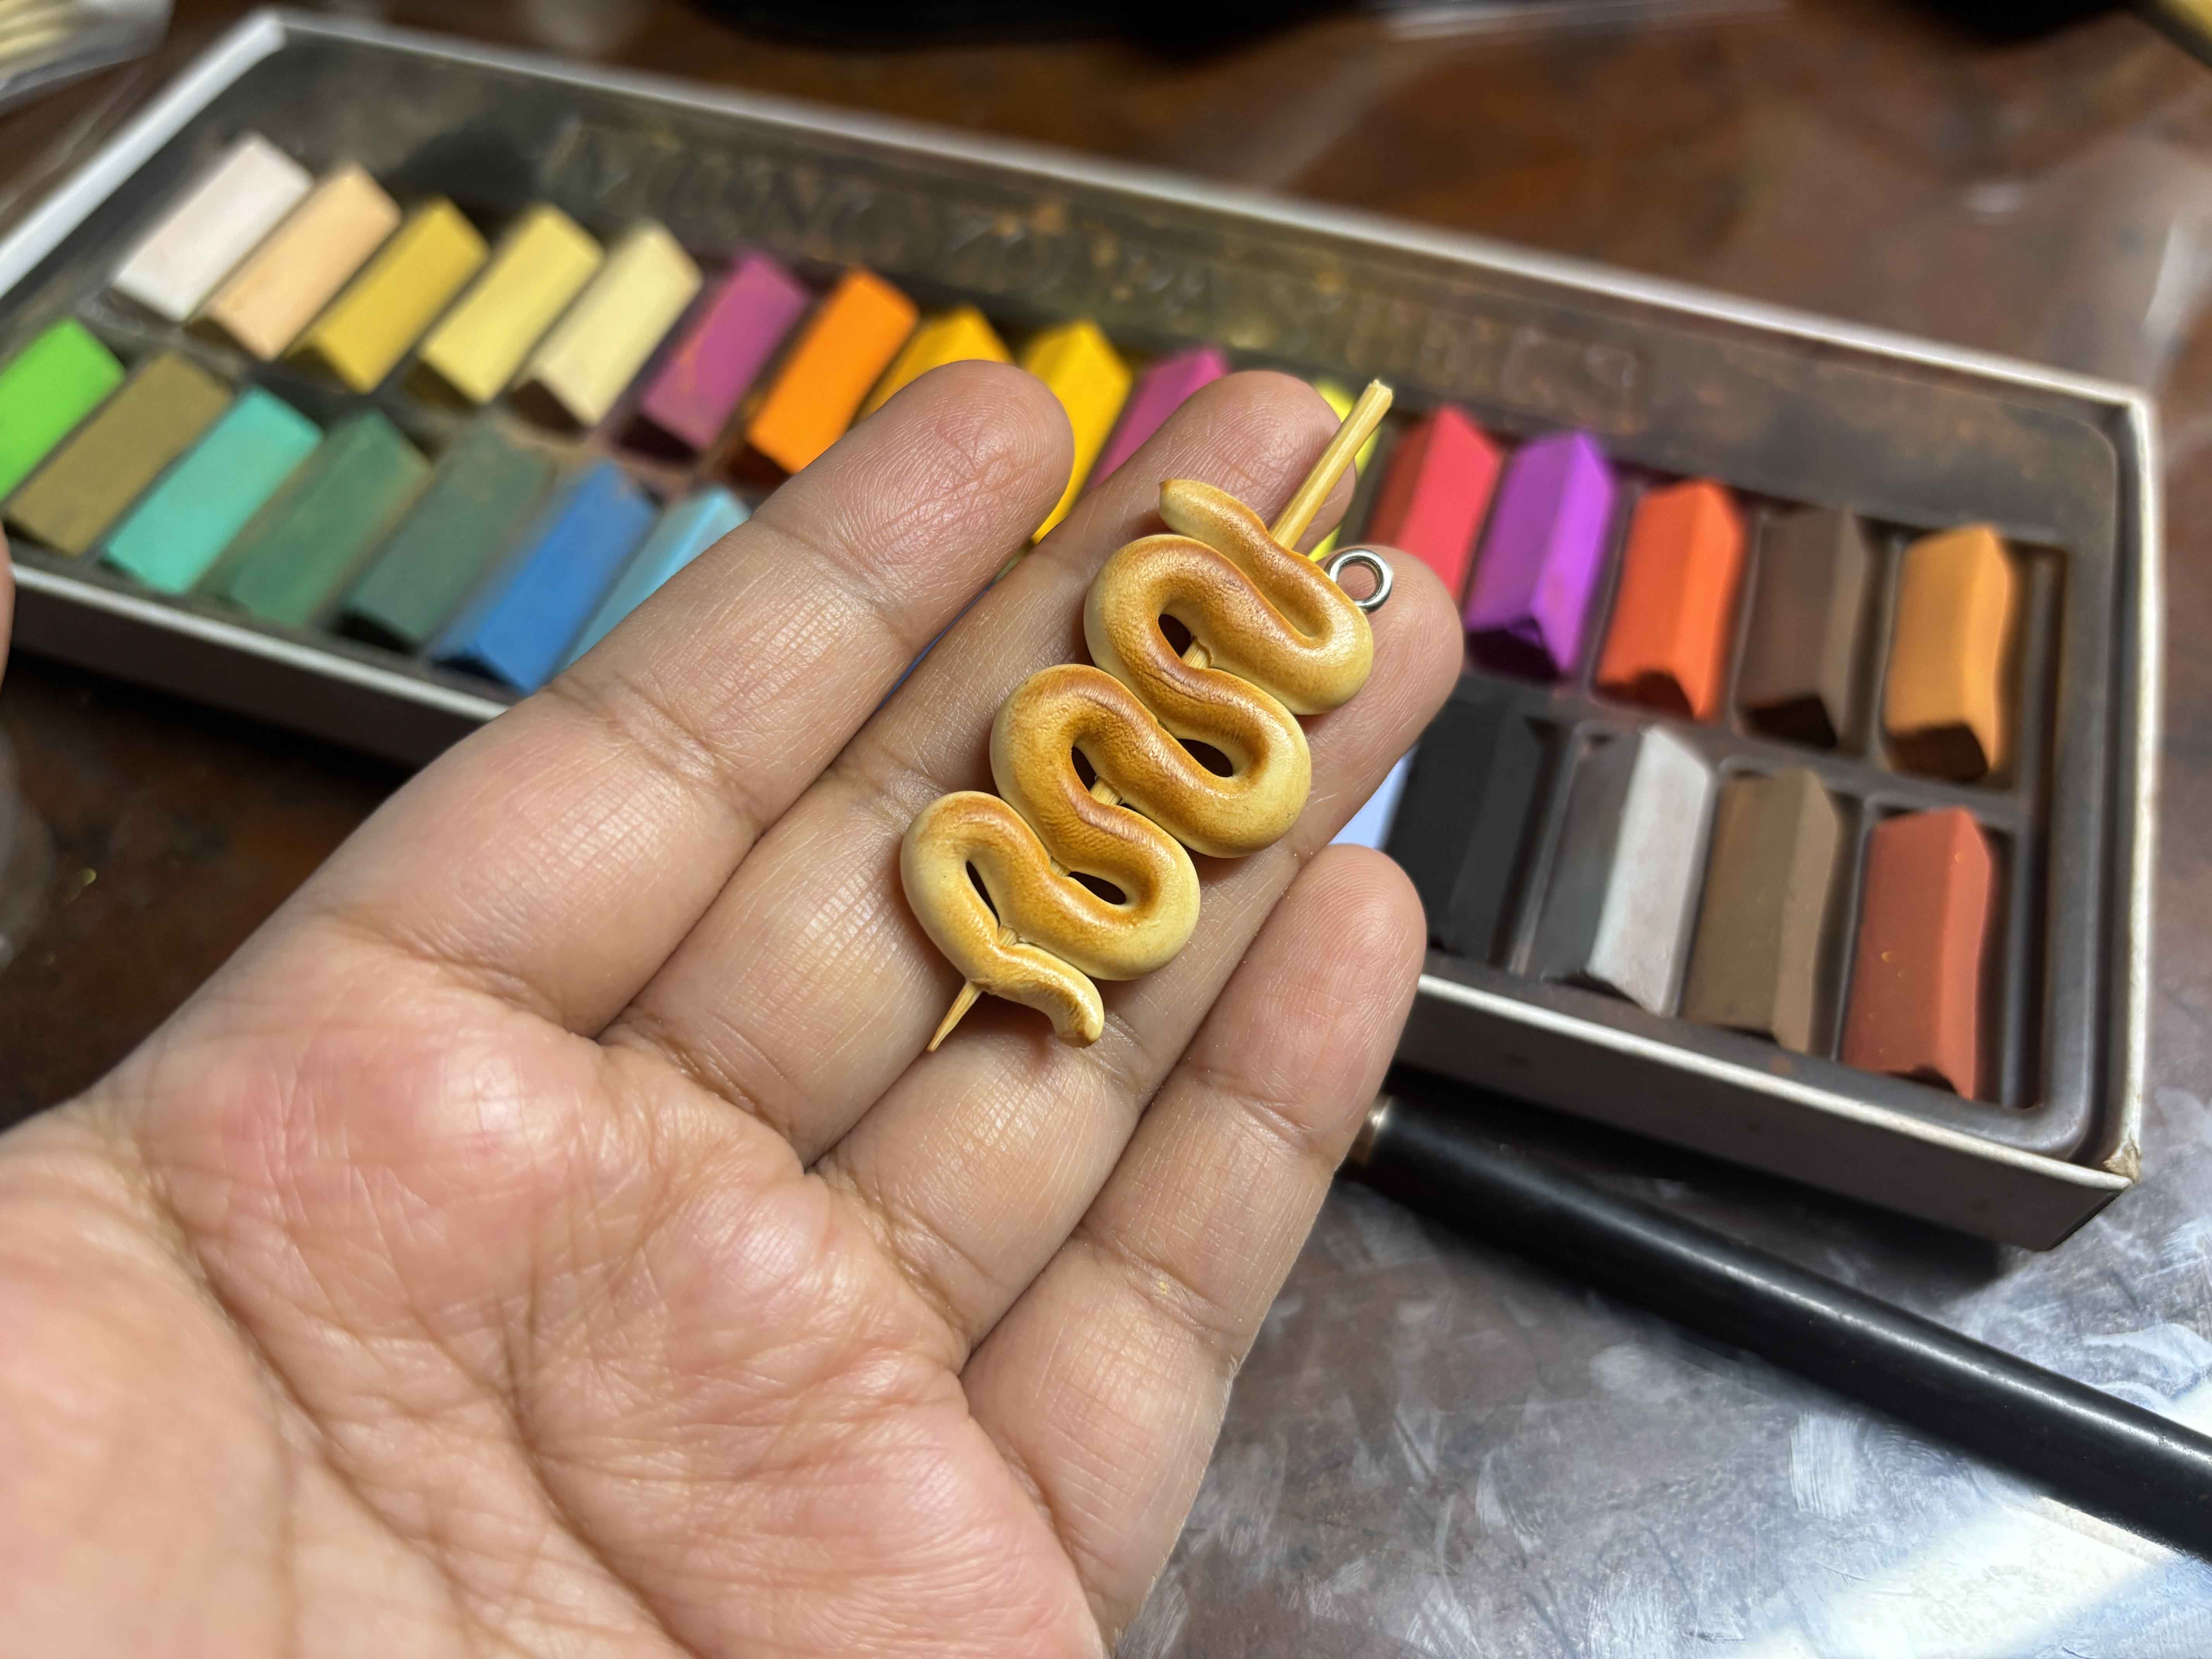
I start adding light shade first and then layer it with a darker shade, just do the same step over and over until the color turns into your desired color.
-----
---
I start adding light shade first and then layer it with a darker shade, just do the same step over and over until the color turns into your desired color.
-----
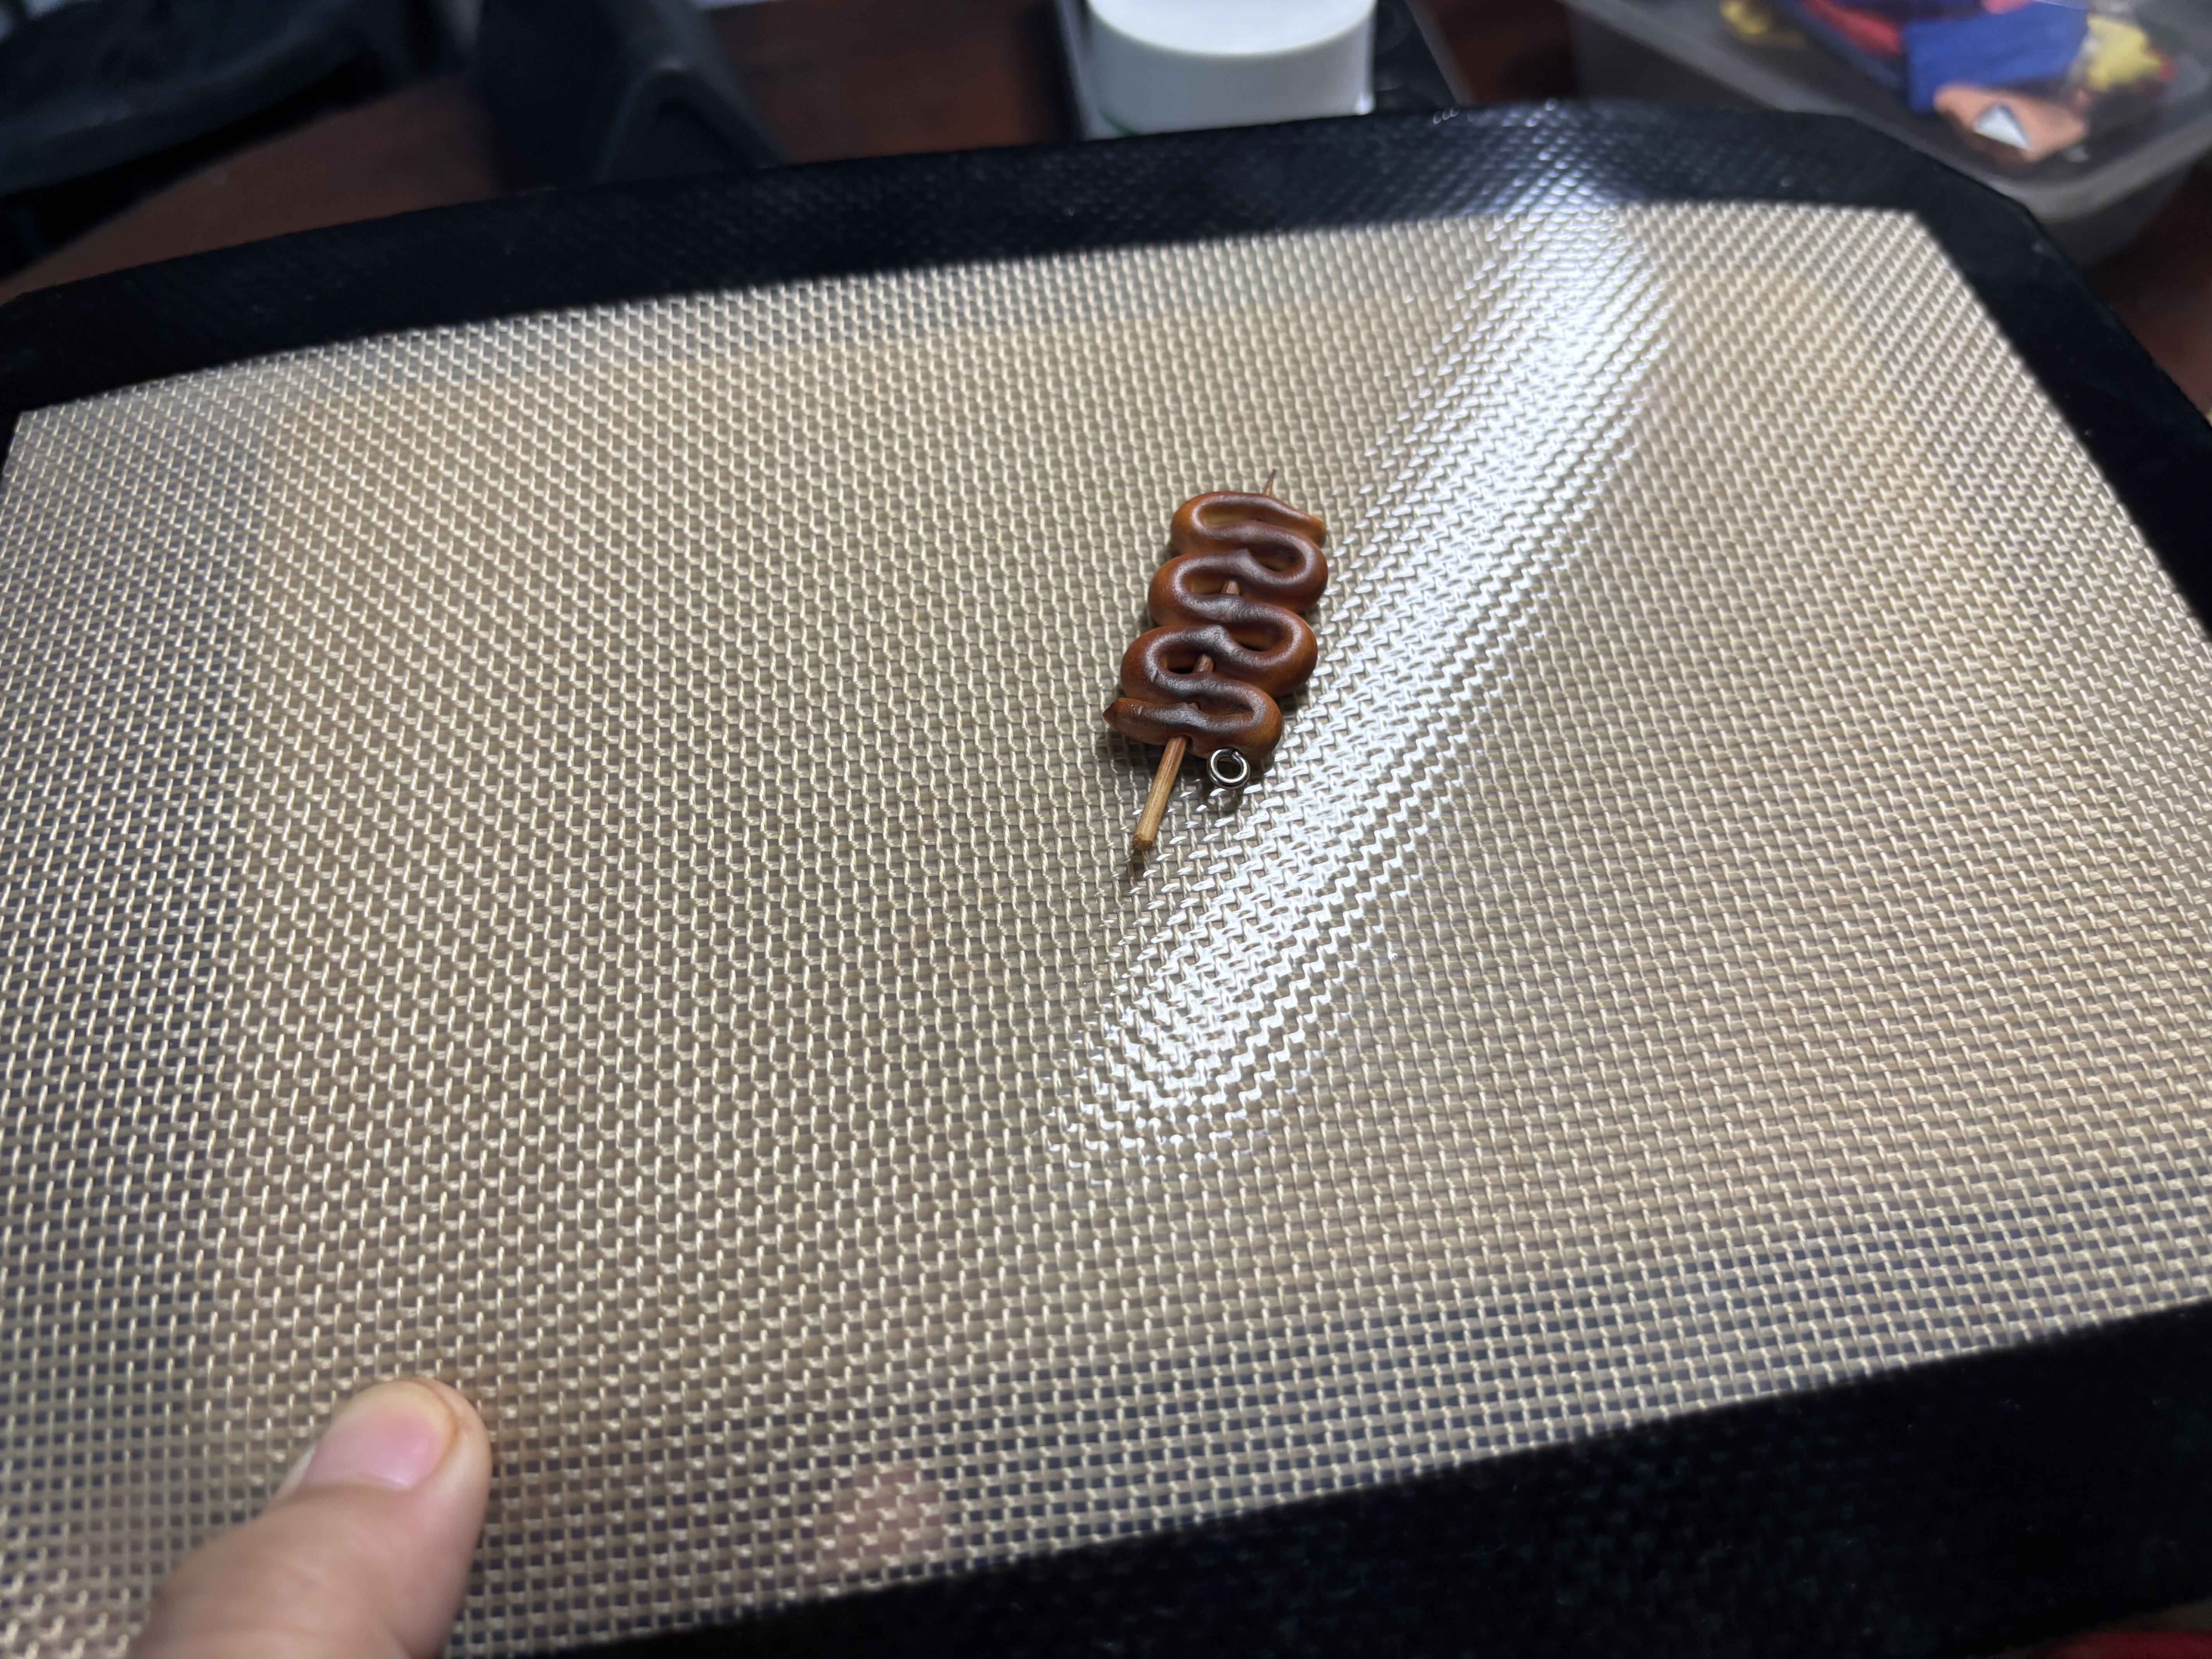
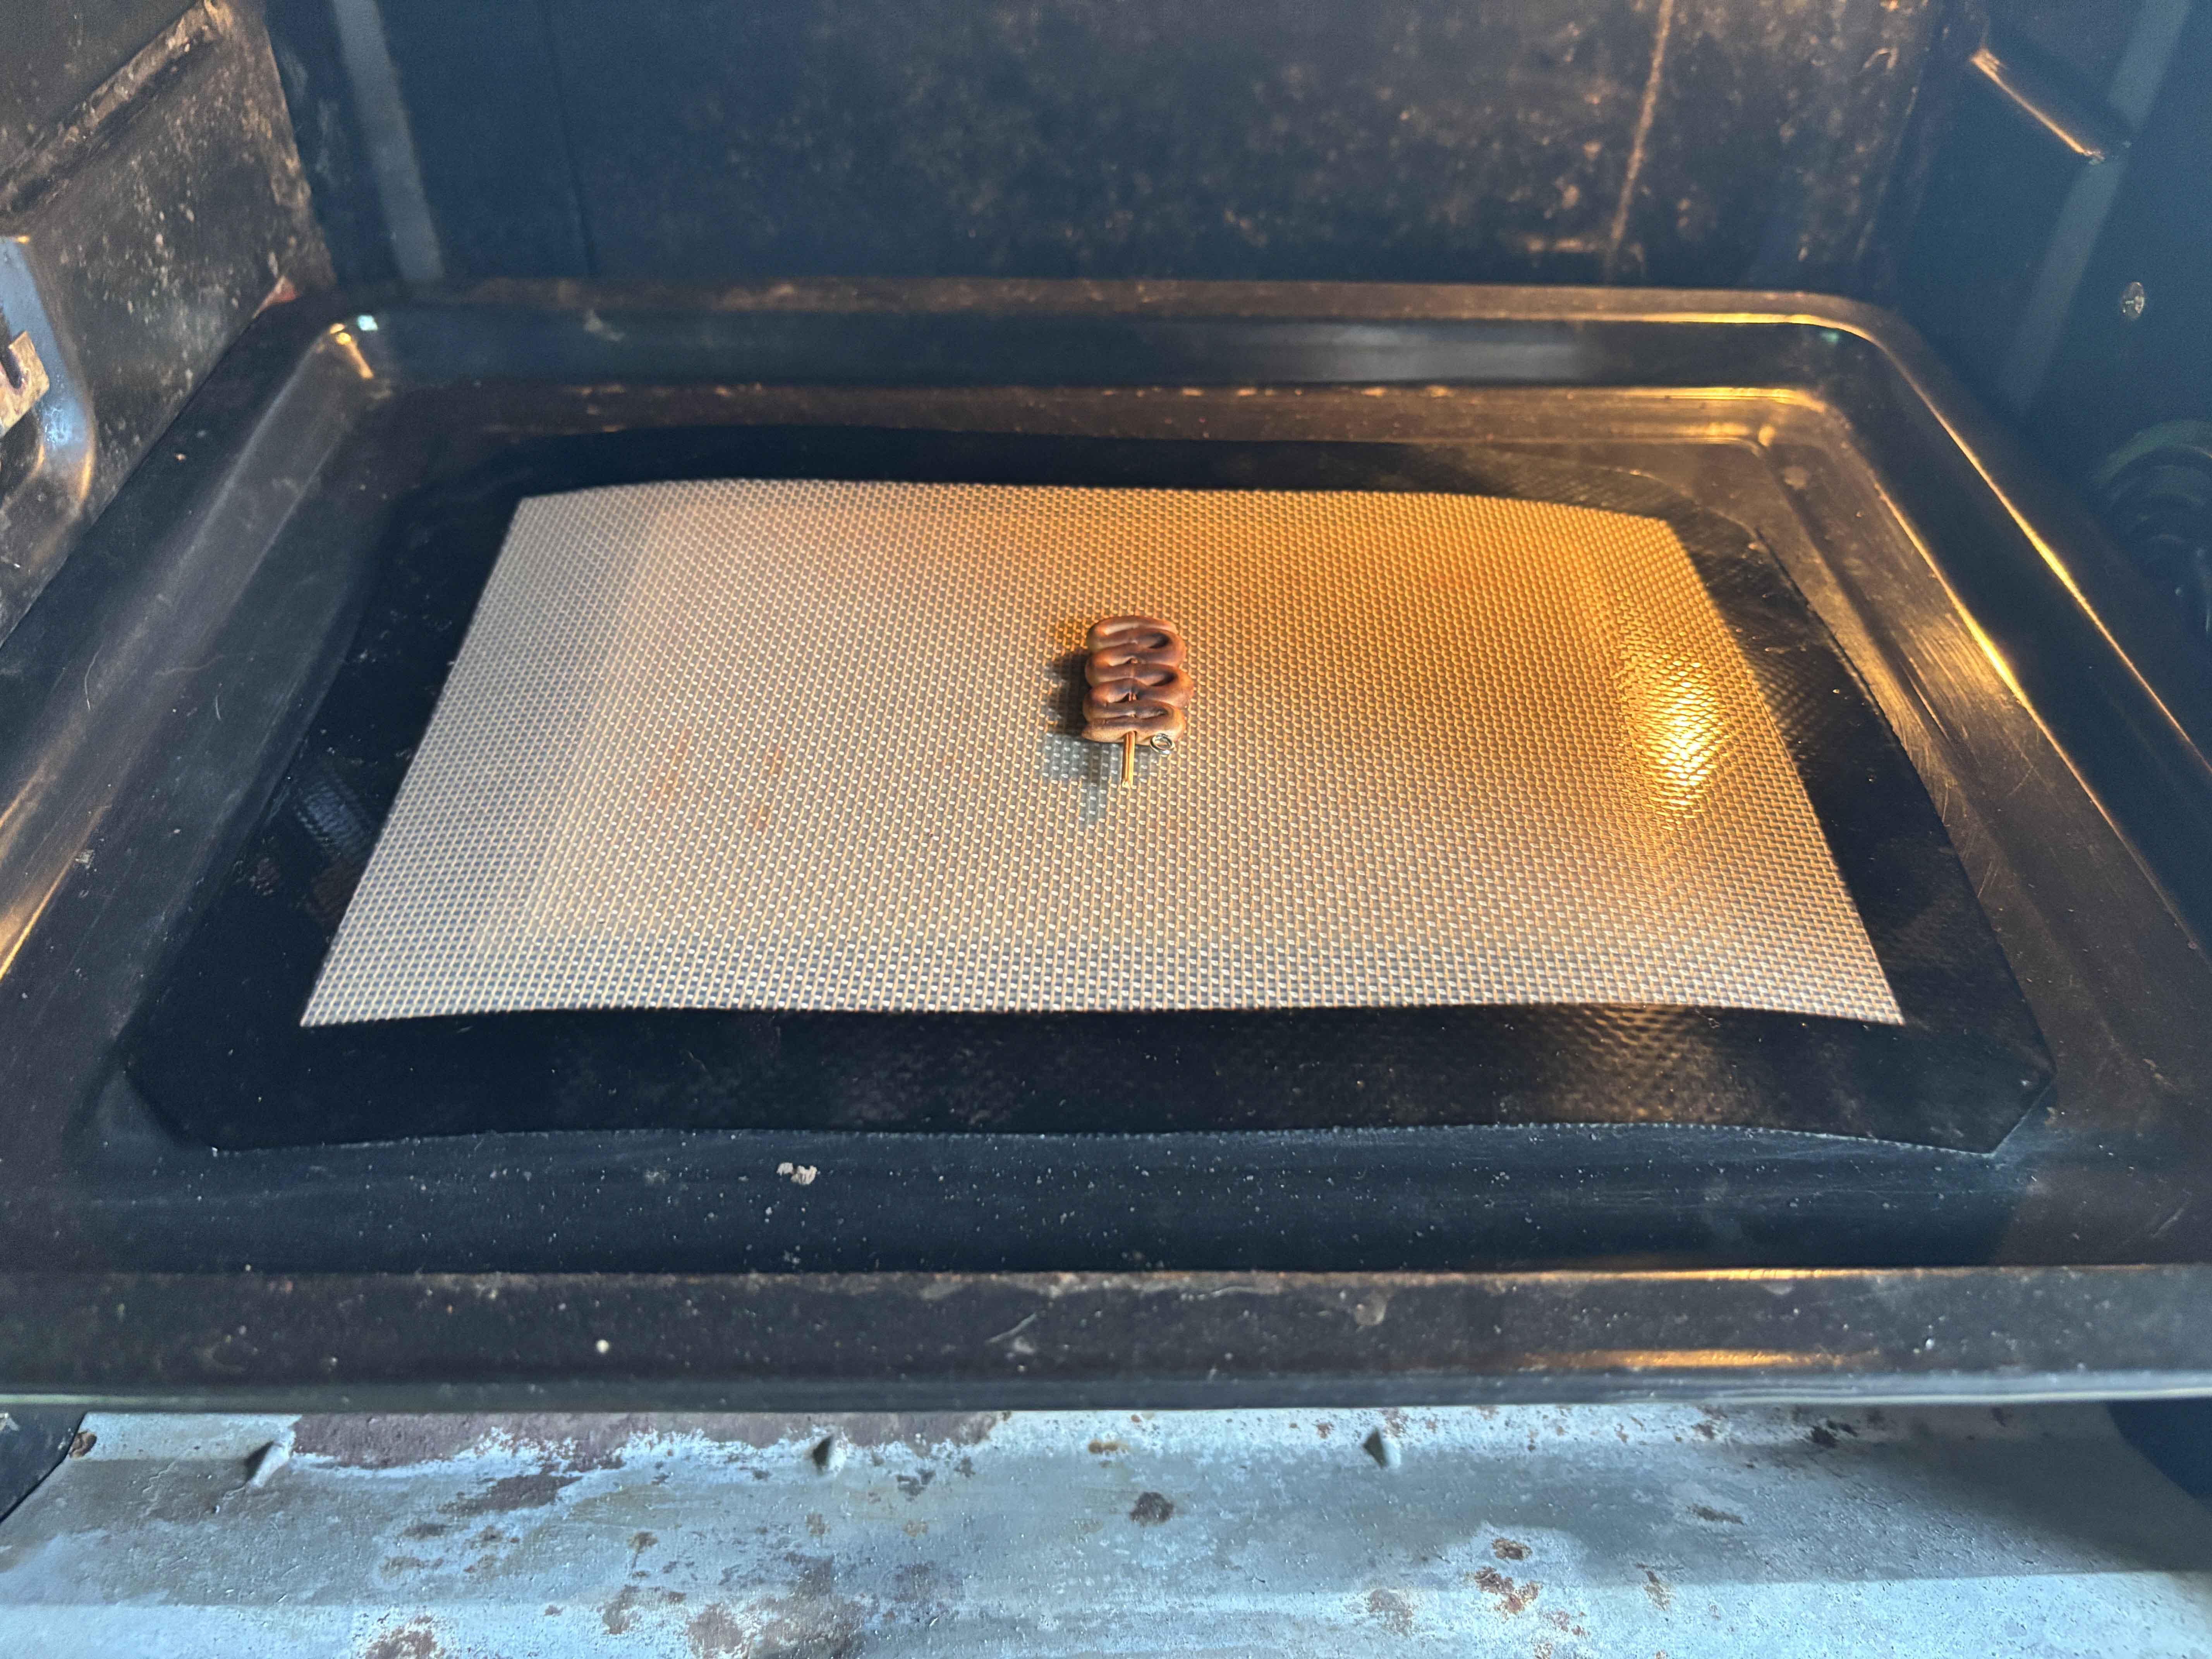 The clay is ready to be baked. I place it on a silicone mat that is only used for clay and then bake it at the temperature and time as instructed on the packaging. After baking, let the clay cool off before continuing to the next step of the process.
-----
The clay is ready to be baked. I place it on a silicone mat that is only used for clay and then bake it at the temperature and time as instructed on the packaging. After baking, let the clay cool off before continuing to the next step of the process.
-----
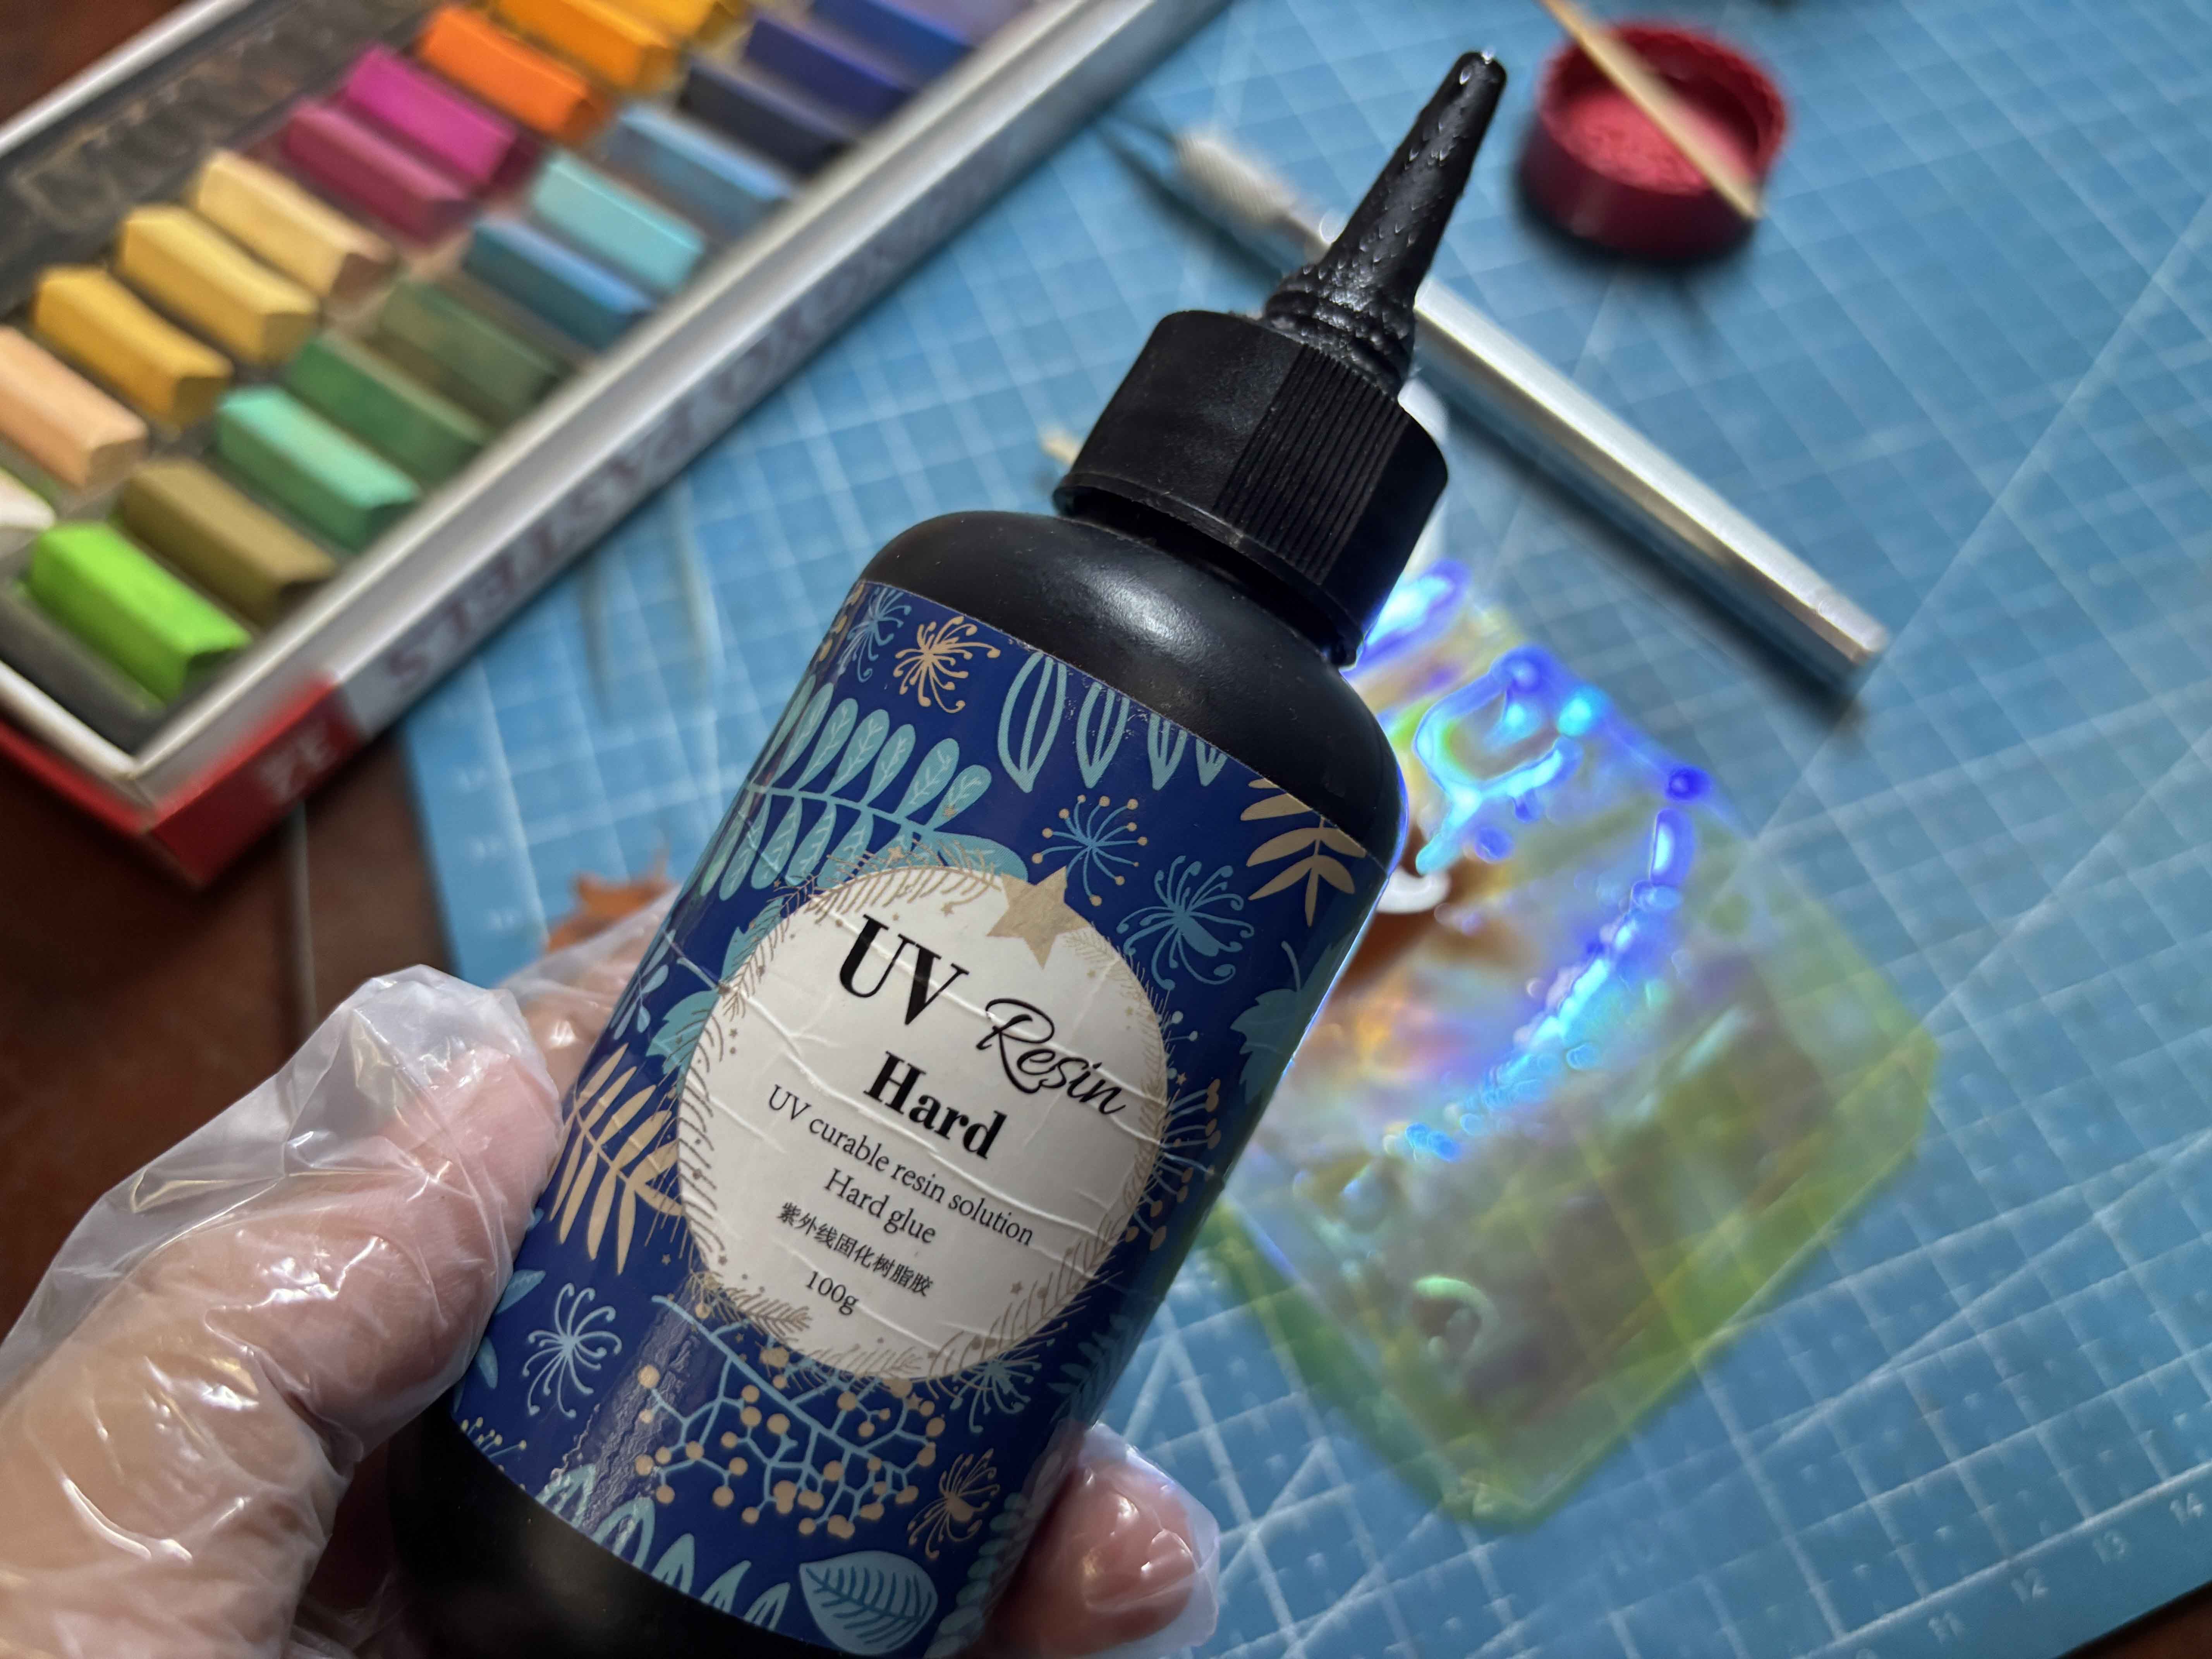
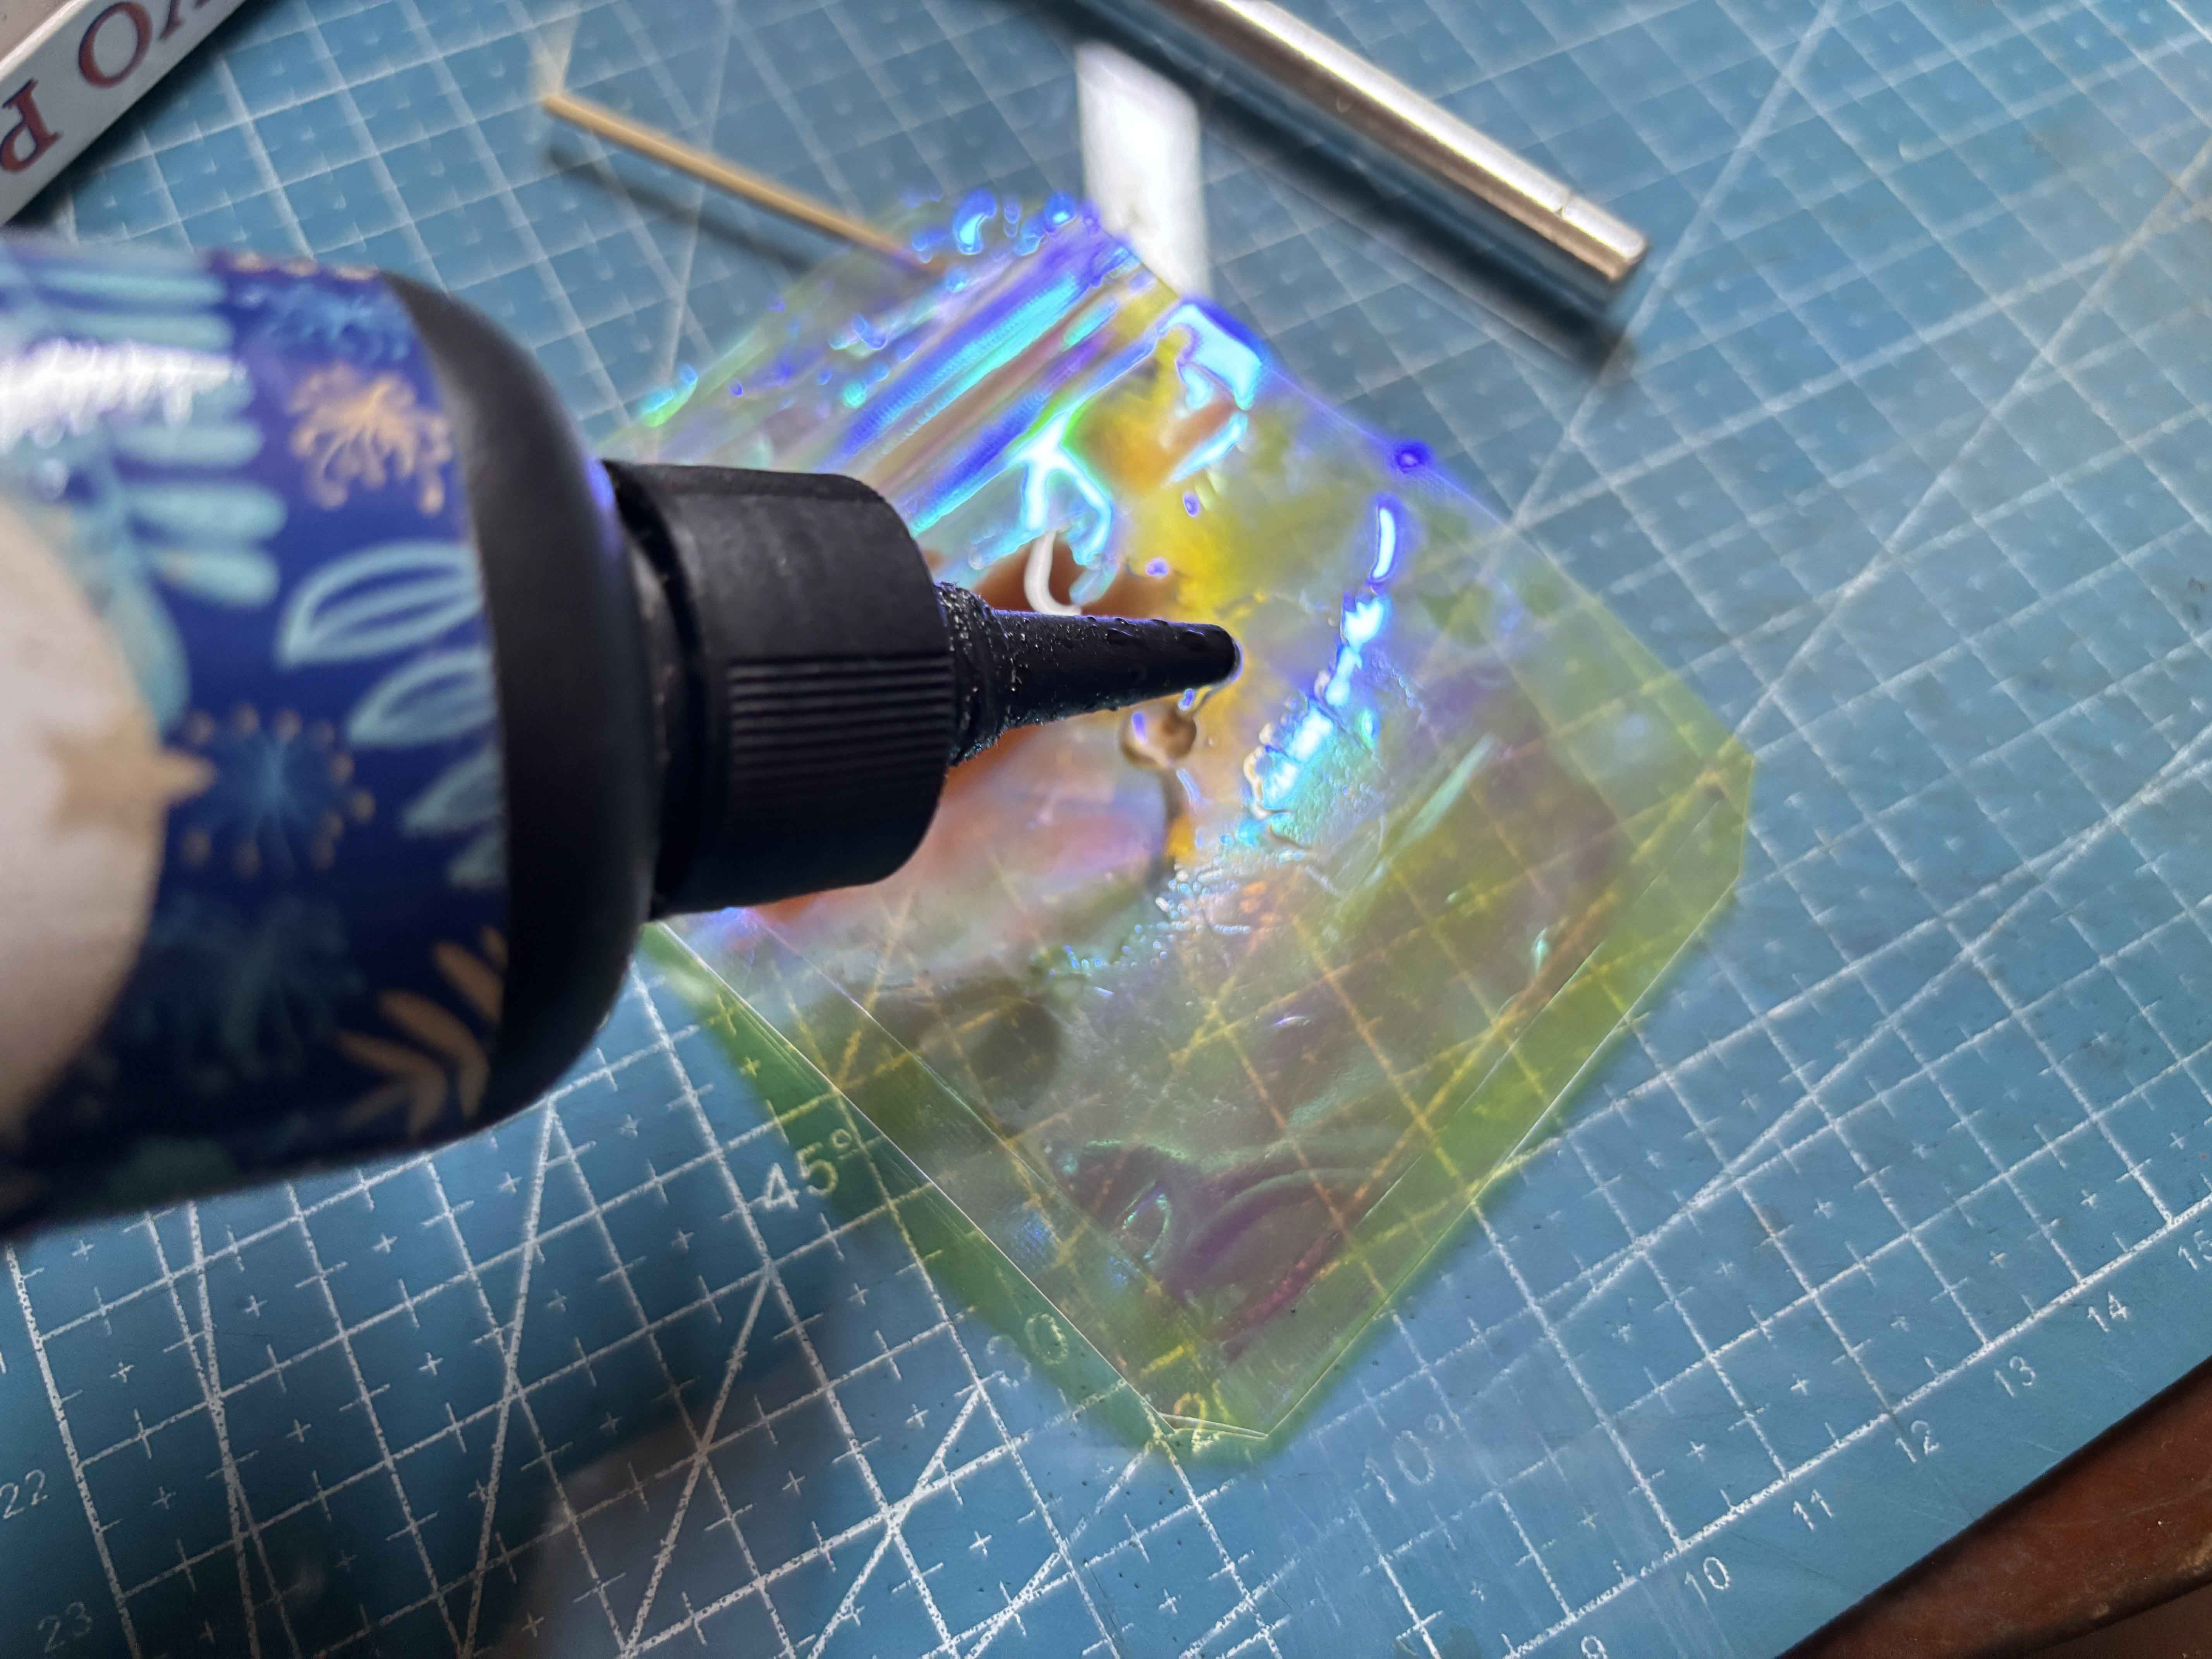 Next, I added UV Resin to the plastic enough for what I am going to use it for.
-----
Next, I added UV Resin to the plastic enough for what I am going to use it for.
-----
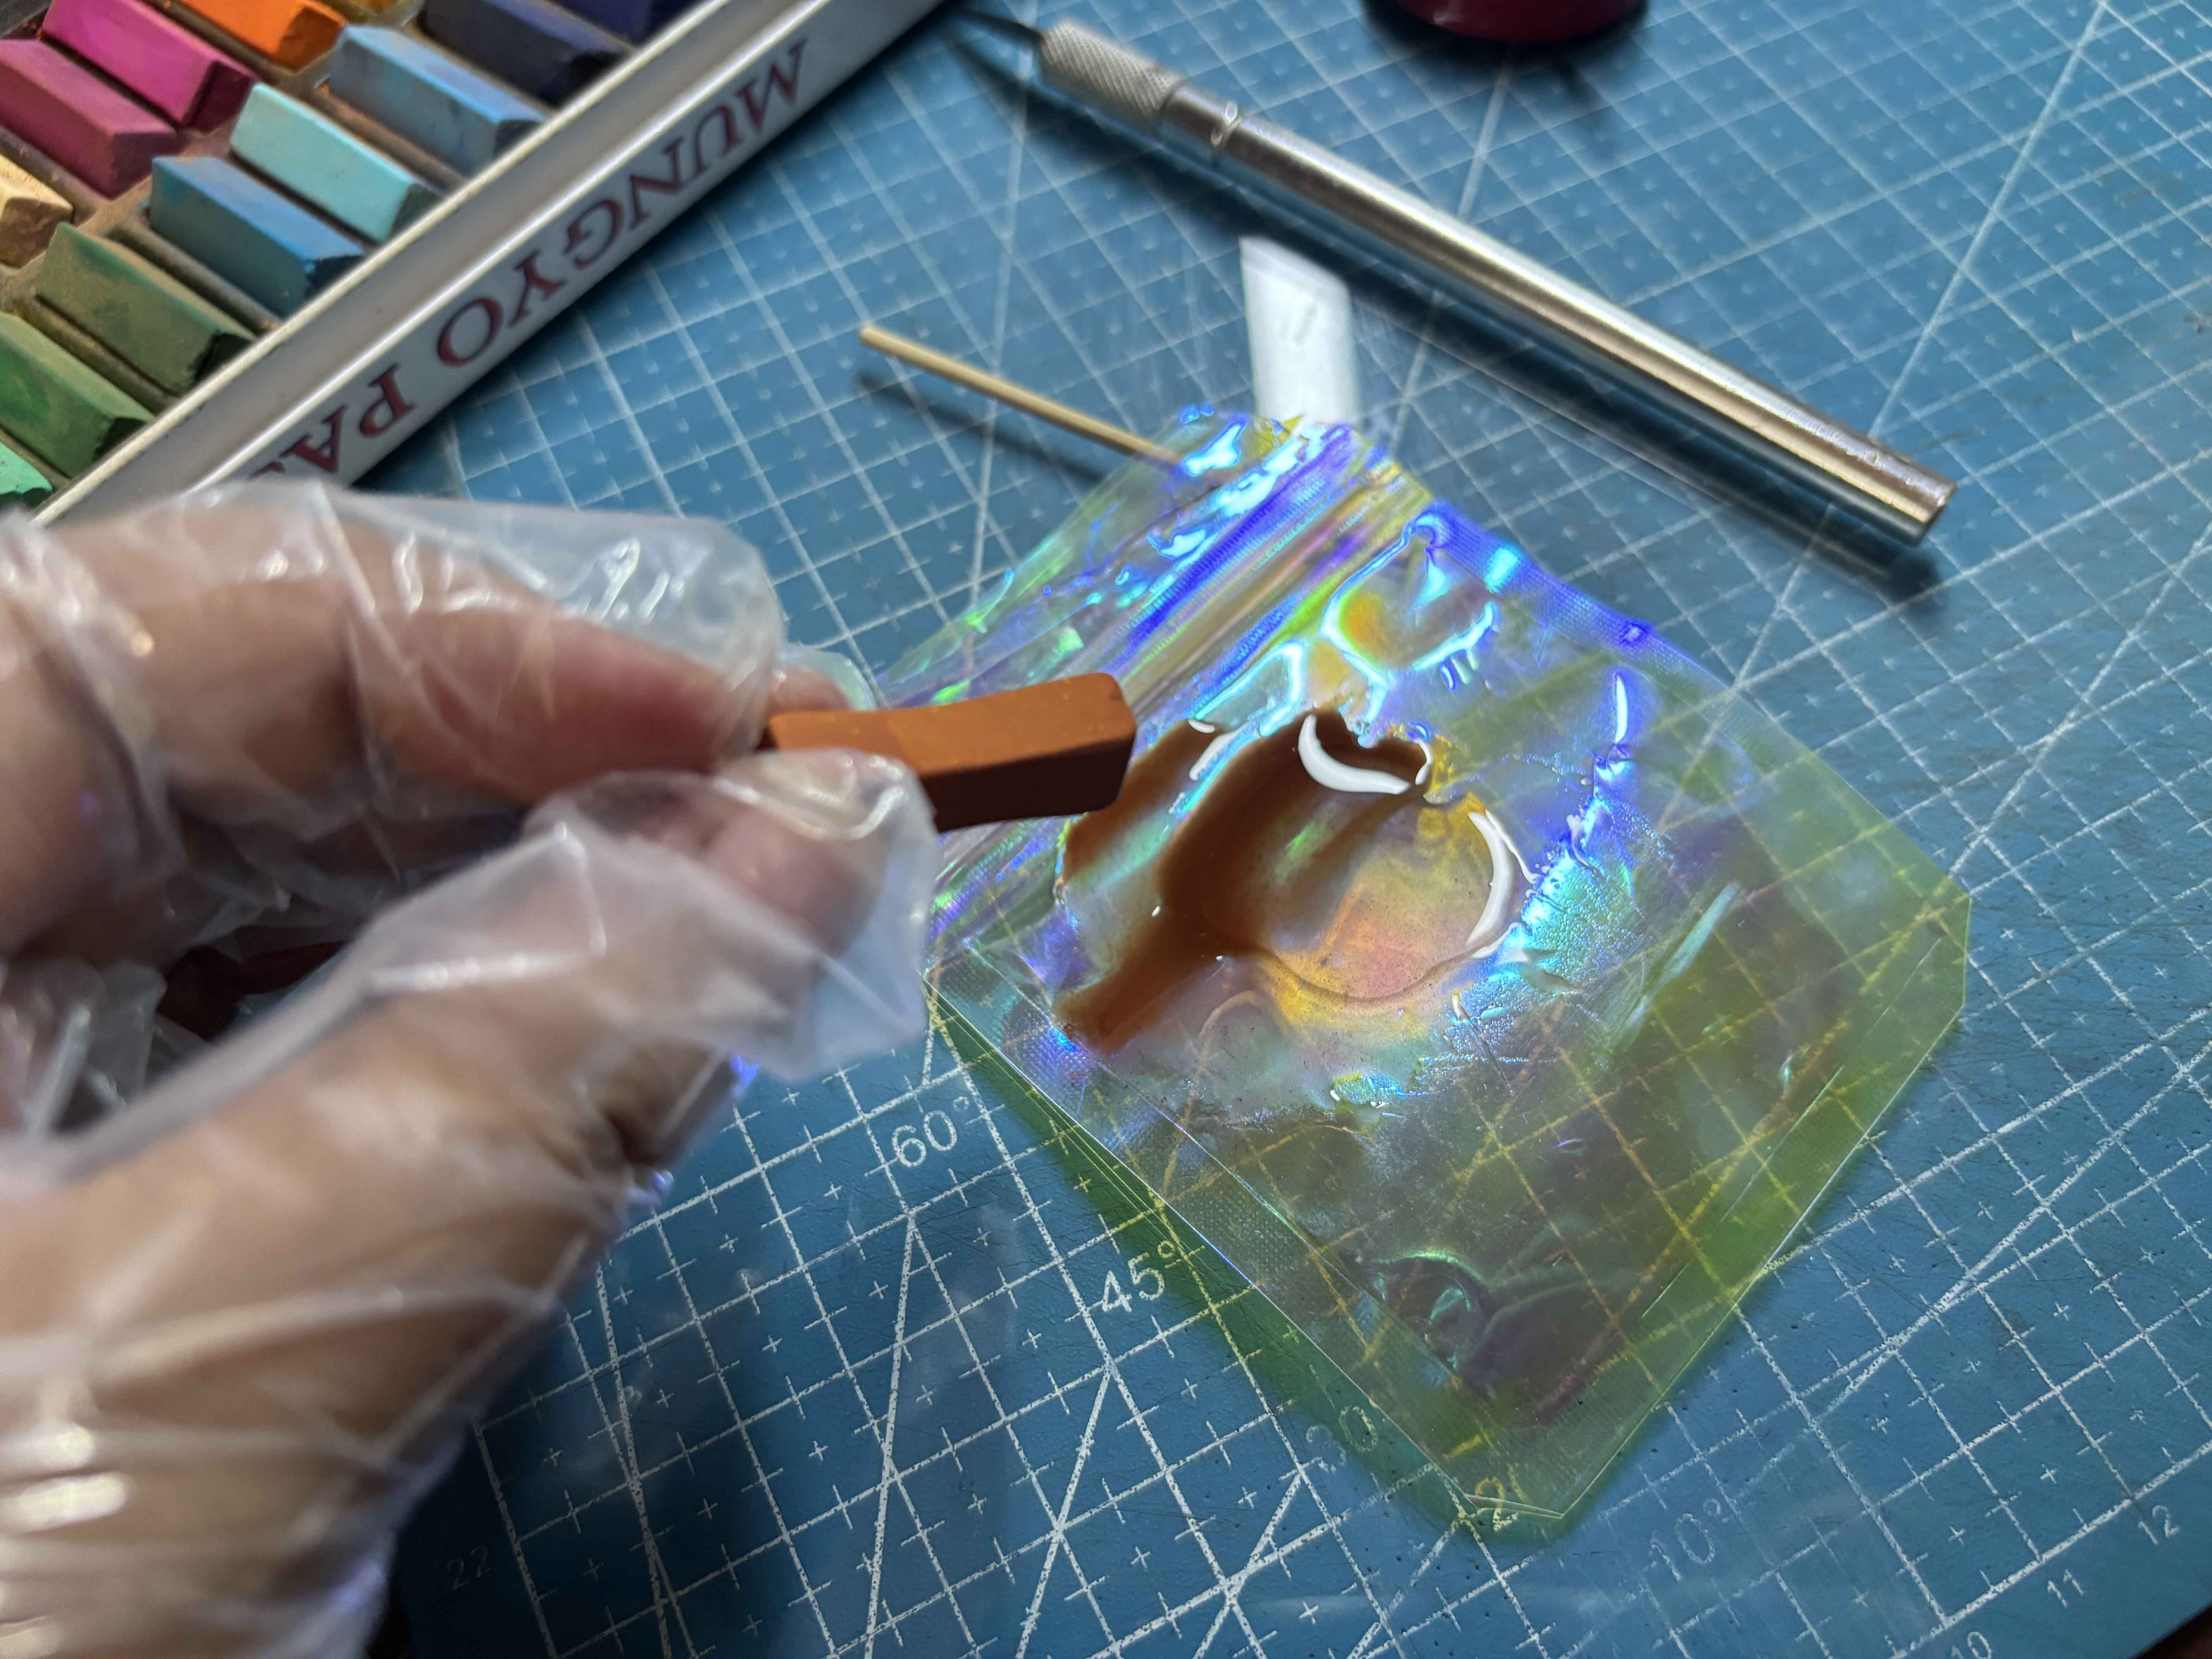
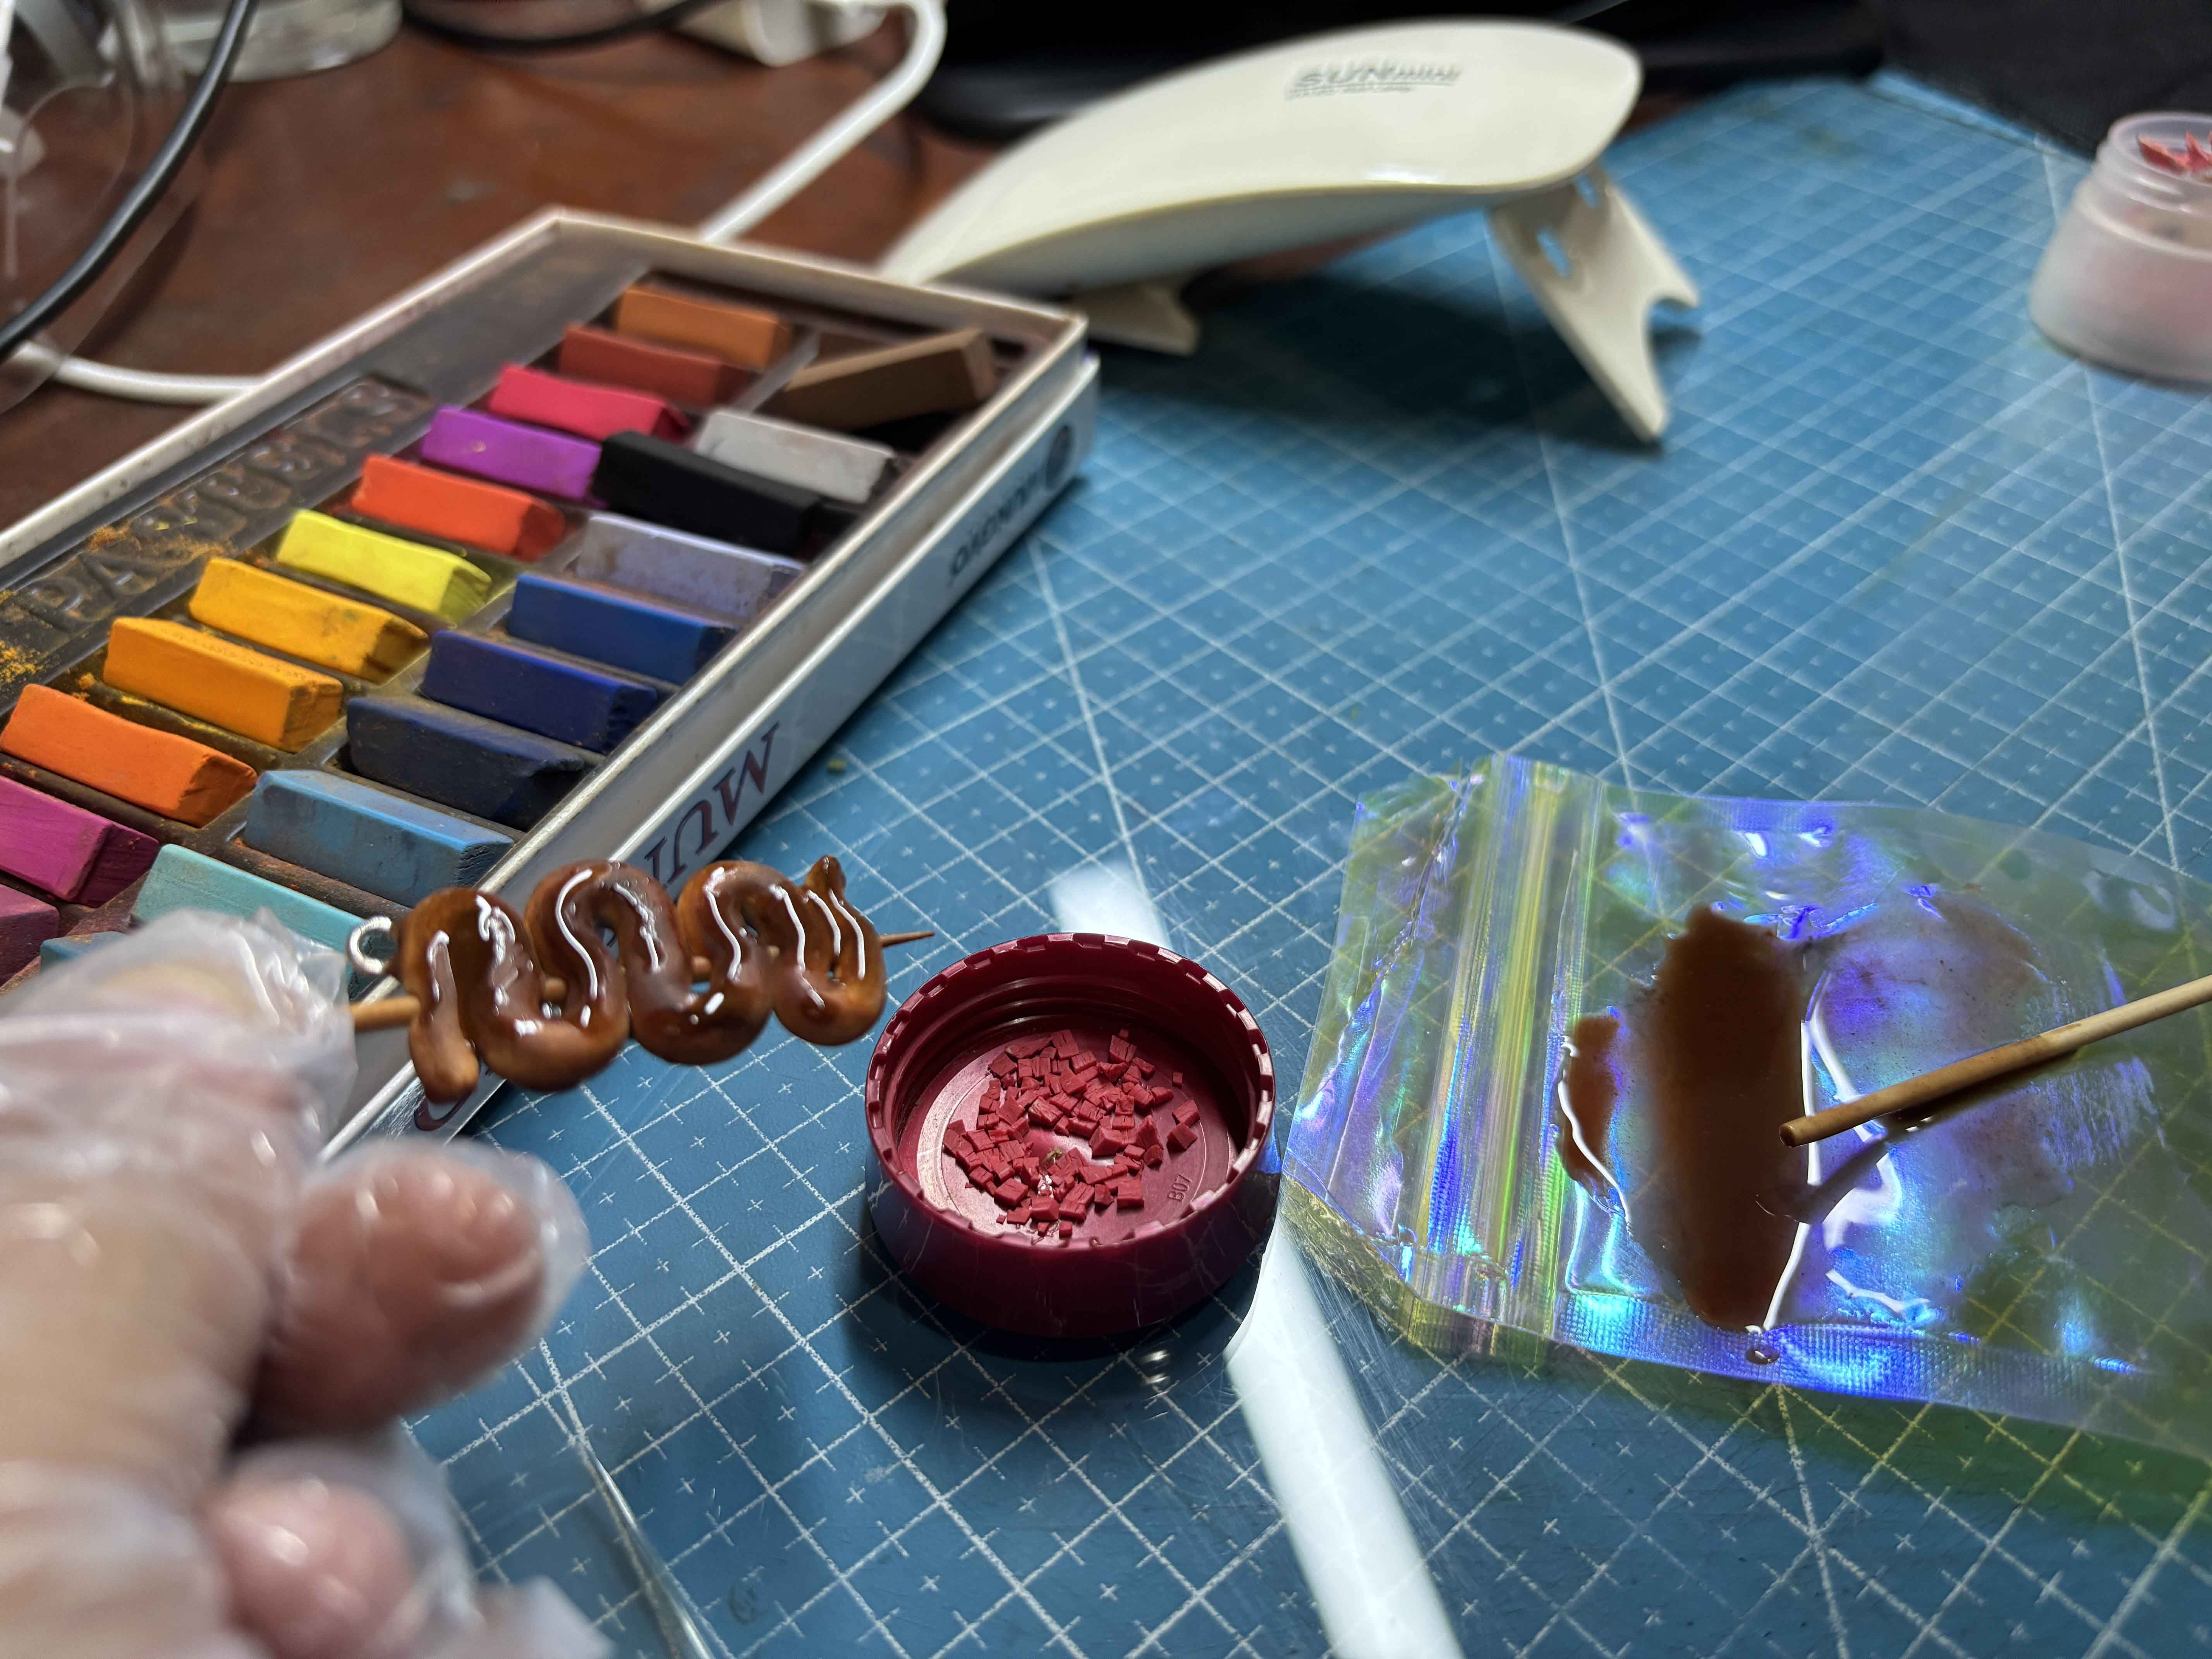
 Then I added color to it using soft pastels. For this part, I am aiming for the color of the sauce, which is close to brown. And then mix it until well combined.
-----
Then I added color to it using soft pastels. For this part, I am aiming for the color of the sauce, which is close to brown. And then mix it until well combined.
-----
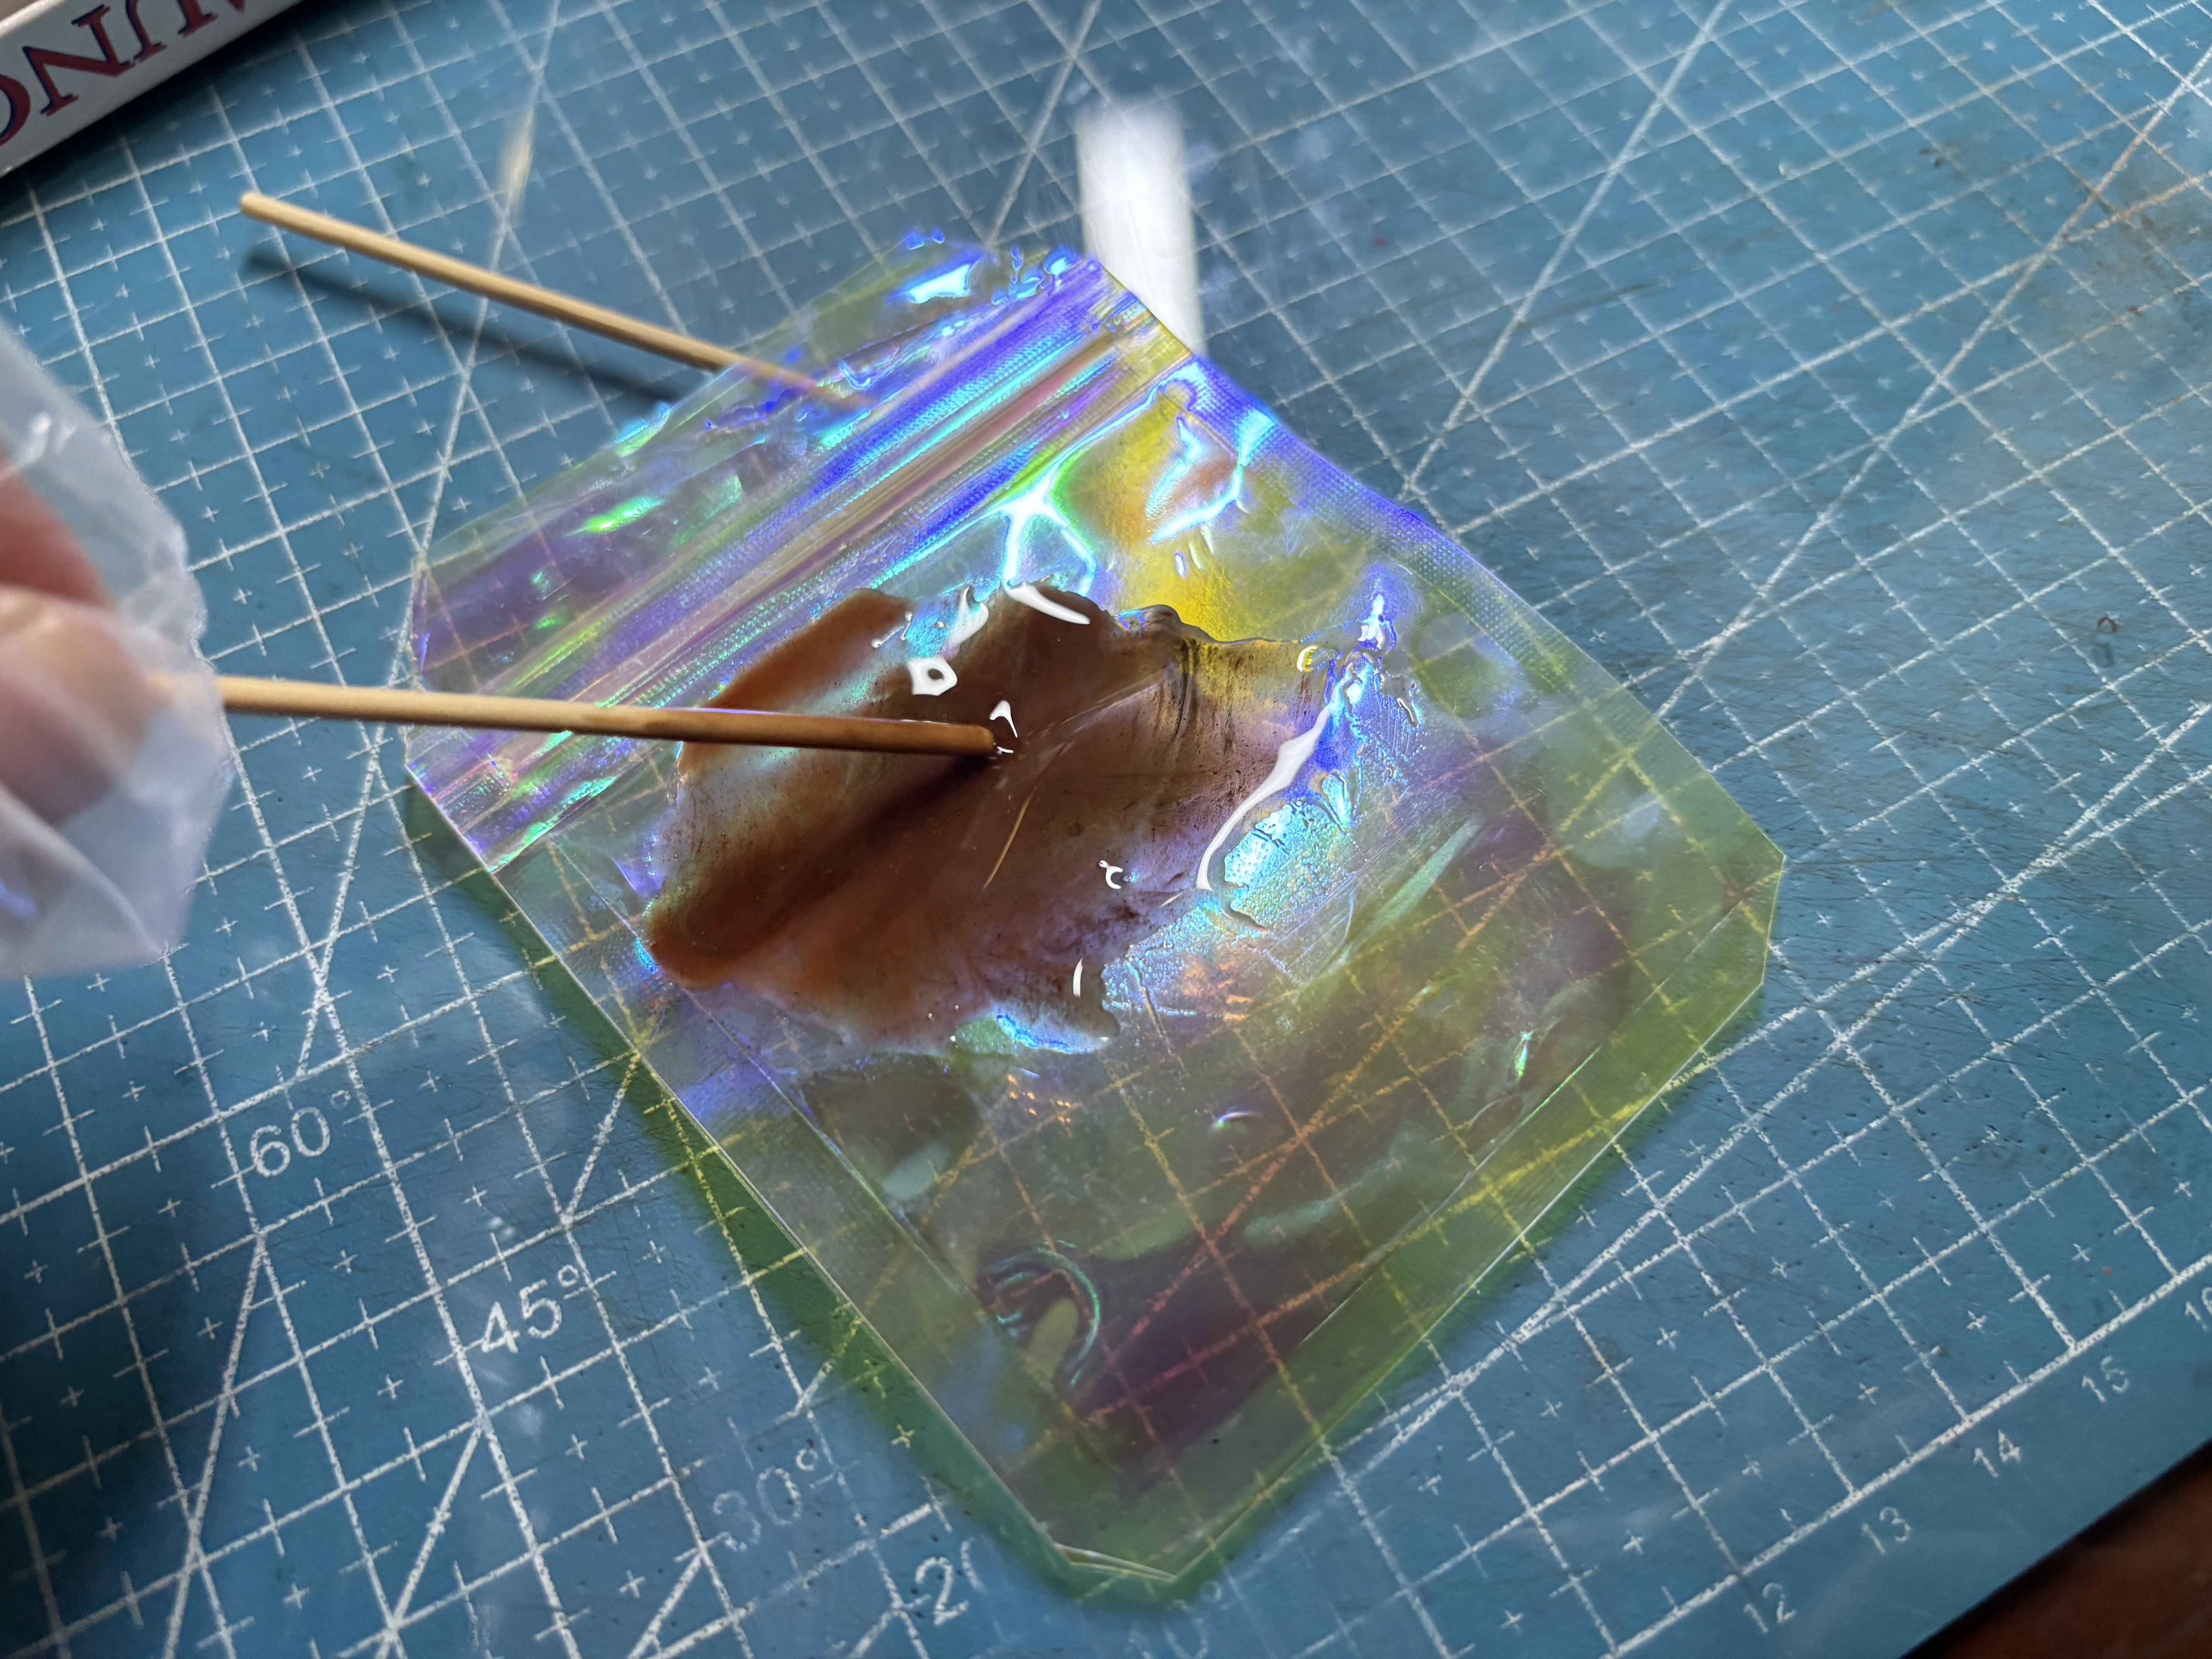
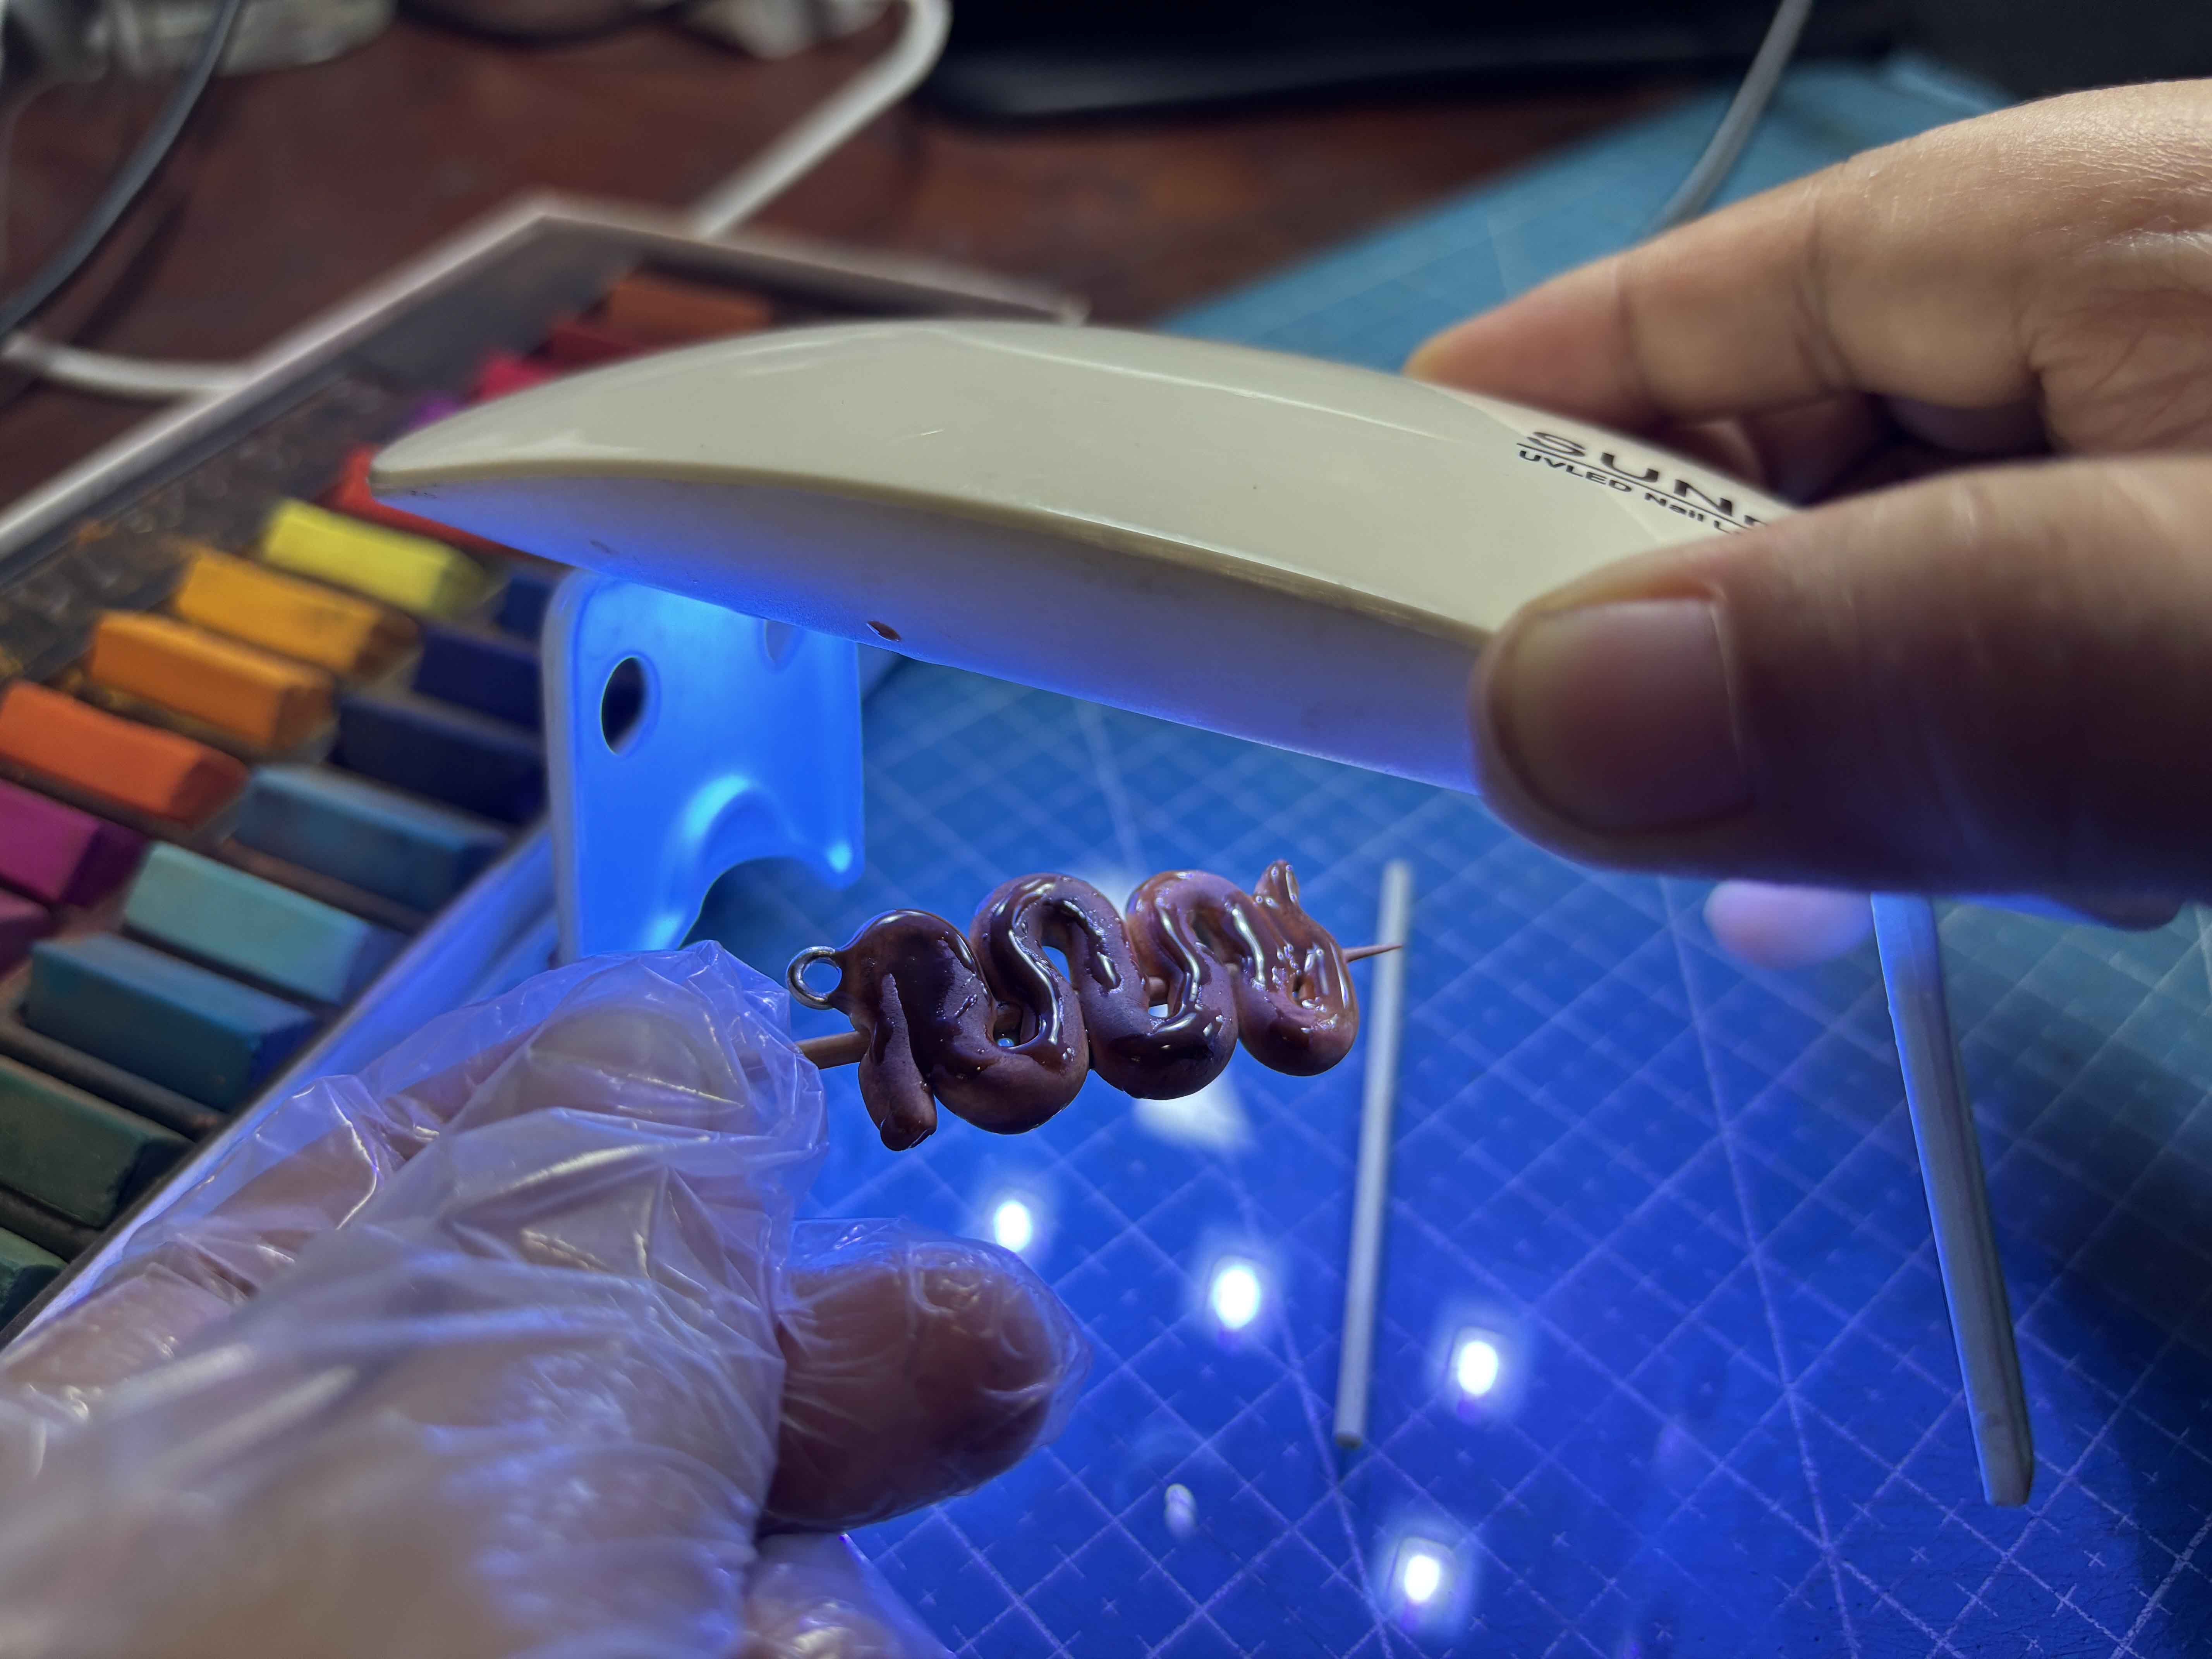 Then I am going to add the mixture to the clay, and after that, I am going to cure it using UV Light. You can use the sun, but I made it nighttime, so I needed UV Light for this part.
------
Then I am going to add the mixture to the clay, and after that, I am going to cure it using UV Light. You can use the sun, but I made it nighttime, so I needed UV Light for this part.
------
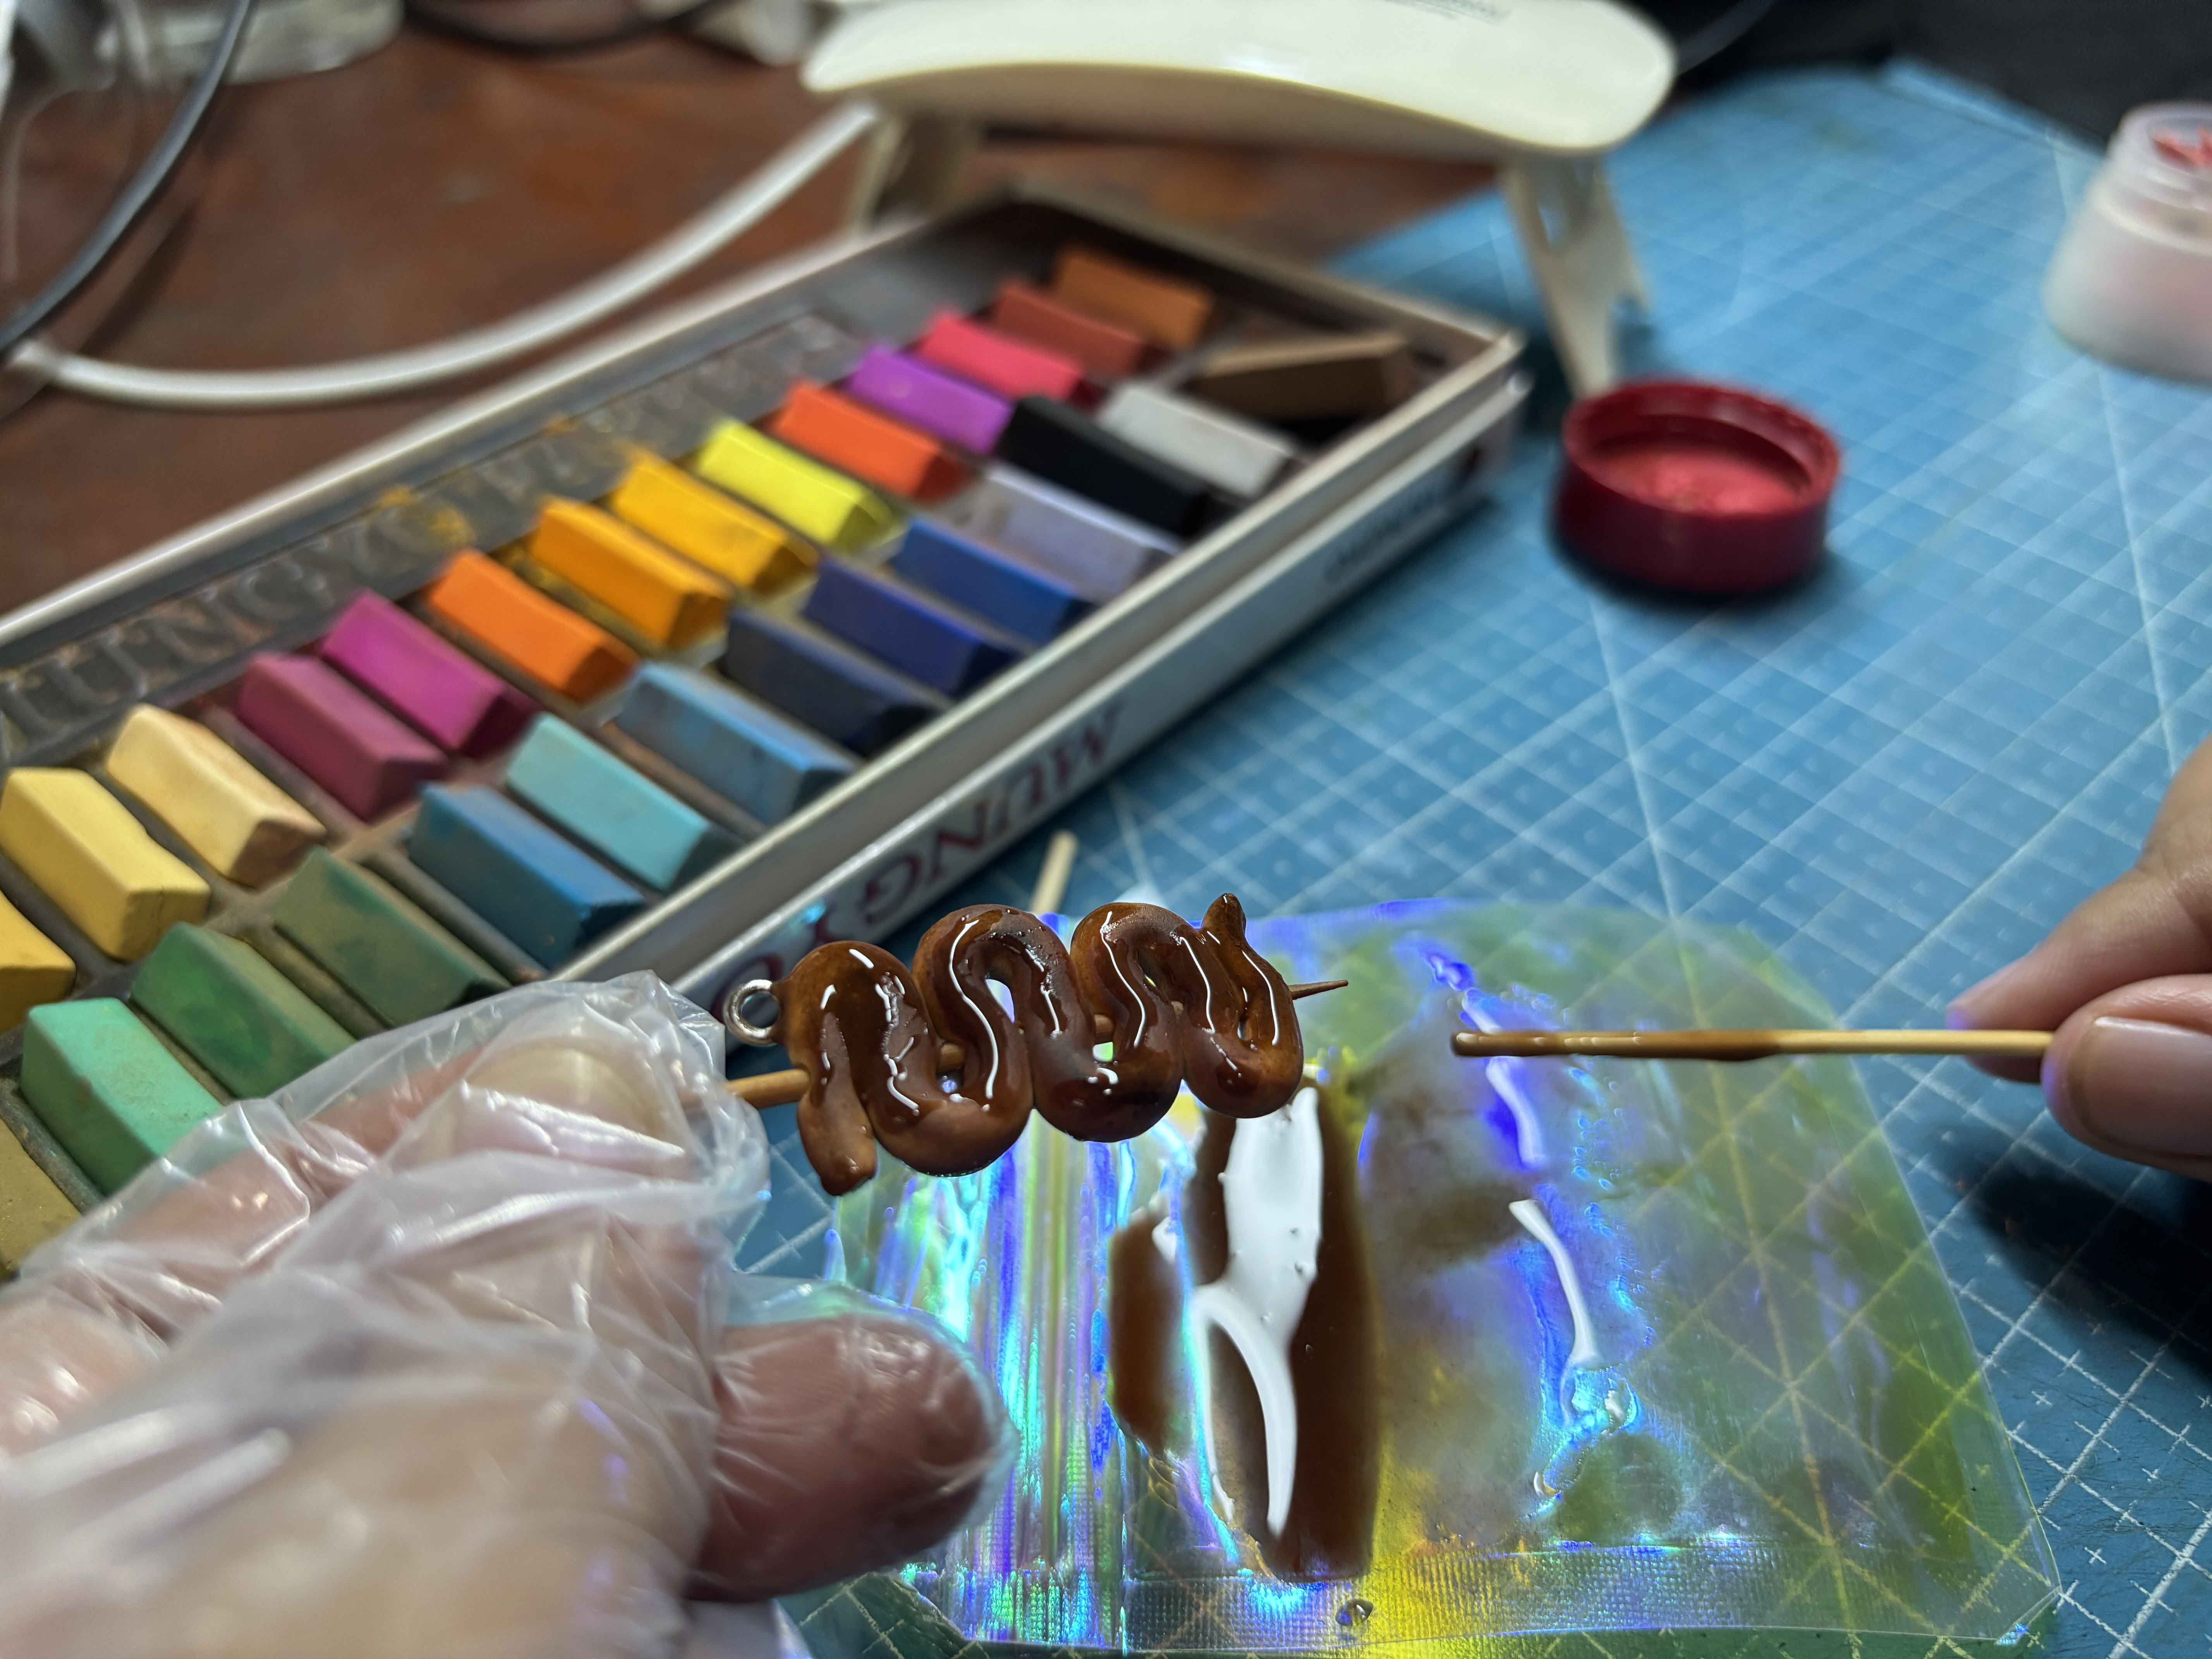
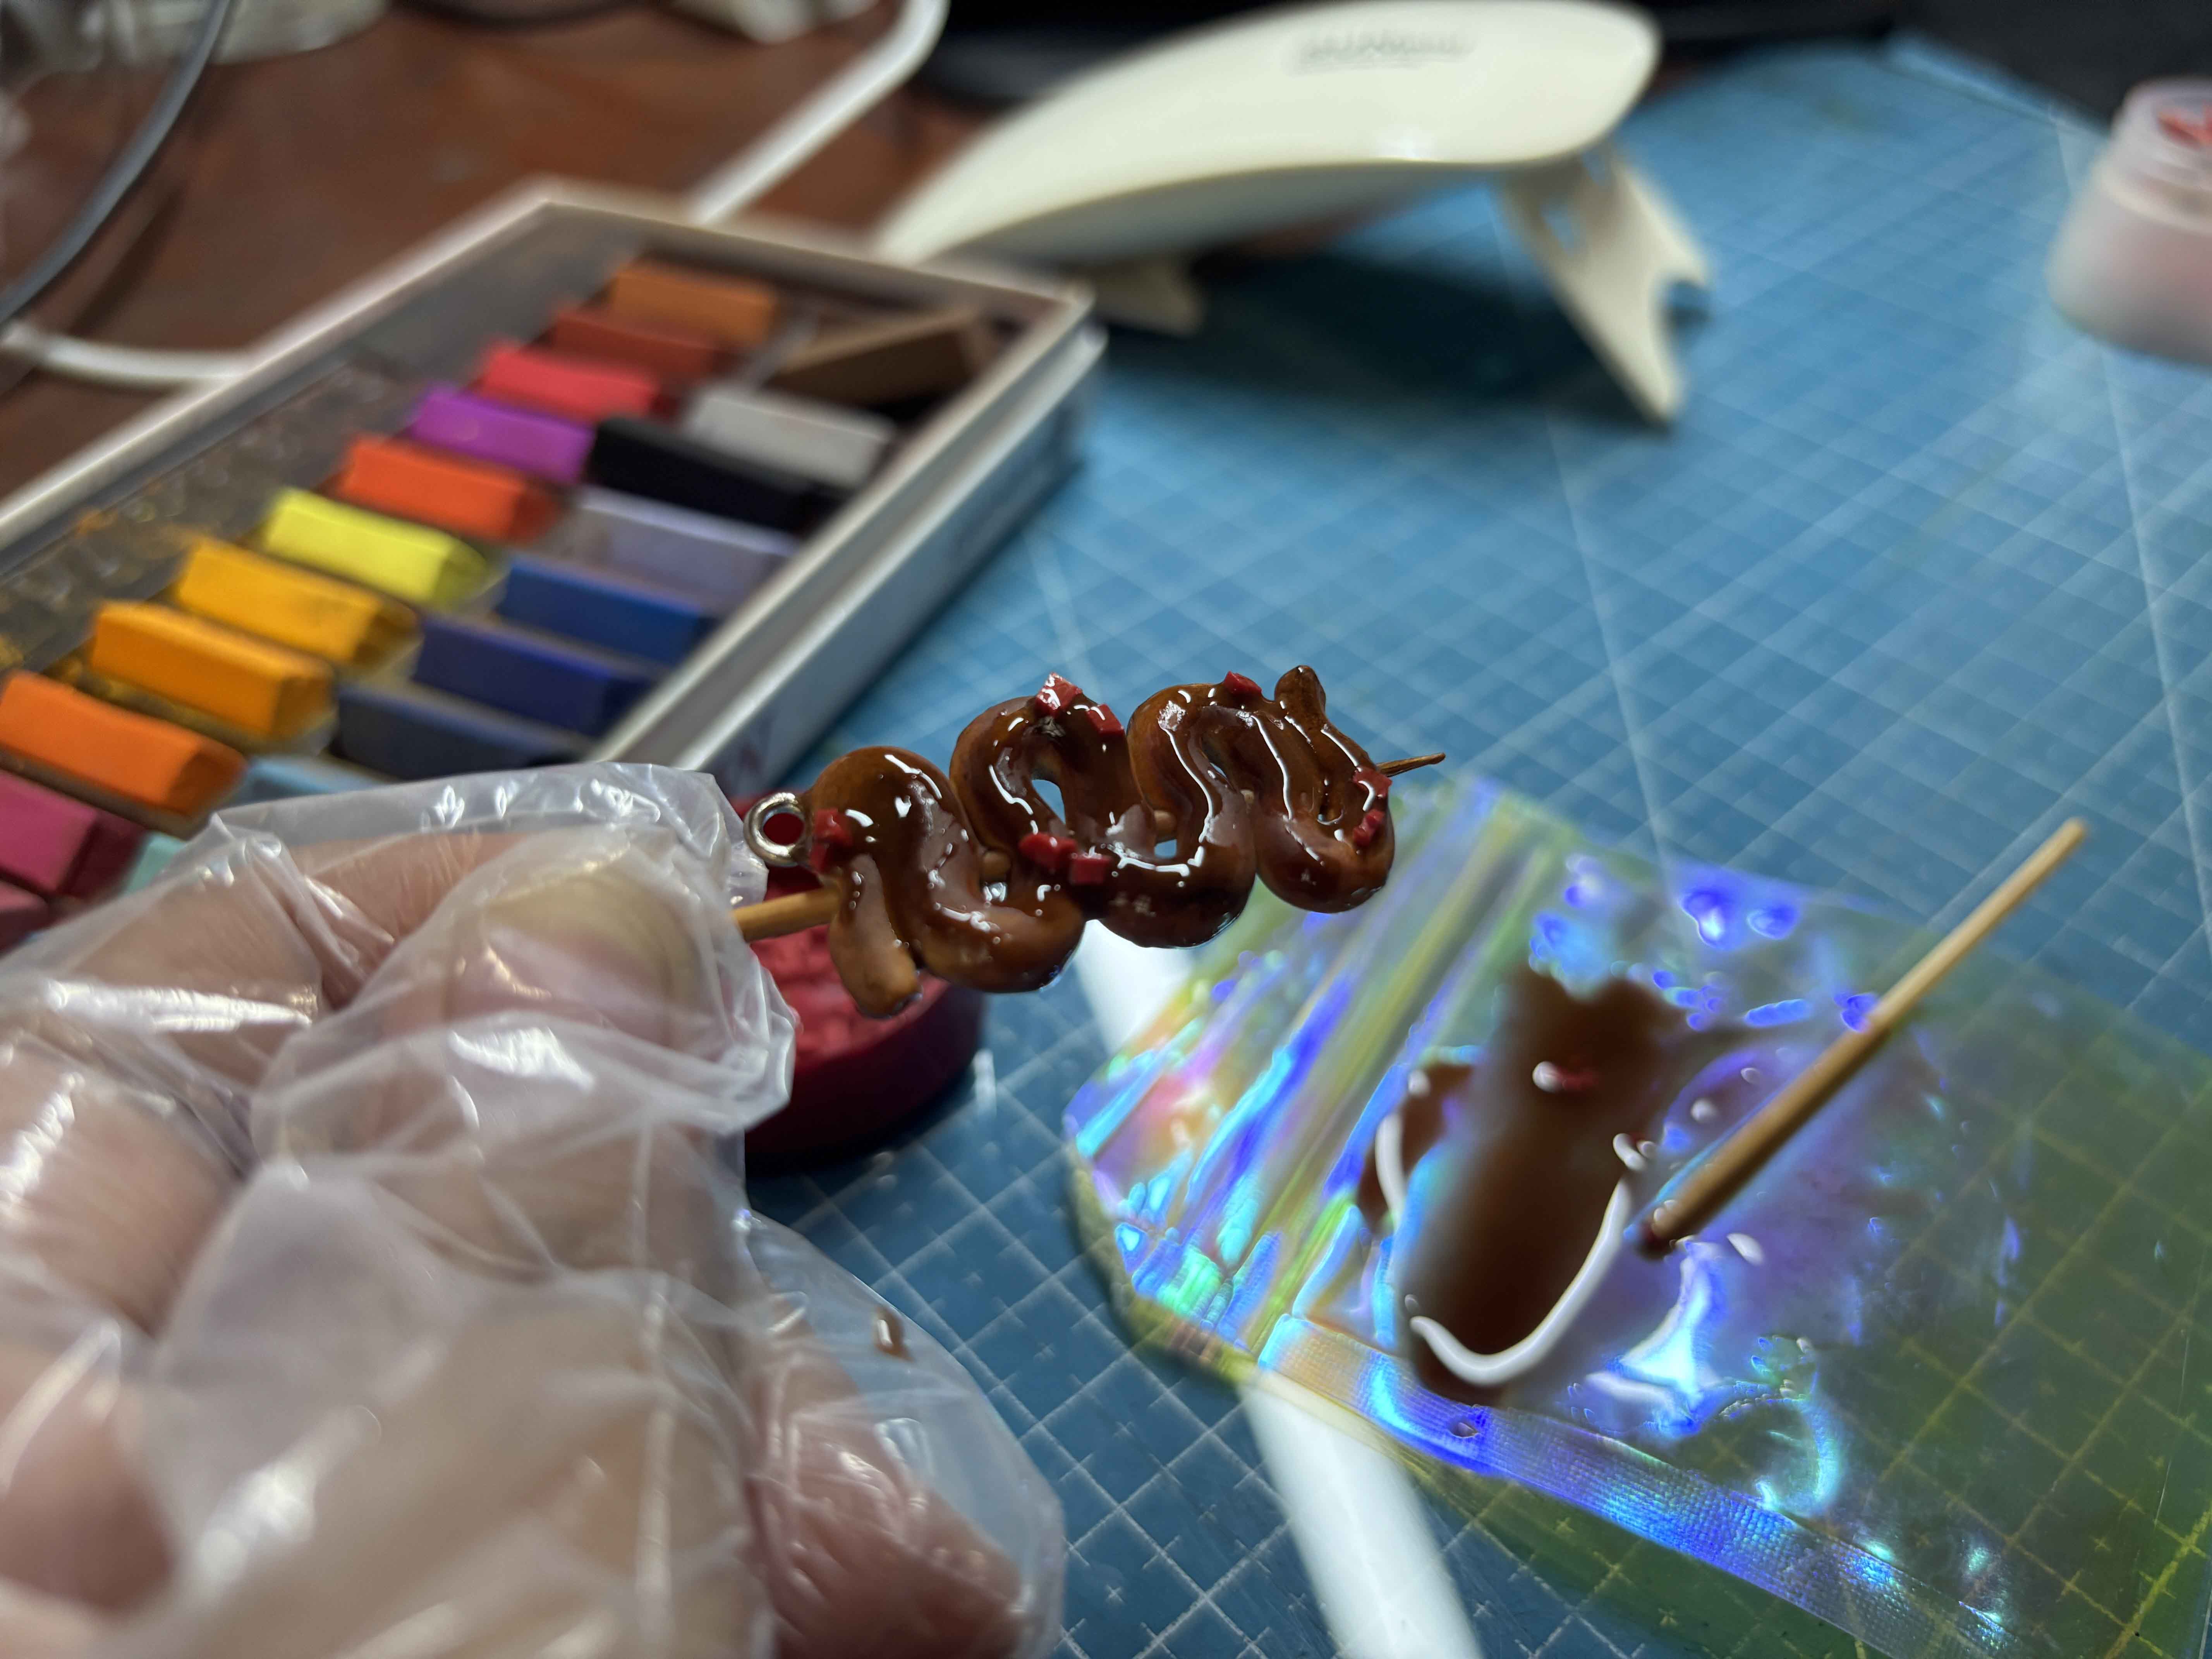 In this part, I am going to add the red chilis. What I do is I mix the premade chili clay with the mixture of resin and soft pastel, and add it to the clay and cure it again.
-----
In this part, I am going to add the red chilis. What I do is I mix the premade chili clay with the mixture of resin and soft pastel, and add it to the clay and cure it again.
-----
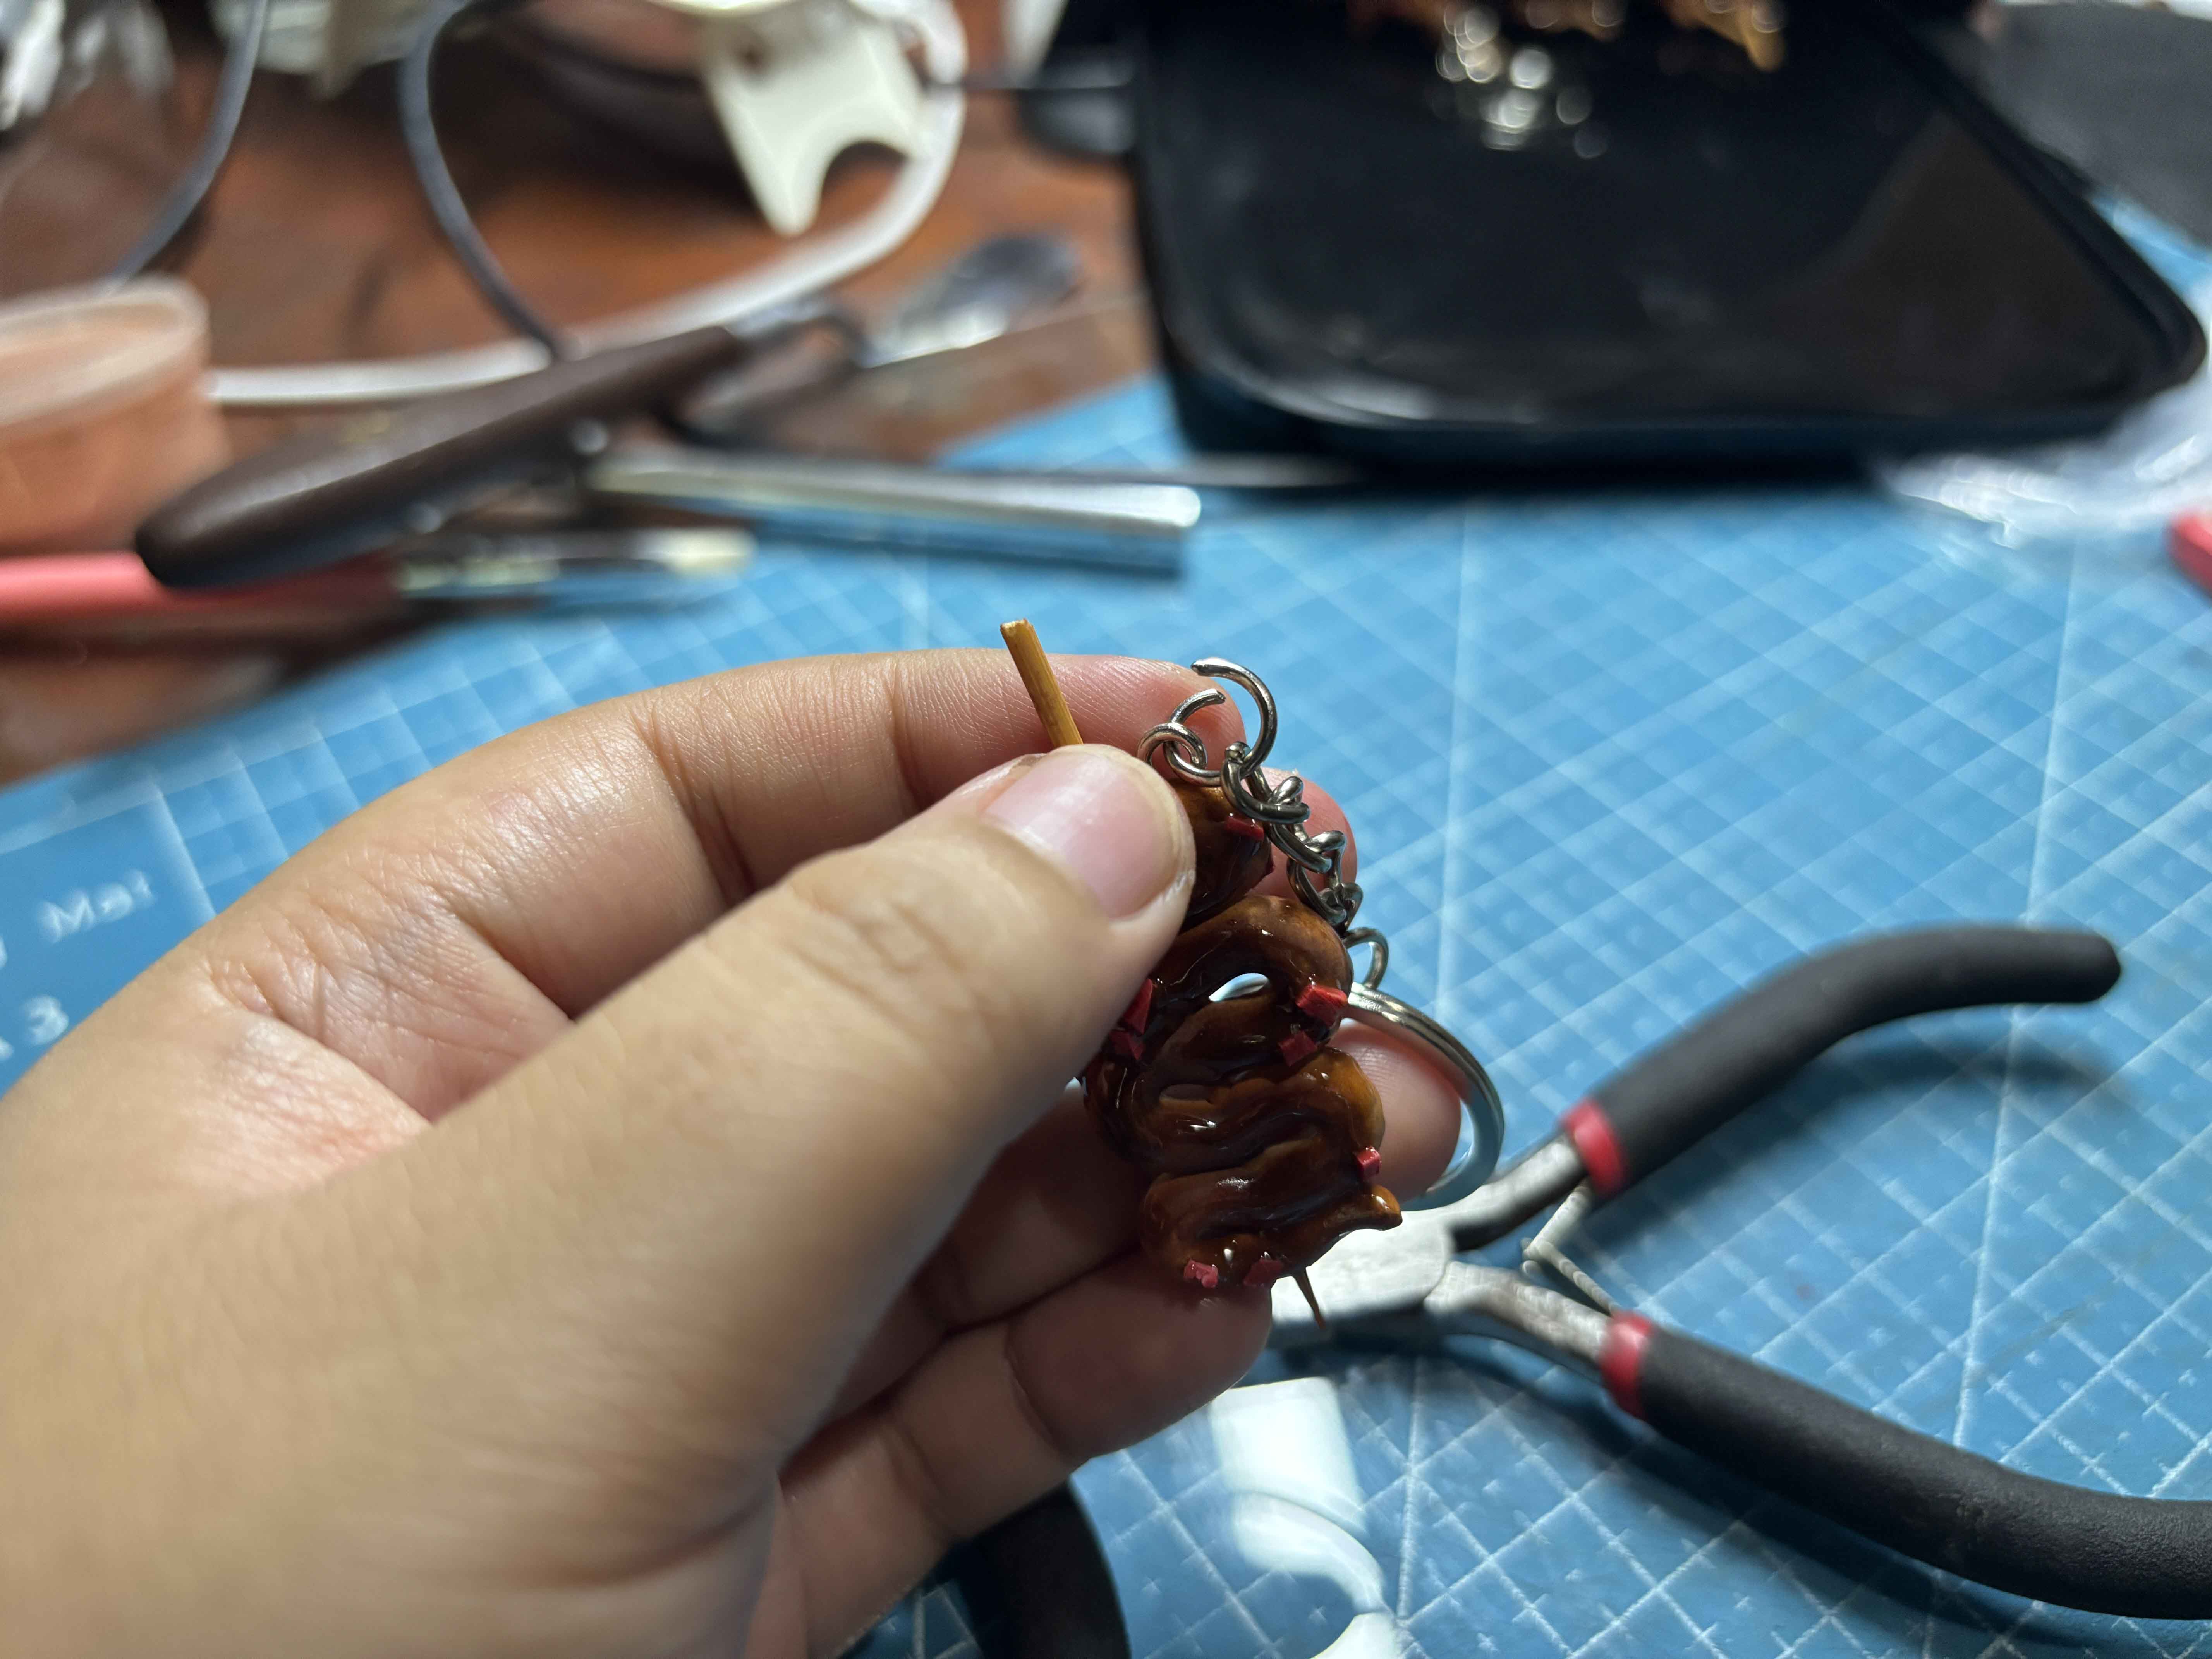 For this part, I am going to add the Keychain. What I do is I put the jump ring into the eyepin.
------
For this part, I am going to add the Keychain. What I do is I put the jump ring into the eyepin.
------
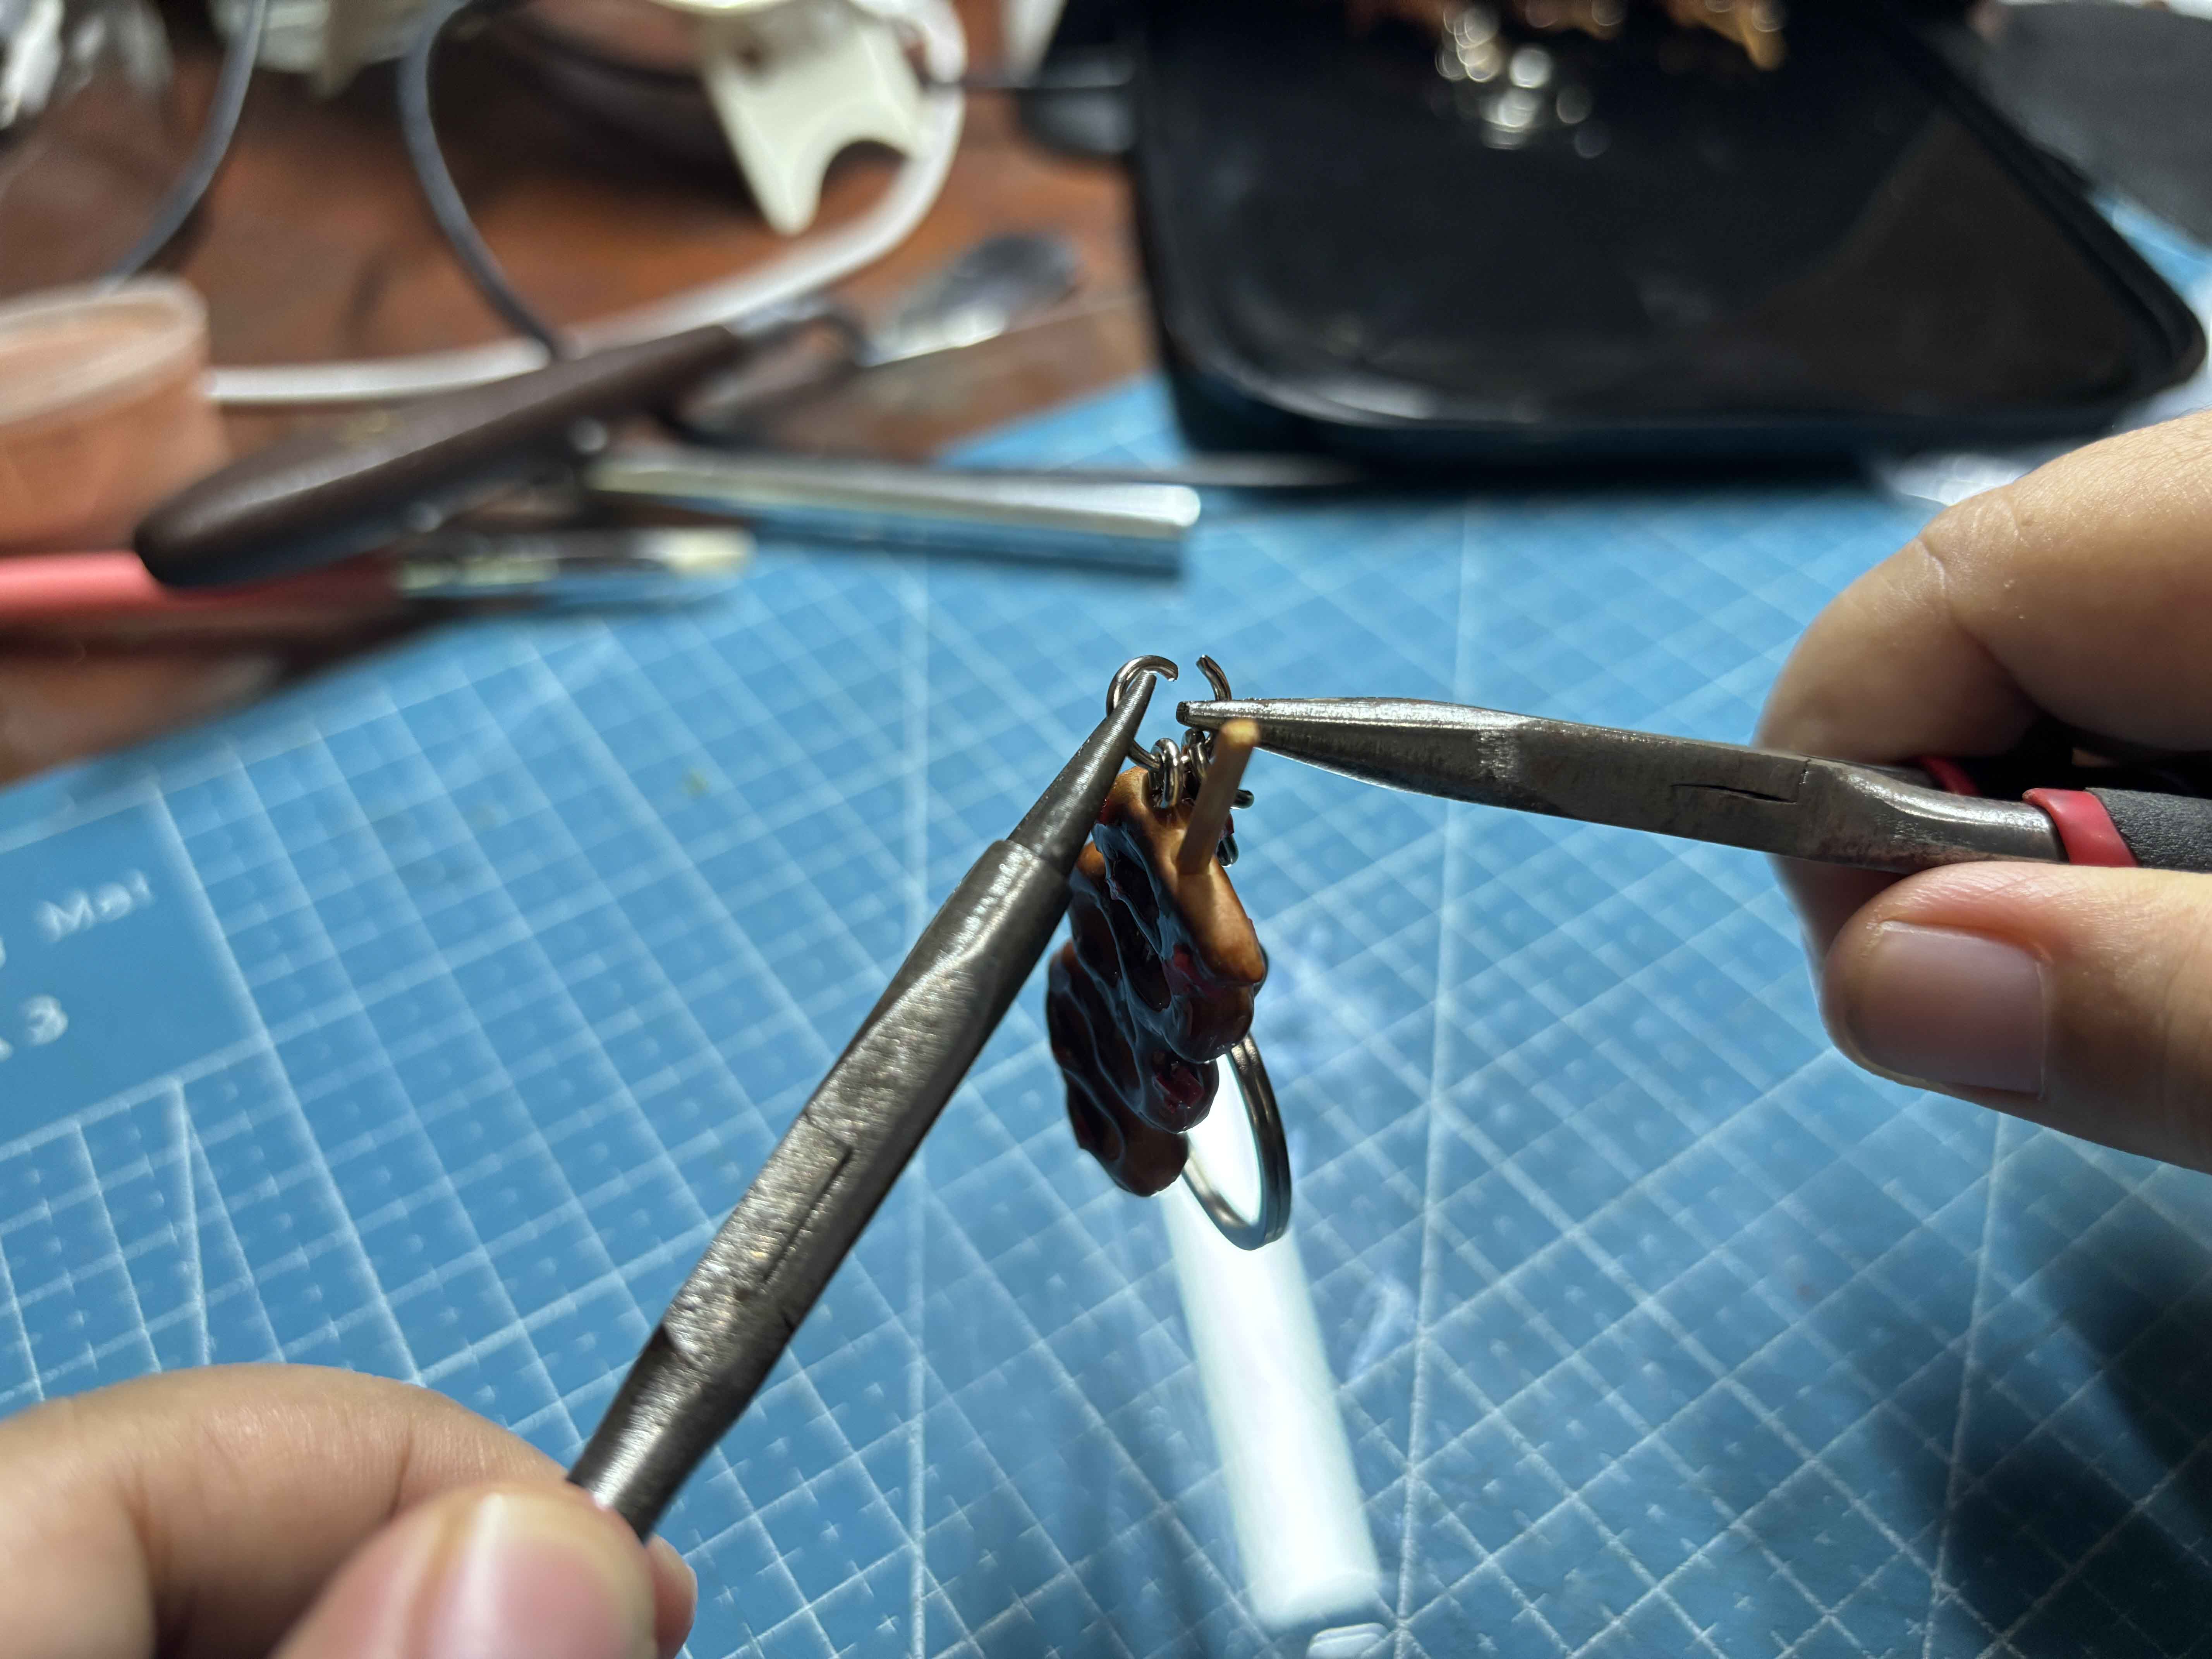
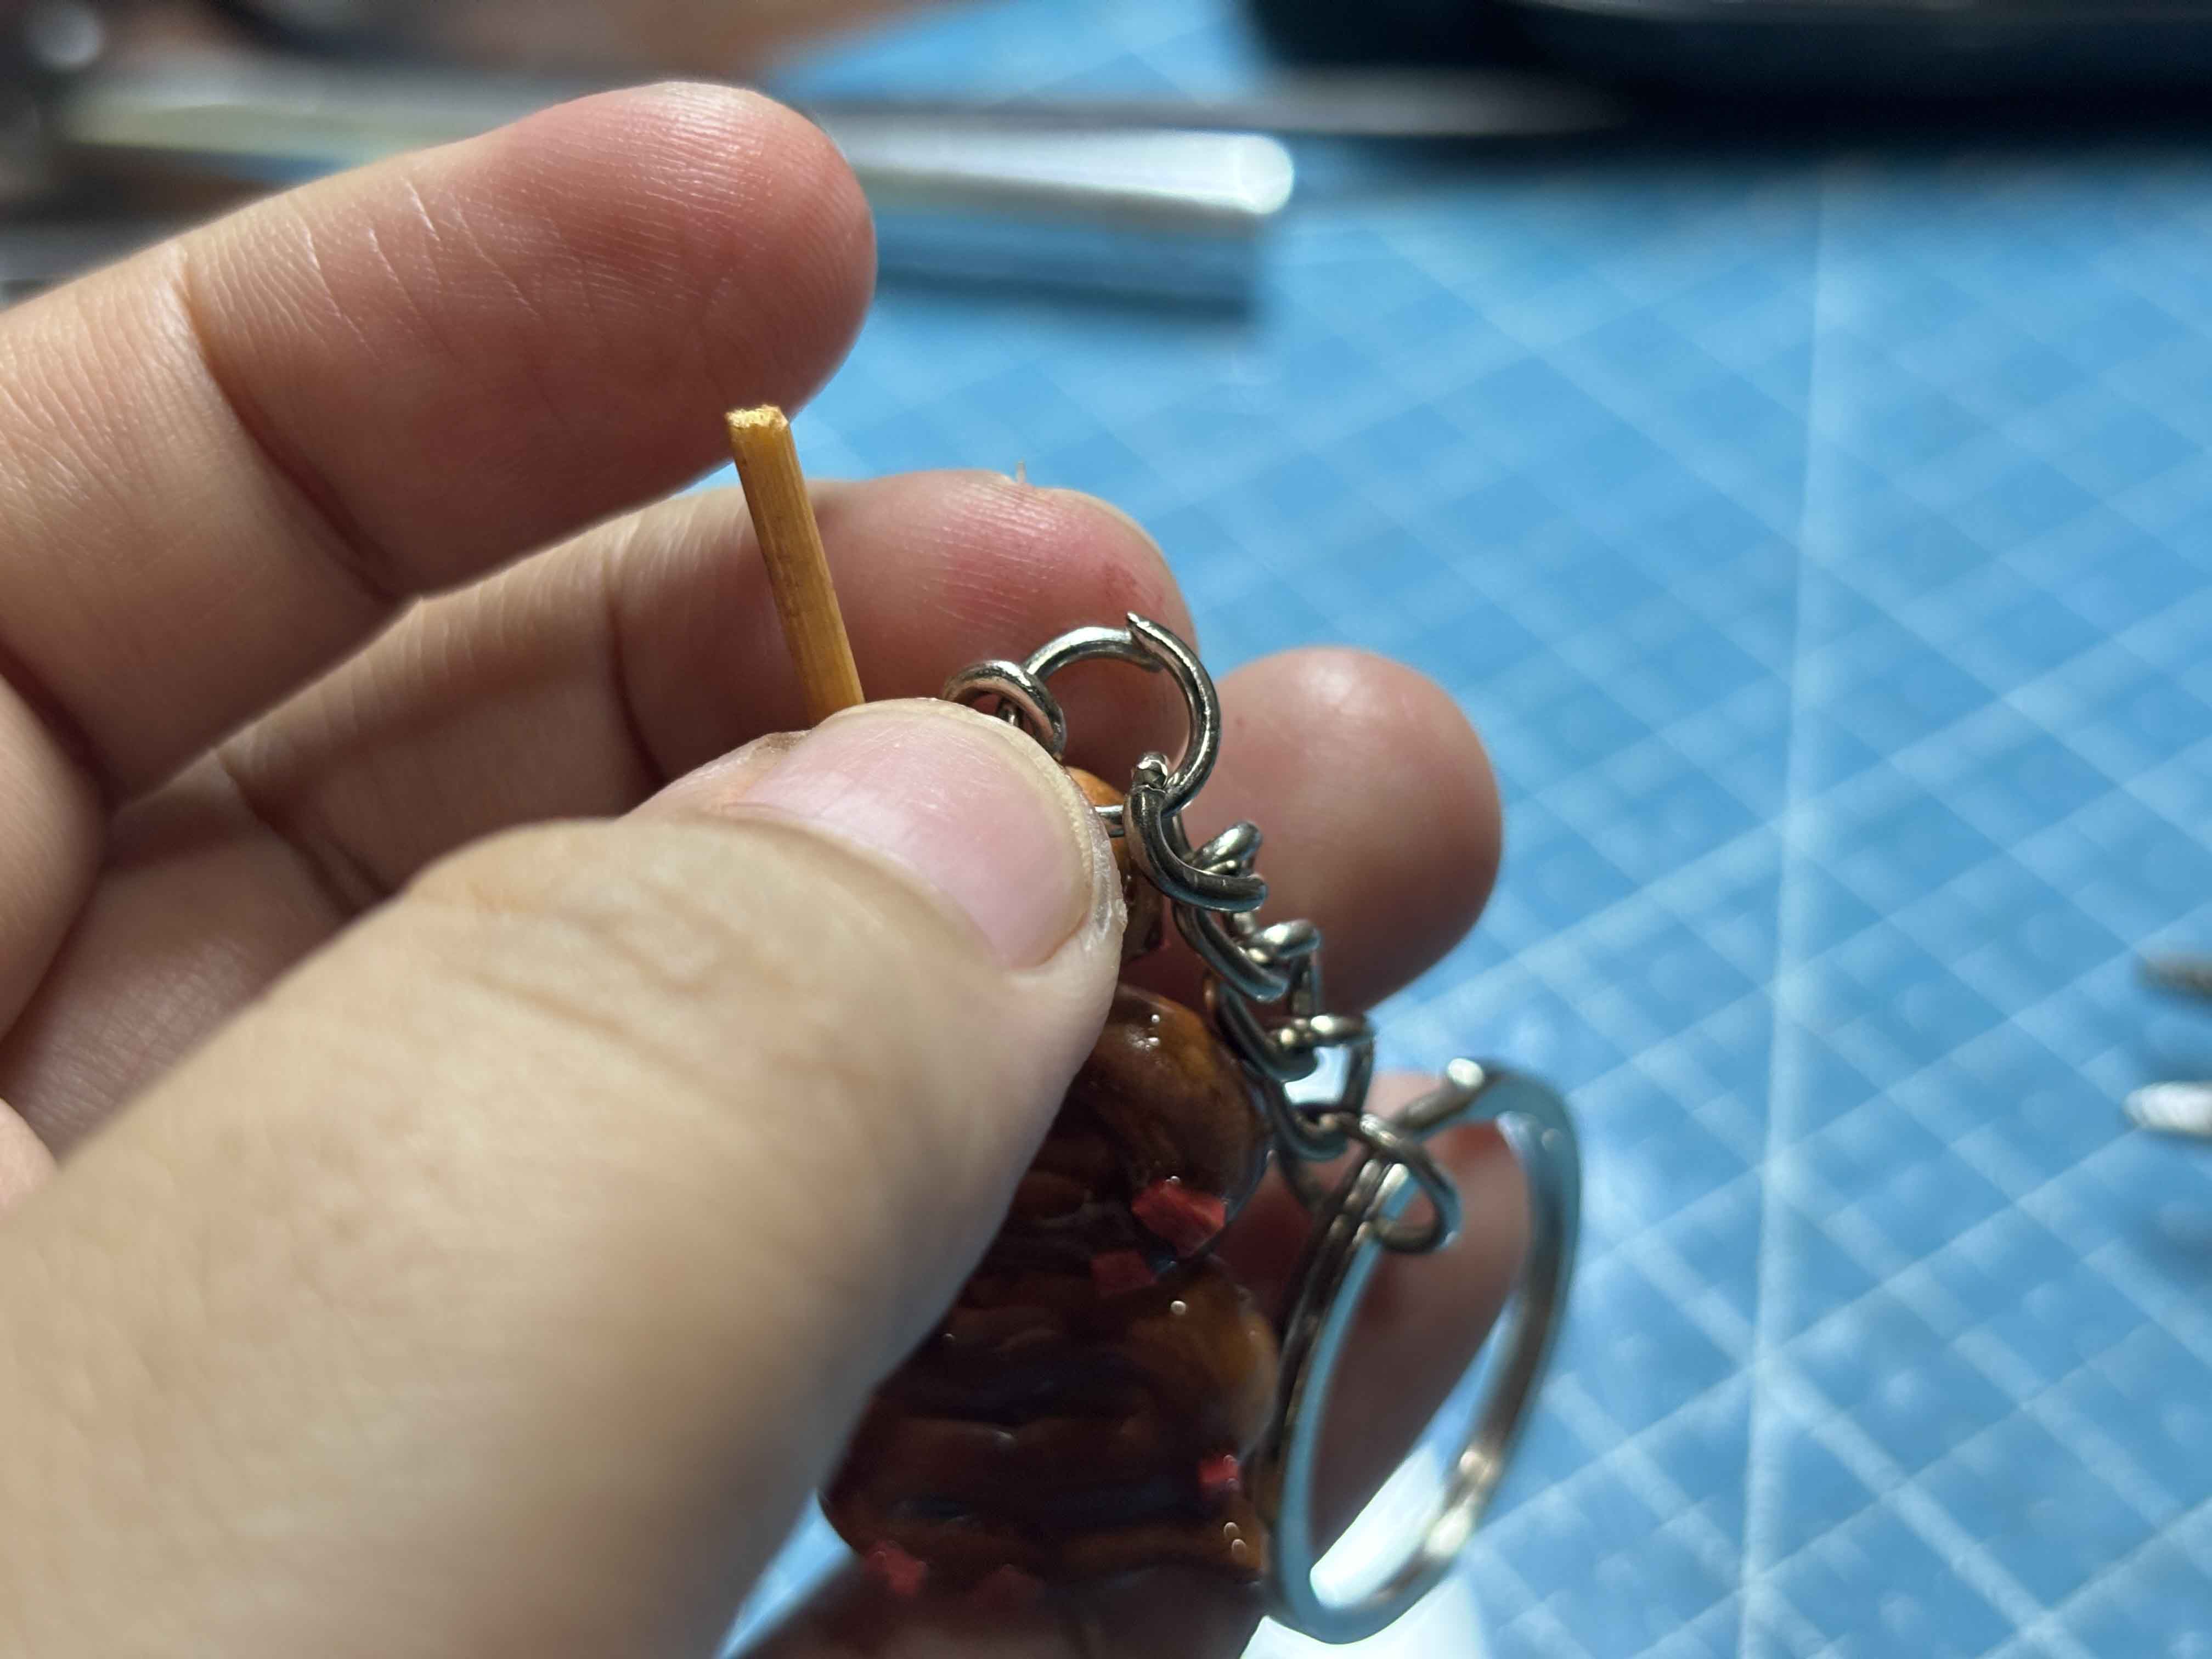 And using the pliers, I am going to lock the jump ring carefully, and it should look like this, making sure no gaps can be seen.
------
And using the pliers, I am going to lock the jump ring carefully, and it should look like this, making sure no gaps can be seen.
------
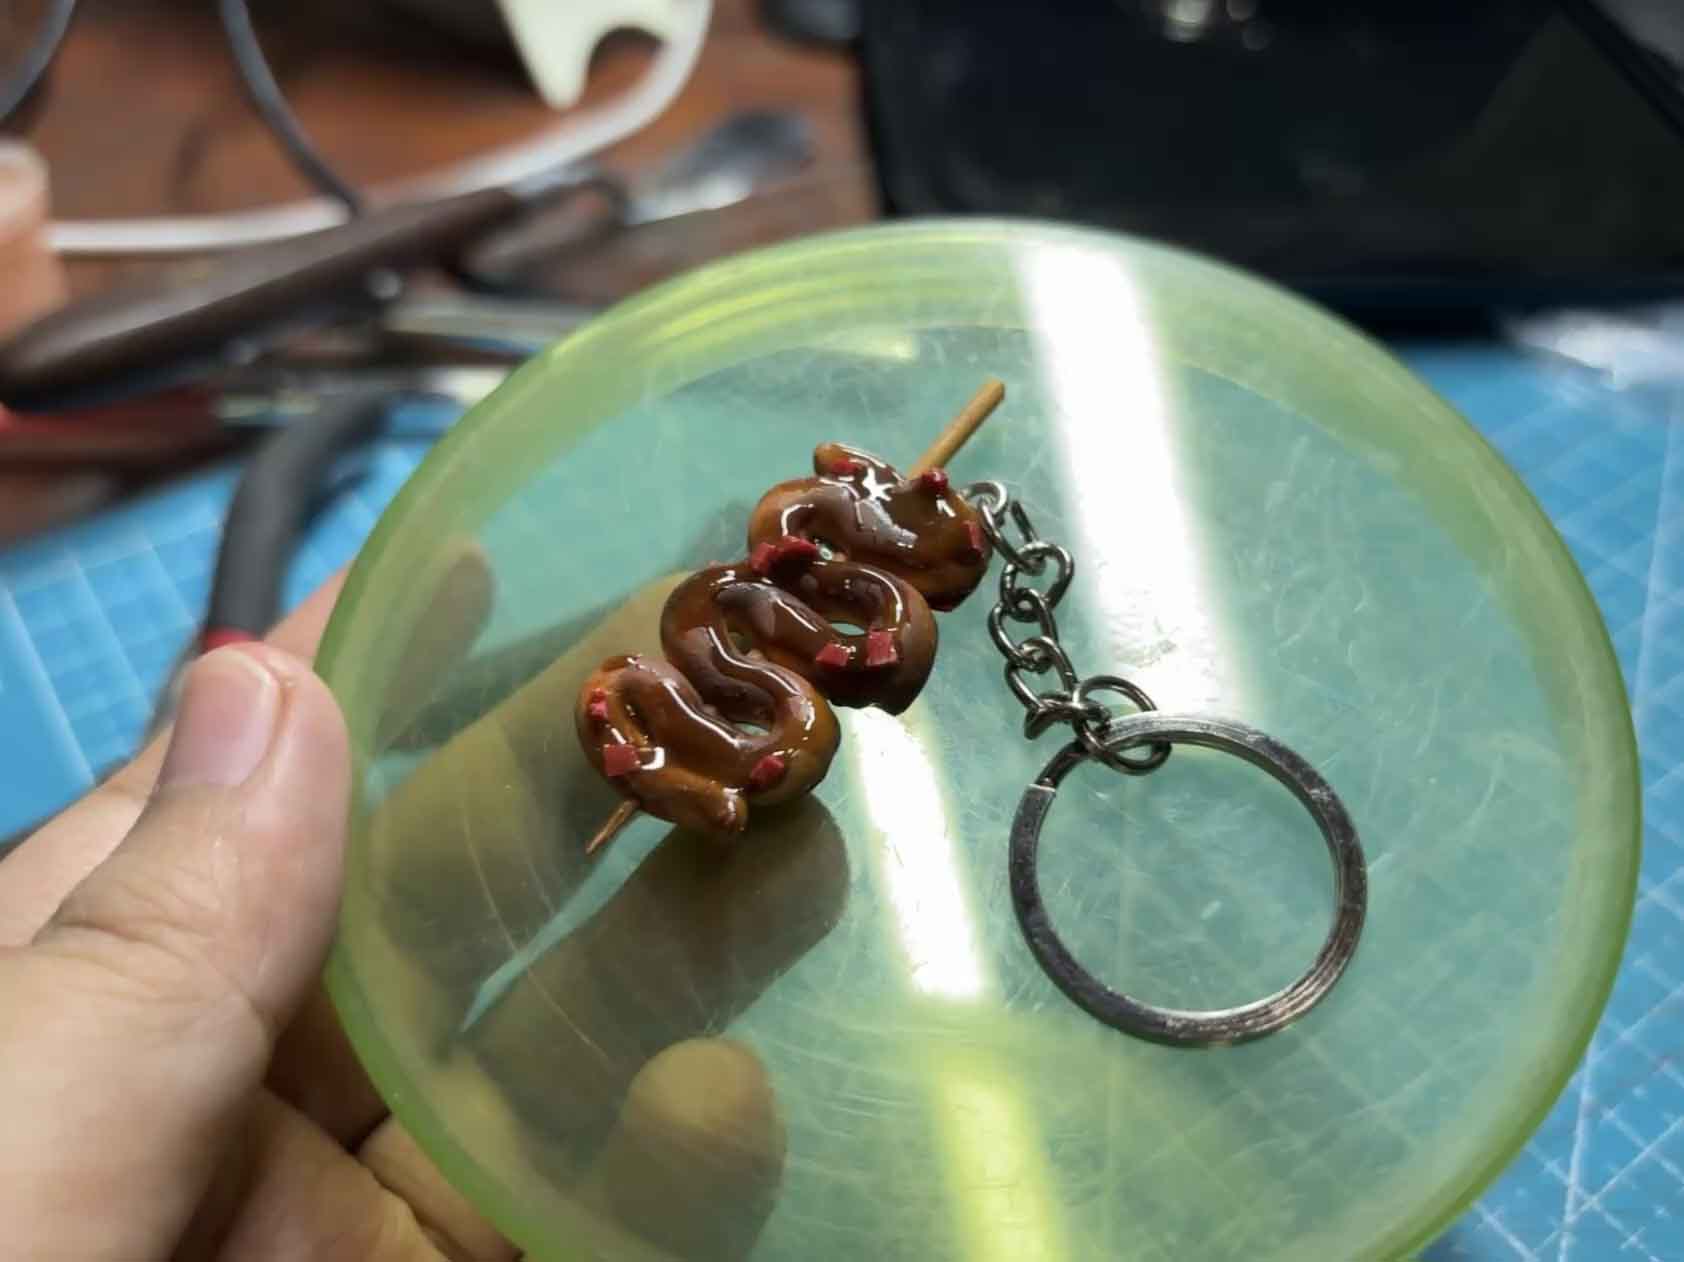 ----
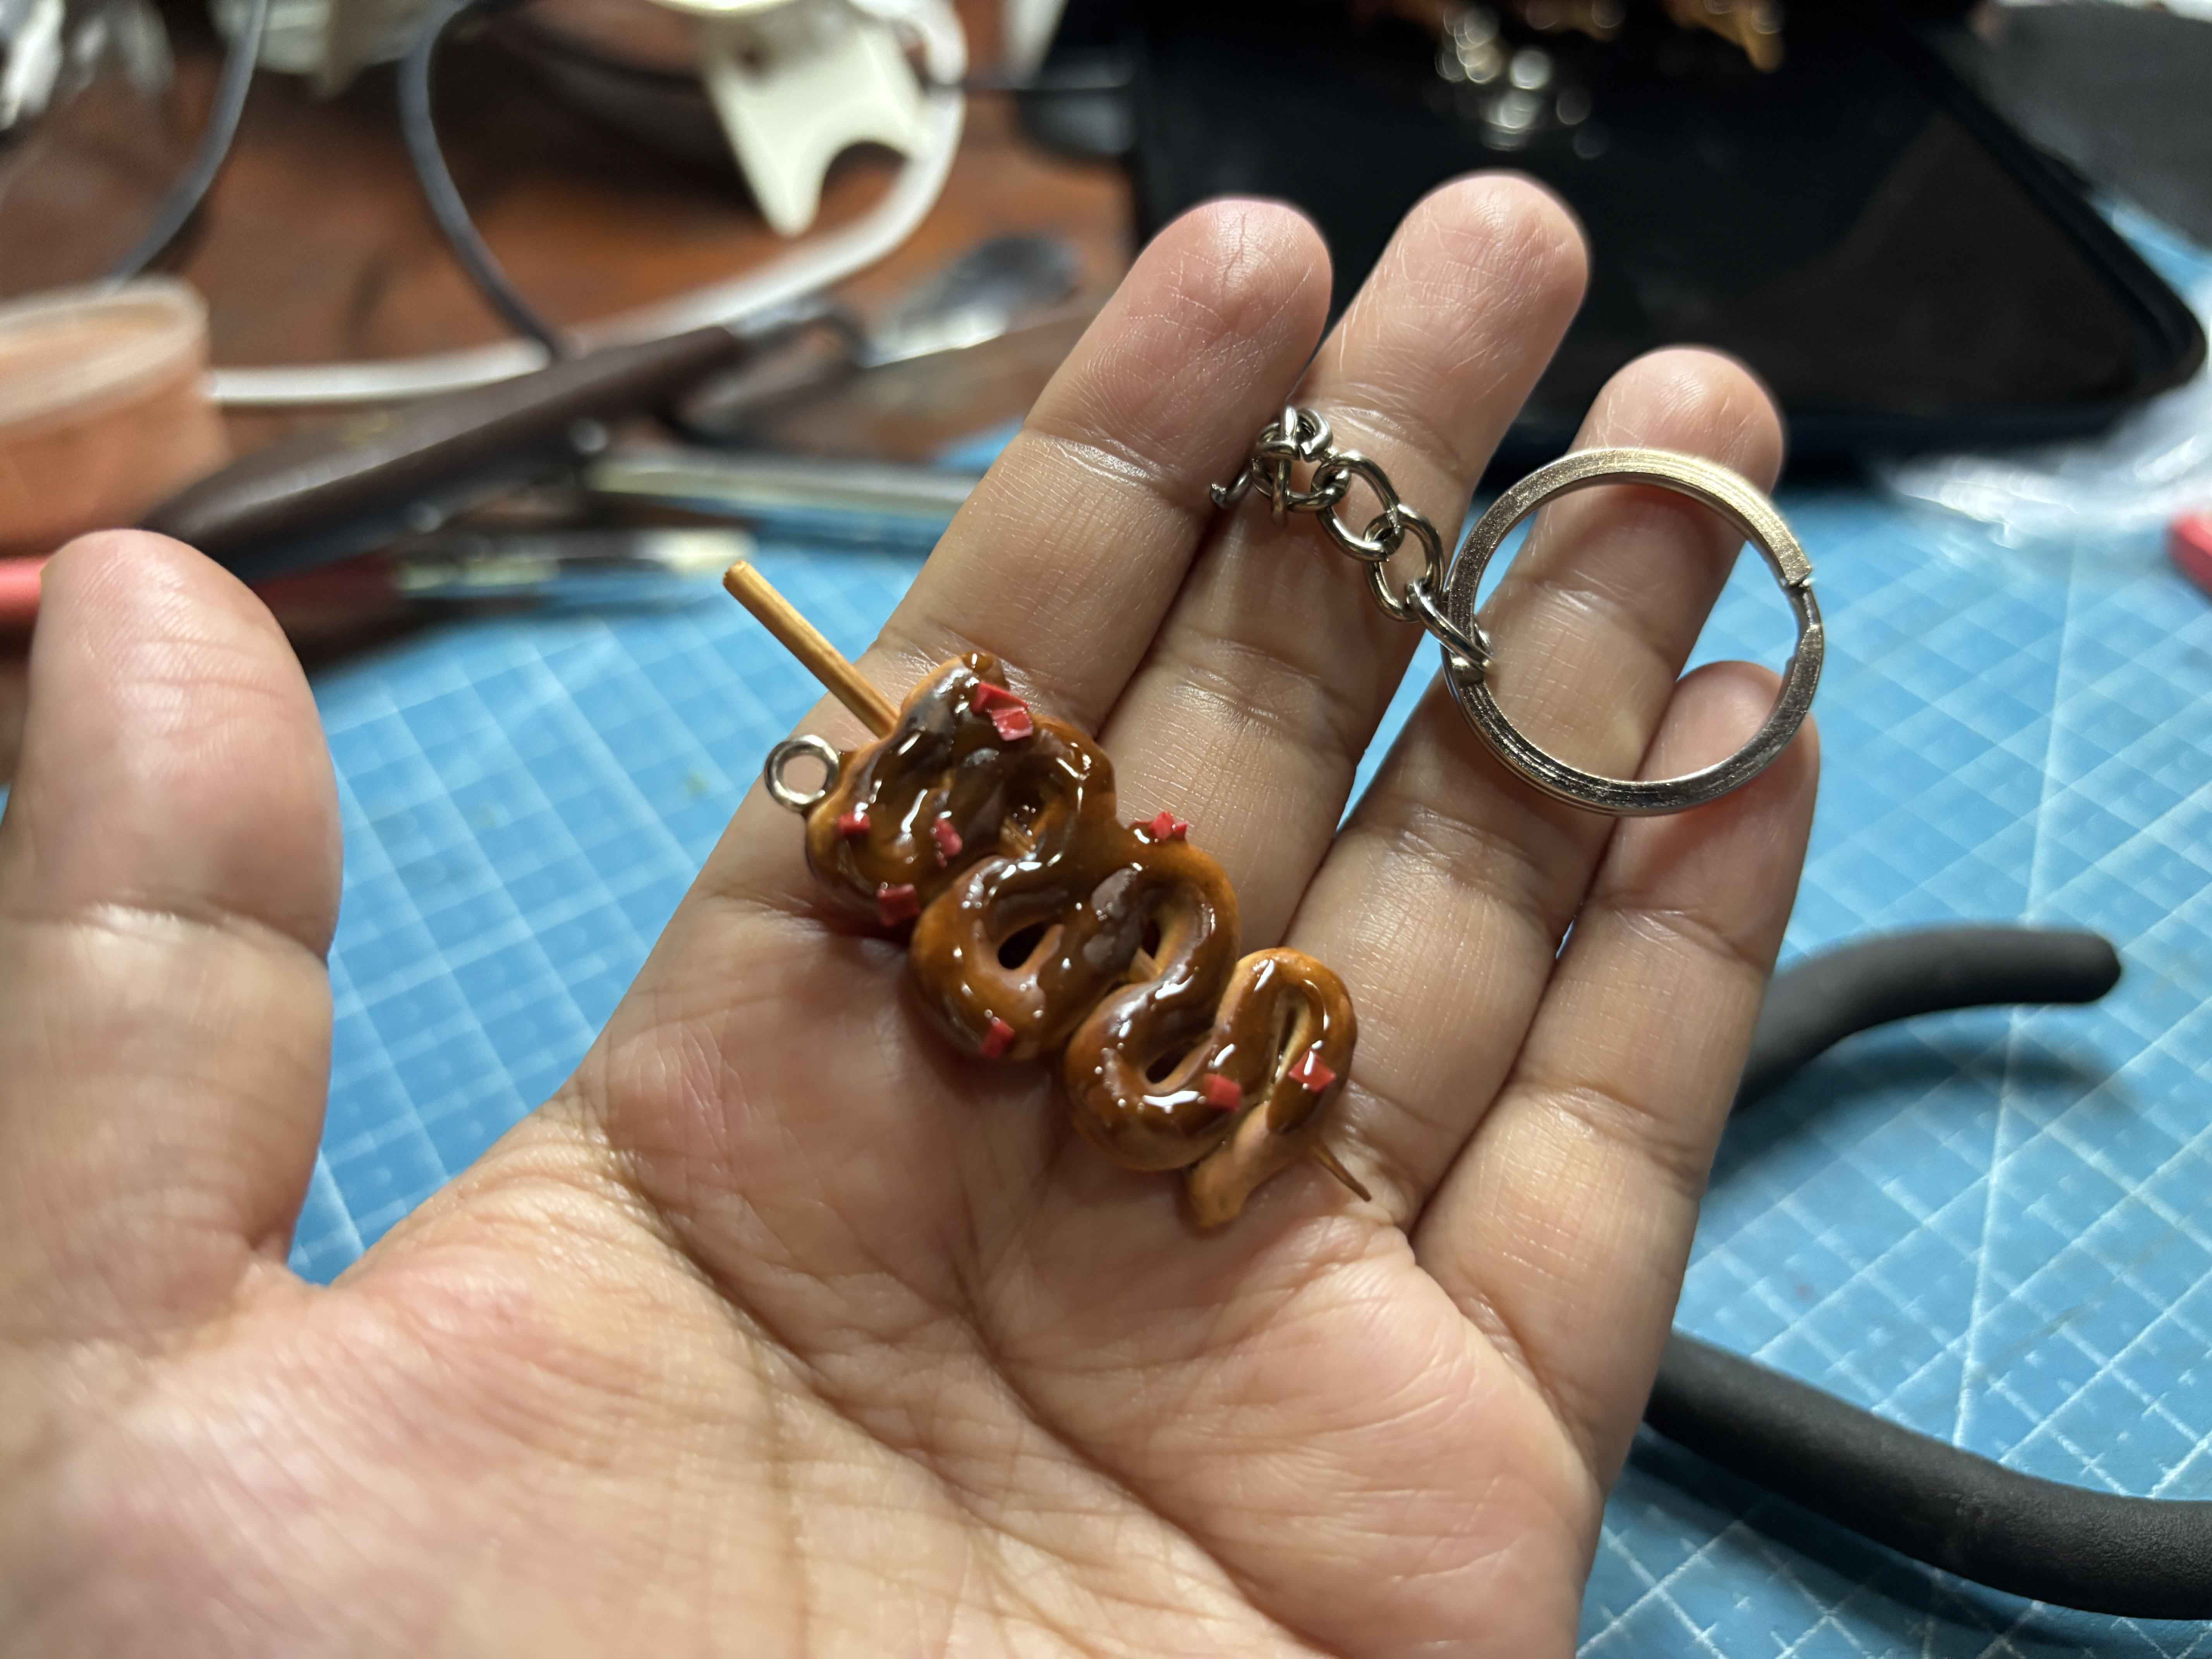
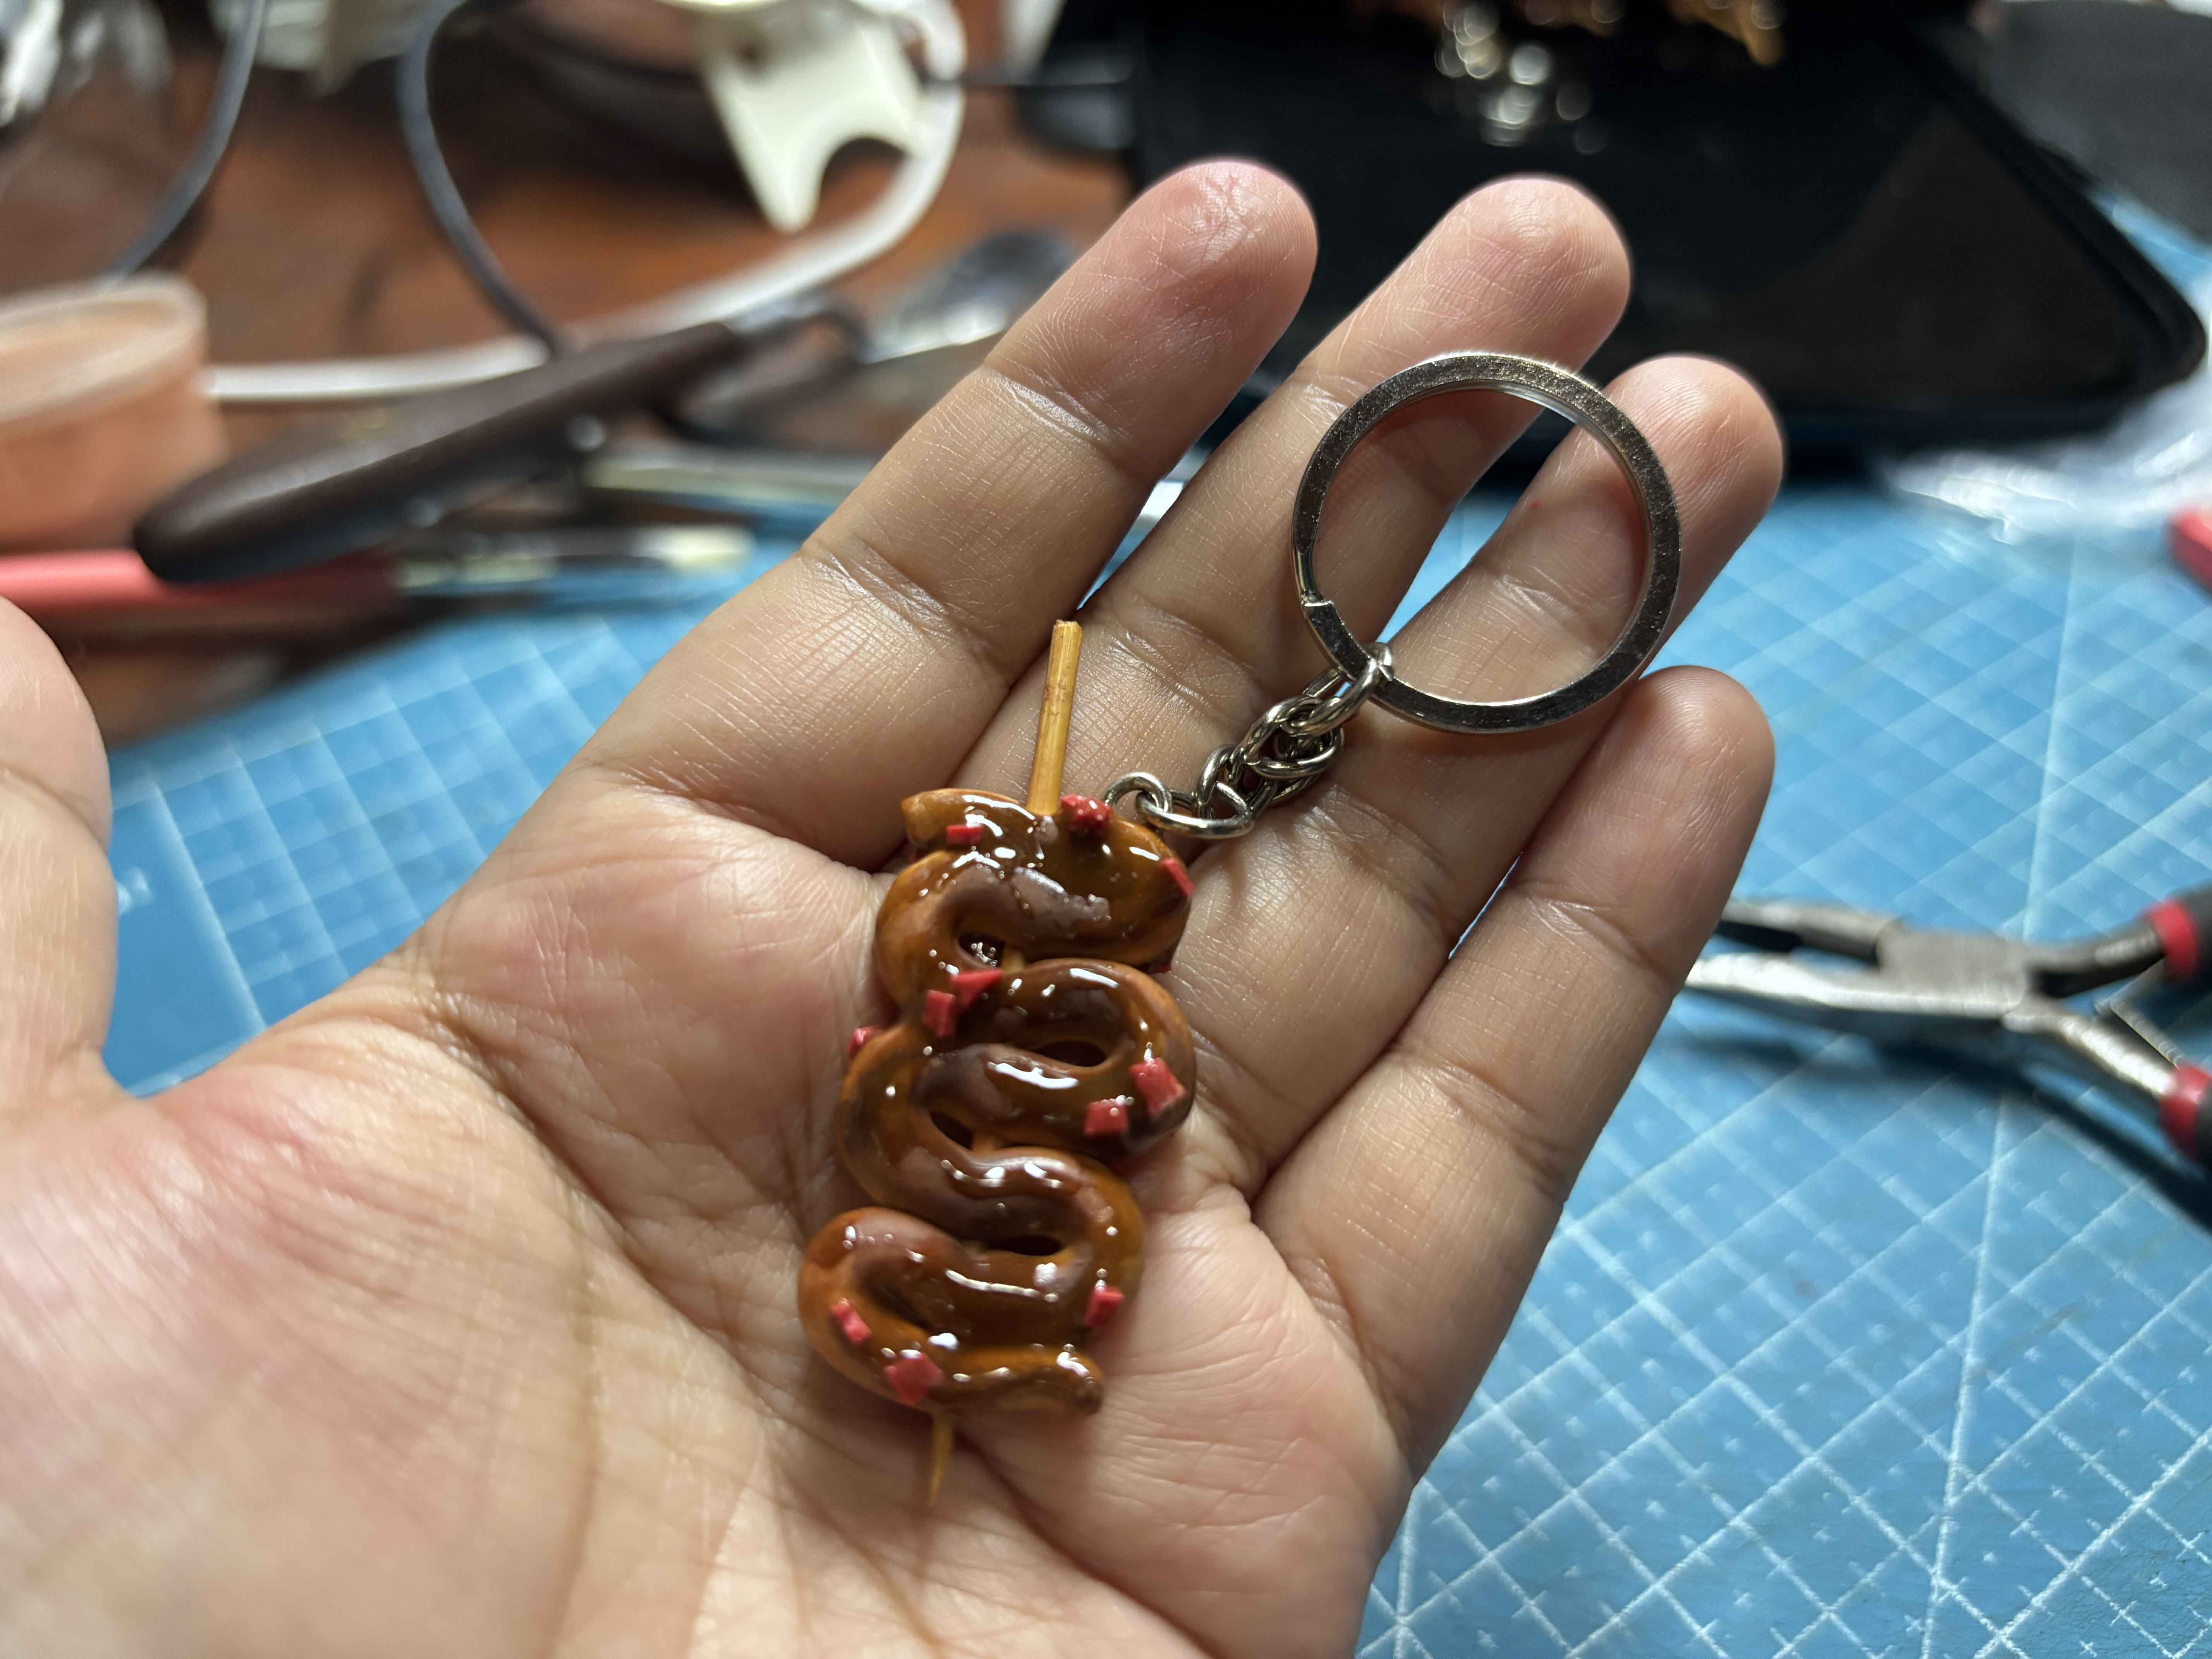
Now I have my keychain, Clay Isaw!
------
----
Now I have my keychain, Clay Isaw!
------
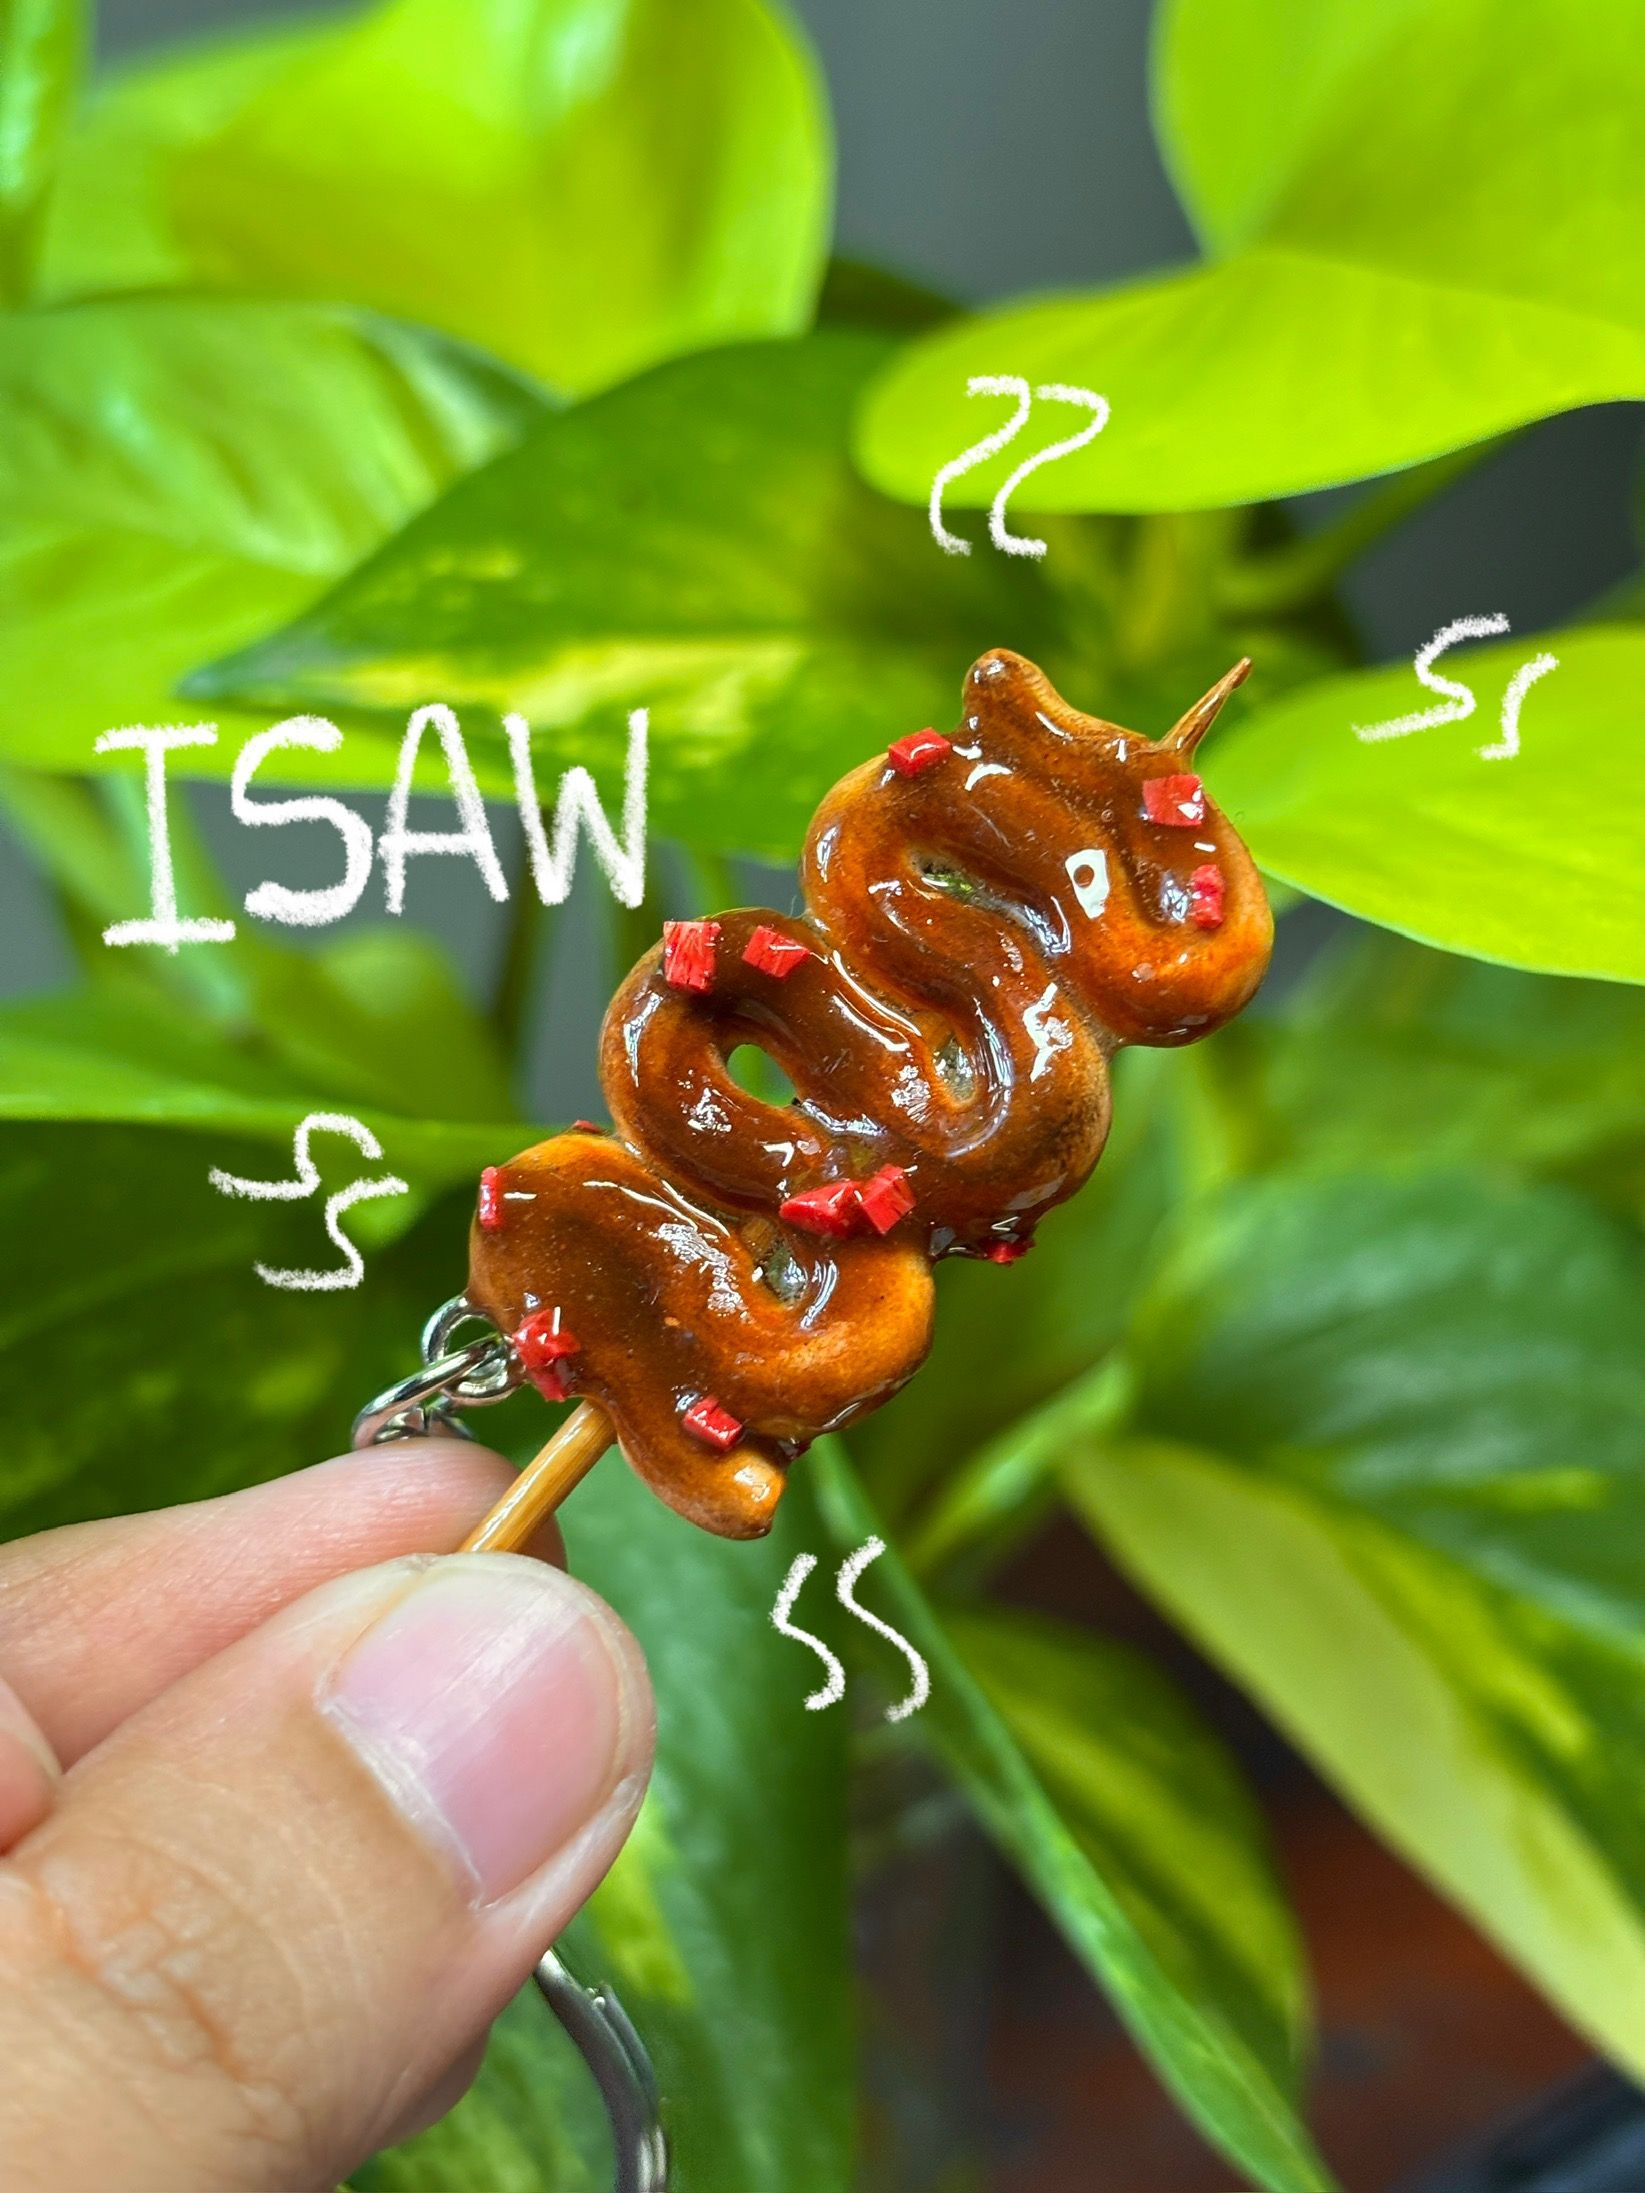 Photo time!
----
Photo time!
----
---

Materials I Used:
- White Polymer Clay
- Portable Weighing Scale
- Soft Pastels
- X-Acto Knife
- Toothpick
- Alcohol
- Qtip
- Makeup Brush
- Eyepin
- Gum Container
- Oven
- Silicone Mat
- Uv Resin
- Face Shield/Facemask
- Disposable Gloves
- Uv Lamp
- Pliers
- Keychain
Let's Make Isaw!
Thank you for visiting, see you on my next blog. :D
Please take care of your mental health as well.
I hope you are okay today :))
---