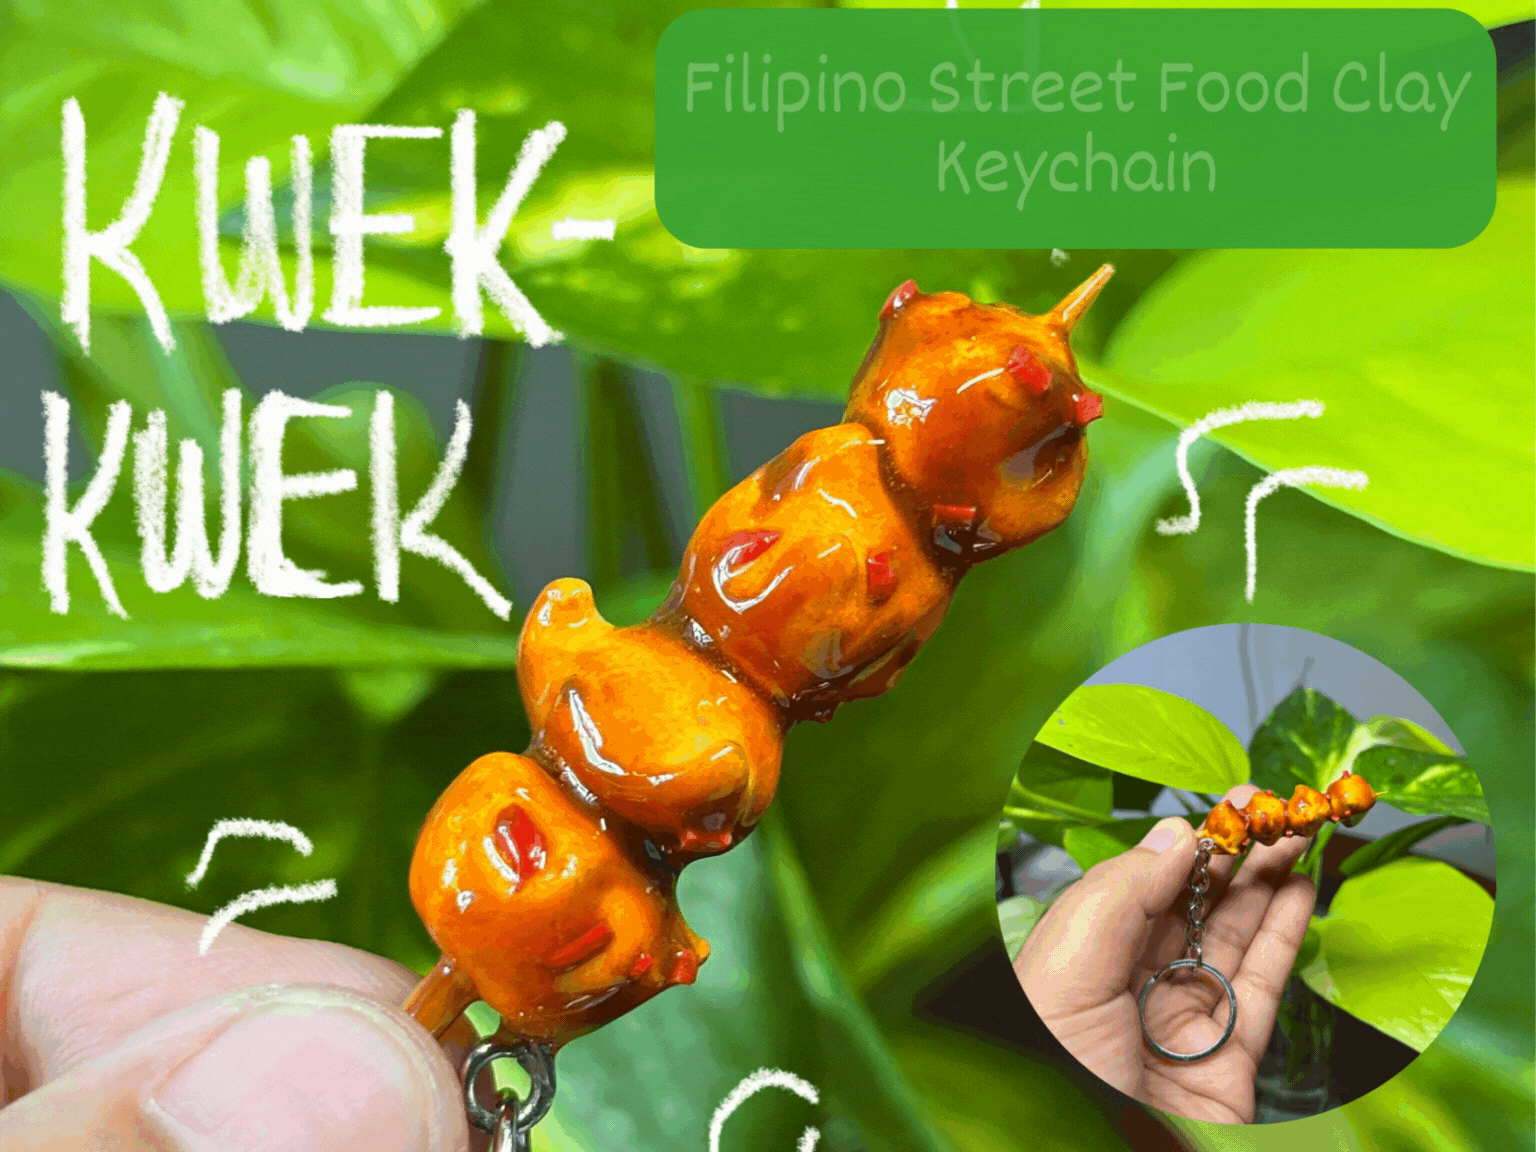
Hello, how are you? For the past few weeks, I've been making different types of clay keychains inspired by famous street foods here in the Philippines, and one of my favorites is Kwek-Kwek. Kwek-Kwek is a famous street food that is made with hard-boiled "Itlog ng Pugo," which in English is Quail Eggs, and coated with orange batter, which is so appetizing to look at.
So yeah, this is one of my favorites out of all the so what if I made one of it, but in a keychain size. I've been loving making clay keychains these days, it is so therapeutic and calming at the same time.
-----
---

Materials I used:
- White Polymer Clay
- Portable Weighing Scale
- Soft Pastels
- X-Acto Knife
- Toothpick
- Alcohol
- Qtip
- Makeup Brush
- Eyepin
- Gum Container
- Oven
- Silicone Mat
- Uv Resin
- Face Shield/Facemask
- Disposable Gloves
- Uv Lamp
- Pliers
- Keychain
Clay Time!

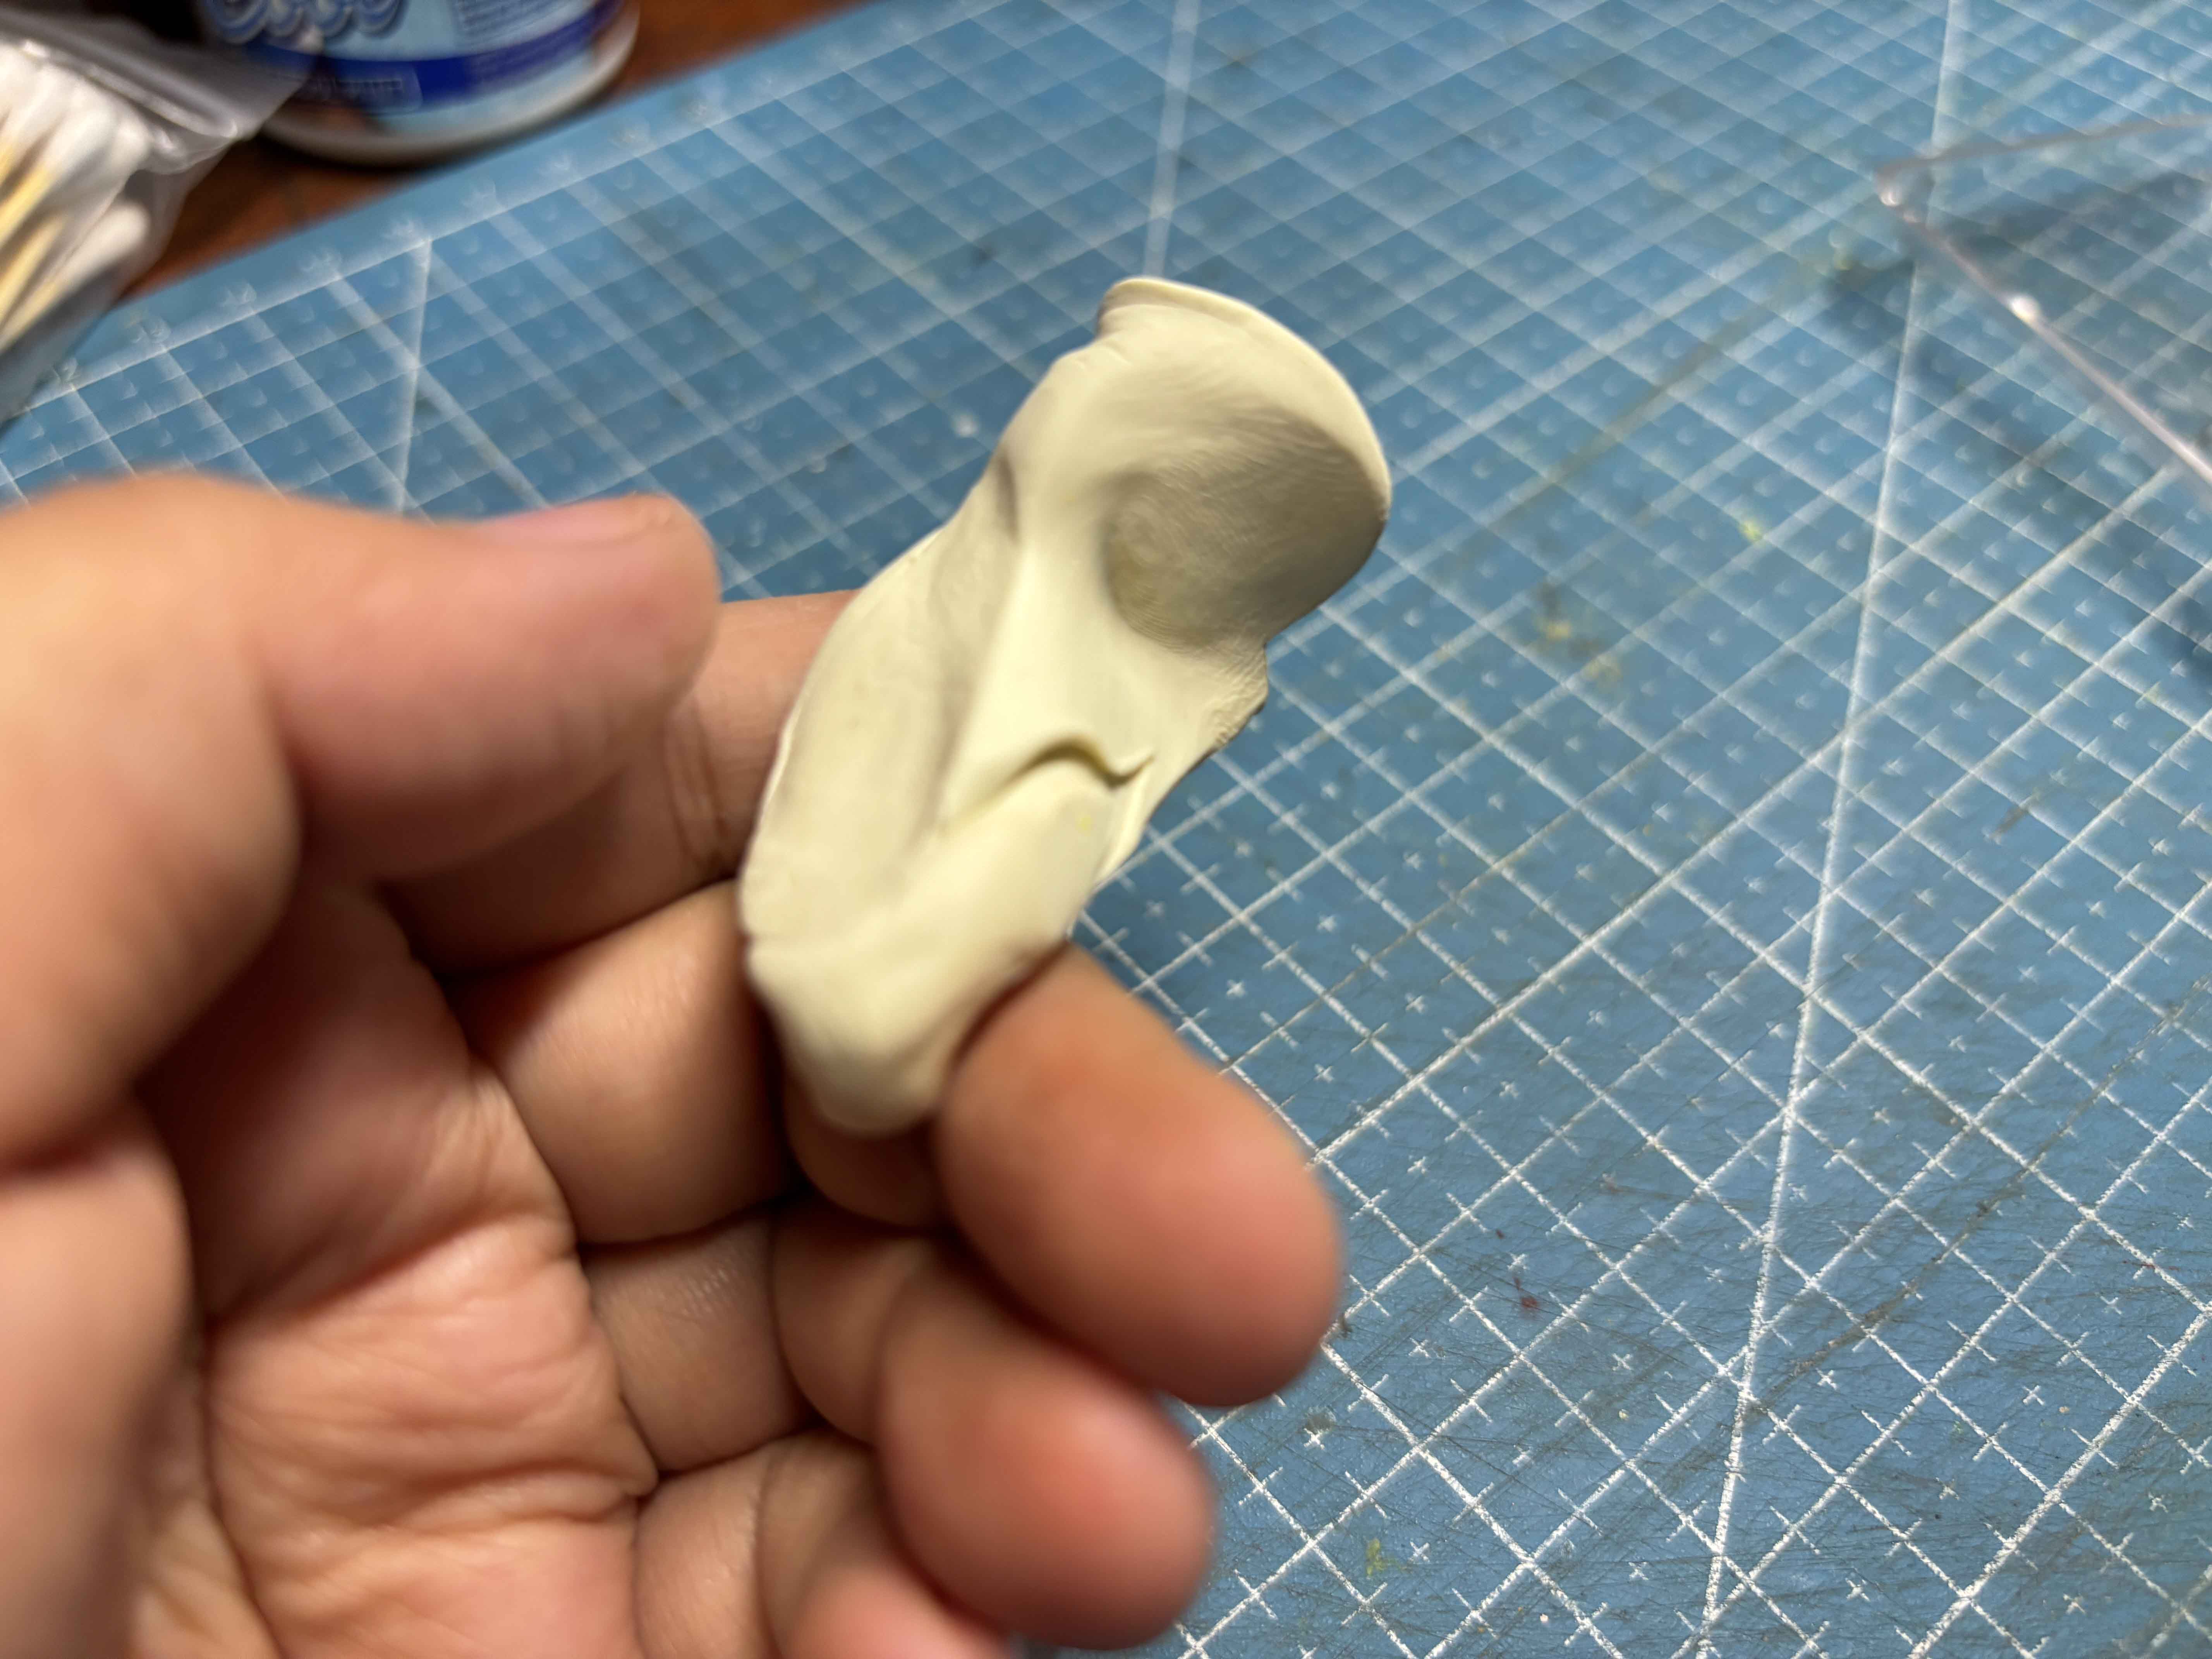
First thing I am going to do is to condition the clay by kneading it until it is soft enough to work with.
-----
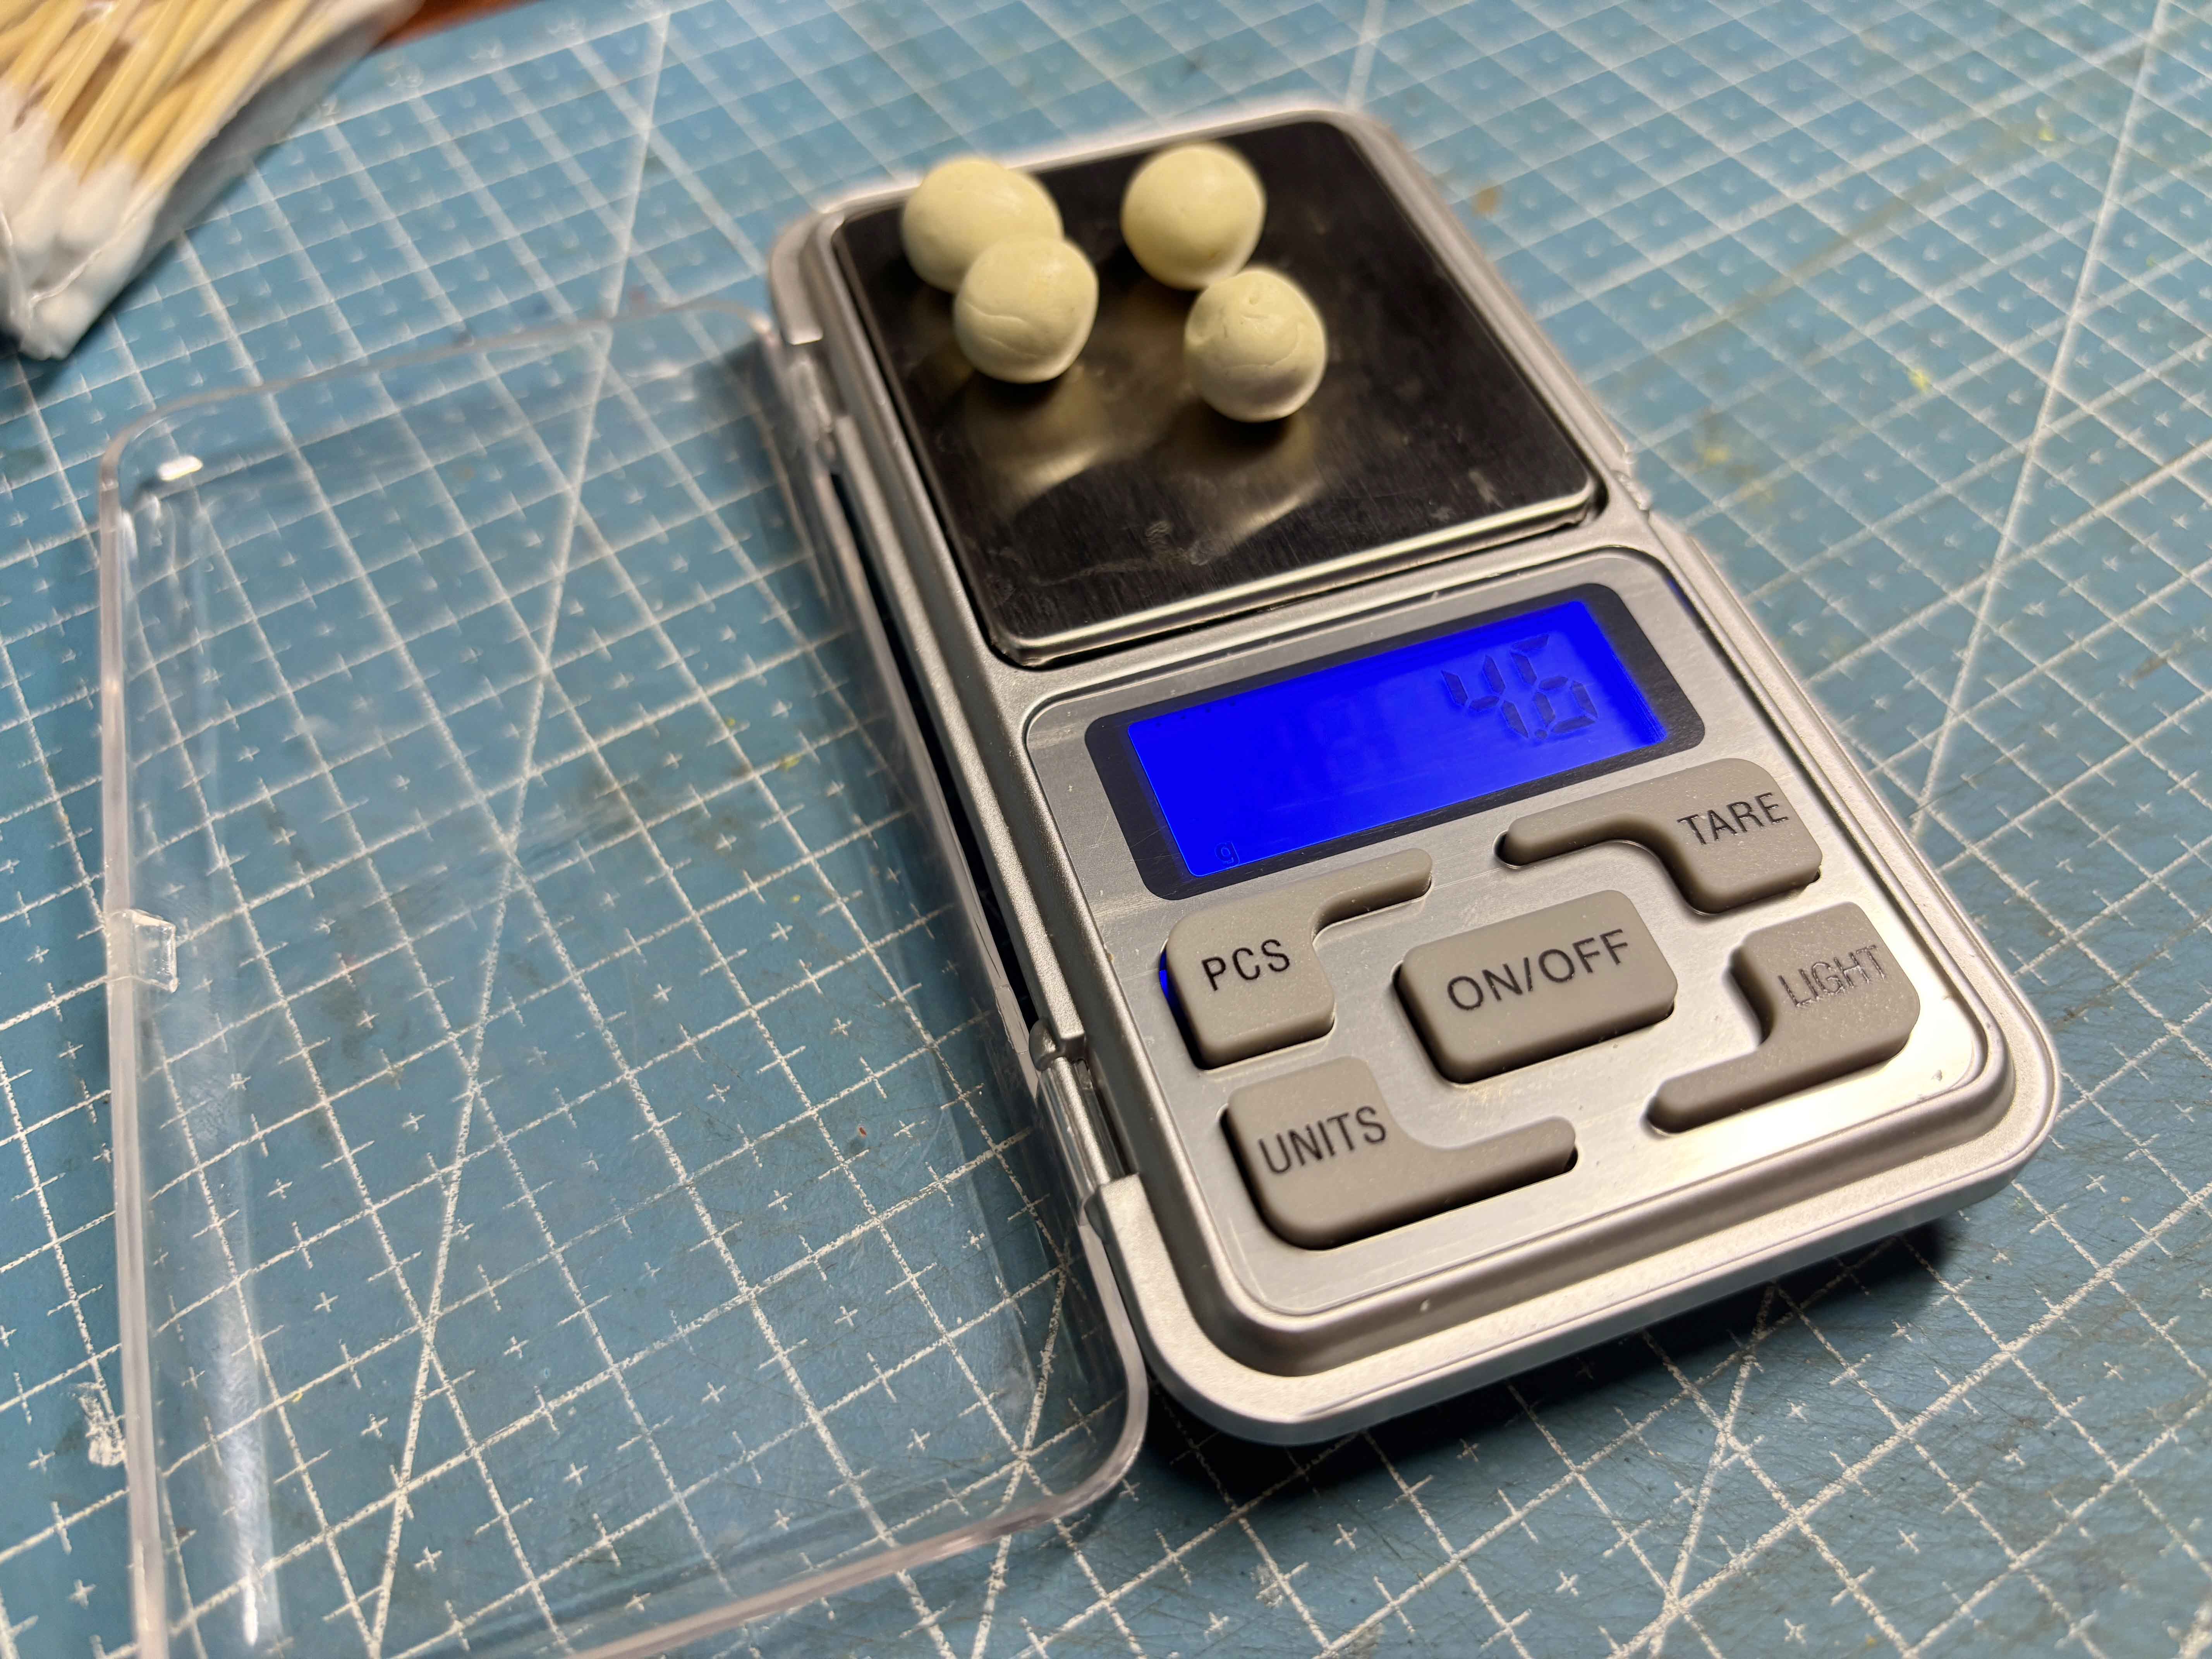
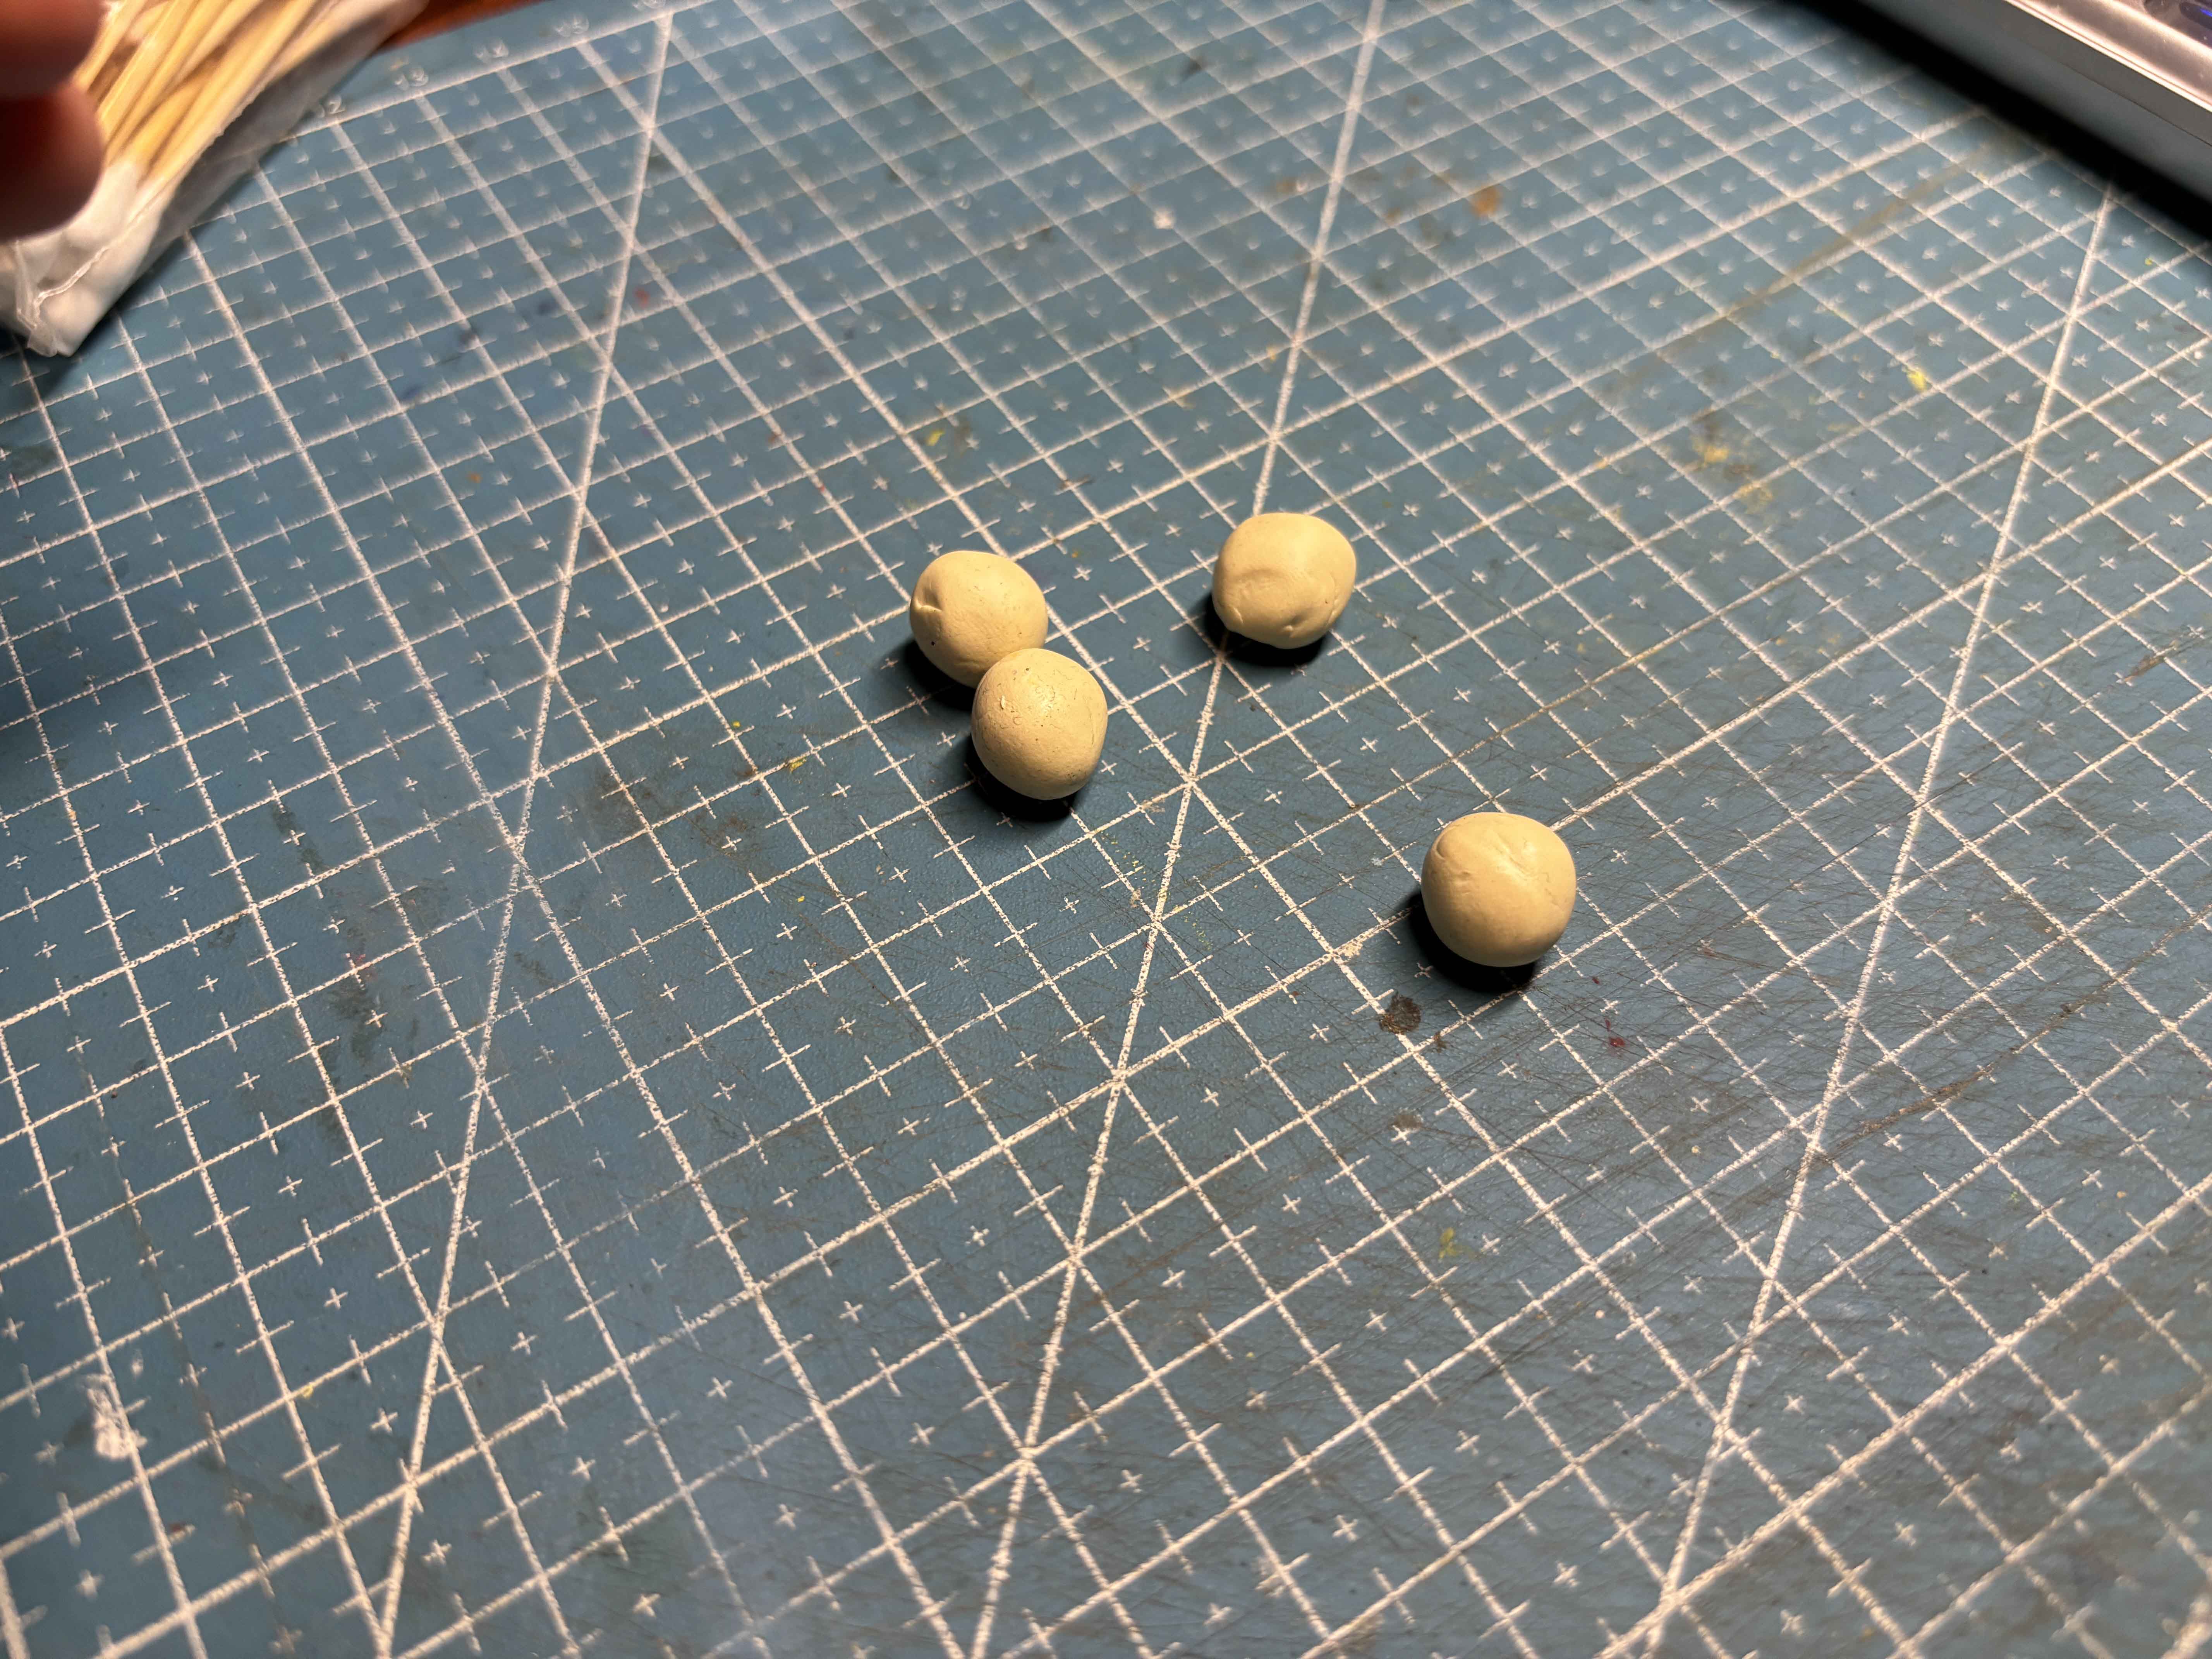
After that, I weigh them using my portable weighing scale to make sure they are equally sized. And then sculpt them into small circles, it is okay if they're not perfect.
-----
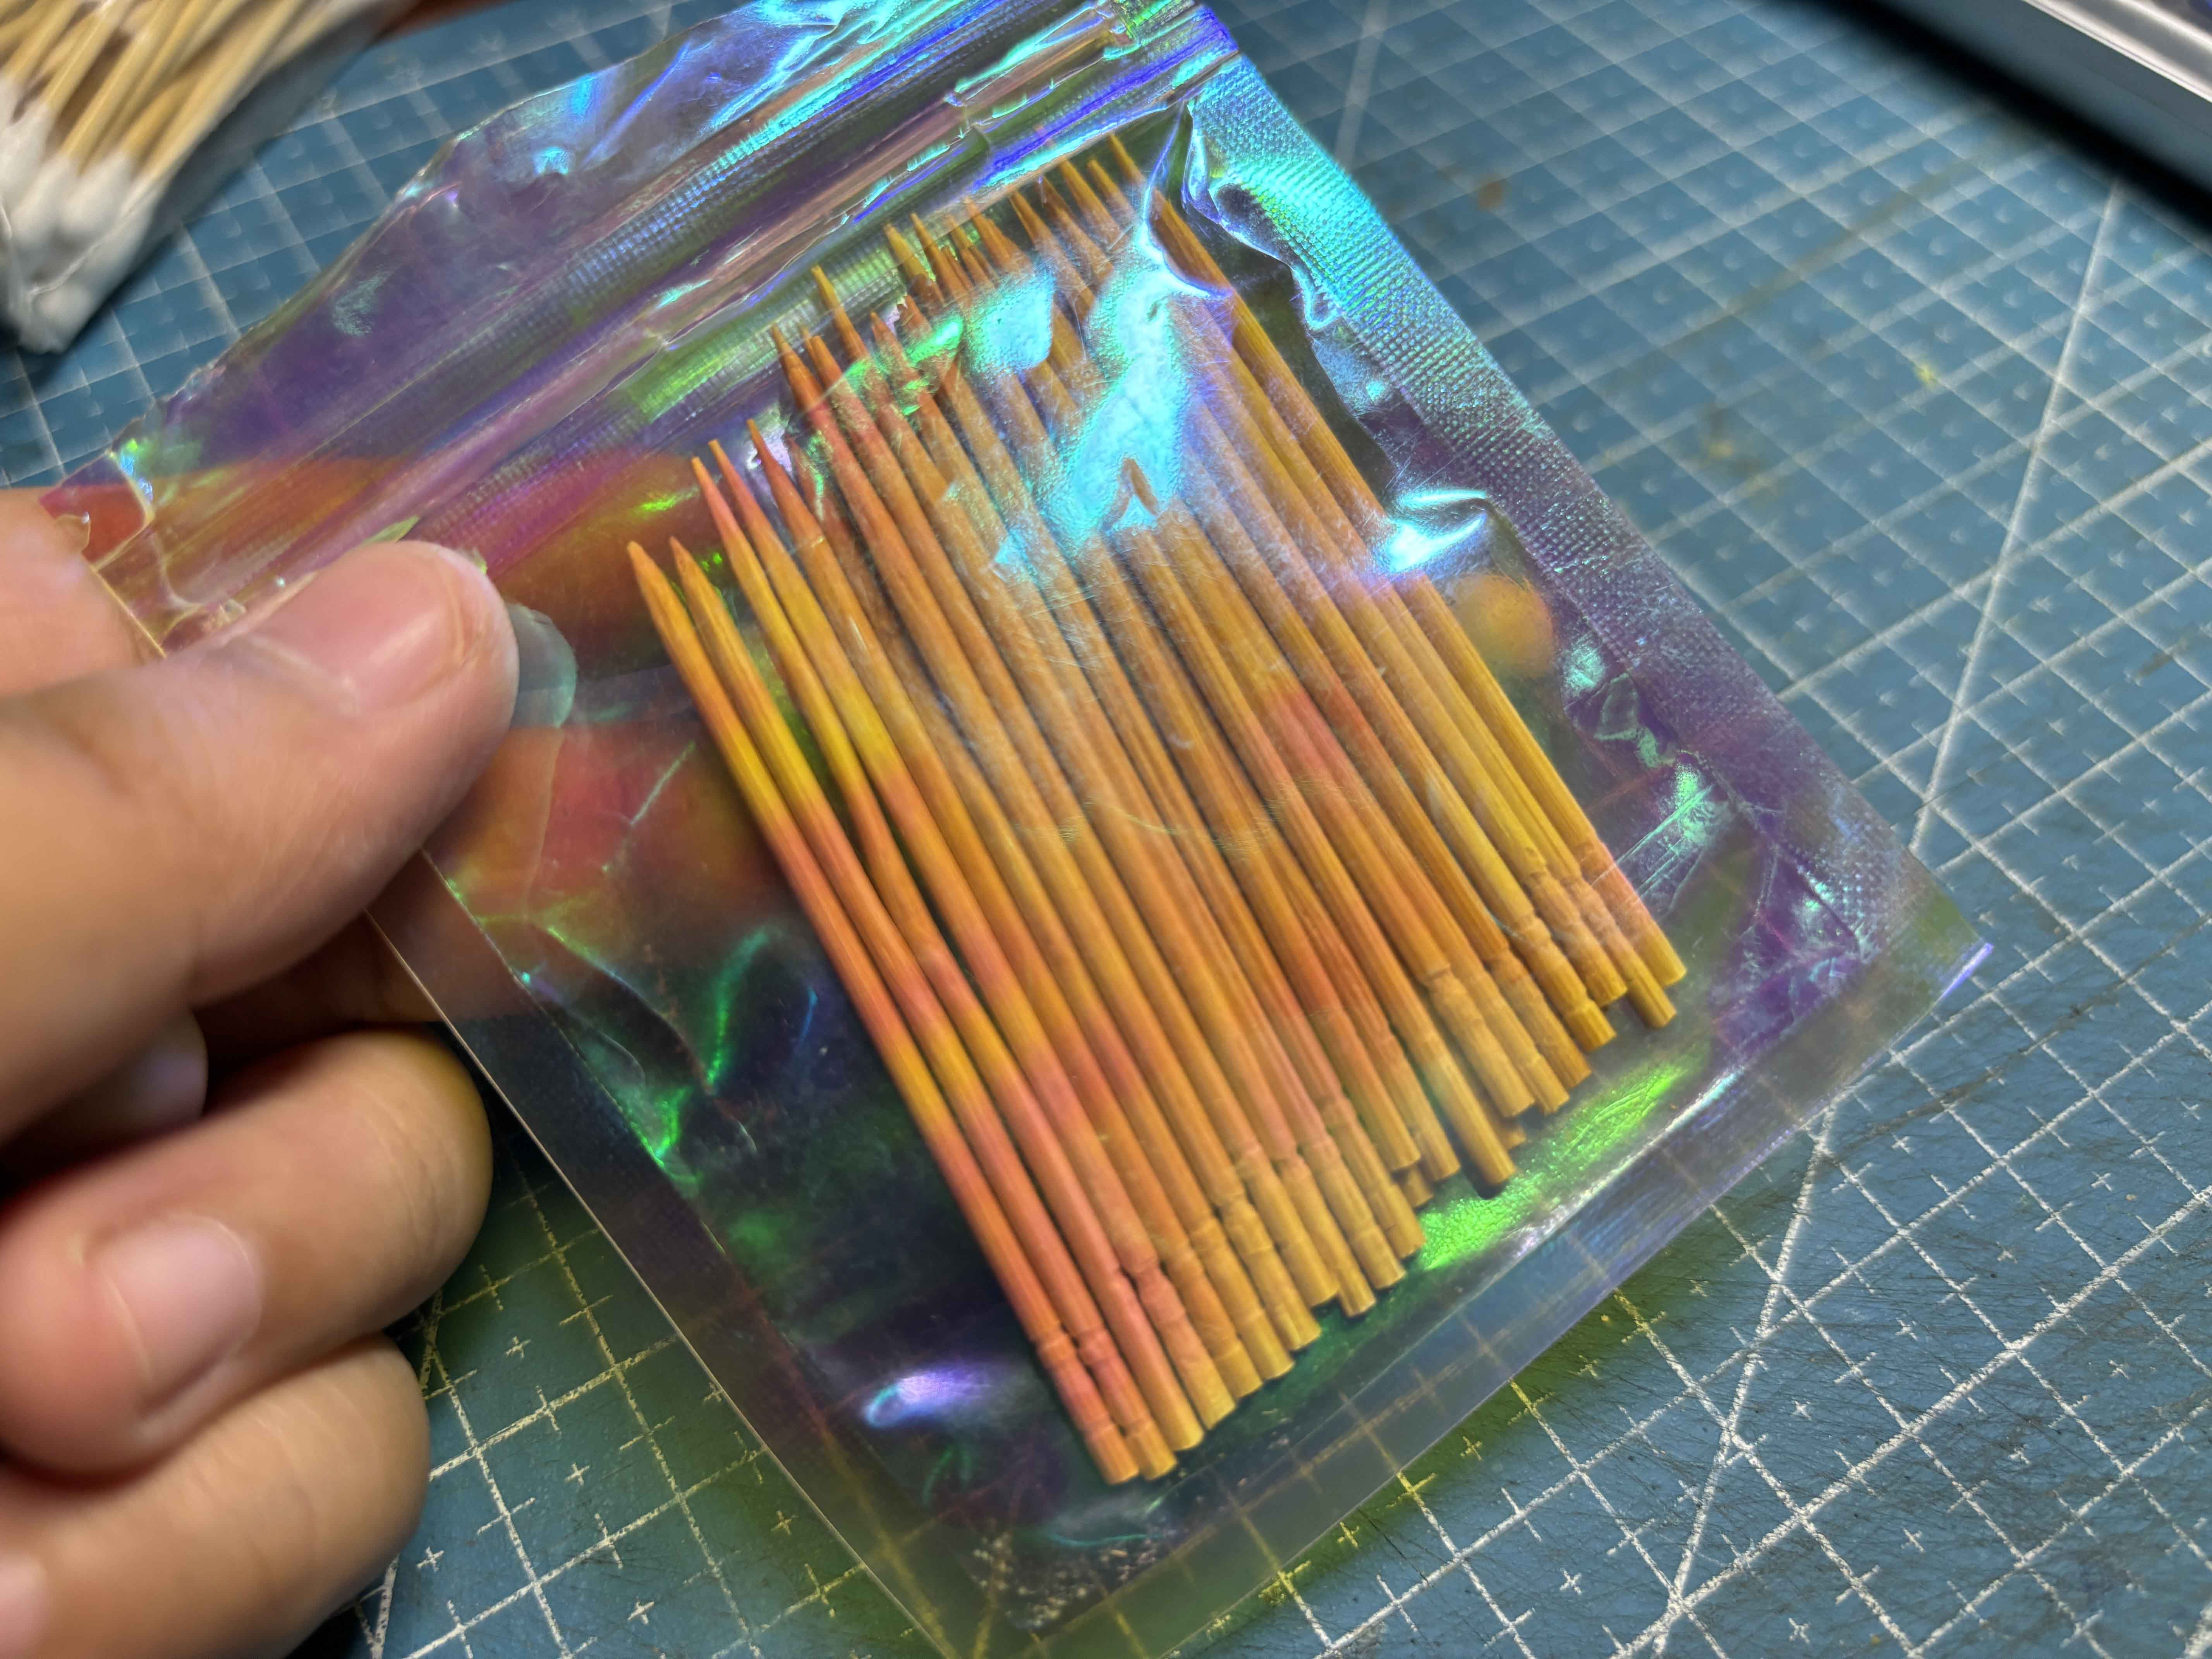
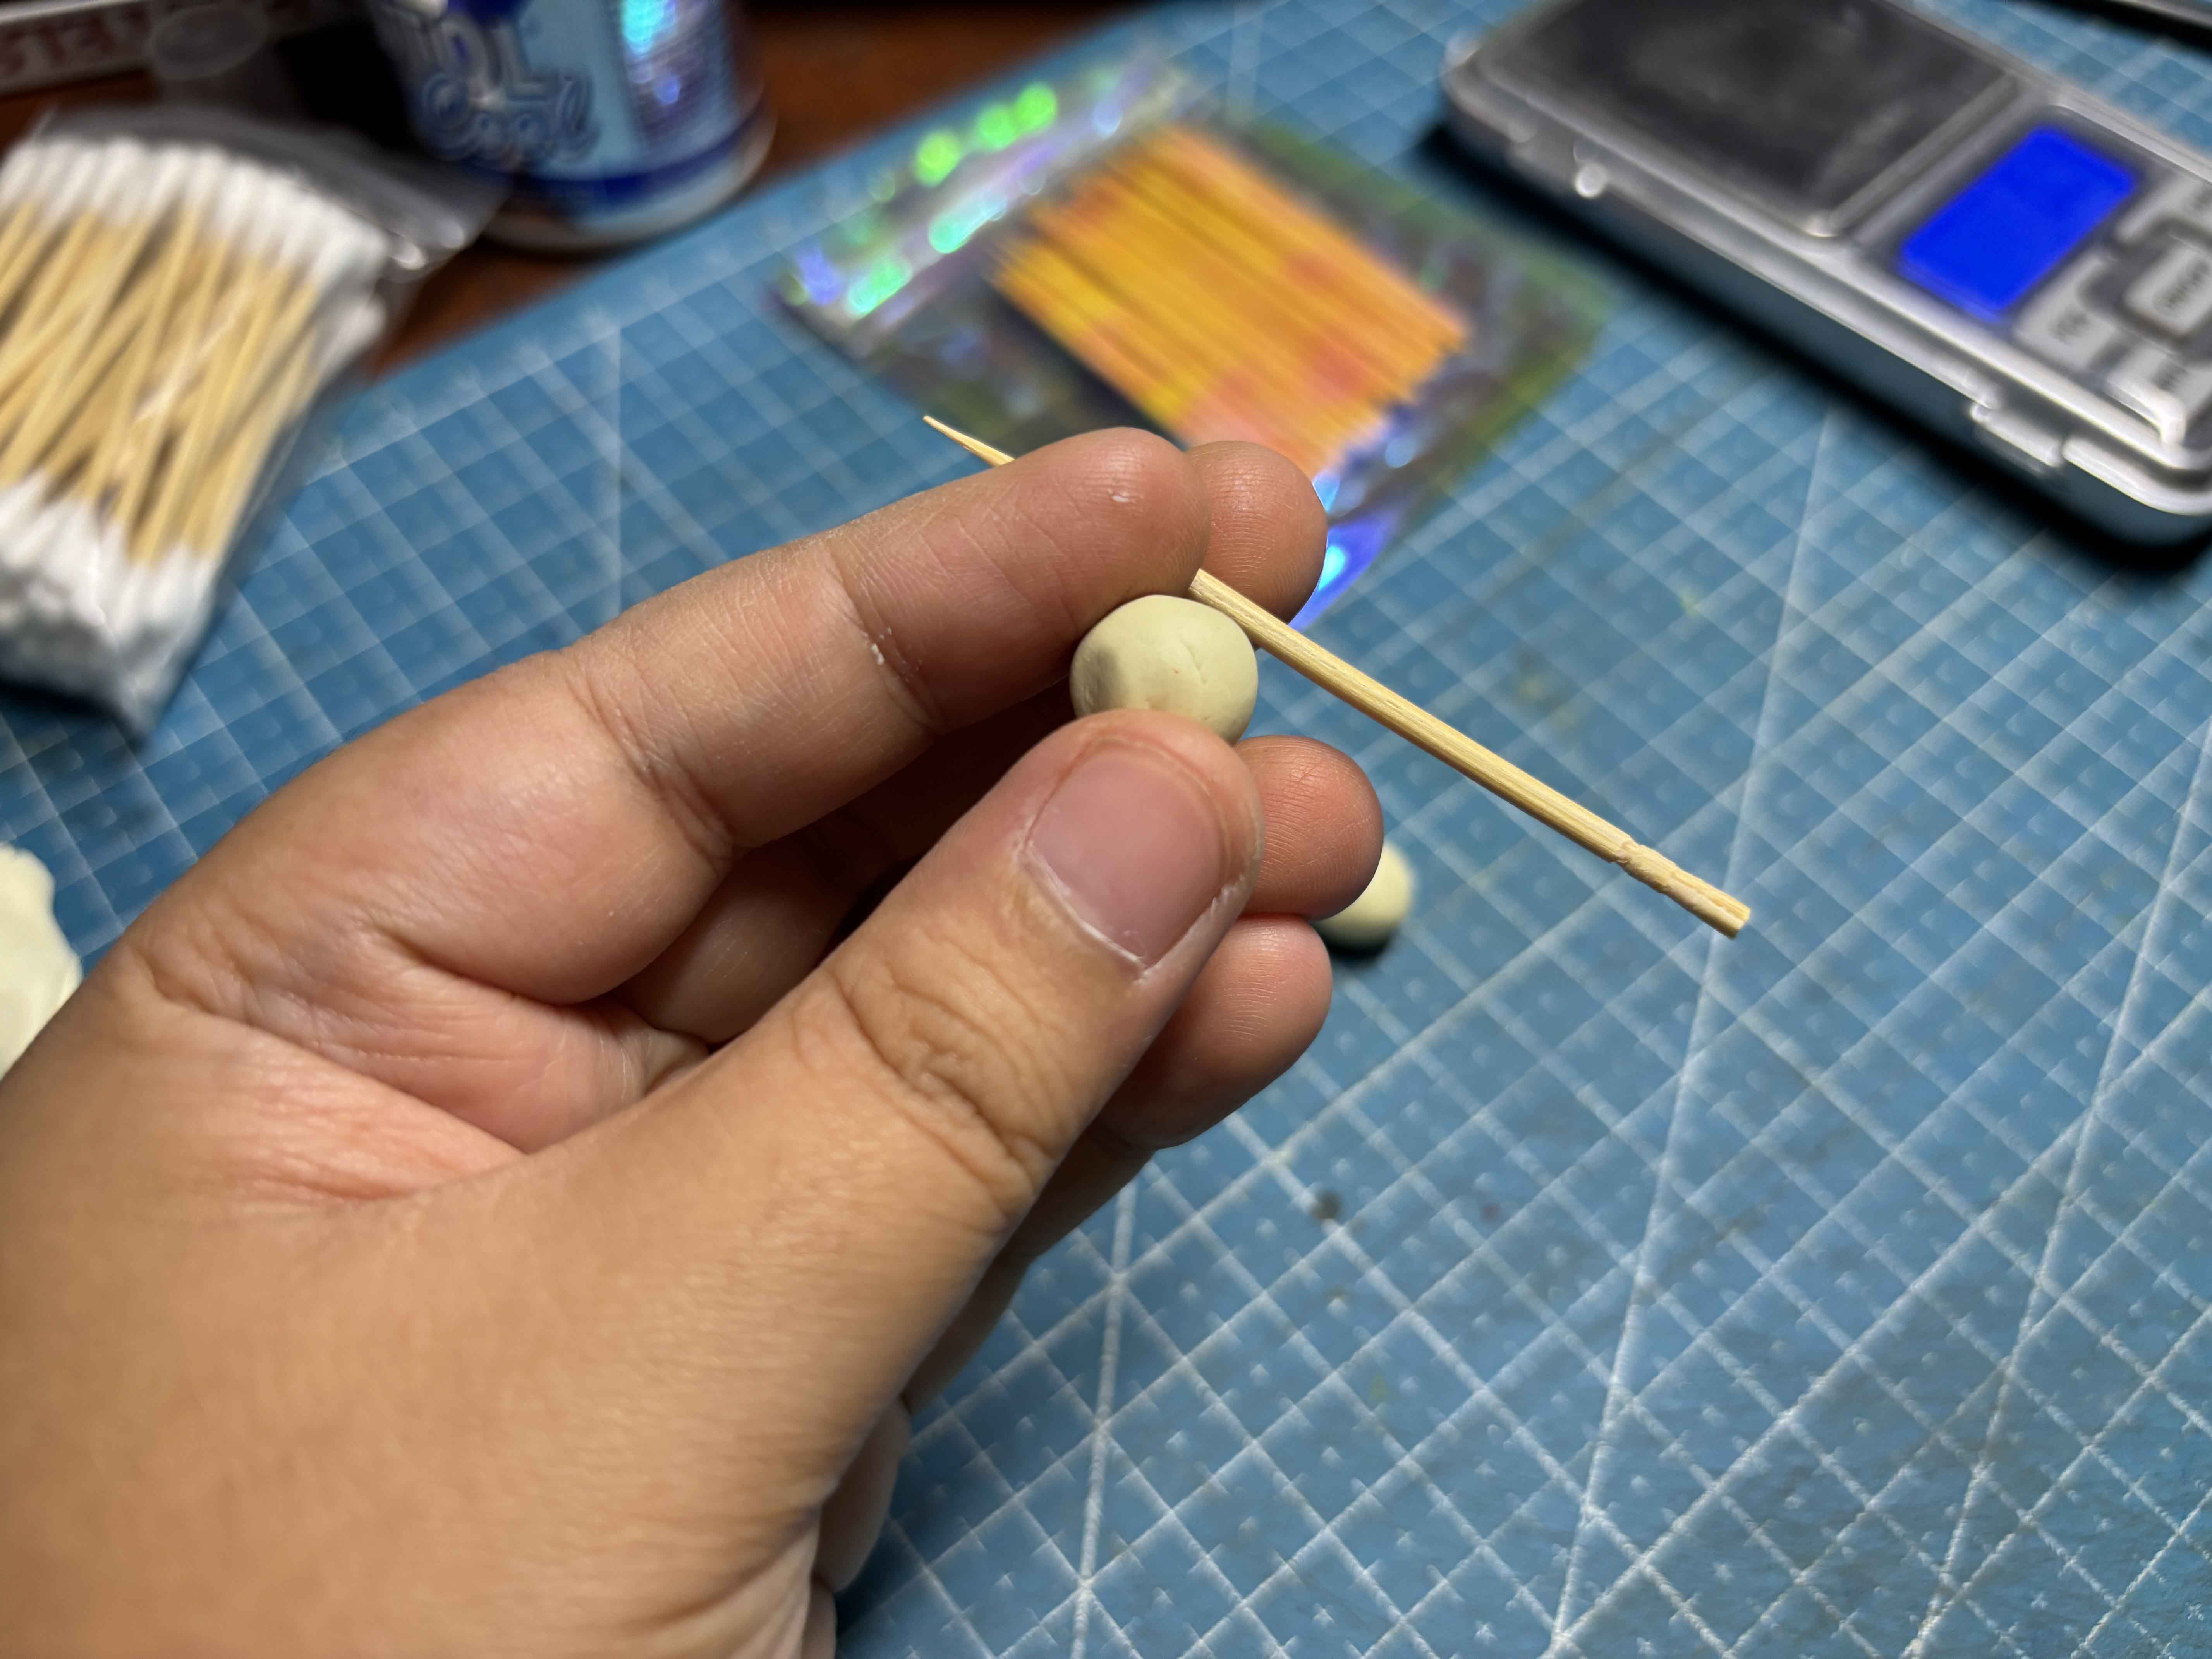
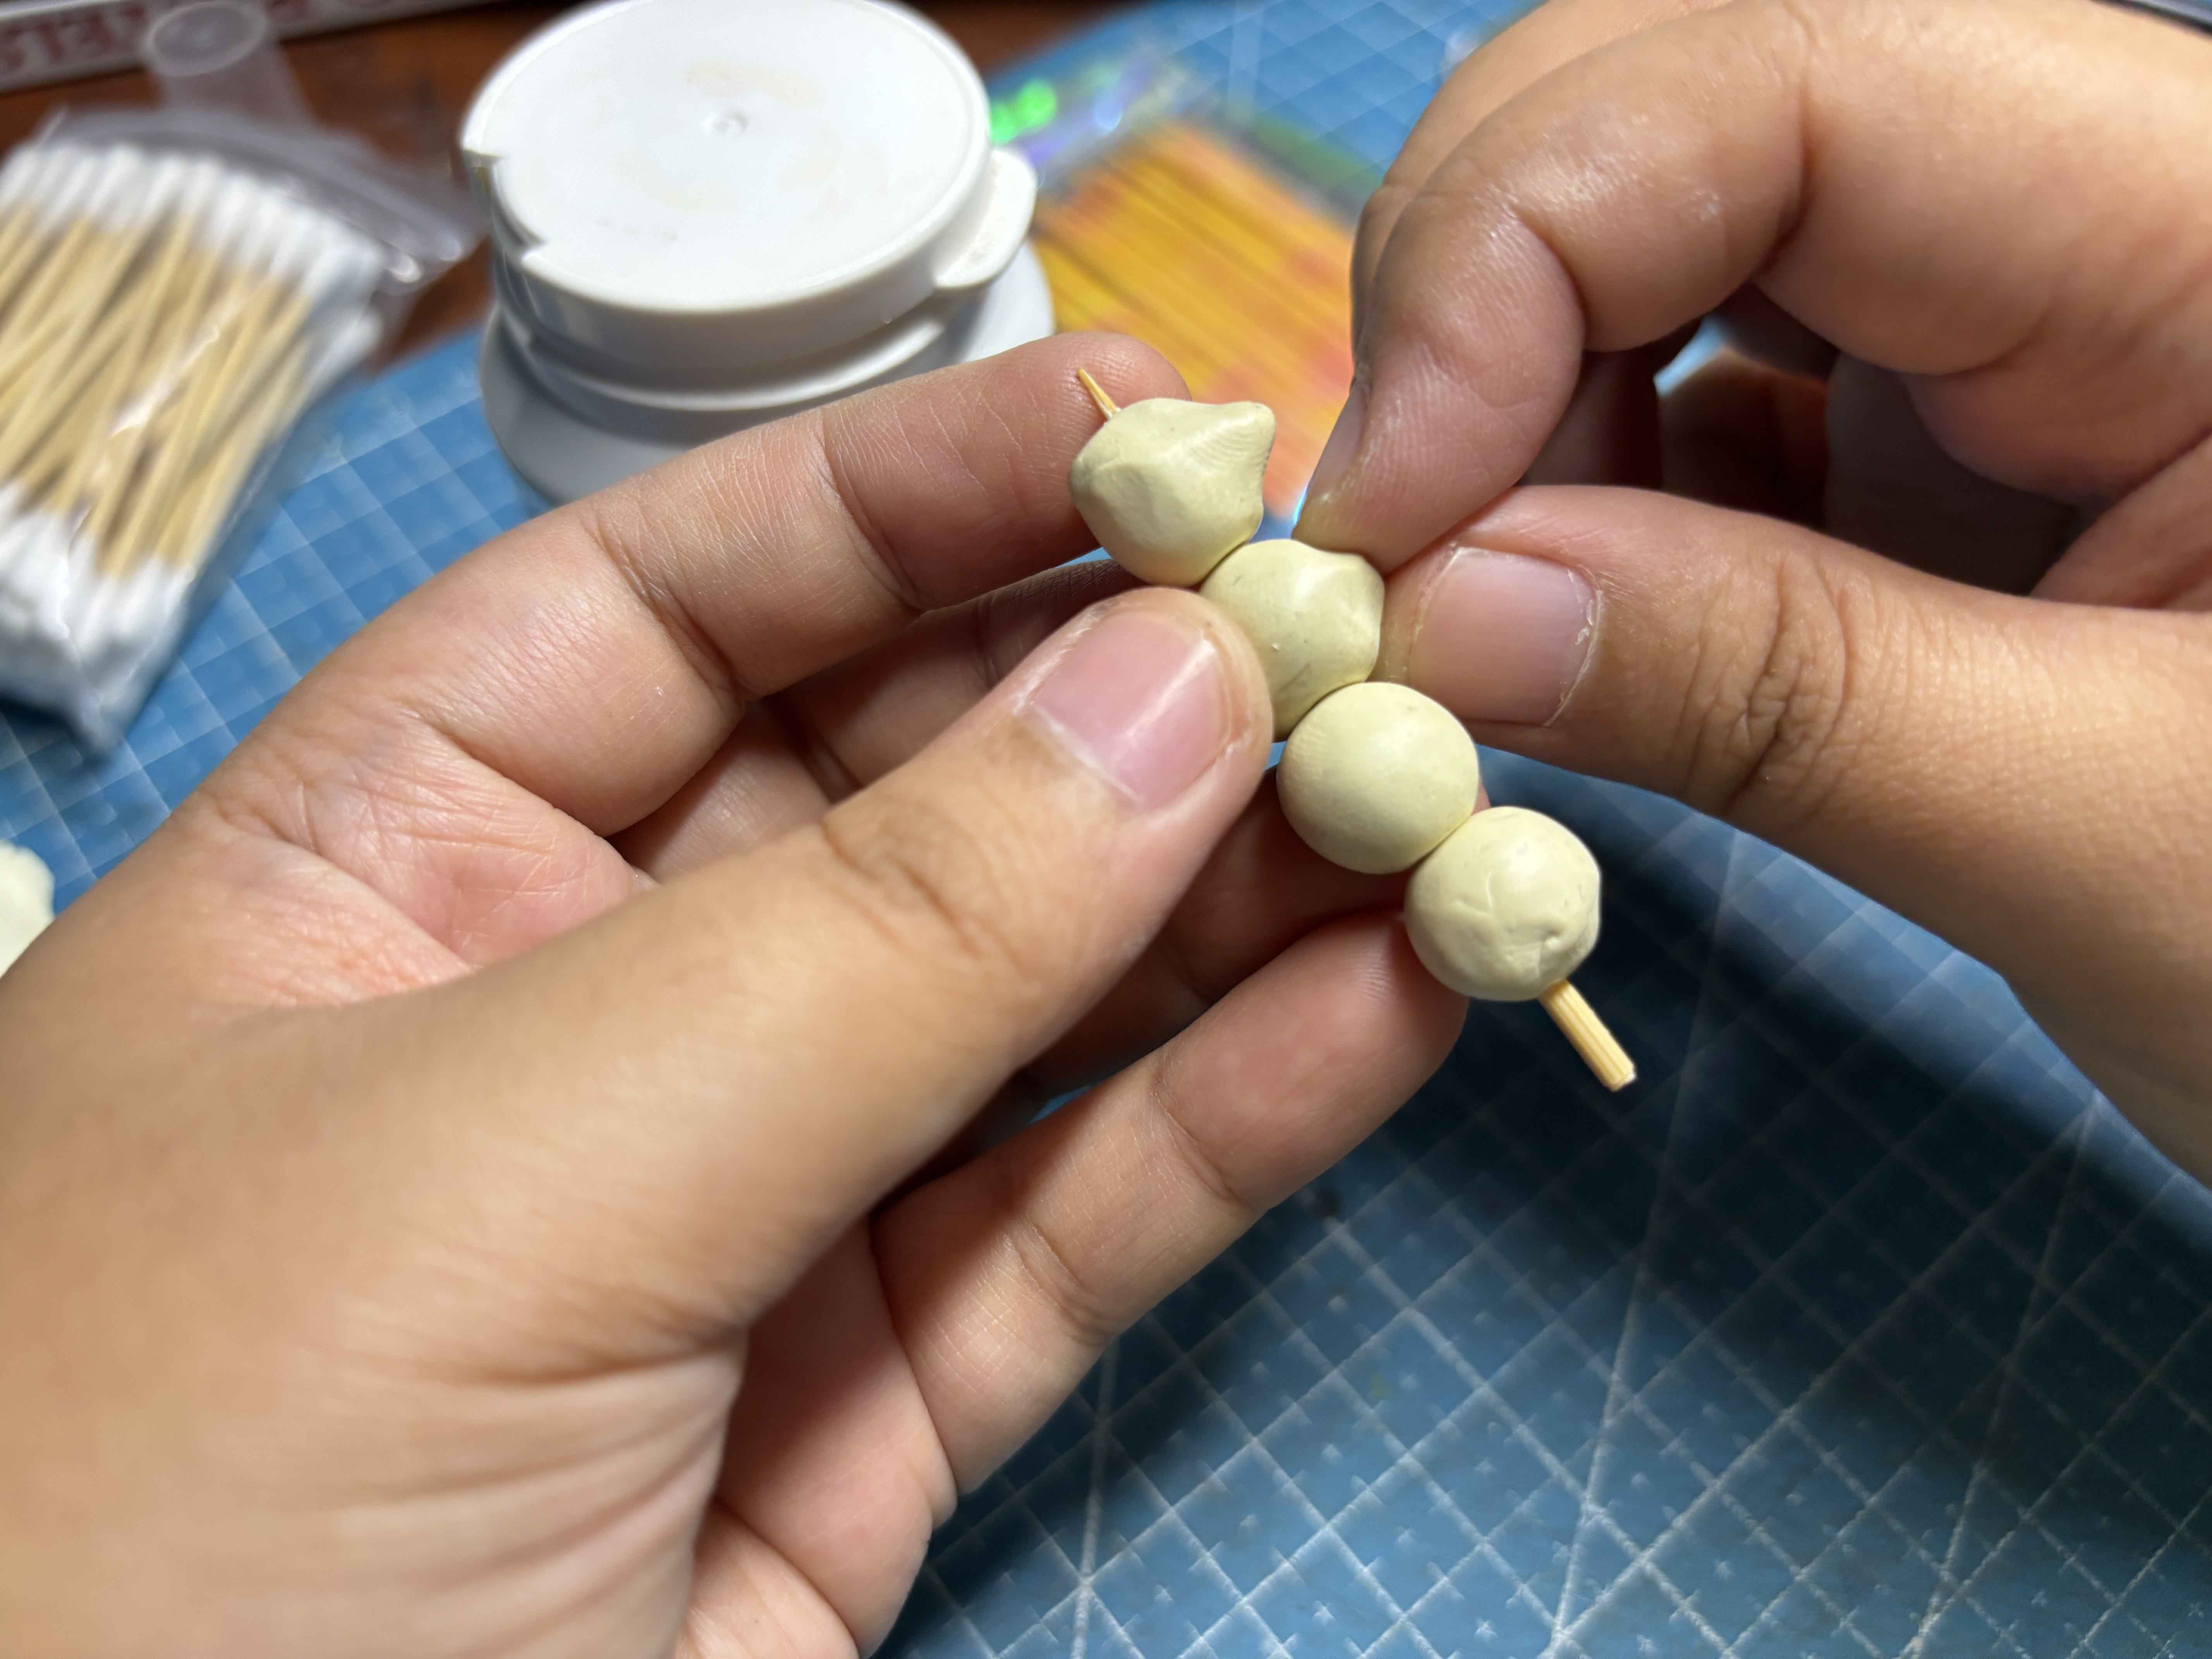
Then I prepare the toothpick I am going to use. This will serve as the bqq stick, but a smaller version.
-----
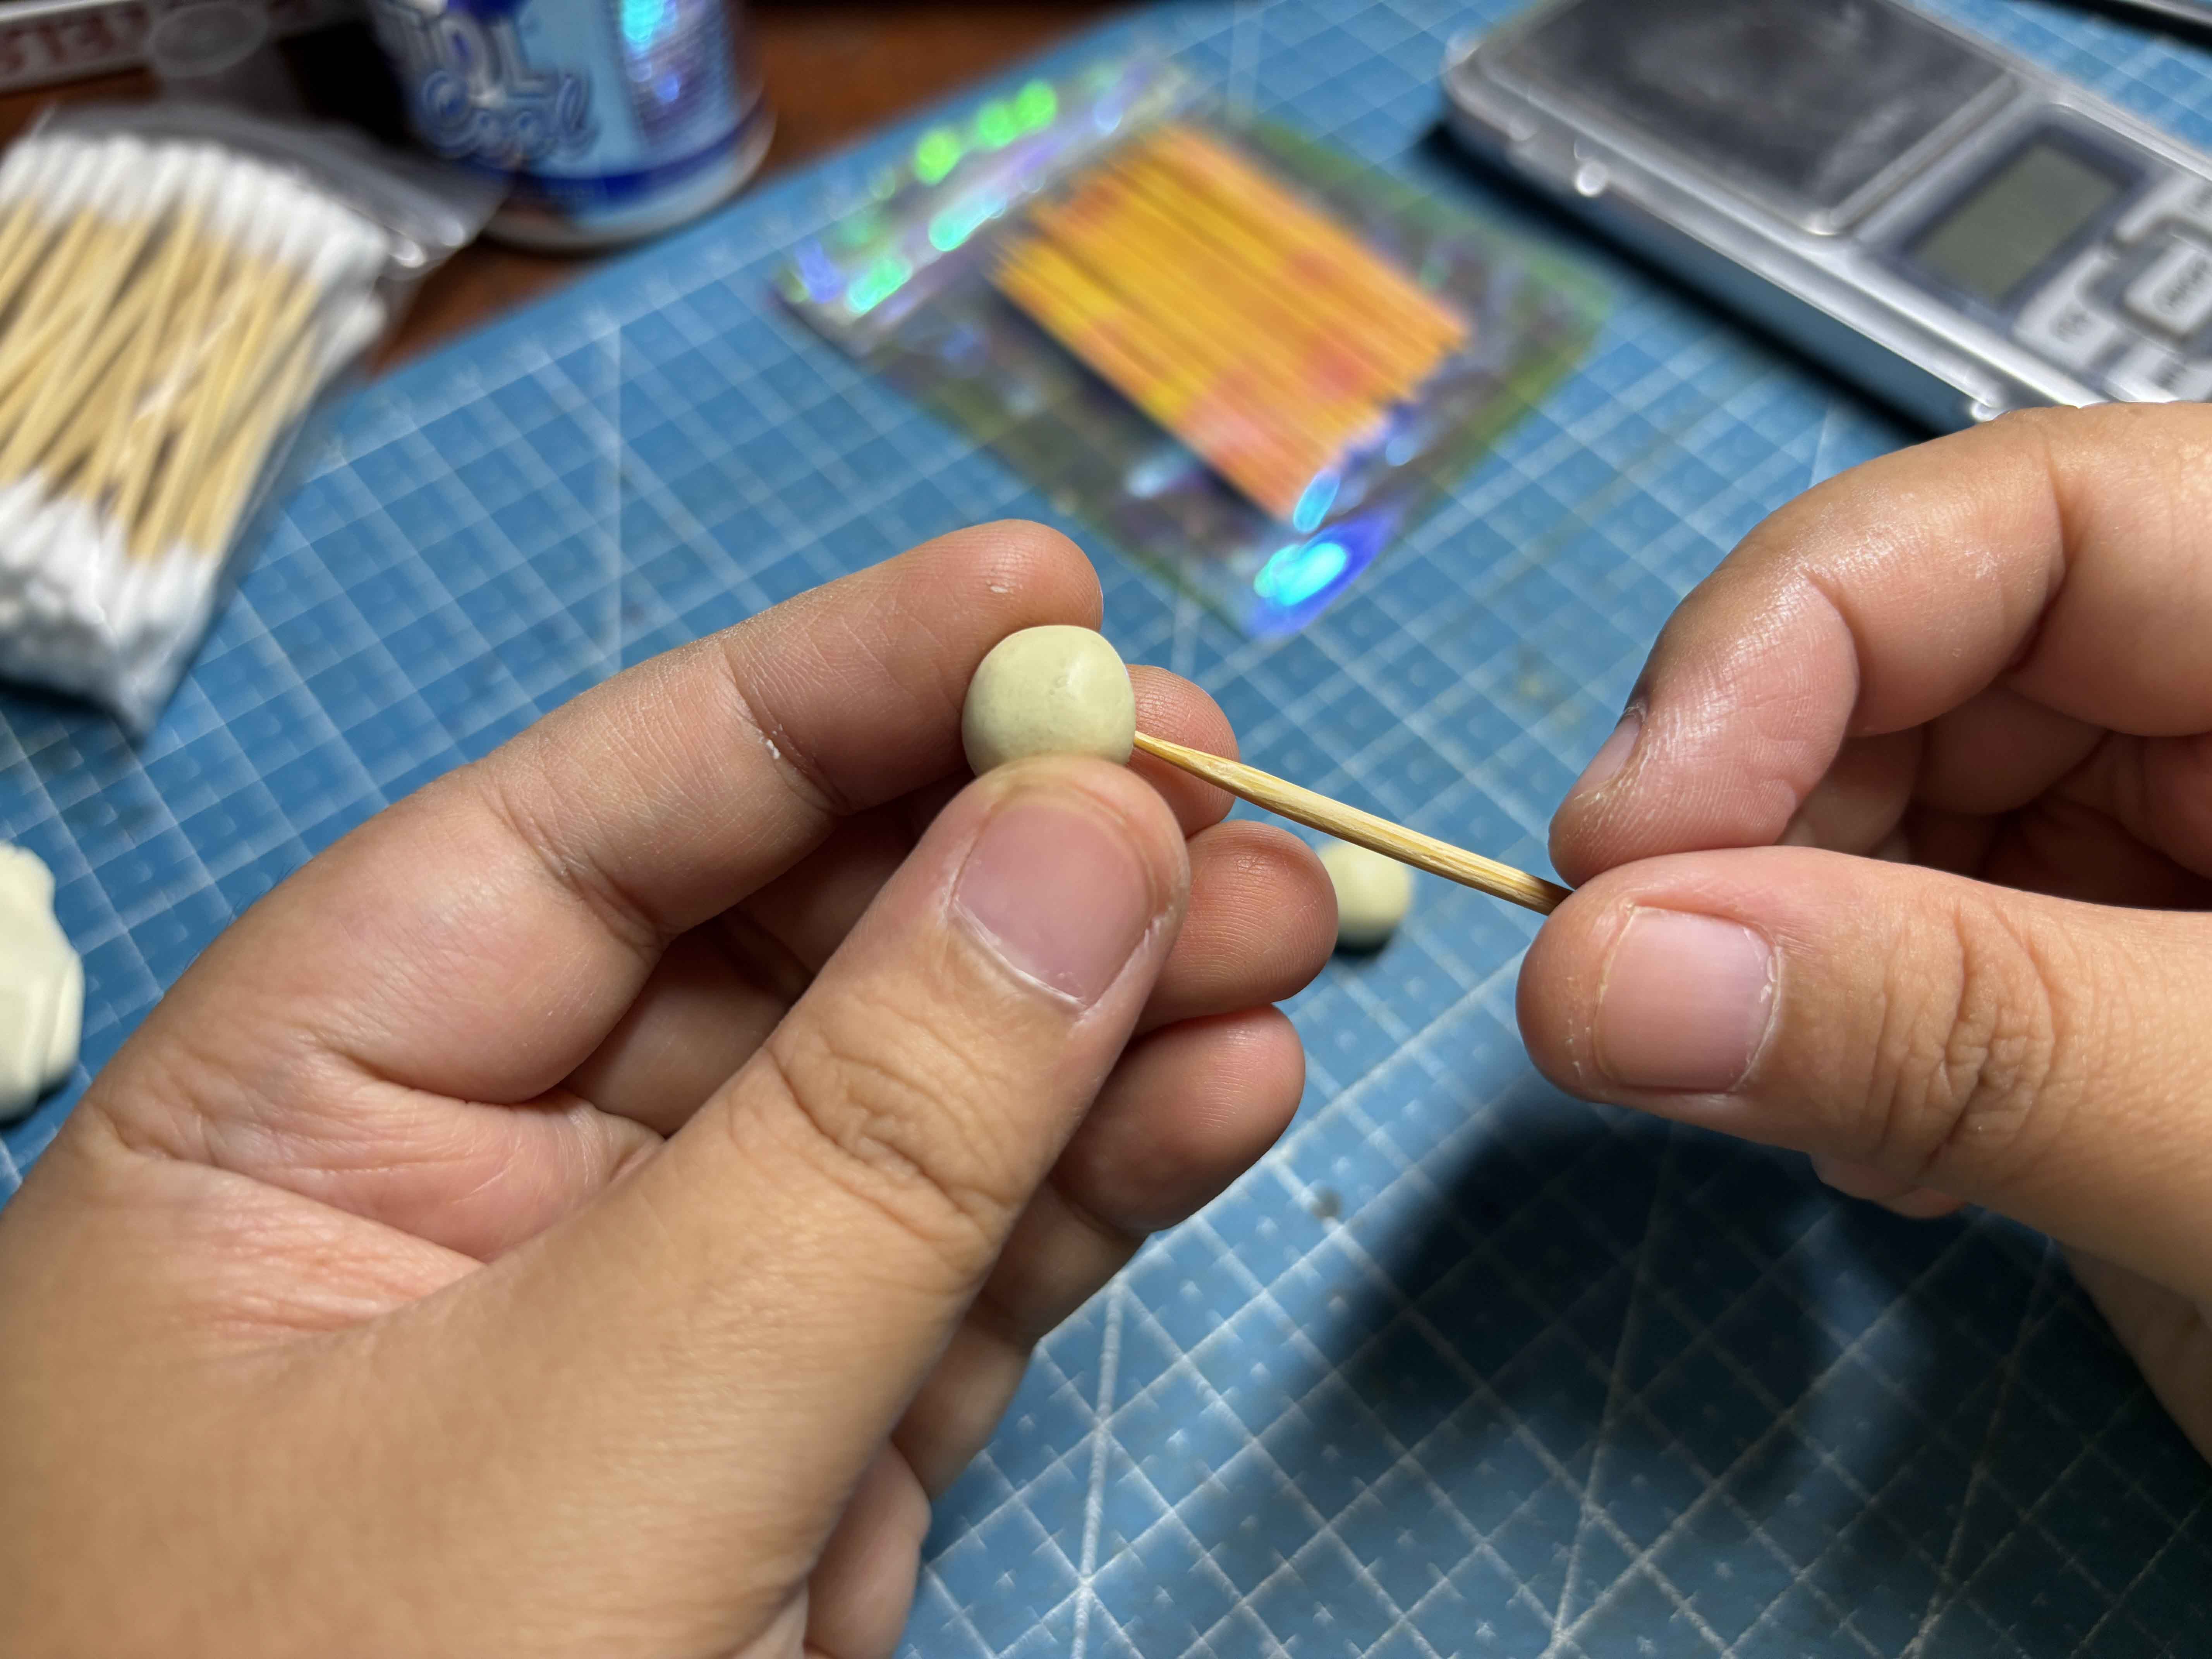
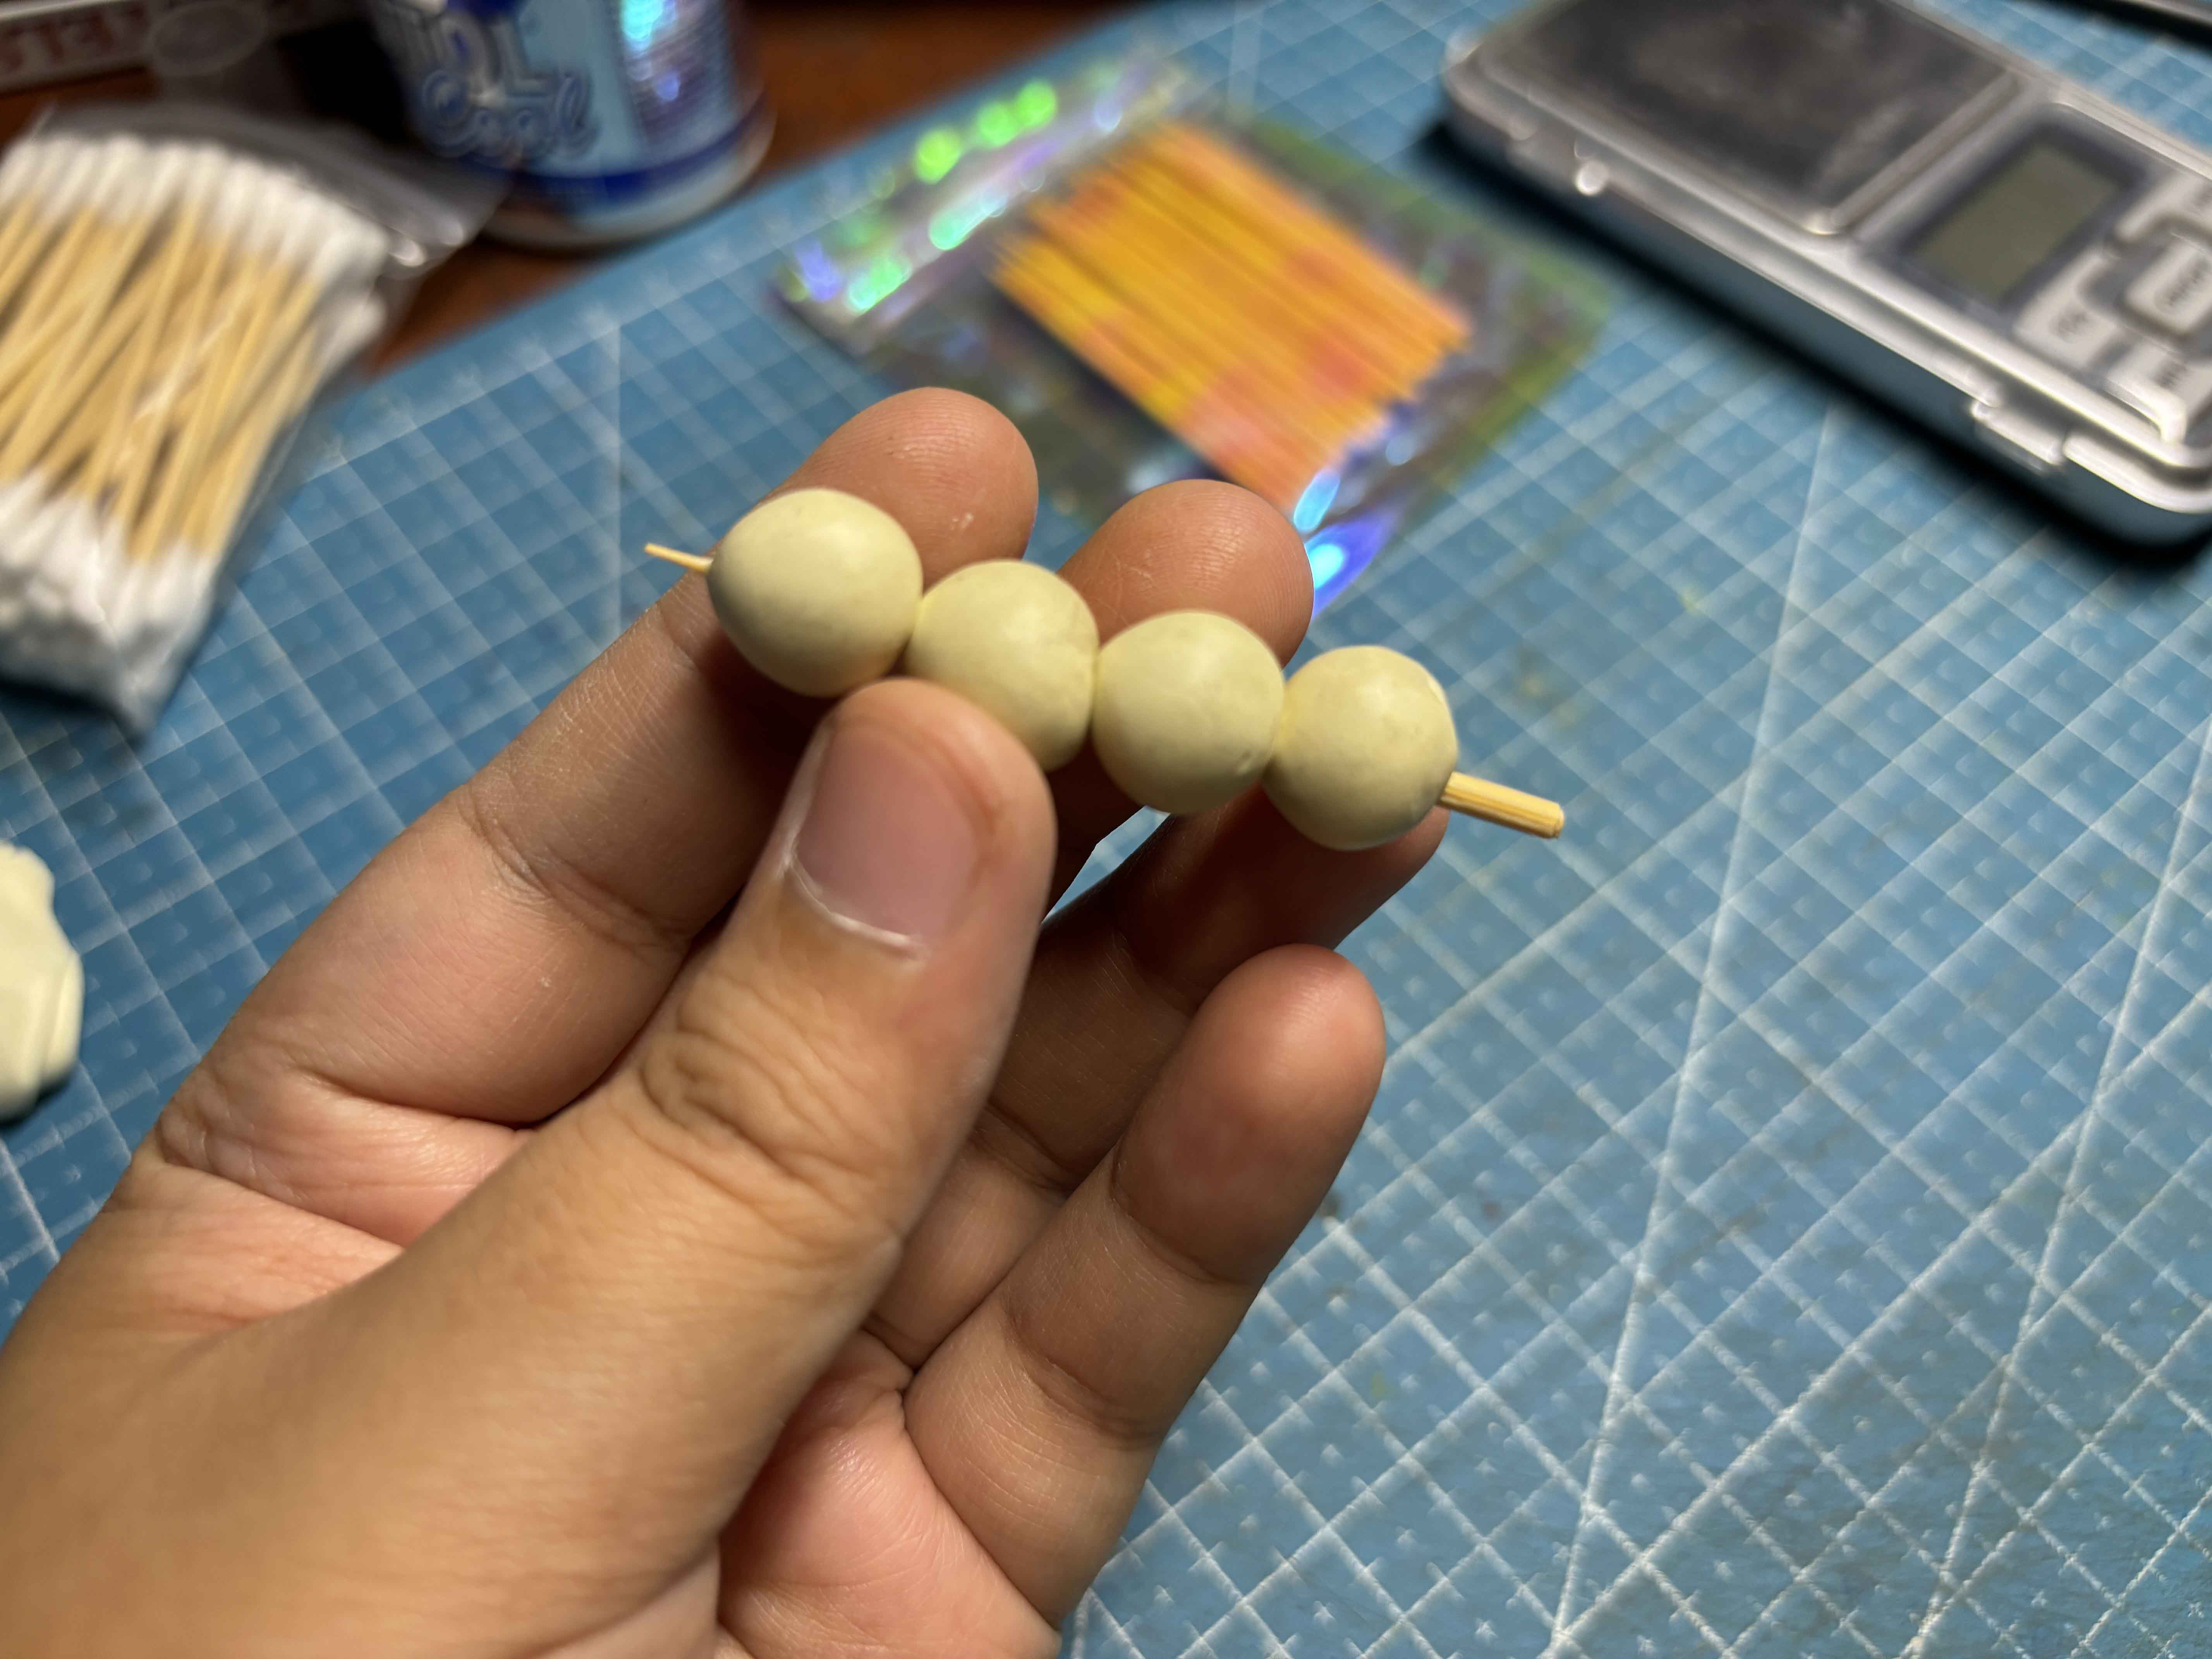
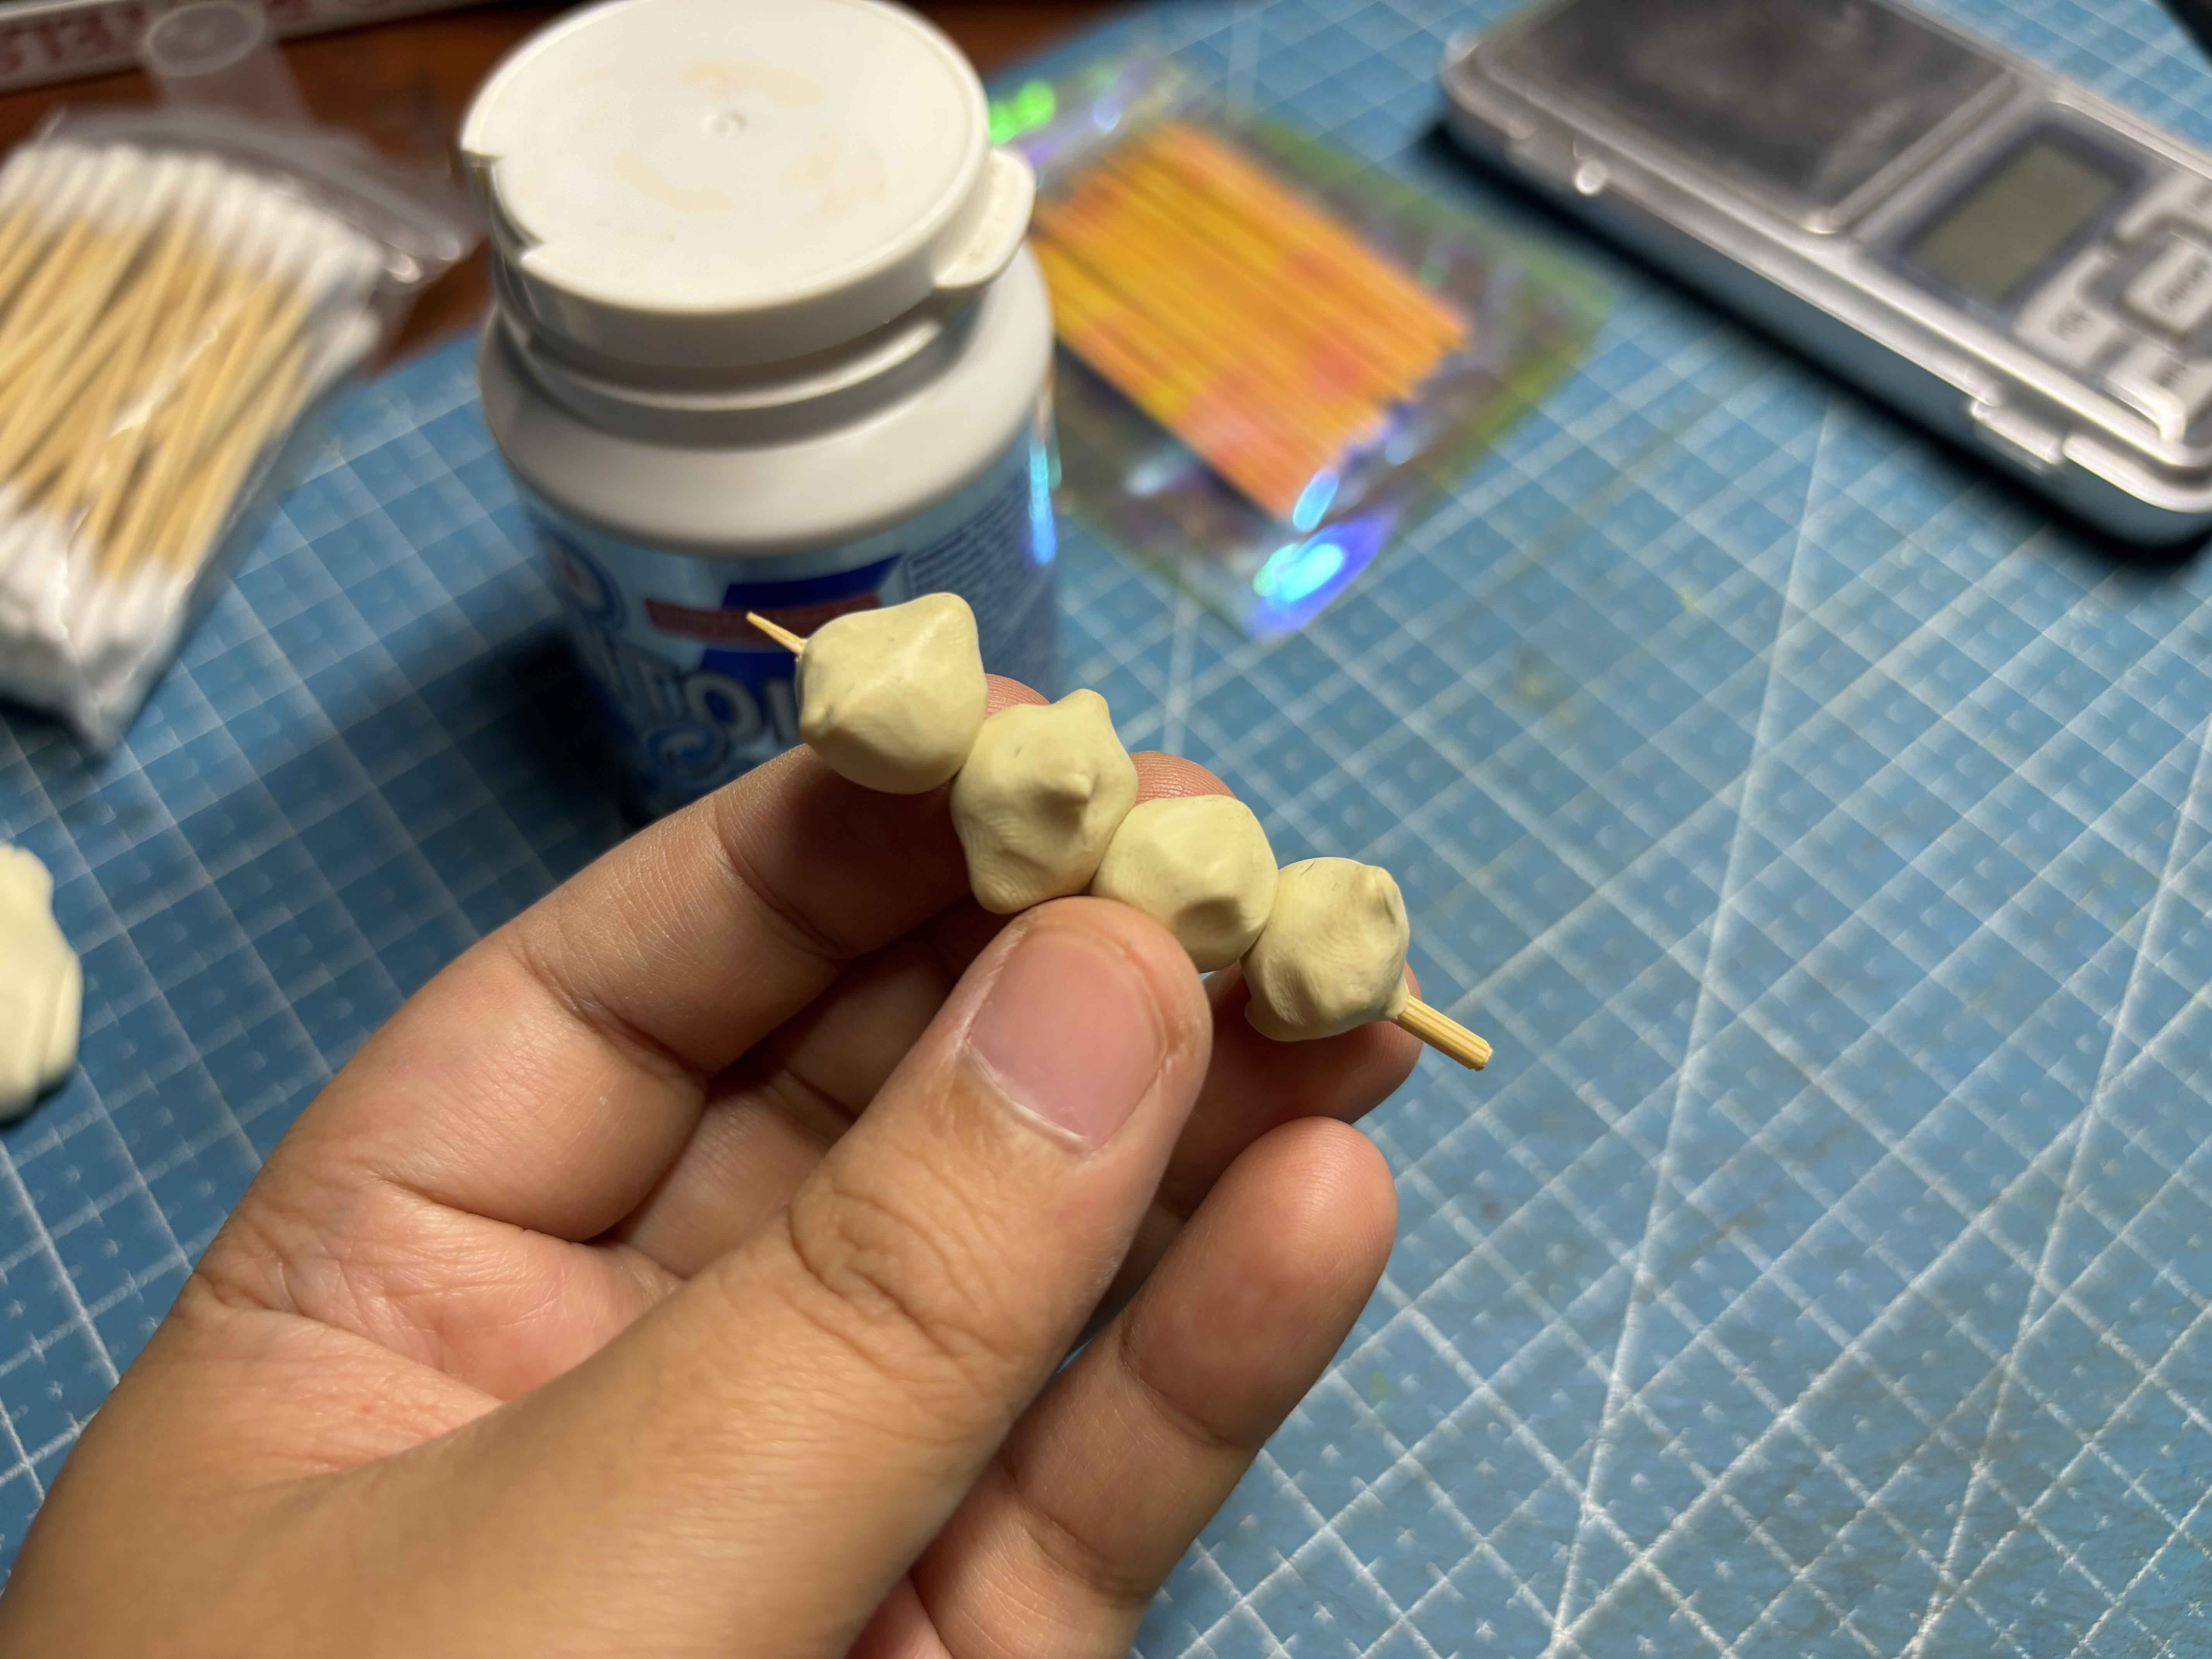
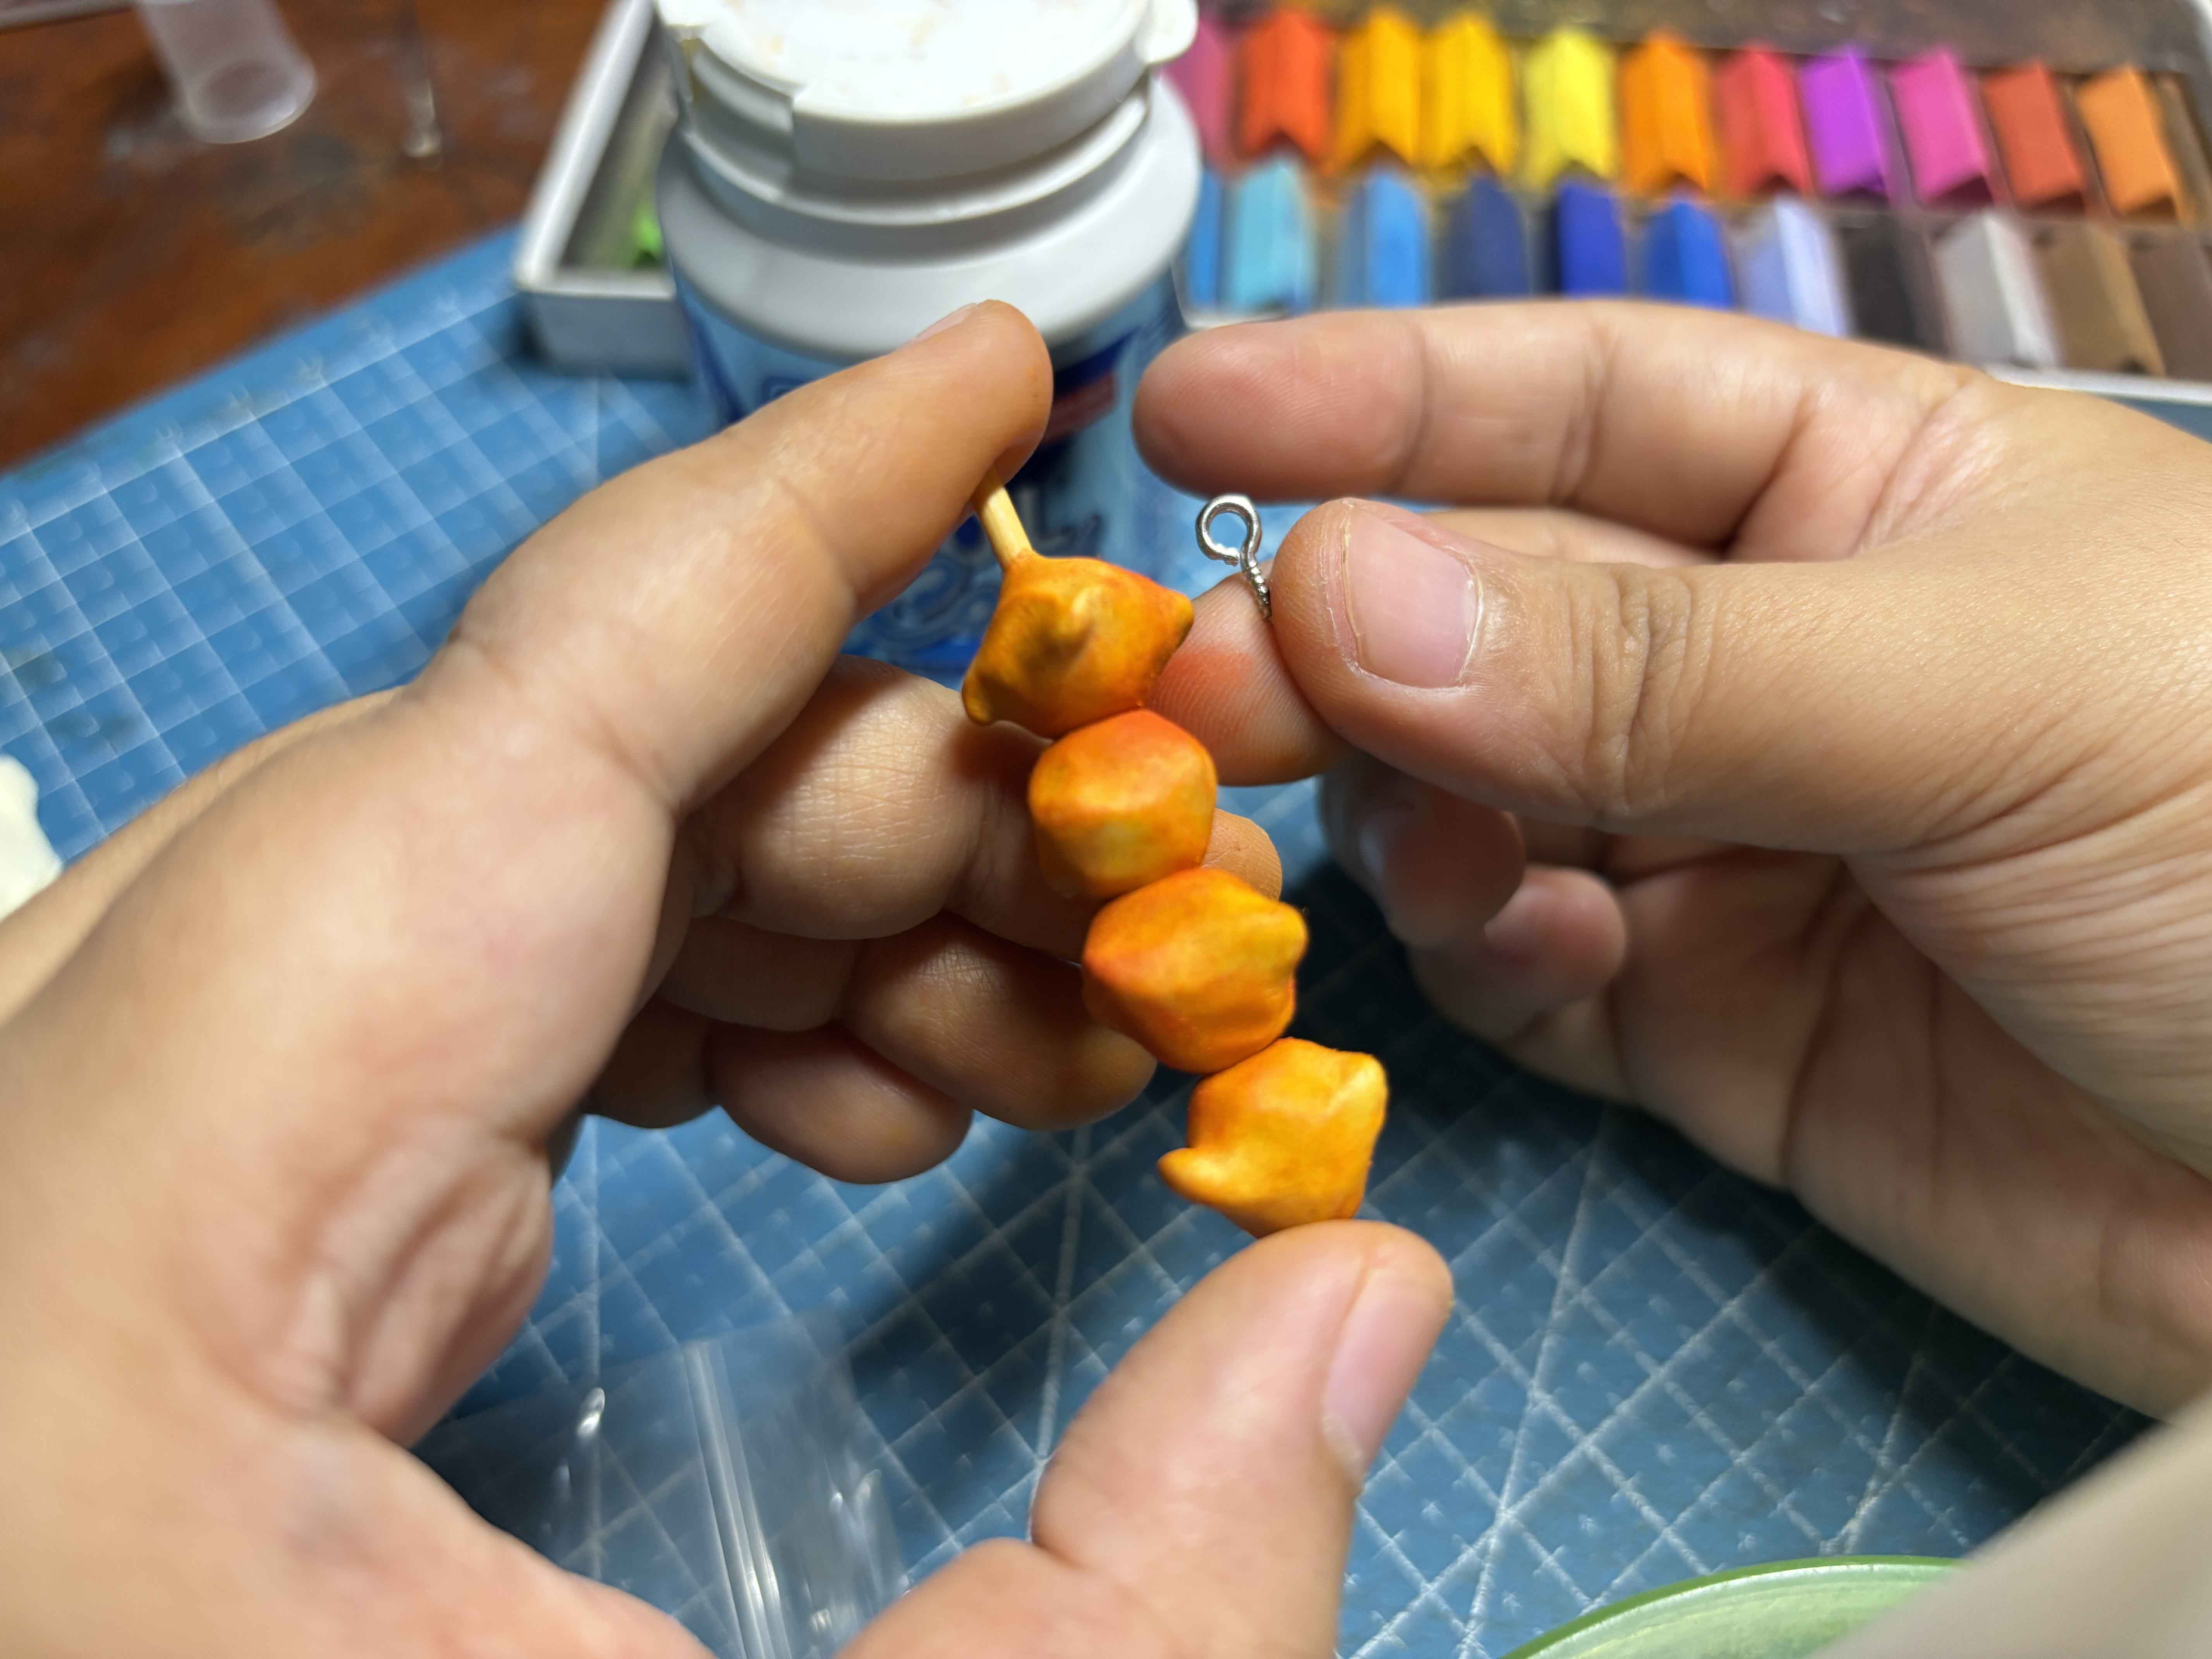
I carefully poke them into the toothpick. Be careful in doing it if it is not perfect enough, sculpt the clay again into a circle and do the same thing again. This is what it should look like after.
-----
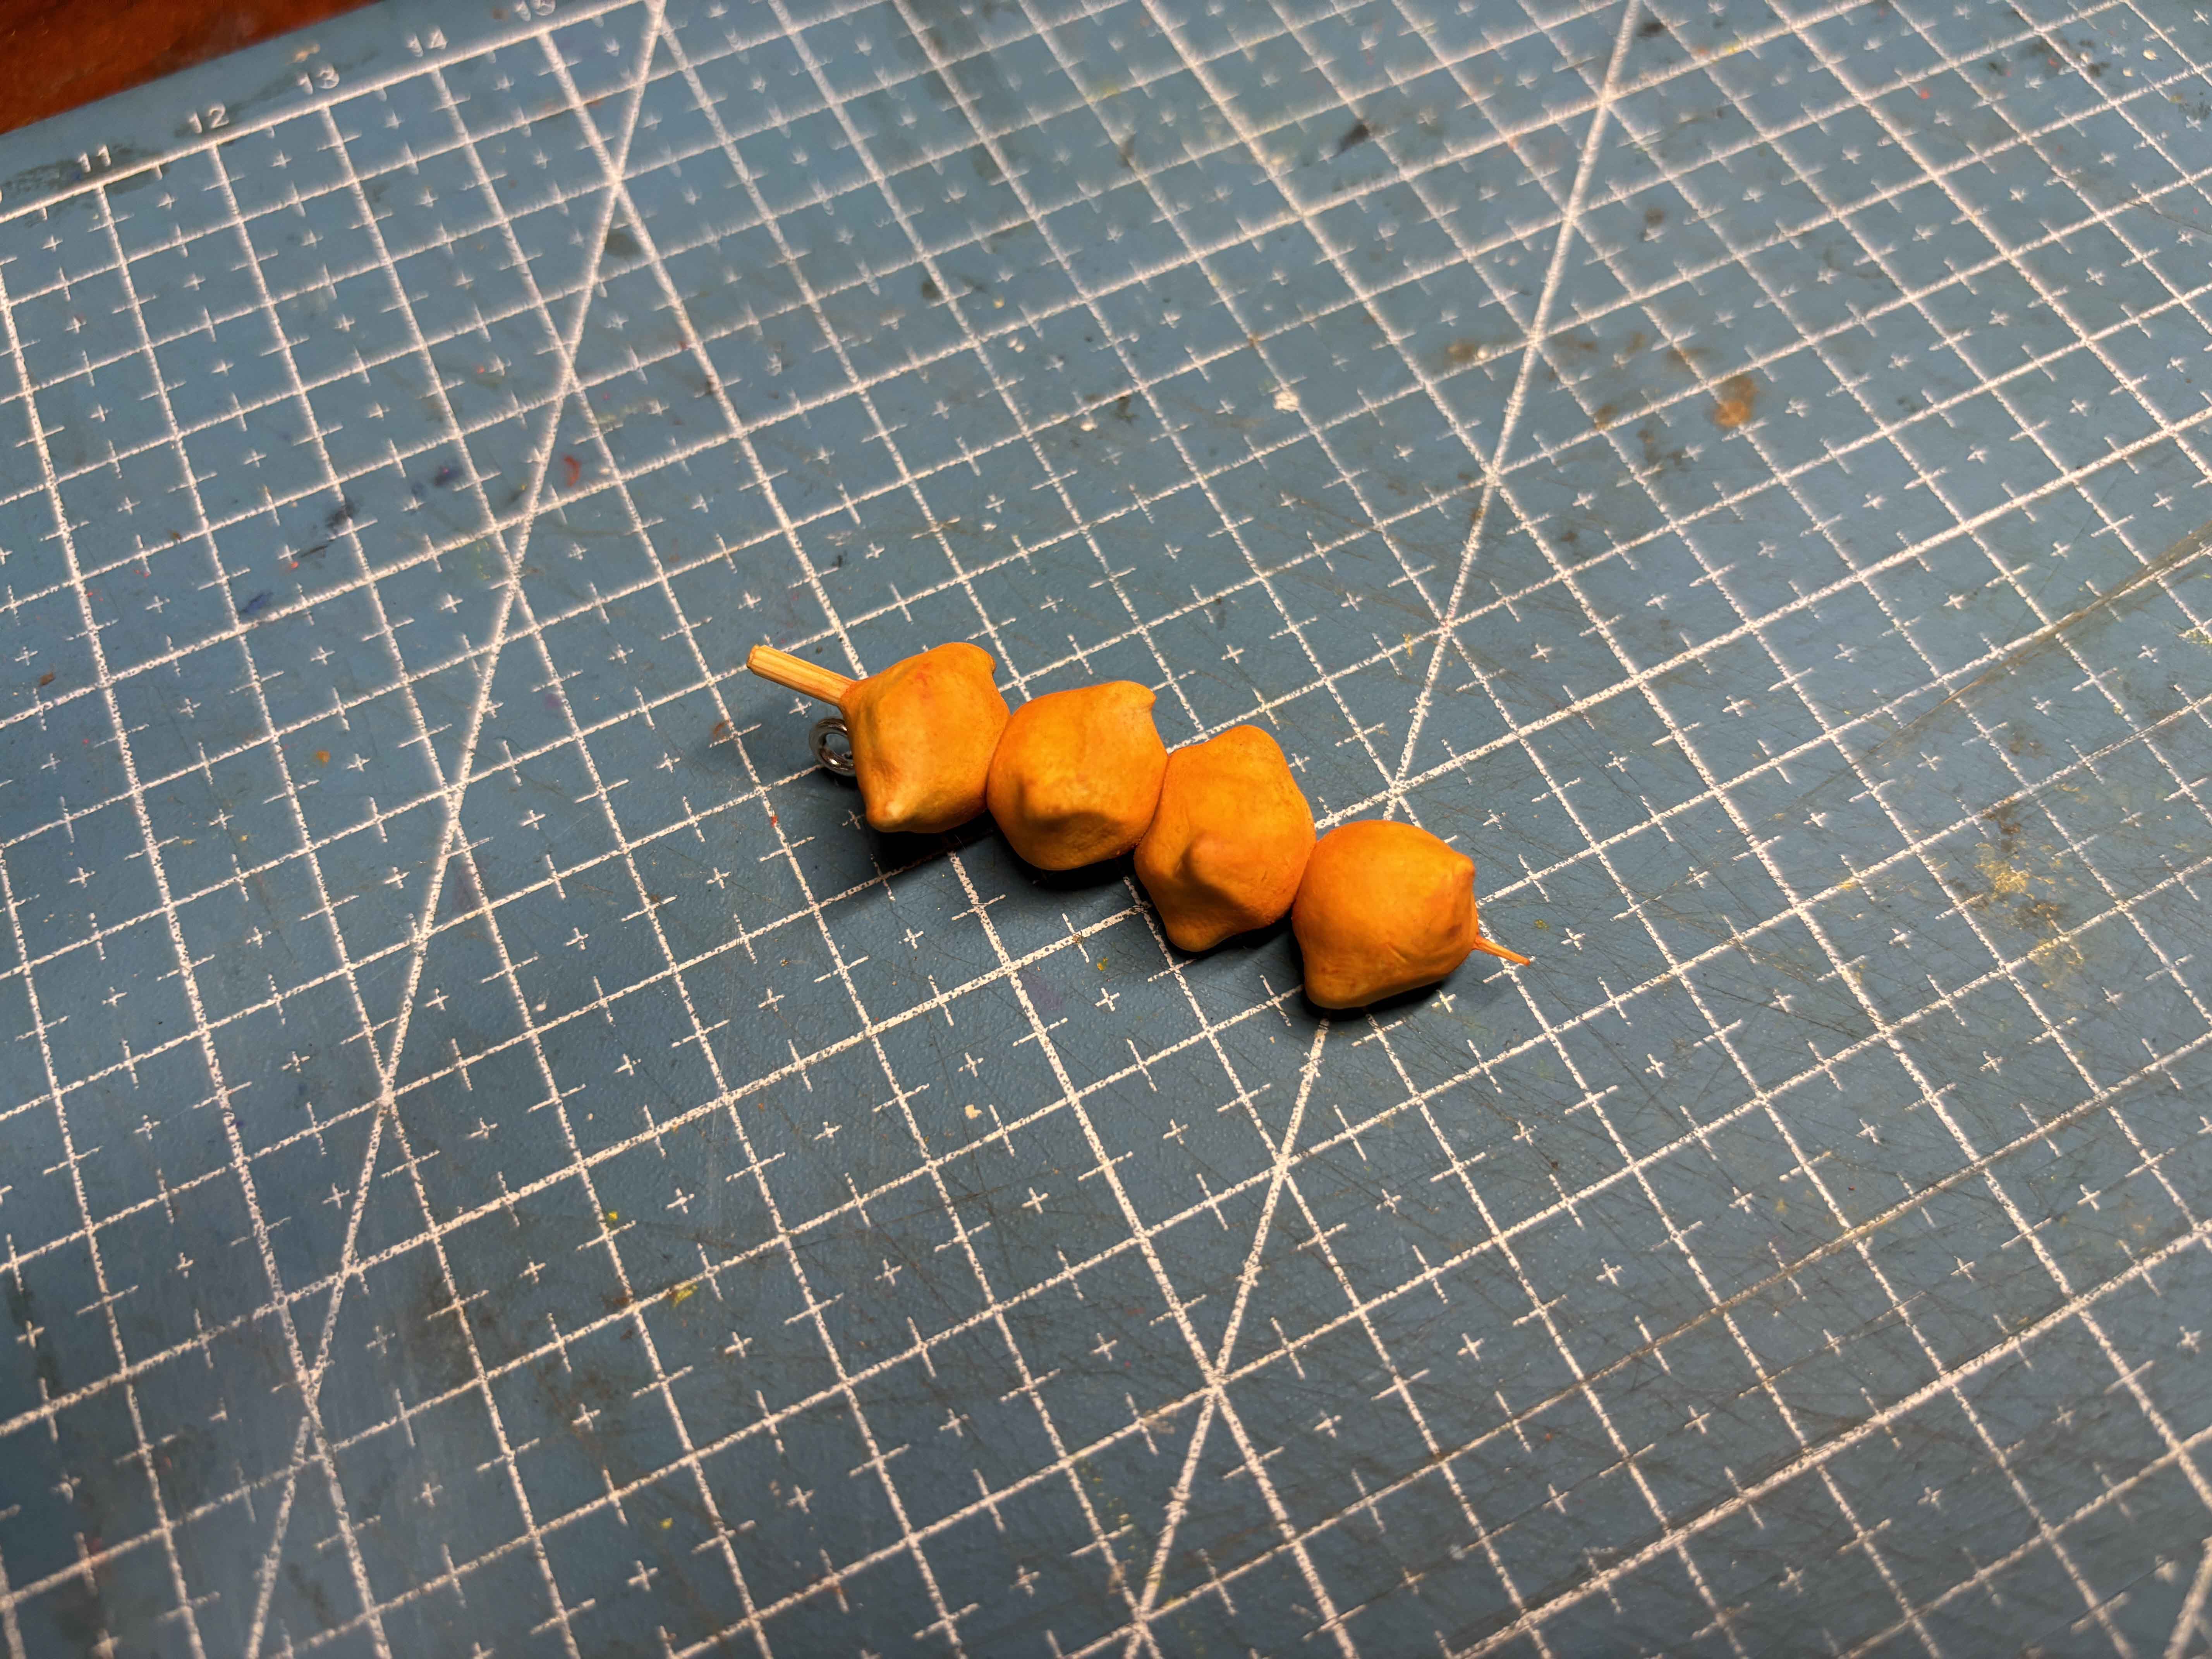
I used my hand to imitate the texture of the kwek-kwek when it is cooked, making sure to have a reference photo to make the work easy, and making sure not to do the same texture on other clay, doing it in a different direction to make it more realistic.
-----
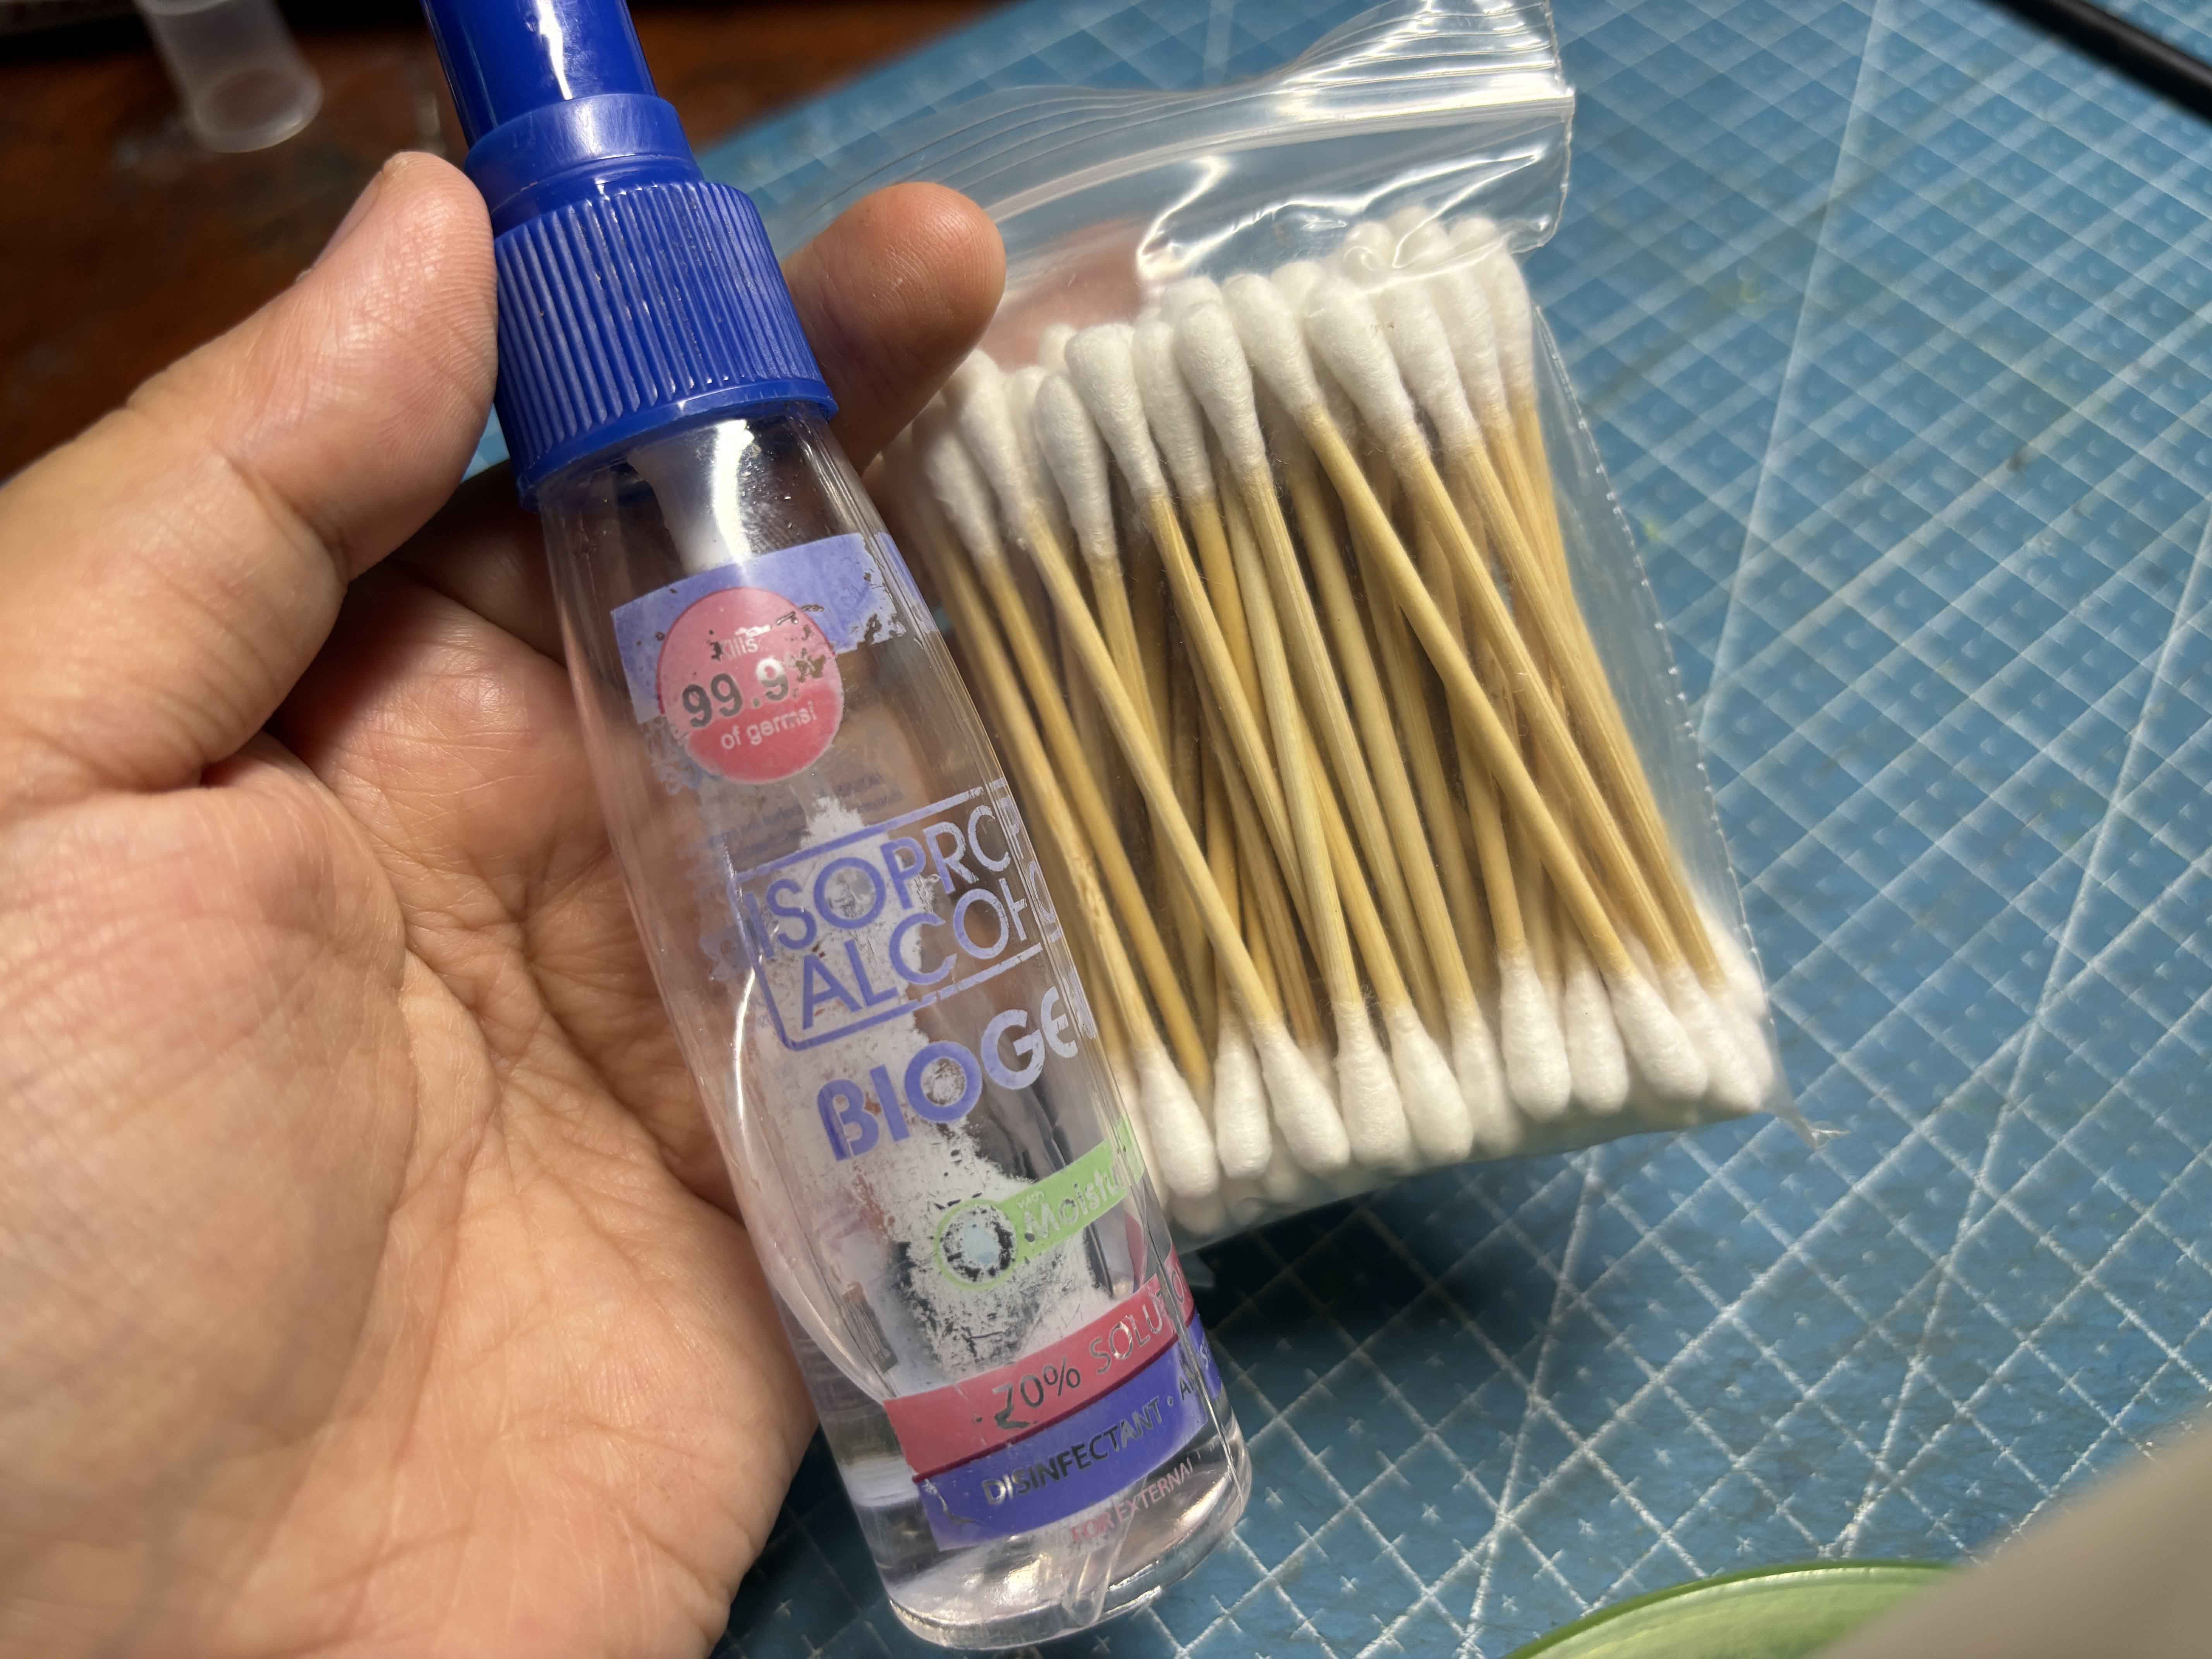
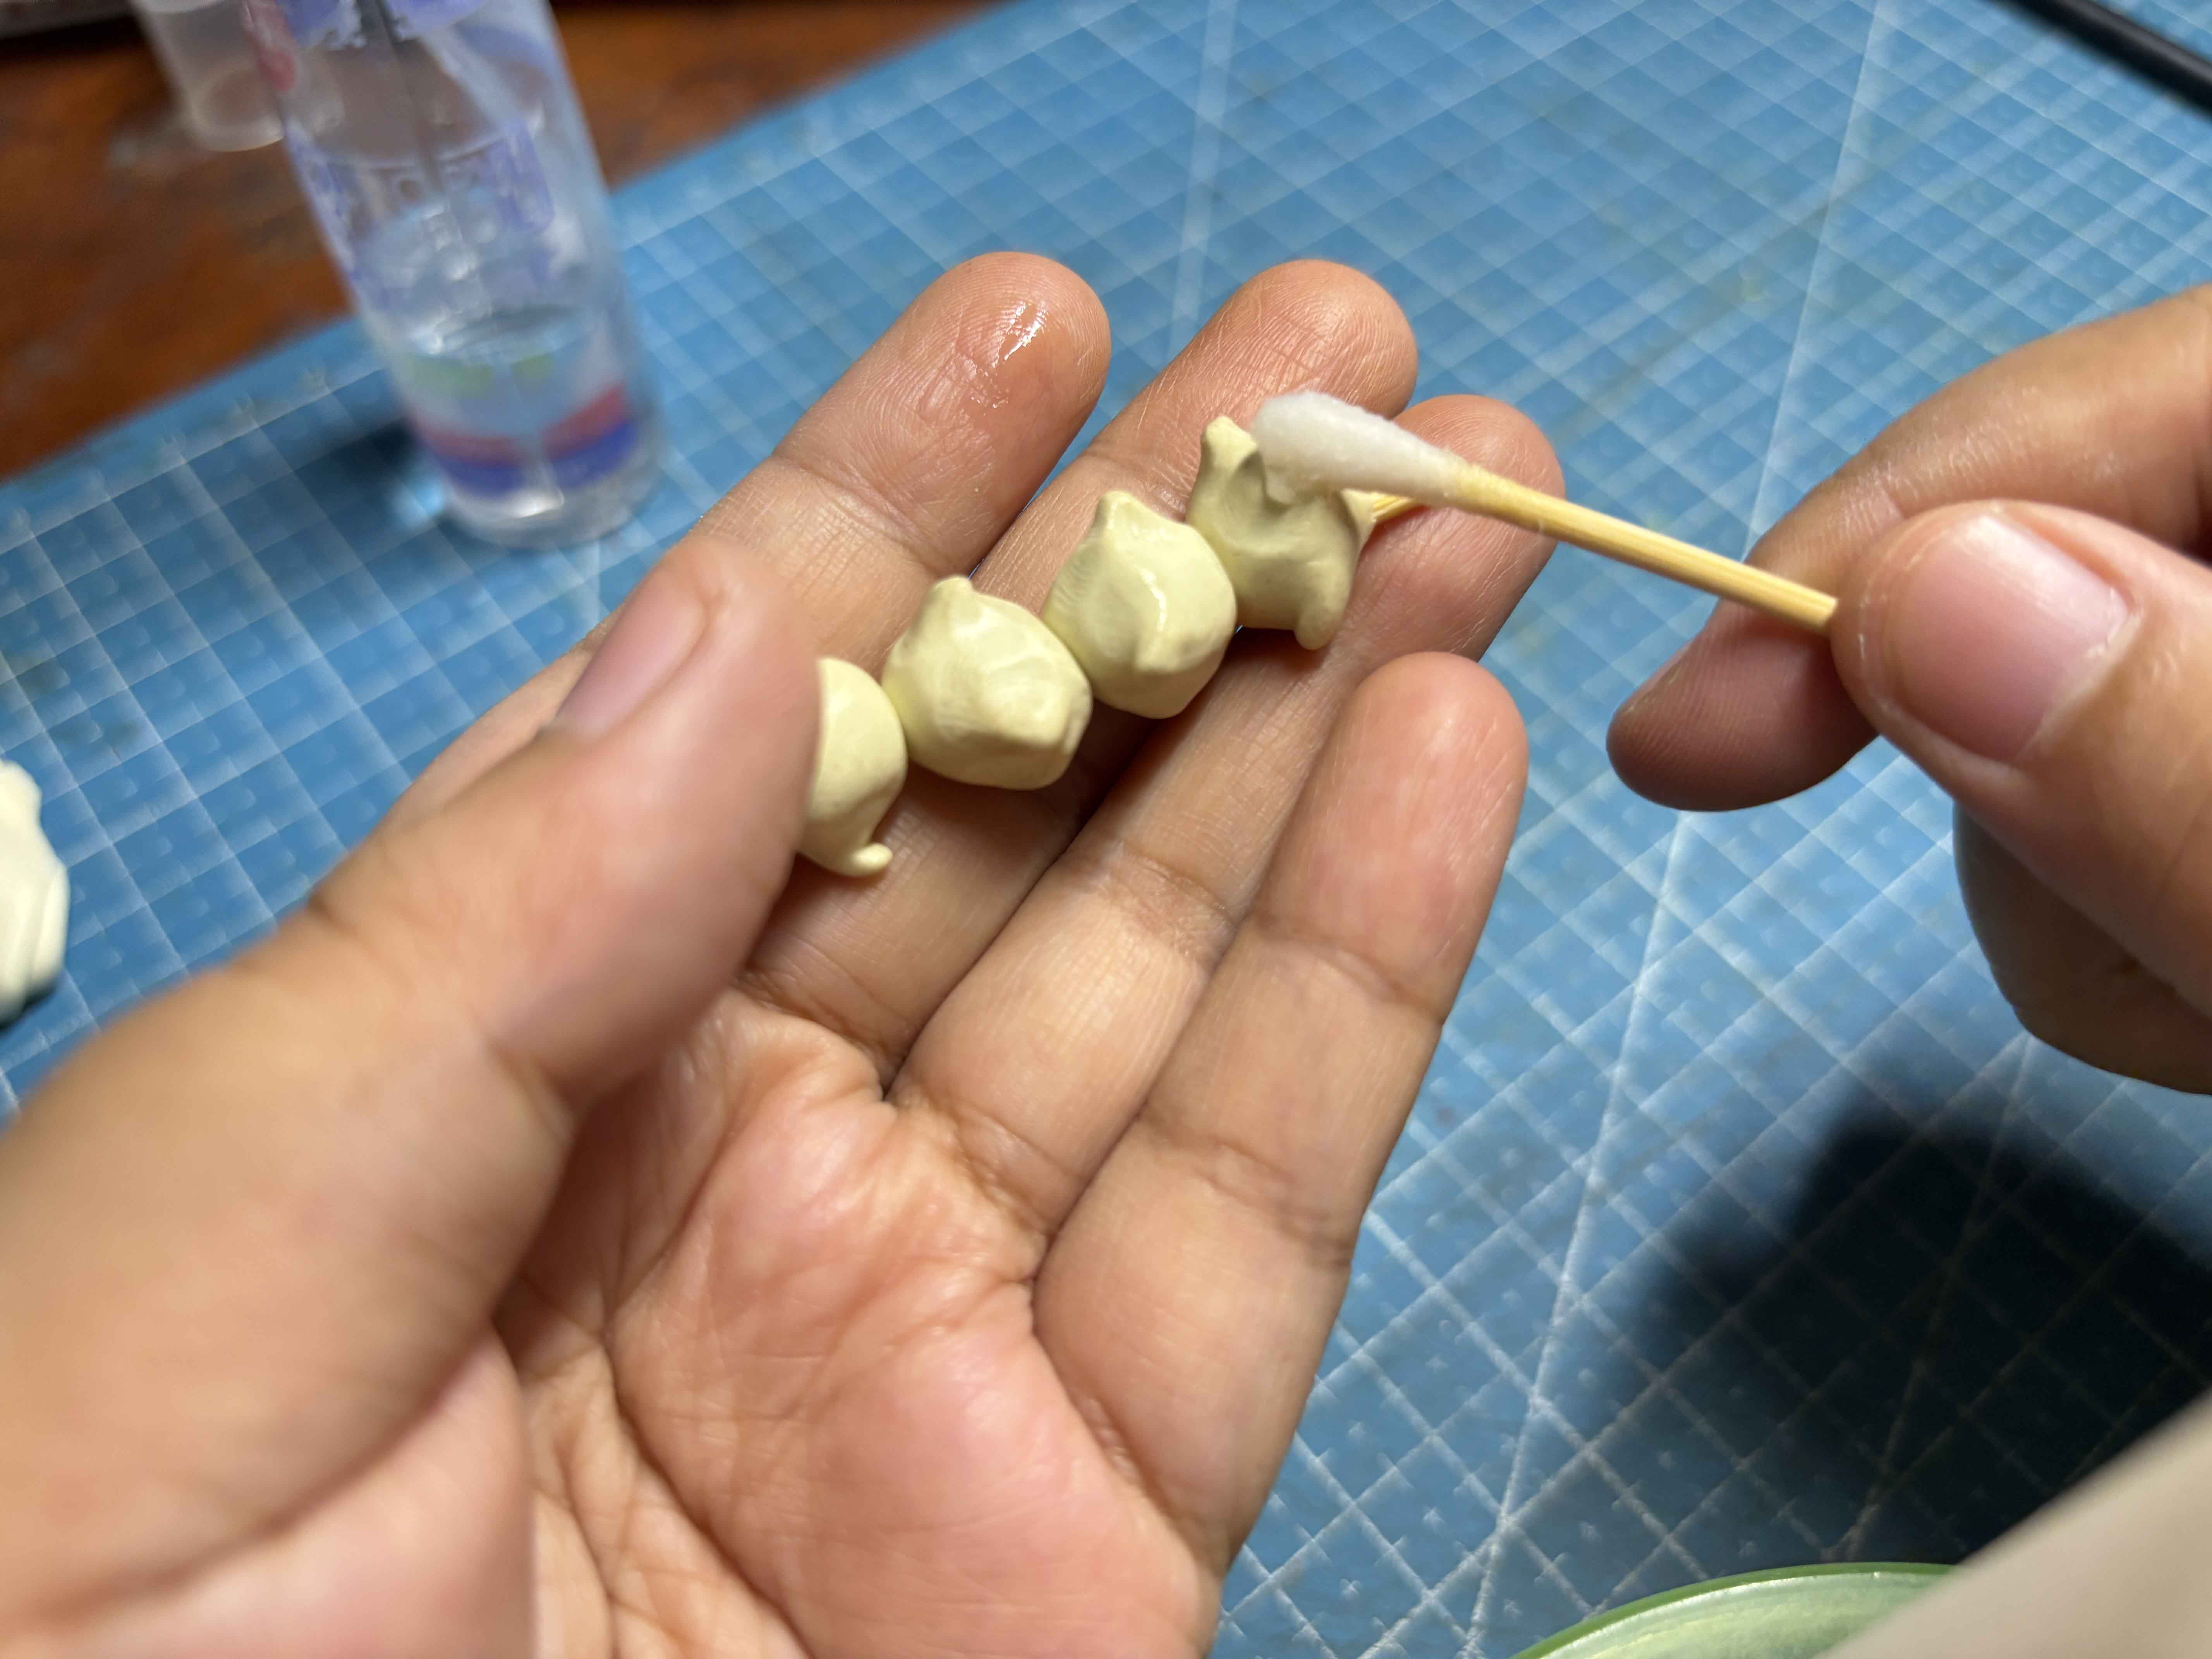
To clean the clay, I use alcohol and cotton buds and wipe all the fine dust, making the texture of the clay smoother.
------
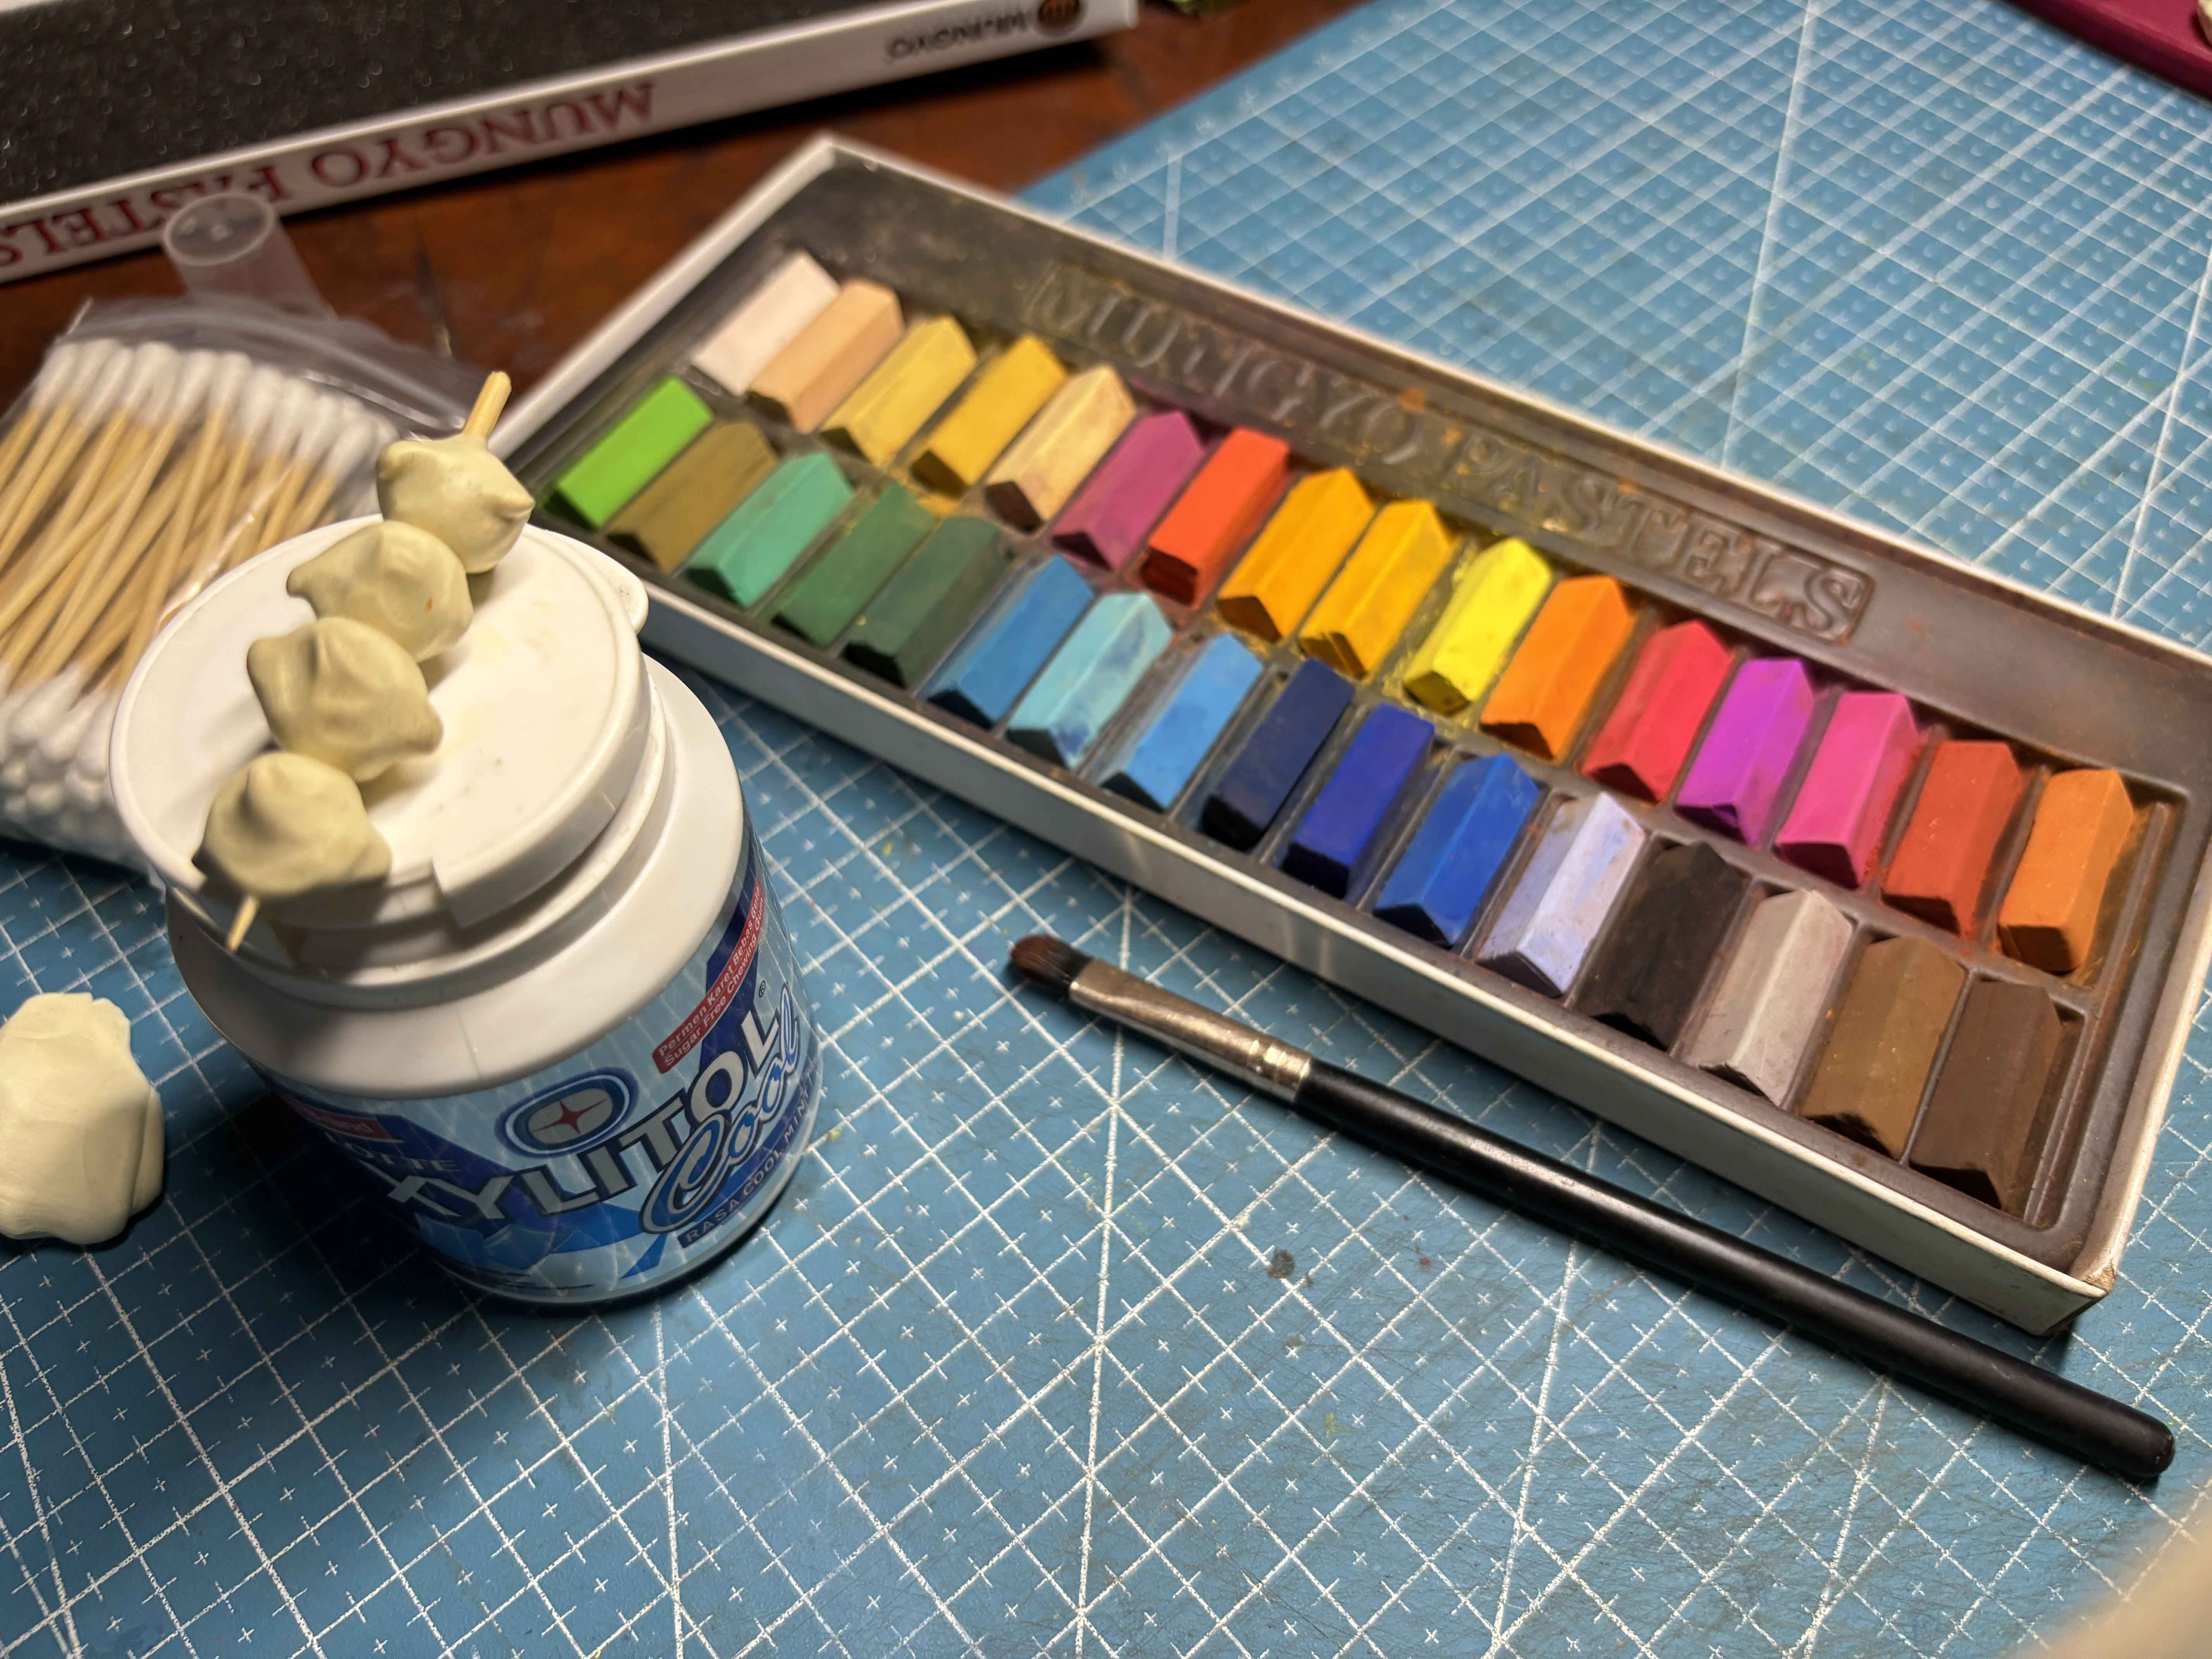
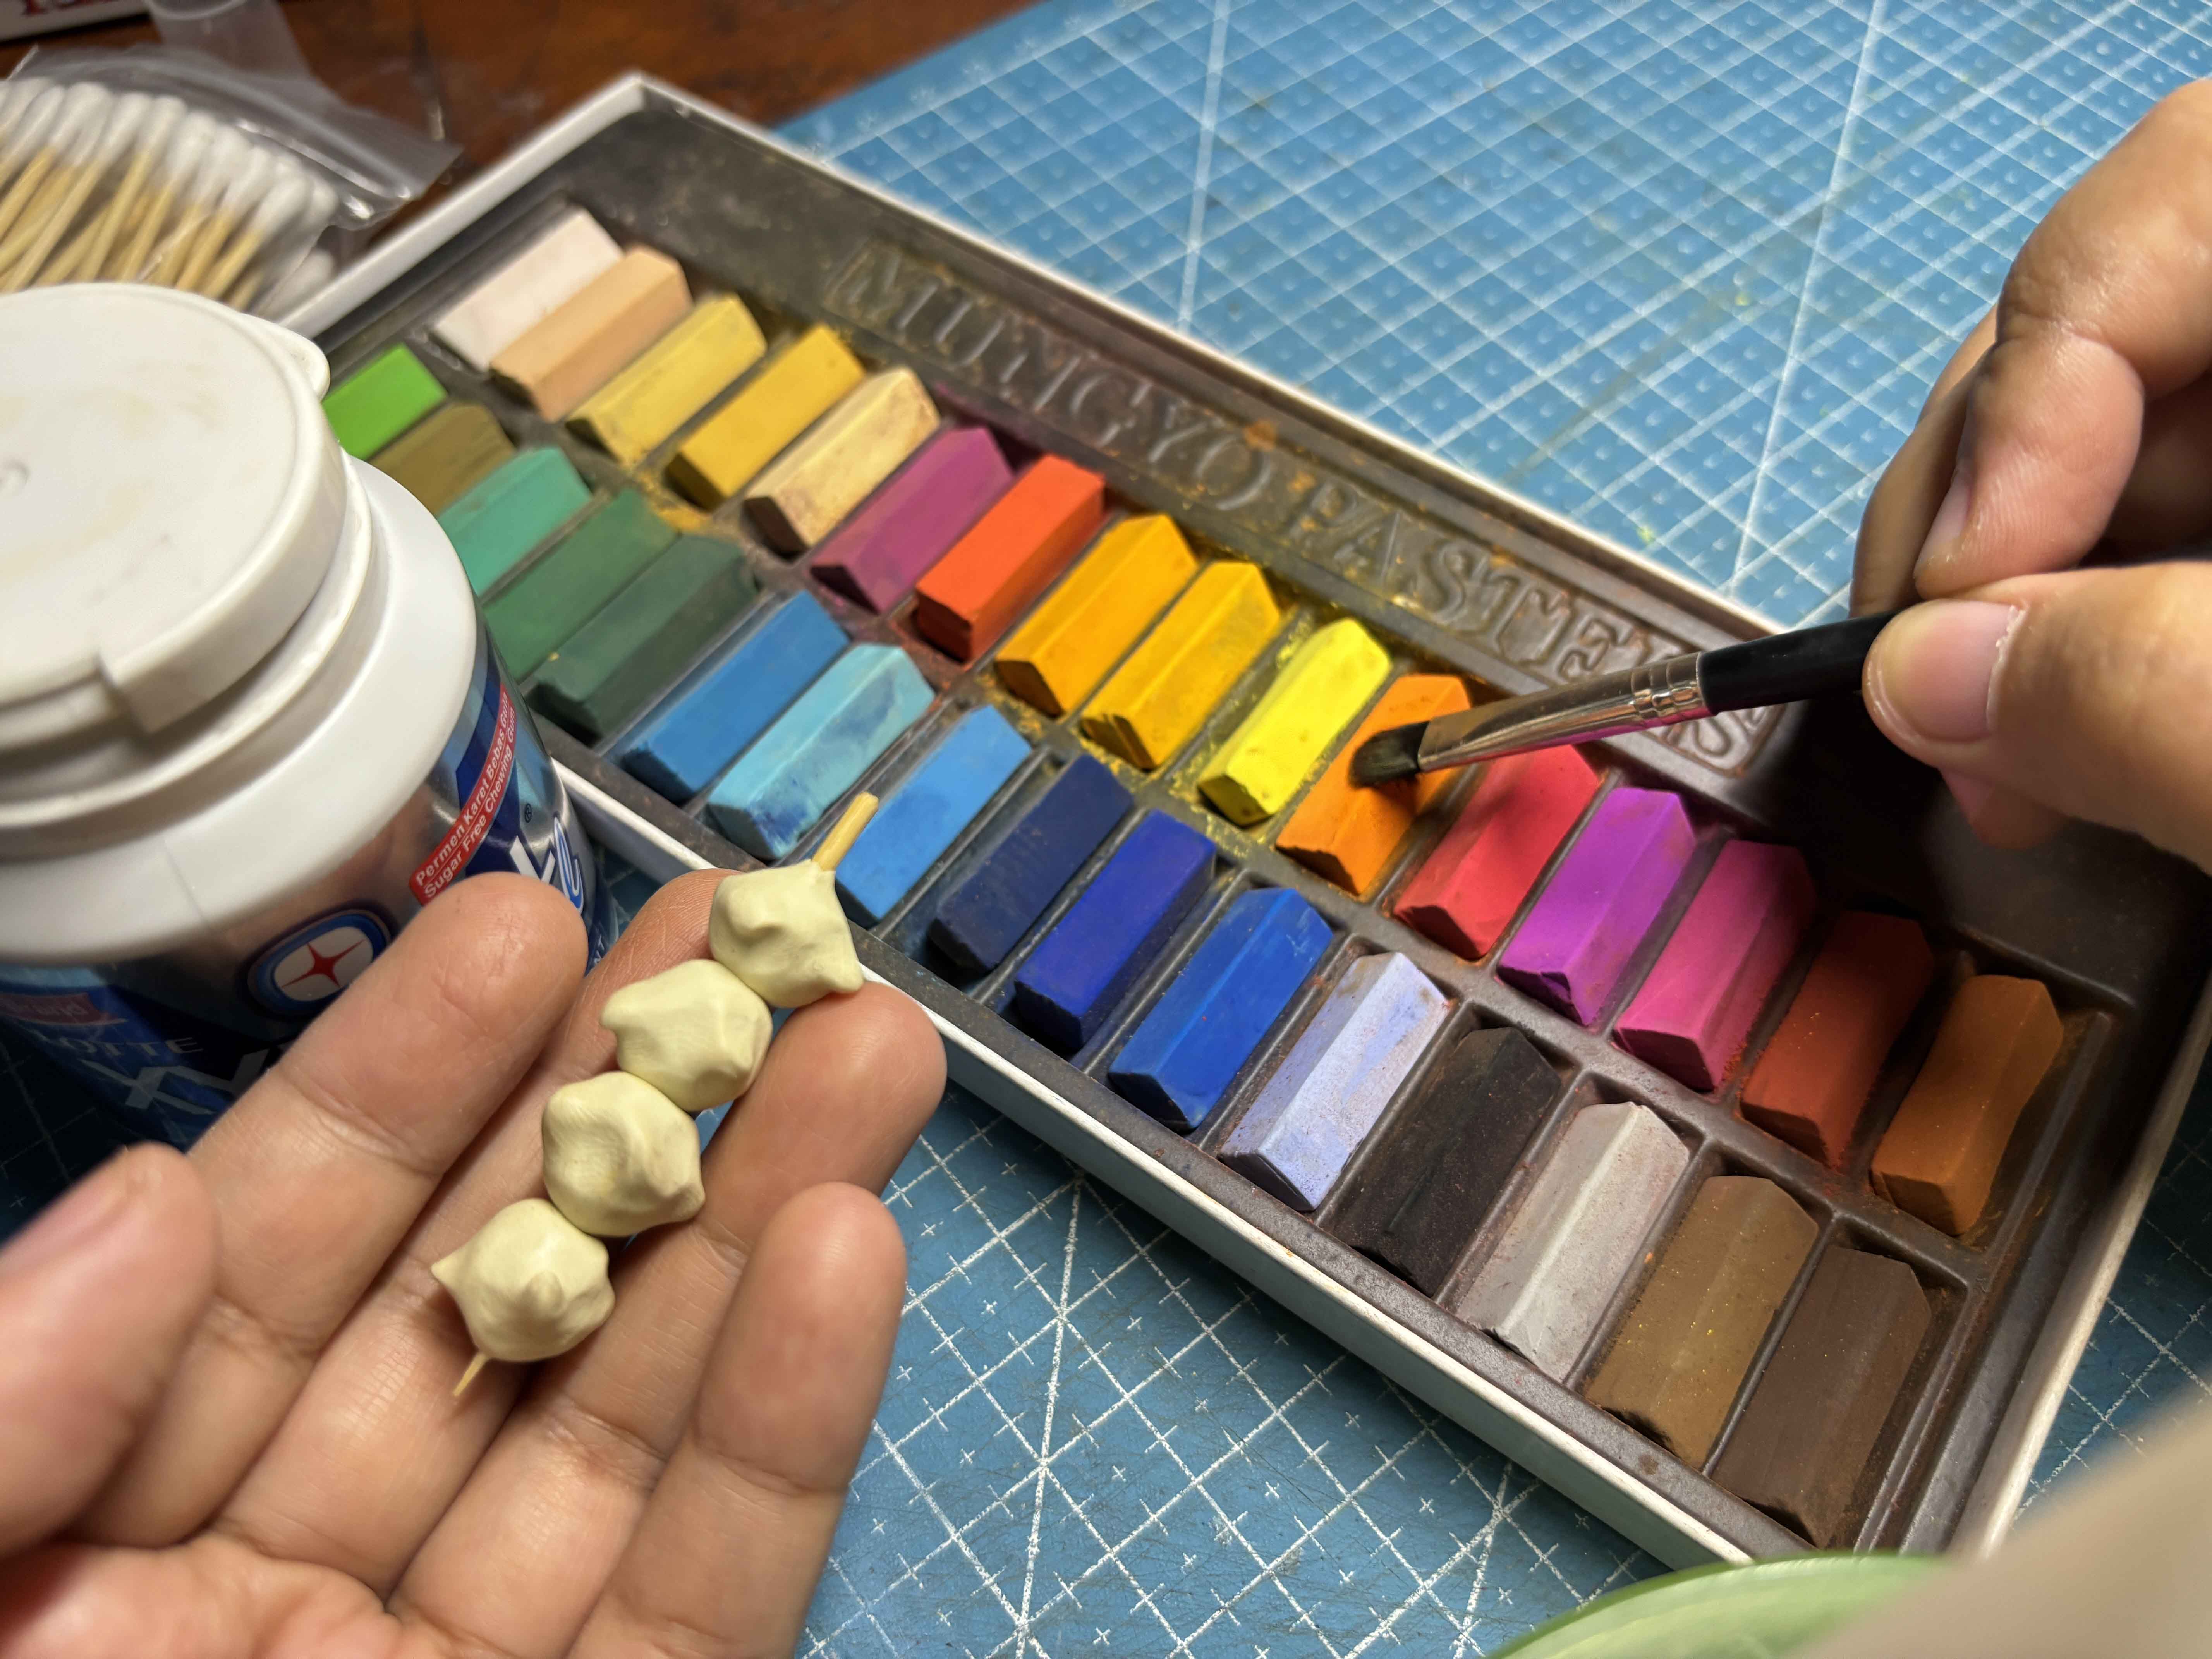
Time to color the clay, I used this soft pastel and makeup brush that my mom doesn't use anymore LOL.
-----
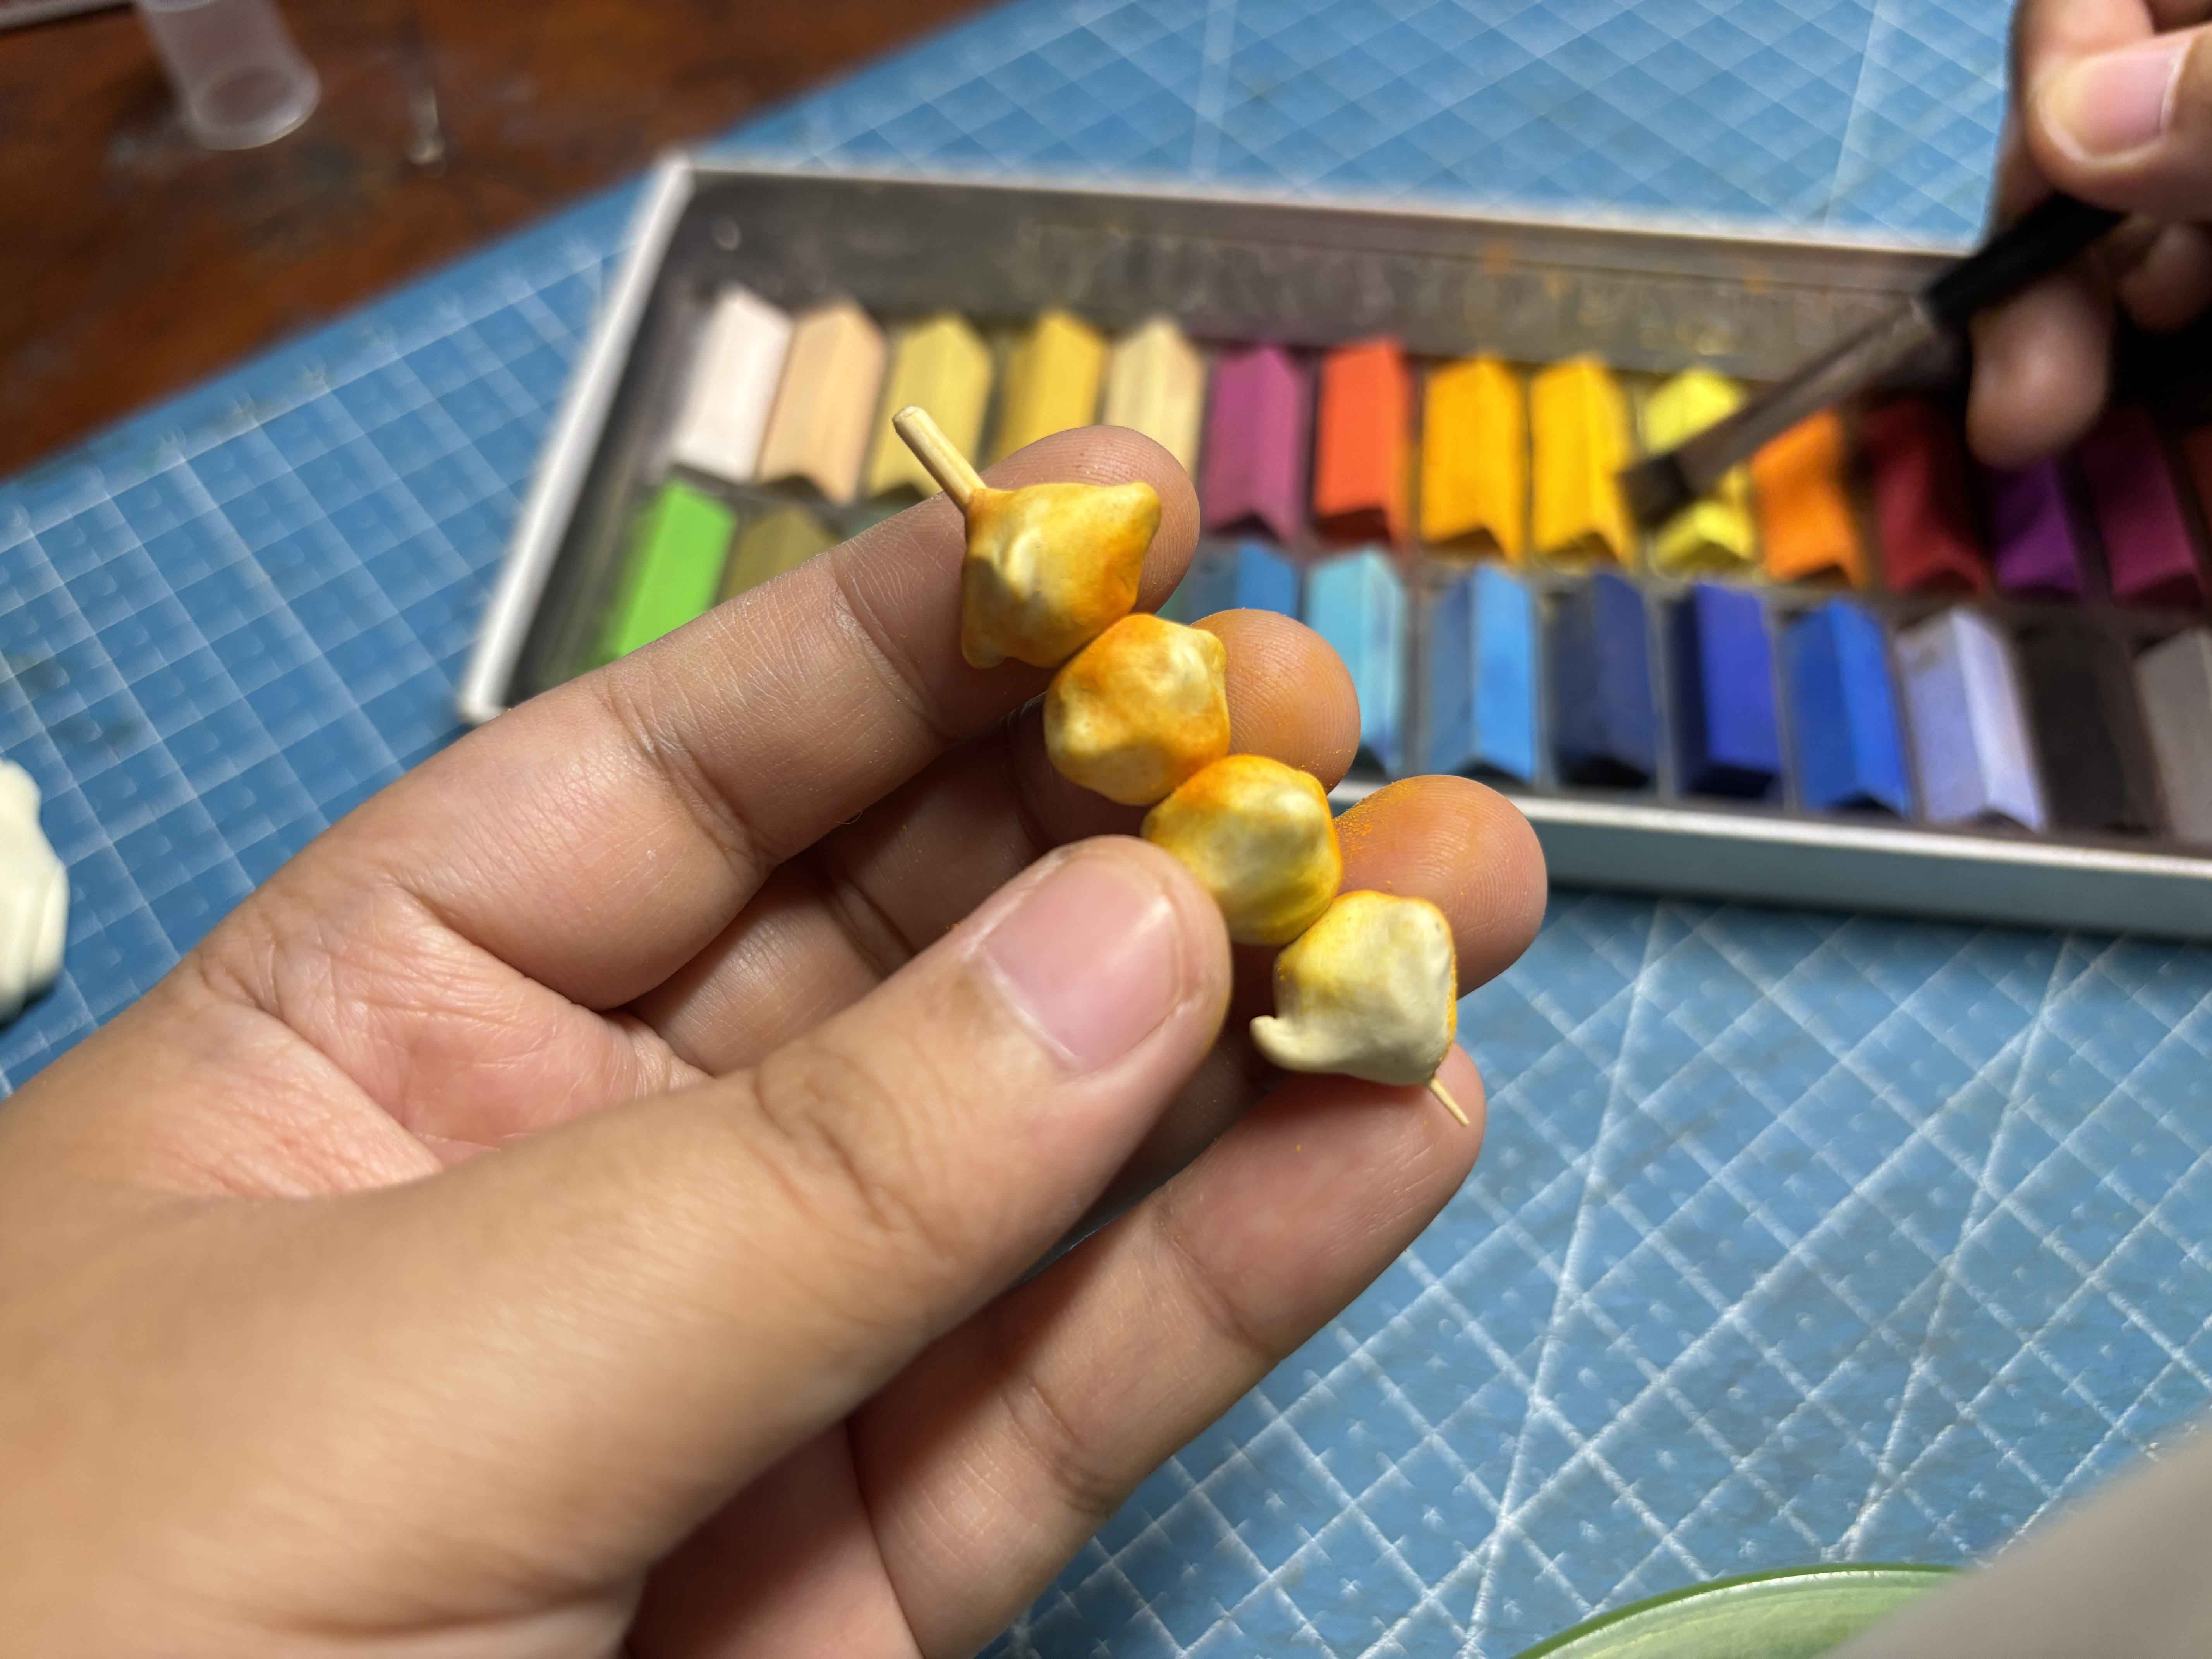
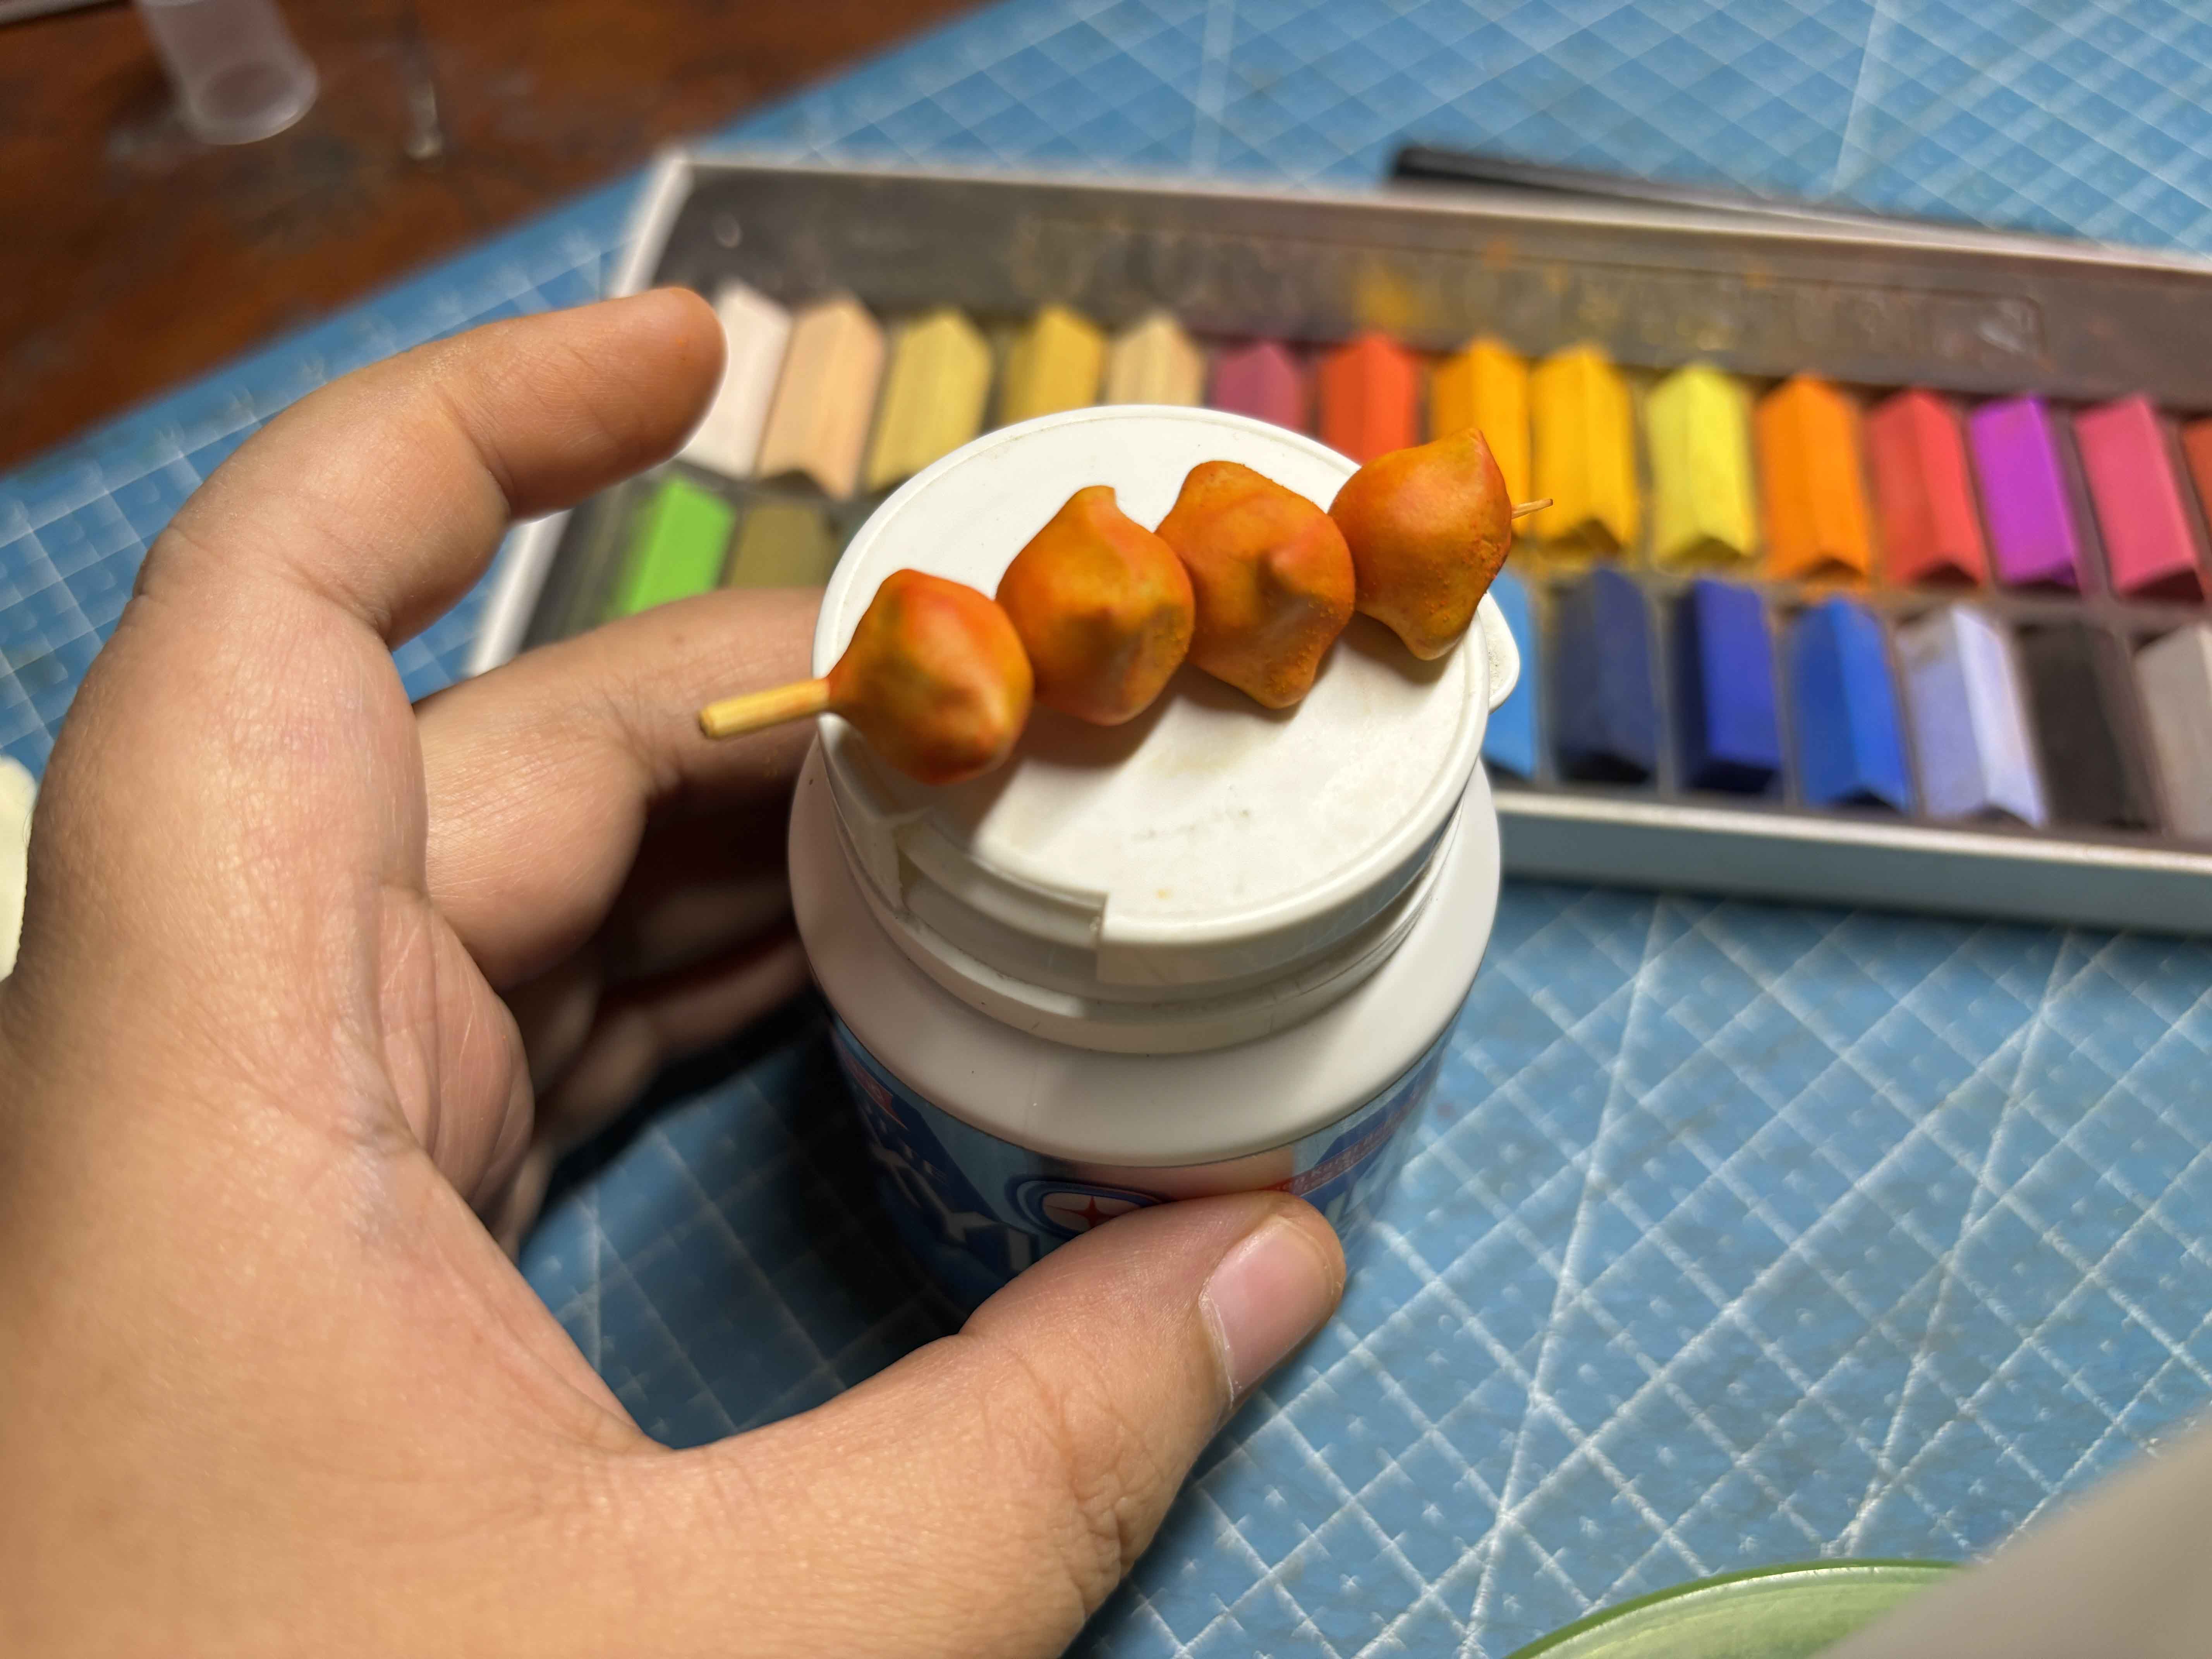
I patiently apply each layer. I started with light yellow first, and as I built up the color, I layered it with more orange shades.
-----
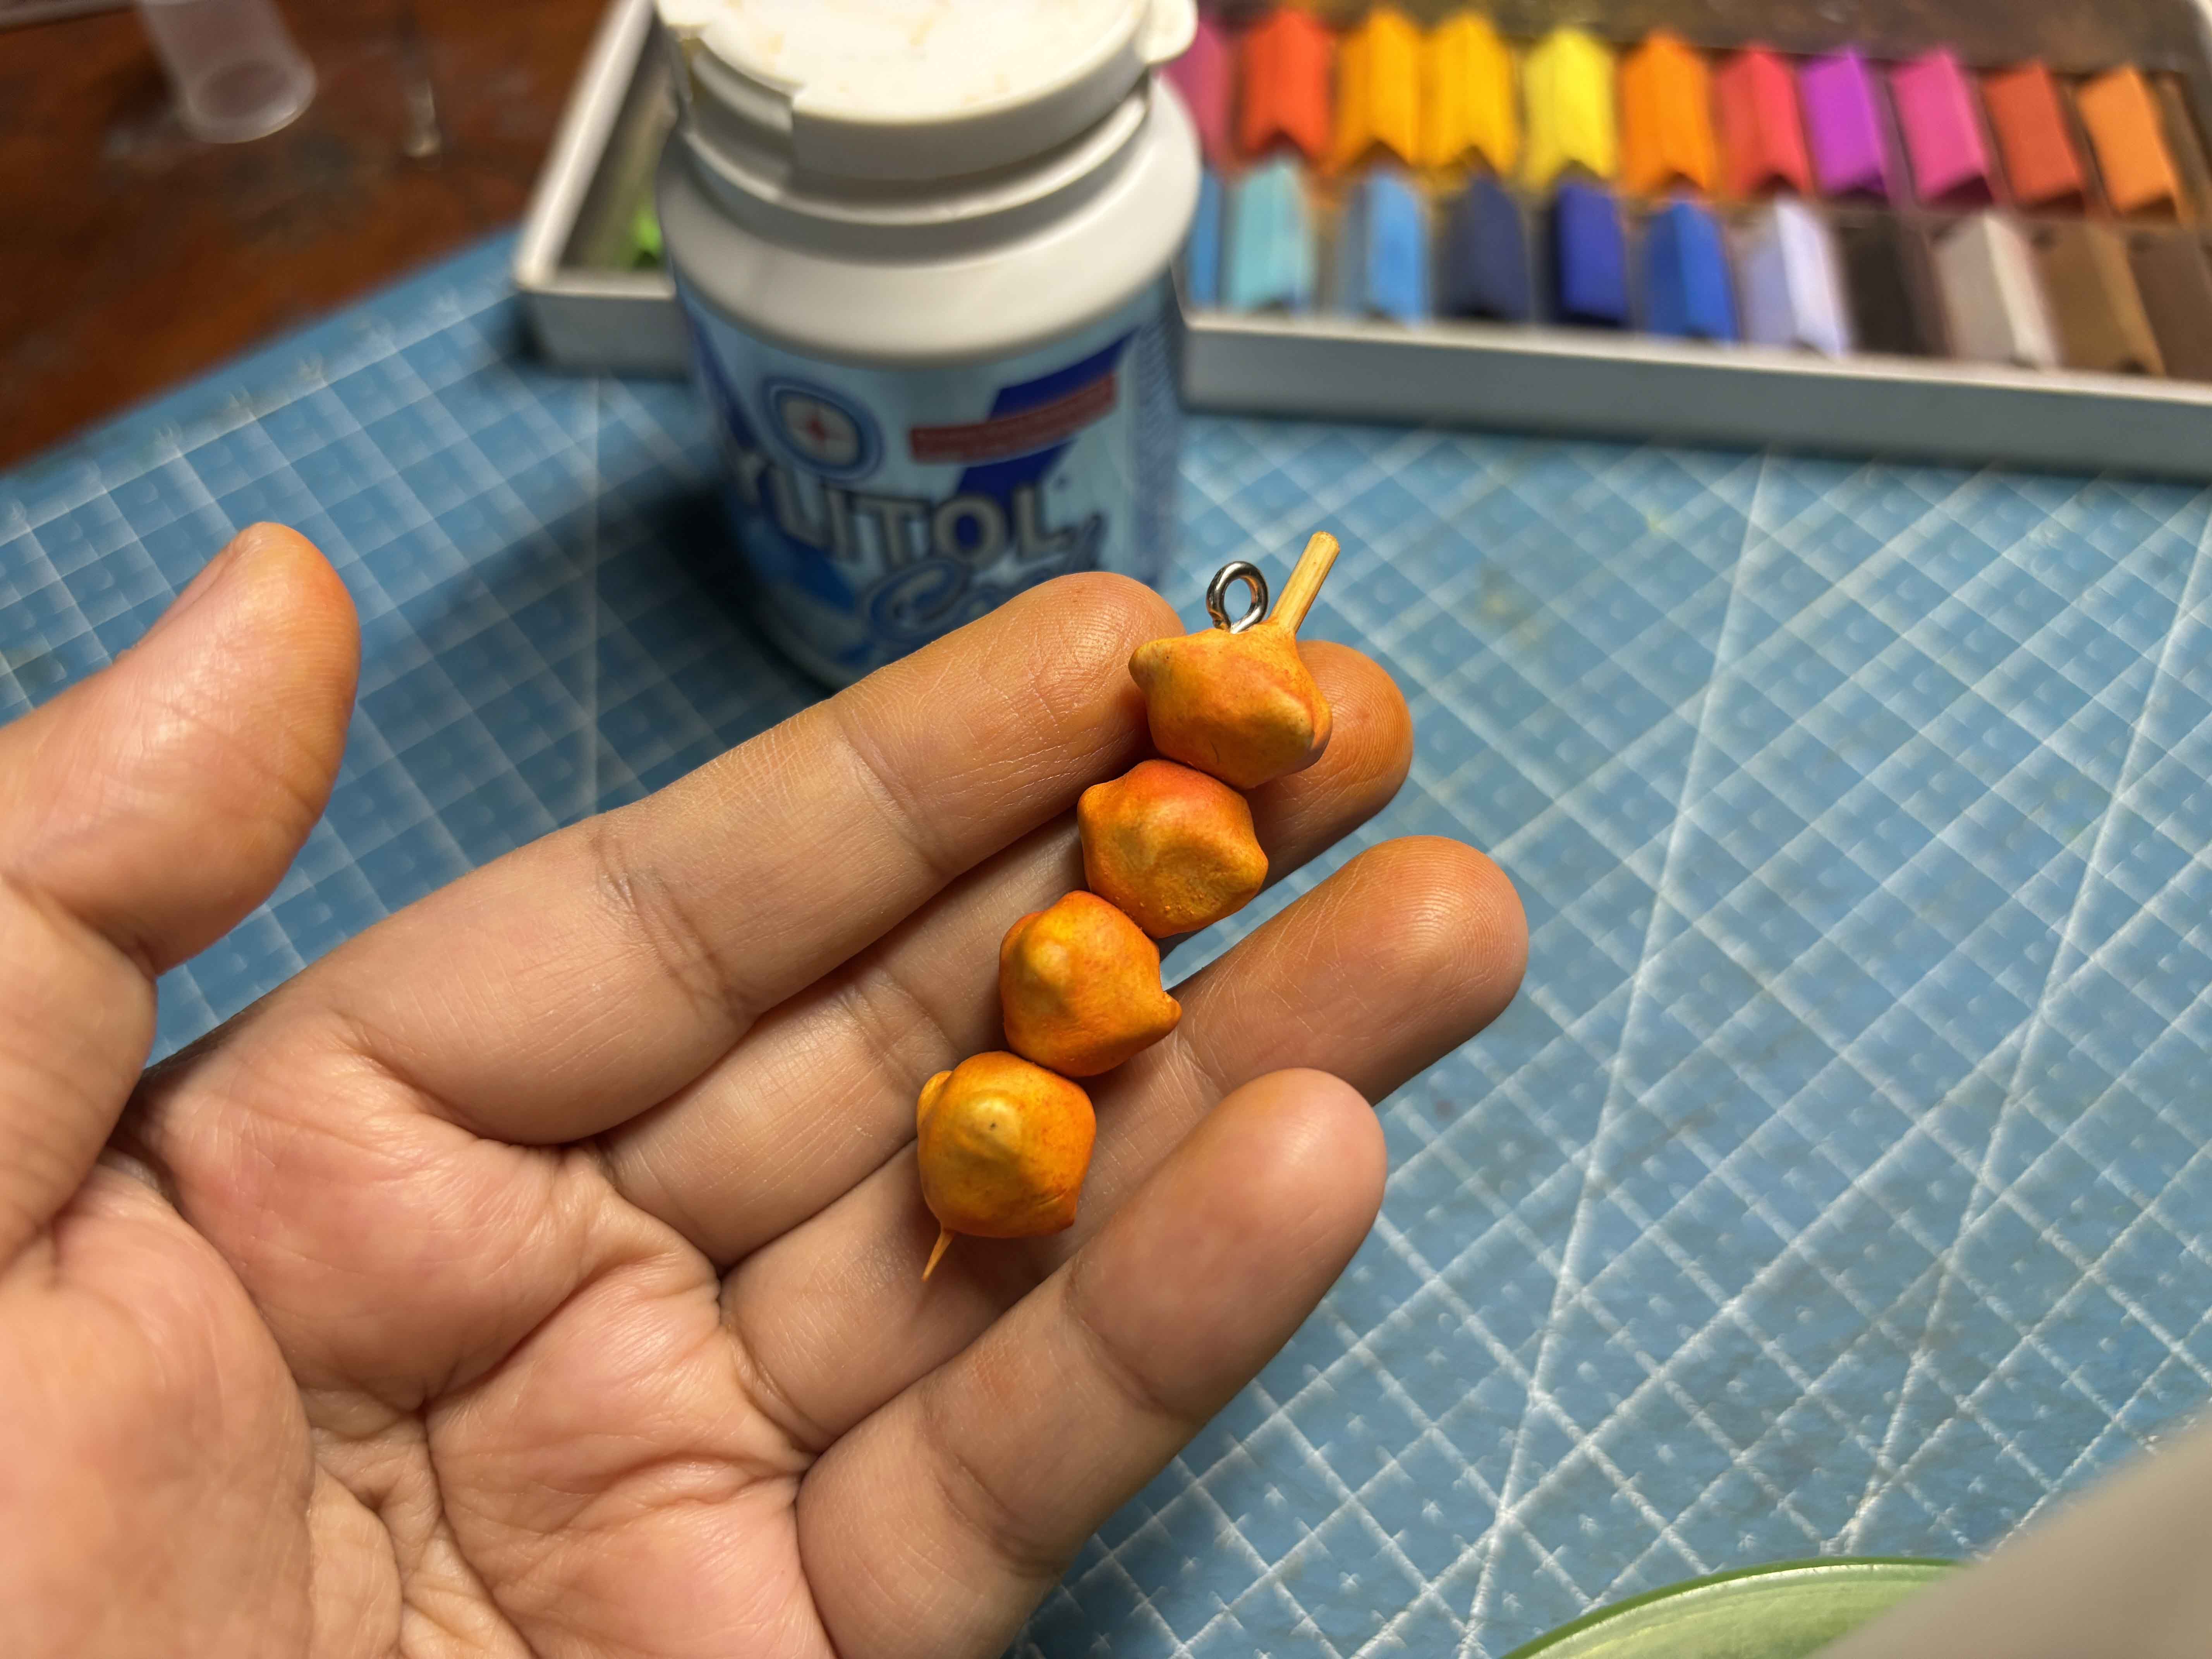
After that, I added the eyepins that will hold the keychain later, it is good to add it when the clay is still not bake so that I it easier for me to glue it later.
-----
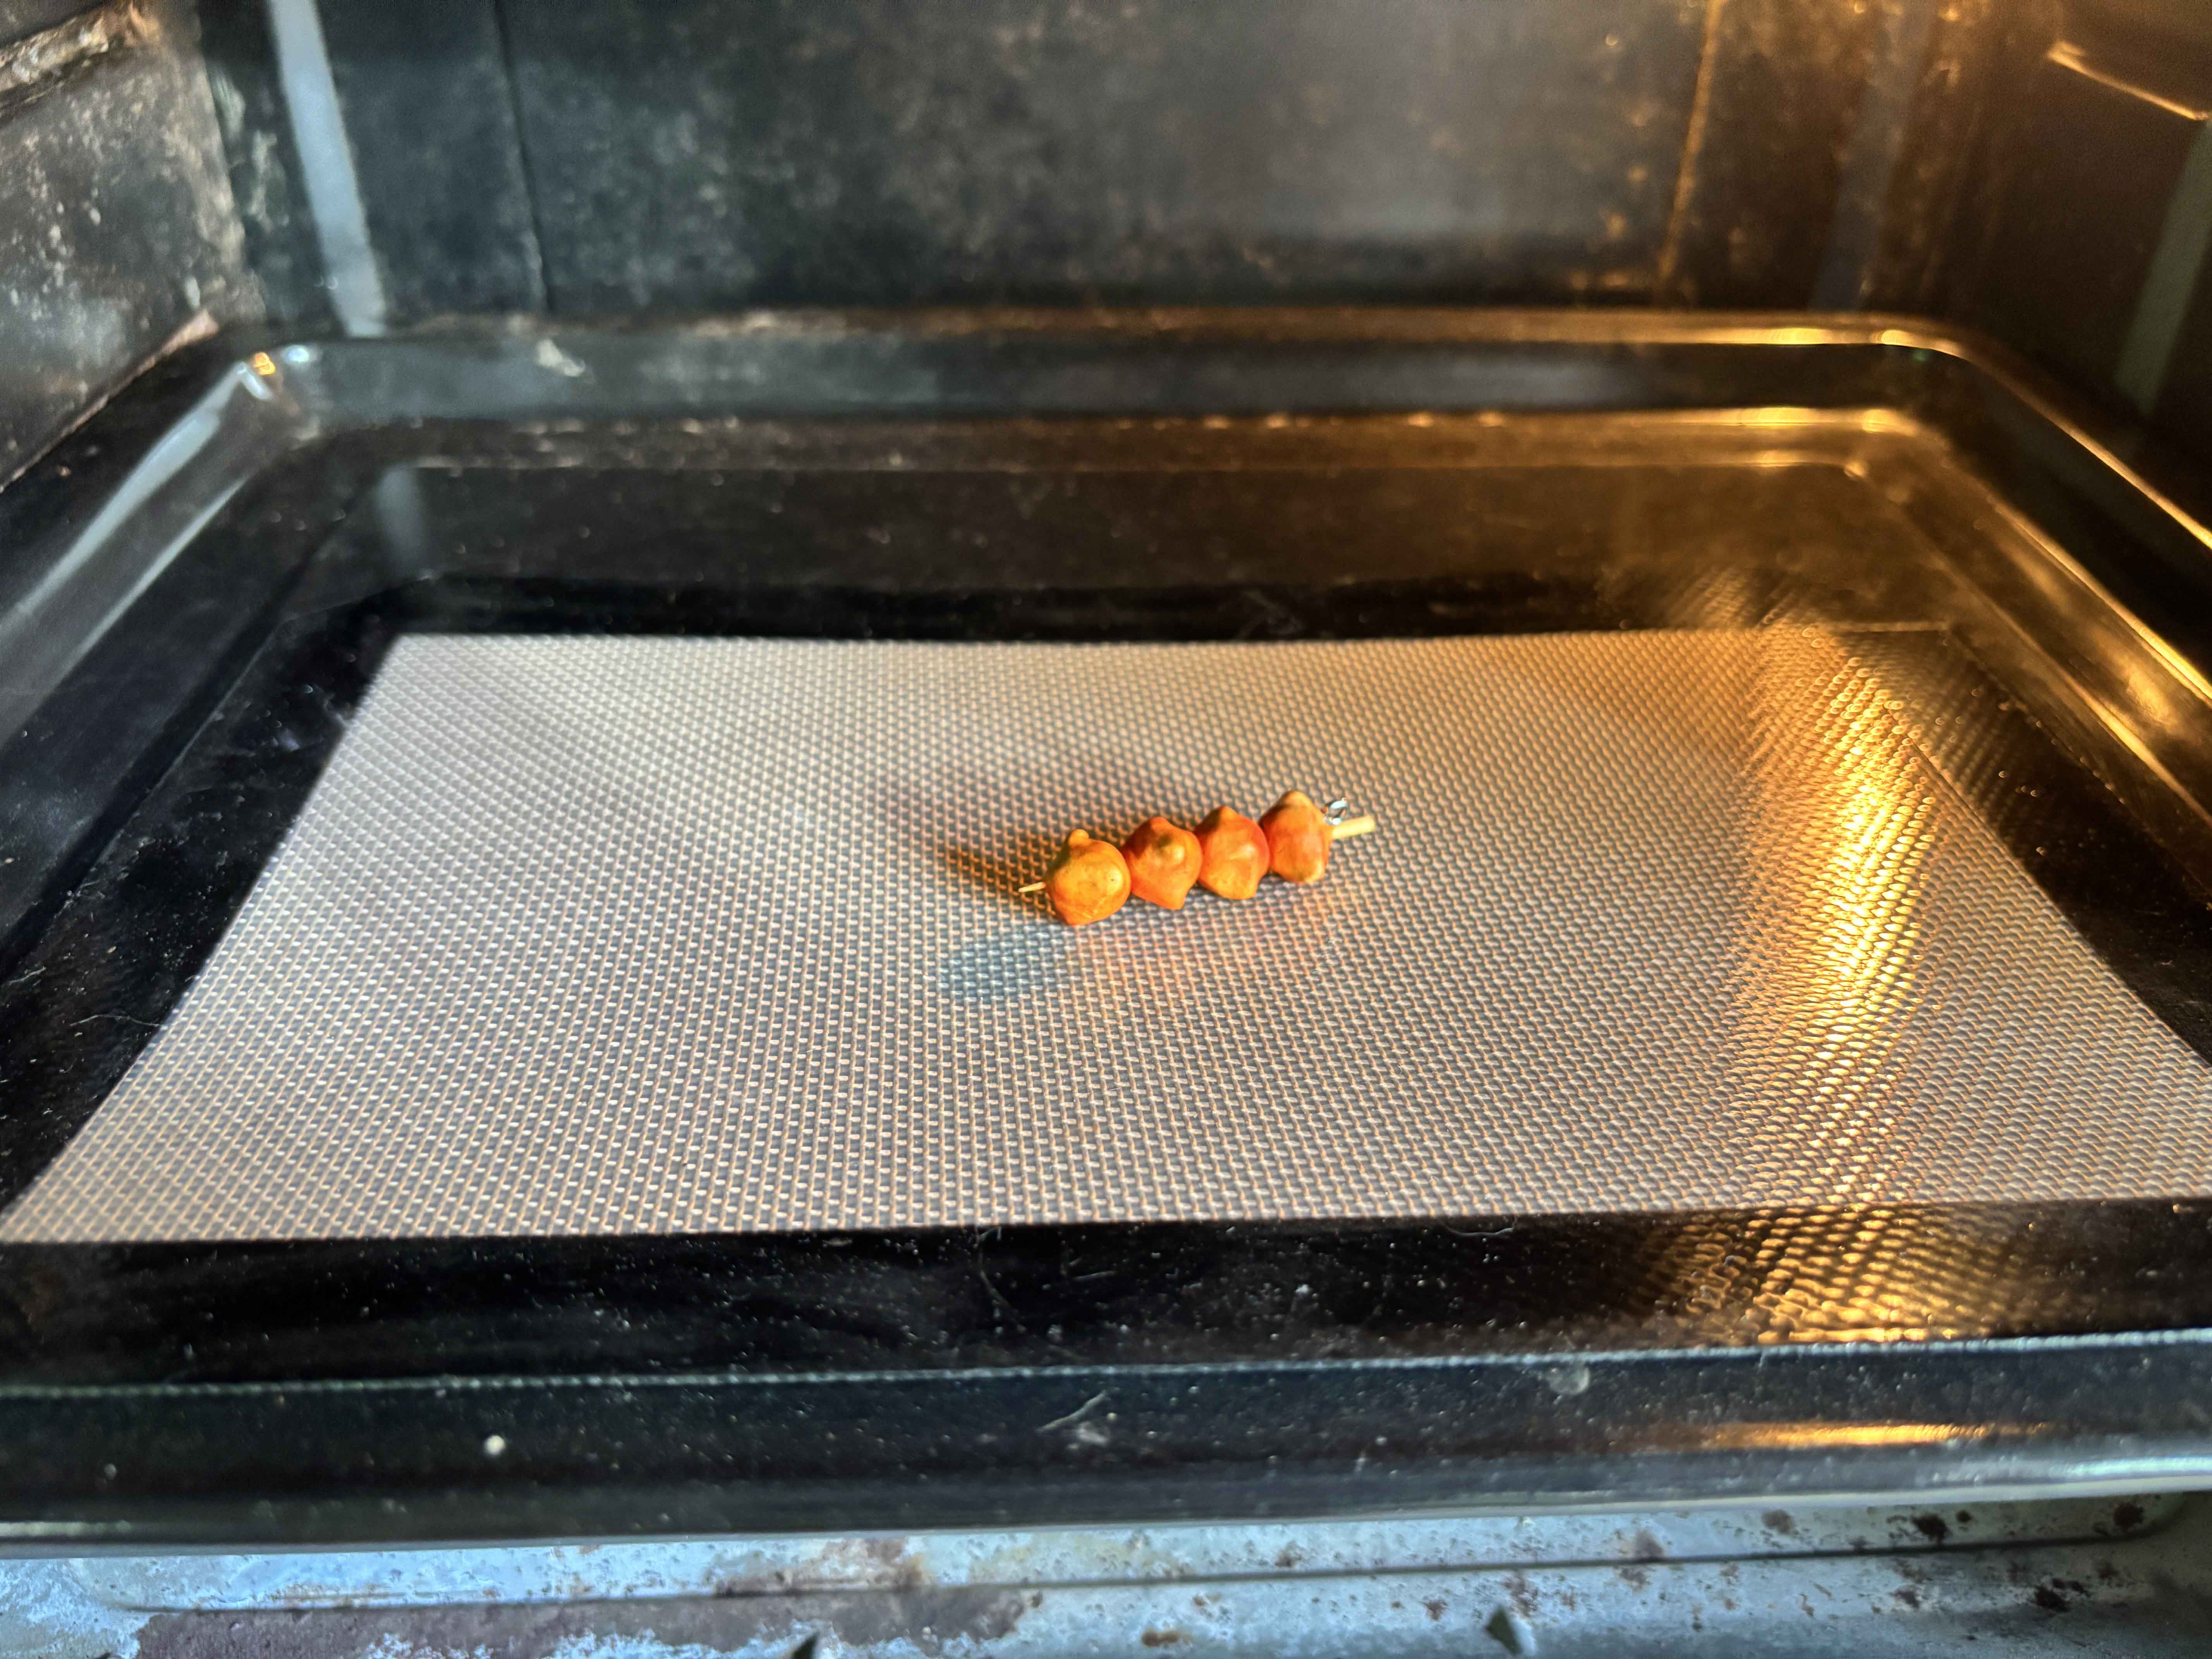
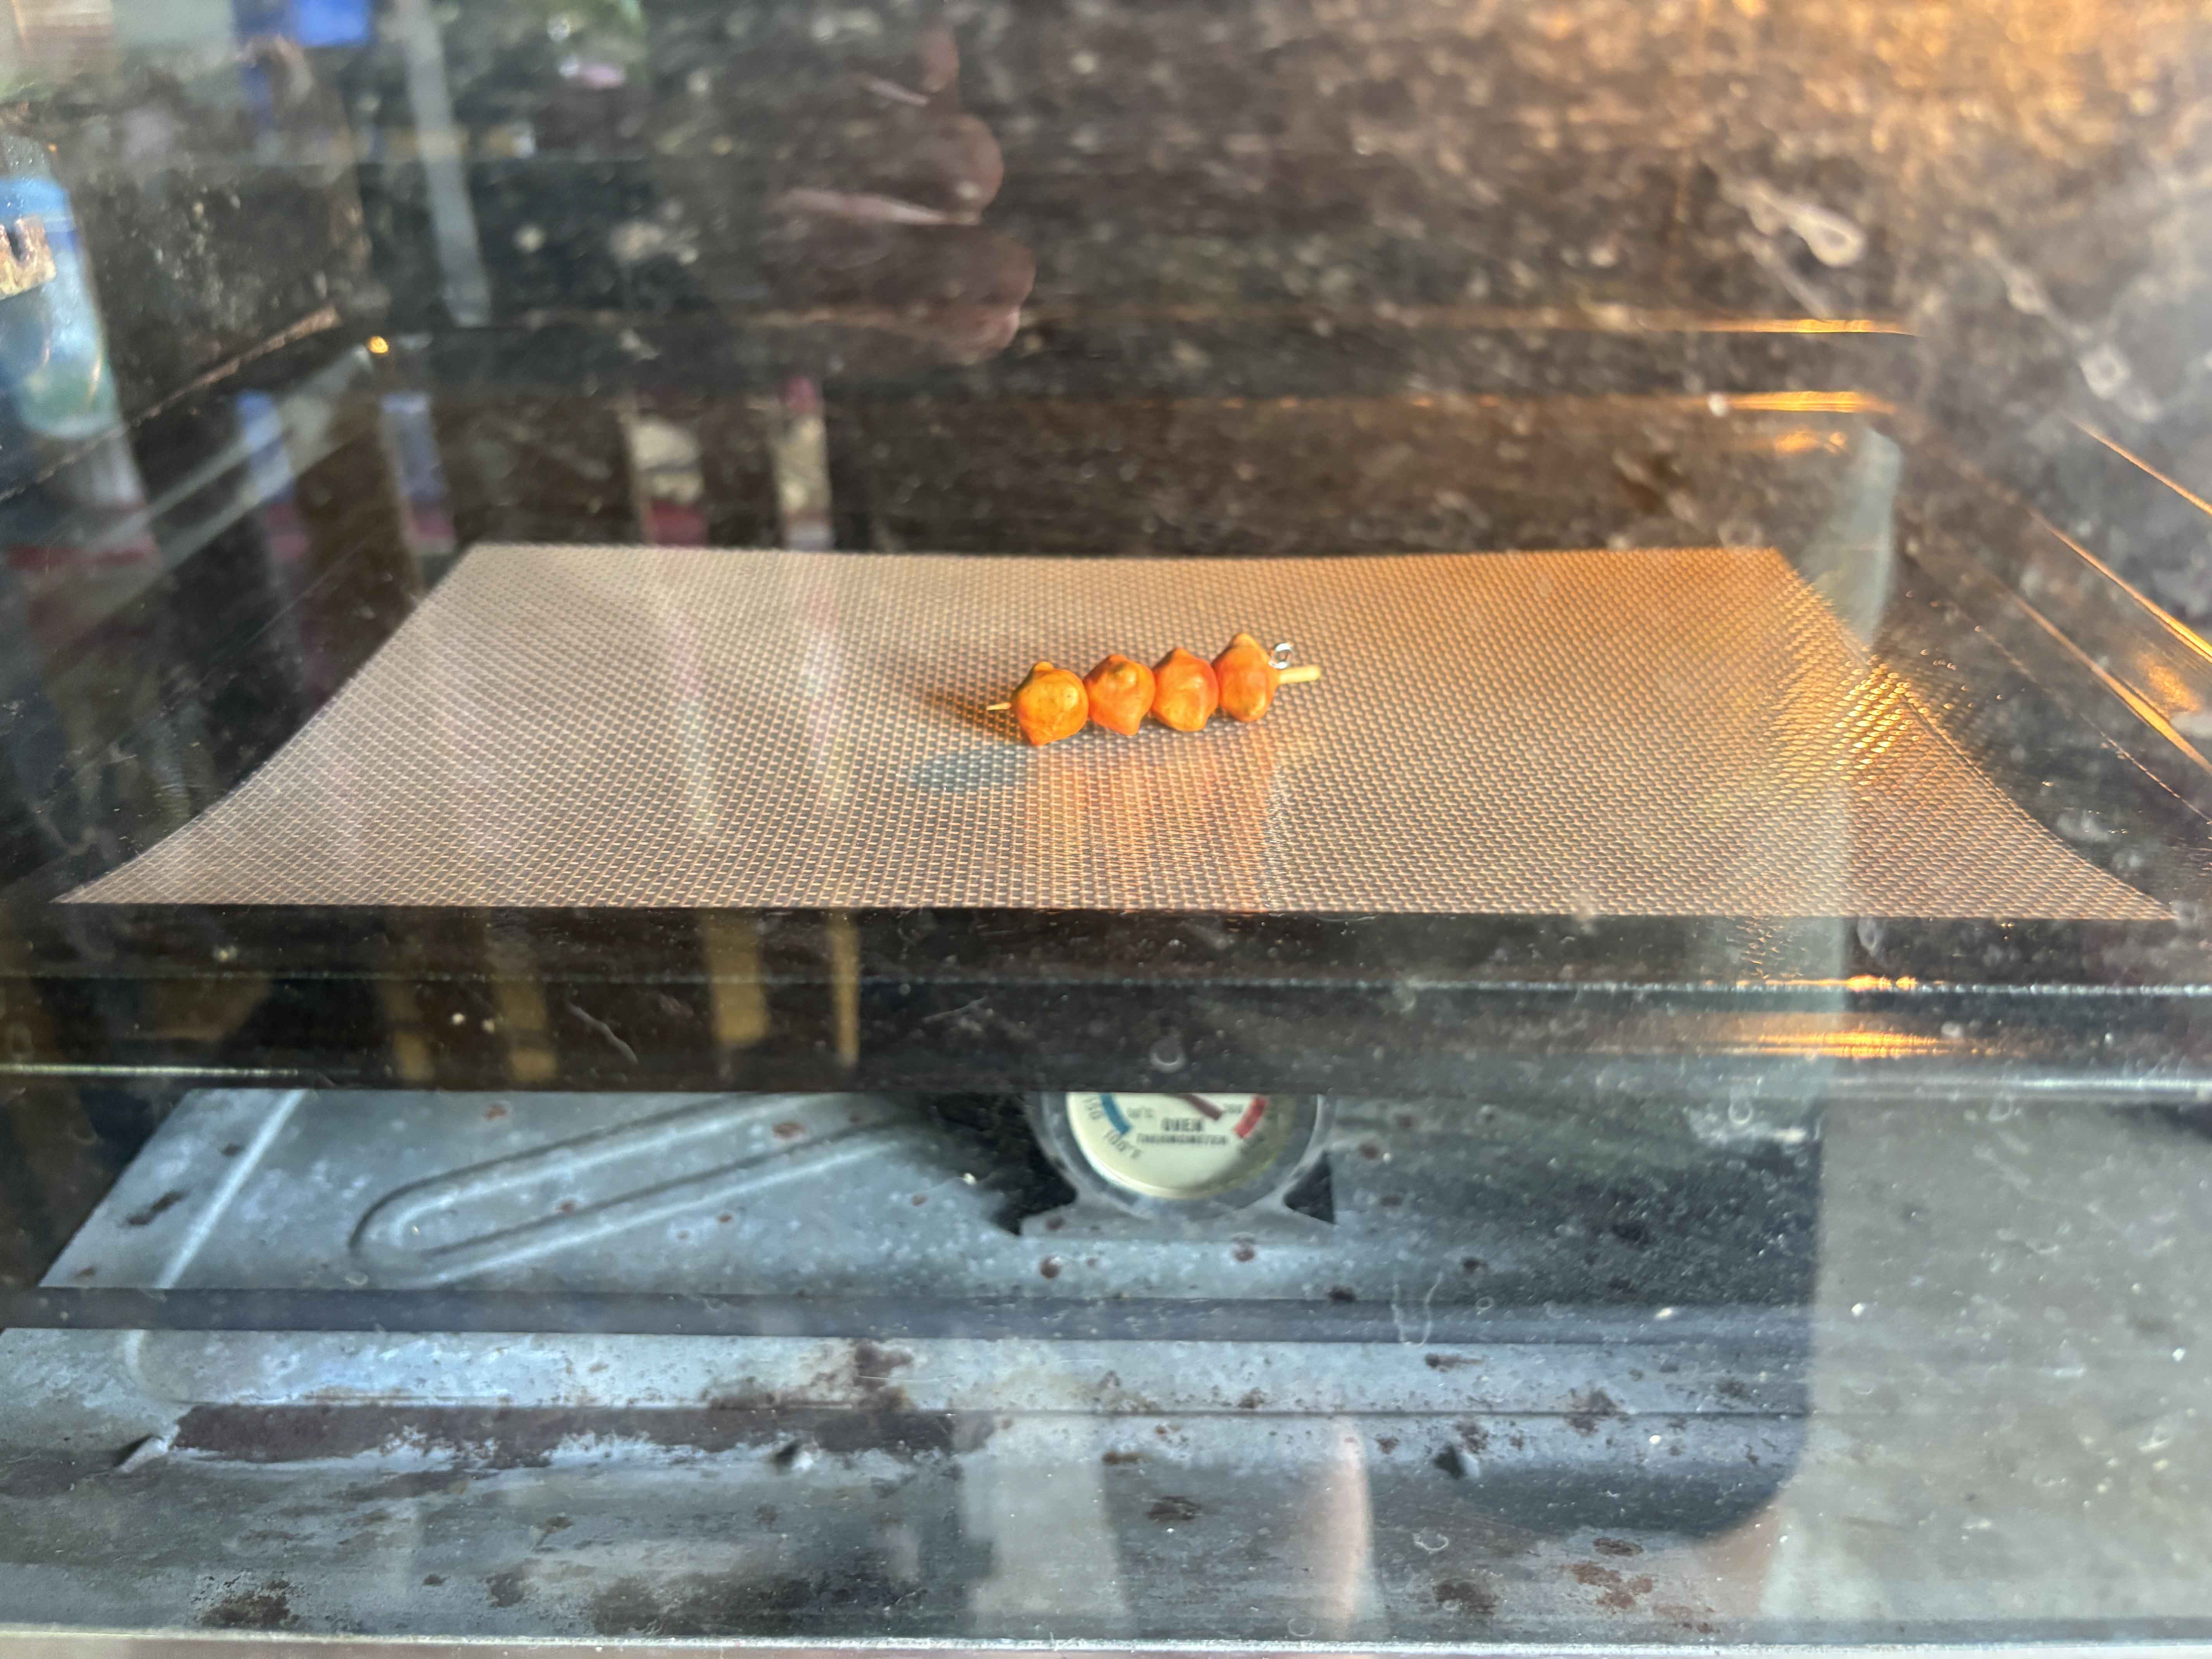
Then I place the clay onto the silicone mat that is specifically only used for my clay charms, and then I bake it at the temperature and time instructed using the oven.
------
After baking, let the clay cool down, and then, while it is still cooling down, I prepare all the materials I am going to use next.
-----
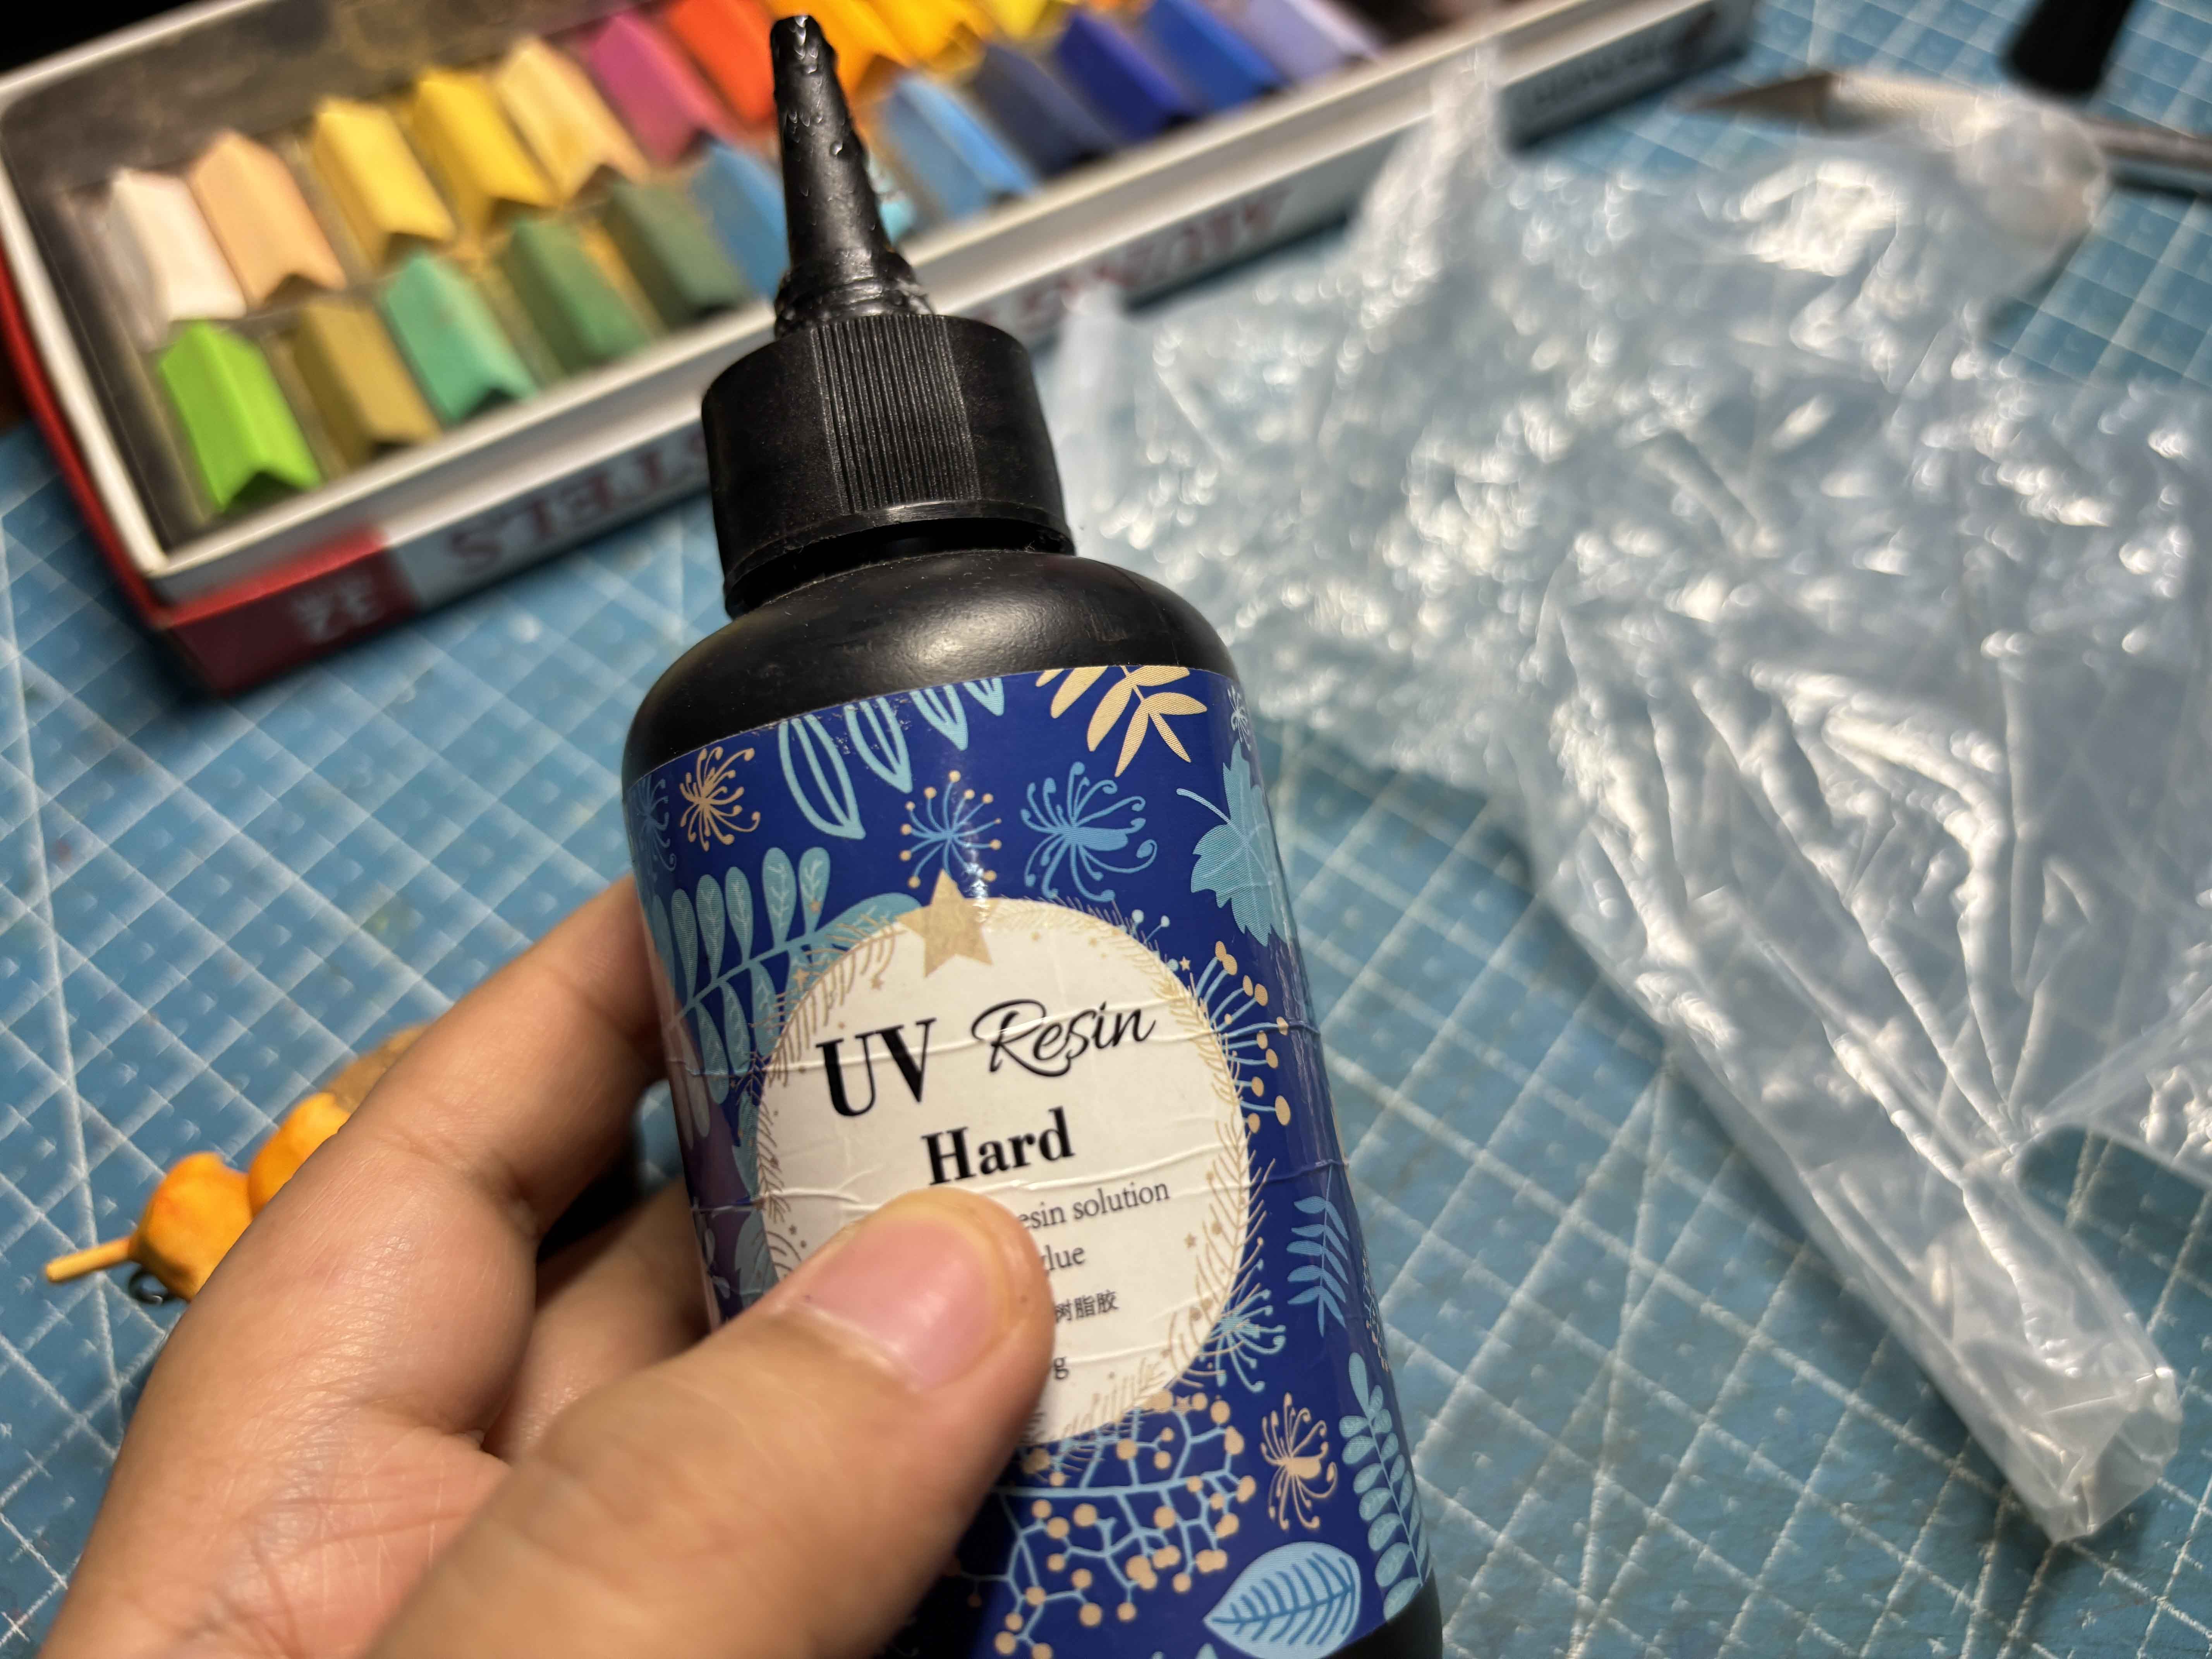
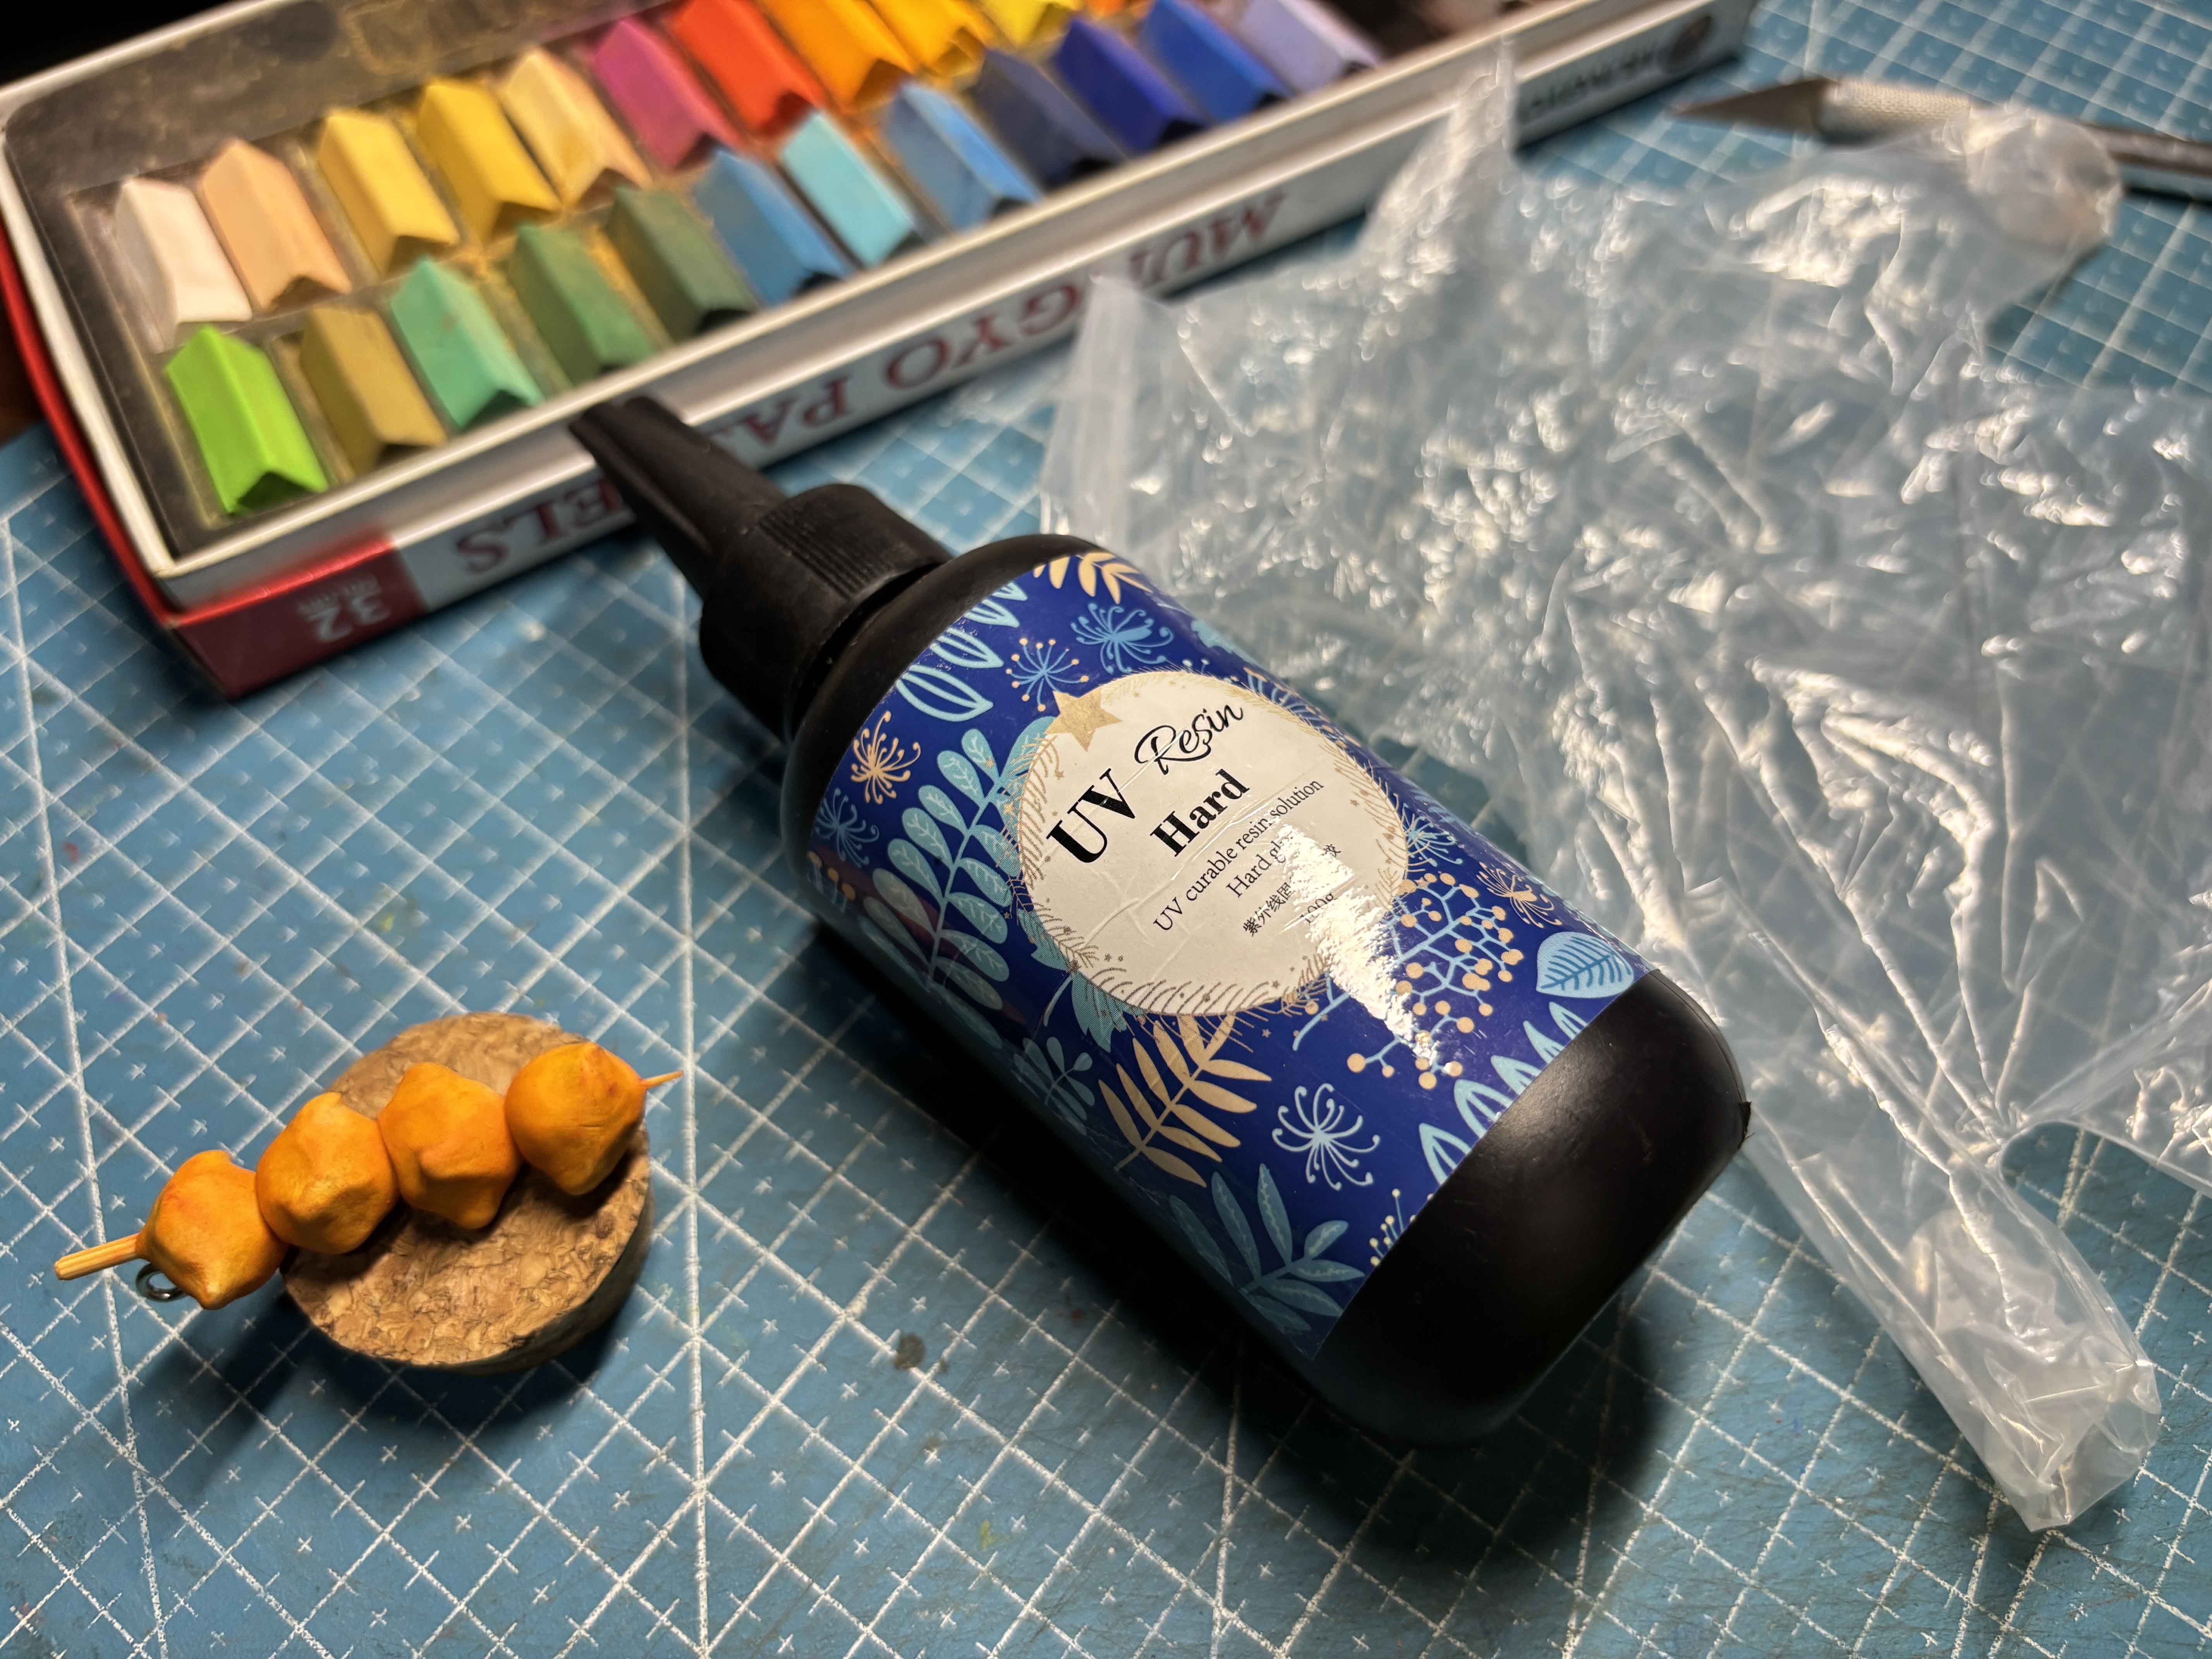
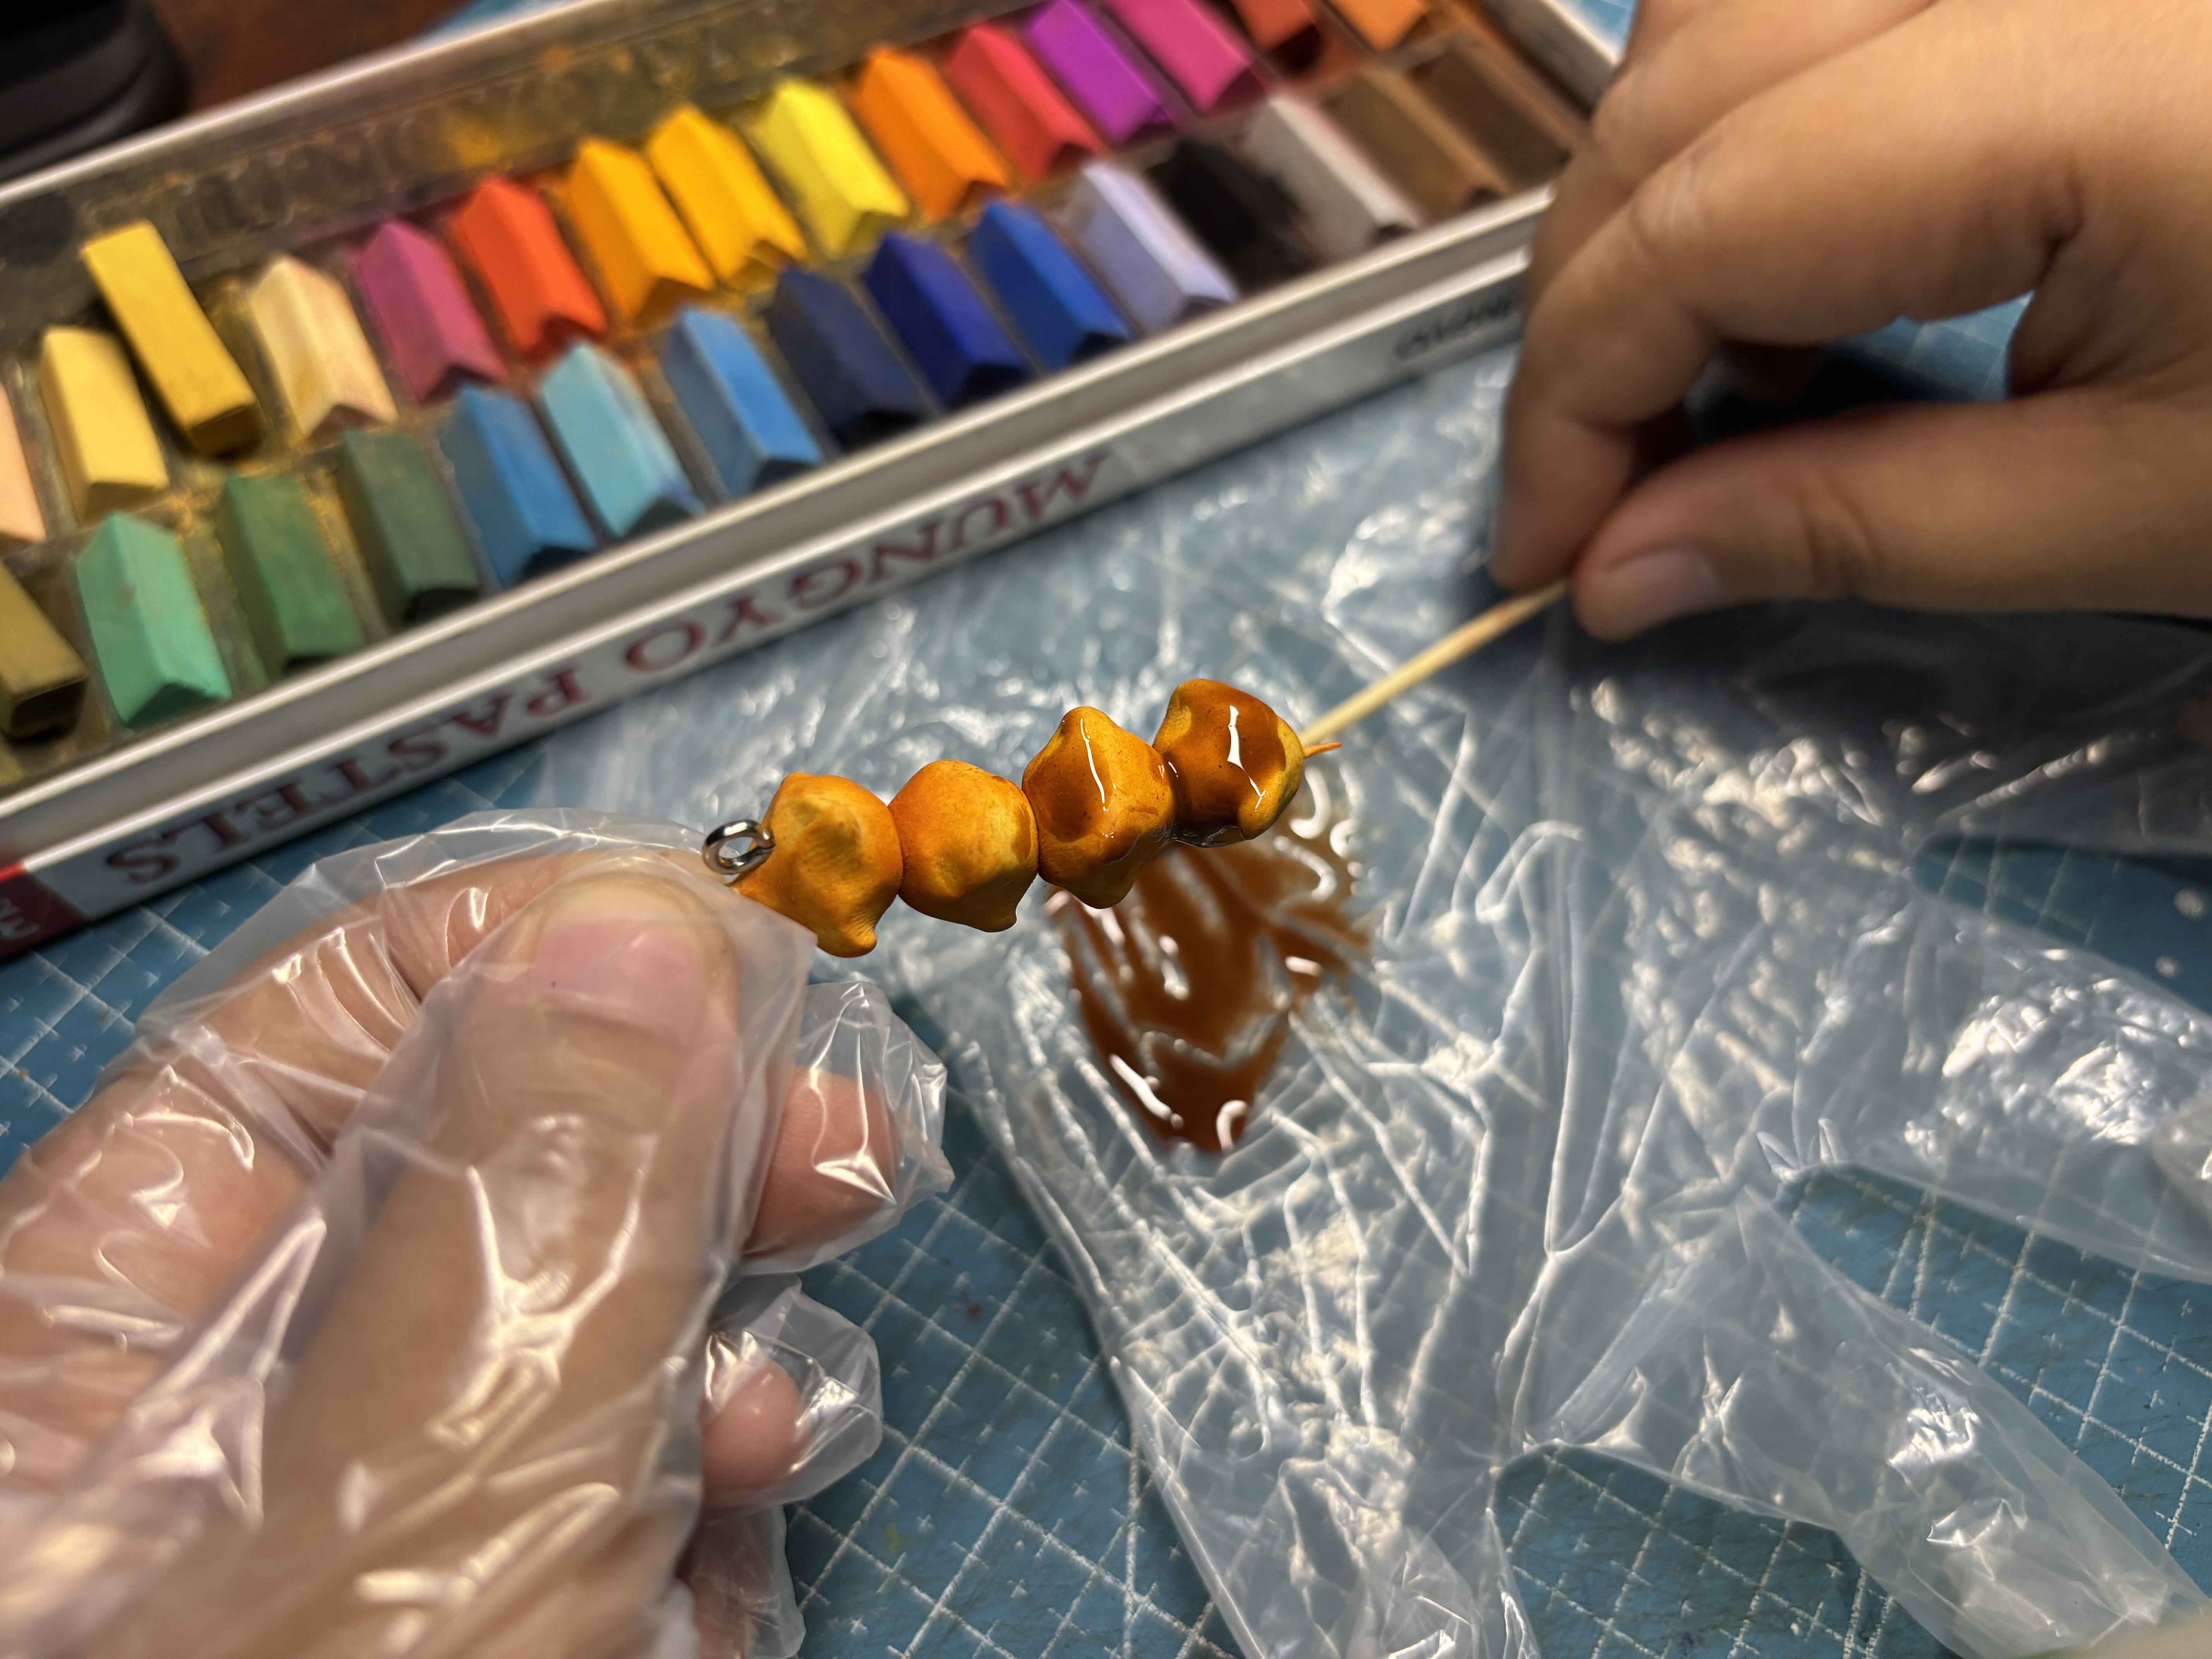
For this part, I am going to add the sauce of the kwek-kwek. I do this to make it more realistic and good to look at. To make the sauce, I squeeze out UV Resin into the disposable gloves enough for me to use.
-----
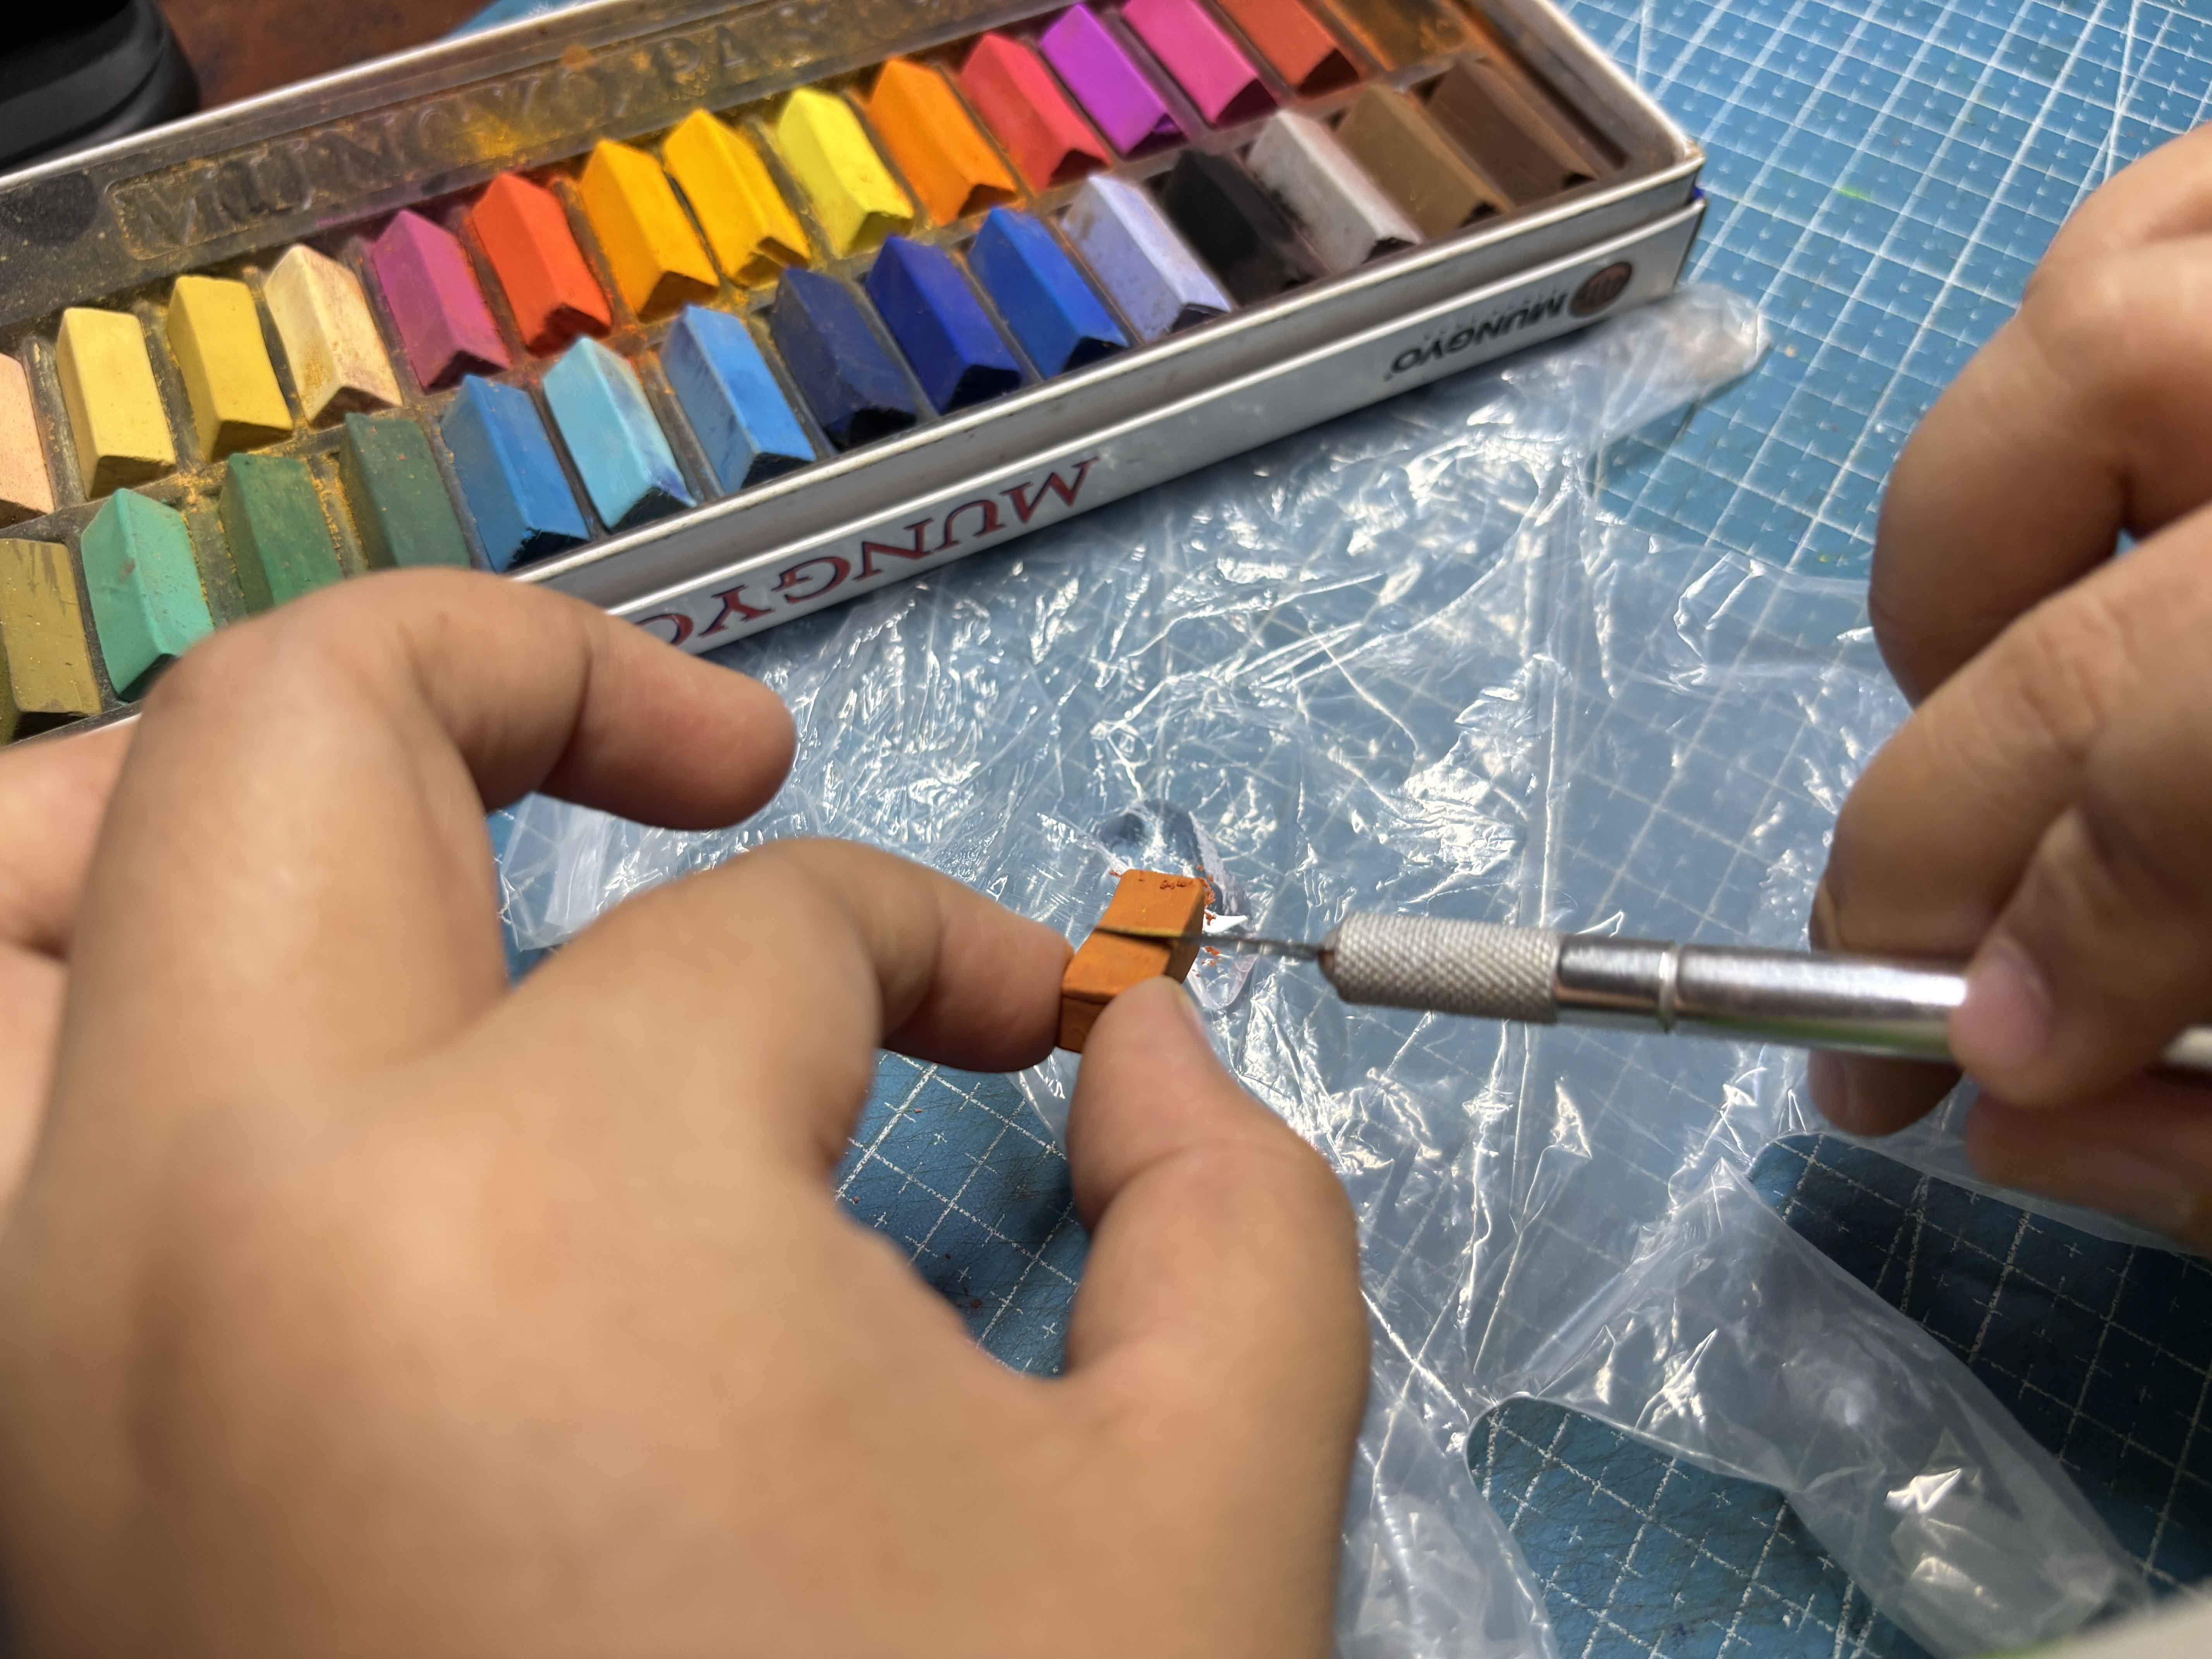
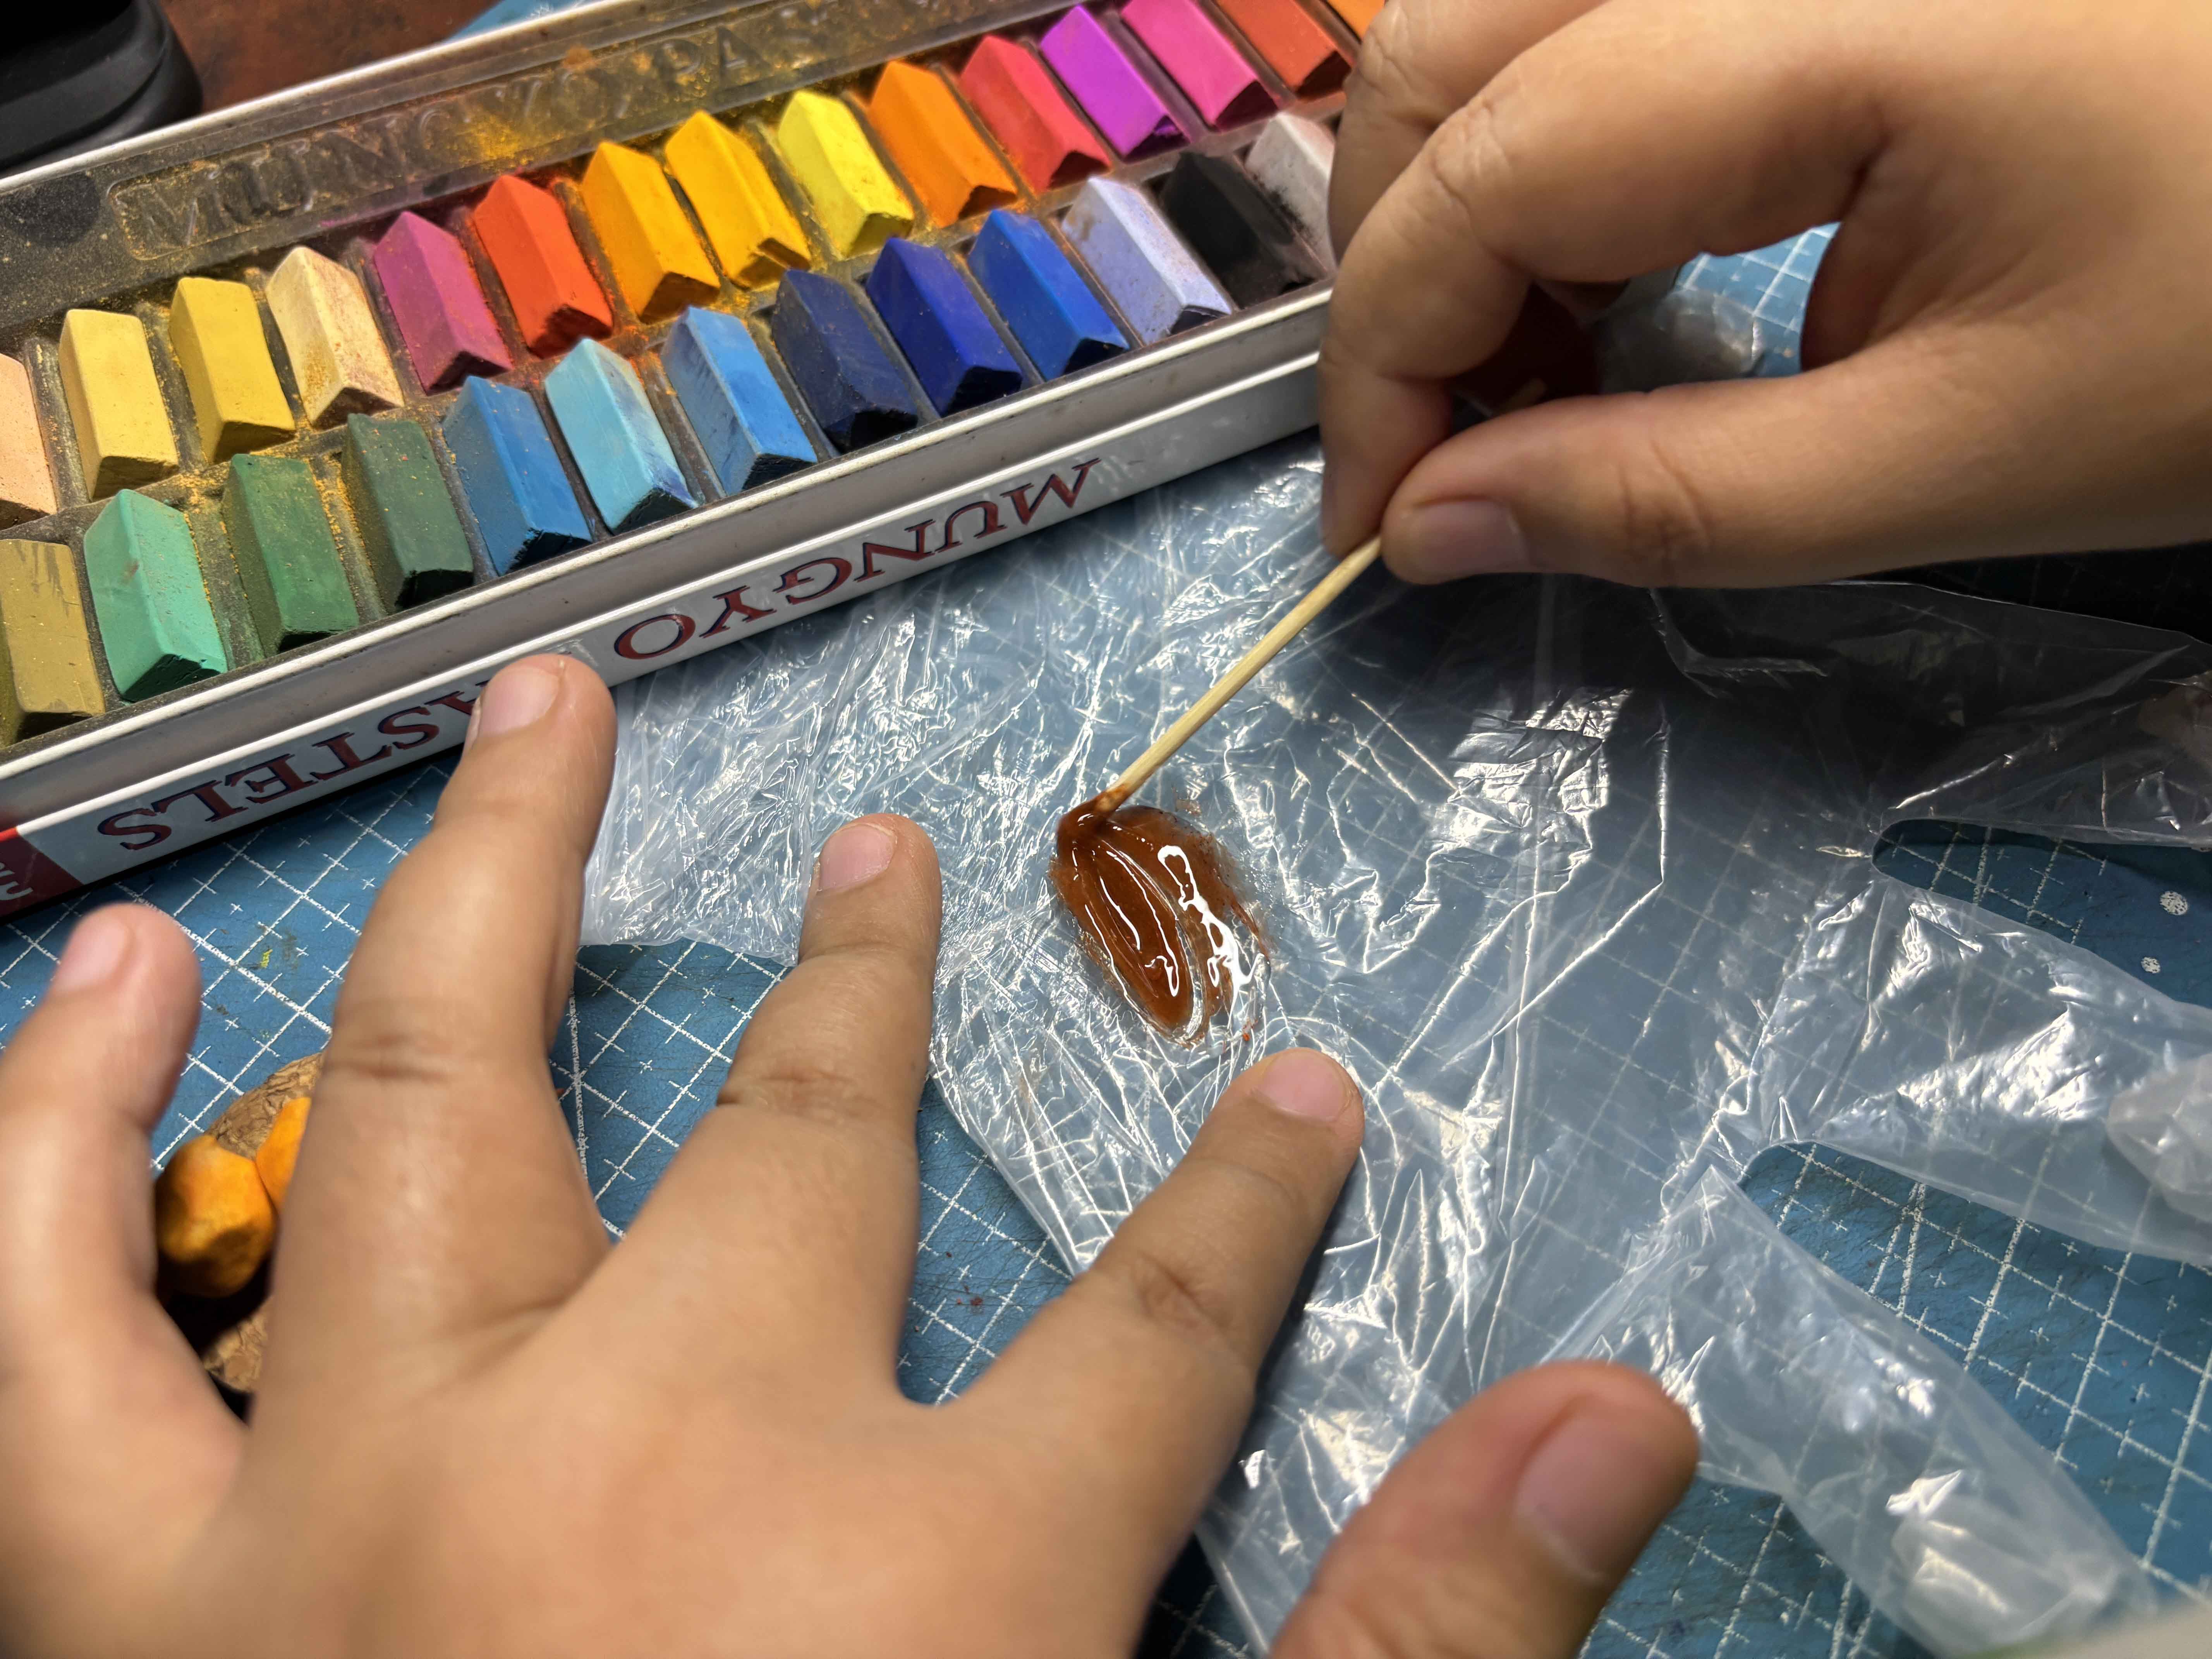
And then I scrape some of the brown soft pastel using an X-Acto knife and mix it using a toothpick.
-----
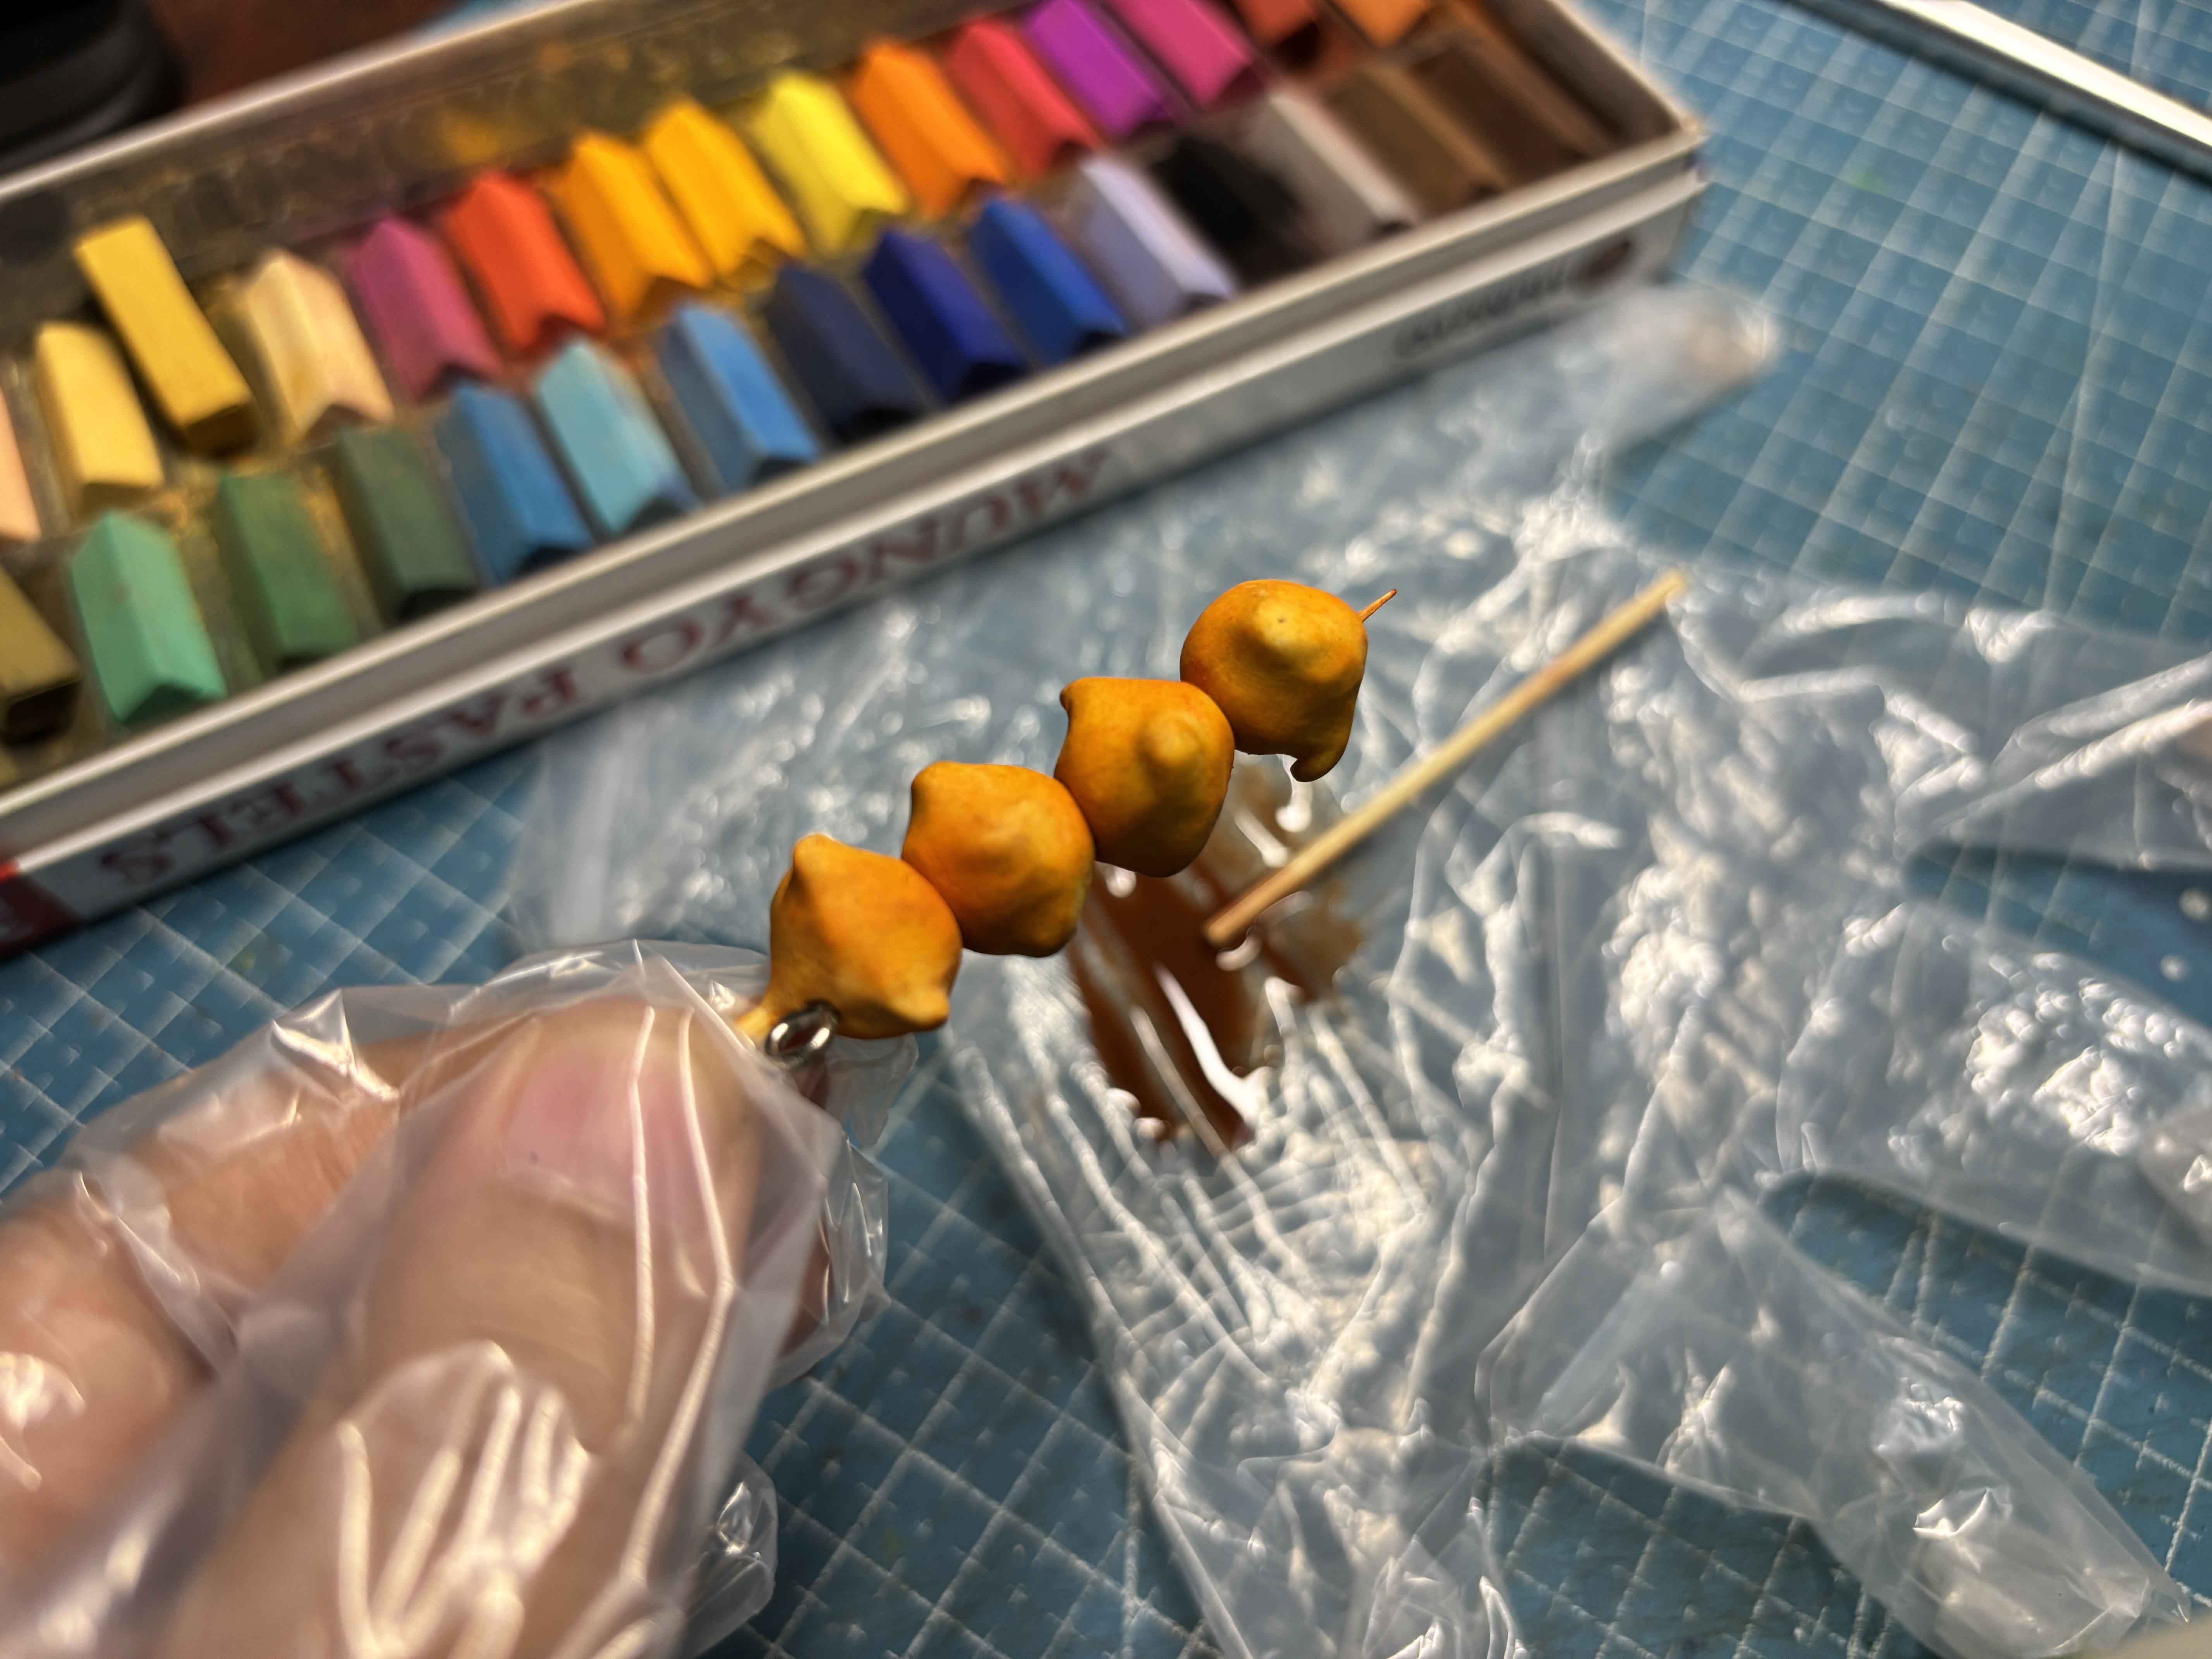
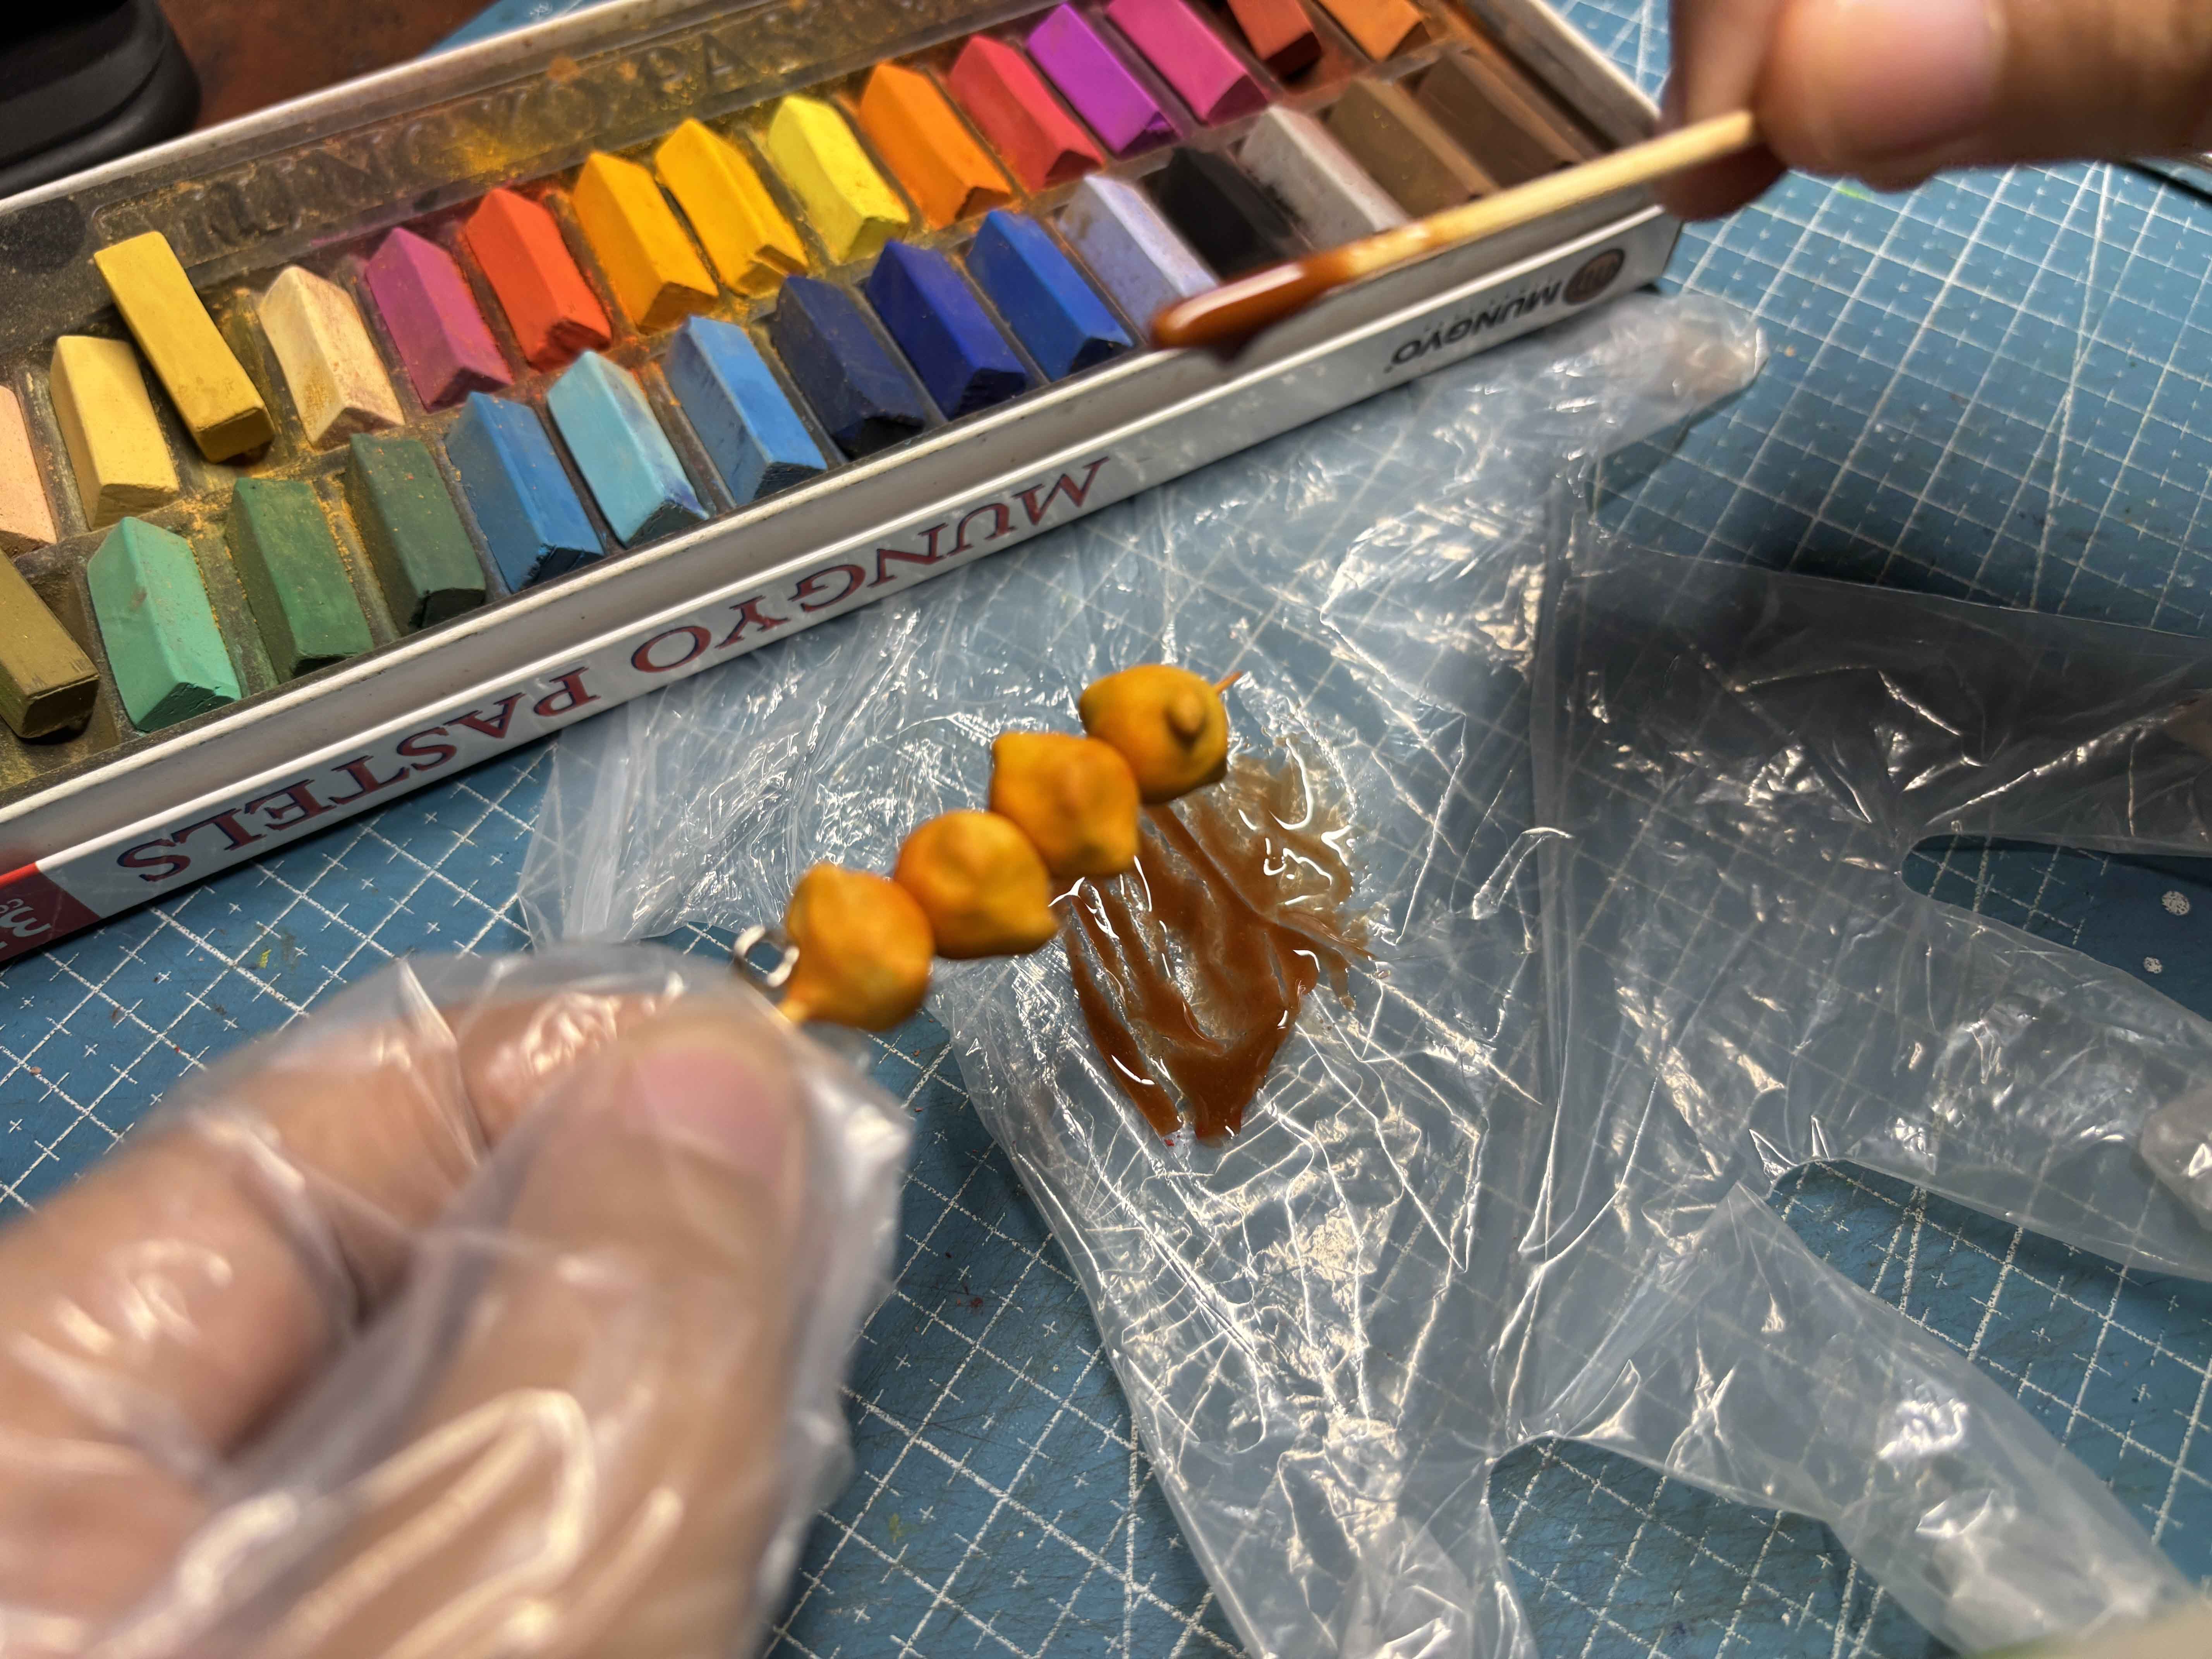
Make sure to wear gloves and carefully add the sauce to the clay. If it is not enough, just do the same thing, mix UV resin and soft pastel.
-----
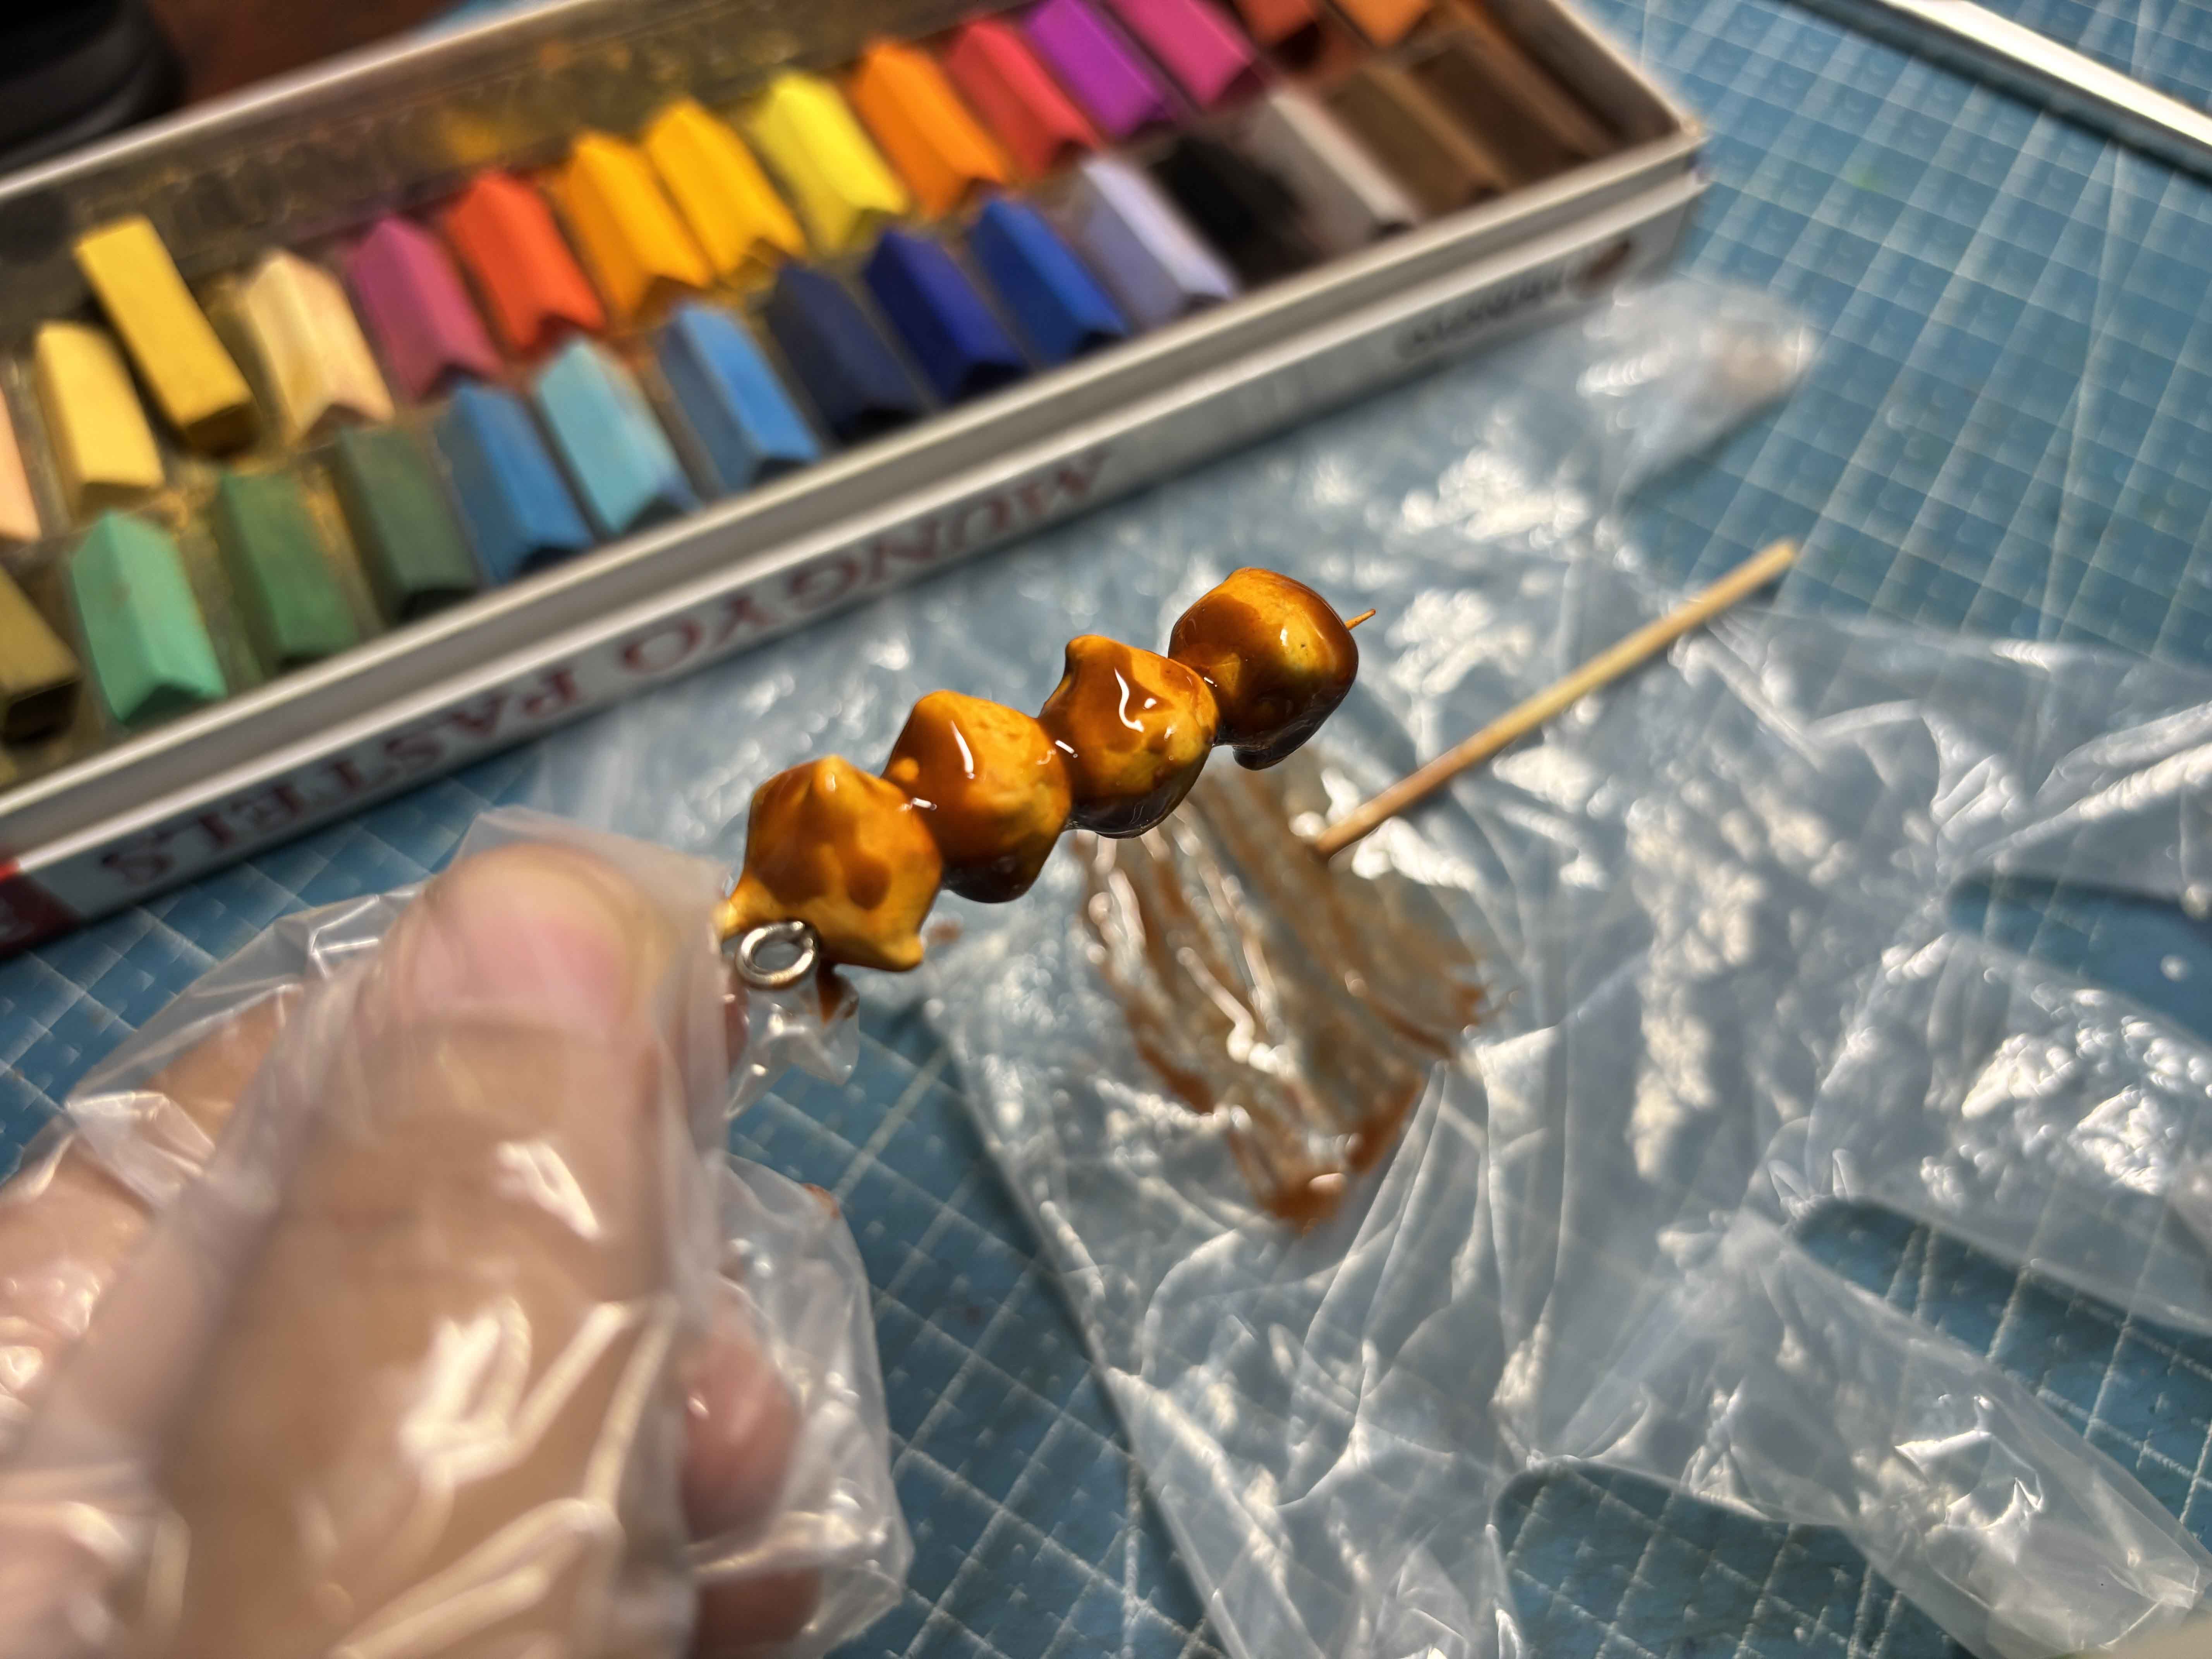
This is what it should look like. I forgot to add the chilis, but I did, and I forgot to film it LOL.
----
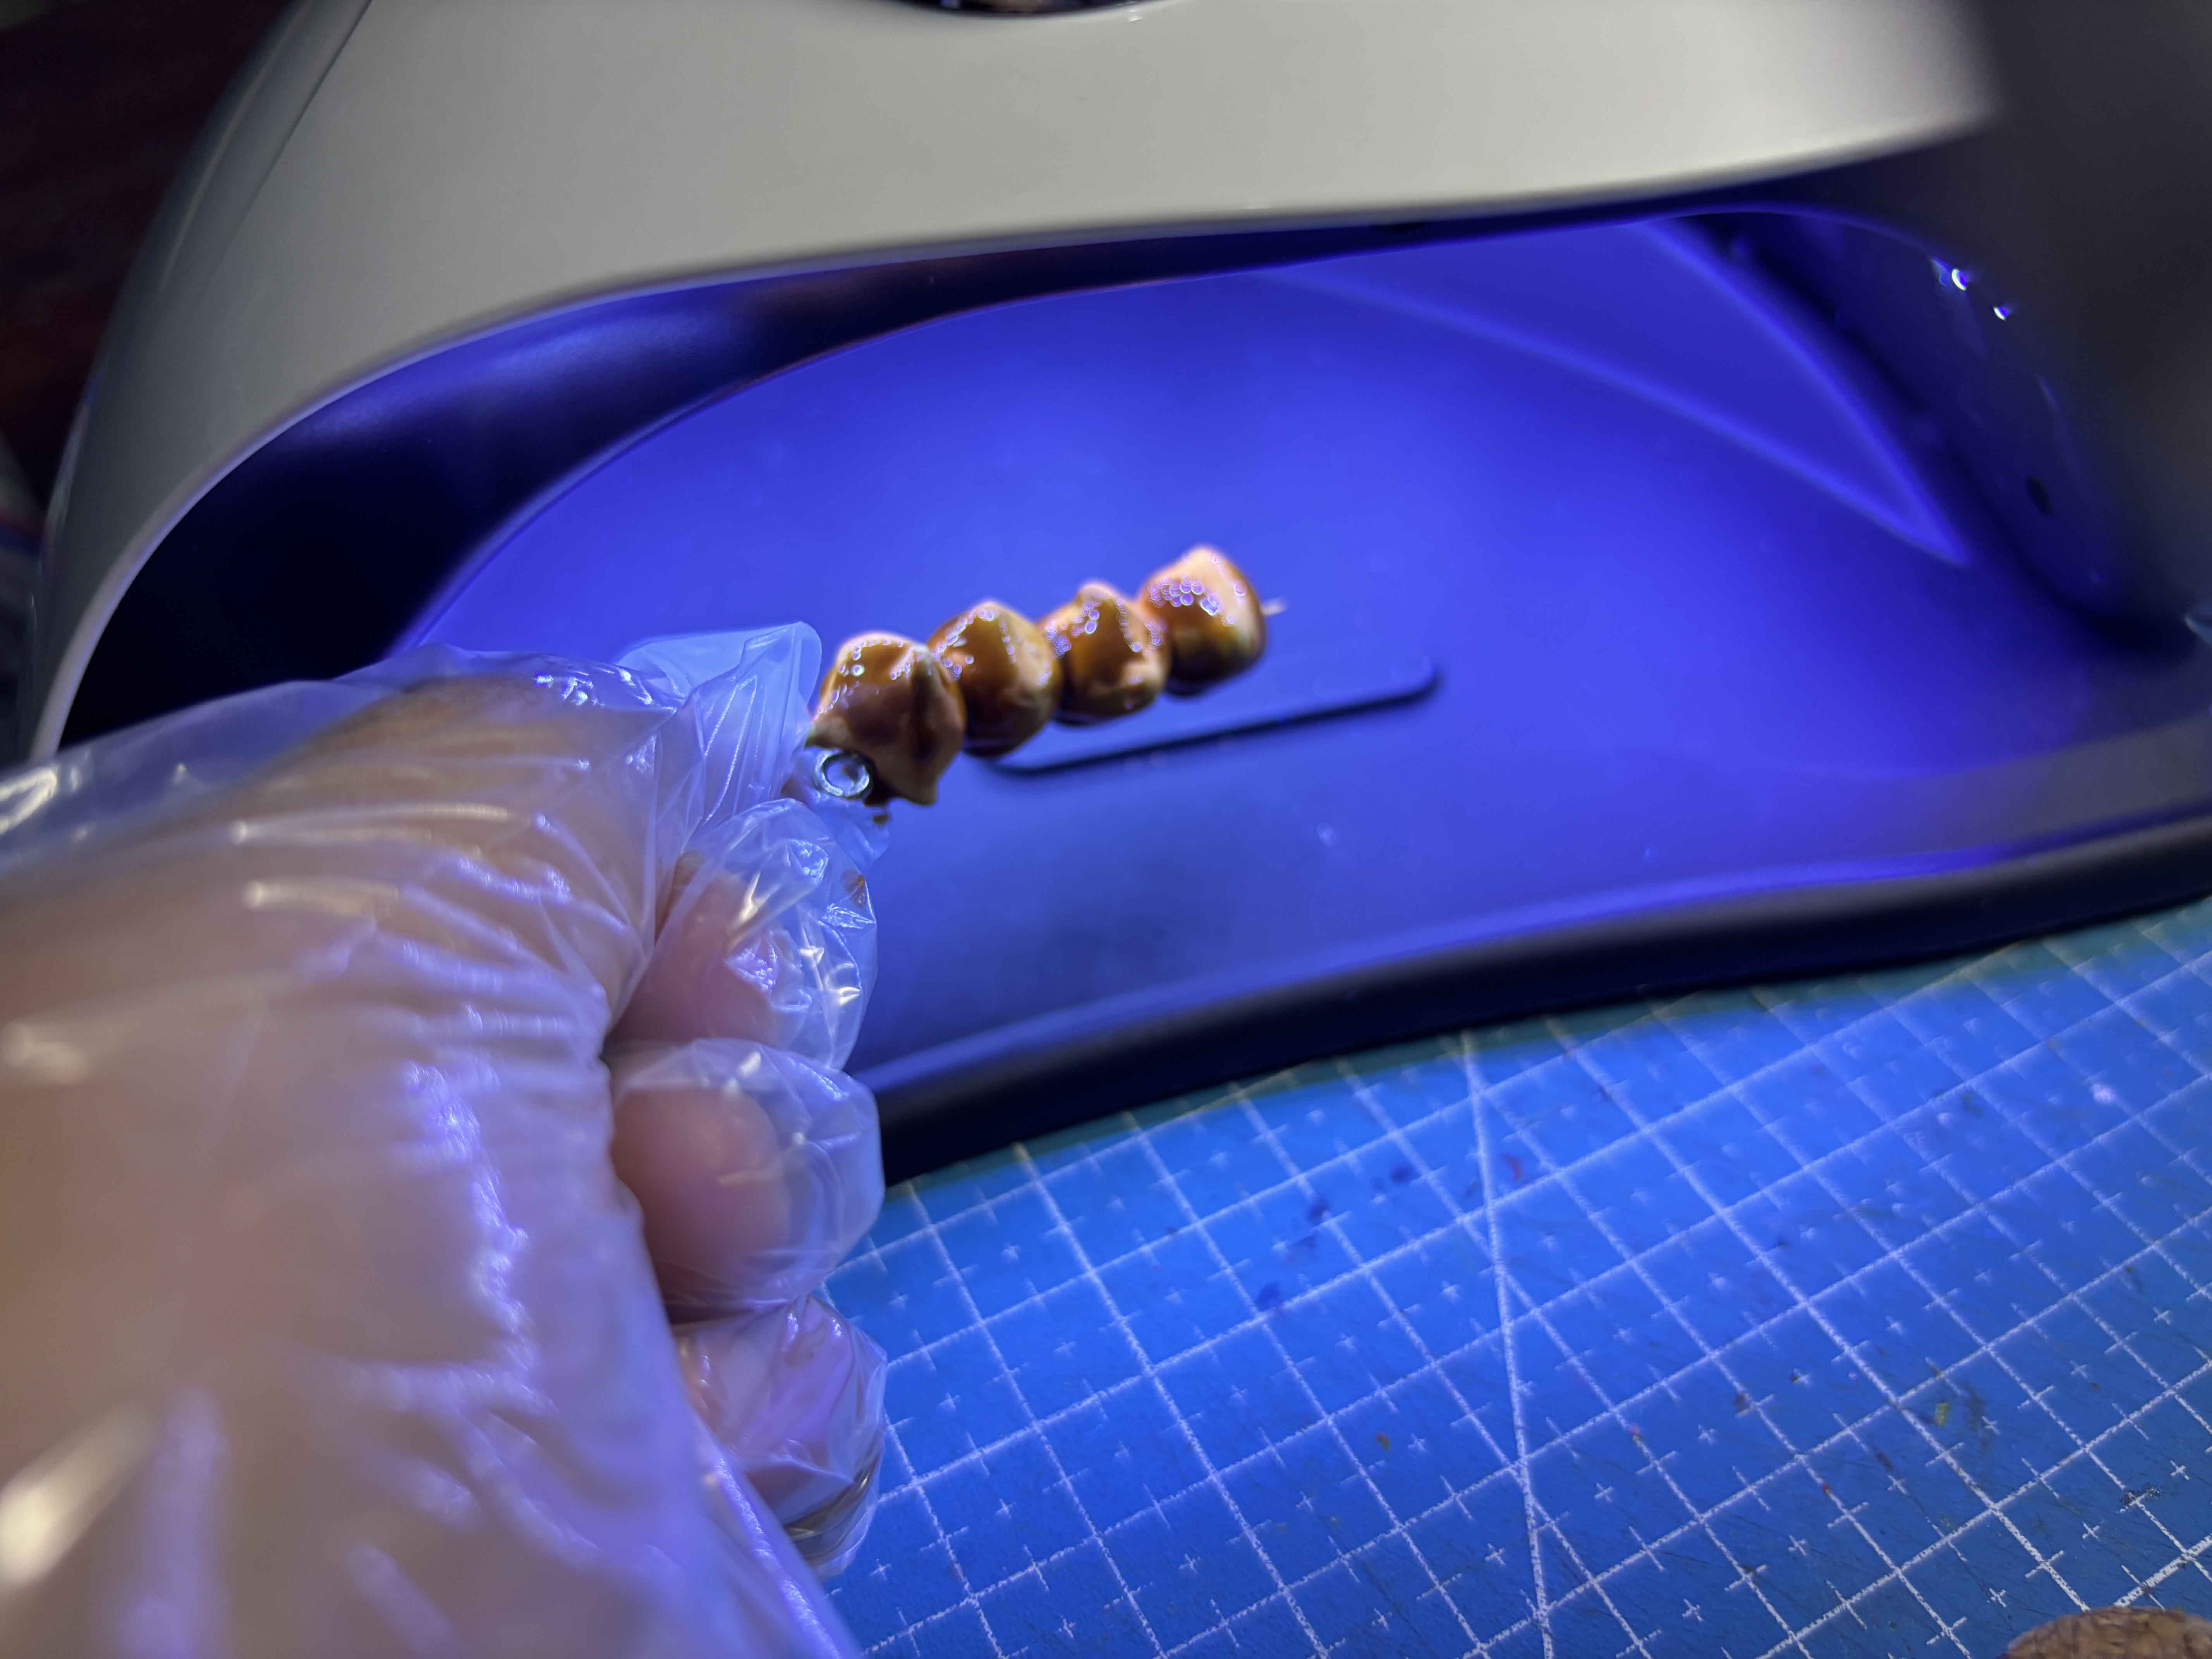
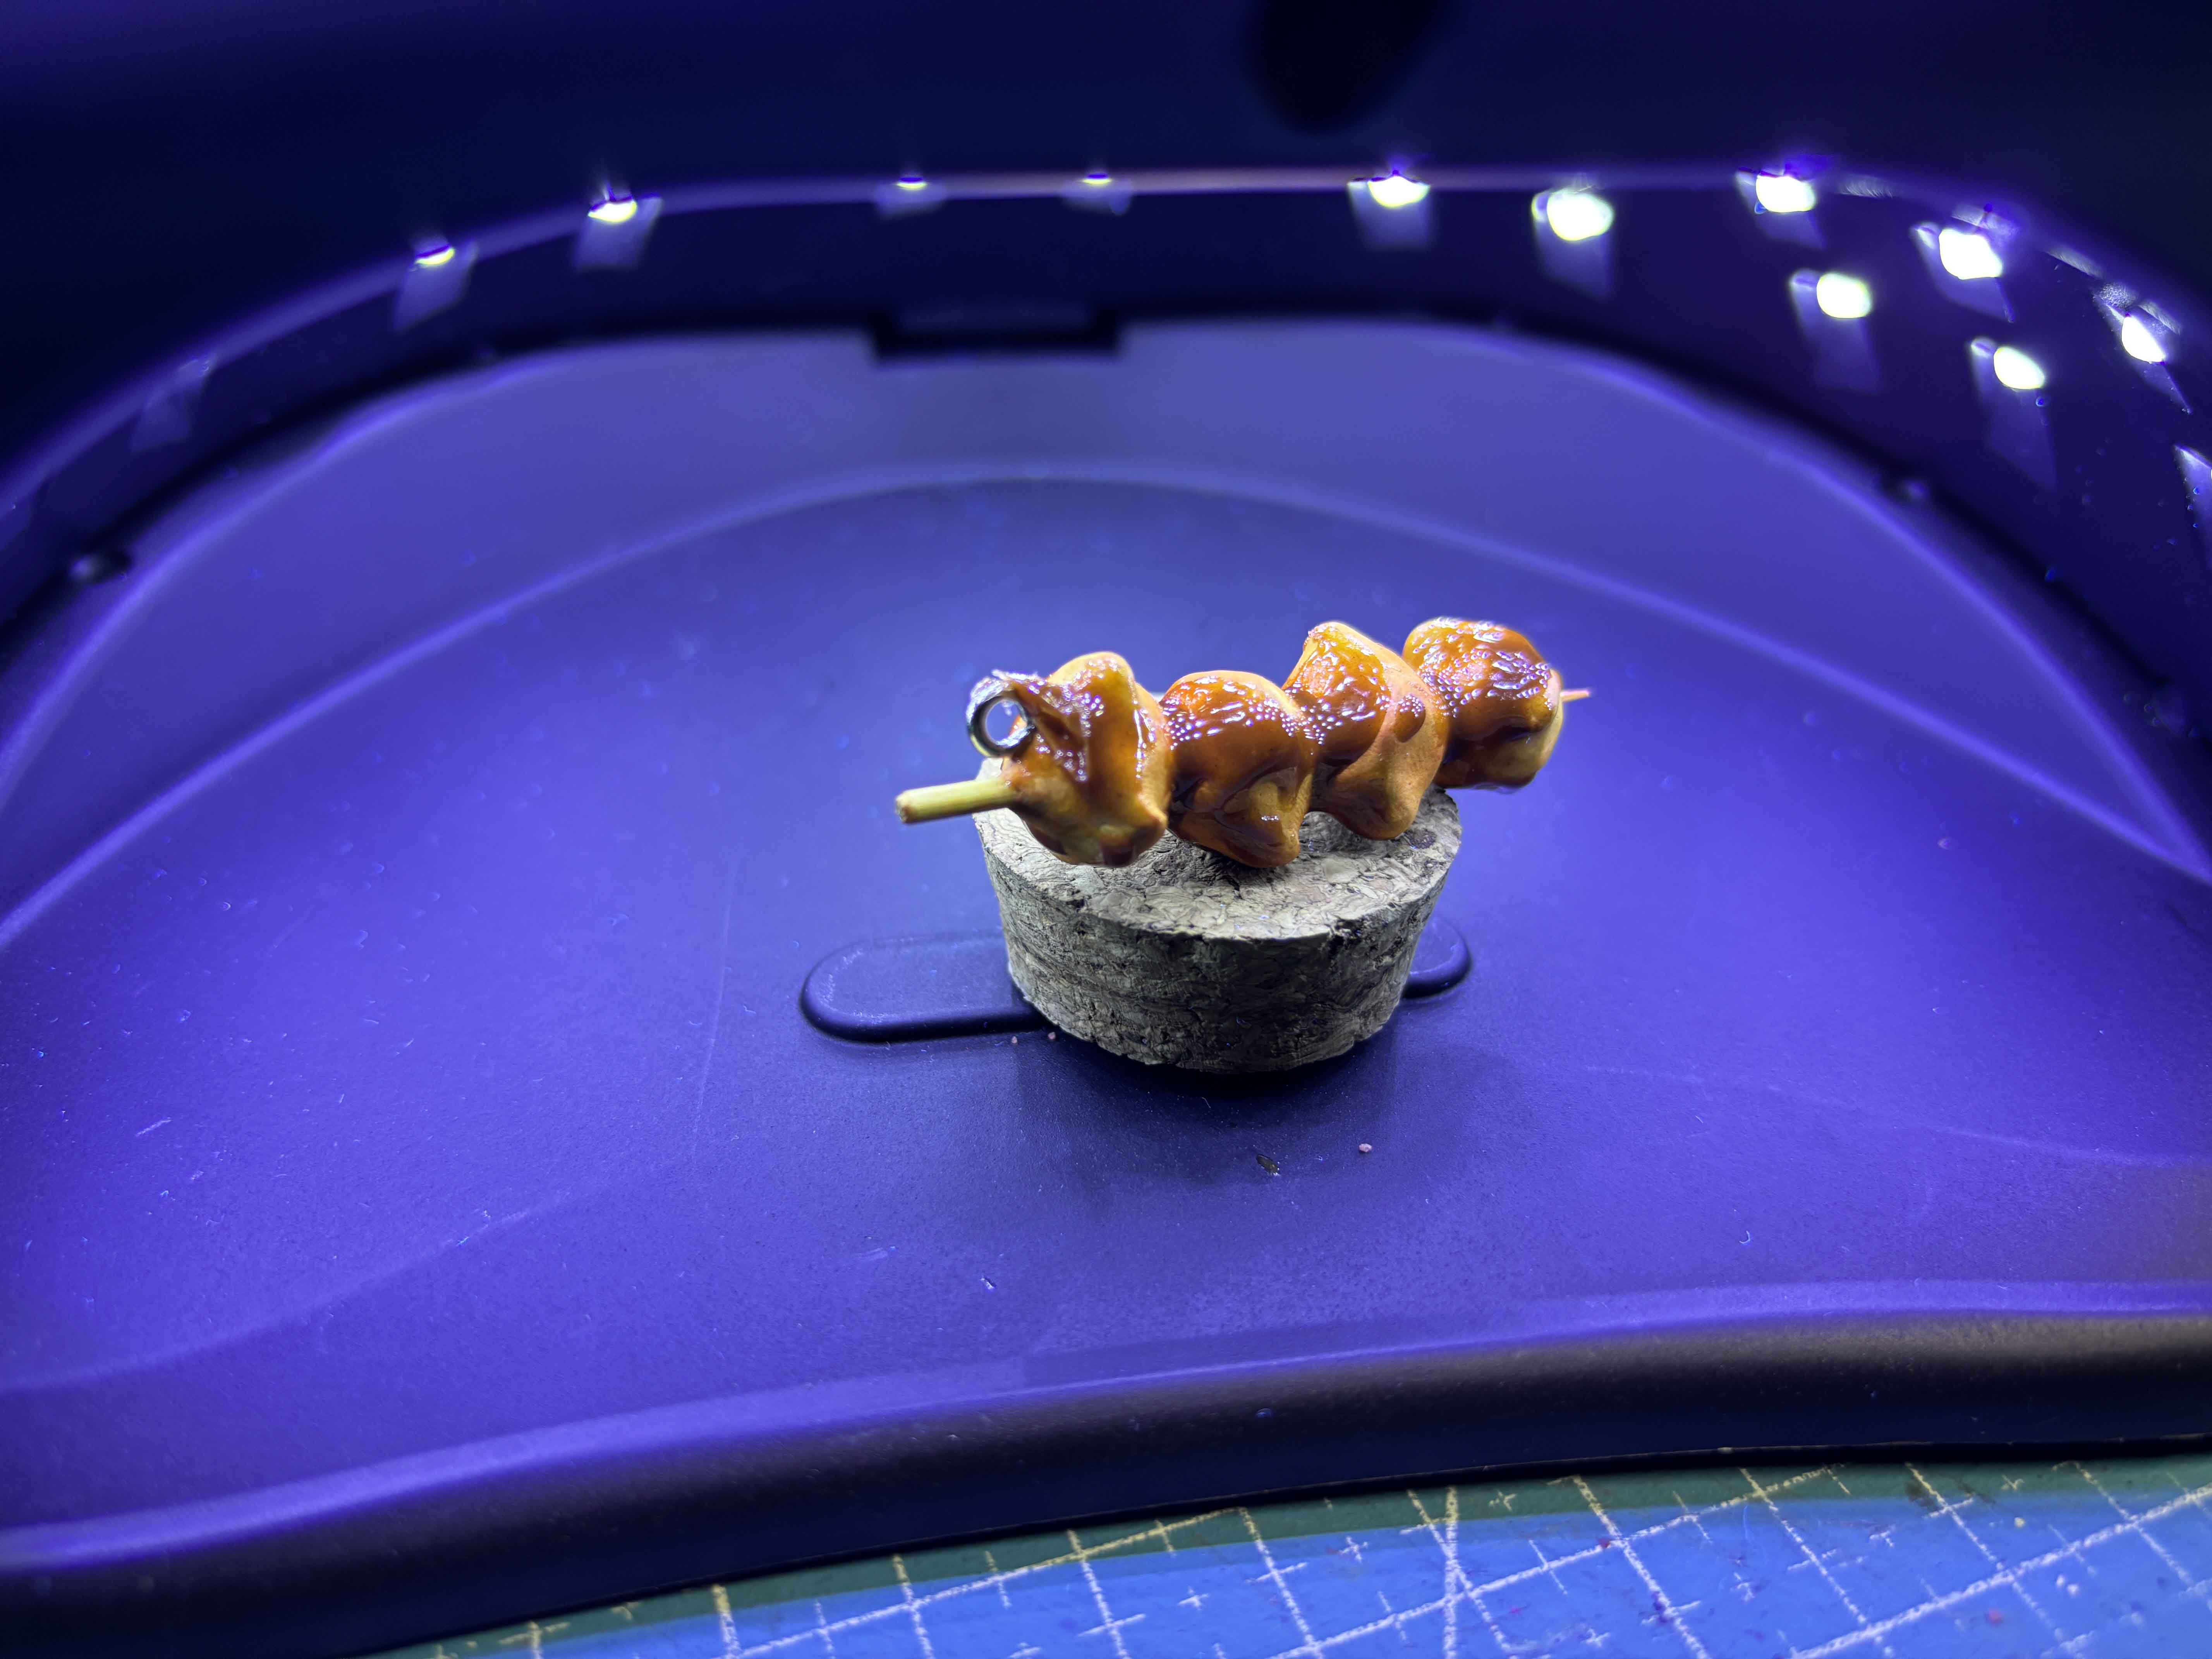
Then I cure it using a UV Lamp. If you do it in daylight, you can use the sun to cure the UV Resin, it's way more effective. Make sure that the UV resin is completely cured. If it's not, make sure not to touch it until it is completely cured.
----

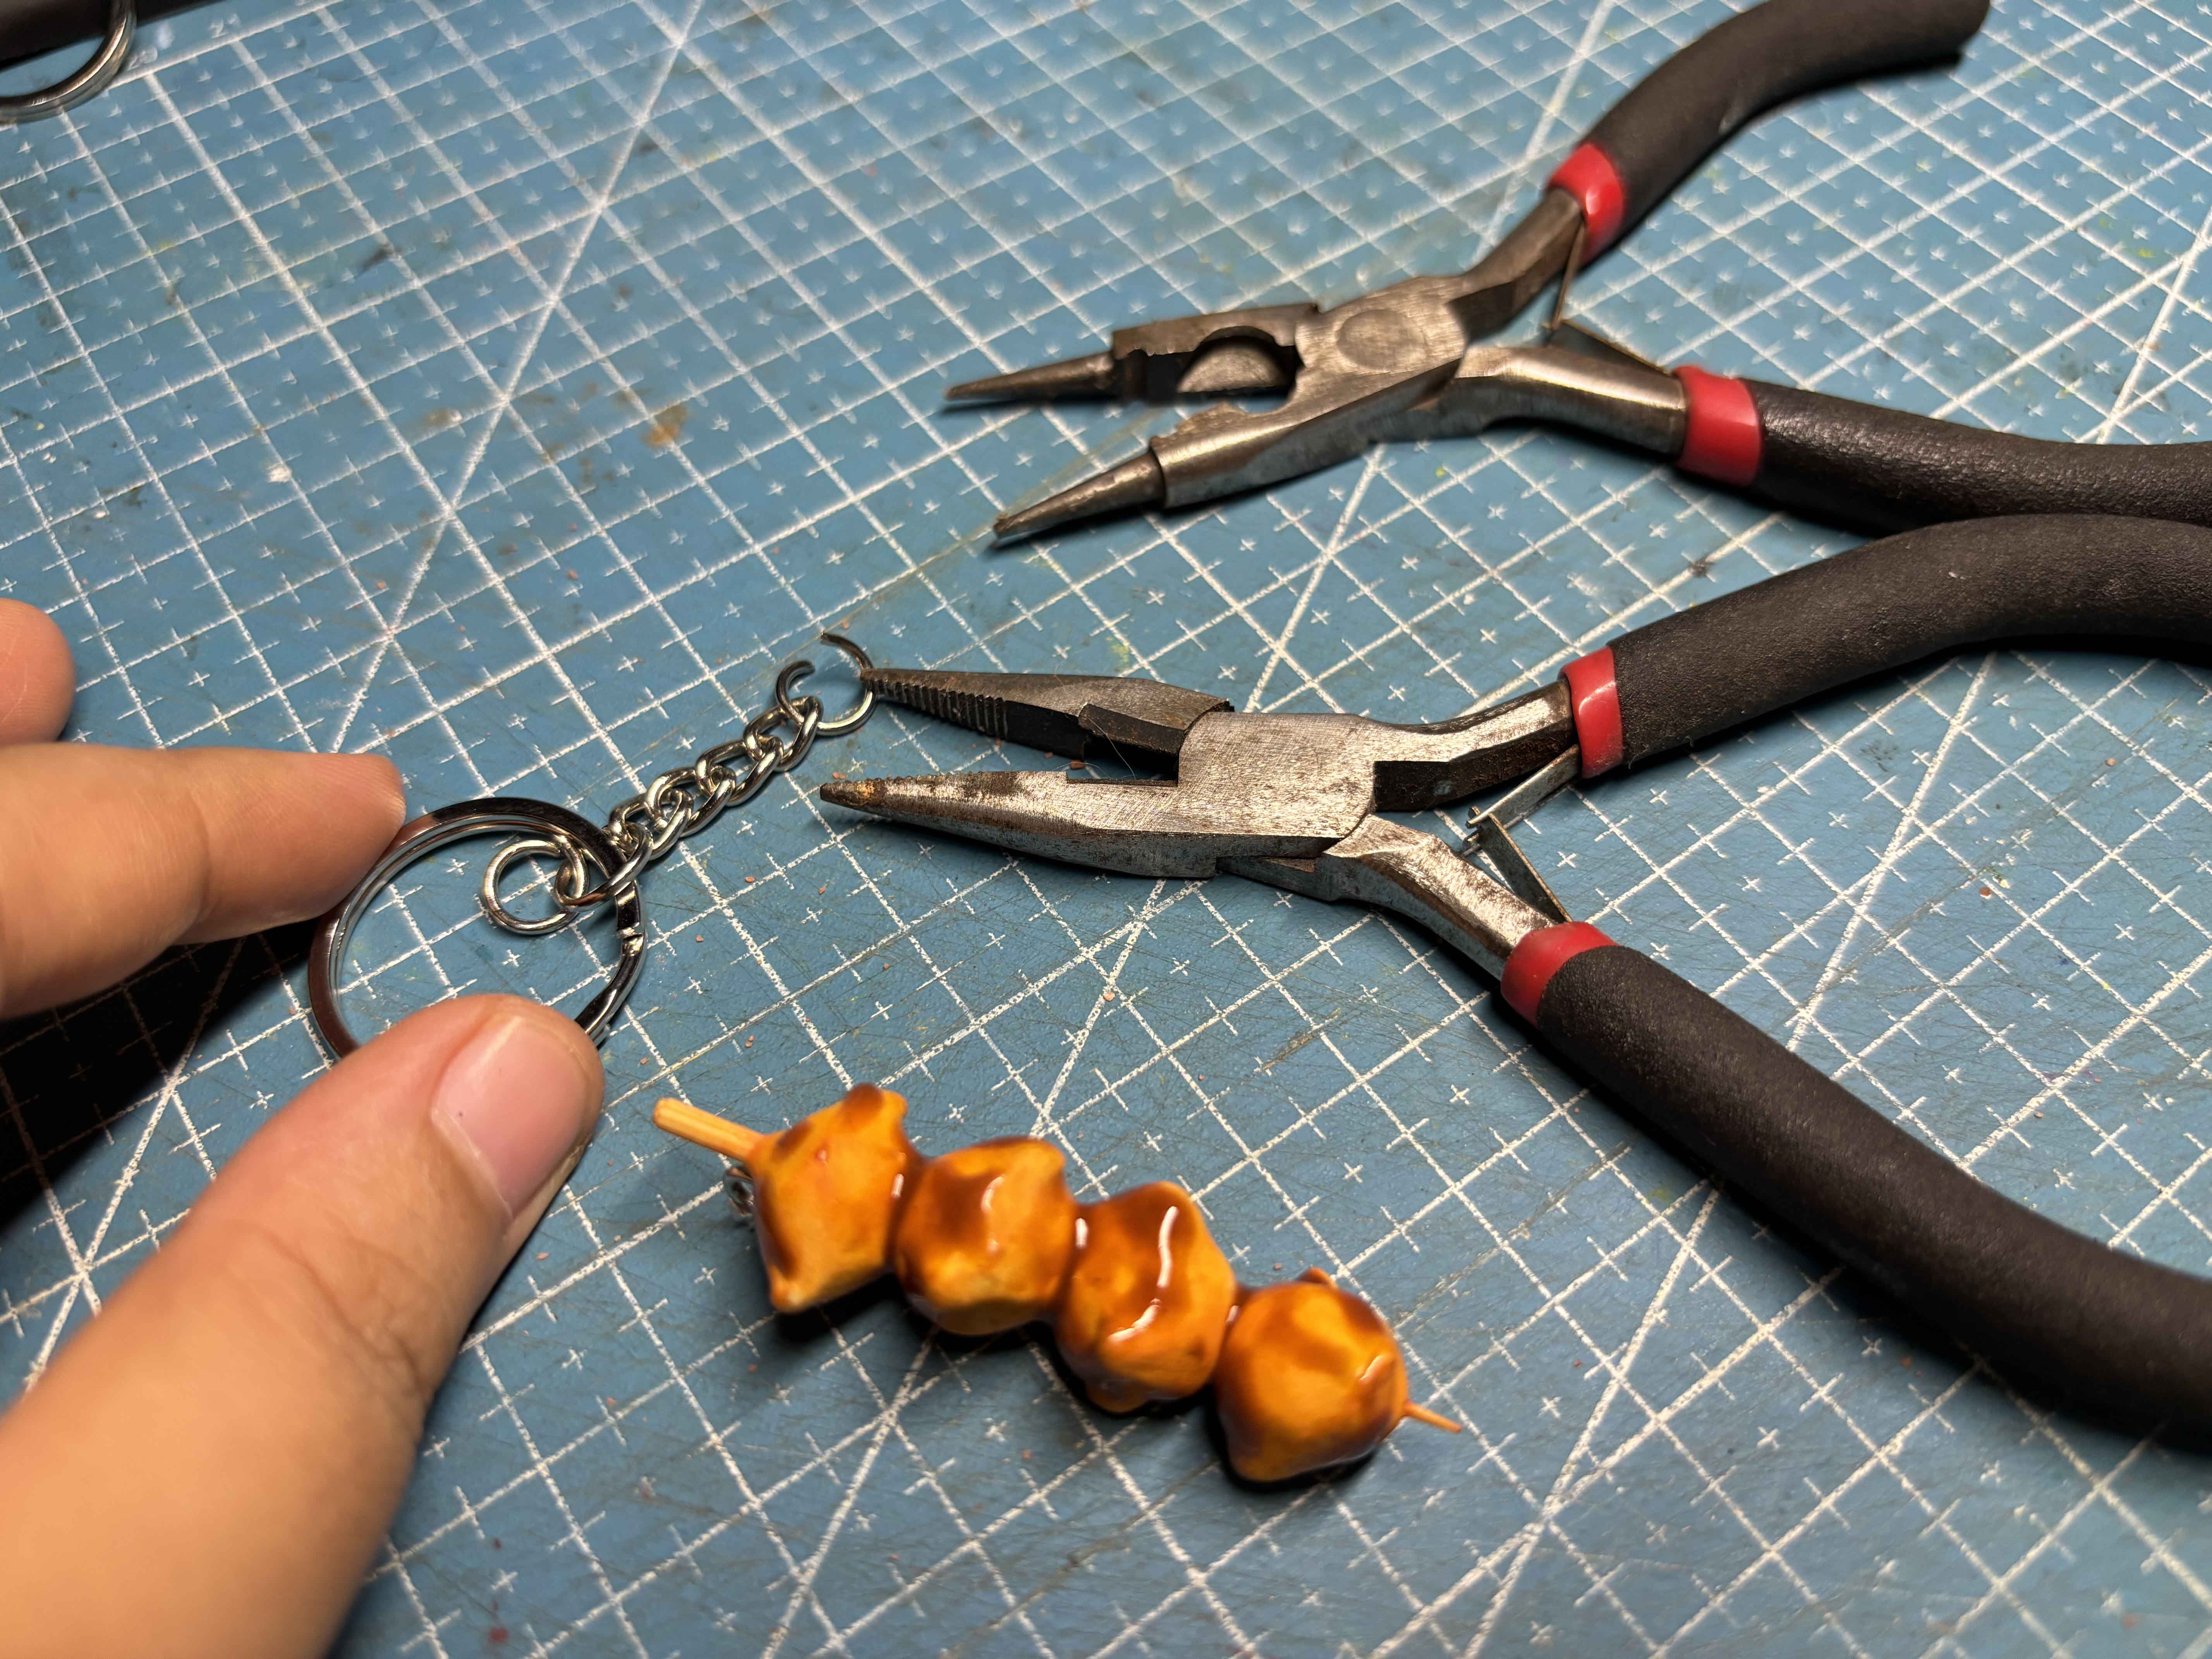
After that, I am going to add the Keychain. I used two pliers to do it.
----
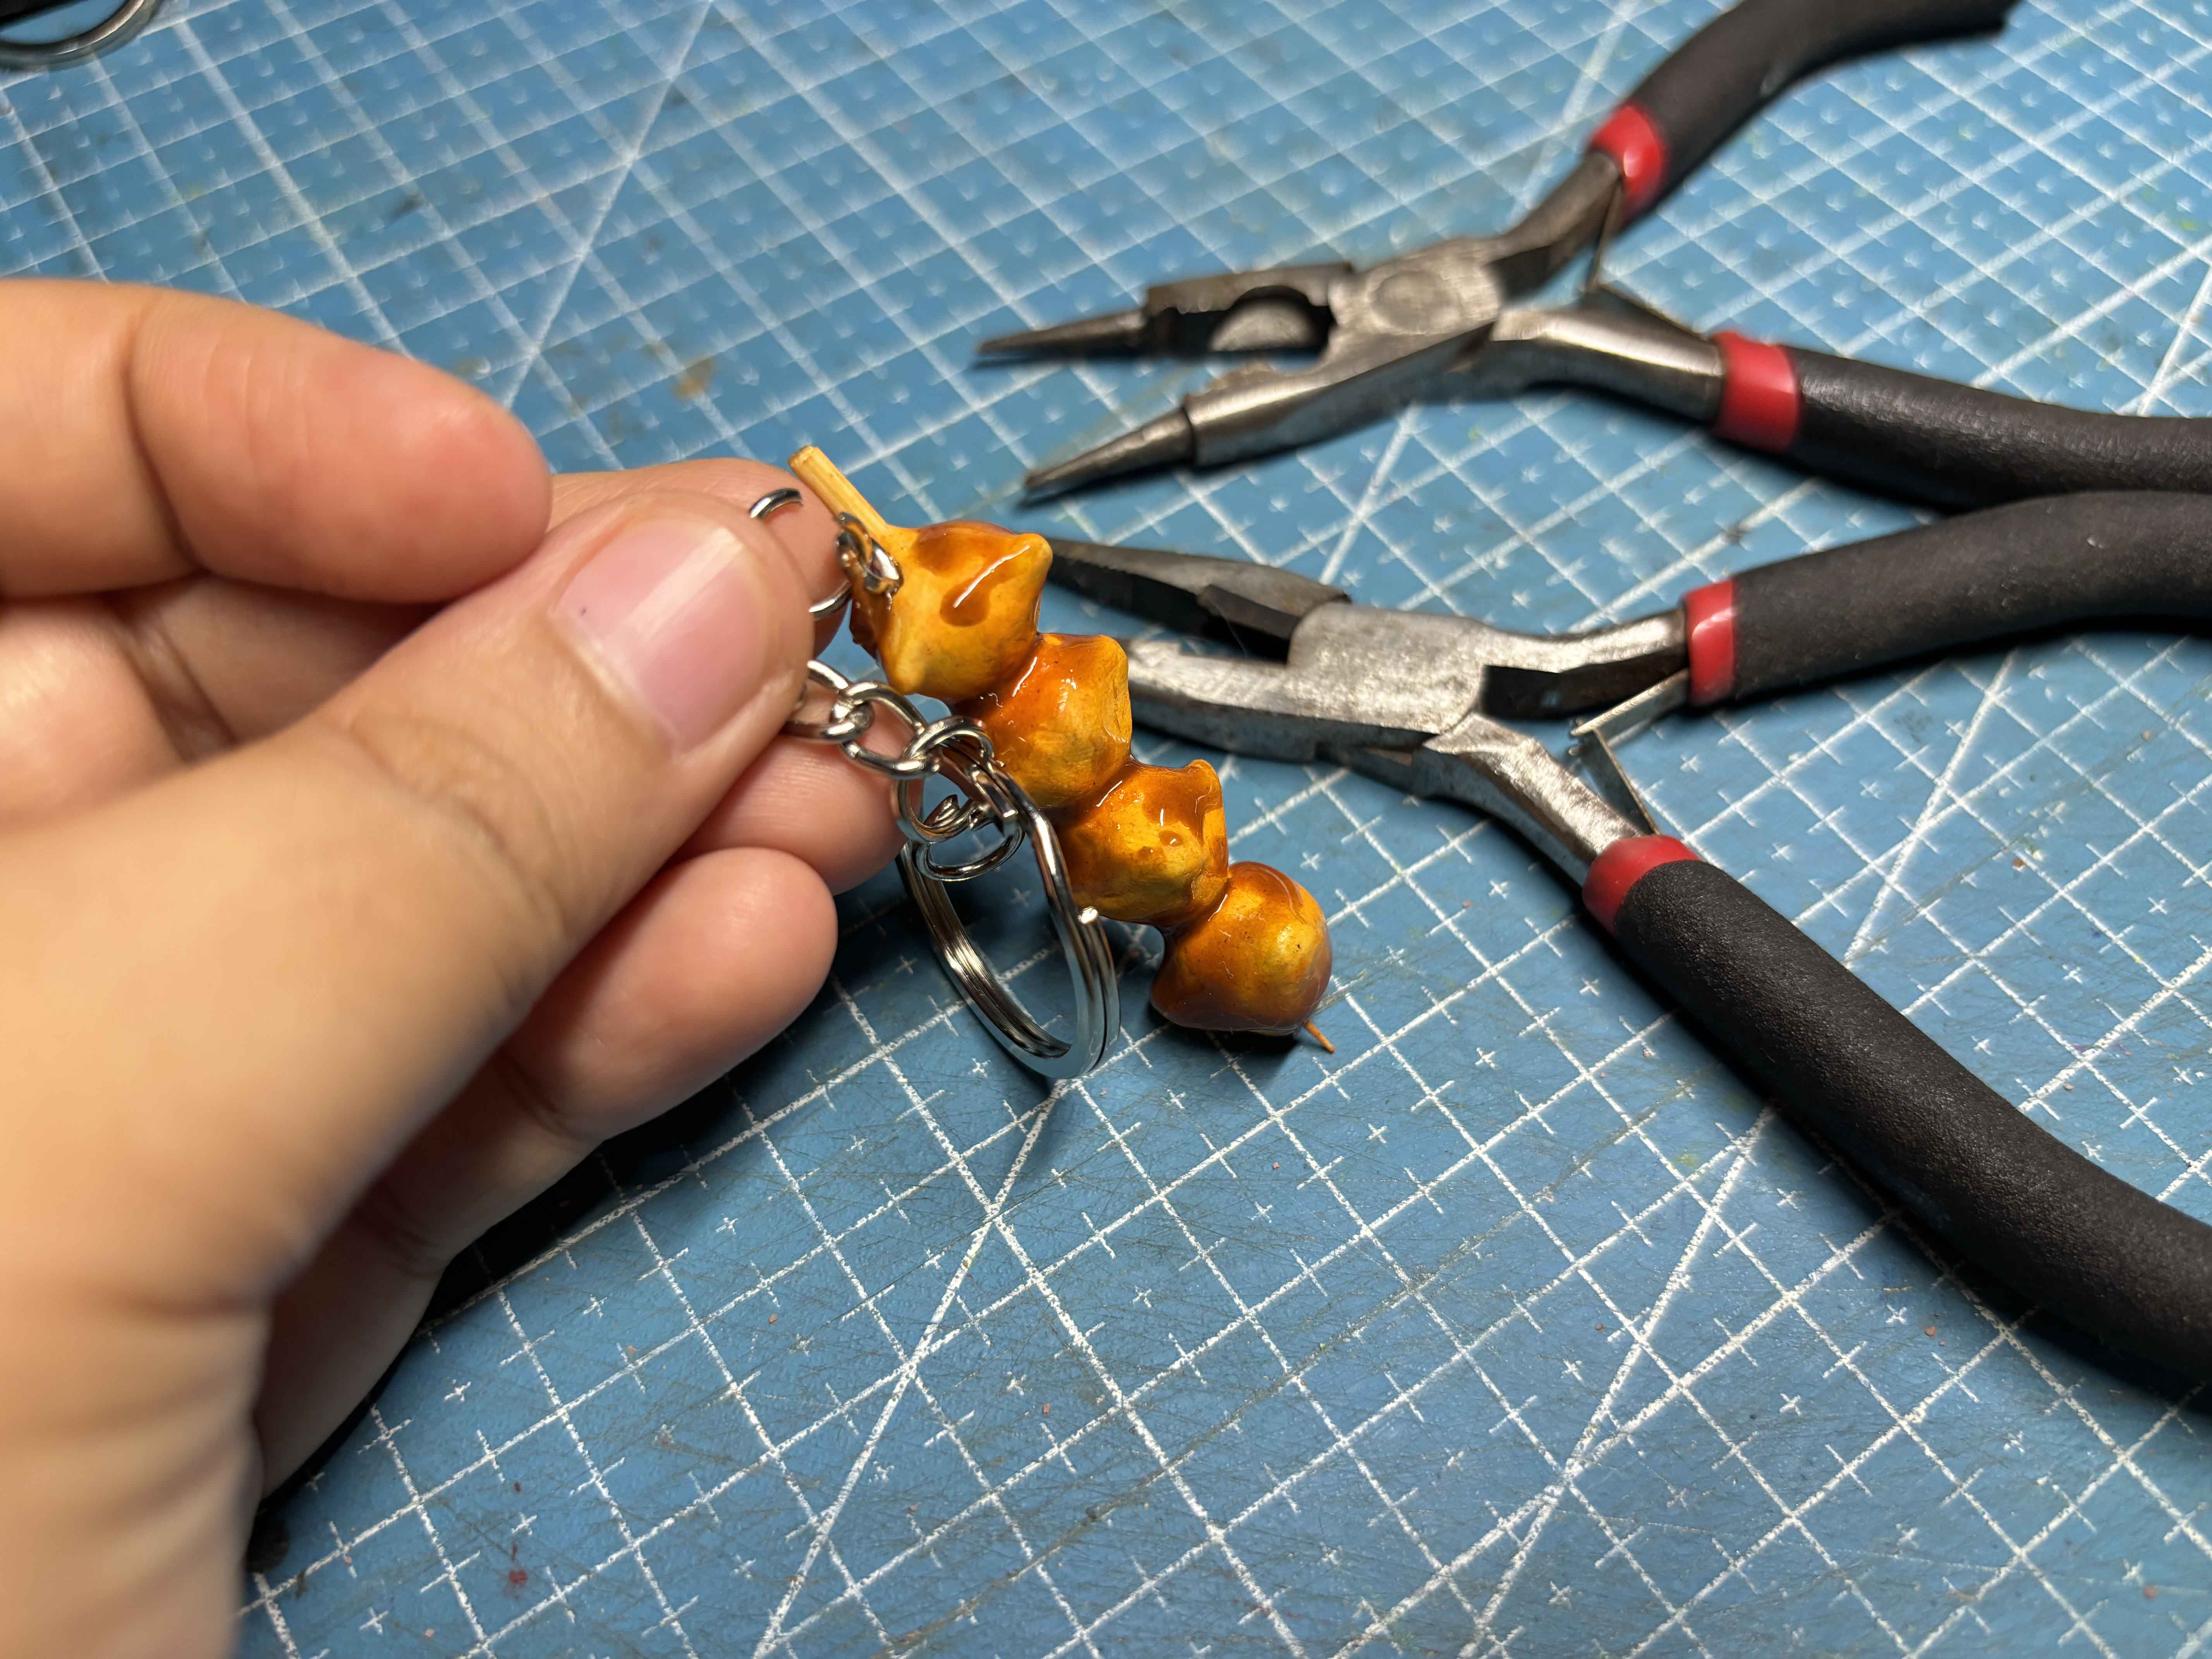
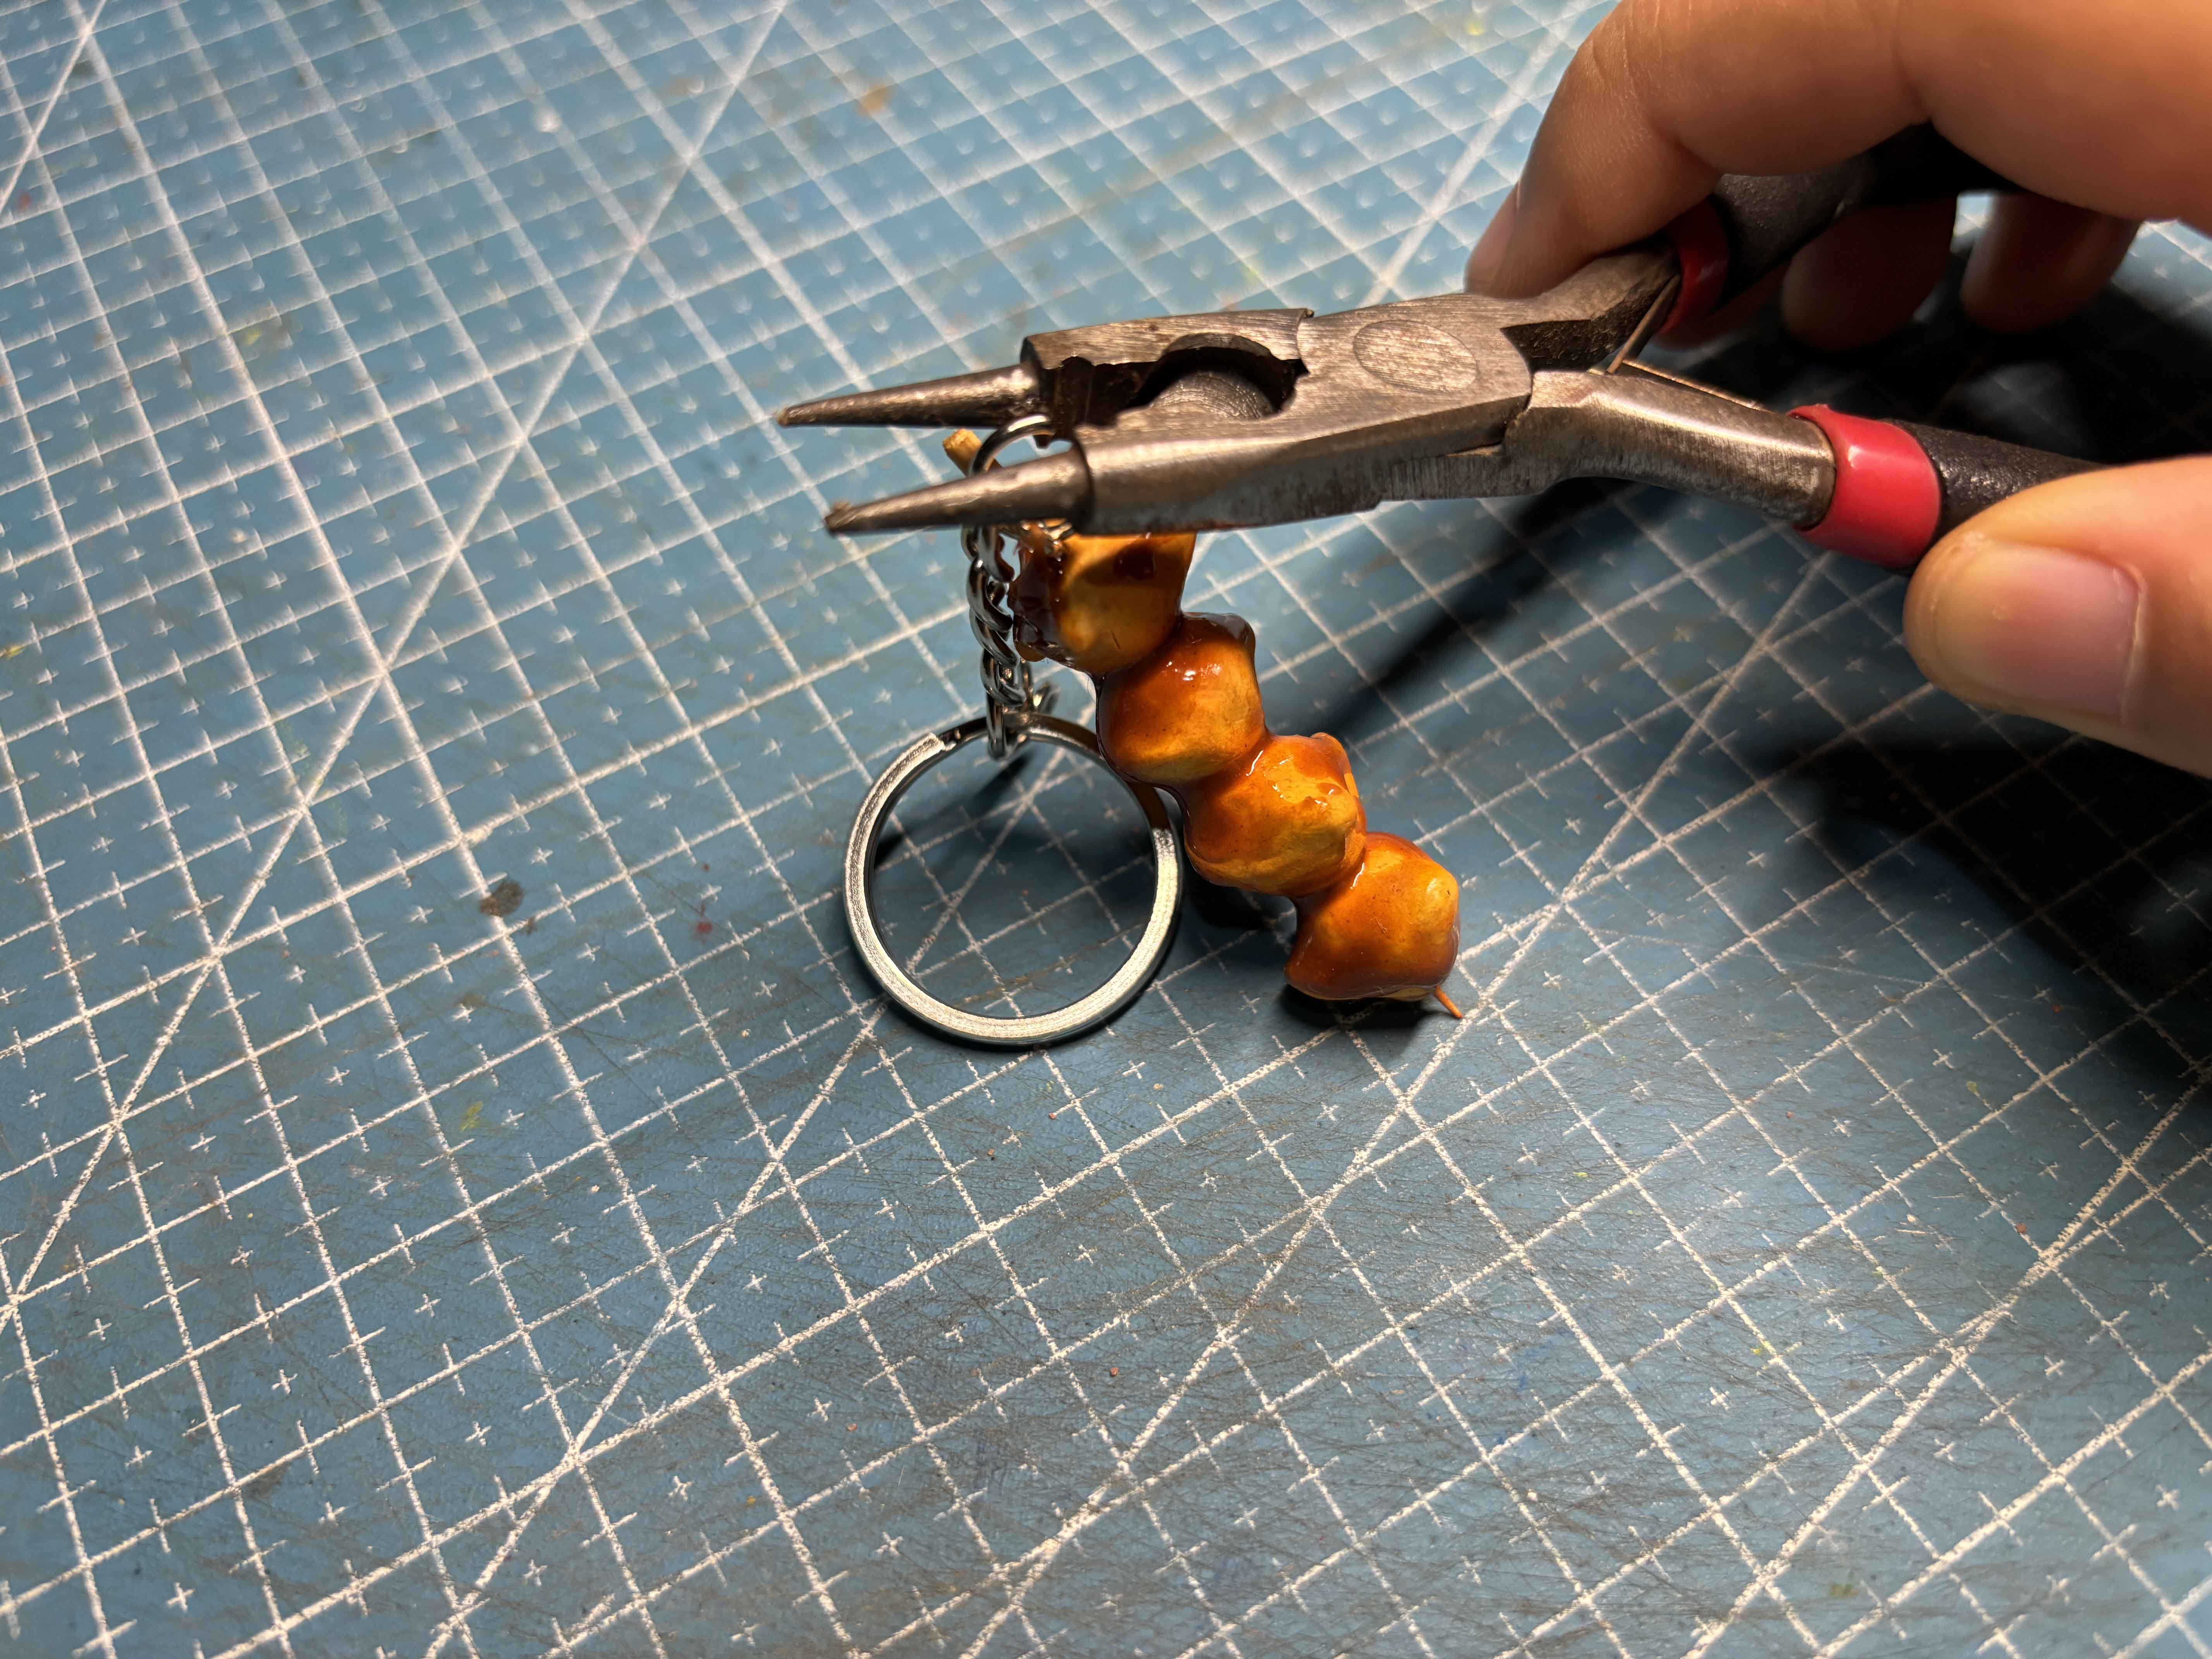
I hook the jumpring into the eyepin and then lock it using the pliers.
-----
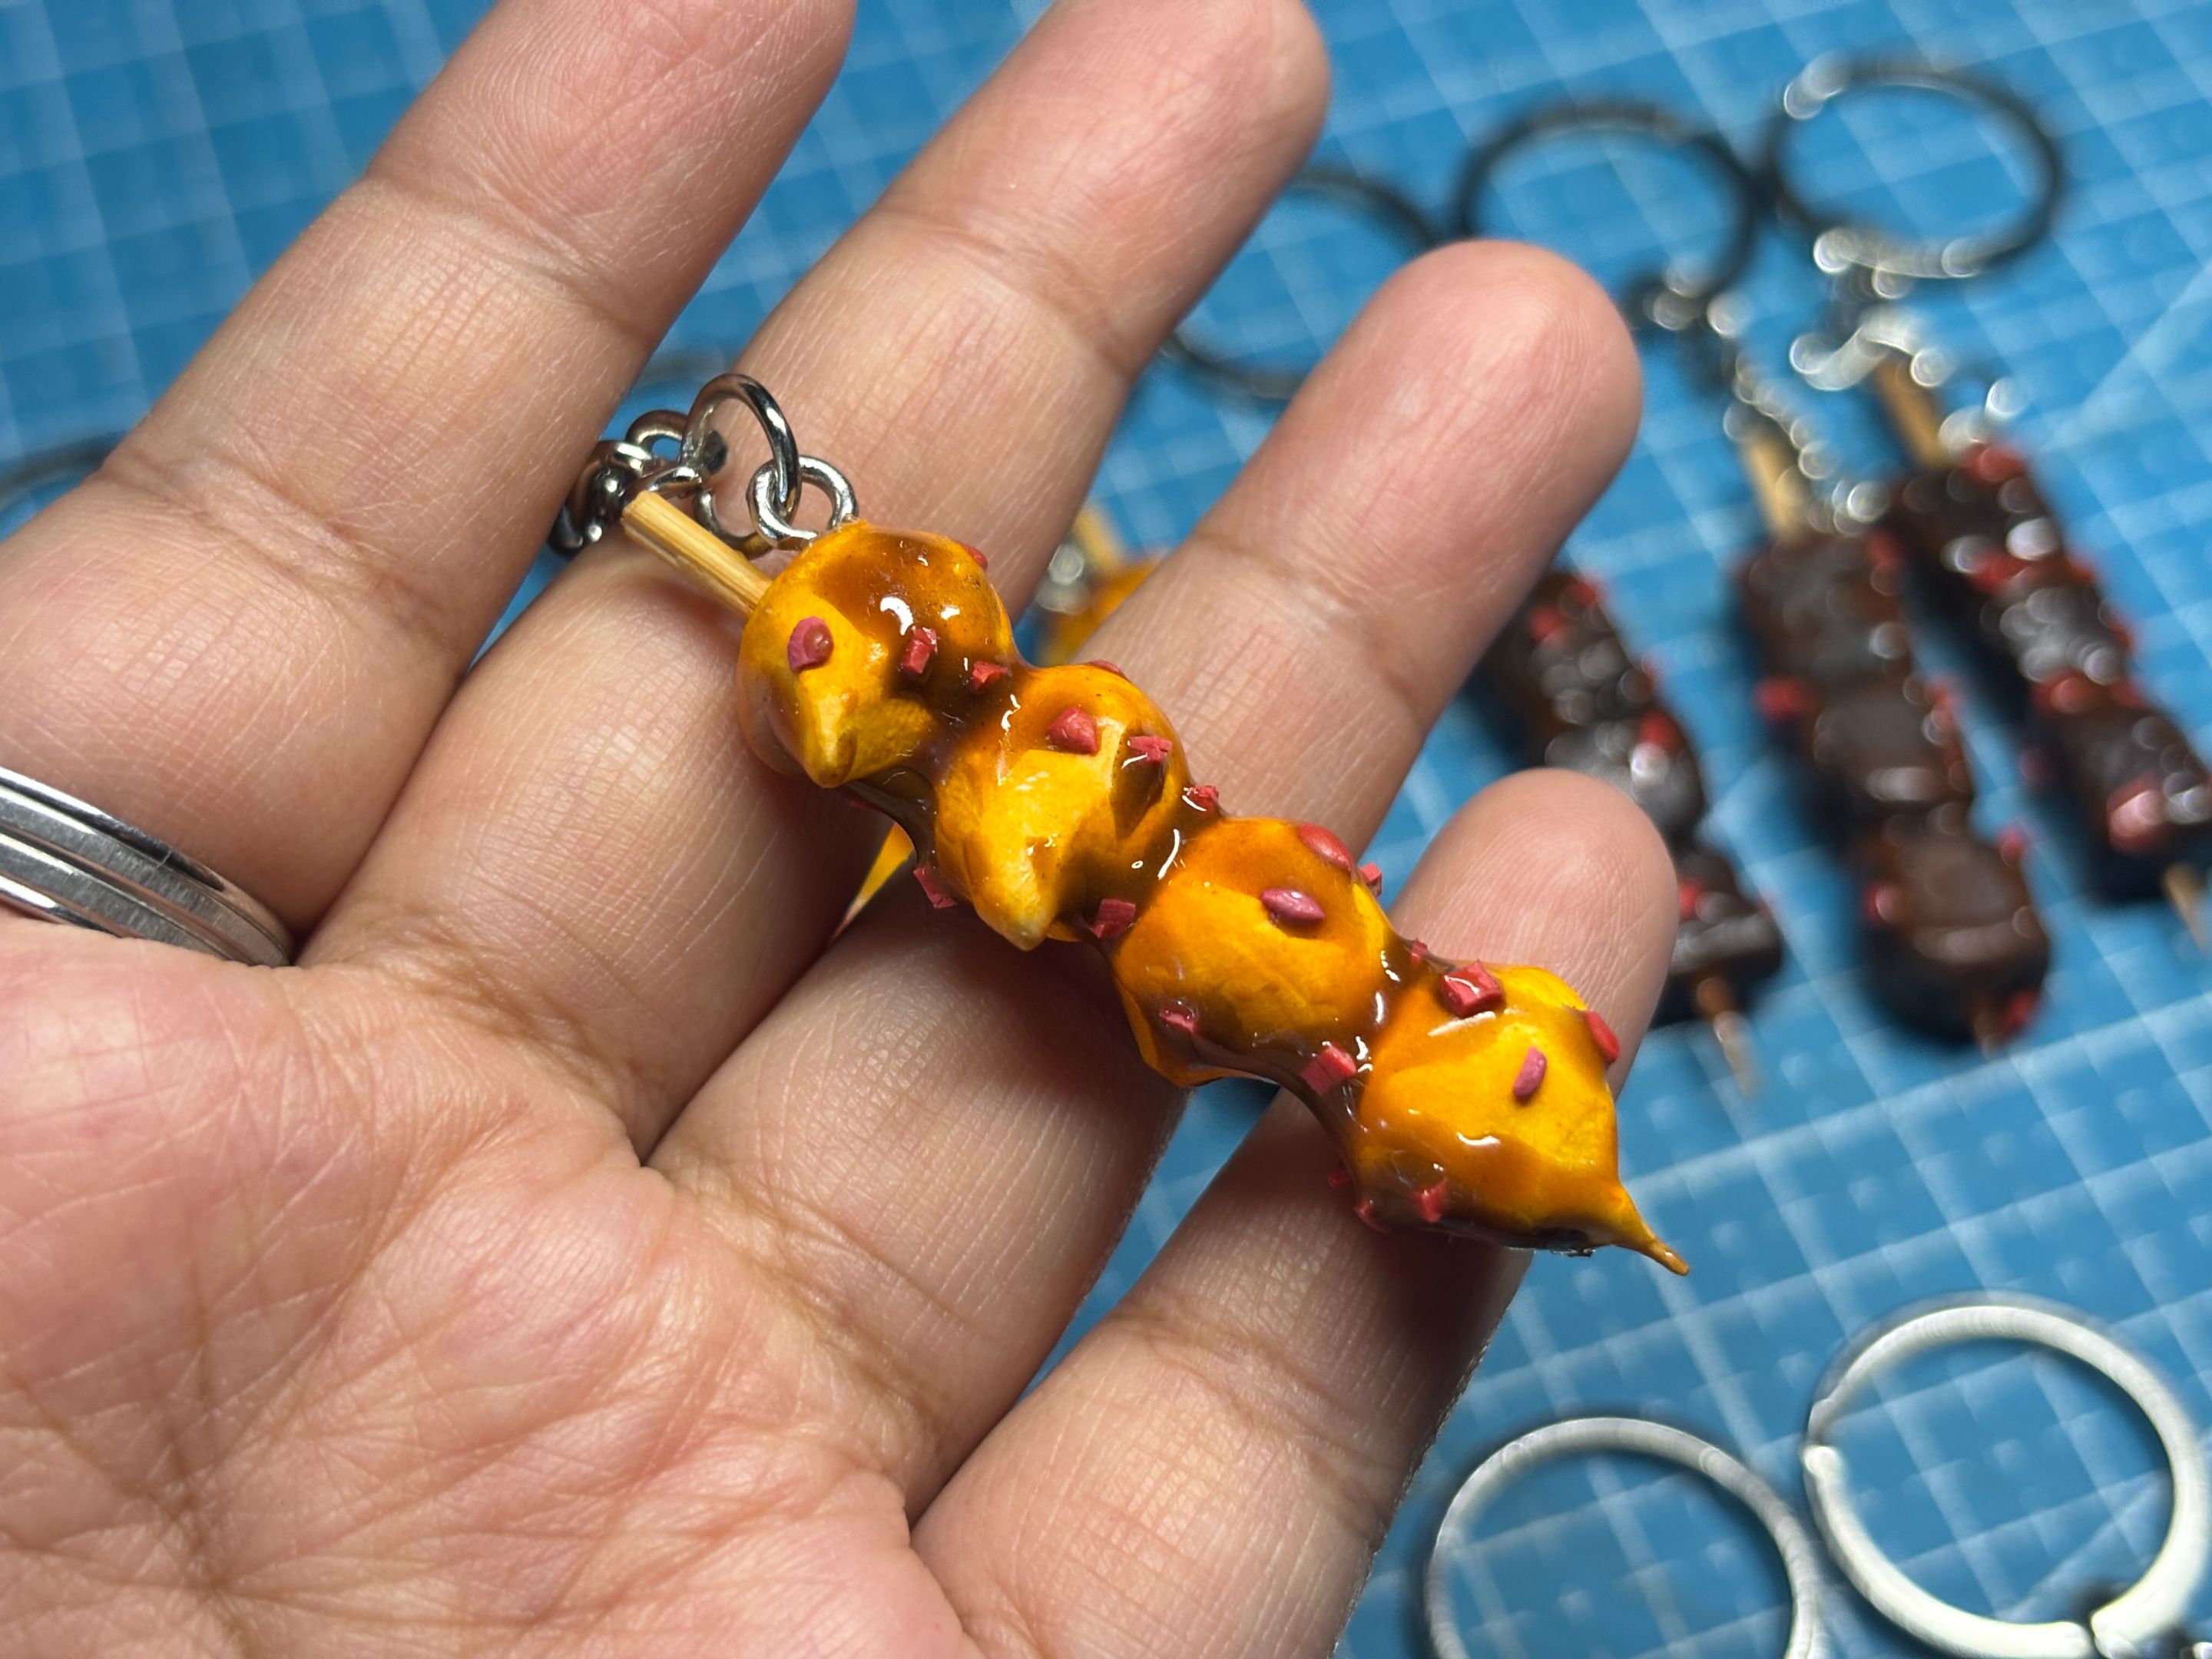
Forgot to add the chilis earlier, so I fixed it and added it, sorry.
----
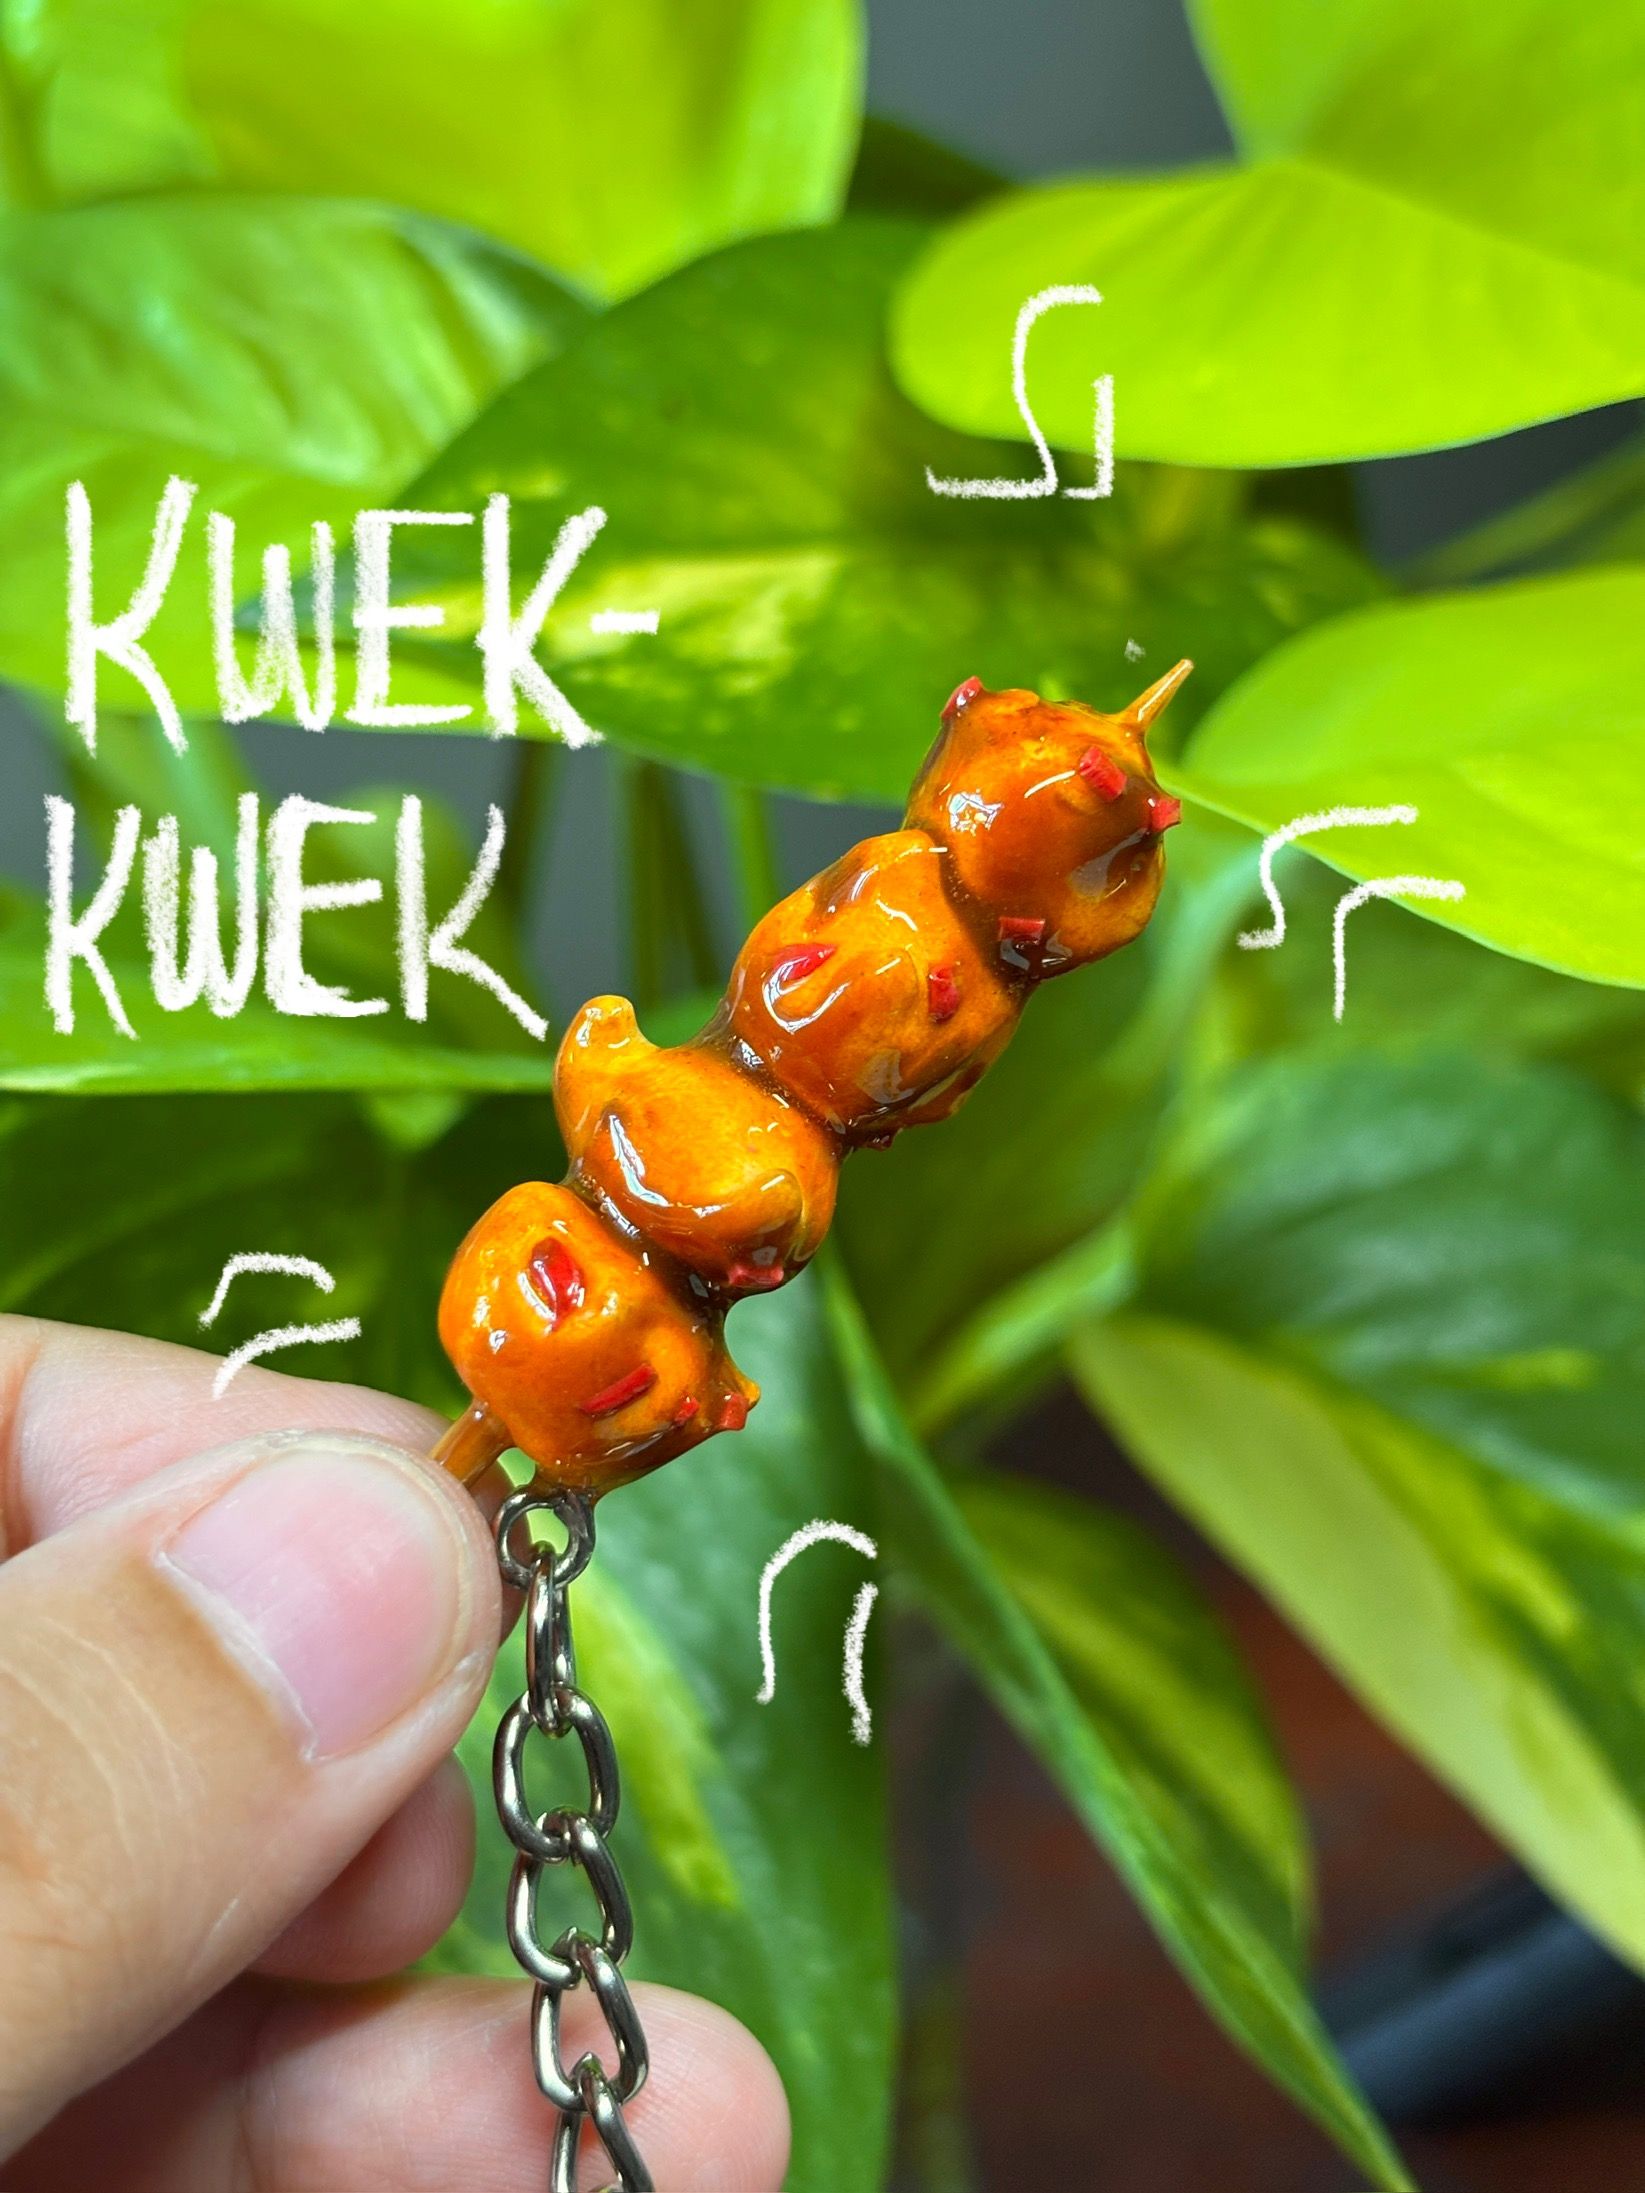
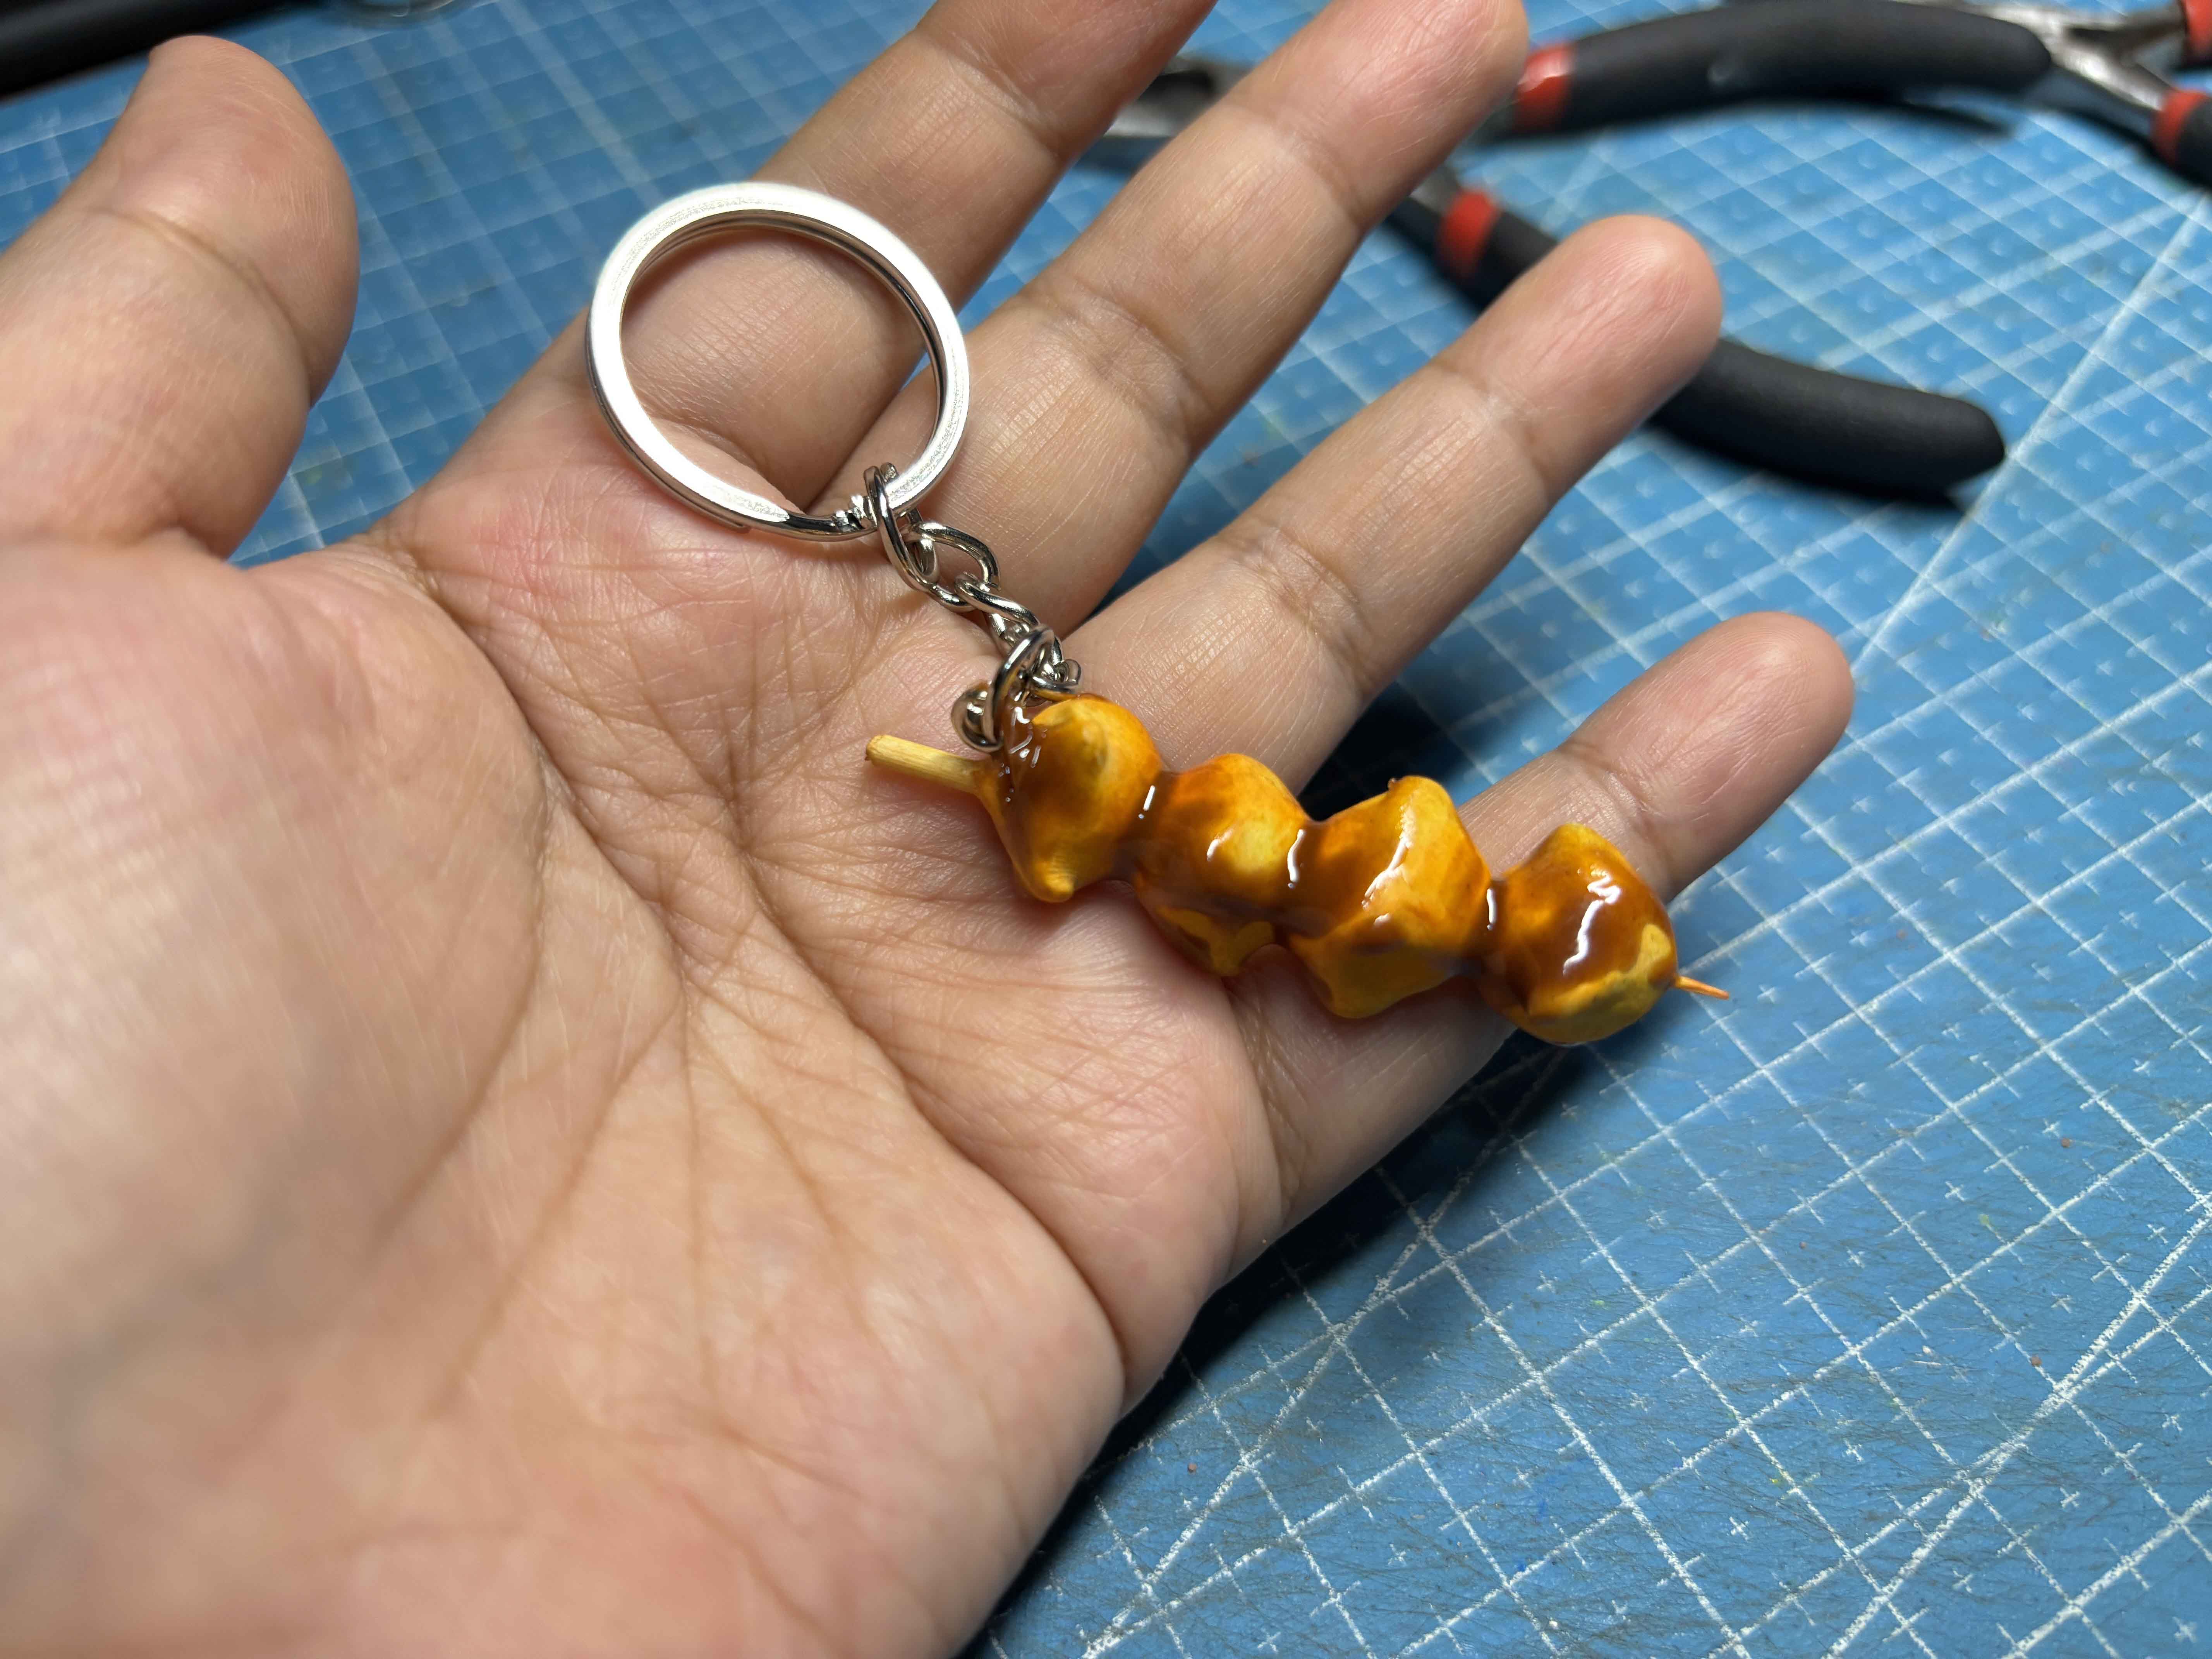
Did a little photoshoot.
----
Thank you for visiting, see you on my next blog. :D
Please take care of your mental health as well.
I hope you are okay today :))
---