Hello, how are you? I've been so busy lately that I realized it has been days since I posted a blog. I was so busy stressing about this clay charm I am designing.
Those days, I've been practicing how I am going to execute the character I drew into a clay charm, so I thought I could do it in a single trial, but no! LOL.
It needed to be precise to the weight of the clay because once you mess up everything looks weird, and that makes me challenge myself to do it, and I guess it is pretty stressful, but satisfying at the end because I know I am improving.
I am thinking if I should document the process because the pressure it is giving me makes me not want to, but I did, so I am happy for that! So for today's blog, I am going to show you the process and how messy it is to do it. Enjoy!
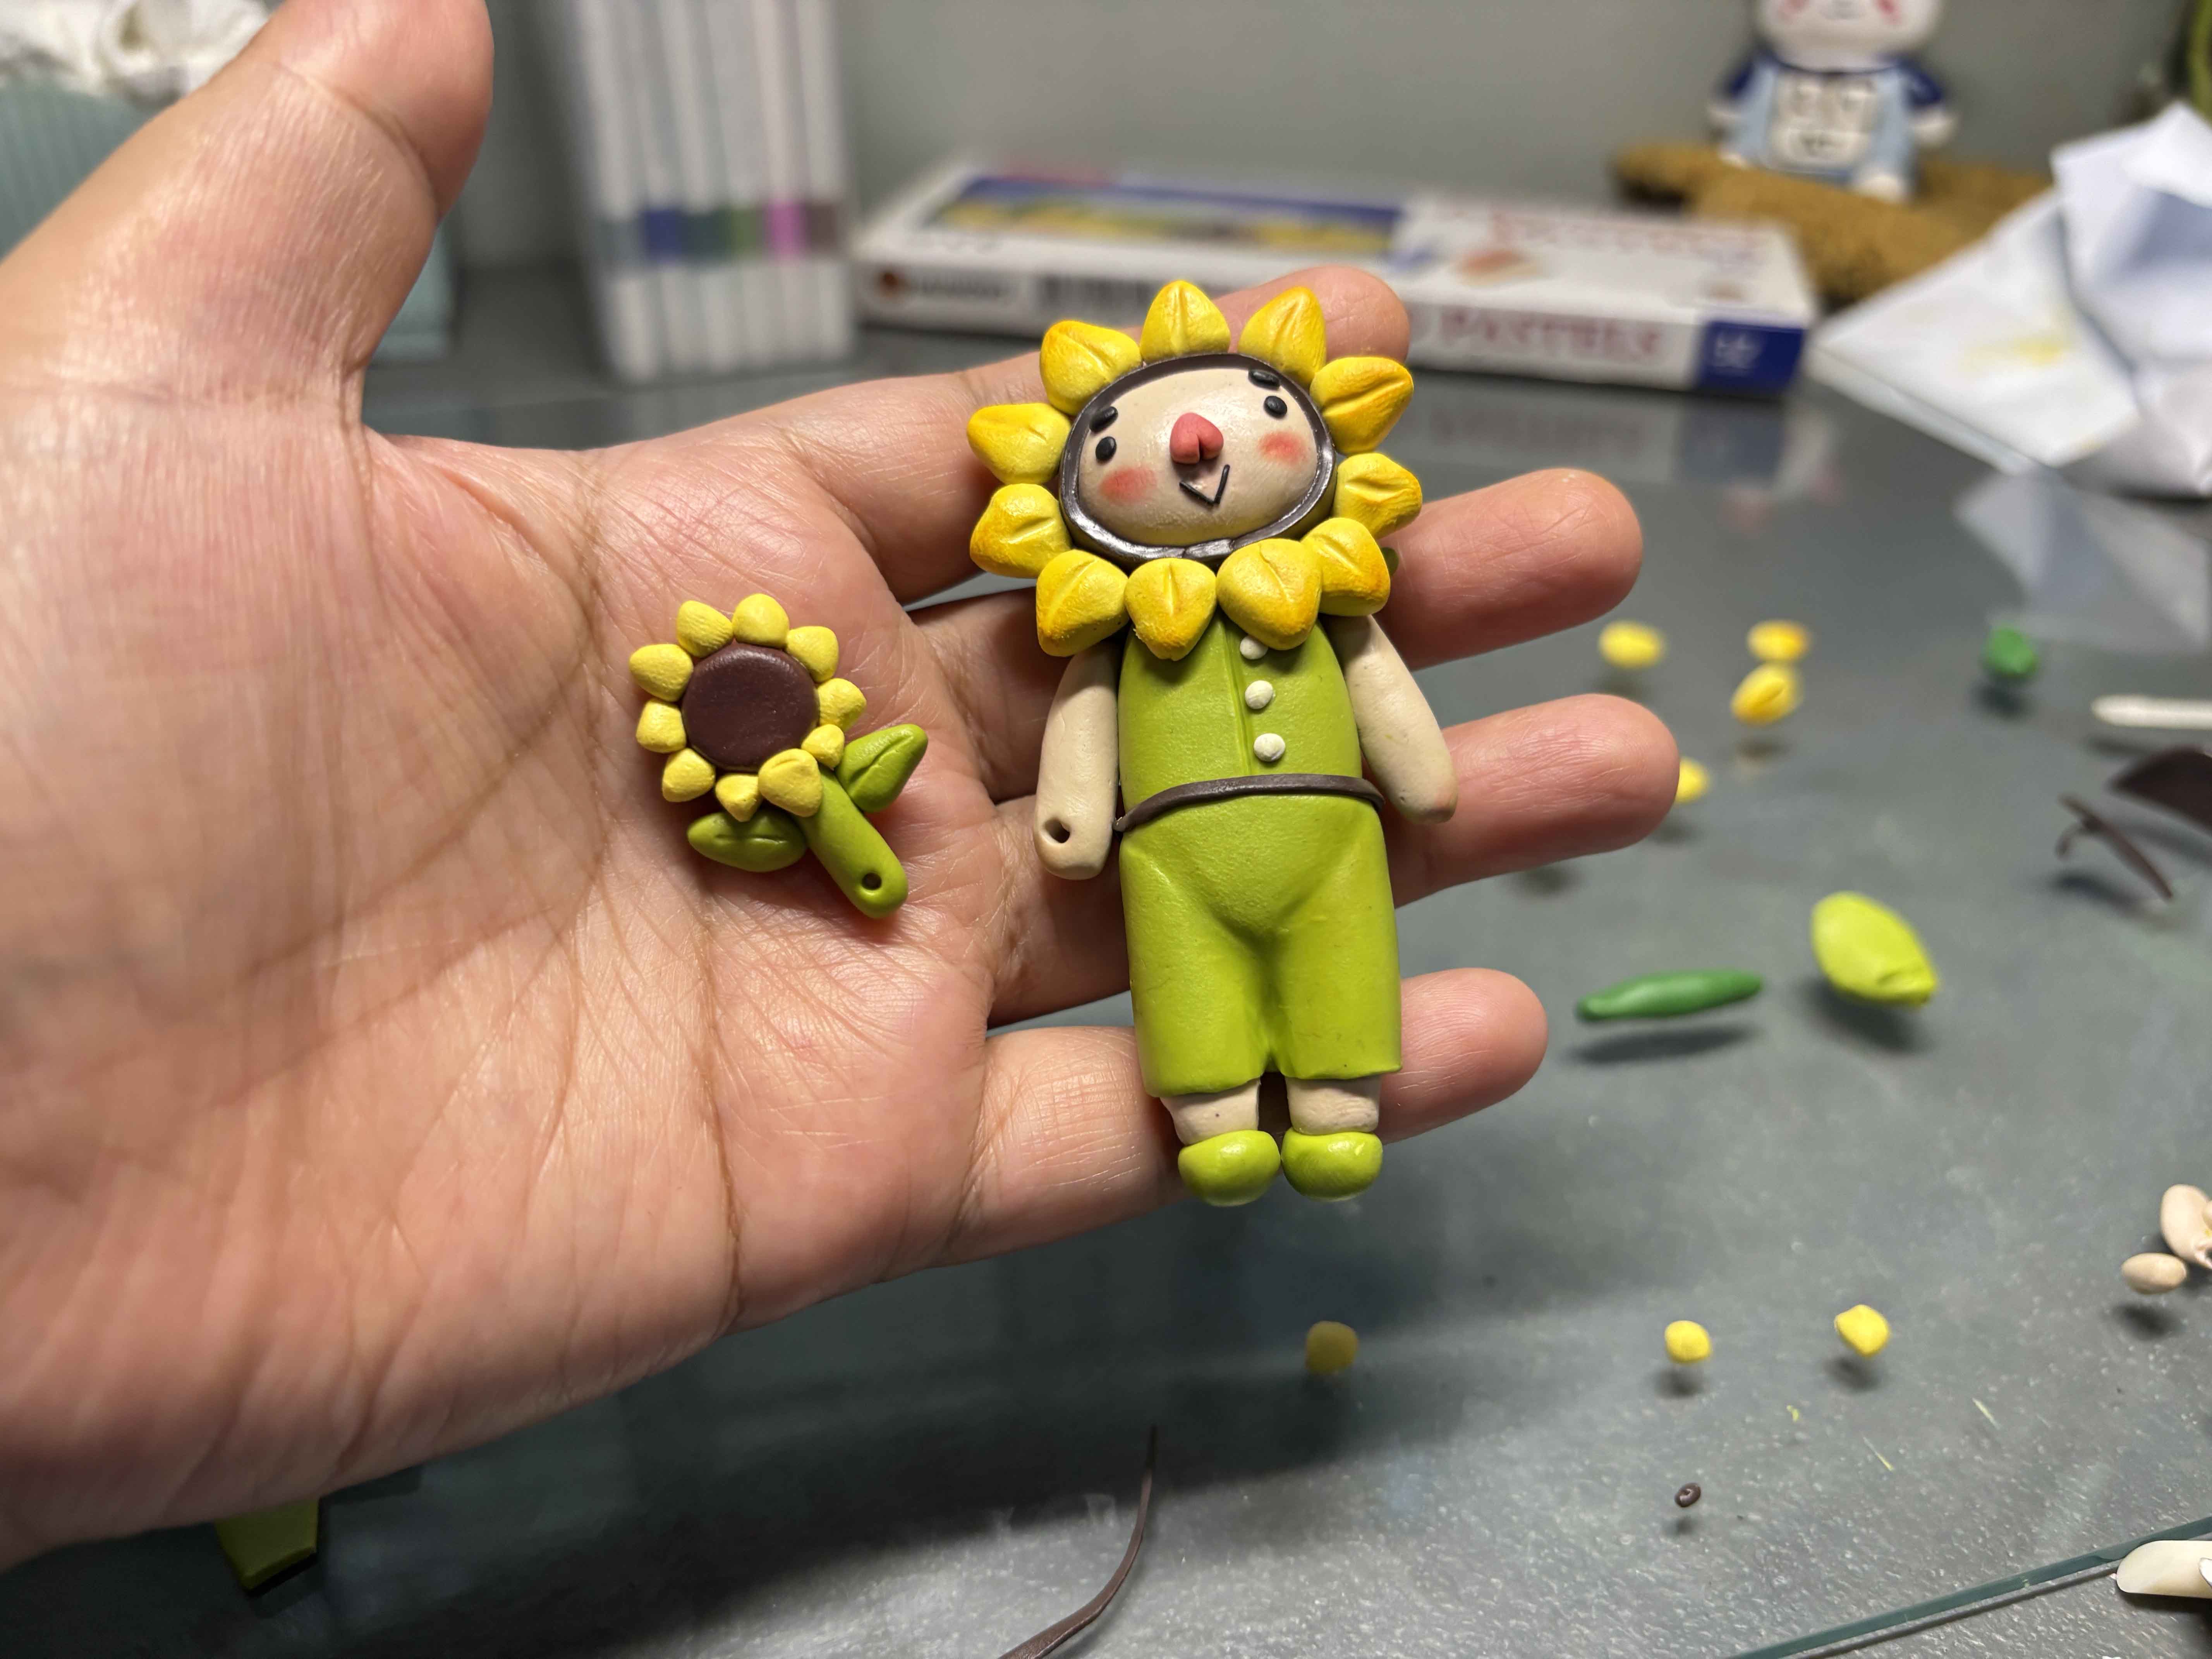
So the for the clay charm I am going to make is Mr. Sun, he is a character who my inspo is from a sunflower, yes sunflower. I recently discovered my love for sunflowers, so I tend to add those sometimes to my art, so yeah.
----
 -----
-----
-----
-----
---
Materials I Used:
- Polymer Clay
- Portable Weighing Scale
- Soft Pastels
- X-Acto Knife
- Wire
- Alcohol
- Qtip
- Makeup Brush
- Eyepin
- Acrylic Rolling Pin
- Jump ring
- Gum Container
- Oven
- Silicone Mat
- Uv Resin
- Face Shield/Facemask
- Disposable Gloves
- Uv Lamp
- Pliers
- Keychain
Craft Time!
The Sketch of The Charm:
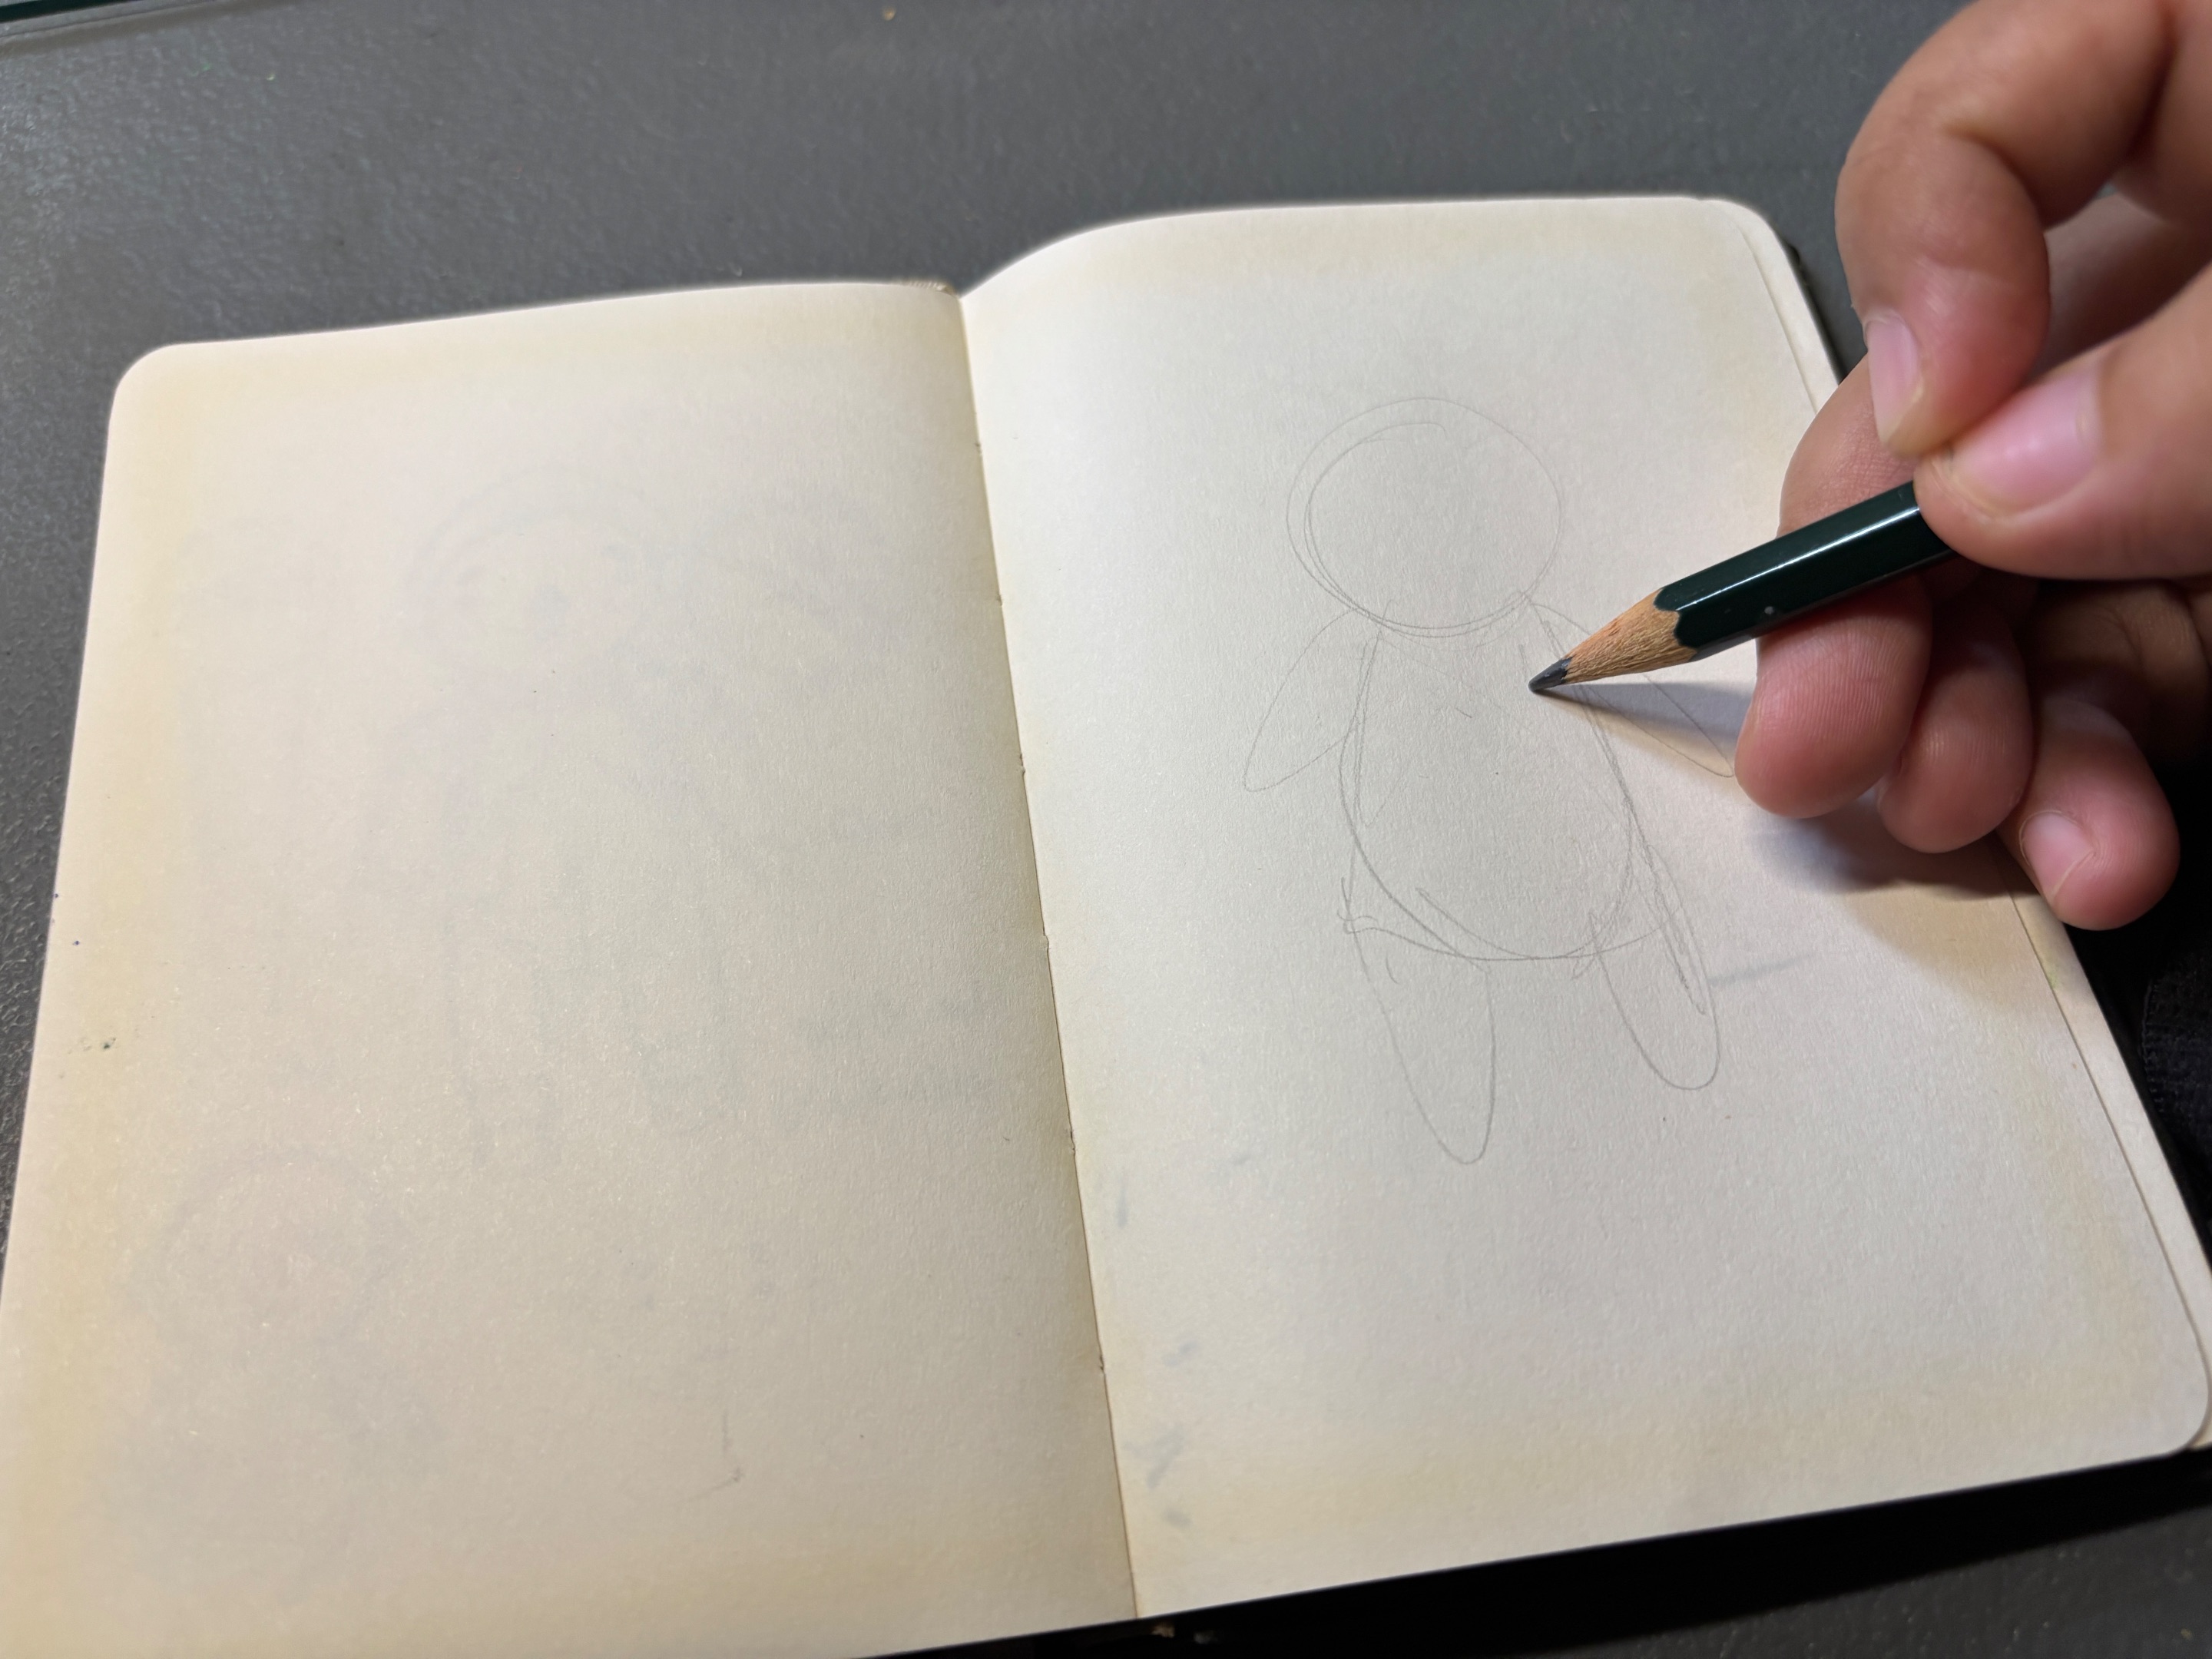
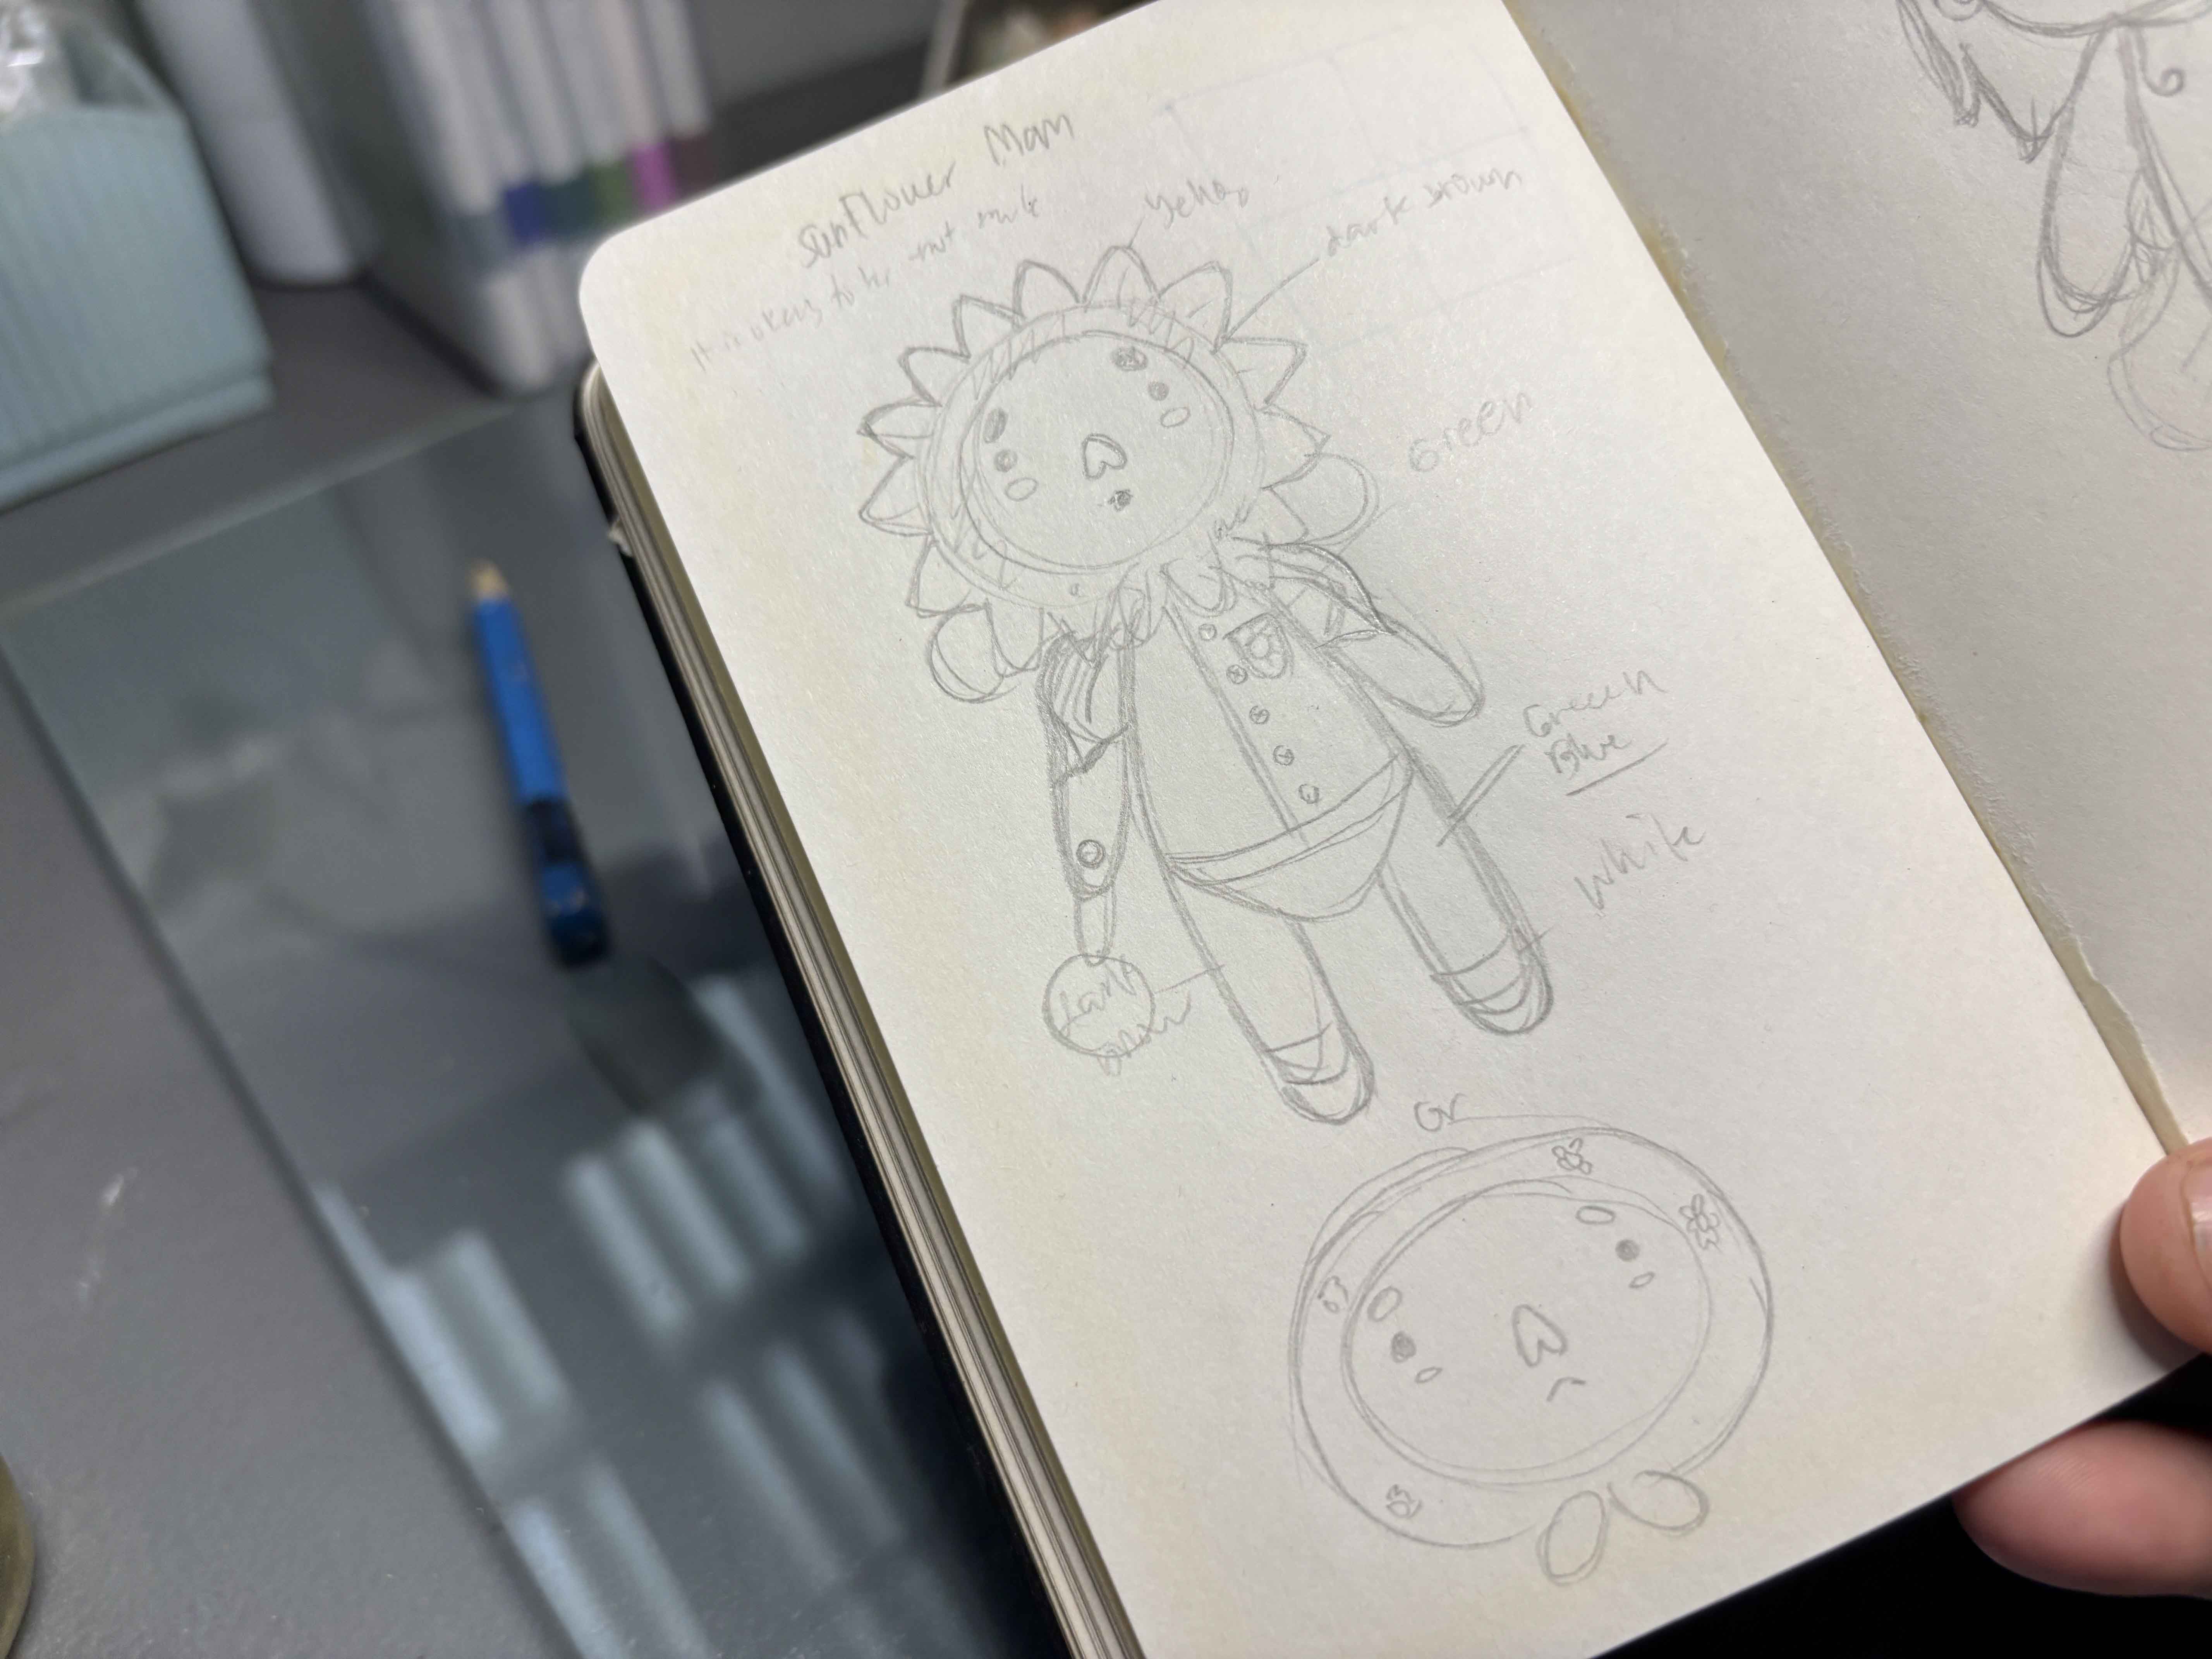
This is the sketch of Mr. Sun. The color and the design I based on the variations of colors of polymer clay I bought before.
-----
----
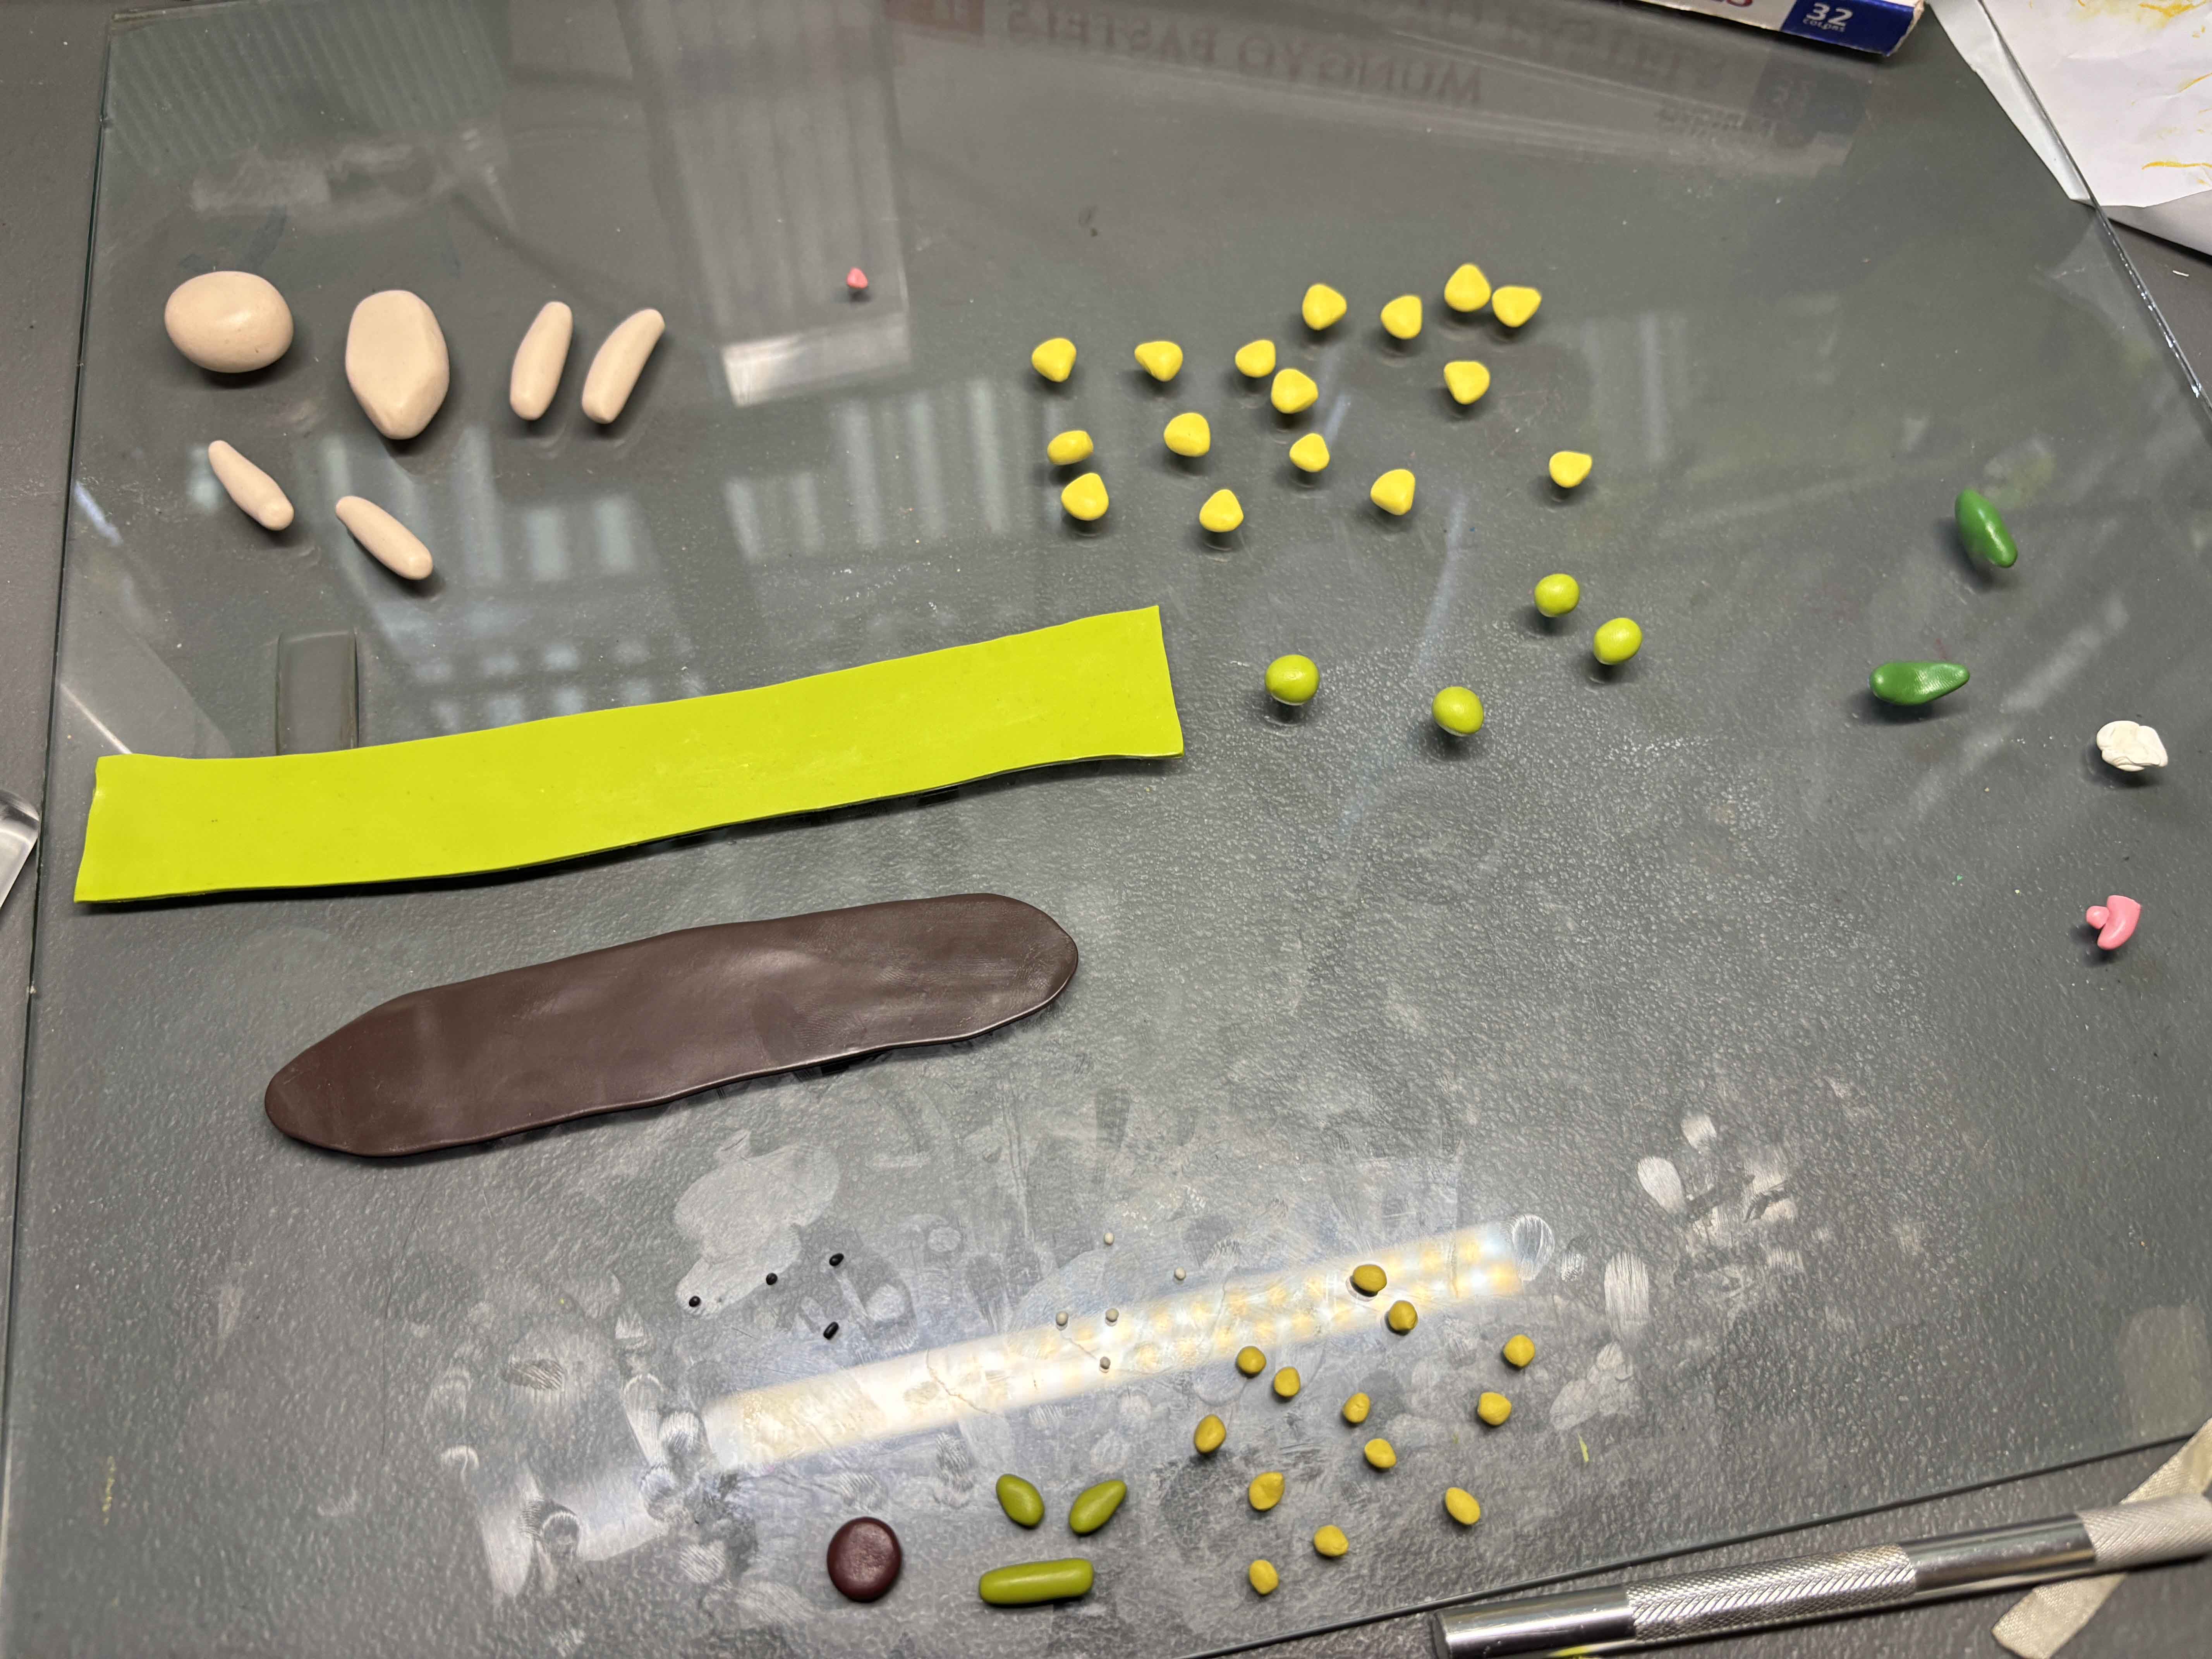
Conditioning the Clay:

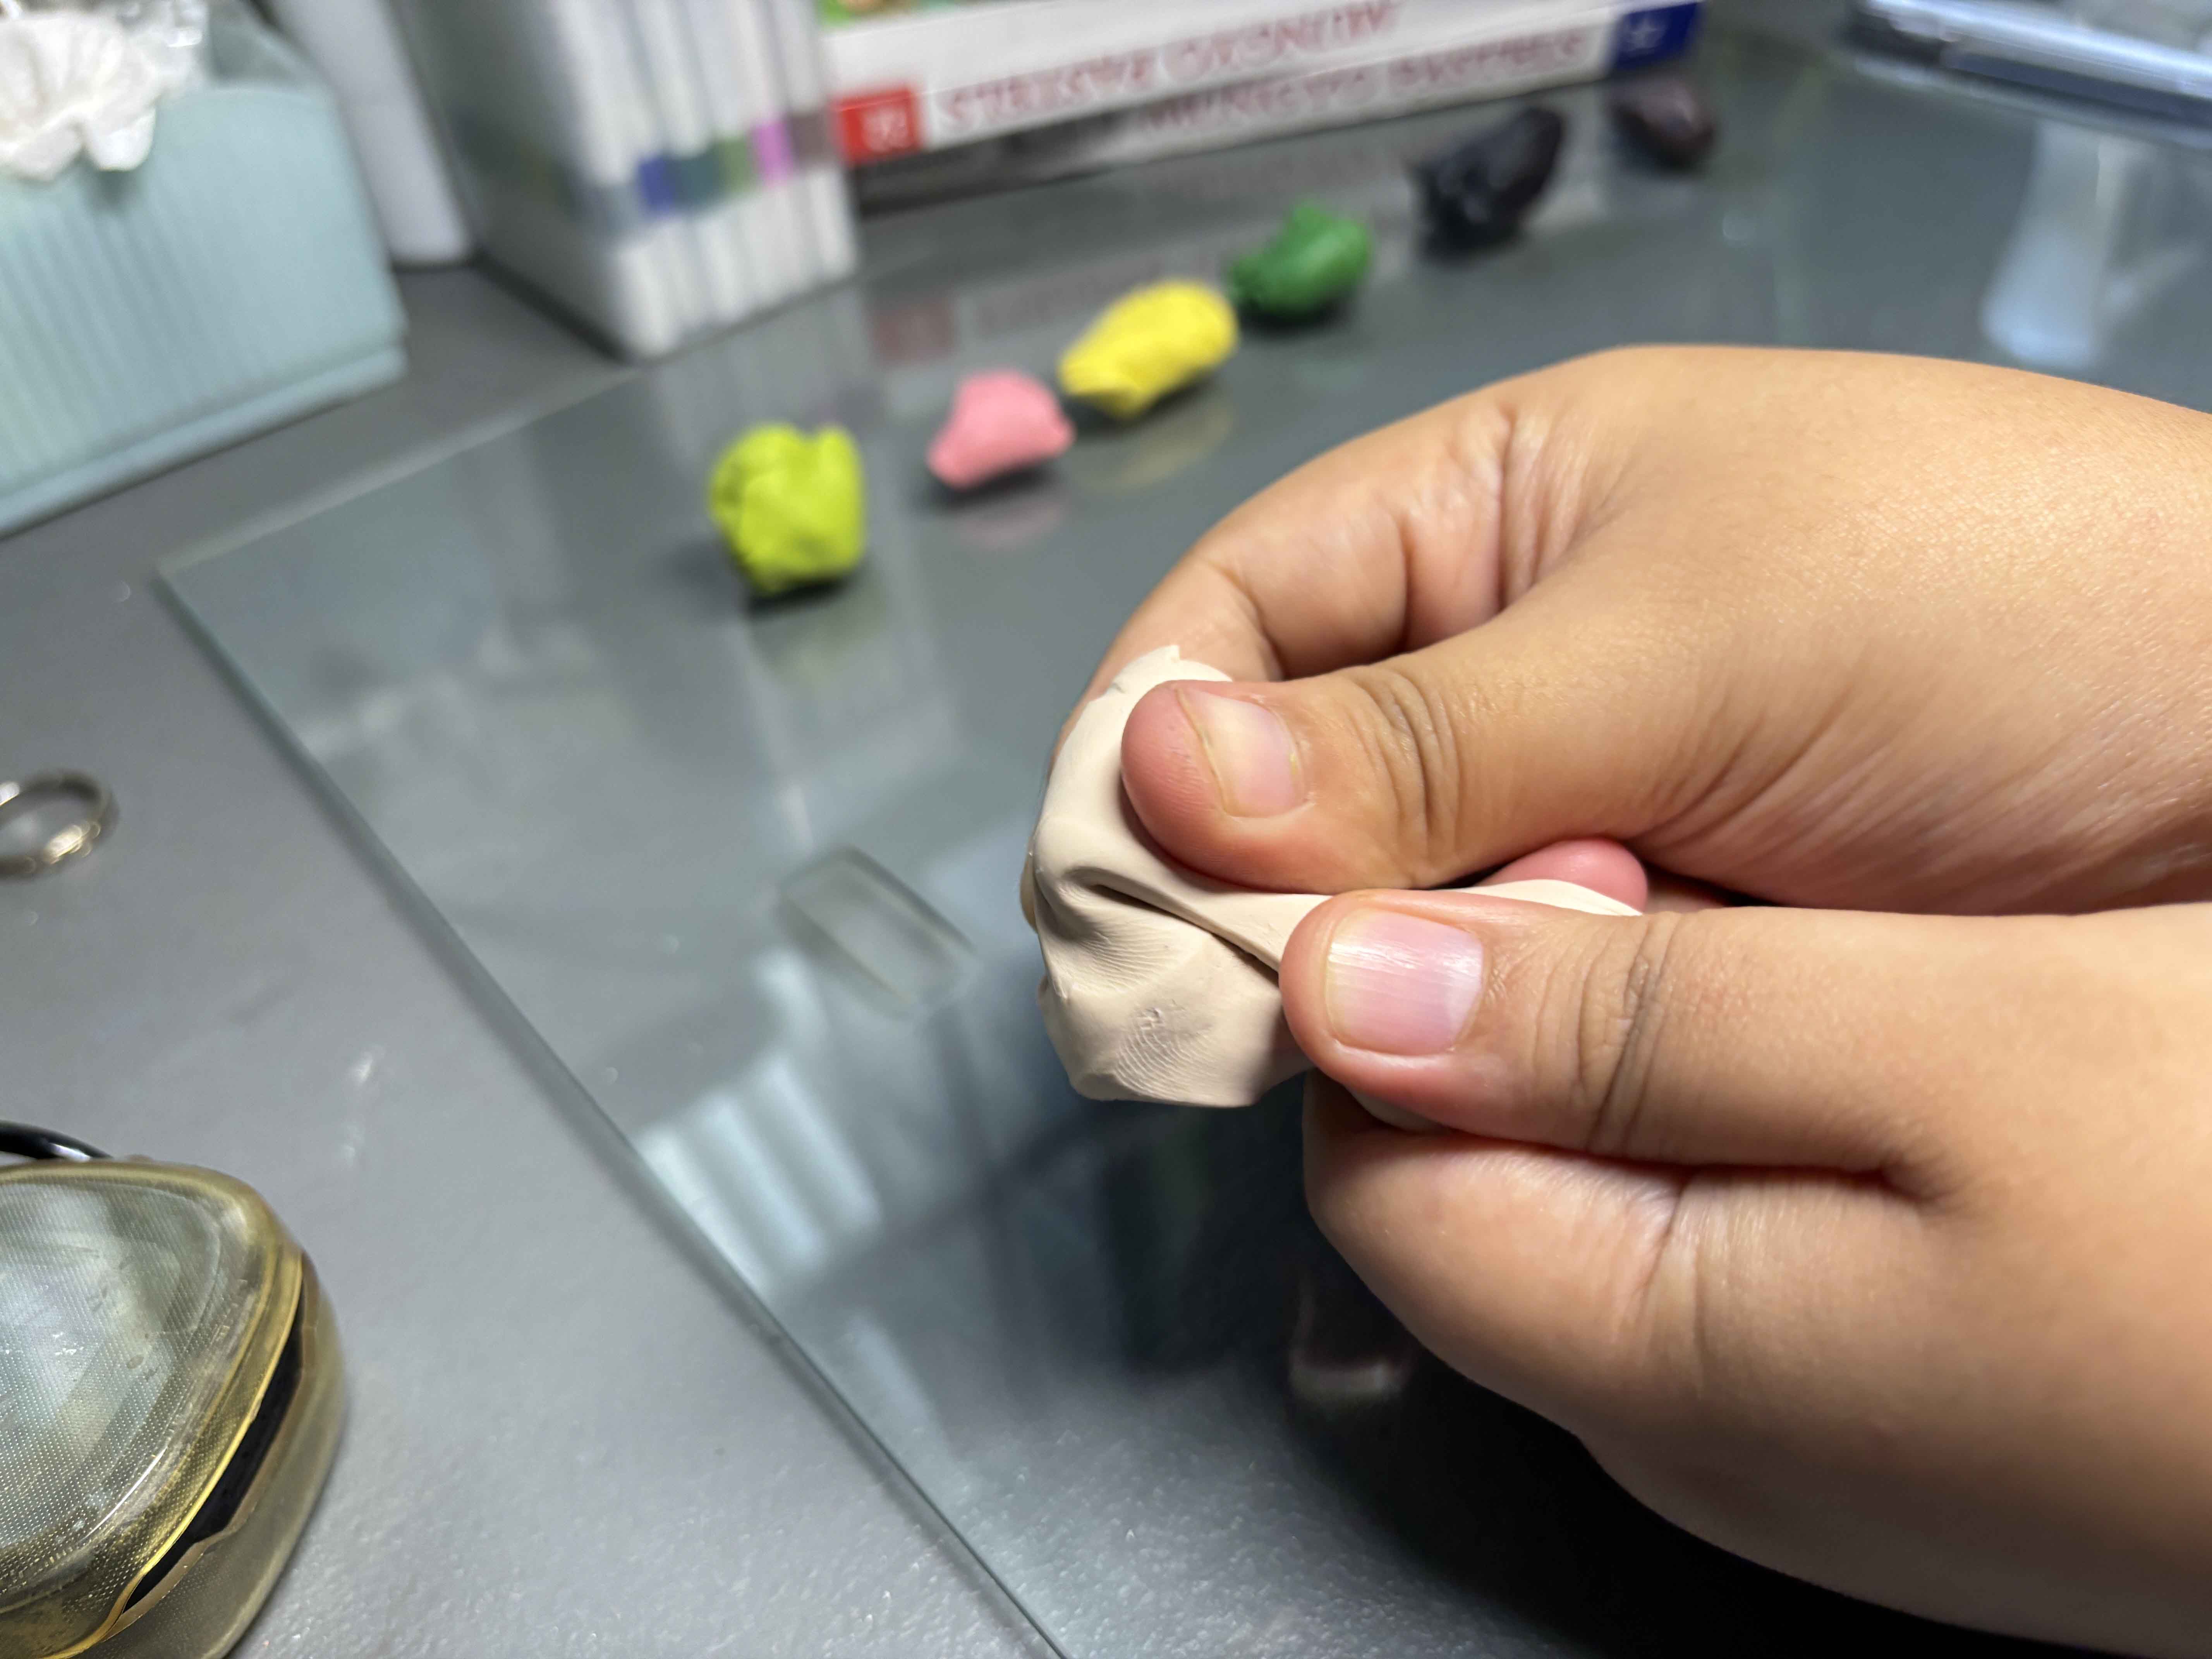
These are the colors I have and need to use. I condition them by kneading them until the texture is smooth.
------
----
Weighting and Shaping the Body Parts:
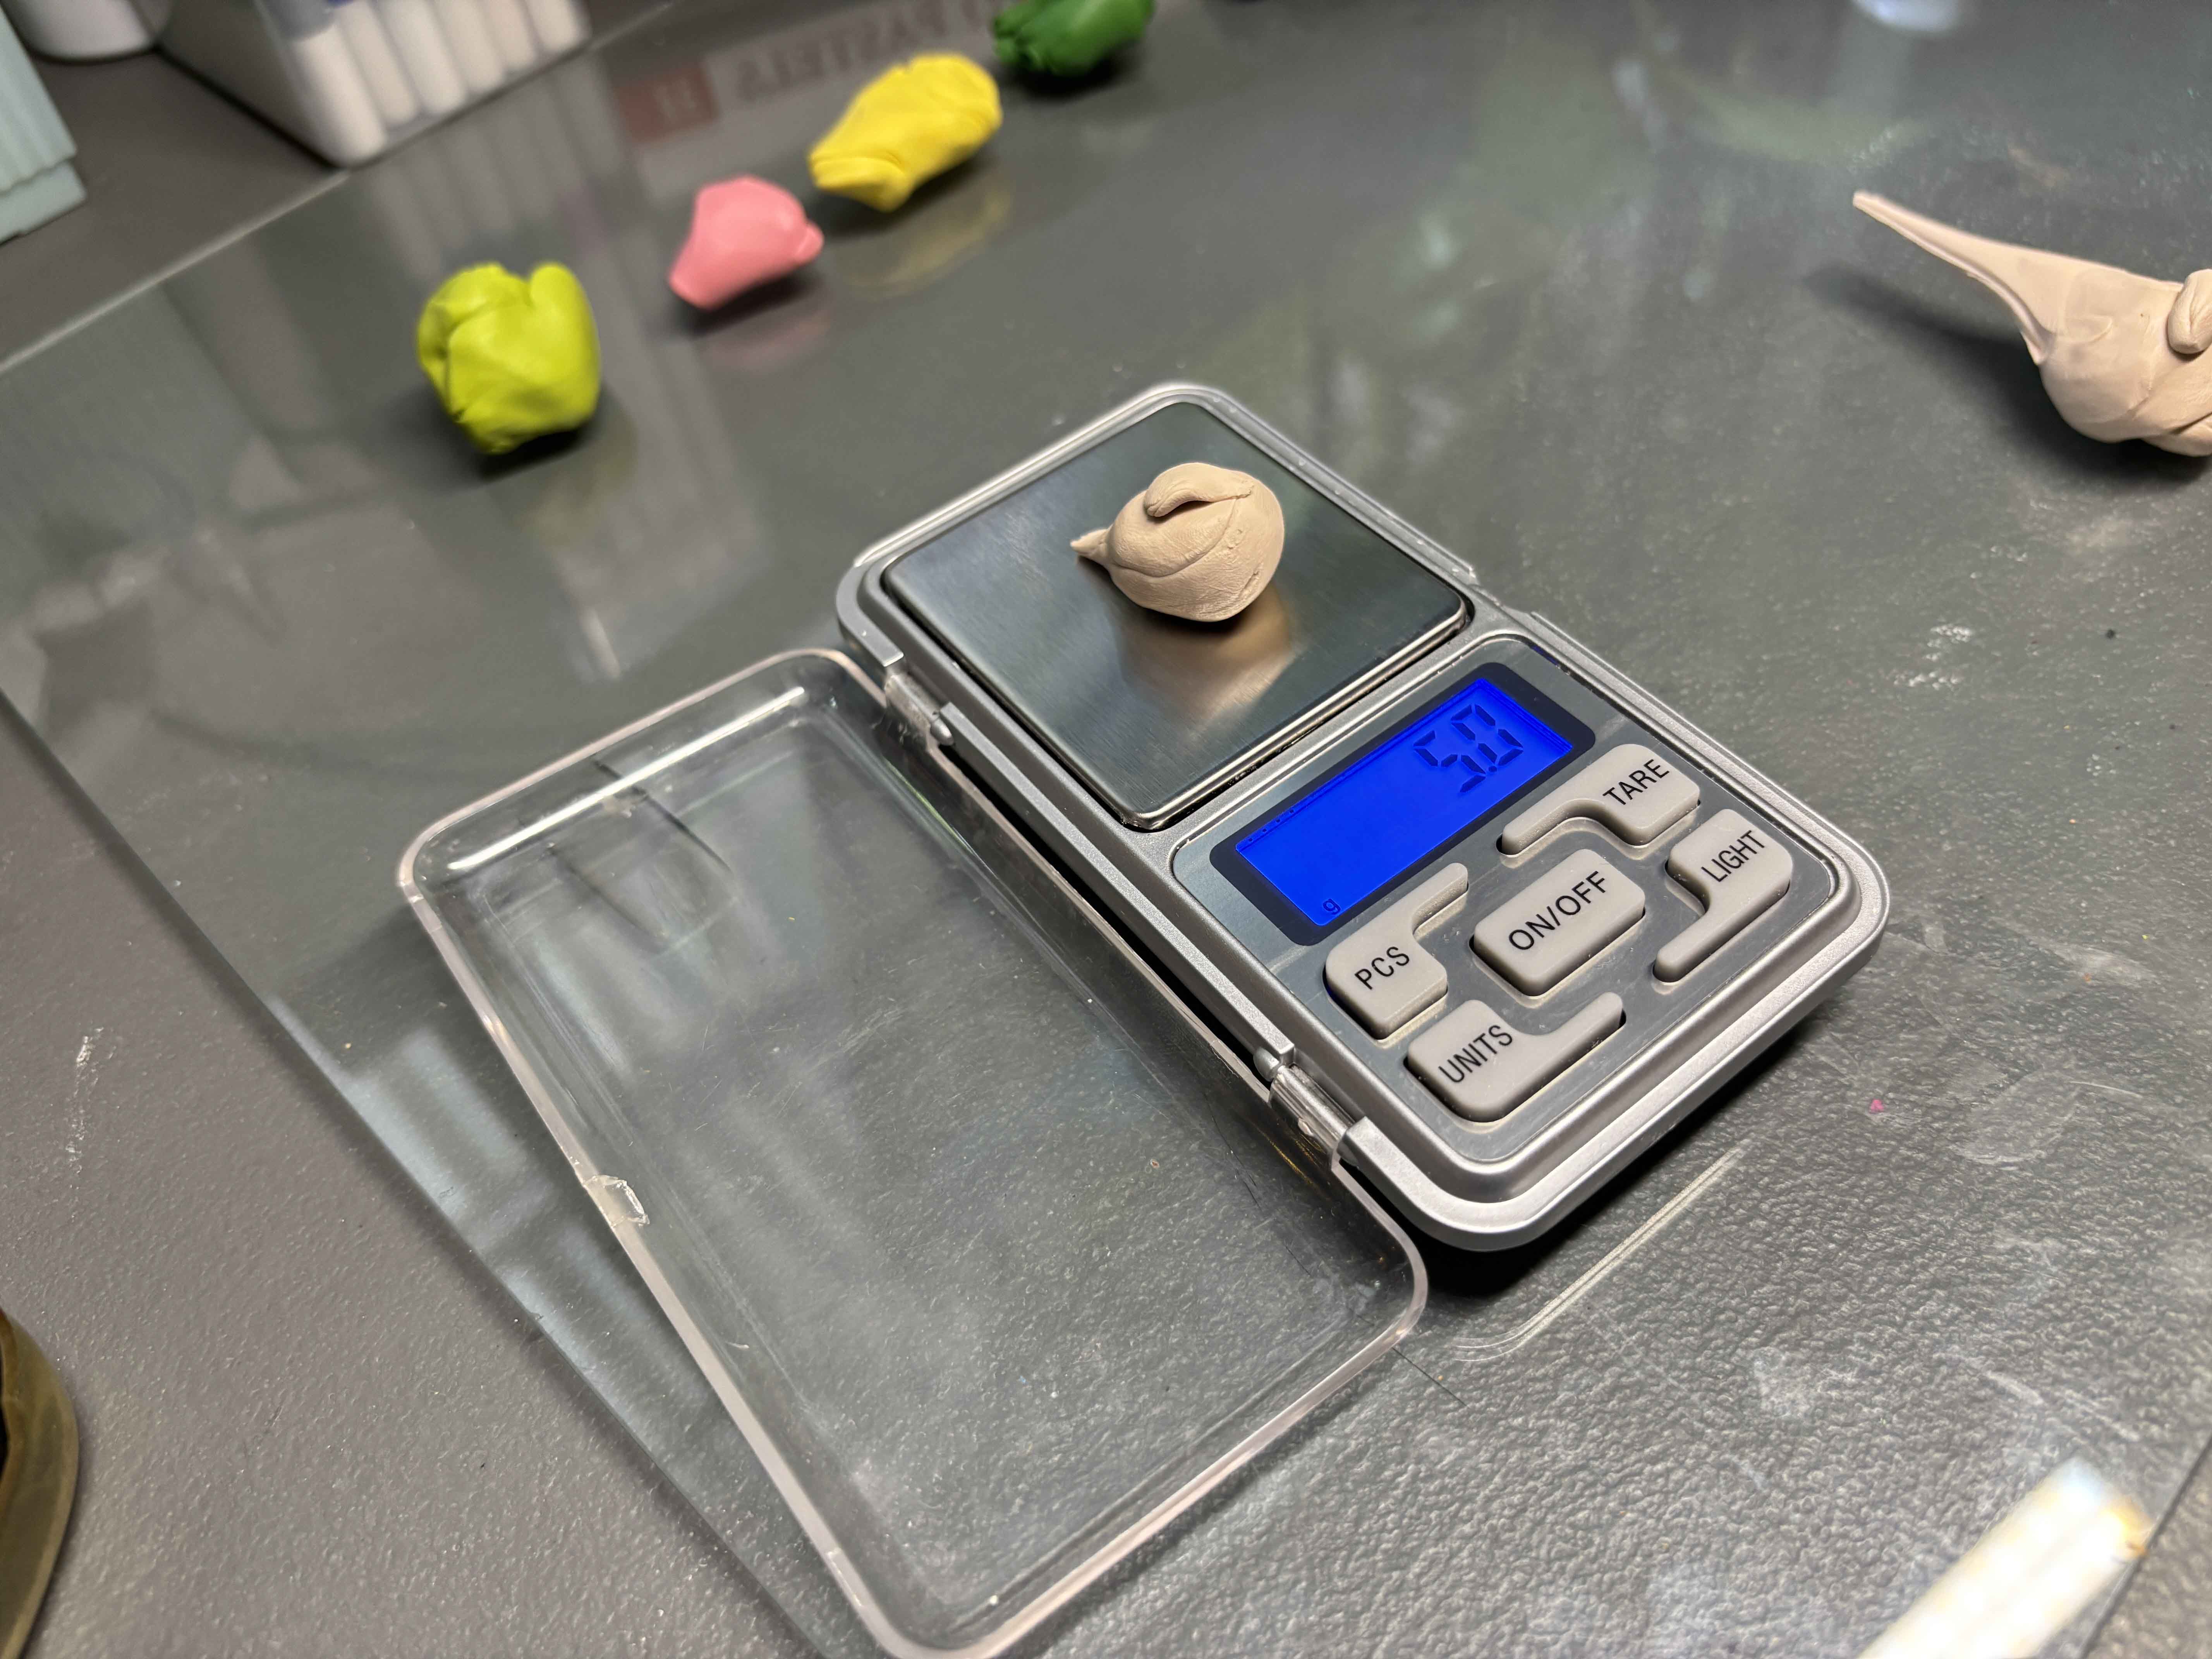
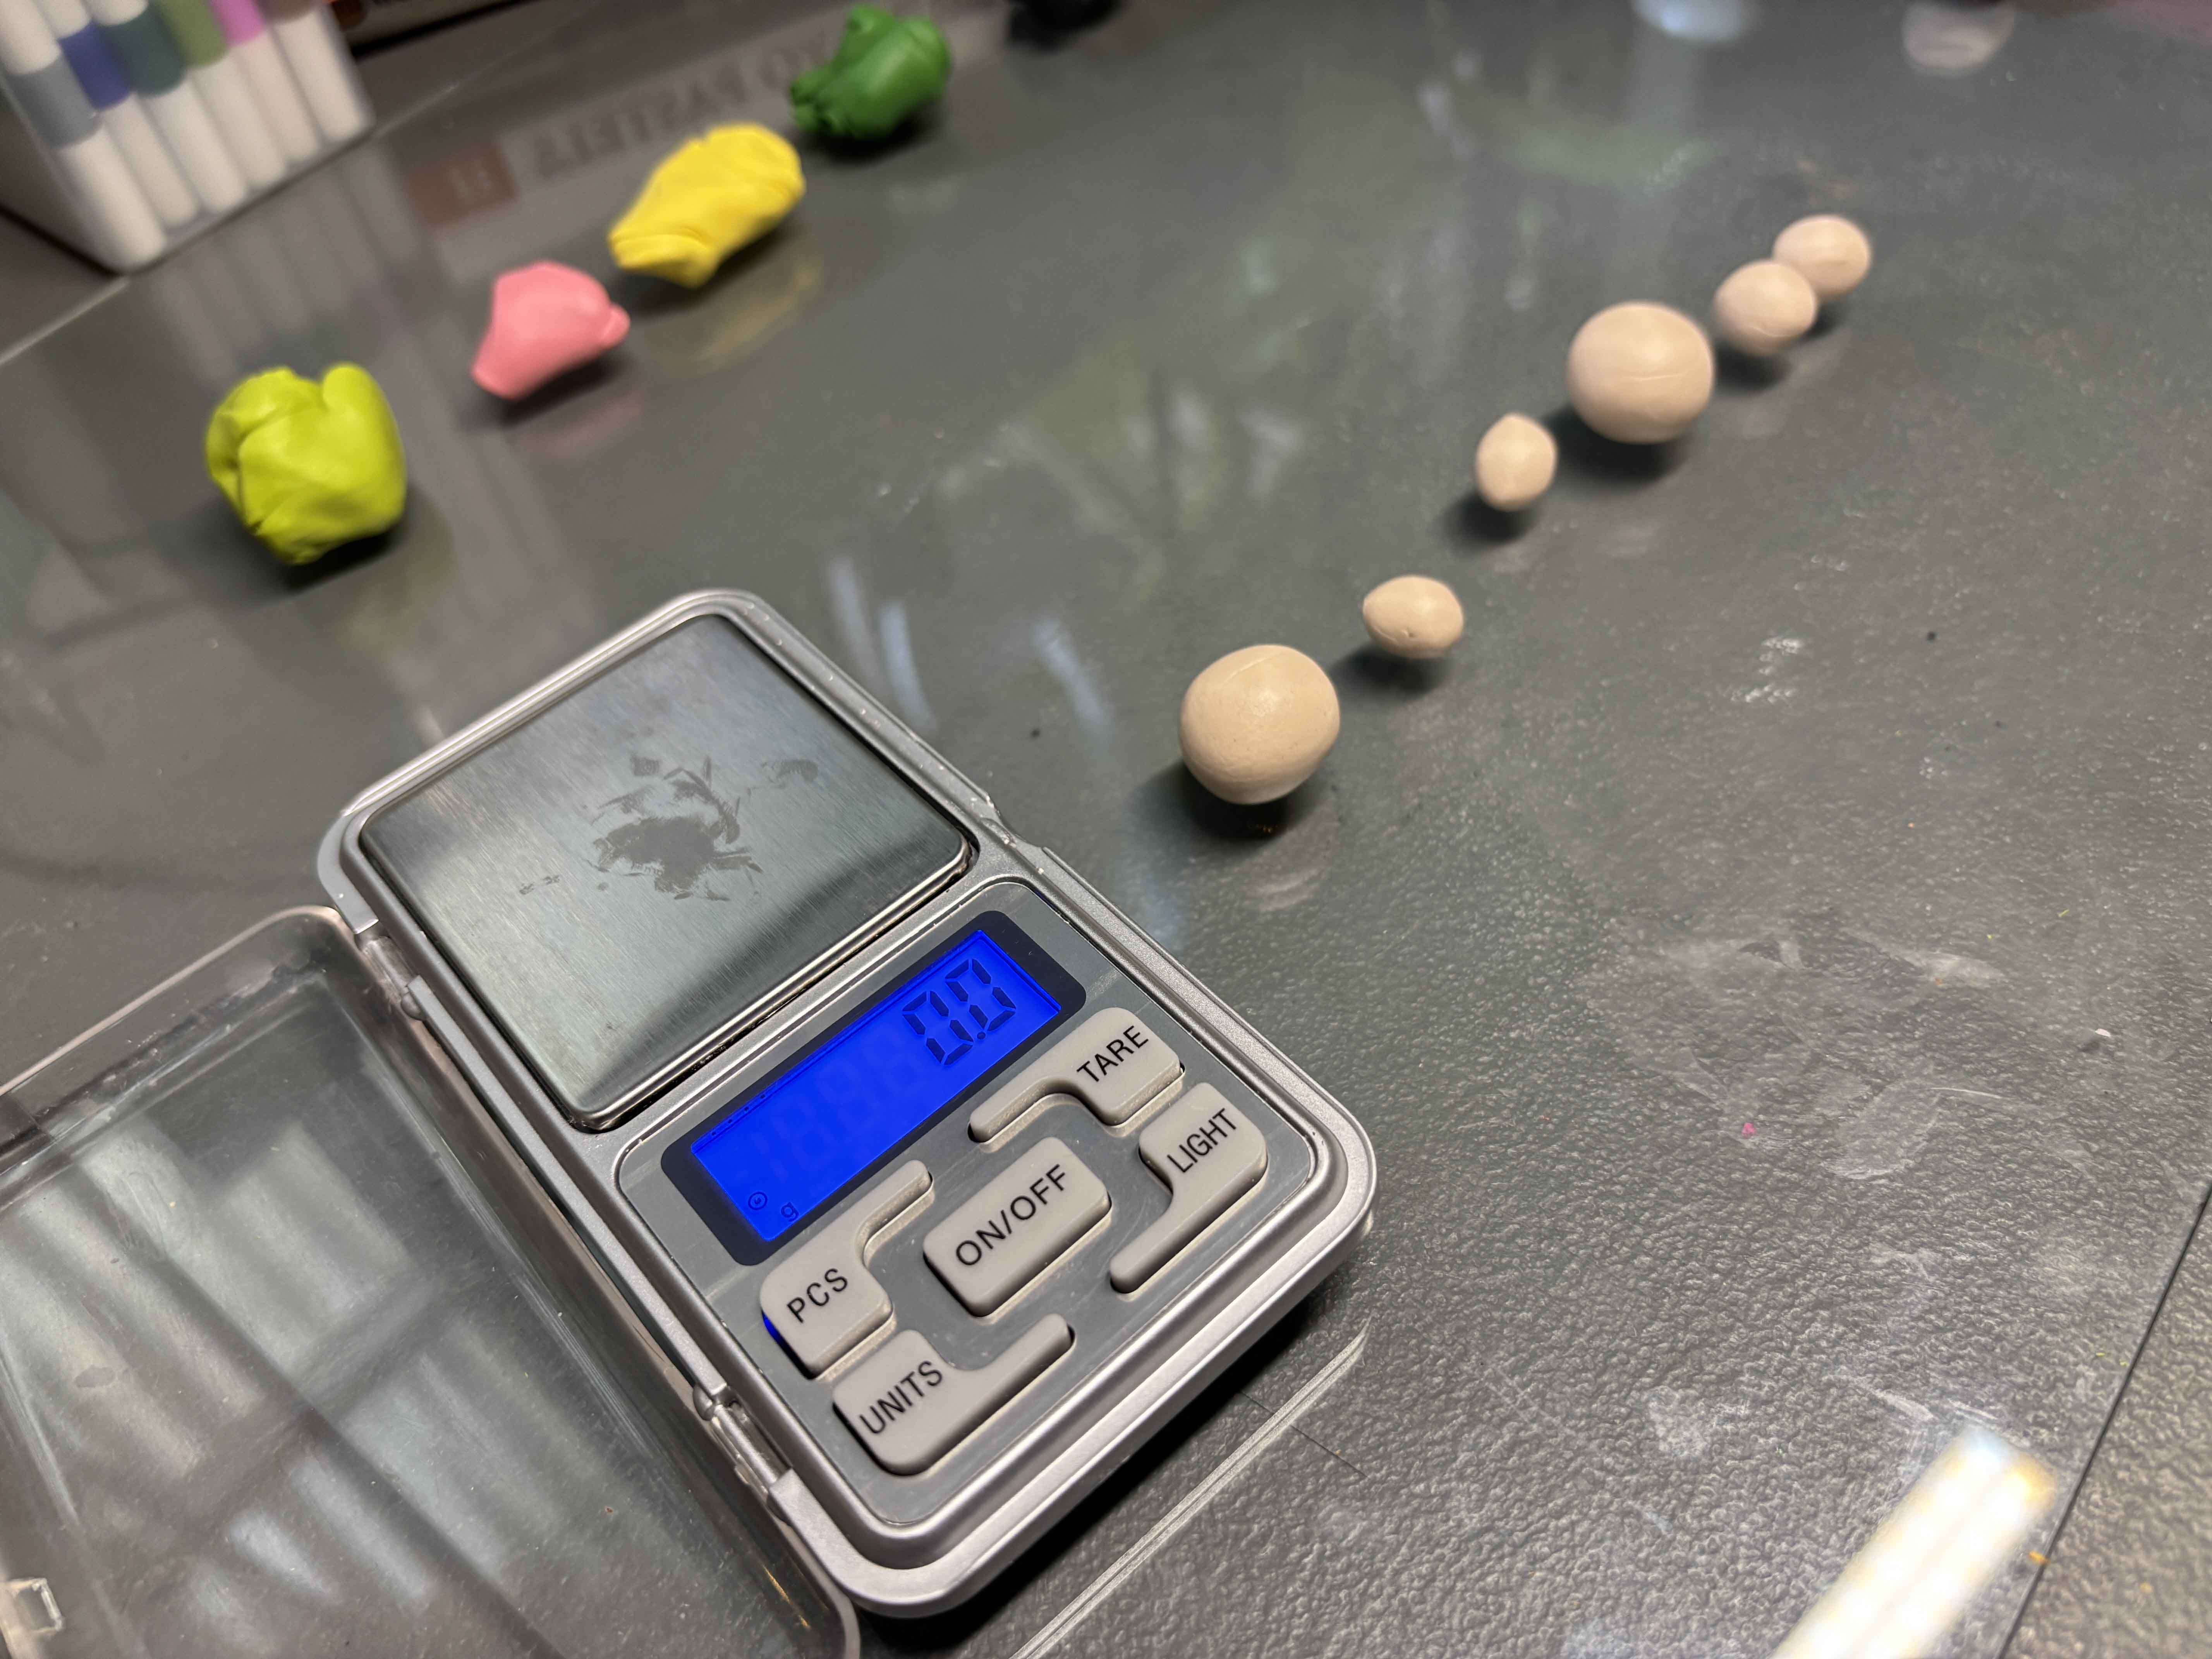
After that, I weighed them to the exact measurement that I had noted. By the way, it took me a lot of trial and error for the final weight and height of Mr. Sun, so maybe in the future I can change something or not.
-----
----
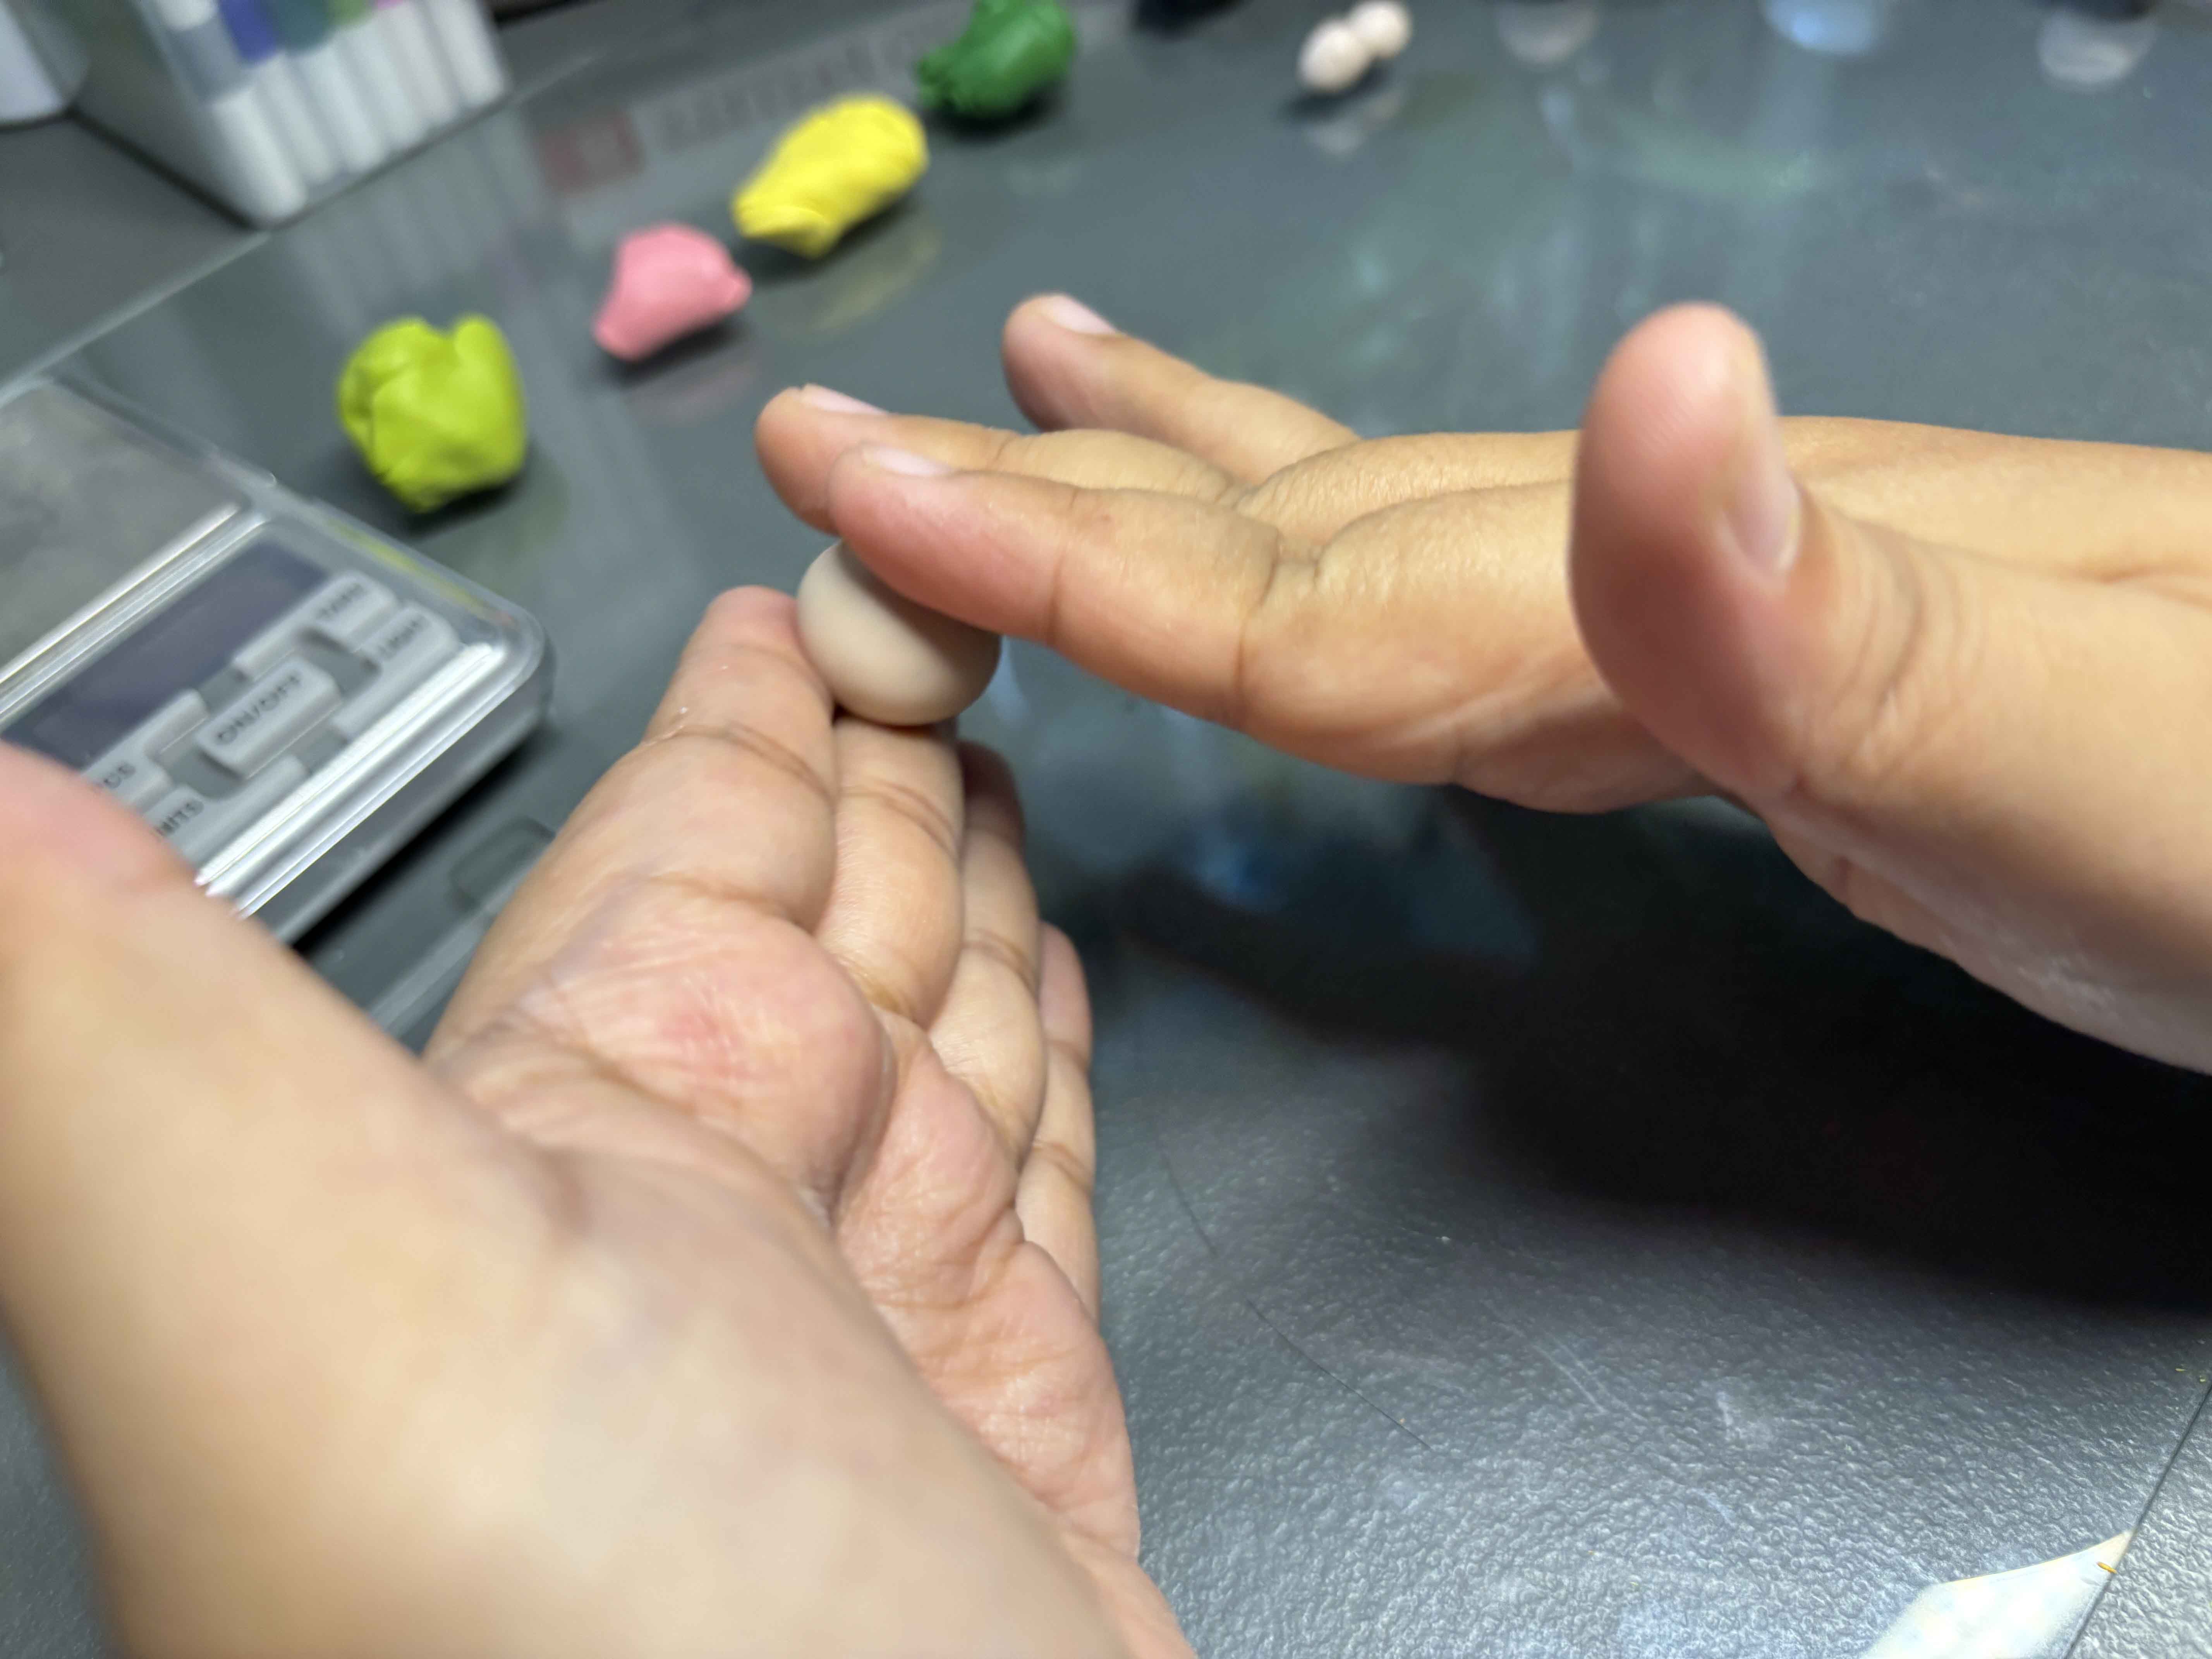
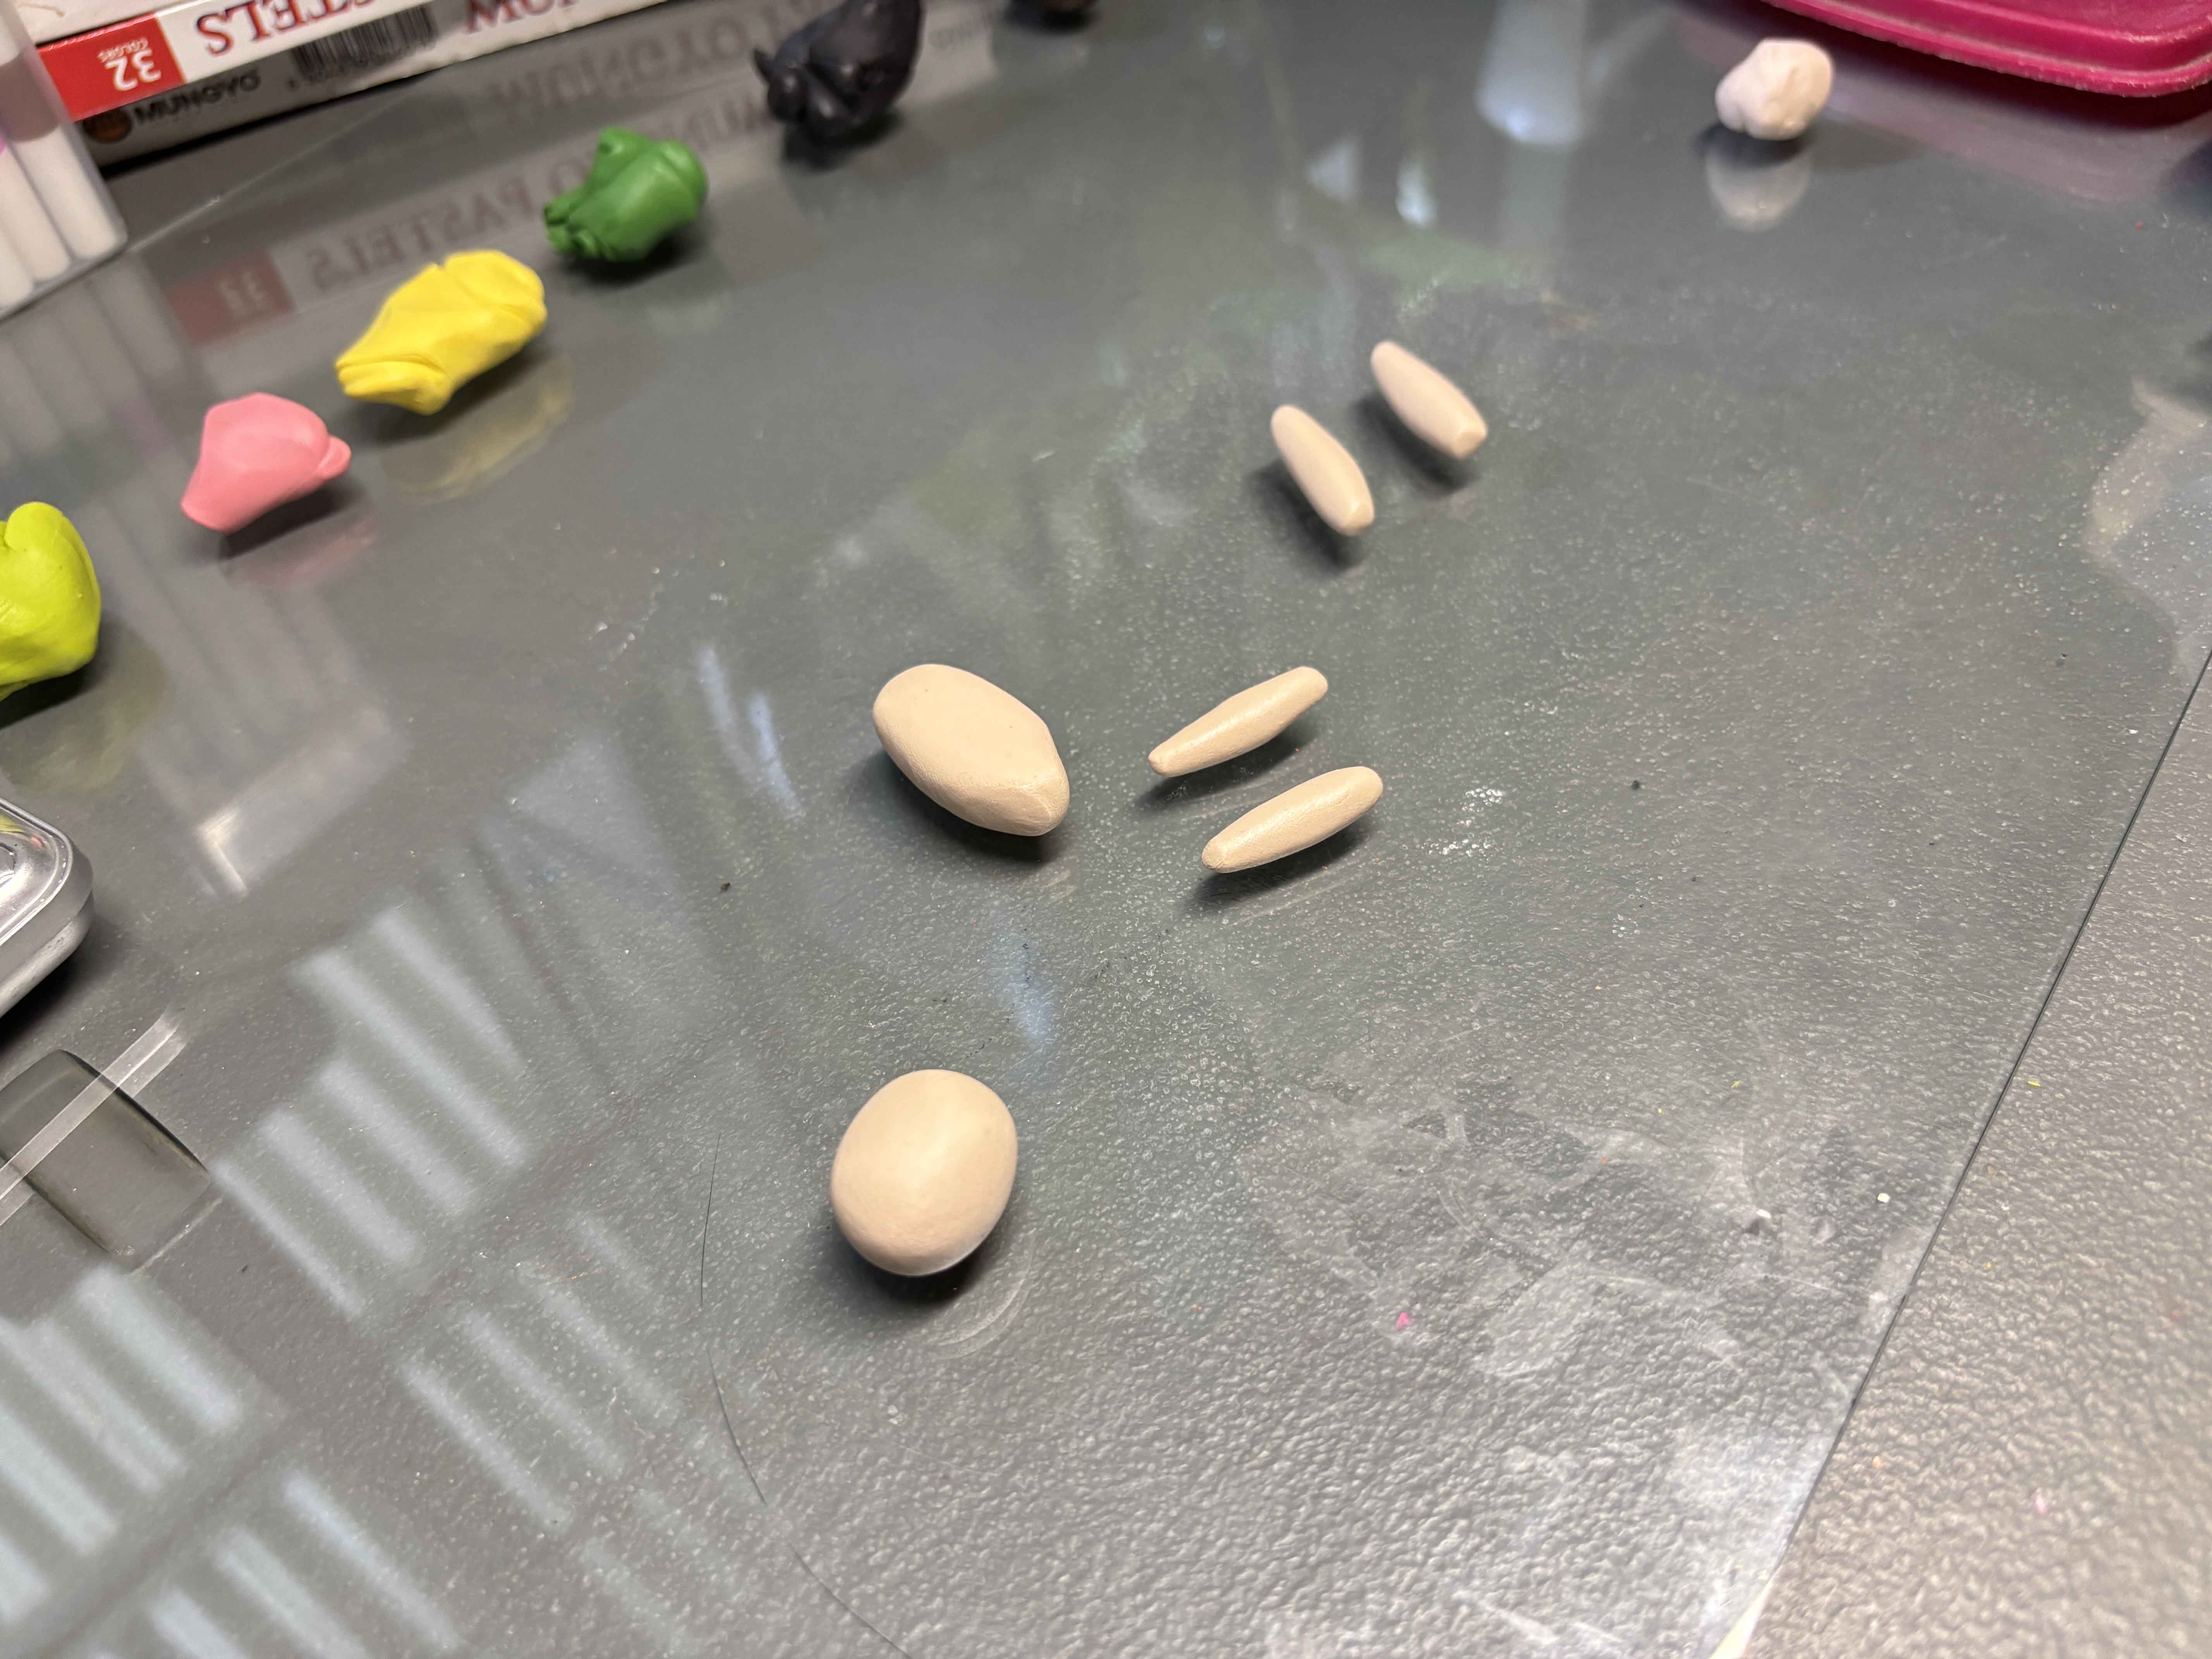
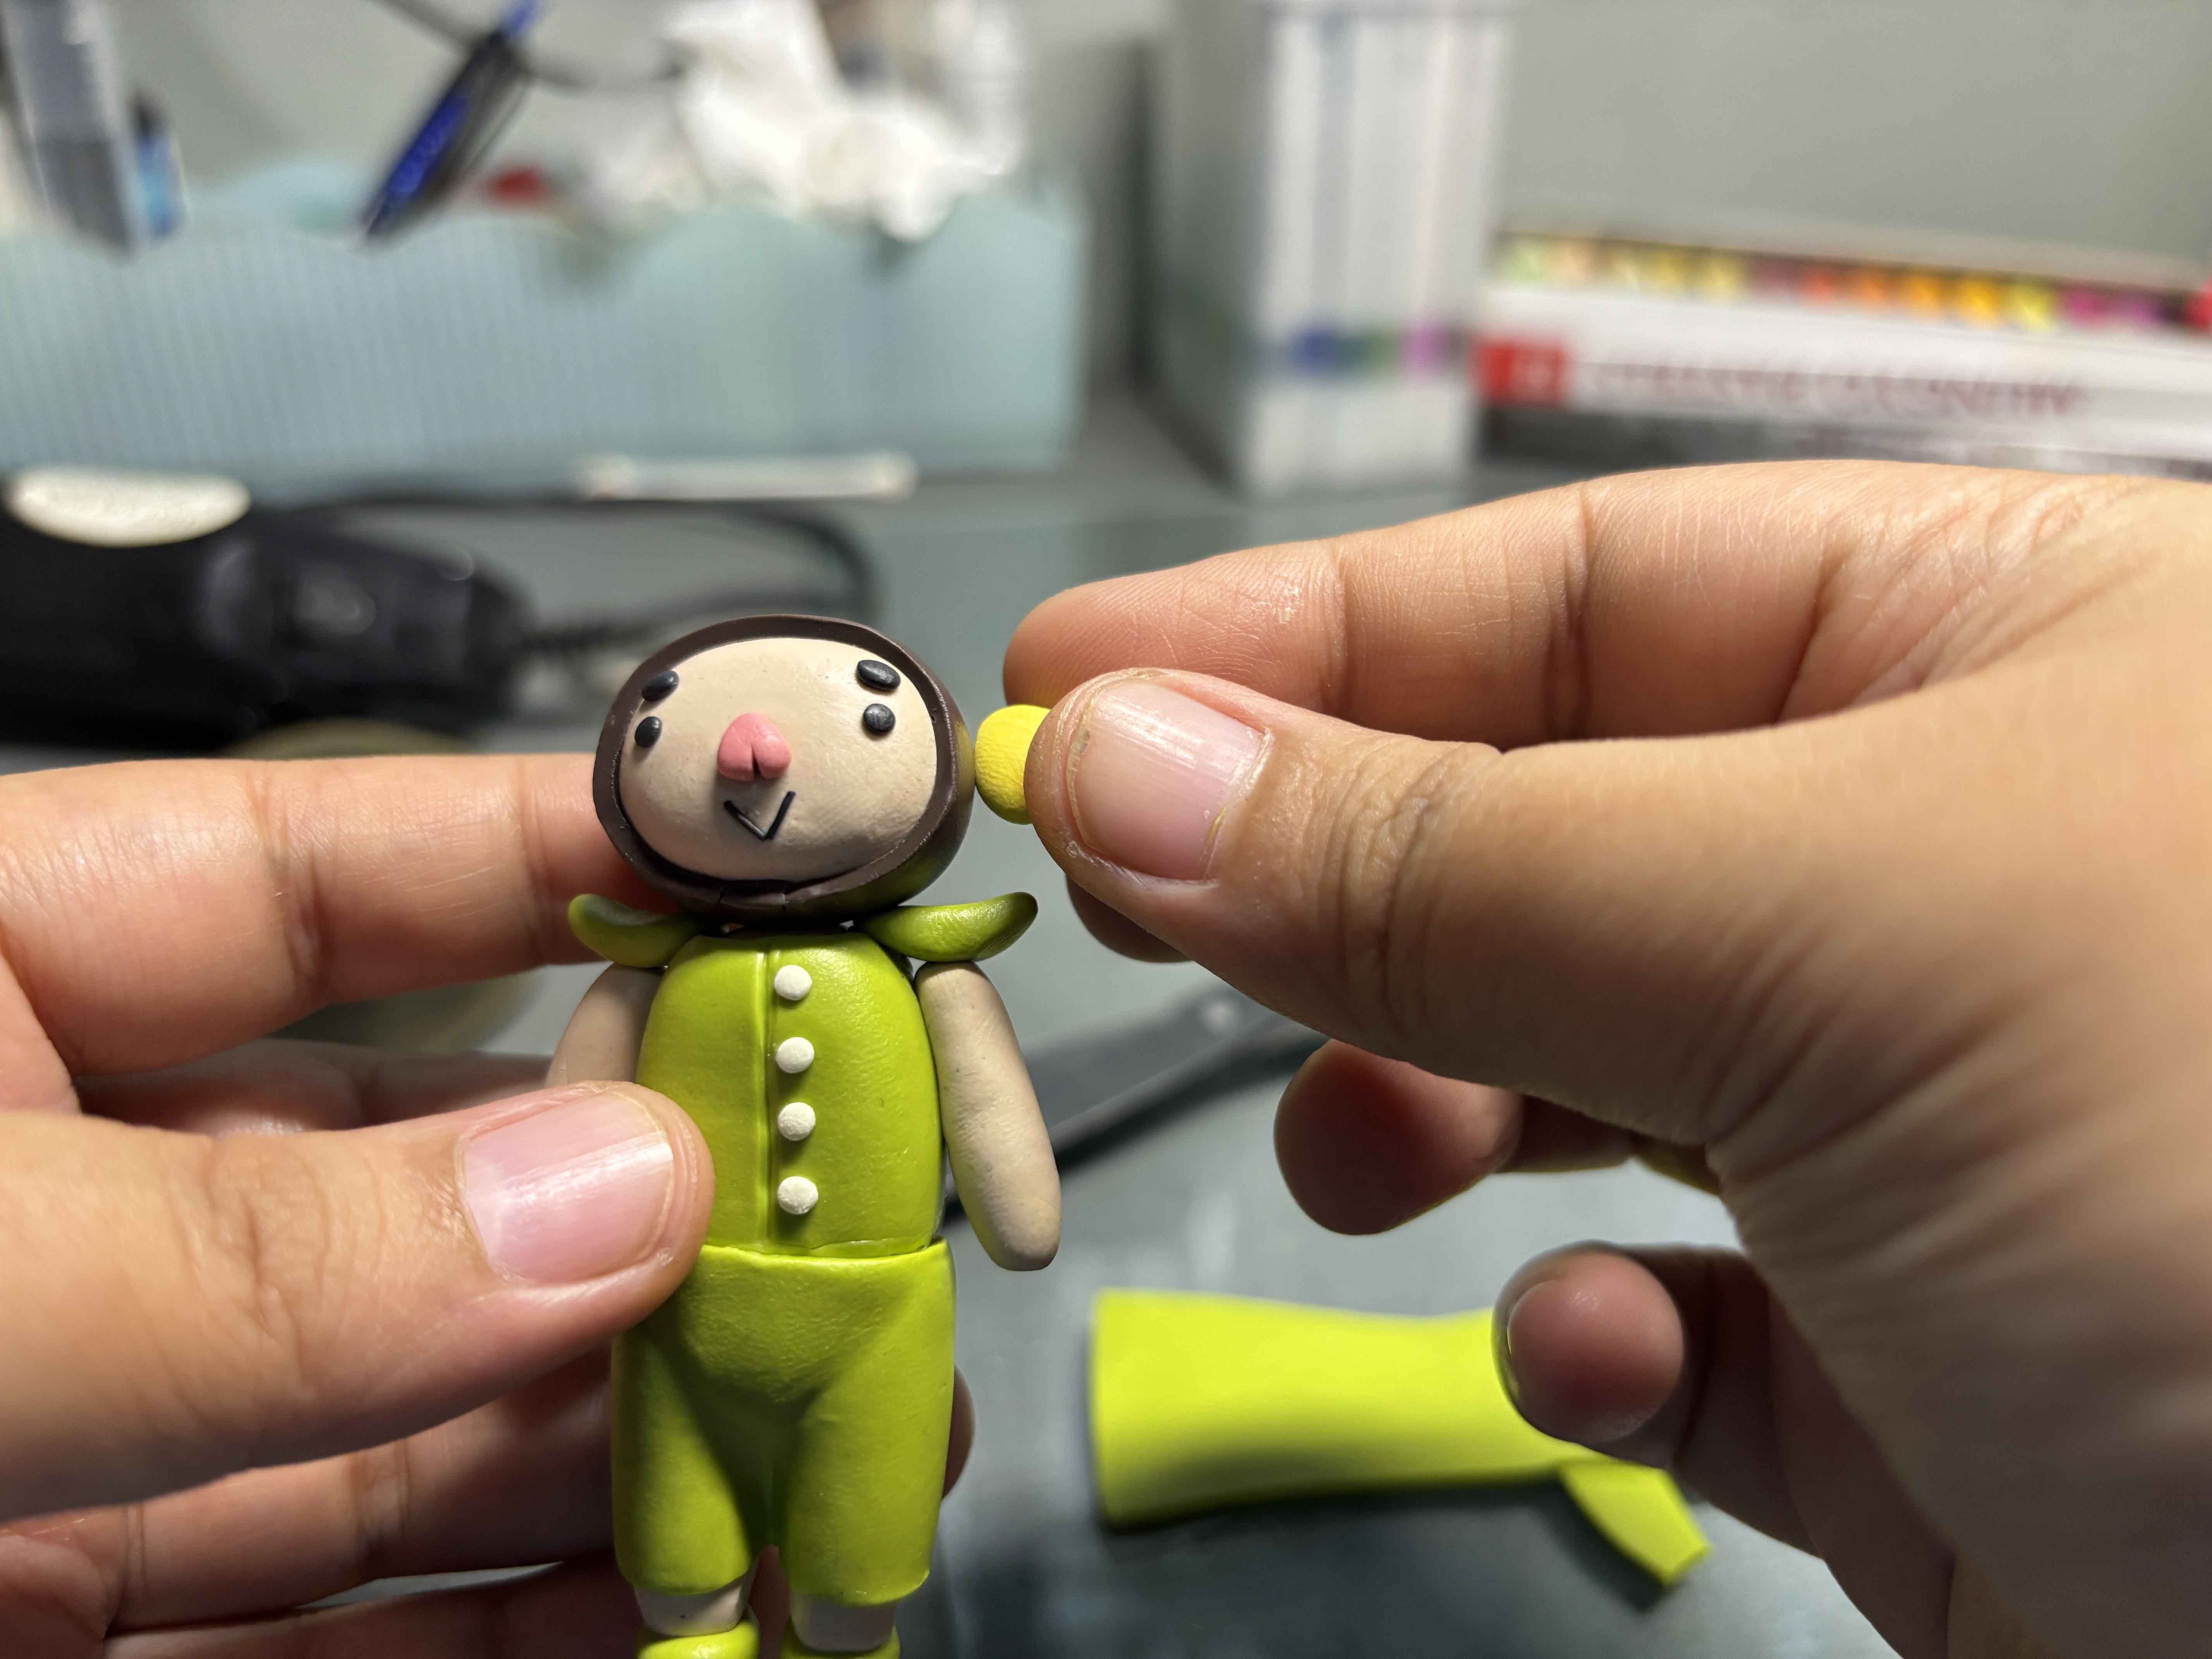
And then I shape the head, arms, and legs.
-----
----
Making The Heart-Shape Nose:

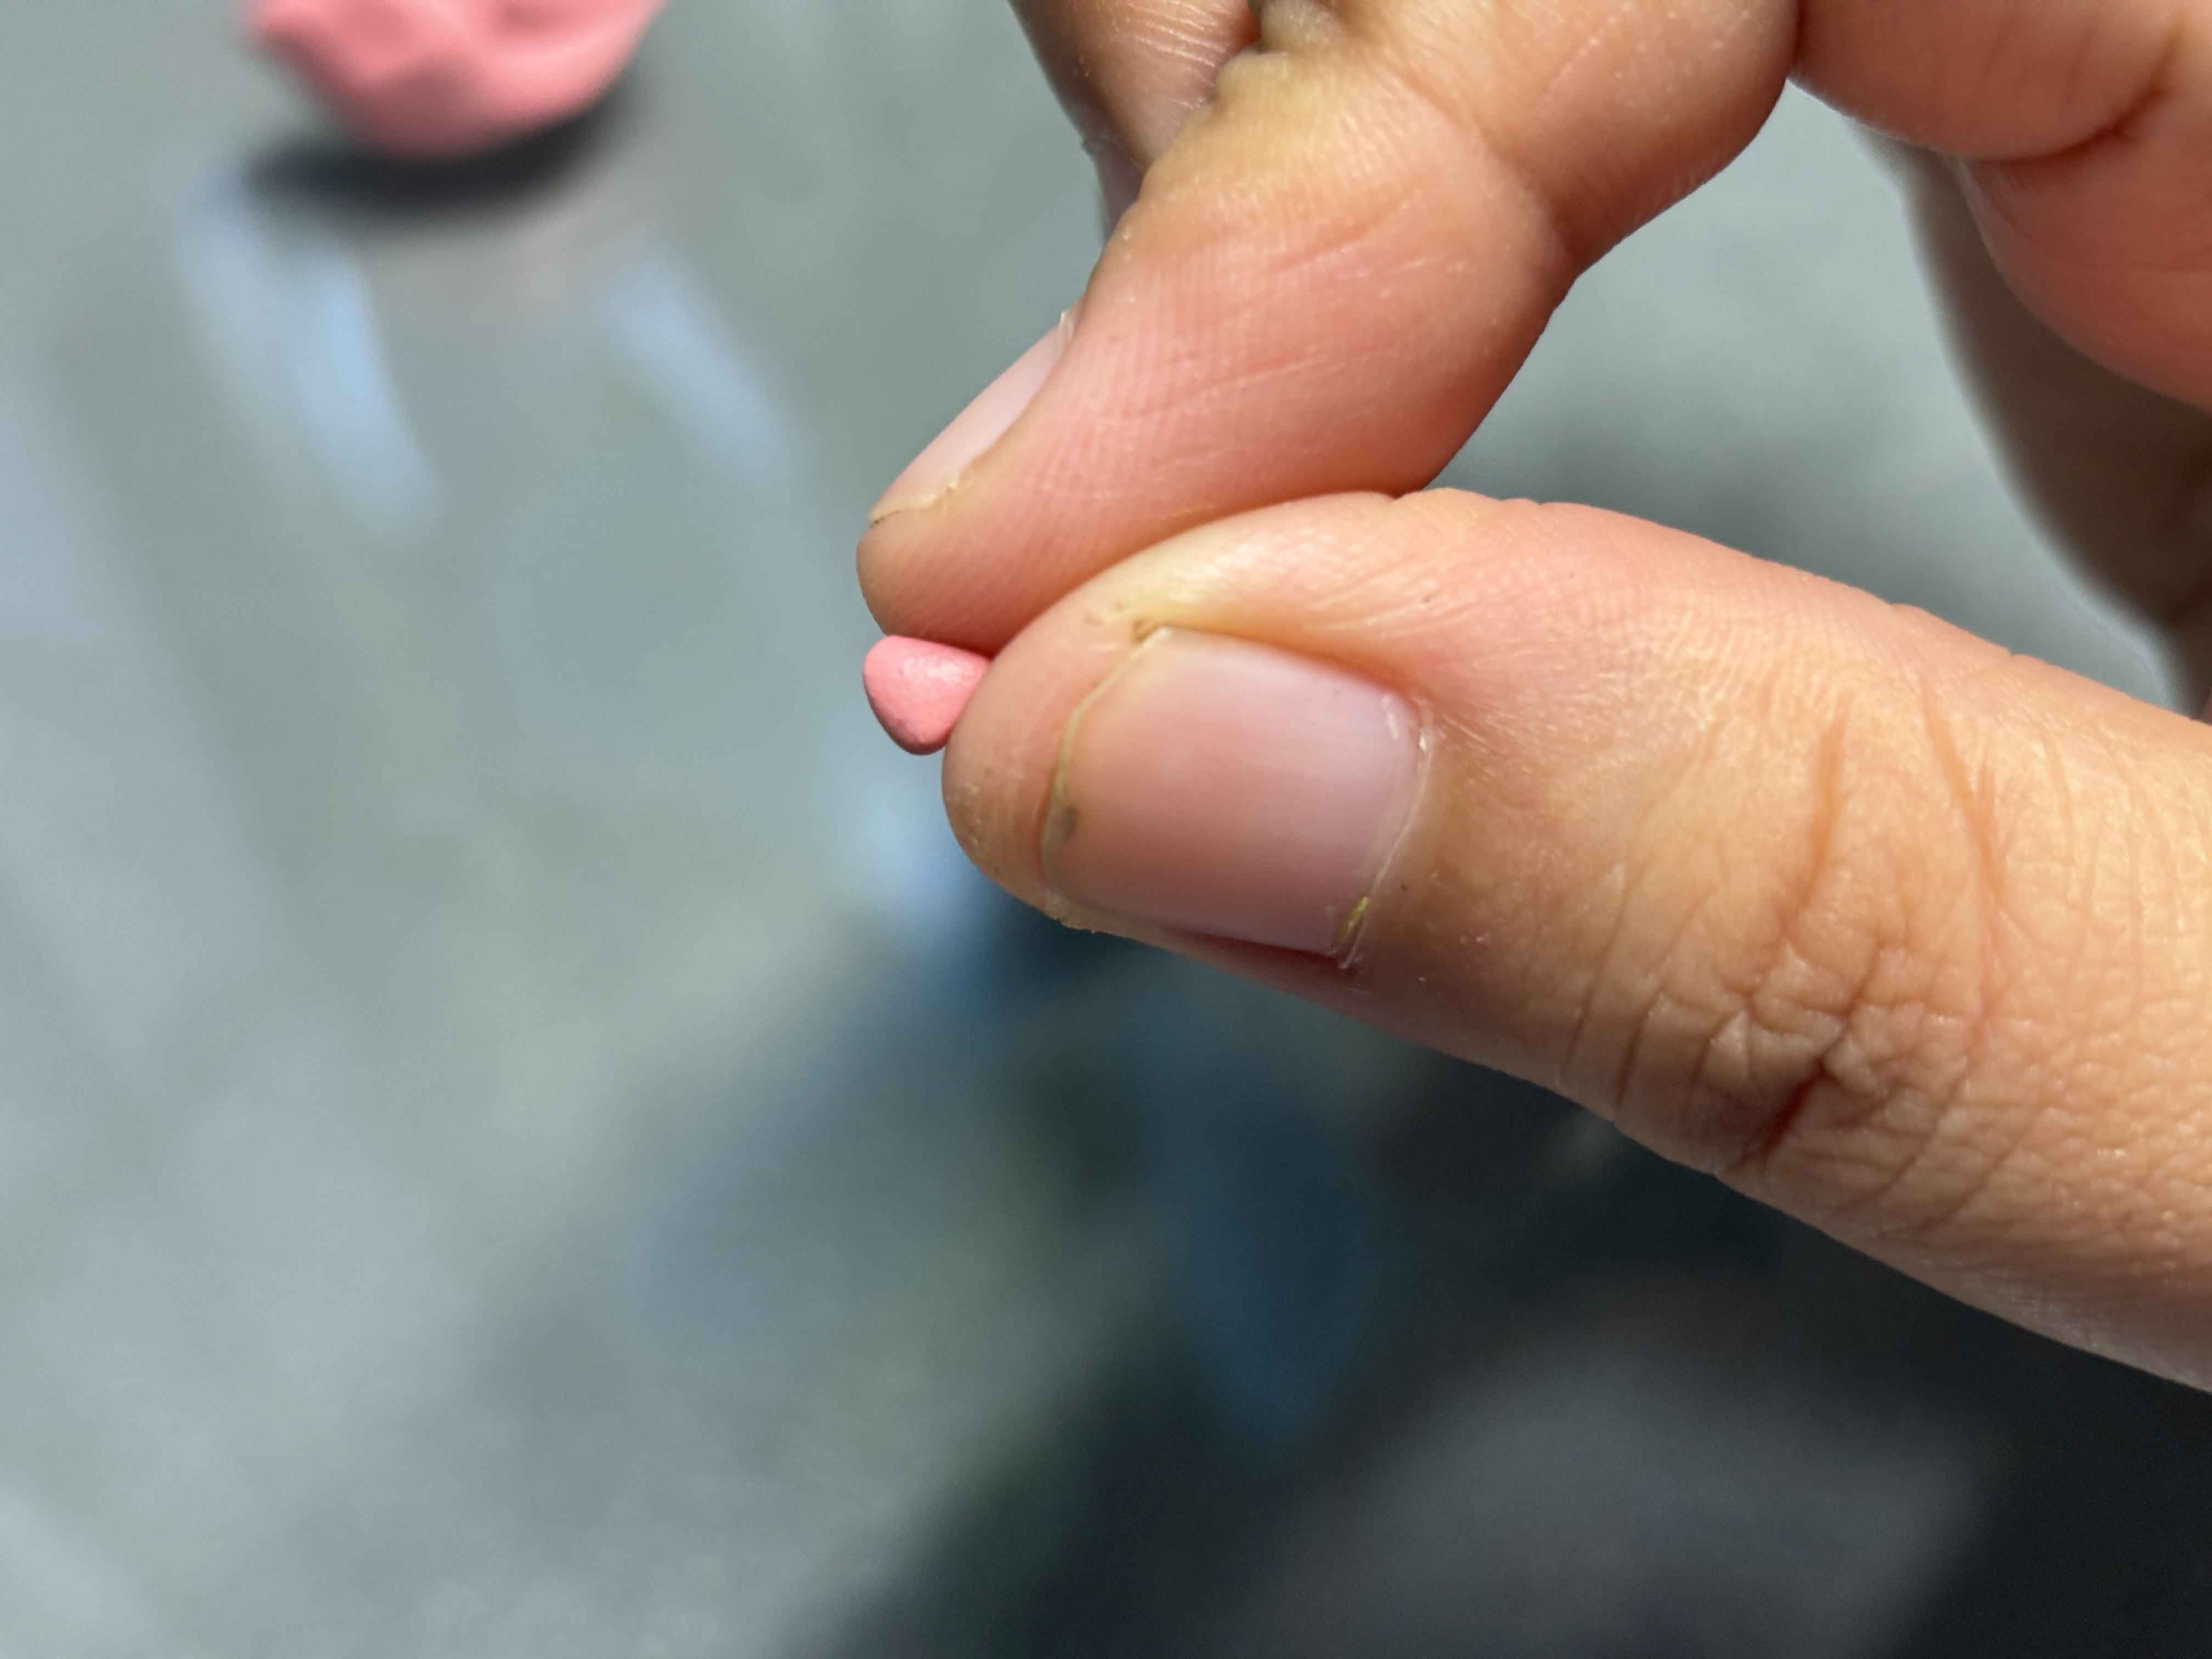
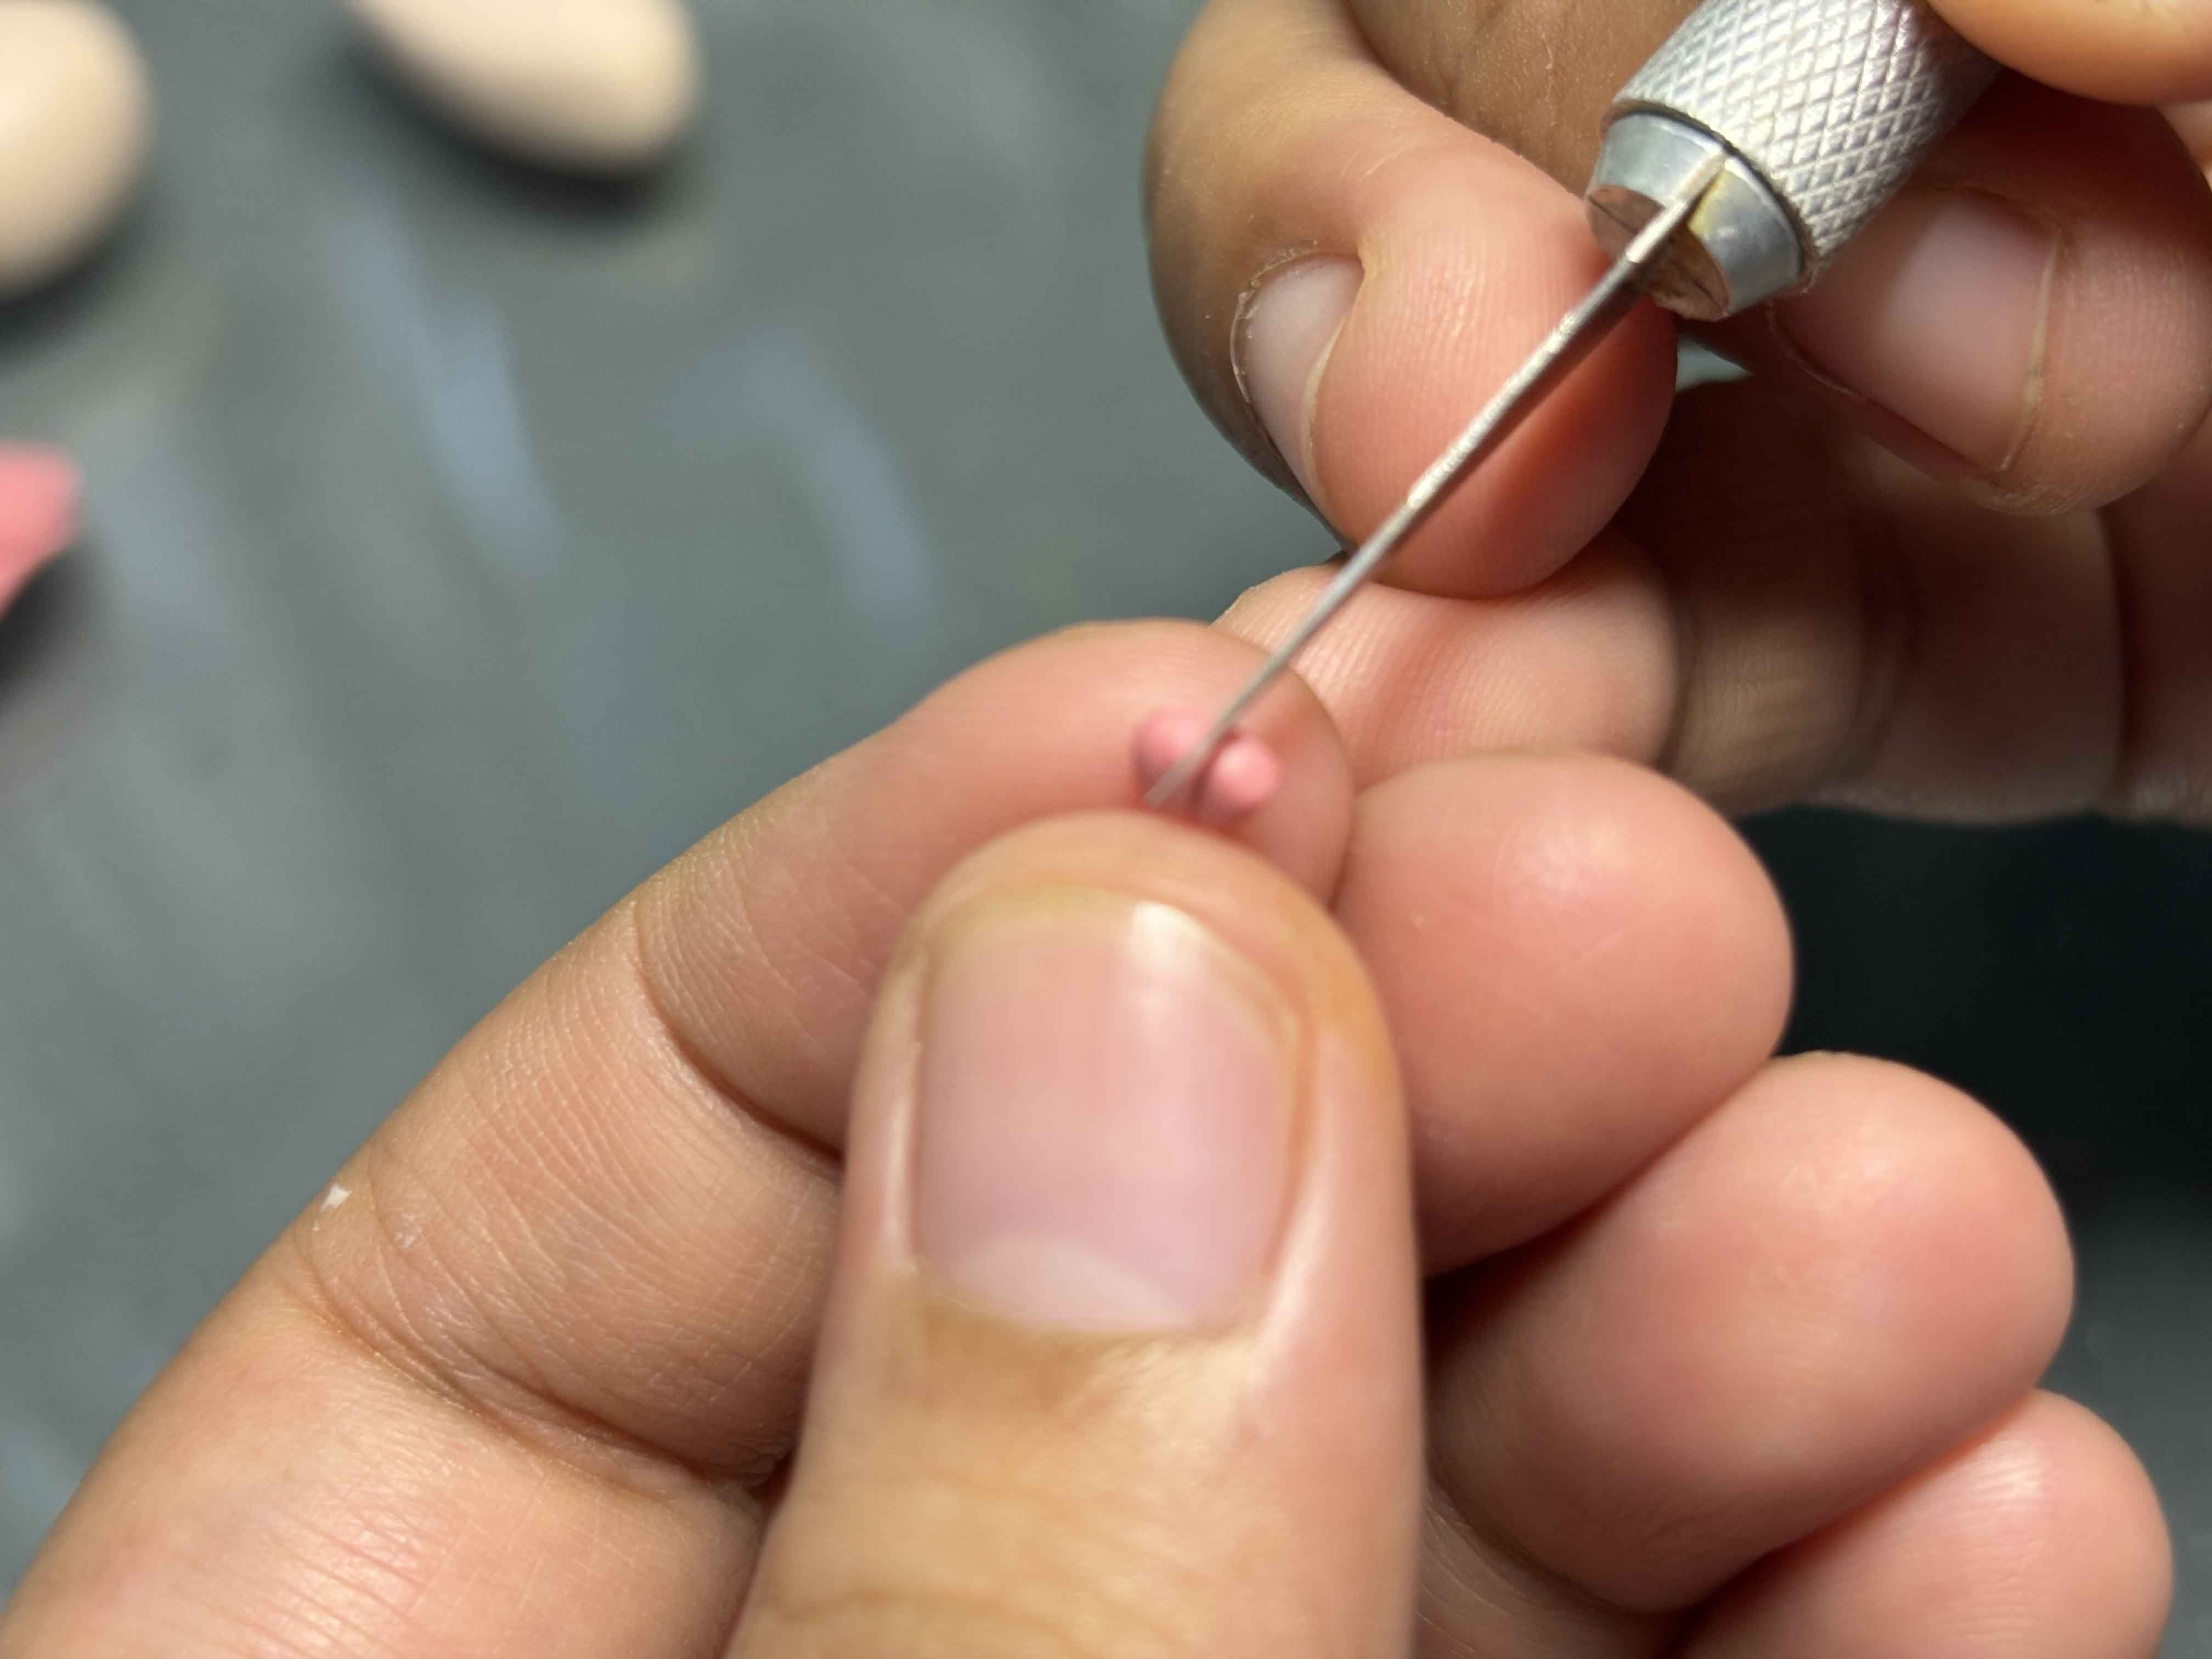
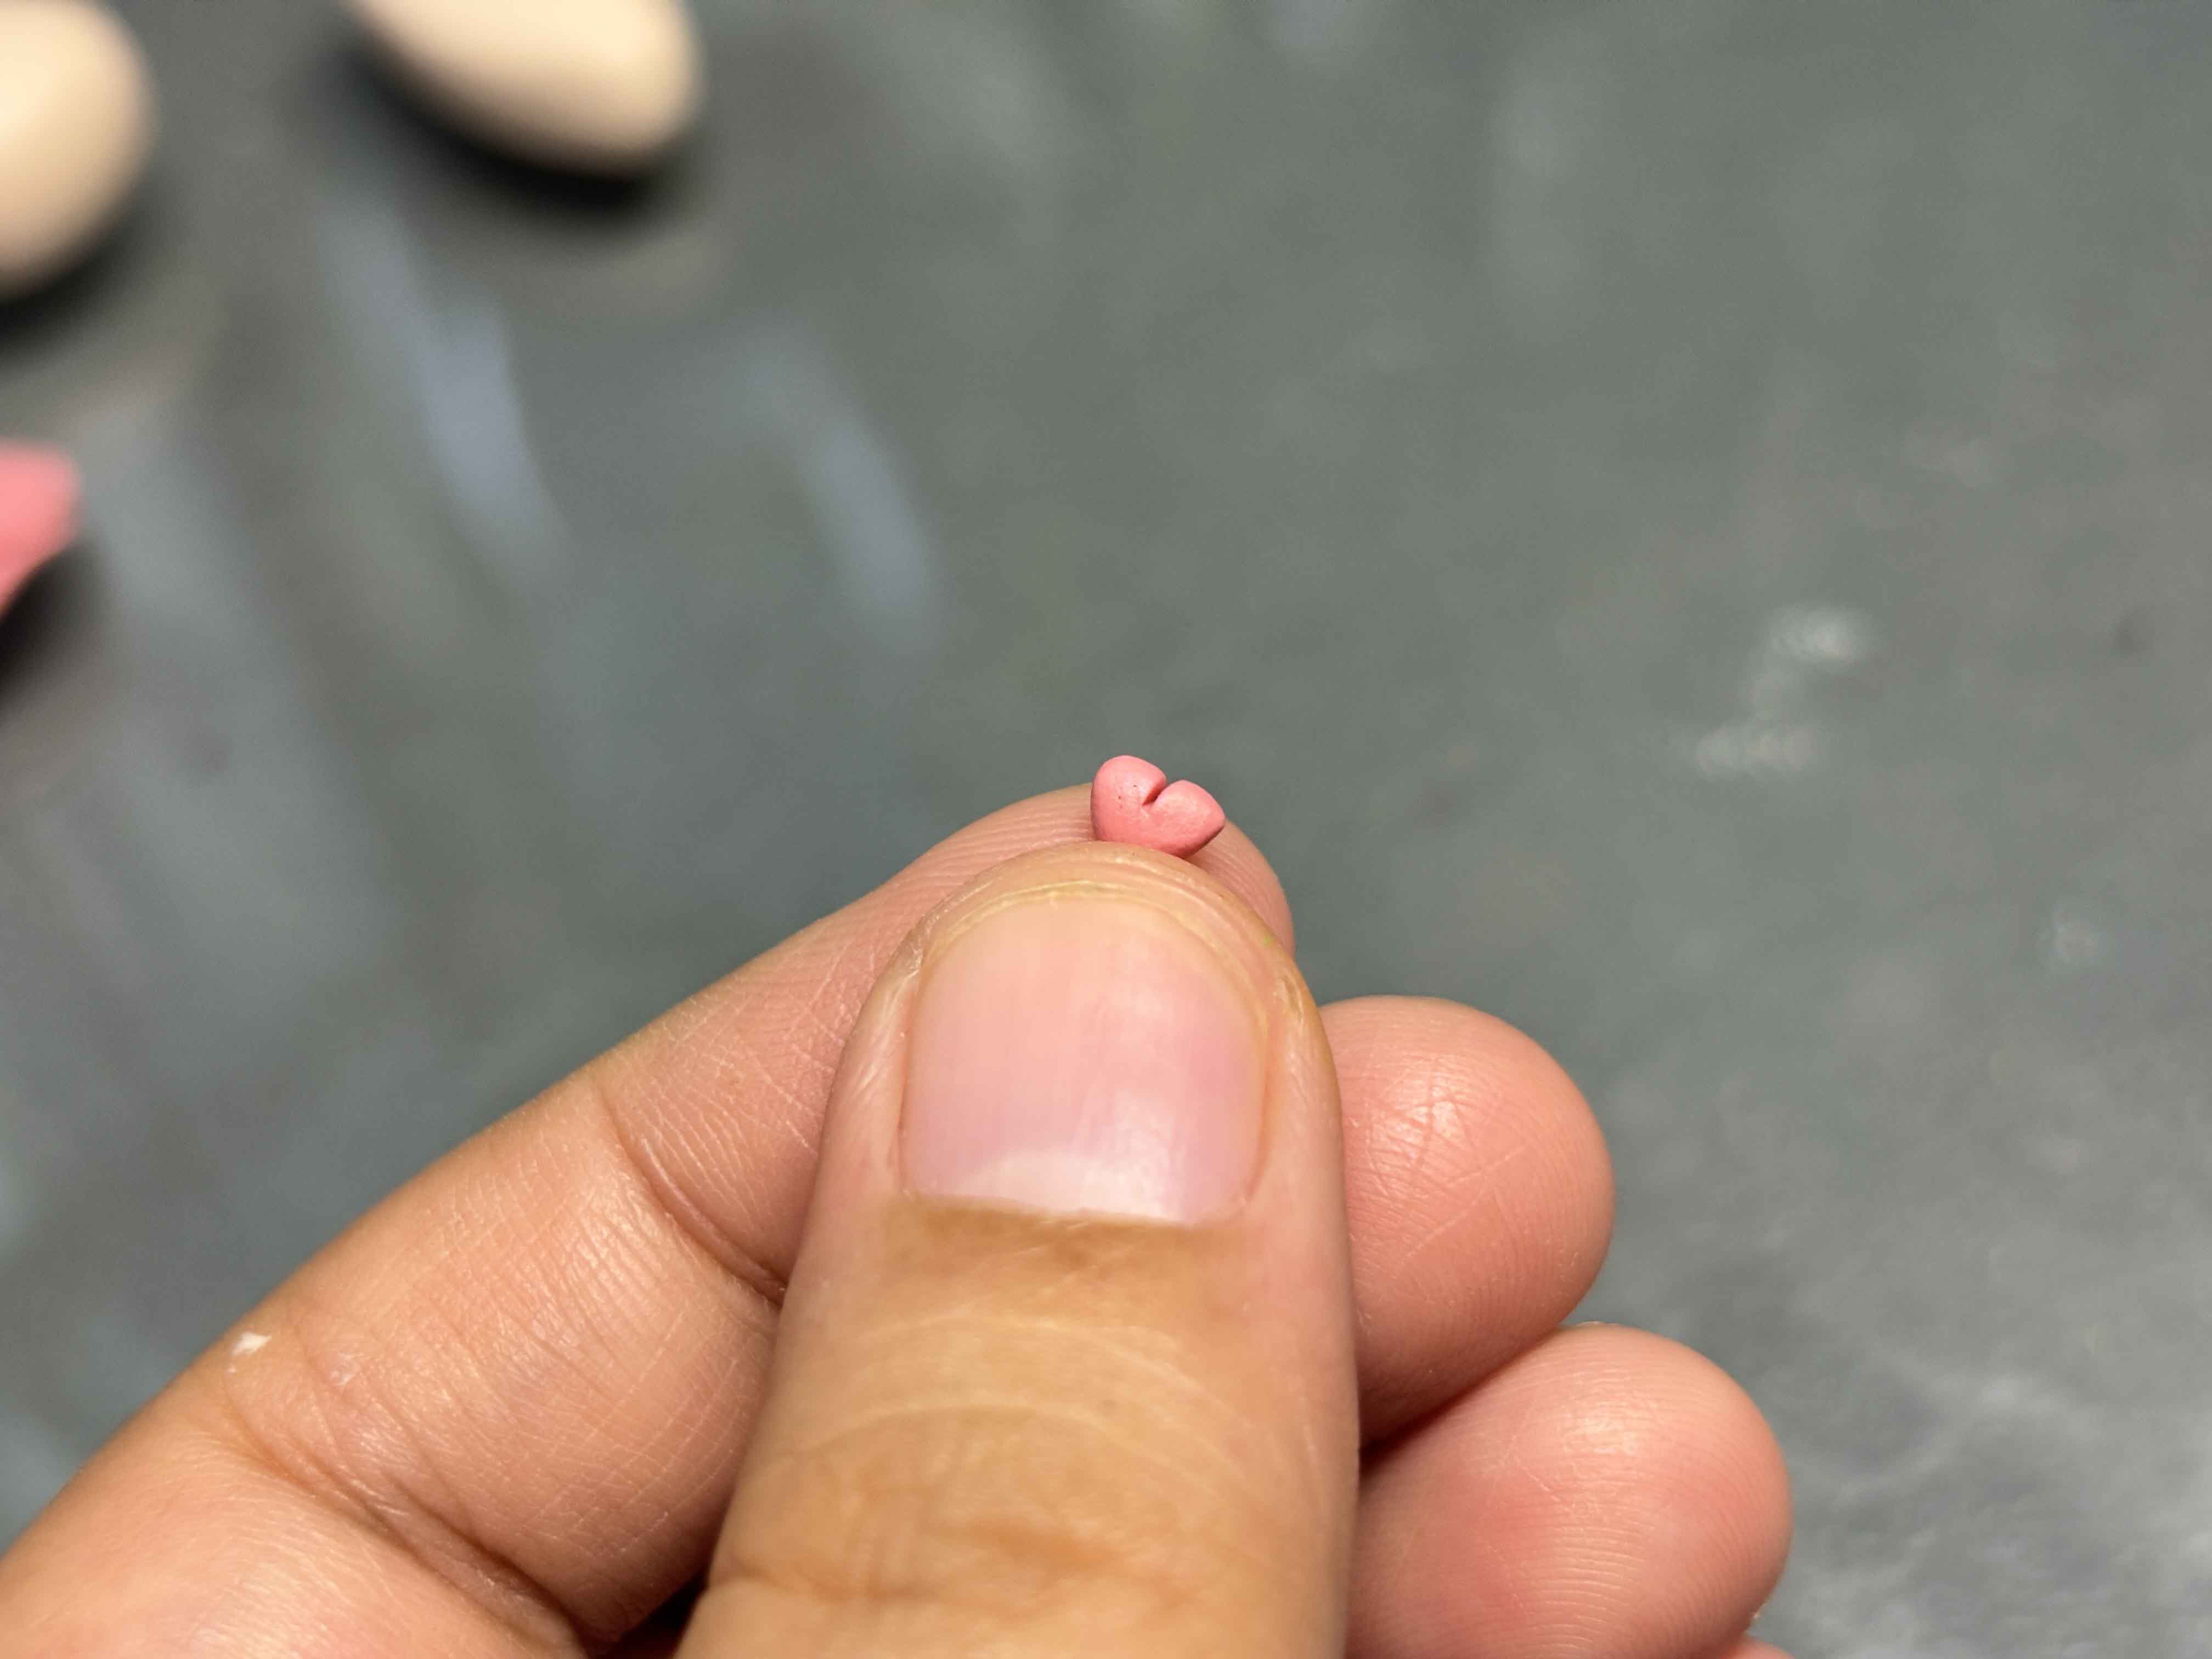
This is my favorite part is shaping the nose. What I do is I cut tiny pieces of pink polymer clay and then shape them like a triangle, and then using x X-Acto knife, I cut just a little in the middle, and yeah, it looks like a heart shape.
----
-----
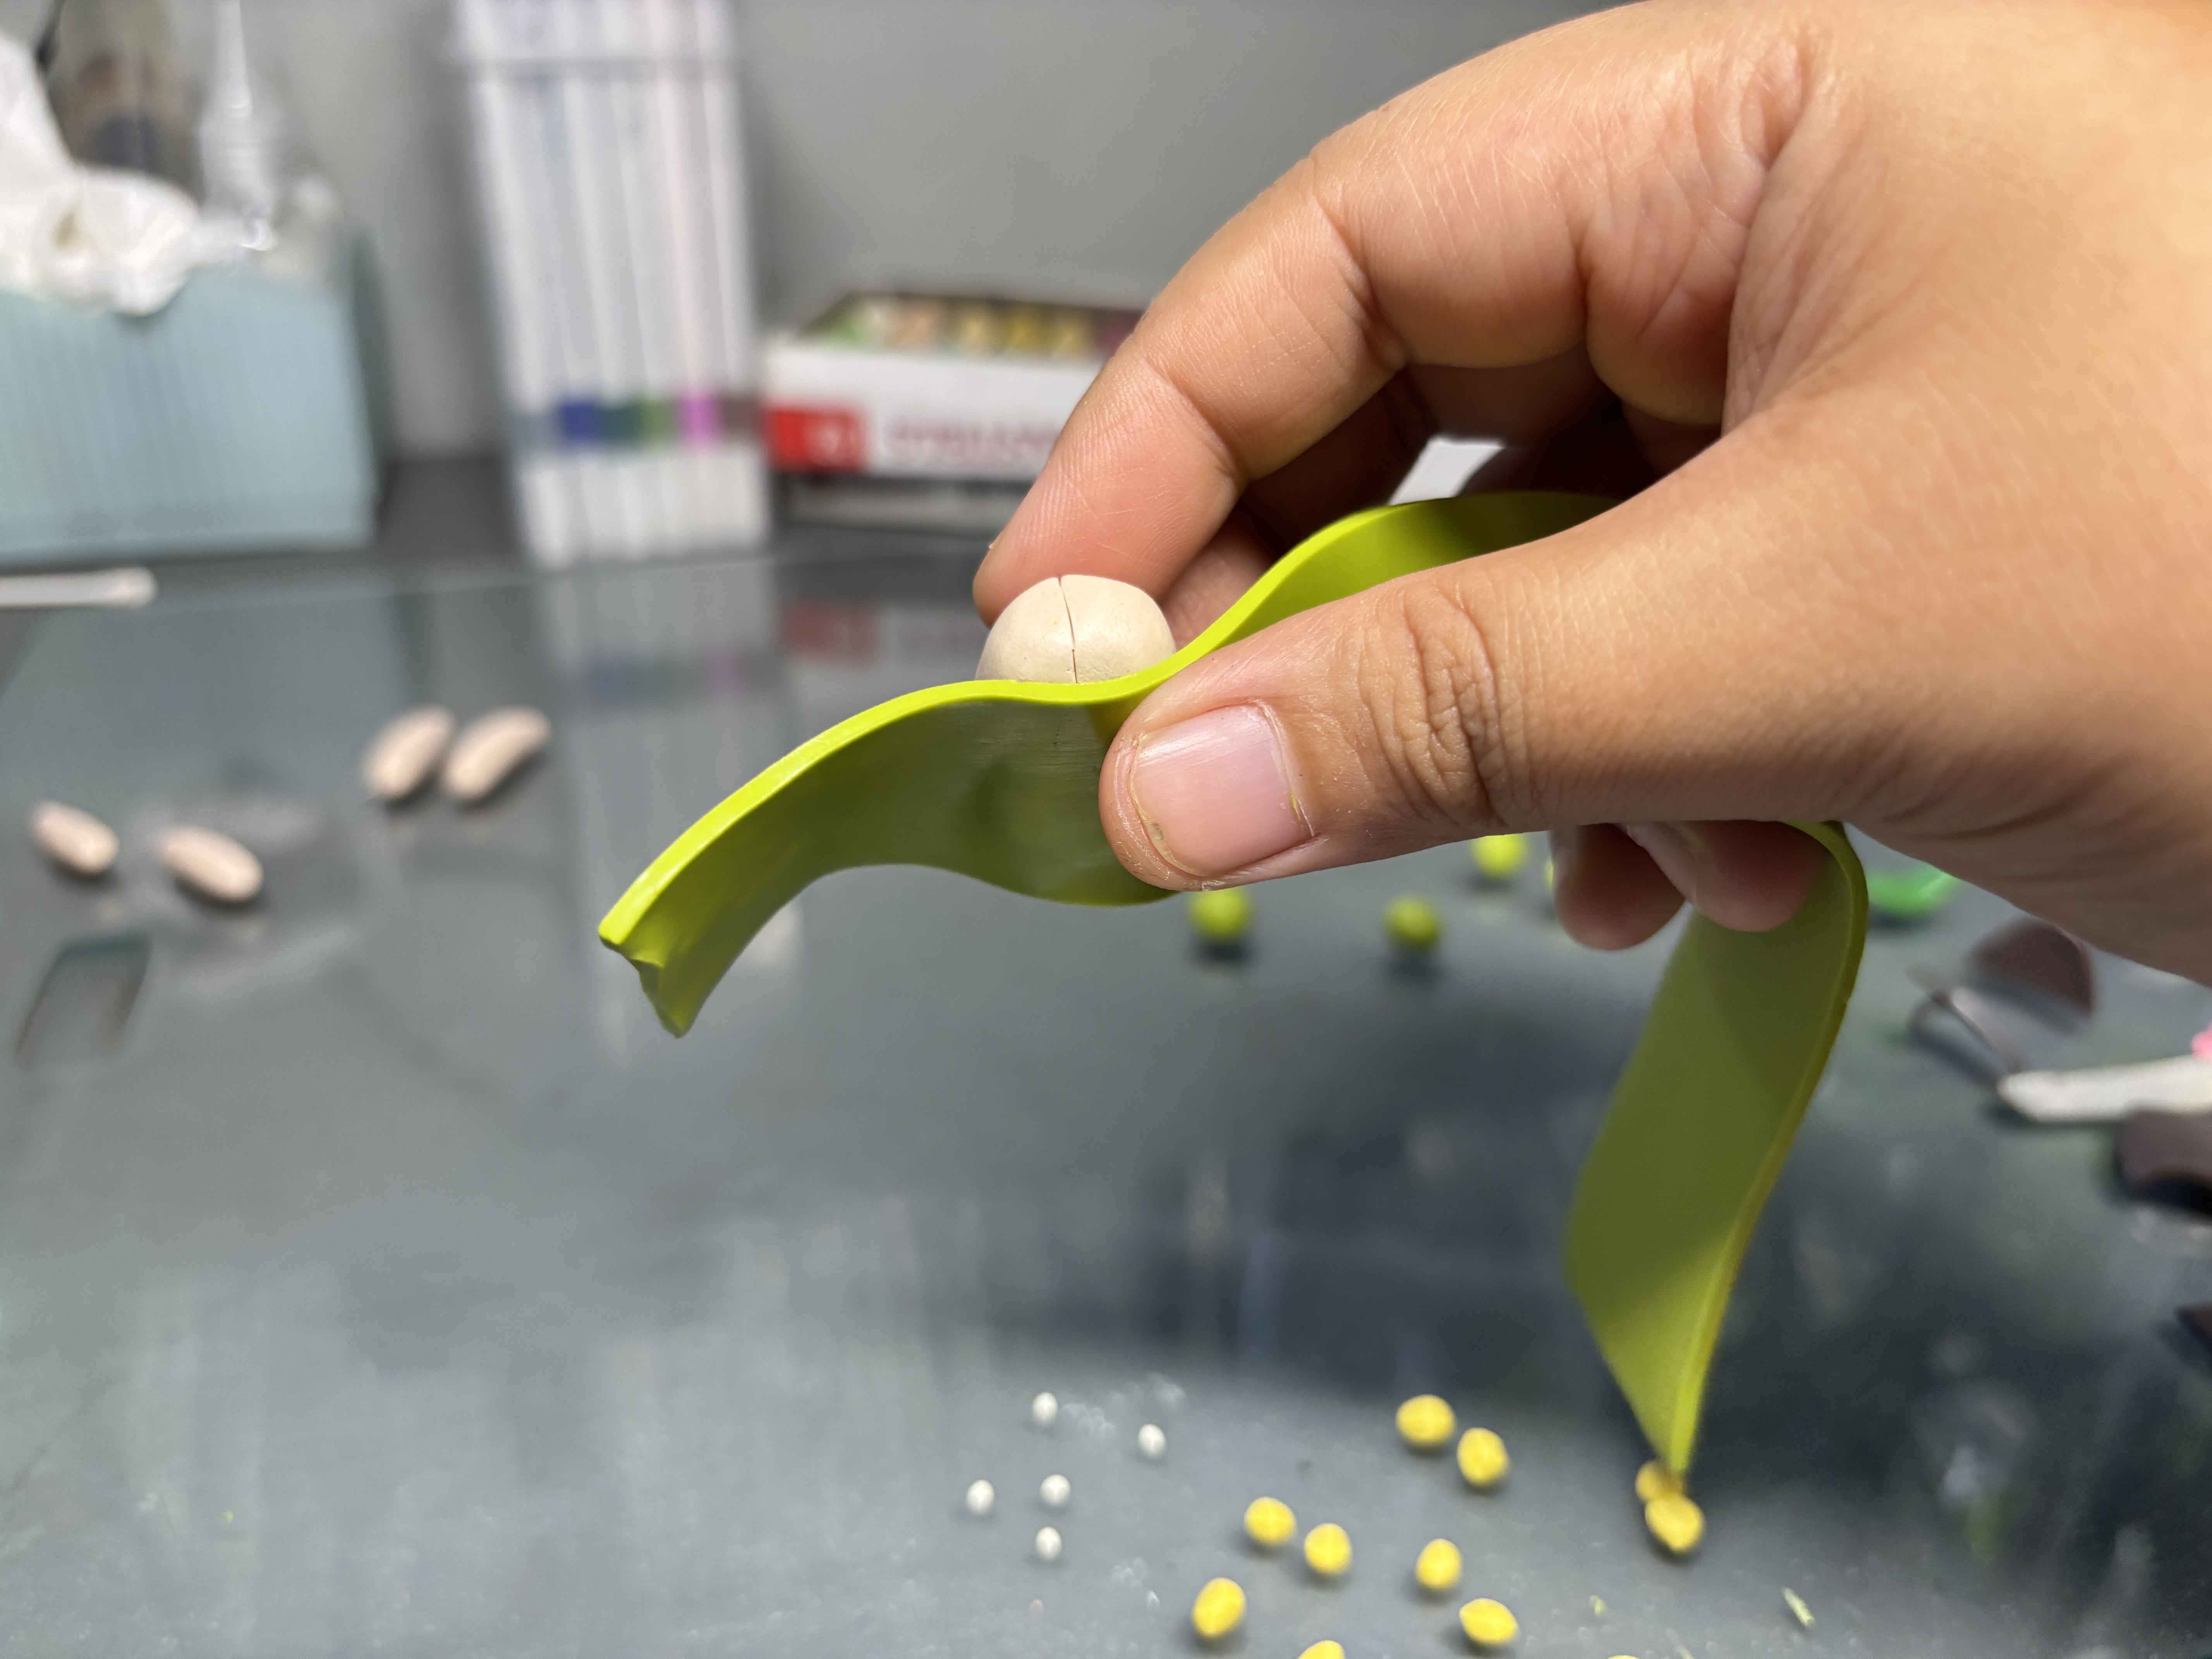
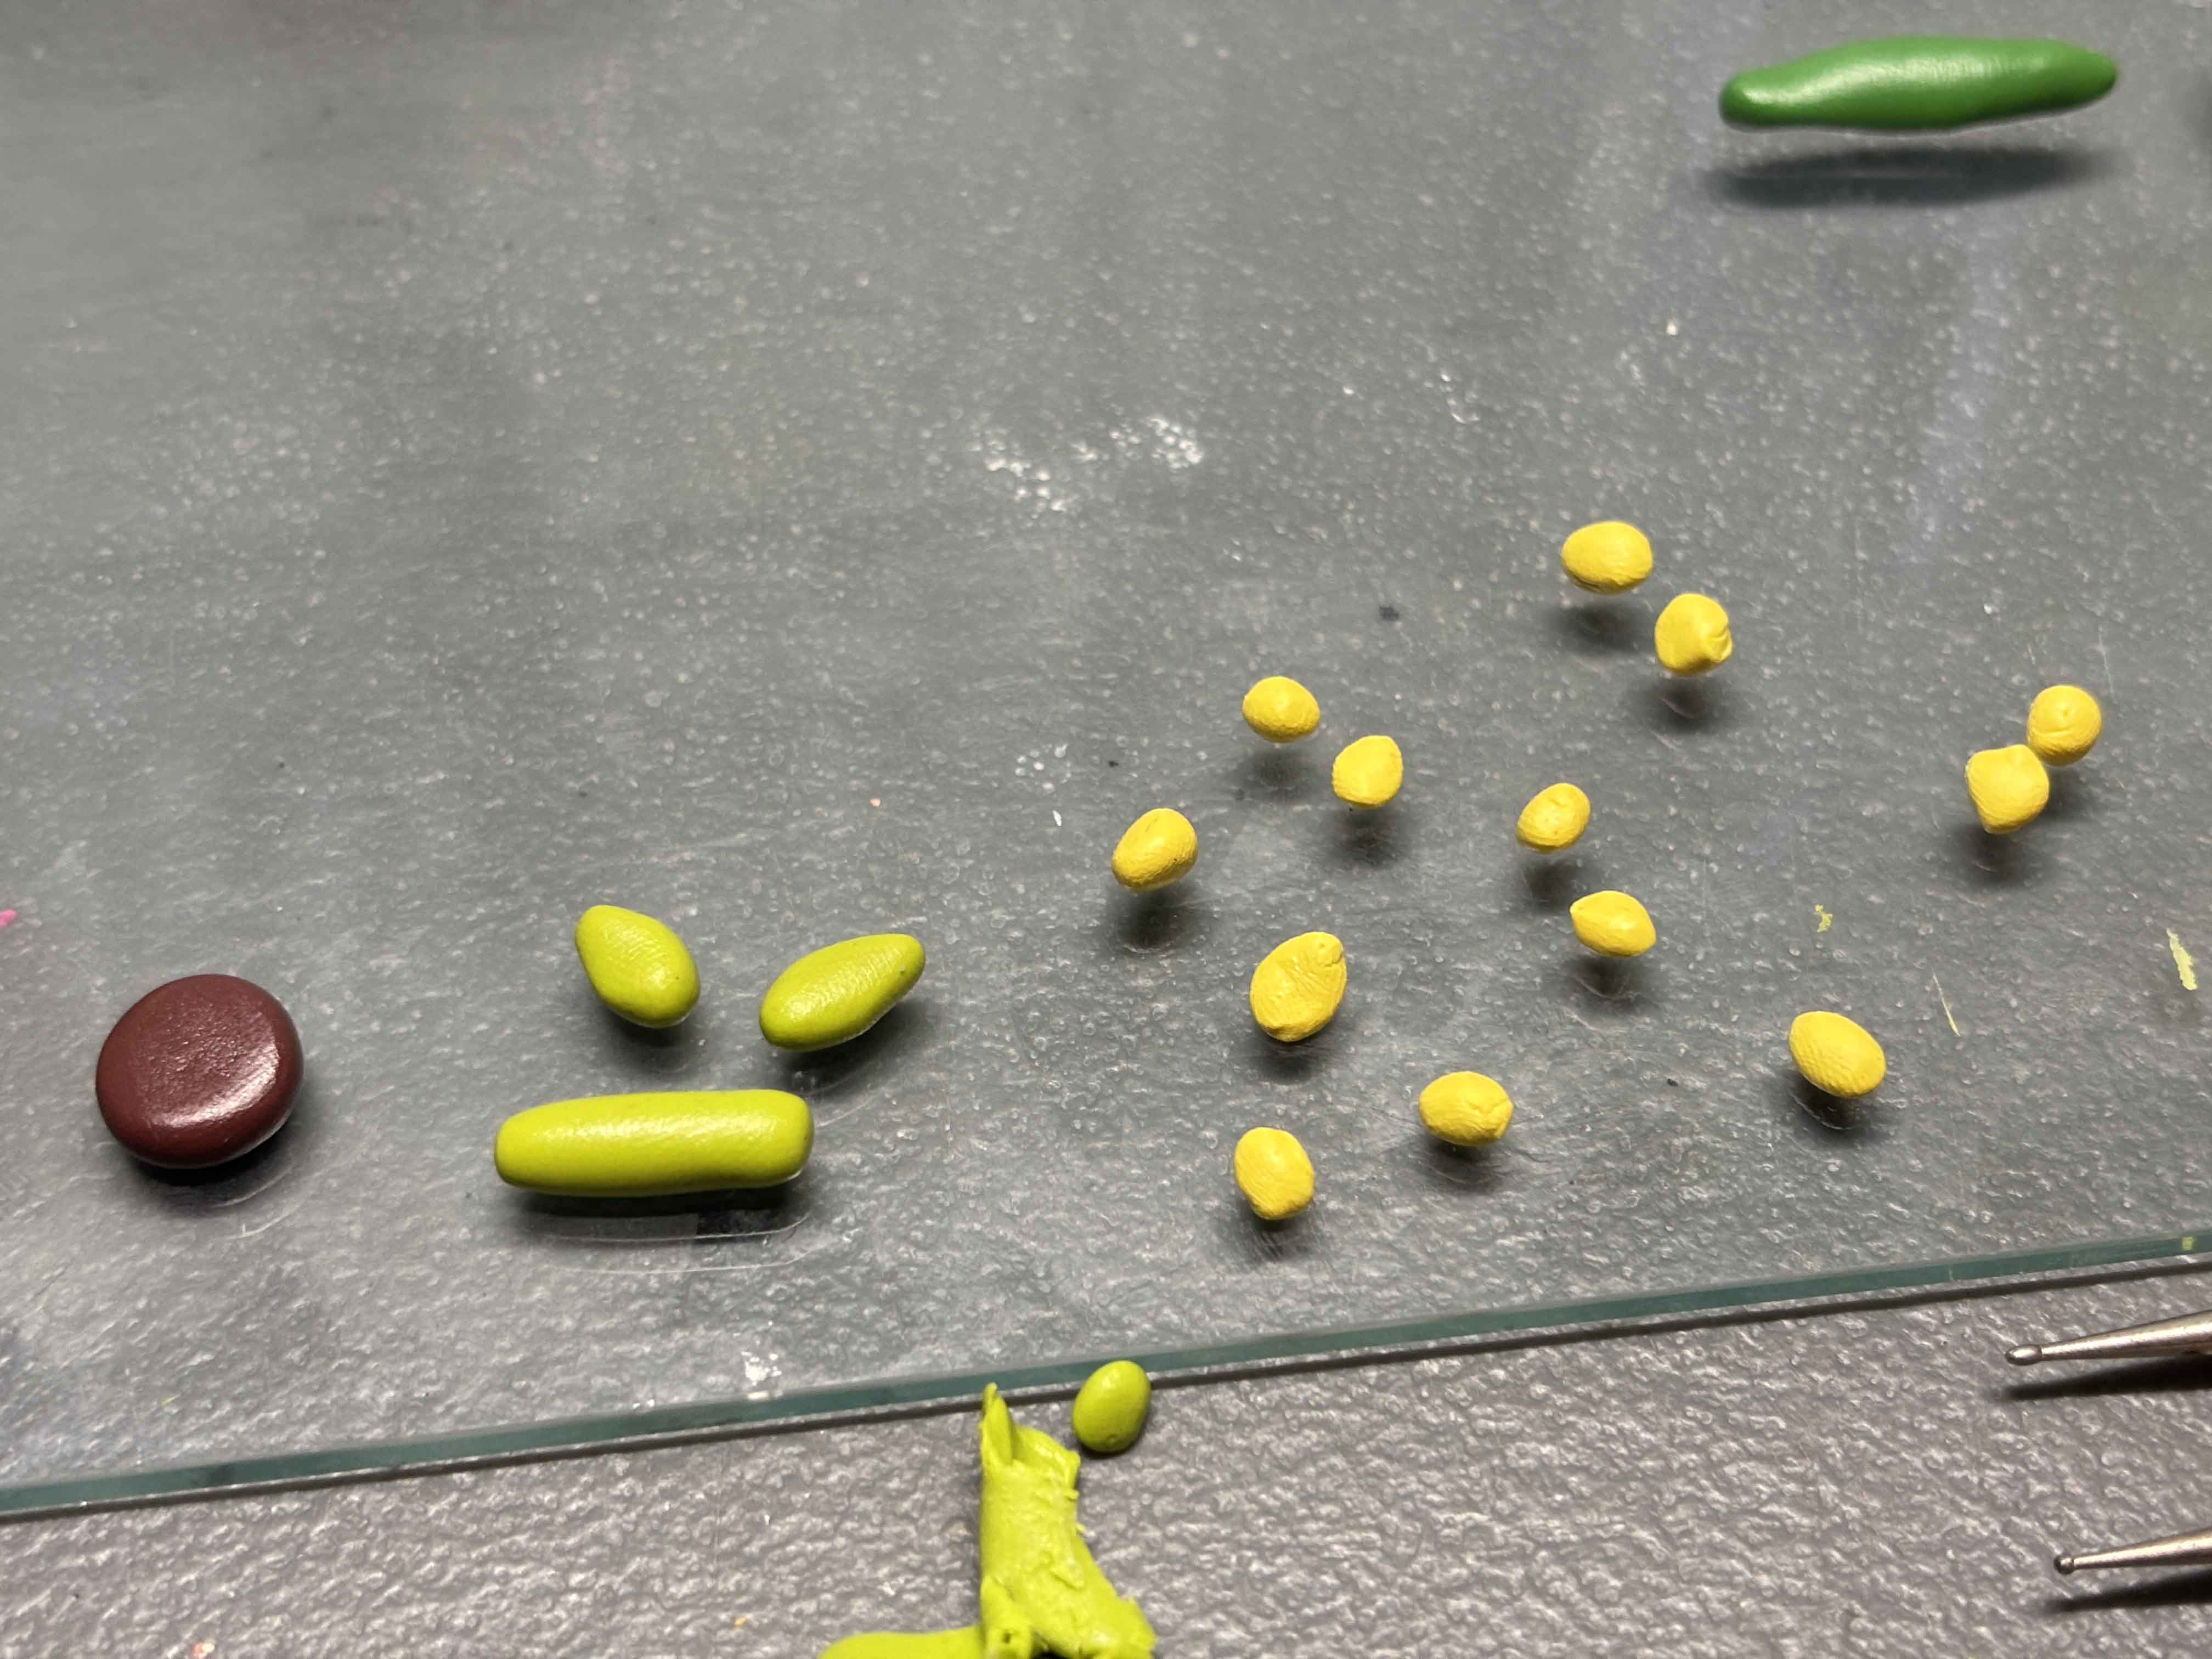
Making the Petals:
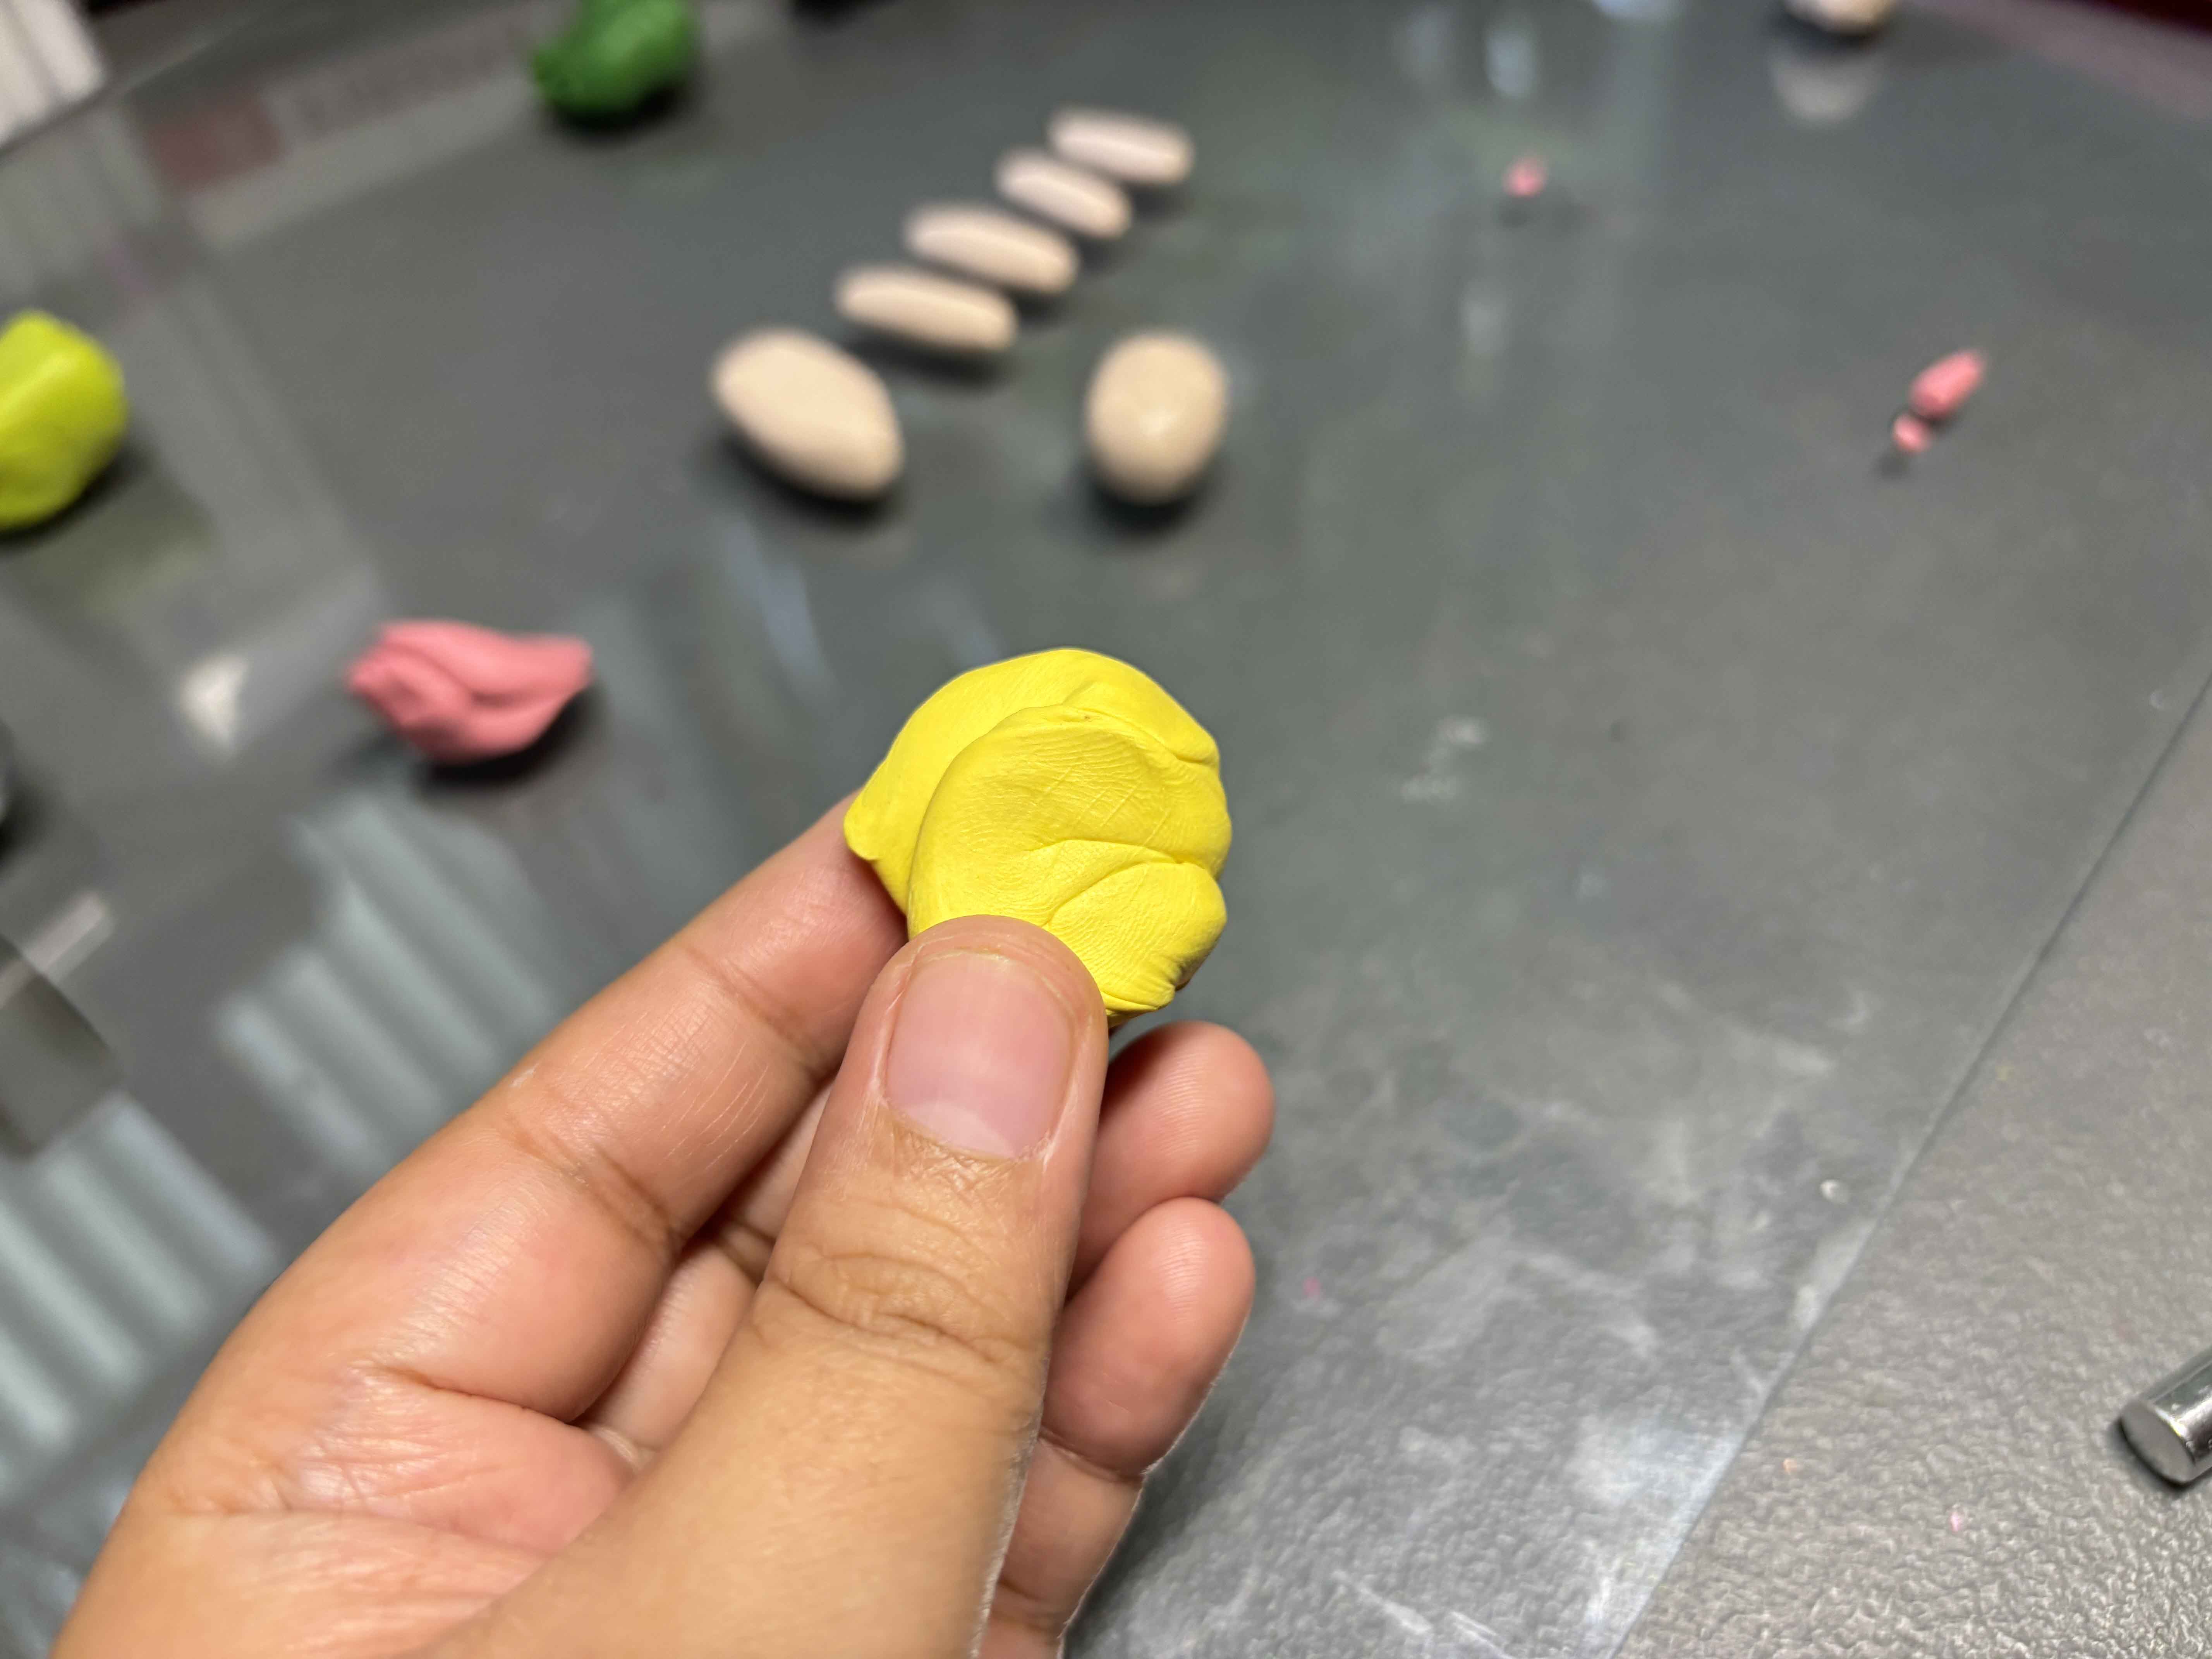
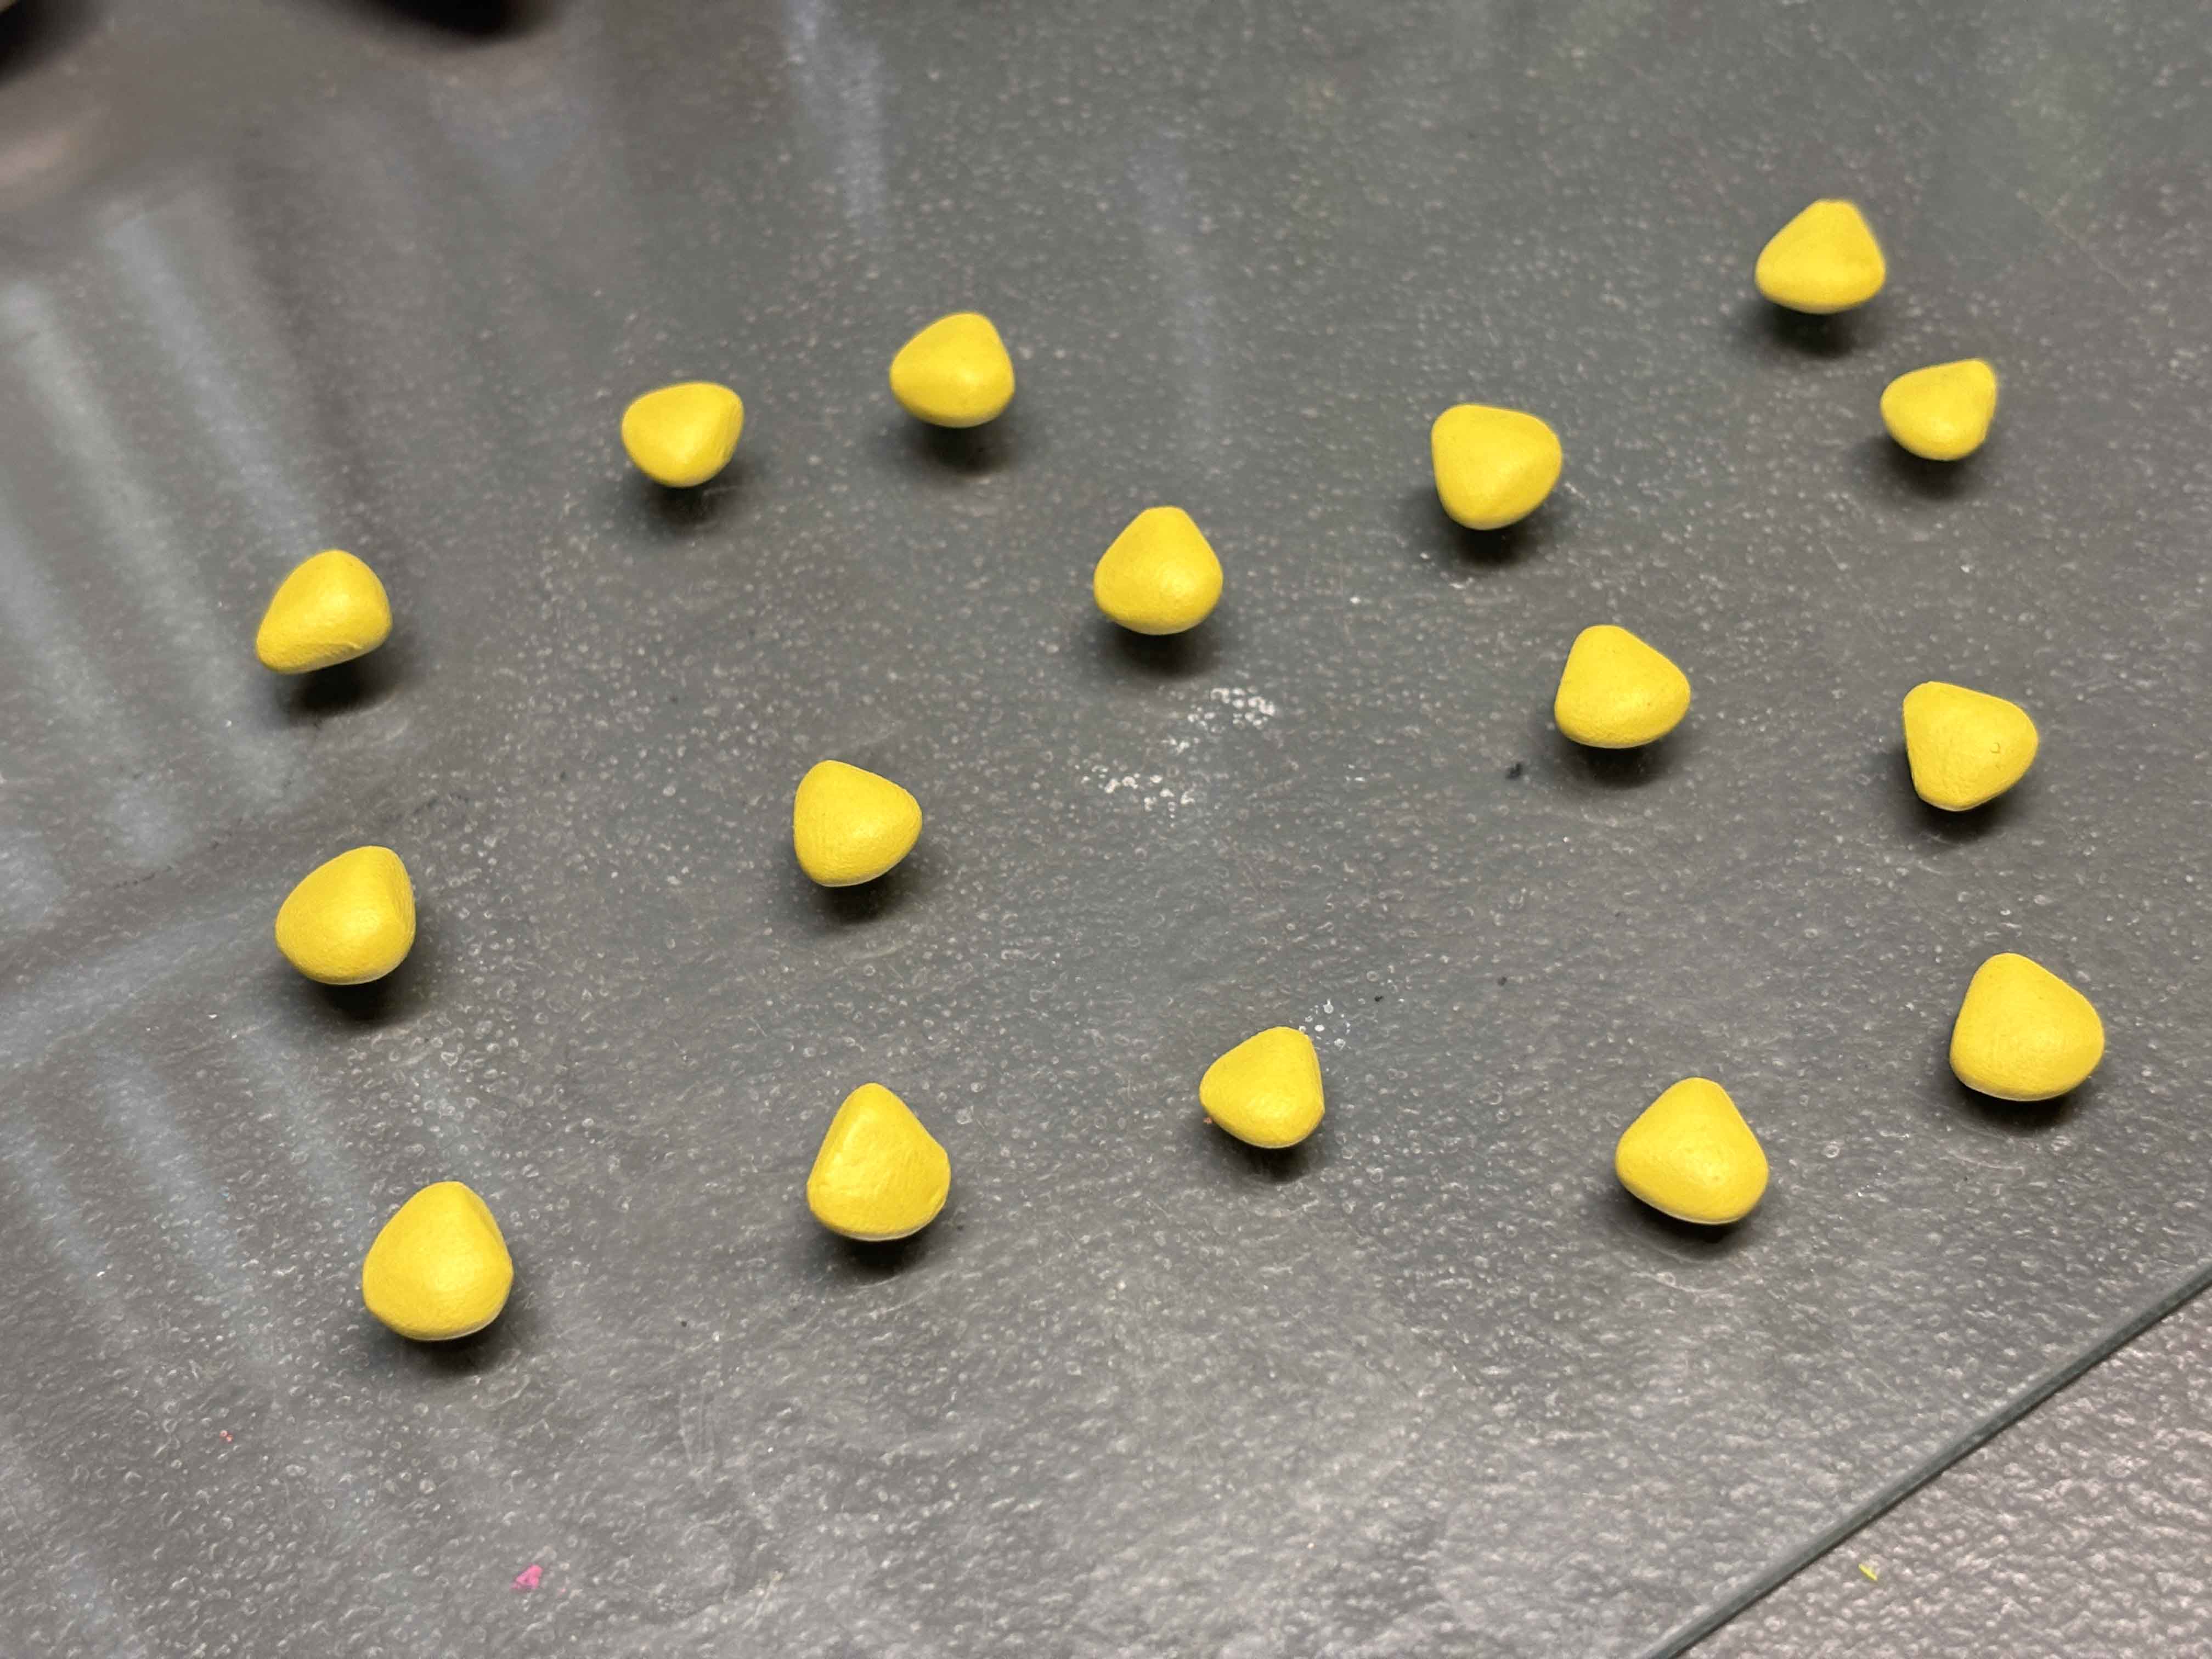
For the petals of Mr. Sun, I use this yellow clay, and then I weigh them equally to make them more equally in size, and then shape them into a petal-like shape.
-----
----
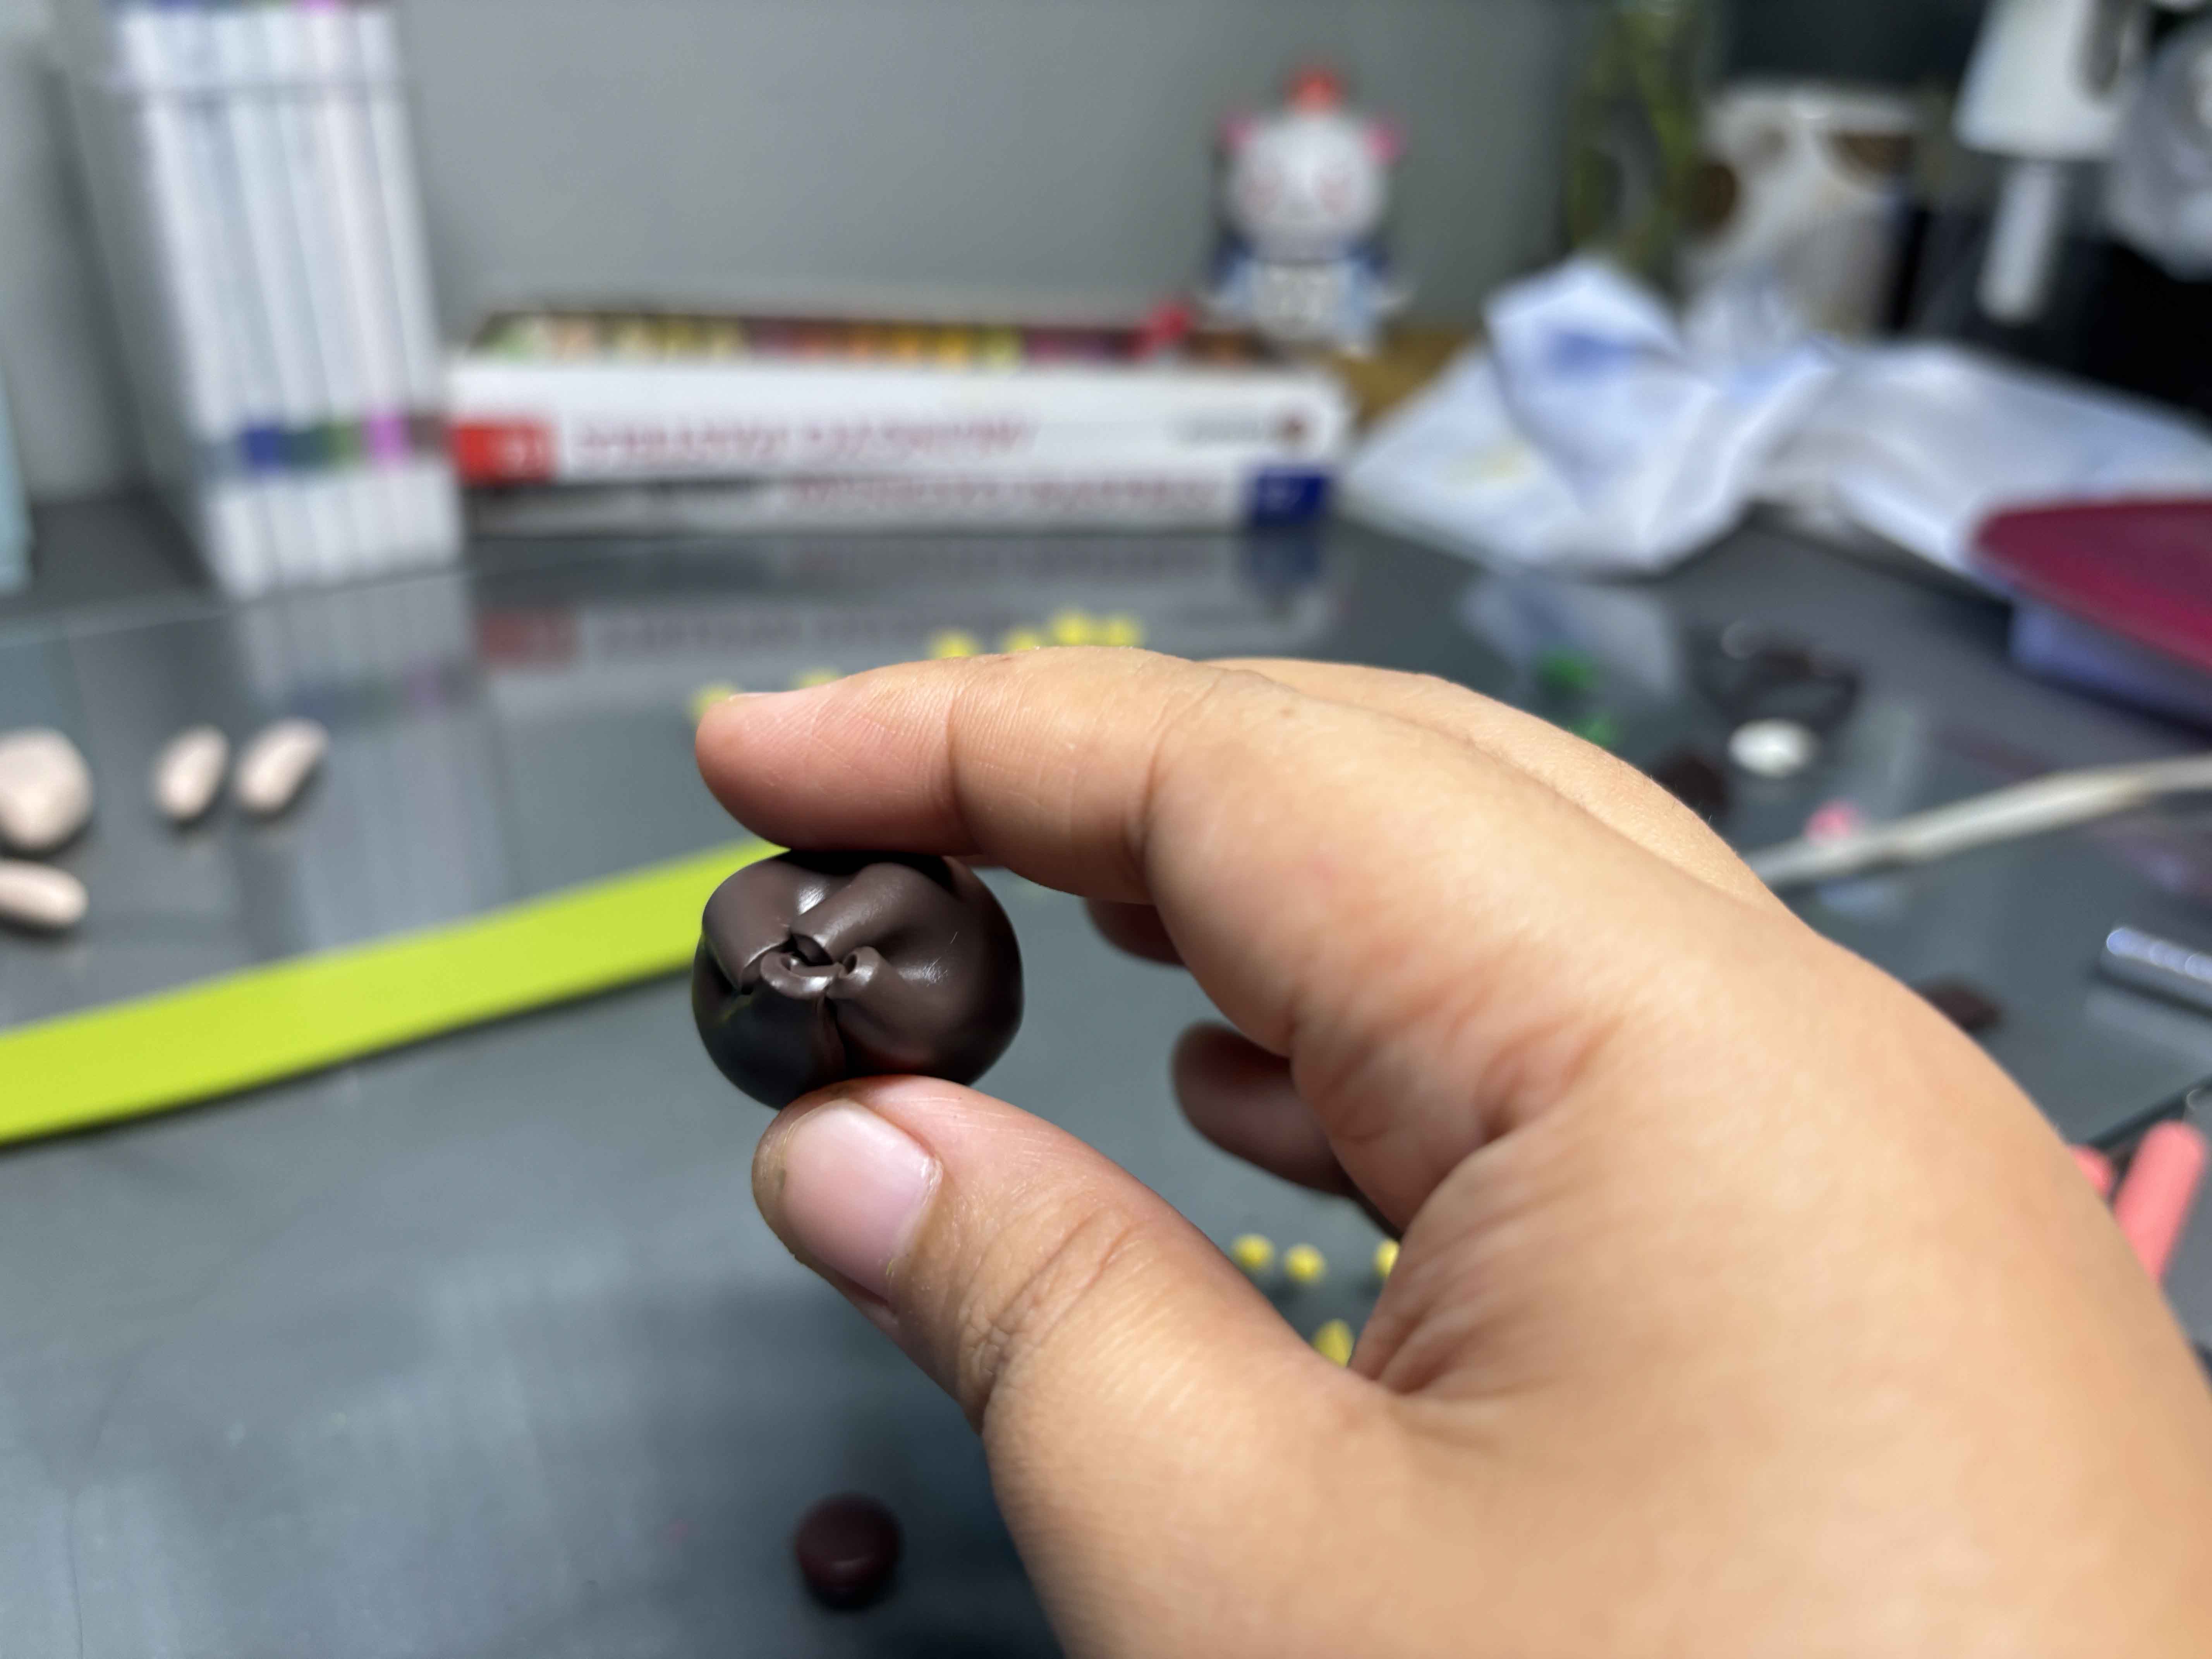
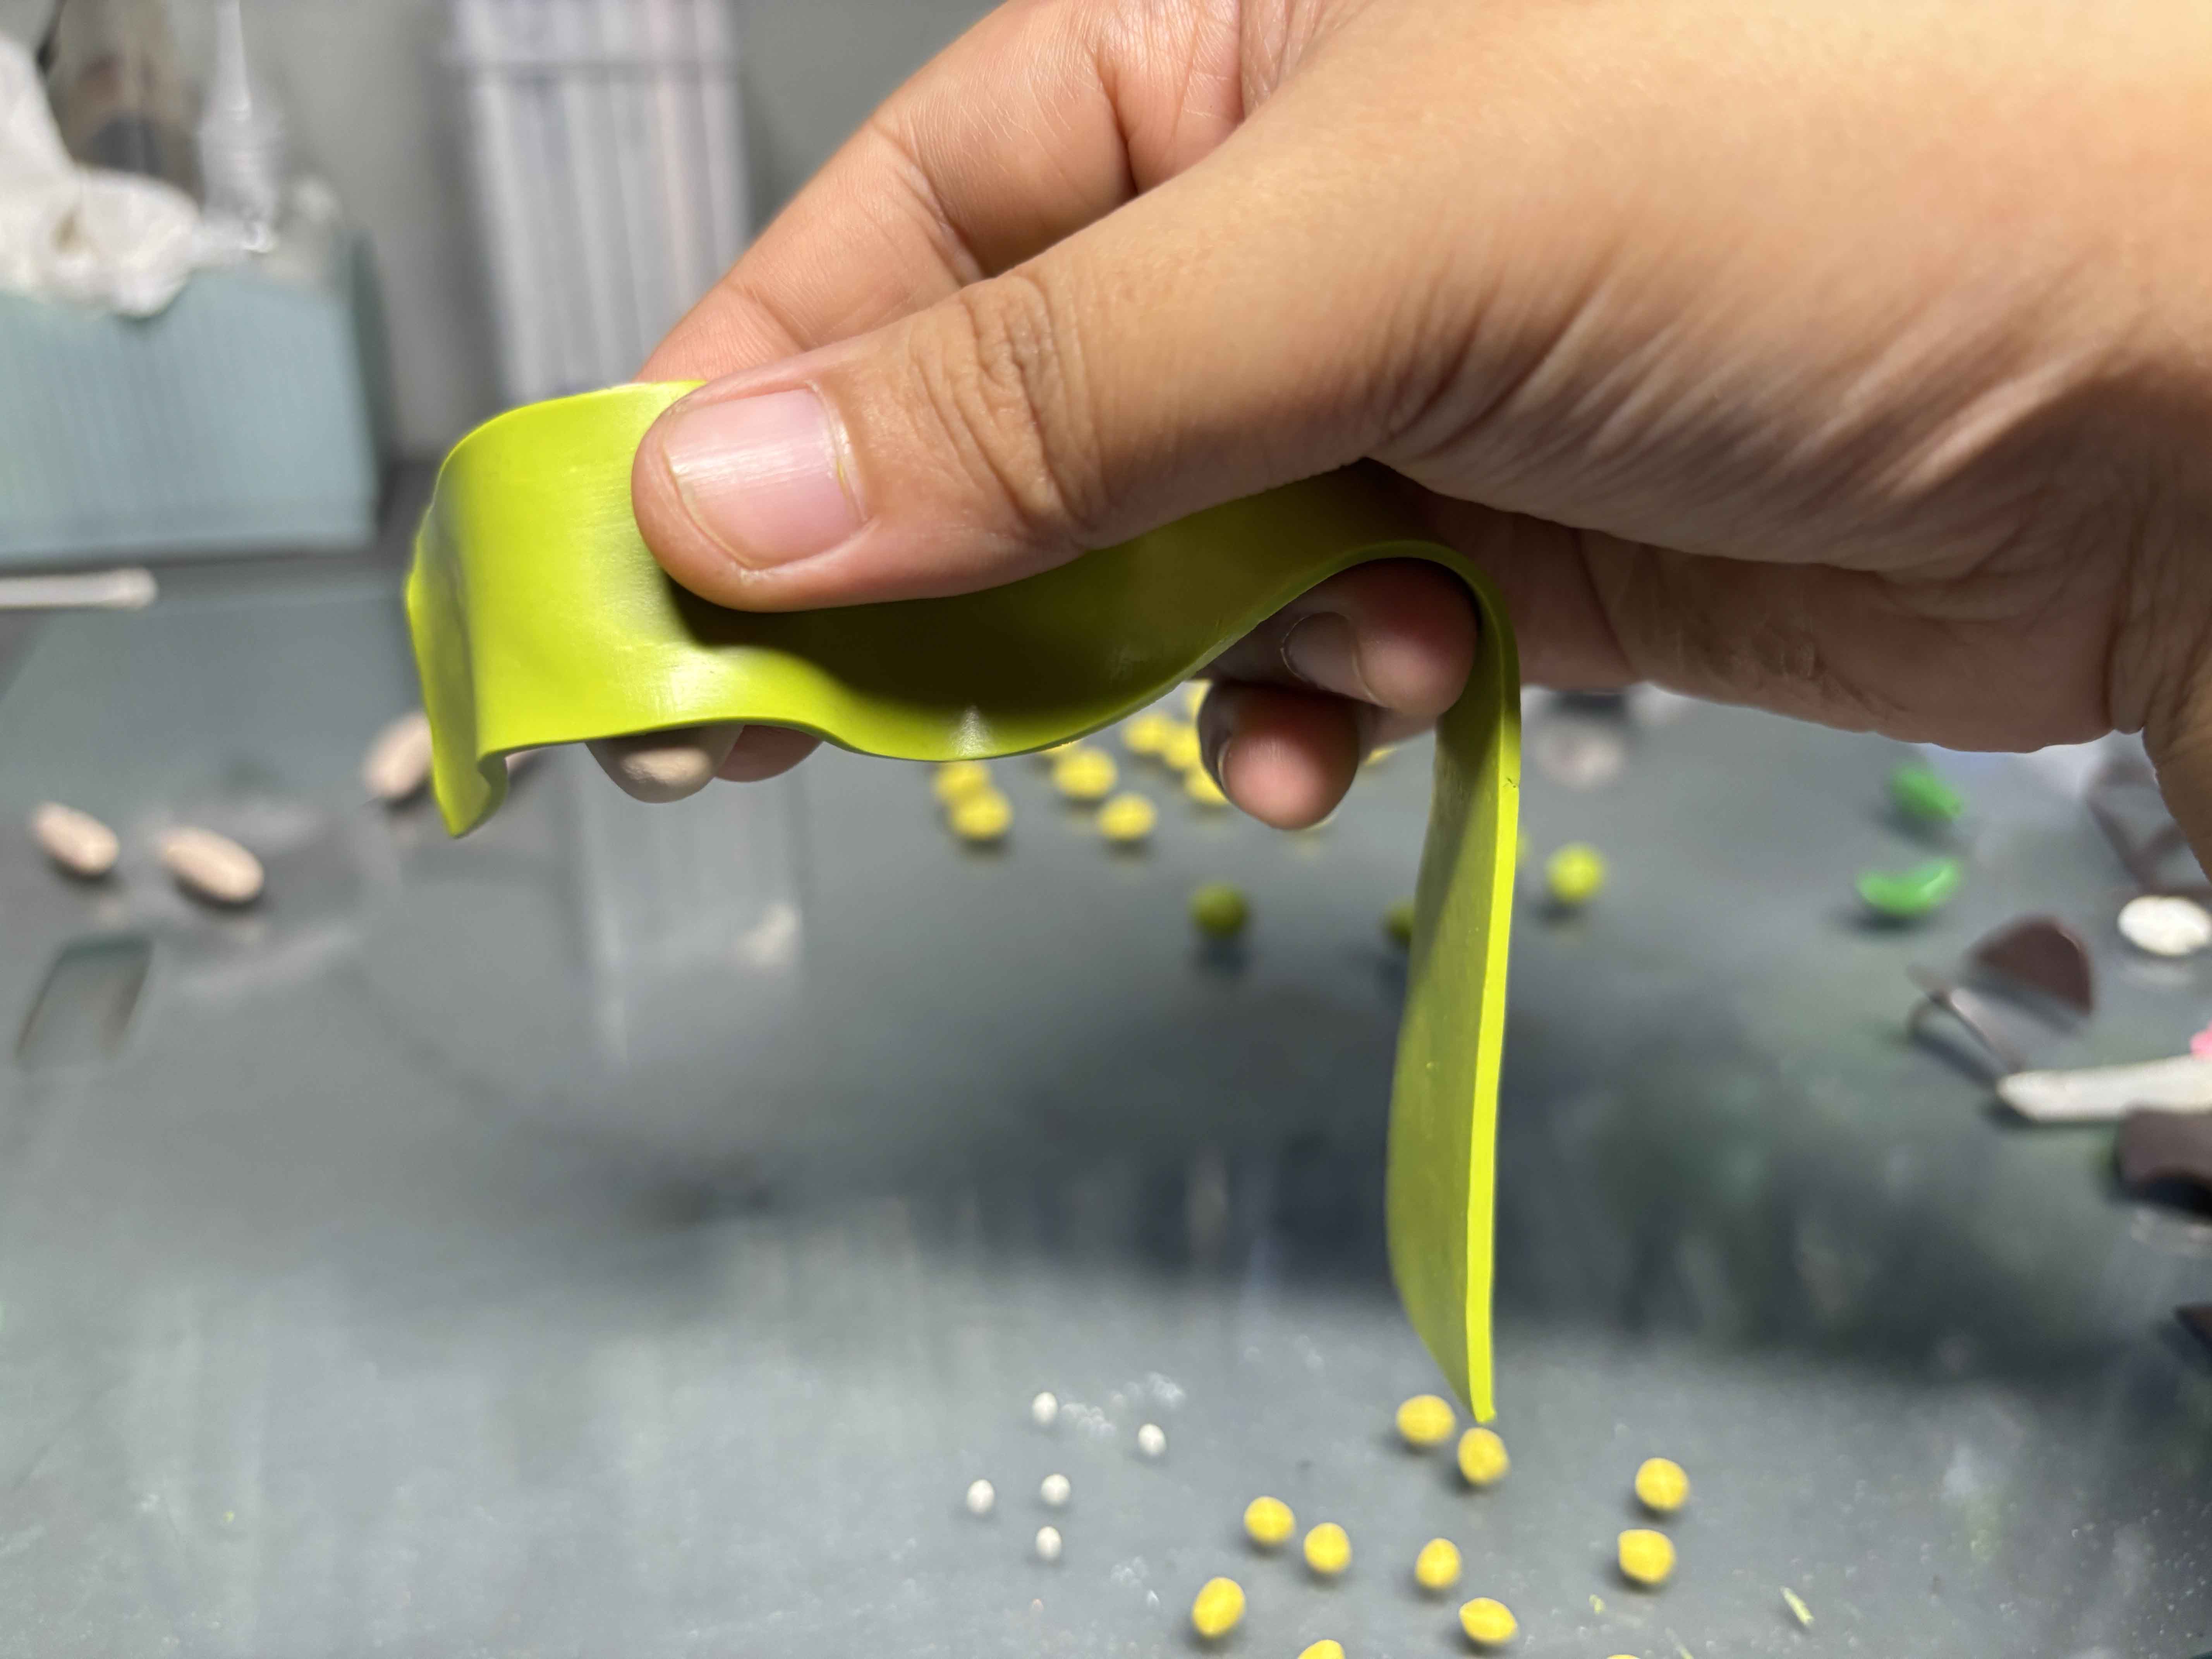
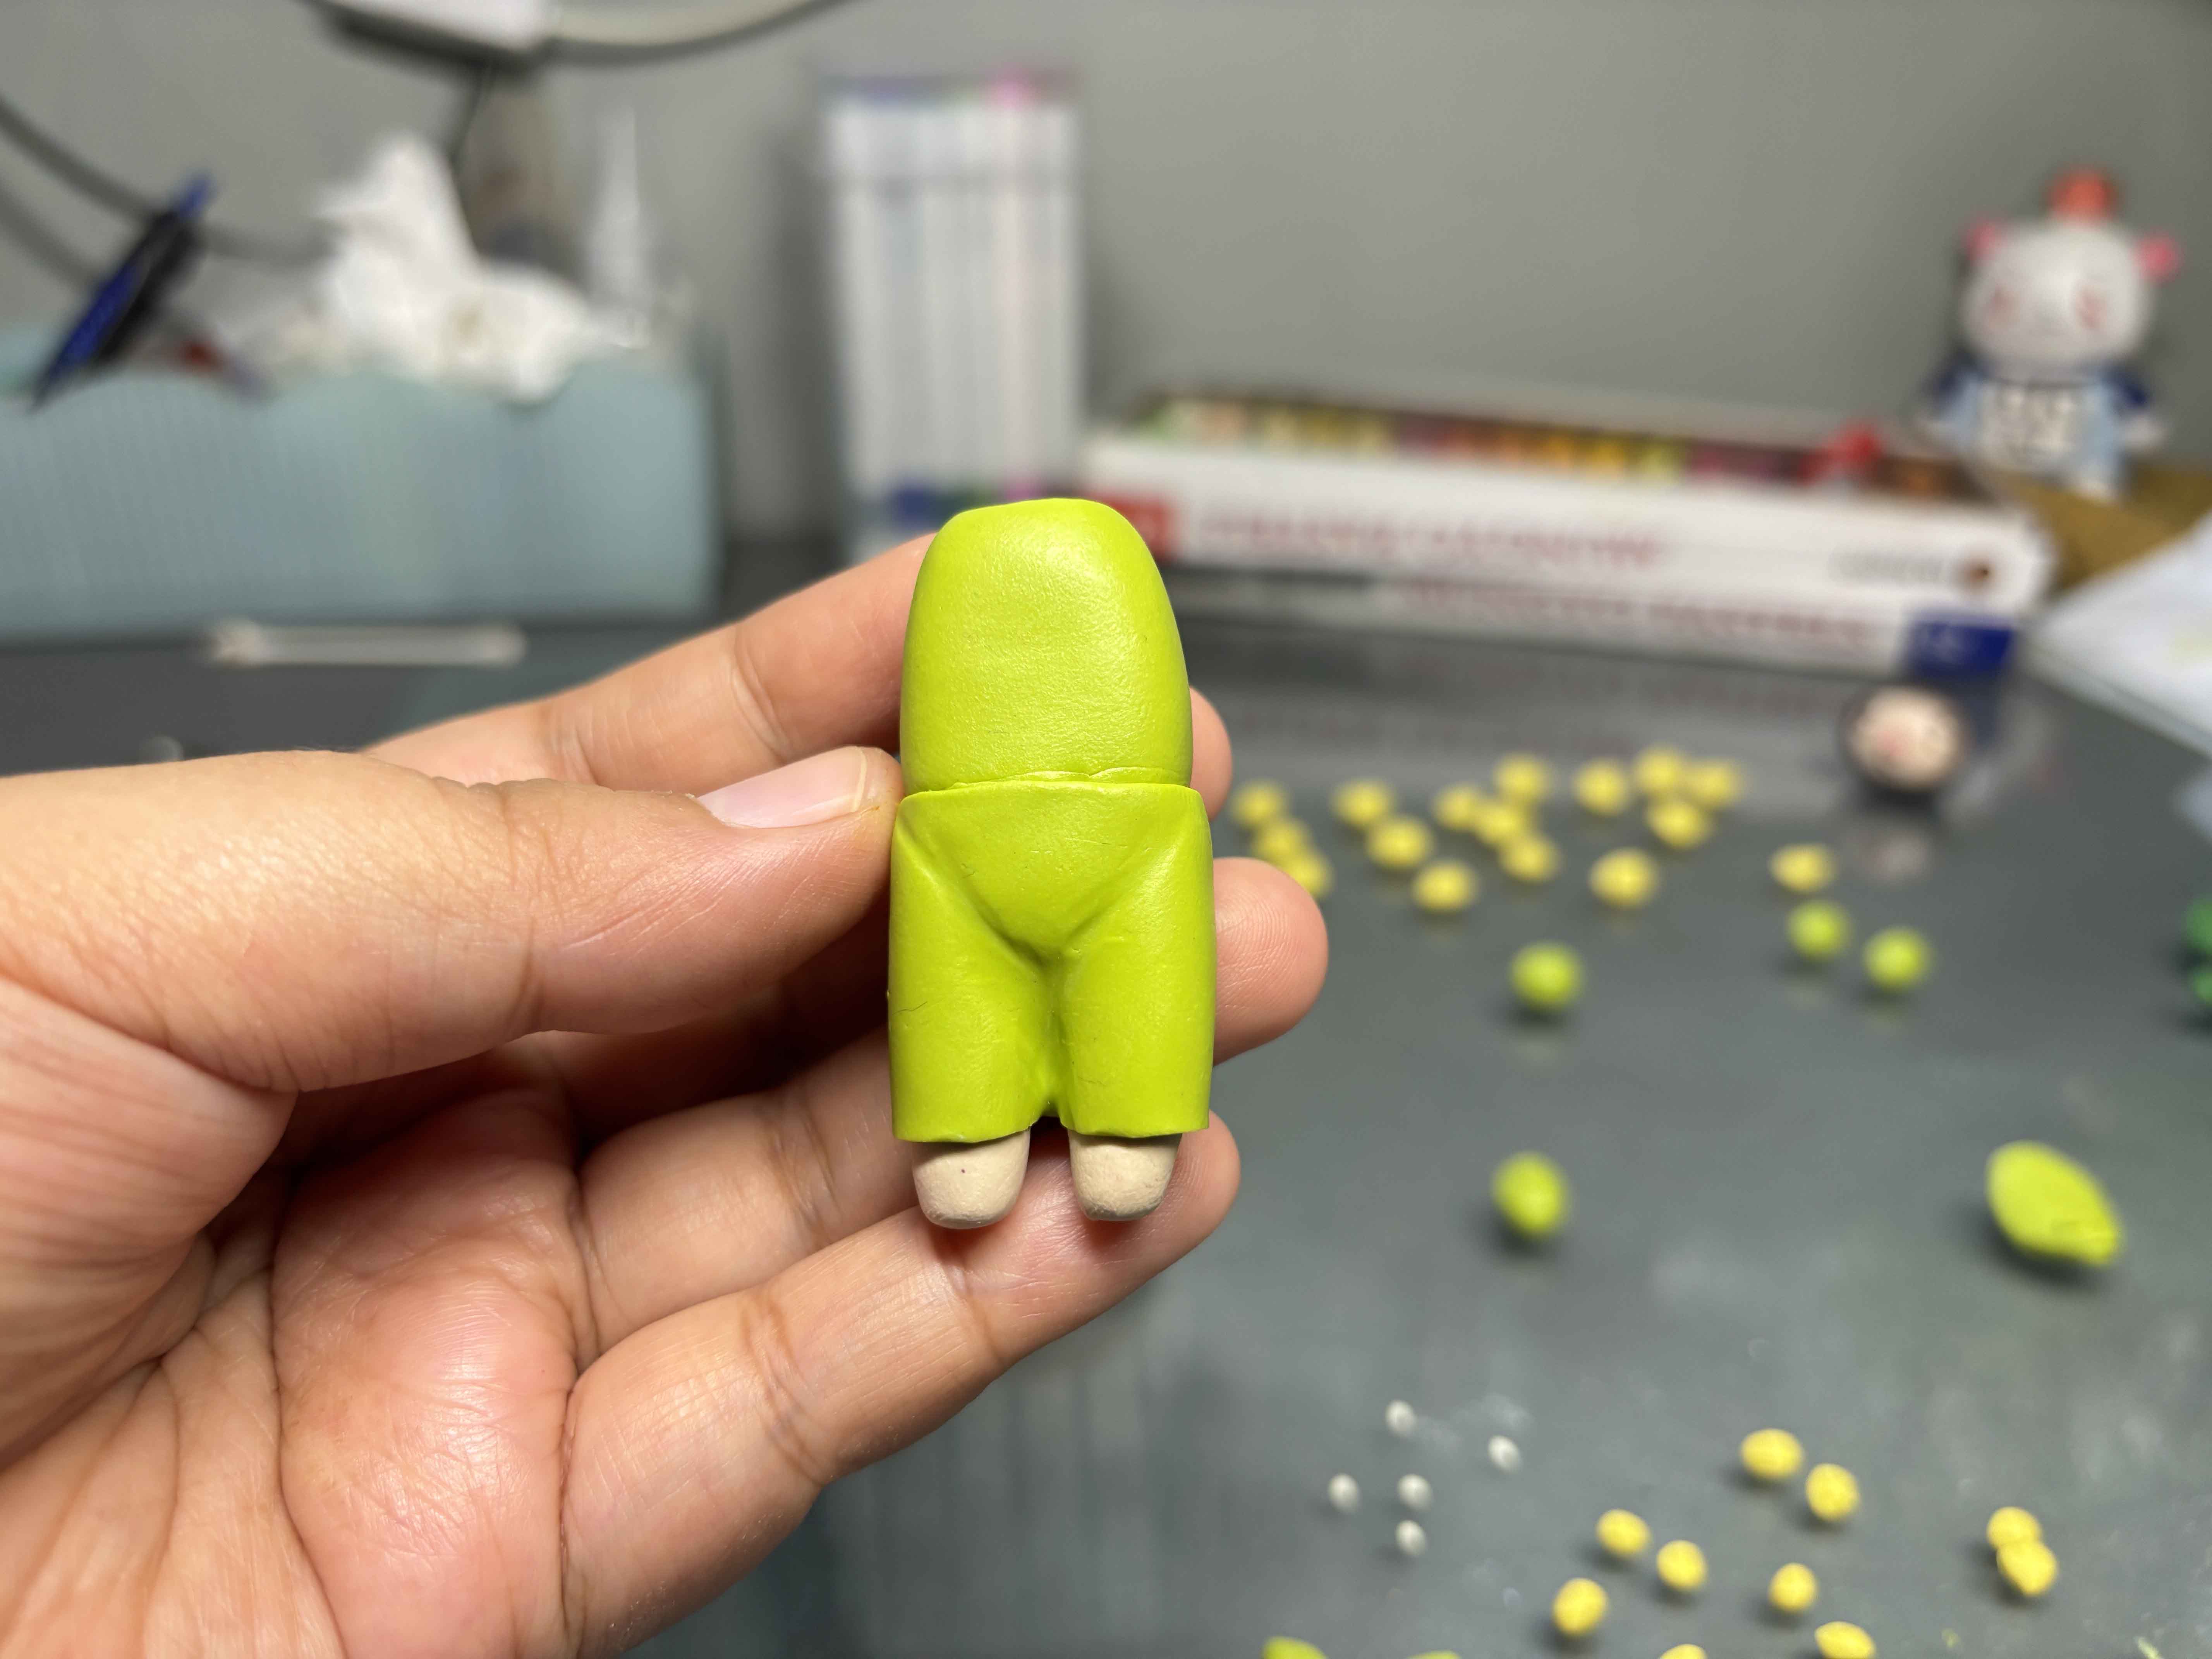
Making the Clothes:
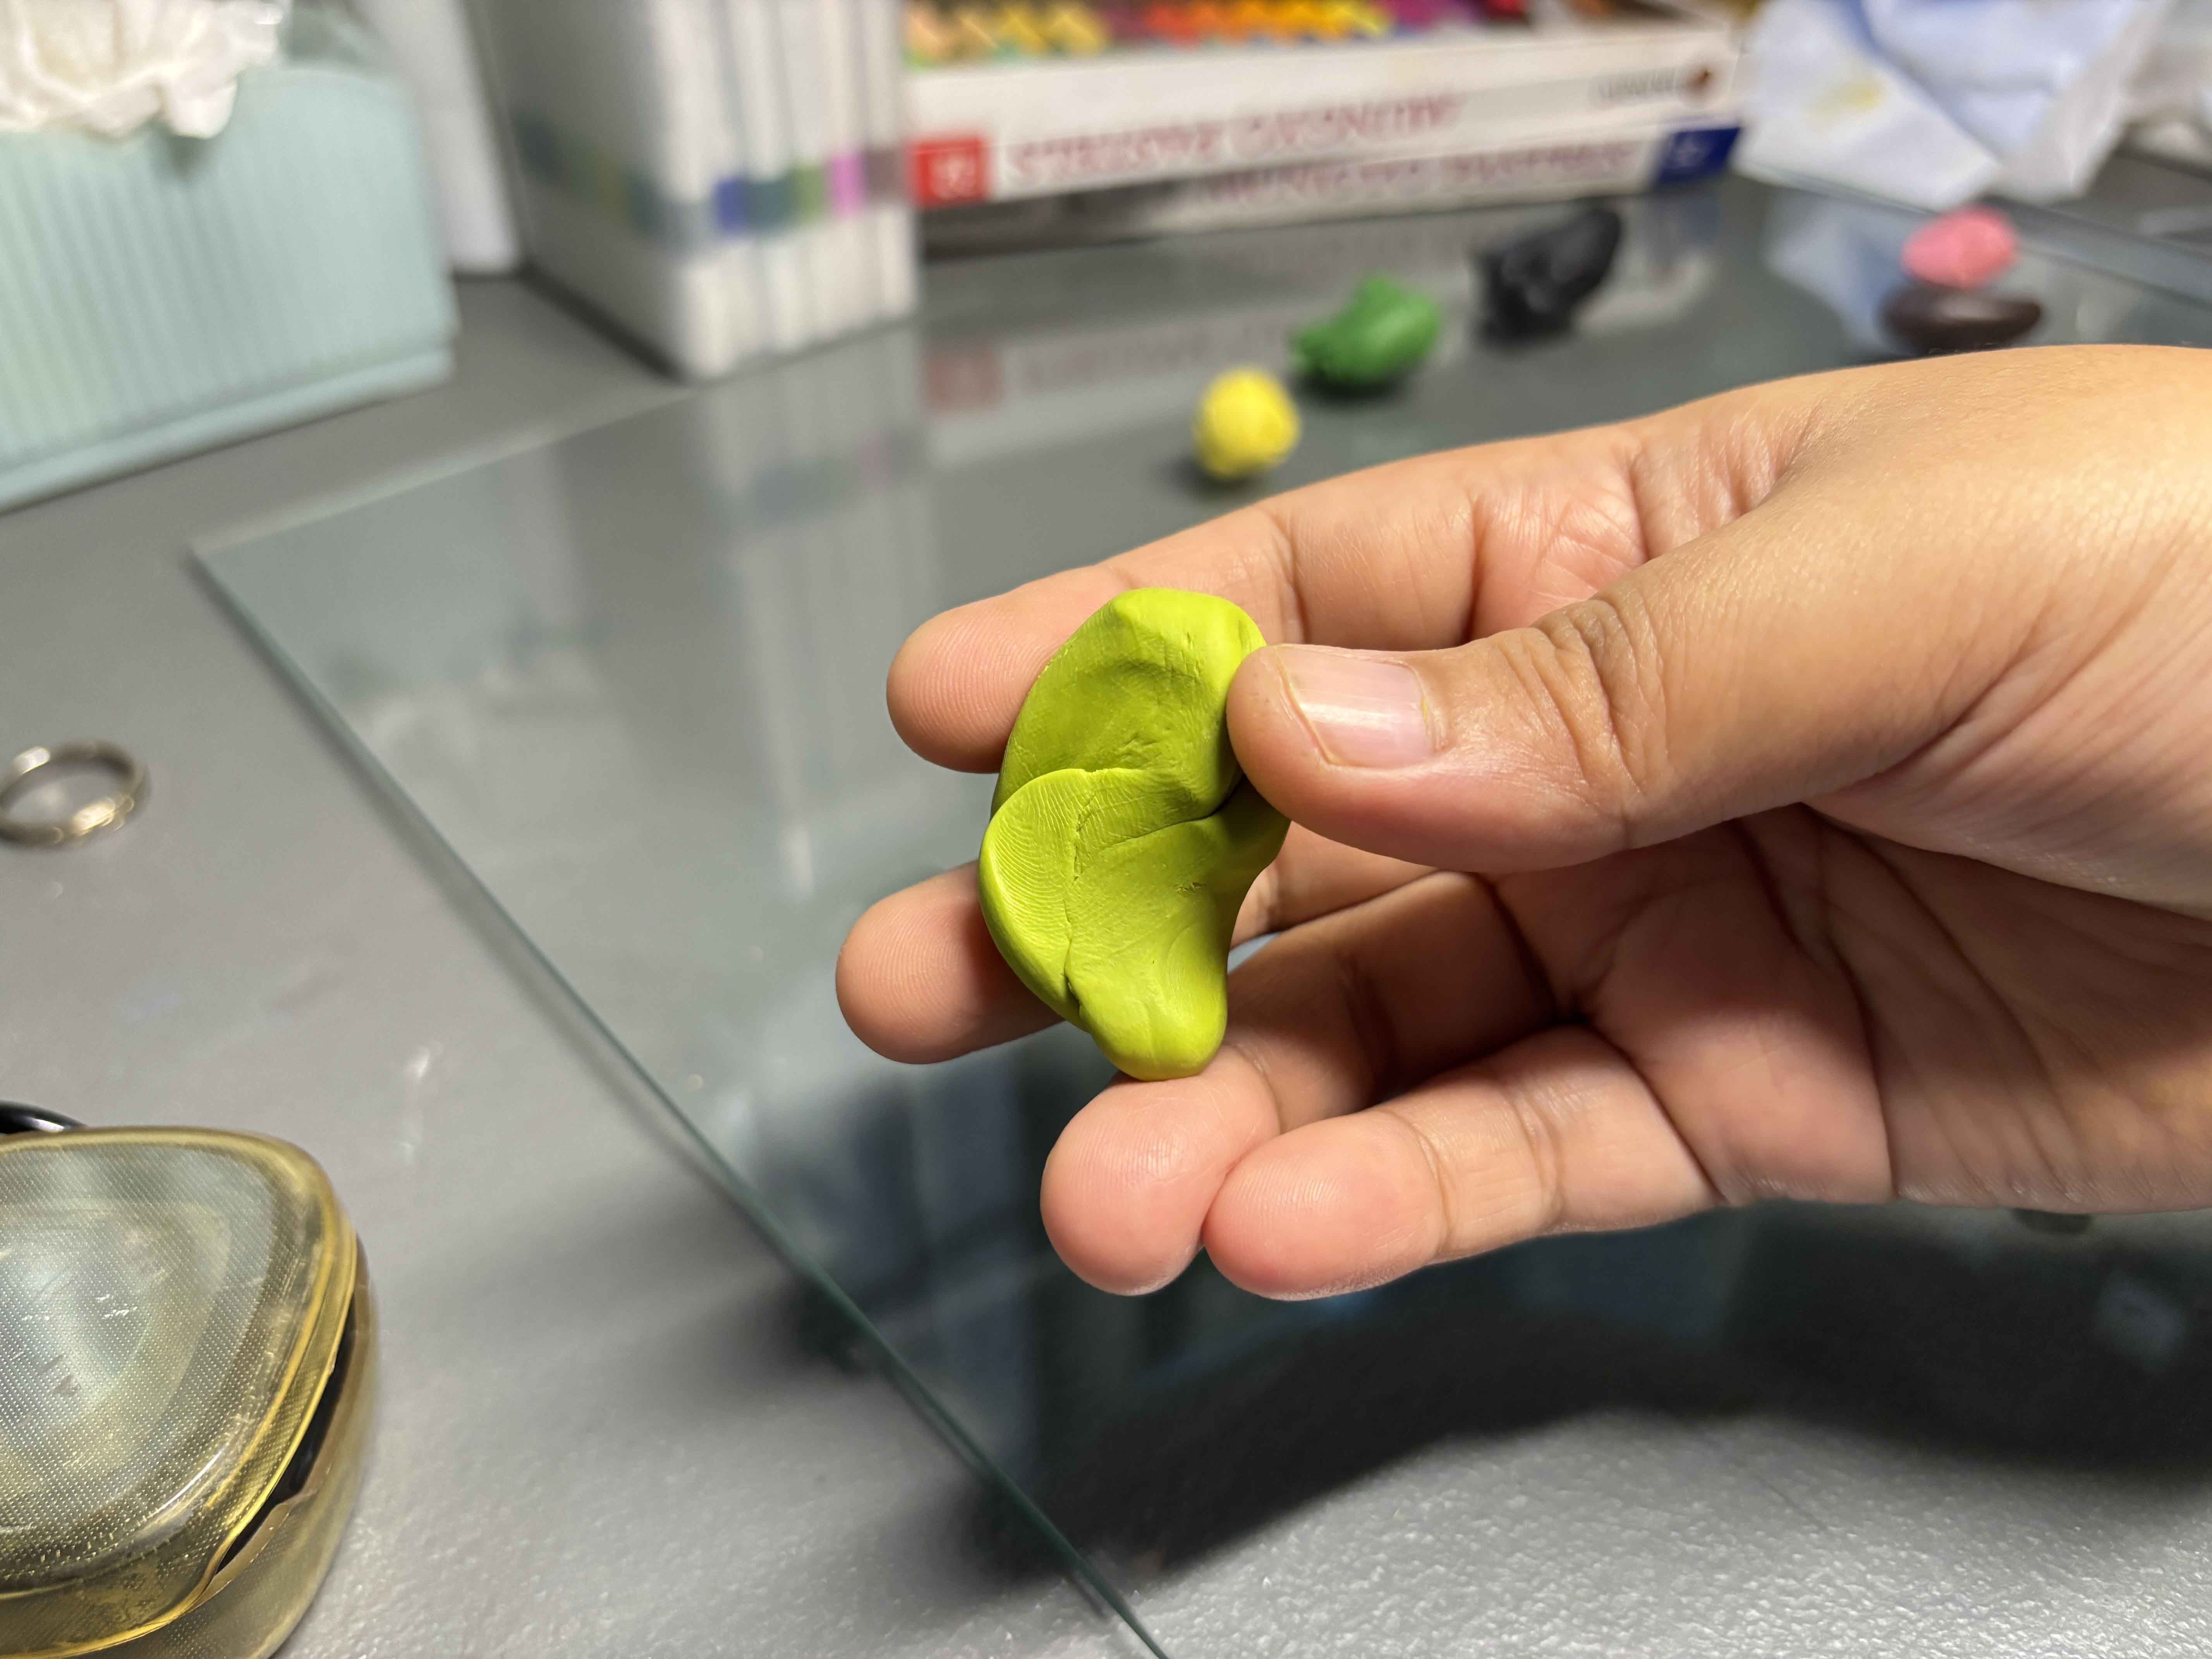
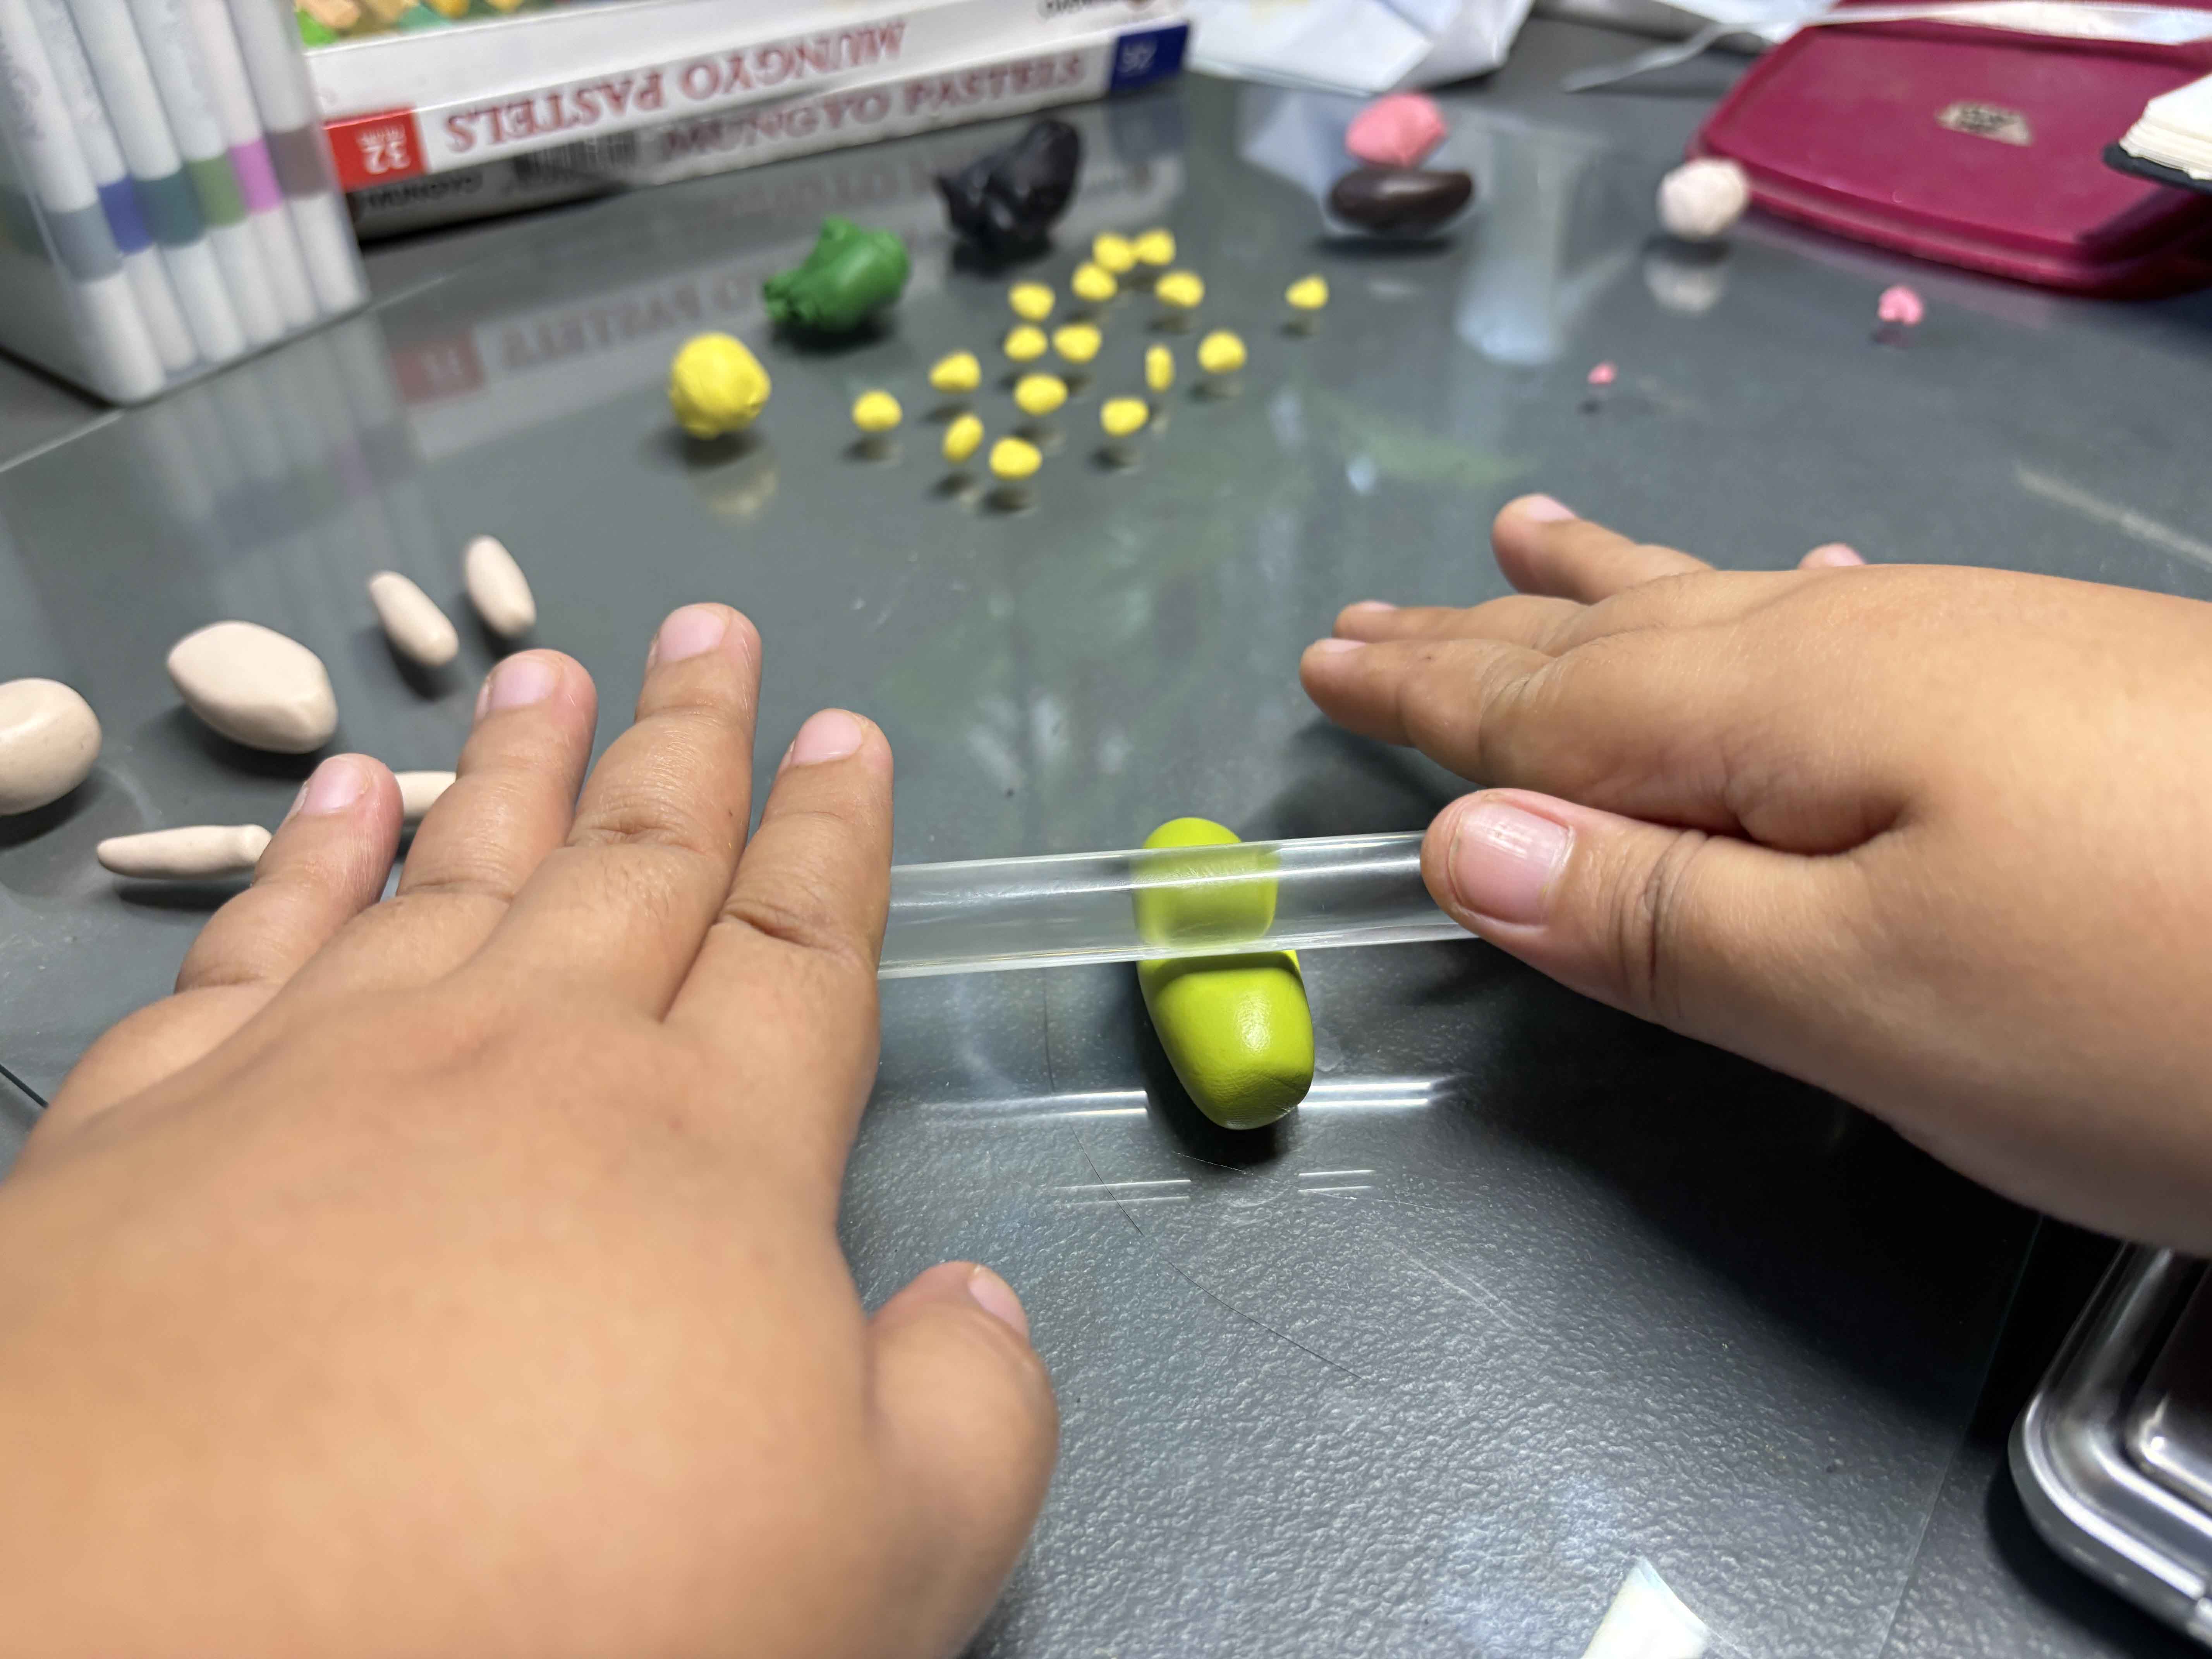
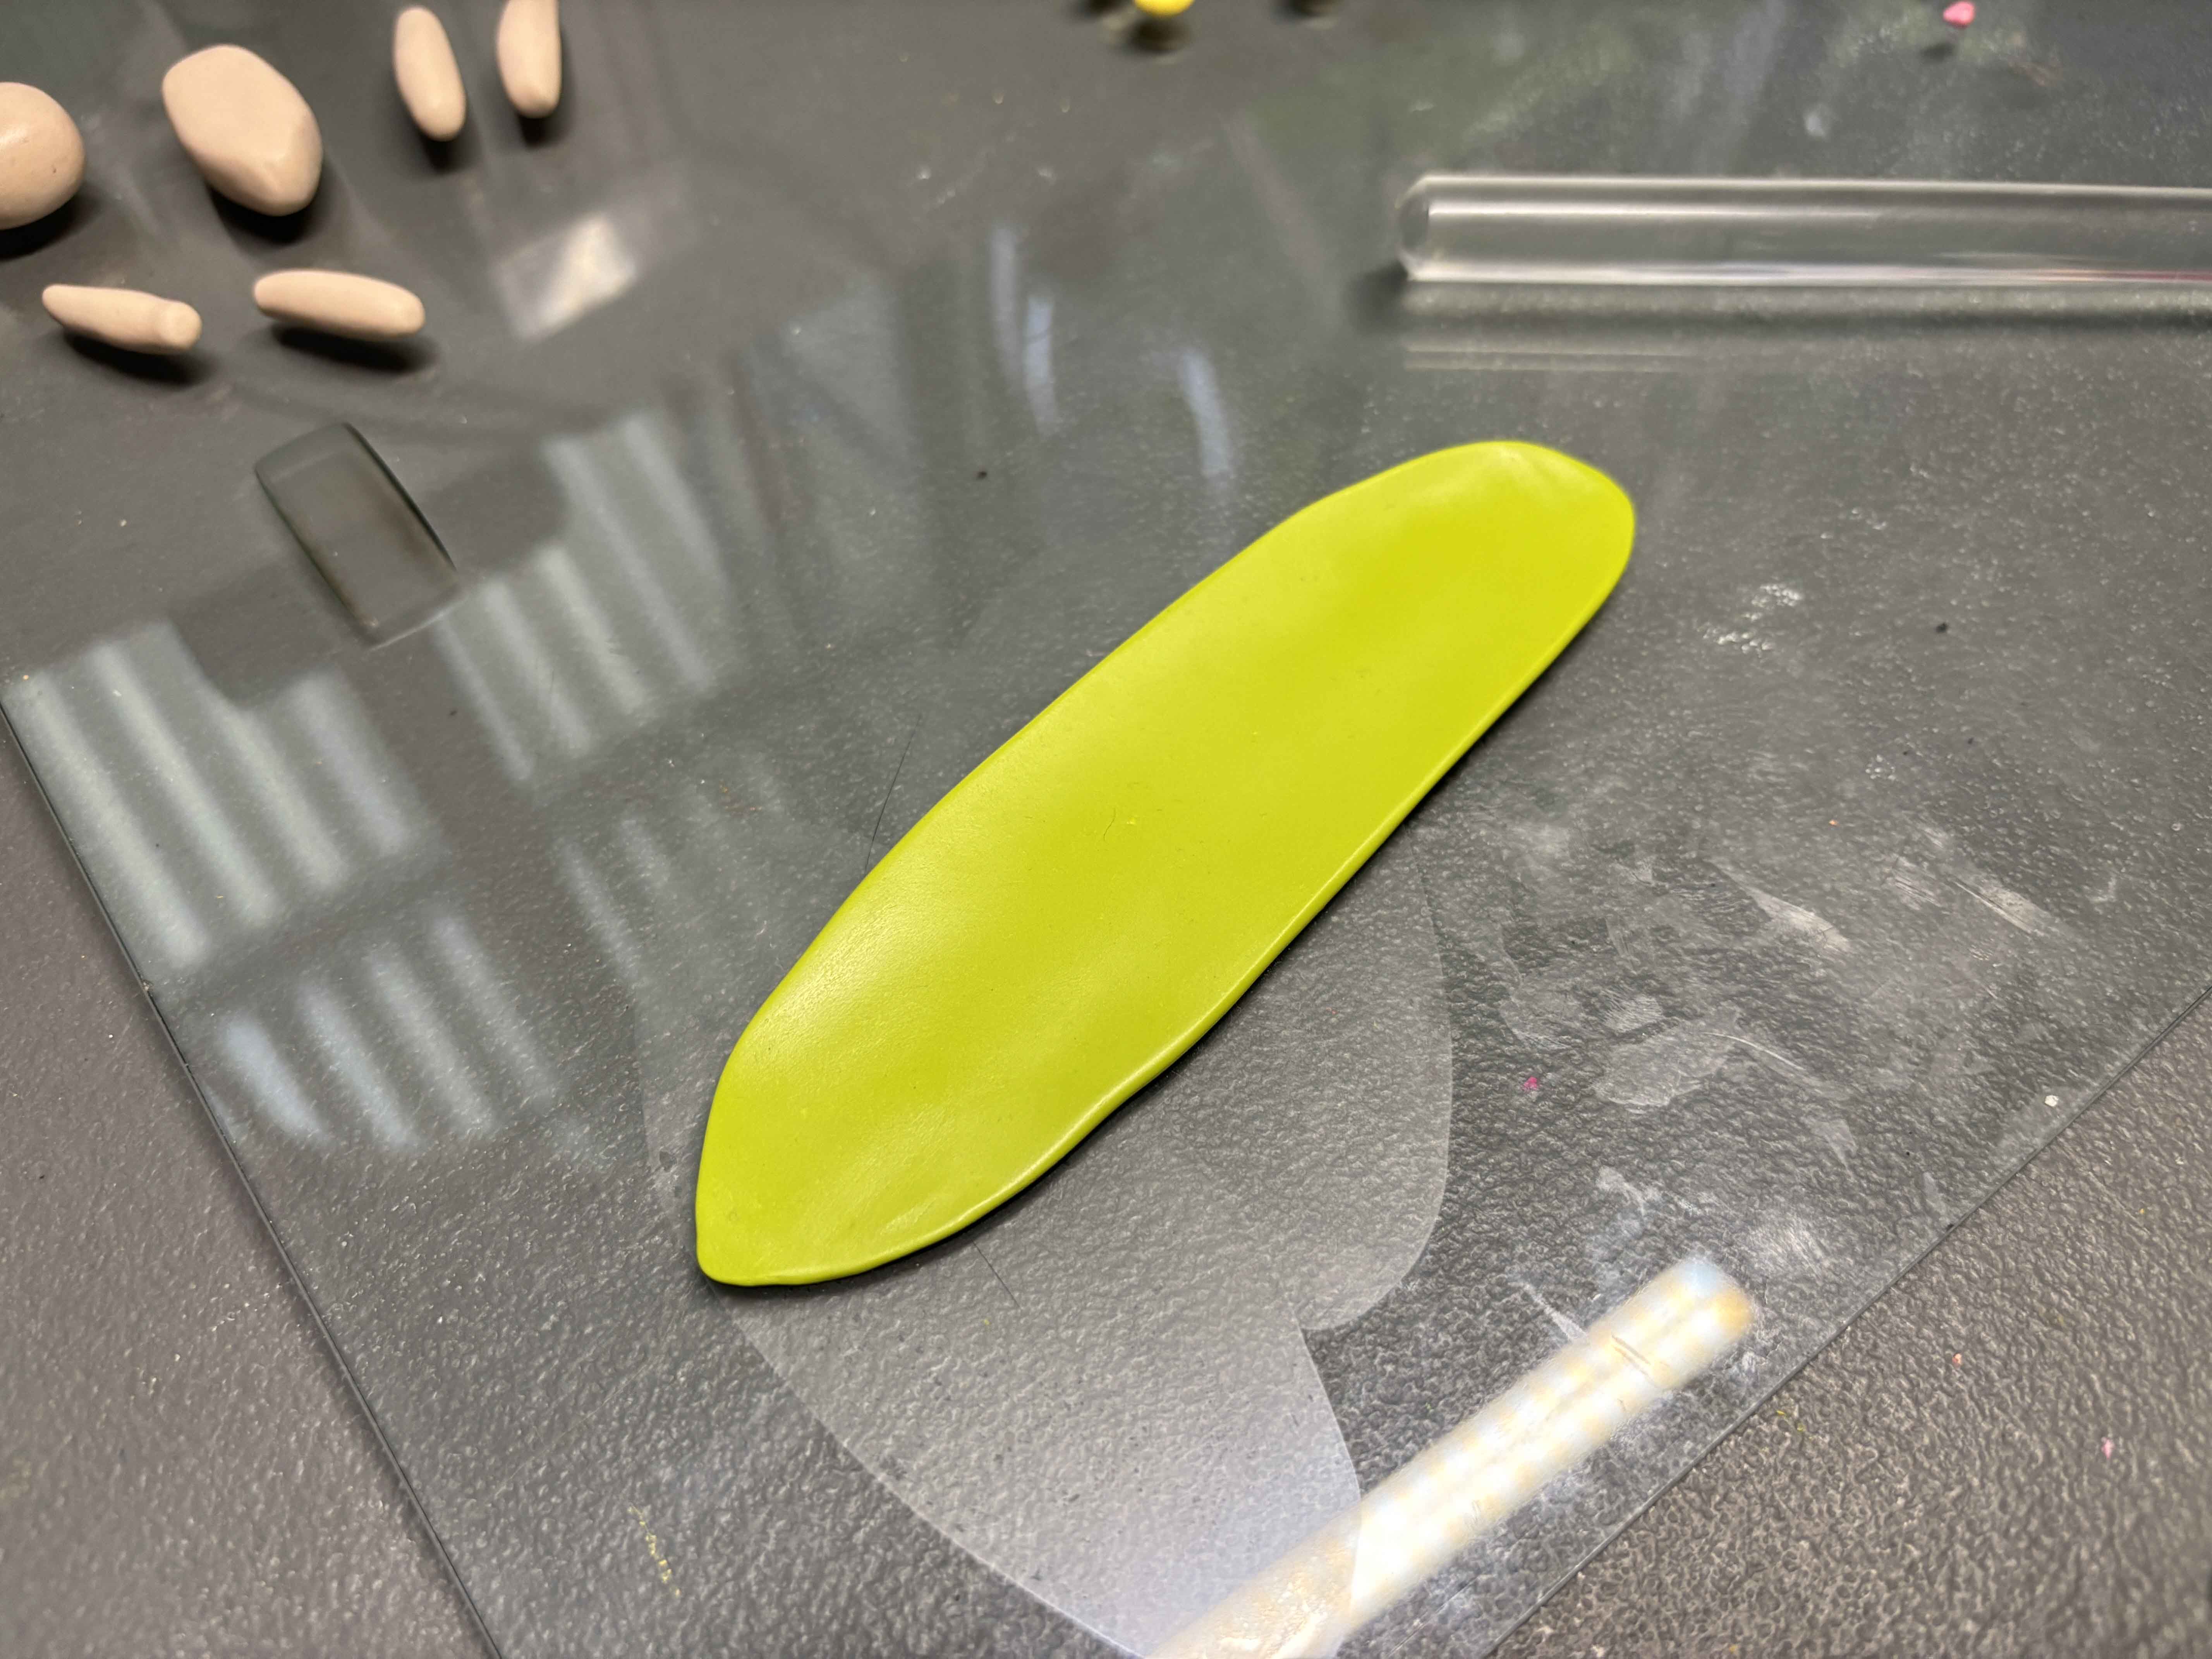
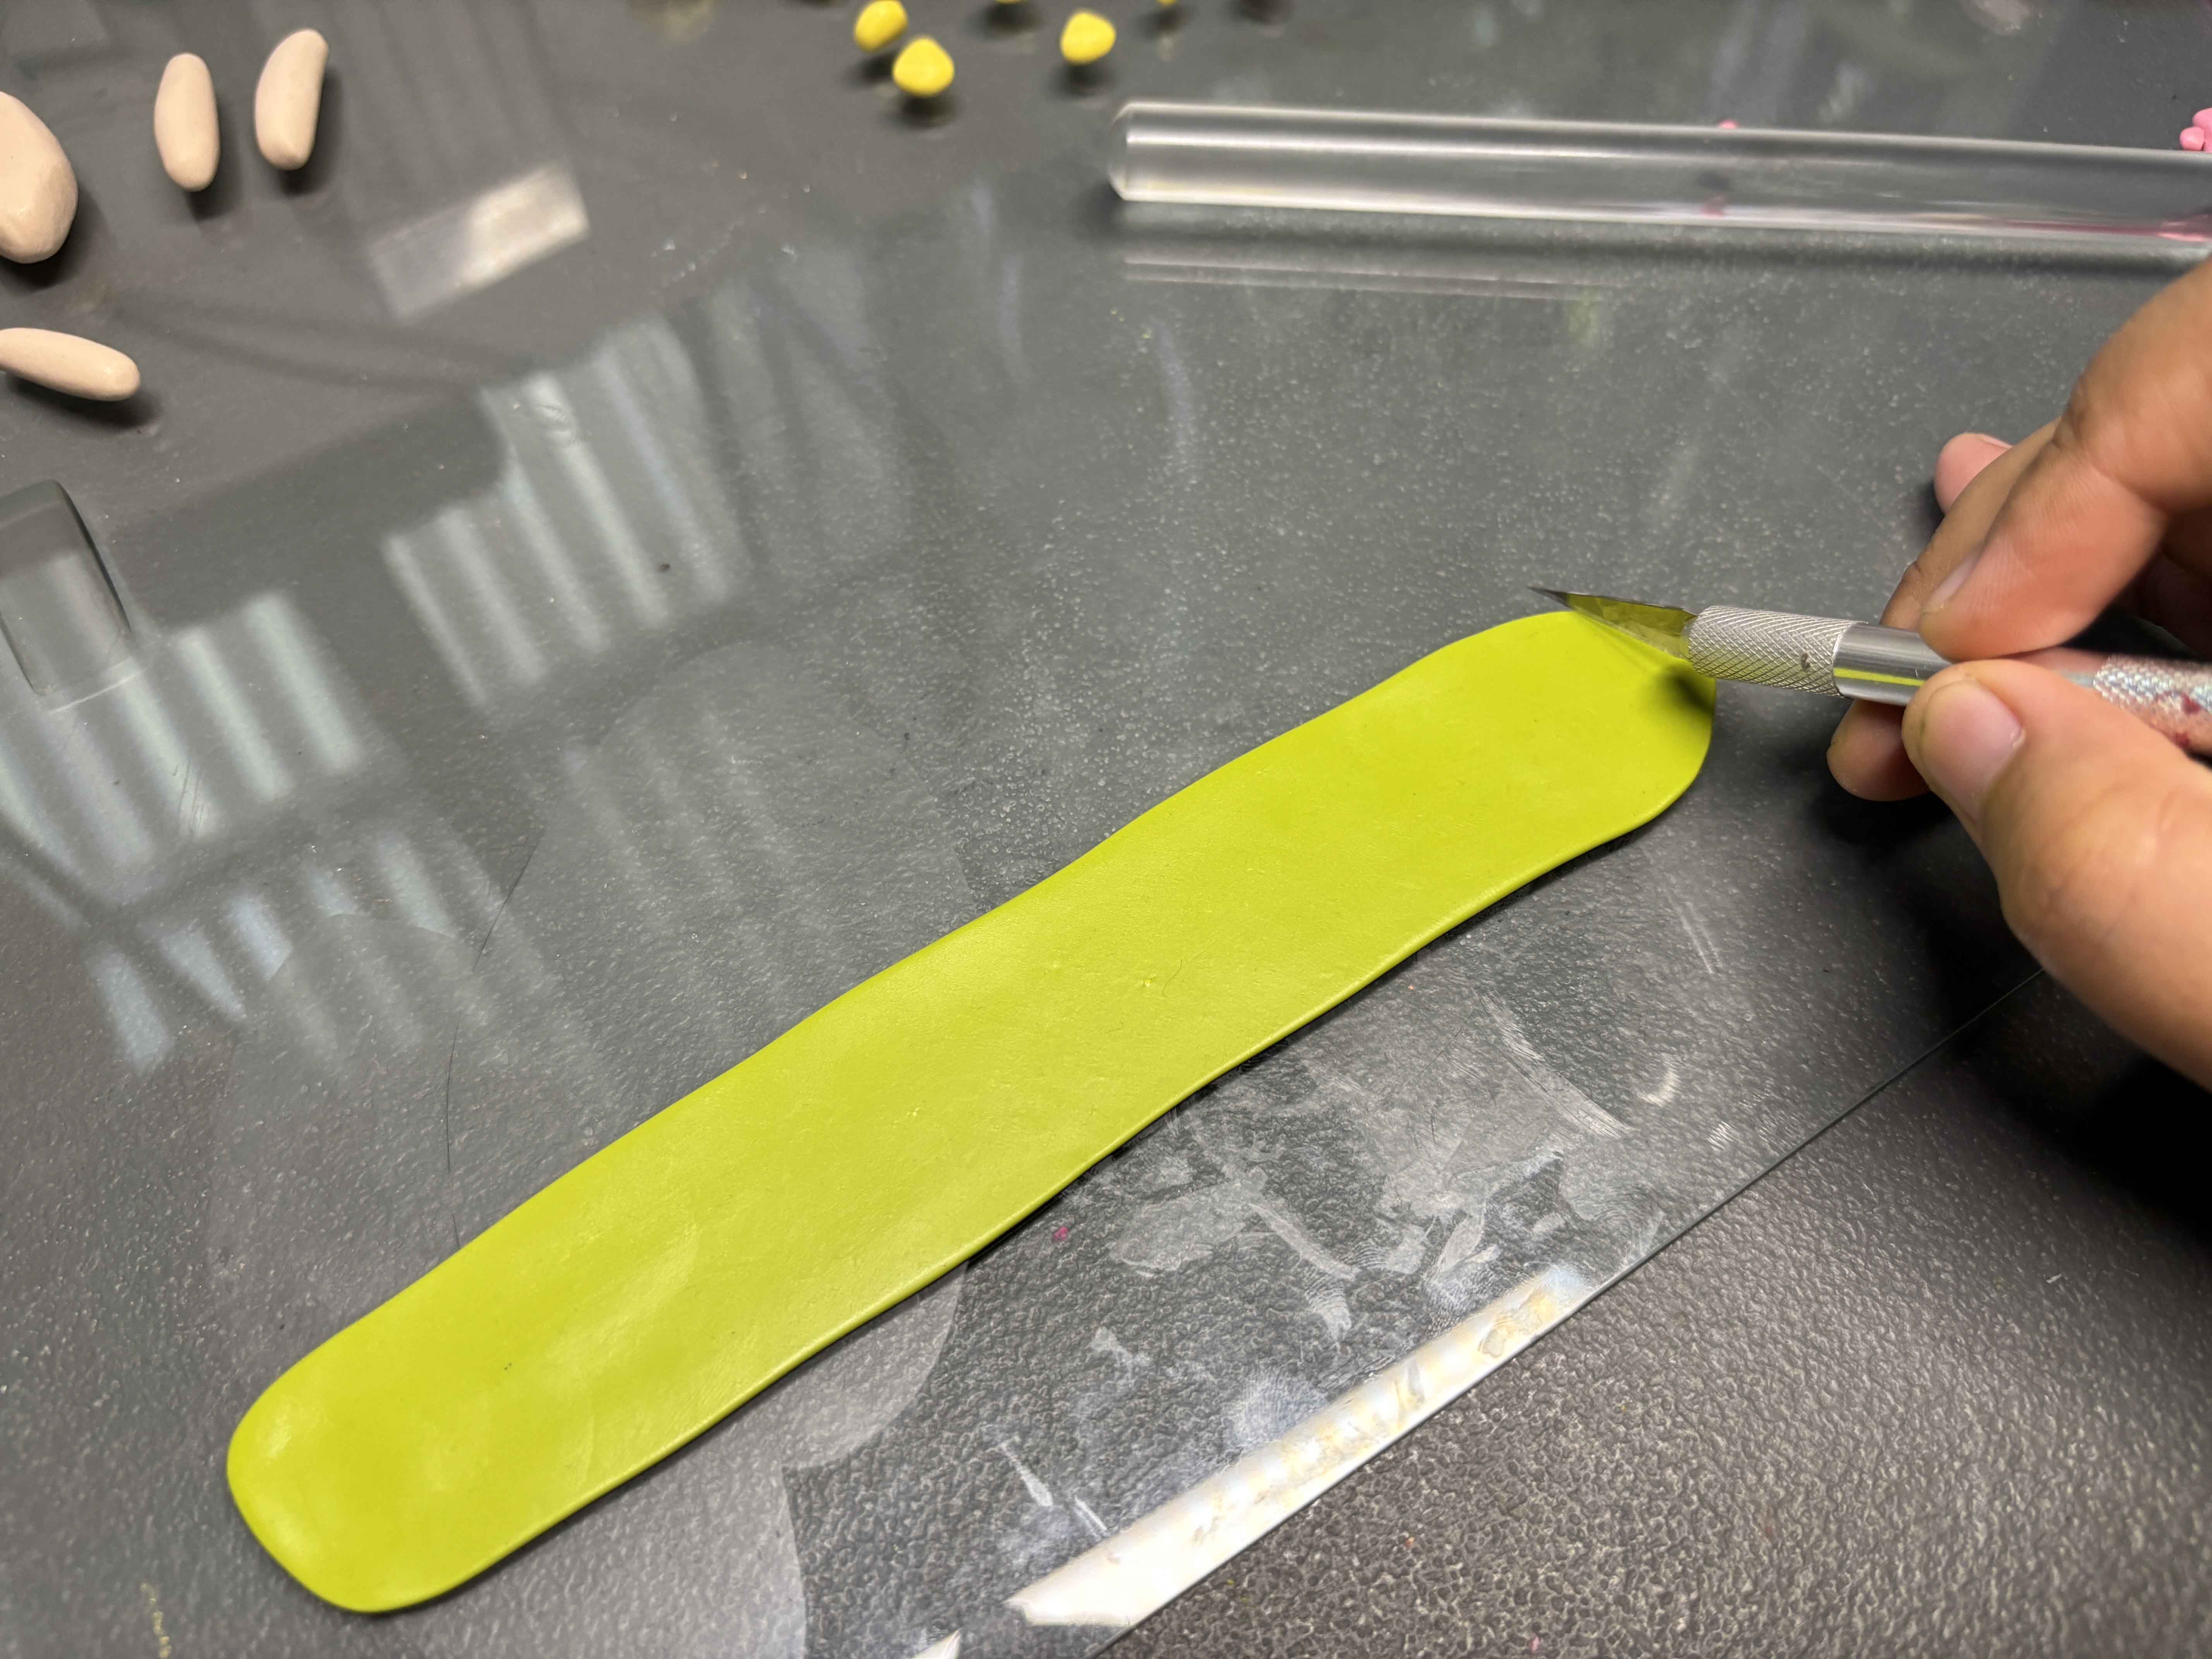
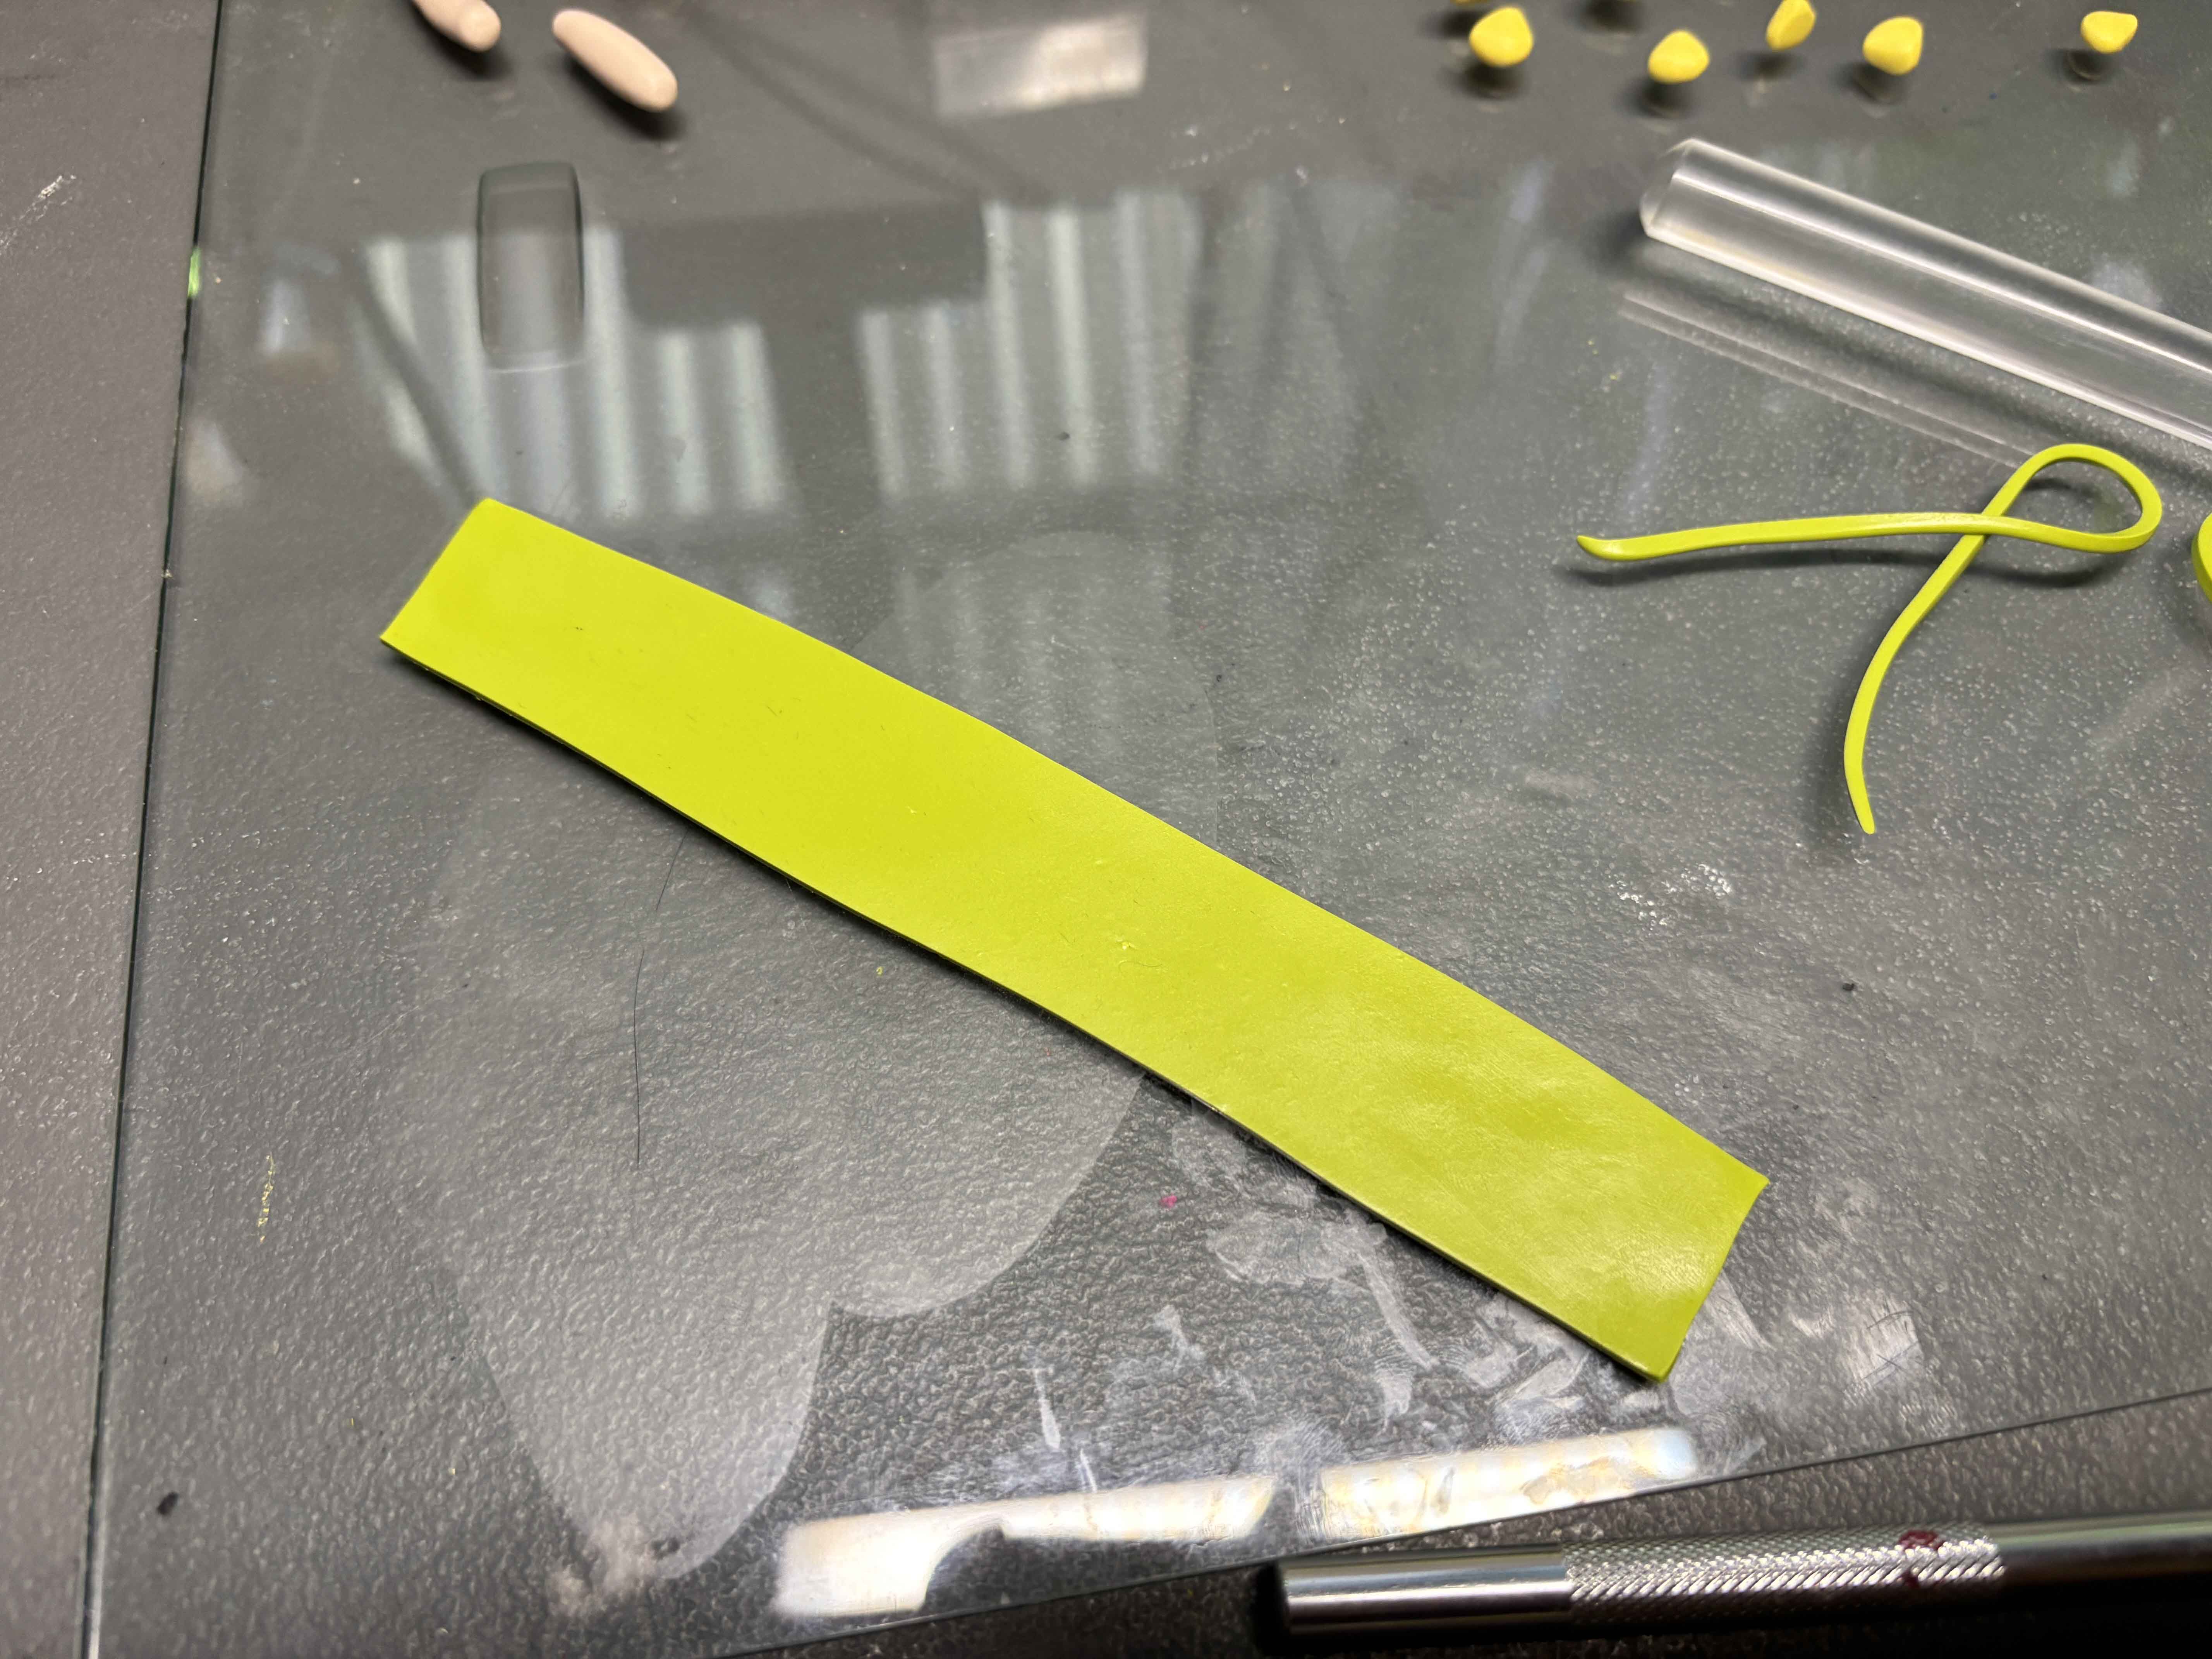
For the clothes, I use the Lime color clay. What I do is I roll the clay using the acrylic rolling pin to flatten it, and then I cut each side equally, and then I do the same thing on the other side.
----
----
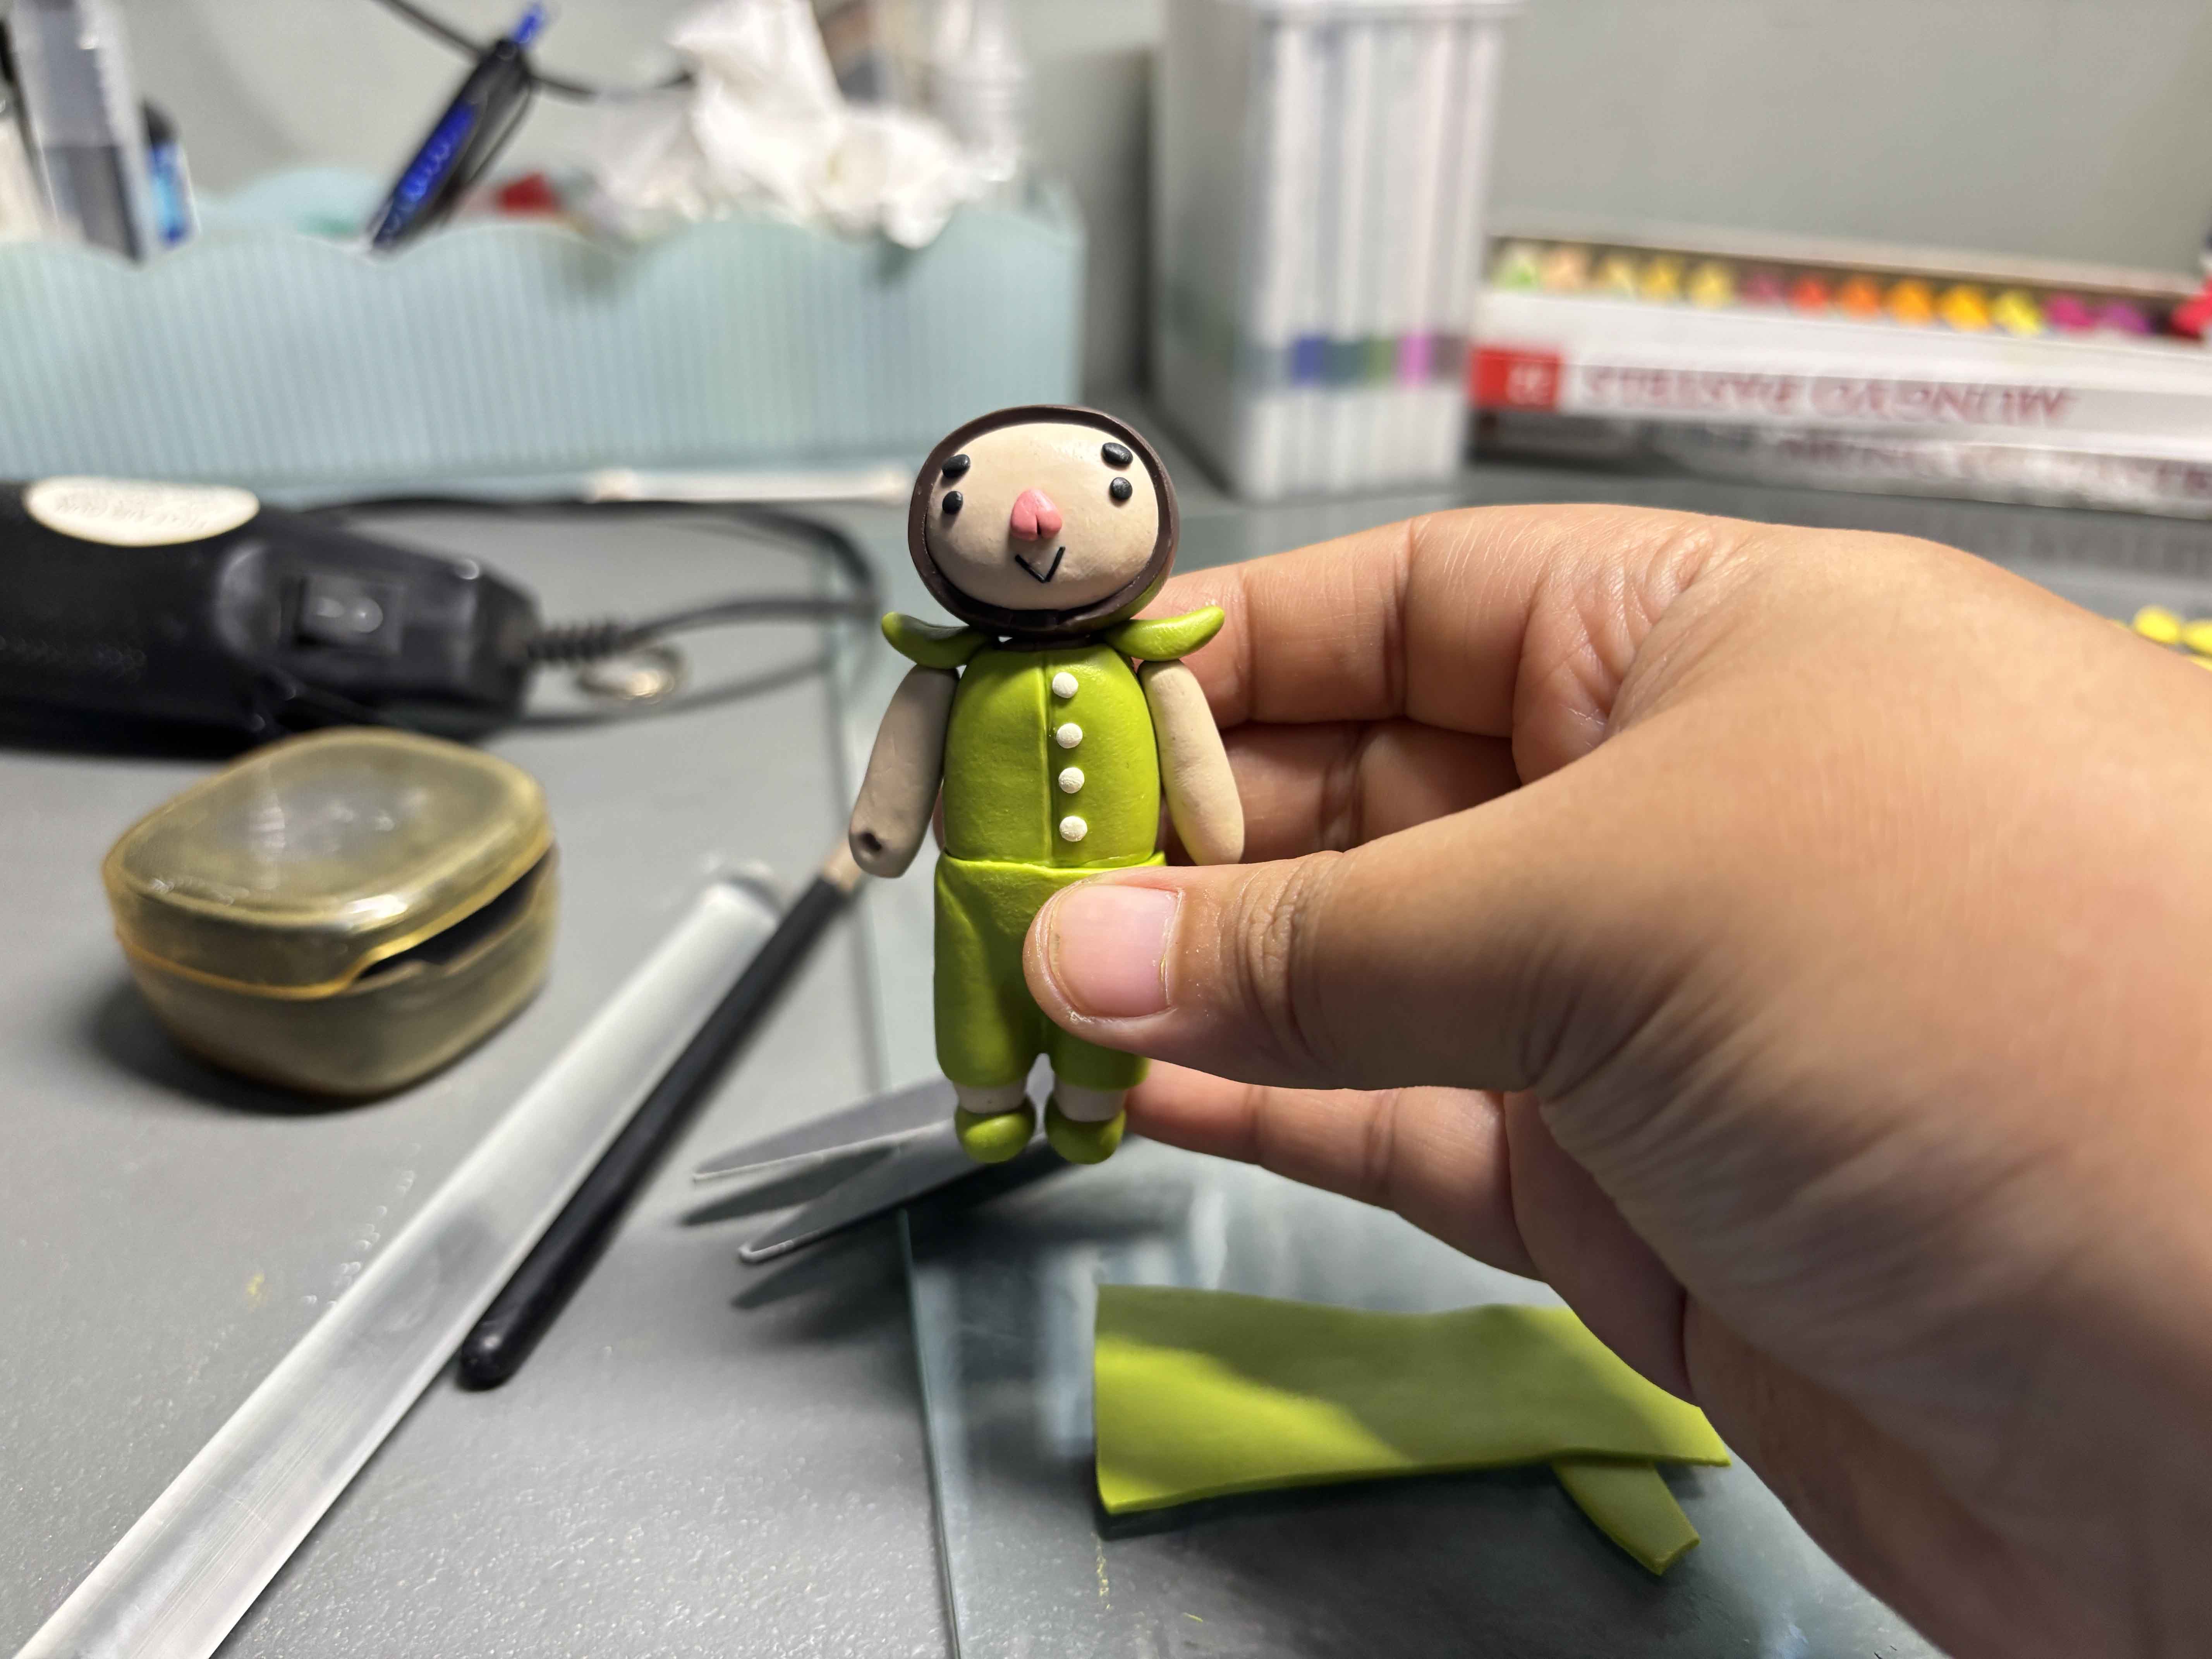
Making The Face:
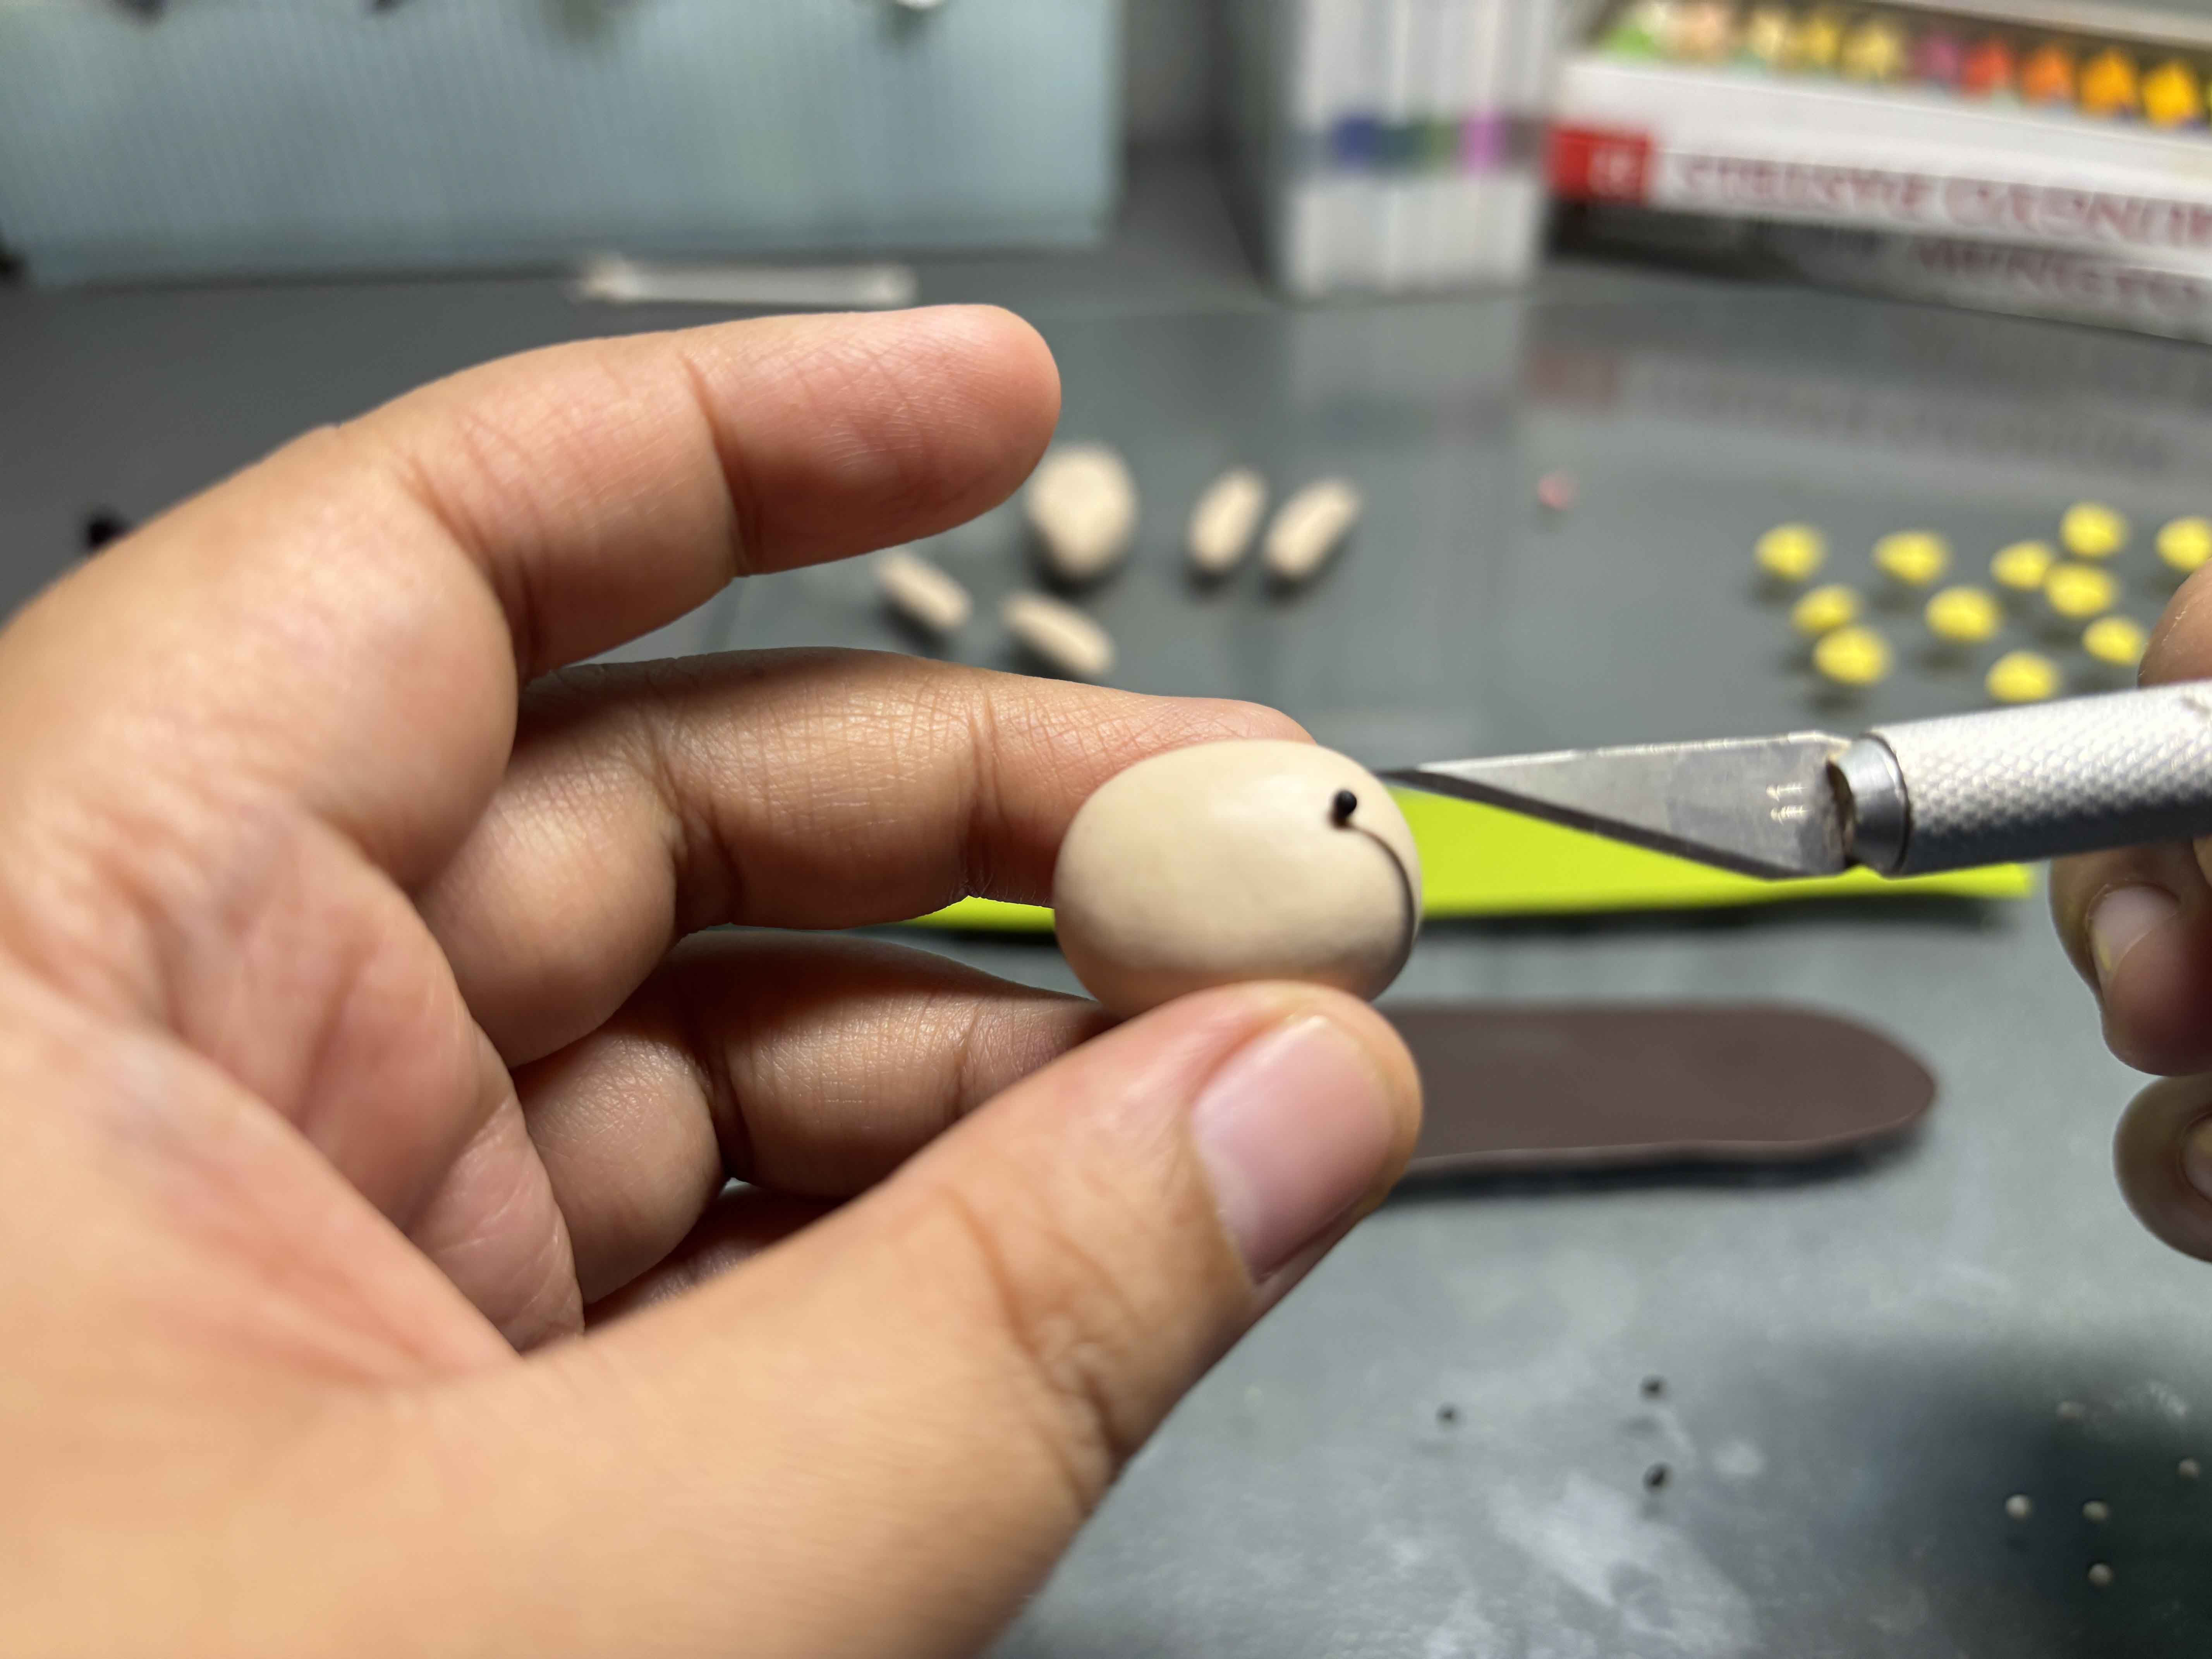
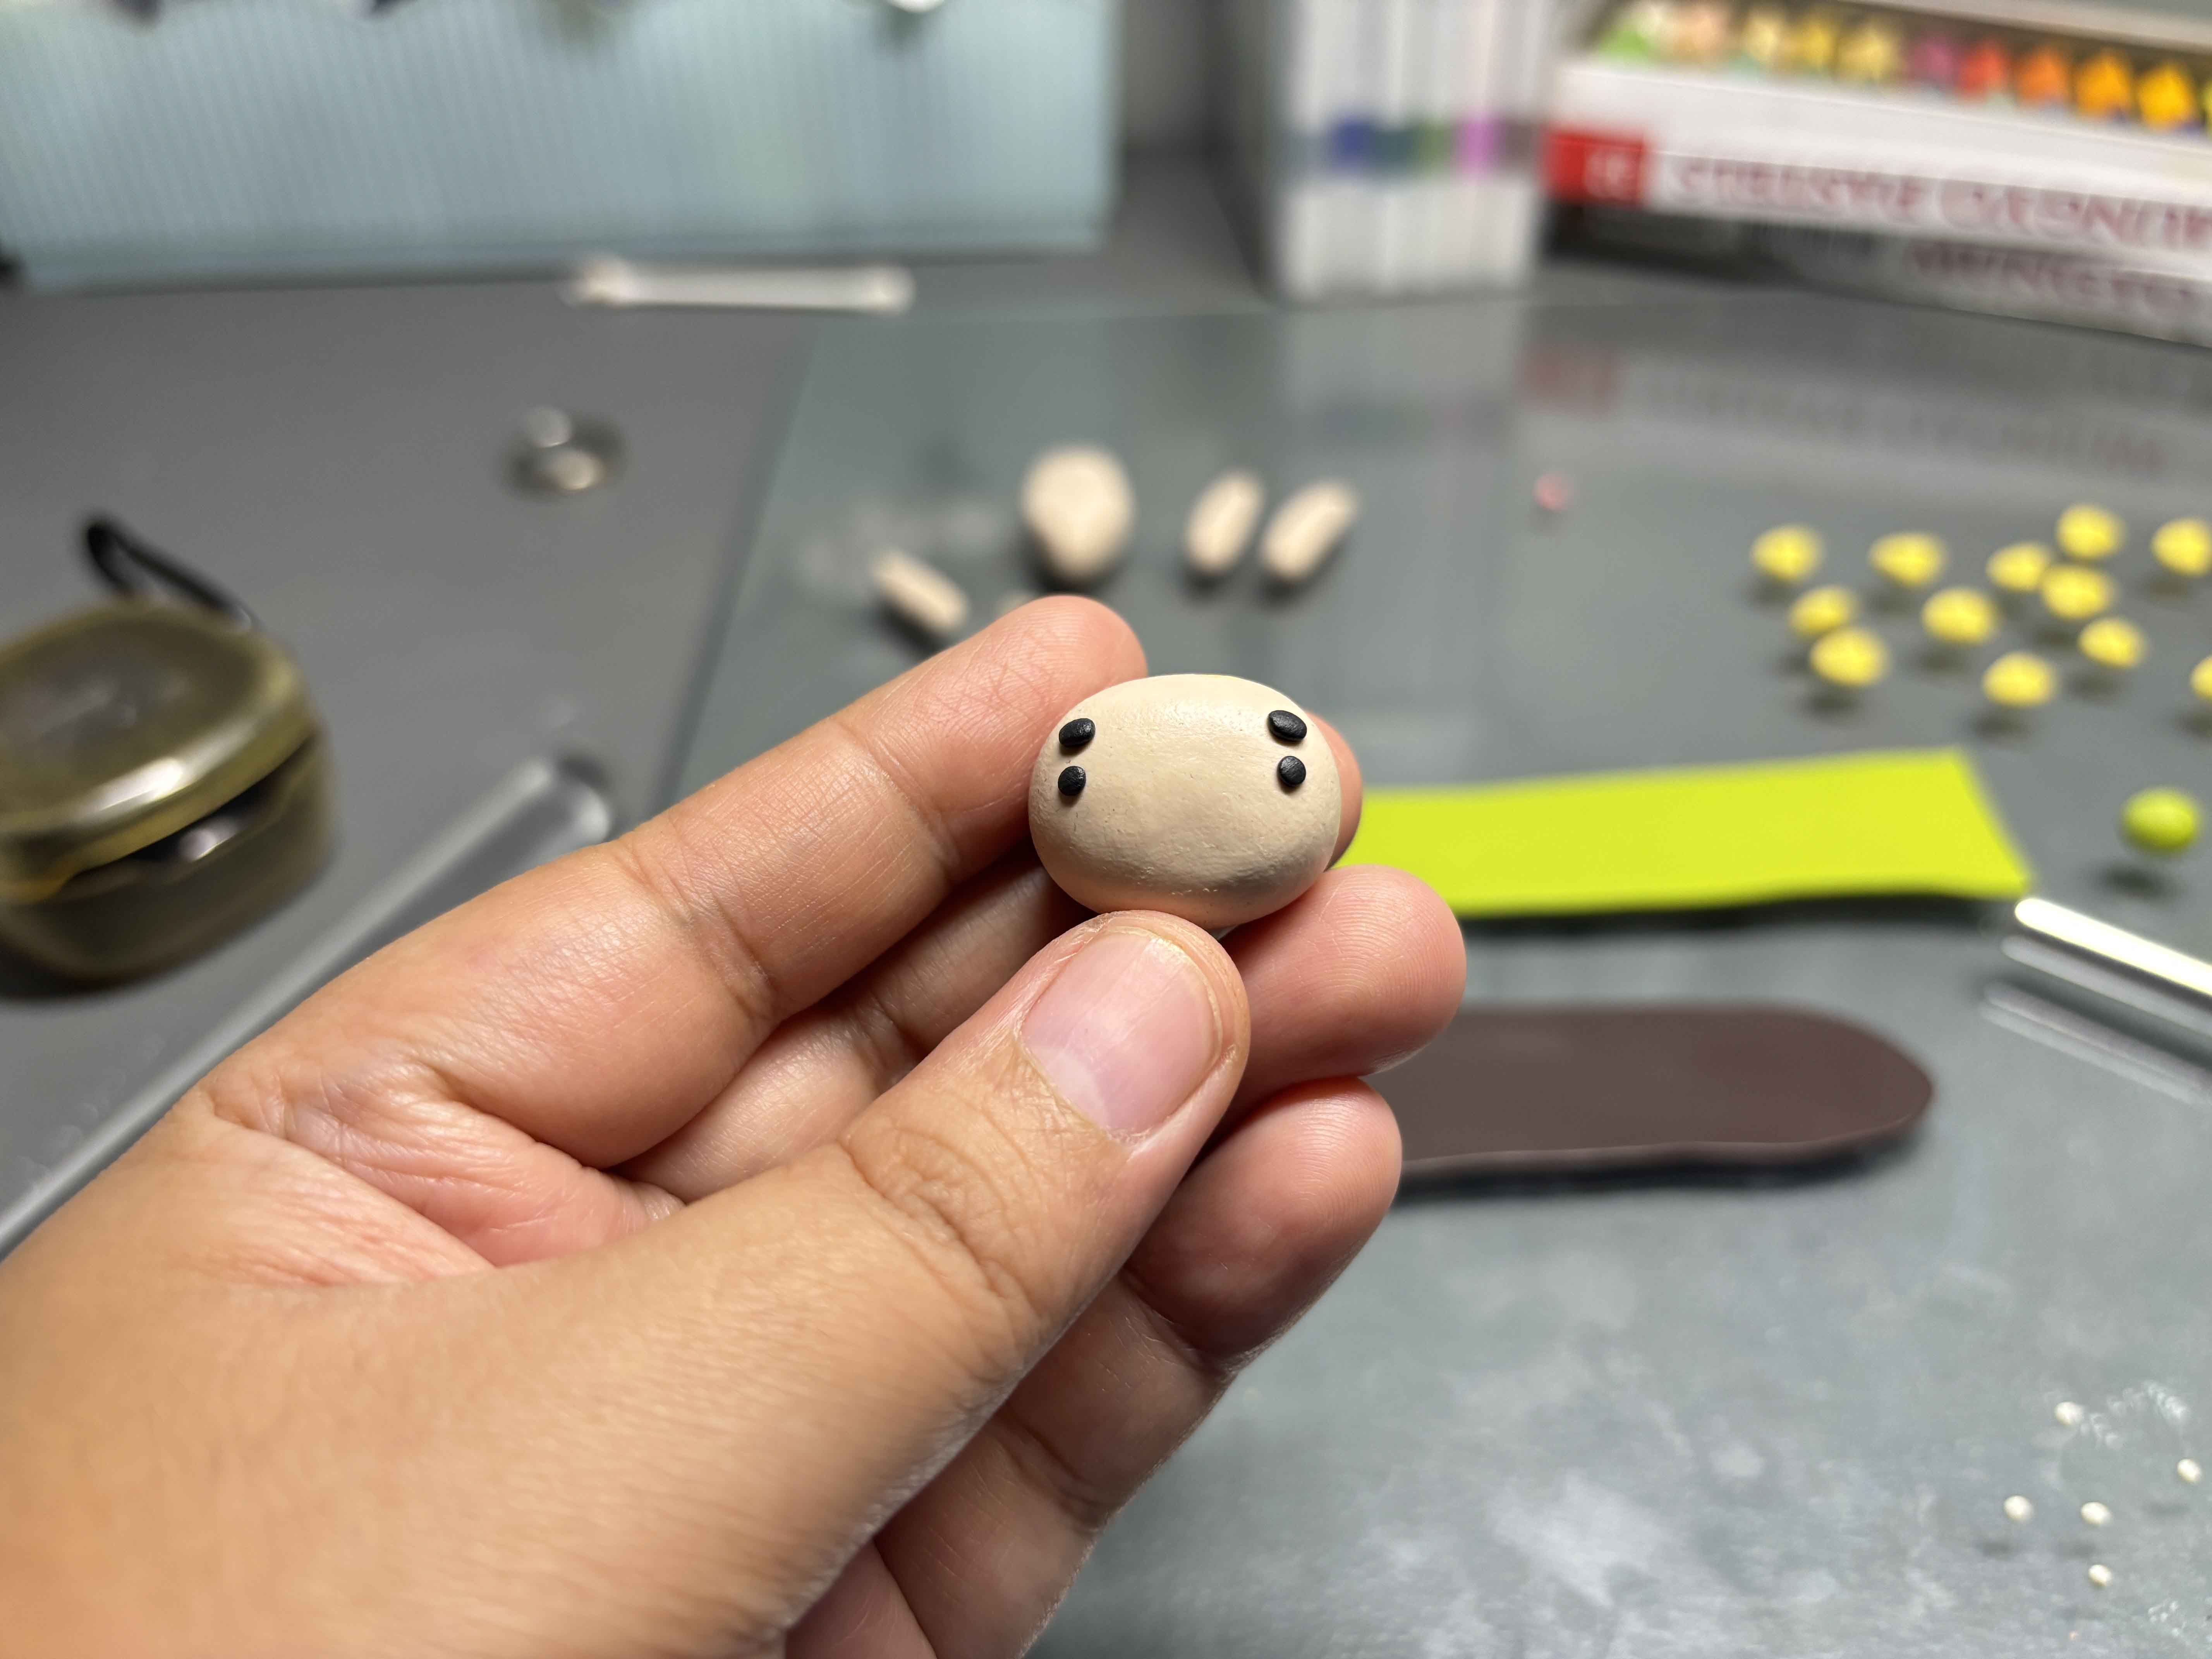
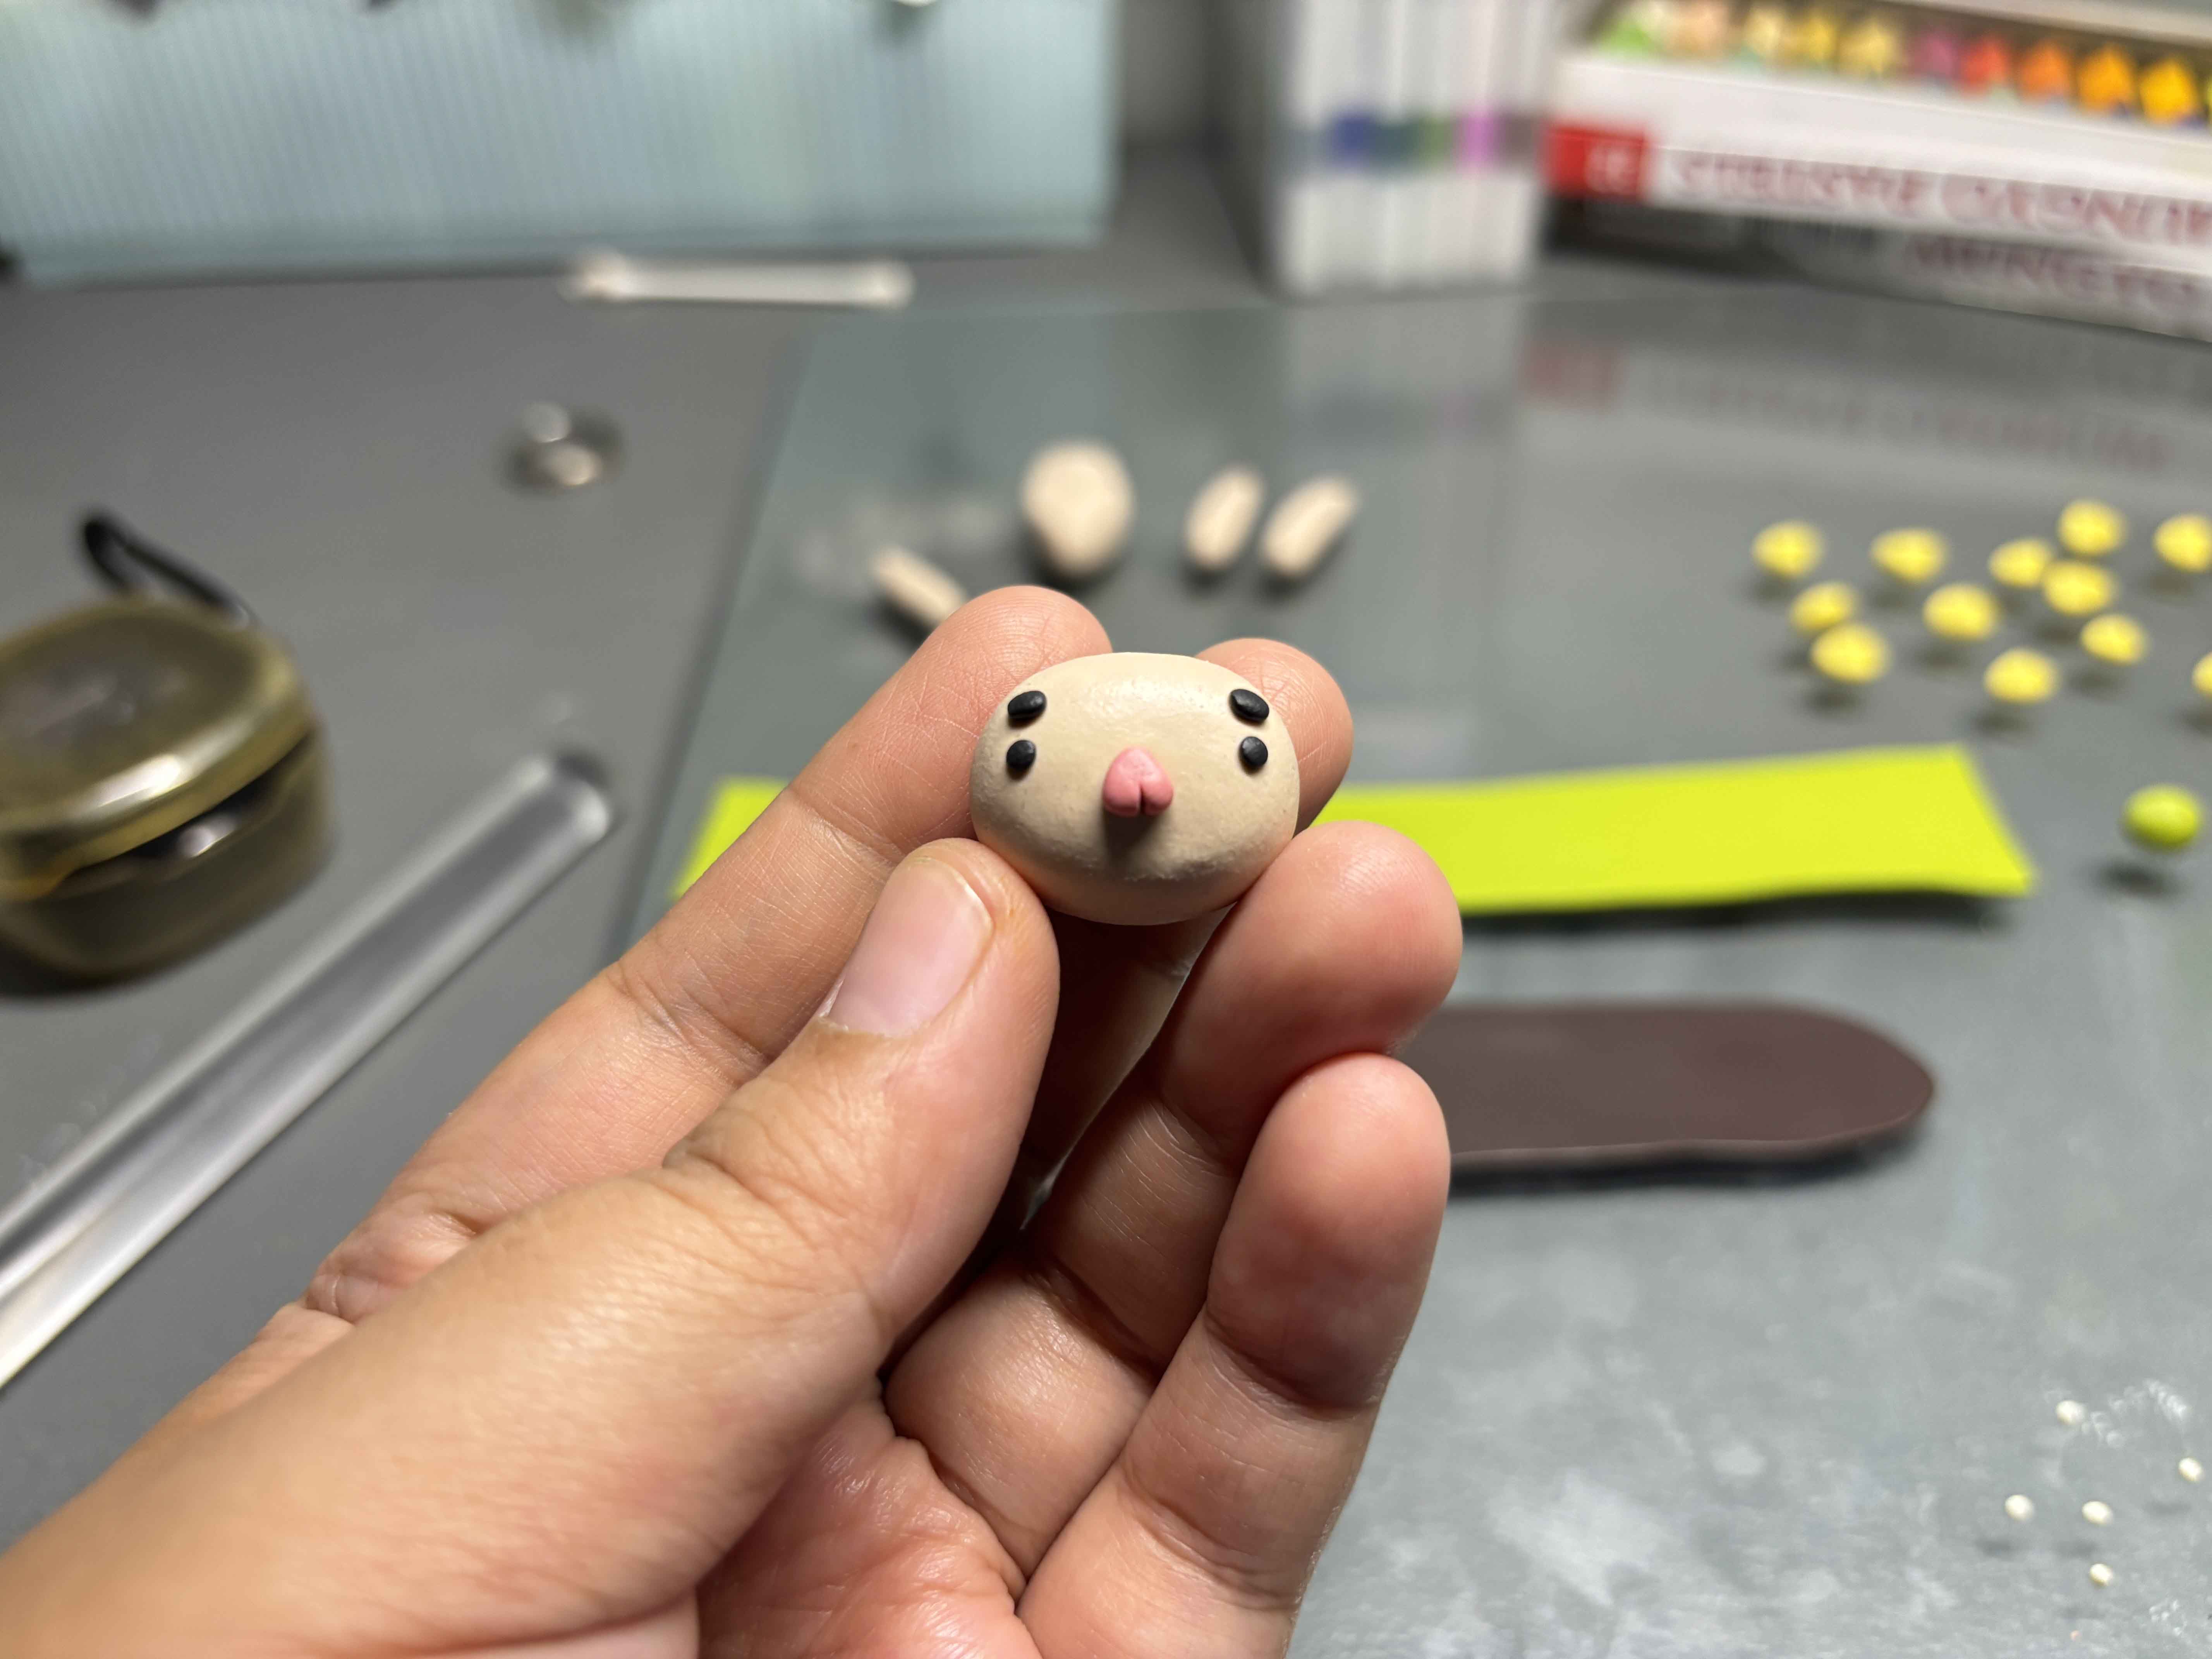

So, for the face, I cut just a little enough for the eyes using x X-Acto knife, and then just carefully place it onto the face, and I do the same thing on the eyebrows for the nose, I just flipped the heart shape and then add it onto the face and for the lips I roll some black clay into thin size and then cut it into two equal length and put into the face.
-----
-----
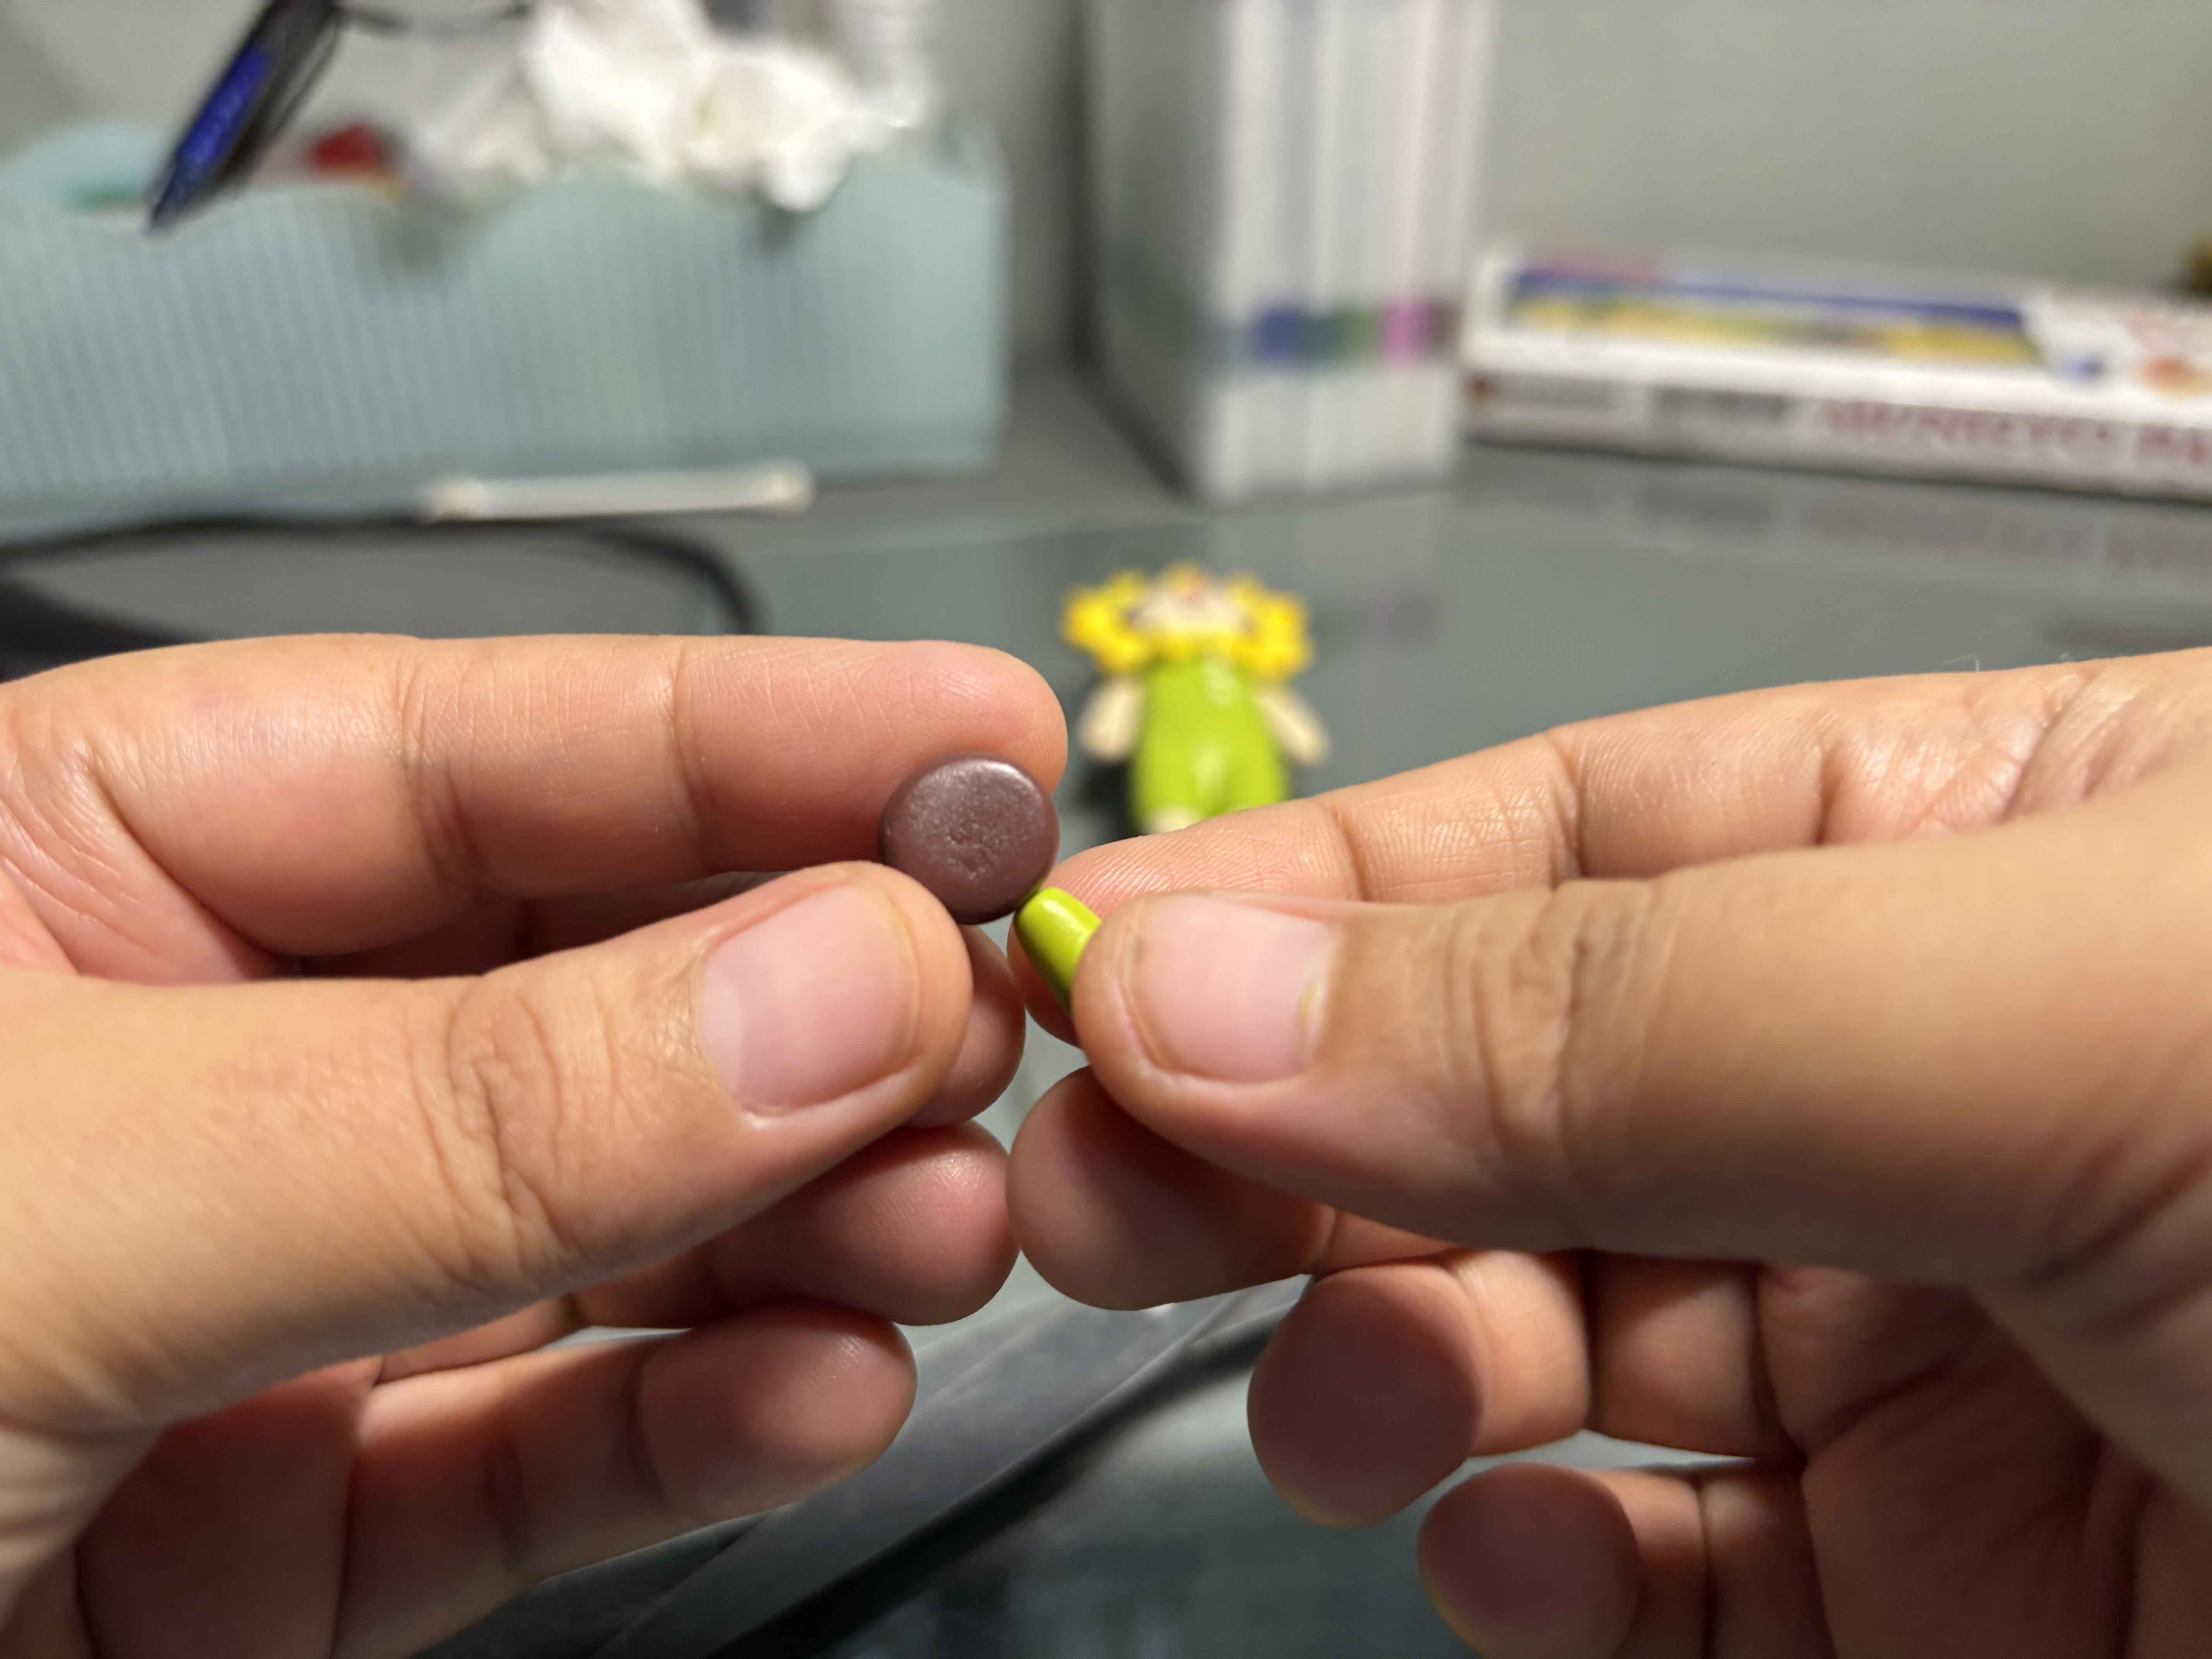
Adding the Head Dress:
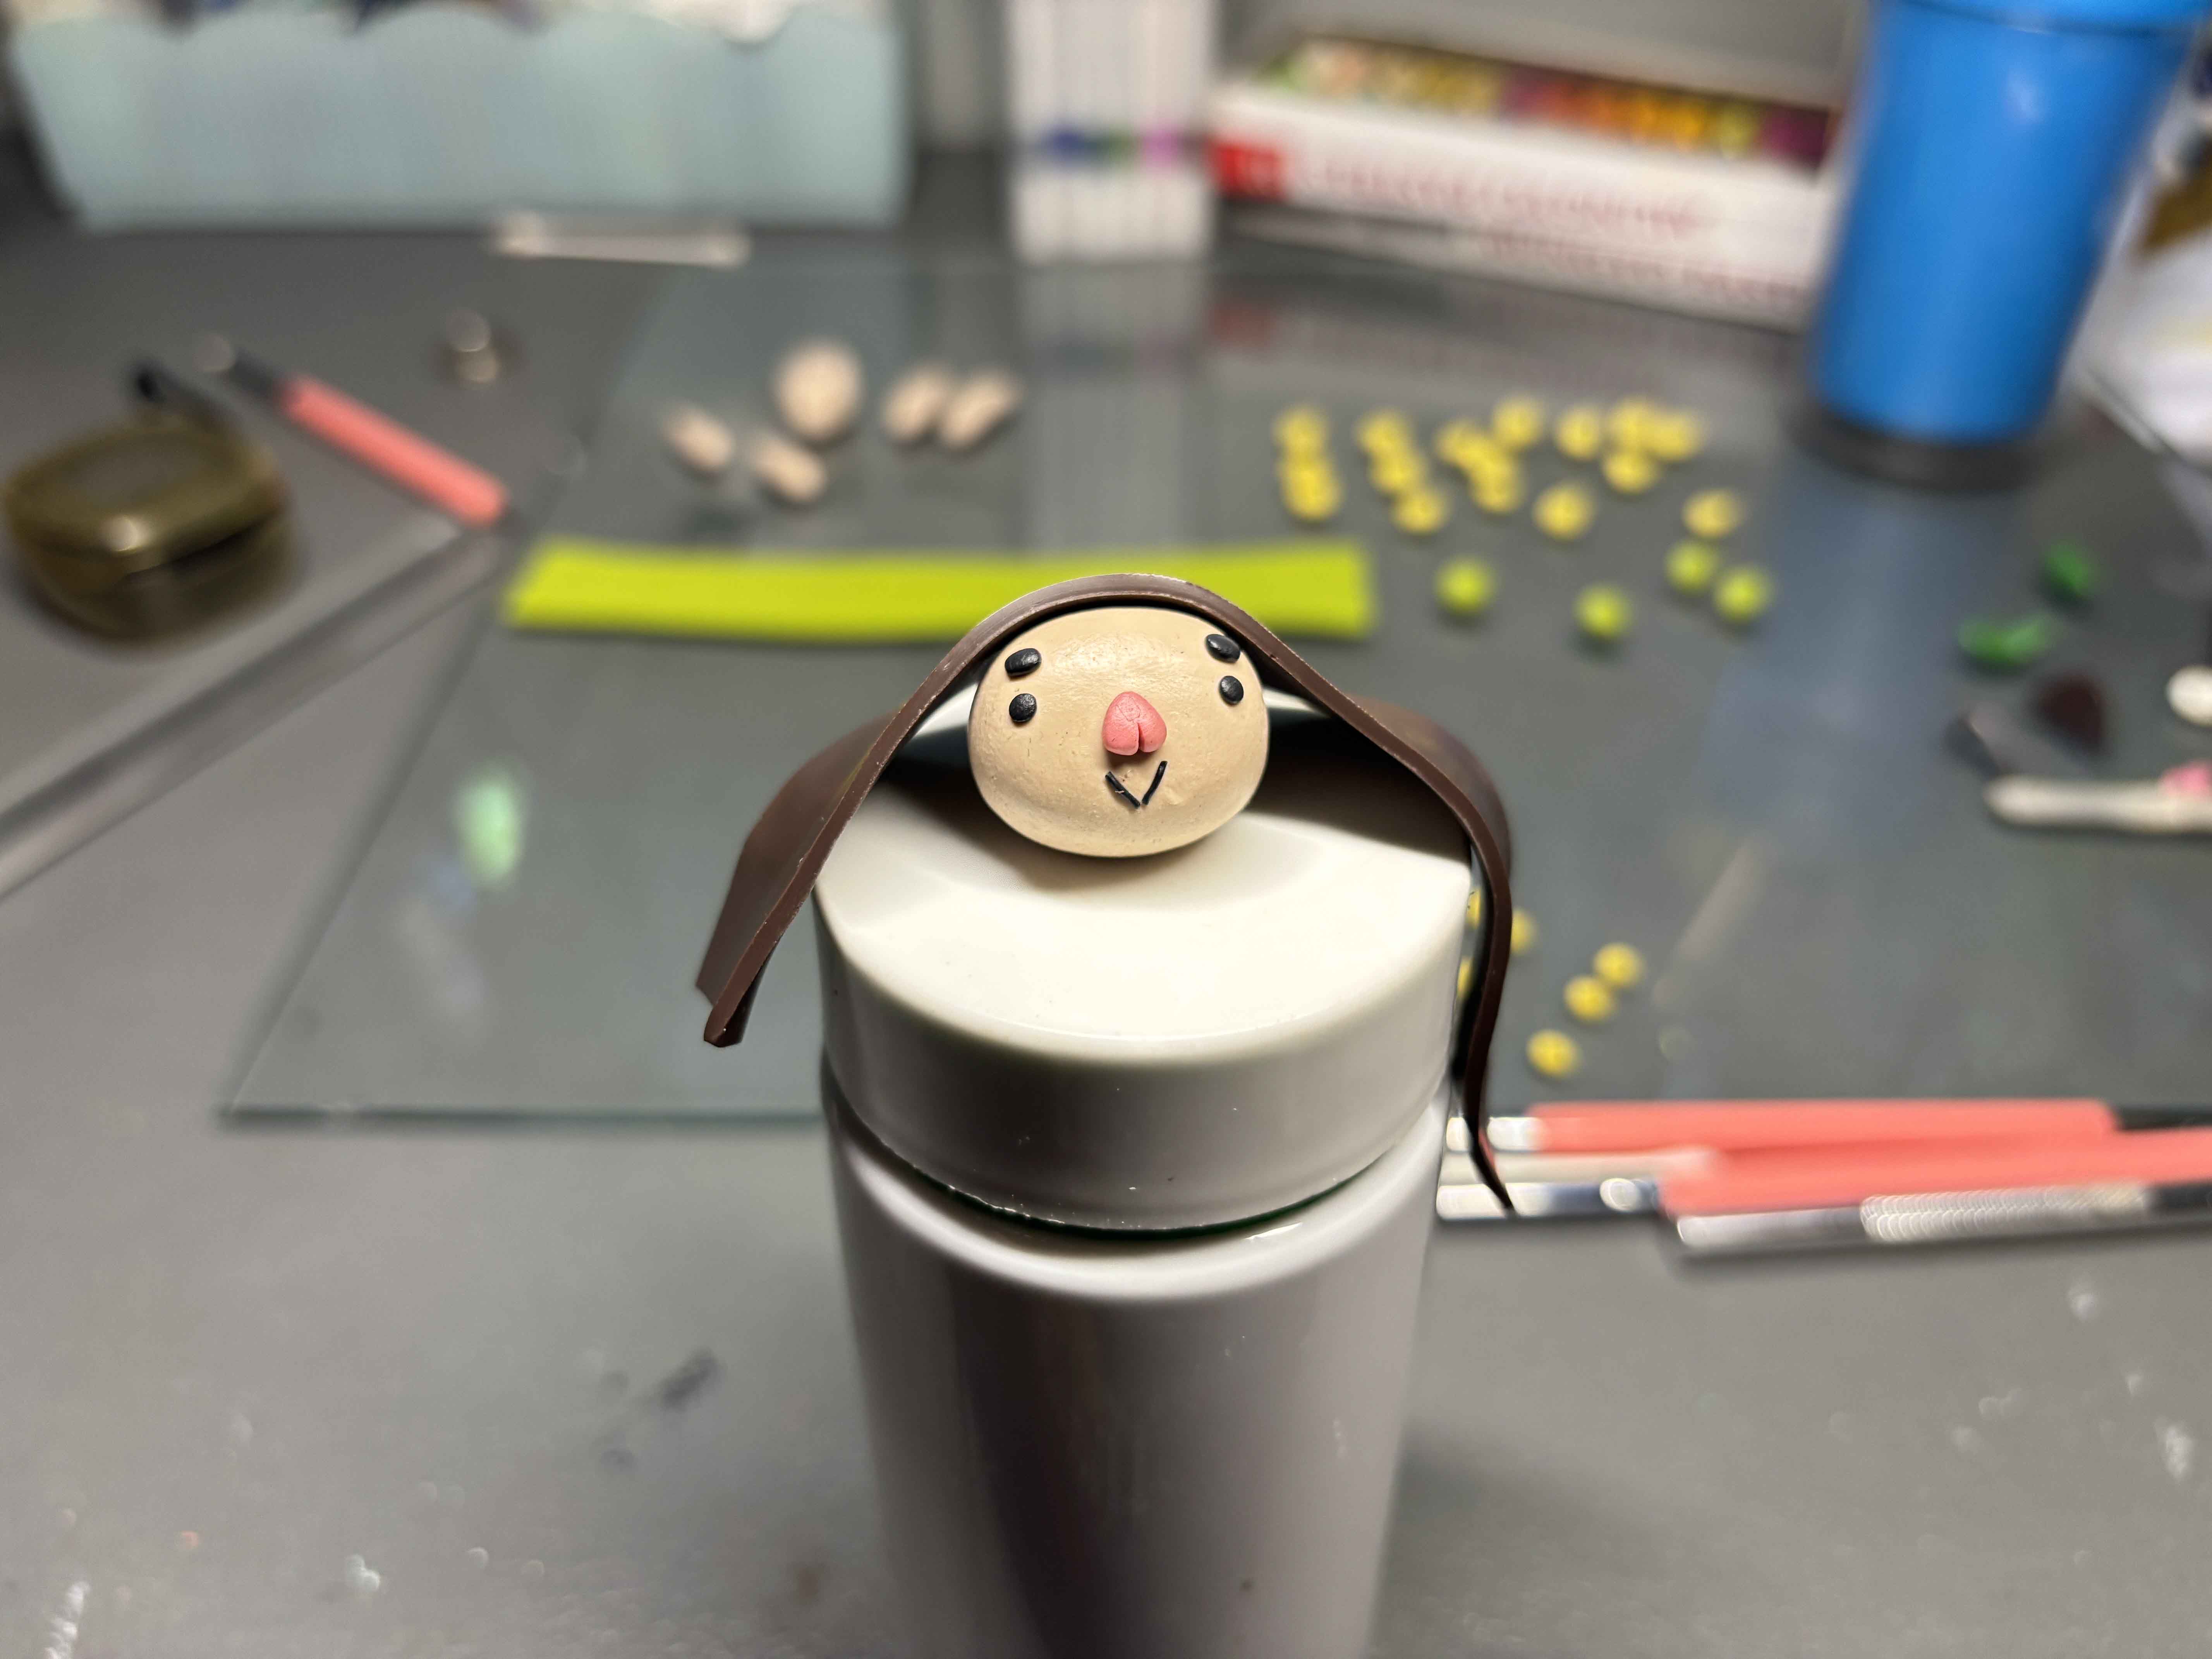
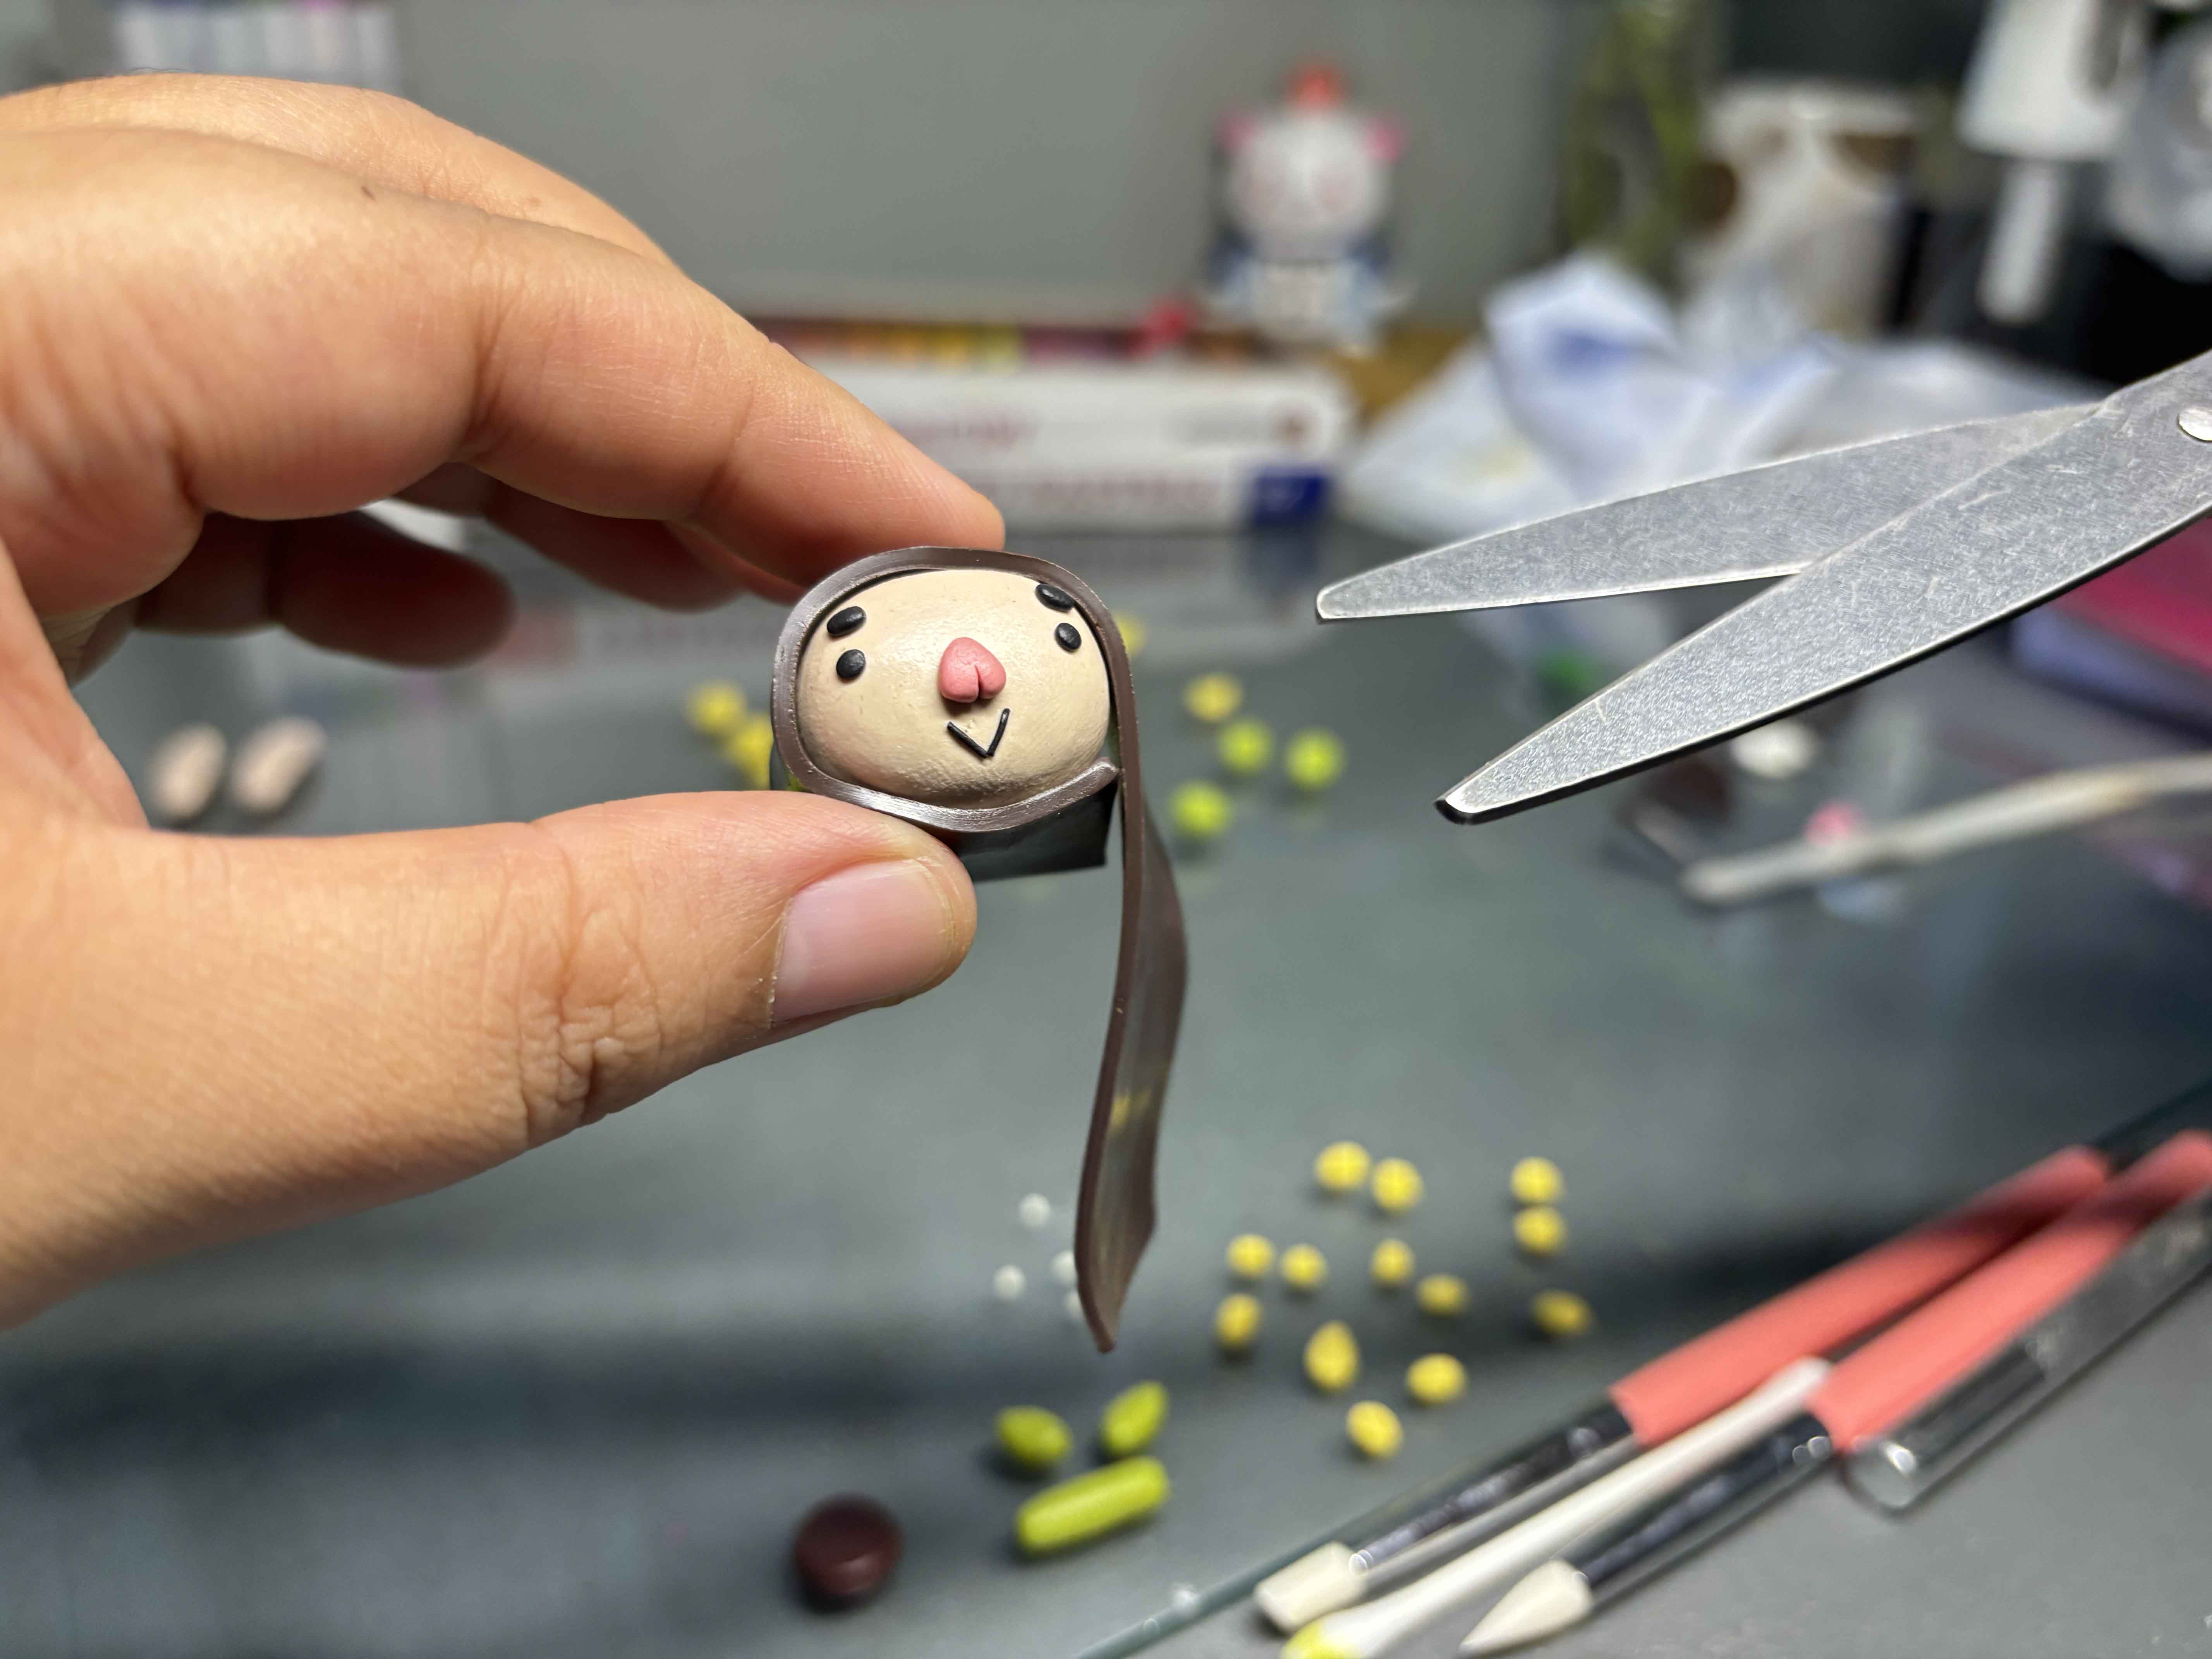

I am going to add the head dress. What I do is I wrap it around the head, and I make sure those cuts are even in the center, and then I am going to cut it using scissors, and I do the same thing on the excess part of the back.
-----
----
Adding the Clothes:
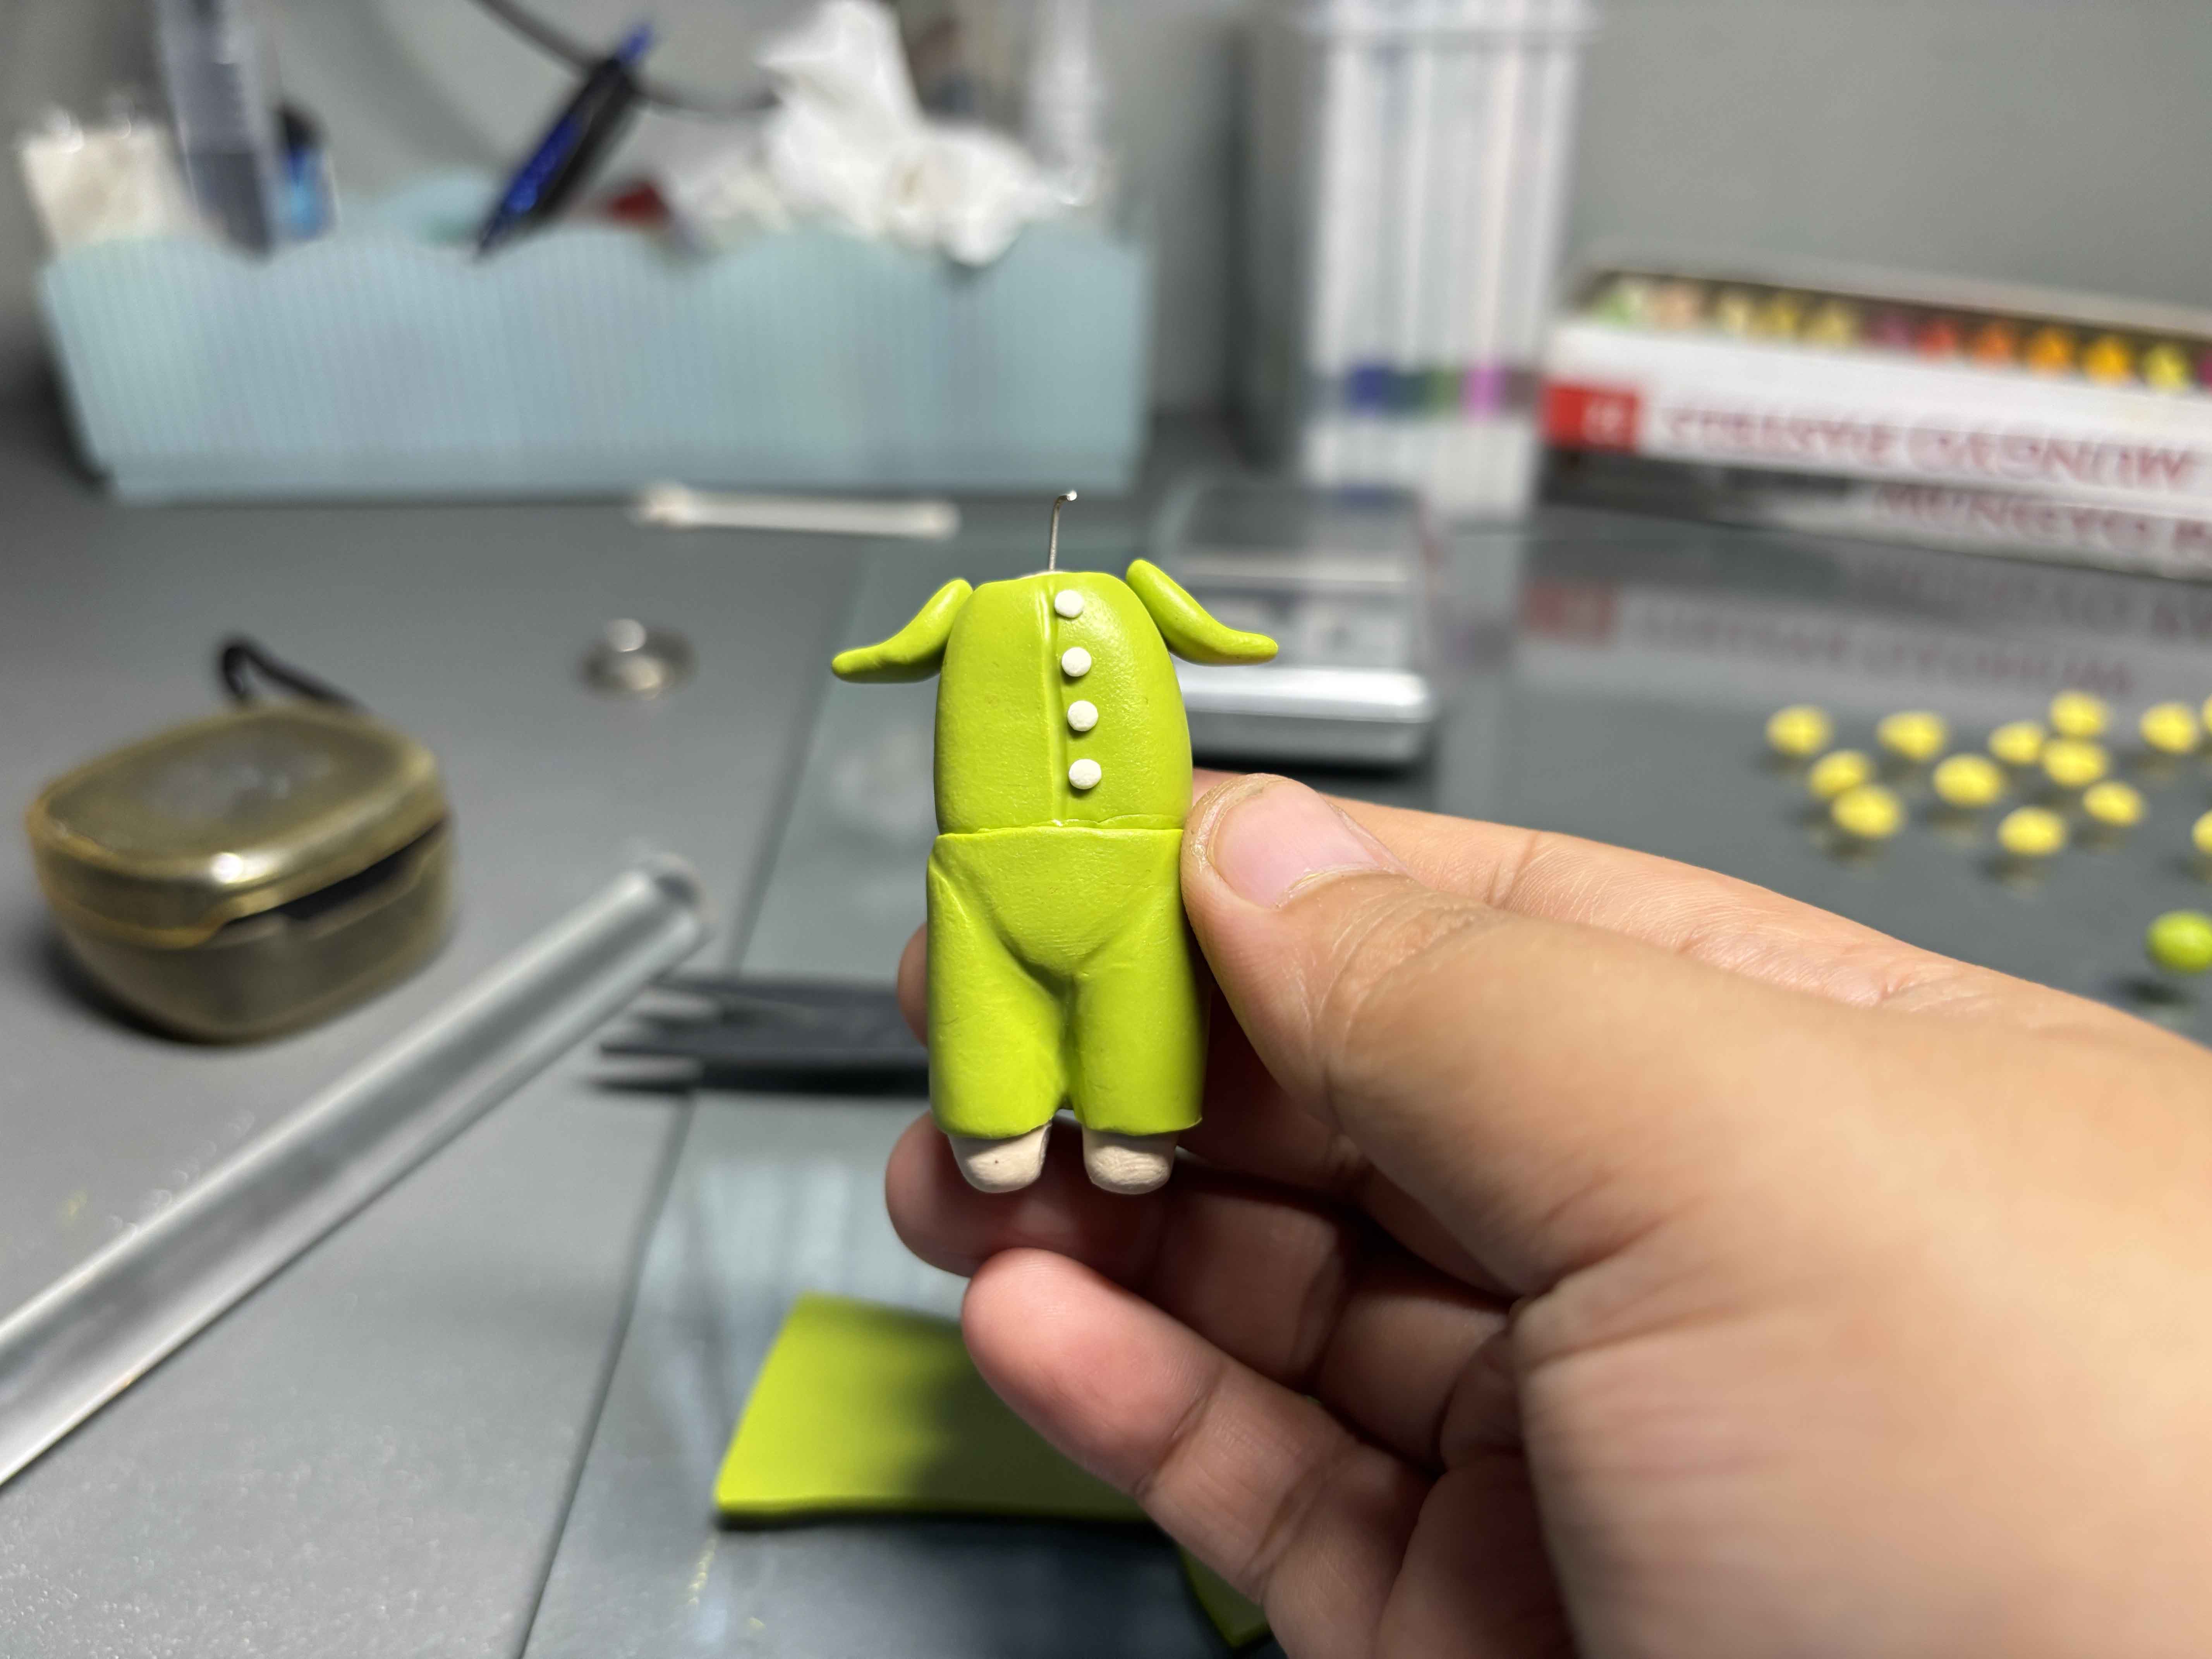
To add the clothes, I grab the body part and wrap it around it, and just the one I do in the head dress, I make sure to cut it at the center of the body on both sides to make it cleaner to look at. For the lower clothes, I forgot to film the process of adding the legs, but I added the legs before I added the clothes, just as I do with the upper clothes, and then I added buttons using the white clay.
-----
-----
Assembling The Arms and Head:
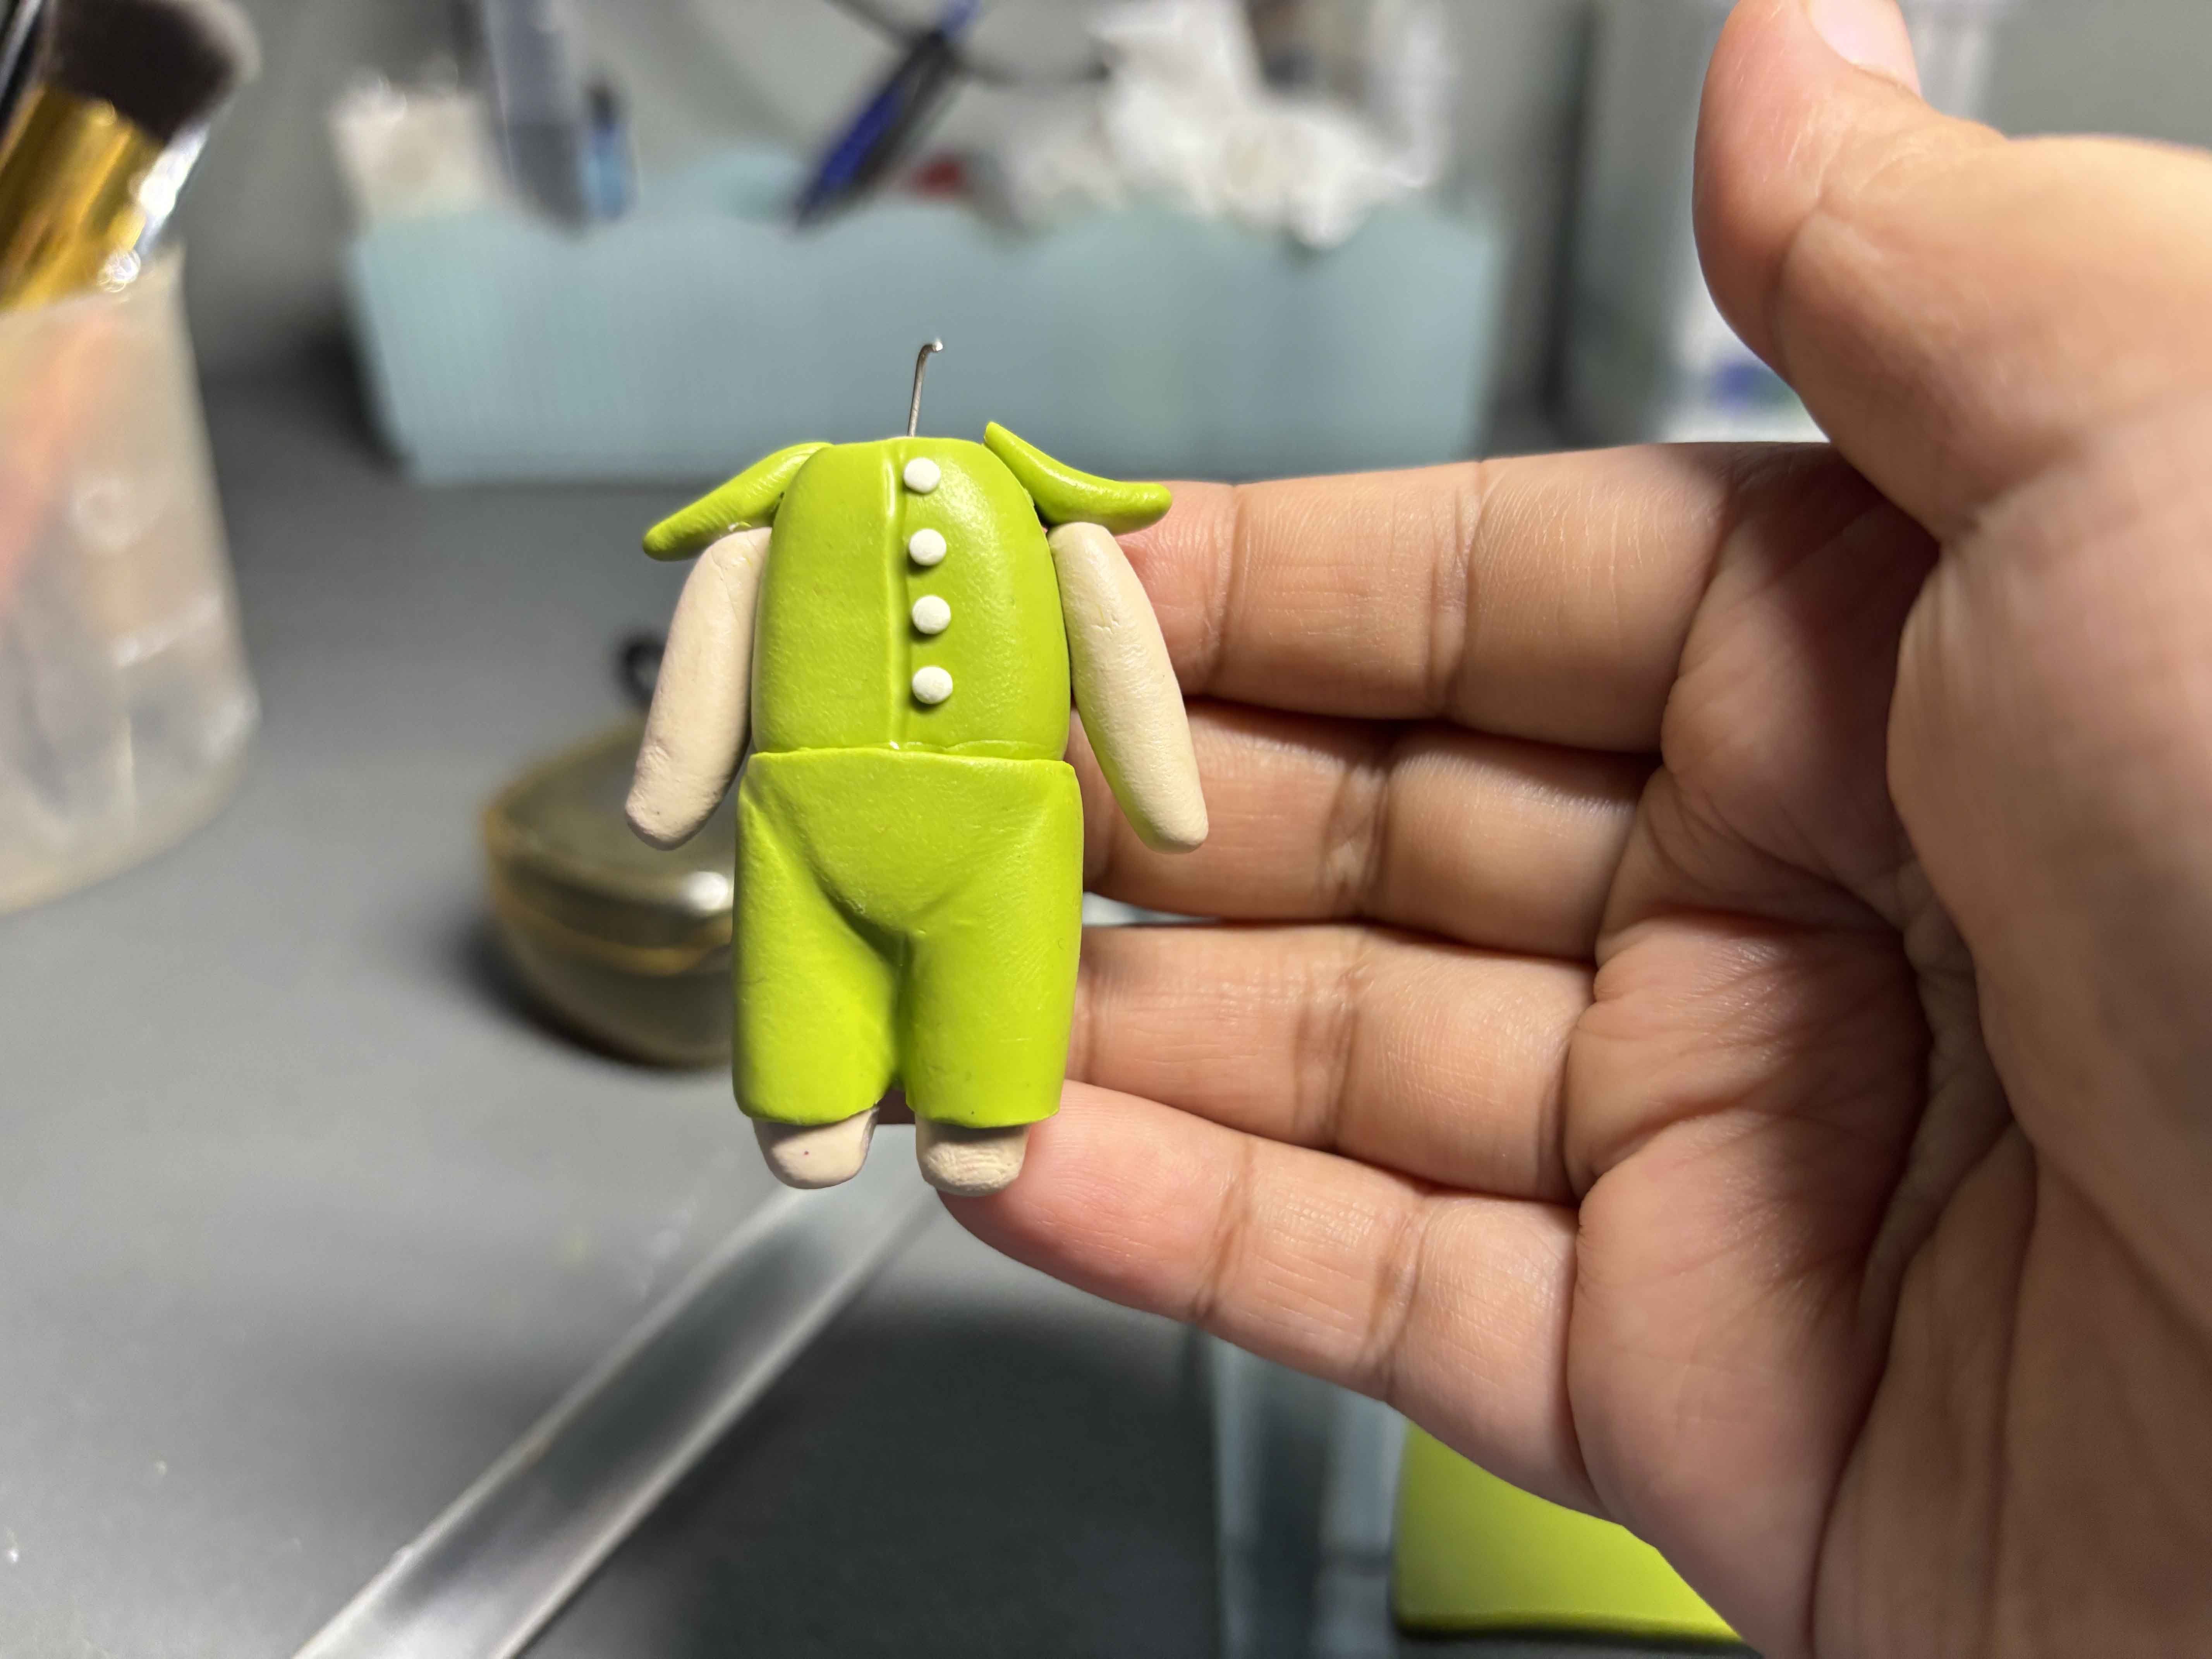
For the hands and head, I added a wire that hooks on it and then pushes it into the body. This makes the head even more secure in its place, and for the hand, I just do the same.
----
-----
Adding the Petals:
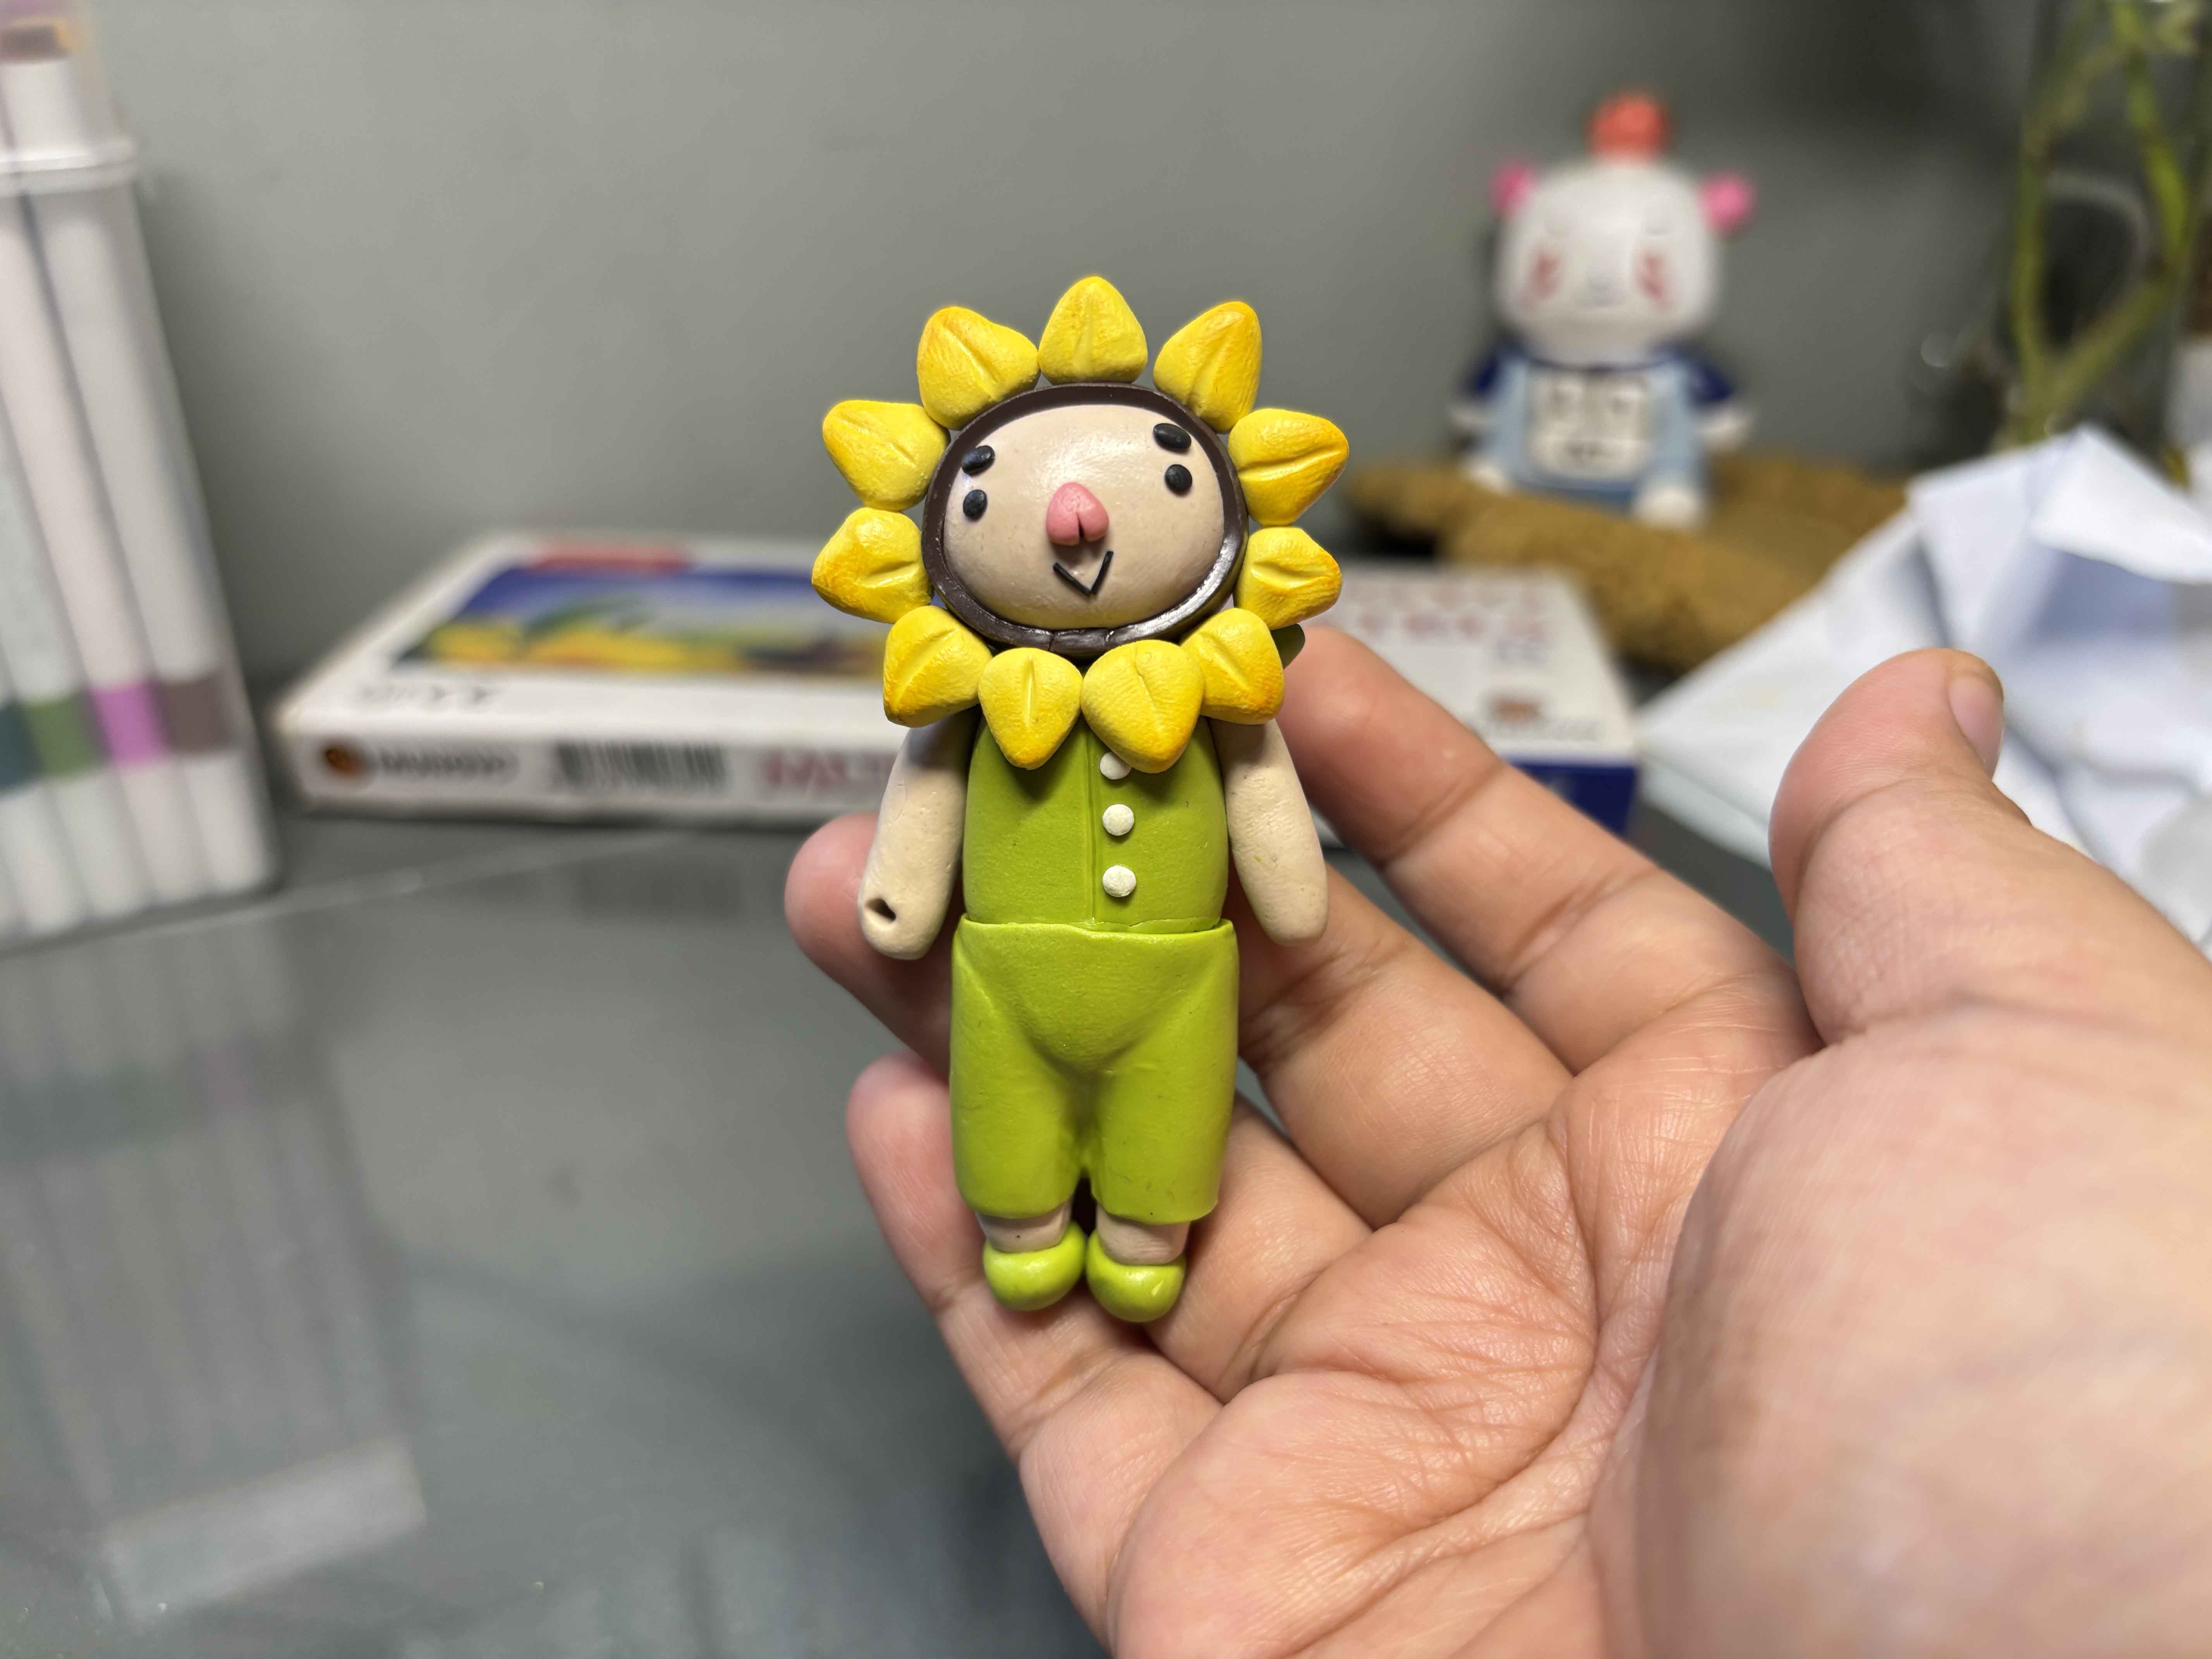
For the petals, I cut a wire just like I do to the head and then stick it into the petal and into the head.
-----
----
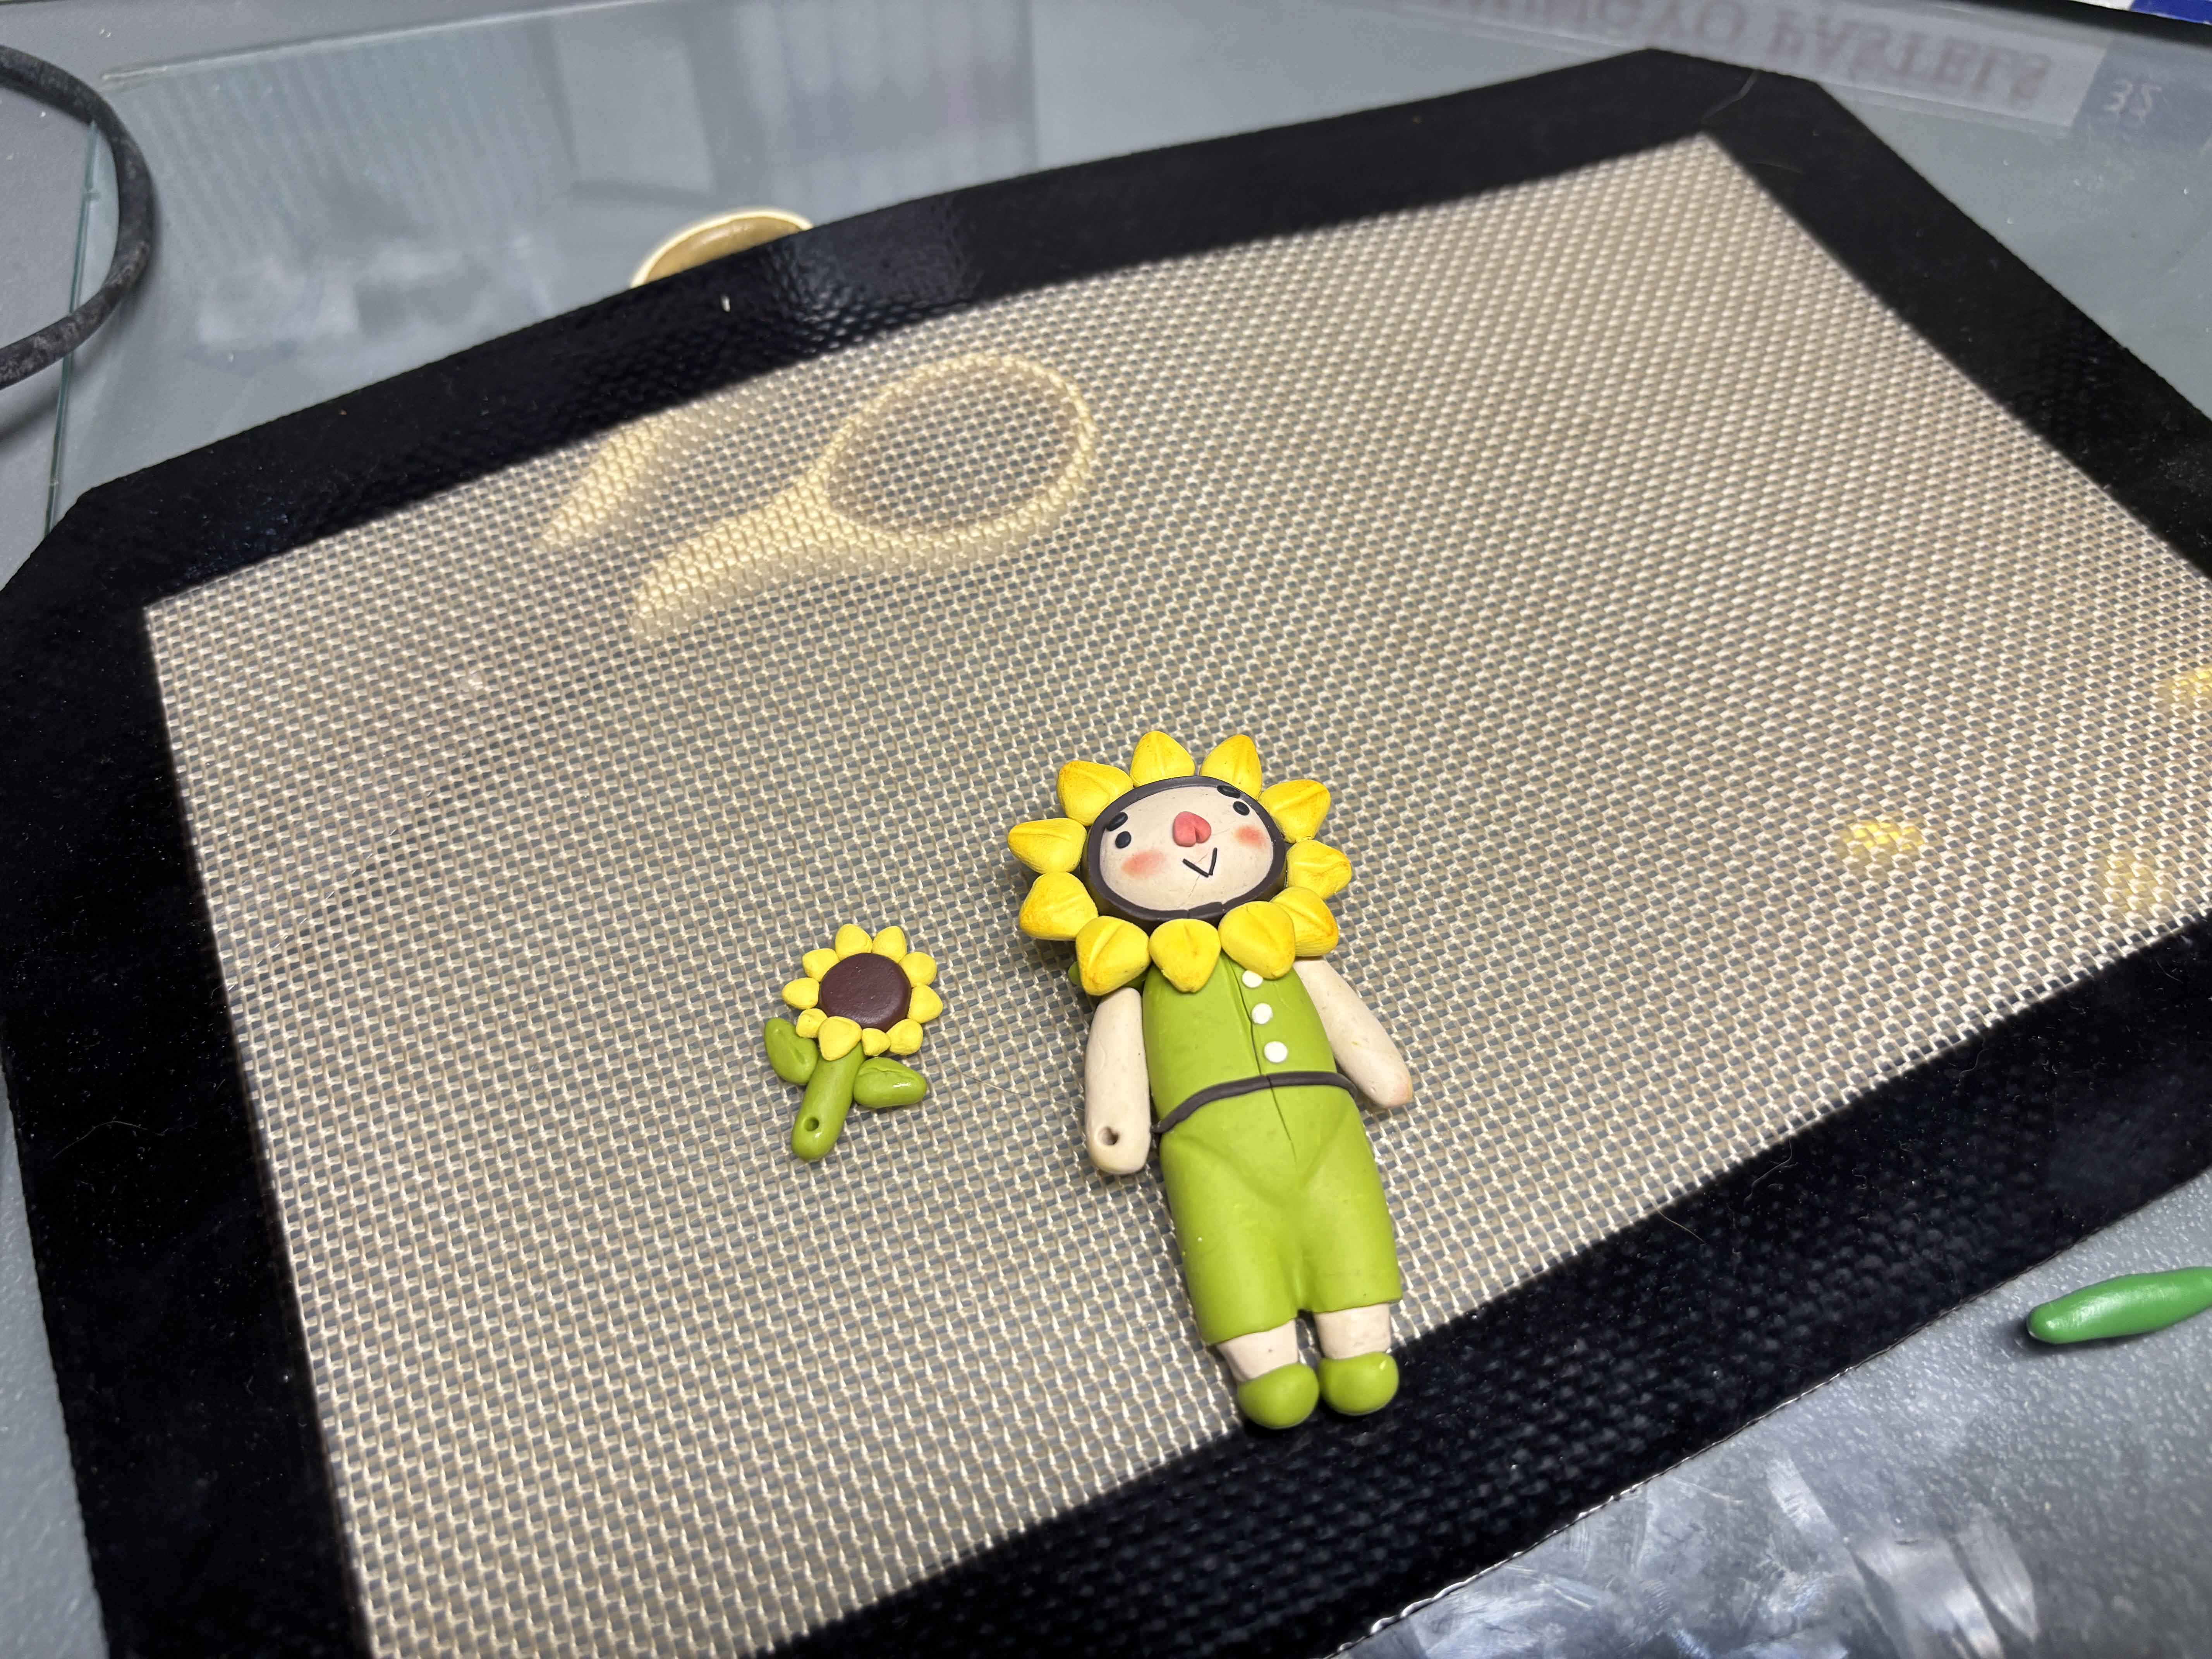
Assembling the Sunflower Wand:
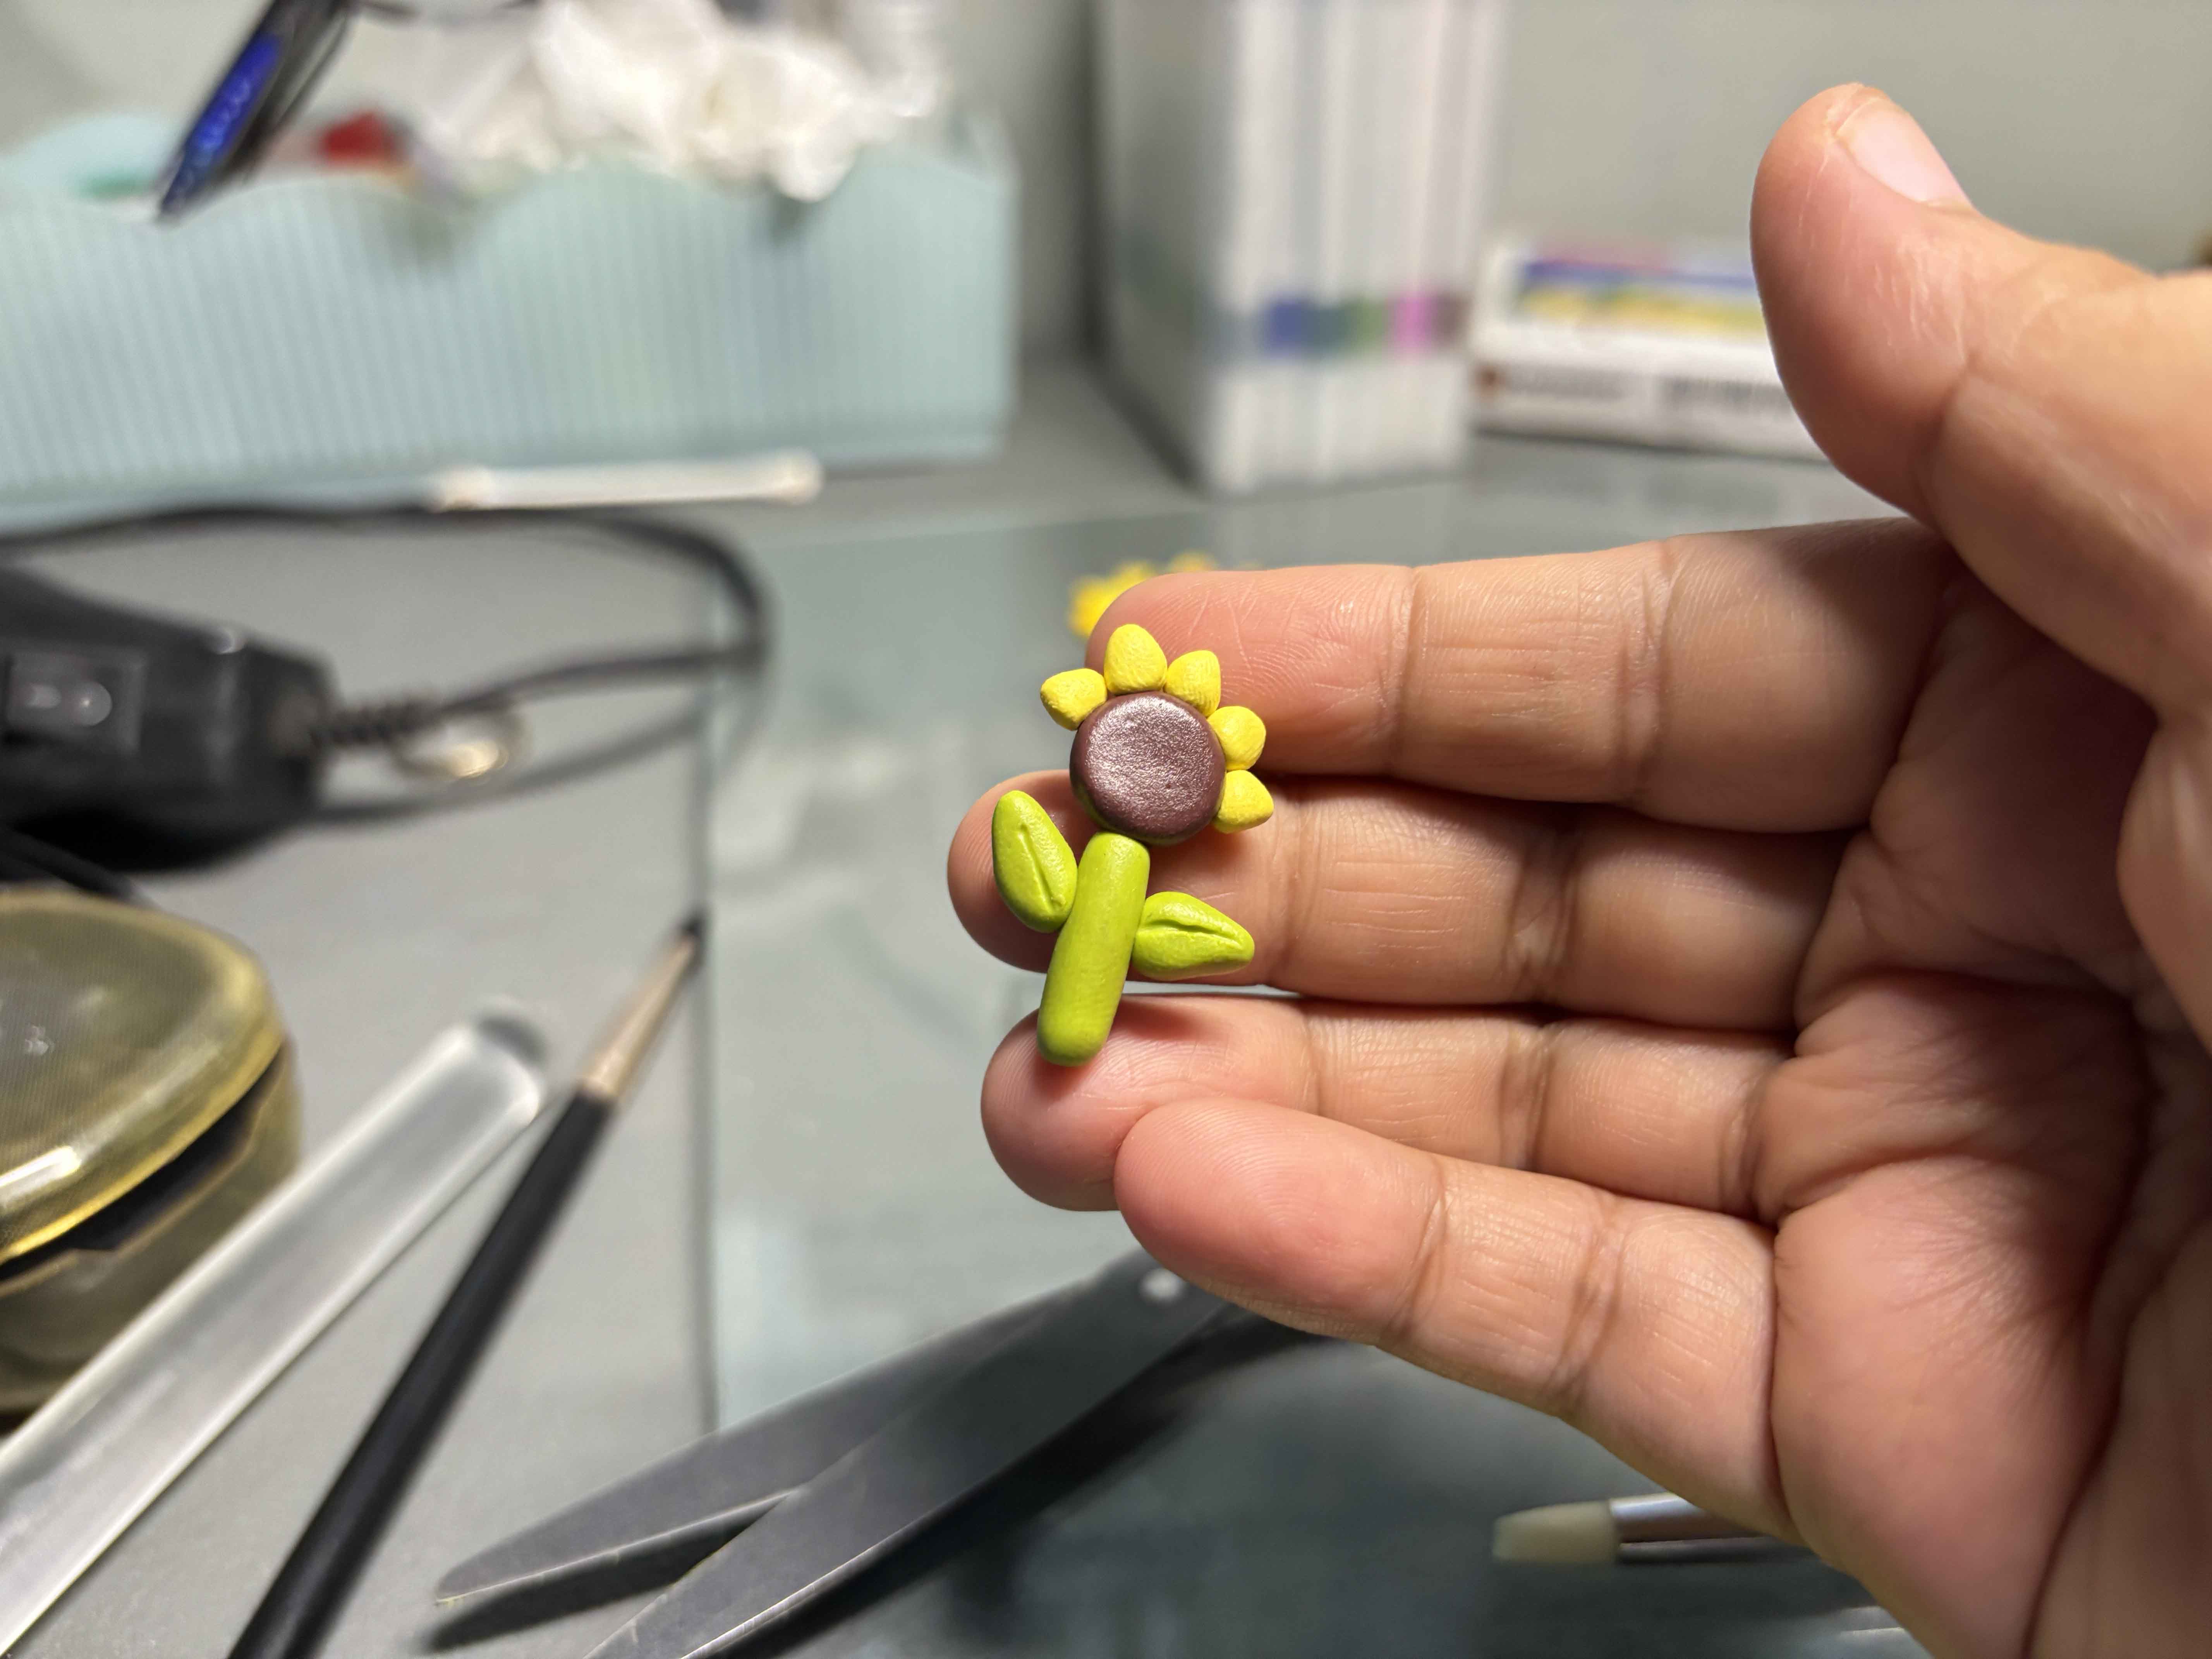
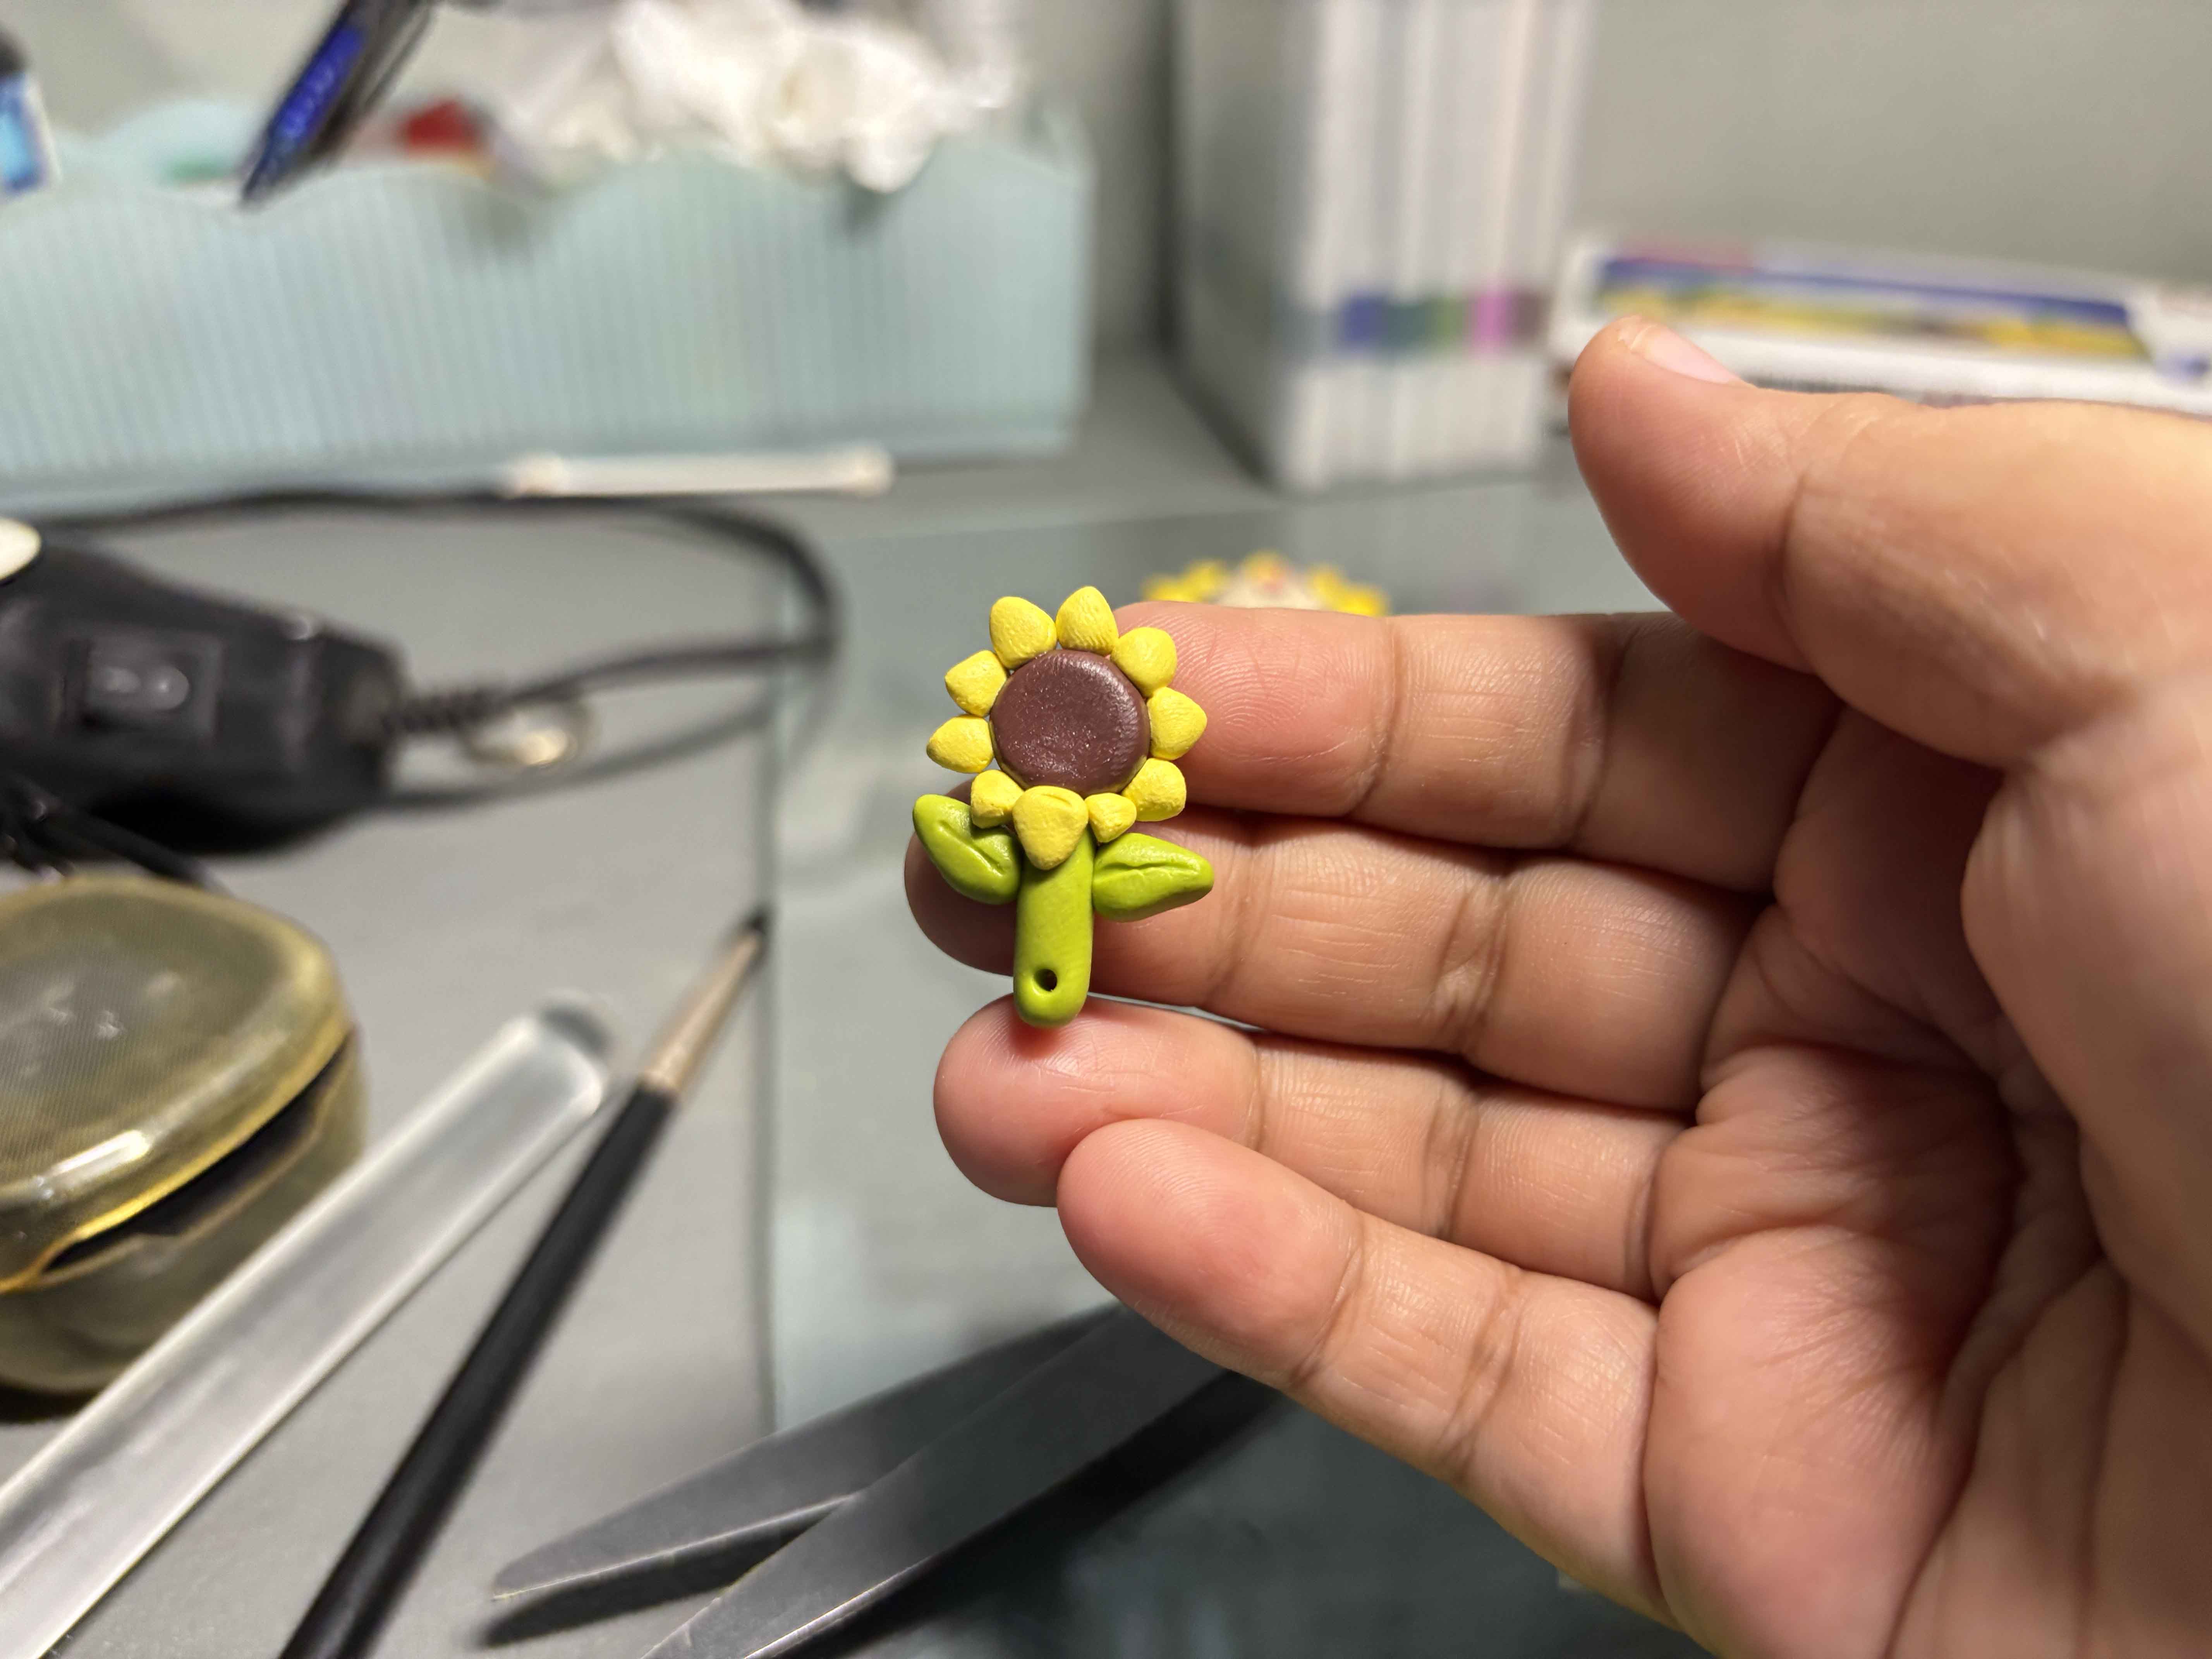
For the sunflower wand, I first stuck the middle part into the stem, and then I added the petals and the leaves.
-----
-----
Adding Eyepin:
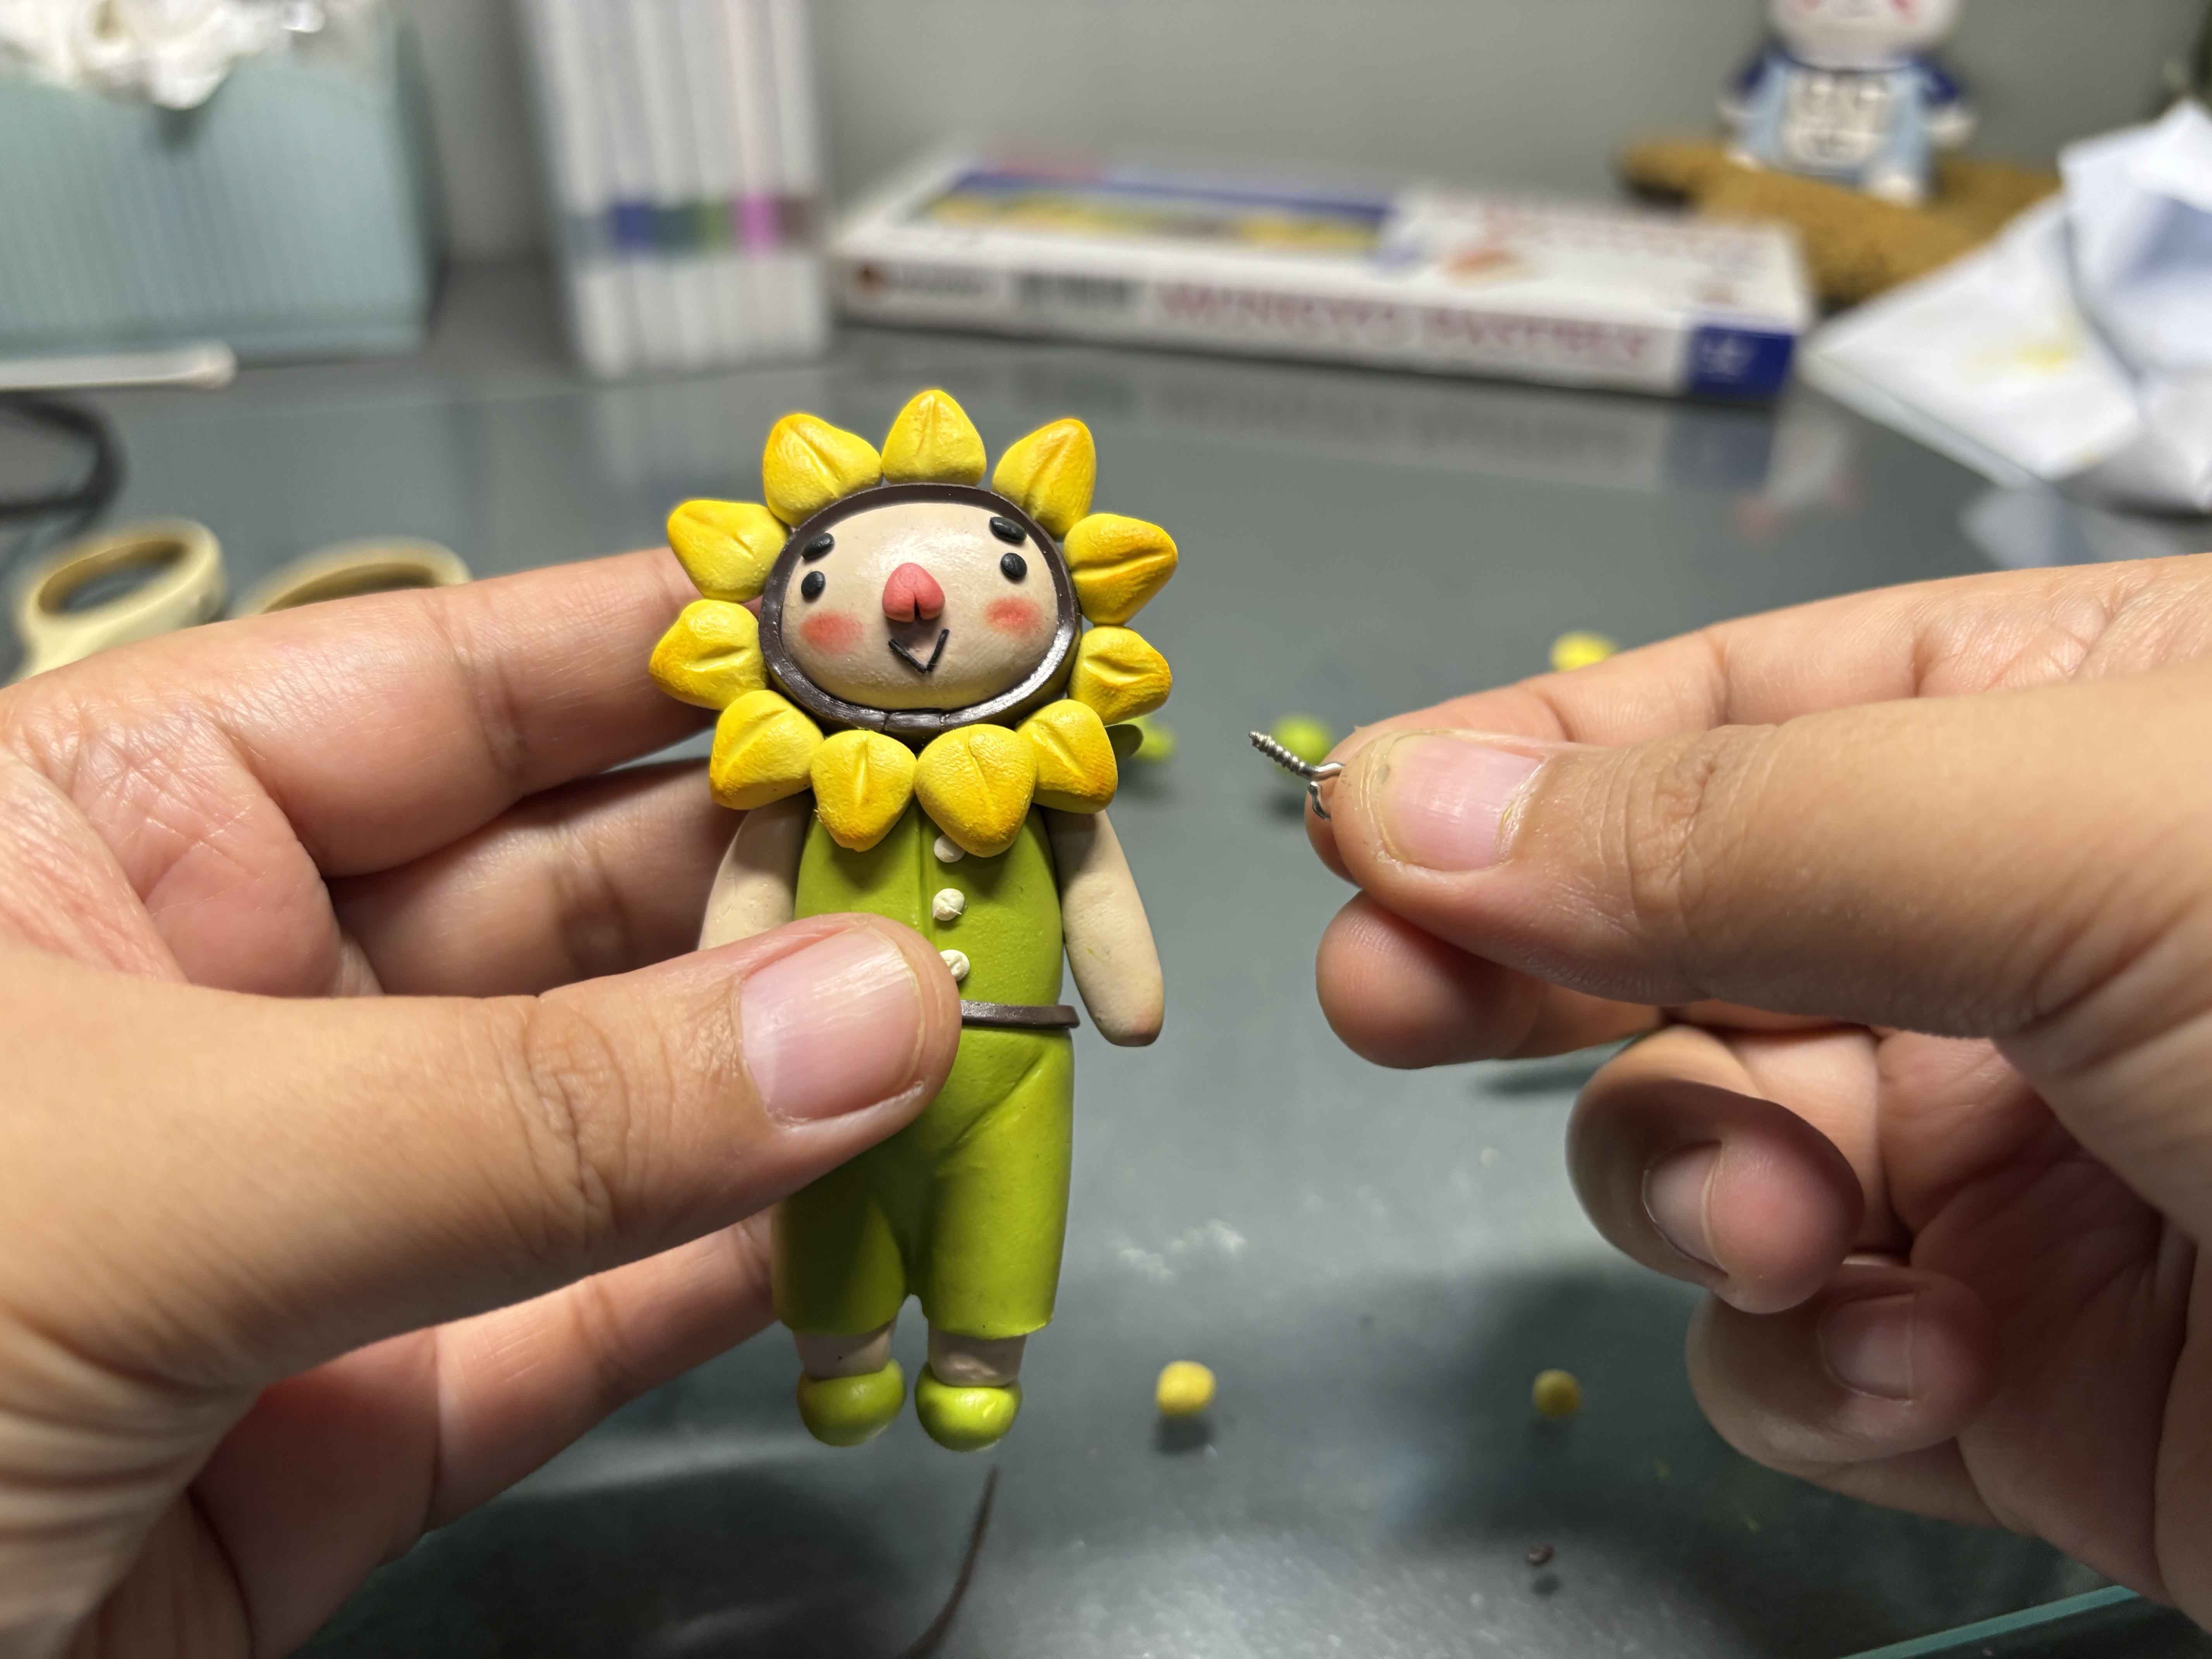
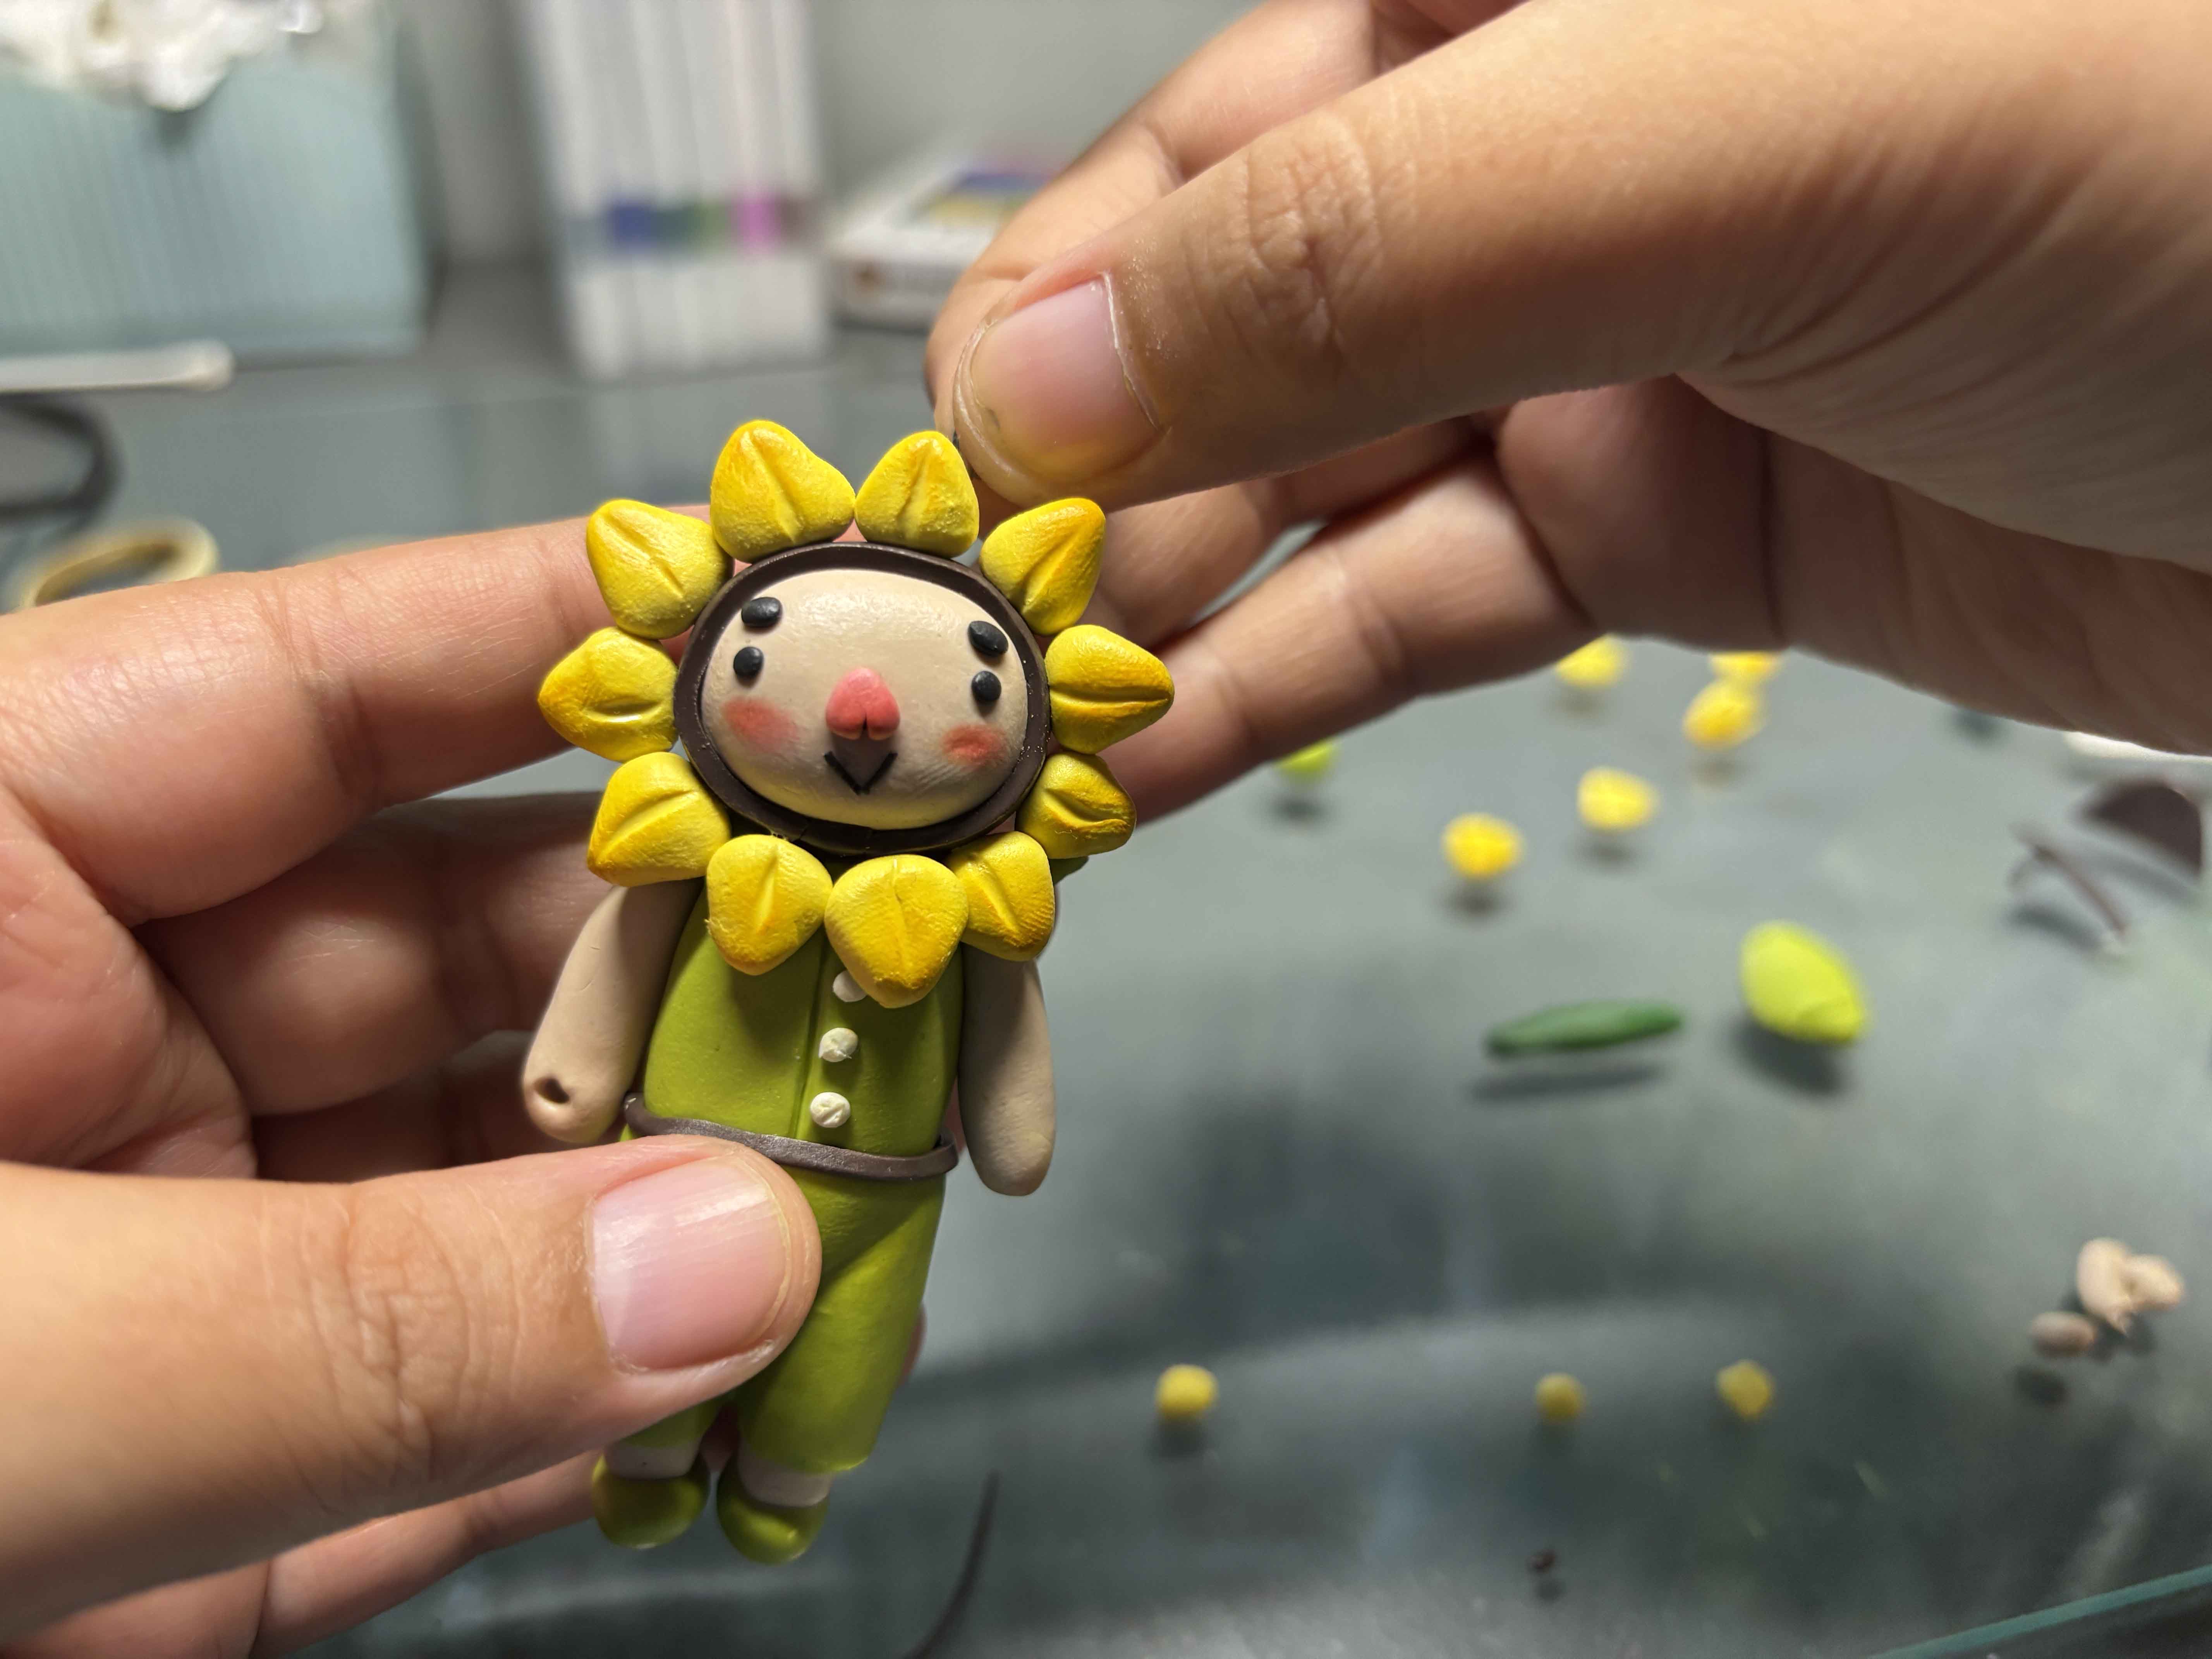
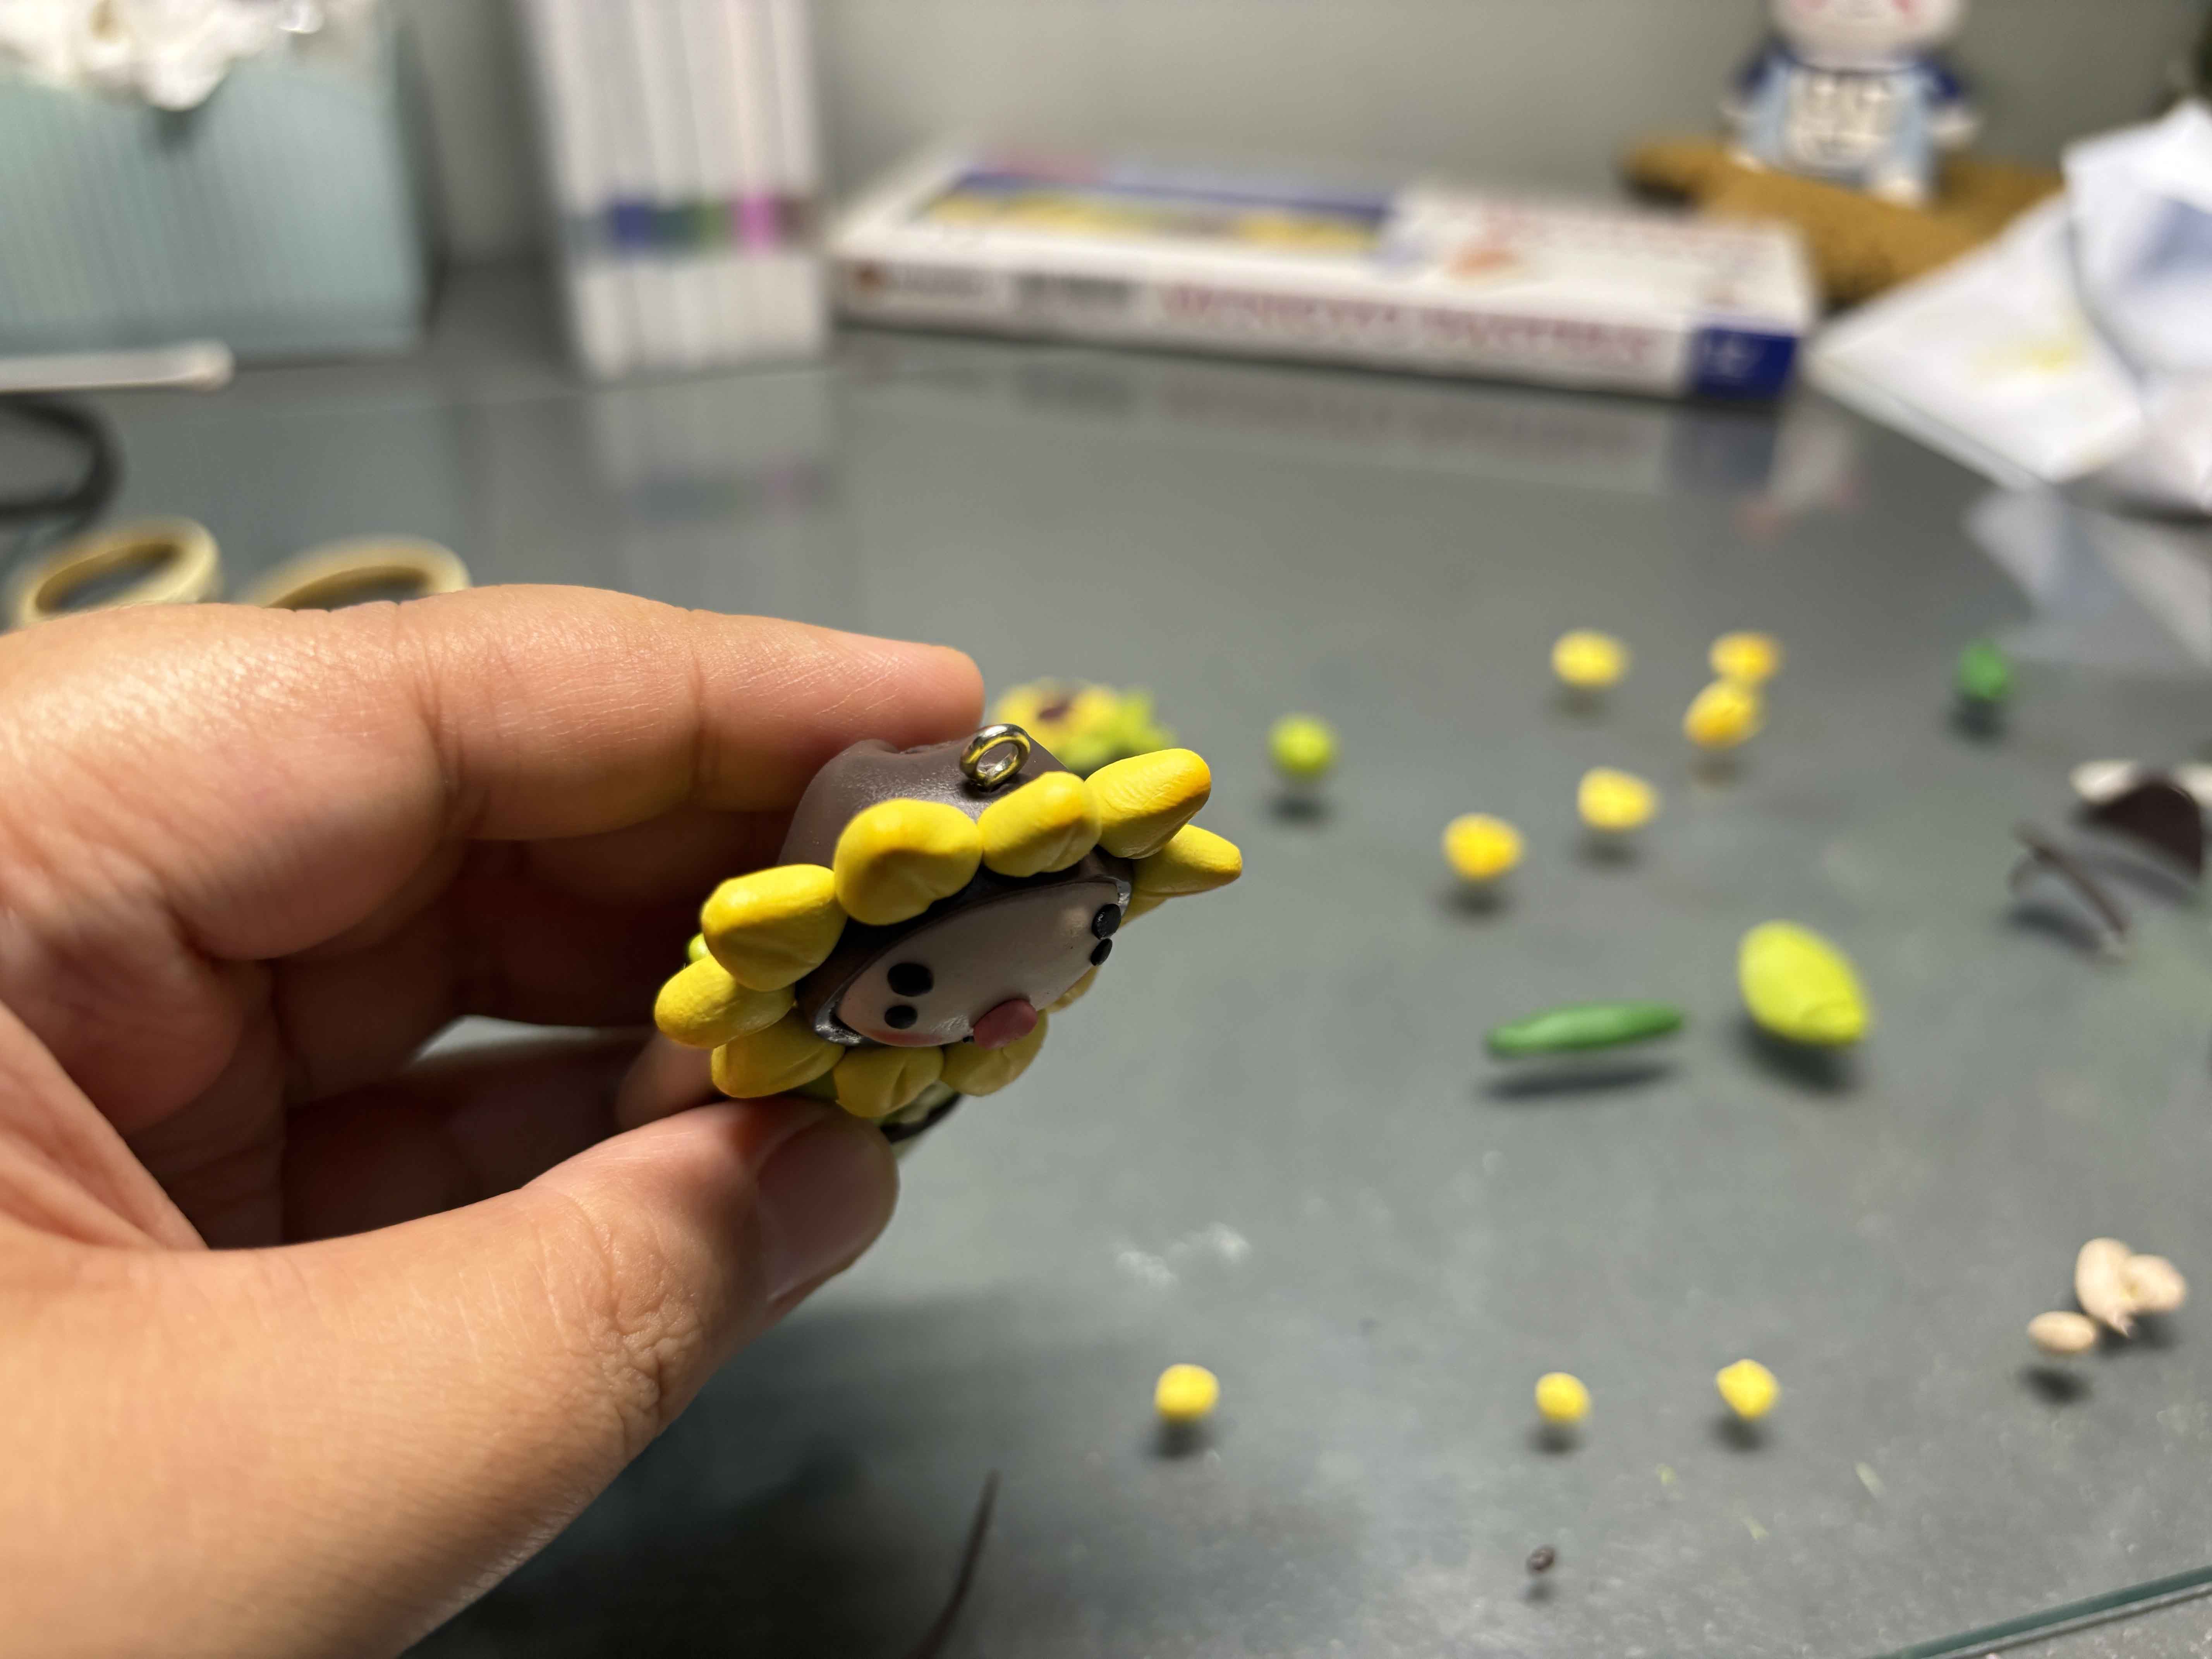
Now everything is assembled, I am adding the screw eye pin to the top part of the head, stick it in until the head part is just sticking out. I forgot to film this, but before baking, make sure to clean the clay with alcohol and qtip to remove any microscopic dust.
----
----
Baking The Clay:
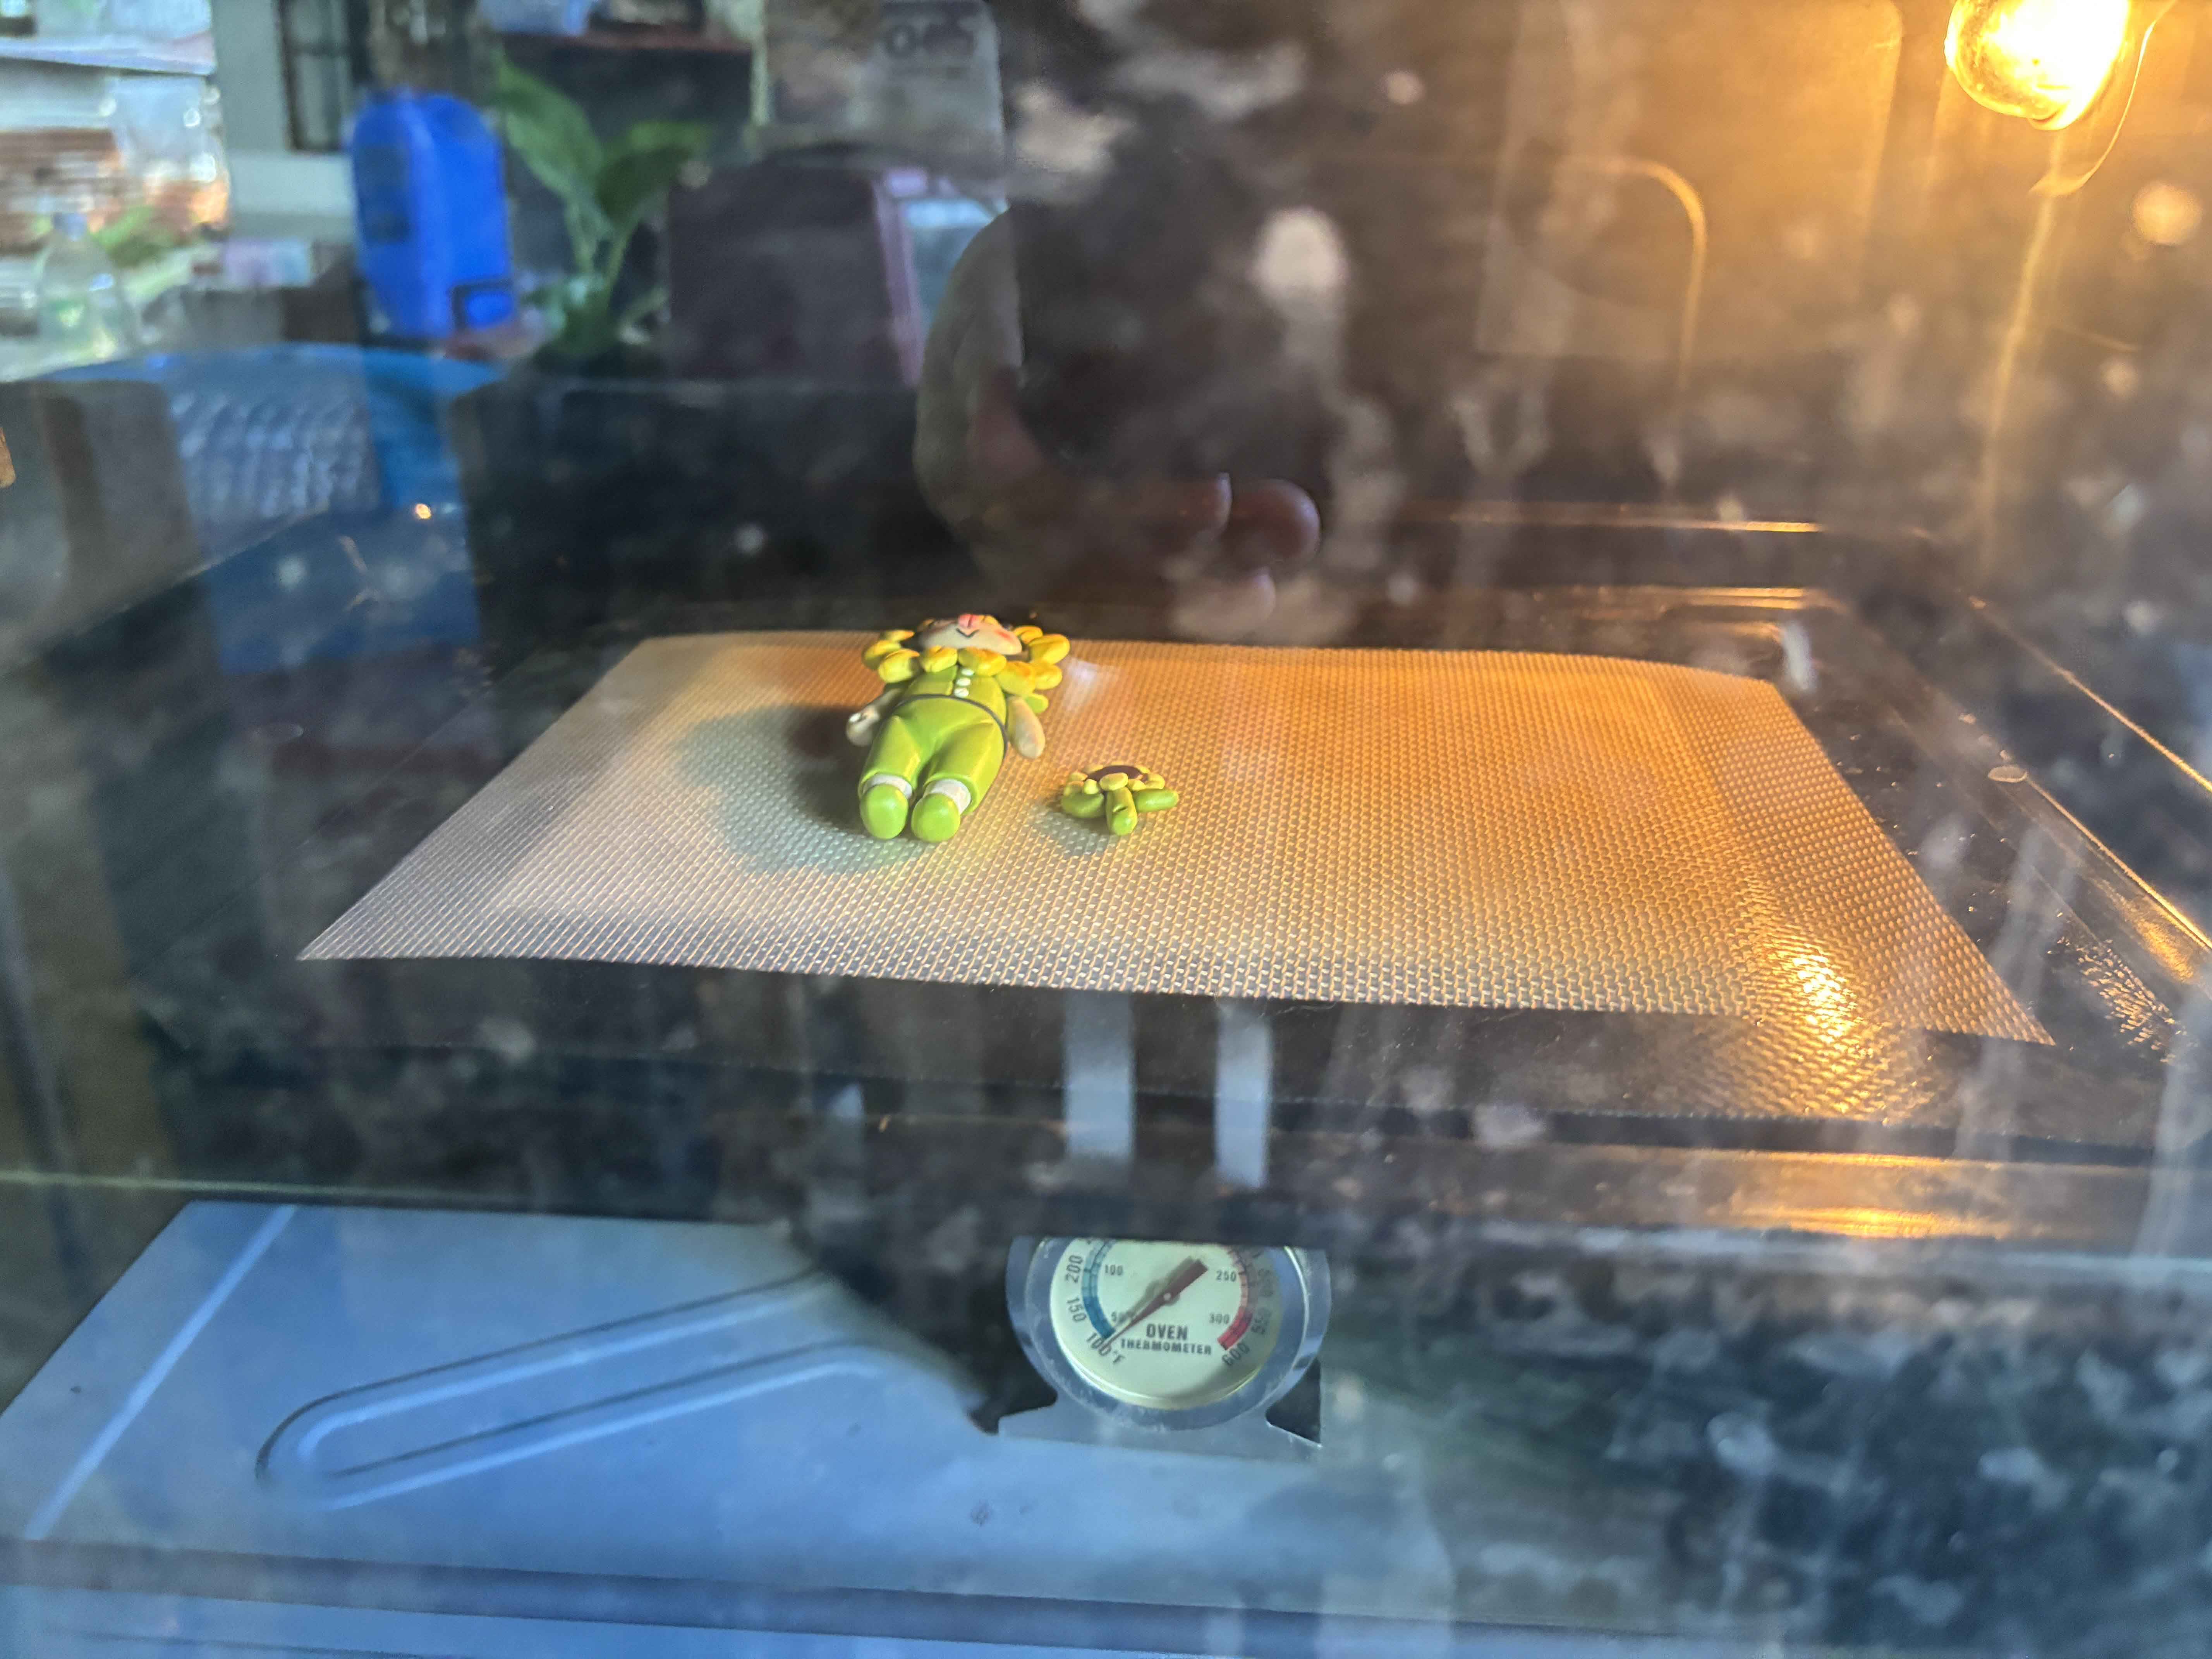
Make sure to pre-heat the oven to the temperature and time that the packaging of the clay instructs. Let it cool down before going to the next step.
----
----
Adding Resin:
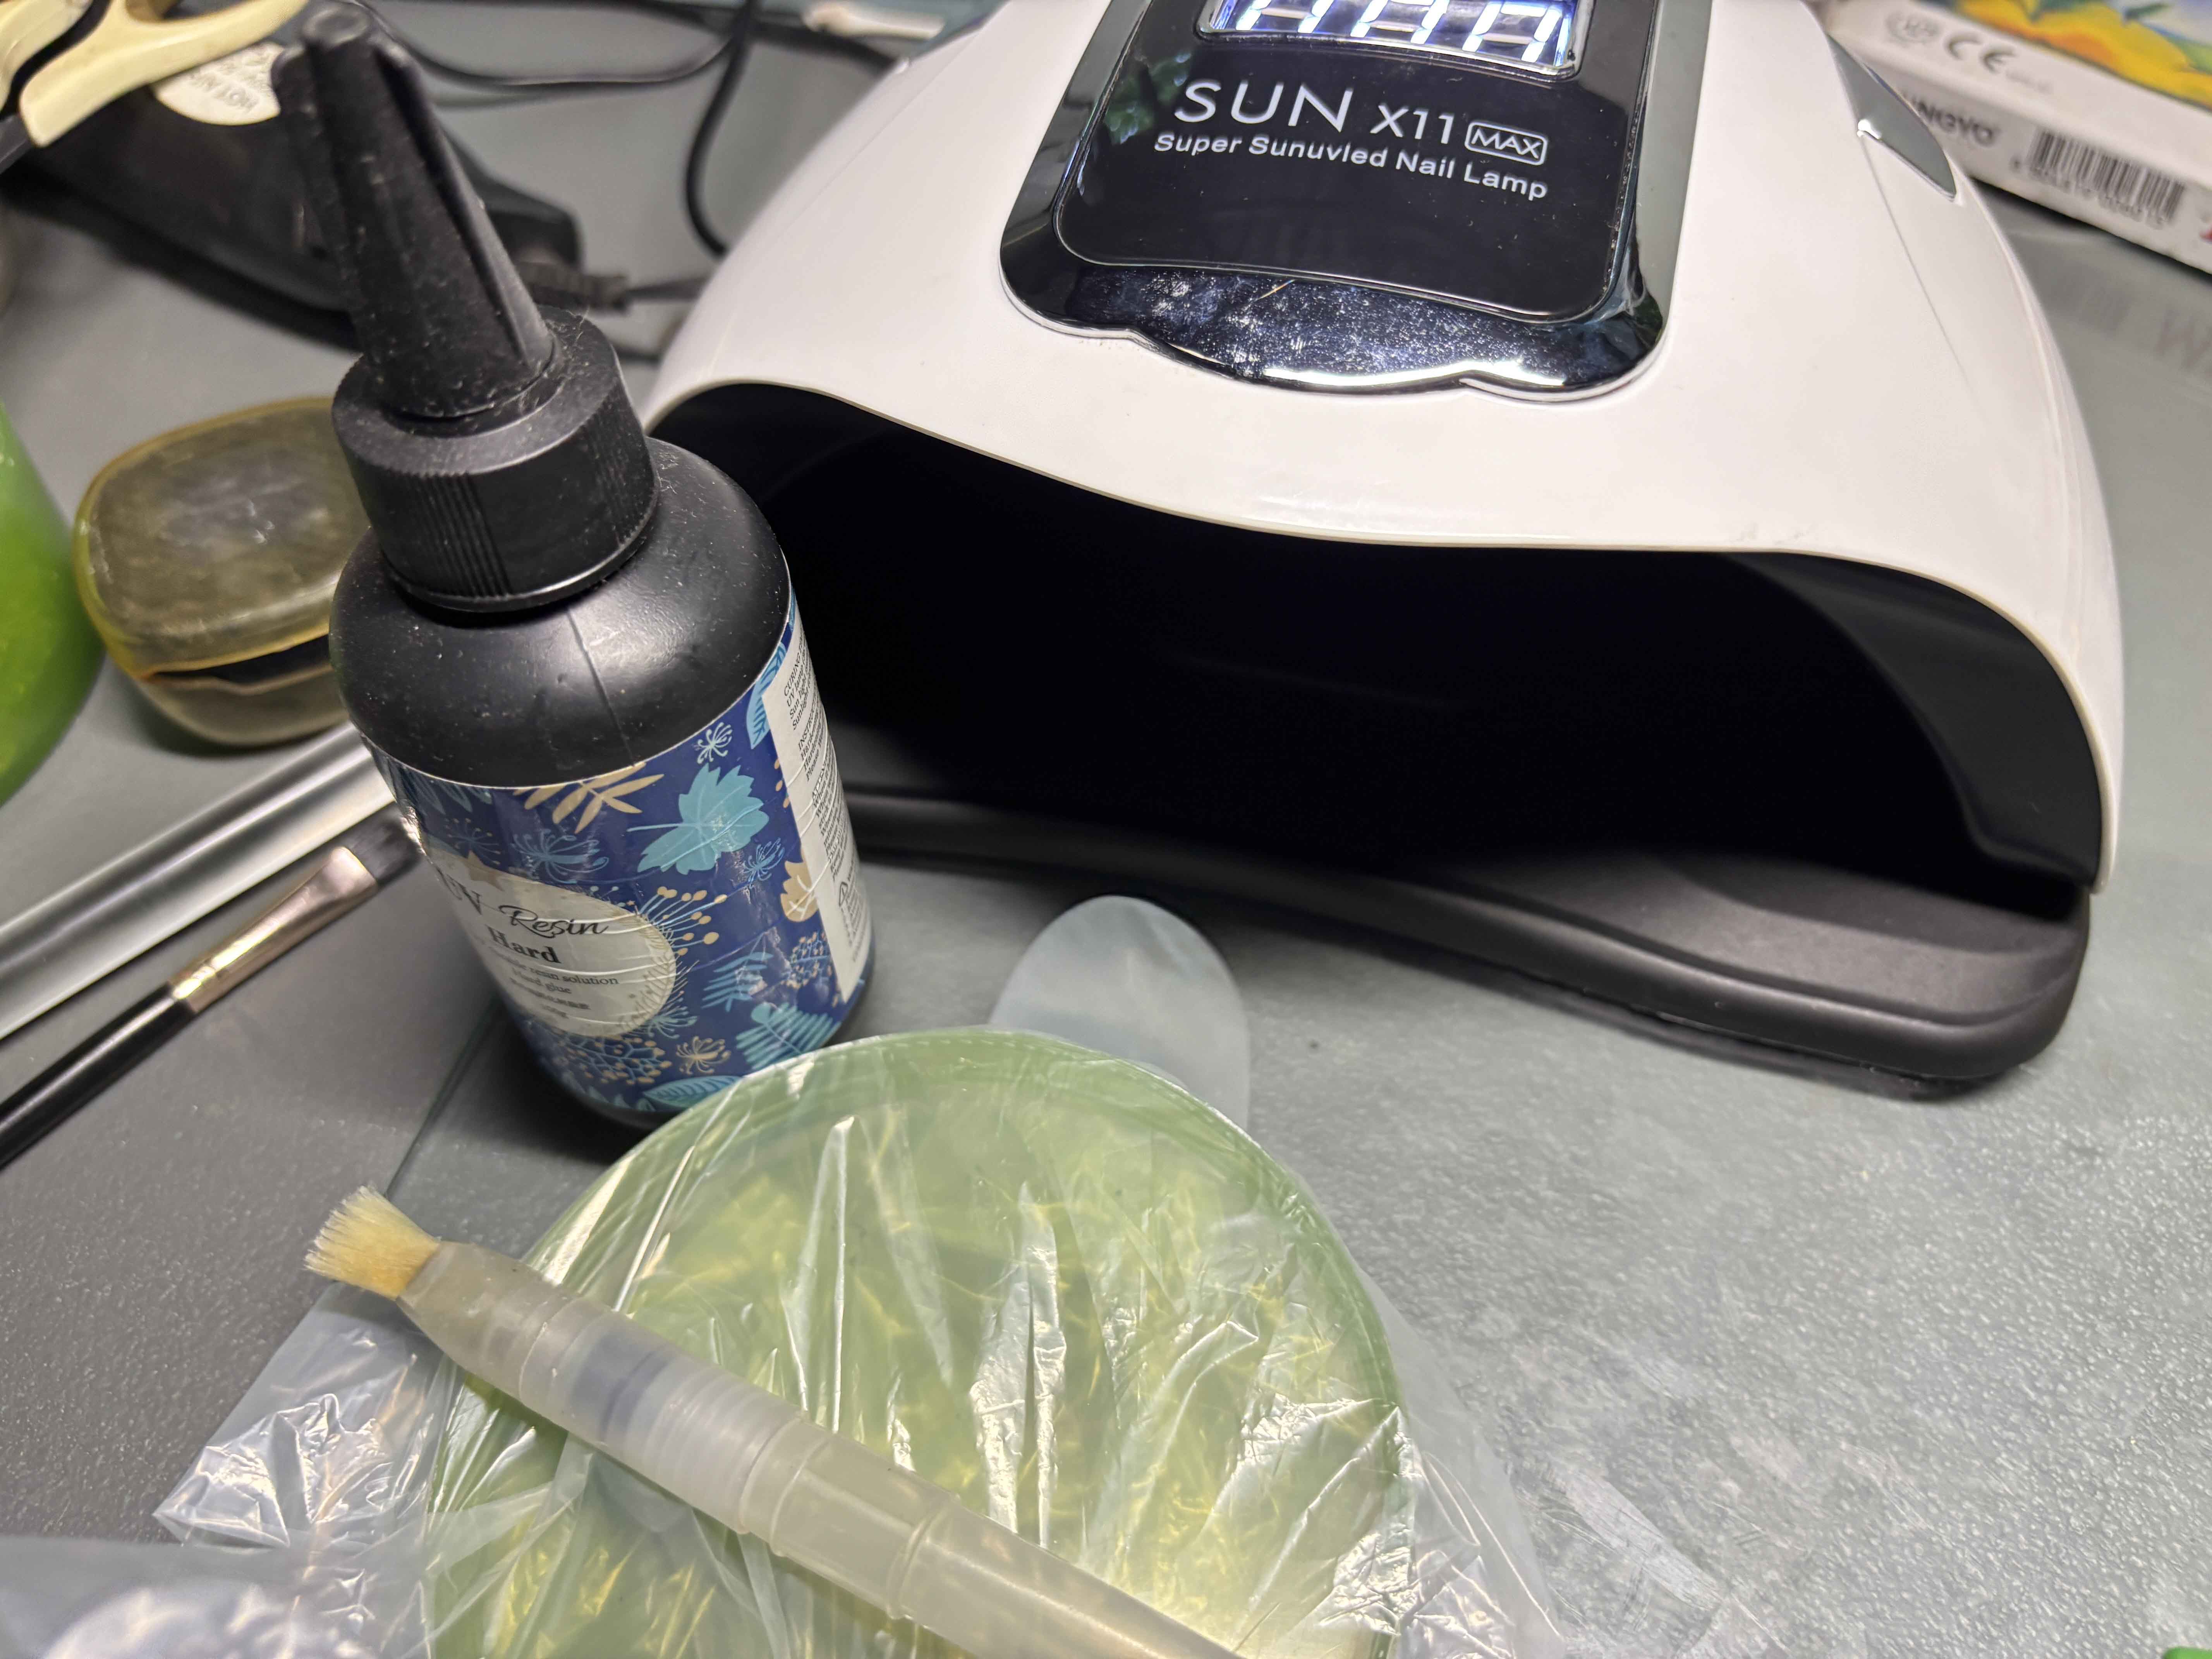


62.JPG (https://files.peakd.com/file/peakd-hive/leannwithdoublen/EopsV6McbMmsQyxxLbKJ6Fxgvms62gQEFWbMznqzJaWPw5RWsdg2E3j5BWupxxuC65s.JPG)
Now I am going to add UV resin to the clay. Make sure to use proper gear when using this, and UV resin cannot cure without a UV Lamp or the sun. If you don't have a UV Lamp, make sure to resin it during the day. Using UV resin can help the clay parts become more secure together.
---
Adding The Keychain:
65.JPG (https://files.peakd.com/file/peakd-hive/leannwithdoublen/EoAbcqJbPcnu215T2RobFGyZ7BjPjEnM8VPjgkBGfZMKrbwp7MpcCqHVS9c3Fh9QMJc.JPG)
66.JPG (https://files.peakd.com/file/peakd-hive/leannwithdoublen/Eokedm3FMweBjjtzq6e8J4Gp7YGcbSn5zhDvrBP872VbkJ2DFq9s3mKY8kKAdqLzfQE.JPG)
68.JPG (https://files.peakd.com/file/peakd-hive/leannwithdoublen/Eoc8R4vZX4pVcTpuqzh1dbeAQ82C3PLSf2c9Yy2kjDief5mGhLMSRWZS4V3AiBNoc5E.JPG)
69.JPG (https://files.peakd.com/file/peakd-hive/leannwithdoublen/Ep3gBwanAmvDg4UDq7BYpiMr2FNbFH2rU1un1kSx2cQ7reTFcmkERf4otnGAbu9asPx.JPG)
Using the two pliers, I added the keychain and the jump rings that connected to the sunflower wand.
----
---
Photo Time:
IMG_2899.JPG (https://files.peakd.com/file/peakd-hive/leannwithdoublen/Eou9fZNB6fa1KVy2H4VWffTE2WqWcGx13ShJc2sCRXtvZnf7G49wtzbSF5pc2vxMRjF.JPG)
IMG_2896.JPG (https://files.peakd.com/file/peakd-hive/leannwithdoublen/EokddEPHGAiq6ddLC3UTZYa4CsZtRk9xEWJbnqNKZ8pP1LscLoTogrVn6TCAehXEZER.JPG)
IMG_2897.JPG (https://files.peakd.com/file/peakd-hive/leannwithdoublen/EoiWDF5SKpvUnmUaB8aptEufCVEAxaEv5ppL4aULtXVQ3a4tyXQivb4stu9yRjHnpUv.JPG)
I like the quality of the photo in the daytime, so I did a little photoshoot, thanks to the iPhone, everything looks good LOL.
----
Thank you for visiting, see you on my next blog. :D
Please take care of your mental health as well.
I hope you are okay today :))
---