Hello friends! I love to personalize the gifts that I give to my loved ones because I think that the little details make it much more special since we dedicate time and effort to do something creative. That is why, the father's day gift I bought for my father was accompanied by this card that I made with my own hands. While I was doing it, I asked my mom for help to document the process to share this tutorial with you so you can duplicate it if you want to.
It is a very peculiar card because little by little the message that we want to deliver is revealed, this one is written in spanish and said: "Dad, I'm your number 1 fan". I have done this type of card on other occasions and I assure you that it is super easy and quick to make.

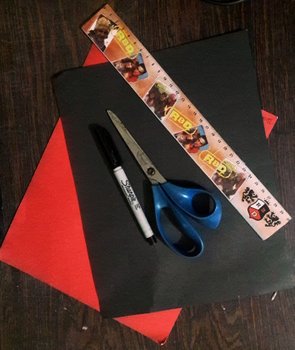
- Colored cardboard. - White paper. - Marker. - Scissors. - Ruler. - Glue.
Once we have devised the design, we select the colors with which we want to work. In this case, I decided to use red and black cardboards to maintain a masculine style.
Step 1. Cut a strip for the base of the card of 5cm wide by 30cm long and five squares of 5x5cm.
Step 2. Decorate the squares according to the selected design. In this case, I made decorations on white paper, red and gold cardboard and I used the black marker to add the text and some details.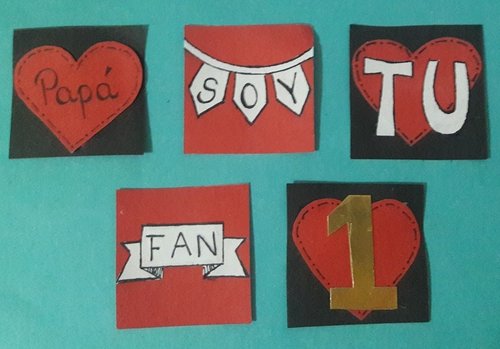
Translation: "Dad, I'm your number 1 fan"
Step 3. Place one of the squares half a centimeter from the edge of the long strip to draw our first mark and, from it, make four lines leaving a separation of 1 centimeter between each one. |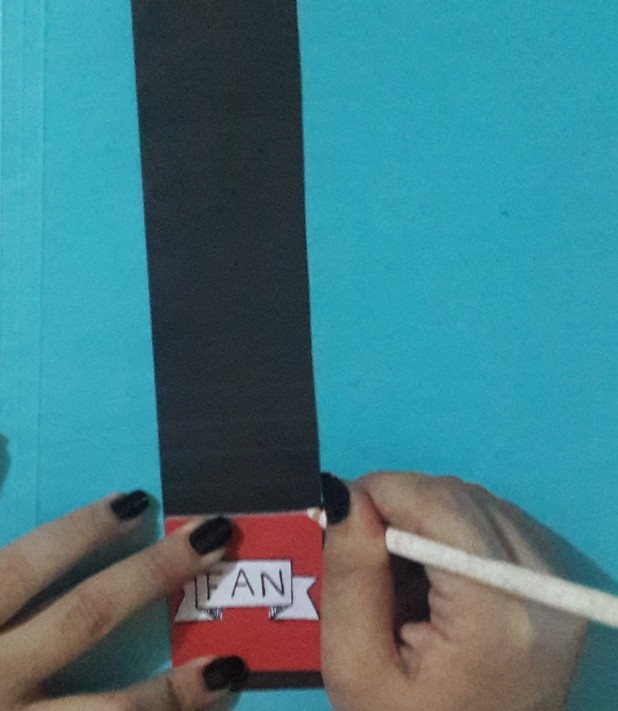|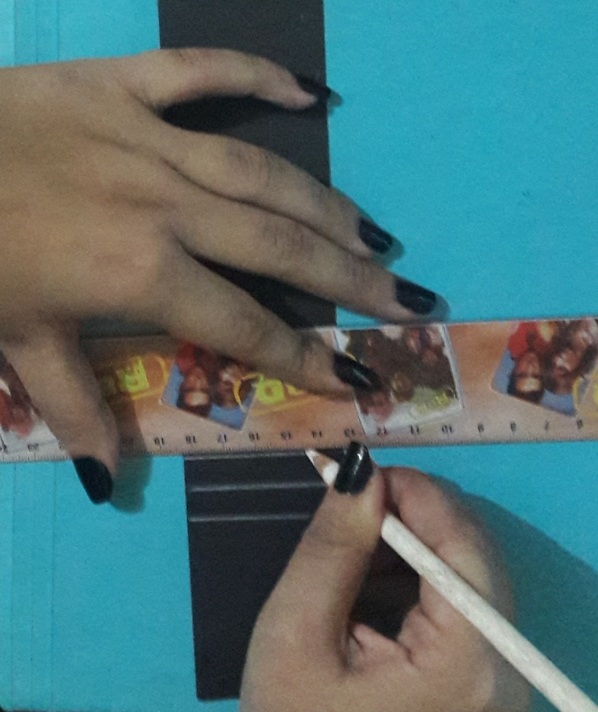.jpg)|| |---|---|---|
Step 4. Fold the card in each of the lines drawn in the previous step to create the folds that will make the card flow perfectly. |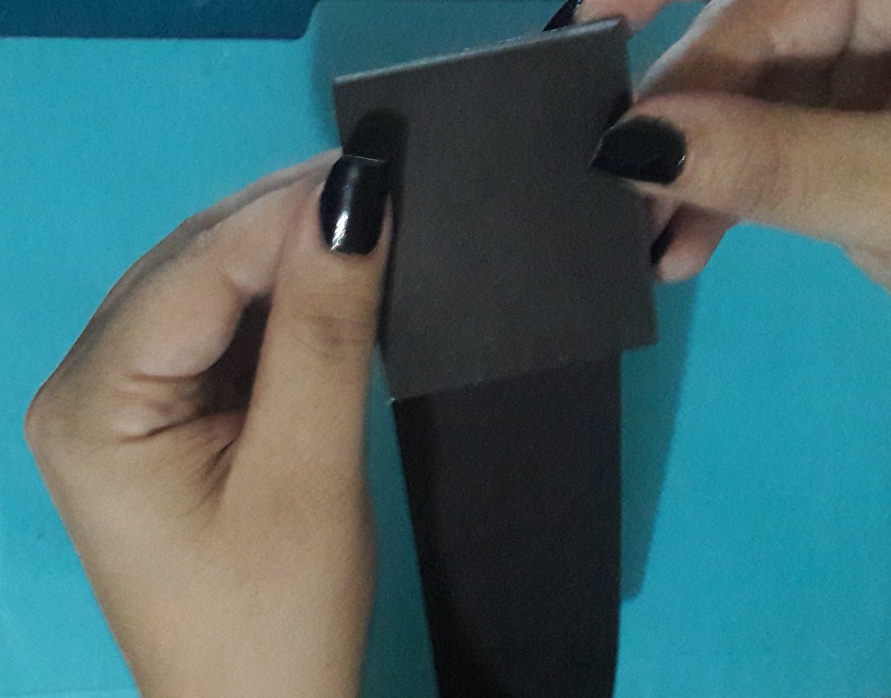|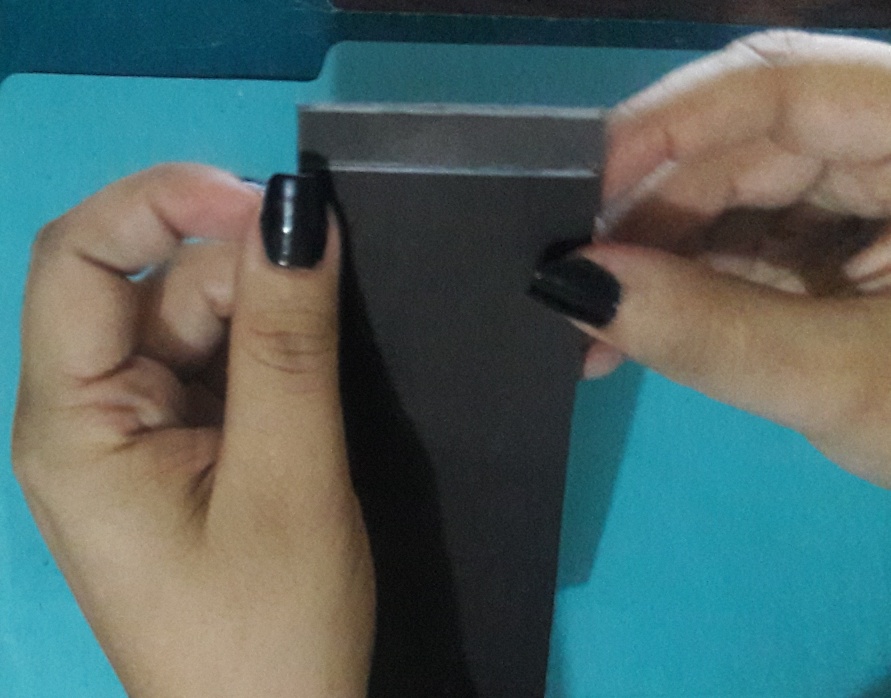|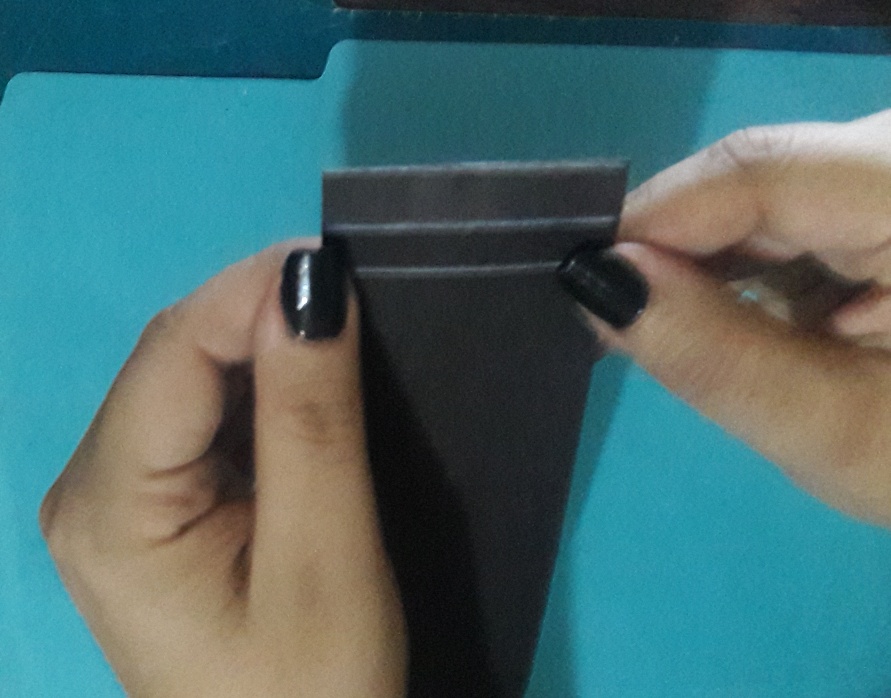| |---|---|---|
Step 5. Stretch the strip again and proceed to glue the squares in the corresponding area. It is important to remember that we must start by pasting the last card of our sequence and finish with the first one as indicated in the following images. ||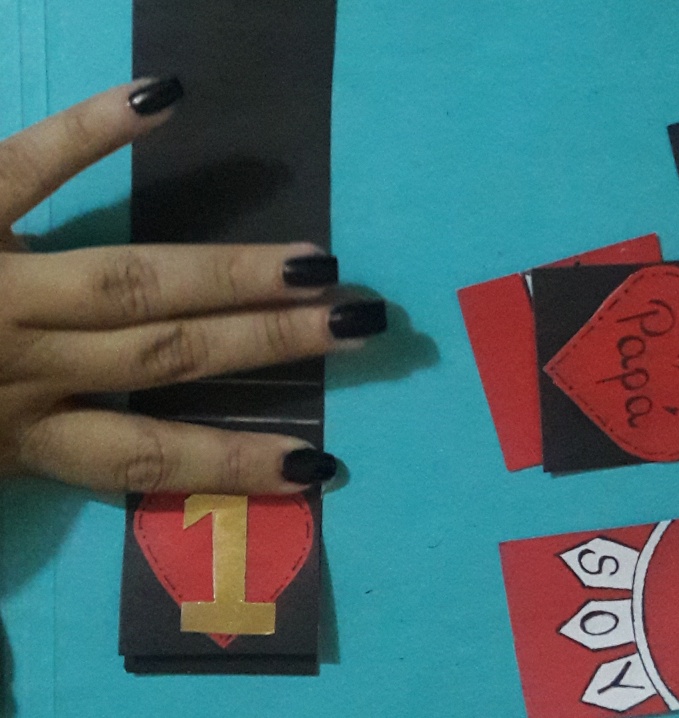|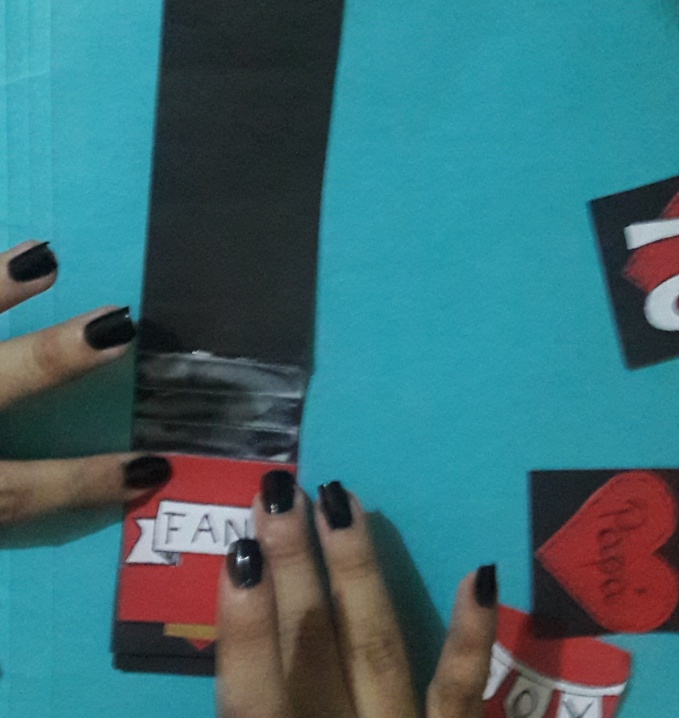| |---|---|---| ||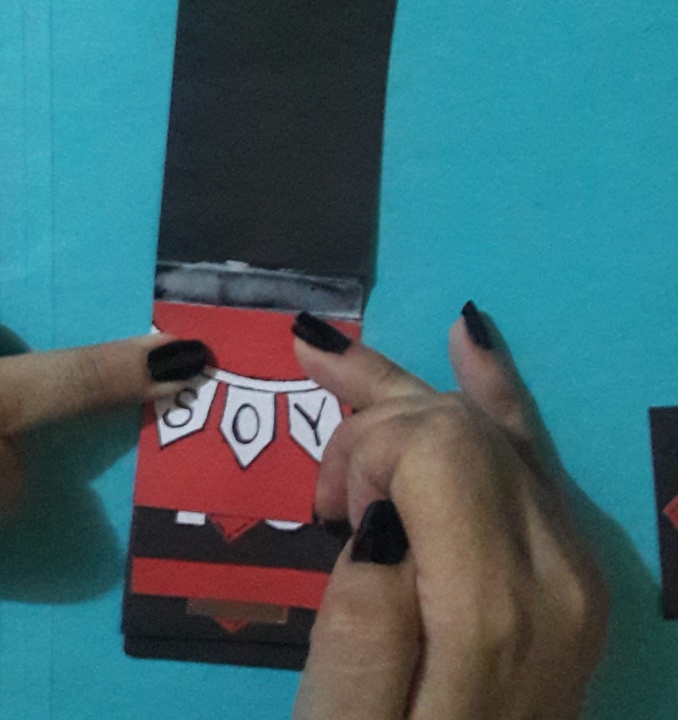|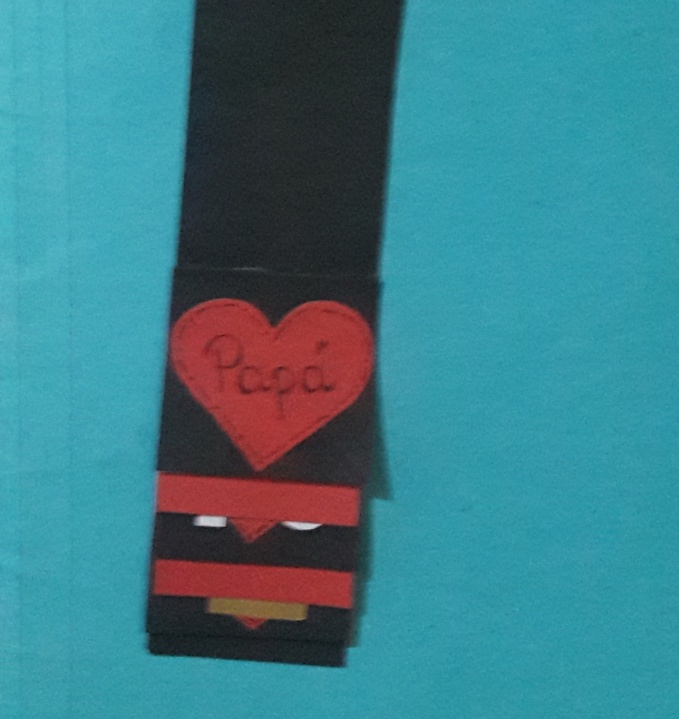|
Step 6. Once the glue is dry, fold the remaining cardboard back and cut it triangular to create the strap that will operate the mechanism of the card.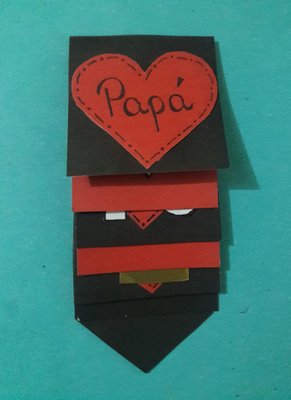
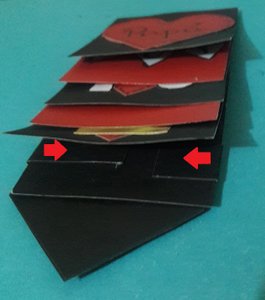
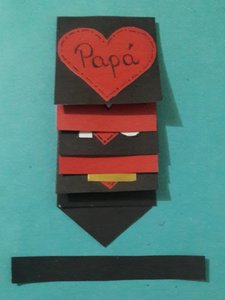
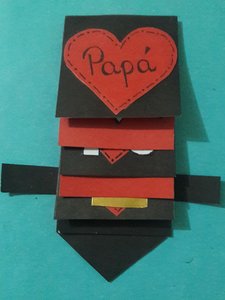
Step 7. Take a small strip of cardboard of the same color as the base and place it behind the card.
Then, fold the excess of the strip inwards and glue it on the upper part of the base card, behind the last decorative square (in the following image I indicate the correct place with red arrows.)
Step 8. Finally, add some decorative details and make sure that the mechanism of the card works perfectly. You just need to pull the strap down (as I show on the gif below) and you will se how the magic happens!.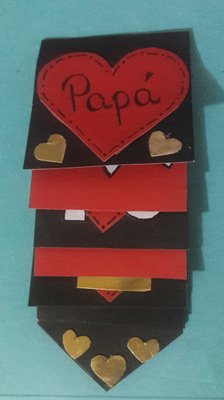
Copyright @leribyleri - All Rights Reserved
My dad loved this customised card that I added to the gift and I hope that you also like it and now feel encouraged to make a similar card for your loved ones, I'm sure they will also love it. Thanks for your support friends!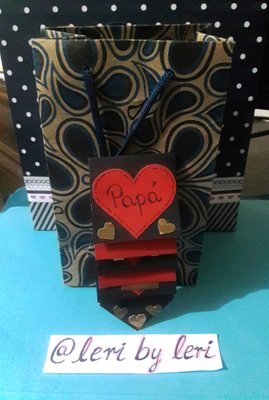

--- Posted from my blog with SteemPress: https://leribyleri.000webhostapp.com/2018/06/diy-pull-and-reveal-card-step-by-step ---
It is a very peculiar card because little by little the message that we want to deliver is revealed, this one is written in spanish and said: "Dad, I'm your number 1 fan". I have done this type of card on other occasions and I assure you that it is super easy and quick to make.
MATERIALS
- Colored cardboard. - White paper. - Marker. - Scissors. - Ruler. - Glue.
PROCESS
Once we have devised the design, we select the colors with which we want to work. In this case, I decided to use red and black cardboards to maintain a masculine style.
Step 1. Cut a strip for the base of the card of 5cm wide by 30cm long and five squares of 5x5cm.
Step 2. Decorate the squares according to the selected design. In this case, I made decorations on white paper, red and gold cardboard and I used the black marker to add the text and some details.
Translation: "Dad, I'm your number 1 fan"
Step 3. Place one of the squares half a centimeter from the edge of the long strip to draw our first mark and, from it, make four lines leaving a separation of 1 centimeter between each one. ||.jpg)|| |---|---|---|
Step 4. Fold the card in each of the lines drawn in the previous step to create the folds that will make the card flow perfectly. |||| |---|---|---|
Step 5. Stretch the strip again and proceed to glue the squares in the corresponding area. It is important to remember that we must start by pasting the last card of our sequence and finish with the first one as indicated in the following images. |||| |---|---|---| ||||
Step 6. Once the glue is dry, fold the remaining cardboard back and cut it triangular to create the strap that will operate the mechanism of the card.
Step 7. Take a small strip of cardboard of the same color as the base and place it behind the card.
 |
 |
Step 8. Finally, add some decorative details and make sure that the mechanism of the card works perfectly. You just need to pull the strap down (as I show on the gif below) and you will se how the magic happens!.
FINAL RESULT
Copyright @leribyleri - All Rights Reserved
My dad loved this customised card that I added to the gift and I hope that you also like it and now feel encouraged to make a similar card for your loved ones, I'm sure they will also love it. Thanks for your support friends!
--- Posted from my blog with SteemPress: https://leribyleri.000webhostapp.com/2018/06/diy-pull-and-reveal-card-step-by-step ---