It's been a month since the last time I posted a blog. I was busy in my real world lately that I just let autoUV do the job for me... but I am back now with an easy DIY for you. Since it is summer here in the UAE, I decided to make an Ice Cream Plushie so please stay with me and read this post of mine til the end. ^_^ Thank you.
Things needed:
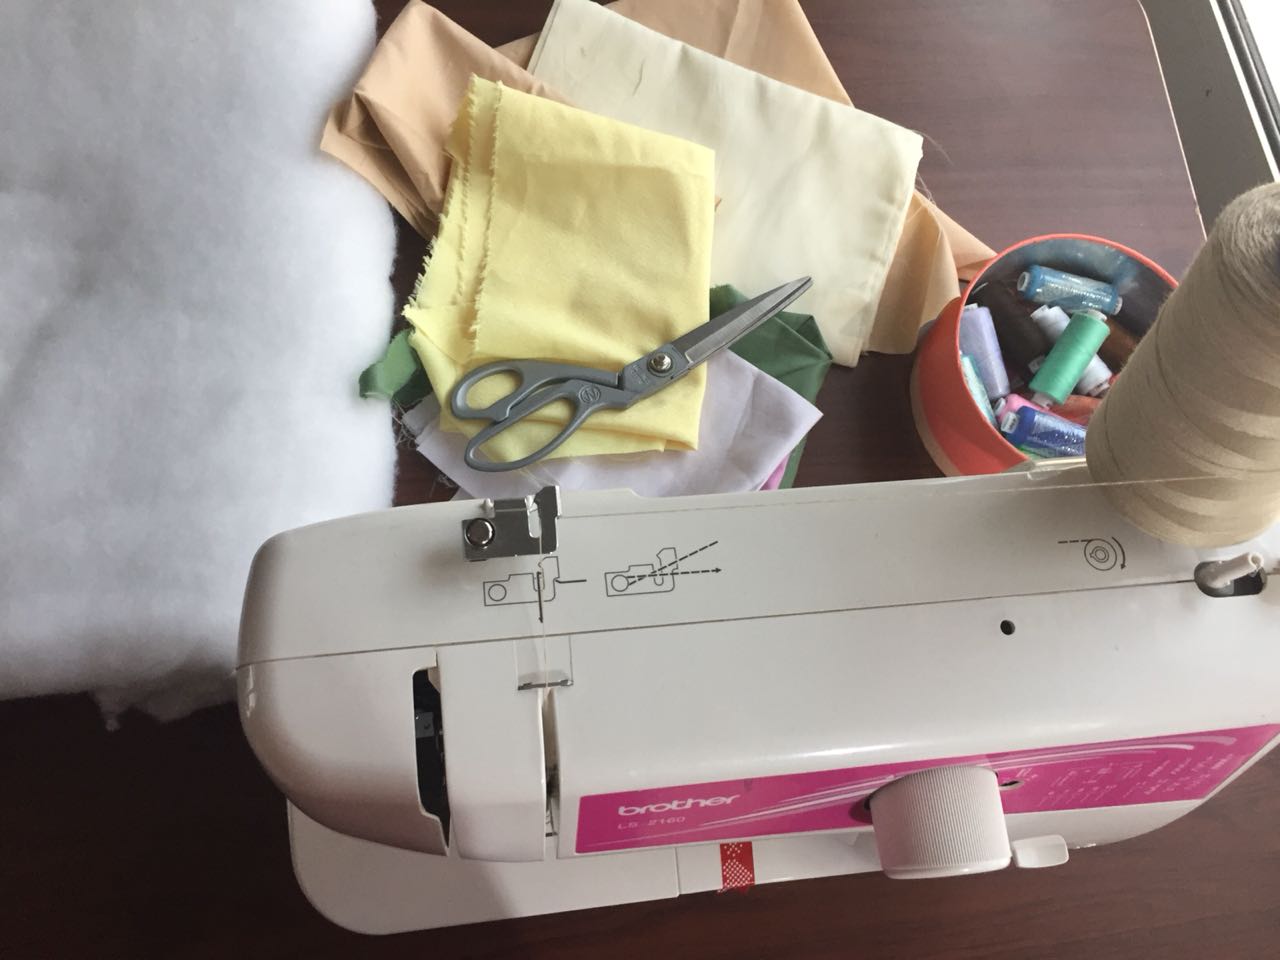
In addition to the above, you will need a glue gun as well and for those who doesn't have a sewing machine you can always use your hand and do it manually. c",)
Instructions:
CONE
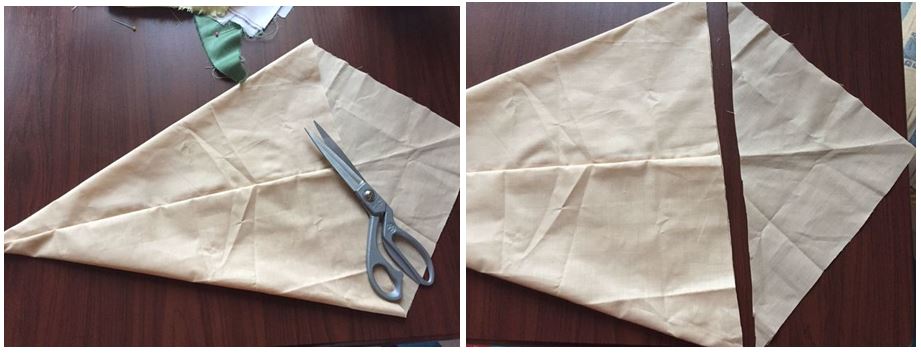
1.) Fold your brown color scrap fabric in a triangular shape.
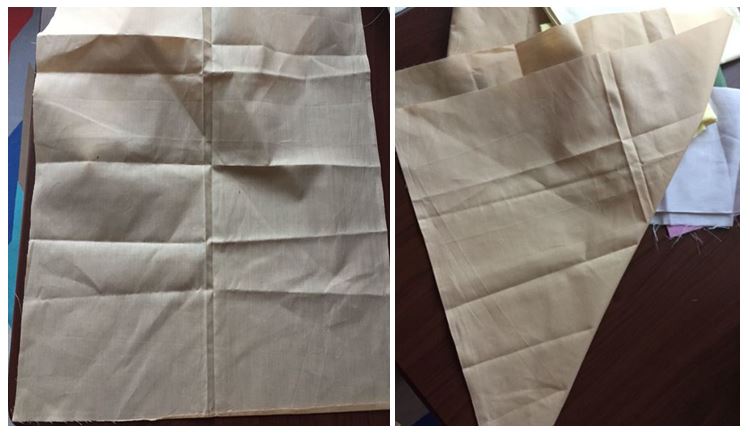
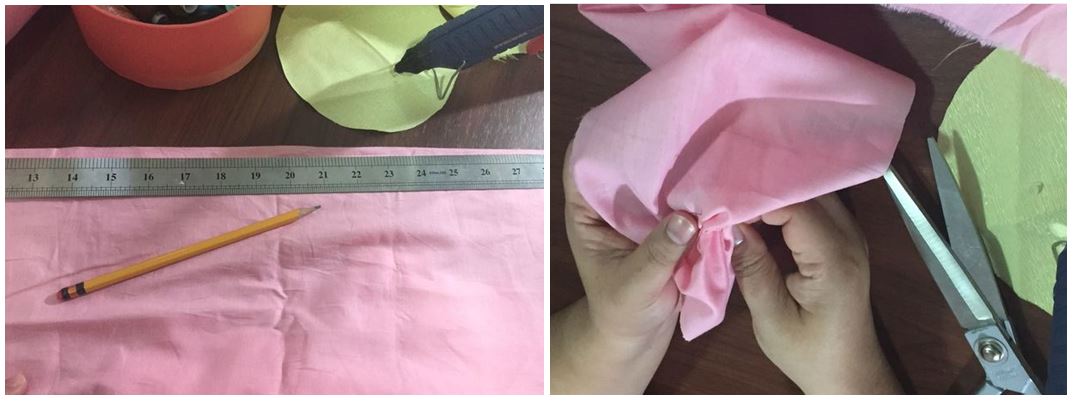
2.) Once folded, cut the extra fabric to make it a perfect triangle. Put pins on the side where you need to sew both ends to put them together.
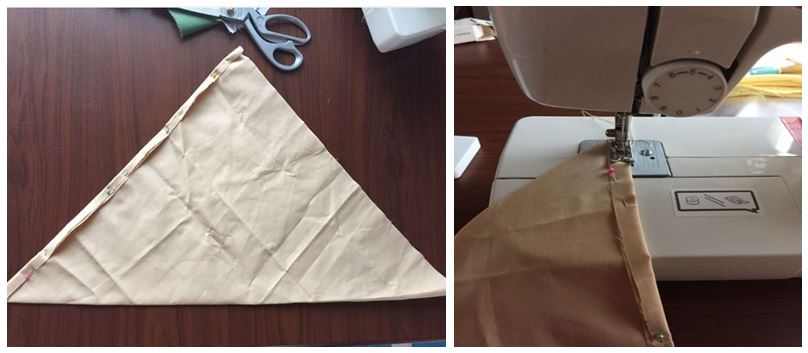
3.) After sewing the side, reverse it.
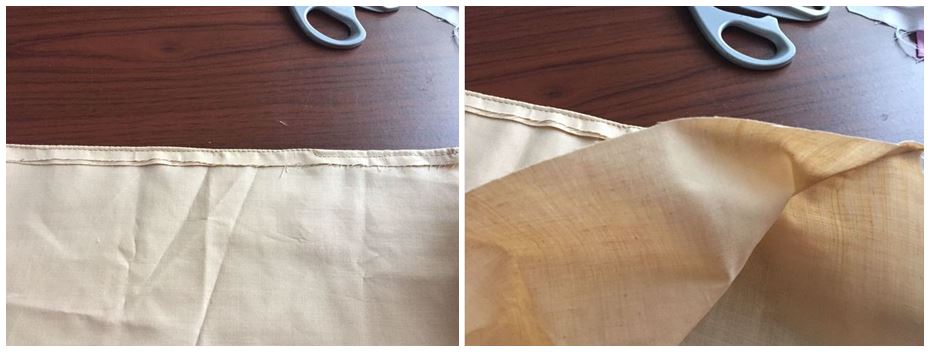
4.) Fold the fabric again, putting the sewn part in the middle. Now, cut the extra fabric to make it a perfect triangle again.
5.) Now, it is time for your needlework. Get your needle and your thread and do a running stitch from start to finish.
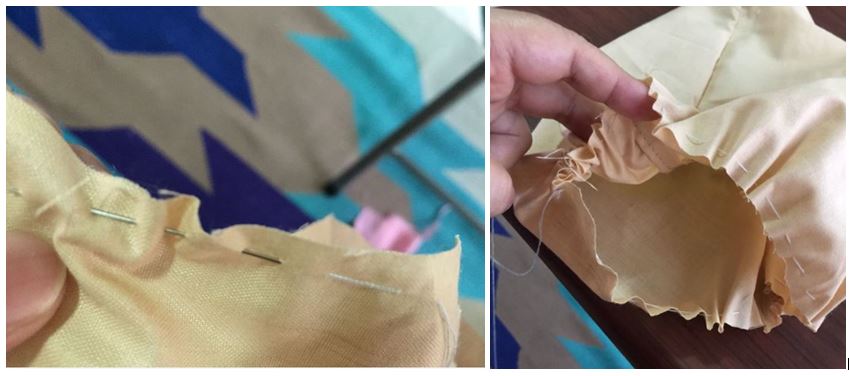
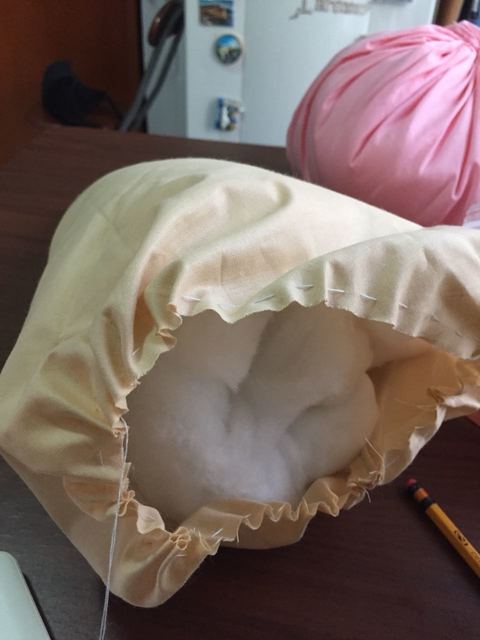
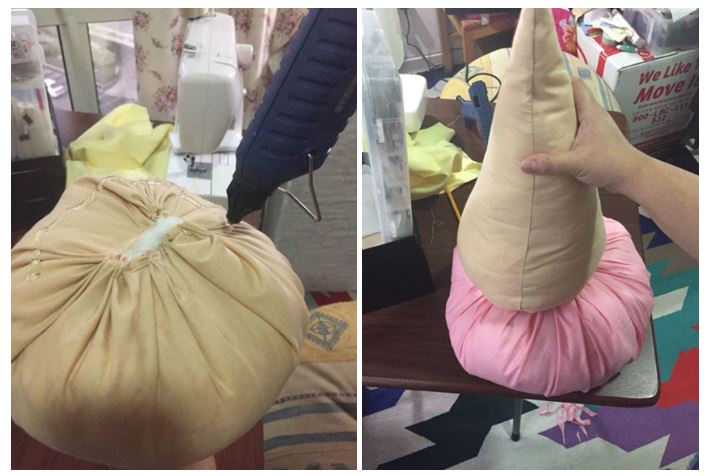
6.) Put your cotton inside your cone and make it full. Once done, pull your thread to close the cone and you're done. c",)
ICE CREAM
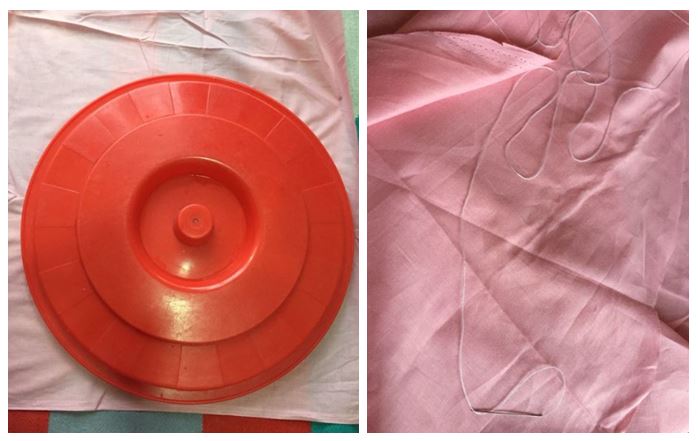
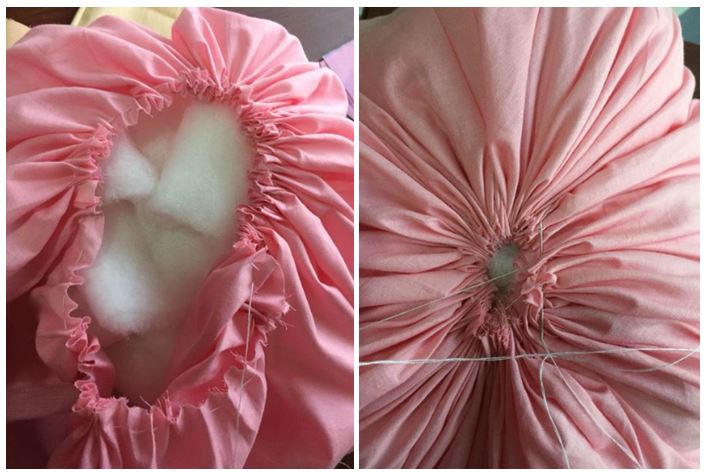
1.) Now get your fave color for your ice cream! Mine is pink! c",) Then cut it in a circular shape, I used our basin lid for sketching the shape. c",) Once done, cut it and start doing a running stitch again same procedure of your cone.
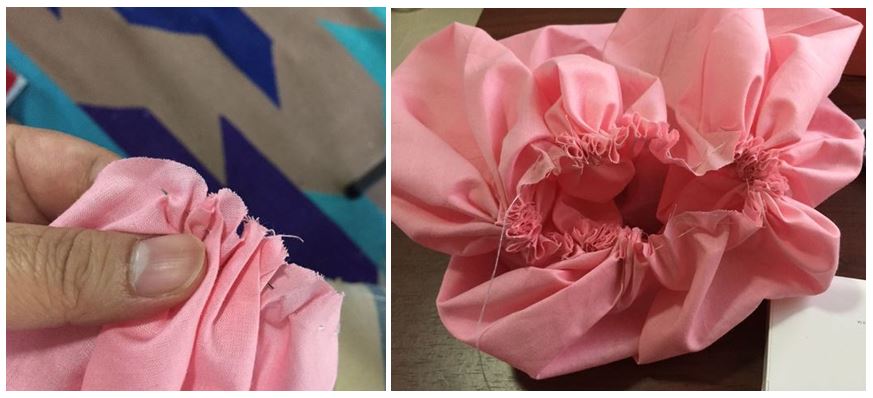
2.) Time for cotton filling and then close it.
TOPPING
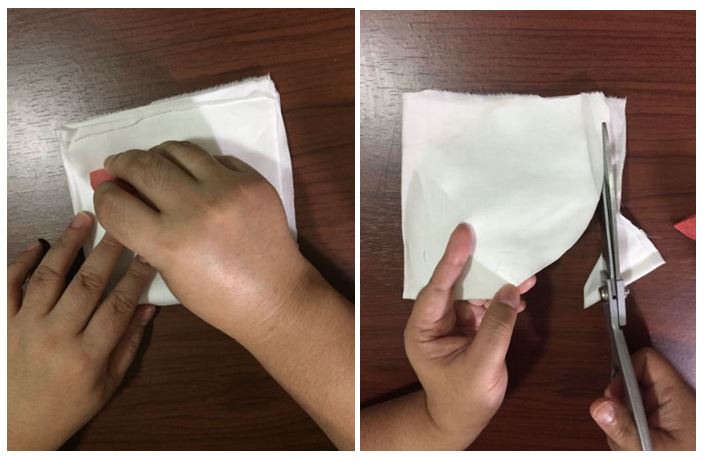
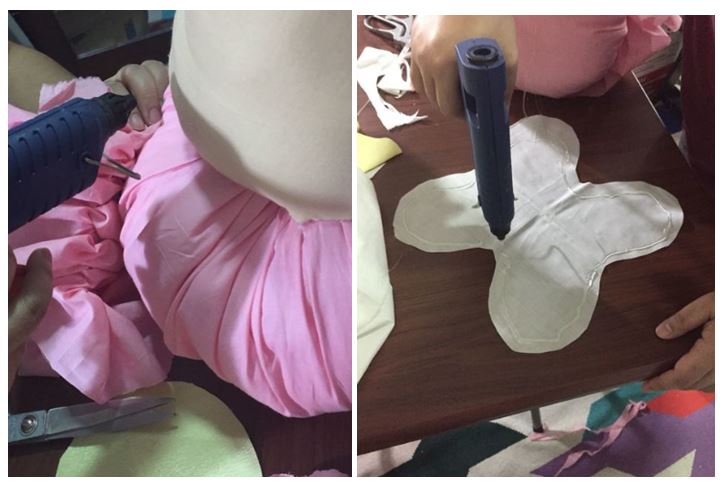
Get another color of your choice, mine is white and then put on top of your cone to calculate the space for your topping. Once you have your calculation, cut it in a square shape and fold it twice (half and 1/4). Now, draw a half circle shape and cut it.
SPRINKLES
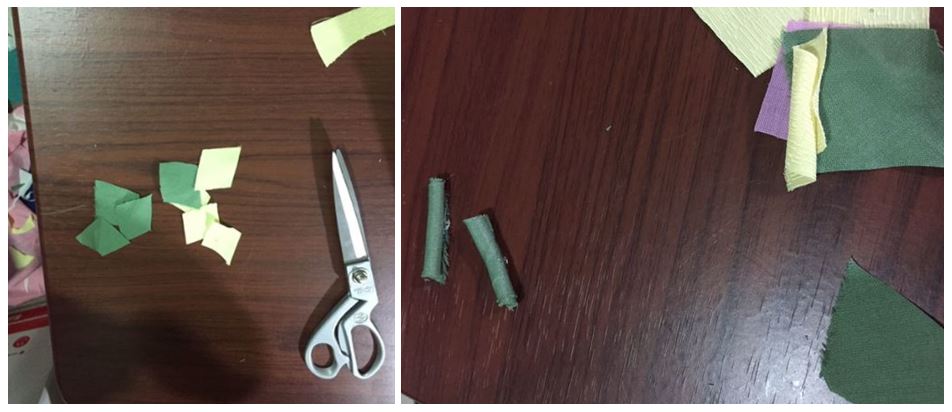
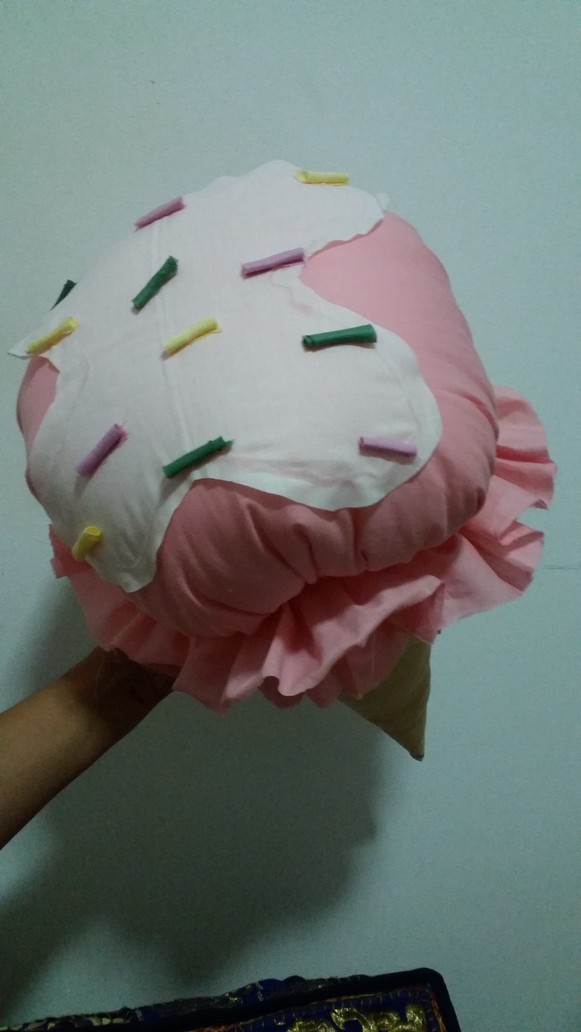
Cut different colors of your choice in a small square shapes. Roll it and use your glue gun to close it.
RUFFLE
Measure your extra fabric which is the same color of your ice cream by 3 inches and then cut a straight line from it. Now do a running stitch again same as your cone and your ice cream but this time make it a ruffle.
THE MAKING
1.) Get your finished products. On top of your cone, put a glue on it using your glue gun and stick it to your ice cream - the part which you've sewn.
2.) Once they are dry, place your ruffles in between your cone and ice cream using your glue gun. This will cover any flaws when you put the 2 together. Now add a glue on your topping and stick it on top of your ice cream, once done put your sprinkles on it. And that's it!
The ICE CREAM
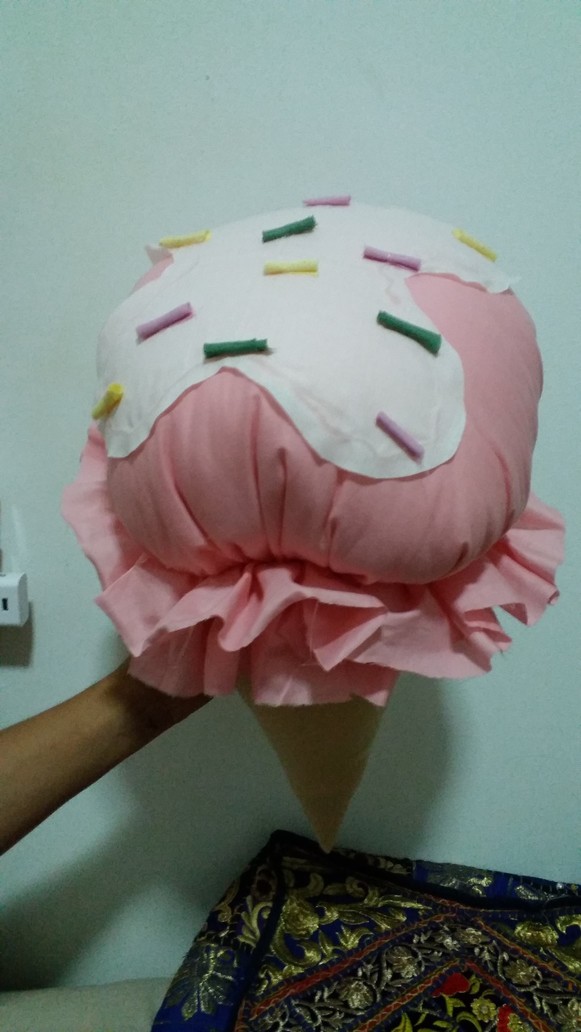
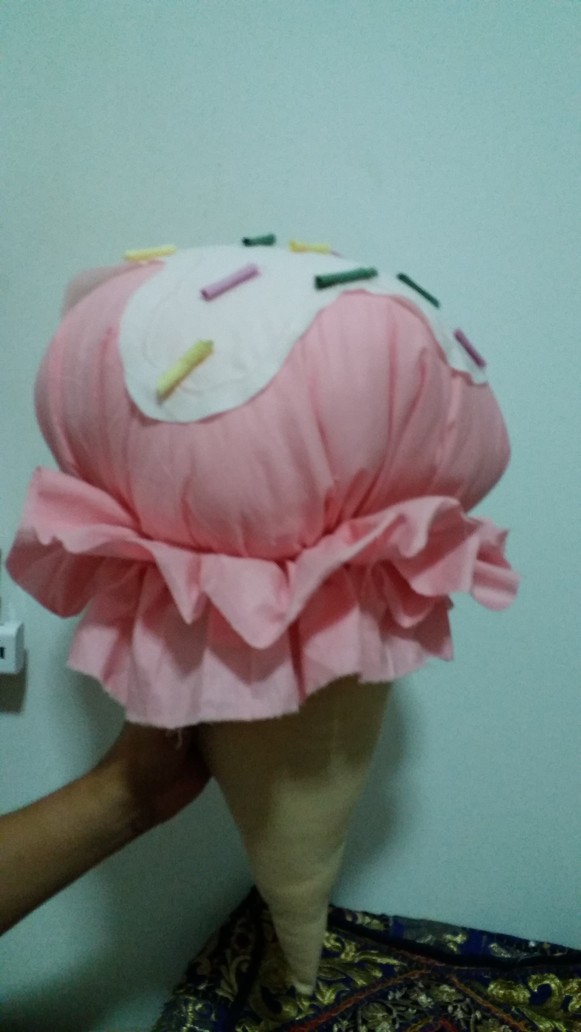
All pictures are mine and were taken using my iPhone 6
And that's all folks! Hope you enjoyed it! Until next time! 
If you want to see my previous DIYs, please see below links: Nos. | DIY ------------ | ------------- DIY 101 | Candy Quotes DIY 102 | Our Journey Together DIY 103 | Pixie Night DIY 104 | Our Enchanted Farm
