Hello everyone! Today is Monday and it means it's #NeedleWorkMonday! Last week after posting my DIY blog, I happened to bumped into this tag and I was surprised to see the posts related to this. It was awesome! I liked what I saw! I am not a seamstress but trying to be one... hoping that I have our mom's seamstress genes that just needs cultivating, she always nailed all the crafts she had done and still doing! Anyway, this initiative was started by @crosheille and later on joined by @crystalize and they are the one who are responsible in bringing those needle workers into this platform together which is now a community! The @needleworkmonday Yey! Head over to this introduce myself post and read all about this community. Come and join us! ^_^
Without further ado, I just joined their team and this is my first post. As I mentioned earlier, I am not really a seamstress but I can do some needle works, aside from cross-stitching and DIY’s I can also sew and for today’s post, we will be sewing a simple and very easy scissor cover.
Most of the time whenever you buy scissors you will not get a cover to safeguard yourself on that sharp and pointed portion of it, hence, I decided to sew one and maybe you want to do it for yourself and kids as well. As we all know, safety first – everywhere!
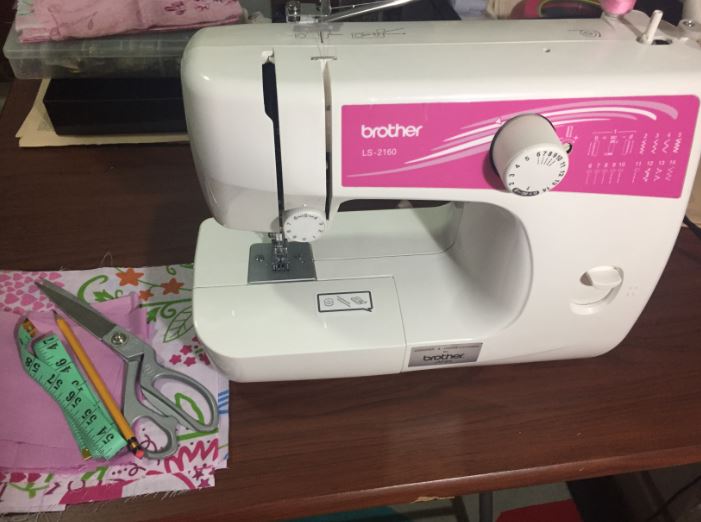
Things you need:
Instructions:
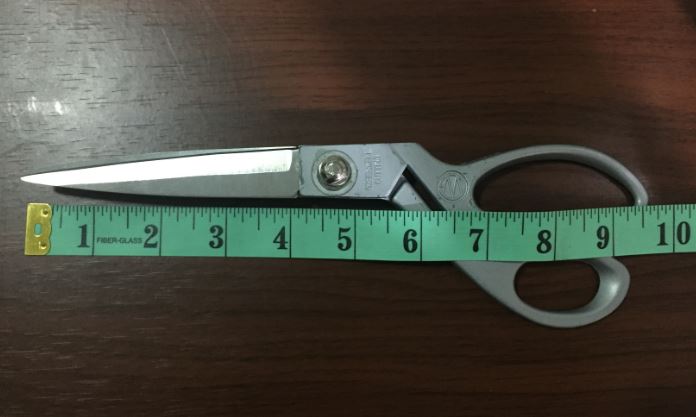
1.) Measure the length of your scissor.
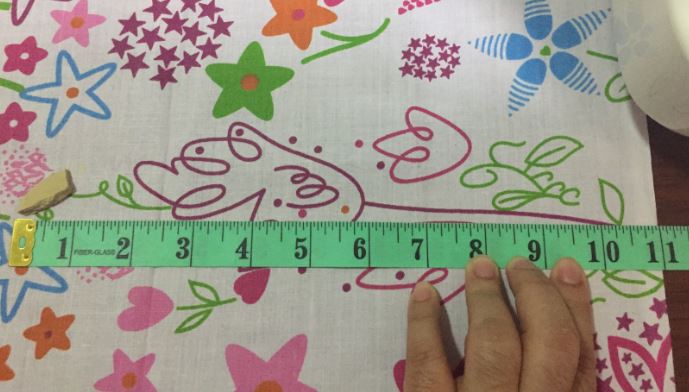
2.) Now measure the length of your fabrics (I used 2 different fabrics 1 with prints and the other one is plain - I have 2 plain scrap fabrics that I put together earlier as my scraps are not enough) add 1 inch for edges to sew. I suggest you use a thick fabric or use 2 fabrics together to make it stronger and thicker.
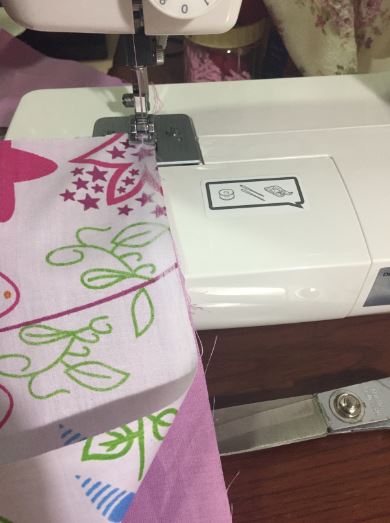
3.) Now sew the 3 sides in full (in some sewing terms there is a word called “the wrong side” it means the inner side of the fabric, the not so designed one. I’m not sure if I make sense though…). Once you are done, sew the last side but leave one corner open by at least 3 inches. From your 3-inch measurement til the other corner, sew them together.
4.) Next, pull out ”the right side” and put in ”the wrong side” through the open corner.
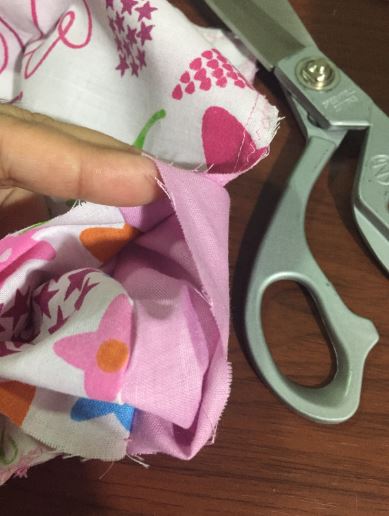
5.) Once ”the right side” is out, fold the edges of the open corner and sew them together to close it out.
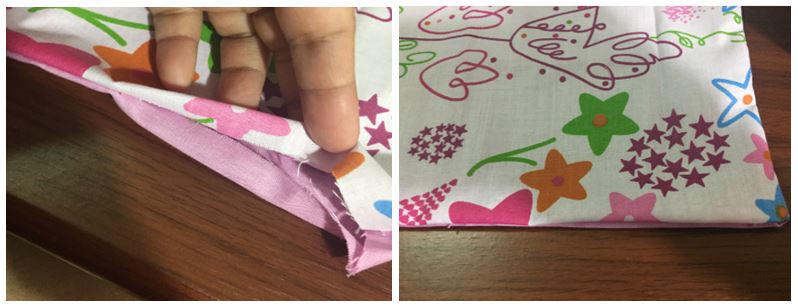
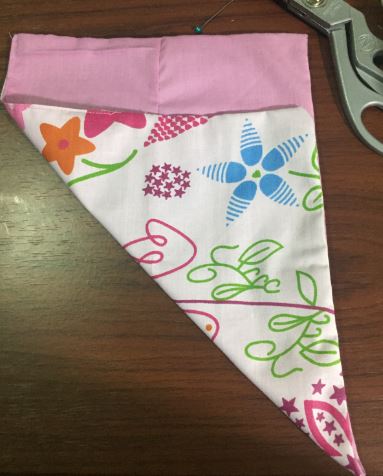
6.) Now that you’ve sewn all the sides together, fold one side making it a triangular shape. Note that my inside fabric is the plain one.
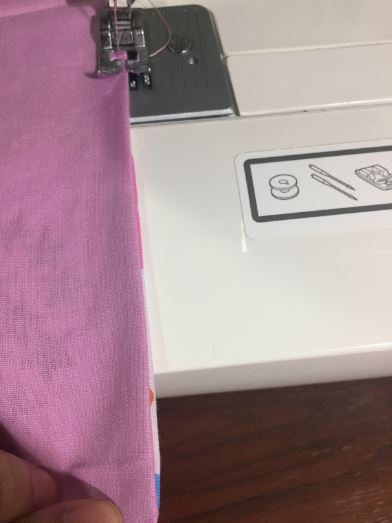
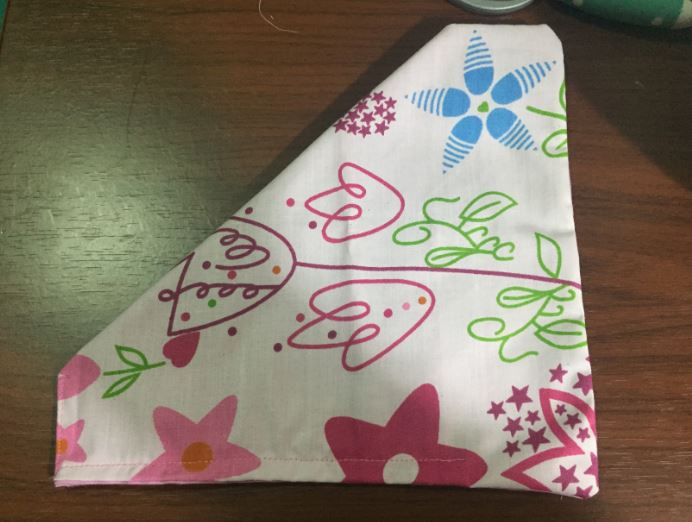
7.) Sew one side of your triangle.
8.) Fold the tip corner of your triangle by 1 inch and then sew it. This will hold the tip and sharp side of your scissor.
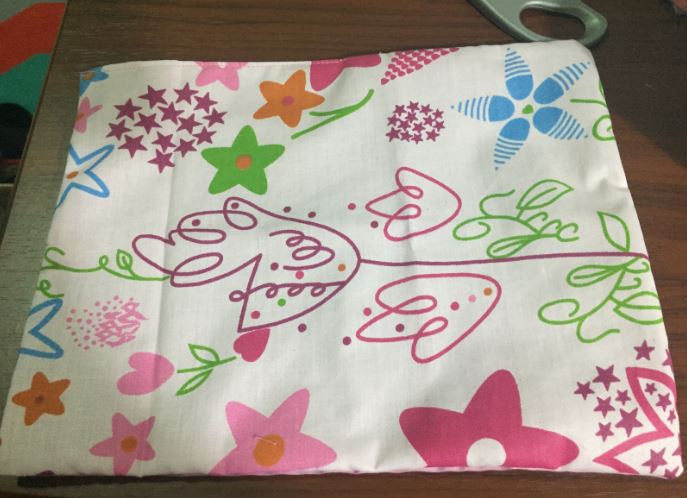
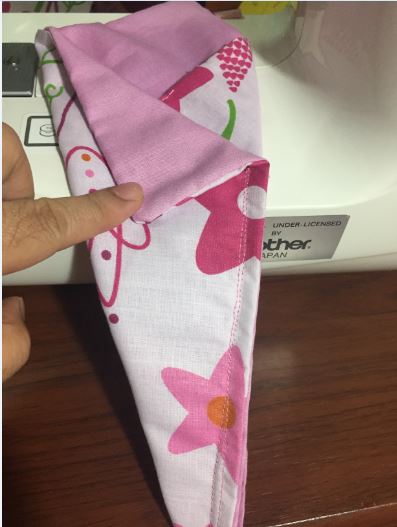
9.) Now put down your fabric and flip it, showing the back side of your fabric. Fold the other side once more and sew it.
https://cdn.steemitimages.com/DQmd2ihhNRz6WtKsj2Vr9hxztefYQAvS3NYWGpnAQ4EPkar/pic11.JPG
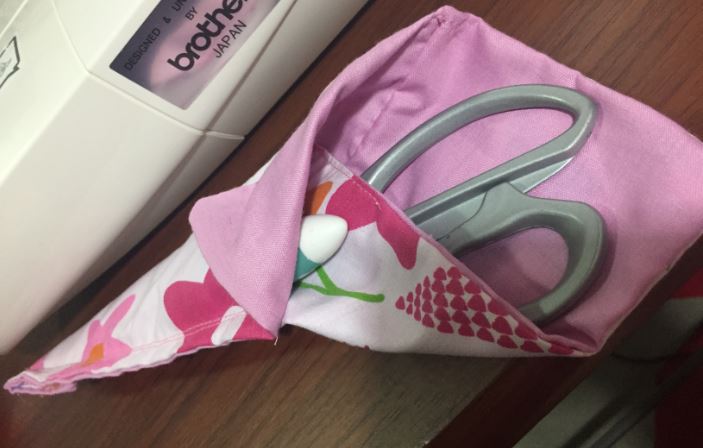
10.) Now that they are close together, open the top side a little and sew it. This will now give you a small window for your scissor and this will look like the back side of a collar.
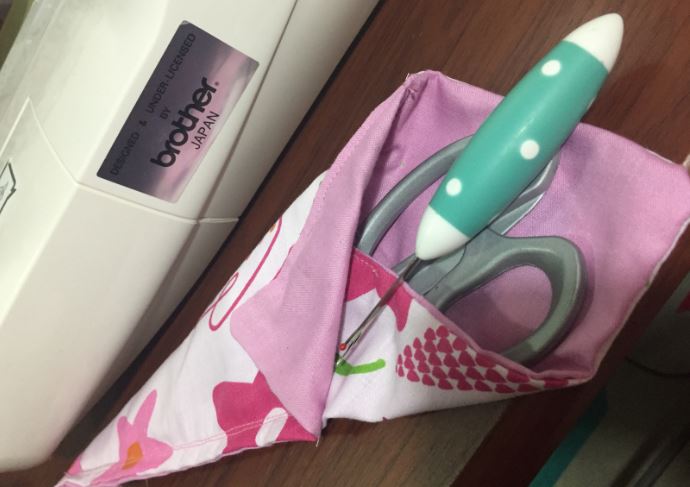
And you are done. c",)

This is how you do a simple yet safety cover for your scissor. Not only that, you now have 2 covers in 1 sewing, aside from my scissor I can also put my seam ripper! C”,)
I hope you enjoyed this simple needlework of mine. Next week we will do another simple tutorial that even a child can do. If you have anything in mind that you want to see, I will be happy to do a tutorial as long as I can c”,)
All photos are mine and were taken using my iPhone 6
As always, thank you for dropping by… until next #NeedleWorkMonday!

