---
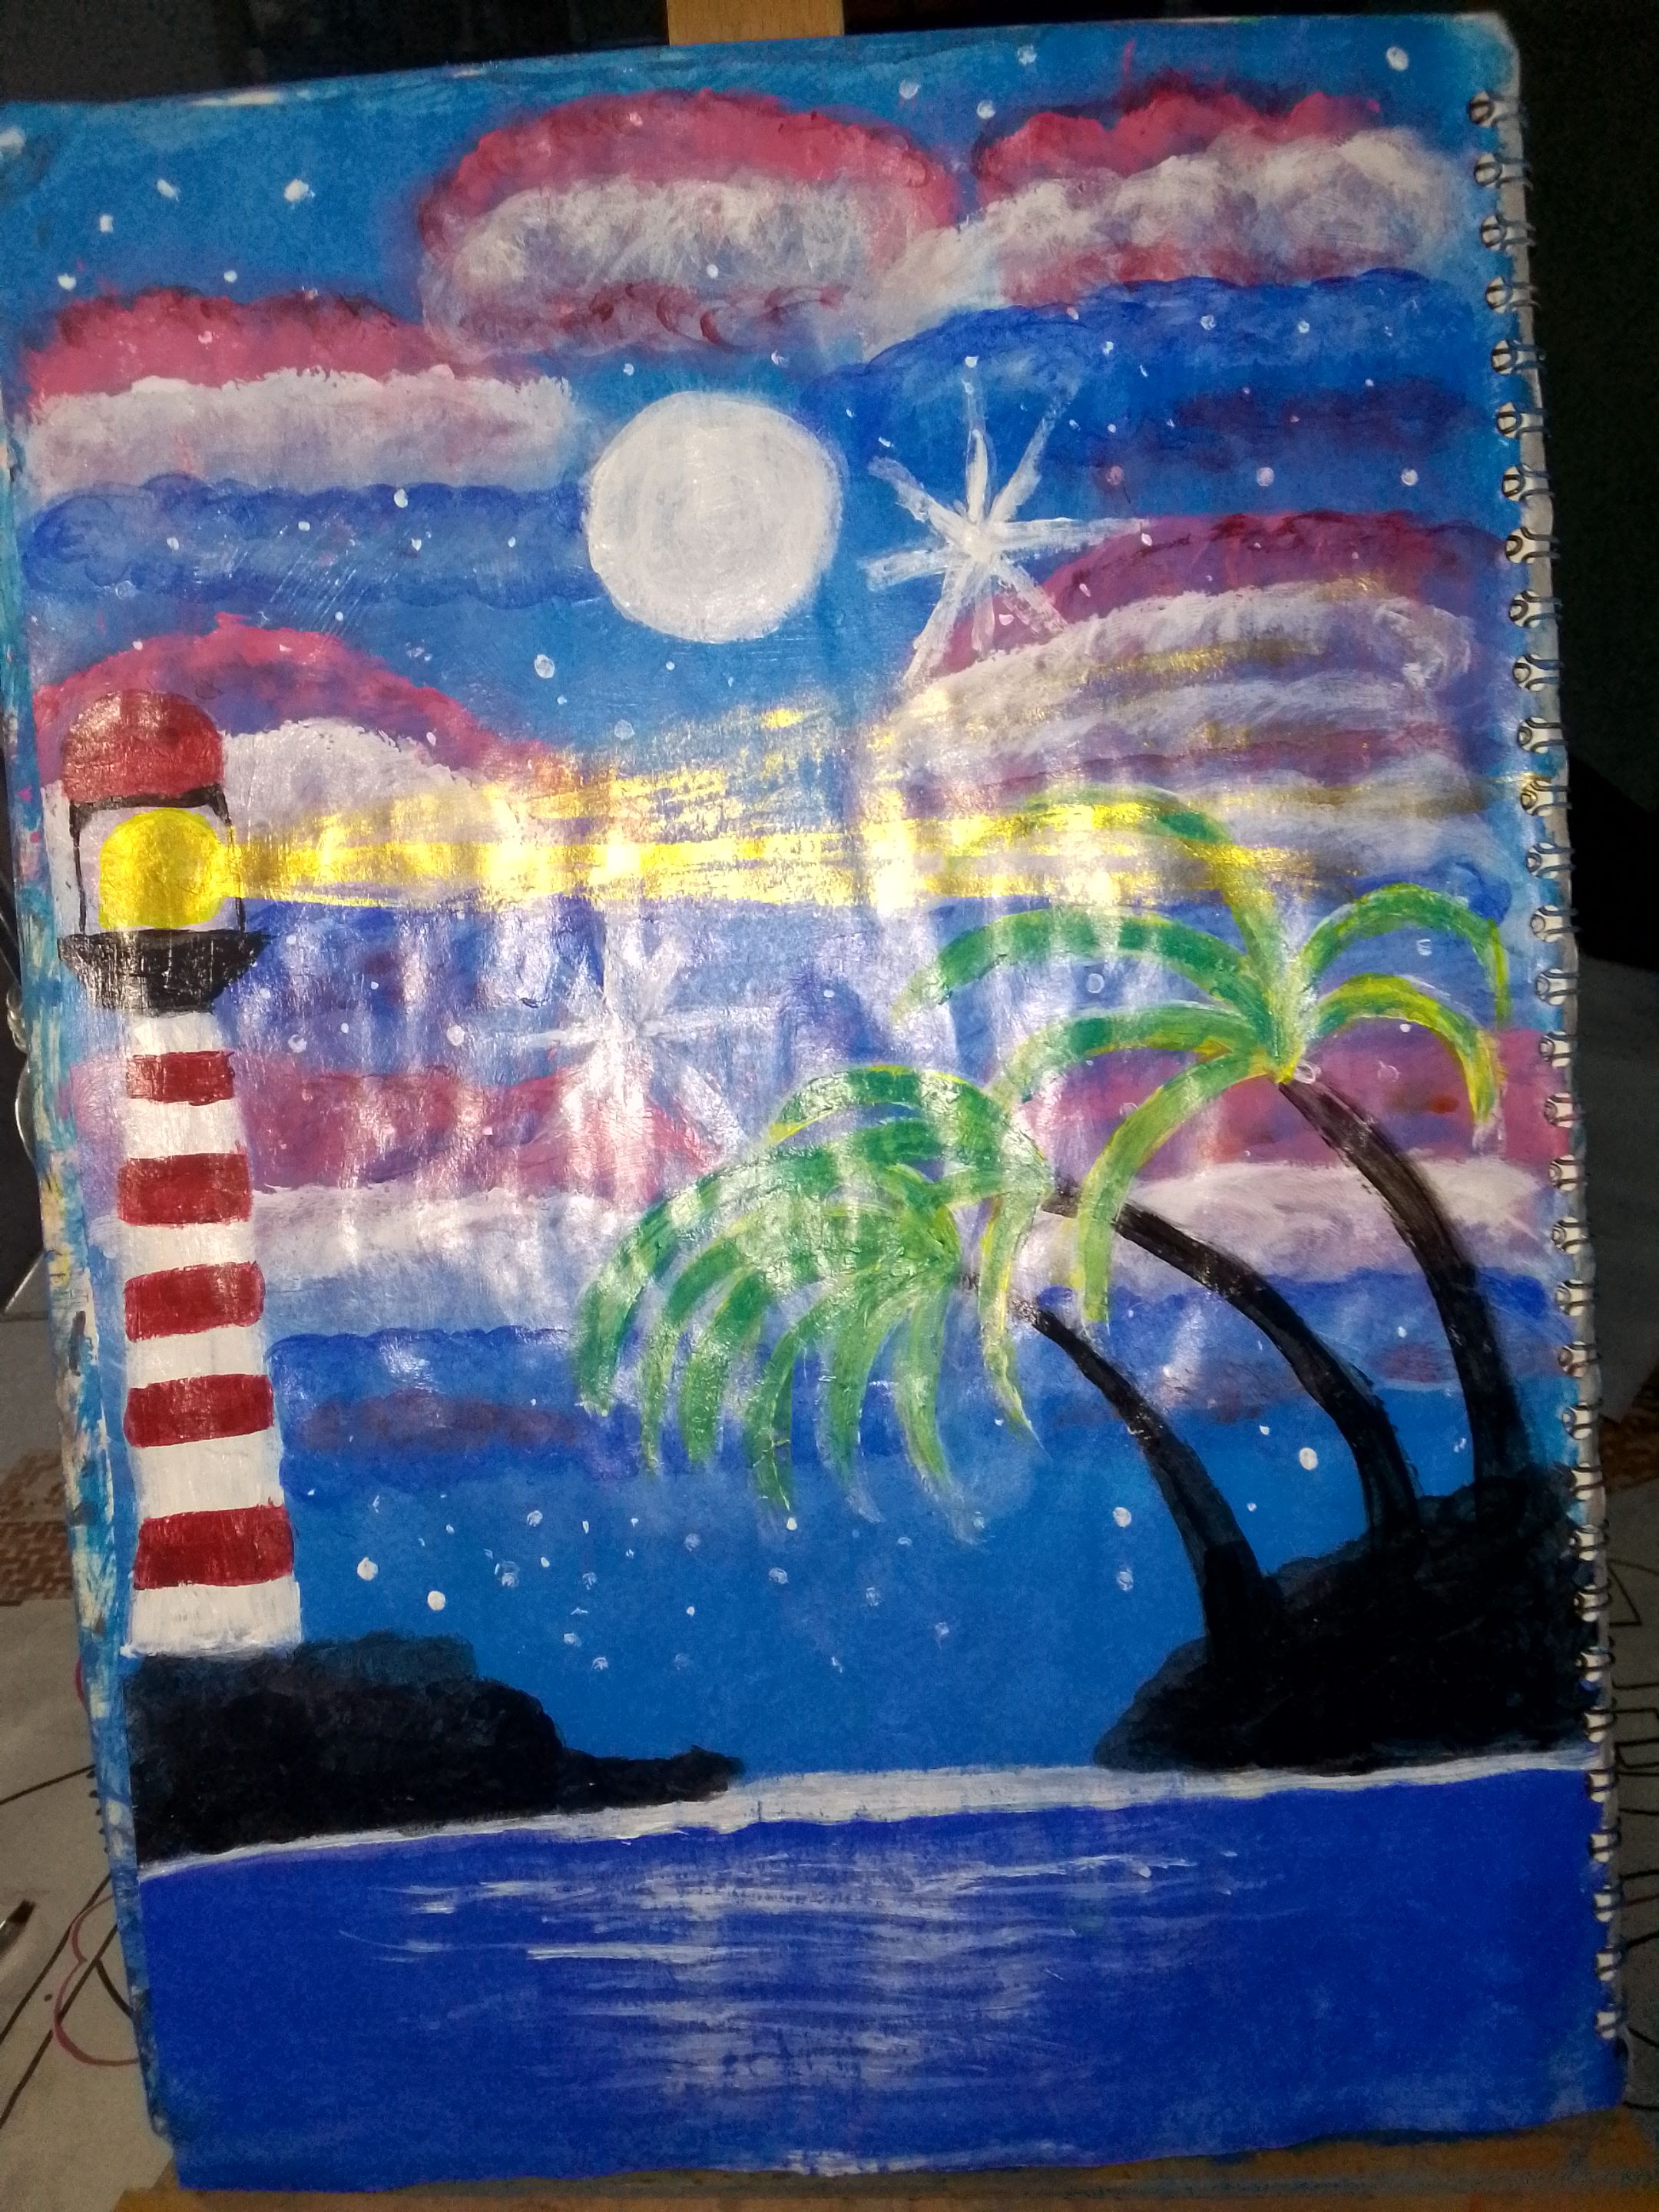
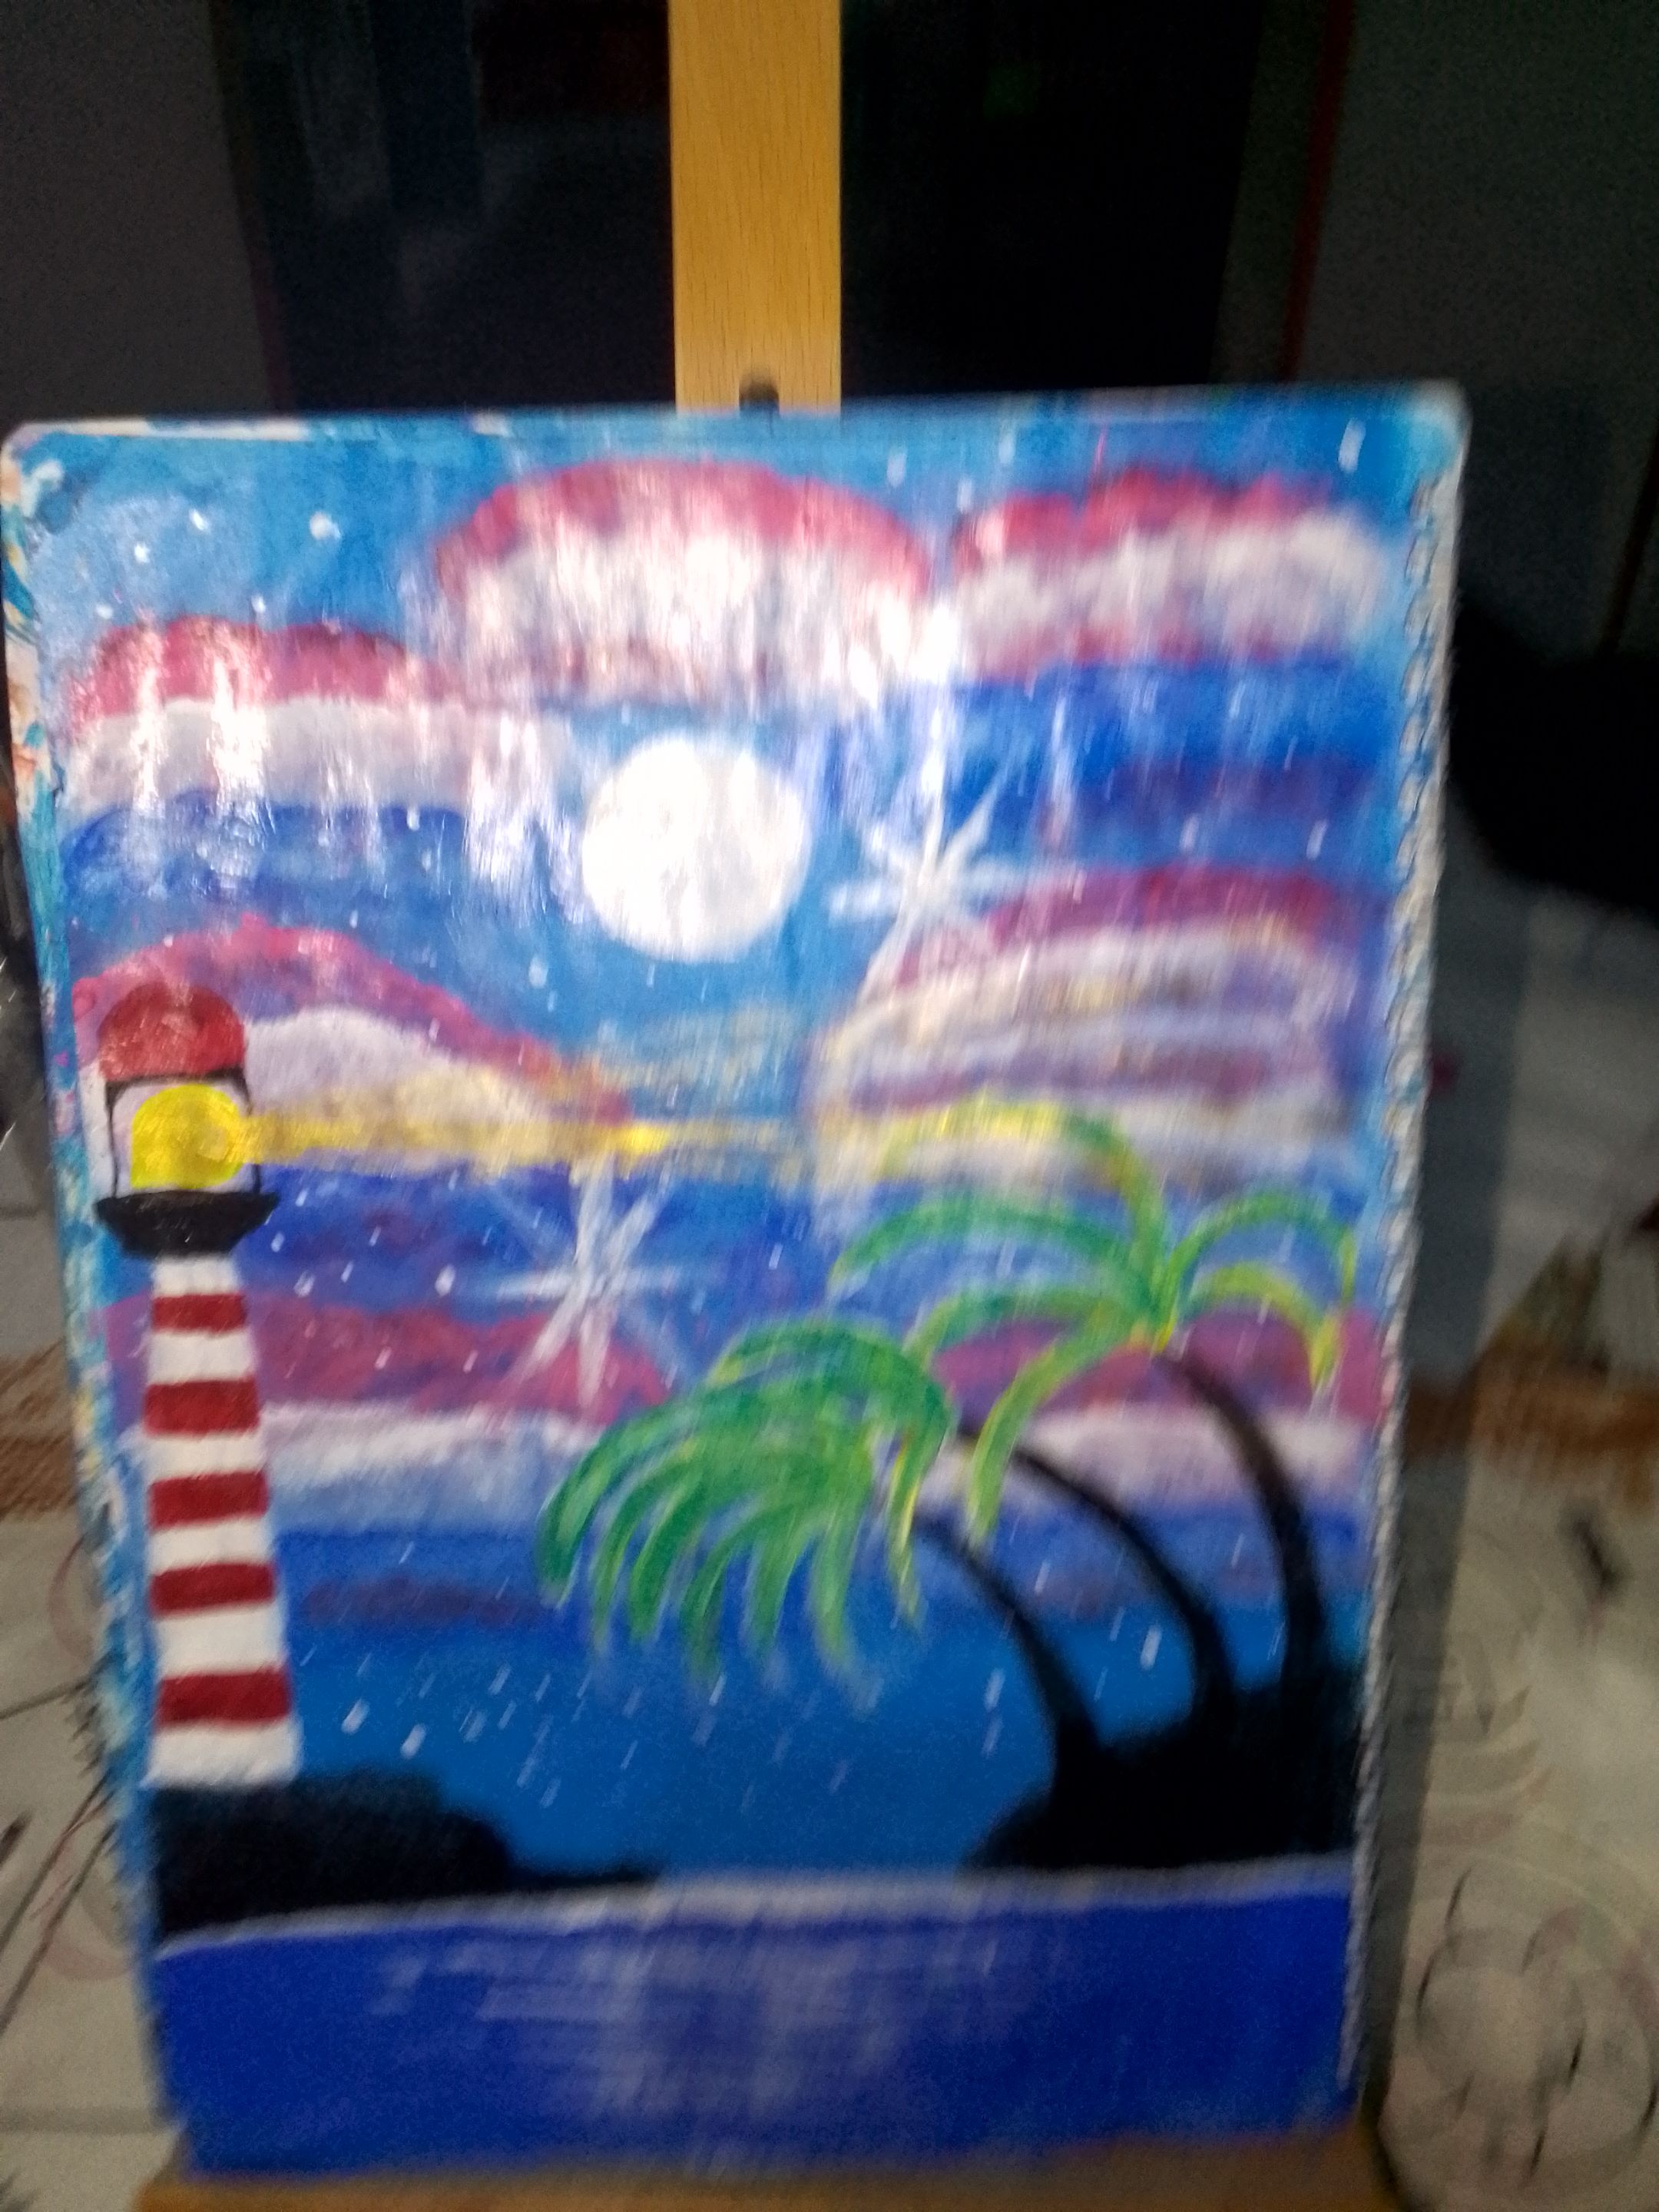
Good evening DIYhub friends, this time I made a sunset on the beach with a lighthouse and I focused a lot on the clouds, I hope you like it. Now that I started with this new technique that I learned to make the clouds with my fingers I am obsessed with improving and making them look as realistic as possible.
>Buenas noches amigos de DIYhub, en esta oportunidad hice un atardecer en la playa con un faro y me enfoque mucho en las nubes, espero les guste. Ahora que empecé con esta nueva técnica que aprendí de hacer las nubes con los dedos estoy obsesionada por mejorar y que se vean lo más realista posible.
---
# Step by Step | Paso a paso
## 1
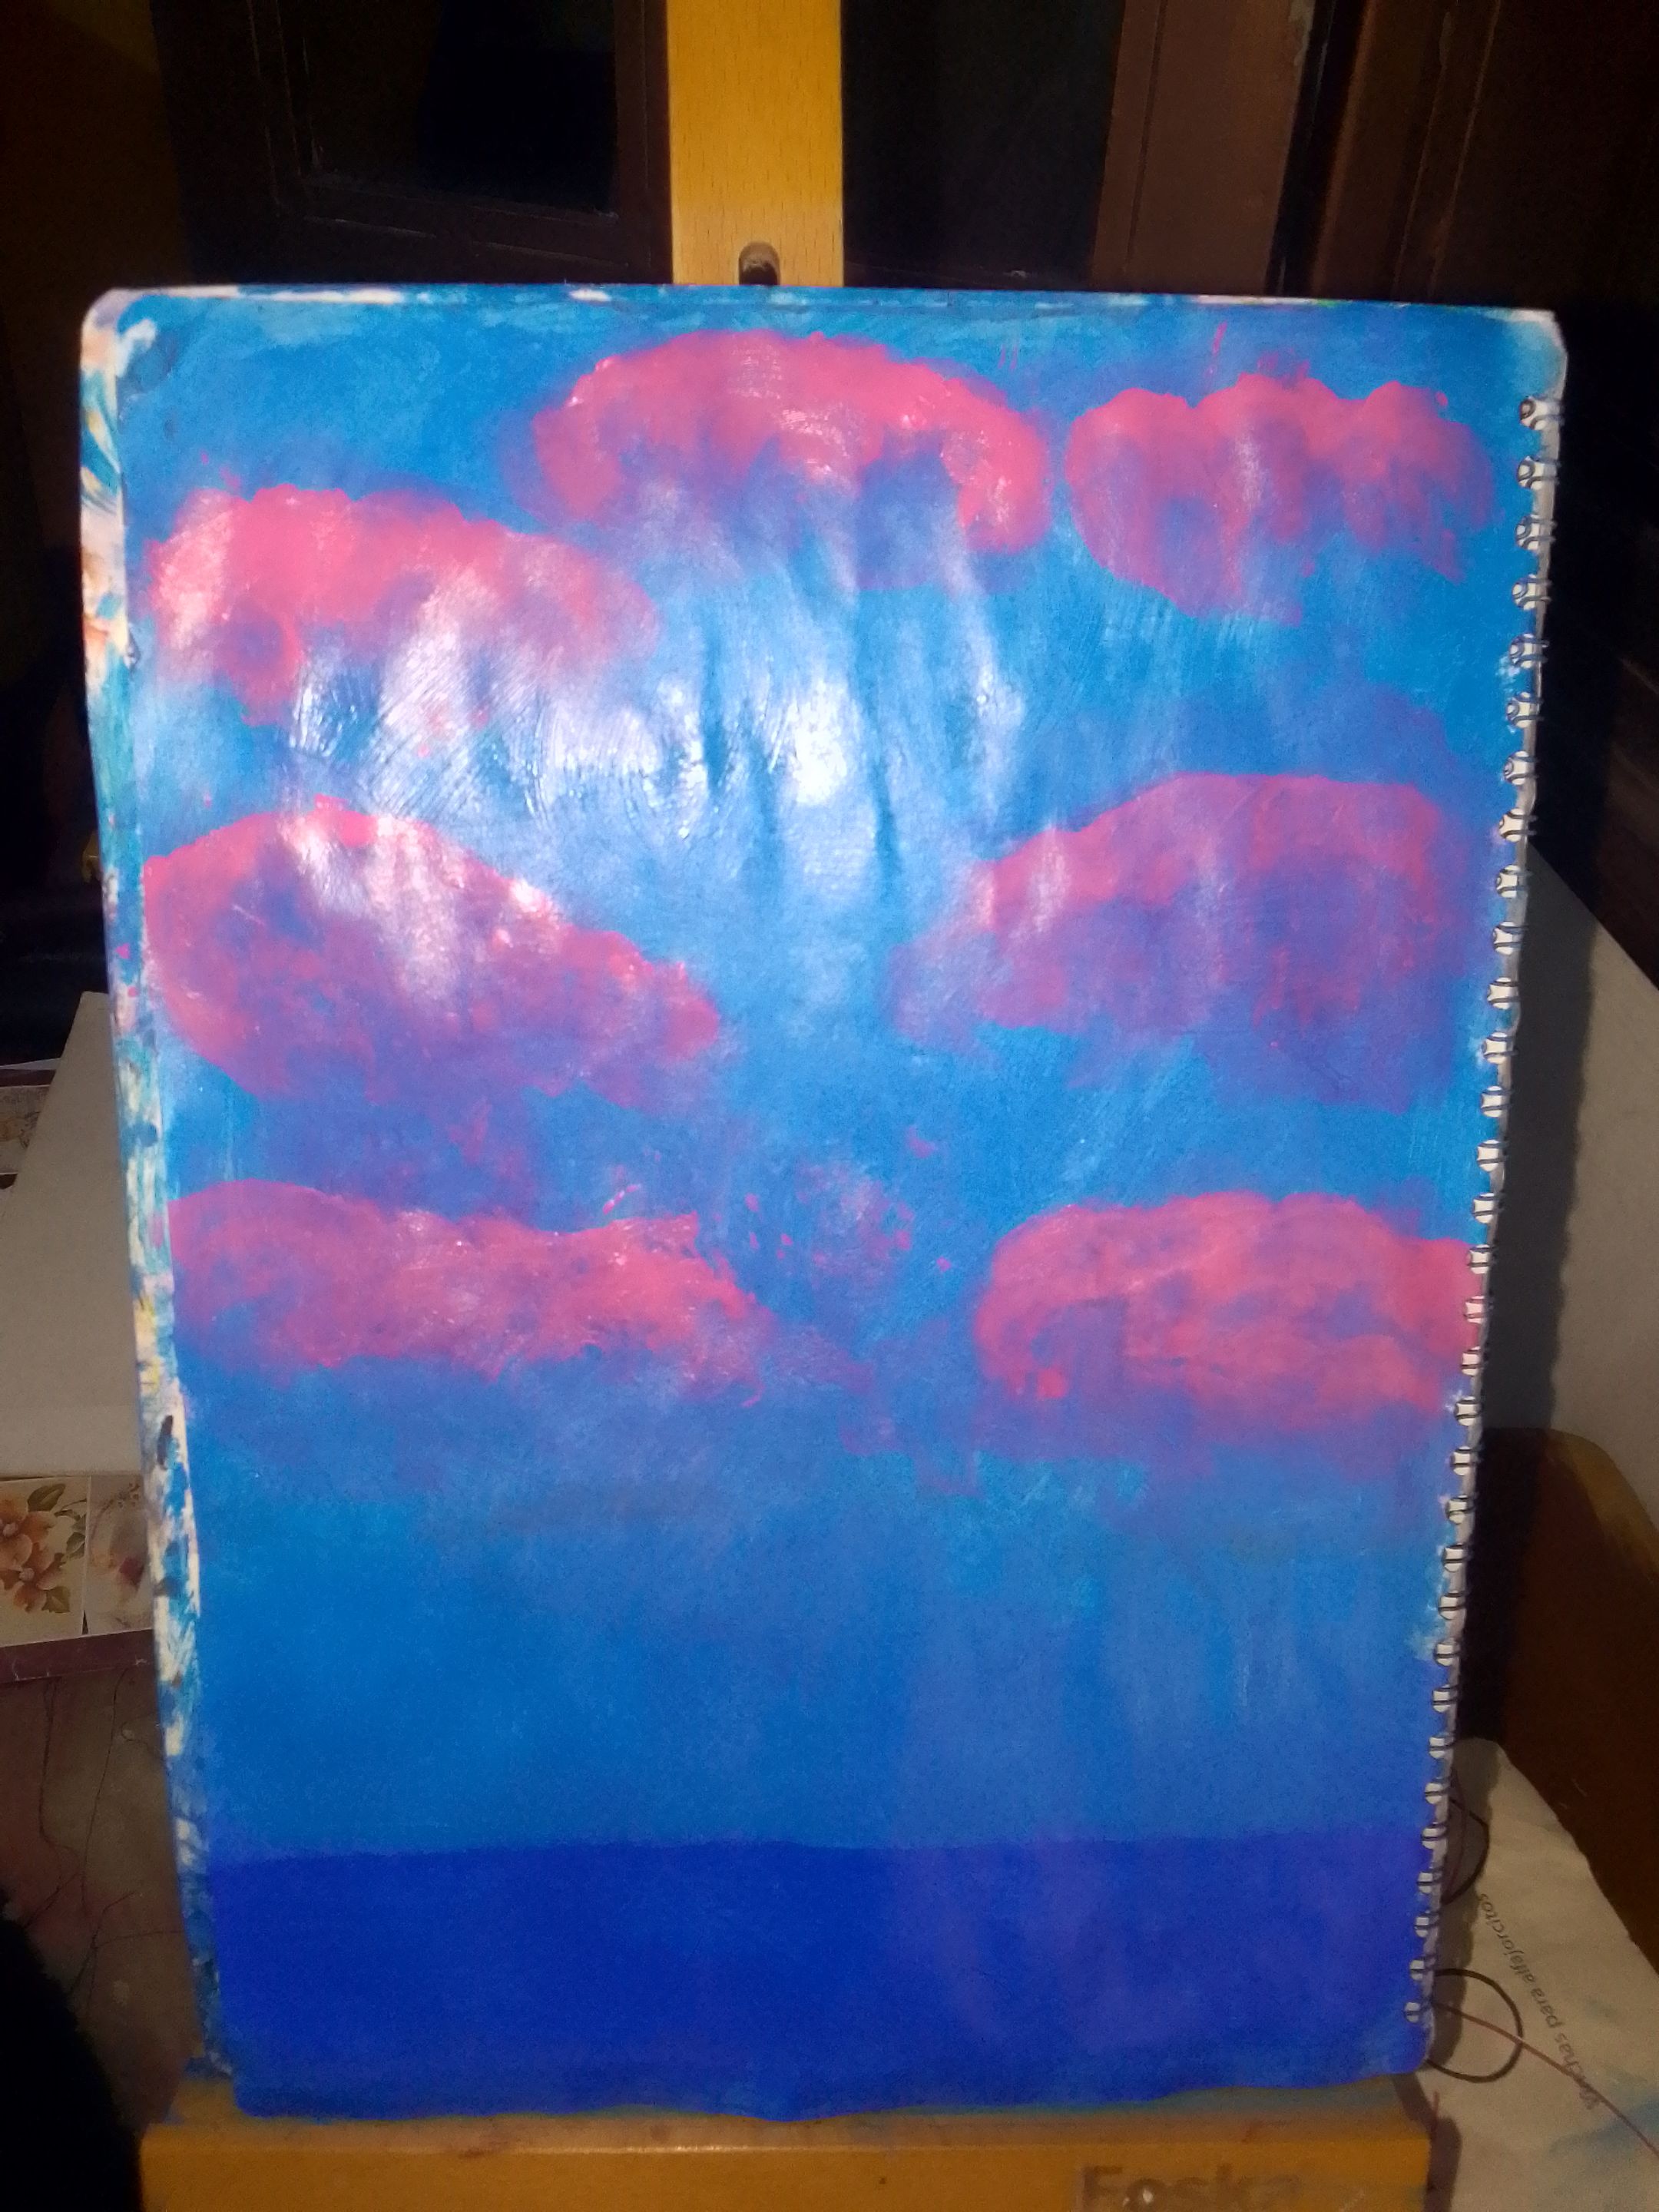
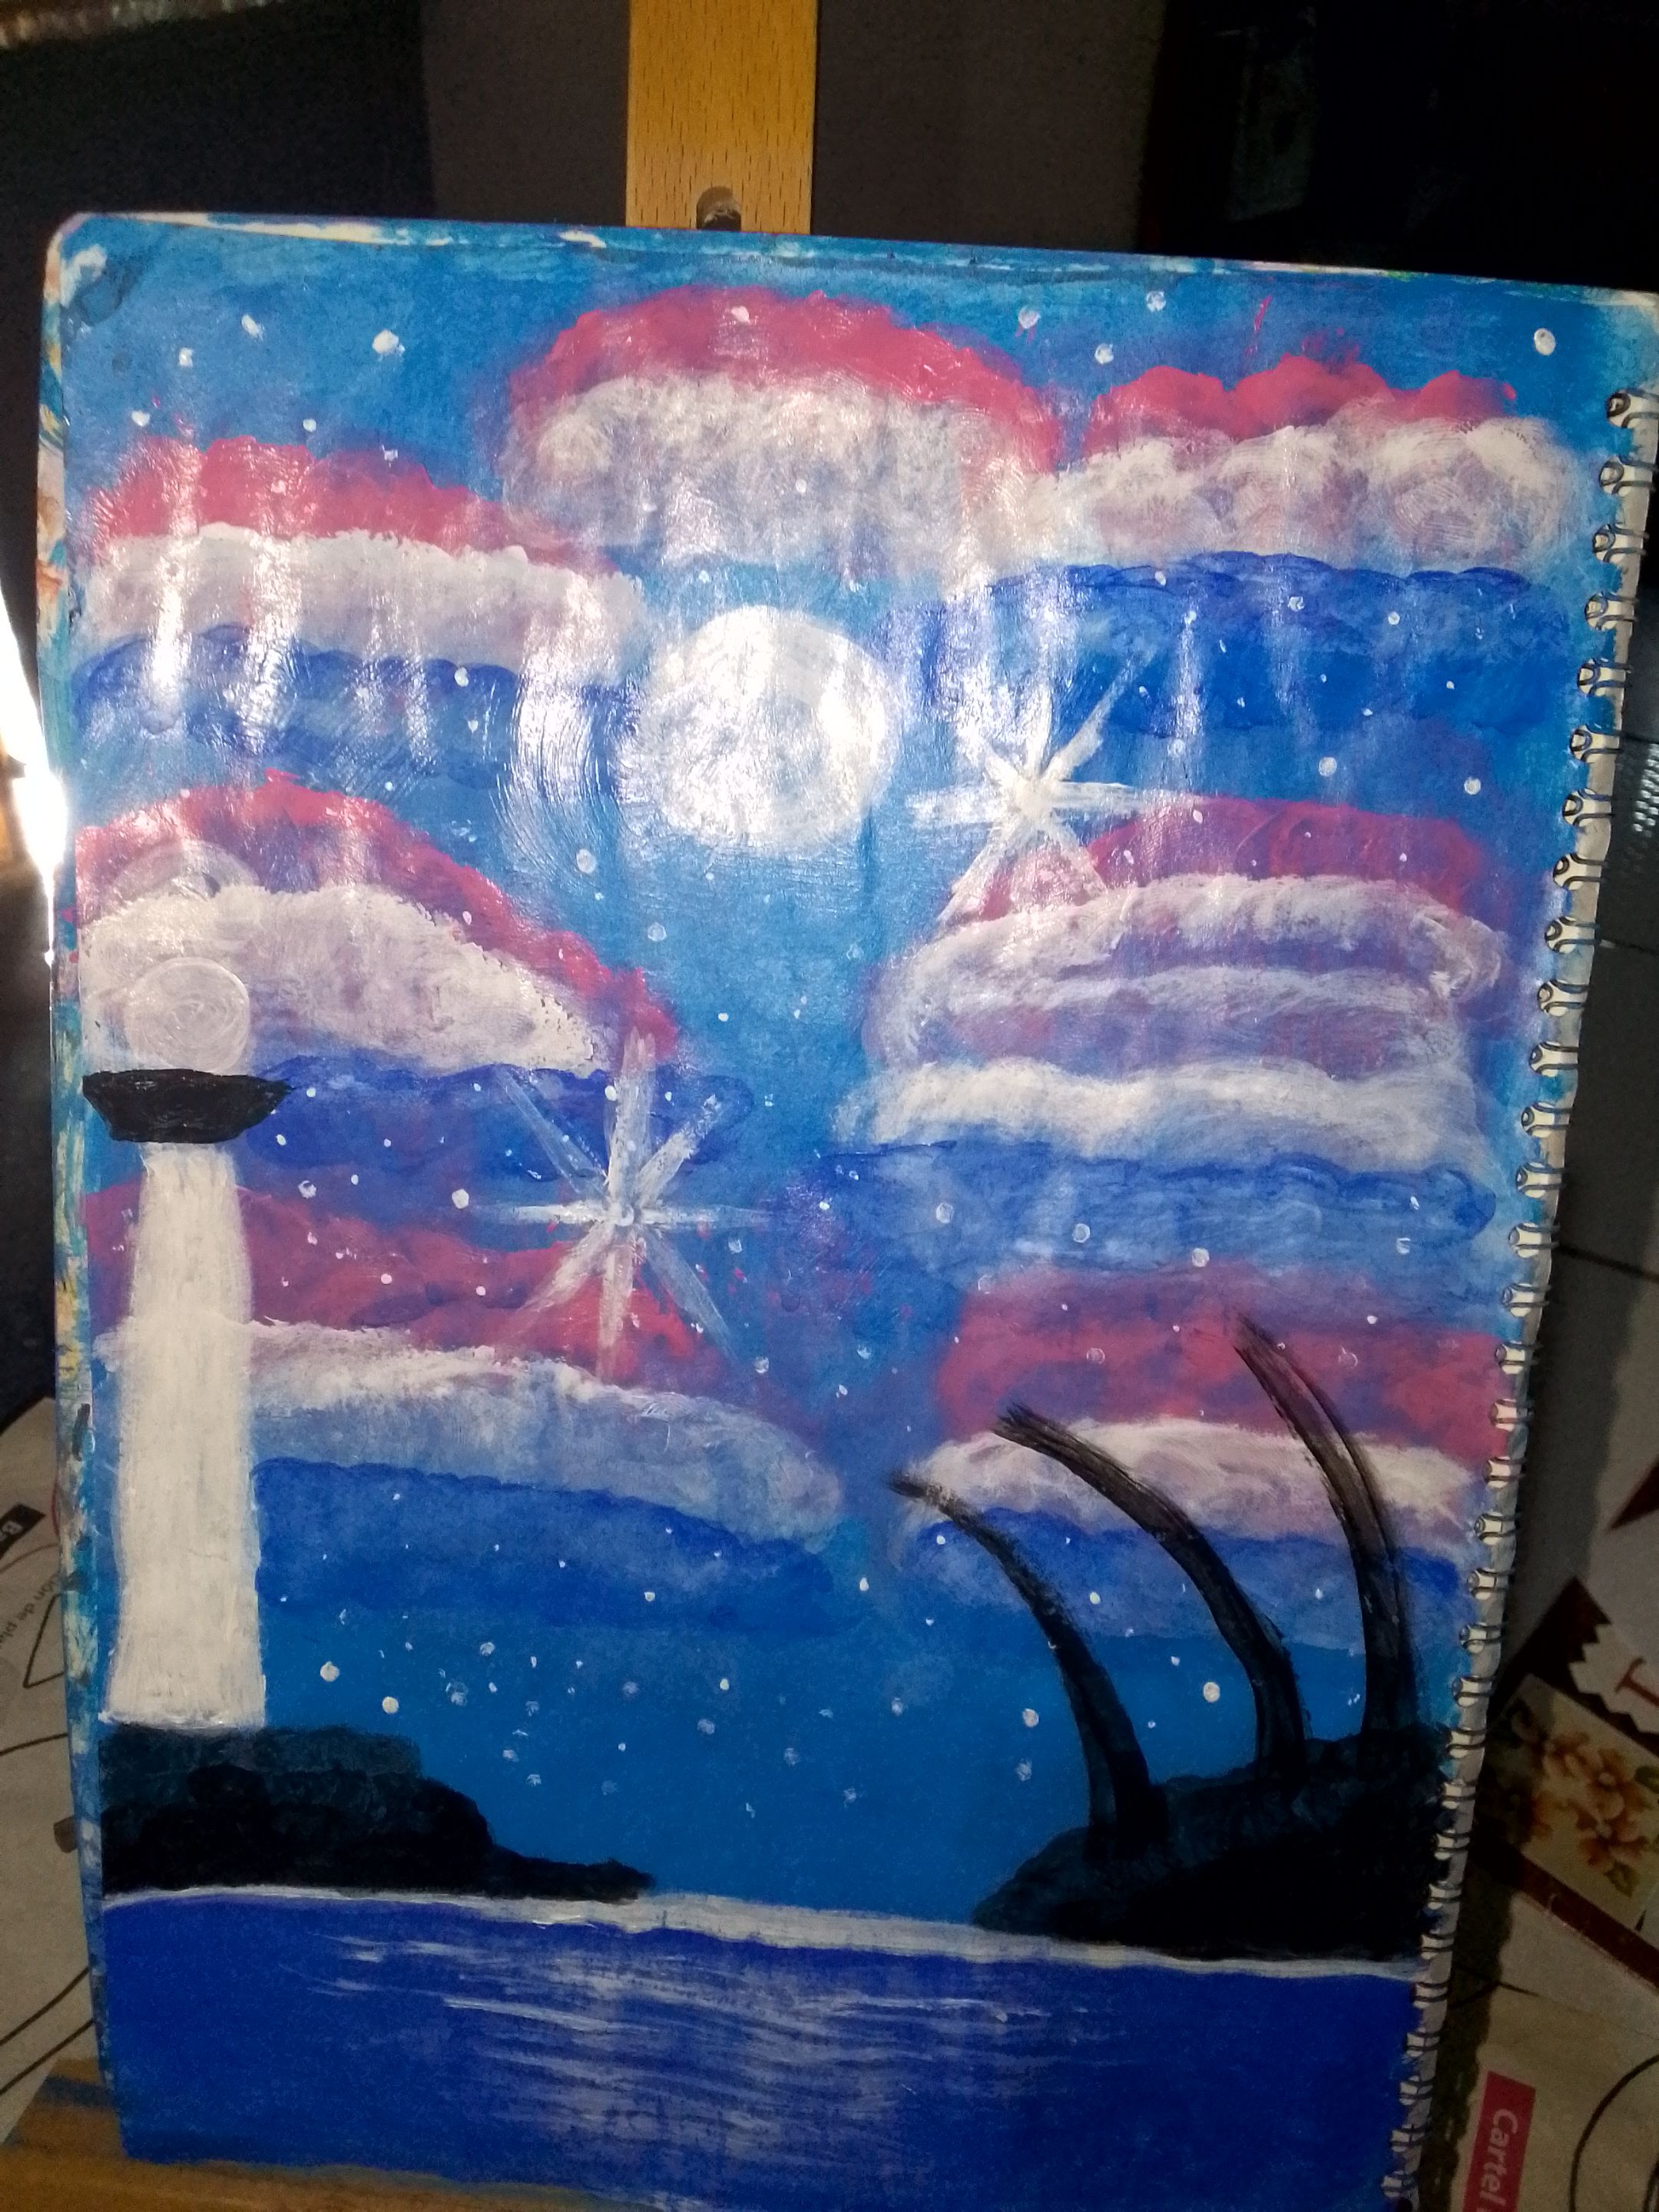
I did the sky and some pink clouds with my fingers, first I did the sky, with a thick straight brush to cover a large area, then the sea and then the clouds with my fingers, starting from the top of the cloud and blending with my finger or with a cotton swab or a blush brush.
>Hacer el cielo y algo de nubes rosadas con los dedos, primero hice el cielo, con un pincel recto grueso para abarcar un área extensa, luego el mar y luego las nubes con los dedos, se empieza desde la parte de arriba de la nube y se va difuminando con el dedo o con un hisopo o con una brocha de aplicar rubor.
## 2
I did the sky and some pink clouds with my fingers, first I did the sky, with a thick straight brush to cover a large area, then the sea and then the clouds with my fingers, starting from the top of the cloud and blending with my finger or with a cotton swab or a blush brush.
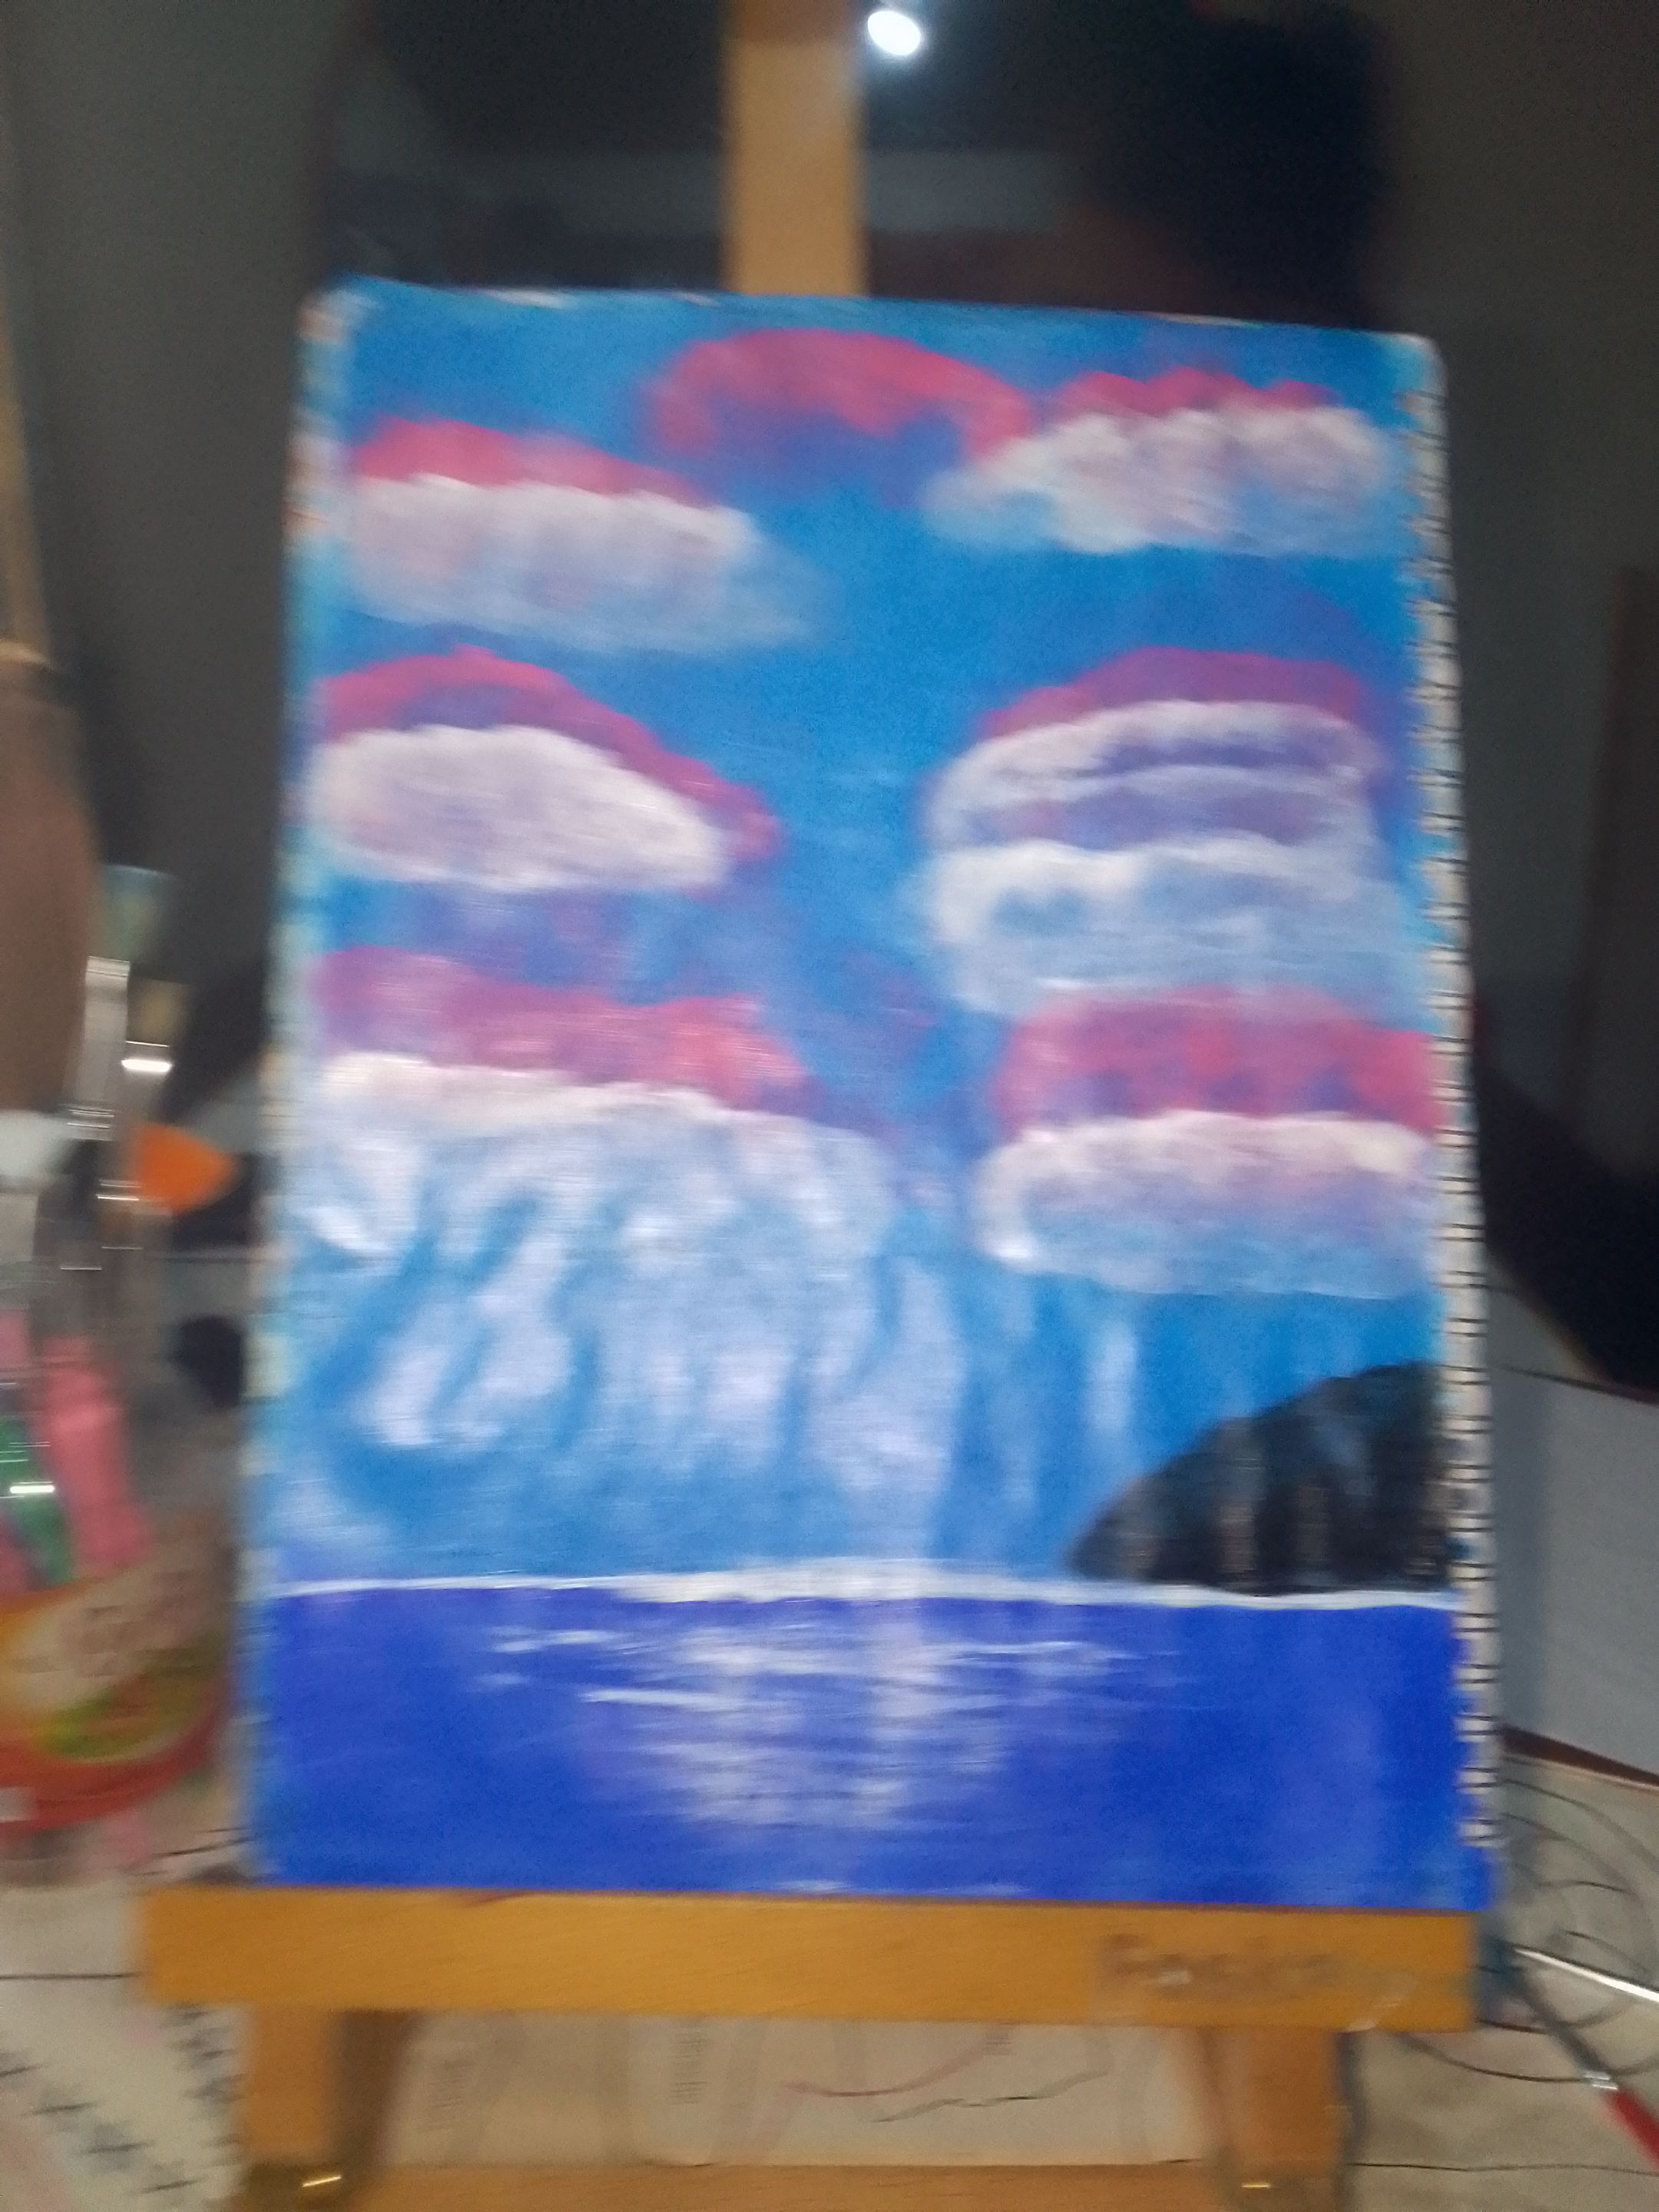
>Luego,hice la orilla del mar, las nubes blancas y las piedras negras, para ahorrar tiempo ya que no me quise poner s inventar y crear el color marrón.
## 3
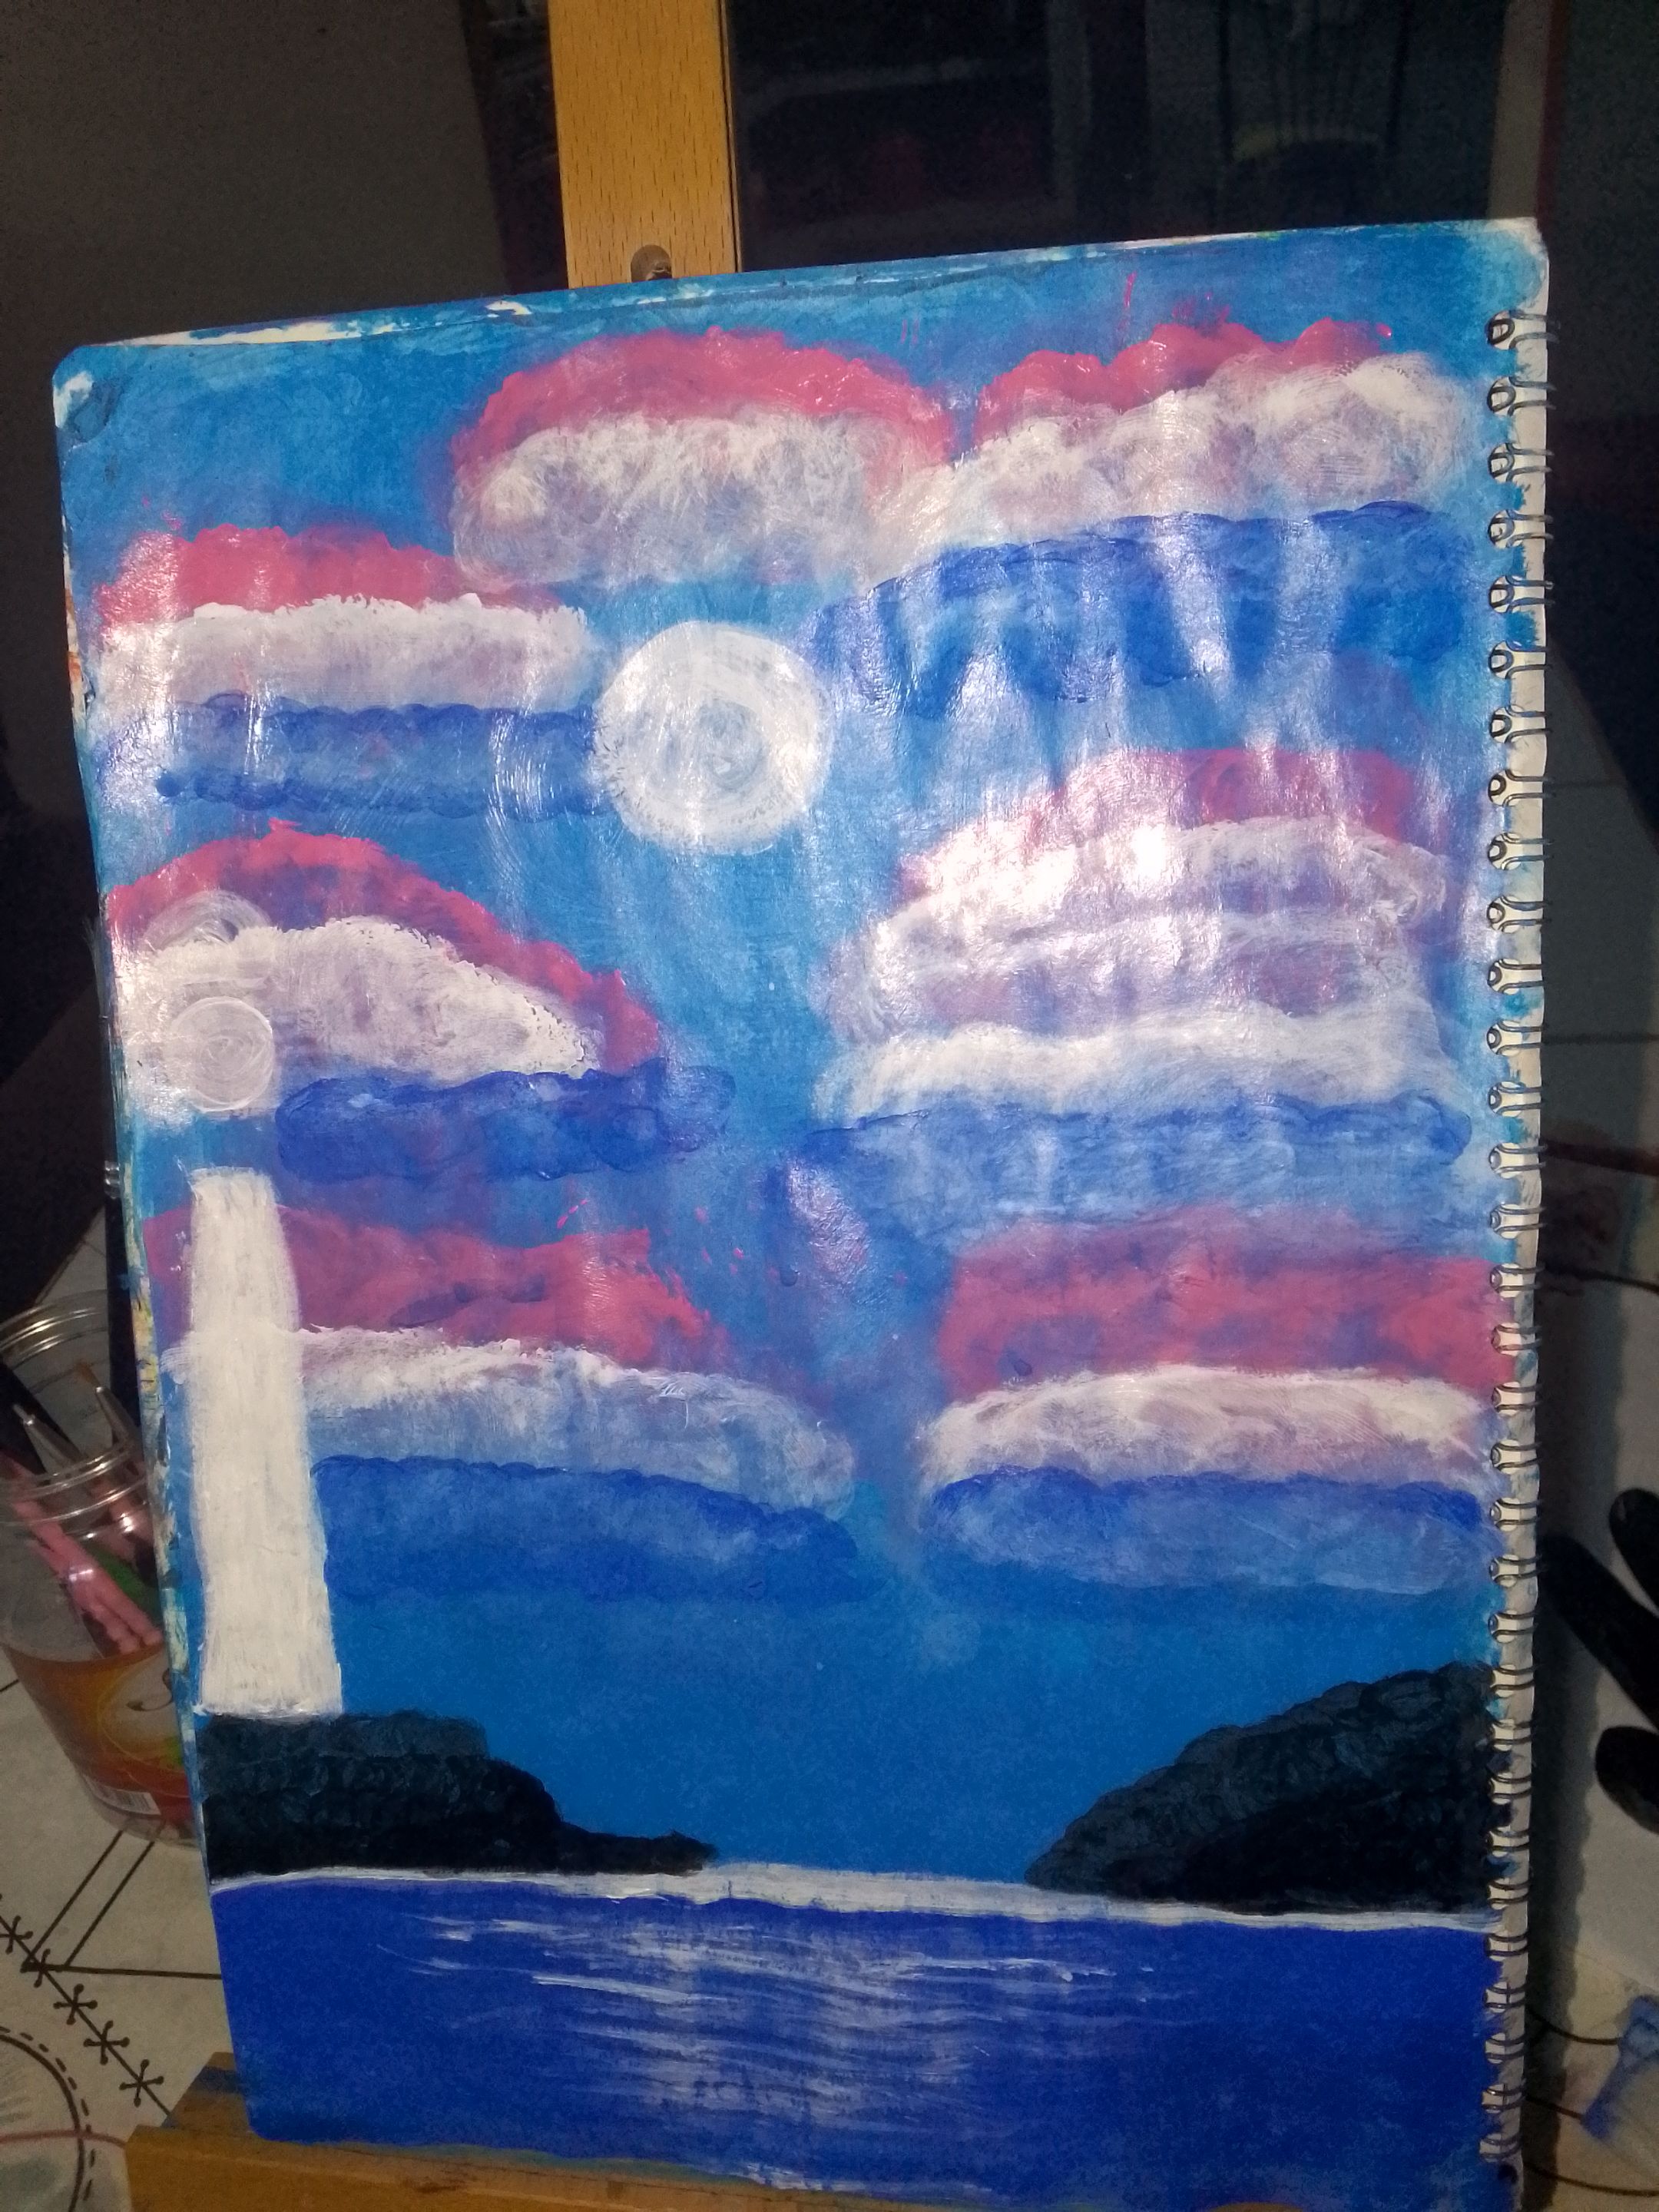
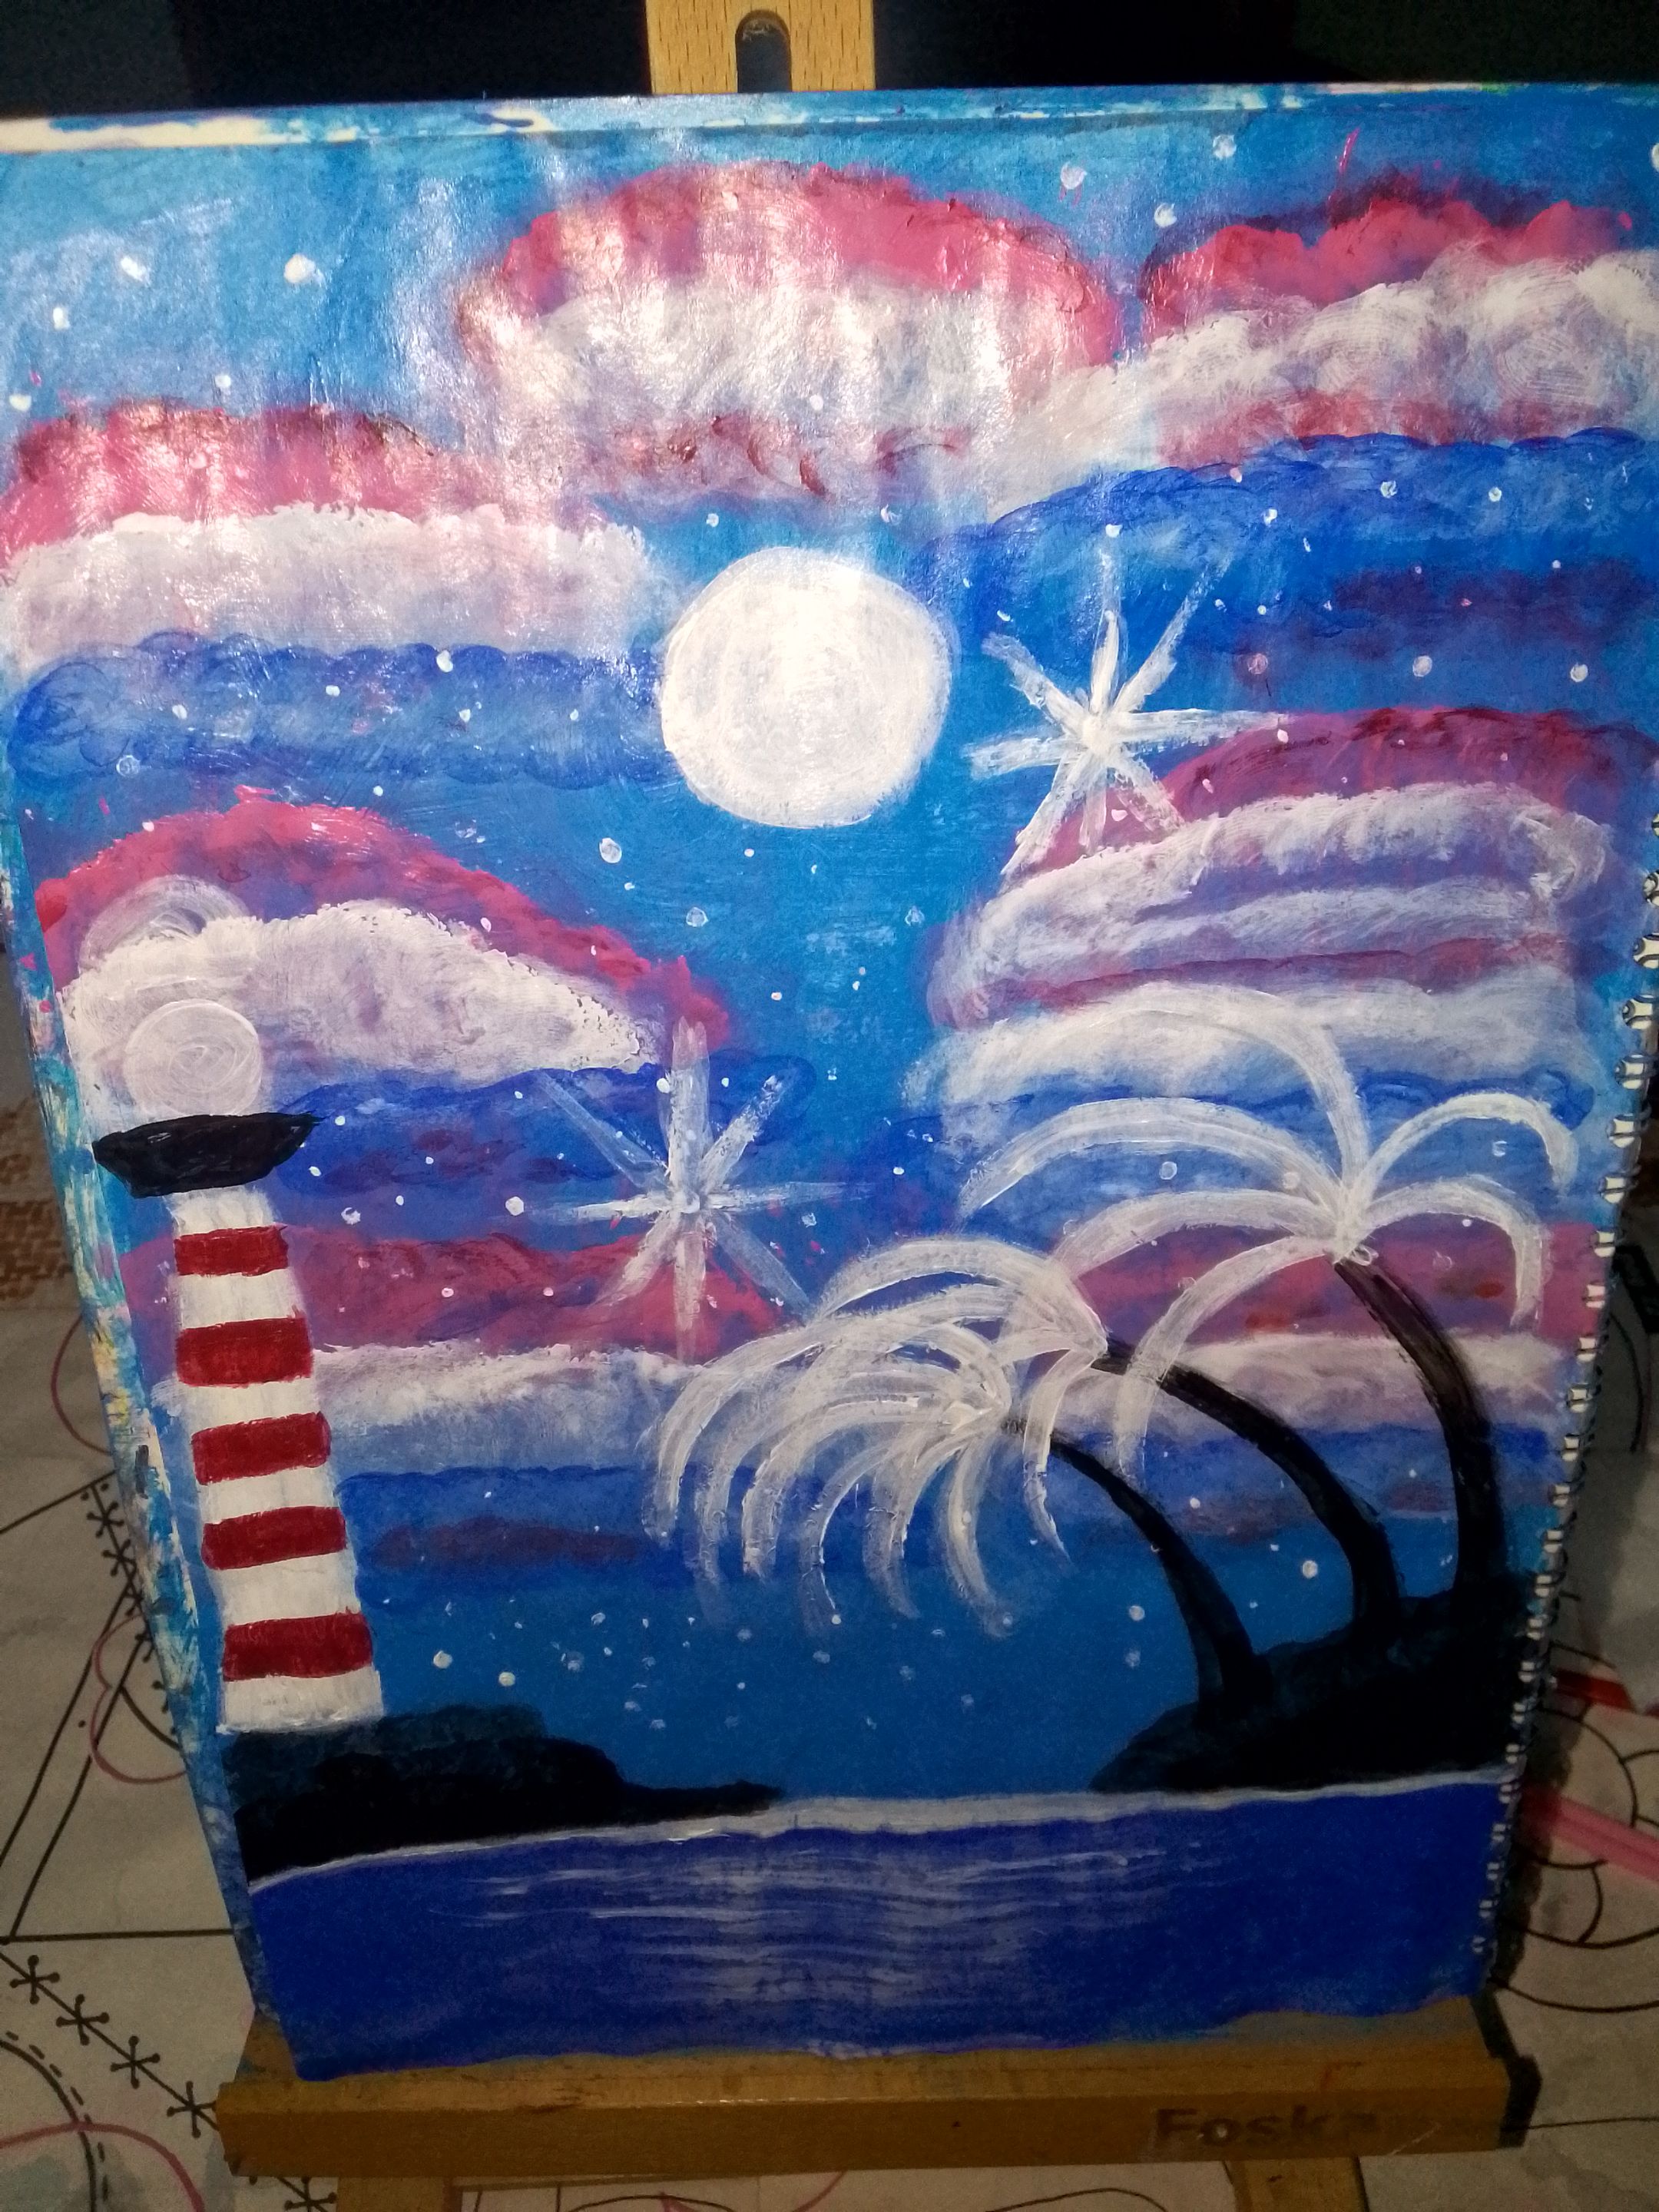
In this step I made the blue clouds, started to make the base of the lighthouse and the moon.
>En este paso hice las nubes azules, empecé a hacer la base del faro y la luna.
## 4
Here, I started making the stars and the base of the palm trees.
> Aquí, empecé a hacer las estrellas y la base de las palmeras.
## 5
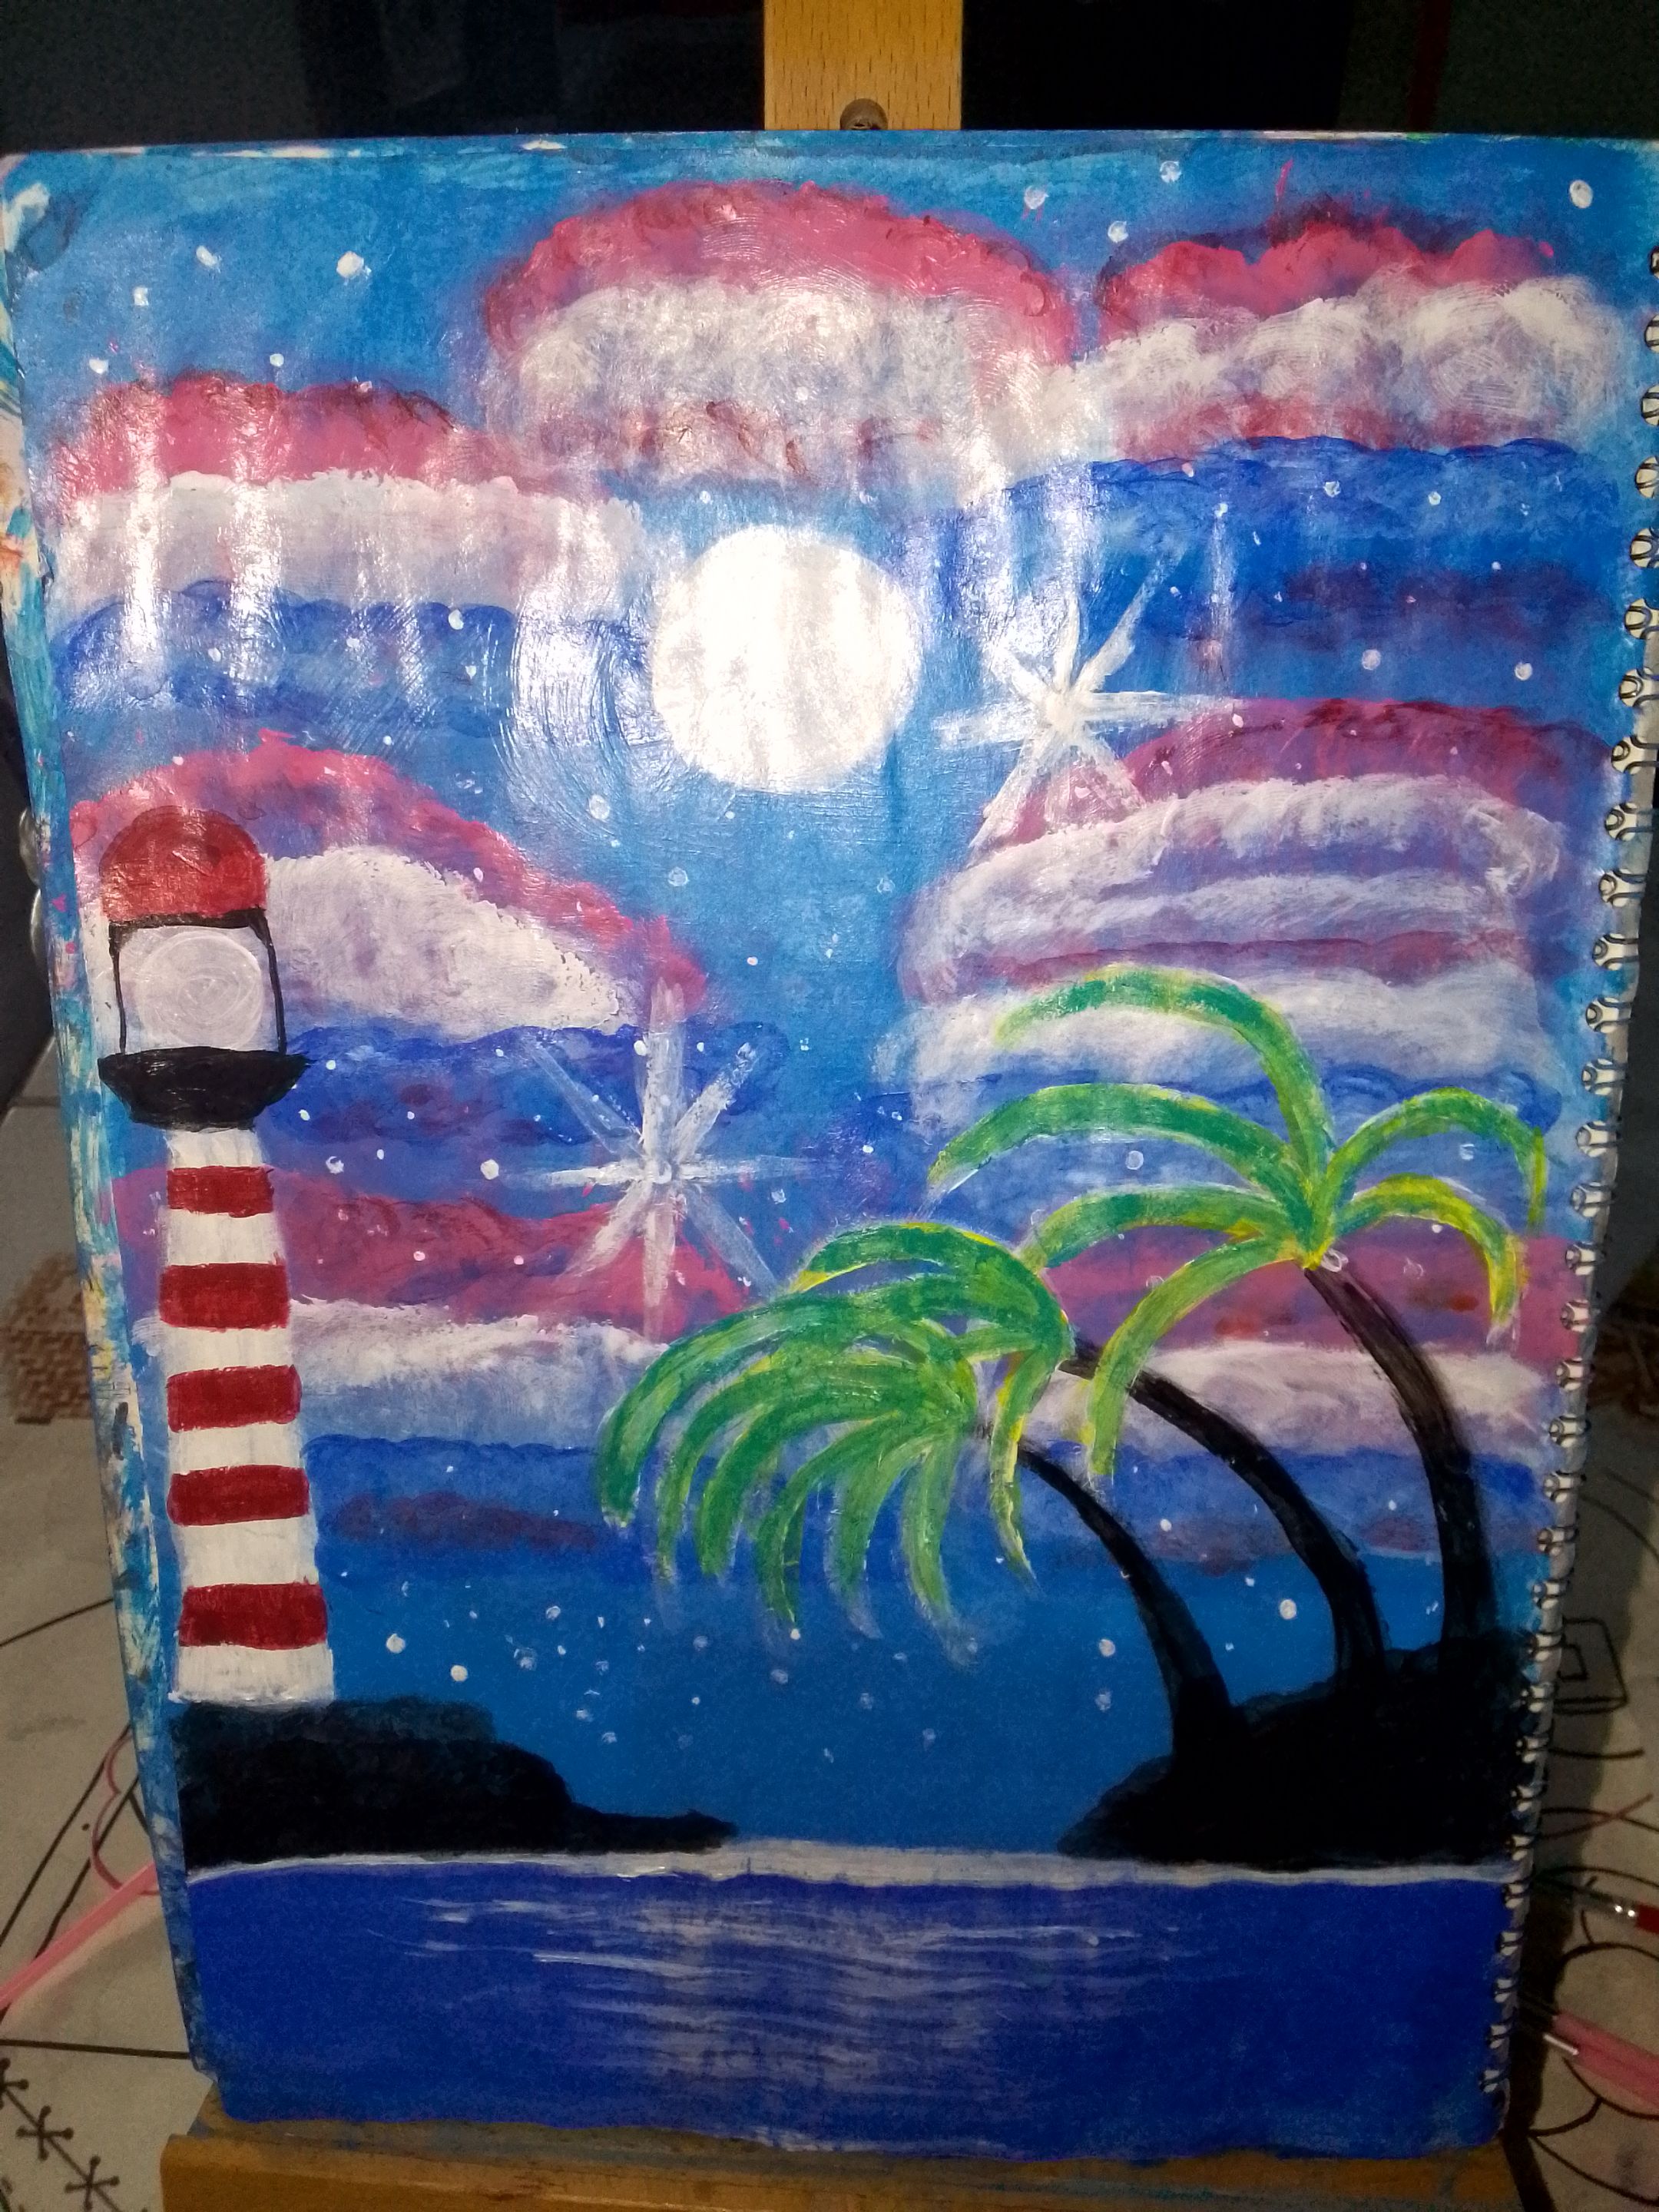
Here the upper part of the palms, I place this white base so that the colors are well pigmented because if I apply the colors directly, they will look more opaque, then on the palm itself I apply yellow and light blue and it gives the effect that it is green.
> Aquí la parte de arriba de las palmas, le coloco está base blanca para que se pigmenten bien los colores porque si aplico directamente los colores, estos se van a ver más opacos, luego en la propia palma aplico amarillo y azul claro y da el efecto de que es verde.
## Result | Resultado
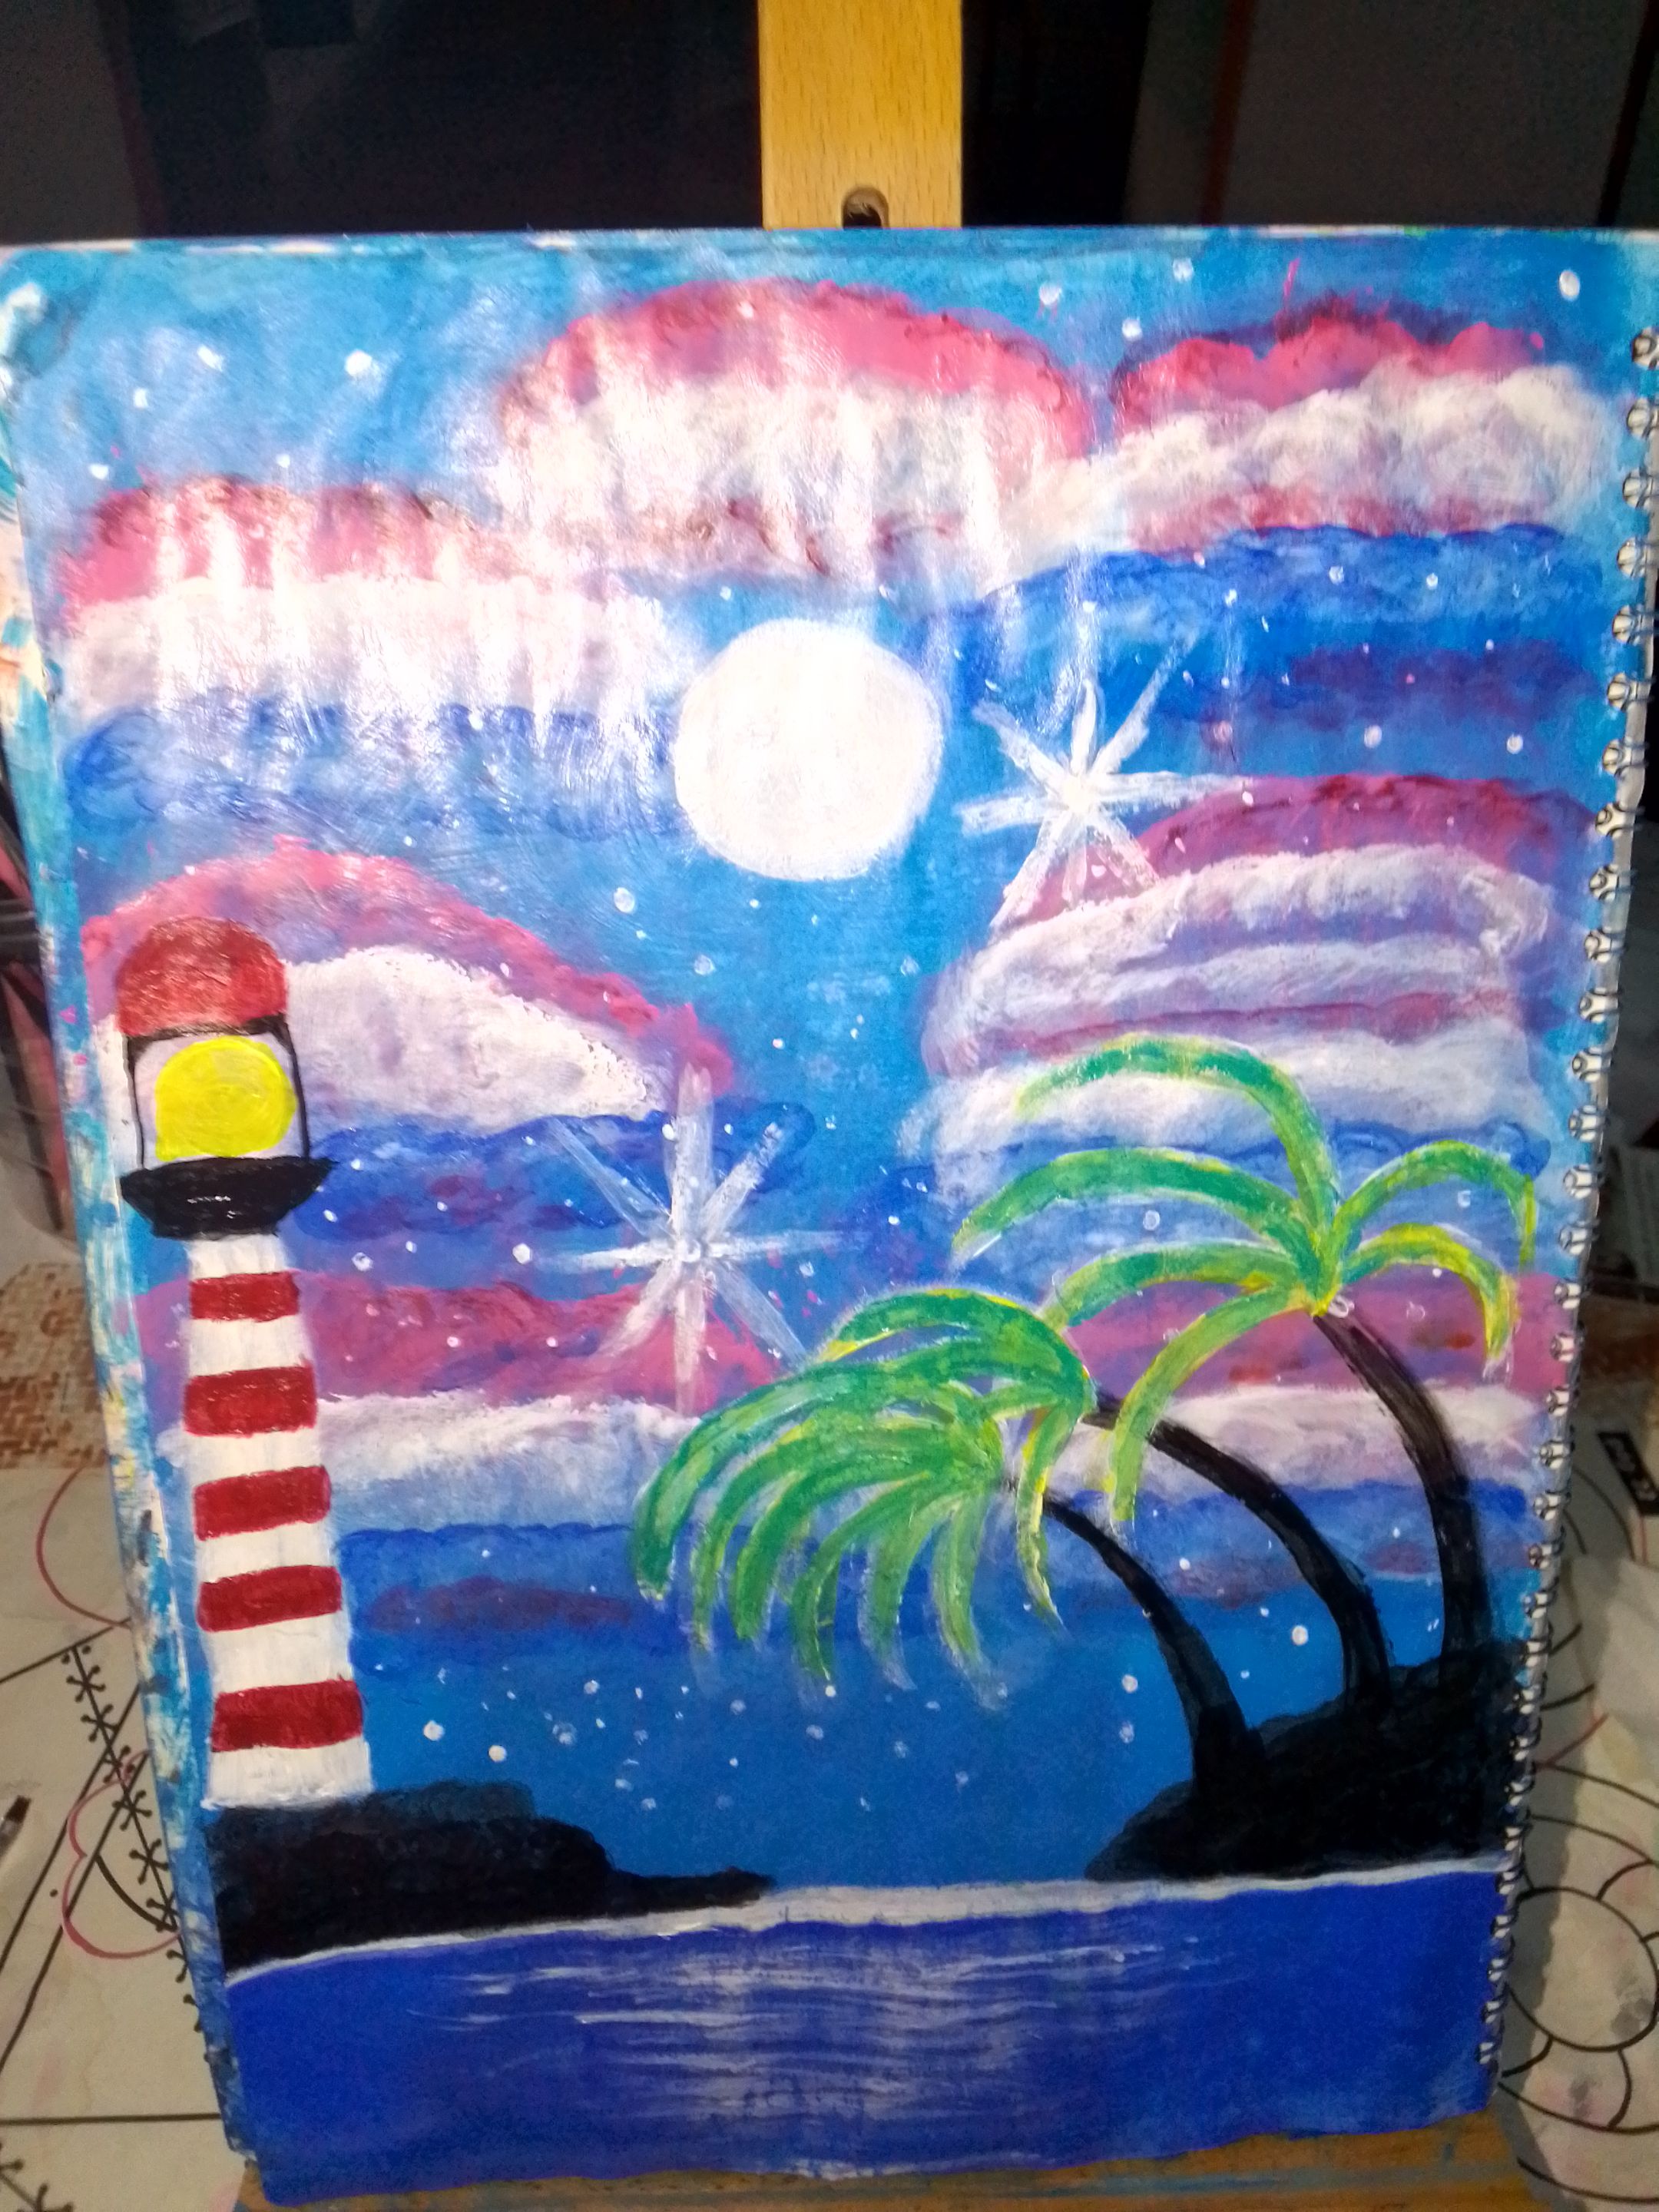
Finally, we add the yellow and gold and that's it, finished. I hope you liked it, thanks for reading.
> Finalmente, agregamos el amarillo y el dorado y listo, terminado. Espero que les haya gustado, gracias por leer.

>Gracias por visitar mi blog.
>Thanks for visiting my blog.
---
## No te detengas, no dejes de creer en ti y de buscar ideas y opciones para salir adelante.
## Don't stop, don't stop believing in yourself and looking for ideas and options to get ahead.
## Creditos | Credits
Use [https://www.deepl.com/es](https://www.deepl.com/es/translator) para la traducción.
>I used [https://www.deepl.com/es](https://www.deepl.com/es/translator) to traduction.
Las imagenes son propias y sujetas a derechos de autor.
>The images are our own and subject to copyright.