**
ESPAÑOL
**
Hola a todos, hoy voy a compartir con ustedes una linda flor hecha con bolsas de plástico, sí, con bolsas de plástico.
Para la primera parte del proceso vamos a usar los siguientes materiales:
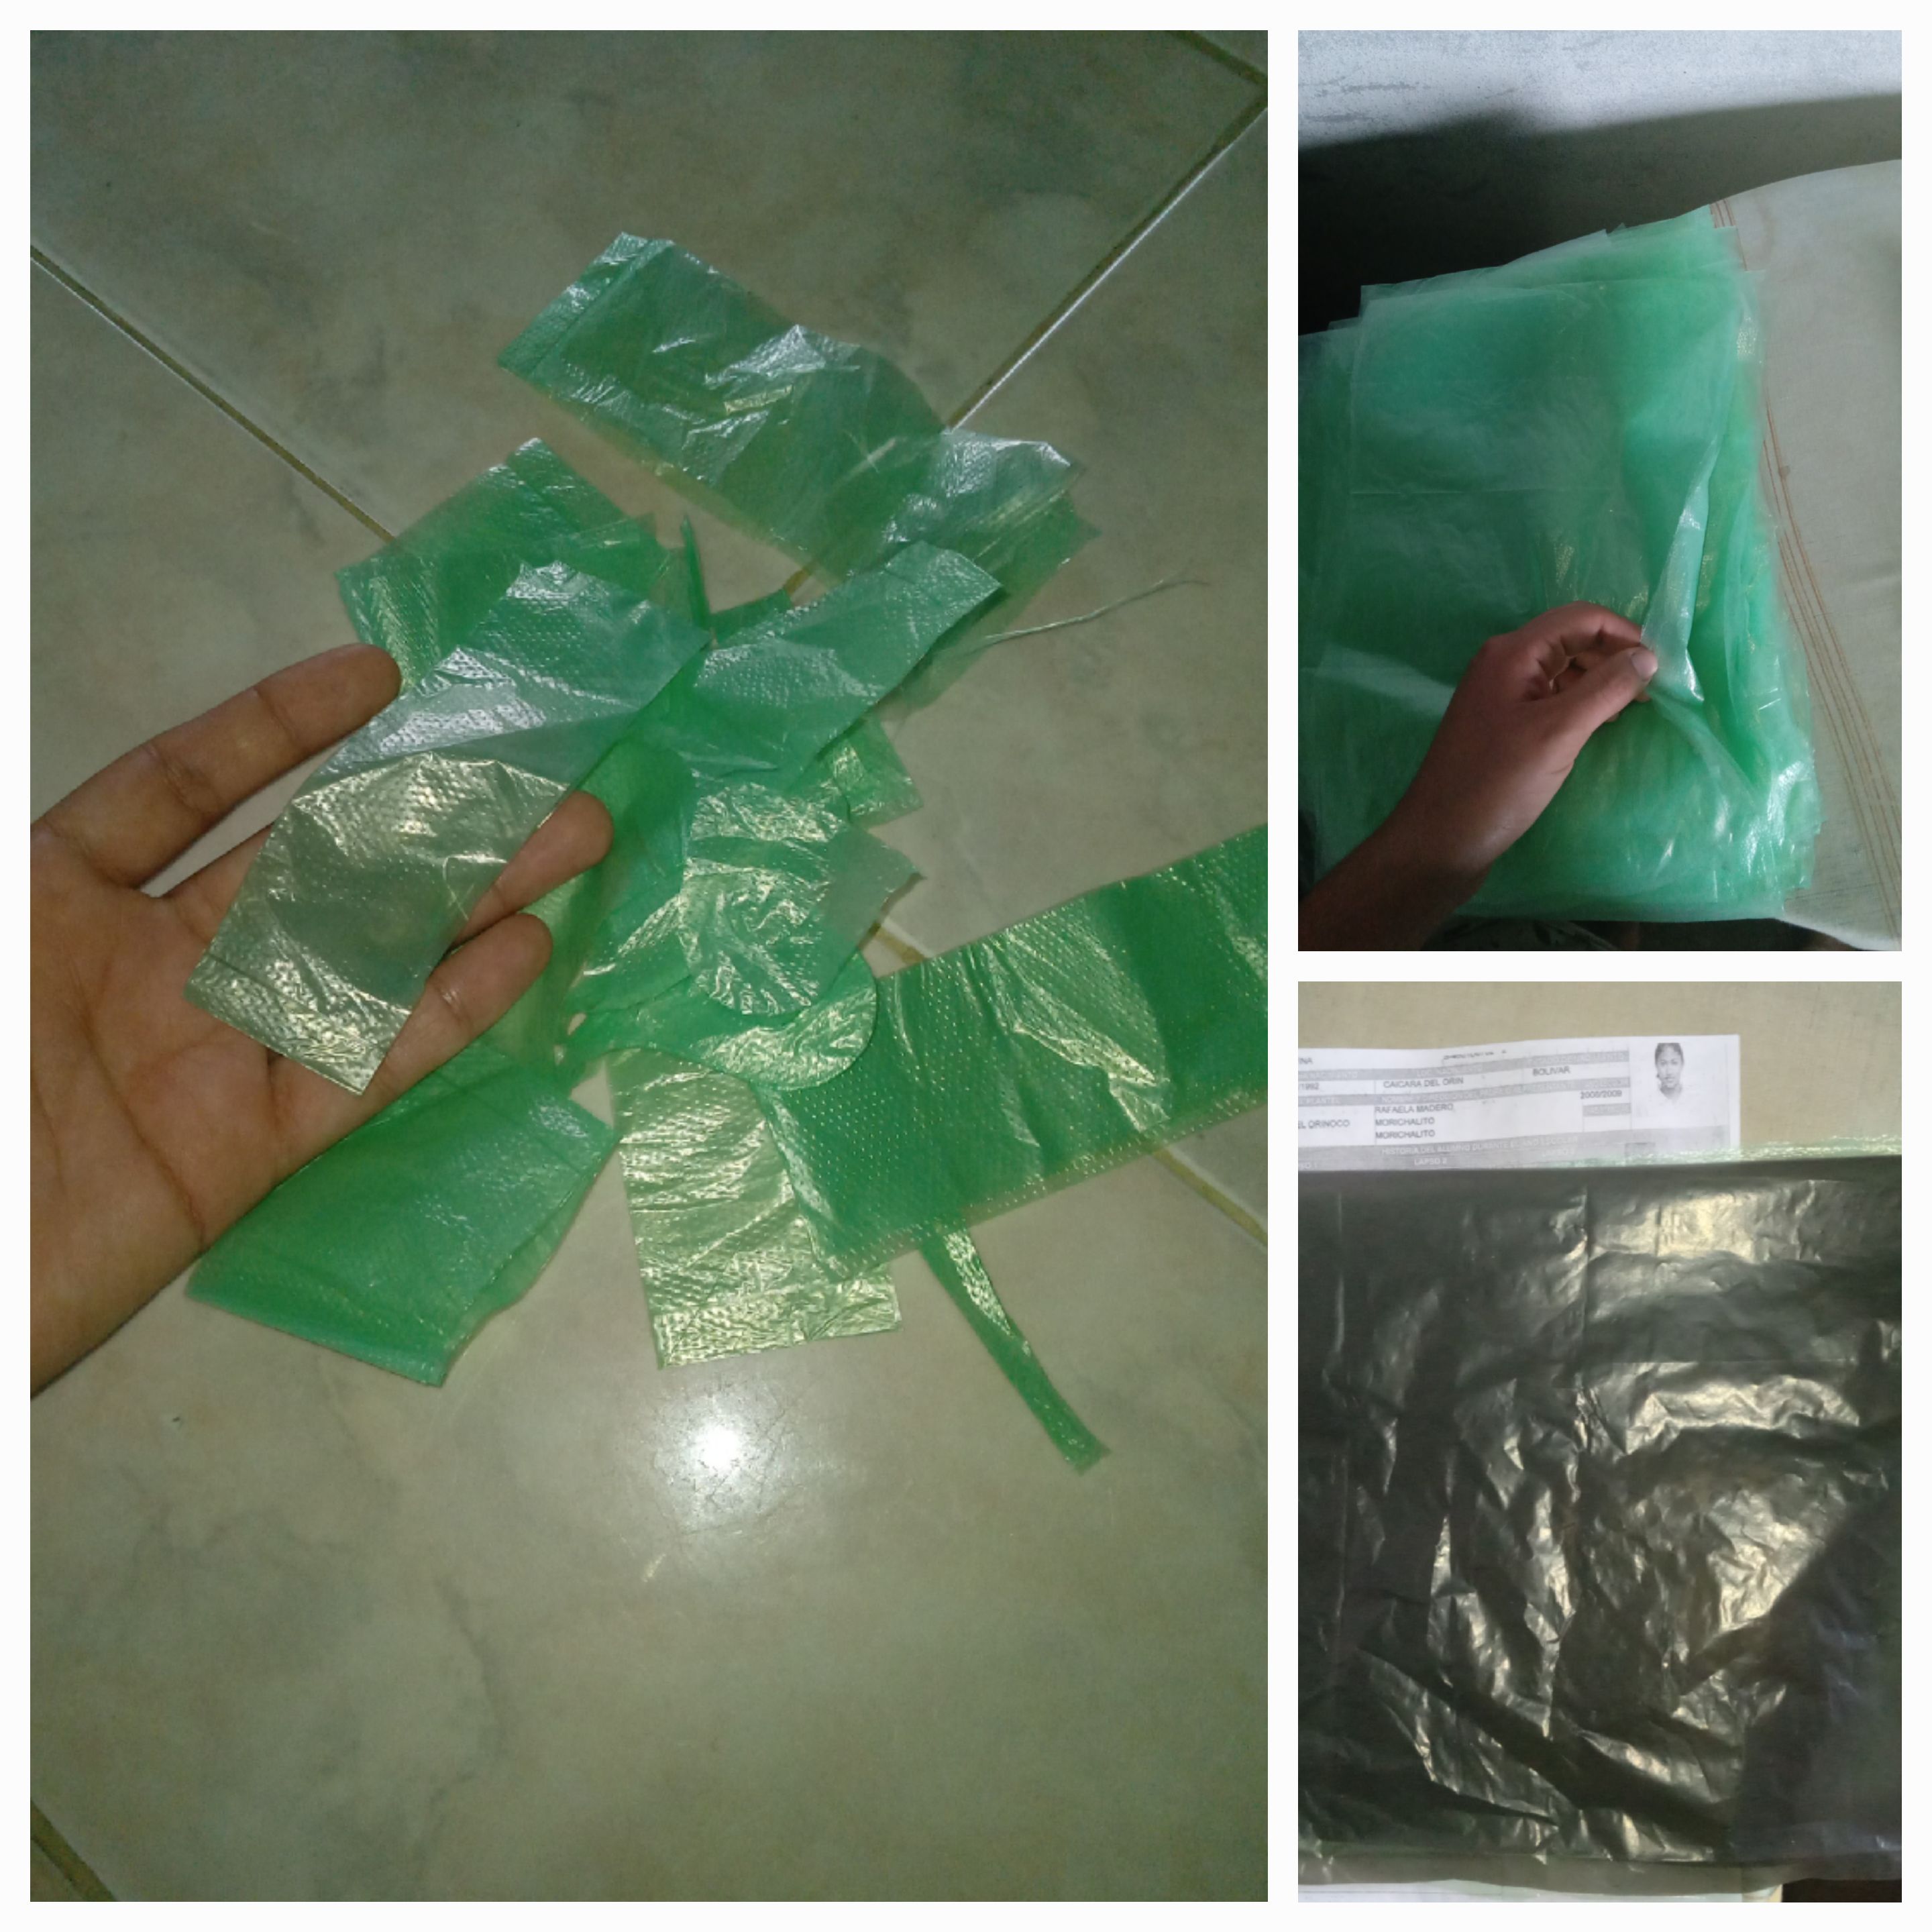
2 tipos de bolsas :
1 bolsa negra de la que es para recoger la basura
1 paquete de las verdes para hacer mercado.
Cabe destacar que mientras más gruesa sea la calidad es mucho mejor para el resultado.
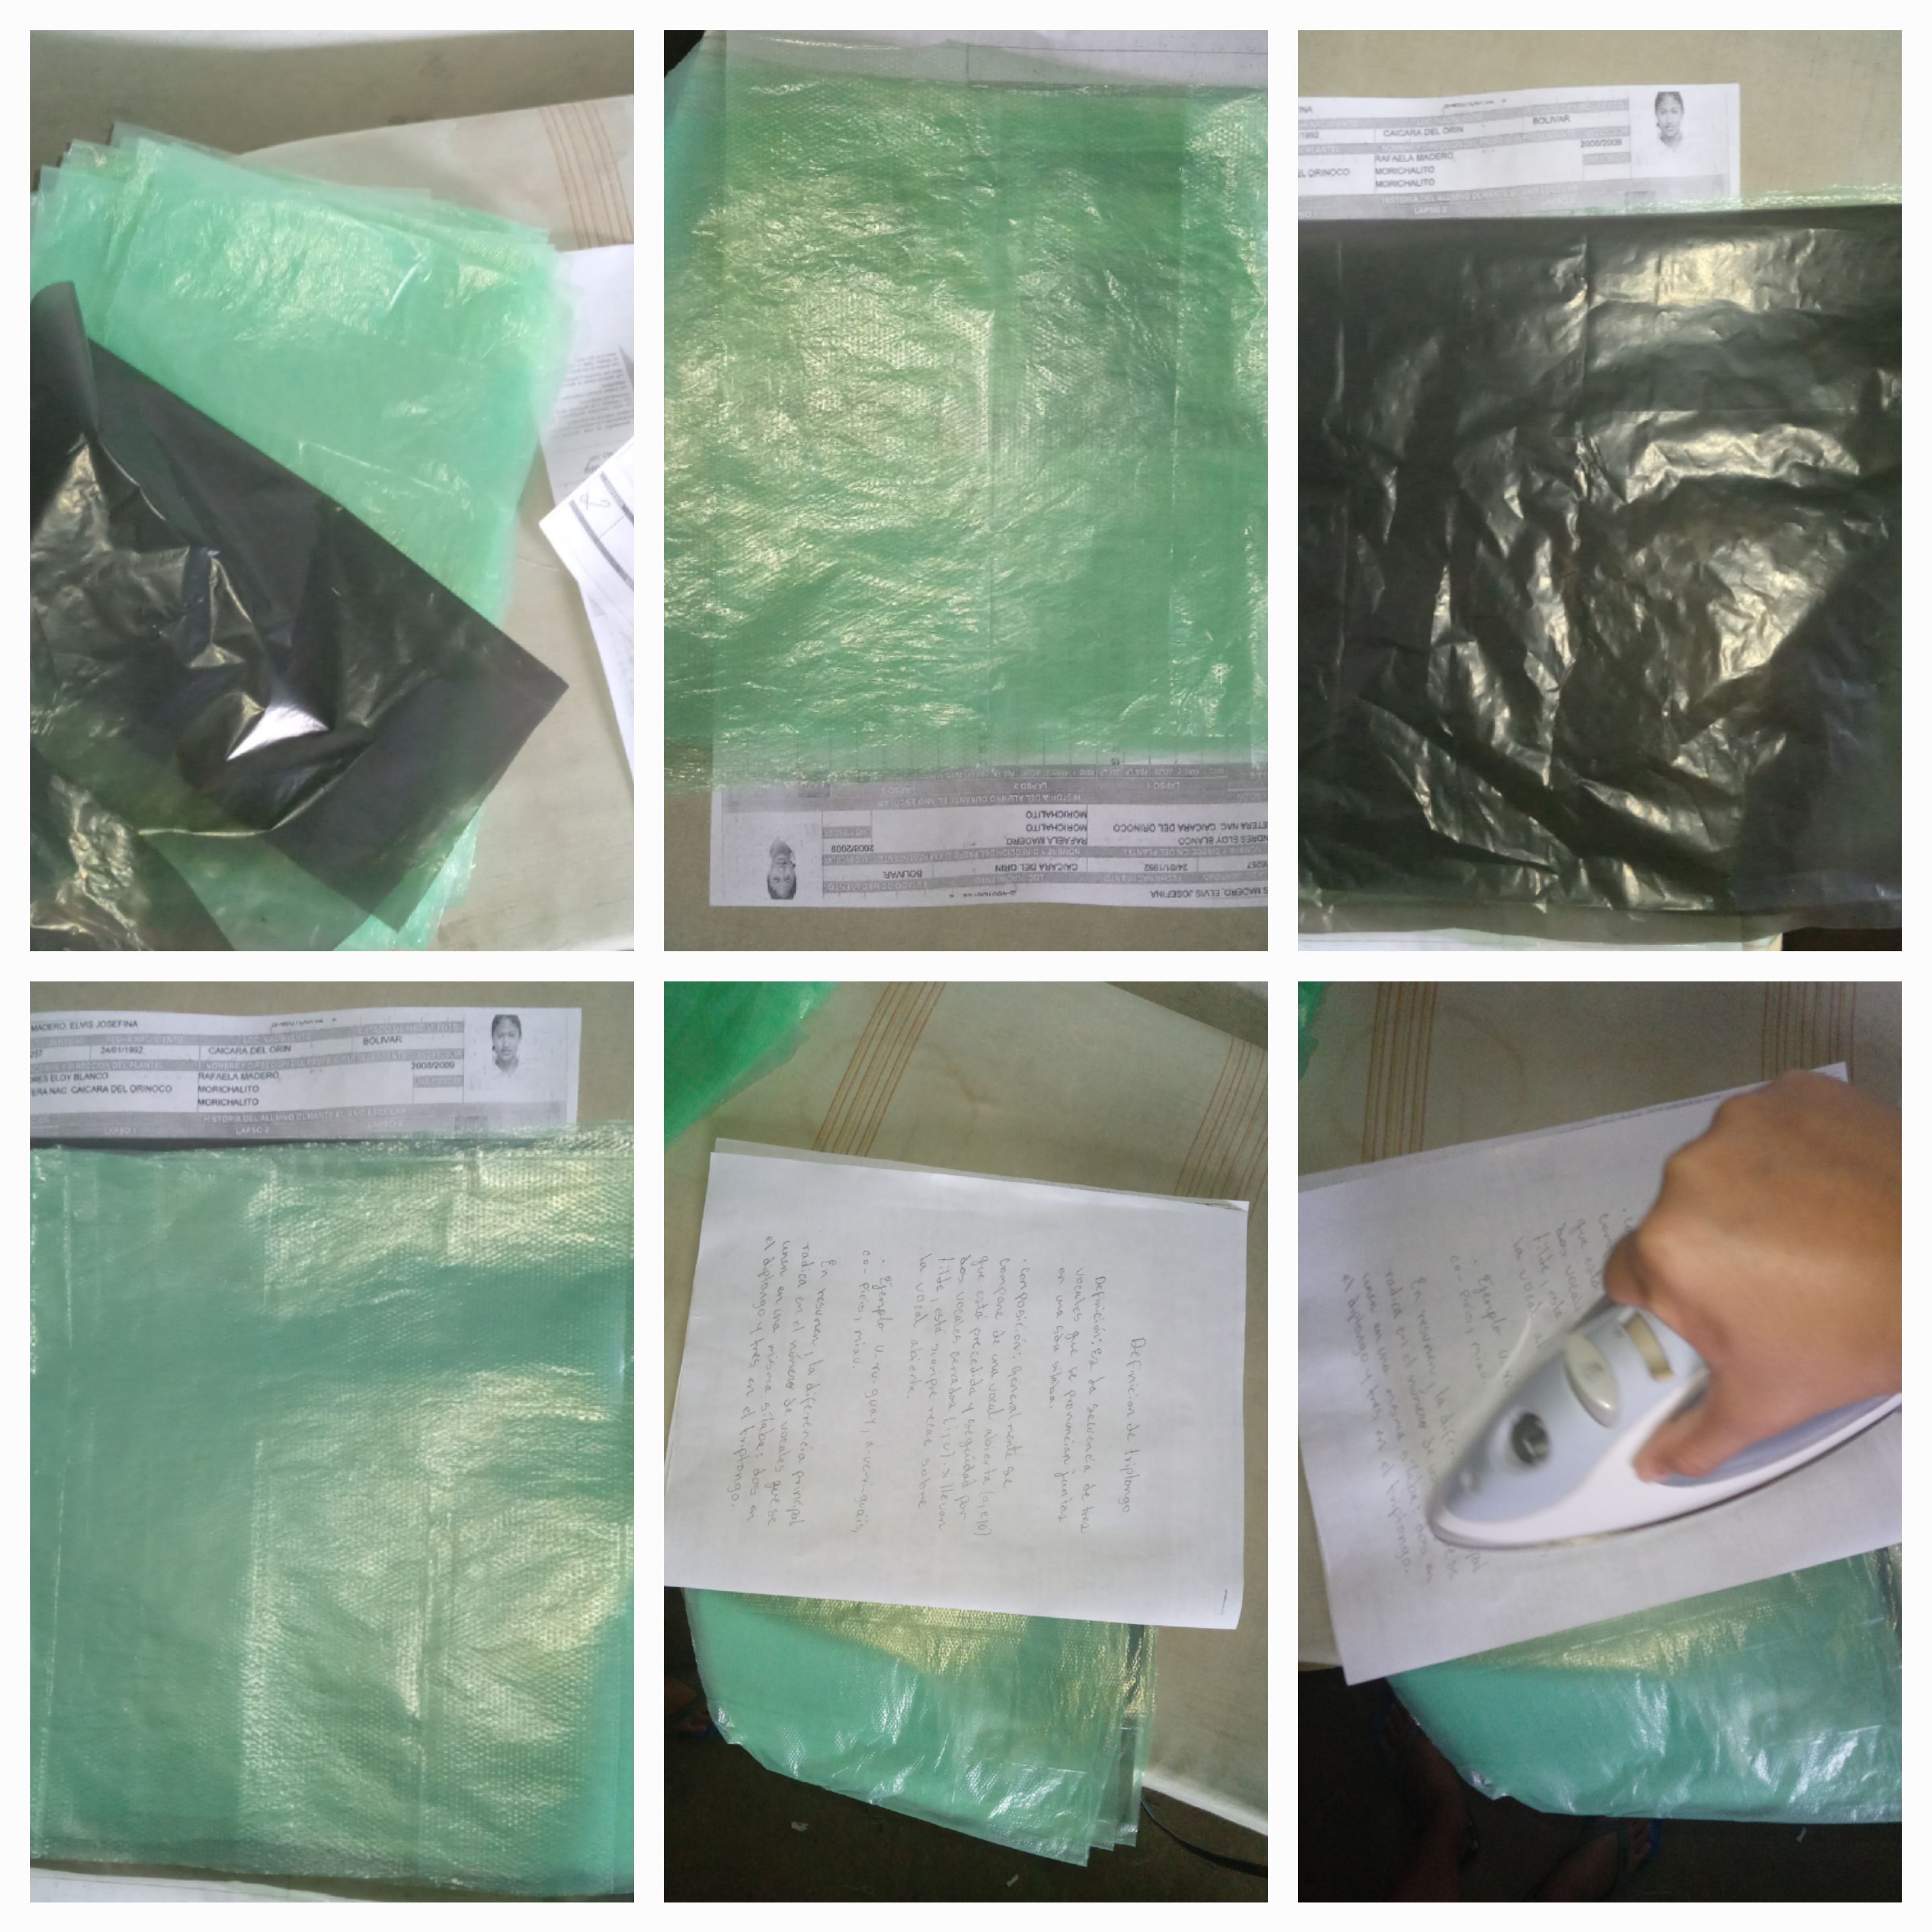
Dos hojas blancas
Y una plancha de ropa.
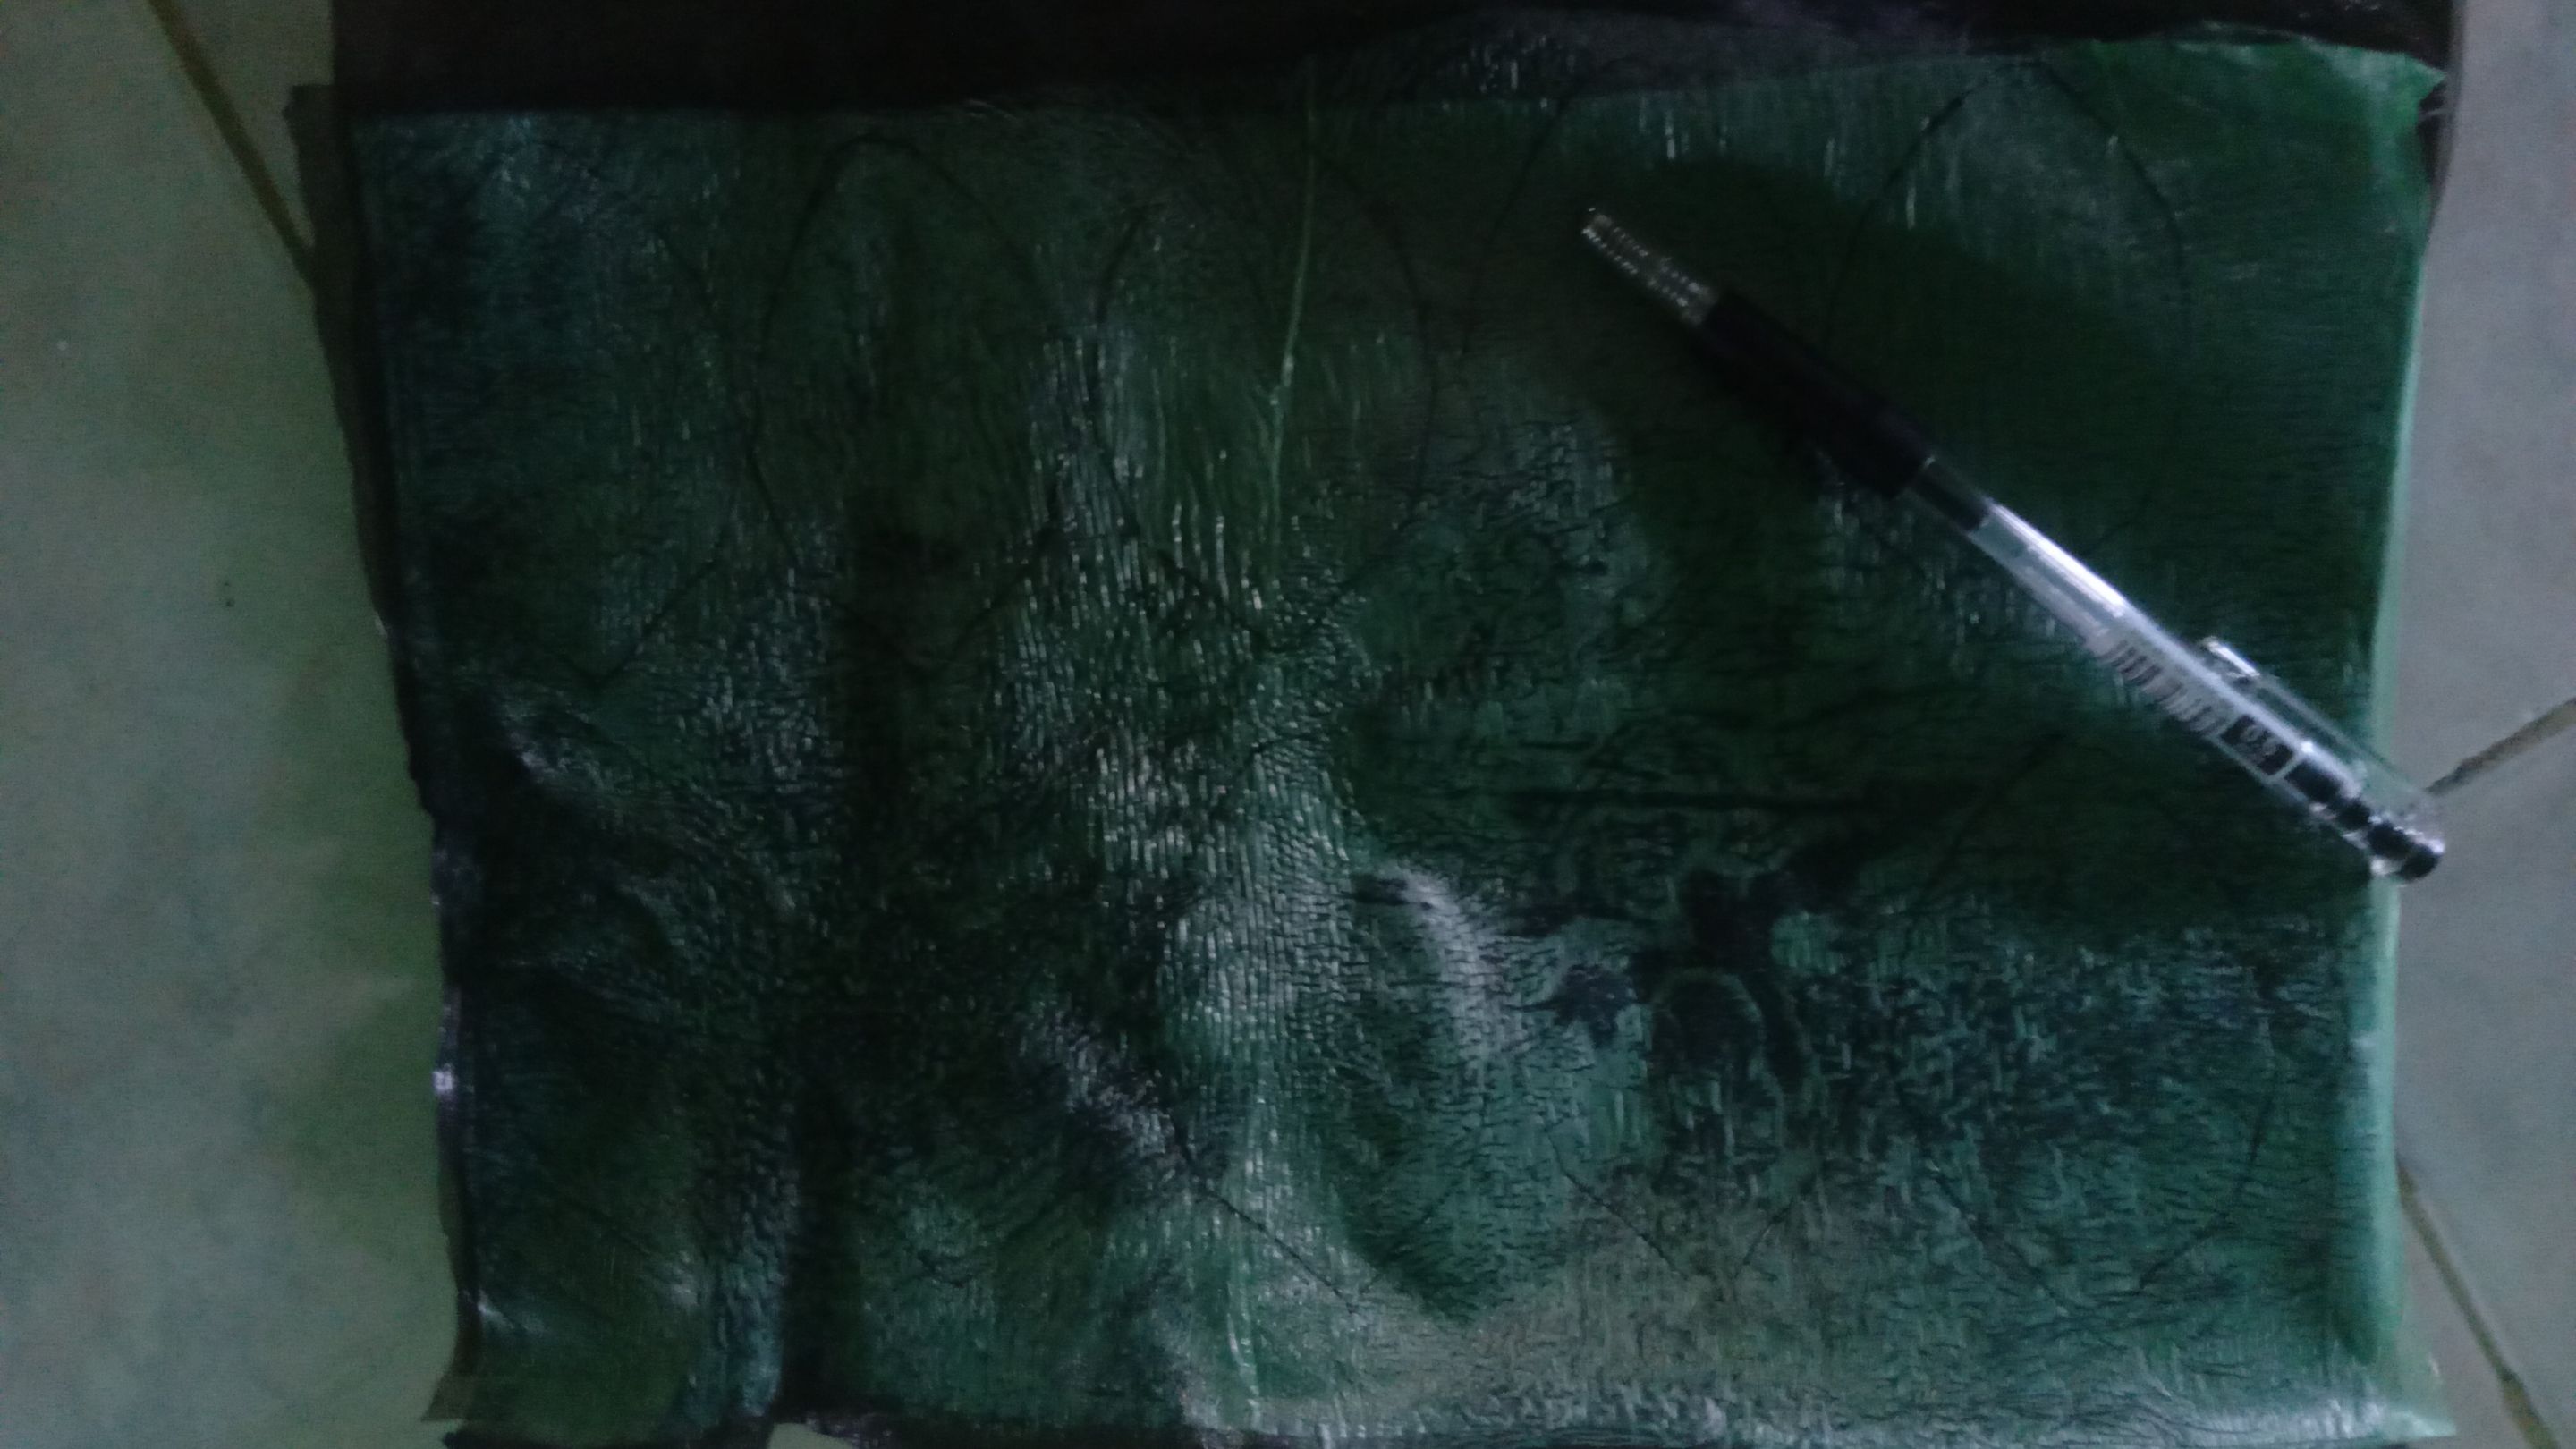
Ahora bien, vamos a cortar en las orillas de las bolsas hasta que las verdes queden así y las negras así. Ahora, vamos a tomar una hoja blanca y la ponemos de base para luego colocar 3 hojas verdes, una negra doblada a la mitad para que quede del mismo tamaño y le ponemos 3 bolsas más de las verdes mas una hoja blanca y empezamos a planchar hasta que quede uniforme sin que esté muy caliente la plancha.
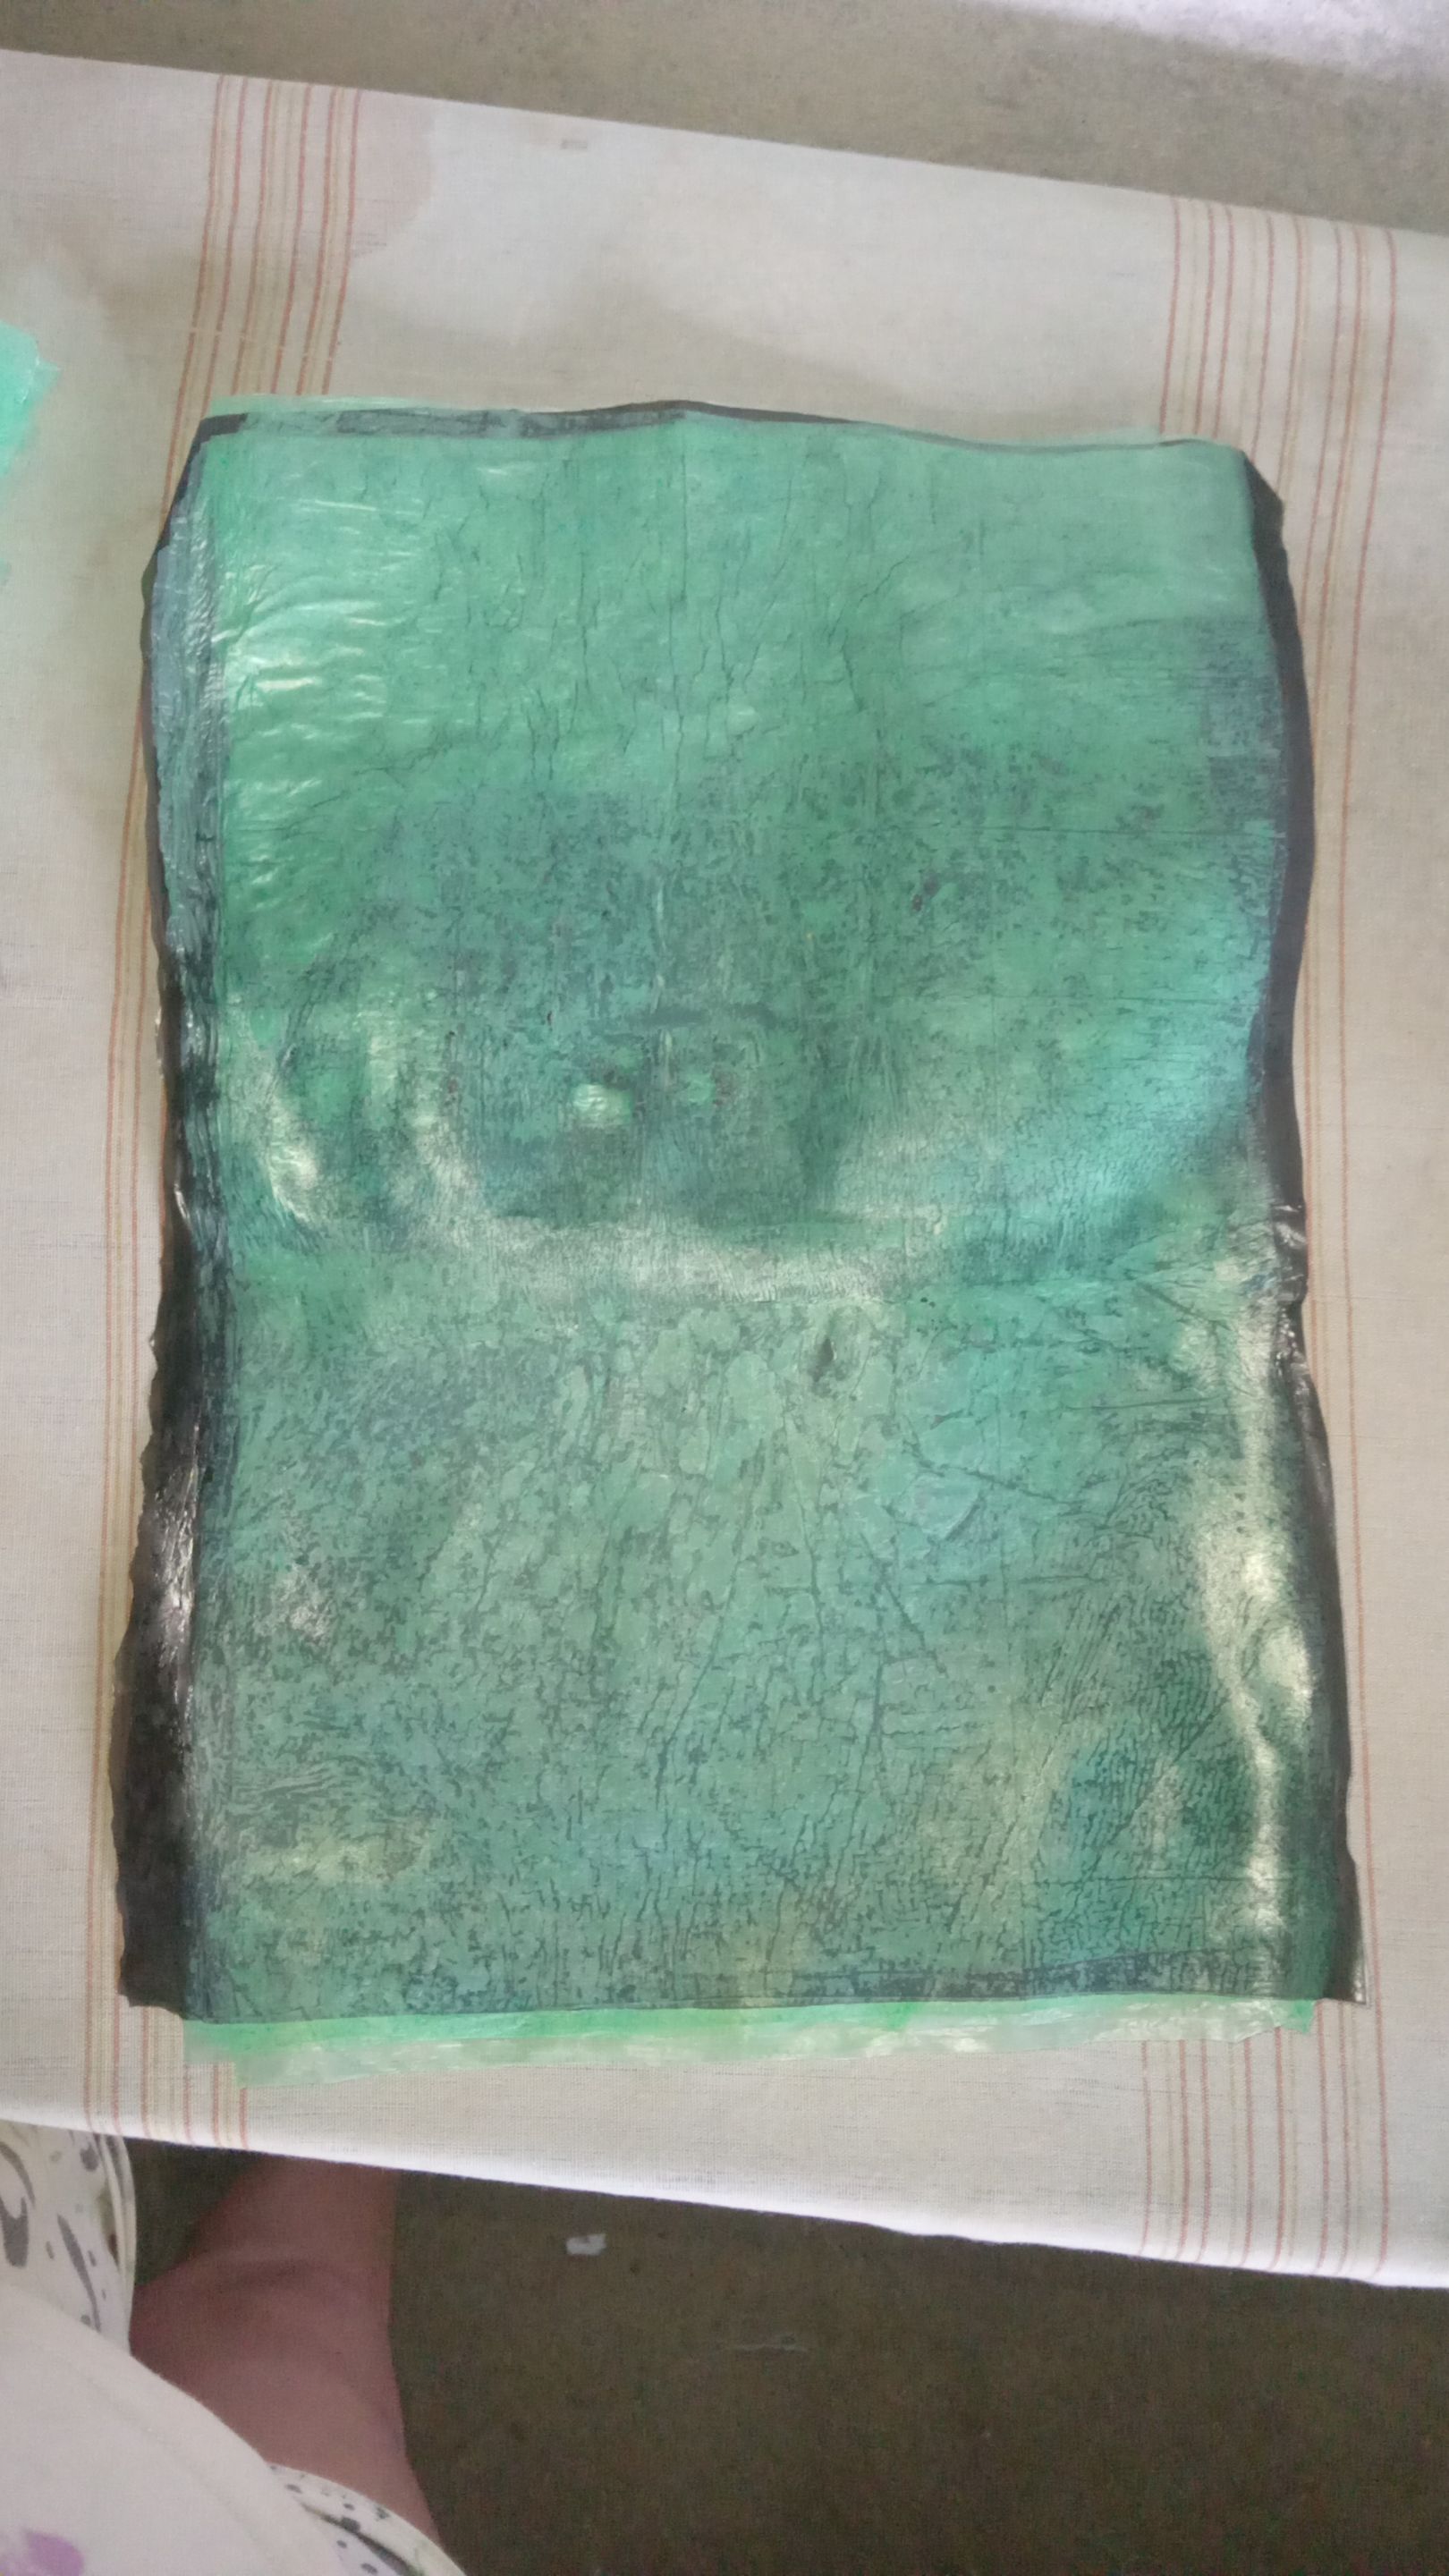
Así debe quedar y luego que esté fría, vamos a sacar unos moldes en forma de hojas con un lápiz de tinta y recortamos.
**
ENGLISH
**
Hello everyone, today I'm going to share with you a beautiful flower made from plastic bags—yes, plastic bags.
For the first part of the process, we're going to use the following materials:
Two types of bags:
One black bag for collecting garbage
One package of green bags for shopping.
It's important to note that the thicker the quality, the better the result.
Two sheets of white paper
And a clothes iron.
Now, we're going to cut along the edges of the bags until the green ones look like this and the black ones look like this. Now, we're going to take a white sheet of paper and use it as a base. Then, we're going to place three green sheets on top, fold one black sheet in half so they're the same size. We're going to add three more green bags and a white sheet of paper. We're going to start ironing until the iron is even, but not too hot.
This is how it should look. Once it's cooled, we're going to cut out some leaf-shaped shapes with an ink pen and cut them out.
---
Ahora, para la segunda parte del proceso vamos a usar los siguientes materiales:
Las hojas que cortamos.
Tiras de la bolsa verda de uno o dos dedos de ancho al largo de la bolsa.
Alambres de 24 cm de largo, 7 en total.
Silicón en barra.
Un círculo cortado de una bolsa de plástico del color que deseas, yo escogí rosado.
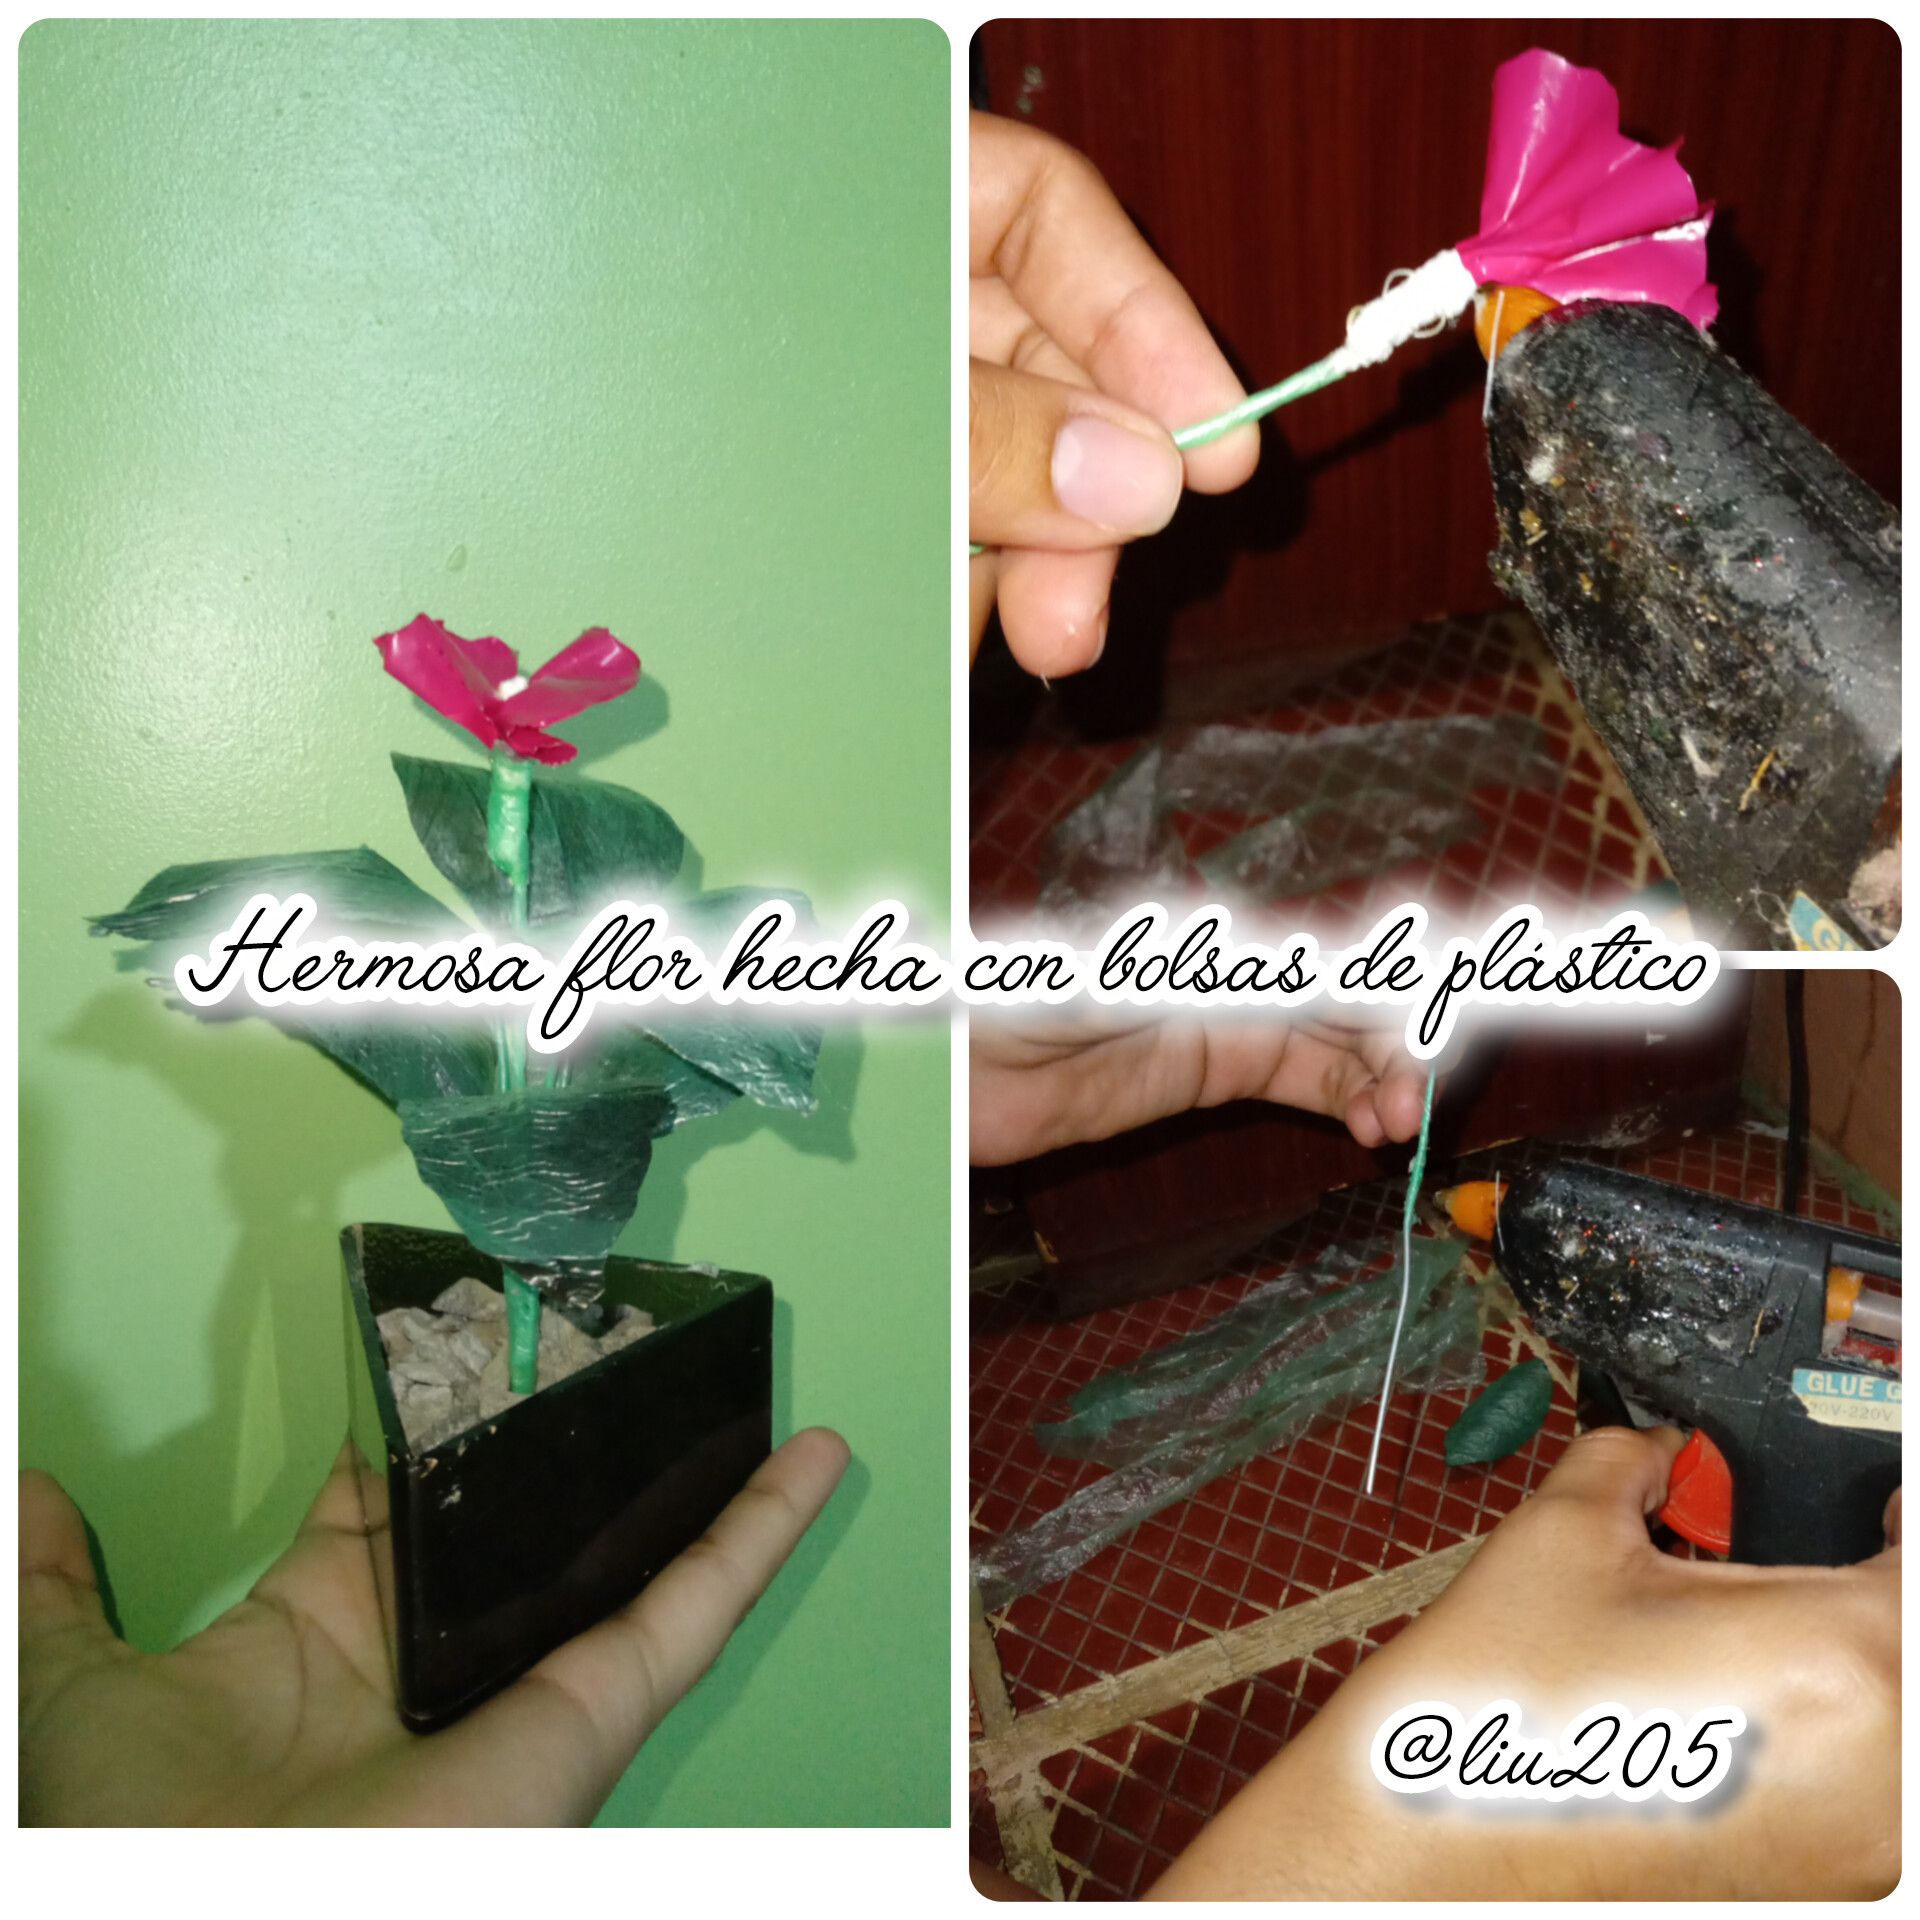
Muy bien, vamos con el trabajo engorroso.
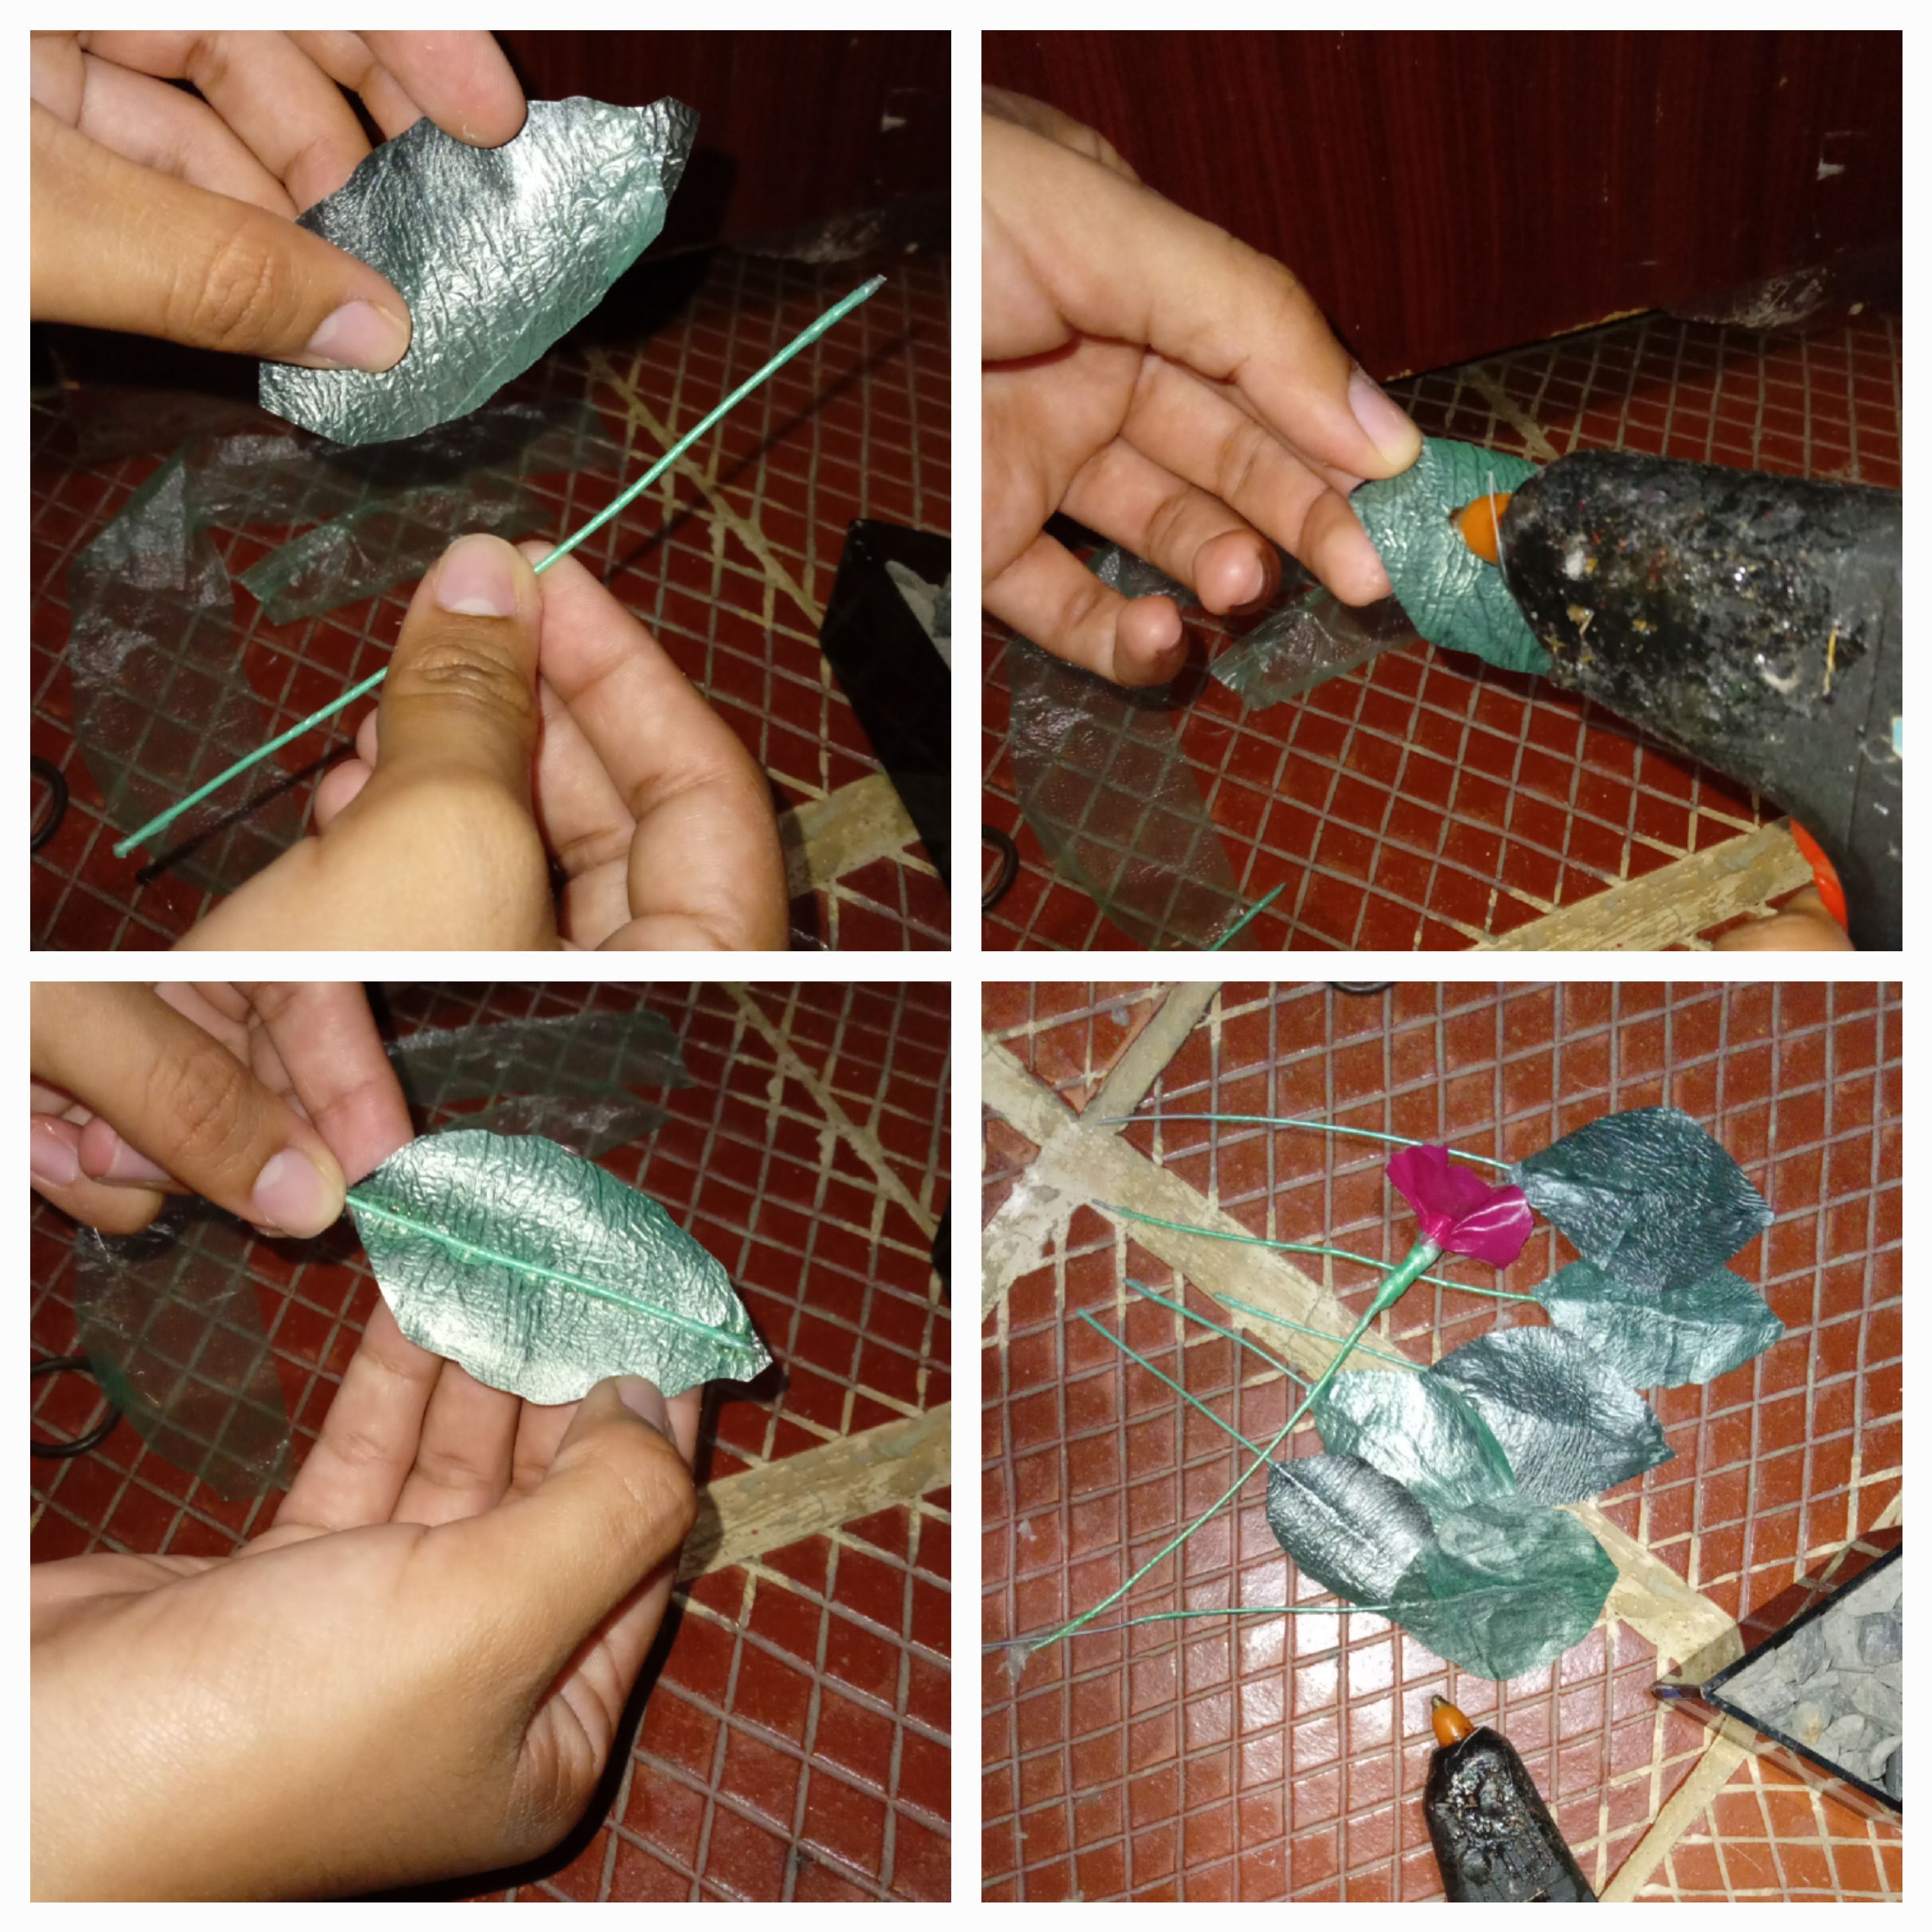
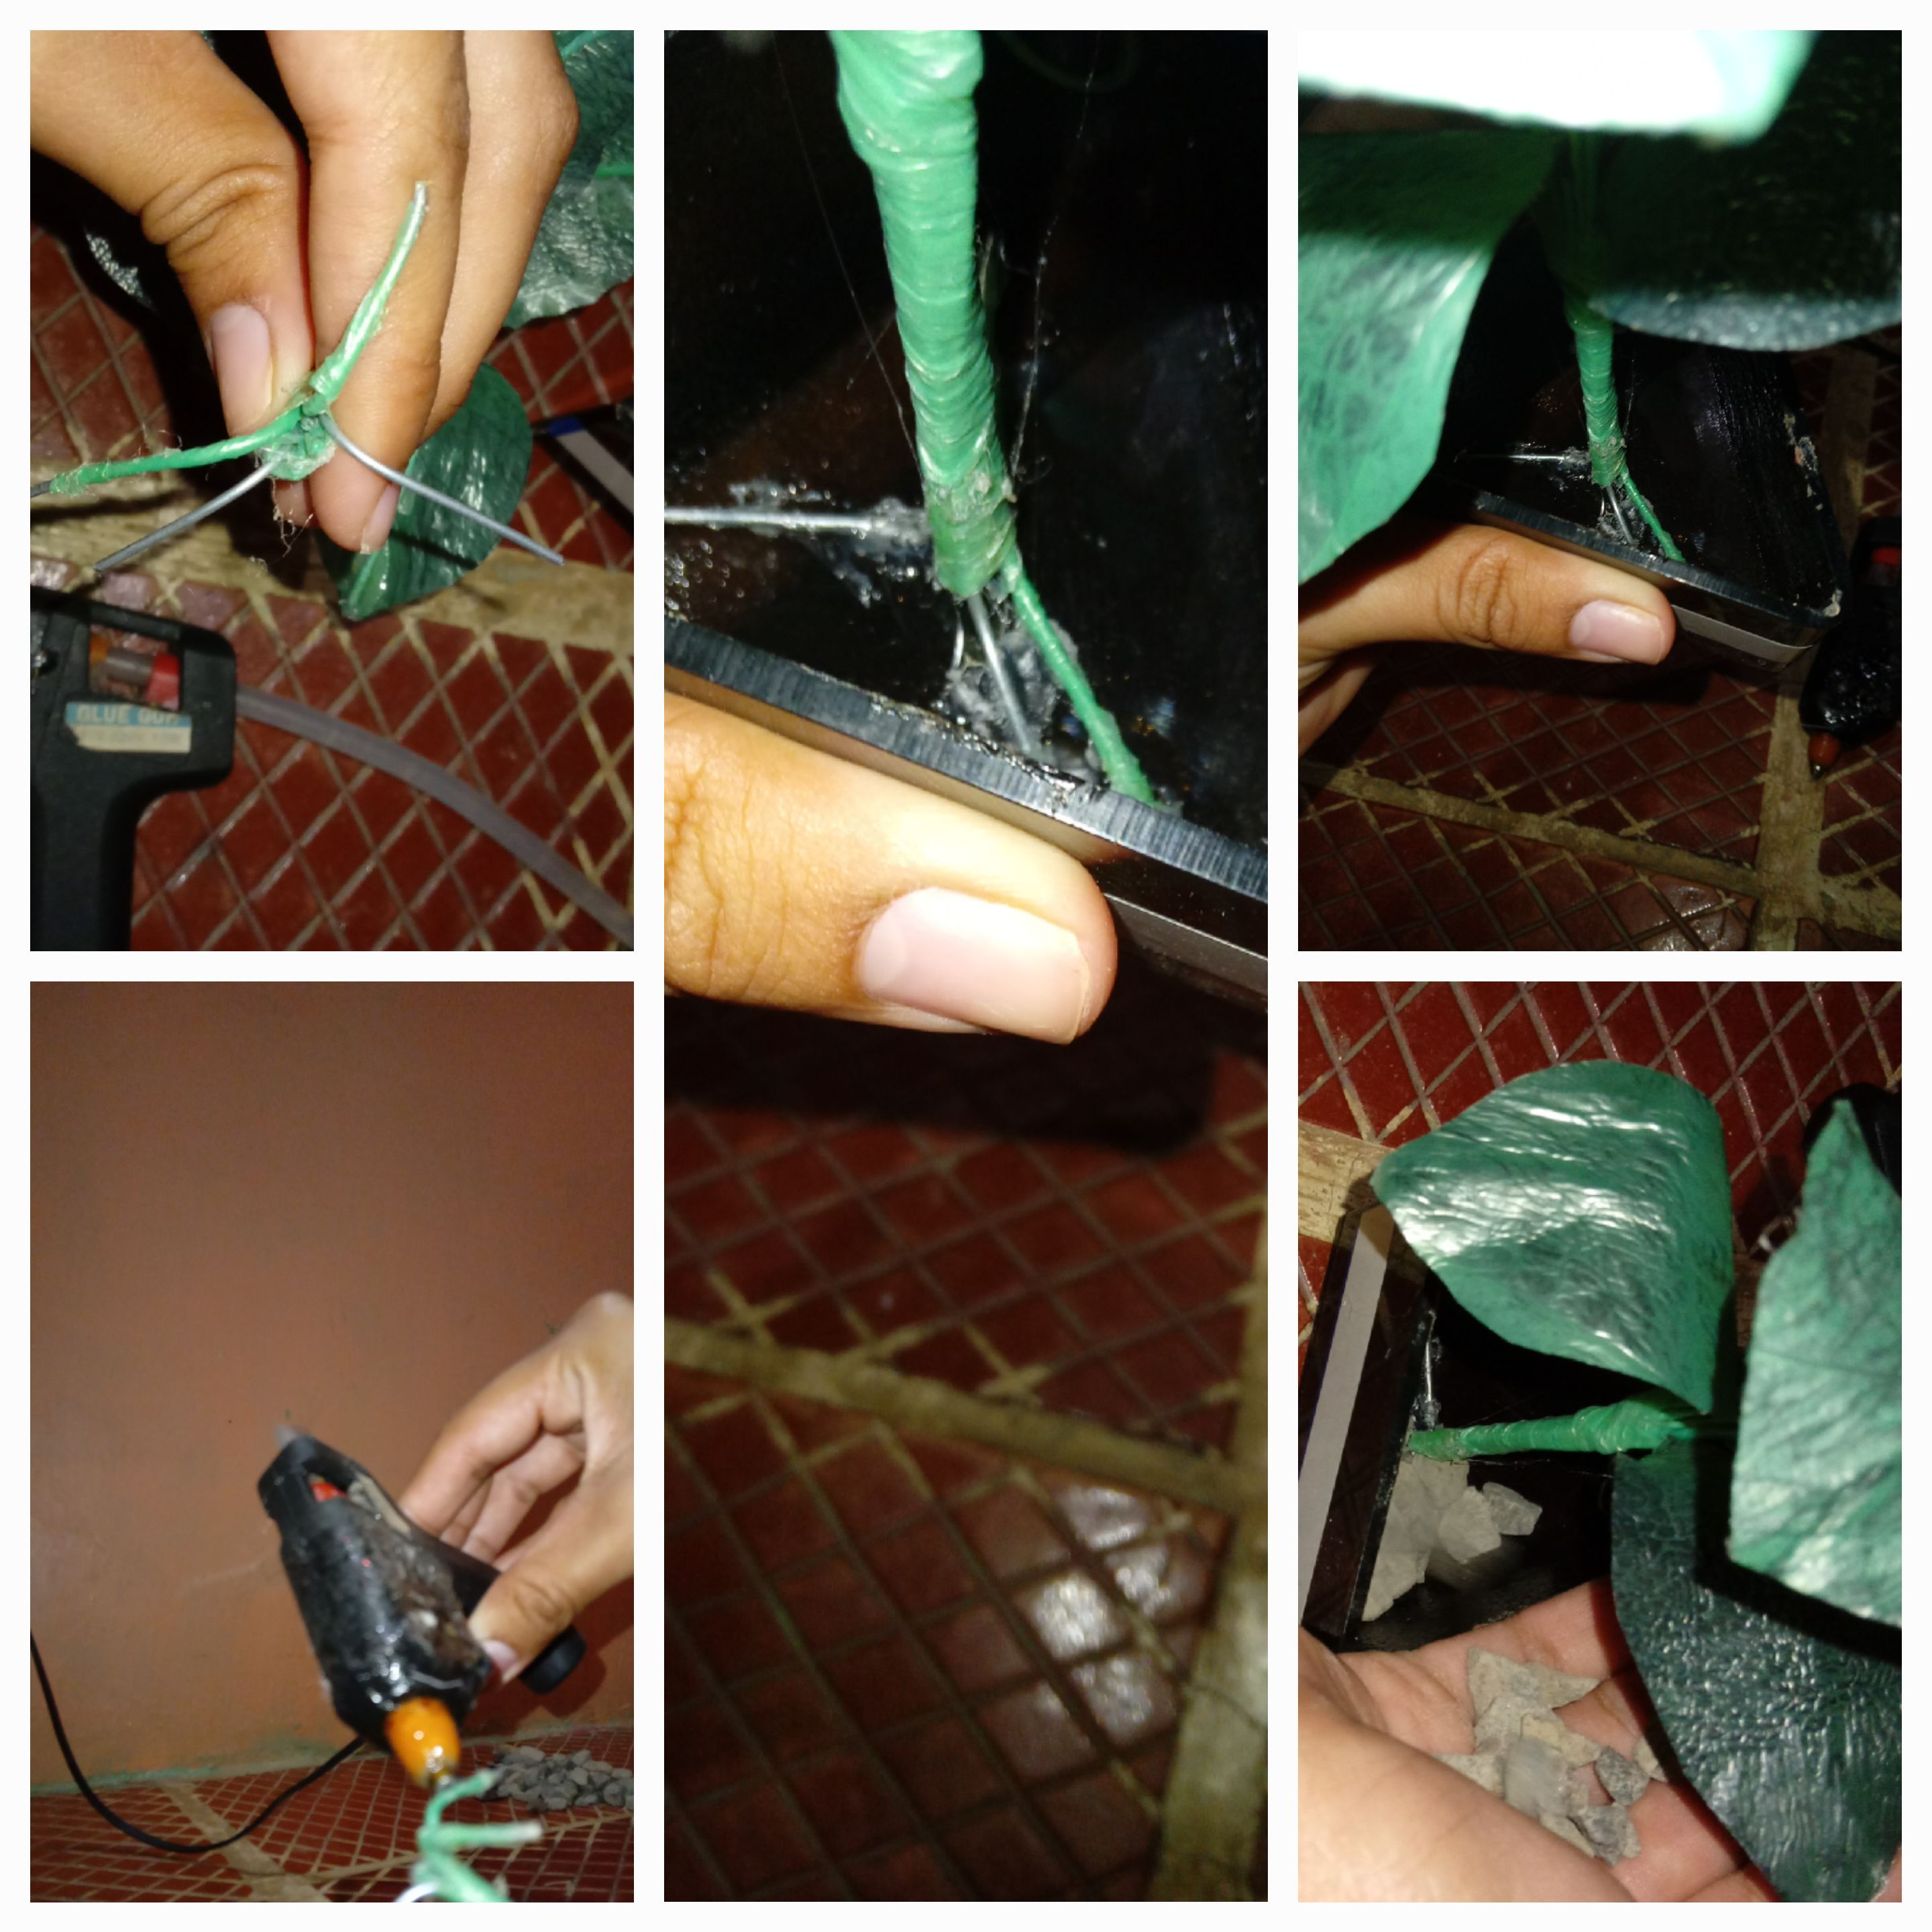
A. Lo primero es forrar los alambres con una tira de la bolsa.
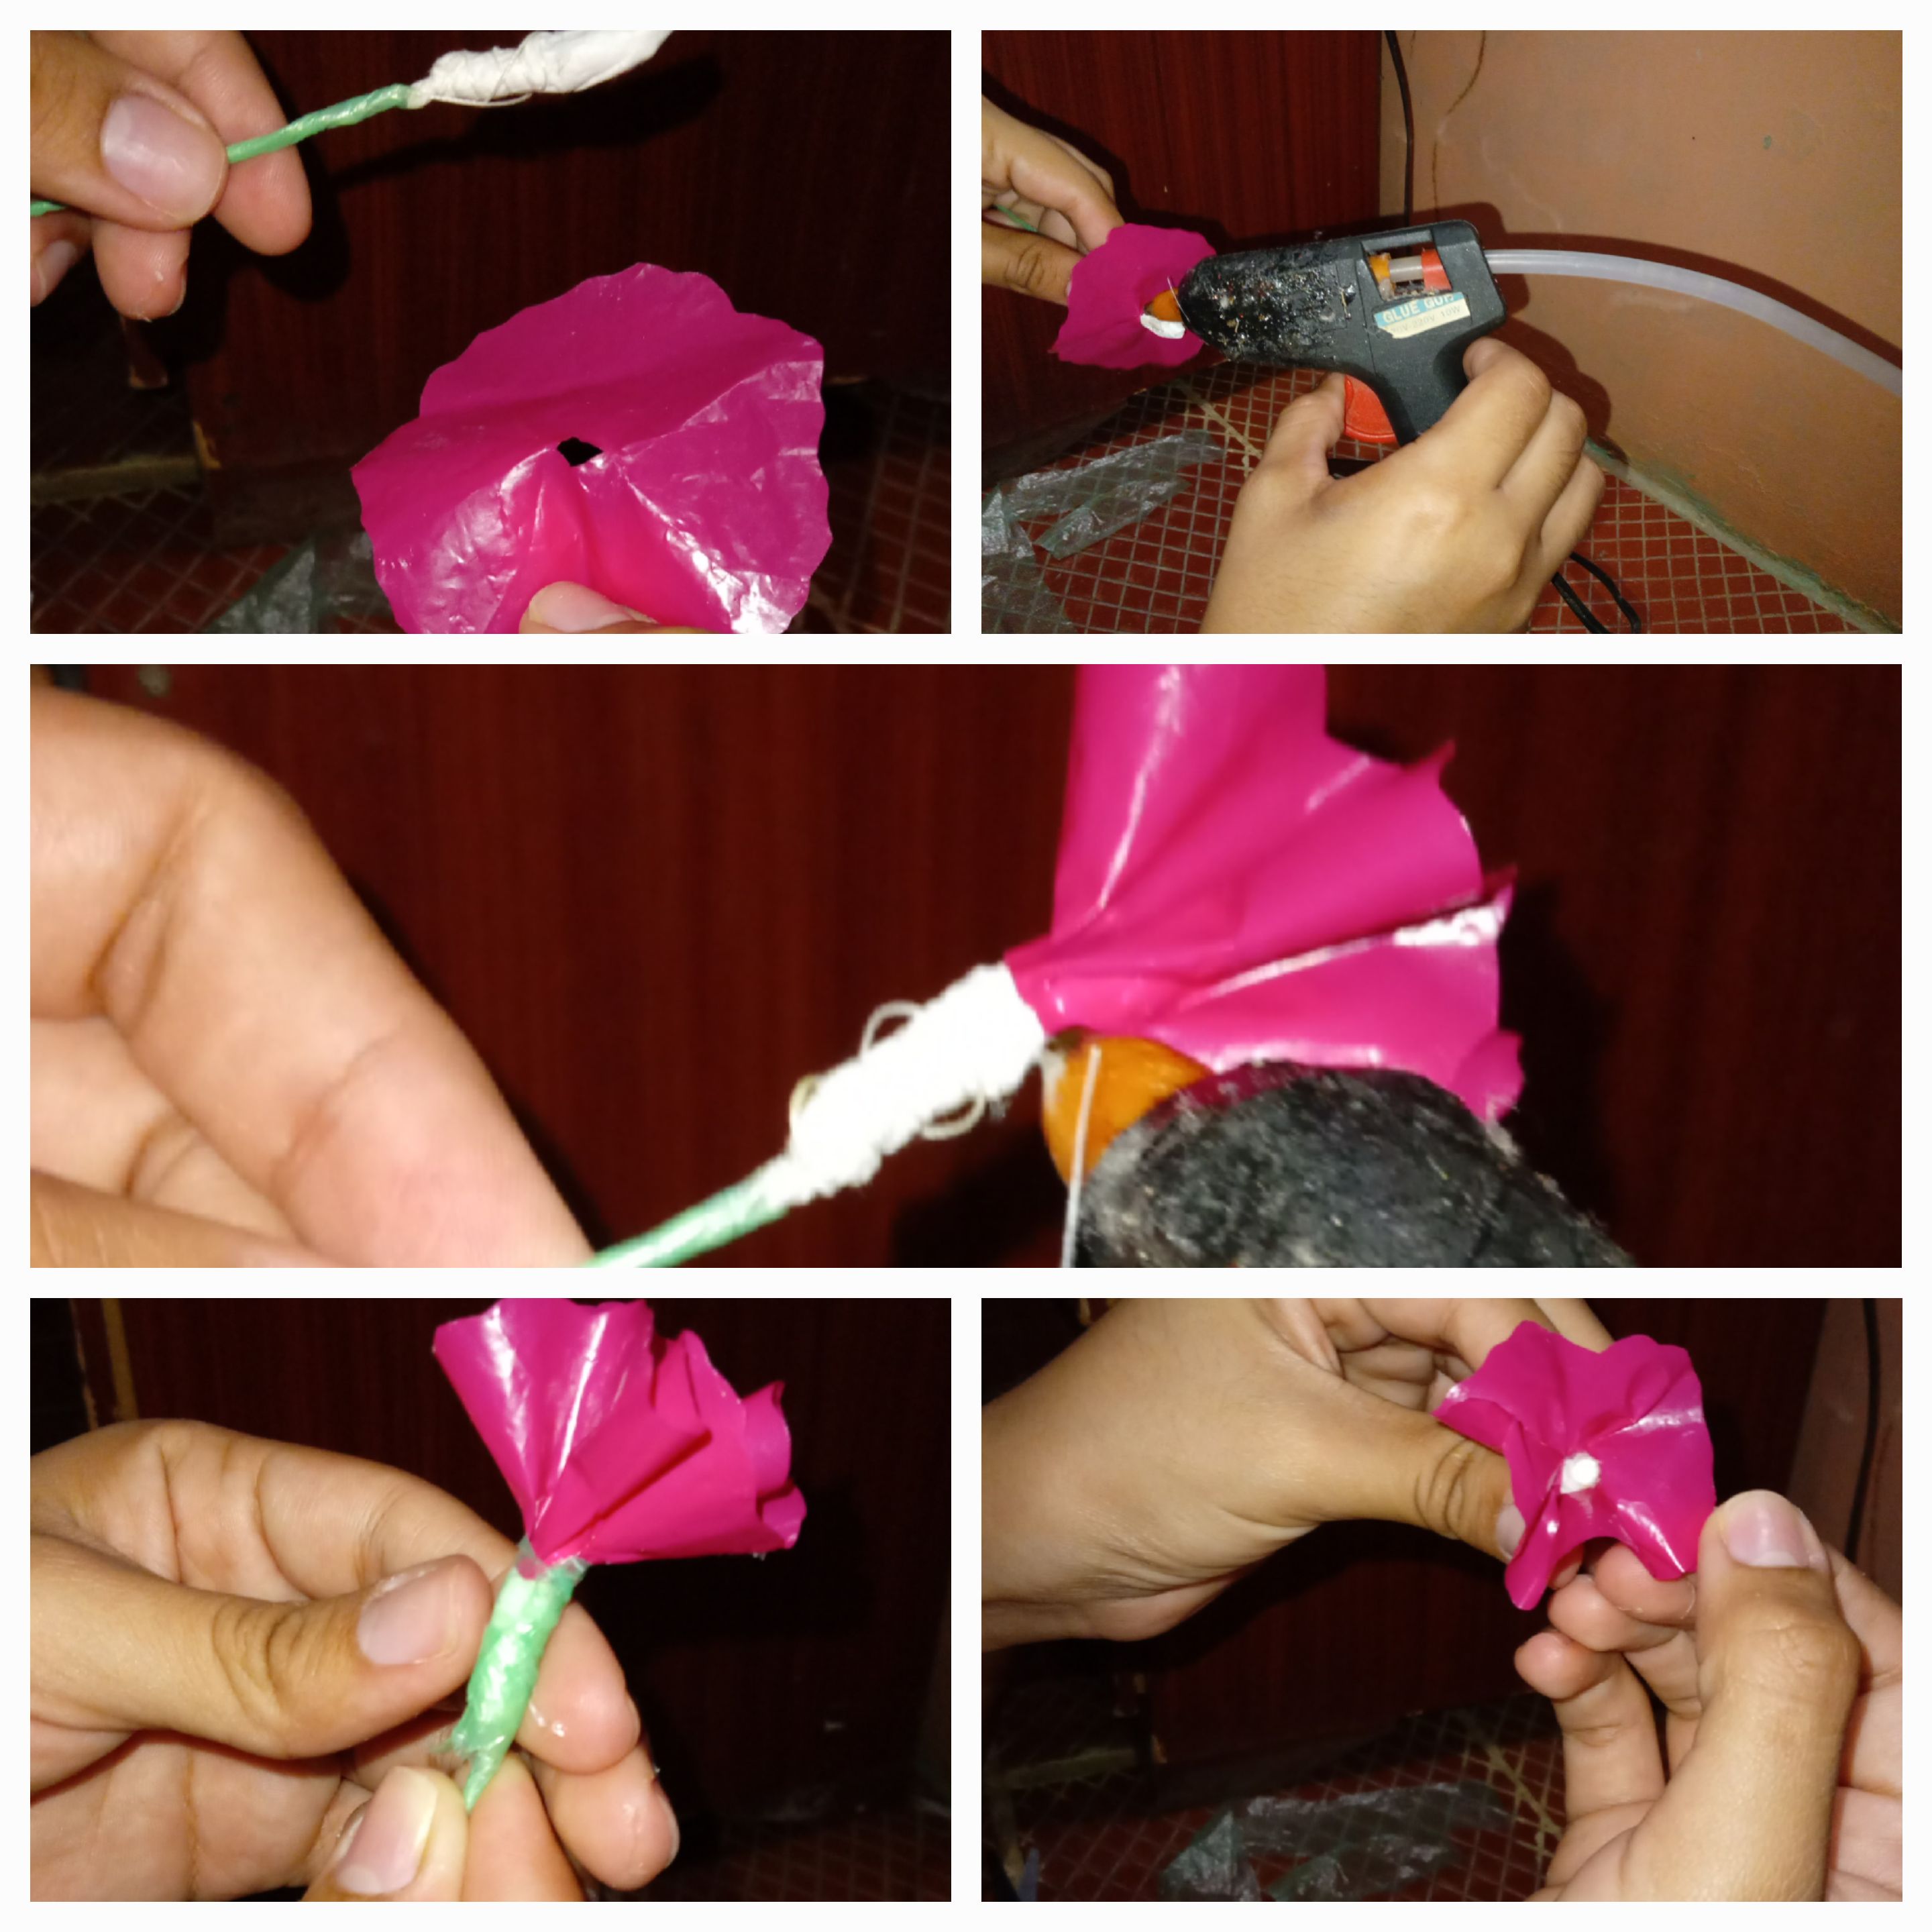
B. Después hay que ponerle un pedazo de servilleta o papel higiénico a uno de ellos en la punta para poner el círculo en forma de flor ahí.
C. Continuamos con los siguientes palillos y ponemos las hojas en él, ponemos una cantidad de silicón en el medio de la hoja, de principio a fin para pegar ahí un alambre forrado. Hasta que terminemos con las 6.
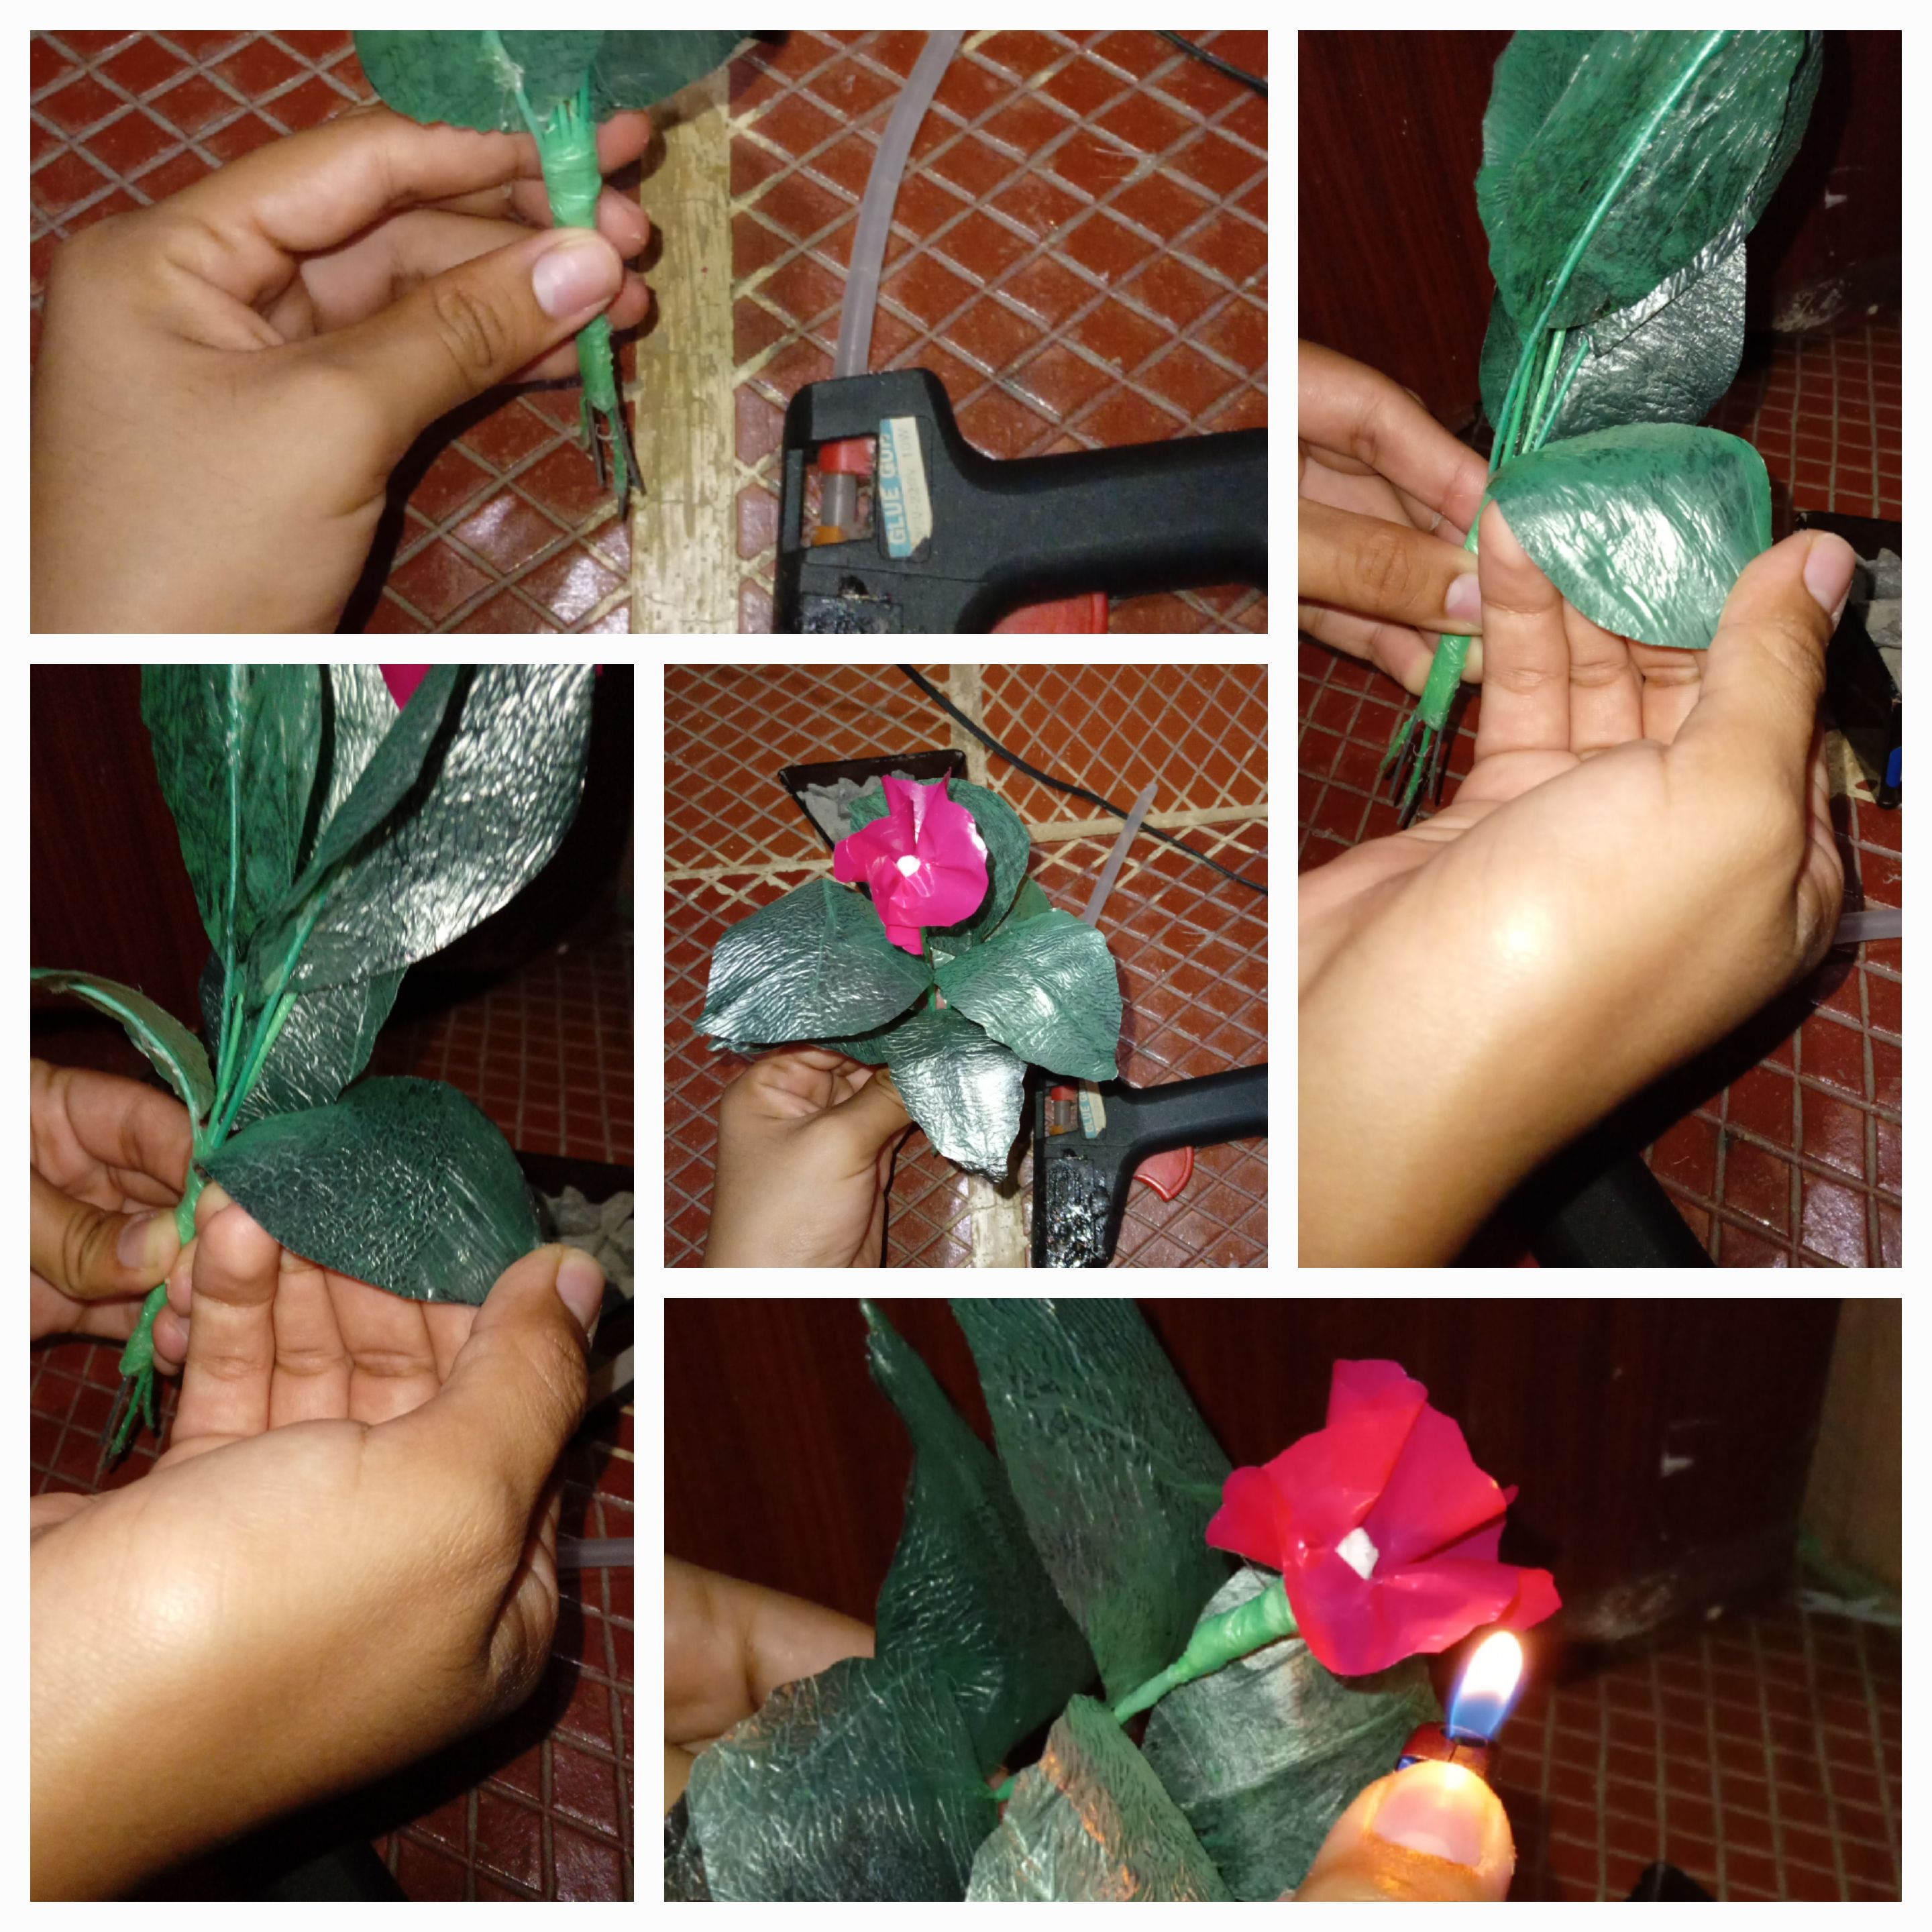
D. Teniendo todo listo, vamos a unirlas, ponemos la flor en el medio, las hojas alrededor peel con el alambres hacia afuera, no hacia adentro.
E. Le pegamos silicón para forrar todo lo que sería el tallo con una tira más de las verdes.
F. Para seguir, ya teniendo todo pegado, vamos a doblar las hojas hacia atrás, ya que con el alambre tiene esta ventaja. Y le ponemos algo de calor a la flor con un yesquero para que quede más bonita.
G. Para terminar solo le doblamos las paticas para pegarla a la base que puede ser una cajita de plástico, o una lata vieja y la pegamos con silicon caliente. Y la puedes decorar con piedras.
Now, for the second part of the process, we'll use the following materials:
The leaves we cut.
Strips of green bag, one or two fingers wide, and the length of the bag.
24 cm long wires, 7 in total.
Silicone stick.
A circle cut from a plastic bag in the color you want; I chose pink.
Okay, let's get to the nitty-gritty.
A. The first thing is to cover the wires with a strip of bag.
B. Then, place a piece of napkin or toilet paper at the tip of one of them to create the flower-shaped circle.
C. Continue with the next toothpicks and place the leaves on them. Place a small amount of silicone in the middle of the leaf, from beginning to end, to glue a covered wire onto it. Until we finish with the 6.
D. With everything ready, let's join them together. We place the flower in the middle, peeling the leaves around it with the wire facing outwards, not inwards.
E. We glue silicone to cover the entire stem with another strip of greenery.
F. To continue, with everything glued, we'll bend the leaves backward, since the wire has this advantage. And we apply some heat to the flower with a lighter to make it look prettier.
G. To finish, we simply bend the legs to glue it to the base, which can be a small plastic box or an old can, and glue it with hot silicone. And you can decorate it with stones.


---
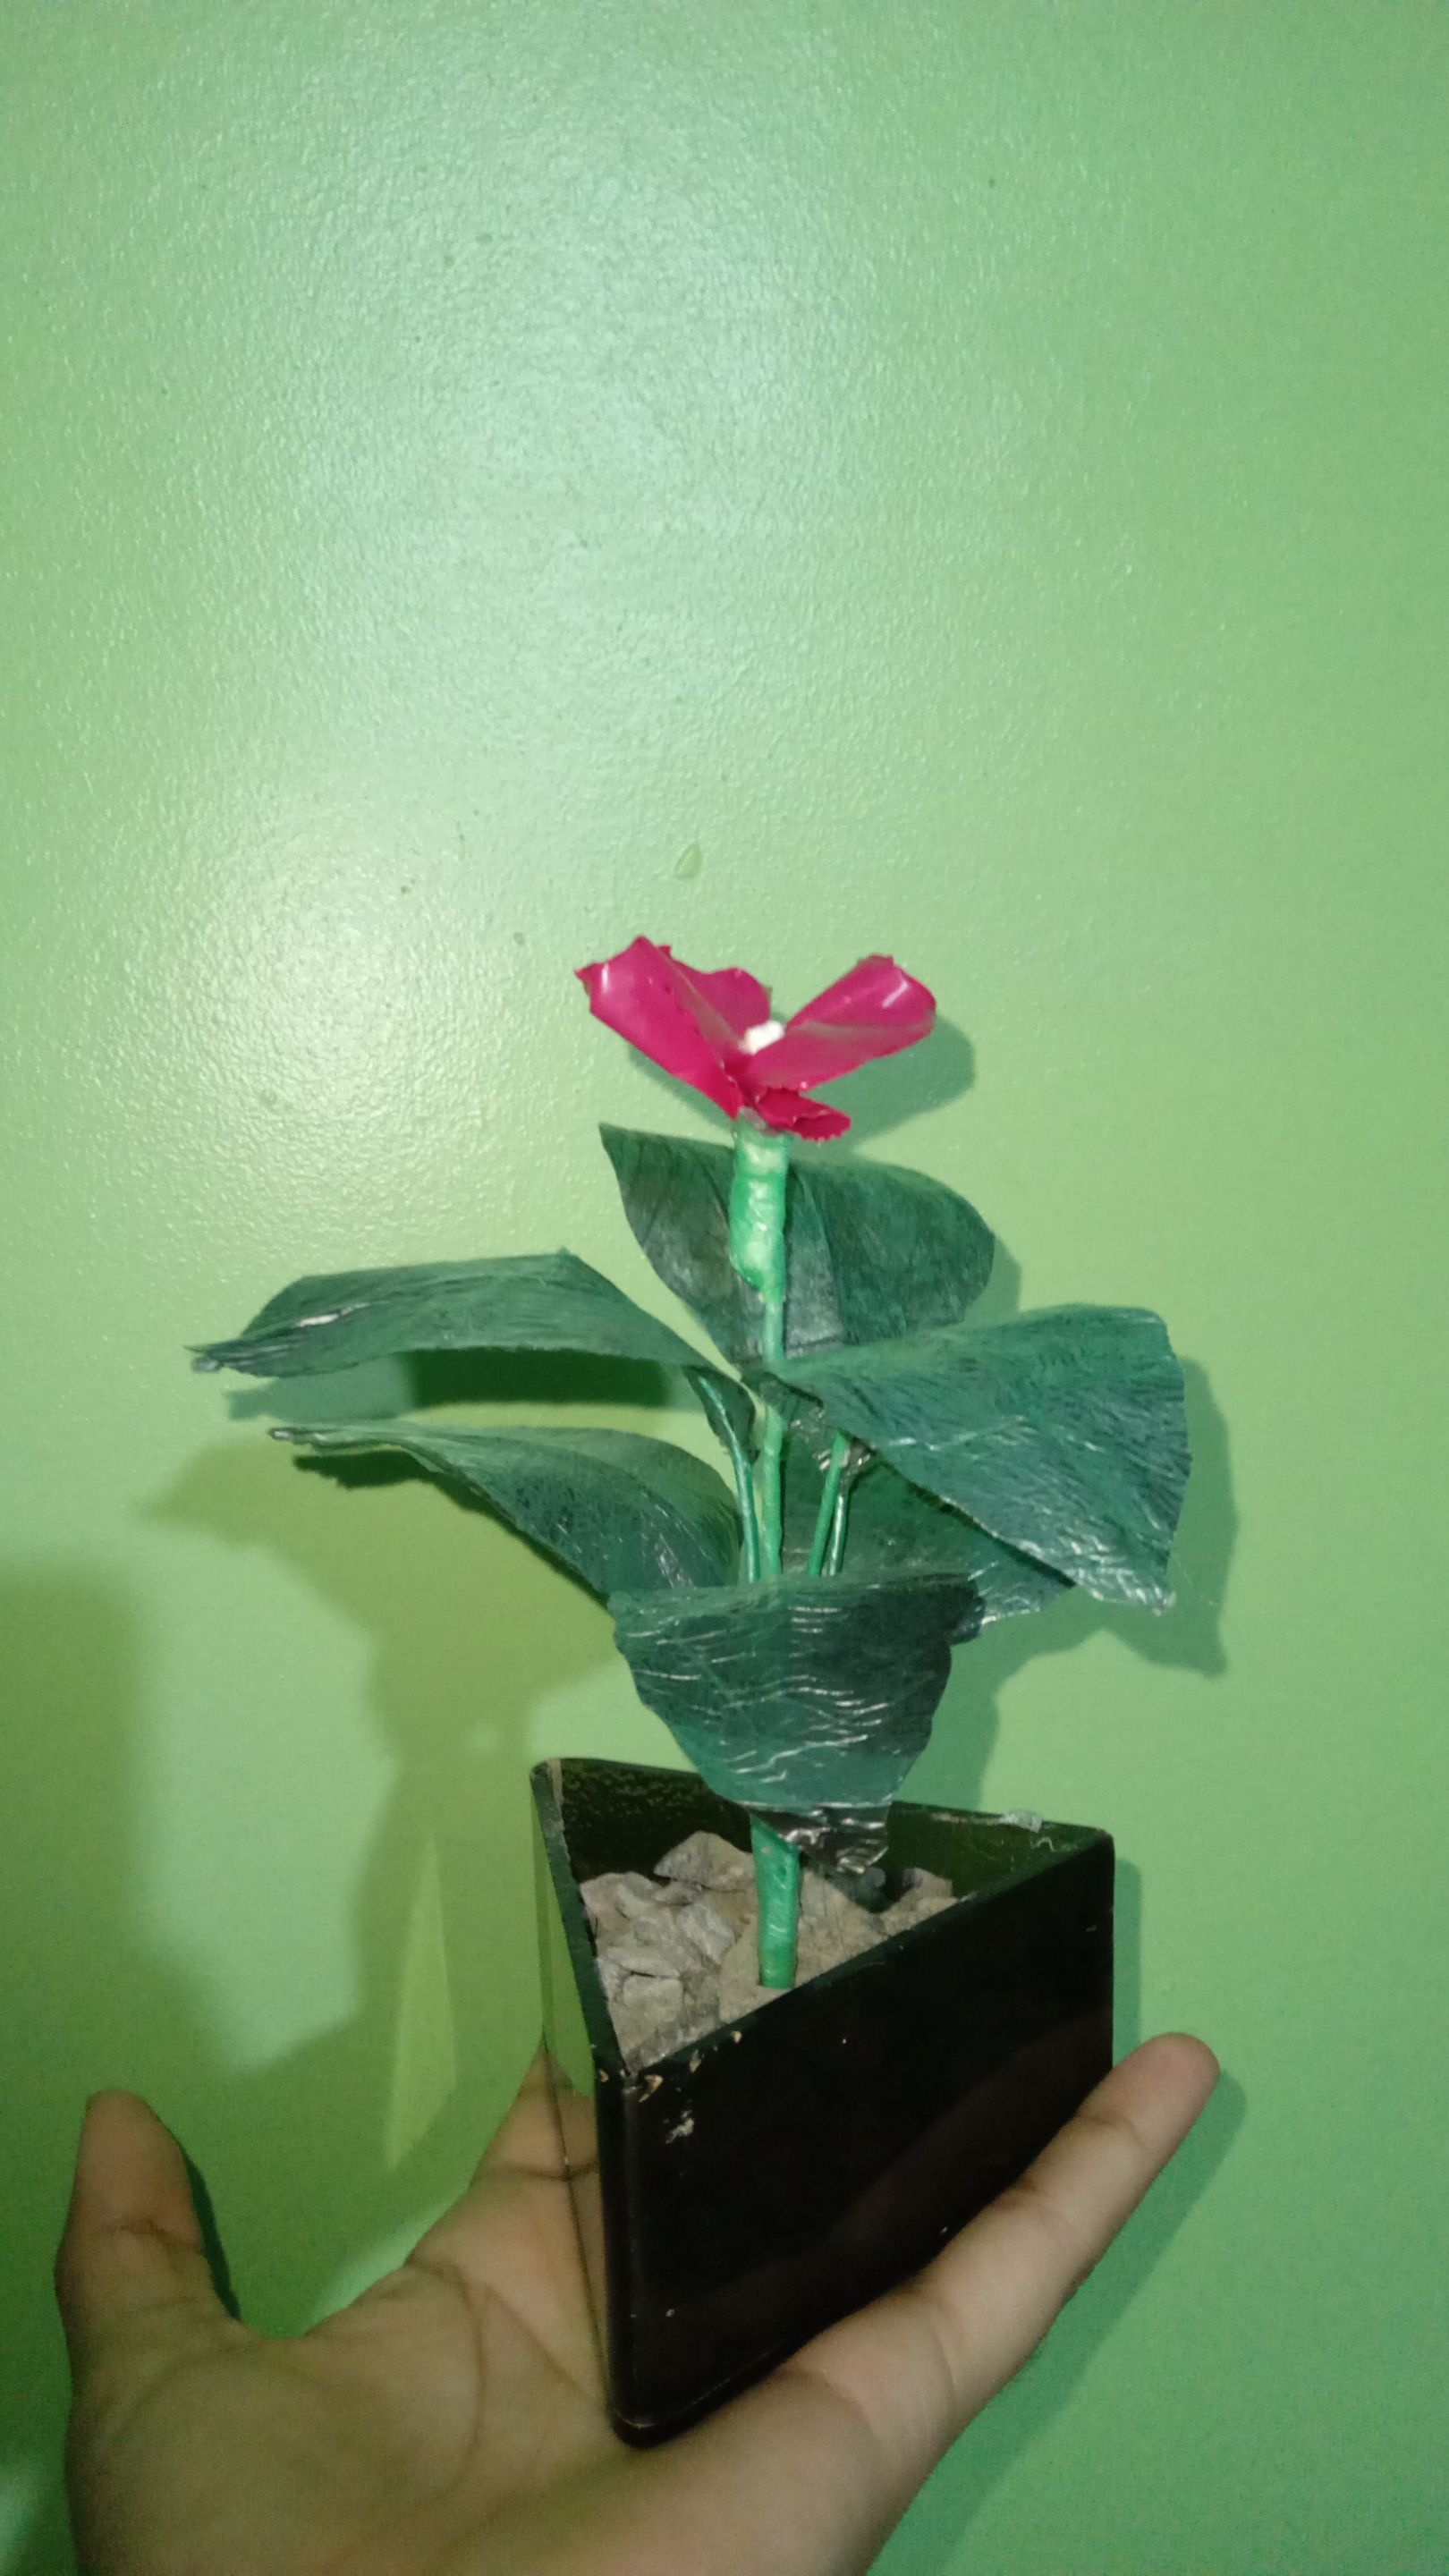
Así quedó mi flor.
This is how my flower turned out.
---
---
Translated with https://www.deepl.com/translator
#diyhub
#neoxian
#spanish
#appreciator
#ocd
#qurator
#creativecoin
#curangel
Payout: 0.000 HBD
Votes: 295
More interactions (upvote, reblog, reply) coming soon.