I am happy to be back in this beautiful community.
___
___
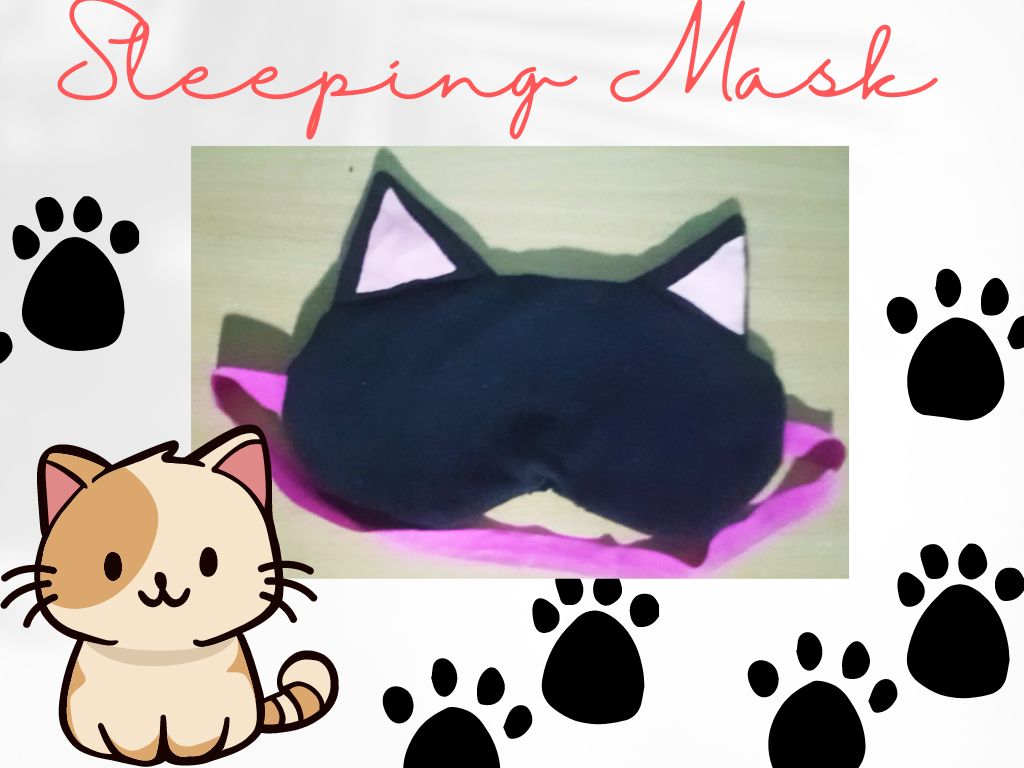
Today I bring you a very practical craft which is a sleeping mask in the shape of a kitten, this accessory is very important because it helps us to relax and to be in the dark in places where there is light, helping us to fall asleep.
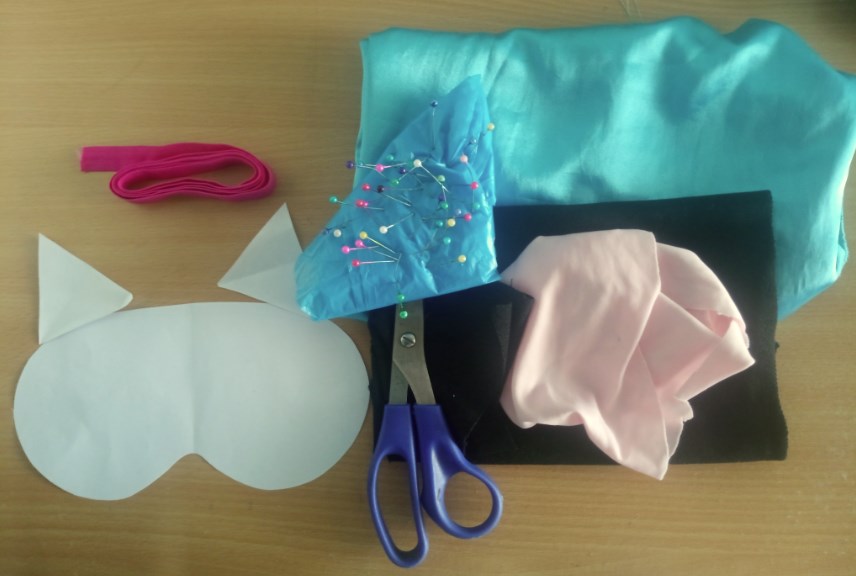
For this craft we will need :
___
___
## Materials
___
___
Black cloth
Pink fabric
Silk cloth
Adhesive lint
Iron
Scissors
Needle
Black thread
Pattern
Pins
Coloured elastic.
___
___
## Procedure.
___
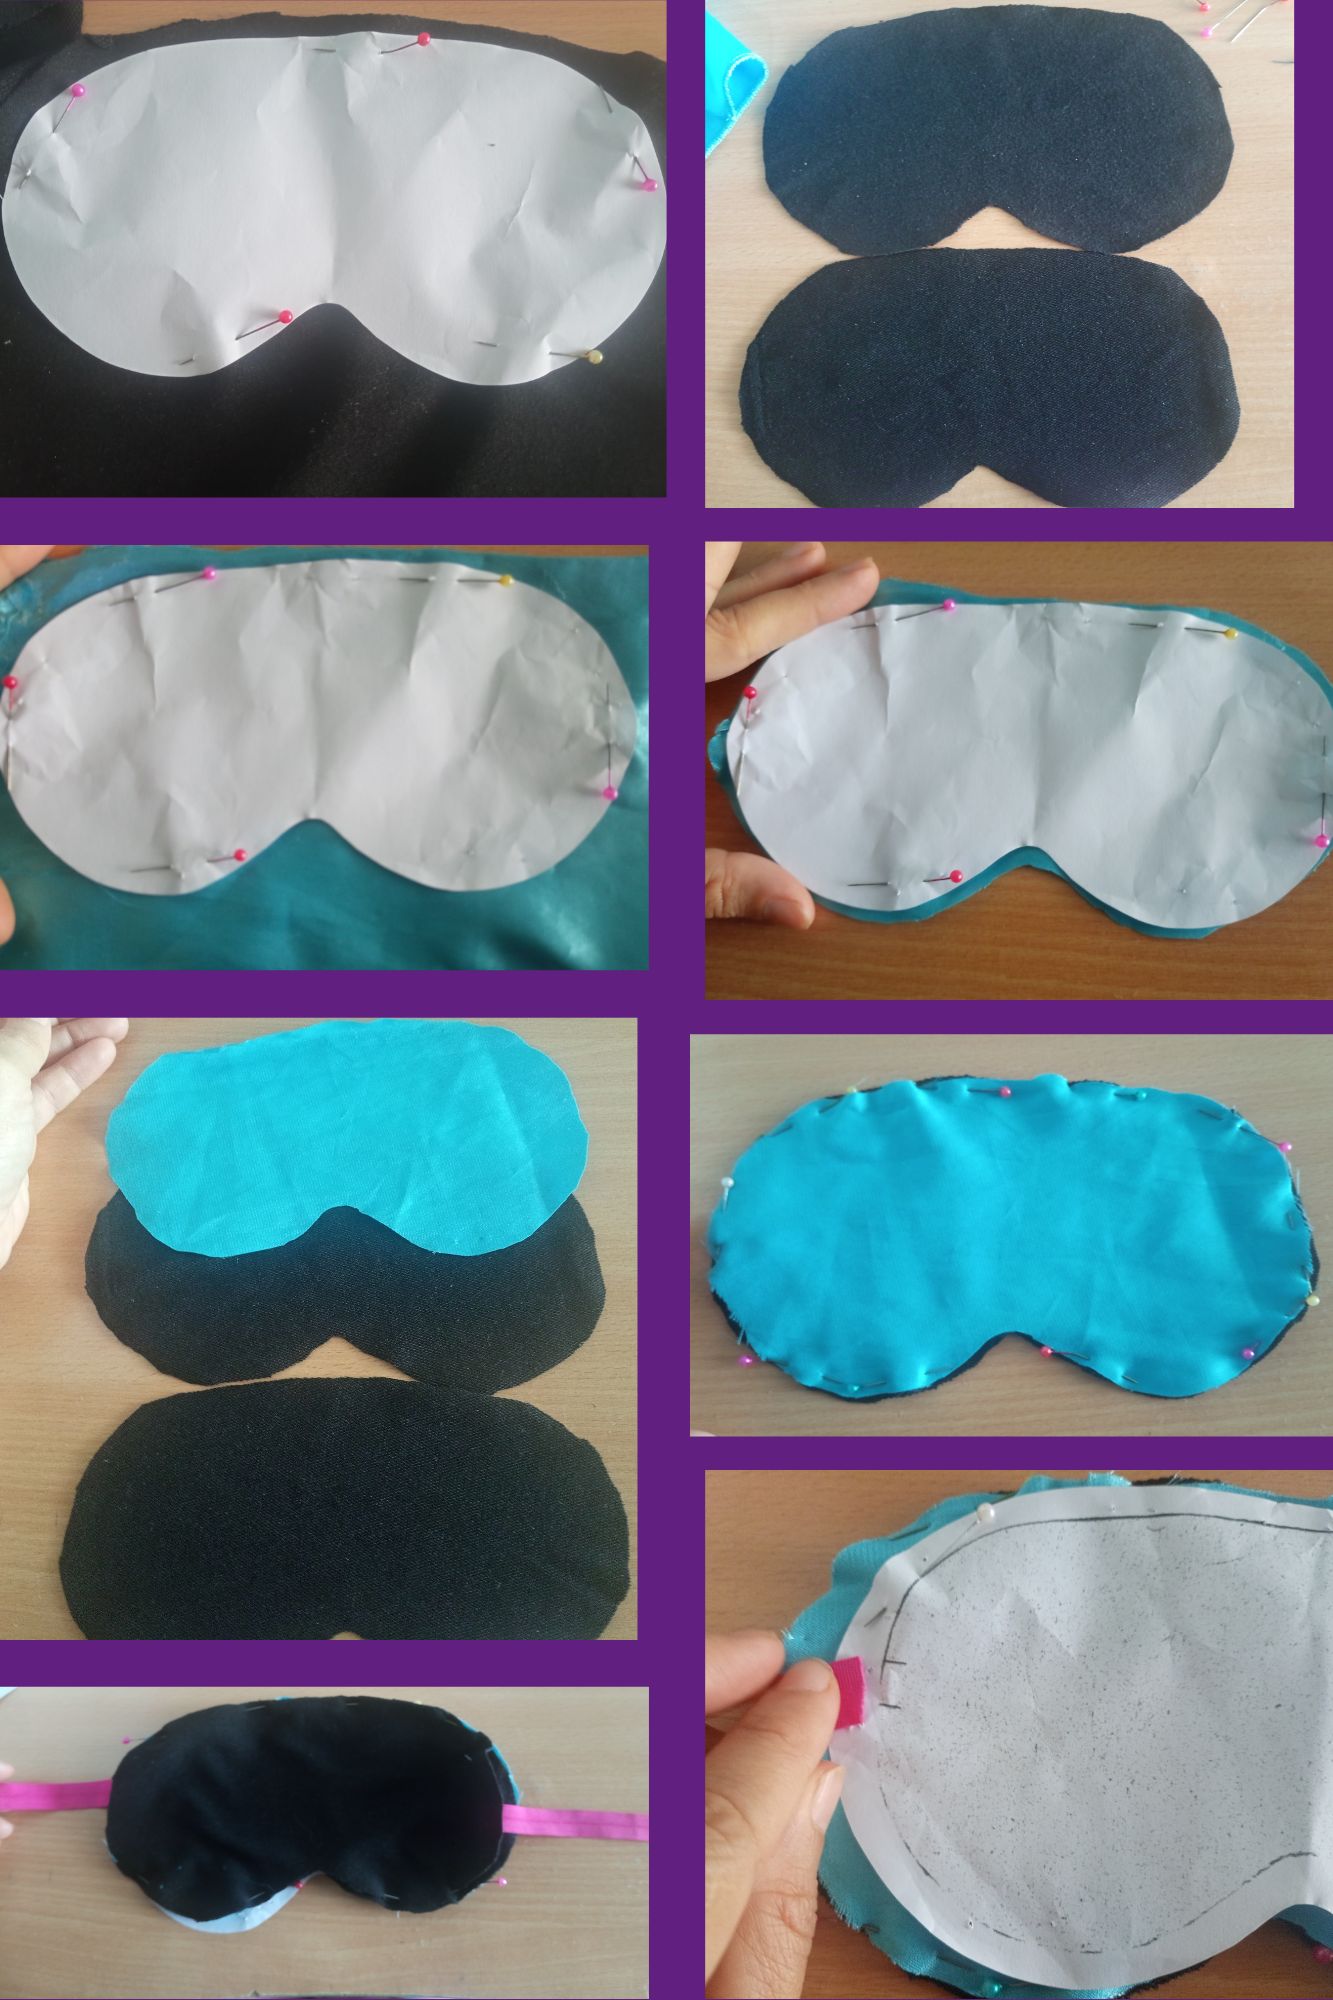
Place the fabric folded where the fabric stretches and place the pattern, place the pins around the pattern and the fabric, cut leaving ½ cm of fabric distance for the seam.
We take the blue silk fabric, we place the pattern, then we fix the fabric with pins and then we cut it out. This fabric is so that the mask is not so loose and helps the light not to pass through the mask.
___
___
___
We take the pattern of rectangles that will be the little ears and cut 4 little ears, then we take the pink fabric and cut two smaller triangles to put on the little ears as well.
___
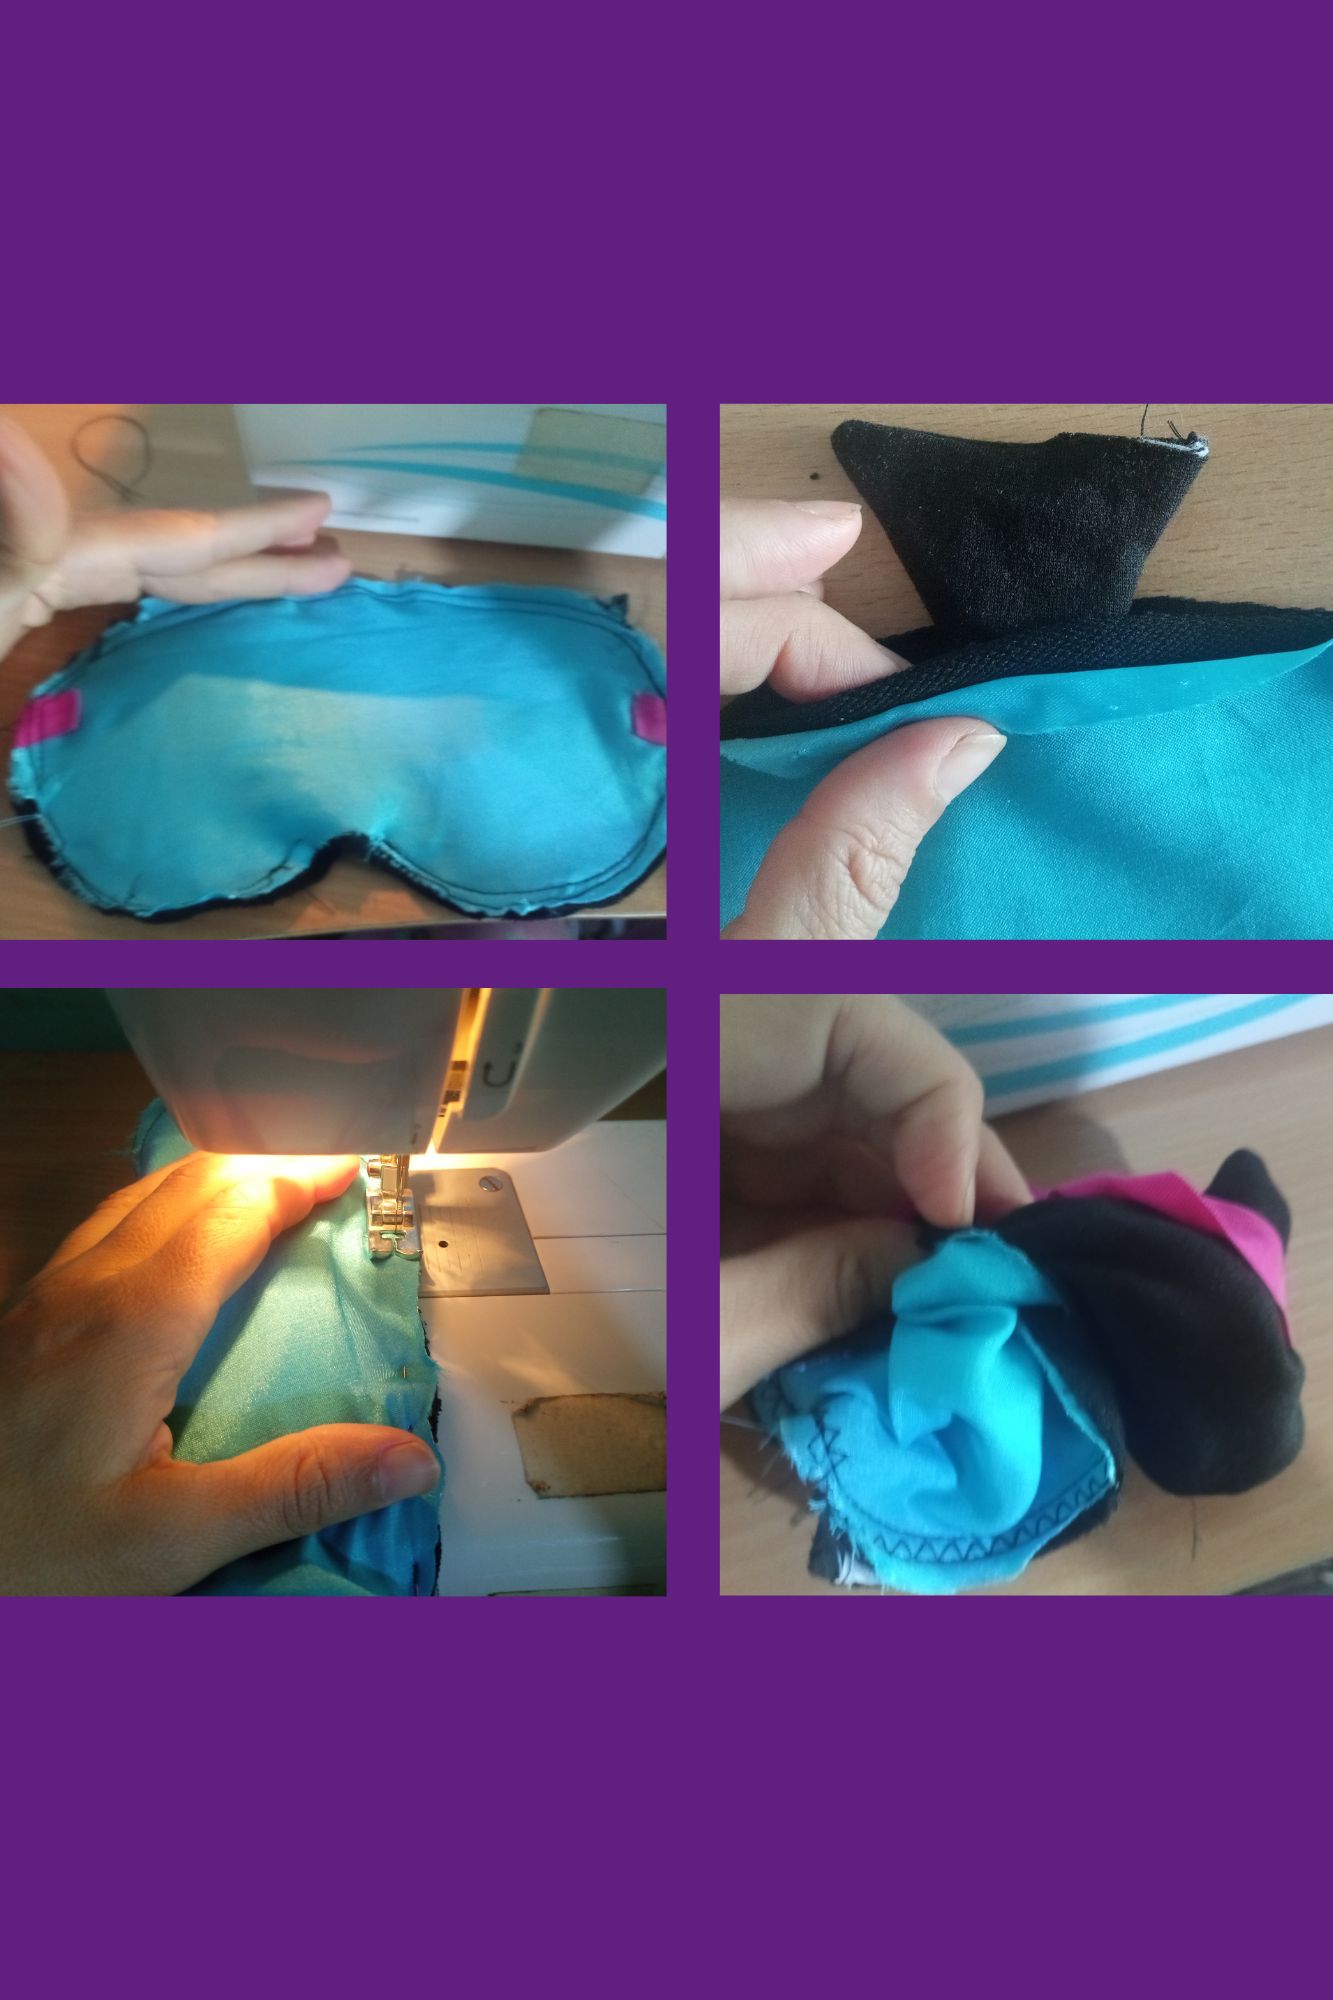
We put the triangle cut out of the mould to cut out the adhesive fur and heat it with a hair iron, when the adhesive fur is fixed to the fabric it is cut out, the back of the fabric is placed and we proceed to sew.
___
___

___
Take the three fabrics and place them on the wrong side of the fabric and close them with the pins, place the paper pattern where the two stripes are located where the elastic will be placed and place it on the front of the fabric, then open it and place the triangles on the wrong side so that the base is flush for sewing.
___
The straight seam is sewn twice and then the zigzag seam is sewn to finish the work, leaving a part unsewn to fold the fabric and leave it right sides together.
___
Fold so that the seam is on the inside, sew the seamless part and our kitten-shaped mask is ready.
___
___
.jpg)
___
___
And this is what we got for our craft of the day, a beautiful kitten mask.
___
___

___
___
Bueno amigos esto es todo por mi parte, espero que tu lectura haya sido agradable, animándote a que si quieres te atrevas a realizar este antifaz para dormir.

Spanish
Estoy Feliz de estar nuevamente en esta hermosa comunidad.
___
___
El día de hoy les traigo una manualidad muy práctica que es un antifaz para dormir en forma de gatito, este accesorio es muy importante ya que nos ayuda a relajarnos y a estar a oscuras en lugares donde hay luz, ayudándonos a conciliar el sueño.
Para esta manualidad vamos a necesitar :
___
___
## Materiales
___
___
Tela negra
Tela rosada
Tela de seda
Pelón con adhesivo
Plancha
Tijera
Aguja
Hilo negro
Patrón
Alfileres
Elástica de color.
___

___
## Procedimiento.
___
Colocamos la tela doblada por la parte donde estira la tela y colocamos el patrón, ubicamos los alfileres alrededor del patrón y la tela, cortamos dejando ½ cm de distancia de tela para la costura.
Tomamos la tela de seda azul, colocamos el patron, luego fijamos la tela con alfileres y posteriormente recortamos. esta tela es para que el antifaz no quede tan flojo y ayude a que no traspase la luz por el antifaz.
___
___

___
Tomamos el patrón de rectángulos que será las orejitas y picamos 4 orejitas, luego tomamos la tela rosada y picamos dos triángulos más pequeños para colocarle también a las orejitas.
___
Ponemos el recorte de triangulo de molde para picar el pelón adhesivo y le colocamos calor en este caso lo realice con una plancha de cabello, al fijarse el adhesivo del pelón a la tela se recorta, se coloca los reveses de la tela y se procede a coser.
___
___

___
Se toma las tres telas y se ponen al revés de la tela y se cierra con los alfileres, se coloca el patrón de papel donde está ubicado dos rayitas donde se colocará la elástica y se pone al frente de la tela, posteriormente se abre y se coloca los triangulitos al revés para que la base quede al ras para coser.
___
Se pasa la costura recta dos veces y luego la costura en forma de zigzag para rematar el trabajo dejando una parte sin coser para doblar la tela y quede derecho con derecho.
___
Se dobla para que la costura quede en la parte interna, se cose la parte sin coser y ya tendremos listo nuestro antifaz en forma de gatito.
___
___
.jpg)
___
___
Y así nos quedó nuestra manualidad del día, un hermoso antifaz en forma de gatito.
___
___

___
___
Bueno amigos esto es todo por mi parte, espero que tu lectura haya sido agradable, animándote a que si quieres te atrevas a realizar este antifaz para dormir.
fotos propias, sacadas con un telefono Redmi 10 Diseño en Canva.com Traduccion en deepl.com