HELLO EVERYONE,
How are you all? I hope you are all well. I am also well by the grace of Allah.

Today I have come with a recipe for you. Today I will share a very interesting recipe with you. This recipe is a delicious Chattopi recipe. This recipe is my favorite recipe. More or less everyone likes this recipe a lot. Sometimes it is made at home. It is much better to make it at home in a healthy way than eating out. I have tried to present the whole recipe very nicely. I hope you will like today's recipe. So let's get started.
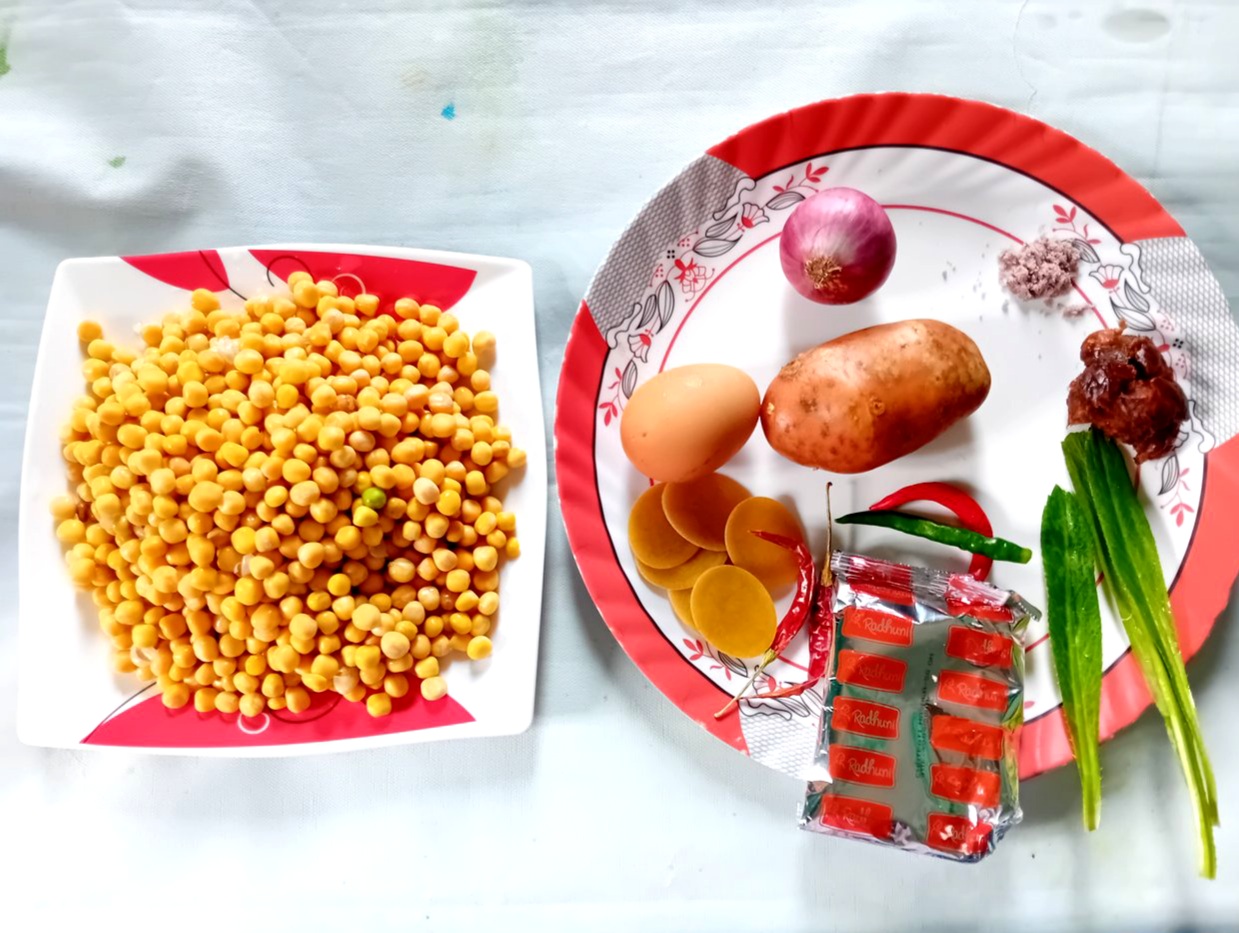
Required ingredients
Chola Booter Dal
Chatopi Masala
Potato
Egg
Onion
Dried Chilli
Beet Salt
Corn Chilli
Coriander Leaves
Tamarind
Fuchka
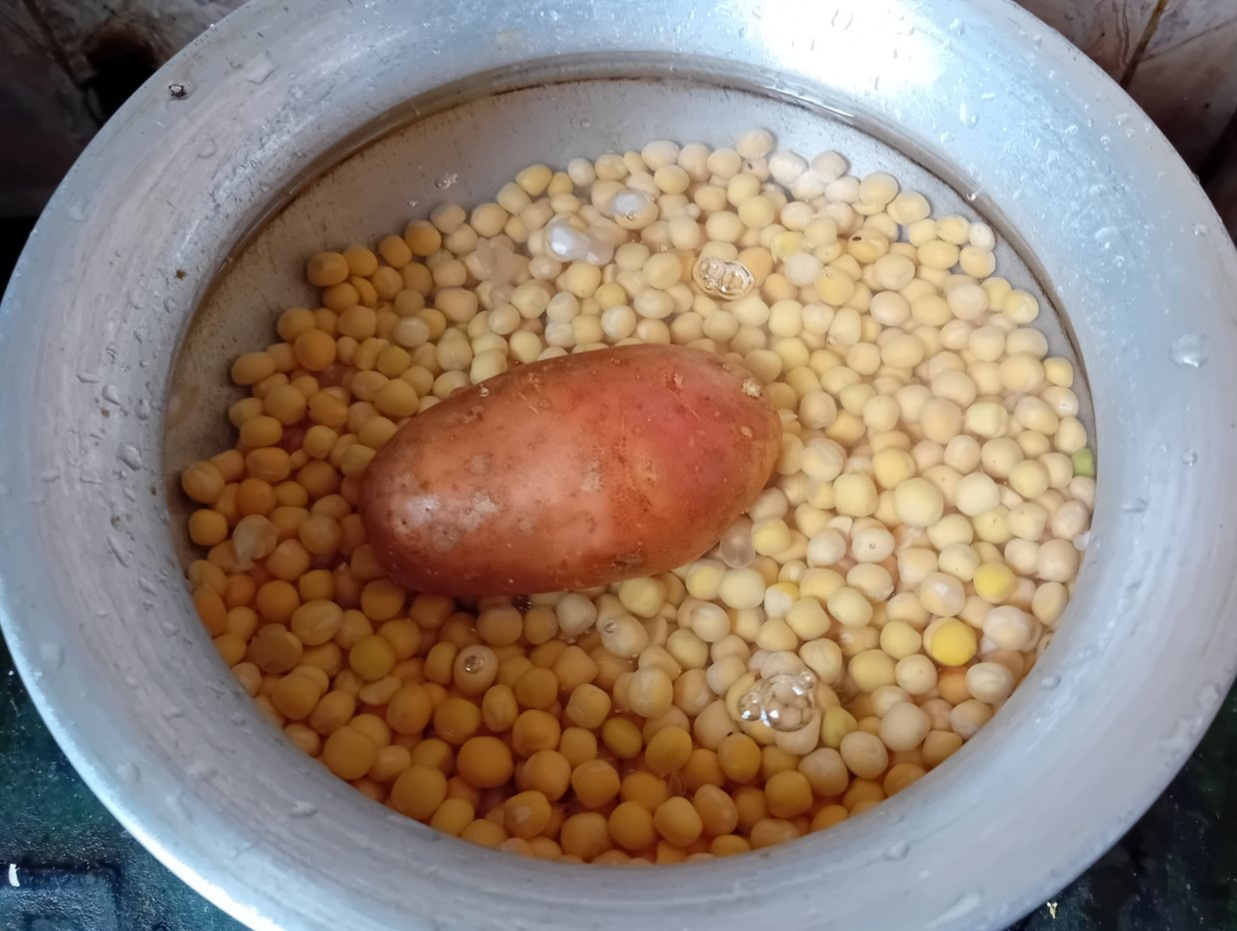
Step - 1
Here I have soaked the chickpea booter dal for 6-7 hours. Then I boiled the booter dal. Along with that I have boiled a potato. When the potatoes are cooked, I remove them. And it takes a little longer to cook the lentils.
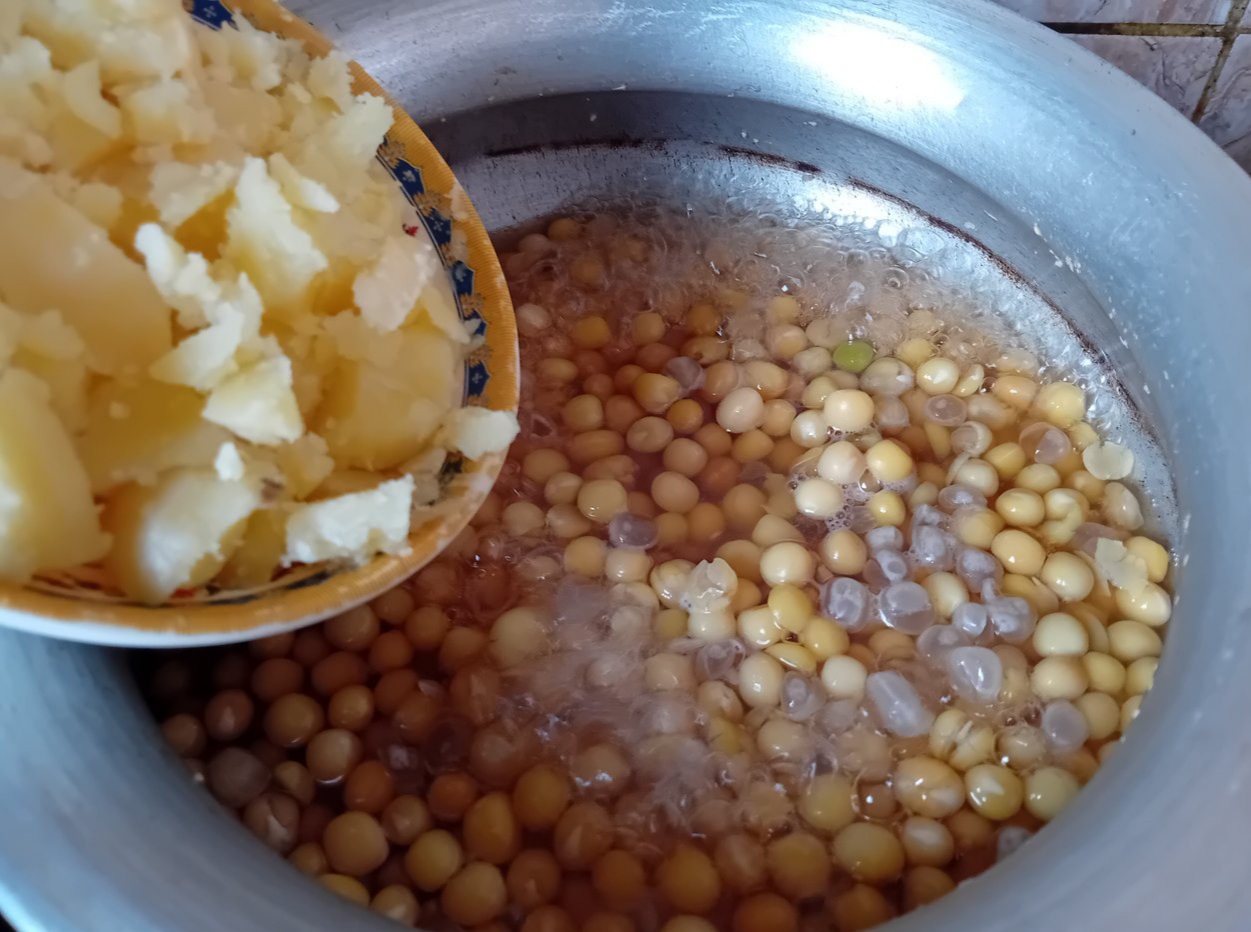
Step - 2
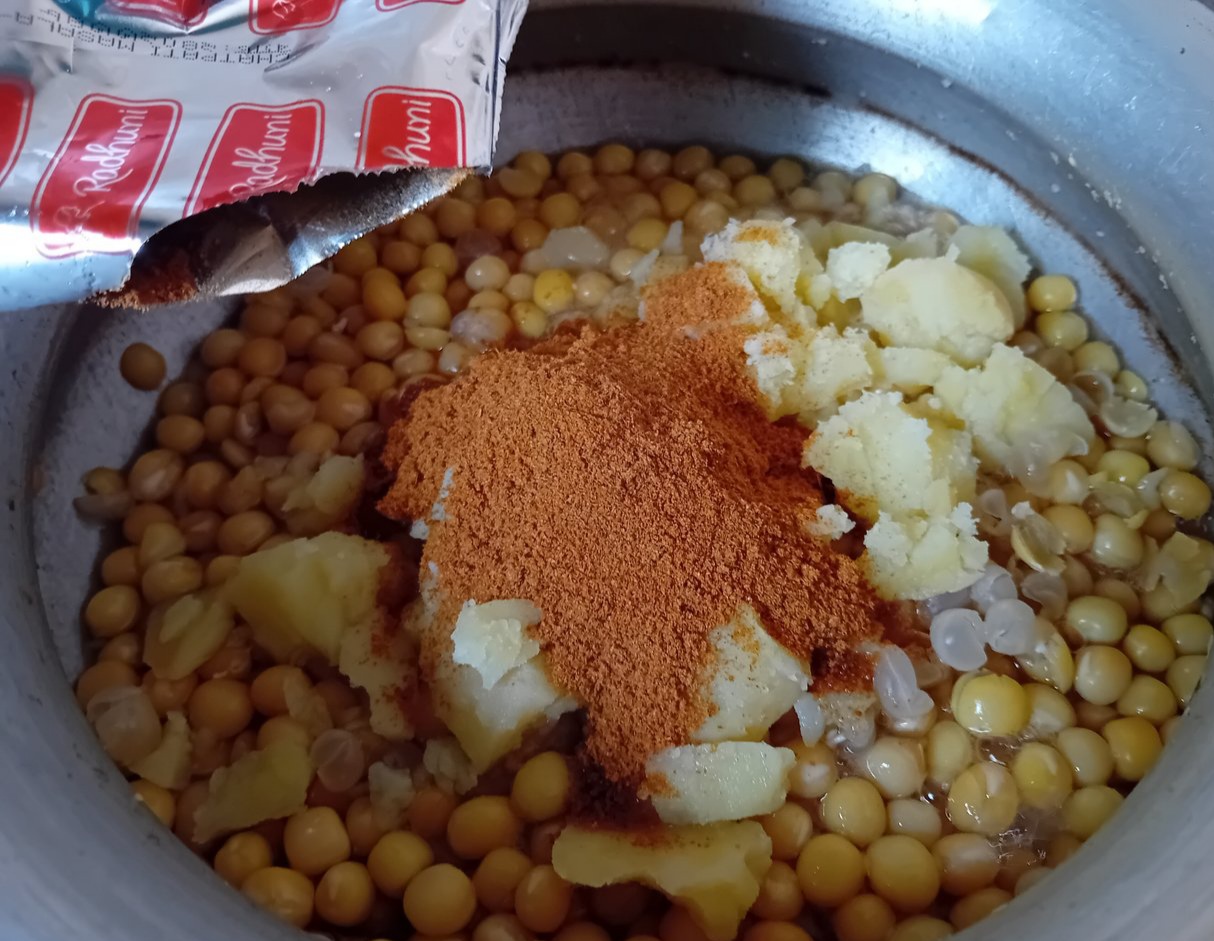
When the lentils are cooked, I mash the boiled potatoes. I took the spices first and then added the spices for the chapati.
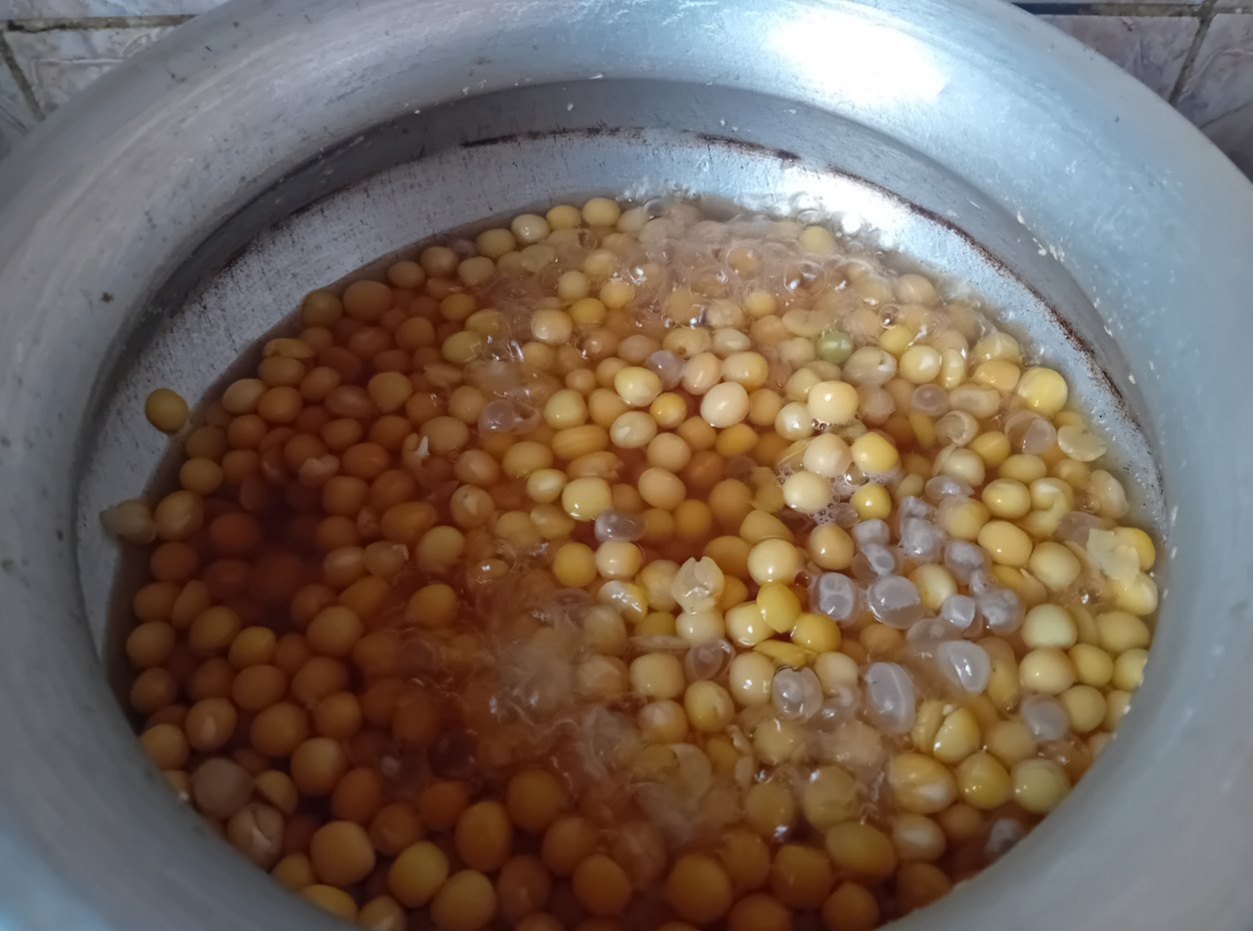
Step - 3
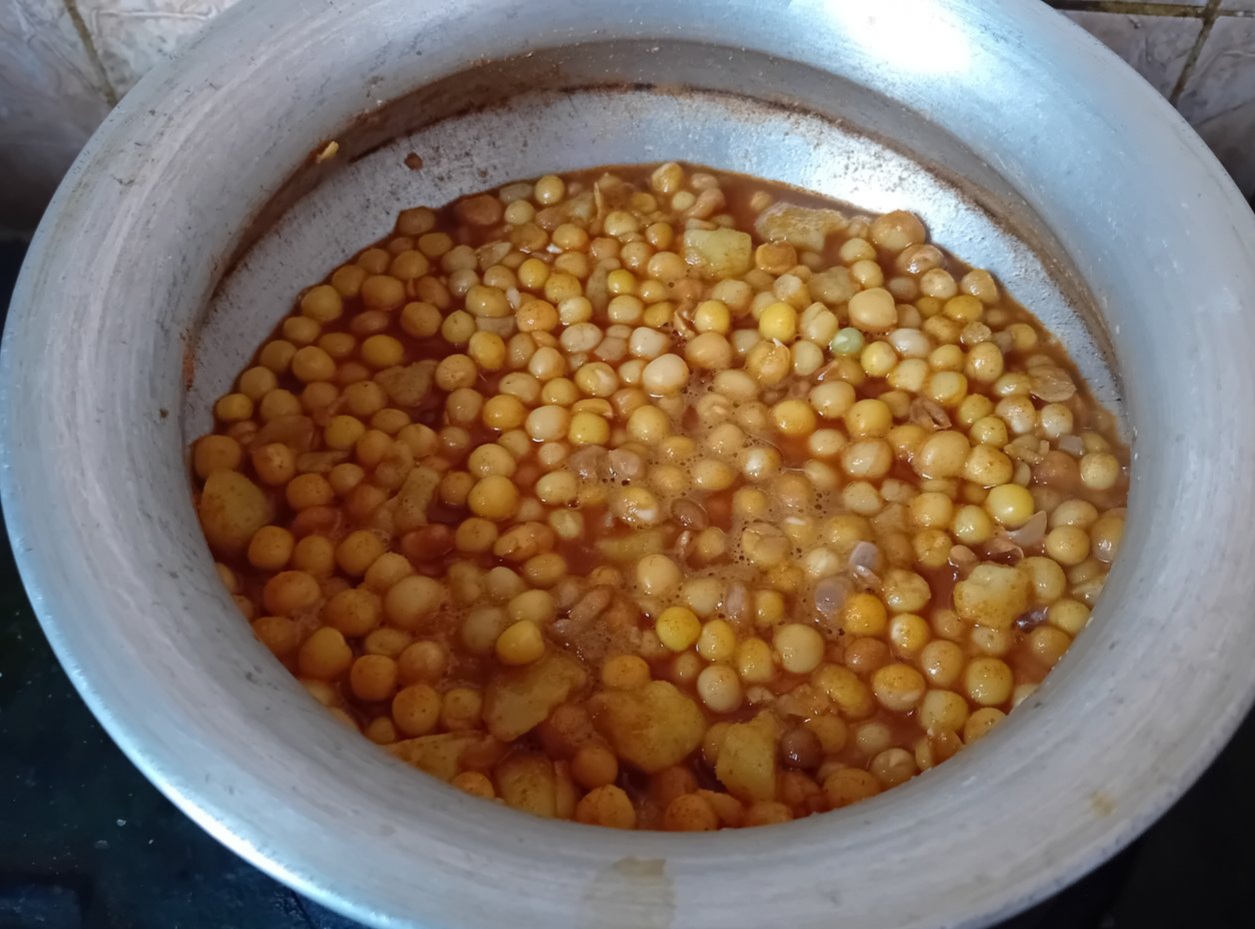
This is how I cooked the chickpeas. I kept a little broth. Because it is much better to keep the broth here. The chapati is very tasty in this.
Step - 4
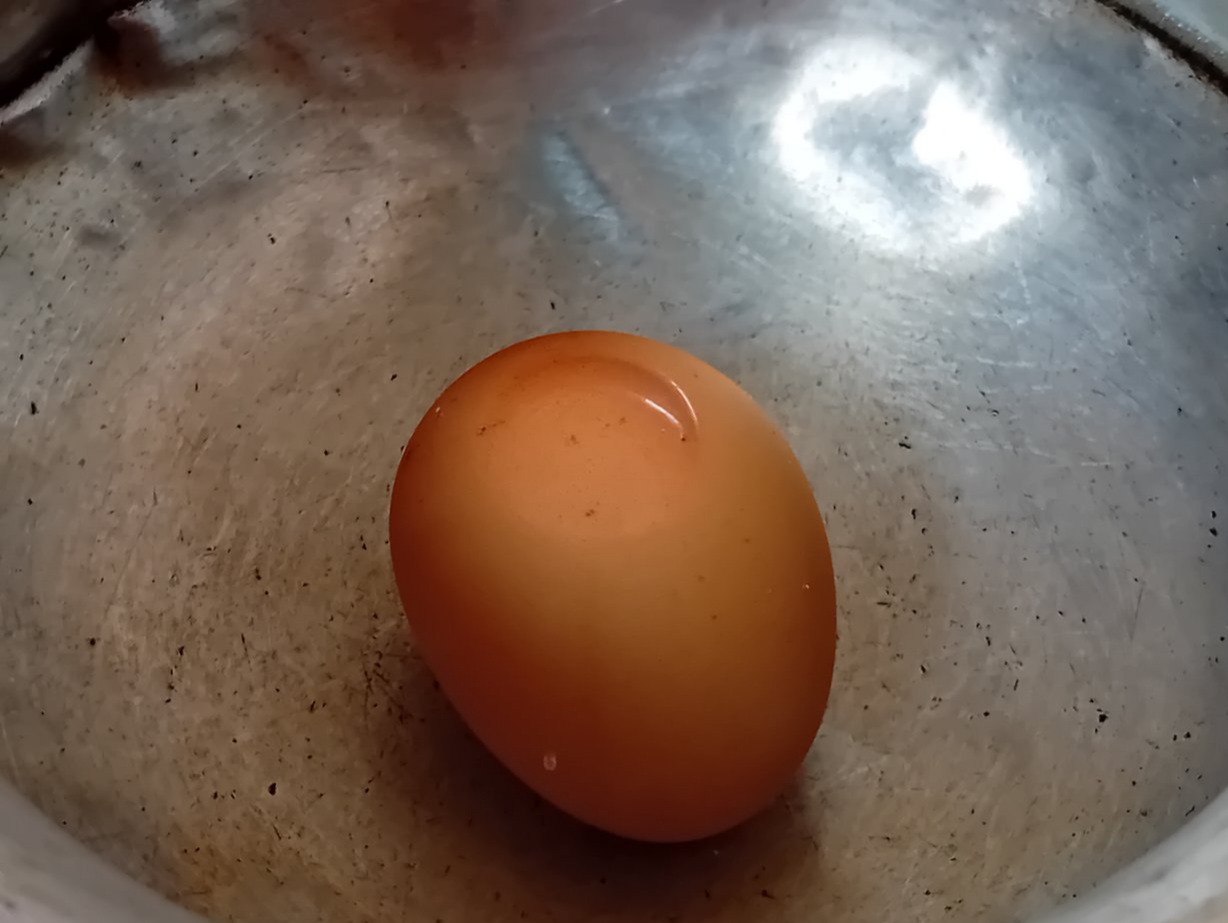
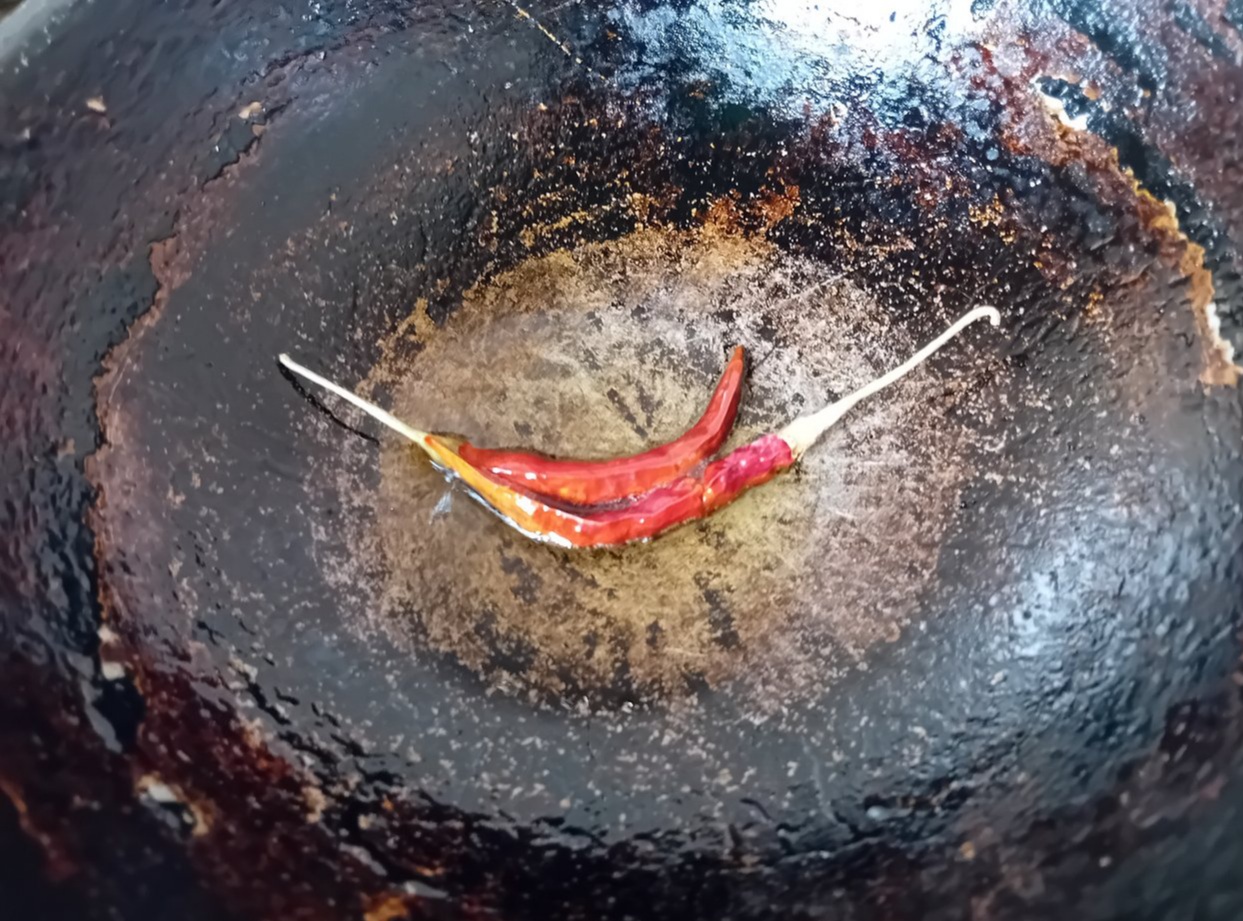
Then I boiled an egg. And in a pan, heat some oil and fry the dried chilies.
Step - 5
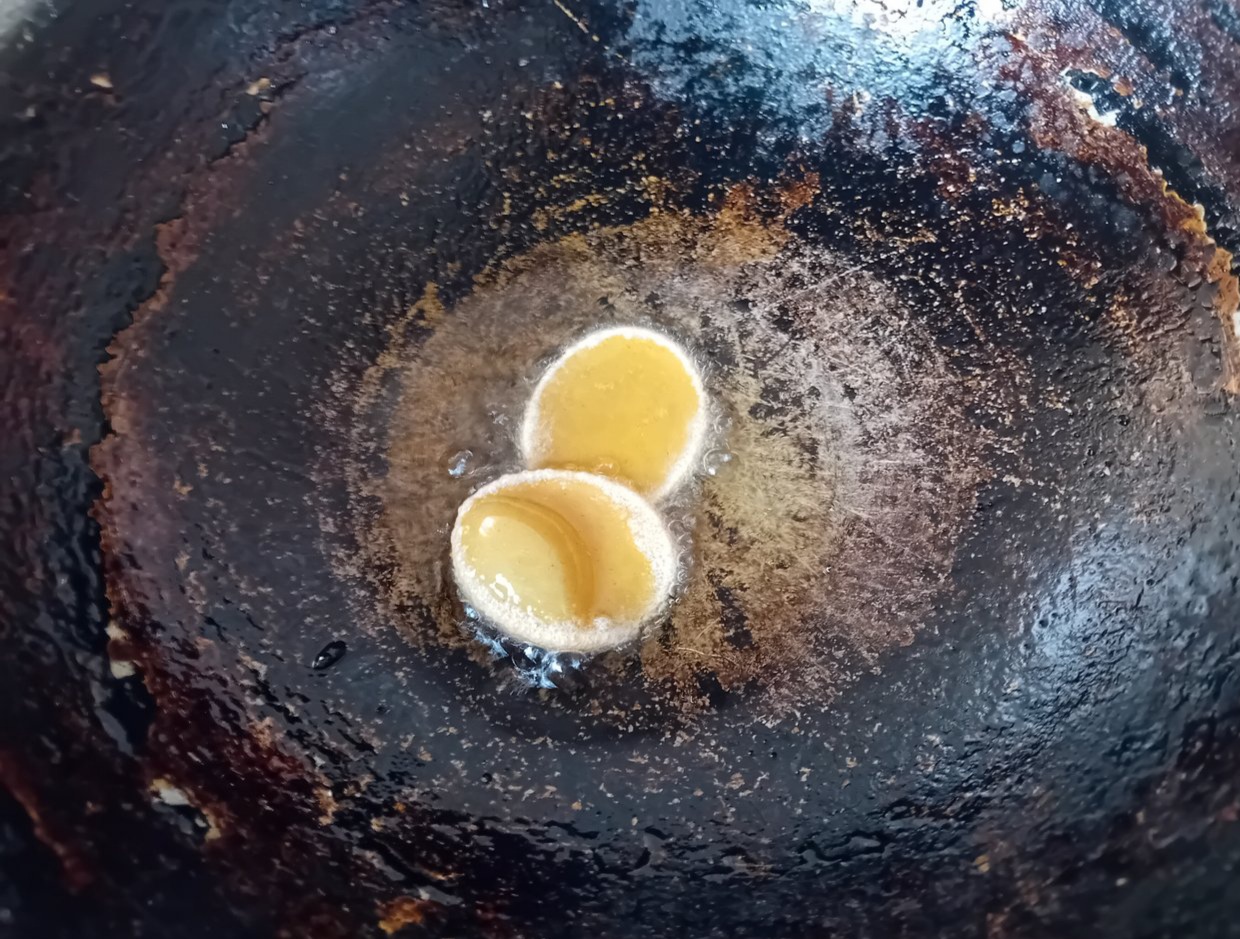
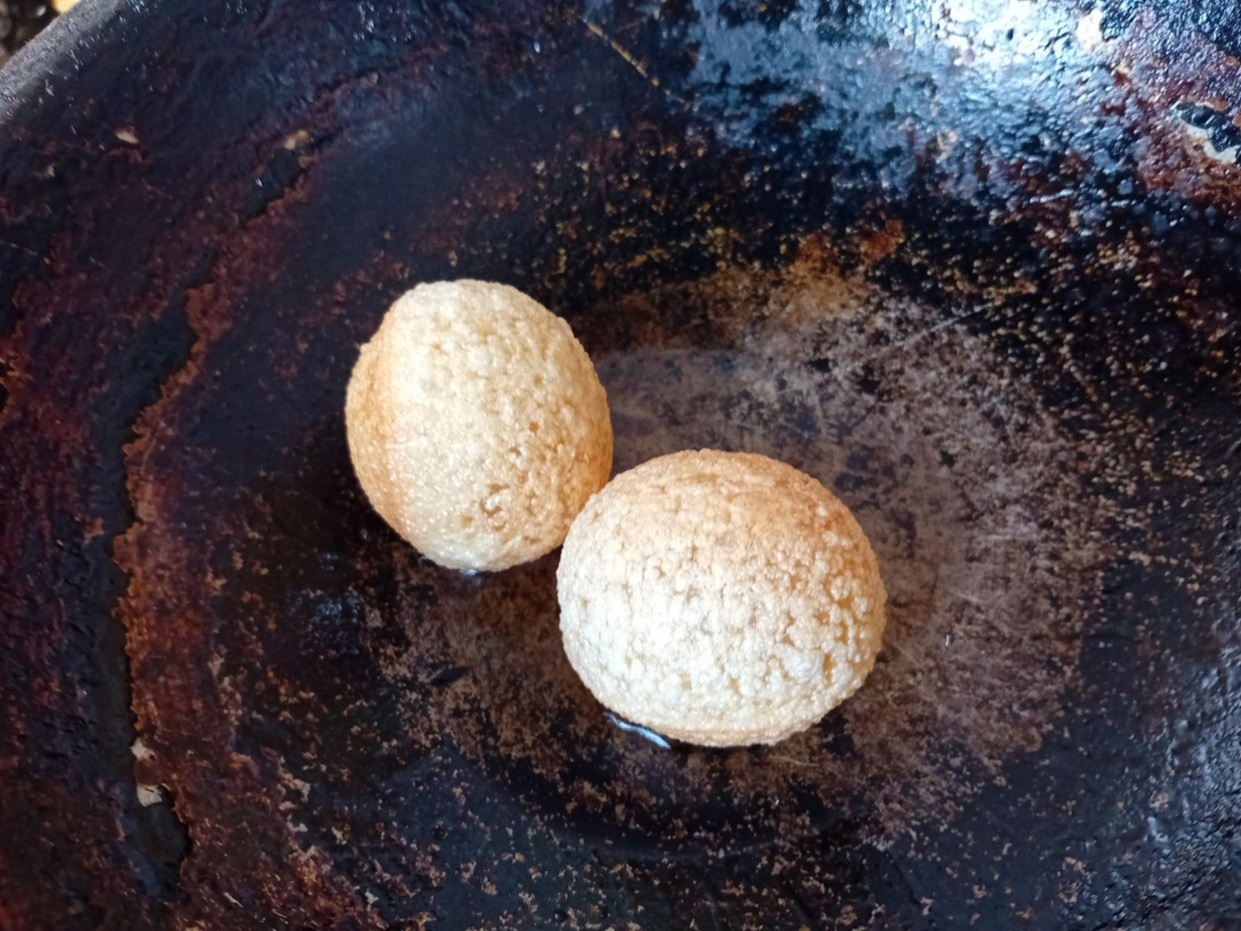
Then I fried a few fuchkas in hot oil.
Step - 6
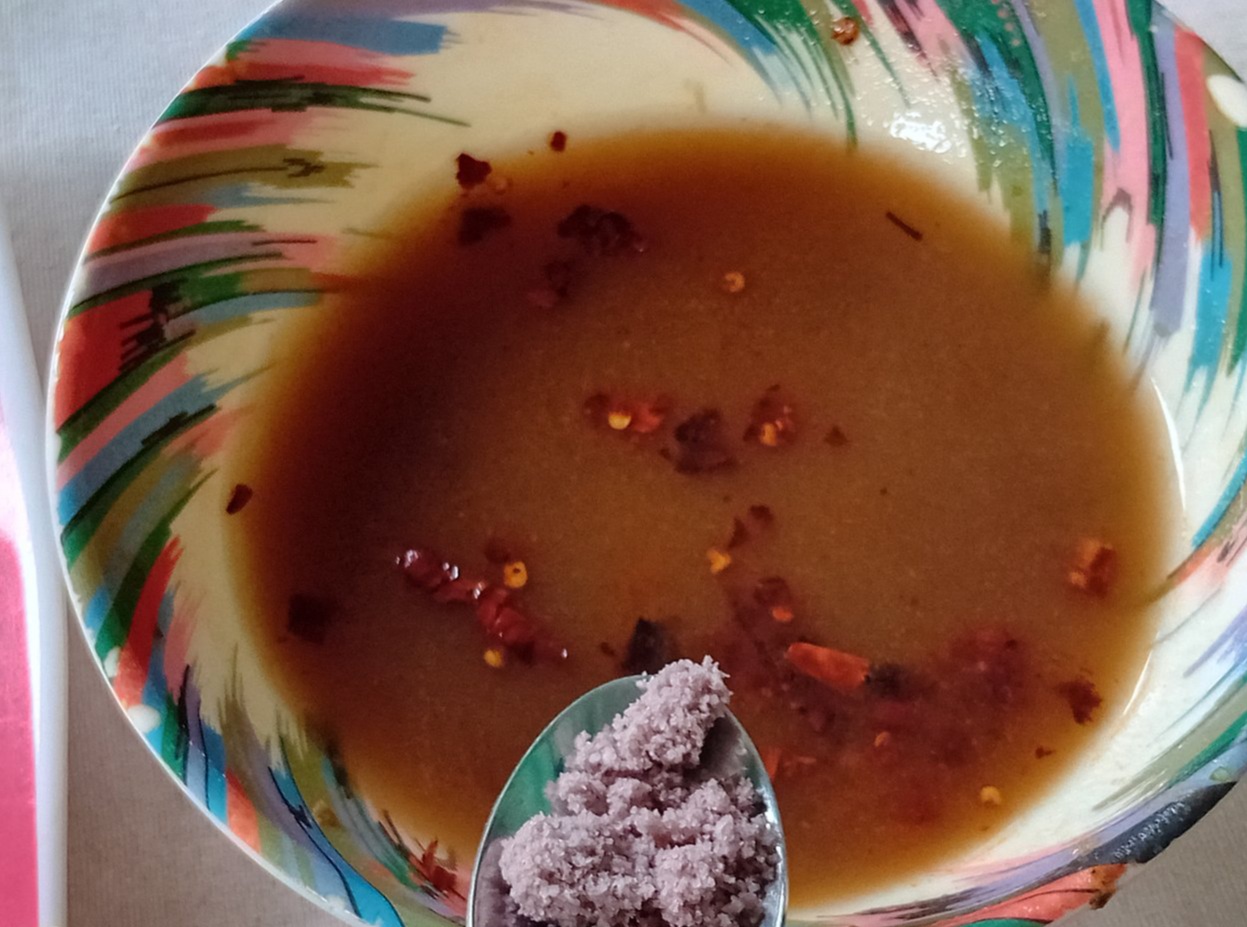
In a bowl, I made tamarind paste. Then I ground the dried chilies that were fried there. I added a little salt to the tamarind juice.
Step - 7
This is how I prepared the juice. I also prepared the rest of the salads. Here I graded the eggs. Then I chopped the cucumber, coriander leaves, onion and green chili.

Step - 8
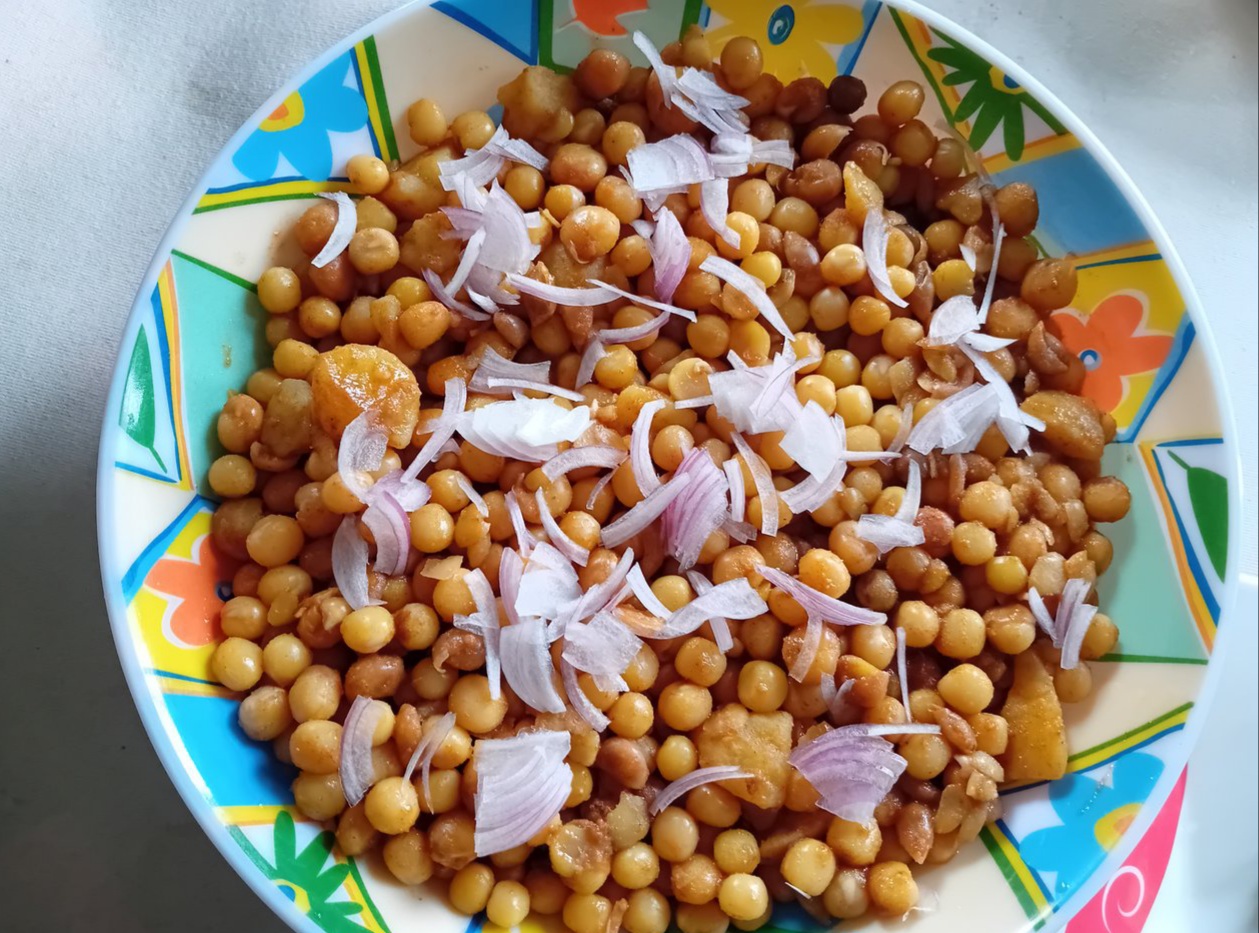
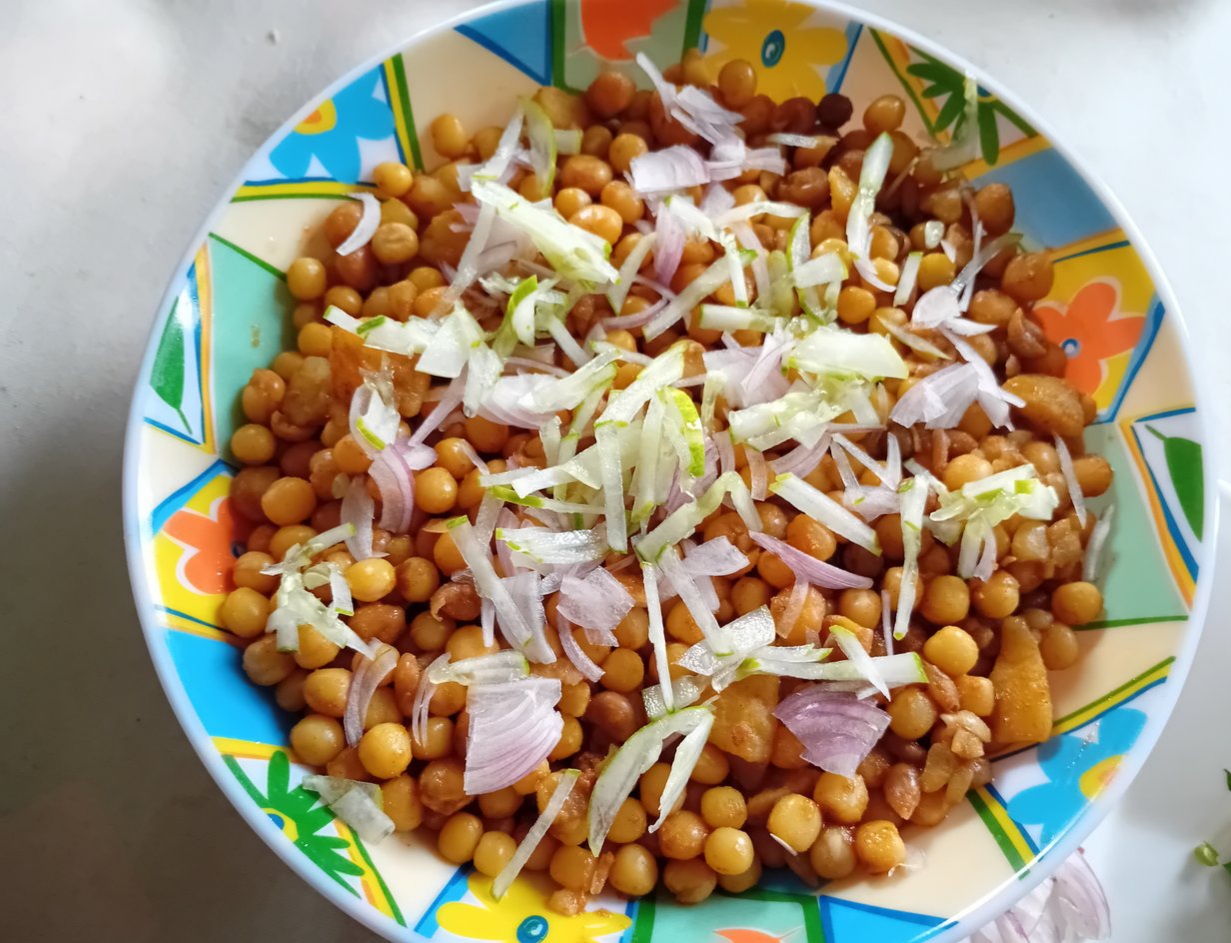
Now I took the chickpeas in a large bowl. Then I added the chopped onion and green chili.

Step - 9
Then I added the chopped cucumber and coriander leaves.
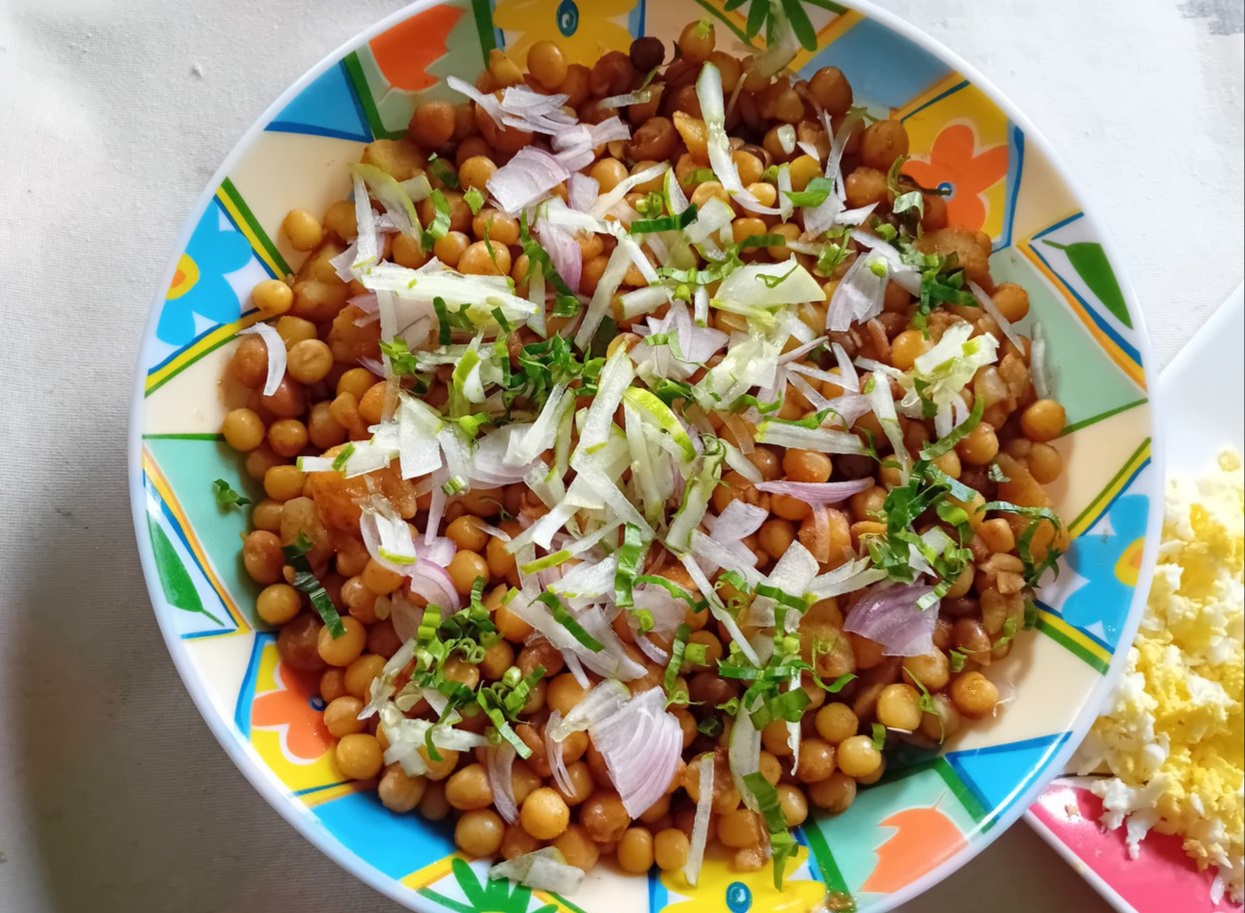
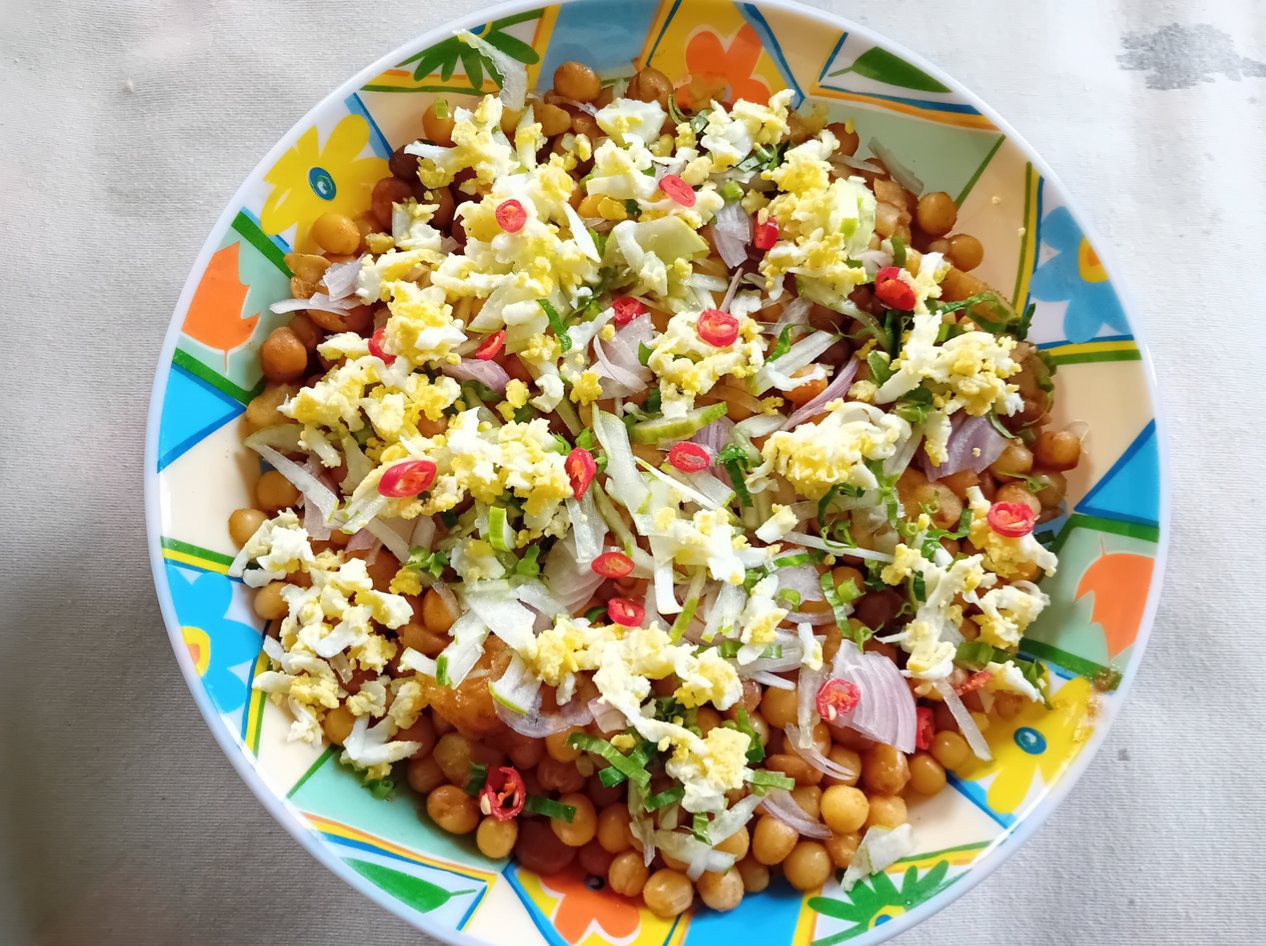
Step - 10
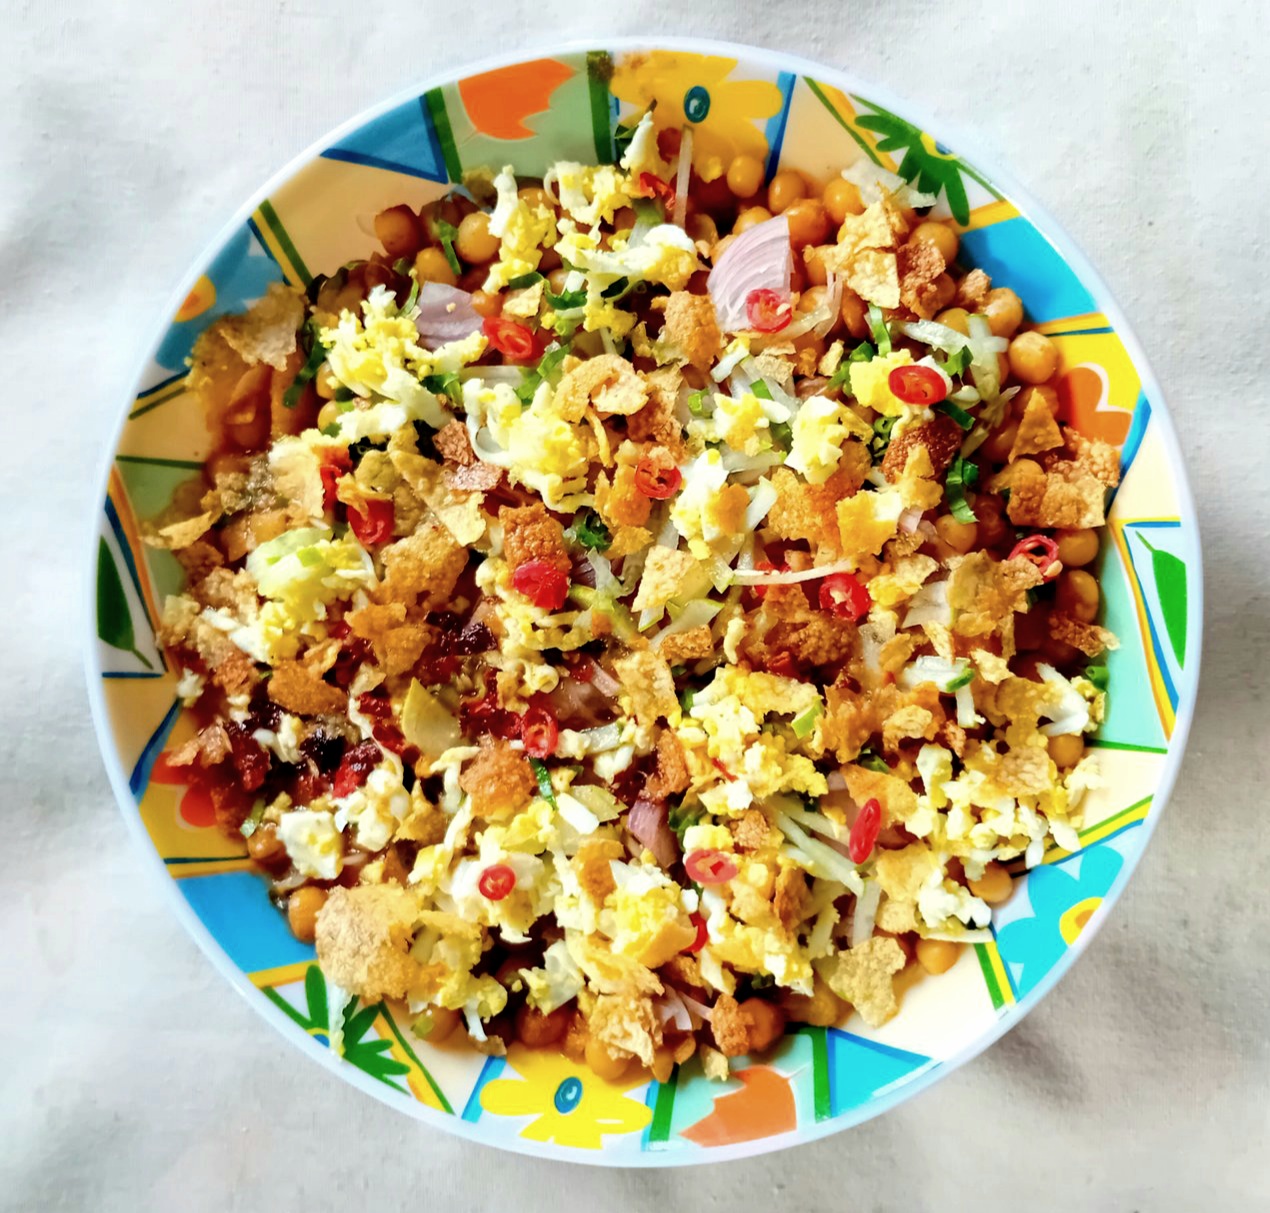
Then I decorated the graded eggs. I broke a few more fuchkas and added them on top.If you add a little bit of fuchka on top, it becomes very tasty and spicy, which I quite like.
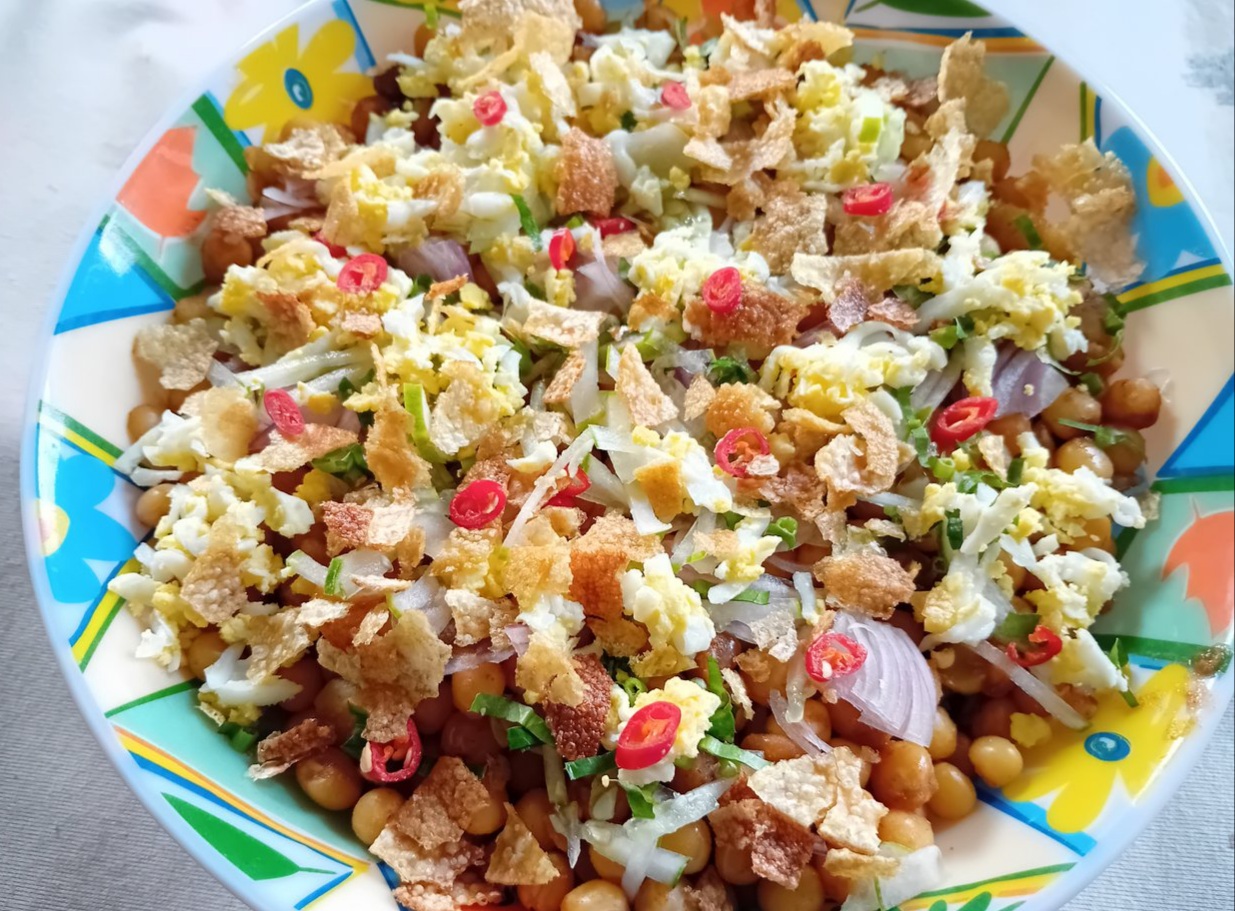
Last step
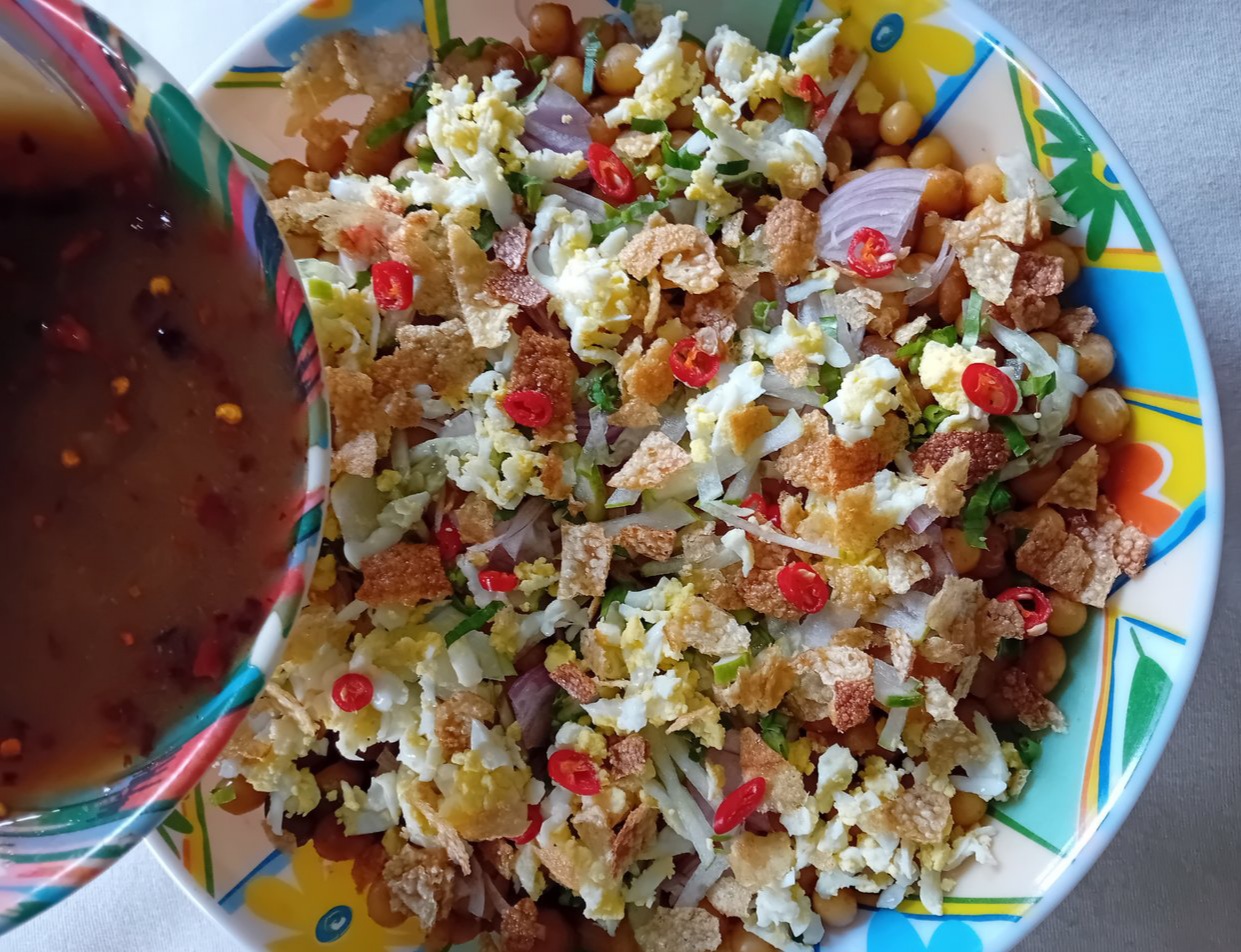
Finally, I finished the decoration with the juice.
You can also add some salt if you want, but I like it a lot if you add salt along with the juice.Basically, you have to add the amount of sourness here, the kind of sourness you want to eat.
Serving
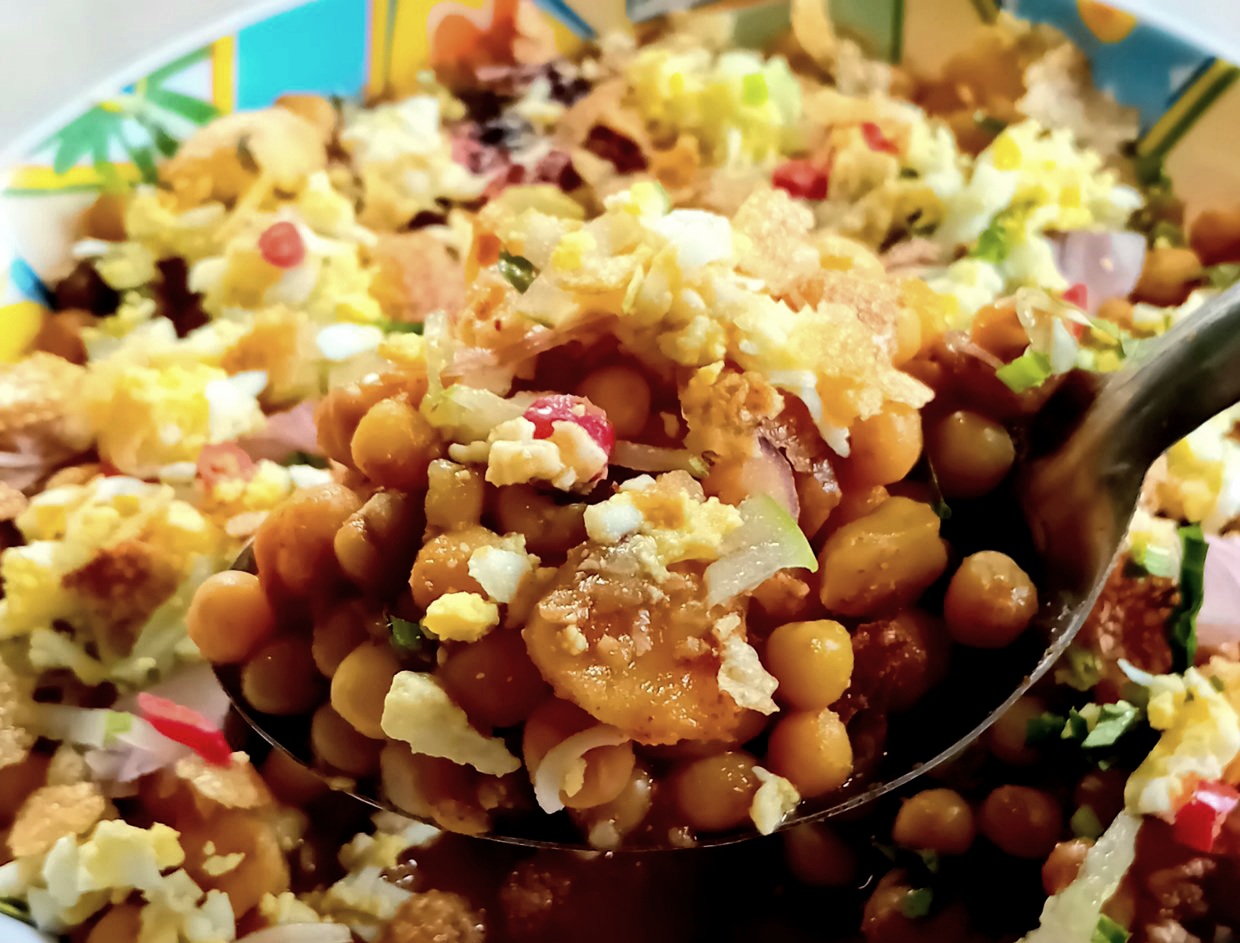
This was my recipe for today. I hope you liked my recipe for today. Be sure to comment and let me know how you liked it. Stay well and healthy everyone.
***
Delicious Chattopi Recipe.
@lota34
· 2024-12-17 09:07
· ASEAN HIVE COMMUNITY
#hive-141359
#recipe
#ecency
#photography
#archon
#palnet
#neoxian
#indiaunited
#aseanhive
Payout: 0.000 HBD
Votes: 57
More interactions (upvote, reblog, reply) coming soon.