*** BIENVENIDOS TODOS A MI BLOG ***
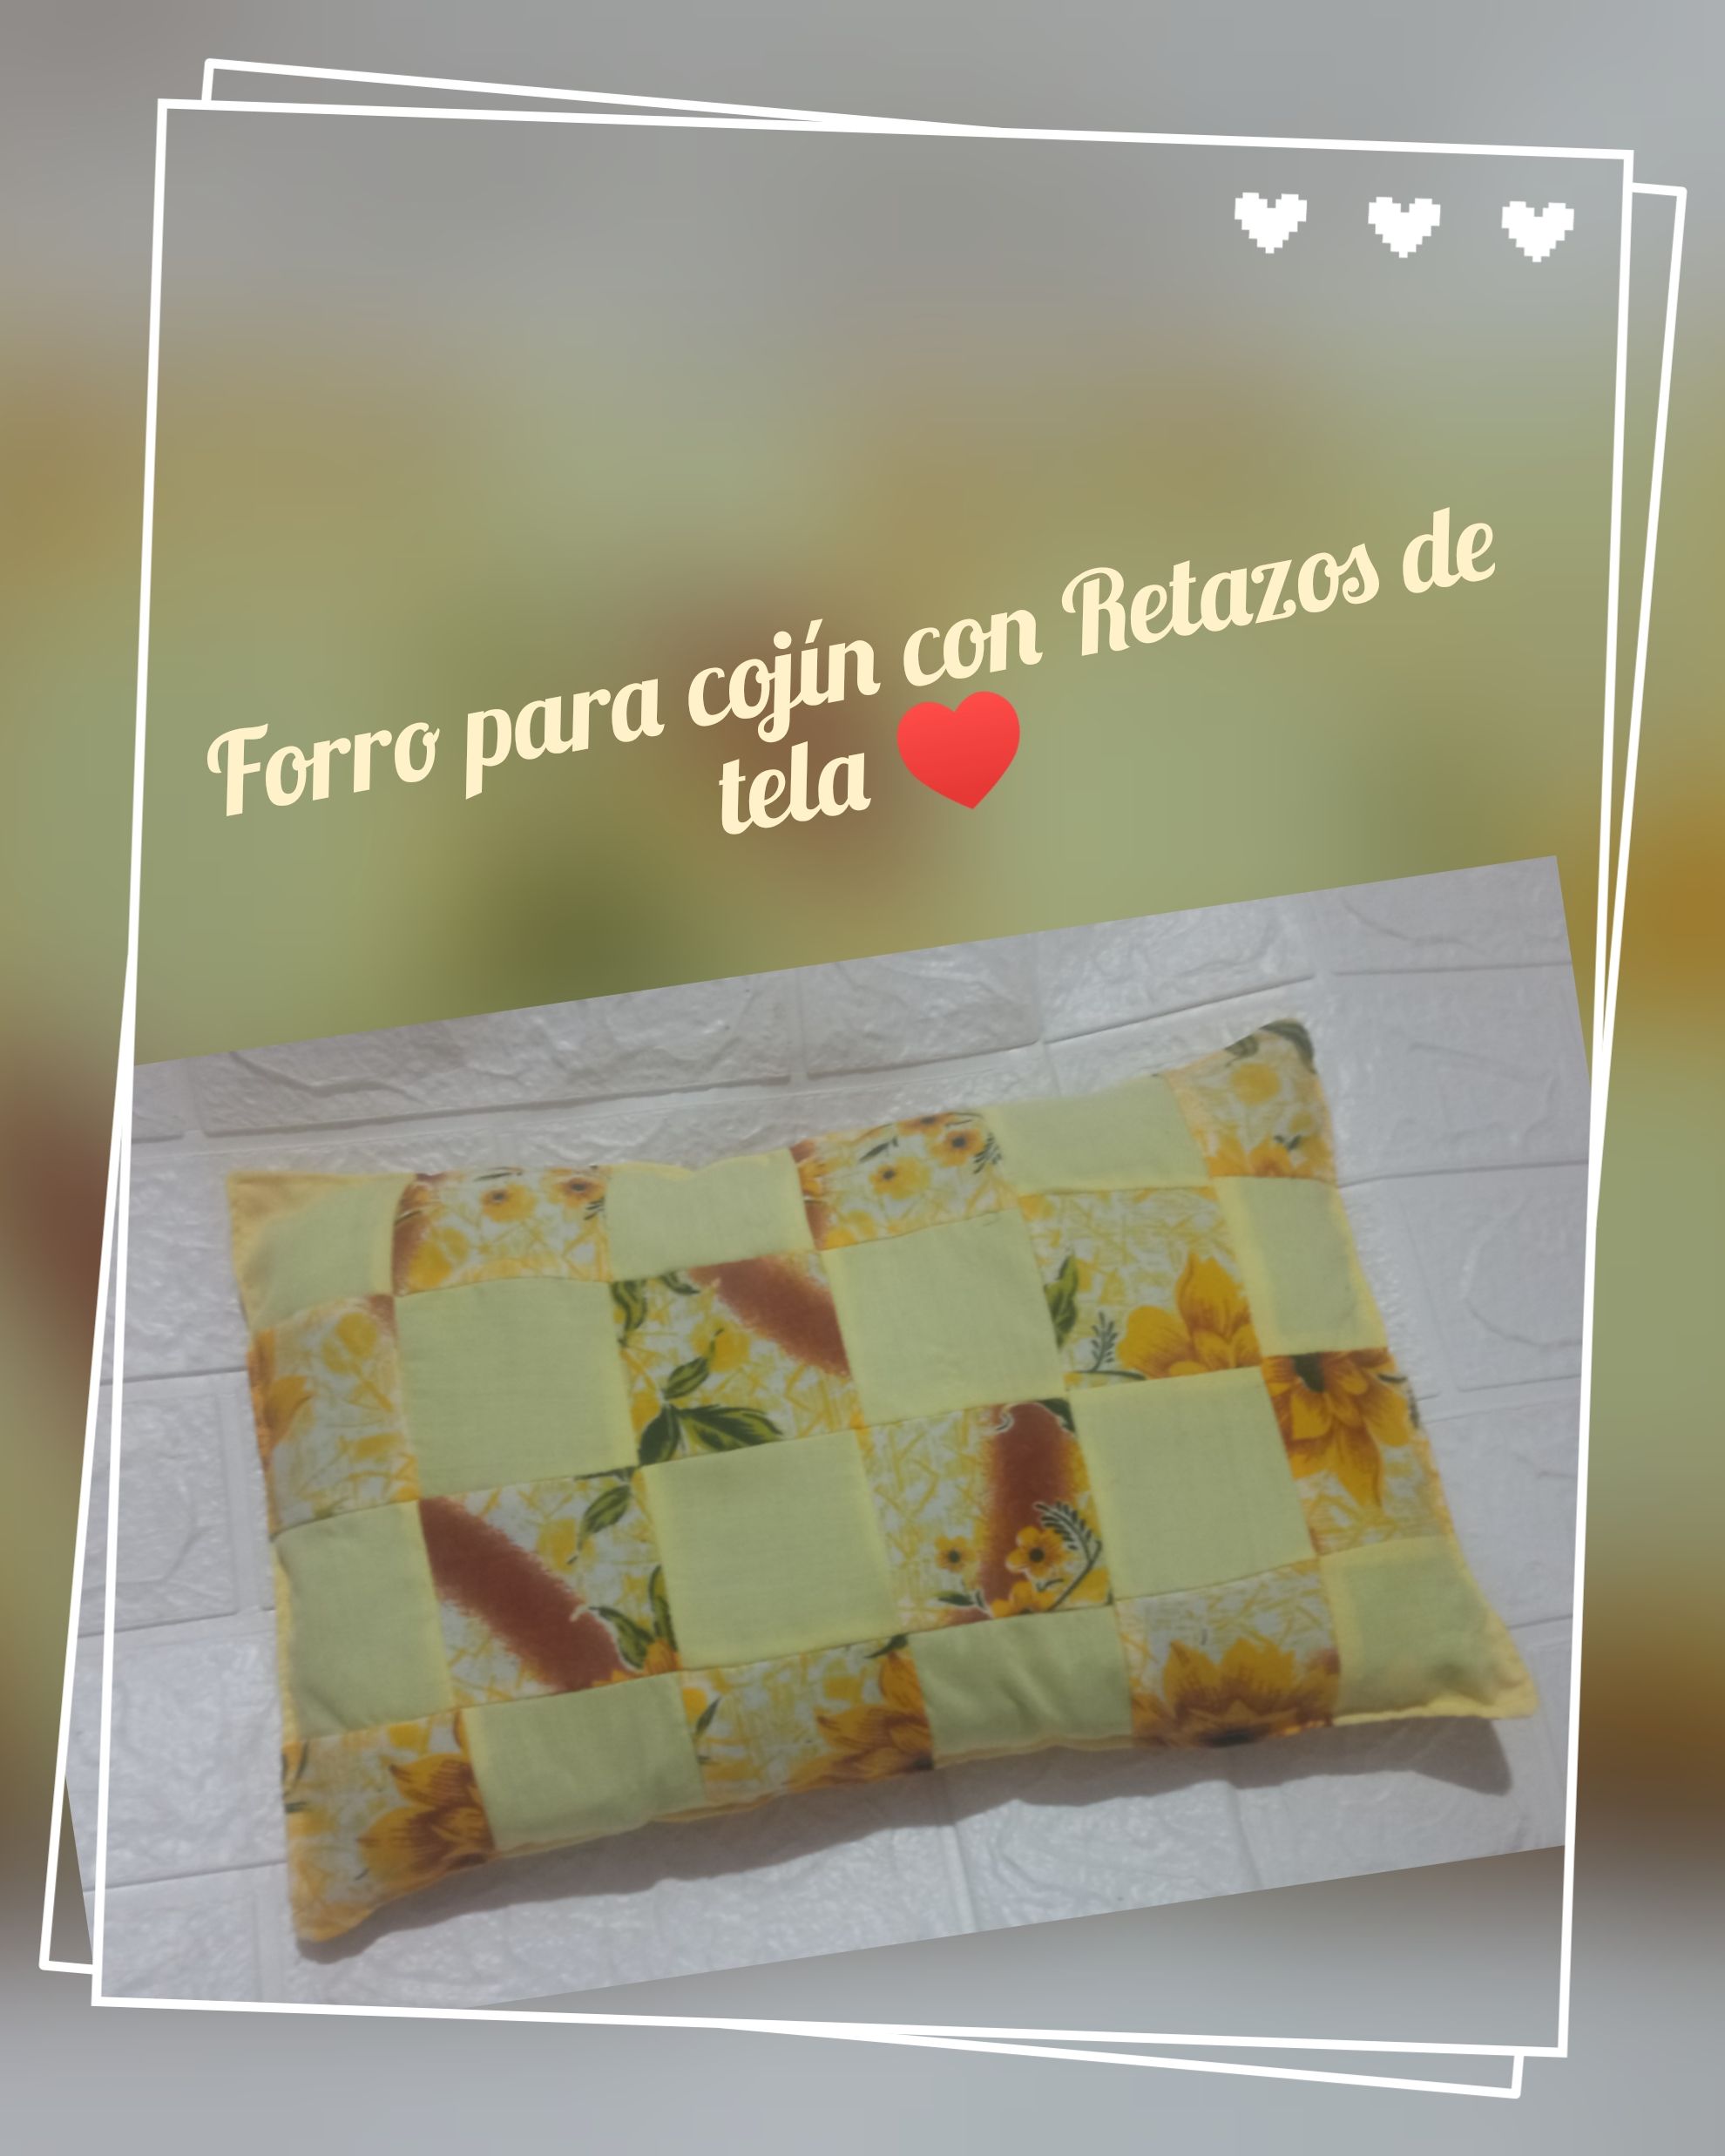
Saludos comunidad de #Hive y comunidad de #Diyhub , tengan todos un excelente dia , que nuestras energias estén siempre recargadas para seguir compartiendo nuestras habilidades, creatividad con entusiasmo y amor , en esta oportunidad les traigo un hermoso forro pequeño para cojín elaborado con retazos de tela que me van quedando de trabajos realizados en la costura , la verdad esos retazos los aprovecho inventando, creando otras cosas , me encantó el resultado y es por ello que les voy a compartir el tutorial o paso a paso como lo elaboré, acá utilicé una tela estampada y una tela unicolor , Pero se puede utilizar los colores que guste , está es la técnica del password y quedó muy bonito, agradecida siempre con ustedes por visitar mi blog y leer mis post, un abrazo para todos.
*** WELCOME EVERYONE TO MY BLOG***
Greetings #Hive community and #Diyhub community, have a great day, may our energies always be recharged so we can continue sharing our skills and creativity with enthusiasm and love. On this occasion, I bring you a beautiful little cushion cover made from fabric scraps left over from my sewing projects. I really enjoy using these scraps to invent and create other things. I loved the result, which is why I am going to share the tutorial or step-by-step guide on how I made it. Here, I used a patterned fabric and a plain fabric, but you can use any colors you like. This is the password technique, and it turned out very nice. I am always grateful to you for visiting my blog and reading my posts. Hugs to all.
Materiales a utilizar
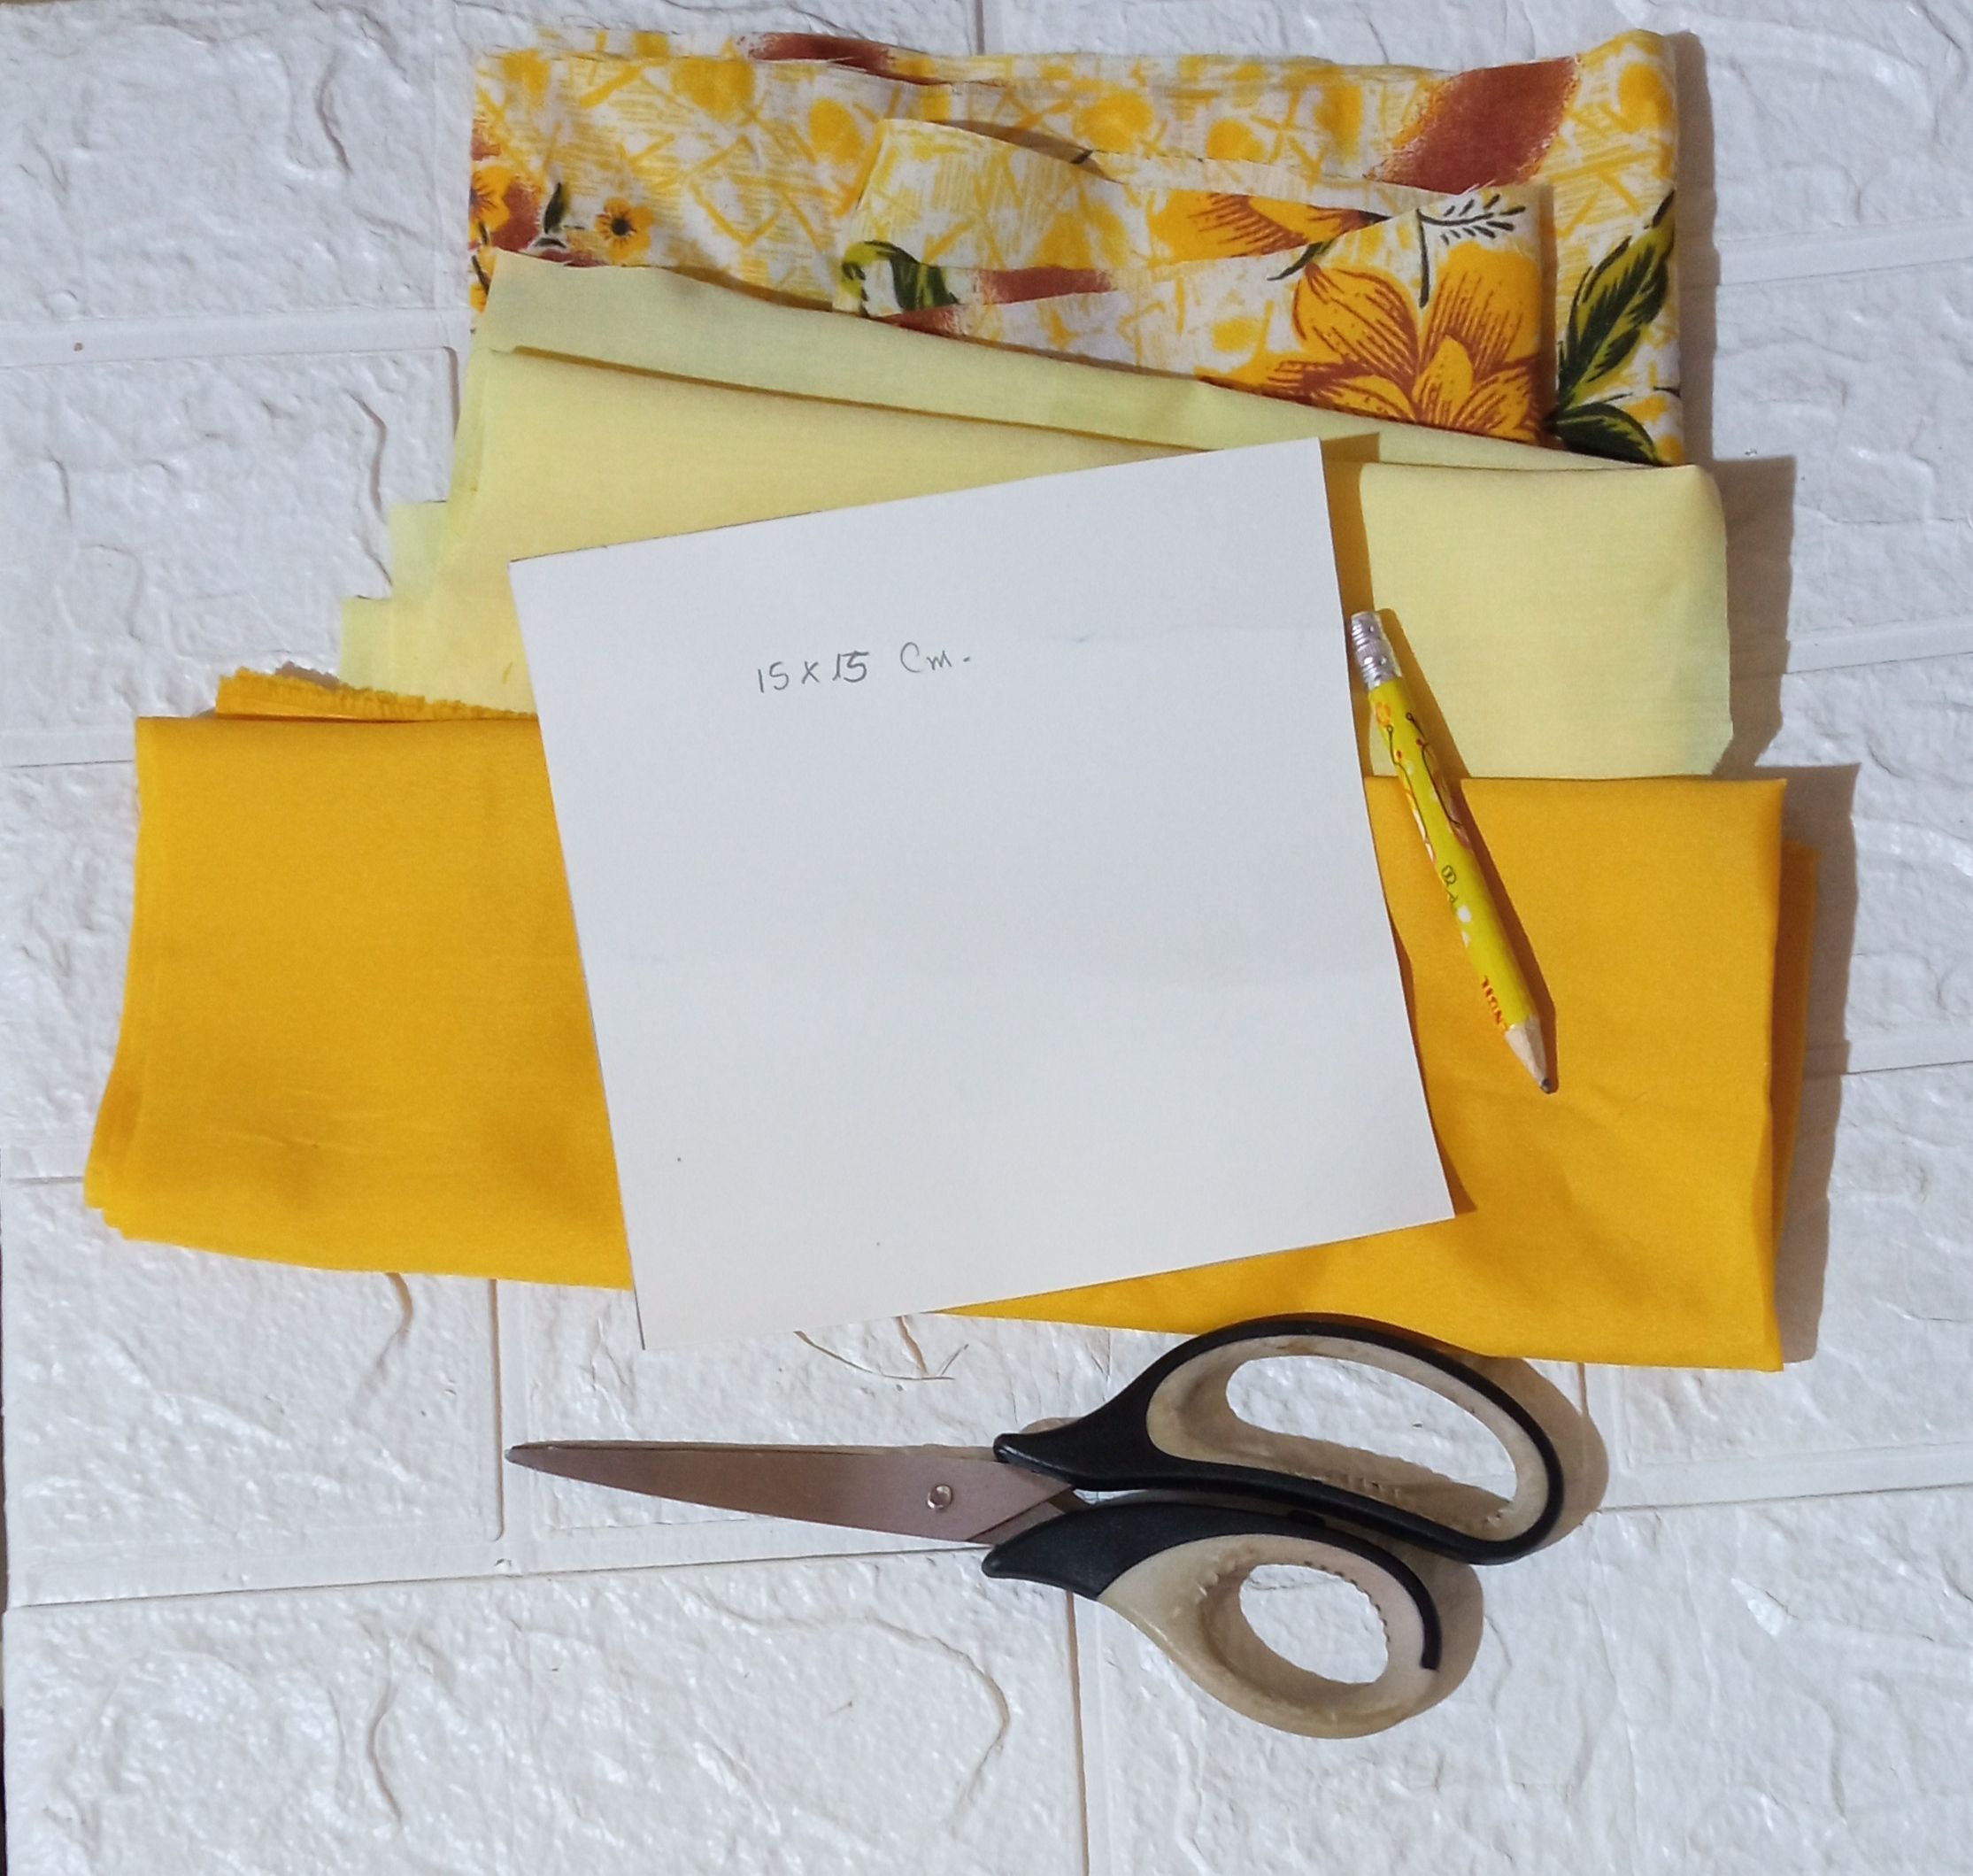
☑️ Retazos de tela , en este caso utilicé una tela estampada y dos unicolor . ☑️ Tijeras ✂️. ☑️ Un molde de 15 X 15 cm para cortar los cuadros. ☑️ Lápiz ✏️. ☑️ Máquina de coser. ☑️ Alfileres. ☑️ Plancha.
Materials to use
☑️ Fabric scraps; in this case, I used one patterned fabric and two plain fabrics. ☑️ Scissors. ☑️ A 15 x 15 cm template for cutting the squares. ☑️ Pencil ✏️. ☑️ Sewing machine. ☑️ Pins. ☑️ Iron.
Tutorial o paso a paso.
Comienzo colocando el molde encima de las tela , marcando con el lapiz y cortando , aseguro las dos telas por el lado derecho con alfileres y coso por dos extremos de las piezas , luego doblo a la mitad y corto, me quedan dos piezas cada una con una parte estampada y otra parte unicolor (1 al 6).
Tutorial or step-by-step guide.
I start by placing the pattern on top of the fabric, marking it with a pencil and cutting it out. I secure the two pieces of fabric on the right side with pins and sew the two ends of the pieces together. Then I fold them in half and cut them, leaving me with two pieces, each with one printed side and one plain side (1 to 6).

Luego pongo esas dos piezas derecho con derecho que quede un lado estampado y otro unicolor coso por dos extremos y corto esa pieza a la mitad y me quedan piezas de cuatro cuadritos dos estampados y dos unicolor y paso a unirlos ( 7 al 10).
Make sure one side is patterned and the other is plain. Sew the two ends together and cut that piece in half, leaving me with four squares: two patterned and two plain. Then I join them together (7 to 10).

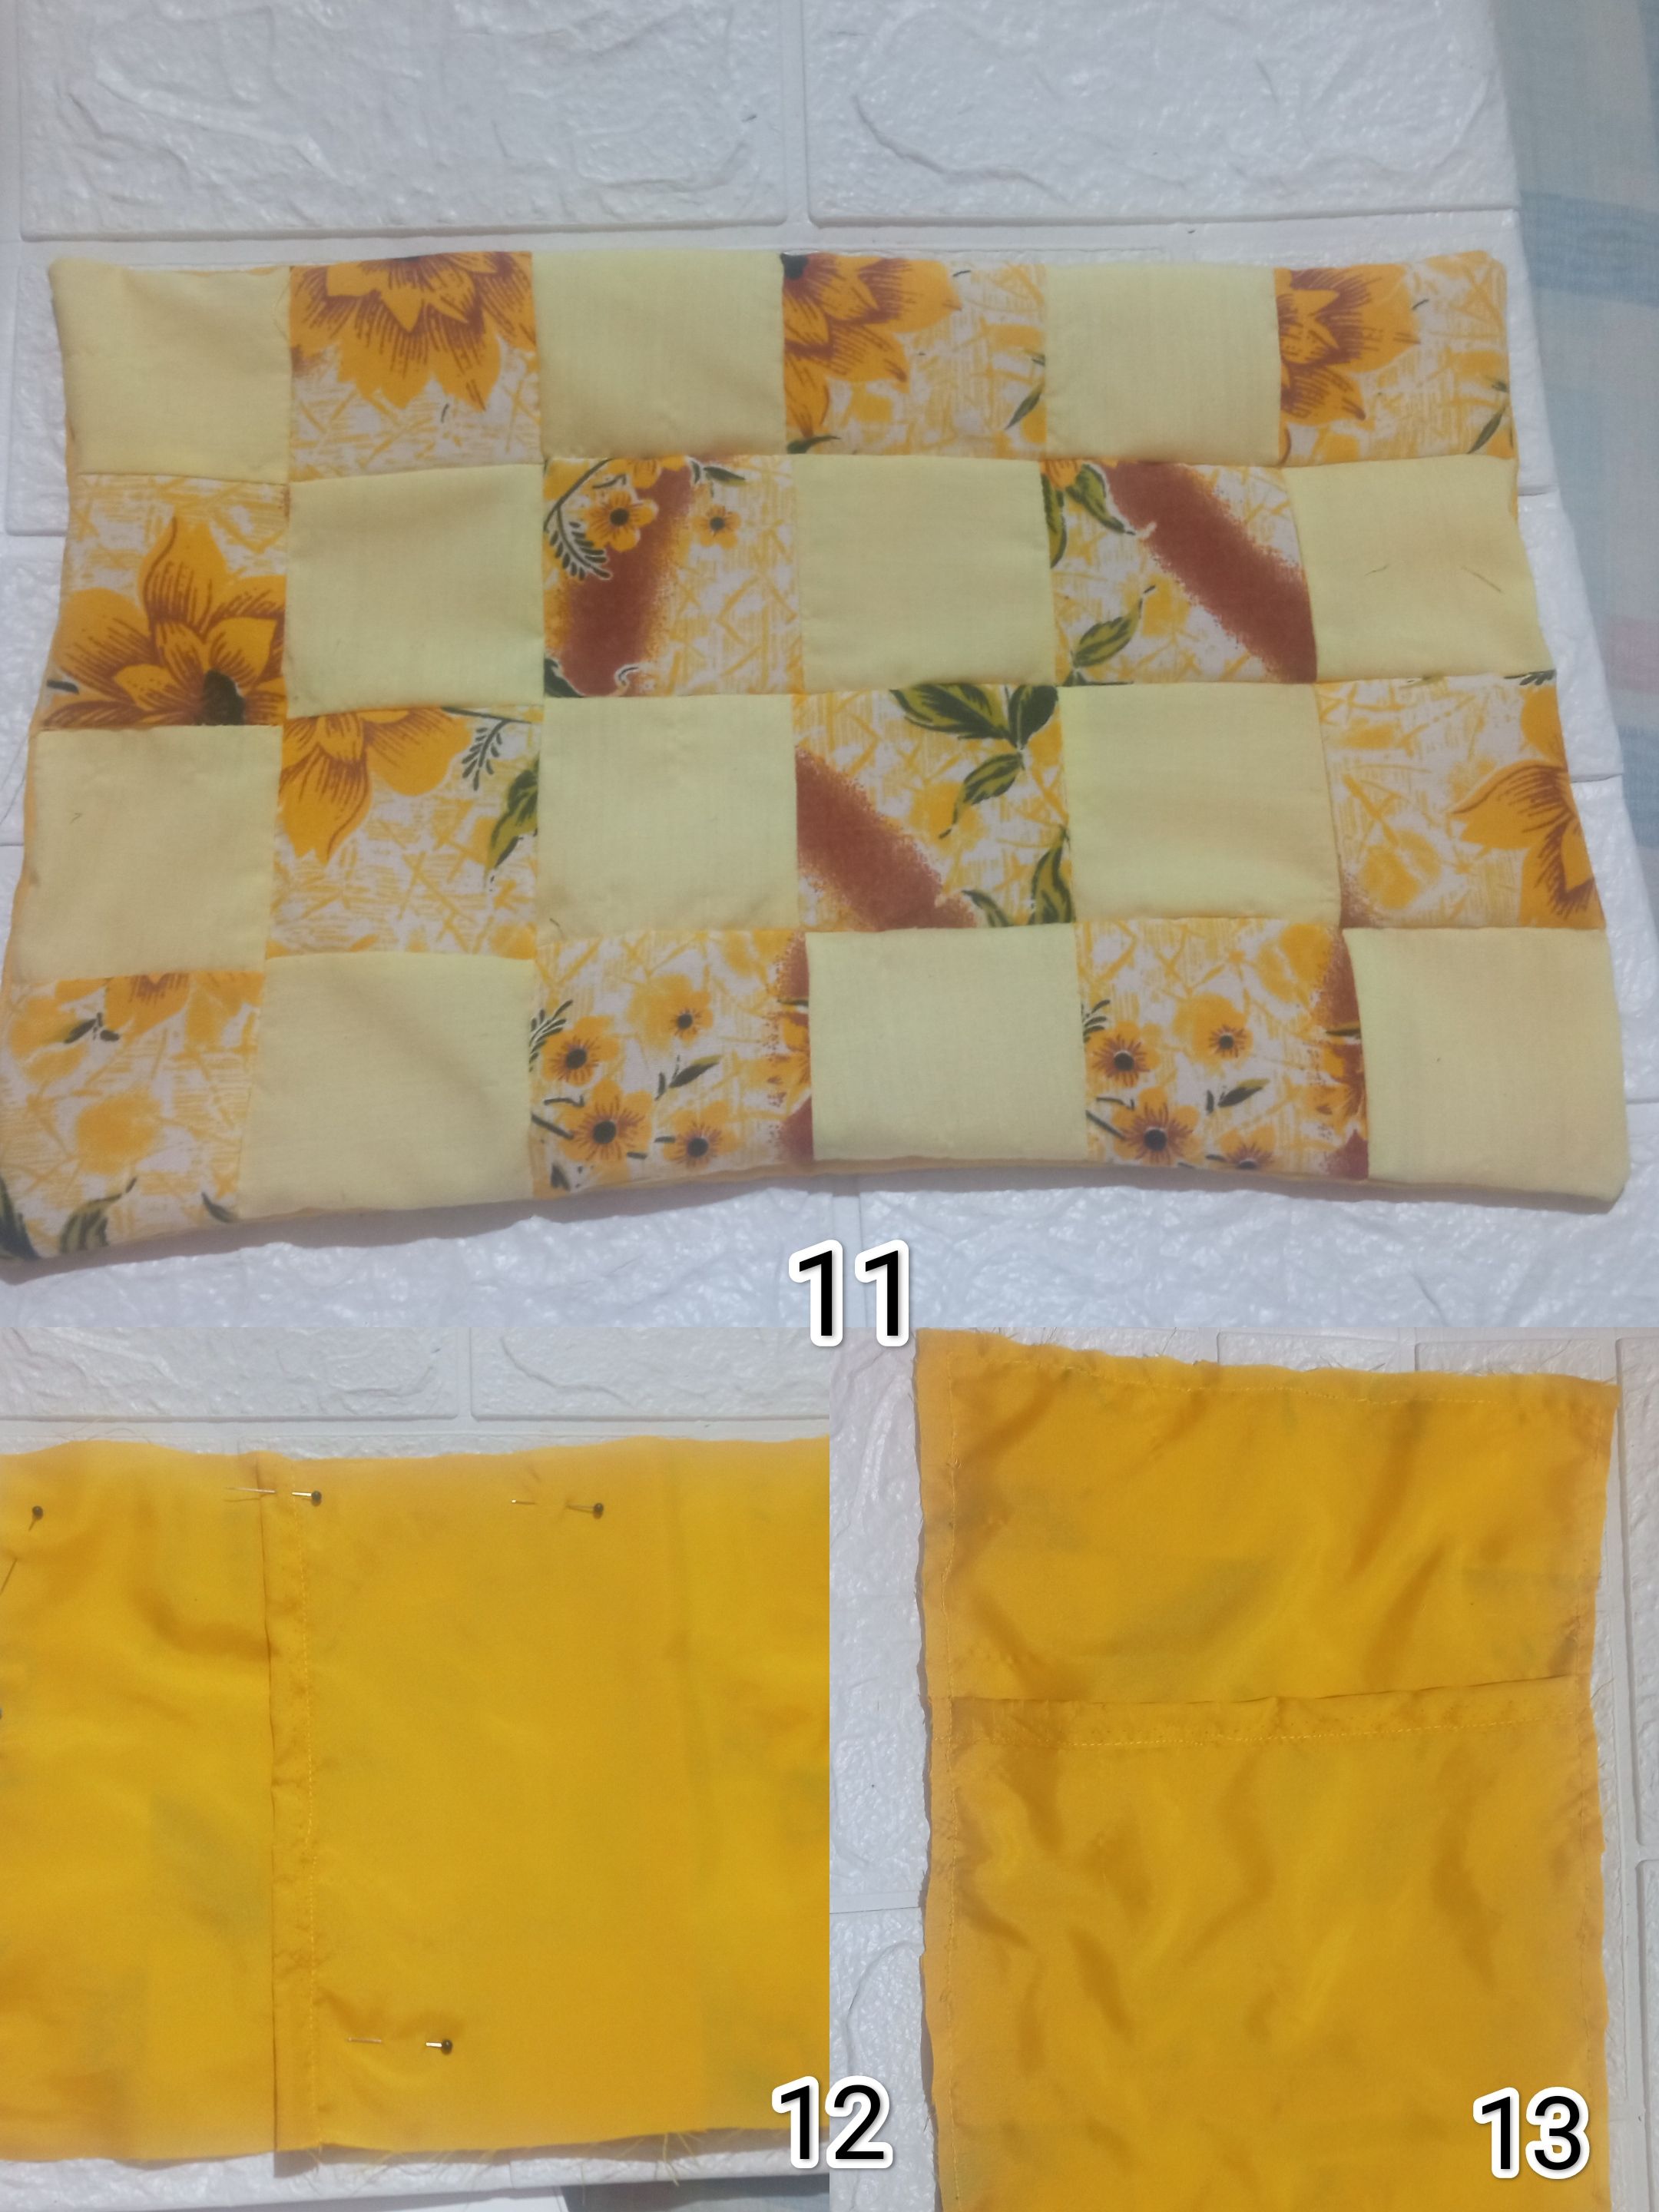
Repito ese procedimiento hasta obtener el tamaño deseado quedando distribuido un estampado, un unicolor , al terminar de coser esa pieza la plancho para asentar las costuras, luego corto las dos piezas que van en la parte trasera , ya a esas piezas les he realizado una orilla en lo que va a ser la parte de arriba , aseguro con alfileres y coso , volteo la pieza por el derecho y realizo una costura francesa en todo el alrededor del forro y así evito que las costuras se deshagan , plancho la pieza y doy por terminado el forro para cojín (11 al 13).
I repeat this process until I get the size I want, with a patterned and a plain fabric. When I've finished sewing that piece, I iron it to set the seams, then I cut the two pieces that go on the back. I've already made a hem on what will be the top of those pieces. I pin them in place and sew them. I turn the piece right side out and sew a French seam all around the lining to prevent the seams from unraveling. I iron the piece and finish the cushion lining (11 to 13).
Esperando haya sido de su agrado este hermoso proyecto.
Todas las fotos son de mi autoría @Lupasbra21, tomadas con mi teléfono Redmi 9.
Usé la aplicación polish para la edición de fotos.
Usé el traductor Deepl translate.
I hope you enjoyed this beautiful project.
All photos are my own @Lupasbra21, taken with my Redmi 9 phone.
I used the Polish app for photo editing.
I used the Deepl translate translator.
