
Greetings 🙋🏻♀️ to everyone in the #diyhub community! Today I want to share with you a step by step to frieze a wall with sand and cement using some basic tools, from the preparation to the final finish. And thus having our home always well cared for.
¡Saludo 🙋🏻♀️ a todos en la comunidad de #diyhub! Hoy quiero compartir con ustedes un paso a paso para frisar una pared con arena y cemento empleando algunas herramientas básicas, desde la preparación hasta el acabado final. Y así tener nuestro hogar siempre bien cuidadito.
 |
 |
|---|---|
I admit I am not an expert in masonry, or anything like that. But I am quite self-taught and I have the ability to learn and put my hands to work with what I have learned. Putting a lot of care, dedication and of course a lot of love for what I do. Following one or another tutorial to work with the material and with the tools available at home, here I show you my DIY work.
Reconozco no soy experta en albañilería, ni nada por el estilo. Pero si soy bastante autodidacta y dispongo de la habilidad para aprender y poner manos a la obra con lo aprendido. Poniendo bastante esmero, dedicación y por supuesto mucho amor por lo que hago. Siguiendo uno que otro tutorial para trabajar con el material y con las herramienta disponible en casa acá les muestro mi trabajo de bricolaje.
Materials:
- Sand
- Cement
- Water
Tools:
- Spatula
- Wire sponge
- Brush
- Container
- Mason's spoon
- Anime
- Wooden strip
- Foam sponge
Materiales:
- Arena
- Cemento
- Agua
Herramientas:
- Espátula
- Esponja de alambre
- Cepillo
- Recipiente
- Cuchara de albañil
- Anime
- Listón de madera
- Esponja de goma espuma
 |
 |
|---|---|
 |
 |
 |
 |
|---|---|
 |
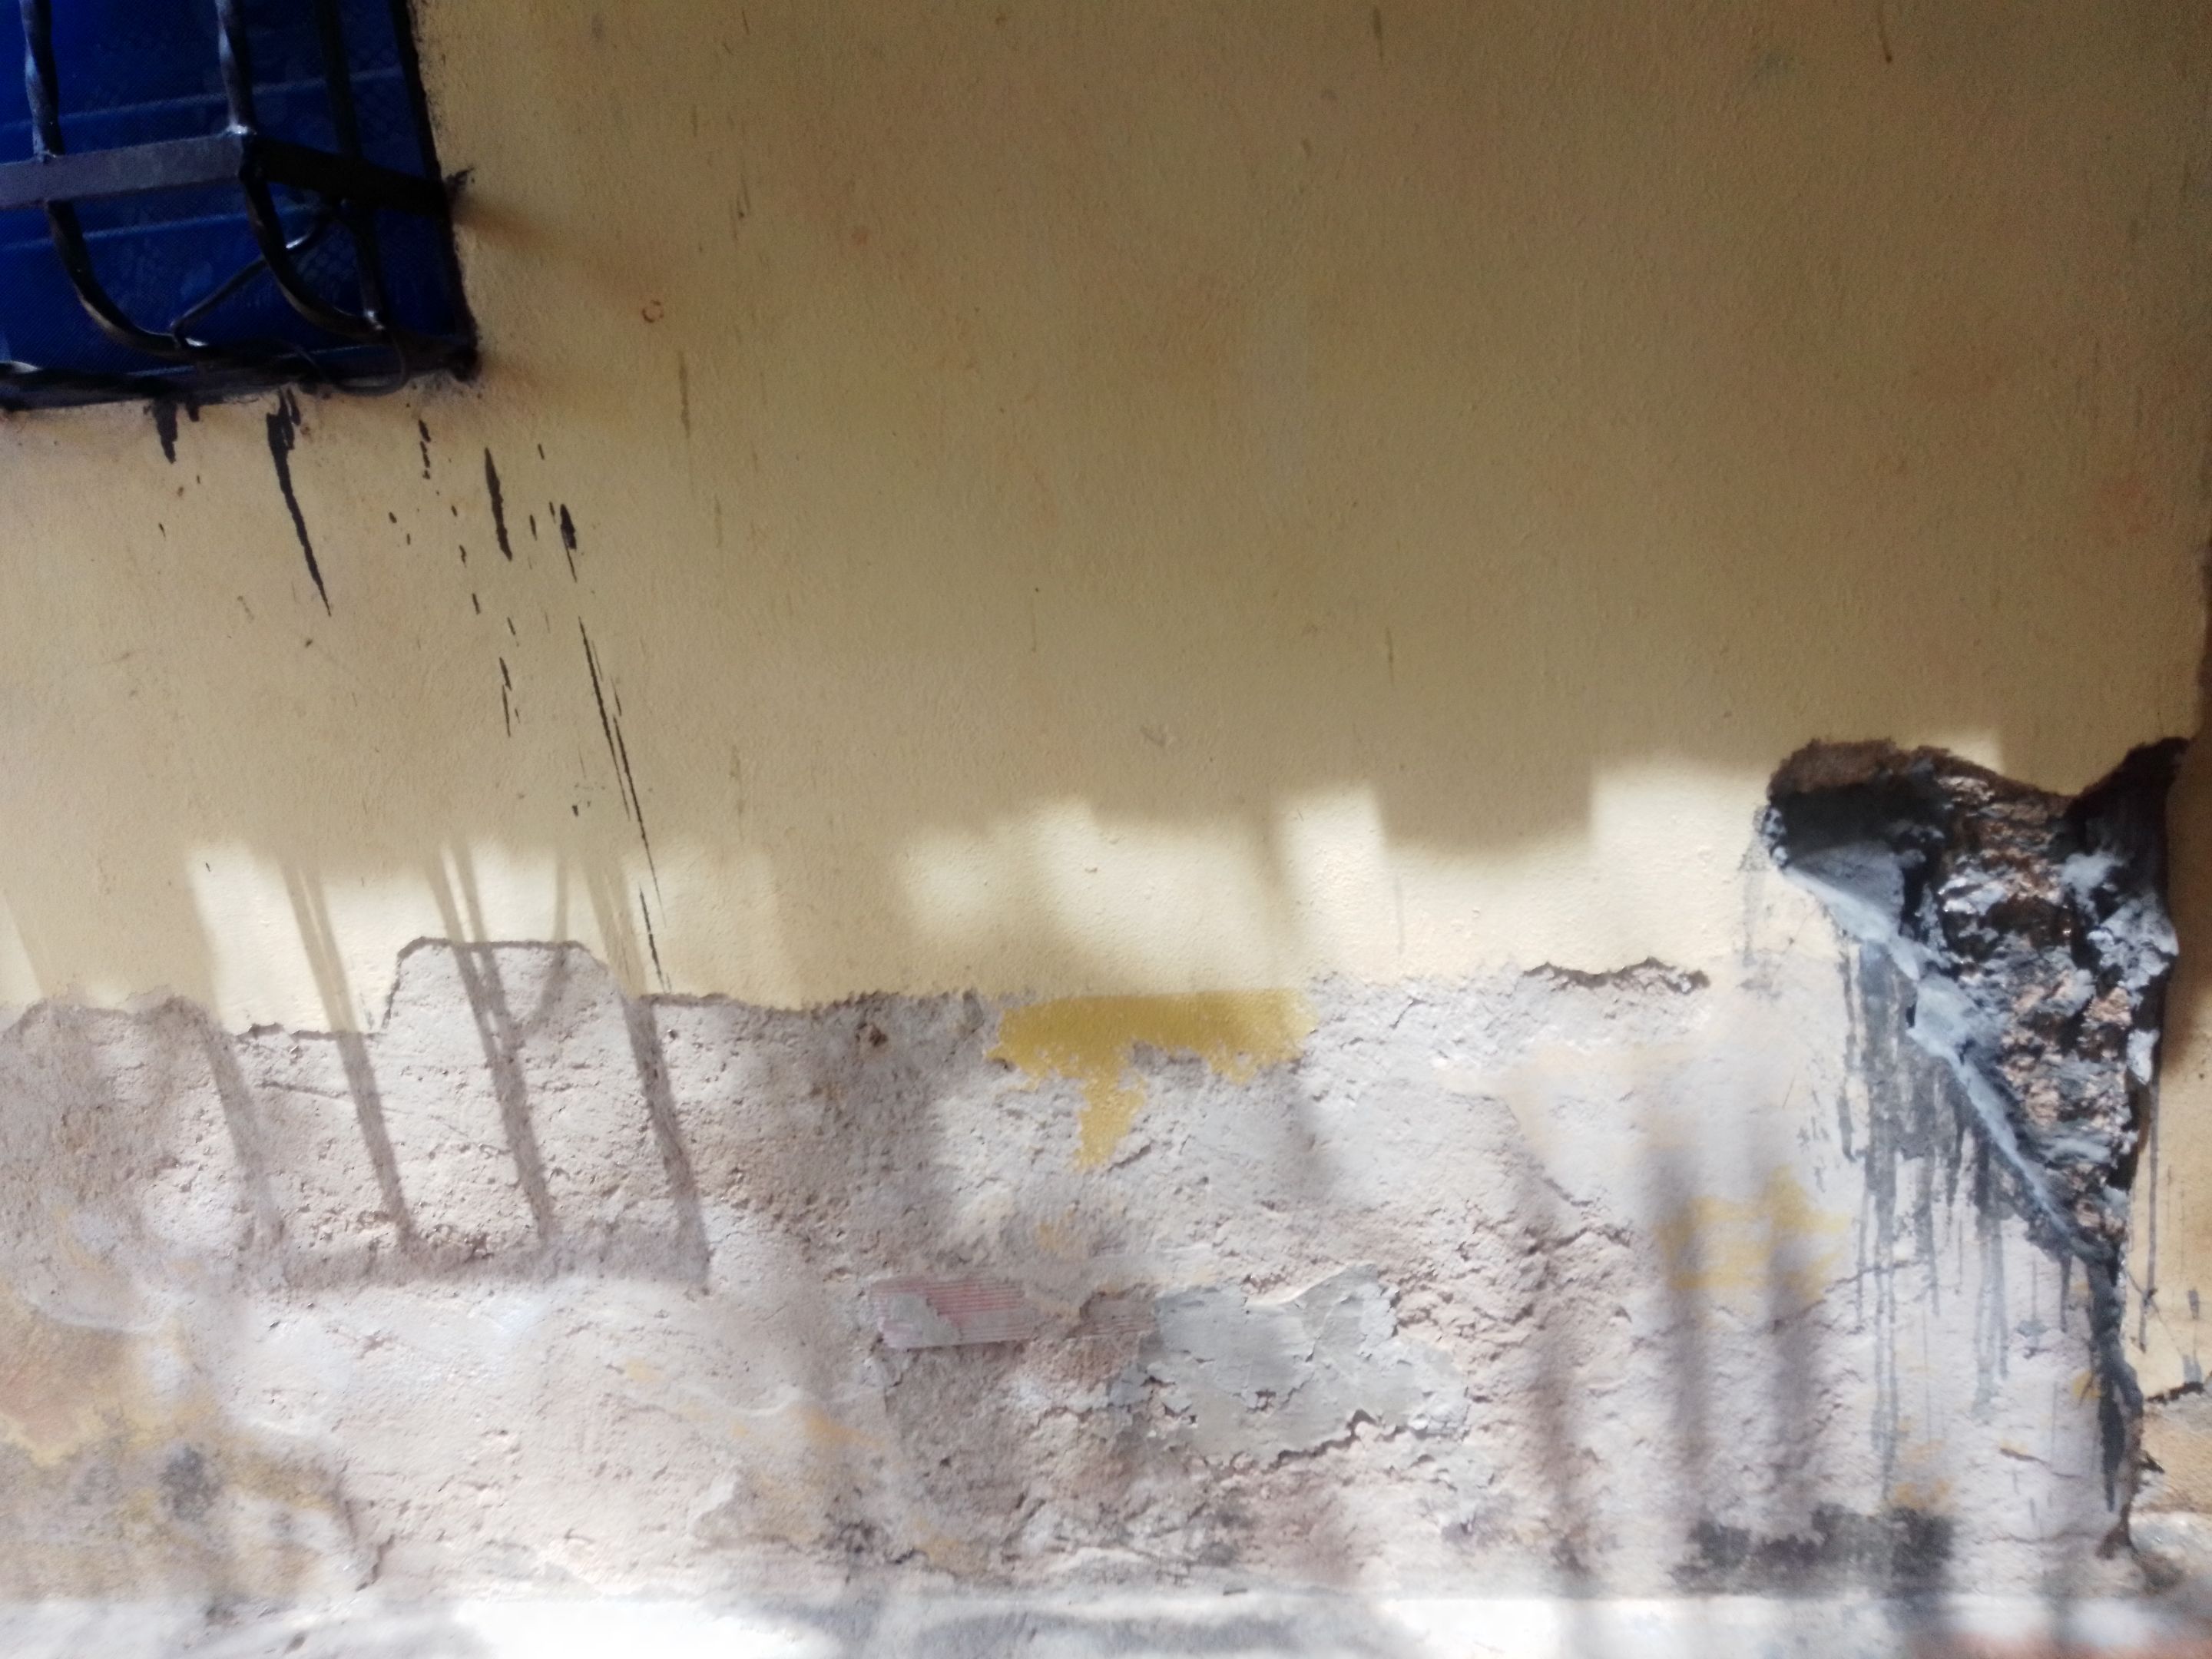 |
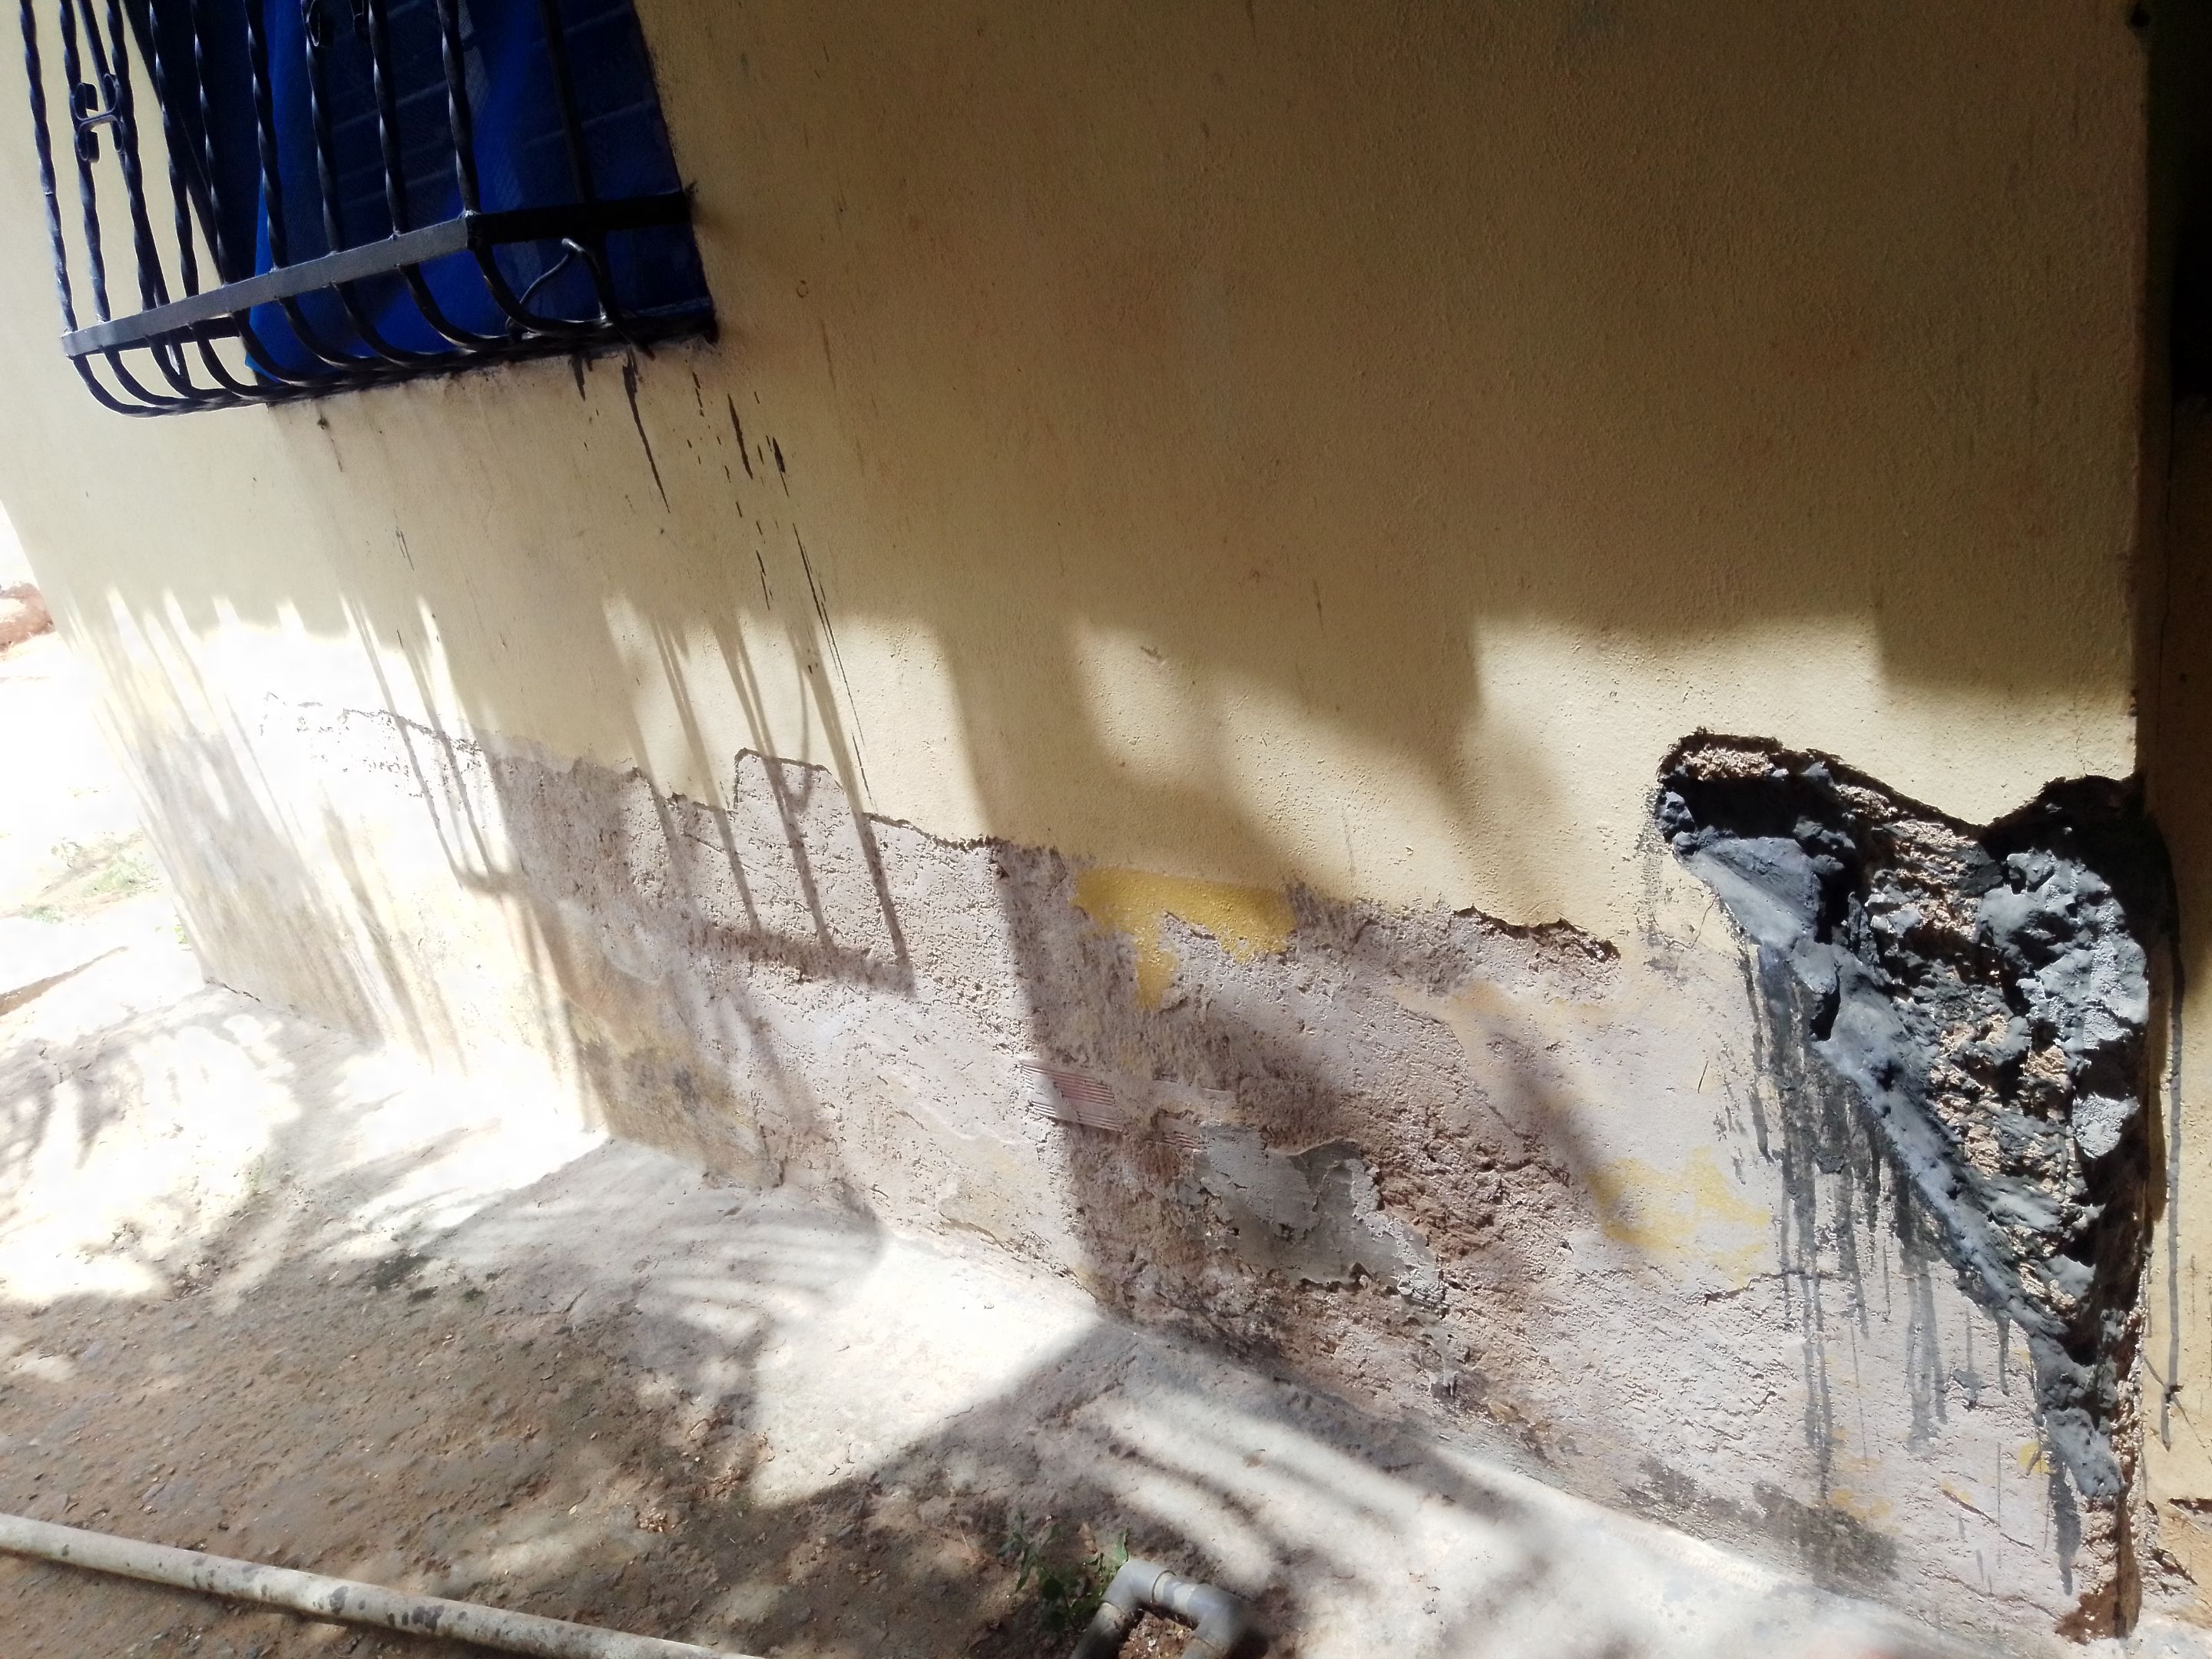
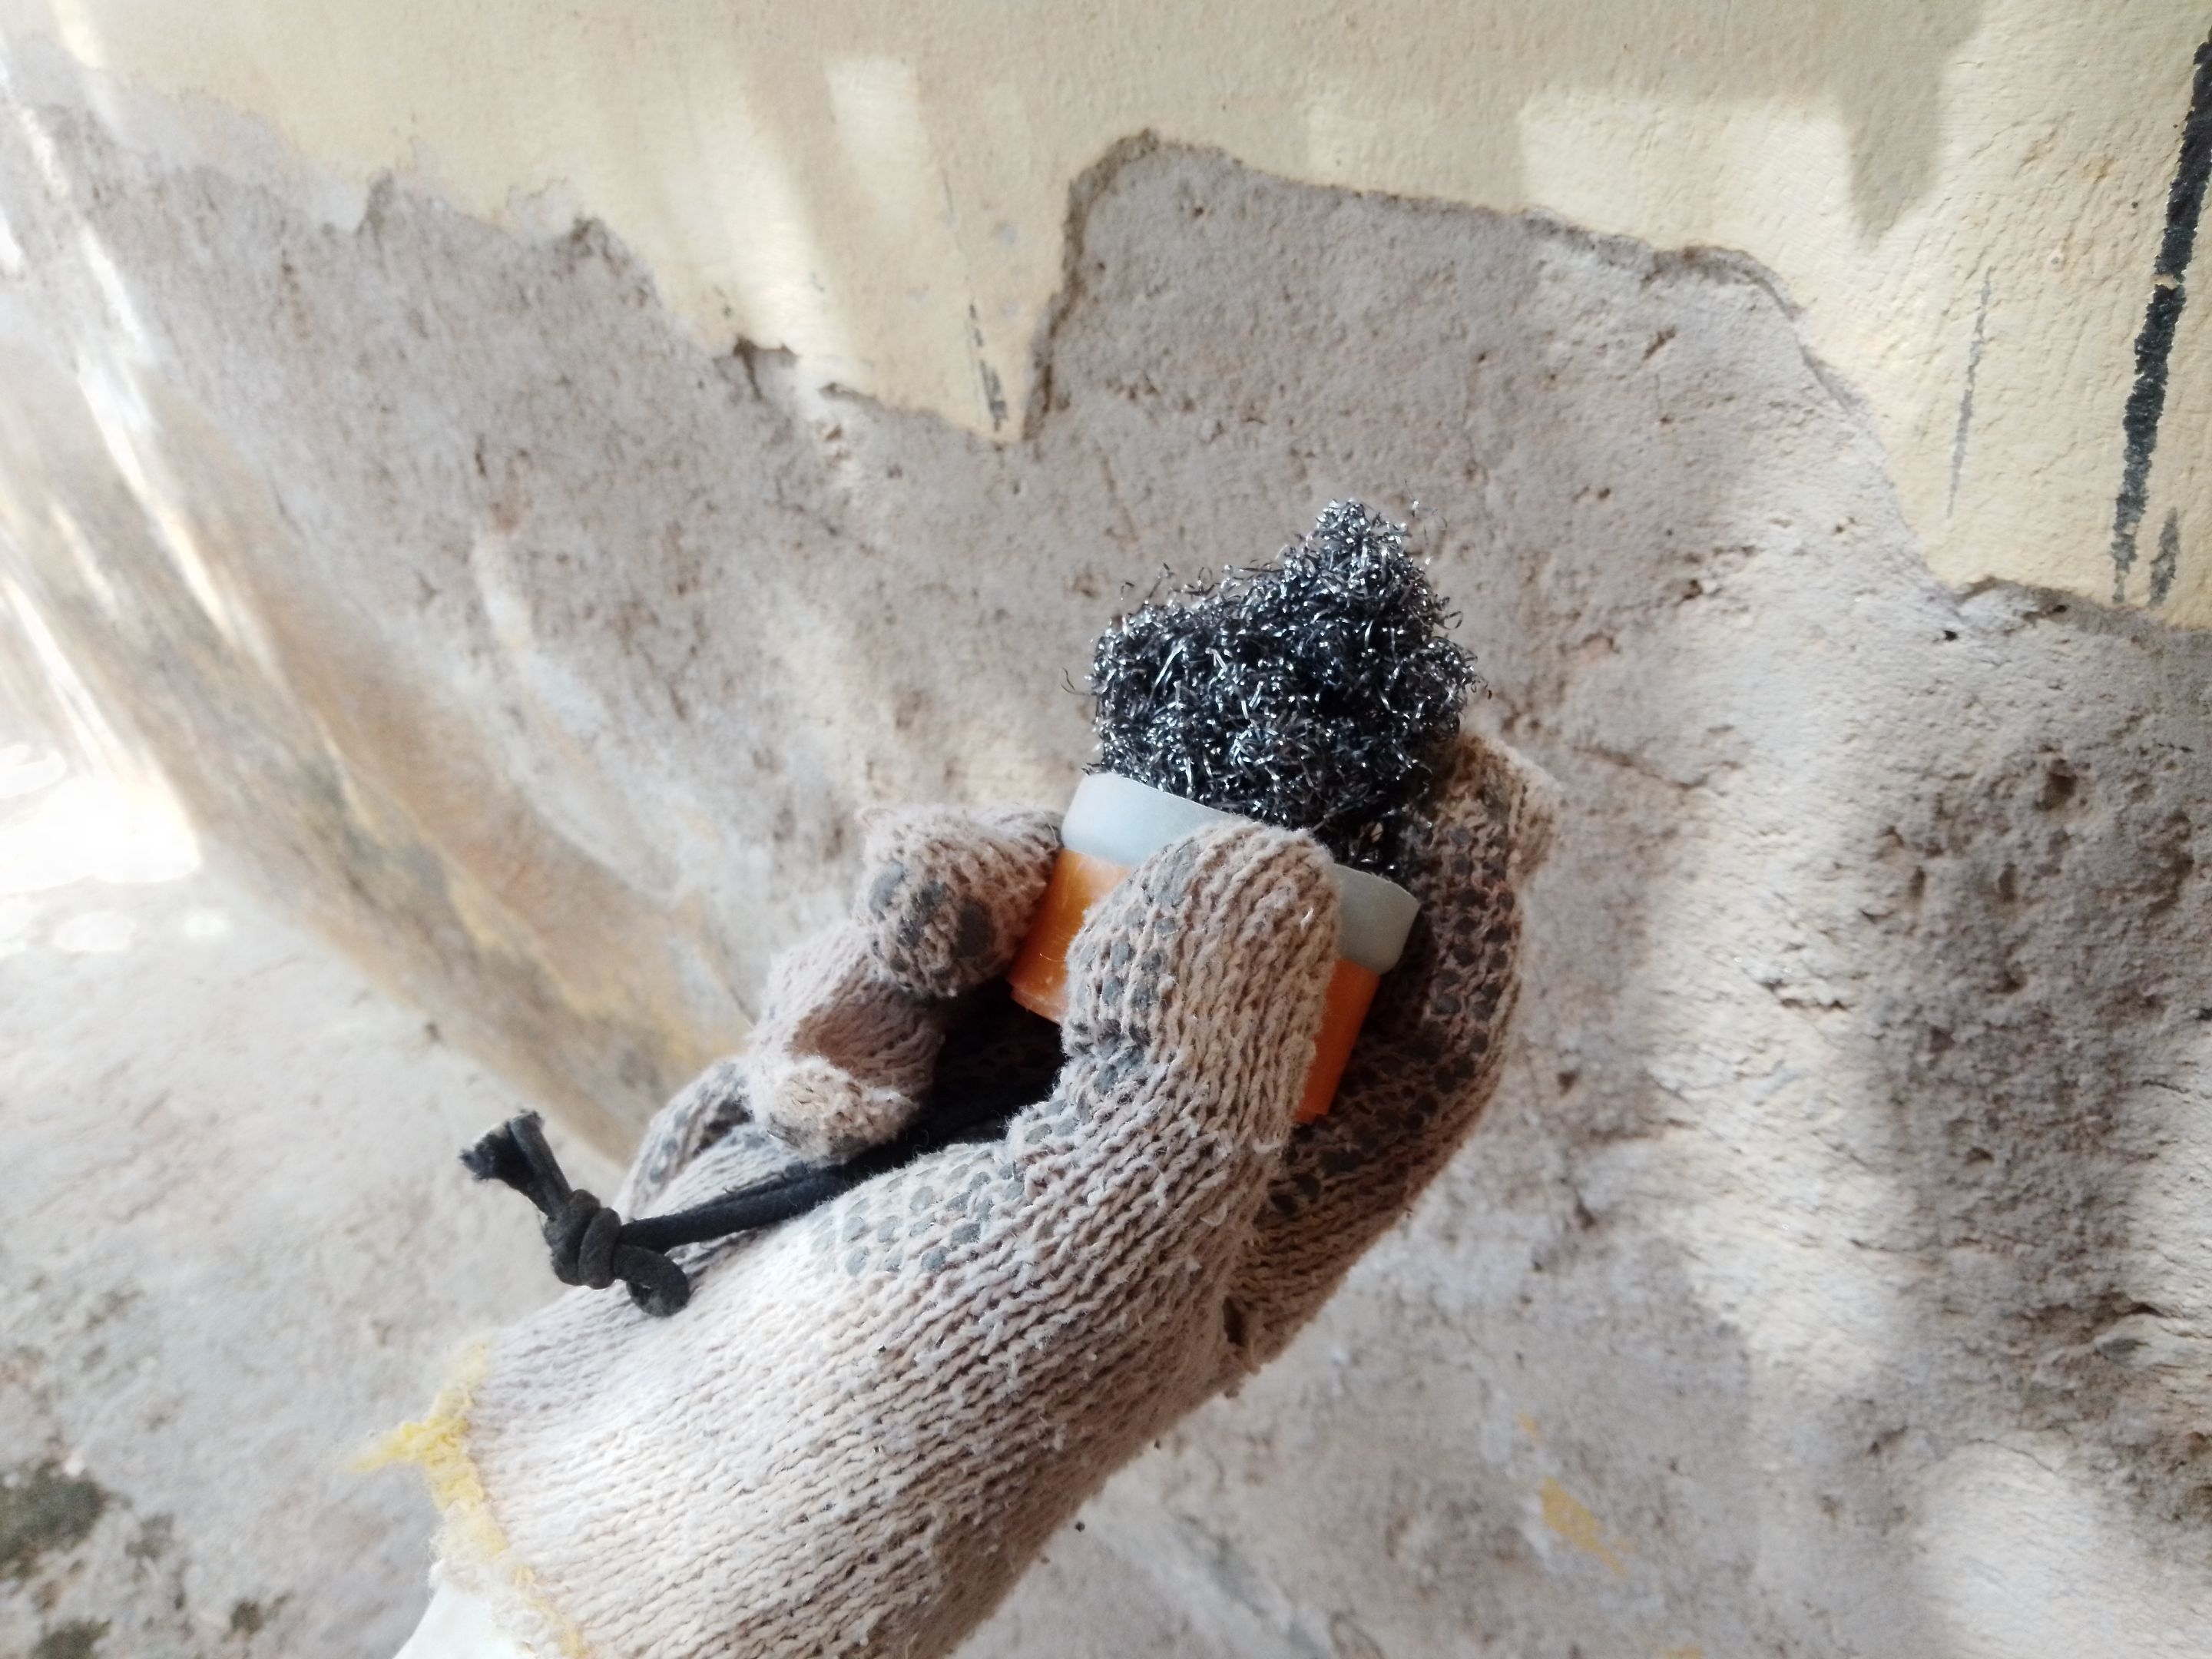
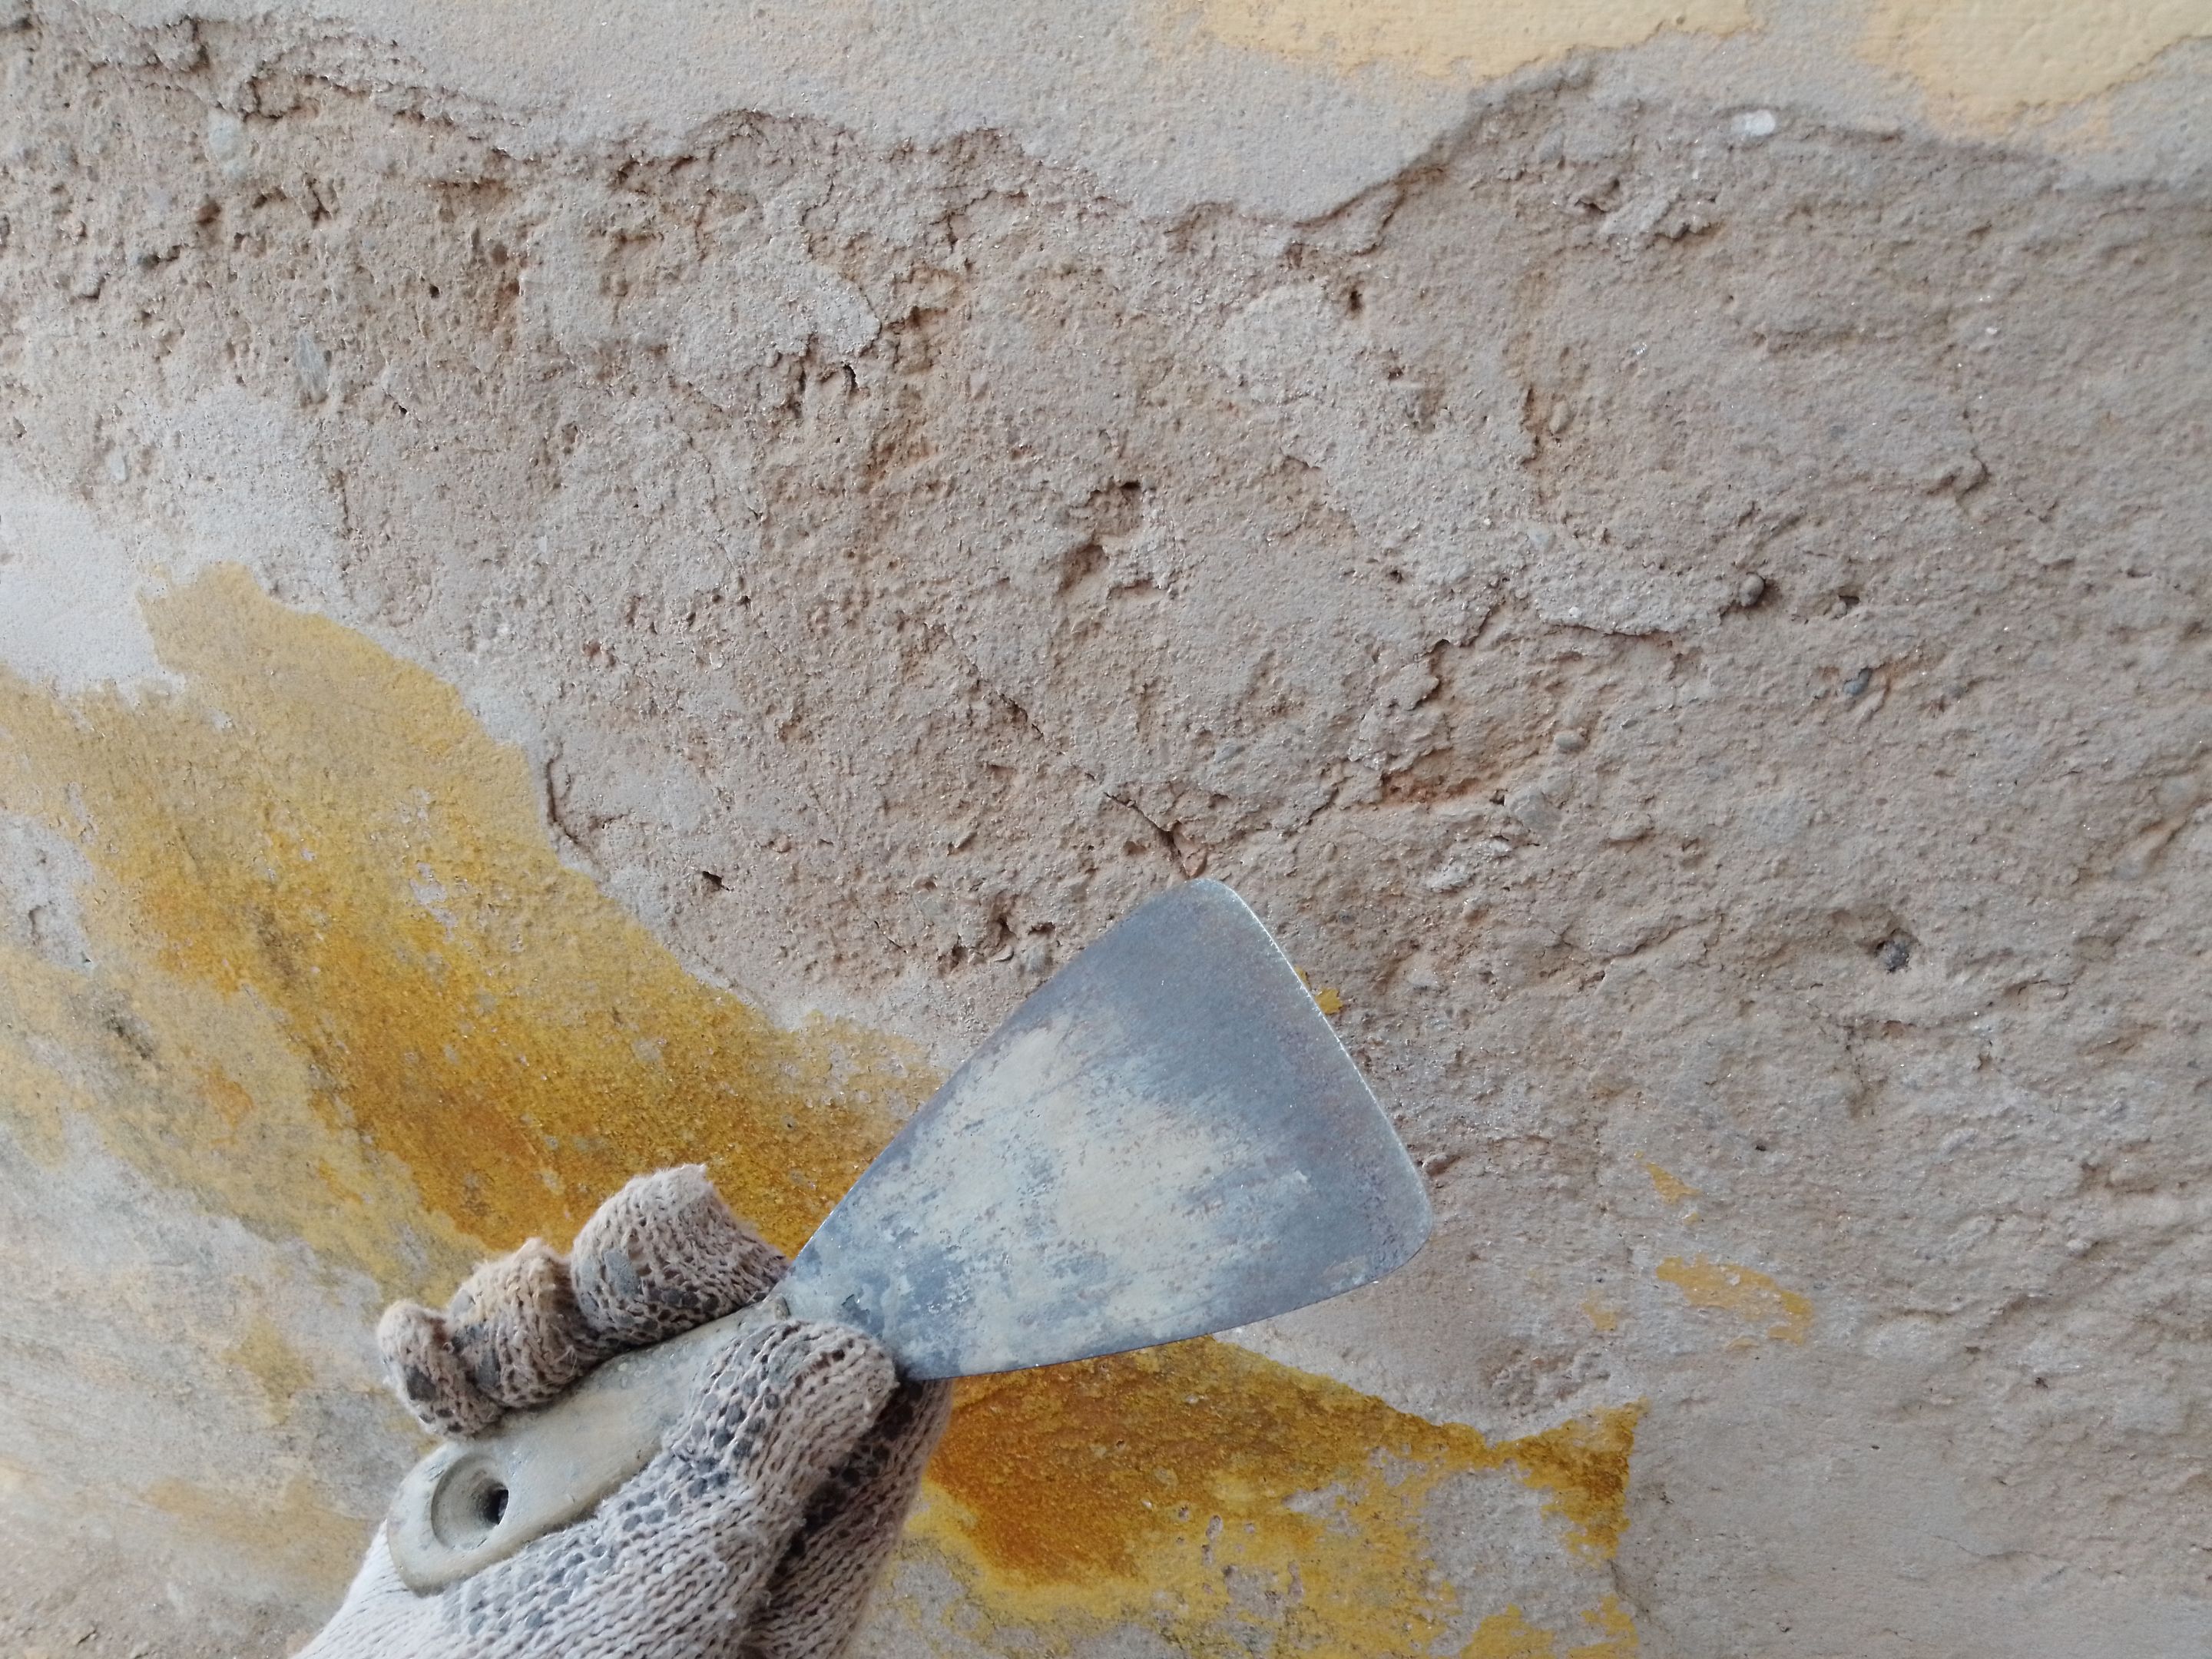
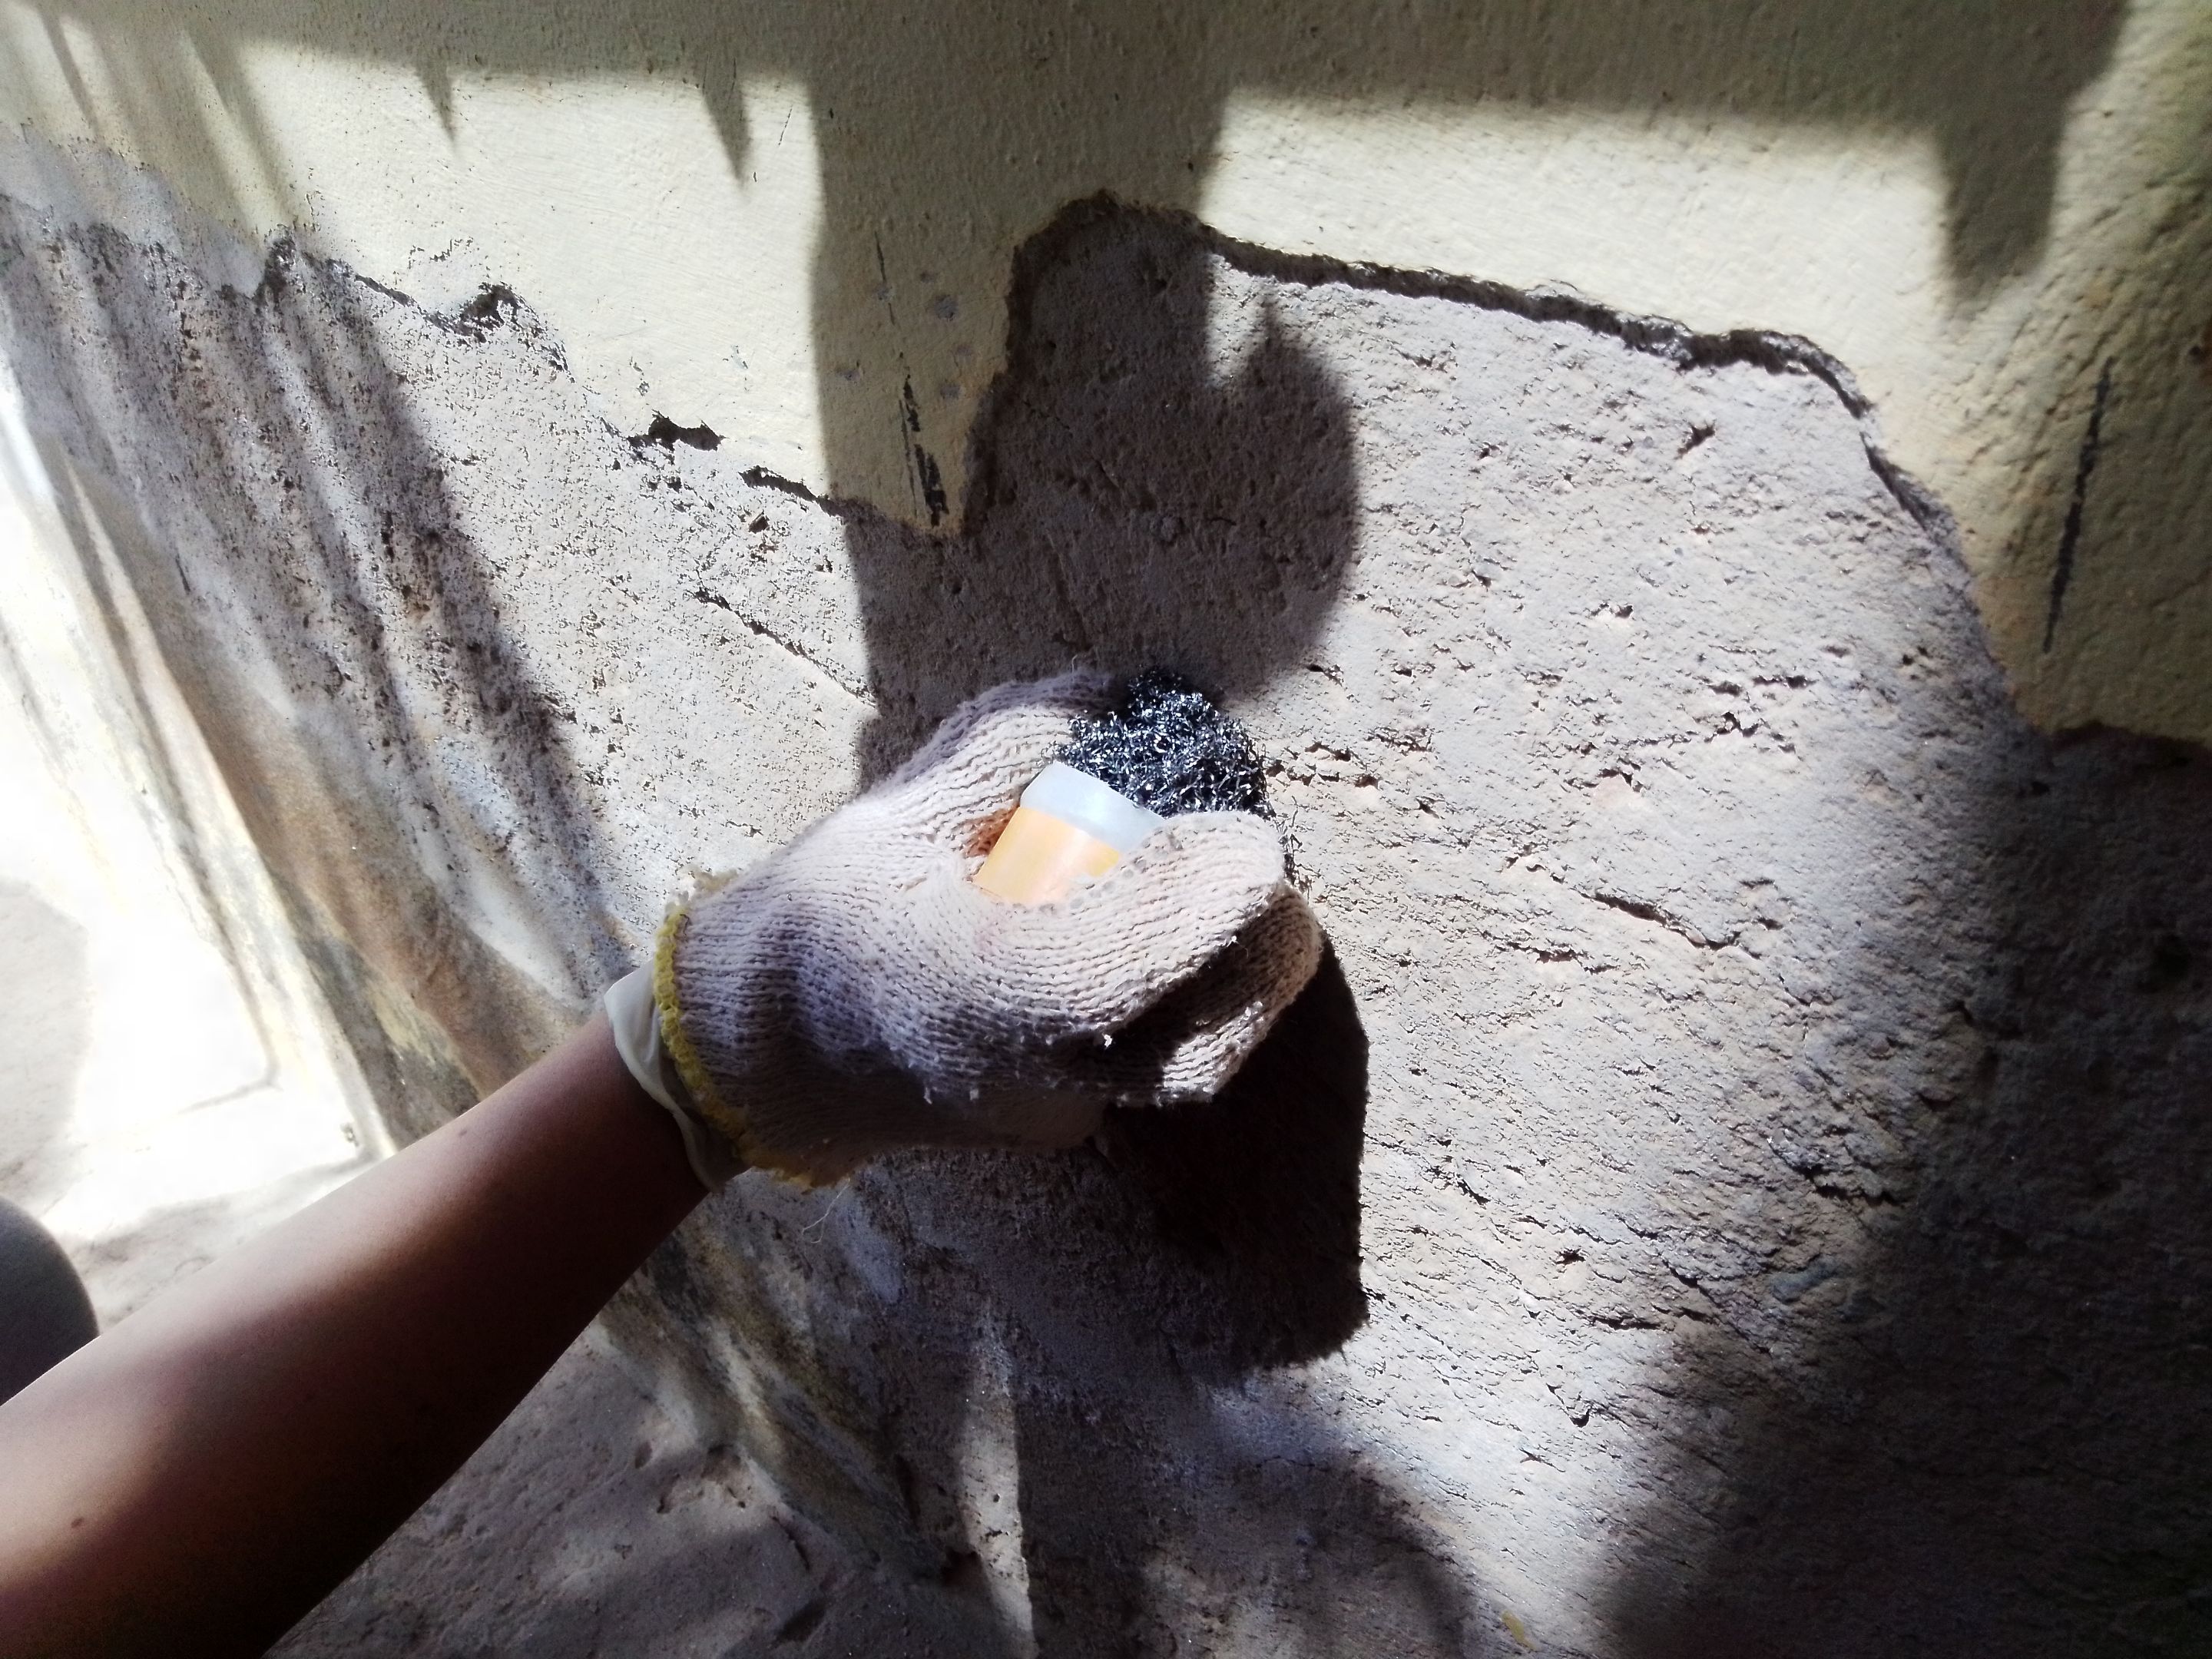
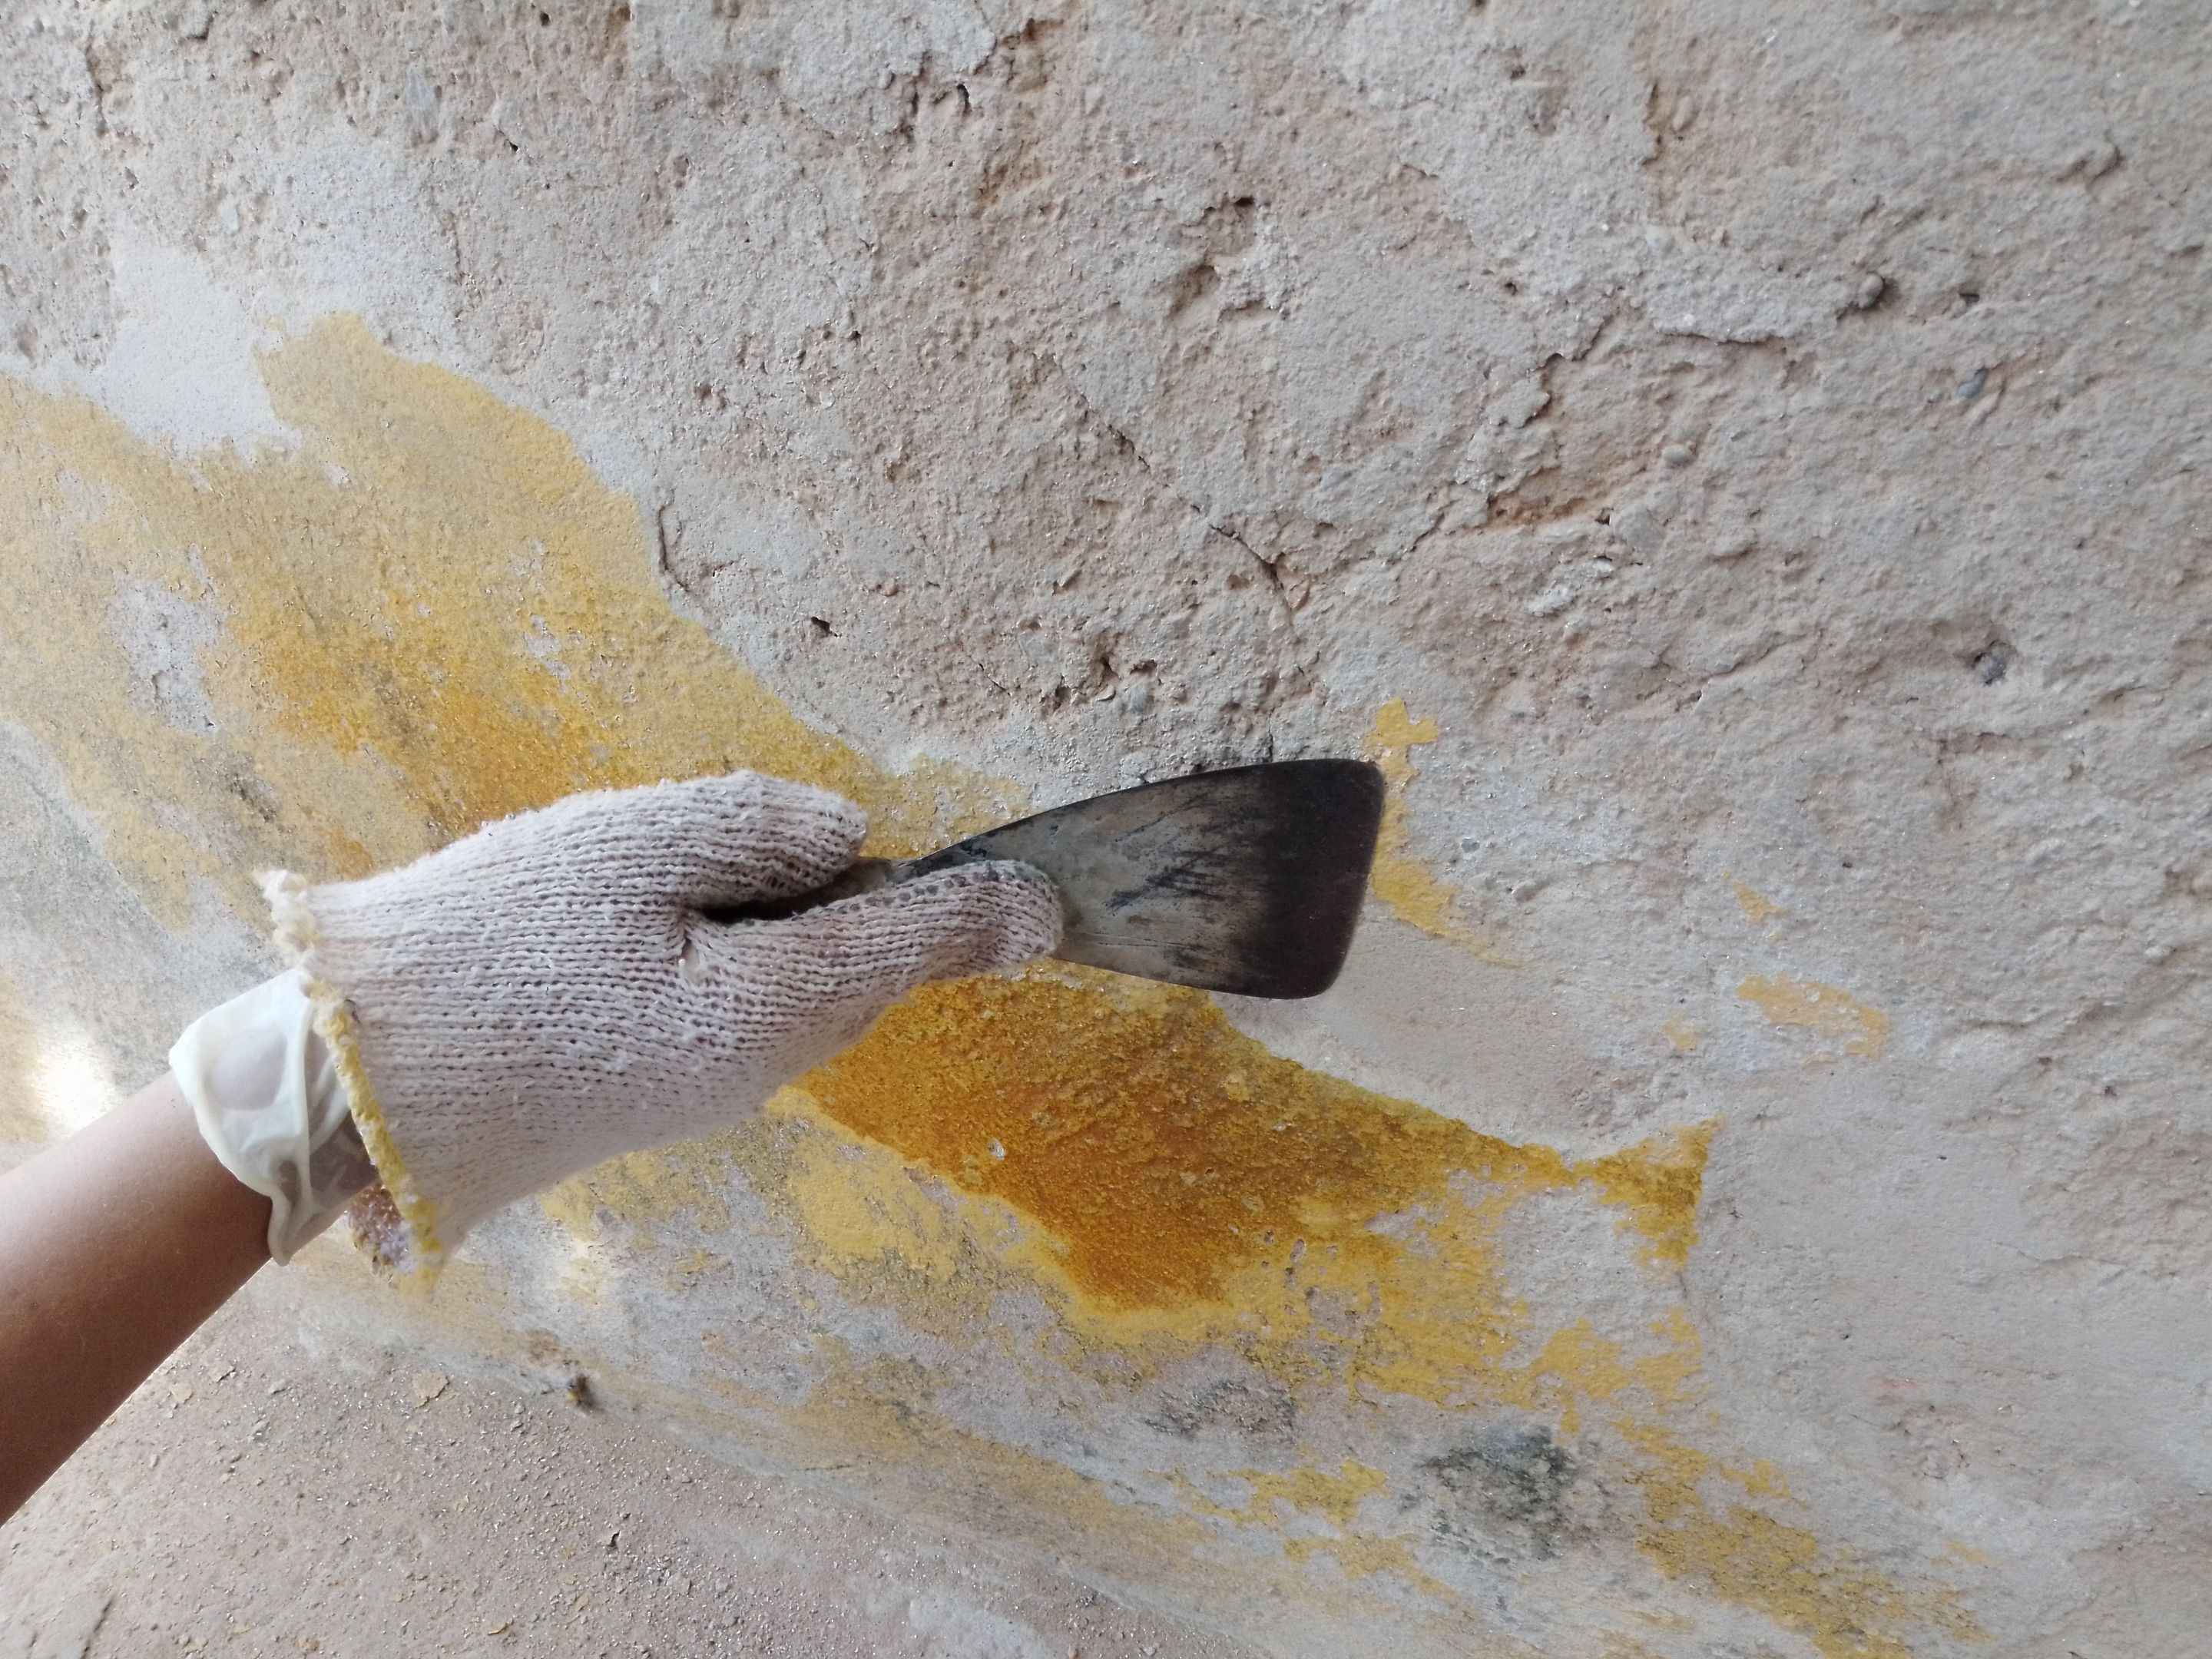
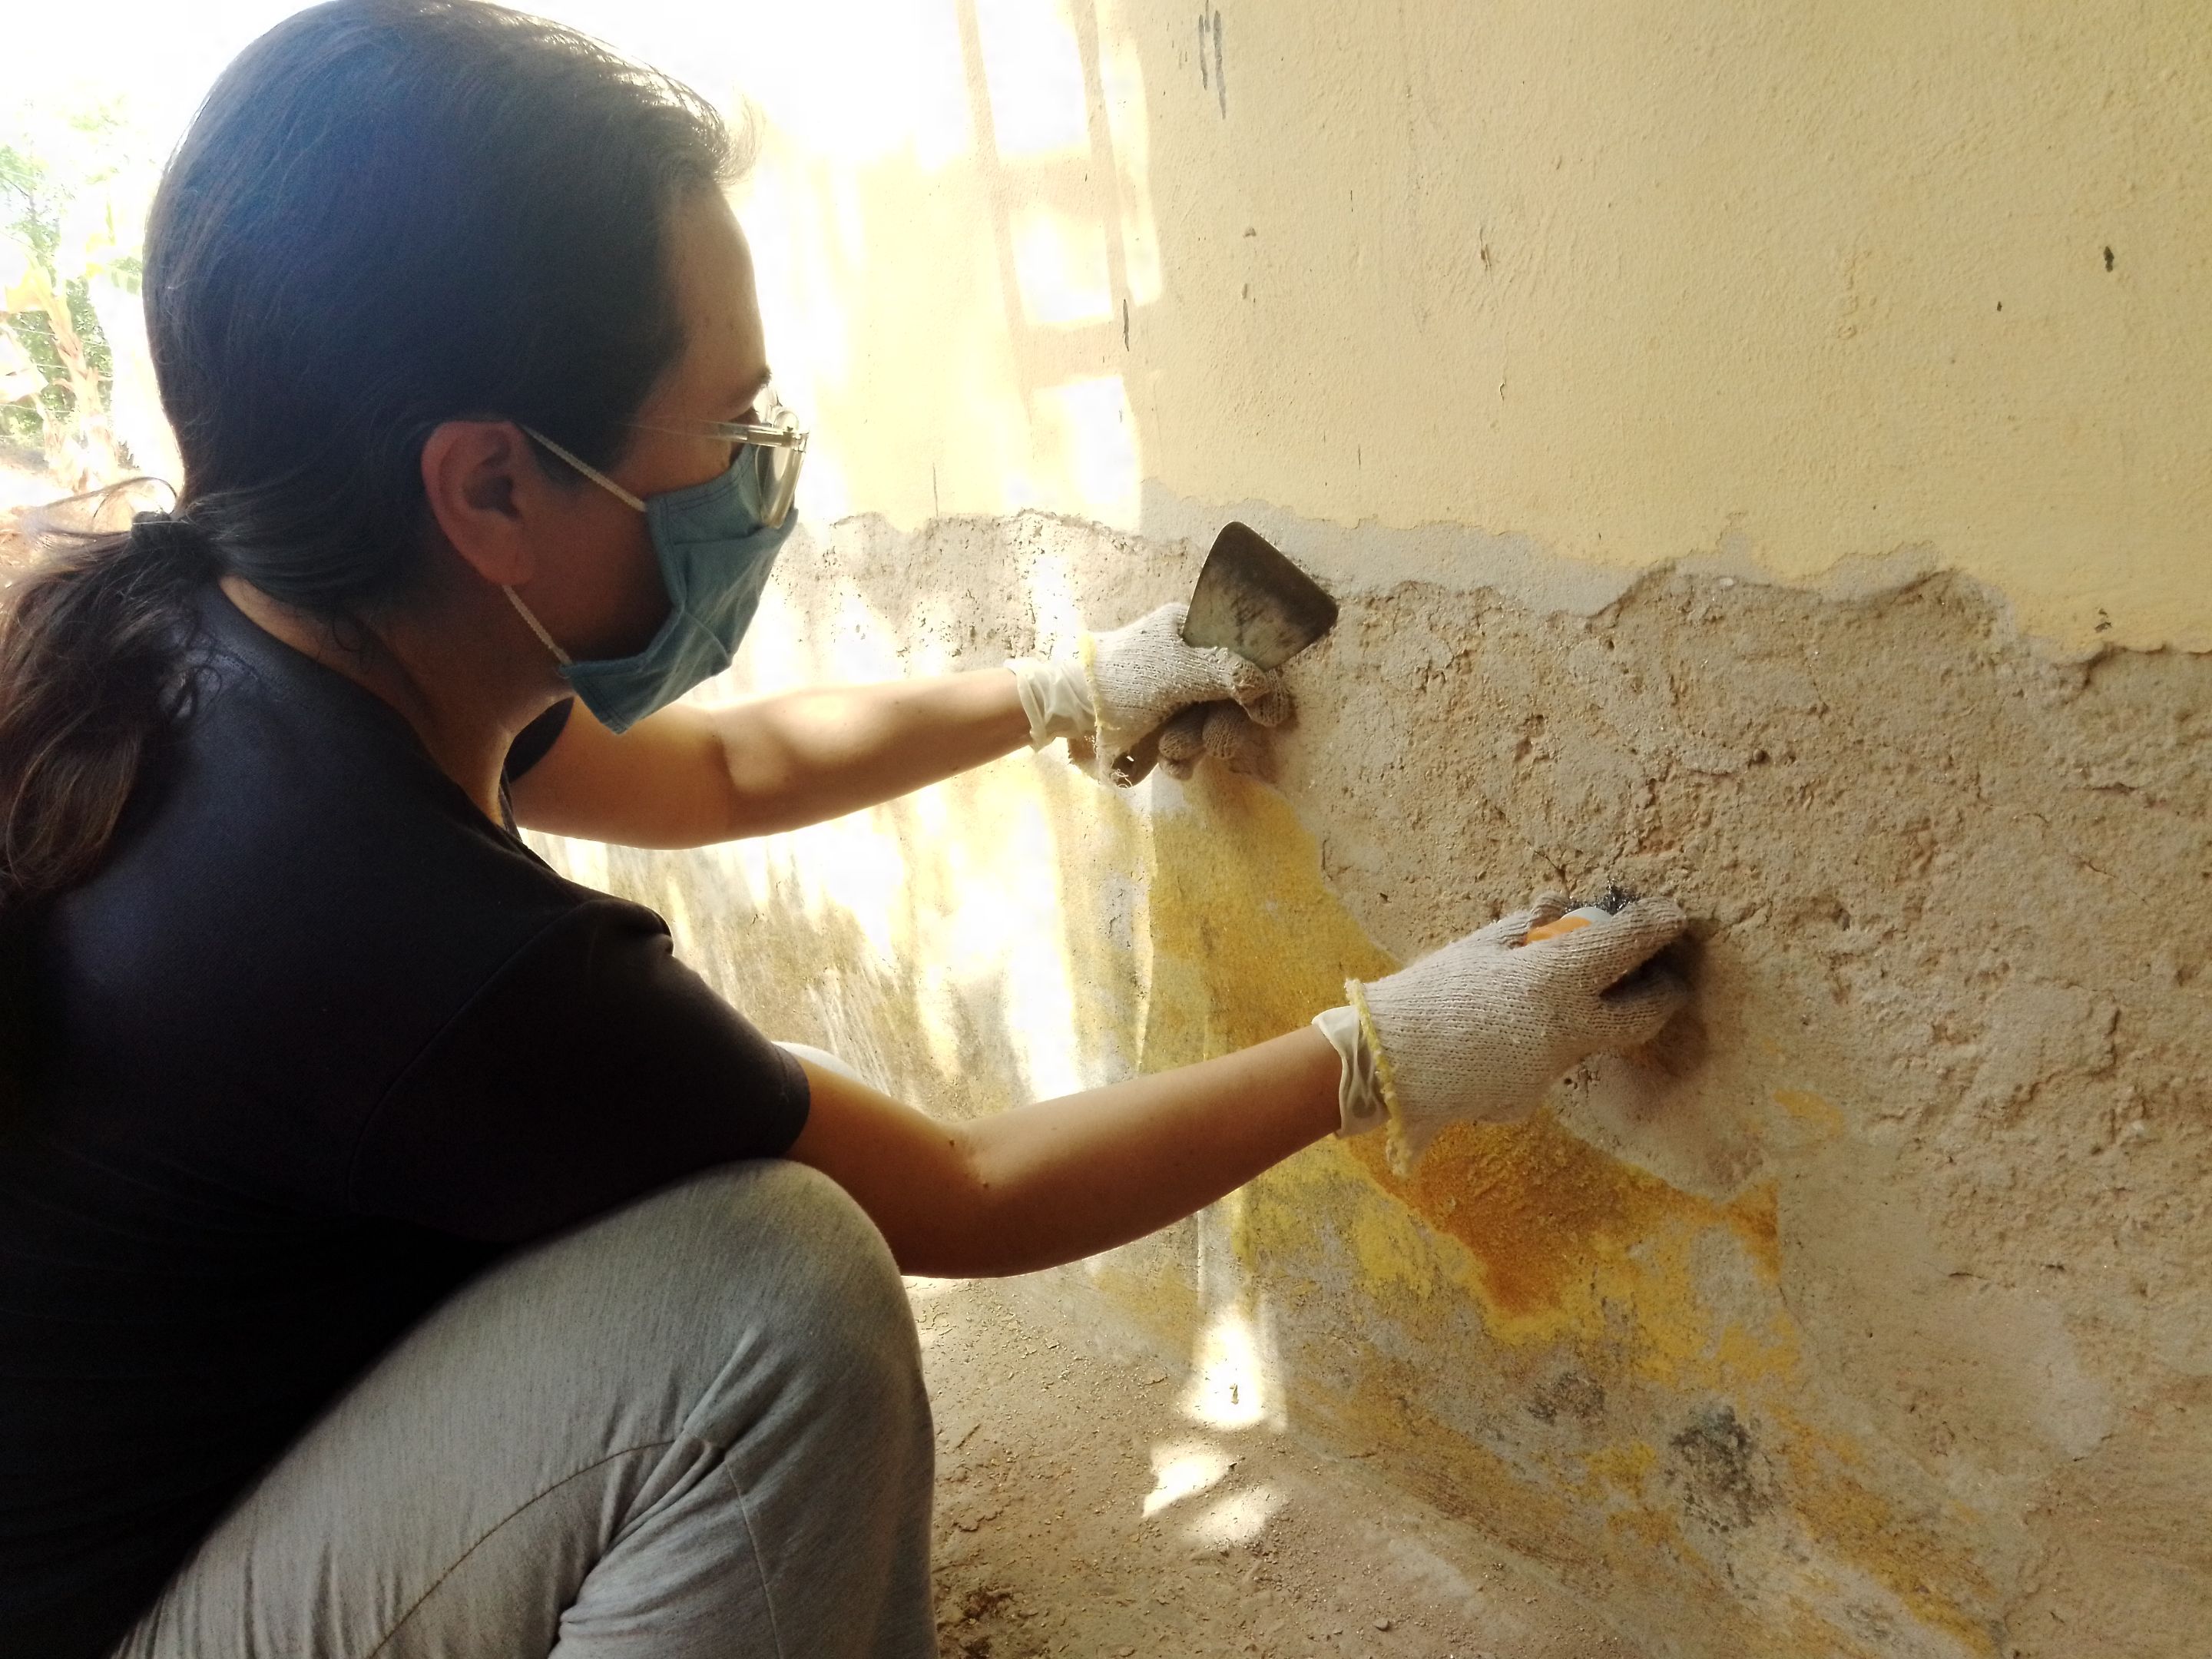
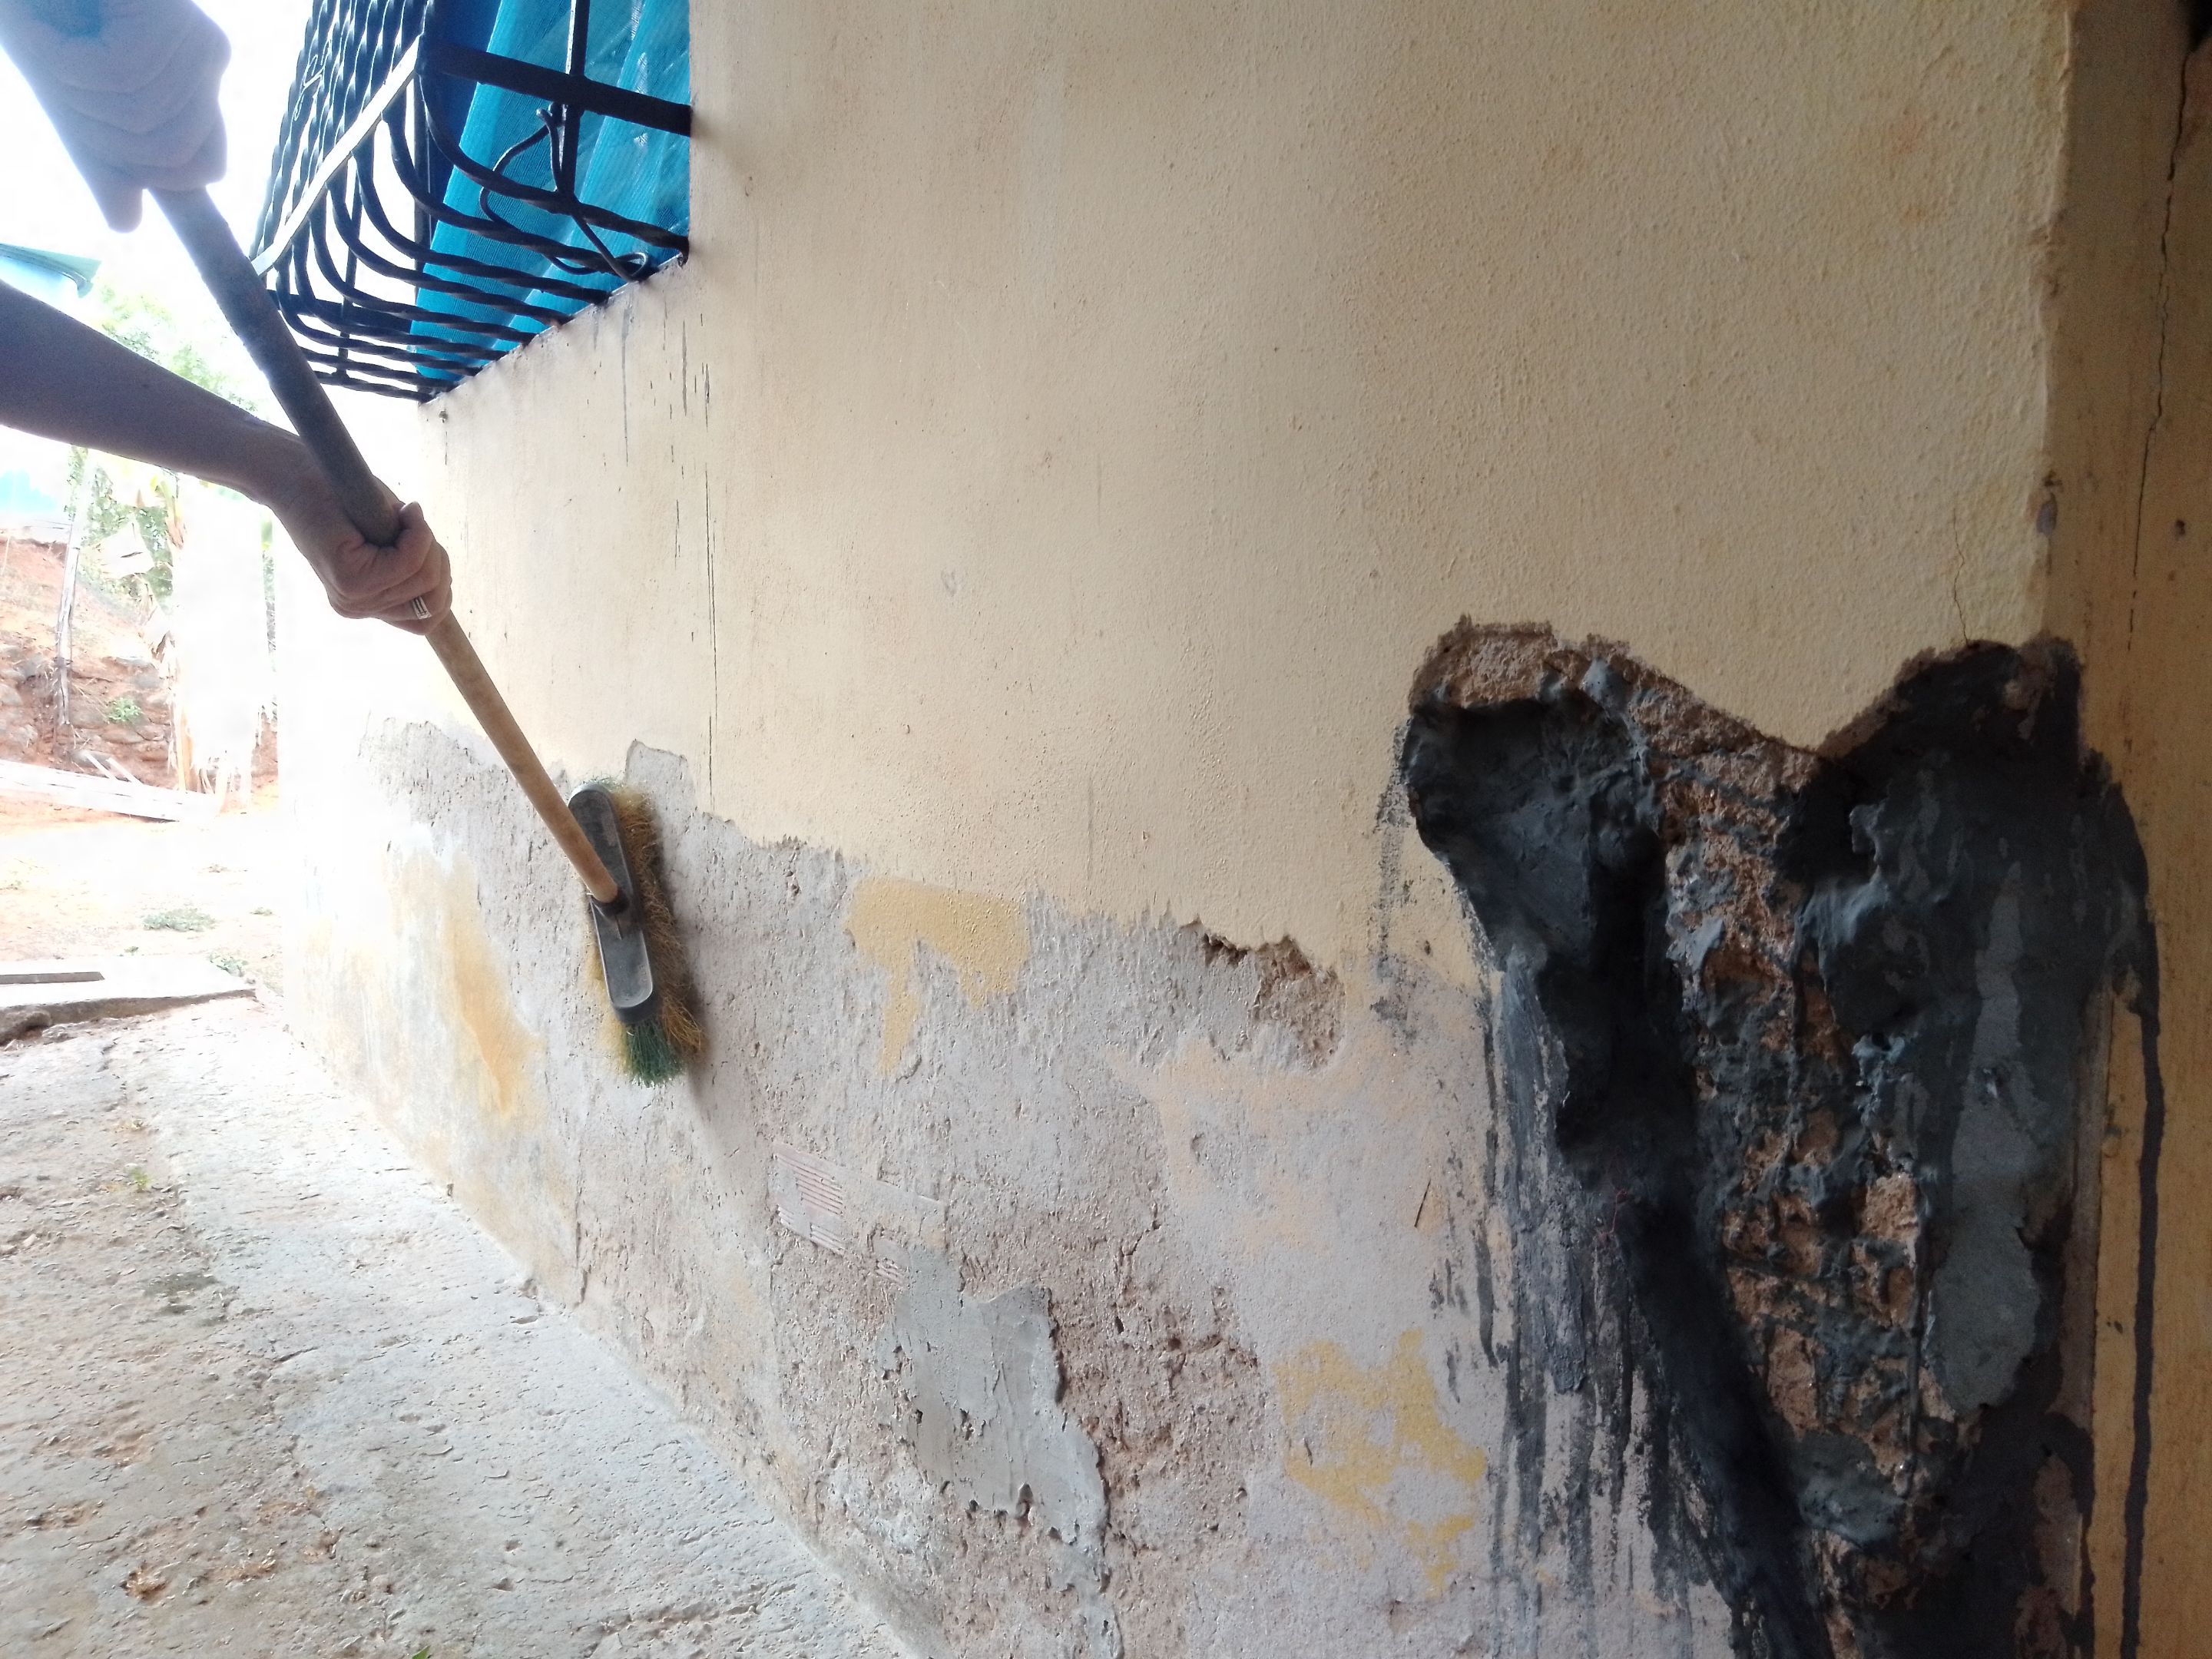
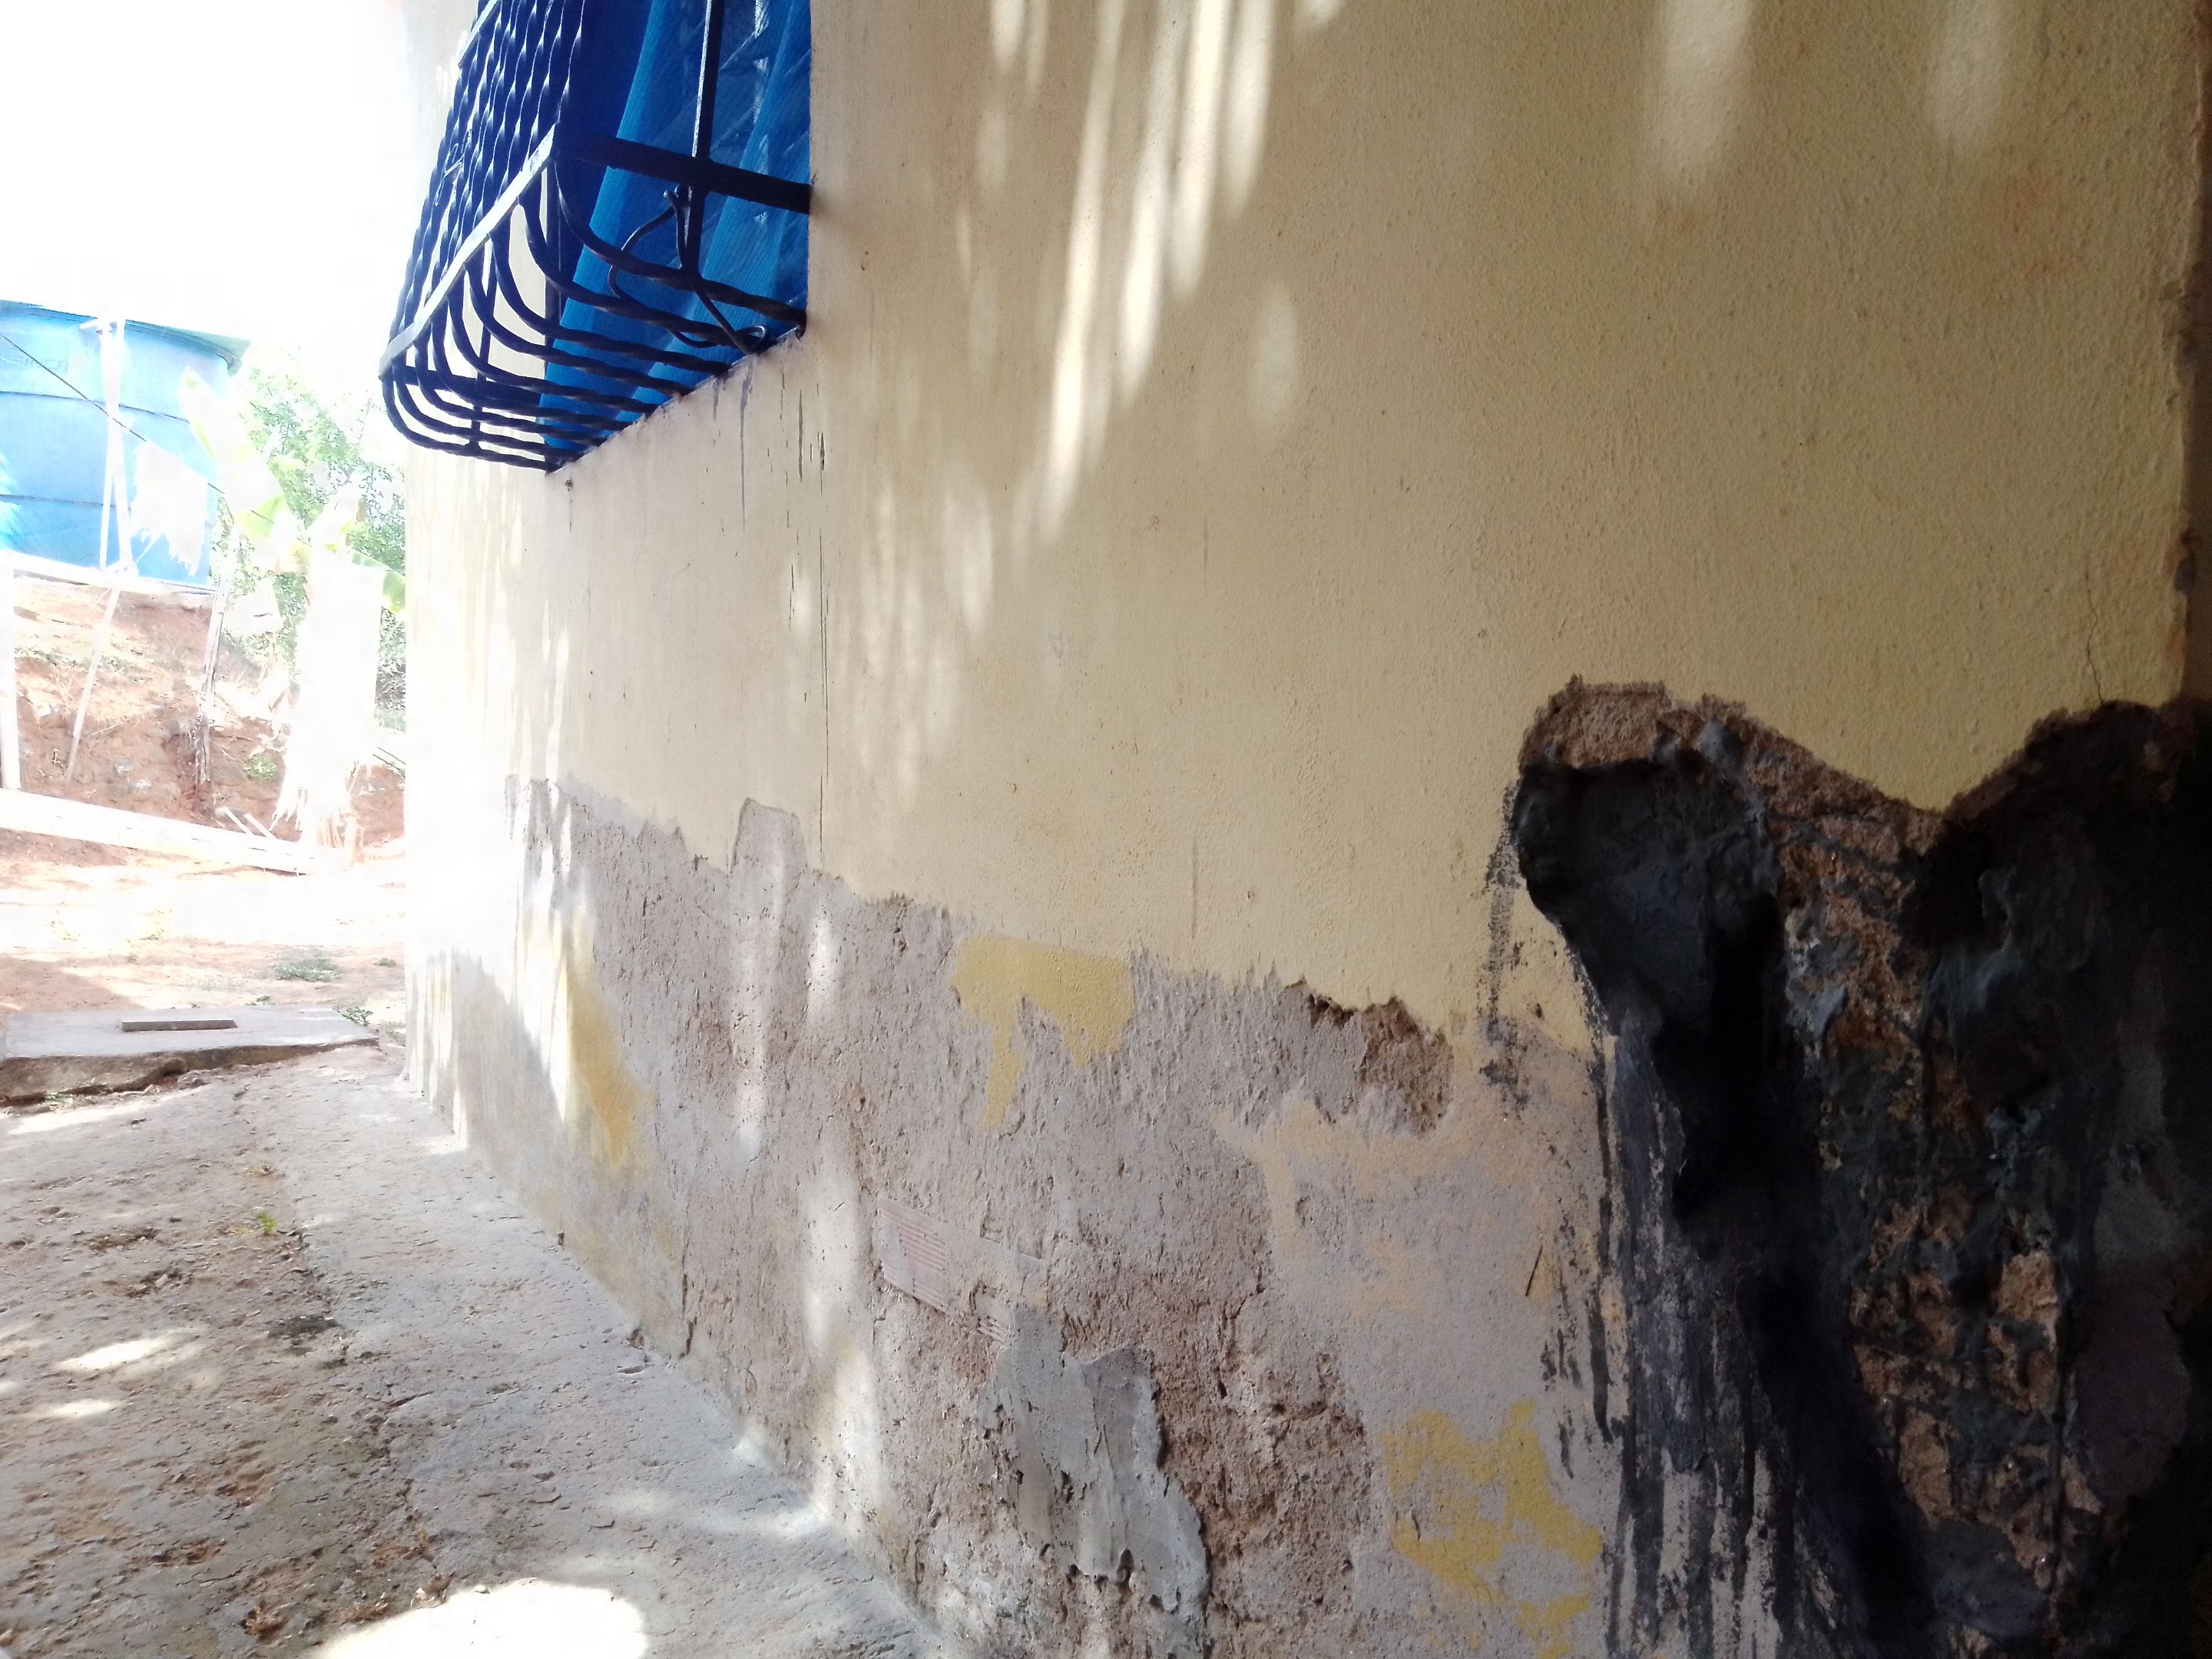
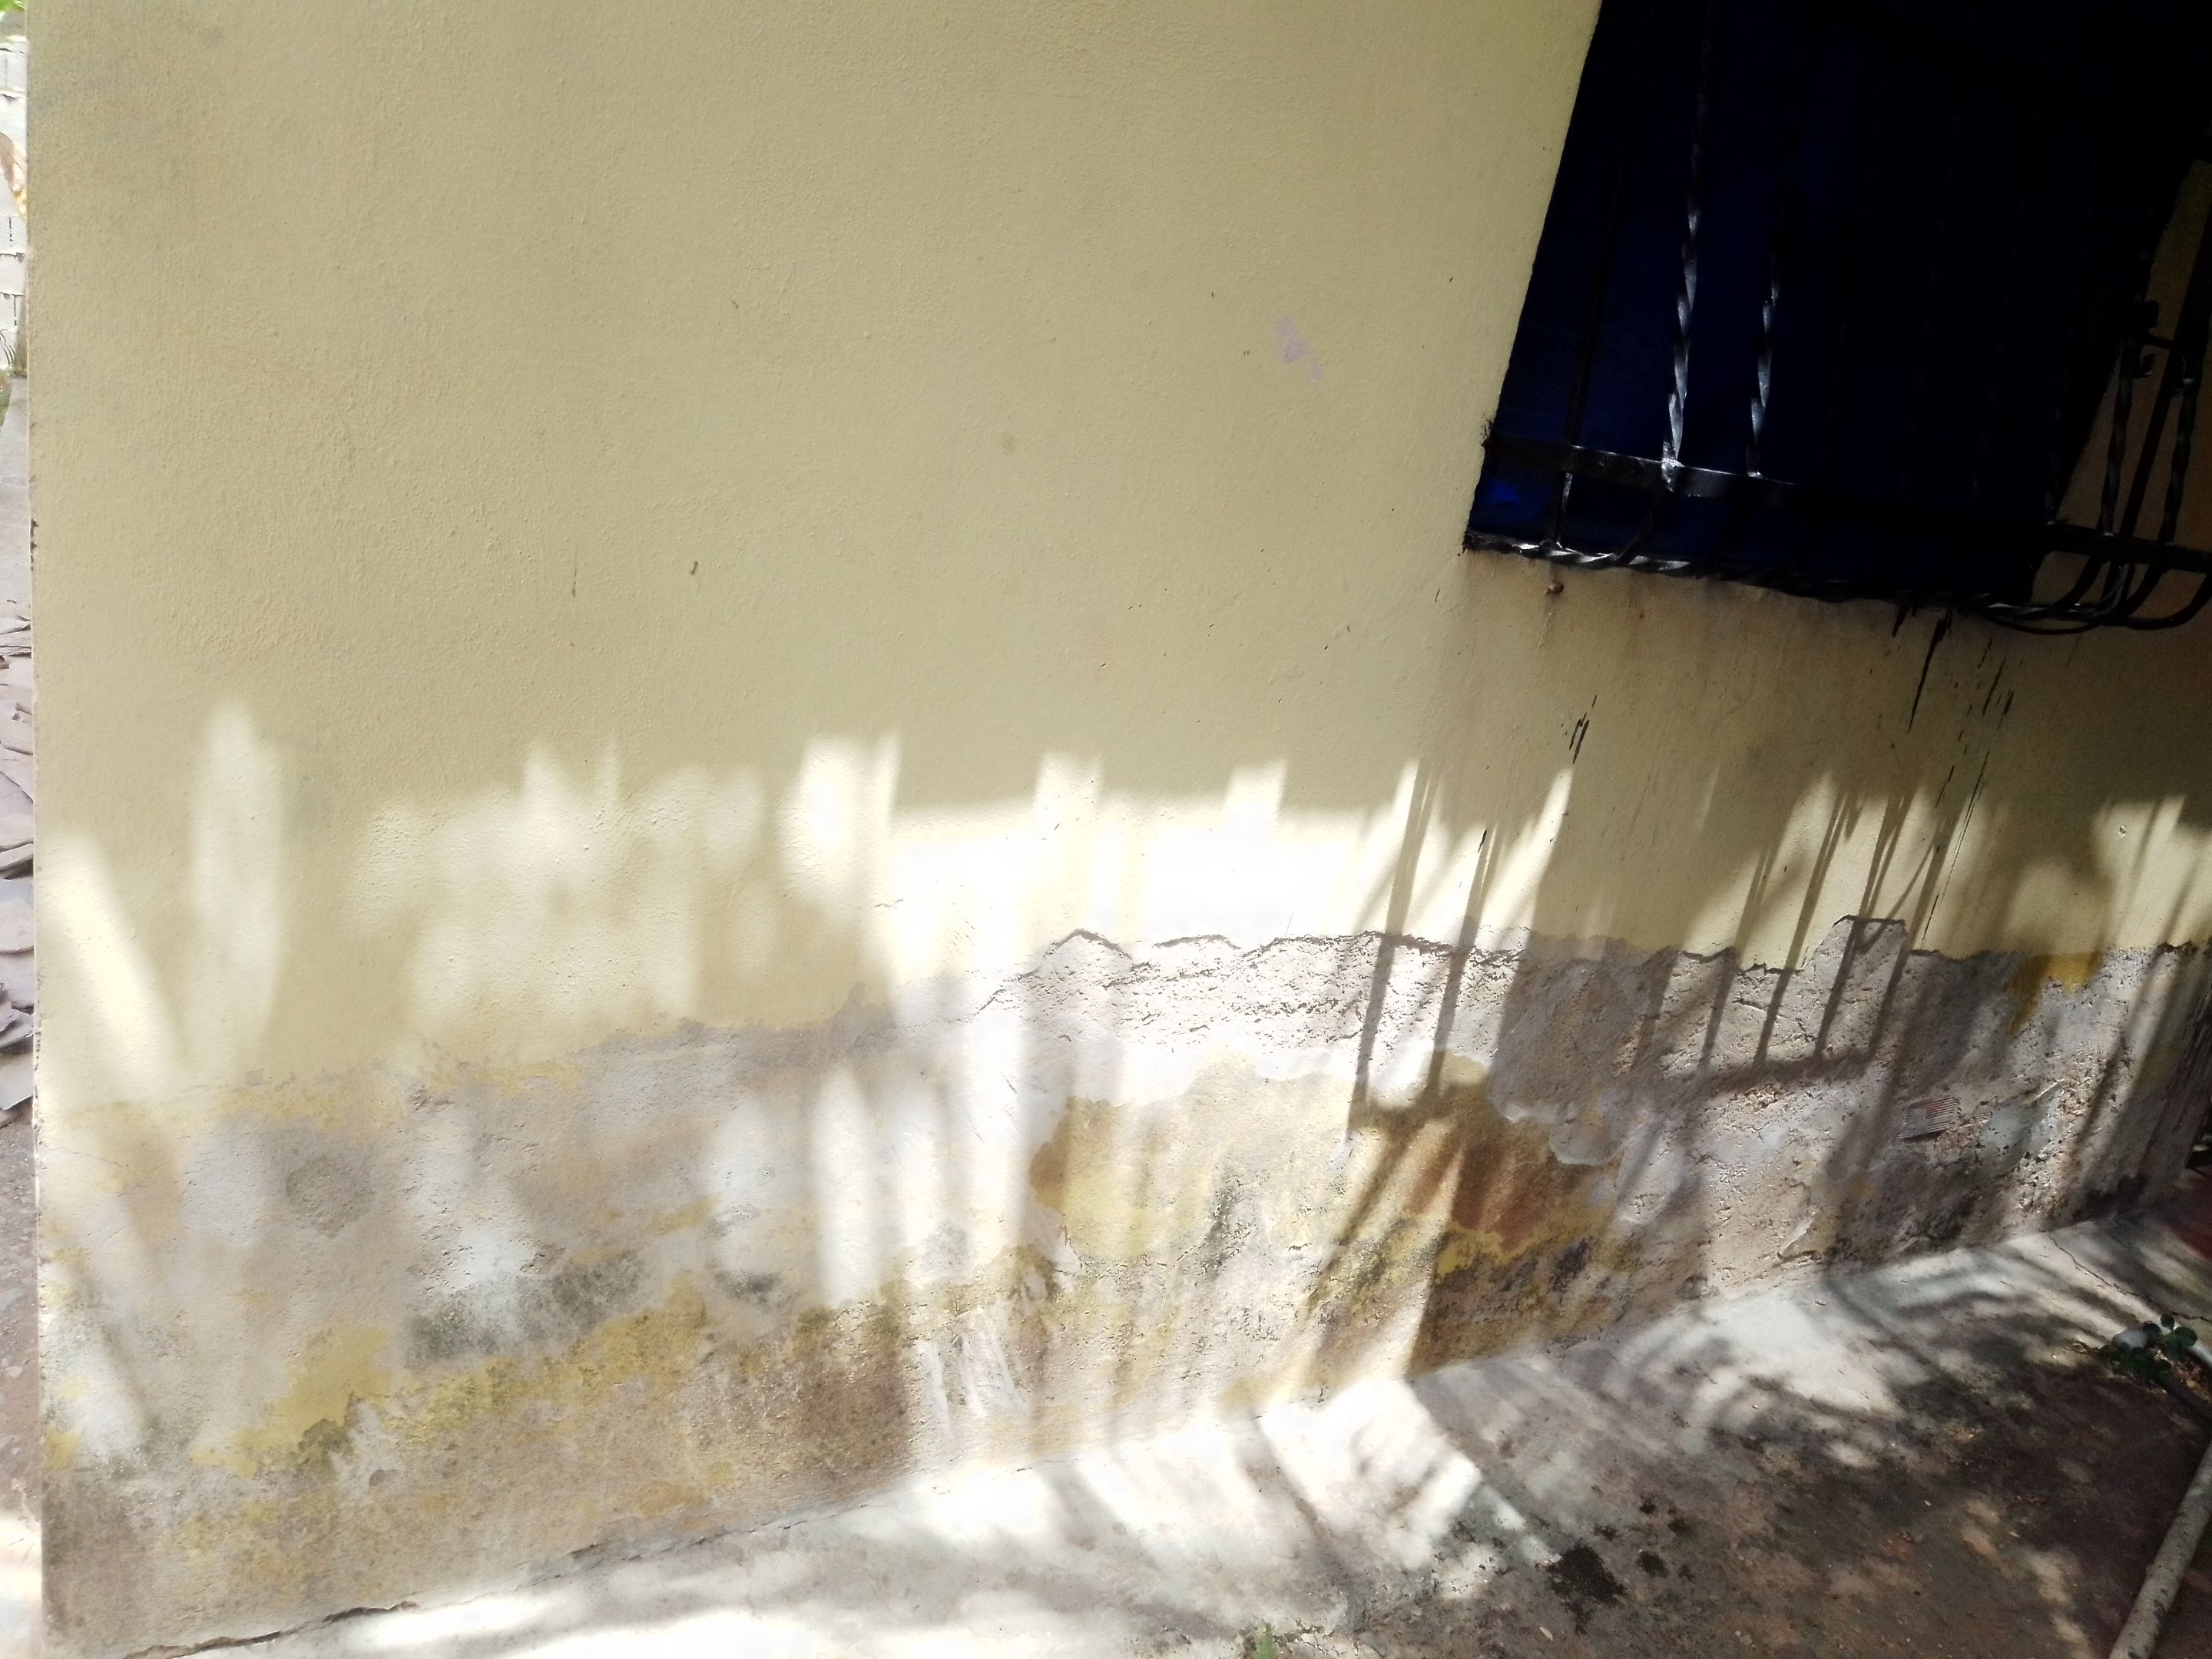
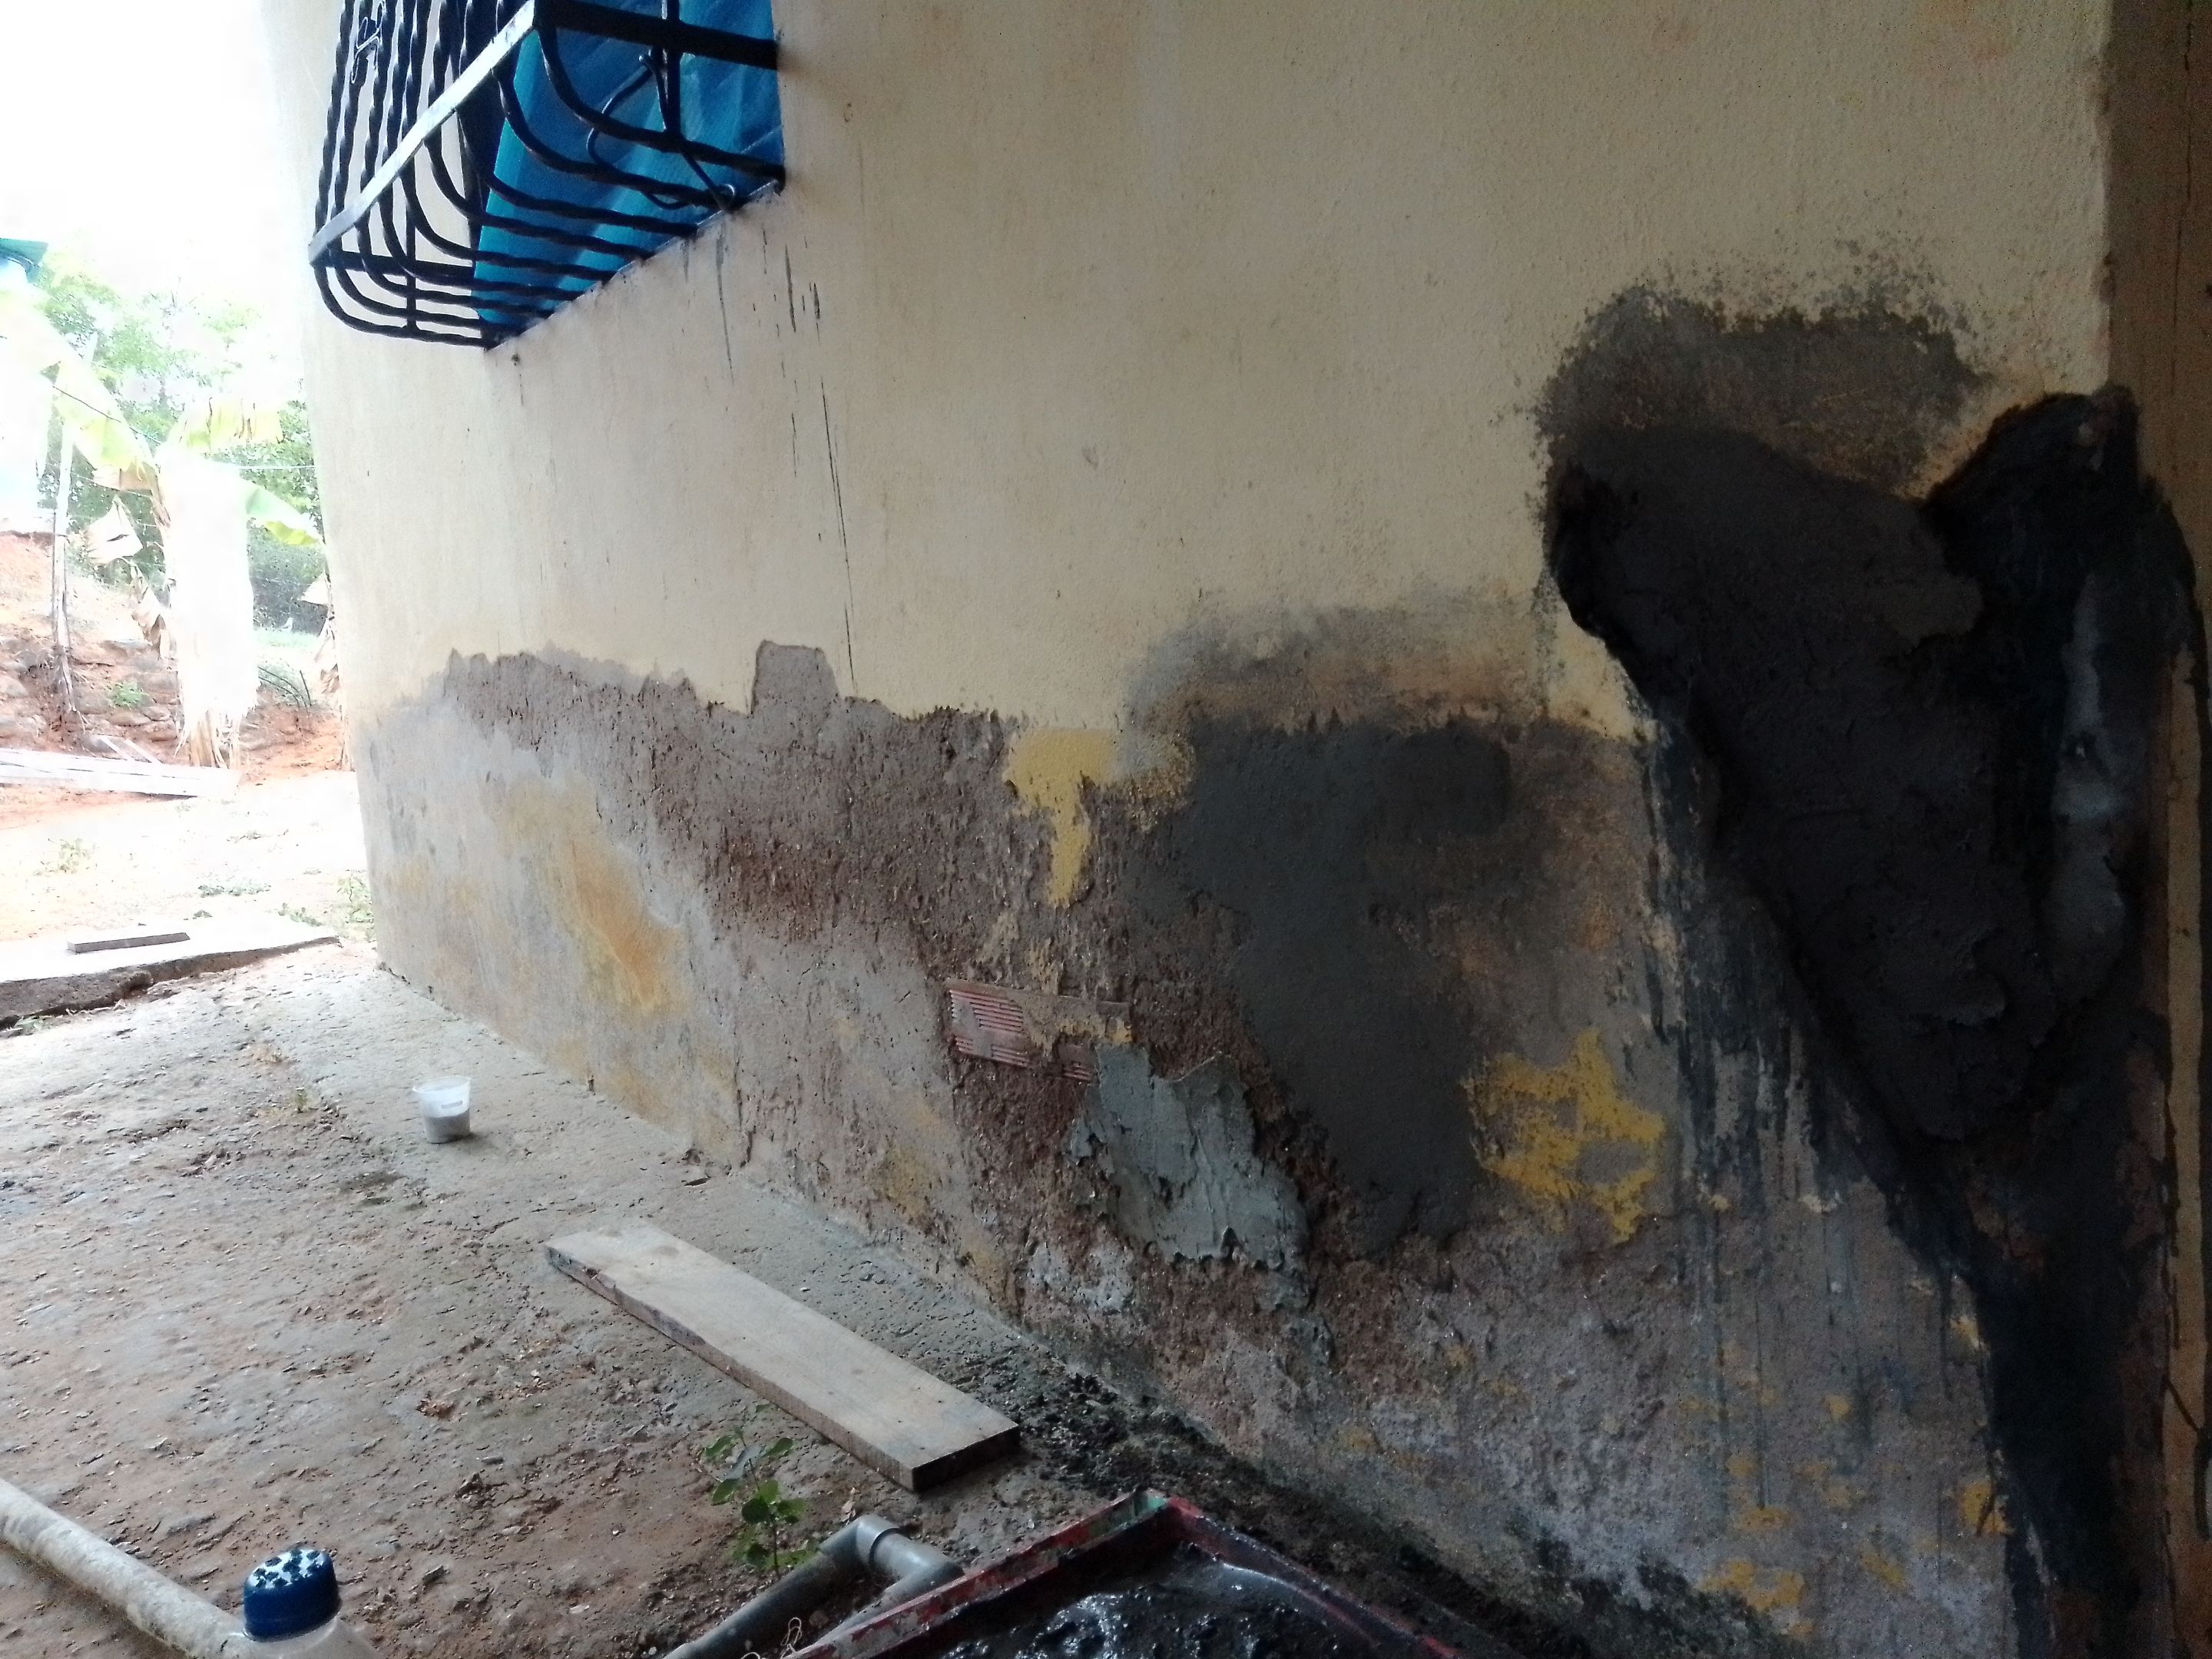
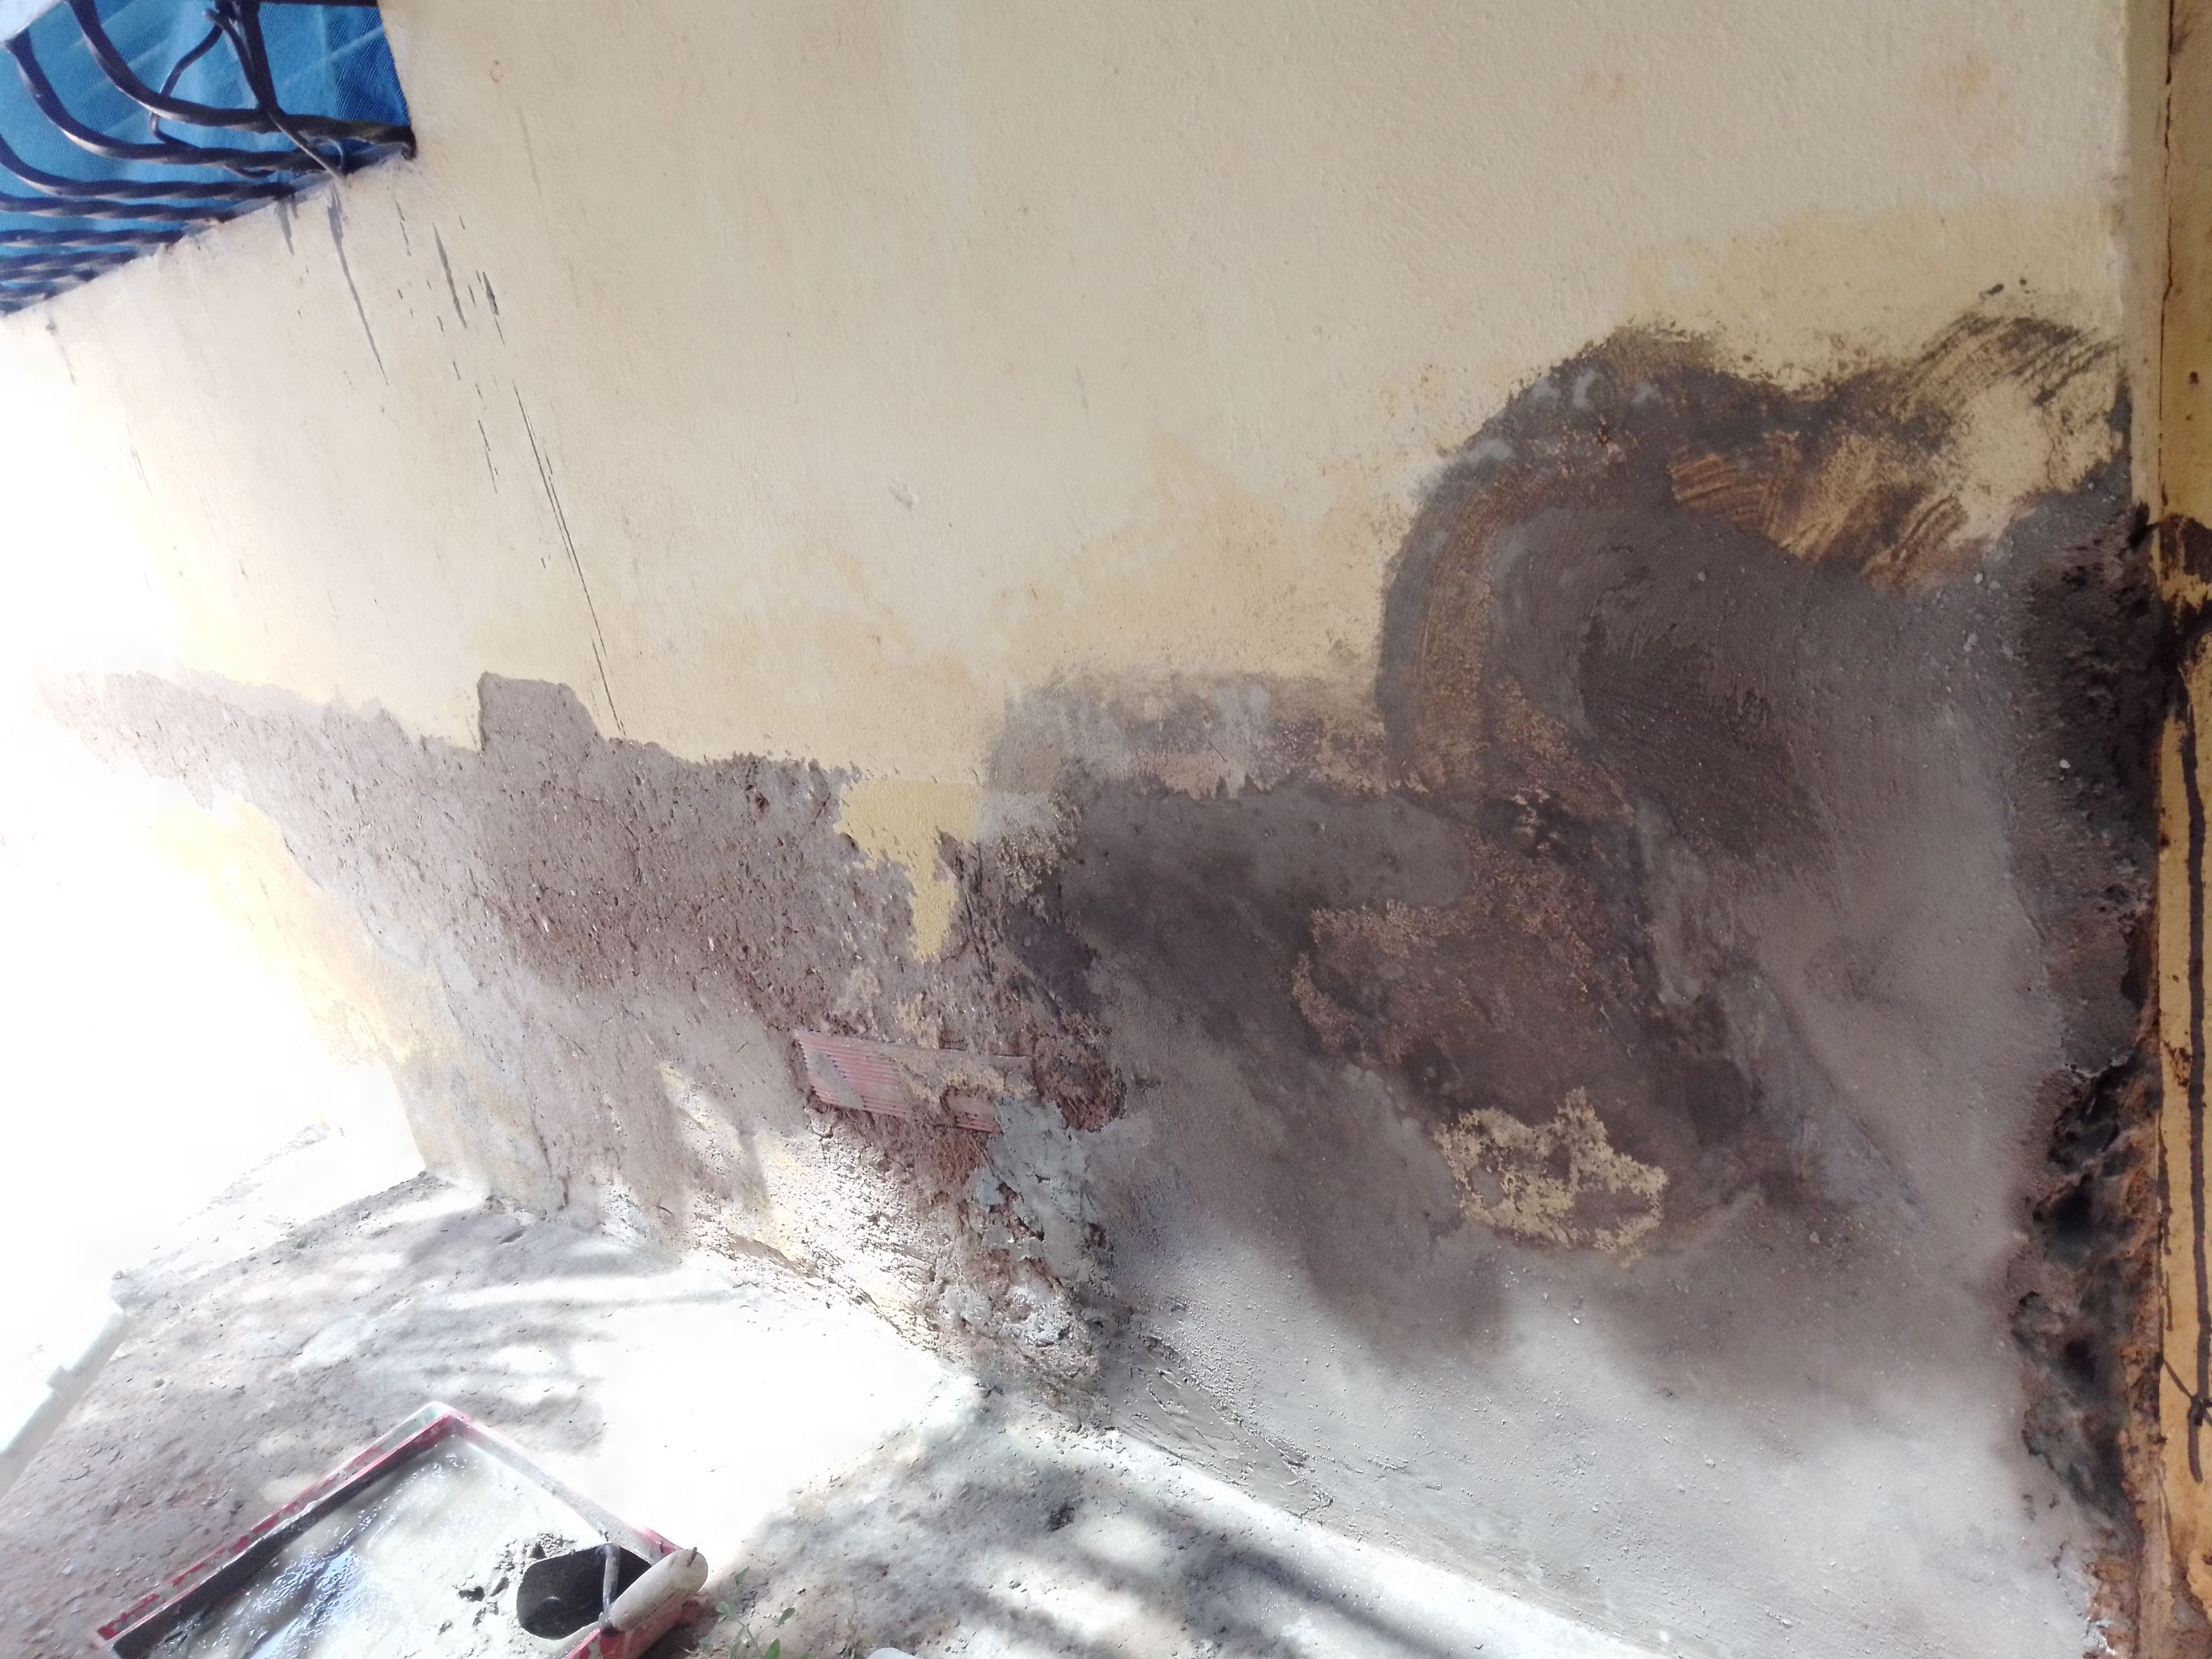
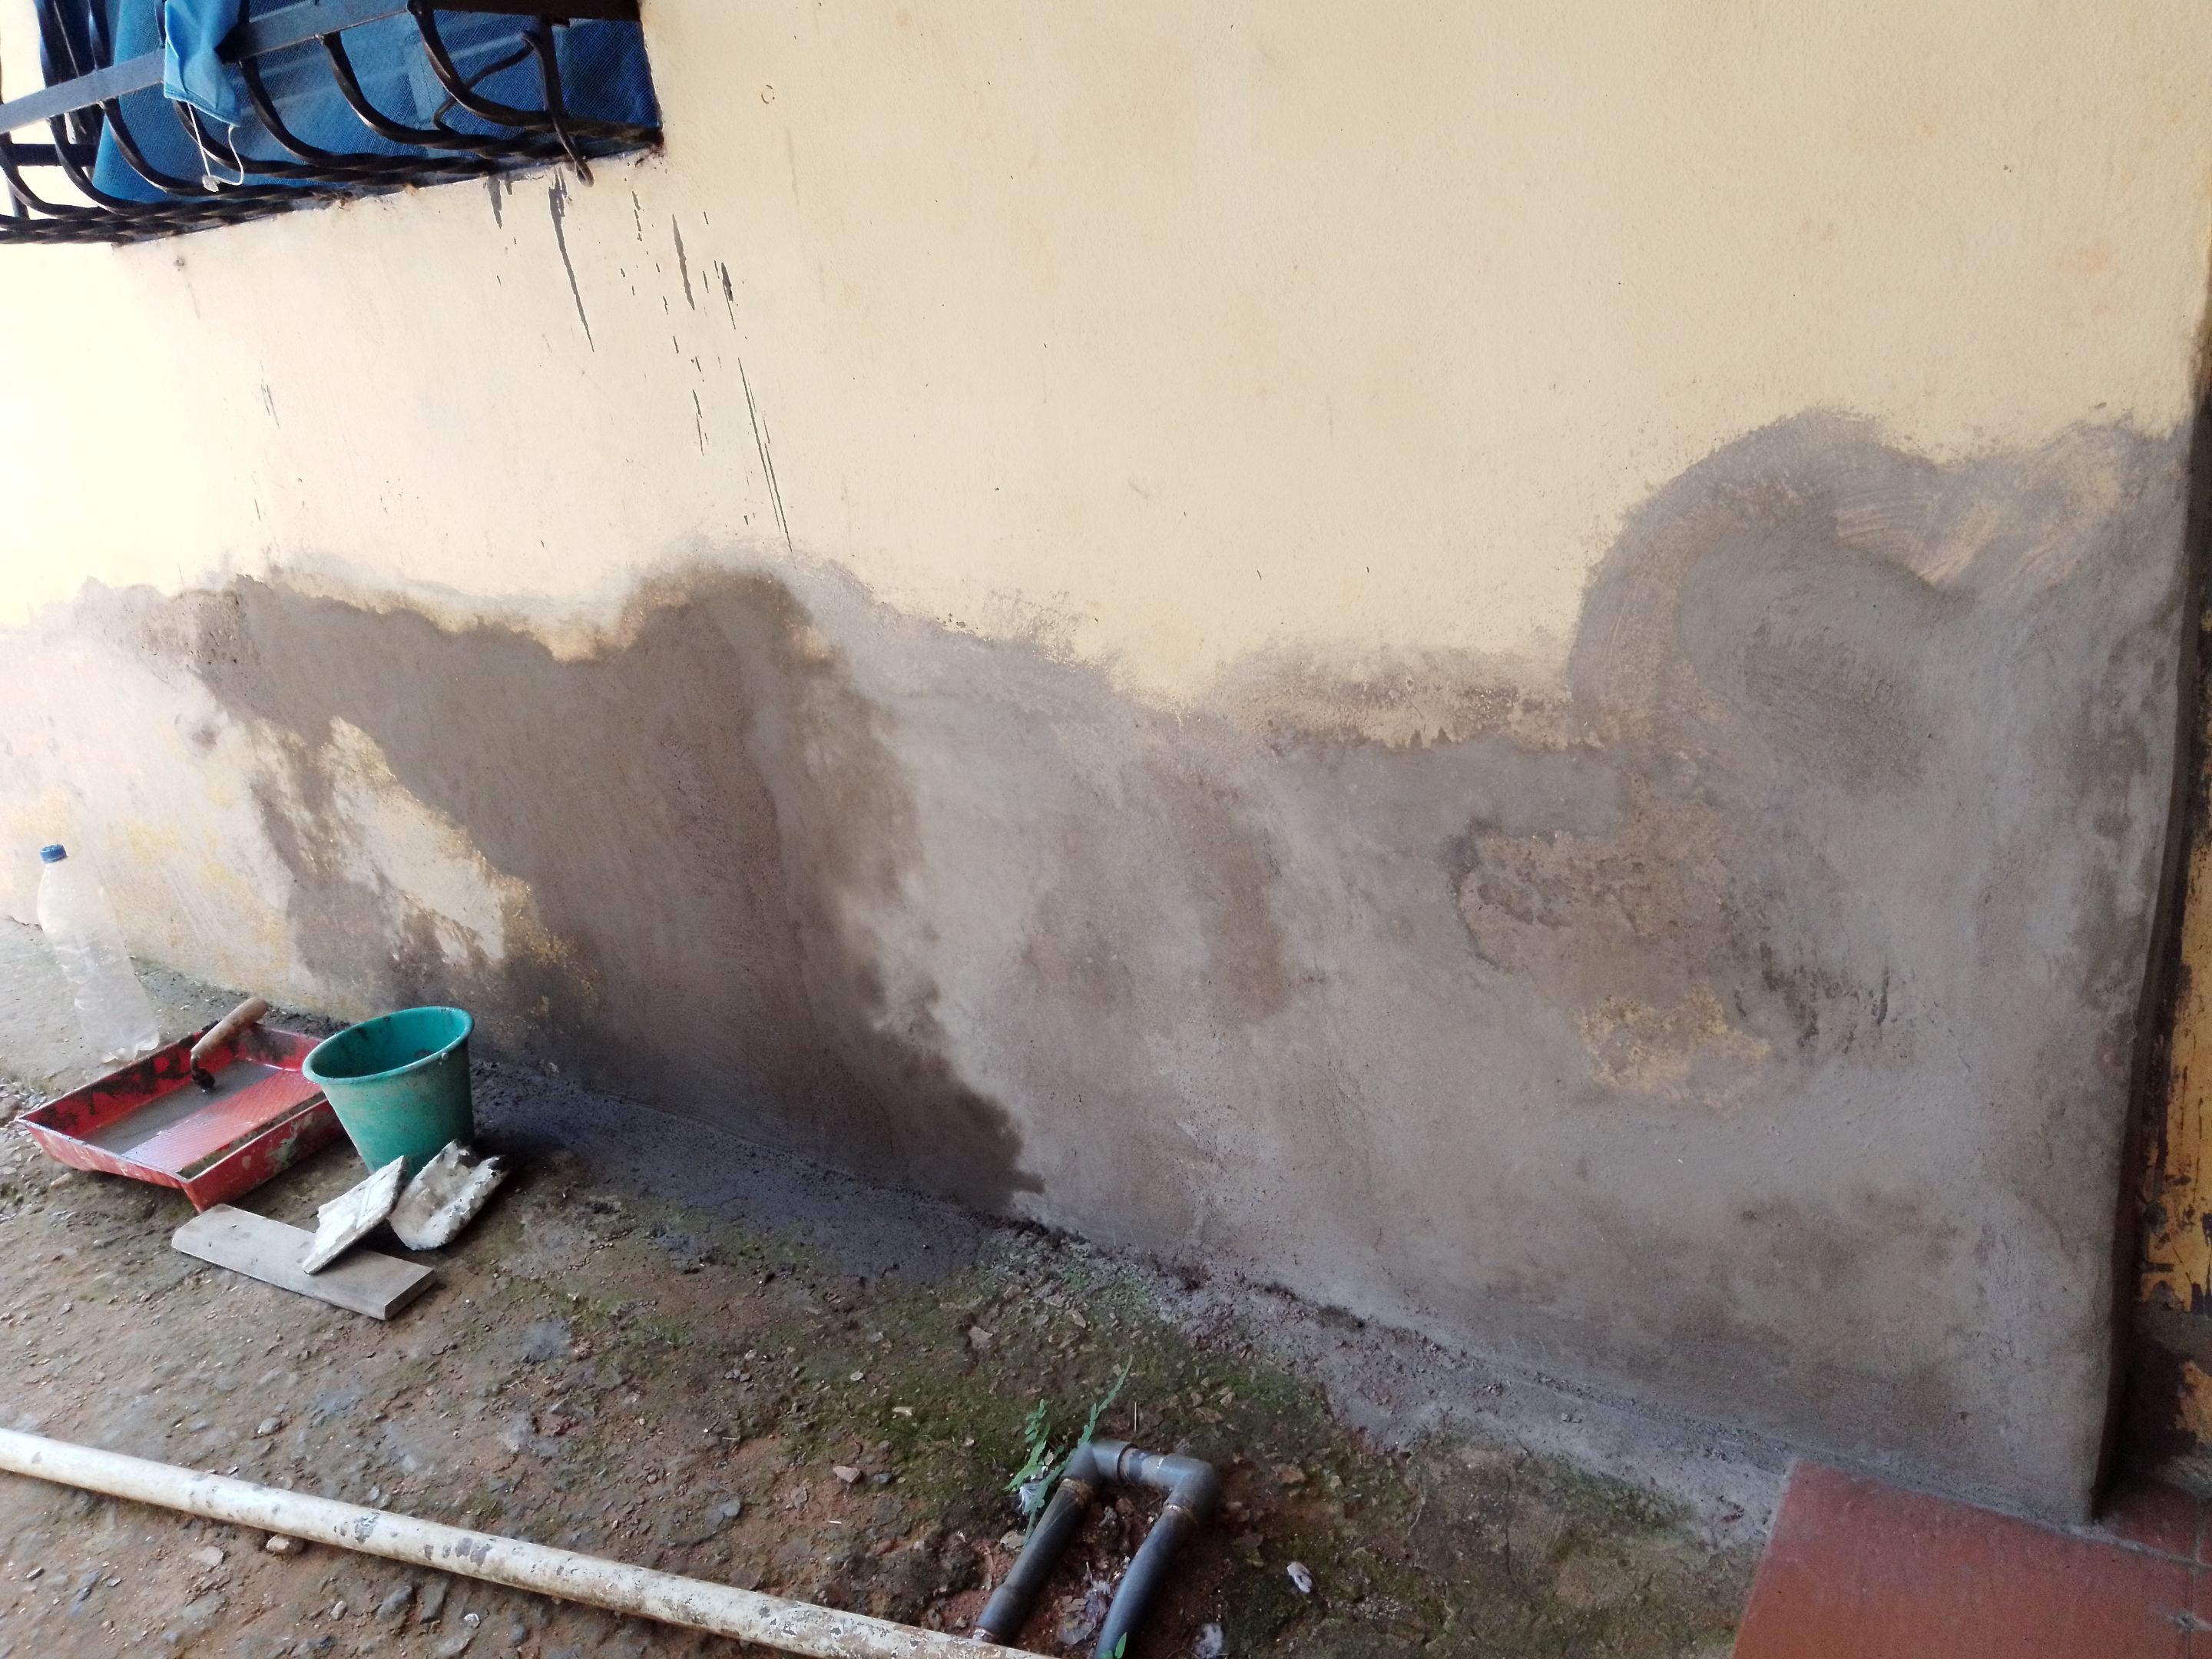
1- Wall Preparation: Start by cleaning the wall surface with a putty knife, wire sponge and brush to remove any dirt or debris. Make sure you have a clean and dust free base before starting. I had a previous wainscot in my house that started to lift and fall off due to moisture. If you have this problem like me, you can also apply a homemade waterproofing to the wall for best results.
1- Preparación de la pared: Comienza limpiando la superficie de la pared con una espátula, una esponja de alambre y un cepillo para eliminar cualquier suciedad o residuos. Asegúrate de tener una base limpia y libre de polvo antes de comenzar. En casa existia un friso anterior que comenzo a levantarse y caerse por la humedad. Si tienes este problema al igual que yo, también puedes aplicar a la pared un impermeabilizante casero para mejores resultados.
 |
 |
|---|---|
 |
 |
|---|---|
 |
 |
 |
 |
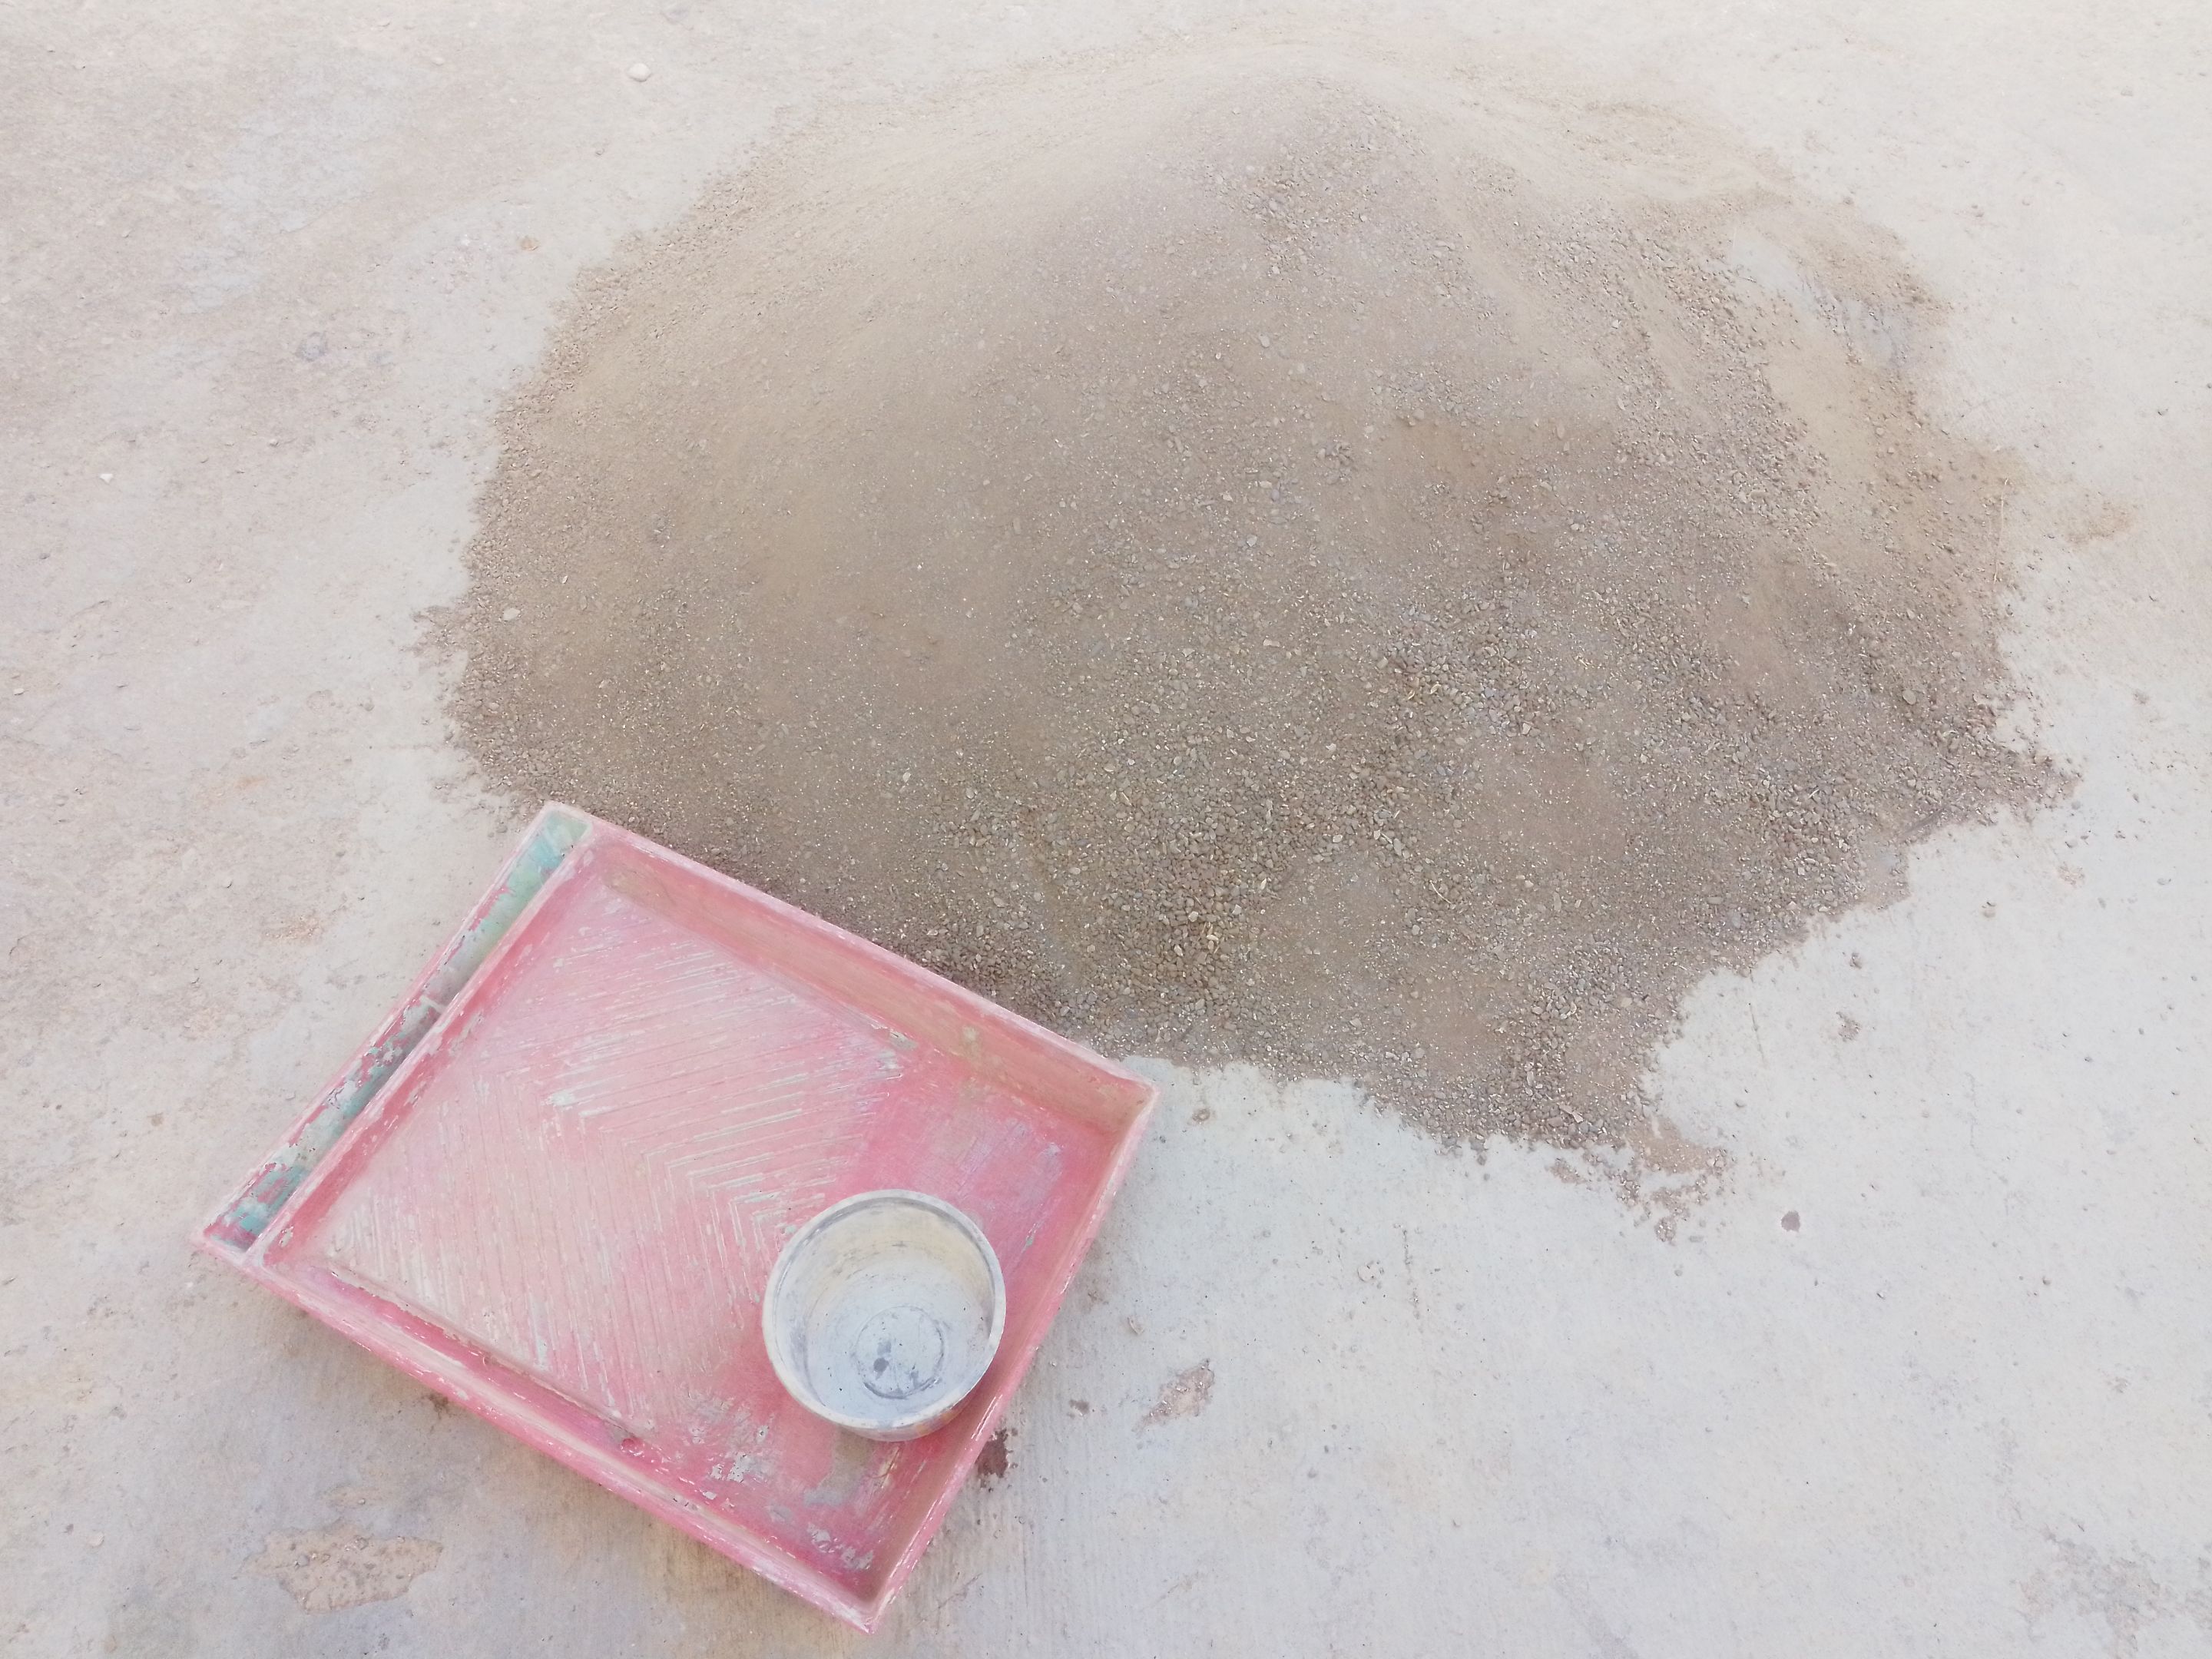
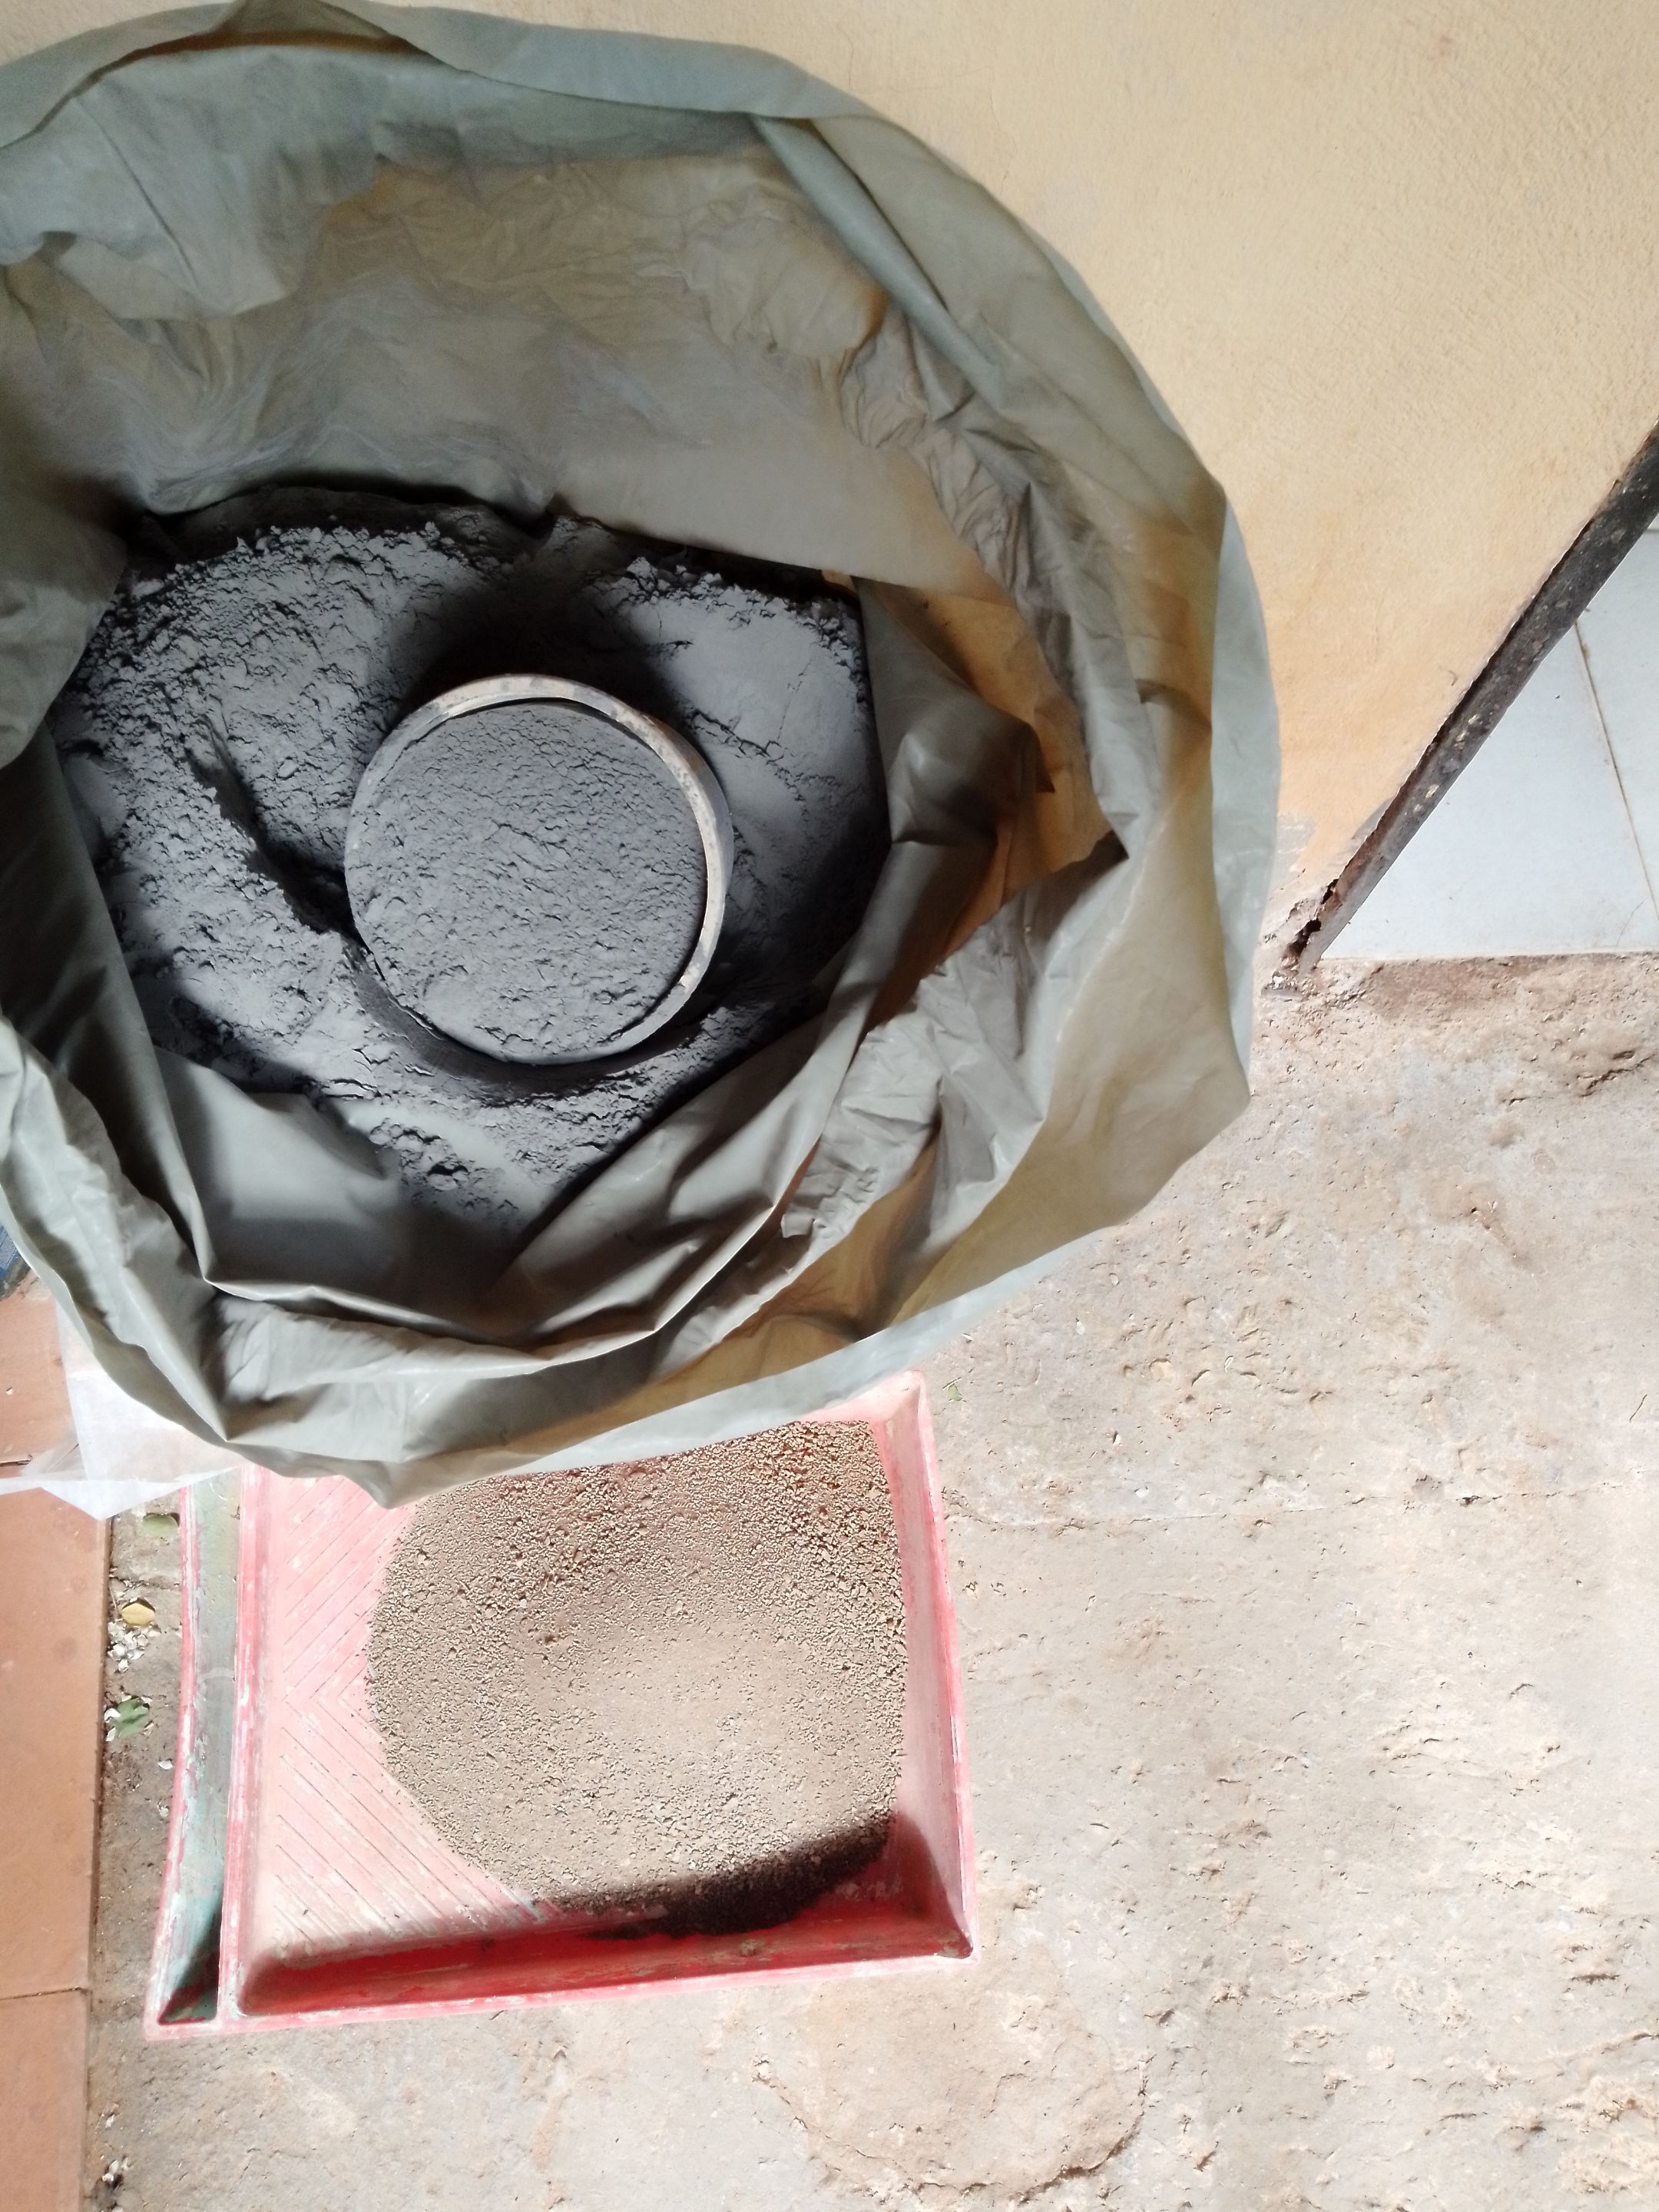
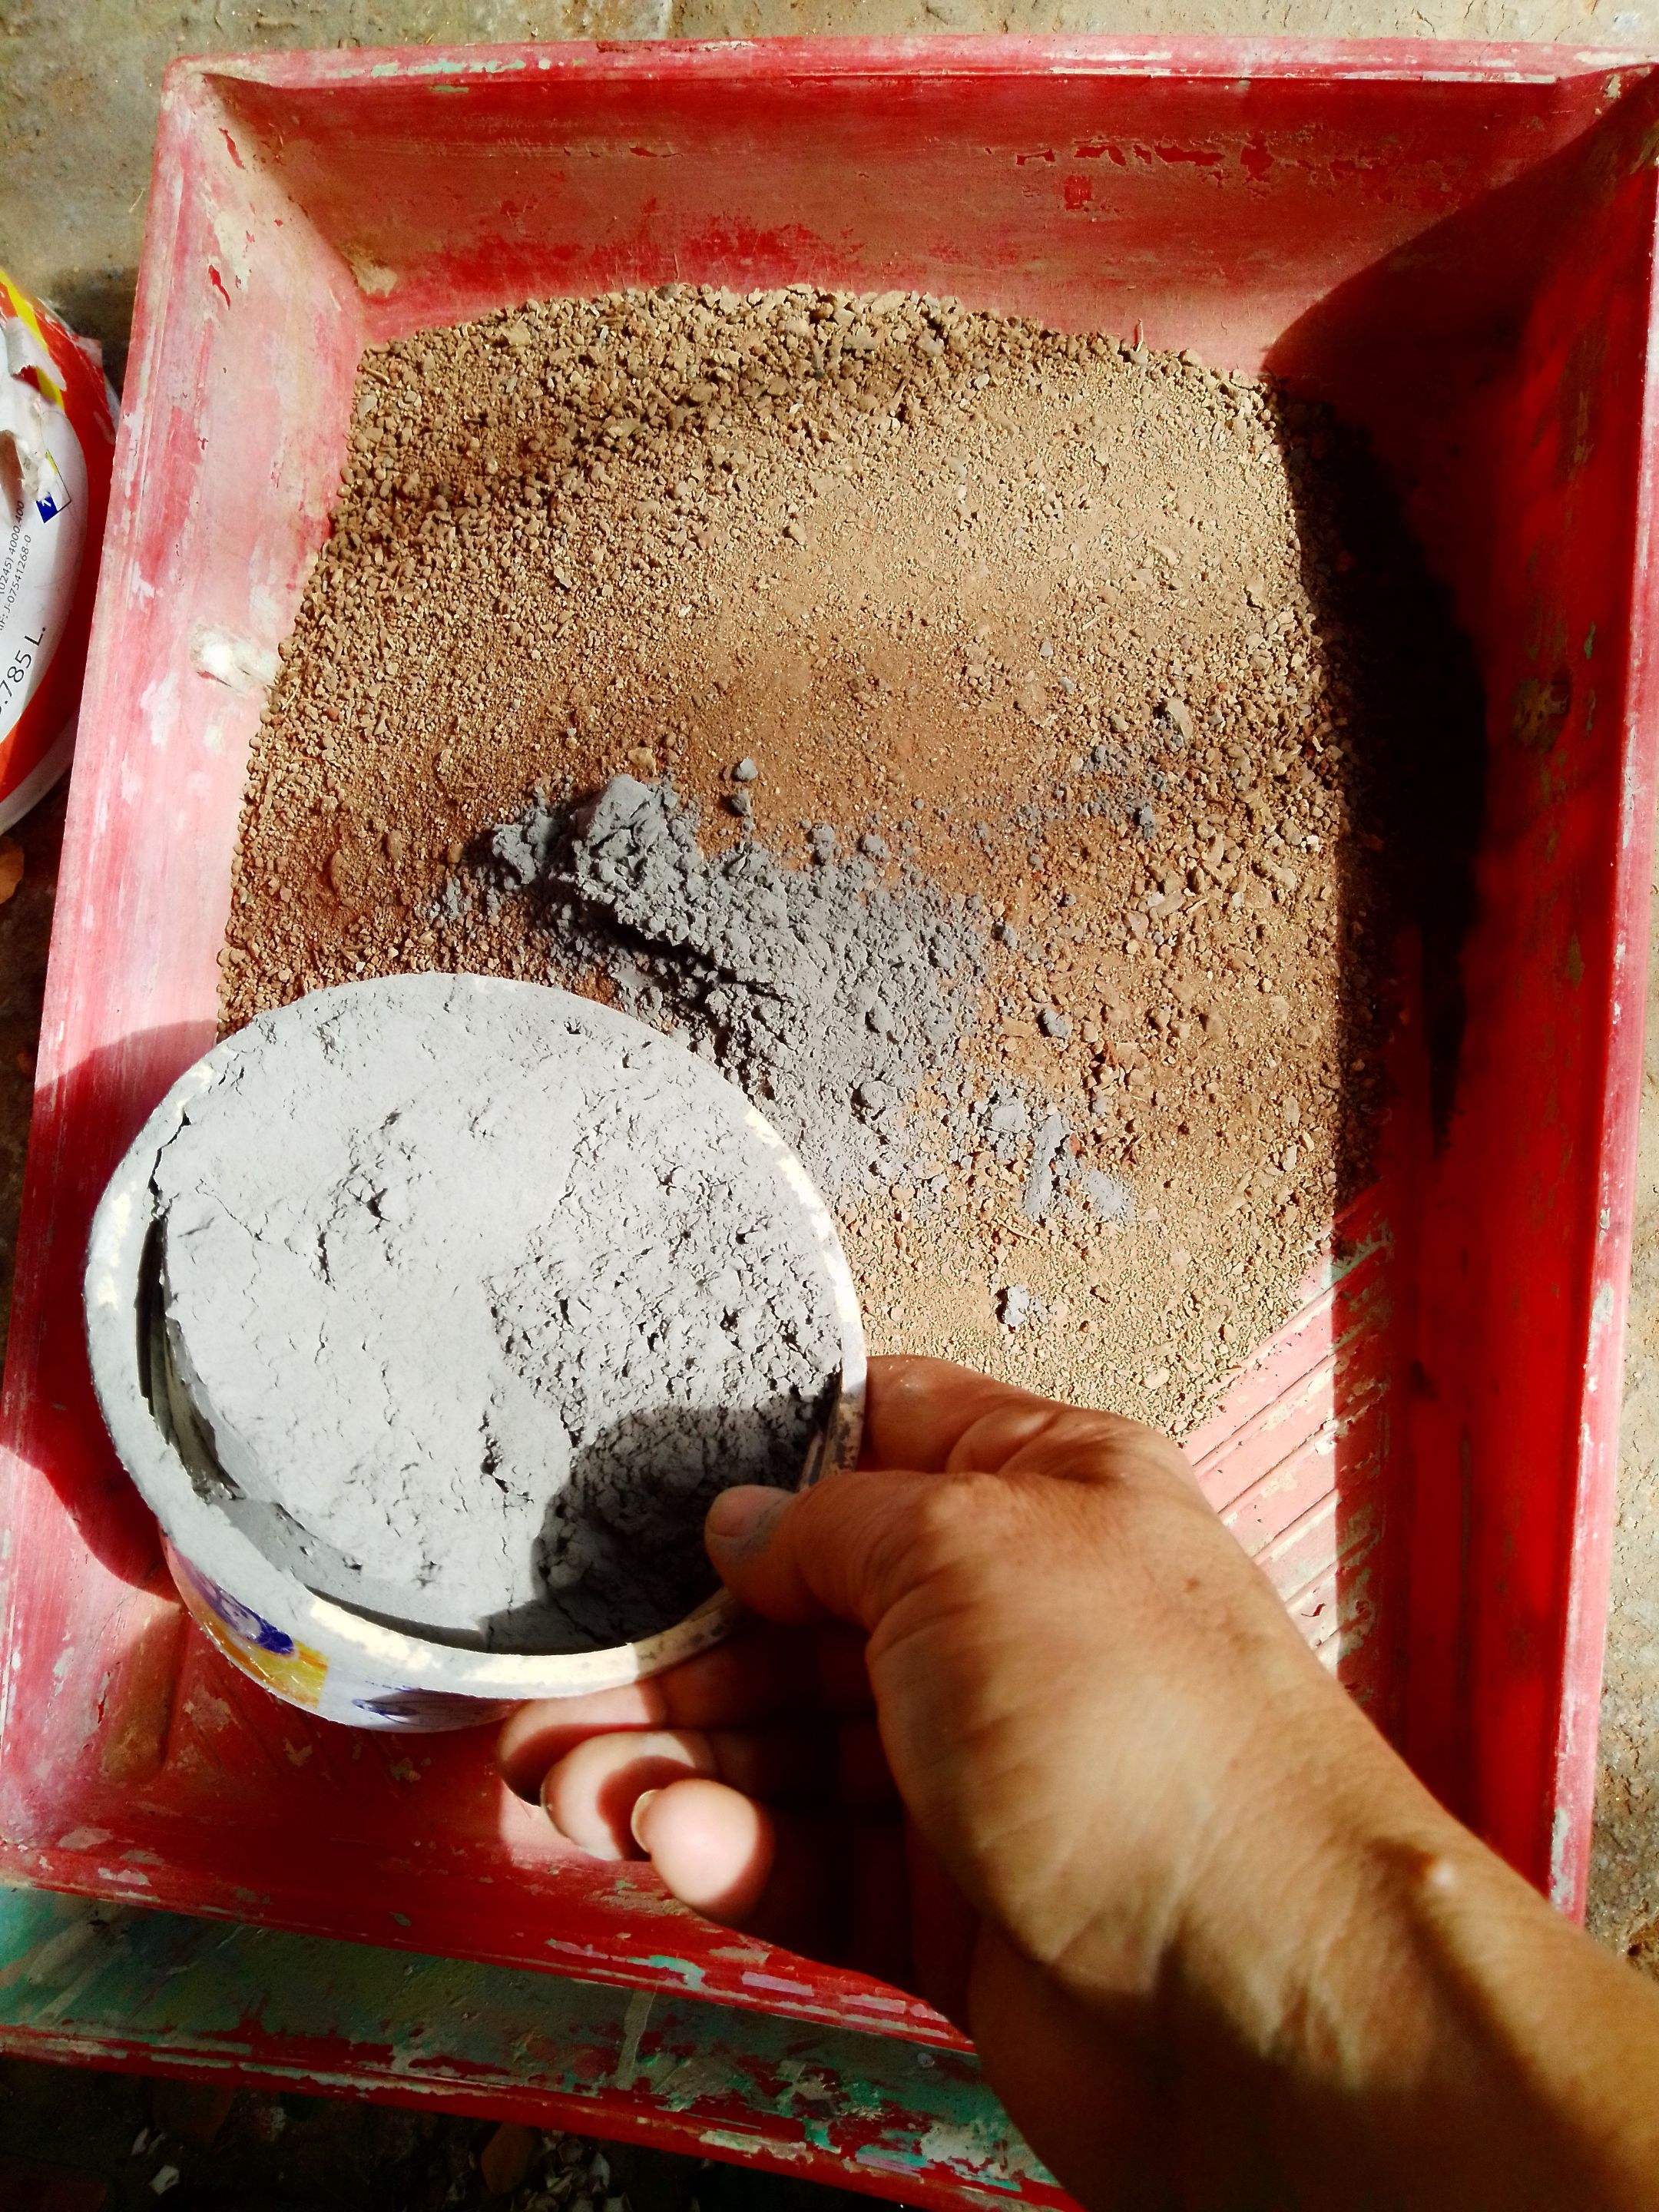
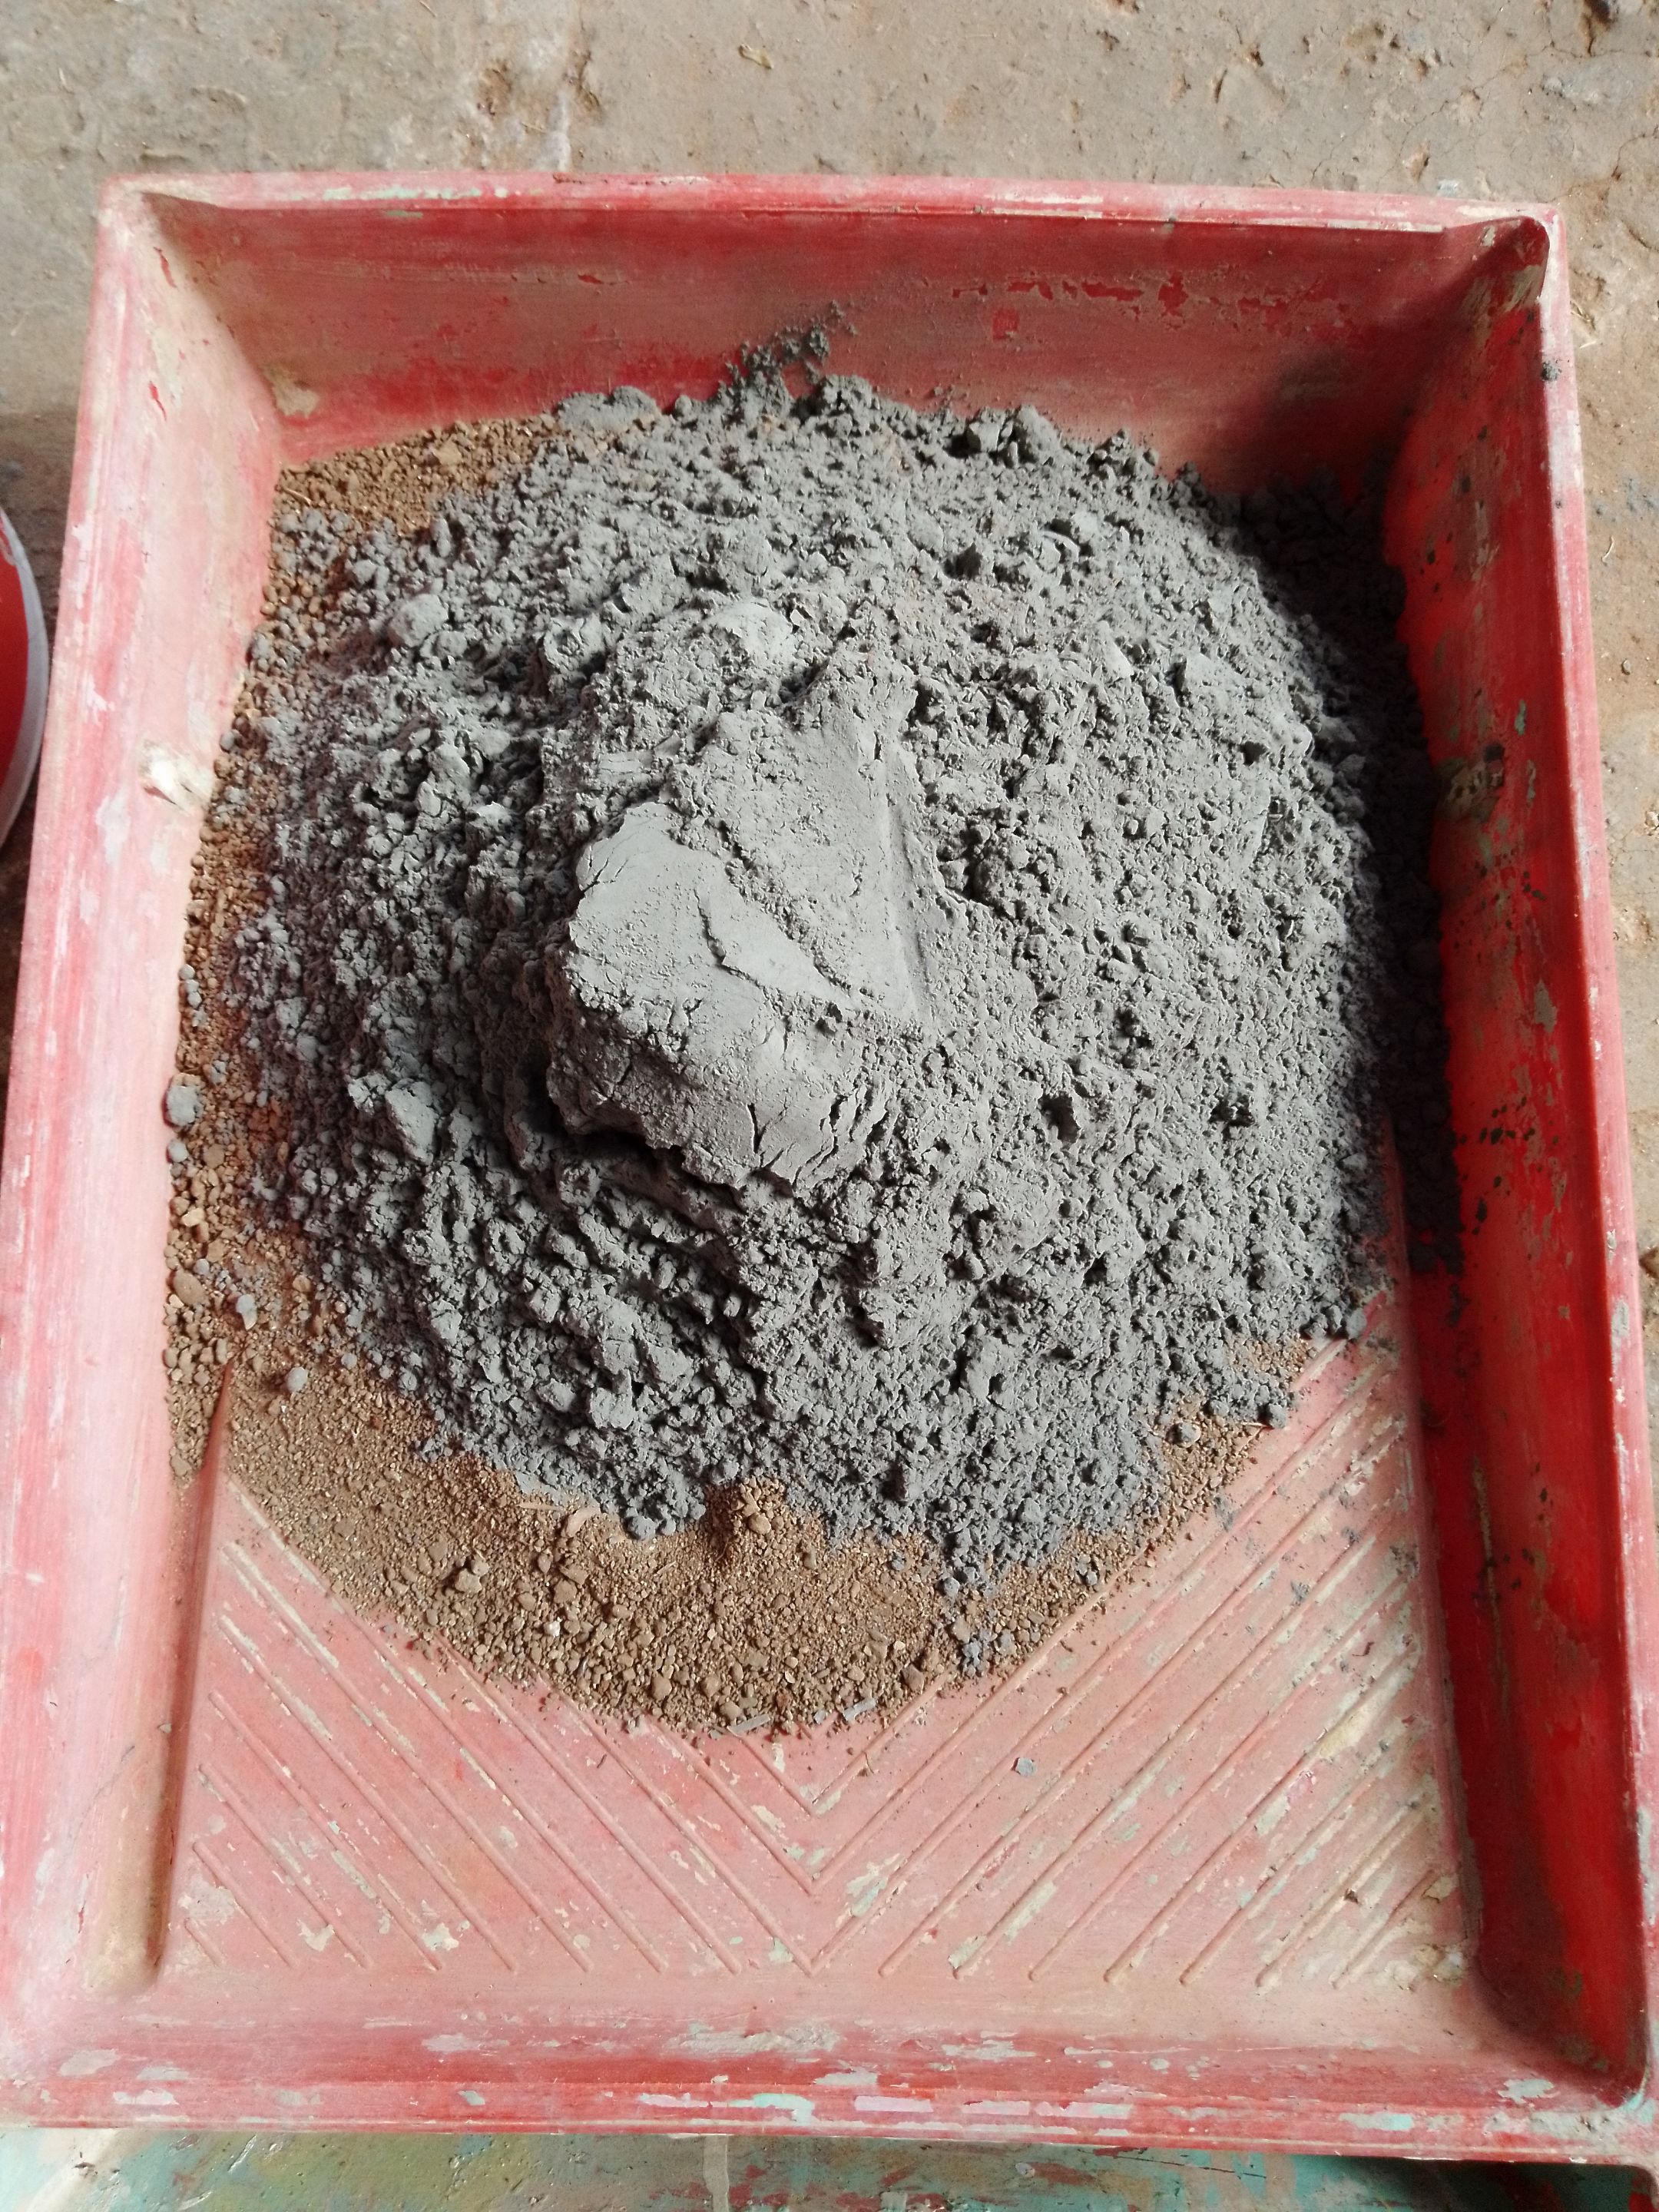
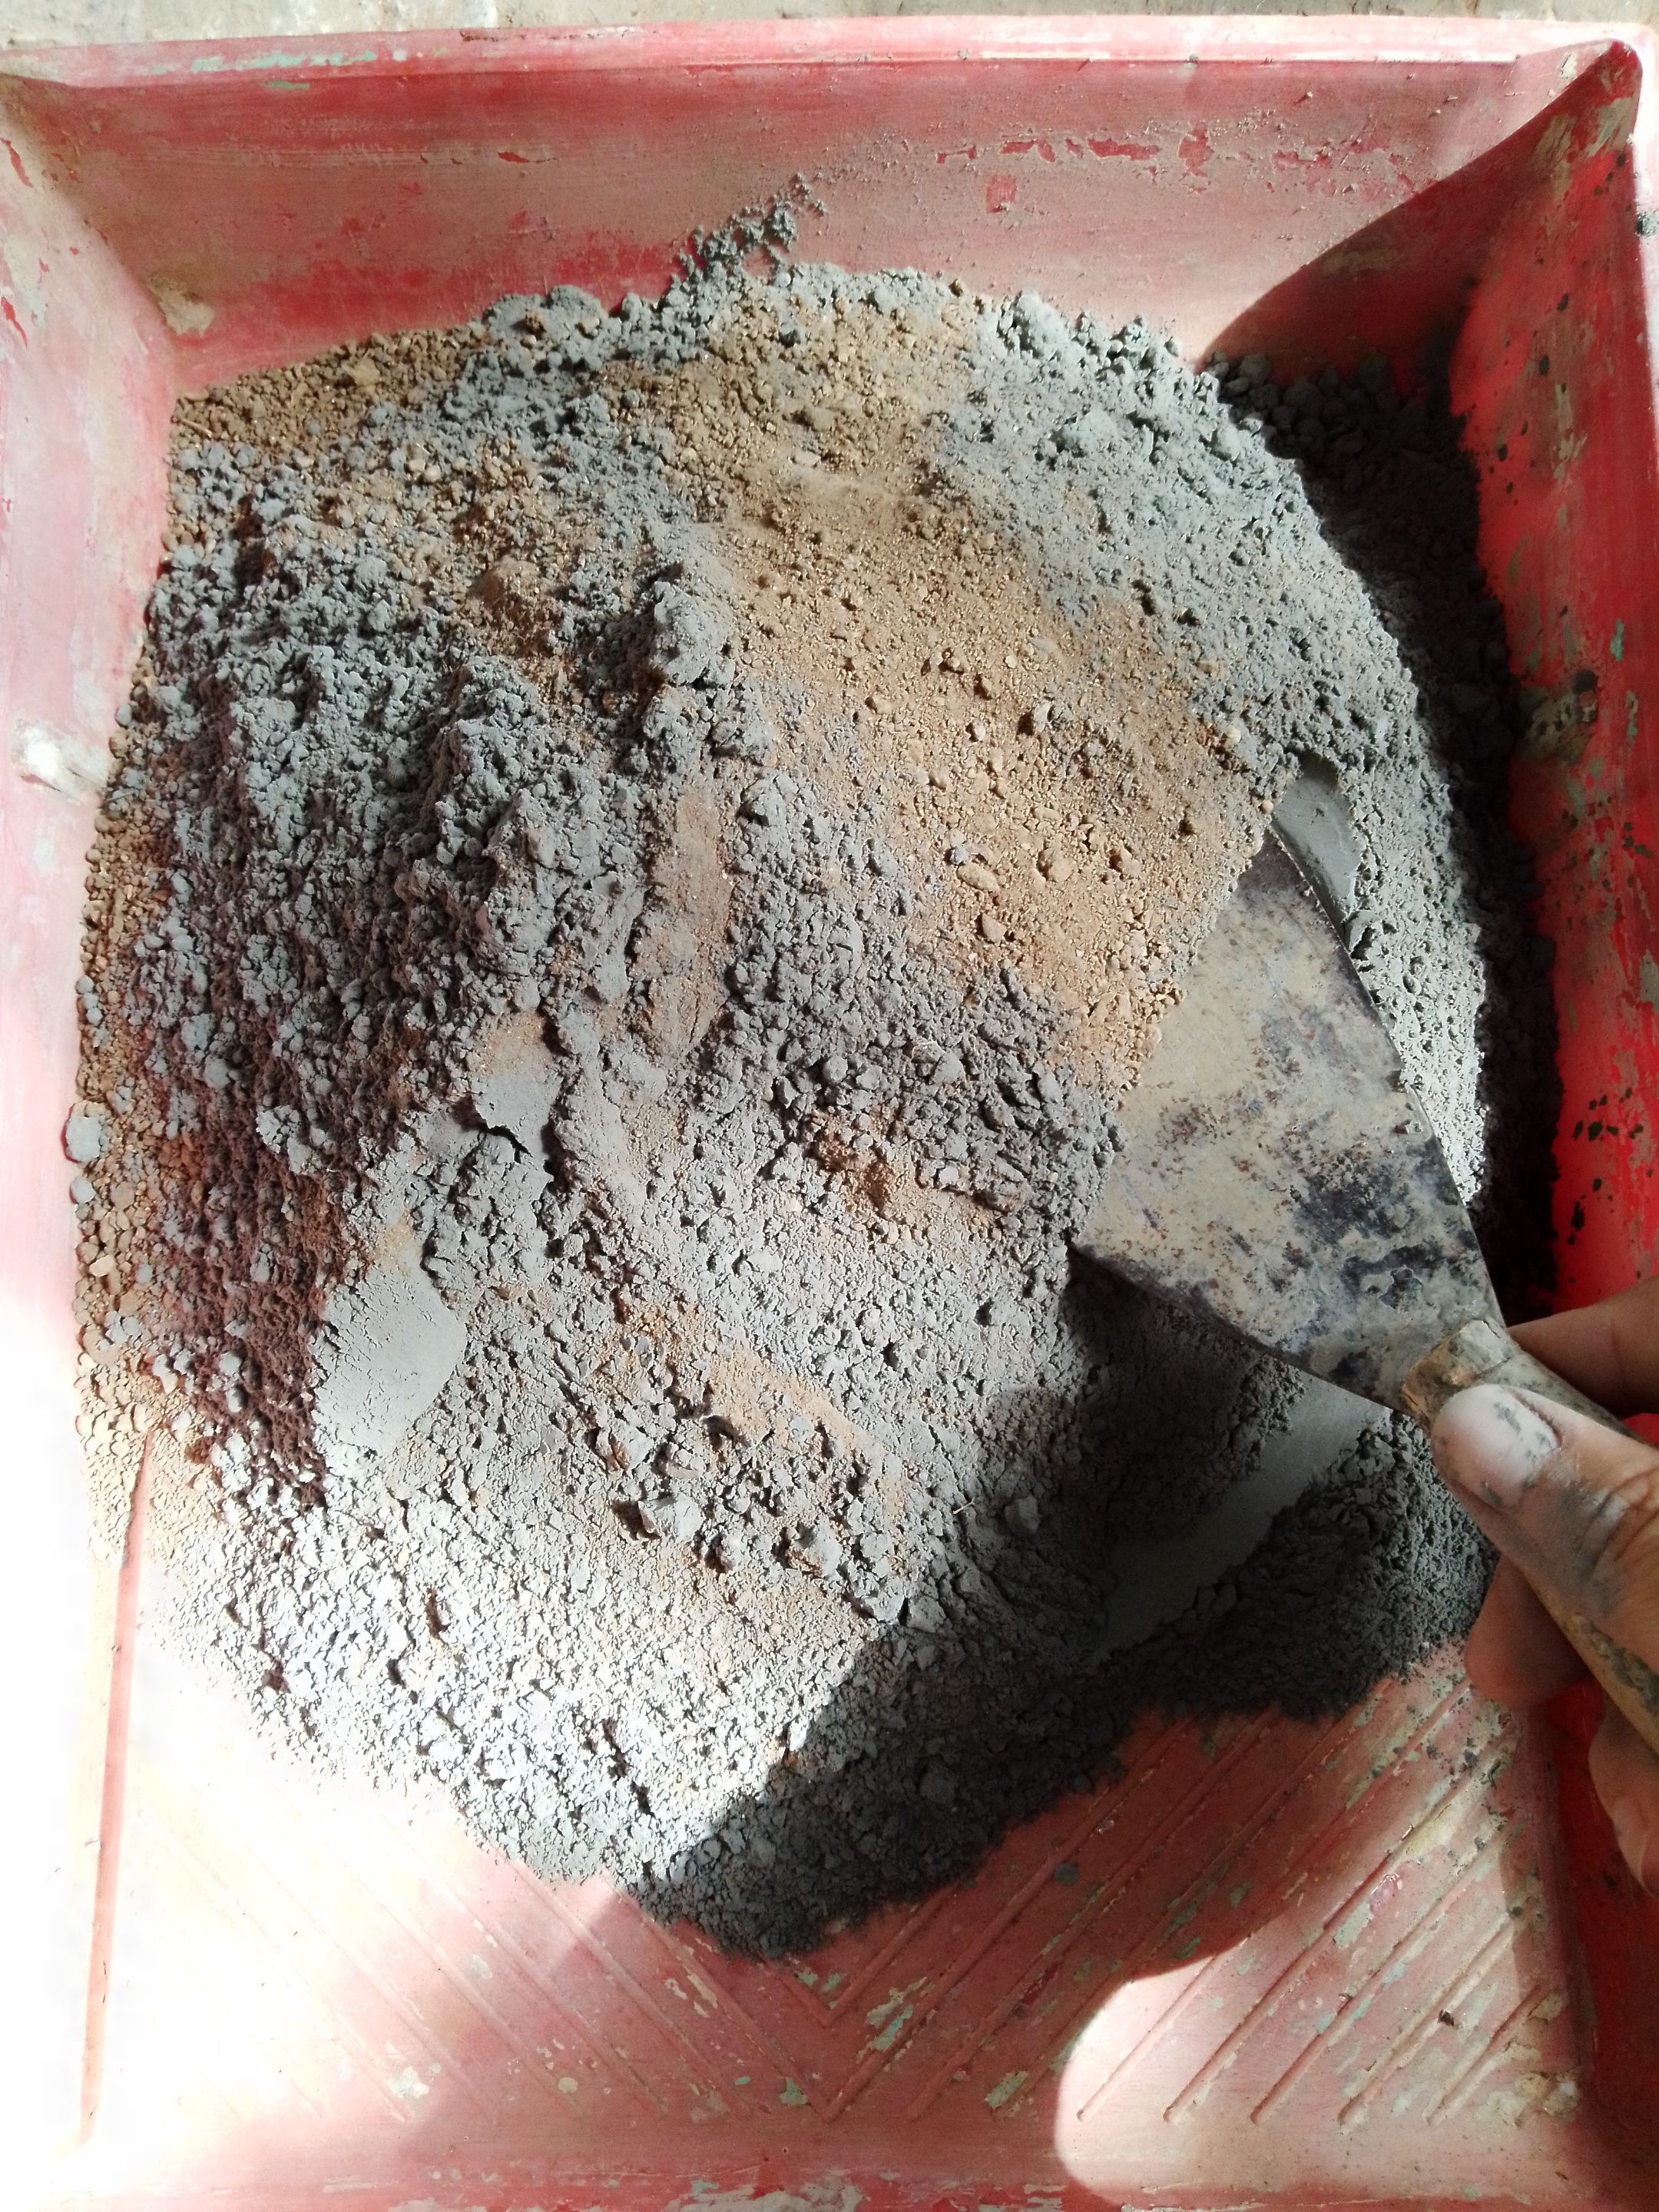
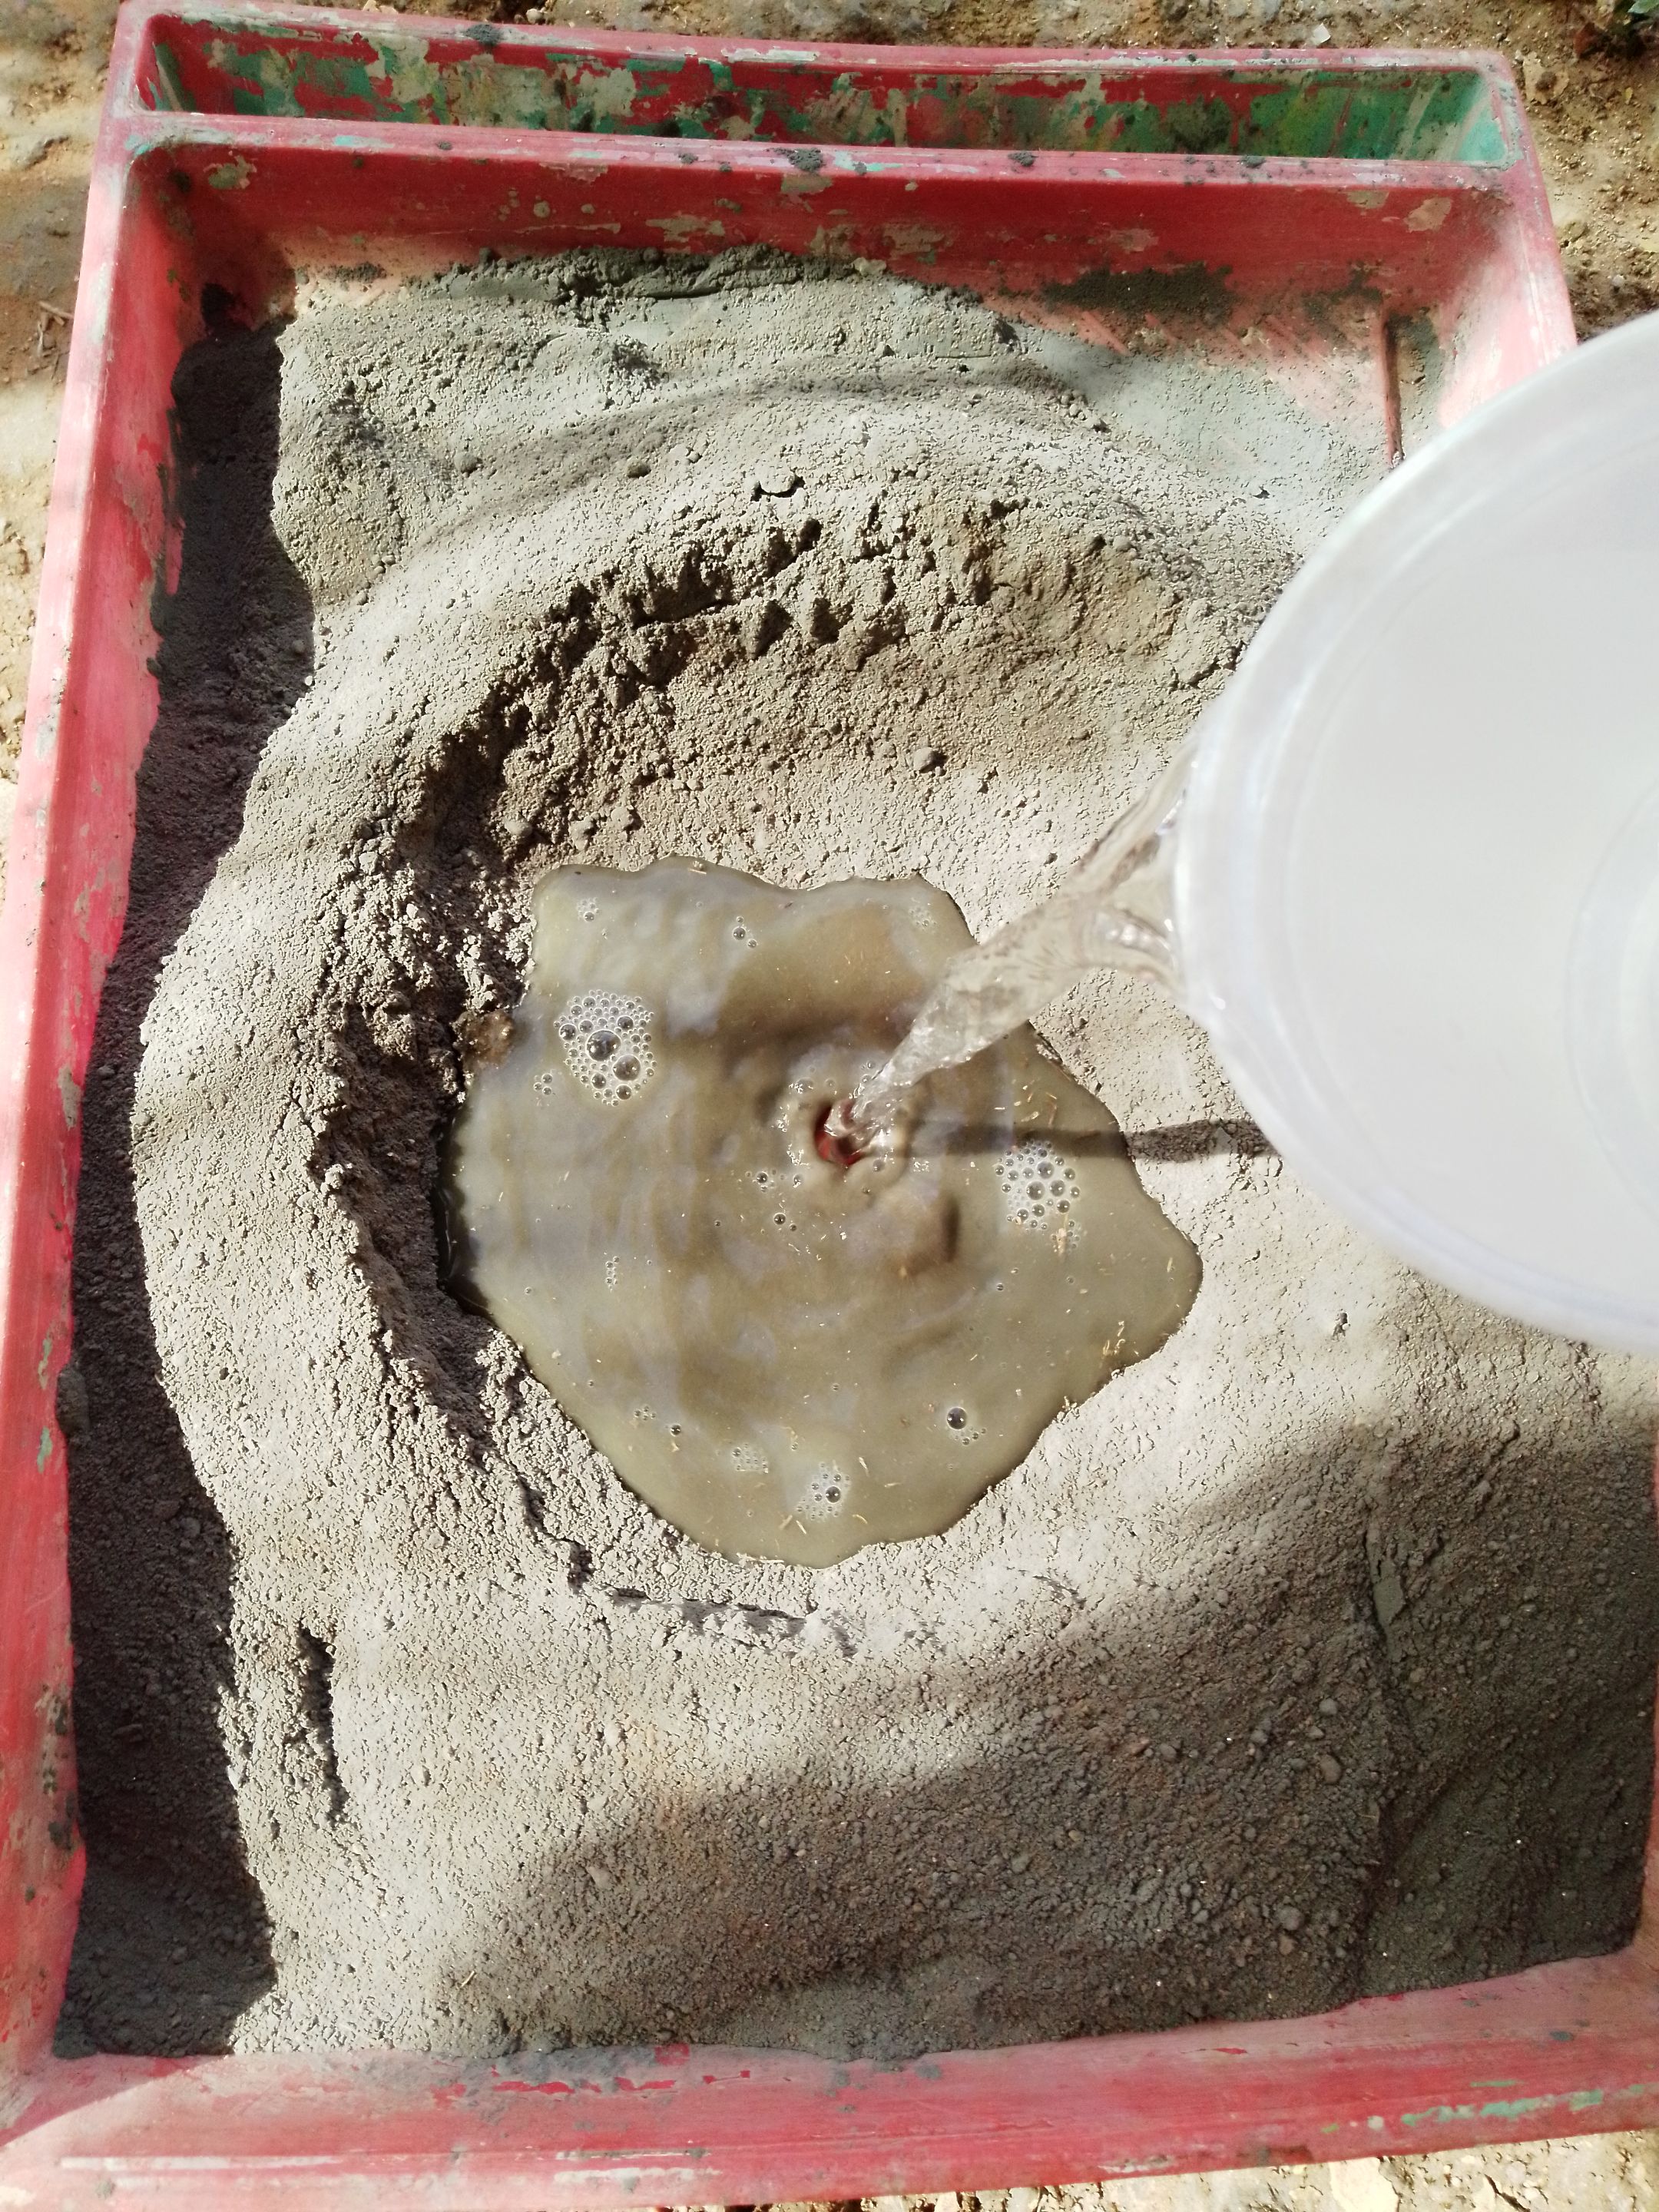
2- Mixing of frieze:In a suitable container, which is clean and dry, mix two parts of sand with one part of cement. Add water gradually and mix to a suitable consistency, neither too hard nor too runny. Remember to follow the manufacturer's instructions and adjust the proportions as necessary.
2- Mezcla de friso: En un recipiente apropiado, que esté limpio y seco, mezcla dos partes de arena con una parte de cemento. Agrega agua gradualmente y mezcla hasta obtener una consistencia adecuada, ni muy dura ni muy líquida. Recuerda seguir las instrucciones del fabricante y ajustar las proporciones según sea necesario.
 |
 |
 |
|---|---|---|
 |
 |
 |
|
 |
|---|---|
 |
 |
 |
|---|---|---|
 |
 |
 |
 |
 |
|---|---|
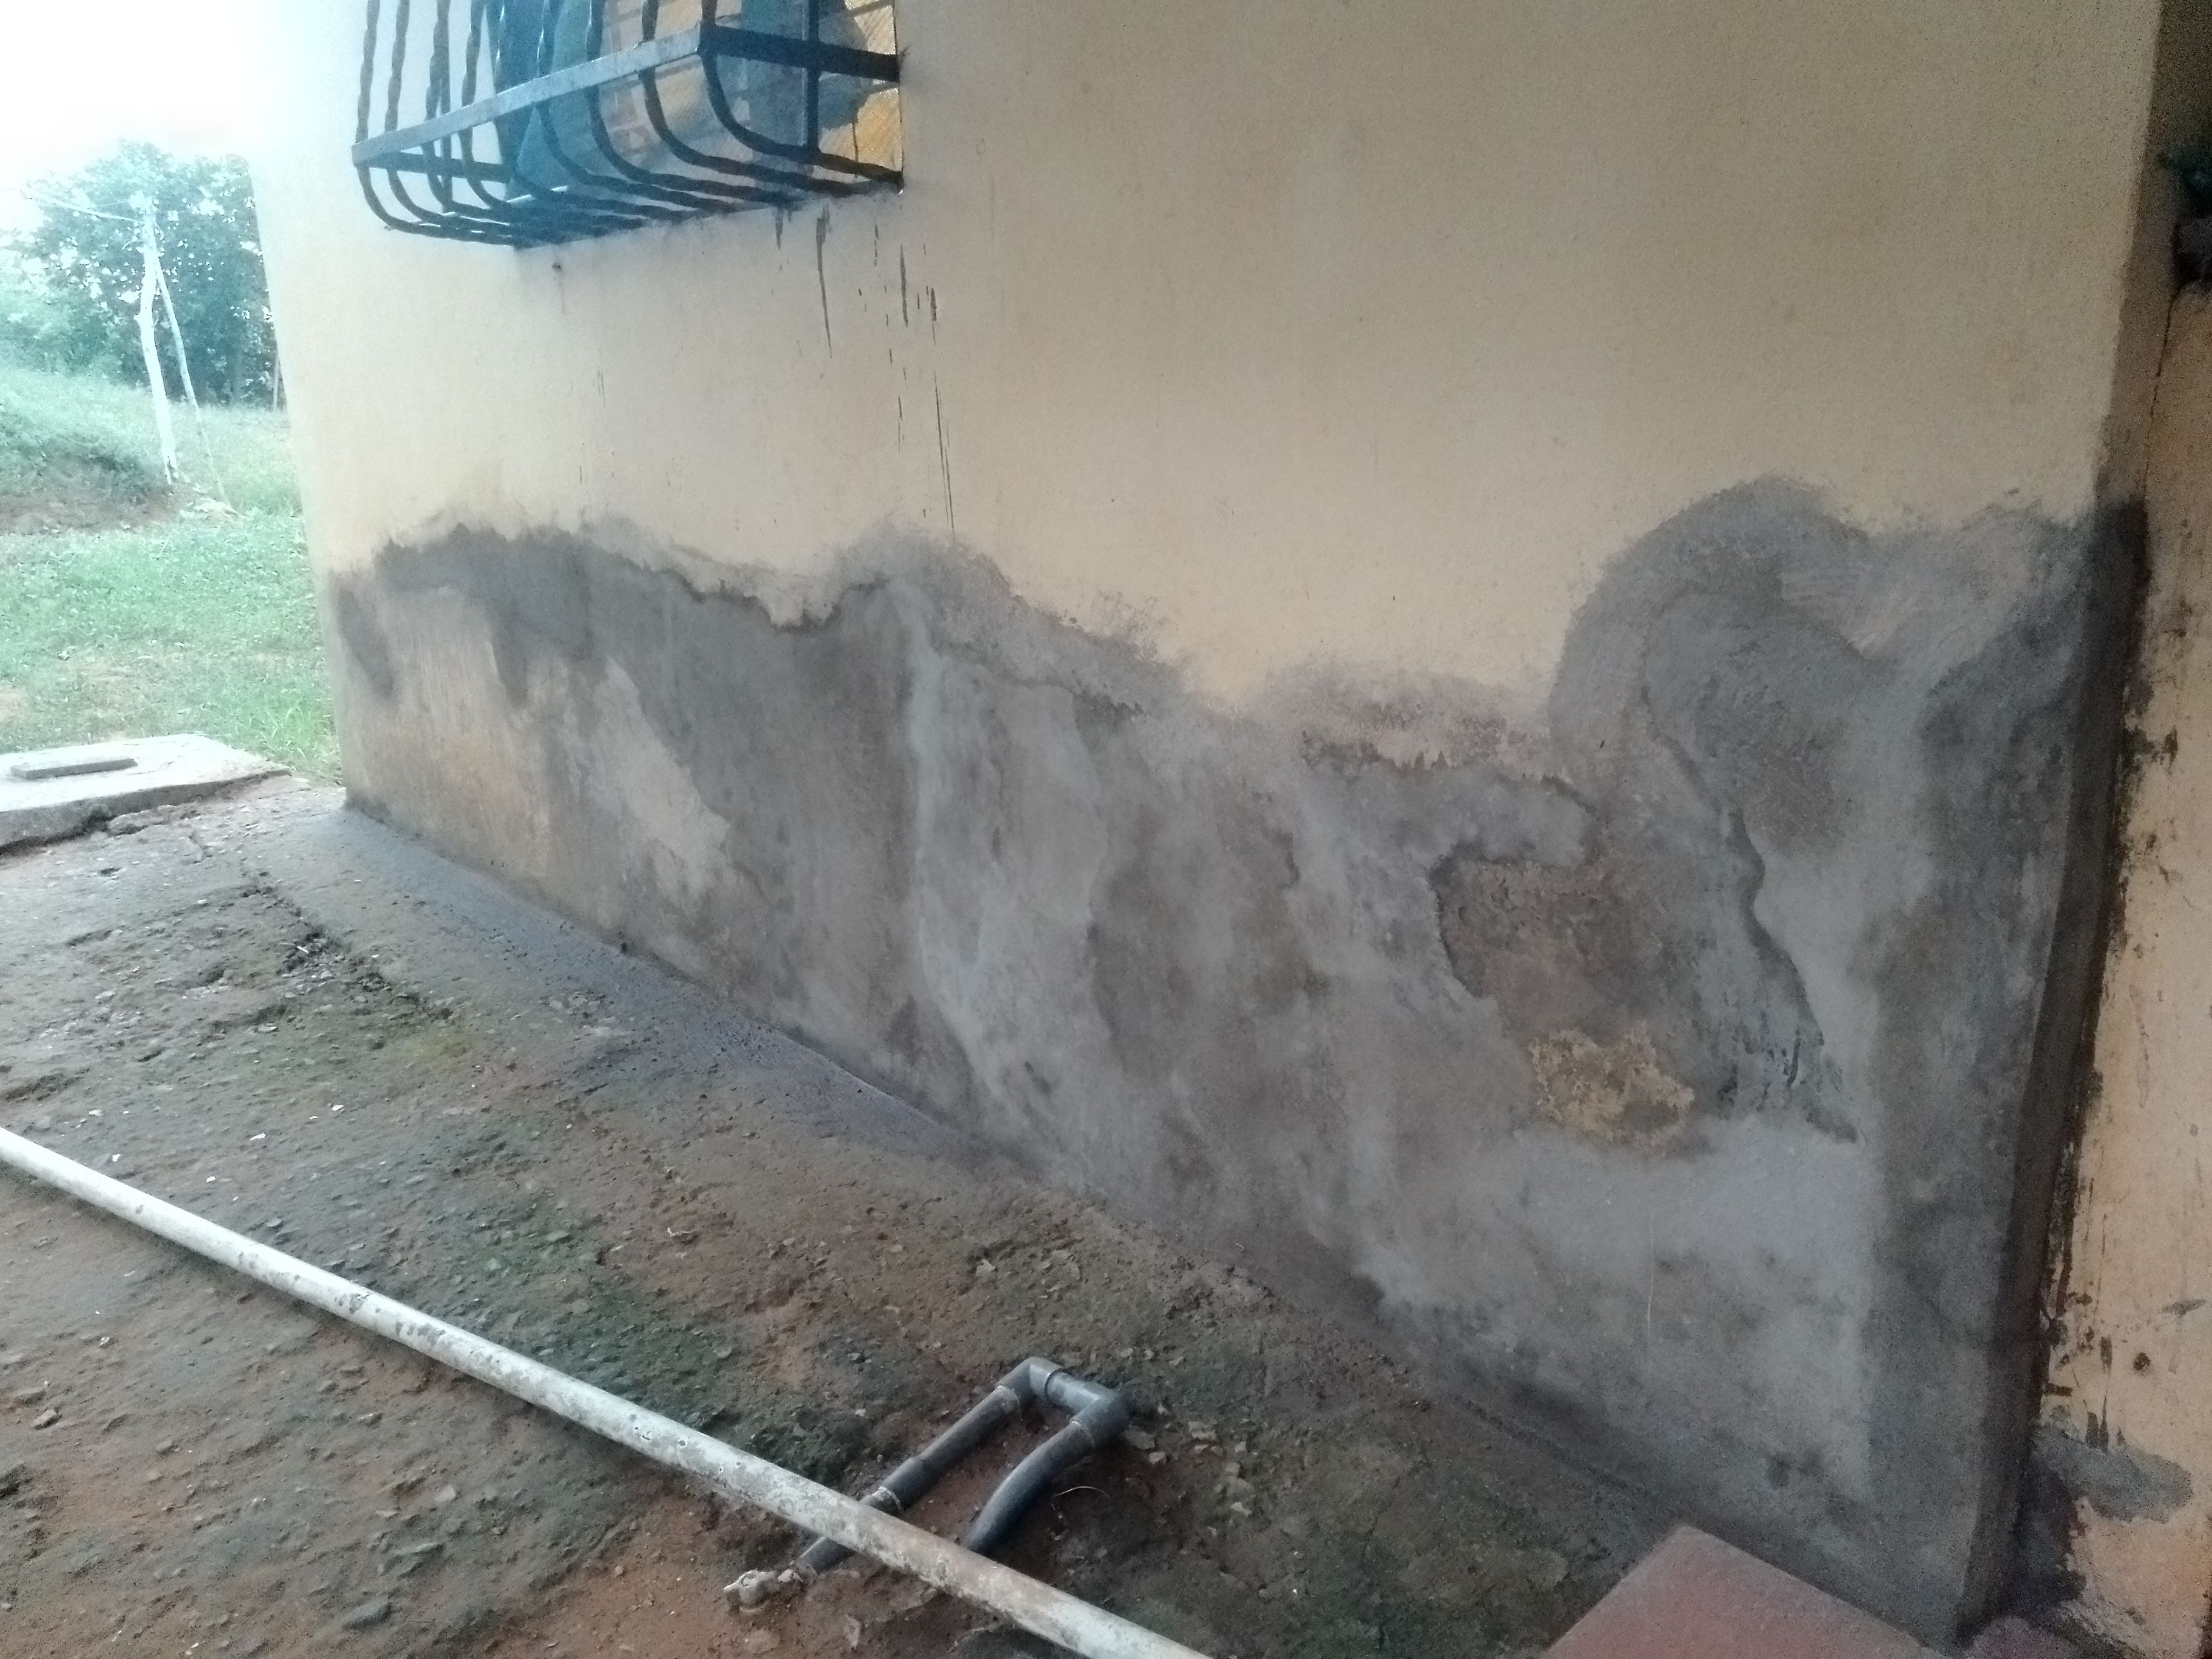
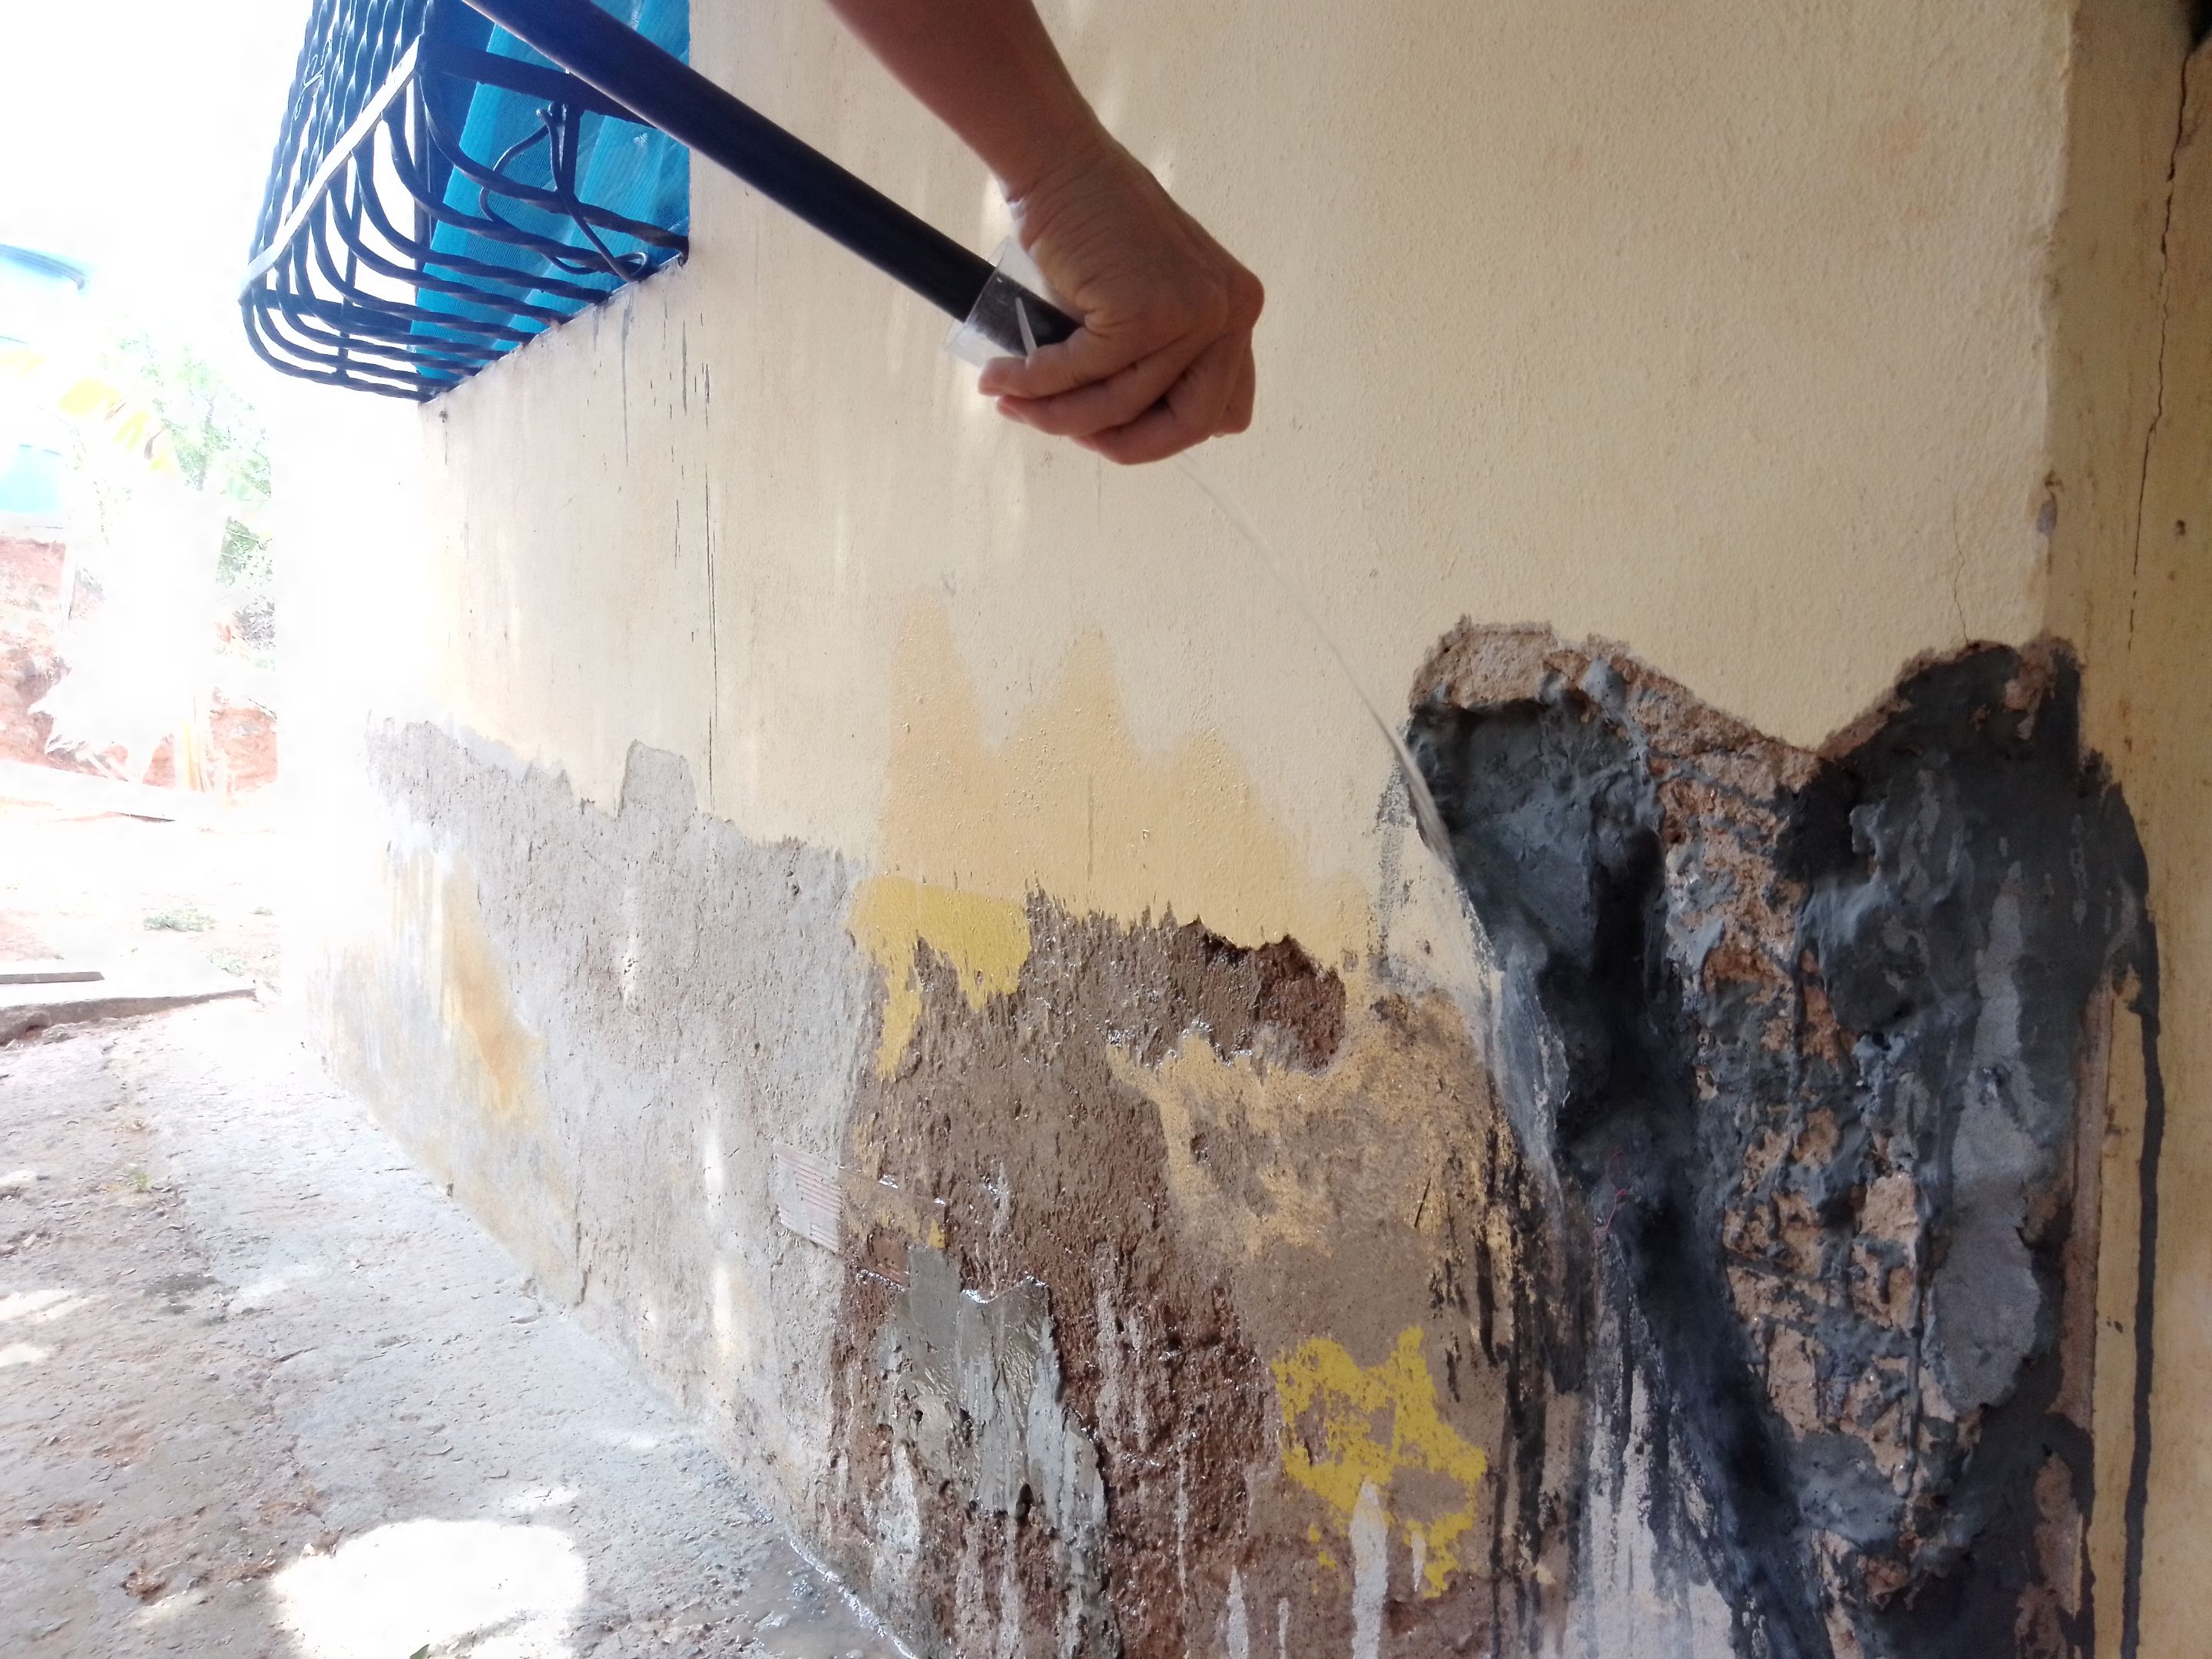
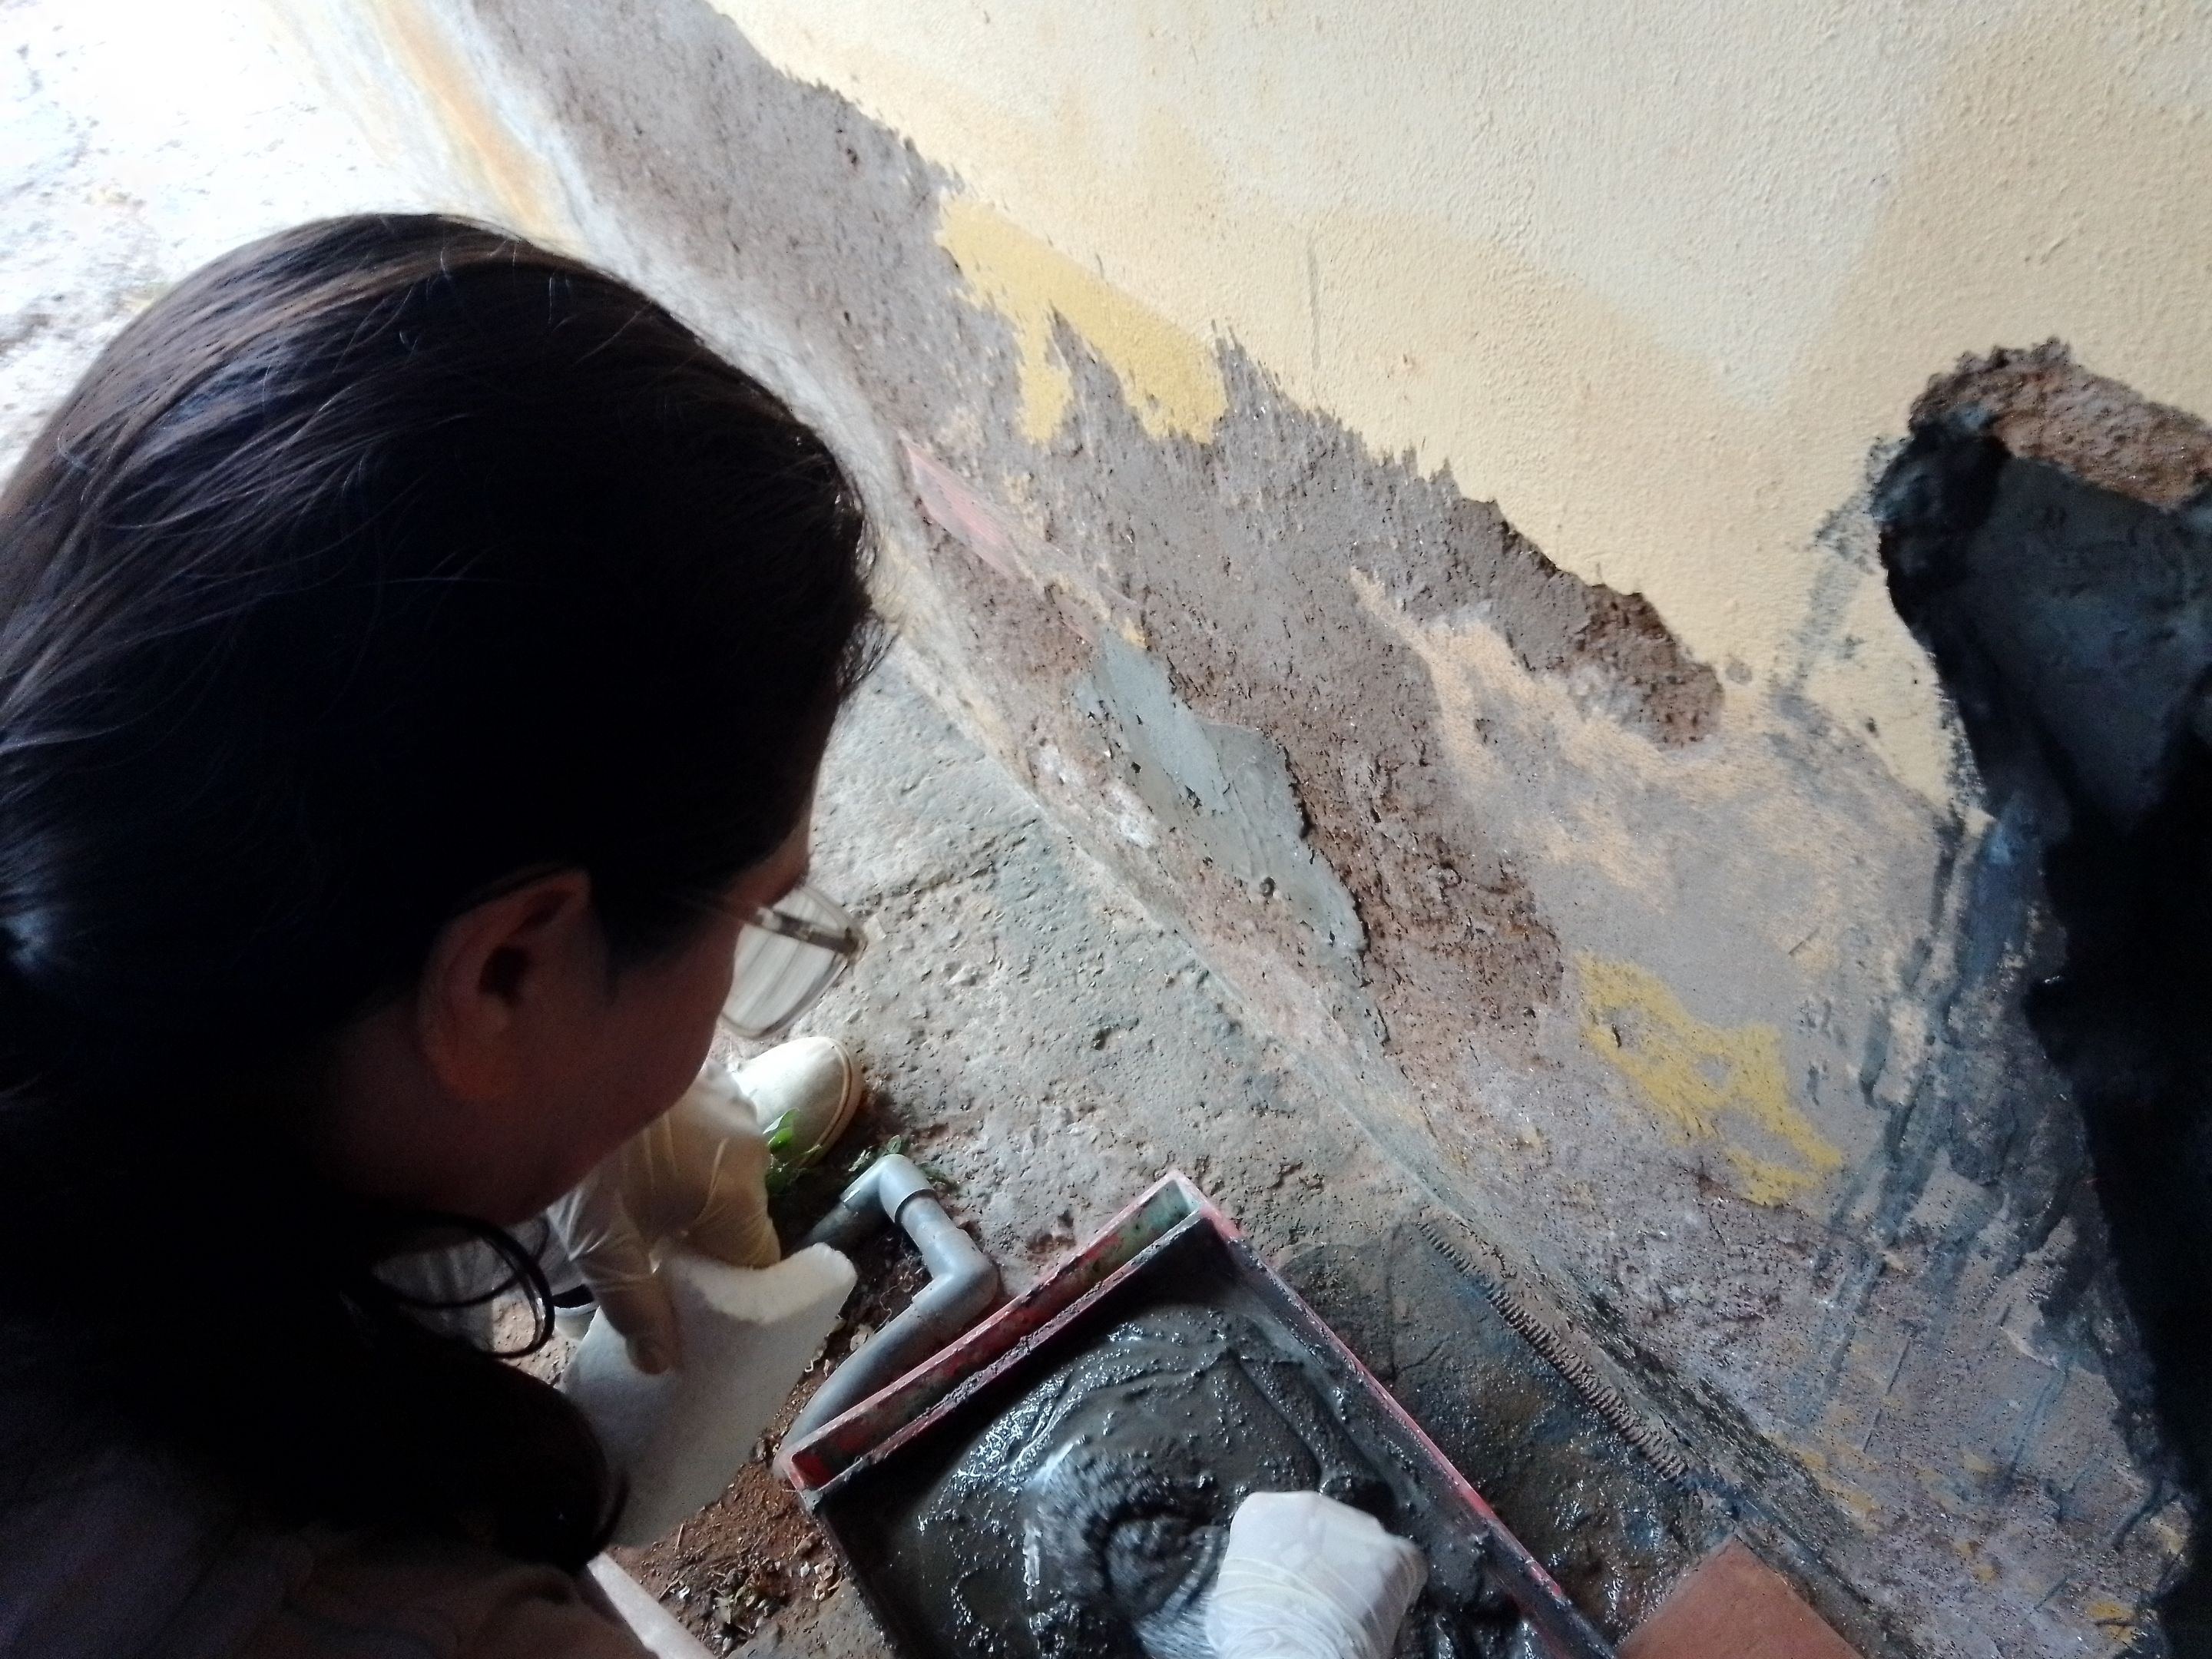
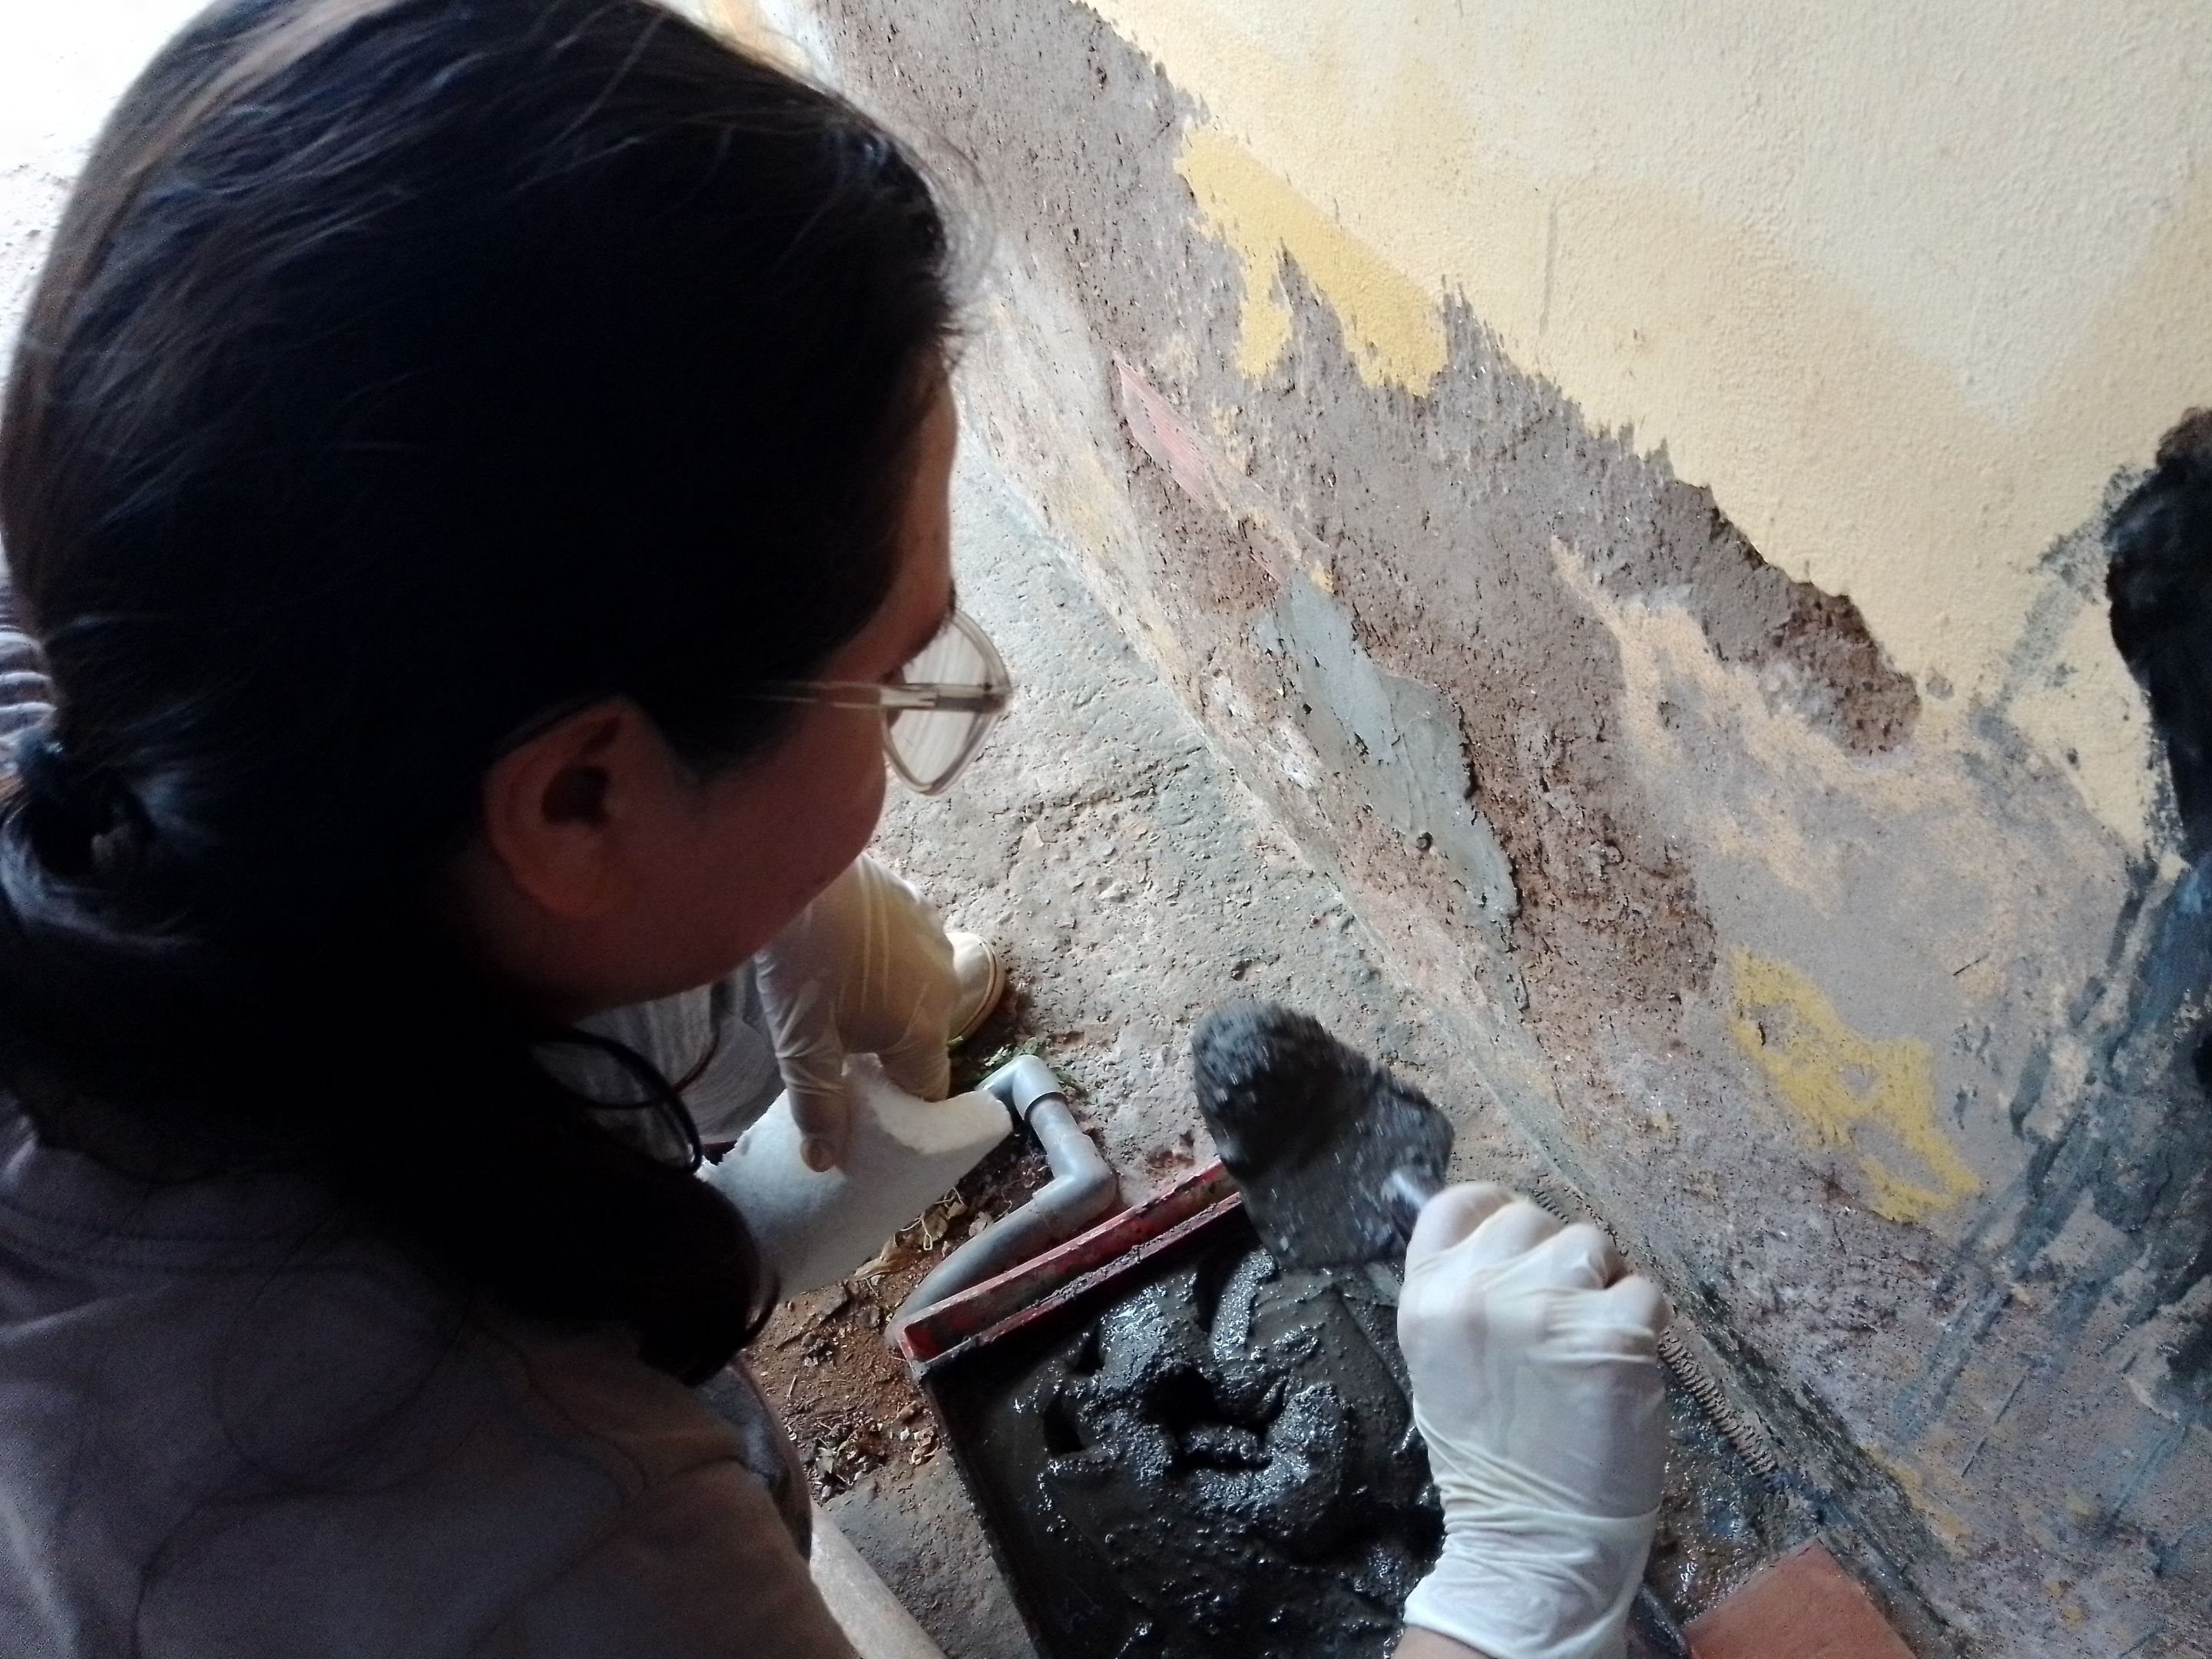
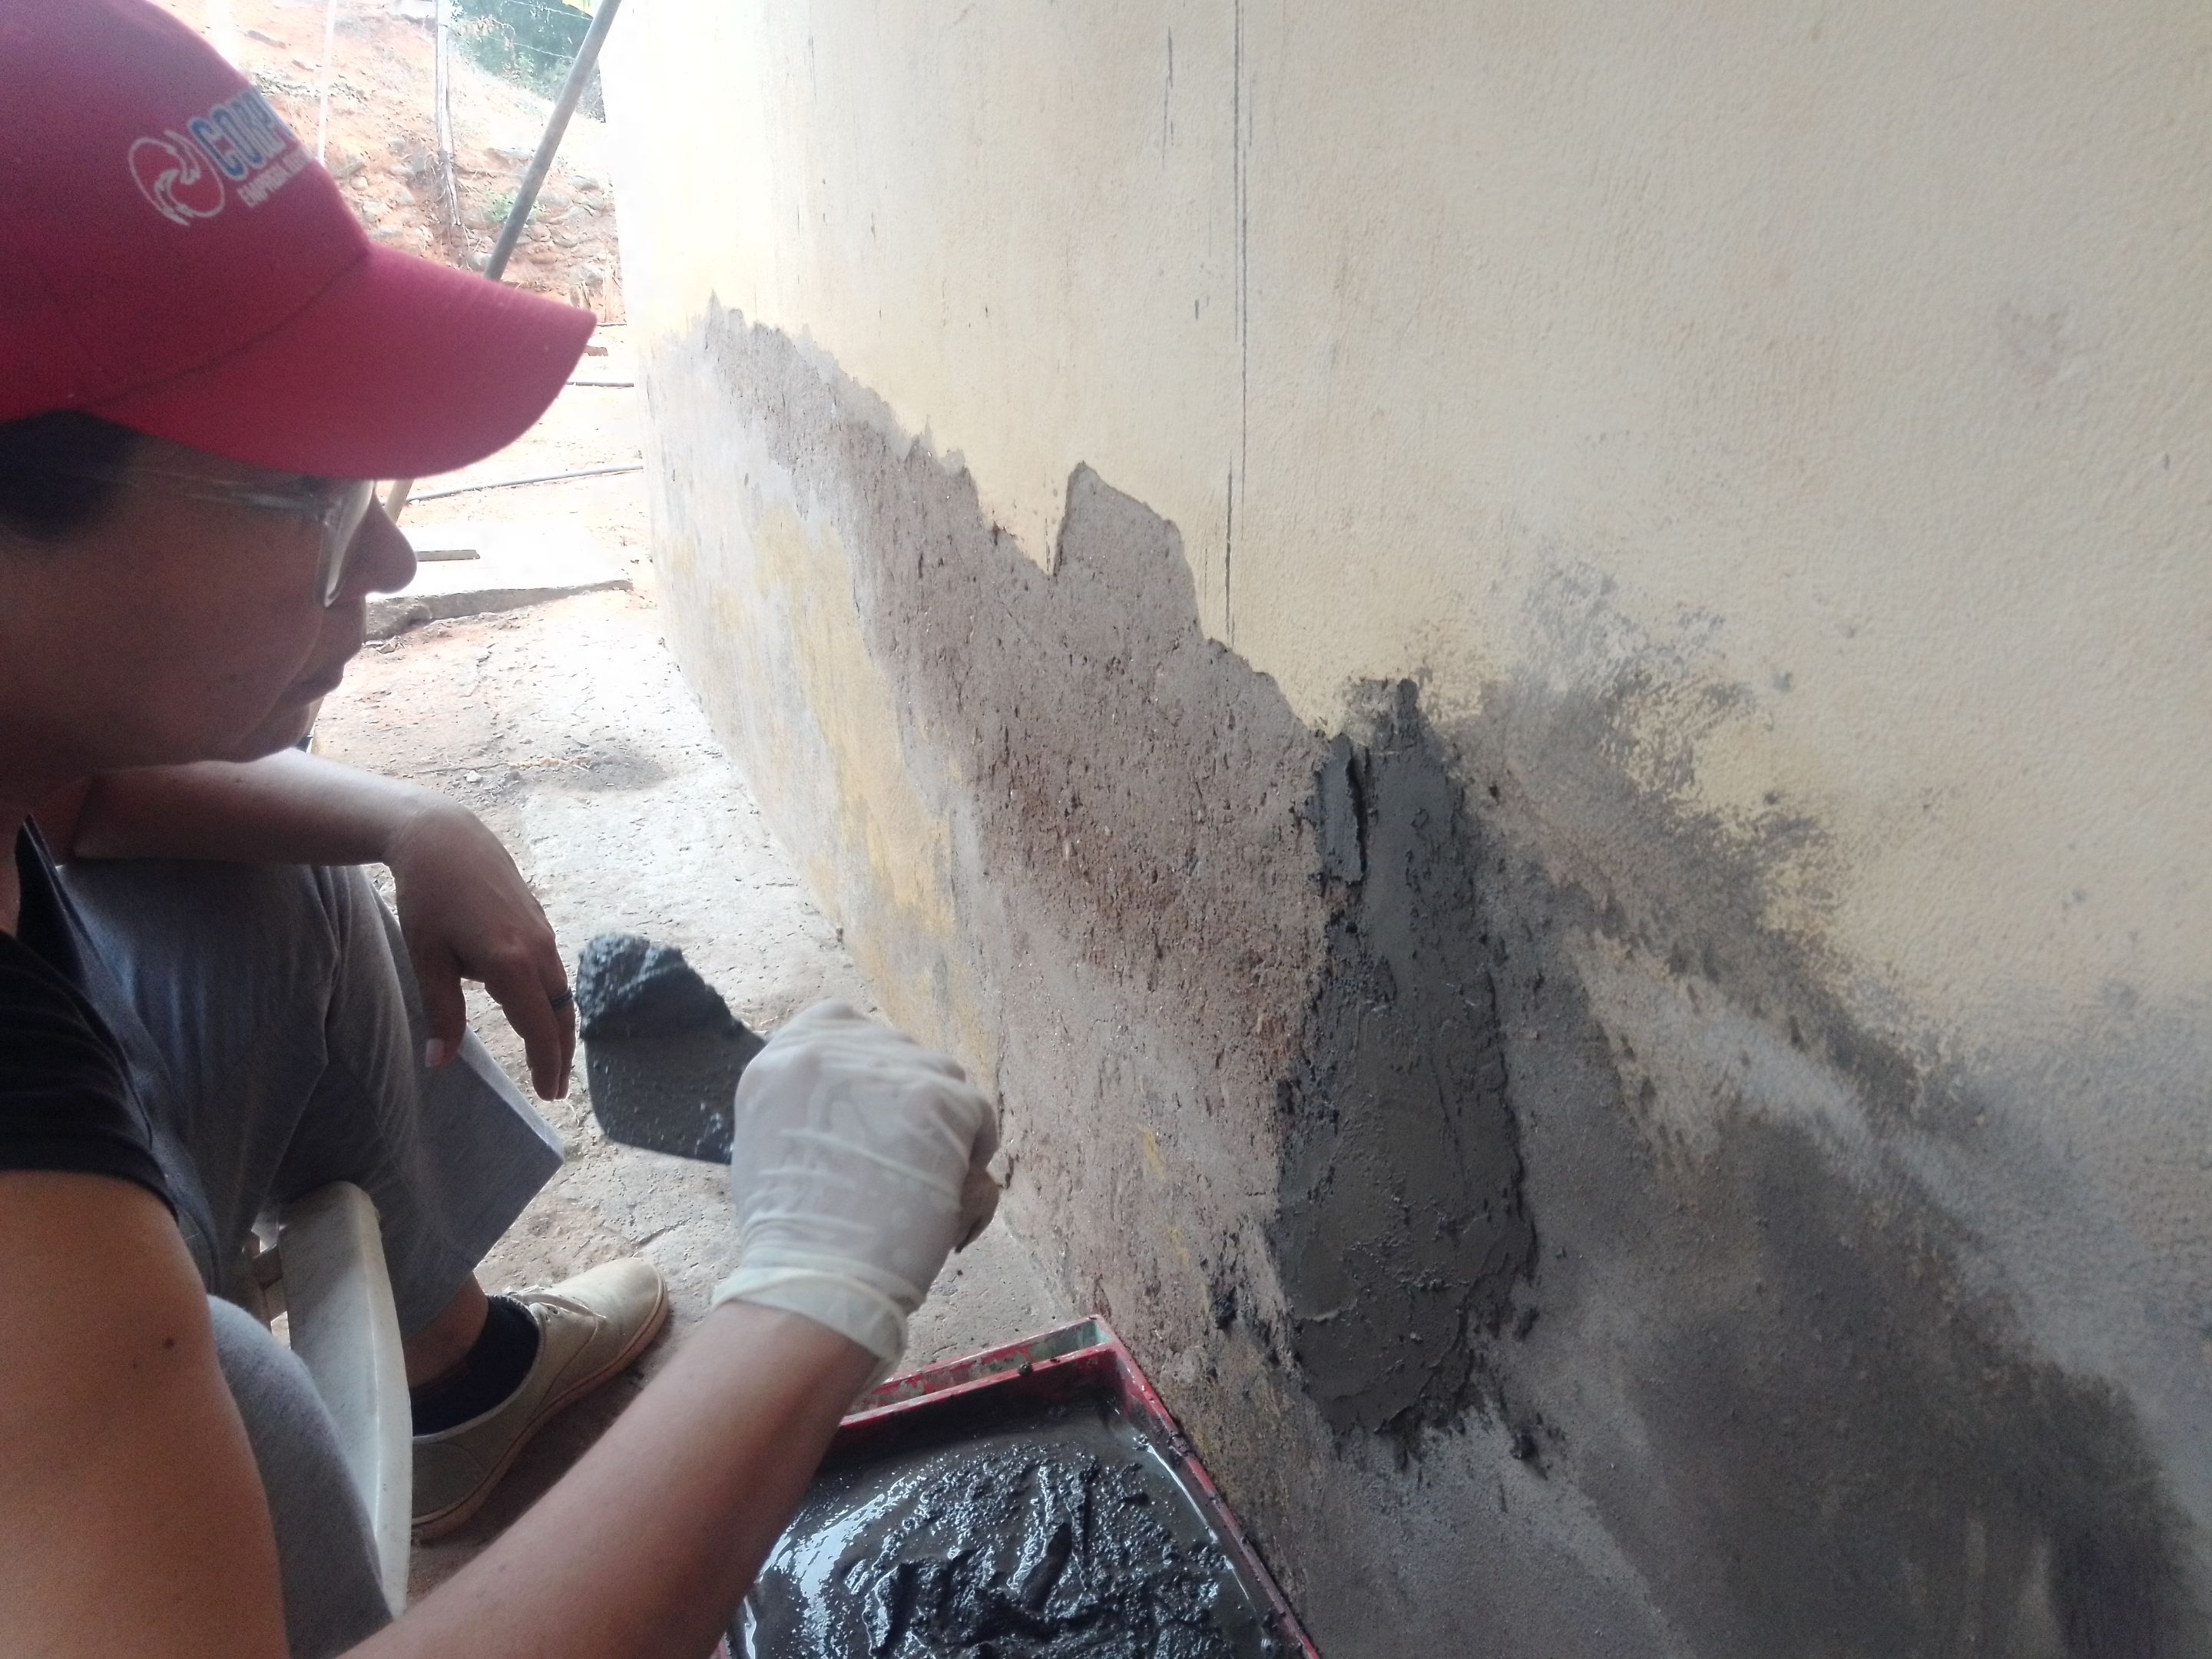
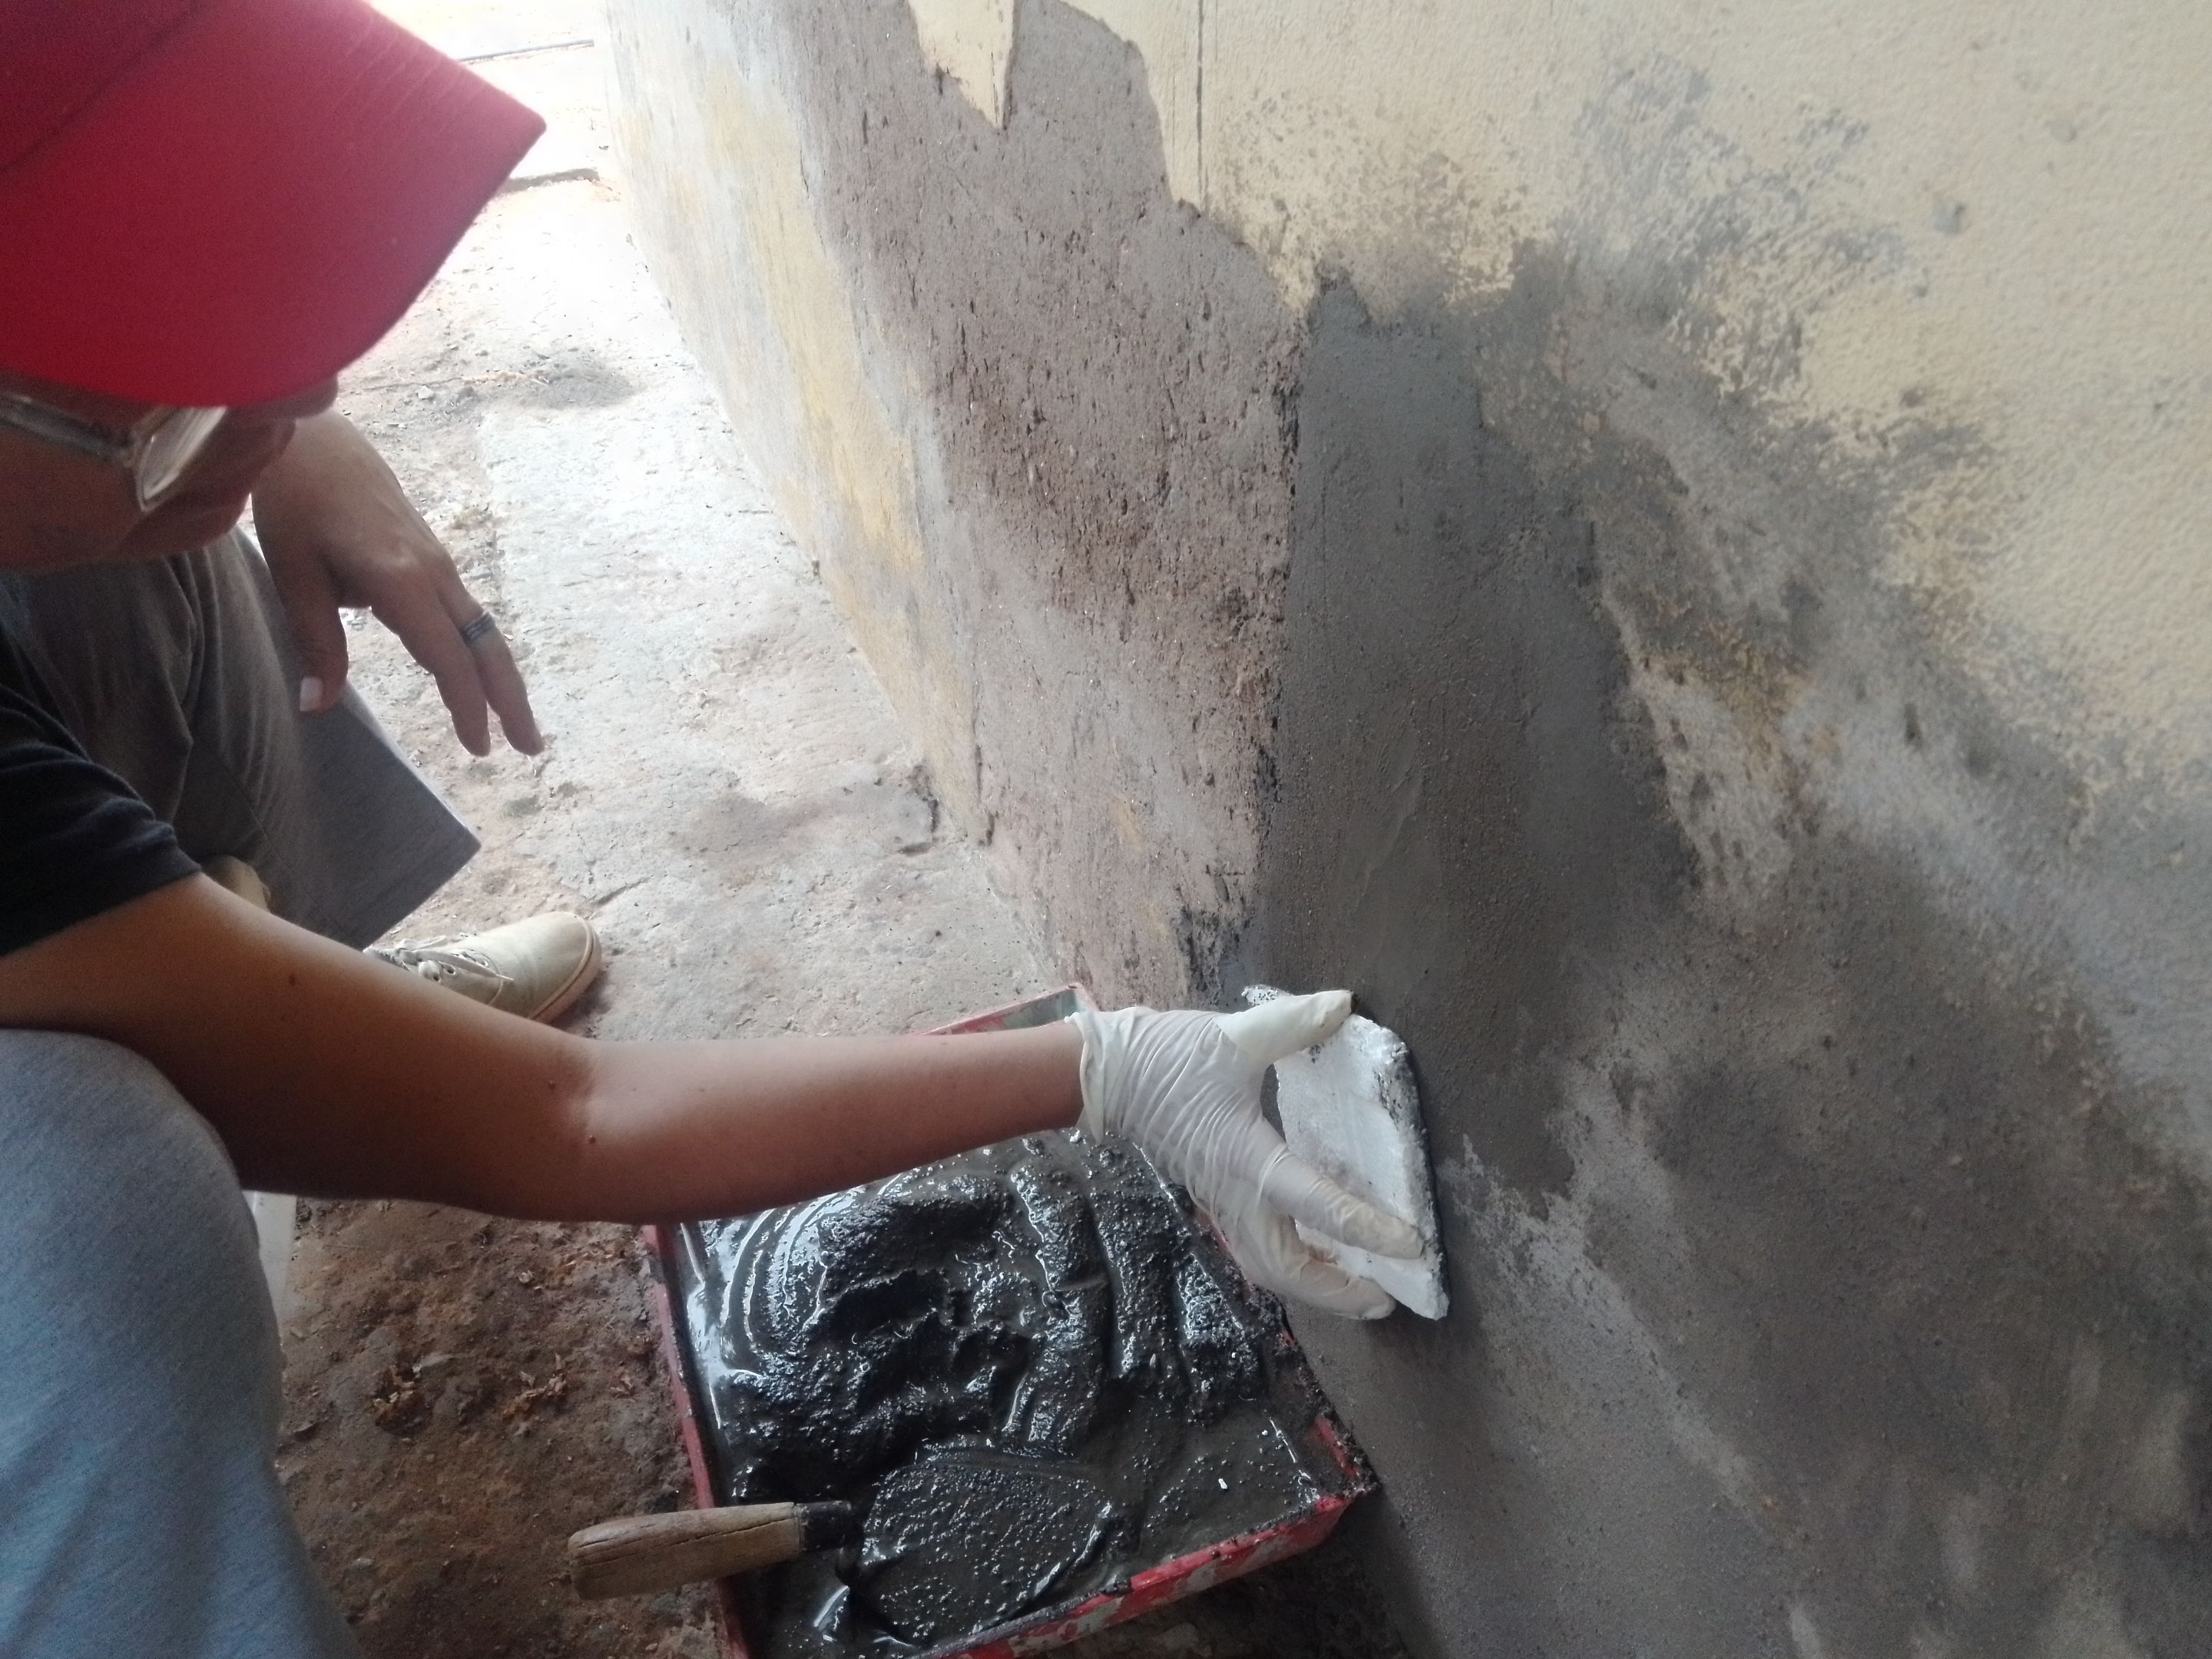
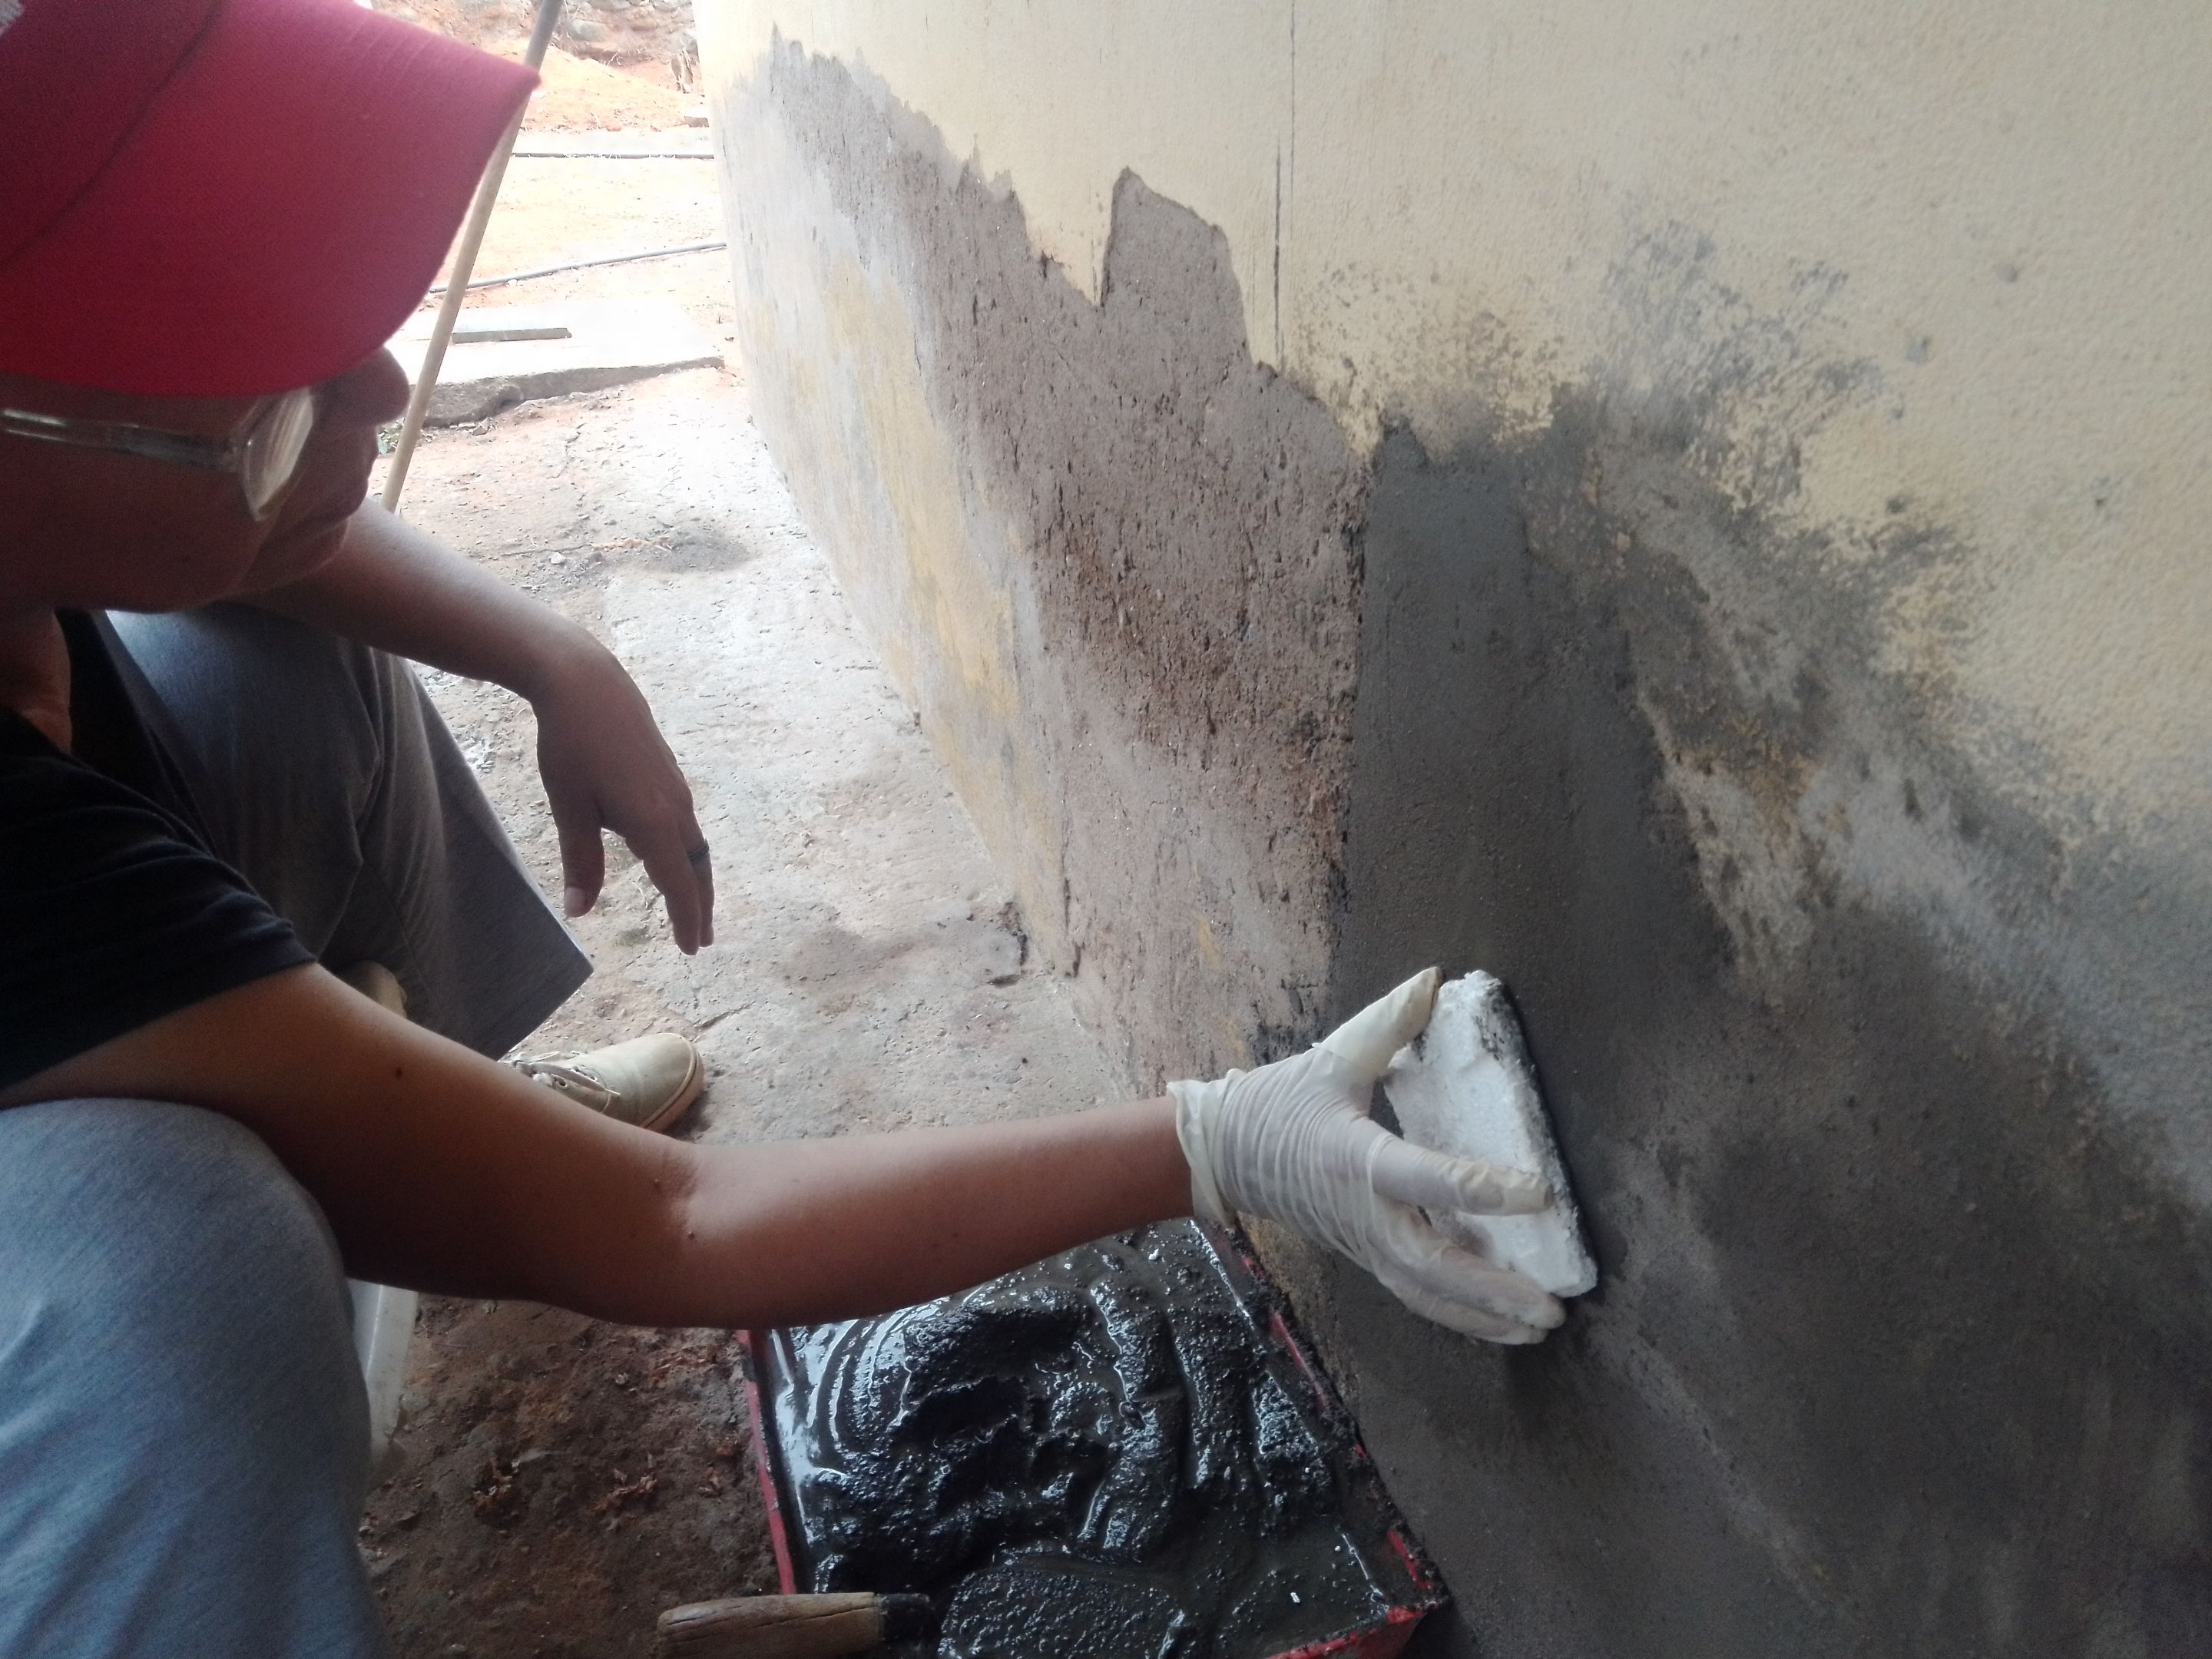
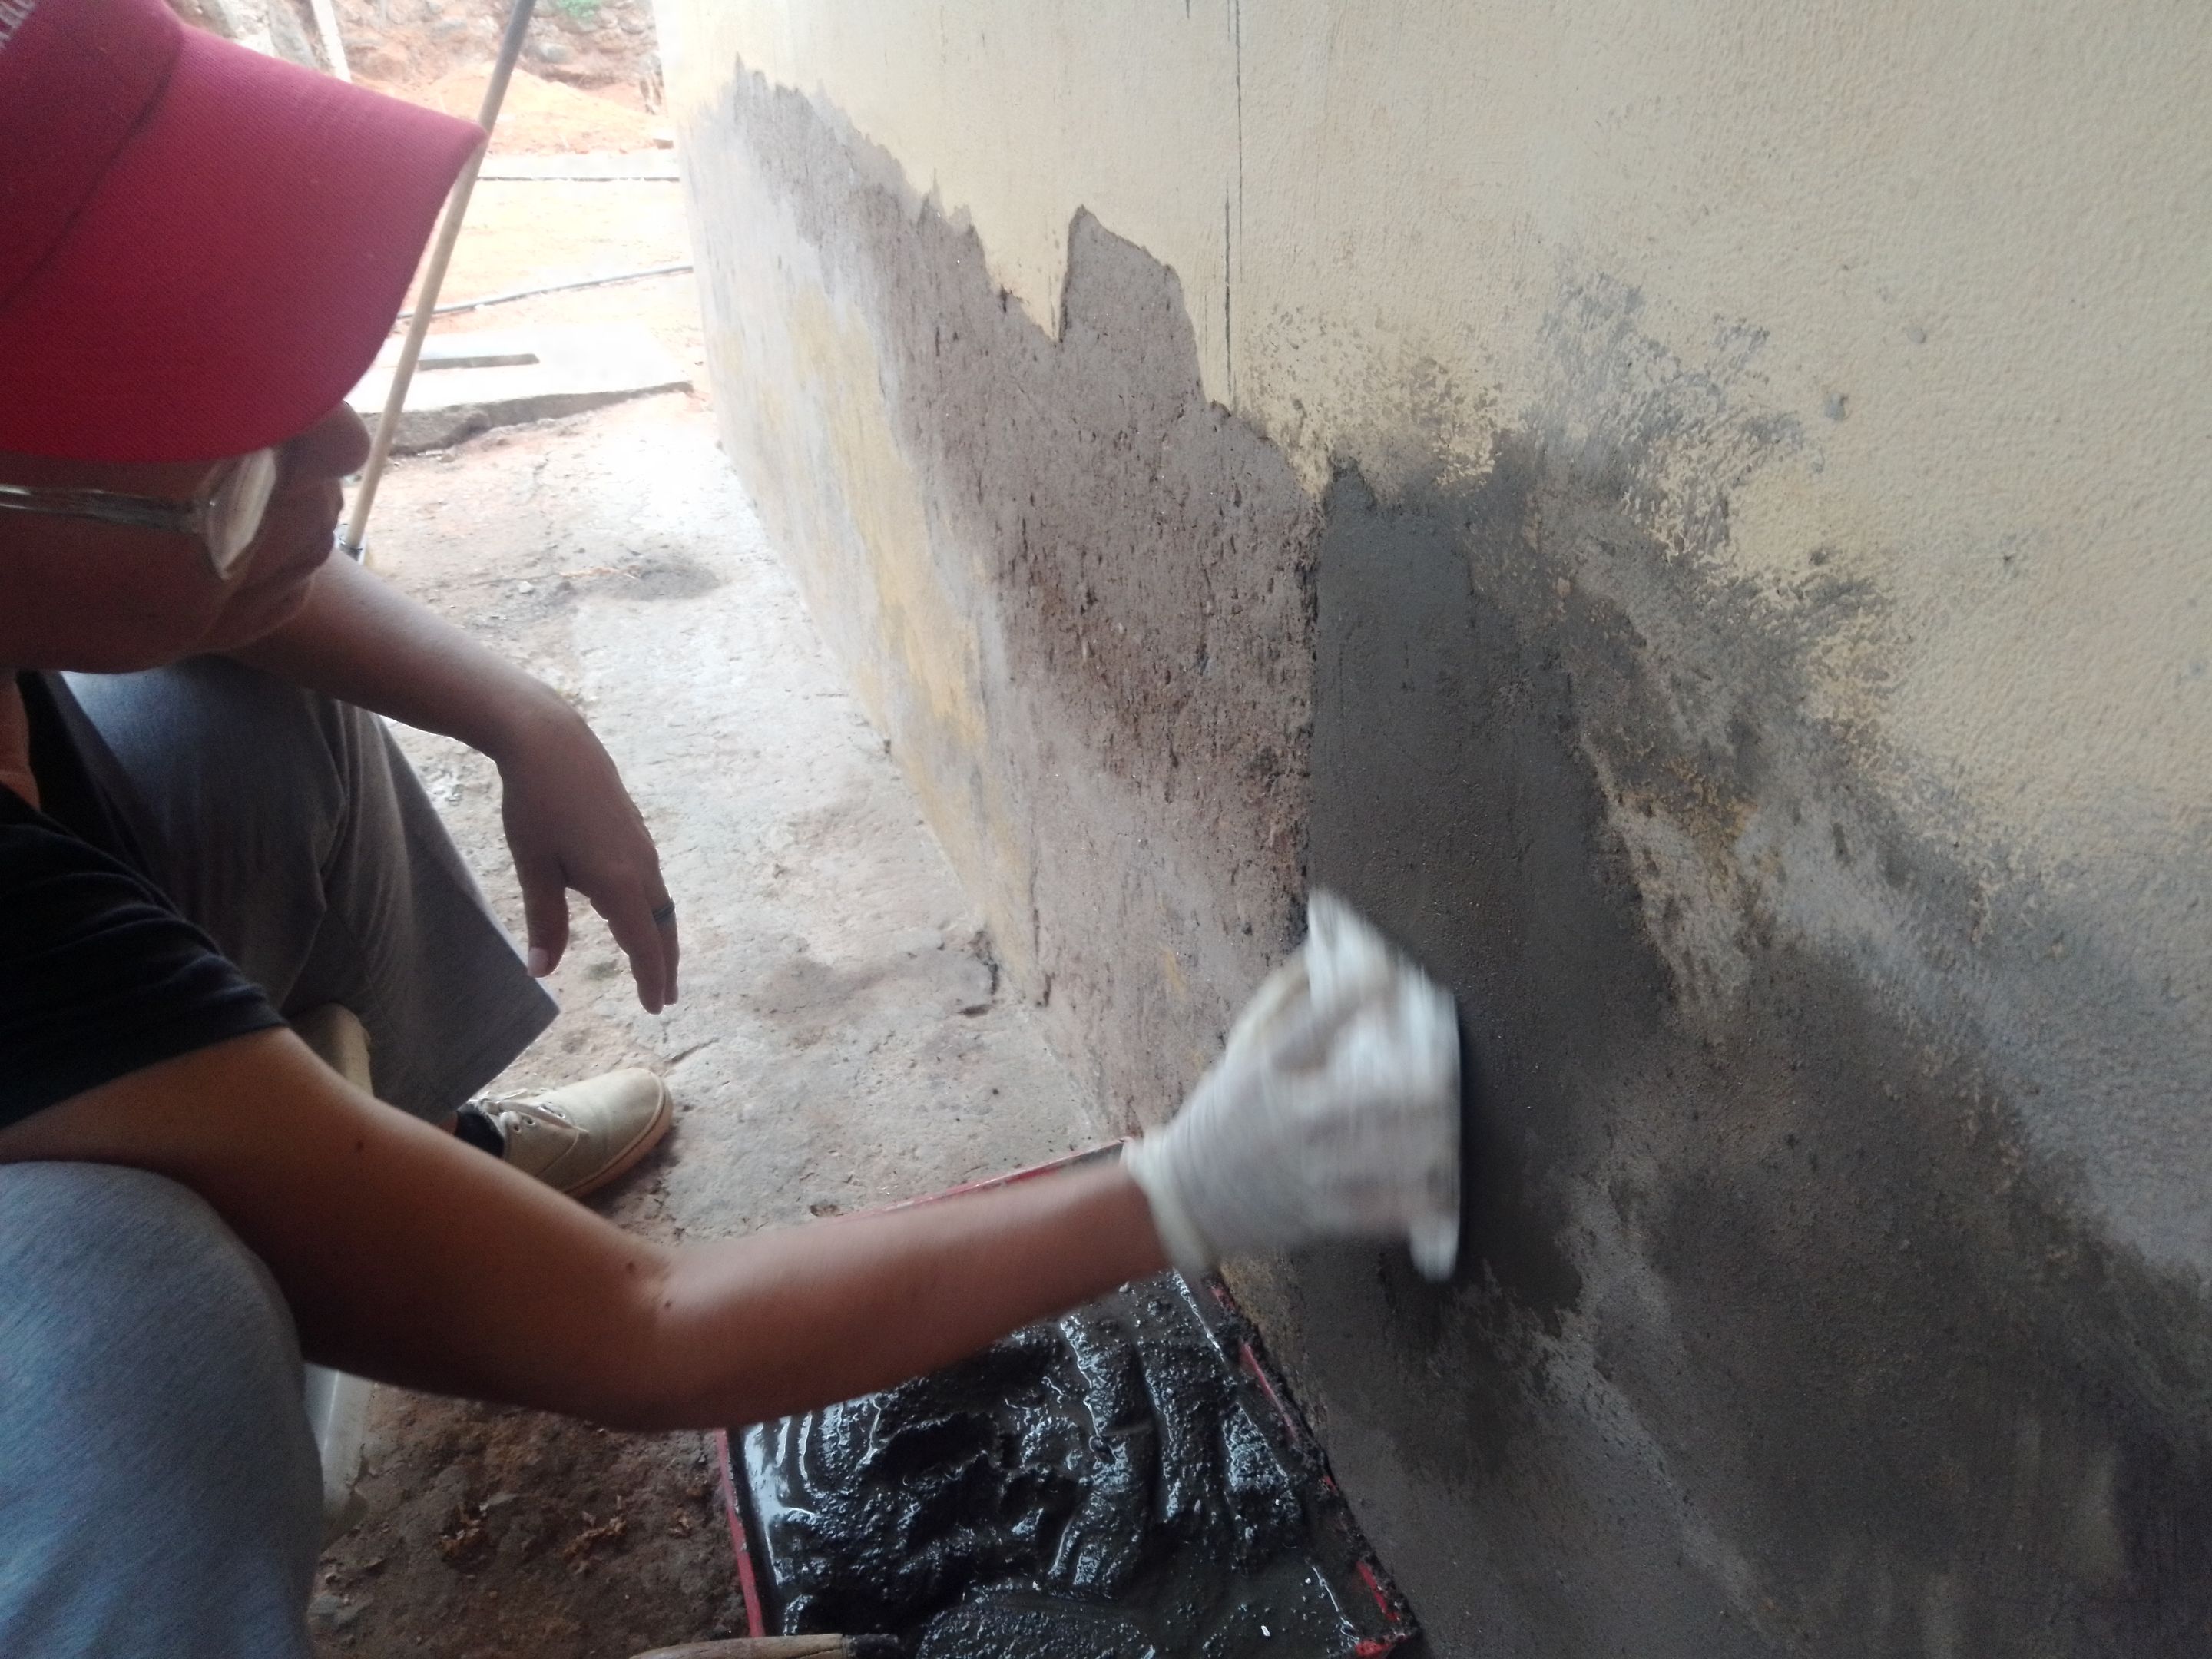
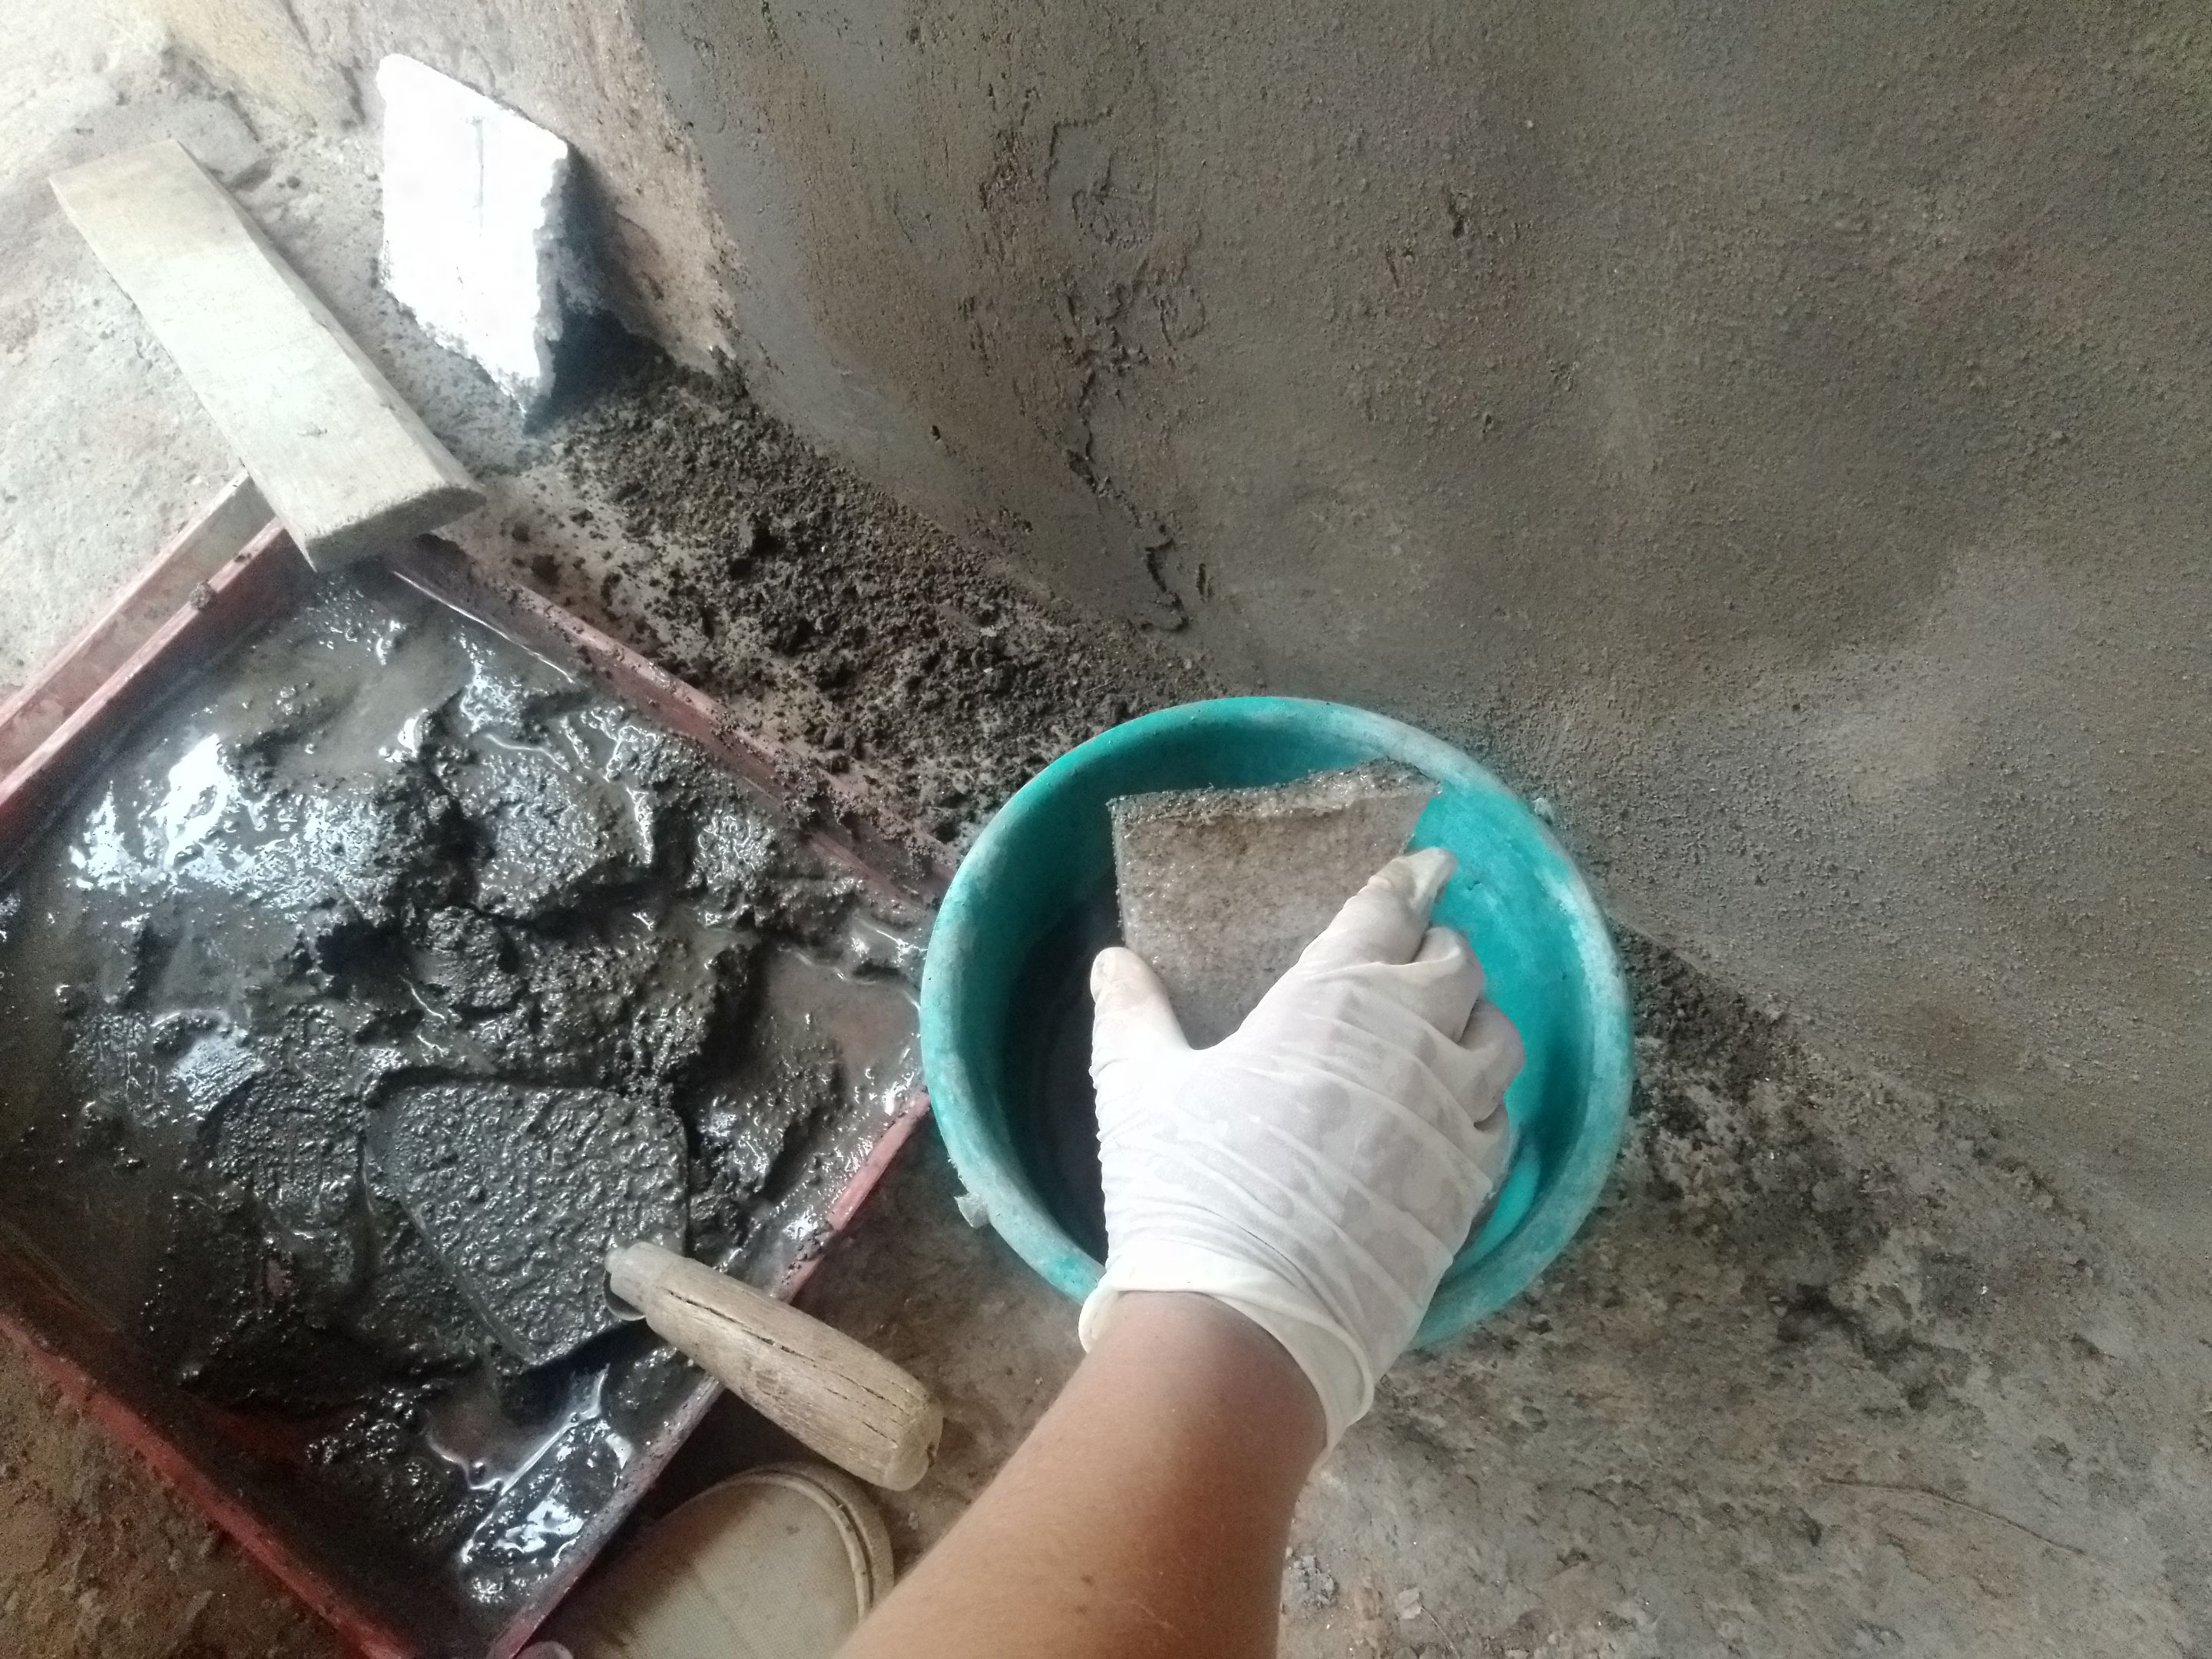
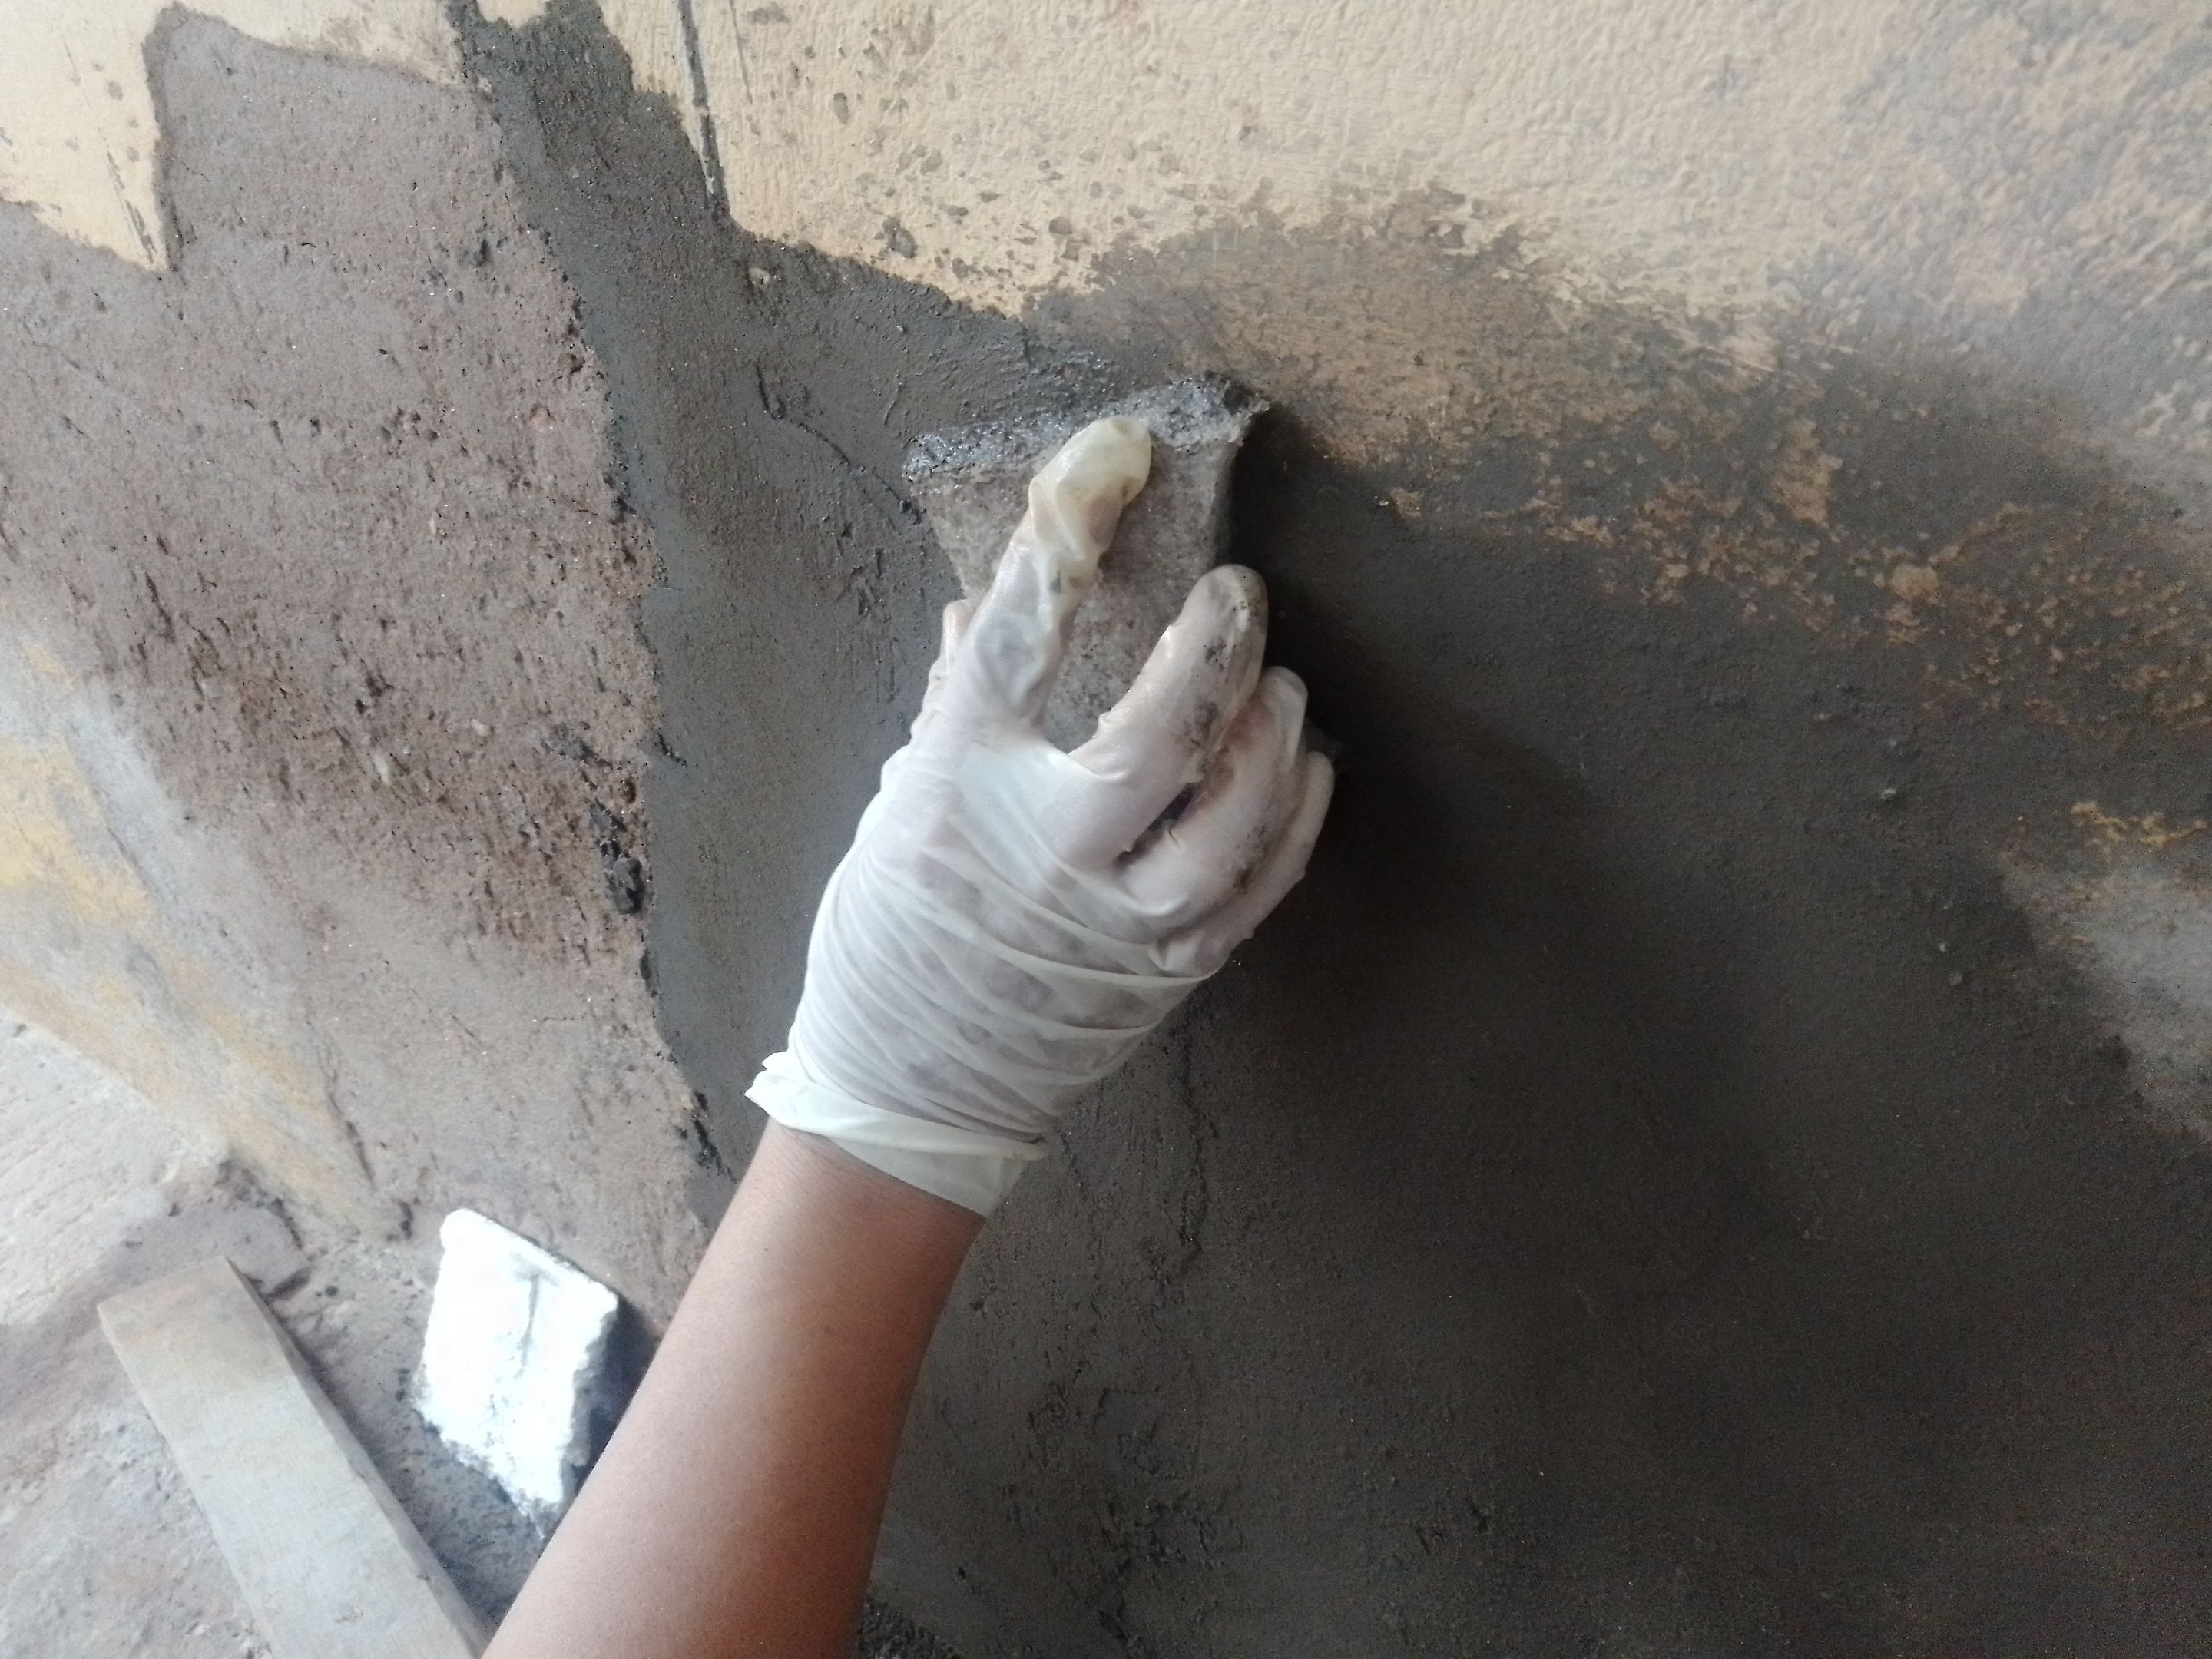
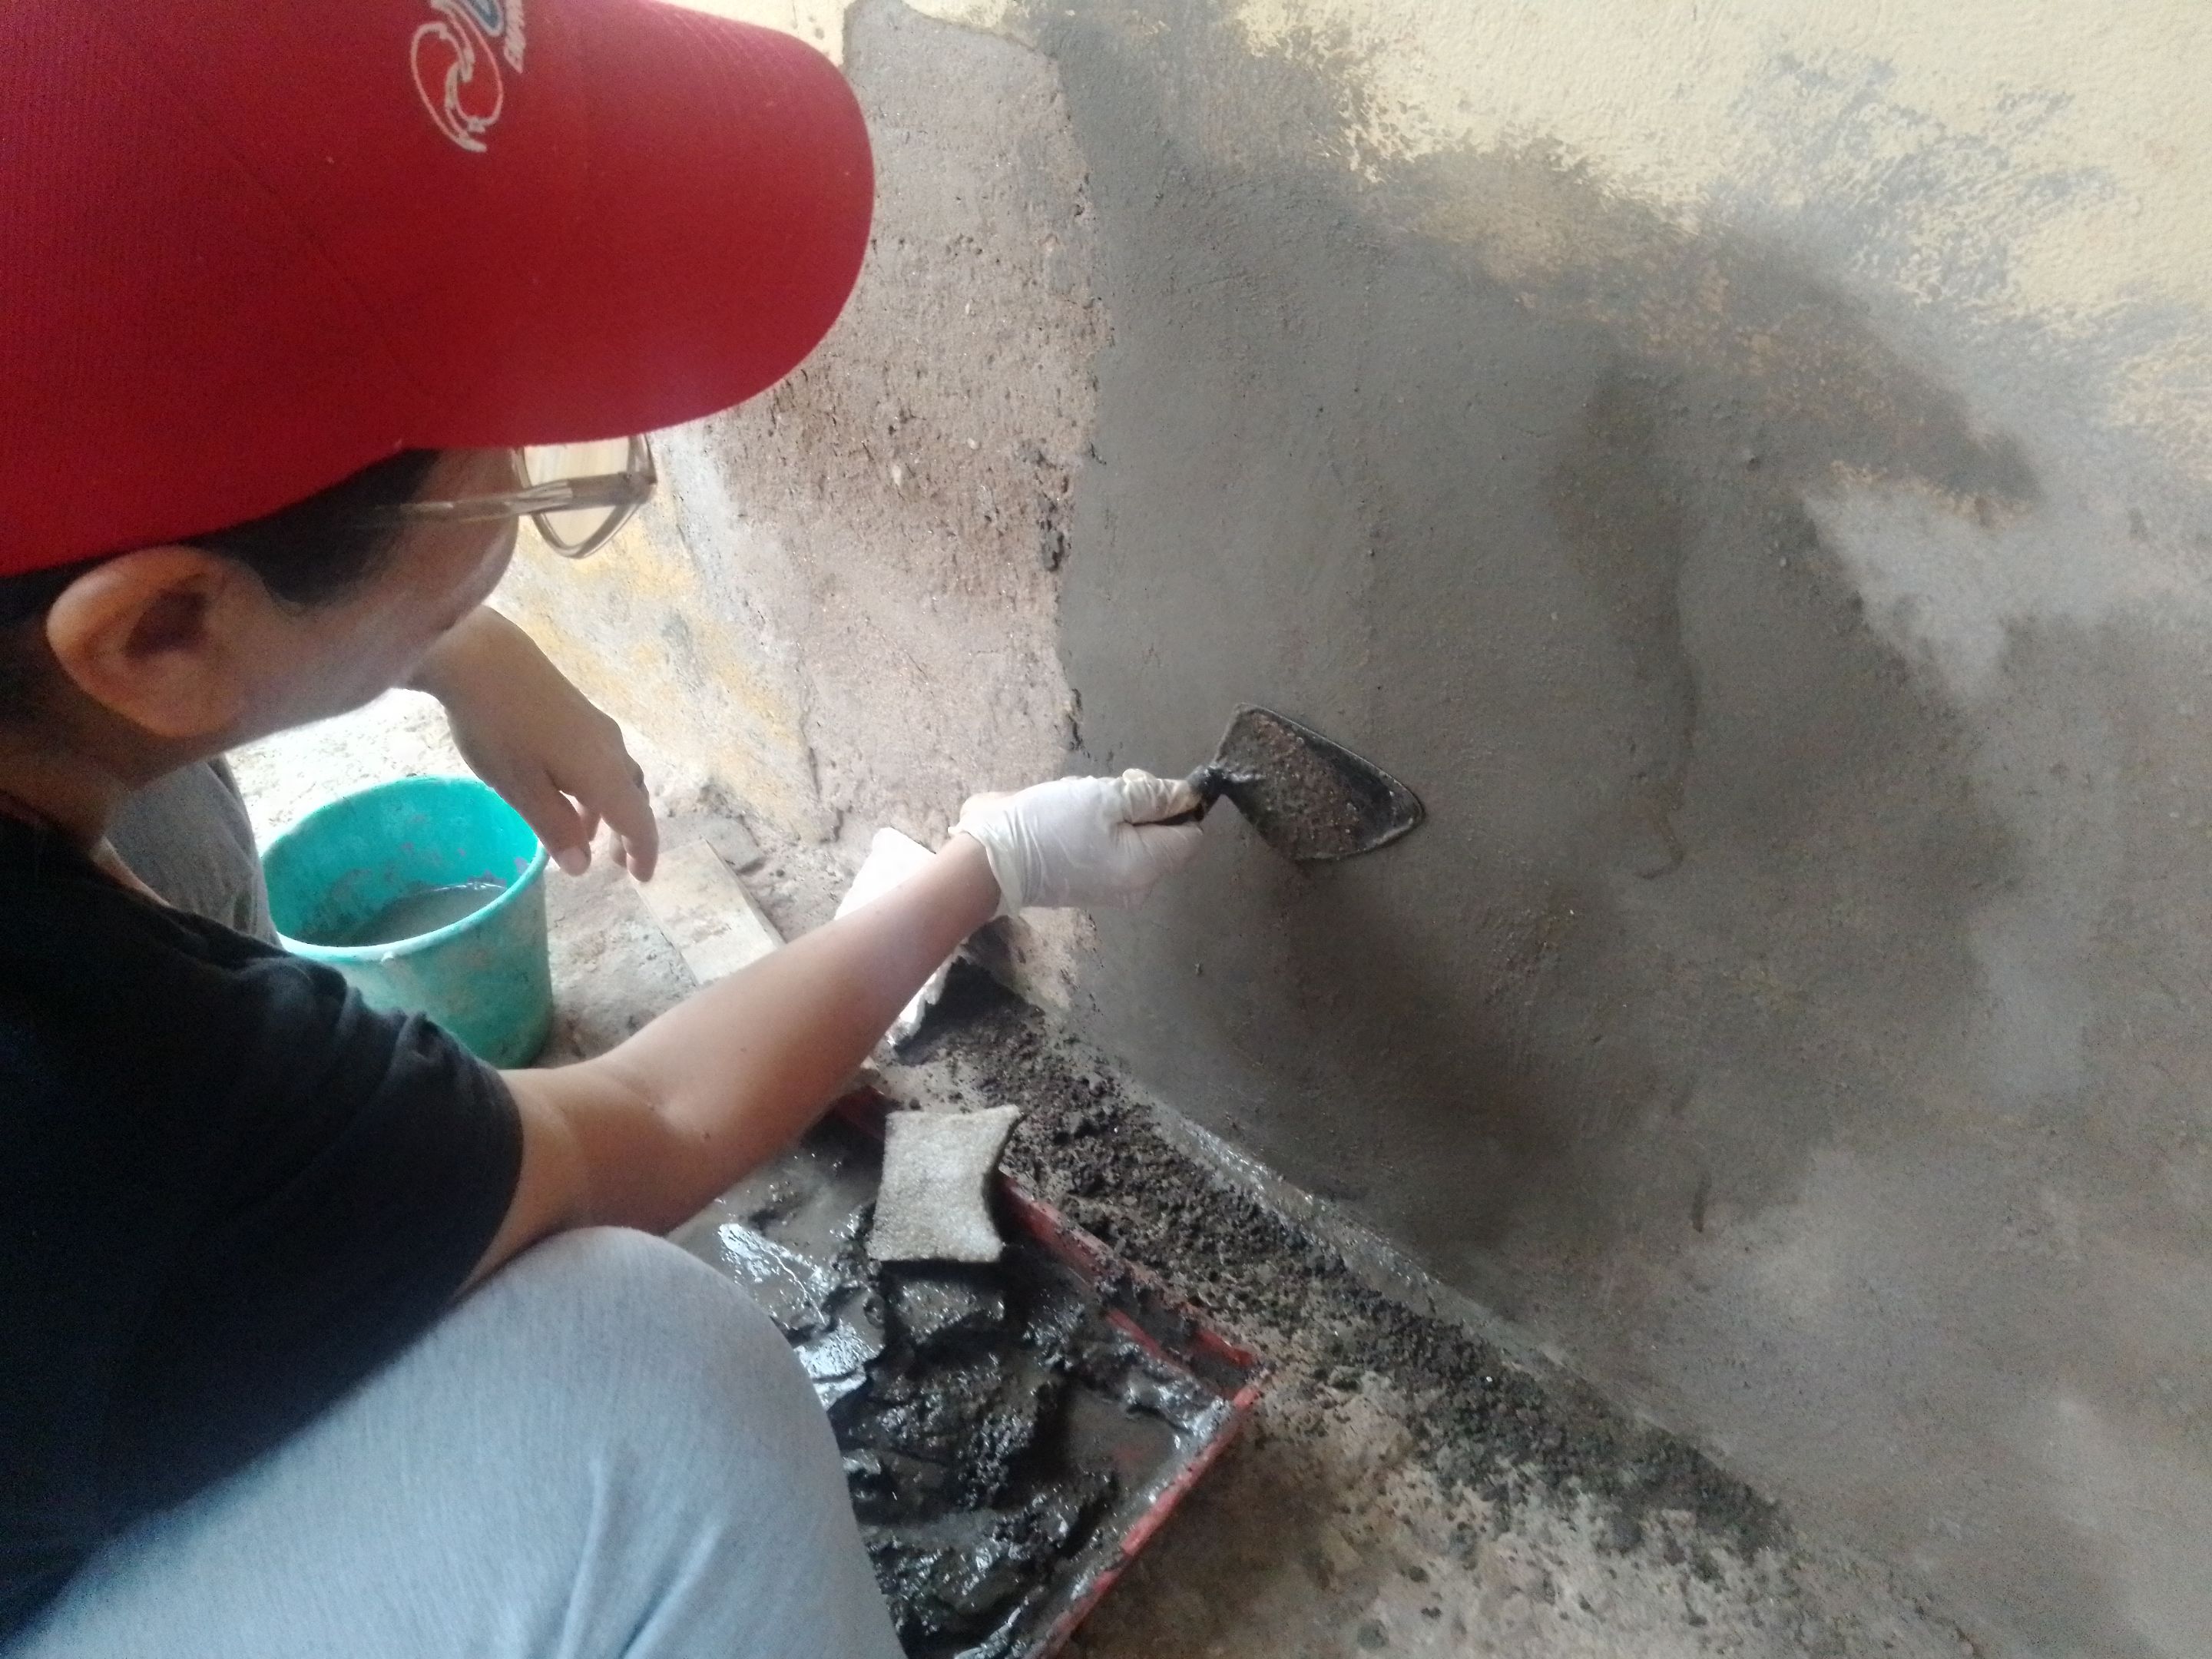
3- Application of the mixture: Once the mixture is ready, wet the wall to facilitate the adhesion of the material and then use a mason's spoon to take the mixture and apply it evenly over the surface of the wall. Use a piece of anime to remove excess for a more even base. Work in small sections for easier handling. It is important to be patient and work meticulously to obtain a uniform finish.
3- Aplicación de la mezcla: Una vez que la mezcla esté lista, humedece la pared para facilitar la adhesión del material y luego utiliza una cuchara de albañil para tomar la mezcla y aplícala de manera uniforme sobre la superficie de la pared. Utiliza un trozo de anime para eliminar los excesos y lograr una base más uniforme. Trabaja en secciones pequeñas para facilitar el manejo. Es importante tener paciencia y trabajar de manera meticulosa para obtener un acabado uniforme.
 |
 |
 |
|---|---|---|
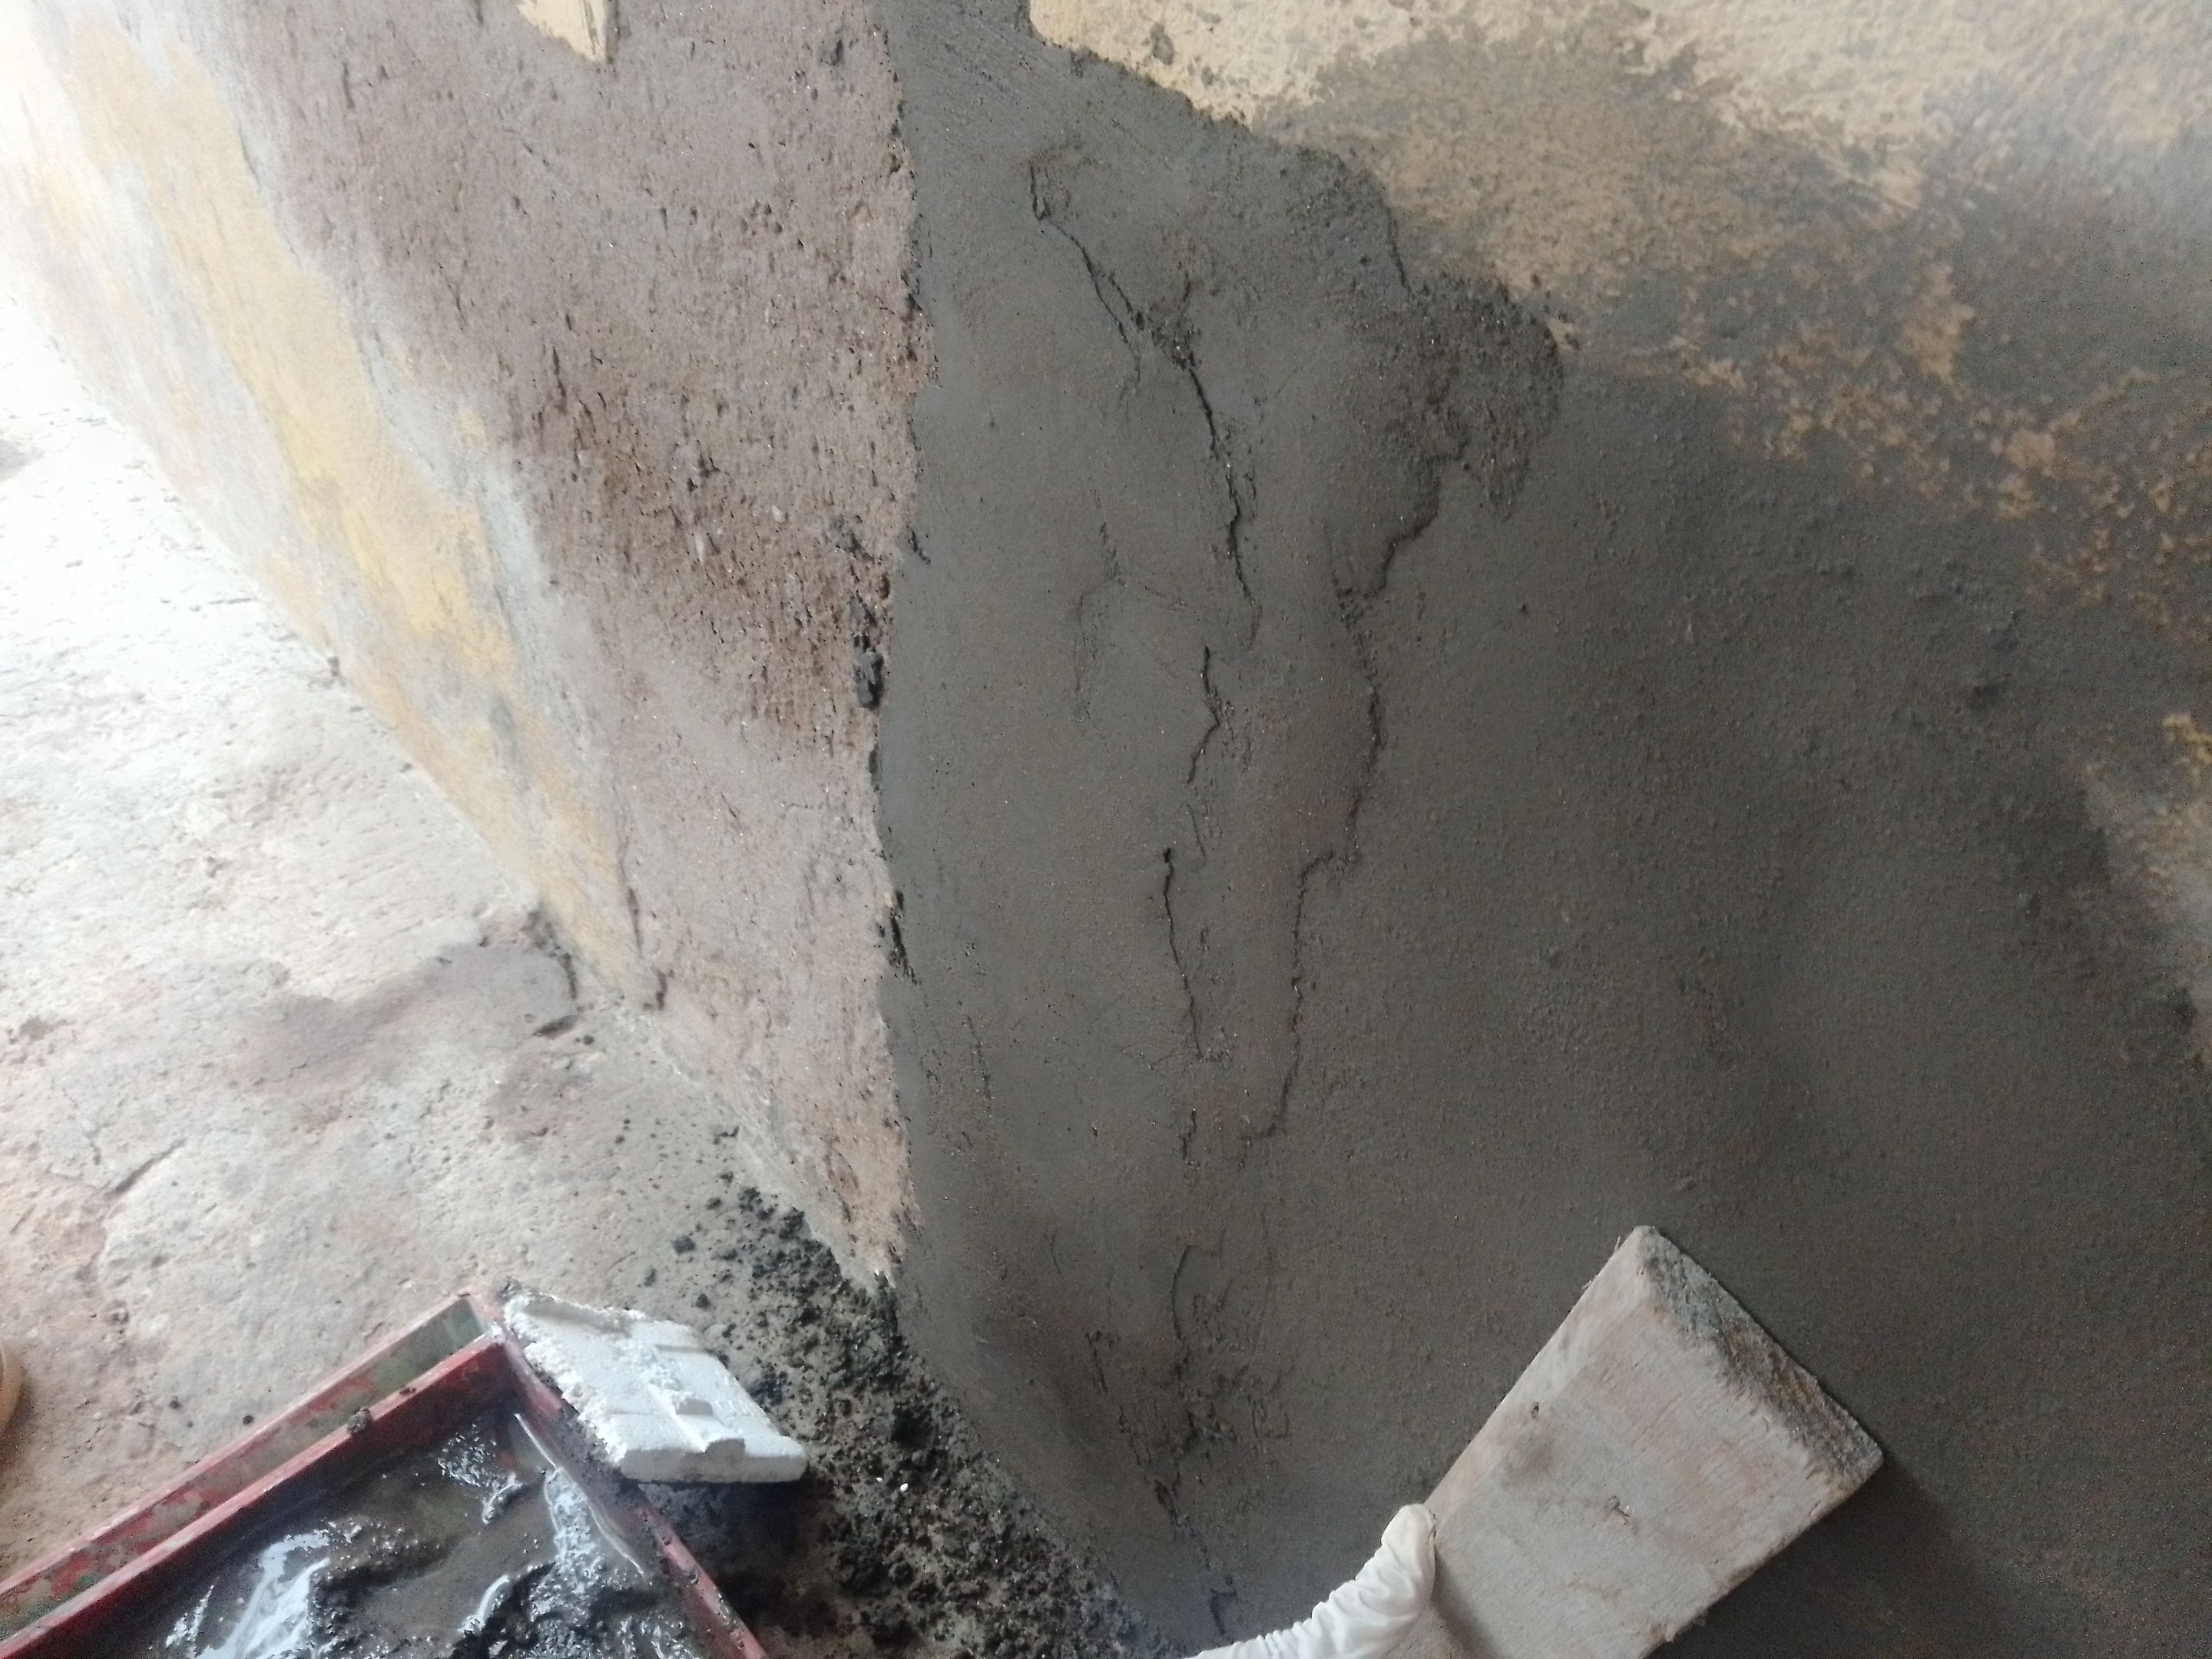
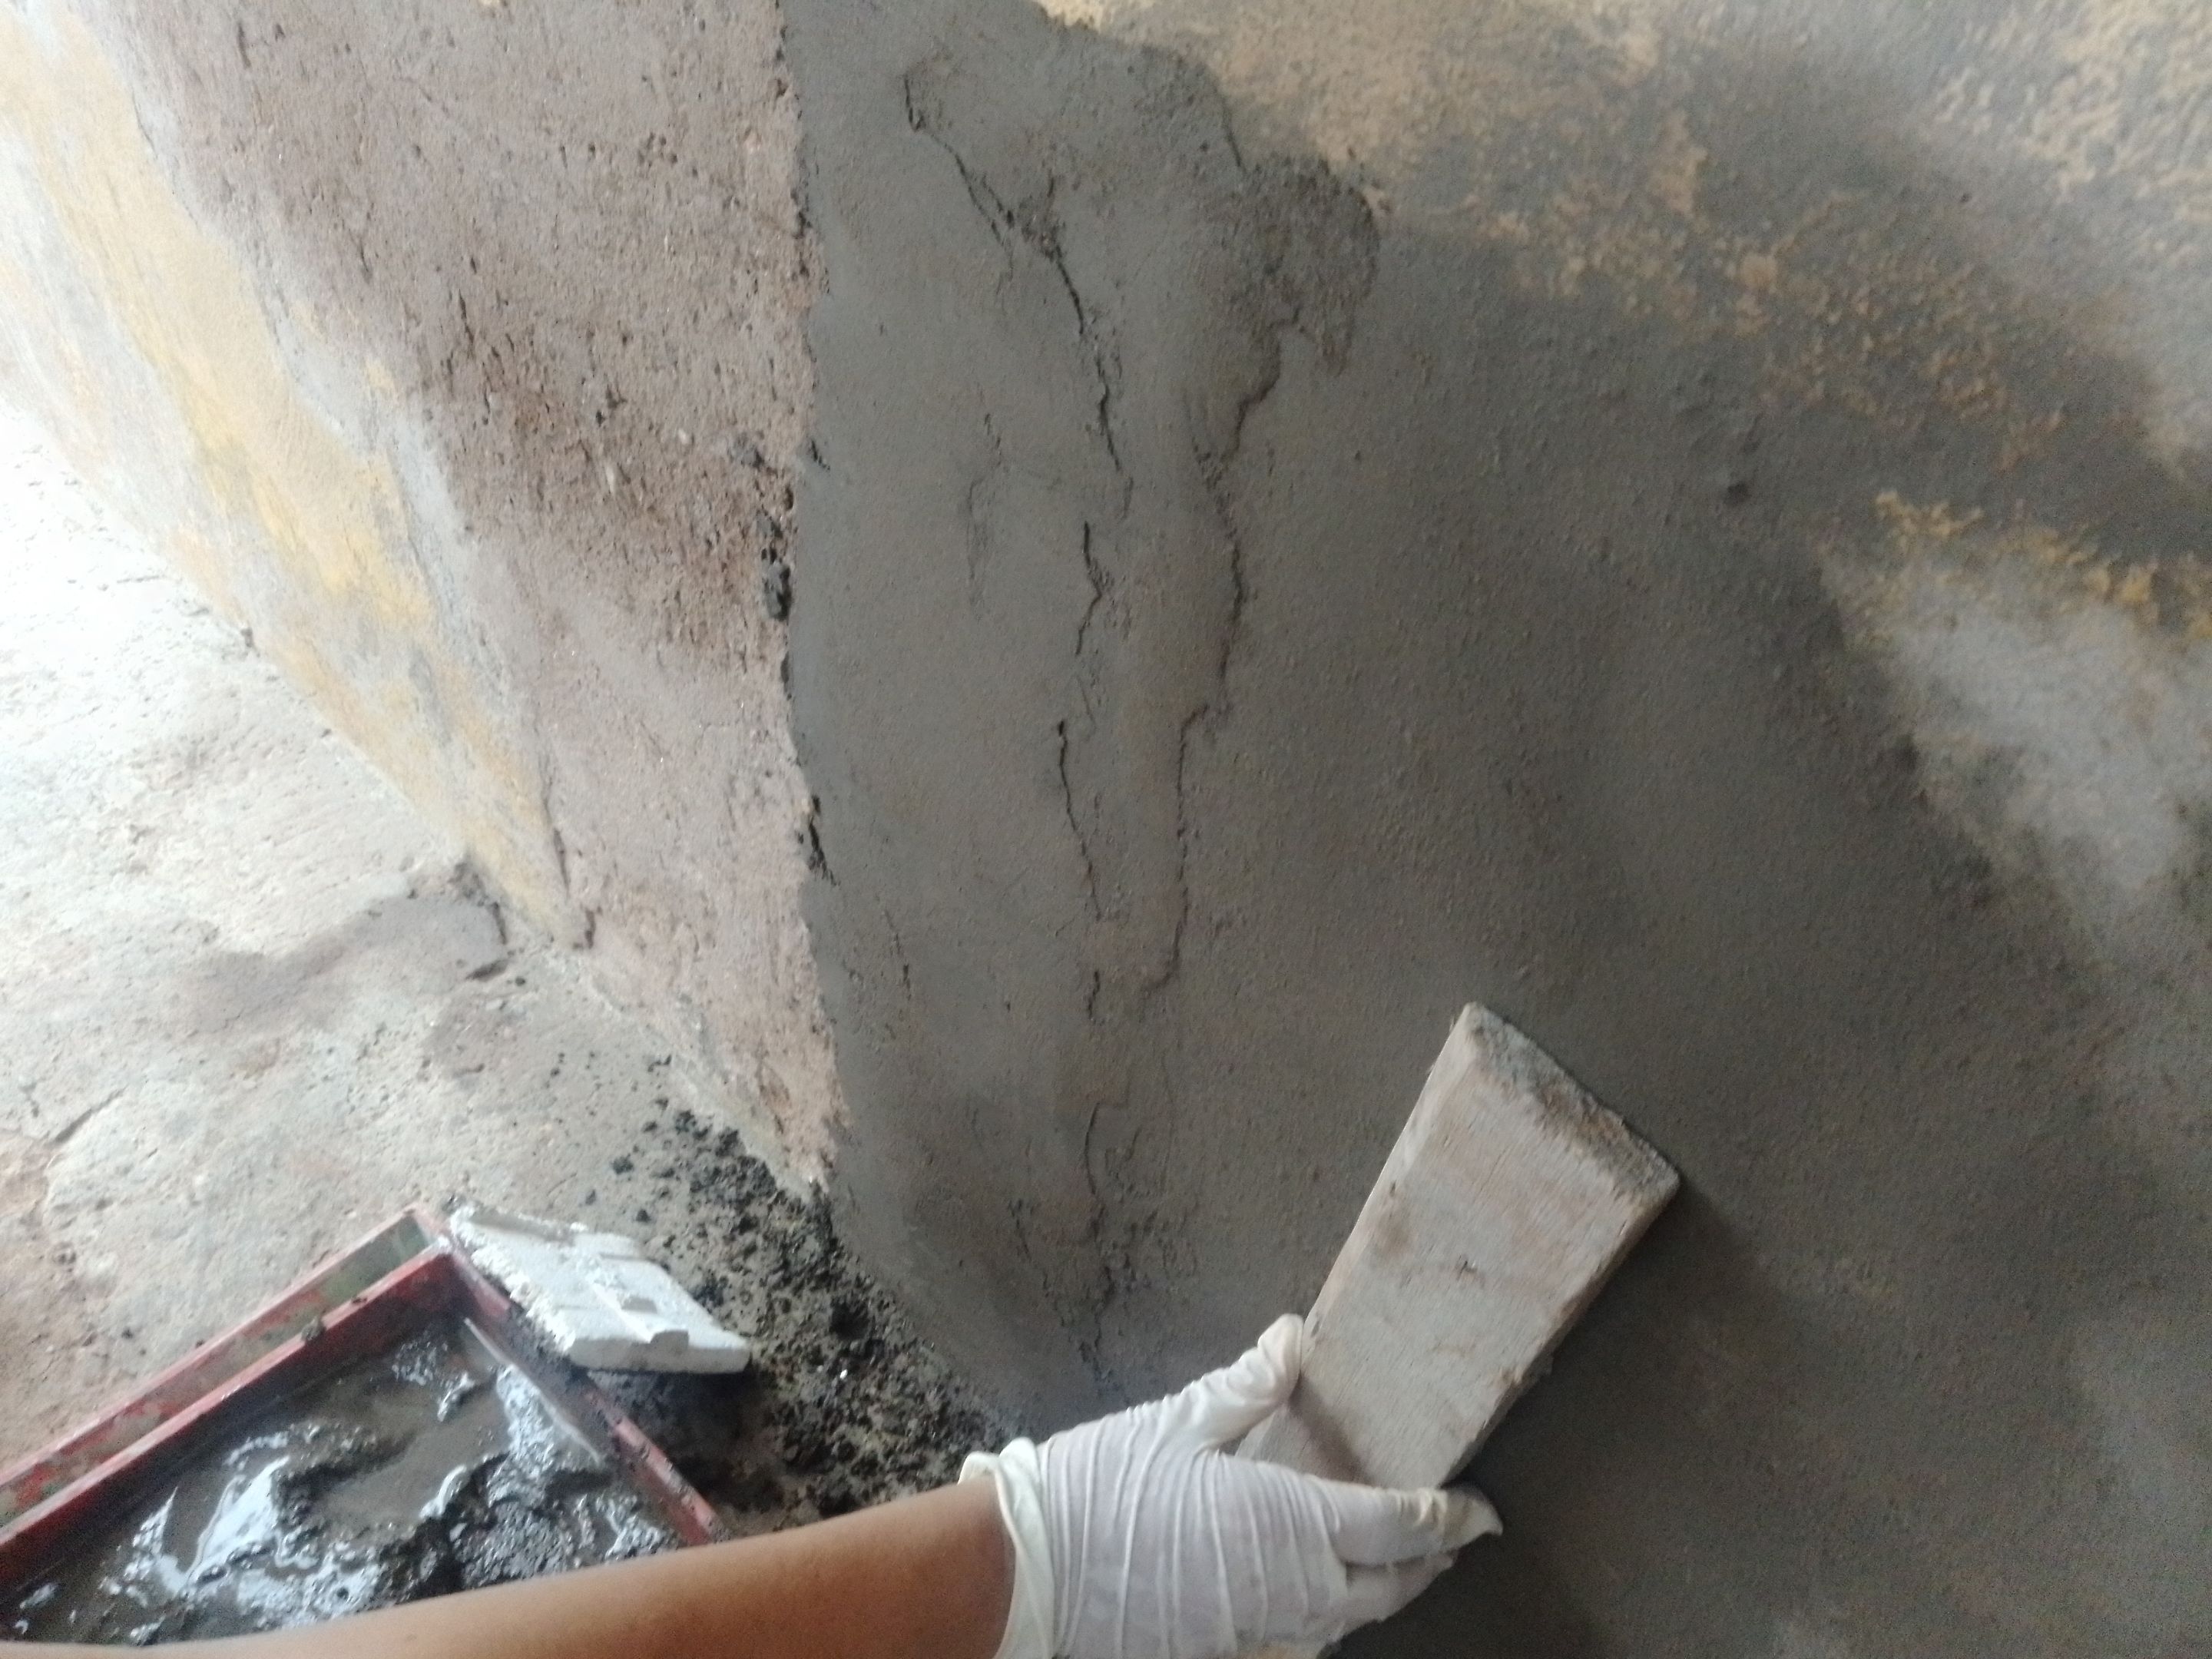
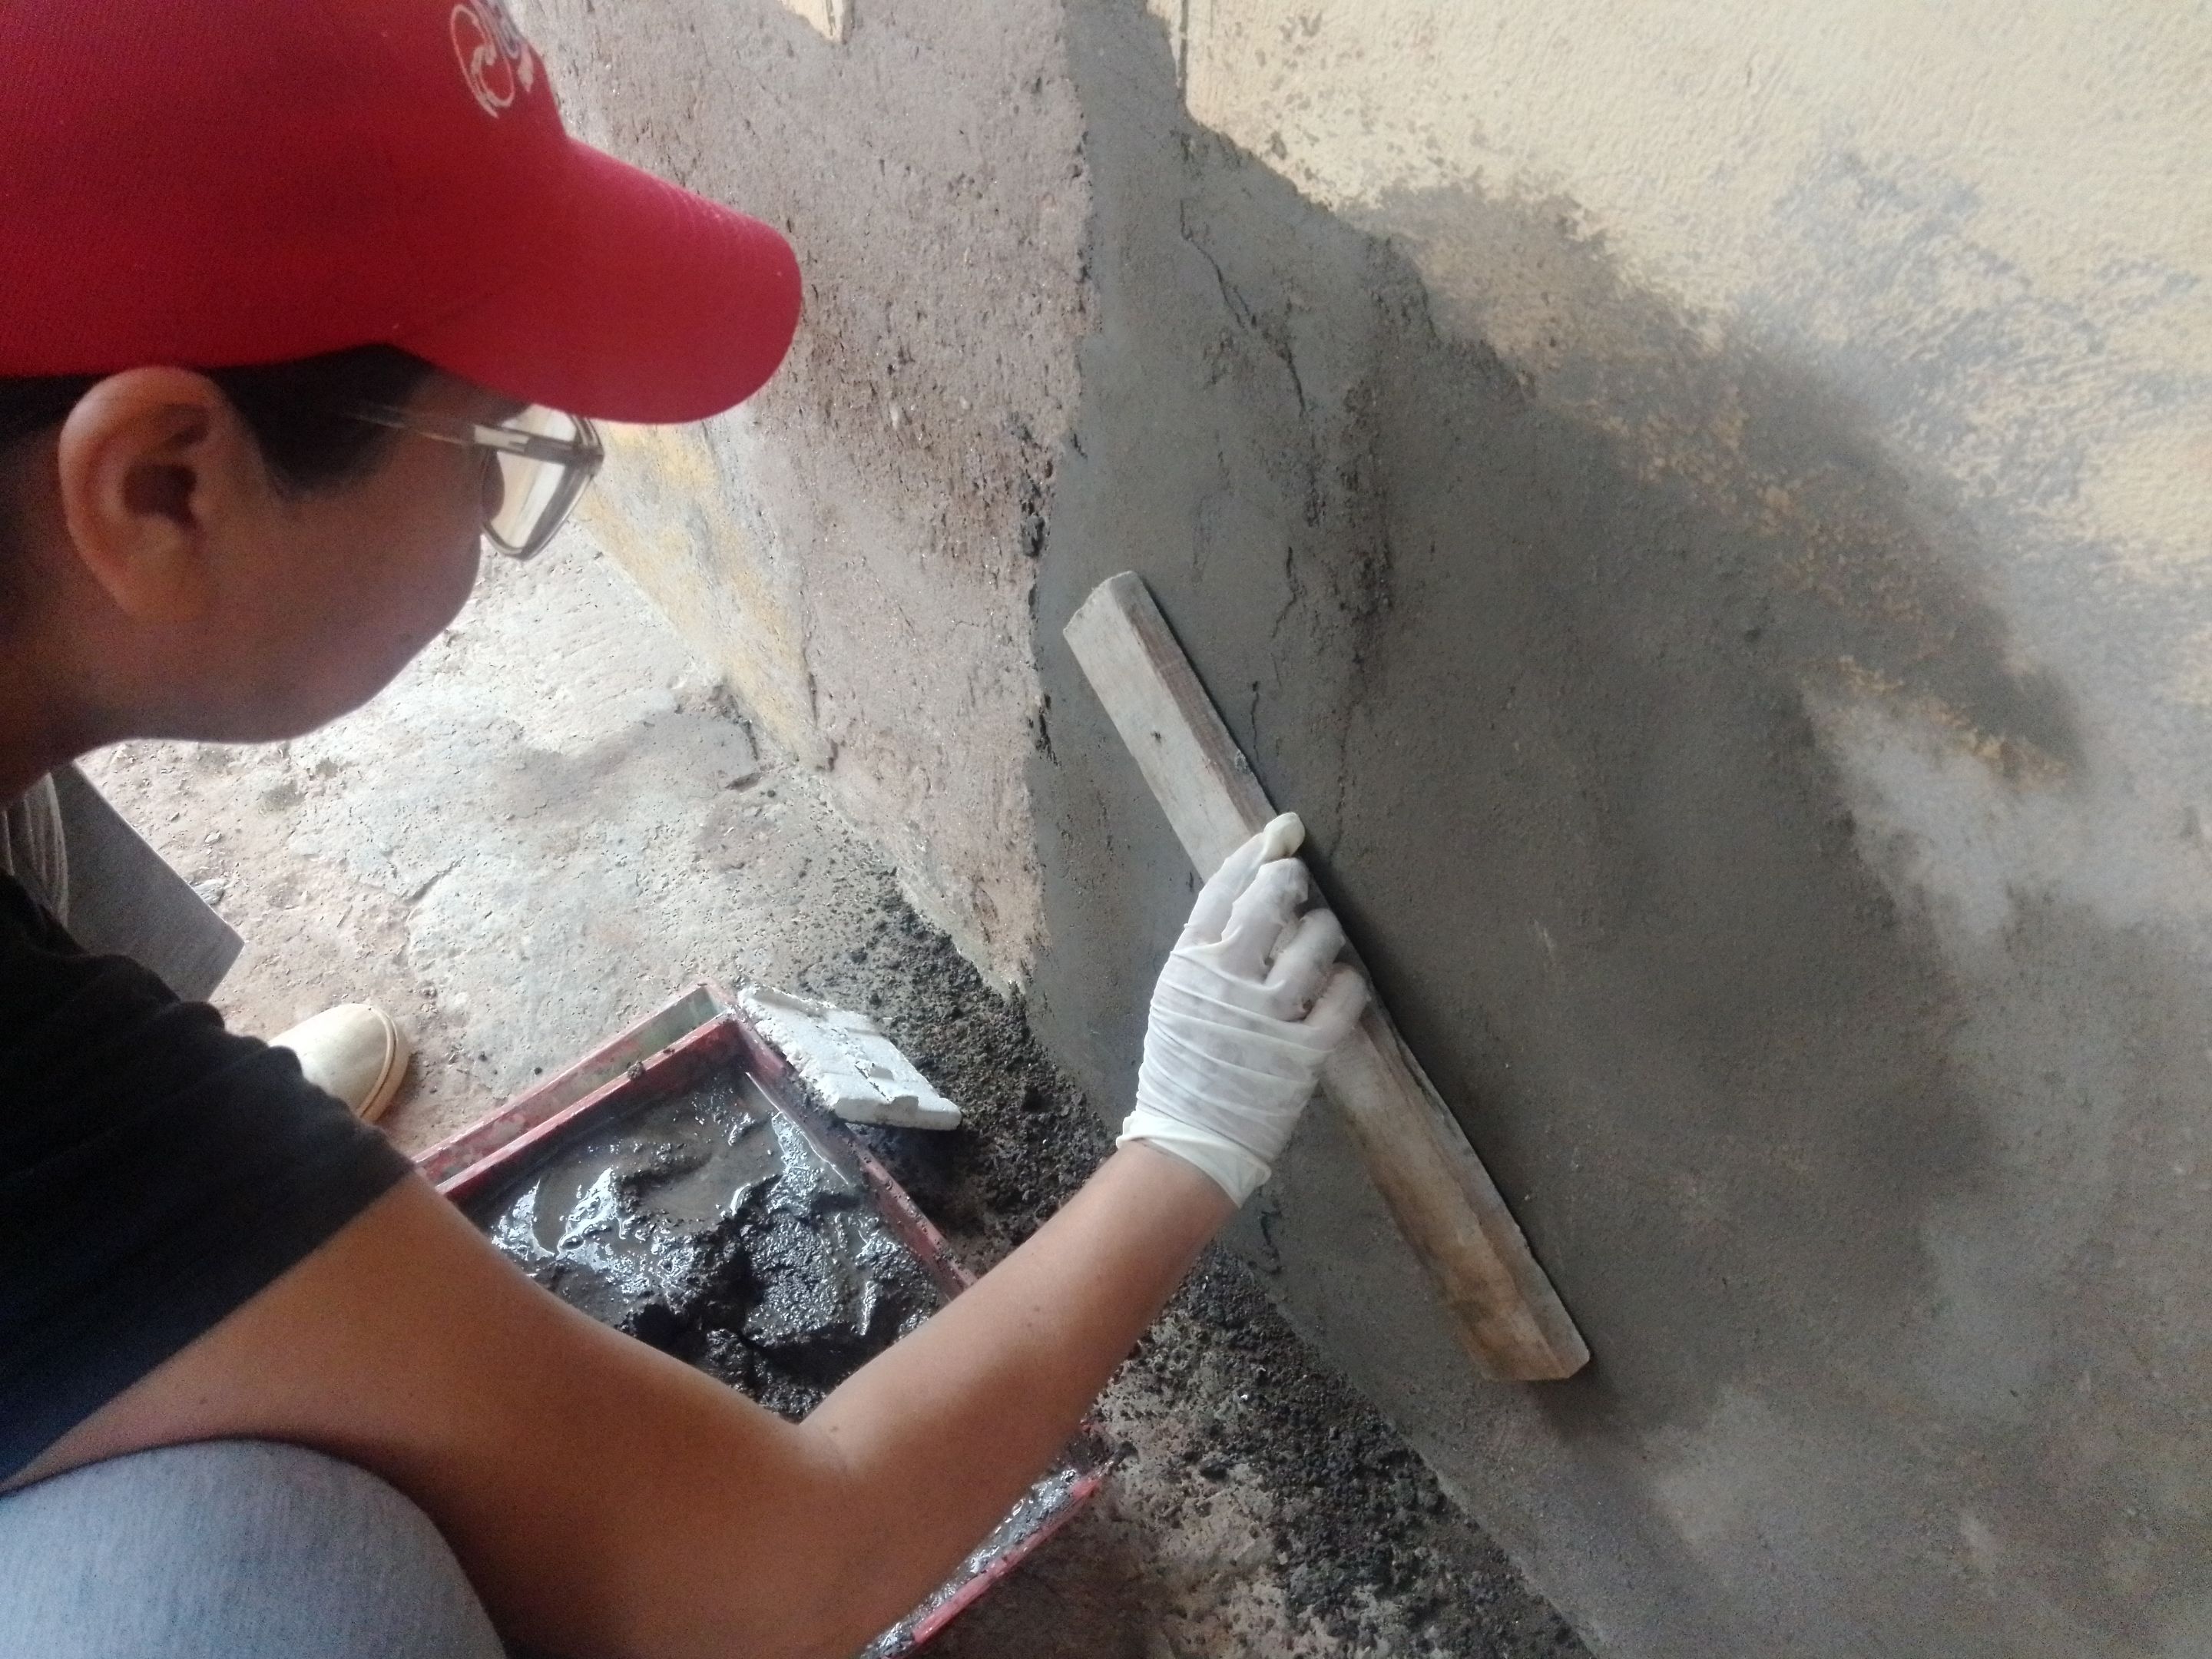
4- Leveling: Use a wooden stick to level the mixture on the surface, eliminating any irregularities. Pass the batten in smooth and firm movements to obtain a more professional finish, eliminating imperfections, creating a smooth surface and proceed to give the final touches.
4- Nivelación: Utiliza un listón de madera para nivelar la mezcla en la superficie, eliminando cualquier irregularidad. Pasa el listón en movimientos suaves y firmes para obtener un acabado más profesional, eliminando las imperfecciones, creando una superficie lisa y proceder a dar los toques finales.
 |
 |
 |
|---|---|---|
 |
 |
 |
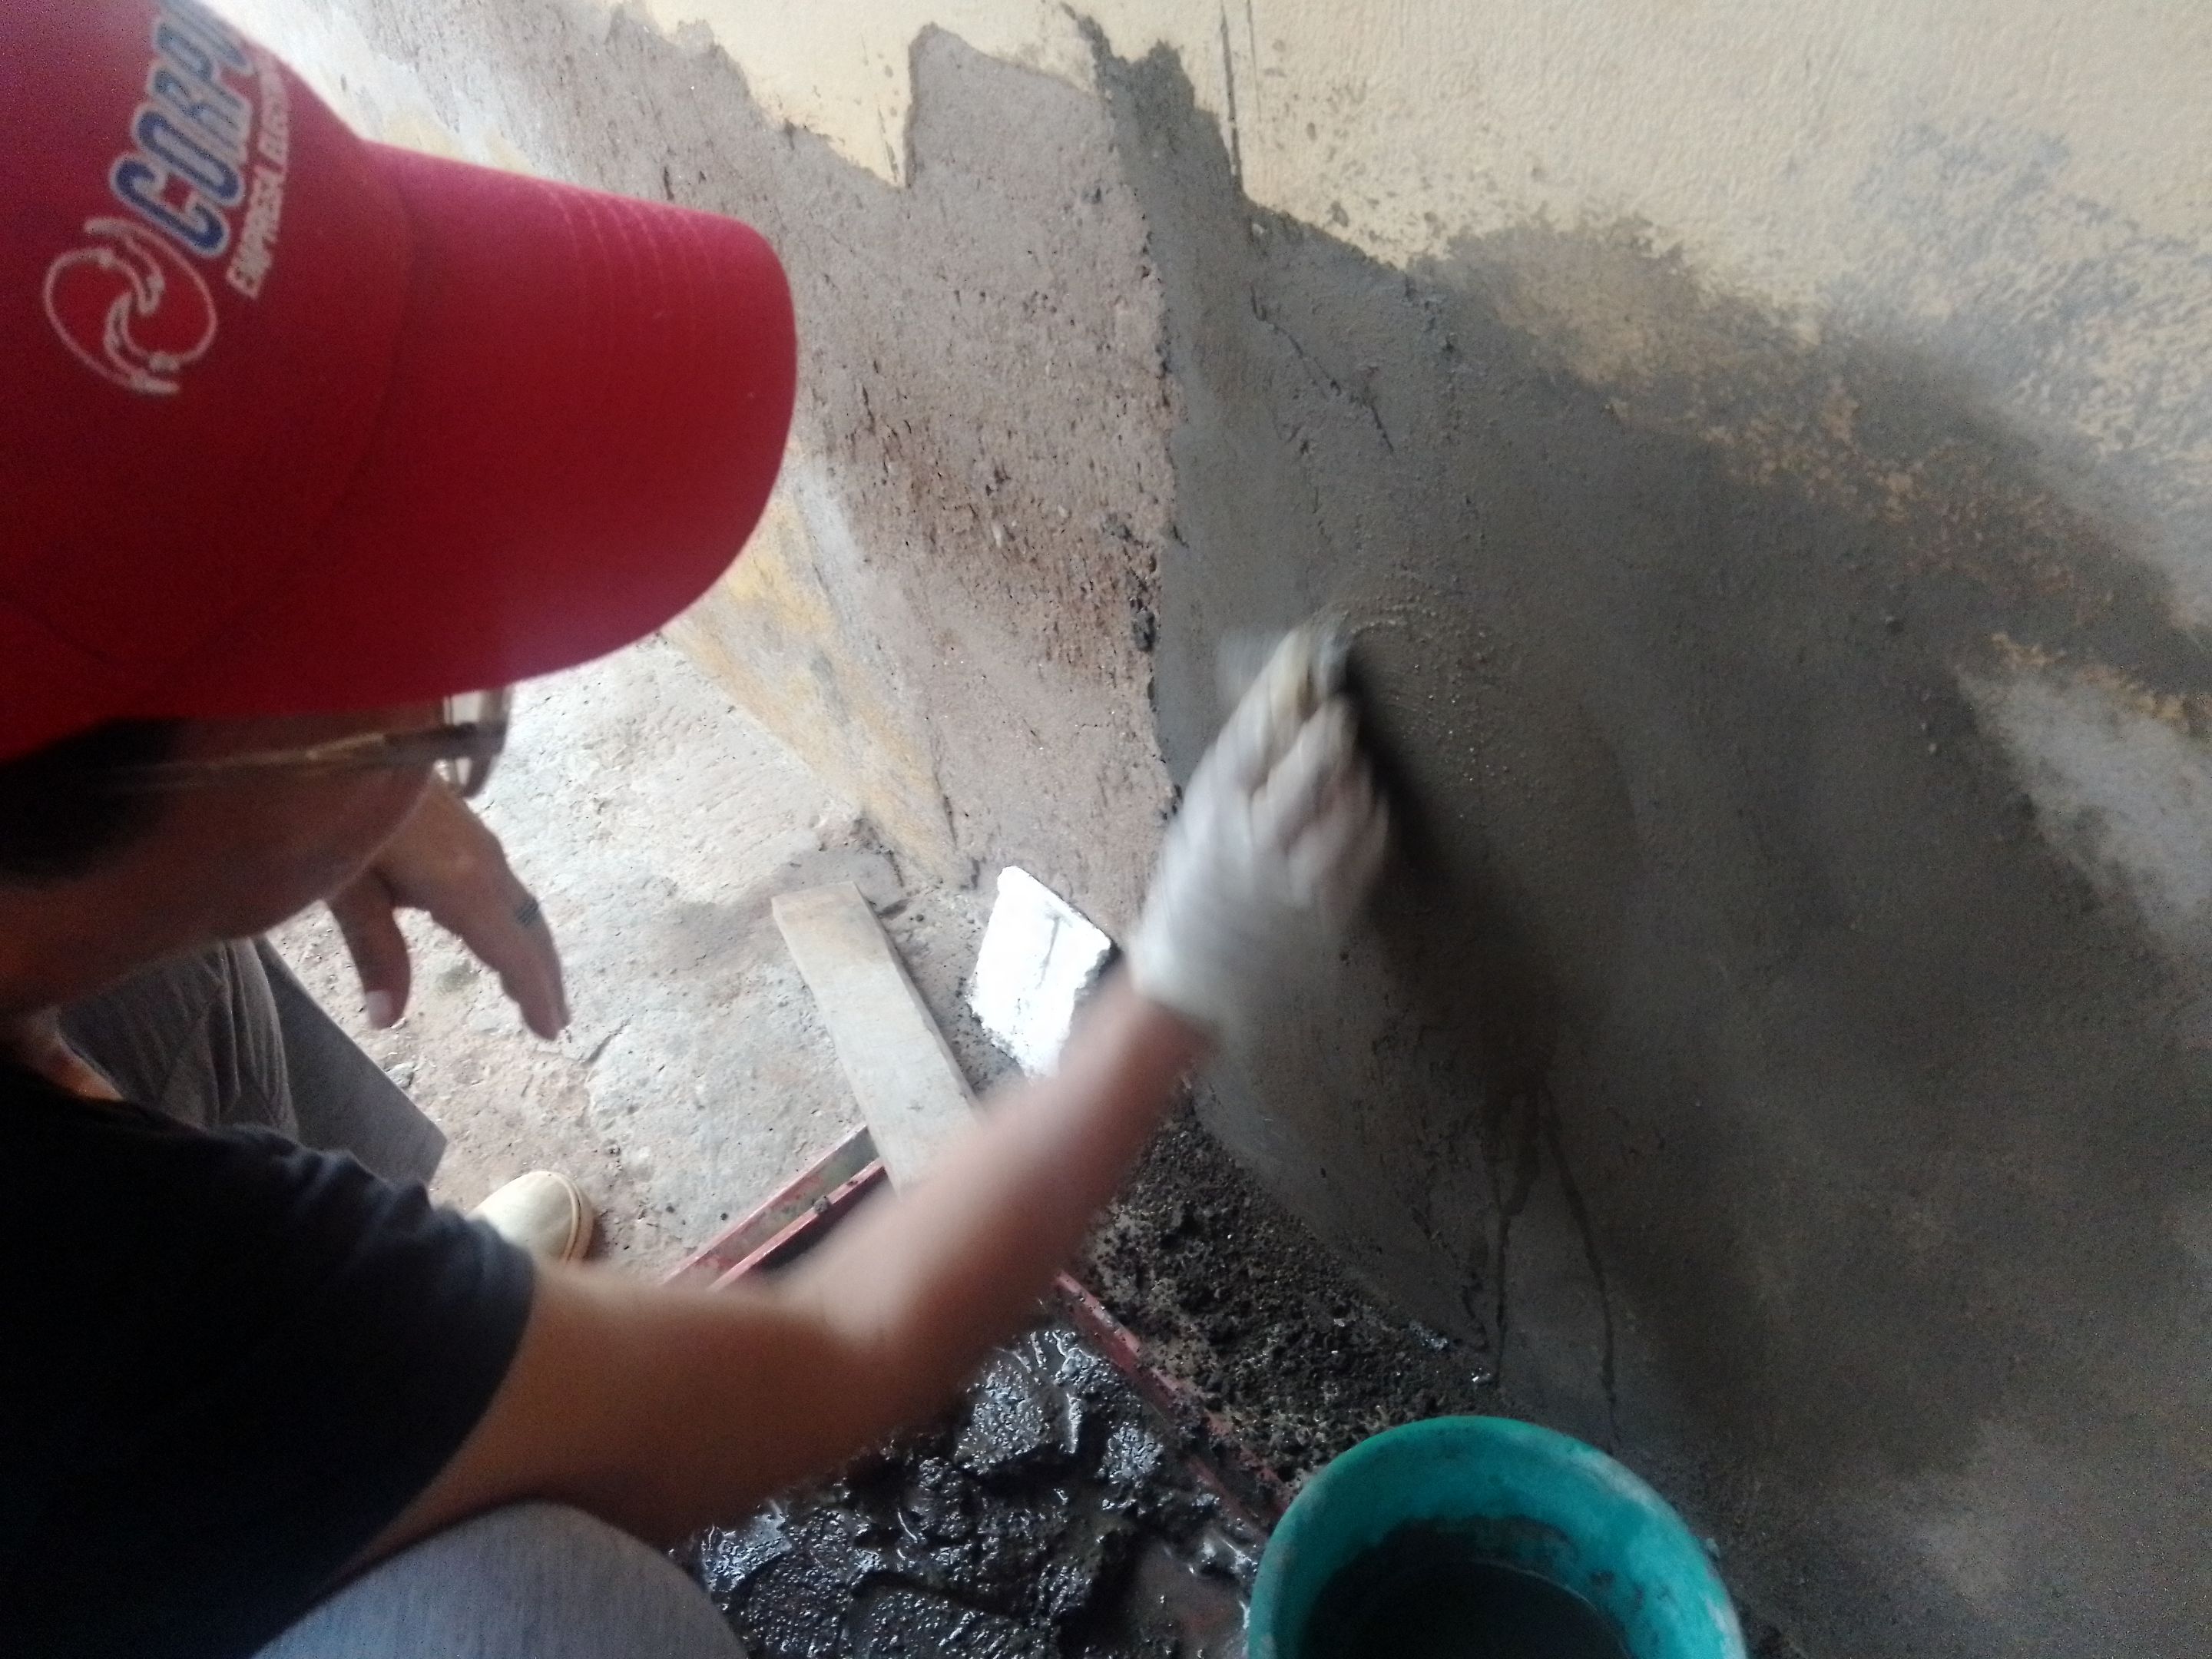
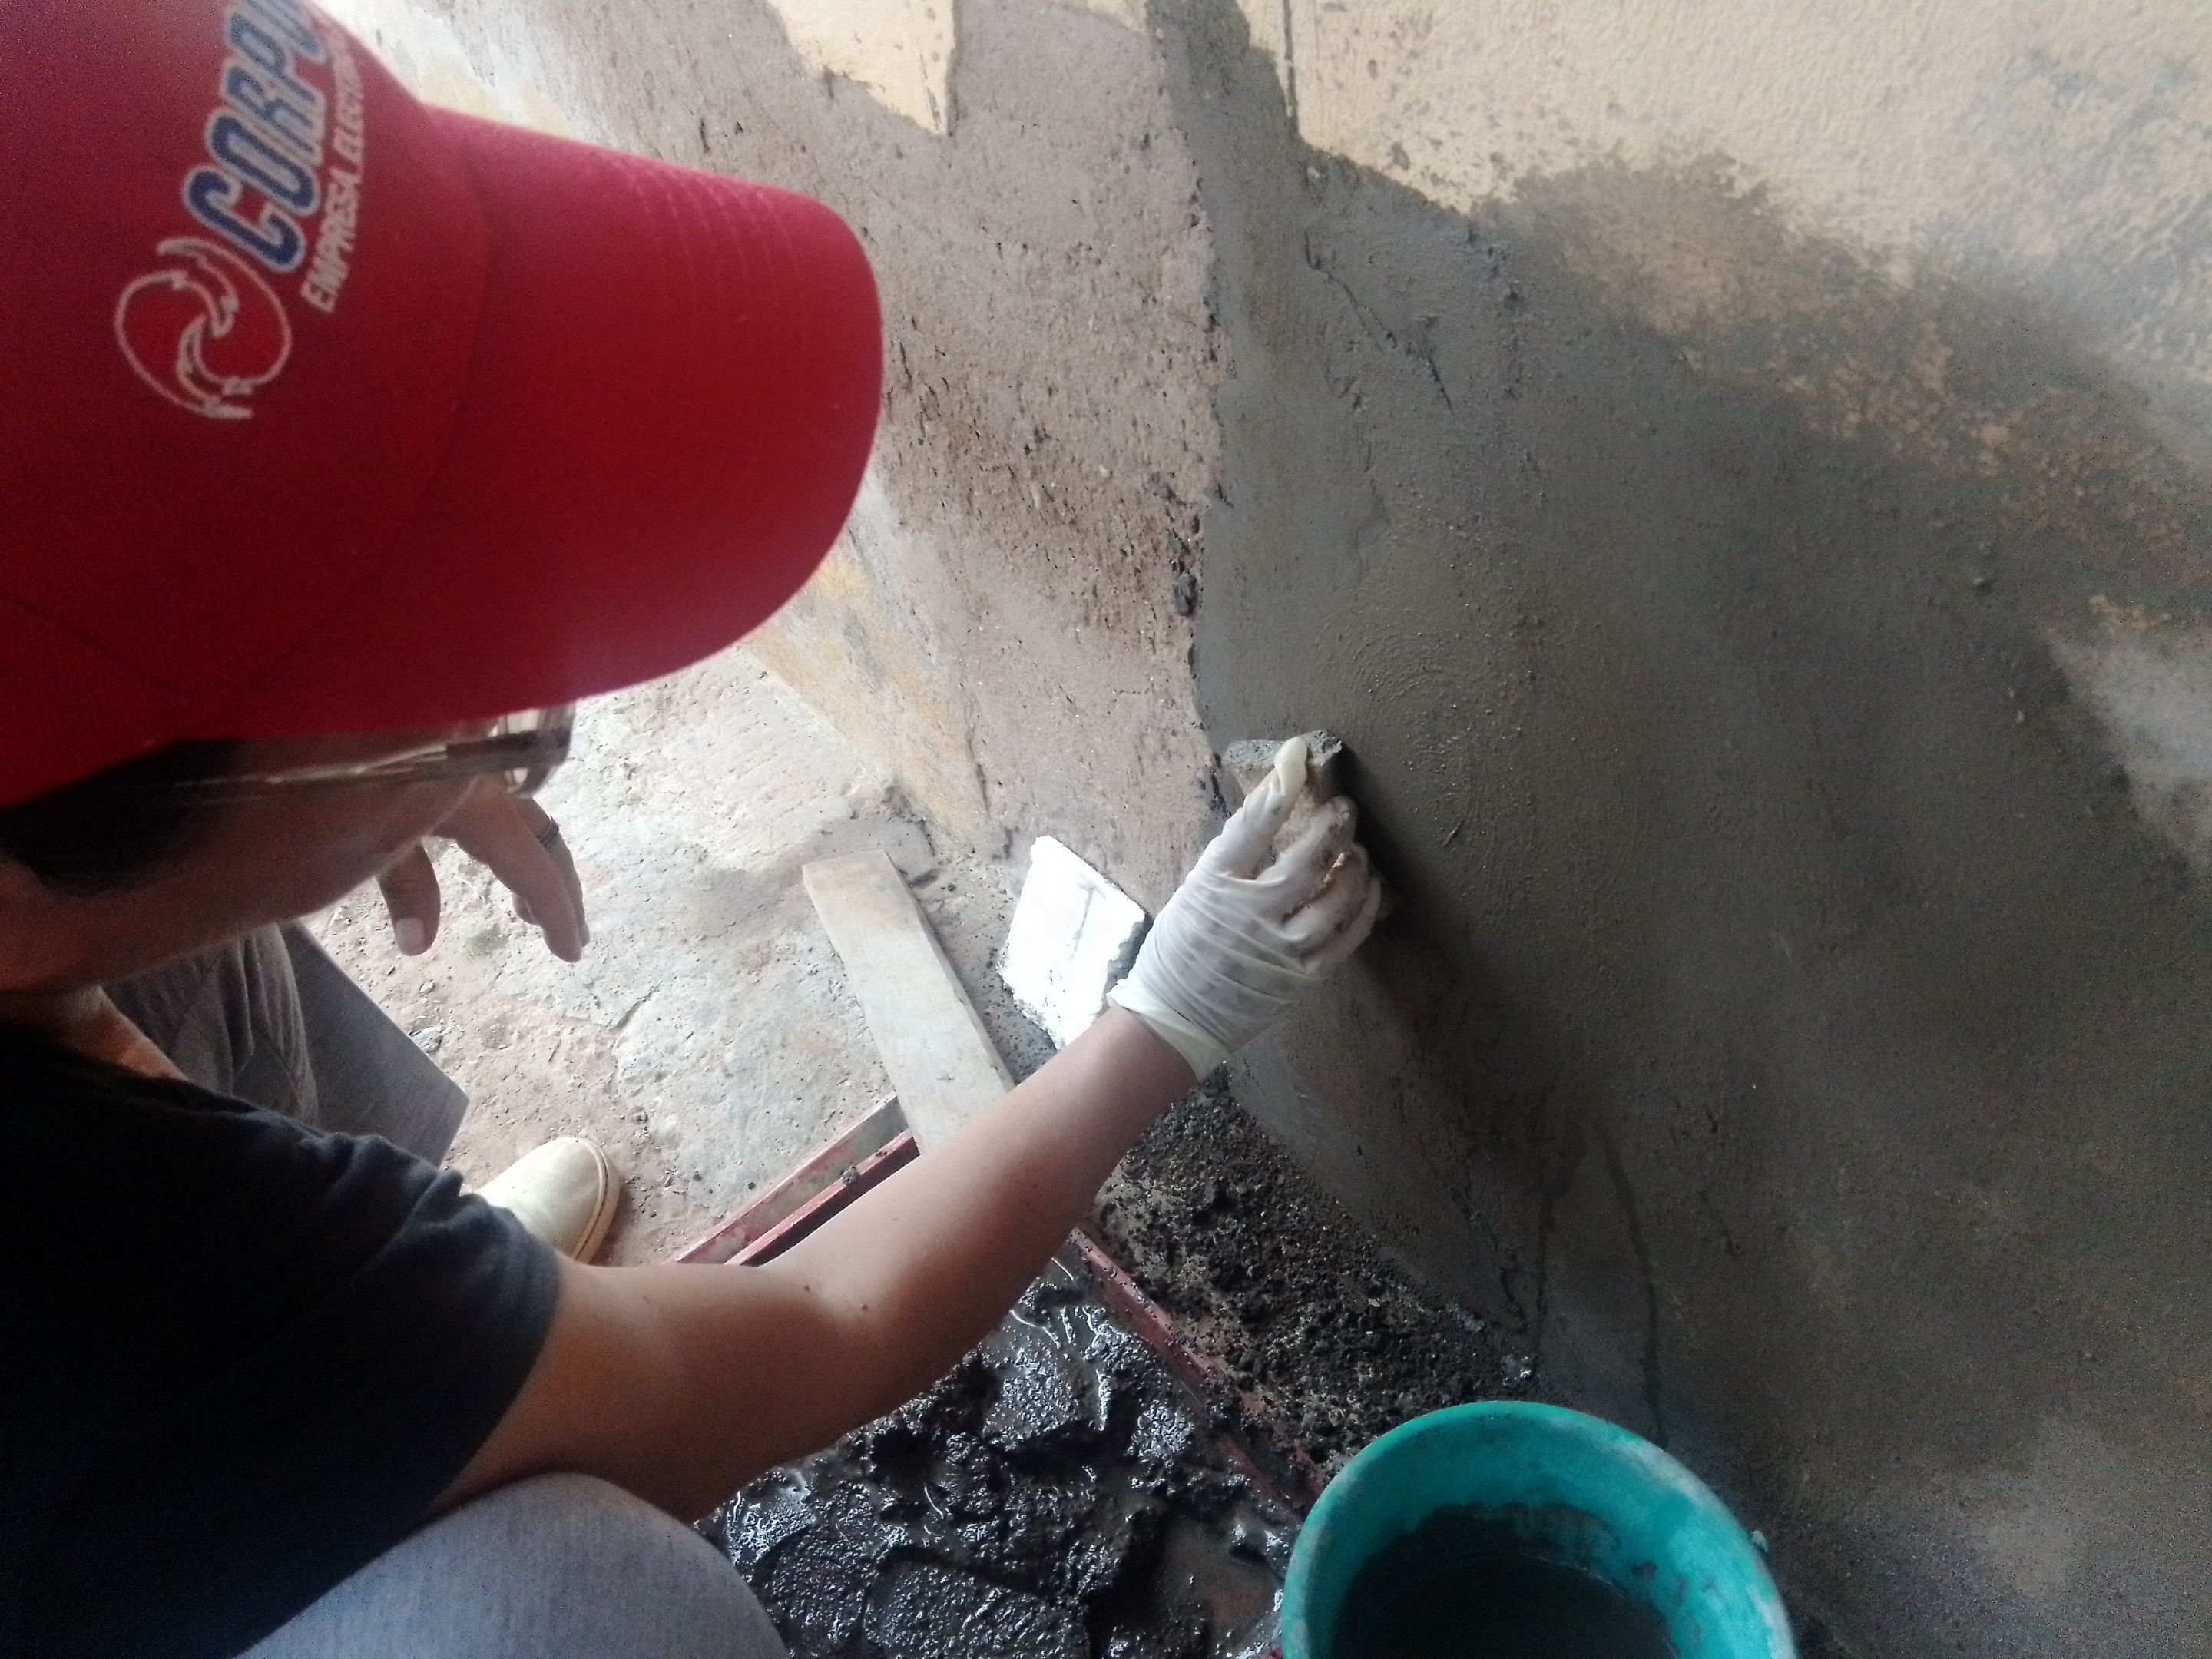
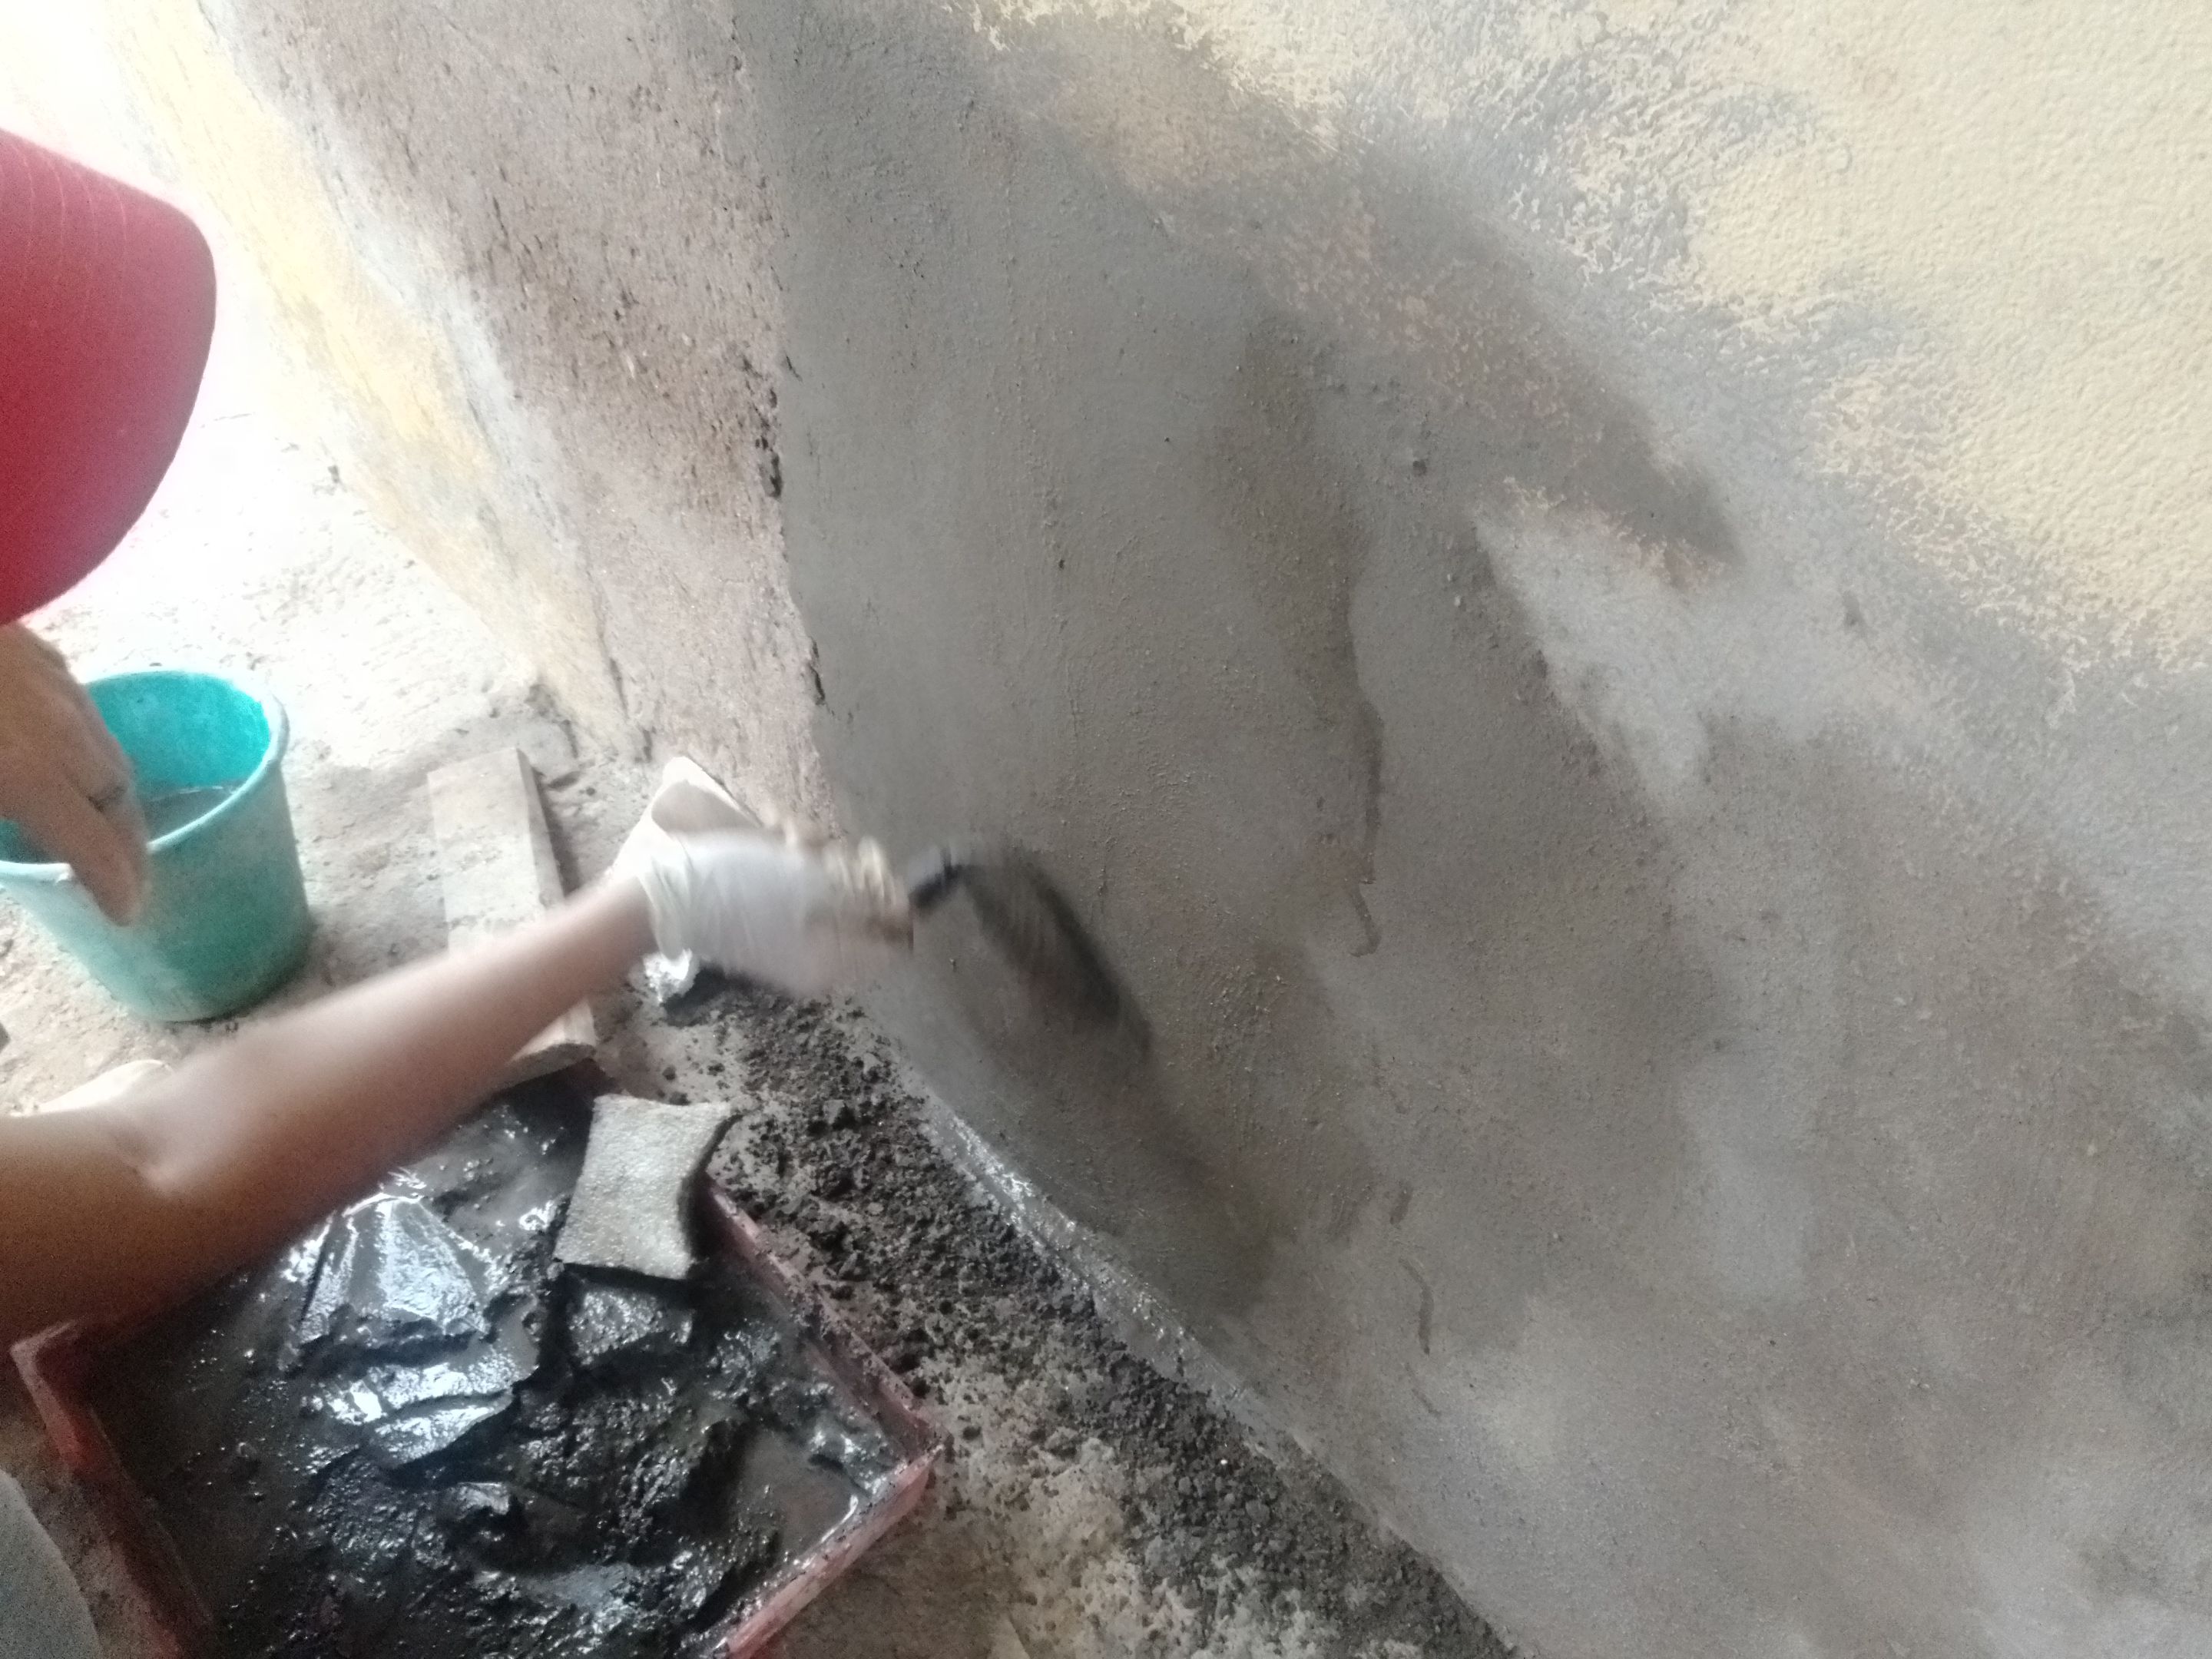
5- Final smoothing: Once you have leveled the surface, use a damp foam sponge to further smooth the frieze. Sponge in gentle circular motions for a smoother, more even finish. And if you consider it necessary, you can smooth a little more with the masonry trowel.
5- Alisado final: Una vez que hayas nivelado la superficie, utiliza una esponja de espuma húmeda para alisar aún más el friso. Pasa la esponja en movimientos circulares suaves para obtener un acabado más suave y uniforme. Y si lo considerás necesario, puedes alisar un poco más con la cuchara de albañilería.
6- Final finishing: Let the frieze dry completely before proceeding with any other steps. Once dry, you can paint or decorate according to your preferences to give the final touch to your frieze wall. Later, when I have the paint, I will show you the process to paint it and see how it looks like.
6- Acabado final: Deja que el friso se seque completamente antes de proceder con cualquier otro paso. Una vez seco, puedes pintar o decorar según tus preferencias para darle el toque final a tu pared frisada. Más adelante, cuando tenga la pintura, te mostraré el proceso para pintarla y veas como me queda.
And that's it! By following these steps, you will be able to effectively frieze a wall and get a professional result. Frising a wall by yourself will allow you to save money and learn new DIY skills. Give it a try and enjoy the results of your work!
¡Y eso es todo! Siguiendo estos pasos, podrás frisar una pared de manera efectiva y obtener un resultado profesional. Frisar una pared por ti mismo te permitirá ahorrar dinero y aprender nuevas habilidades de bricolaje. ¡Anímate a probarlo y disfruta de los resultados de tu trabajo!
| IMG_20231115_171255.jpg (https://files.peakd.com/file/peakd-hive/lyamalfonzo23/EpJYcNmrc4B5g5whCcHap8VUdjTVhzUiw693FuFhESYdmJqLvu6G5jp3dJpjHaRyVG1.jpg) | IMG_20231115_171343.jpg (https://files.peakd.com/file/peakd-hive/lyamalfonzo23/EpLg4NkGAnosgS9uxHVC2c7GmK1upy7dCh3CkNKKDXaSFMQFz8wPDK2g7YXXGNf9jfm.jpg) | IMG_20231115_171340.jpg (https://files.peakd.com/file/peakd-hive/lyamalfonzo23/EpLfvK6x3MPTZ2JsALexA7f5heYs3pk3ACta3GZxfmSTBFqASKkum4oWRU1K6VmooAp.jpg) |
|---|---|---|
| IMG_20231115_171353.jpg (https://files.peakd.com/file/peakd-hive/lyamalfonzo23/EpvjtGWp3yorK8N5srPymjymi9S7YDx2w5C9zq9BGkUTD4uJ9wVRoJzkYvxZru5KpzC.jpg) | IMG_20231115_171503.jpg (https://files.peakd.com/file/peakd-hive/lyamalfonzo23/EpLgTt11jMHpiQZDsPqSV6oQA2memPRLQAwjBD9j5q5dm2Y7dbRmjKRdZZw7jY9N32y.jpg) | IMG_20231115_171449.jpg (https://files.peakd.com/file/peakd-hive/lyamalfonzo23/EpLgTt5a5FeiMLzcVBr9JdTUFKEGwWYVzn22kyLwKaoqmjYQJ8qPTj9m13nGjfGKMTp.jpg) |
VID-20240105-WA0045.gif (https://files.peakd.com/file/peakd-hive/lyamalfonzo23/23yJLyNoDqZ2DB8jU2ucnFESQhGu2DS9NGyCkqRZk56v3cjPiLKj425viVvYNcCXRc5HH.gif)
IMG_20231115_174104.jpg (https://files.peakd.com/file/peakd-hive/lyamalfonzo23/EpJY4M4Ka4VtjT8MLQBm9e5euuFf8rKjQC7Kroyf3mKpz7nxJSpR1Gq527PDfebmq12.jpg)
Remember to always work with caution and use the right tools or as in my case use alternate resources to ensure a quality job. Good luck on your DIY project!
Recuerda siempre trabajar con precaución y utilizar las herramientas adecuadas o como en mi caso emplea recursos alternos para garantizar un trabajo de calidad. ¡Buena suerte en tu proyecto de bricolaje!
Wishing that everything flows in harmony in your life. See you in a future publication.
Namaste! 🙏
Deseando que todo fluya en armonía en tu vida. Nos encontramos en una próxima publicación.
¡Namasté!🙏
📷All photos are my authorship, taken with Alcatel1SE phone. Translated with DEEPL. Graphic compositions made through Canva.
📷Todas las fotos son de mi autoría, tomadas con el teléfono Alcatel1SE. Traducido con DEEPL. Composiciones gráficas realizadas a través de Canva.