Creating something with my hands always comes with a certain pride and satisfaction just by looking at the item you made. So this bag started as a simple Idea I had in my head and so I made it come to life . In this post I'll share how I made and painted the bag
Materials Needed
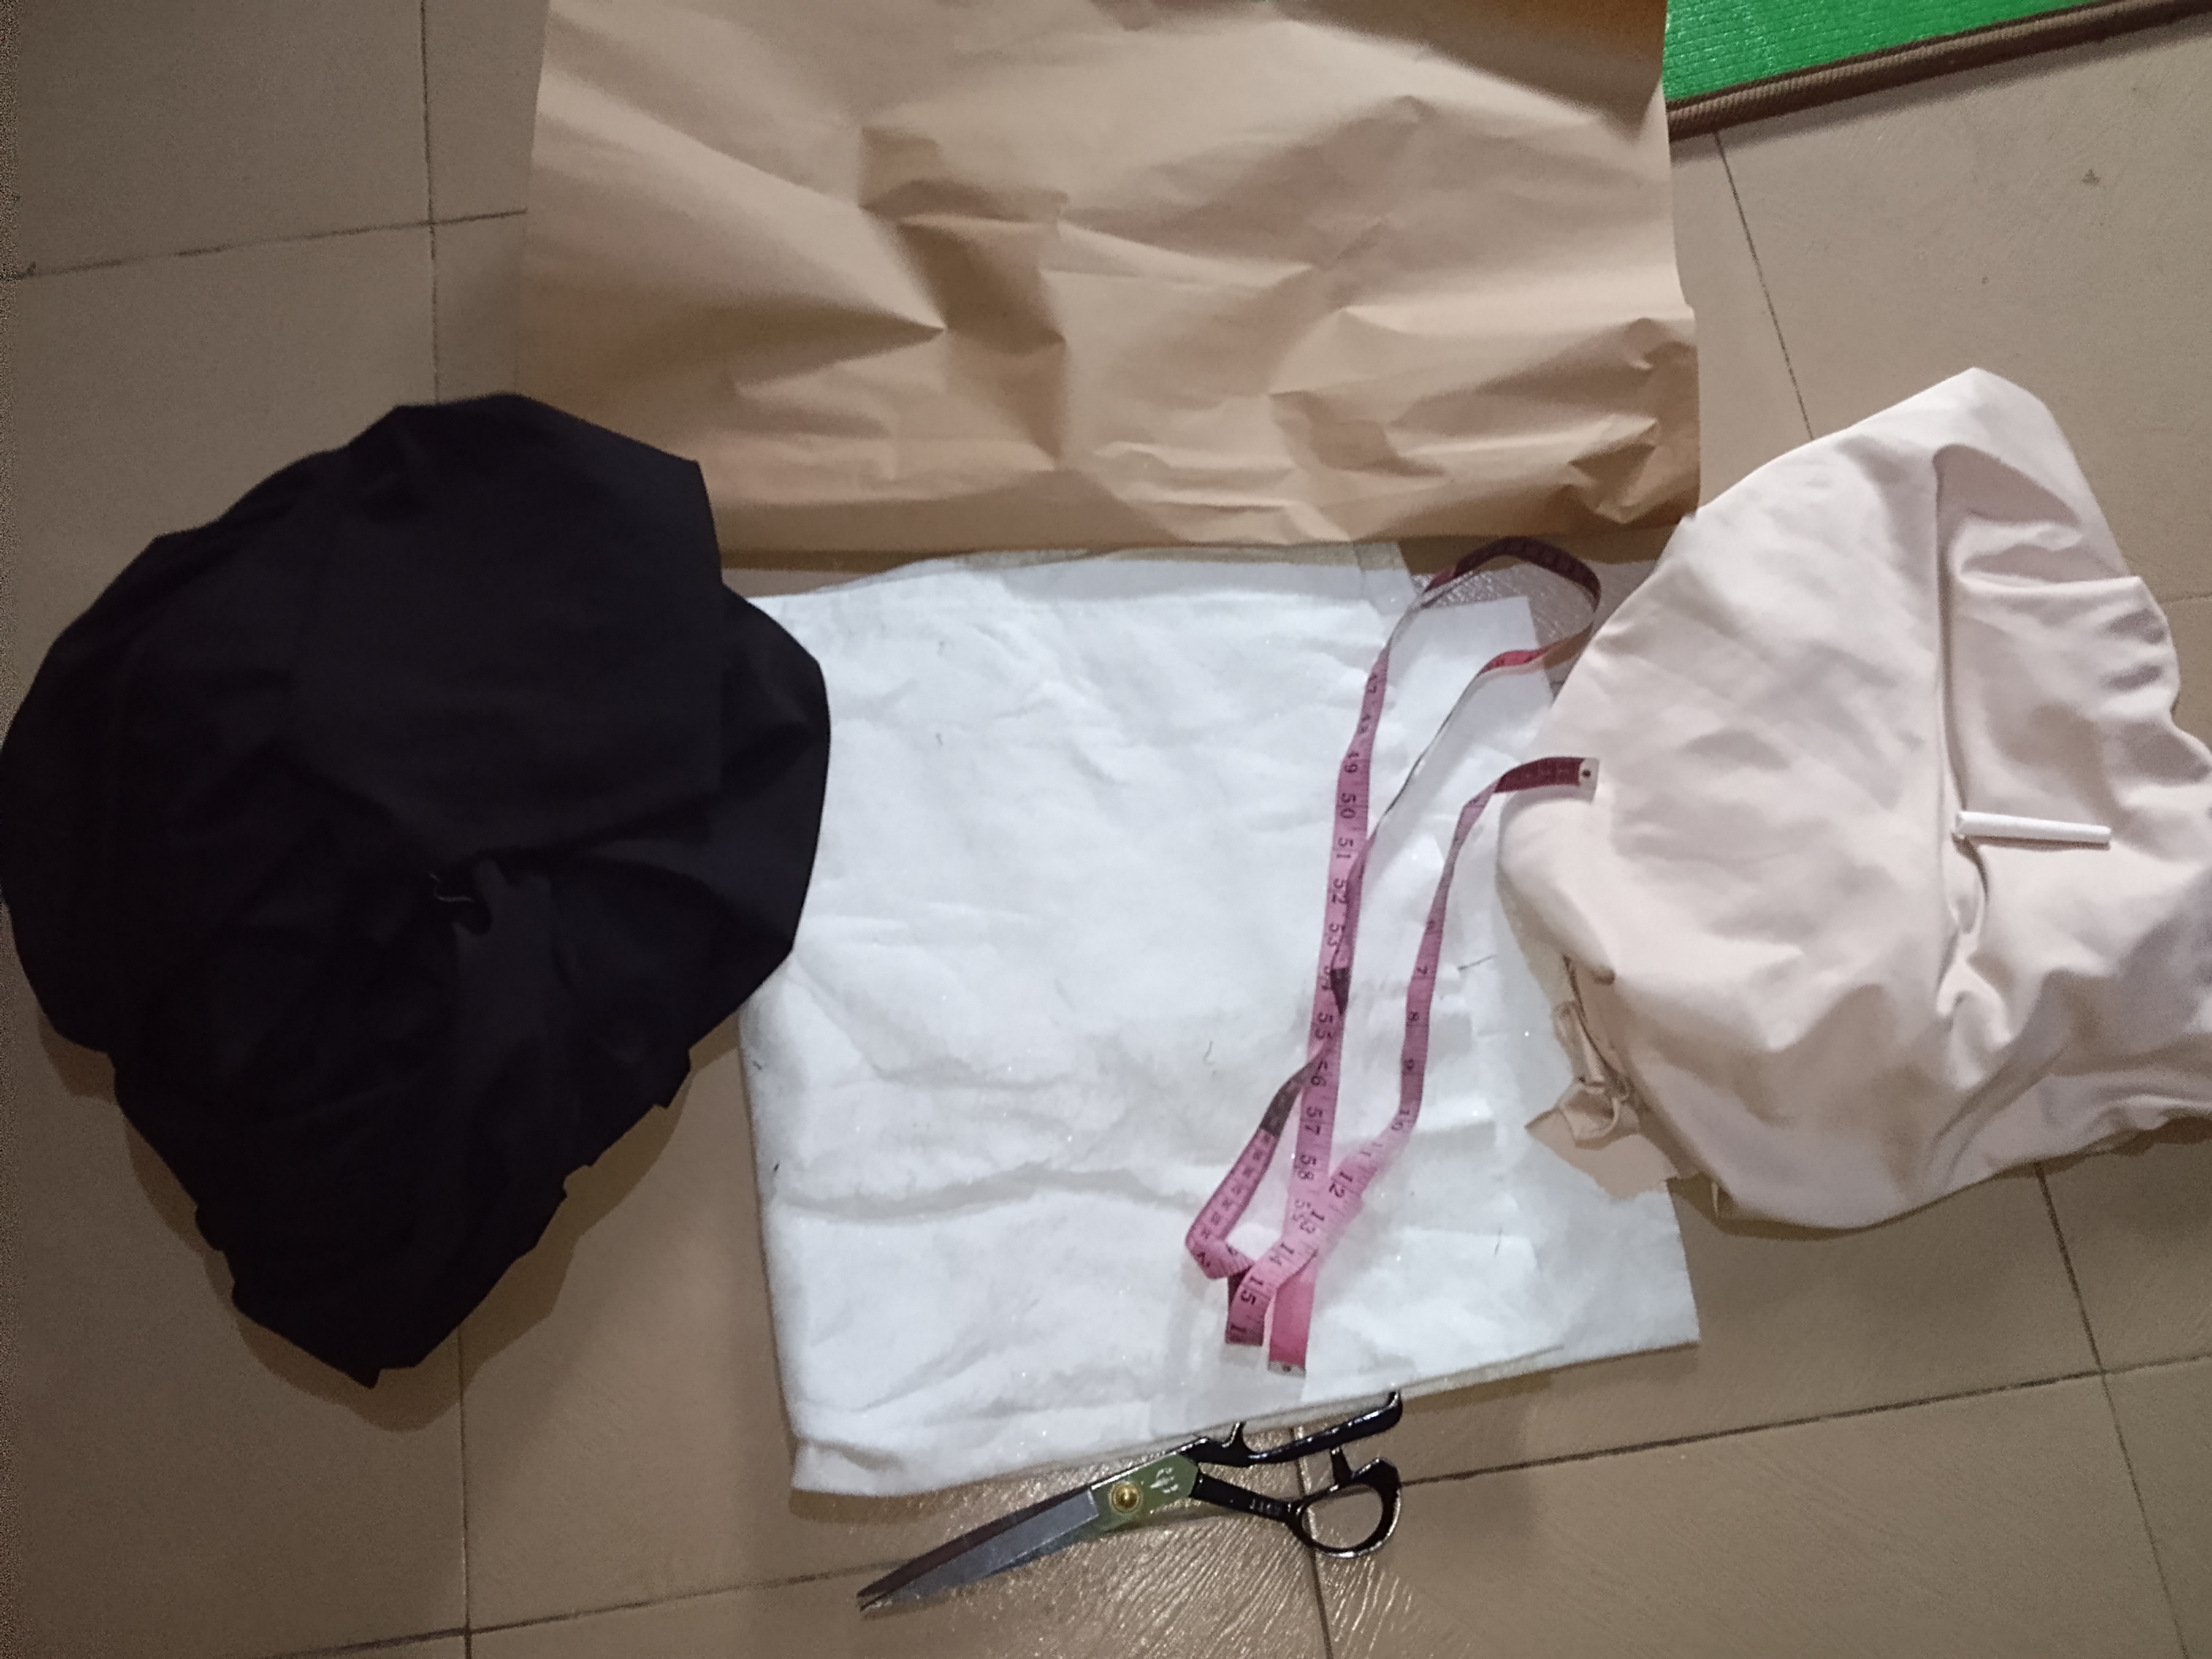
- Brown paper or craft paper
- Fabric
- Paper gum
- Scissors
- Sewing machine
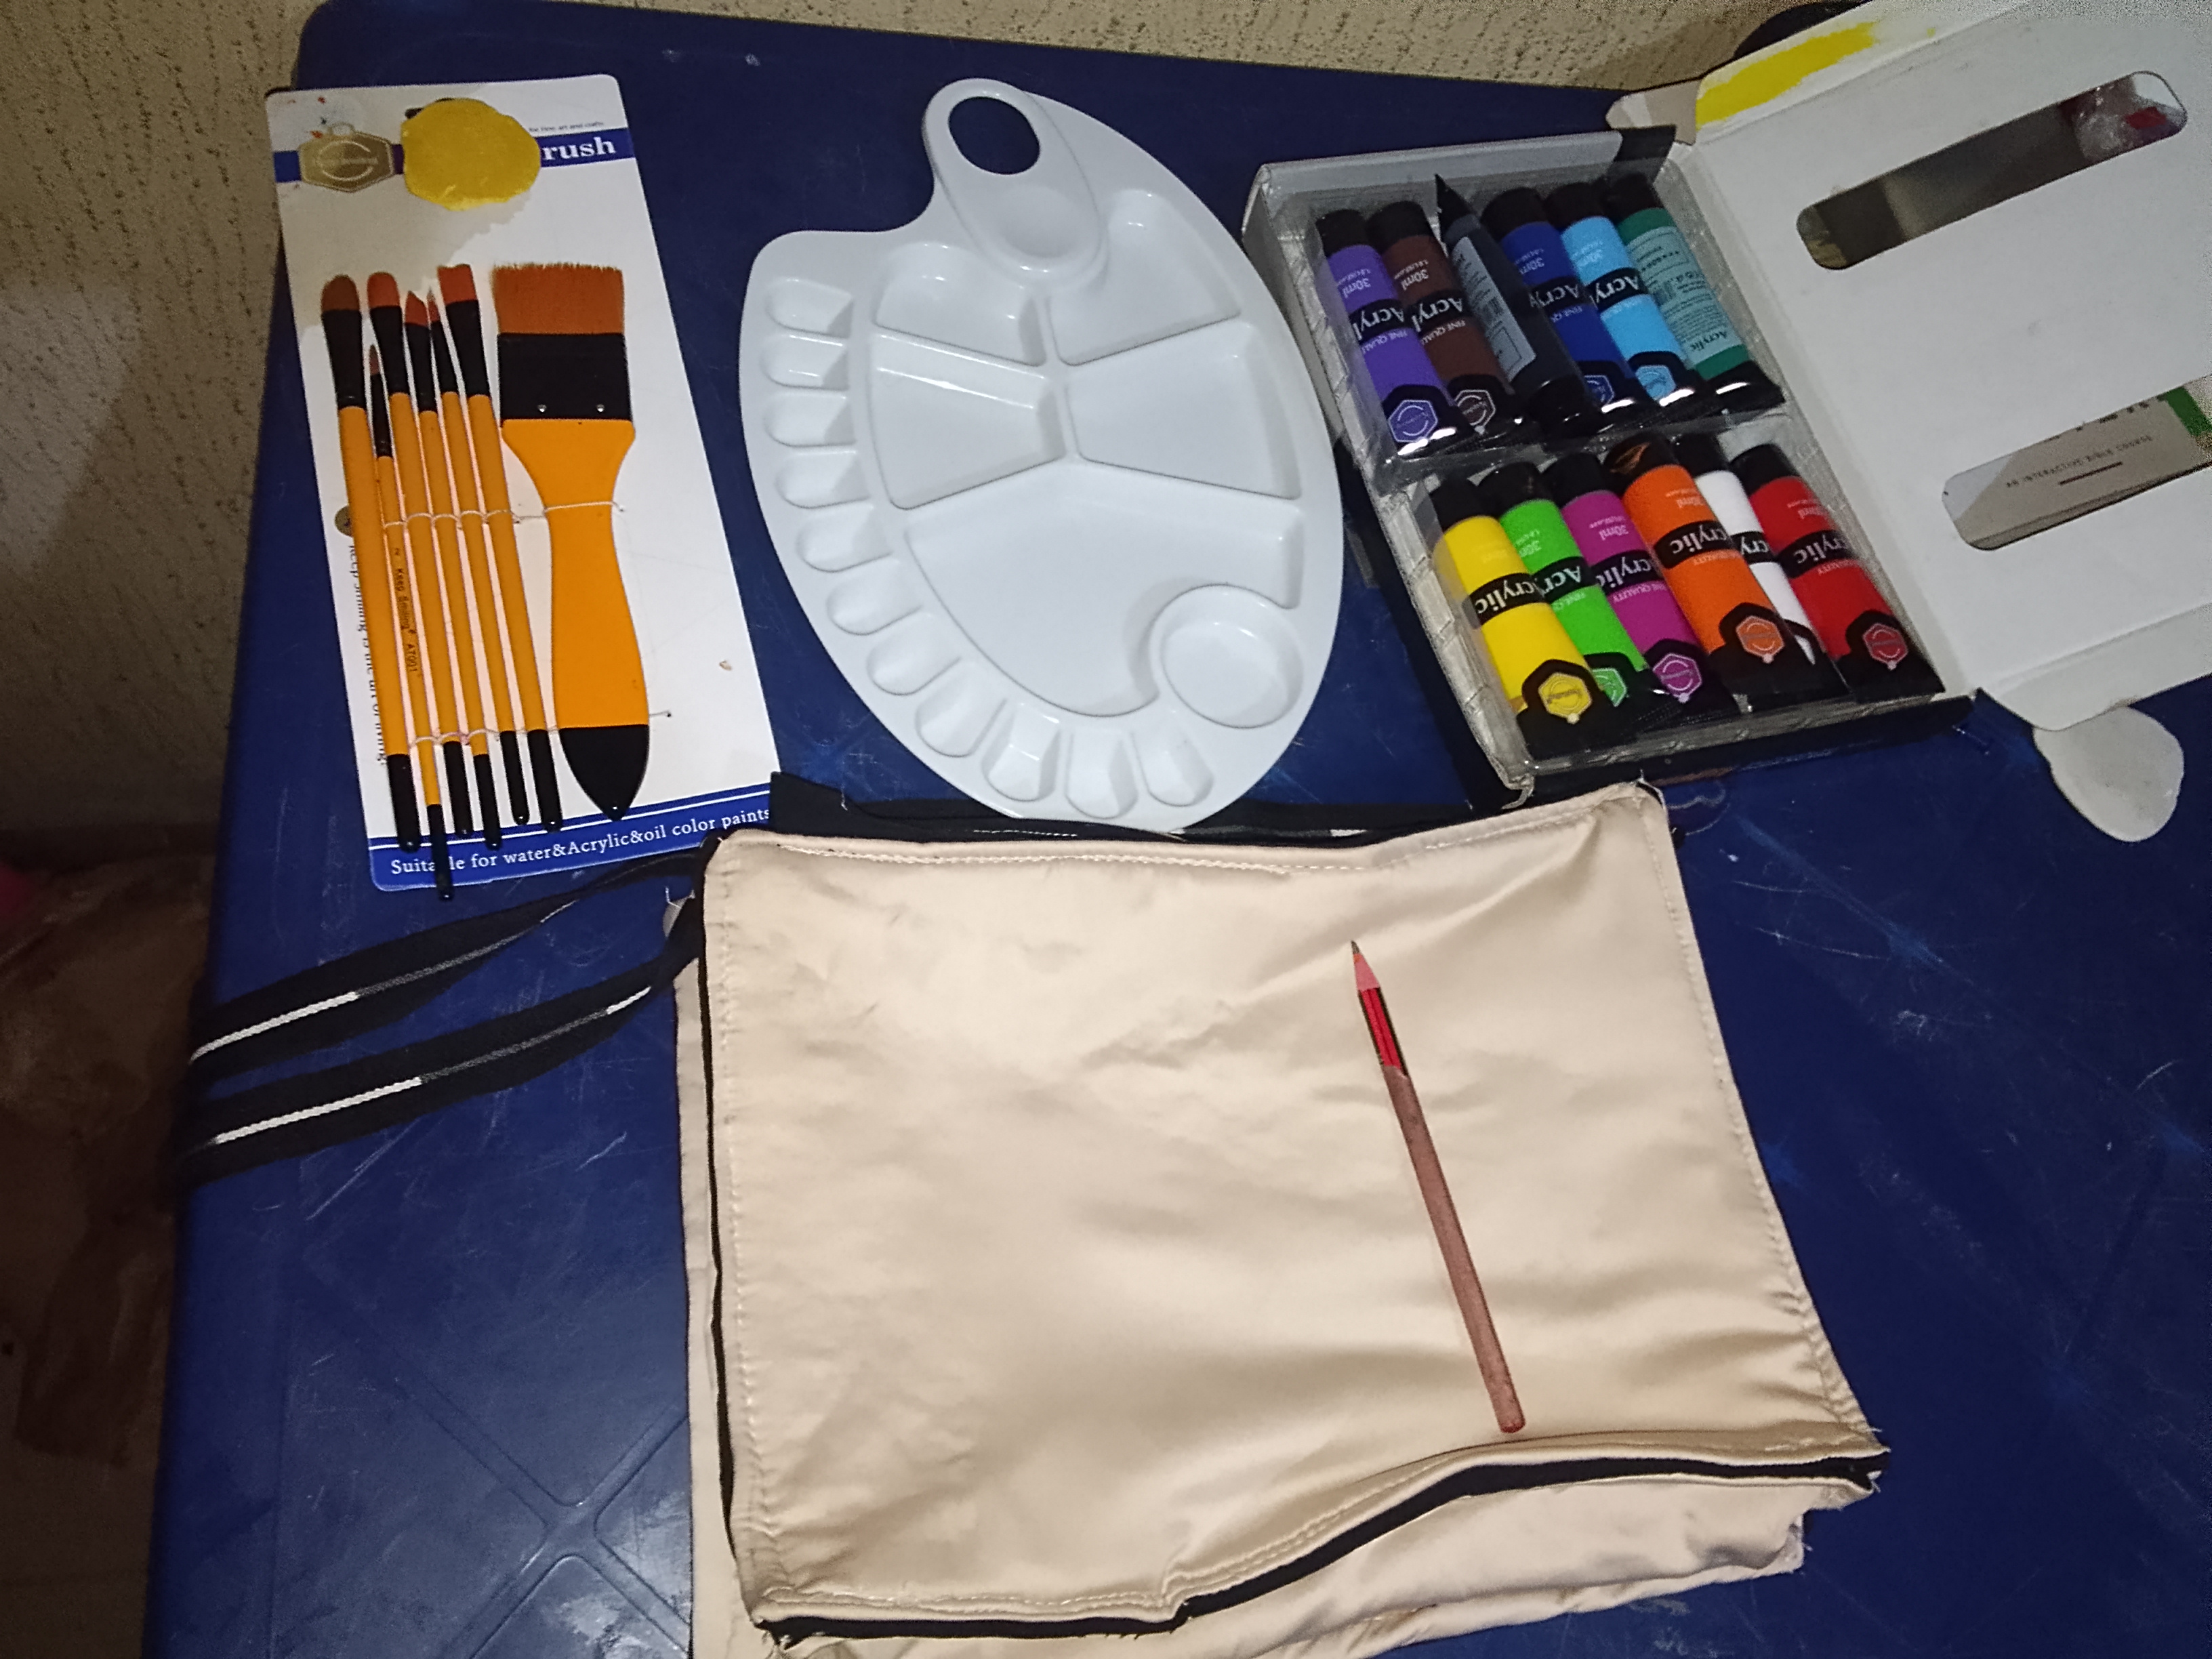
- Paint and brushes
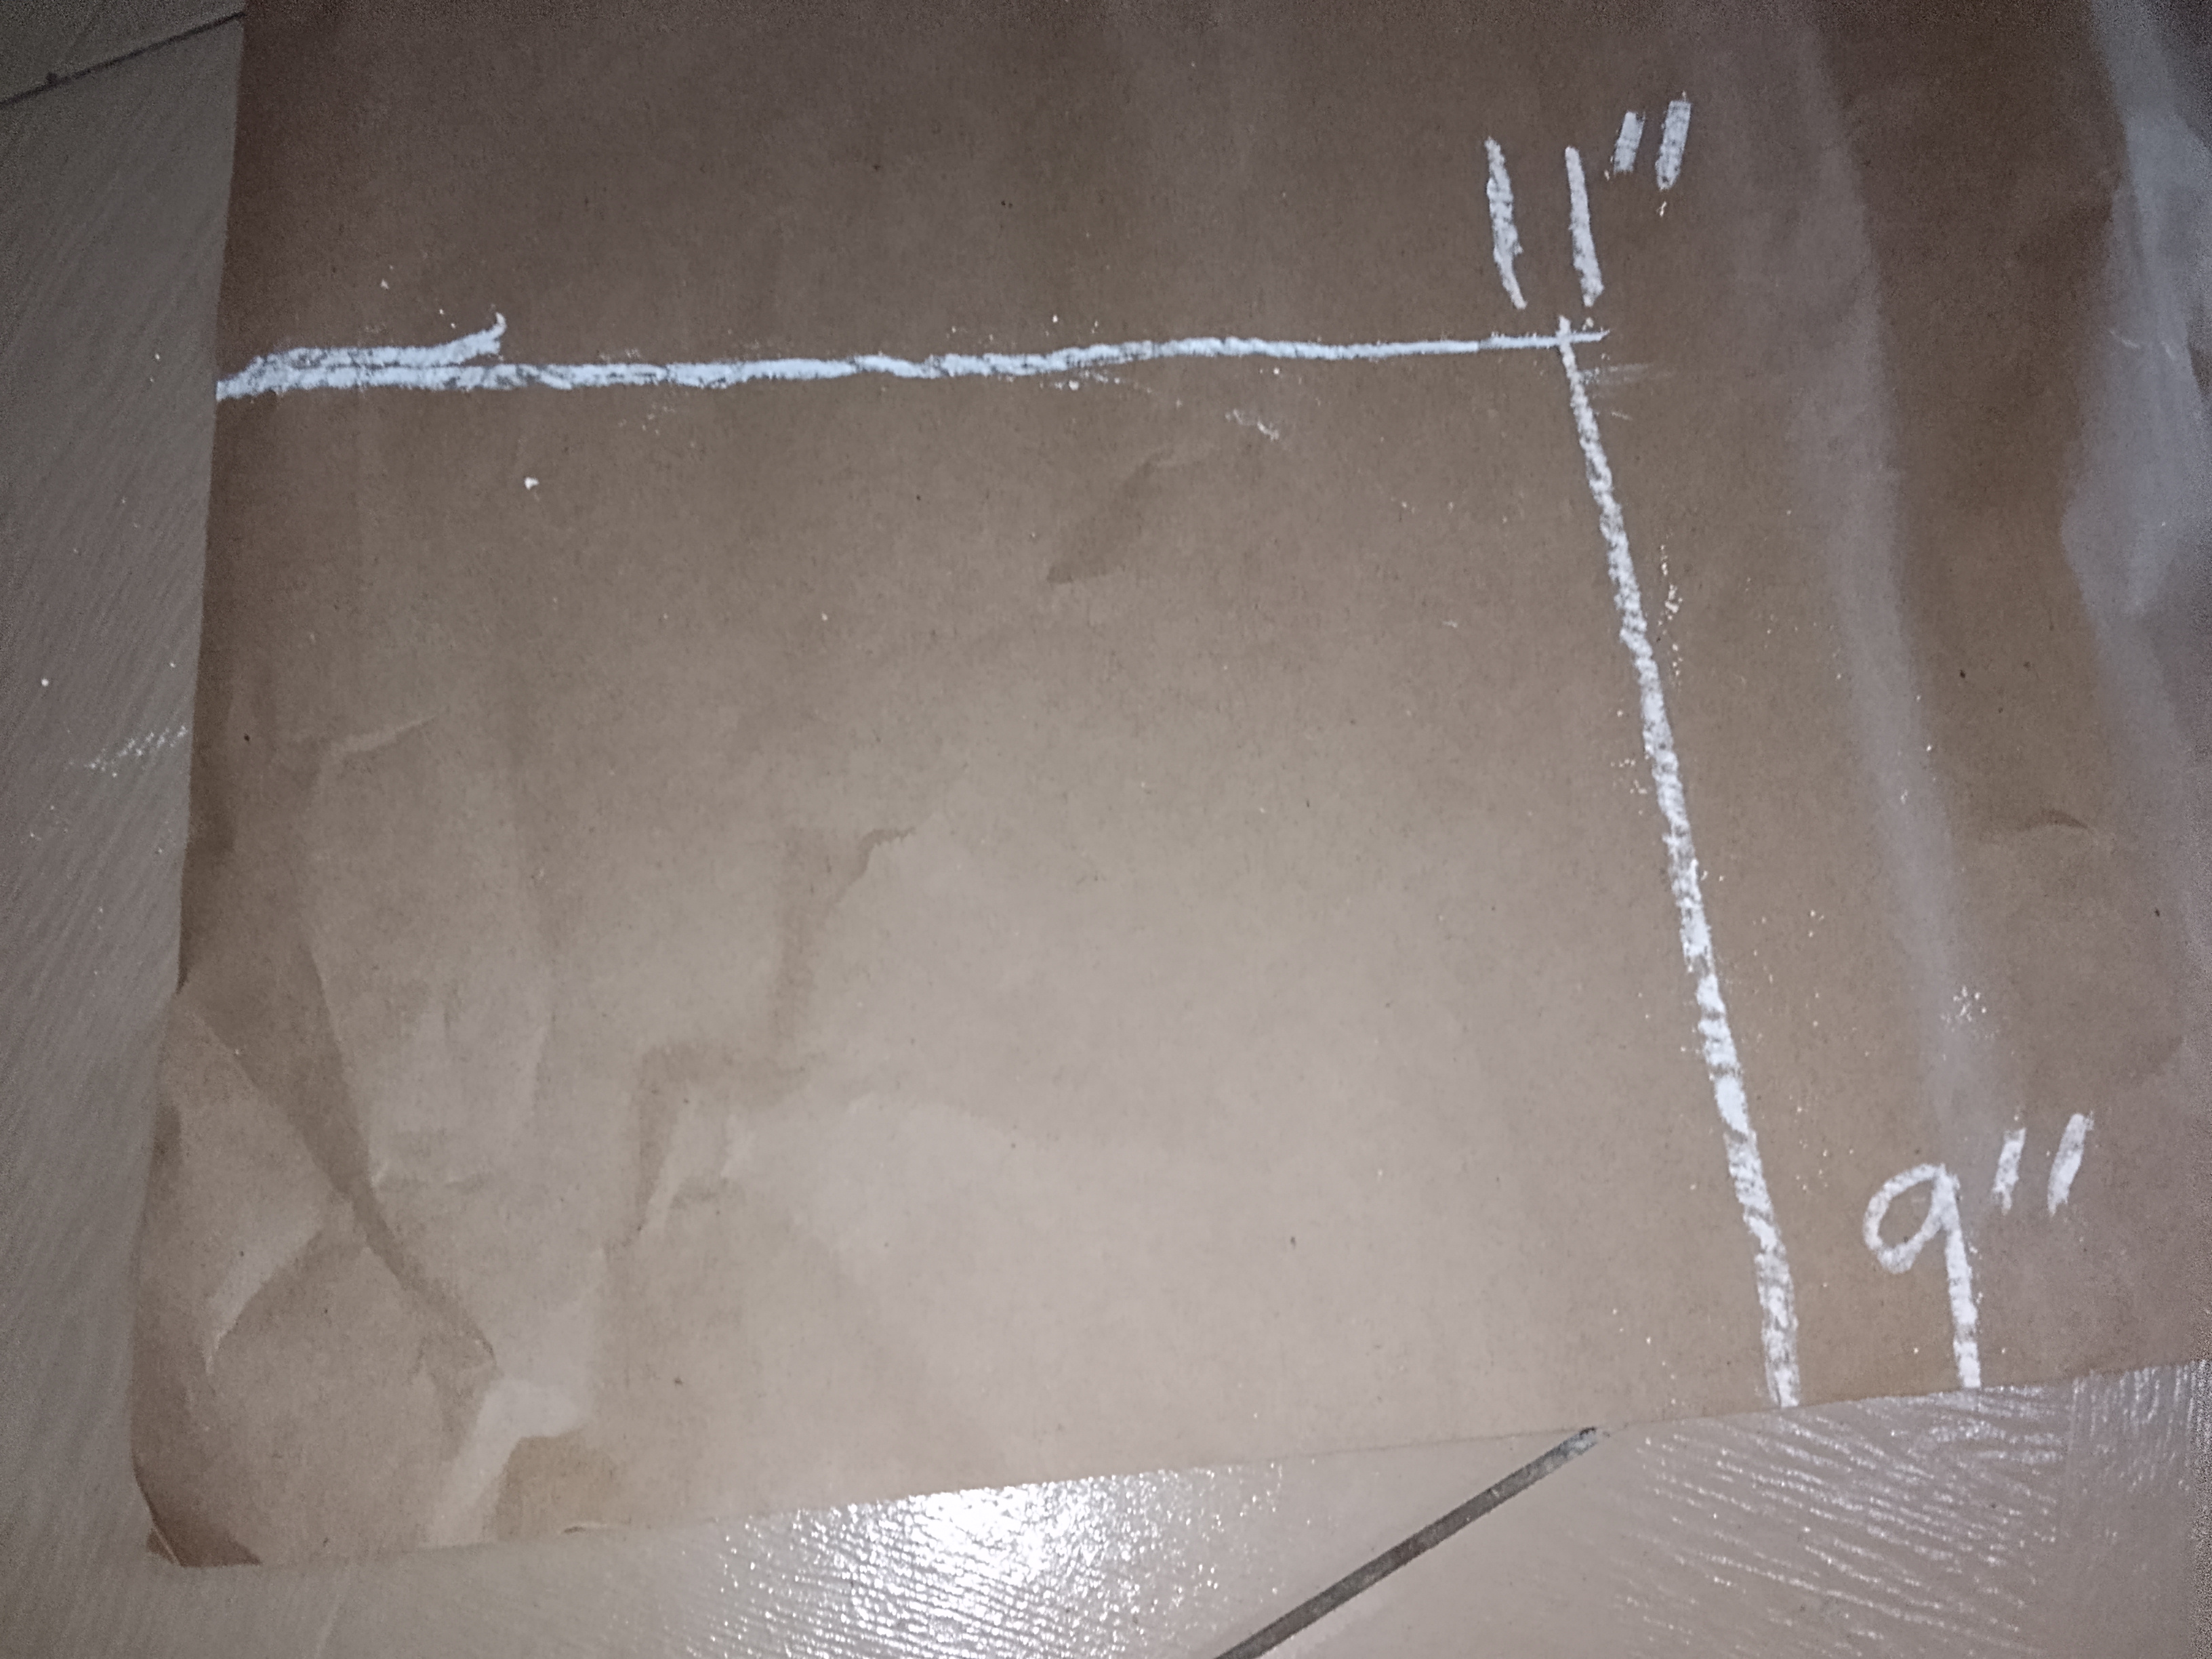
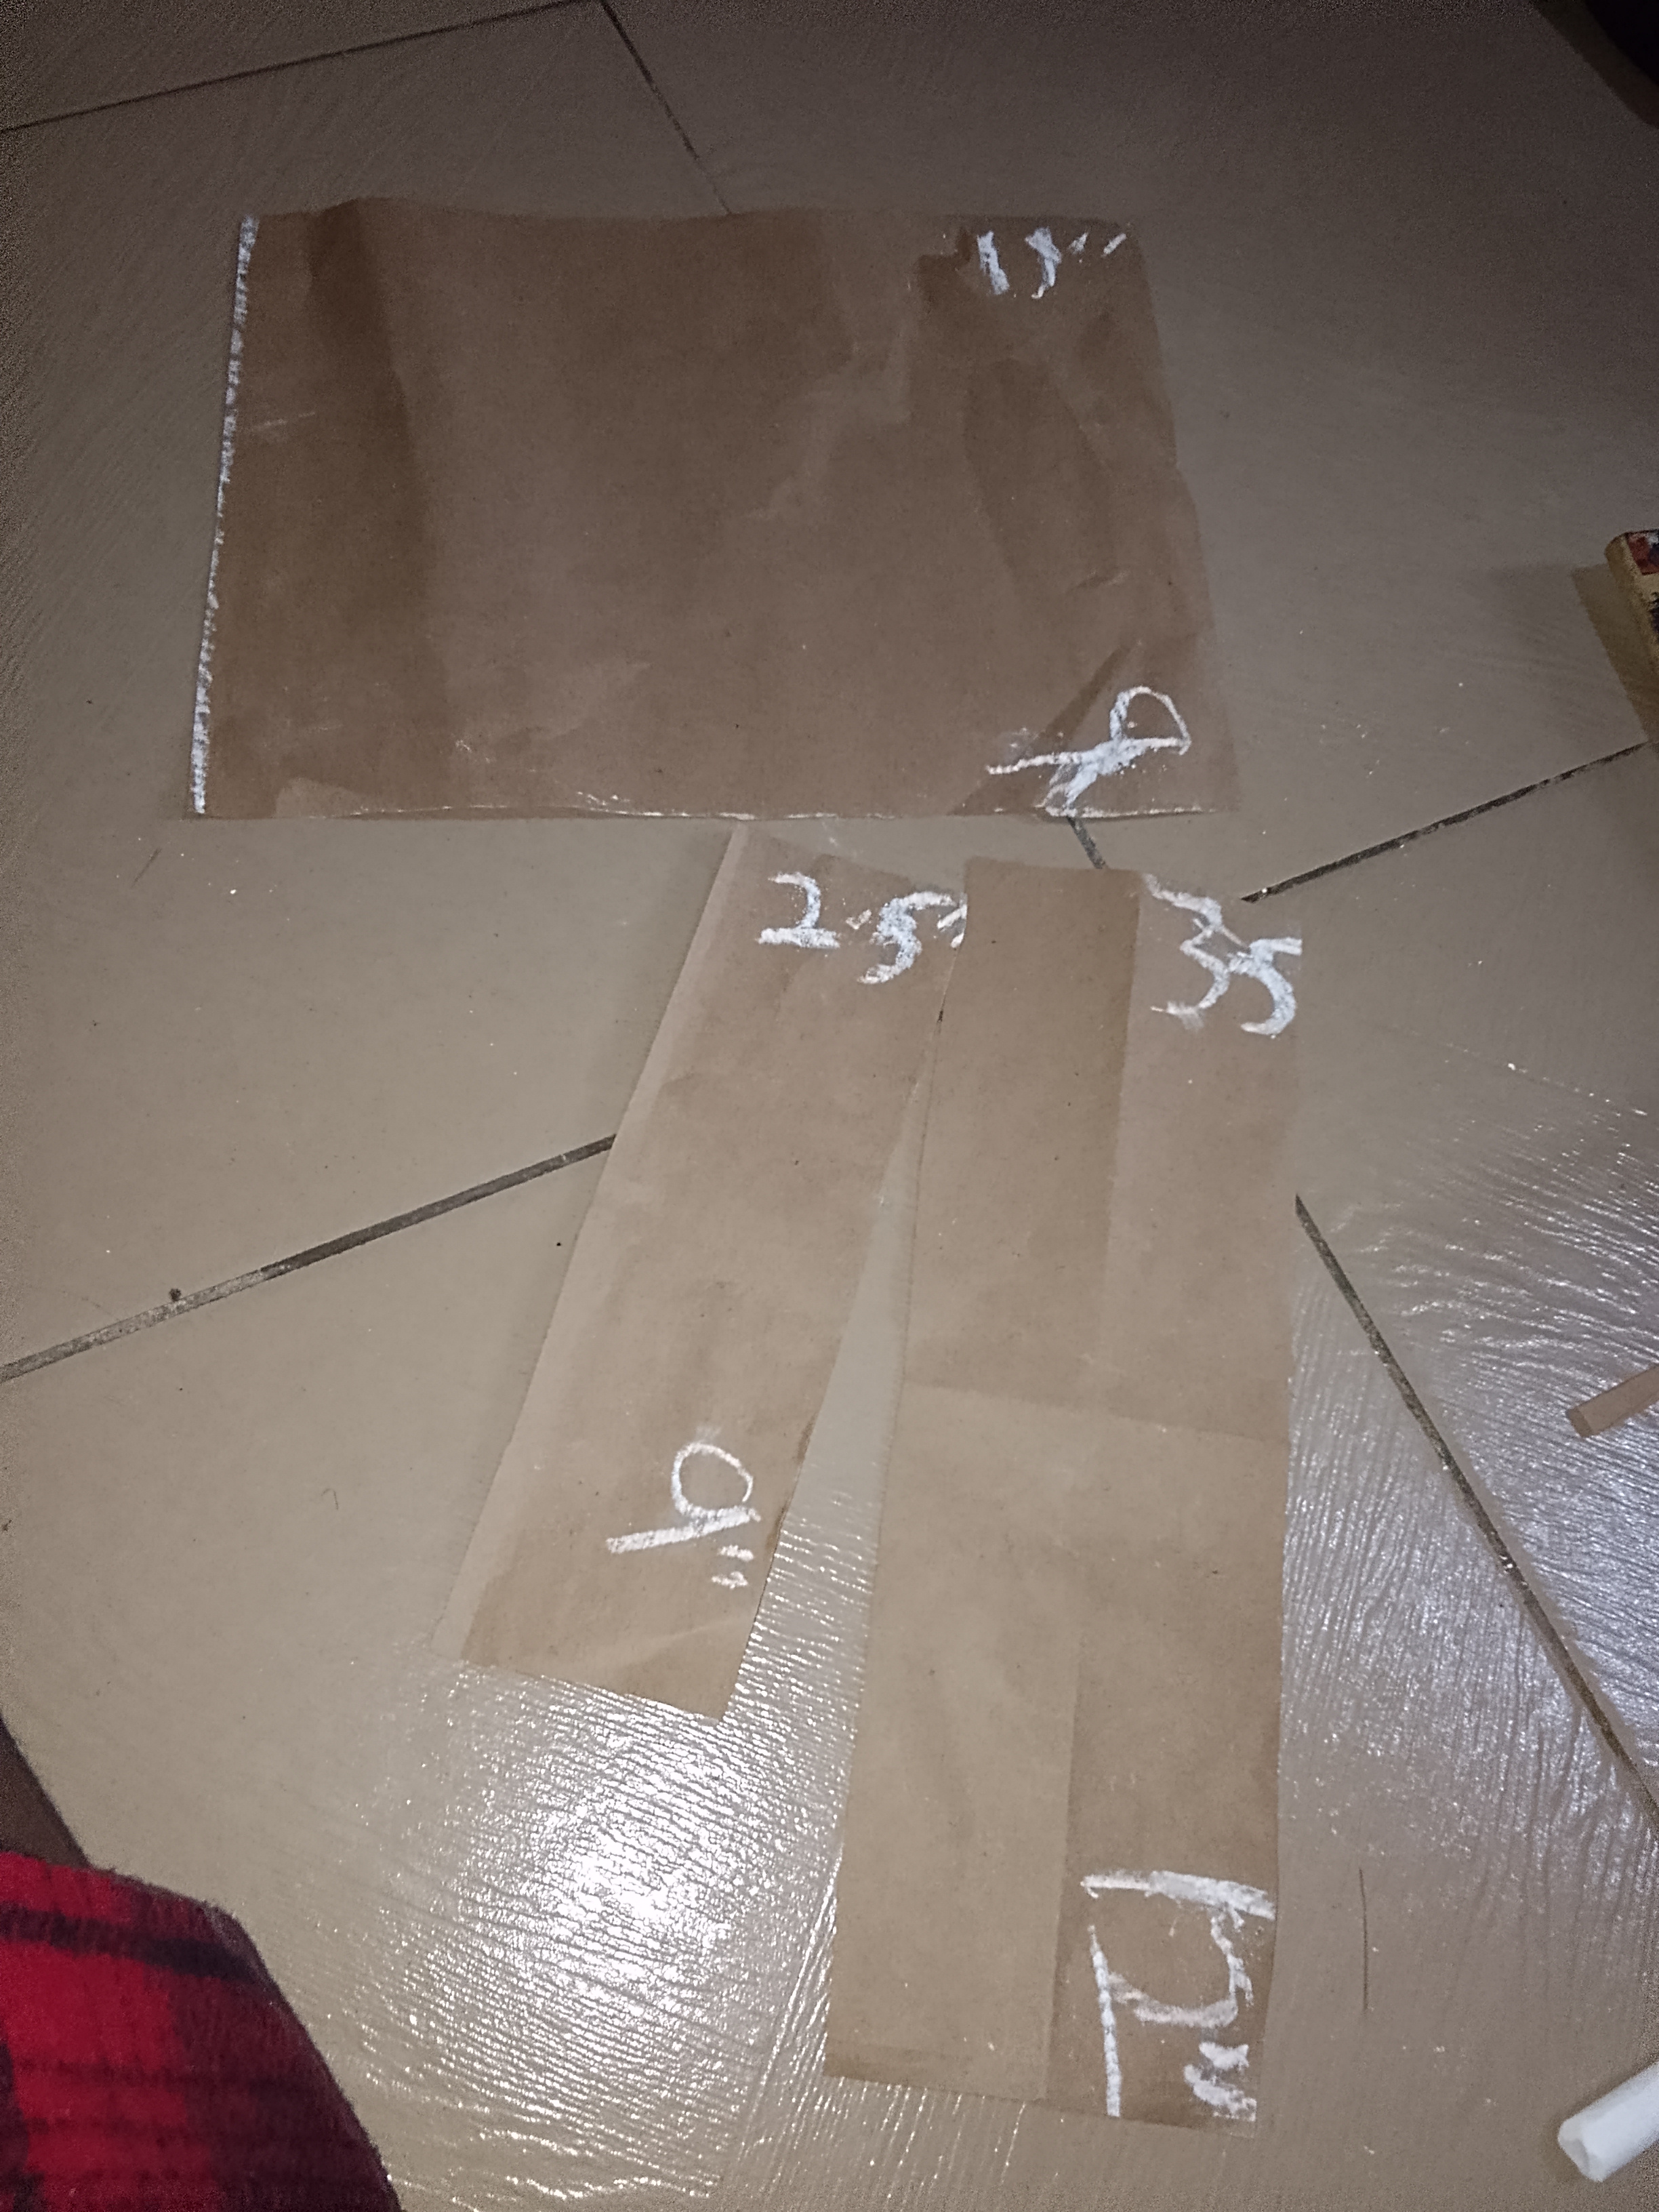
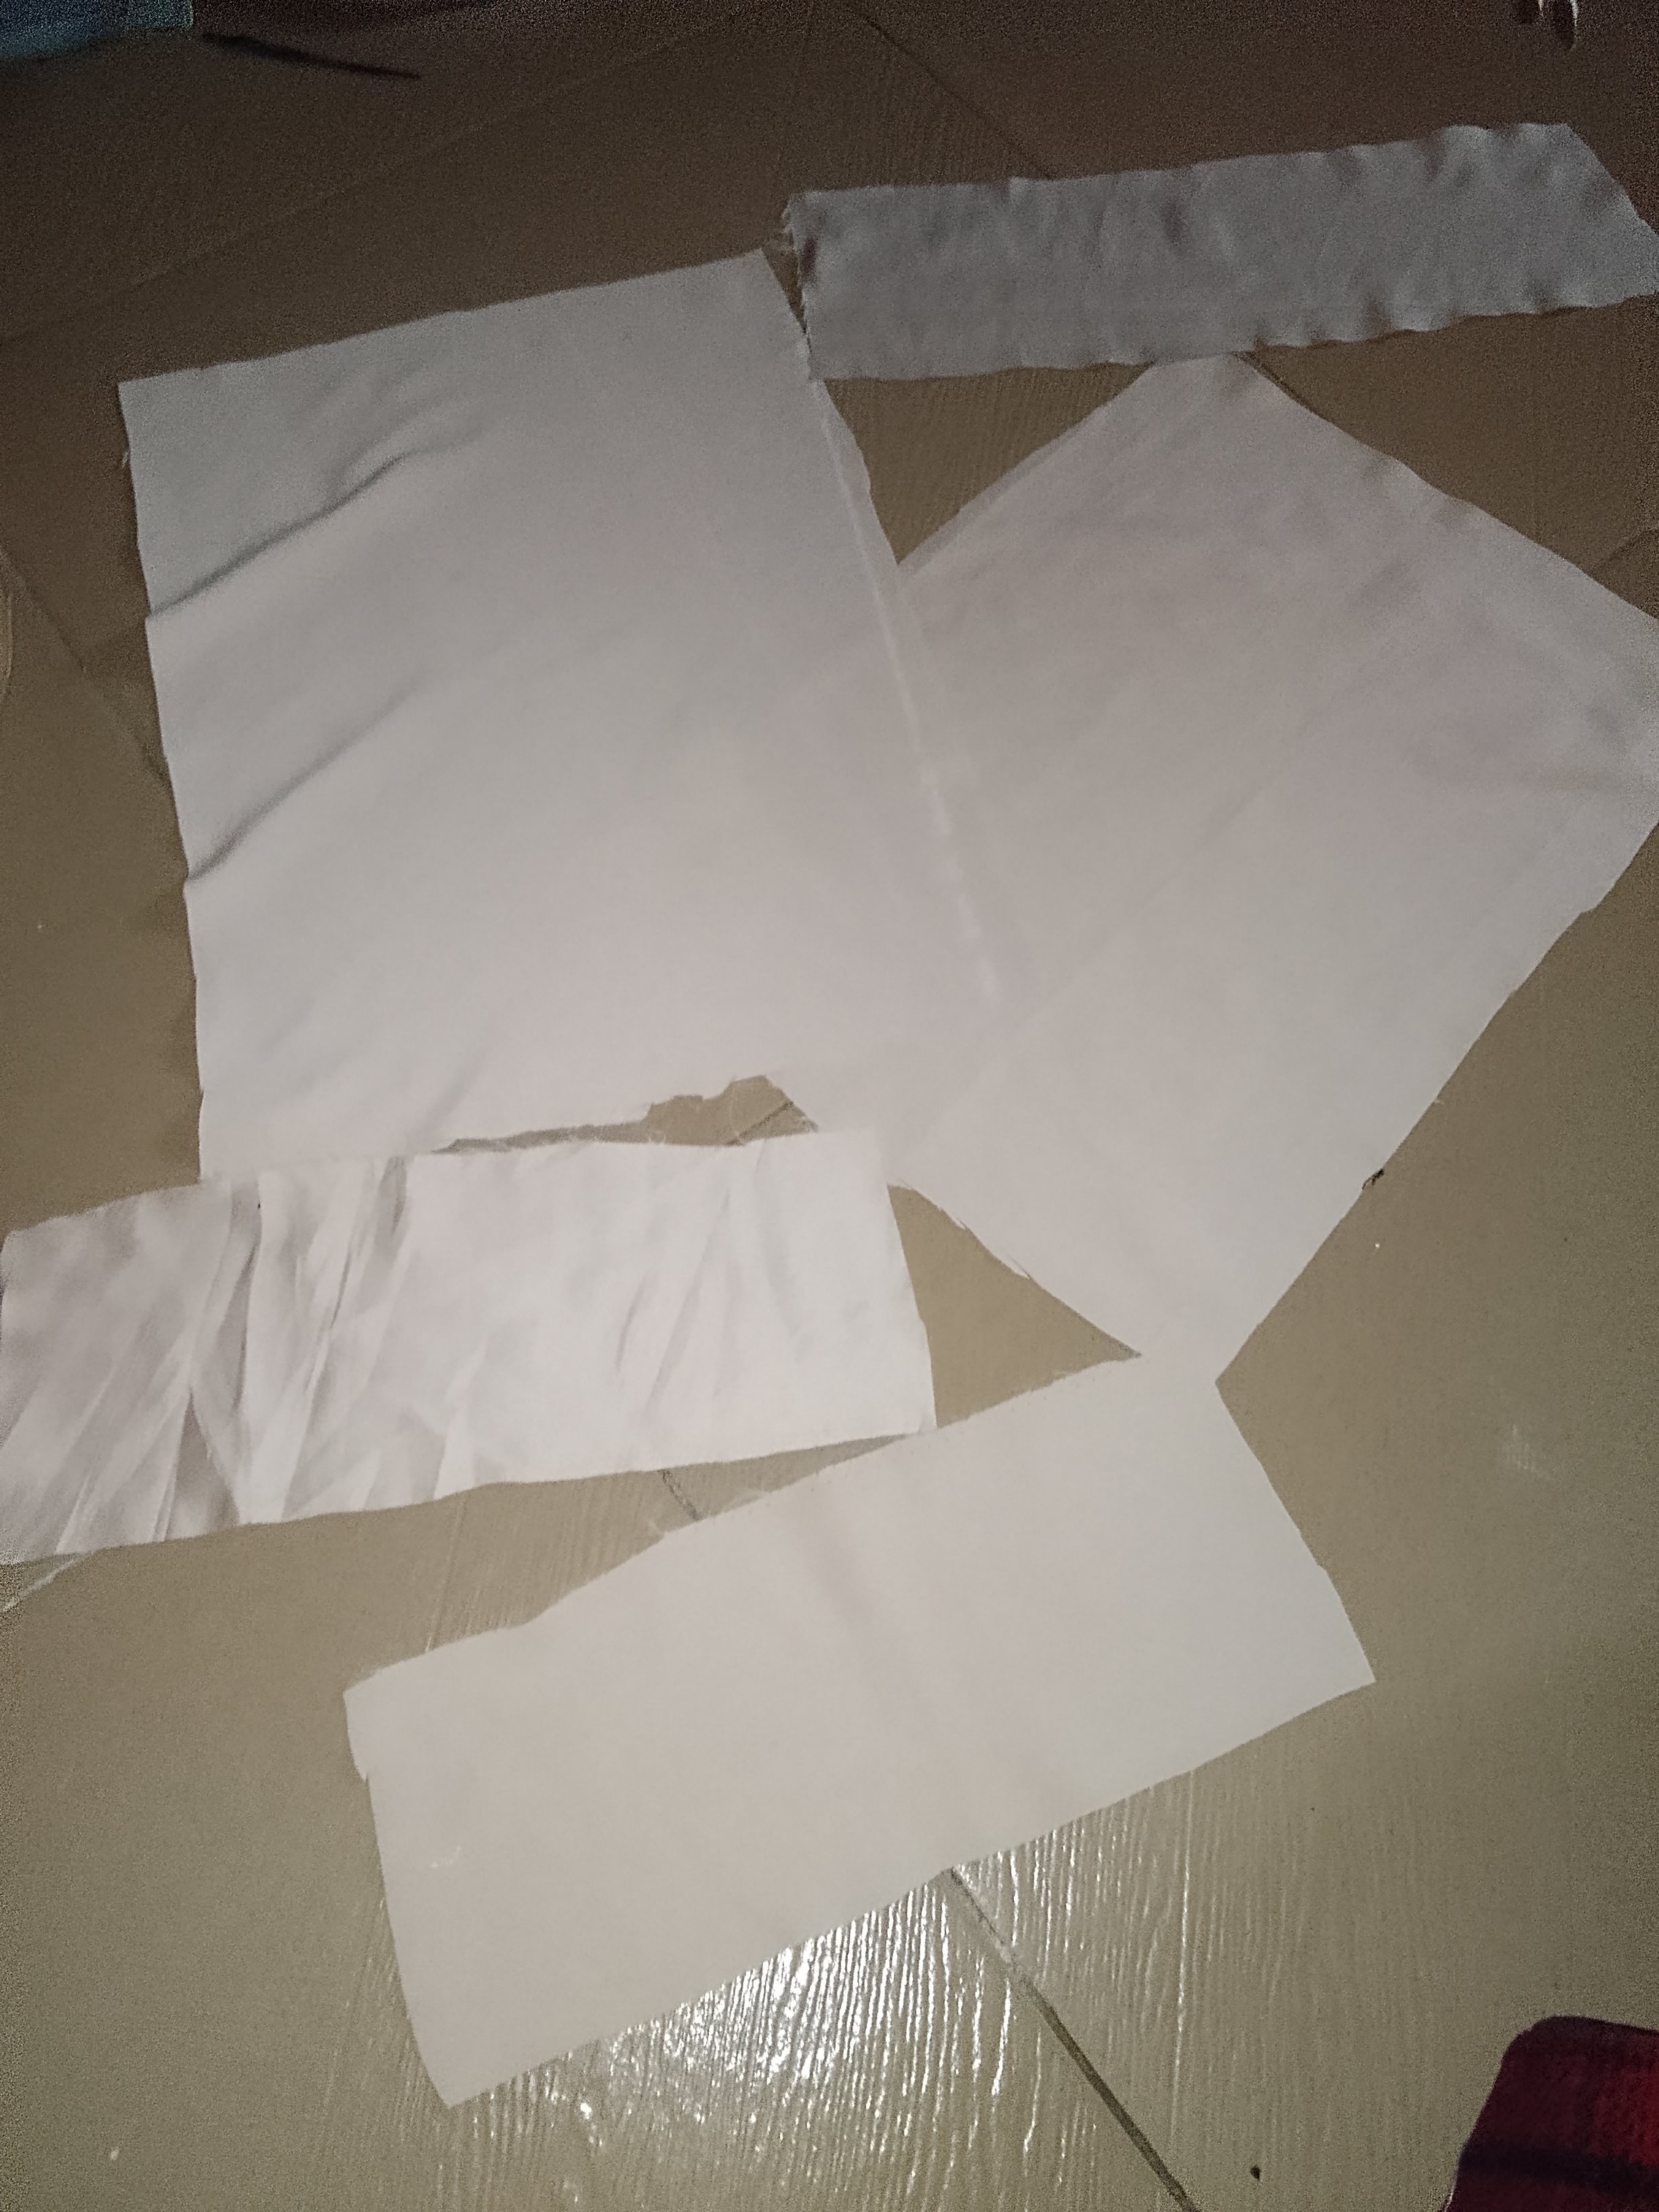
Procedure I started by creating the pattern using a brown paper. Using a ruler I measured the exact size I wanted . I made one pattern for the body, then the sides, and then the bottom.
 |
 |
|---|---|
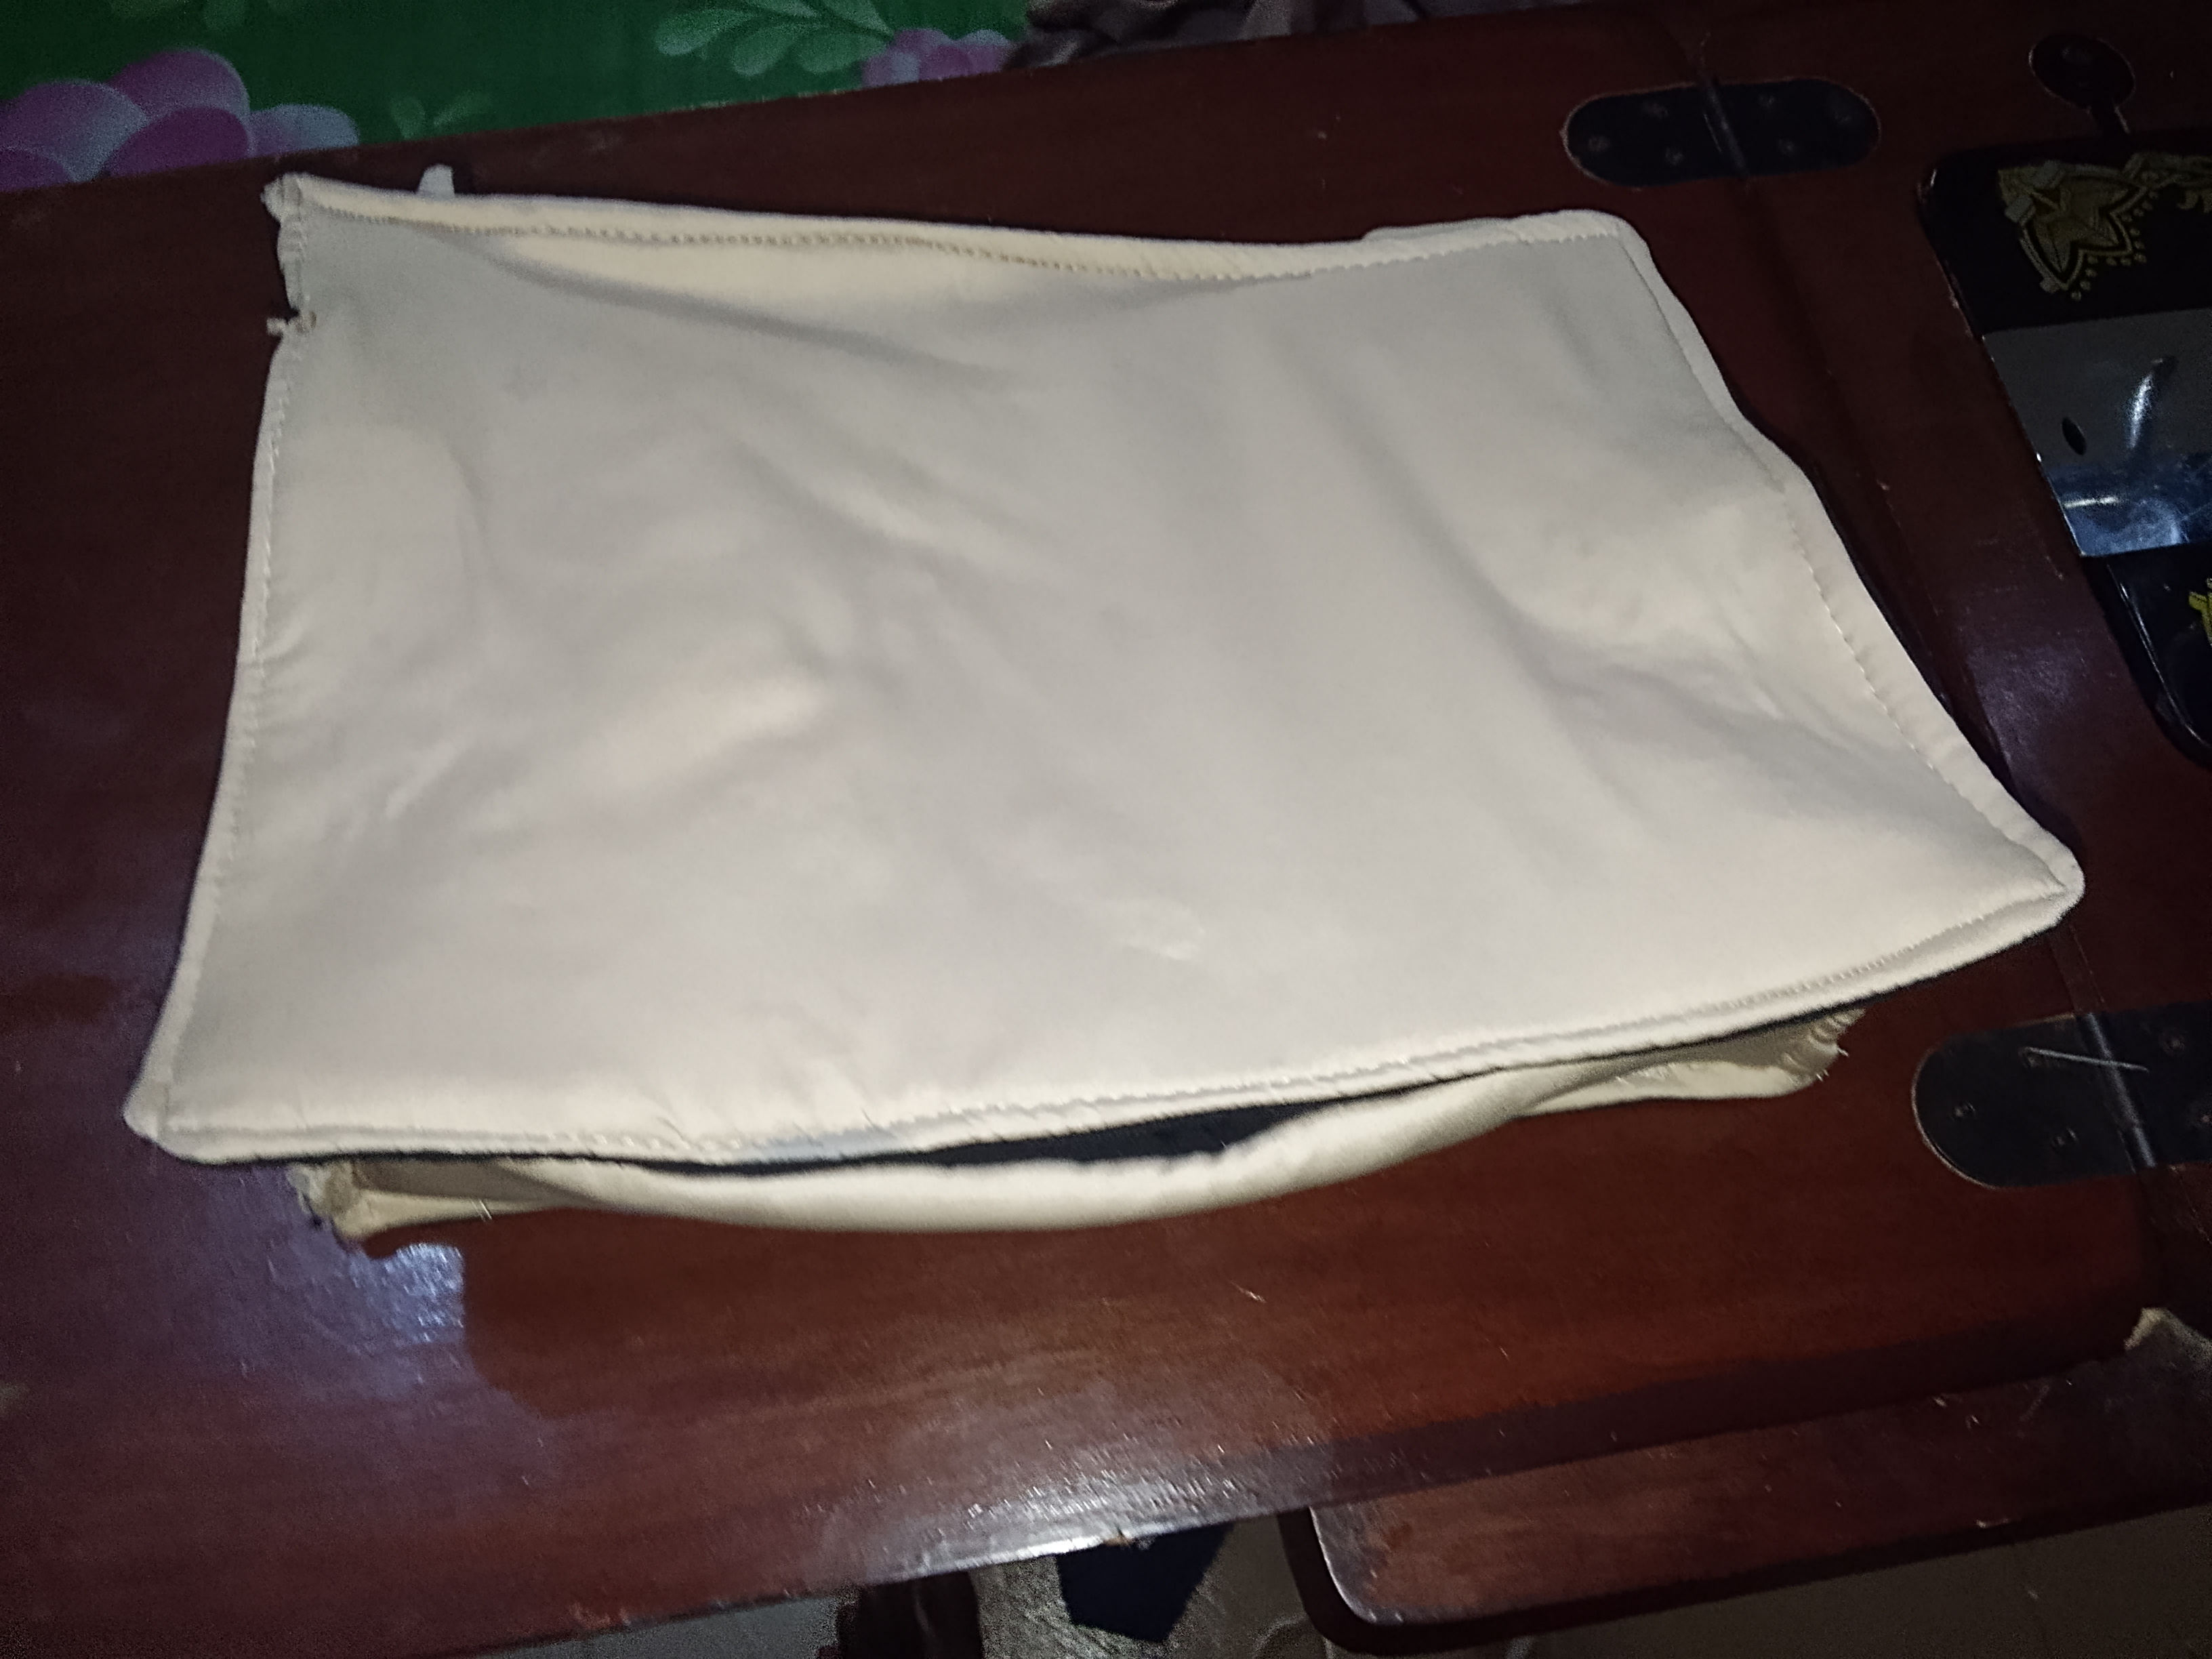
Next I placed the patterns on the main fabrics and traced them out two for each pattern but one for the button side. I also make sure to leave some seam allowance for sewing. I then used the cut out fabrics to cut out their lining
Next I ironed the paper gum on the wrong side of the cut out fabrics to make it firm for what I'm working on. I did the same for the lining

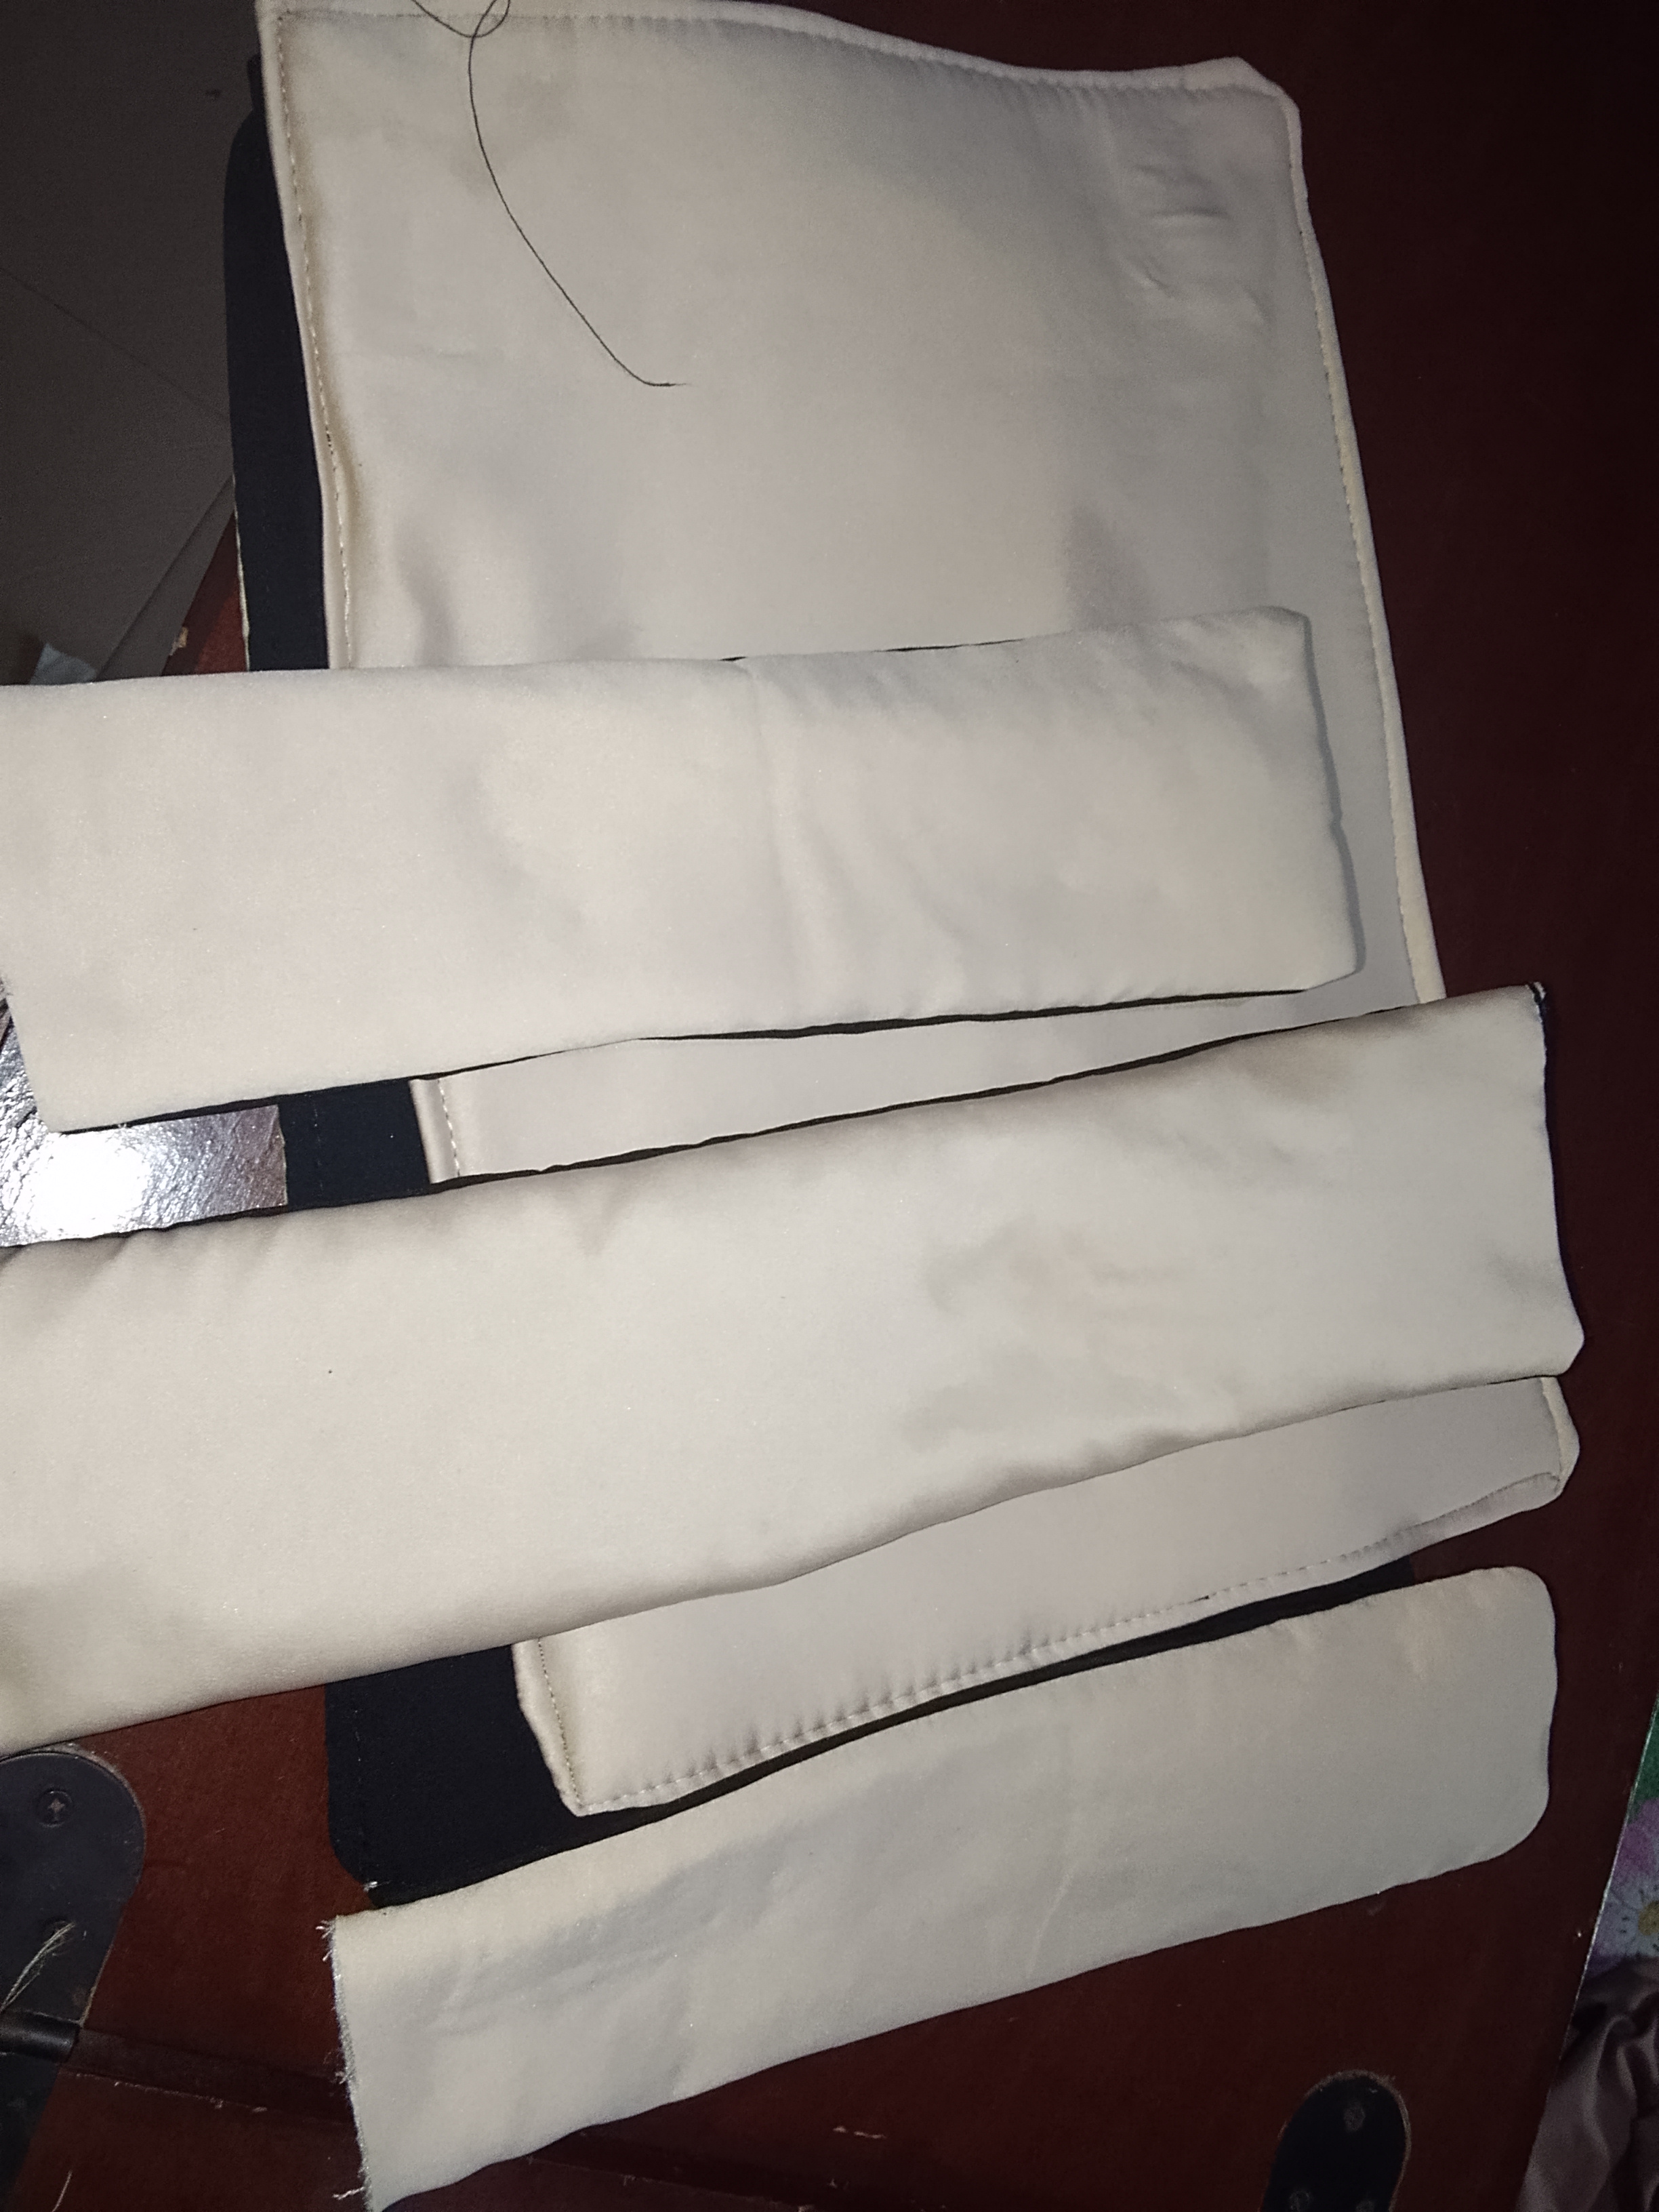
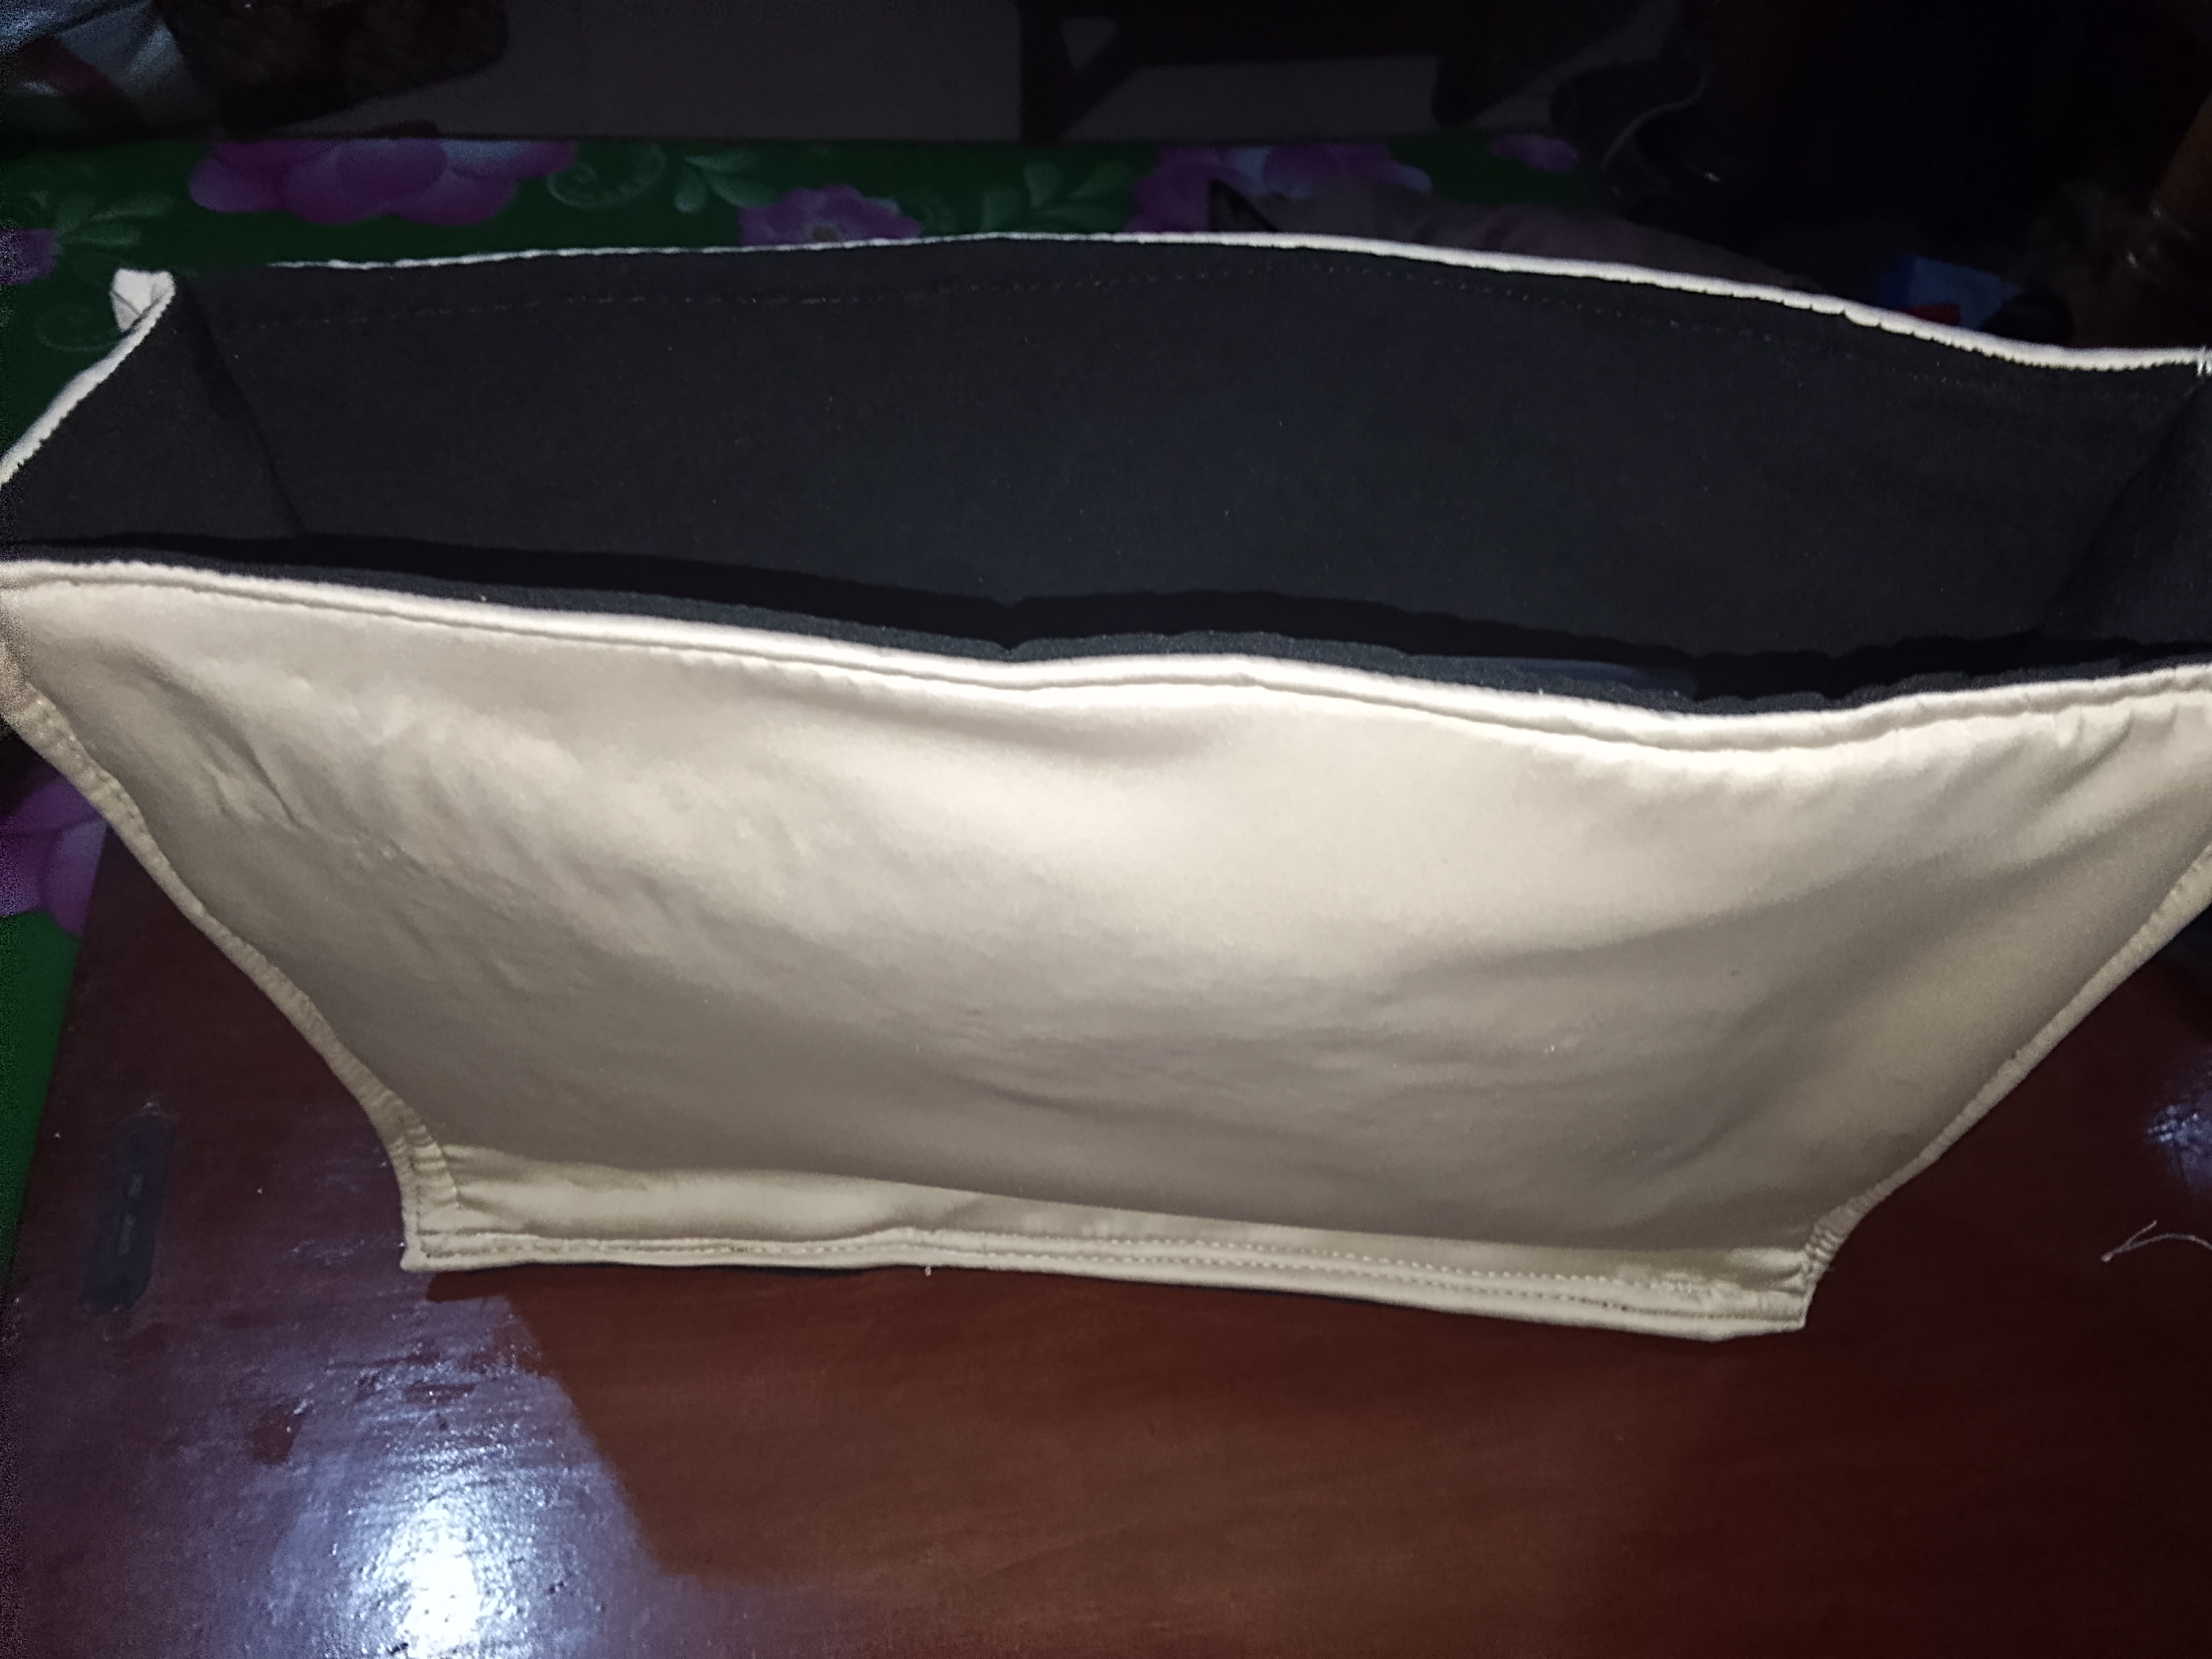
Next I was joining the bag parts to each other, first the sides to the bottom and then the two sides. I used double stitches for extra strength so the nag can handle heavier items in it.
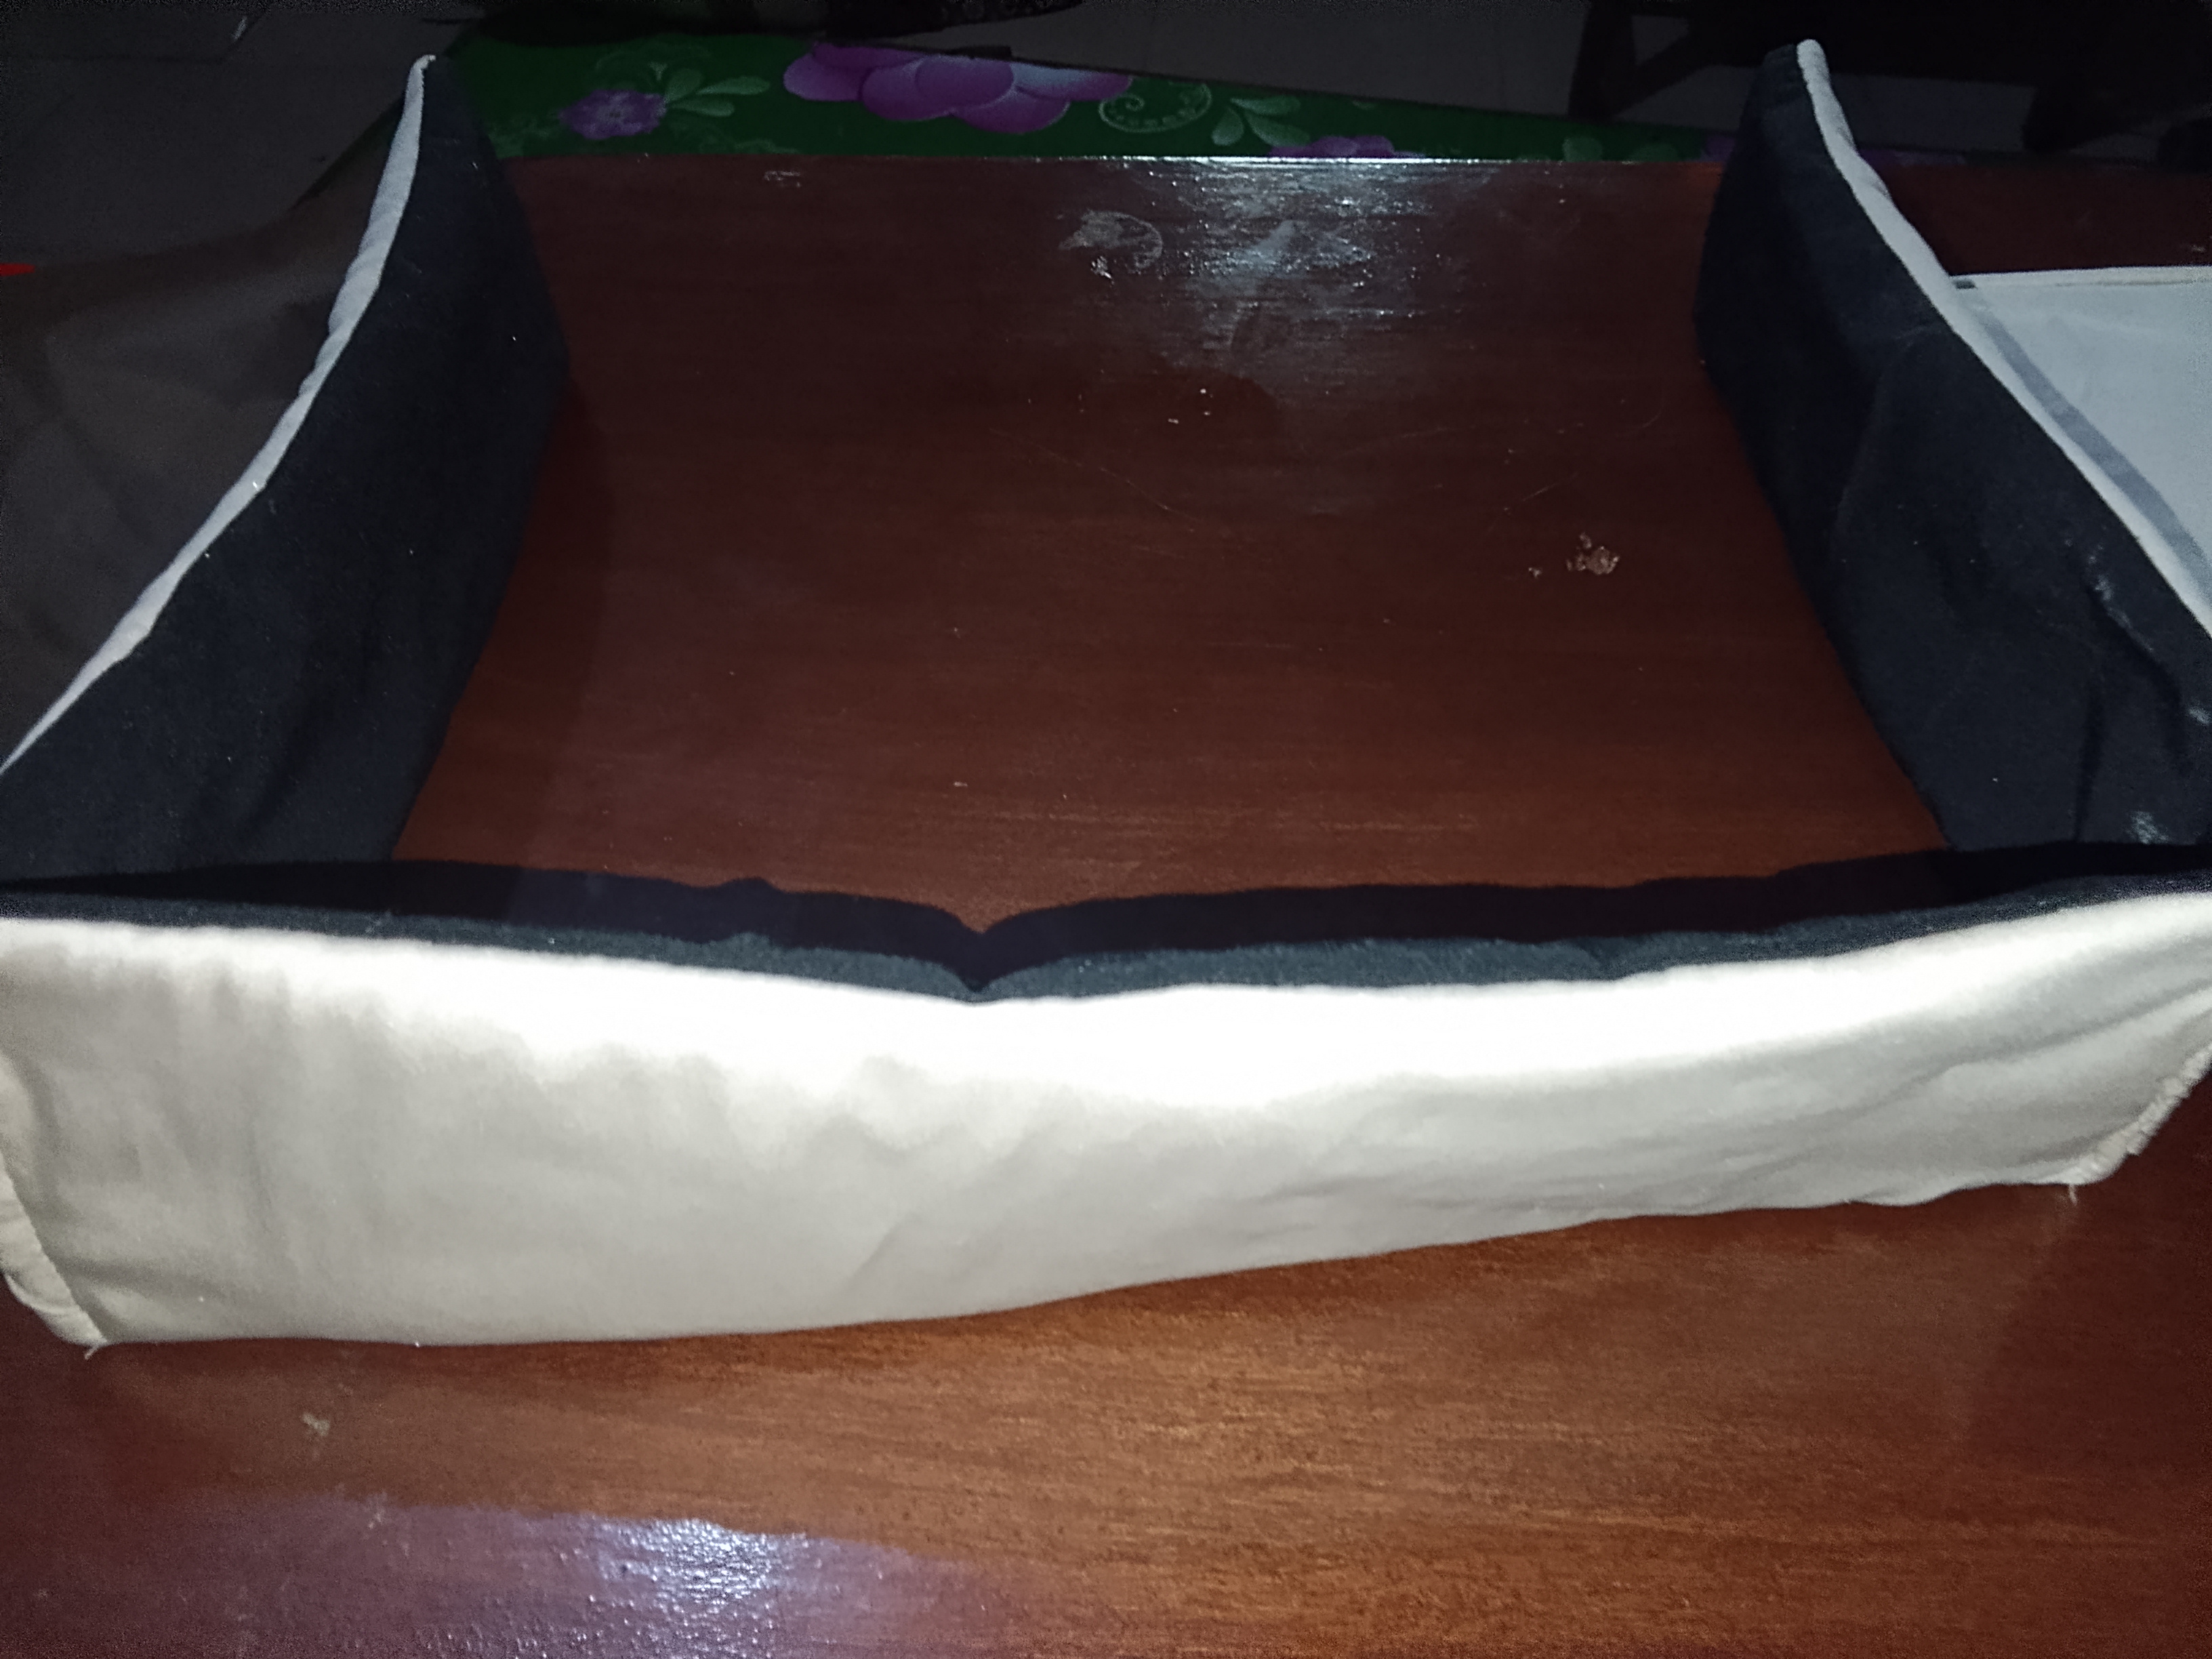
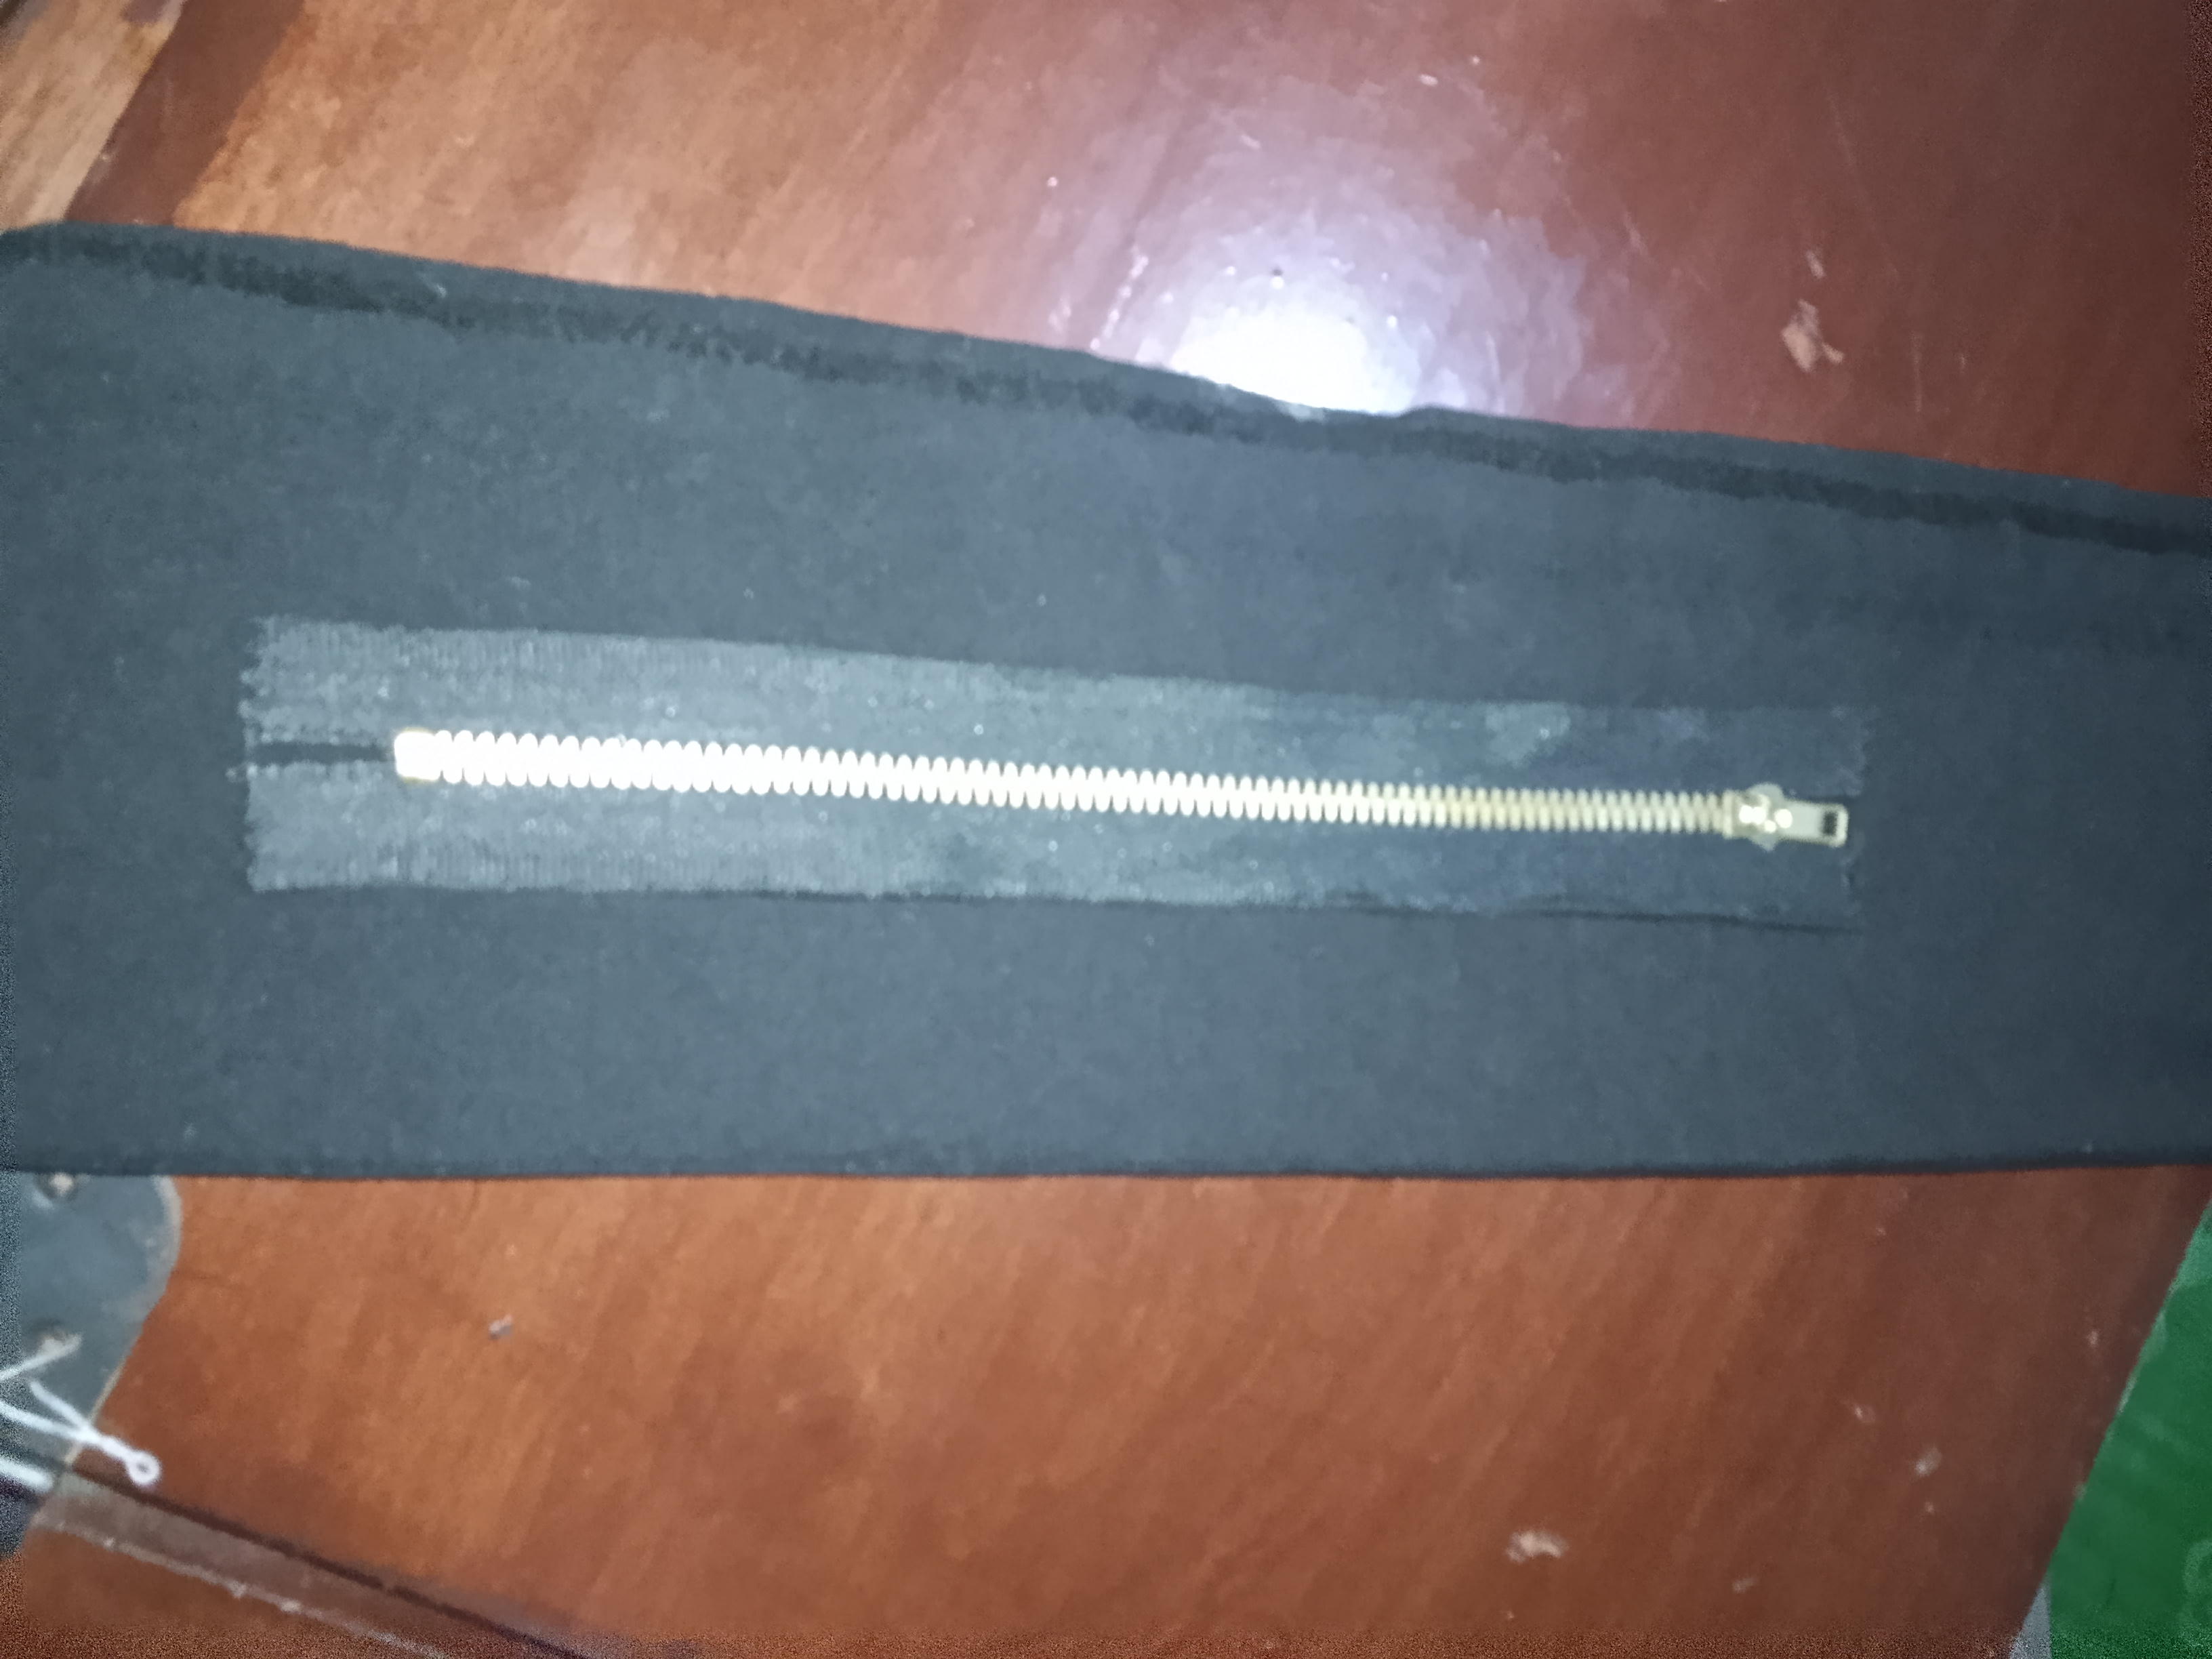
Next I attached the zipper to the top side of the bag and also joined it to the bag.
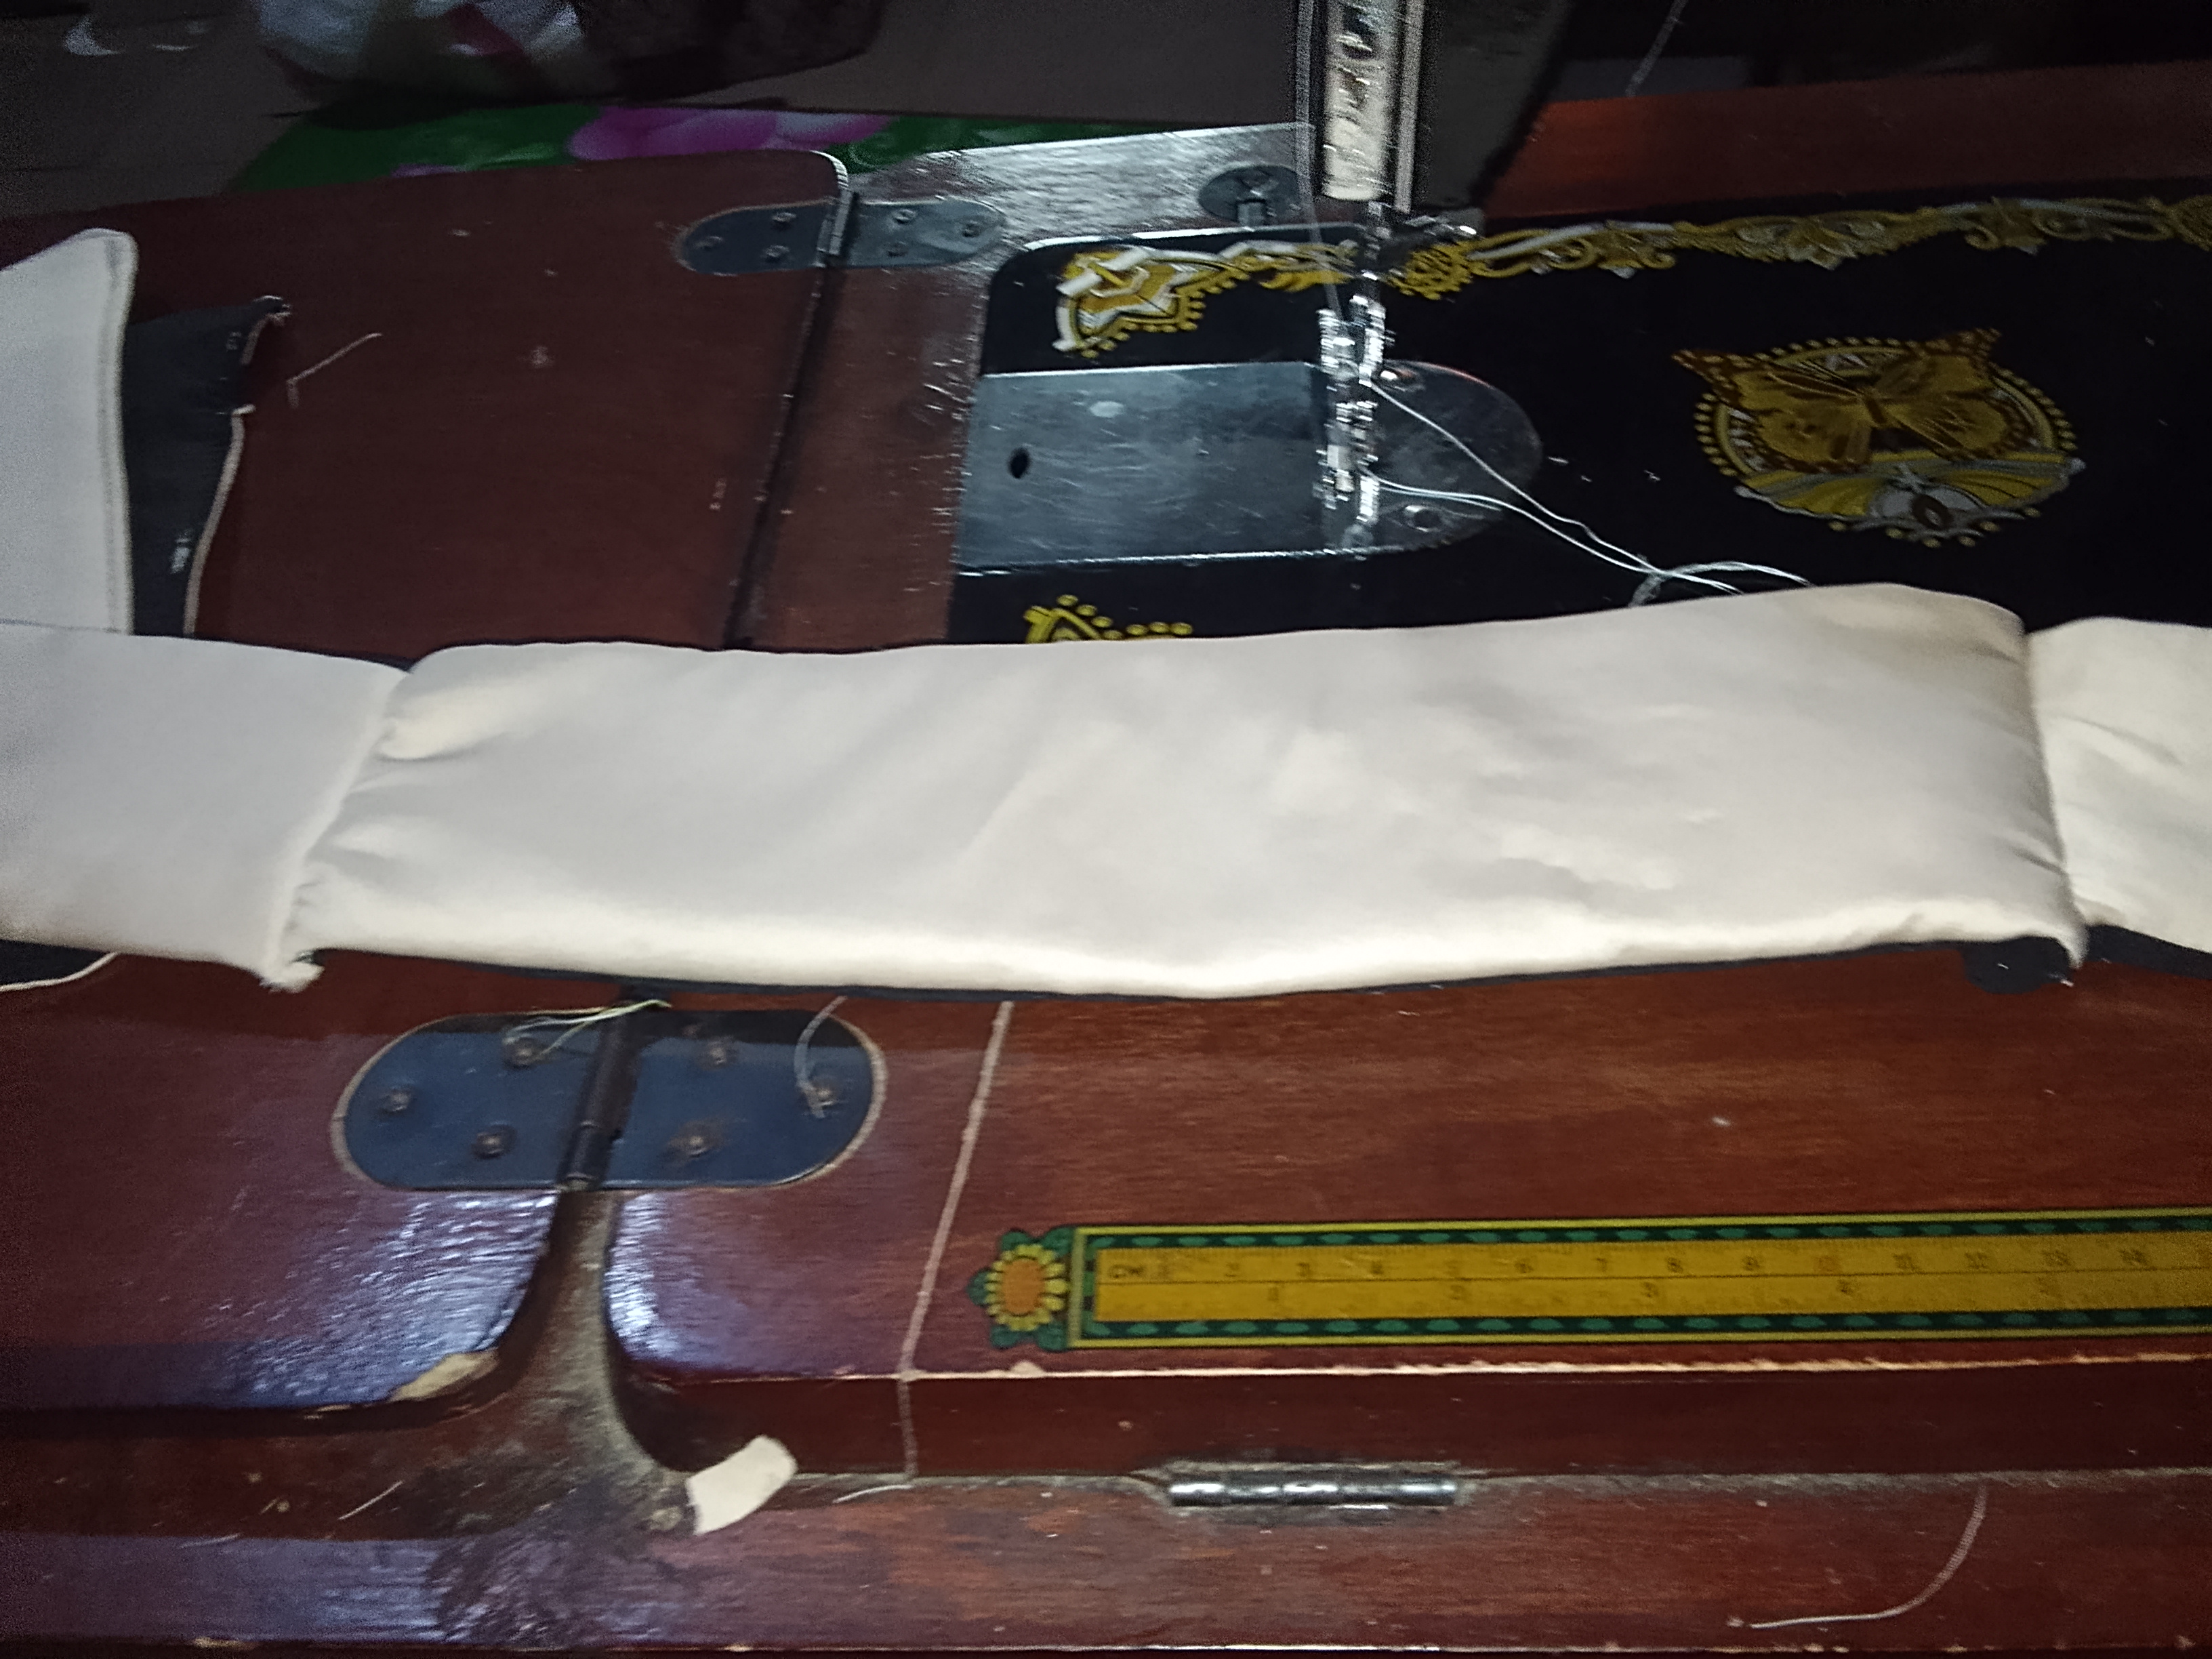
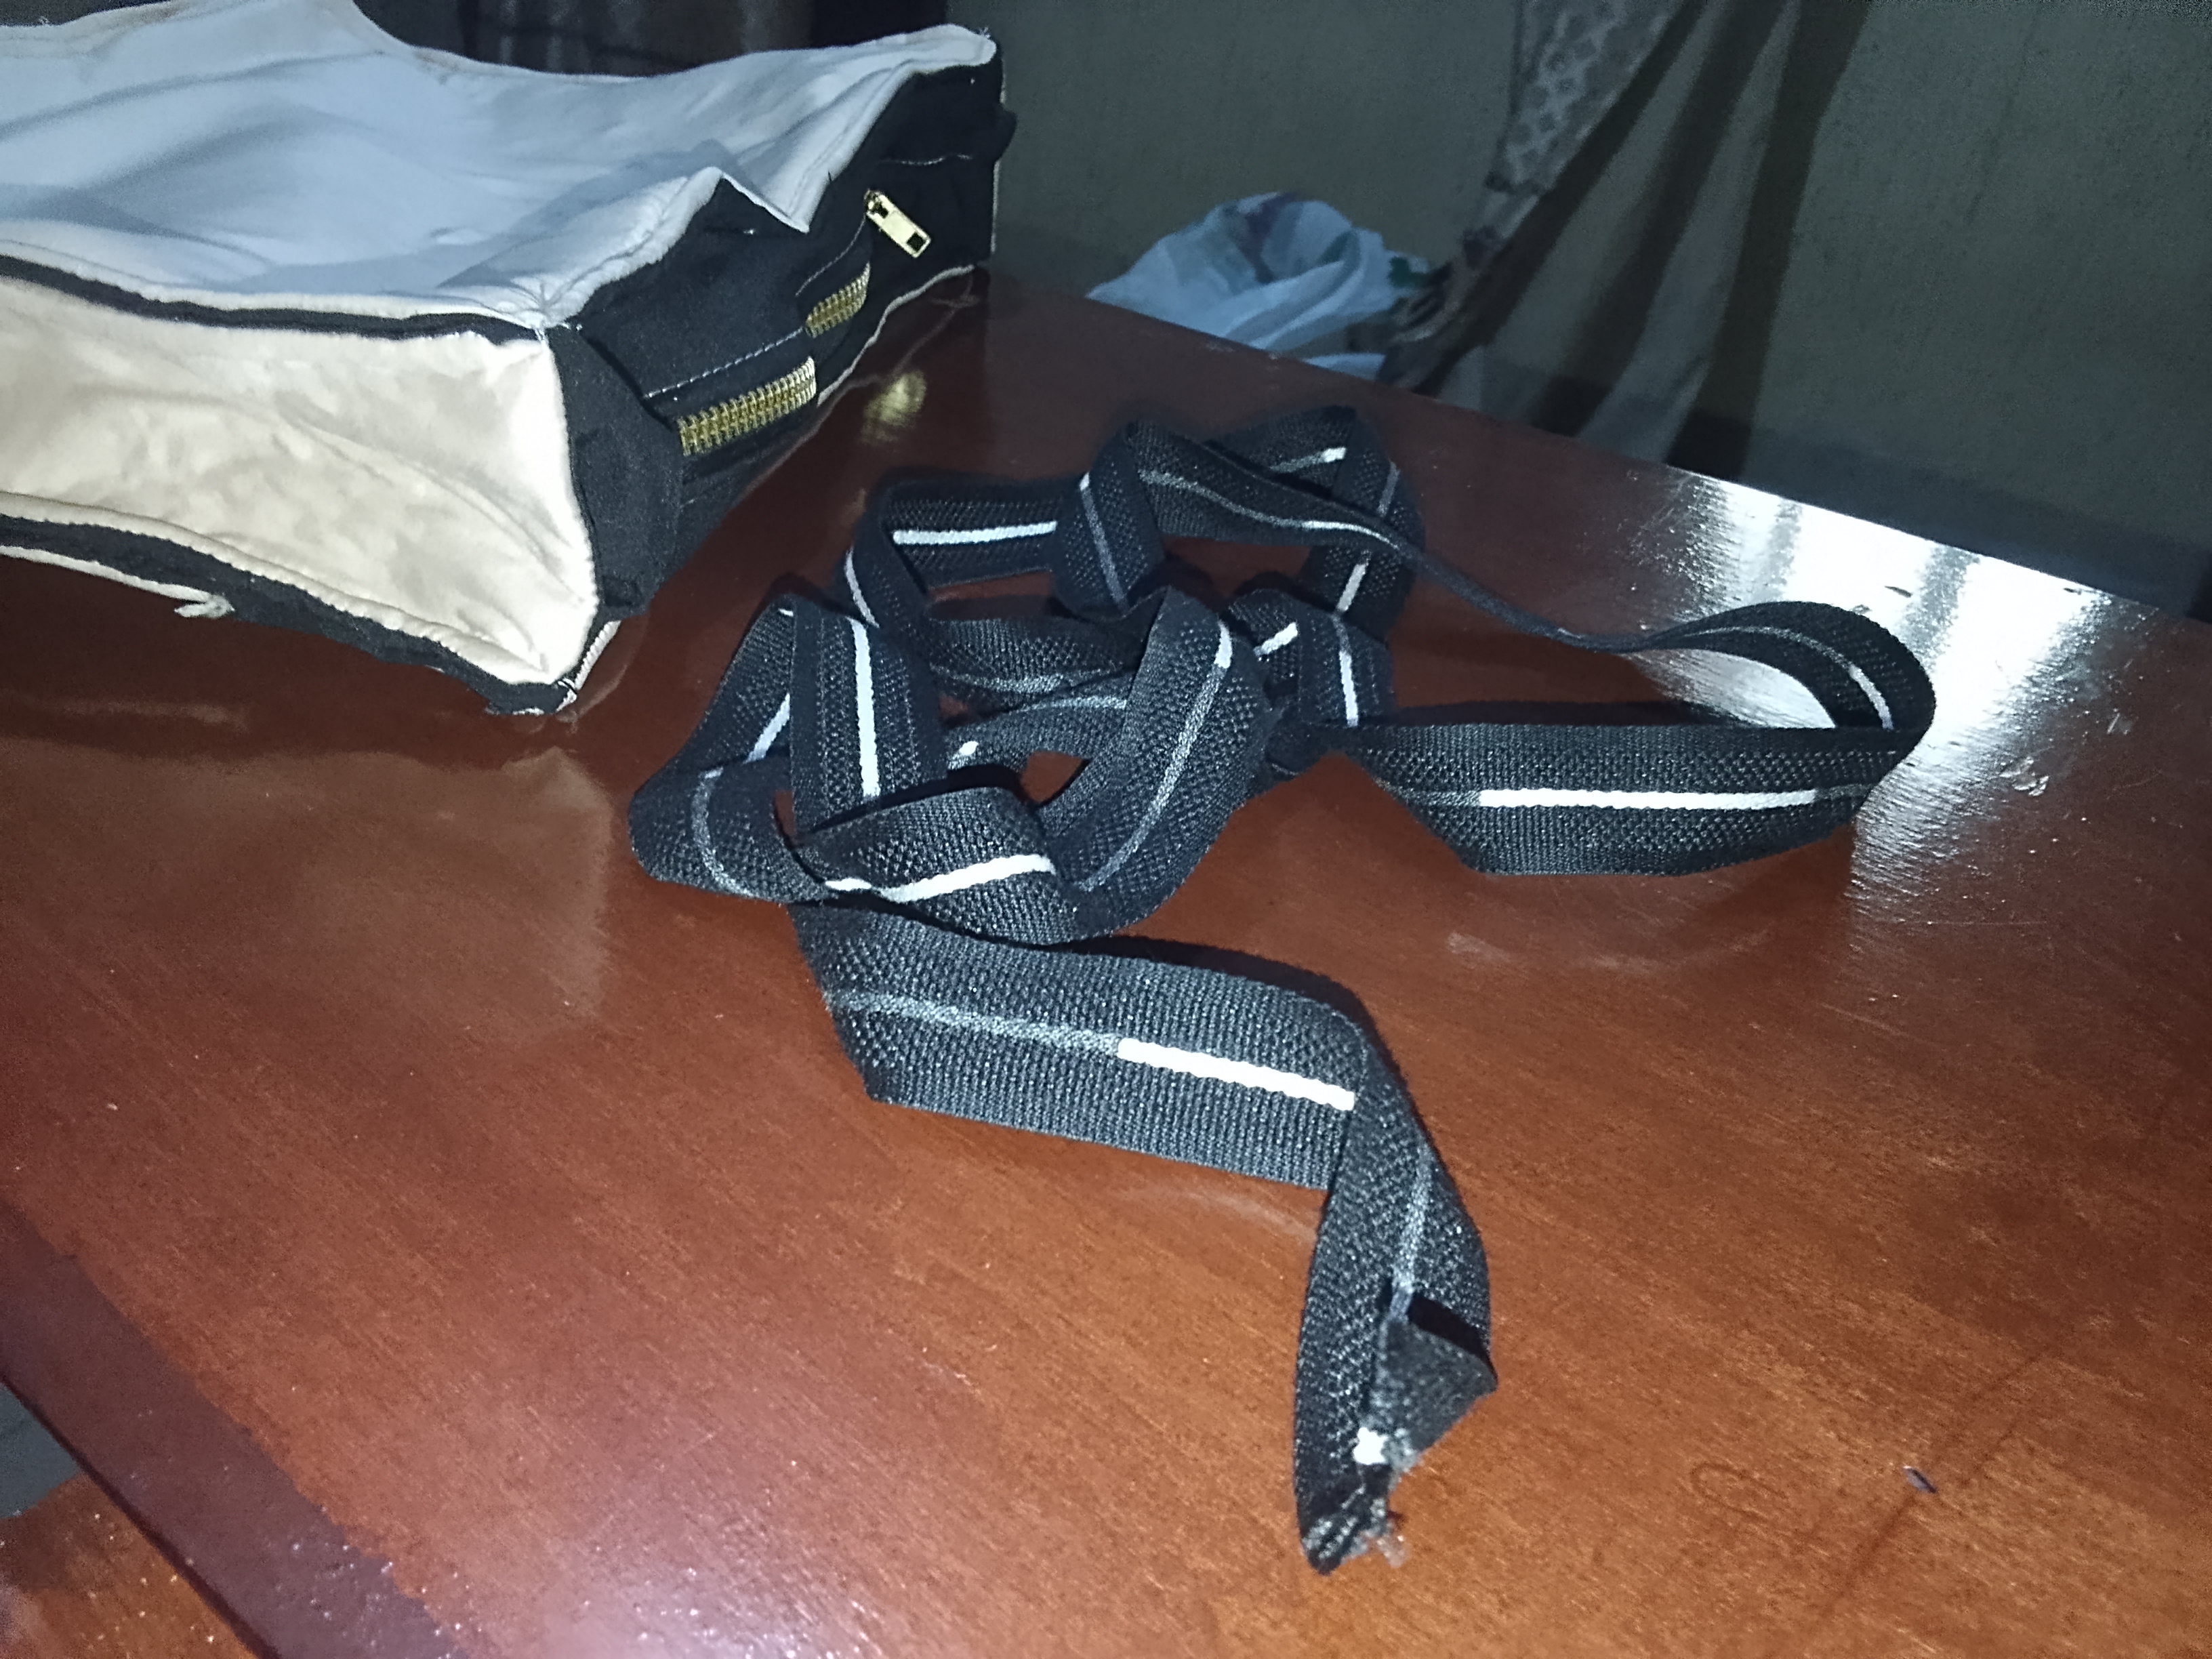
After that I measured two equal-length strips for the handles, folded in the raw edges, and stitched them neatly. Then I attached them securely to the bag’s top edges.
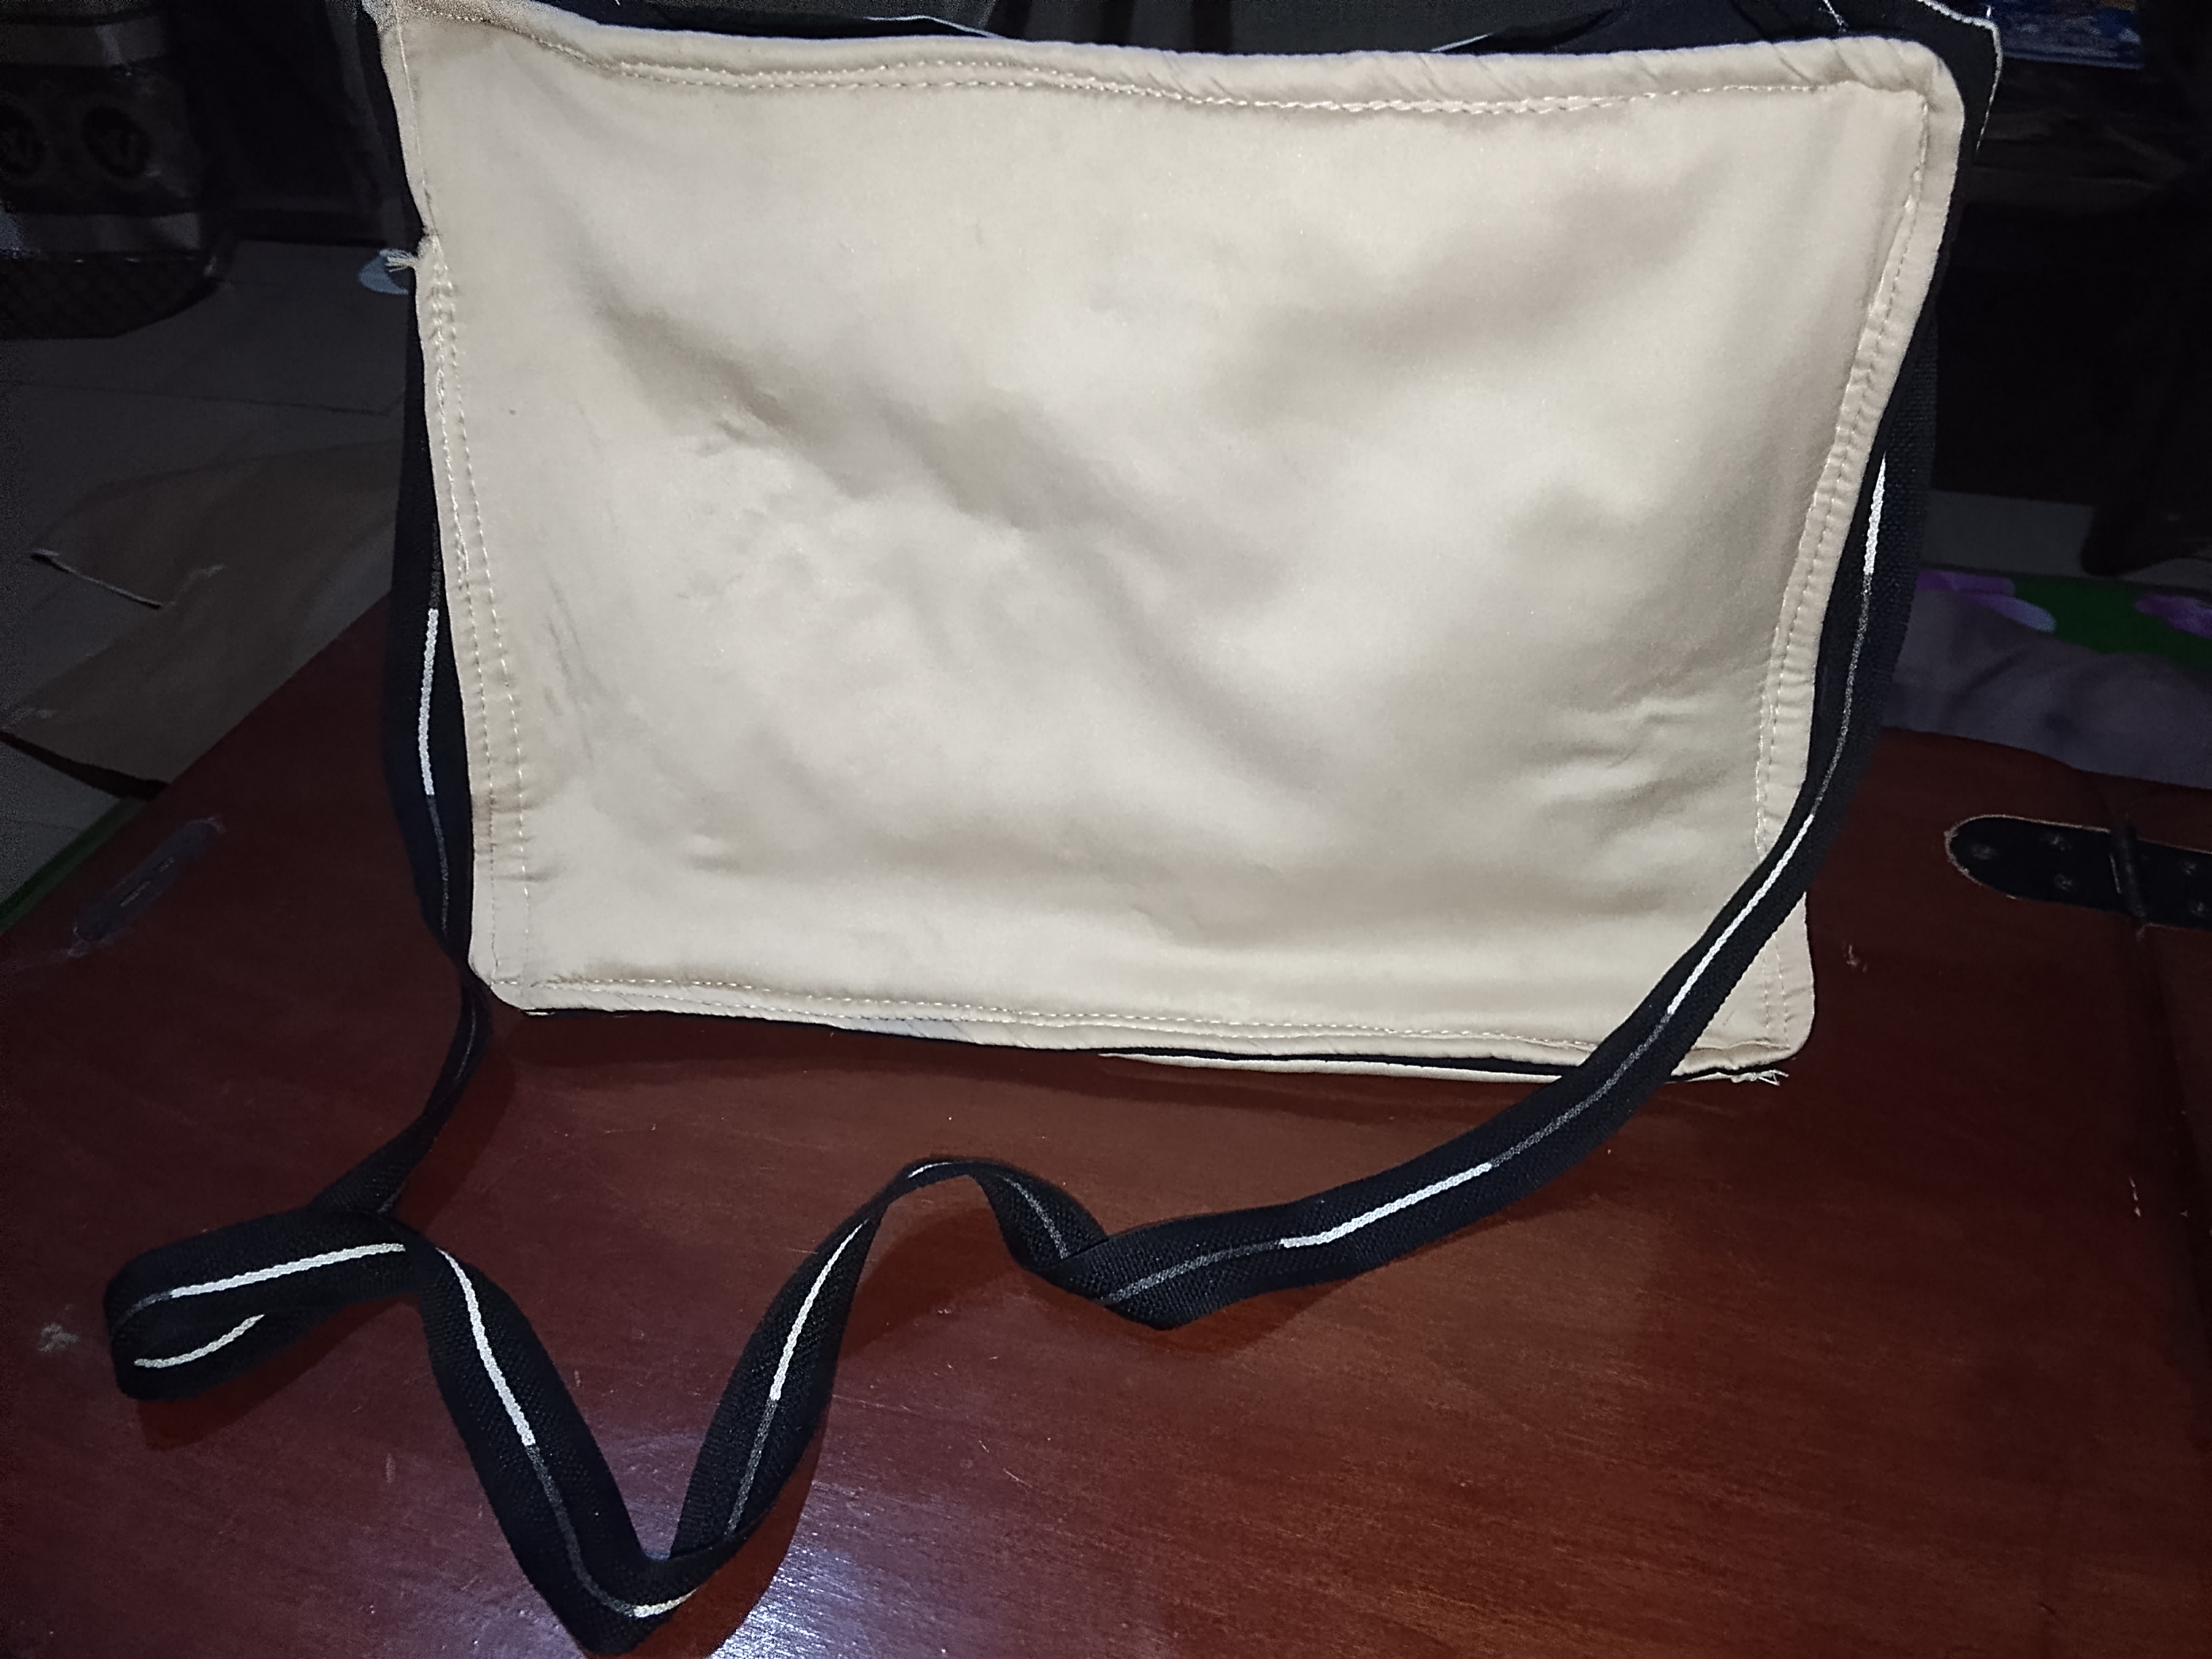
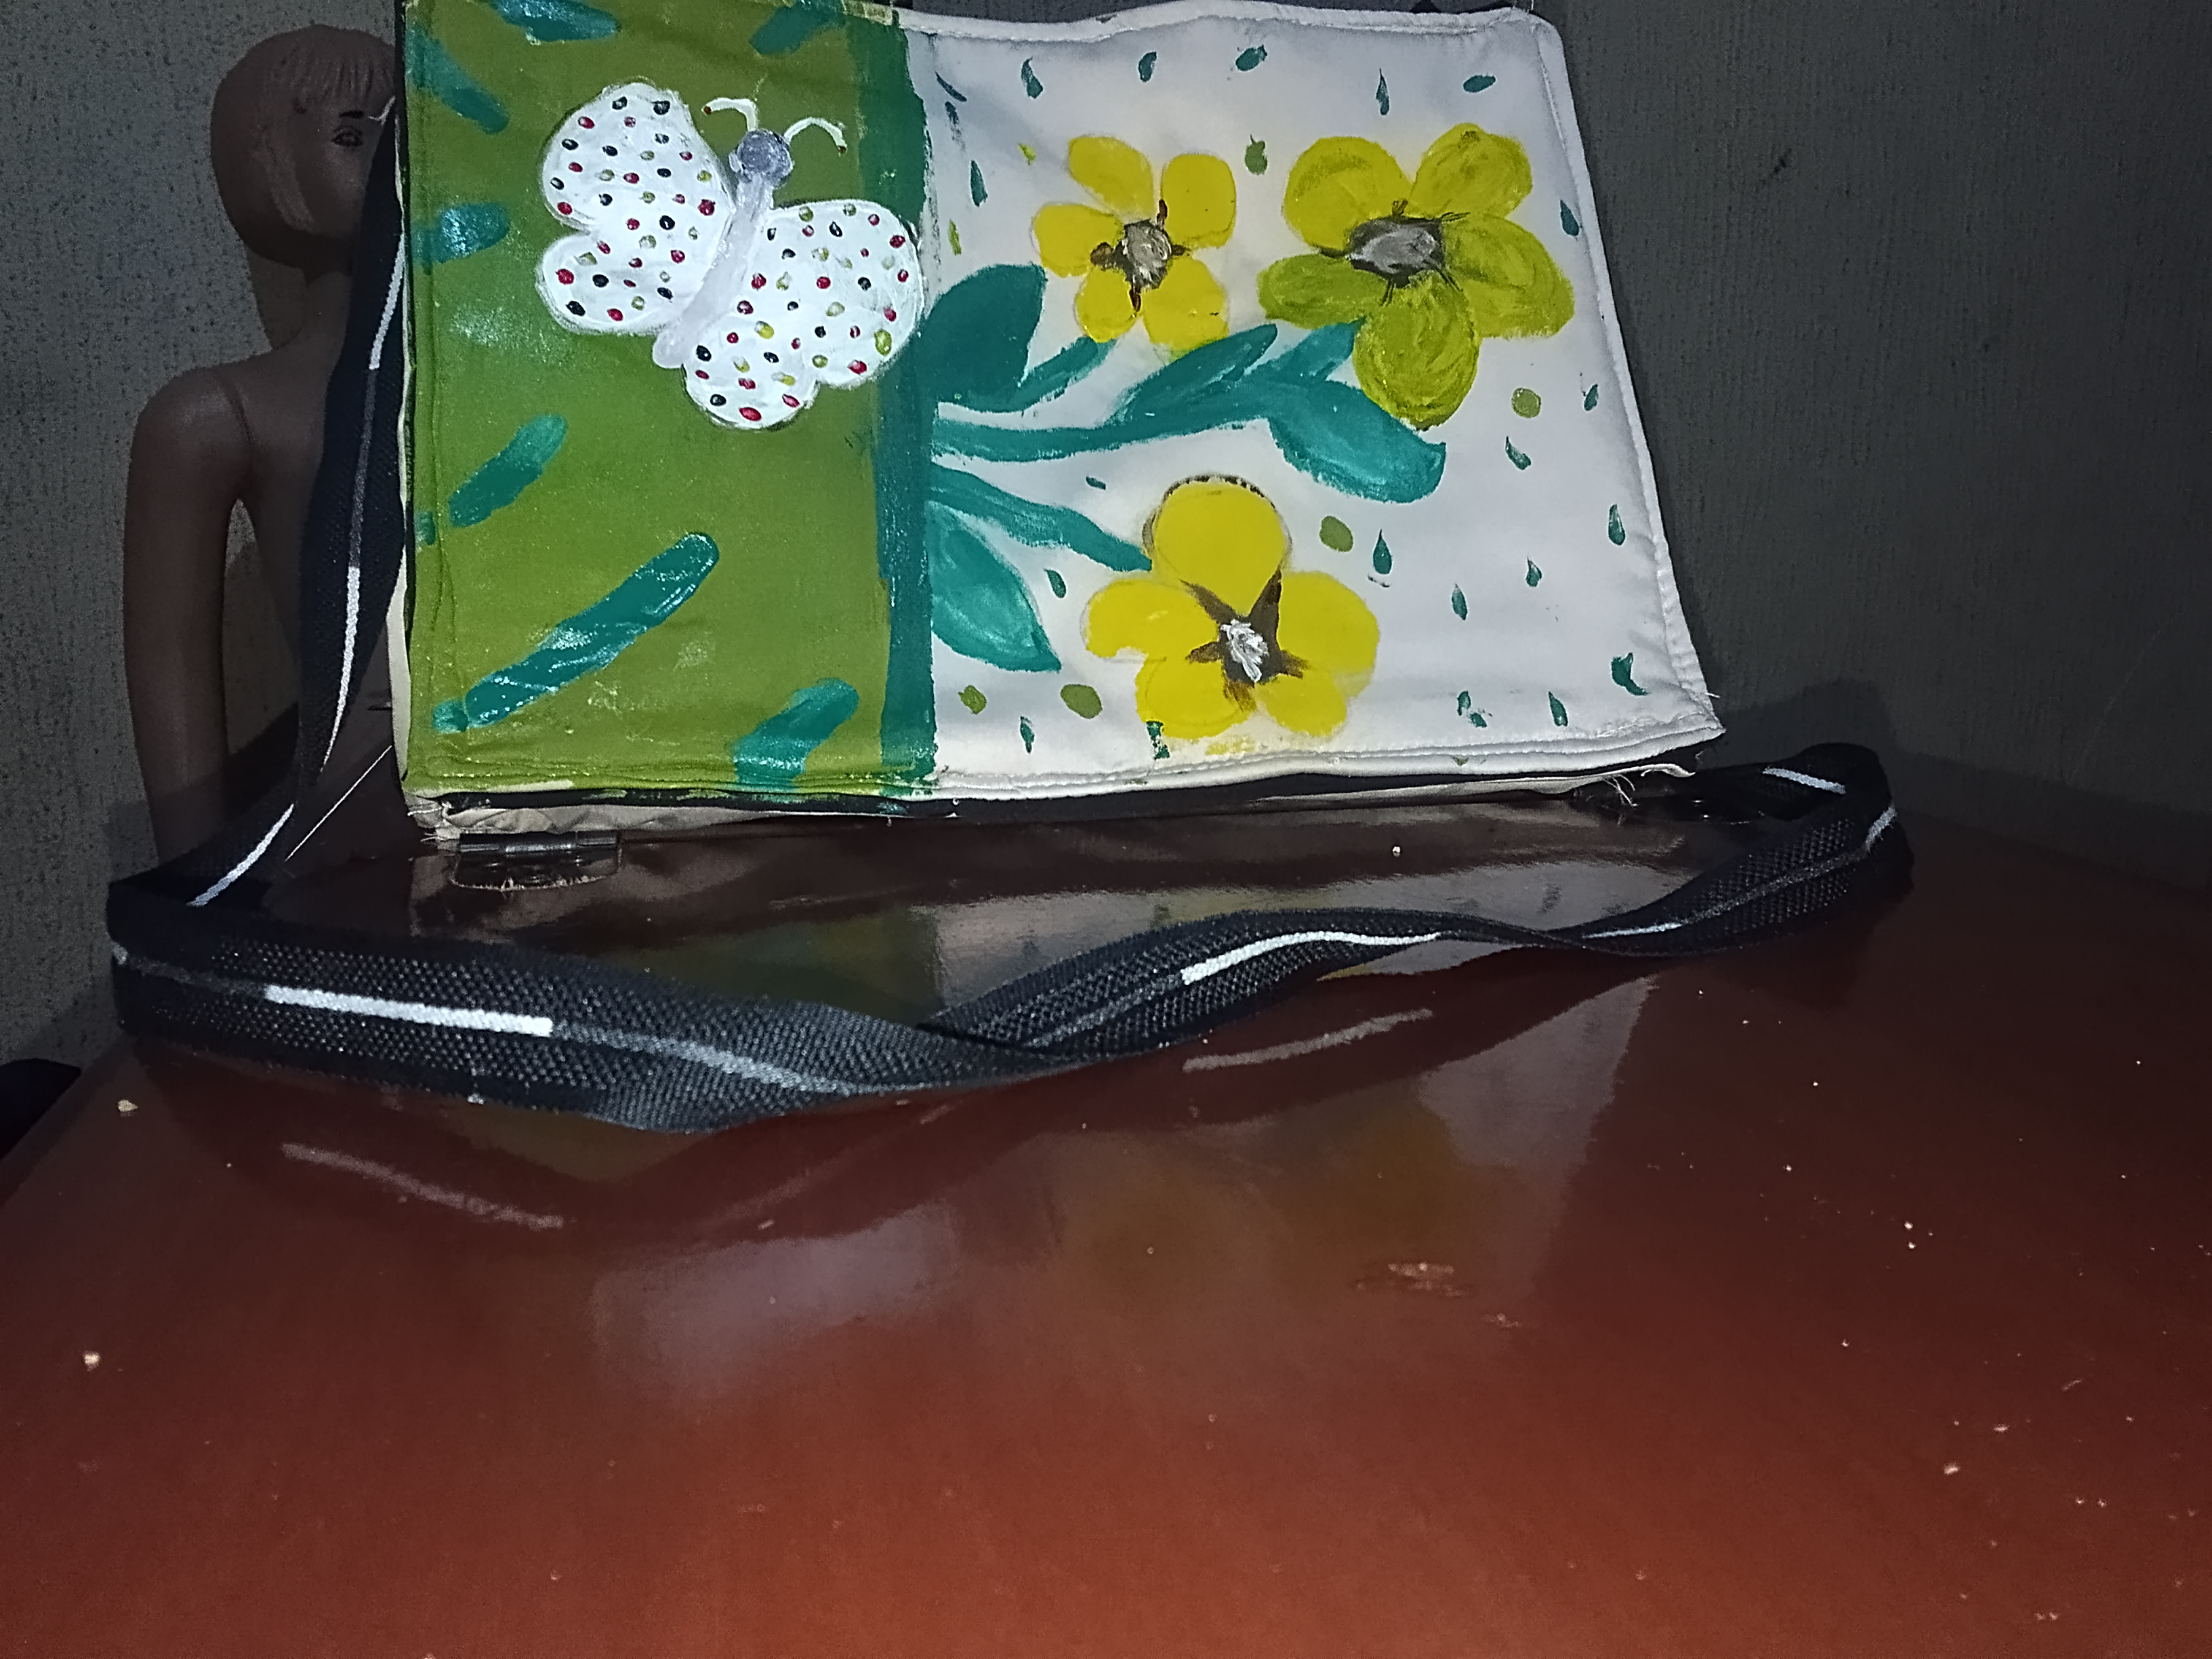
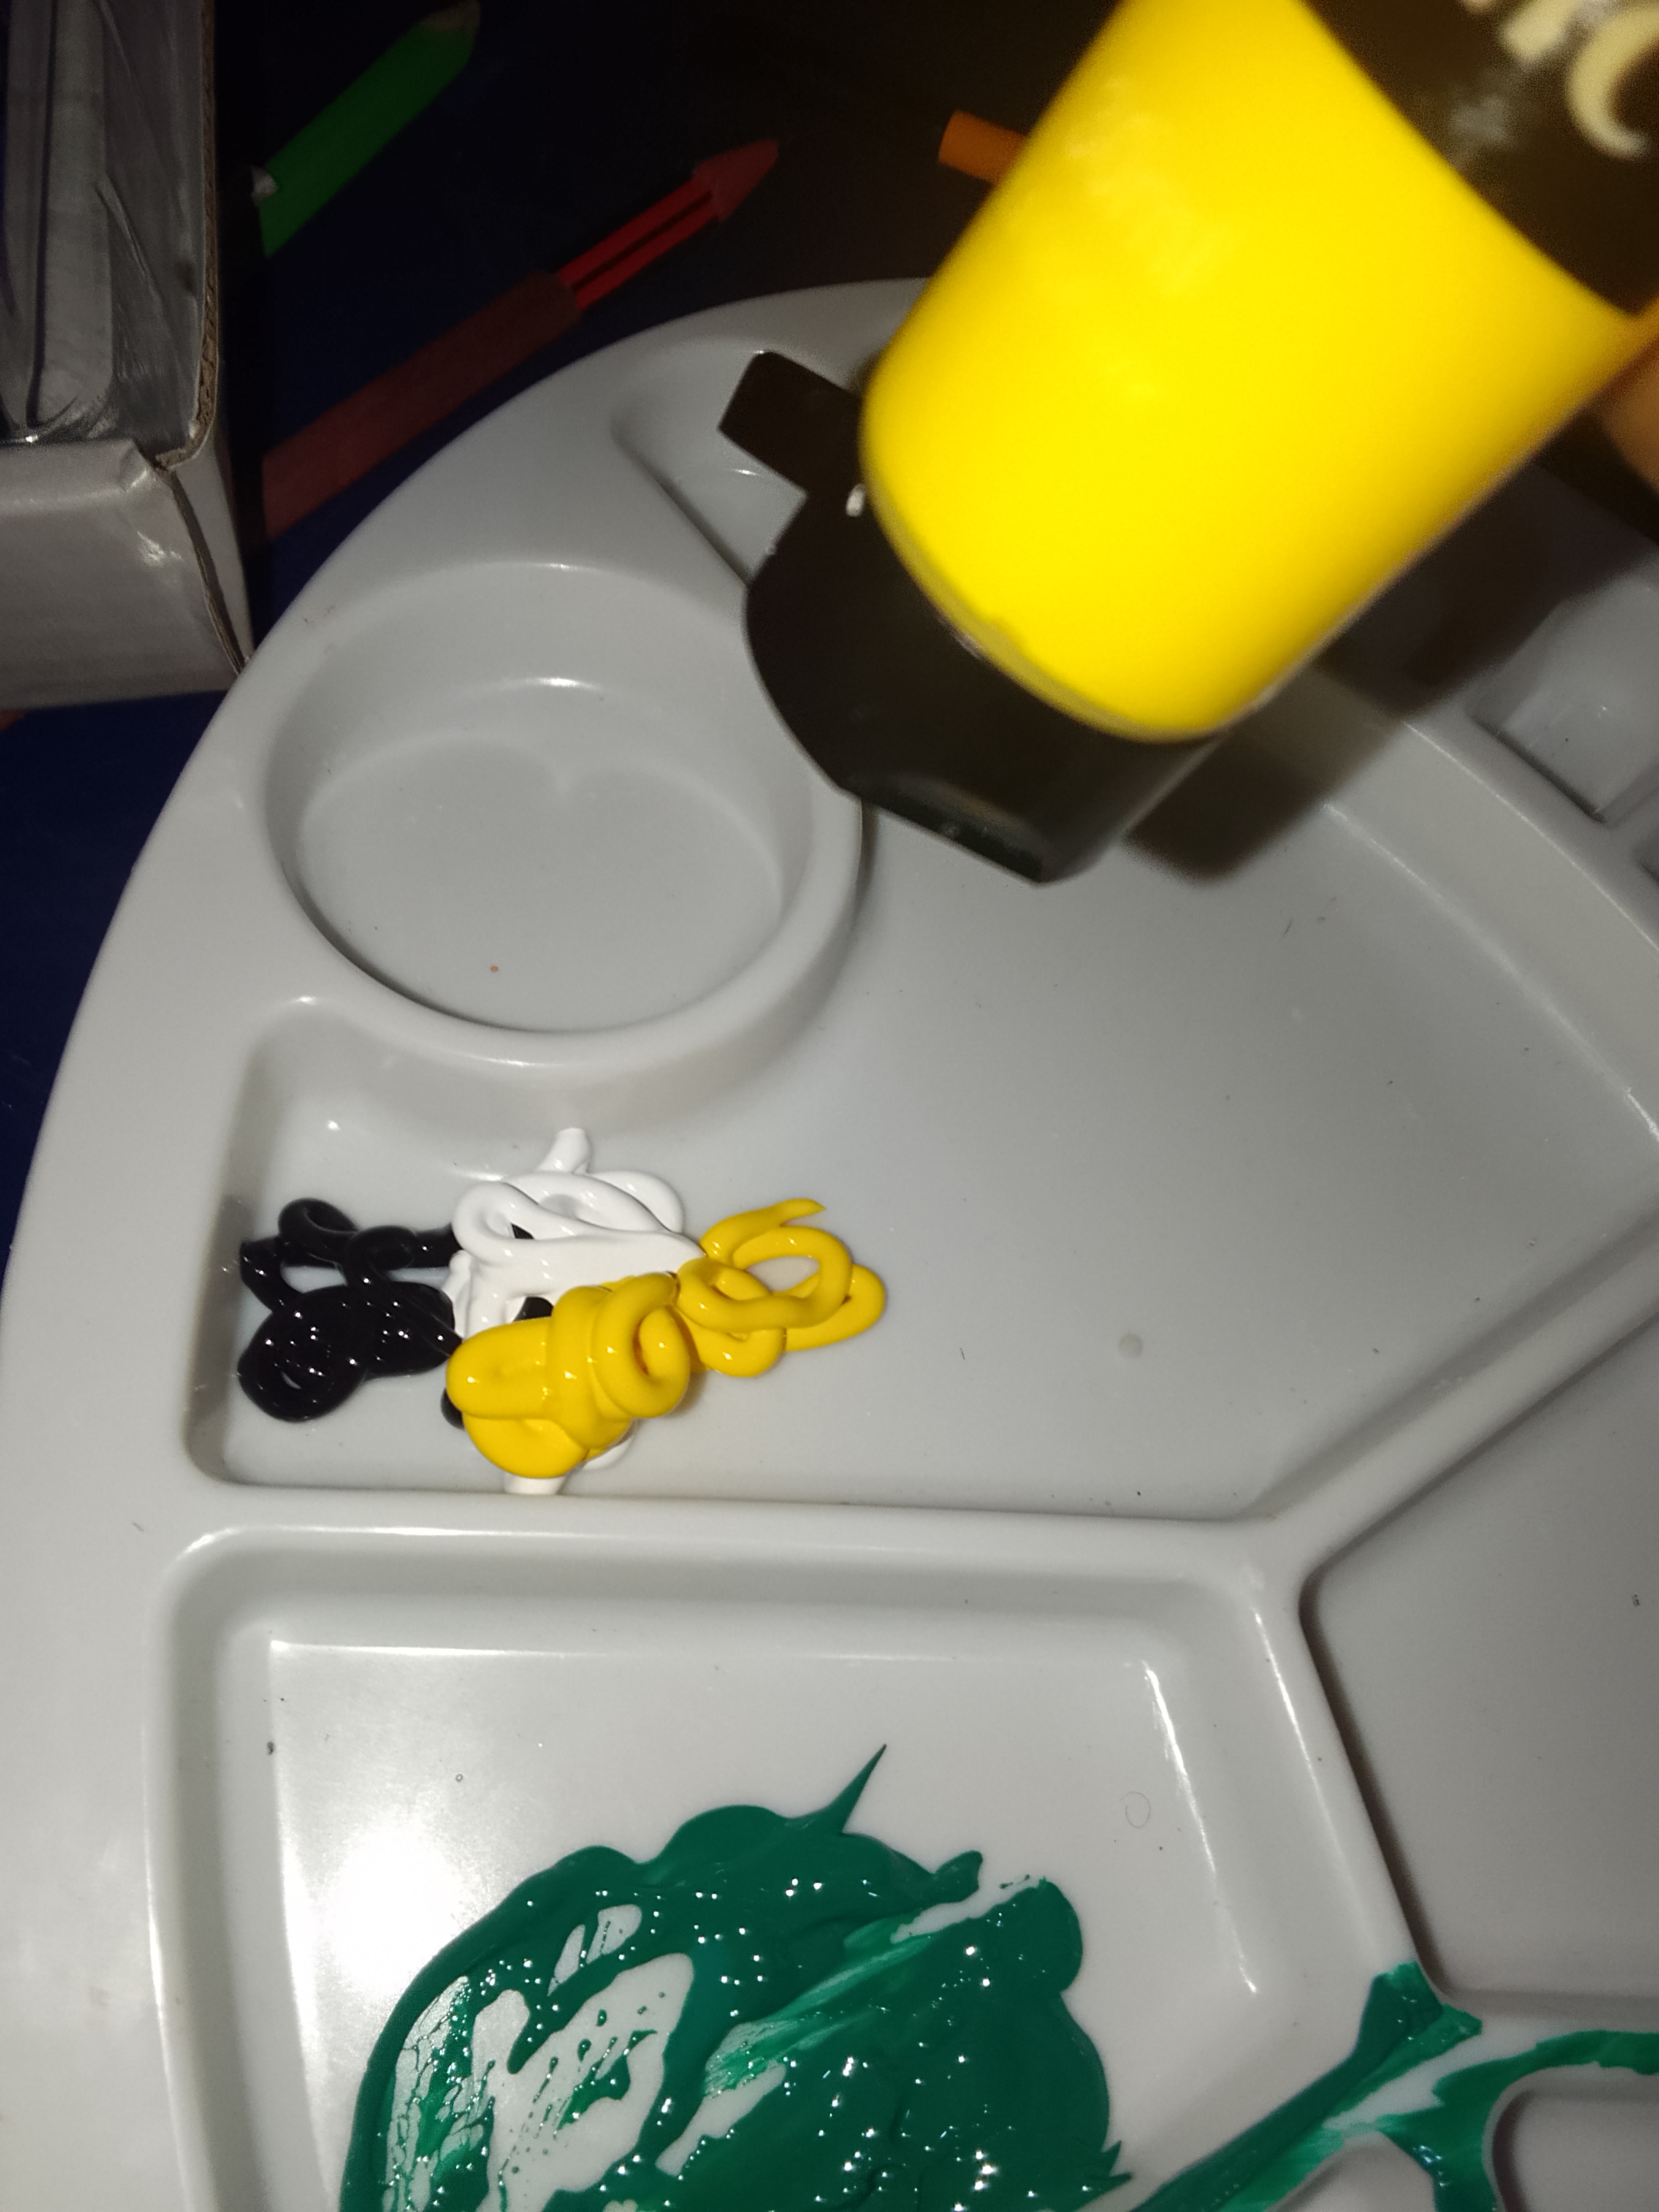
The bag was done and it was time to paint on it. I got out my acrylic paints, my pallette and my brush
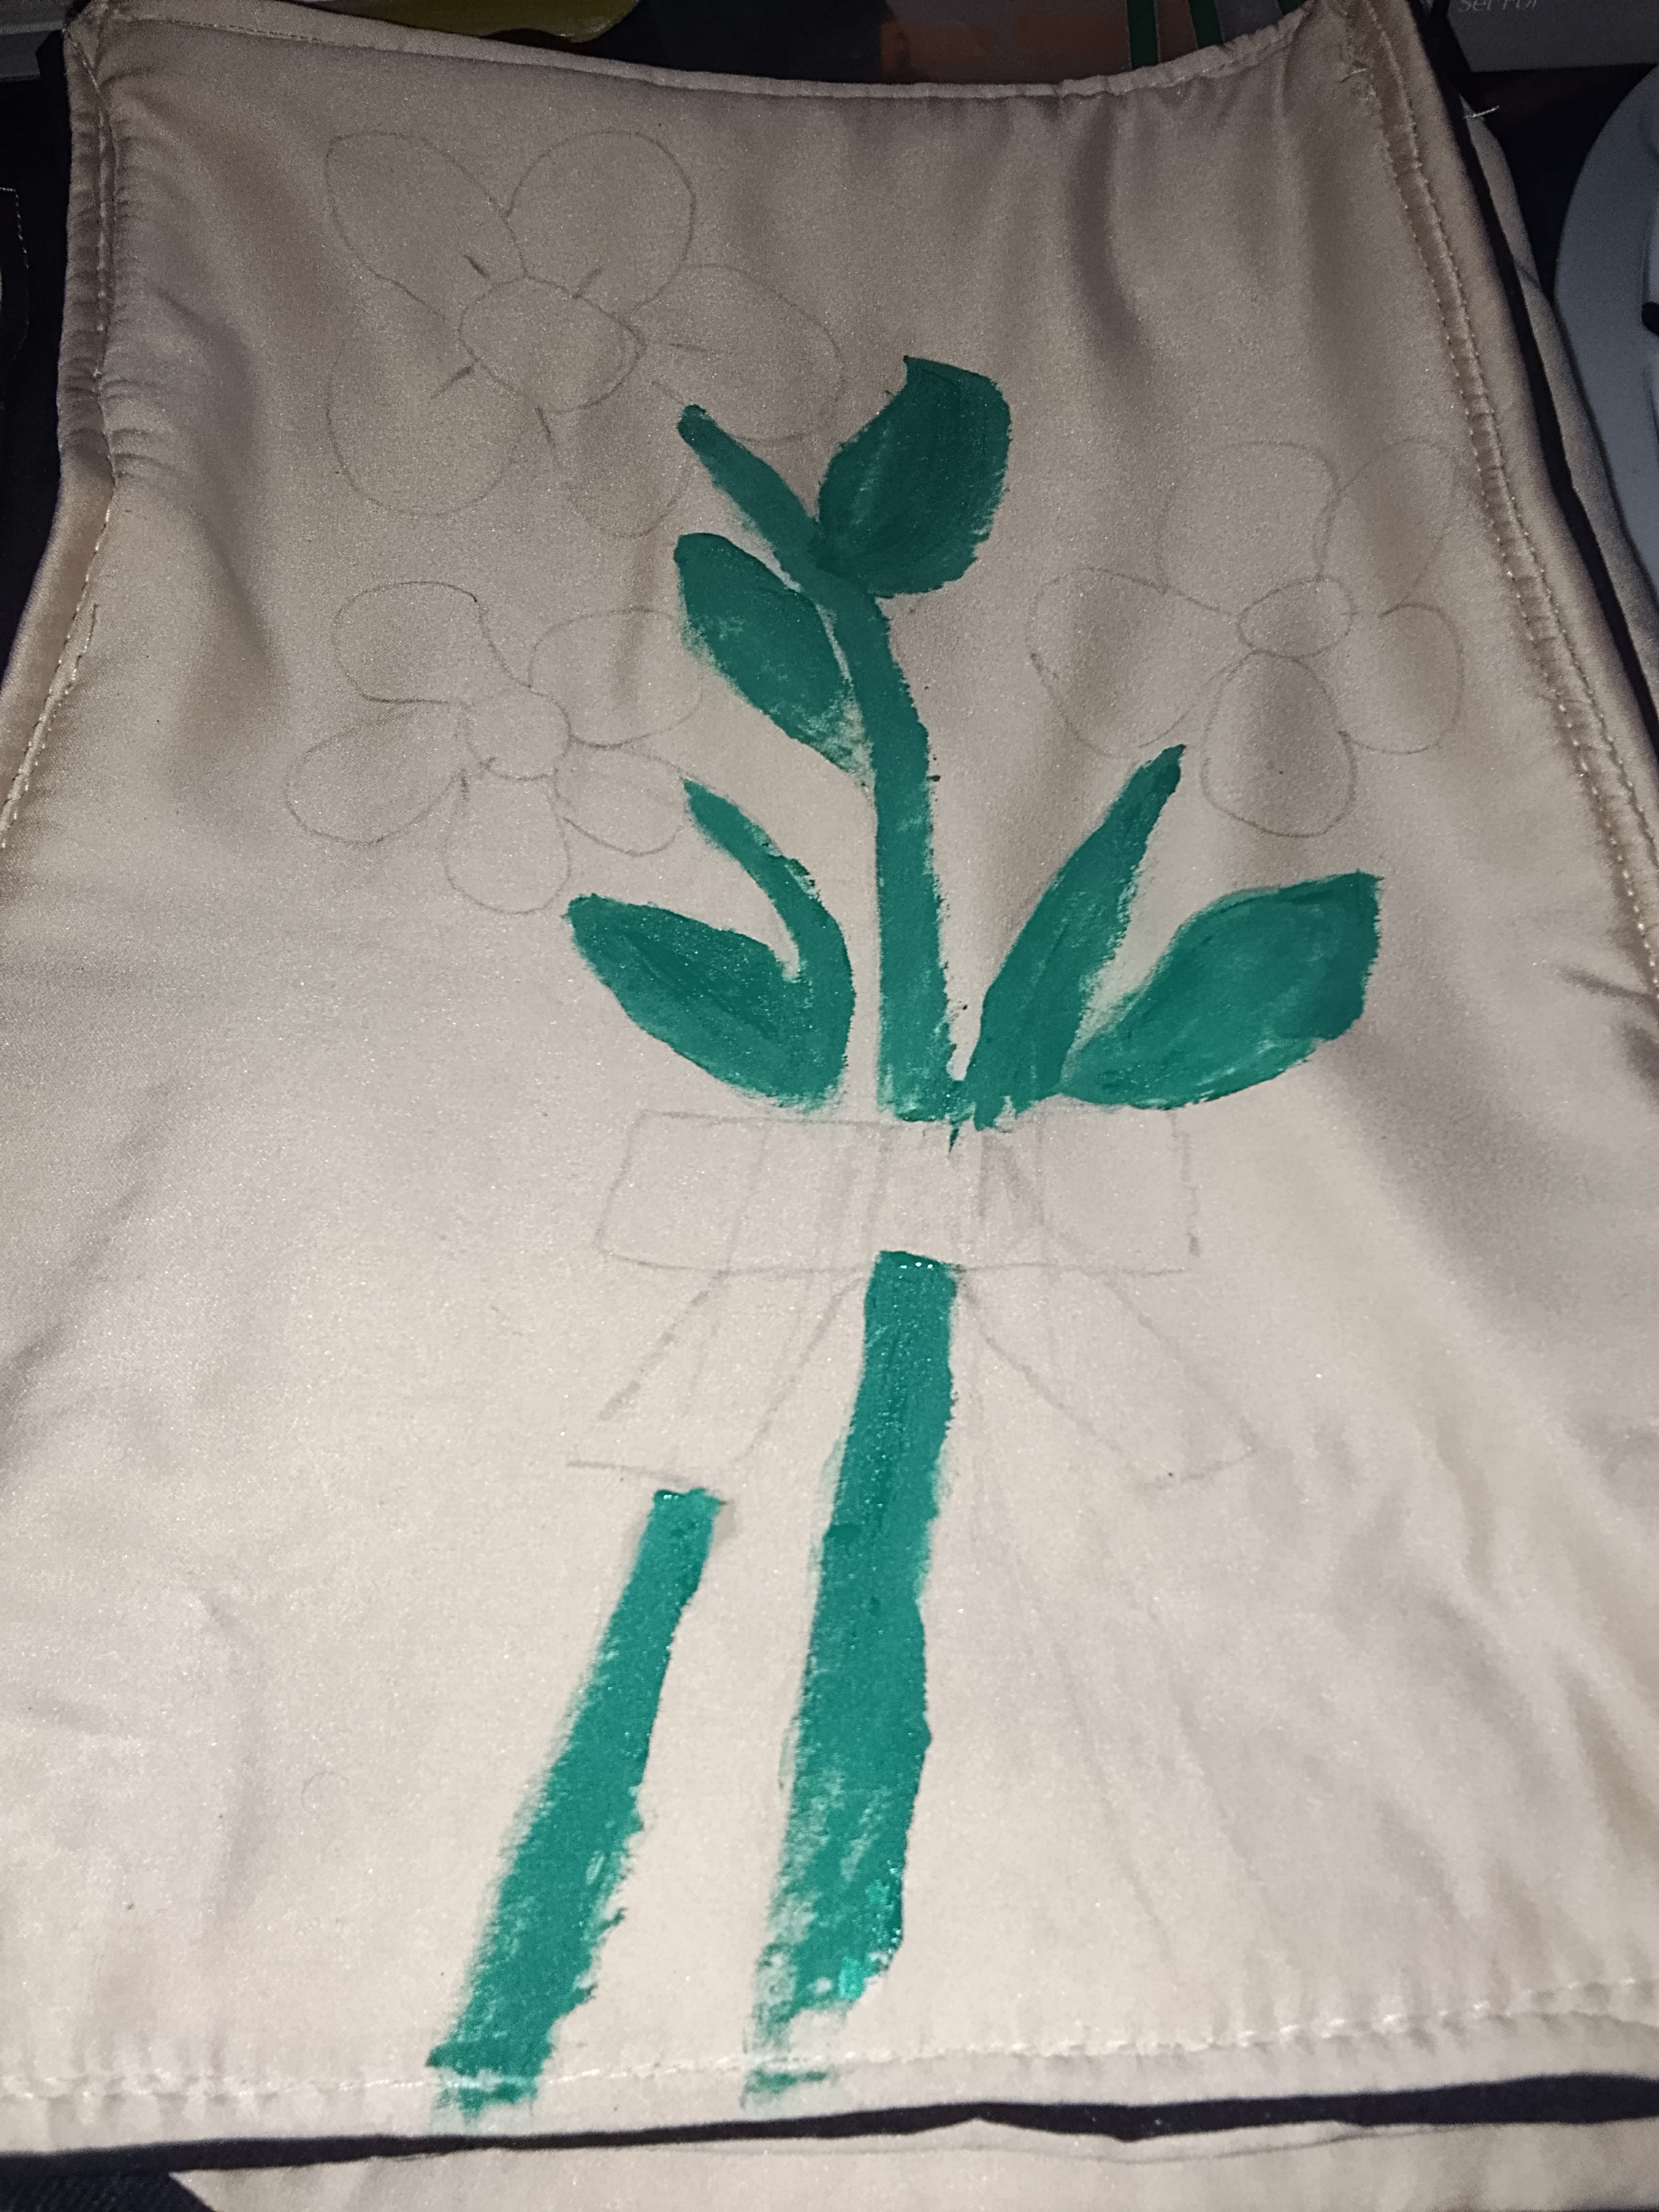
Then I draw what I wanted on the bag, I started with the flowers
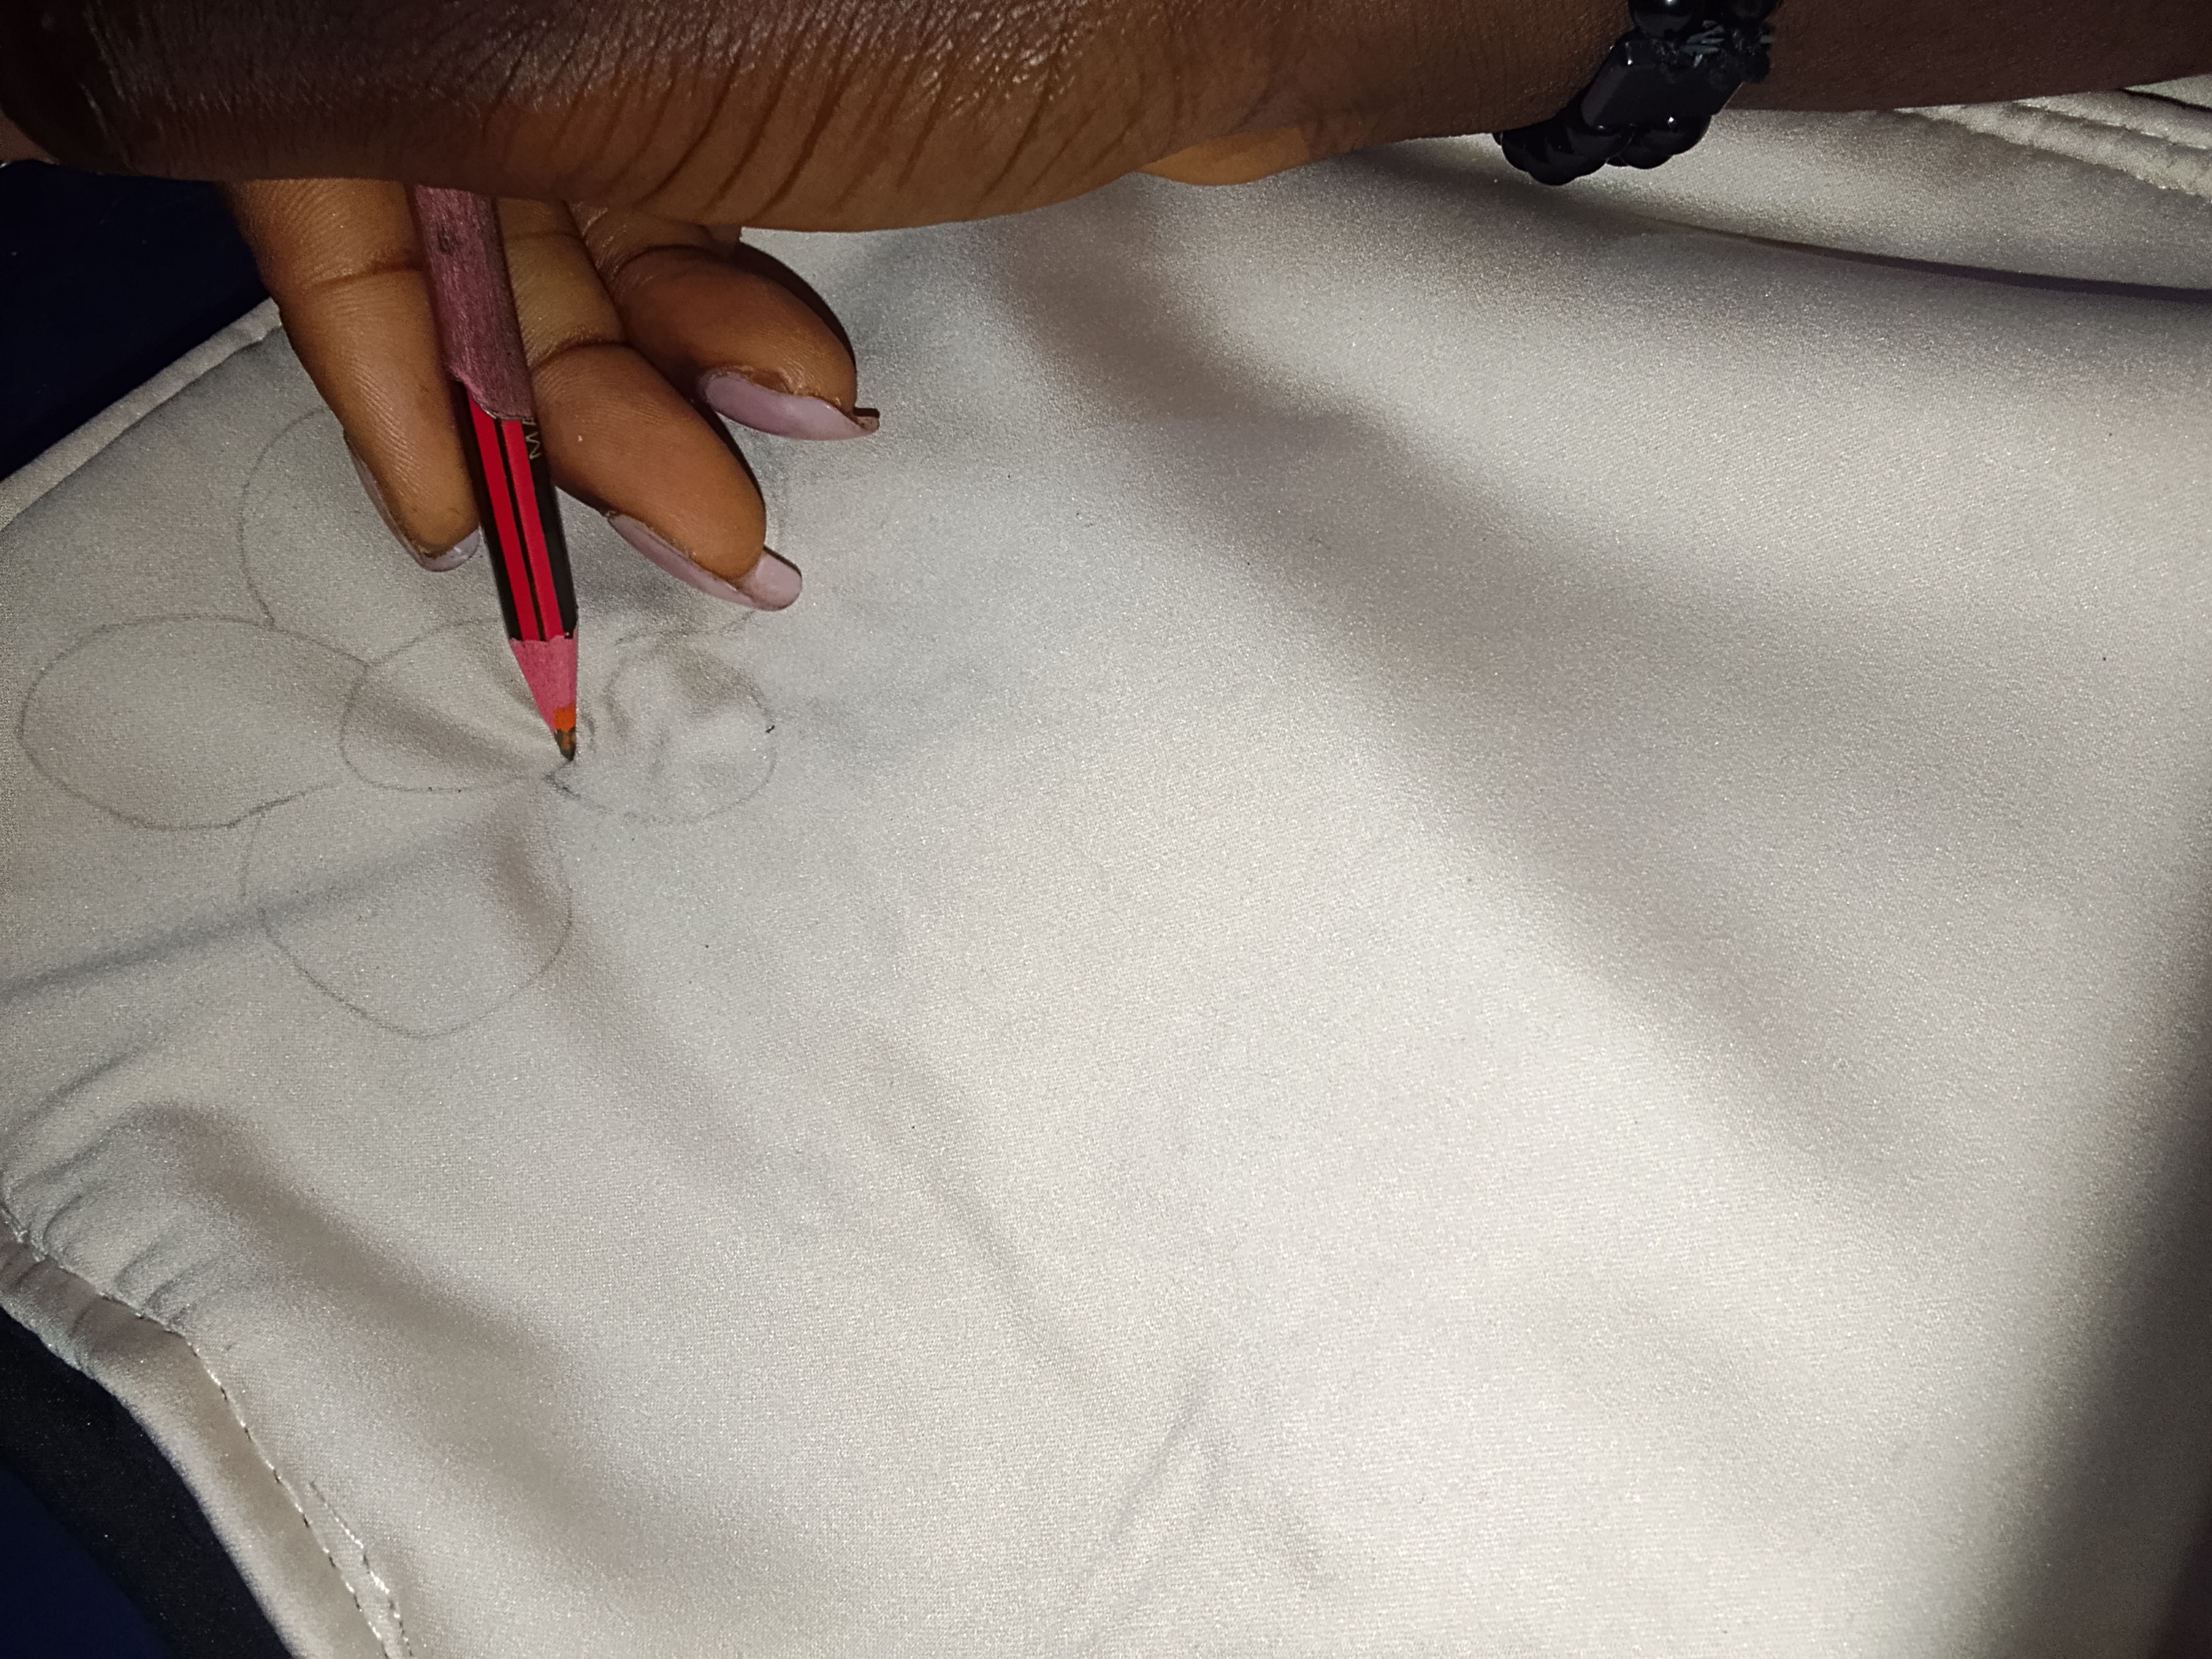
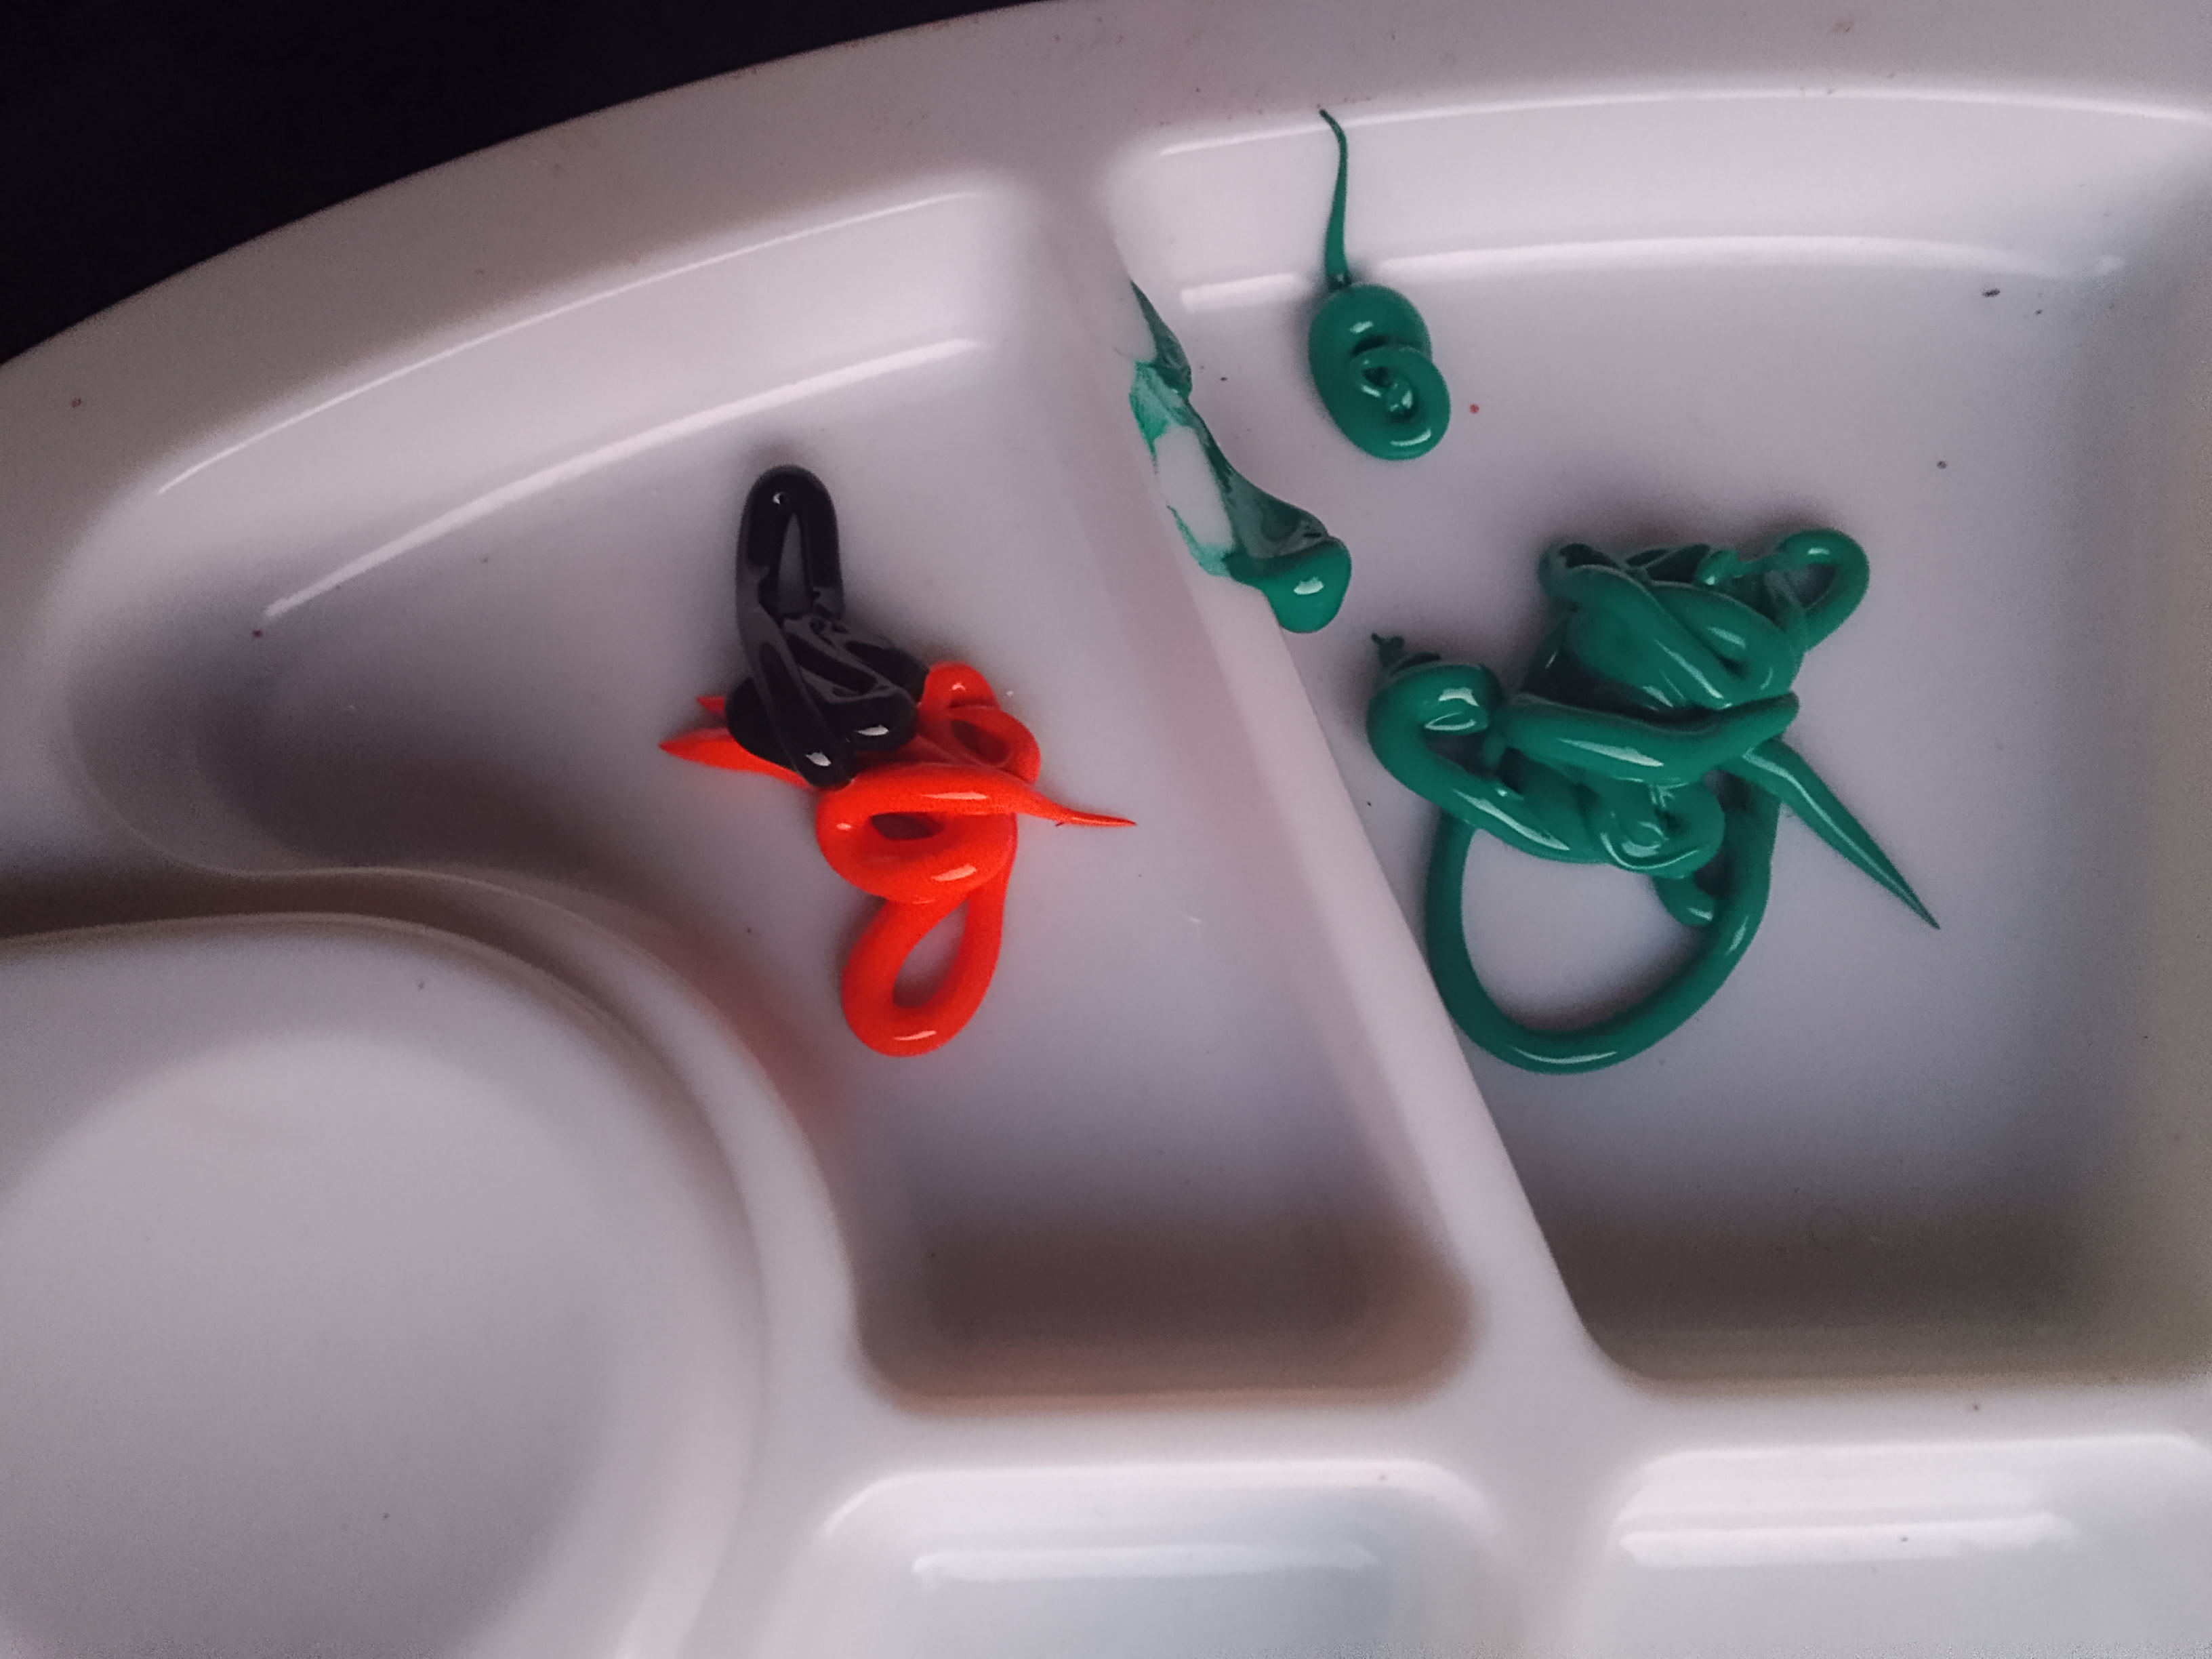
After making the sketch I started to paint on it, and even exploring more designs with the paints.
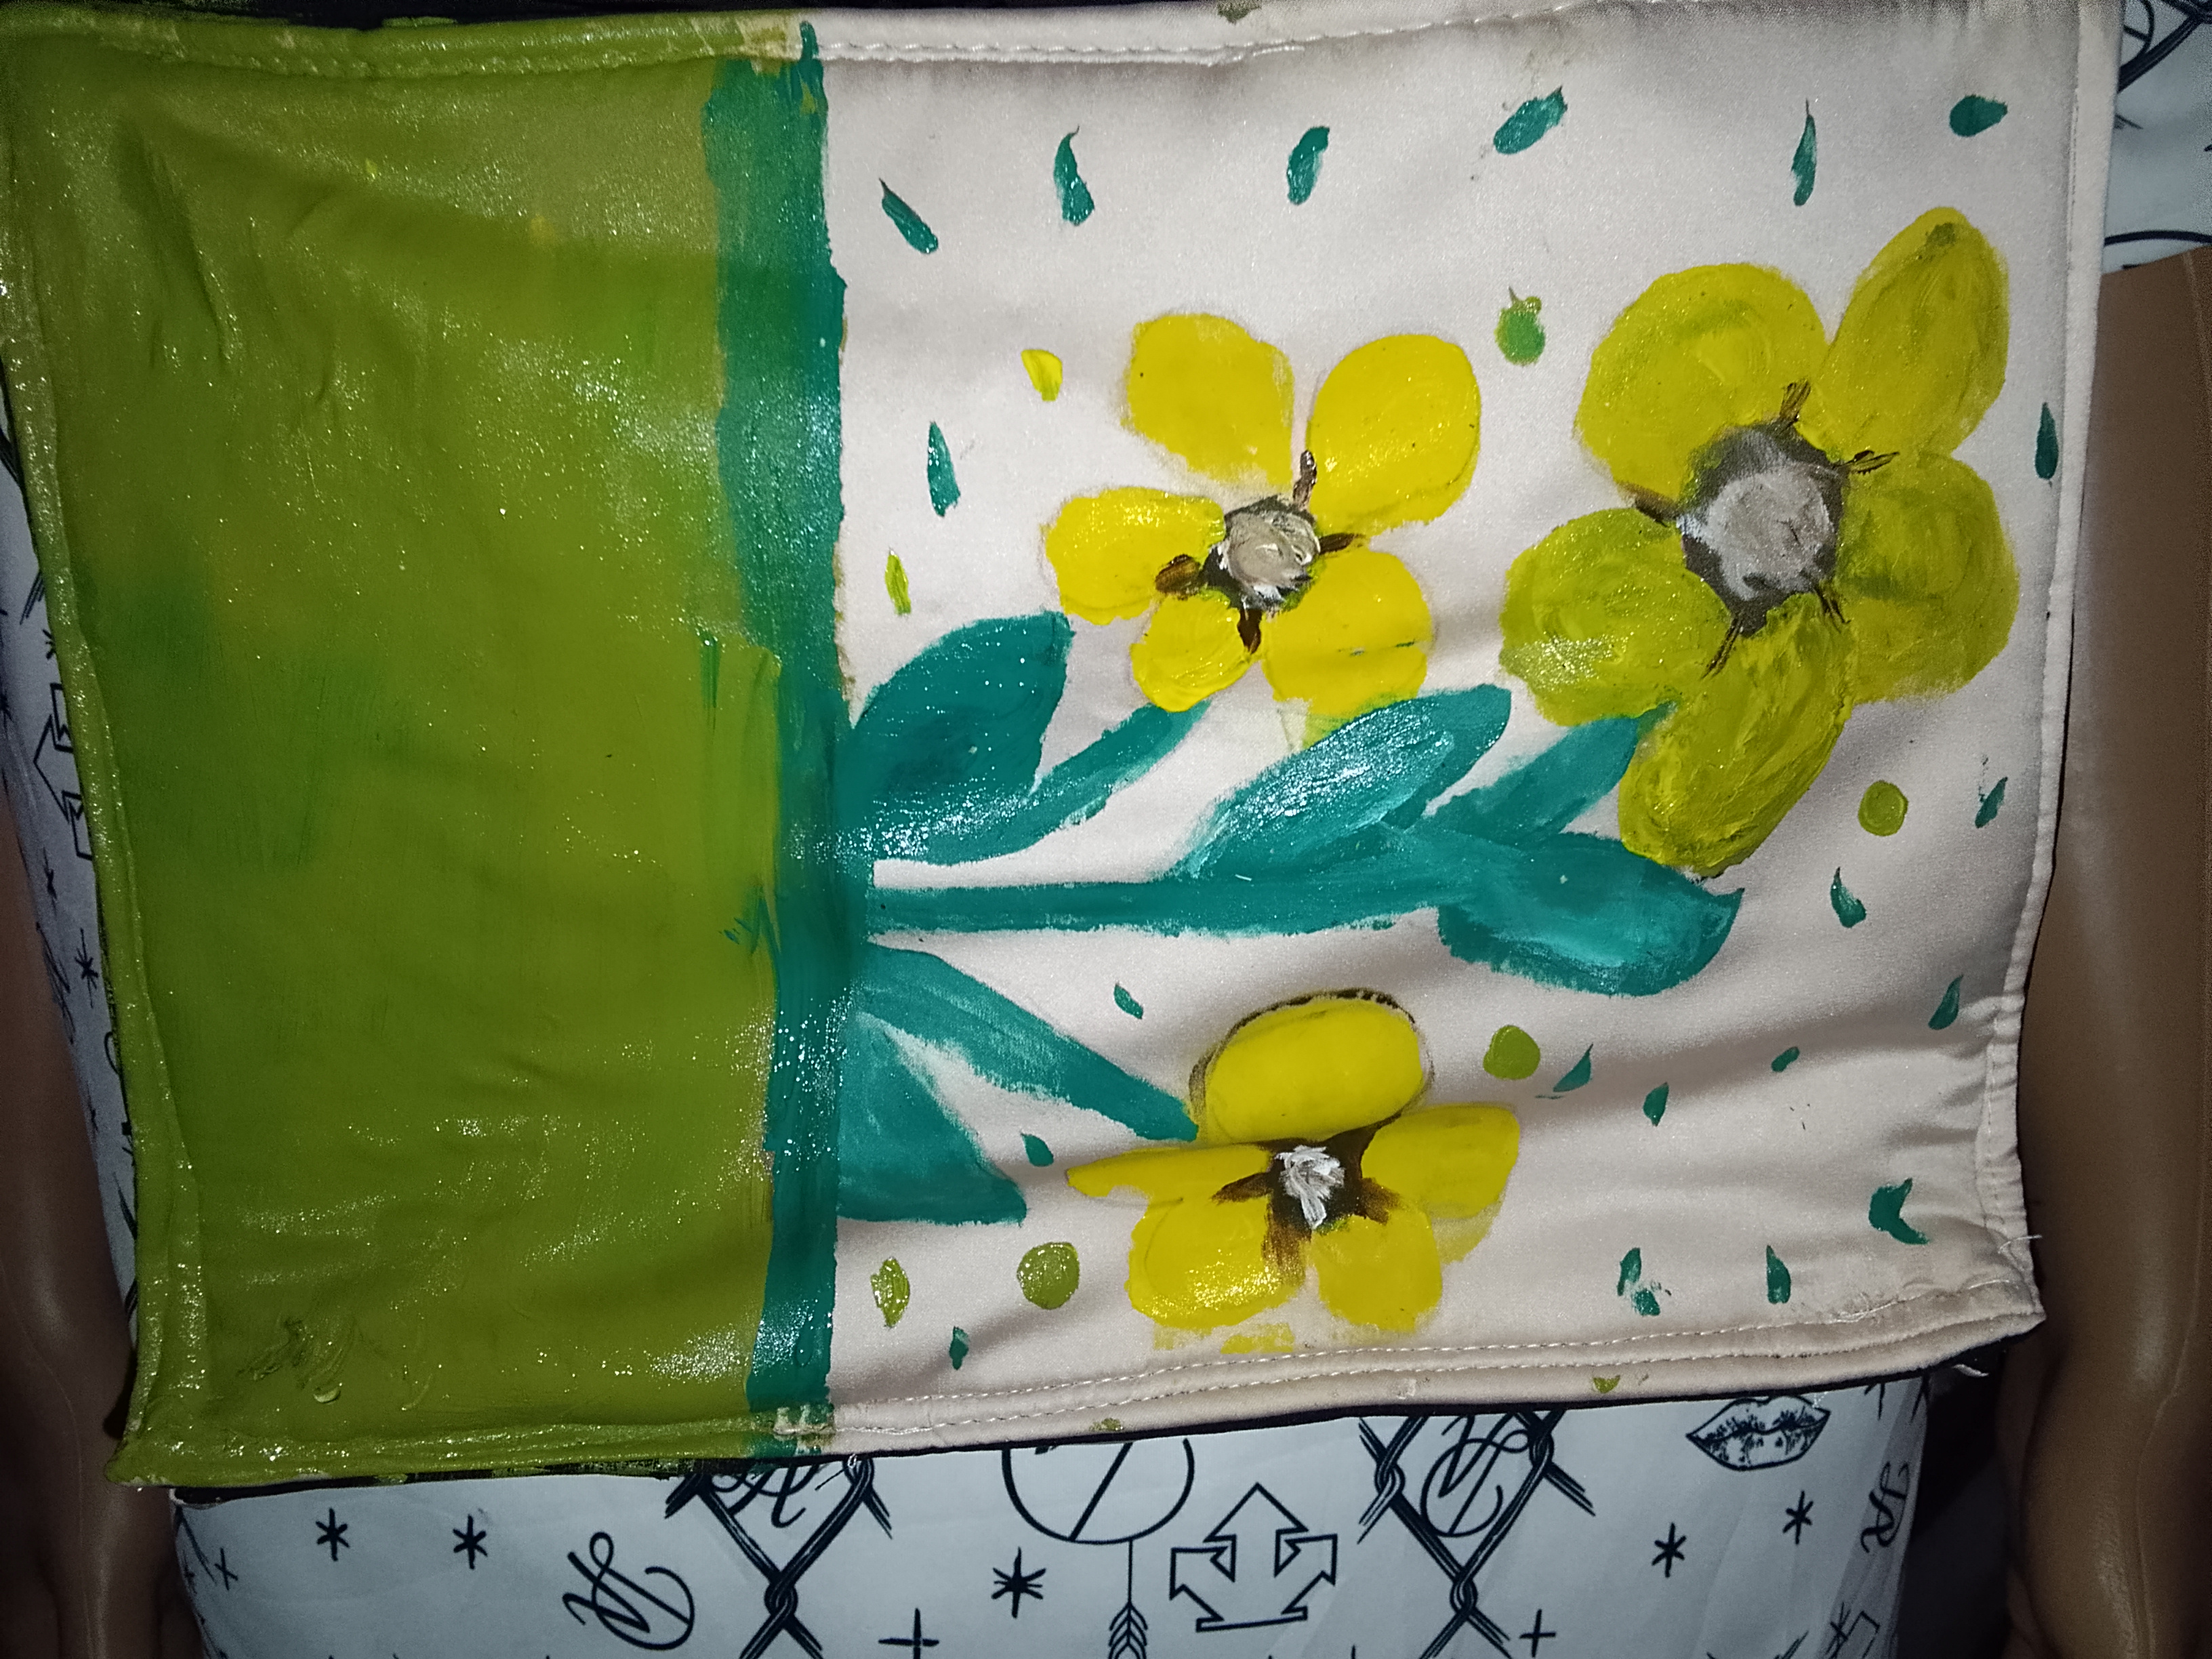
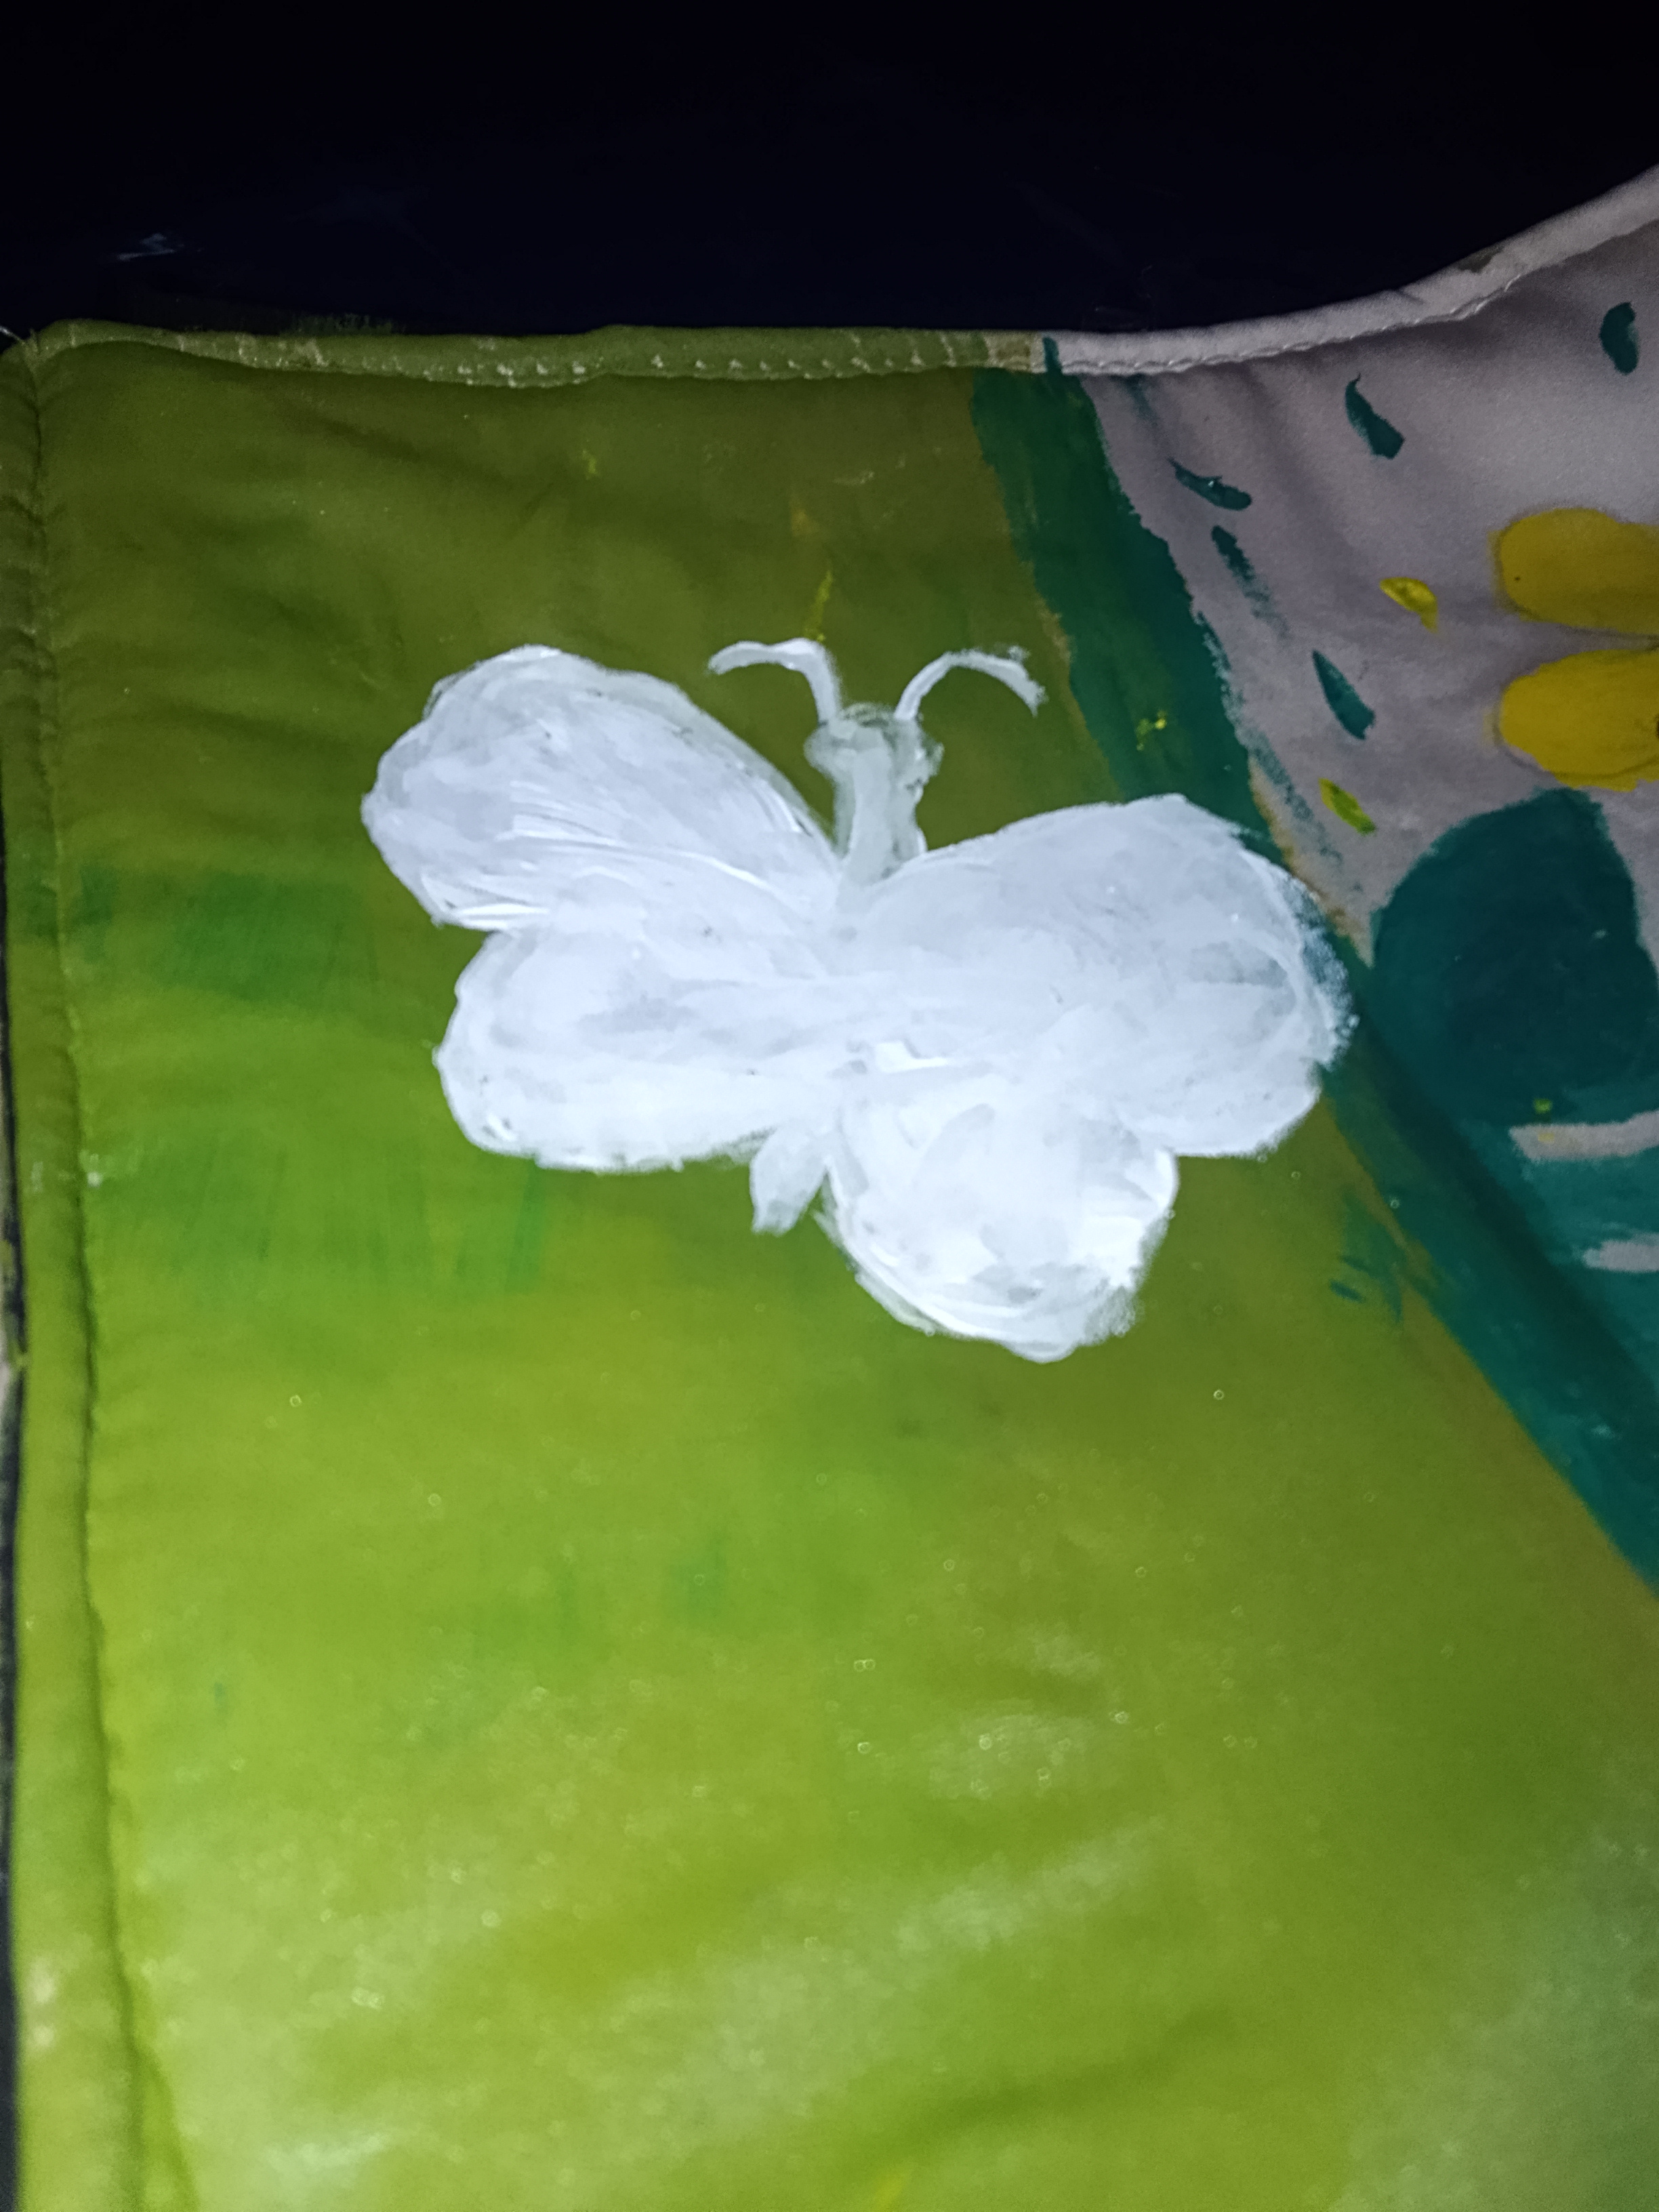
After painting the flowers I made a space I used my dryer to dry the paints so I could make a butterfly sketch of top of it
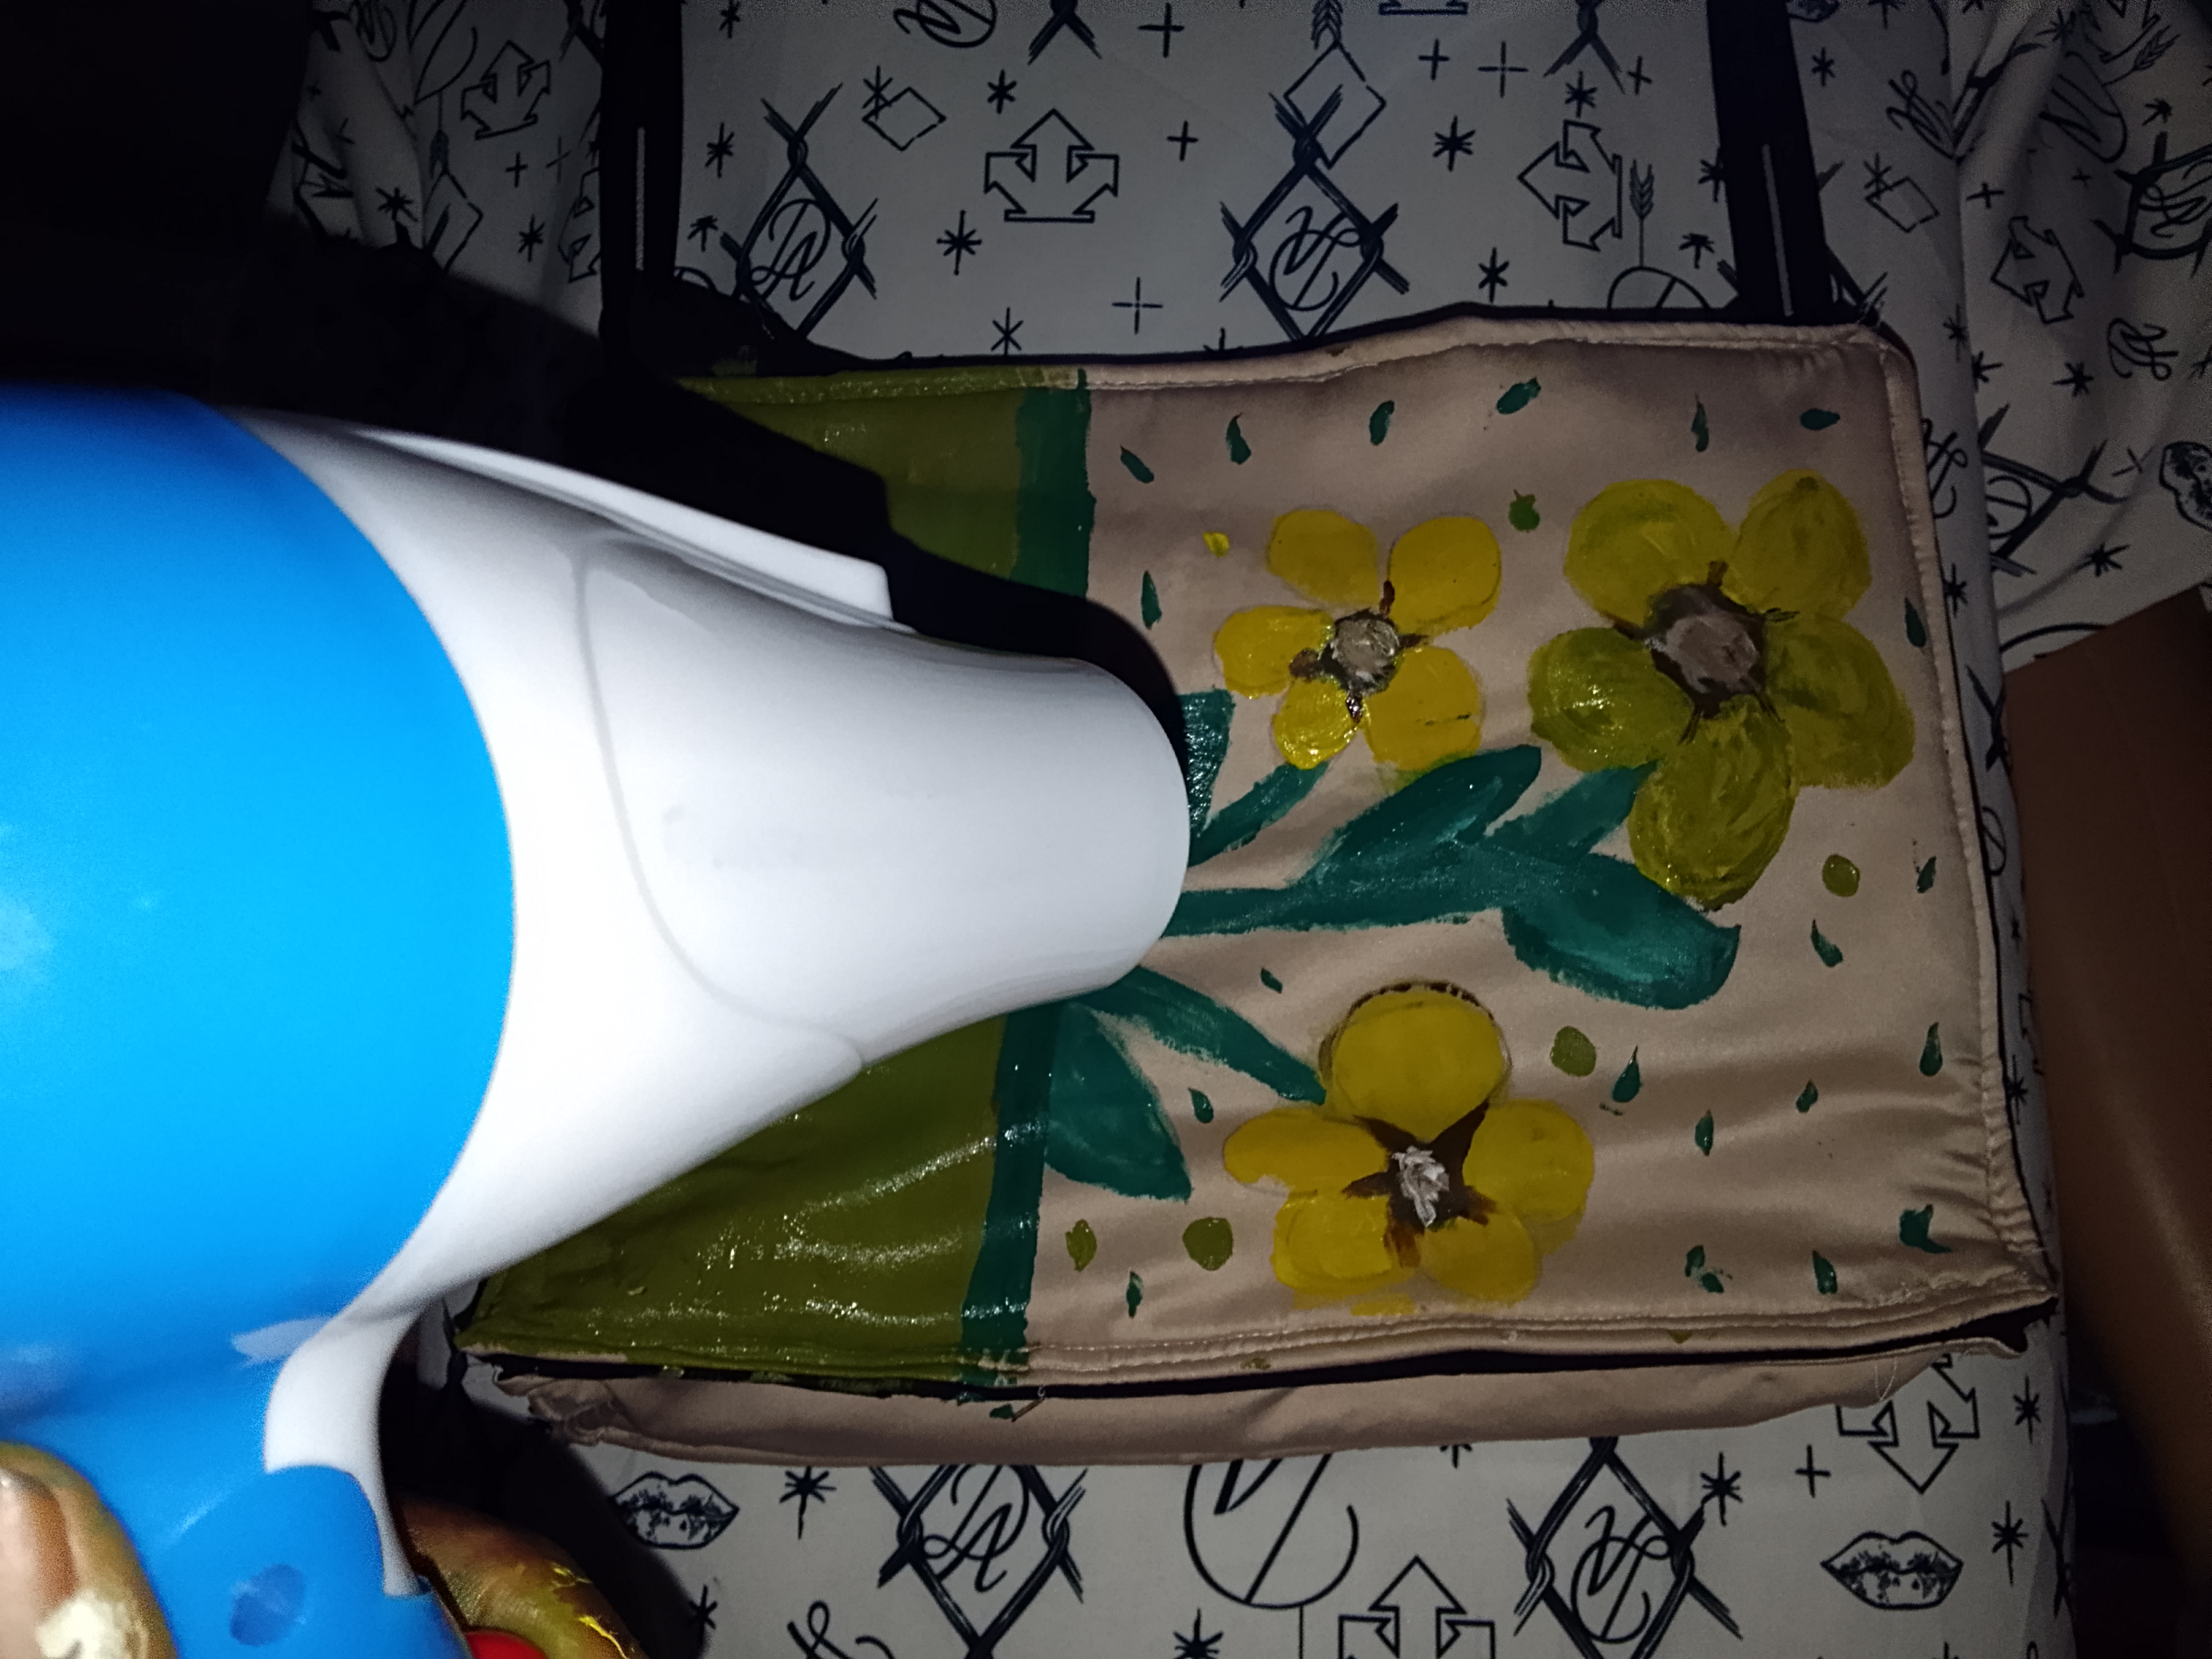
So I made the sketch and painted on it, and also made decorations on it with other paint colors.
 |
 |
|---|---|
After that I was done with it
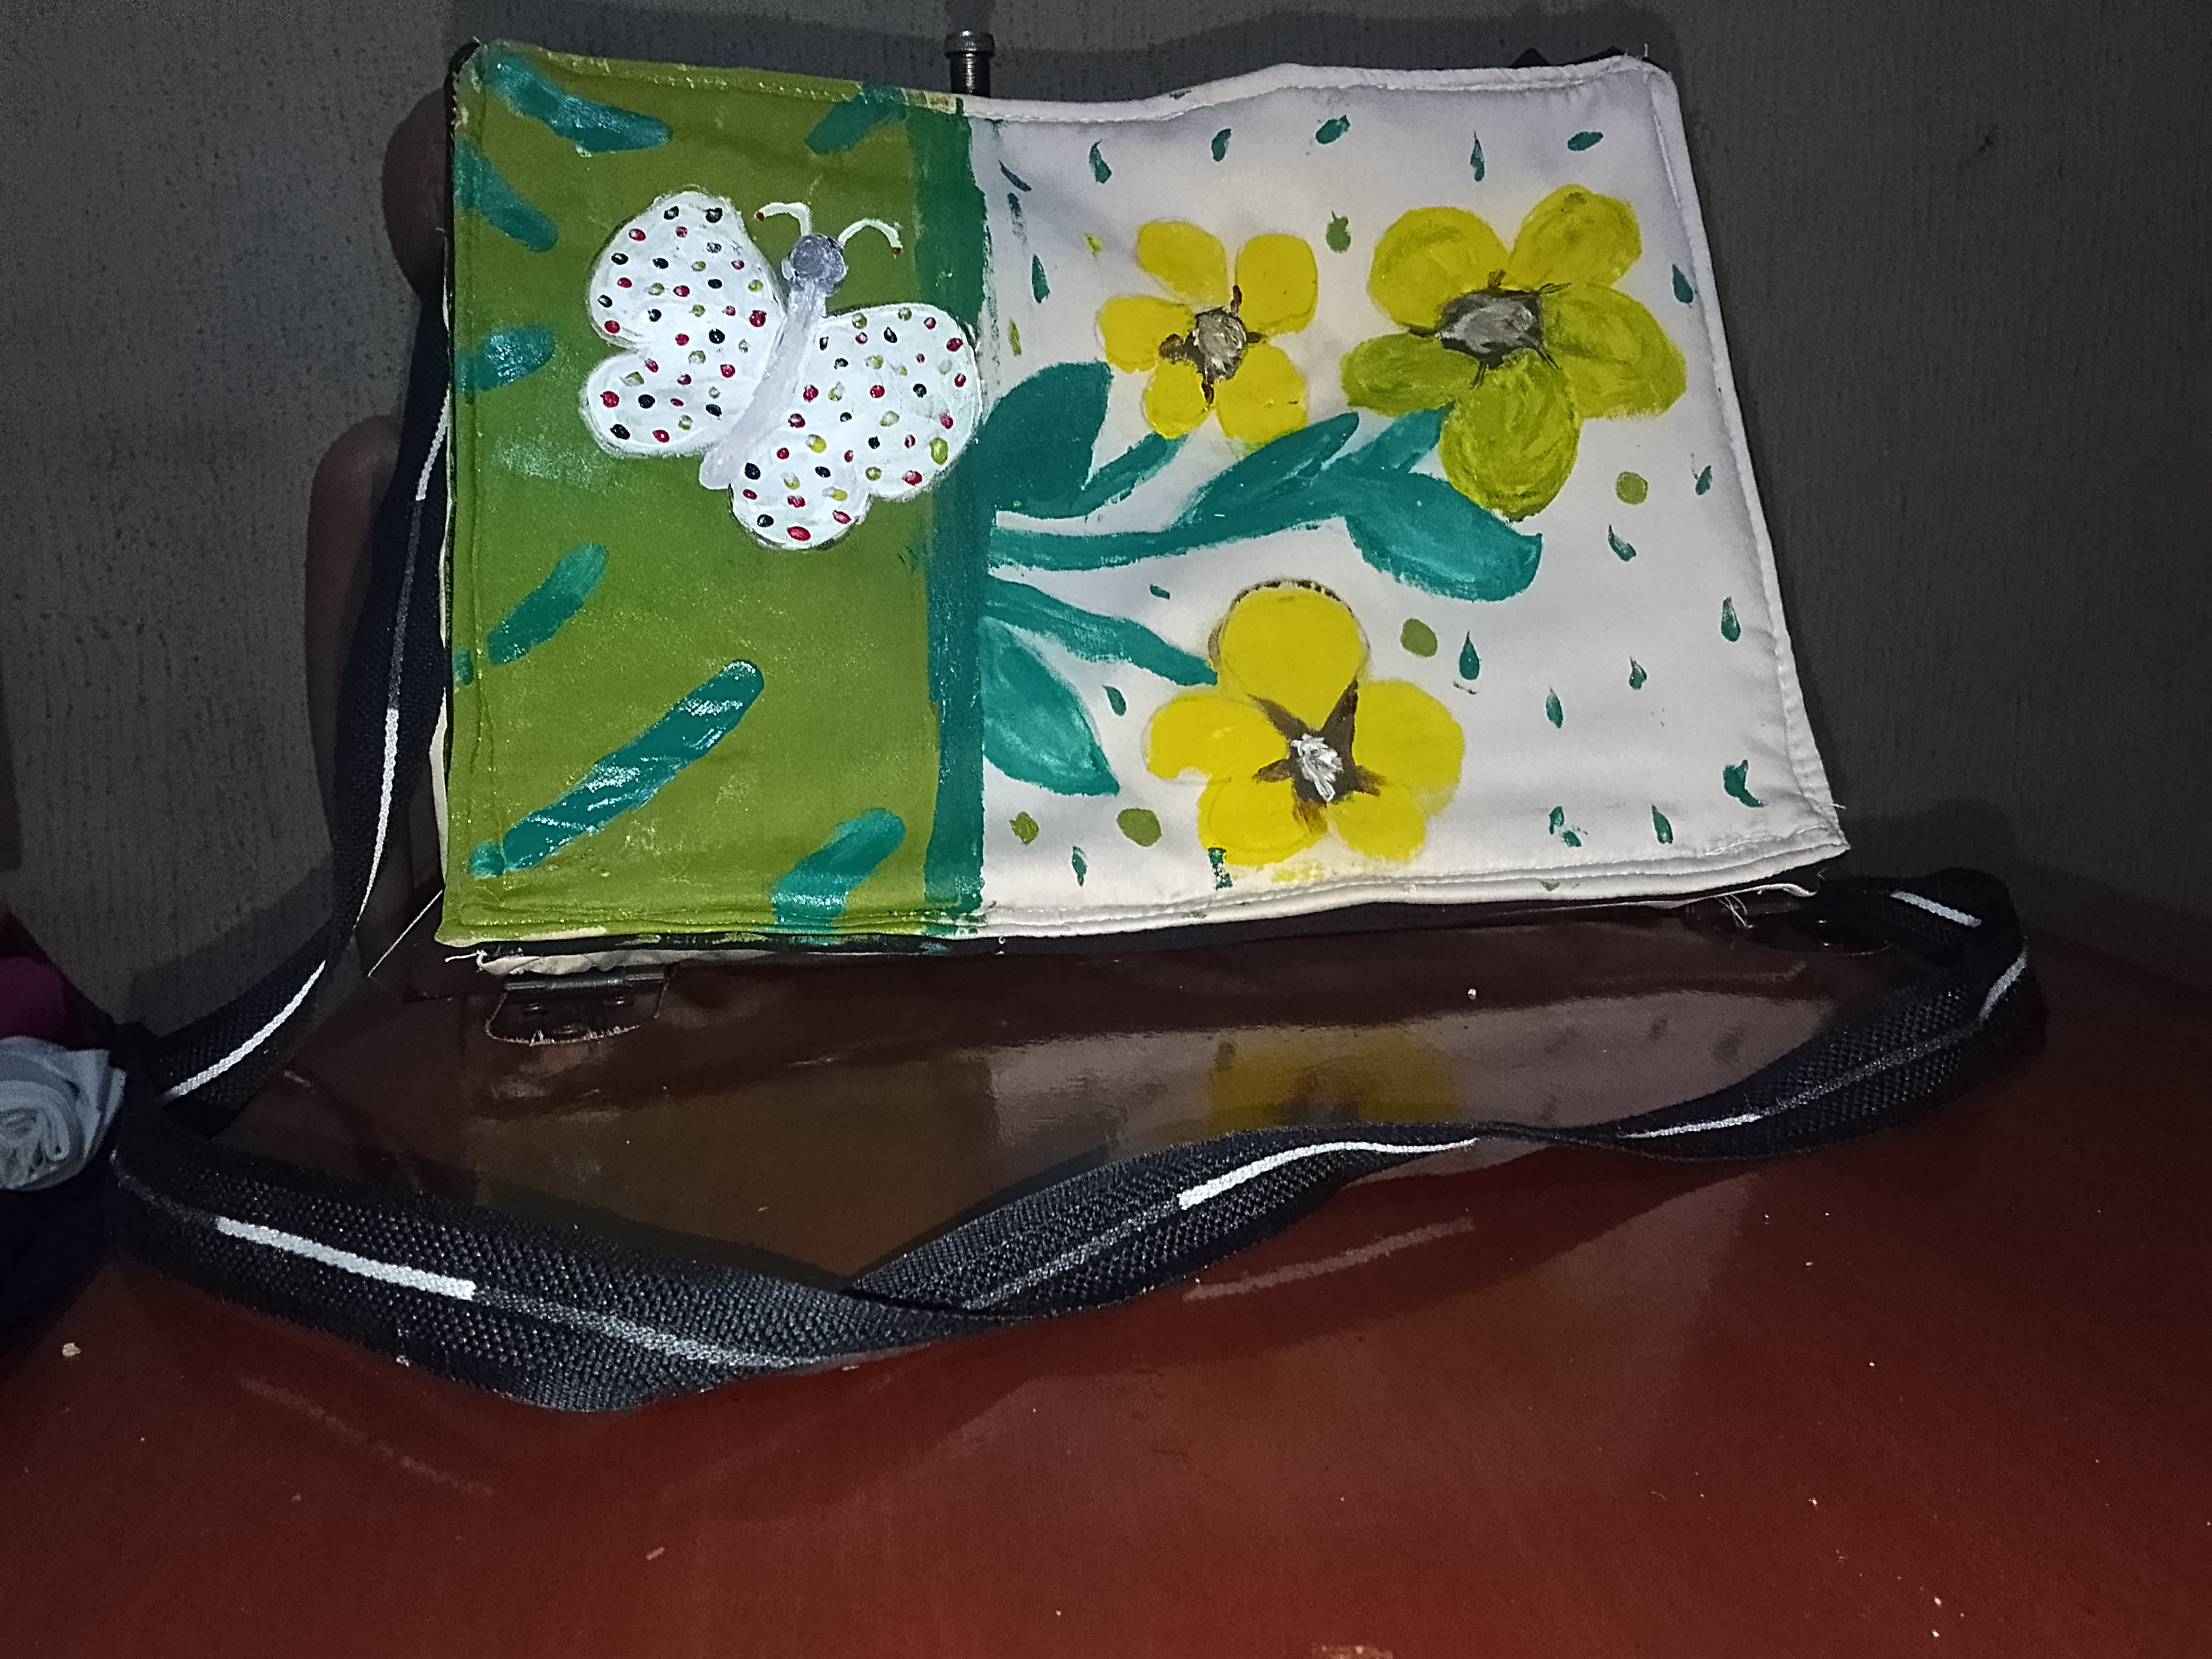
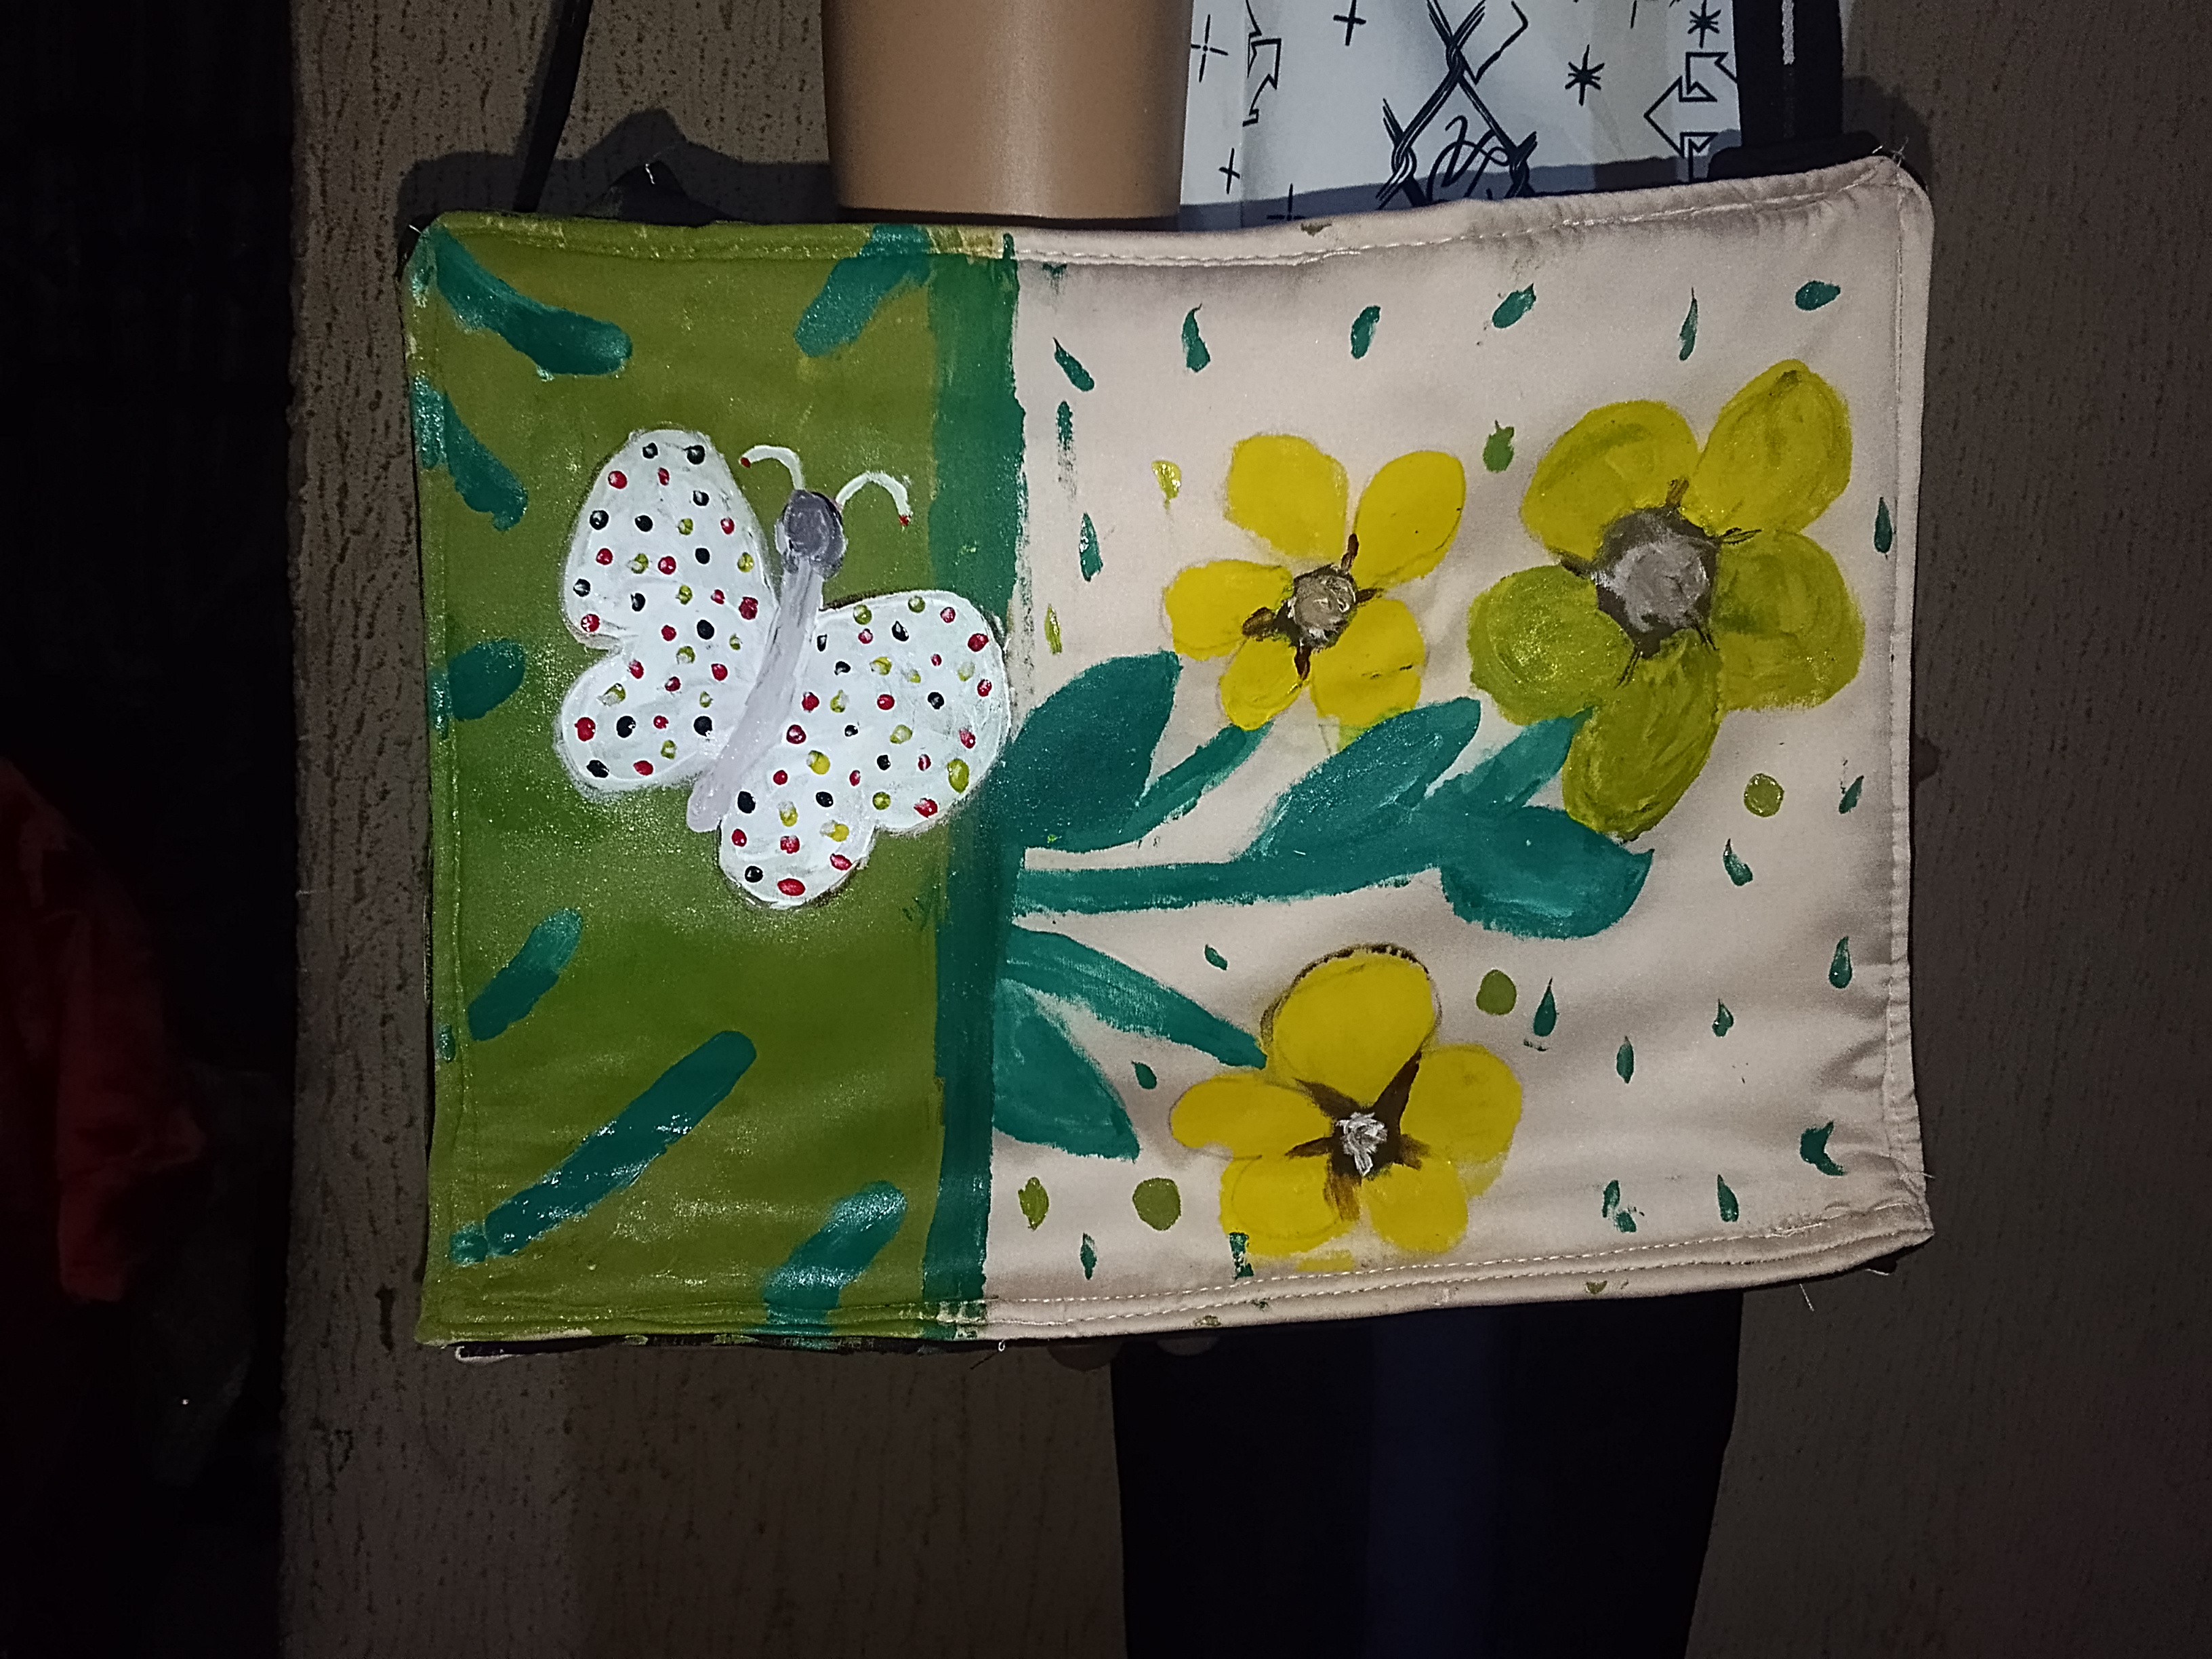
What really makes diy projects so special is how unique you make it. I love the natural scene created using the paint, the butterfly amd the flower. This project was such a joy from the start, this bag carries my personal touch in every stitch and brush strokes, I'm so glad I was able to finish it and to share it here. And thank you all for your time here.
