|
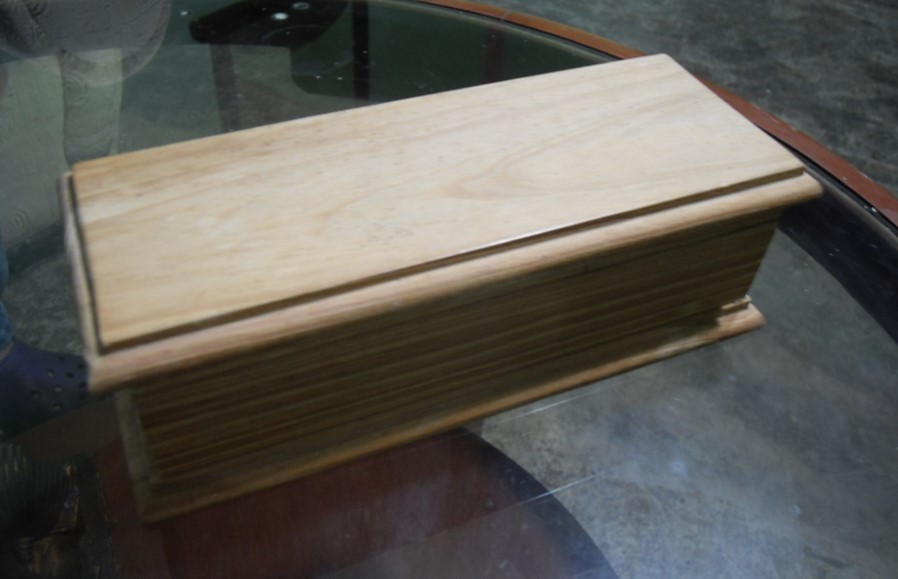
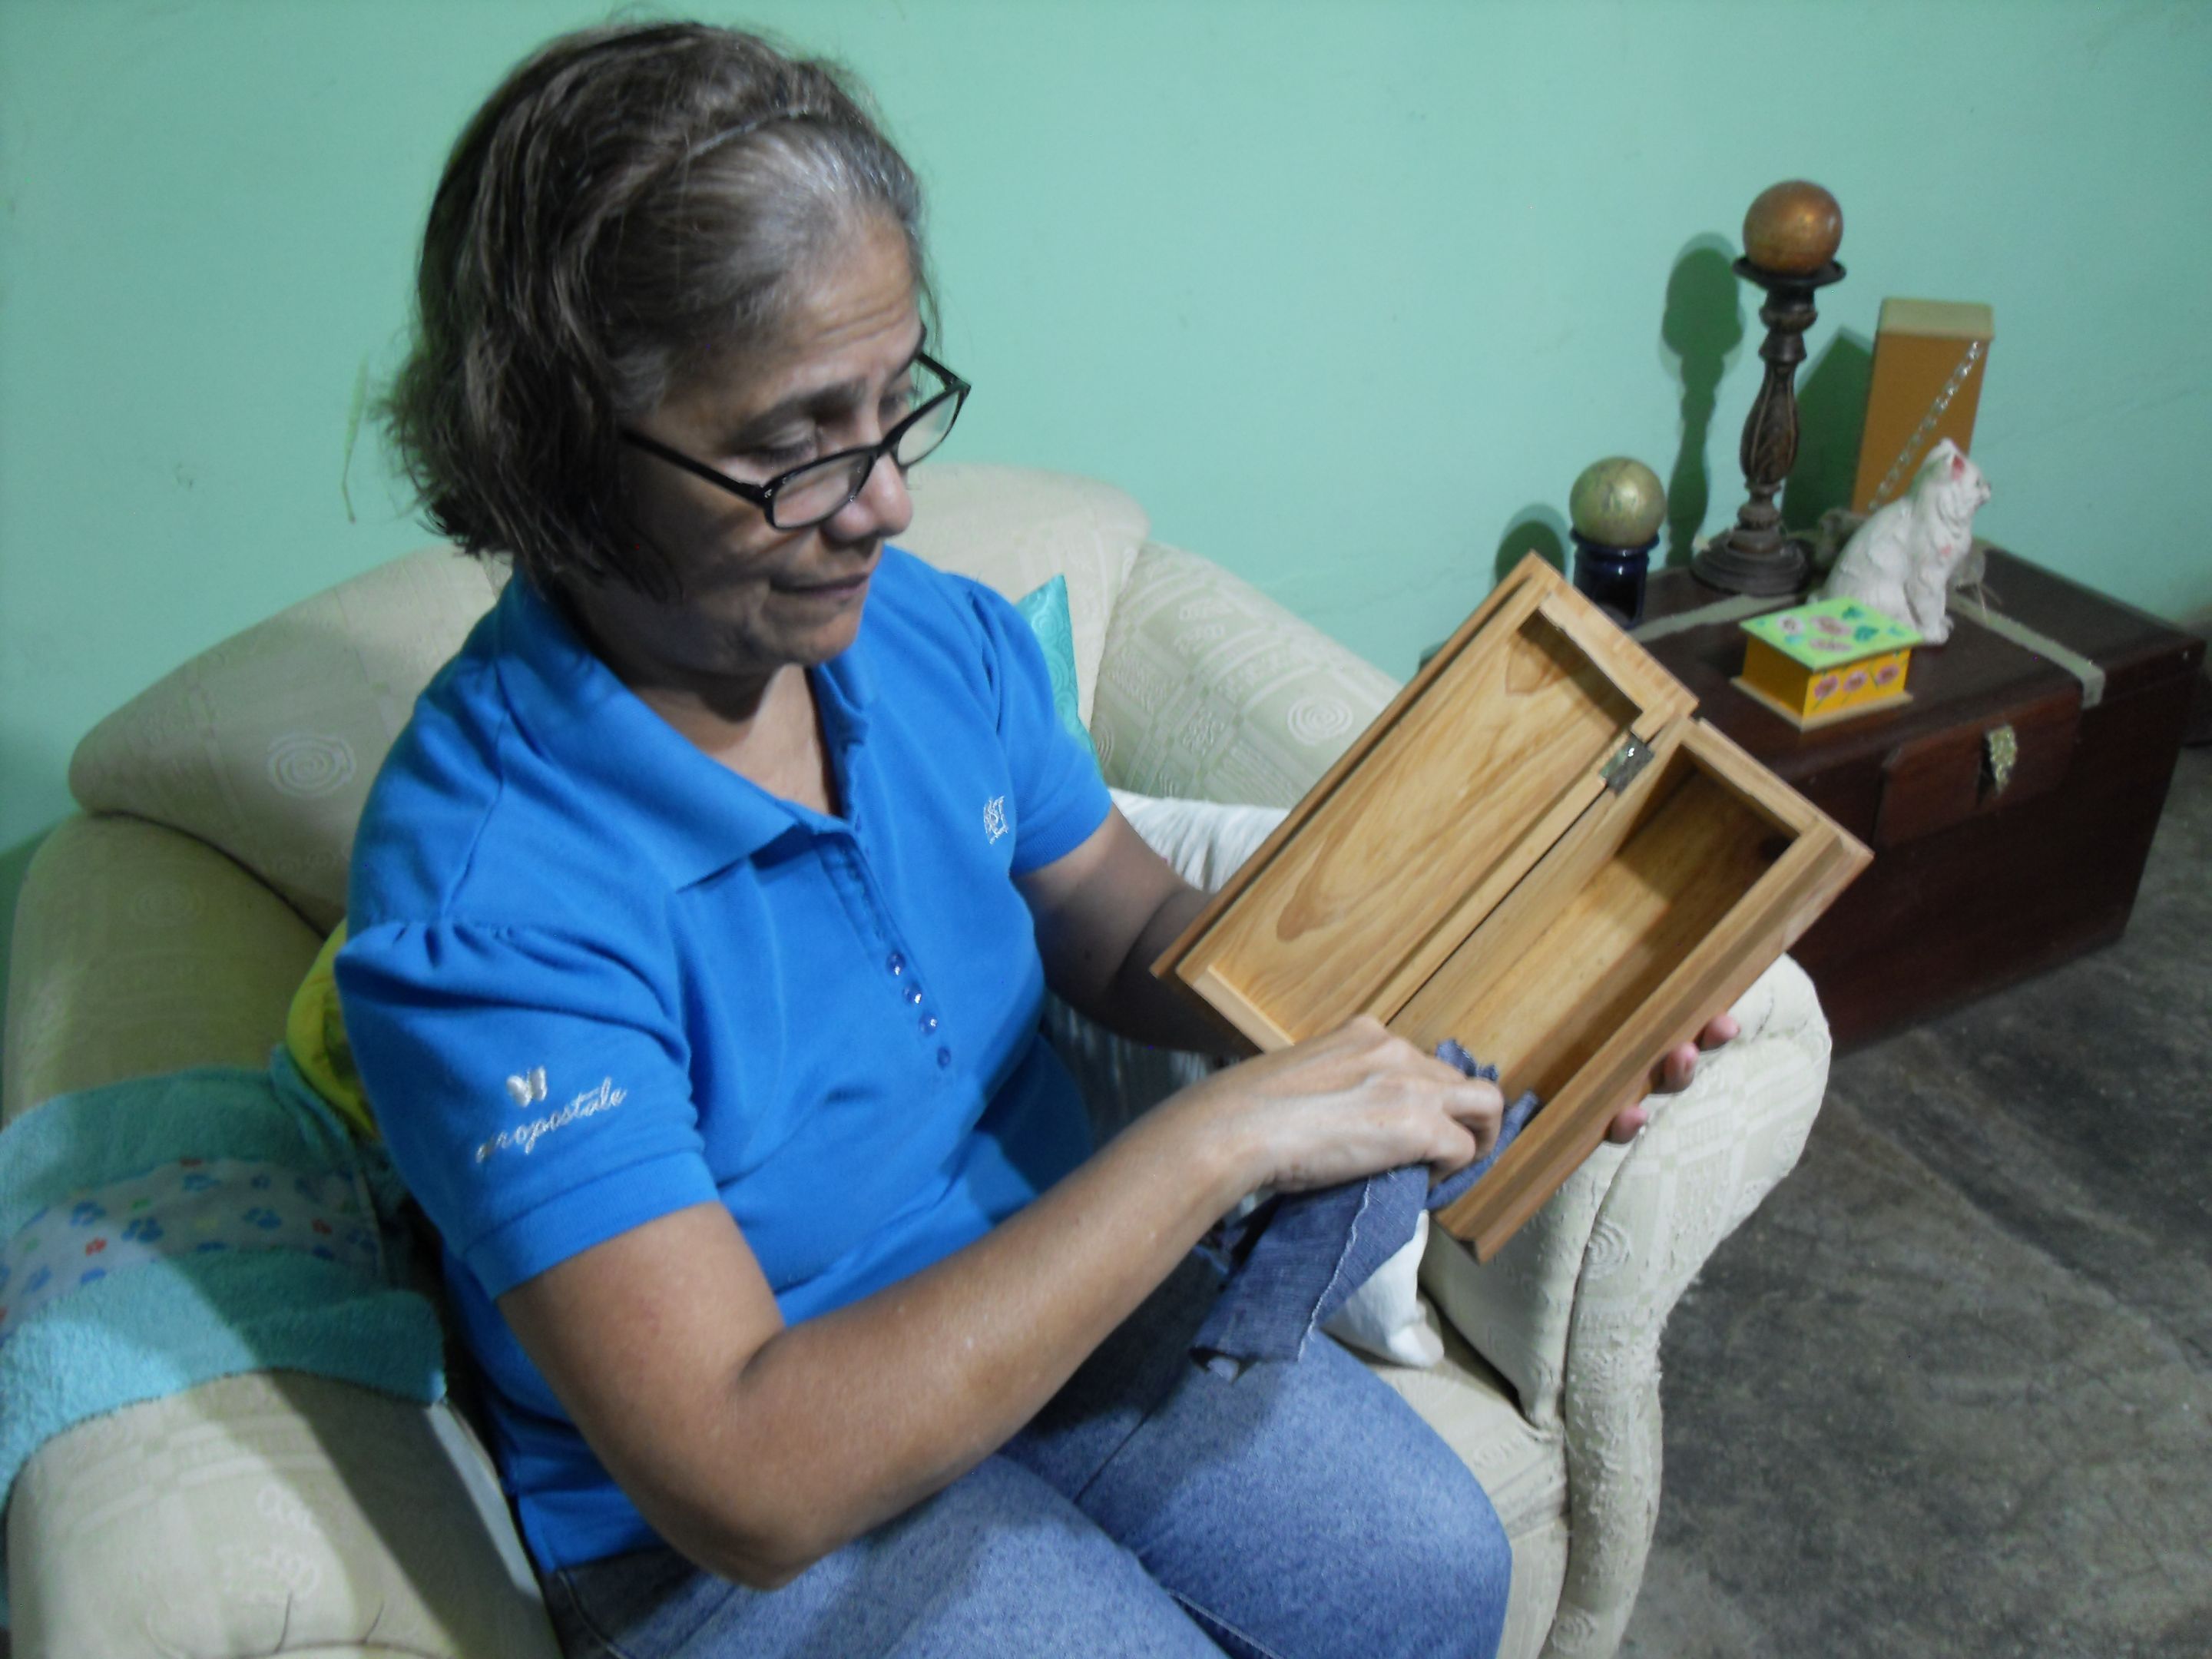
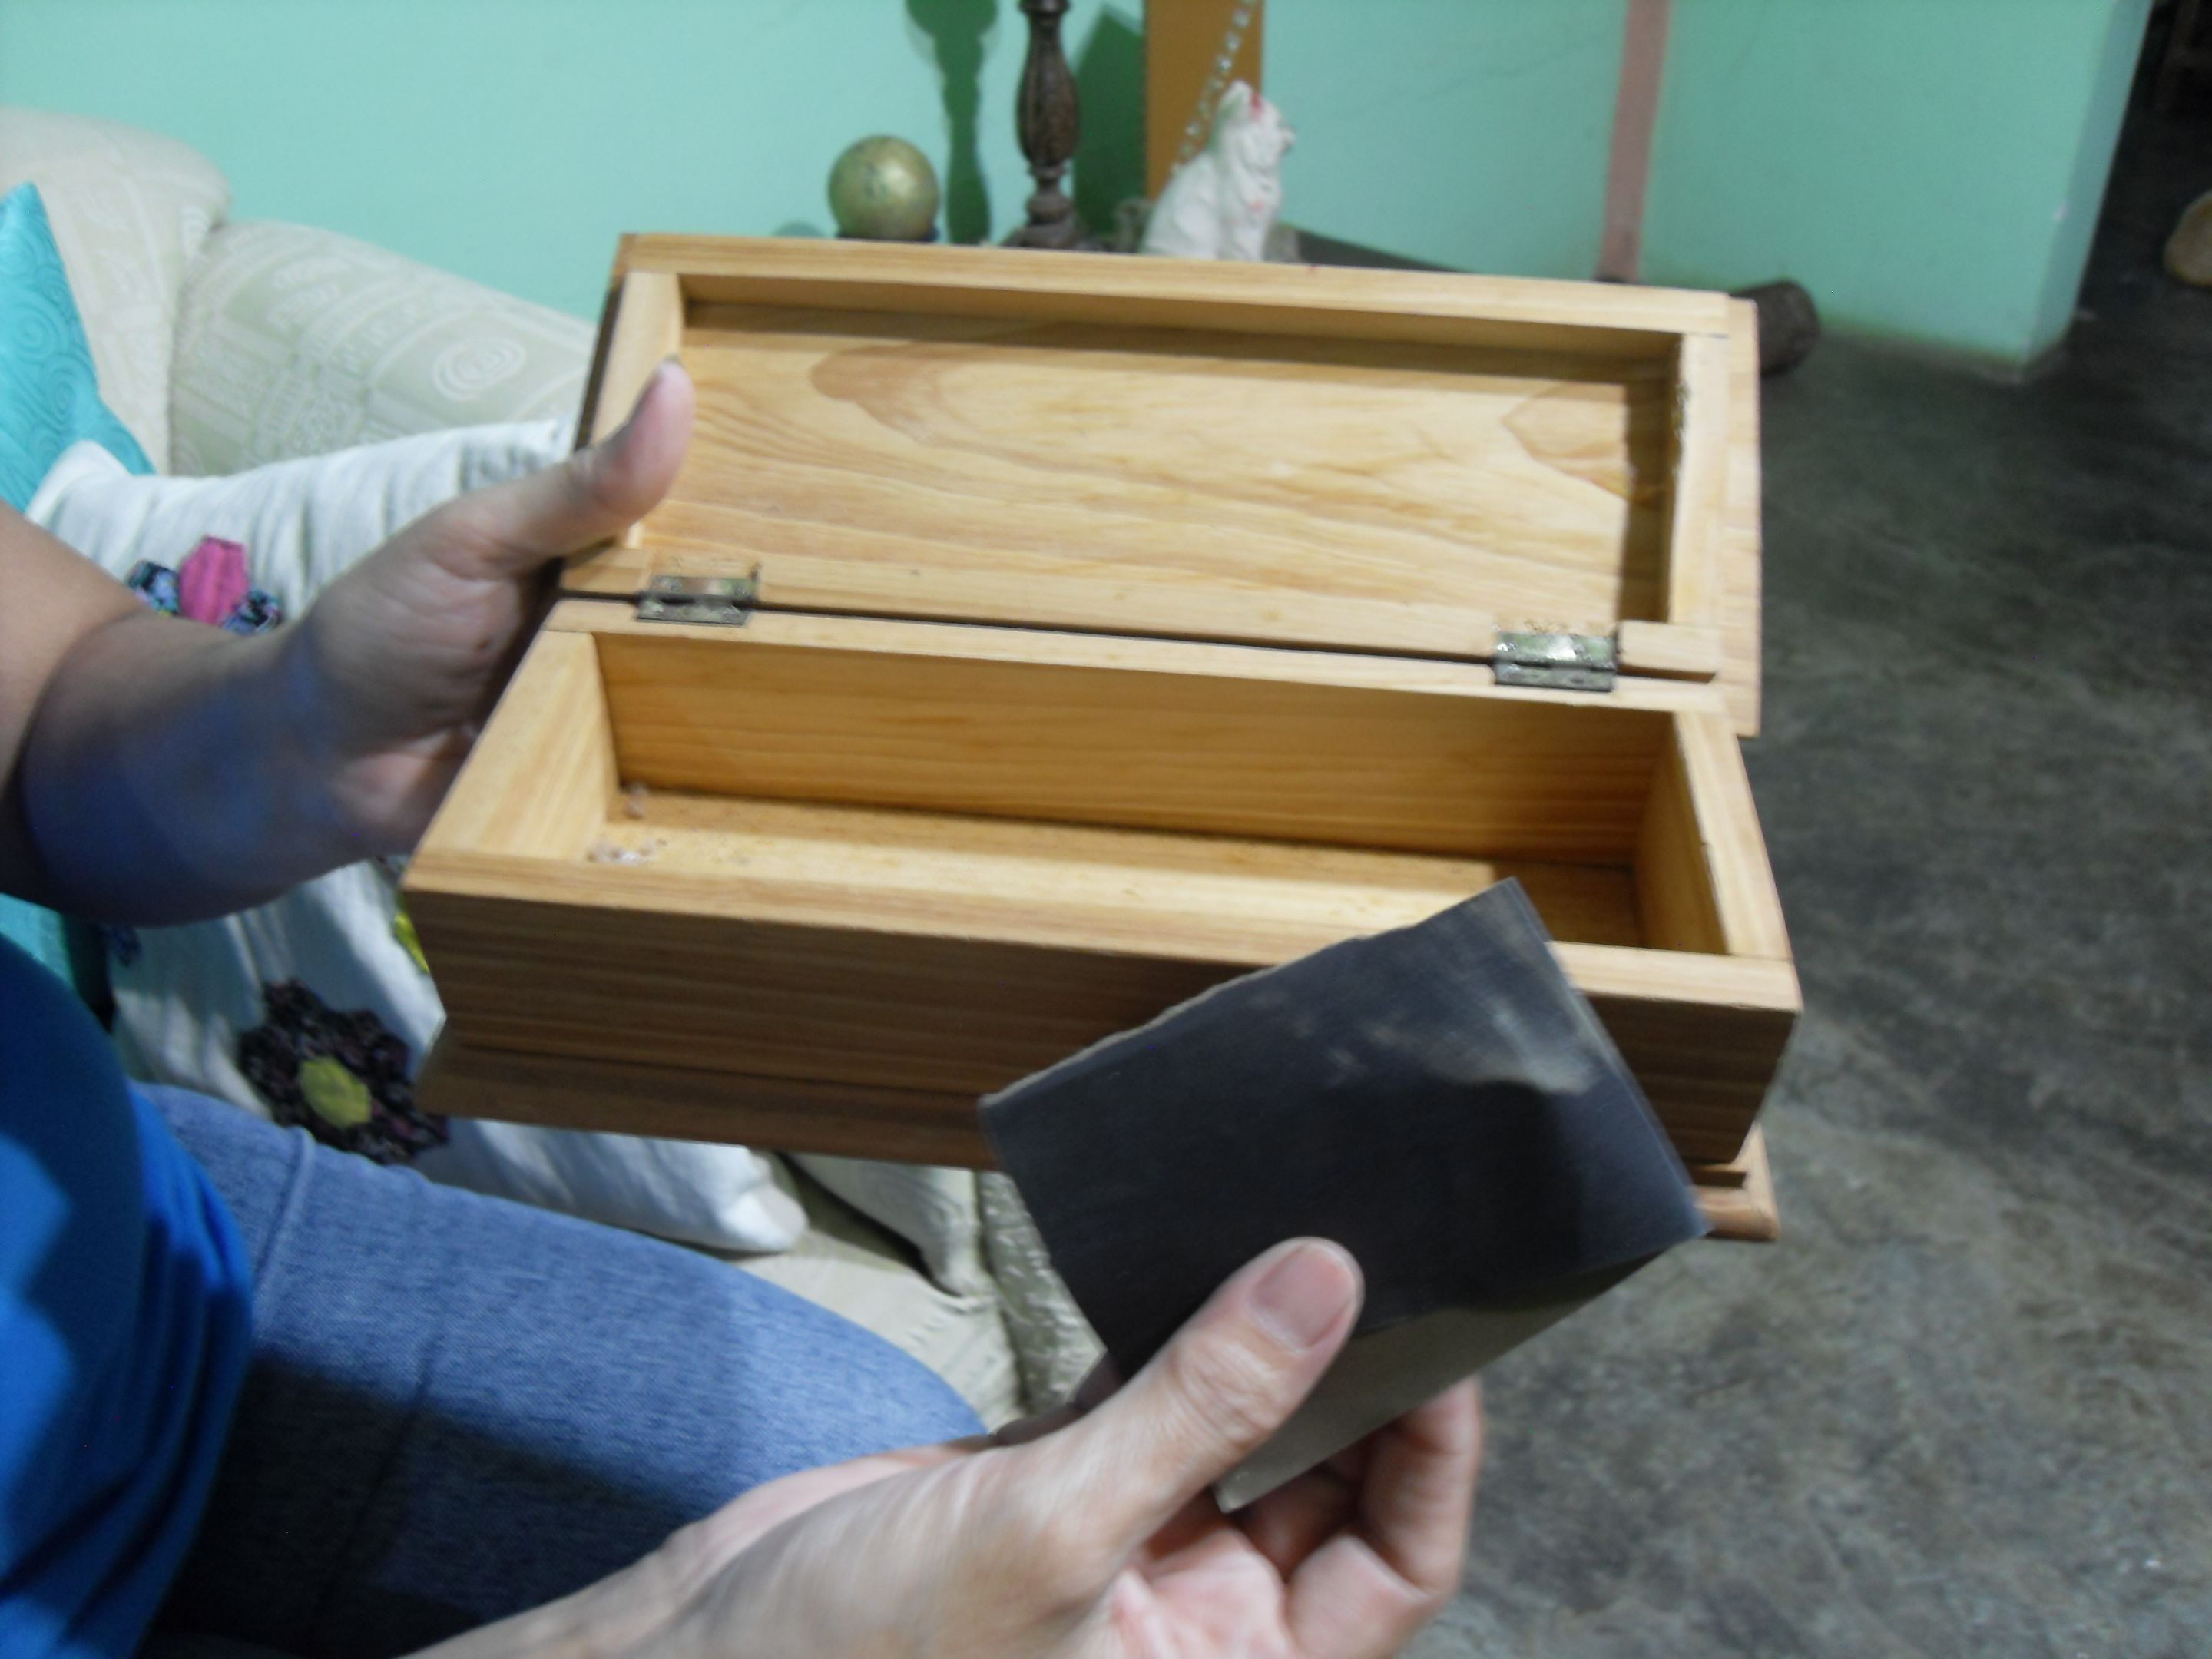
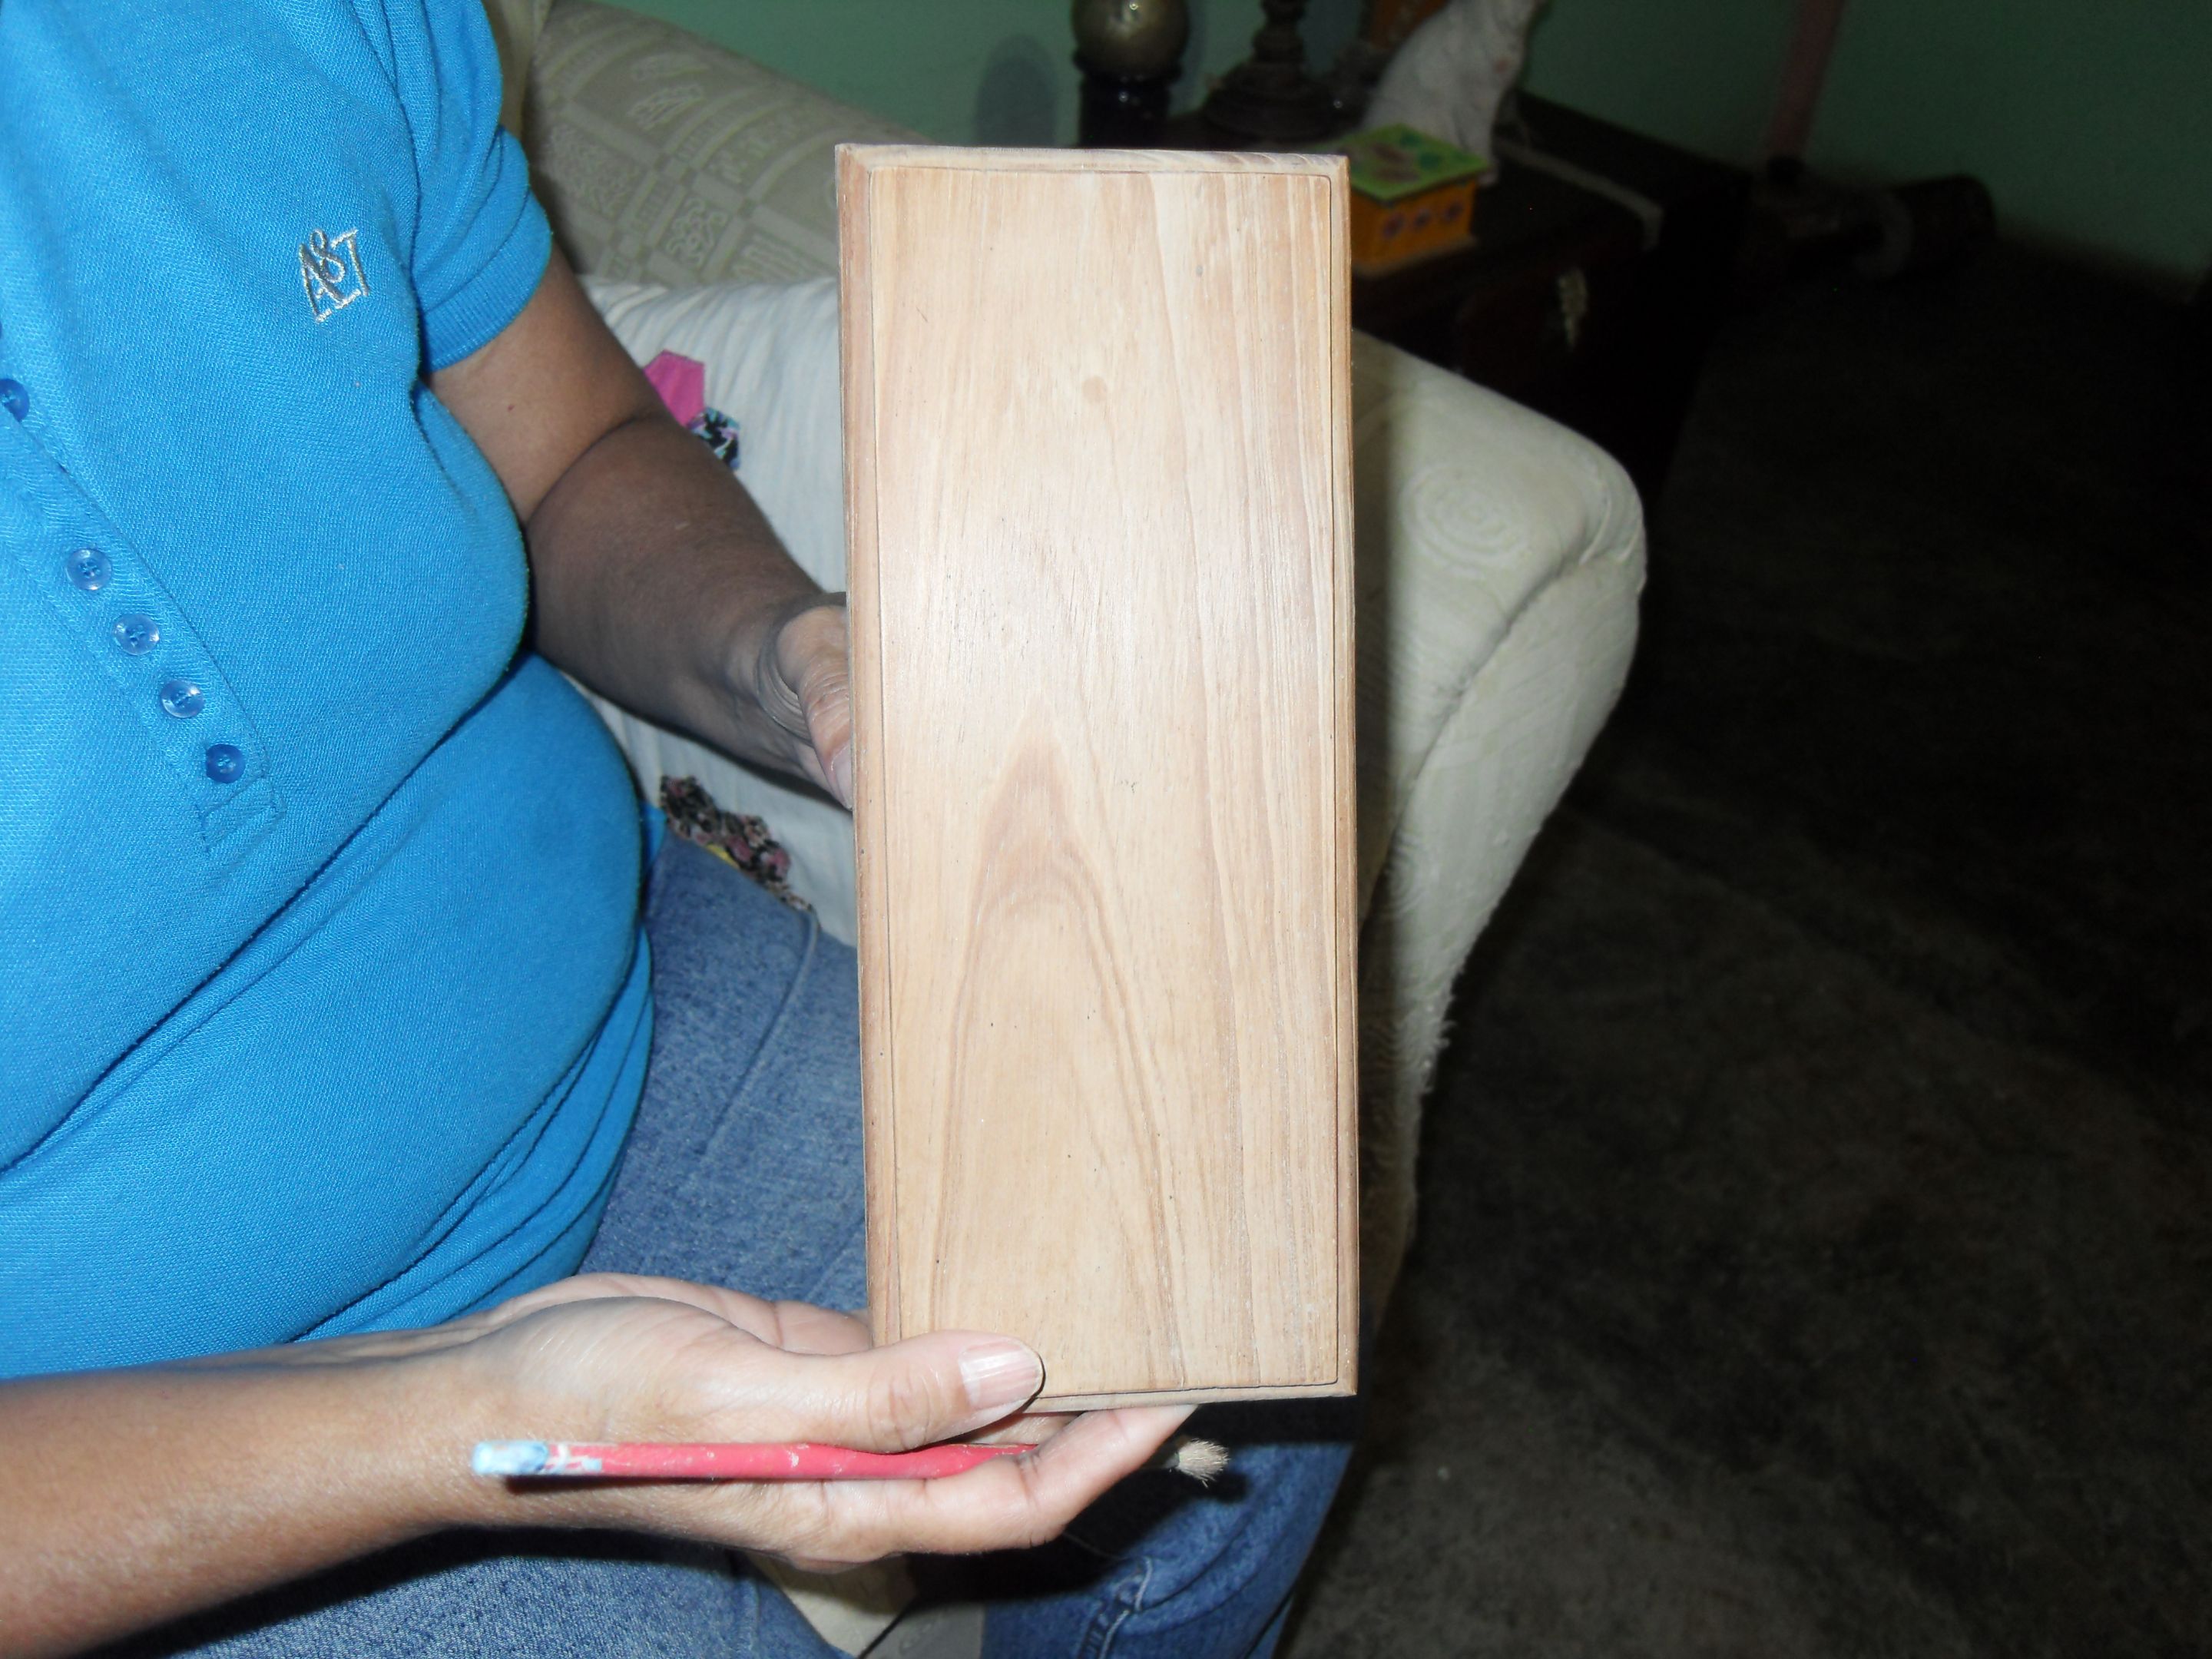
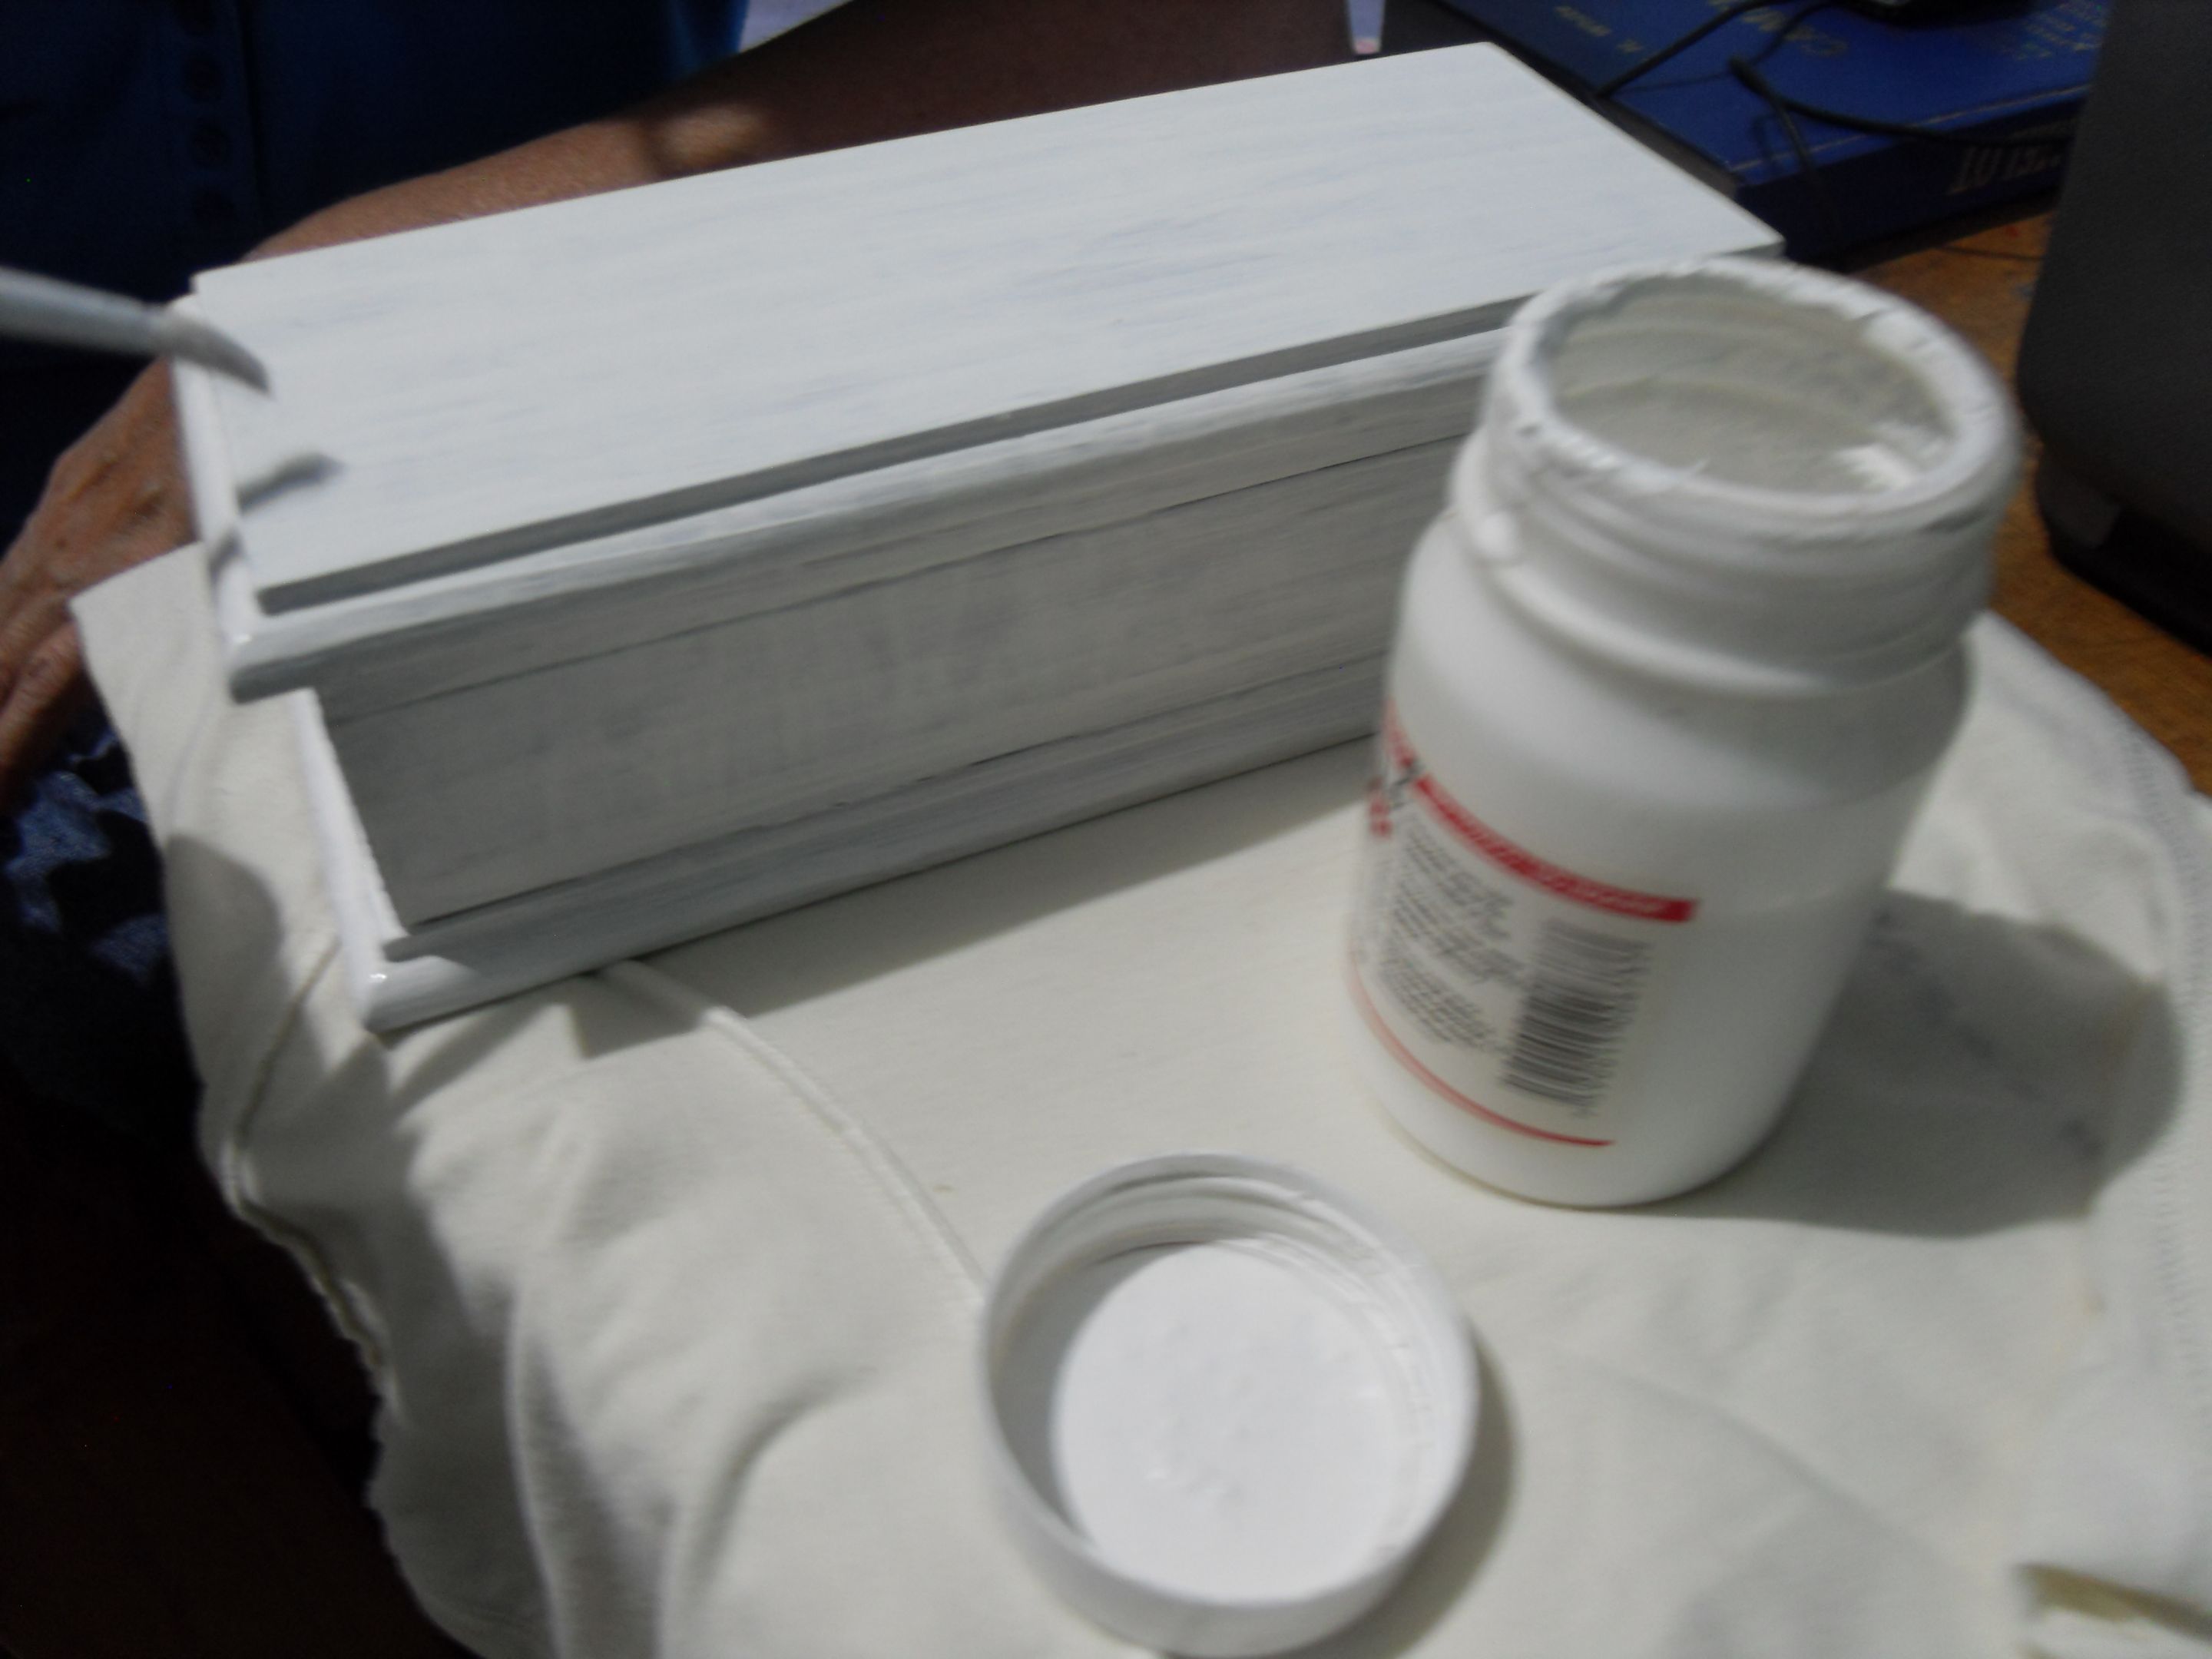
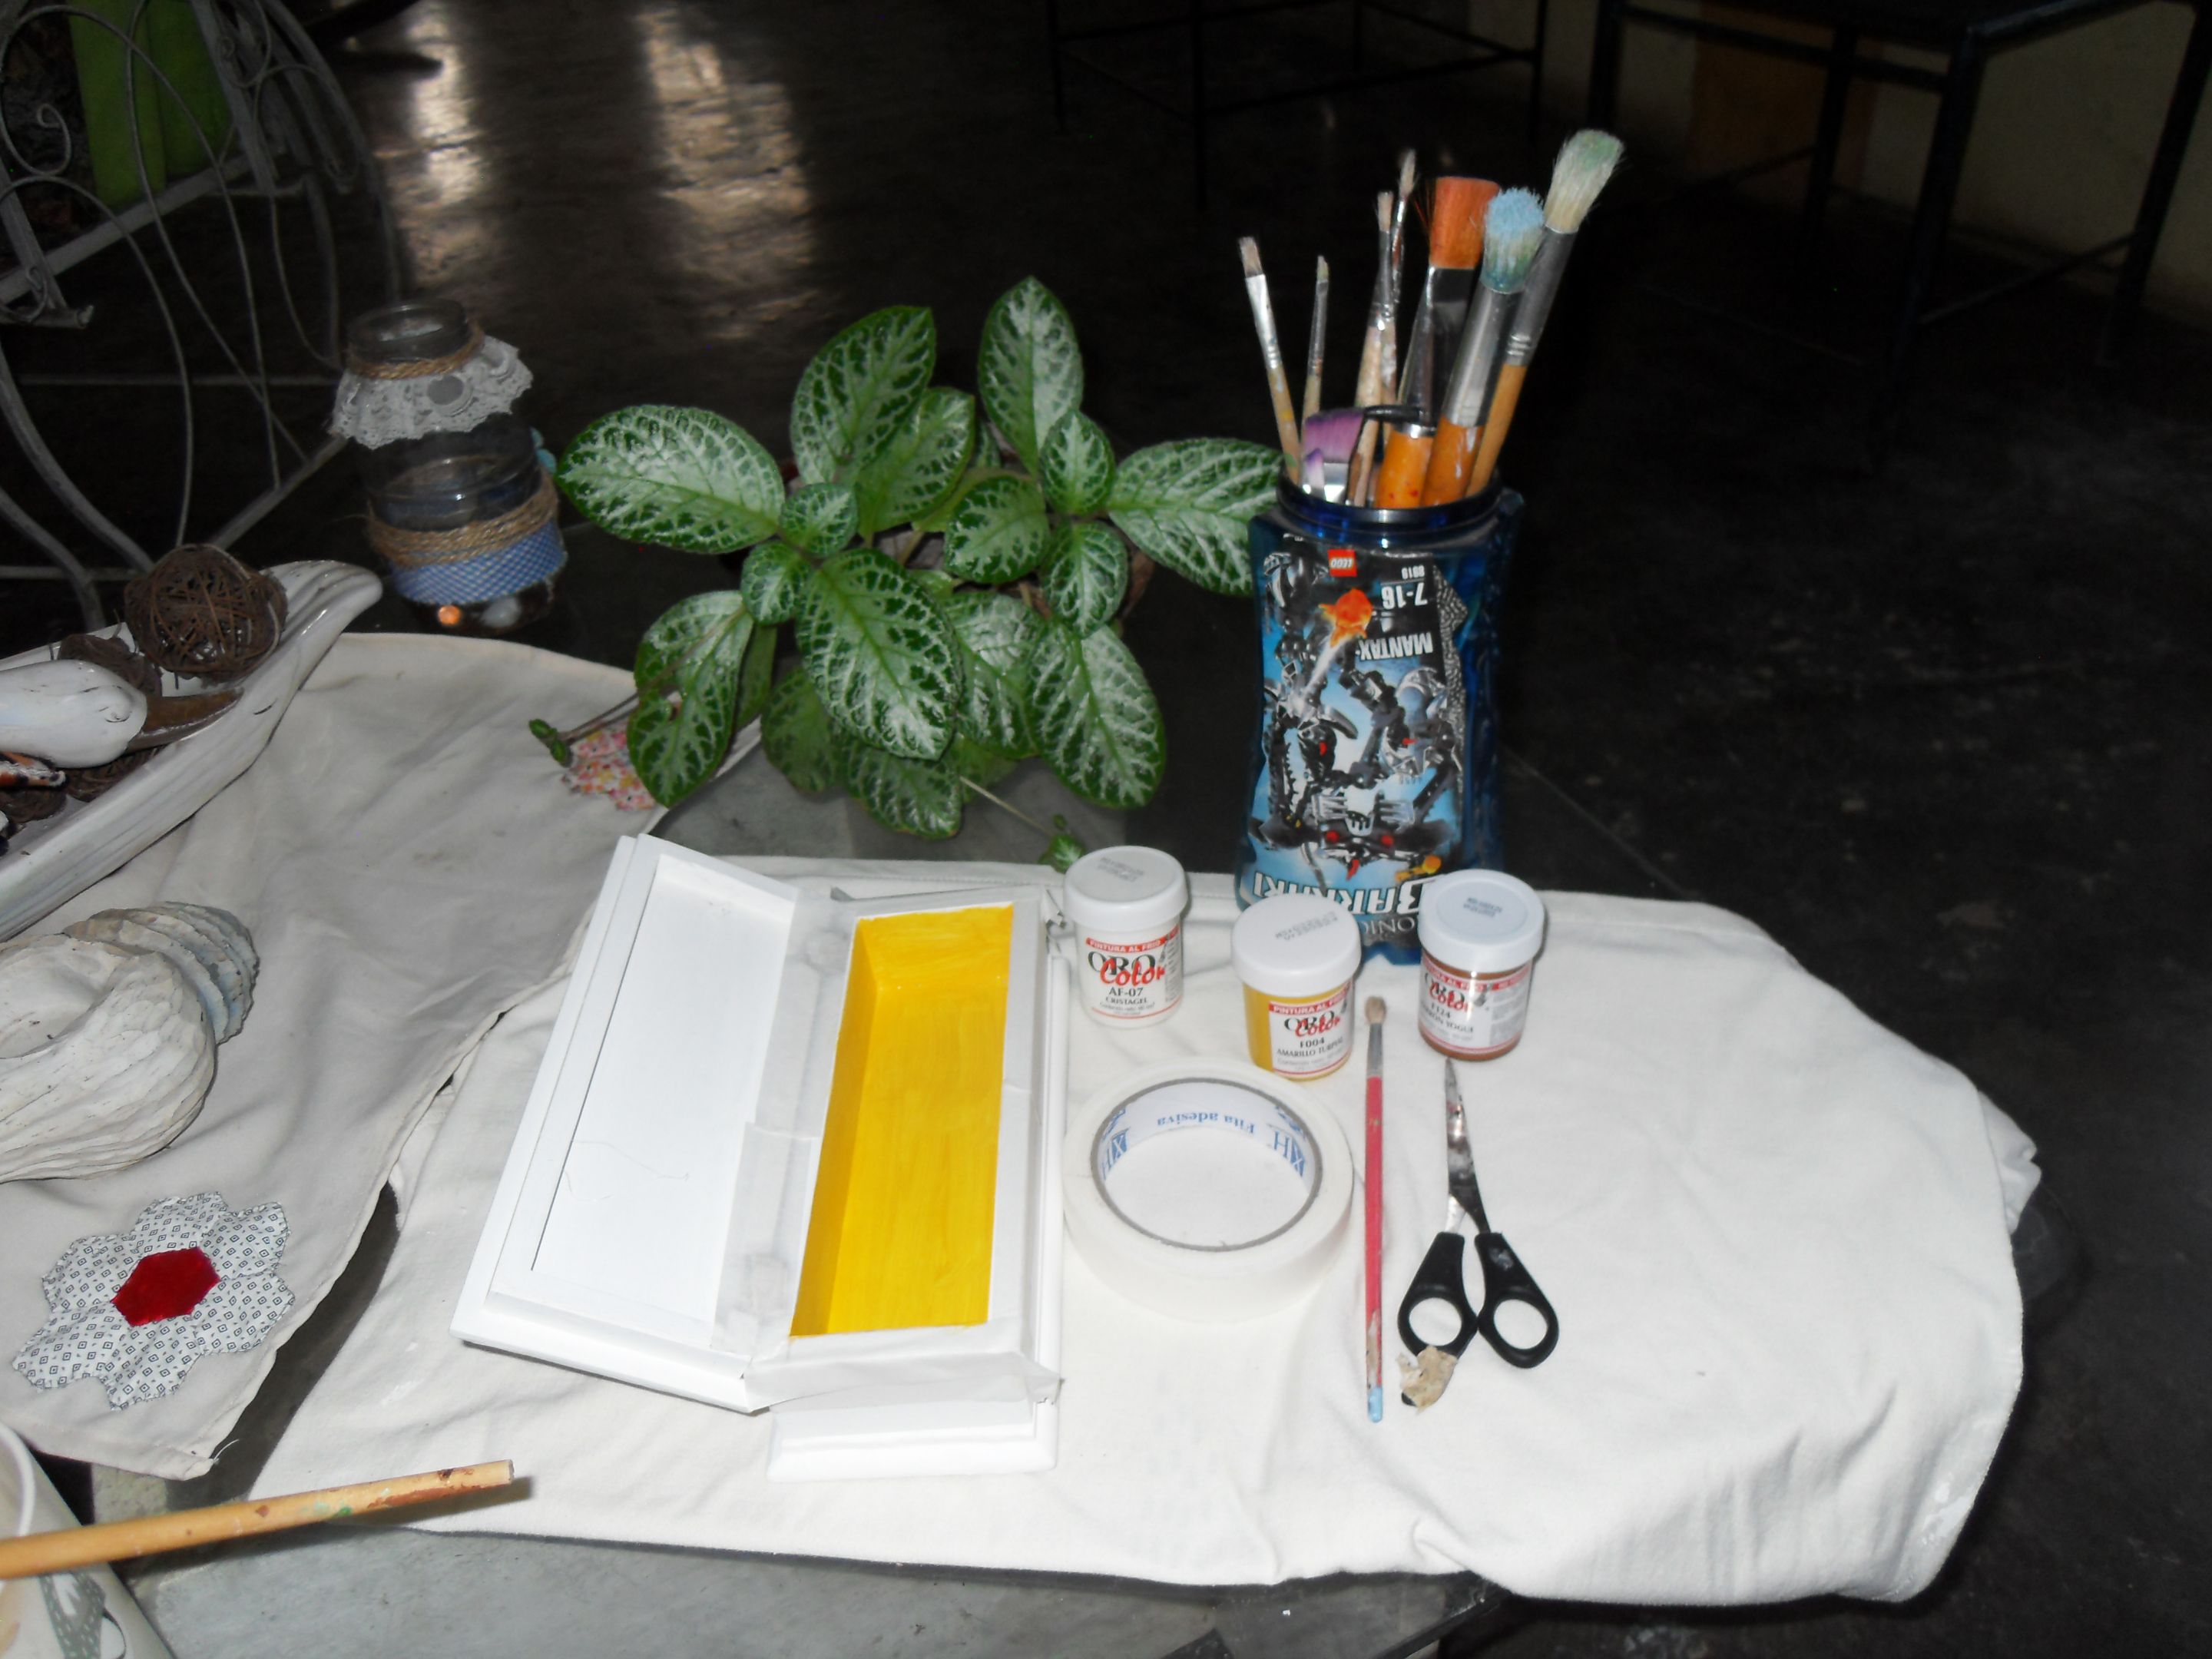
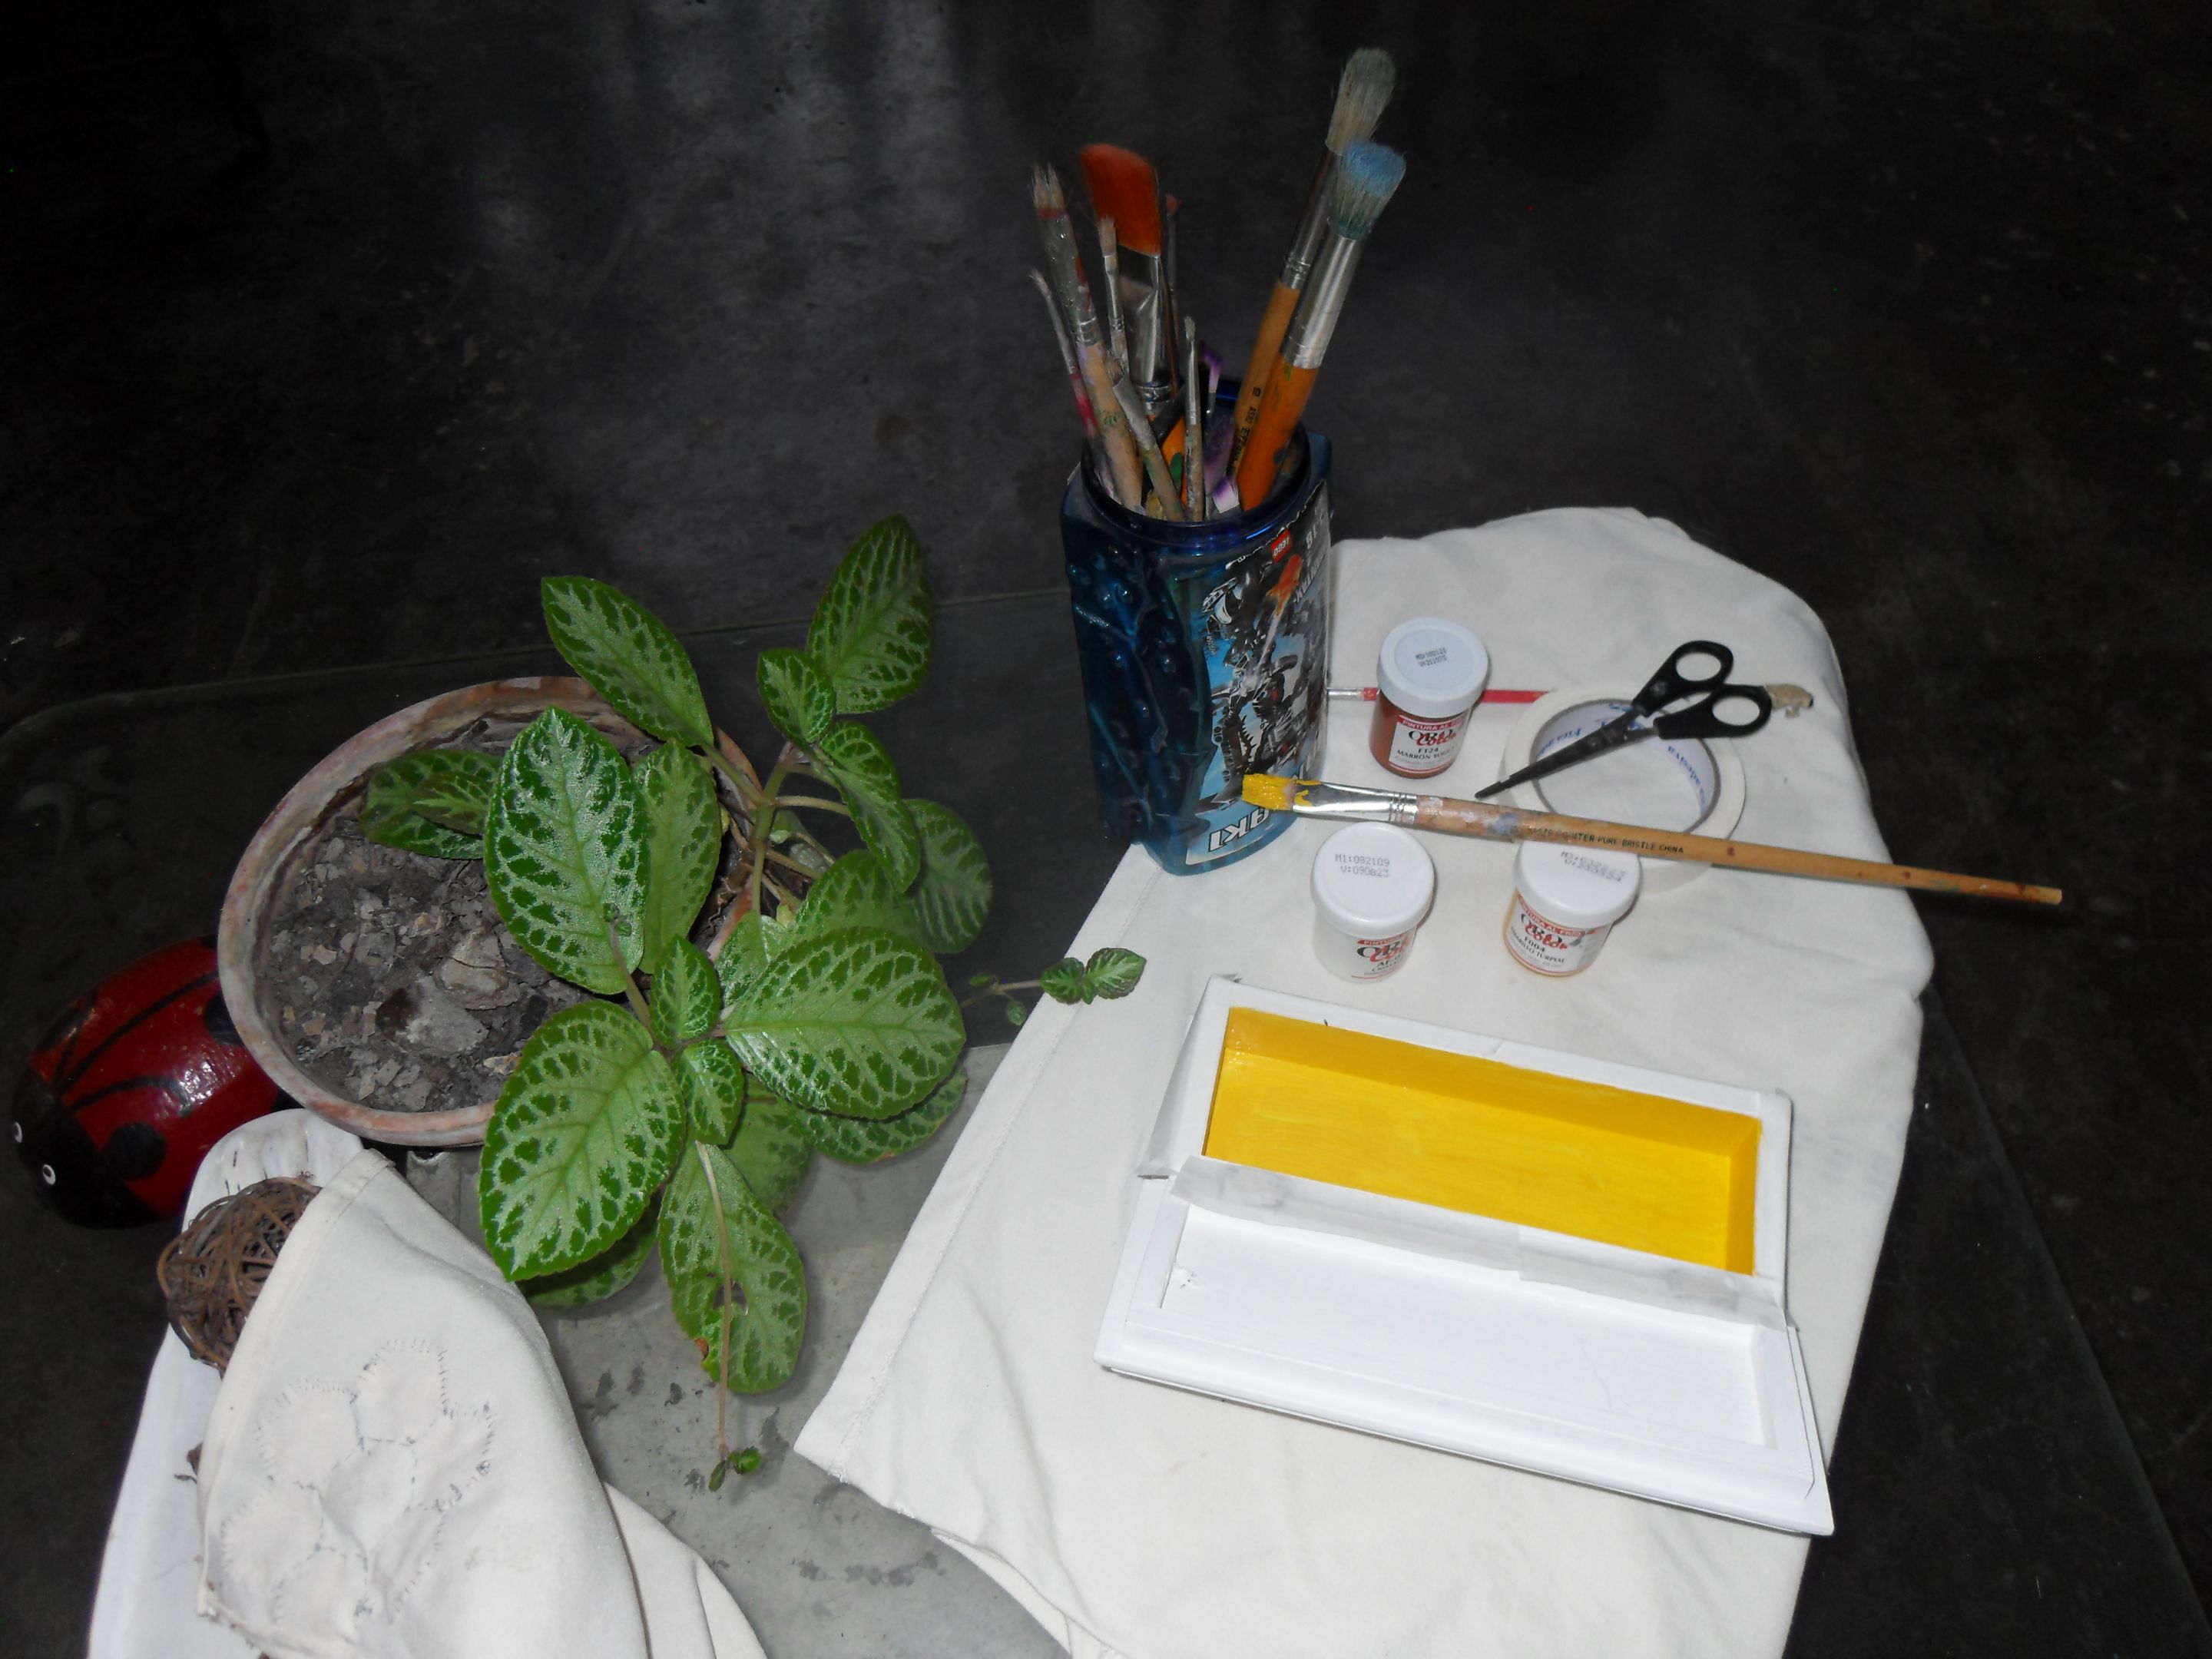
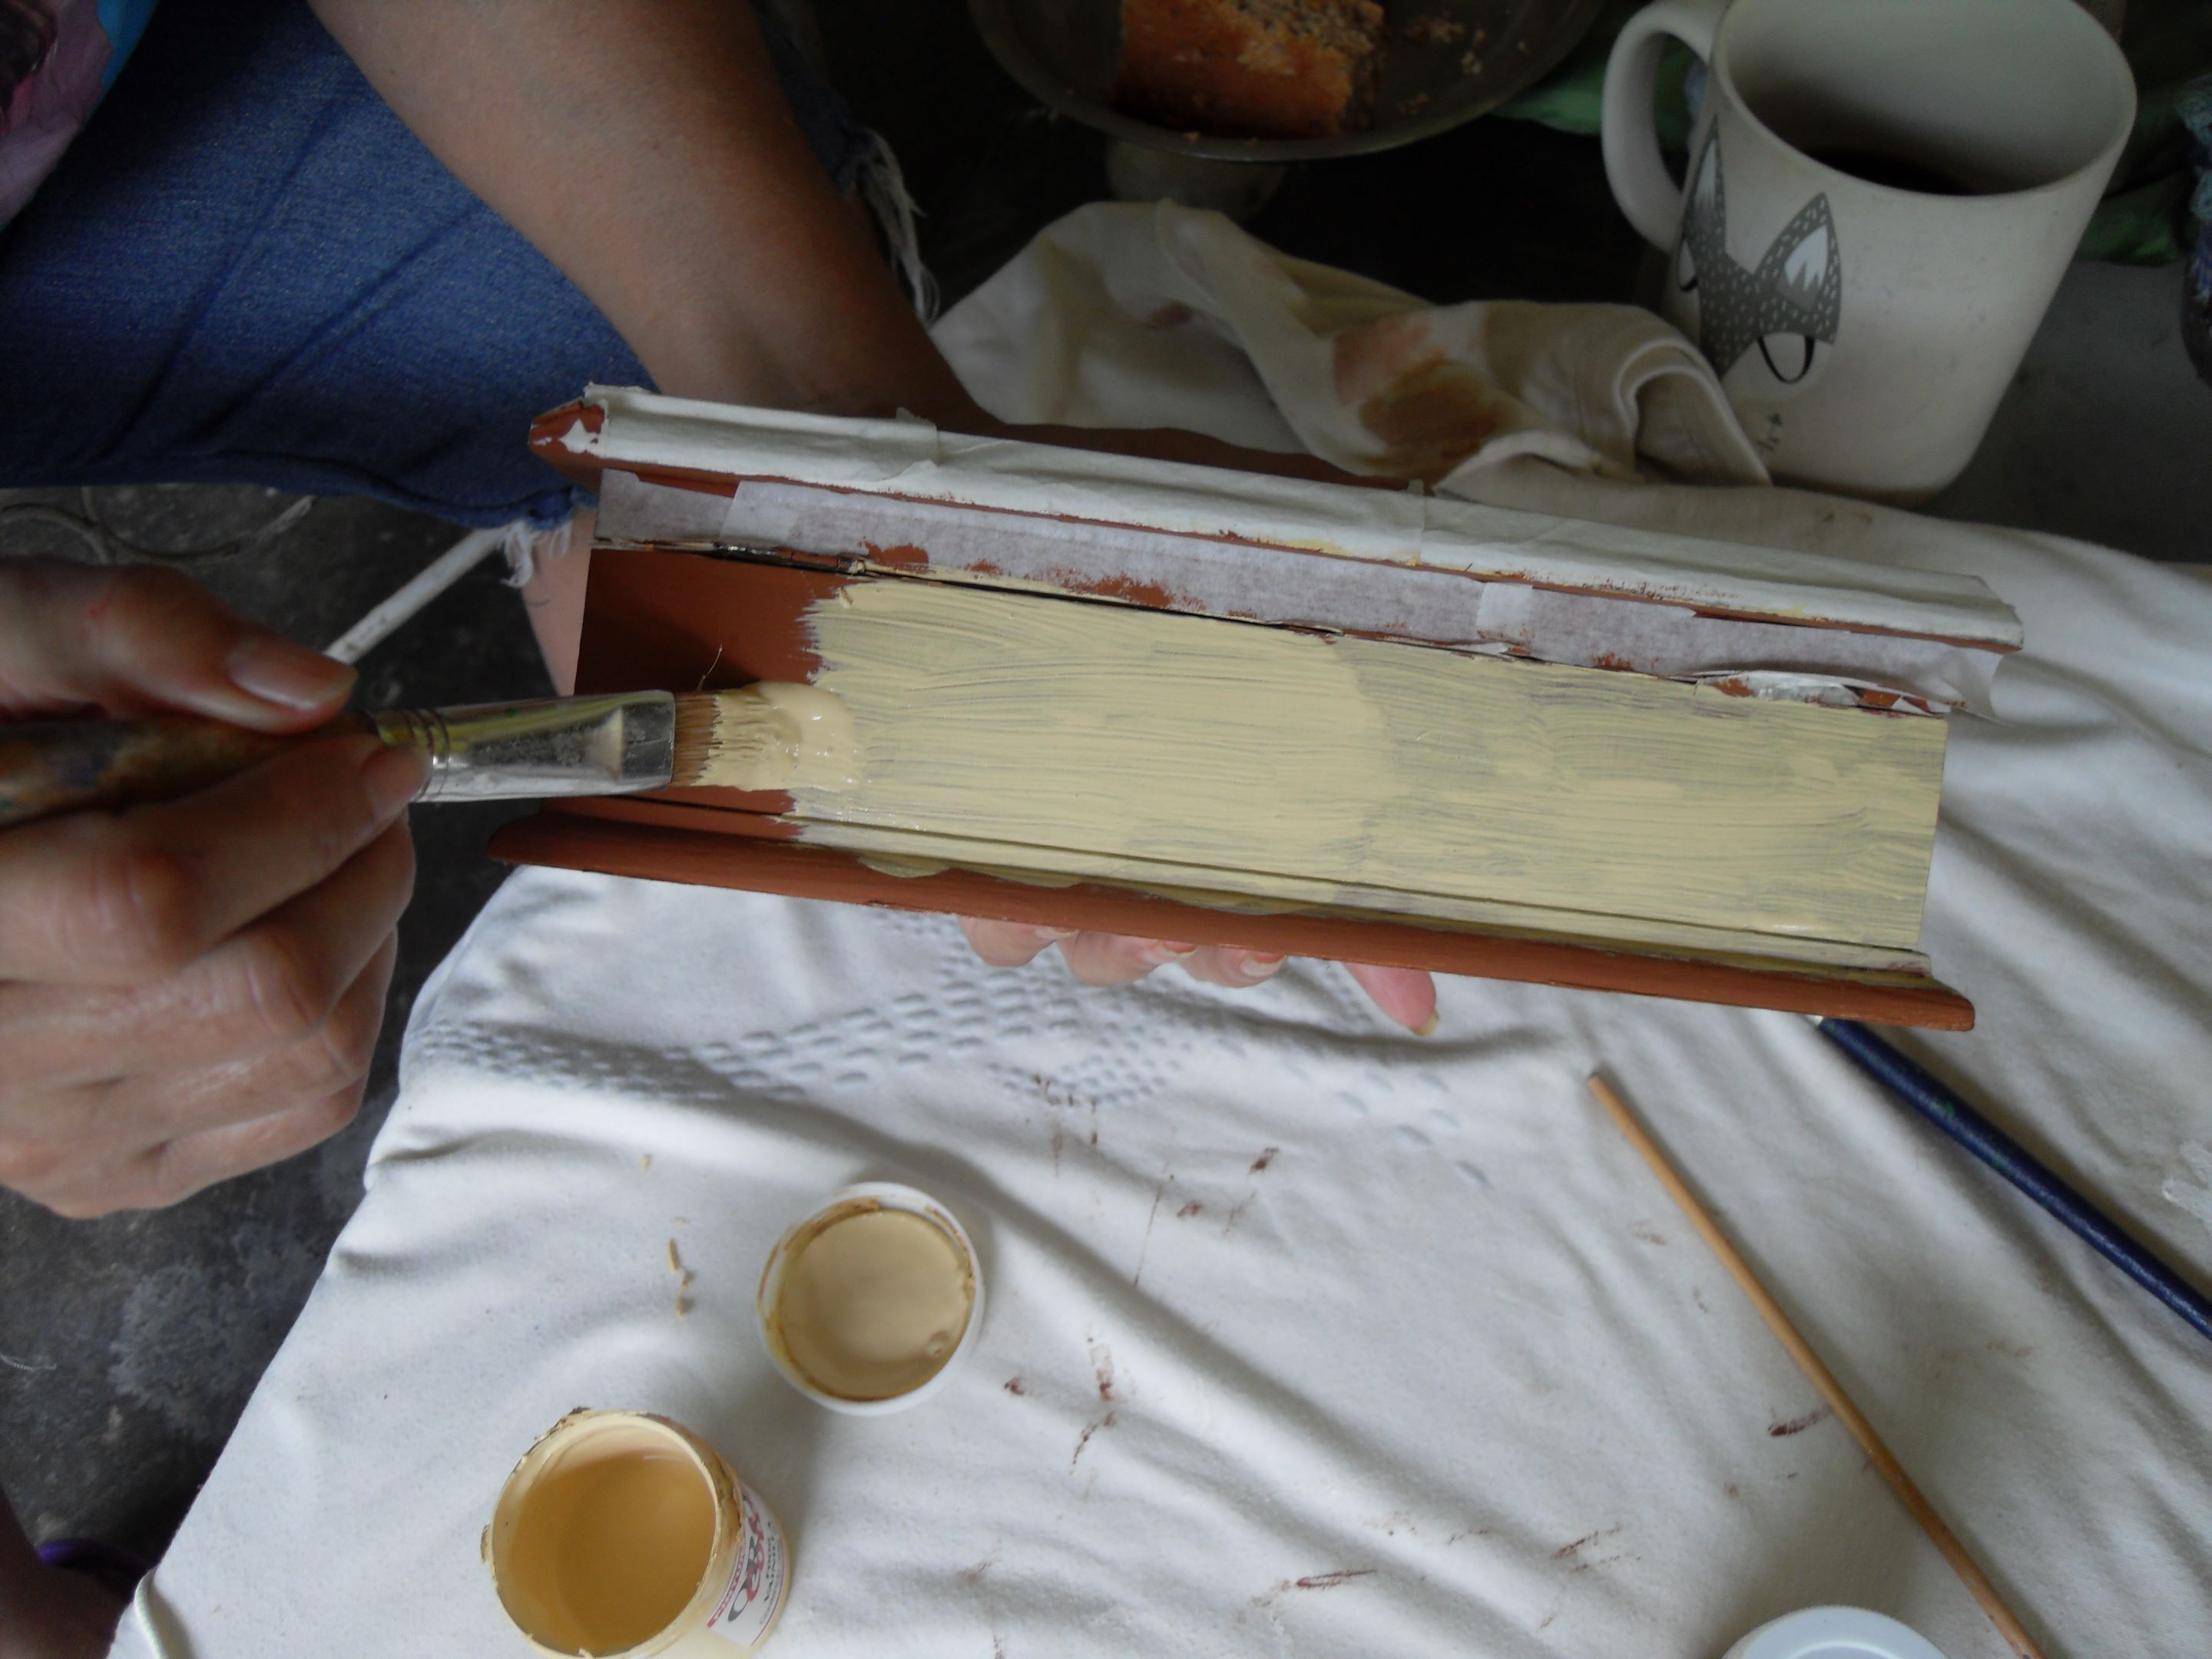
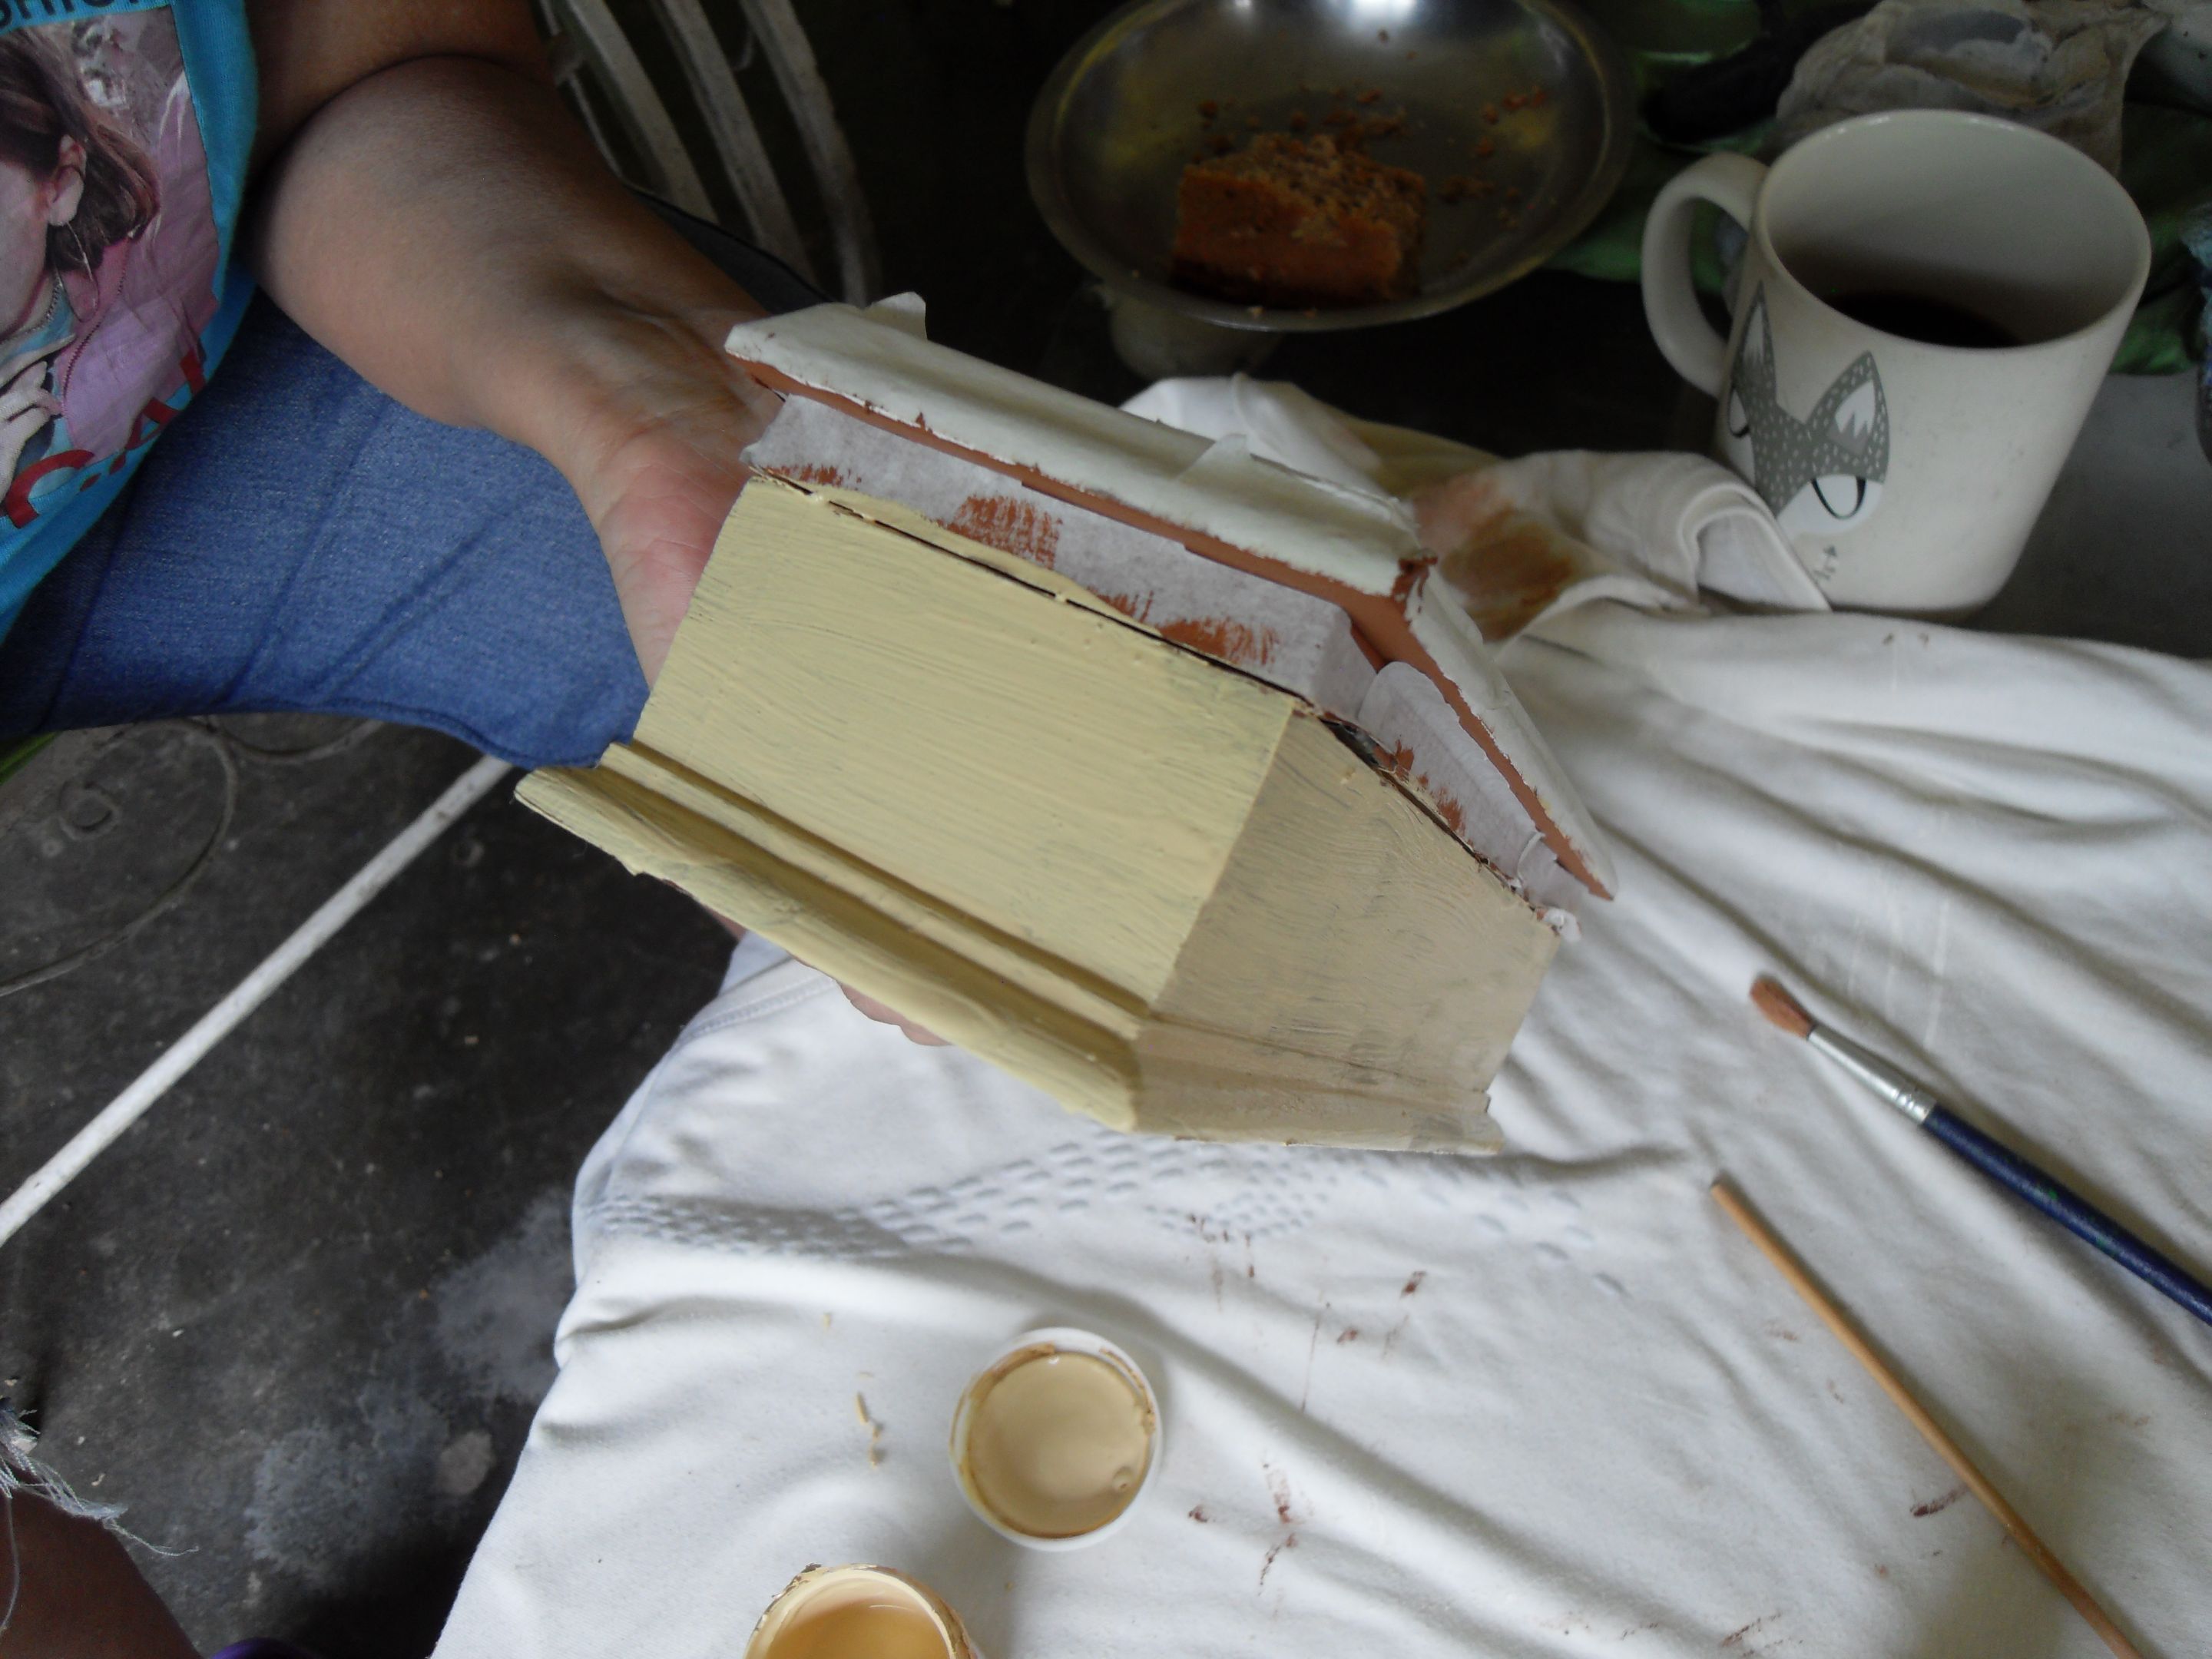
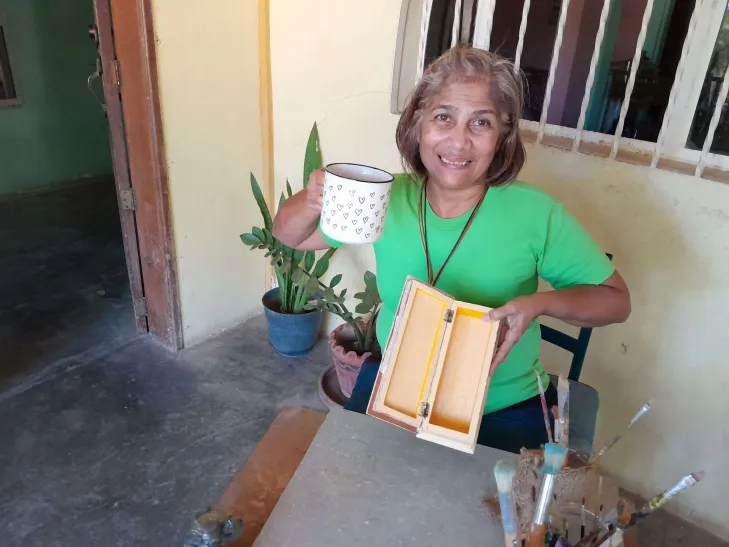
**Paso 1**: Limpie la caja de madera con un pedazo de jean para quitar el sucio. Lije para quitar el brillo y los restos de la pintura anterior. Fondee la caja con el color blanco (F 089). Coloque tirro a los cerrojos para que no se mancharan de pintura blanca. Volví a lijar para quitar las imperfecciones, limpié con un trapito y retoque con el color blanco.
**Tips:**
• Es fundamental limpiar bien para quitar la pintura anterior y así la superficie pueda absorber la pintura nueva.
• Al pintar se debe hacer en los dos sentidos, alternando para cubrir bien con la pintura. Además, se debe utilizar un color neutro y claro para que no modifique el color de la servilleta que se utilizará.
• Les recomiendo utilizar tirro para no ensuciar y pintar mejor.
>![ English]
>
>**Step 1**: Clean the wooden box with a piece of denim to remove any dirt. Sand it down to remove any shine and traces of the previous paint. Prime the box with white paint (F 089). Cover the locks with tape so they don't get stained with white paint. Sand again to remove imperfections, clean with a cloth, and touch up with white paint.
Tips:
• It is essential to clean thoroughly to remove the old paint so that the surface can absorb the new paint.
• When painting, you should paint in both directions, alternating to cover the surface well with paint. In addition, you should use a neutral, light color so that it does not alter the color of the napkin that will be used.
• I recommend using tape to avoid making a mess and to paint better.
|||
|-|-|
||||
|-|-|-|

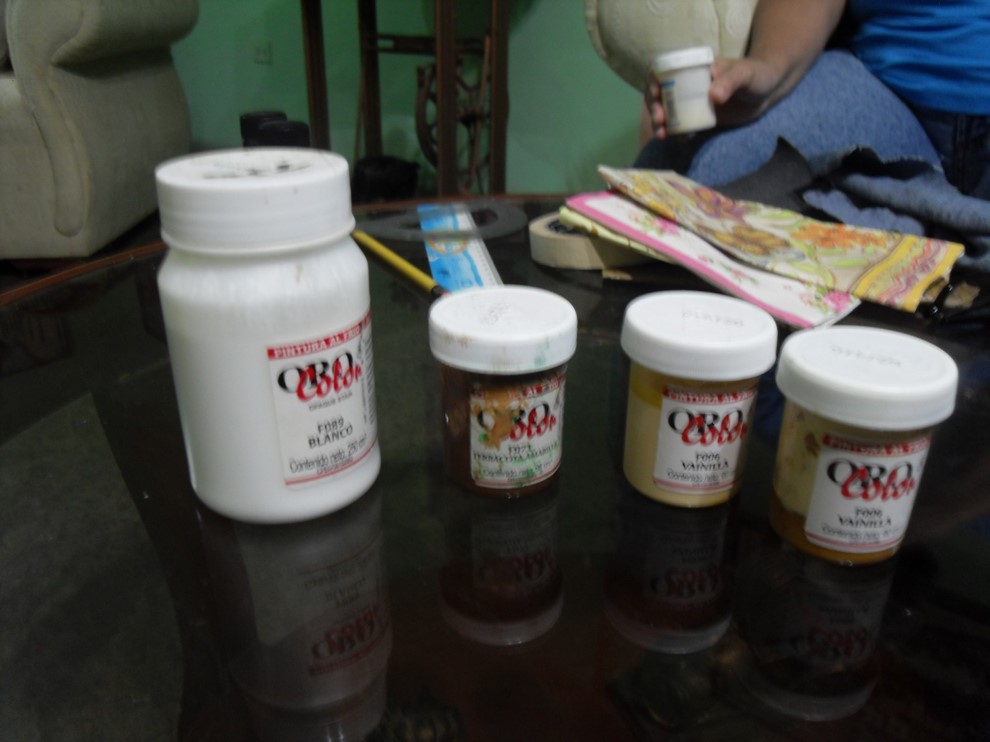
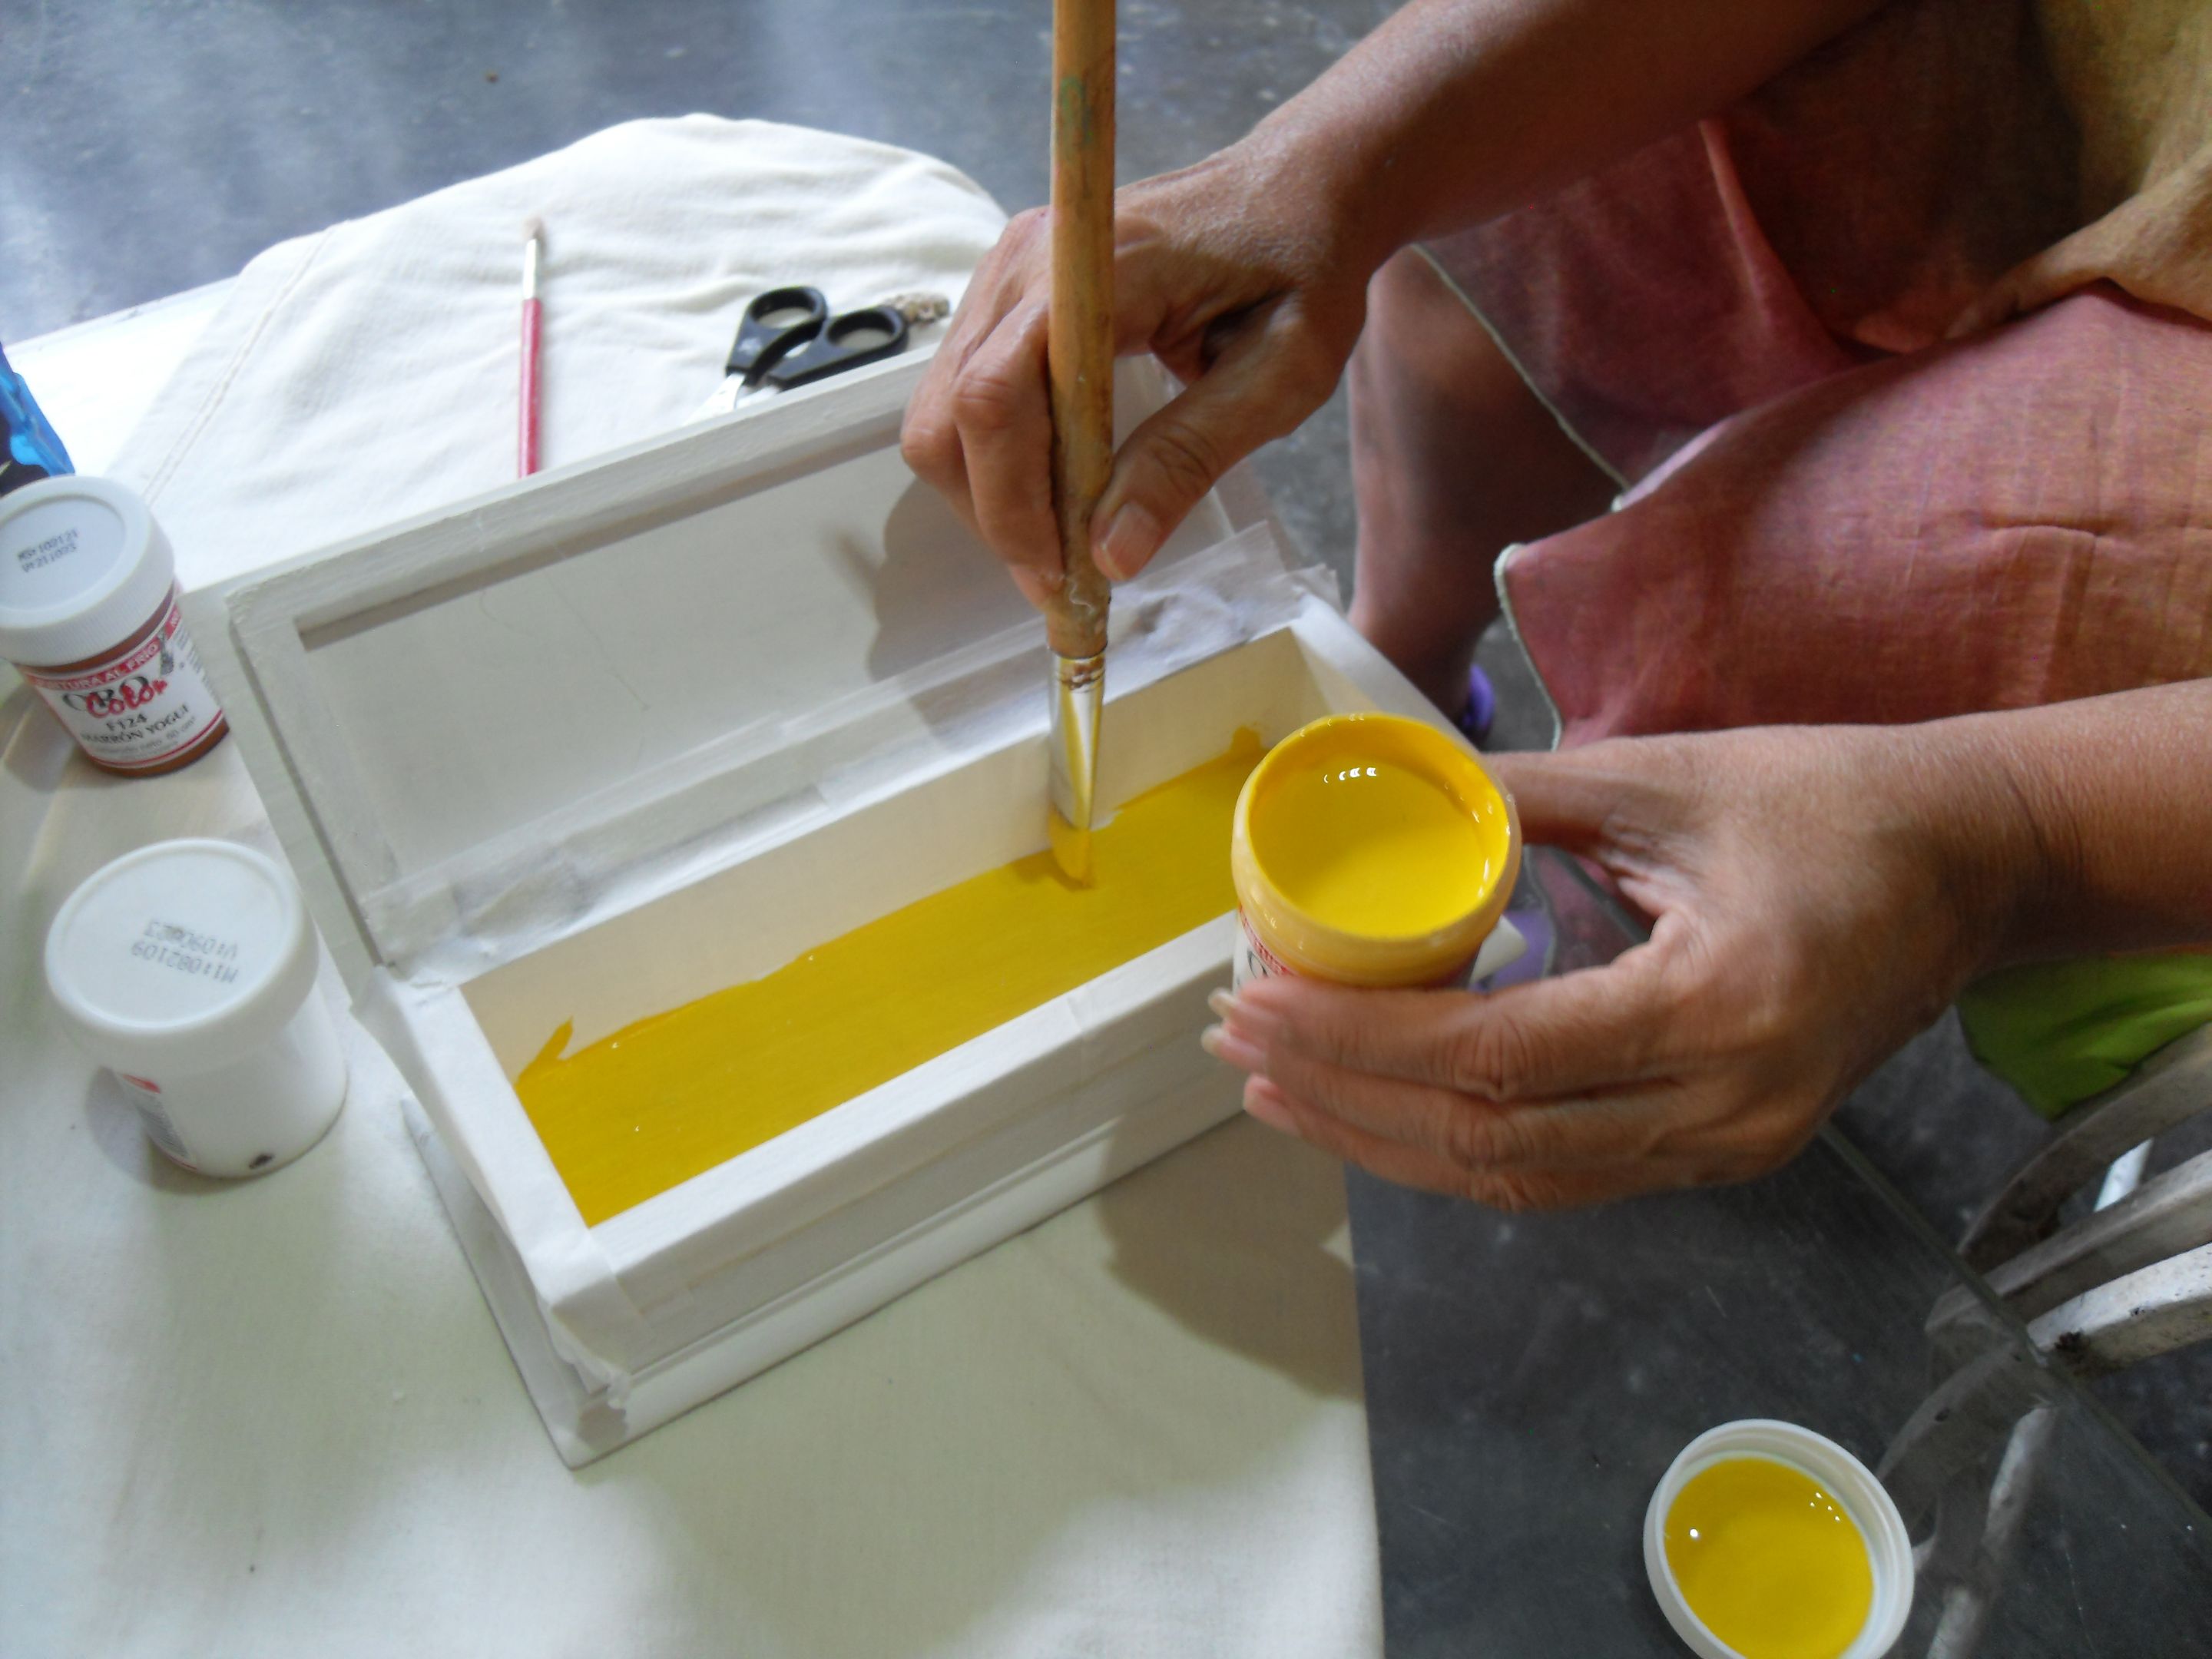
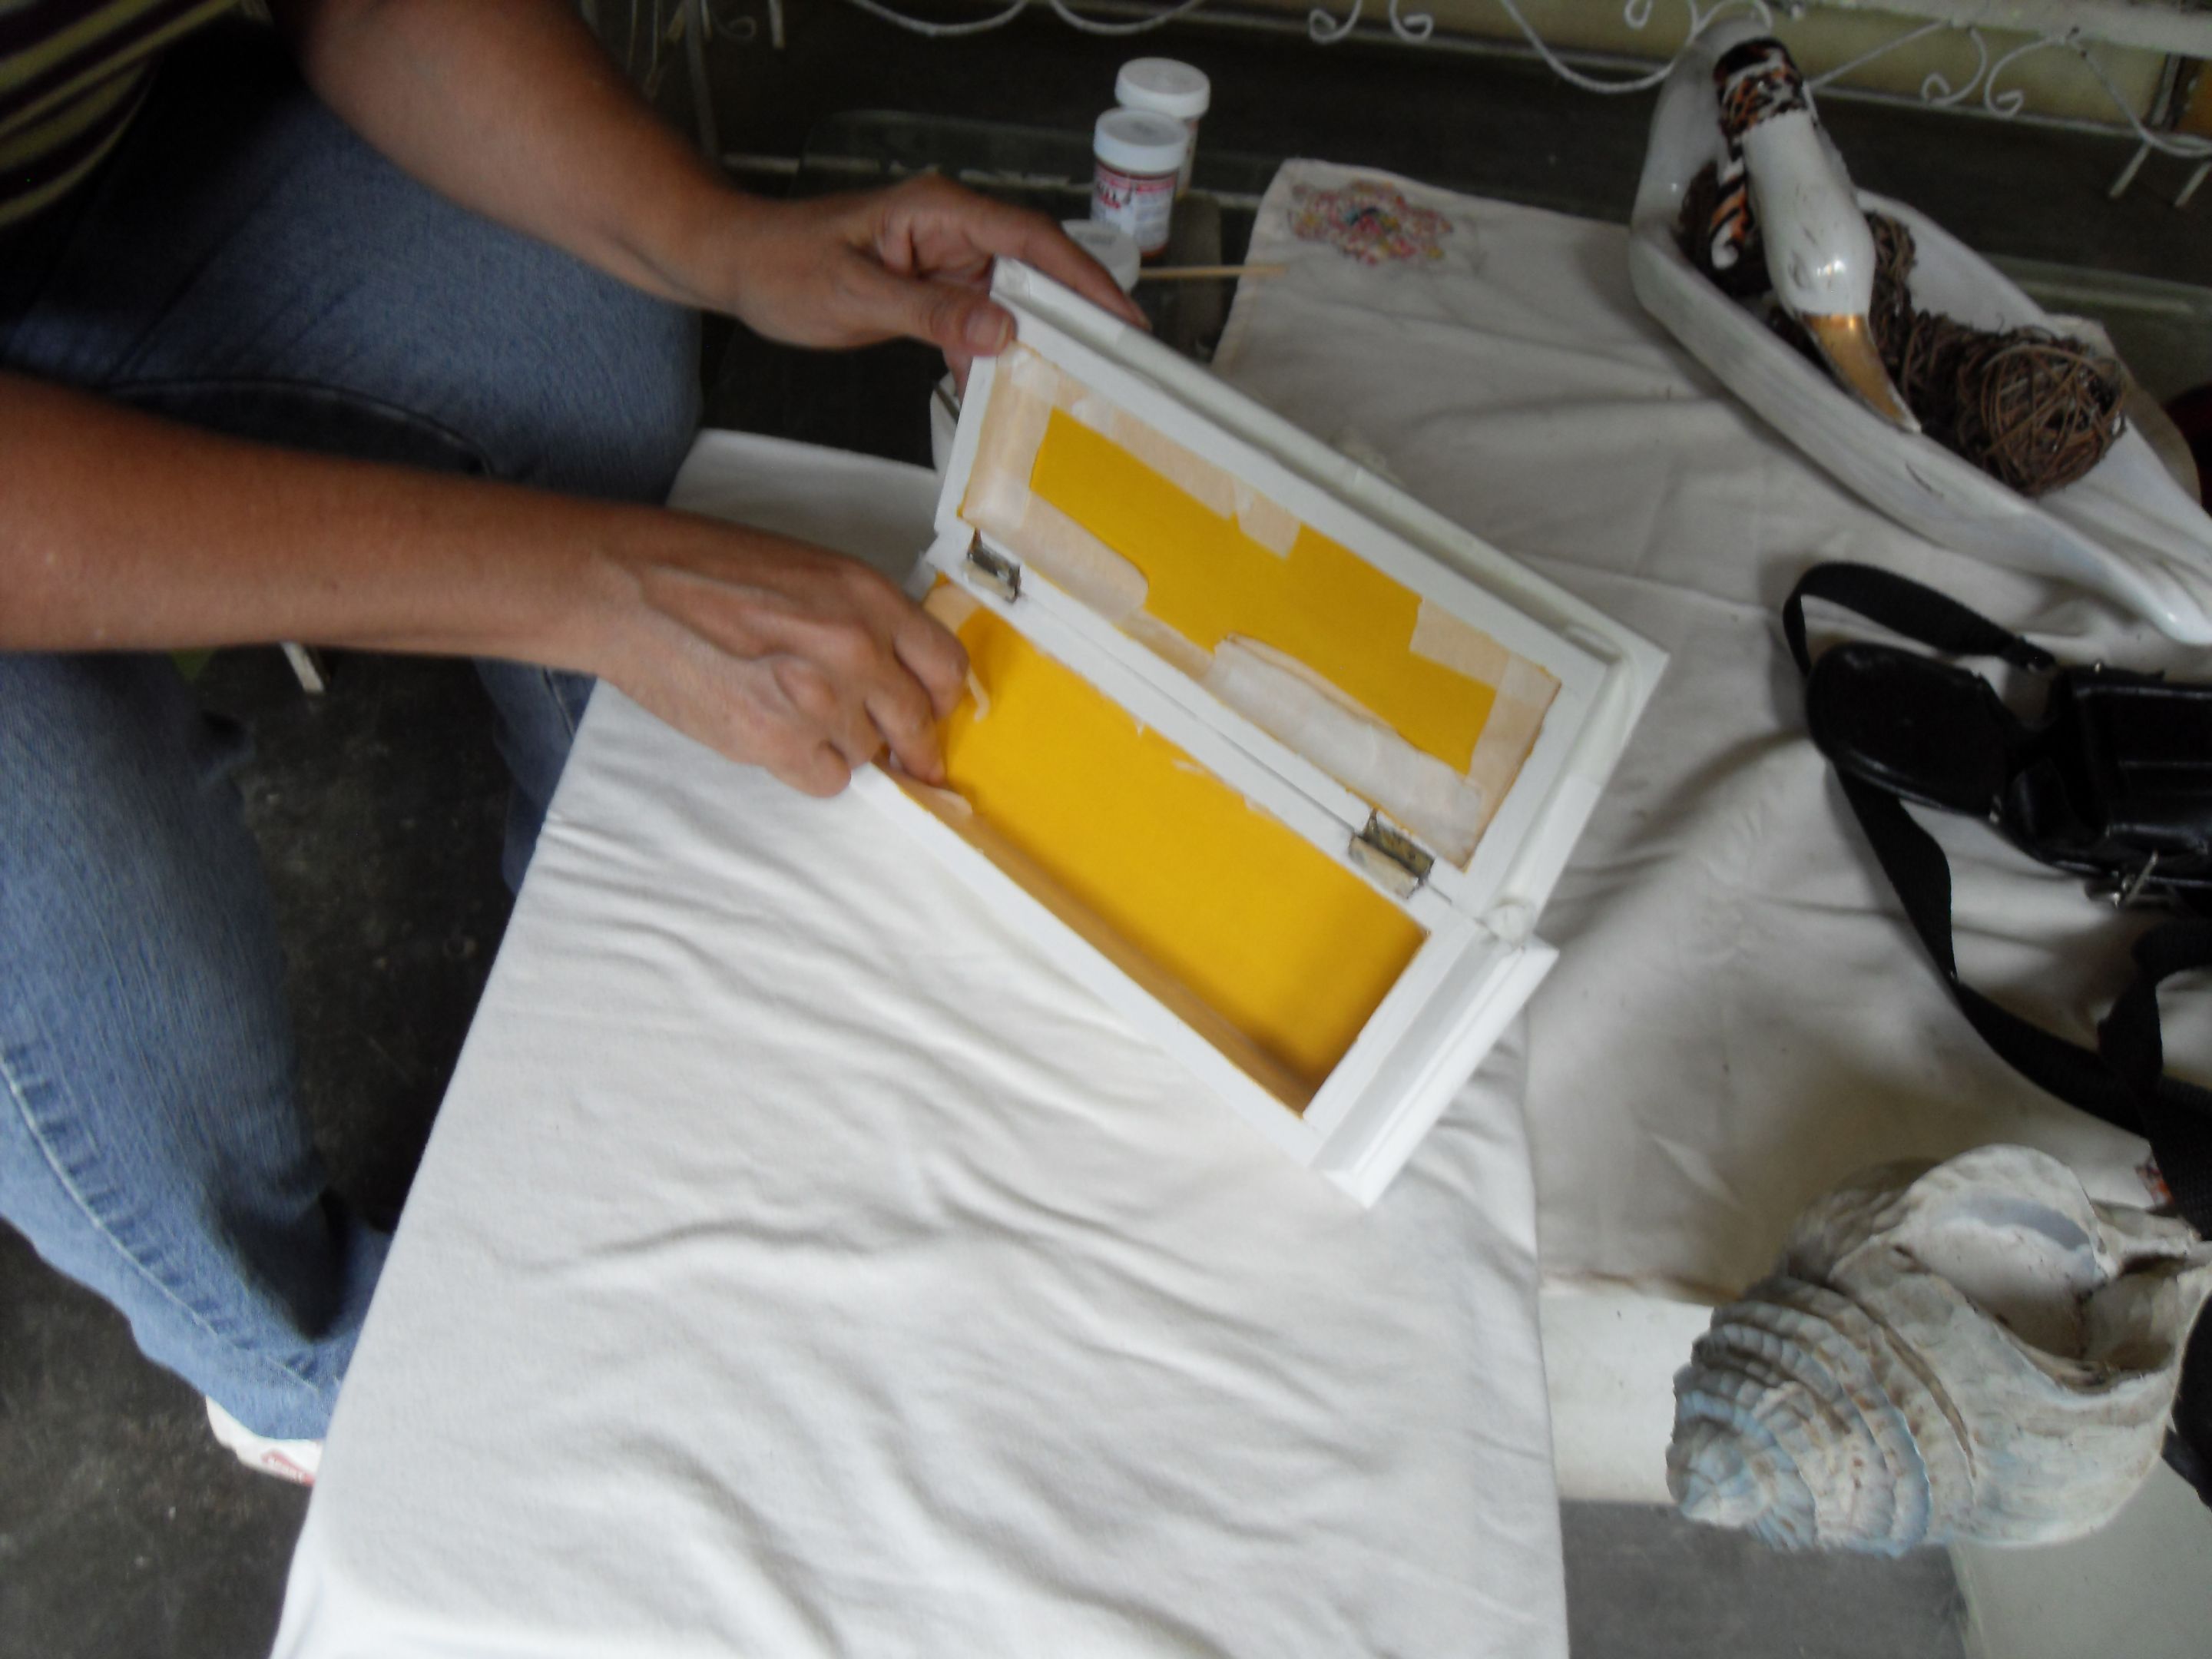
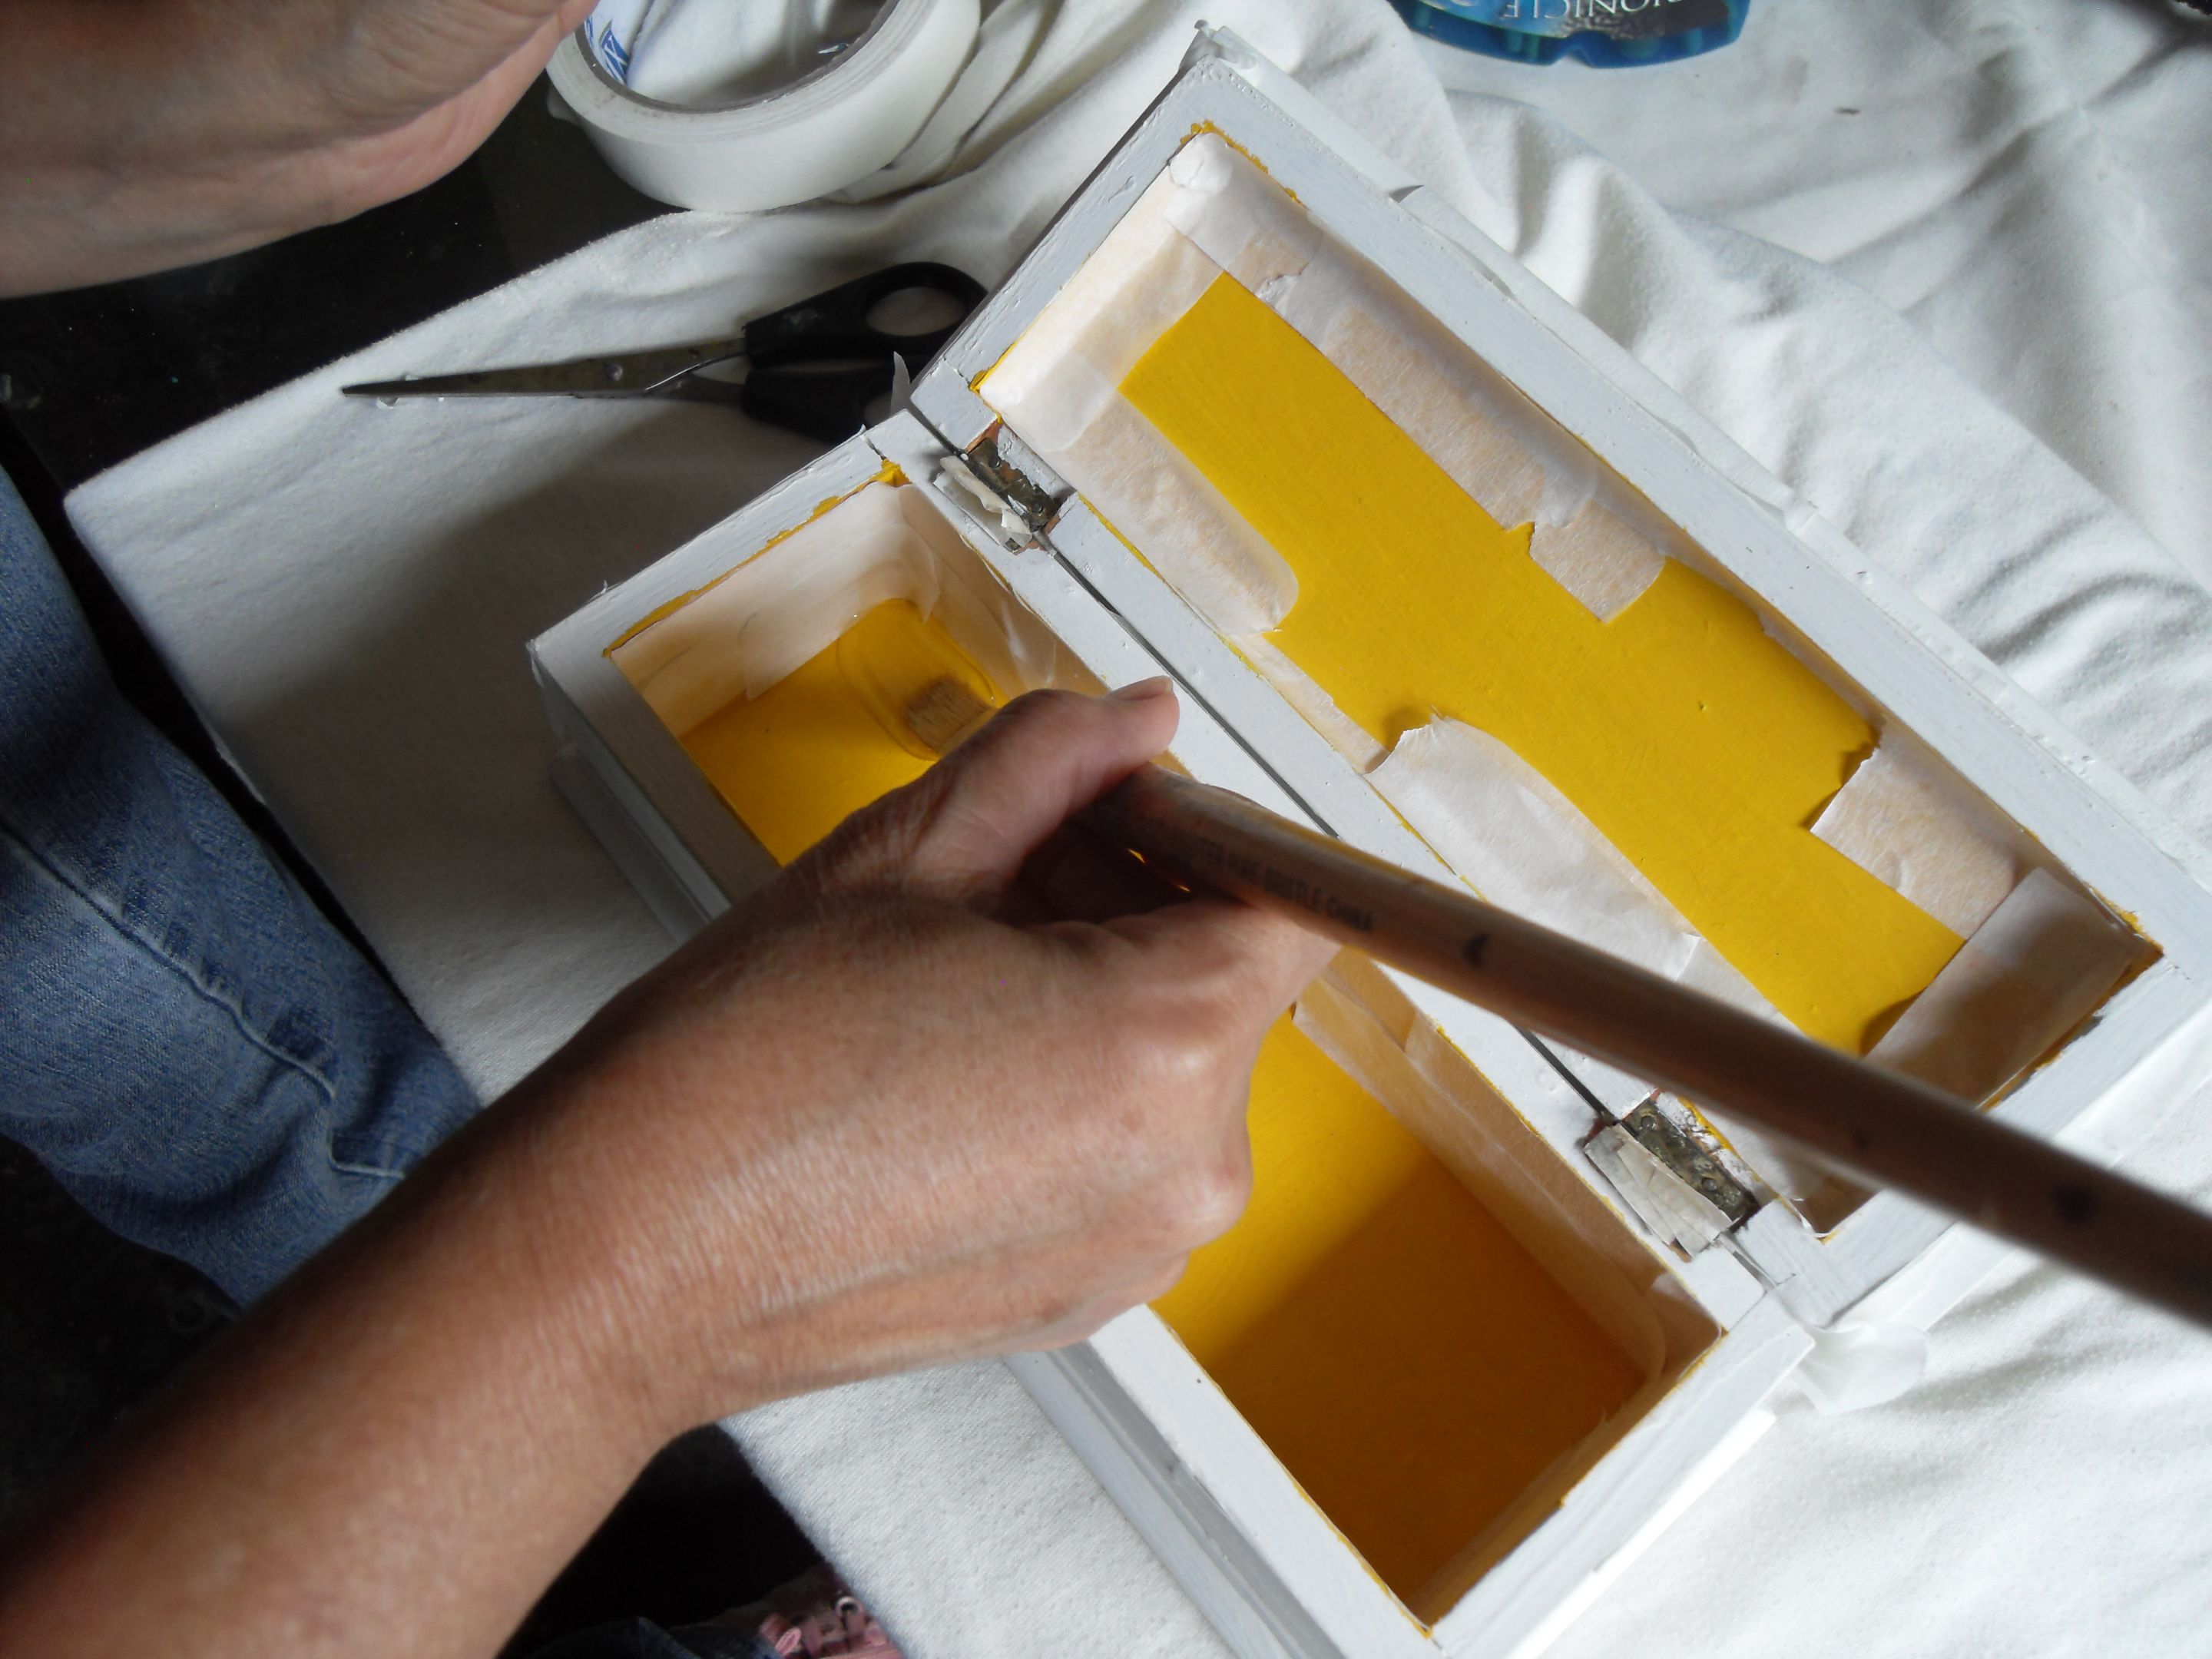
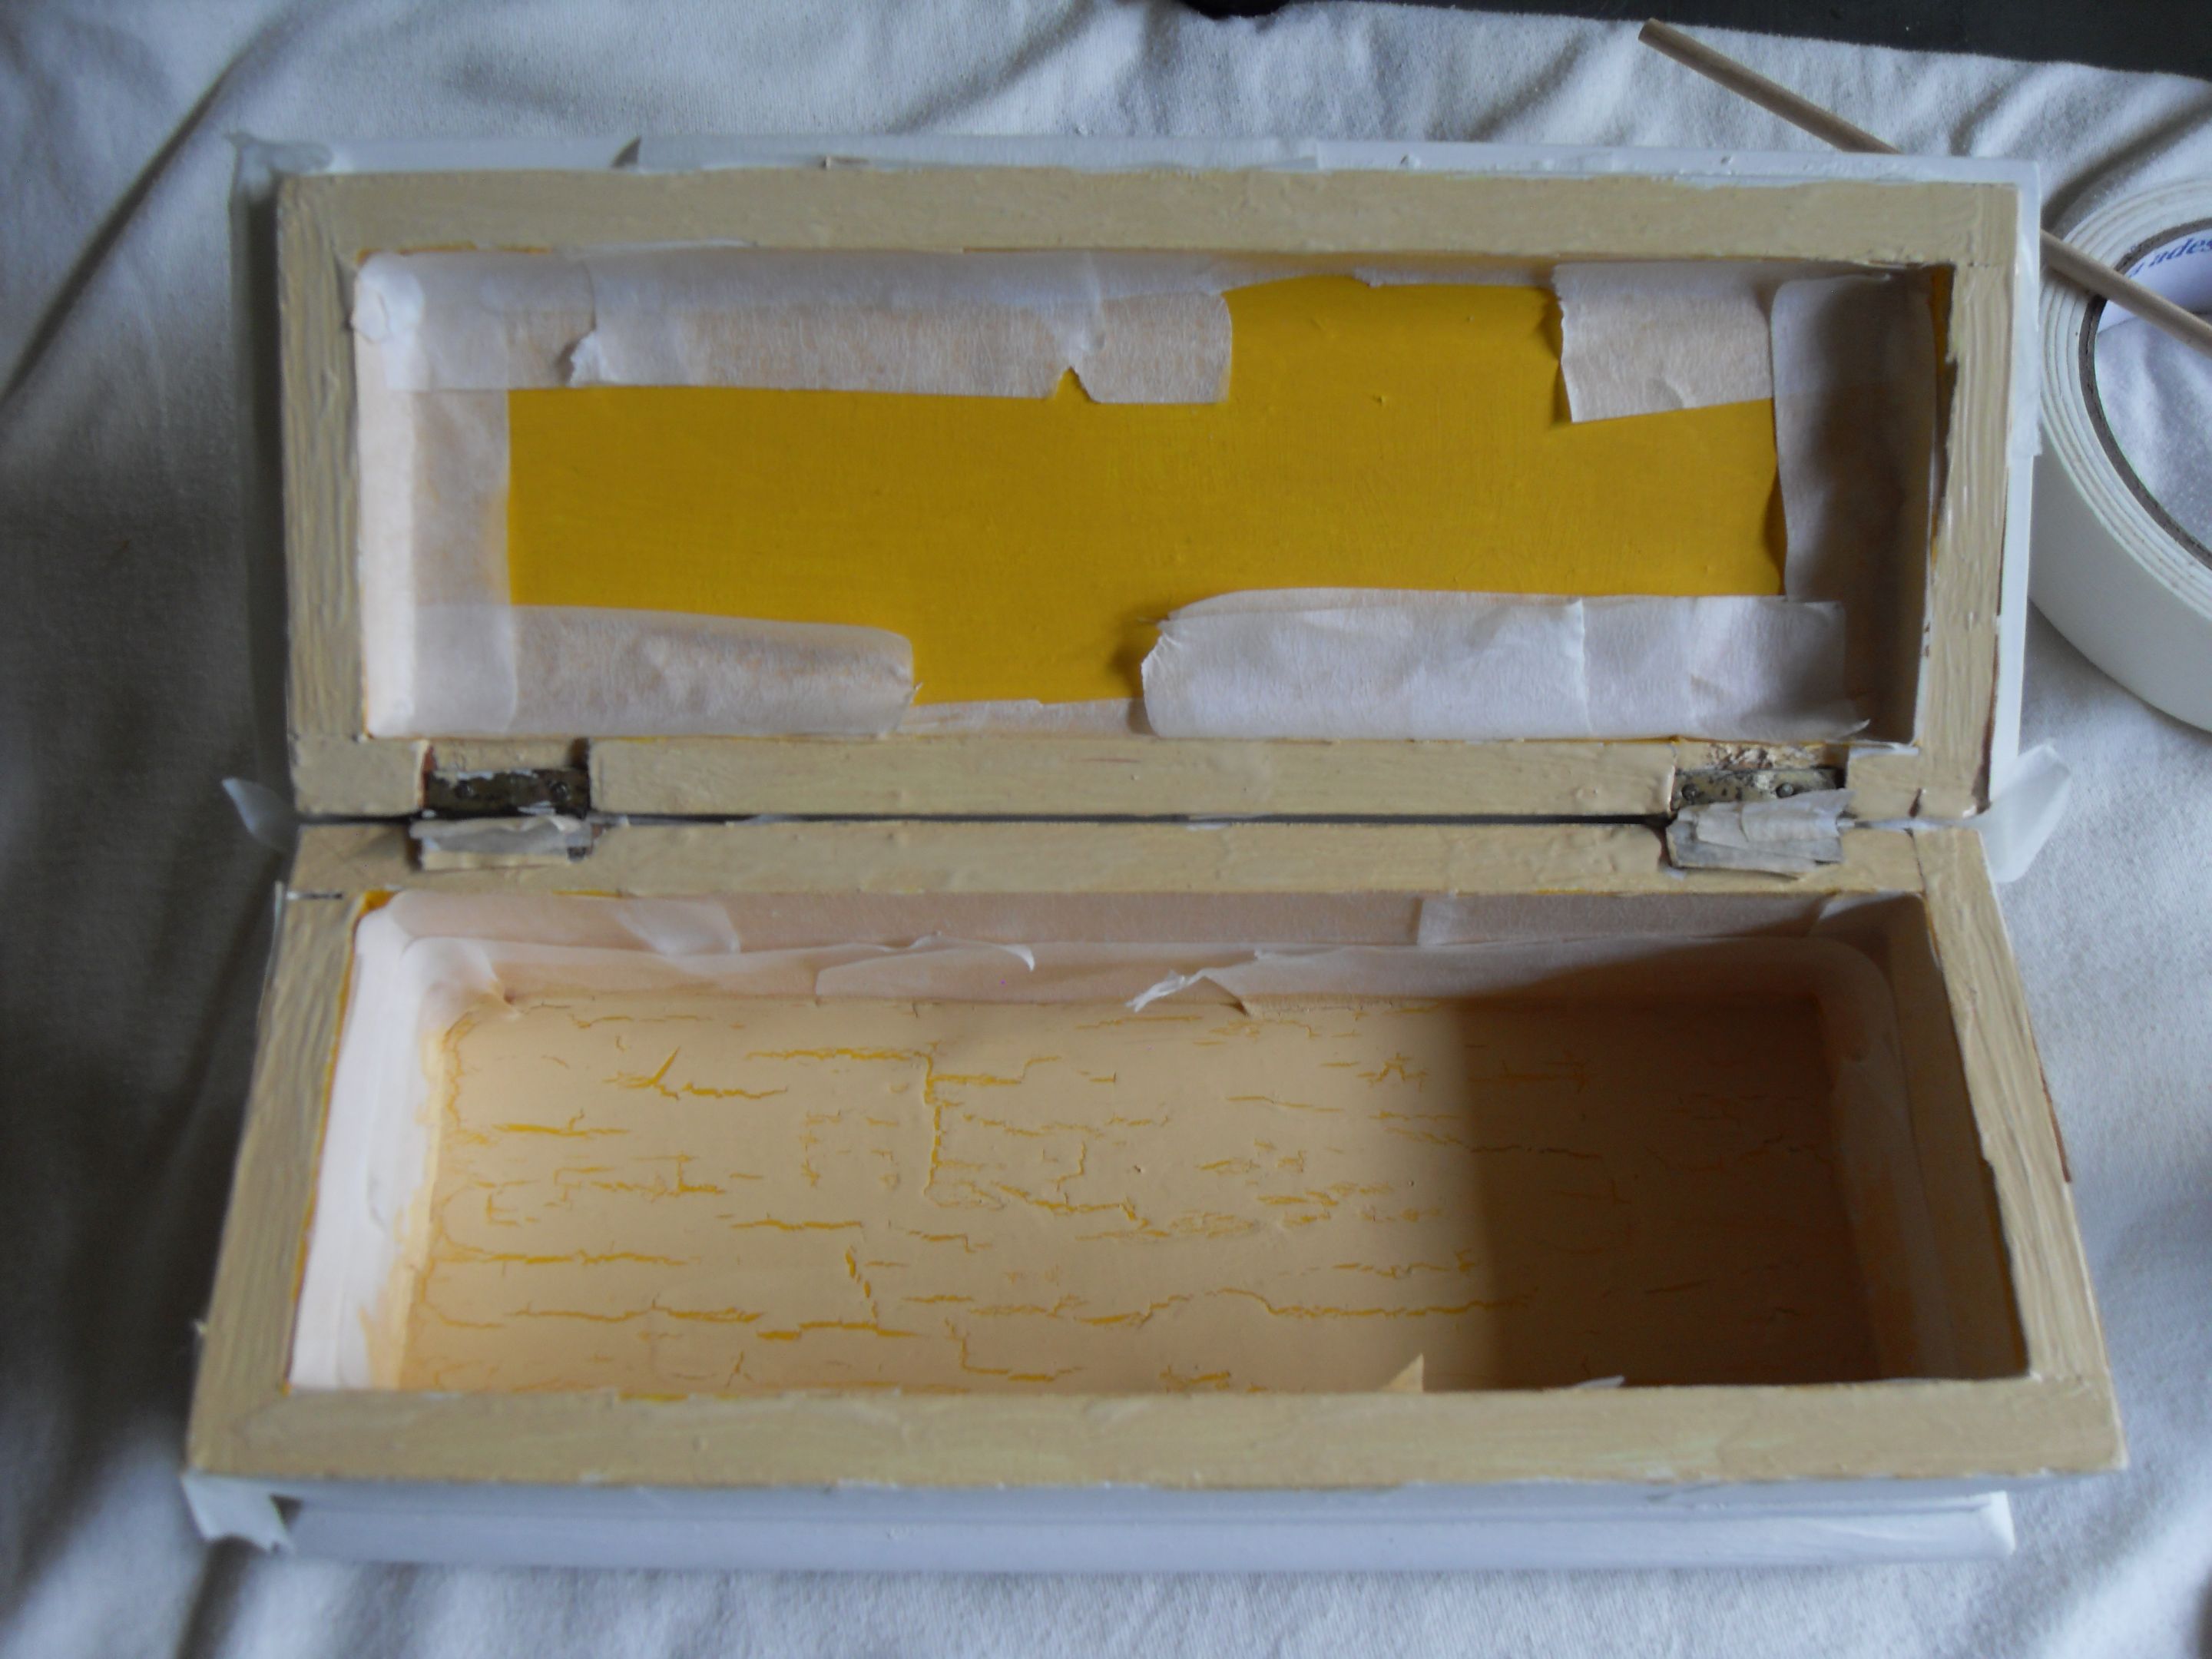
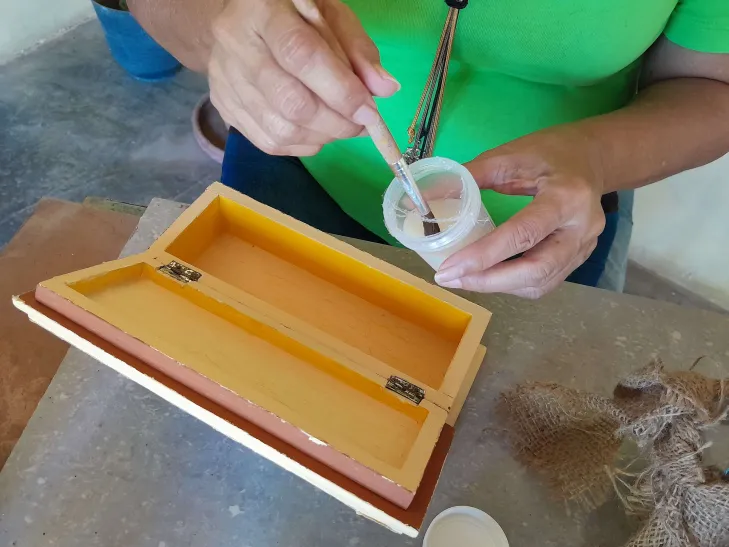
**Paso 2**: Inicie pintando por la parte interna, seleccione para la primera capa el color amarillo turpial (F004), aplique dos manos y deje secar.
>![ English]
>
> Step 2: Start painting from the inside, select turpial yellow (F004) for the first coat, apply two coats, and let dry.
|||
|-|-|
||||
|-|-|-|

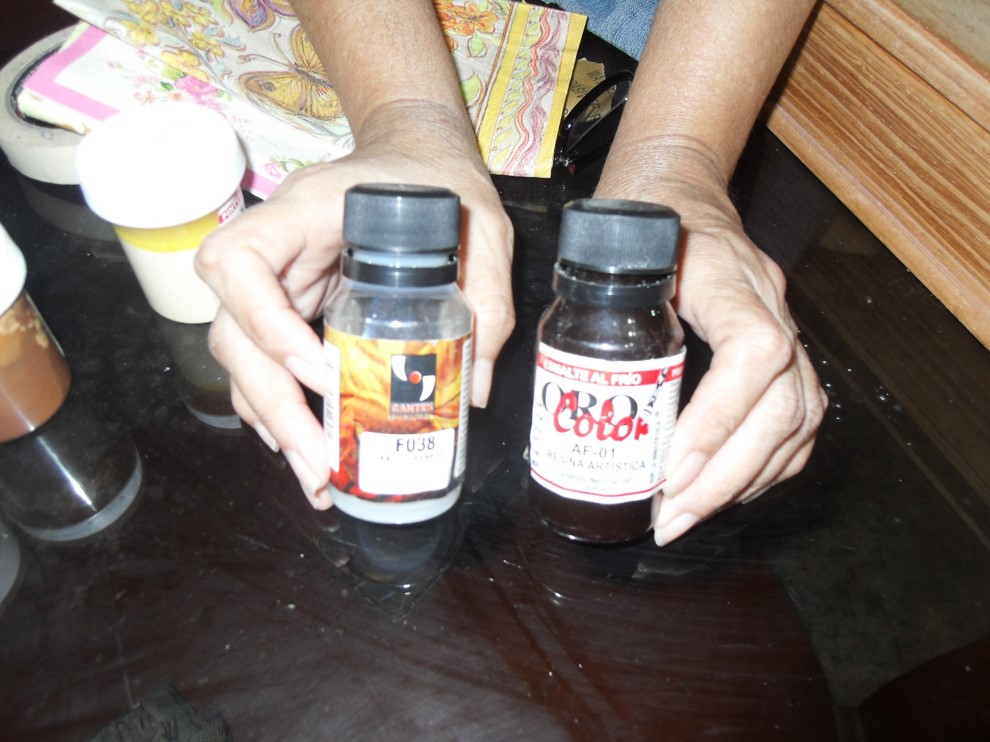
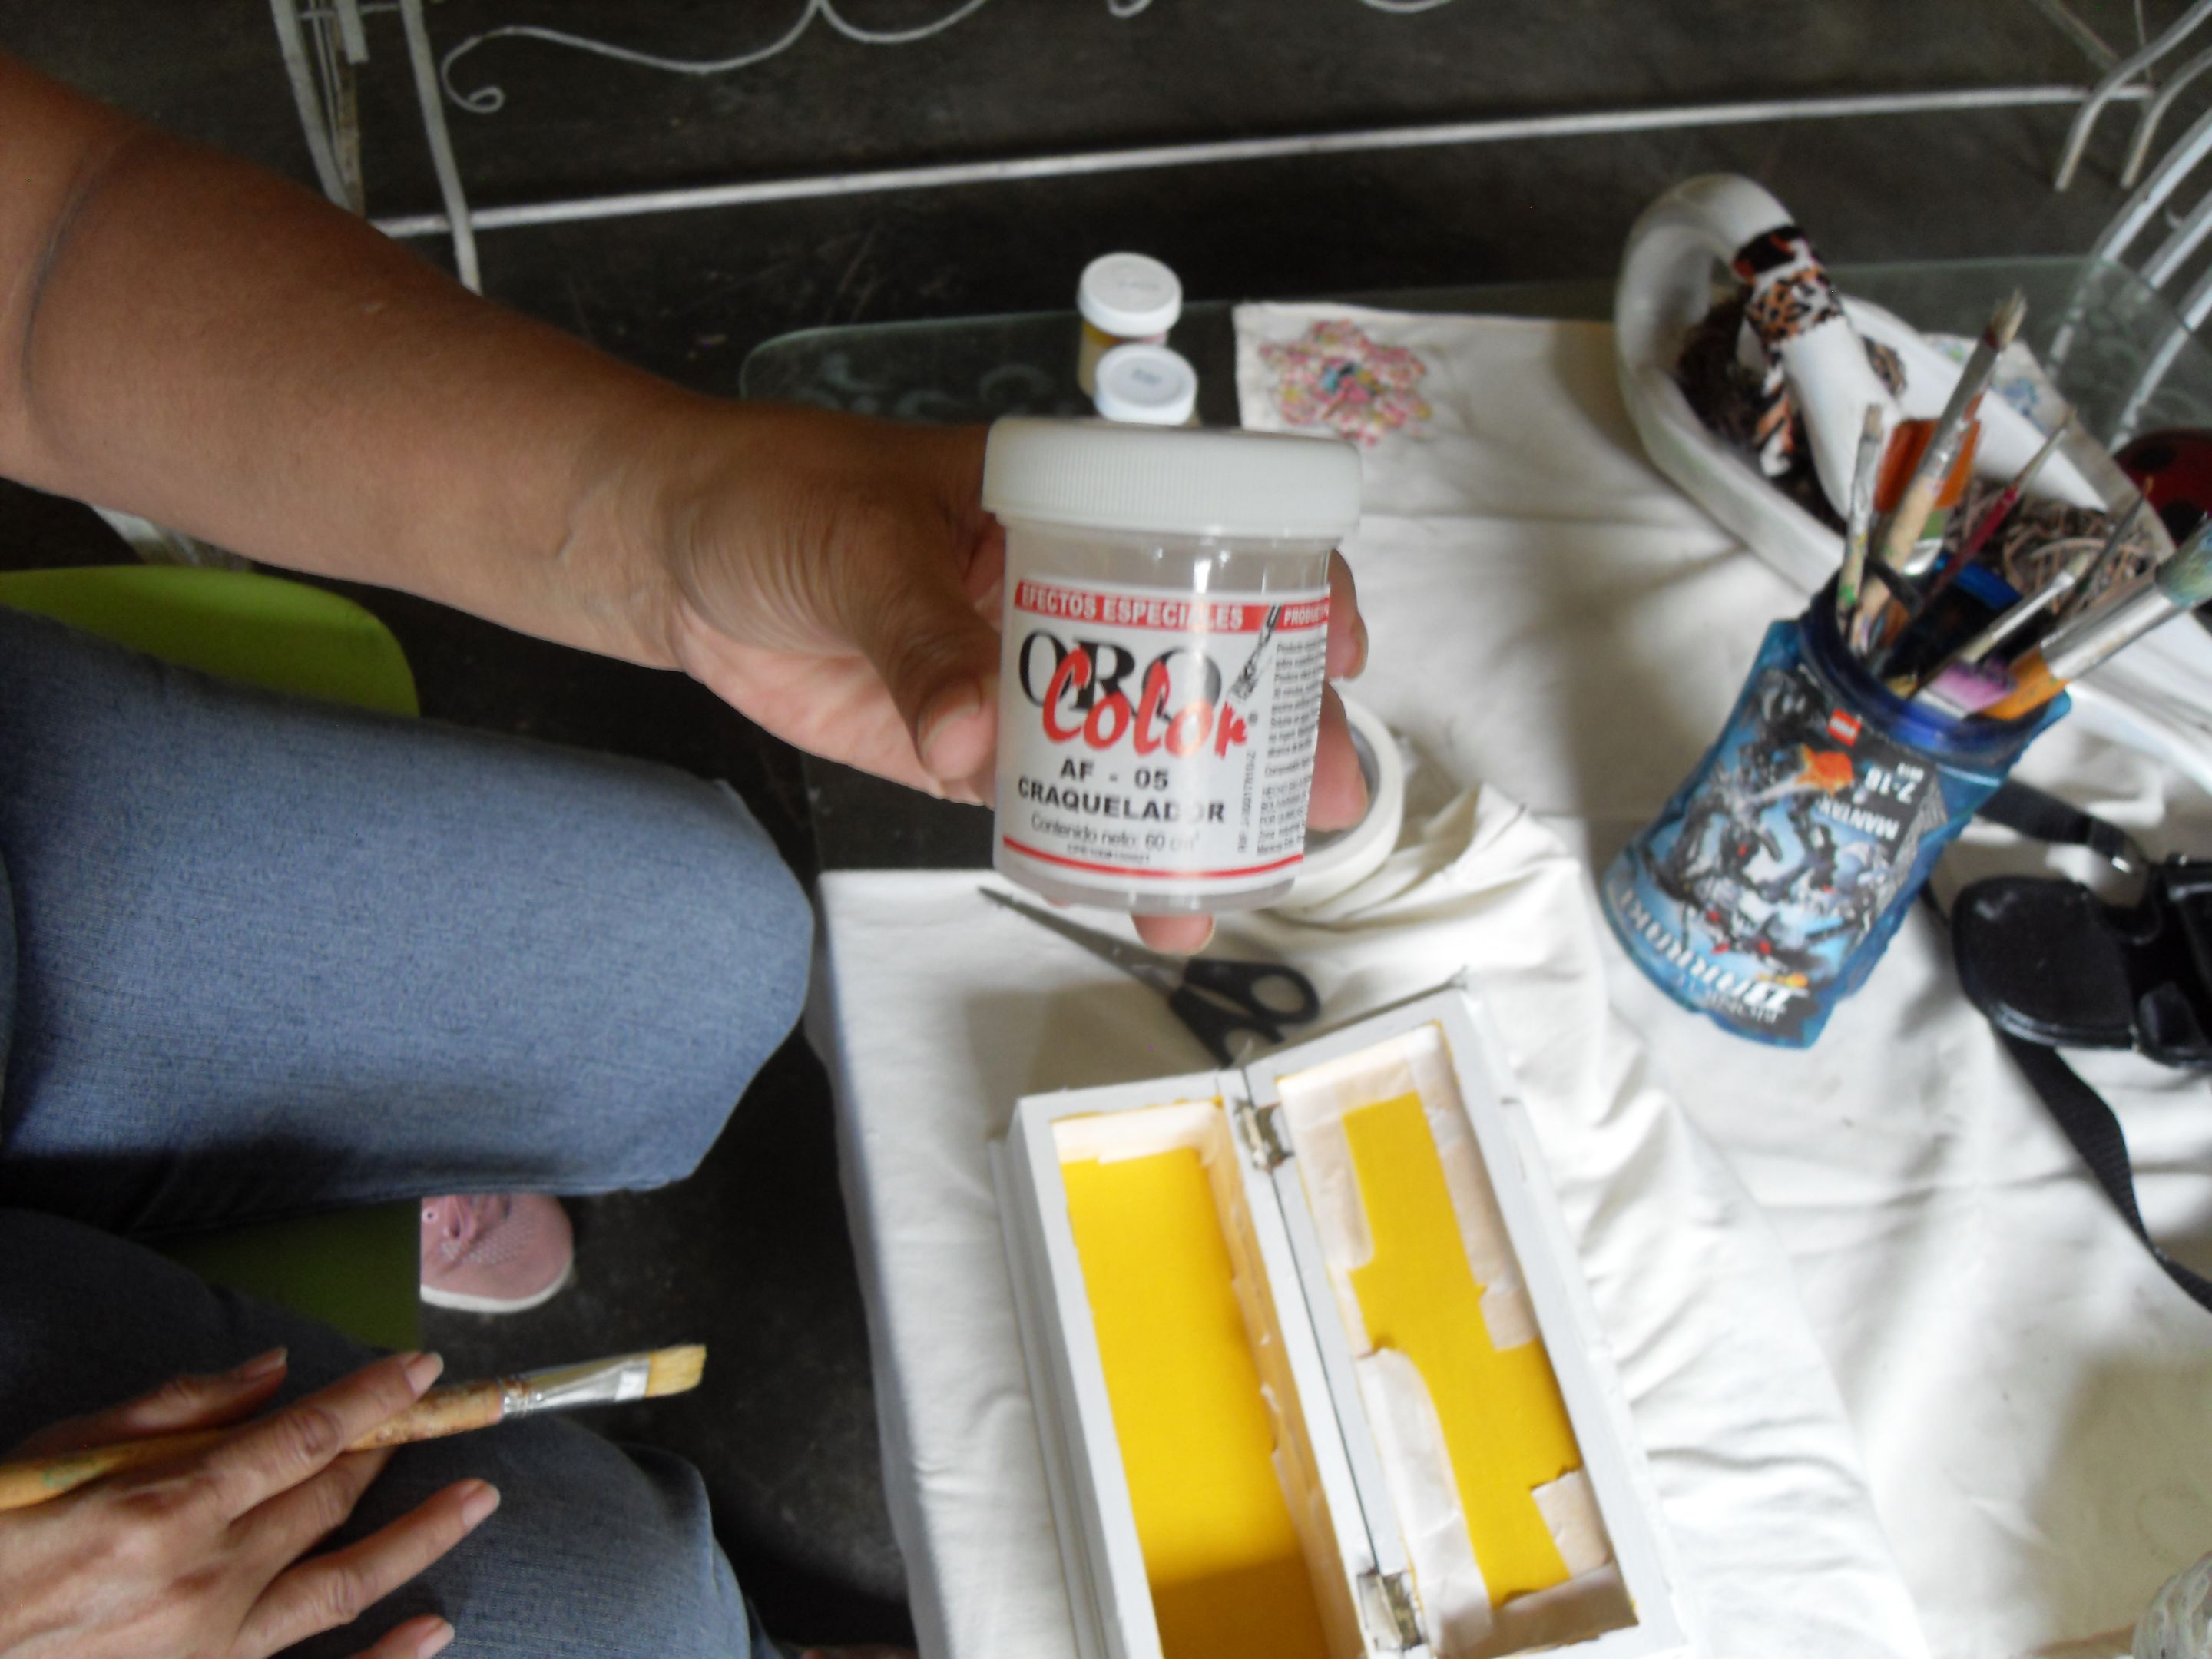
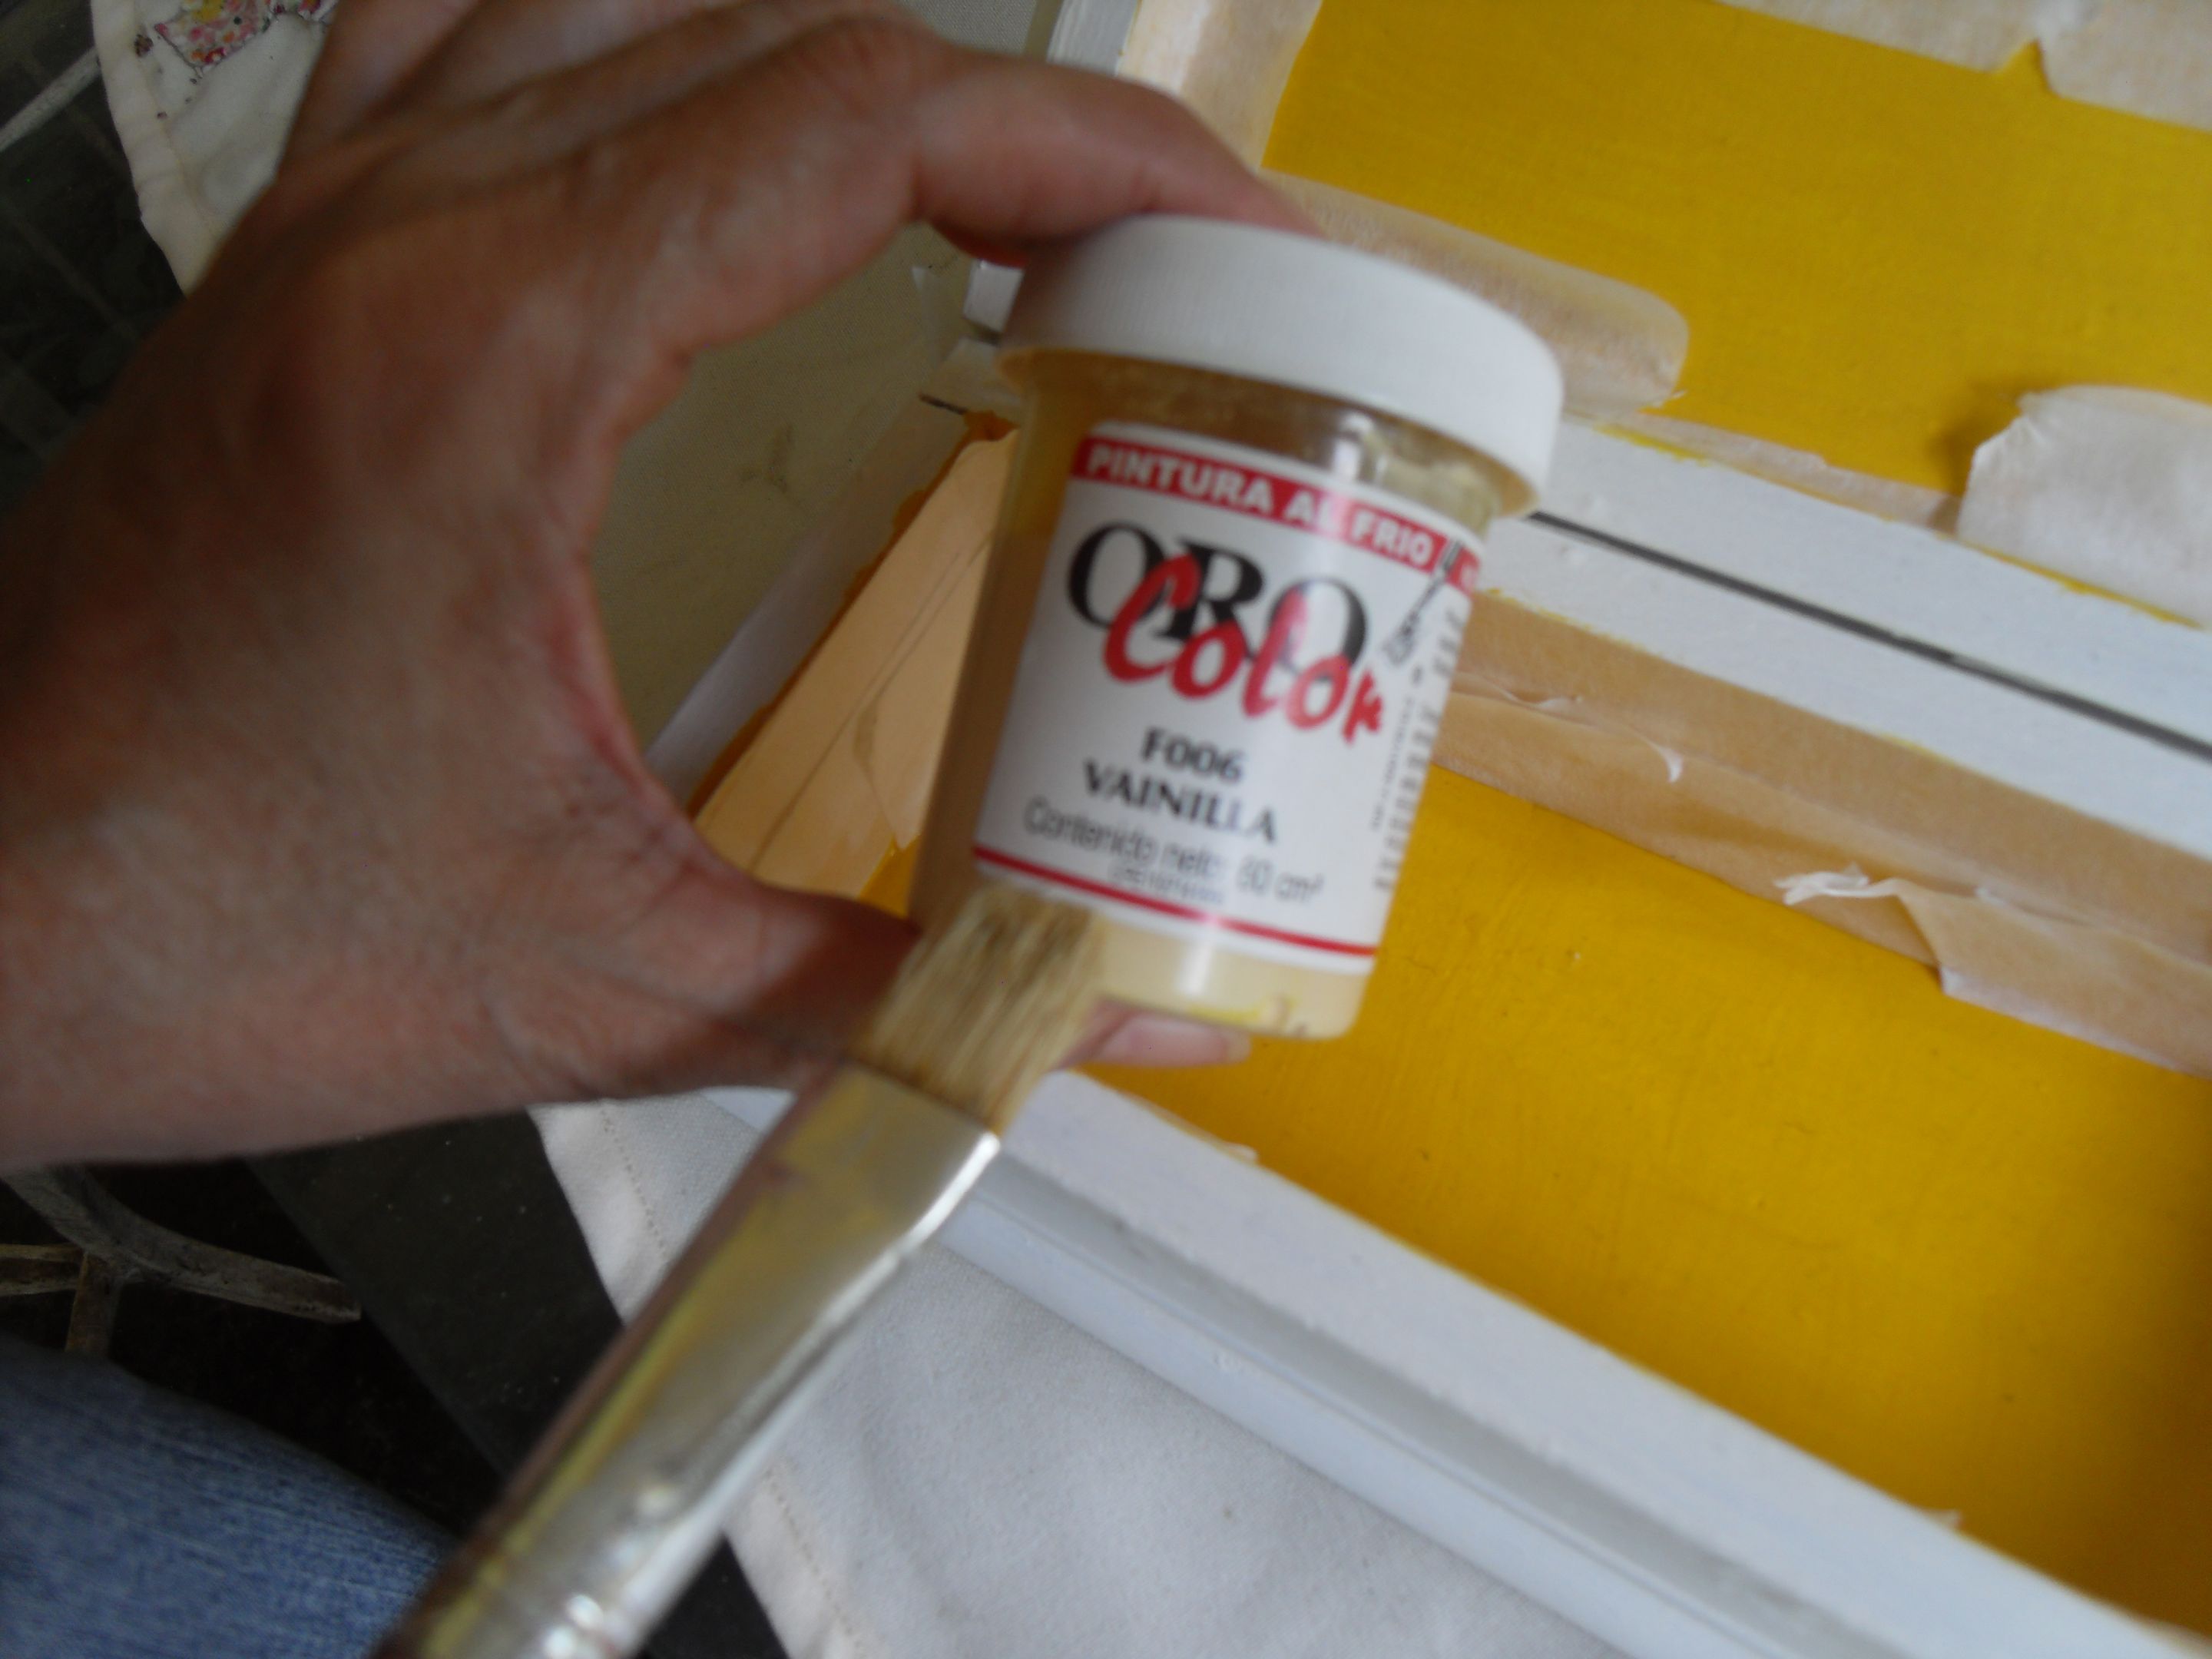
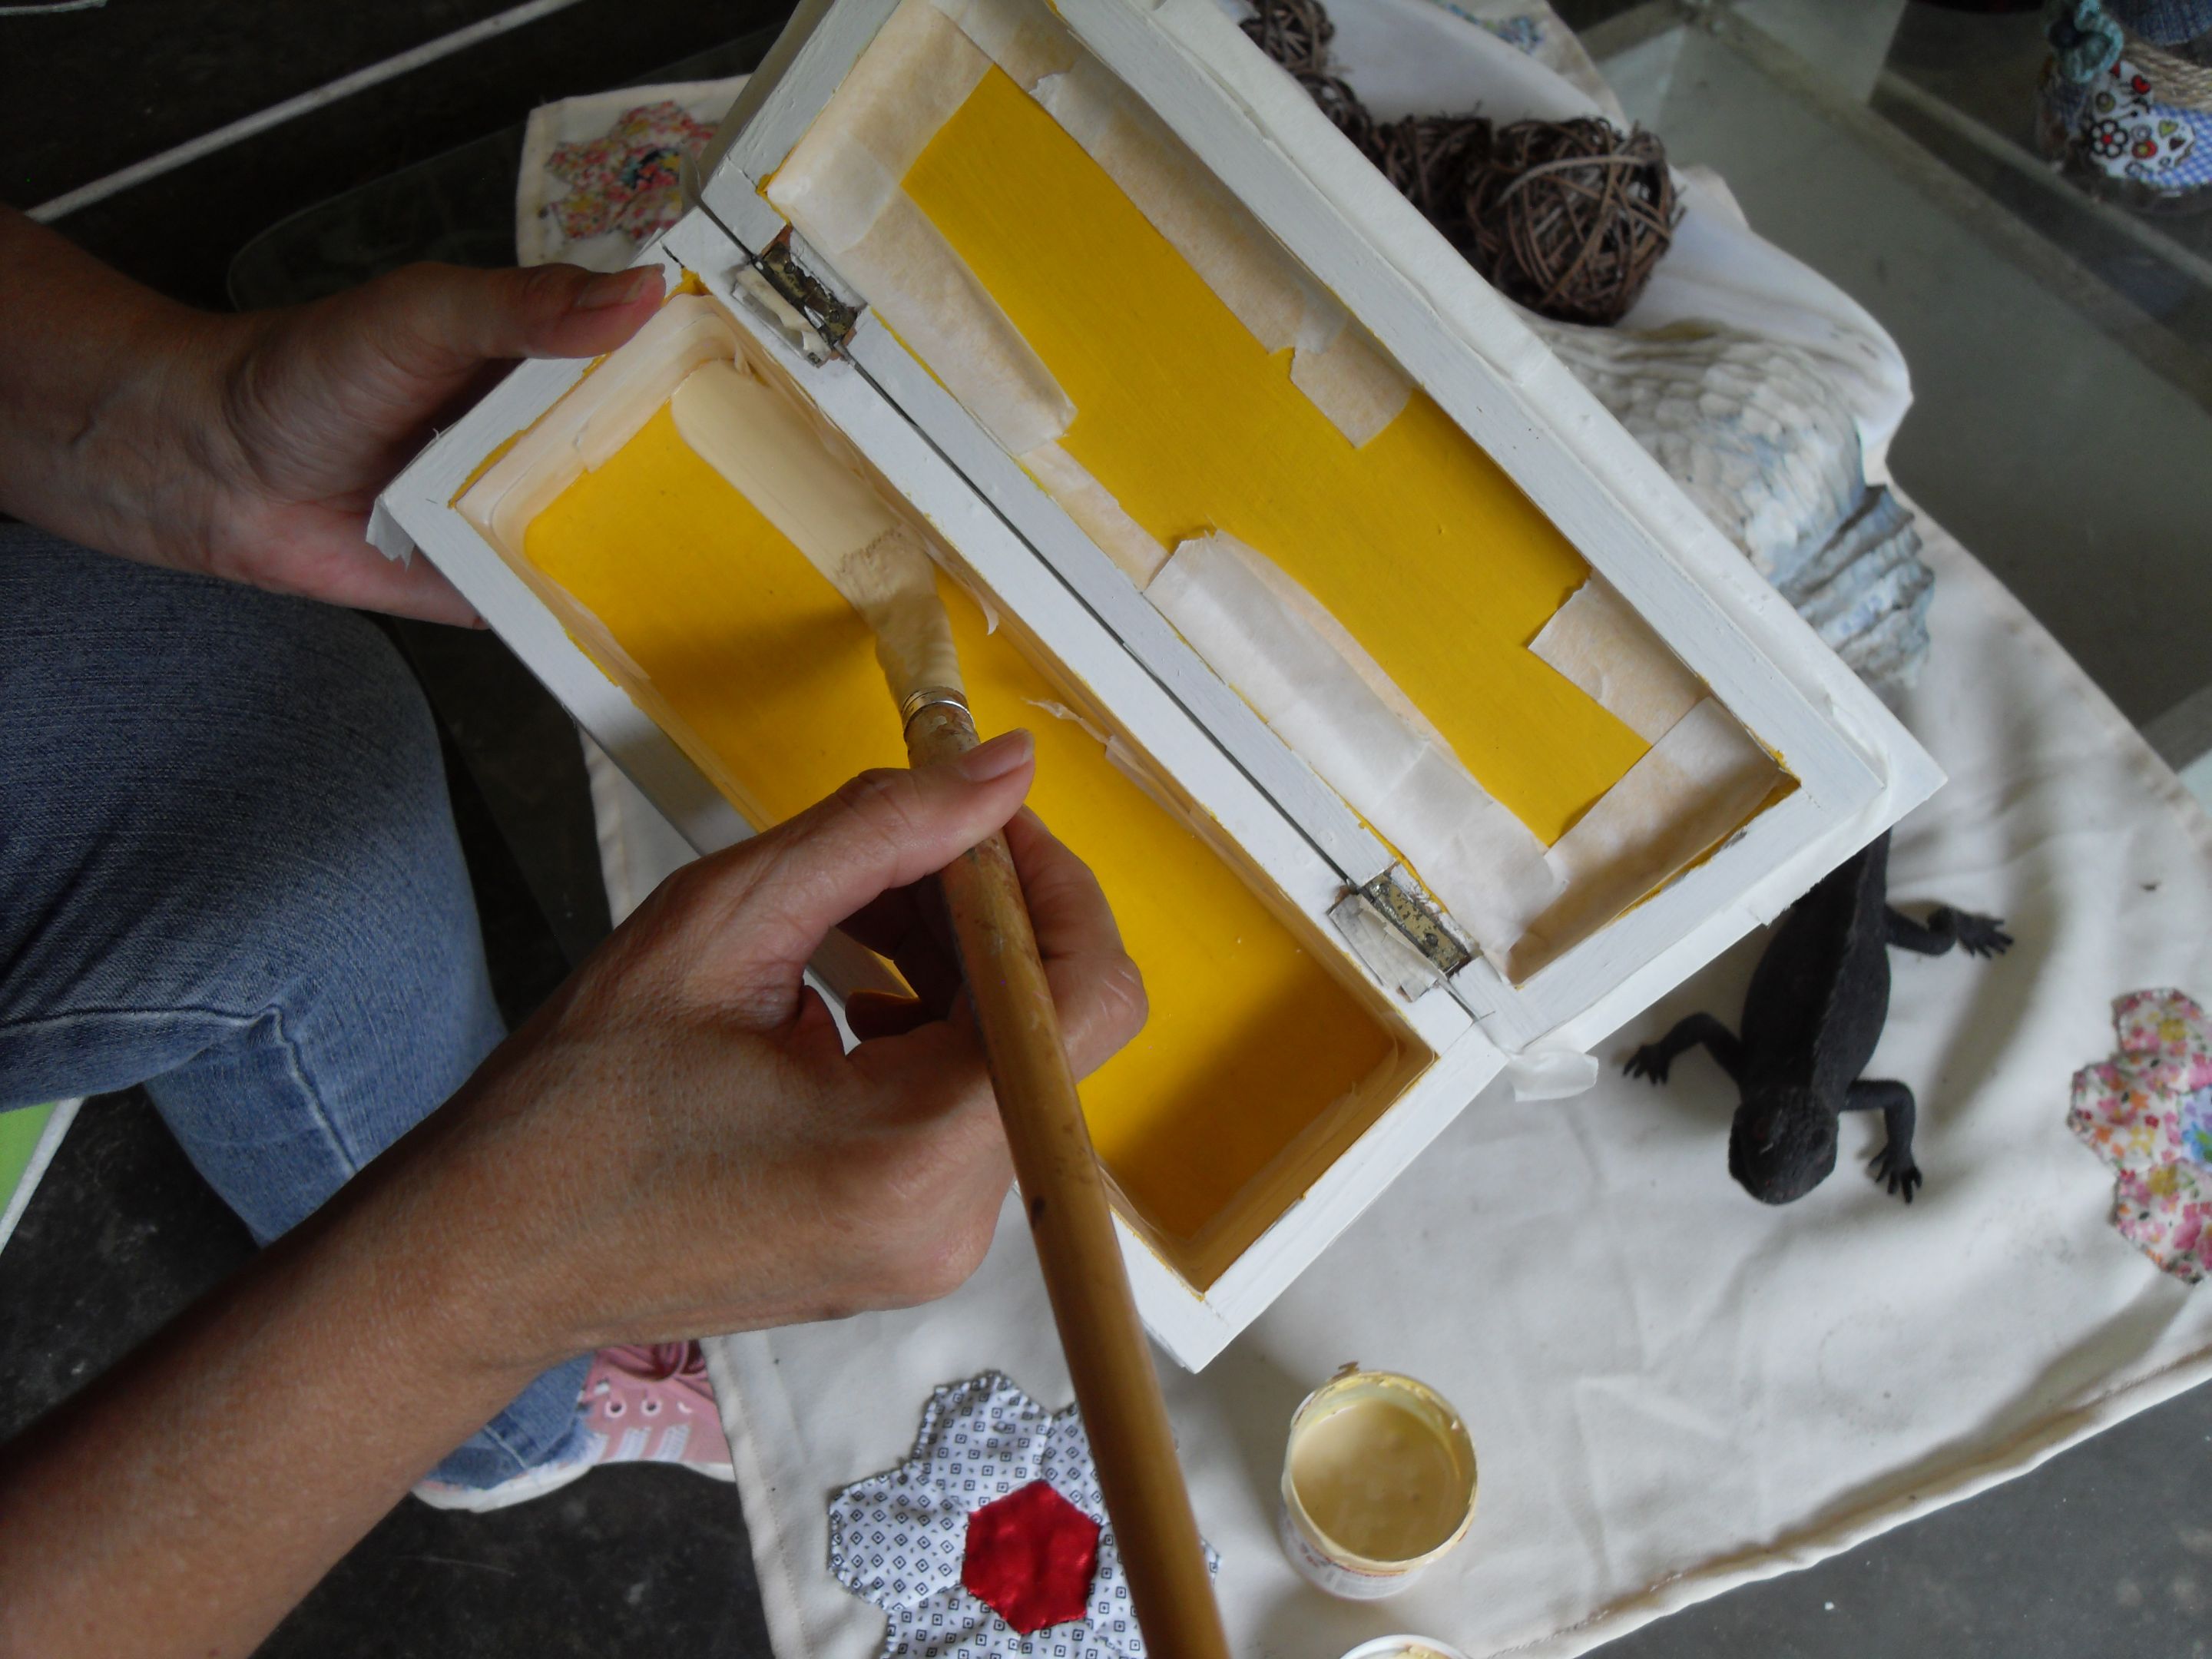
**Paso 3:** Craquelador: apliqué en la parte internas, en las bases, arriba y abajo. Deje secar 24 horas. Luego aplique el segundo color, vainilla (F006). Deje secar.
**Tips:** el craquelador se aplica rápidamente, humedeciendo bien el pincel, en un solo sentido y sin repasar el pincel .
>![ English]
>
> Step 3: Crackle medium: I applied it to the inner parts, the bases, top, and bottom. Let dry for 24 hours. Then apply the second color, vanilla (F006). Let dry.
Tips: The crackle medium is applied quickly, moistening the brush well, in one direction only and without going over the brush again.
|||
|-|-|
||||
|-|-|-|

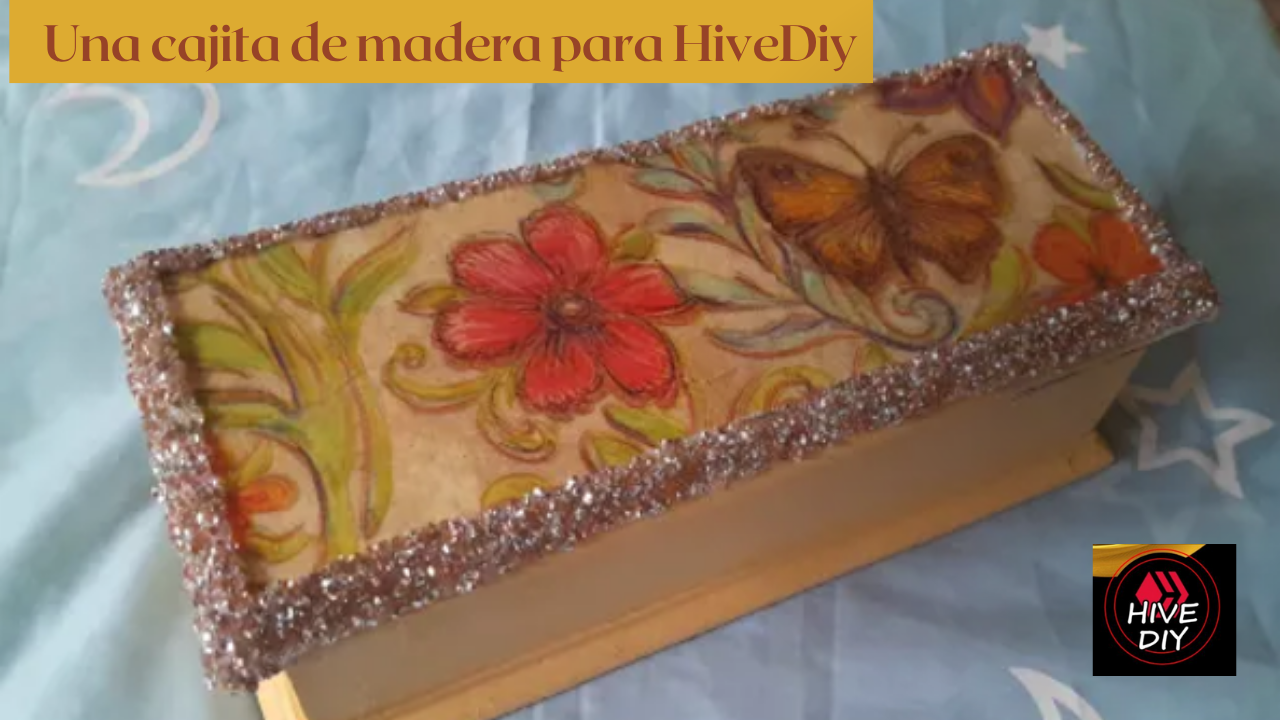
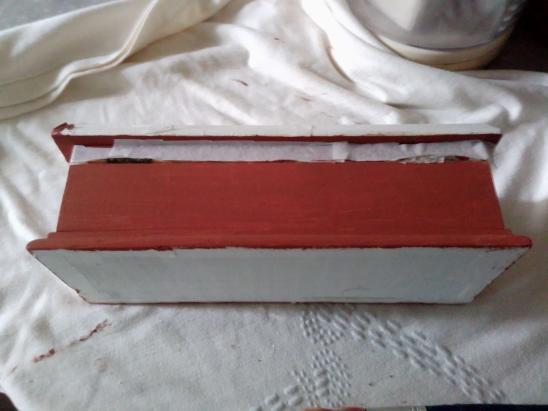
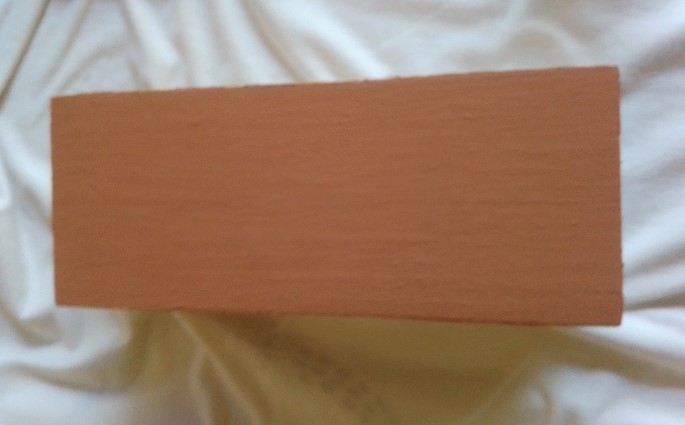
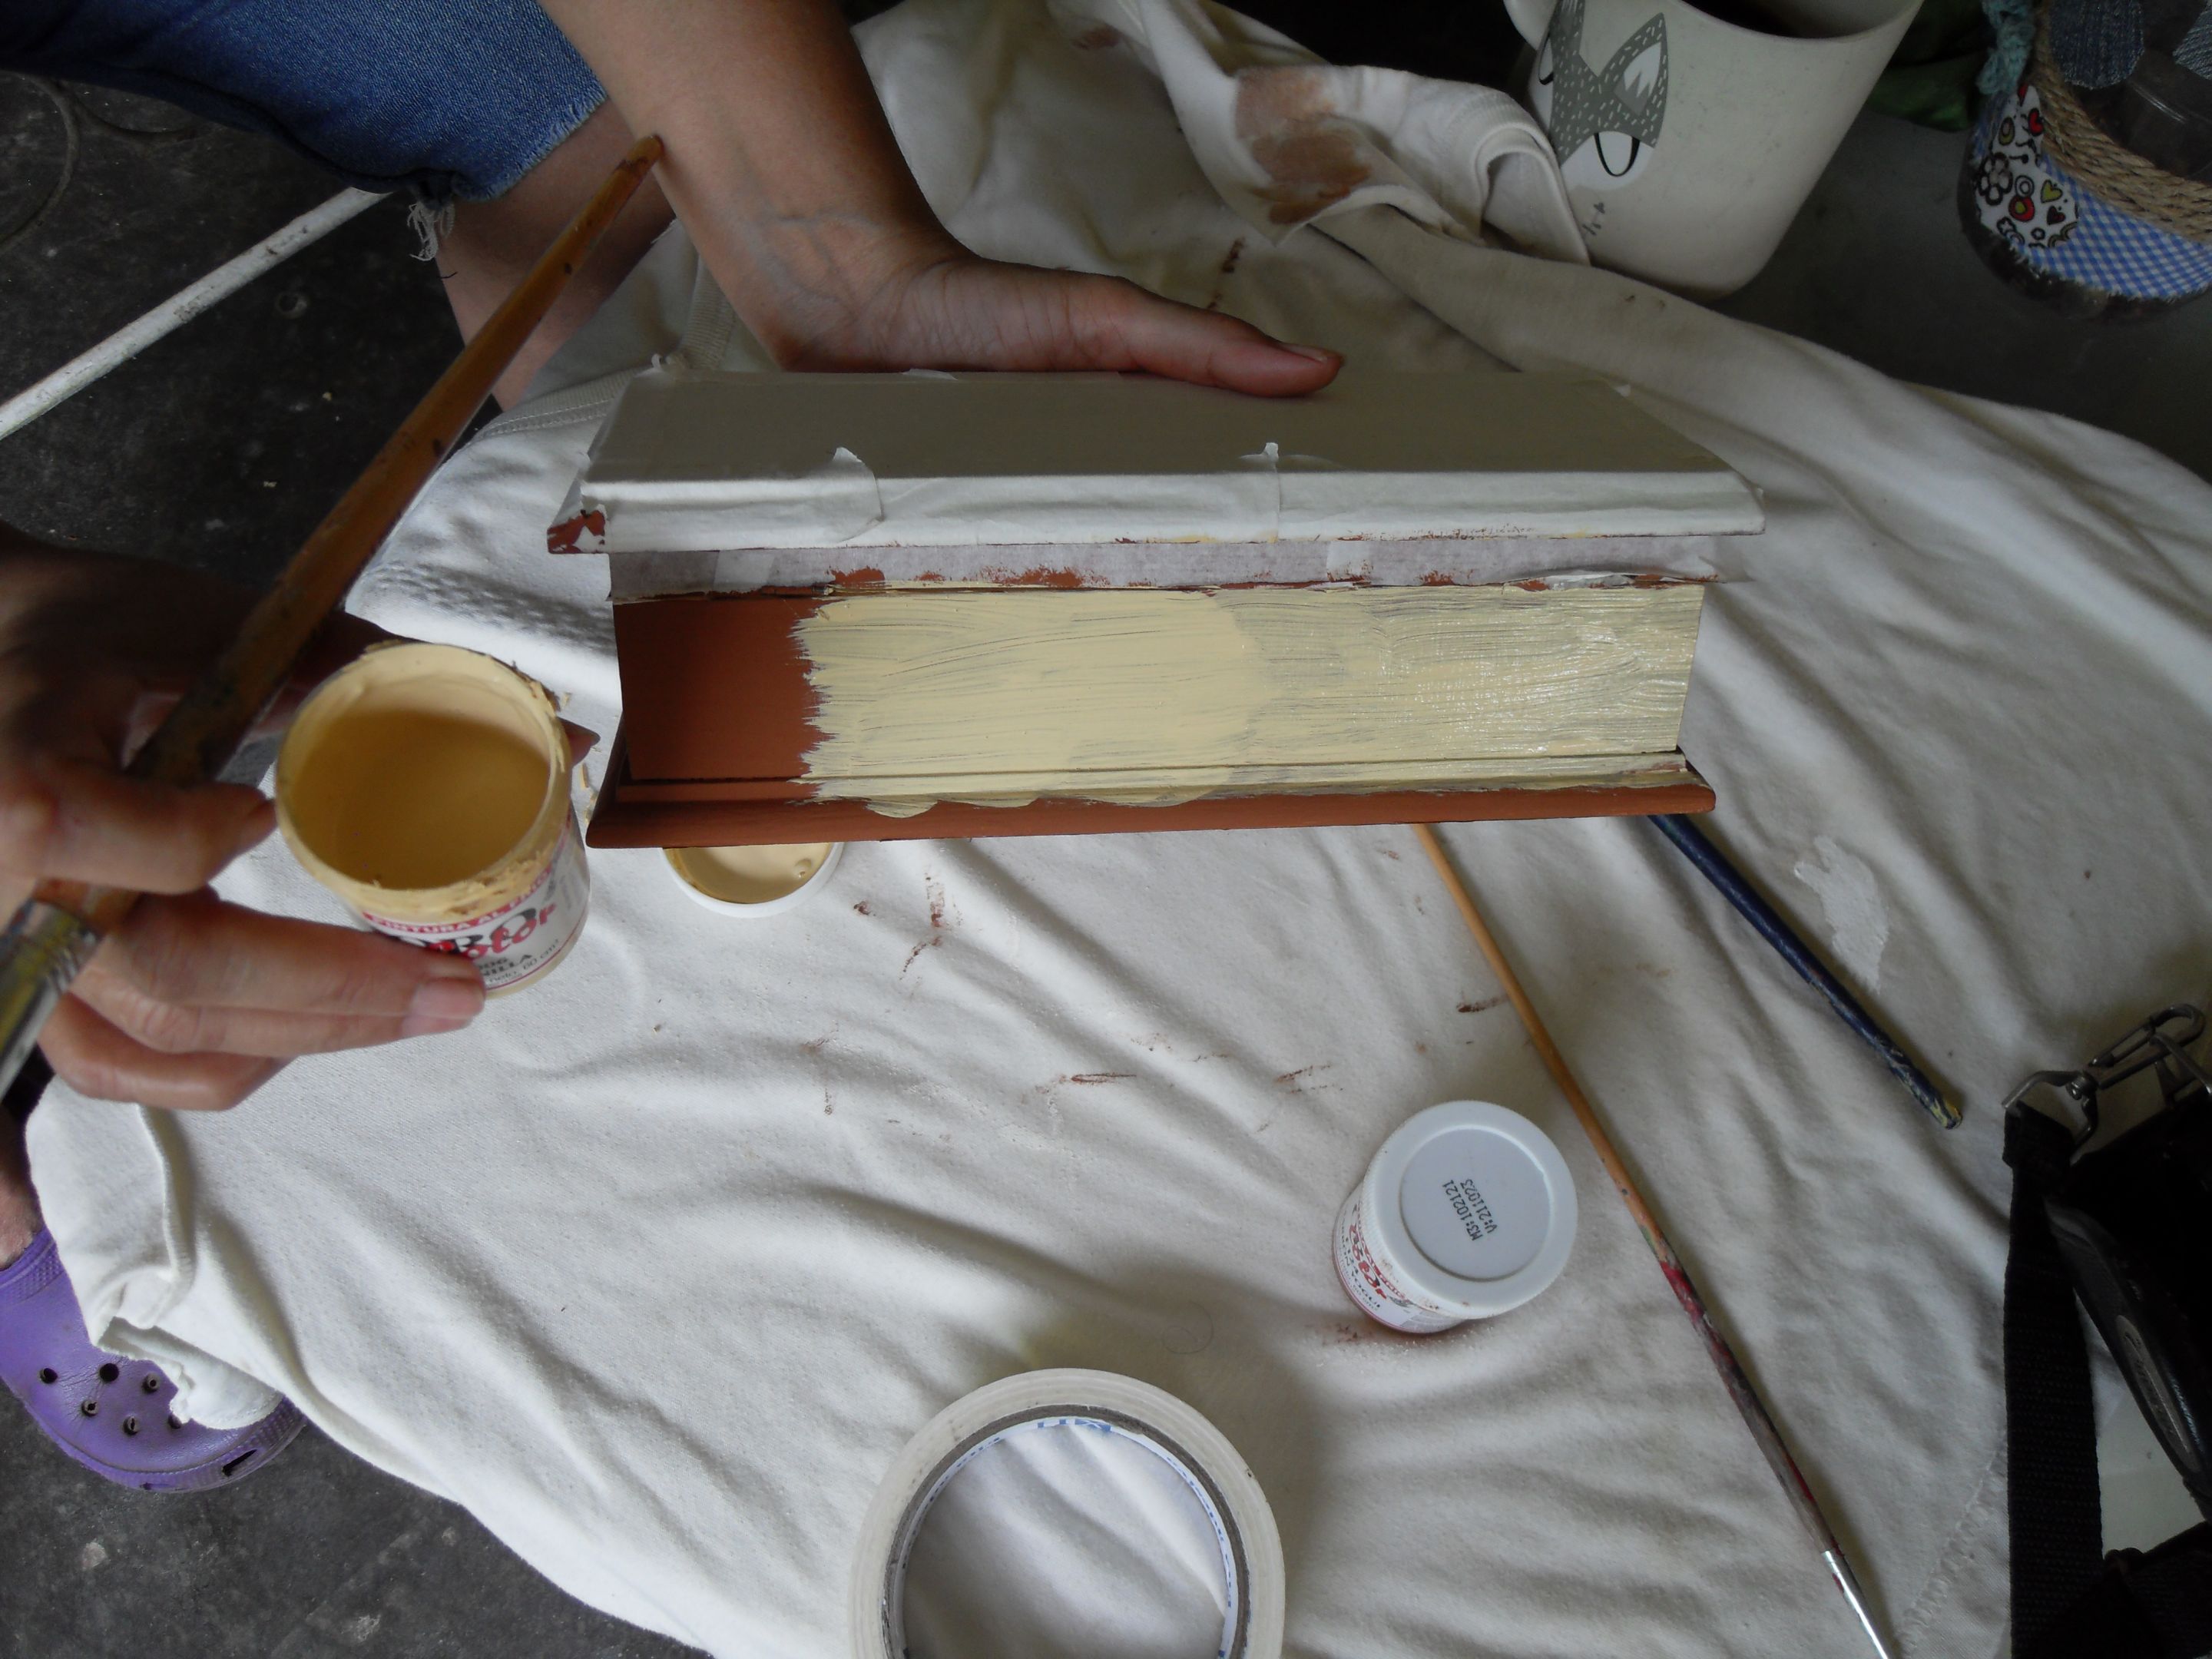
**Paso 4:** Seguidamente pinté la parte exterior, la primera capa de color marrón yogui ( F124), y la segunda capa en color vainilla (F006). Luego hice pátina para envejecer la caja con la técnica de la vela. Frote la vela por las esquinas por toda la superficie y acentúe por las esquinas. Luego pasé una lija gruesa por las esquinas. Luego una lija suave por toda la superficie. Finalmente, con el color marrón yogui ( F124), y un pincel redondo esfumar.
**Tips:** El esfumado es una técnica que se hace con el pincel redondo, se humedece un poco, se deja secar y luego se aplica golpeando suavemente la madera.
>![ English]
>
>Step 4: Next, I painted the outside, applying the first coat in Yogi Brown (F124) and the second coat in Vanilla (F006). Then I used the candle technique to apply a patina to age the box. I rubbed the candle around the corners and over the entire surface, emphasizing the corners. Then I rubbed the corners with coarse sandpaper. Next, I rubbed the entire surface with fine sandpaper. Finally, using Yogi Brown (F124) and a round blending brush, I blended the colors.
Tips: Blending is a technique done with a round brush. Moisten the brush slightly, let it dry, and then apply the color by gently tapping the wood.
|||
|-|-|
||||
|-|-|-|

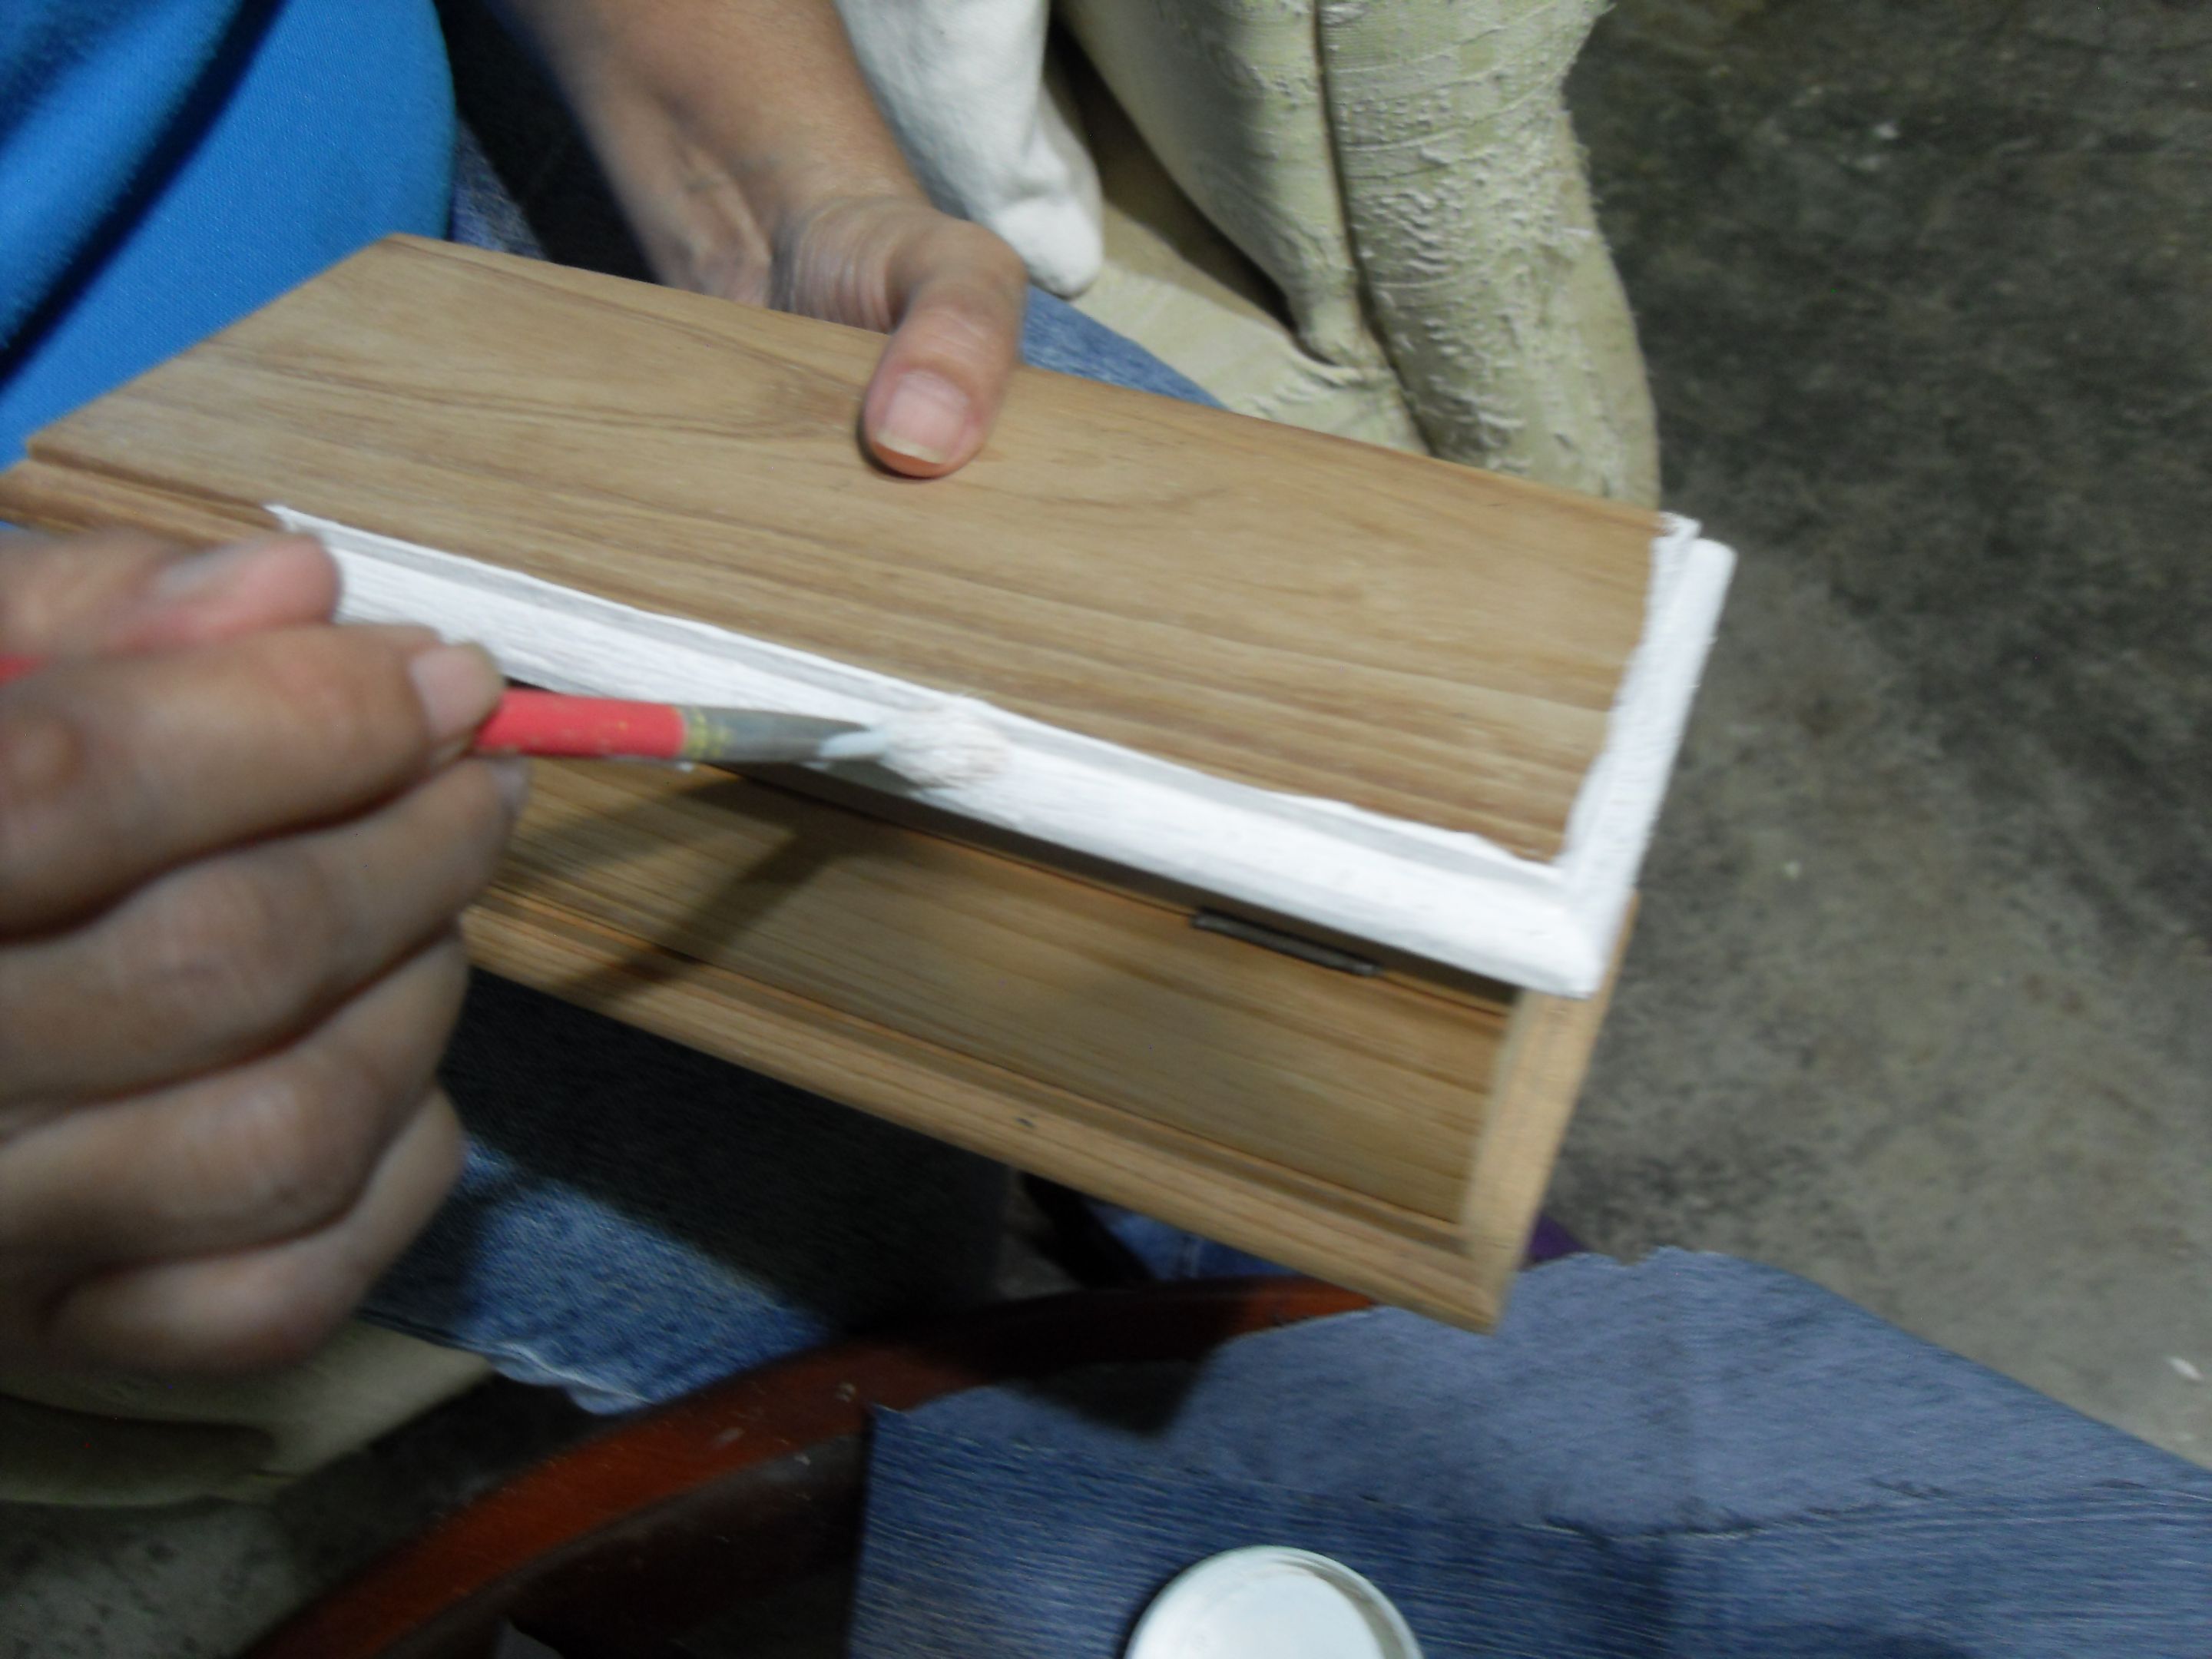
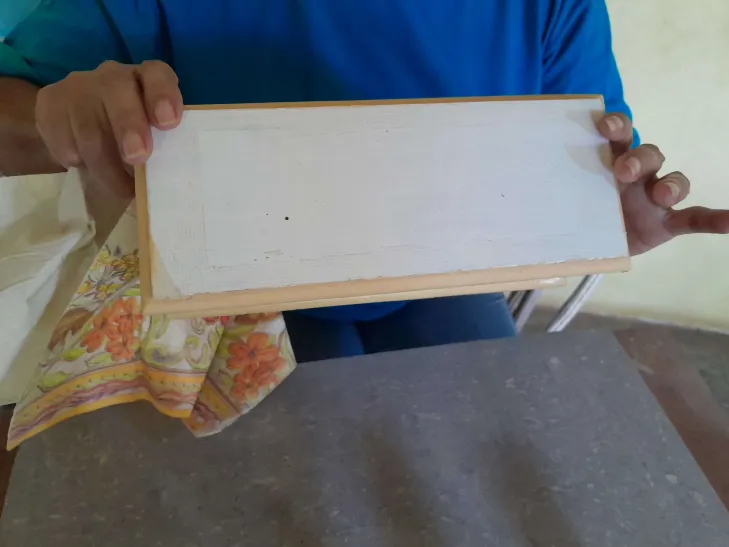
**Paso 5:** Quite el tirro y aplique brillo al agua en toda la superficie, exceptuando la parte de arriba donde hice la técnica Decoupage.
>![ English]
>
> Step 5: Remove the tape and apply water-based gloss to the entire surface, except for the top part where I used the Decoupage technique.
||||
|-|-|-|

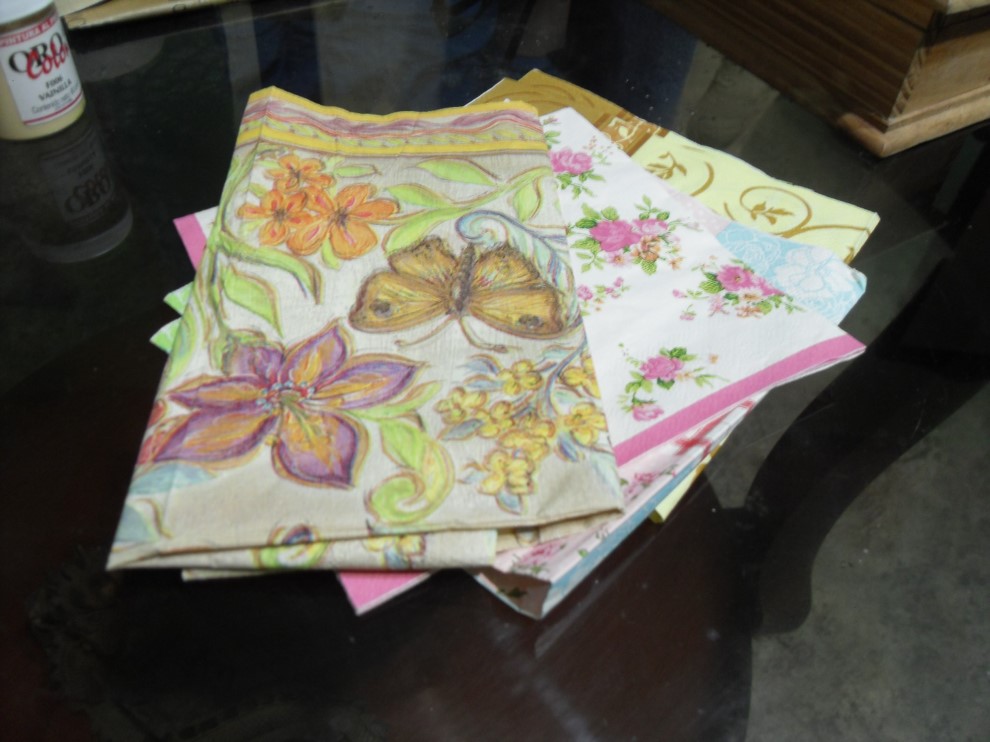
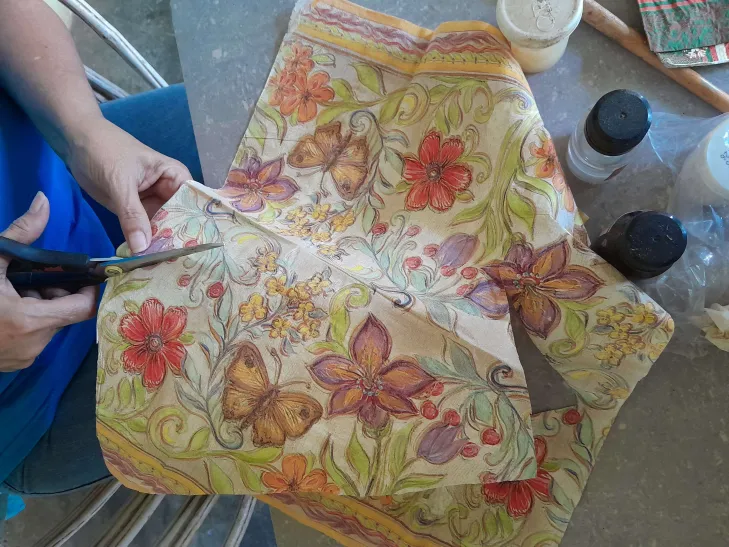
**Paso 6:** Técnica de Decoupage. Puede utilizar cualquier tela, servilletas, papel, cartulina, papel de arroz, papel de regalo, entre otros. Esta técnica hay que hacerla con paciencia para que no se dañe el material utilizado. Escogí una servilleta vintage con mariposas y flores.
**Tips:**
• Quitar las dos capas que lleva la servilleta.
• La base donde se va a pegar la servilleta debe ser blanca y sin ningún material que impida que se adhiera la servilleta a la madera.
>![ English]
>
>Step 6: Decoupage technique. You can use any fabric, napkins, paper, cardstock, rice paper, wrapping paper, among others. This technique must be done patiently so that the material used is not damaged. I chose a vintage napkin with butterflies and flowers.
Tips:
• Remove the two layers of the napkin.
• The base where the napkin will be glued must be white and free of any material that could prevent the napkin from adhering to the wood.
||||
|-|-|-|

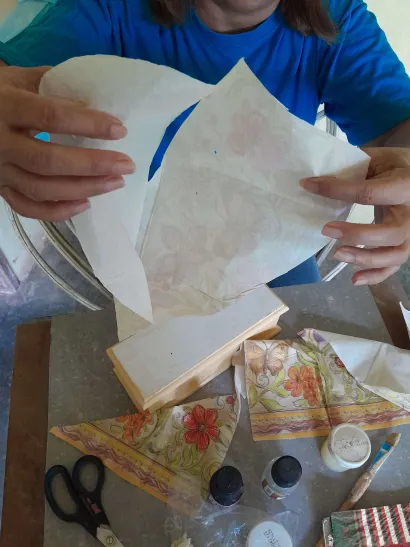
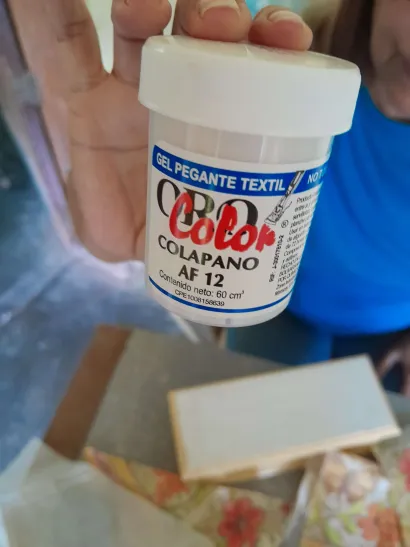
**Paso 7:** Como indiqué en el paso 6, primero preparé la servilleta escogida. Limpie la cajita para quitar el polvo. Luego pinté la madera con colopano AF 12, marca oro color. Utilice un pincel plano. Inicie desde el centro hacia los extremos. Humedecí bien el pincel y pasé colapano encima de la servilleta para sellar. Corte las orillas y se deje secar.
>![ English]
>
> Step 7: As I mentioned in step 6, I first prepared the napkin I had chosen. I cleaned the box to remove any dust. Then I painted the wood with Colopano AF 12, gold color. I used a flat brush. I started from the center and worked toward the edges. I moistened the brush well and applied Colopano over the napkin to seal it. I cut the edges and let it dry.
|||
|-|-|
|