Saludos querida comunidad. Hoy nuevamente quiero mostrarles y compartir con ustedes el trabajo que realice está semana . Se que les será de mucho provecho. En esta oportunidad me tocó decorar una libreta de una manera muy tierna para mis planificaciones escolares, la personalice a mi gusto y utilice colores acordes muy lindos. Estaré atenta a cualquier sugerencia que puedan realizarme. Antes de el desarrollo de los pasos te invito a ver los materiales que utilice.
Greetings dear community. Today again I want to show and share with you the work I did this week. I know it will be very useful to you. On this occasion I had to decorate a notebook in a very tender way for my school plans, I personalized it to my liking and used very nice matching colors. I will be attentive to any suggestions you may make to me. Before developing the steps, I invite you to see the materials I used.
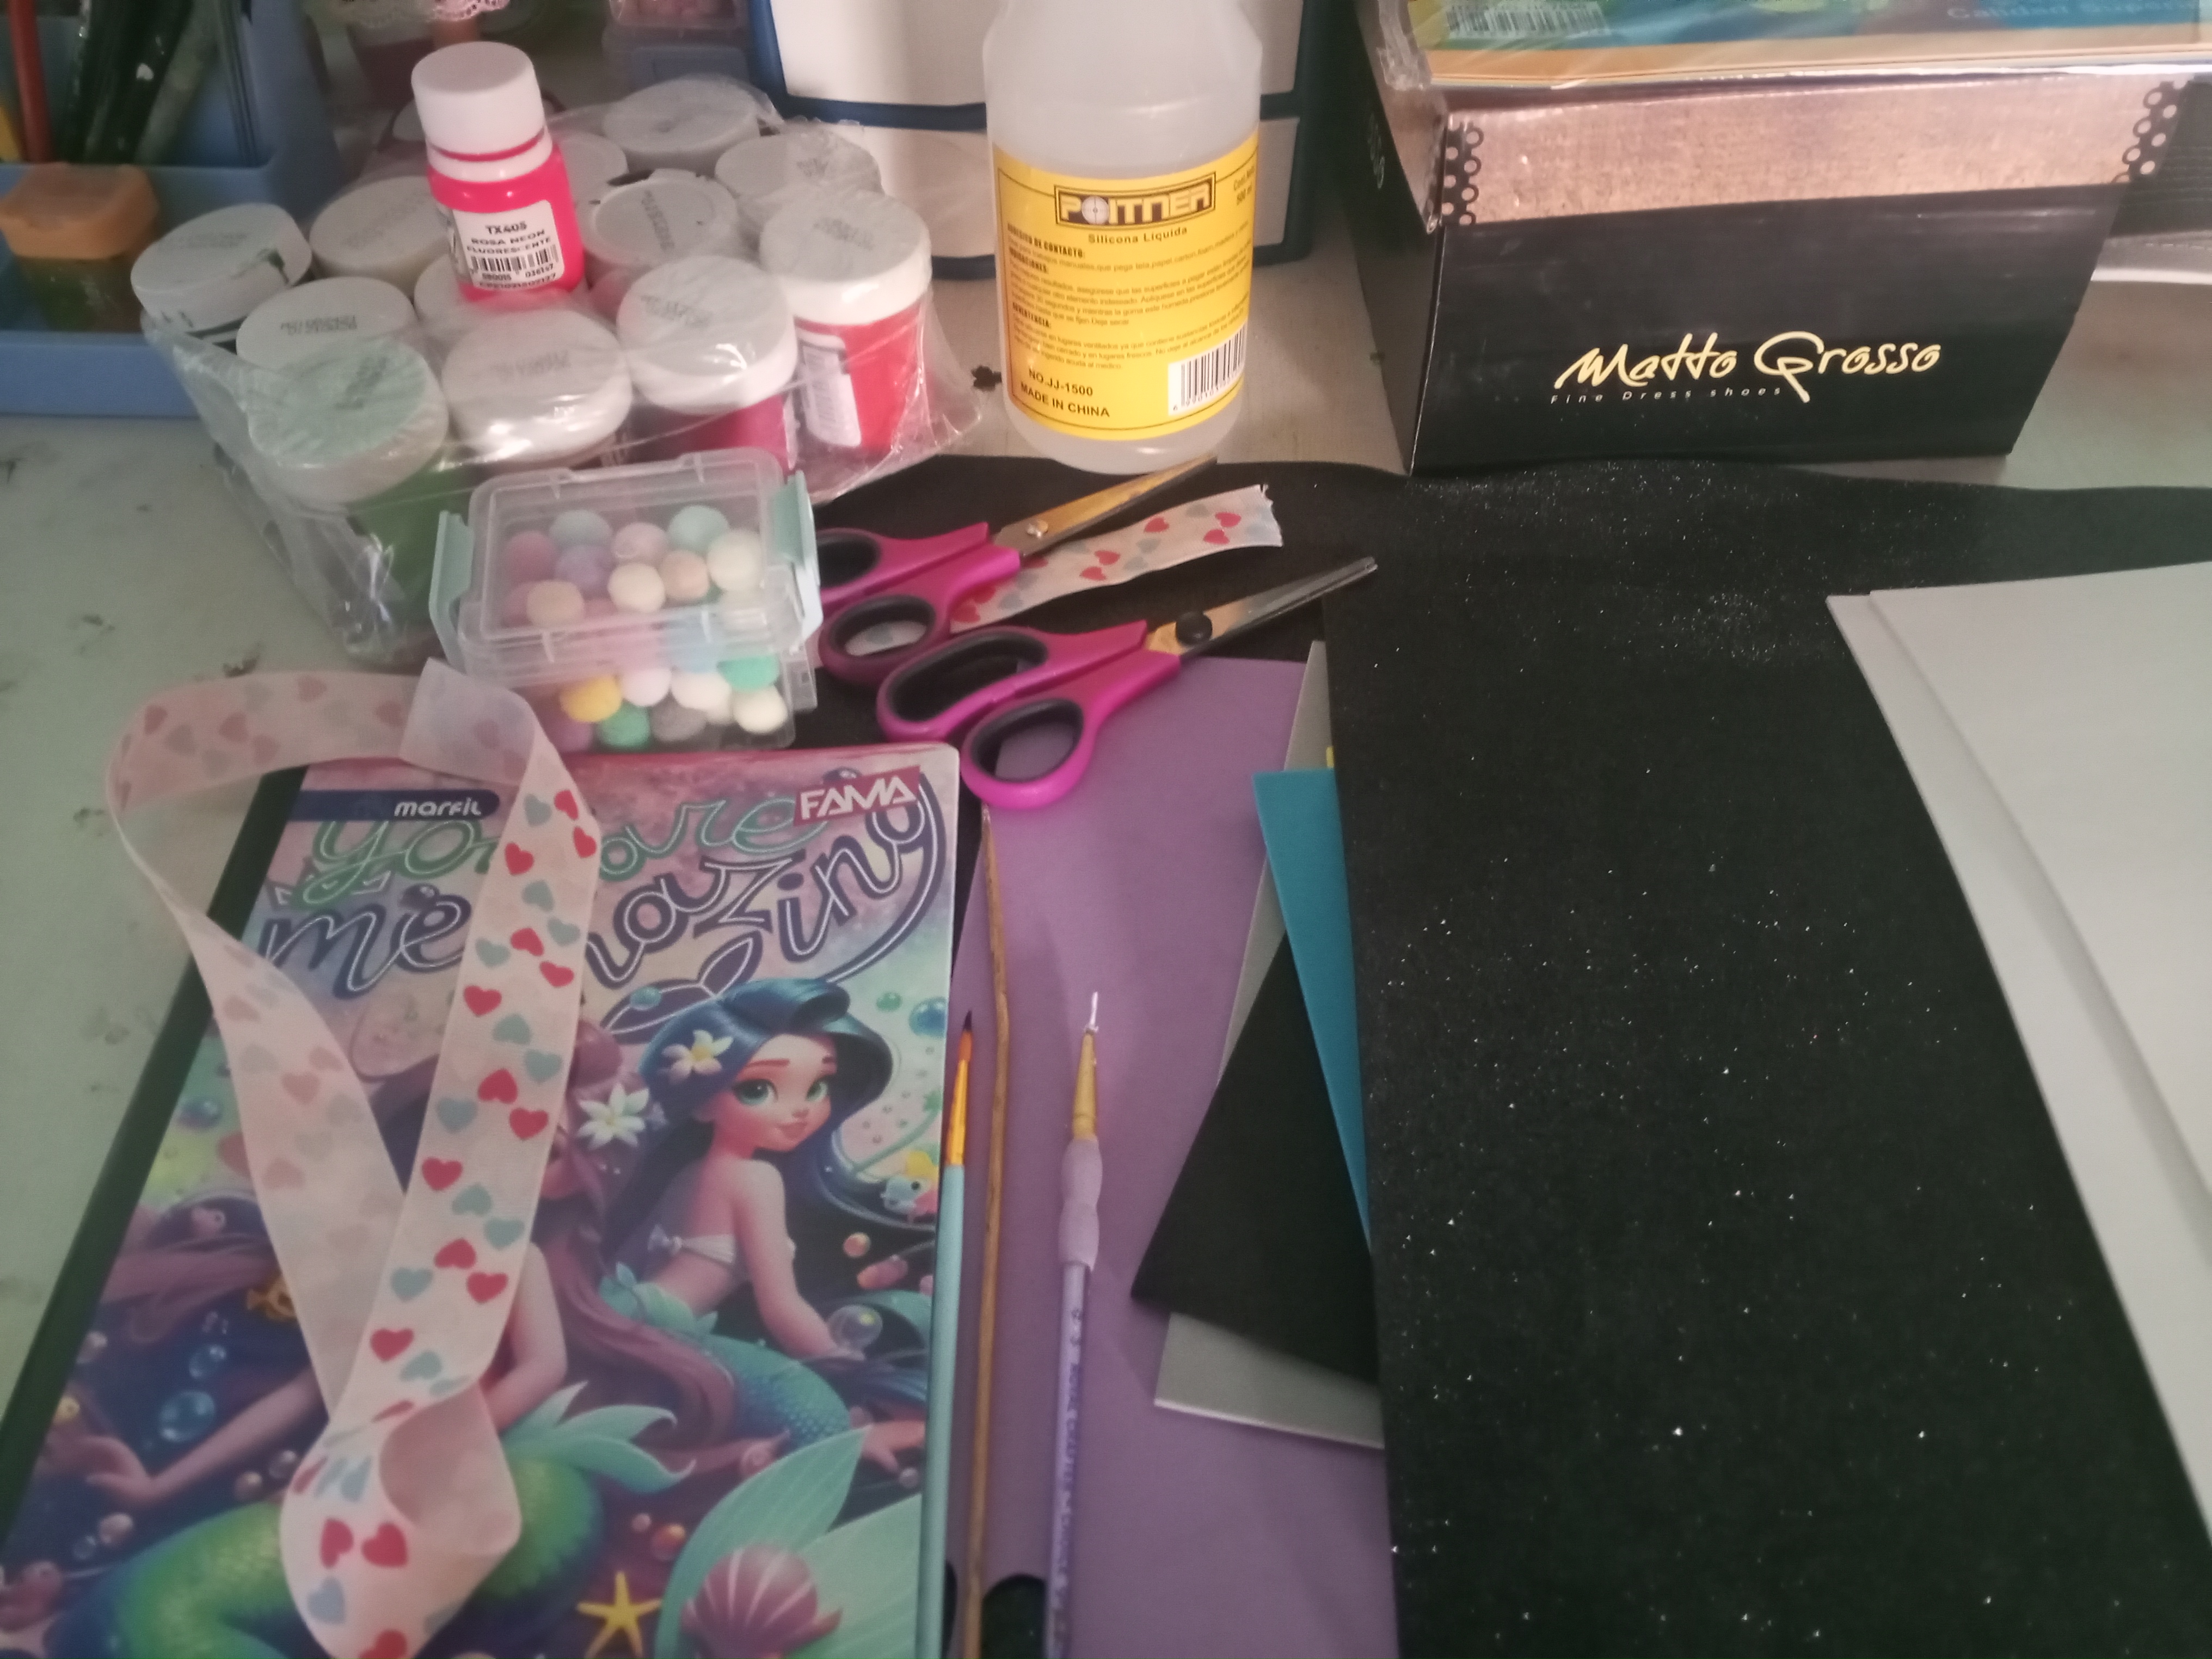
Materiales : Libreta Foami Silicón Cinta Palito de altura Pinceles Pinturas Maquillaje Tijeras Pompones
Materials : Notebook foam Silicone Tape height stick Brushes Paintings Make-up Scissors Pompoms
Pasos a seguir:
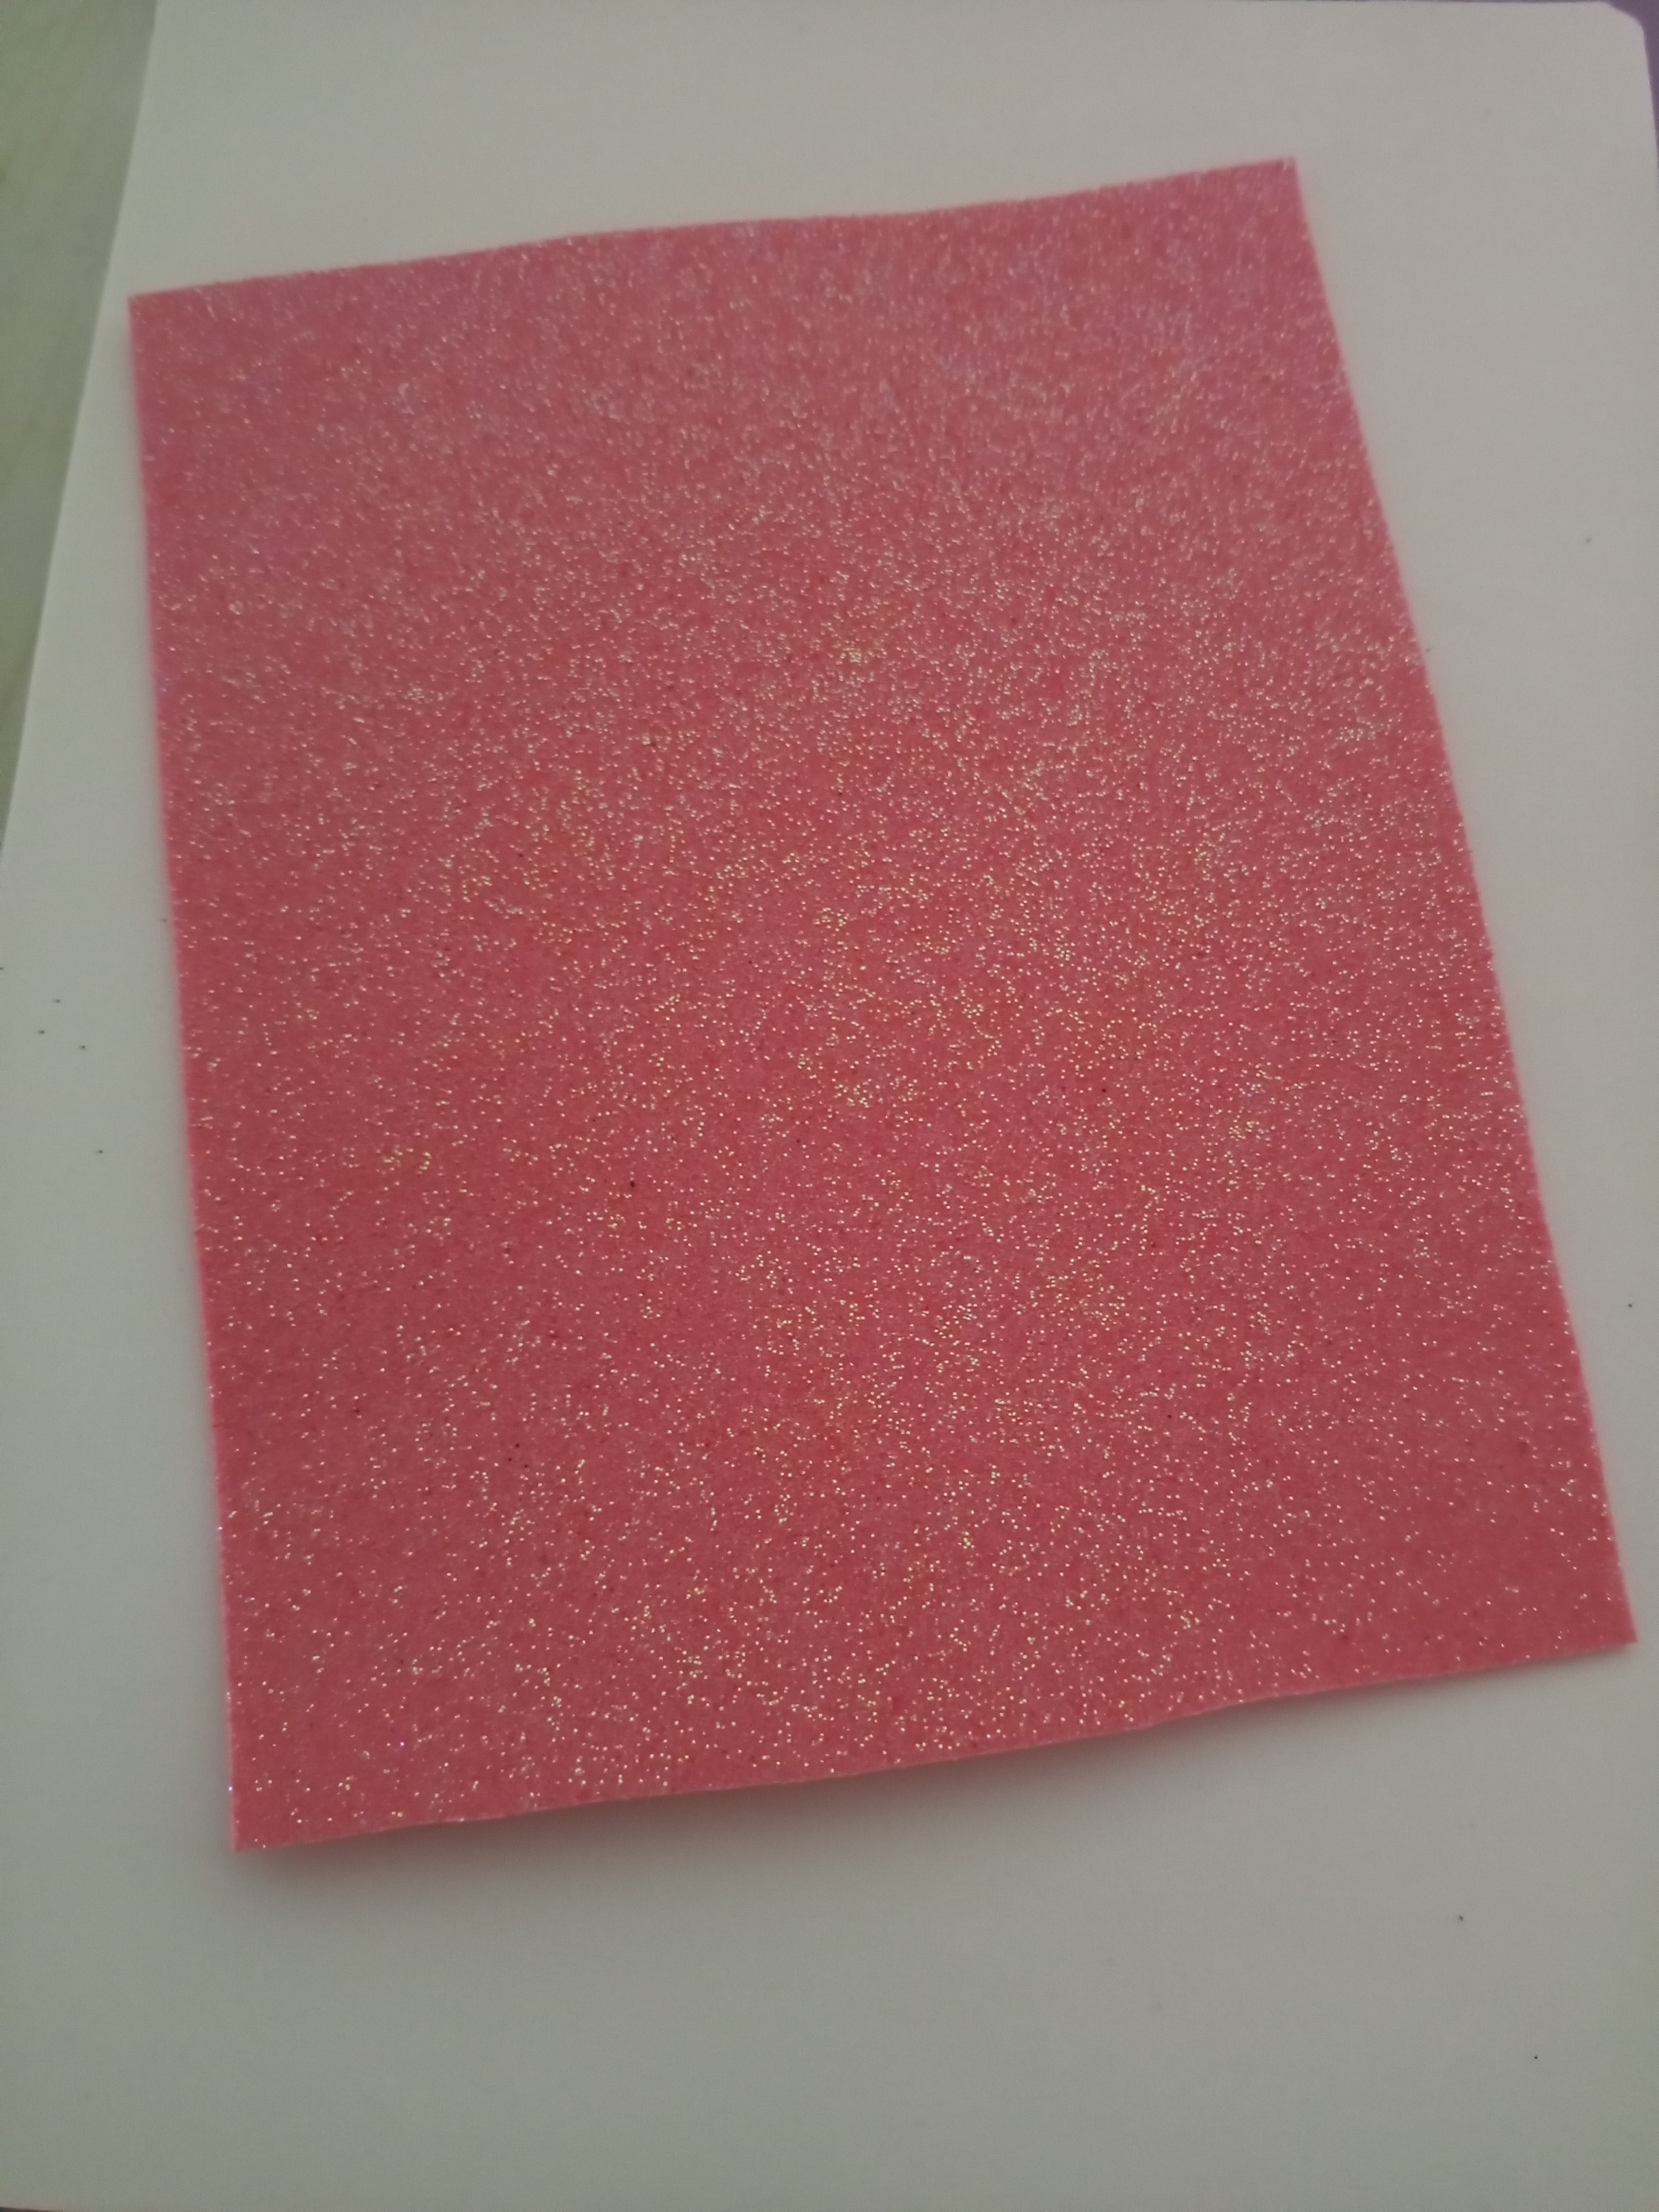
Paso 1: Pega un foami tamaño carta en la tapa de la libreta de adelante y uno en la parte de atrás.
Paso 2: Recortar un foami color rosado más pequeño en forma de cuadro y pegalo encima de la primera tapa.
Steps to follow:
Step 1: Glue a letter-size foam on the front cover of the notebook and one on the back.
Step 2: Cut out a smaller pink foam in the shape of a box and glue it on top of the first cover.

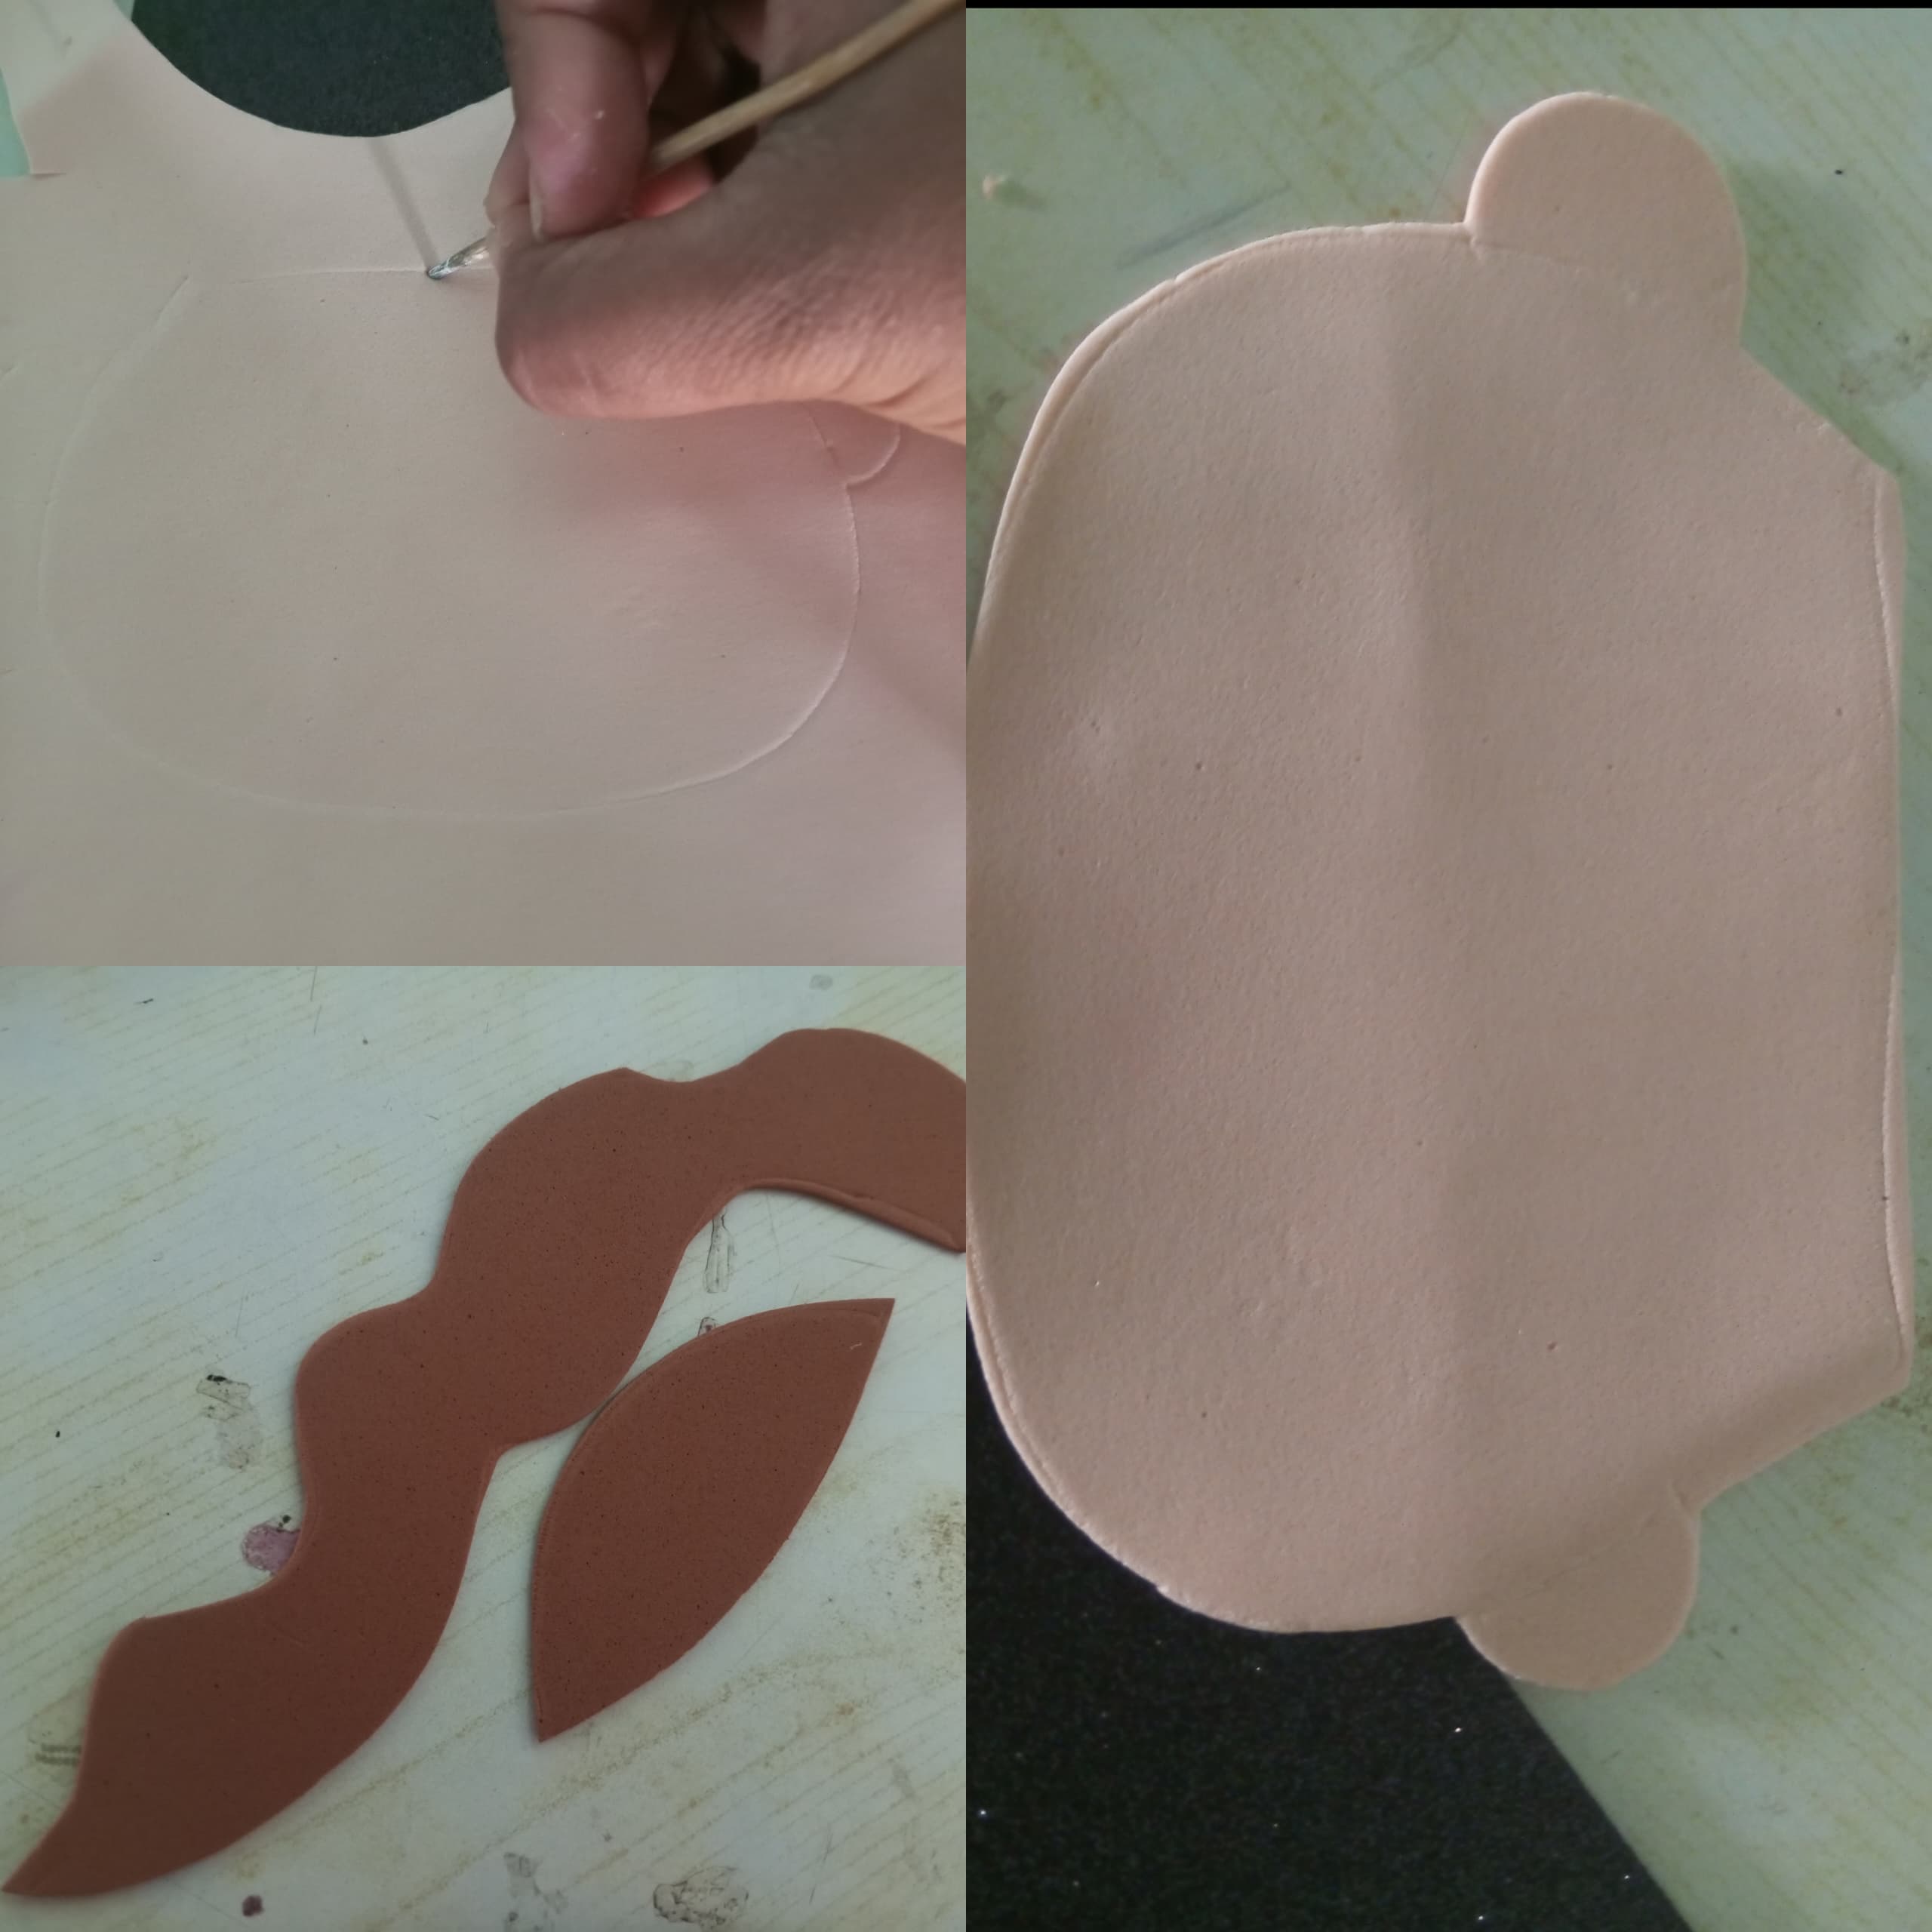
Paso 3: dibuja la cara de una muñeca en foami color piel y recortalo. De la misma manera dibuja en foami color marrón el cabello de la muñeca en diferentes tamaños.
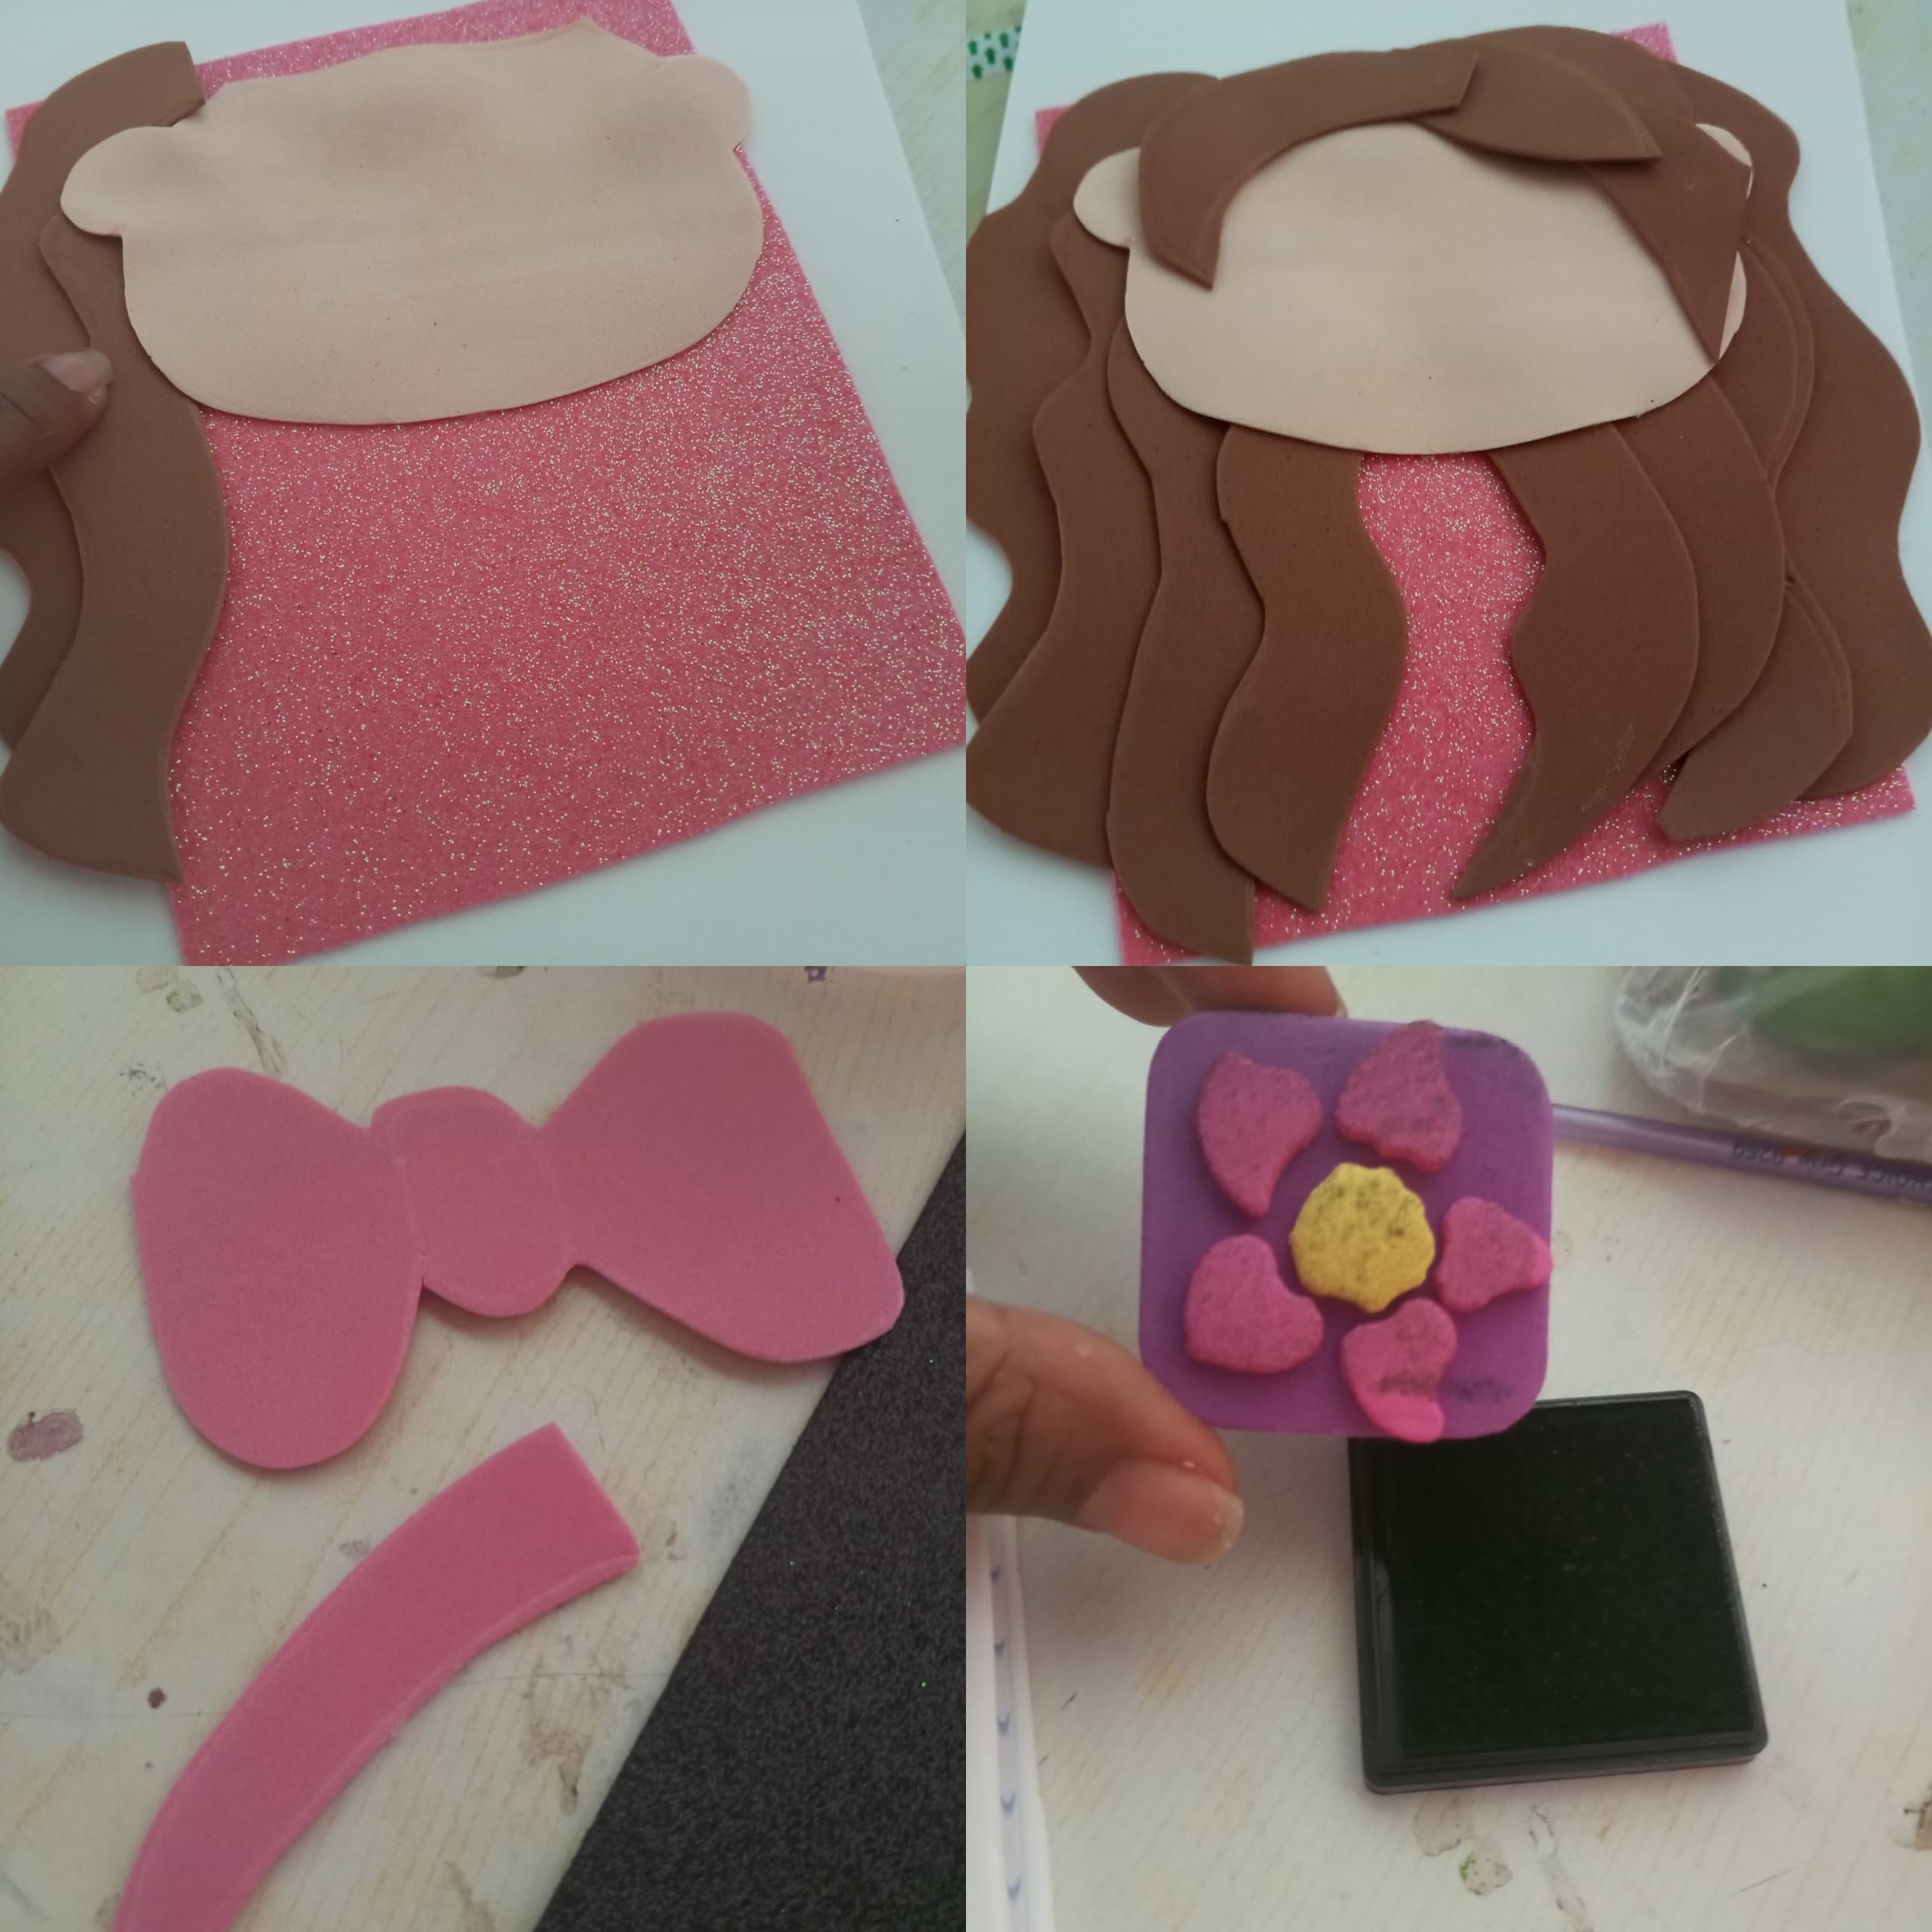
Paso 4: Comenzar a pegar el cabello de la muñeca a diferentes escalas. Seguidamente dibujar en un foami rosa un lazo al que se le colocarán figuritas con un sello.
Step 3: draw a doll's face in skin-colored foam and cut it out. In the same way, draw the doll's hair in different sizes in brown foam.
Step 4: Start gluing the doll's hair at different scales. Next, draw a bow on pink foam to which you will place figurines with a stamp.
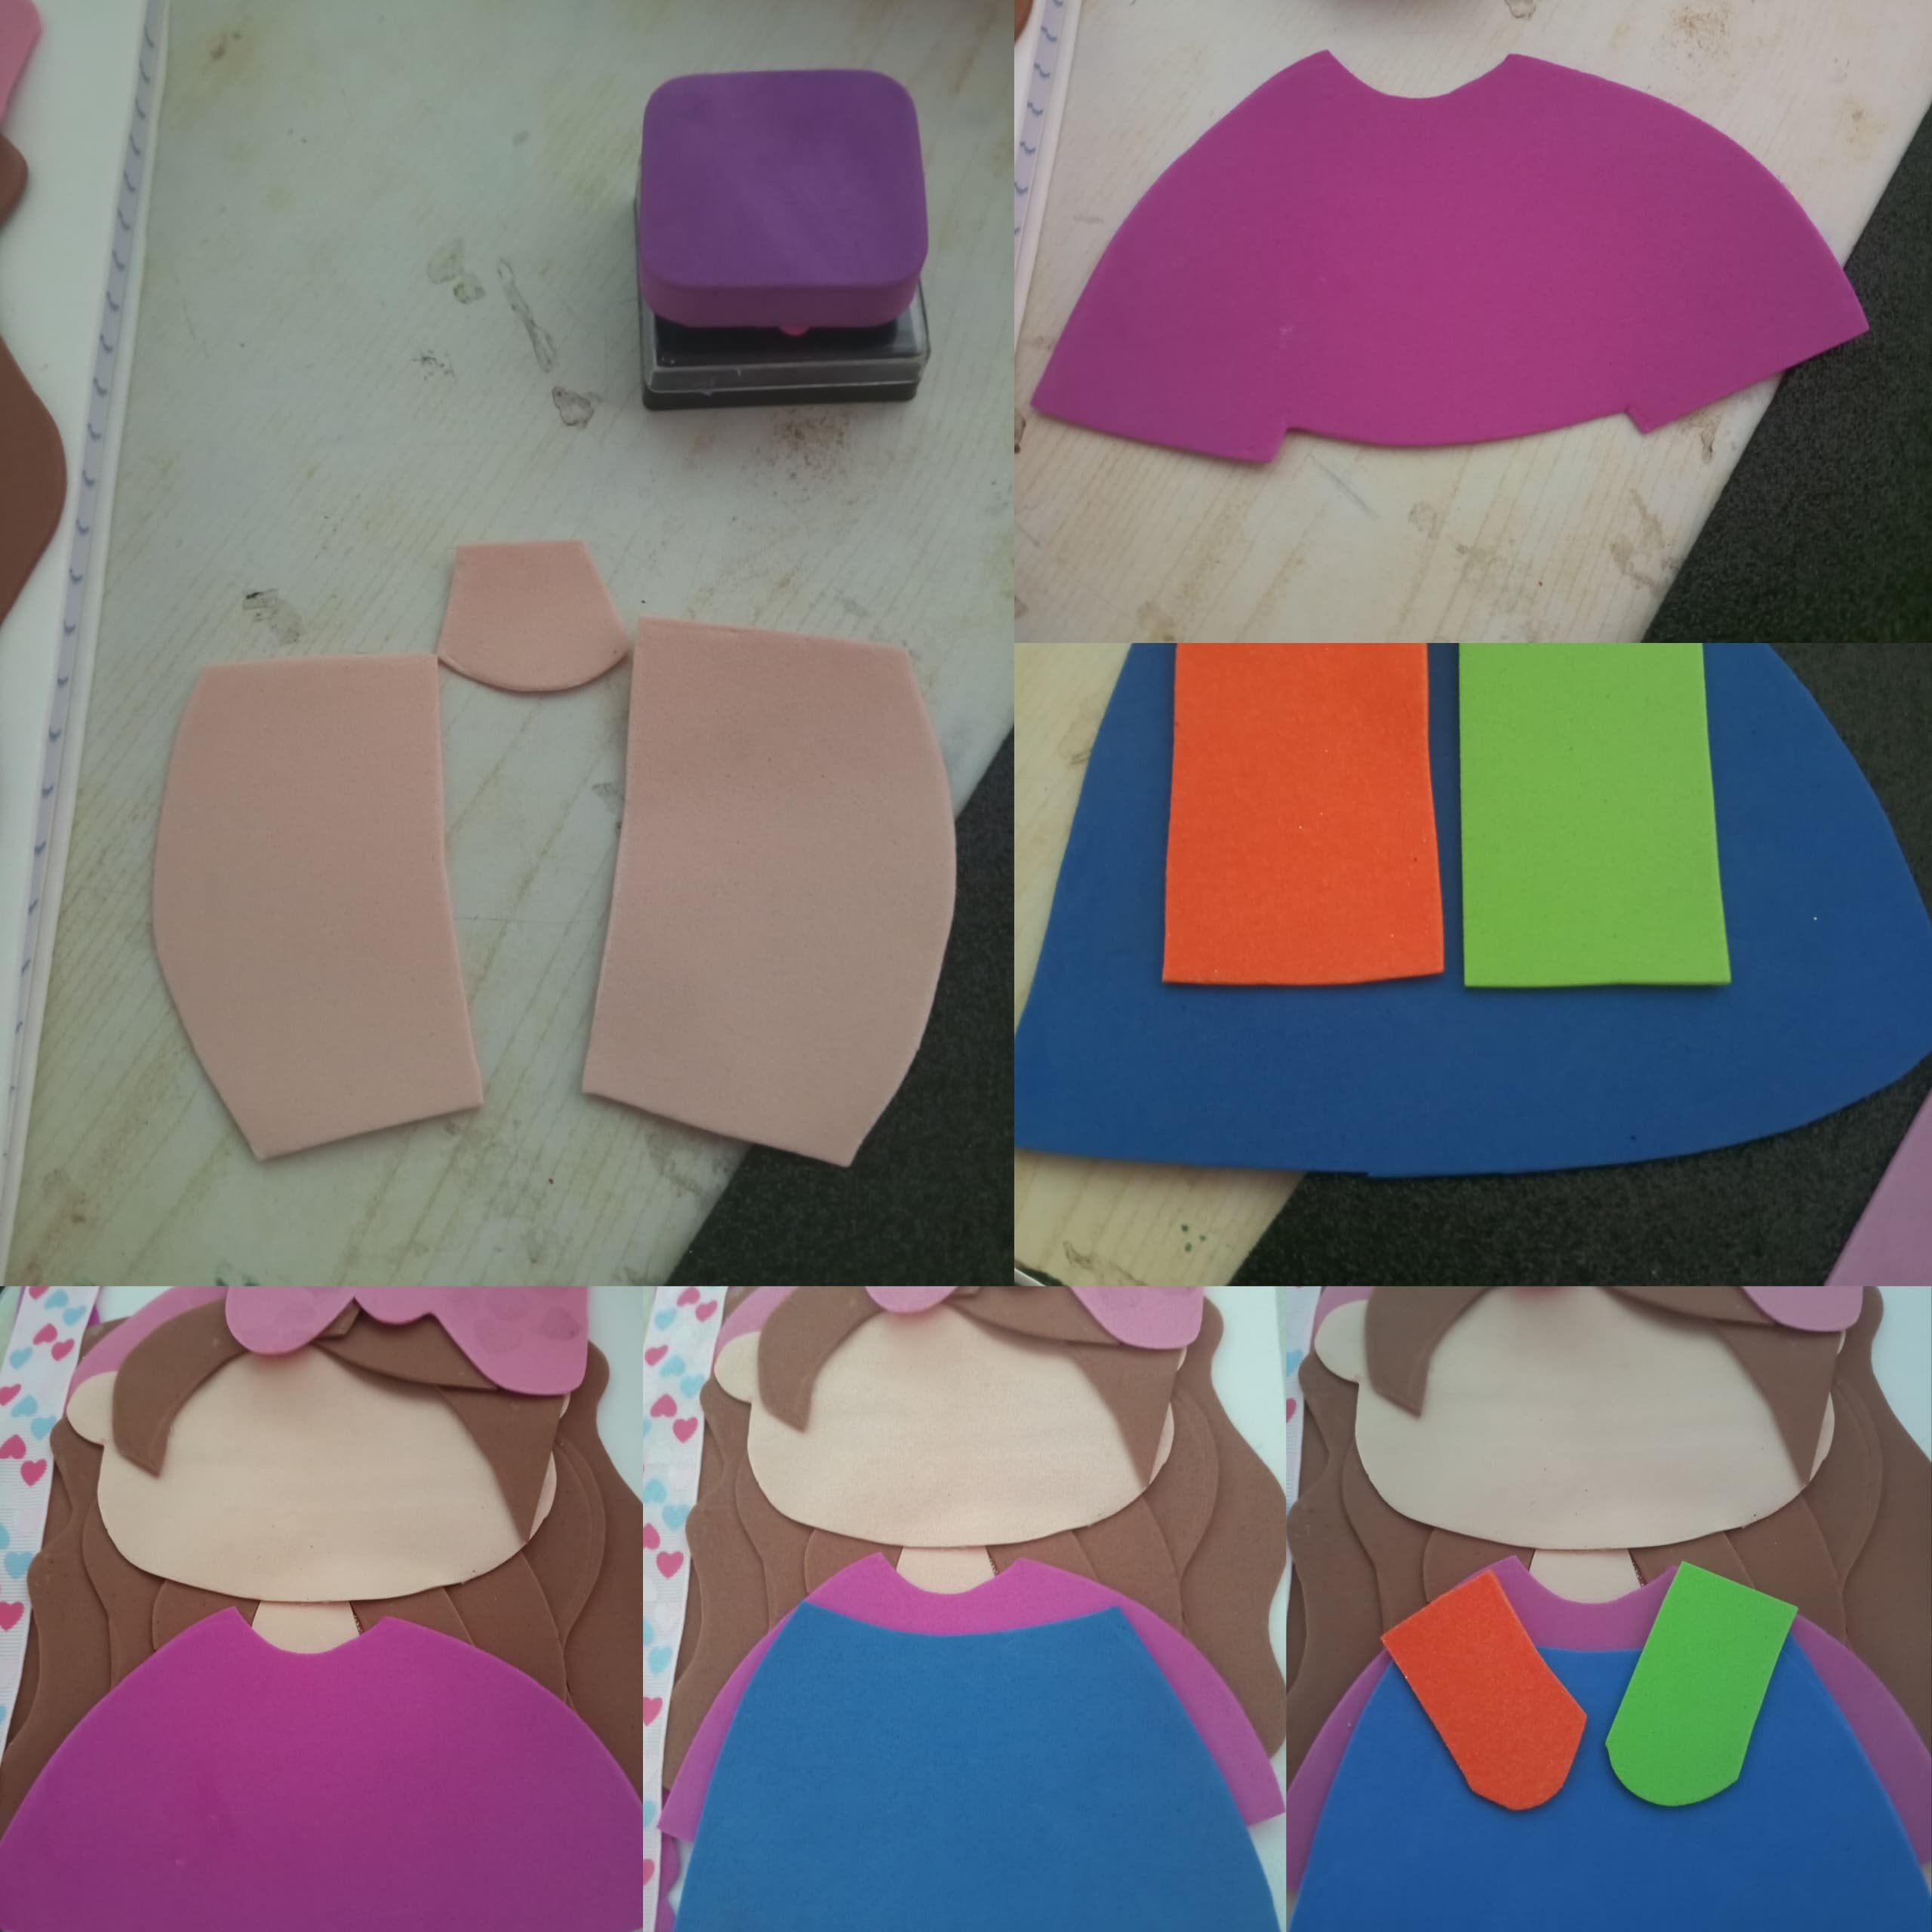
Paso 5: Recortar una linea delgada en foami fucsia al que se añadirá una cinta, puedes usar la cinta que gustes y con el diseño de tu preferencia.
Paso 6: Dibujar los brazos y el cuello en foami color piel. La camisa fucsia y la braga en azul y dos piezas en color naranja fluorescente y verde. Recortar respectivamente y pegar todas las piezas dónde corresponden.
Step 5: Cut a thin line in fuchsia foam to which a ribbon will be added. You can use the ribbon you like and with the design of your preference.
Step 6: Draw the arms and neck in skin-colored foam. The fuchsia shirt and the blue panties and two pieces in fluorescent orange and green. Cut out respectively and paste all the pieces where they correspond.

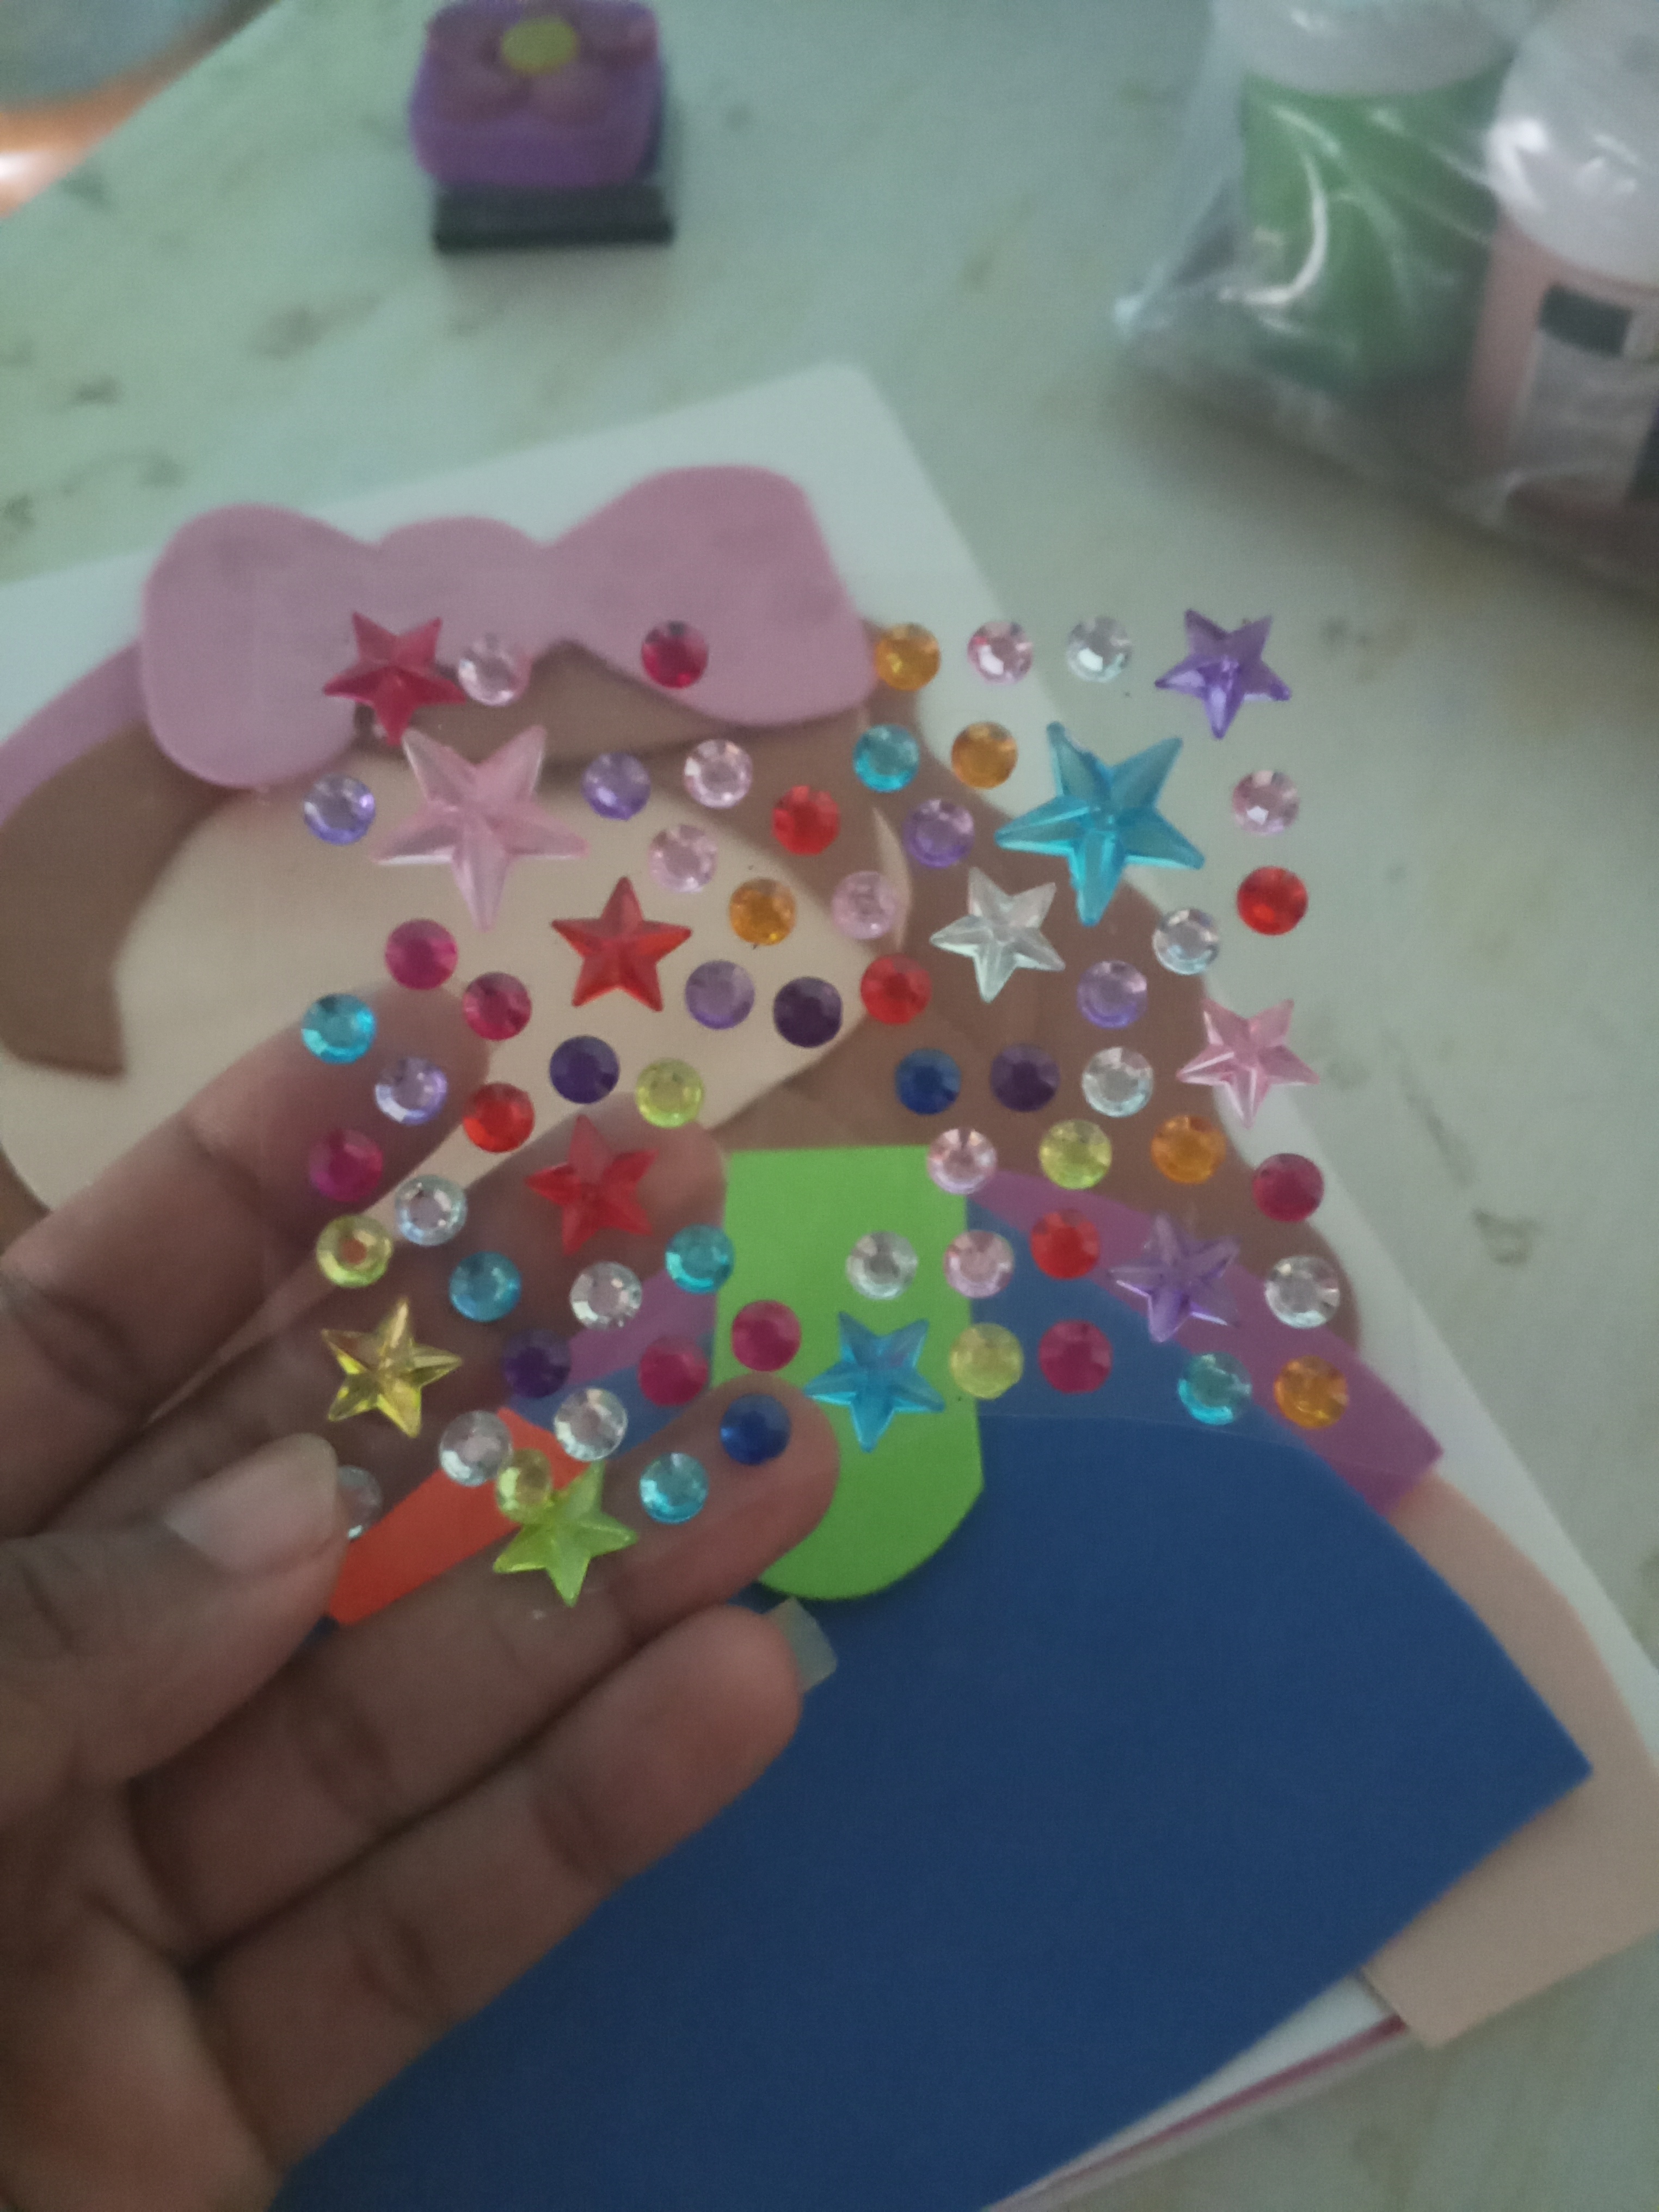
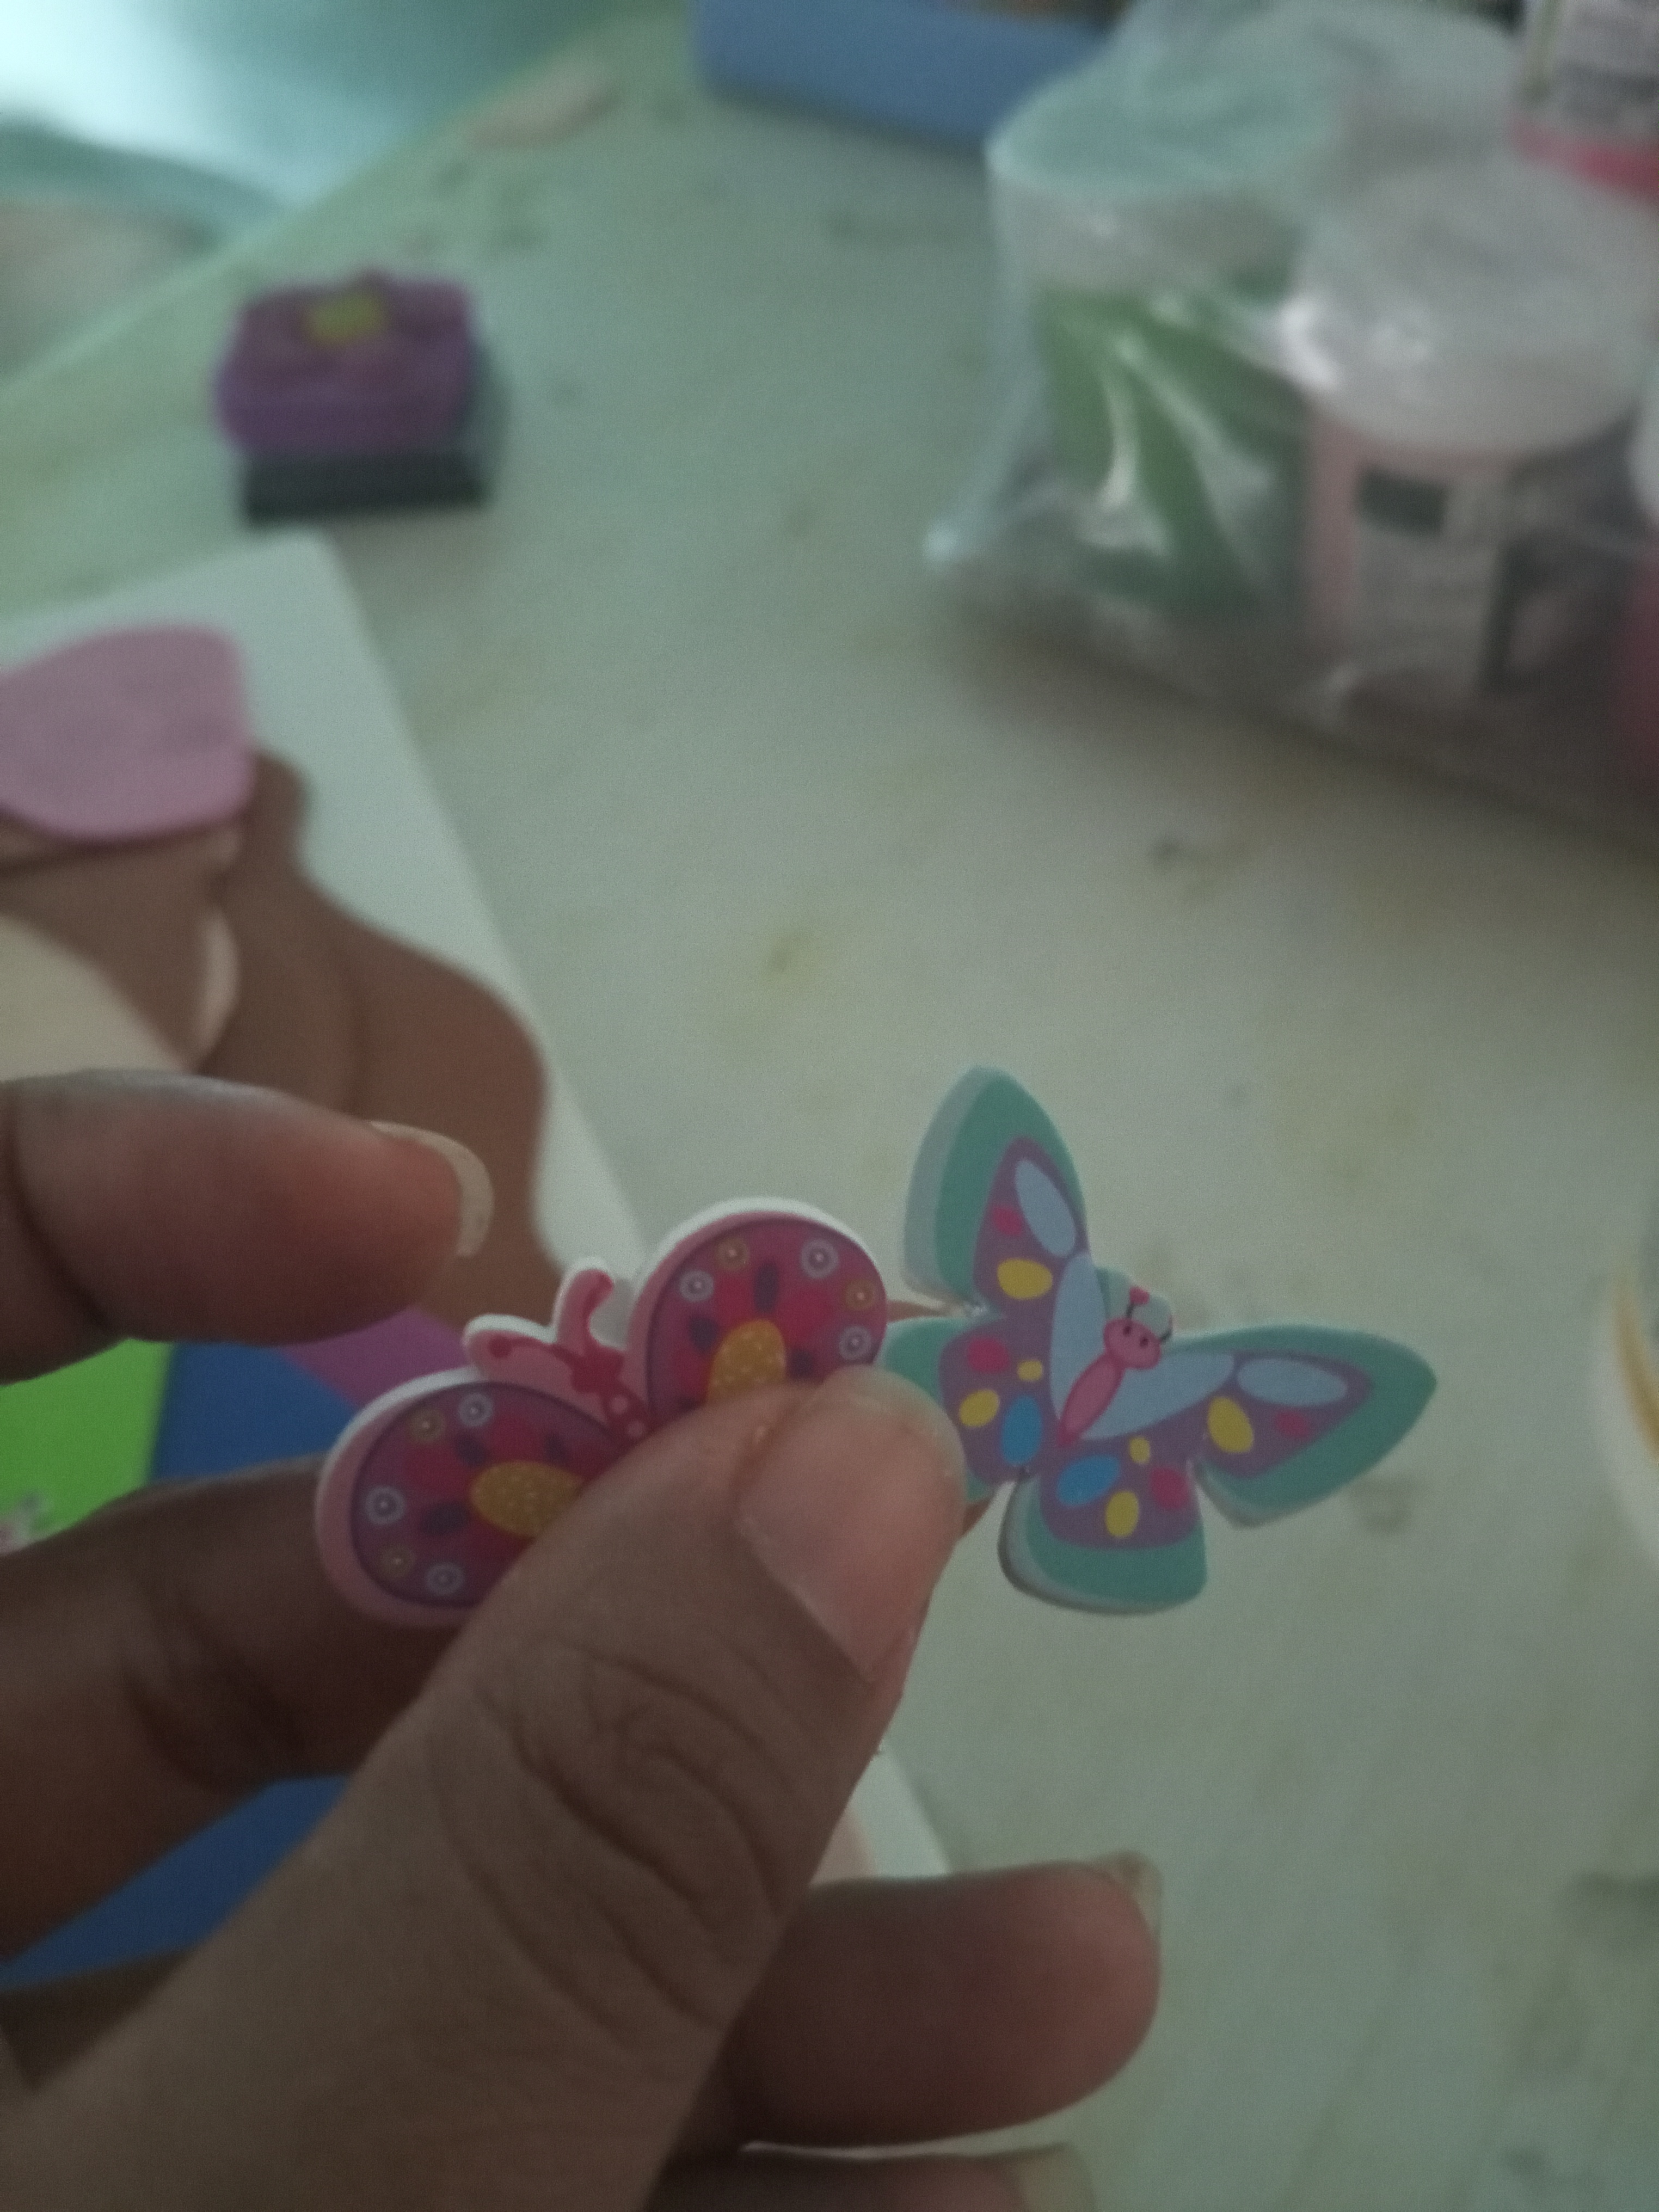
Paso 7: seleccionar diferentes apliques como mariposas y cristales de diferentes colores. Para decorar el cintillo.
Paso 8: Recortar y Pegar una tira color morado en foami. Una tijera en foami naranja y gris. También unas letras en Foami negro y pegar todo donde corresponde.
Step 7: Select different appliqués such as butterflies and crystals of different colors. To decorate the headband.
Step 8: Cut and Glue a purple strip in foam. An orange and gray foam scissors. Also some letters in black Foami and paste everything where it belongs.
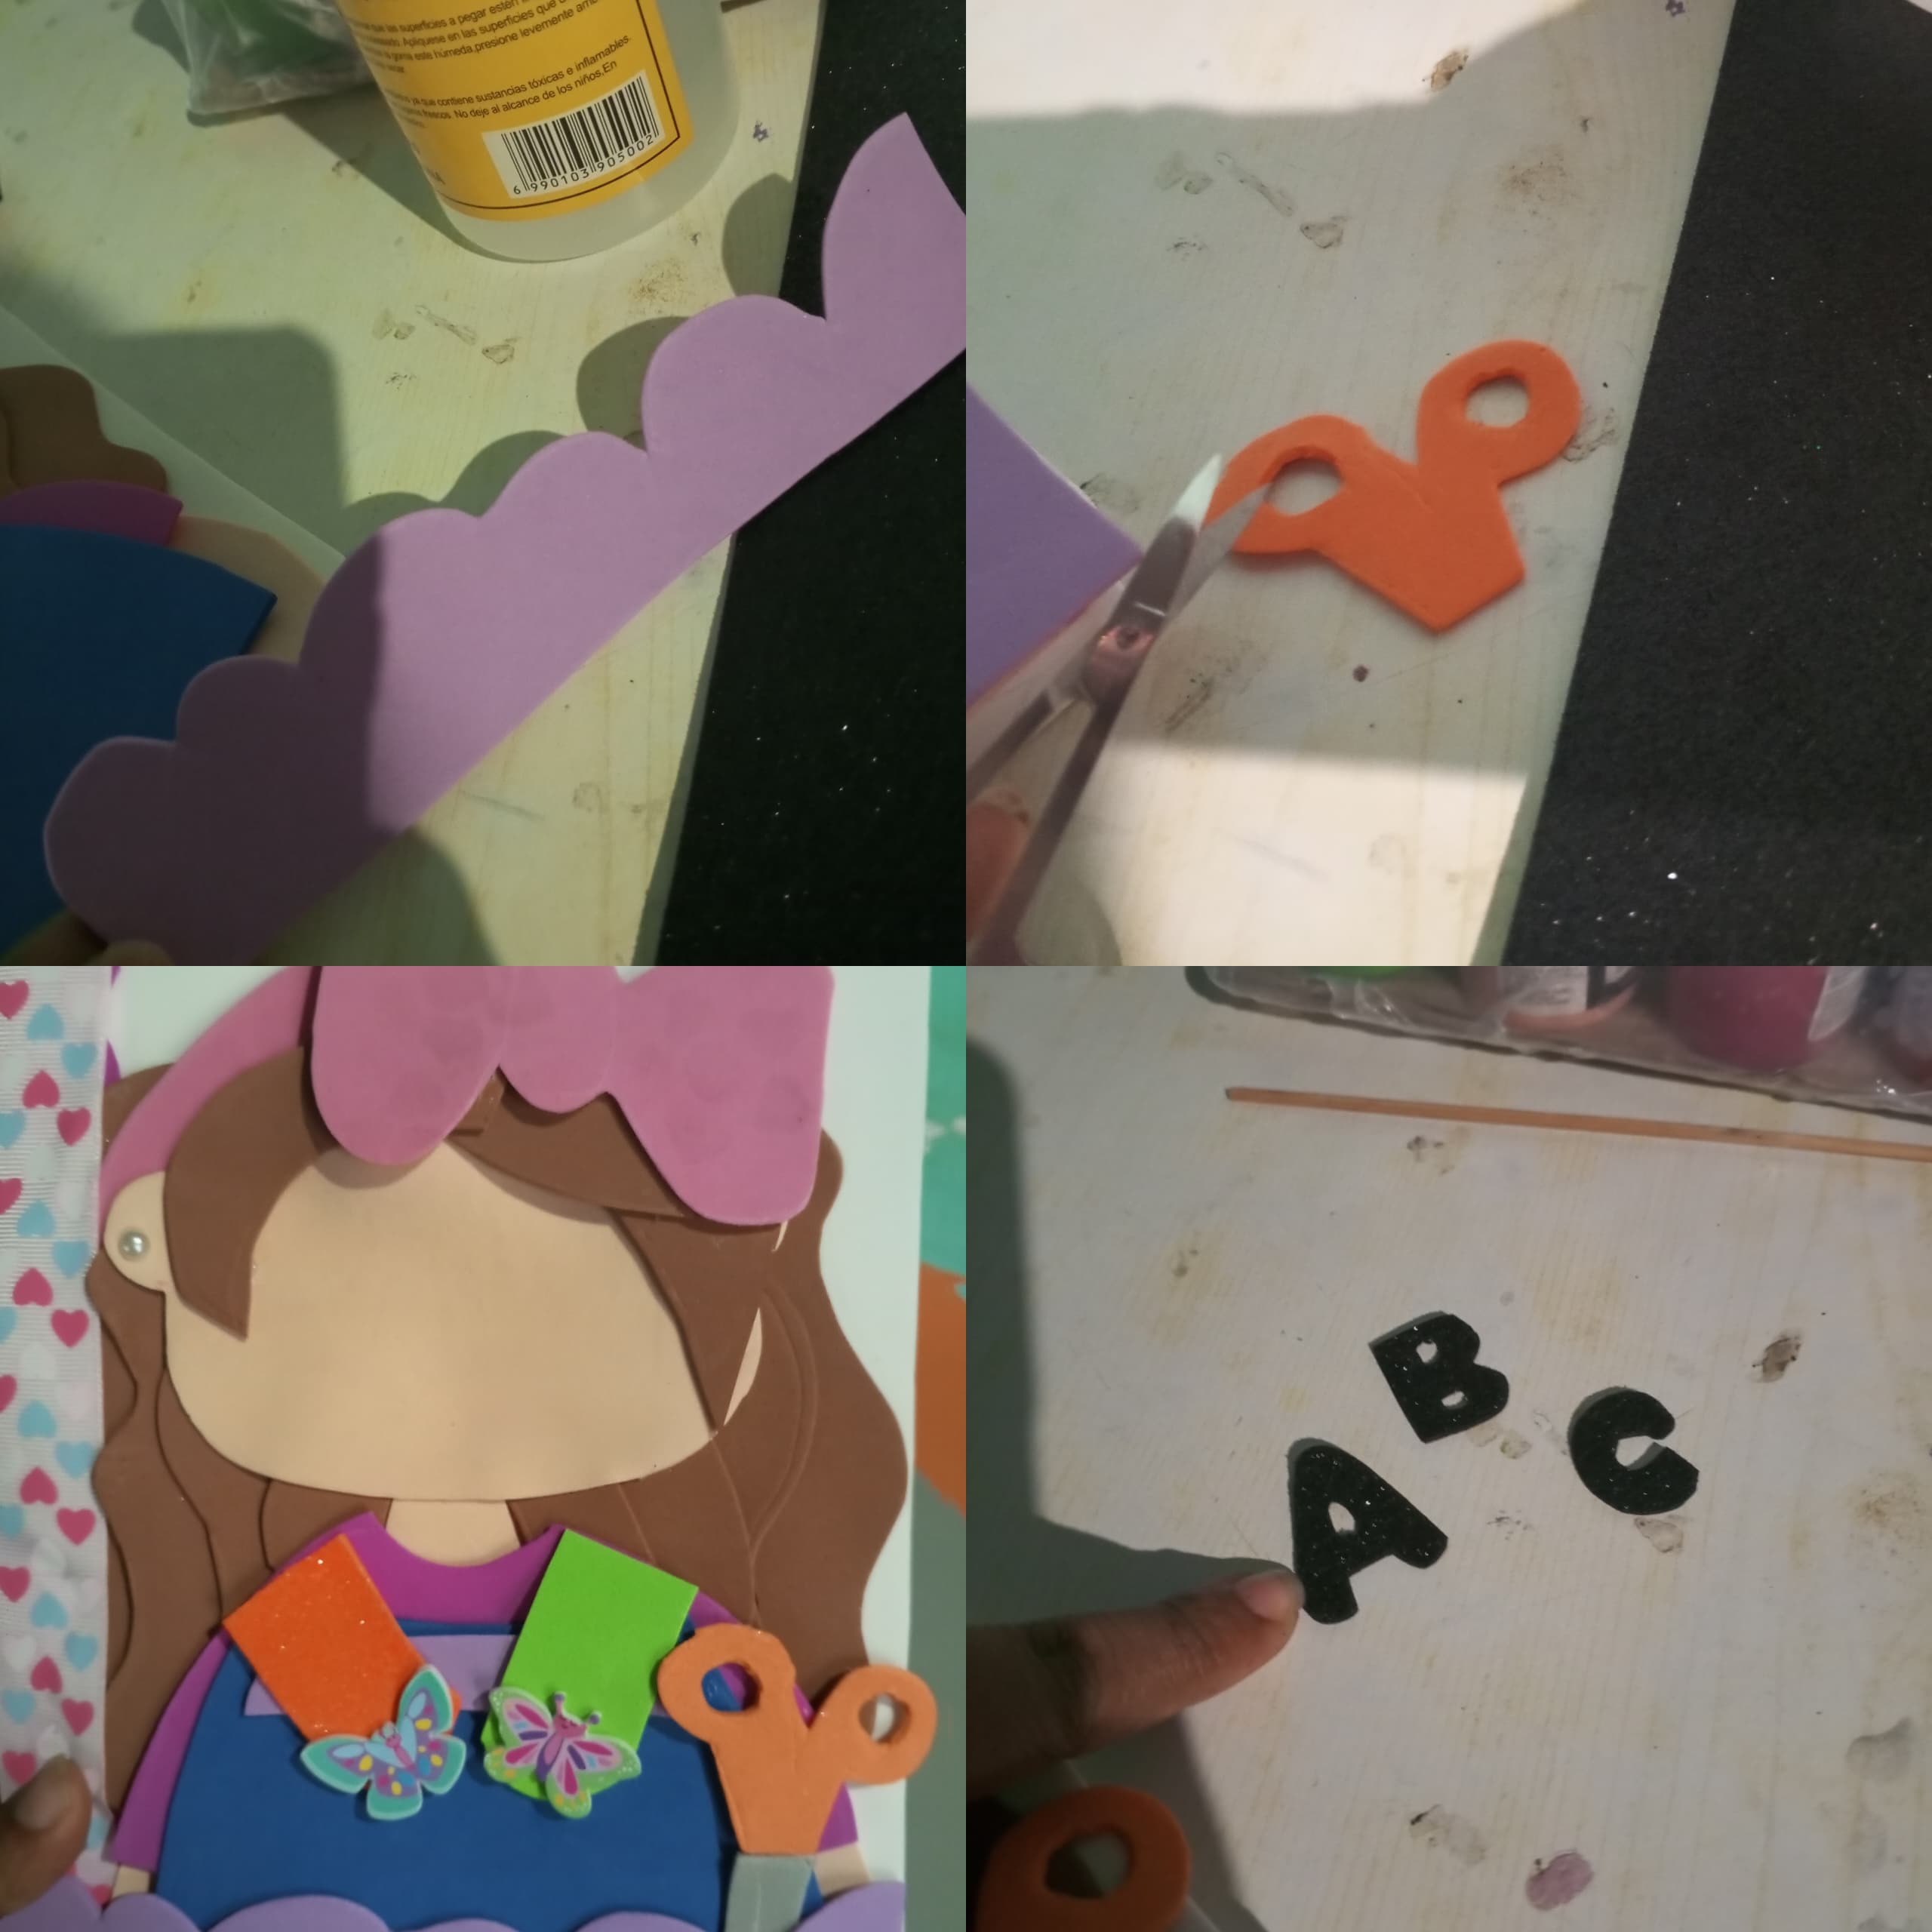
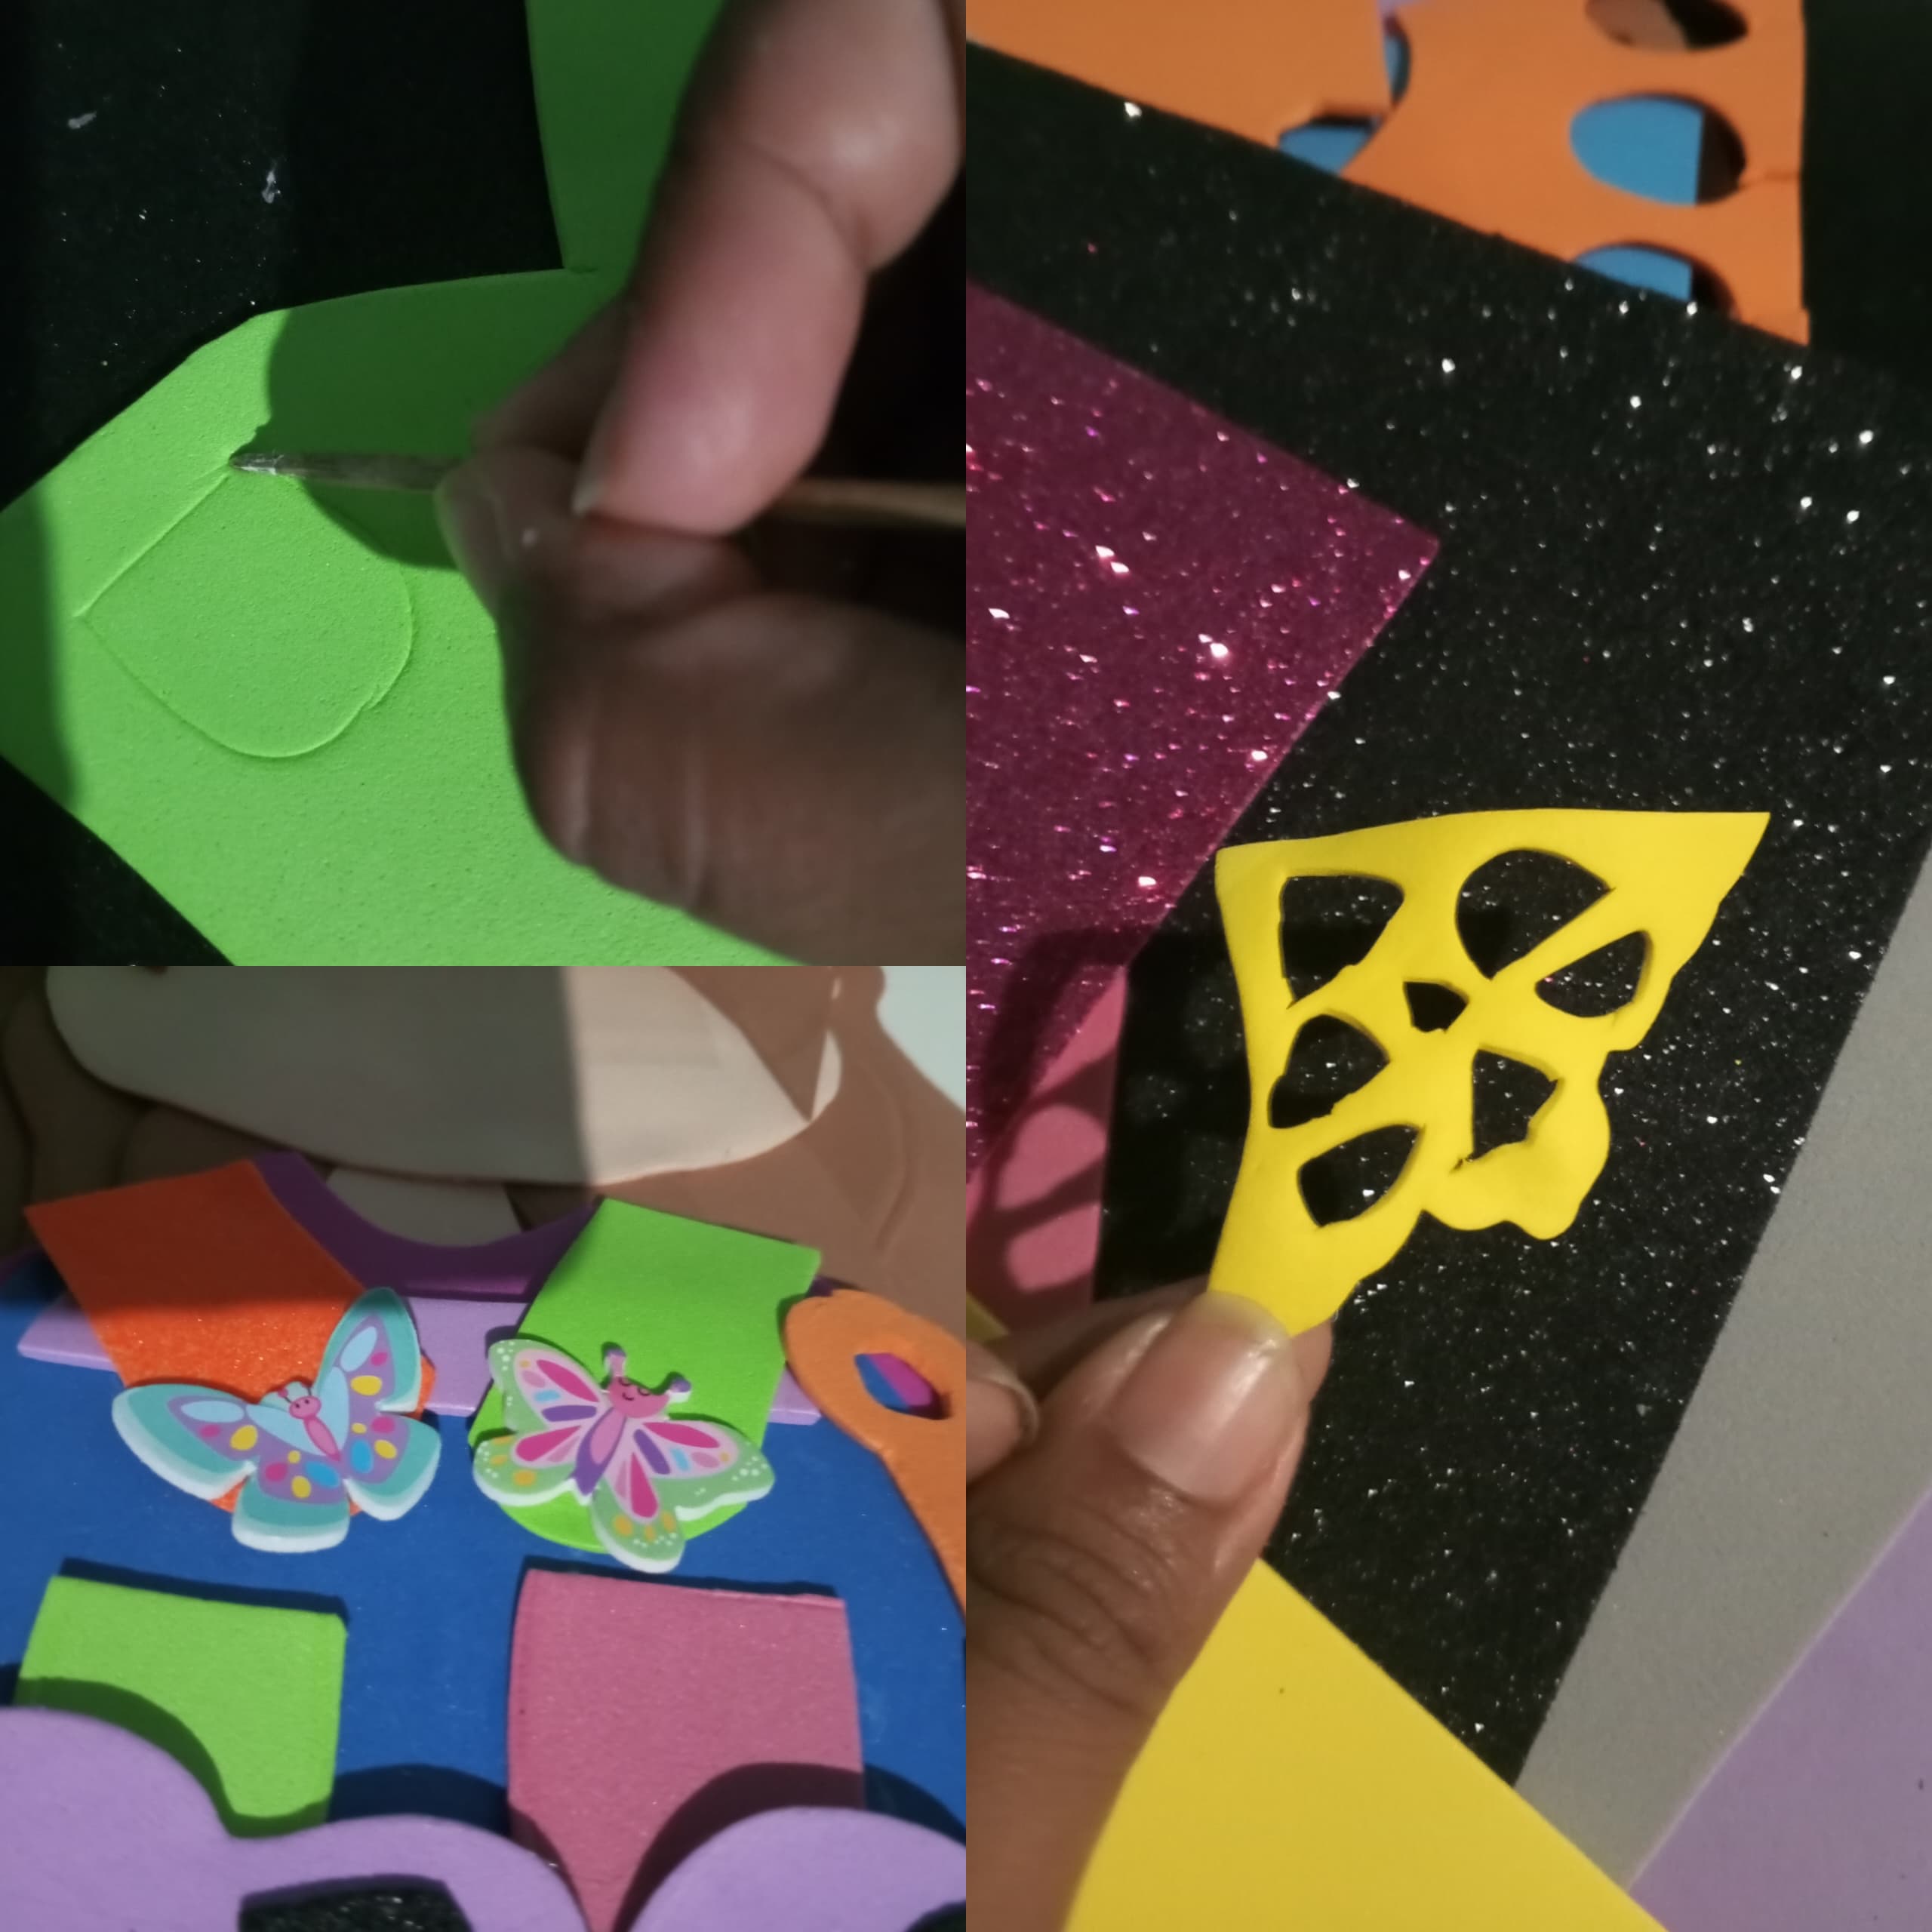
Paso 9: Dibujar los bolsillos de la braga de la muñeca, recorta y pega. Así mismo decorar las puntas de la libreta con pliegues decorativos.
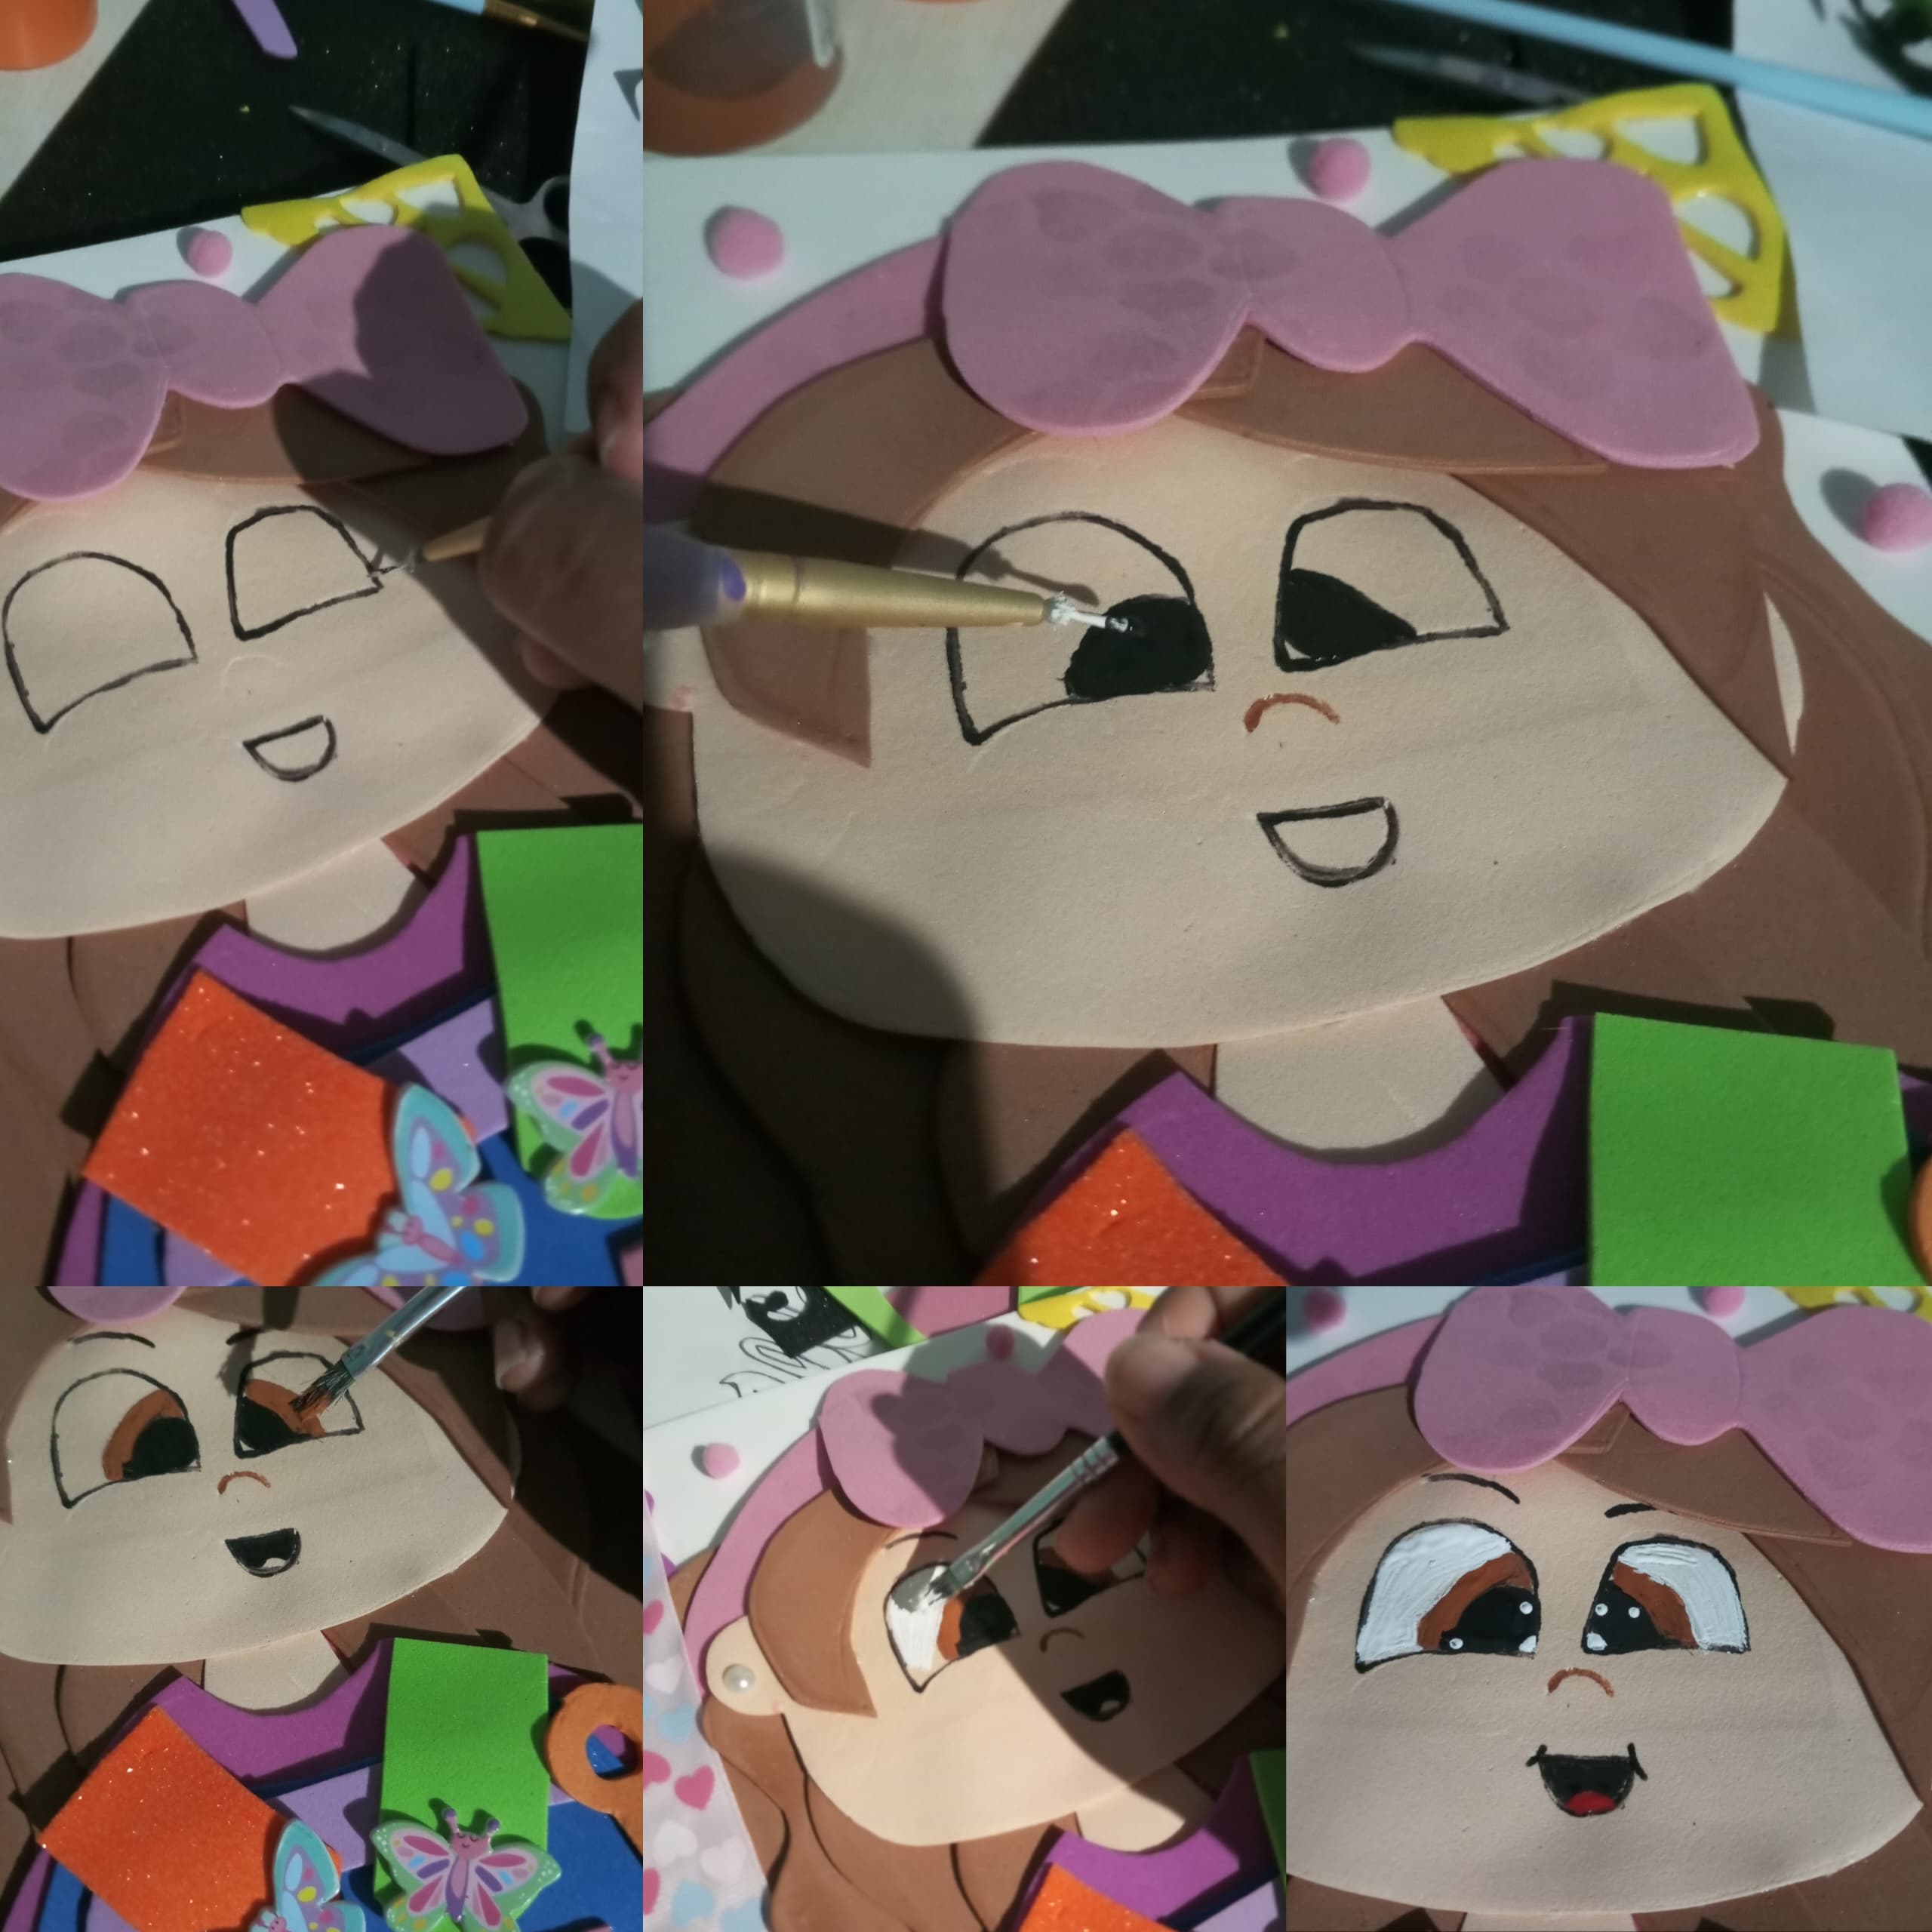
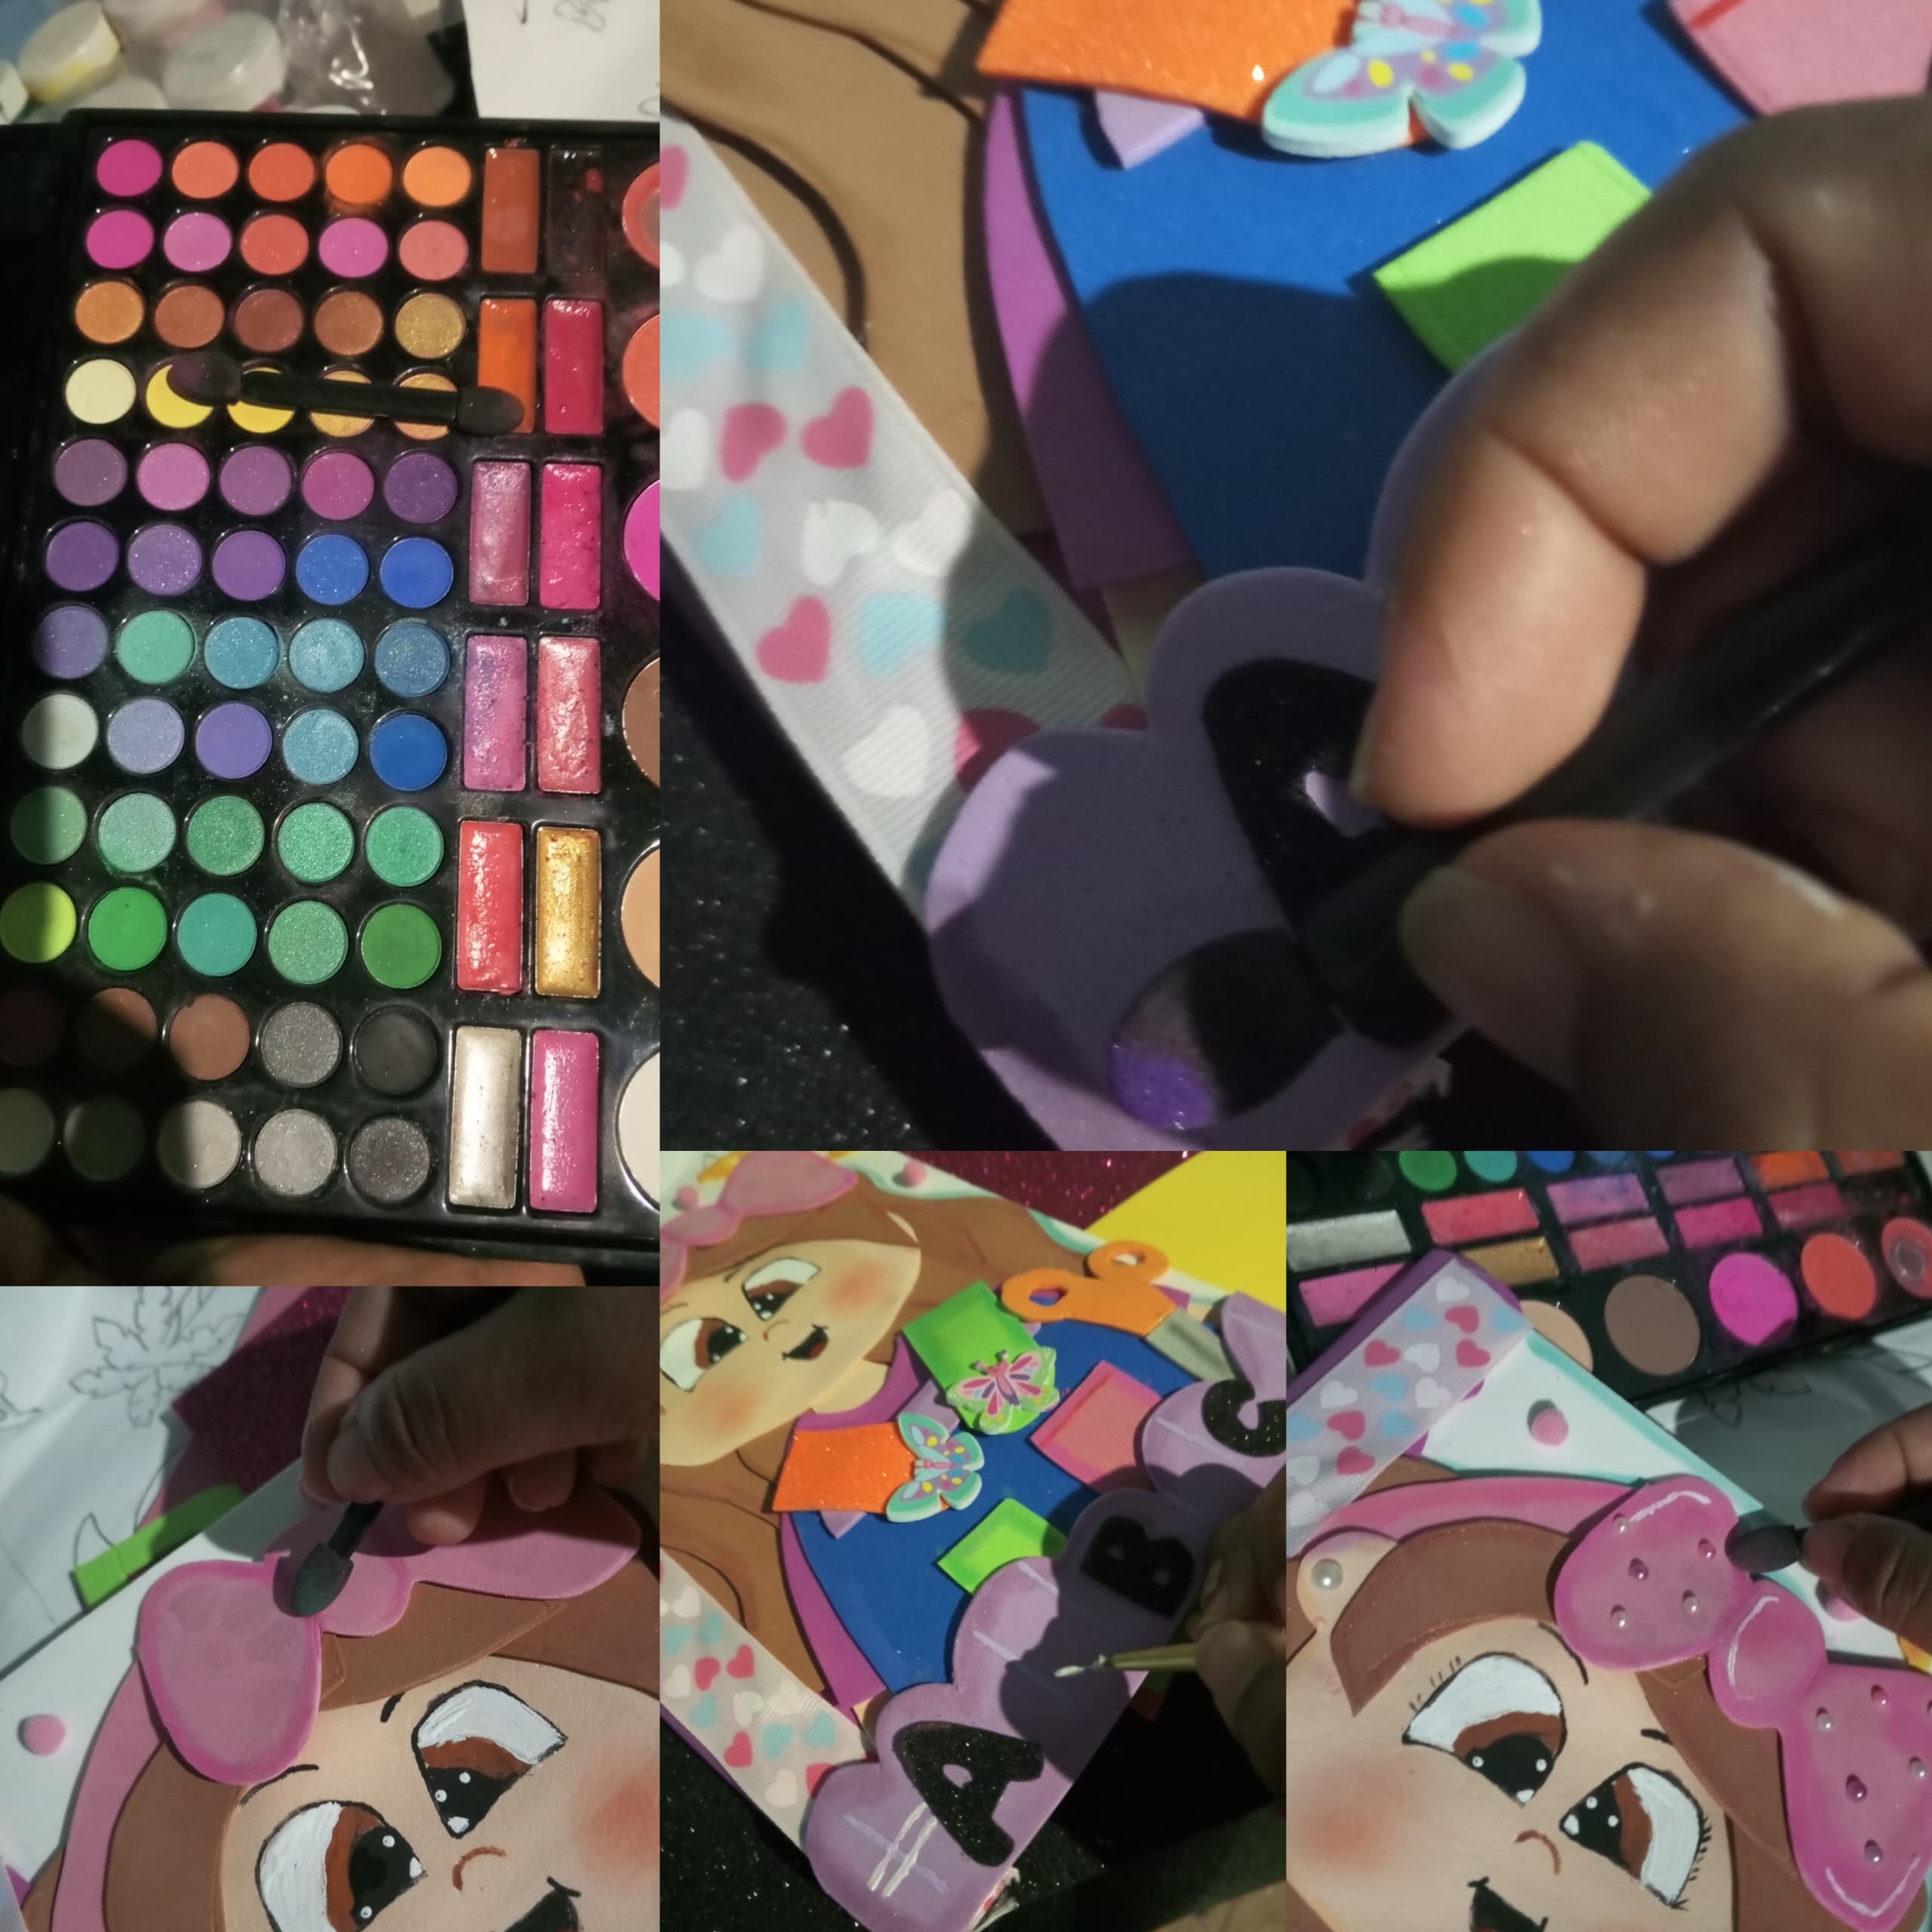
Paso 10: Por último dibujar el rostro comenzando por los ojos, nariz, boca, pestañas y cejas. Con maquillaje darle color en los párpados y en la braga. Tomar un pincel y hacer sombras y diseños en diferentes lugares. ( Utilizar pincel fino)
Step 9: Draw the pockets of the doll's panties, cut out and glue. Likewise, decorate the corners of the notebook with decorative folds.
Step 10: Finally draw the face starting with the eyes, nose, mouth, eyelashes and eyebrows. With makeup, add color to the eyelids and panties. Take a brush and make shadows and designs in different places. (Use fine brush)
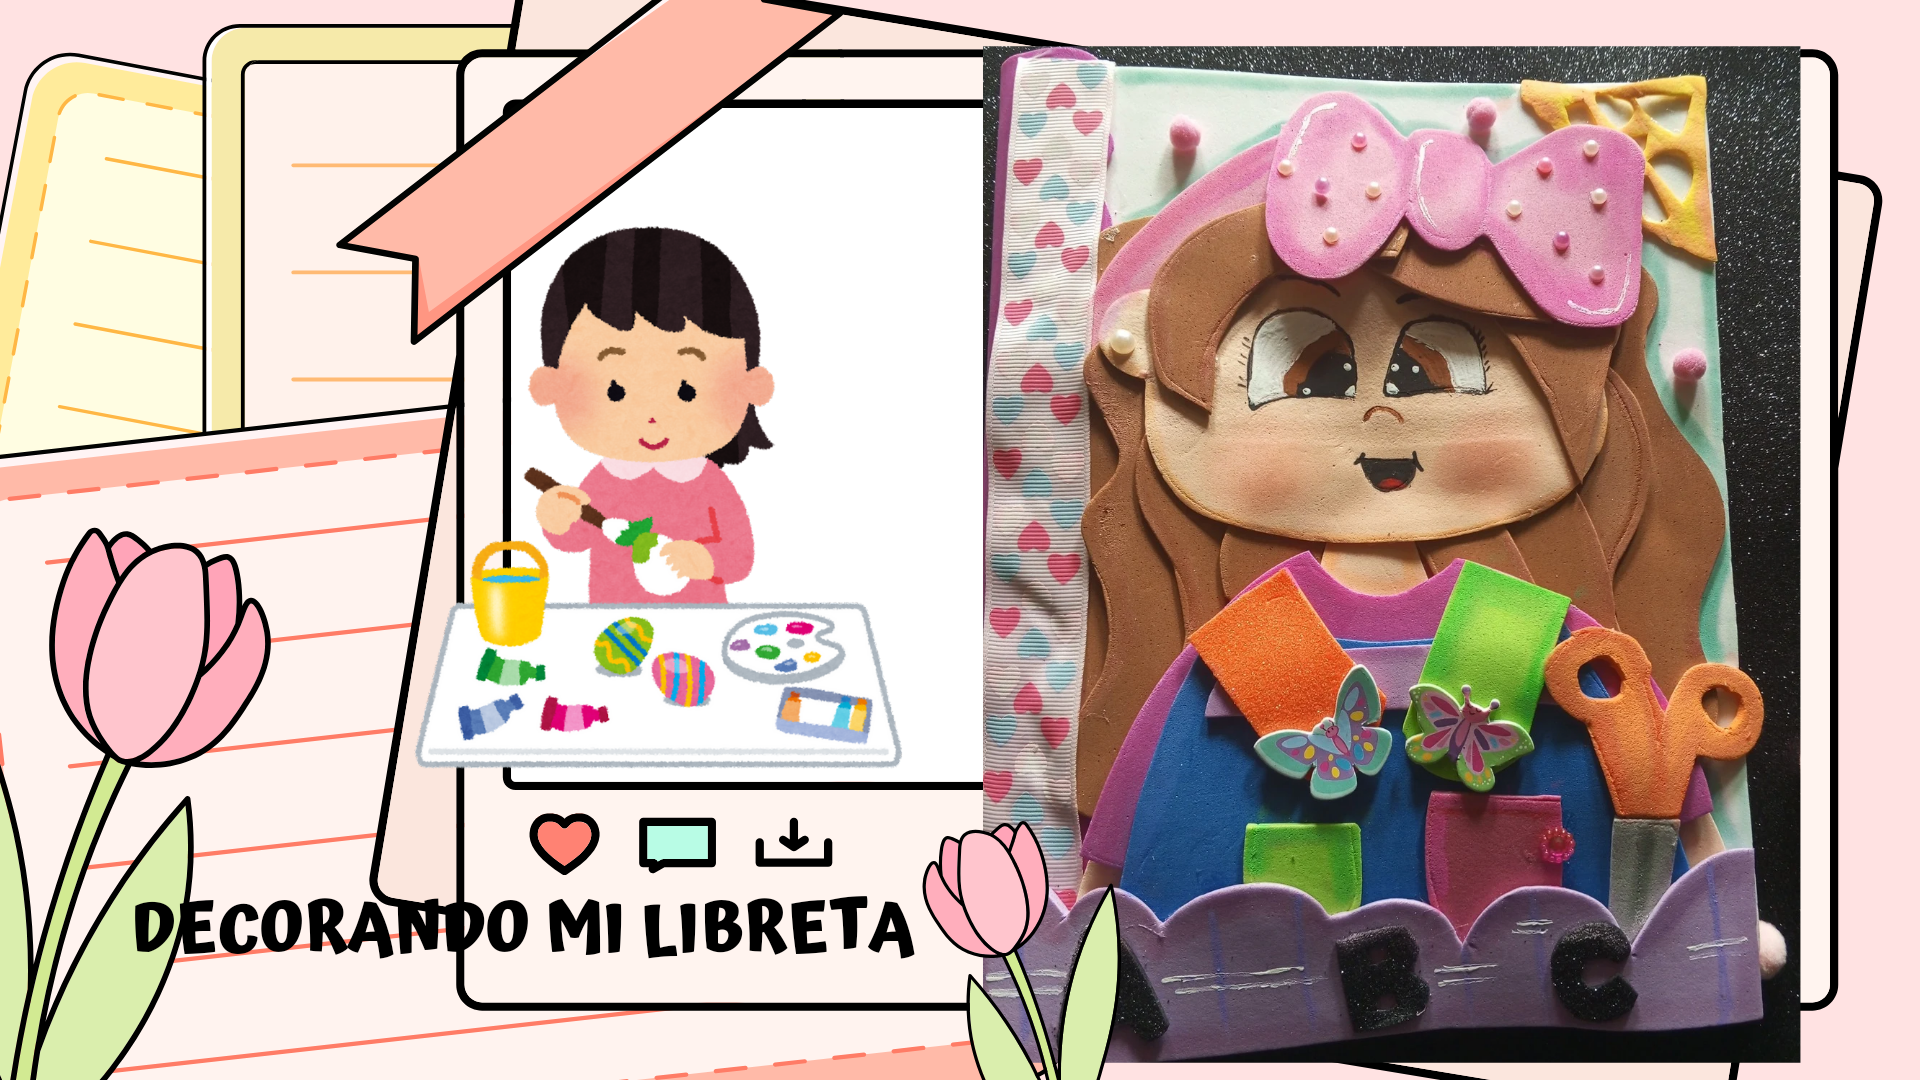
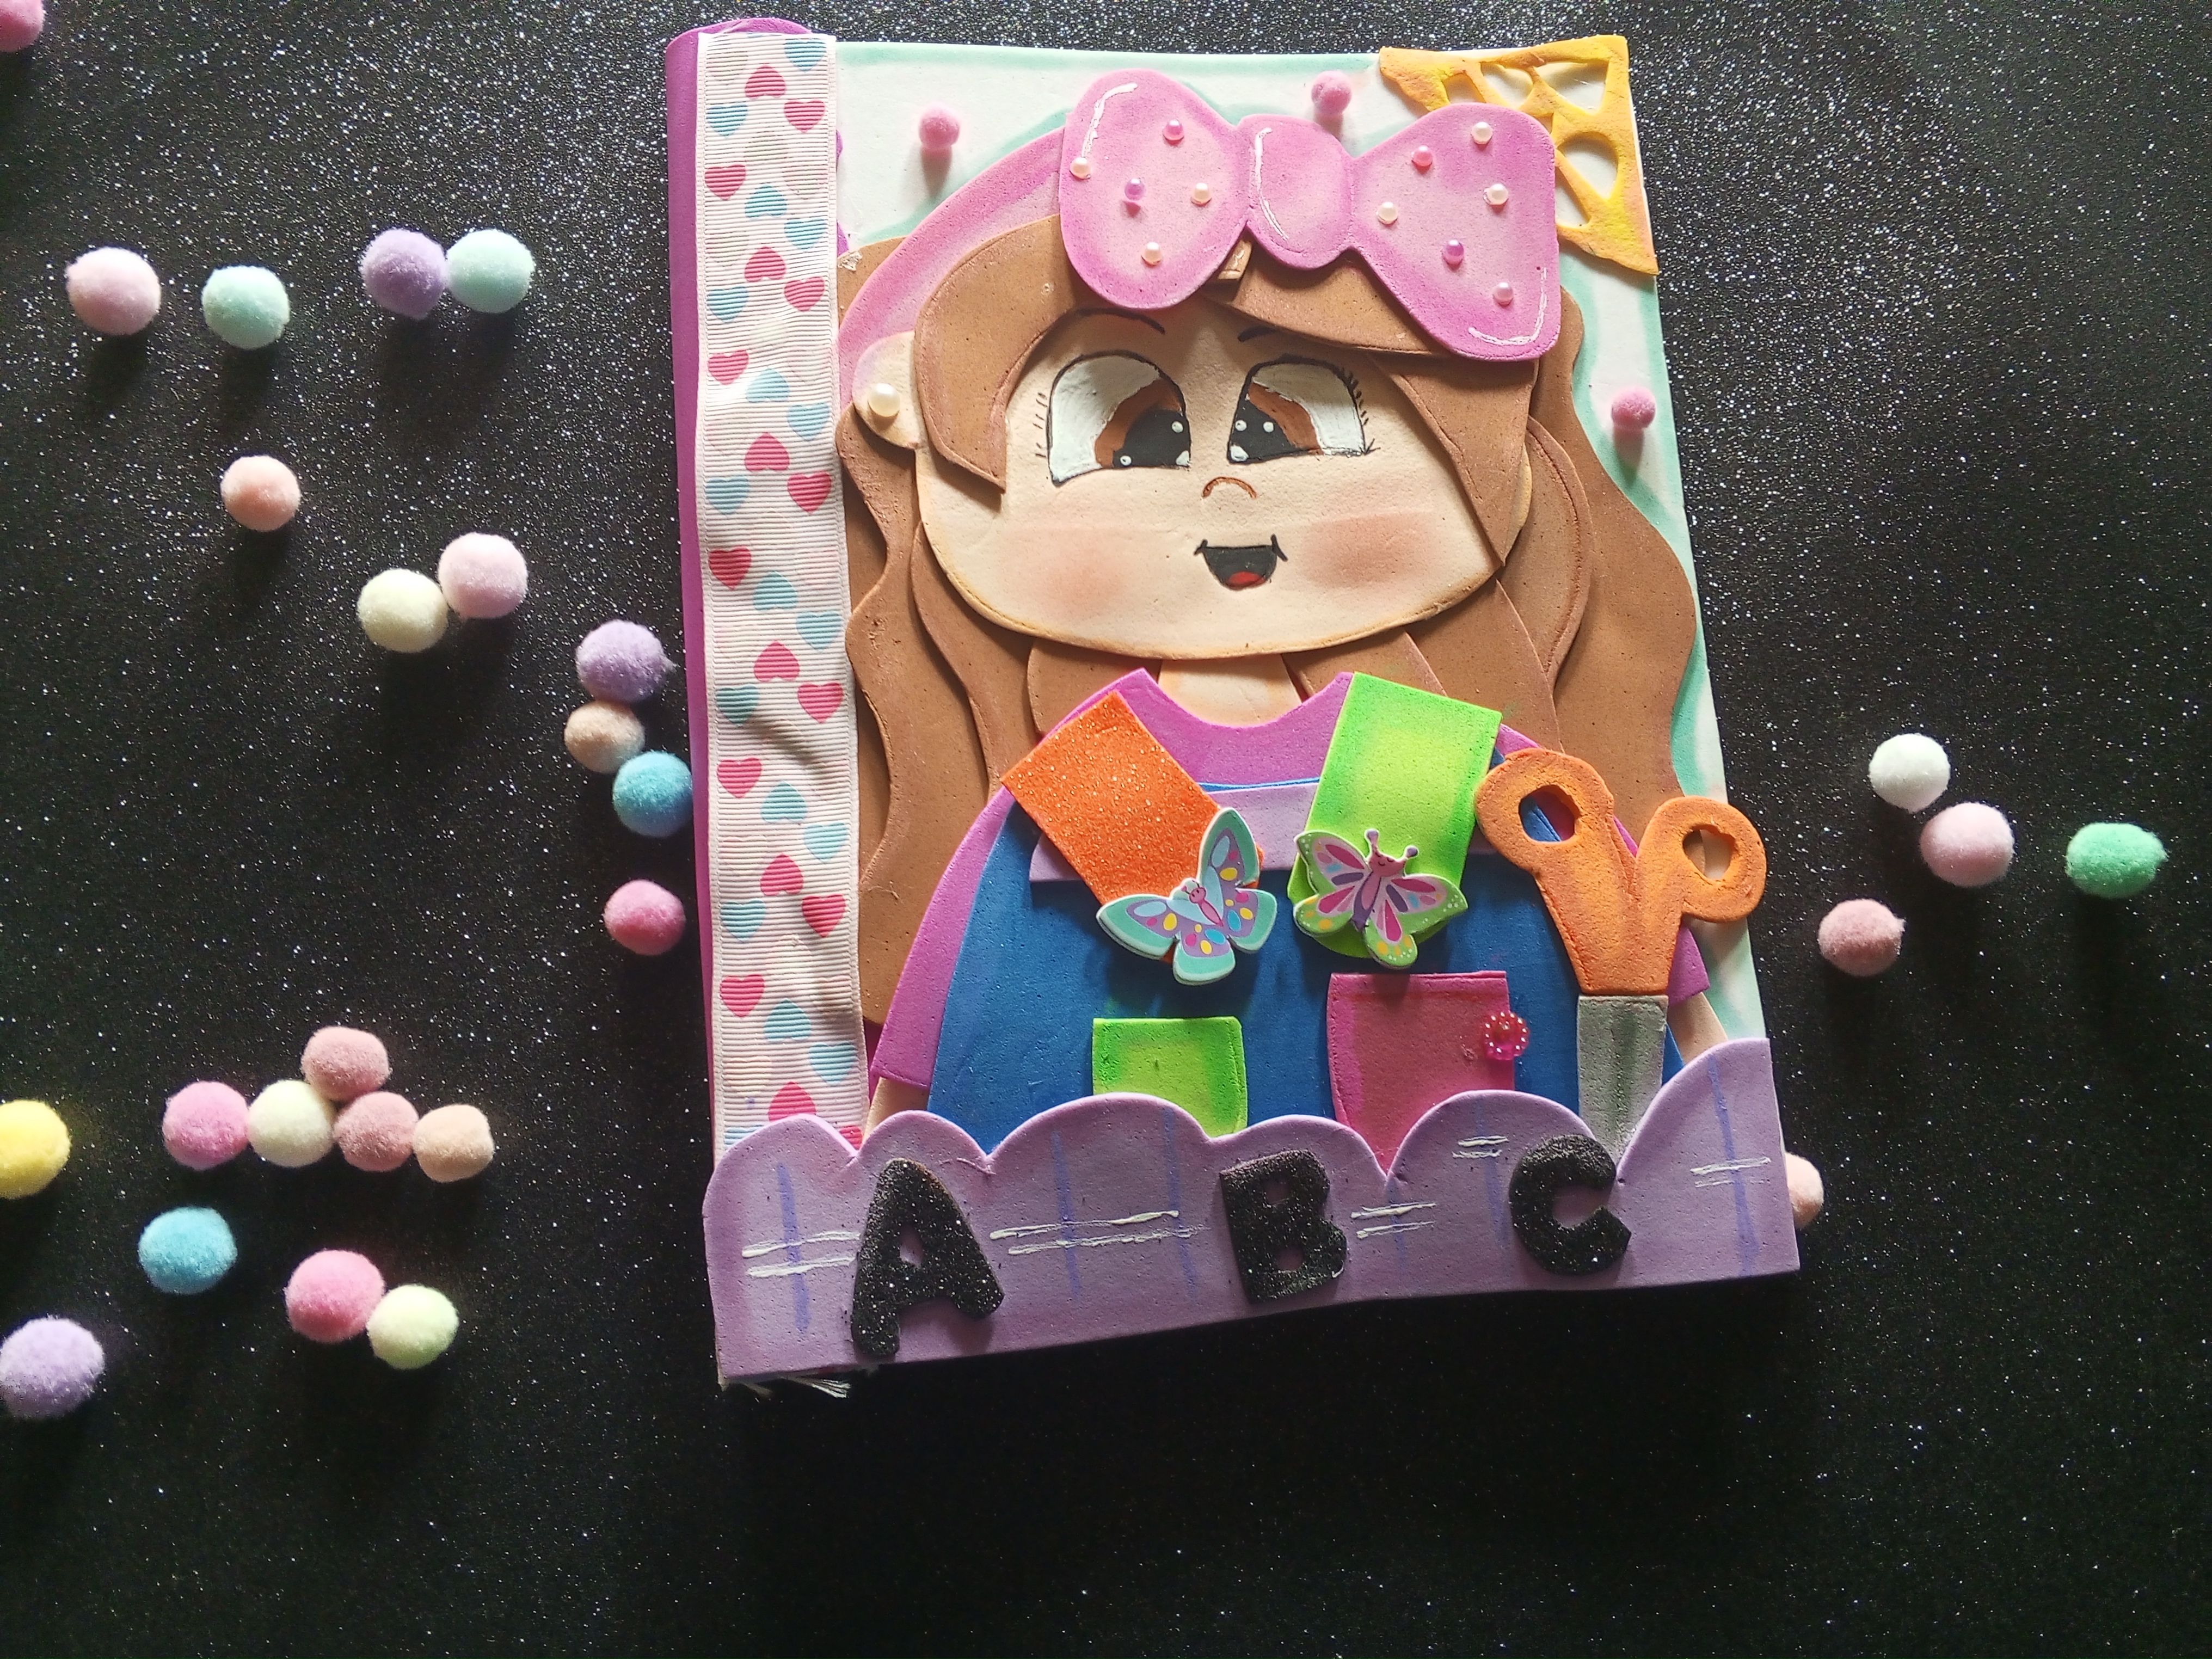
Resultado final: De esta manera hemos llegado hasta el final con el hermoso resultado de esta bella libreta decorada. En mi caso que soy maestra de primaria decidí hacer una muñeca aluciva a mi trabajo, el cual la usare para llevar mis registros, asistencias y planificacion educativa. Pero también puedes diseñarla de la manera que gustes según tu profesión u oficio. Espero les haya sido grata está técnica práctica y muy útil , así que si tienes una libreta decorala y transformala de una manera muy creativa. Gracias por llegar hasta aquí conmigo, los espero en un próximo proyecto.
Bottom line: In this way we have reached the end with the beautiful result of this beautiful decorated notebook. In my case, I am a primary school teacher, I decided to make a doll reminiscent of my work, which I will use to keep my records, attendance and educational planning. But you can also design it the way you like according to your profession or trade. I hope you enjoyed this practical and very useful technique, so if you have a notebook, decorate it and transform it in a very creative way. Thank you for coming this far with me, I look forward to seeing you in a next project.

-Realicé el banner con canva. -Traducción de Google traductor. -Fotografias tomadas con mi teléfono tecno spark 20c.