📕🐼🐯🐒🦁🐘📗 📕🐼🐯🐒🦁🐘📗 📕🐼🐯🐒🦁🐘📗
¡¡Hola mis queridos lectores y seguidores!! Se que últimamente no he estado muy movida por aquí, pero he estado trabajando duro para tener una mejor calidad de vida y debo confesar que es muy fuerte y agotador mi empleo actual; Se me dificultaba tener algo de tiempo para publicar. Solo debo organizarme un poco mejor y dedicar un poco de tiempo a ciertas cosas que quiero hacer. Como por ejemplo retomar mi Blog. Espero volver poco a poco.
En fin, he regresado con una nueva manualidad que elabore para el hijo de una amiga de trabajo. Me emocione y gustó mucho la idea de ayudarlo, ya que para una de sus tareas de proyecto final le asignaron elaborar un libro didáctico sobre animales. En ese instante mi inspiración apareció y me puse manos a la obra. En serio extrañaba realizar este tipo de manualidades.
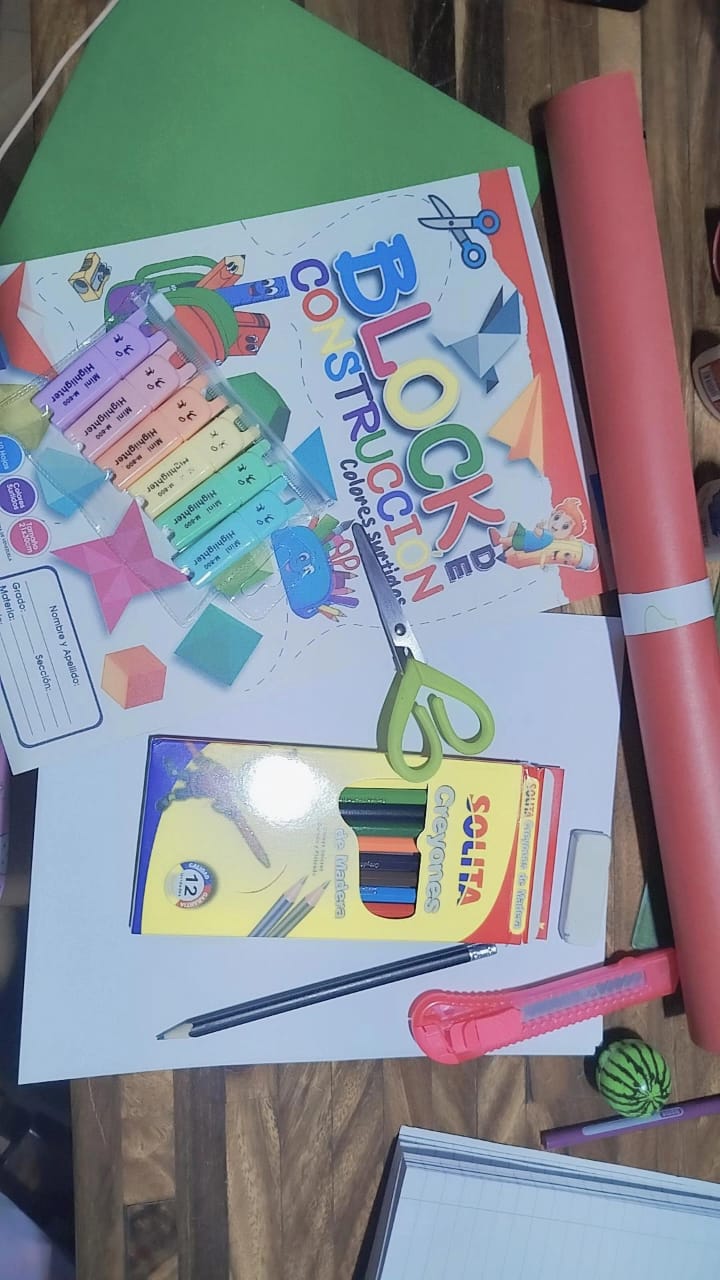
Primero, debía elegir los animales para ir buscando algunos colores e ideas y ver como seria el estilo del libro, luego busque los materiales siguientes para plasmar mi idea:
Cartulina (para la estructura del libro) Cartulina escolar Hojas Blancas Tijeras o Exacto Pegamento Marcadores Lápiz Colores
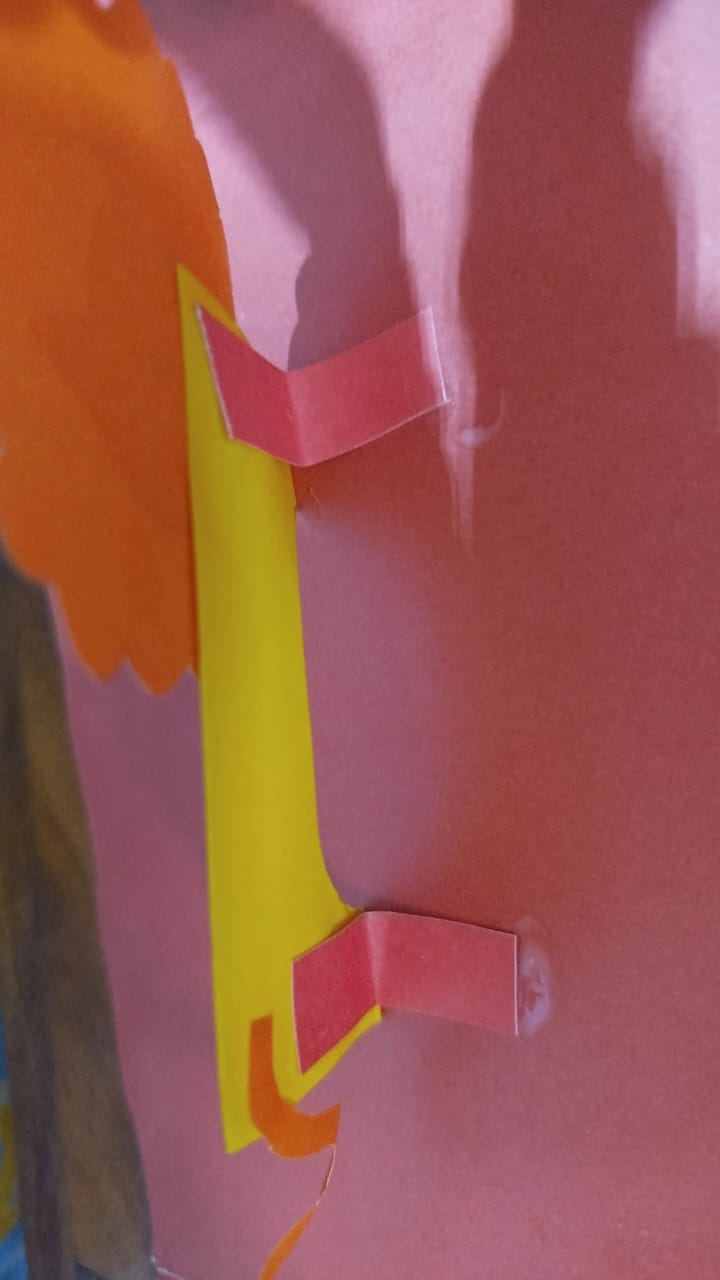
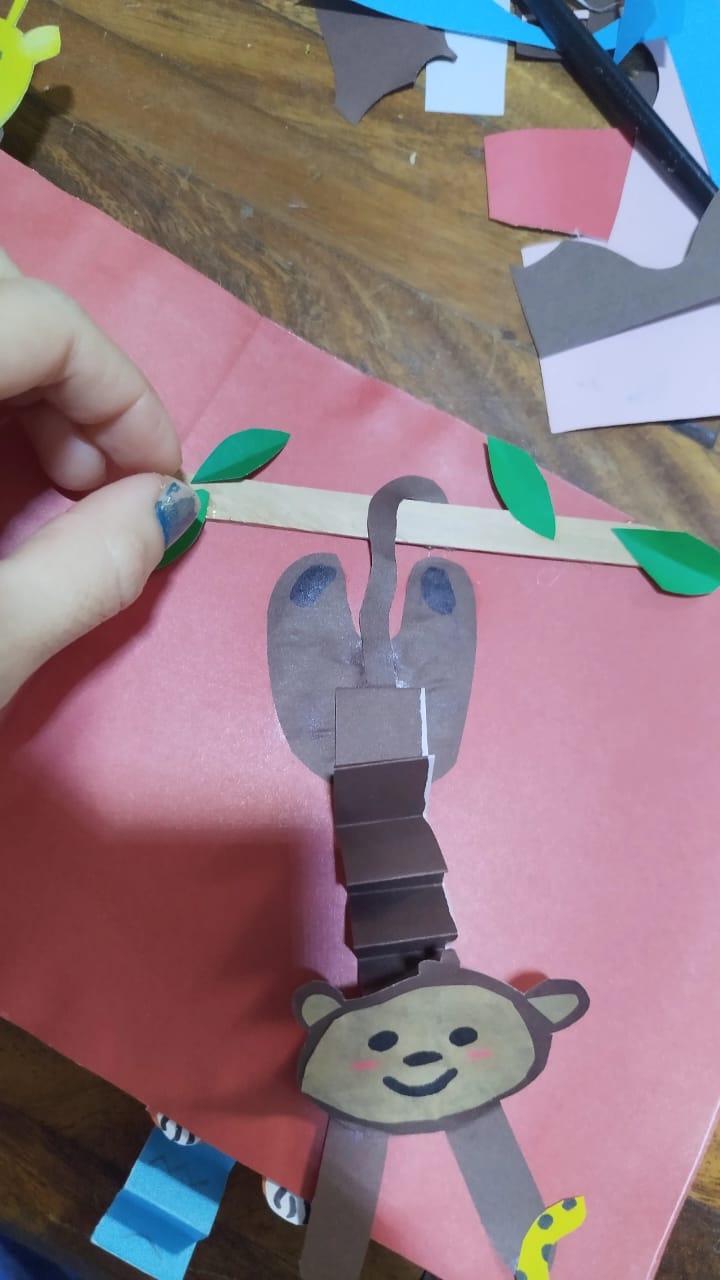
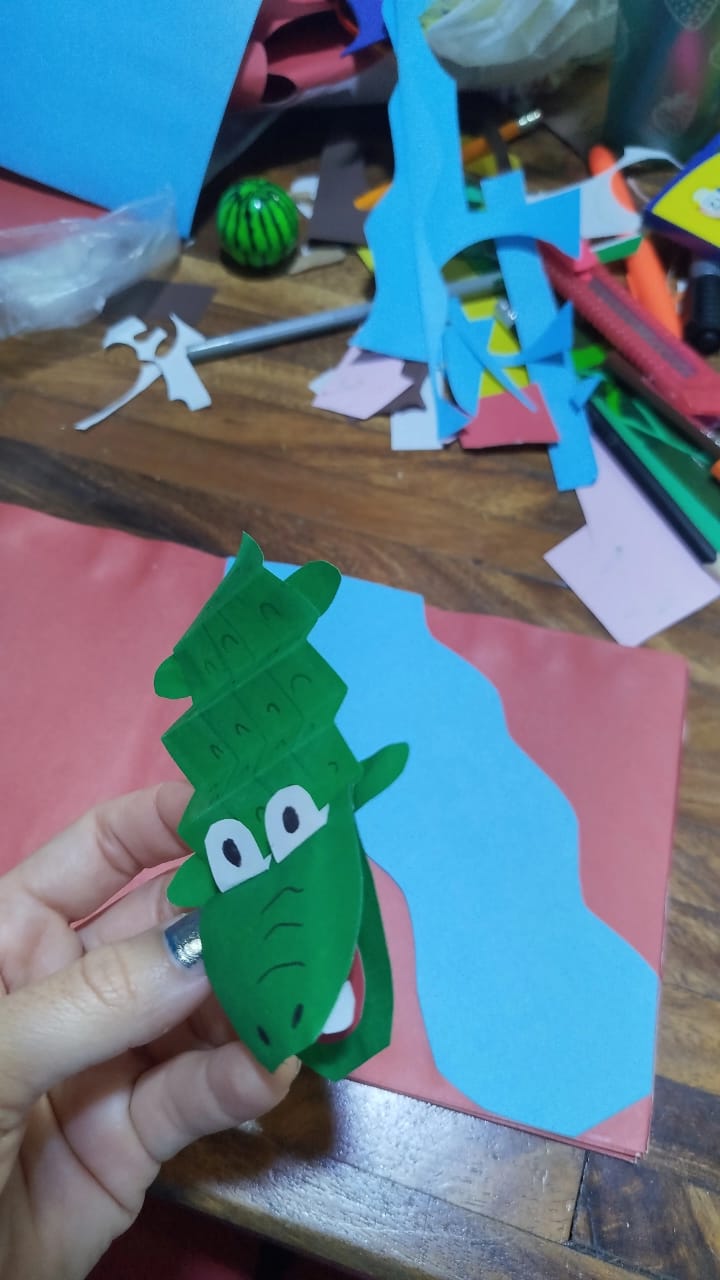
Primero comencé a elaborar los animales que se me hacían más fácil realiza con la cartulina. La idea era hacerlos de manera que cuando abrieran el libro los animales salieran a la vista o simular un movimiento y así hacerlo más llamativo para los niños; Para ello coloque pequeños acordeones de cartulina escolar debajo de cada dibujo, así cuando abrieran la página del libro se simularía que el animal salta del mismo.
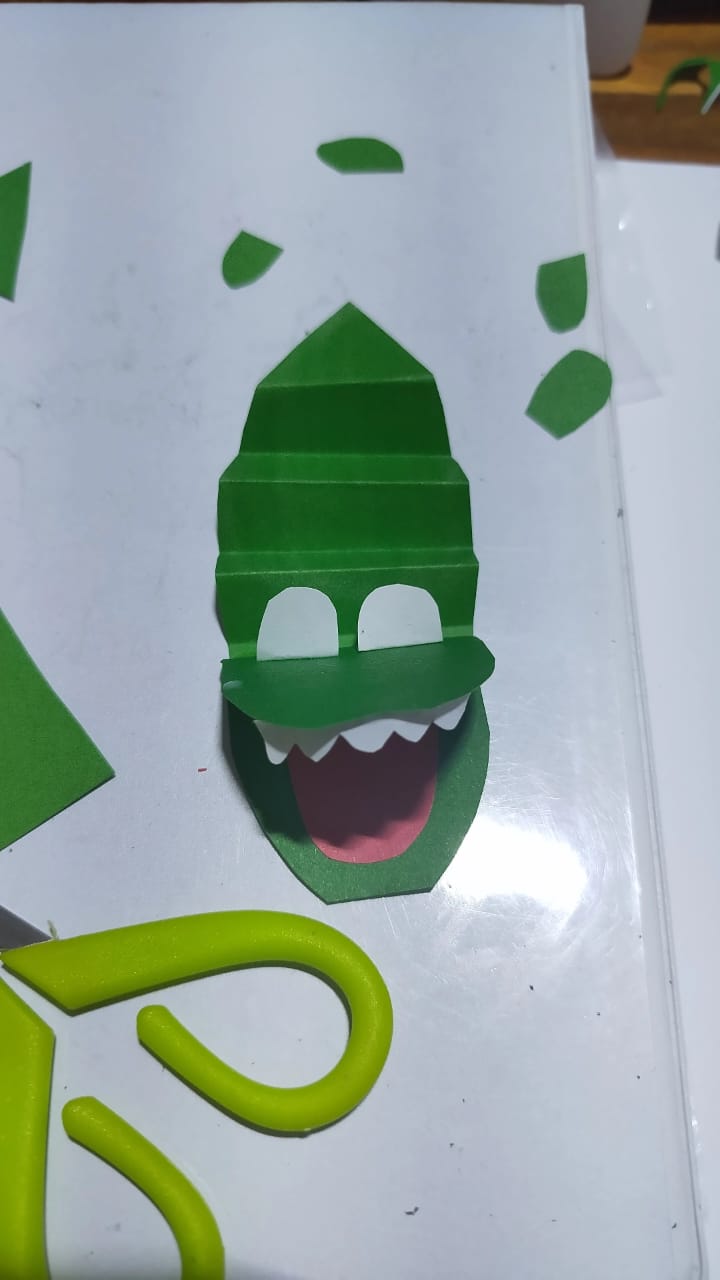
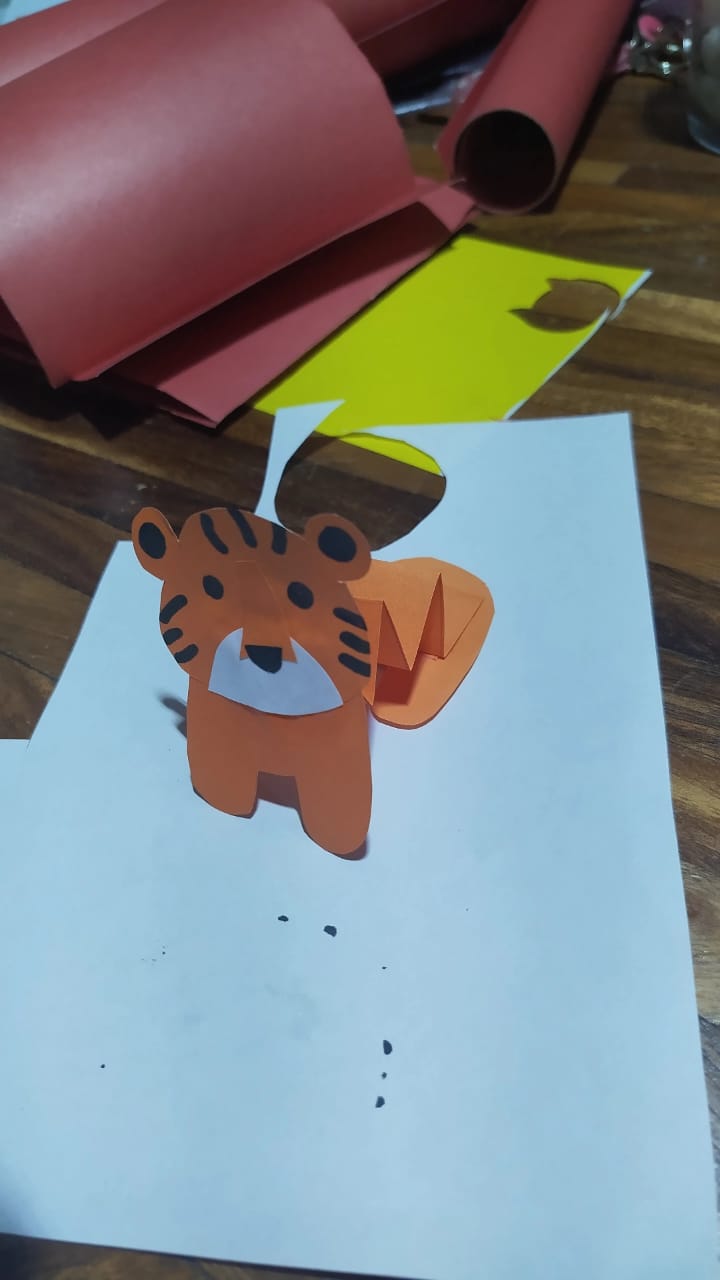
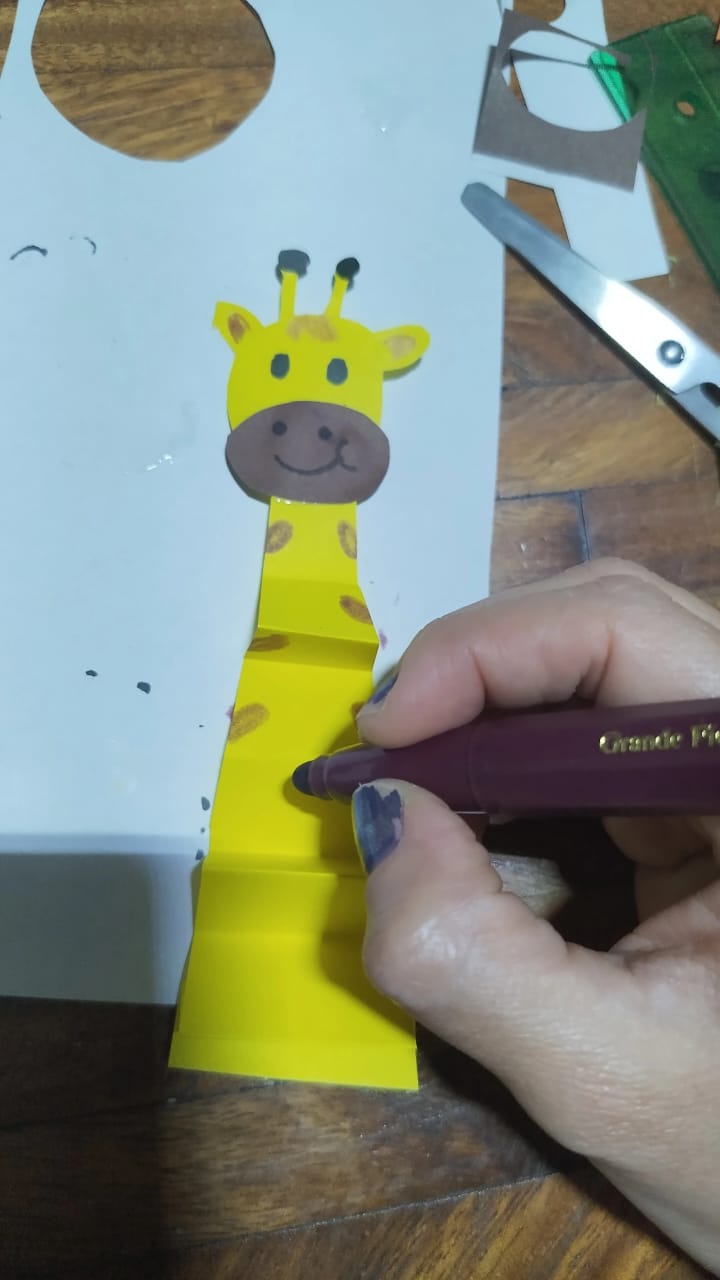
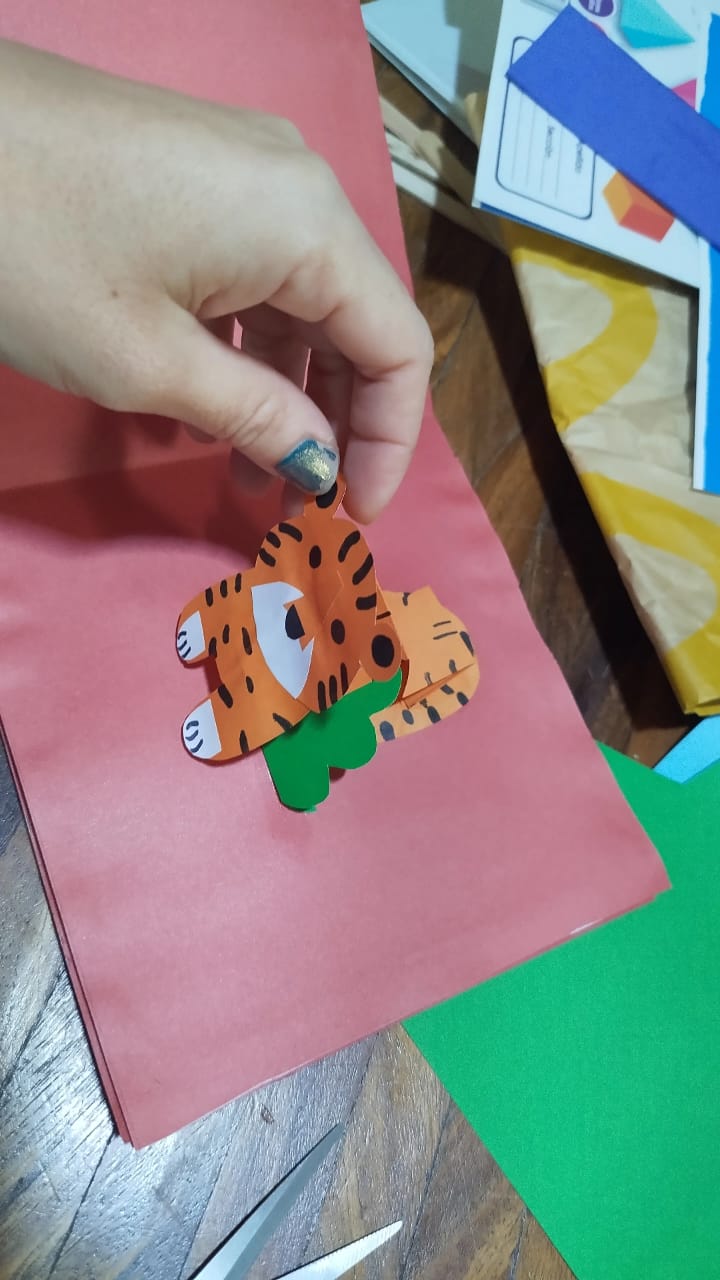
Con los colores y marcadores fui haciendo los detalles de cada animal, como algunas manchas, ojos y cositas así para darle más vida.
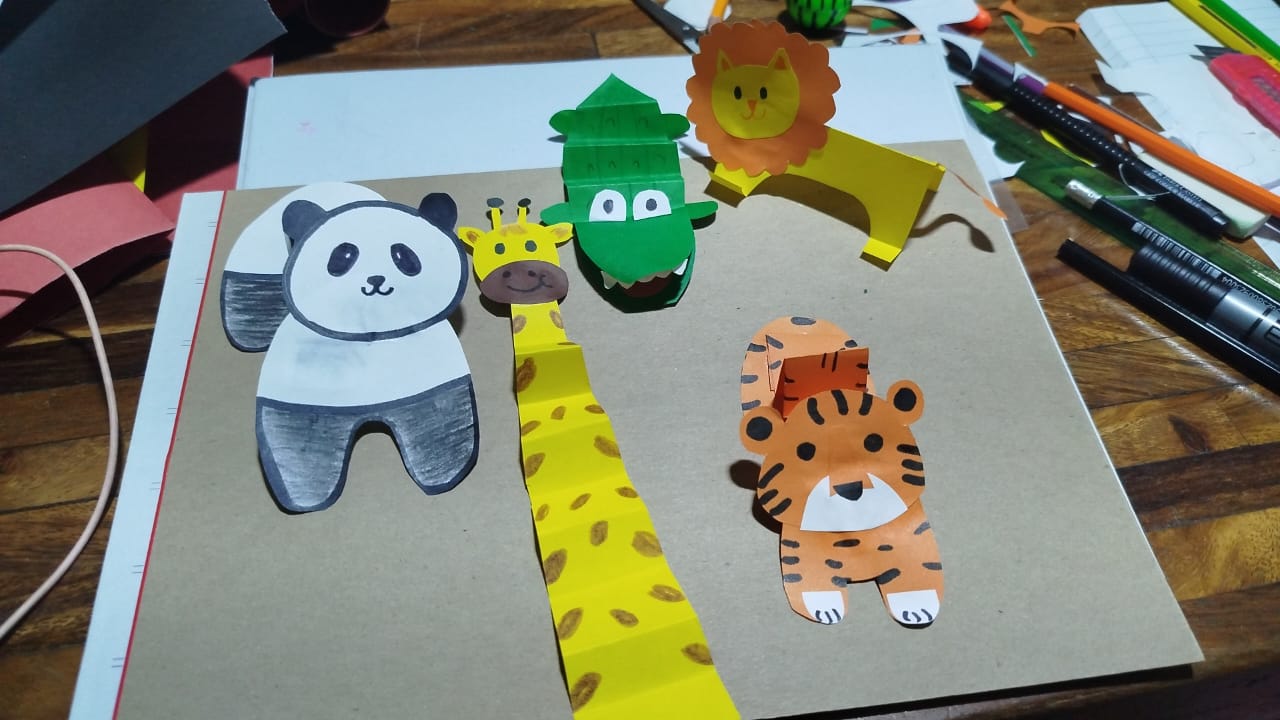
Así iban quedando, obviamente faltaban unos más para completar el libro, así que tome una pausa para ver que otros podría hacer y como elaborarlos de manera que se viera como yo quería.
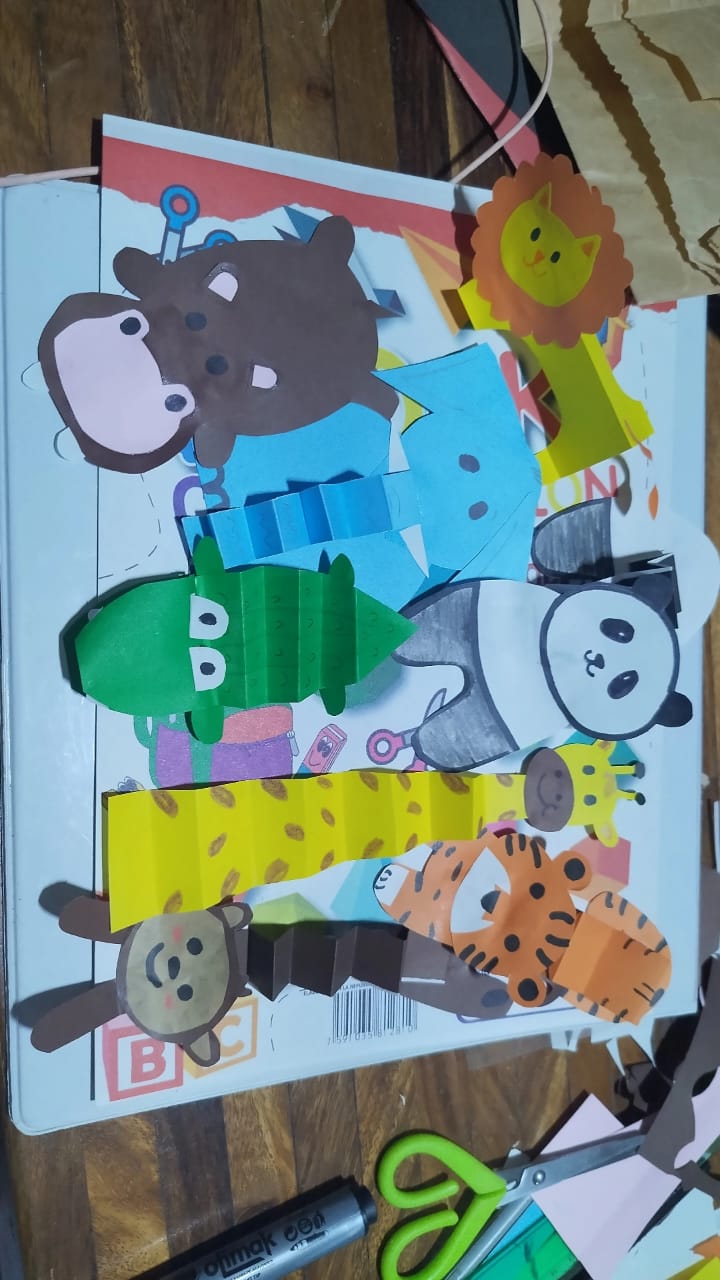
Y así quedaron todos los animales que se me ocurrieron jeje. Ahora les mostrare como fue que elabore la estructura del libro. Me costó un poco porque era la primera vez que hacia uno.
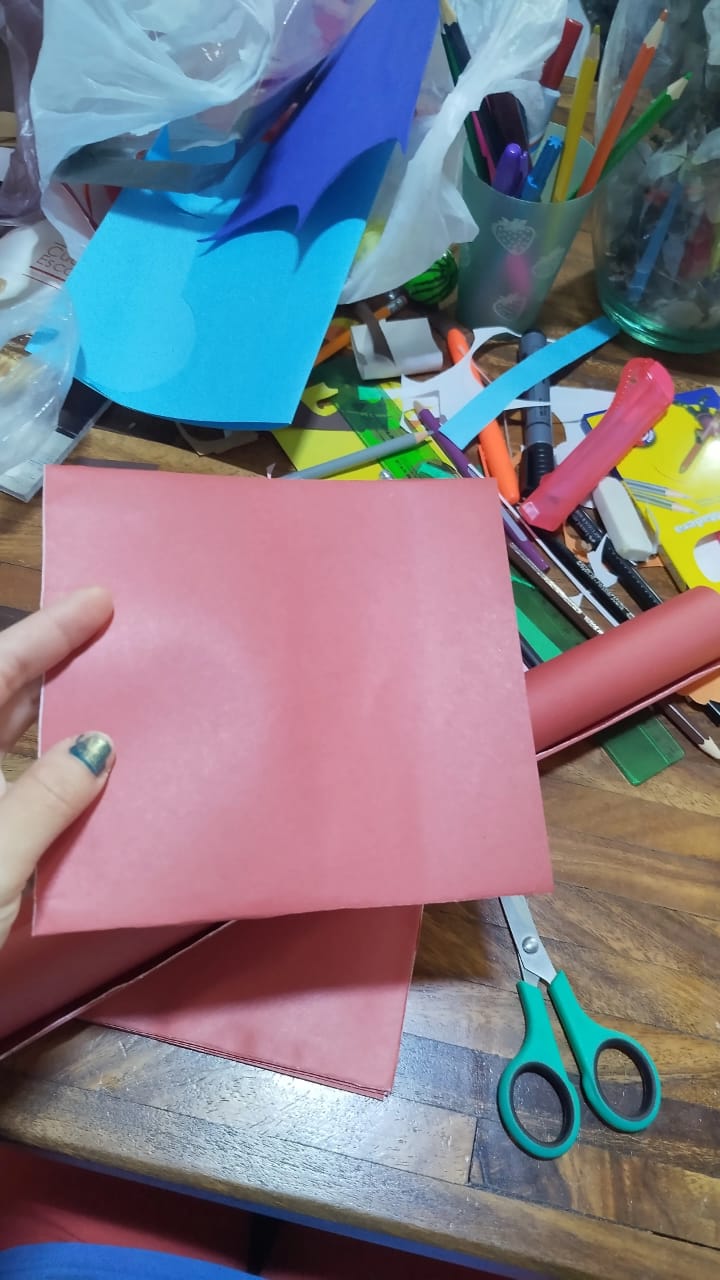
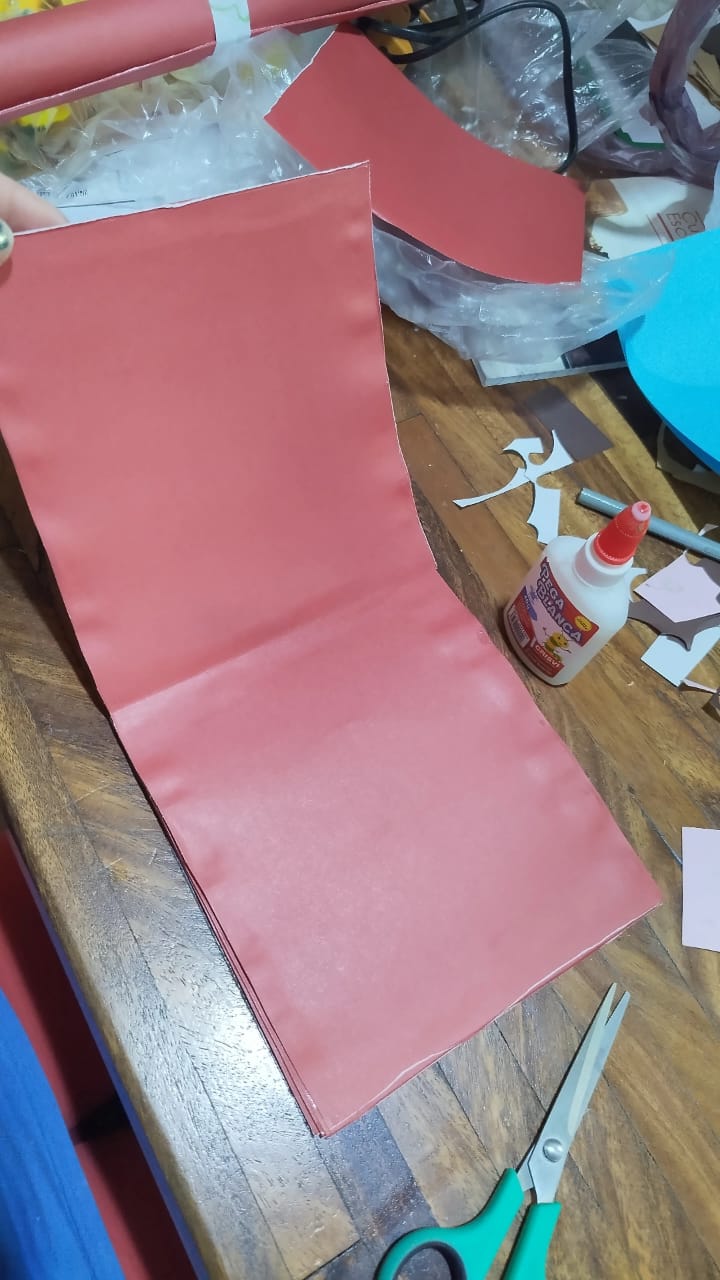
Primero, tome la cartulina de color rojo (Ese color lo eligió el hijo de mi amiga, ya que es su favorito). luego fui formando rectángulos del tamaño que quería y los fui cortando.
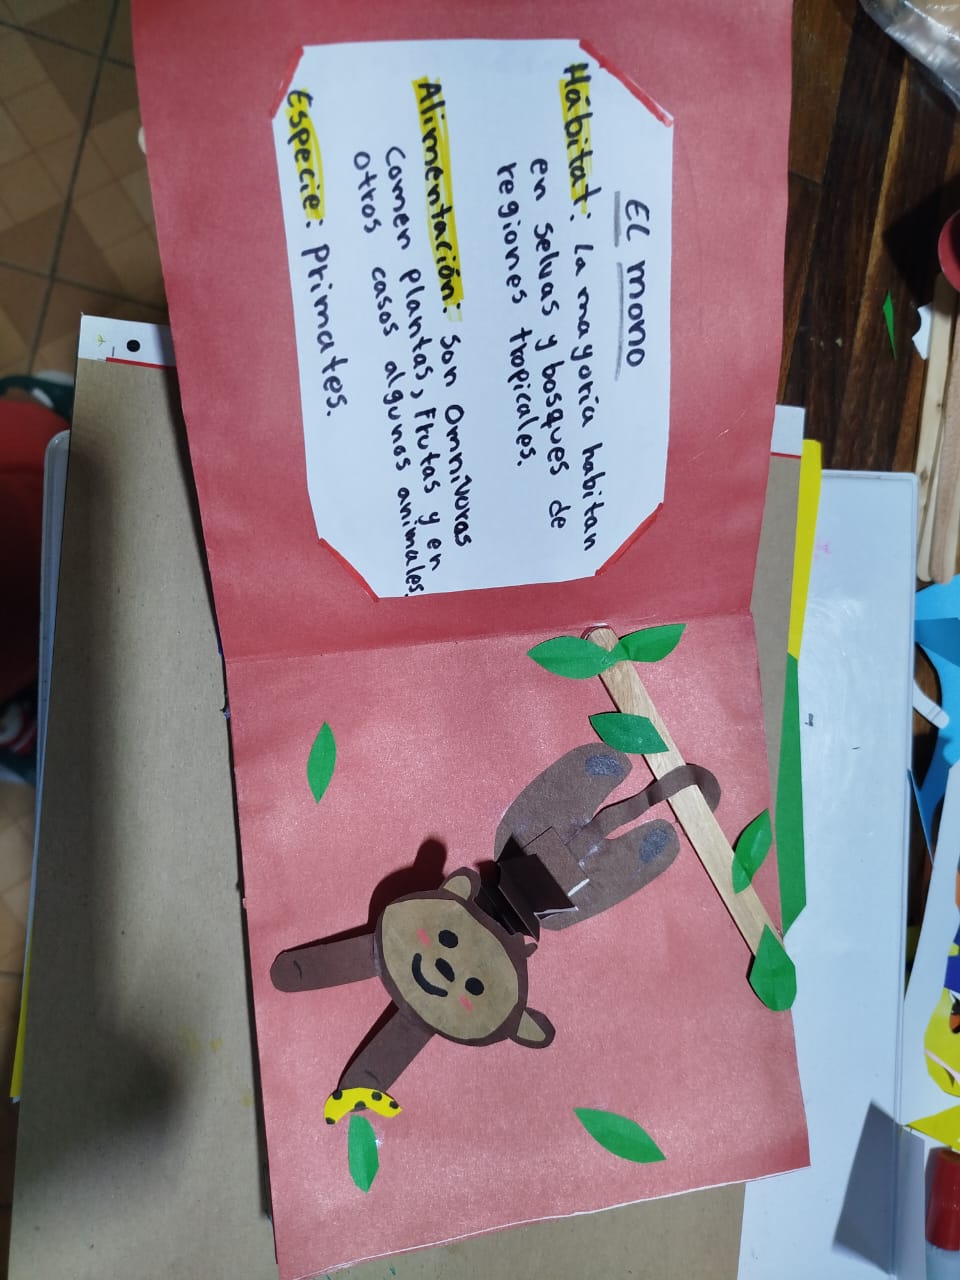
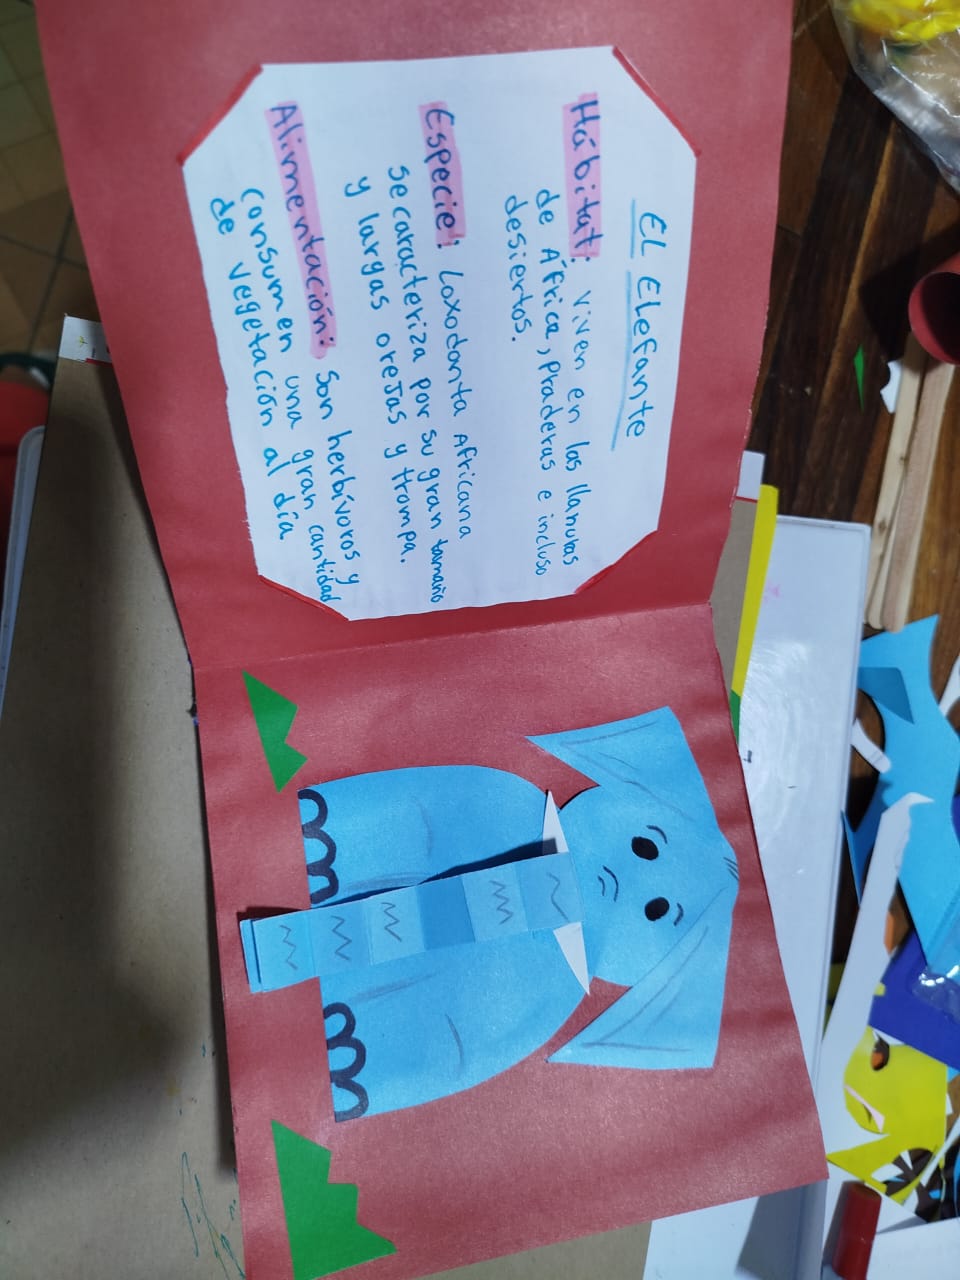
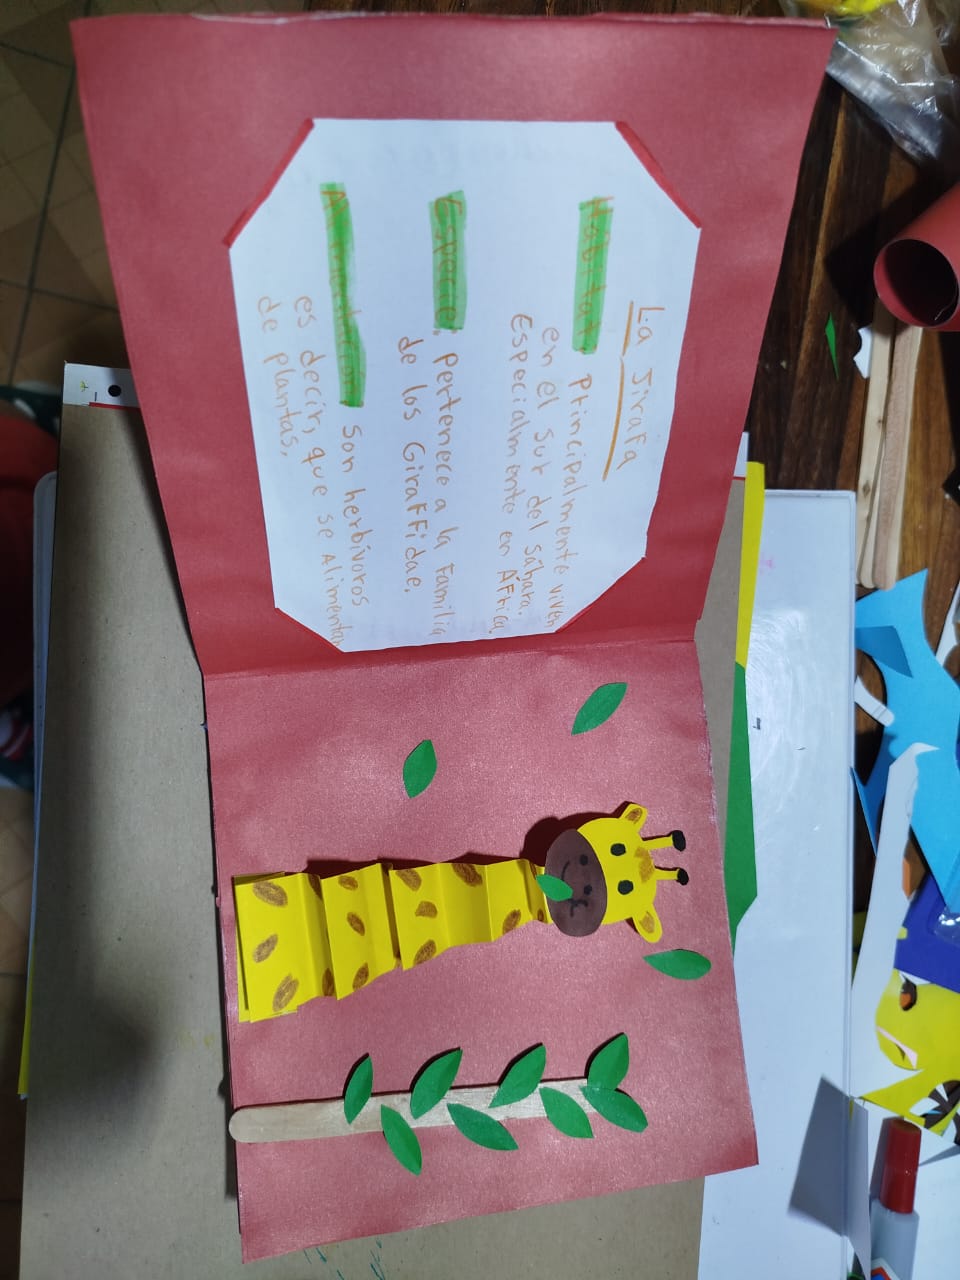
A medida que fui cortando los rectángulos necesarios fui asignando uno a cada animal y así poco a poco los fui pegándolos y colocarle los detalles. Adicional a ello, también se debía colocar el nombre y las características del animal, alimentación y habitad.
Ya que cada animal y detalle fue colocado, procedí a armar el libro, pegando cada rectángulo. Uno después de otro como en la imagen.
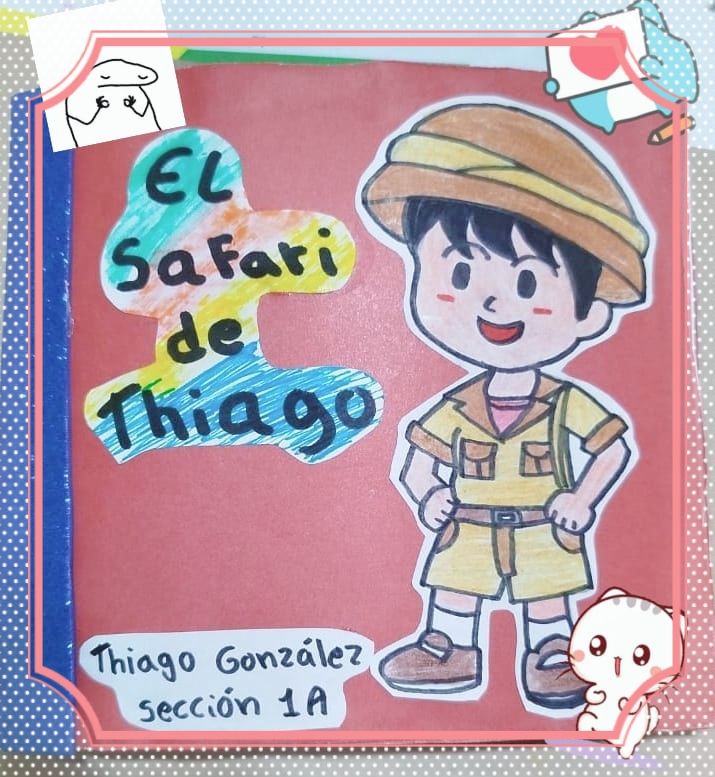
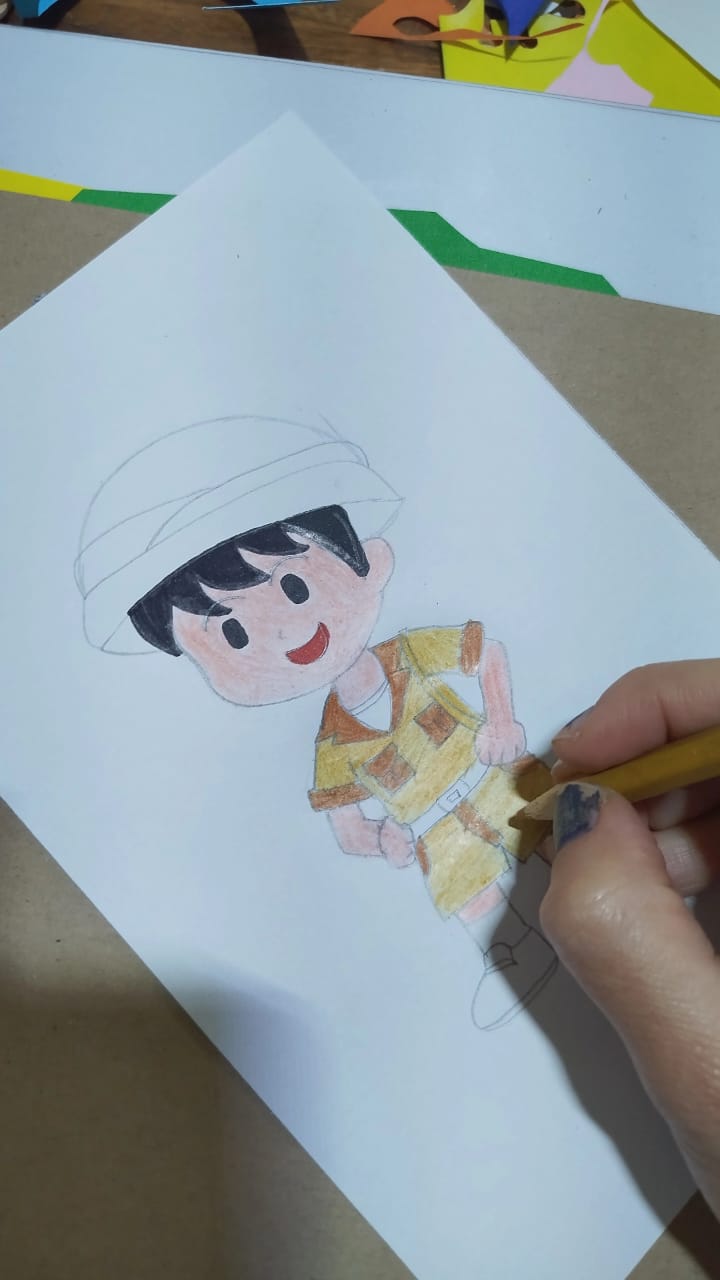
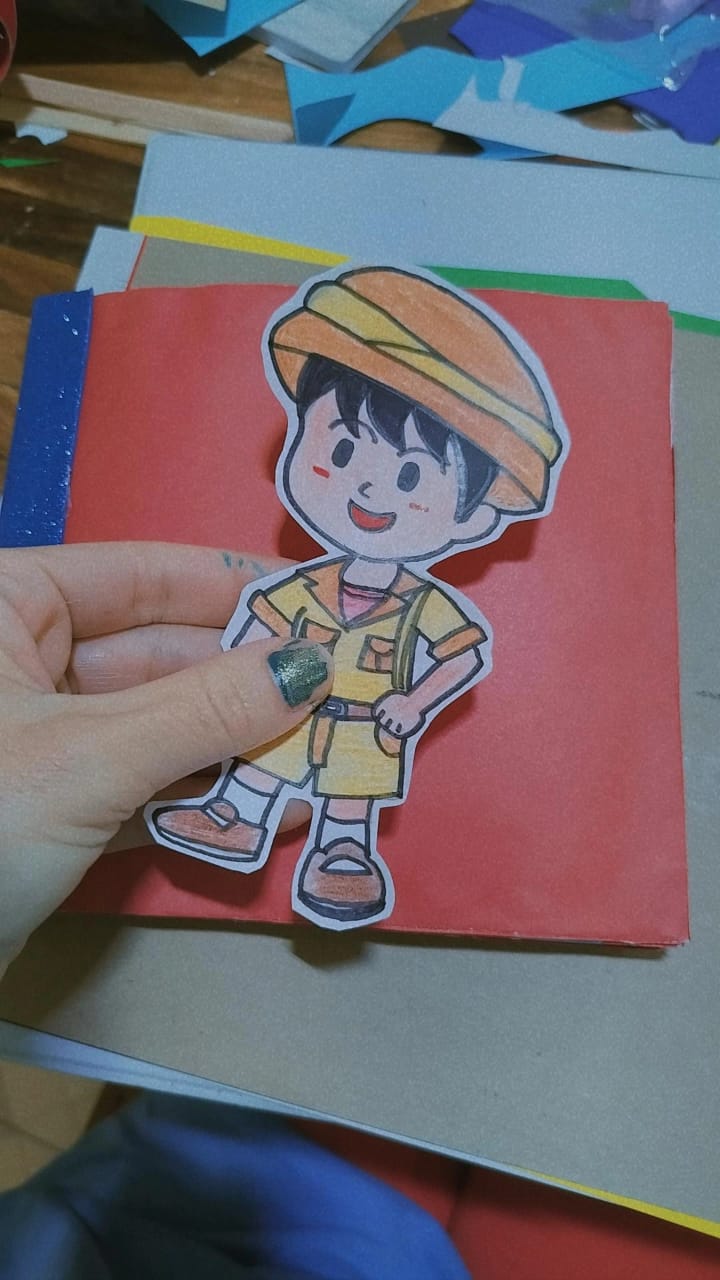
Para ir culminando quise hacer un dibujo del hijo de mi amiga como si fuera un guía de safari. Me gustó mucho esa idea.
Cabe destacar que, para un toque de color, coloque un poco de foami azul rey para decorar el libro. Y por último unos detalles como el título, su grado y sección. Y así estaría listo el libro interactivo de animales.
Y así, humildemente quedo mi obra maestra jeje. Por falta de tiempo y de materiales no pude hacer más, de seguro hubiera quedado aún mejor. Bueno, espero les haya gustado y les sea de gran ayuda por si desean hacer una tarea dinámica y divertida para sus hijos. Me gustó mucho hacerlo y seria genial que los niños hagan tareas así para motivarlos más al aprendizaje de una manera divertida. Saludos y abrazos para todos. Gracias por tomarse el tiempo para leer.
😘
📕🐼🐯🐒🦁🐘📗 📕🐼🐯🐒🦁🐘📗 📕🐼🐯🐒🦁🐘📗
Hello my dear readers and followers!! I know I haven't been very active here lately, but I have been working hard to have a better quality of life and I must confess that my current job is very demanding and exhausting; it has been difficult for me to find time to post. I just need to organize myself a little better and dedicate some time to certain things I want to do. For example, getting back to my blog. I hope to return little by little.
Anyway, I have returned with a new craft that I made for the son of a work friend. I got excited and really liked the idea of helping him, since for one of his final project assignments he was tasked with making an educational book about animals. At that moment, my inspiration appeared and I got to work. I seriously missed doing this kind of craft.
First, I had to choose the animals to start looking for some colors and ideas and see what the style of the book would be like; then I looked for the following materials to bring my idea to life:
Cardstock (for the book structure) Construction paper White Sheets Glue Markers Pencil colors
First, I started making the animals that seemed easiest for me to create with cardboard. The idea was to make them in such a way that when they opened the book, the animals would come into view or simulate a movement, making it more appealing to the children. To do this, I placed small cardboard accordions under each drawing, so when they opened the page of the book, it would simulate the animal jumping out of it.
With the colors and markers, I added the details of each animal, like some spots, eyes, and little things like that to give them more life.
That's how they were turning out; obviously, a few more were missing to complete the book, so I took a break to see what others I could make and how to craft them in a way that looked the way I wanted.
And that's how all the animals I could think of ended up, hehe. Now I will show you how I went about creating the structure of the book. It was a bit difficult for me because it was the first time I had made one.
First, take the red cardboard (That color was chosen by my friend's son, since it's his favorite). Then I started forming rectangles of the size I wanted and cut them out.
As I was cutting out the necessary rectangles, I assigned one to each animal and little by little I glued them and added the details. In addition, the name and the animal's characteristics, diet, and habitat also had to be included.
Since each animal and detail was placed, I proceeded to assemble the book, gluing each rectangle. One after another, as shown in the picture.
To wrap things up, I wanted to make a drawing of my friend's son as if he were a safari guide. I really liked that idea.
It is worth noting that, for a touch of color, place a bit of royal blue foam to decorate the book. And finally, add some details such as the title, grade, and section. And that would complete the interactive animal book.
And so, my masterpiece humbly stands hehe. Due to lack of time and materials, I couldn't do more; it surely would have turned out even better. Well, I hope you liked it and that it is very helpful if you want to create a dynamic and fun activity for your children. I really enjoyed making it, and it would be great for kids to do activities like this to motivate them to learn in a fun way. Greetings and hugs to everyone. Thank you for taking the time to read.
😘