Feliz y bendecido sábado, bienvenidos a mi blog, quiero desearles un feliz fin de semana, espero se encuentren disfrutando muchos en estos días disfrutando de la playa, o de algún plan entre familia o amigos, por mi parte estudiando y trabajando pero también planeando para pasar un día diferente ya que también se necesita descansar y disfrutar, hoy súper contenta de mostrarles un nuevo proyecto con mi material favorito.
Happy and blessed Saturday, welcome to my blog, I want to wish you a happy weekend, I hope you are enjoying these days a lot, enjoying the beach, or some plan with family or friends, for my part studying and working but also planning to spend a different day since you also need to rest and enjoy, today super happy to show you a new project with my favorite material.

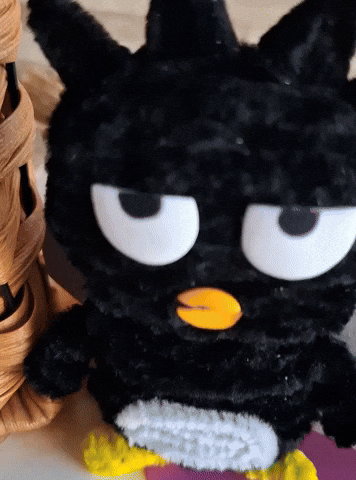
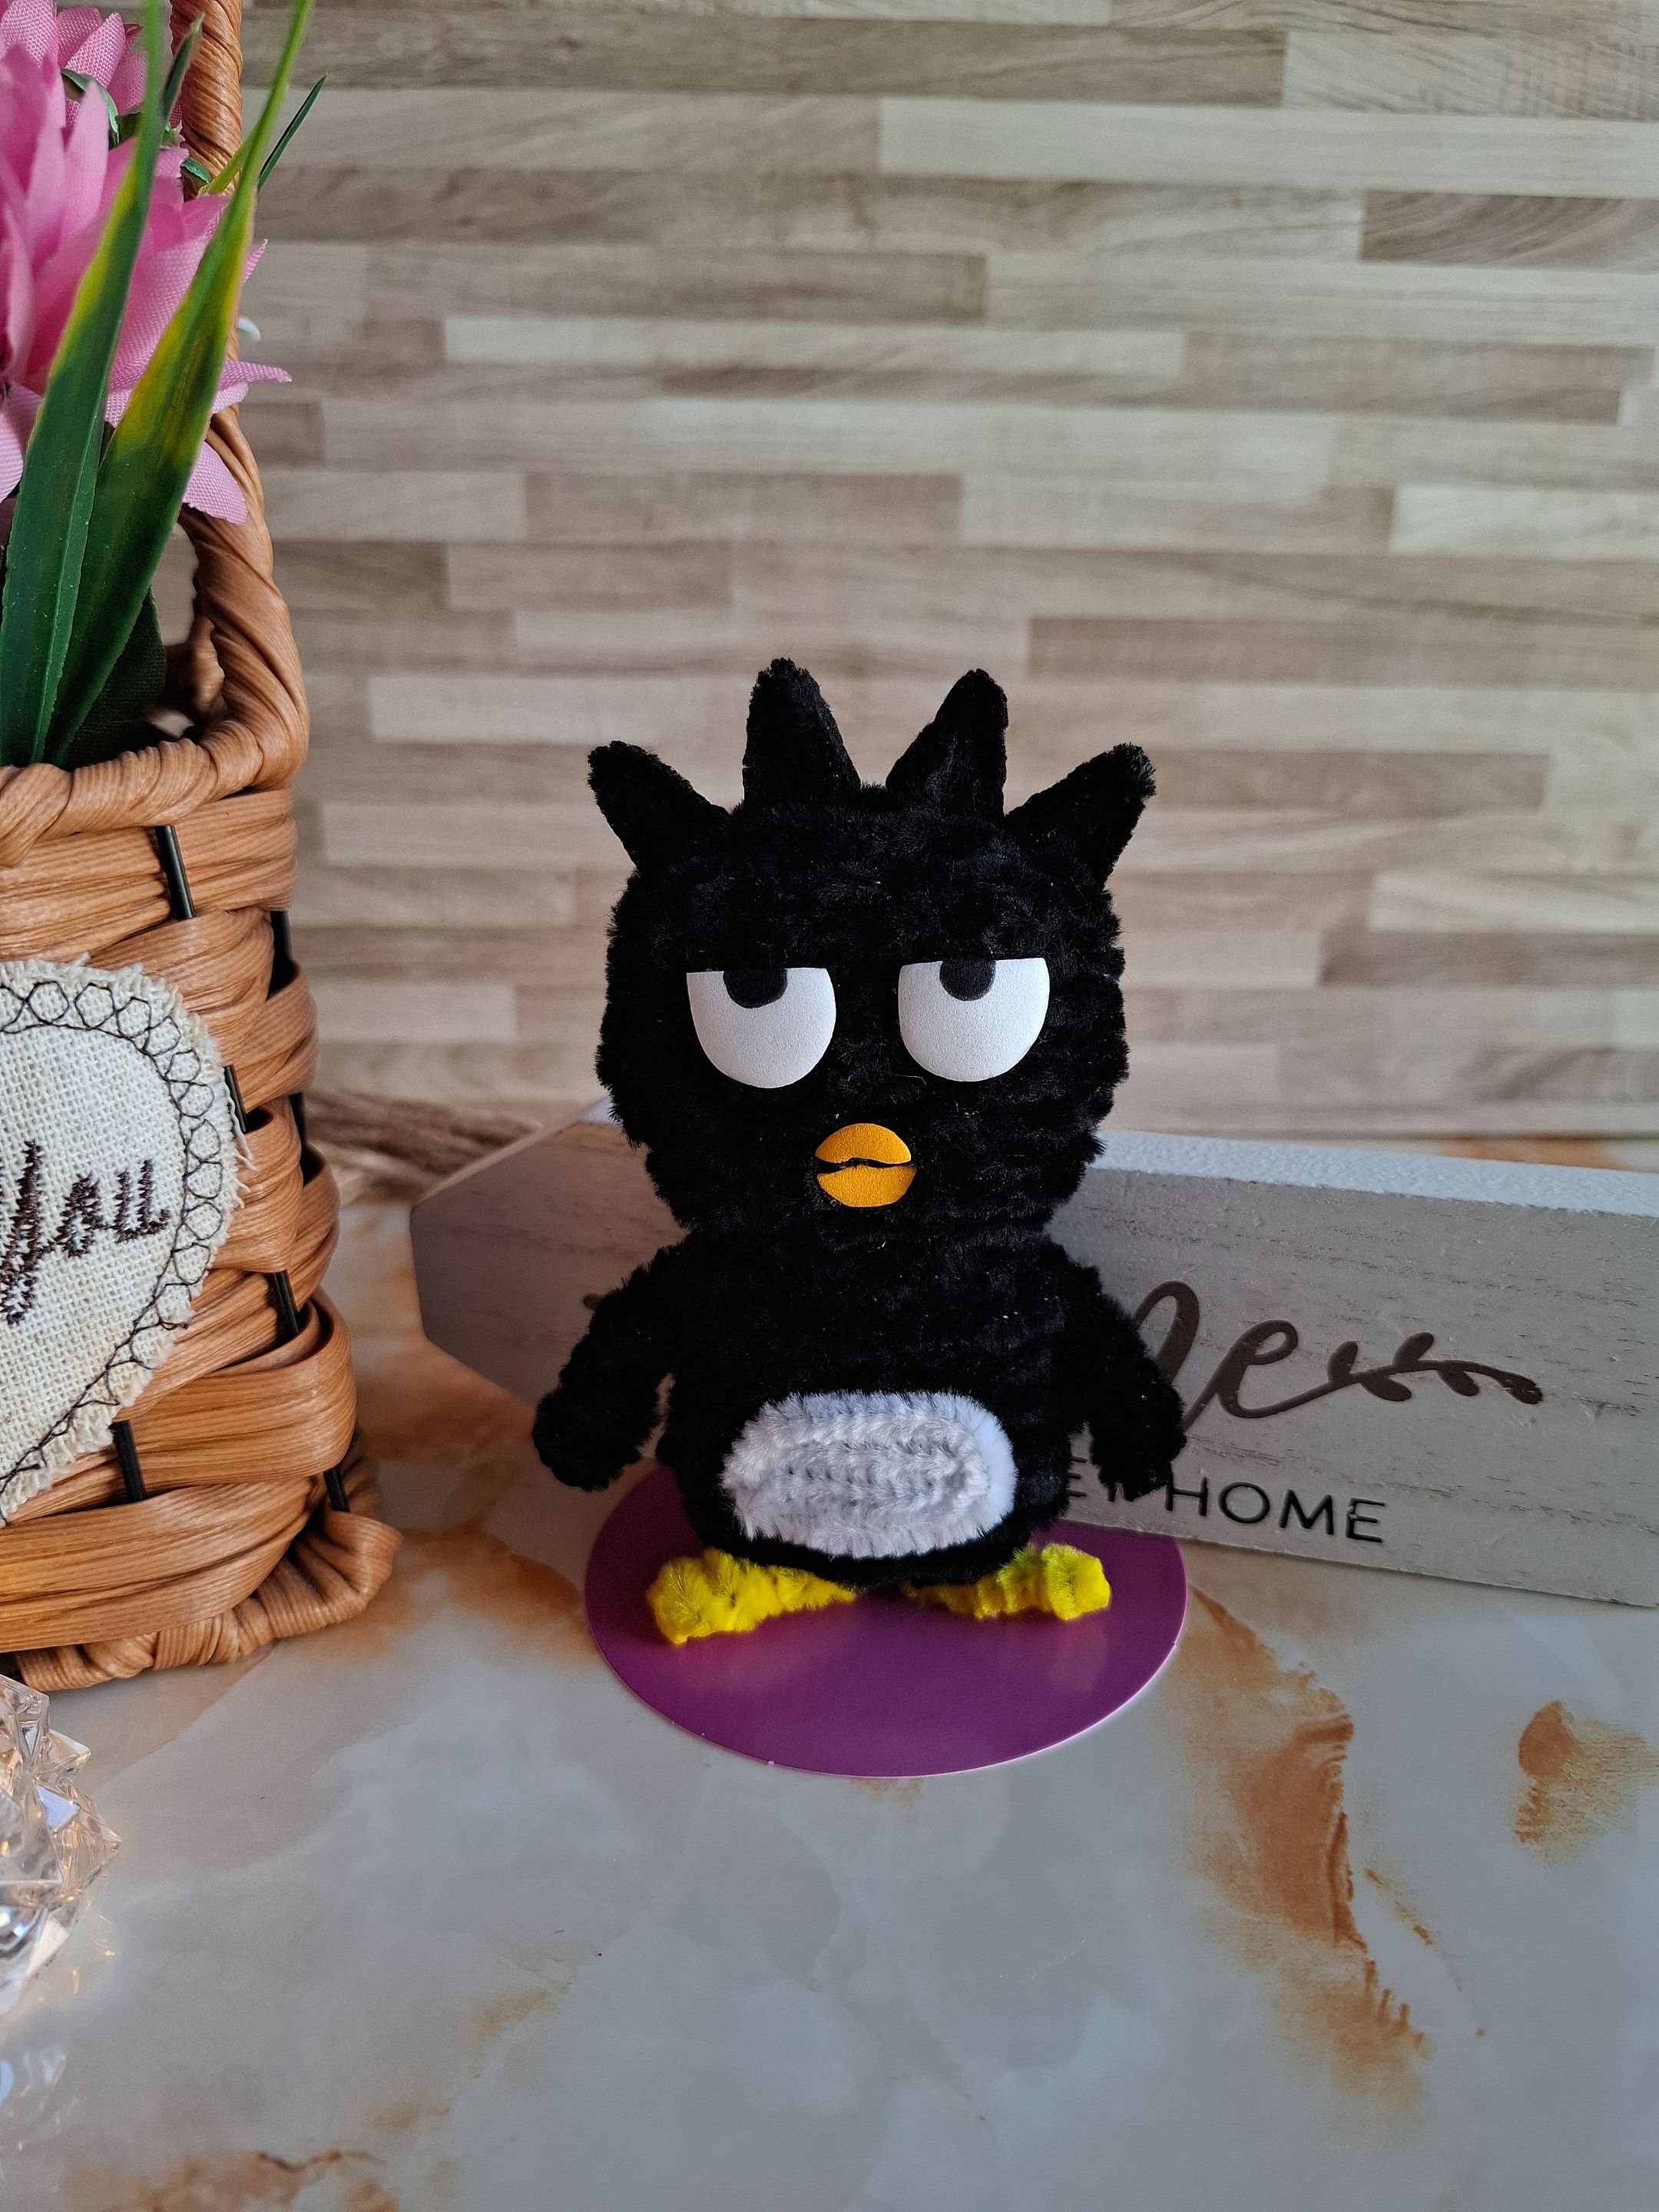
En esta oportunidad les quiero compartir un personaje muy conocido por muchos de ustedes, se trata de Badtz-Maru elaborado en limpiapipas, les cuento que se me dificultó realizar esta figura ya que quitaron la electricidad como por 5 horas ya tenía todo listo para comenzar y la verdad tuve que esperar todo ese tiempo, pasa que me gusta utilizar la pistola de silicón y sin electricidad imposible.
On this occasion I want to share with you a character very well known by many of you, it is about Badtz-Maru made with pipe cleaners, I tell you that it was difficult for me to make this figure since they cut off the electricity for about 5 hours I had everything ready to start and the truth is I had to wait all that time, it happens that I like to use the silicone gun and without electricity it is impossible.
Me inspiré de esta versión tejida en Pinterest Badtz-Maru confiando en el proceso para obtener un resultado bonito, me causo risa porque mi sobrino apenas me vio realizandolo me preguntó ¿Es un pingüino? Y dije, entonces si voy bien jajaja, a continuación les muestro los materiales y el paso a paso.
I was inspired by this knitted version on Pinterest Badtz-Maru trusting the process to get a nice result, it made me laugh because my nephew as soon as he saw me doing it asked me "Is it a penguin?" And I said, so I'm doing it right hahaha, below I show you the materials and the step by step.

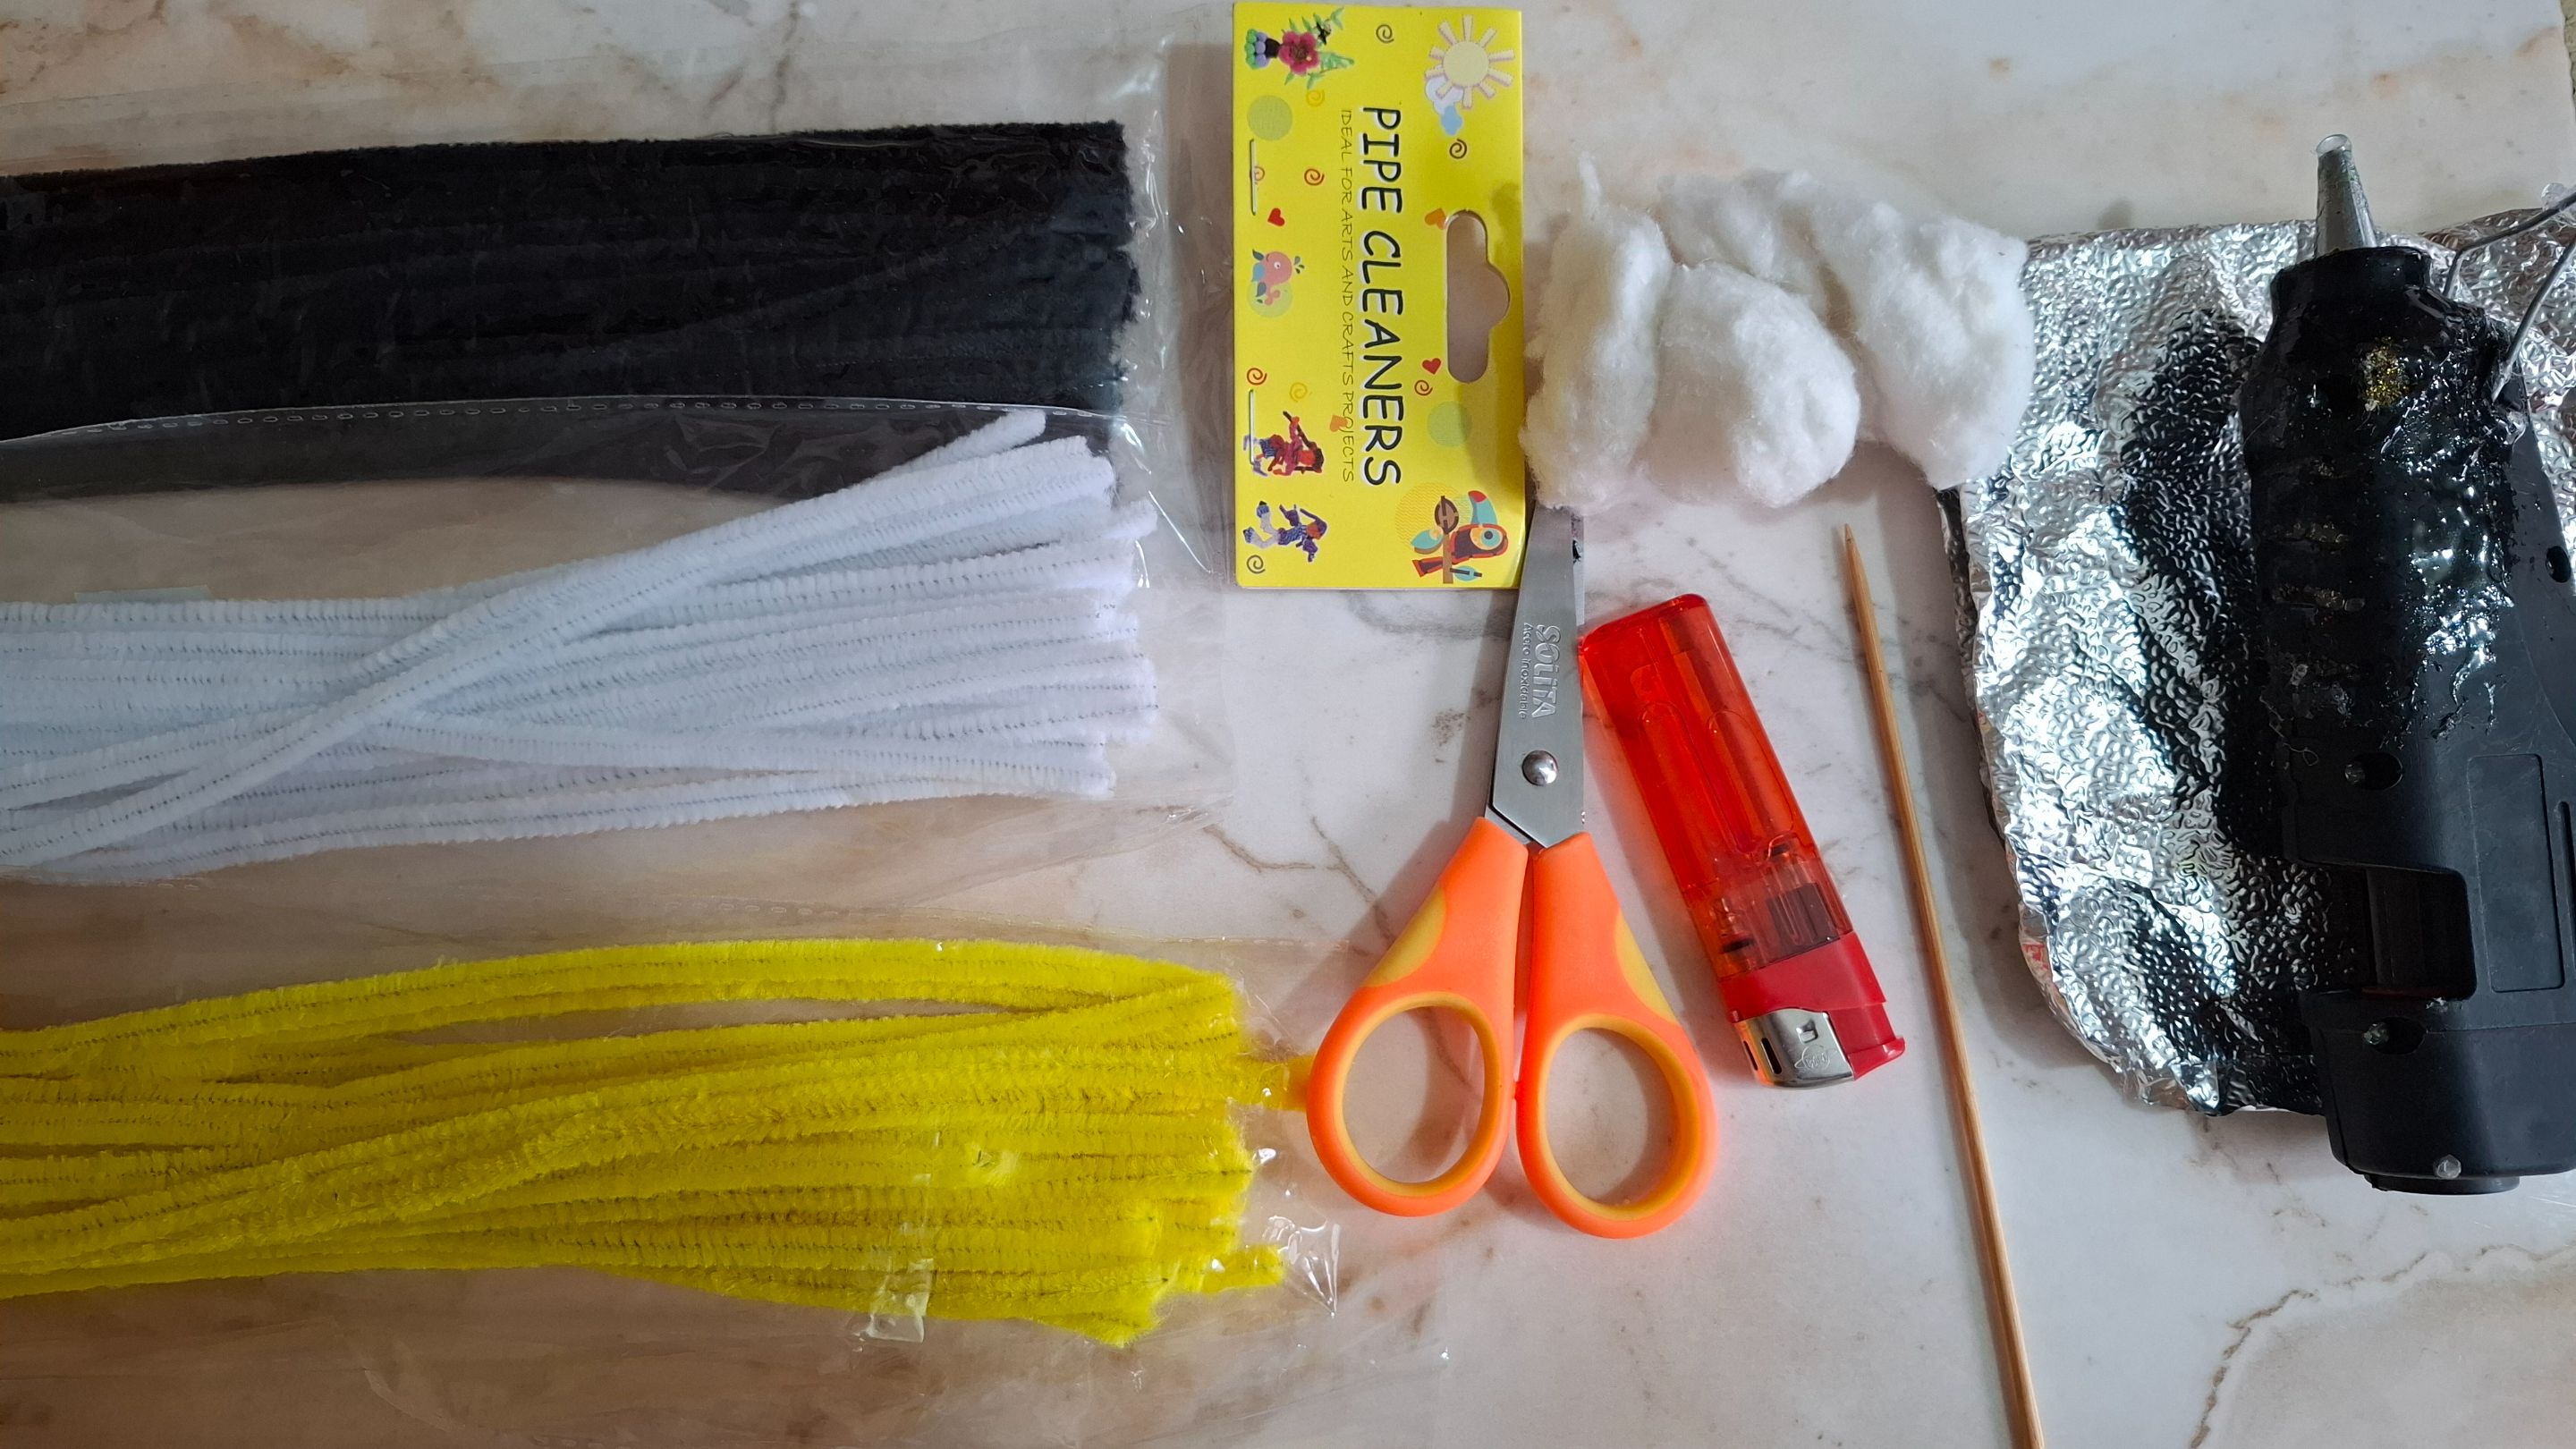
| Materiales | Materials |
|---|---|
| Limpiapipas negro | black pipe cleaner |
| Limpiapipas amarillo | yellow pipe cleaner |
| Limpiapipas blanco | white pipe cleaner |
| Tijera, silicón | Scissors, silicone |
| Palillo, foami | Toothpick, foami |
| Papel aluminio, algodón | Aluminum foil,cotton |
Paso a paso / Step by step
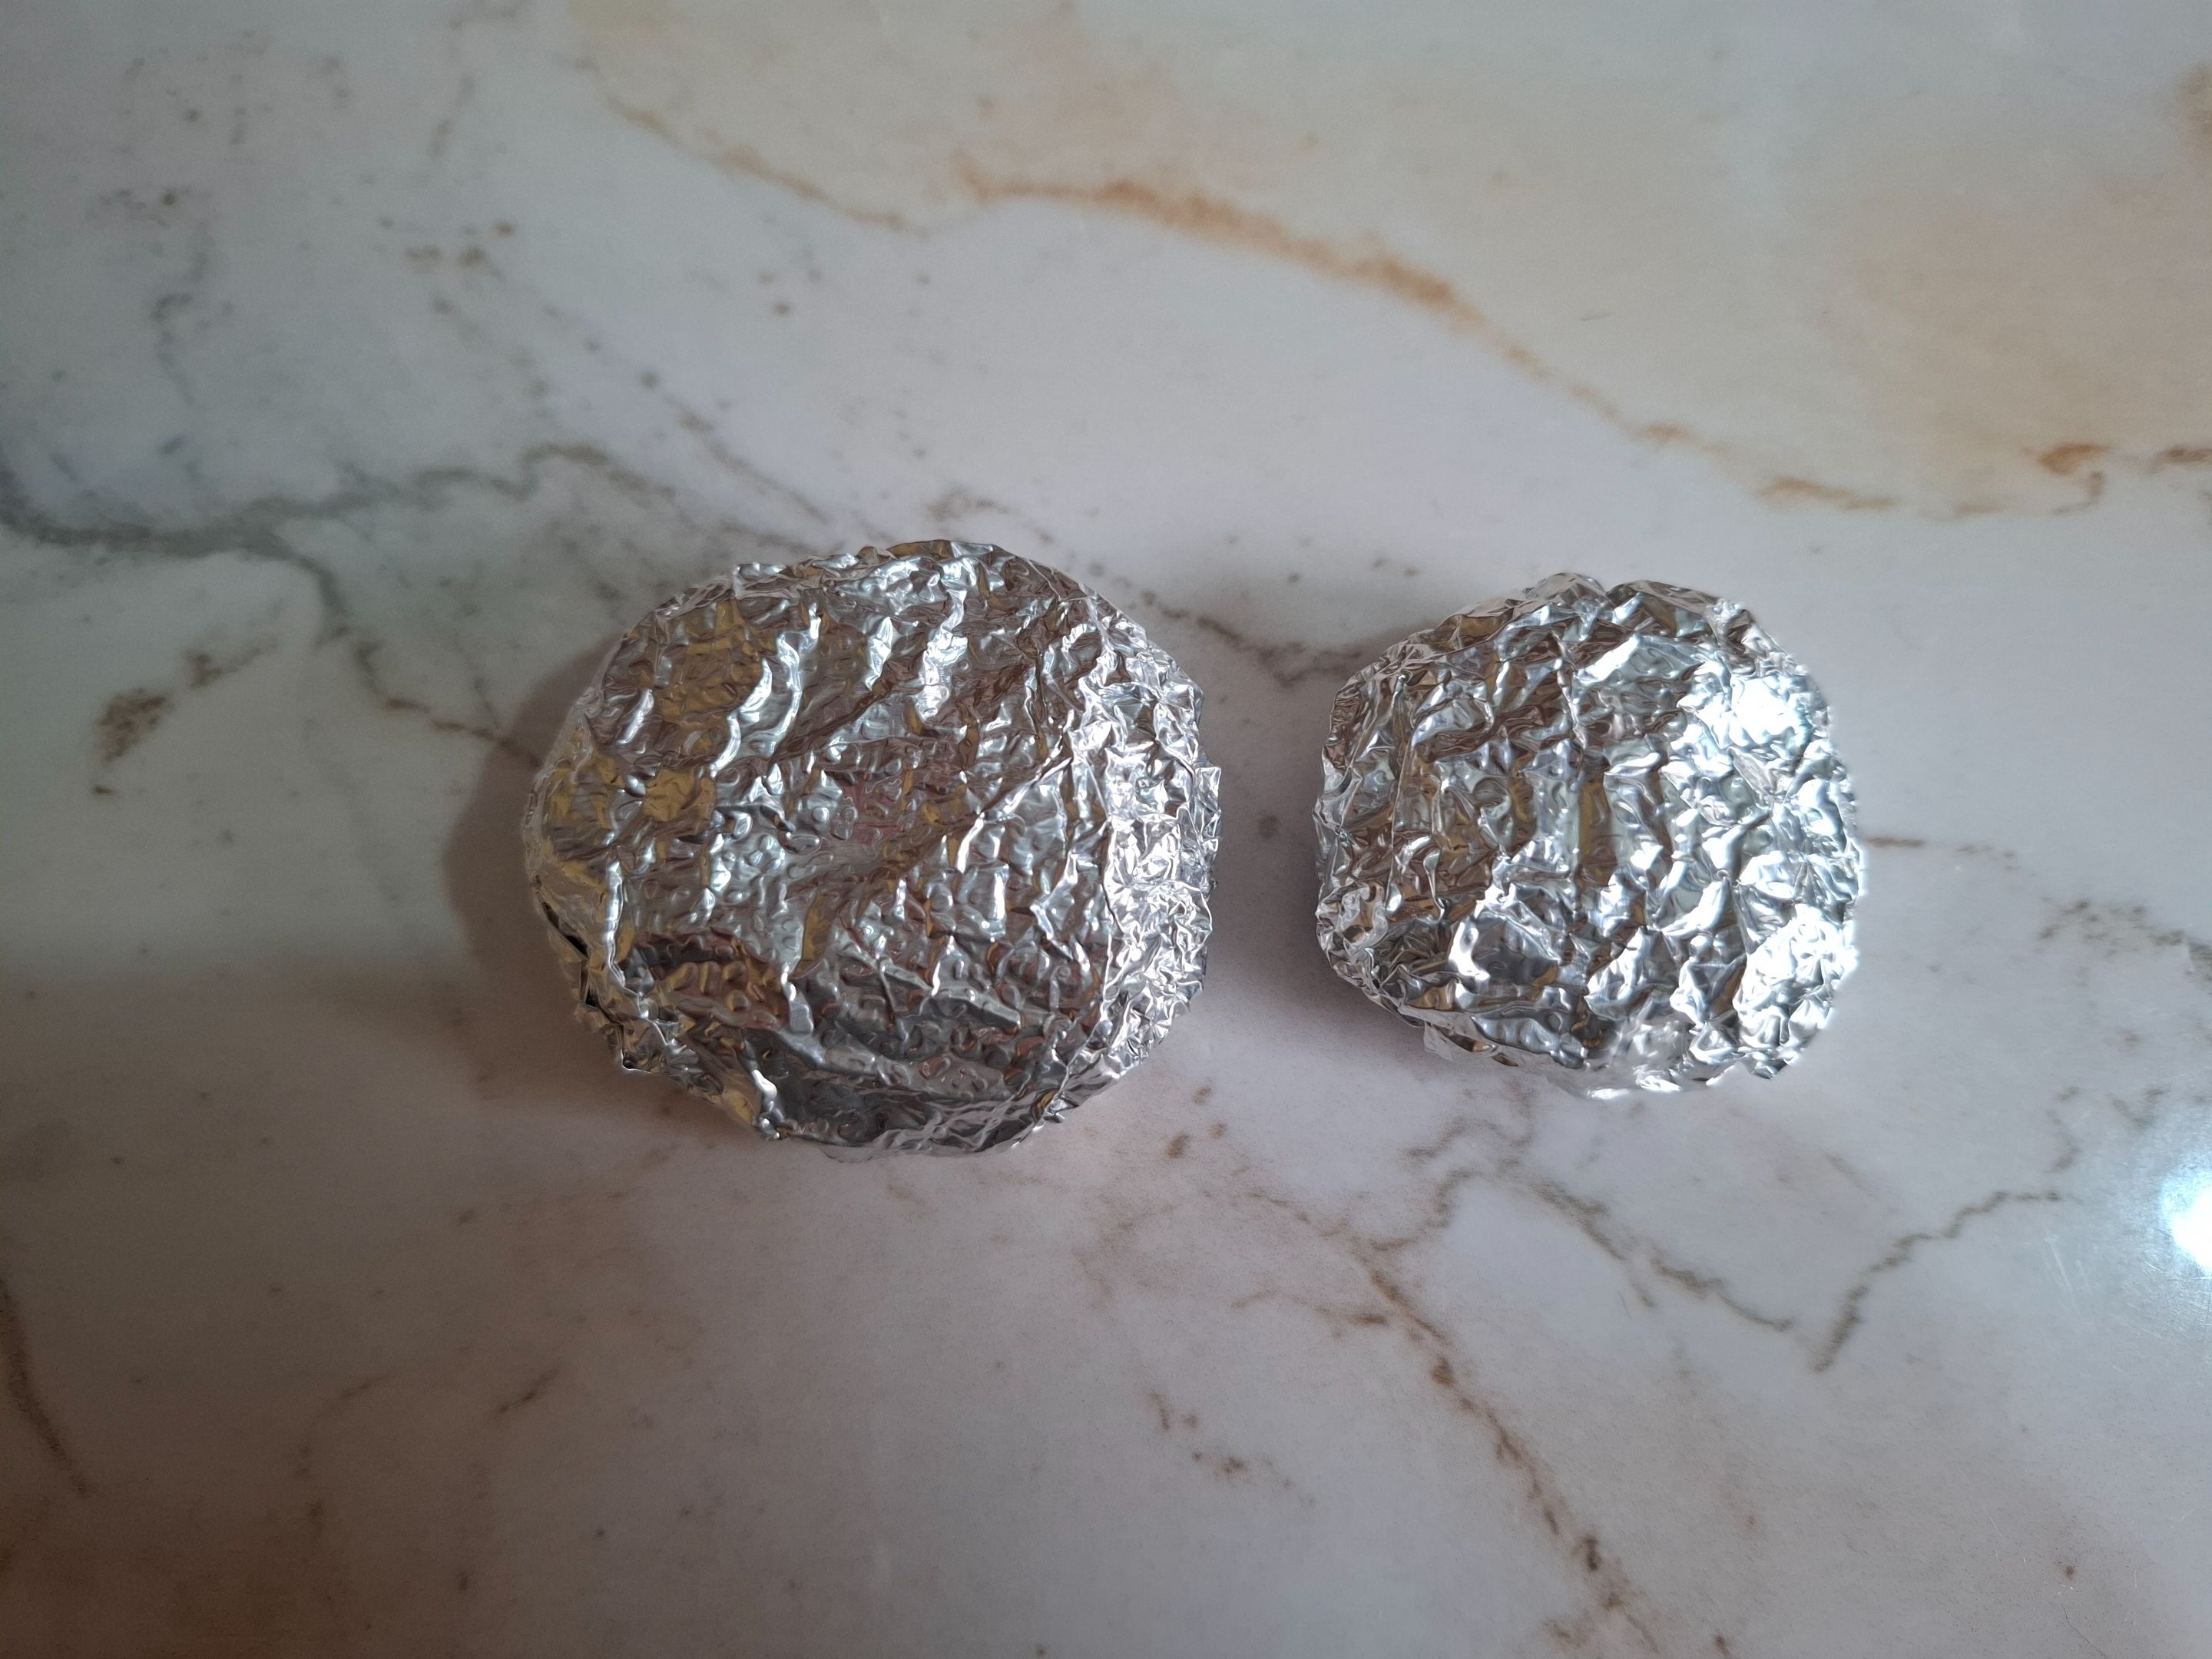
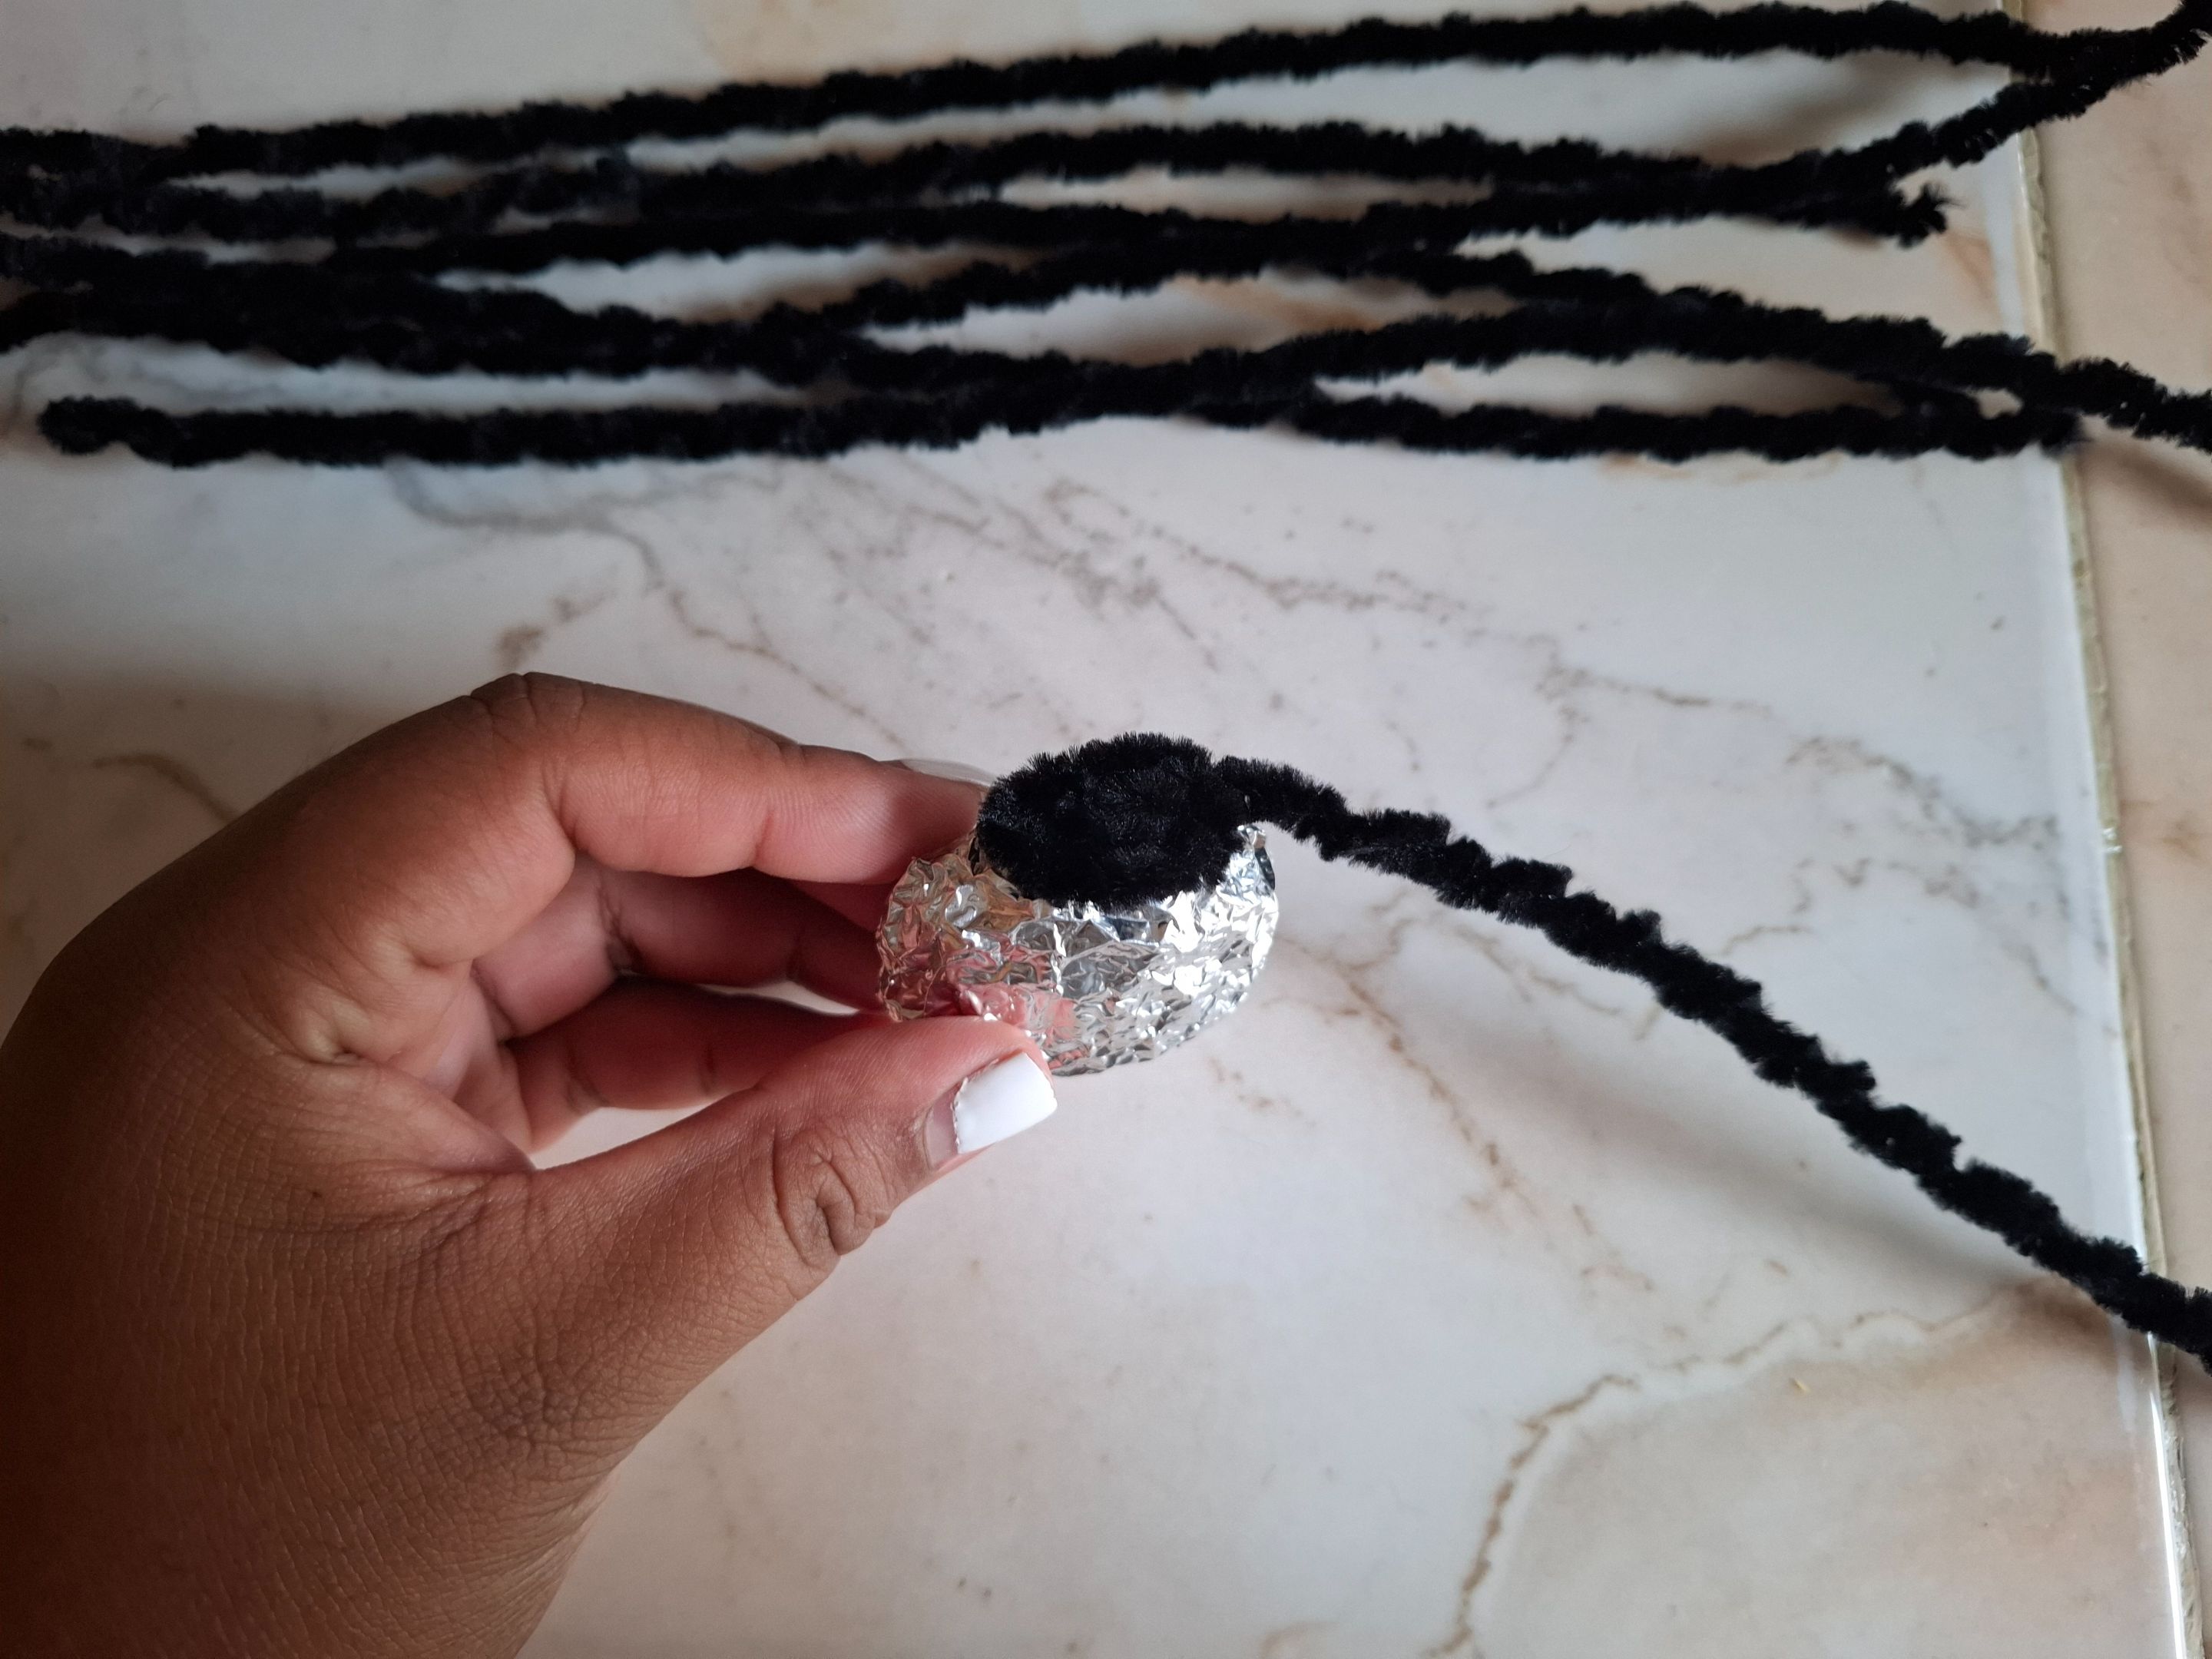
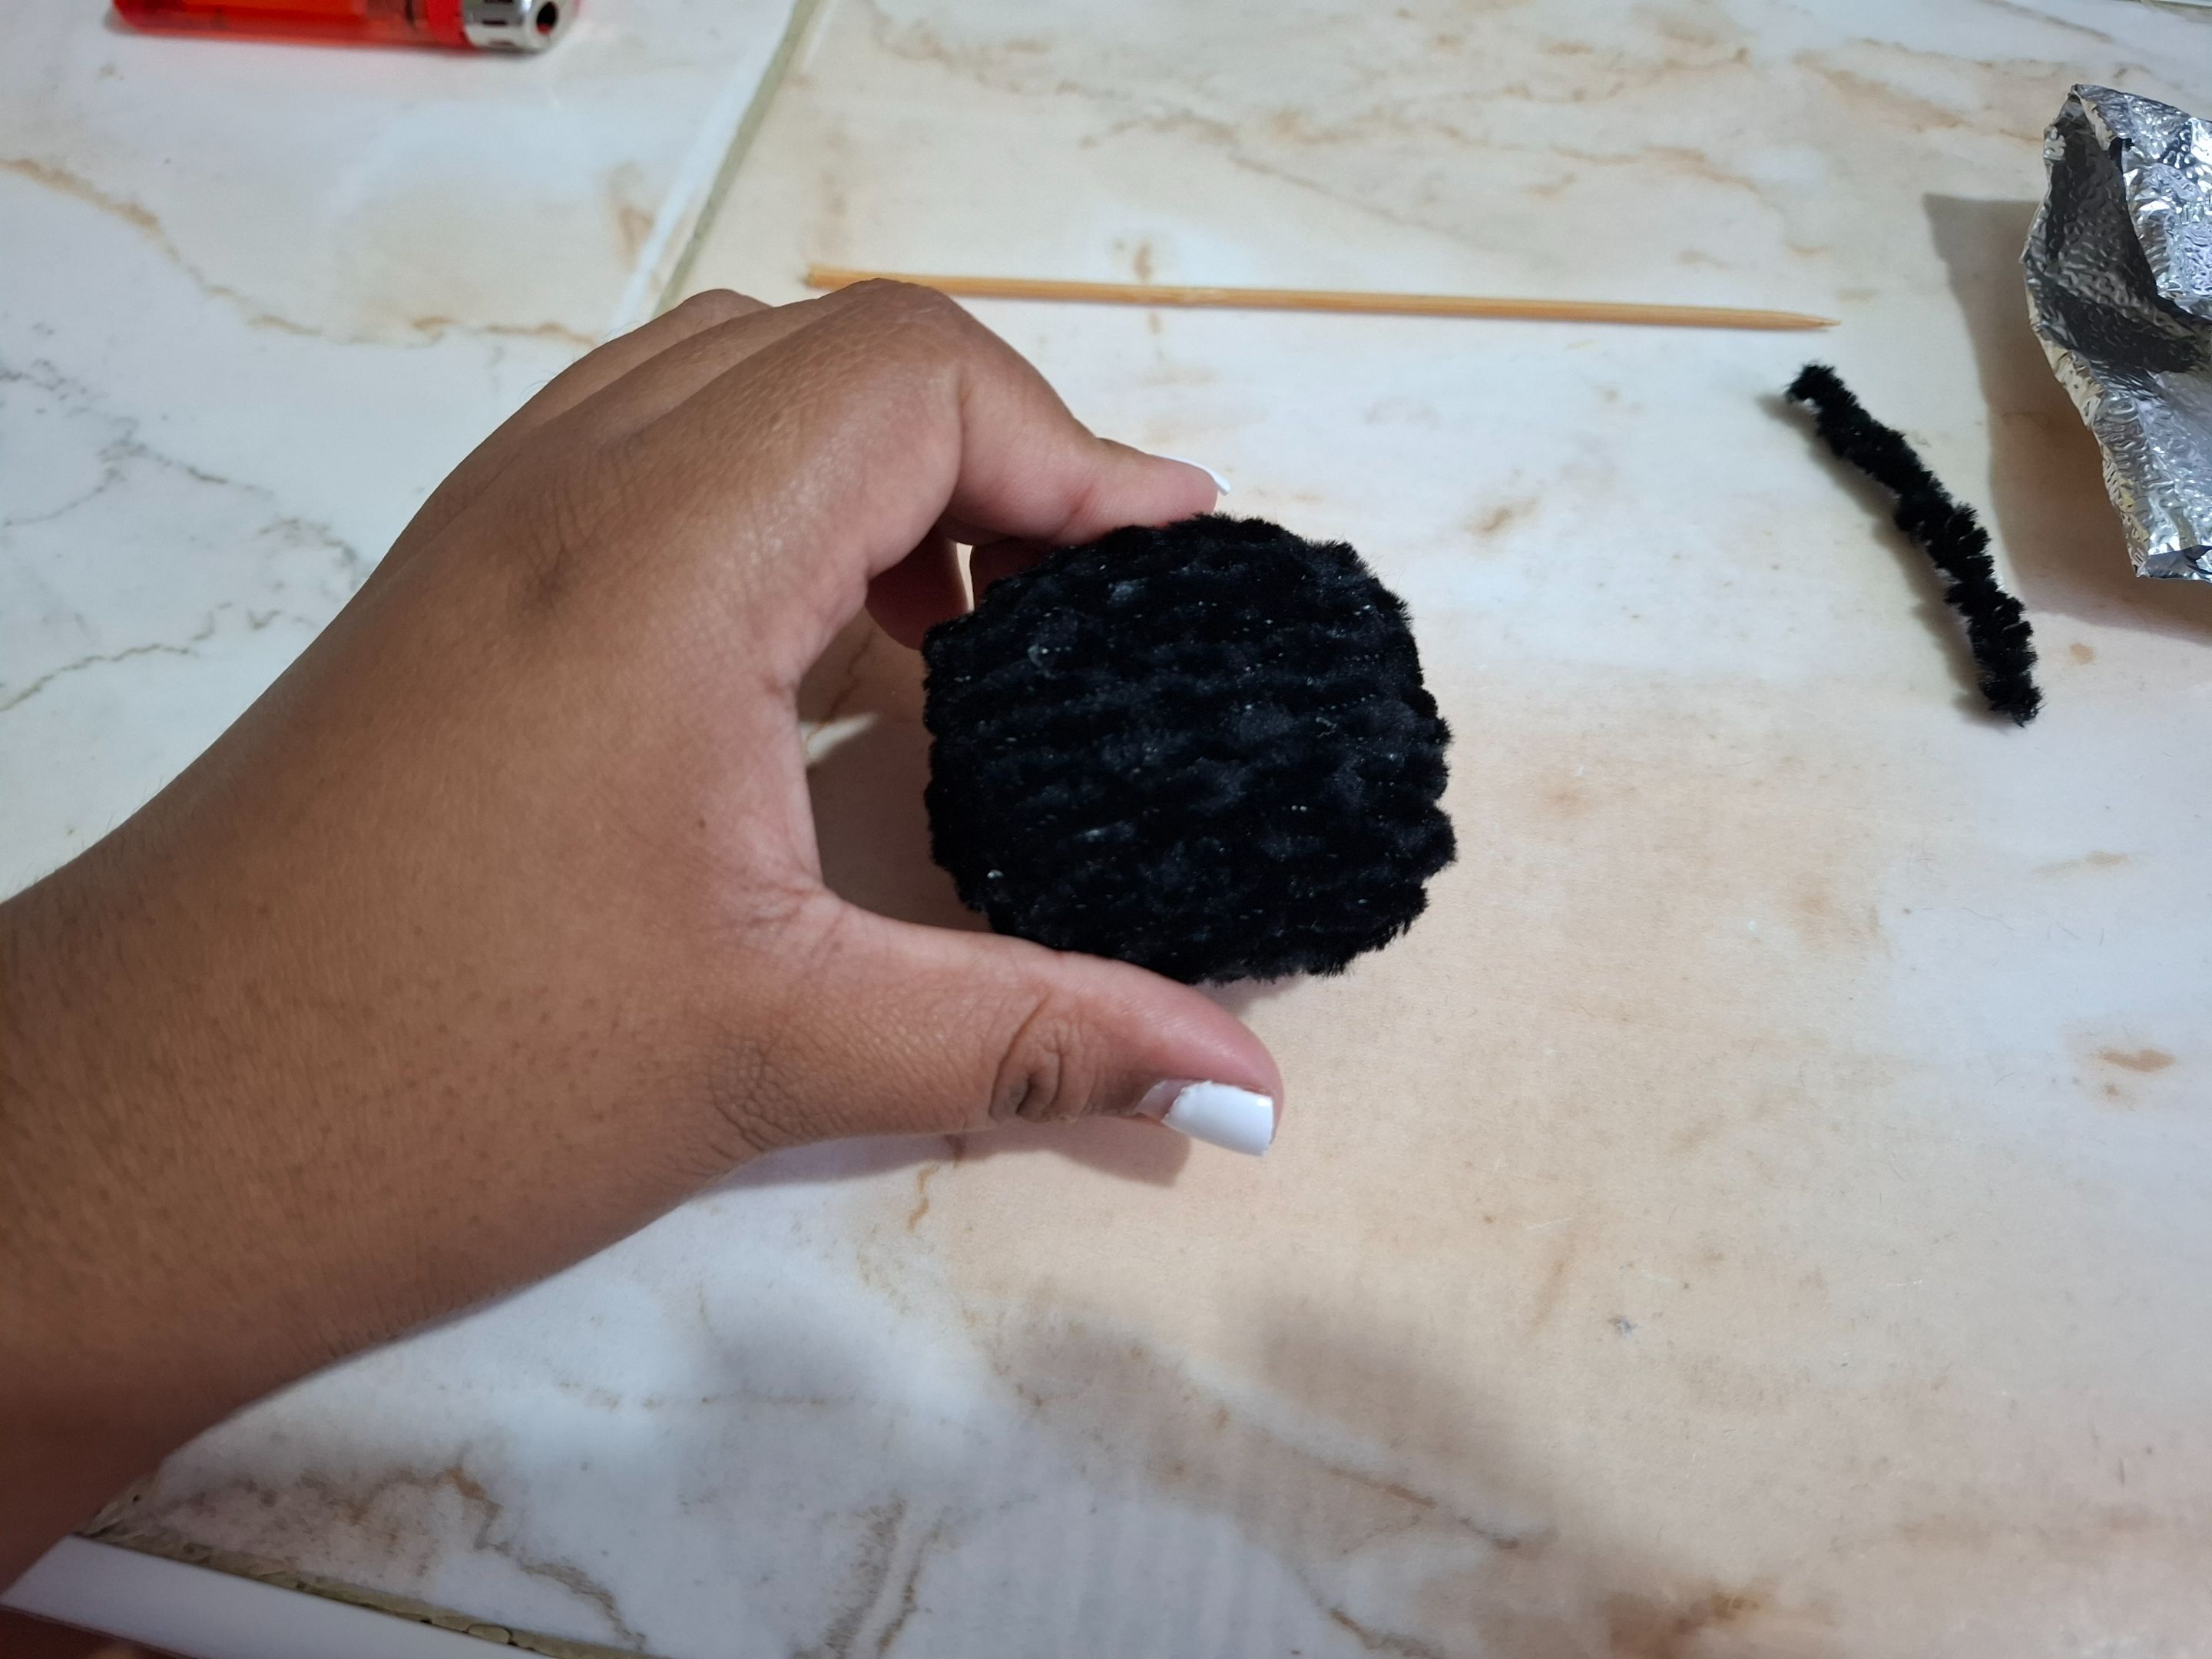
El primer paso que voy a realizar será la base para nuestra figura, para ello voy a rellenar el papel aluminio con algodón la cabeza un poco más grande que el cuerpo dando una forma redonda lo más posible que se pueda, el relleno es para que no quede tan plano.
The first step I'm going to take will be the base for our figure. To do this, I'm going to fill the aluminum foil with cotton, making the head a little larger than the body, giving it as round a shape as possible. The filling is so that it doesn't remain so flat.
 |
 |
 |
|---|---|---|
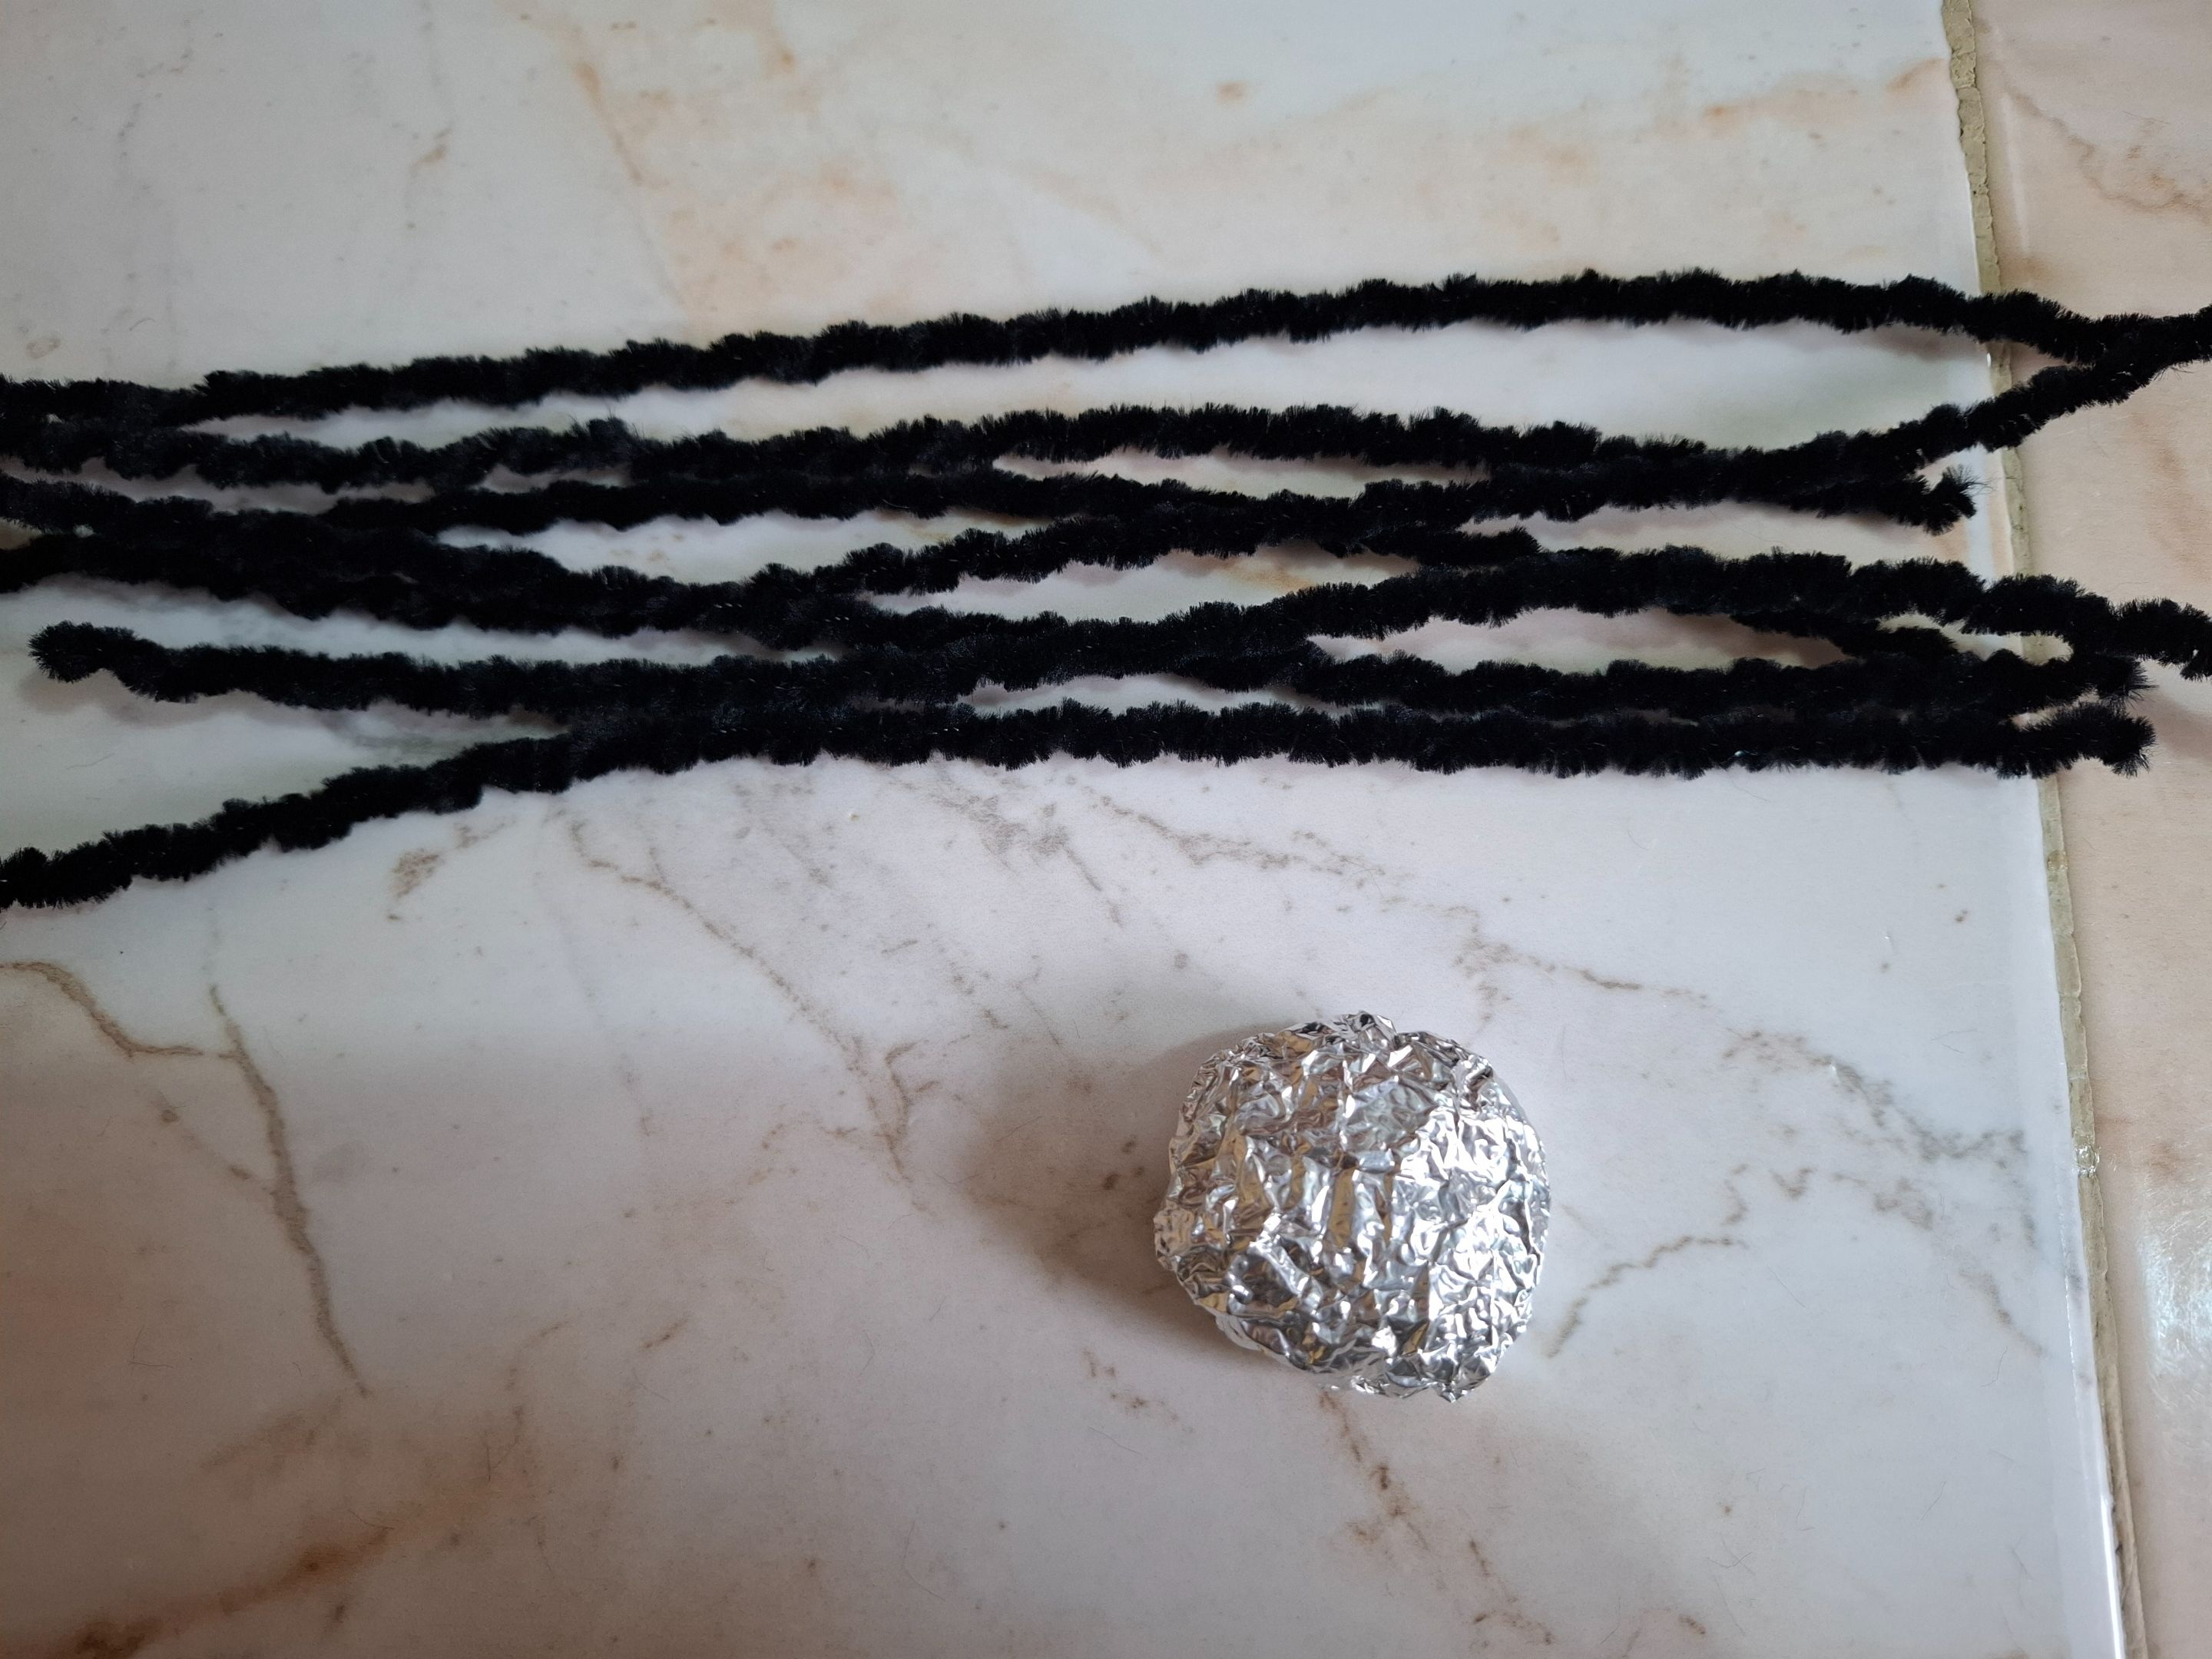
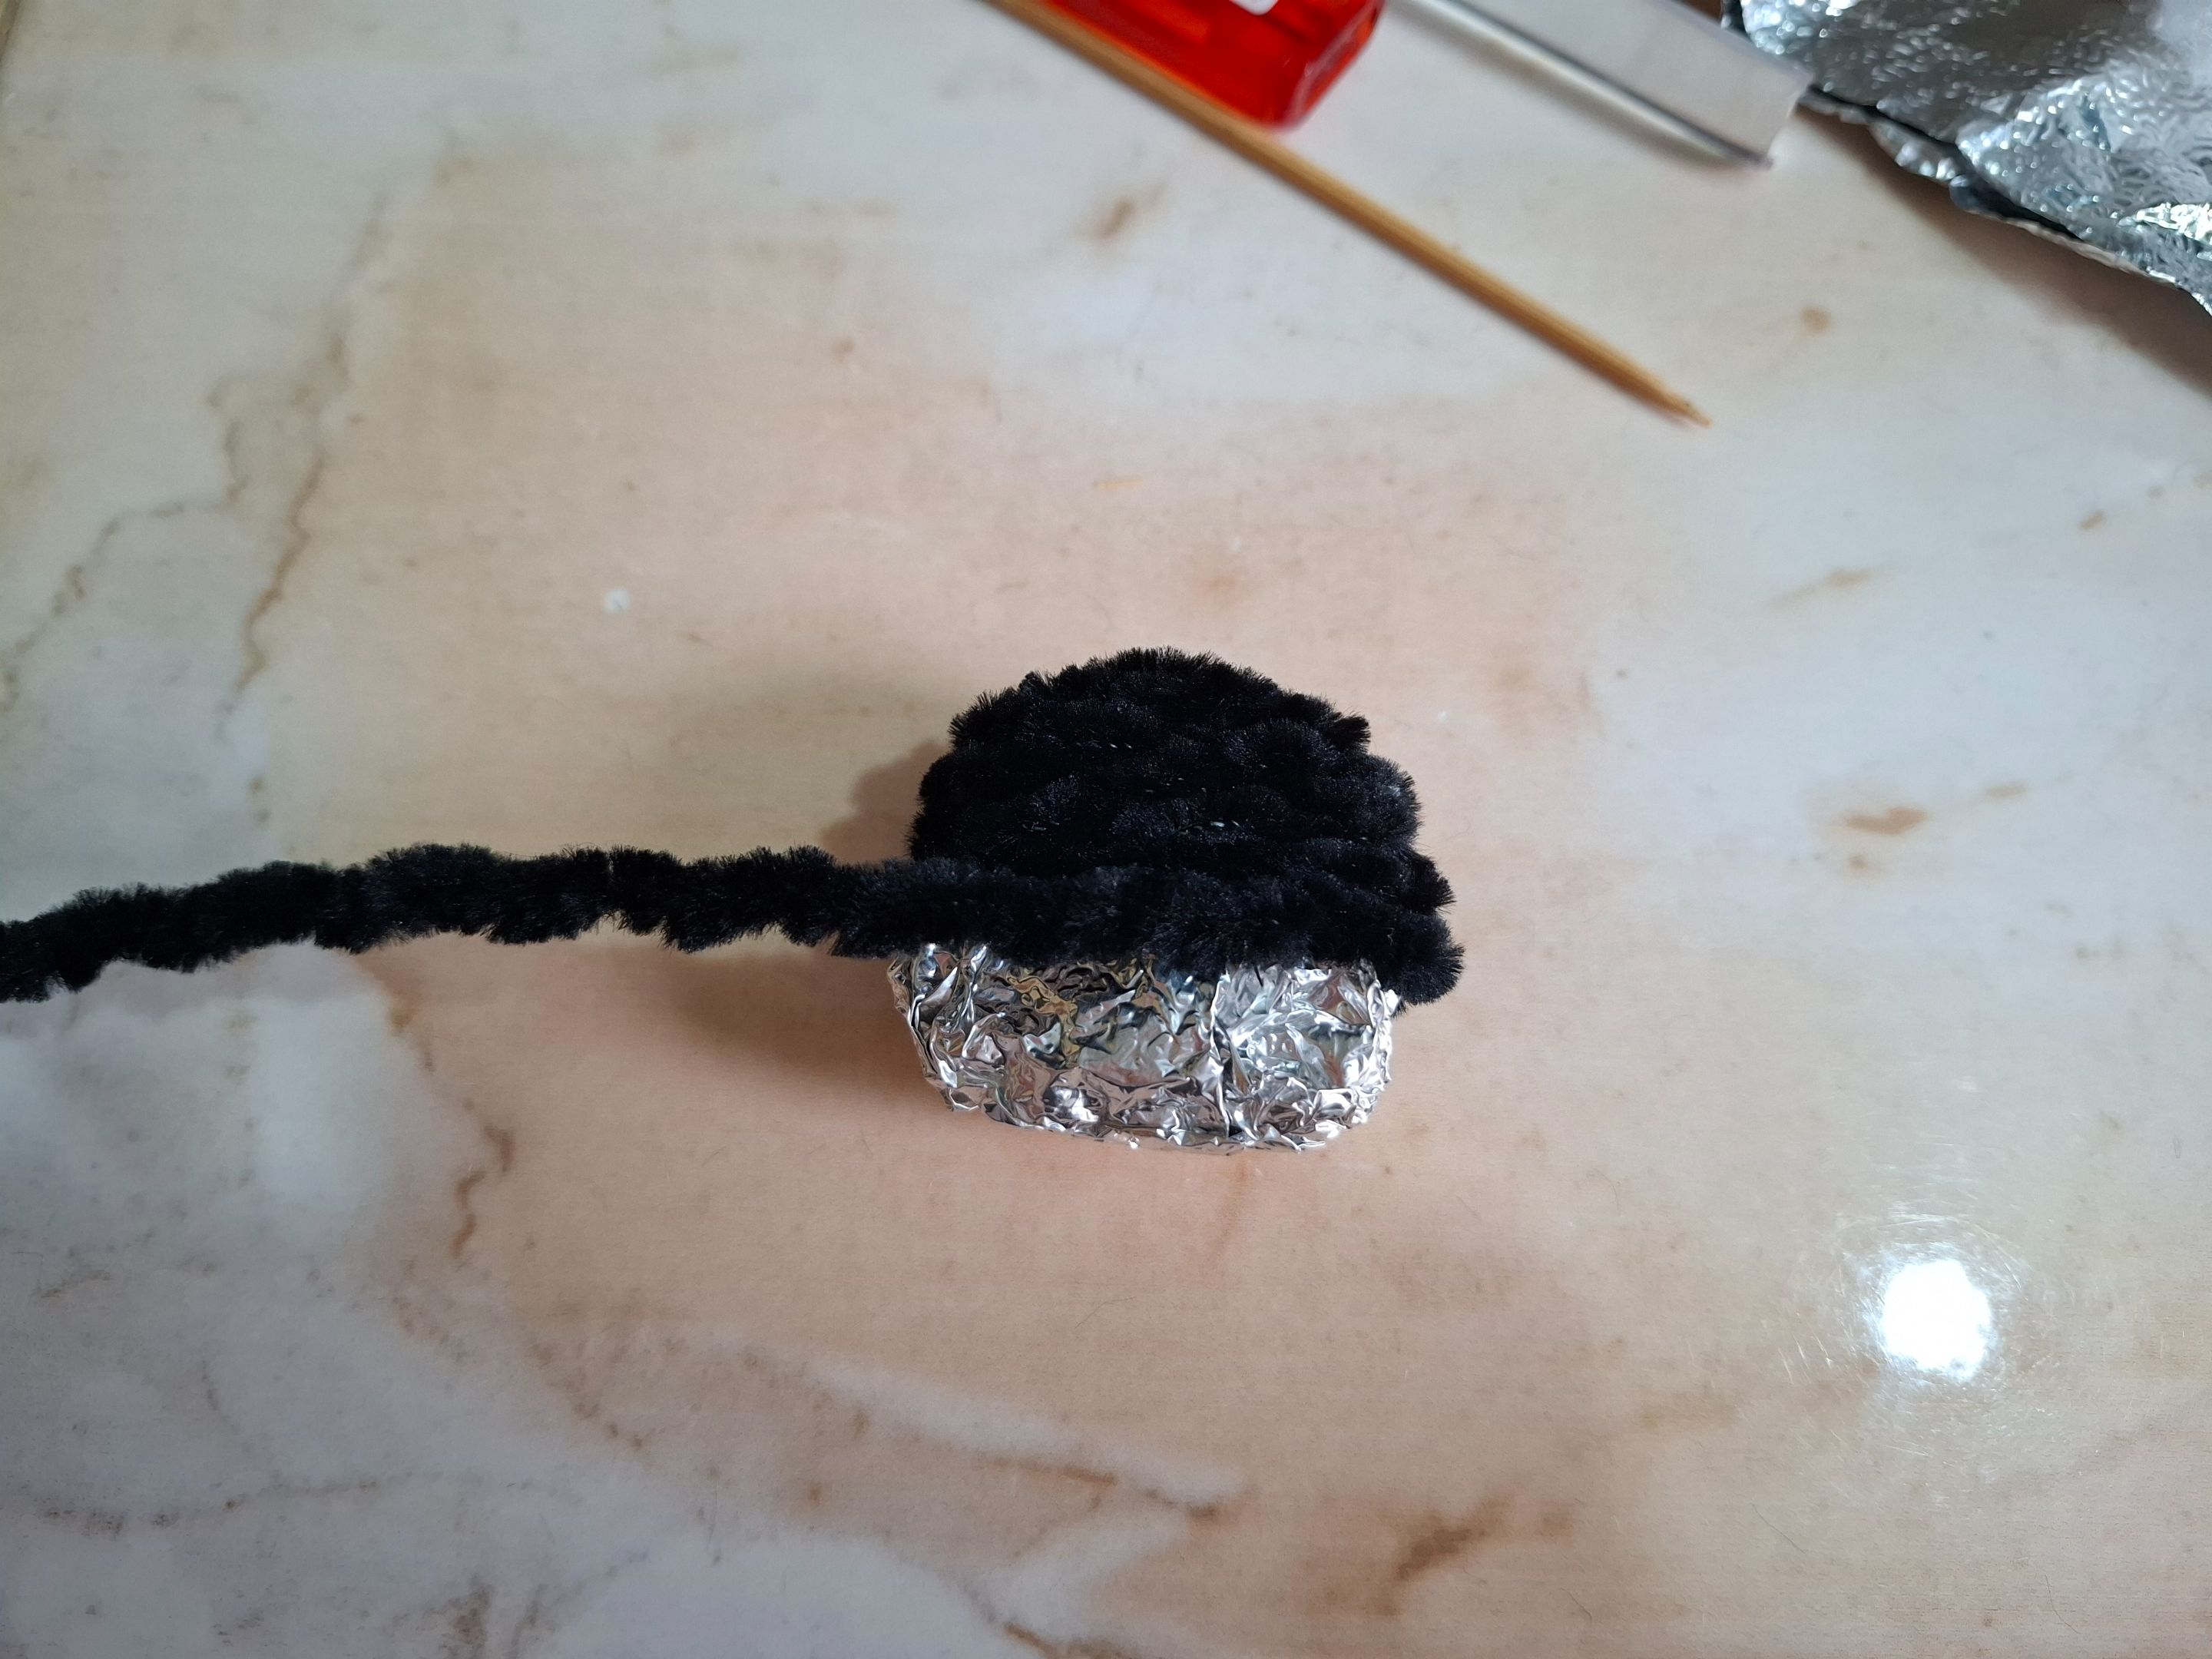
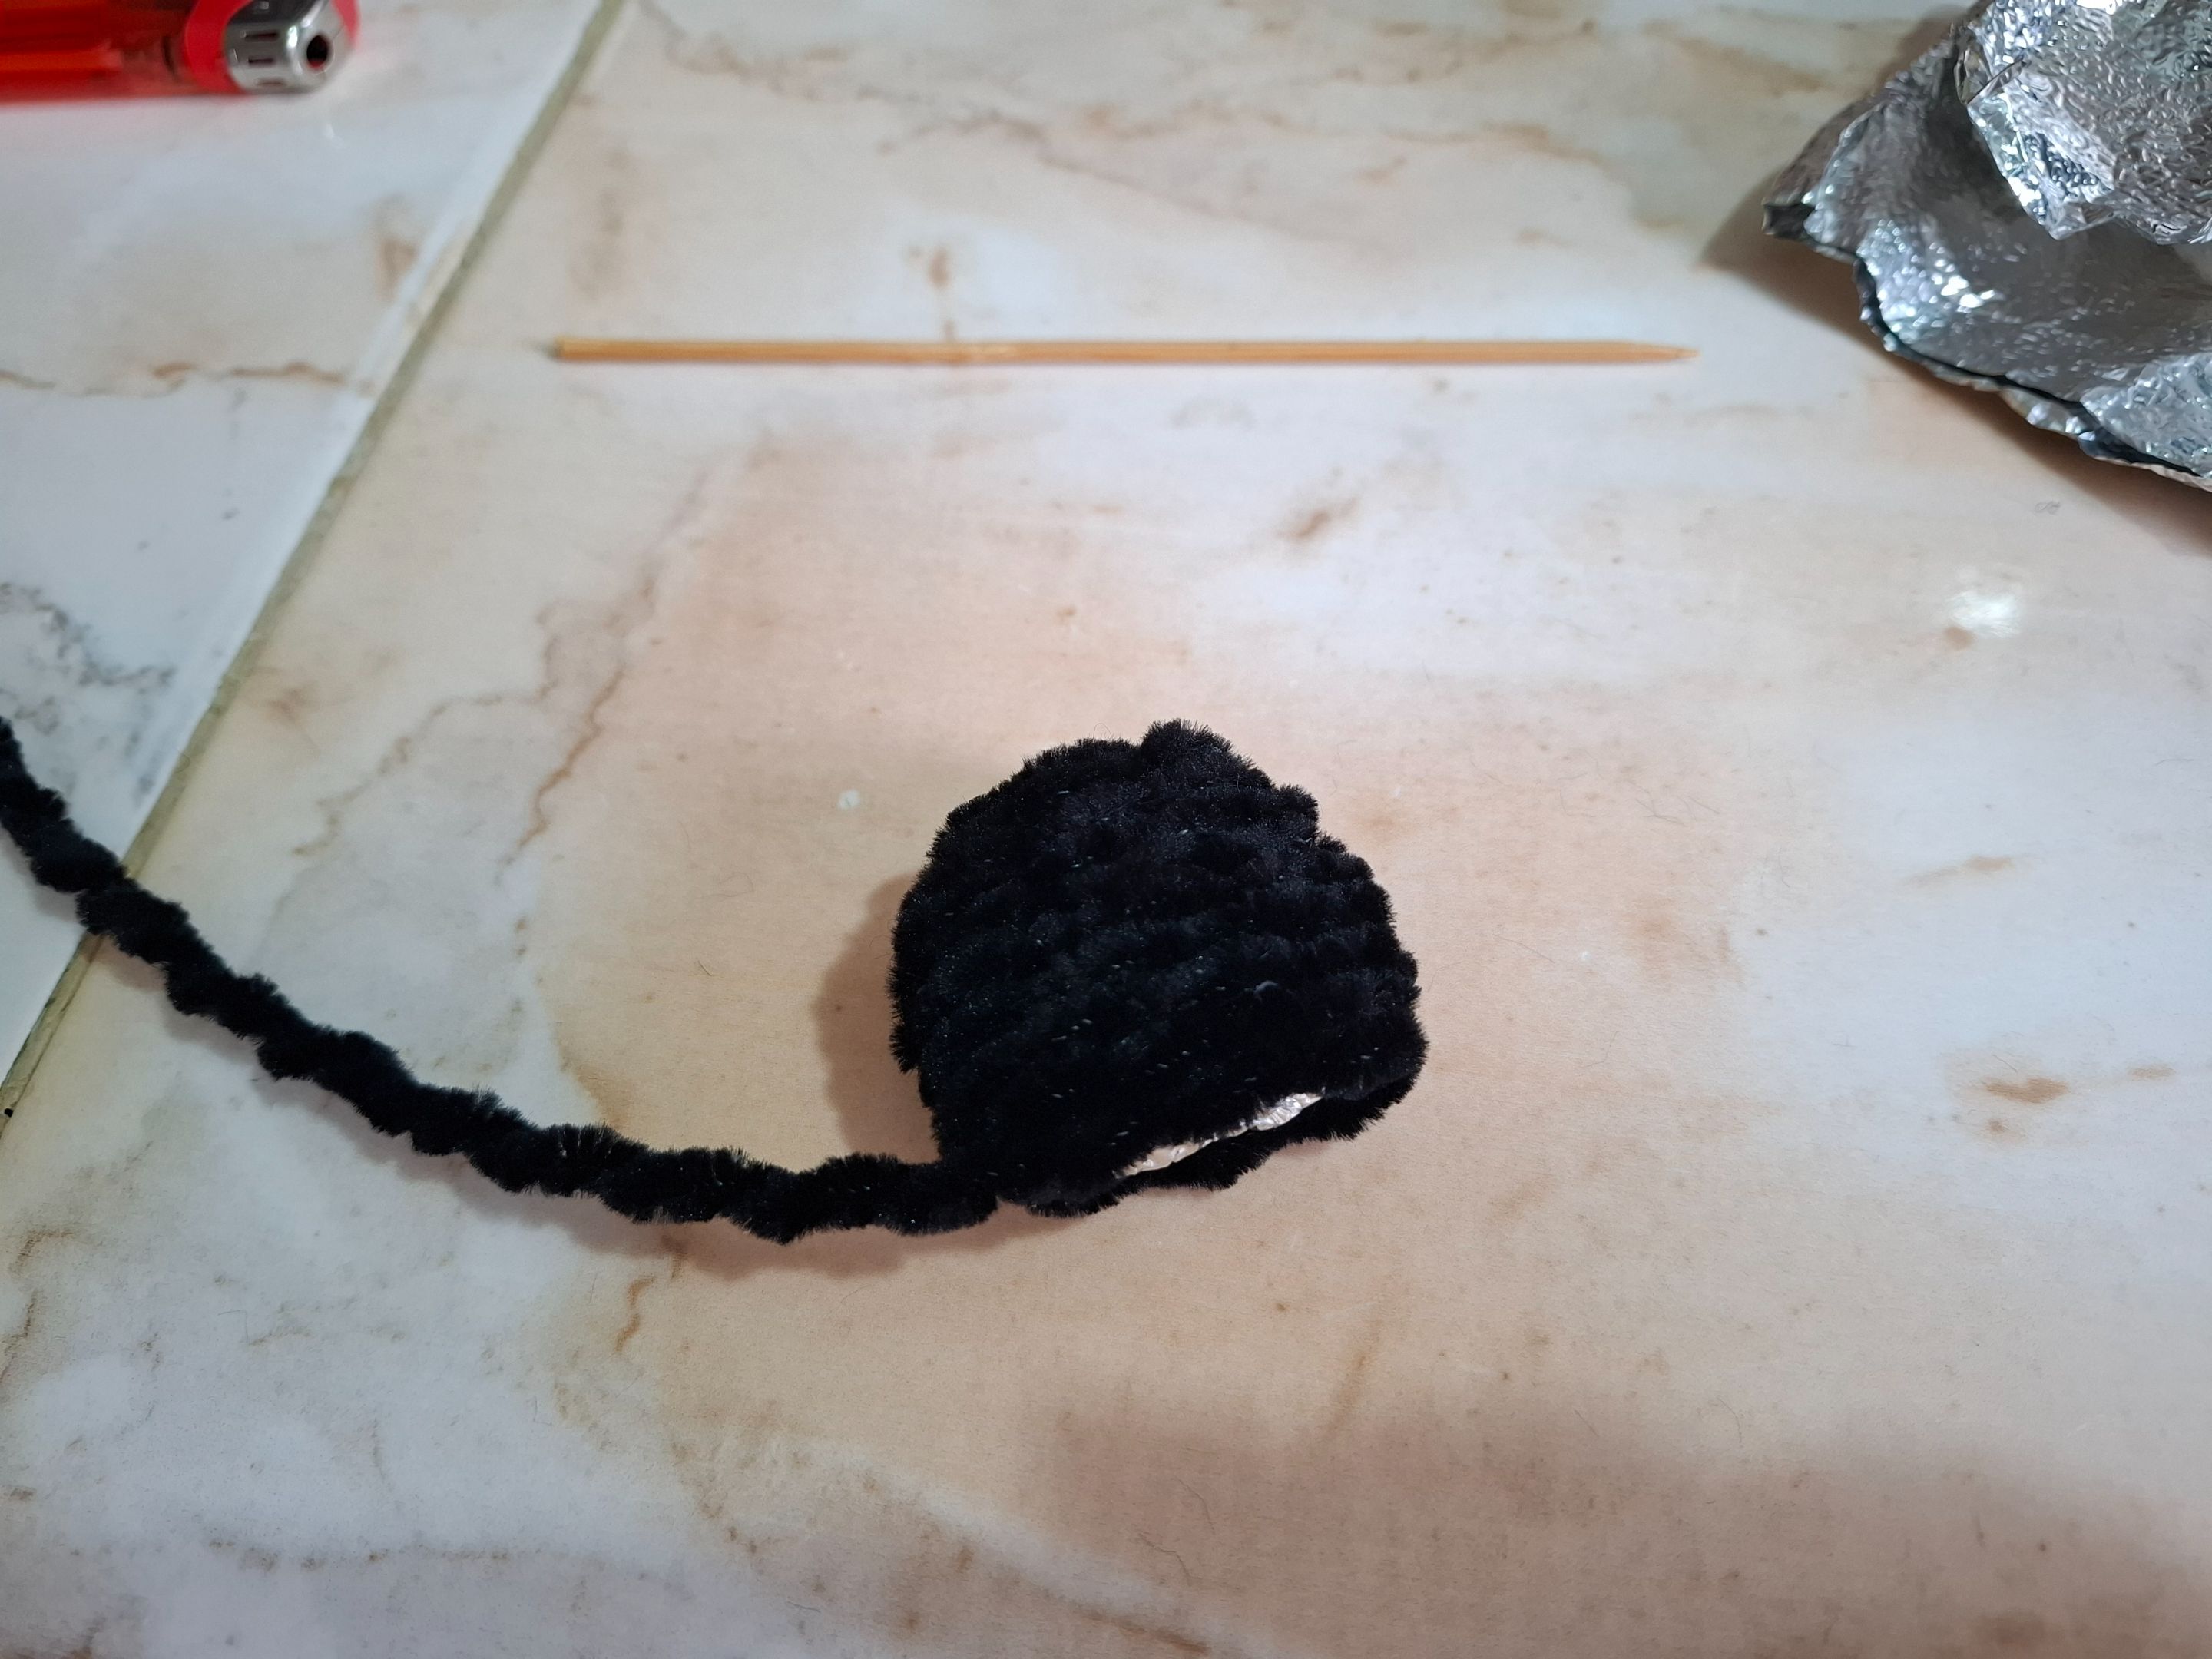
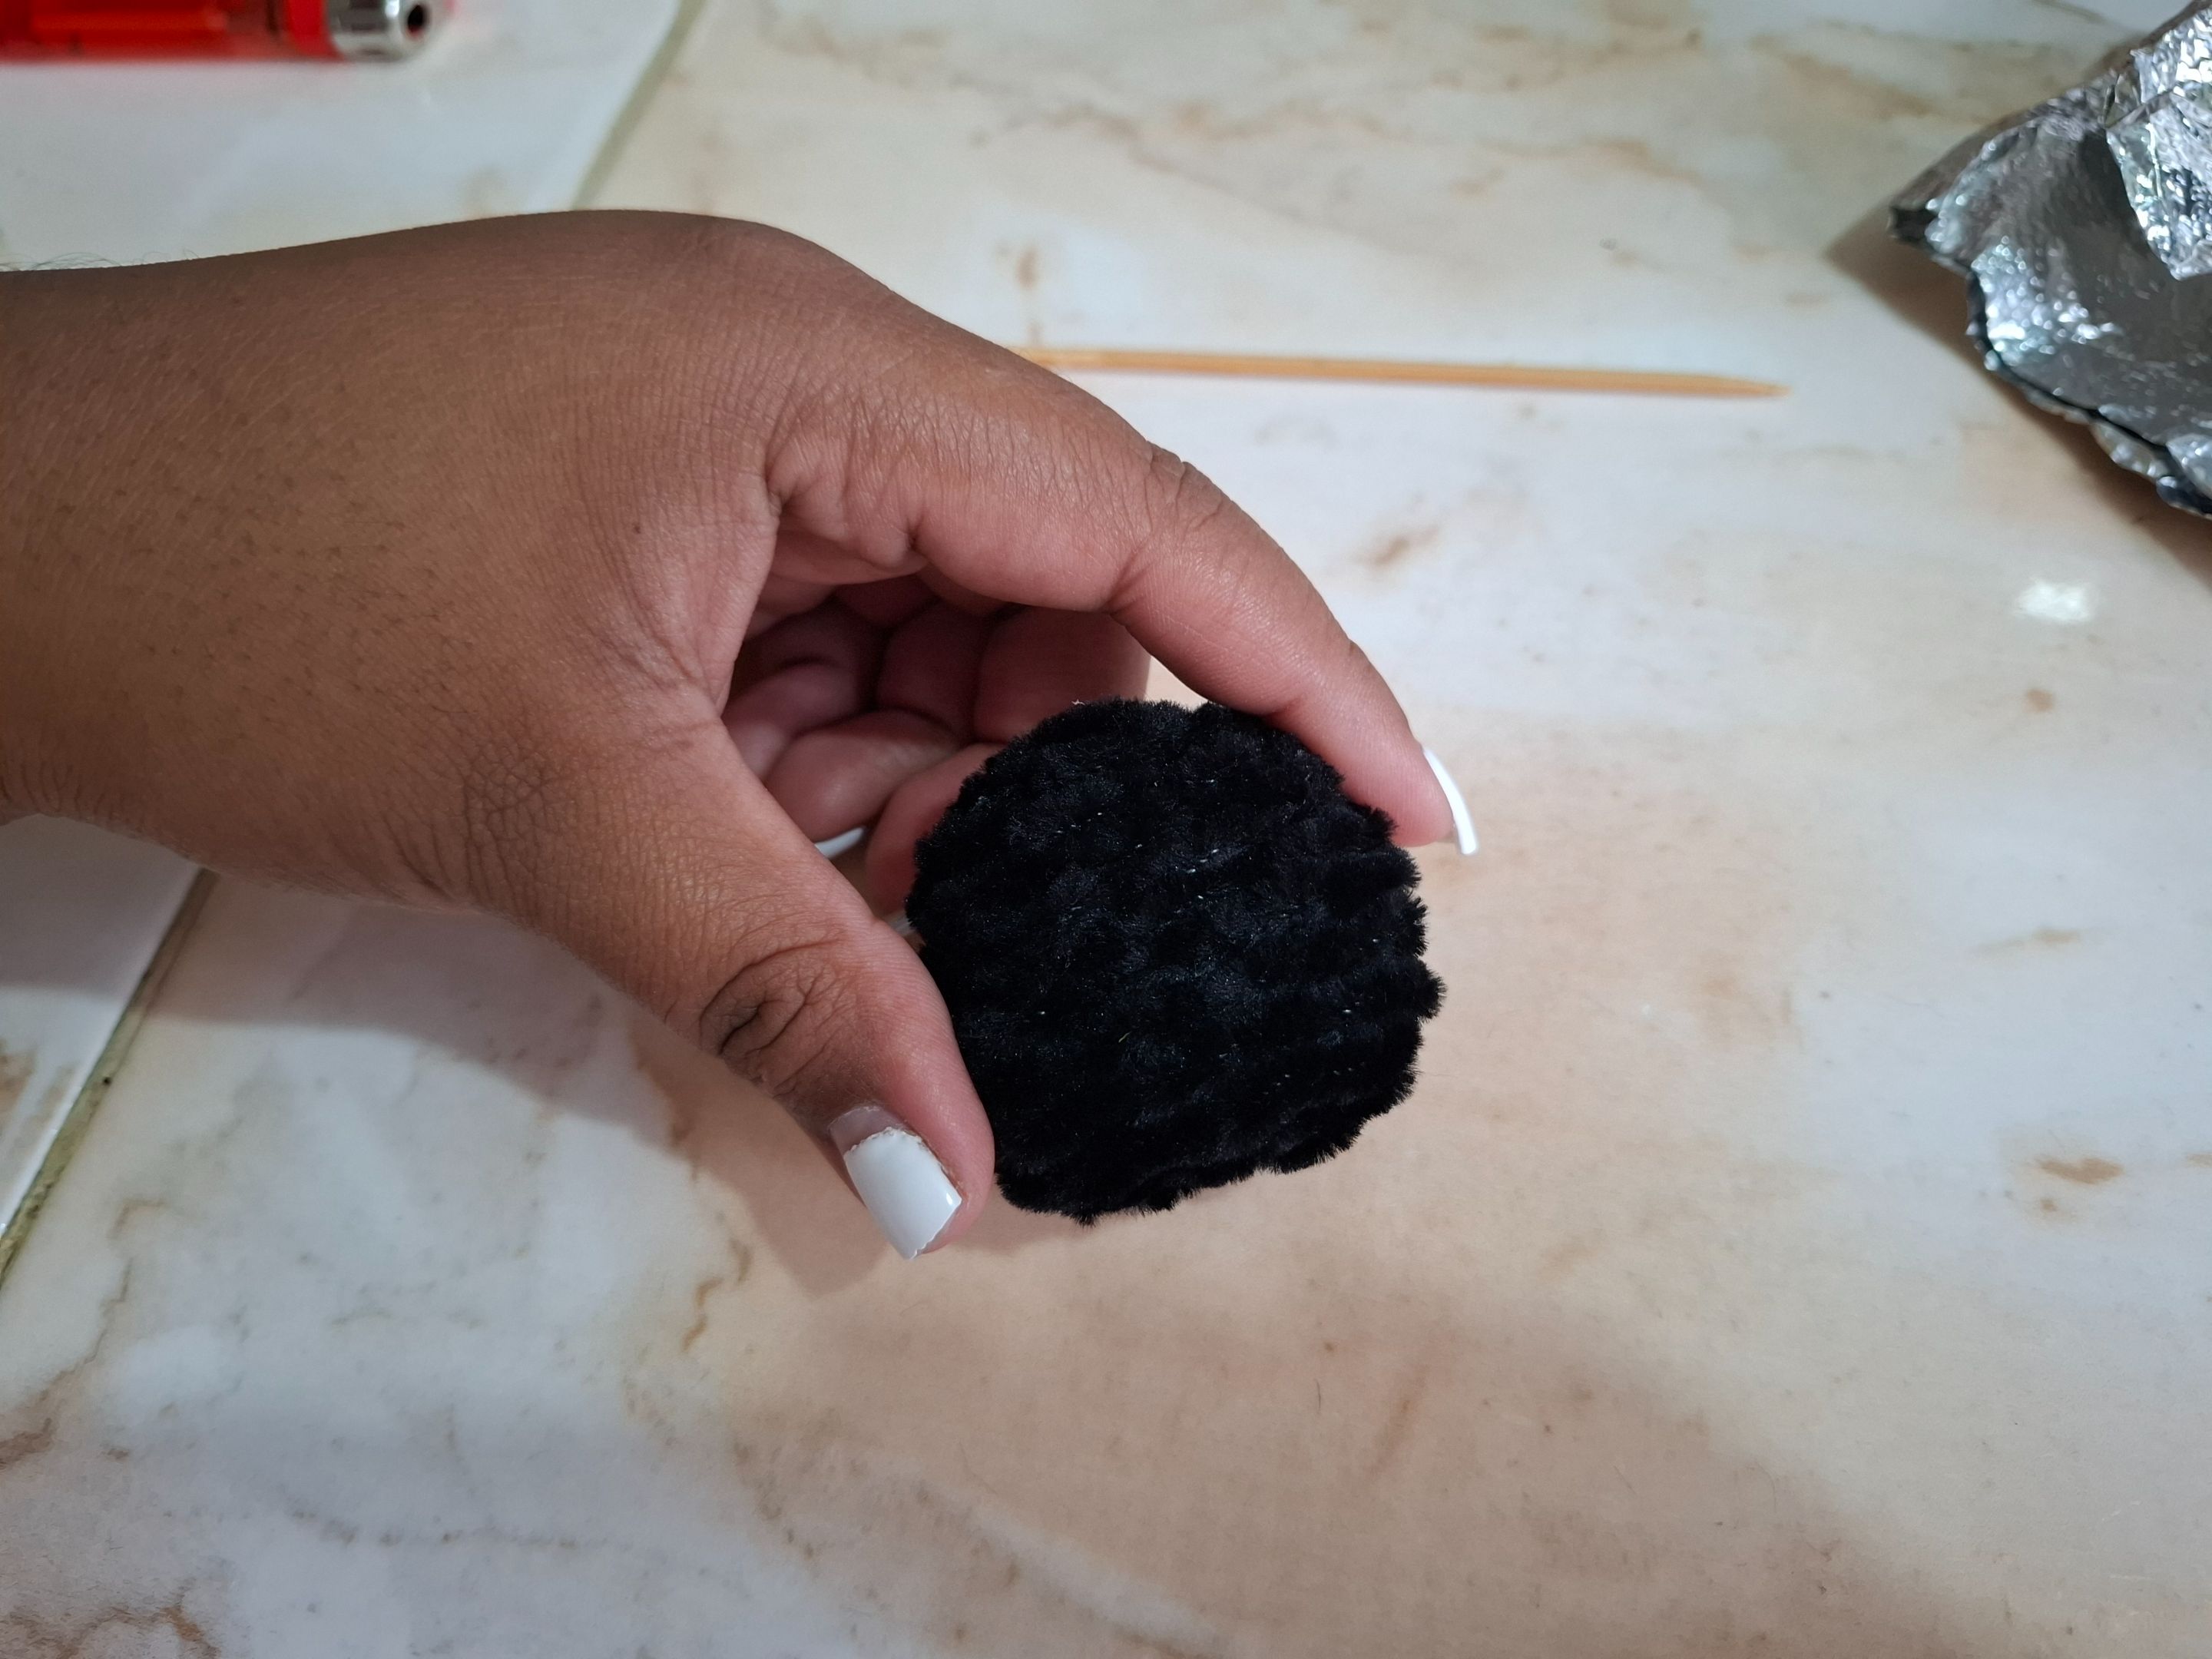
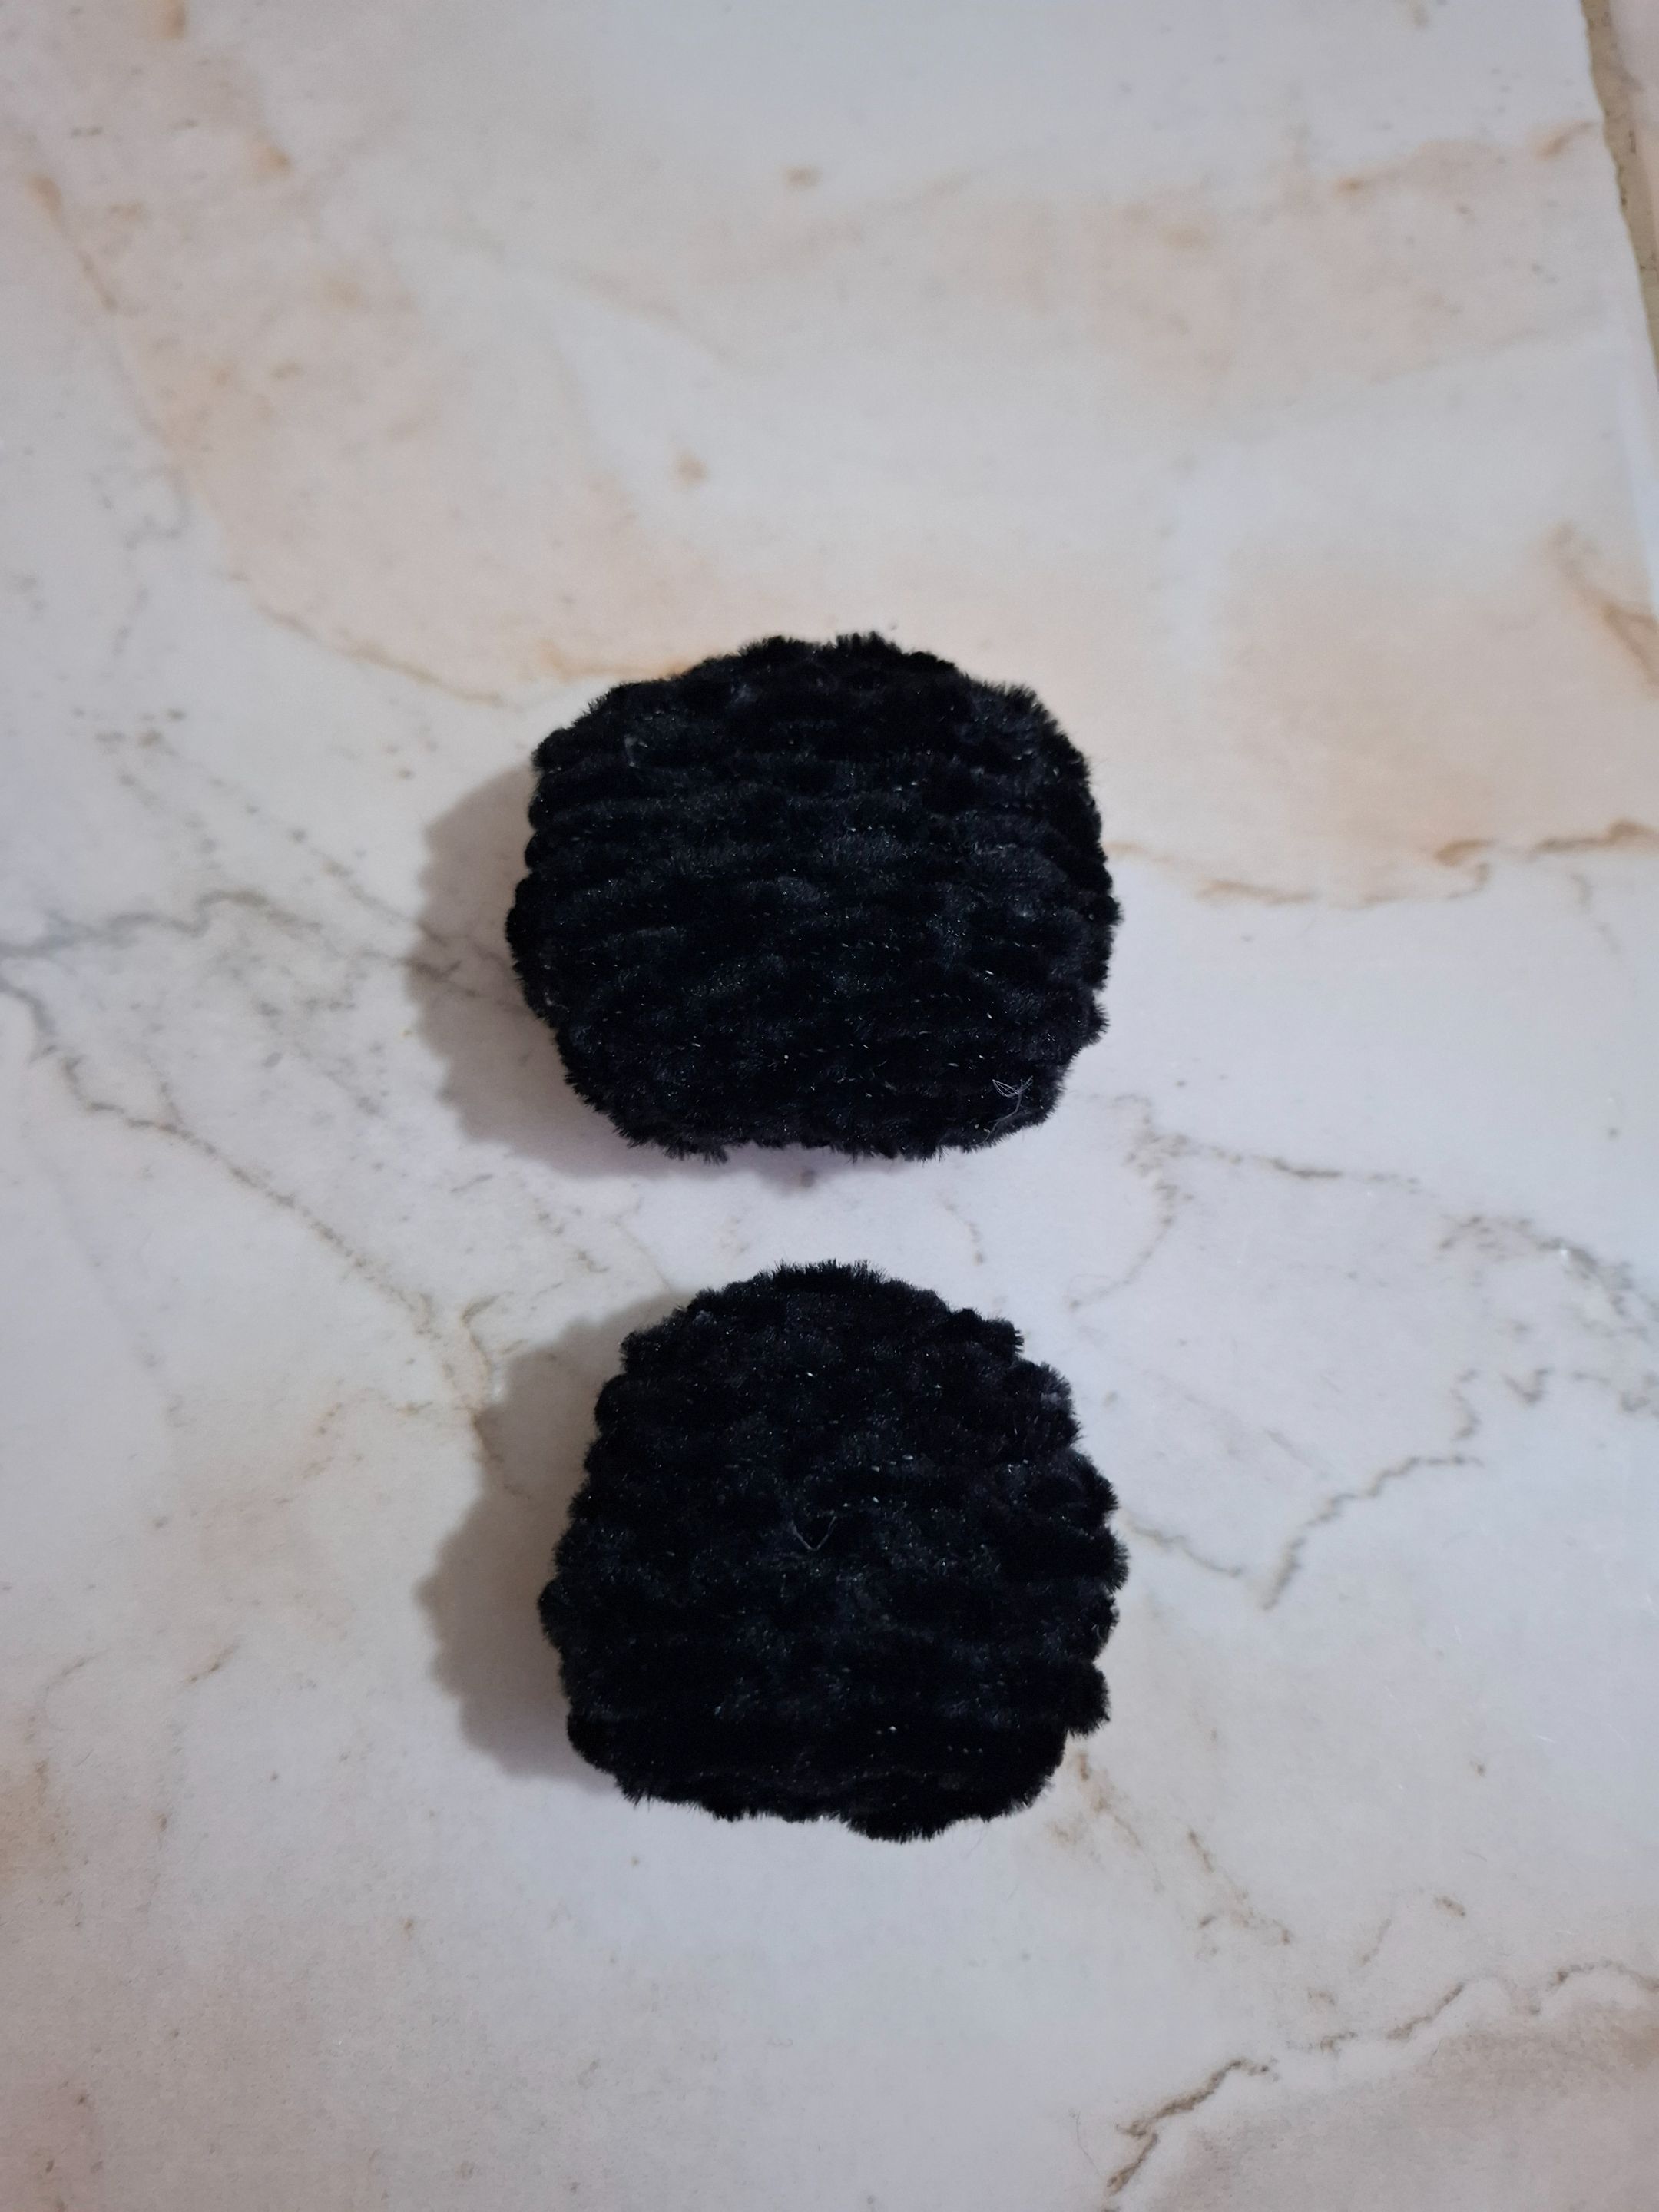
Ahora voy a proceder a enrollar todos los limpiapipas color negro en un palillo y comenzamos a cubrir el cuerpo hasta alcanzar su totalidad, en caso de quedar un espacio con menos limpiapipas se puede ir rellenando para mejor simetría.
Now I'm going to proceed to roll all the black pipe cleaners onto a toothpick and begin to cover the body until it's completely covered. If there's any space with fewer pipe cleaners, you can fill it in for better symmetry.
 |
 |
 |
|---|---|---|
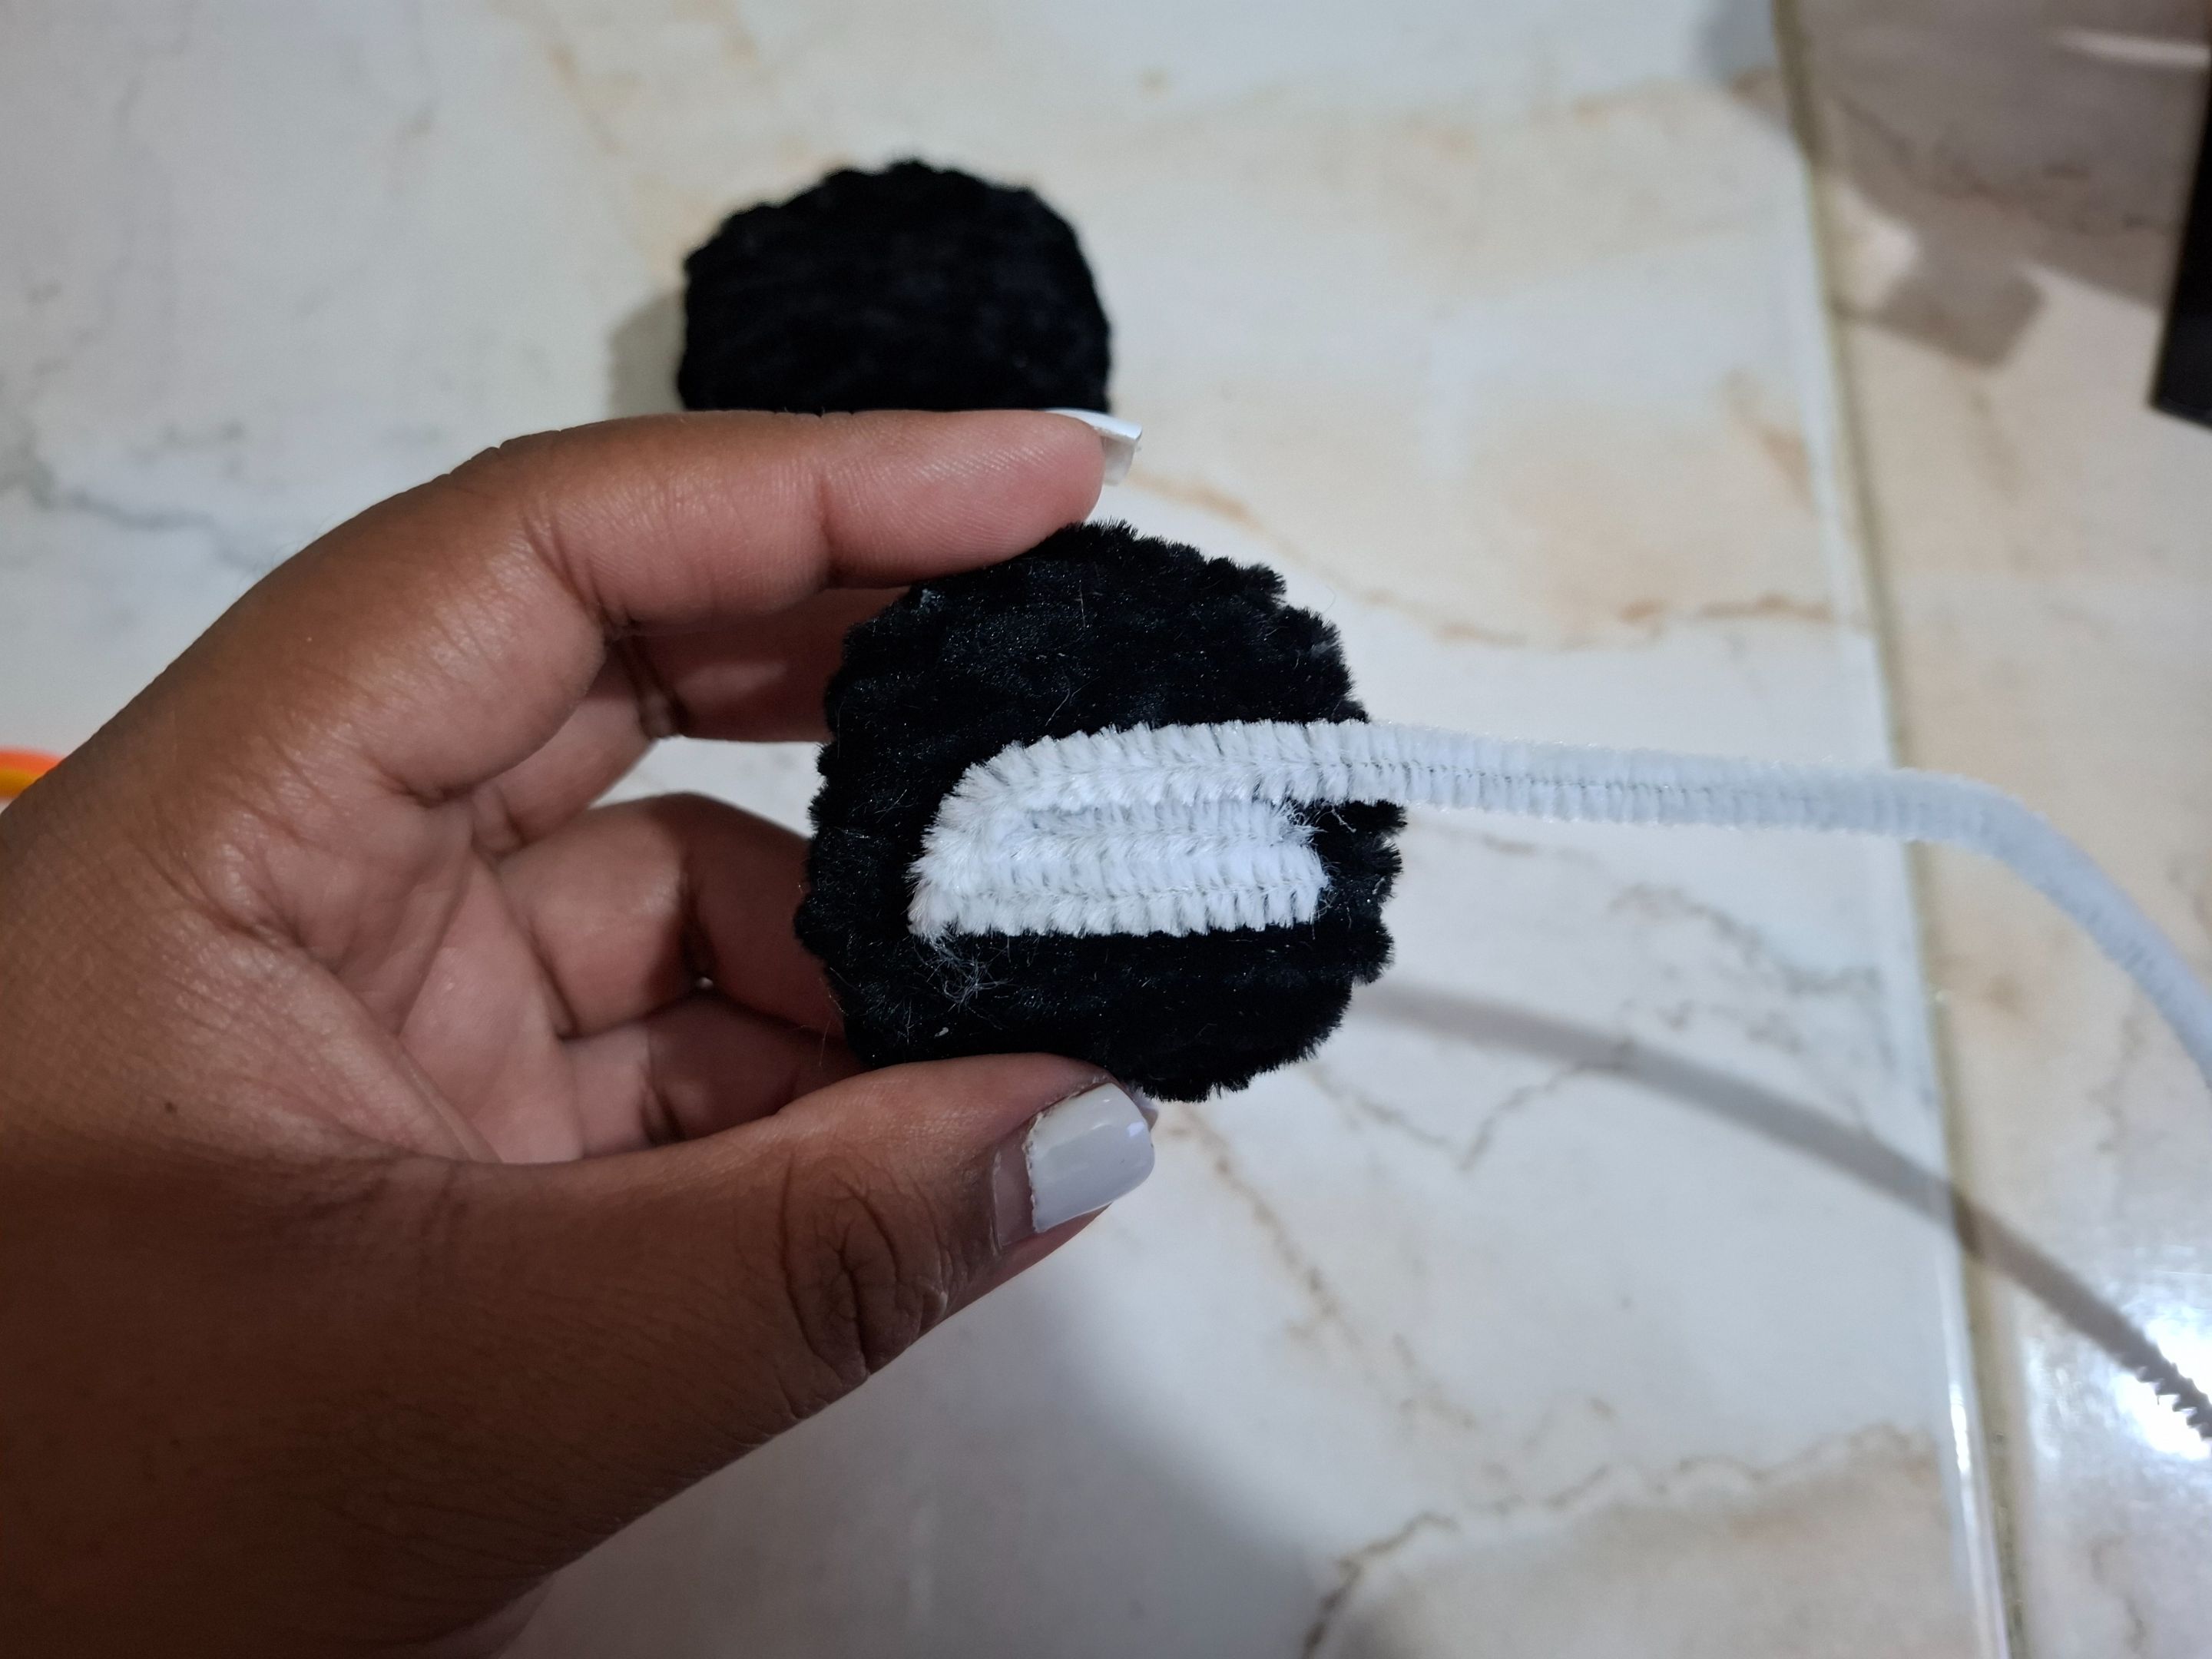
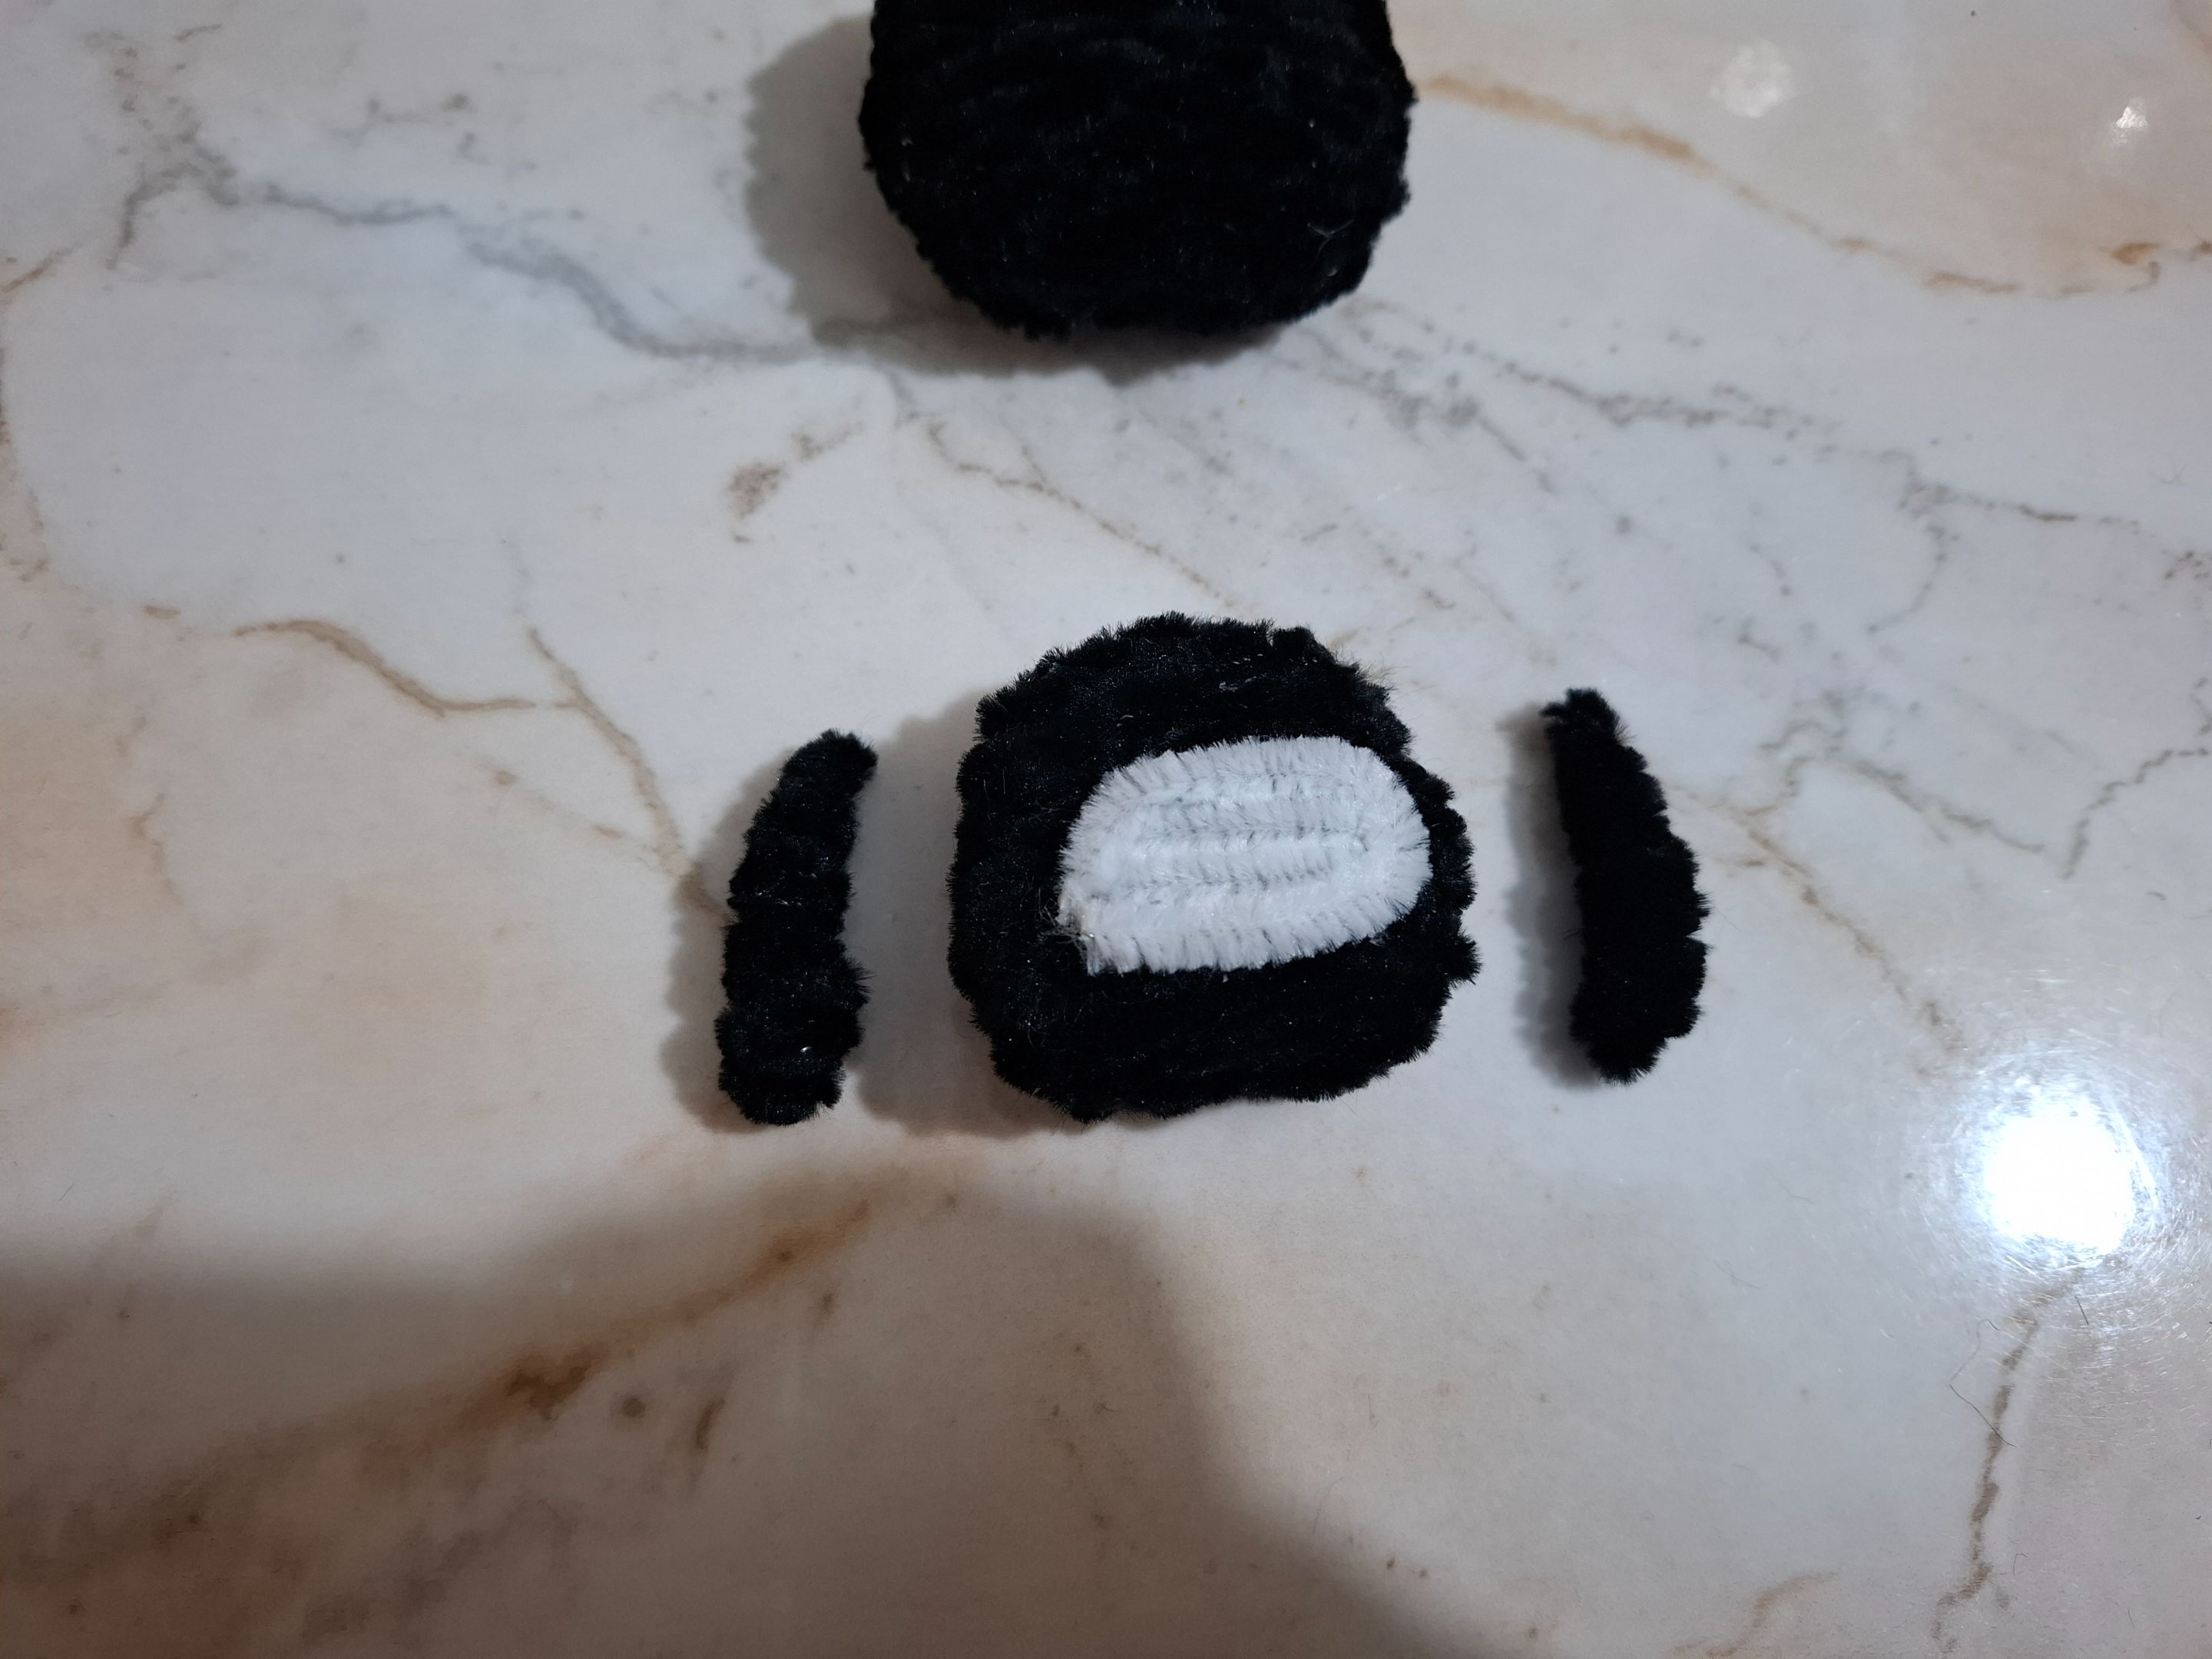
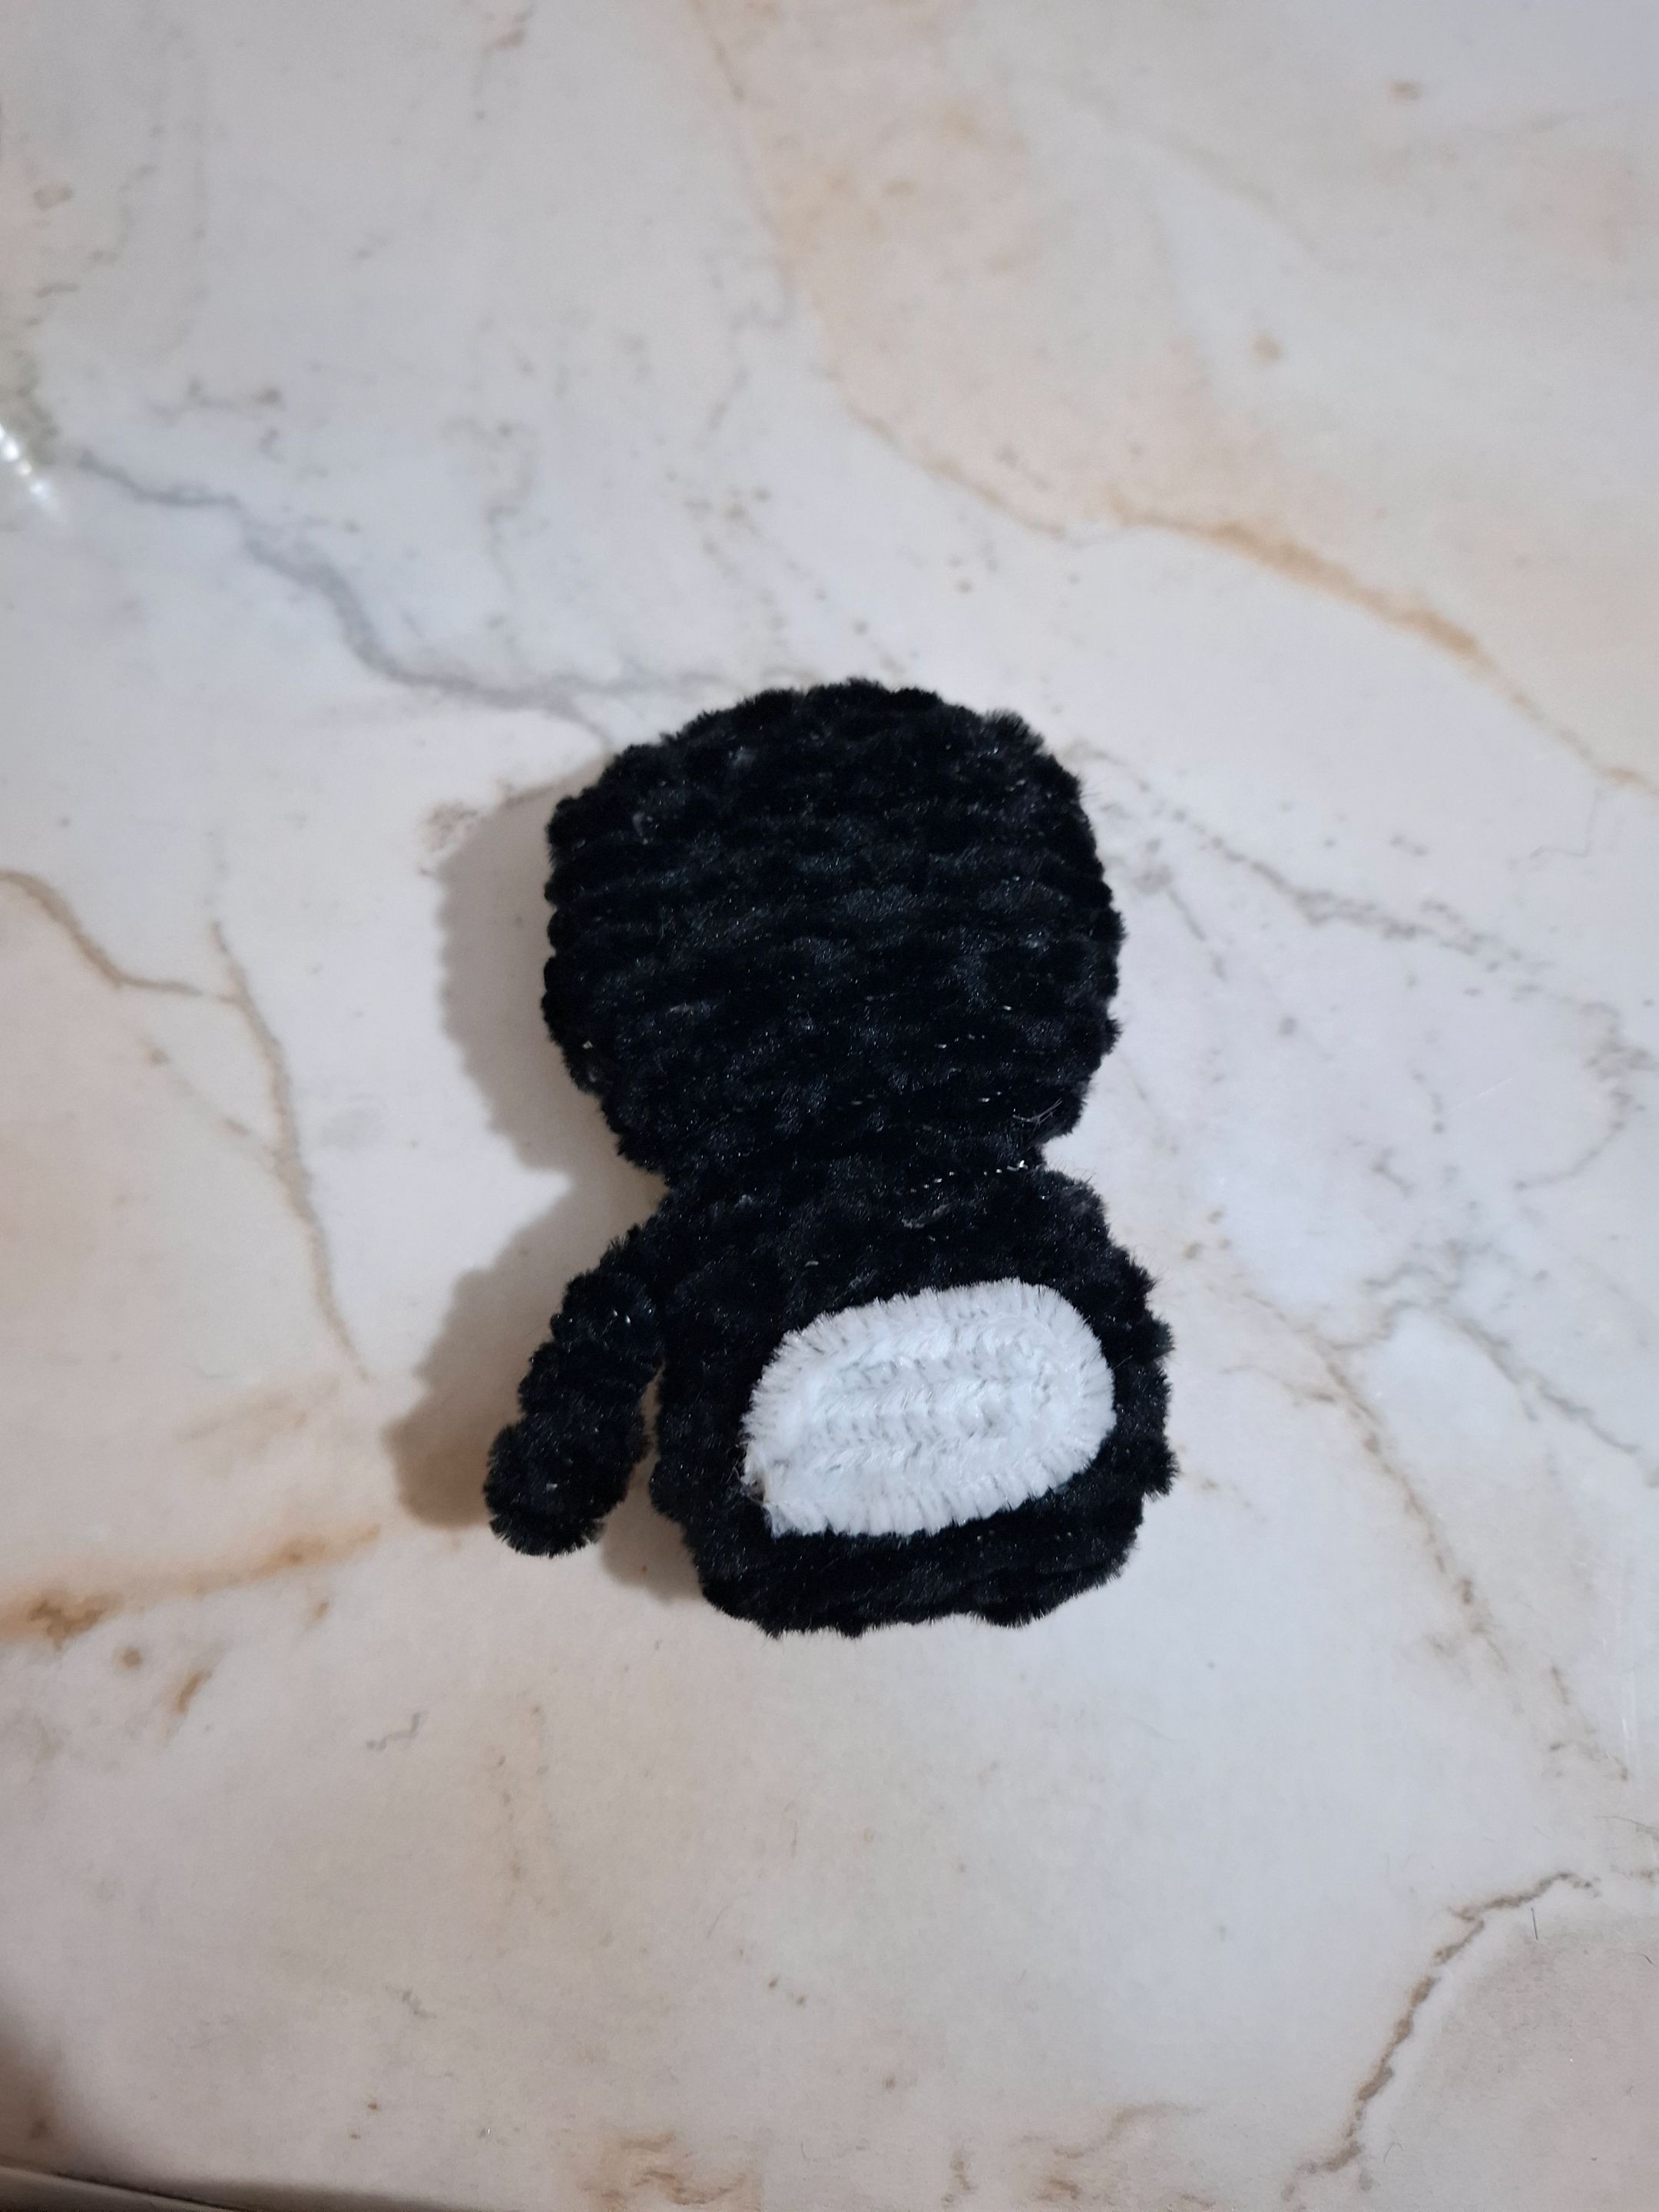
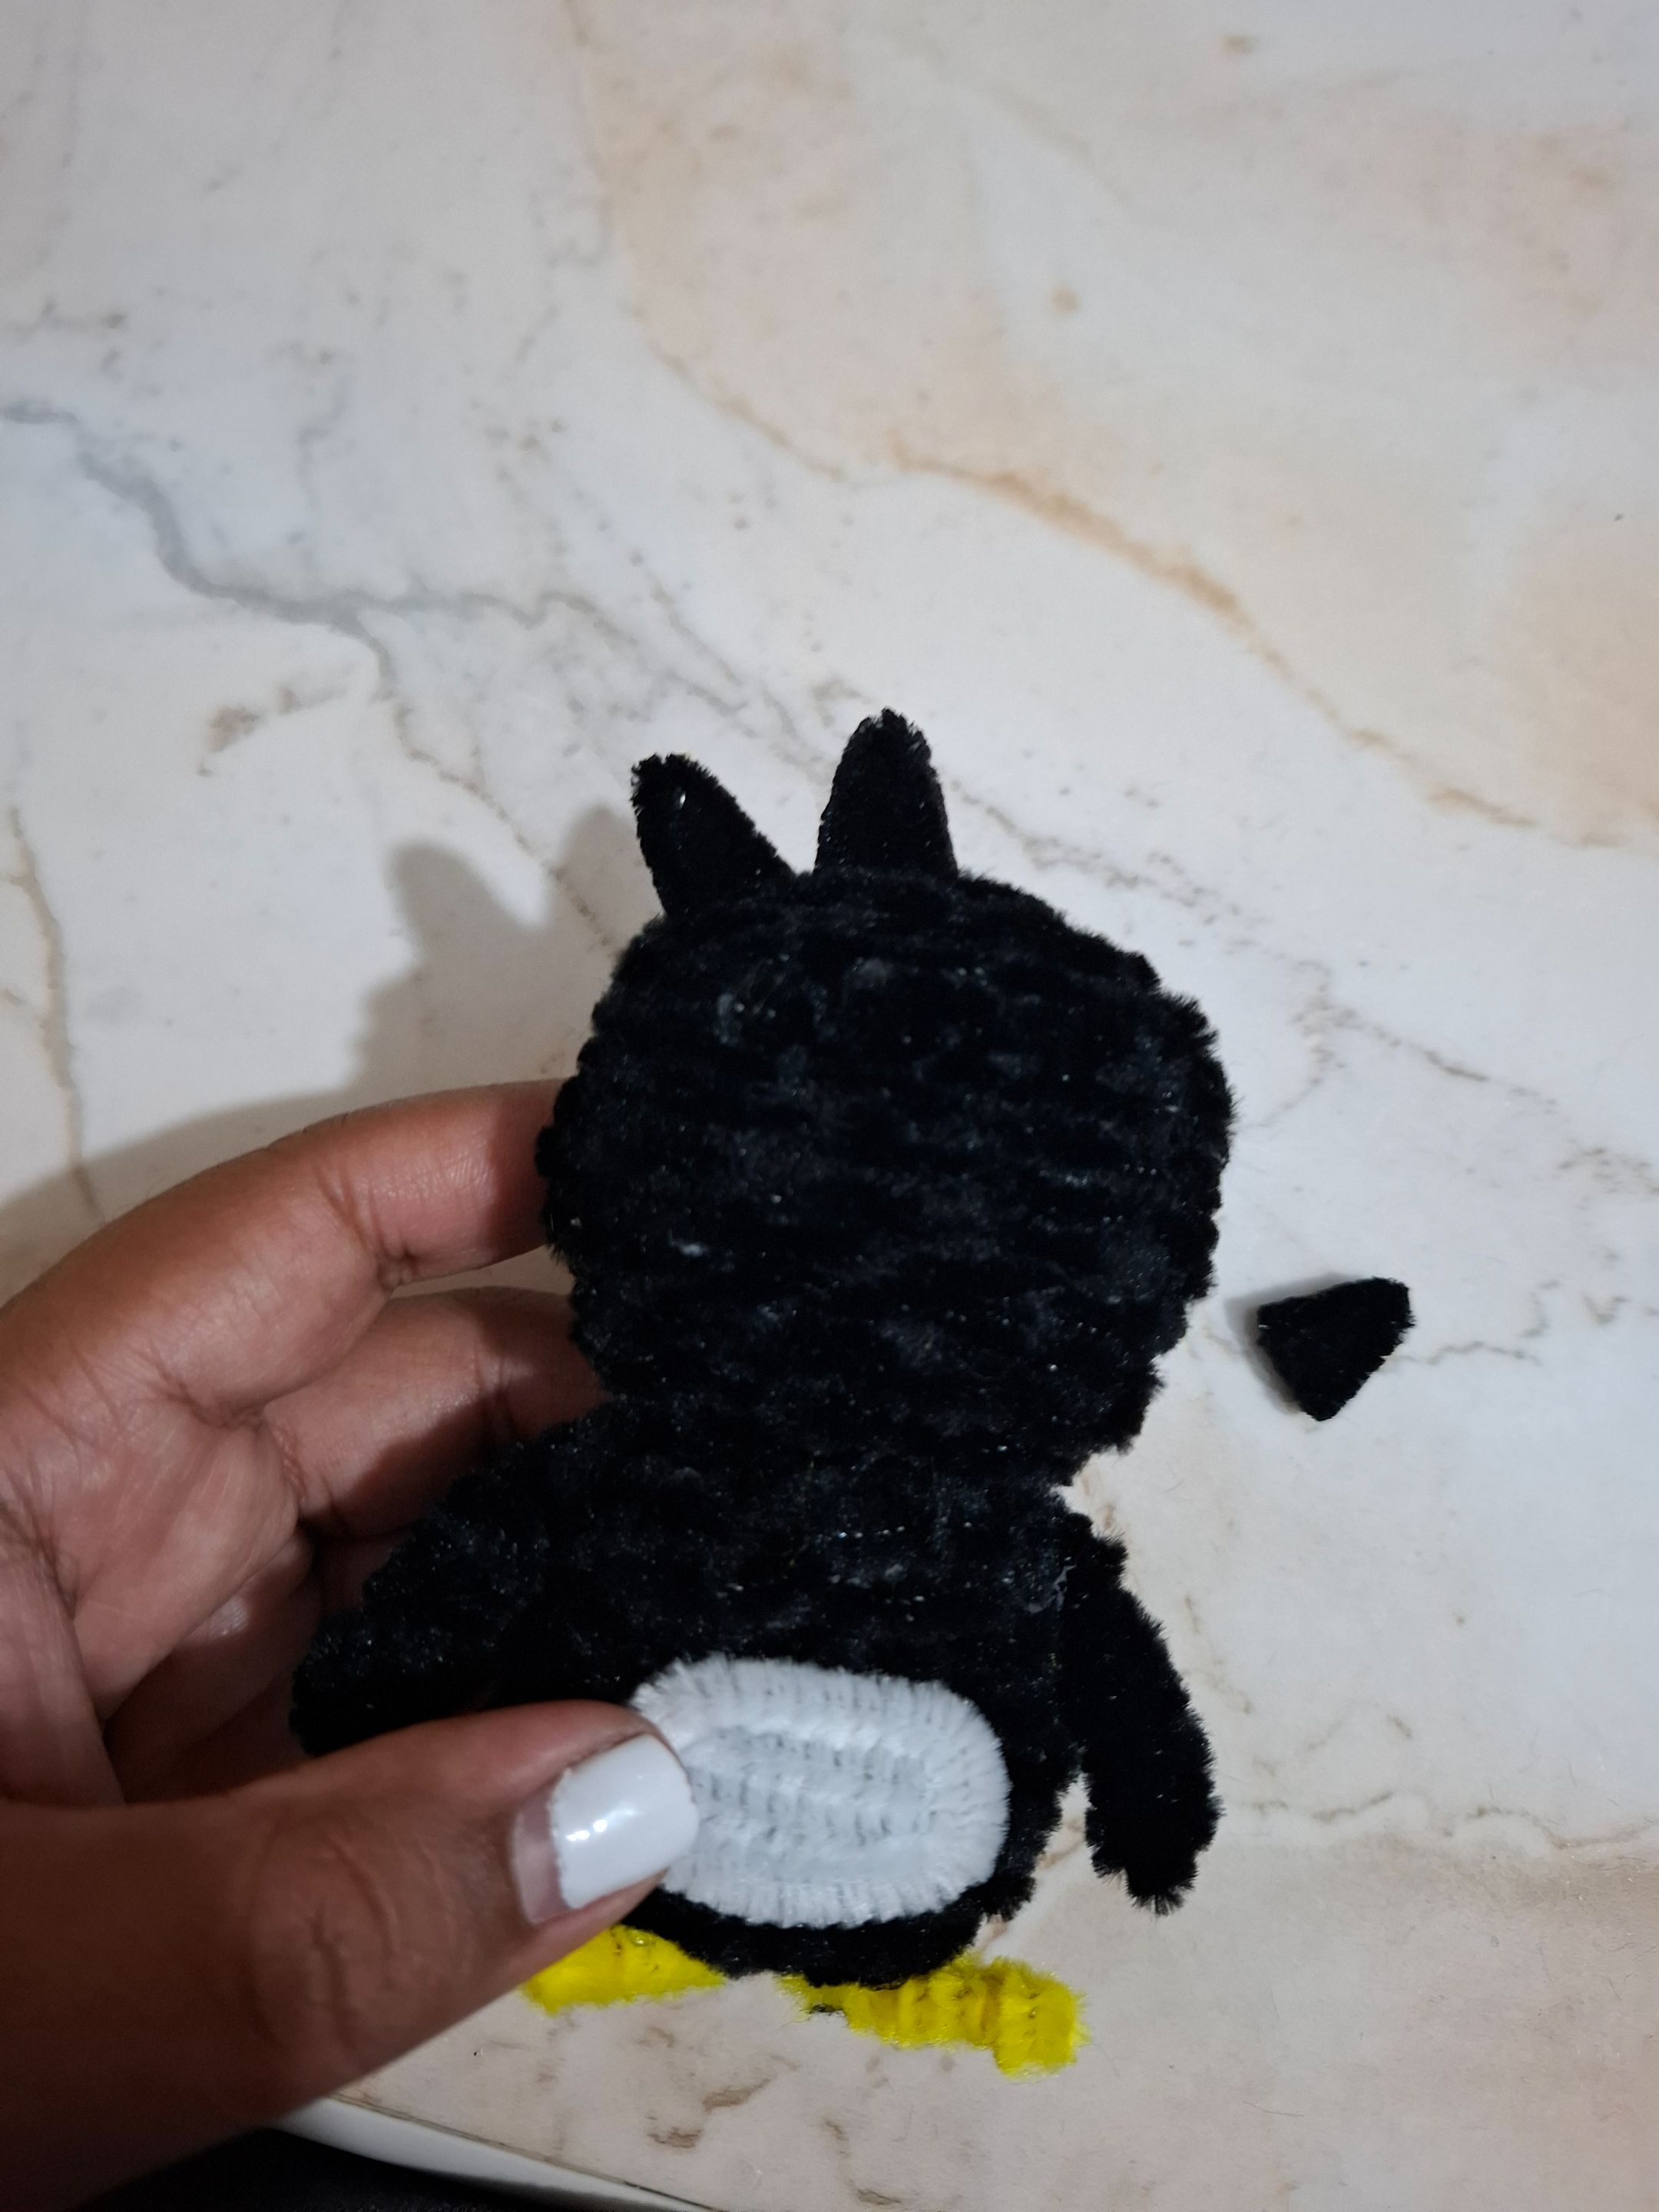
Luego cubri la cabeza comenzando desde la parte superior, hasta alcanzar su totalidad, luego de esto en la parte inferior voy a colocar una franja de limpiapipas blanco, también realizamos los brazos cada uno con un limpiapipas, solo debes doblar unos 3 cm y el restante lo vas a enrollar al rededor para que quede grueso.
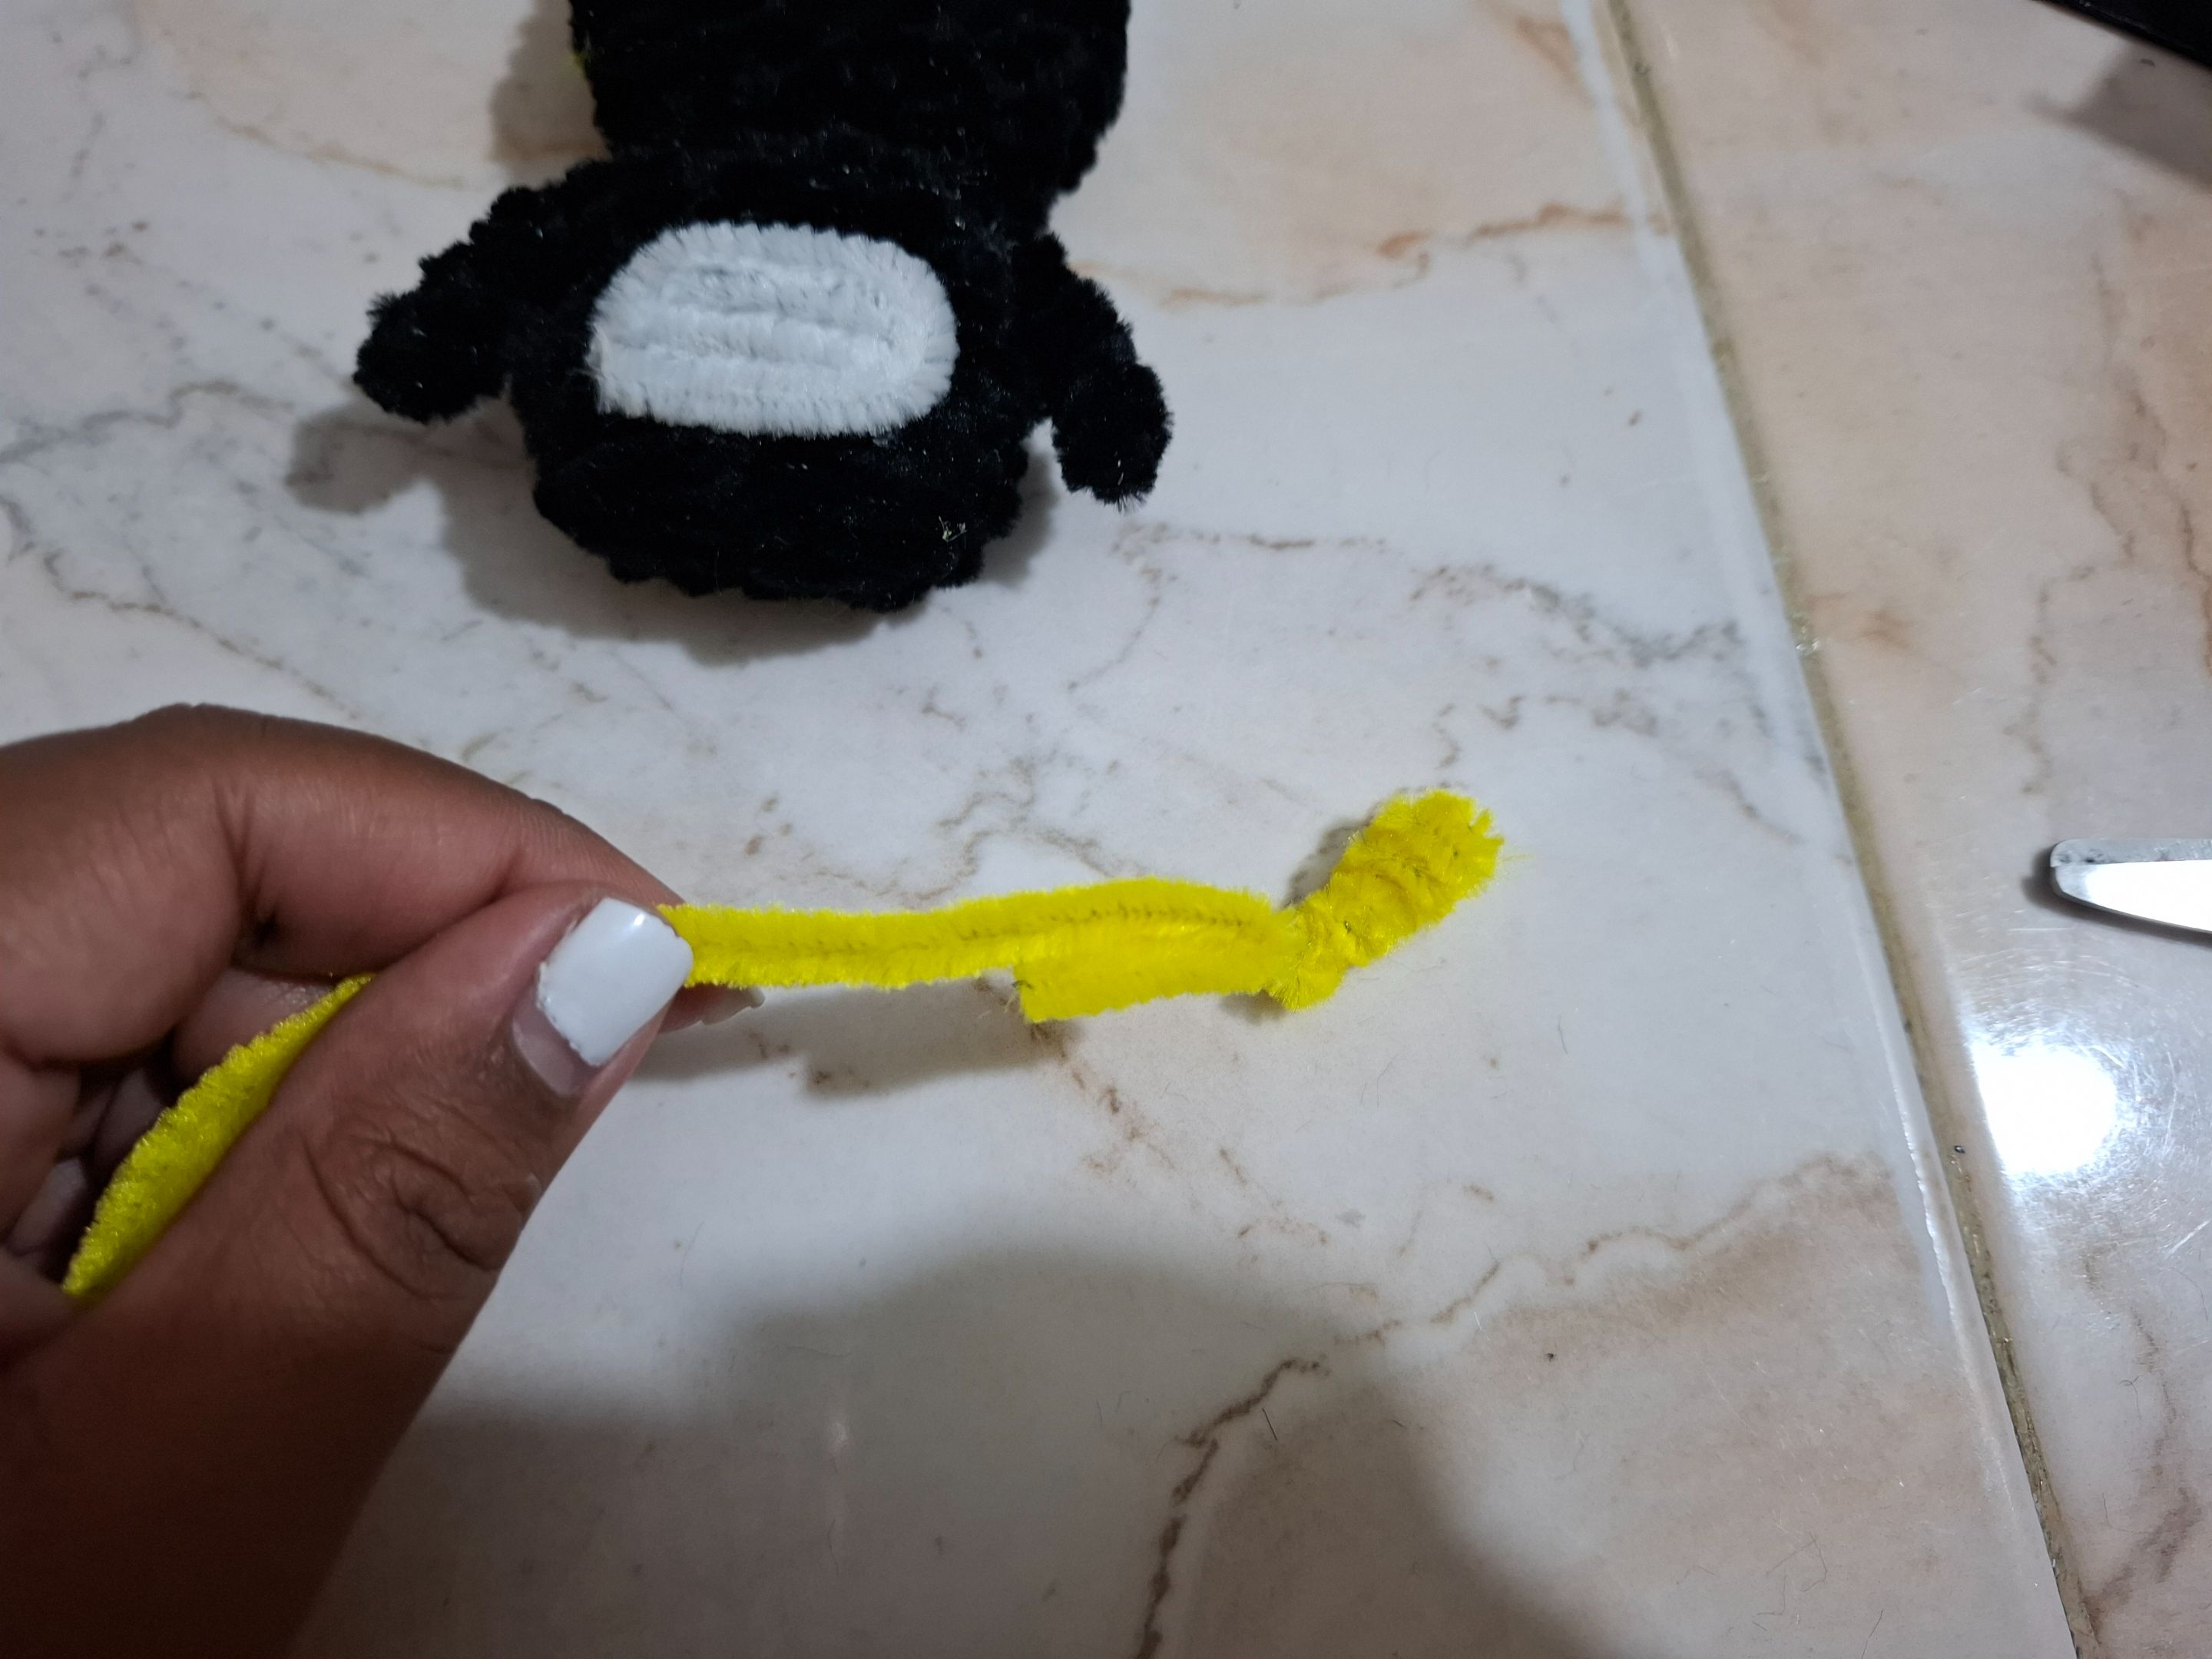
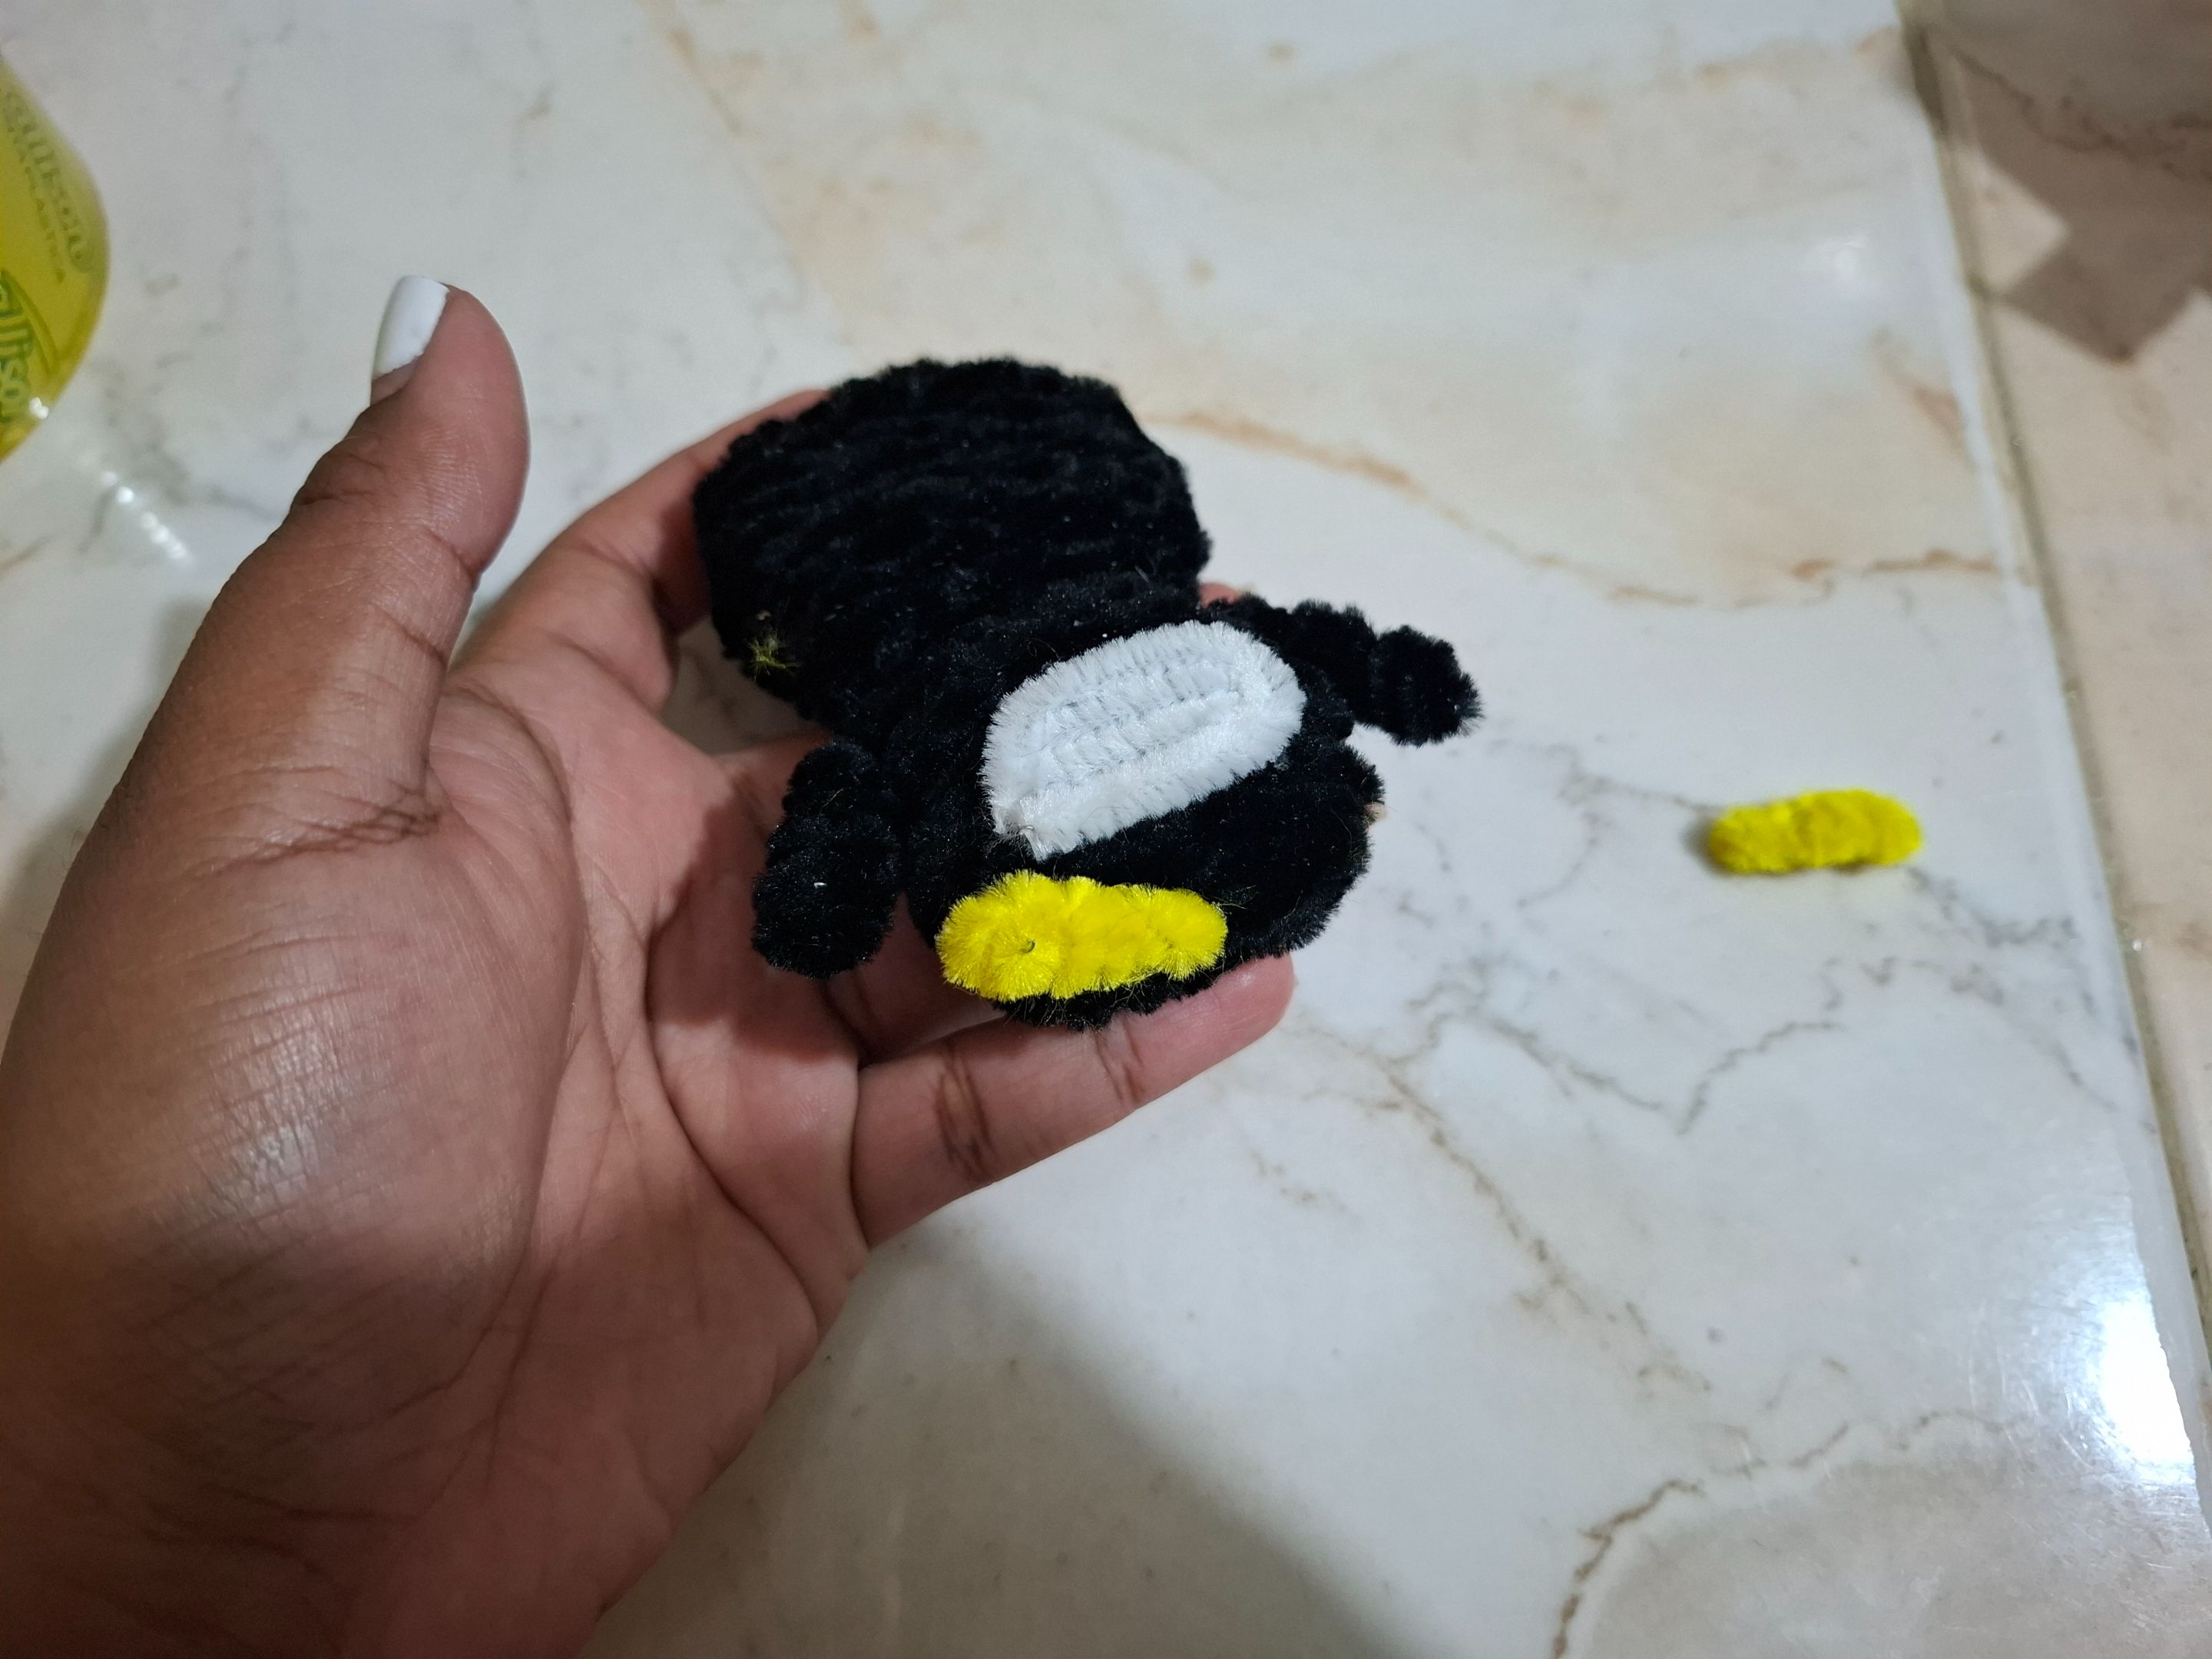
Unimos la cabeza, cuerpo y brazos, con limpiapipas amarillo realizamos las patitas de la misma forma que los brazos solo que la medida debe ser menos más o menos unos 2 cm, pegamos las patitas.
Then, I covered the head starting from the top until it was completely covered. After this, I'll place a strip of white pipe cleaners on the bottom. We also made the arms, each with a pipe cleaner. You just need to fold about 3 cm and wrap the rest around it to make it thick.
We joined the head, body, and arms. Using yellow pipe cleaners, we made the legs in the same way as the arms, except they should be about 2 cm shorter. We glued the legs together.
 |
 |
 |
|---|---|---|
 |
 |
|---|---|
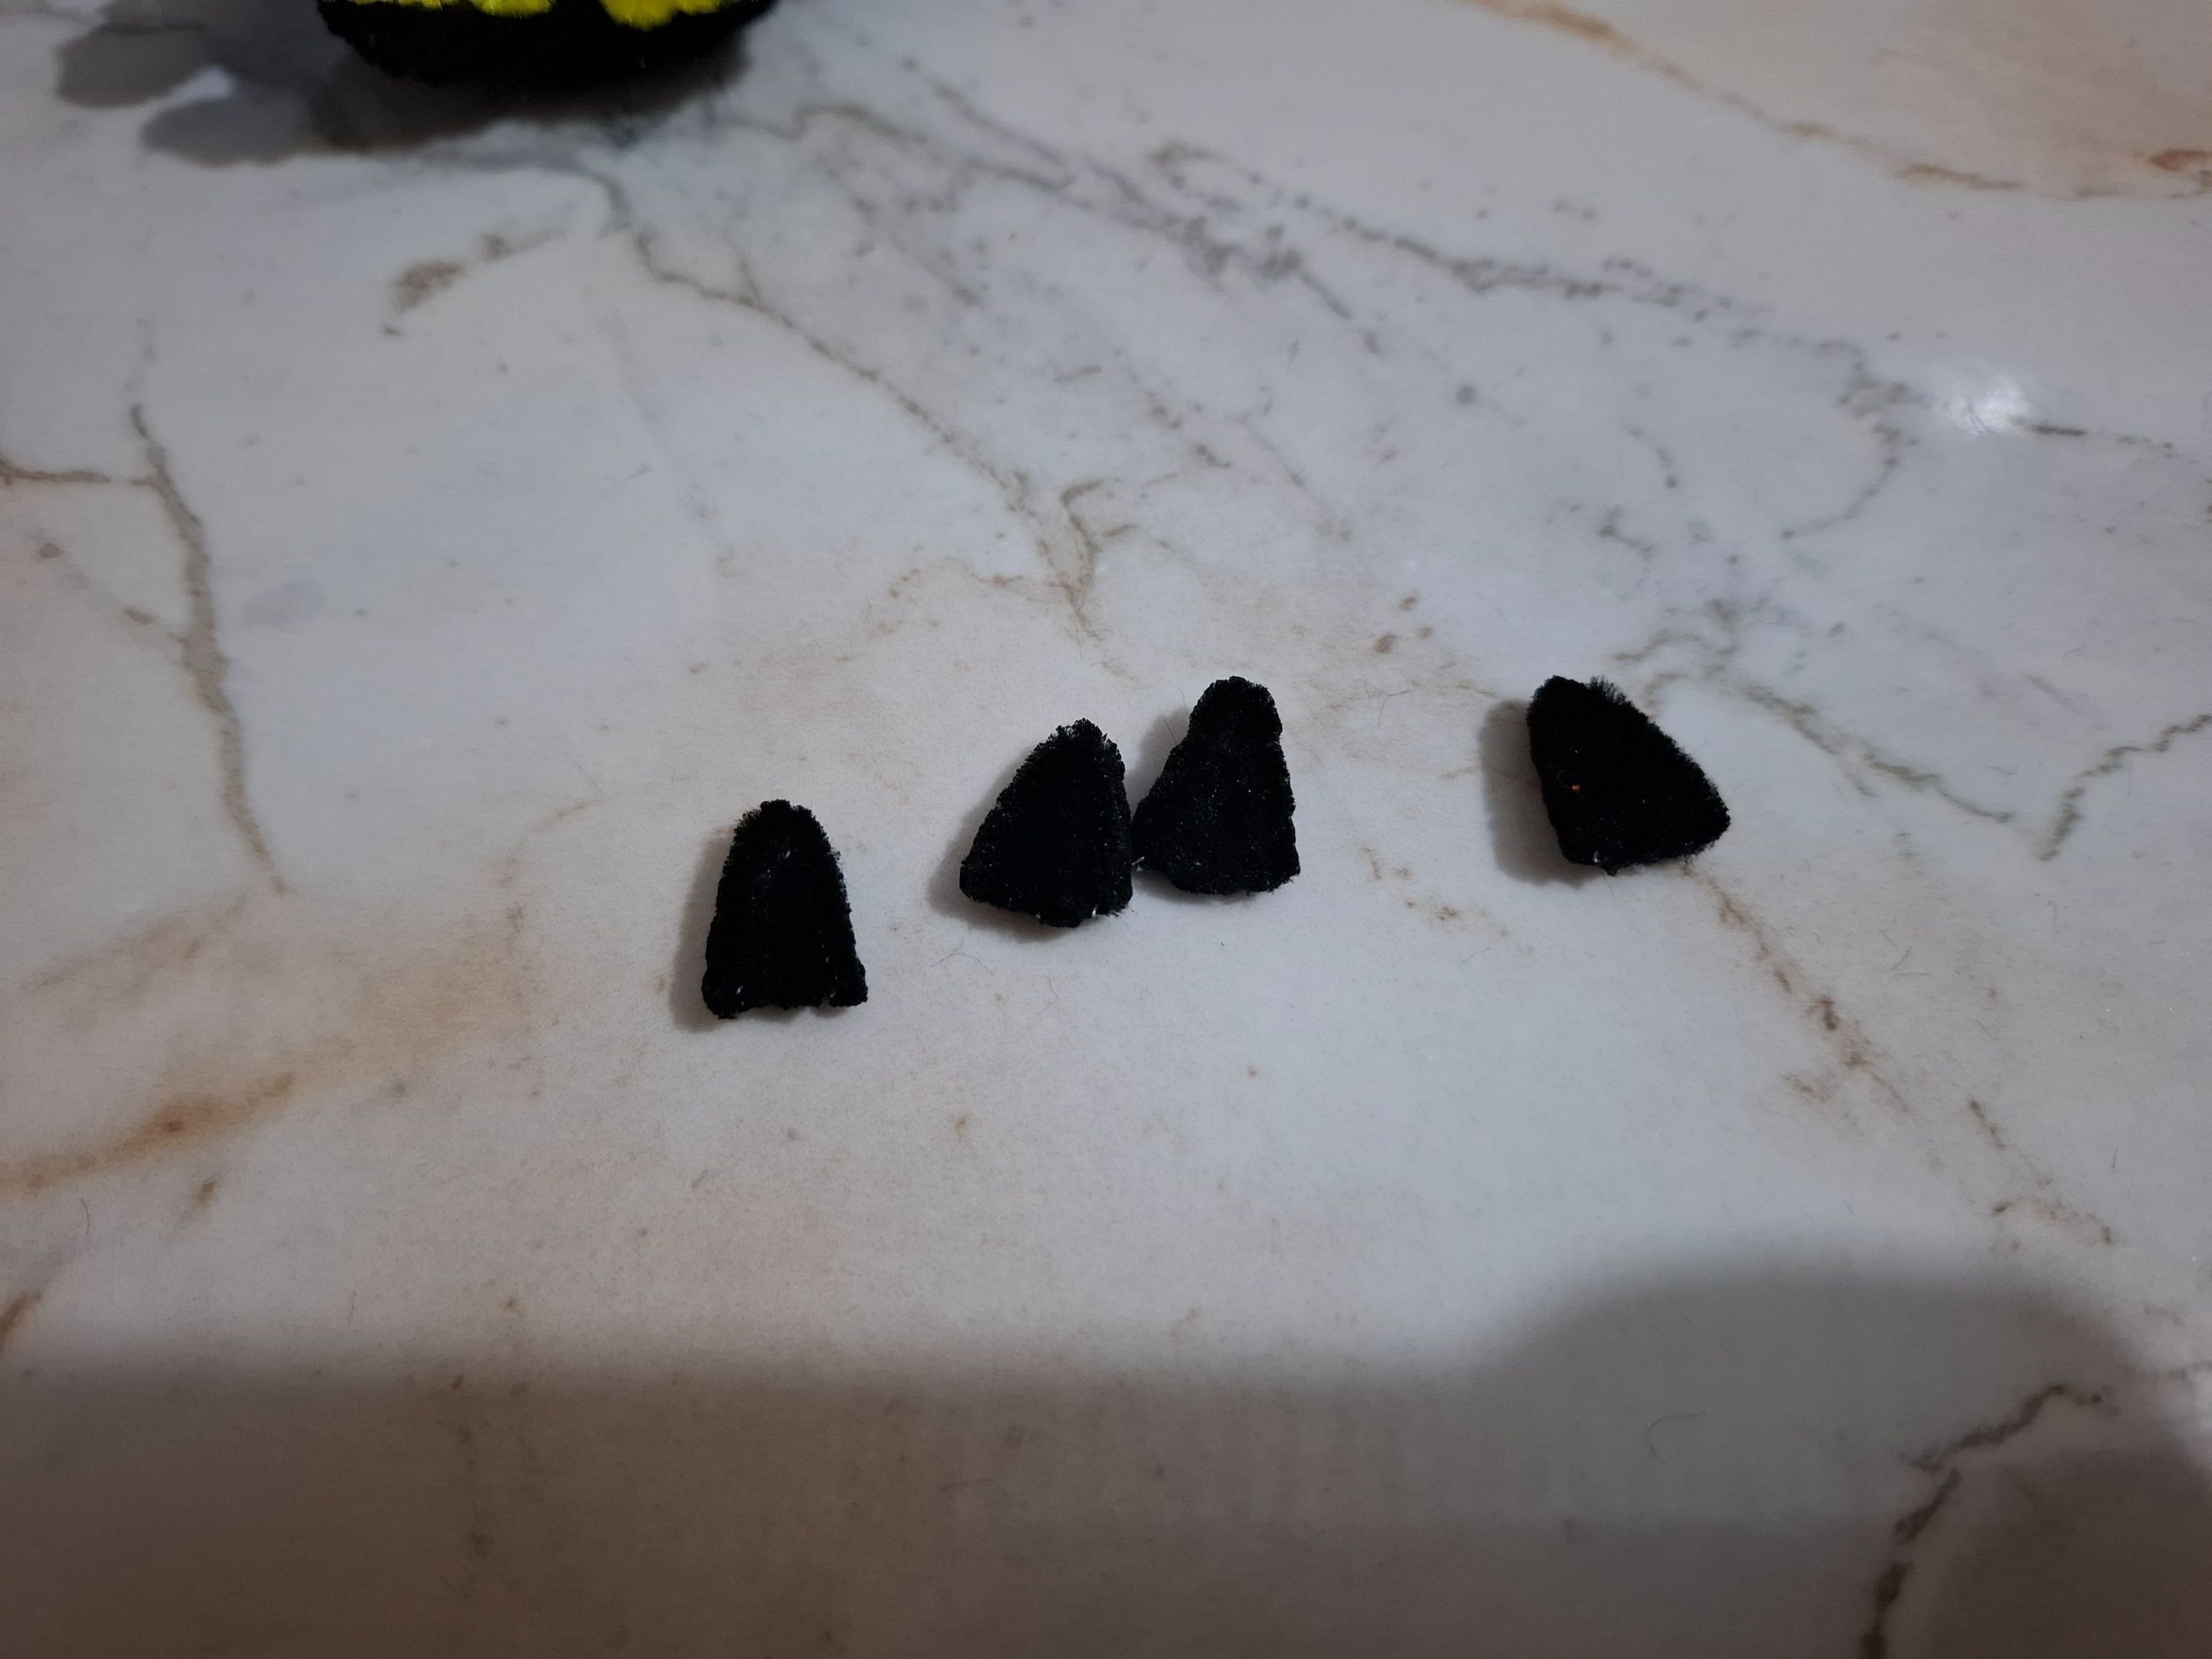
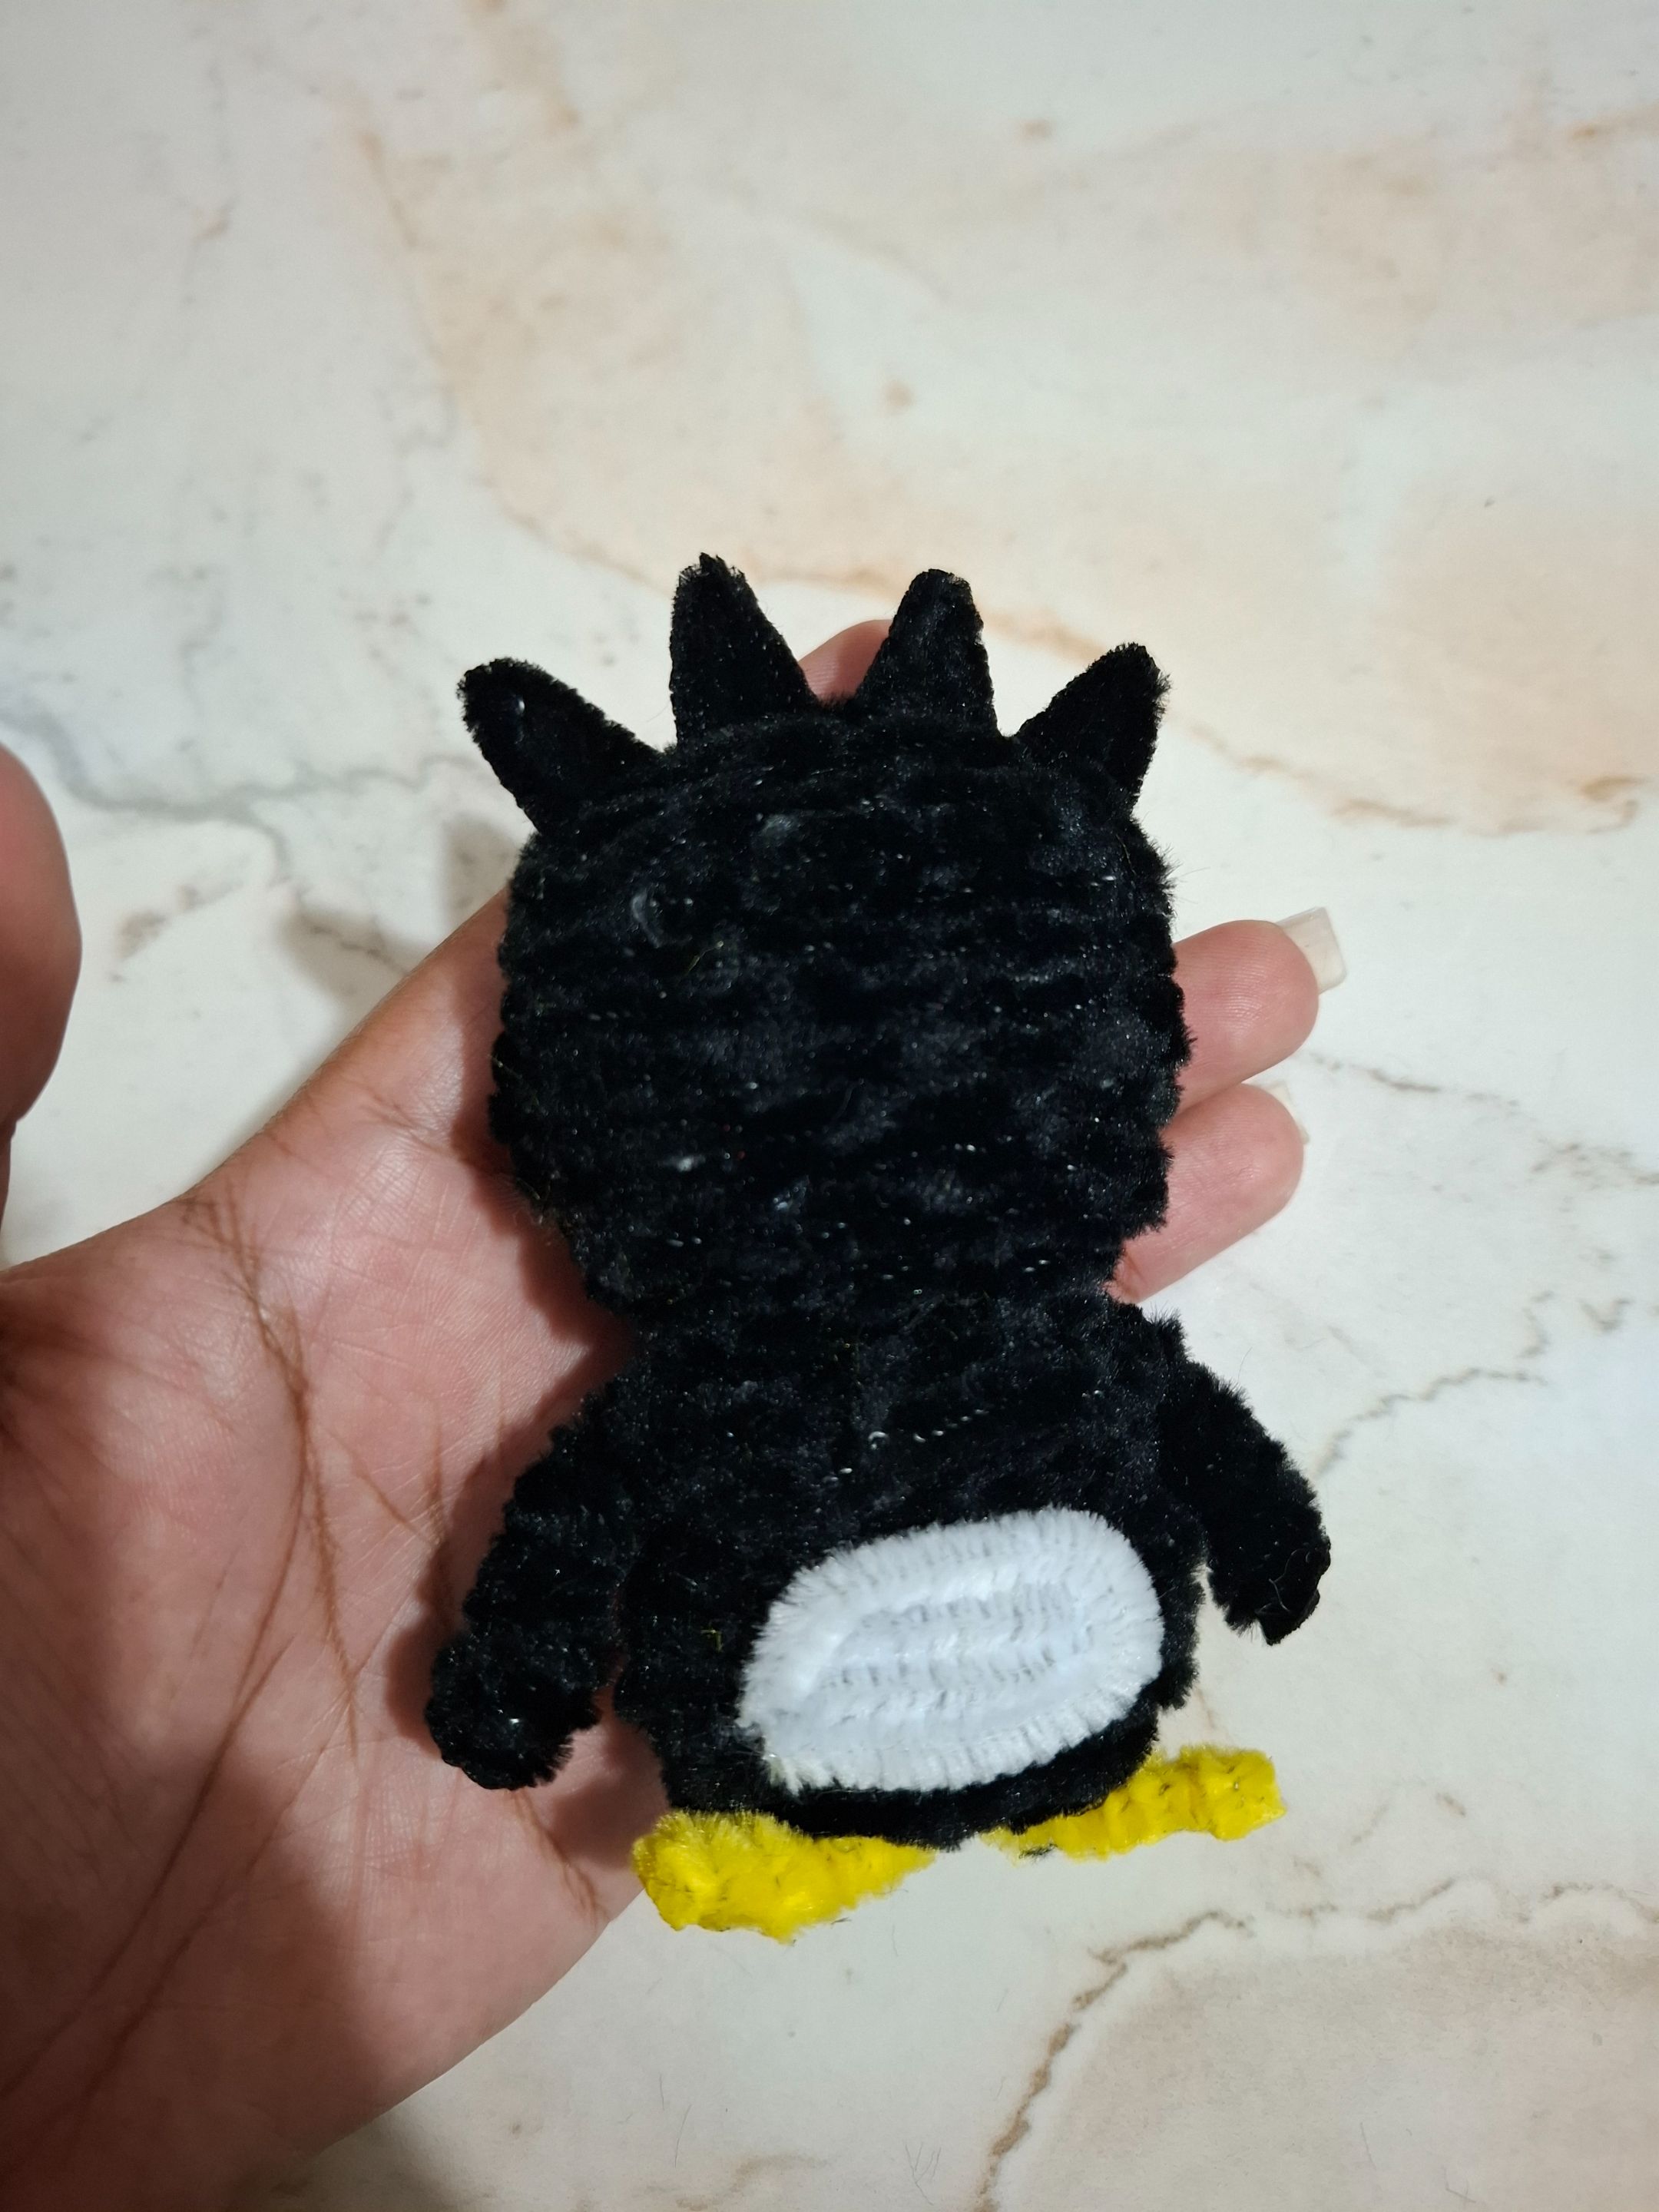
Para el pelo voy a realizar cuatro triángulos con limpiapipas de color negro, en este punto utilicé un encendedor para rebajar la pelusa y en la punta apretamos un poco con los dedos para que quede algo puntiagudo.
For the hair, I'm going to make four triangles with black pipe cleaners. At this point, I used a lighter to reduce the fluff, and at the tip, I squeezed it a little with my fingers so that it looked somewhat pointy.
 |
 |
 |
|---|---|---|
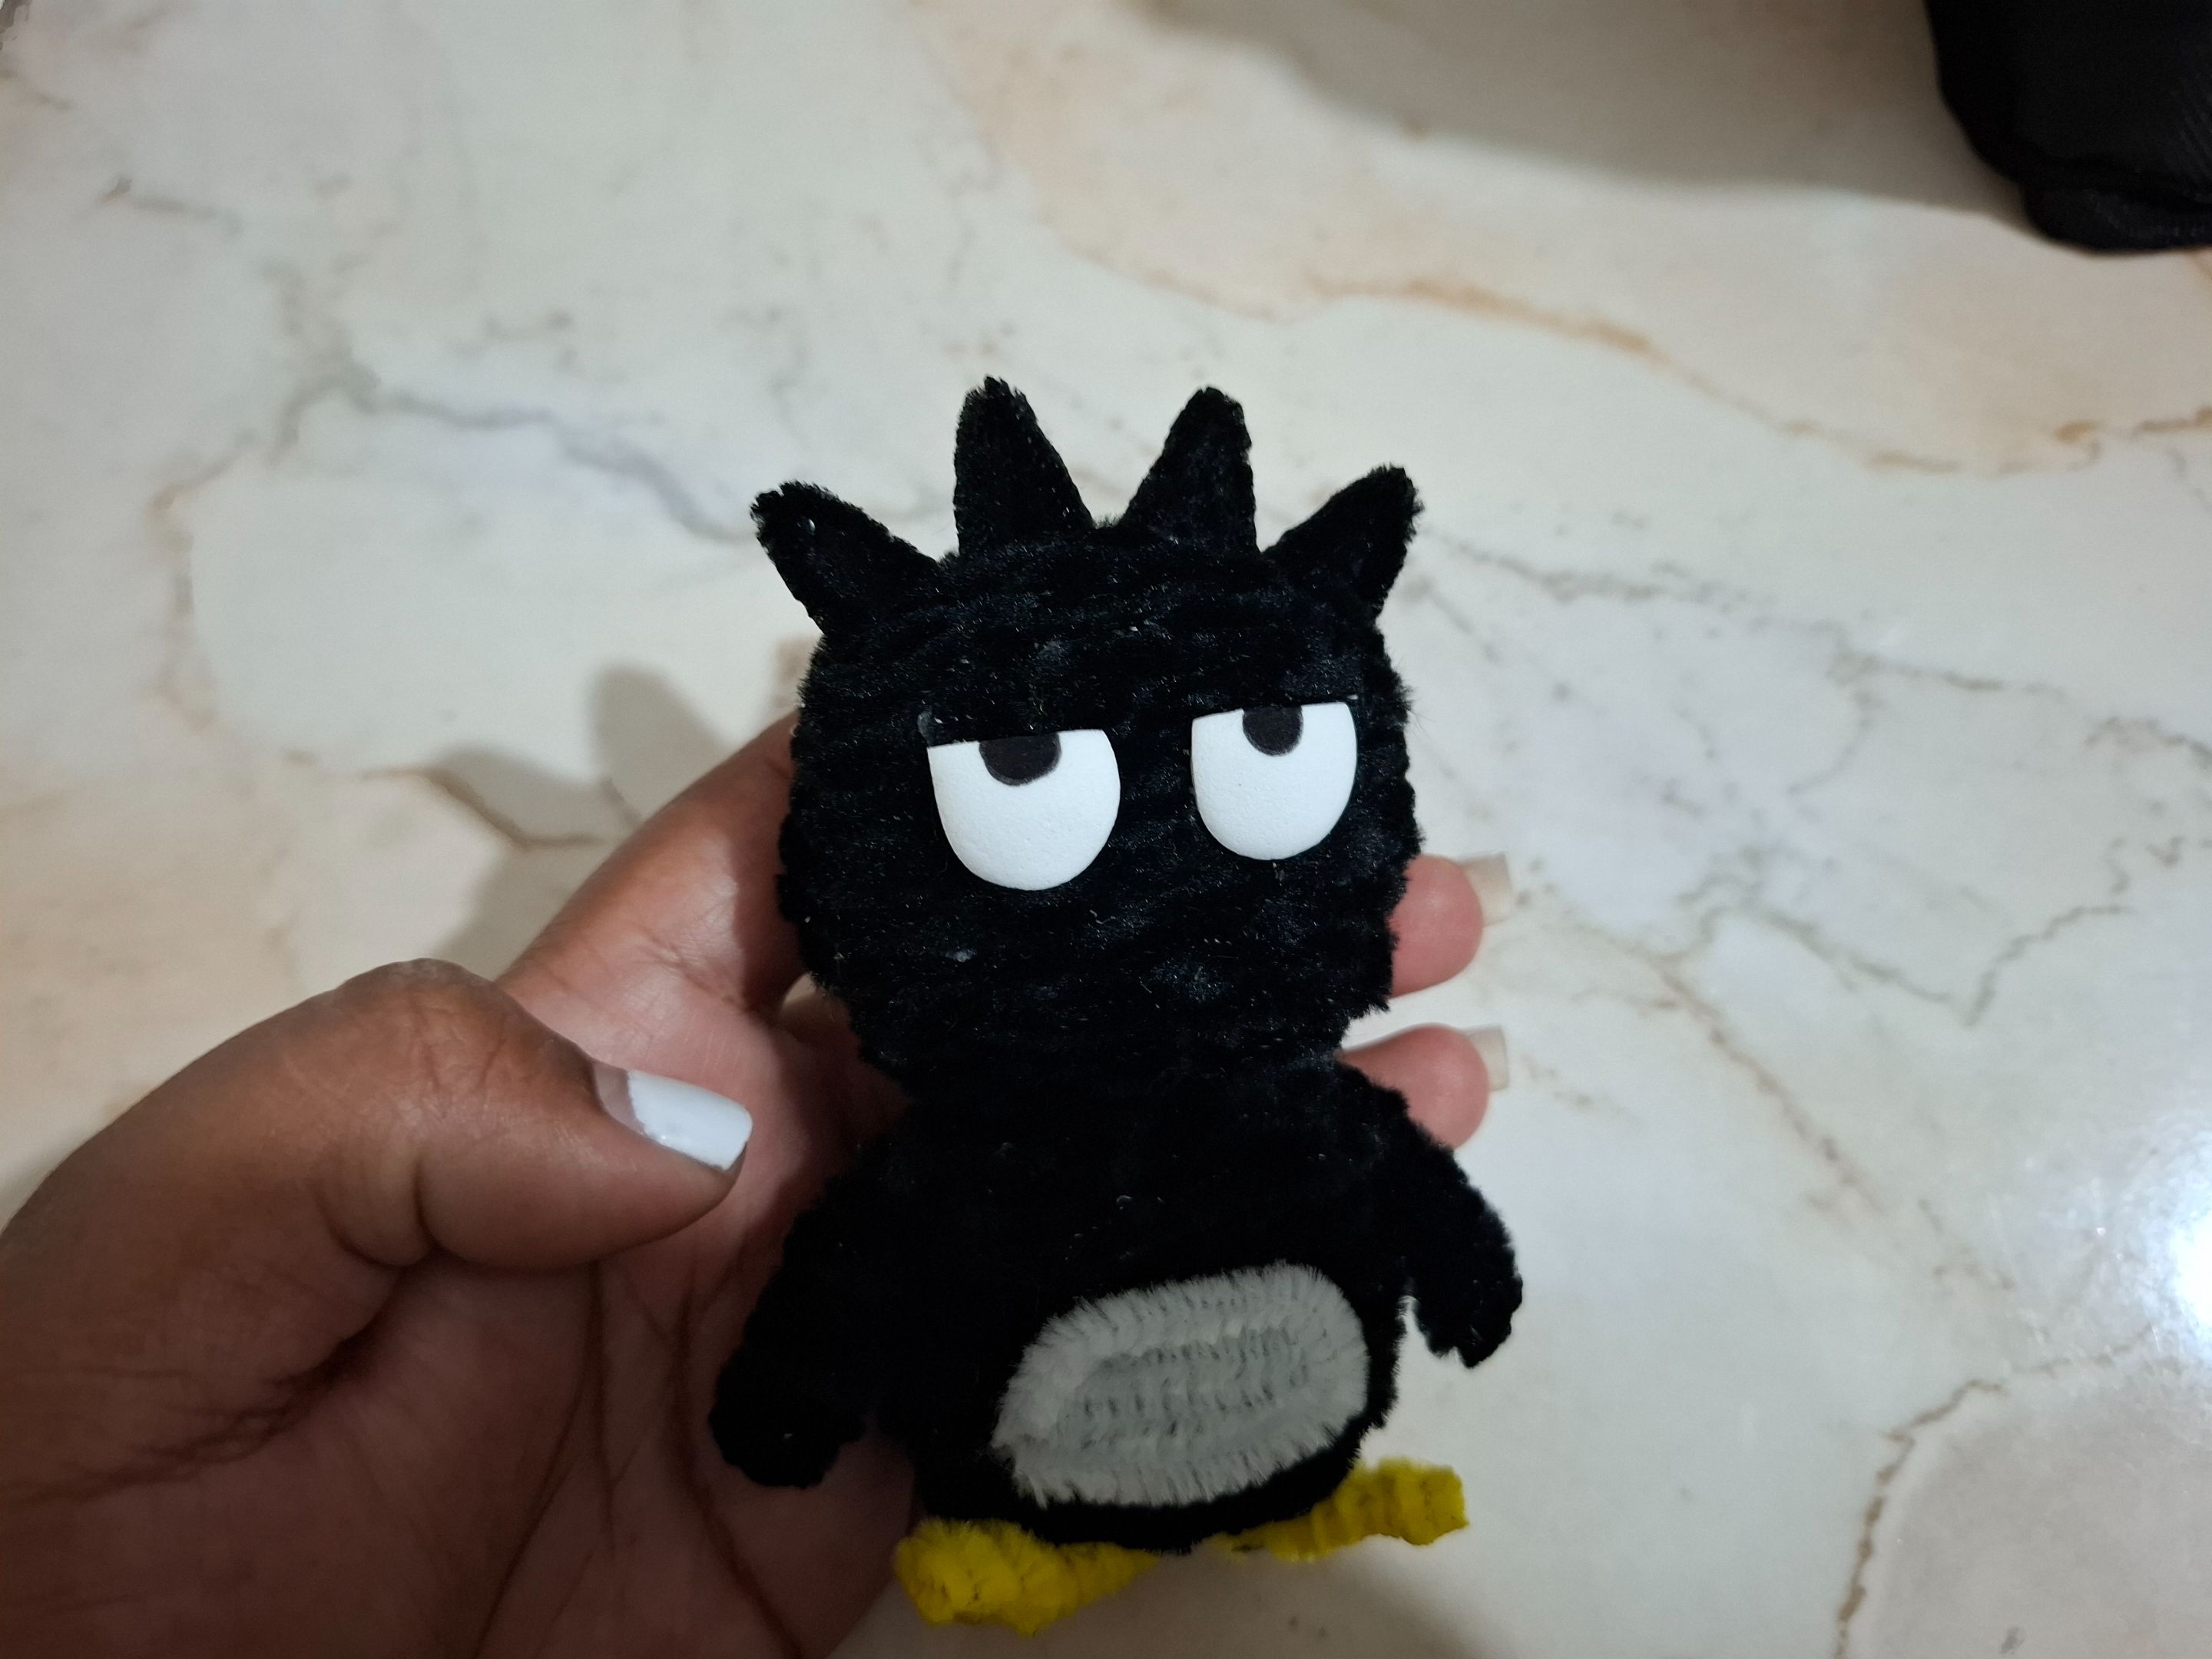
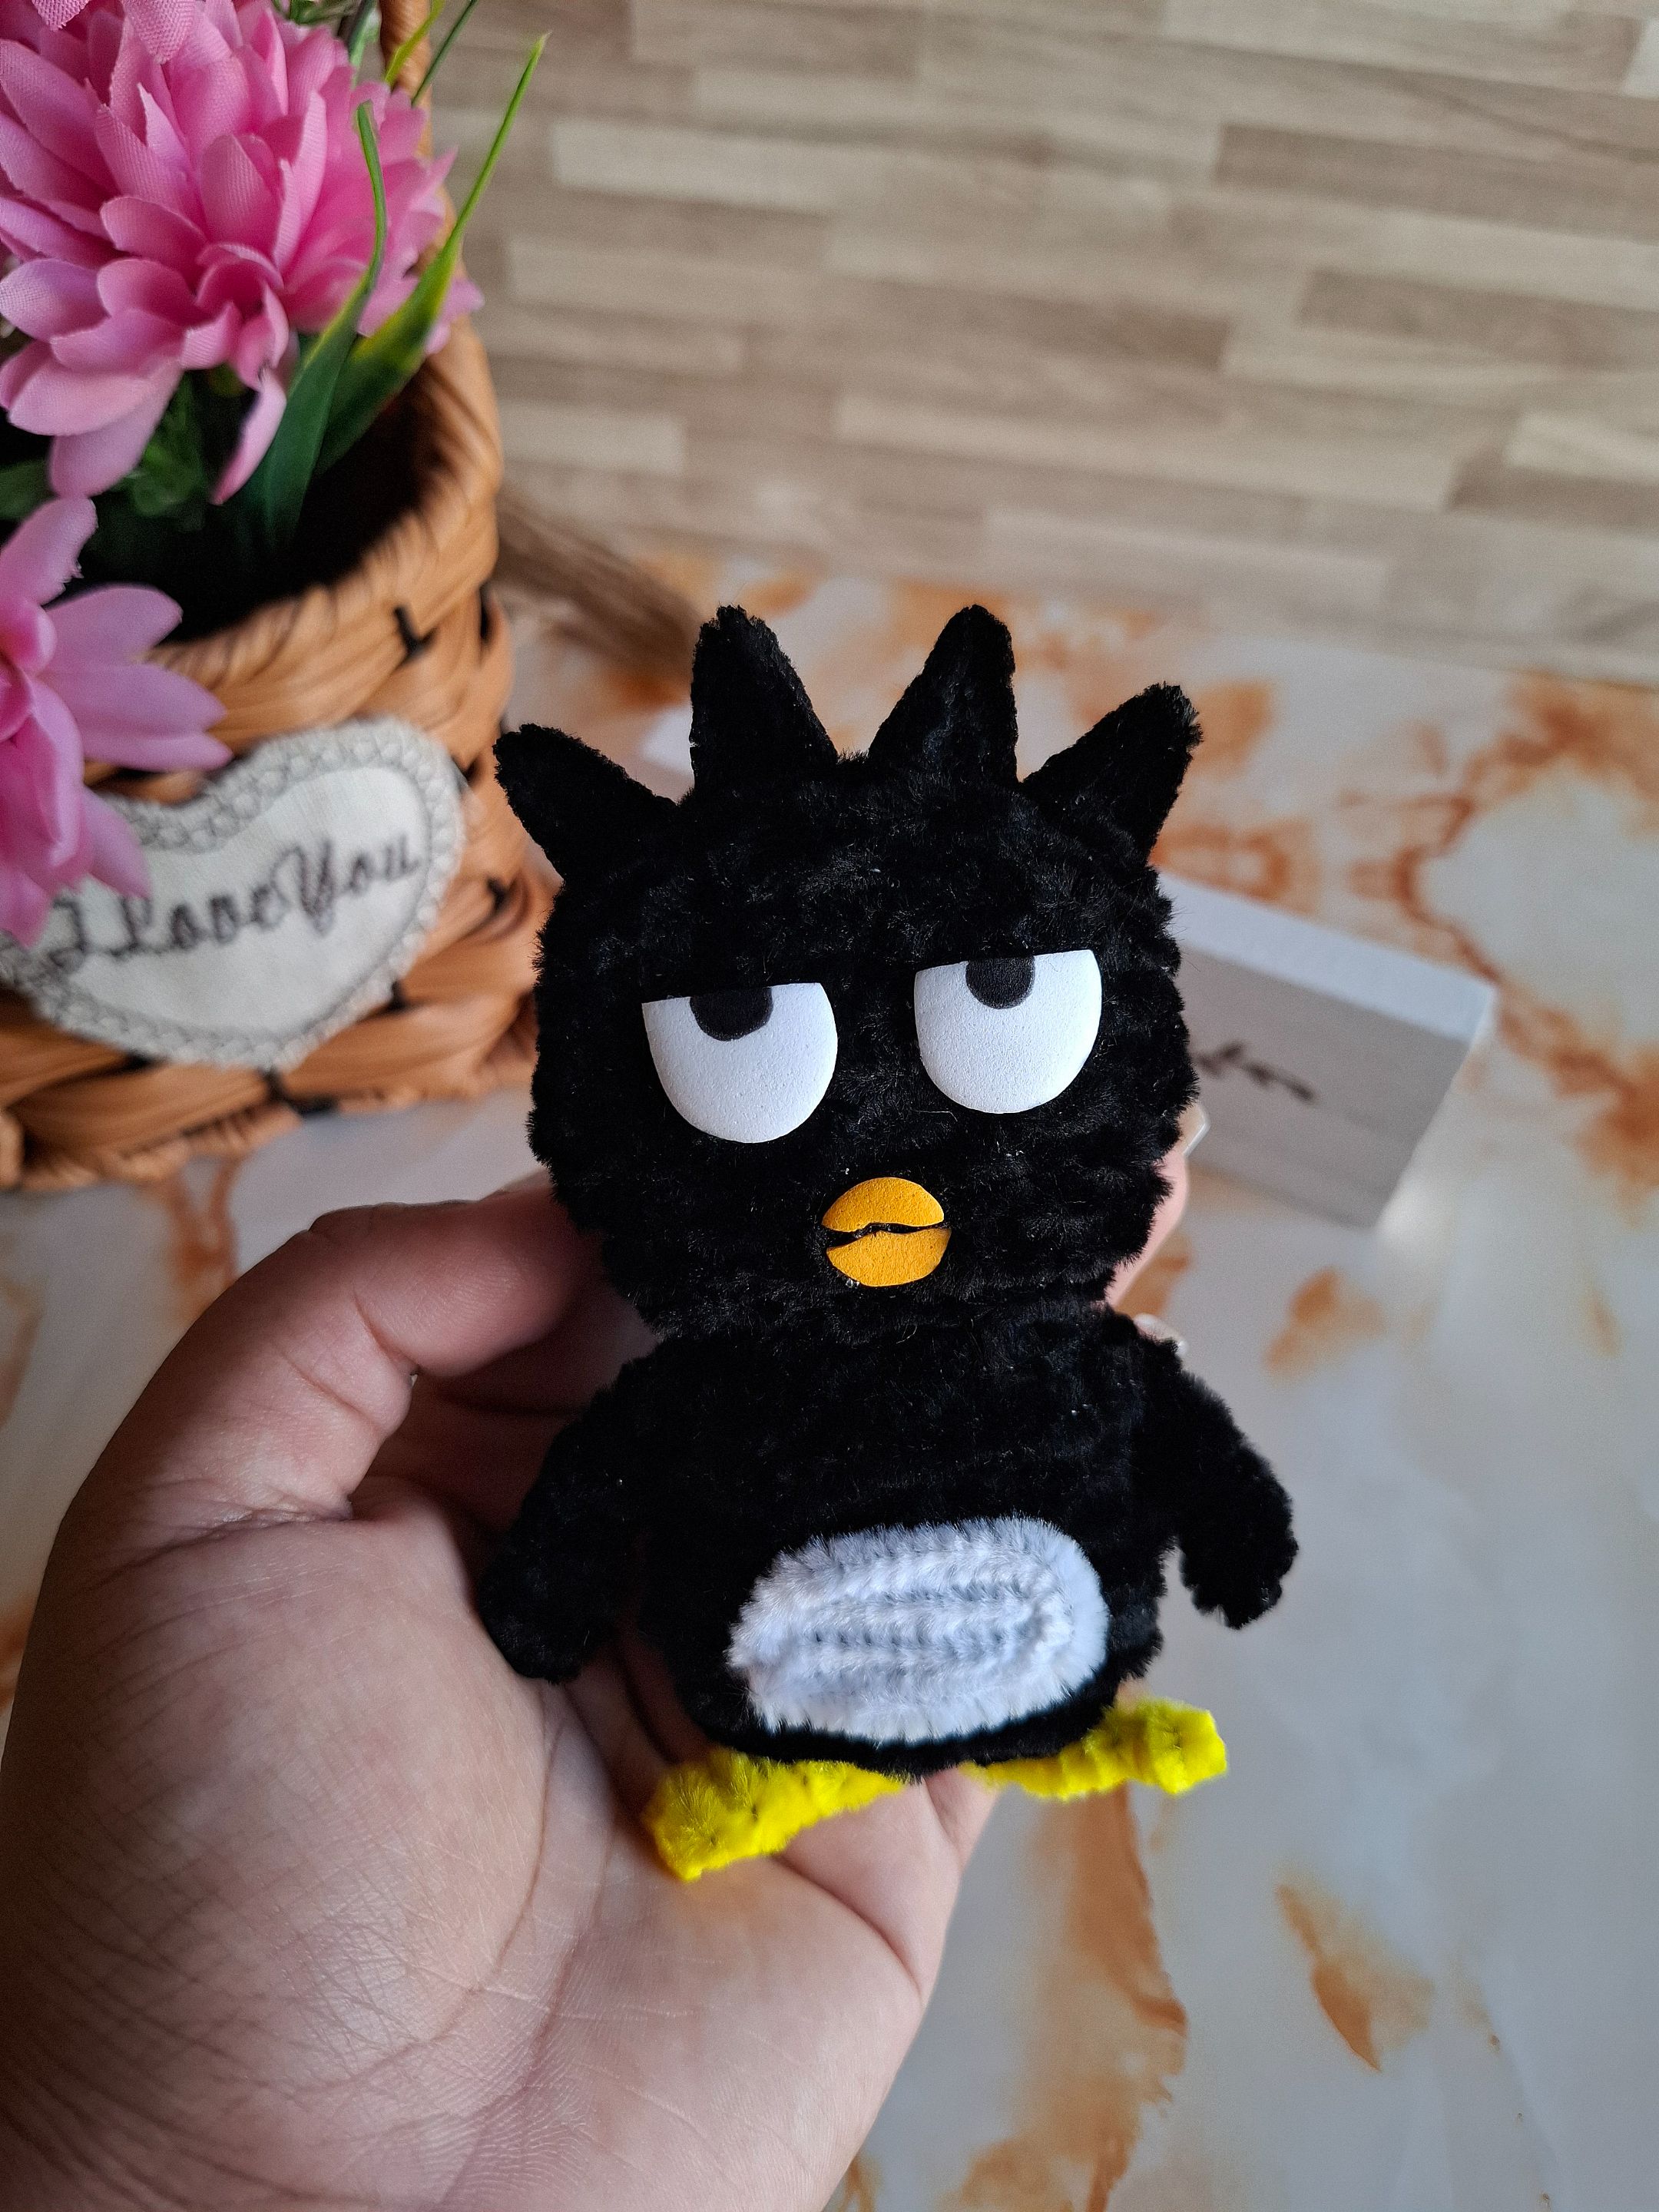
El último paso será realizar los ojitos en foami color blanco y con marcador negro dibujamos el centro del ojo mirando hacia arriba, en foami amarillo realizamos el pico. De esta forma terminé al Badtz-Maru, ¿Qué les pareció? Yo conforme con el resultado, a mí hermana le recordó a su infancia jajaja.
The last step is to make the eyes out of white foam. Draw the center of the eye facing upward with a black marker. Make the beak with yellow foam. This is how I finished the Badtz-Maru. What did you think? I'm happy with the result; it reminded my sister of her childhood, haha.
 |
 |
 |
|---|---|---|
Espero les haya gustado el resultado, muchas gracias por por visitar mi publicación nos vemos en una próxima oportunidad con más ideas creativas.
I hope you liked the result. Thank you very much for visiting my post. See you next time with more creative ideas.
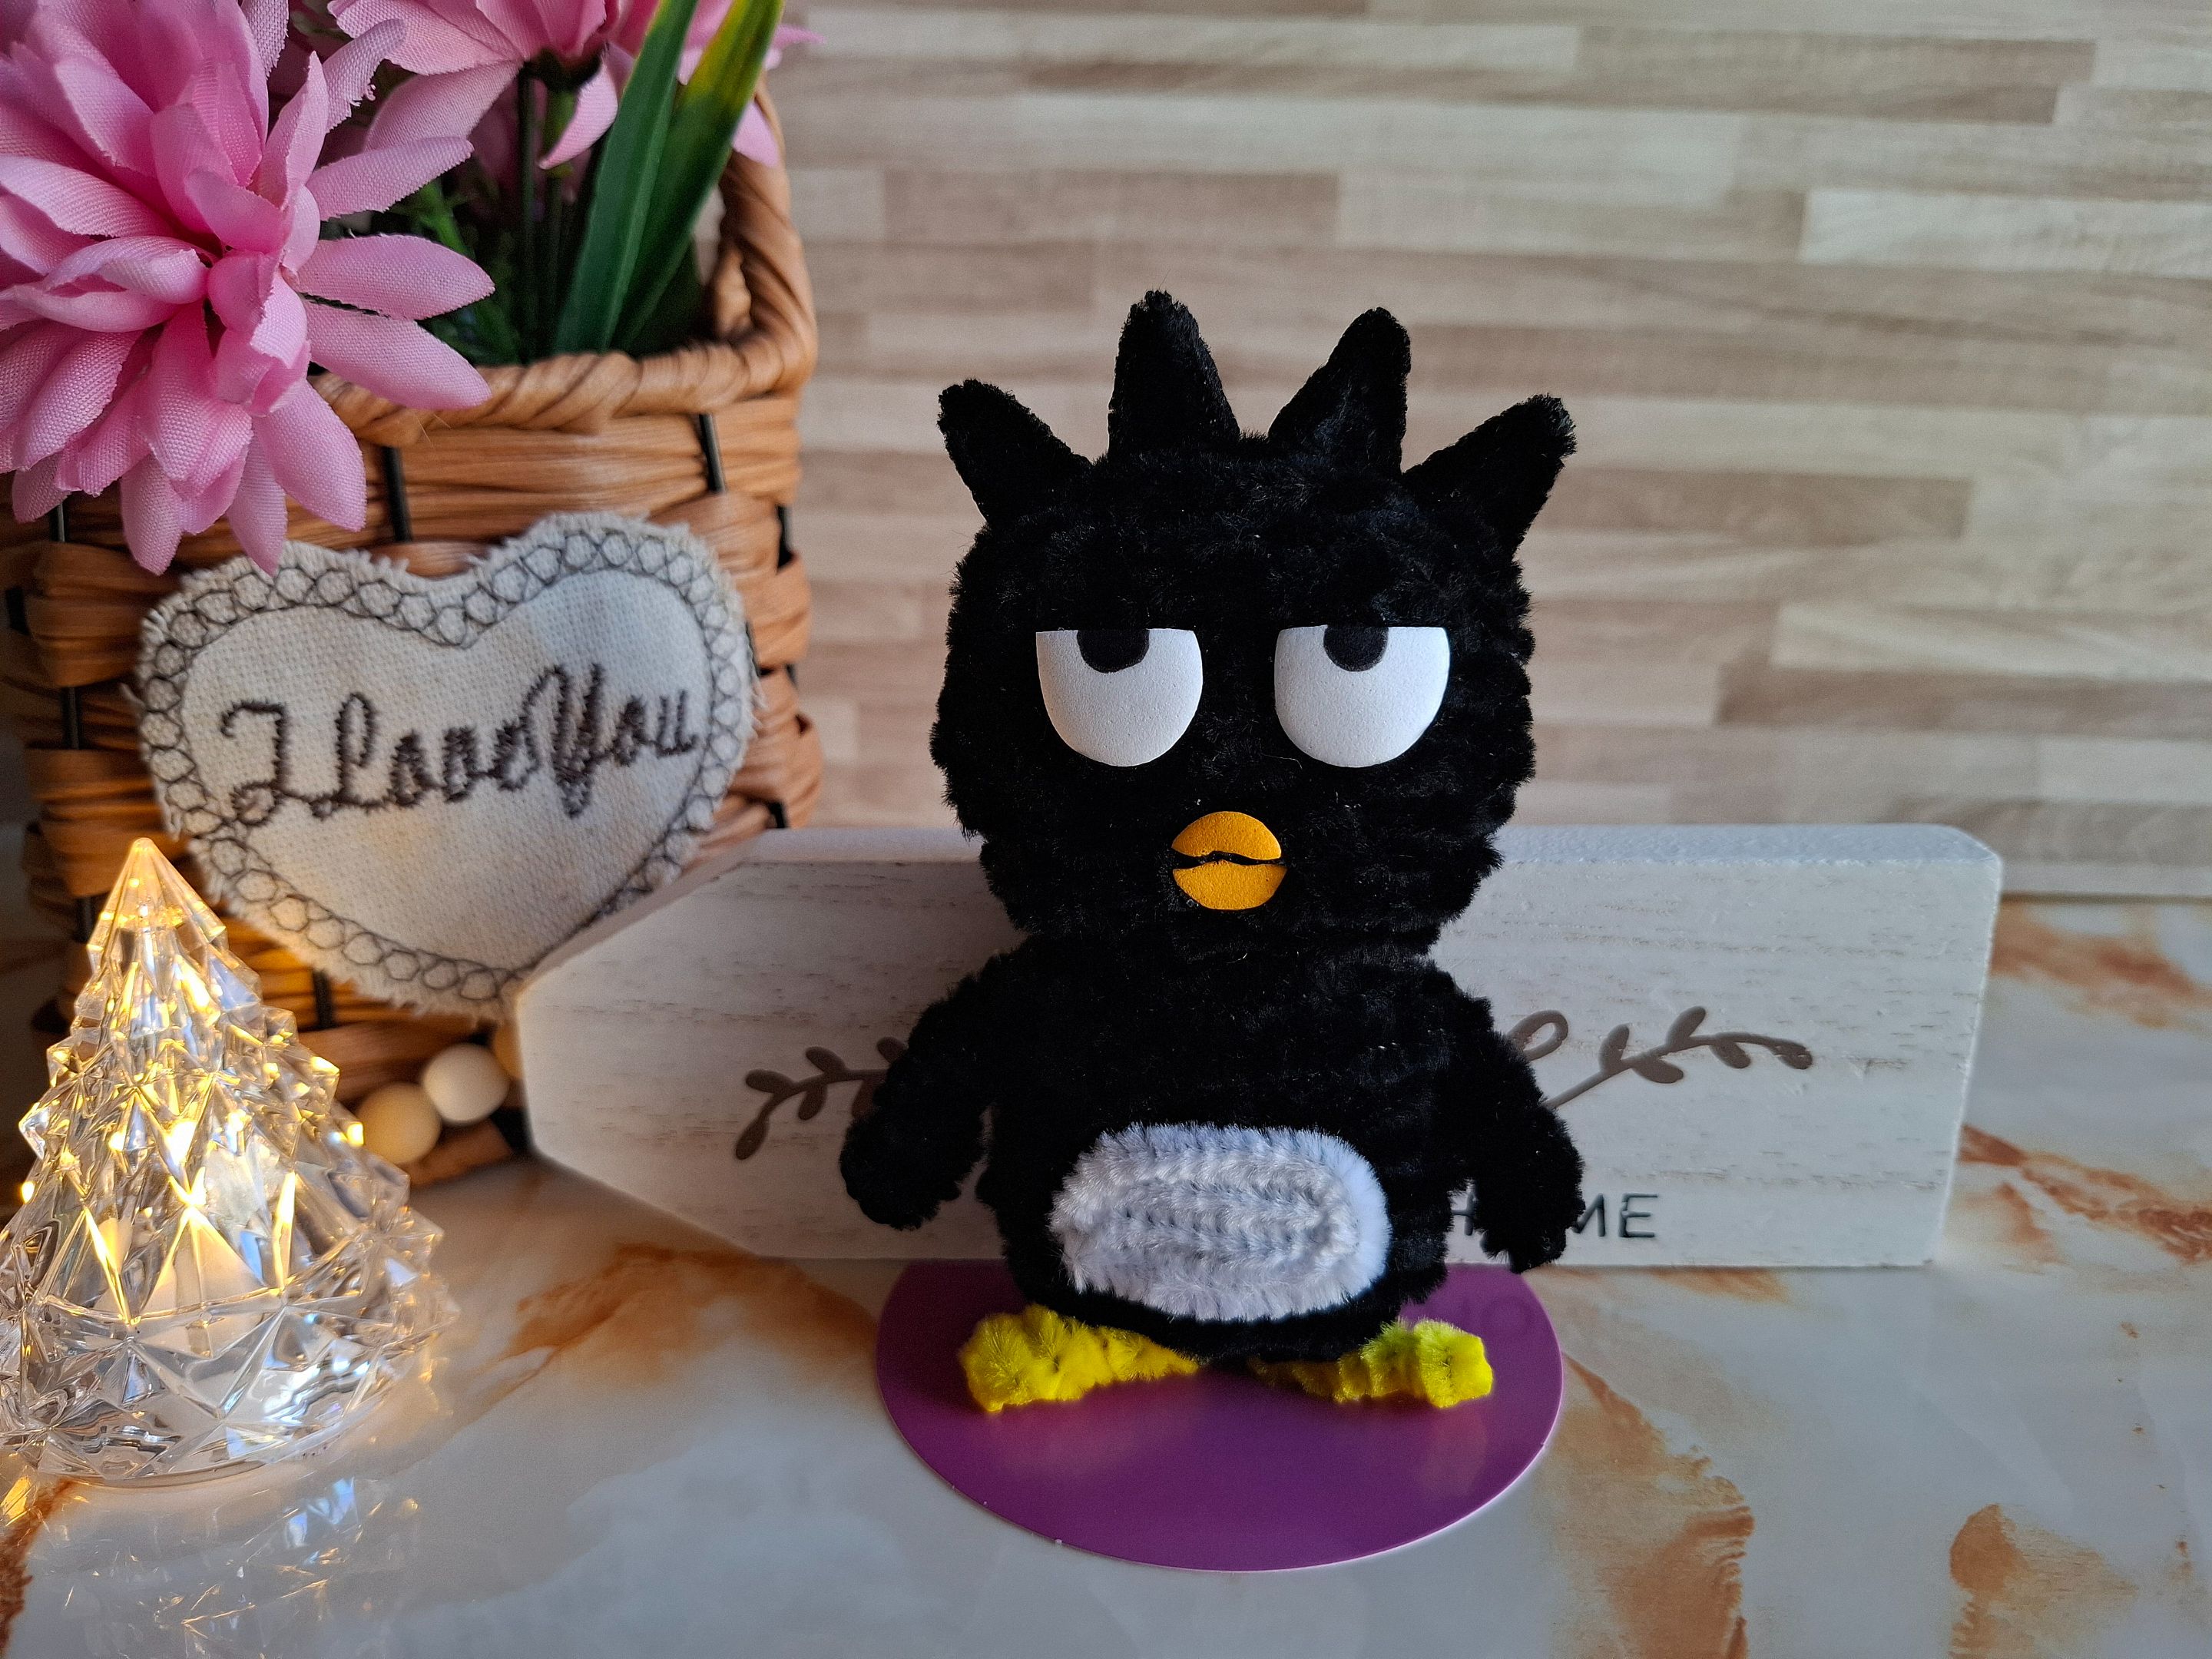
Más del resultado final:
More of the final result:

Contenido original. - original content.
Los separadores y banner fueron realizados en Canva. - The dividers and banner were made in Canva.
Fotografías tomadas con mi Samsung A55. - Photographs taken with my Samsung A55.
Gif creado desde Giphy / Gif created from Giphy
Traducción de: Google traductor - Translation of: Google translator.
Posted Using INLEO