Felíz martes amigos artesanos de Hive Diy, bendecido día para todos, que esta semana sea de cosas buenas para todos nosotros, me encuentro en casa preparándome para trabajar mañana luego de pasar un fin de semana maravilloso dónde por fin pude relajarme y disfrutar, ahora a cumplir con las responsabilidades, aunque sigo pensando en volver a repetir jaja.
Happy Tuesday, my crafting friends at Hive Diy! Have a blessed day, may this week be filled with good things for all of us. I'm at home getting ready for work tomorrow after a wonderful weekend where I was finally able to relax and enjoy myself. Now it's time to fulfill my responsibilities, although I'm still thinking about doing it again, haha.

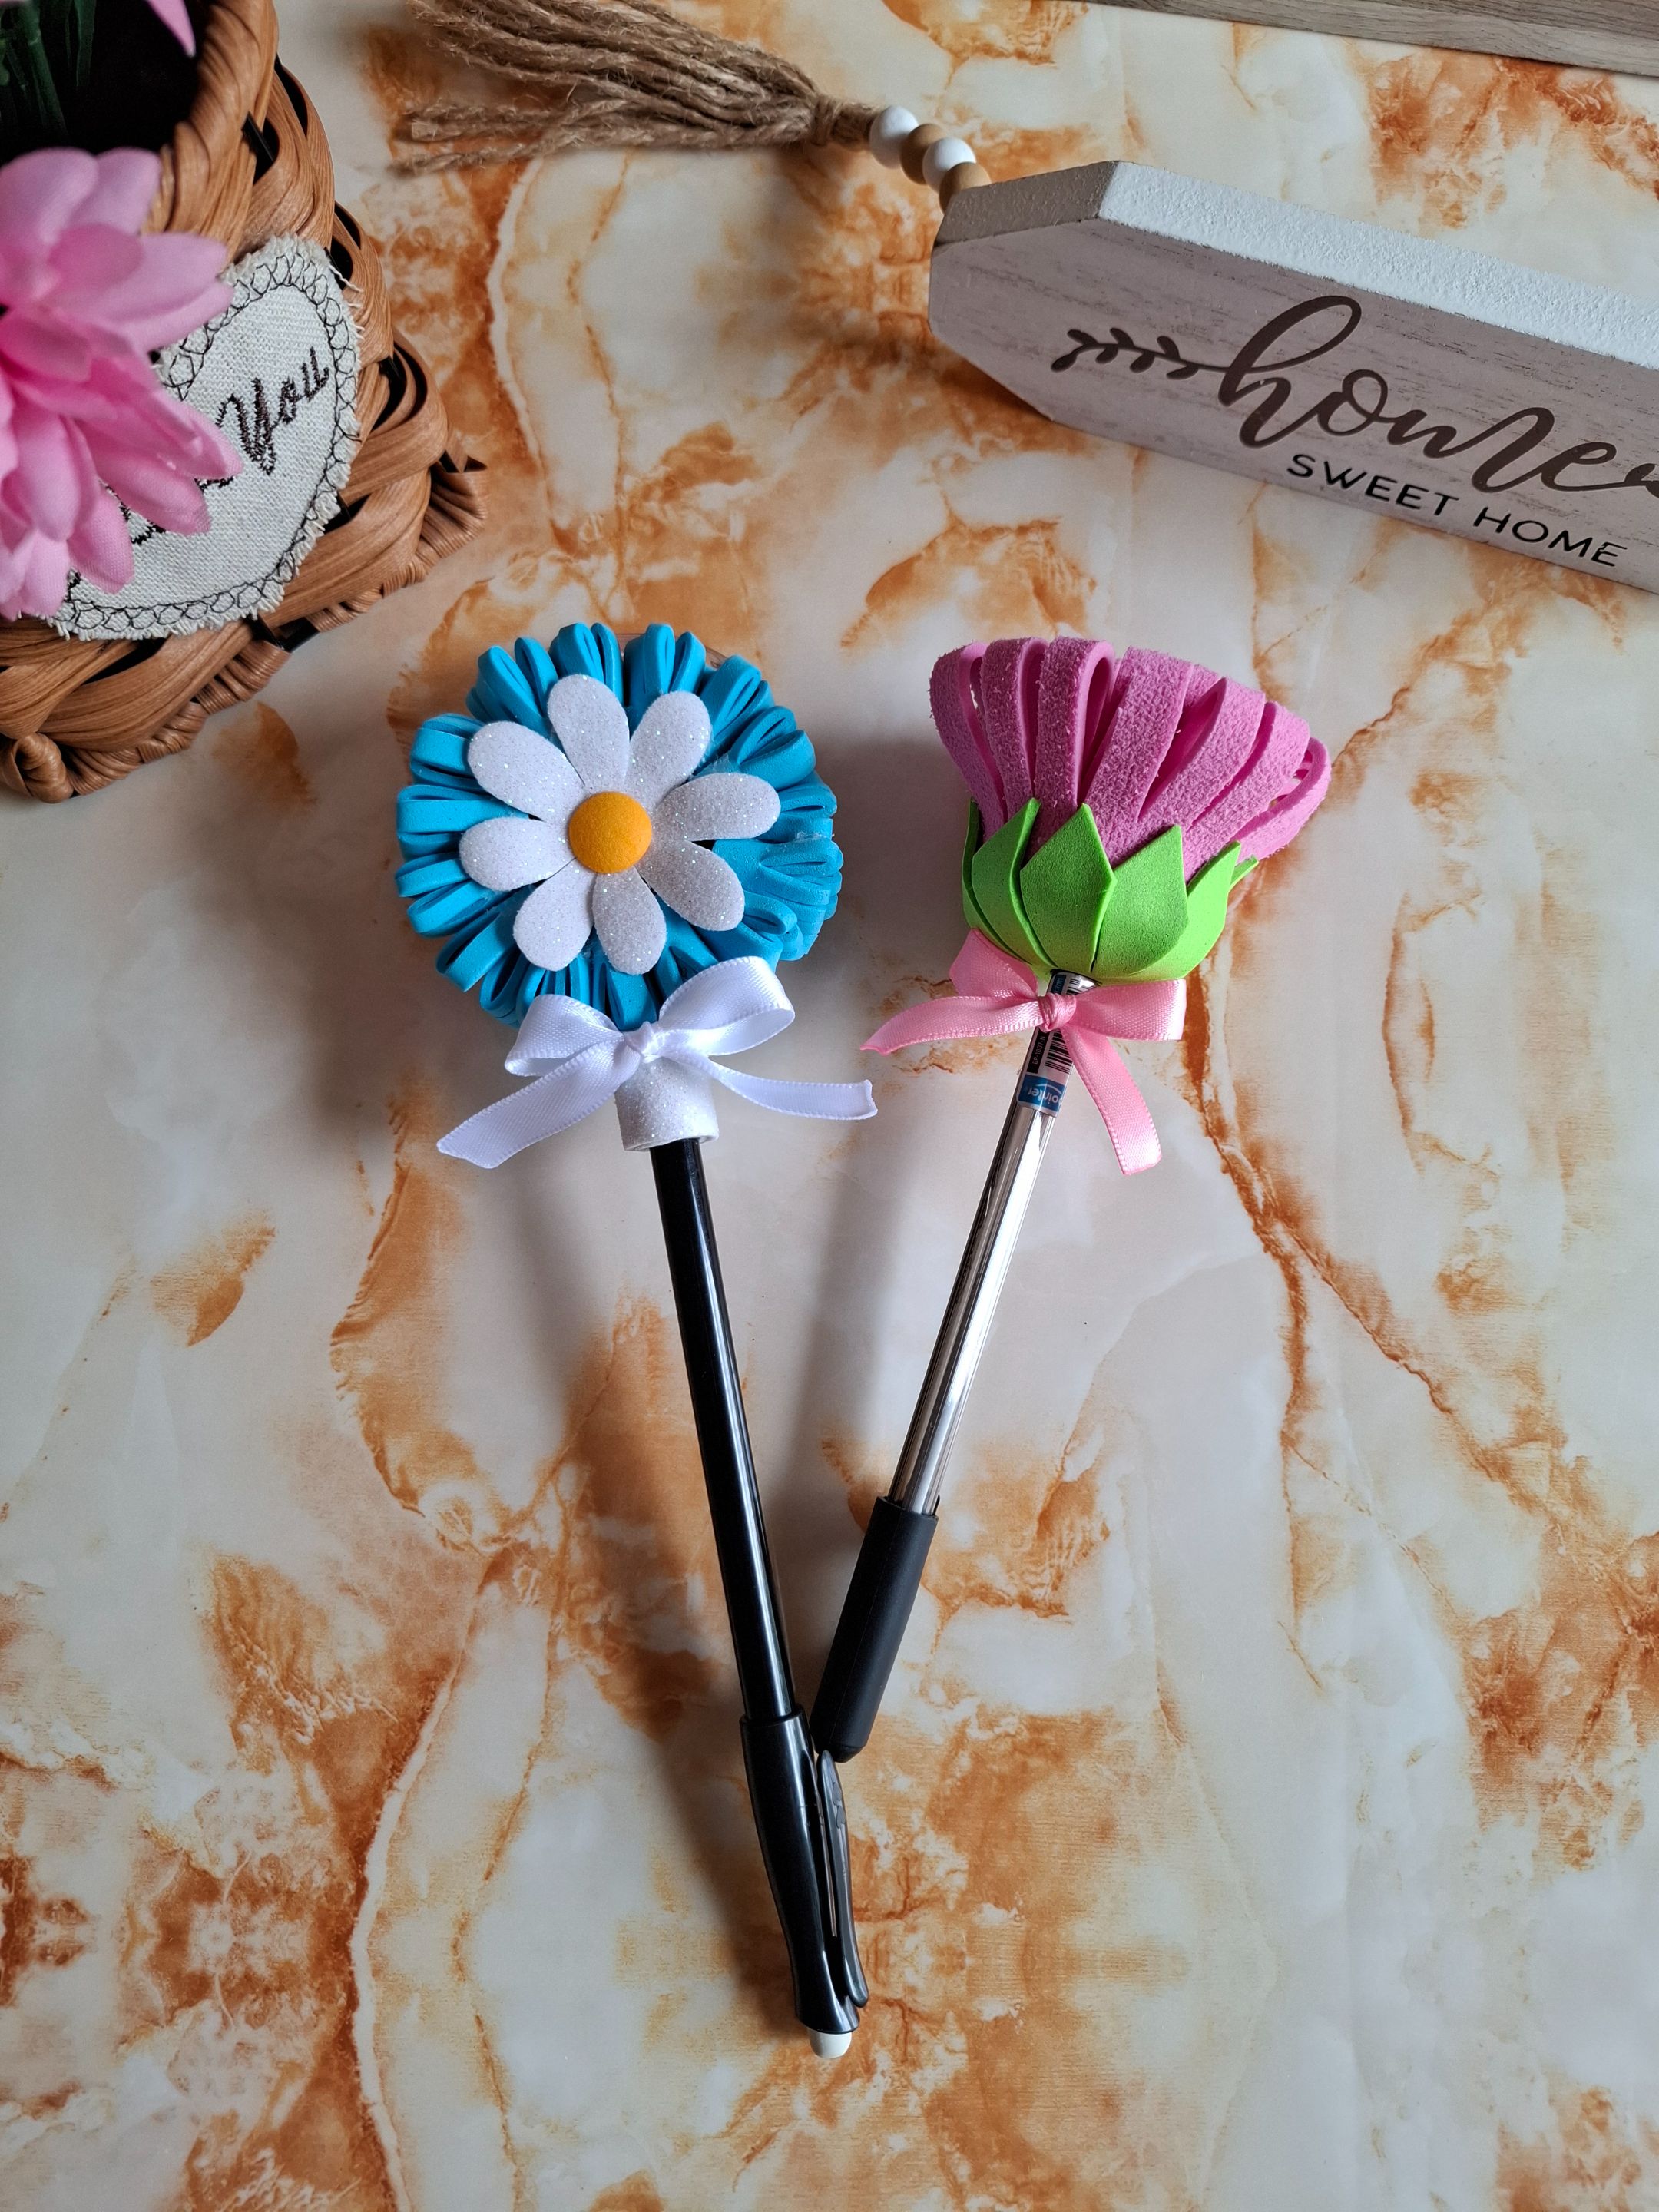
Por otra parte les quiero compartir una linda decoración de bolígrafos en foami que ví en Pinterest, hay muchos modelos pero estos dos fueron los que más me gustaron, uno de estos bolígrafos lo usaré para clases el otro lo voy a obsequiar, es muy fácil de realizar y le da ese toque coqueto y divertido a los bolígrafos.
On another note, I want to share a cute foam pen decoration that I saw on Pinterest. There are many designs, but these two were the ones I liked the most. I'll use one of these pens for classes and give the other as a gift. It's very easy to make and gives the pens a flirty, fun touch.
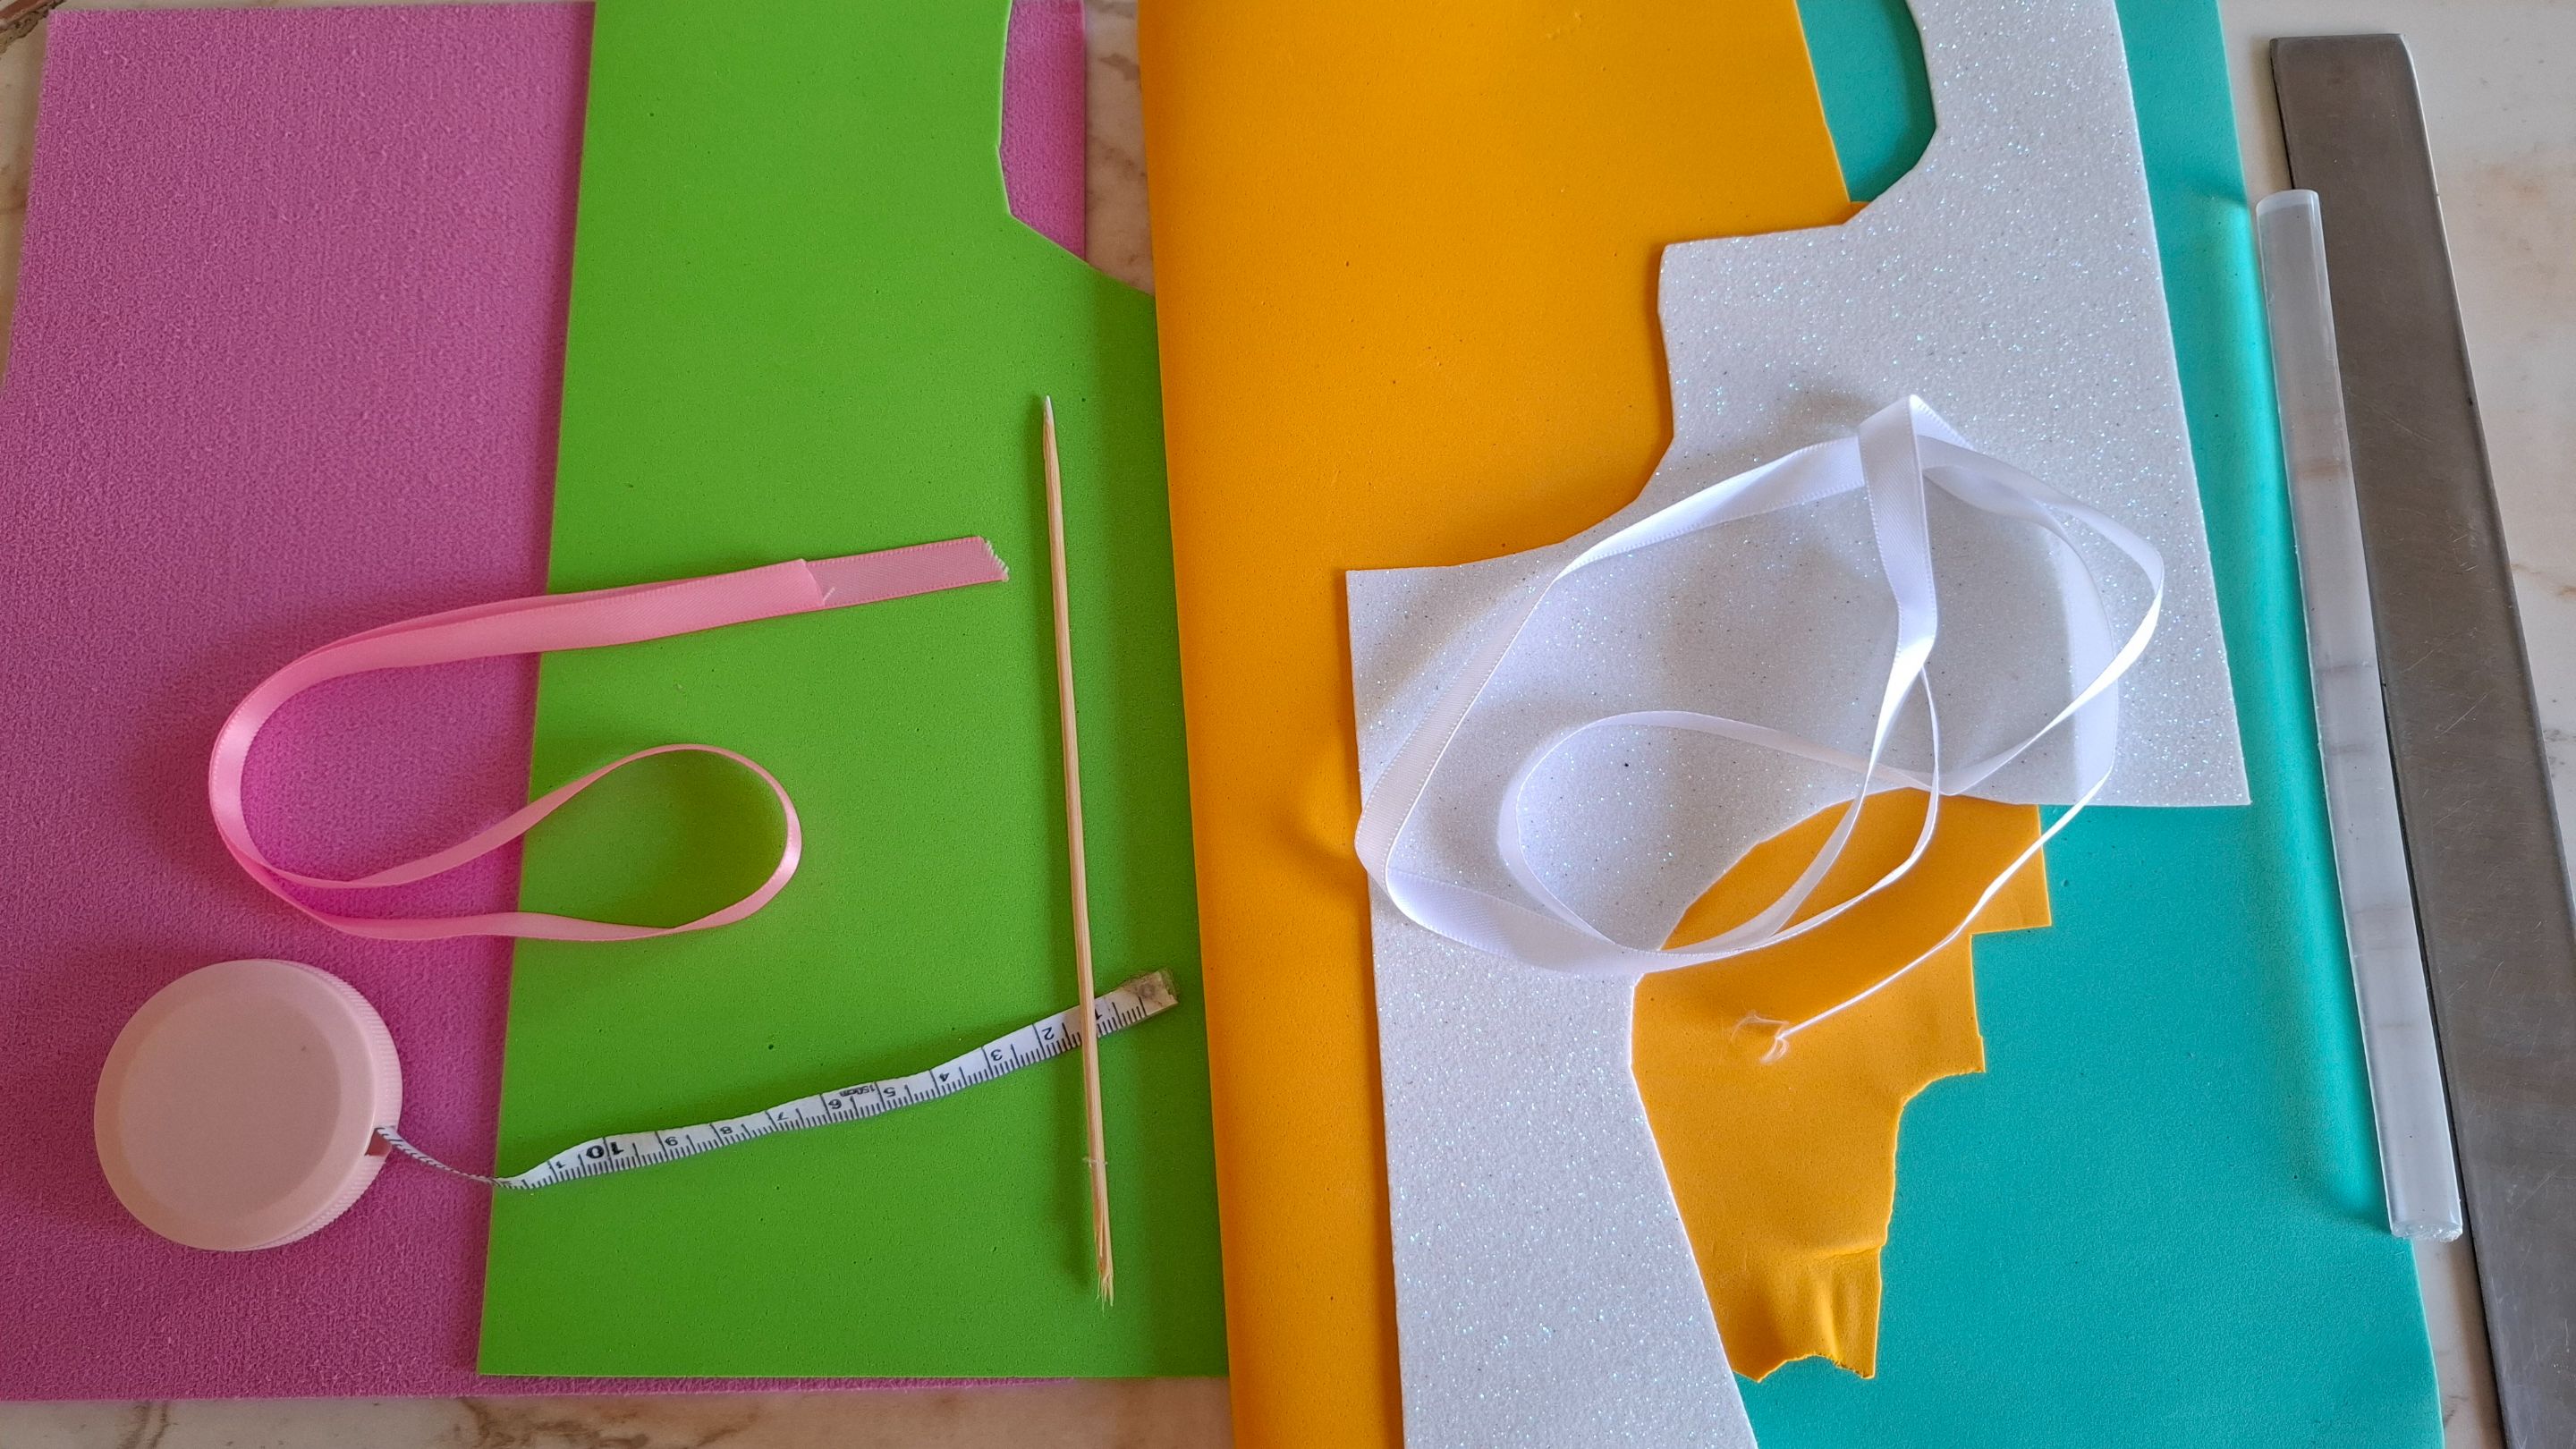
La verdad es que no necesitas demasiados materiales, solo escoger el color de foami de tu preferencia, utilicé azúl para la primera decoración Flor 1 y color rosa para la Flor 2 verás que es súper facil y puedes elaborar esta decoración para regalar. También puedes agregar otro detalle como lazos, o cubrir el bolígrafo con foami, a continuación los materiales y paso a paso.
The truth is that you don't need too many materials, just choose the color of foam of your preference, I used blue for the first decoration Flower 1 and pink for Flower 2 you will see that it is super It's easy, and you can make this decoration as a gift. You can also add another detail like bows or cover the pen with foam. Below are the materials and step-by-step instructions.

| Materiales | Materials |
|---|---|
| Foami rosa, blanco | Pink and white foami |
| Foami azul, amarillo | Foami blue, yellow |
| Foami verde | Green foam |
| Tijera, silicón | Scissors, silicone |
| Cinta blanca y rosa | White and pink ribbon |
| Cinta métrica, palillo | Tape measure, toothpick |
Paso a paso / Step by step
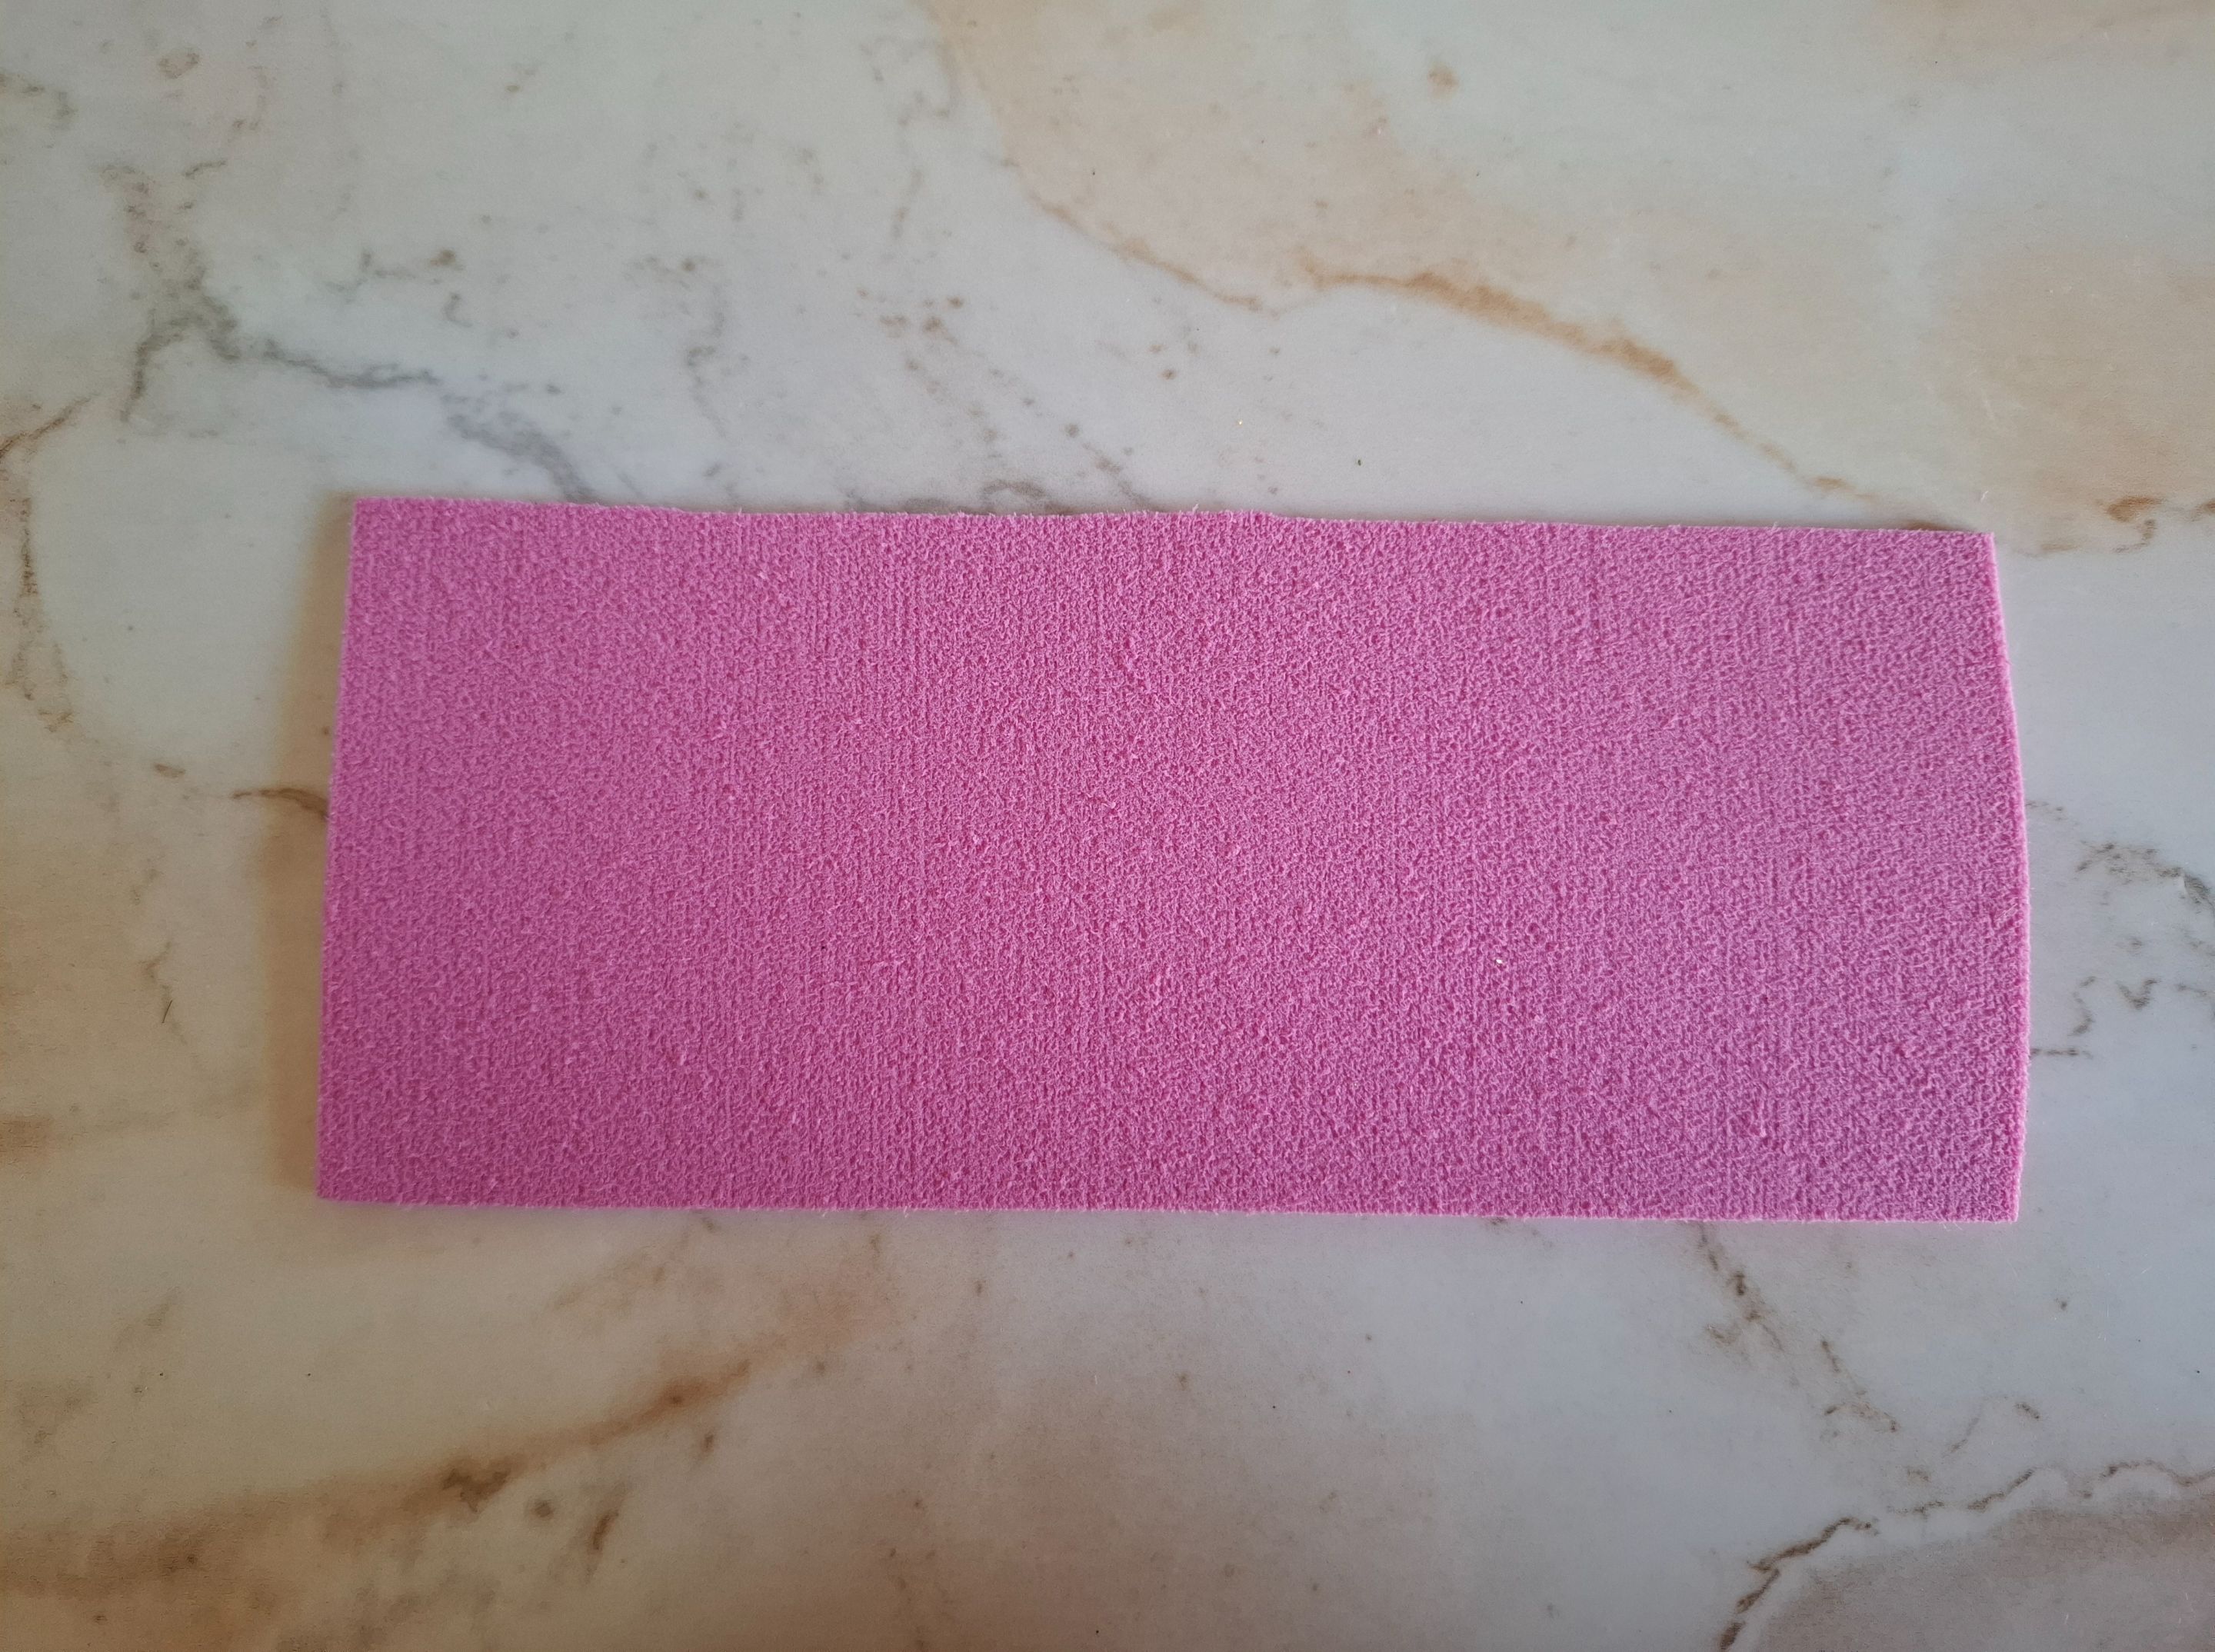
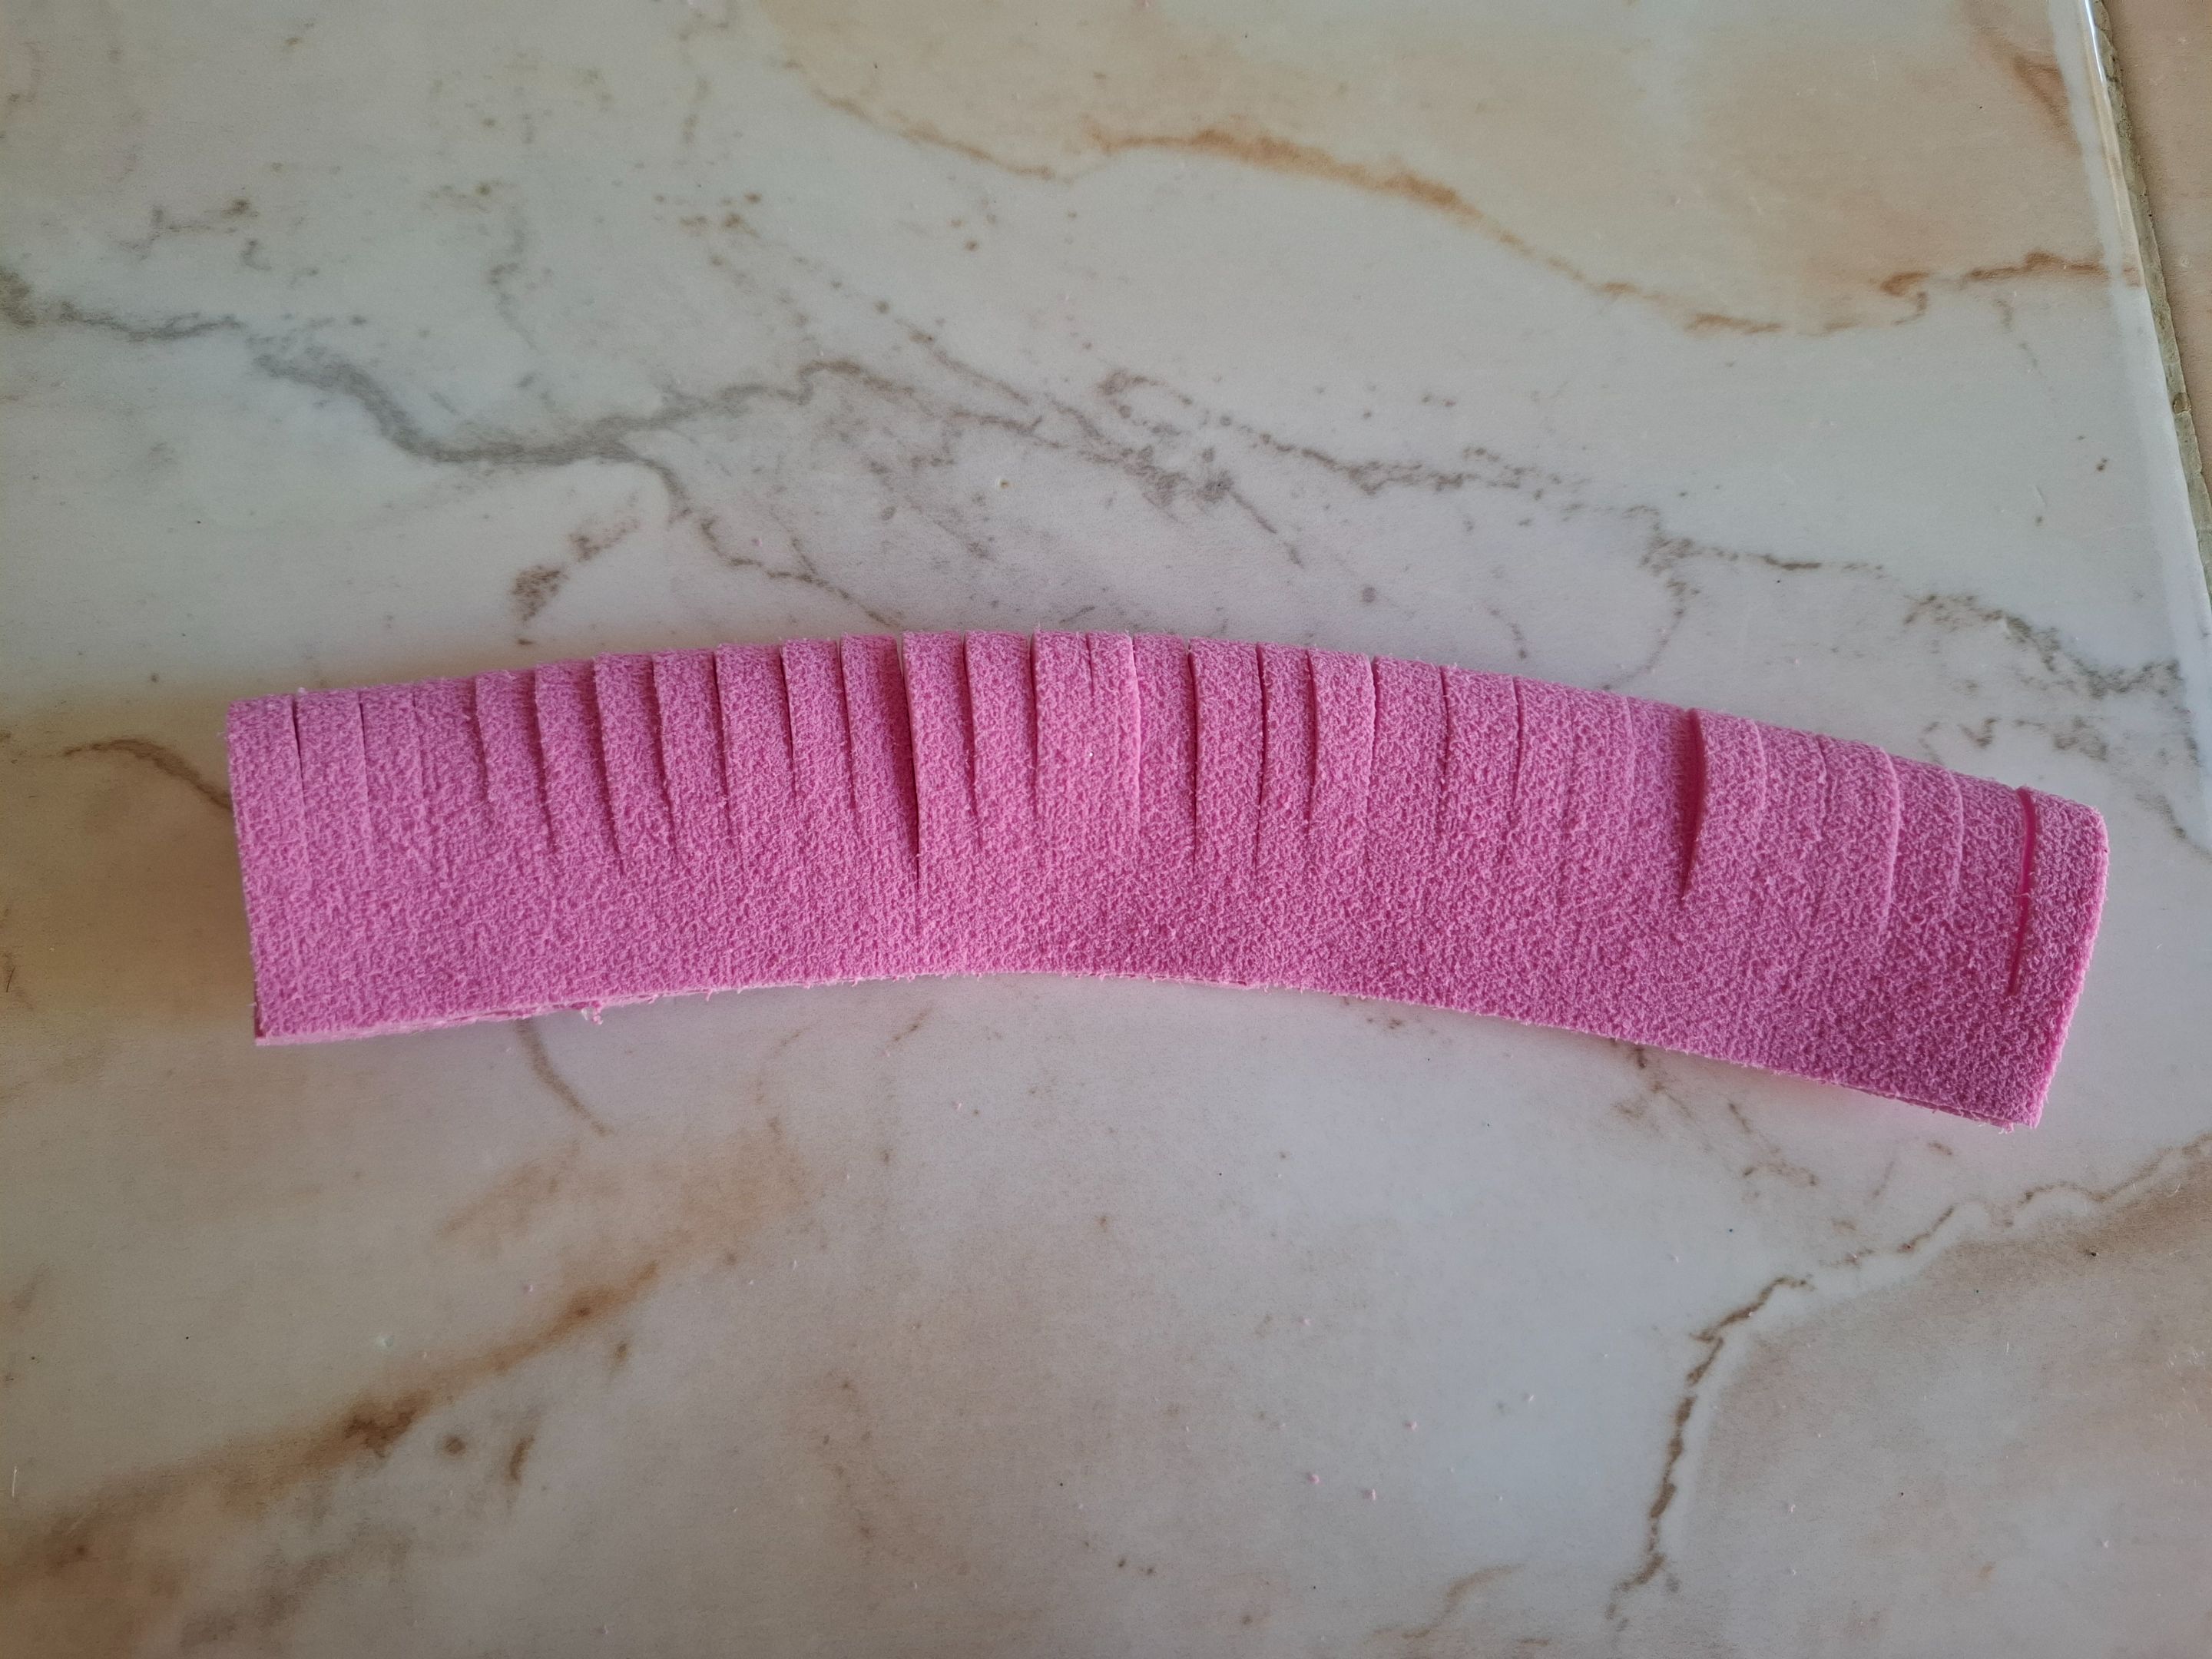
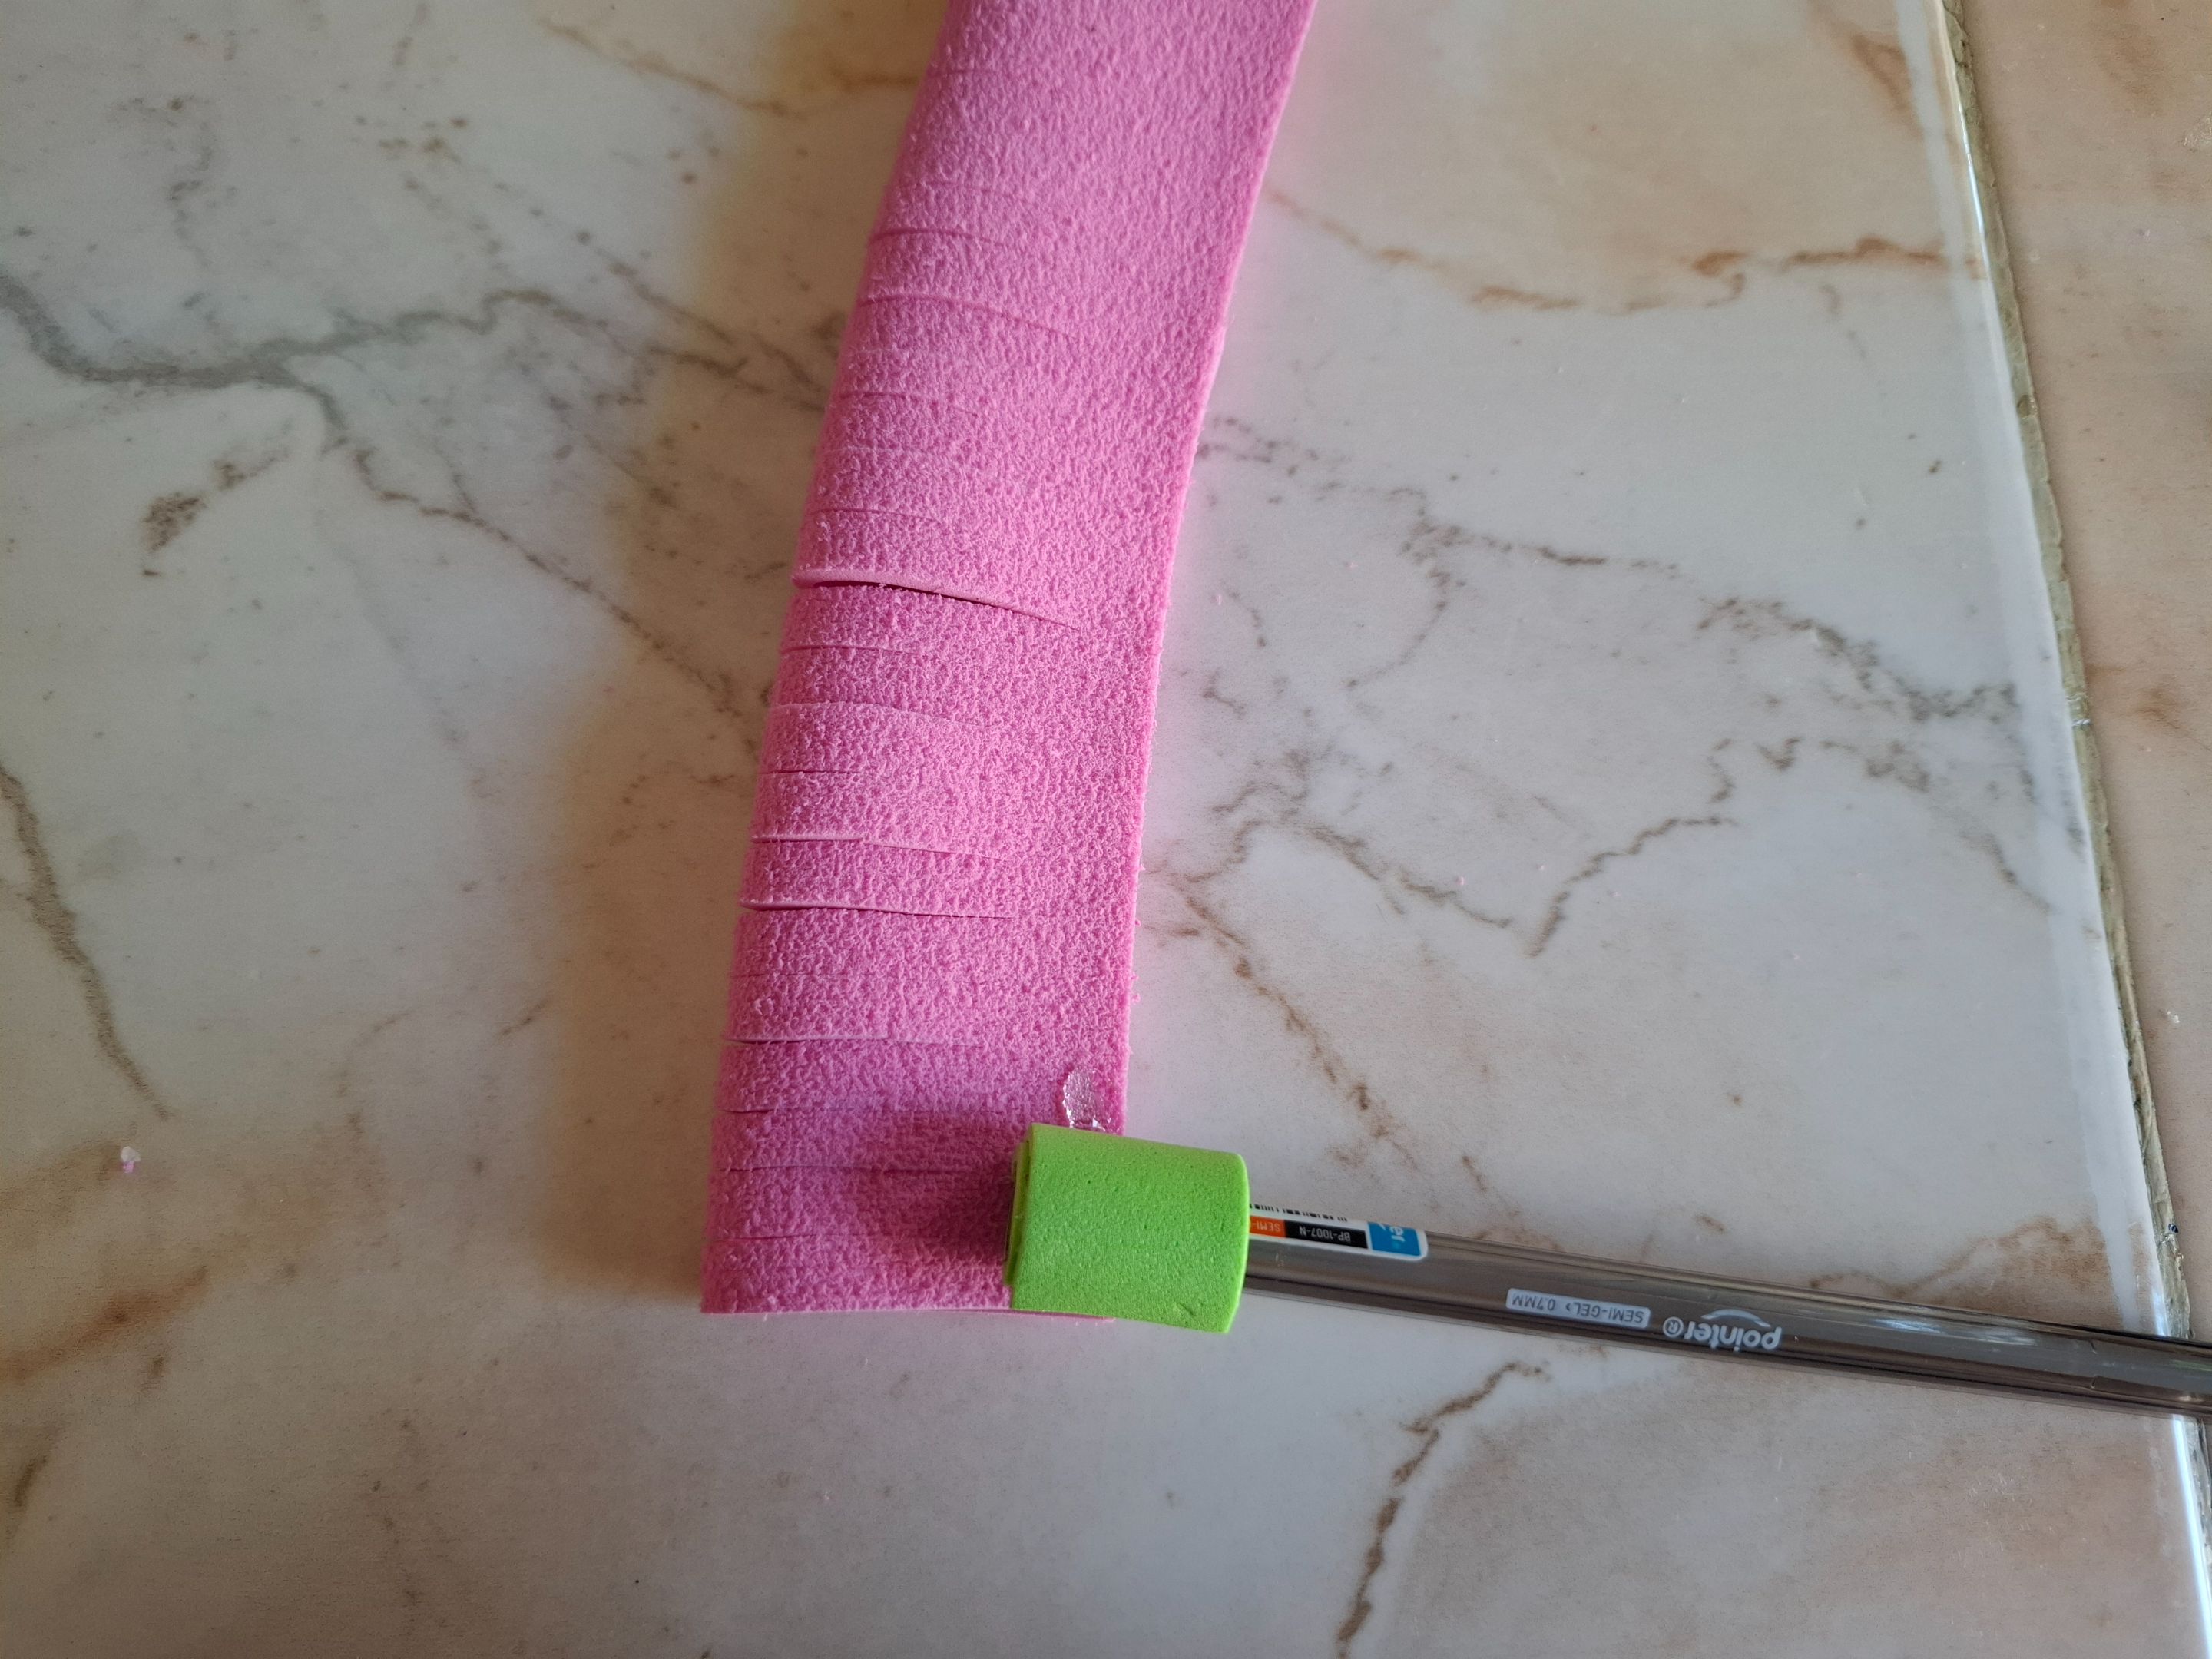
El primer paso para la flor color rosa será cortar el foami con una medida de 19 x 8 cm, utilicé foami texturizado.
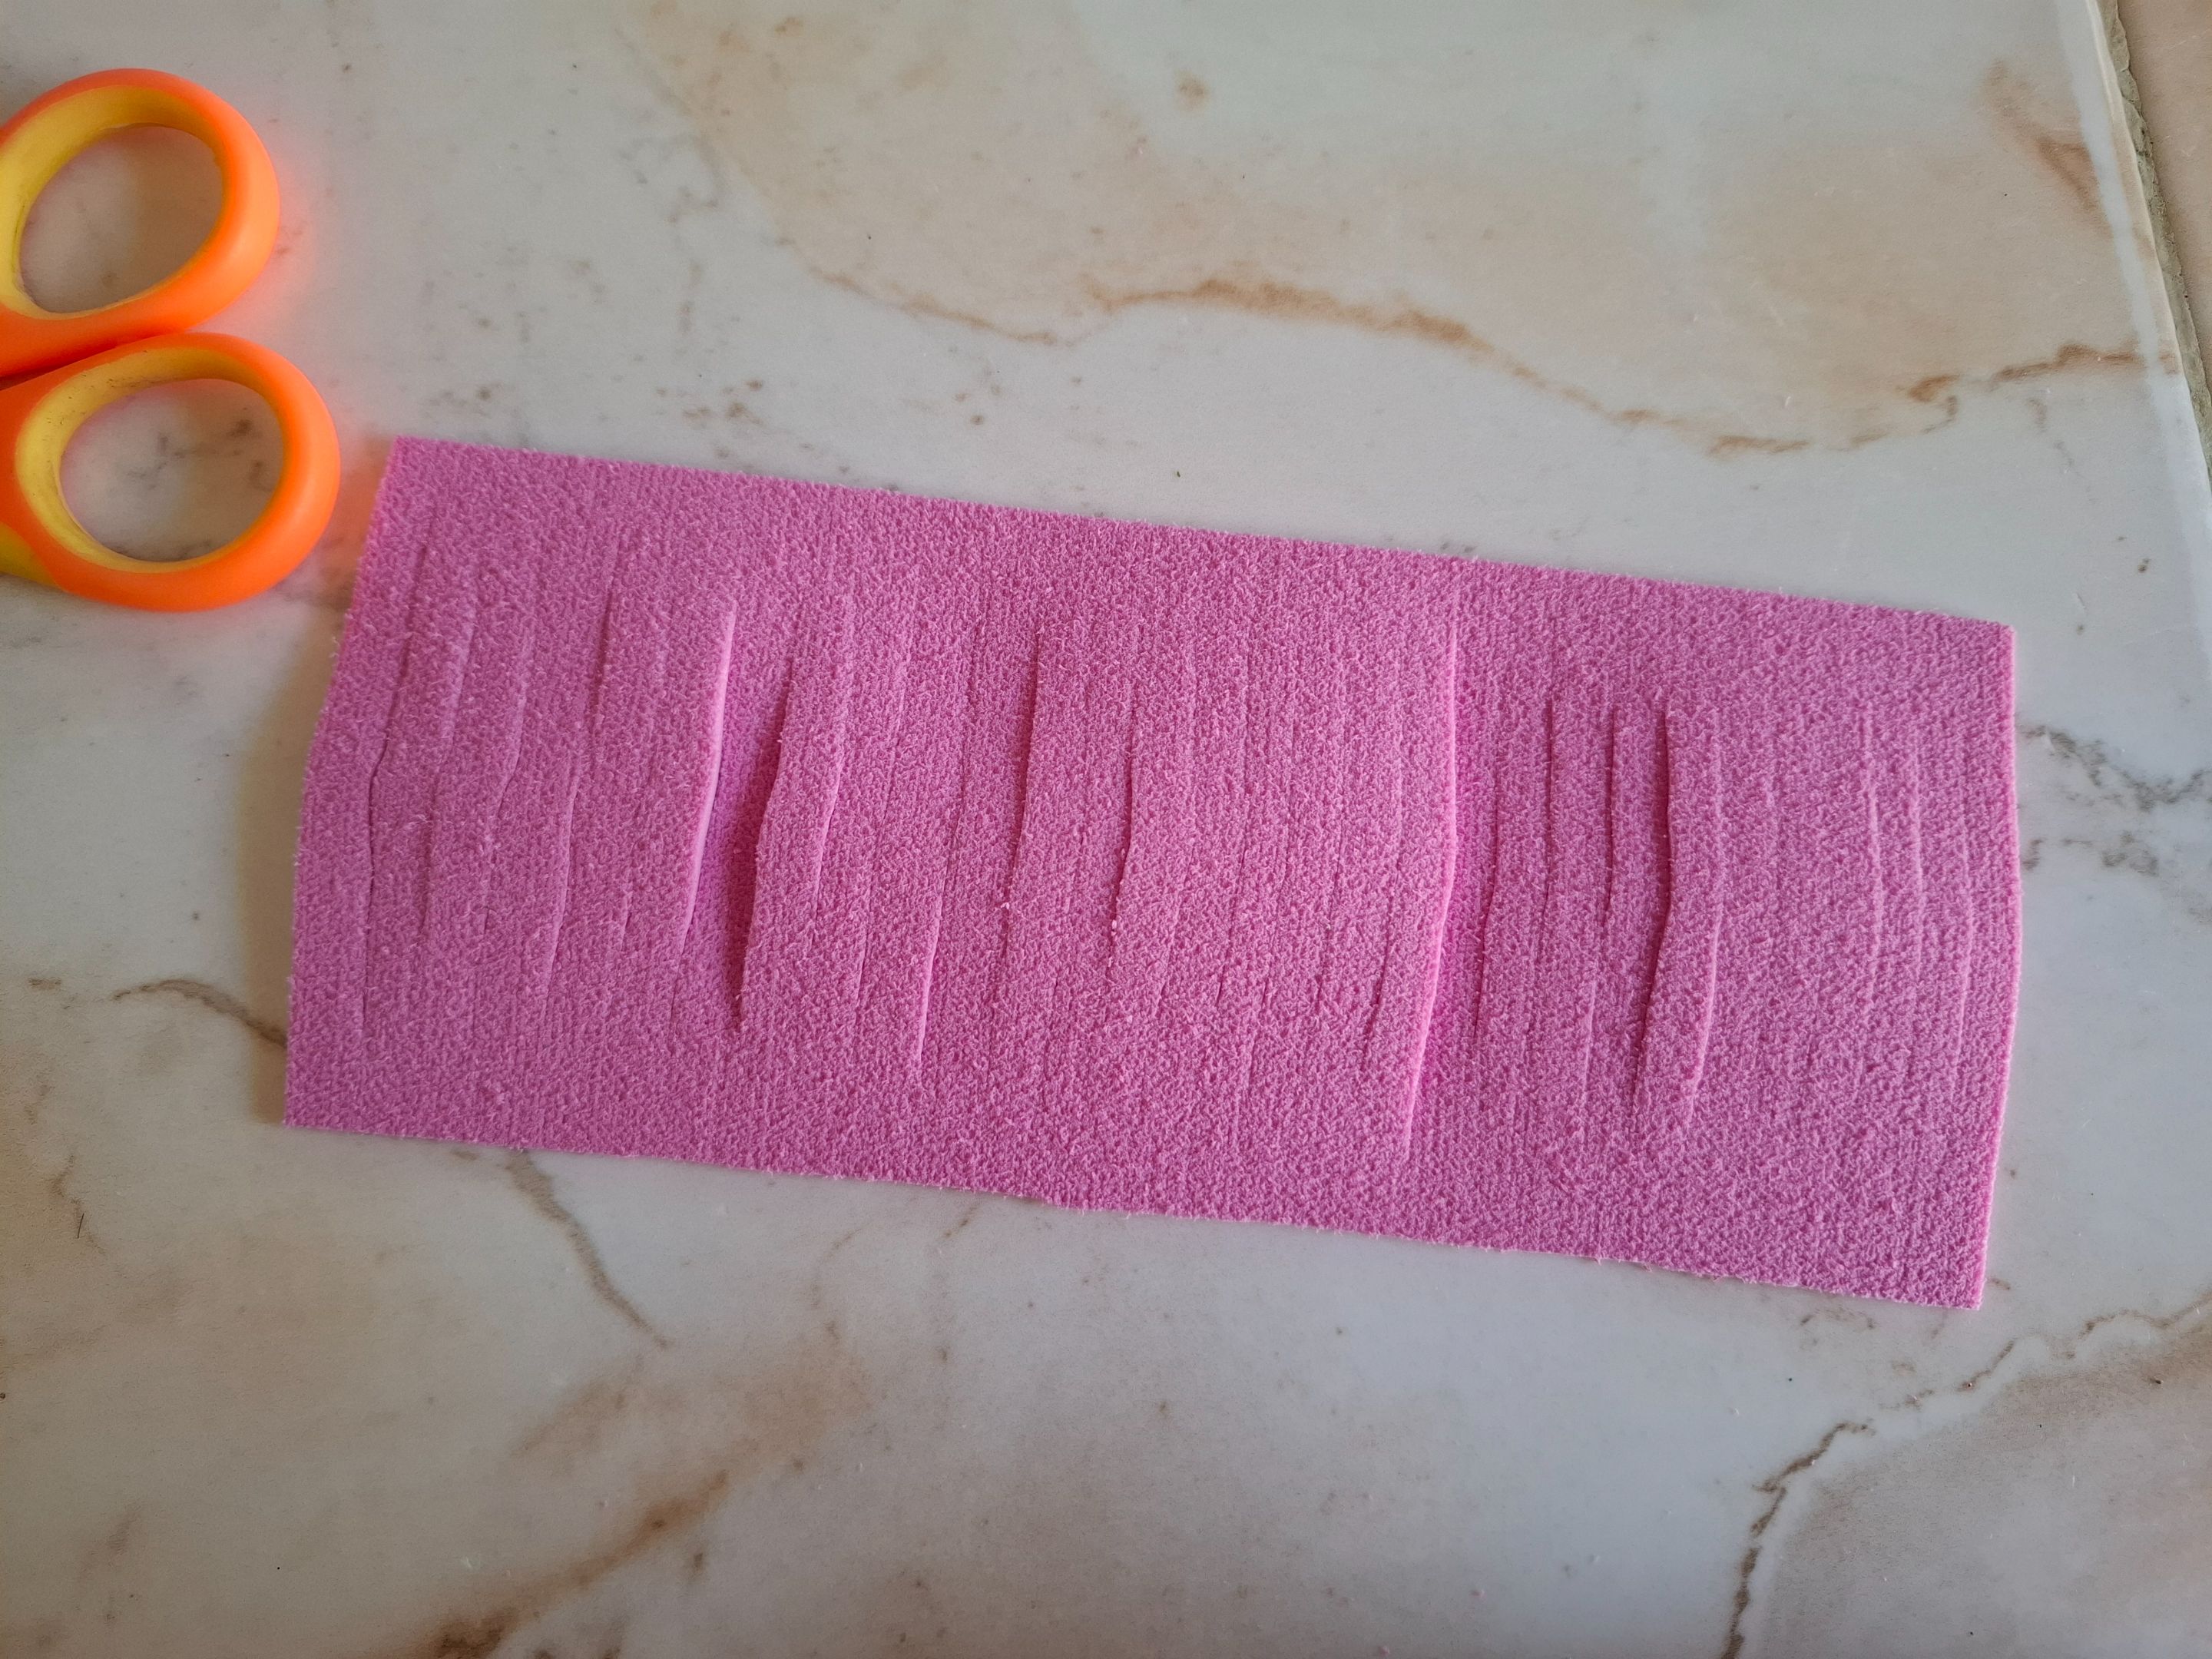
Voy a cortar y doblar en la mitad, comenzando desde el inicio voy a realizar pequeños cortes en el centro con la tijera, dejando un pequeño espacio en el borde, ahora pegamos el borde con silicón.
The first step for the pink flower is to cut the foam to 19 x 8 cm. I used textured foam.
I'll cut and fold it in half. Starting from the beginning, I'll make small cuts in the center with scissors, leaving a small space at the edge. Now, I'll glue the edge with silicone.
 |
 |
 |
|---|---|---|
 |
 |
|---|---|
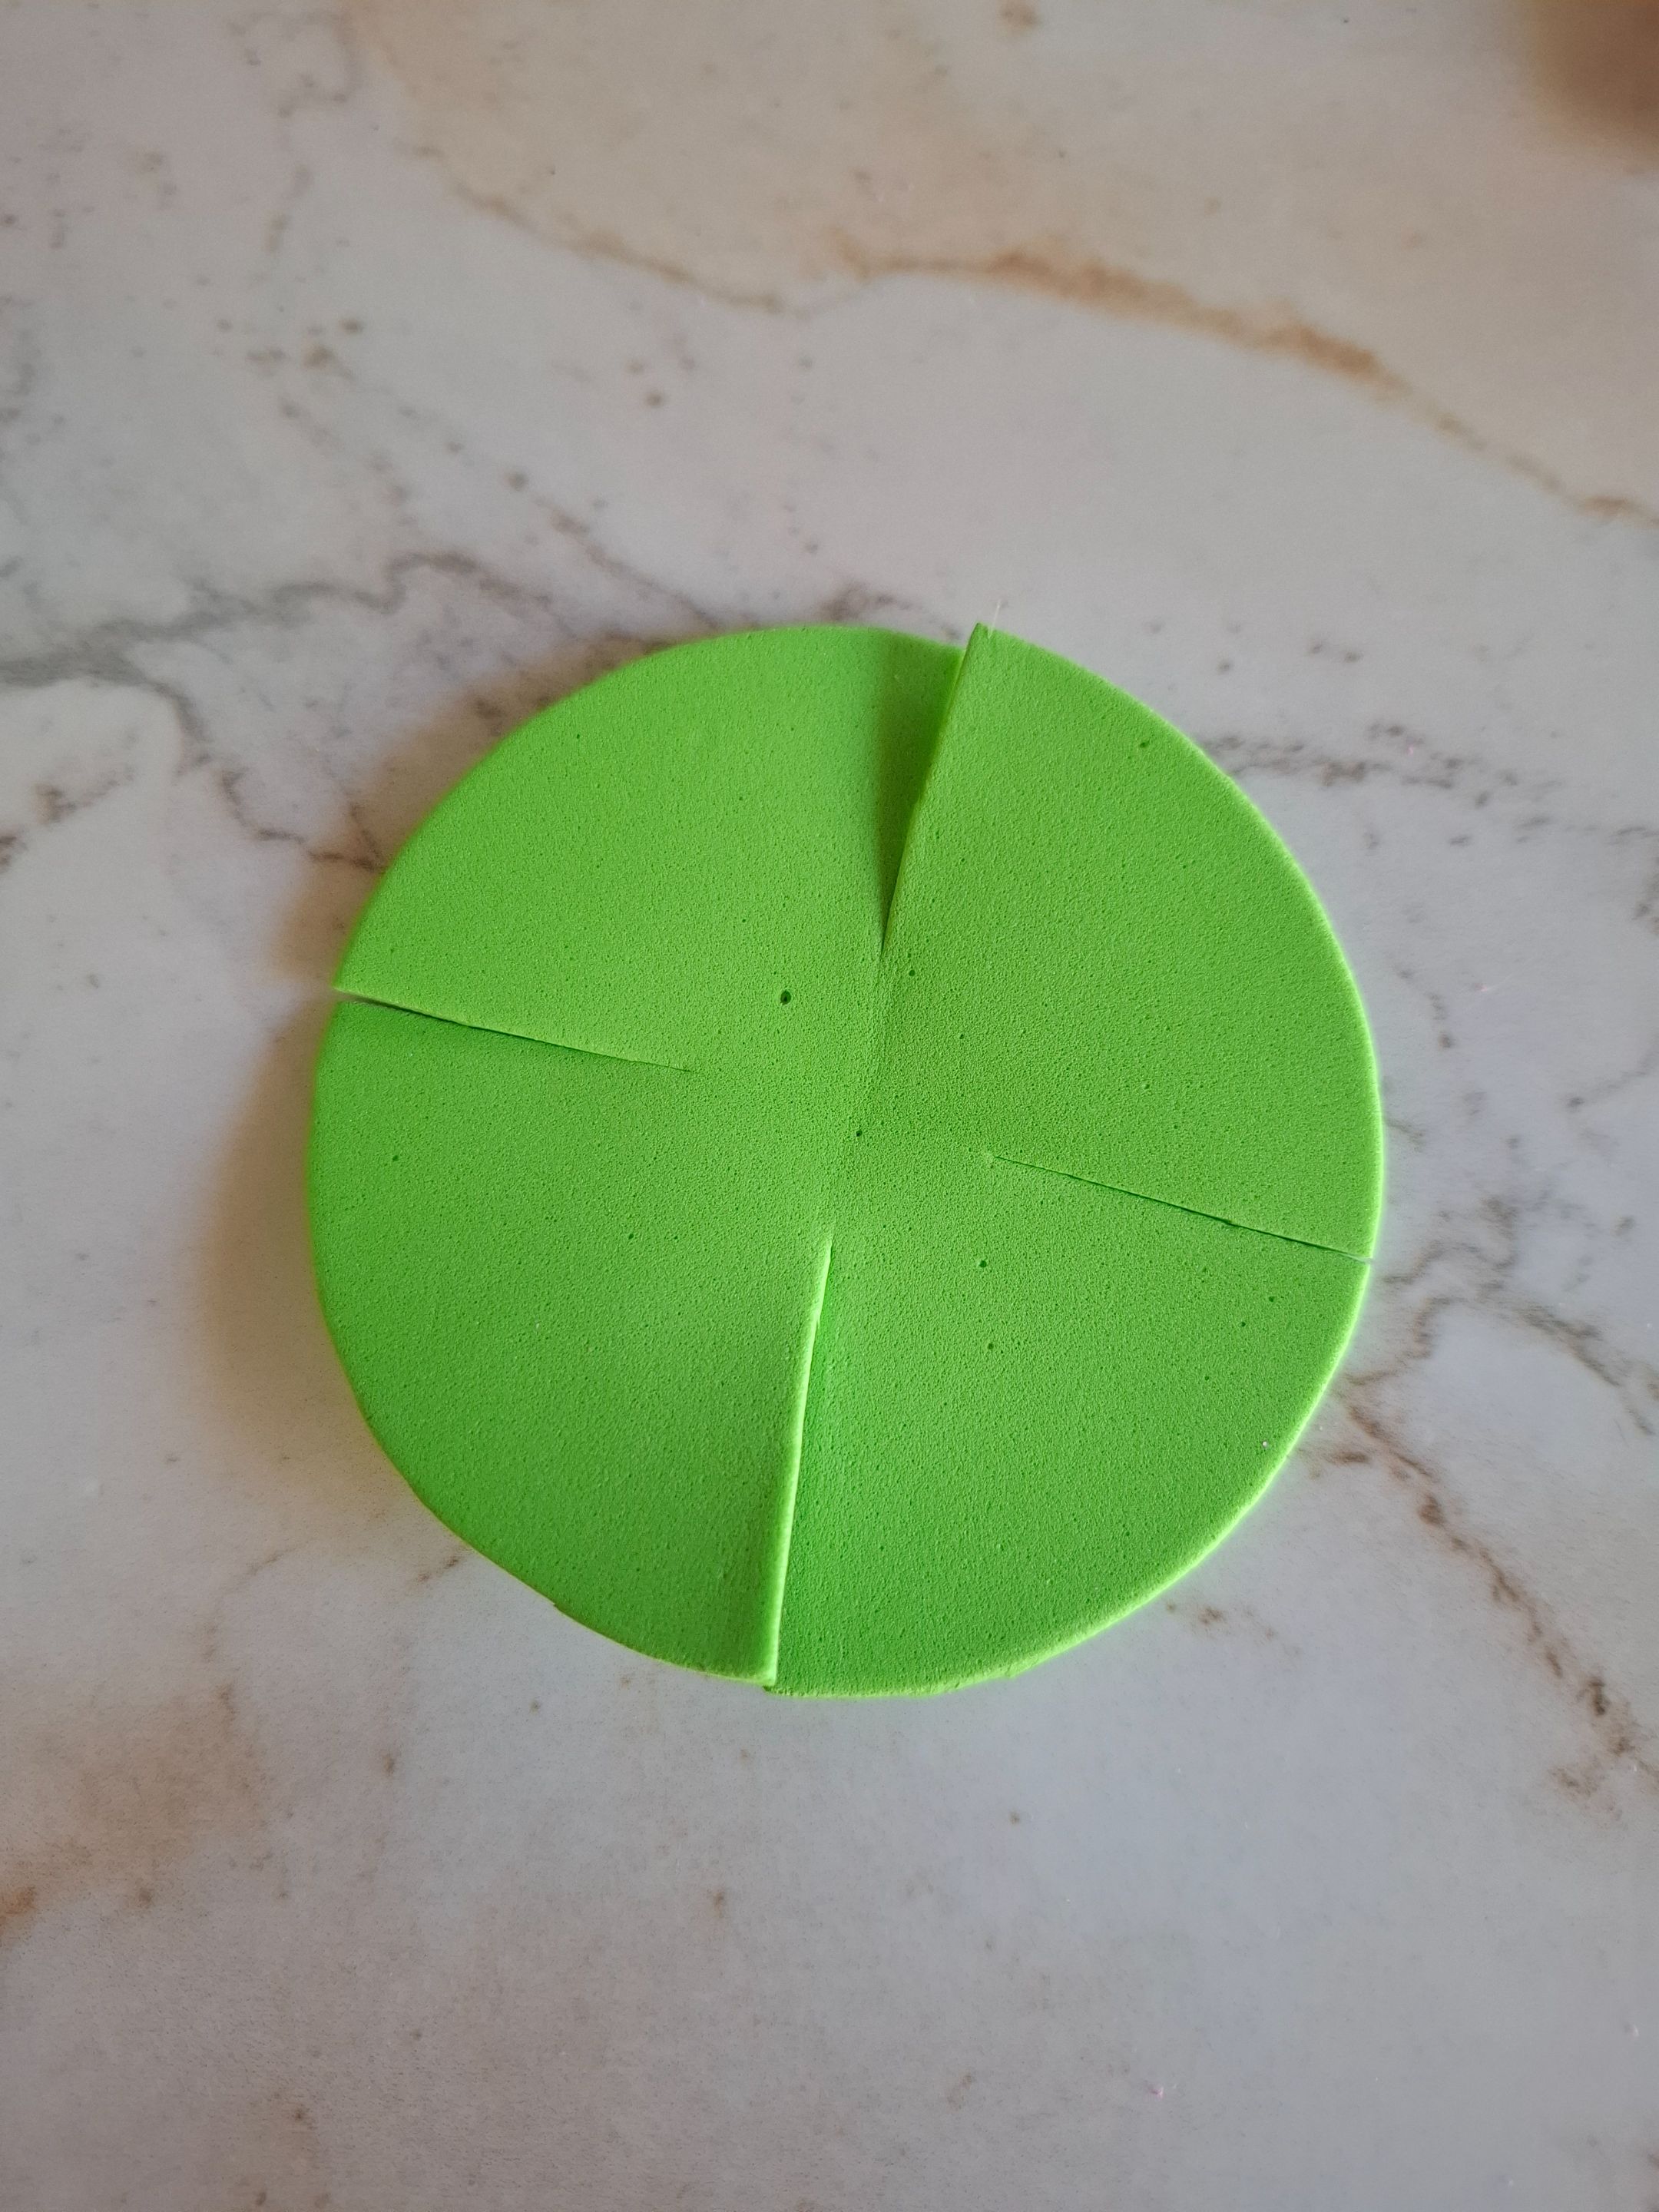
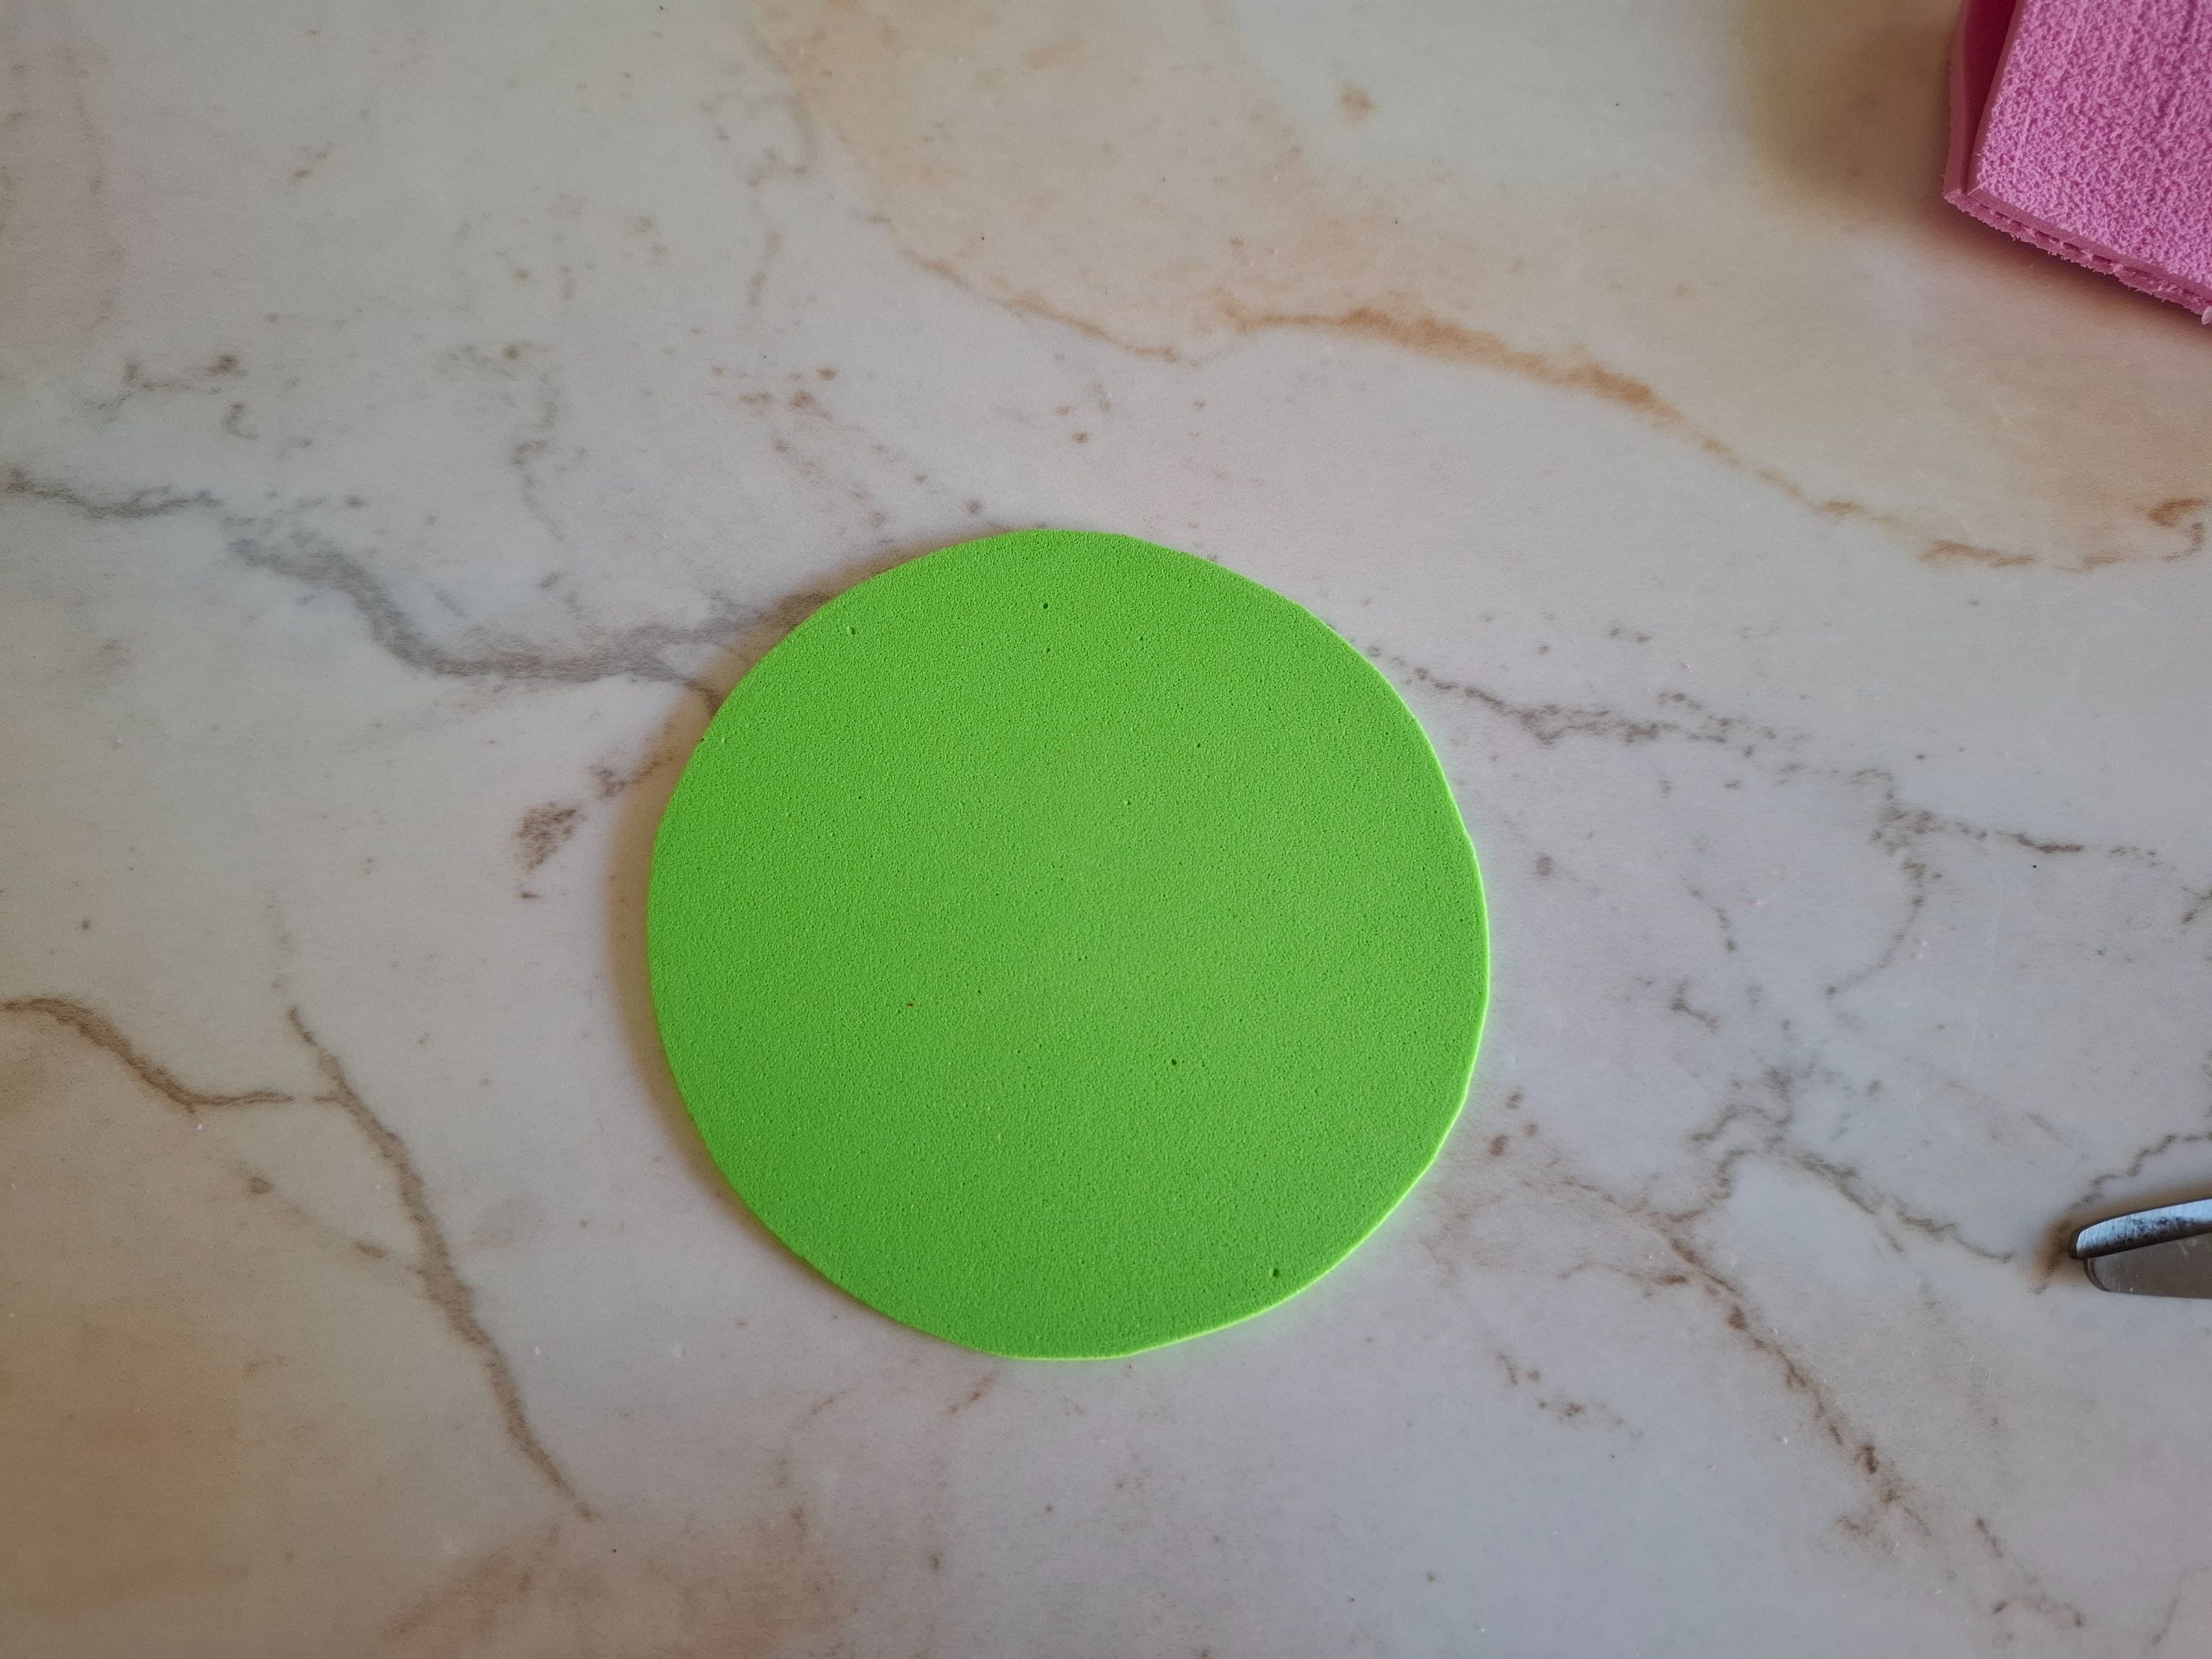
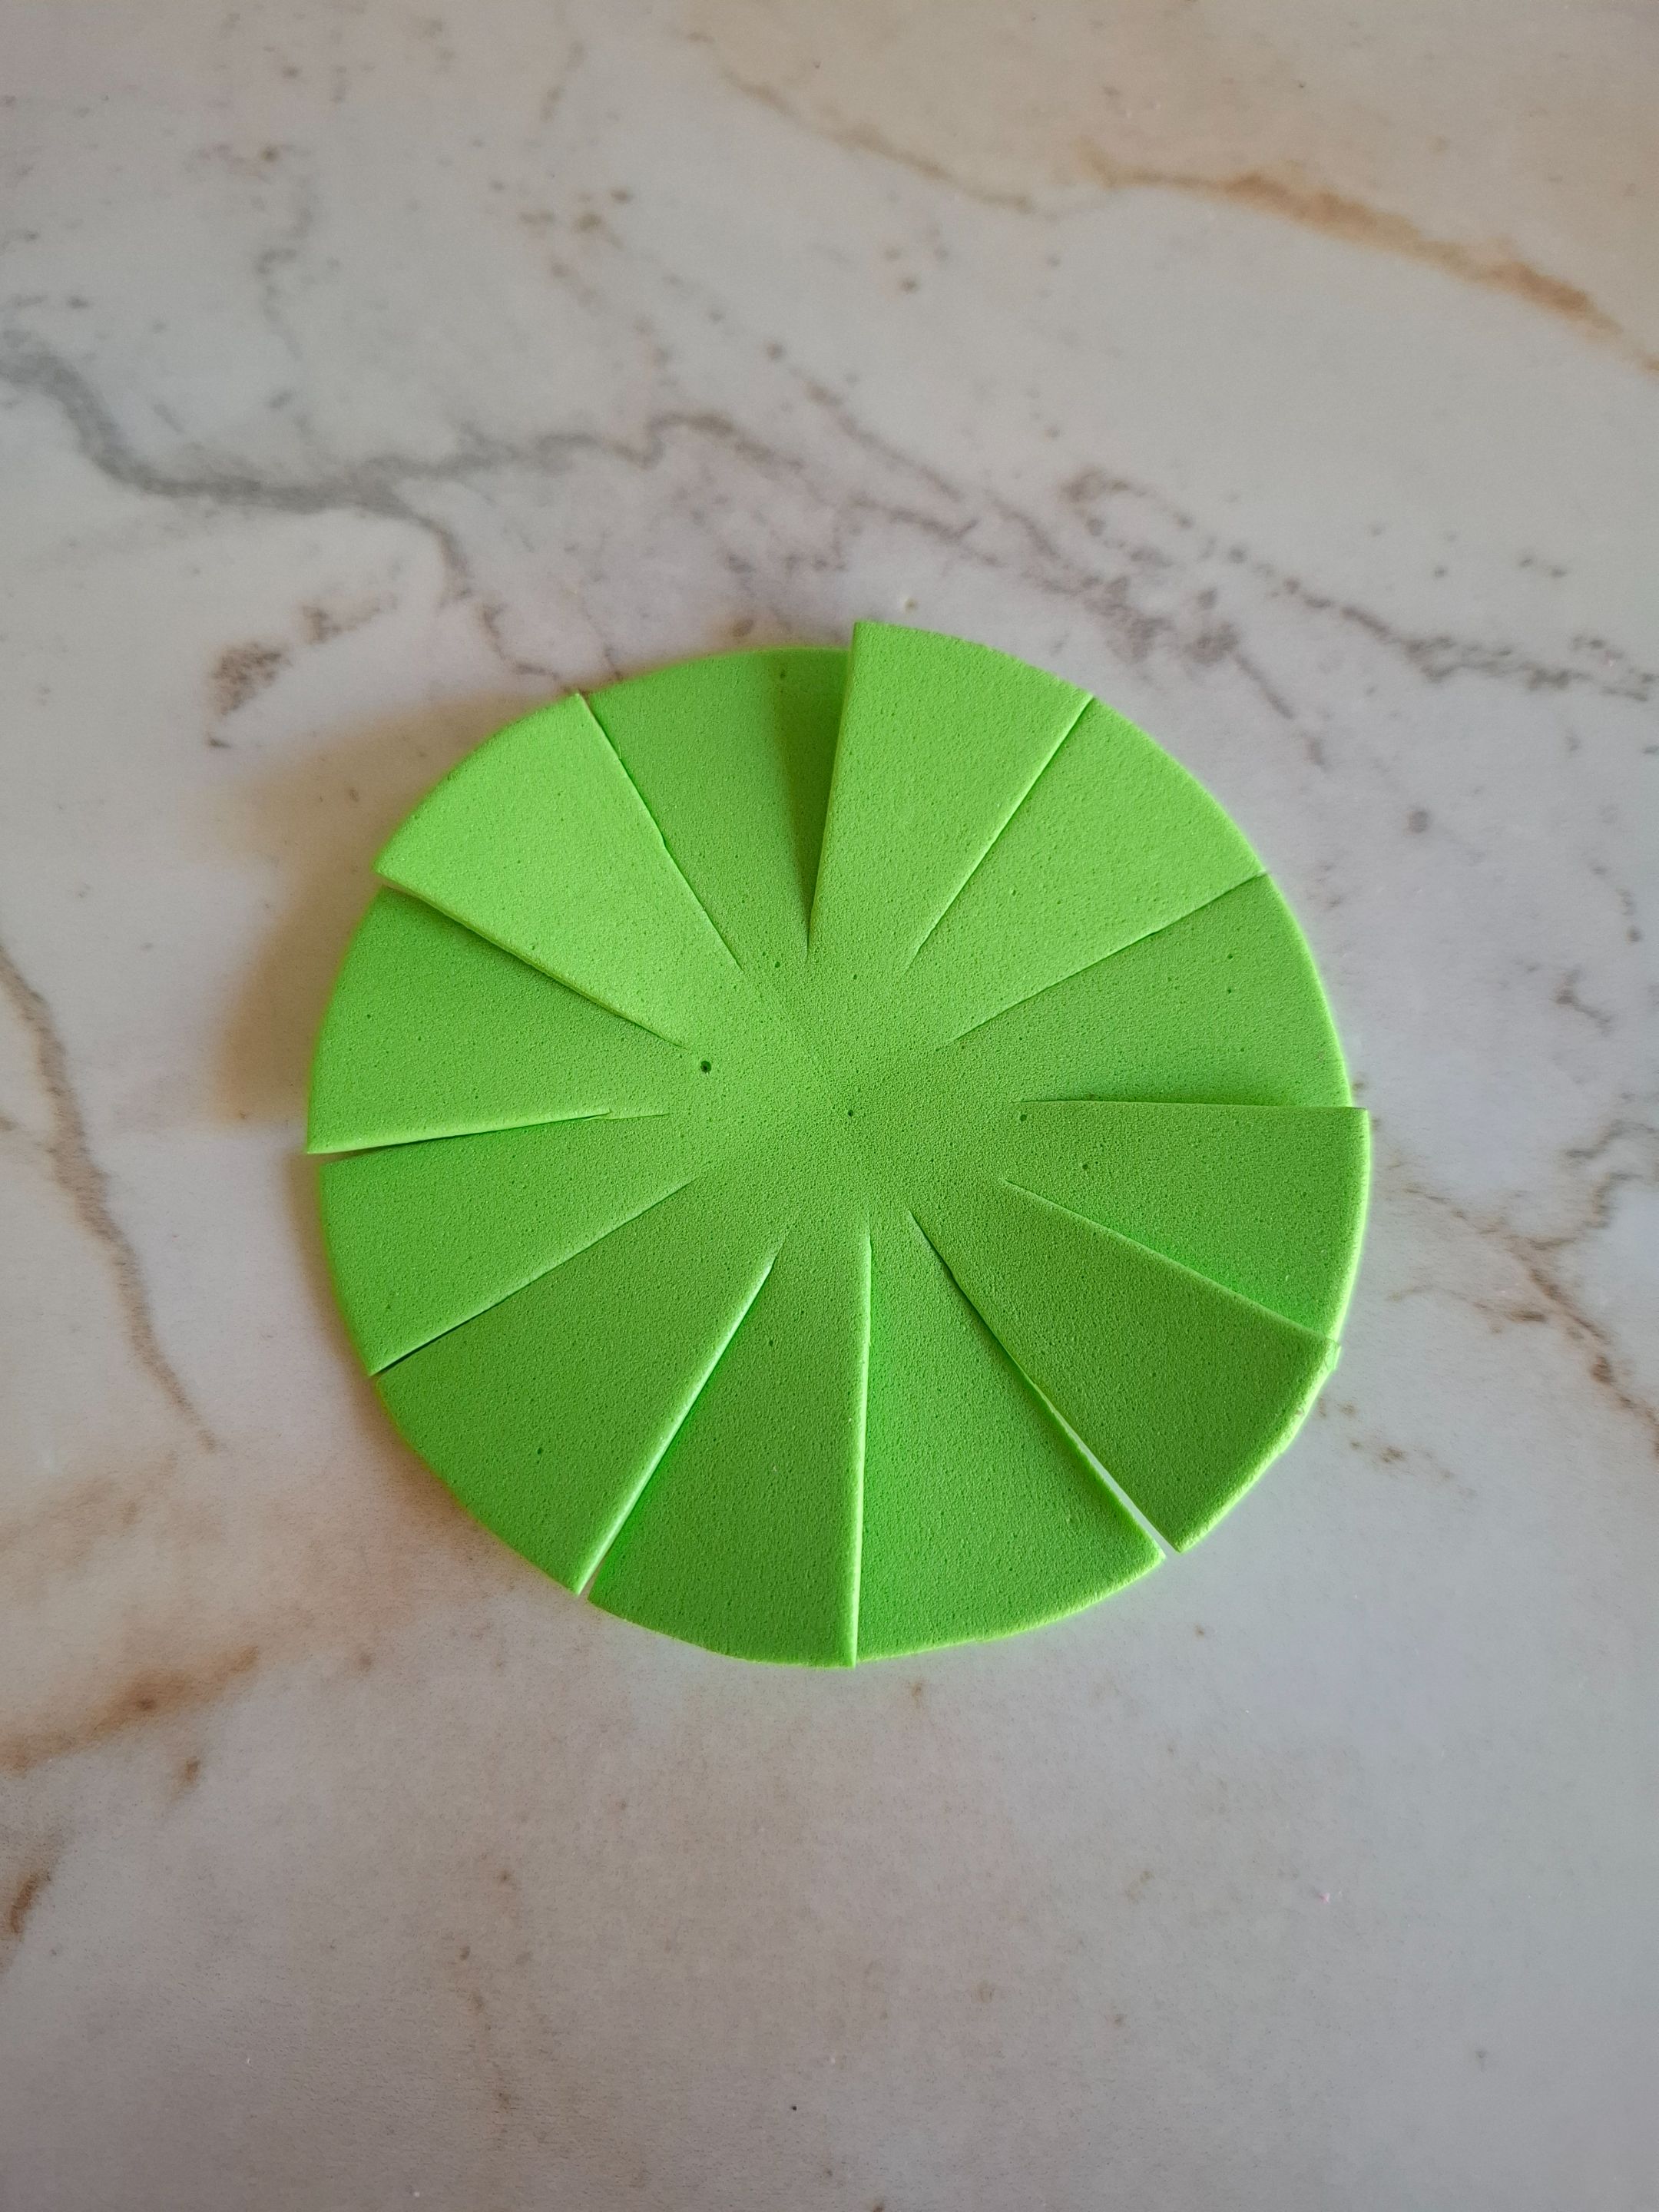
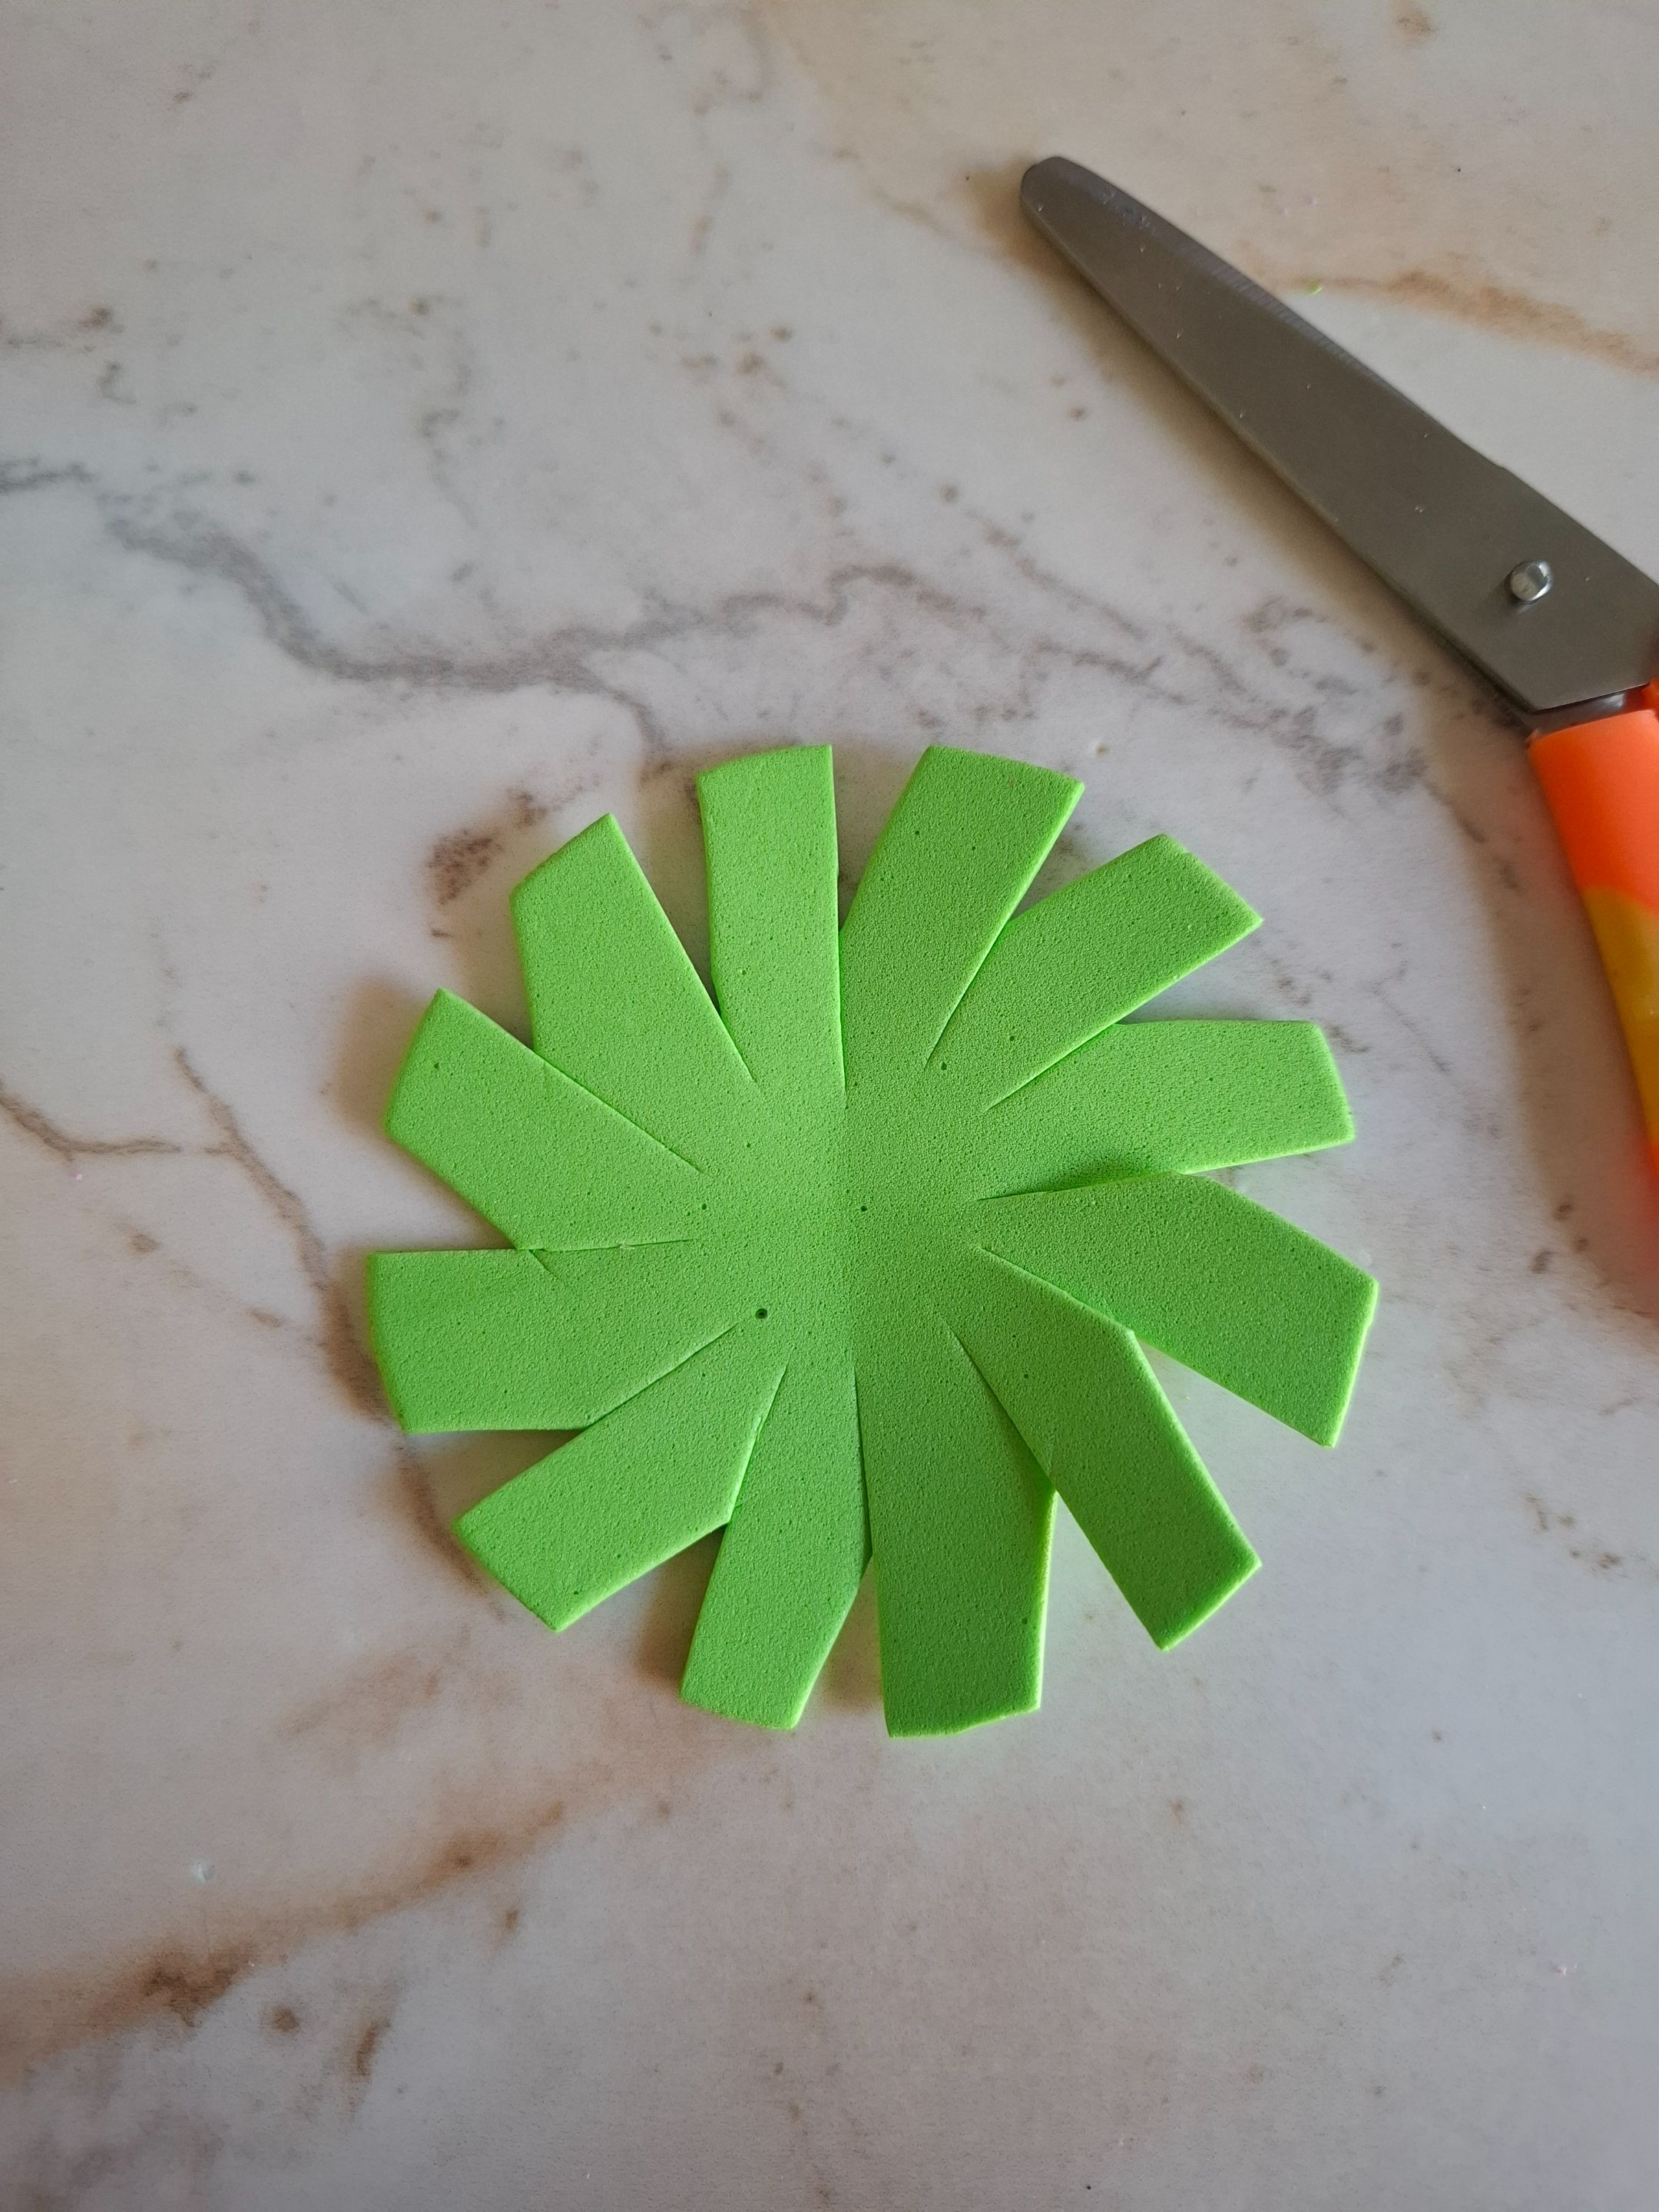
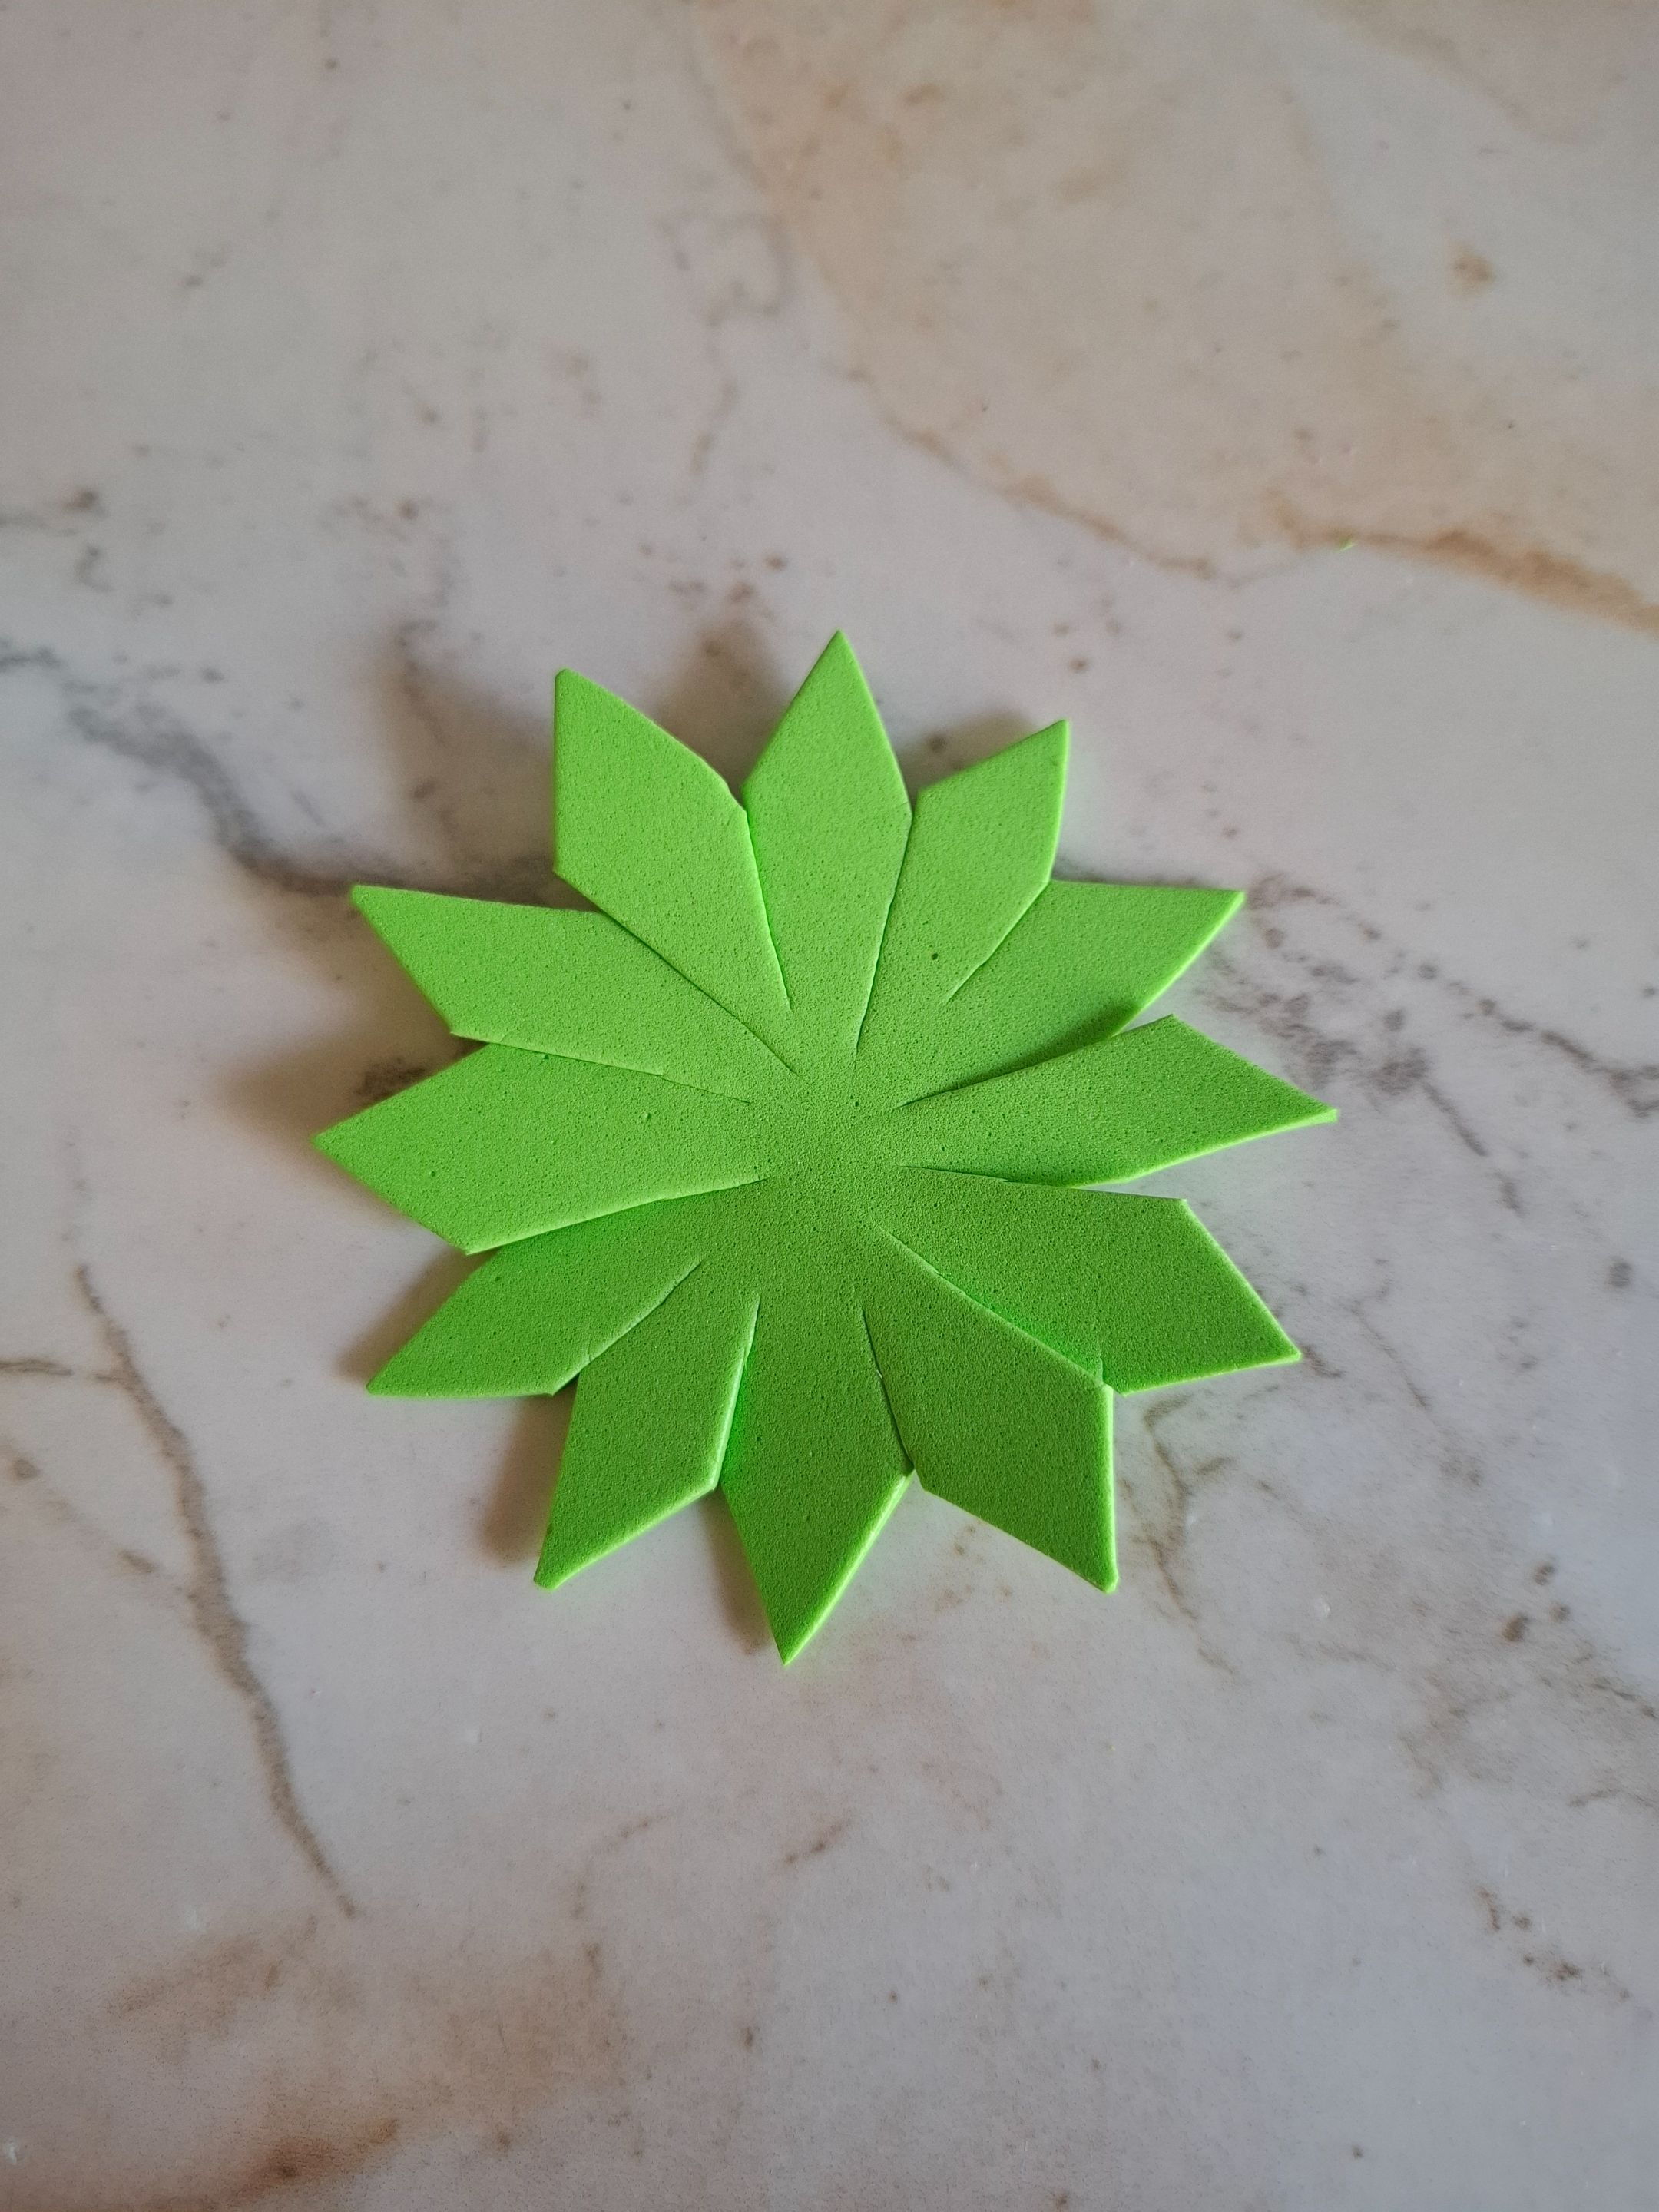
Para realizar la hoja de la flor voy a dibujar un círculo en foami verde, utilicé como molde una tapa plástica de una lata, voy a realizar cuatro cortes en cada lado, luego cada parte la dividimos en tres, y cortamos el borde de cada lado hasta lograr una forma puntiaguda.
To make the flower leaf, I'm going to draw a circle in green foam. I used a plastic can lid as a template. I'm going to make four cuts on each side. Then, I'll divide each part into three and cut the edge of each side until I get a pointed shape.
 |
 |
 |
|---|---|---|
 |
 |
|---|---|
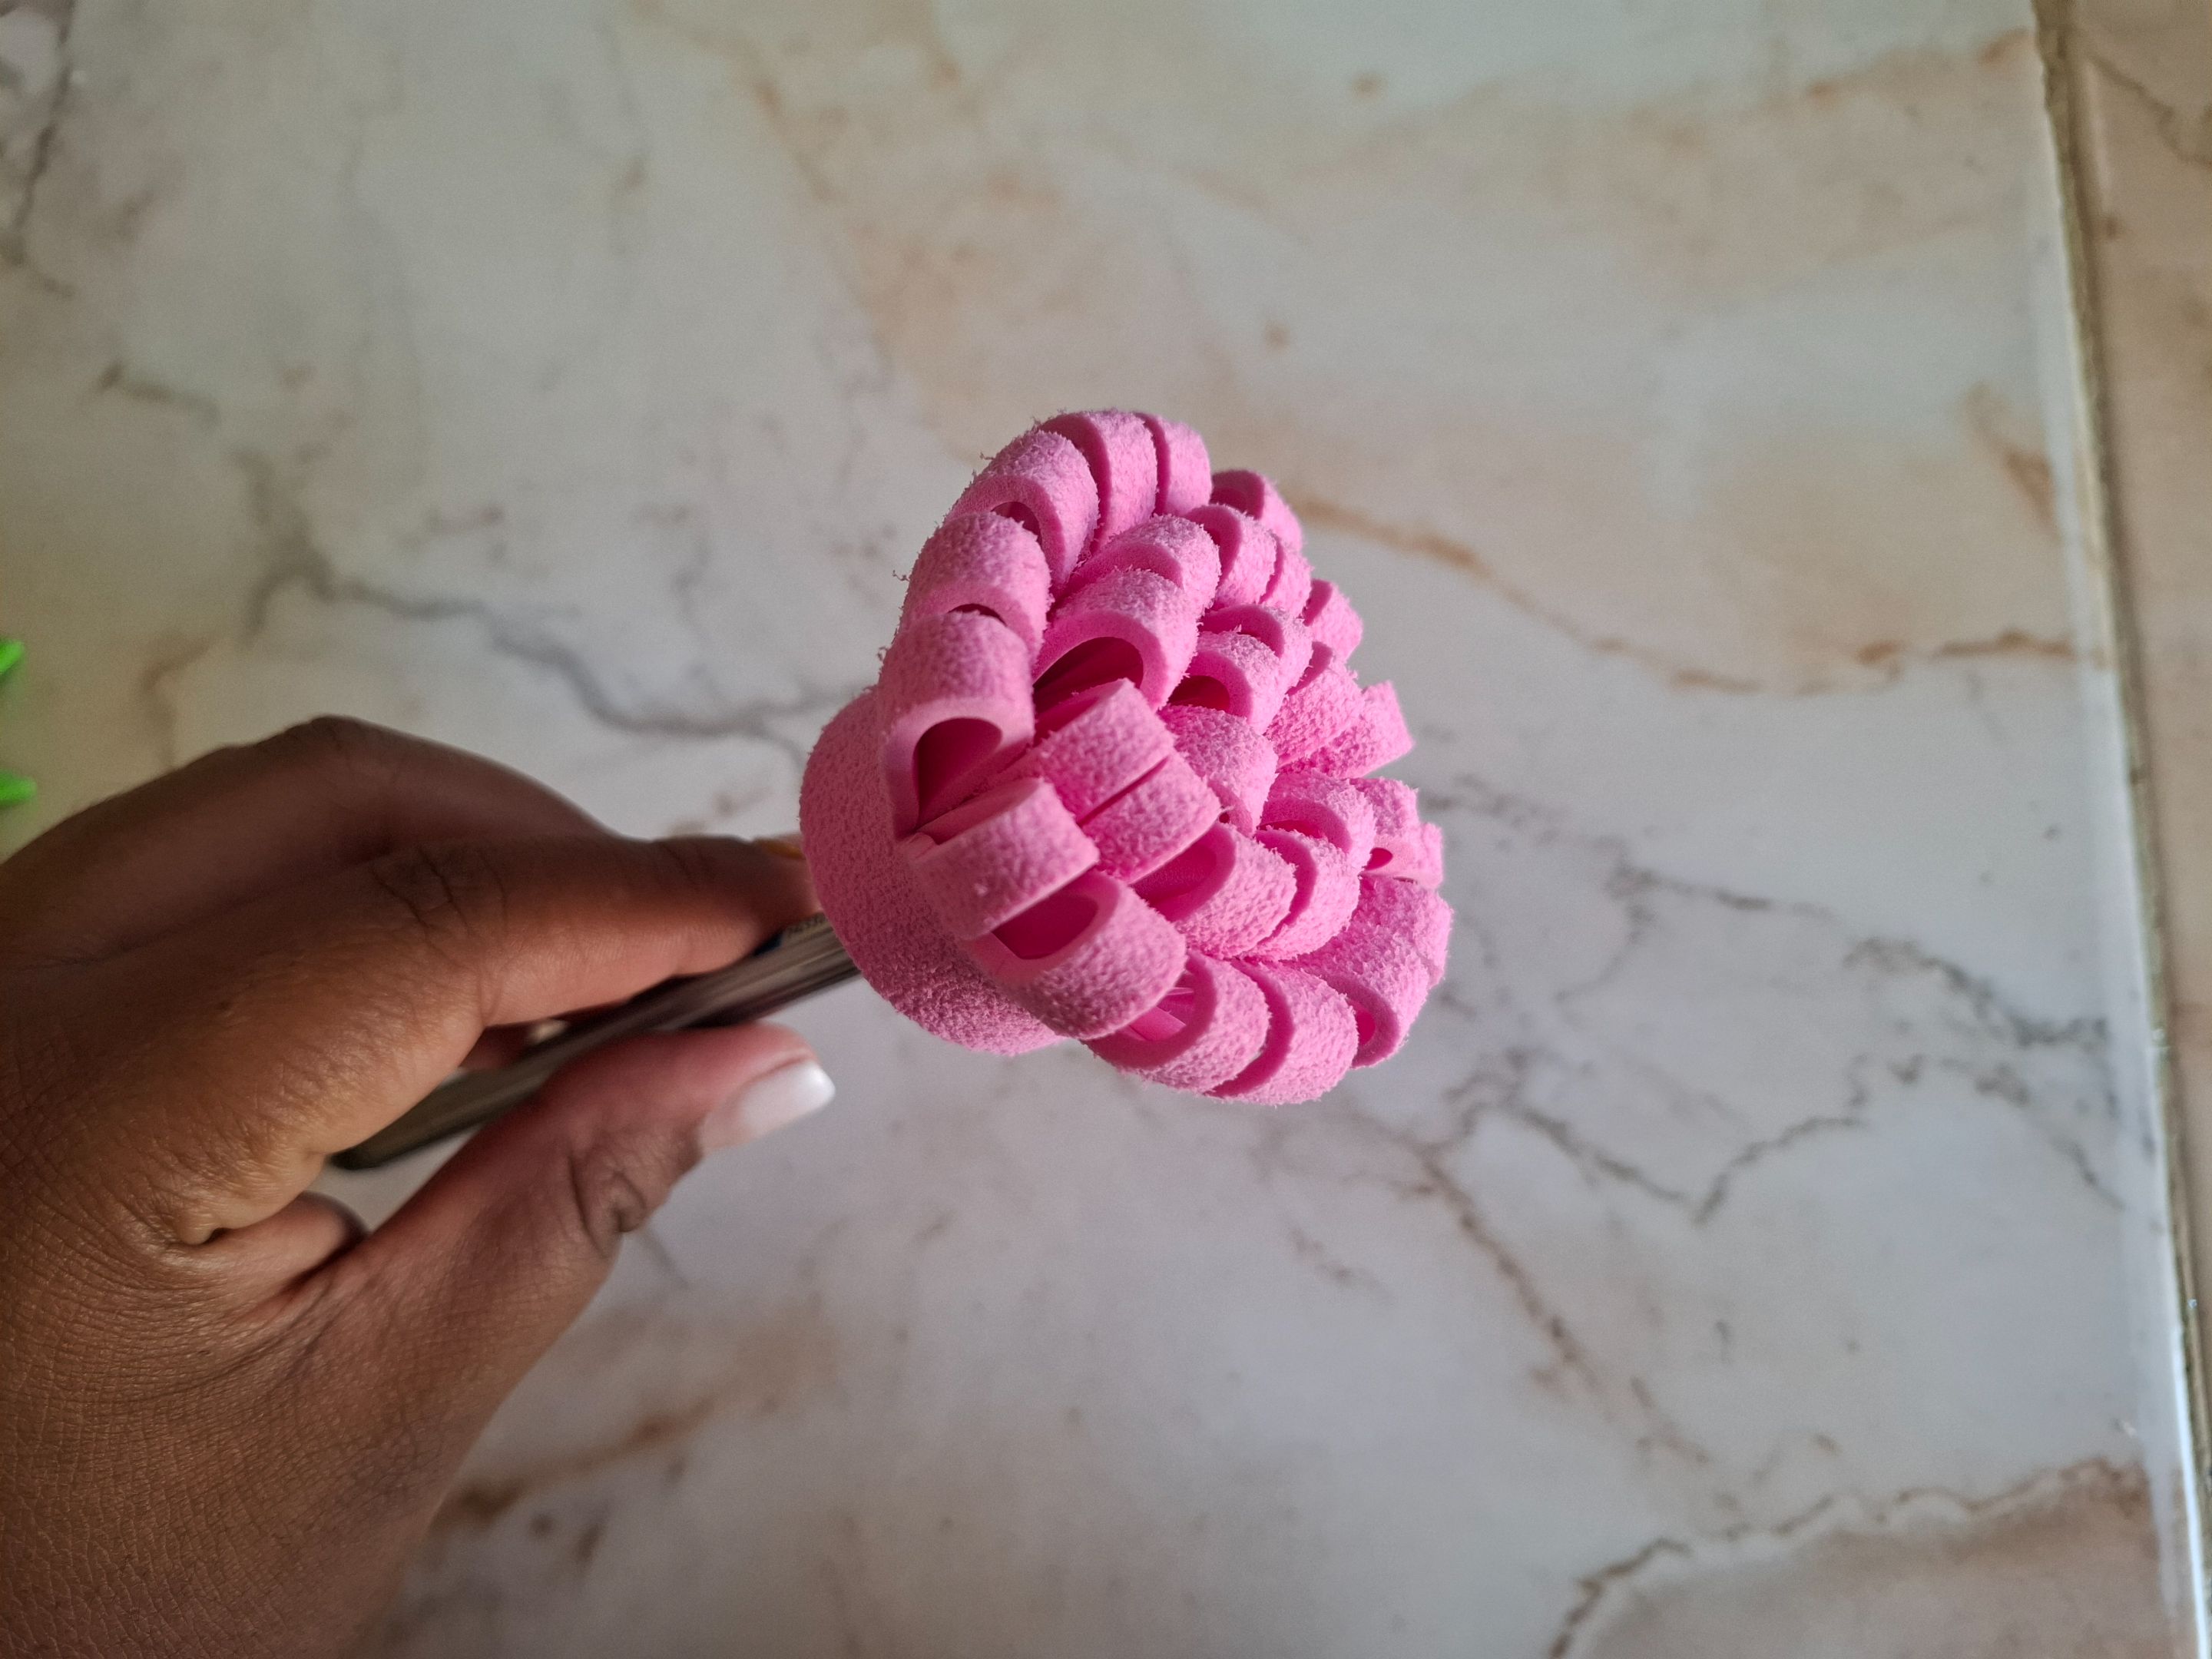
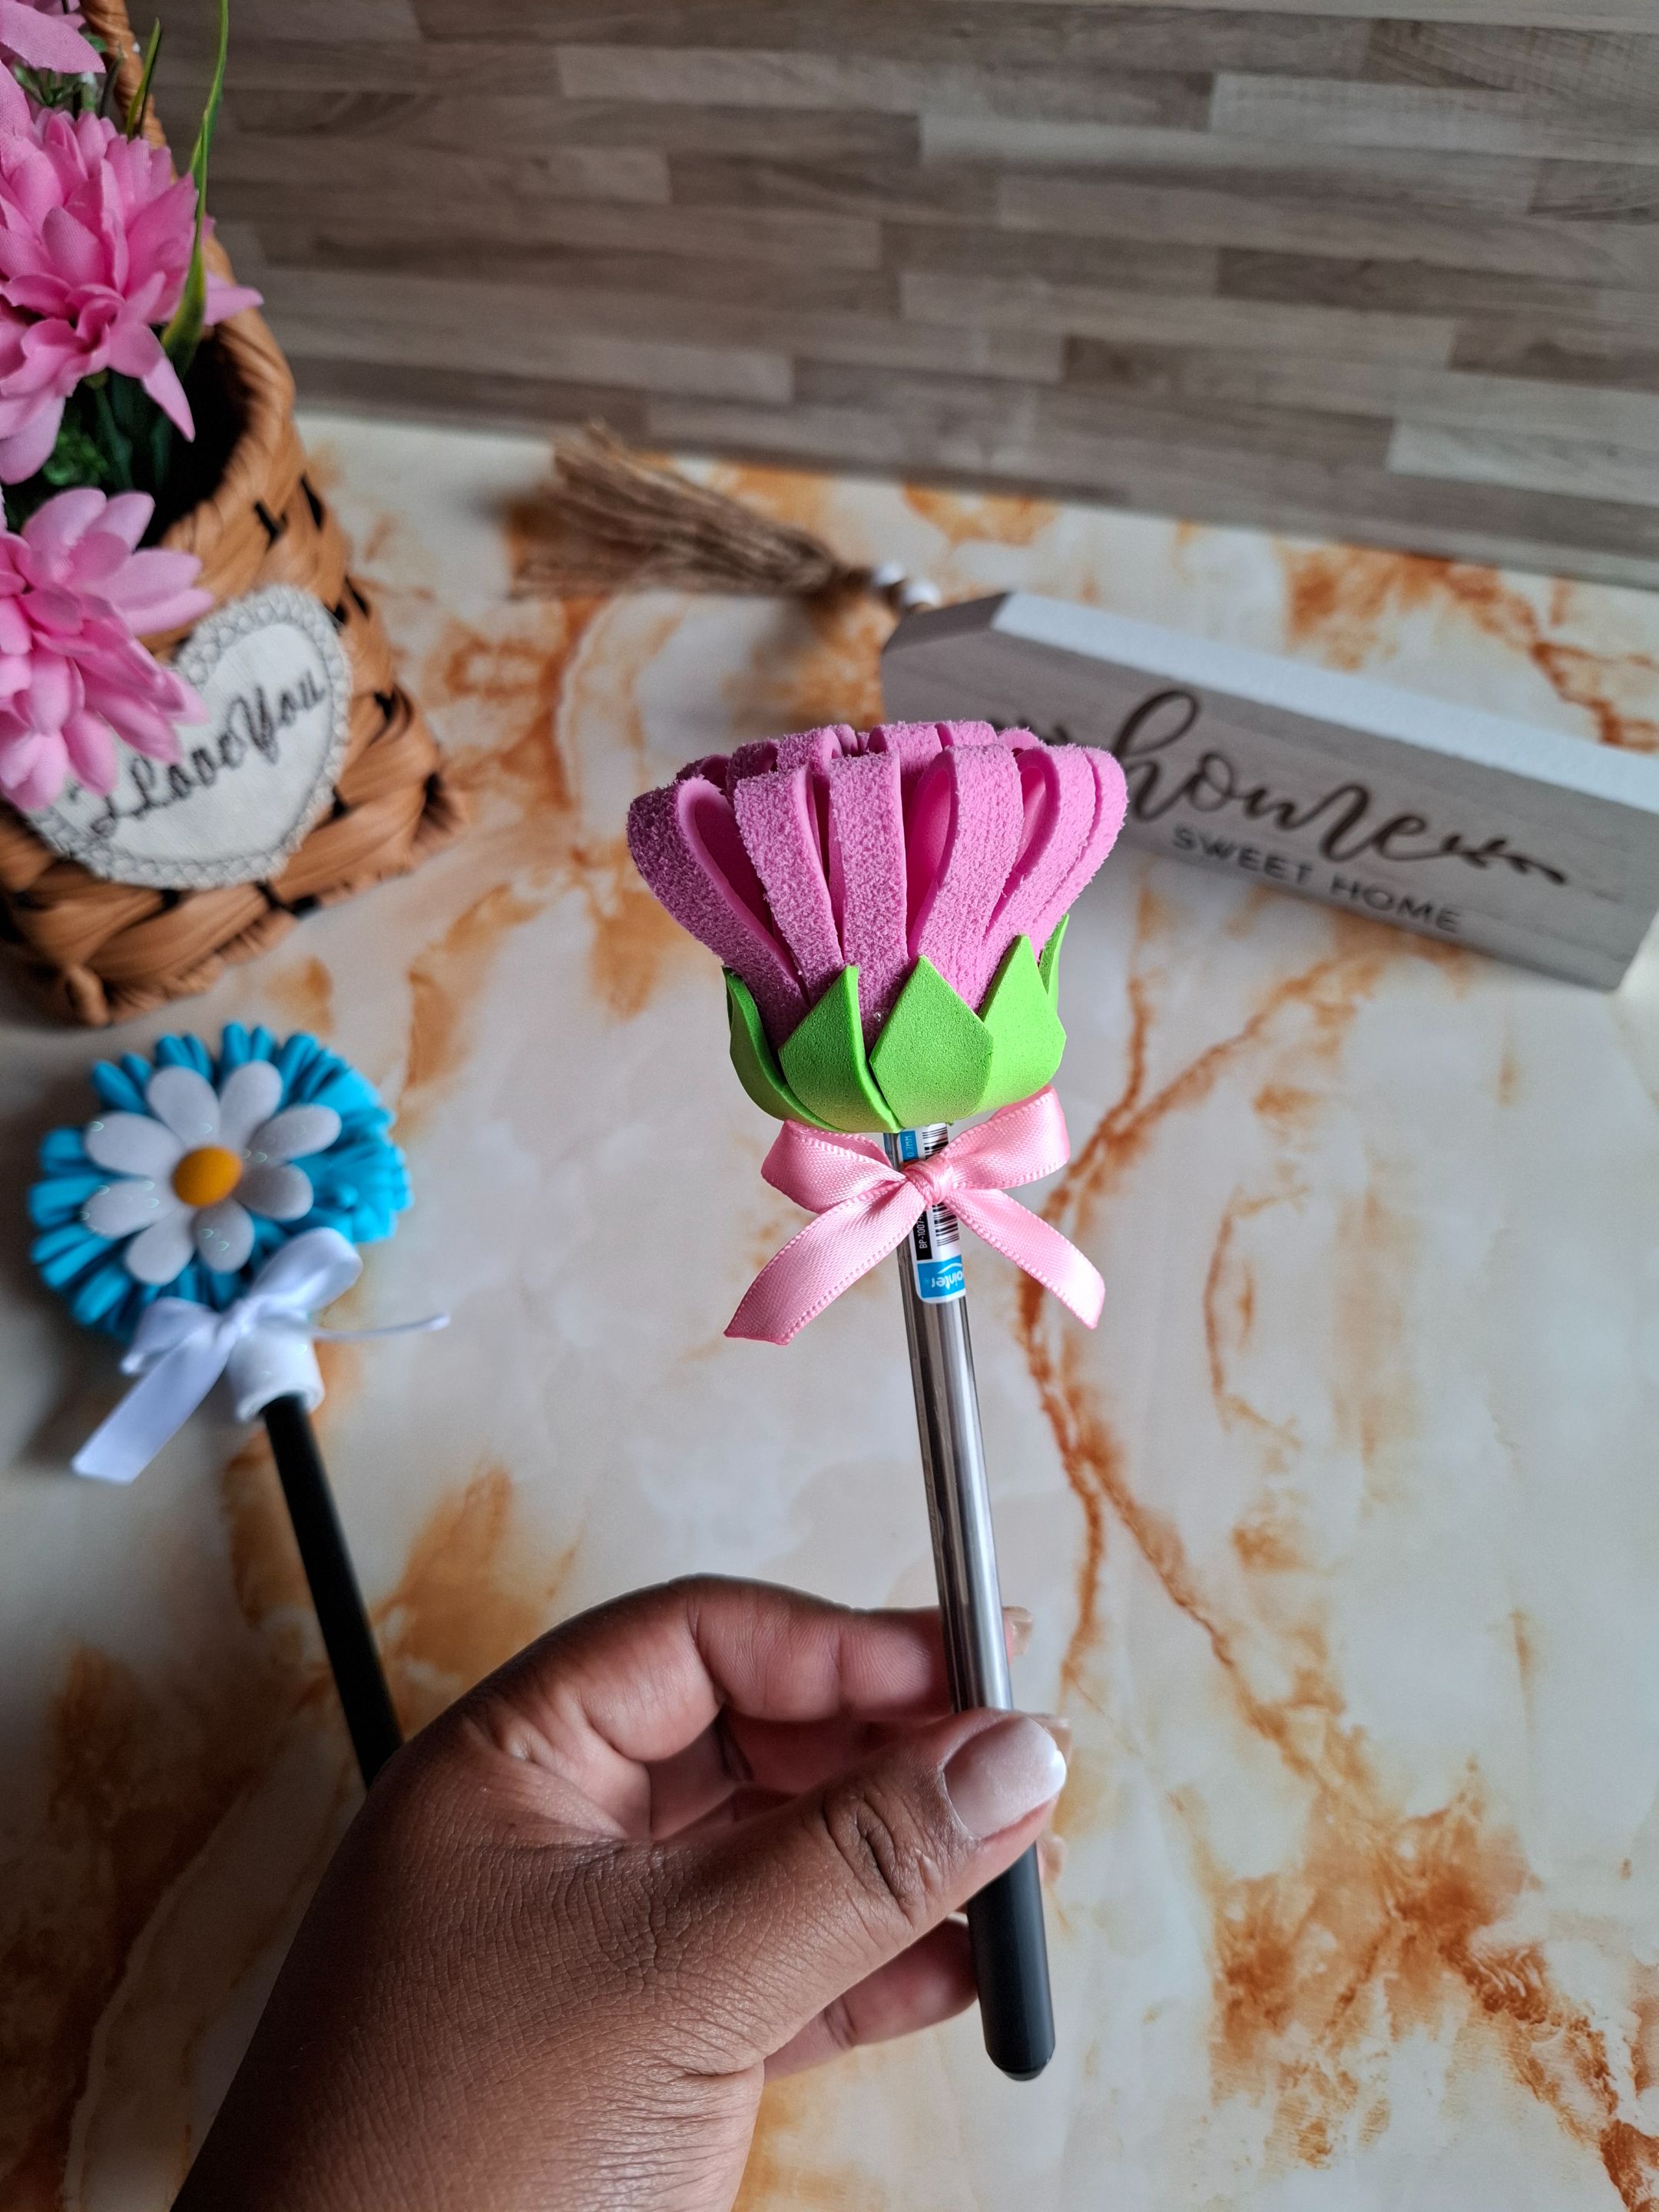
Luego de esto voy a cortar una pieza fina de foami verde y la ubicamos con silicón sobre el bolígrafo, ahora voy a tomar la pieza rosa y la voy a pegar sobre el foami verde, enrollamos hasta alcanzar su totalidad. Ahora pegamos la hoja que se hizo anteriormente, por último realicé un lazo color rosa y lo ubiqué en el centro.
After this, I'll cut a thin piece of green foam and place it with silicone over the pen. Now I'll take the pink piece and glue it onto the green foam, rolling it up until it's completely wrapped. Now, I glue the leaf I made earlier. Finally, I made a pink bow and placed it in the center.
 |
 |
|---|---|
 |
 |
|---|---|
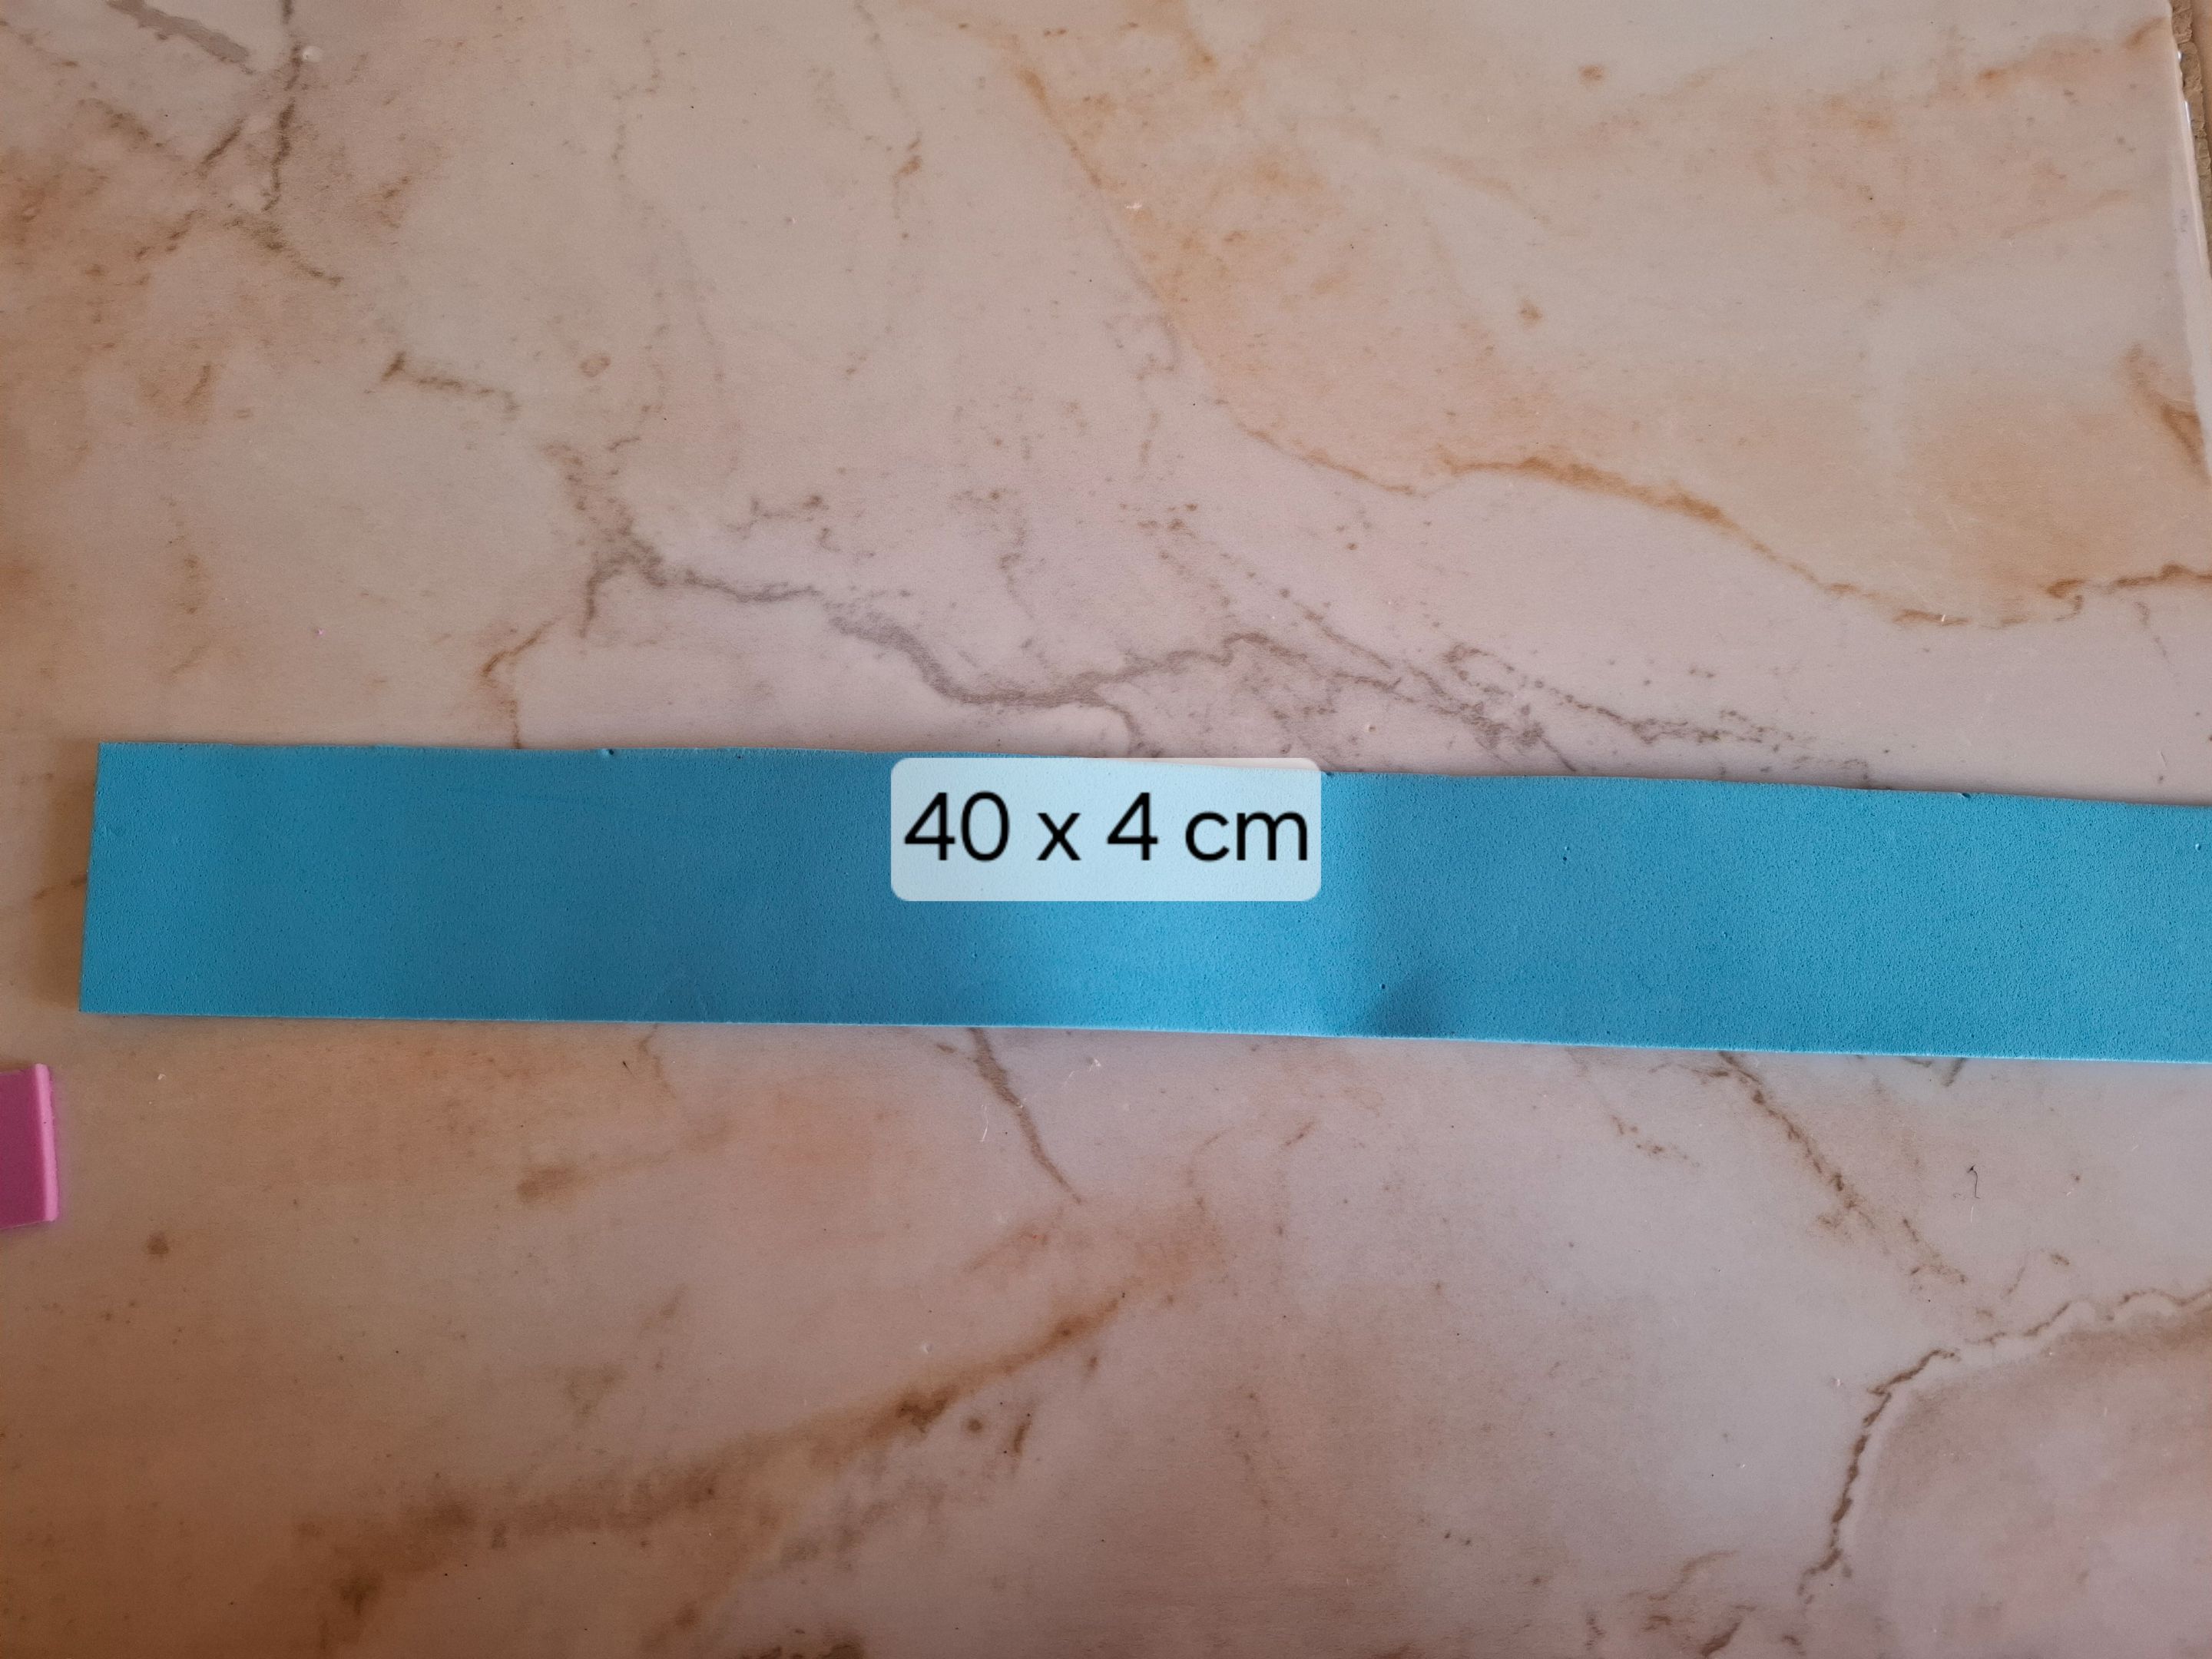
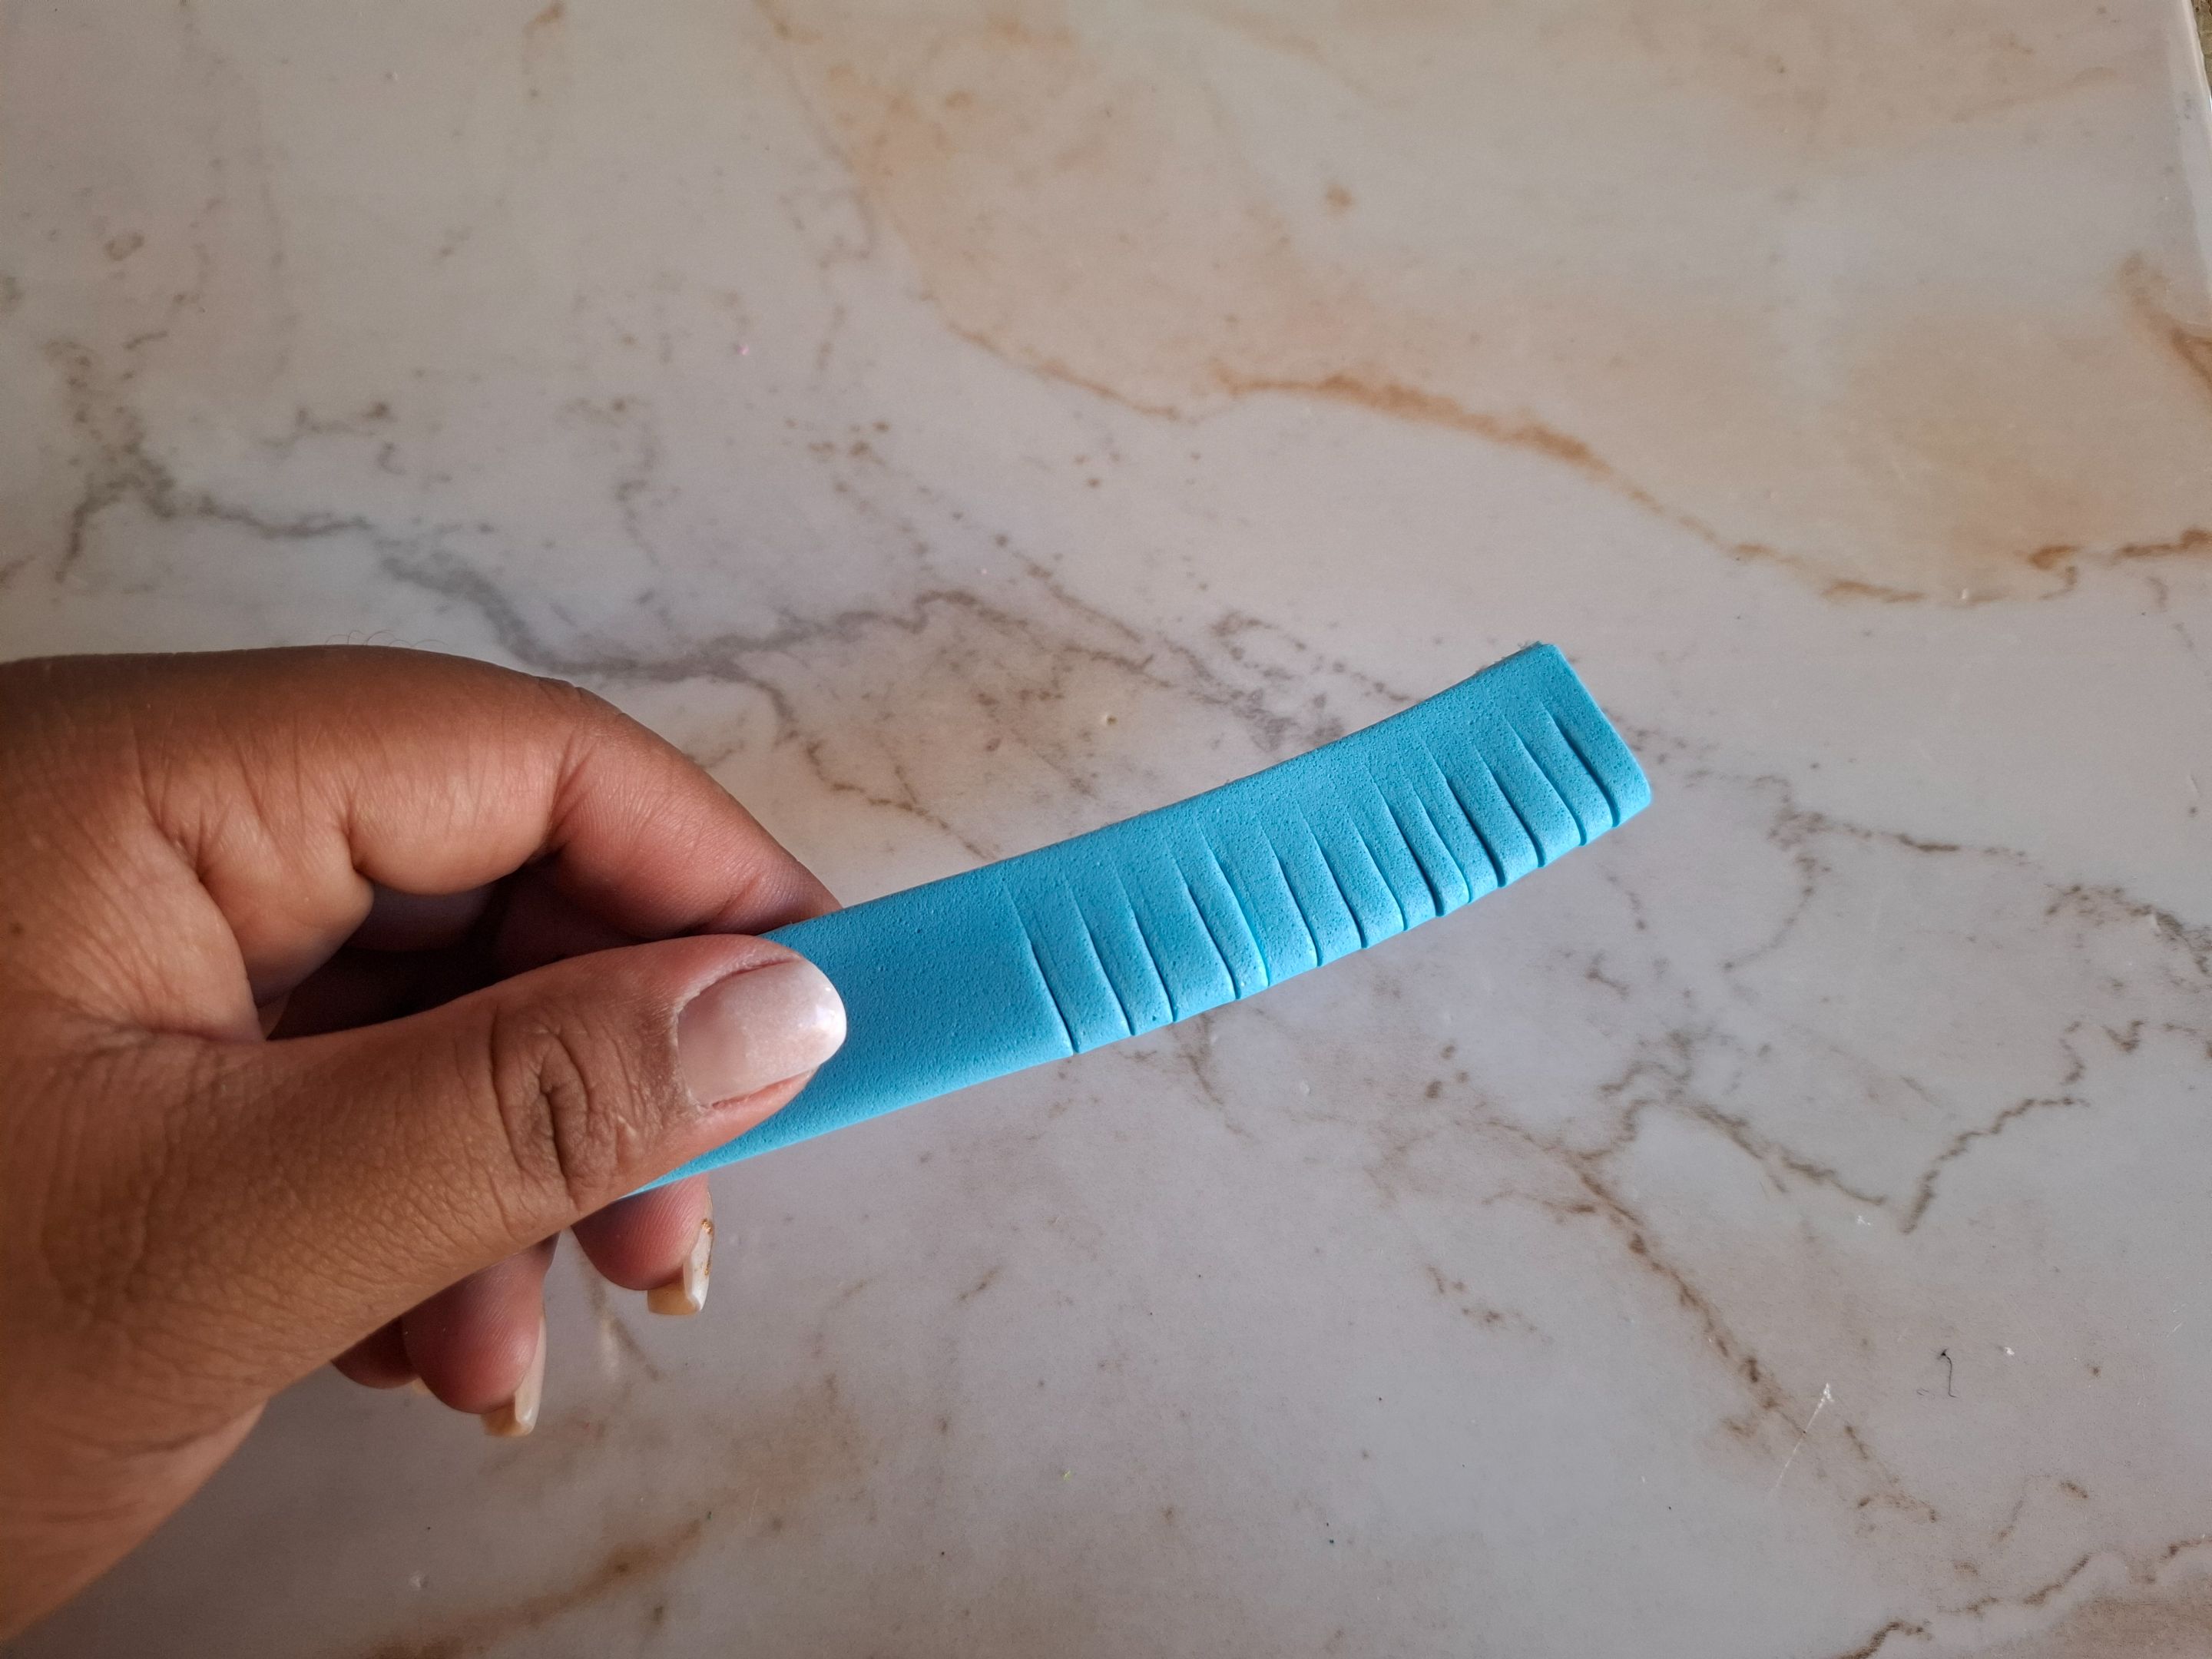
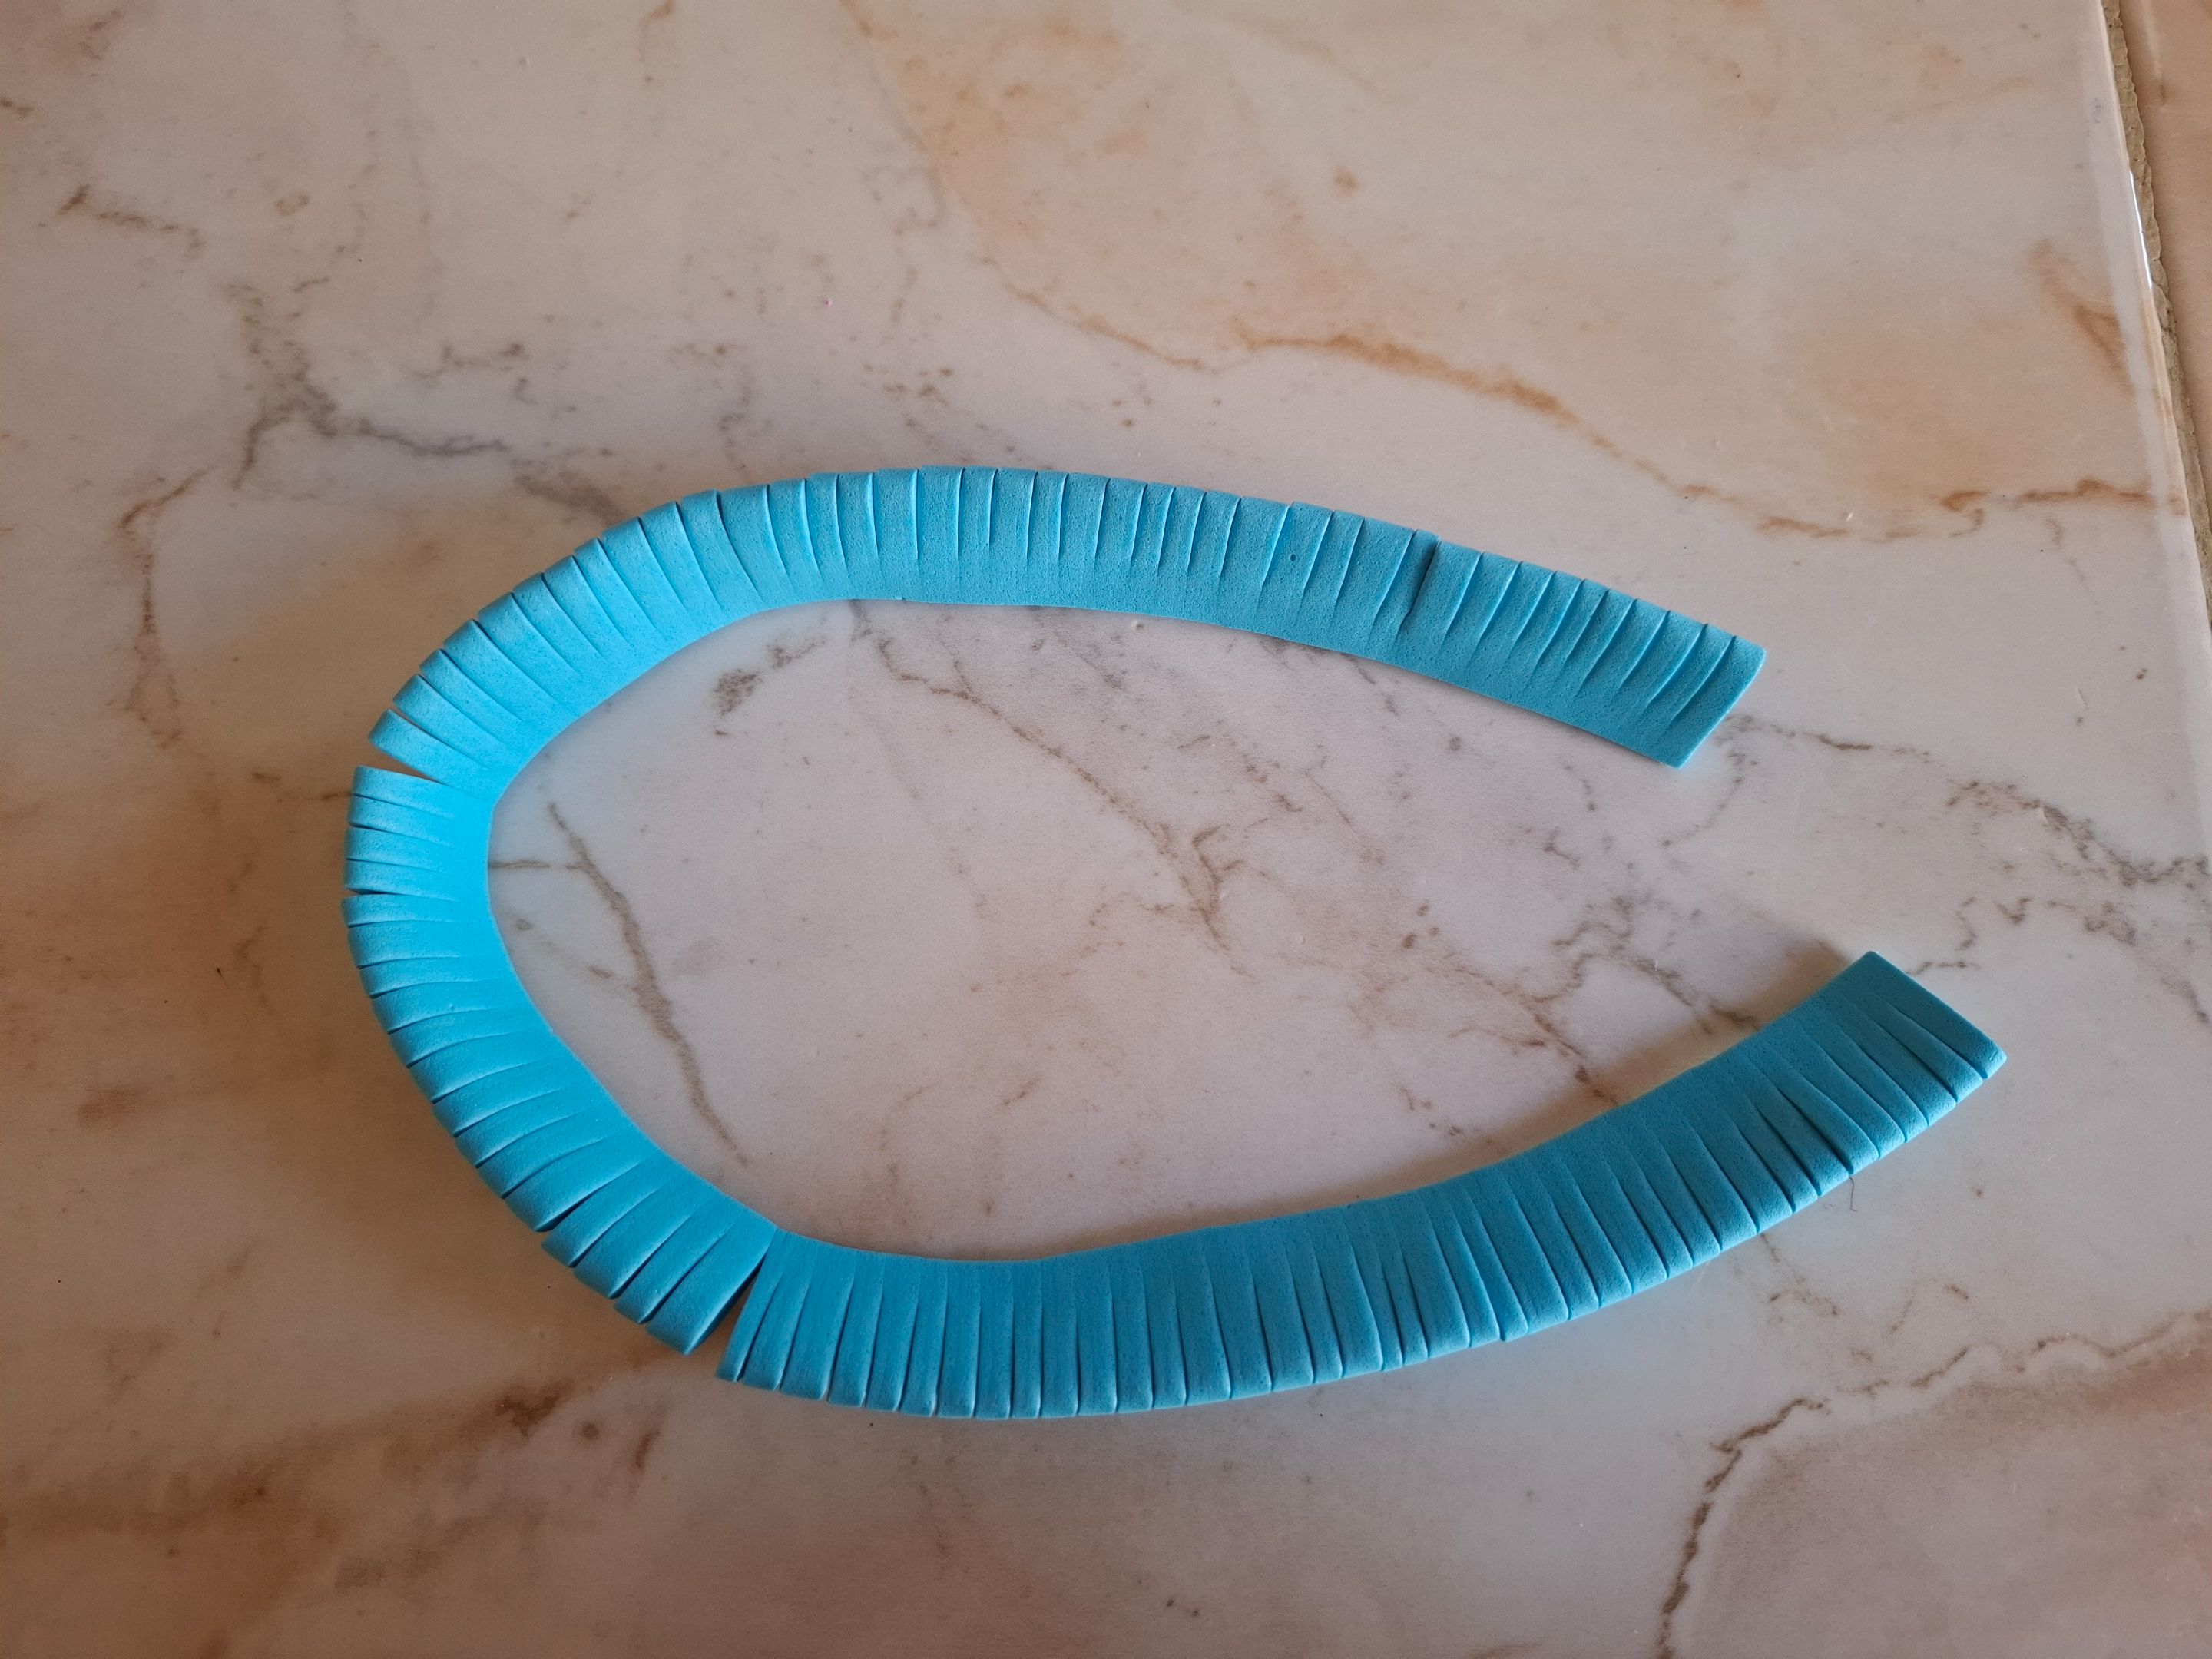
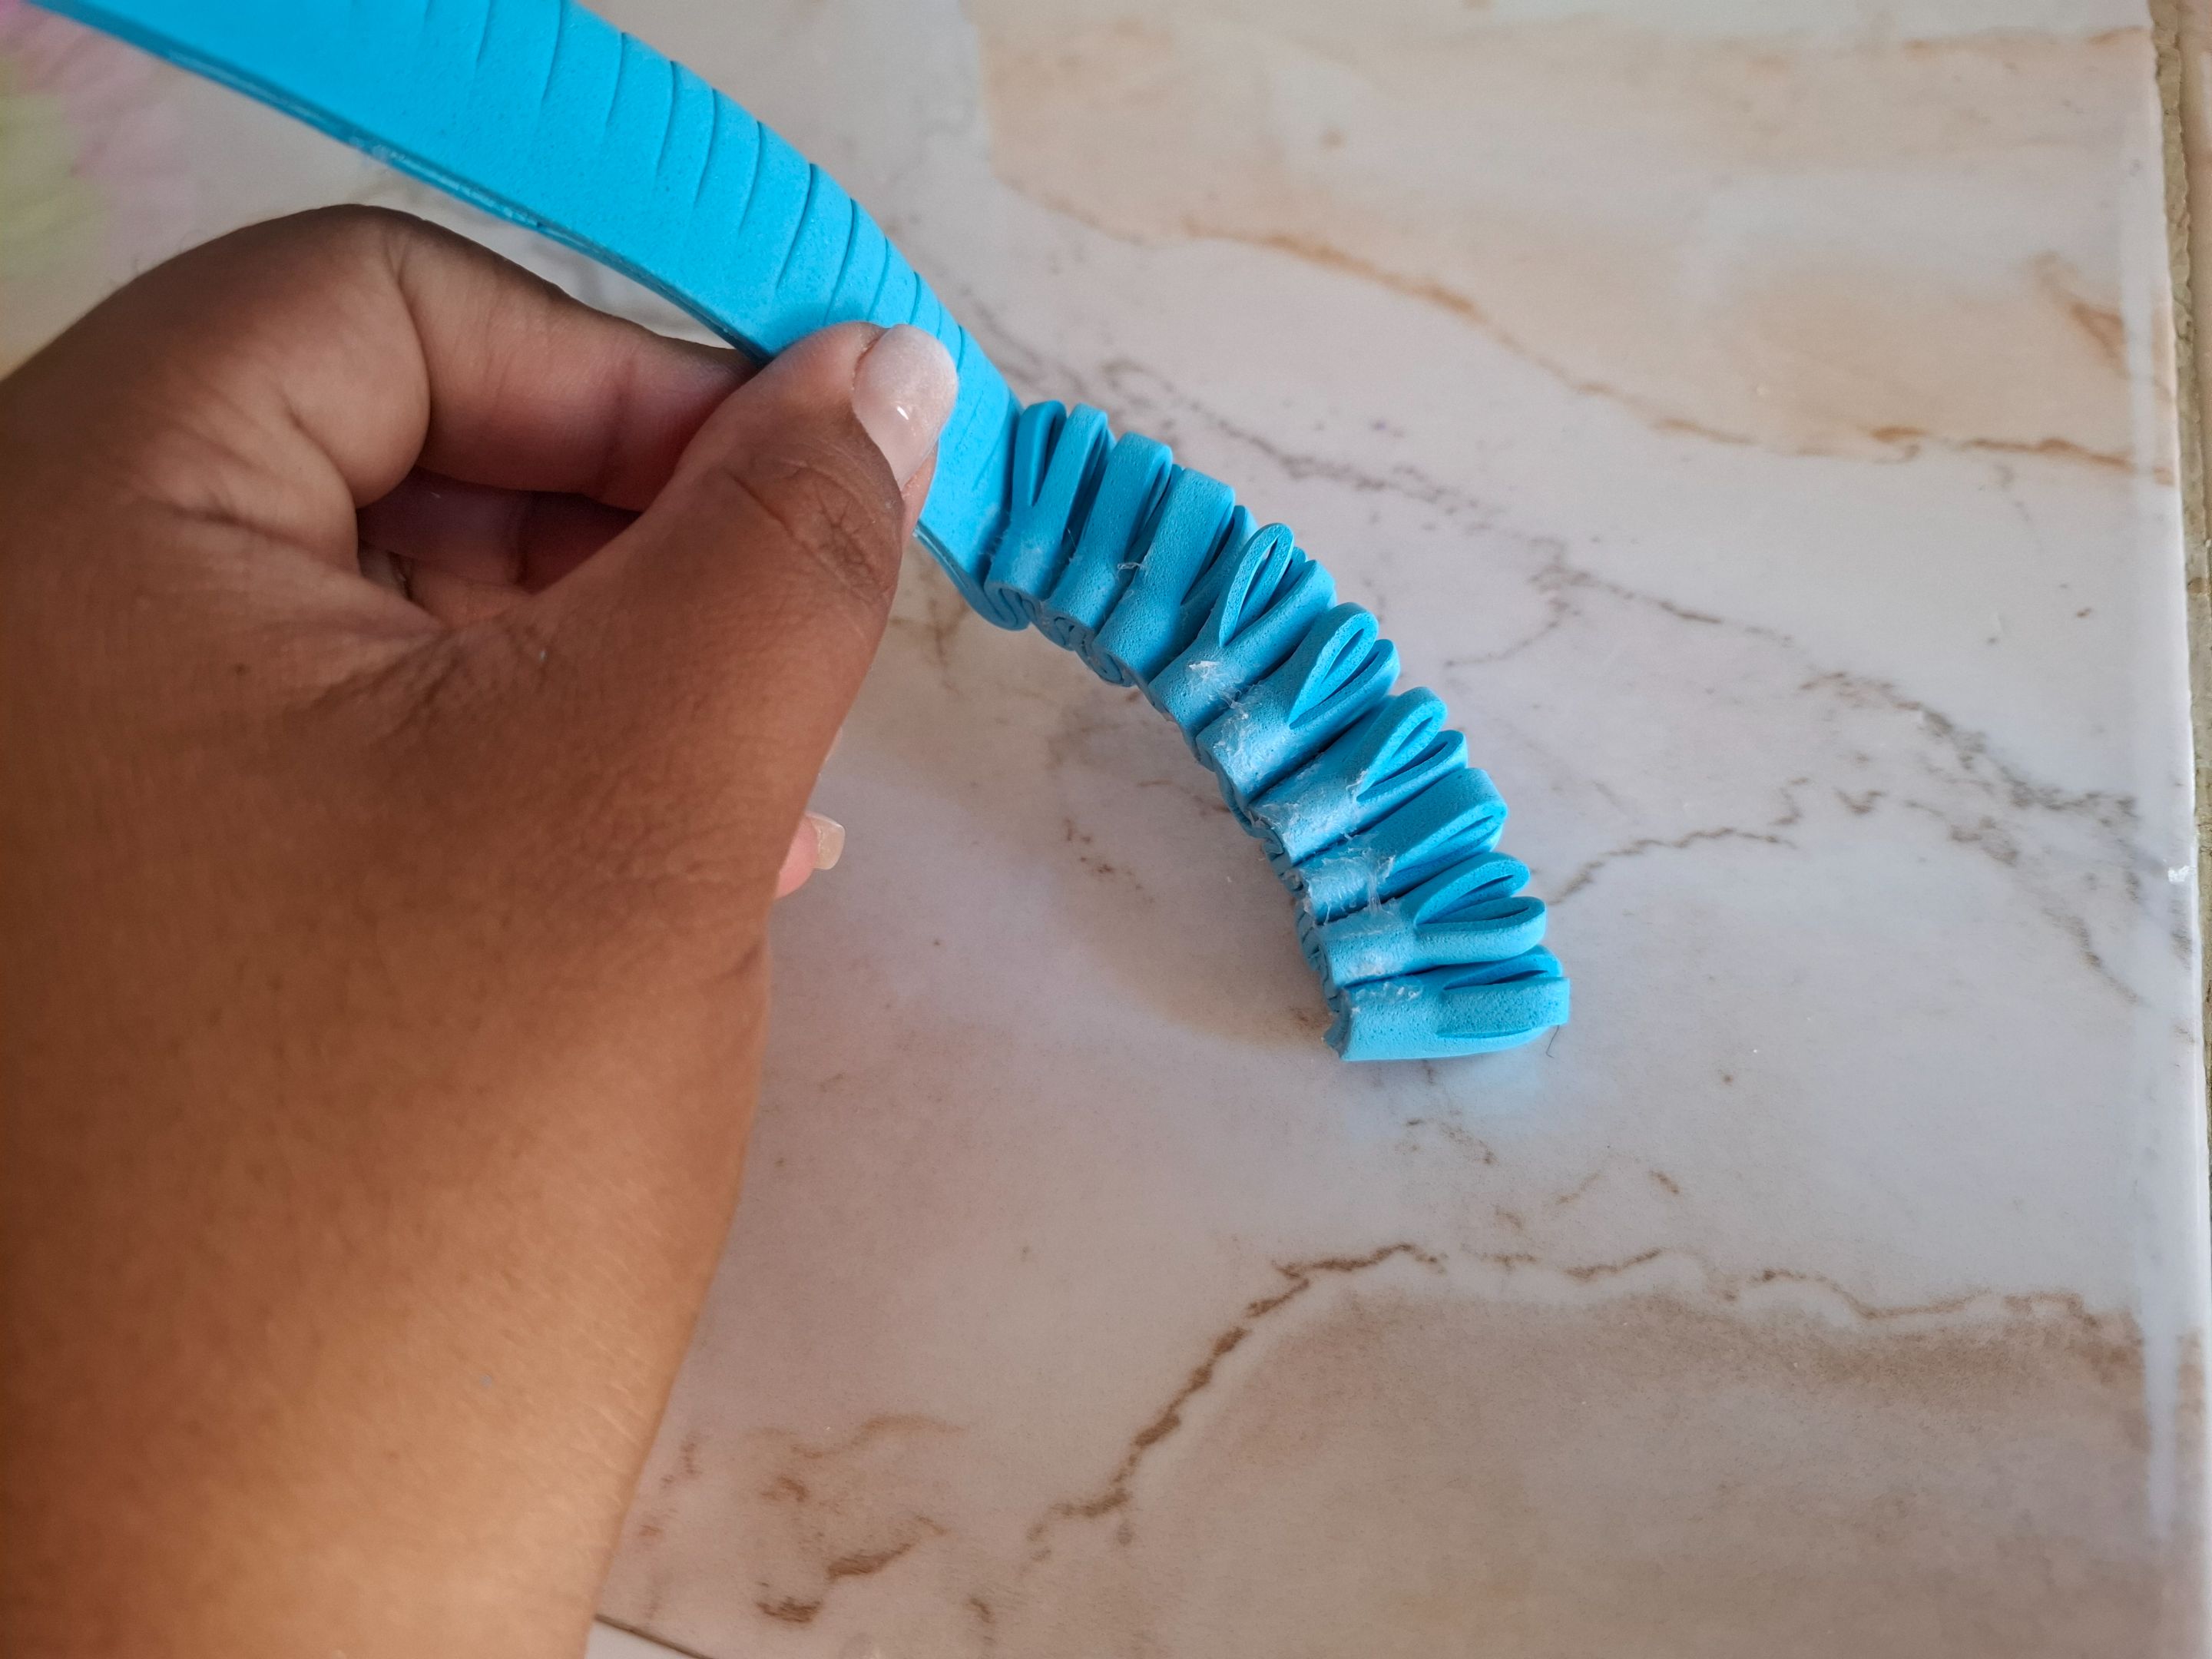
Ahora para la segunda decoración voy a cortar una pieza de foami con una medida de 40 x 4 cm, luego dividimos en la mitad, pegamos y realizamos cortes en el centro al igual que la primera vez.
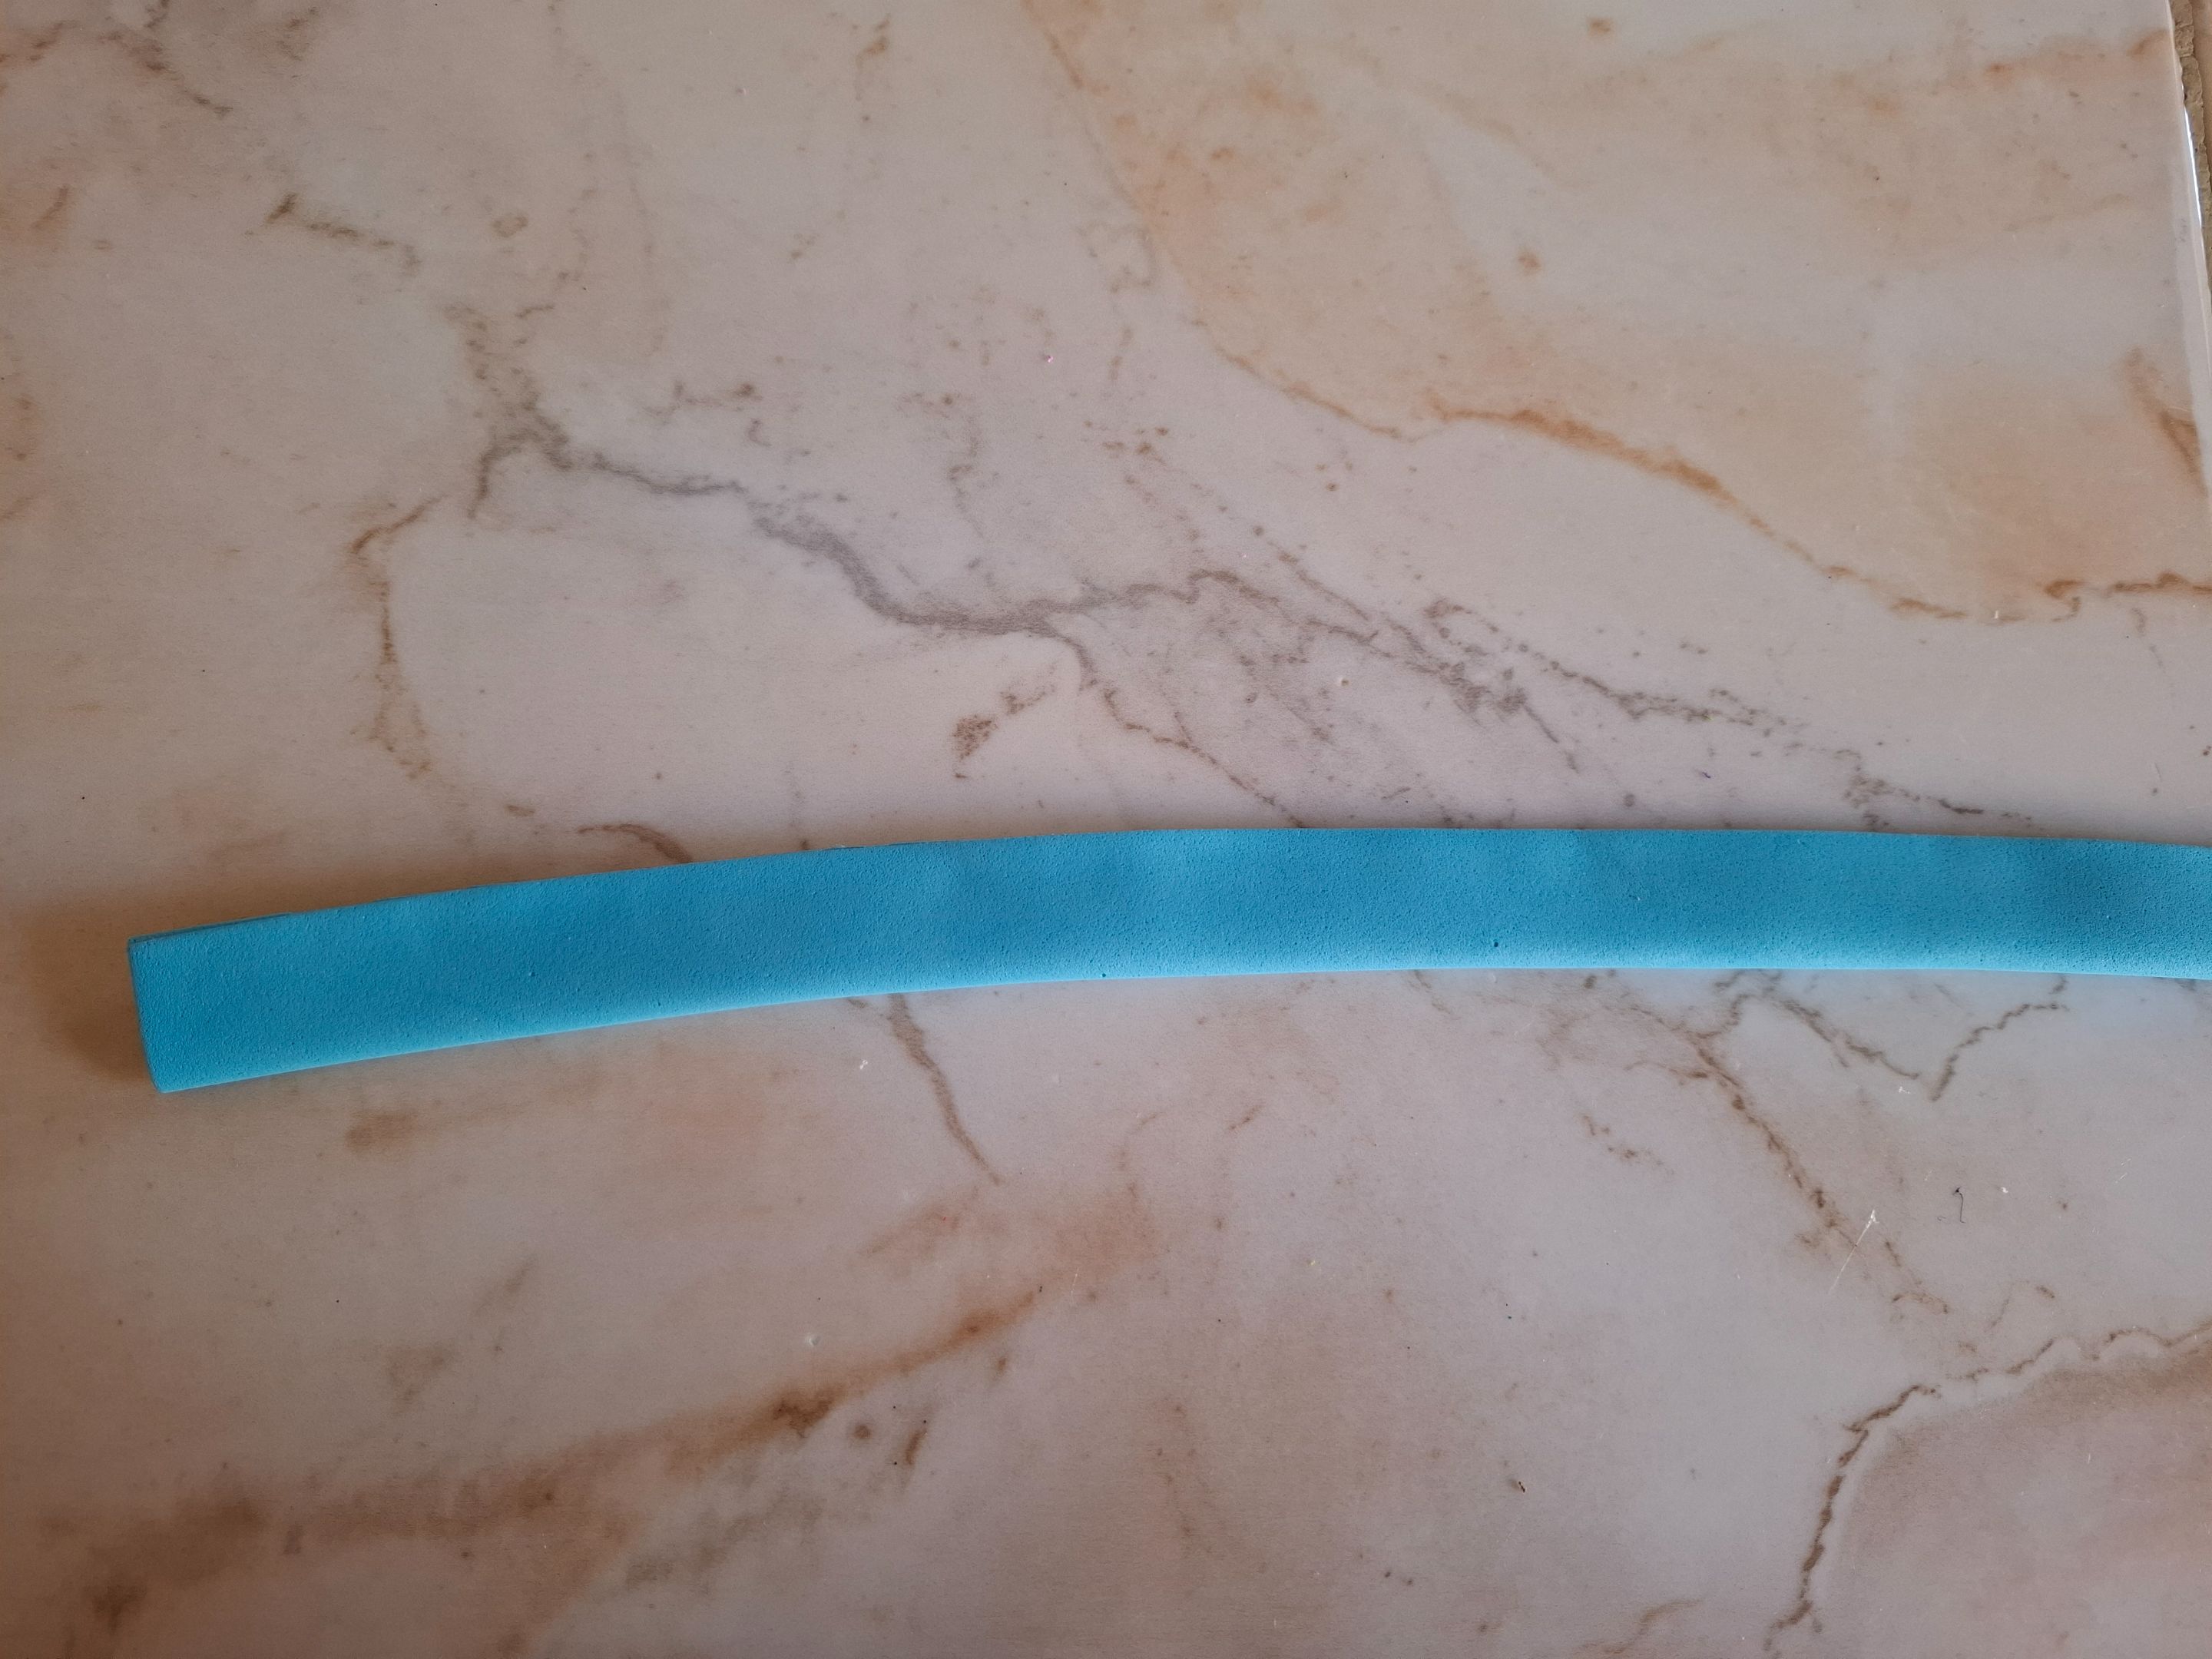
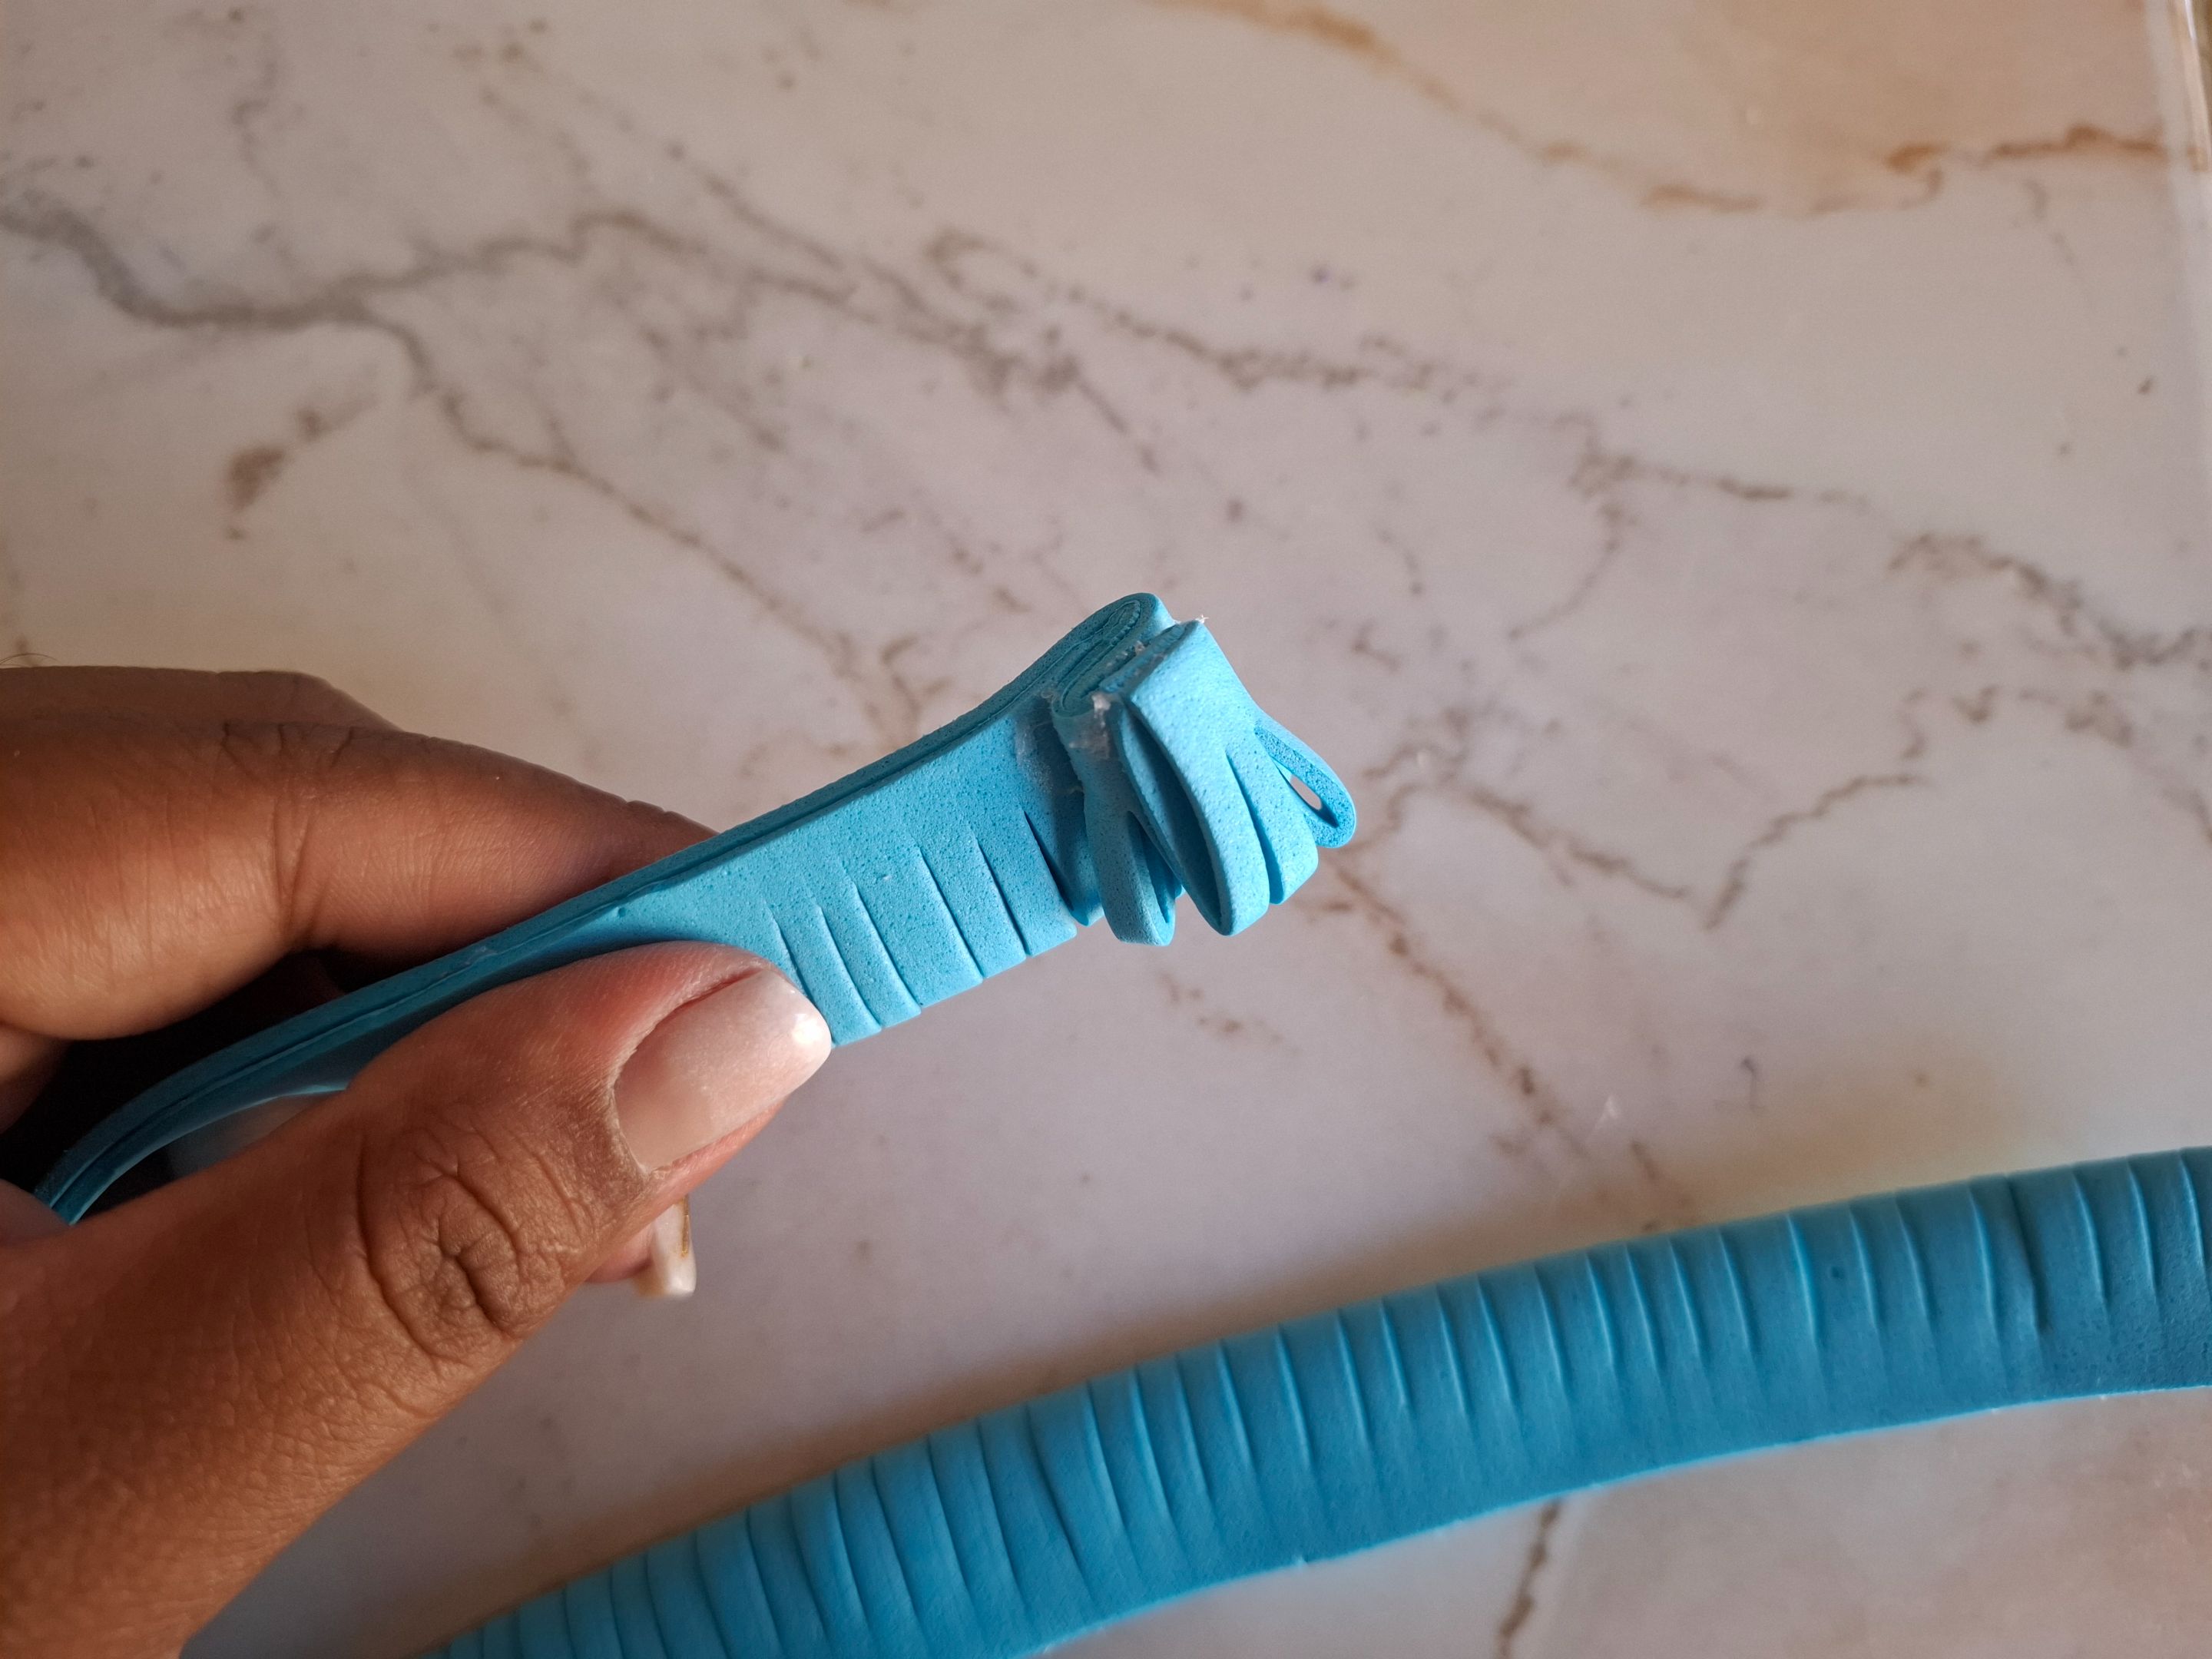
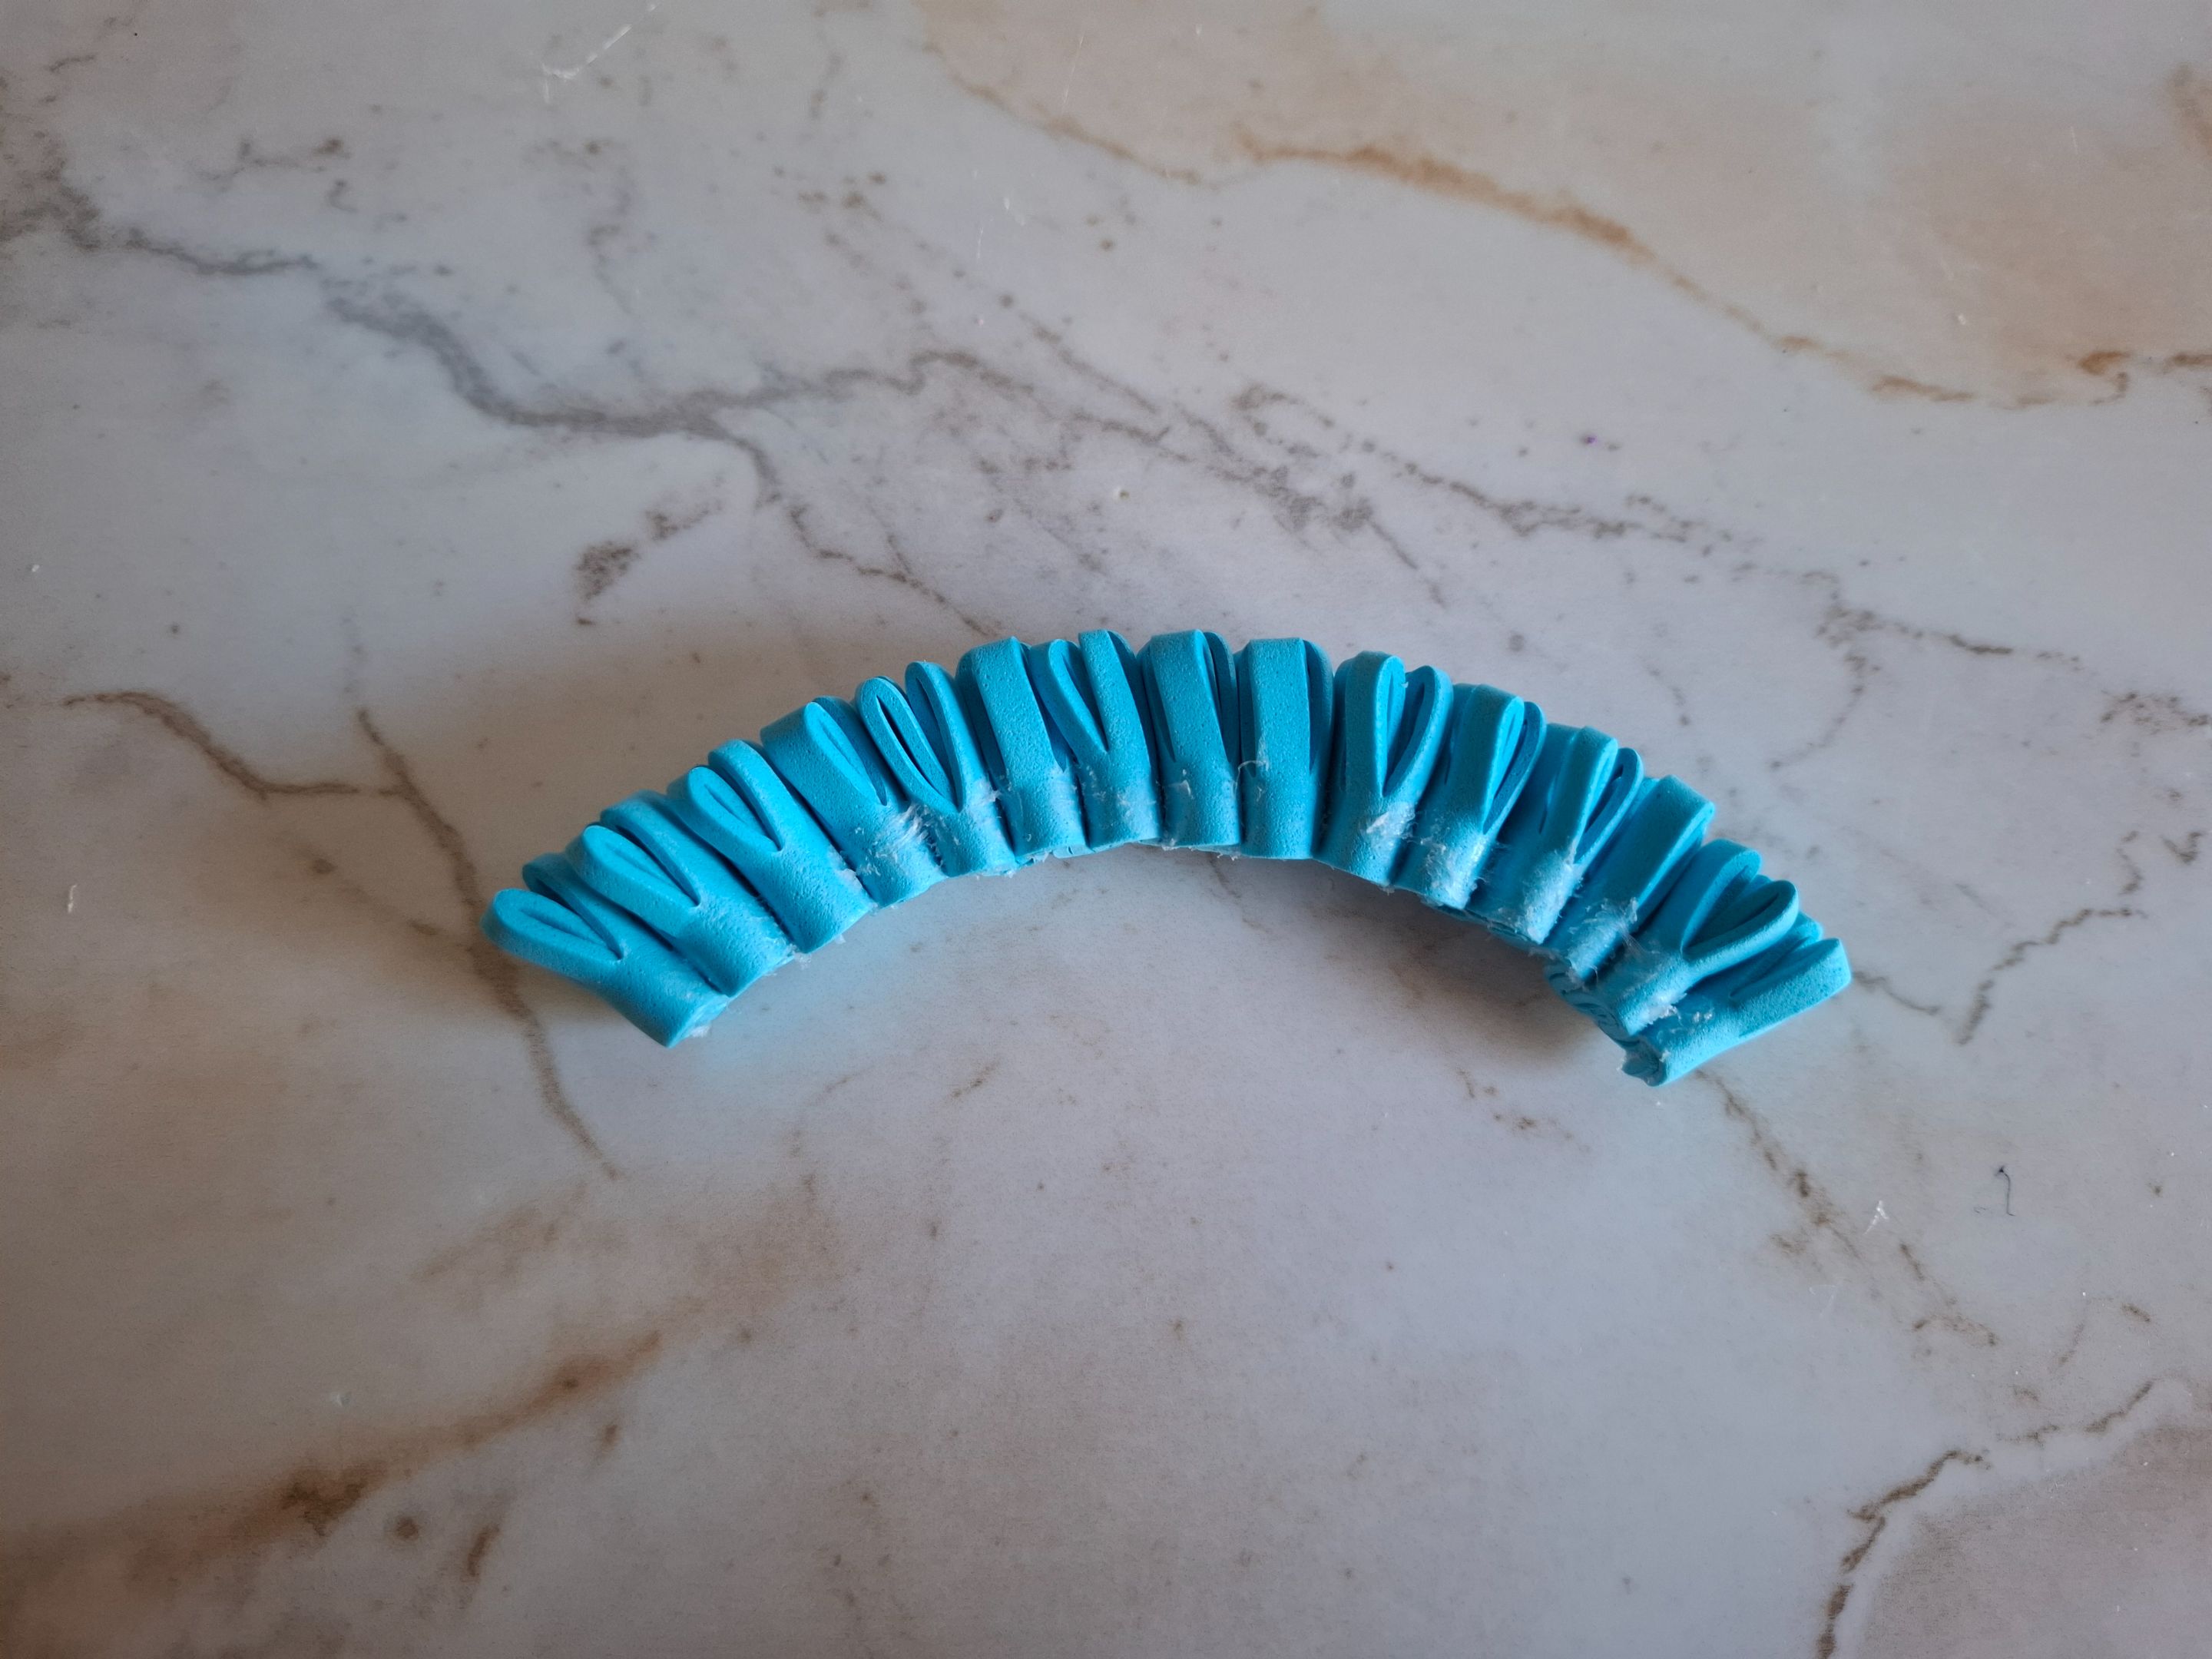
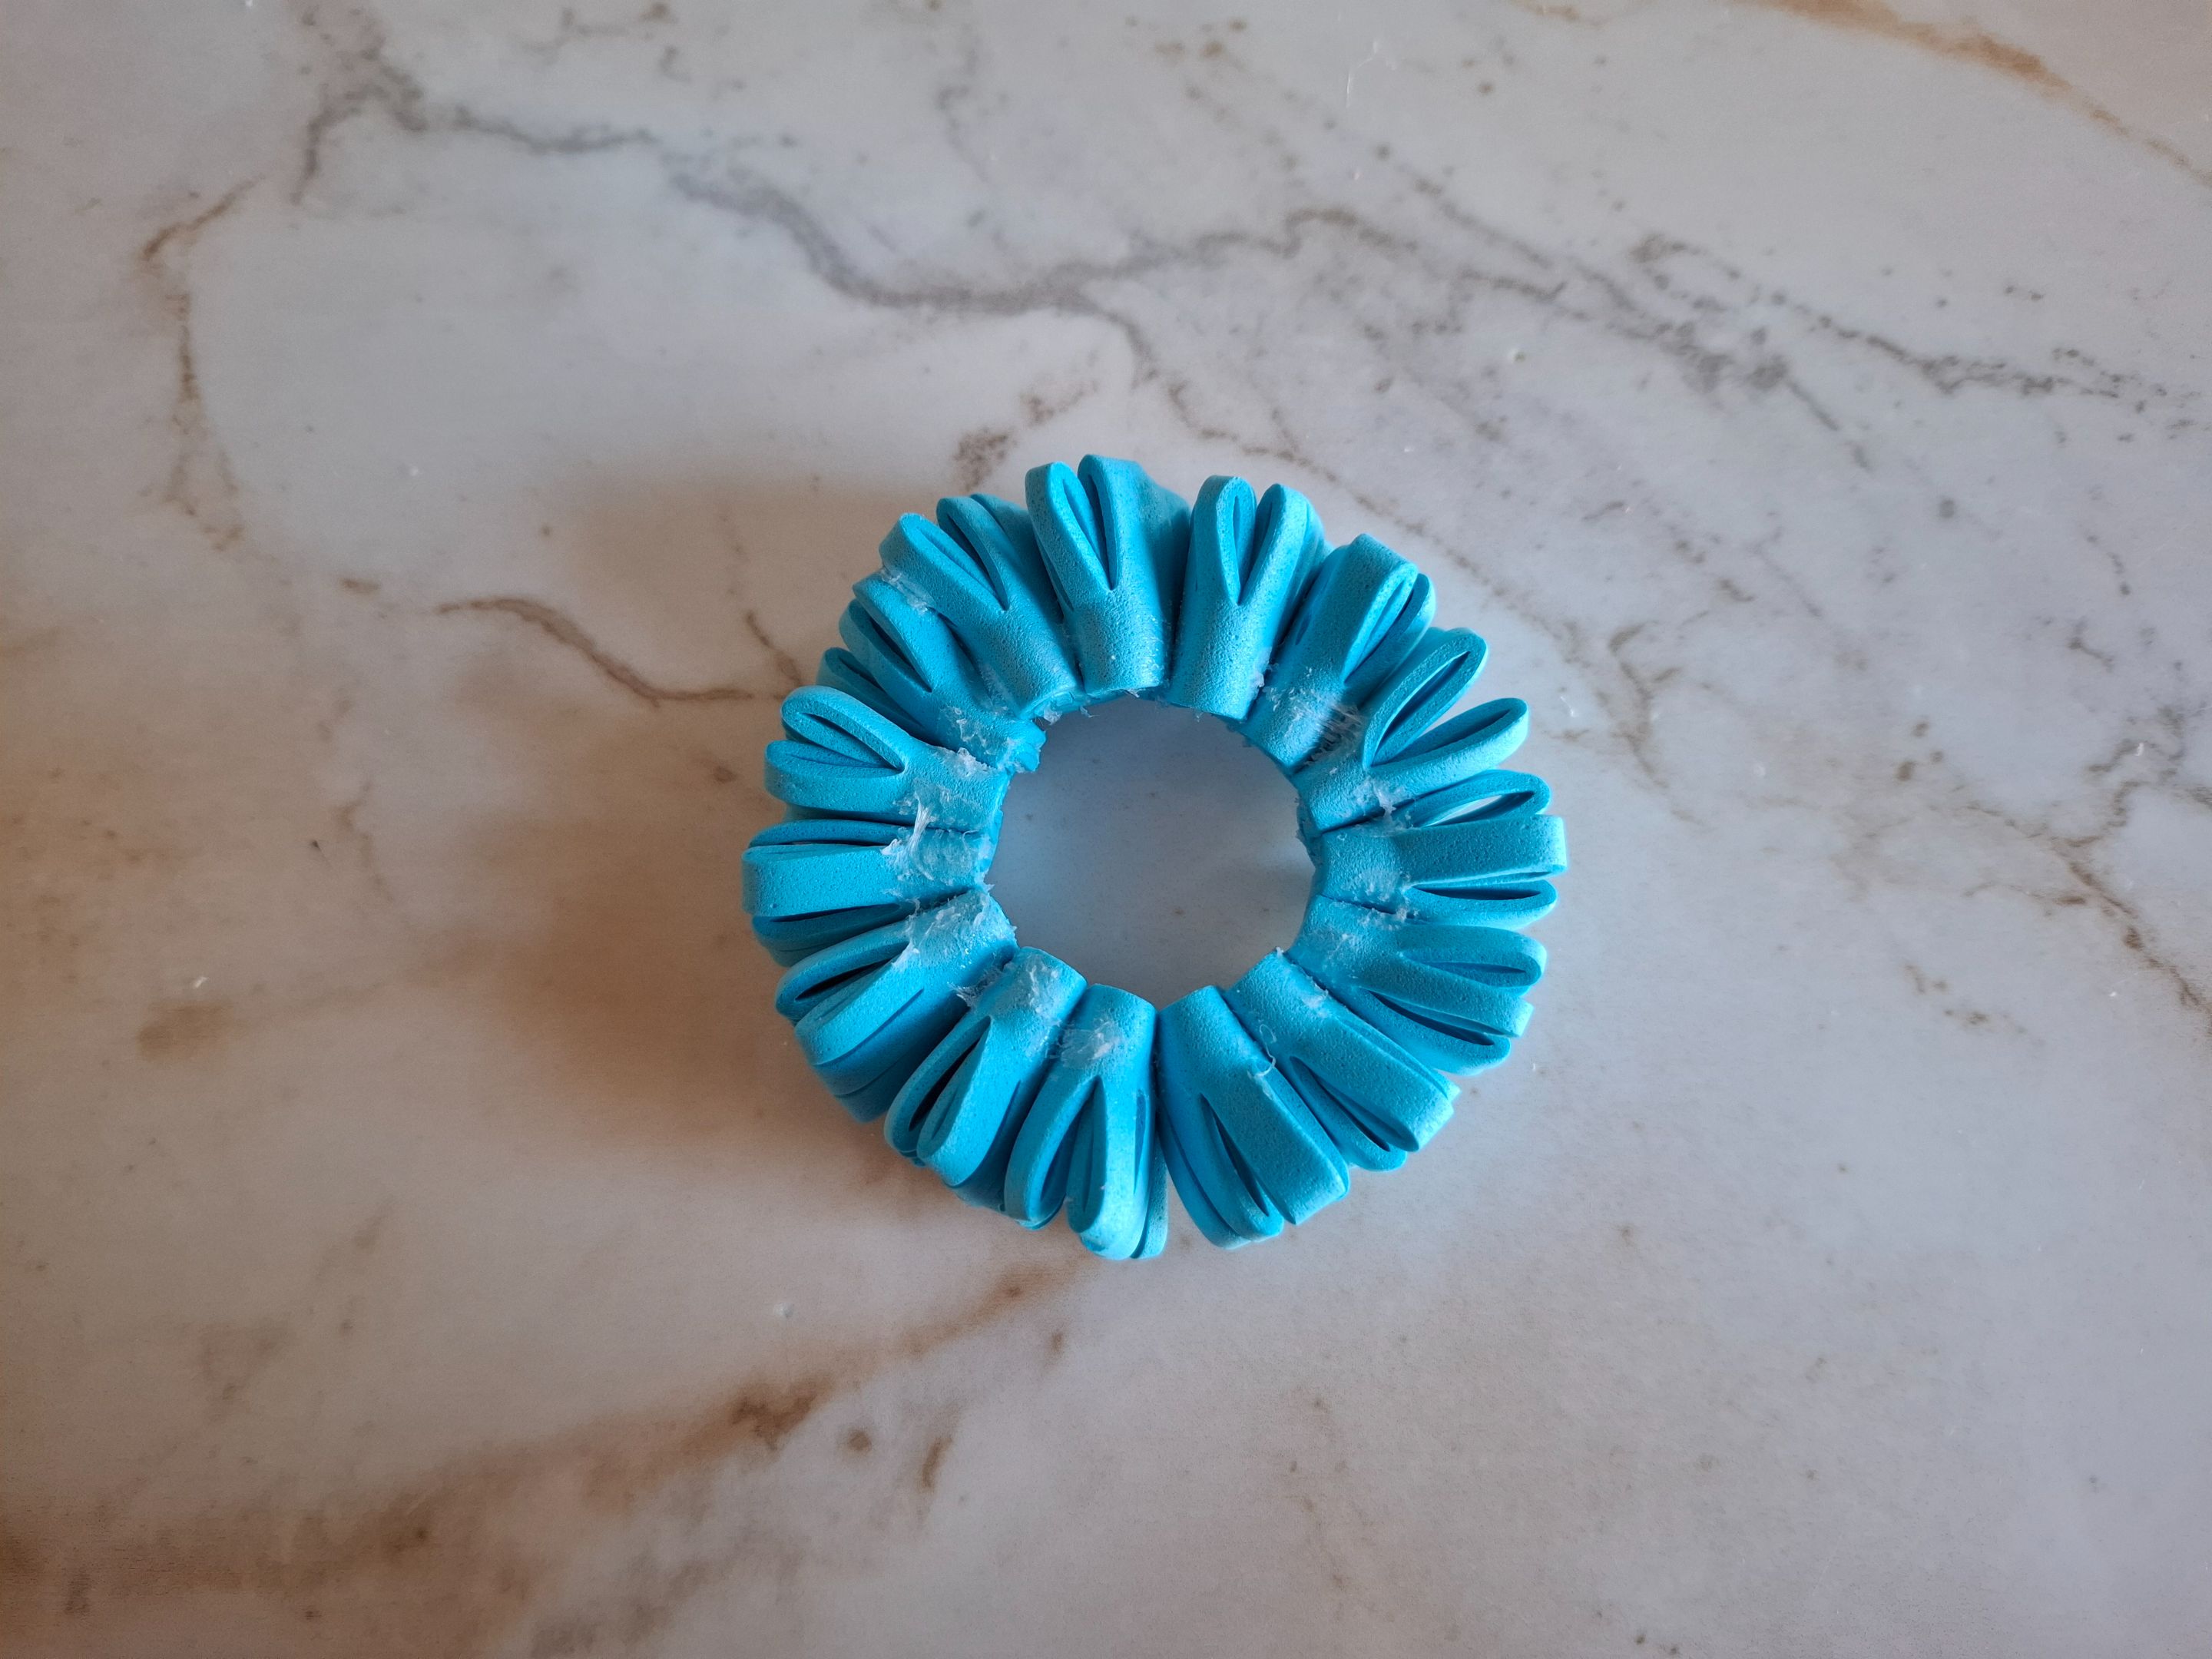
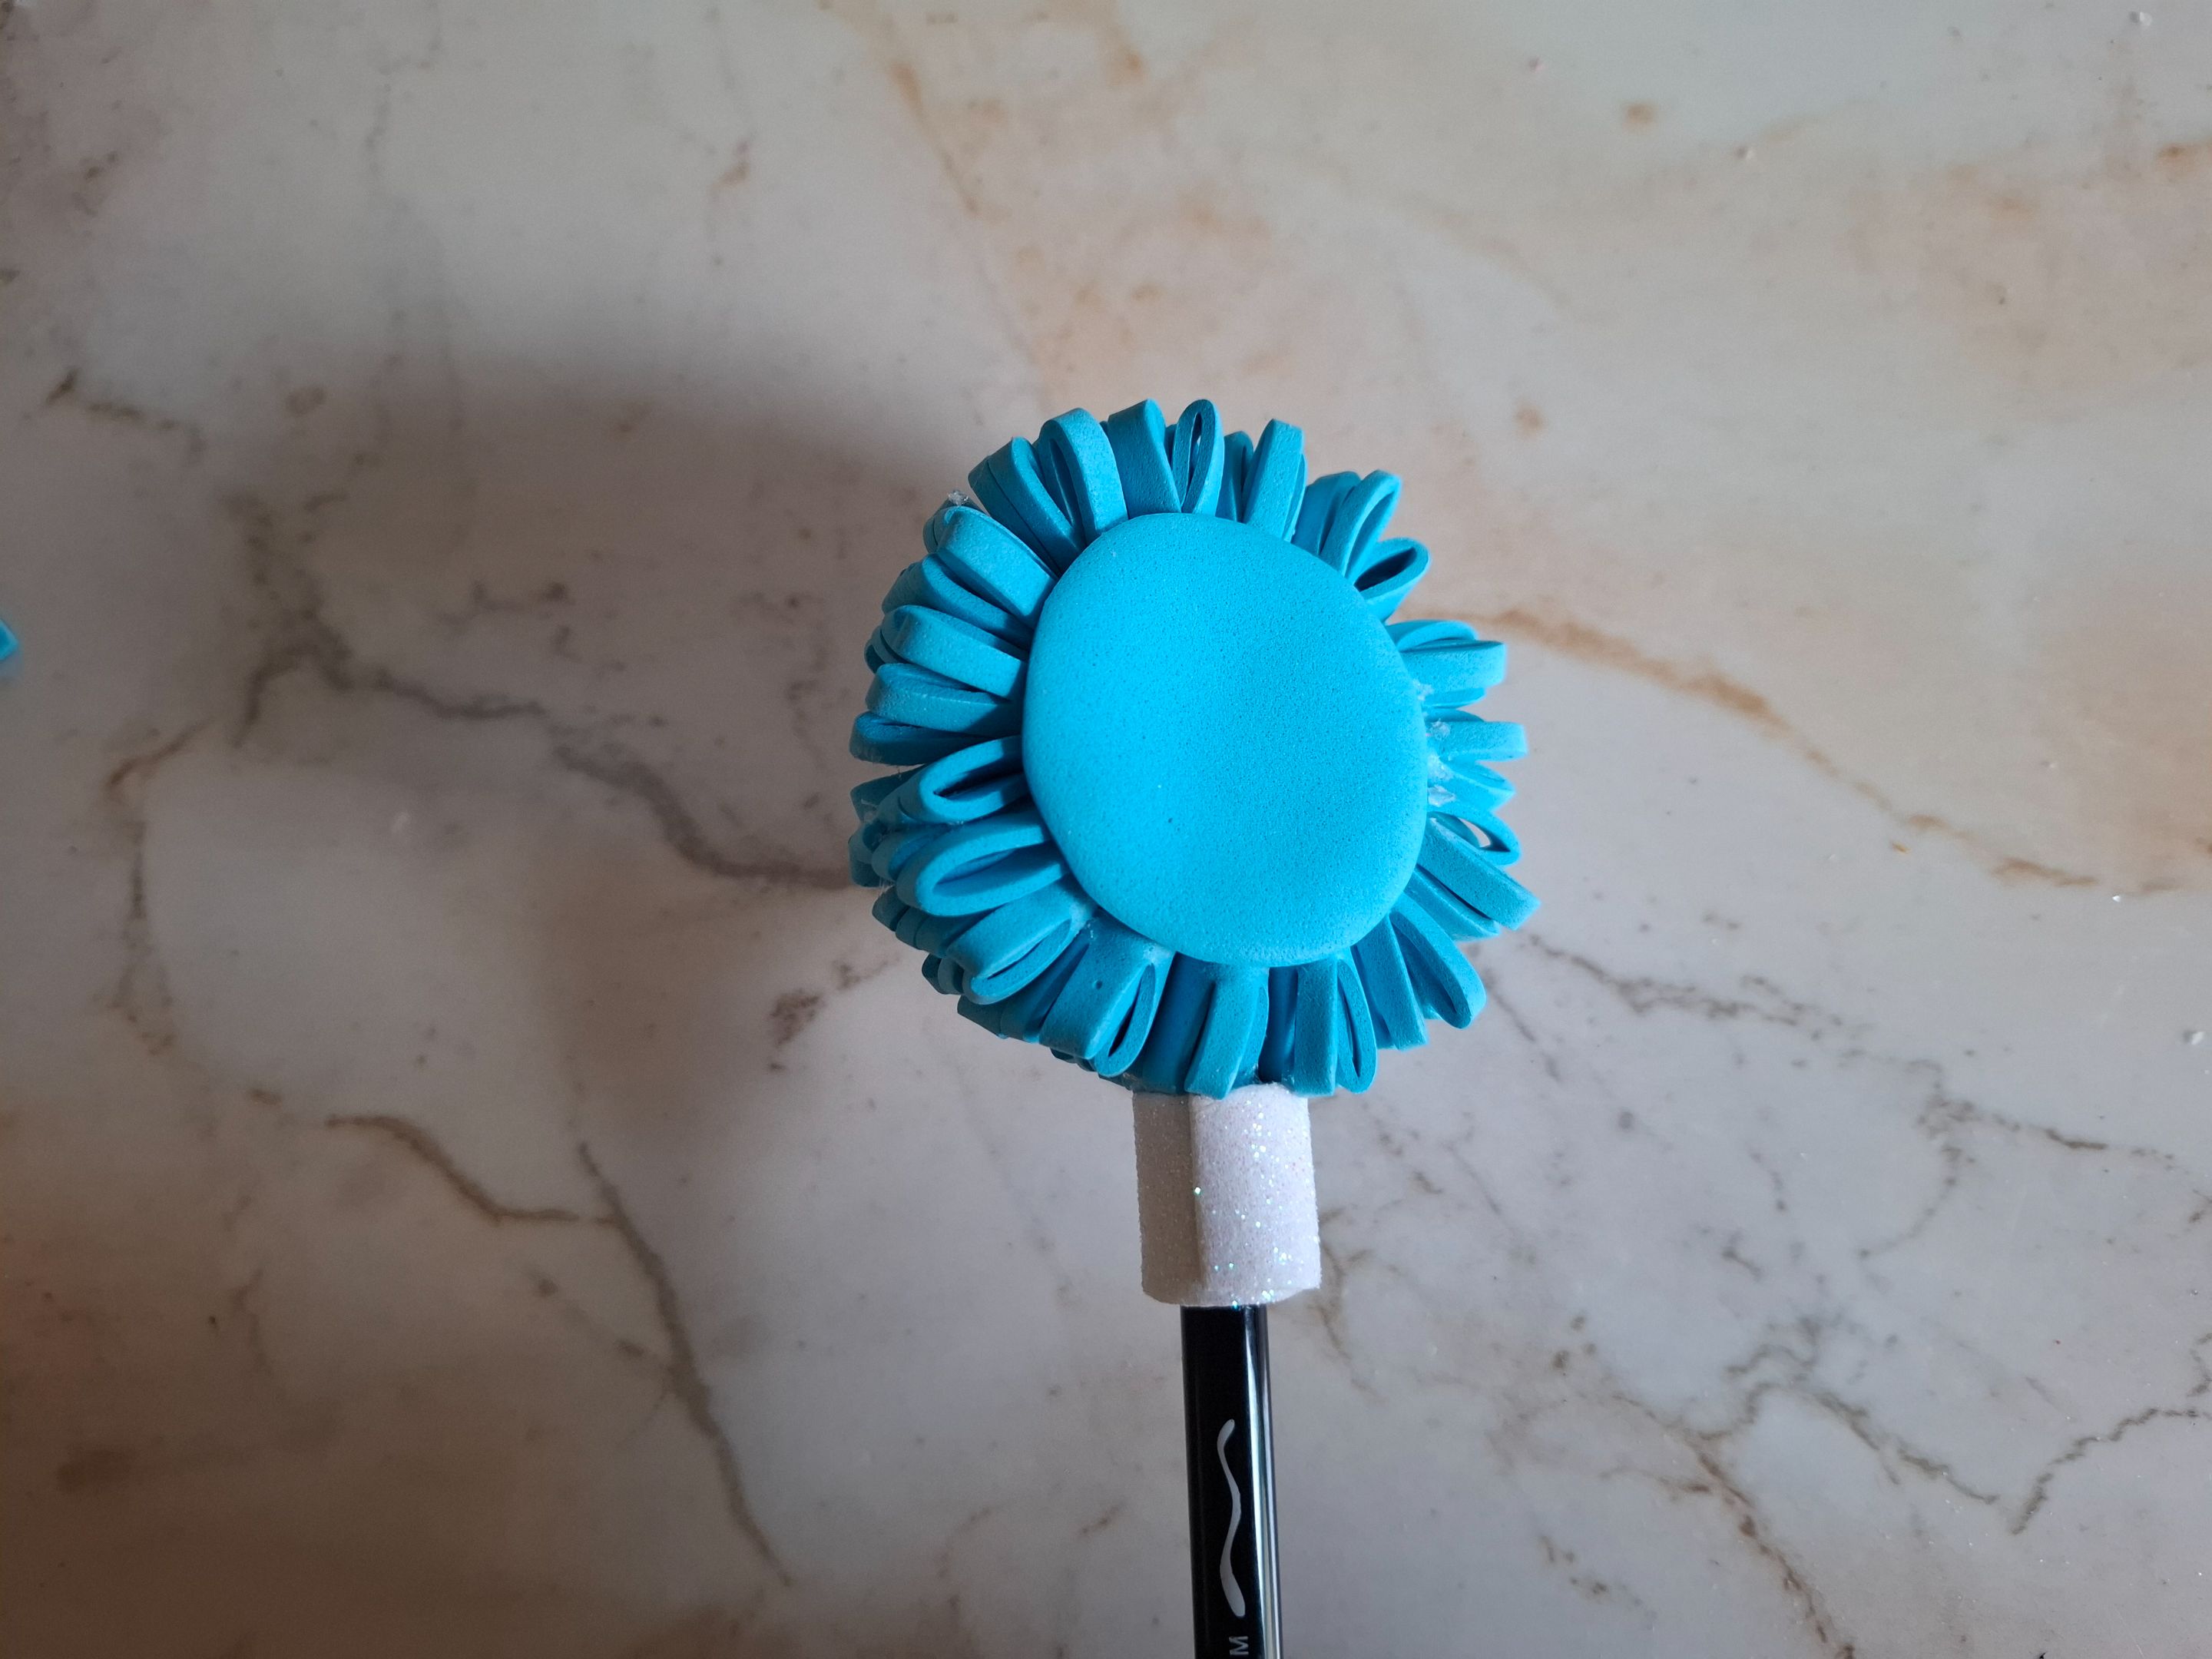
Ahora voy a comenzar a doblar en capas está franja de foami, debemos hacer presión al momento de colocar el silicón para que no se despegue, una vez listo voy a unir ambos extremos, veremos como queda un círculo en el centro, pero esto lo vamos a cubrir de la siguiente manera.
Now for the second decoration, I'm going to cut a piece of foam measuring 40 x 4 cm. Then, divide it in half, glue it, and make cuts in the center, just like the first time.
Now I'm going to start folding this strip of foam in layers. We need to apply pressure when applying the silicone so it doesn't come loose. Once it's done, I'm going to join both ends together. We'll see how it looks like a circle in the center. We'll cover this in the following way.
 |
 |
 |
|---|---|---|
 |
 |
|---|---|
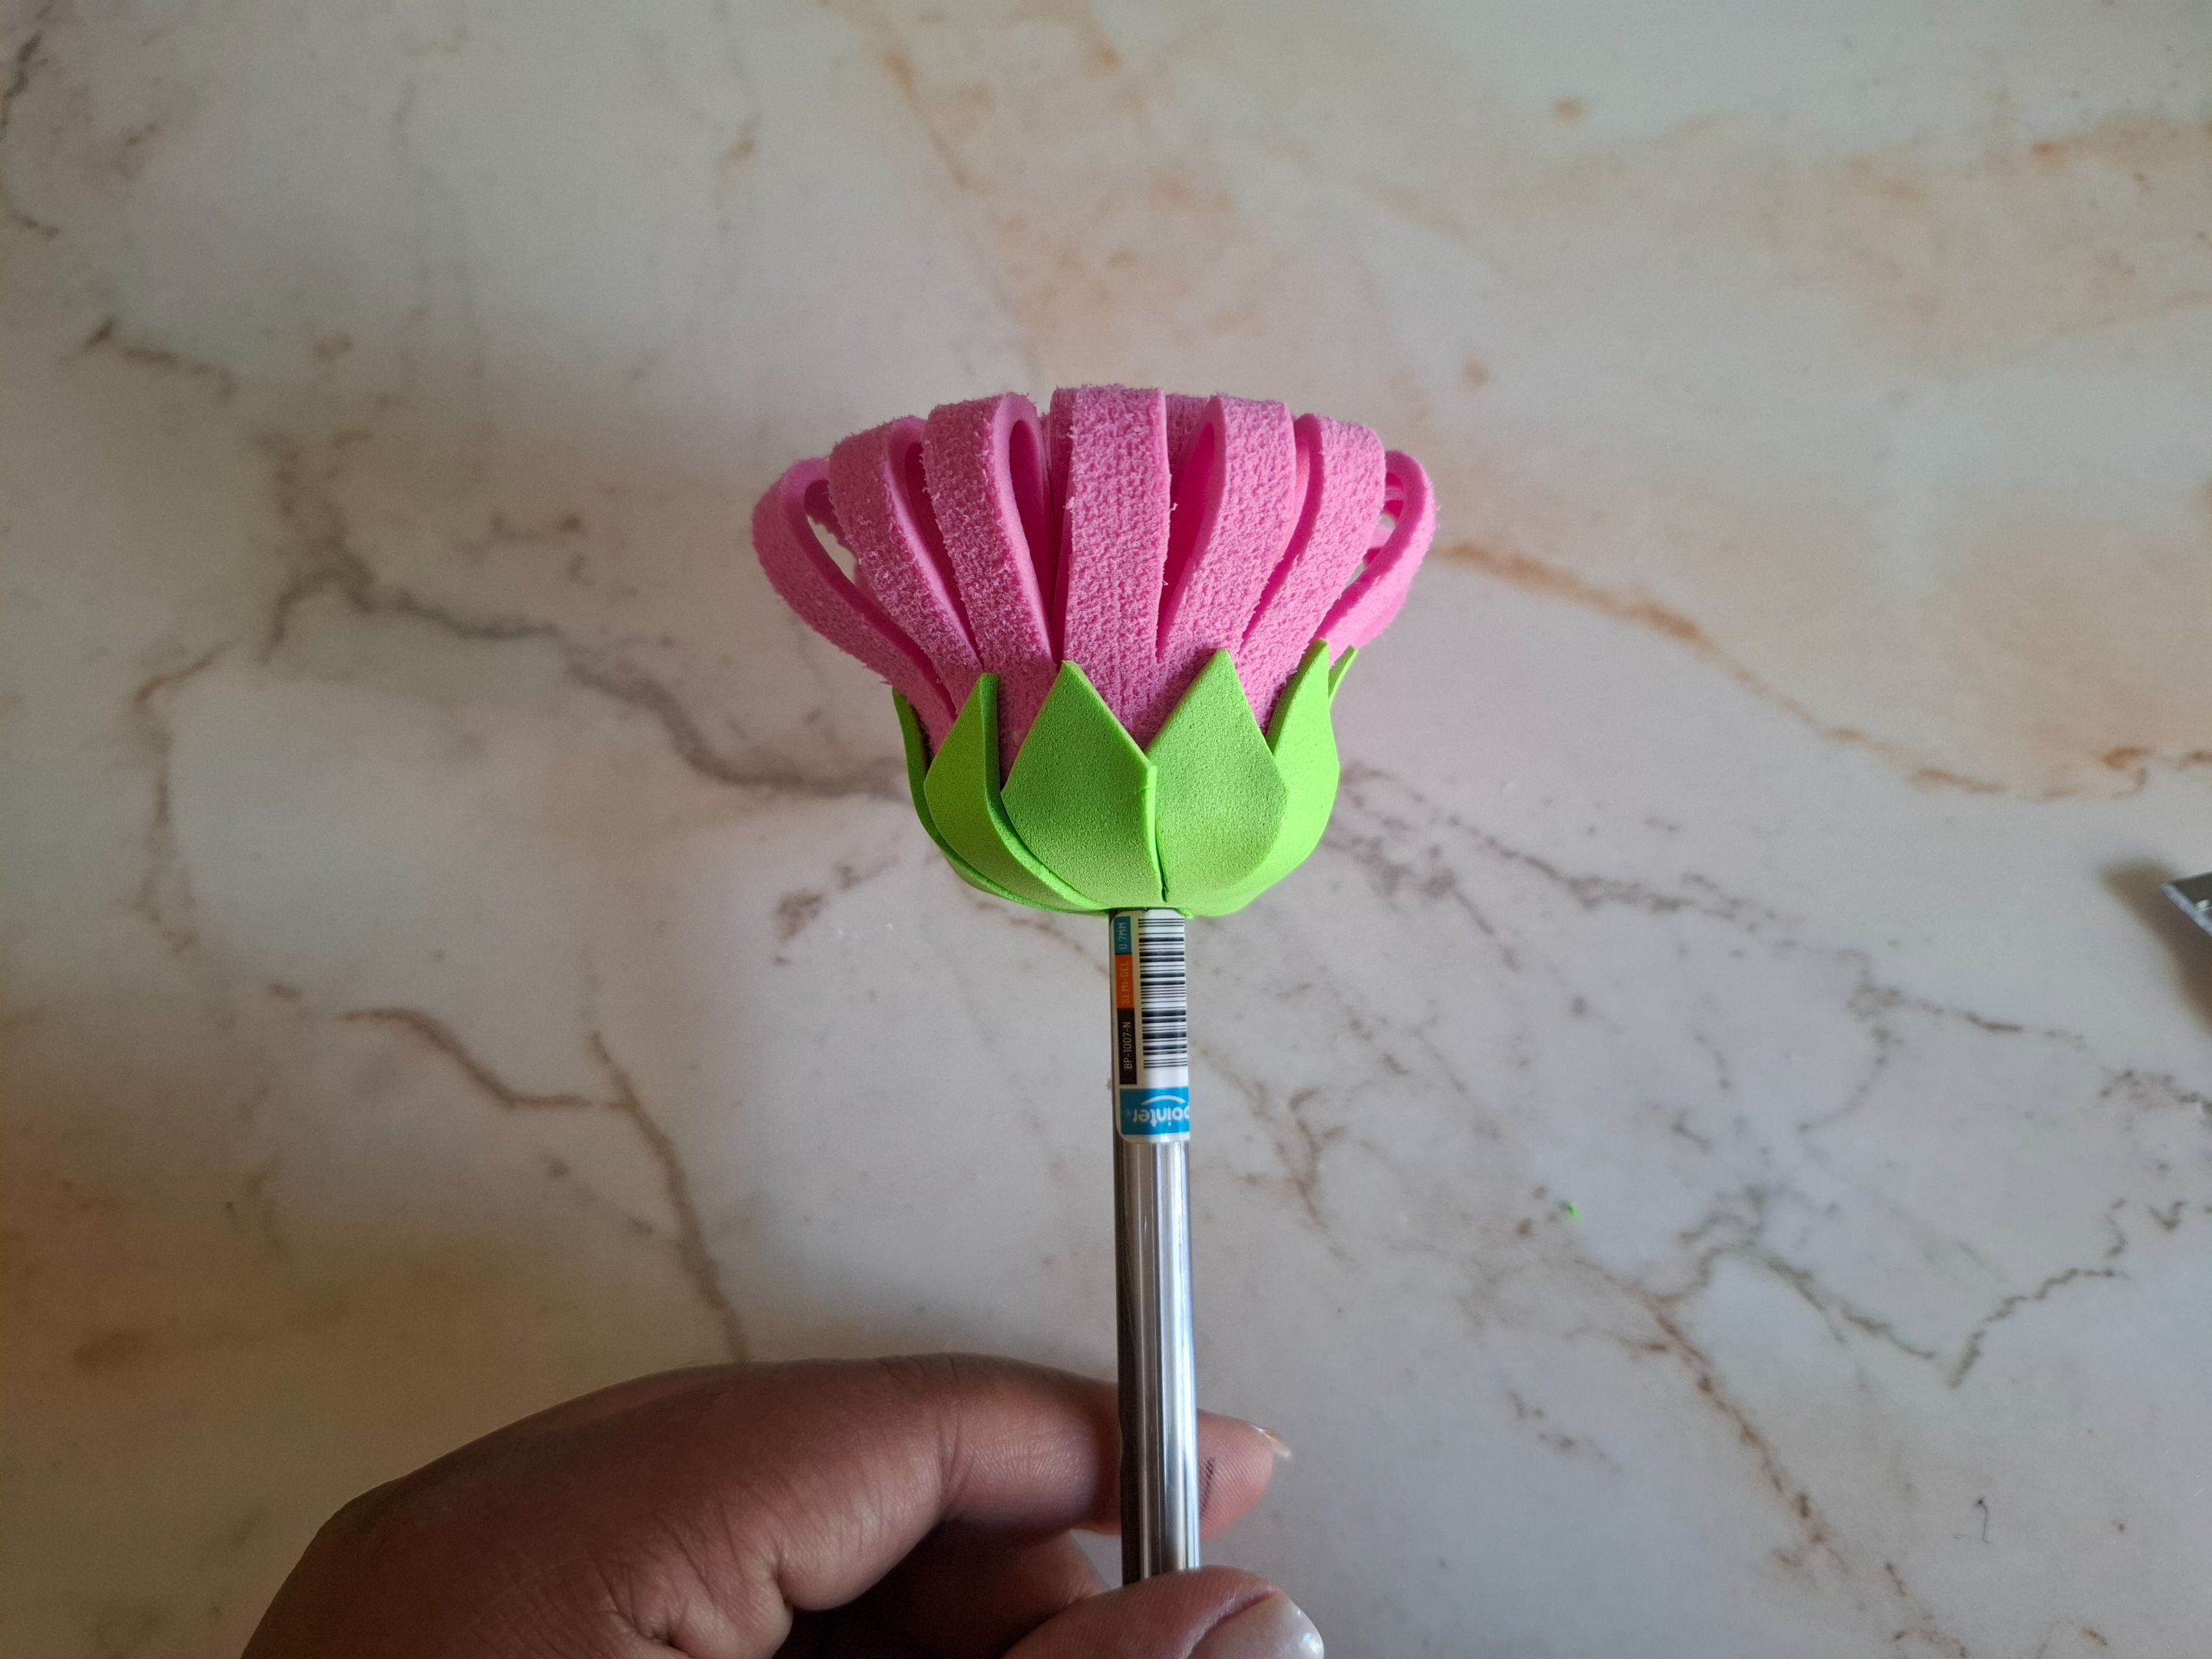
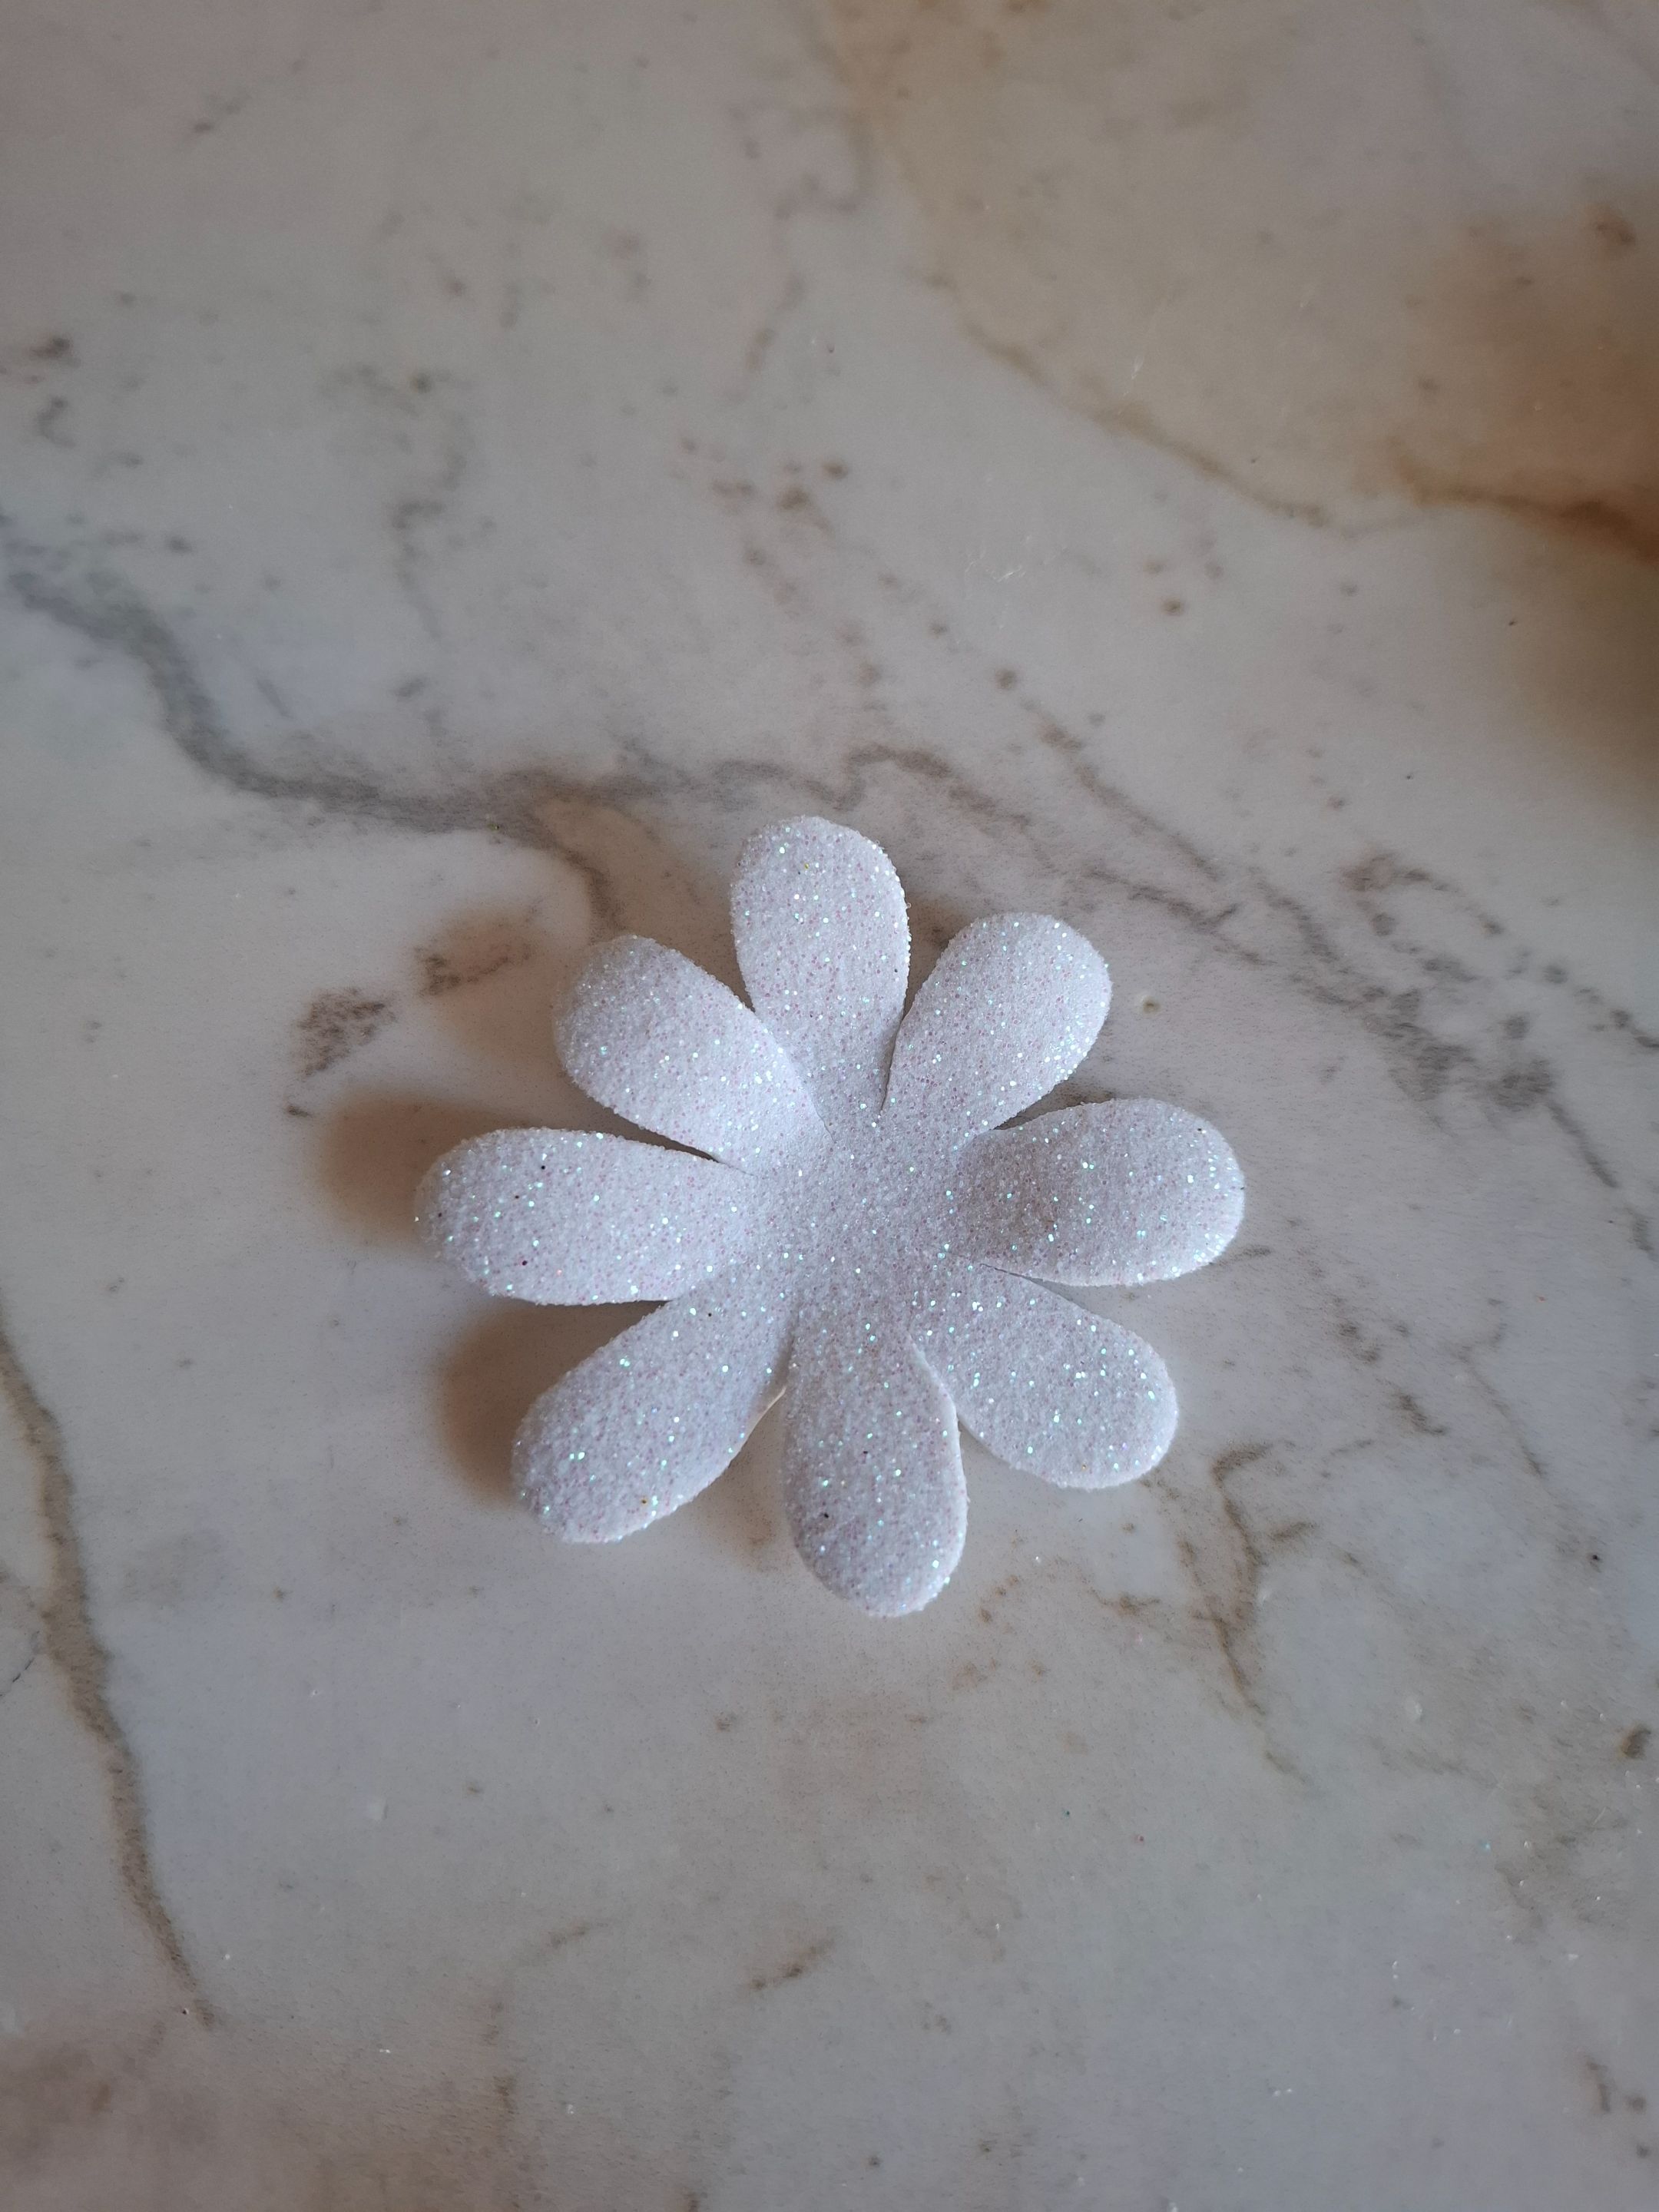
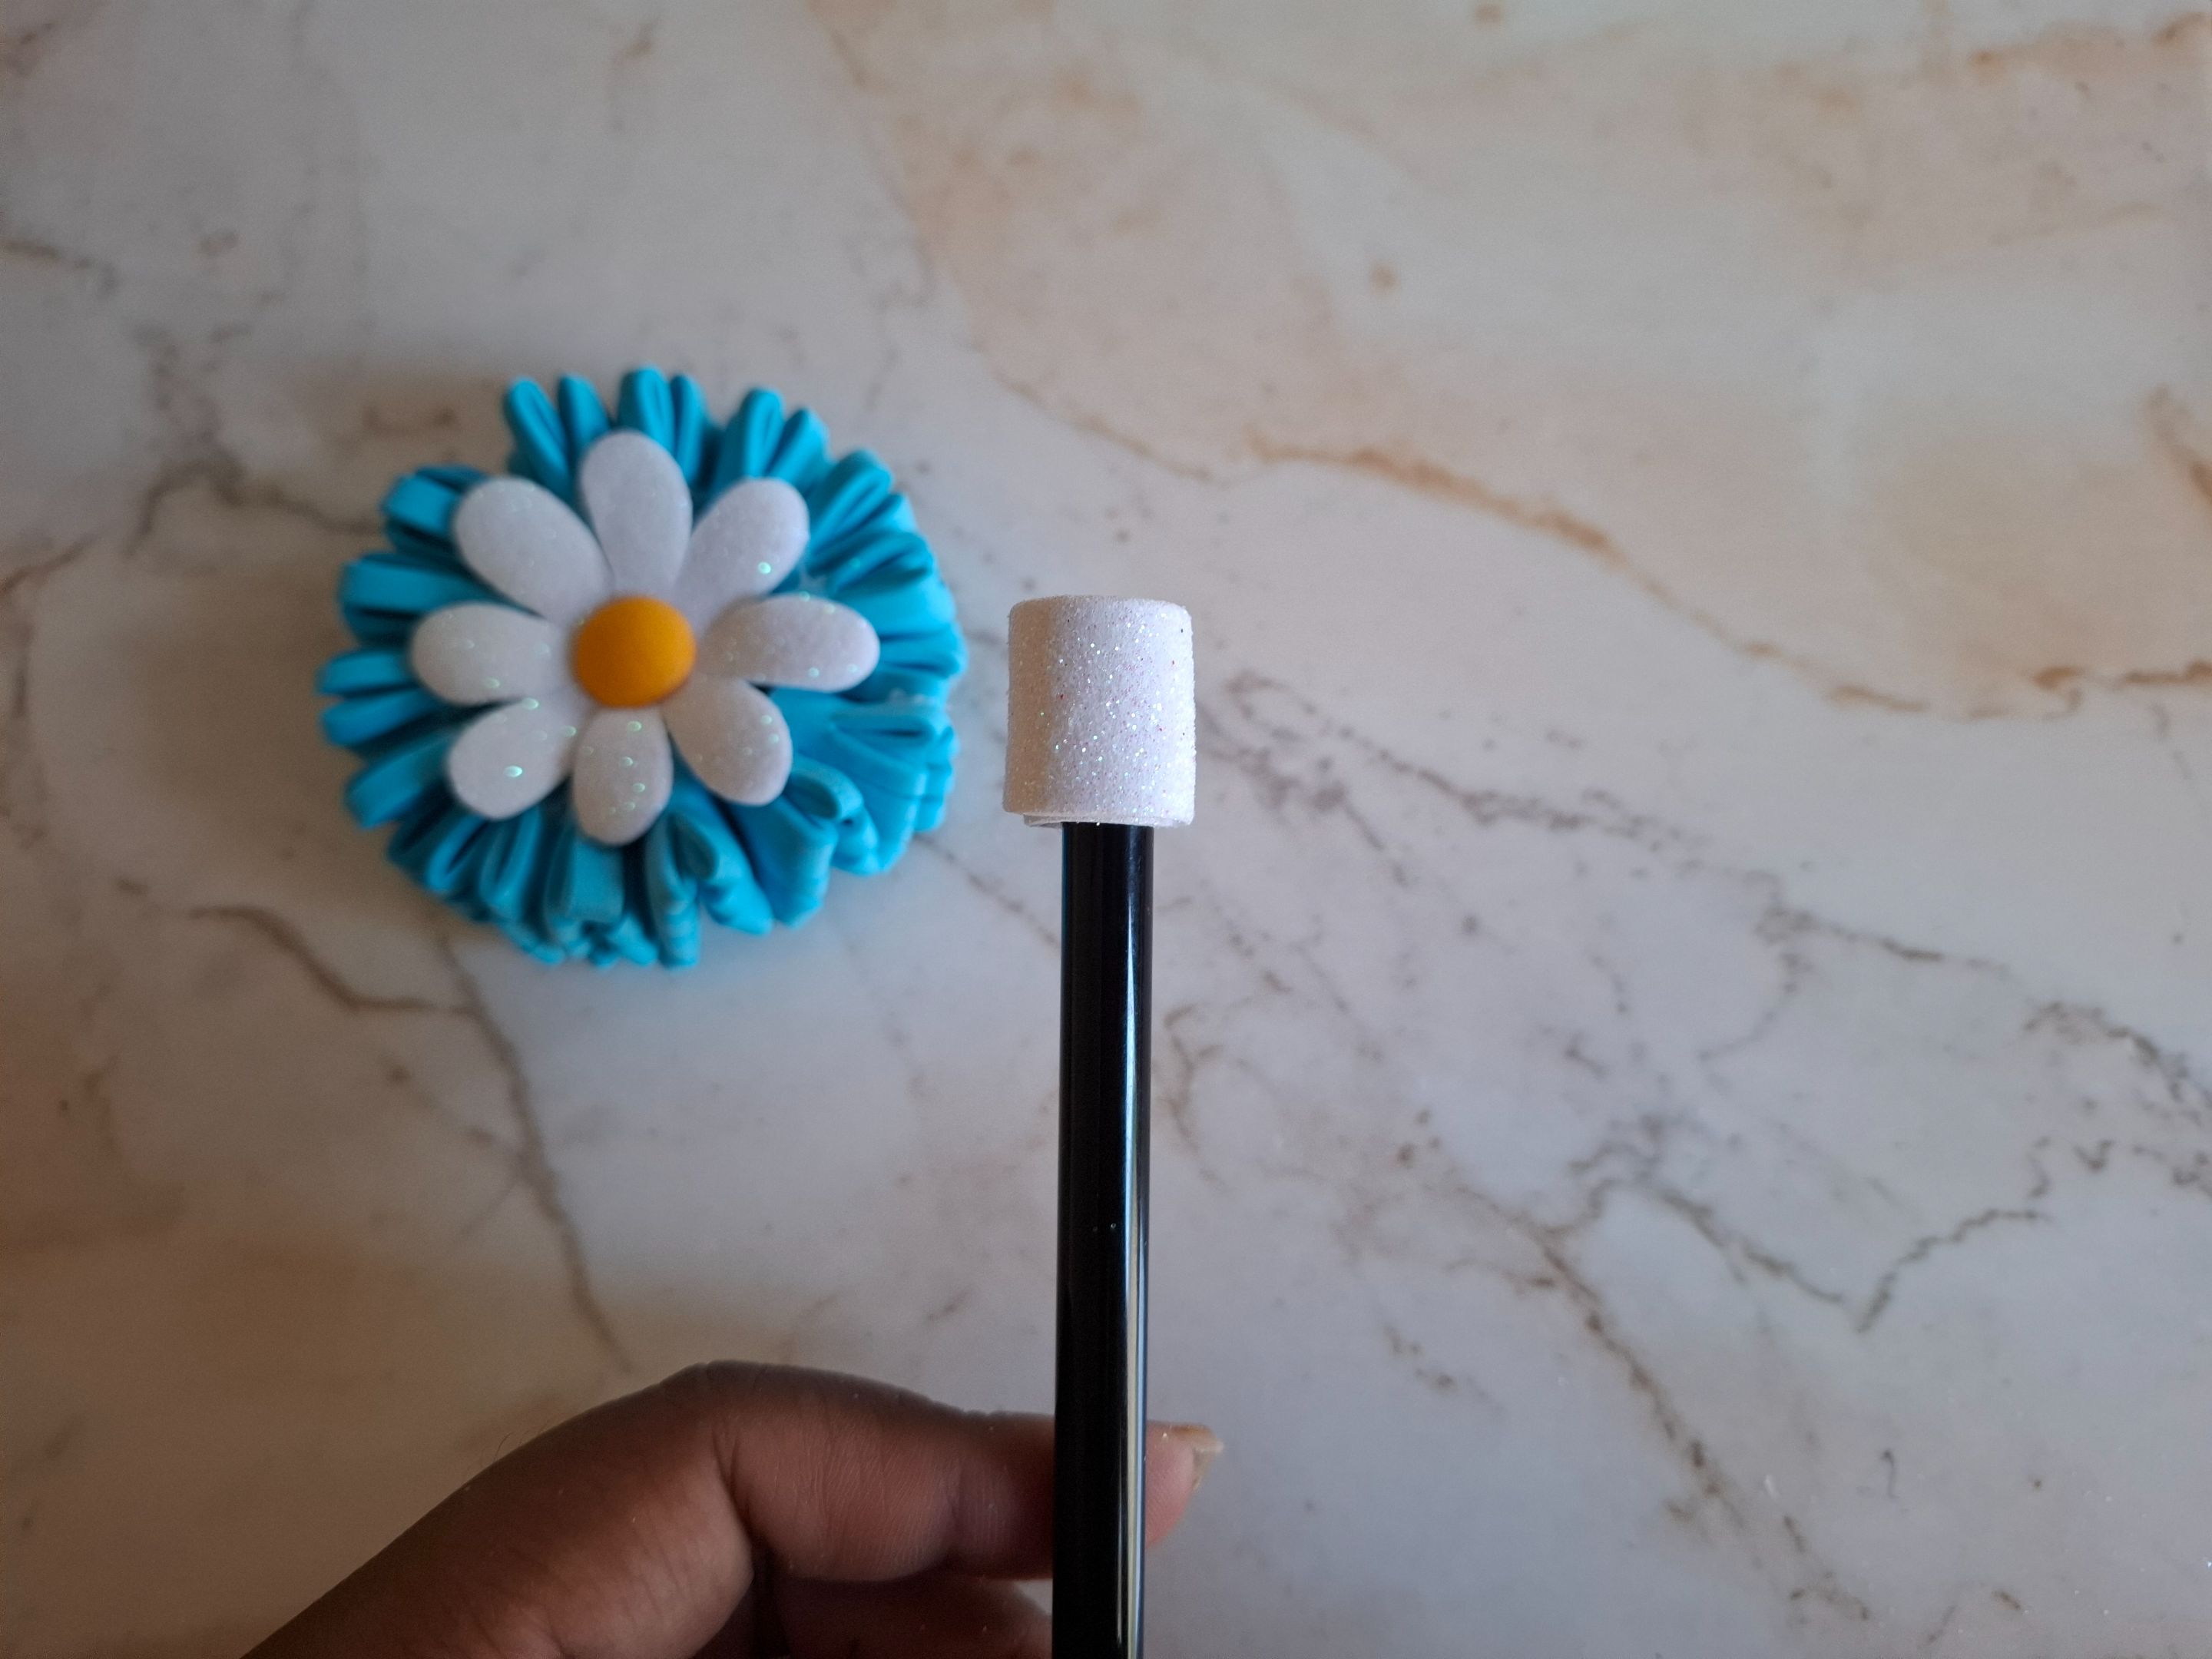
En foami blanco realicé una flor de ocho pétalos, utilicé la plancha para termoformar y ubicamos en el centro con silicón, para la parte trasera solo voy a pegar un círculo de foami azul.
I made an eight-petal flower using white foam. I used a heat-forming iron to place it in the center with silicone. For the back, I'm just going to glue a circle of blue foam.
 |
 |
|---|---|
 |
 |
|---|---|
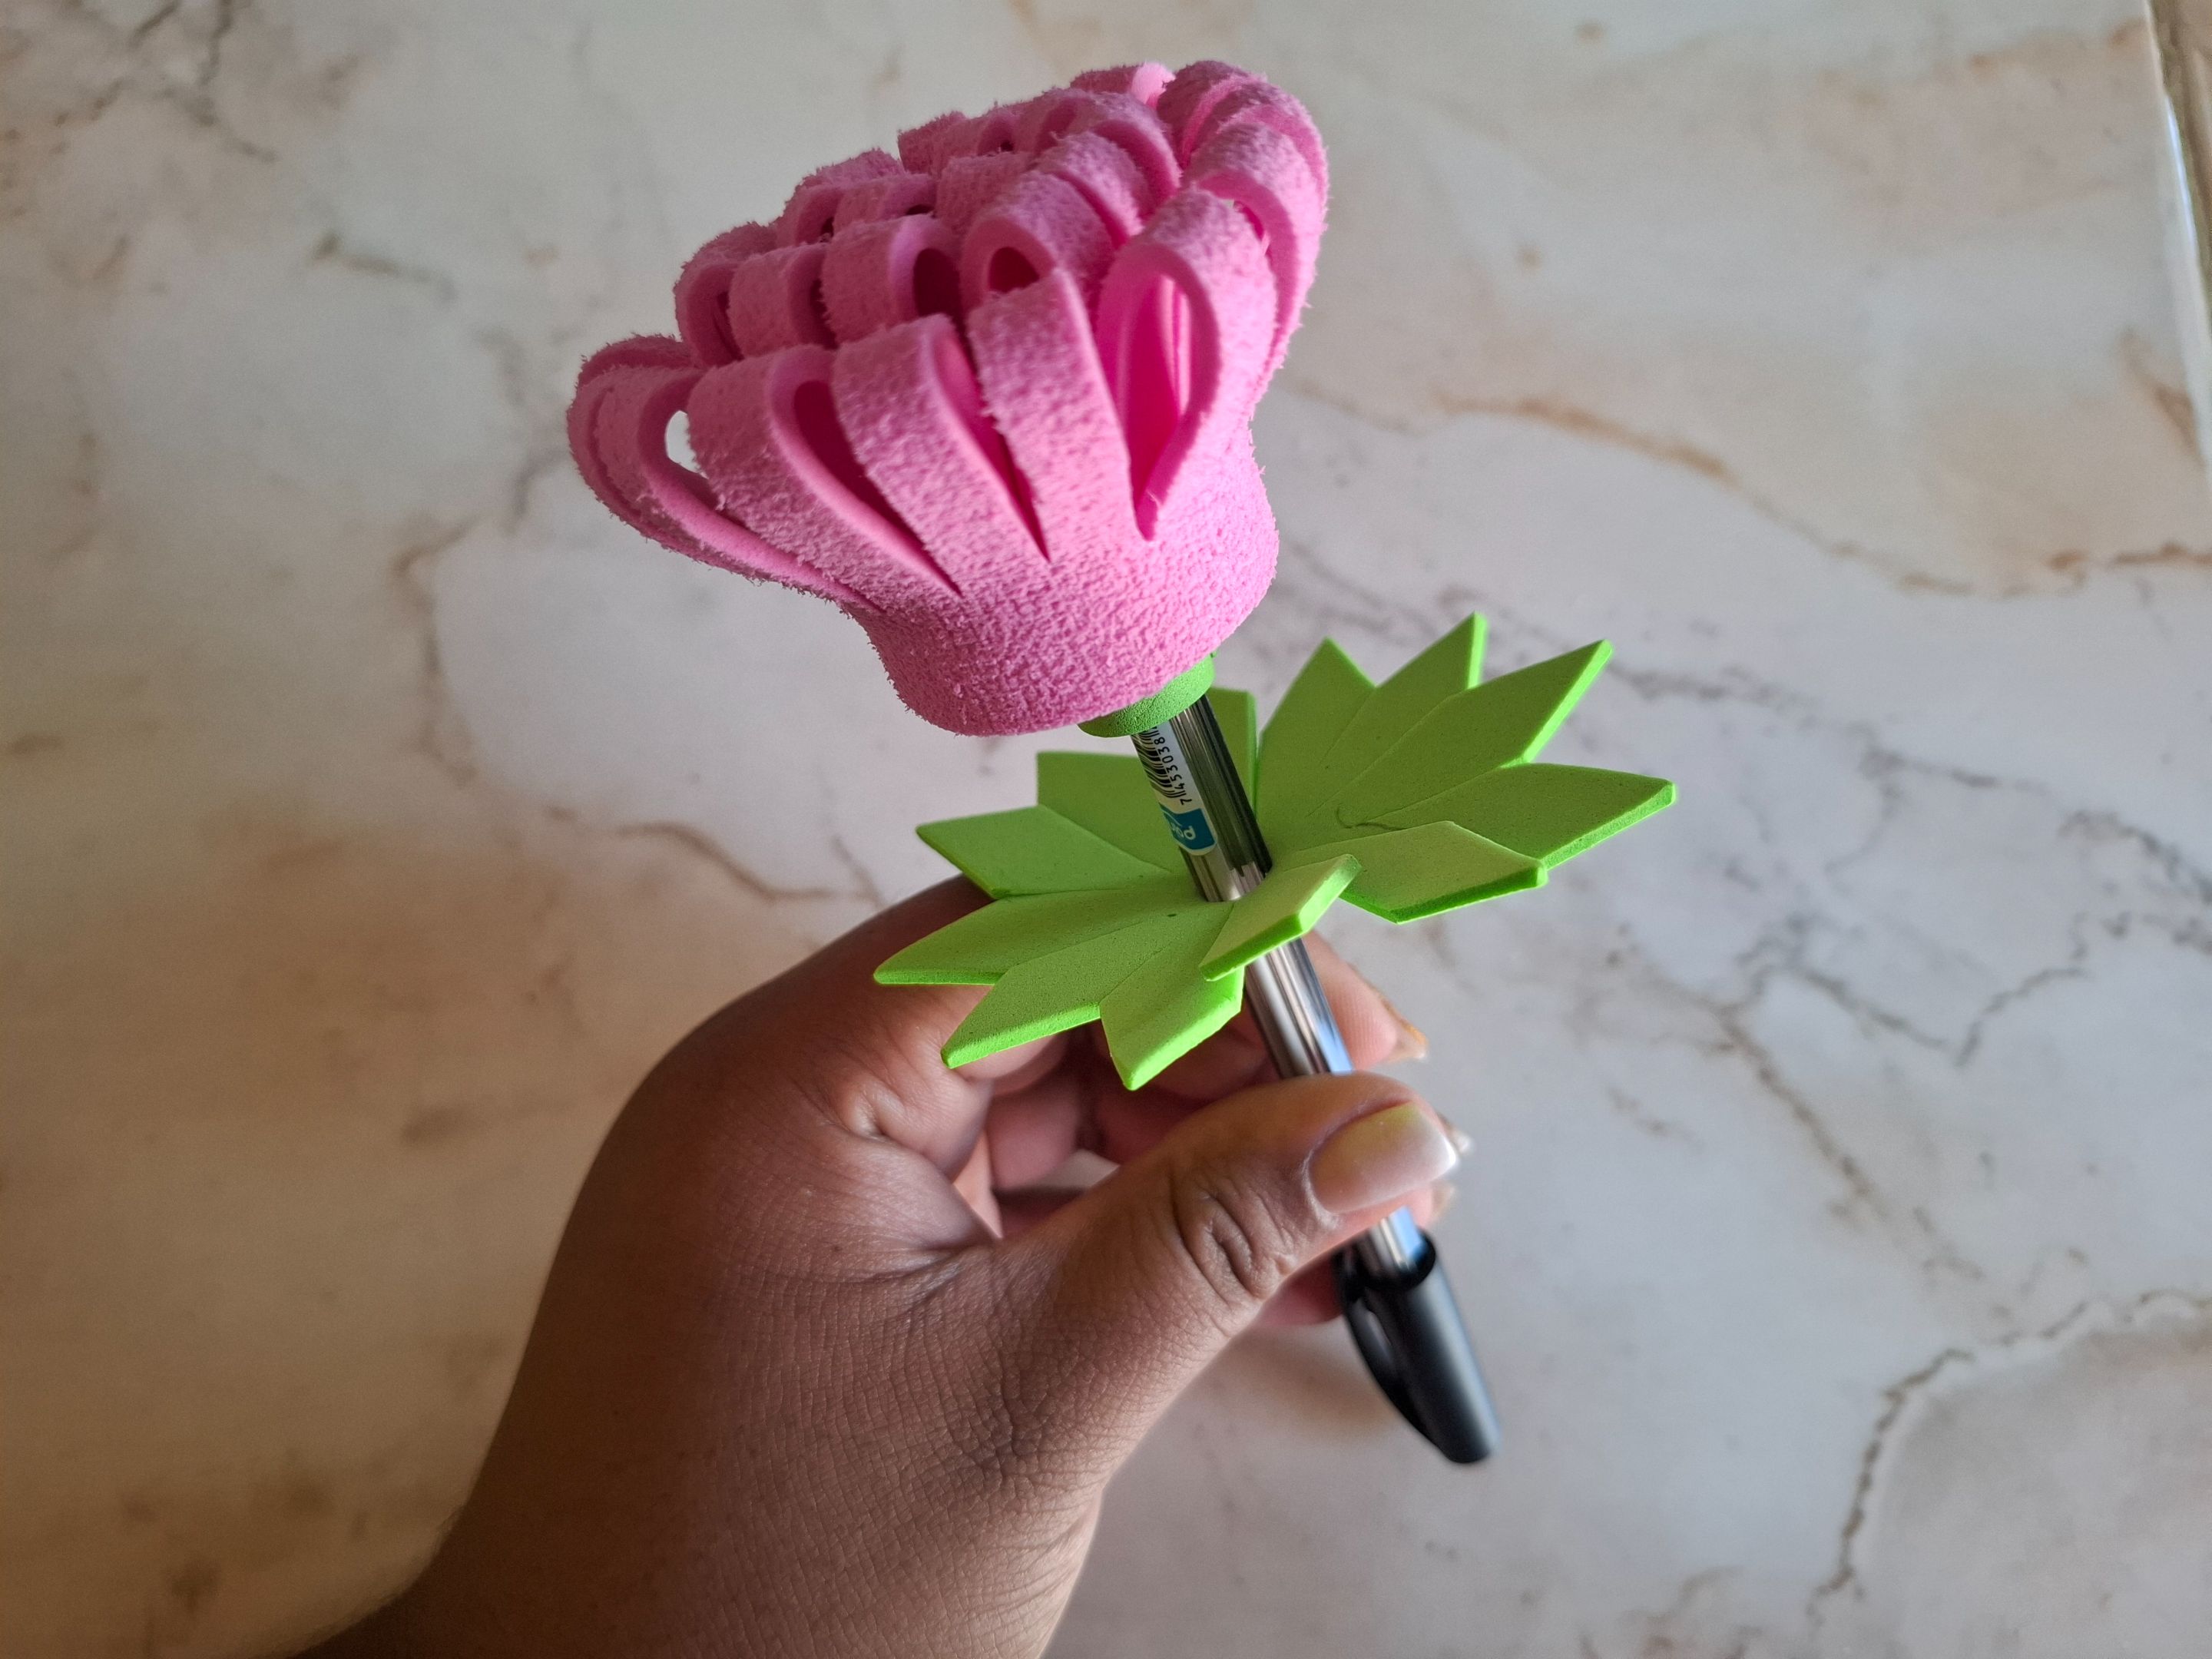
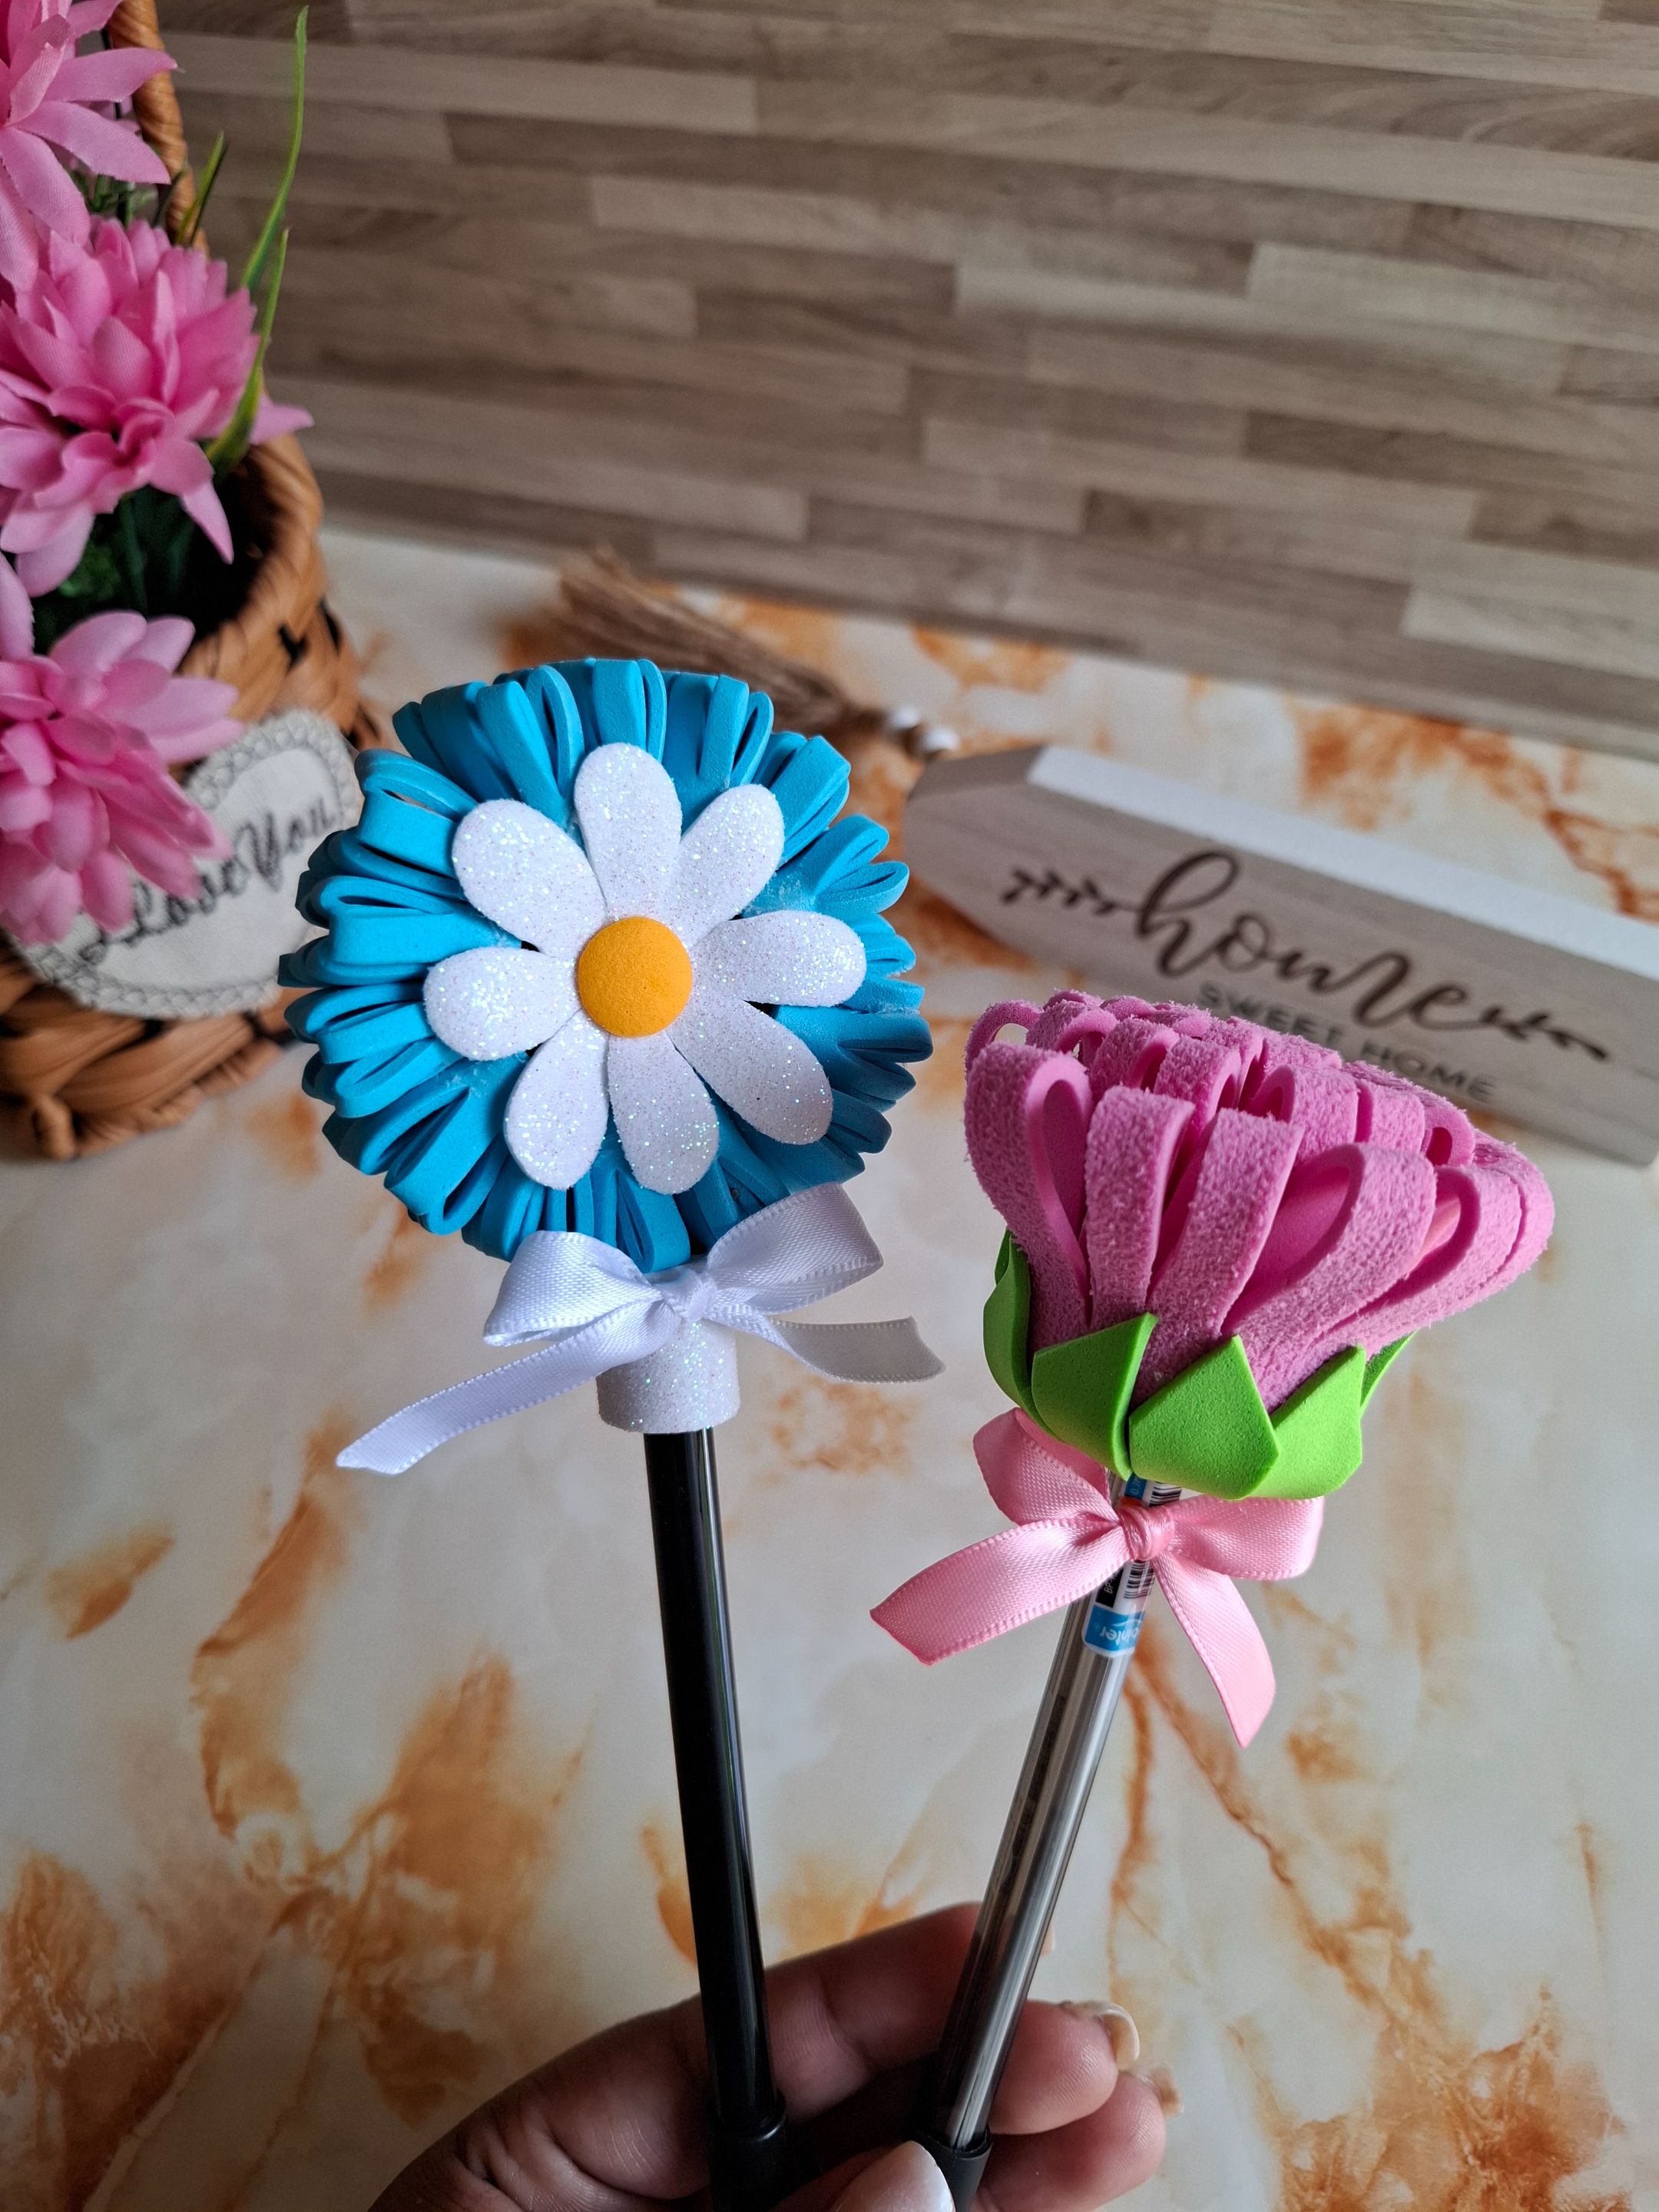
En esta decoración también coloqué un lazo pero en color blanco, y listo de esta forma terminé estás dos decoraciones de bolígrafos, espero les haya gustado el resultado, muchas gracias por visitar mi publicación nos vemos en una próxima oportunidad con más ideas creativas.
In this decoration I also placed a bow but in white, and that's it. This is how I finished these two pen decorations. I hope you liked the result. Thank you very much for visiting my post. See you next time with more creative ideas.
 |
 |
|---|---|
Más del resultado final:
More of the final result:

Contenido original. - original content.
Los separadores y banner fueron realizados en Canva. - The dividers and banner were made in Canva.
Fotografías tomadas con mi Samsung A55. - Photographs taken with my Samsung A55.
Gif creado desde Giphy / Gif created from Giphy
Traducción de: Google traductor - Translation of: Google translator.
Posted Using INLEO