Felíz sábado, saludos miembros de la comunidad Hive Diy, un gusto saludarles, espero hayan pasado una excelente semana, llena de bendiciones y buenas noticias, también espero que pasen un buen fin de semana, yo descansando hoy tocó ir a la universidad aunque esta semana ha sido movida he podido ir logrando cada tarea gracias a Dios, y como siempre felíz de compartir una nueva idea creativa.
Happy Saturday, greetings members of the Hive Diy community, a pleasure to greet you, I hope you had an excellent week, full of blessings and good news, I also hope you have a good weekend, I was resting today and had to go to university, although this week has been busy I have been able to accomplish each task, thank God, and as always, happy to share a new creative idea.

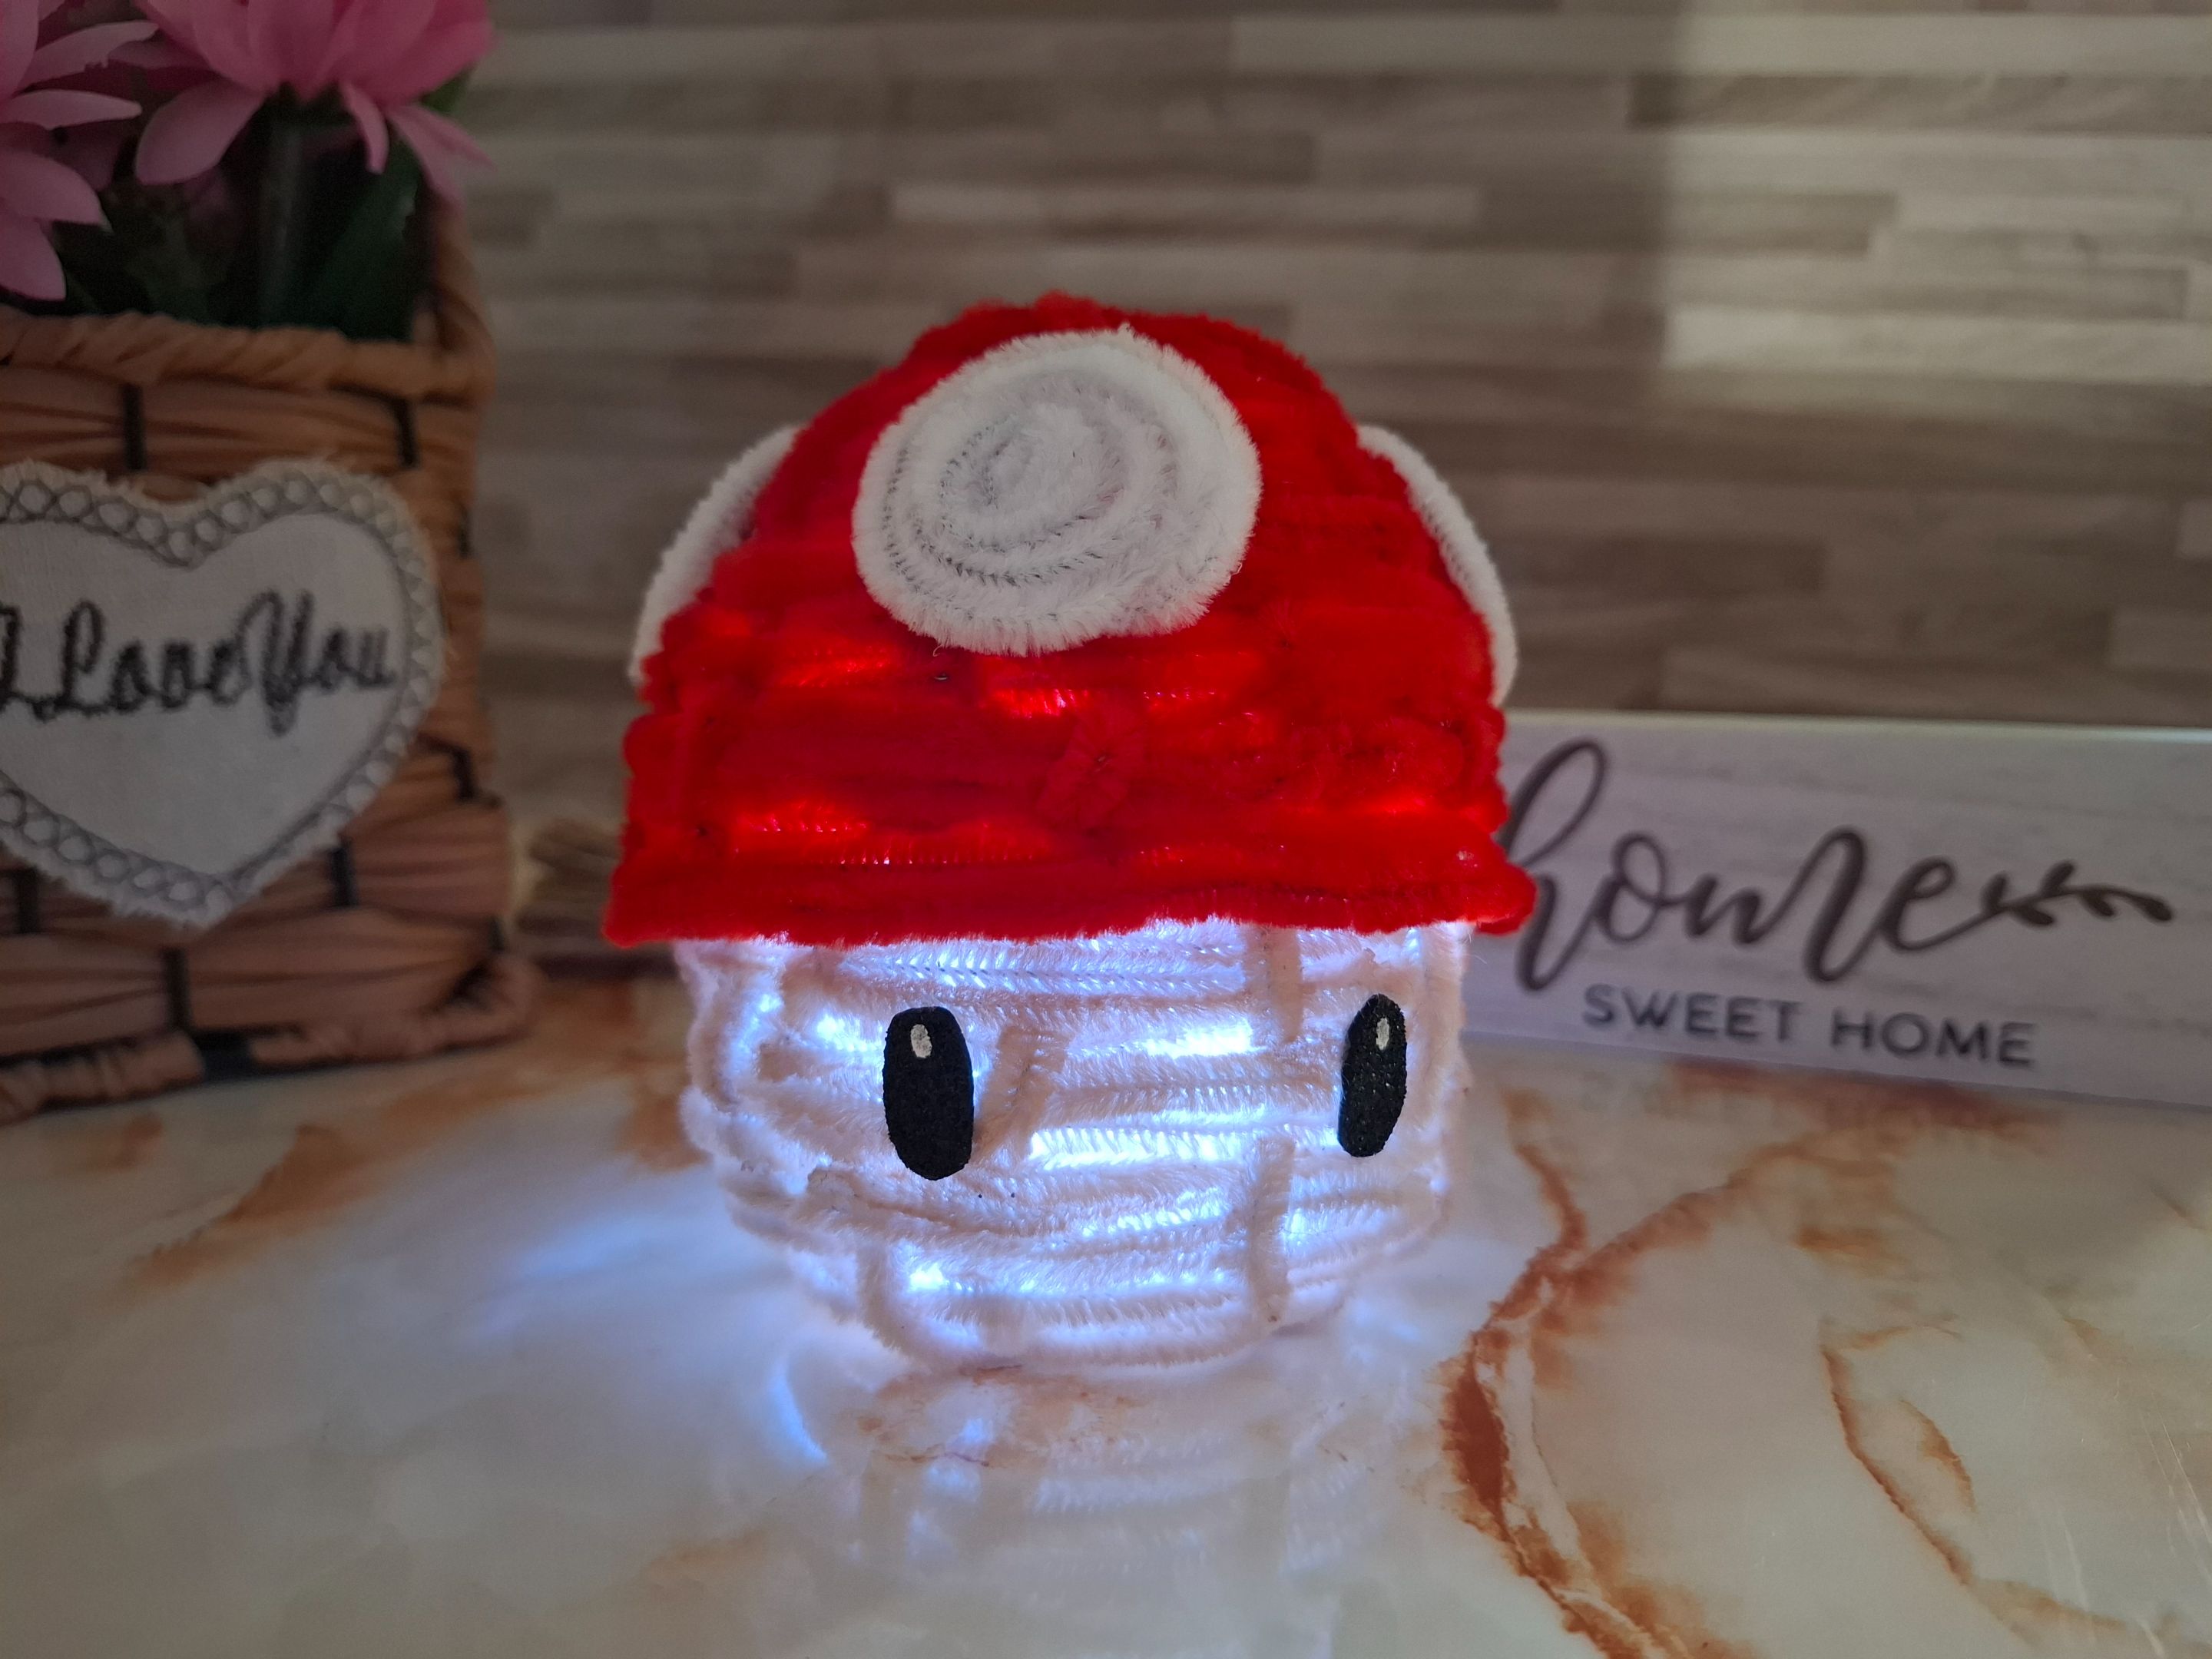
En esta oportunidad realicé una decoración en limpiapipas inspirada en el Hongo que aparece en el juego de Mario Bros, este tierno honguito lo podrás utilizar como decoración de mesa para los niños, sé que a muchos les gustará esta idea.
This time I made a pipe cleaner decoration inspired by the Mushroom that appears in the Mario Bros game, you can use this cute little mushroom as a table decoration for children, I know that many will like this idea.
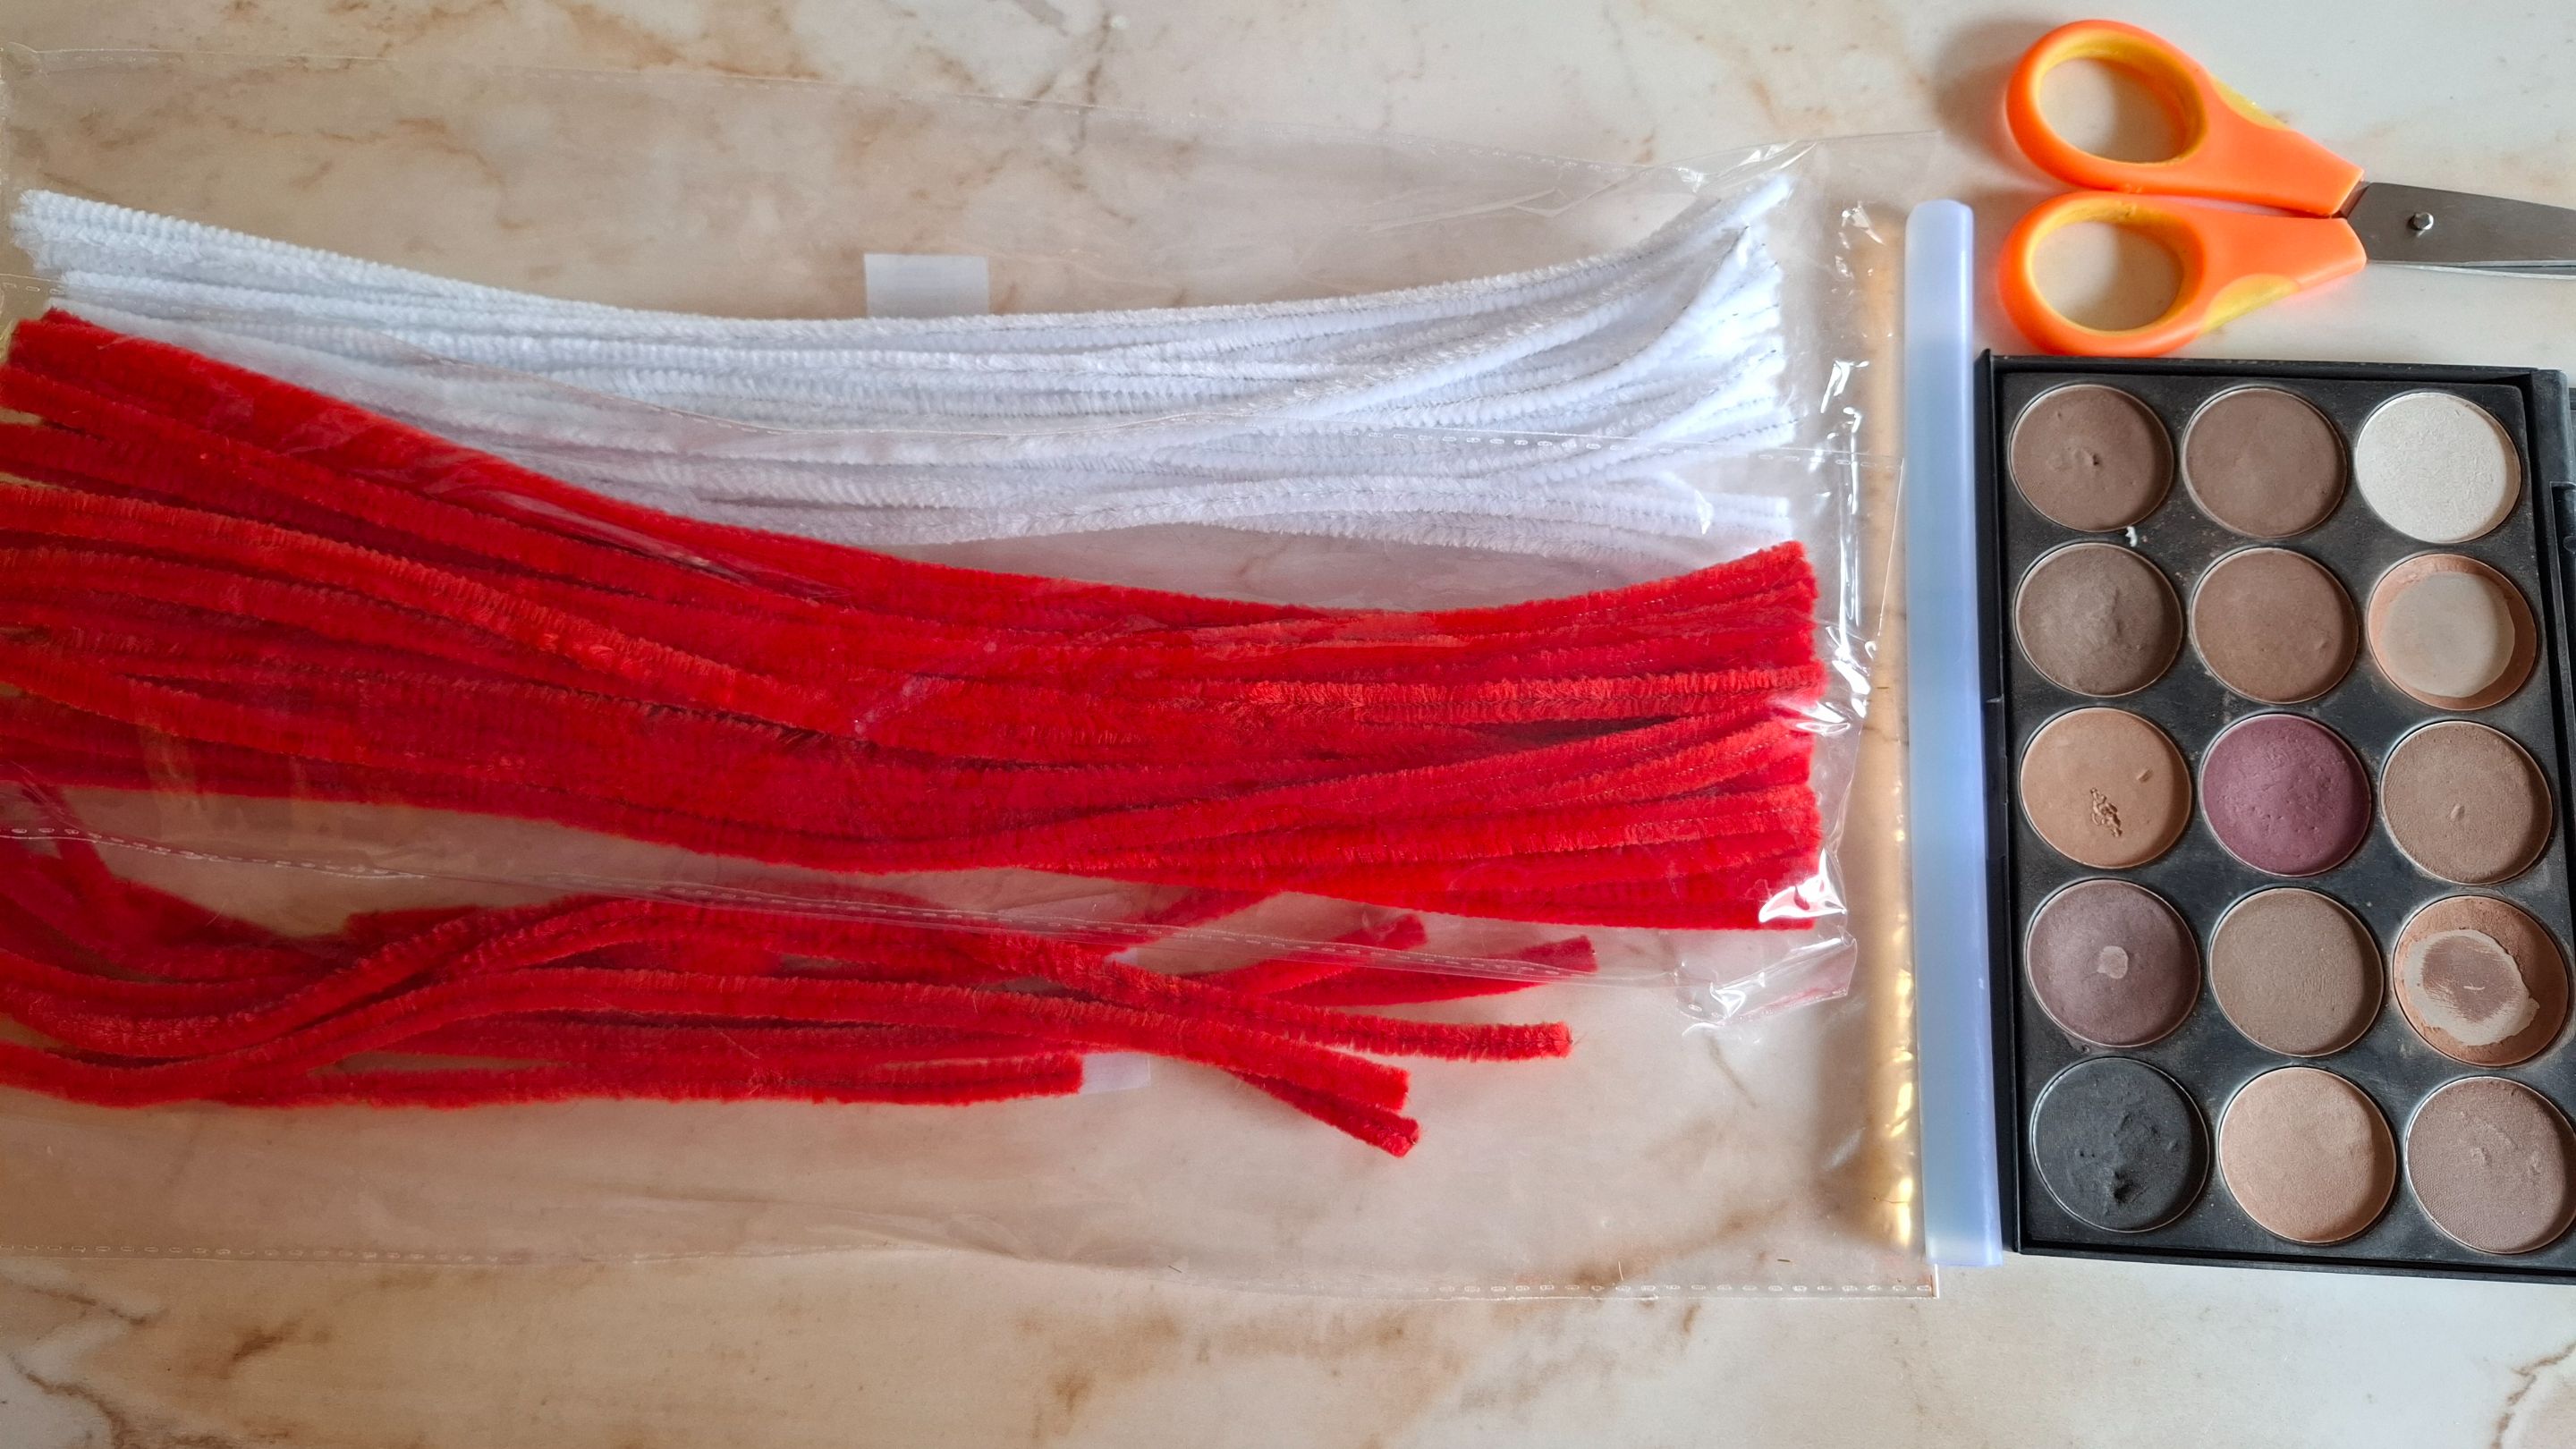
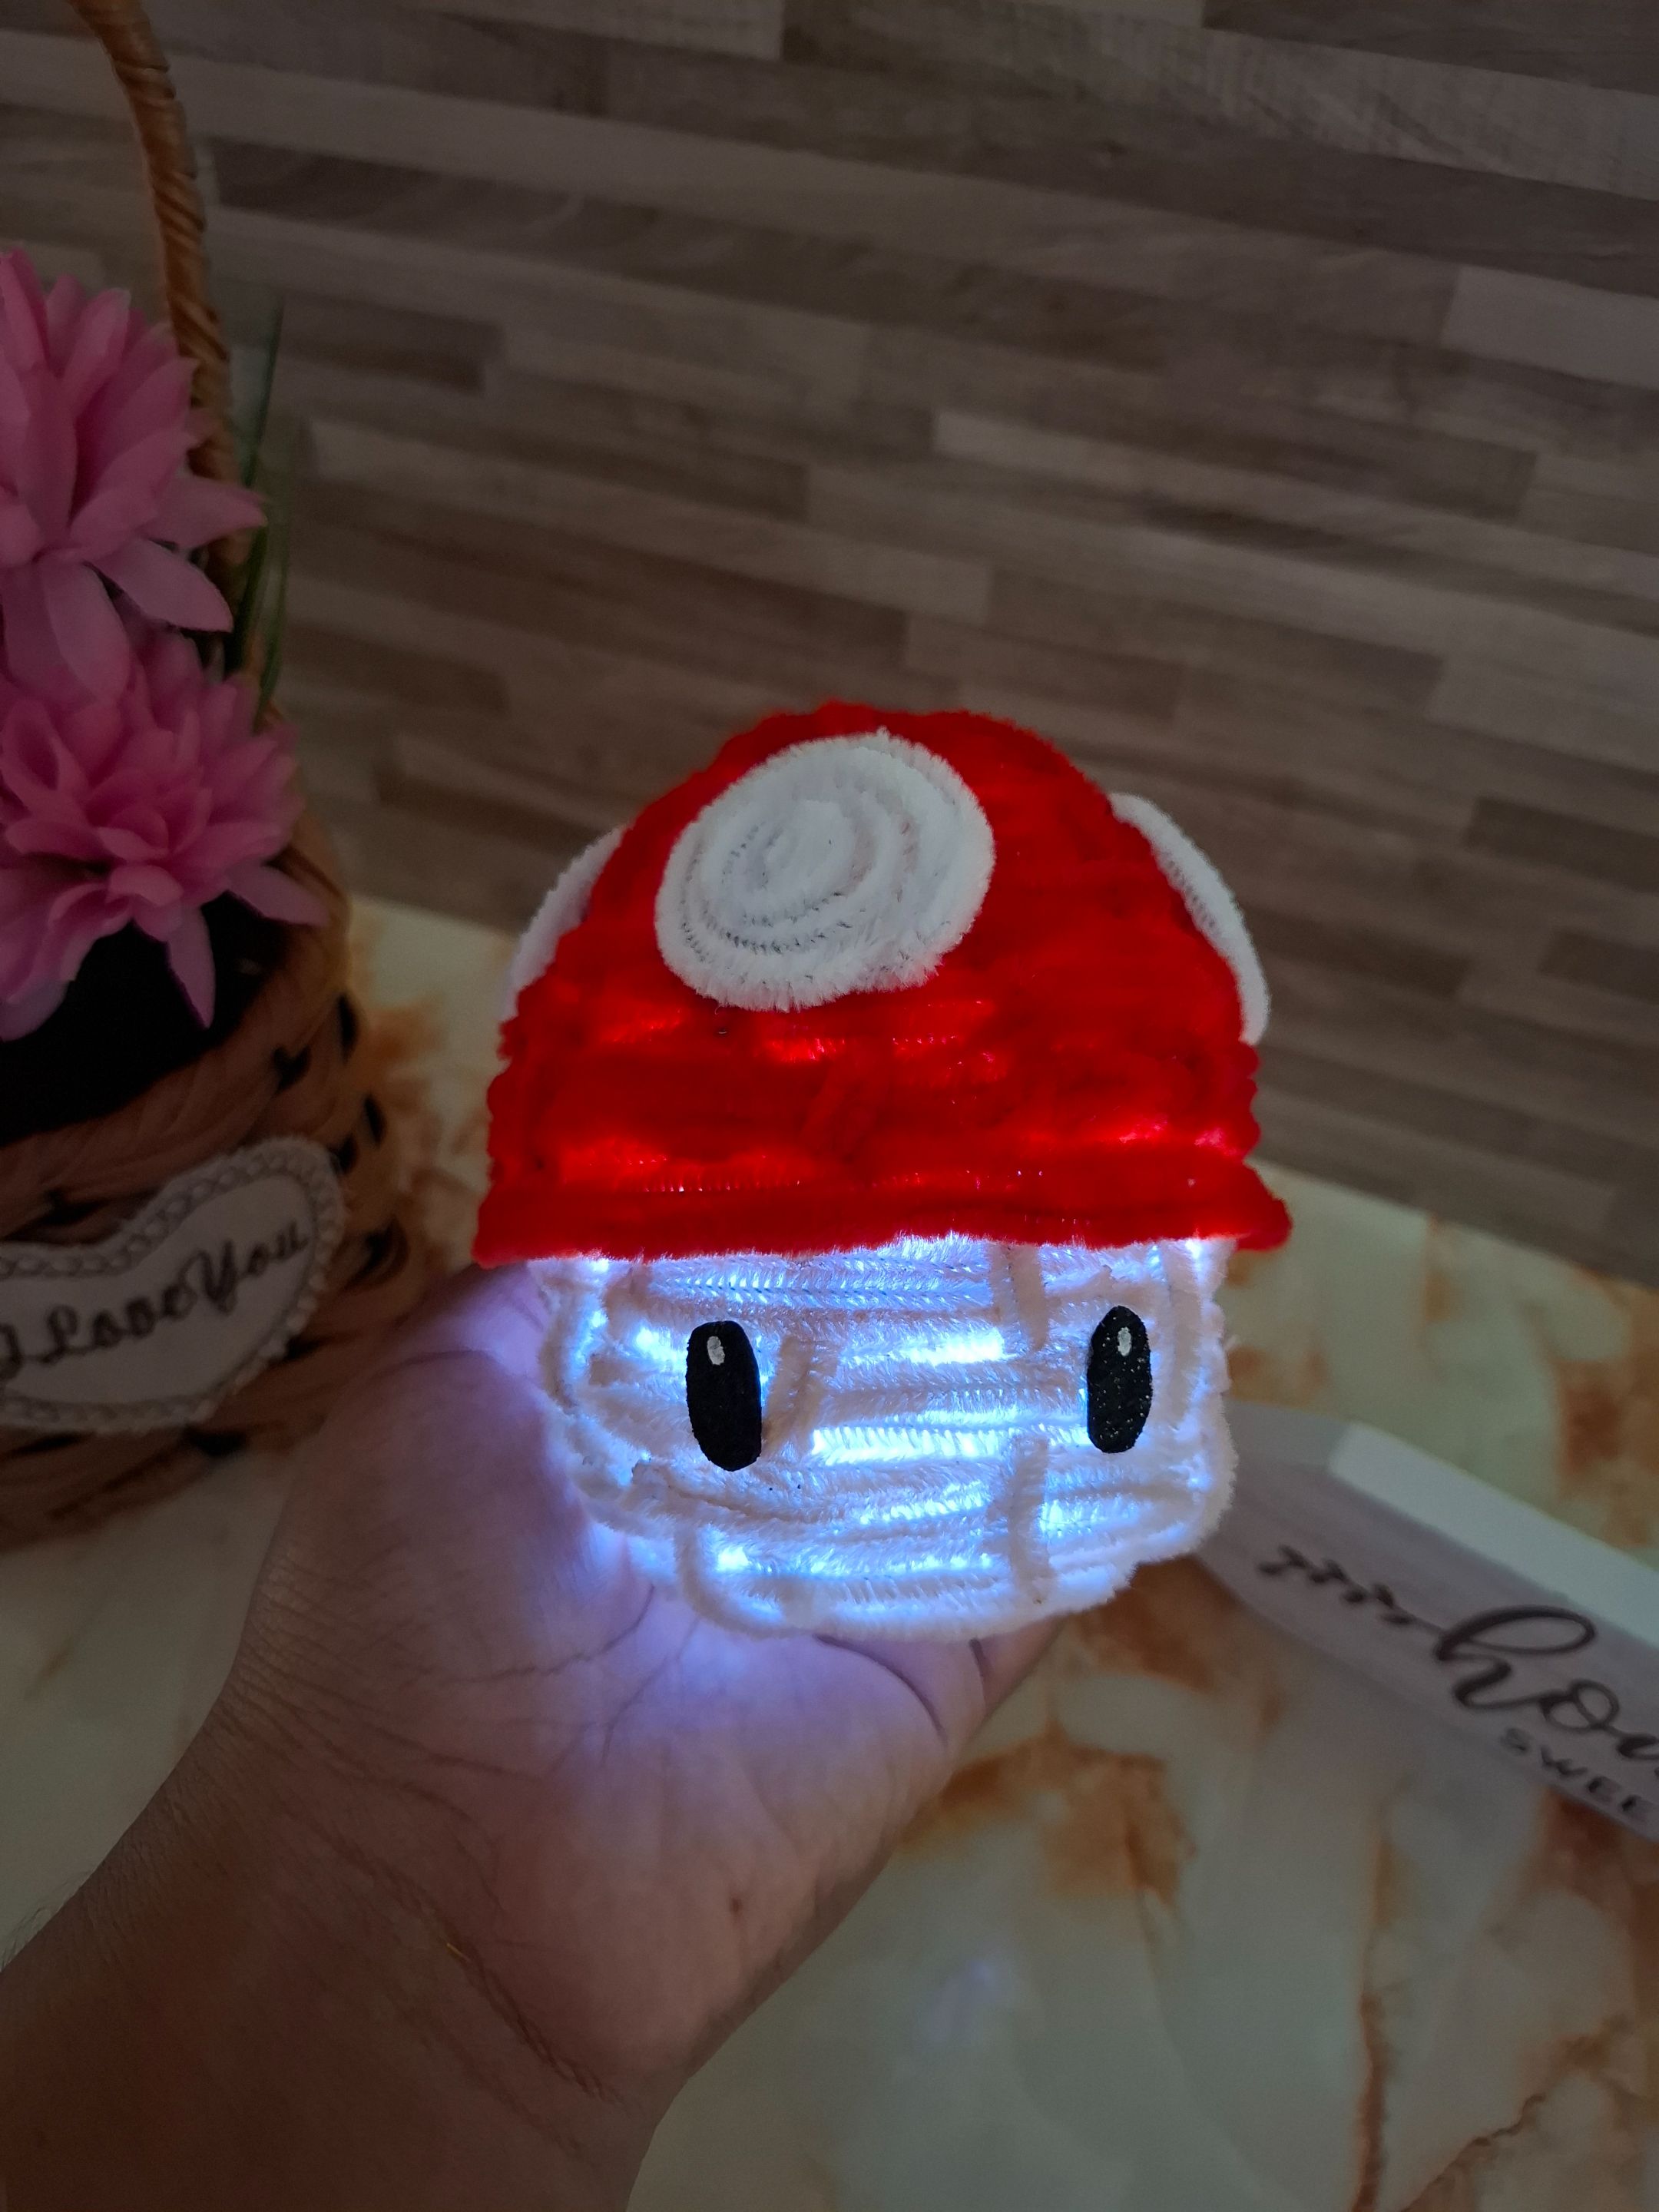
Además, puedes darle un toque especial agregando luces dentro del honguito, apenas lo probé en la oscuridad quedé encantada, hasta a mí esposo le gustó jajaja, las lucen le dan el toque final, no es tan complicado de realizar solo debemos tener paciencia y confiar en el proceso, a continuación les muestro los materiales y el paso a paso.
In addition, you can give it a special touch by adding lights inside the mushroom, as soon as I tried it in the dark I was delighted, even my husband liked it hahaha, the lights give it the final touch, it is not that complicated to make, we just have to be patient and trust in the process, below I show you the materials and the step by step.

| Materiales | Materials |
|---|---|
| Limpiapipas blanco | white pipe cleaner |
| Limpiapipas rojo | red pipe cleaner |
| Sombras de color marrón | Shades of brown |
| Tijera, silicón | Scissors, silicone |
| Foami negro | Black foam |
| Luces hada | fairy lights |
Paso a paso / Step by step
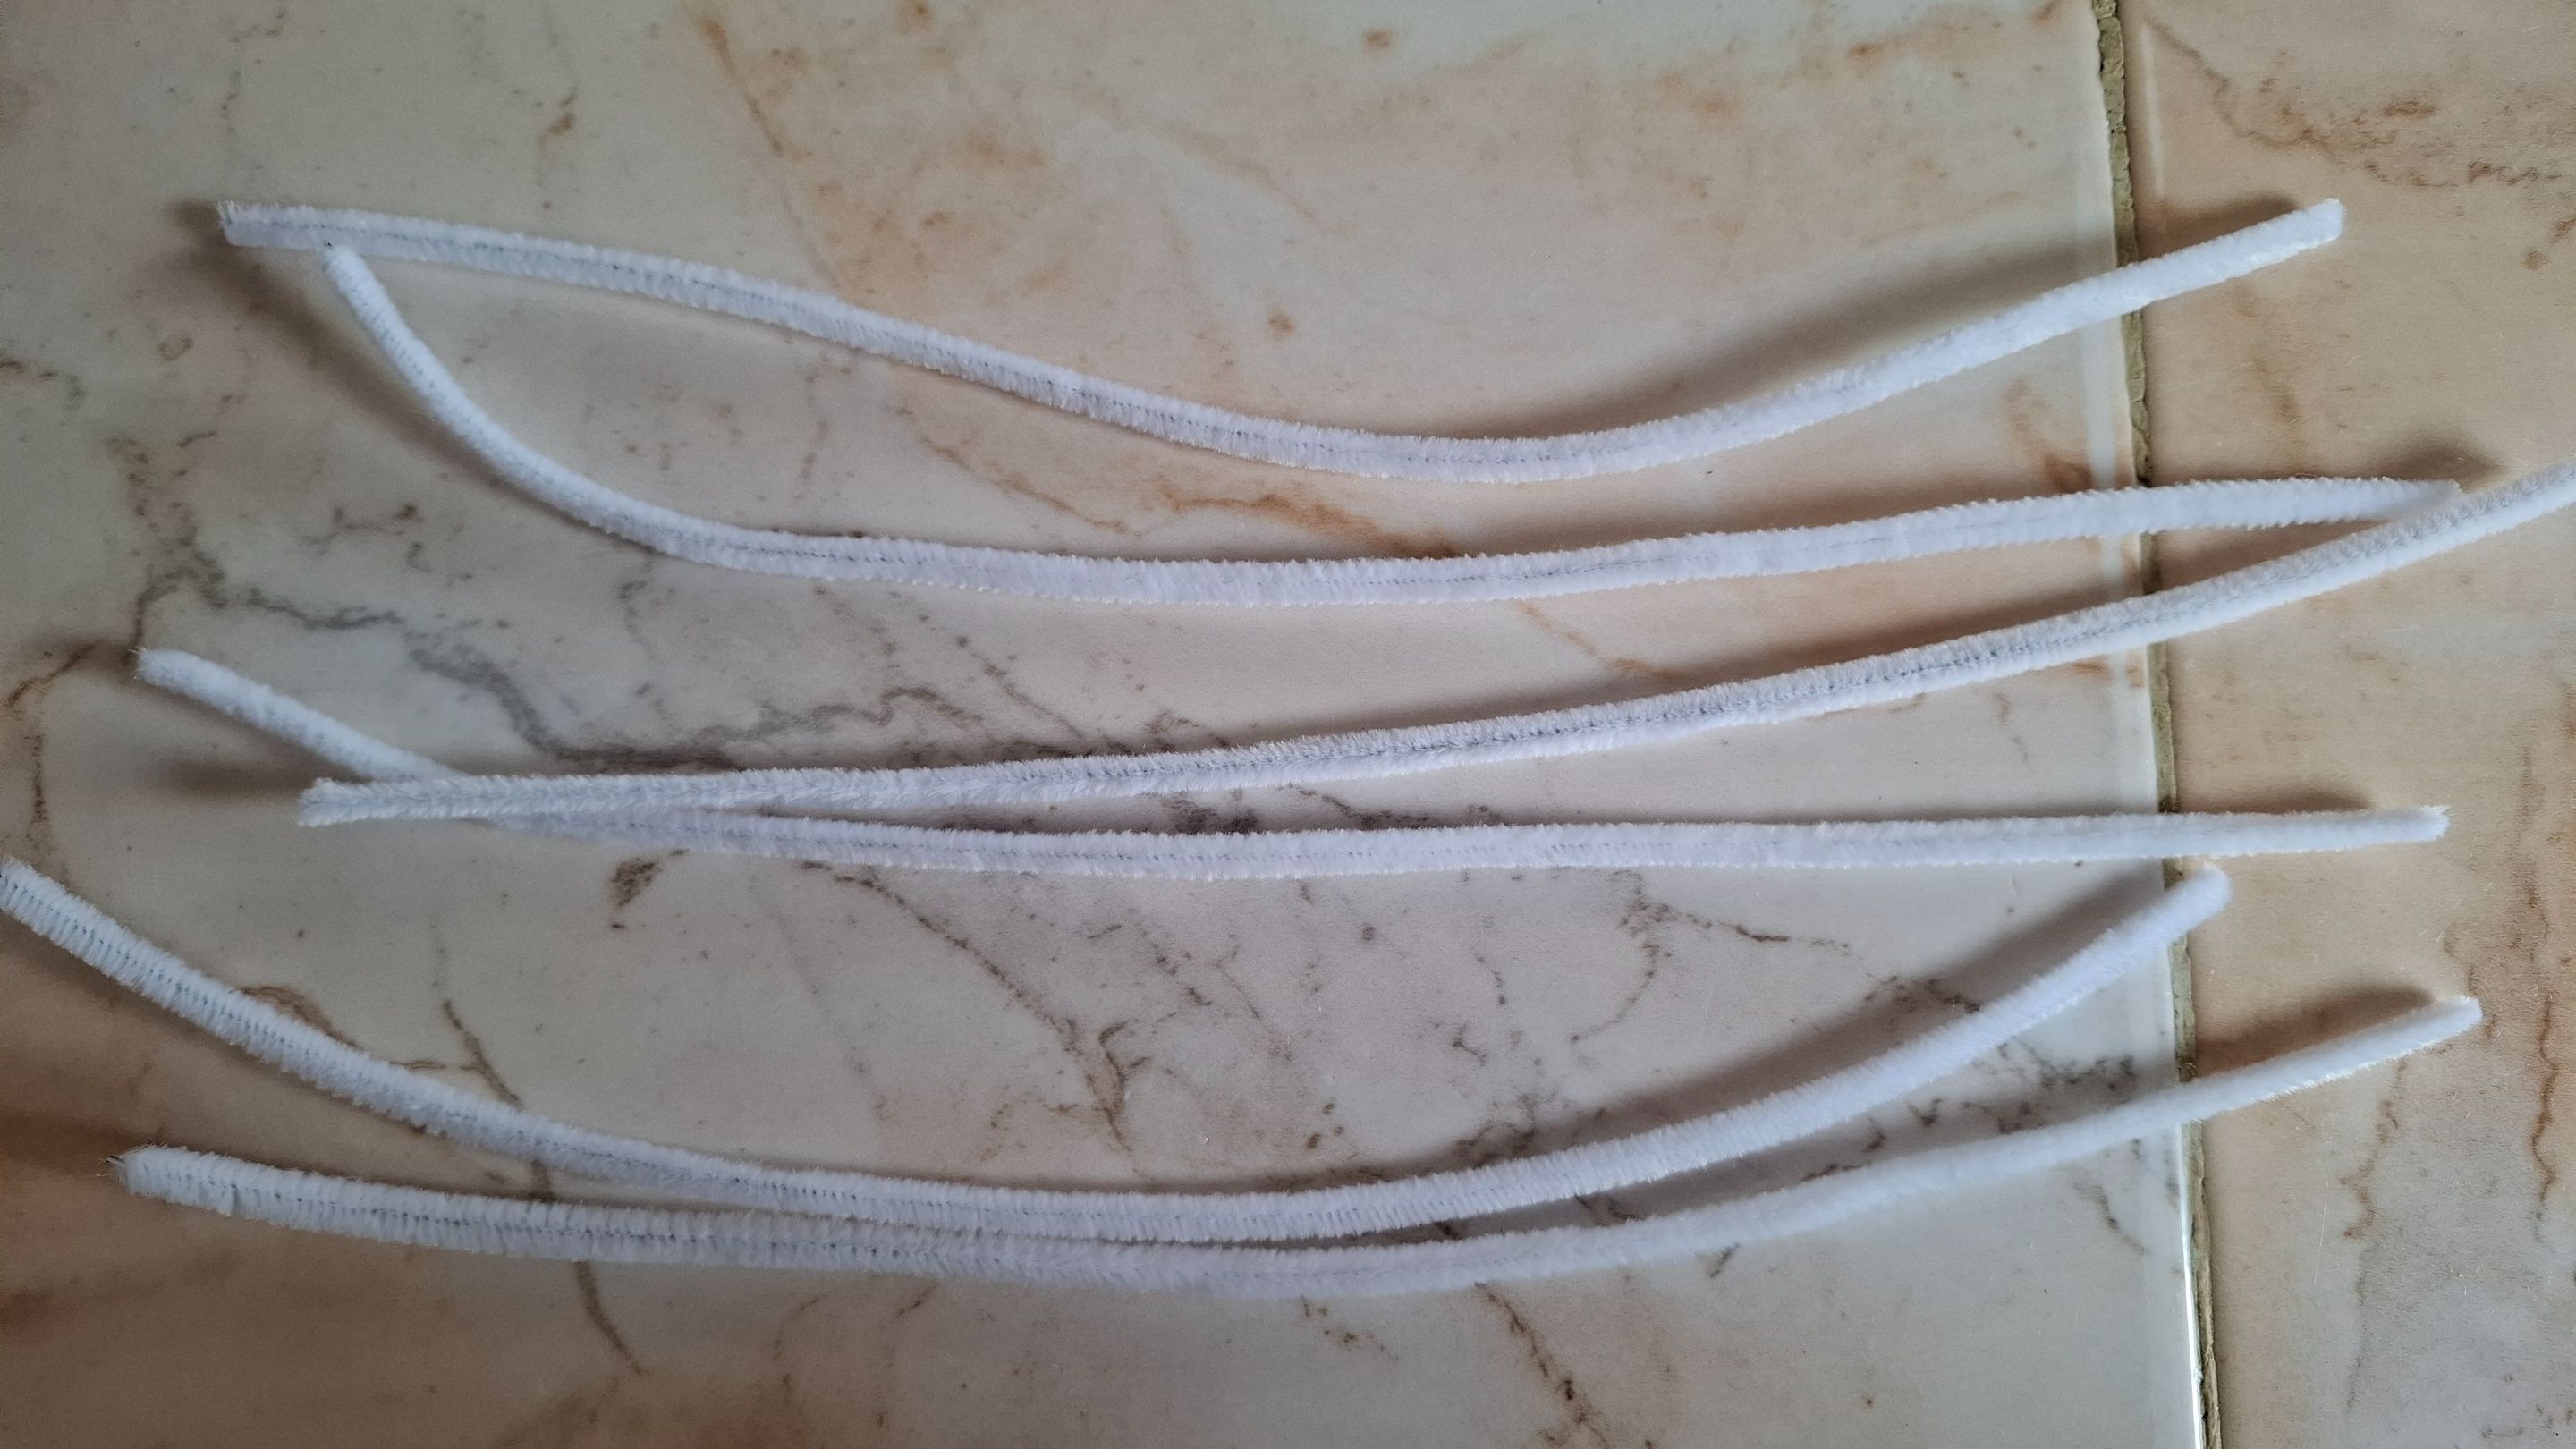
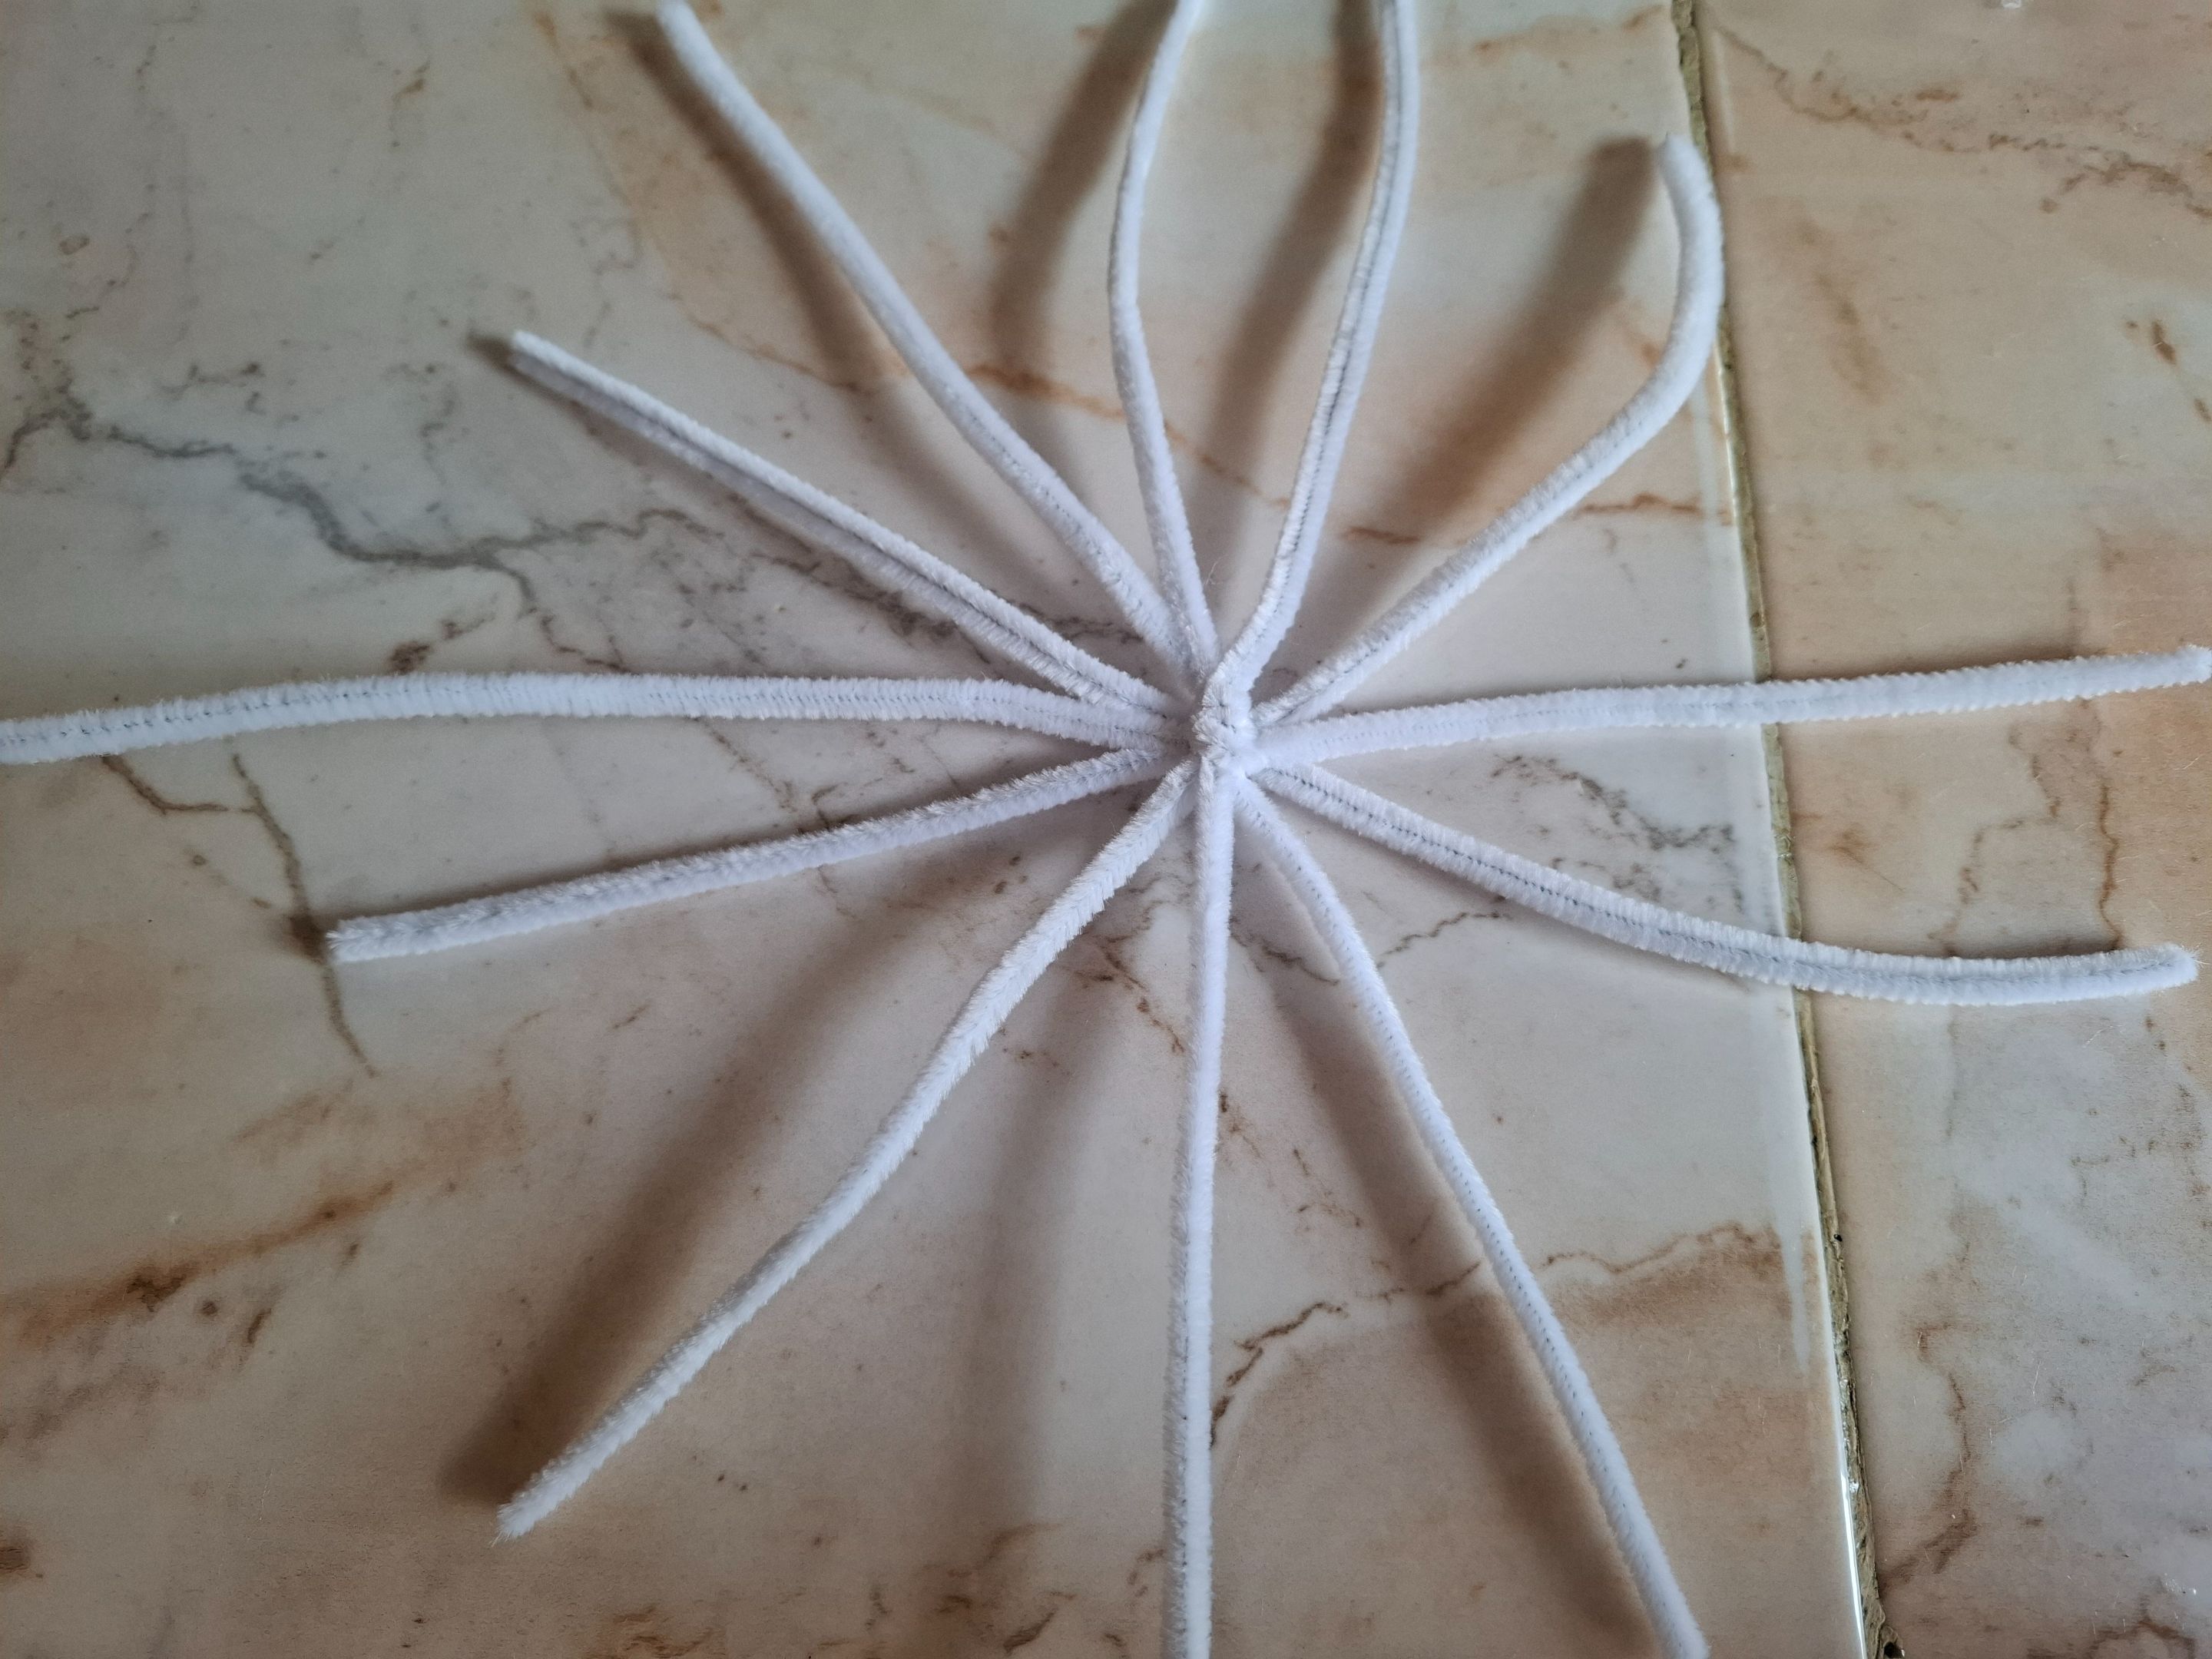
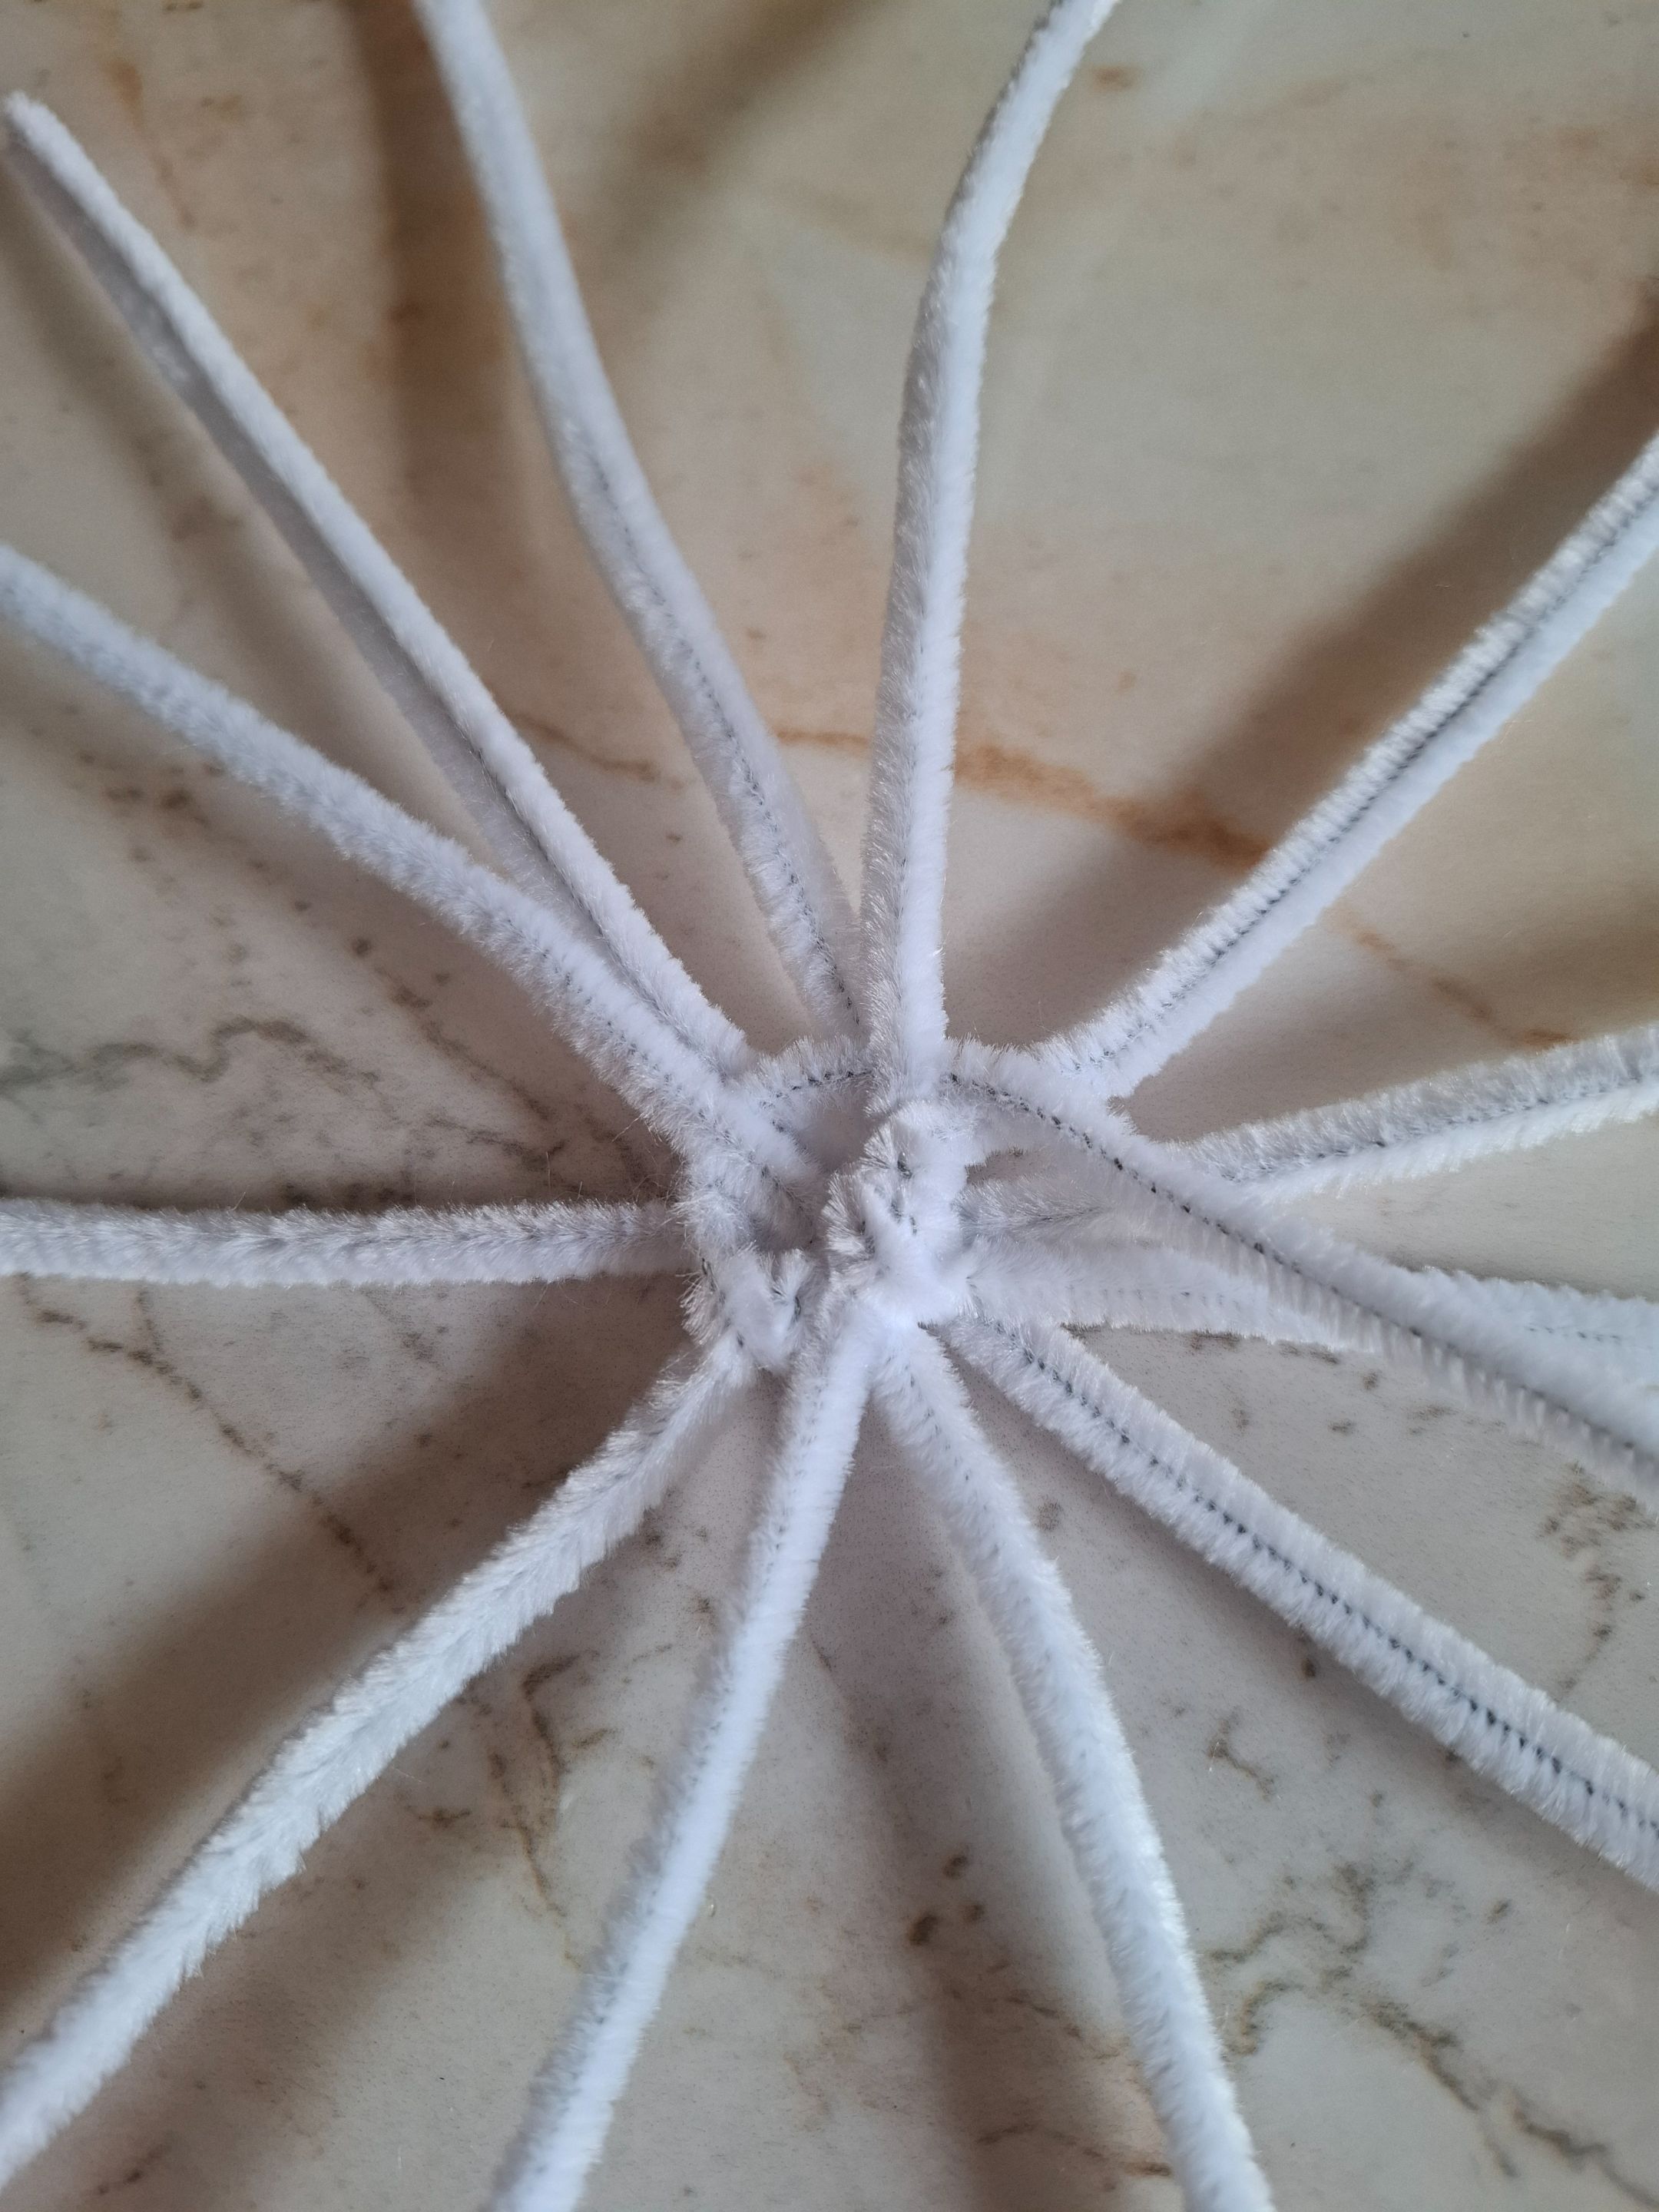
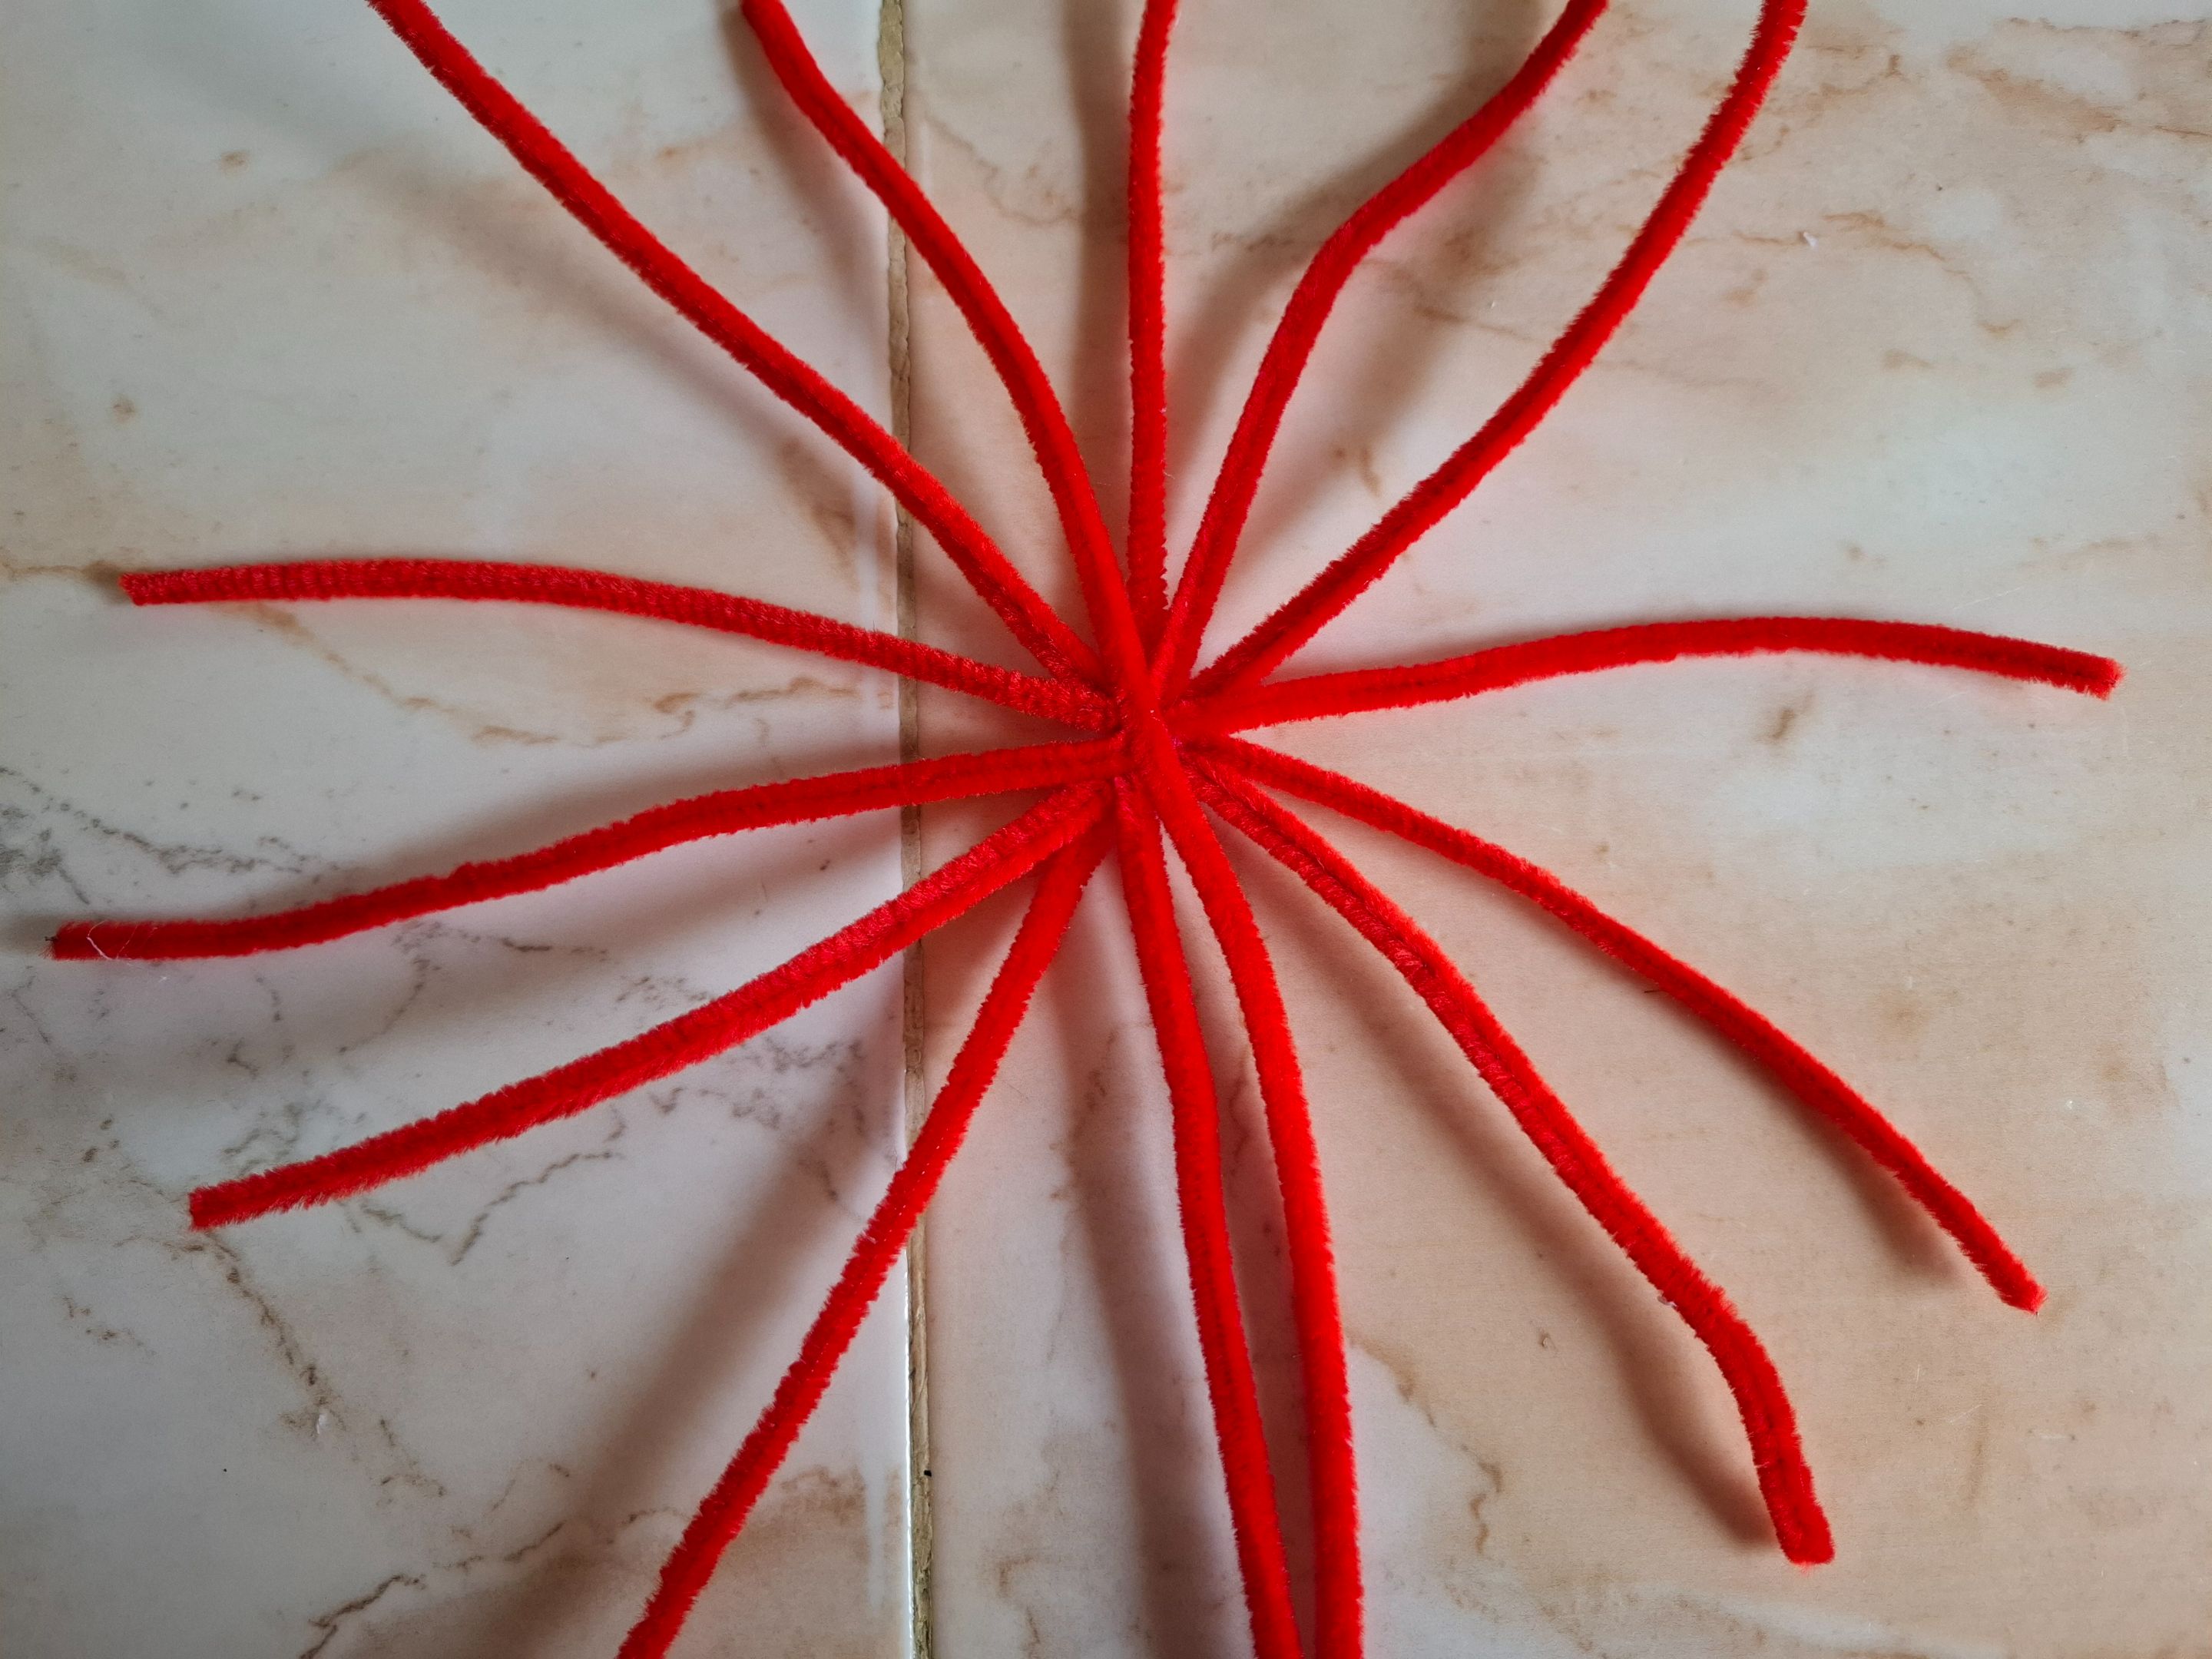
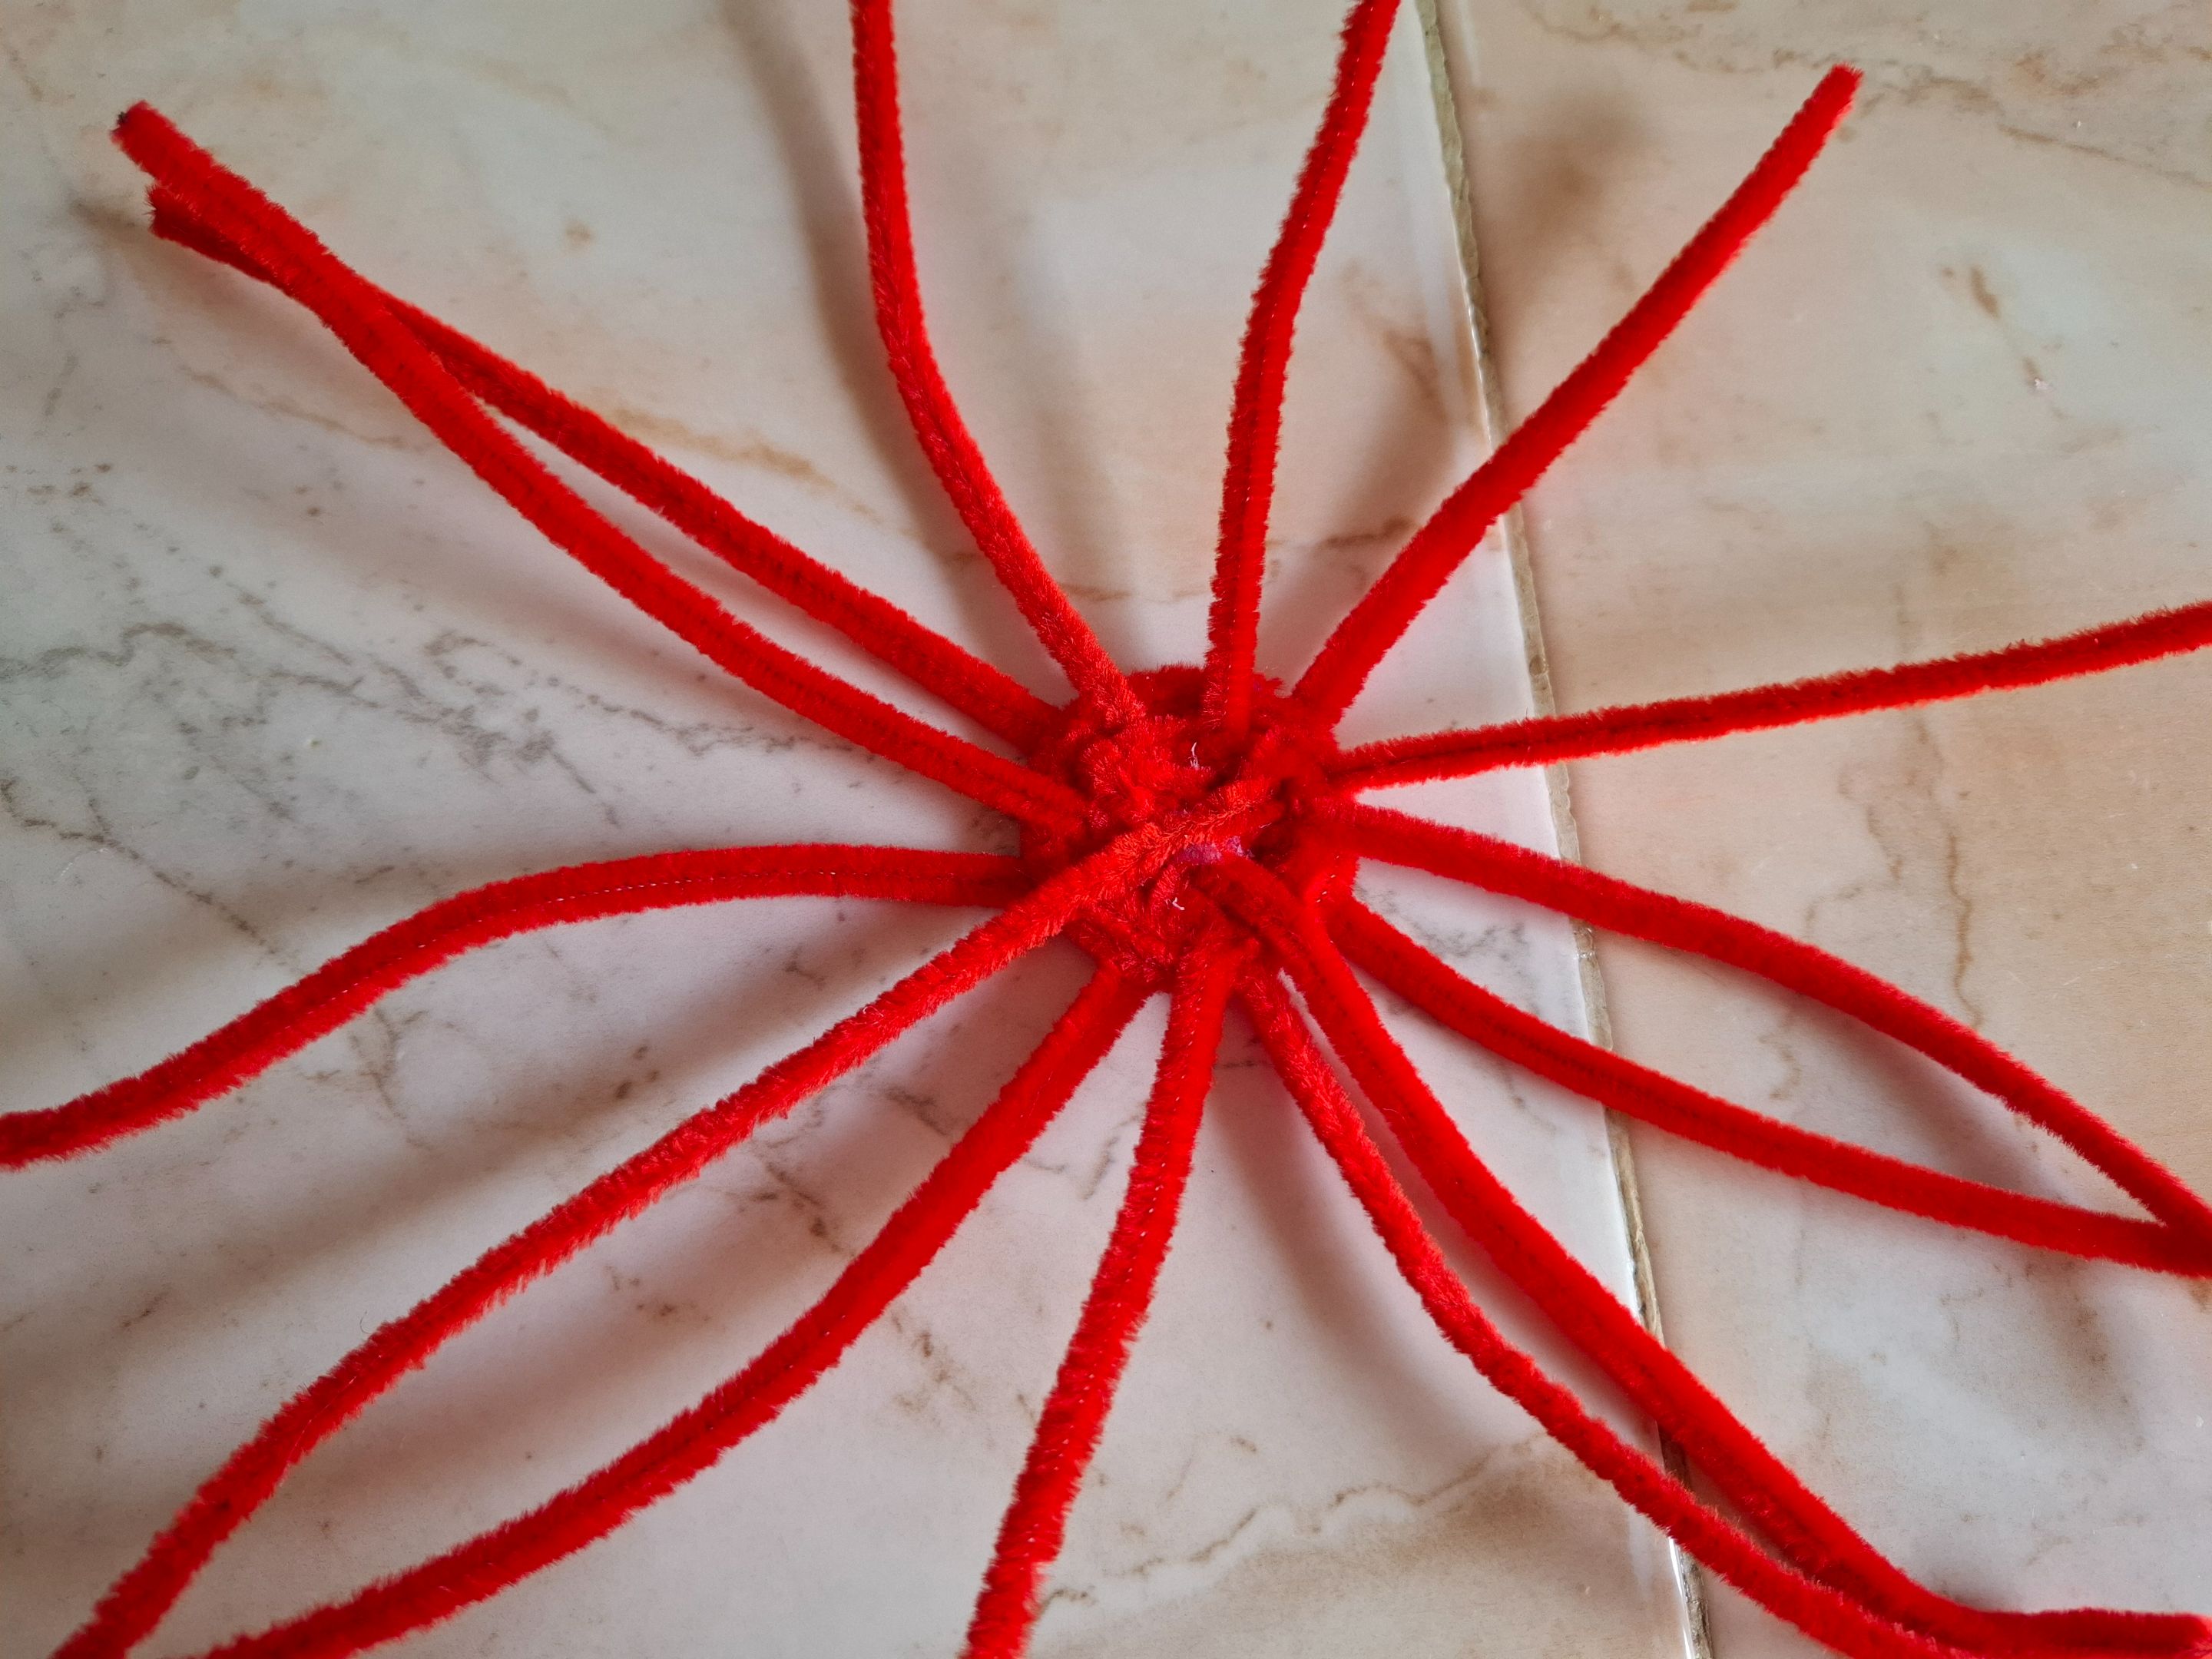
El primer paso que voy a realizar es seleccionar seis limpiapipas color blanco voy a unirlos en la mitad, verás que nos quedan varias puntas.
The first step I'm going to take is to select six white pipe cleaners and join them in the middle. You'll see that we have several tips left.
 |
 |
 |
|---|---|---|
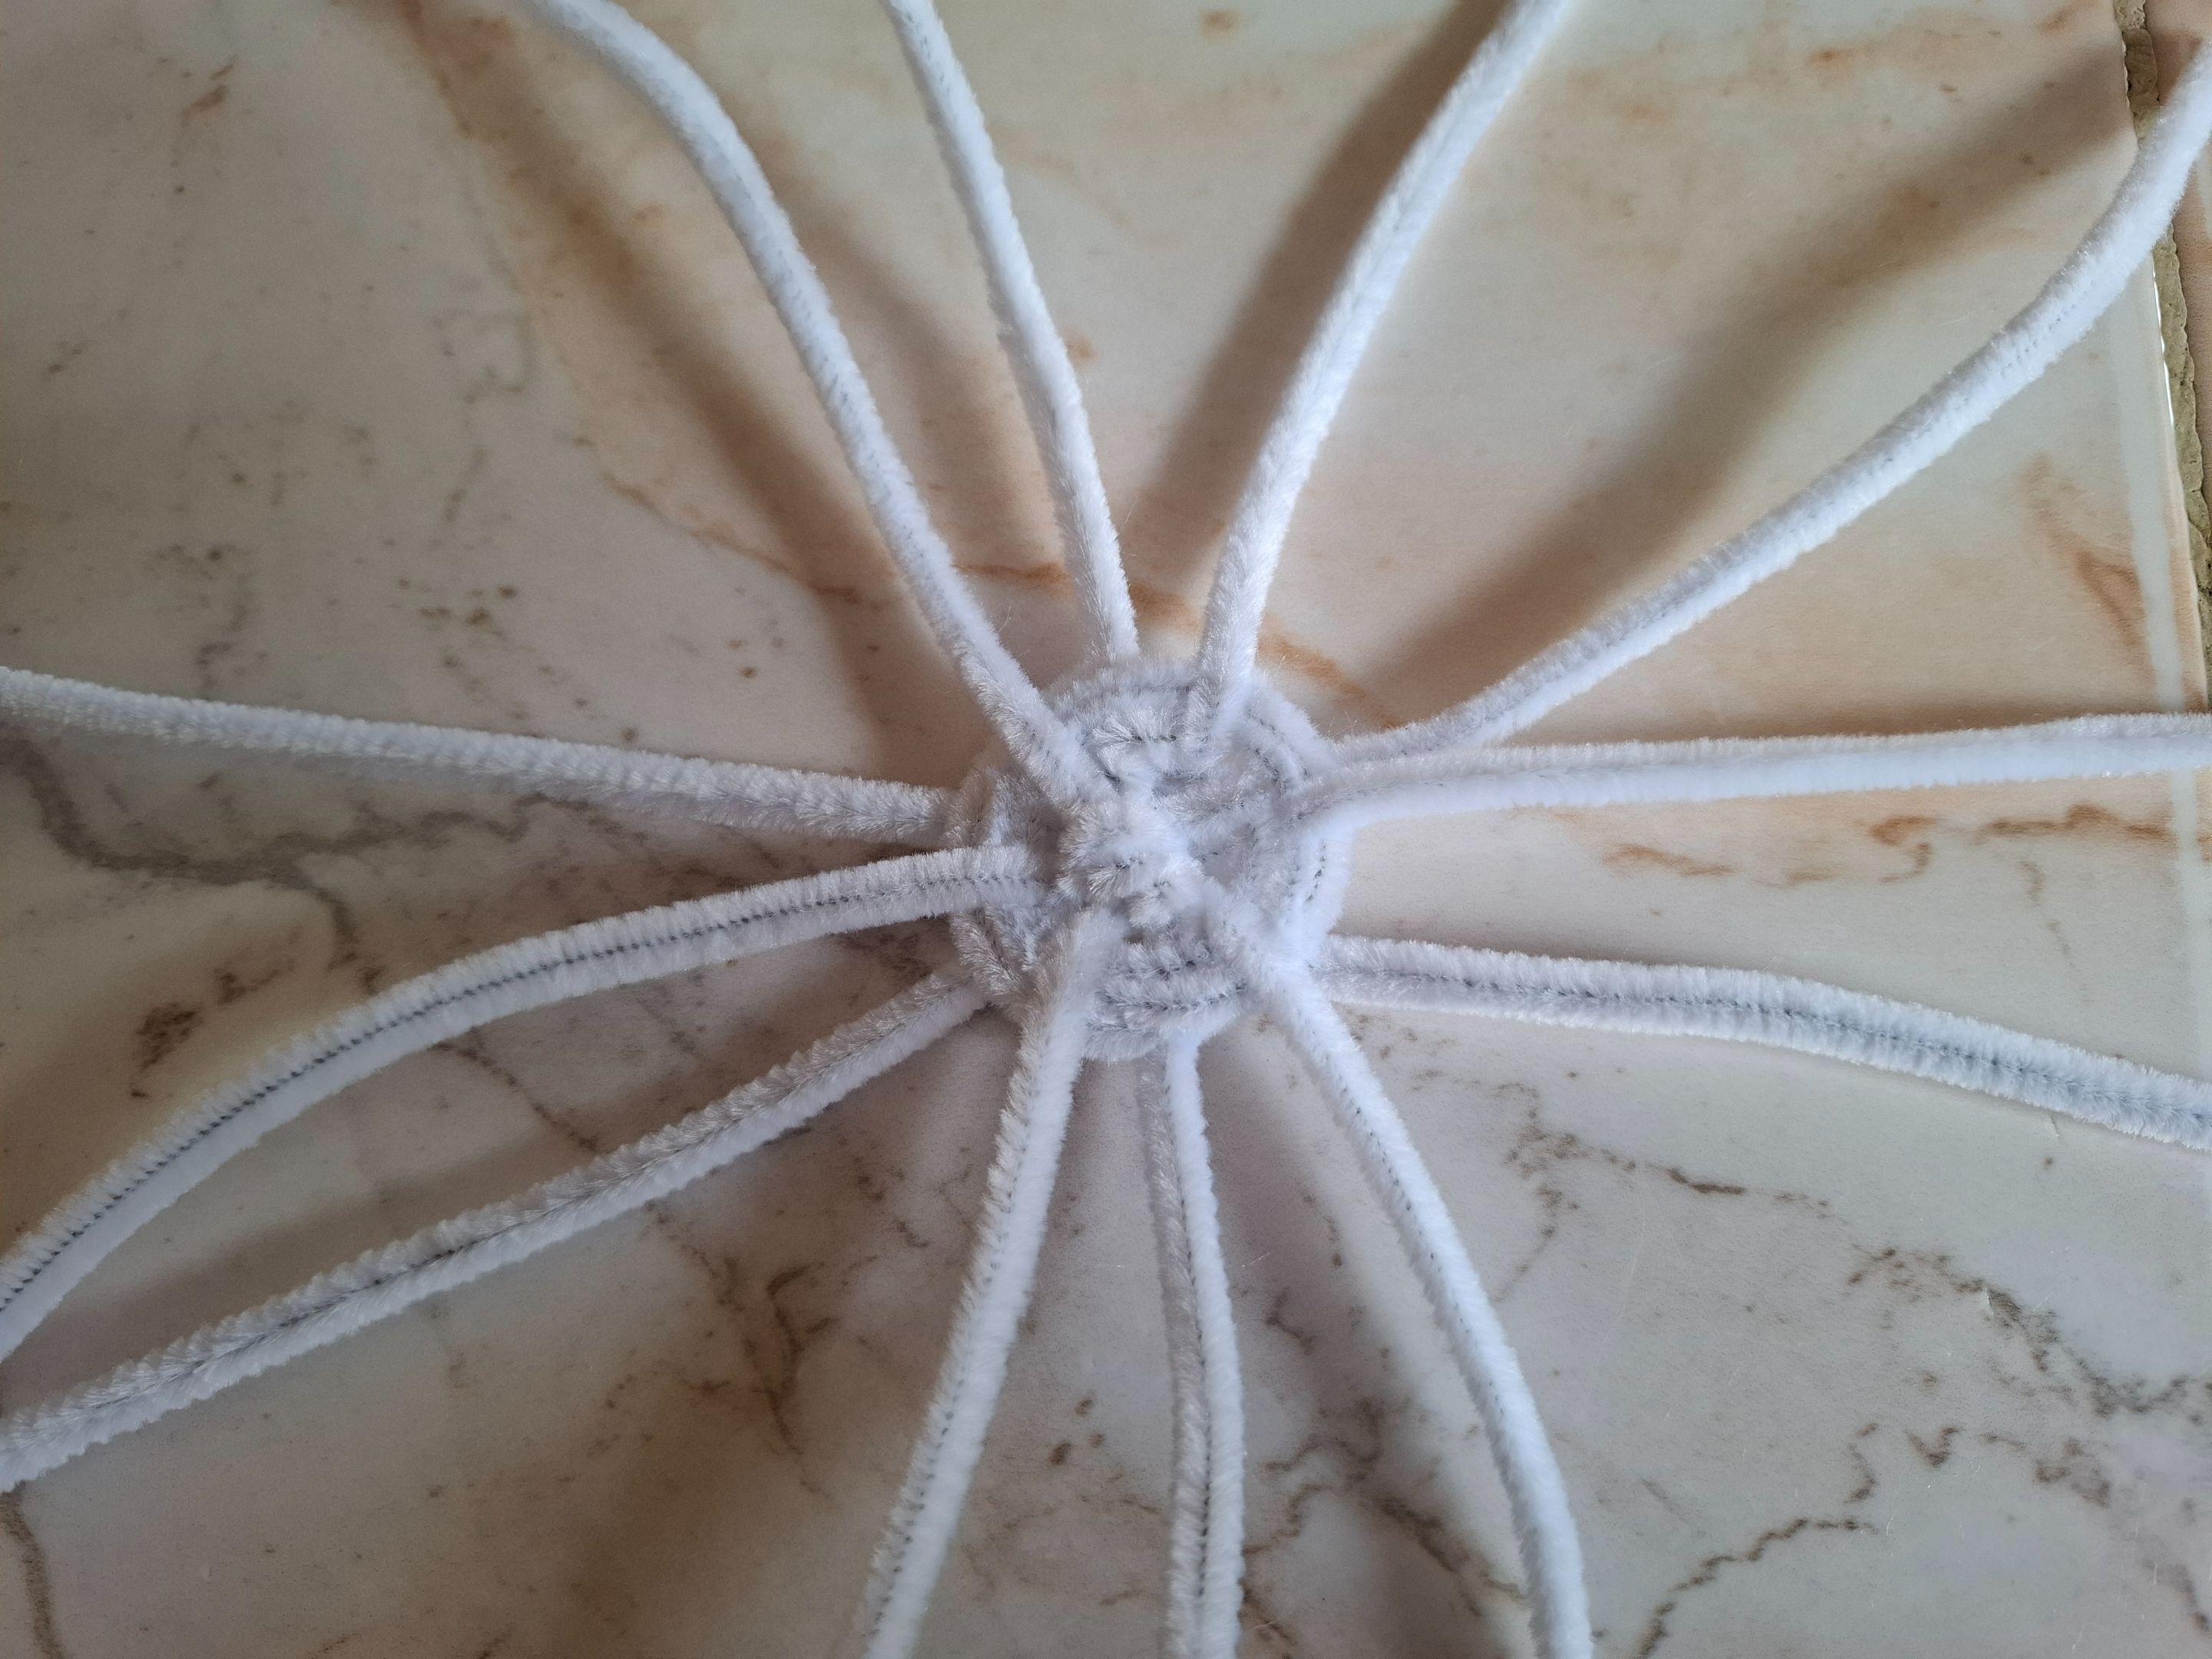
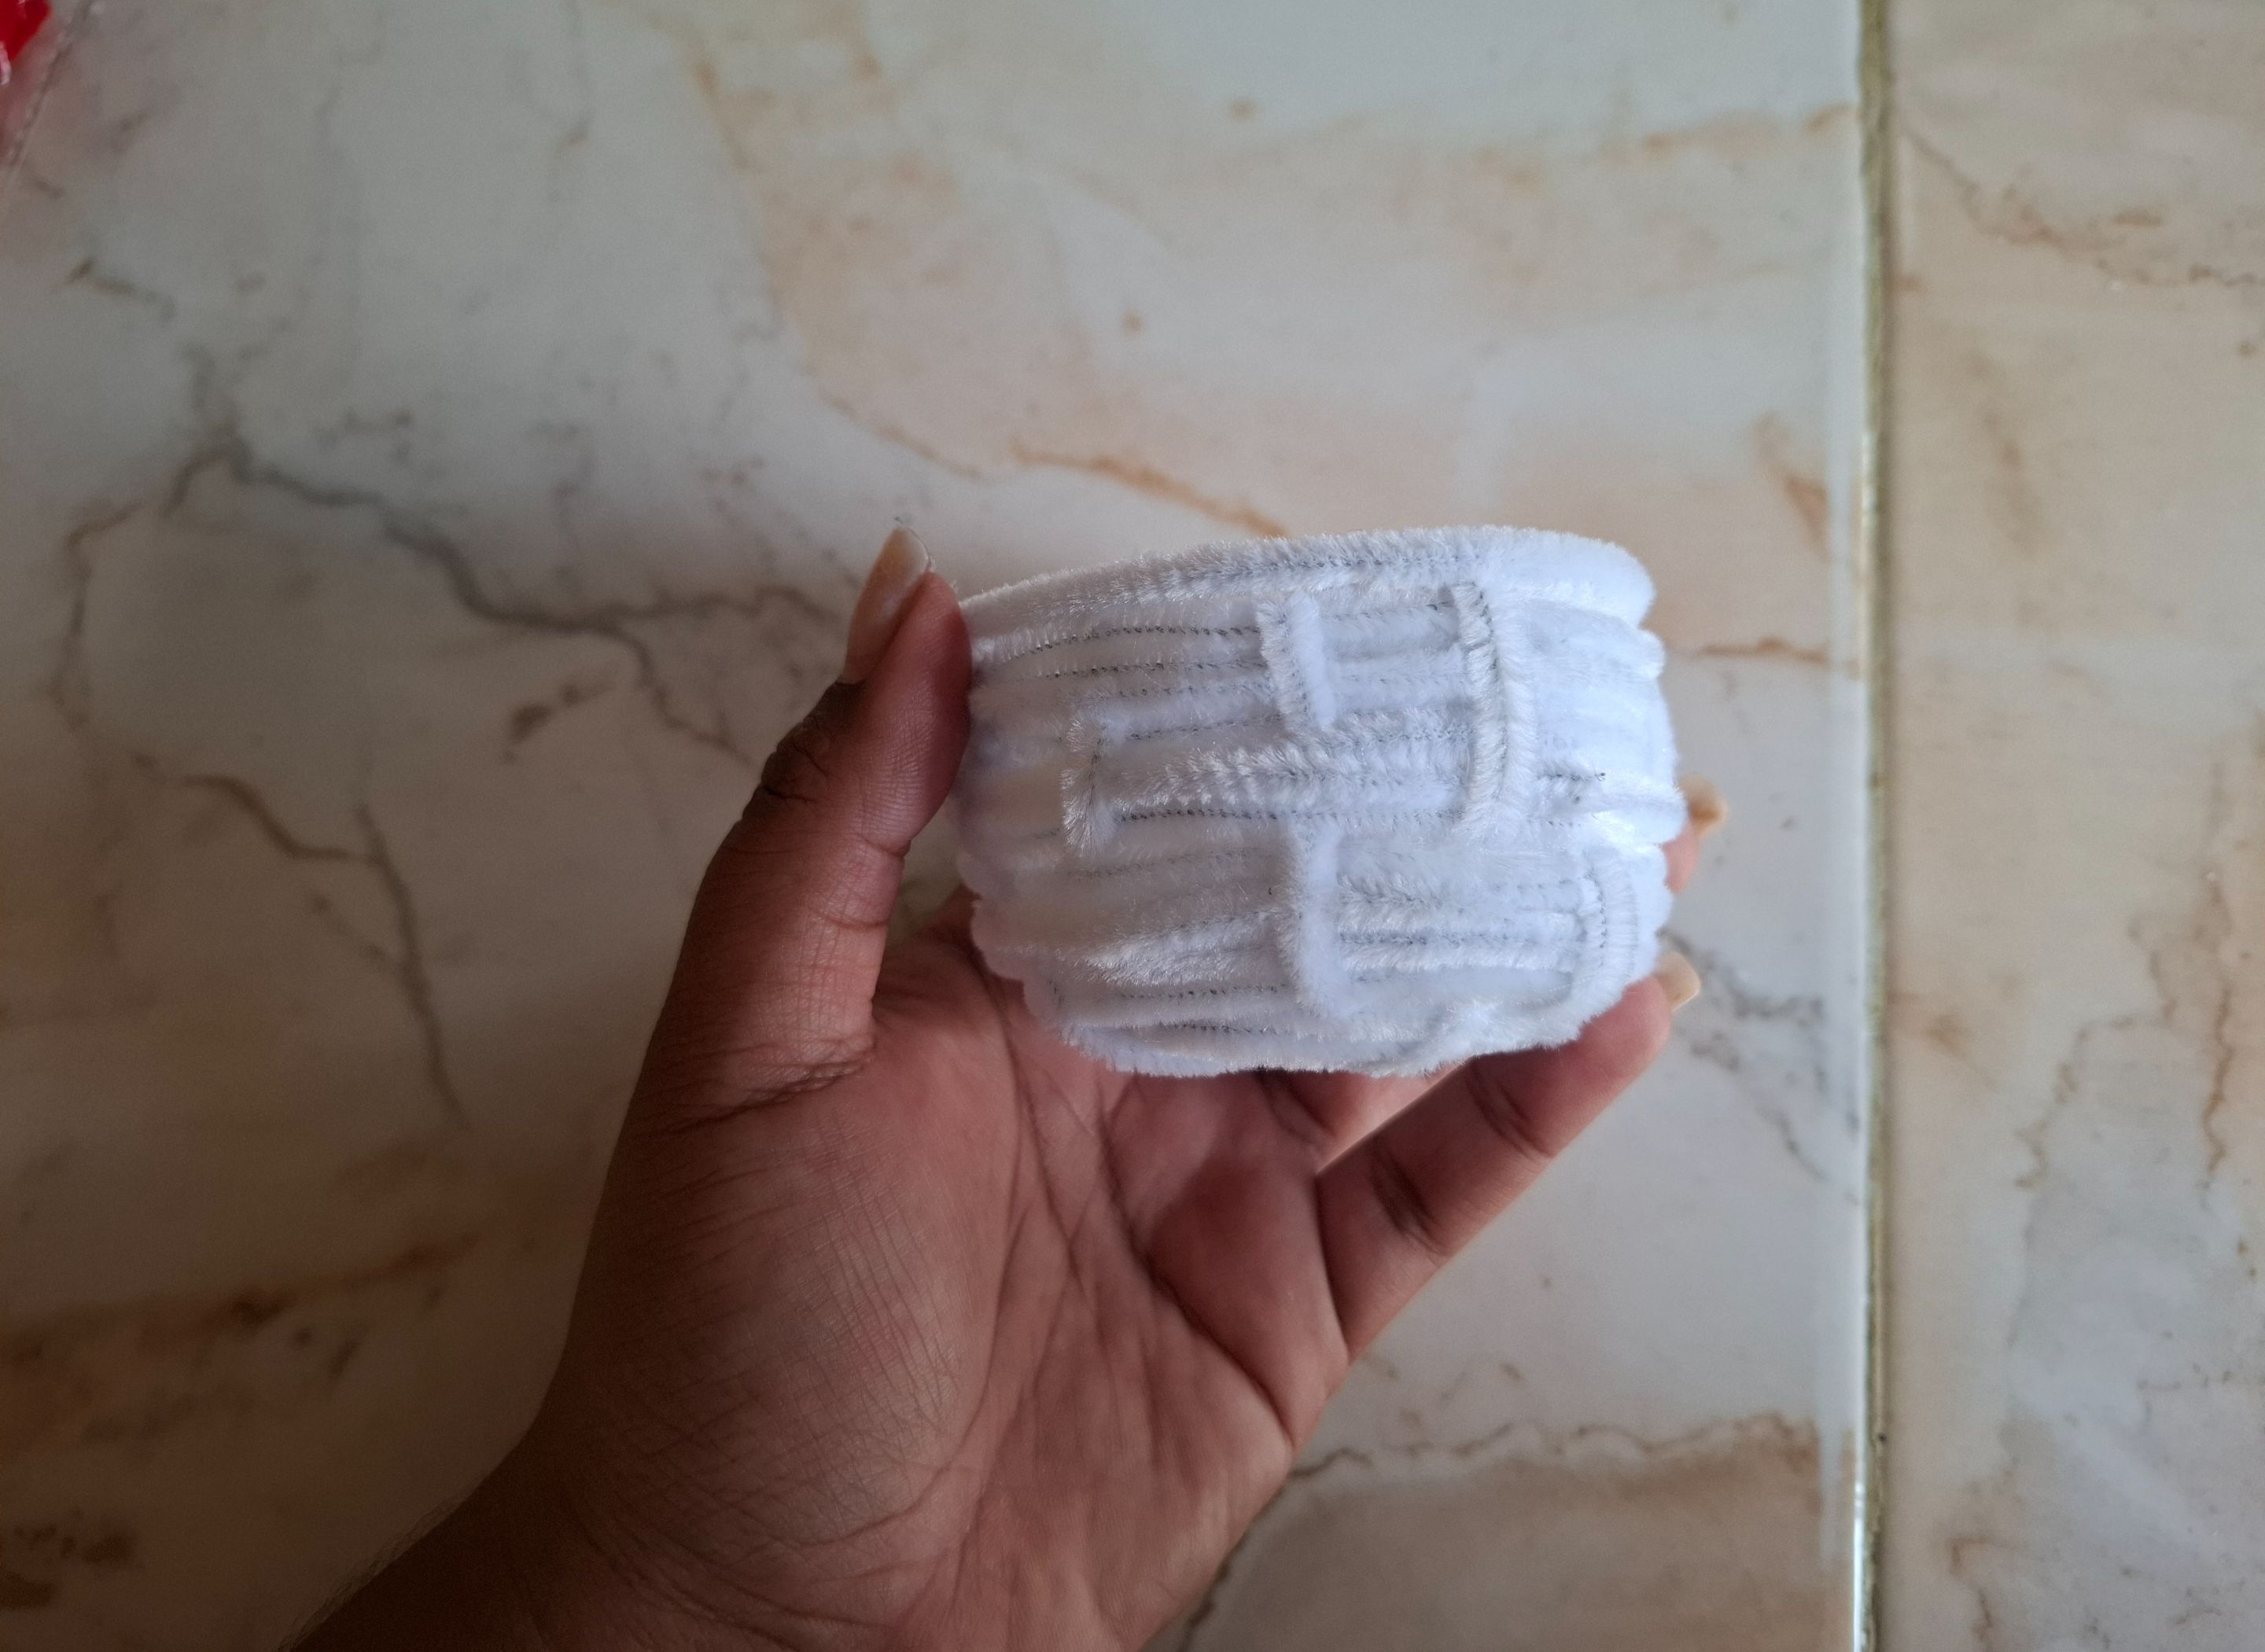
Ahora voy a tomar un limpiapipas blanco y lo voy a colocar por debajo de uno de los limpiapipas y comenzaré a pasar el limpiapipas en forma circular a través de cada uno, como una especie de tejido pero en limpiapipas.
Now I'm going to take a white pipe cleaner and I'm going to place it underneath one of the pipe cleaners and I'm going to start passing the pipe cleaner in a circular motion through each one, kind of like a weave but in pipe cleaners.
 |
 |
|---|---|
 |
 |
|---|---|
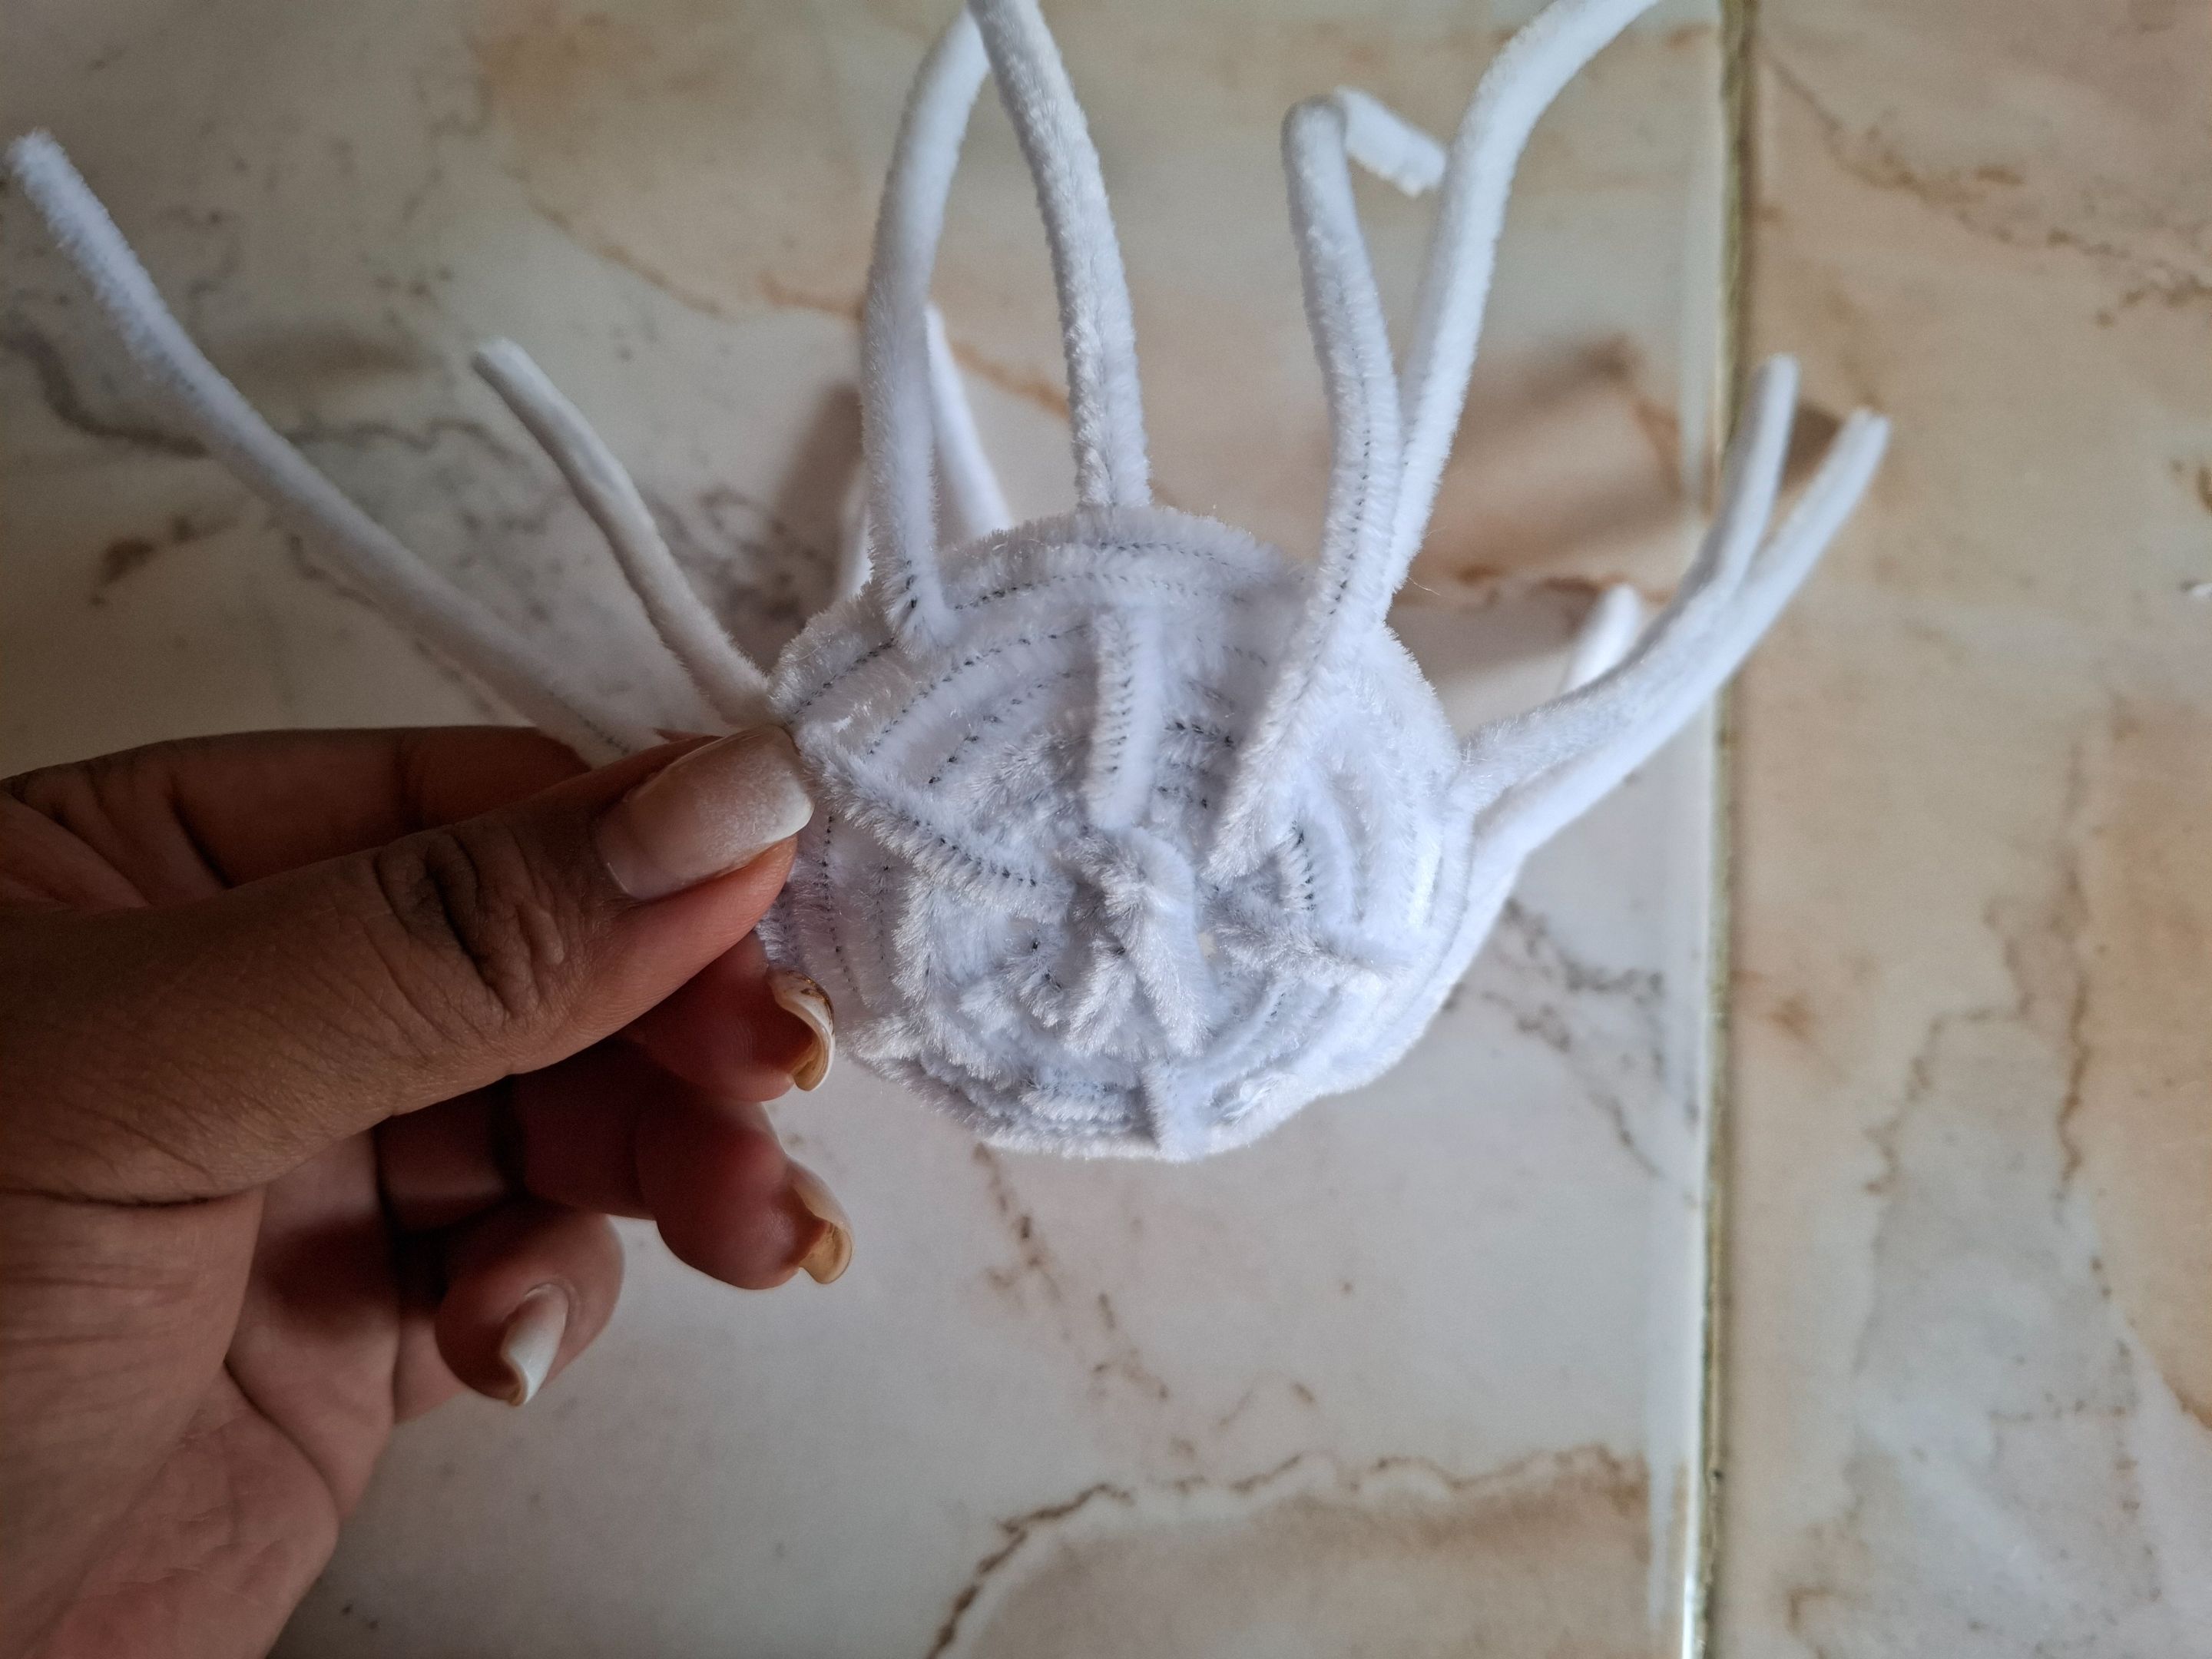
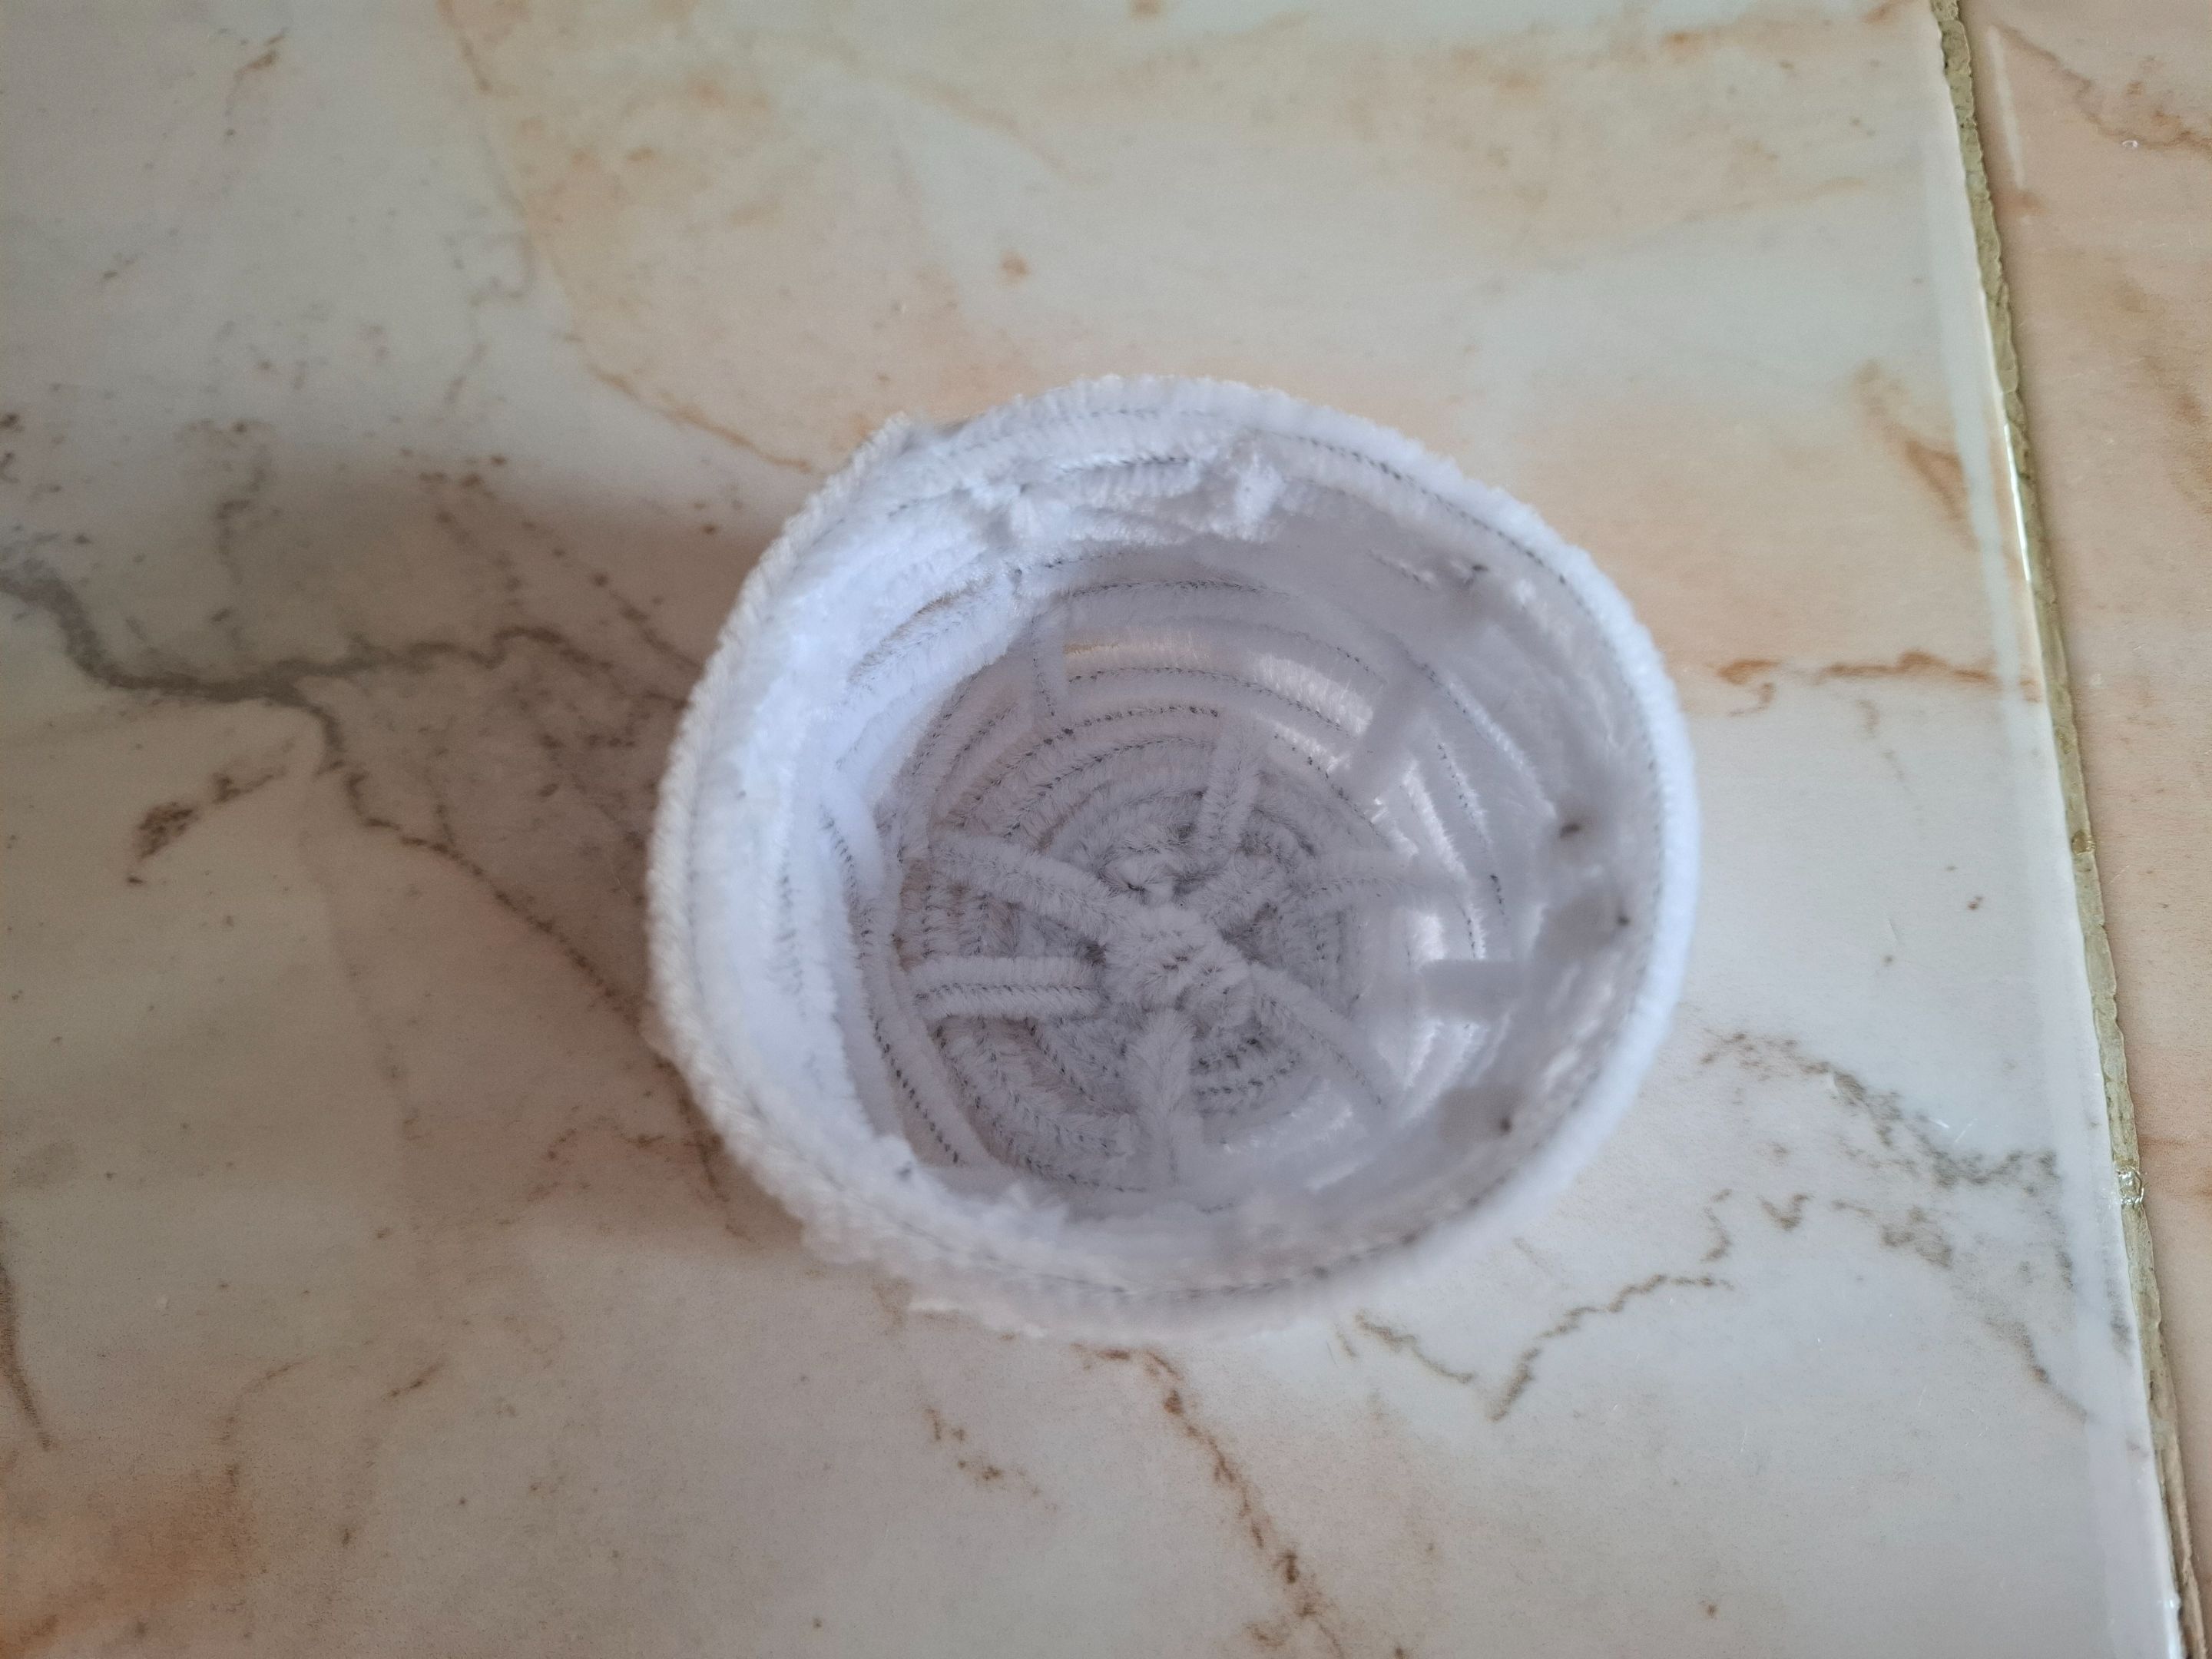
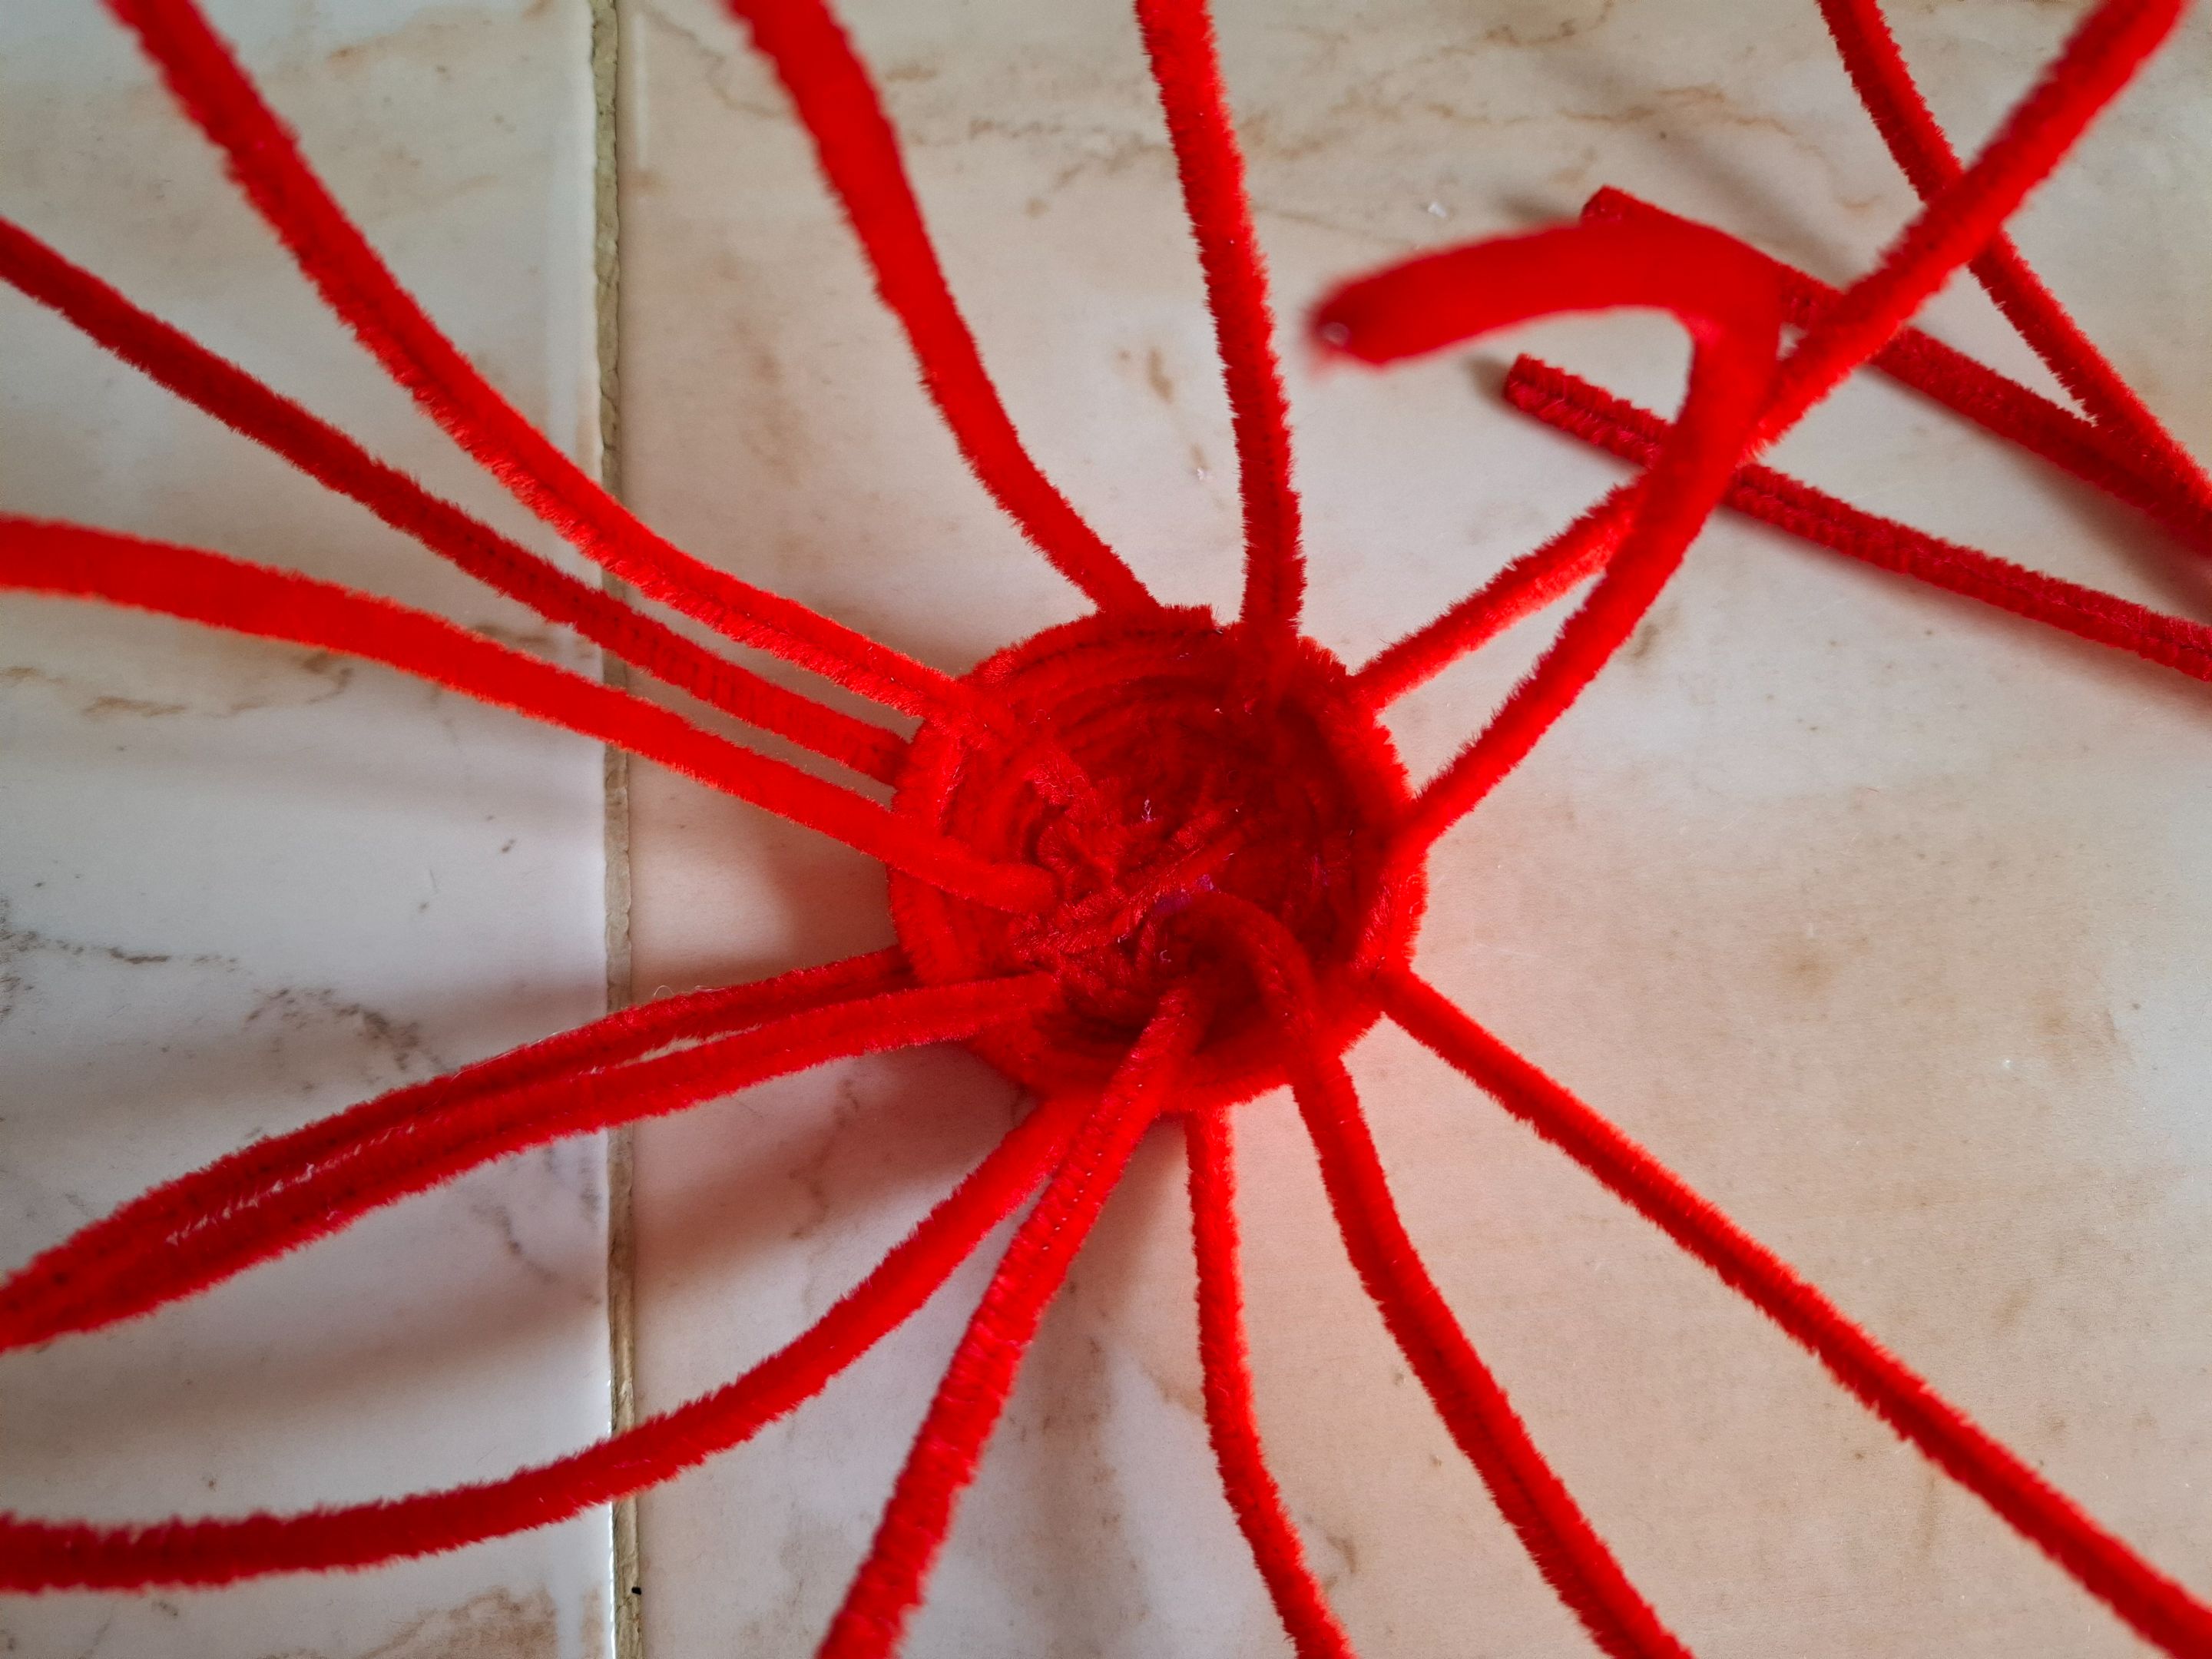
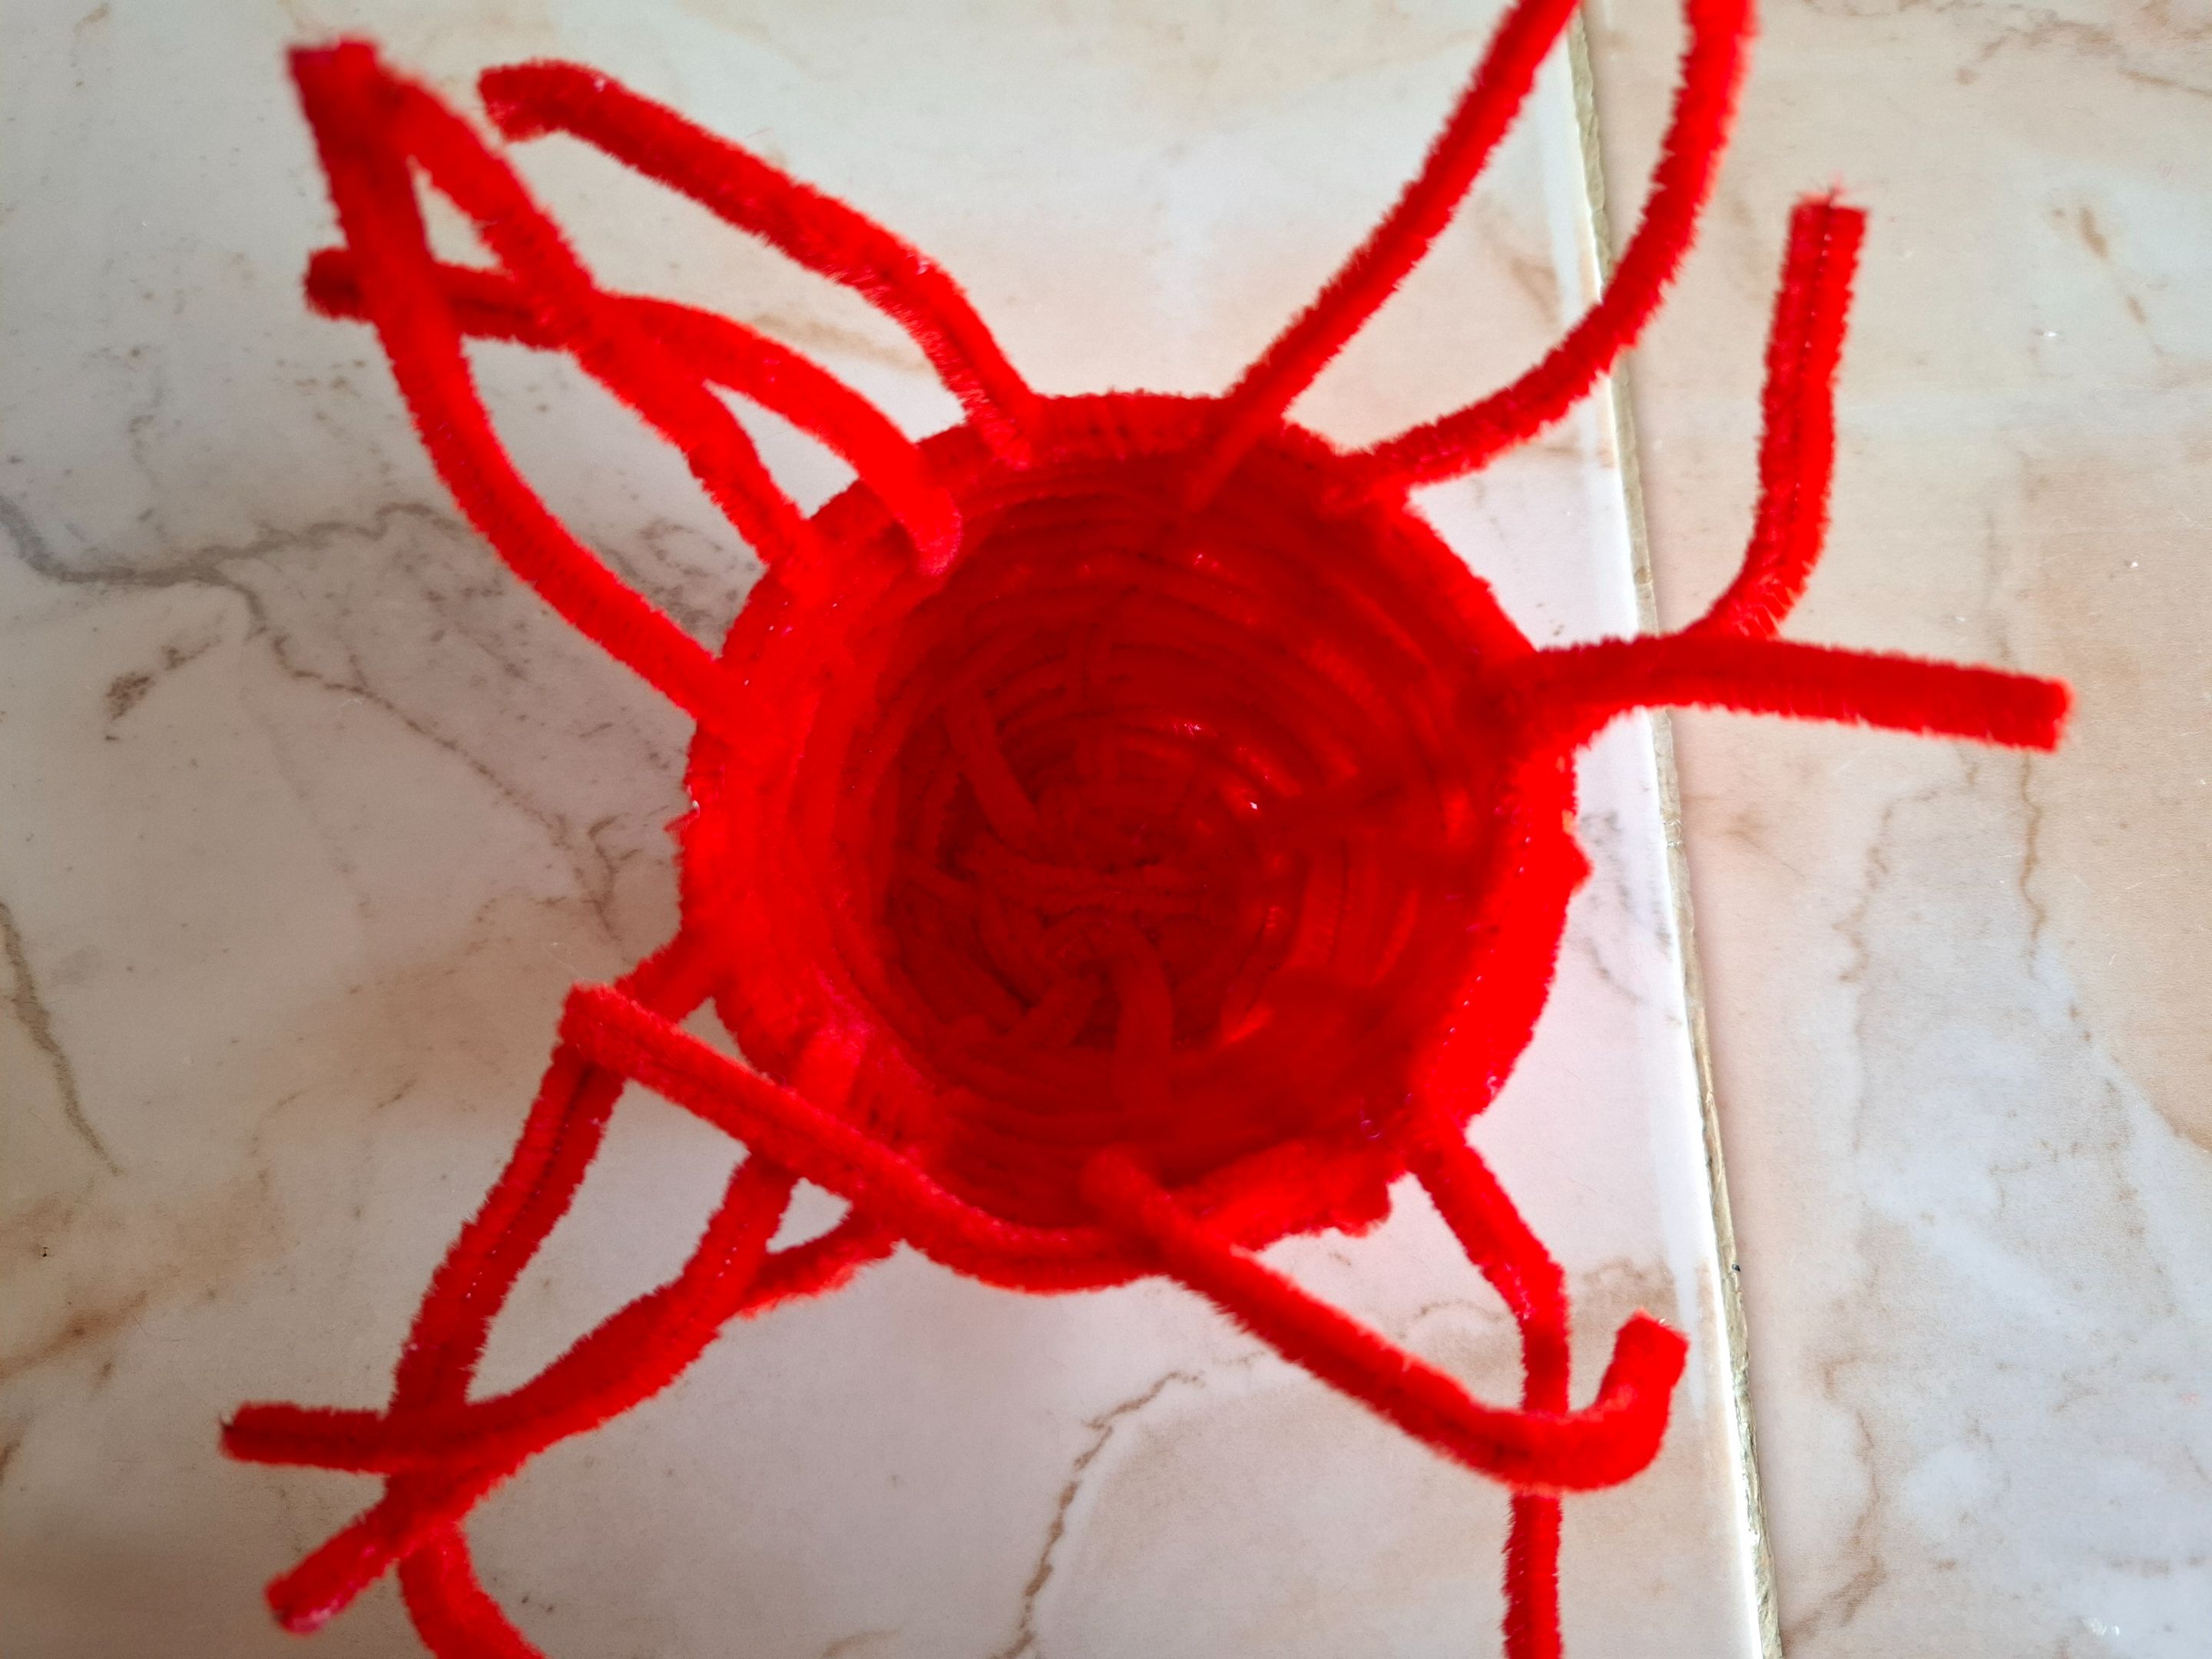
Voy a continuar en esta secuencia hasta ir formando la base en forma circular, luego a medida que vamos colocando el limpiapipas daremos forma de canasta, en este paso utilicé aproximadamente unos 12 limpiapipas.
I'm going to continue in this sequence until I form the base in a circular shape, then as we place the pipe cleaners we will give it a basket shape. In this step I used approximately 12 pipe cleaners.
 |
 |
|---|---|
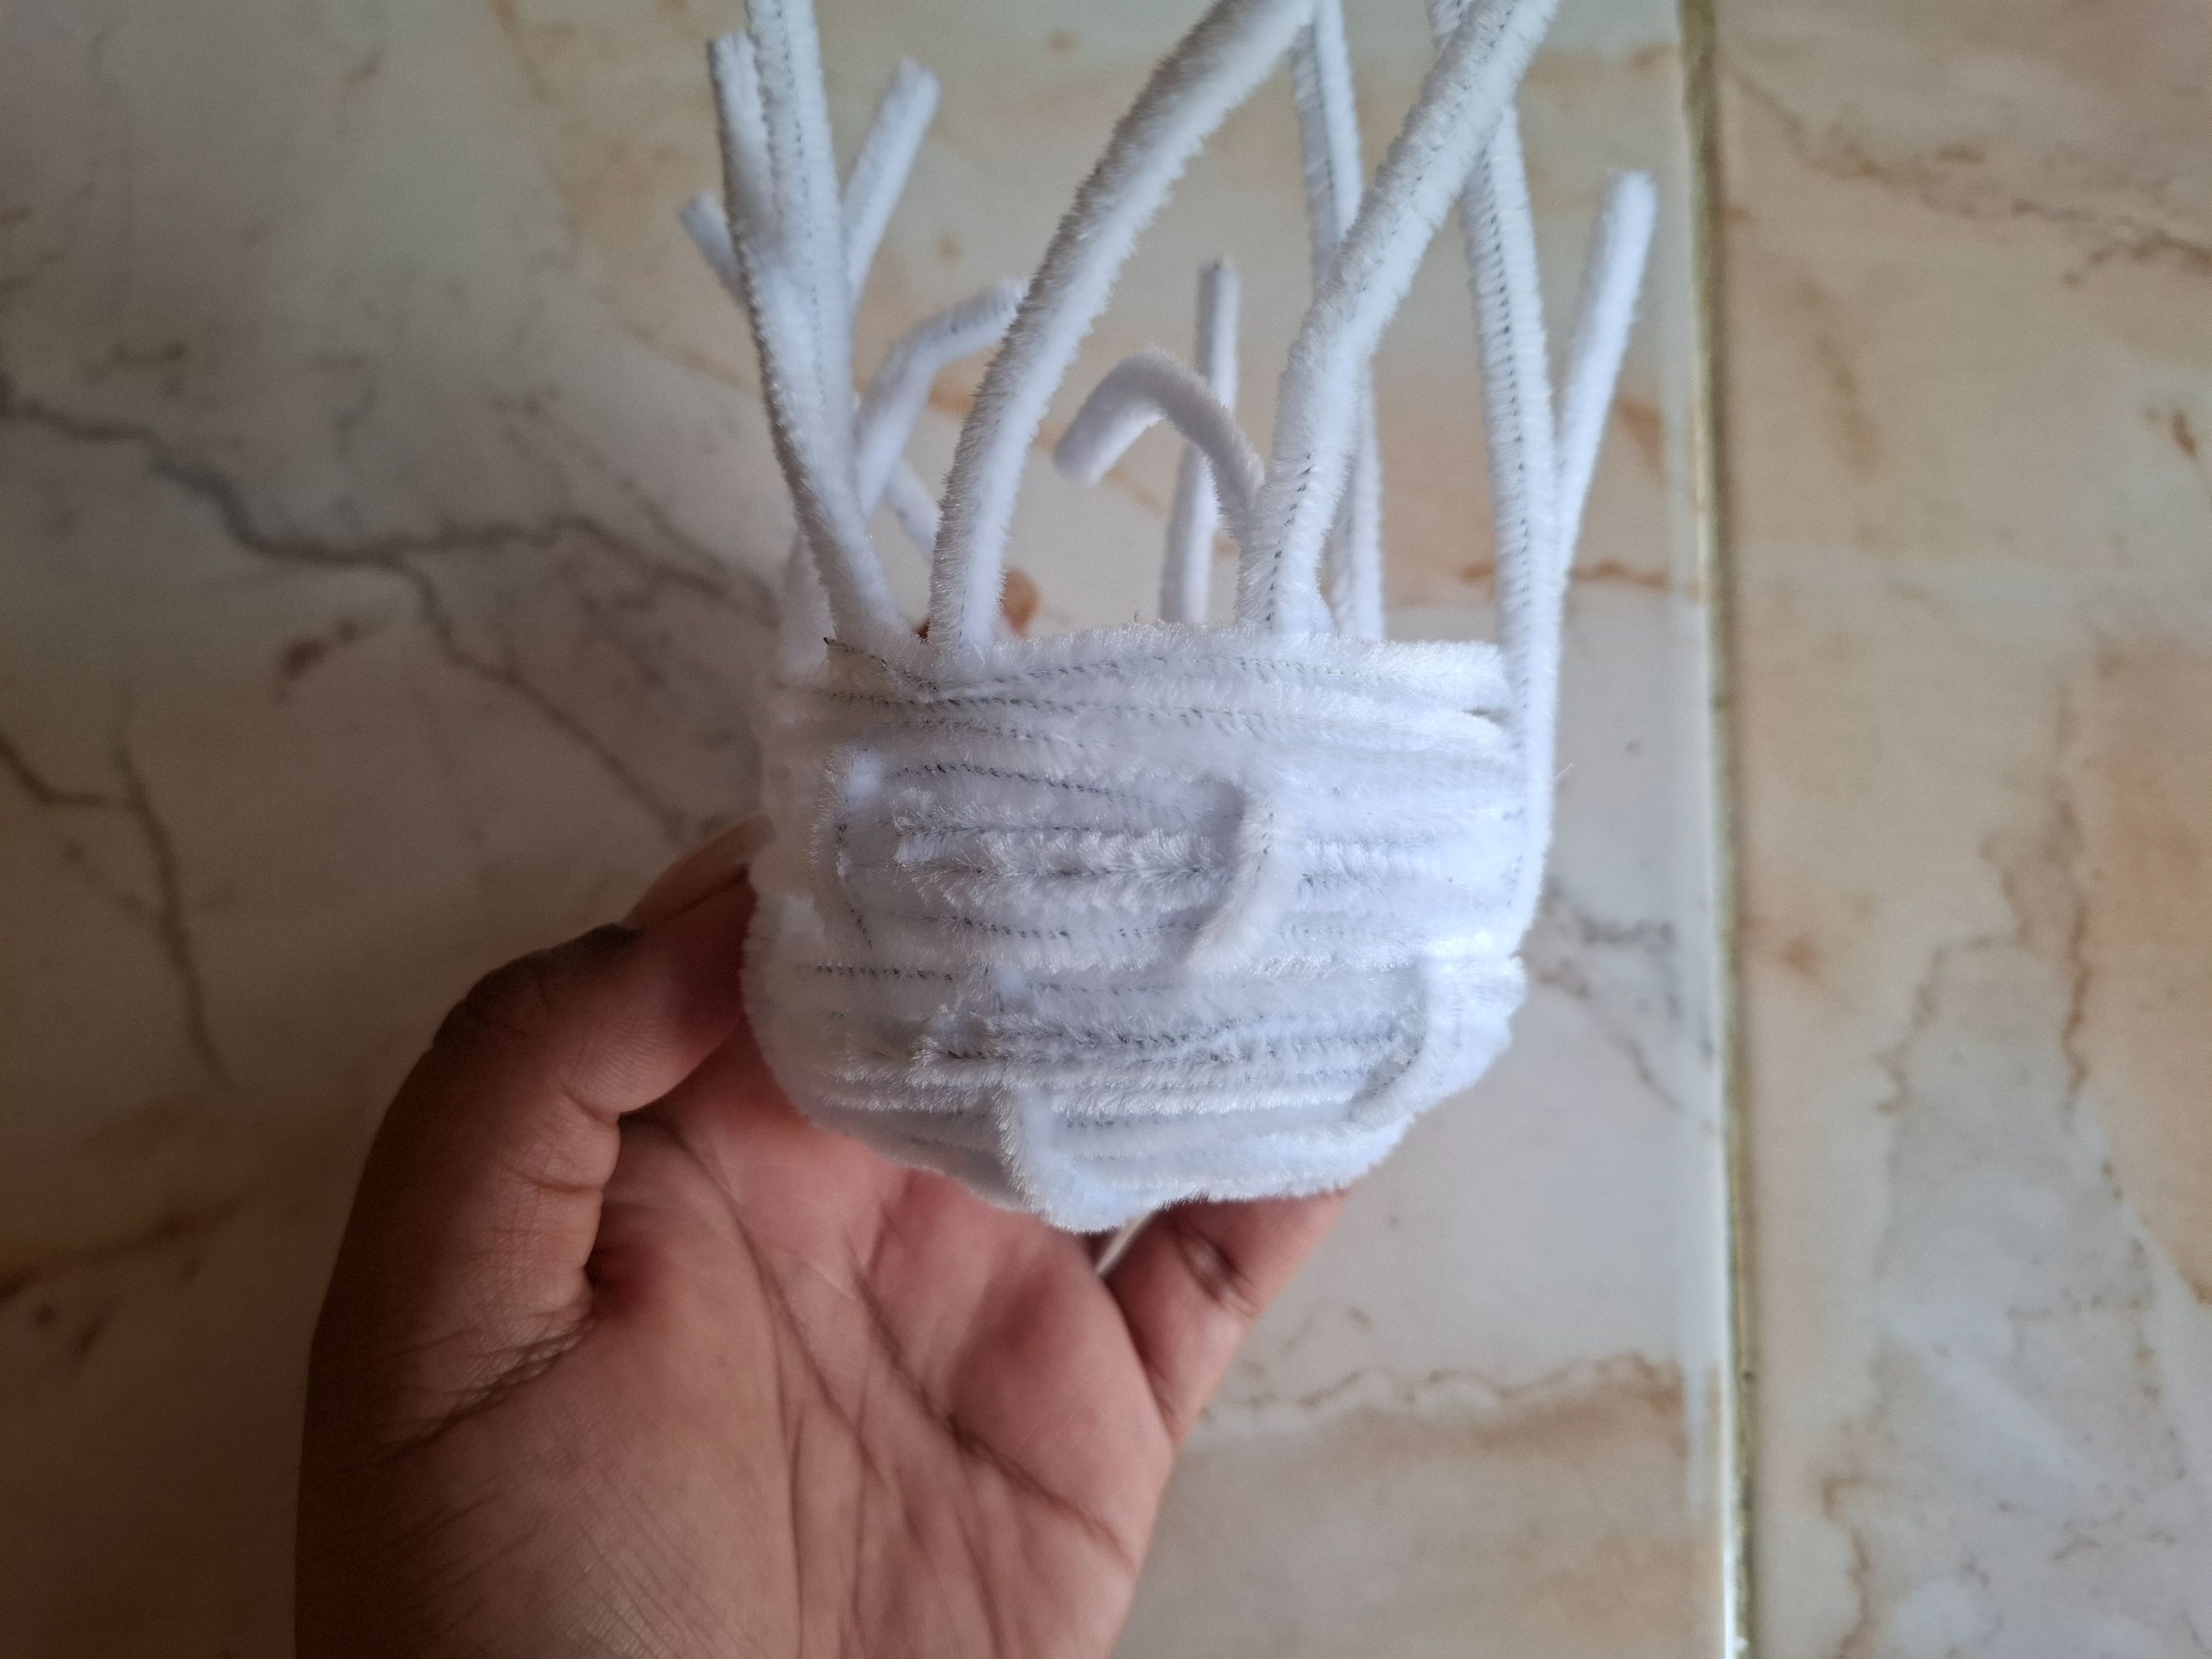
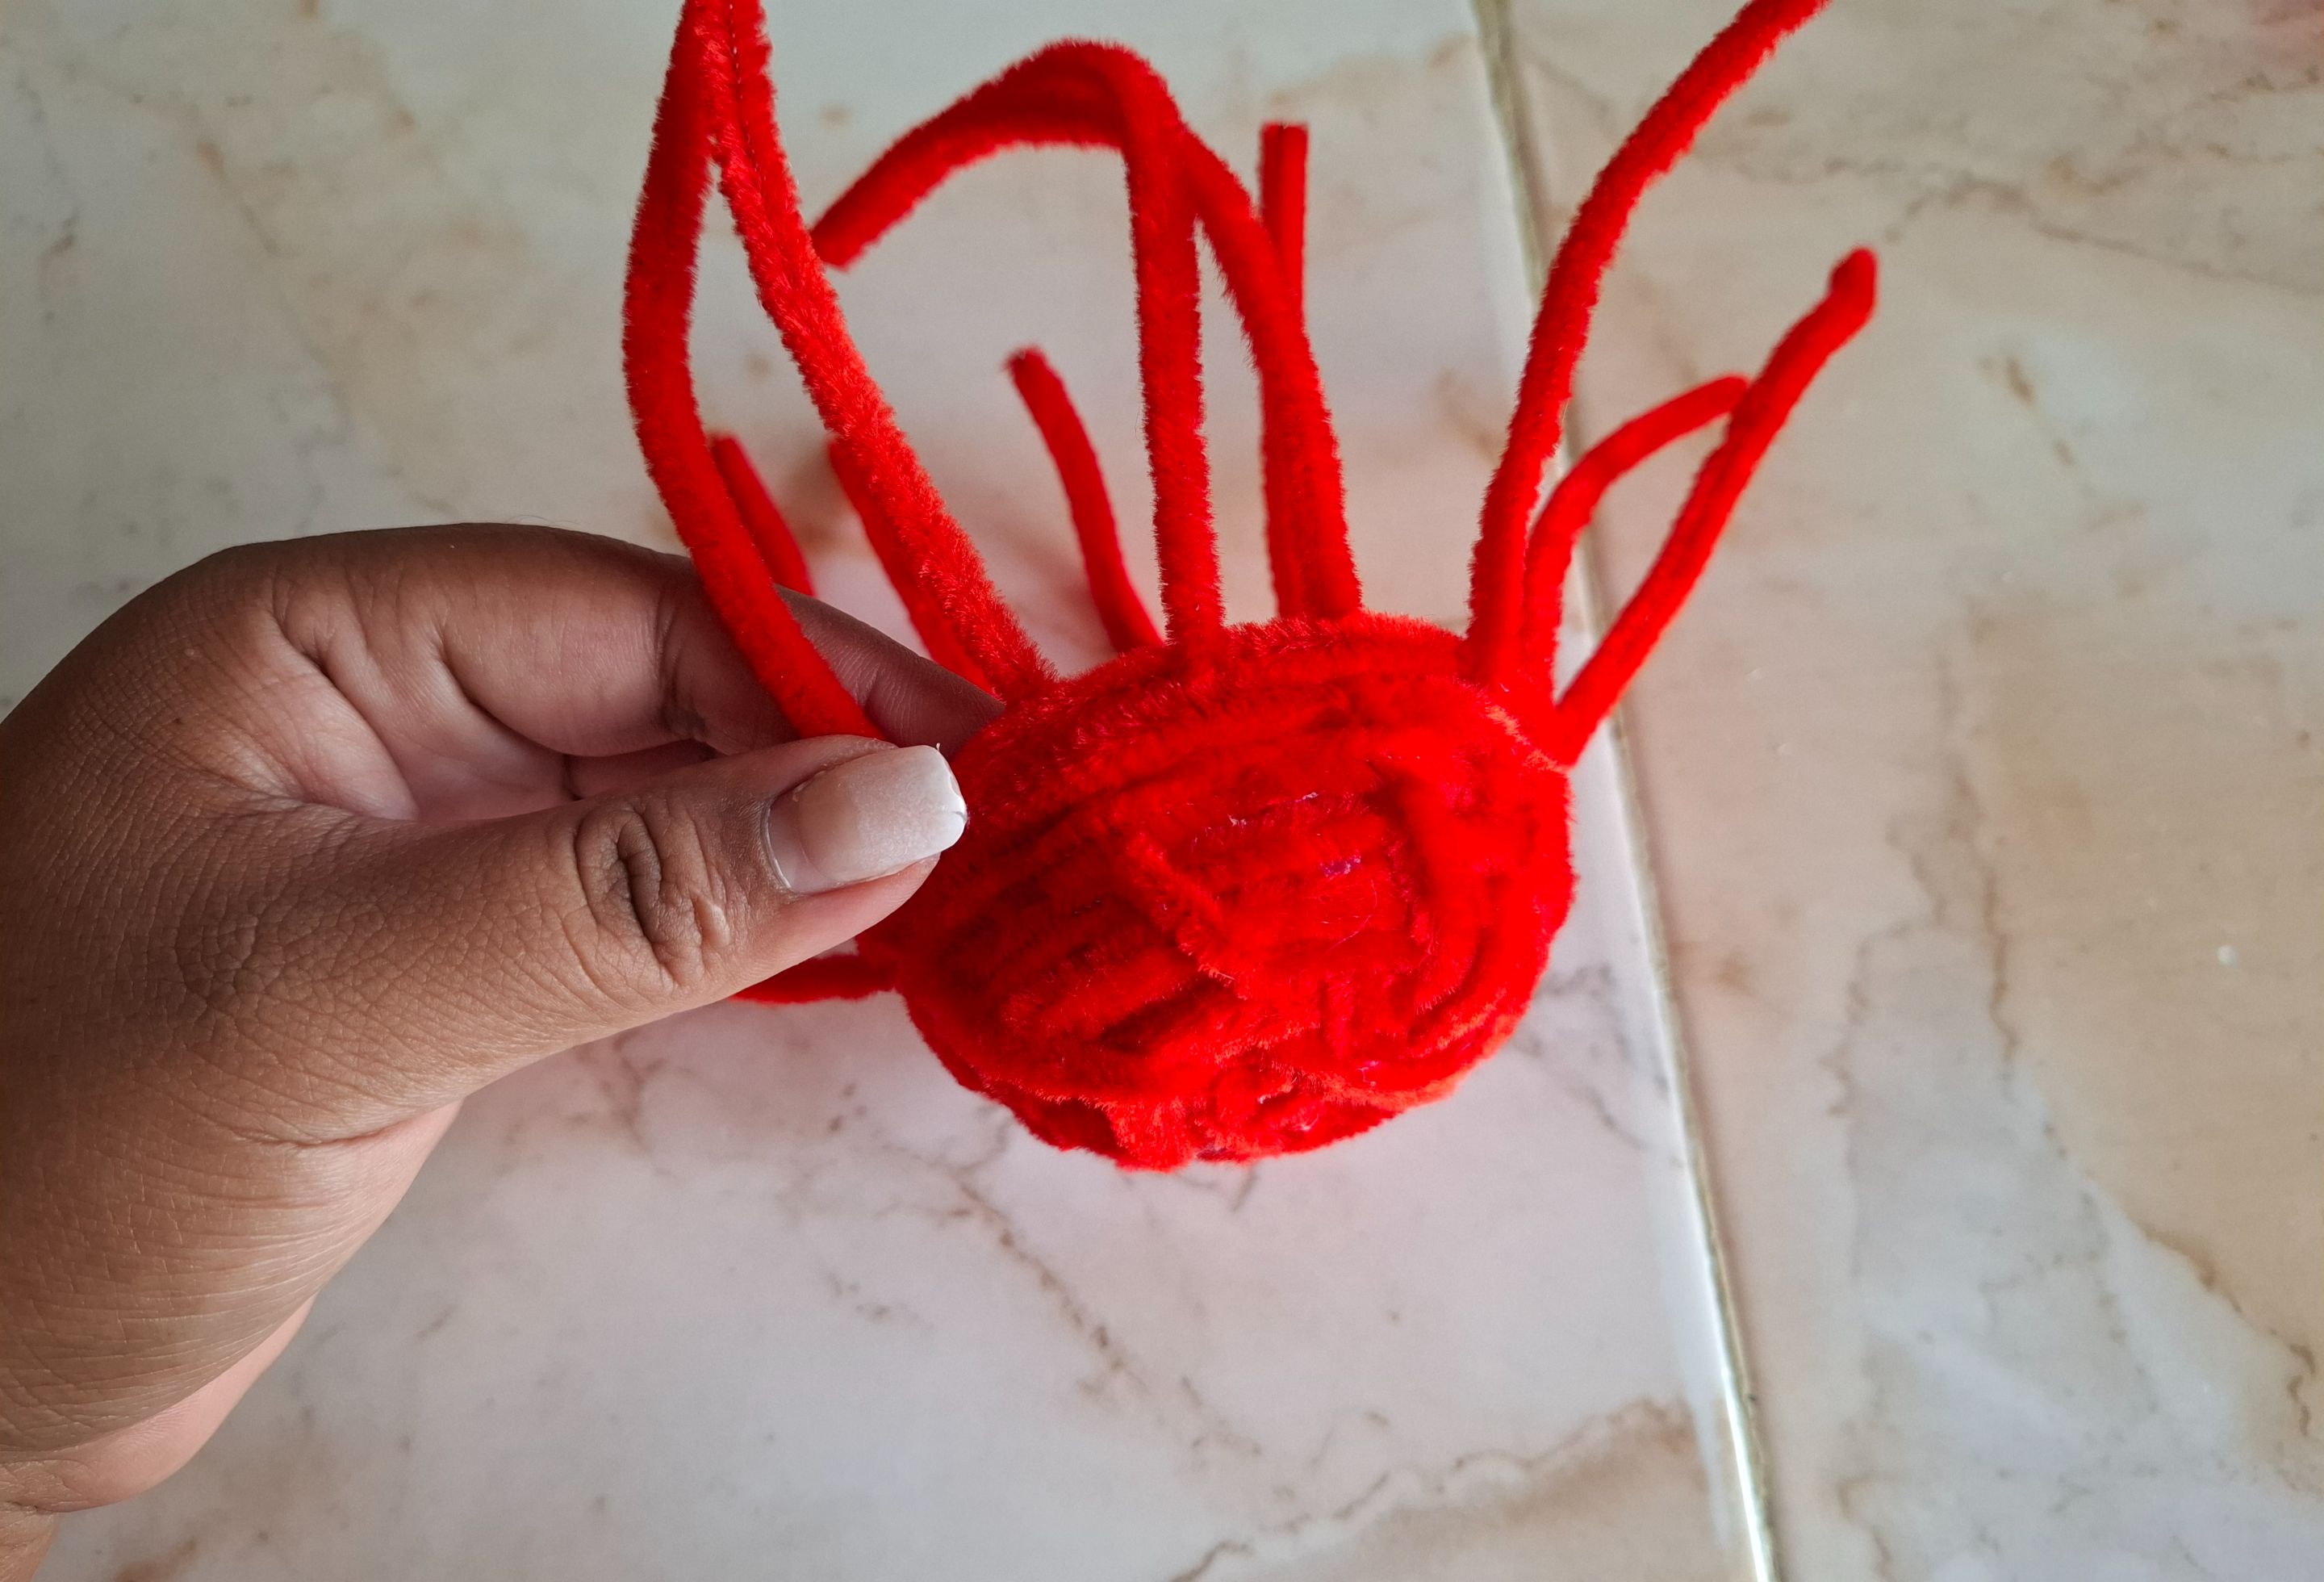
Al terminar de formar la canasta voy a cortar las puntas sobrantes y colocamos un limpiapipas al rededor para cubrir las imperfecciones. Ahora voy a realizar la segunda parte del hongo.
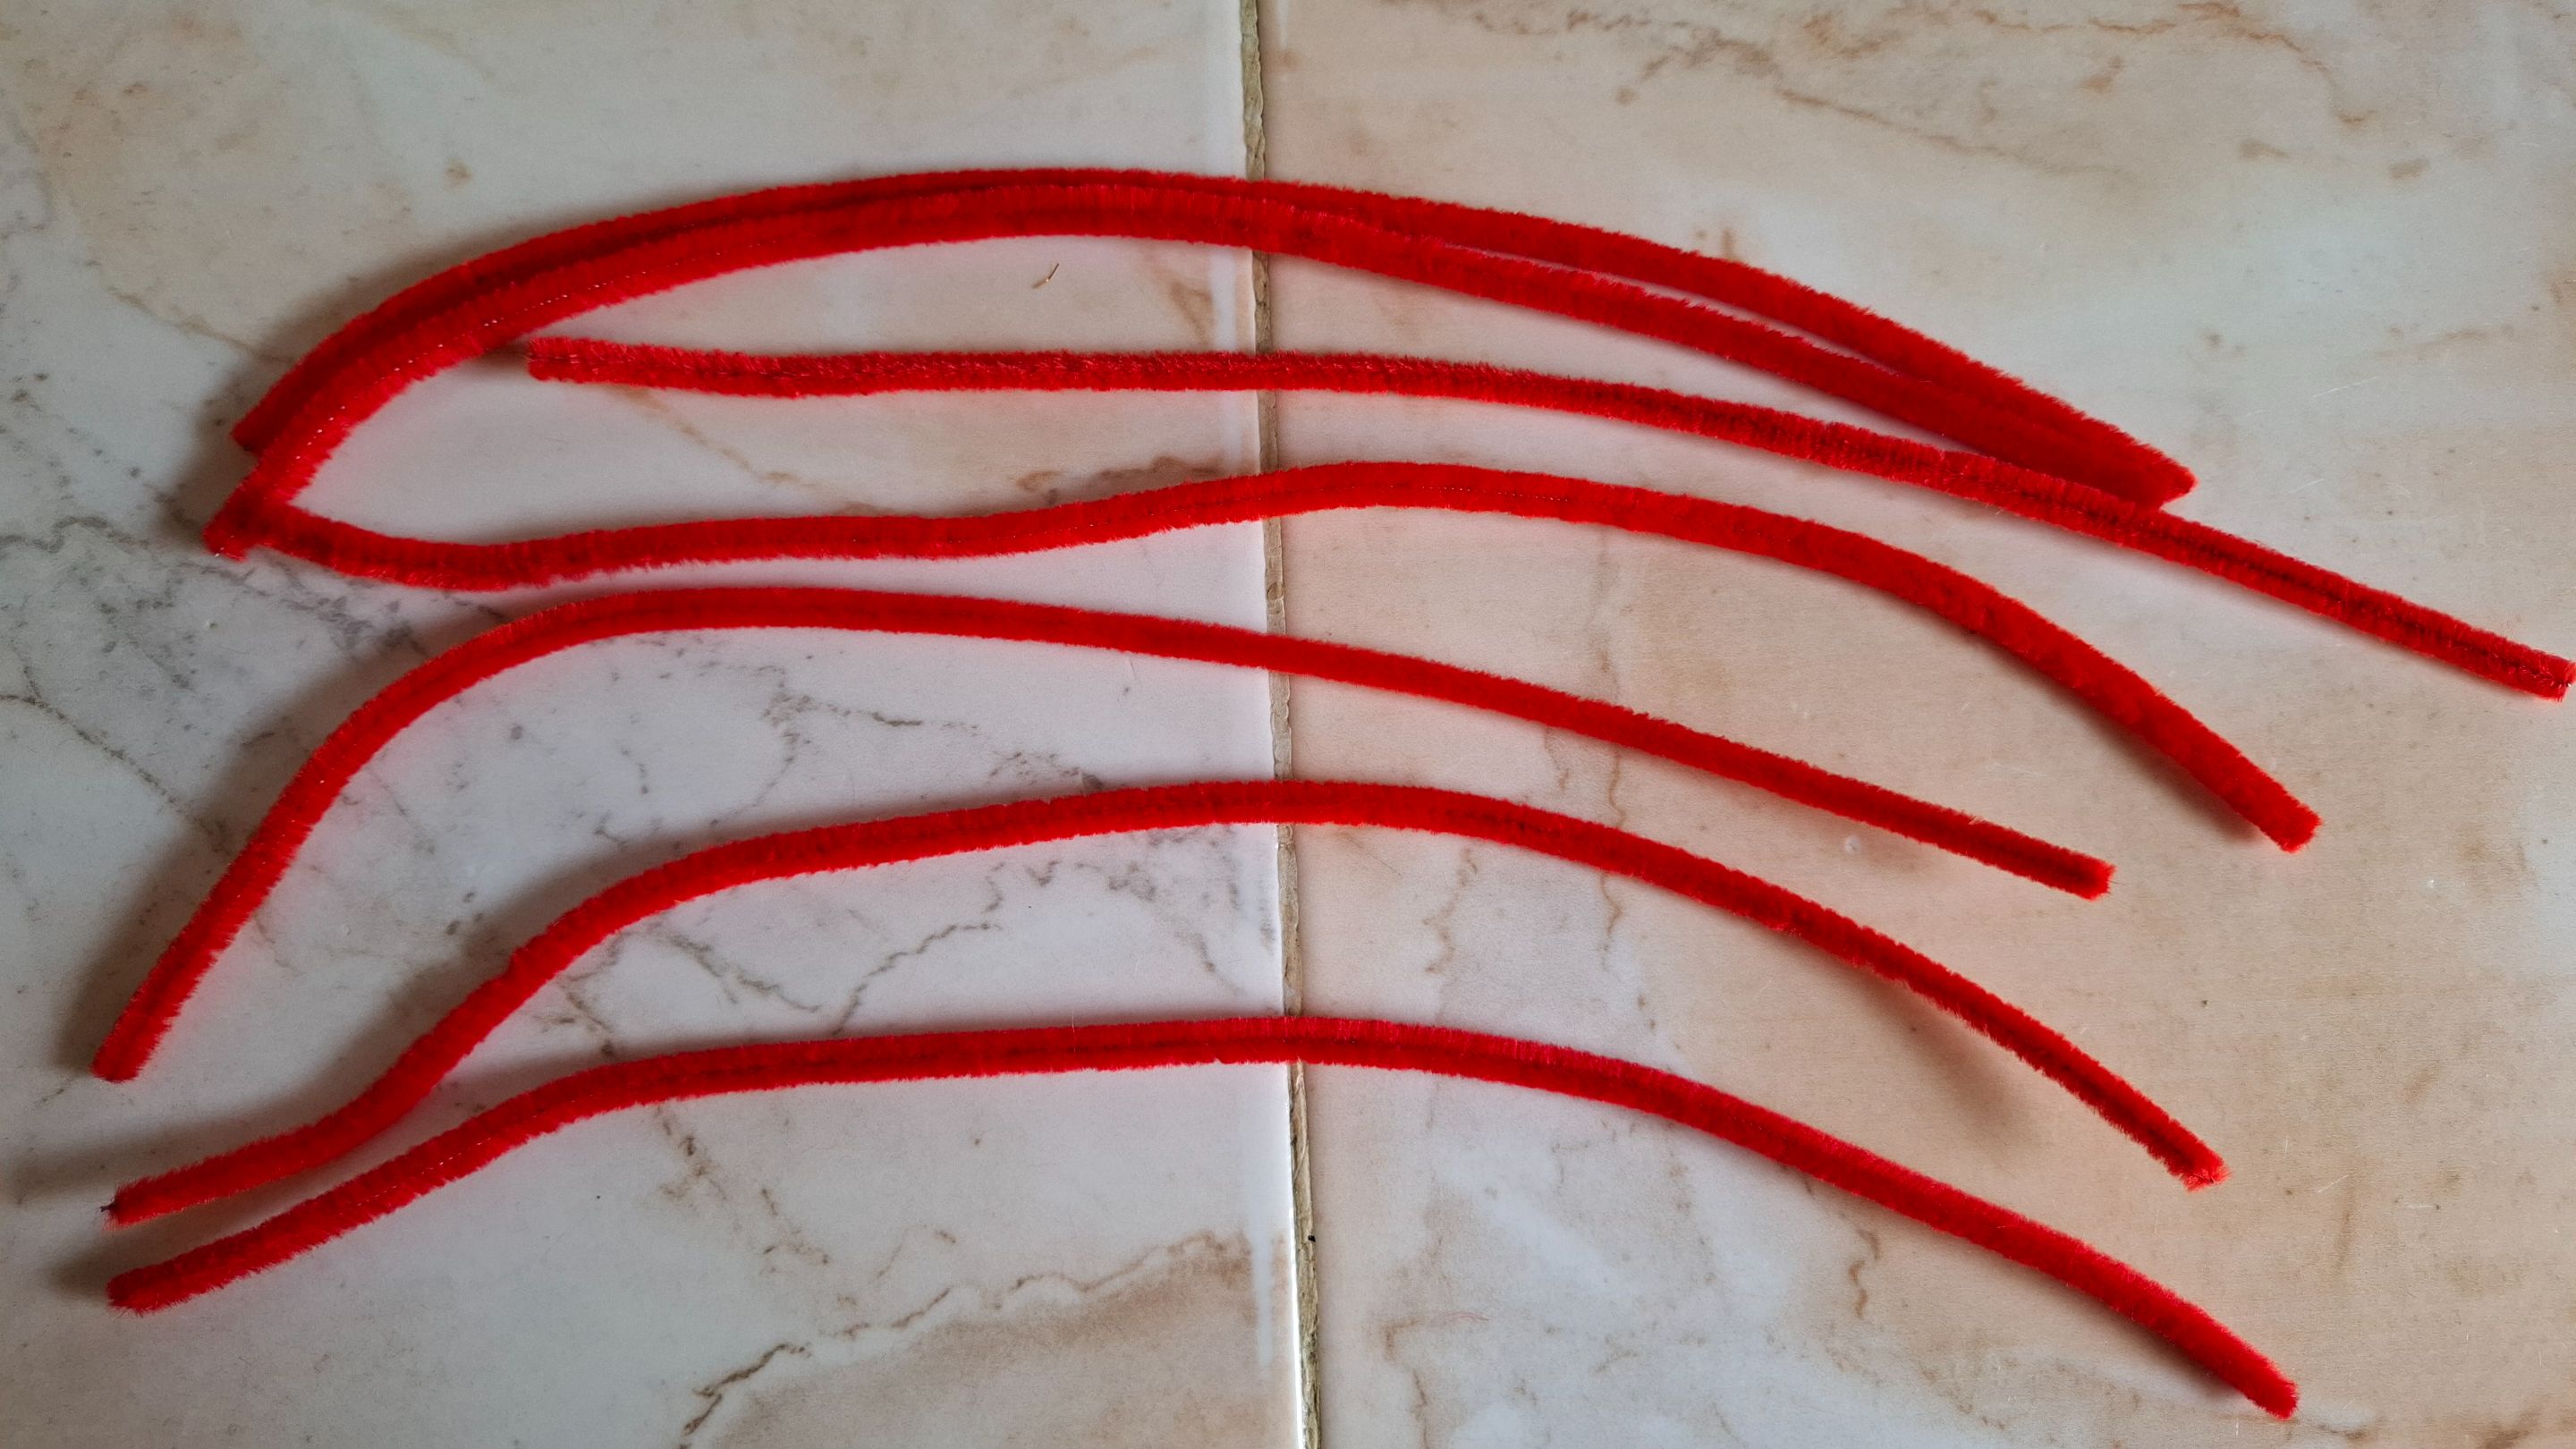
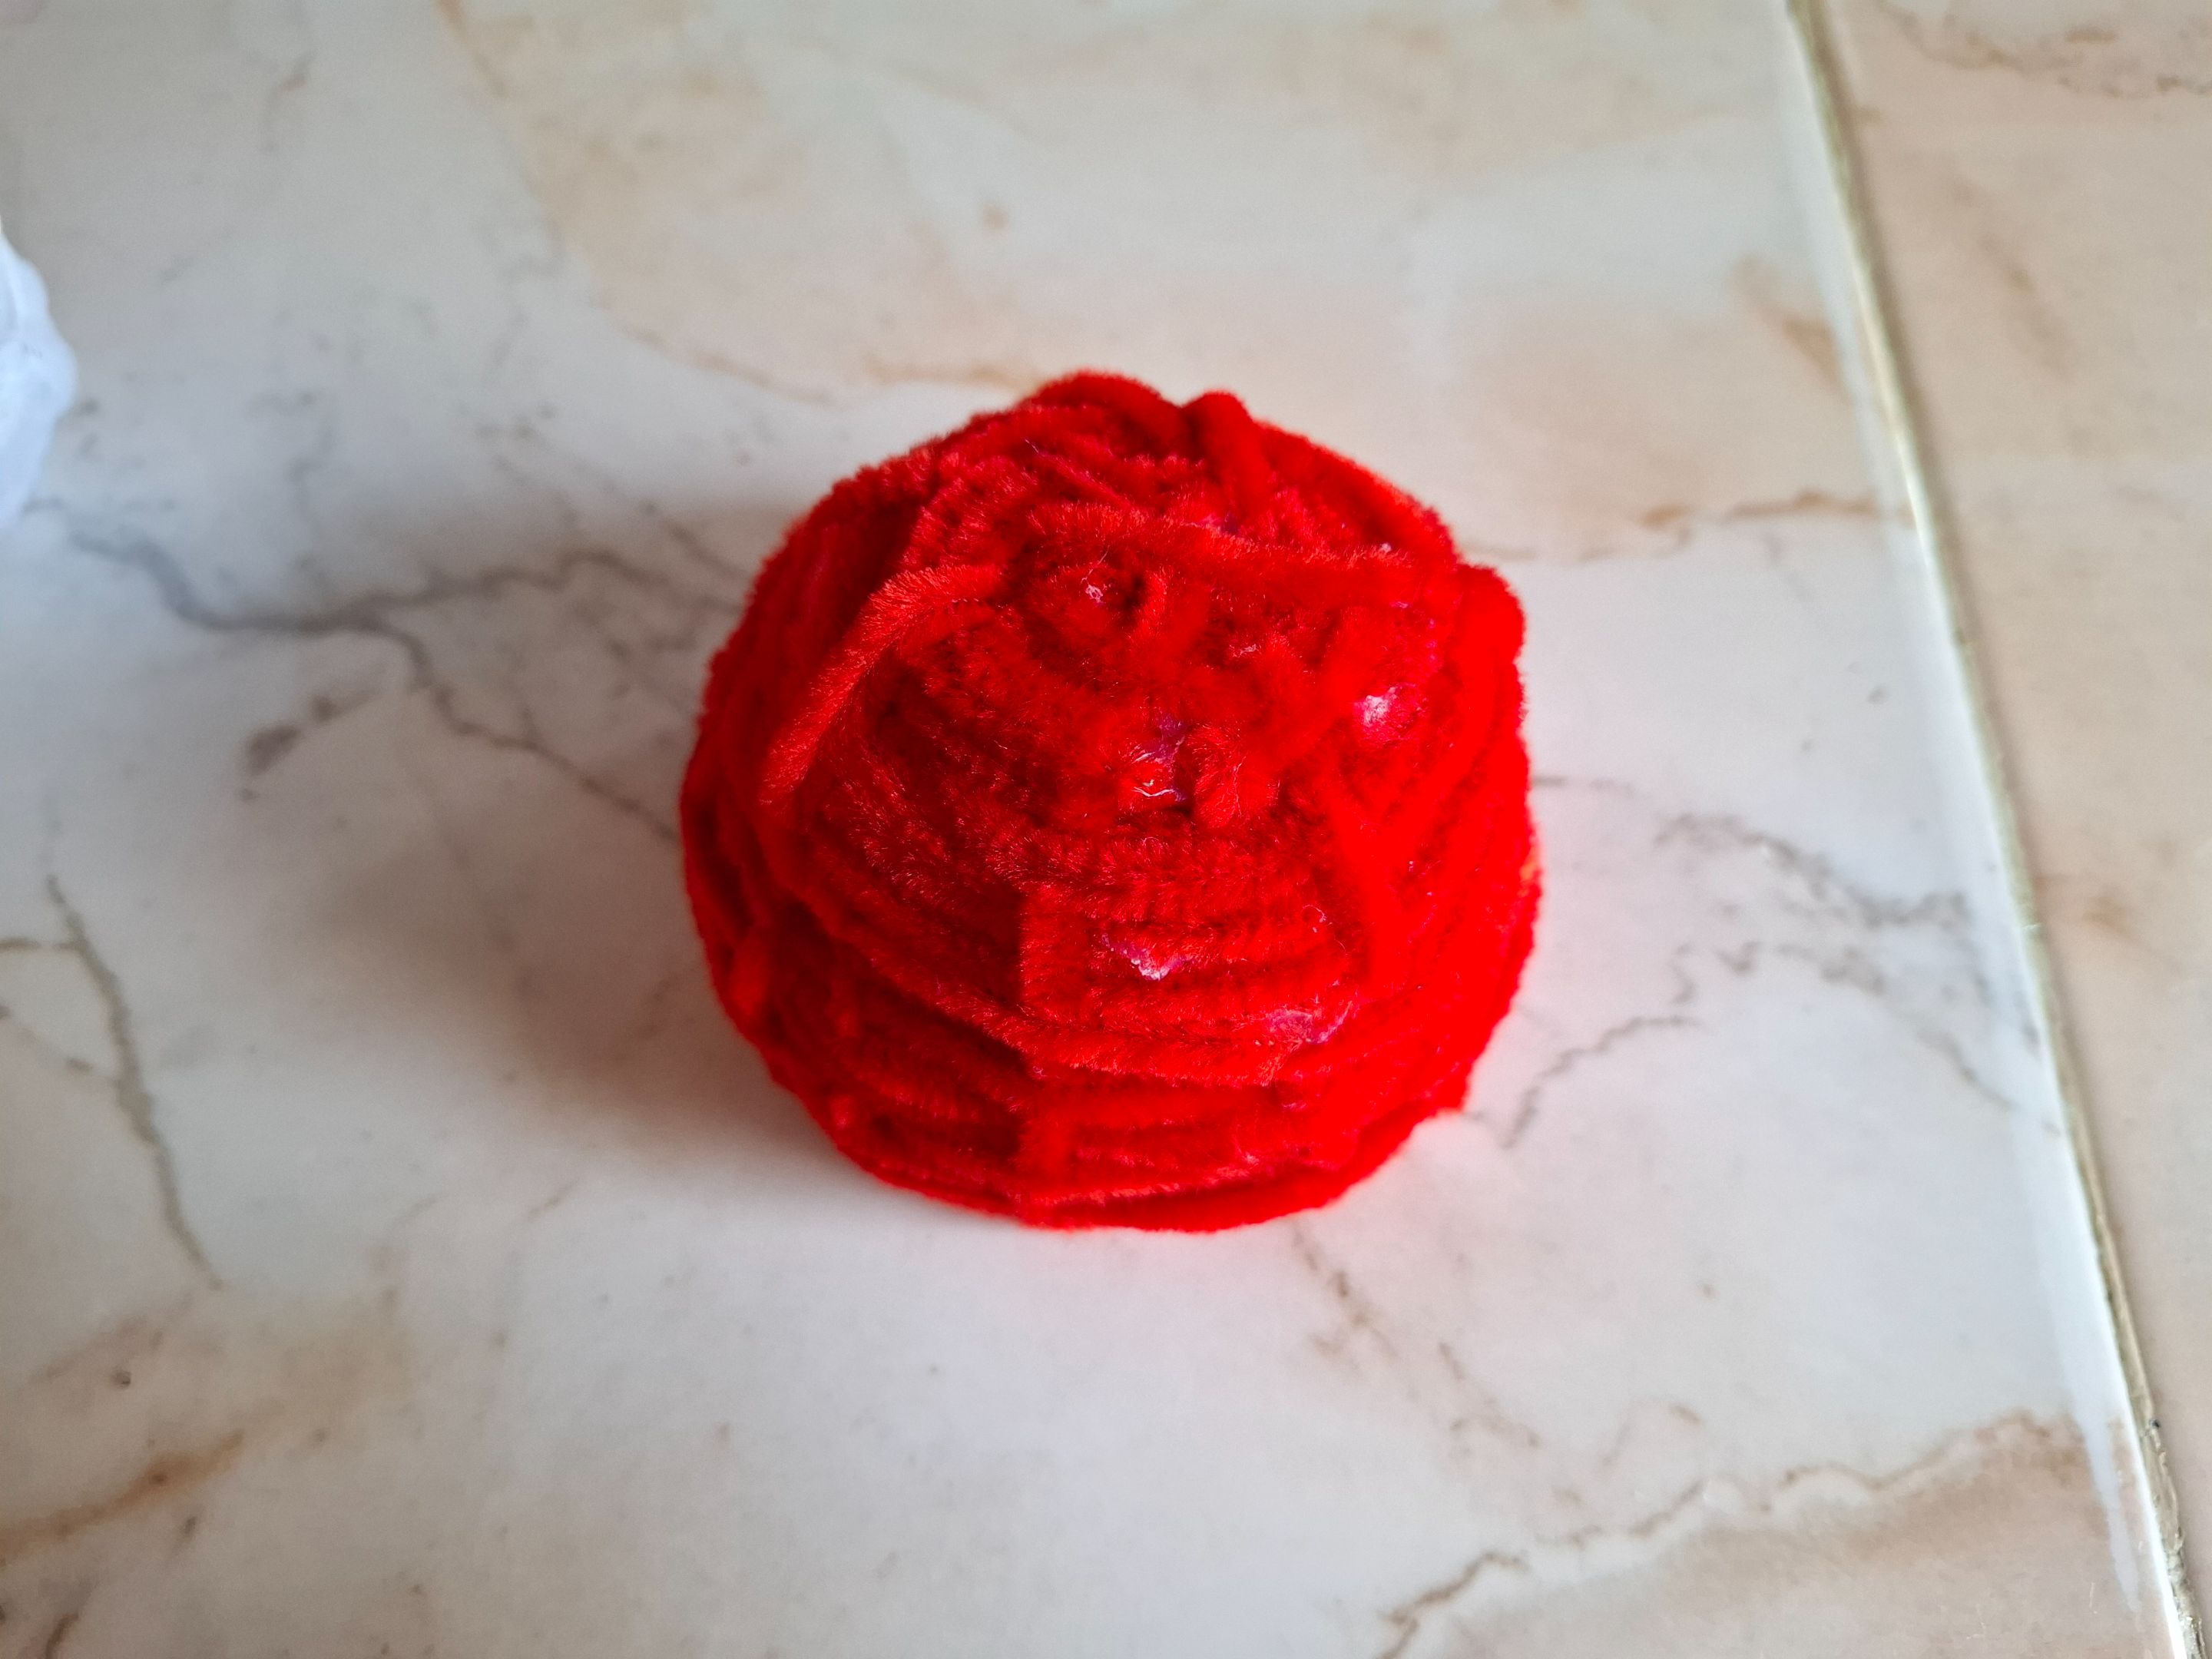
Para la parte roja voy a utilizar siete limpiapipas, siguiendo la misma secuencia pero voy a colocar más limpiapipas aproximadamente cinco o seis adicionales, ya que debe ser más grande que la parte inferior.
Once I've finished forming the basket, I'll cut off the excess tips and place a pipe cleaner around it to cover any imperfections. Now I'll make the second part of the mushroom.
For the red part, I'll use seven pipe cleaners, following the same sequence, but I'll add about five or six more, as it needs to be larger than the bottom part.
 |
 |
 |
|---|---|---|
 |
 |
|---|---|
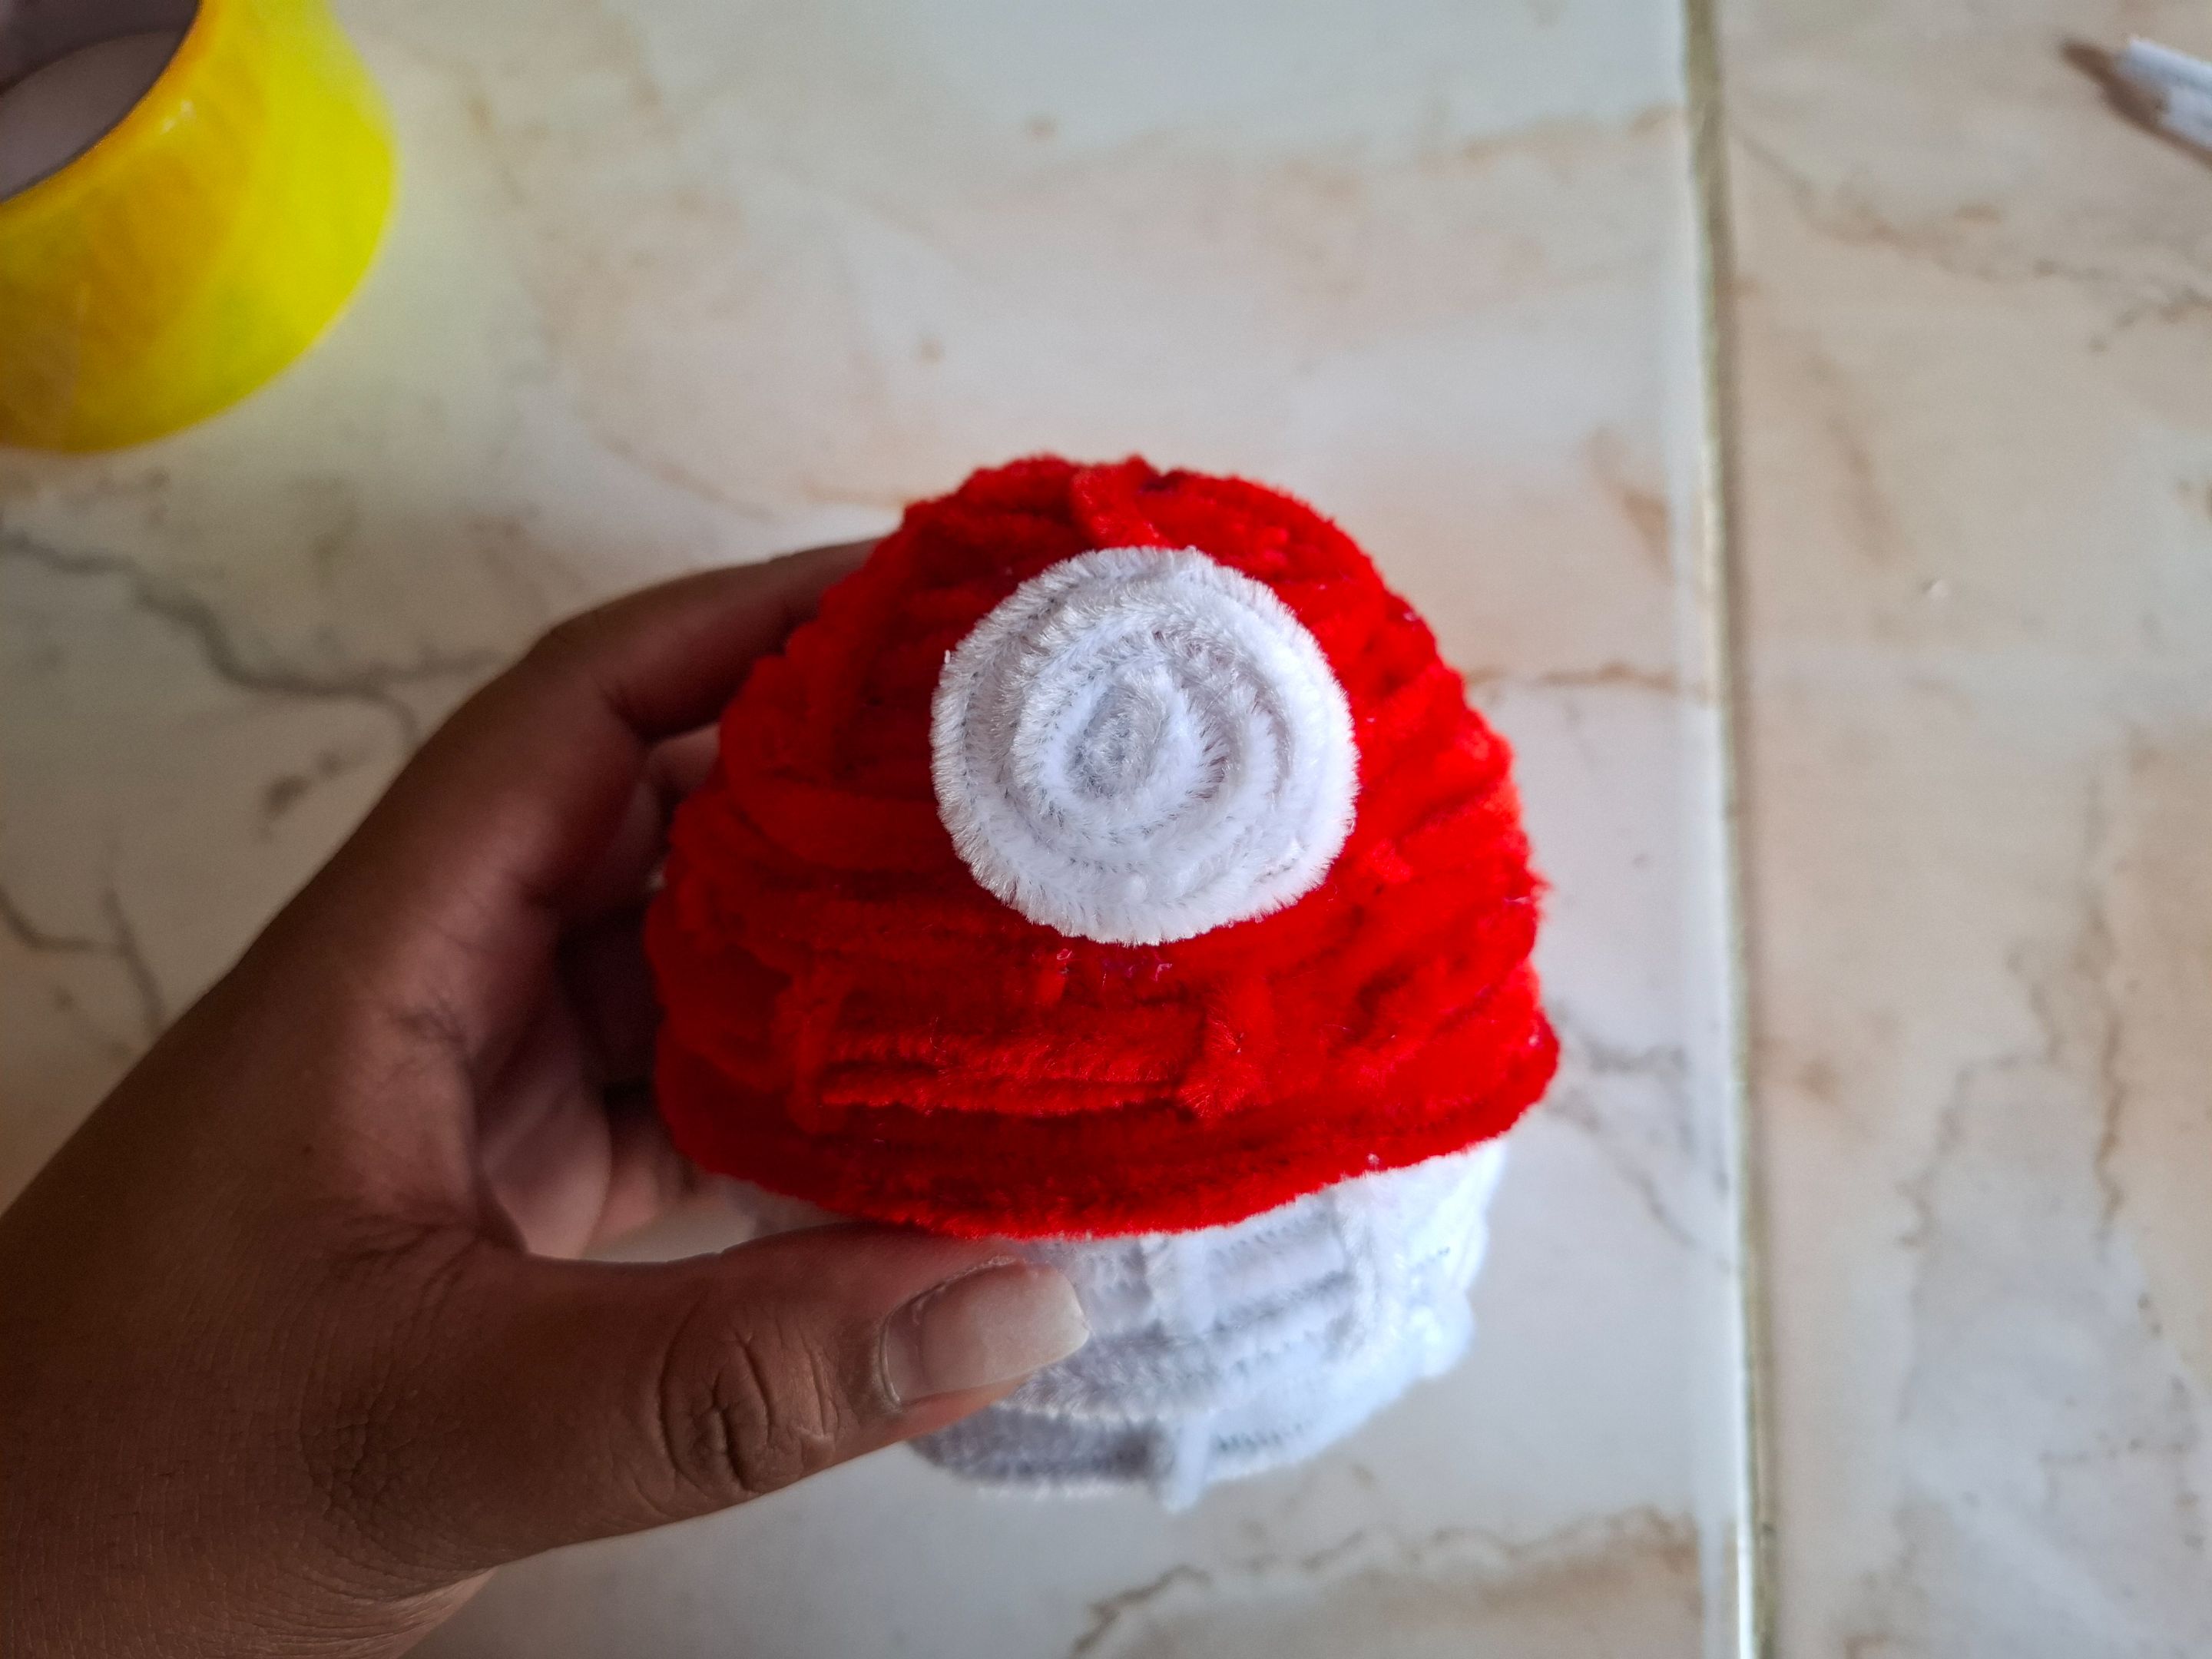
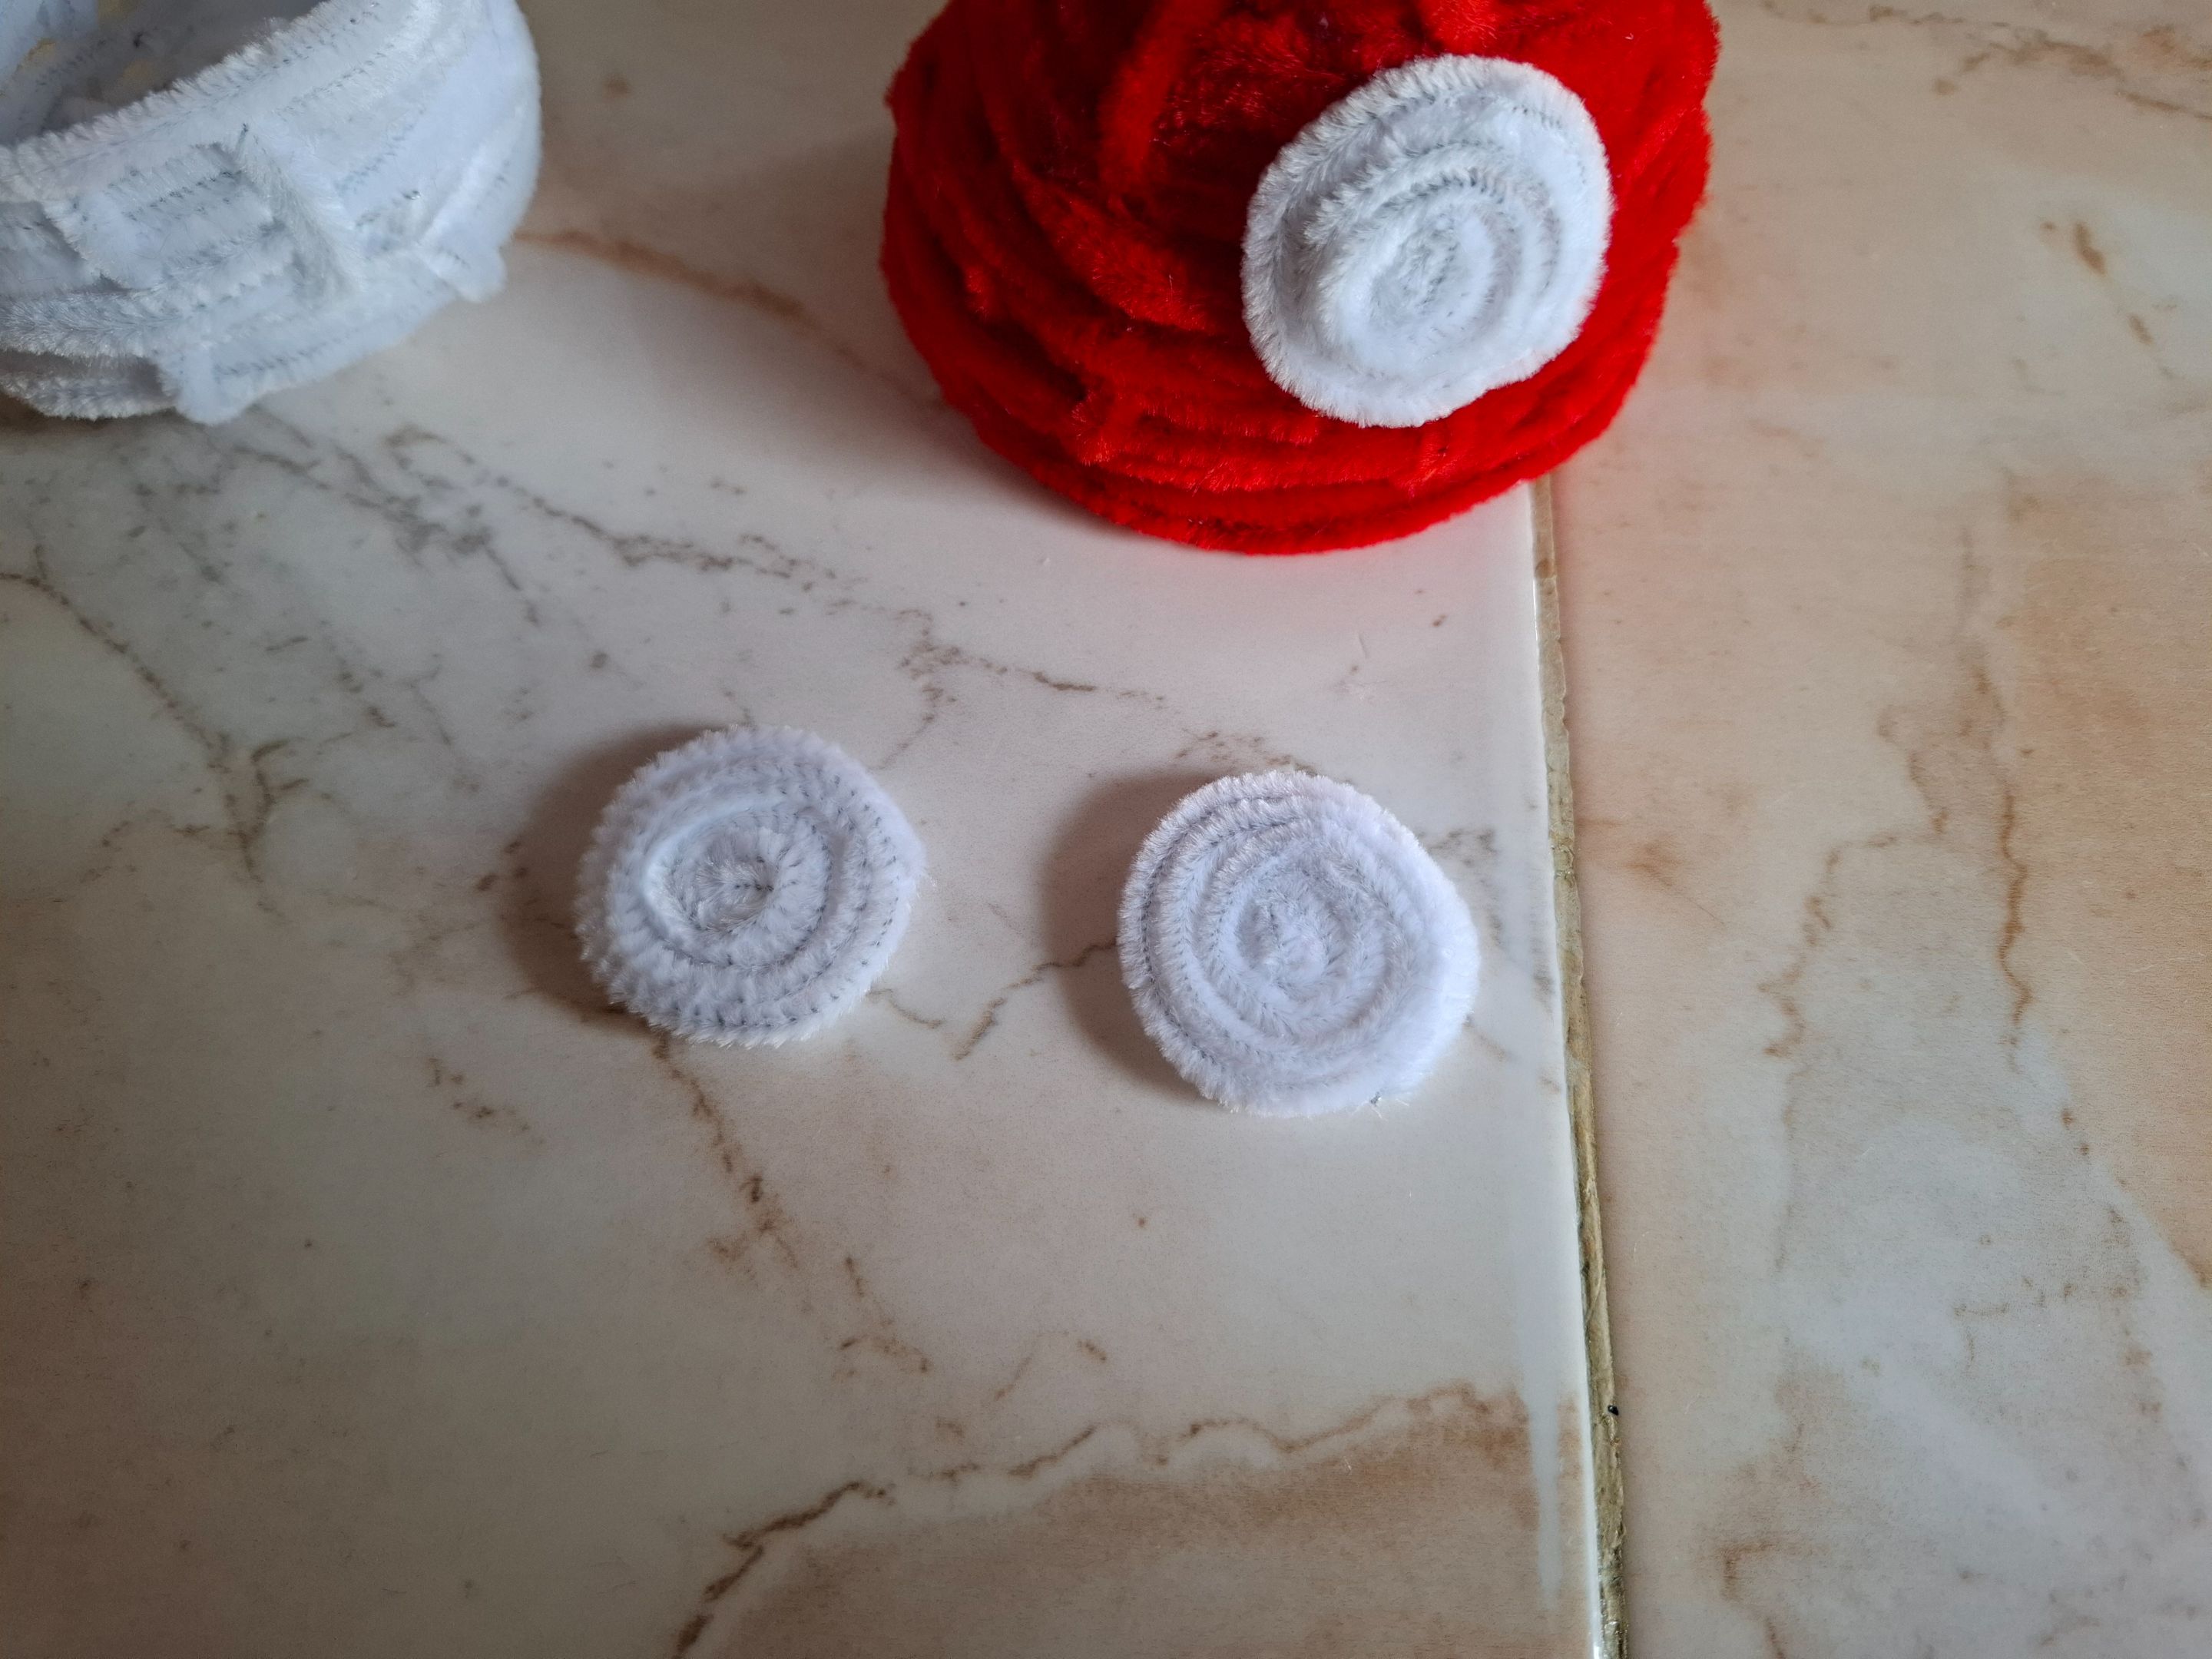
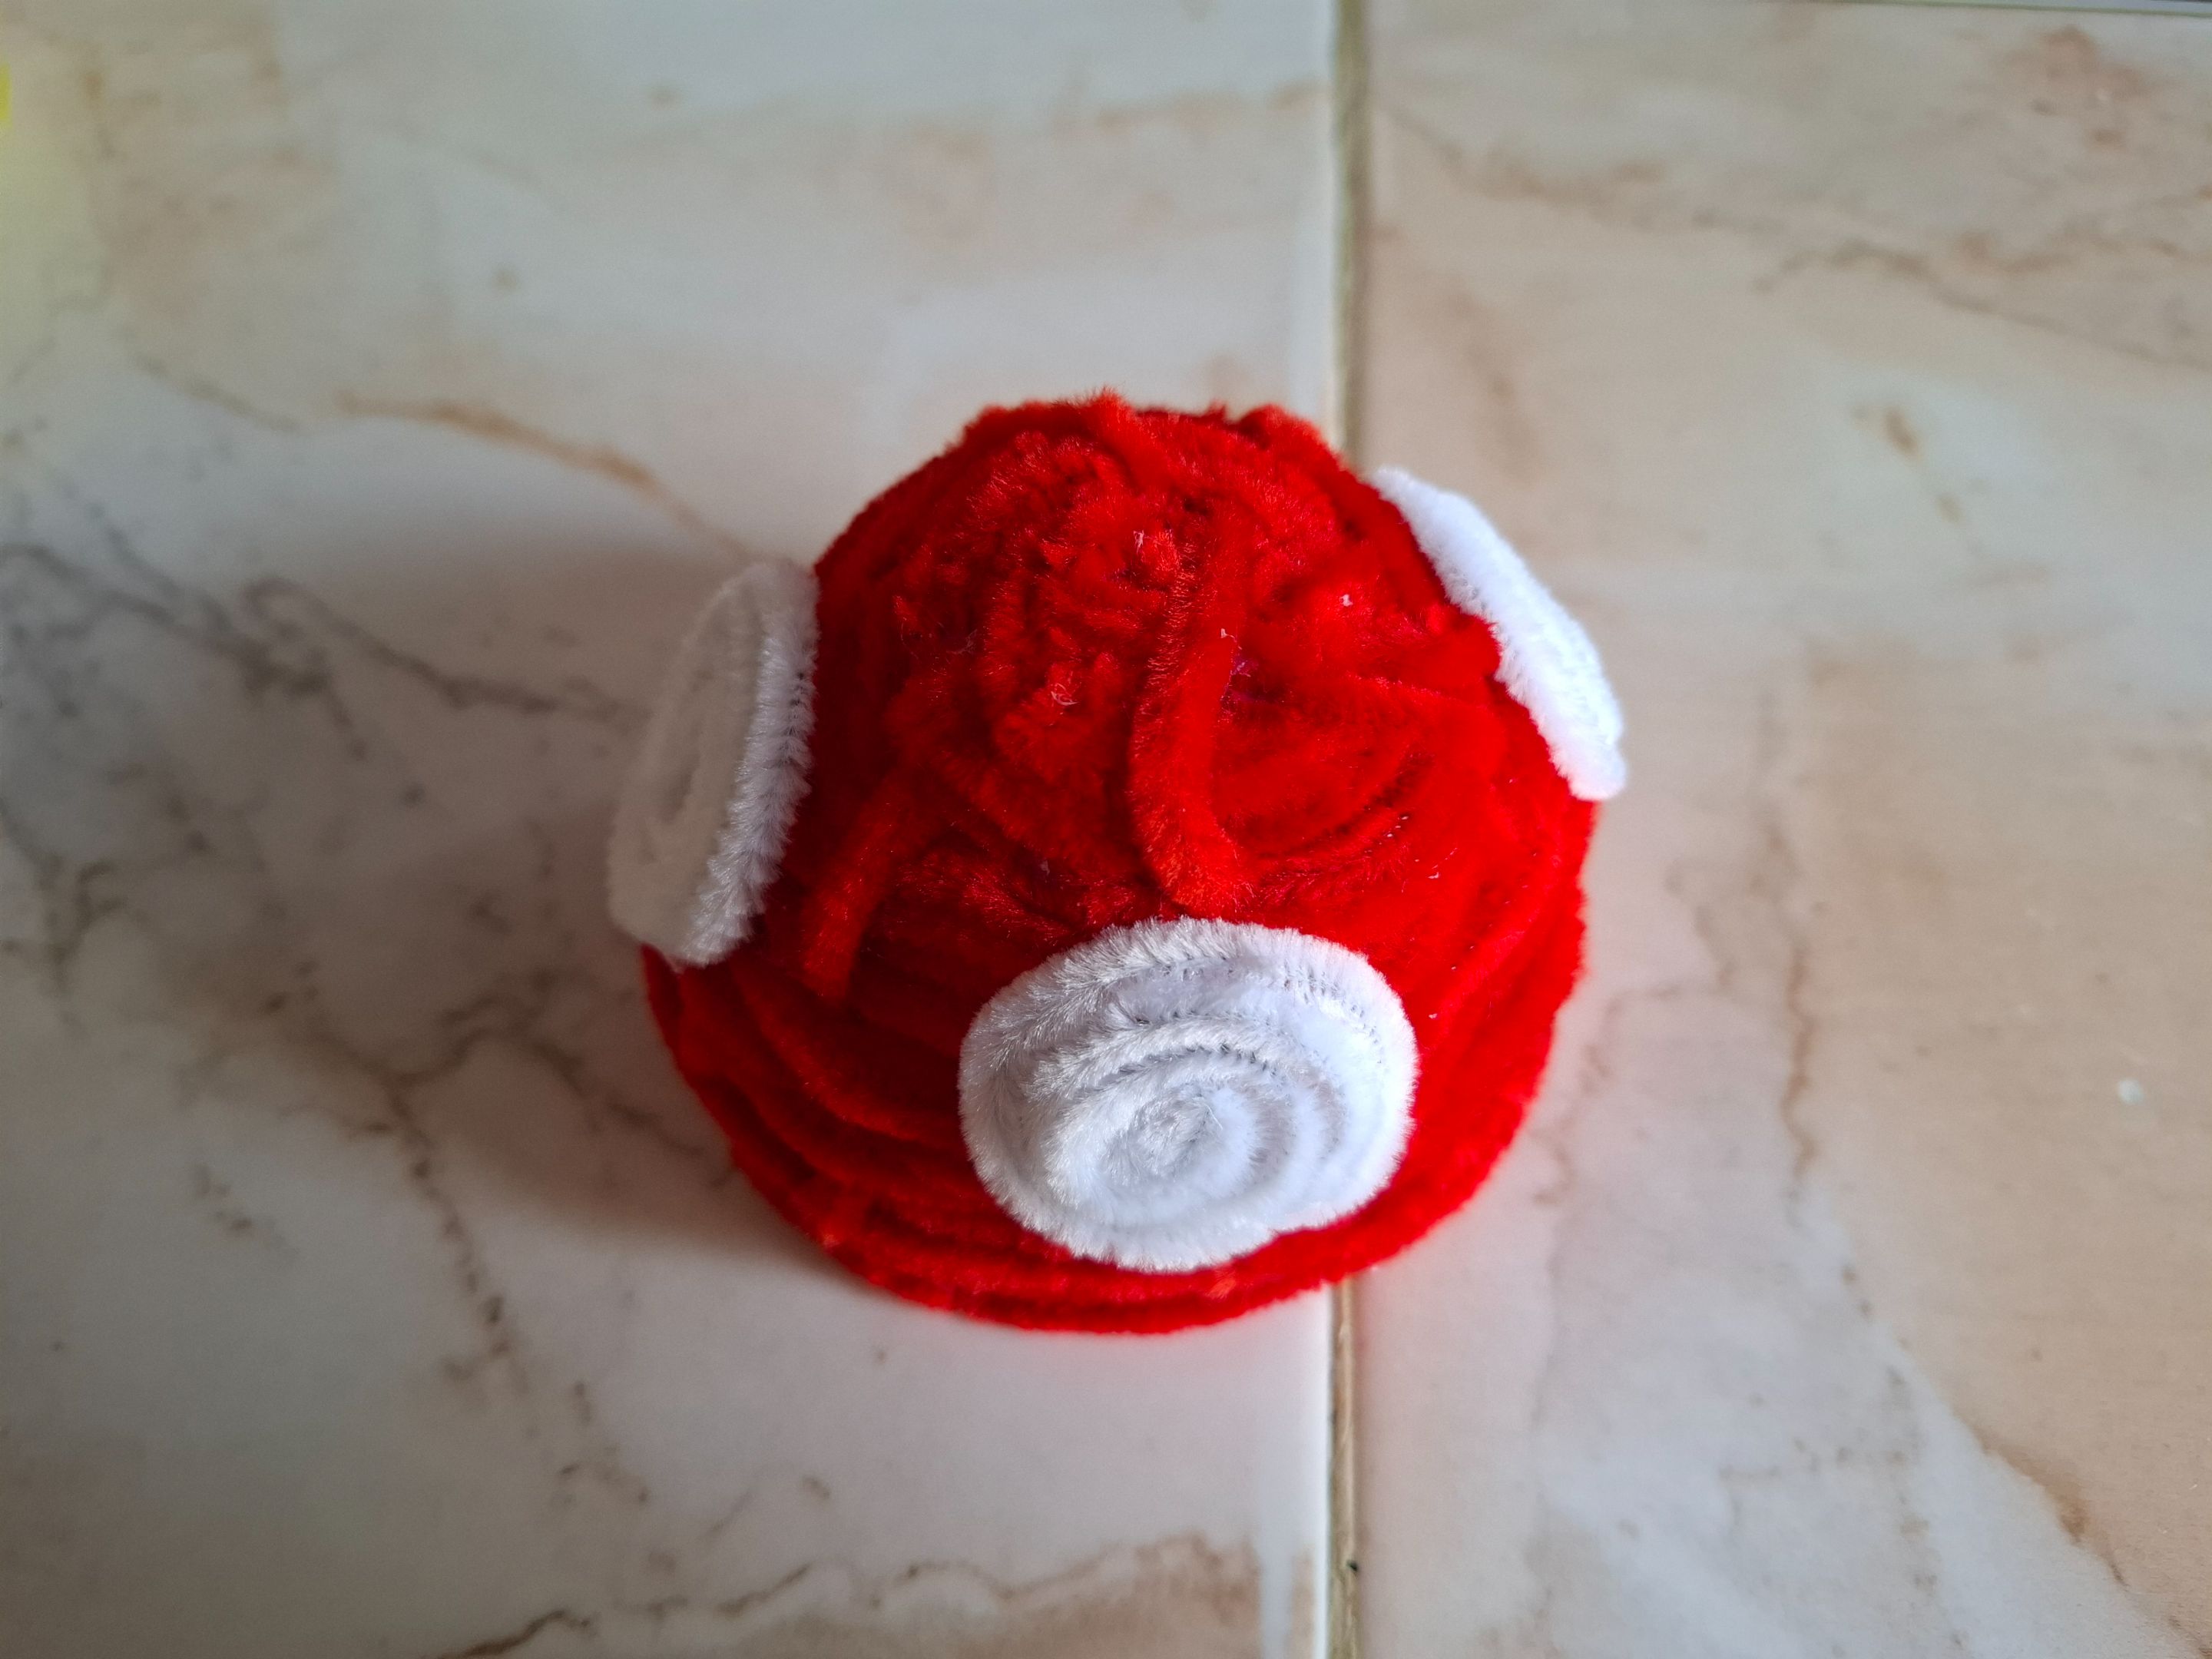
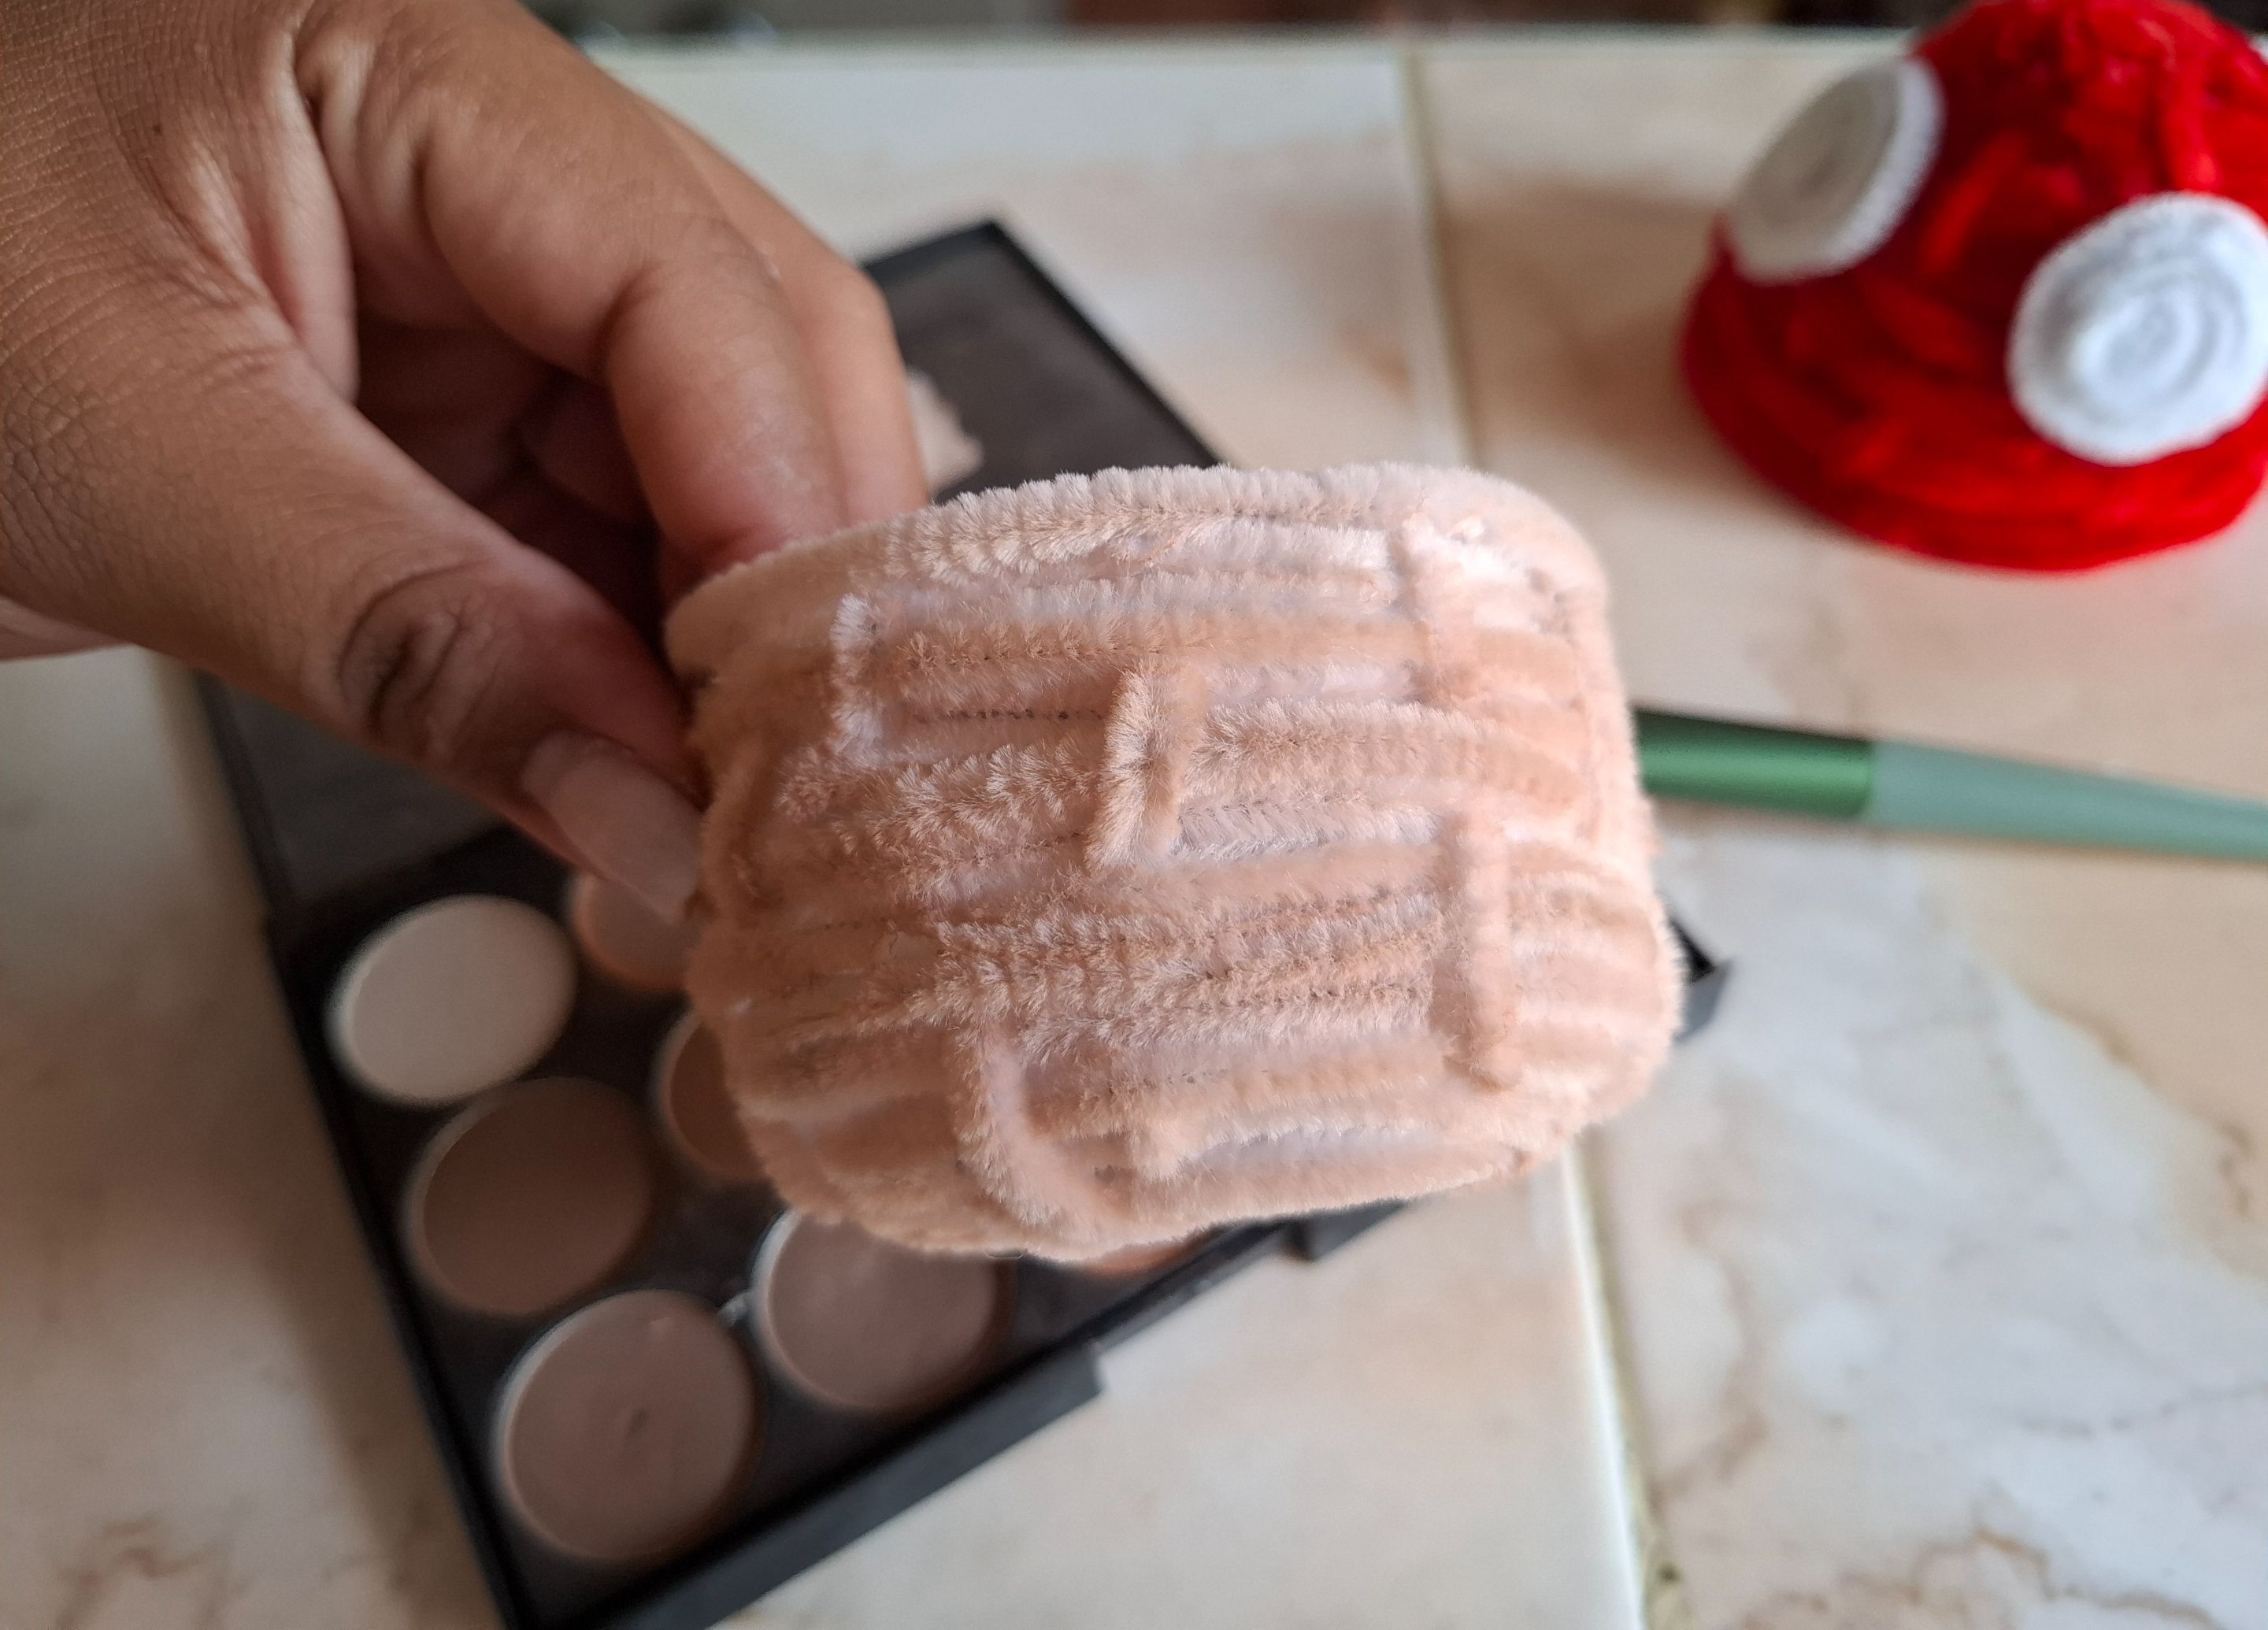
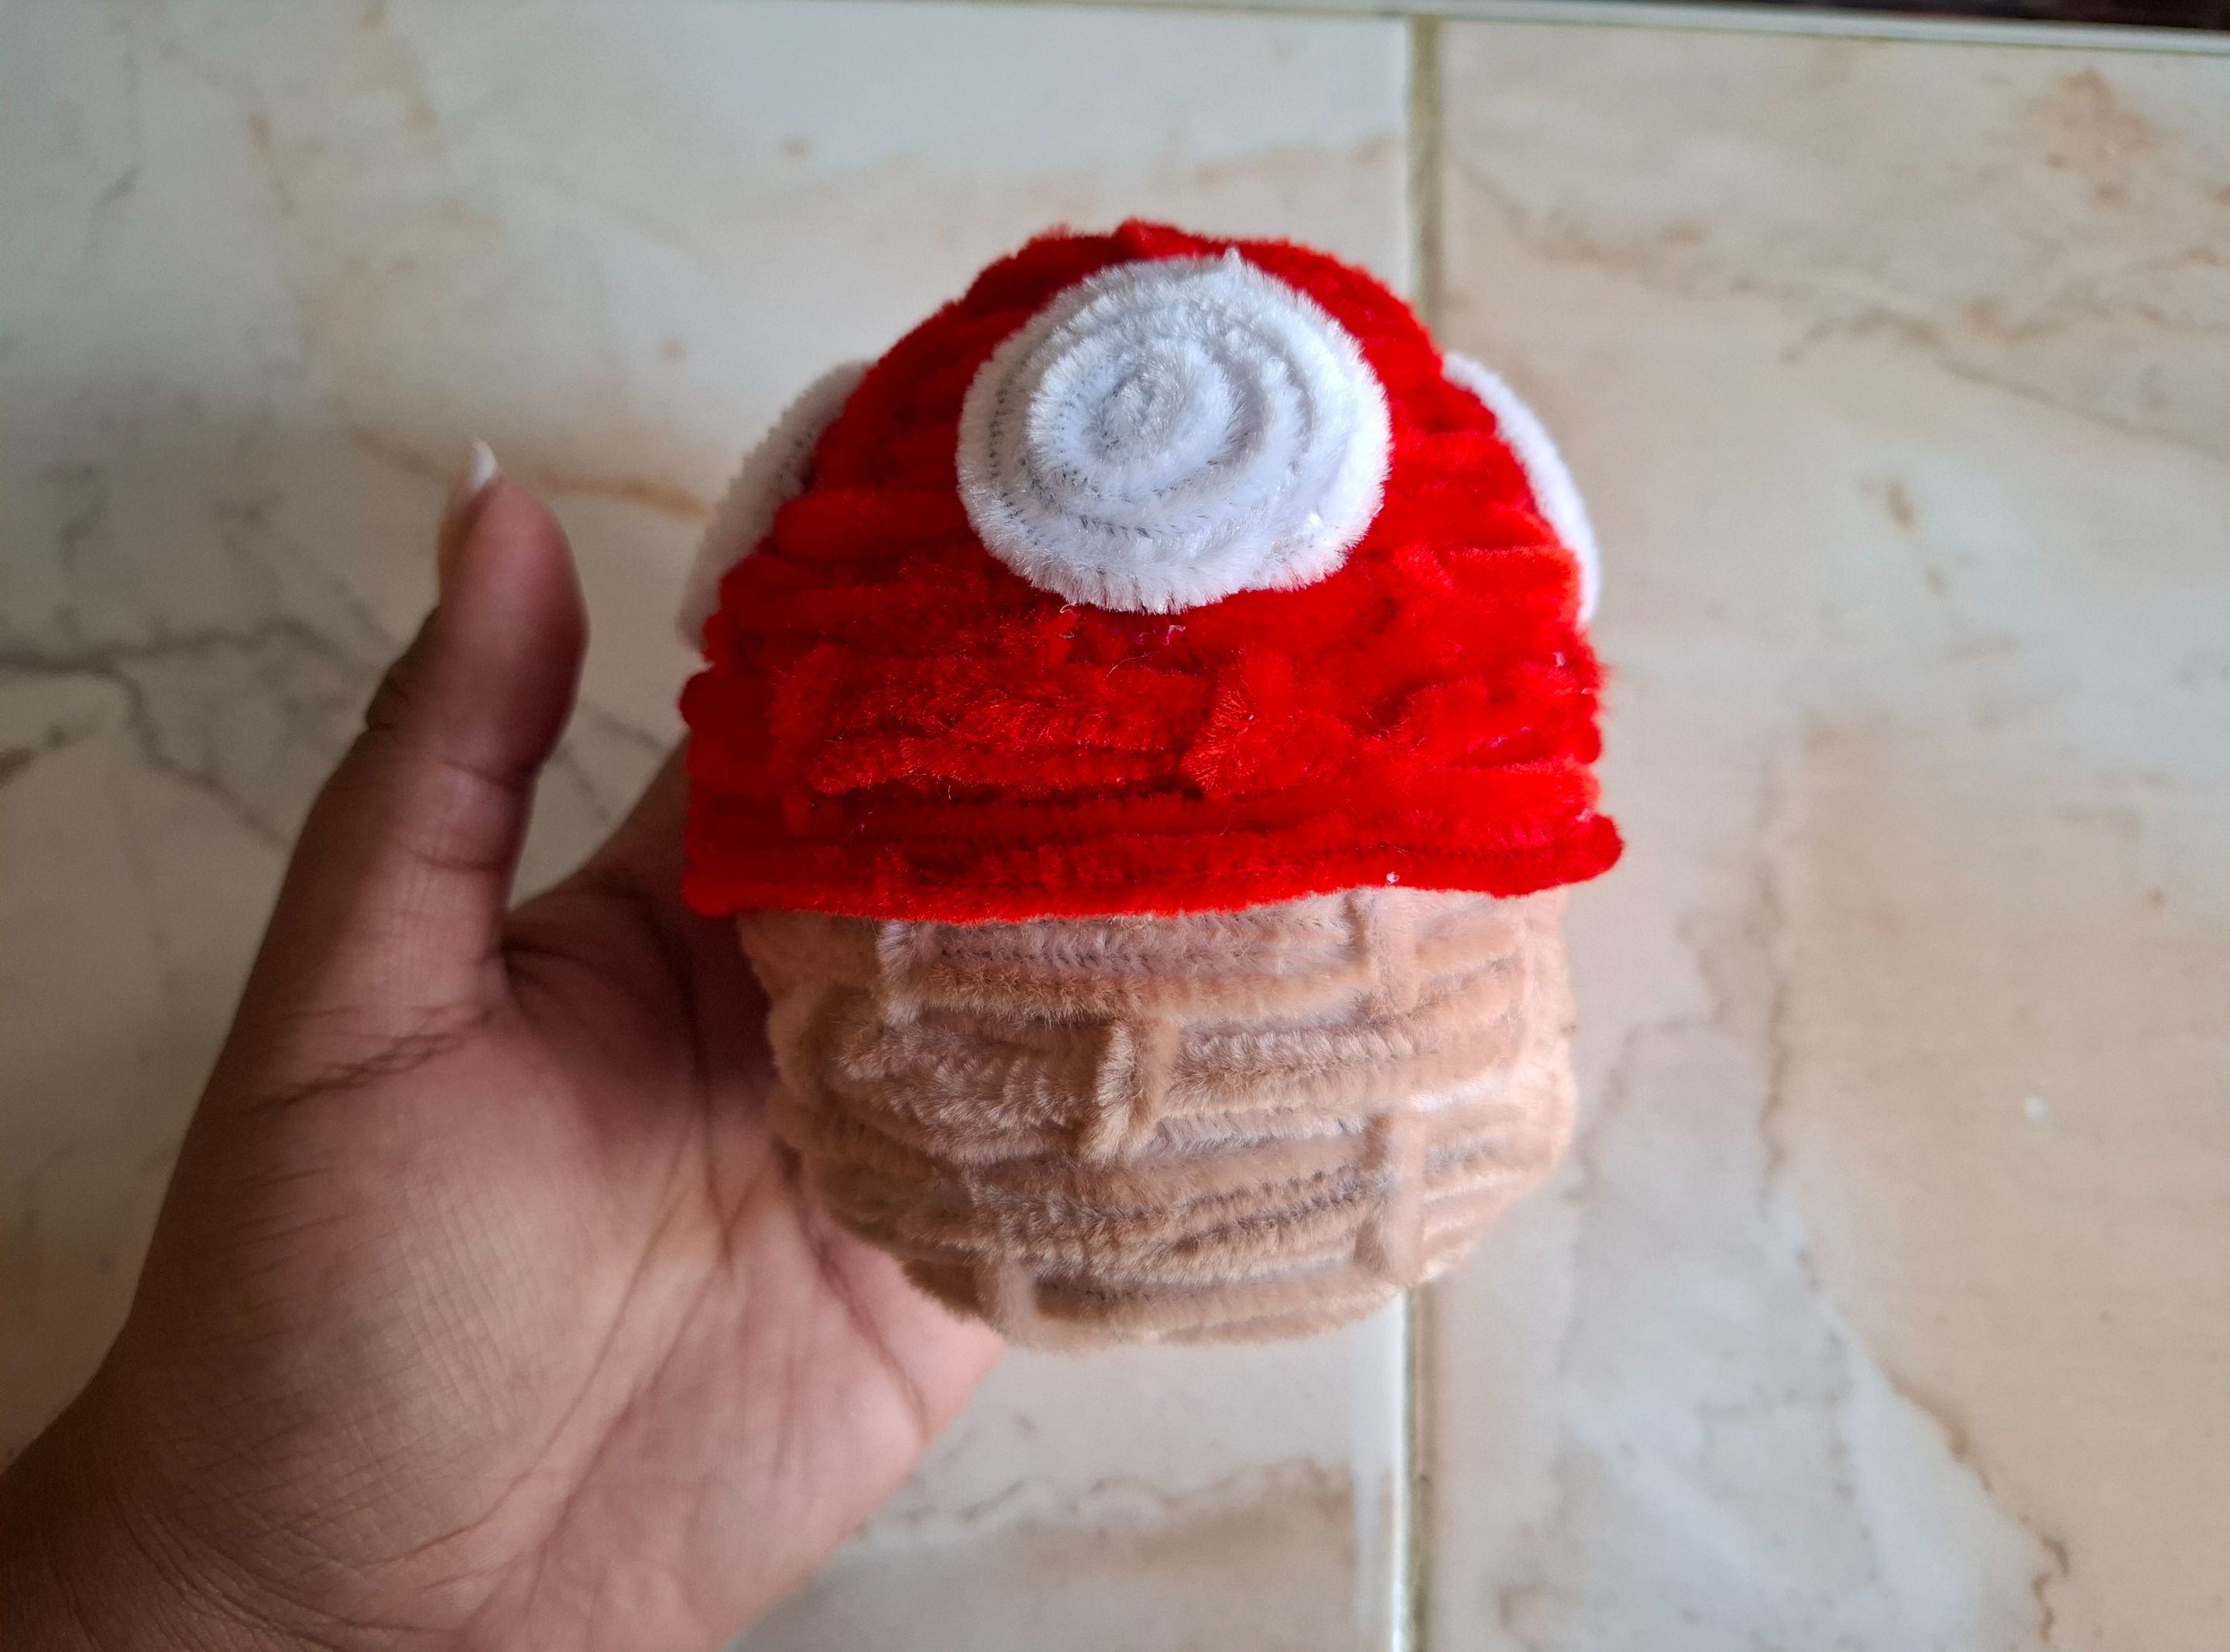
Al terminar voy a cortar las puntas y colocamos dos limpiapipas al rededor del borde, ahora realicé tres círculos en limpiapipas blanco y pegamos sobre la parte roja, ahora viene el paso más divertido jaja, como no dispongo de este color de limpiapipas exacto, utilicé sombra de ojos en tono marrón claro para dar color a la parte inferior.
When I'm finished, I'm going to cut the tips and place two pipe cleaners around the edge. Now I made three circles out of white pipe cleaners and glued them on the red part. Now comes the most fun step, haha. Since I don't have this exact color of pipe cleaner, I used light brown eyeshadow to color the bottom part.
 |
 |
 |
|---|---|---|
 |
 |
|---|---|
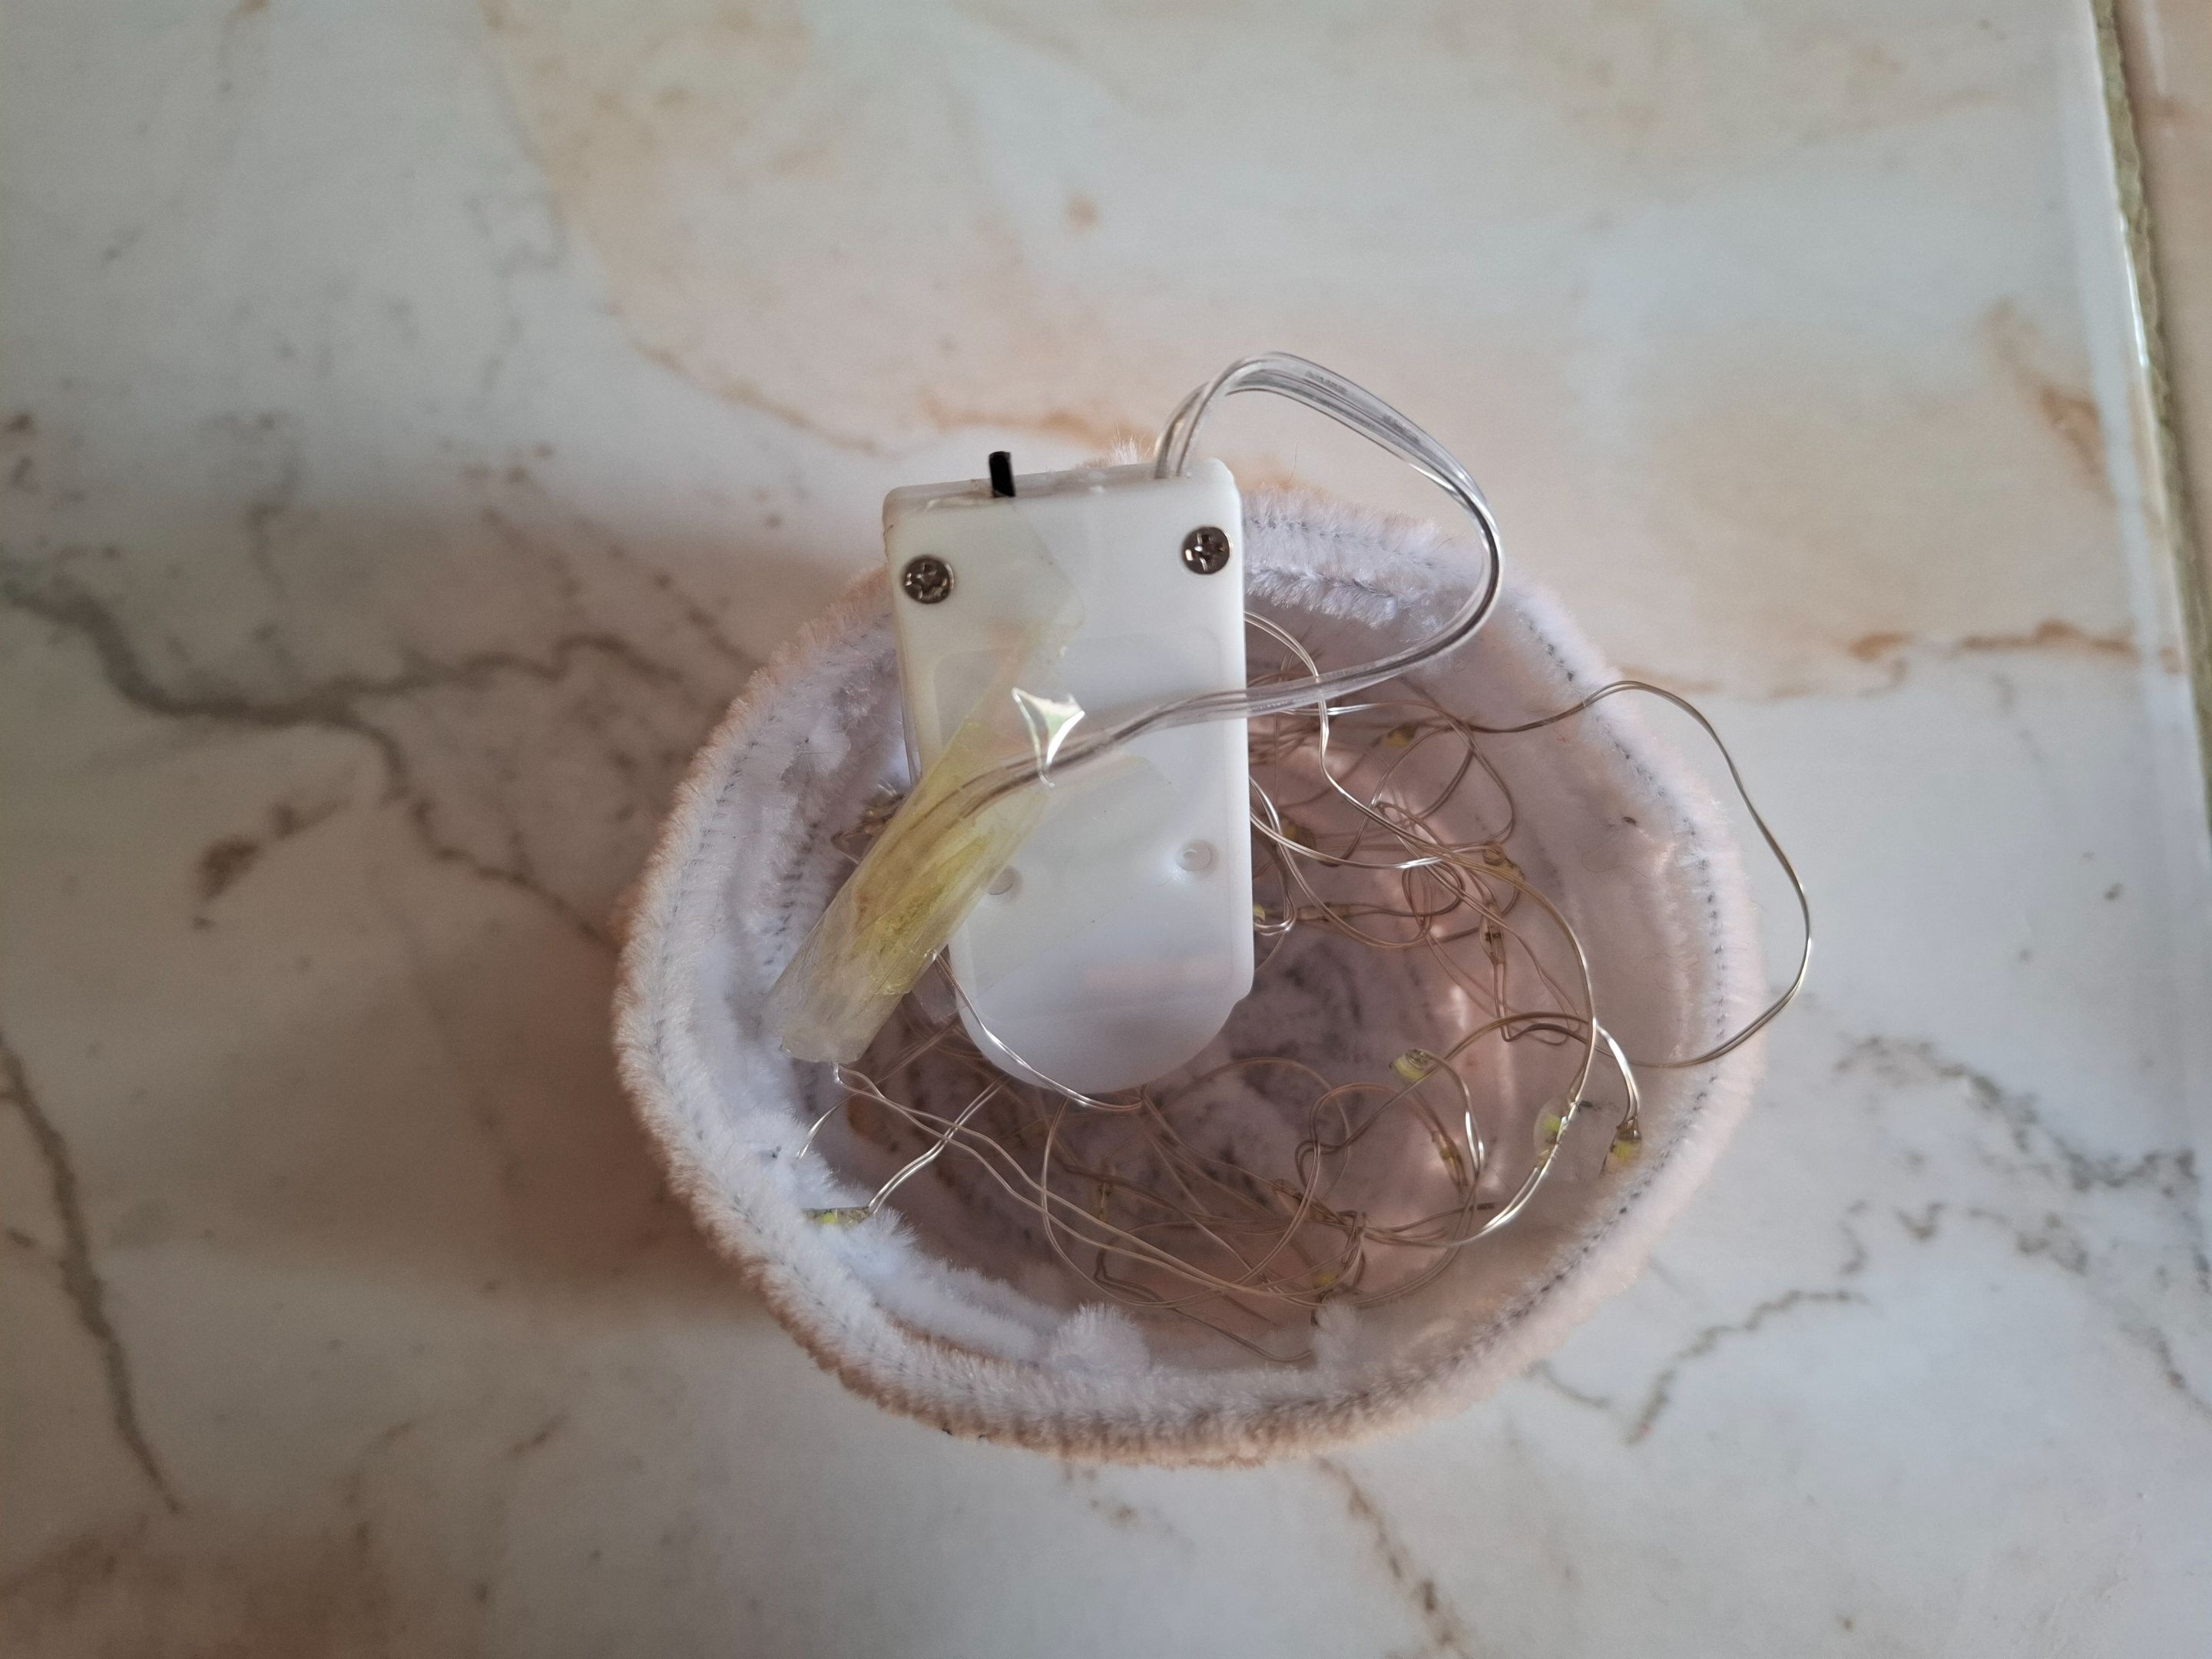
Con una brocha de maquillaje cubrimos todo el color blanco, luego realicé los ojos con foami negro, el último paso es colocar dentro las luces hadas, para dar el toque final, y listo.
With a makeup brush we covered all the white color, then I made the eyes with black foam, the last step is to place the fairy lights inside, to give the final touch, and that's it.
 |
 |
|---|---|
 |
 |
|---|---|
Espero les haya gustado resultado, muchas gracias por el apoyo y por visitar mi publicación, nos vemos en una próxima oportunidad con más ideas creativas.
I hope you liked the result. Thank you very much for your support and for visiting my post. See you next time with more creative ideas.
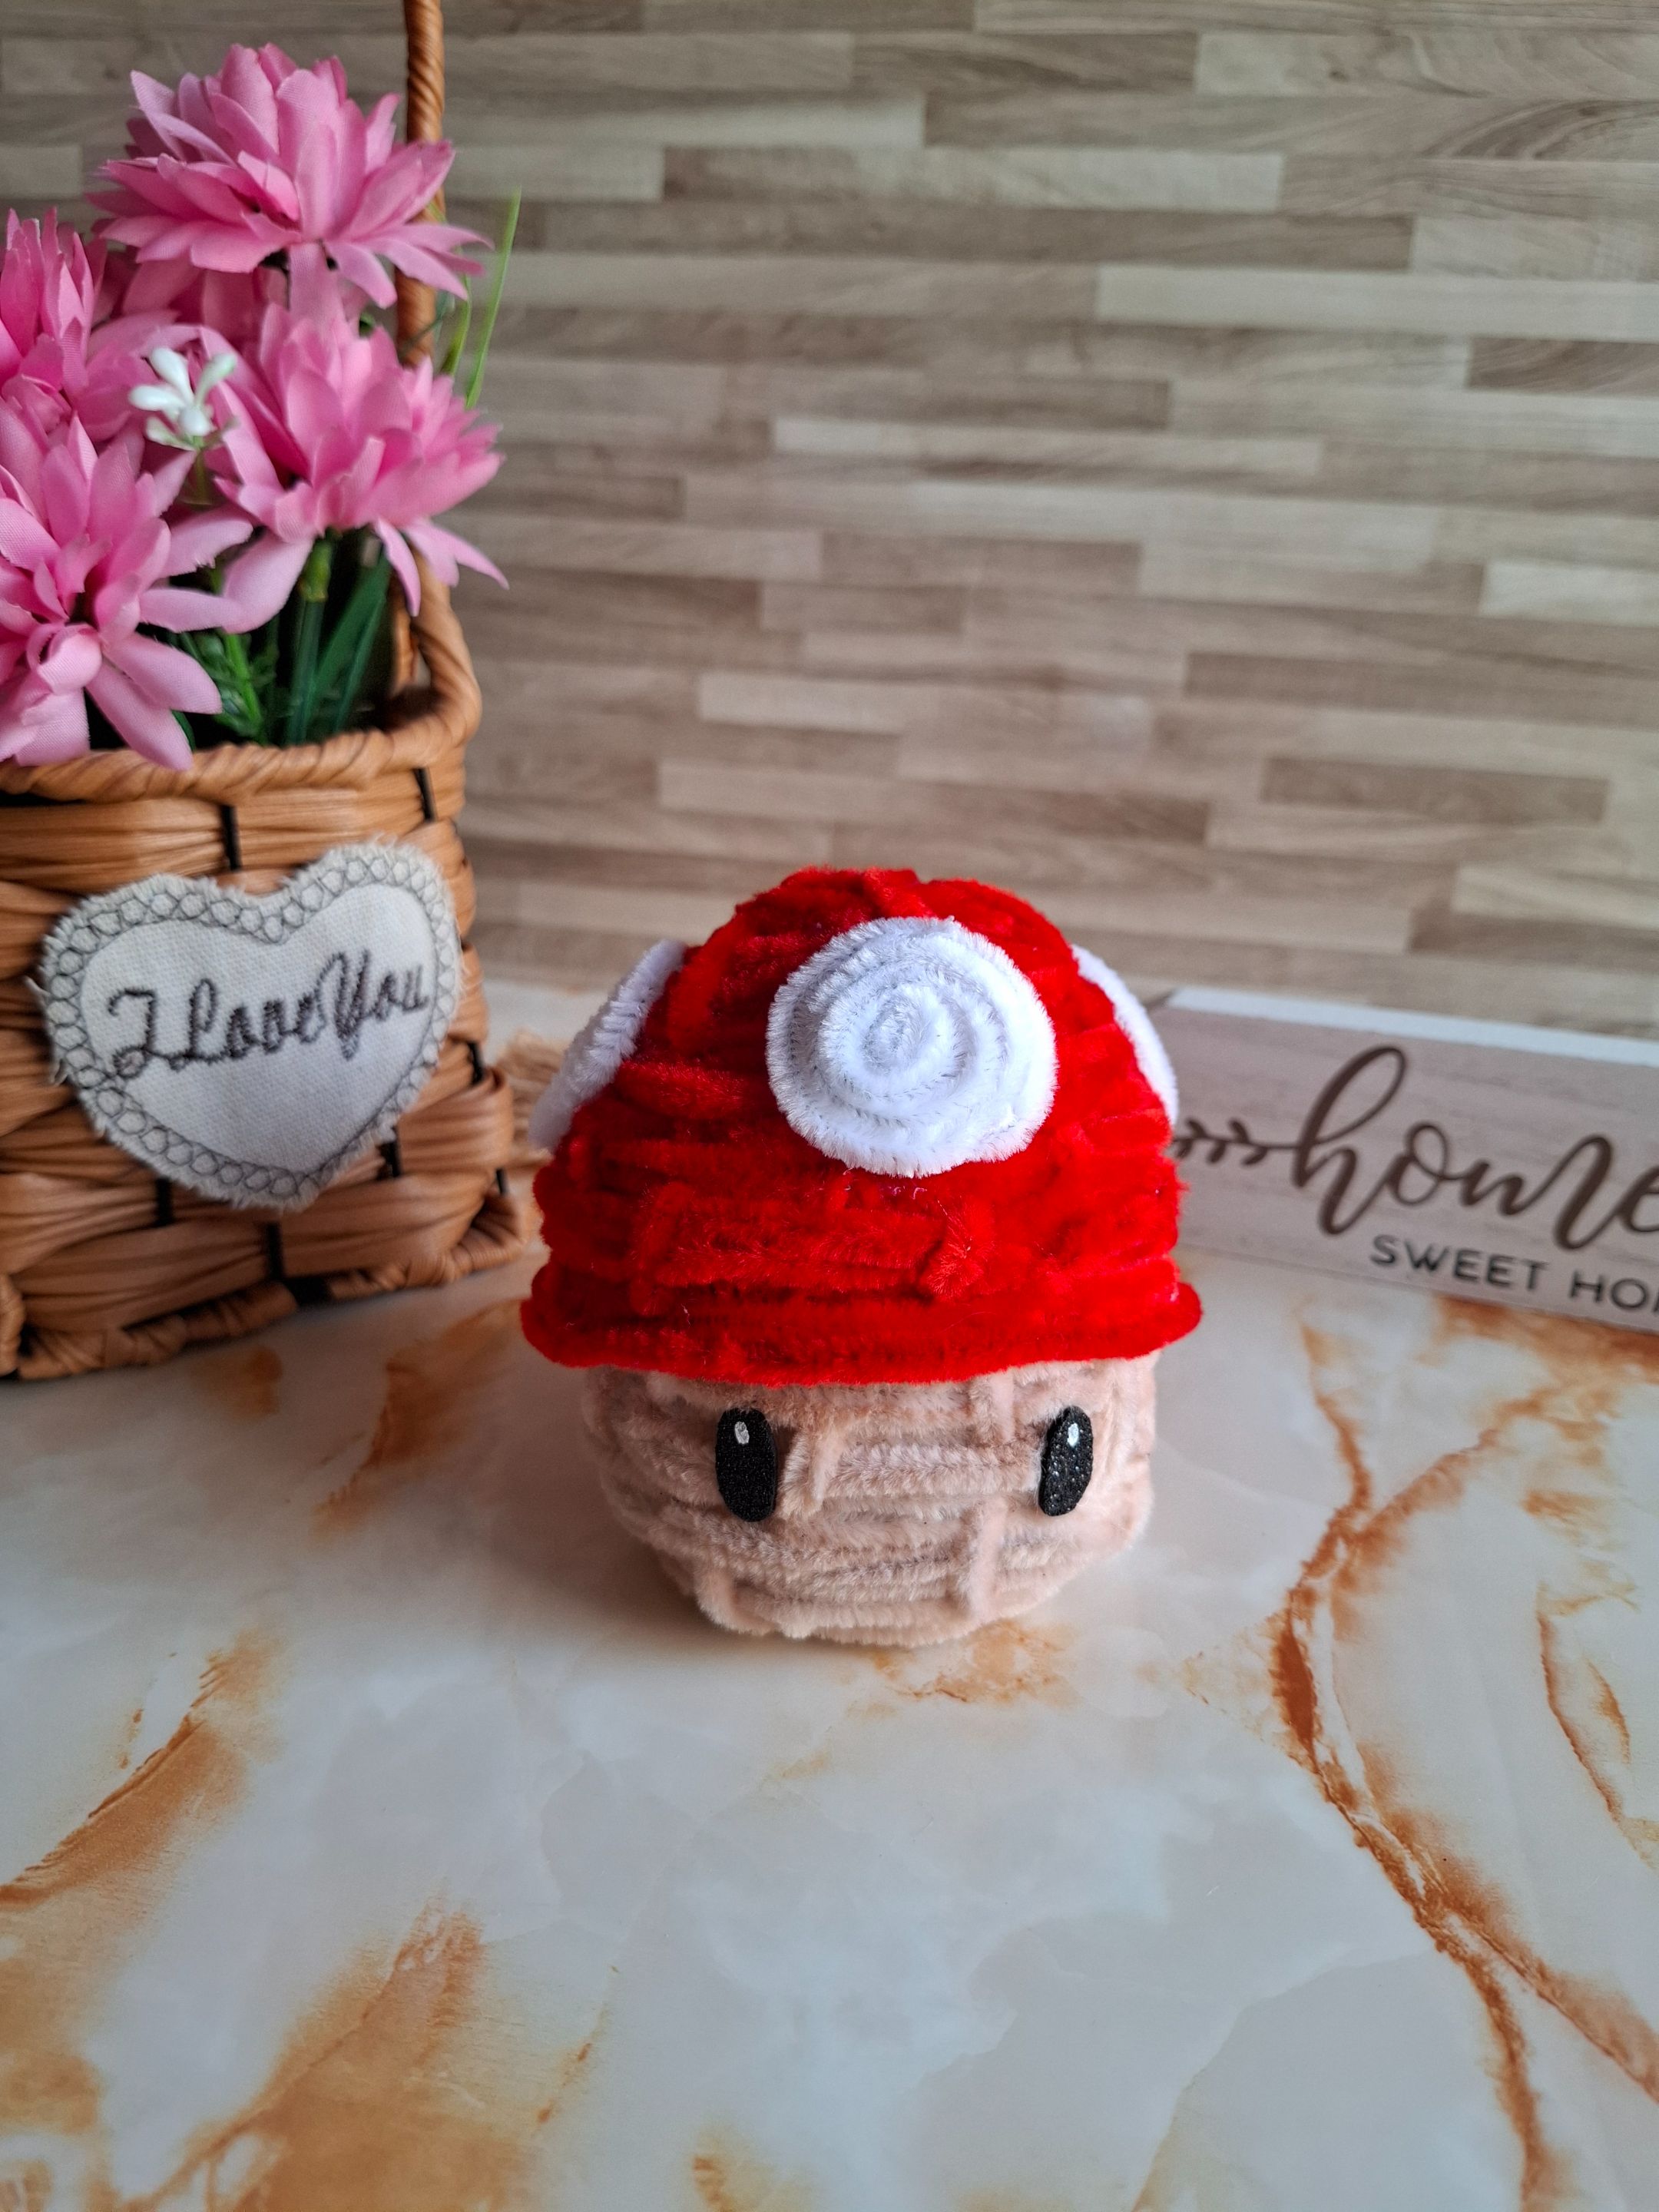
Más del resultado final:
More of the final result:

Contenido original. - original content.
Los separadores y banner fueron realizados en Canva. - The dividers and banner were made in Canva.
Fotografías tomadas con mi Samsung A55. - Photographs taken with my Samsung A55.
Gif creado desde Giphy / Gif created from Giphy
Traducción de: Google traductor - Translation of: Google translator.
Posted Using INLEO