Muy felíz noche, espero hayan pasado buen martes, saludos a los miembros creativos de la comunidad Hive Diy, declarando salud y estabilidad para esta semana que ya va corriendo, además ya es el último día del mes, se acerca octubre y también la navidad, y como de costumbre mostrándole más cositas hechas en limpiapipas.
Happy Tuesday evening! I hope you had a great Tuesday. Greetings to the creative members of the Hive DIY community, wishing you health and stability this week. It's also the last day of the month, October is coming, and so is Christmas. As usual, I'm showing you more things made with pipe cleaners.

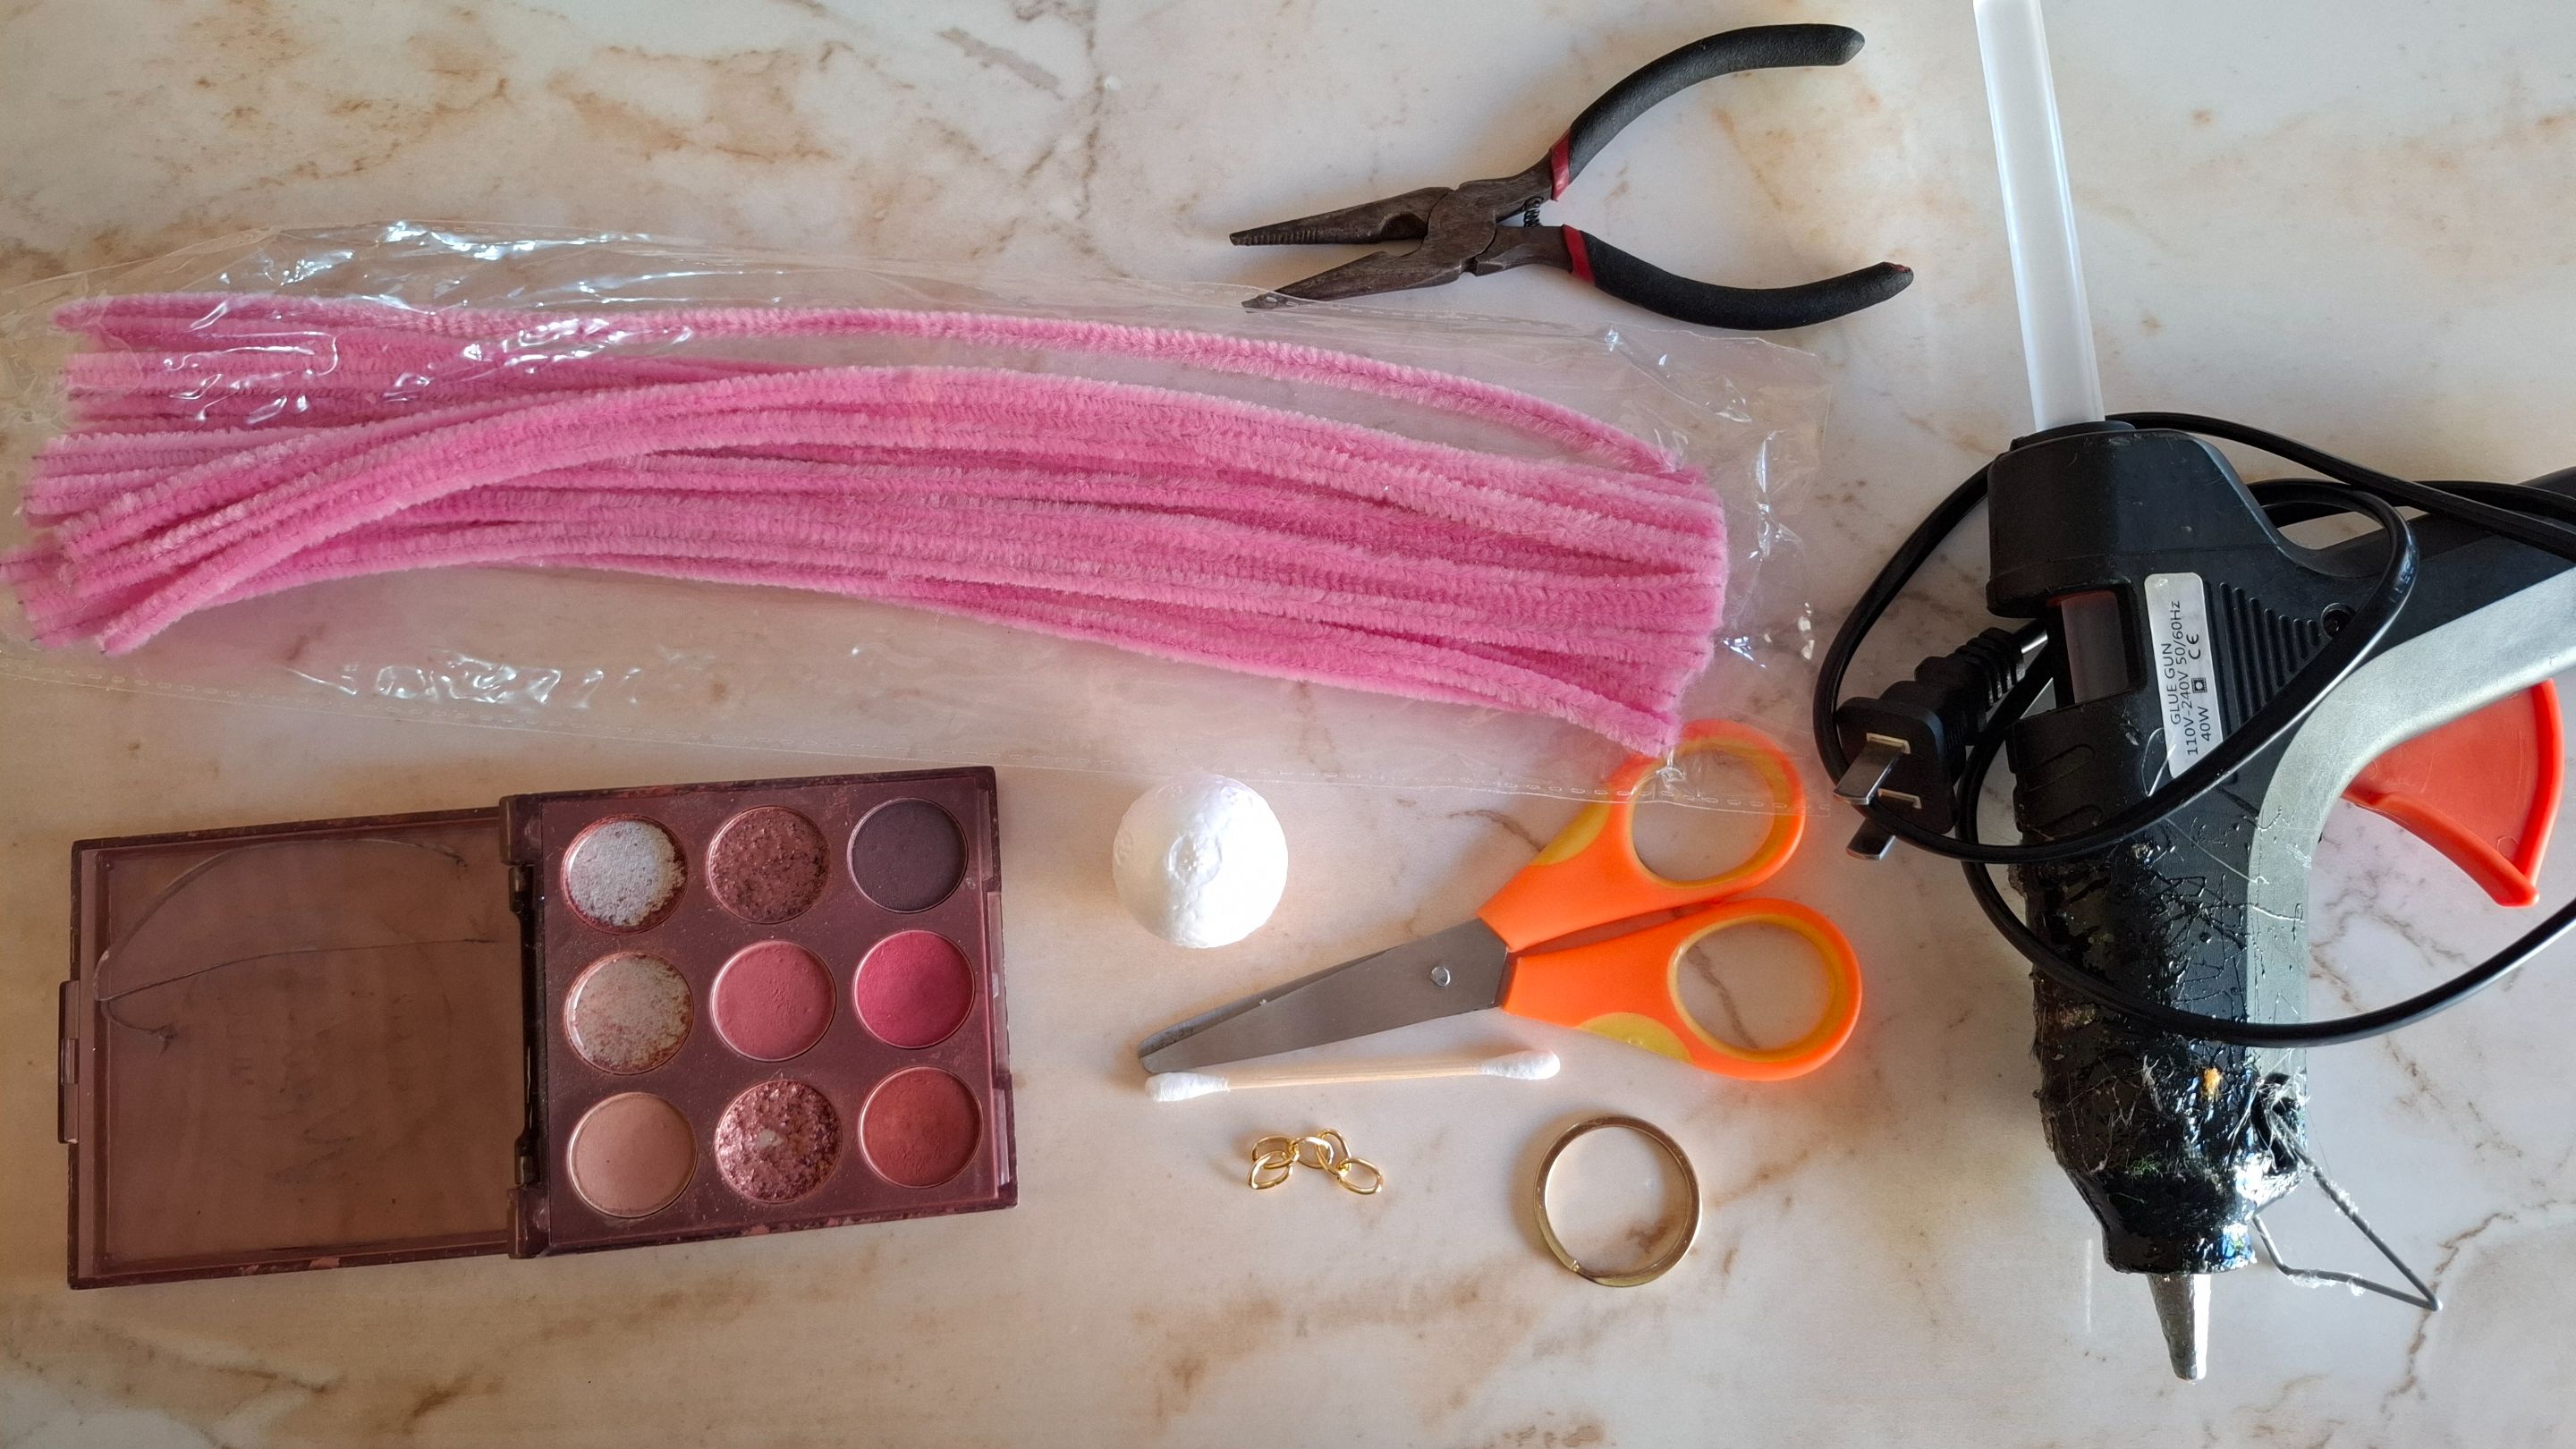
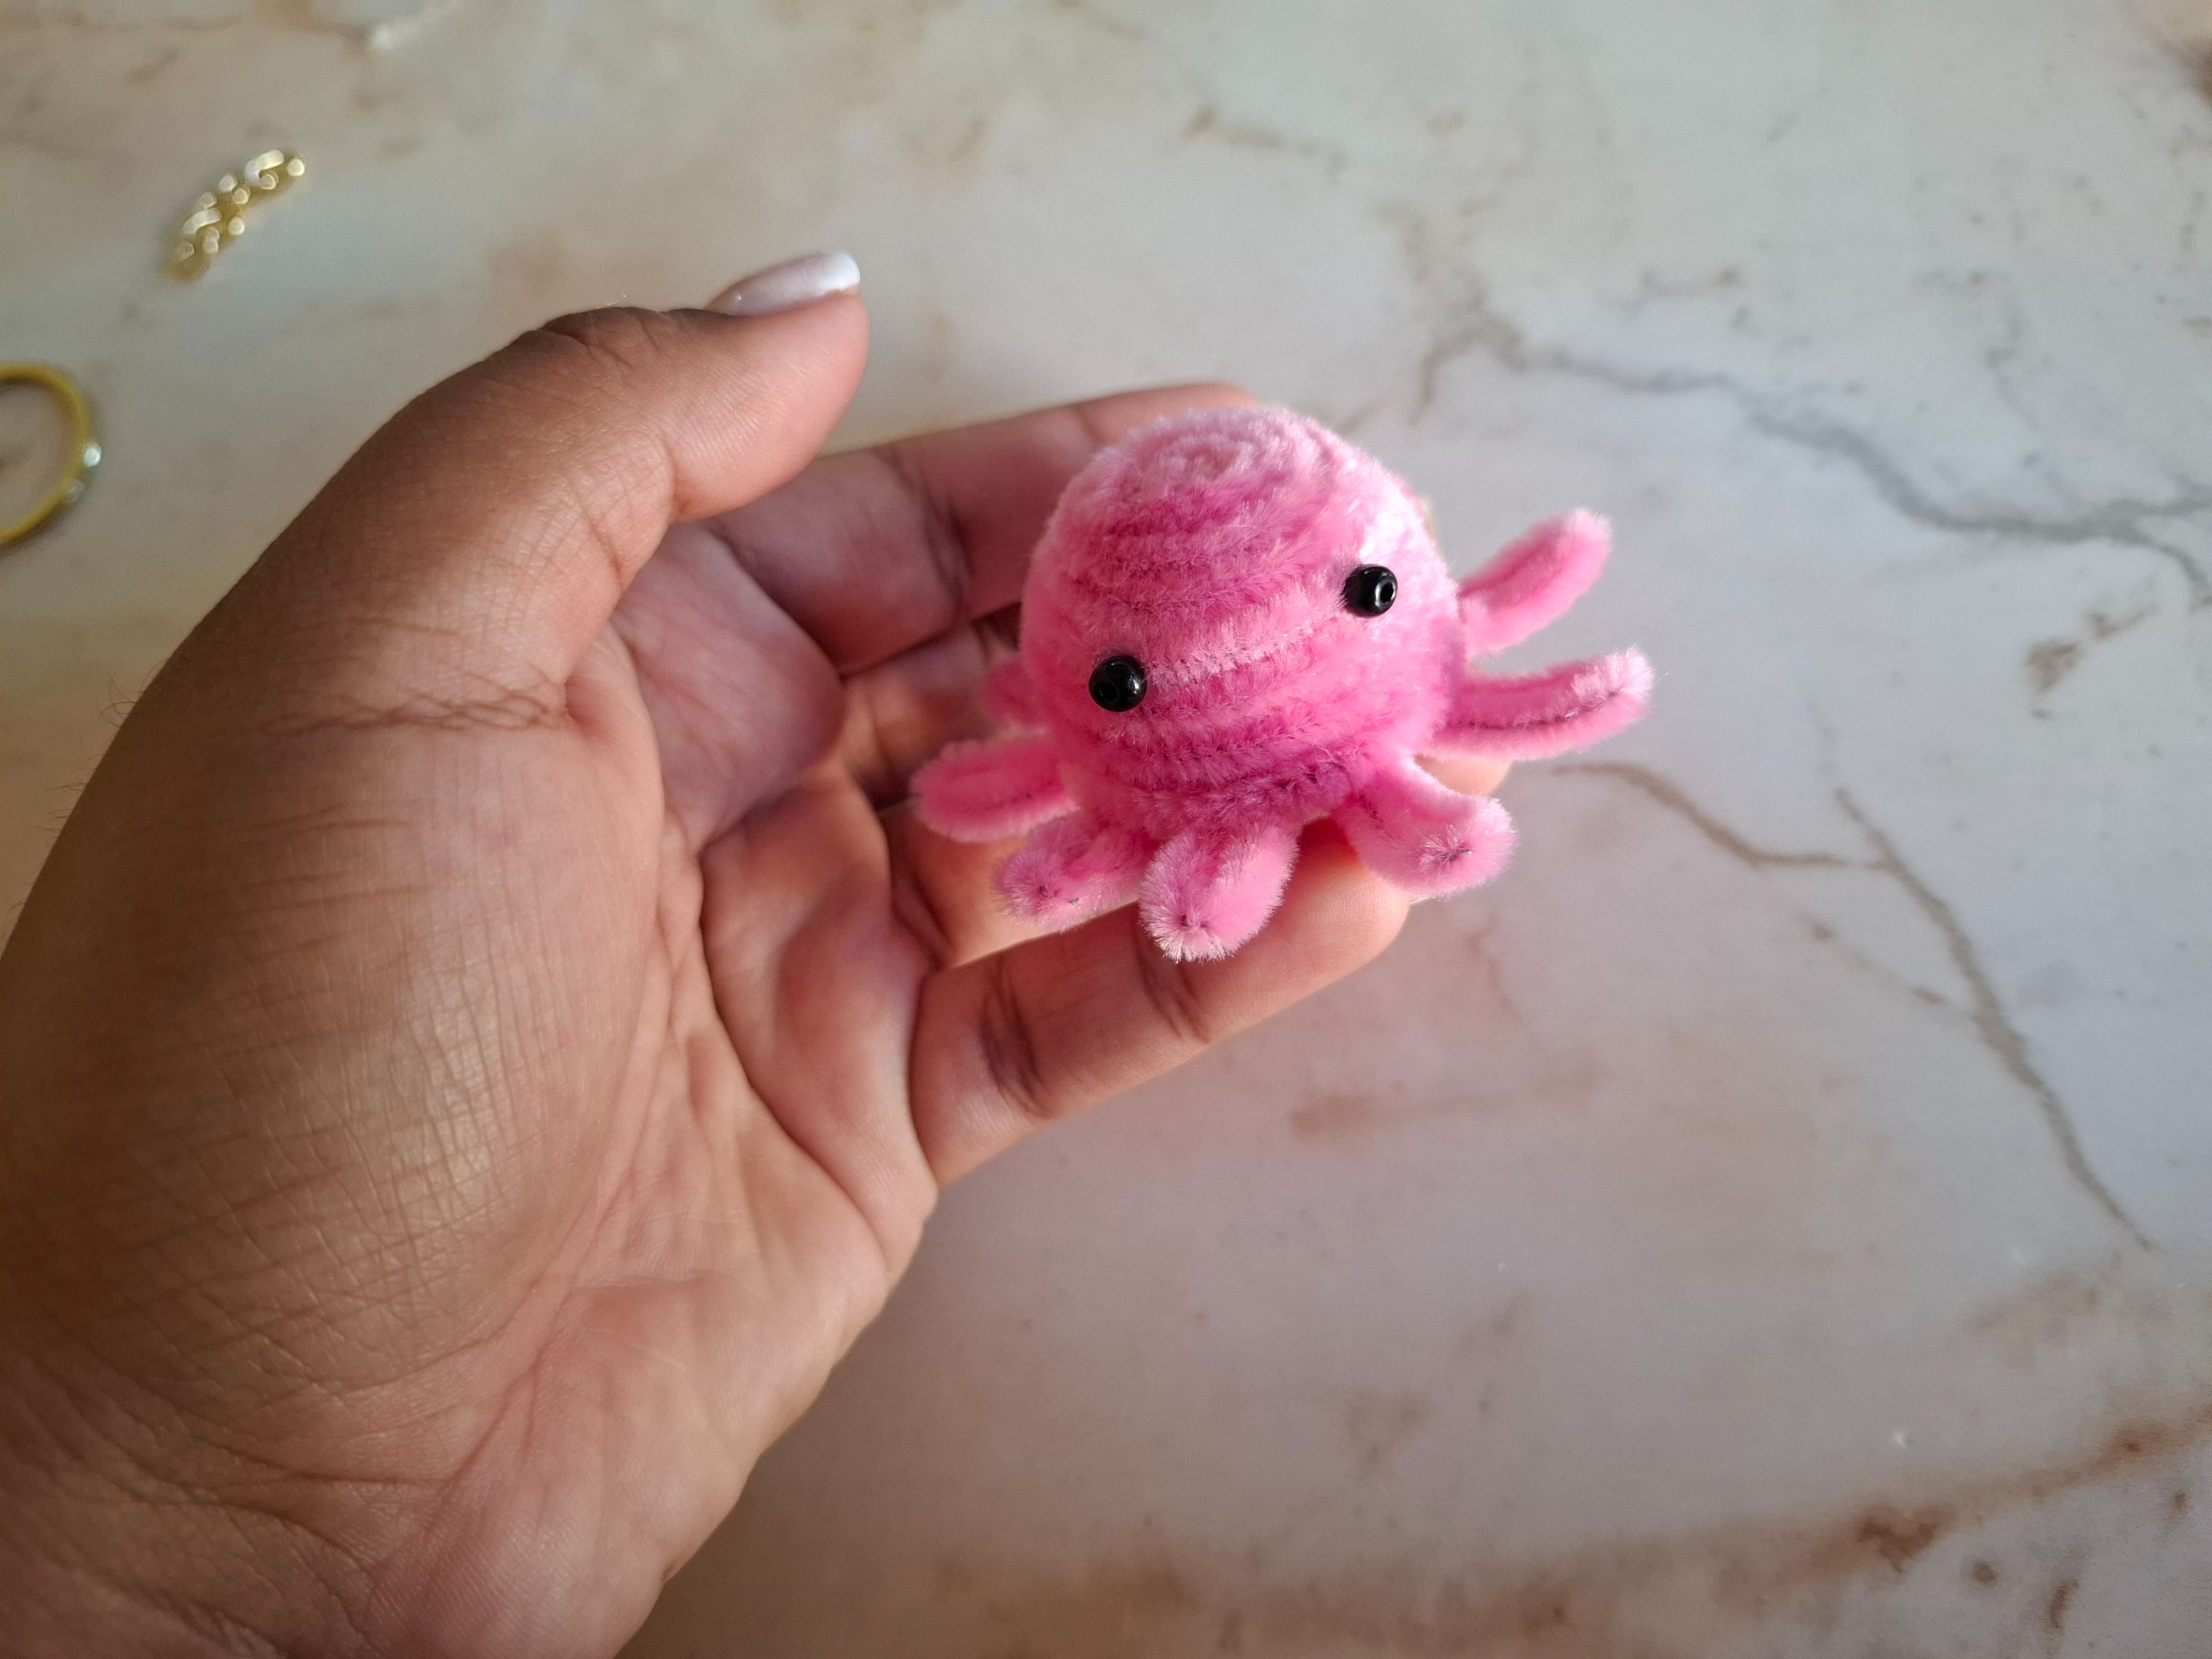
En esta oportunidad les comparto un tierno y pequeño pulpito colgante elaborado en limpiapipas, este Pulpito lo puedes utilizar como llavero, es muy fácil de realizar y no gastaras demasiados materiales, puedes agregar accesorios como lazo, flor y se verá más tiernito, además puedes elegir el color de tu preferencia y como ya saben yo amo el rosa jaja. Sin más preámbulos les comparto los materiales y paso a paso.
On this occasion I share with you a tender and small hanging octopus made of pipe cleaners, this Octopus you can use it as a keychain, it is very easy to make and you will not spend too many materials, you can add accessories such as a bow, flower and it will look more tender, you can also choose the color of your preference and as you know I love pink haha. Without further ado I share the materials and step by step.

| Materiales | Materials |
|---|---|
| Limpiapipas rosa | pink pipe cleaner |
| Esfera de anime #3 | Anime Sphere #3 |
| Tijera, silicón | Scissors, silicone |
| Sombra de ojos | eye shadow |
| Aro para llavero | Keychain ring |
Paso a paso / Step by step
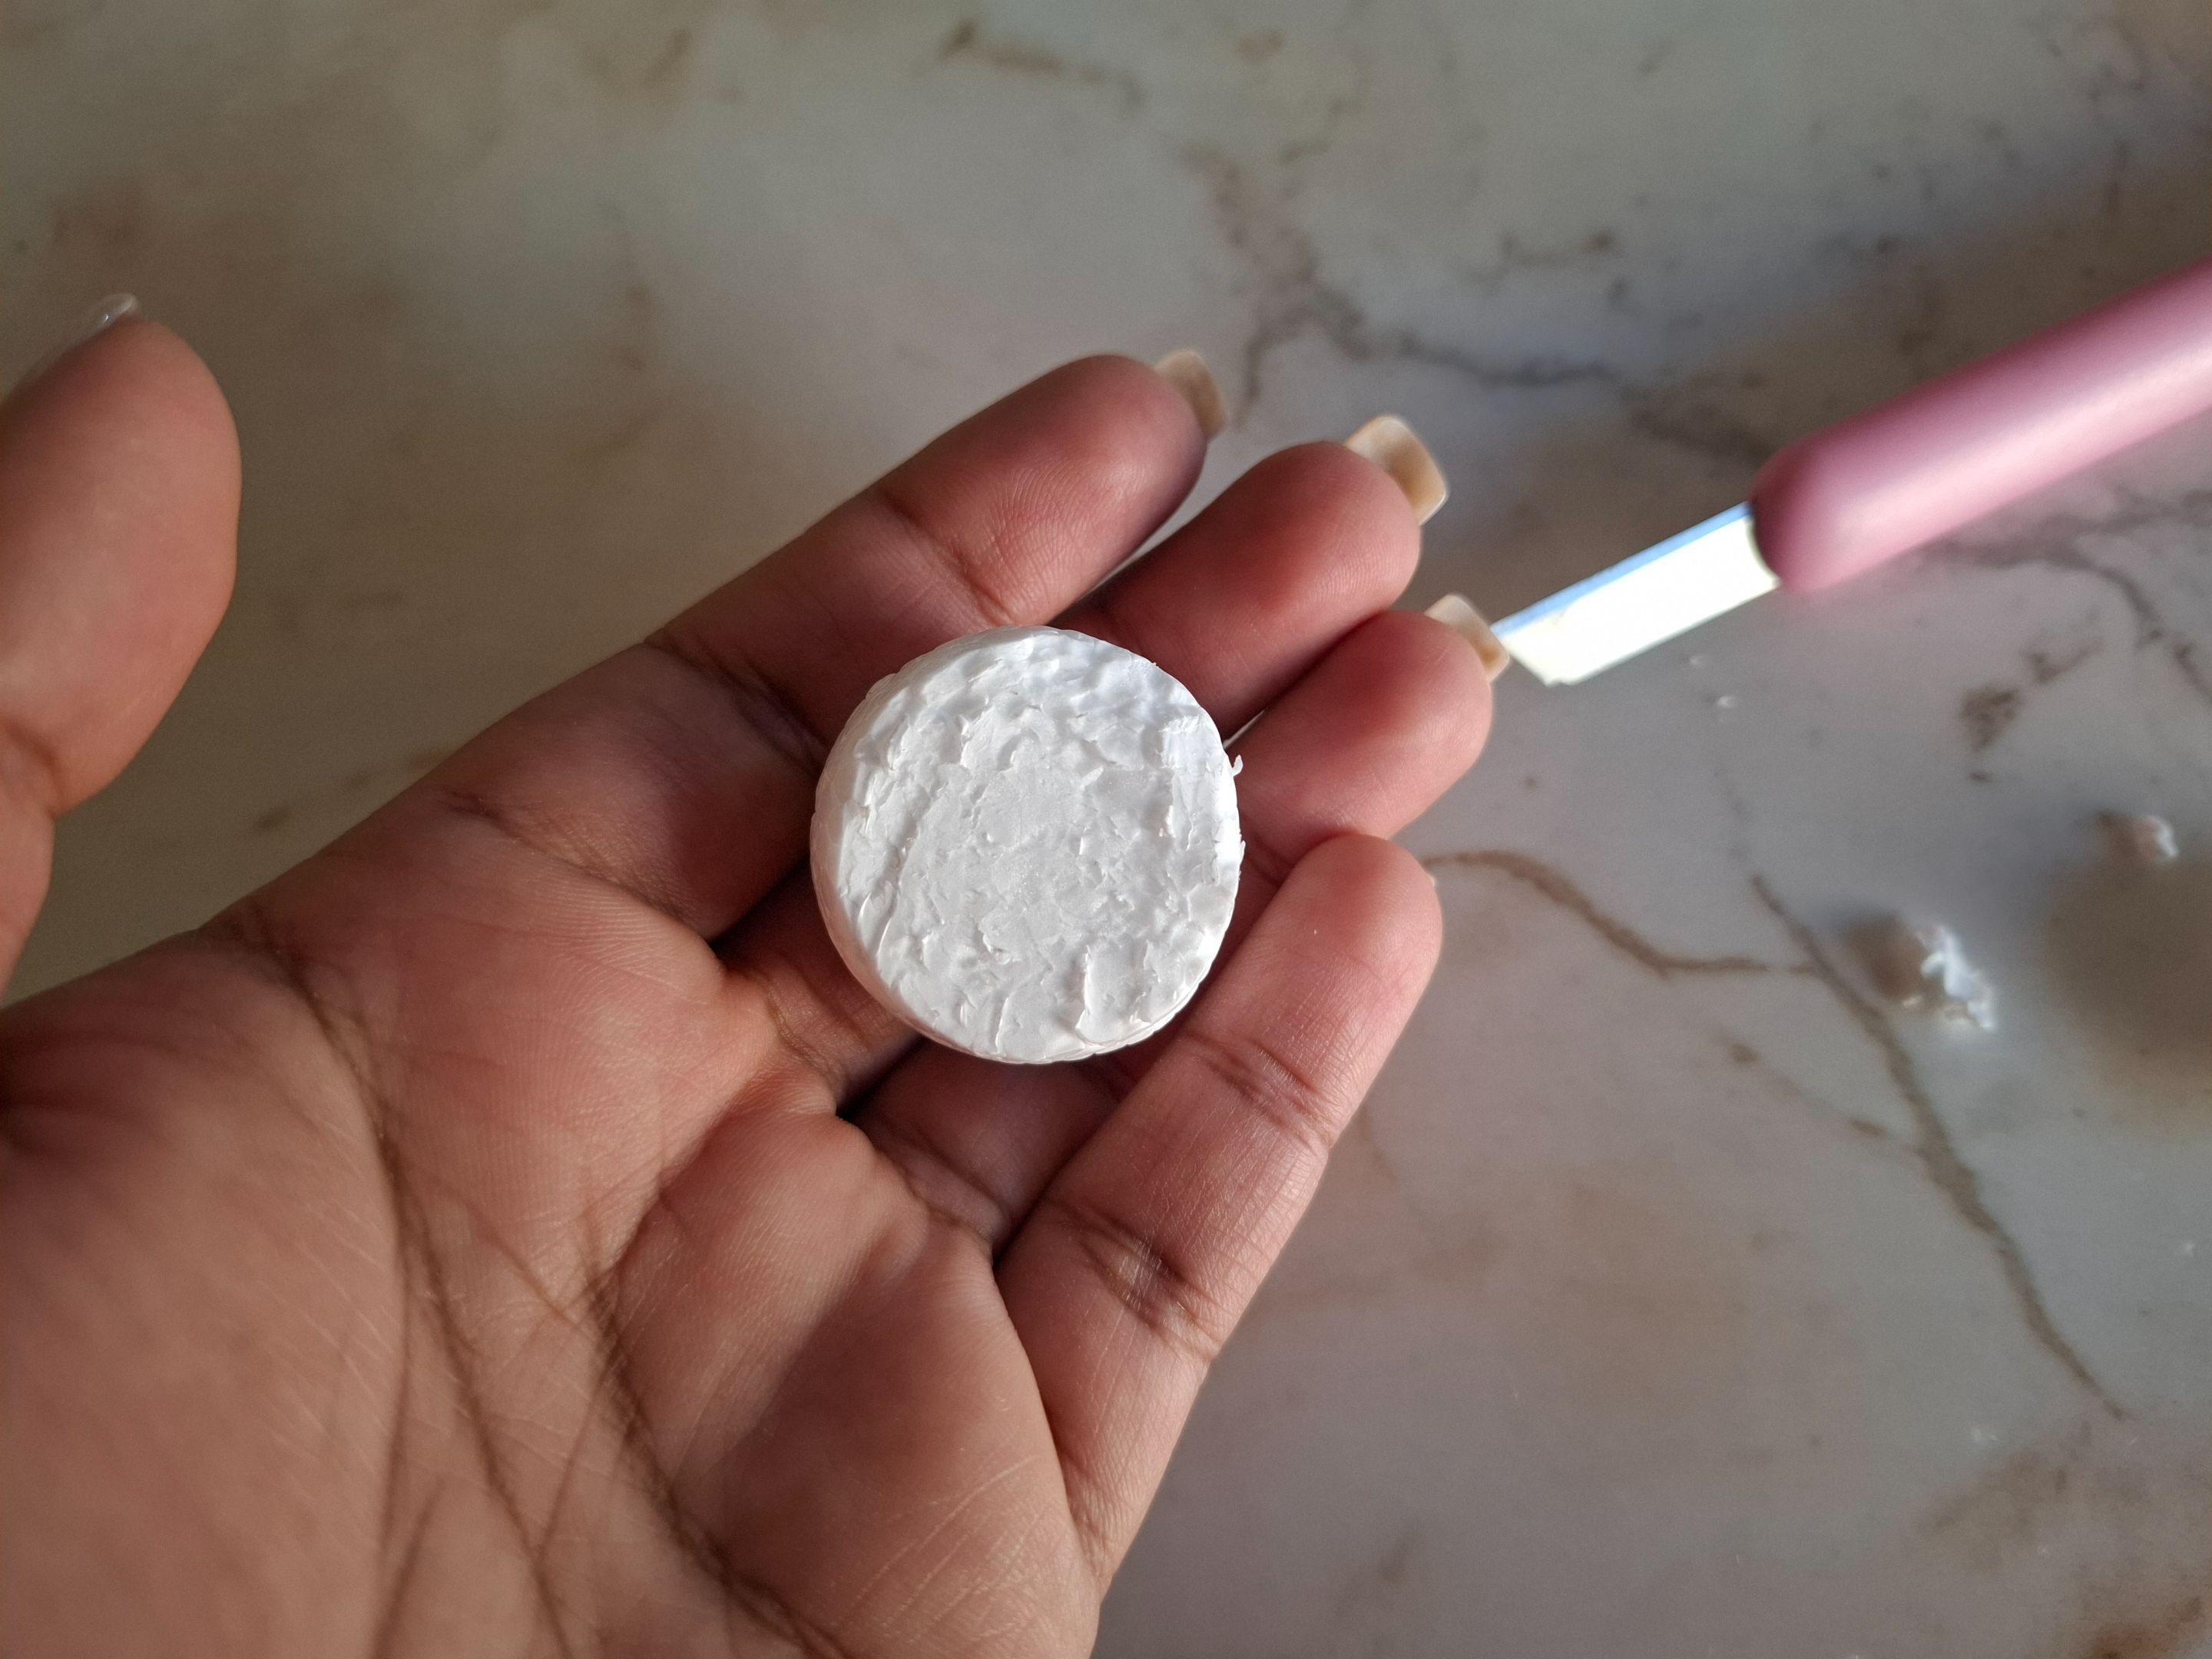
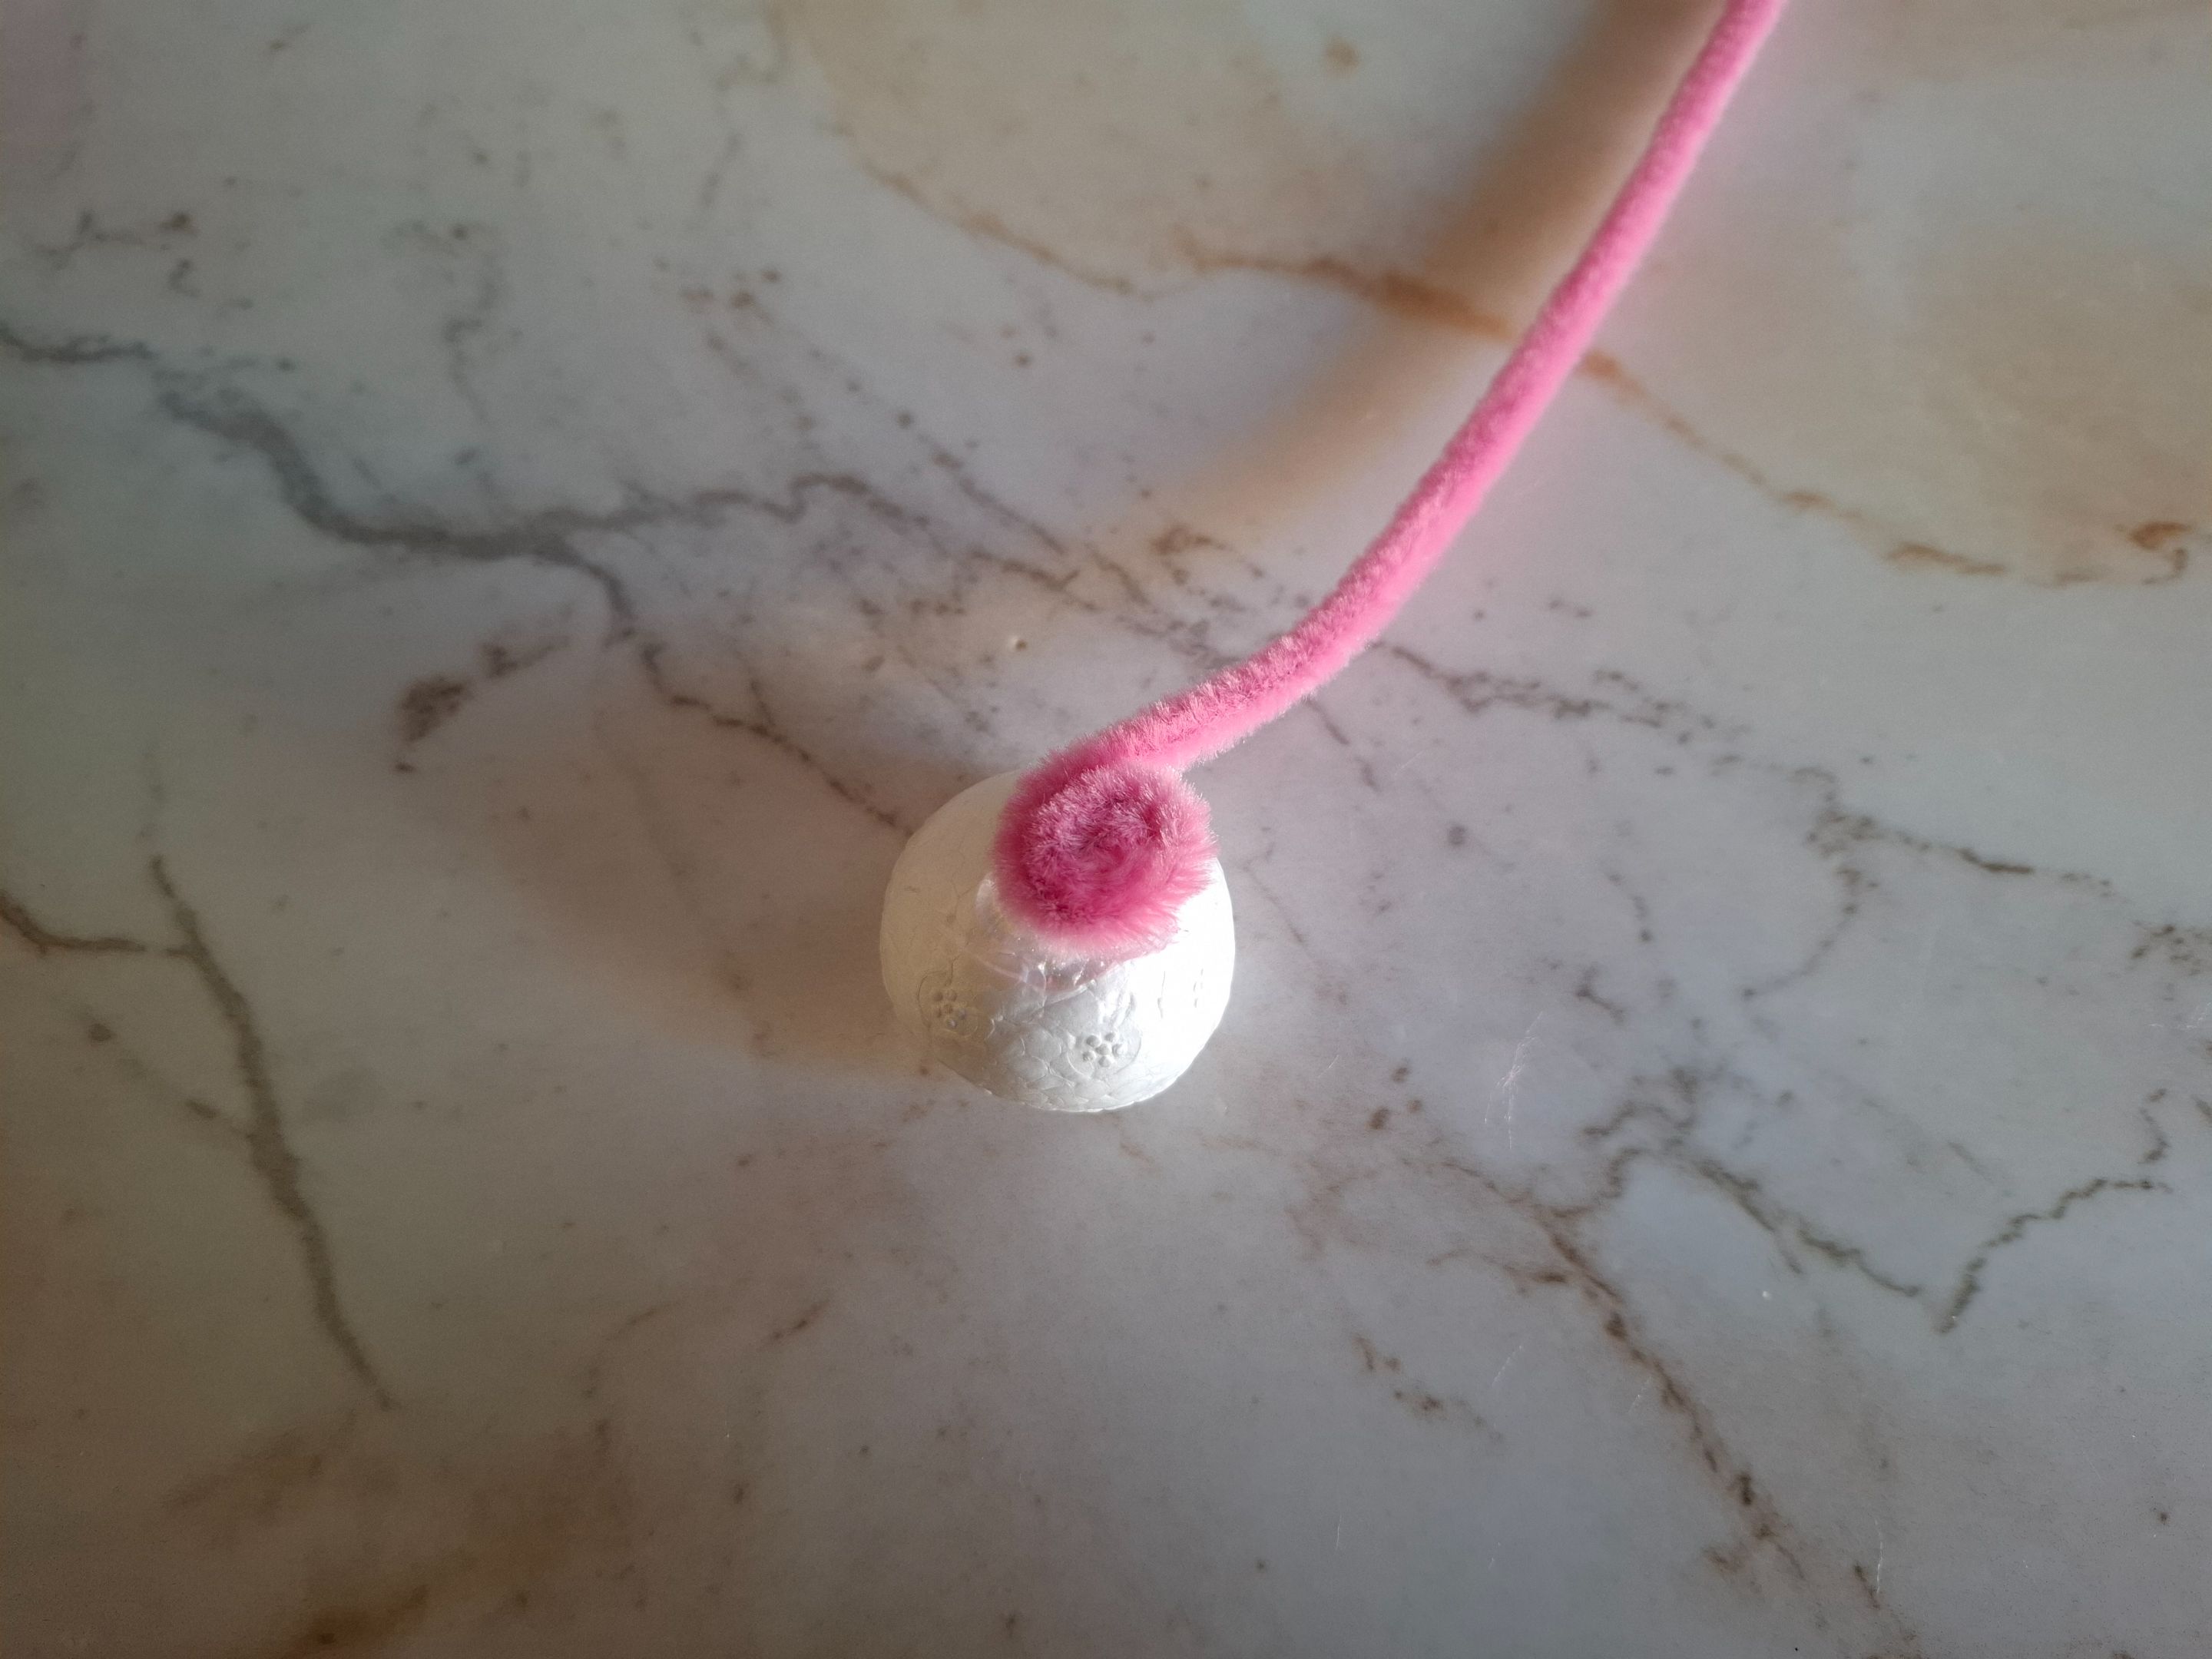
El primer paso que voy a realizar será cortar con un cutter una pequeña parte de la base de la esfera con el fin de que nos quede plana.
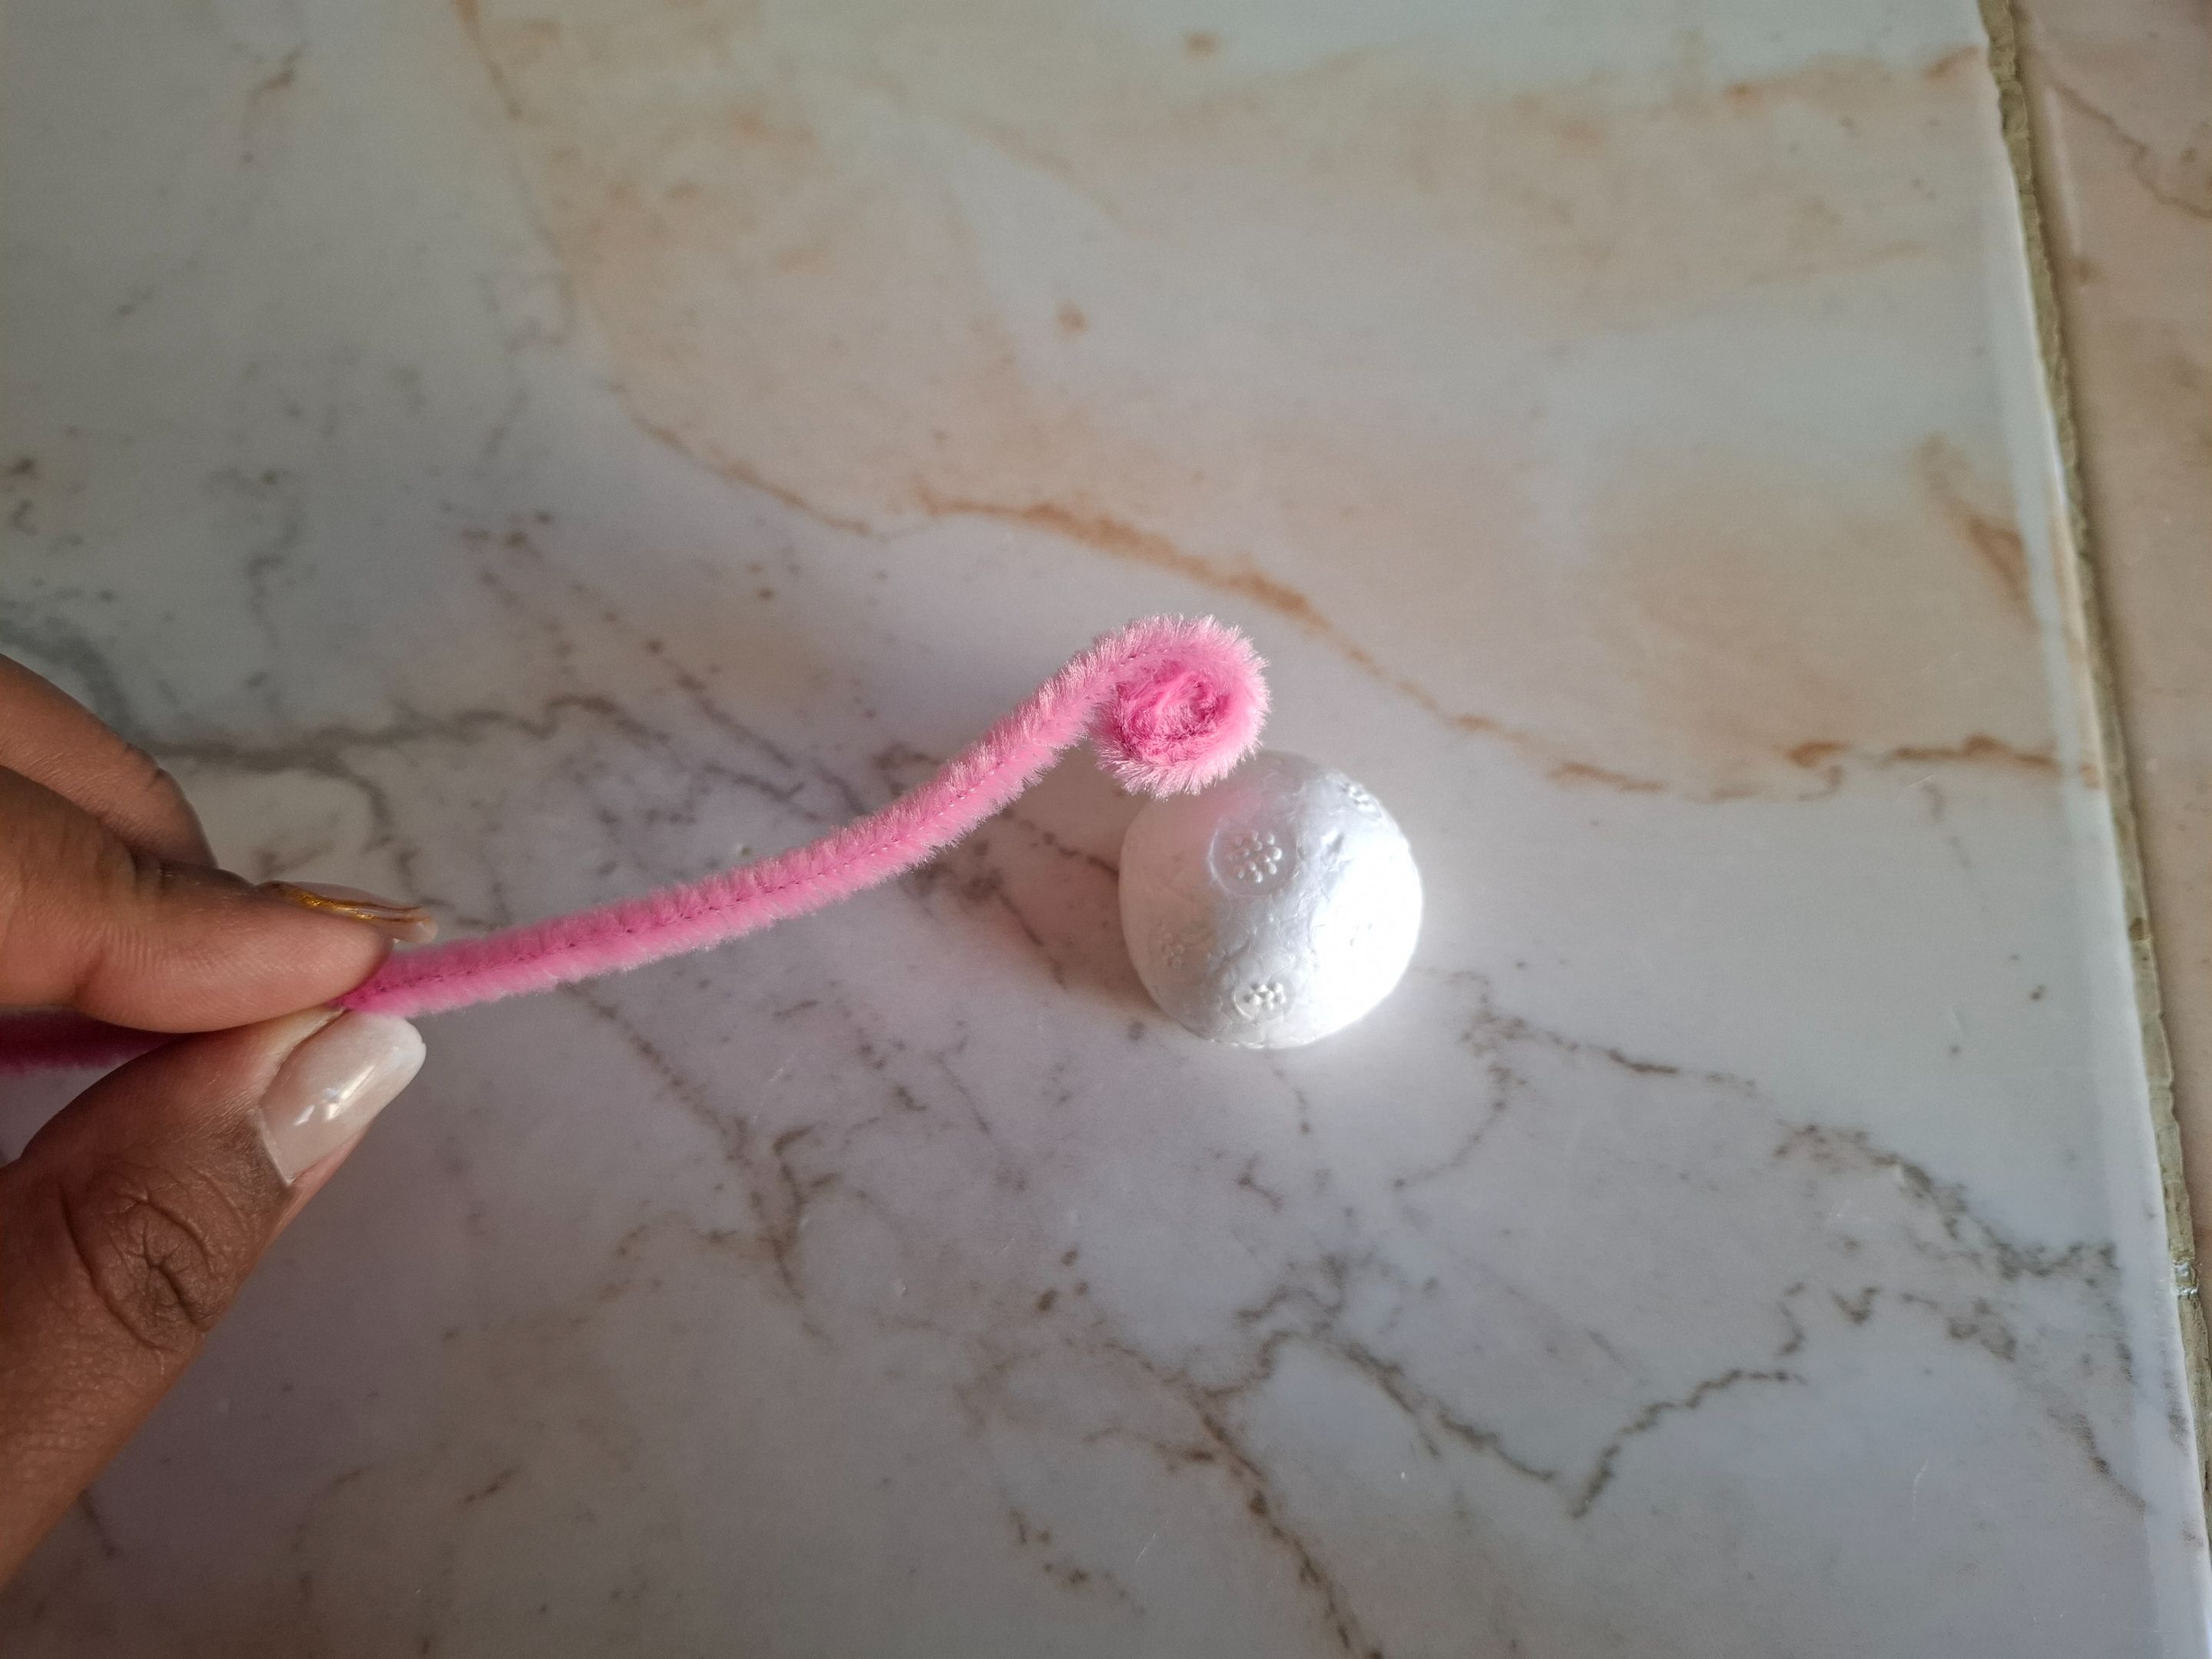
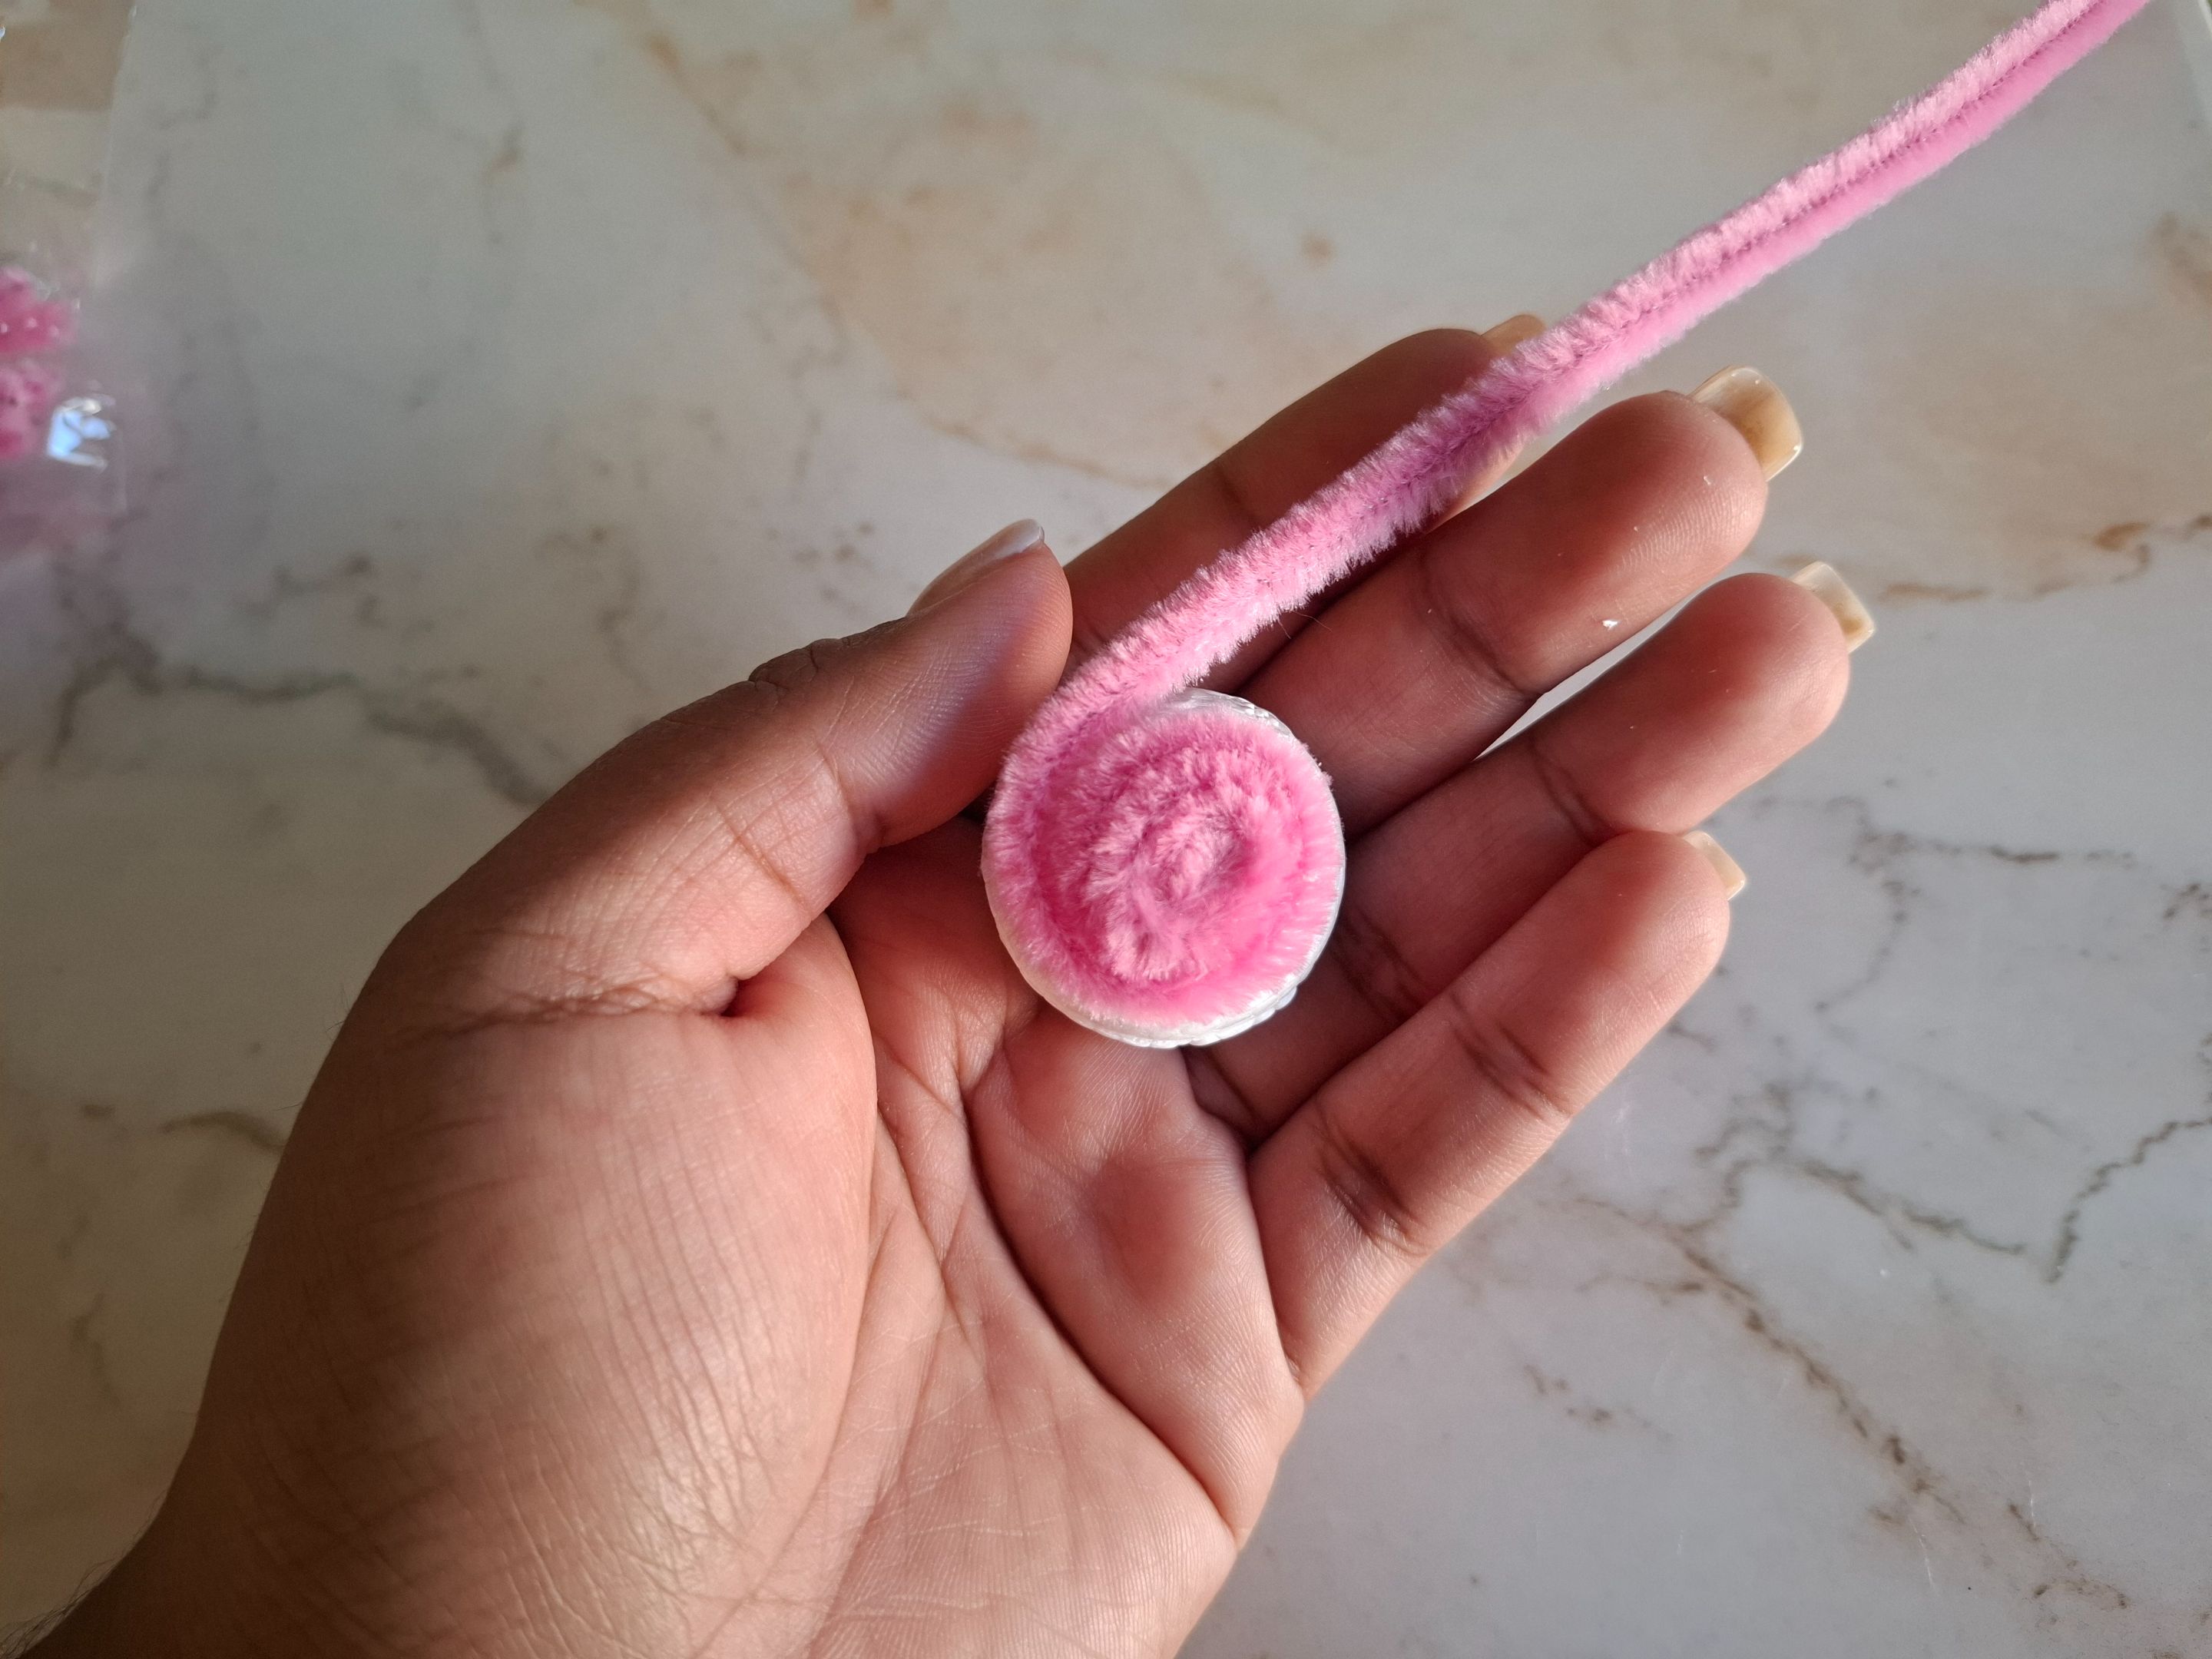
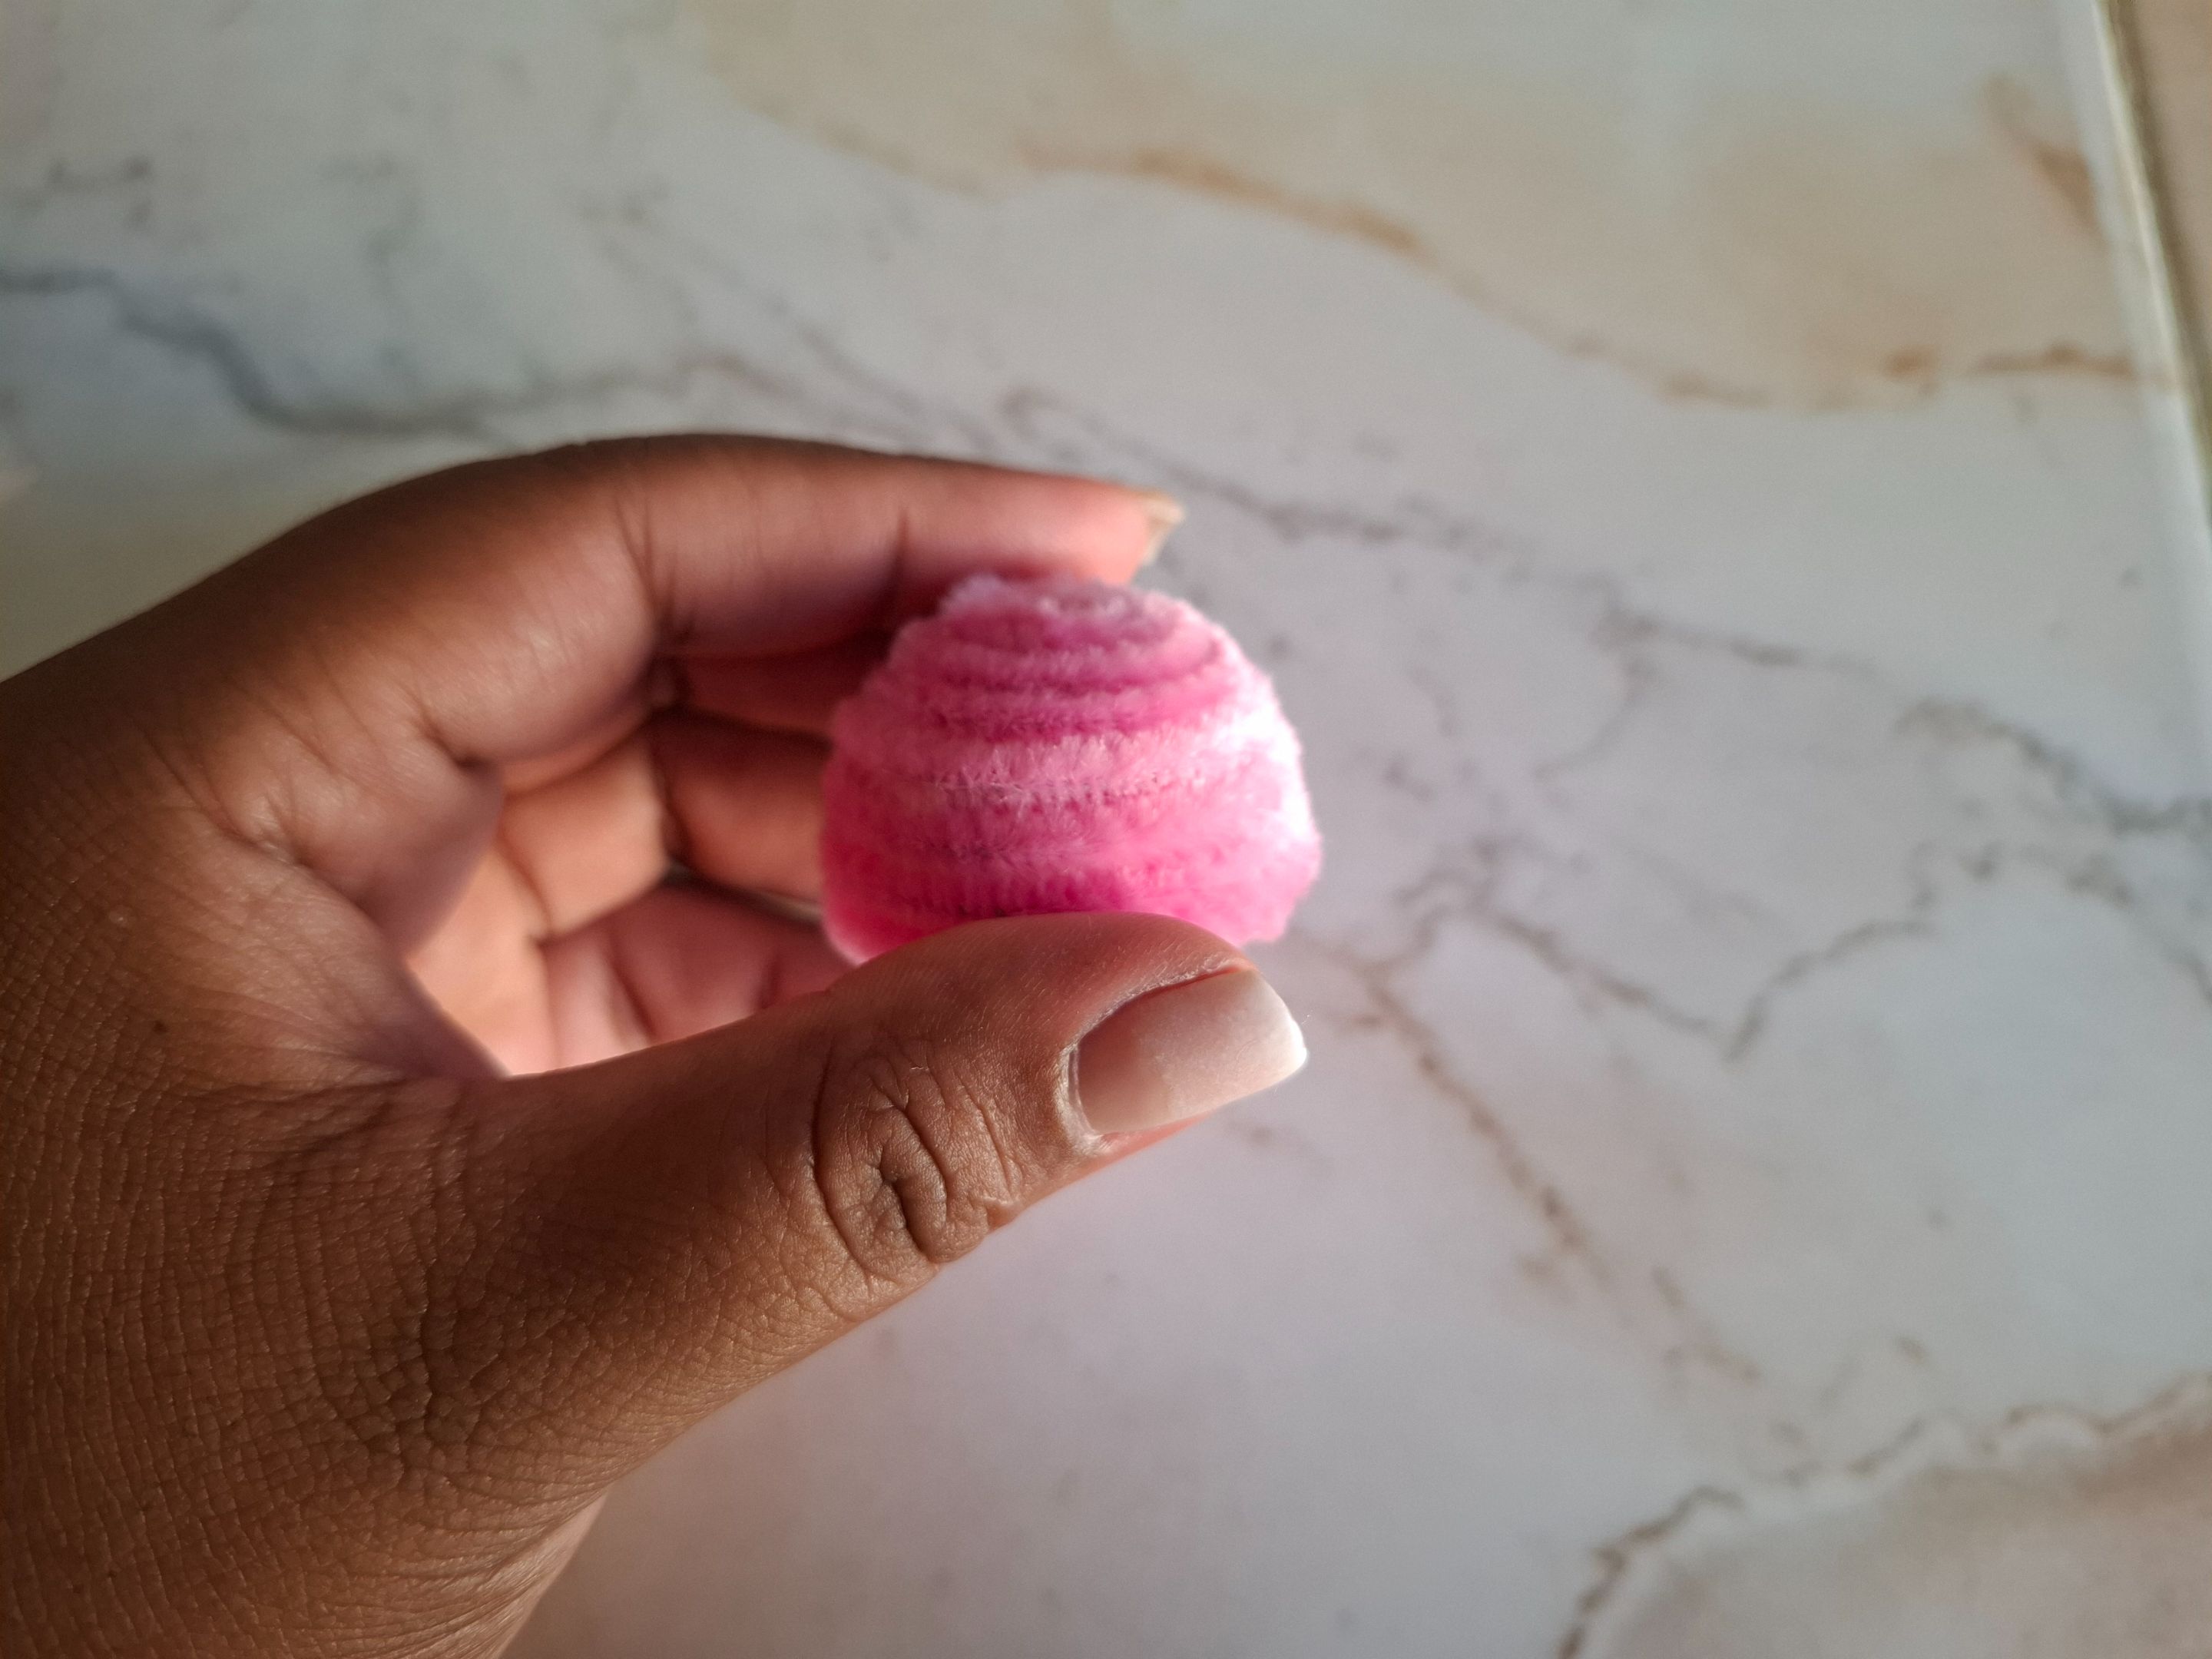
Ahora voy a tomar el limpiapipas, realicé un círculo y comencé a cubrir toda la esfera hasta la parte plana, utilicé unos 3 limpiapipas, si queda algún espacio con menos limpiapipas lo puedes rellenar con pequeñas piezas.
The first step I'm going to take is to cut a small part of the base of the sphere with a utility knife so that it remains flat.
Now I'm going to take the pipe cleaner, make a circle, and begin covering the entire sphere up to the flat part. I used about 3 pipe cleaners. If there's any space left with fewer pipe cleaners, you can fill it with small pieces.
 |
 |
 |
|---|---|---|
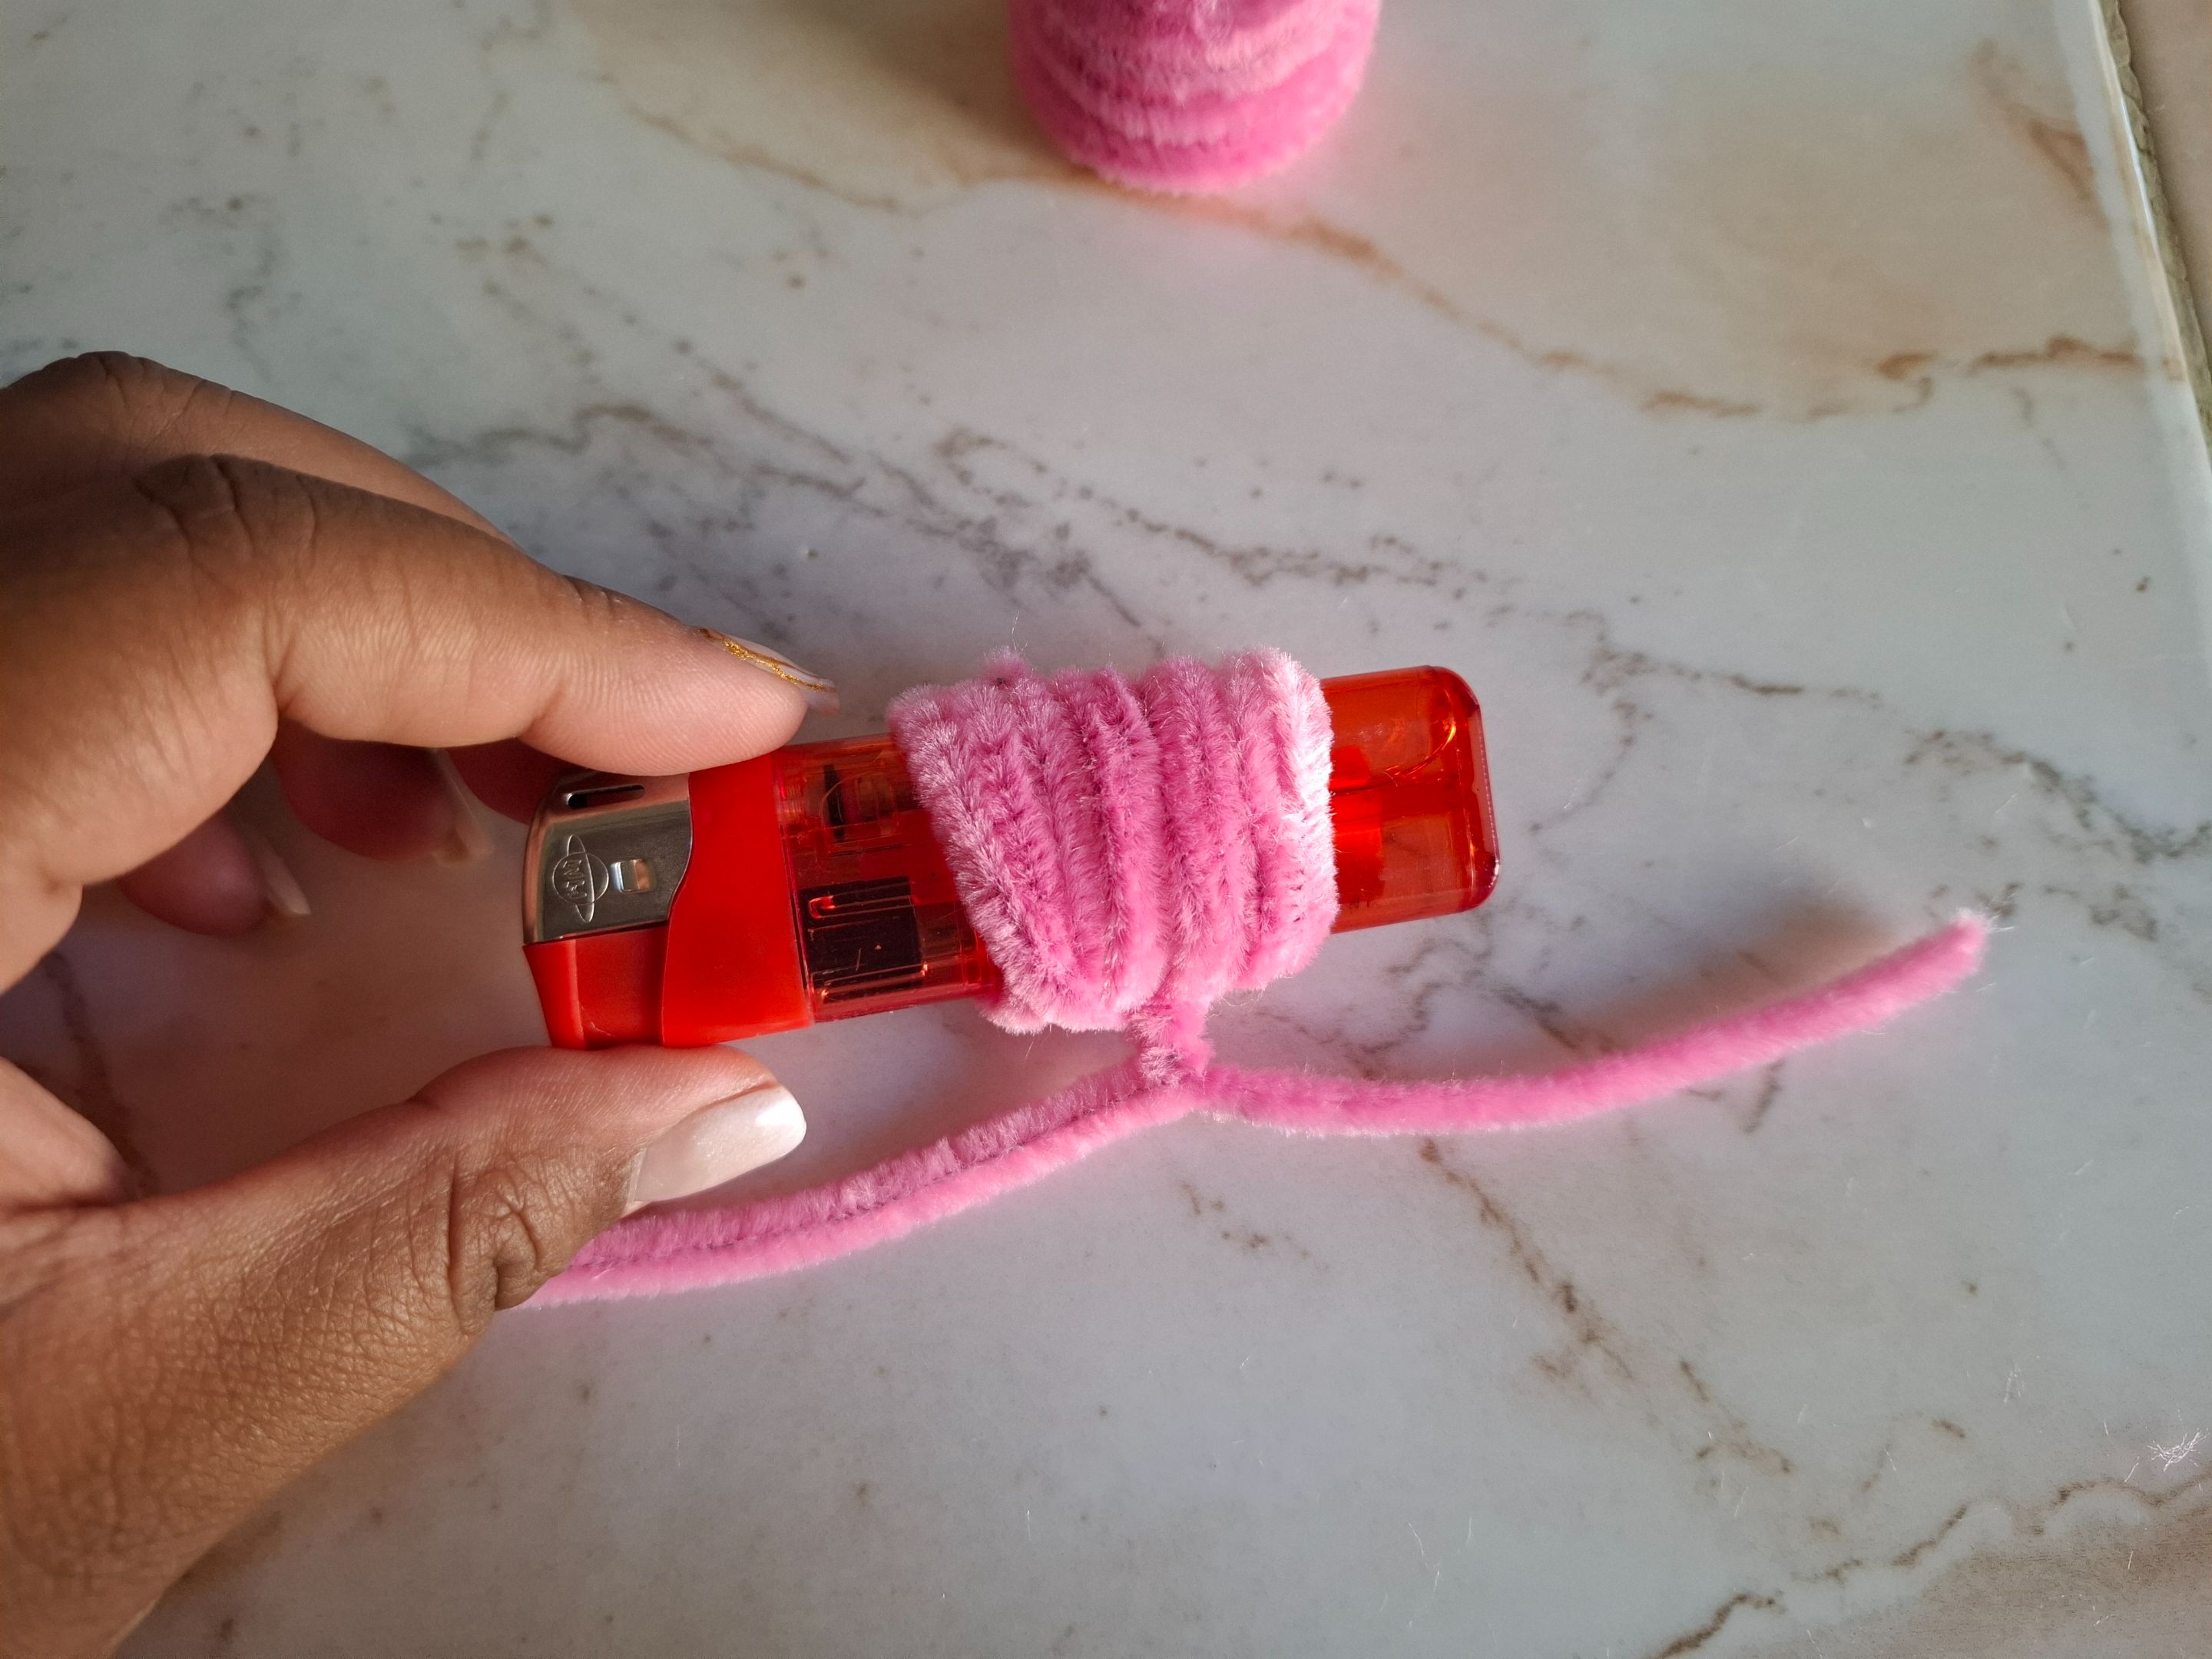
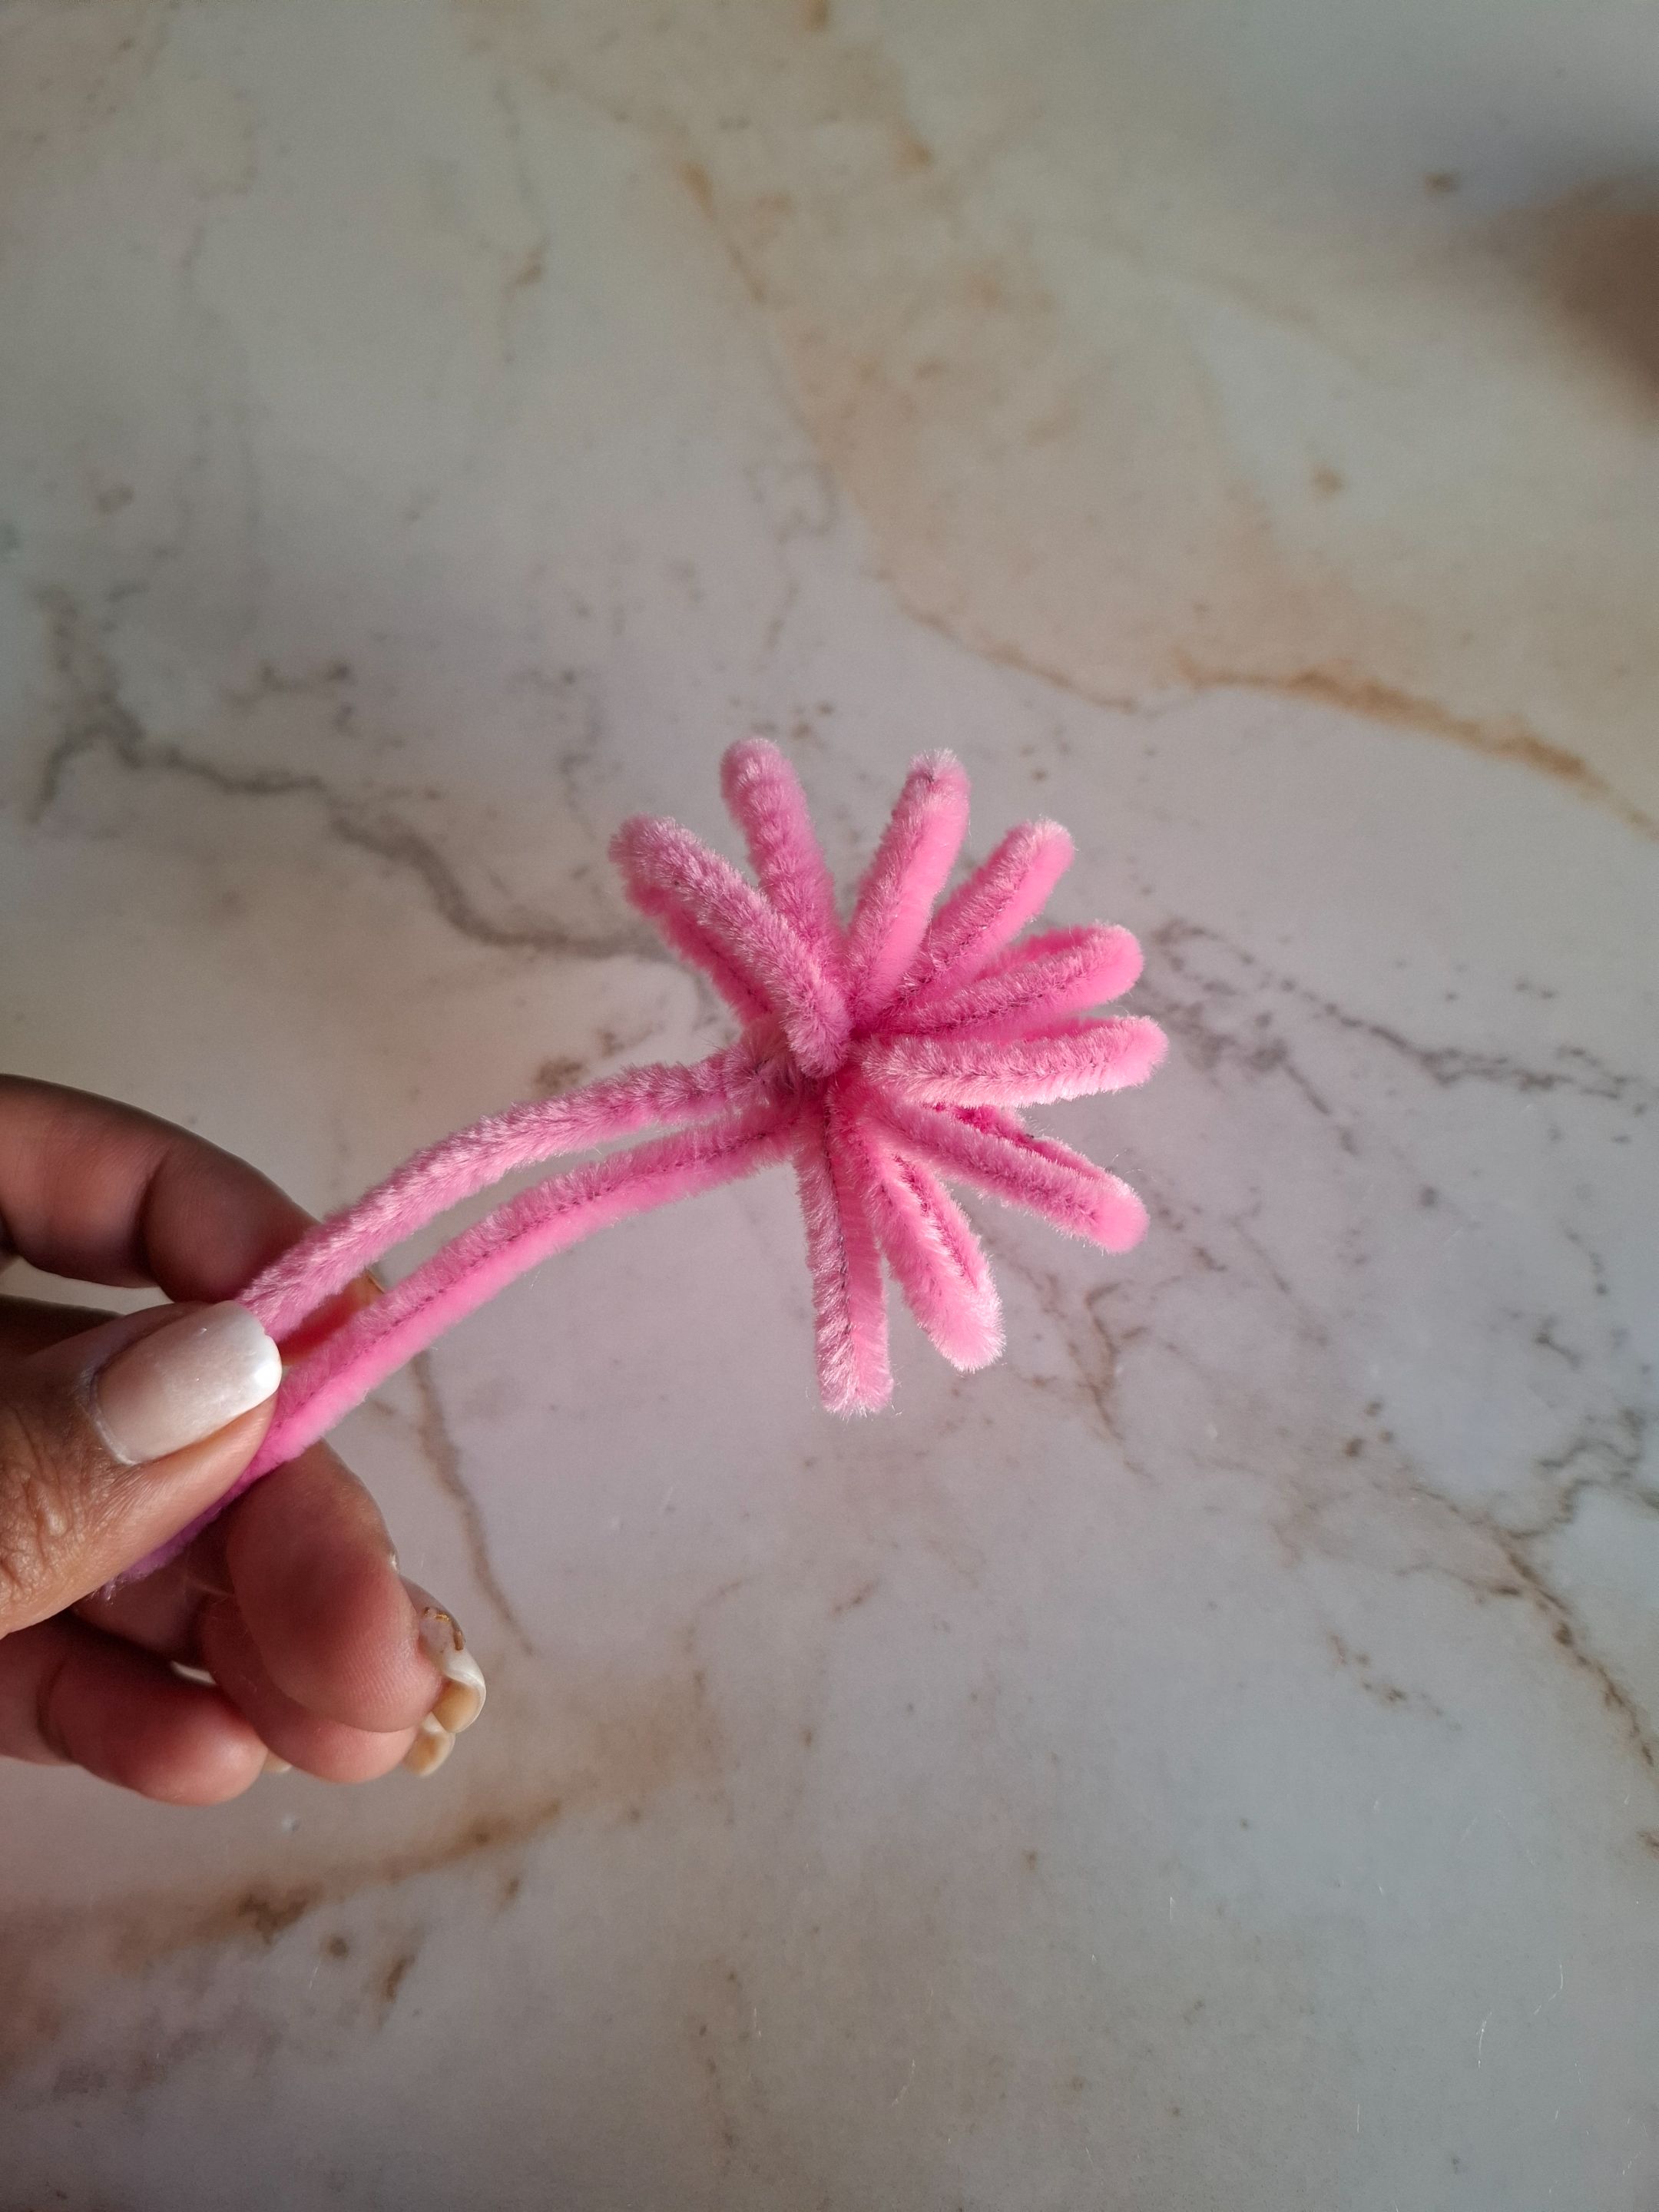
El siguiente paso será realizar los tentáculos, pasa esto voy a unir tres limpiapipas, y lo voy a colocar sobre un encendedor, ahora voy a dar 8 vueltas, retiramos con cuidado unimos las puntas sobrantes y una de las puntas las voy a pasar por el medio del limpiapipas, ahora voy a separar cada parte.
The next step is to make the tentacles. To do this, I'm going to join three pipe cleaners together and place them over a lighter. Now, I'm going to make 8 turns. Carefully remove the excess tips and pass one of the tips through the middle of the pipe cleaner. Now, I'm going to separate each part.
 |
 |
 |
|---|---|---|
 |
 |
|---|---|
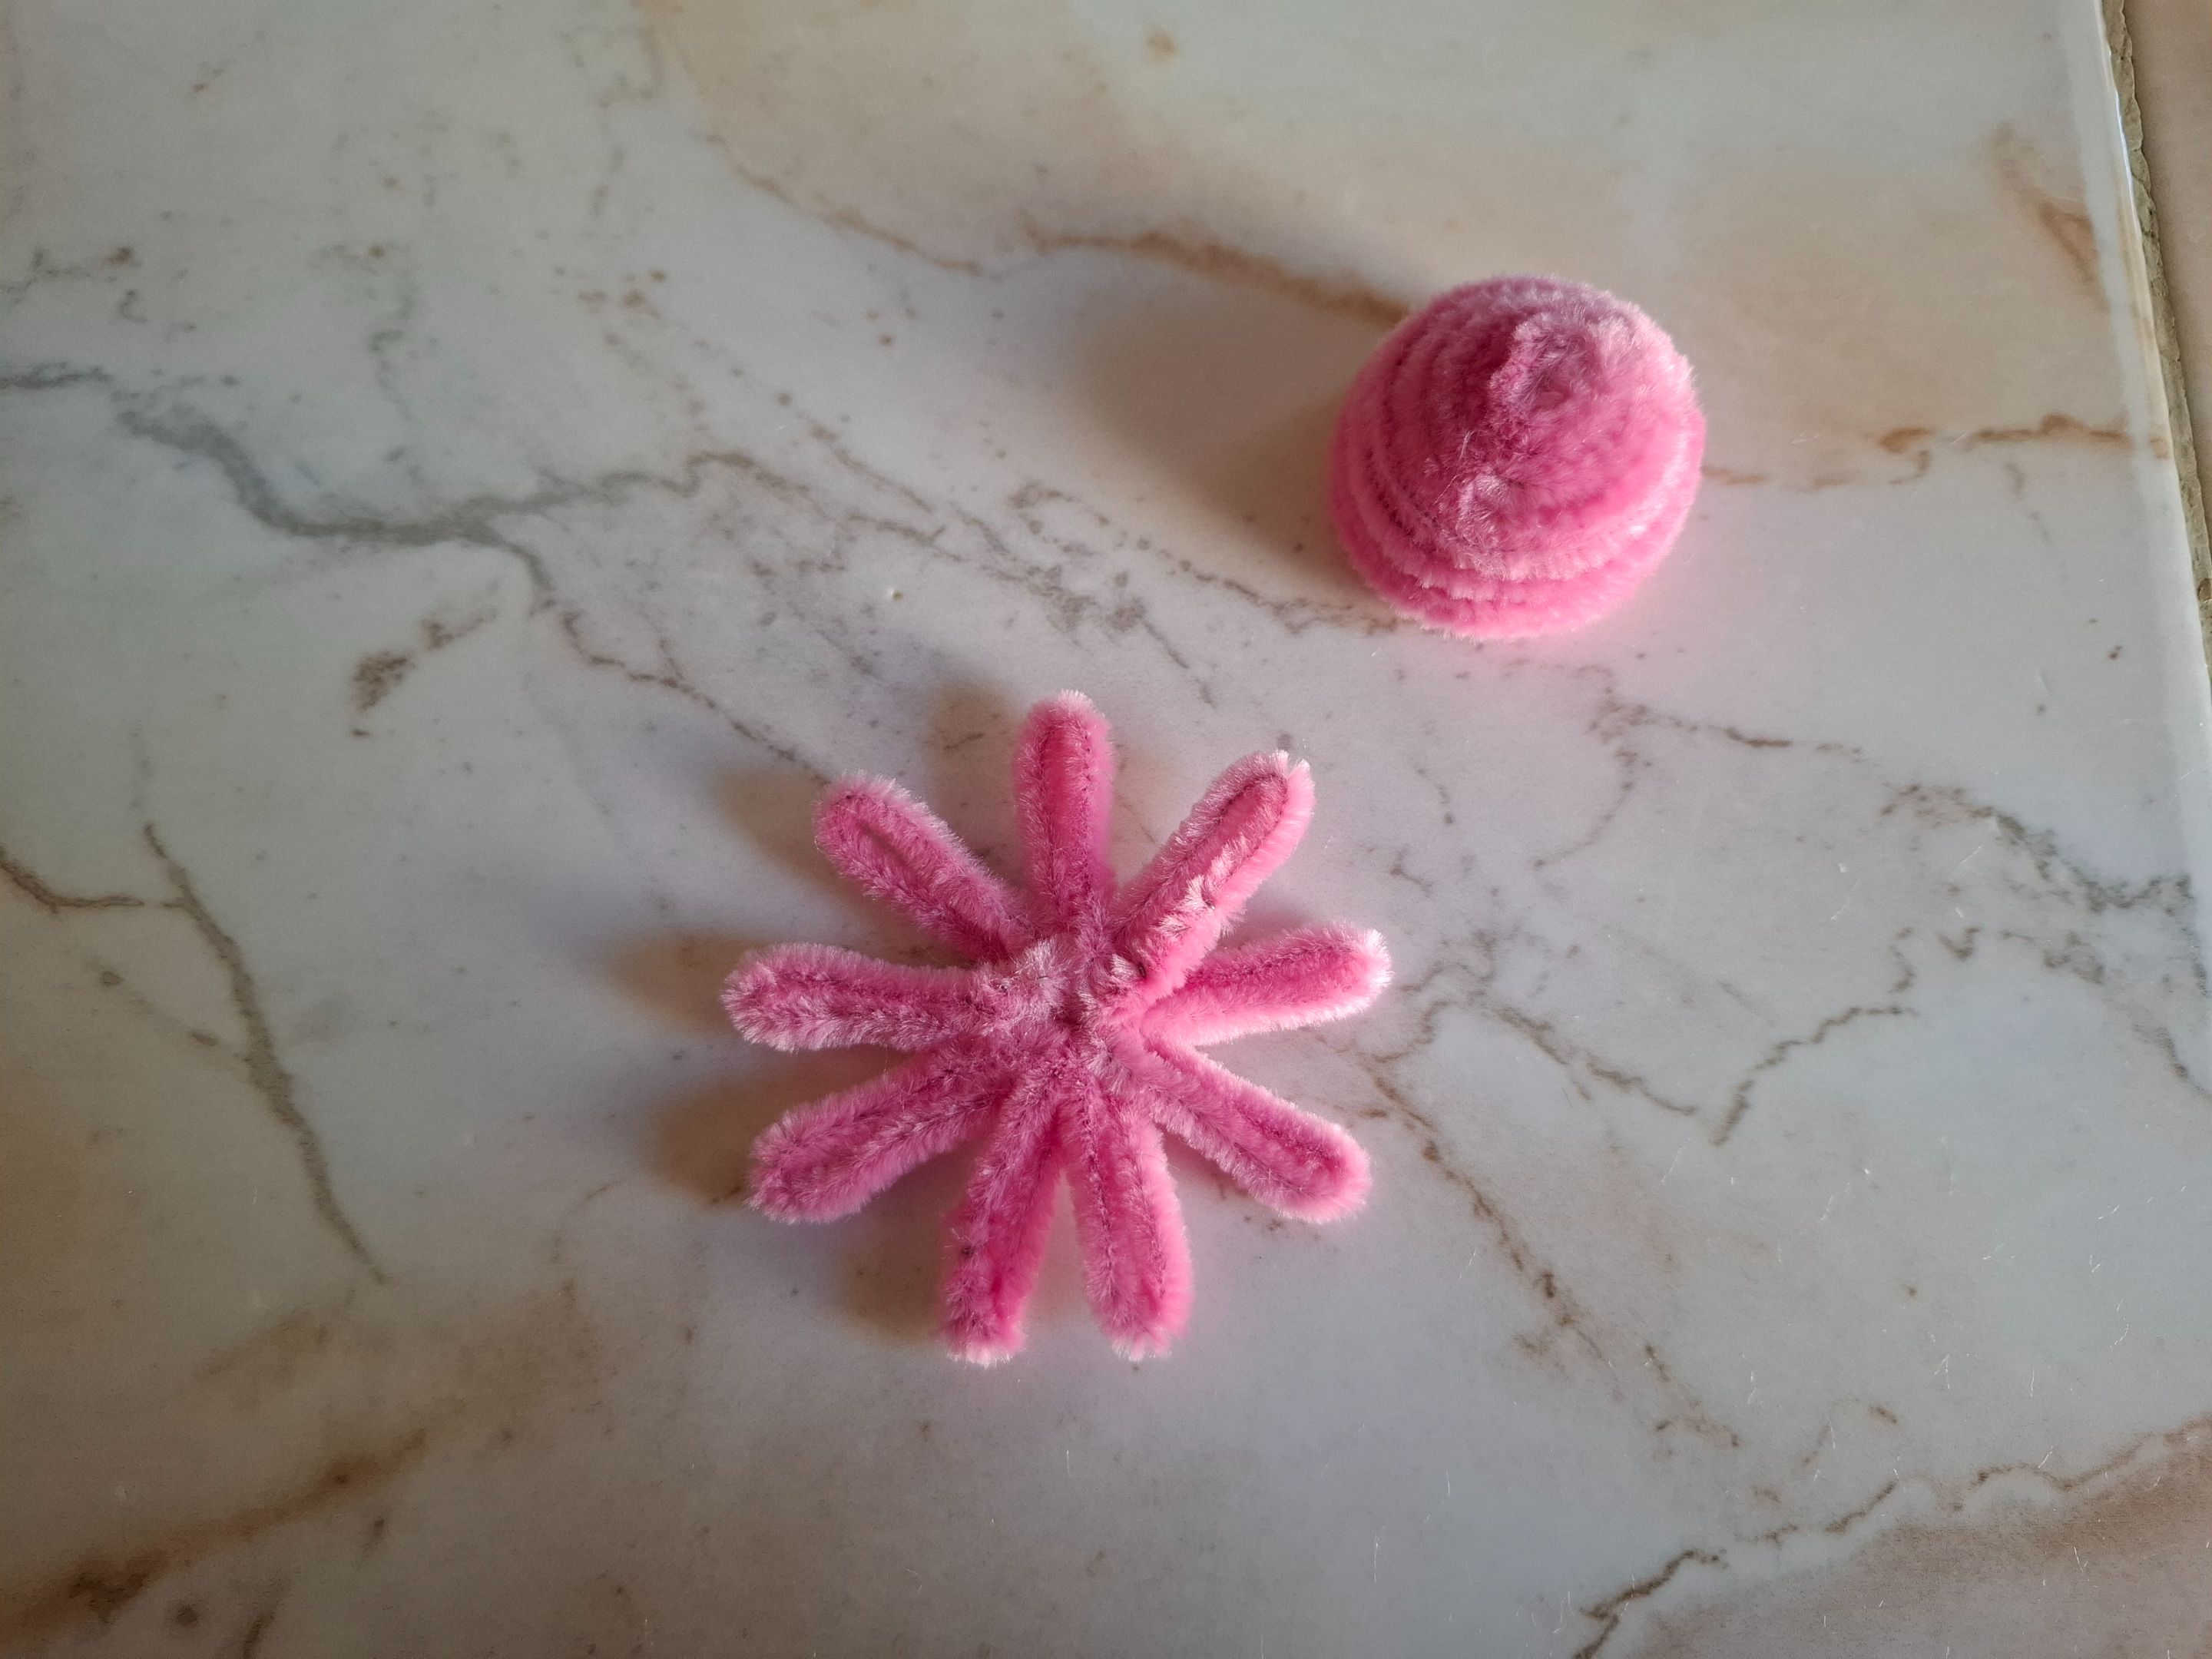
Veremos cómo queda tiene una forma como de flor ahora unimos ambas partes, para los ojos utilicé dos mostacillas color negro, con un hisopo coloqué sombra fucsia sobre sus mejillas.
We'll see how it looks, it has a flower-like shape, now we join both parts, for the eyes I used two black beads, with a cotton swab I placed fuchsia shadow on her cheeks.
 |
 |
 |
|---|---|---|
Y para decorar realicé una flor en mostacillas morada, solo debes cortar el nylon colocar una mostacilla en el centro pasando las puntas de ambos lados a través de la mostacilla, luego colocamos dos mostacilla de cada lado, ahora con una de color blanco la colocamos entre los dos nylon y la llevamos hasta abajo, voy a pasar cada punta del nylon a través de las dos mostacillas moradas y para cerrar colocamos una, así realicé la flor para decorar.
And to decorate I made a flower in purple beads, you just have to cut the nylon, place a bead in the center passing the tips of both sides through the bead, then we place two beads on each side, now with a white one we place it between the two nylons and we take it to the bottom, I will pass each tip of the nylon through the two purple beads and to close we place one, that's how I made the flower to decorate.
 |
 |
|---|---|
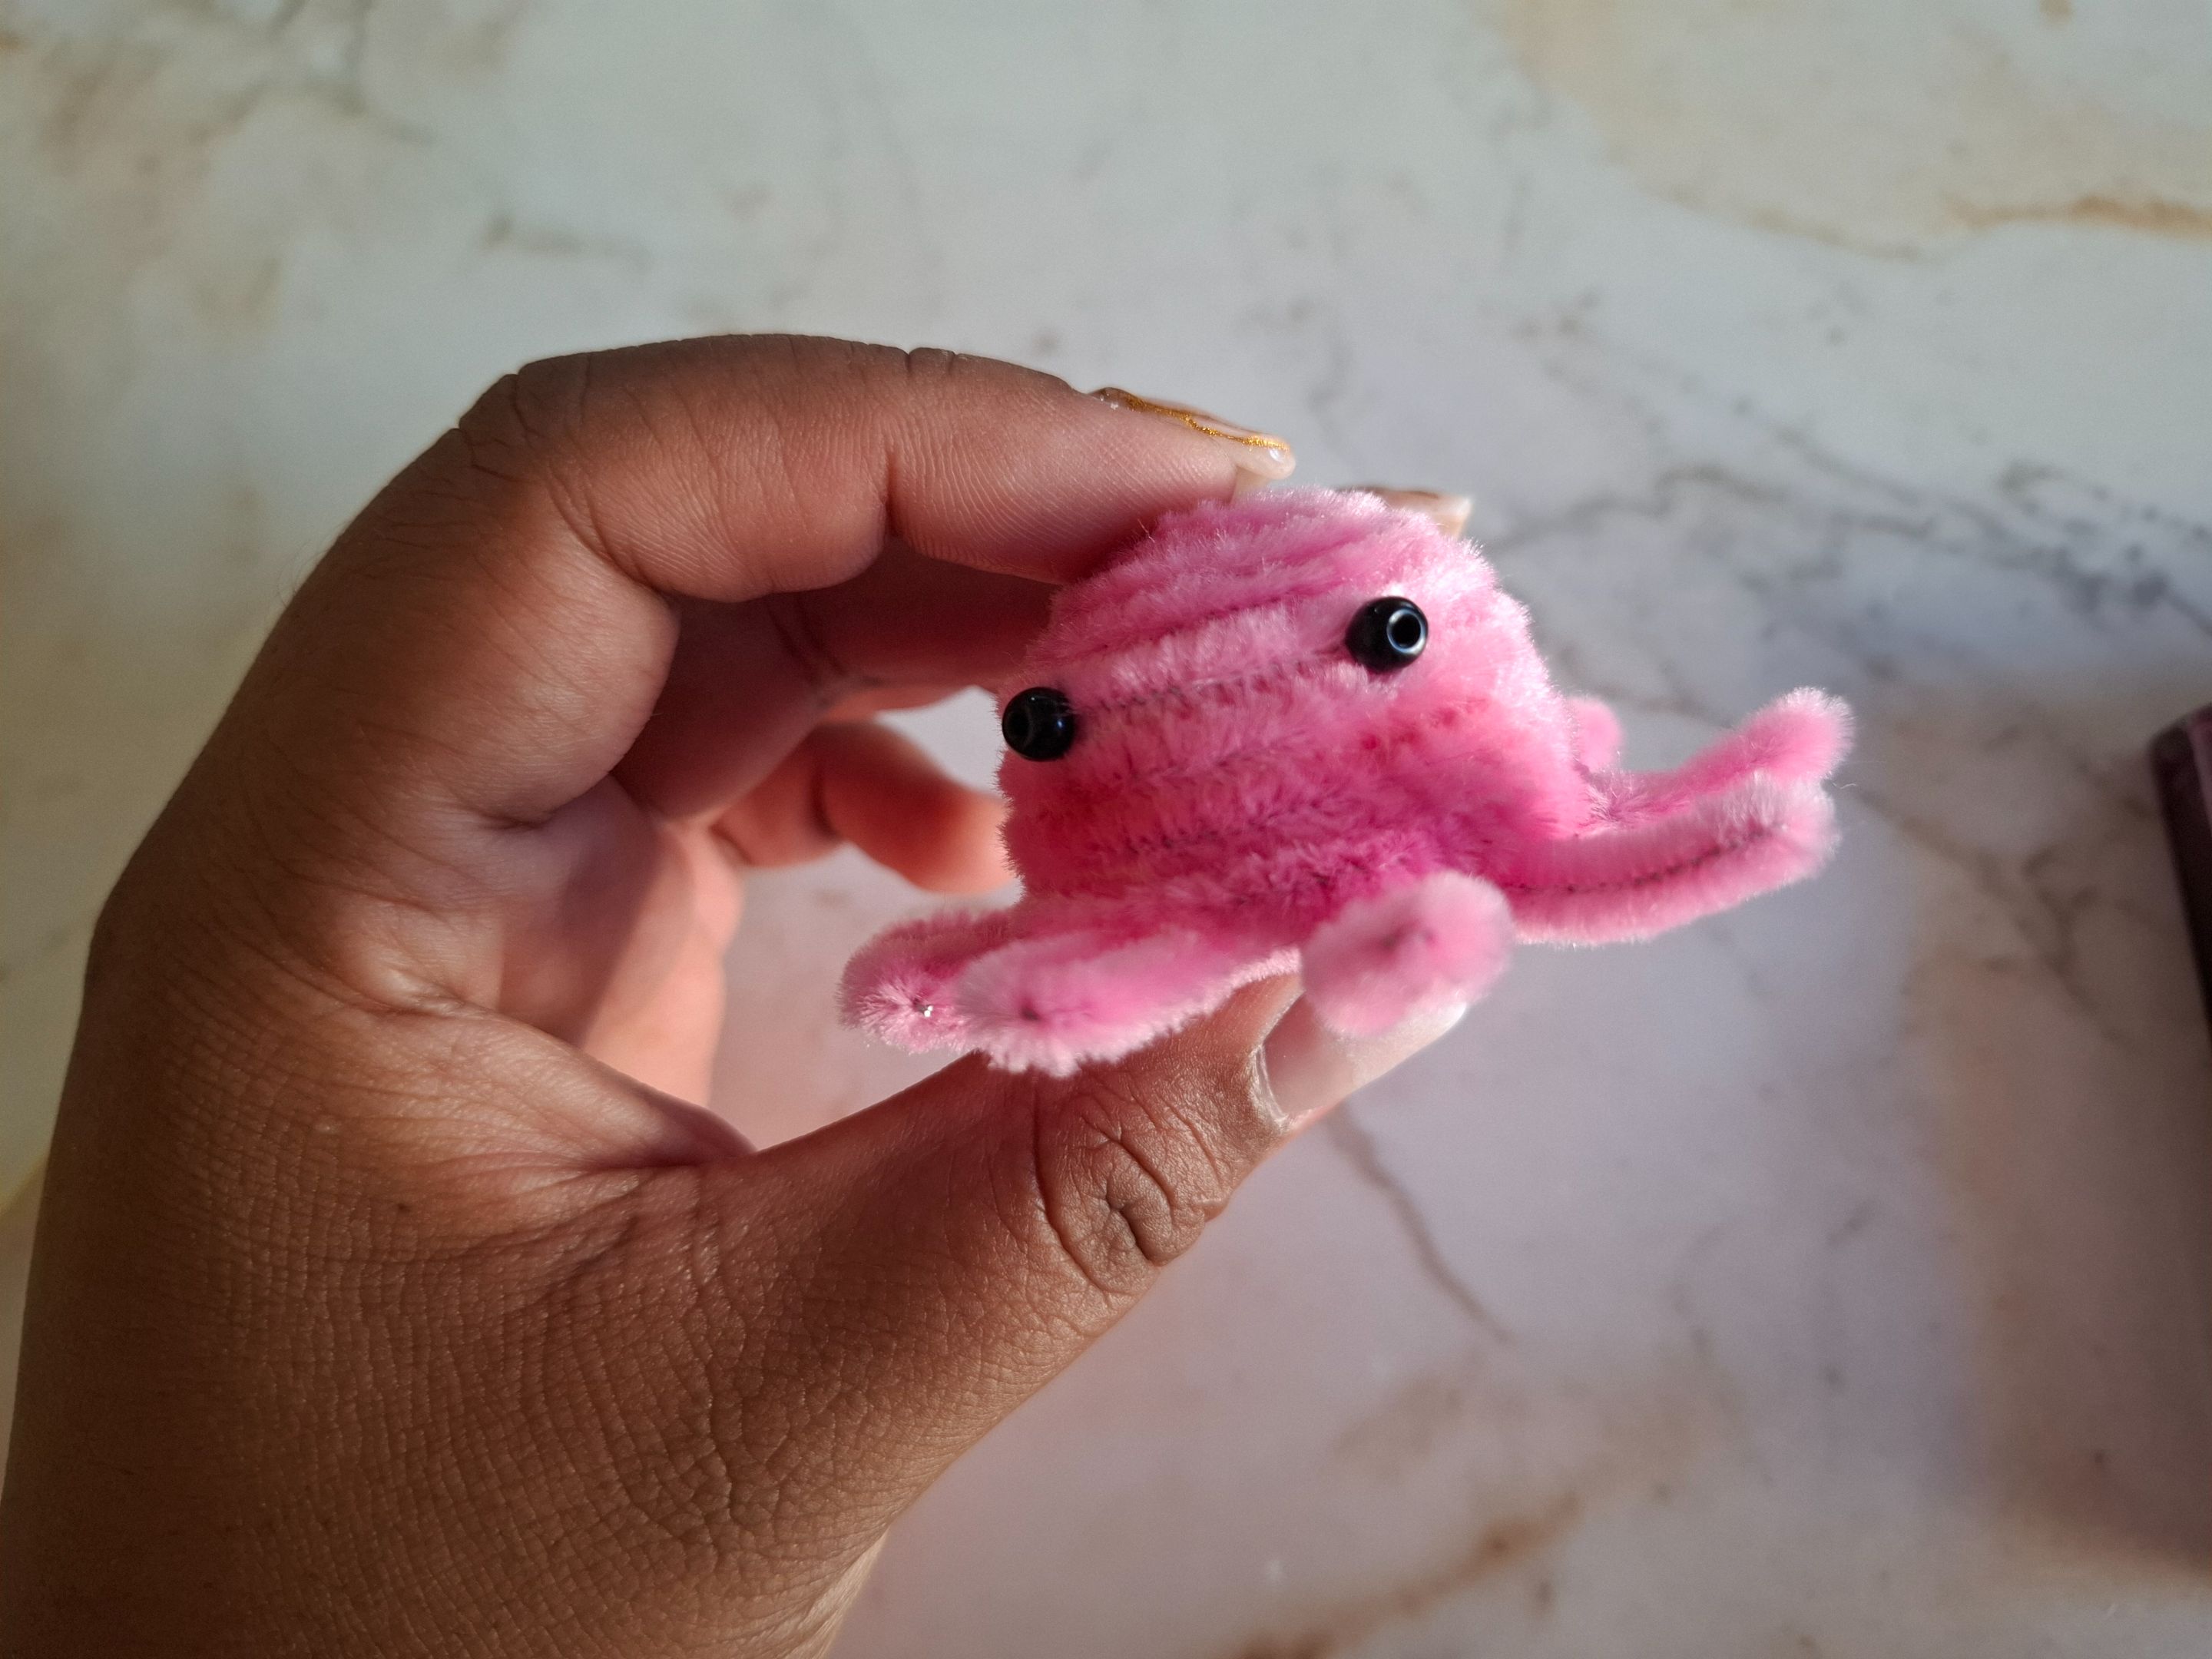
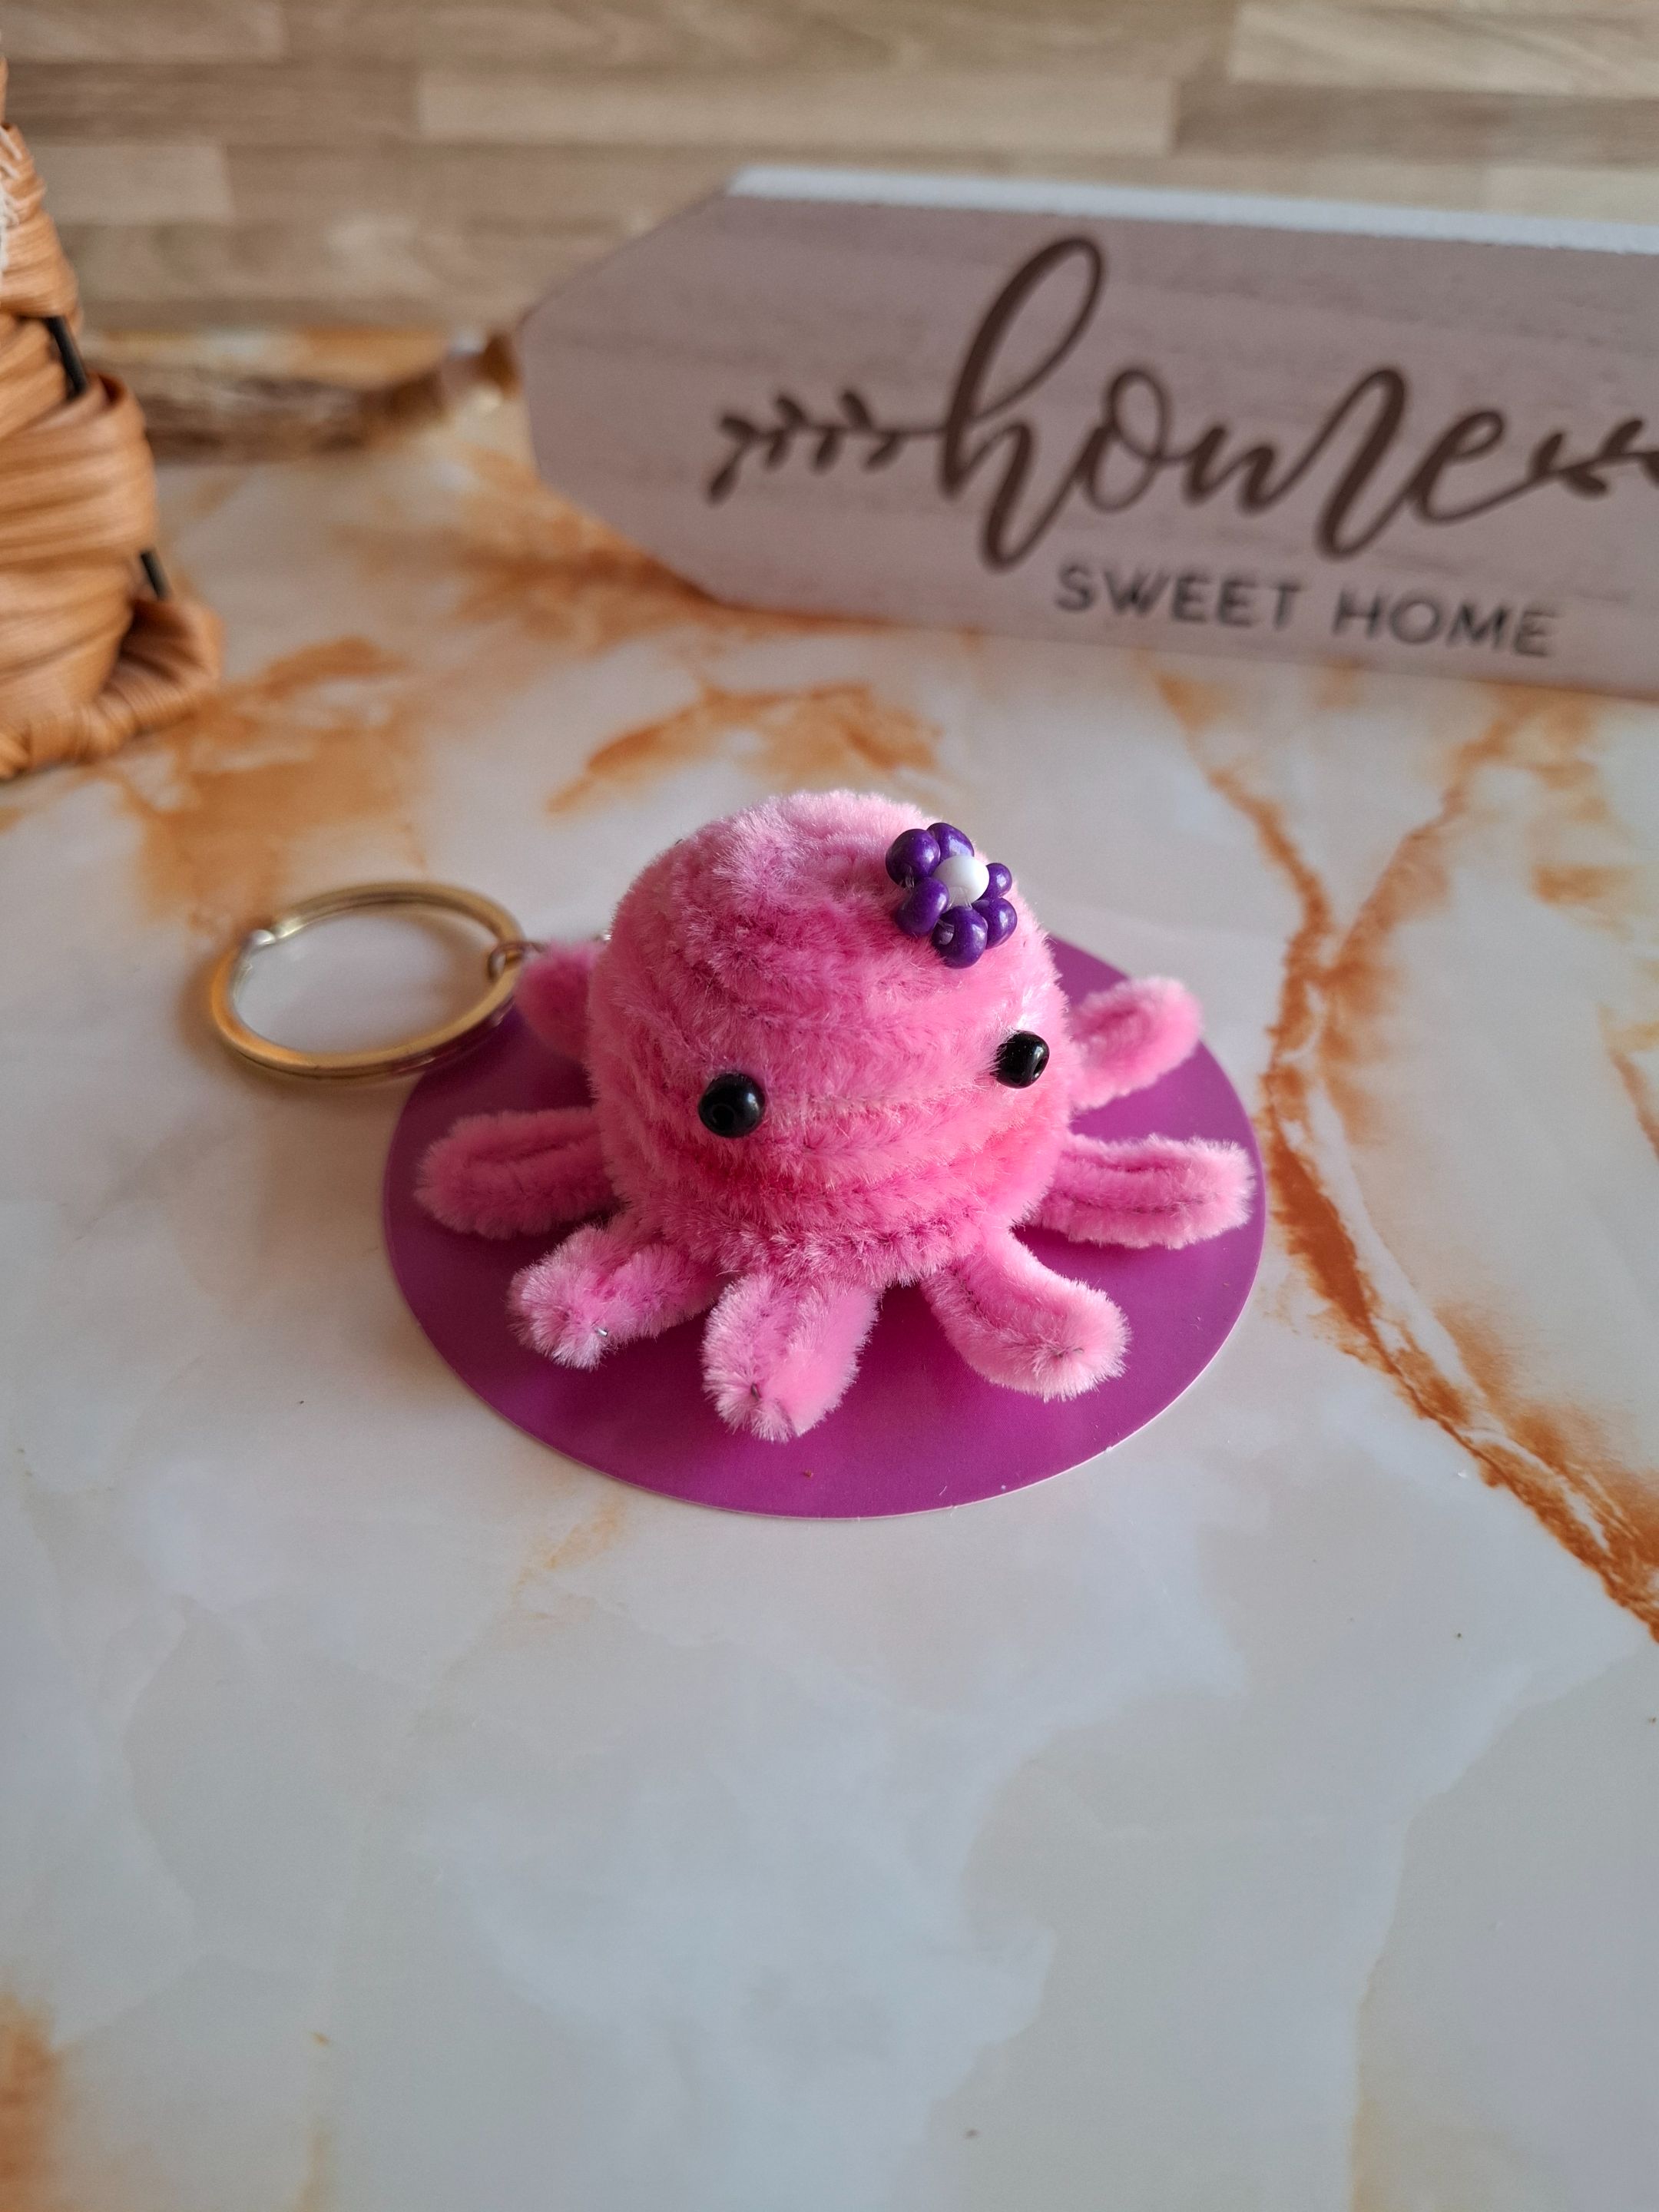
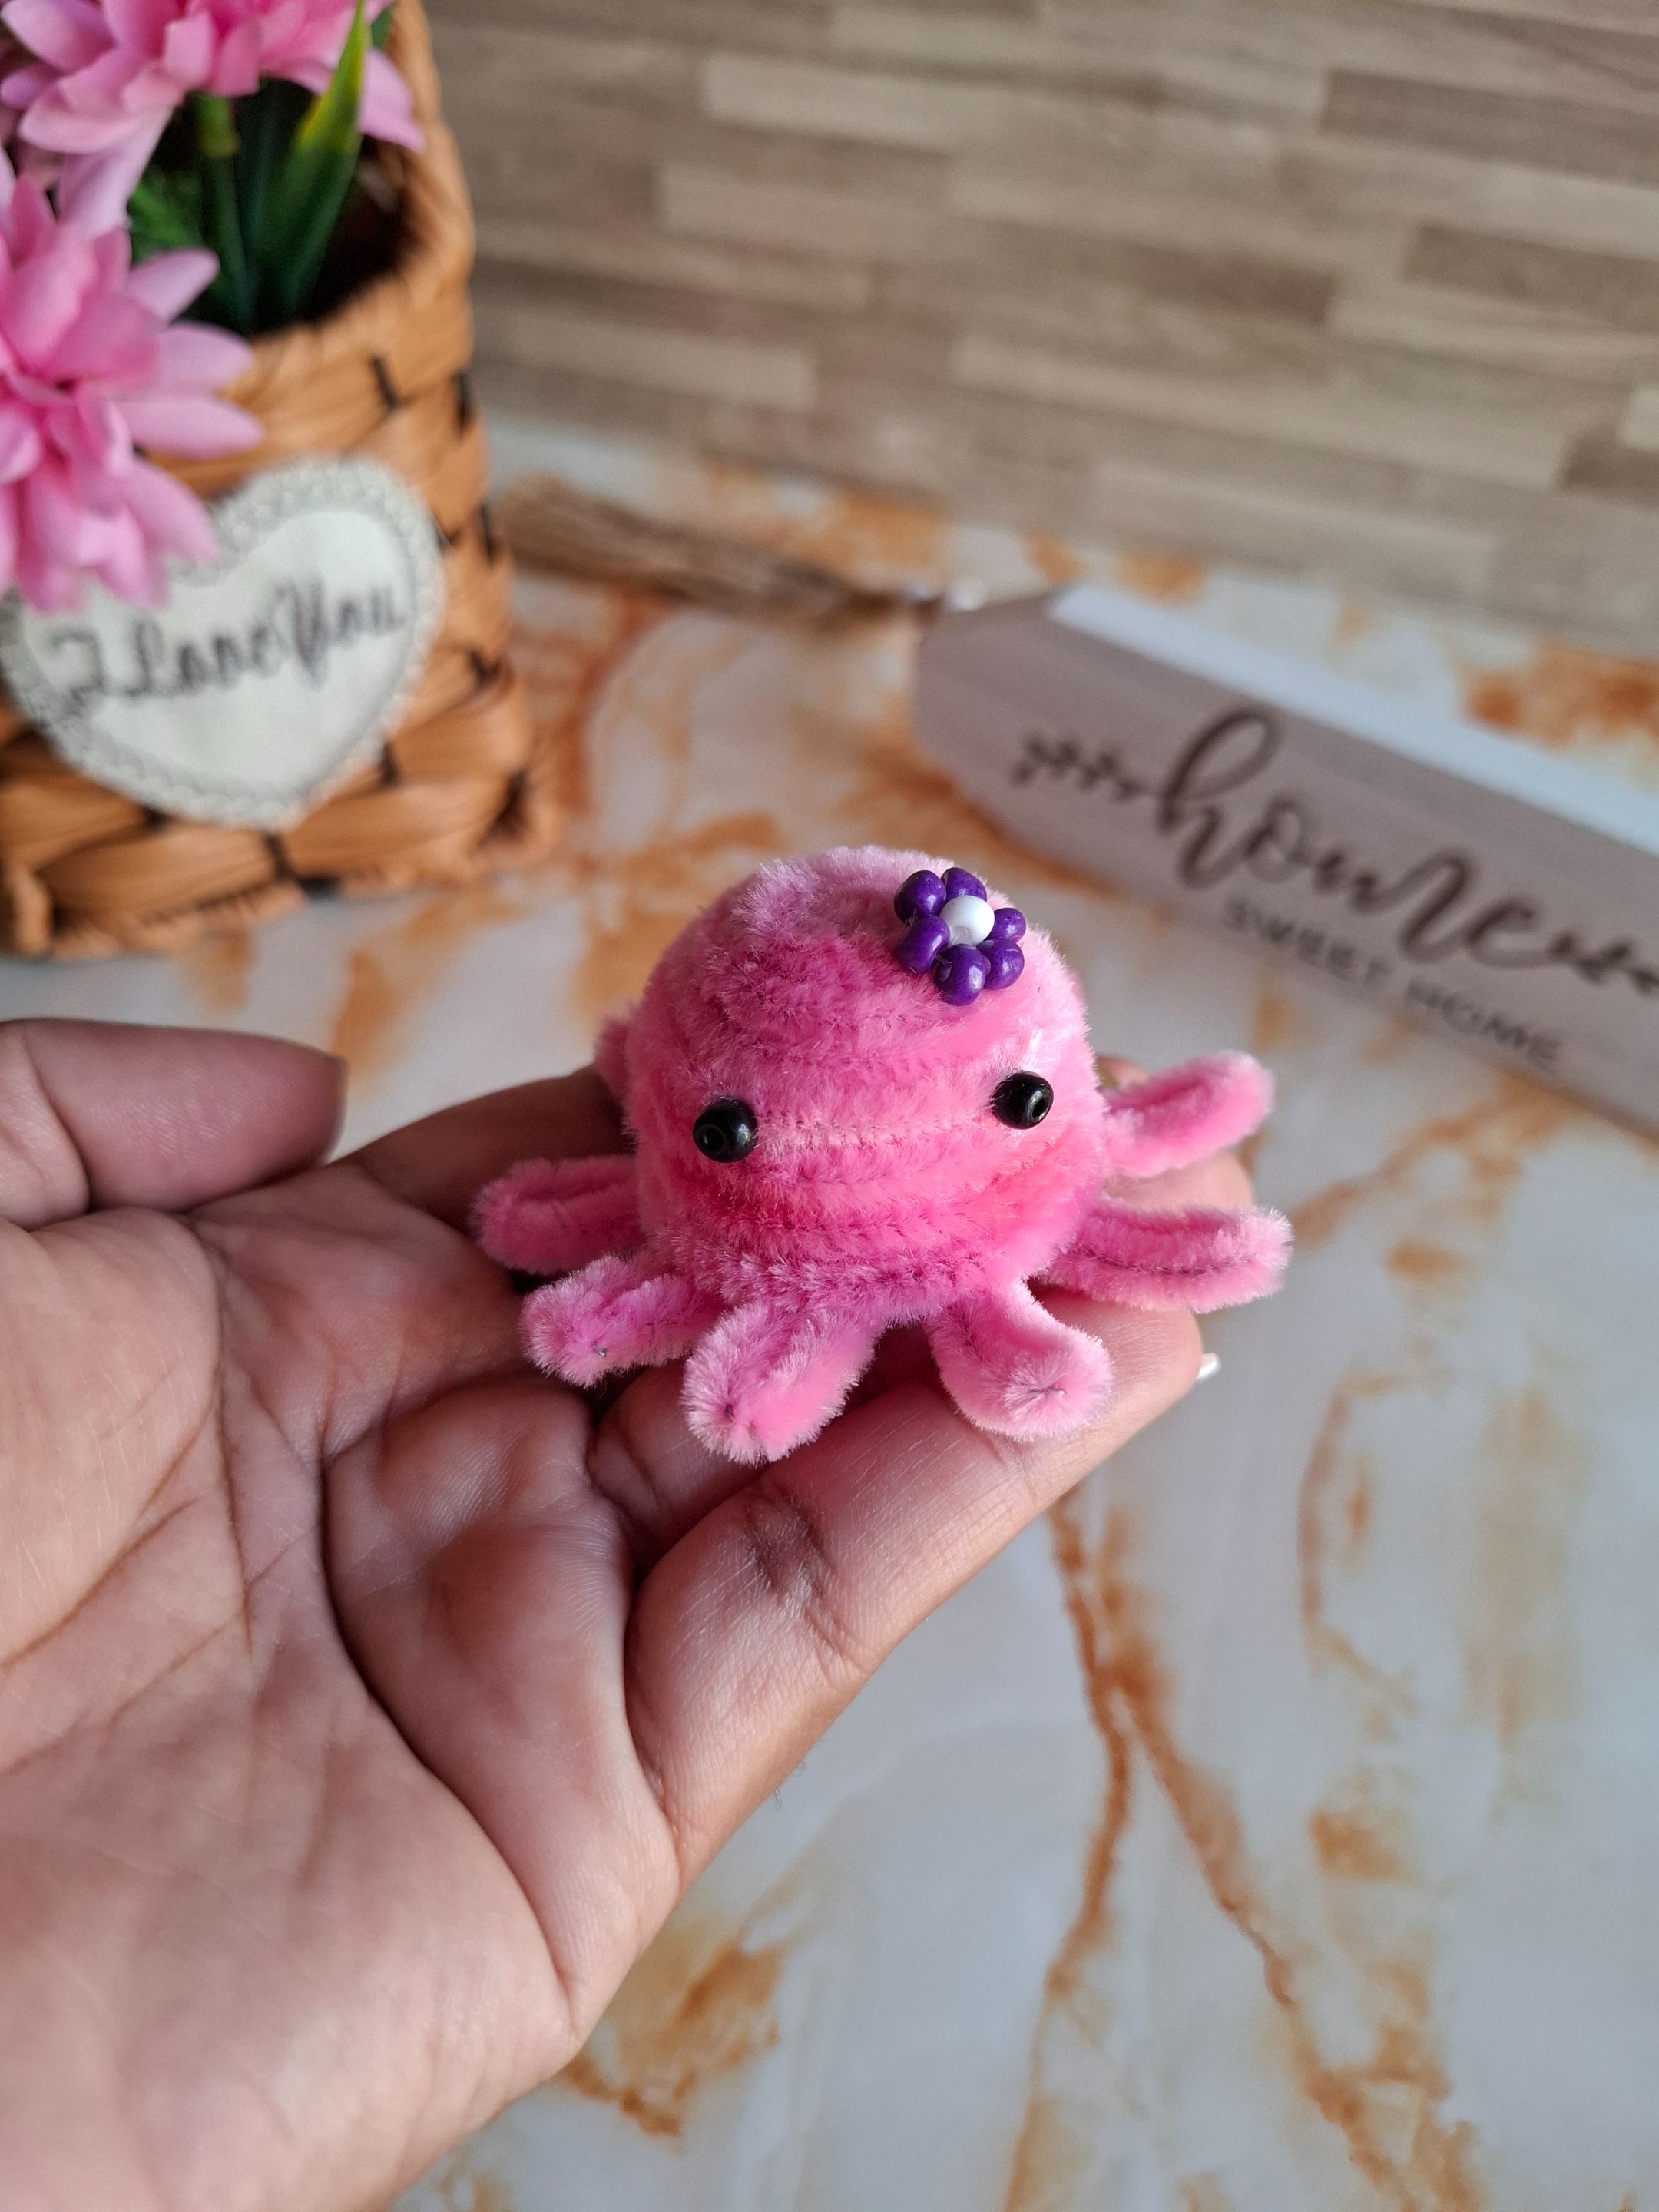
Pegamos la flor sobre la cabeza, y en uno de los tentáculos colocamos el aro para llavero, y listo. De esta forma terminé este tierno Pulpito, espero les haya gustado el resultado, muchas gracias por visitar mi publicación nos vemos en una próxima oportunidad con más ideas creativas.
We glued the flower onto the head, and attached the keychain ring to one of the tentacles, and that's it. This is how I finished this cute little octopus. I hope you liked the result. Thank you so much for visiting my post. See you next time with more creative ideas.

Más del resultado final:
More of the final result:

Contenido original. - original content.
Los separadores y banner fueron realizados en Canva. - The dividers and banner were made in Canva.
Fotografías tomadas con mi Samsung A55. - Photographs taken with my Samsung A55.
Gif creado desde Giphy / Gif created from Giphy
Traducción de: Google traductor - Translation of: Google translator.
Posted Using INLEO