Feliz y bendecido sábado queridos amigos de Hive Diy, sean bienvenidos a mi blog, les mando un fuerte abrazo espero tengan excelente fin de semana y que puedan descansar, esta semana ha sido de bastante actividad para mí ya que me tocó trabajar días seguidos además con las actividades académicas, más sin embargo seguimos creando poco a poco.
Happy and blessed Saturday, dear friends of Hive Diy, welcome to my blog. I send you a big hug and hope you have a great weekend and that you can rest. This week has been quite active for me since I had to work days in a row, in addition to academic activities, but nevertheless, we continue creating little by little.
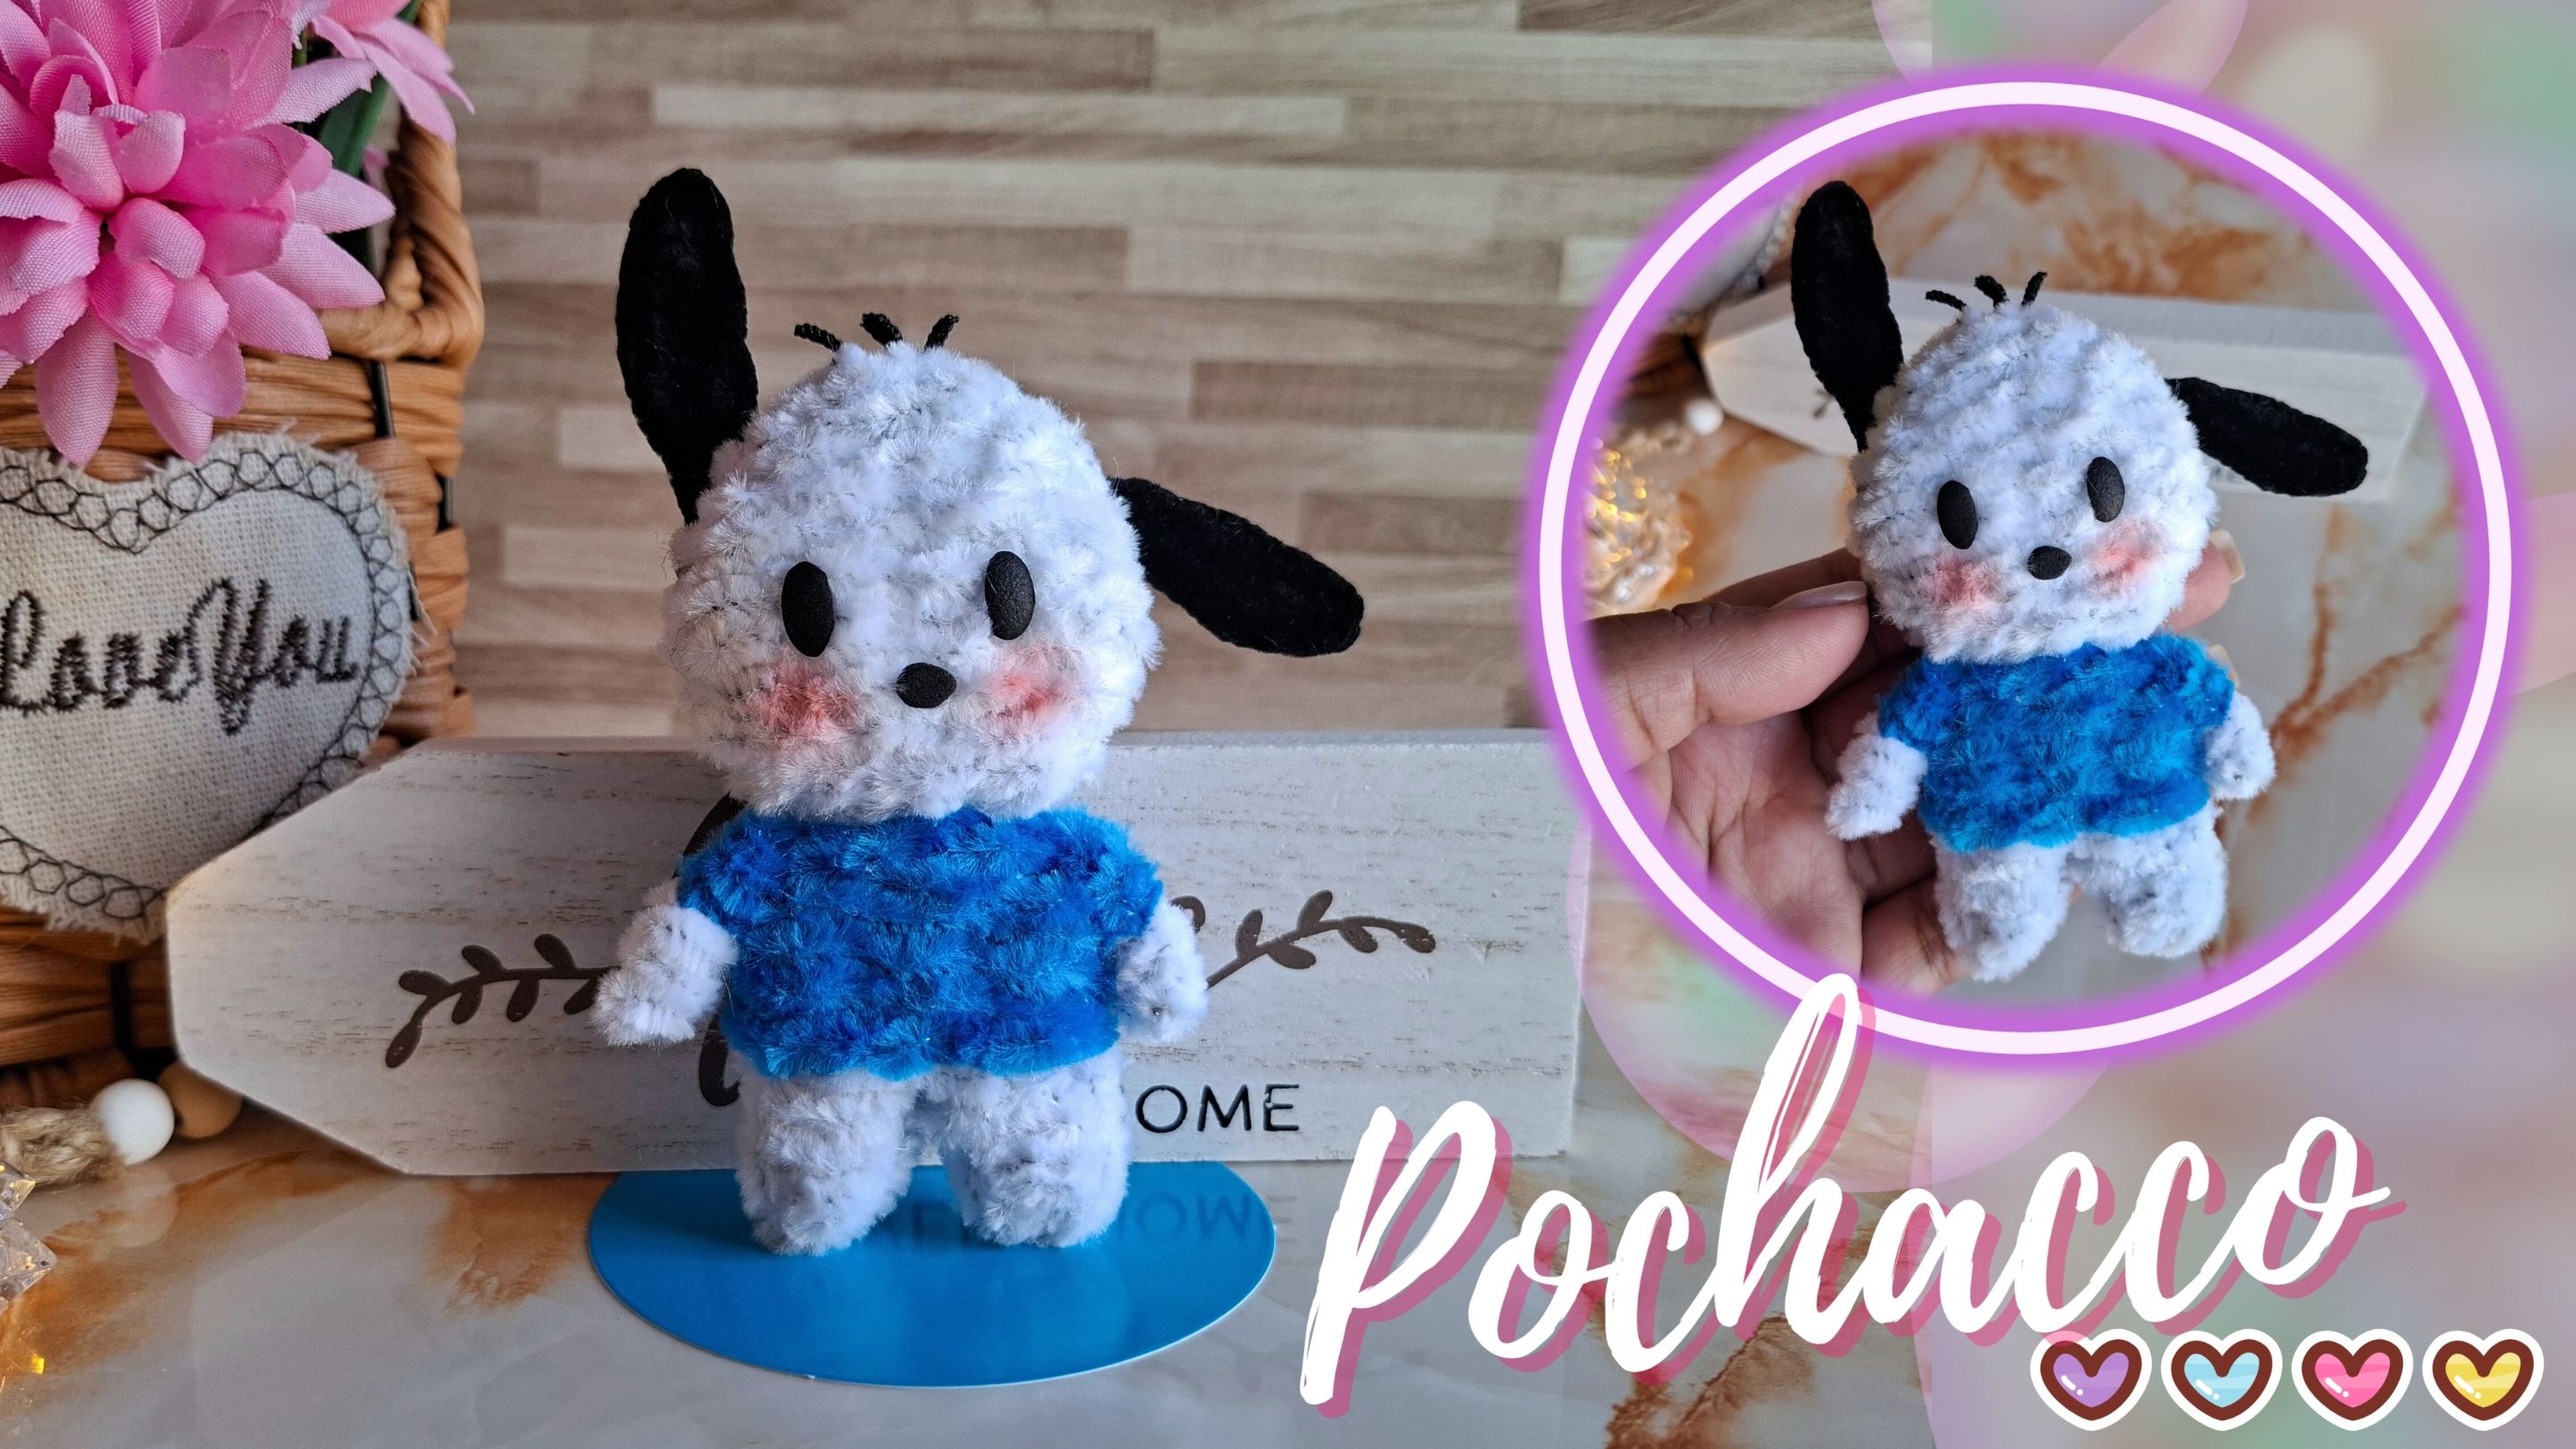
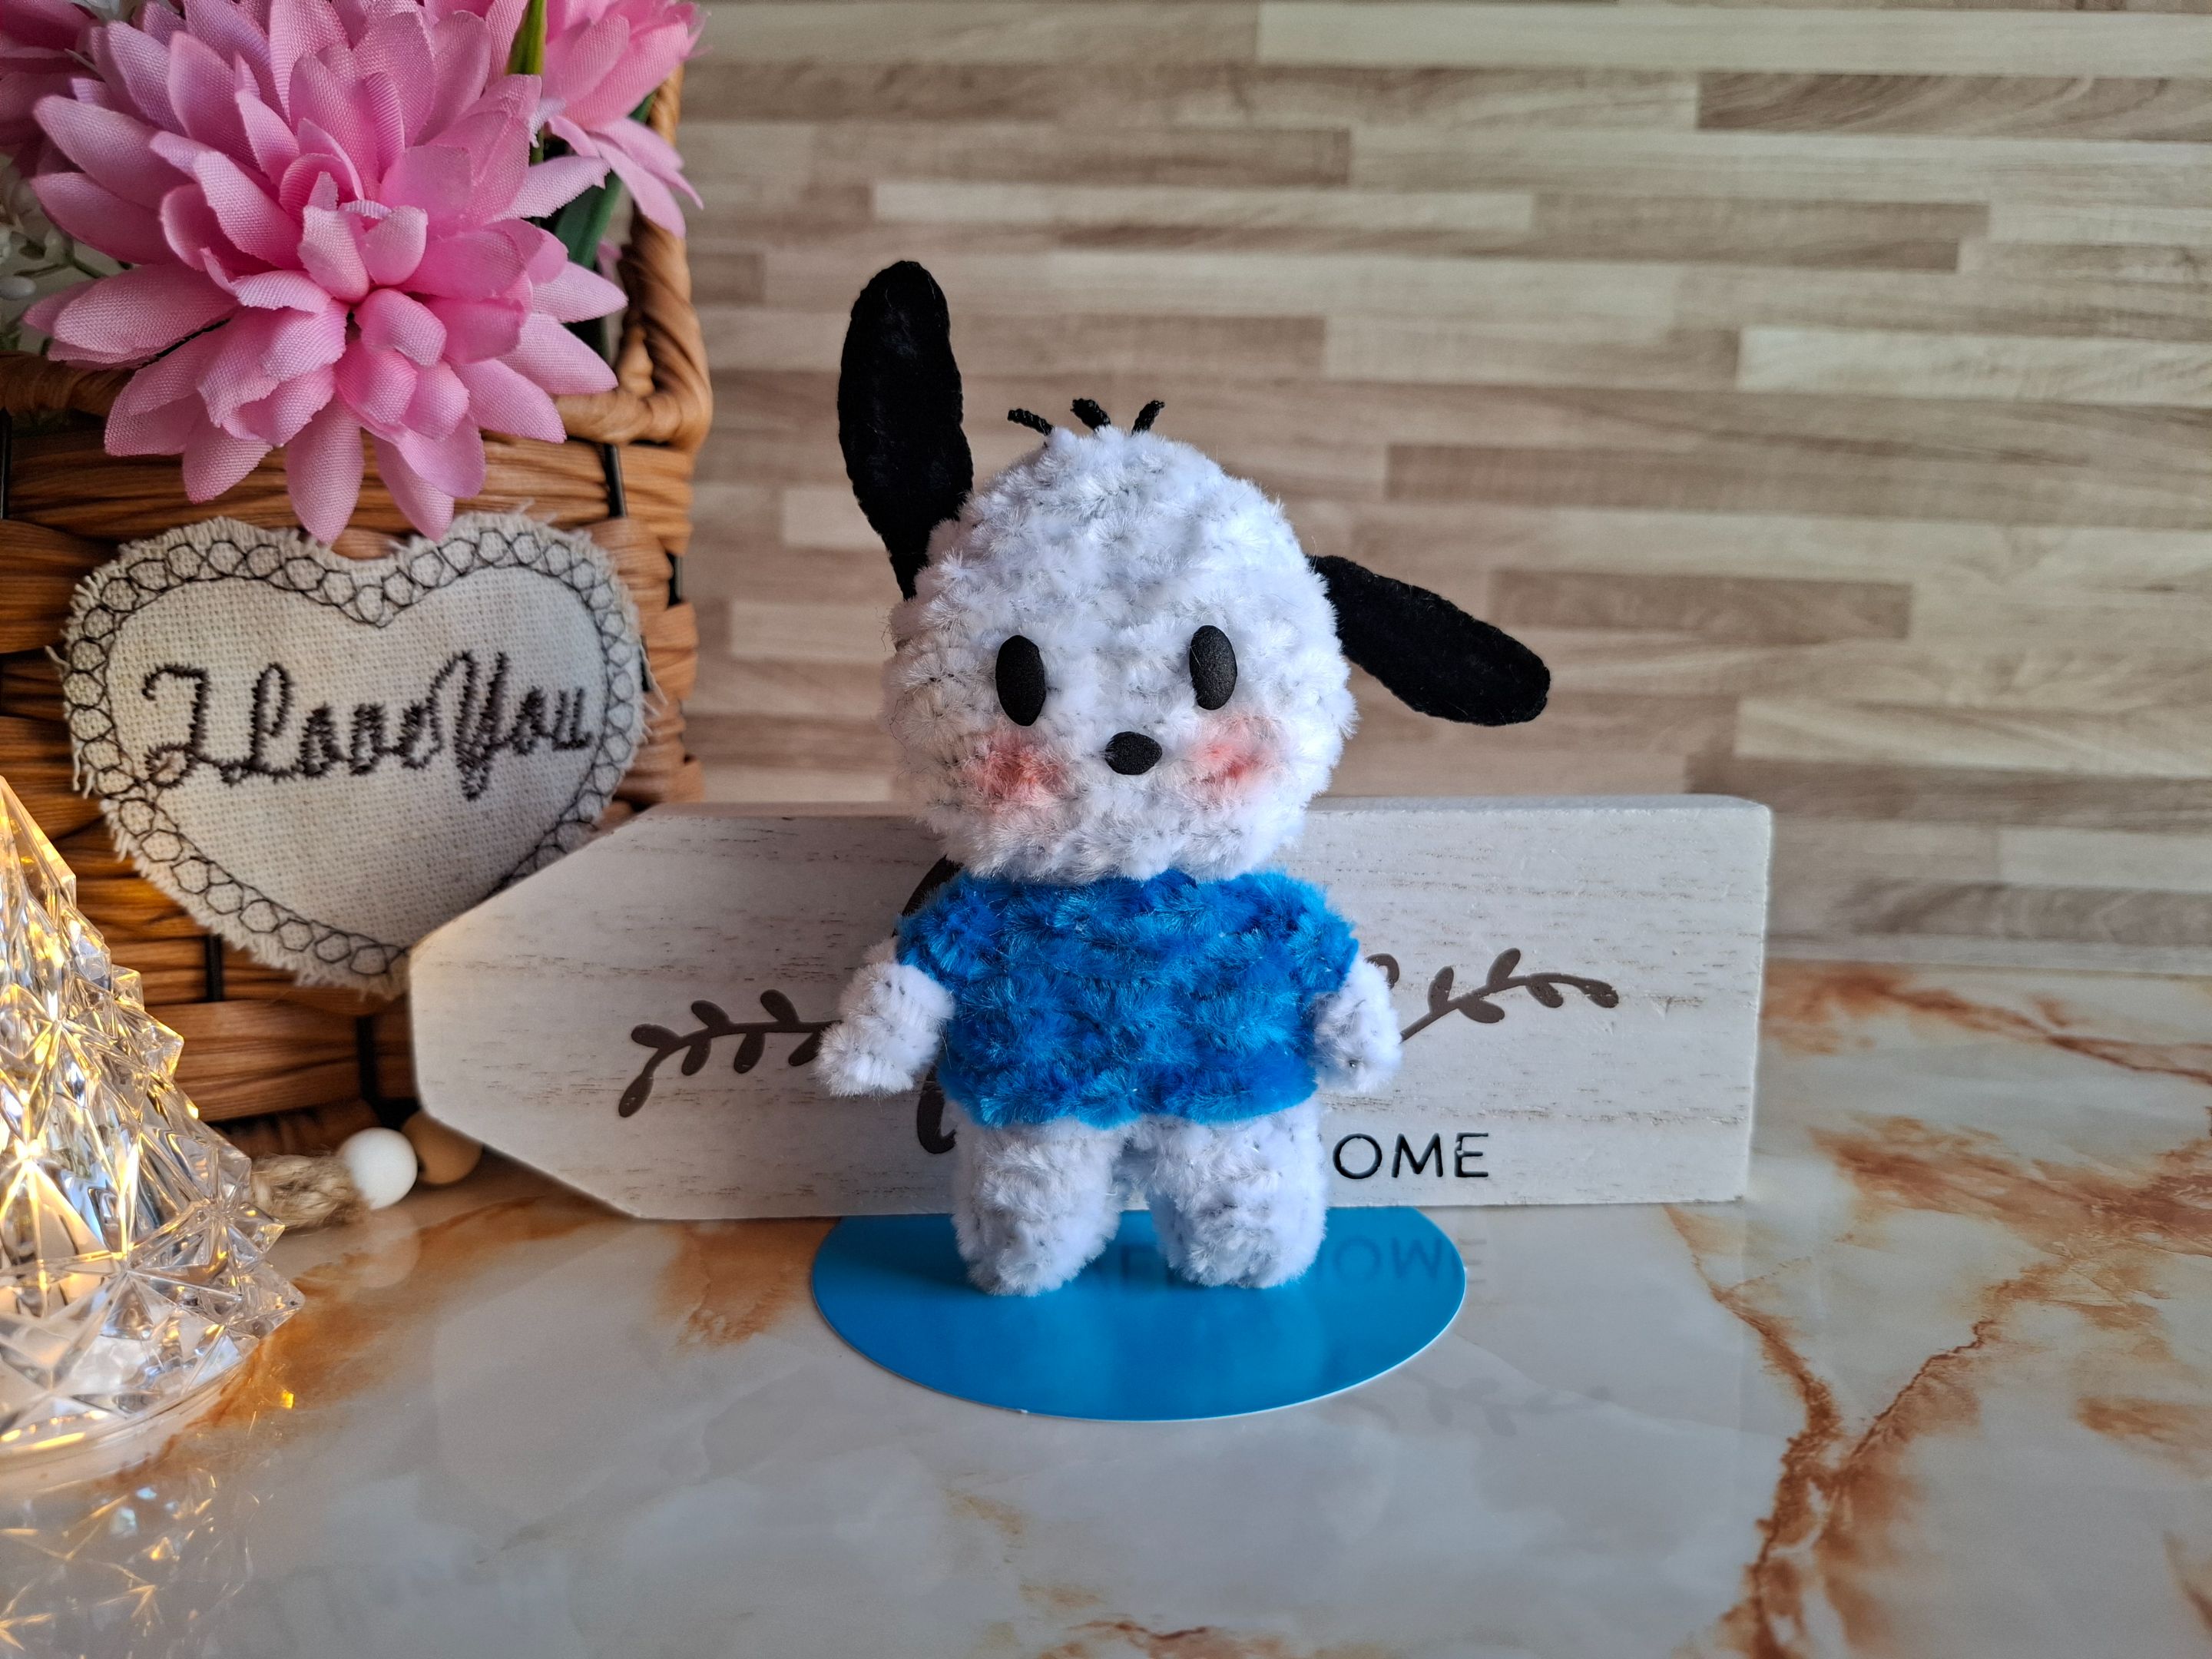
Para continuar con la elaboración de diferentes personajes de Sanrio, en esta oportunidad les comparto una nueva figura, se trata de Pochacco en limpiapipas, es un tierno peludo en color blanco conocido por muchos y que ahora formará parte de la colección.
To continue with the elaboration of different Sanrio characters, this time I share with you a new figure, it is Pochacco in pipe cleaners, it is a tender furry in white known by many and that will now be part of the collection.
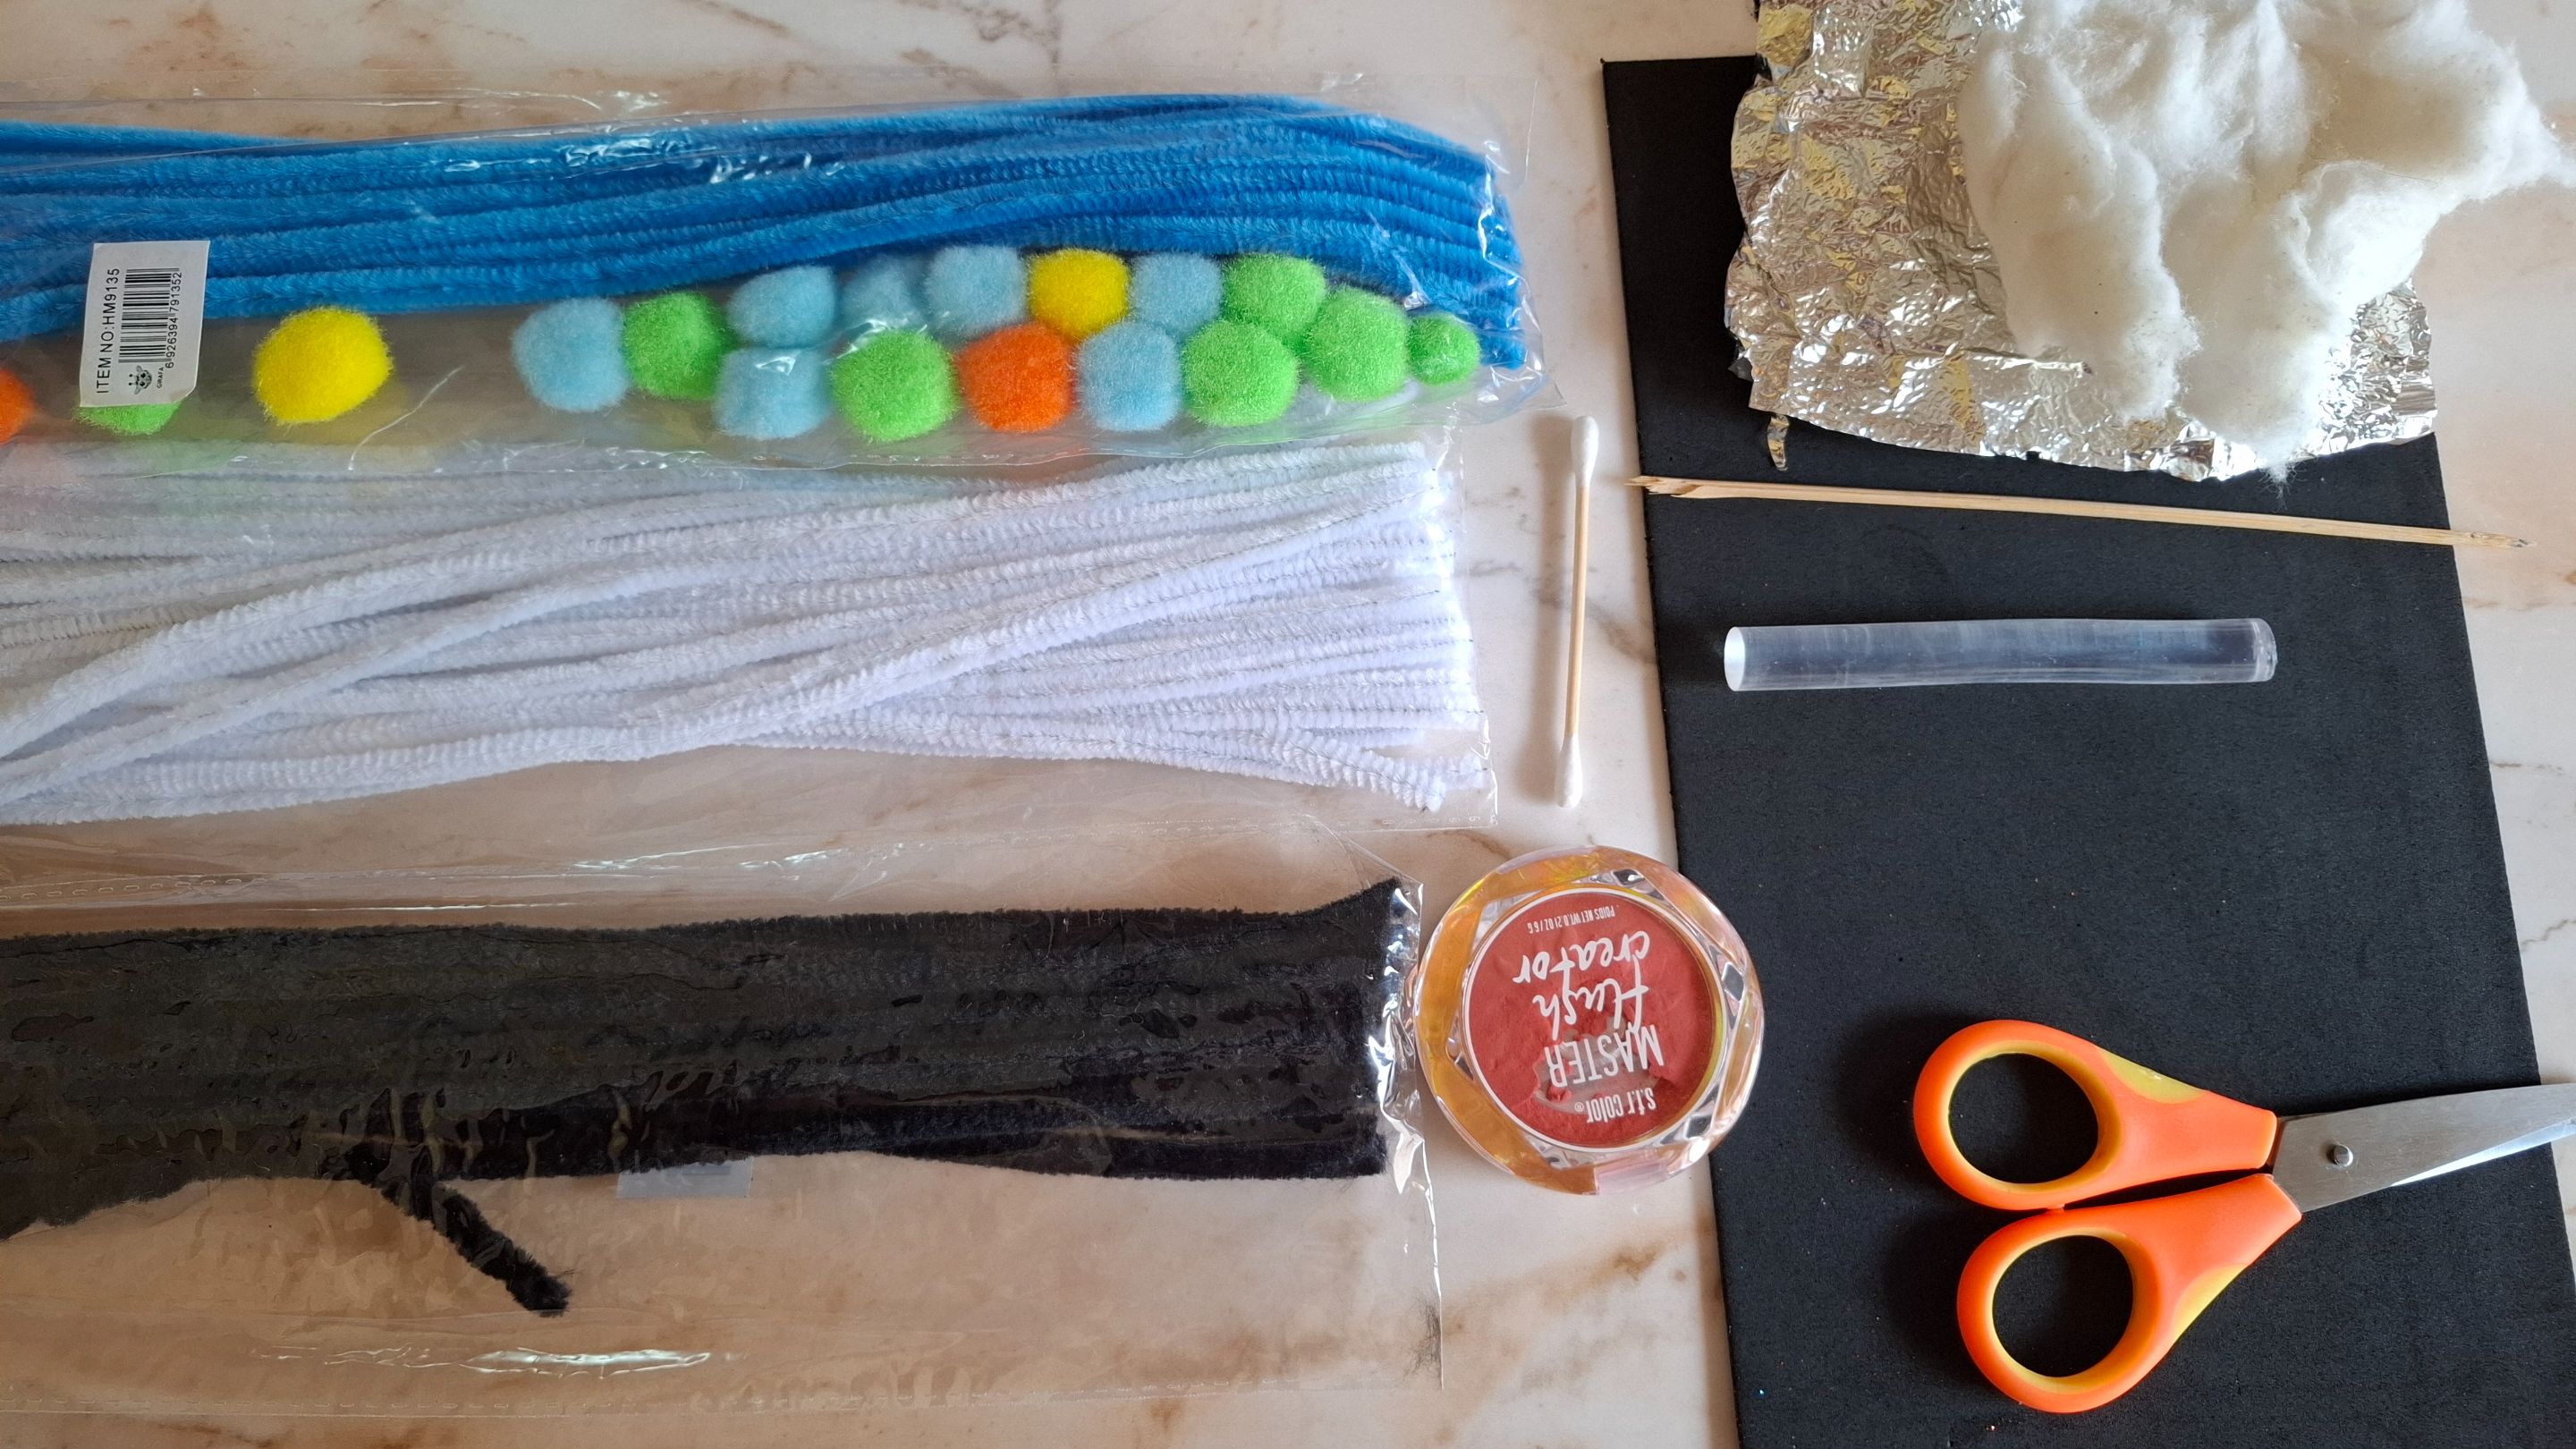
Les cuento que me costó un poco realizarlo ya que quería que los detalles se notaran limpios por lo que dure un poco más del tiempo, mientras lo realizaba observé muchas veces la imagen para poder realizar los detalles lo más similar posible, estoy contenta con el resultado, muchas veces debemos confiar en el proceso y trabajar la imaginación, a continuación les muestro los materiales y el paso a paso.
I tell you that it was a bit difficult for me to do it since I wanted the details to be clean so that it would last a little longer. While I was doing it, I looked at the image many times to be able to make the details as similar as possible. I am happy with the result. Many times we must trust the process and work on our imagination. Below I show you the materials and the step by step.

| Materiales | Materials |
|---|---|
| Limpiapipas blanco | white pipe cleaner |
| Limpiapipas azul | blue pipe cleaner |
| Limpiapipas negro | black pipe cleaner |
| Silicón, tijera | Silicone, scissors |
| Encendedor | Lighter |
| Palillo, rubor | Toothpick, blush |
Paso a paso / Step by step
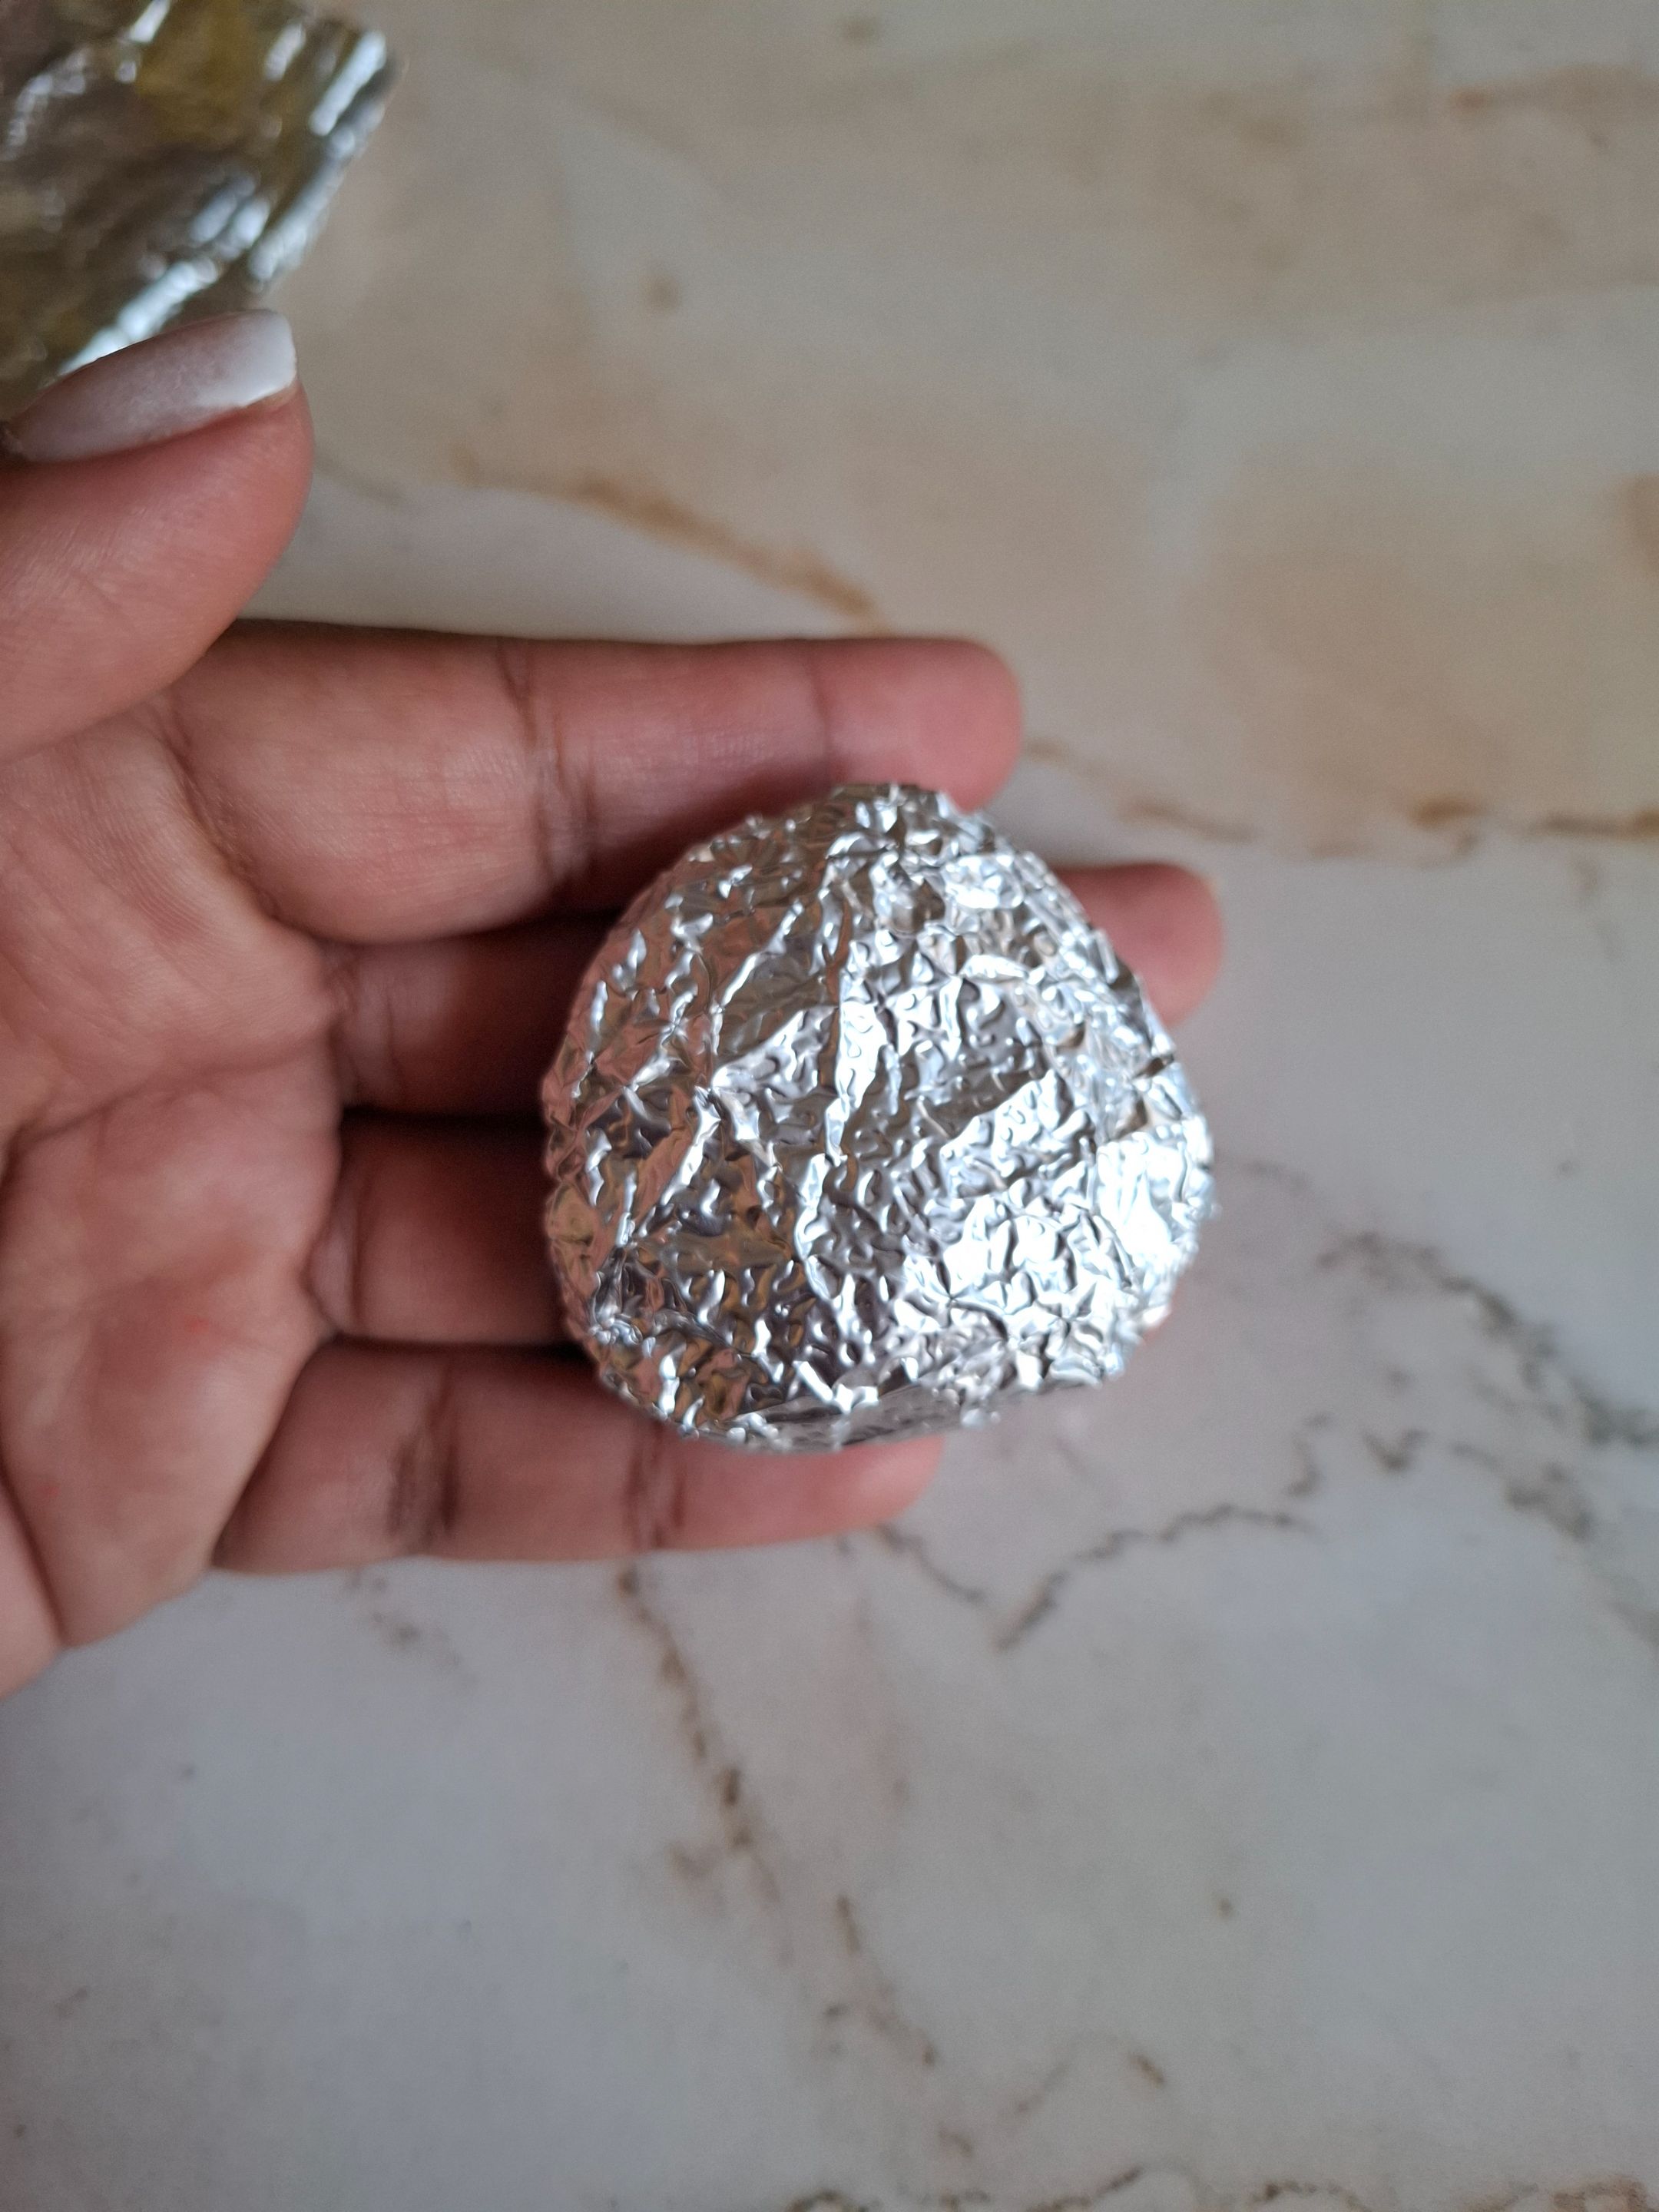
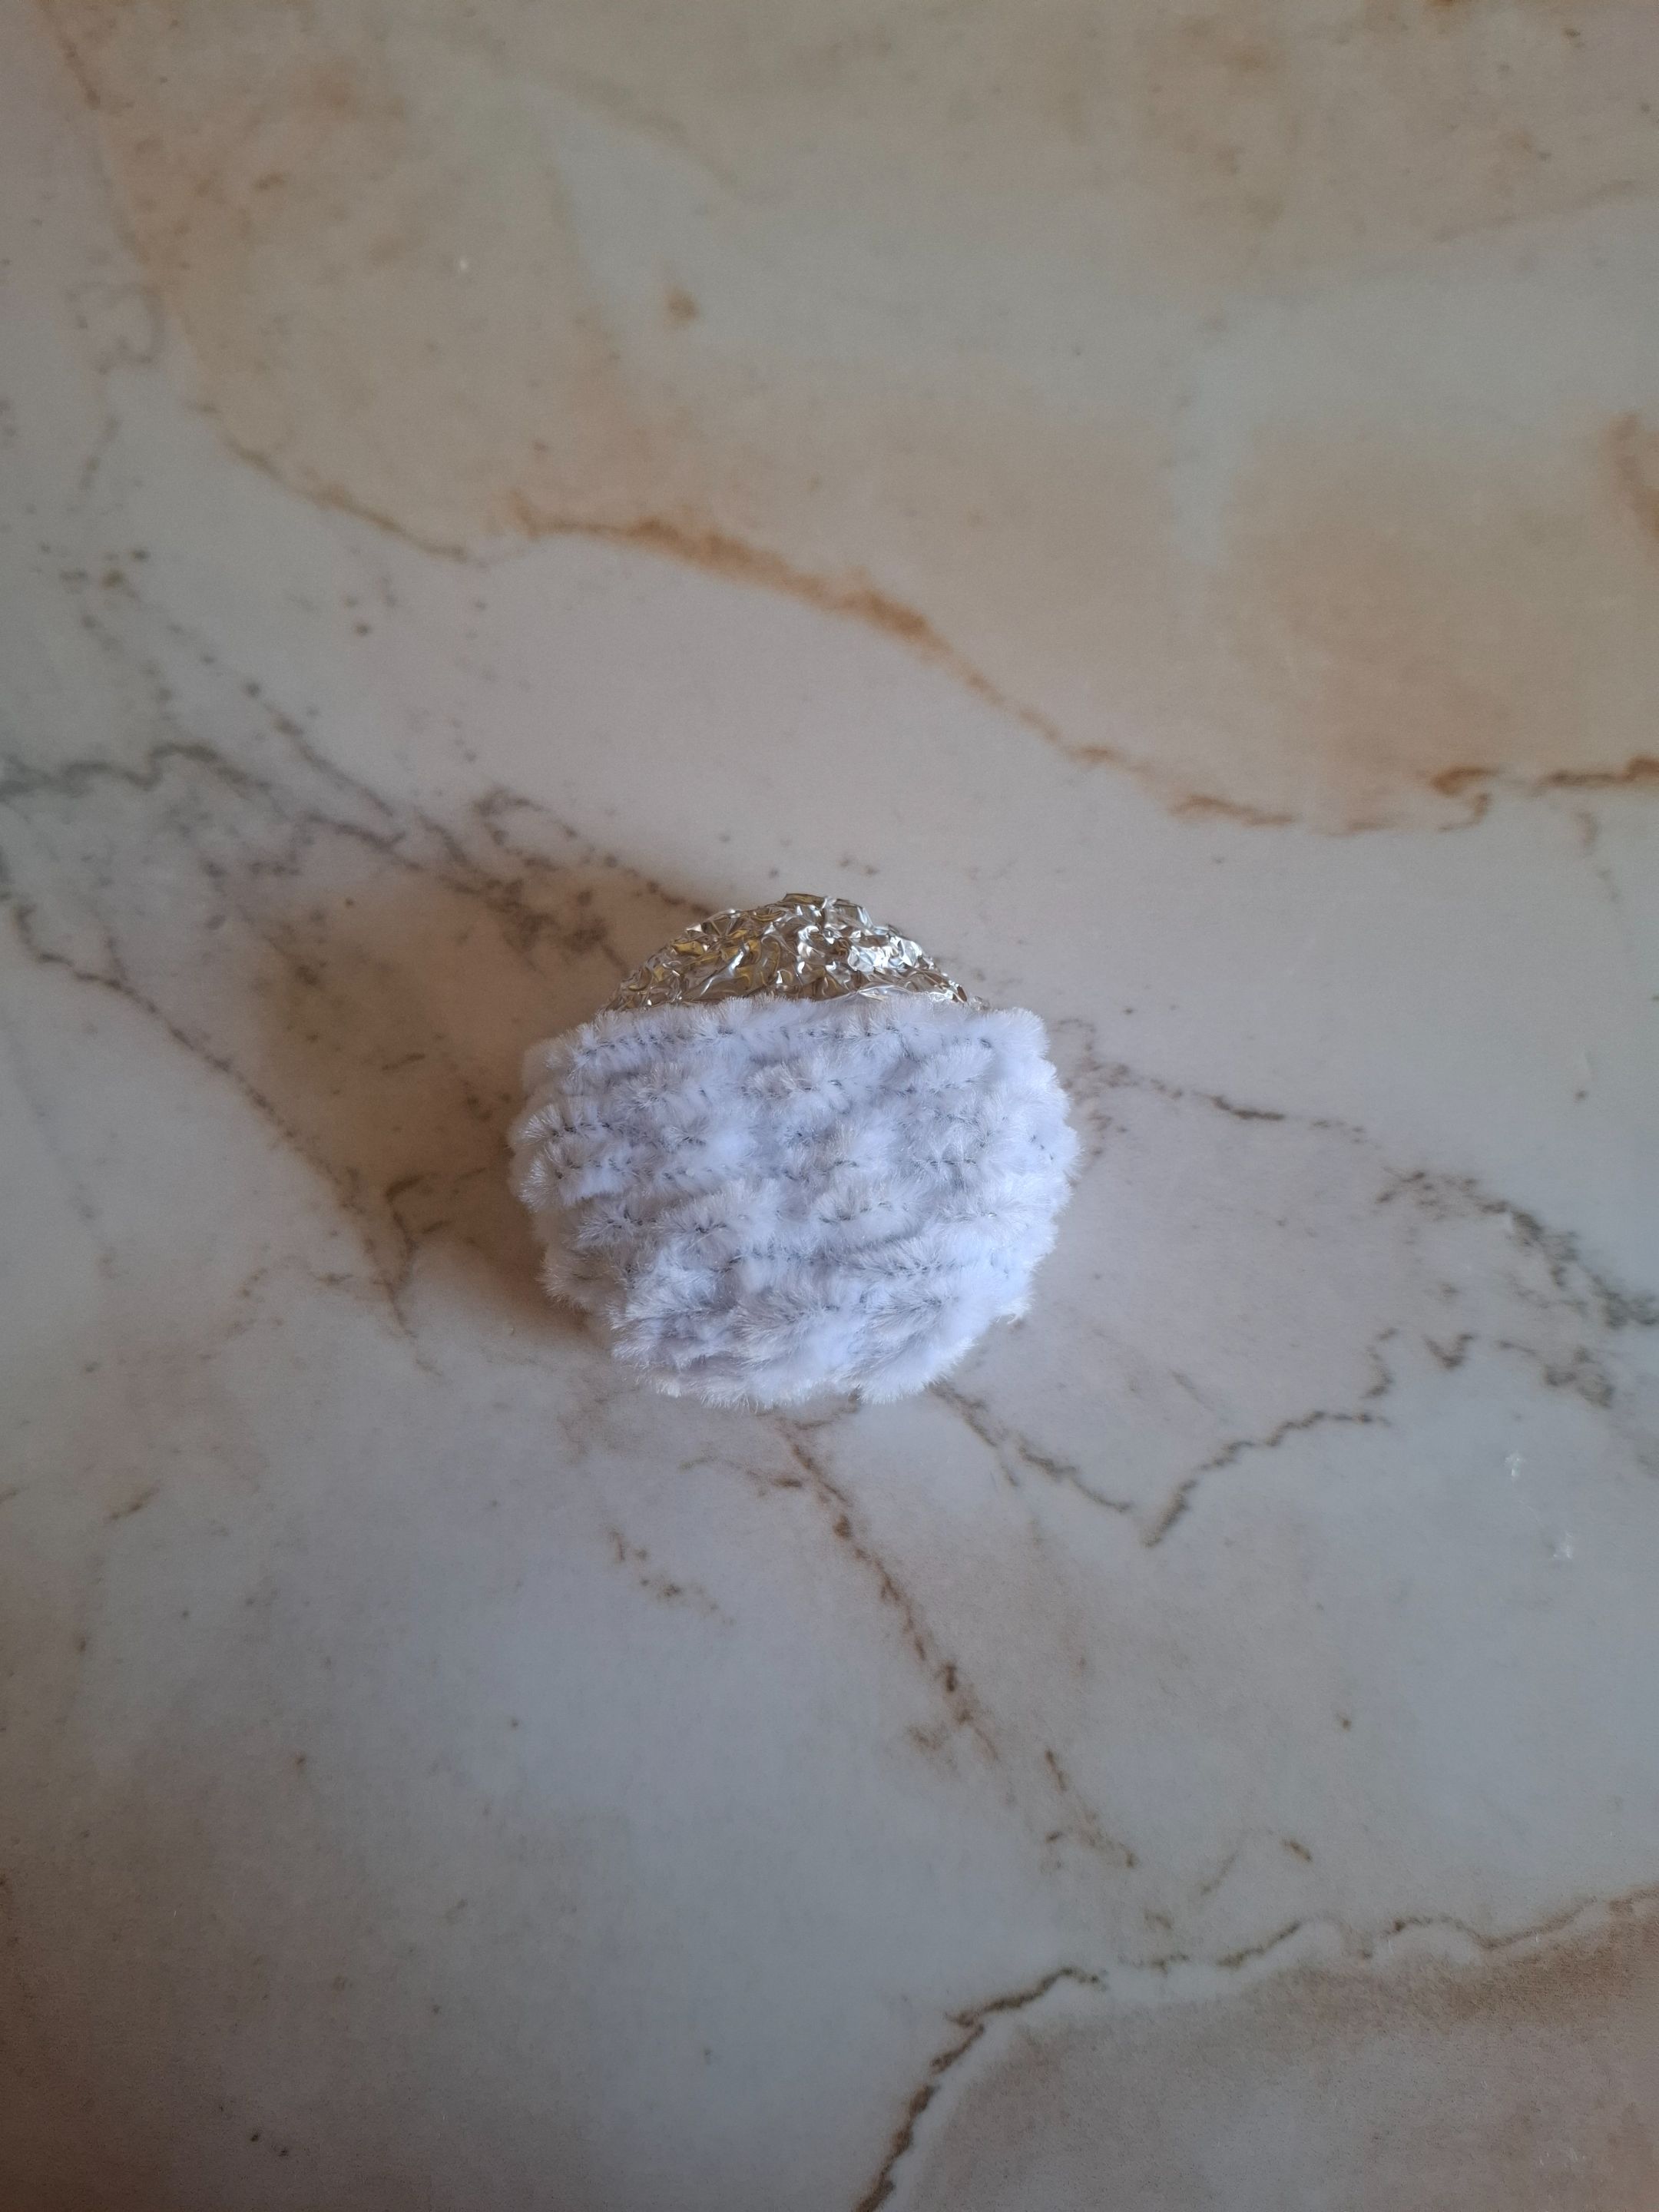
El primer paso será armar la base de la figura utilizando como siempre el papel aluminio con relleno de algodón. También todos los limpiapipas a utilizar los voy a enrollar en el palillo para dar la textura de peluche.
The first step is to assemble the base of the figure, using, as always, aluminum foil stuffed with cotton. I'll also wrap all the pipe cleaners I'll use around the toothpick to give it a plush texture.
 |
 |
|
|---|---|---|
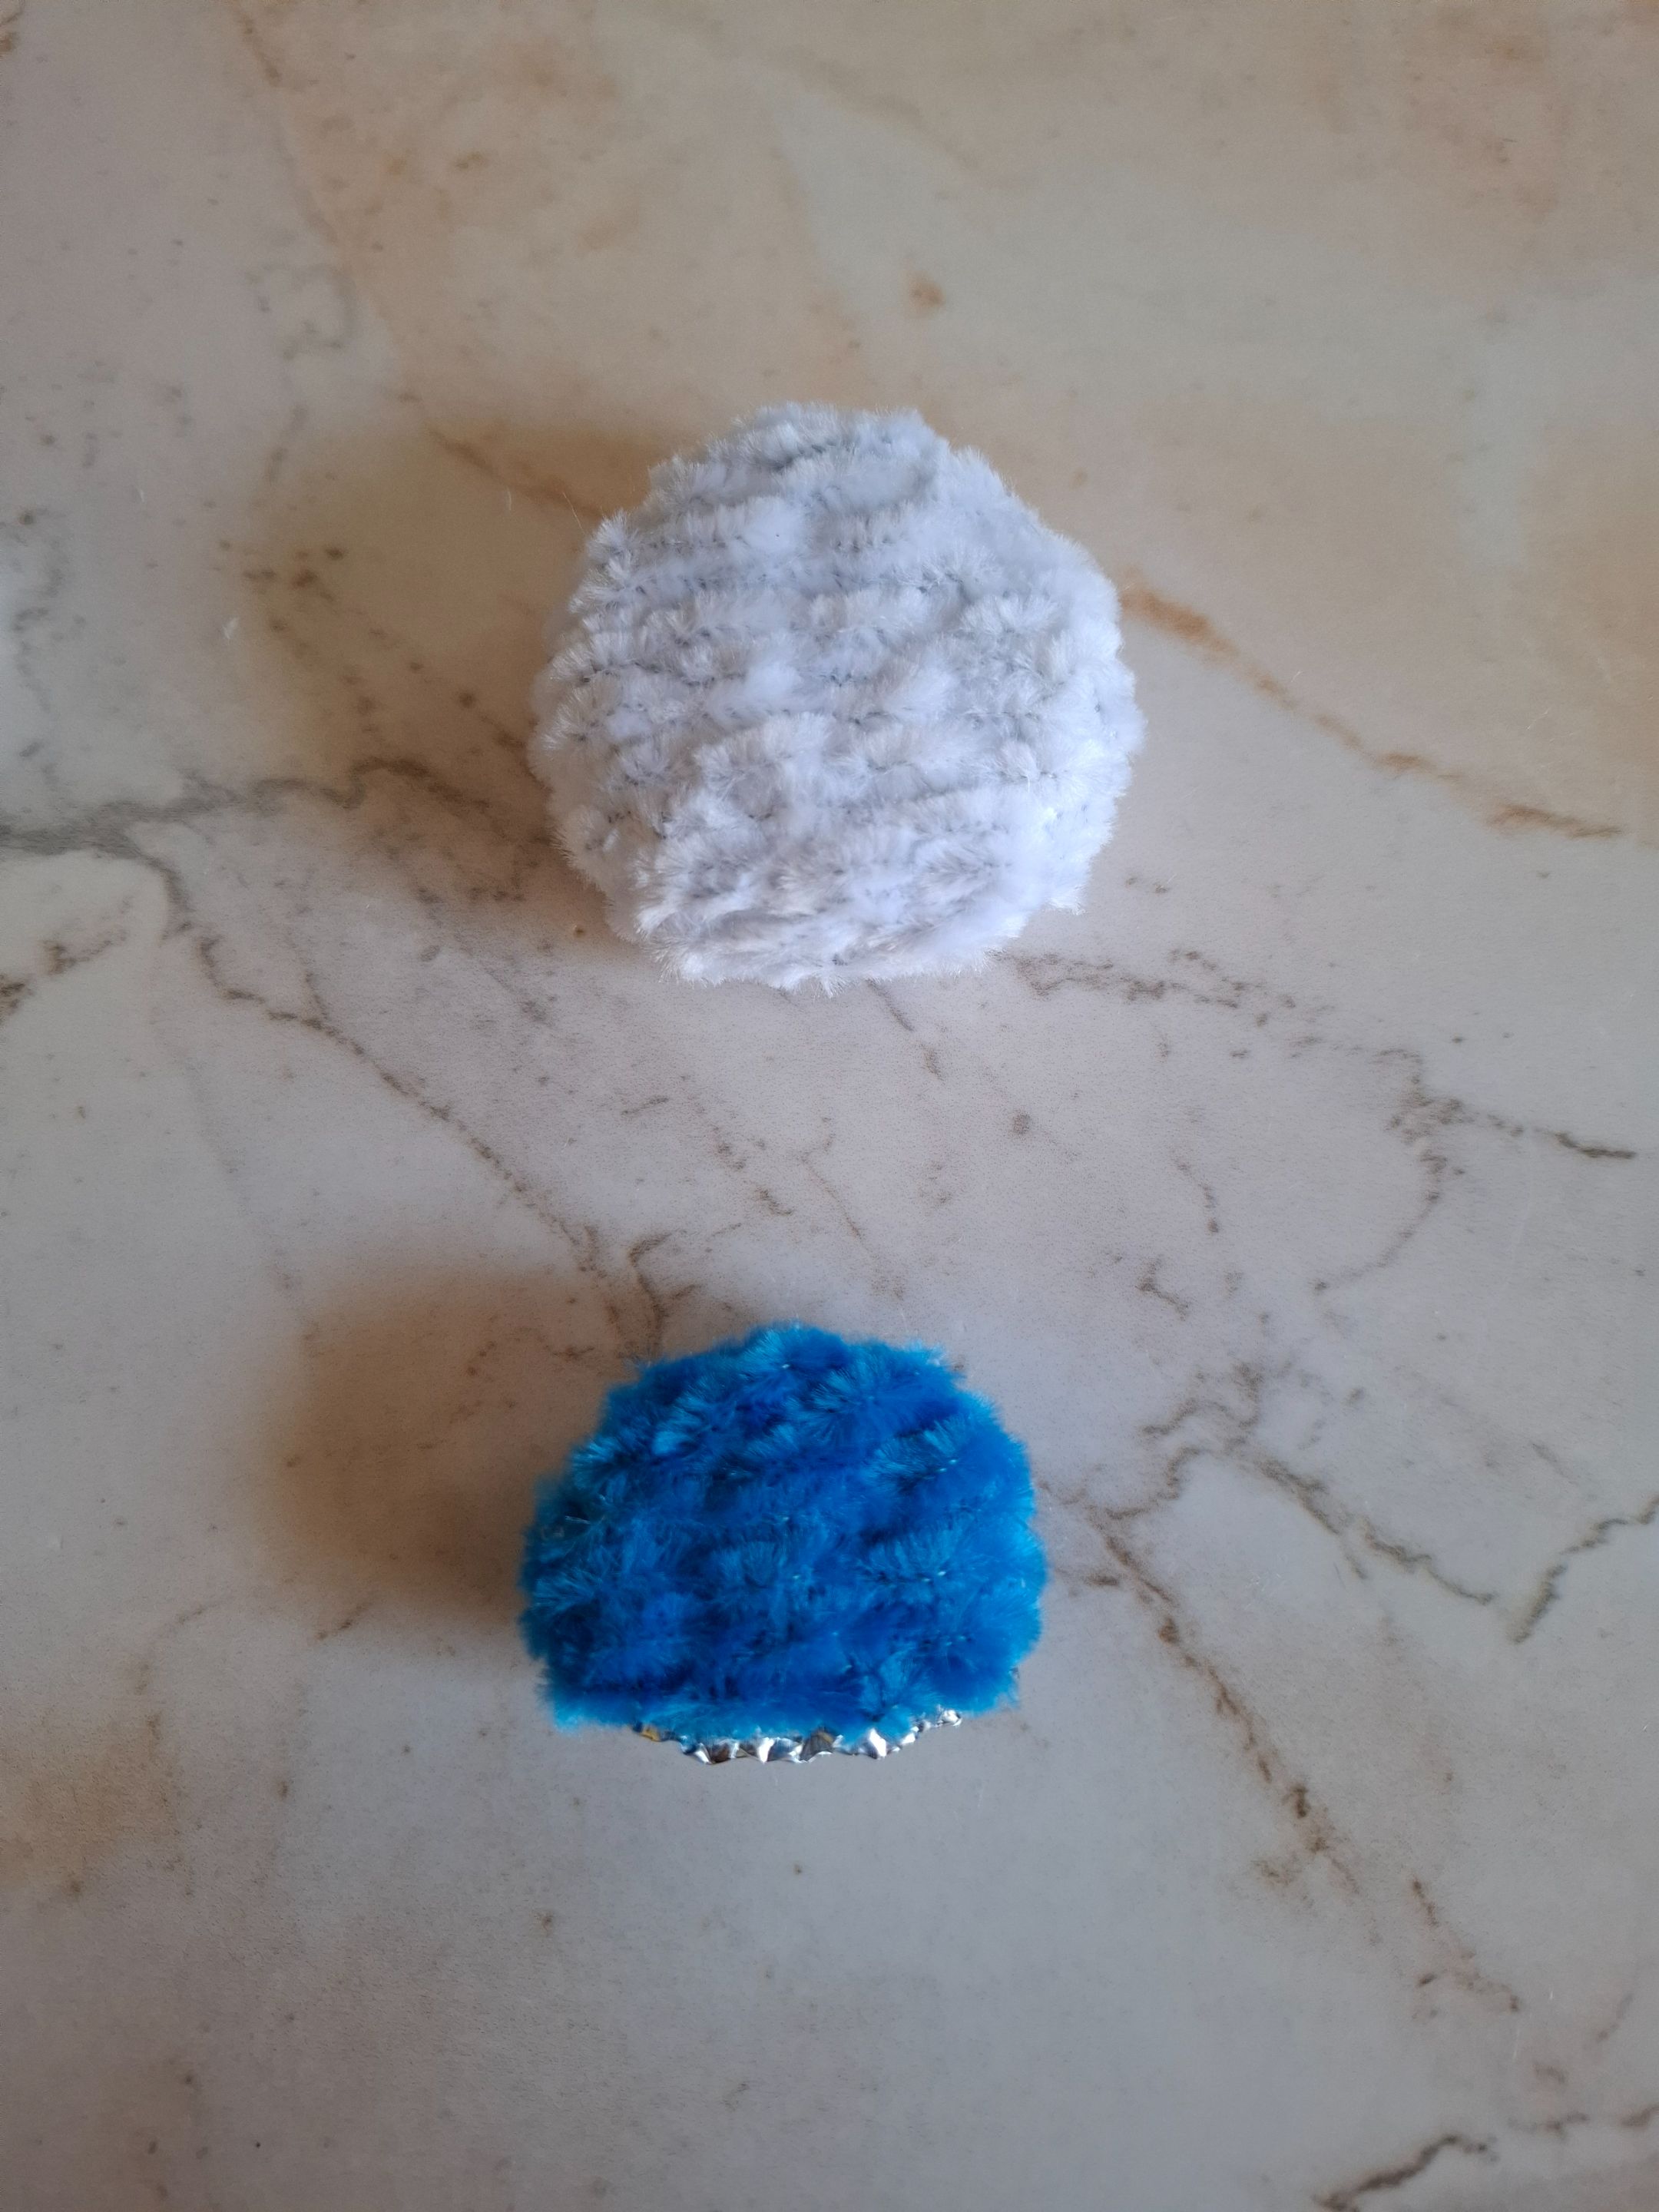
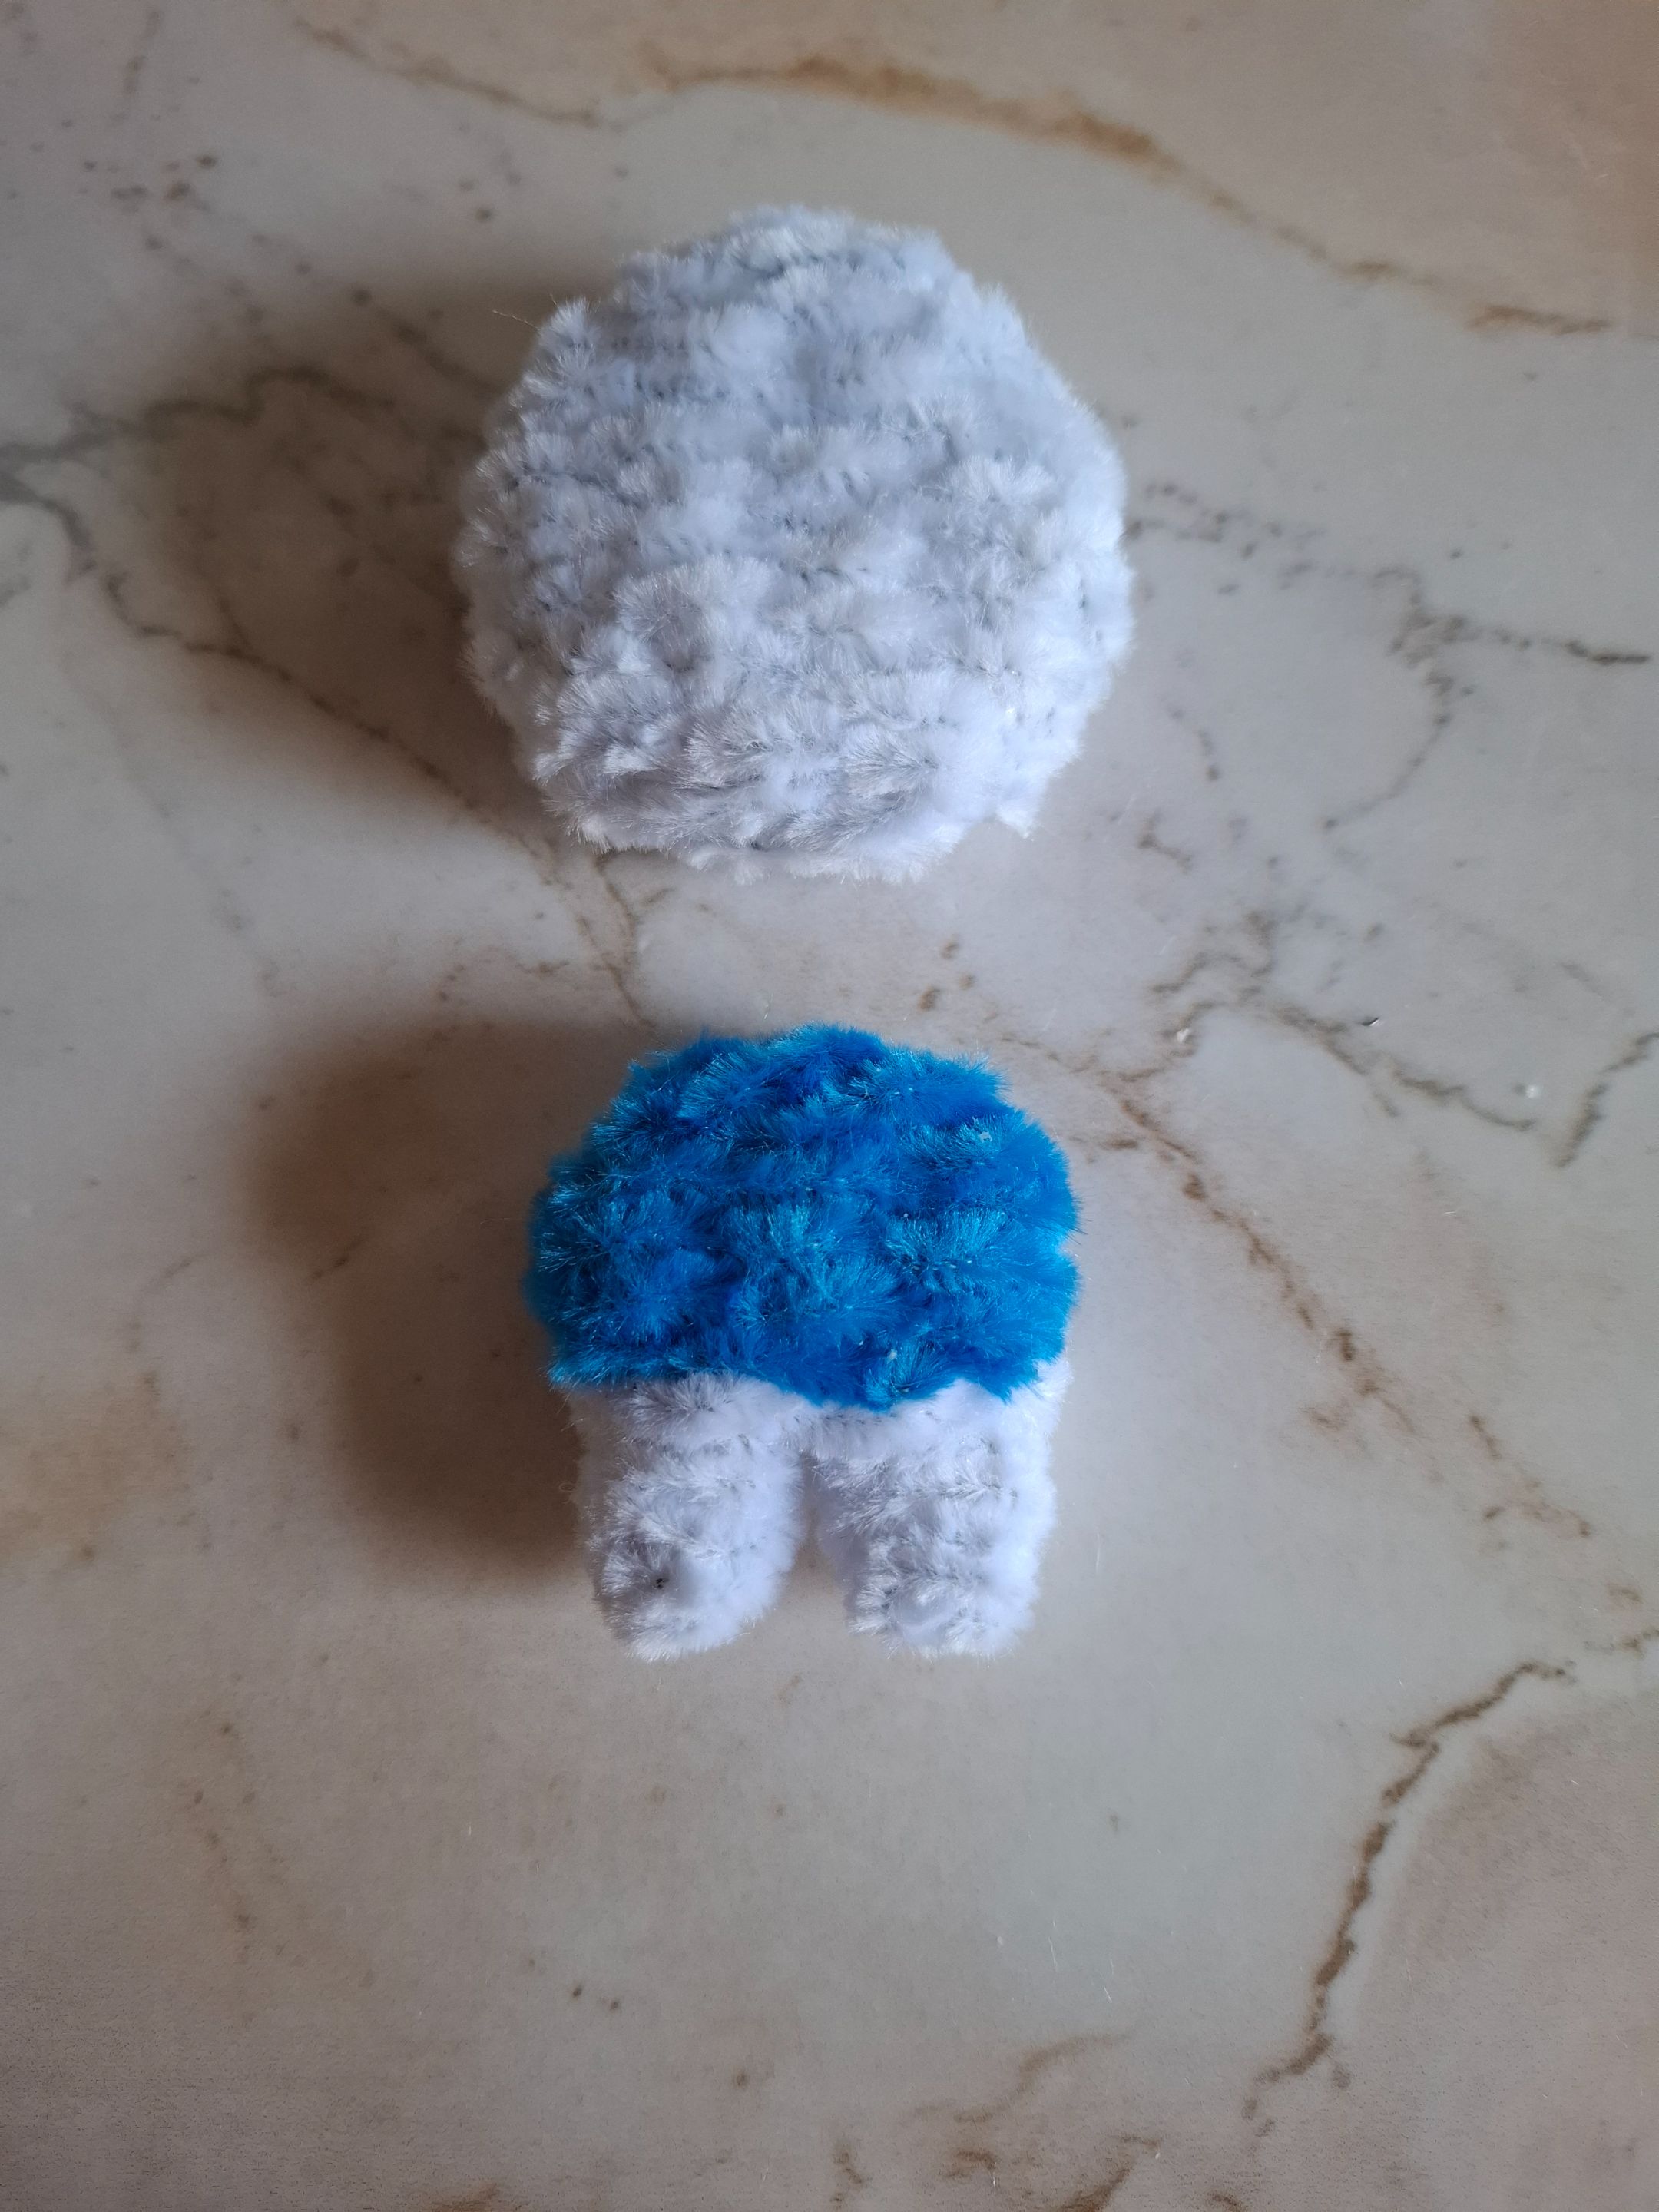
Ahora voy a comenzar a cubrir la cabeza con el limpiapipas color blanco, una vez lista la cabeza voy con el cuerpo, el torso también lo realizamos con aluminio, y voy a comenzar a cubrir con limpiapipas azul. En este punto puedes elegir el color de su ropa.
Now I'm going to start covering the head with the white pipe cleaner. Once the head is ready, I'll move on to the body. We'll also make the torso with aluminum foil, and I'll start covering it with blue pipe cleaners. At this point, you can choose the color of her clothes.
|
 |
|---|---|
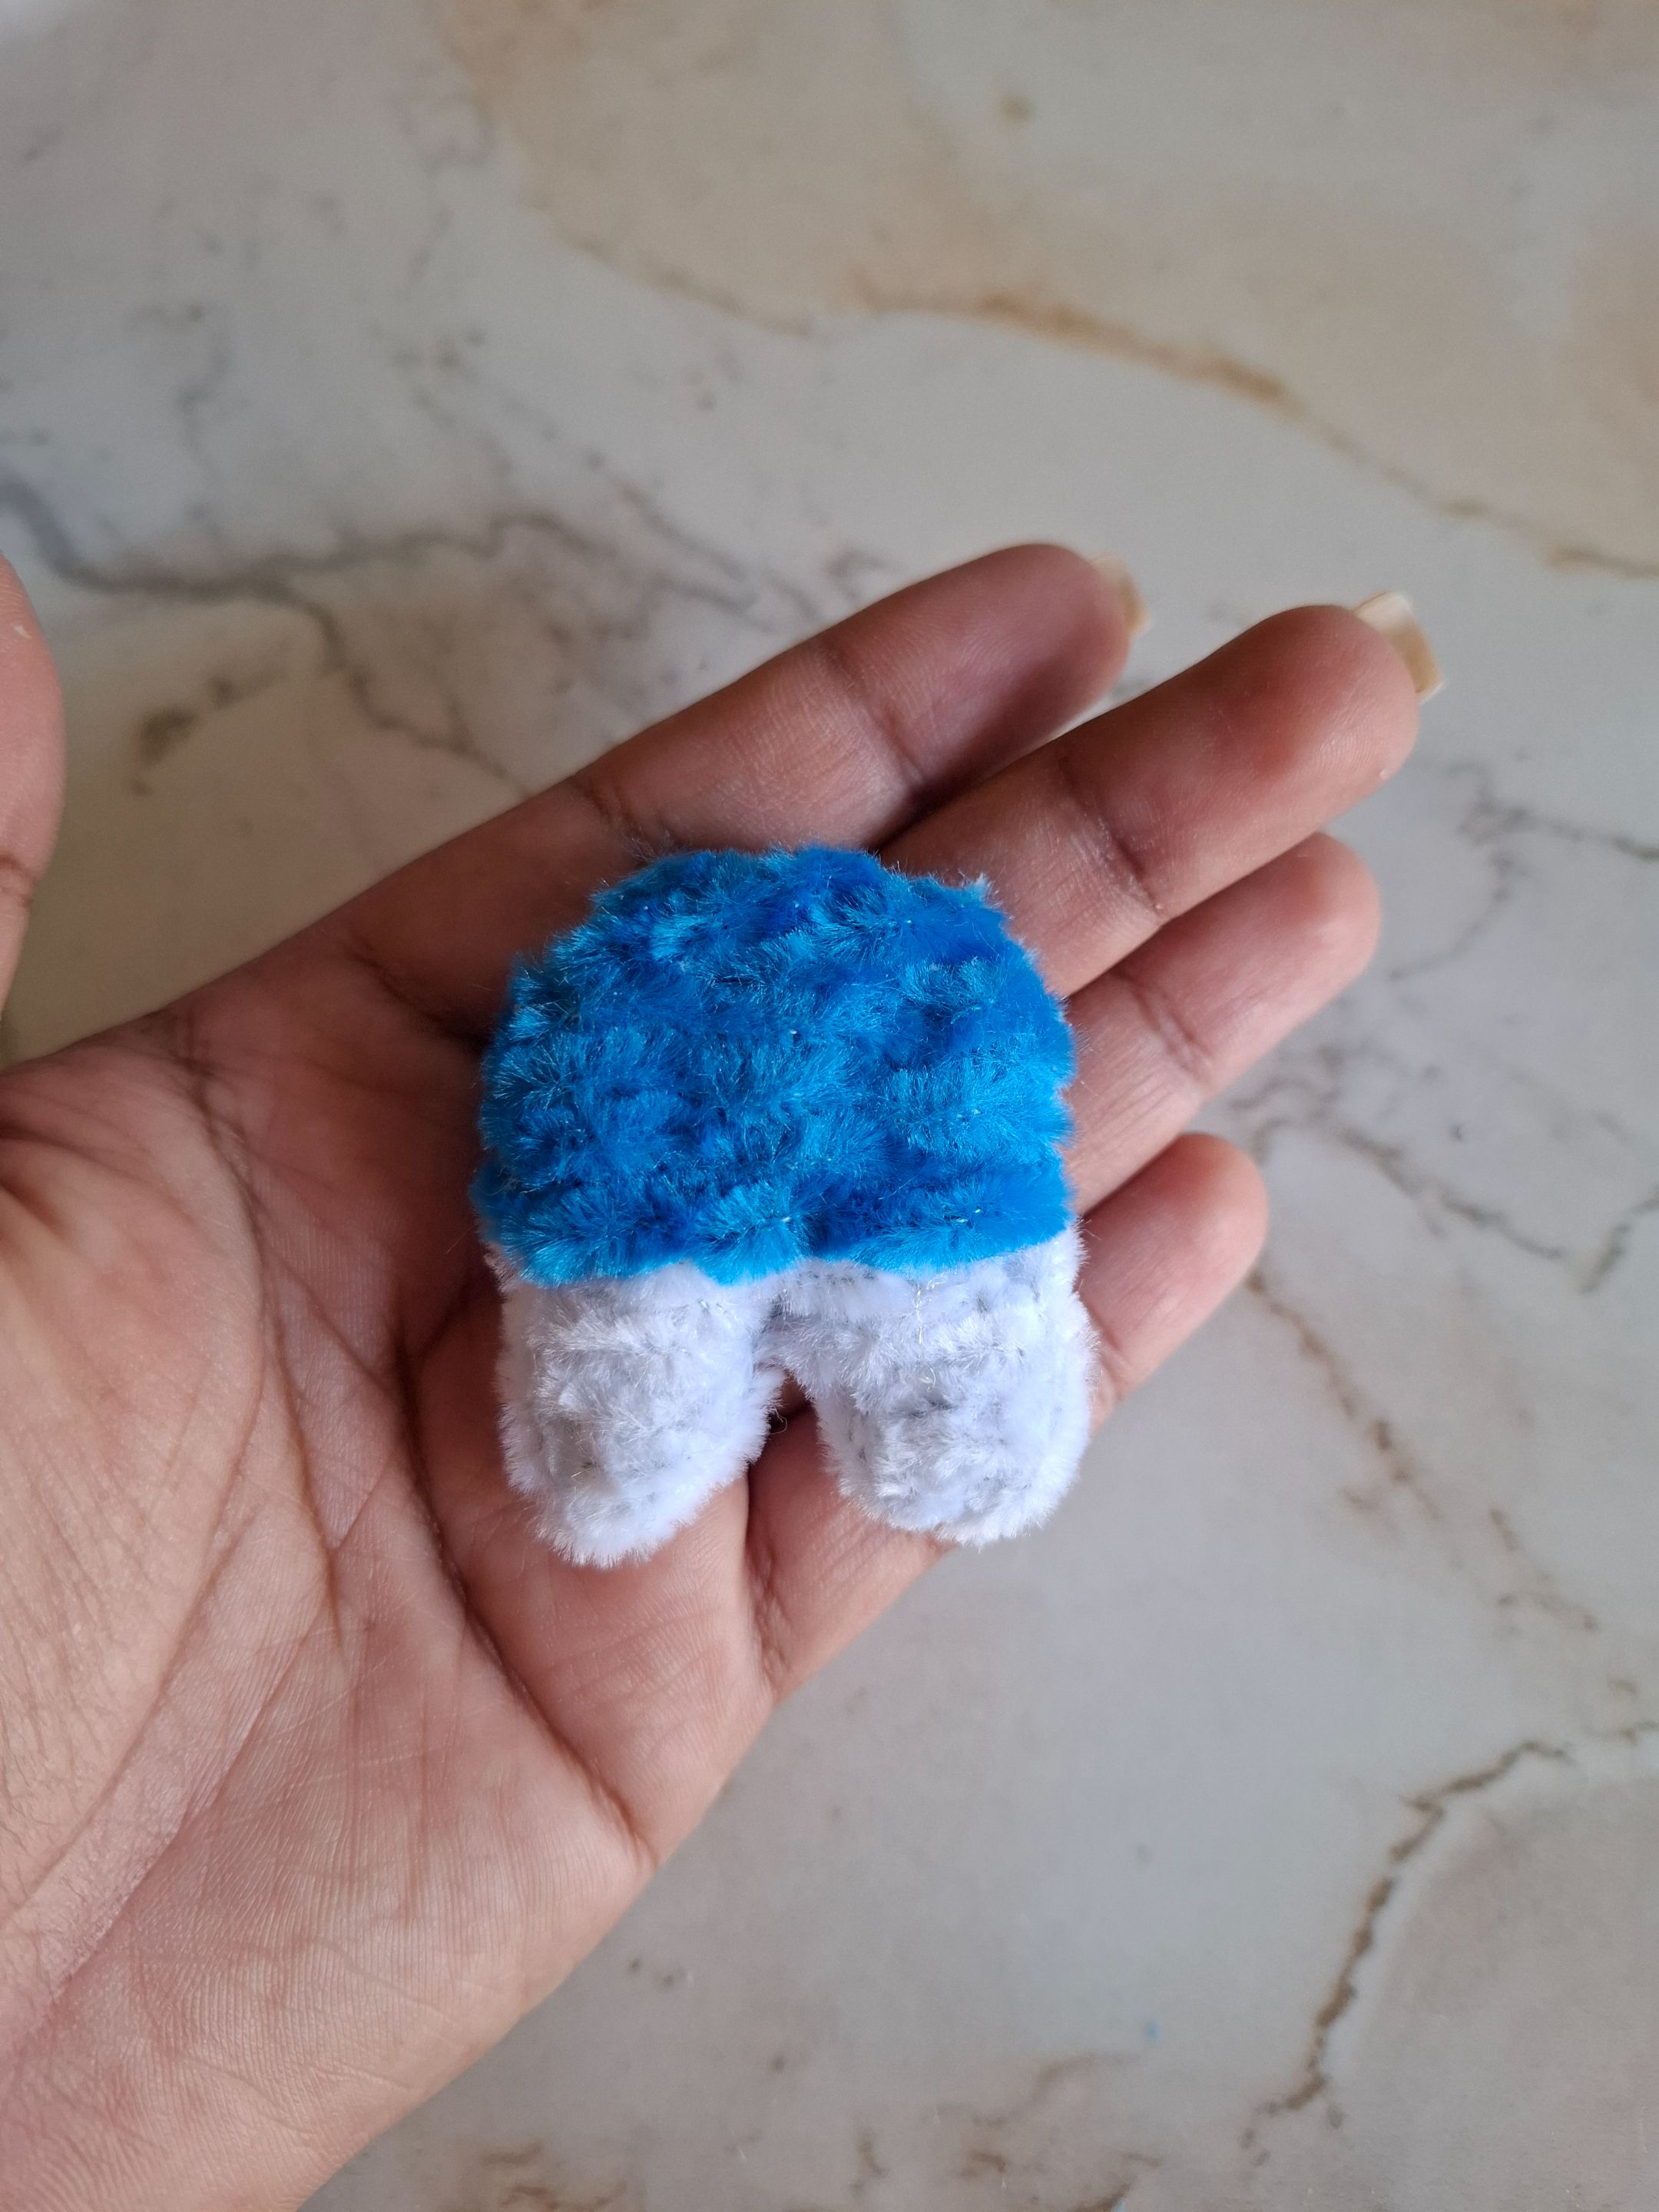
Para las patitas rellene dos pequeñas piezas y cubri con limpiapipas blanco, las uni al torso y afinamos detalles con el limpiapipas azul, también coloqué limpiapipas blanco en el borde de las patitas.
For the legs, I filled two small pieces and covered them with white pipe cleaners. I joined them to the torso and refined the details with the blue pipe cleaner. I also placed white pipe cleaners on the edge of the legs.
 |
 |
 |
|---|---|---|
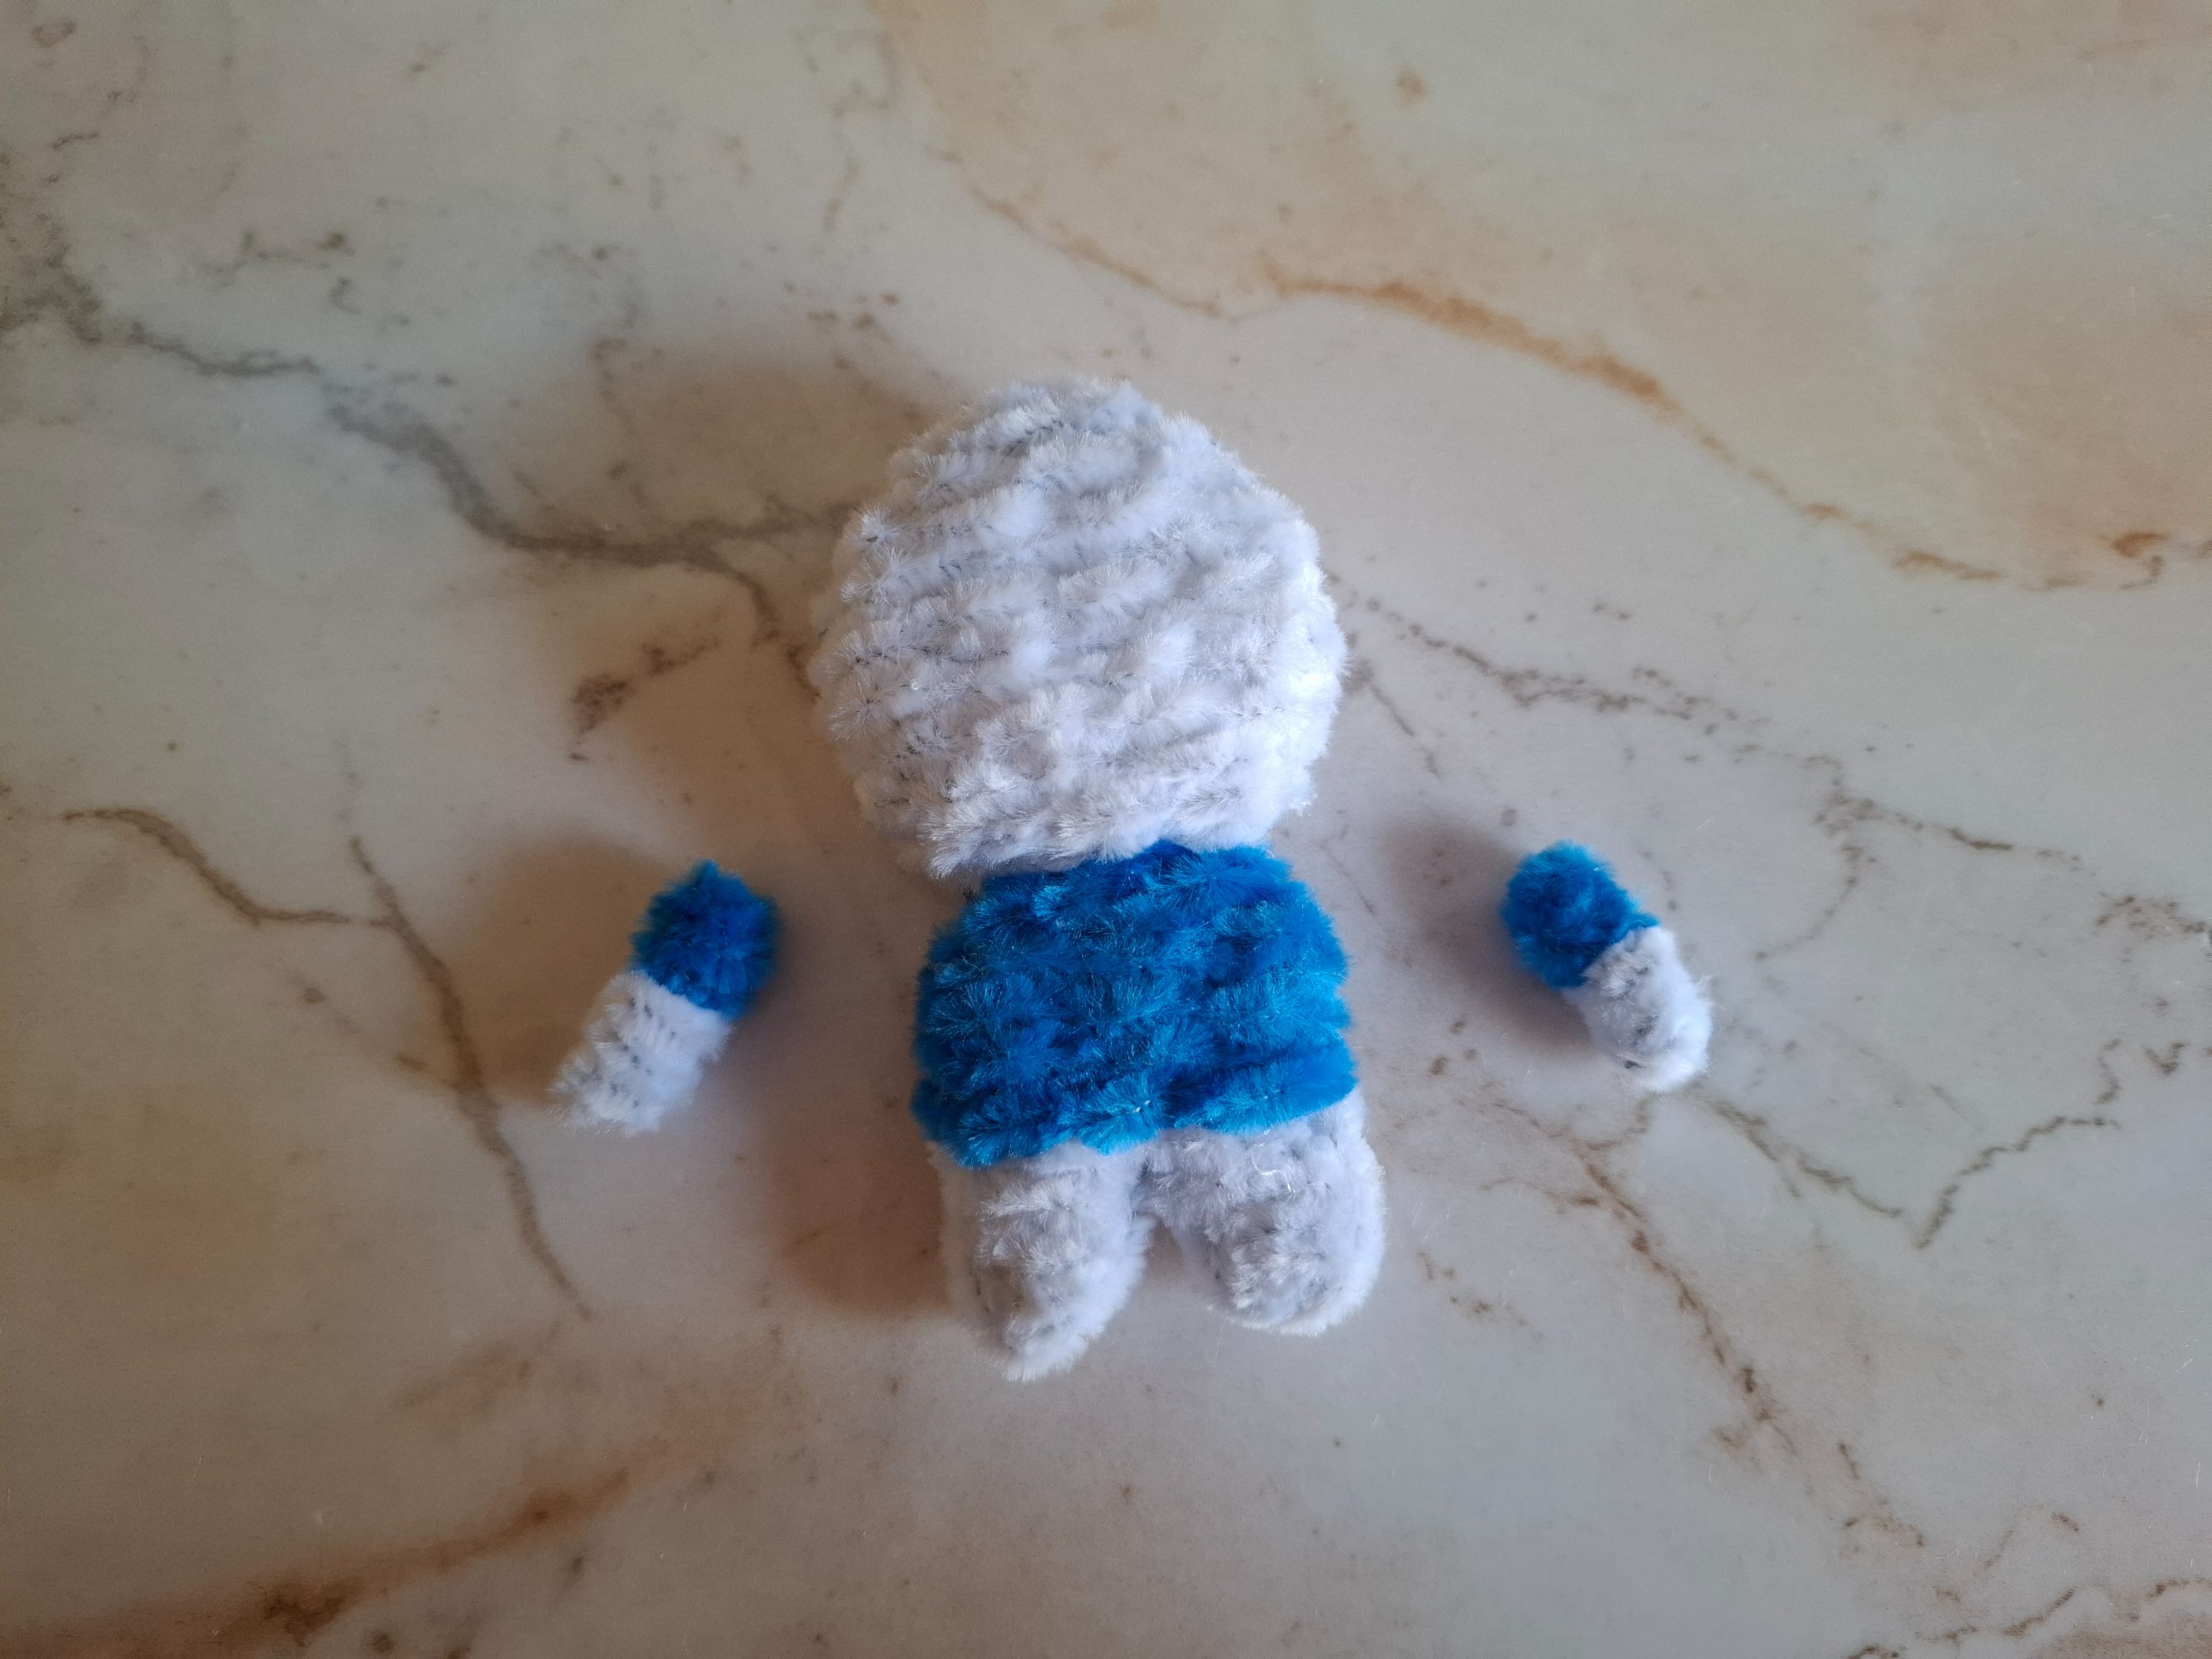
Para los brazos utilicé dos pequeñas piezas de limpiapipas blanco, realicé la manga en color azul, el resto en color blanco, en este paso solo debes enrollar el limpiapipas sobre la base hasta que quede todo cubierto.
For the arms I used two small pieces of white pipe cleaner, I made the sleeve in blue, the rest in white, in this step you just have to roll the pipe cleaner over the base until everything is covered.
 |
 |
|---|---|
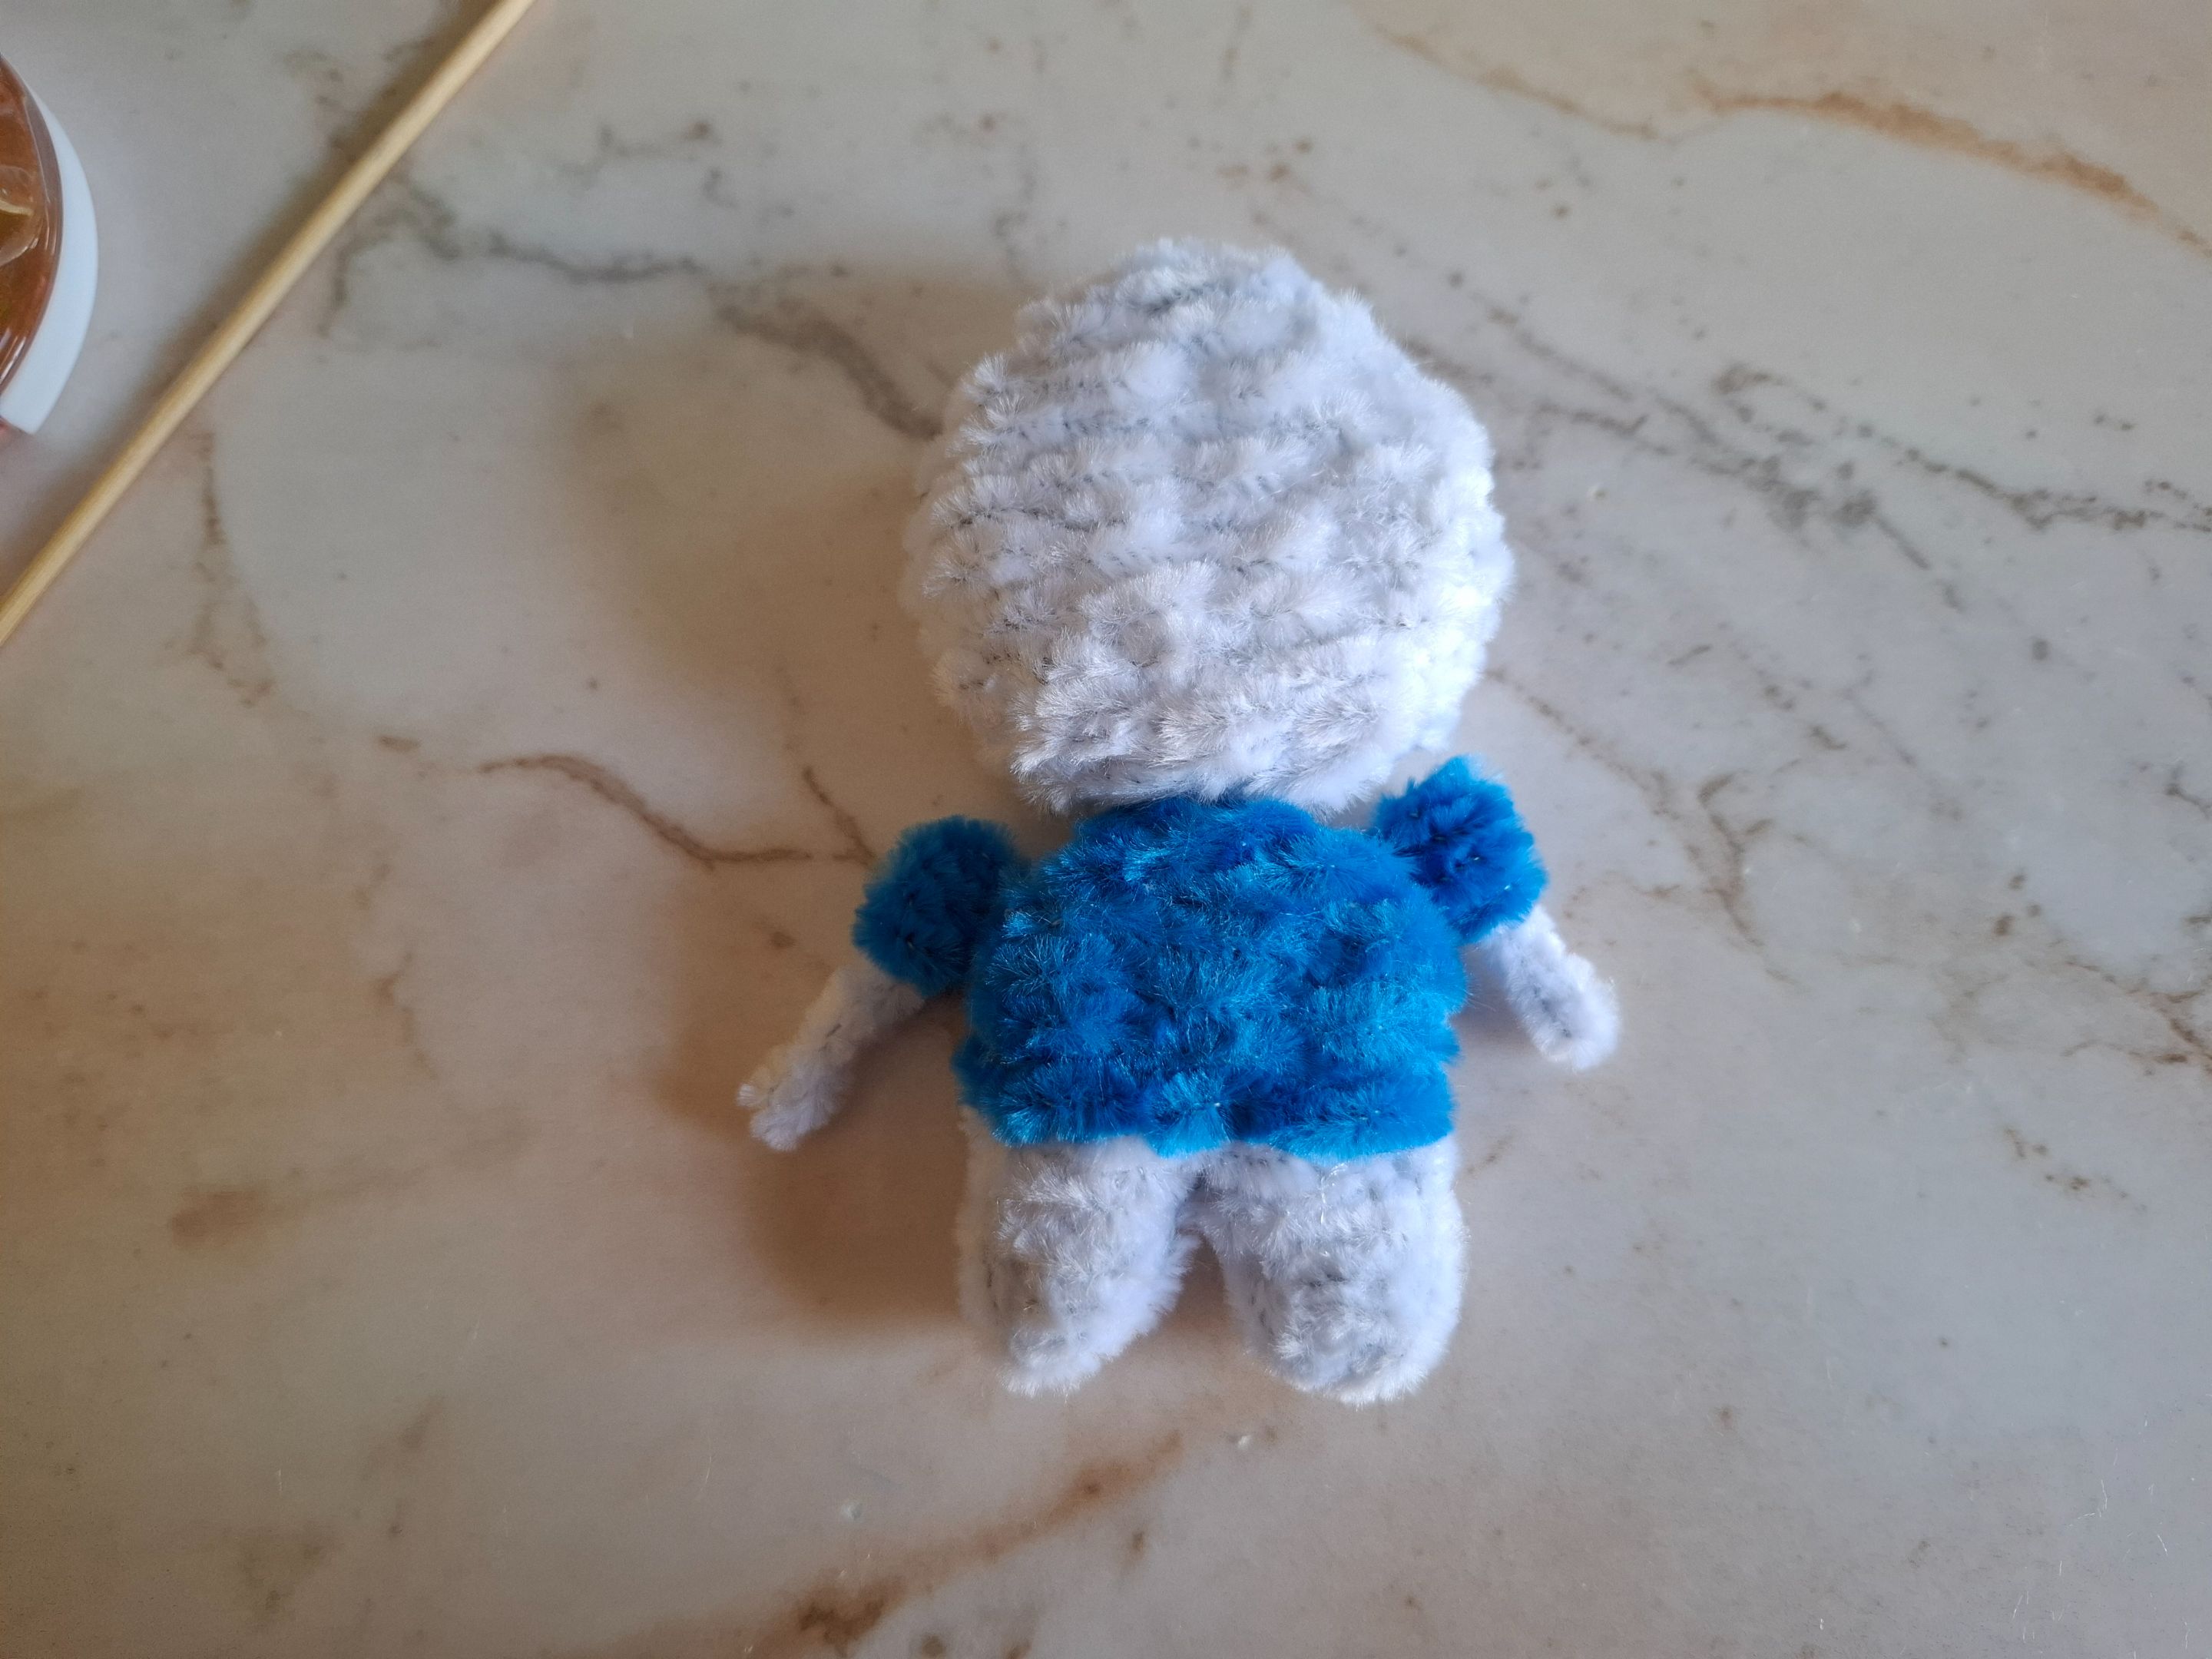
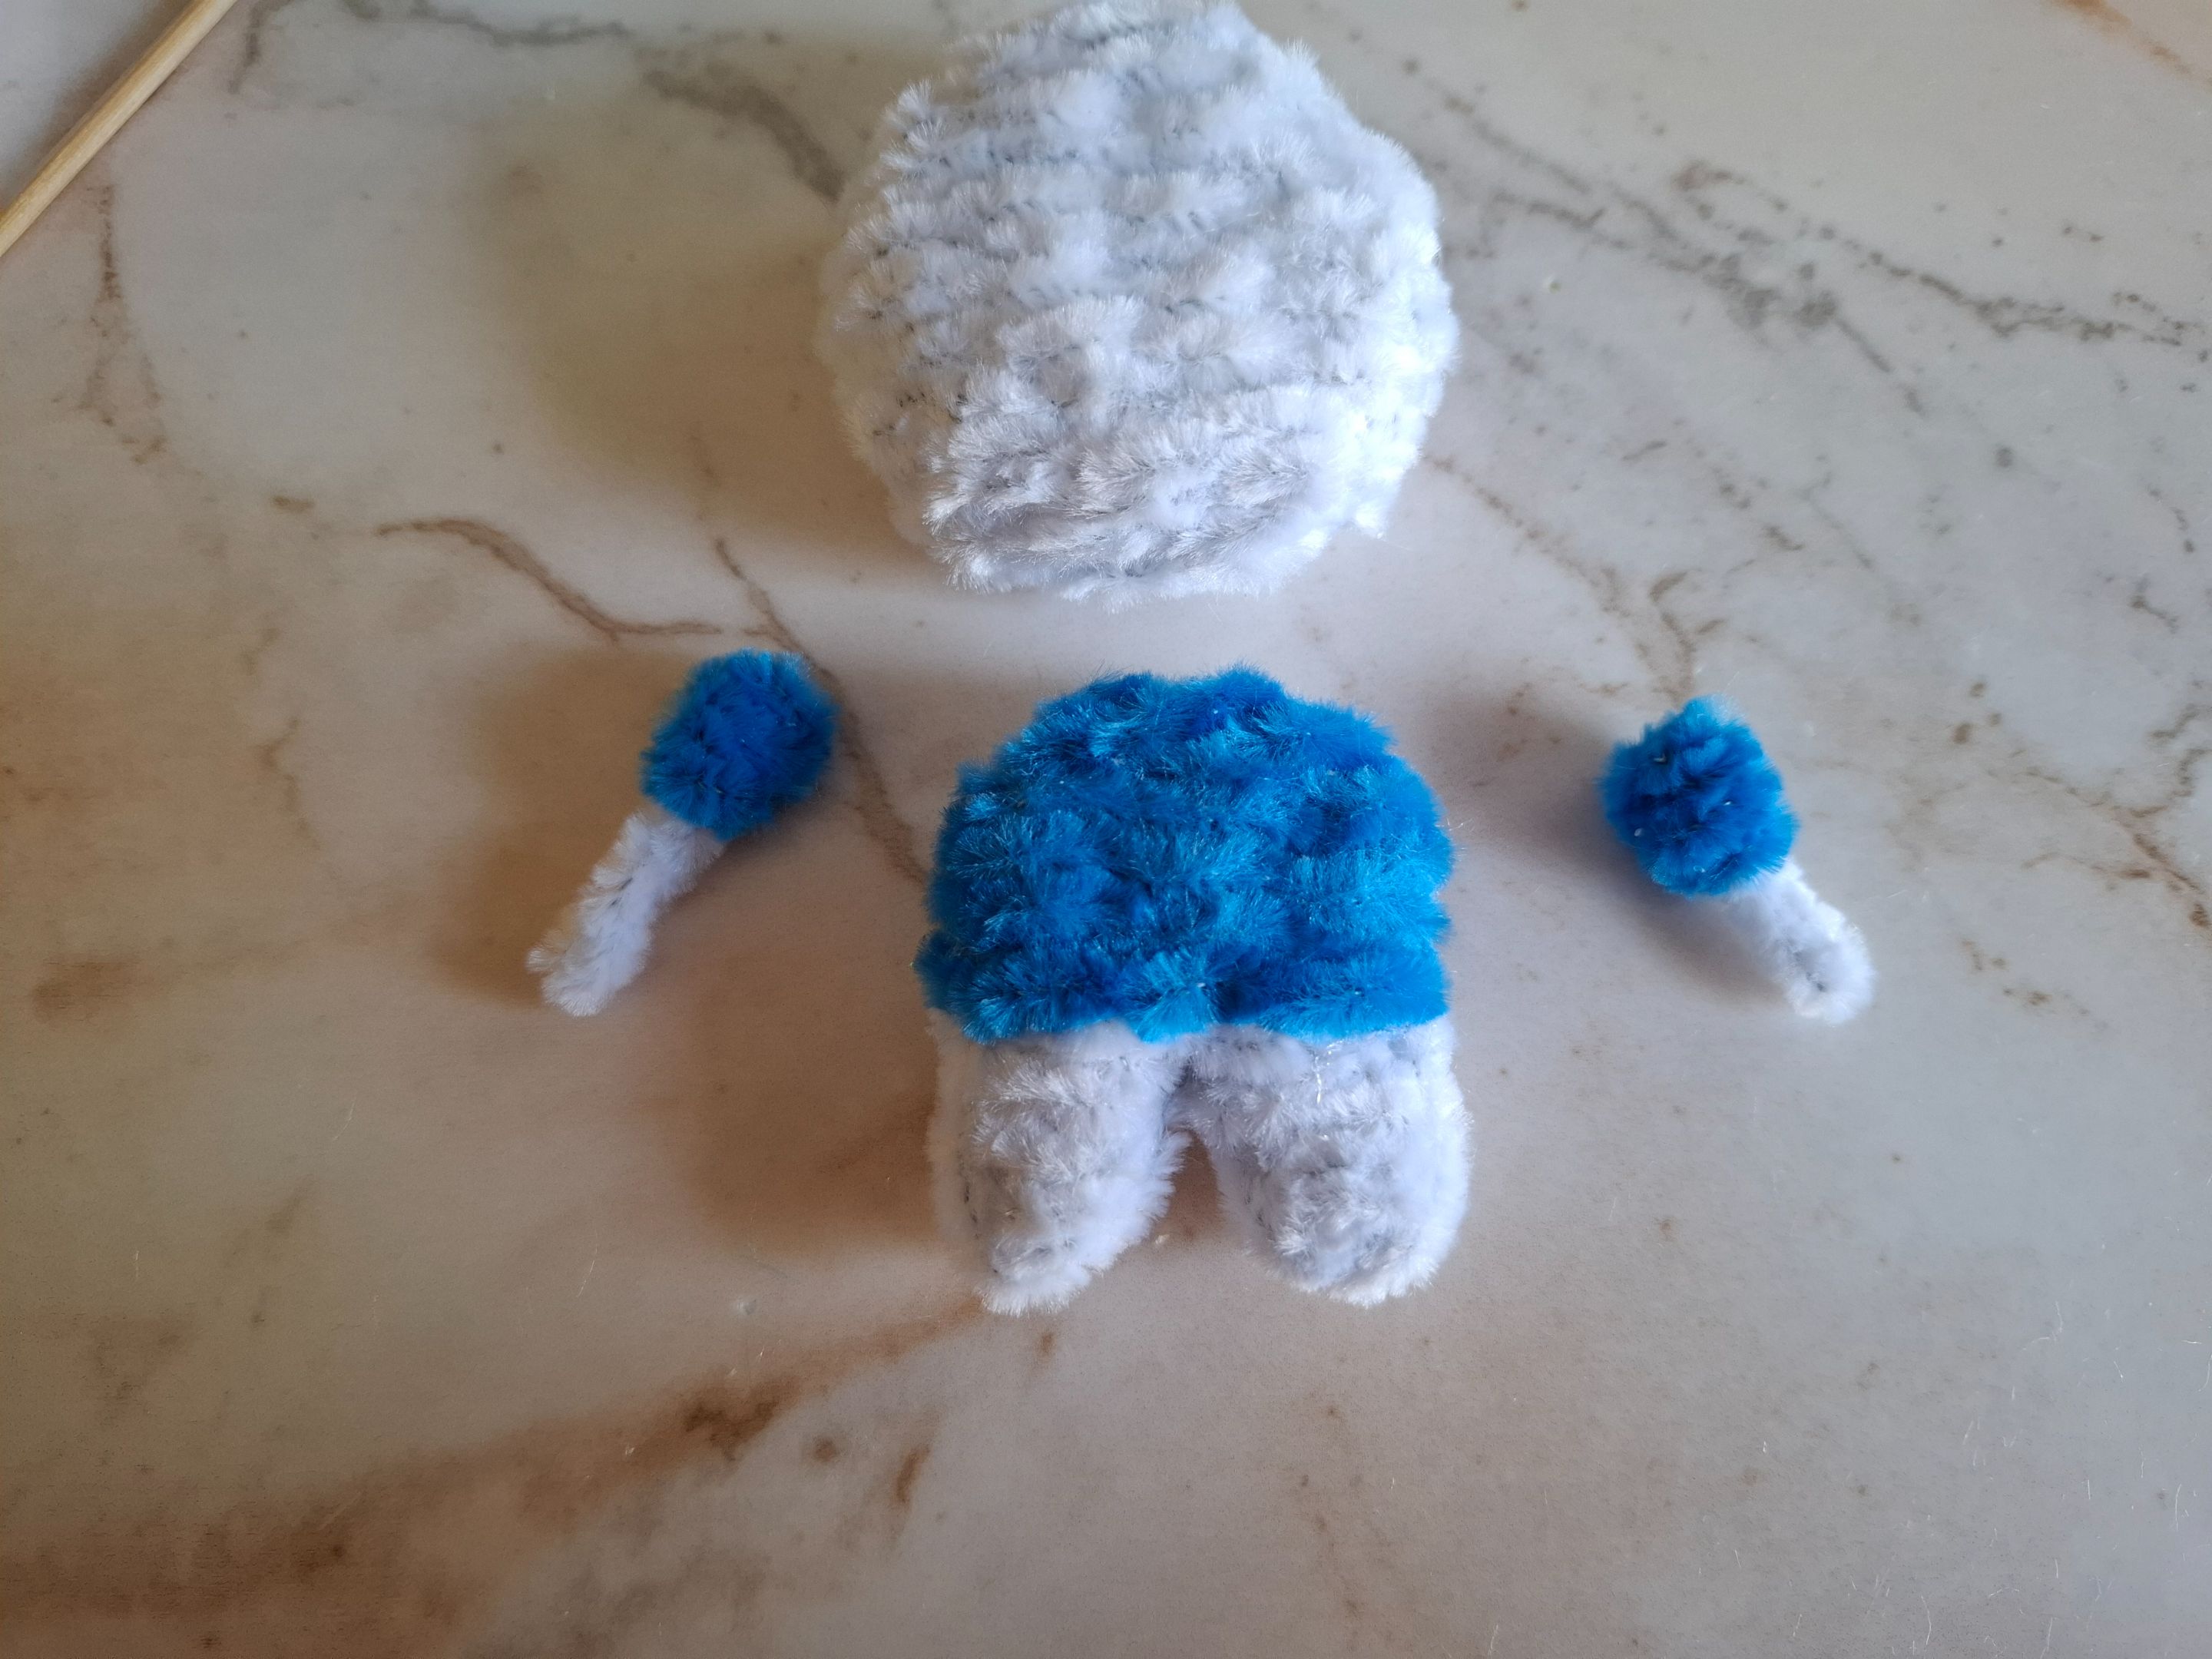
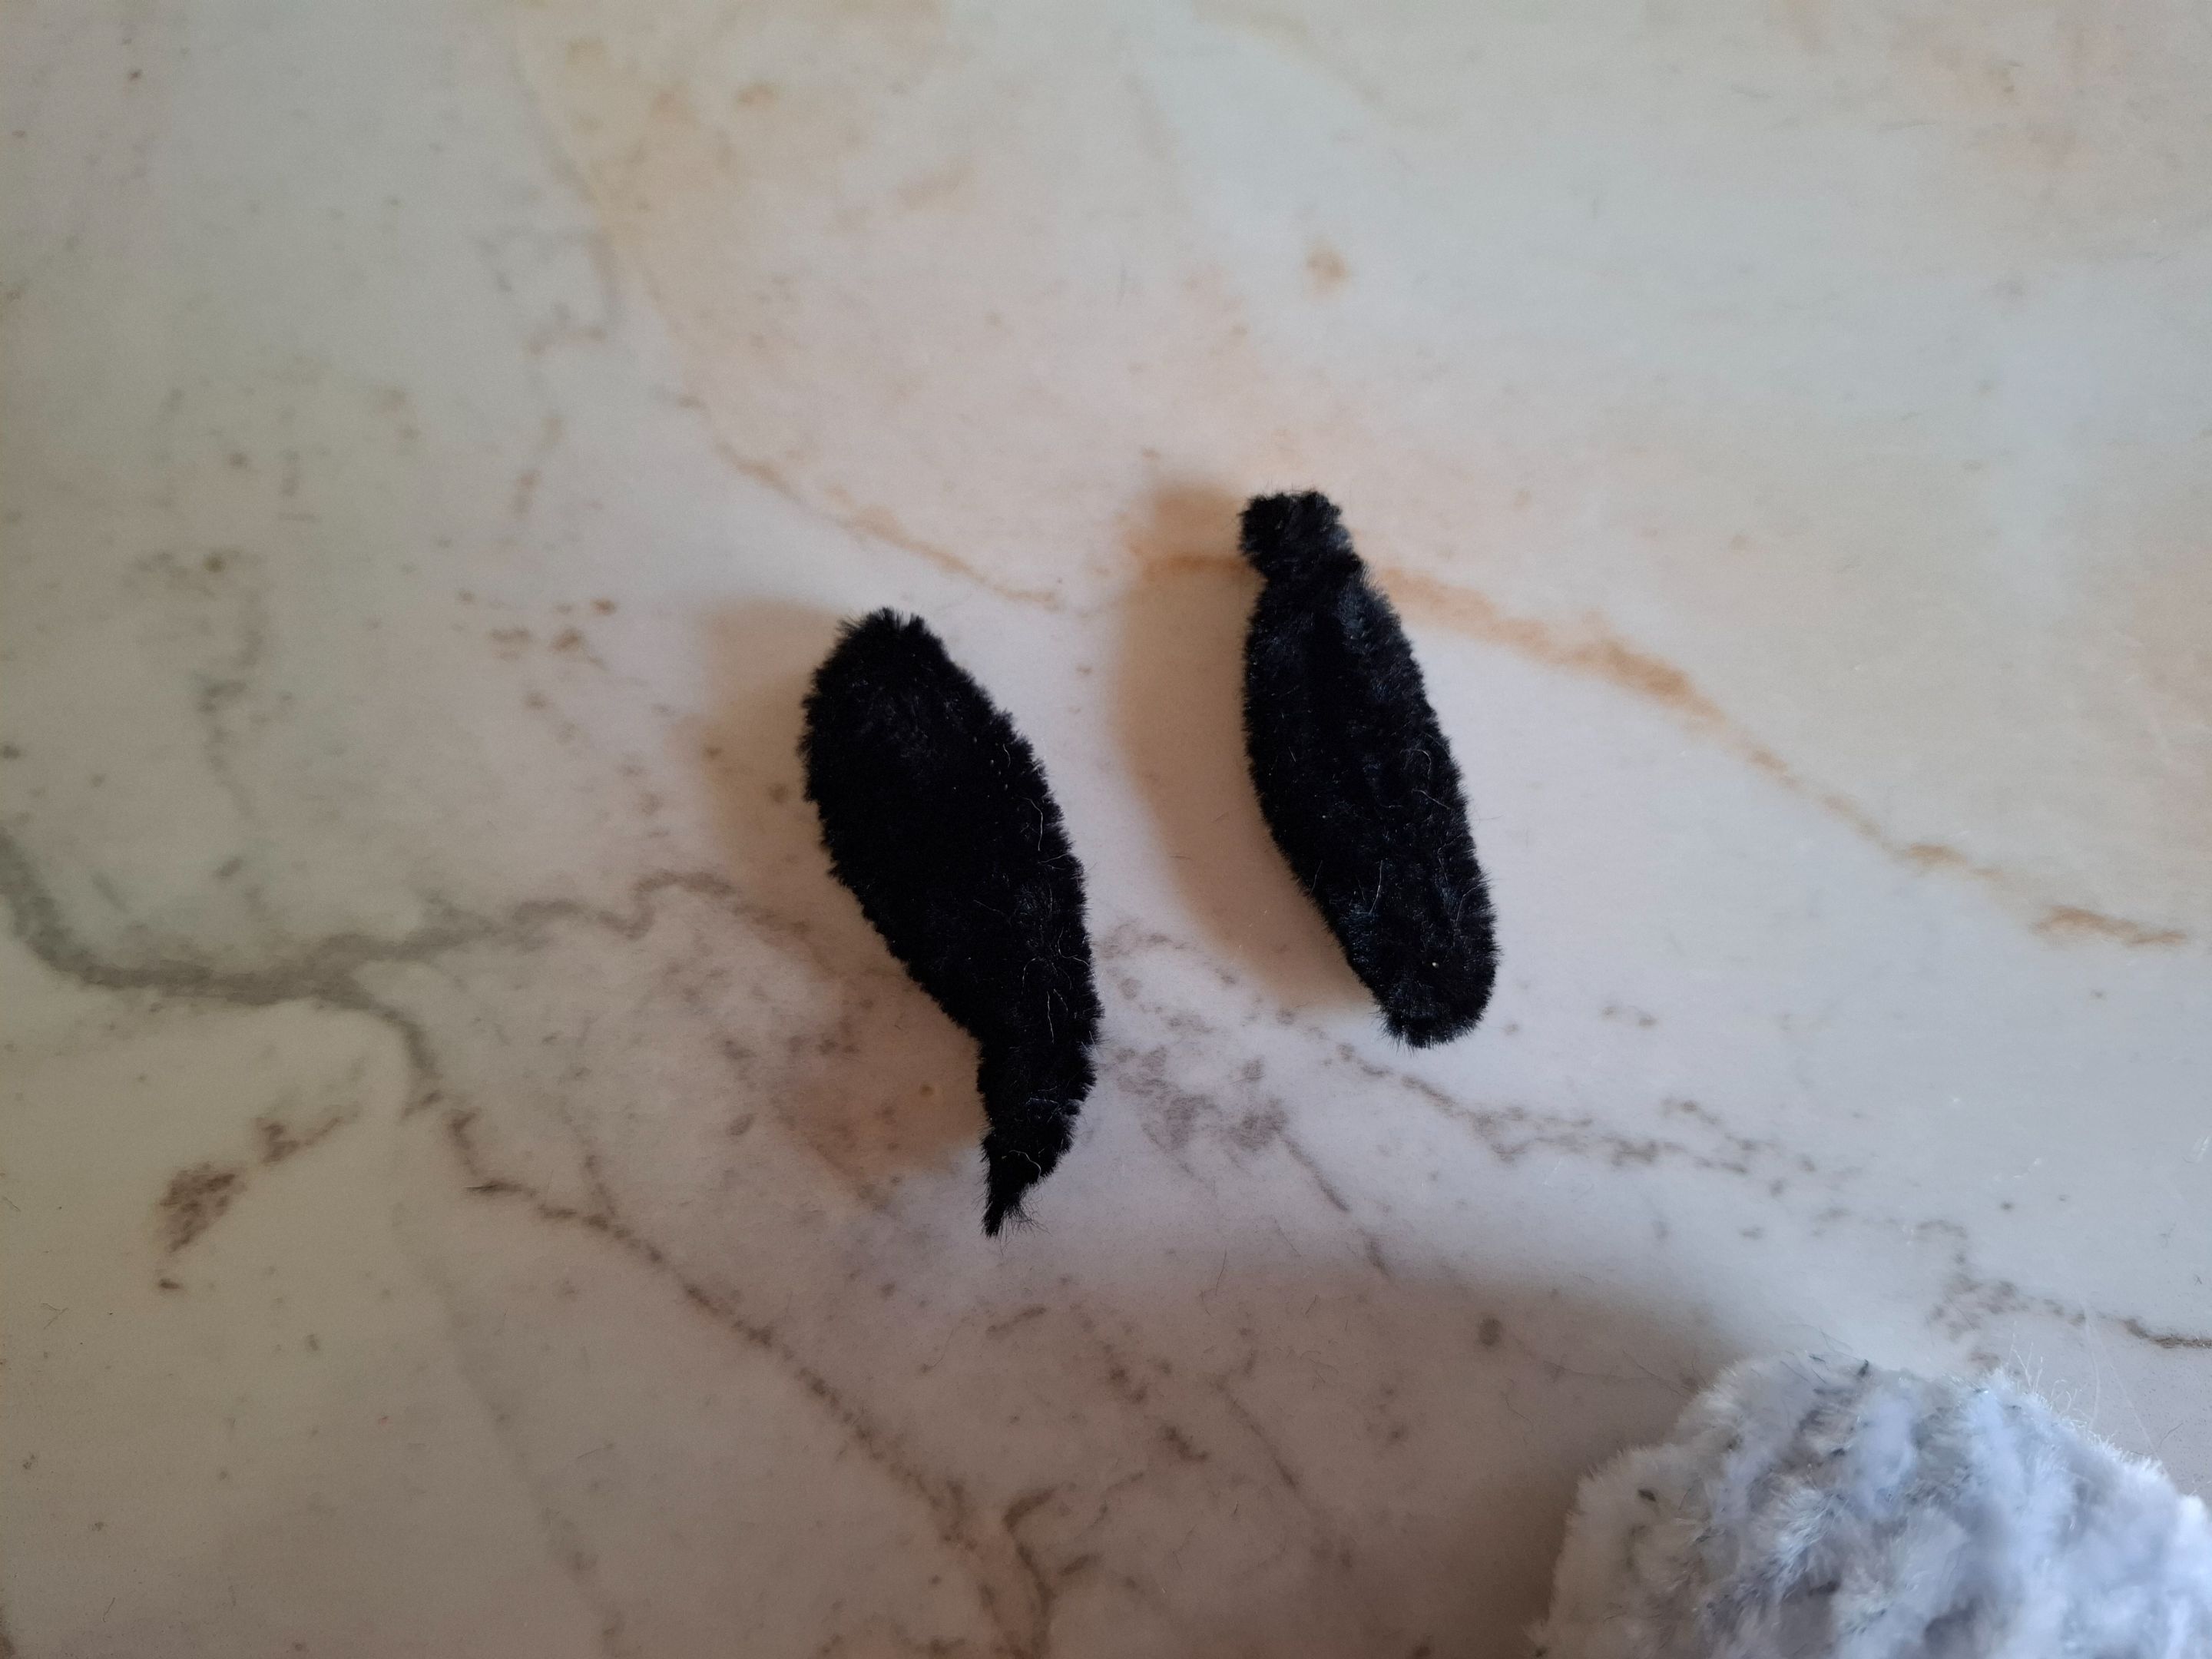
Ahora es el momento de unir todas las piezas del cuerpo utilizando silicón caliente, luego realicé las orejas con limpiapipas color negro, para esto voy a tomar un limpiapipas, con una medida de unos 3 cm voy a realizar dos giros y las puntas sobrantes las pegamos hacia los lados, luego damos forma puntiaguda en el borde y recortamos, con un encendedor rebajamos la pelusa.
Now it's time to join all the body pieces together using hot silicone, then I made the ears with black pipe cleaners, for this I'm going to take a pipe cleaner, with a measurement of about 3 cm I'm going to make two twists and the remaining tips we glue them to the sides, then give a pointed shape on the edge and cut it out, with a lighter we reduce the fluff.
 |
 |
 |
|---|---|---|
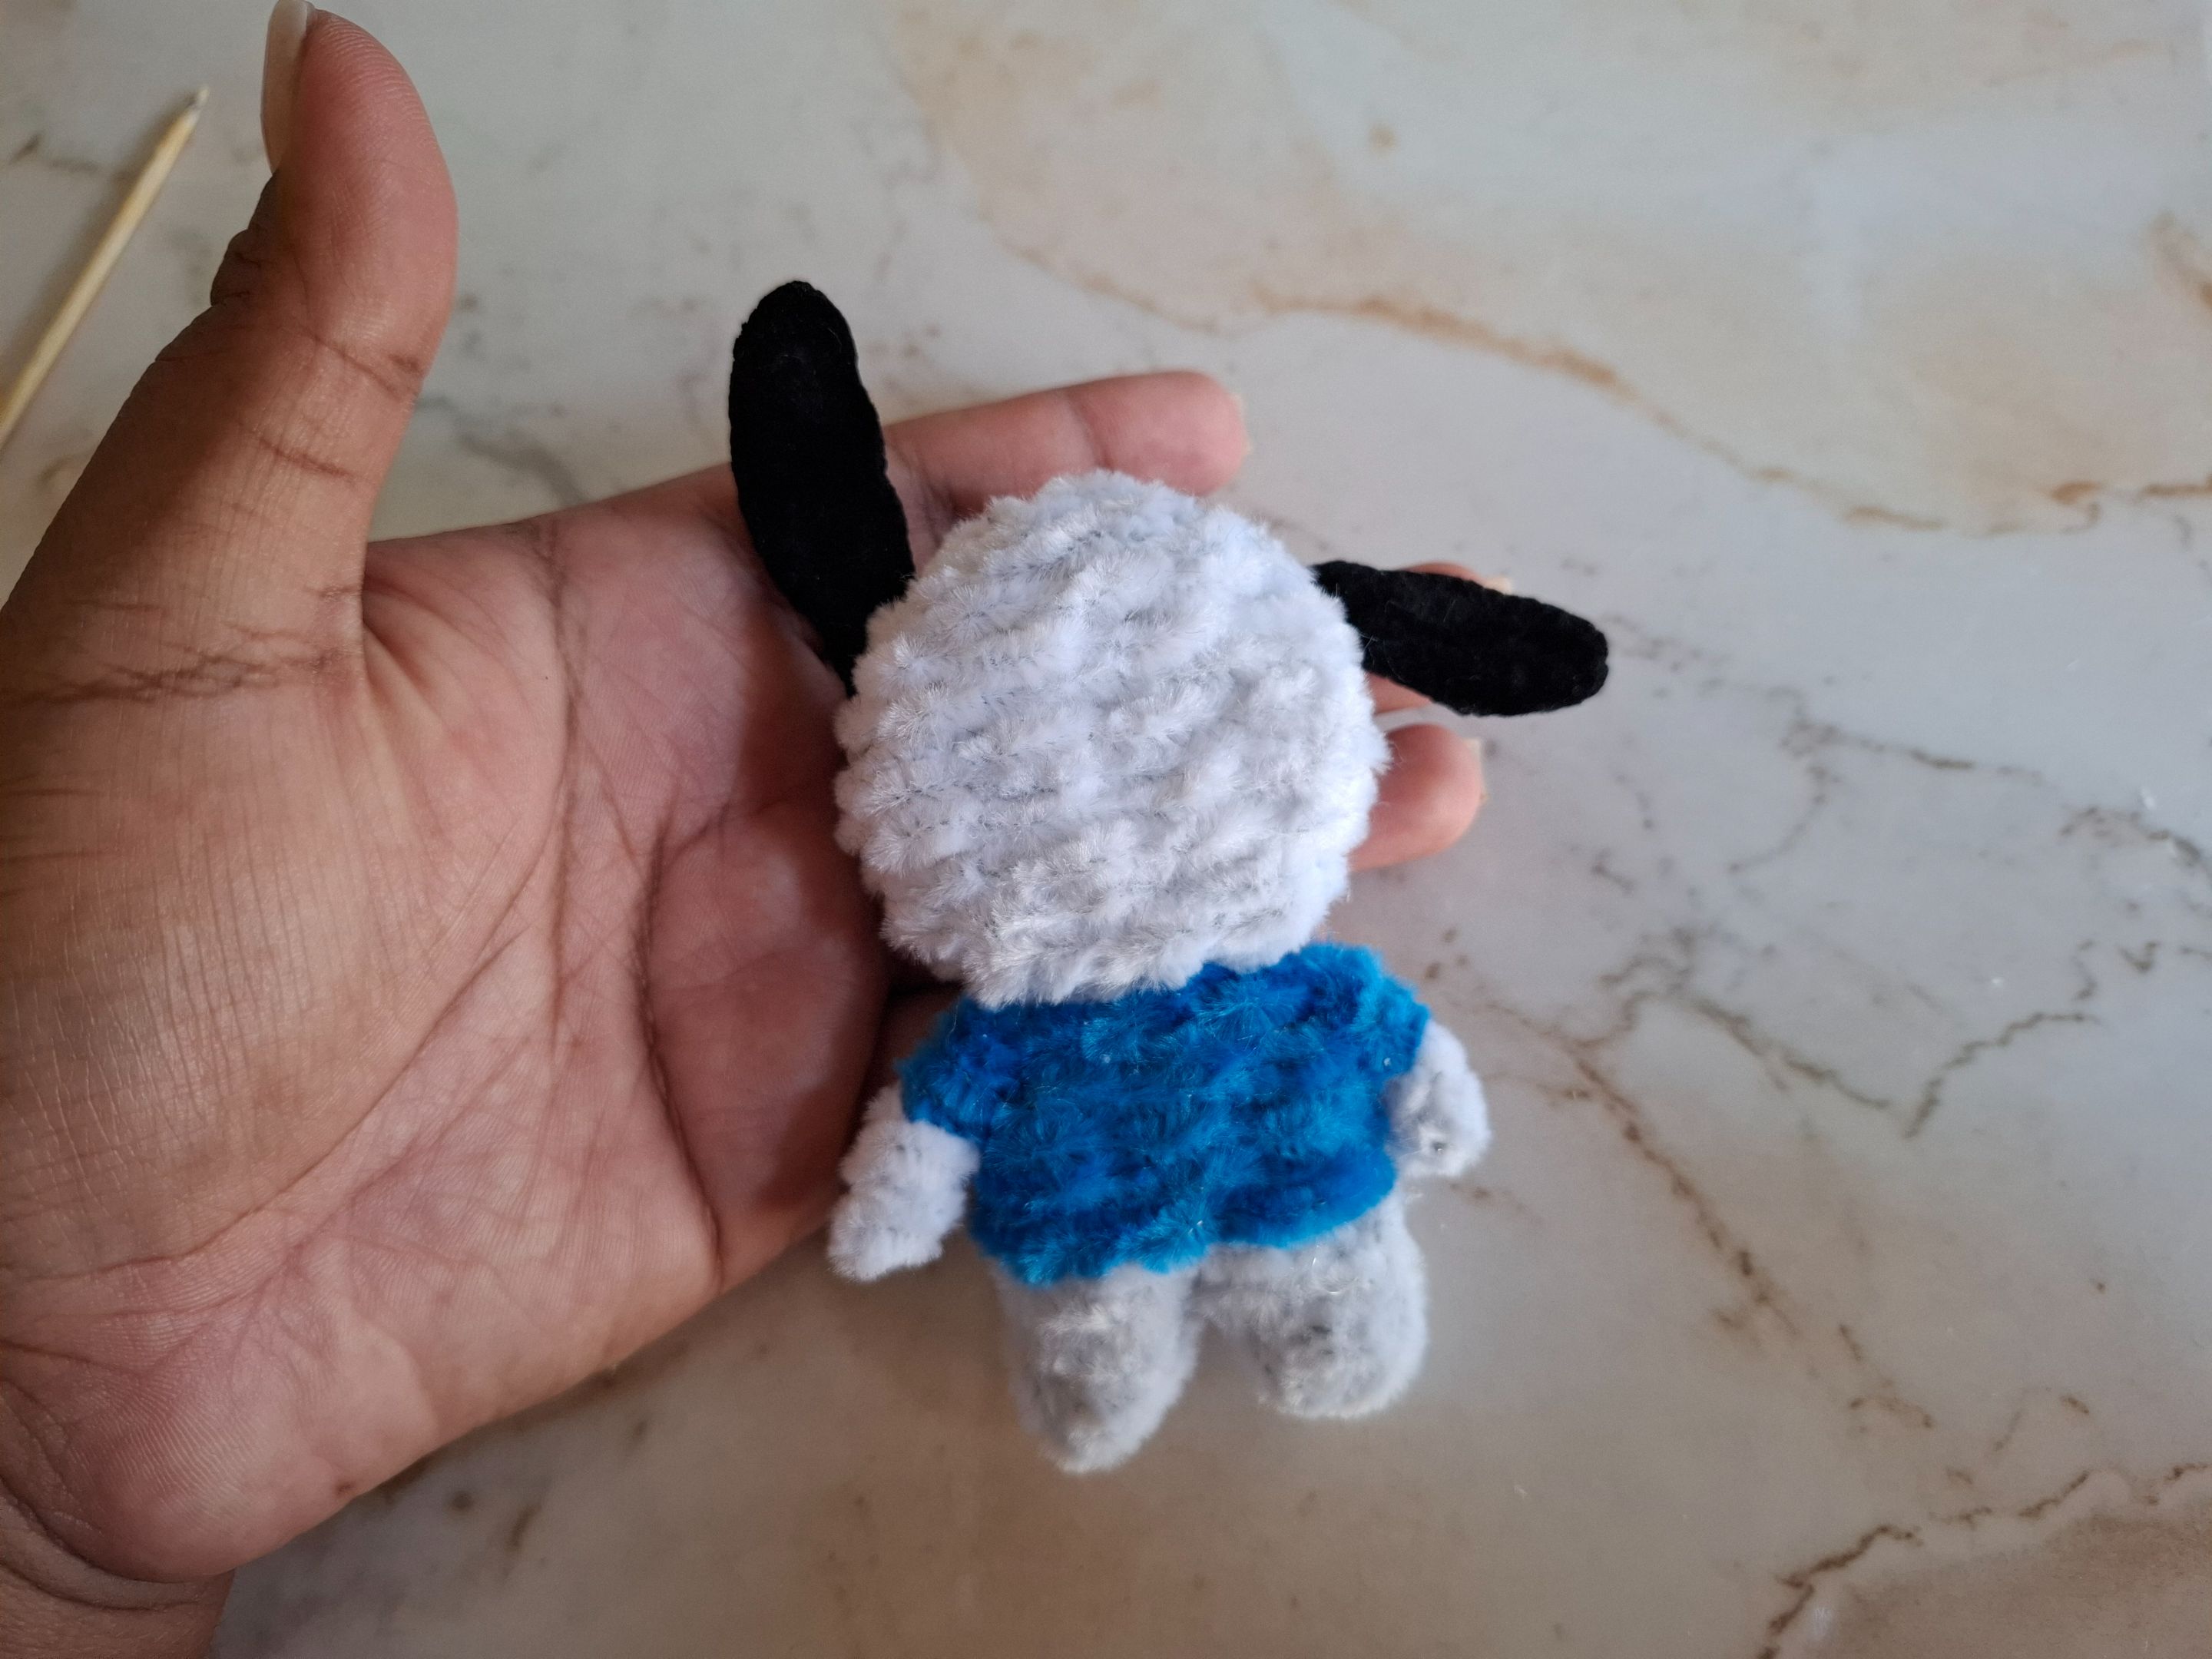
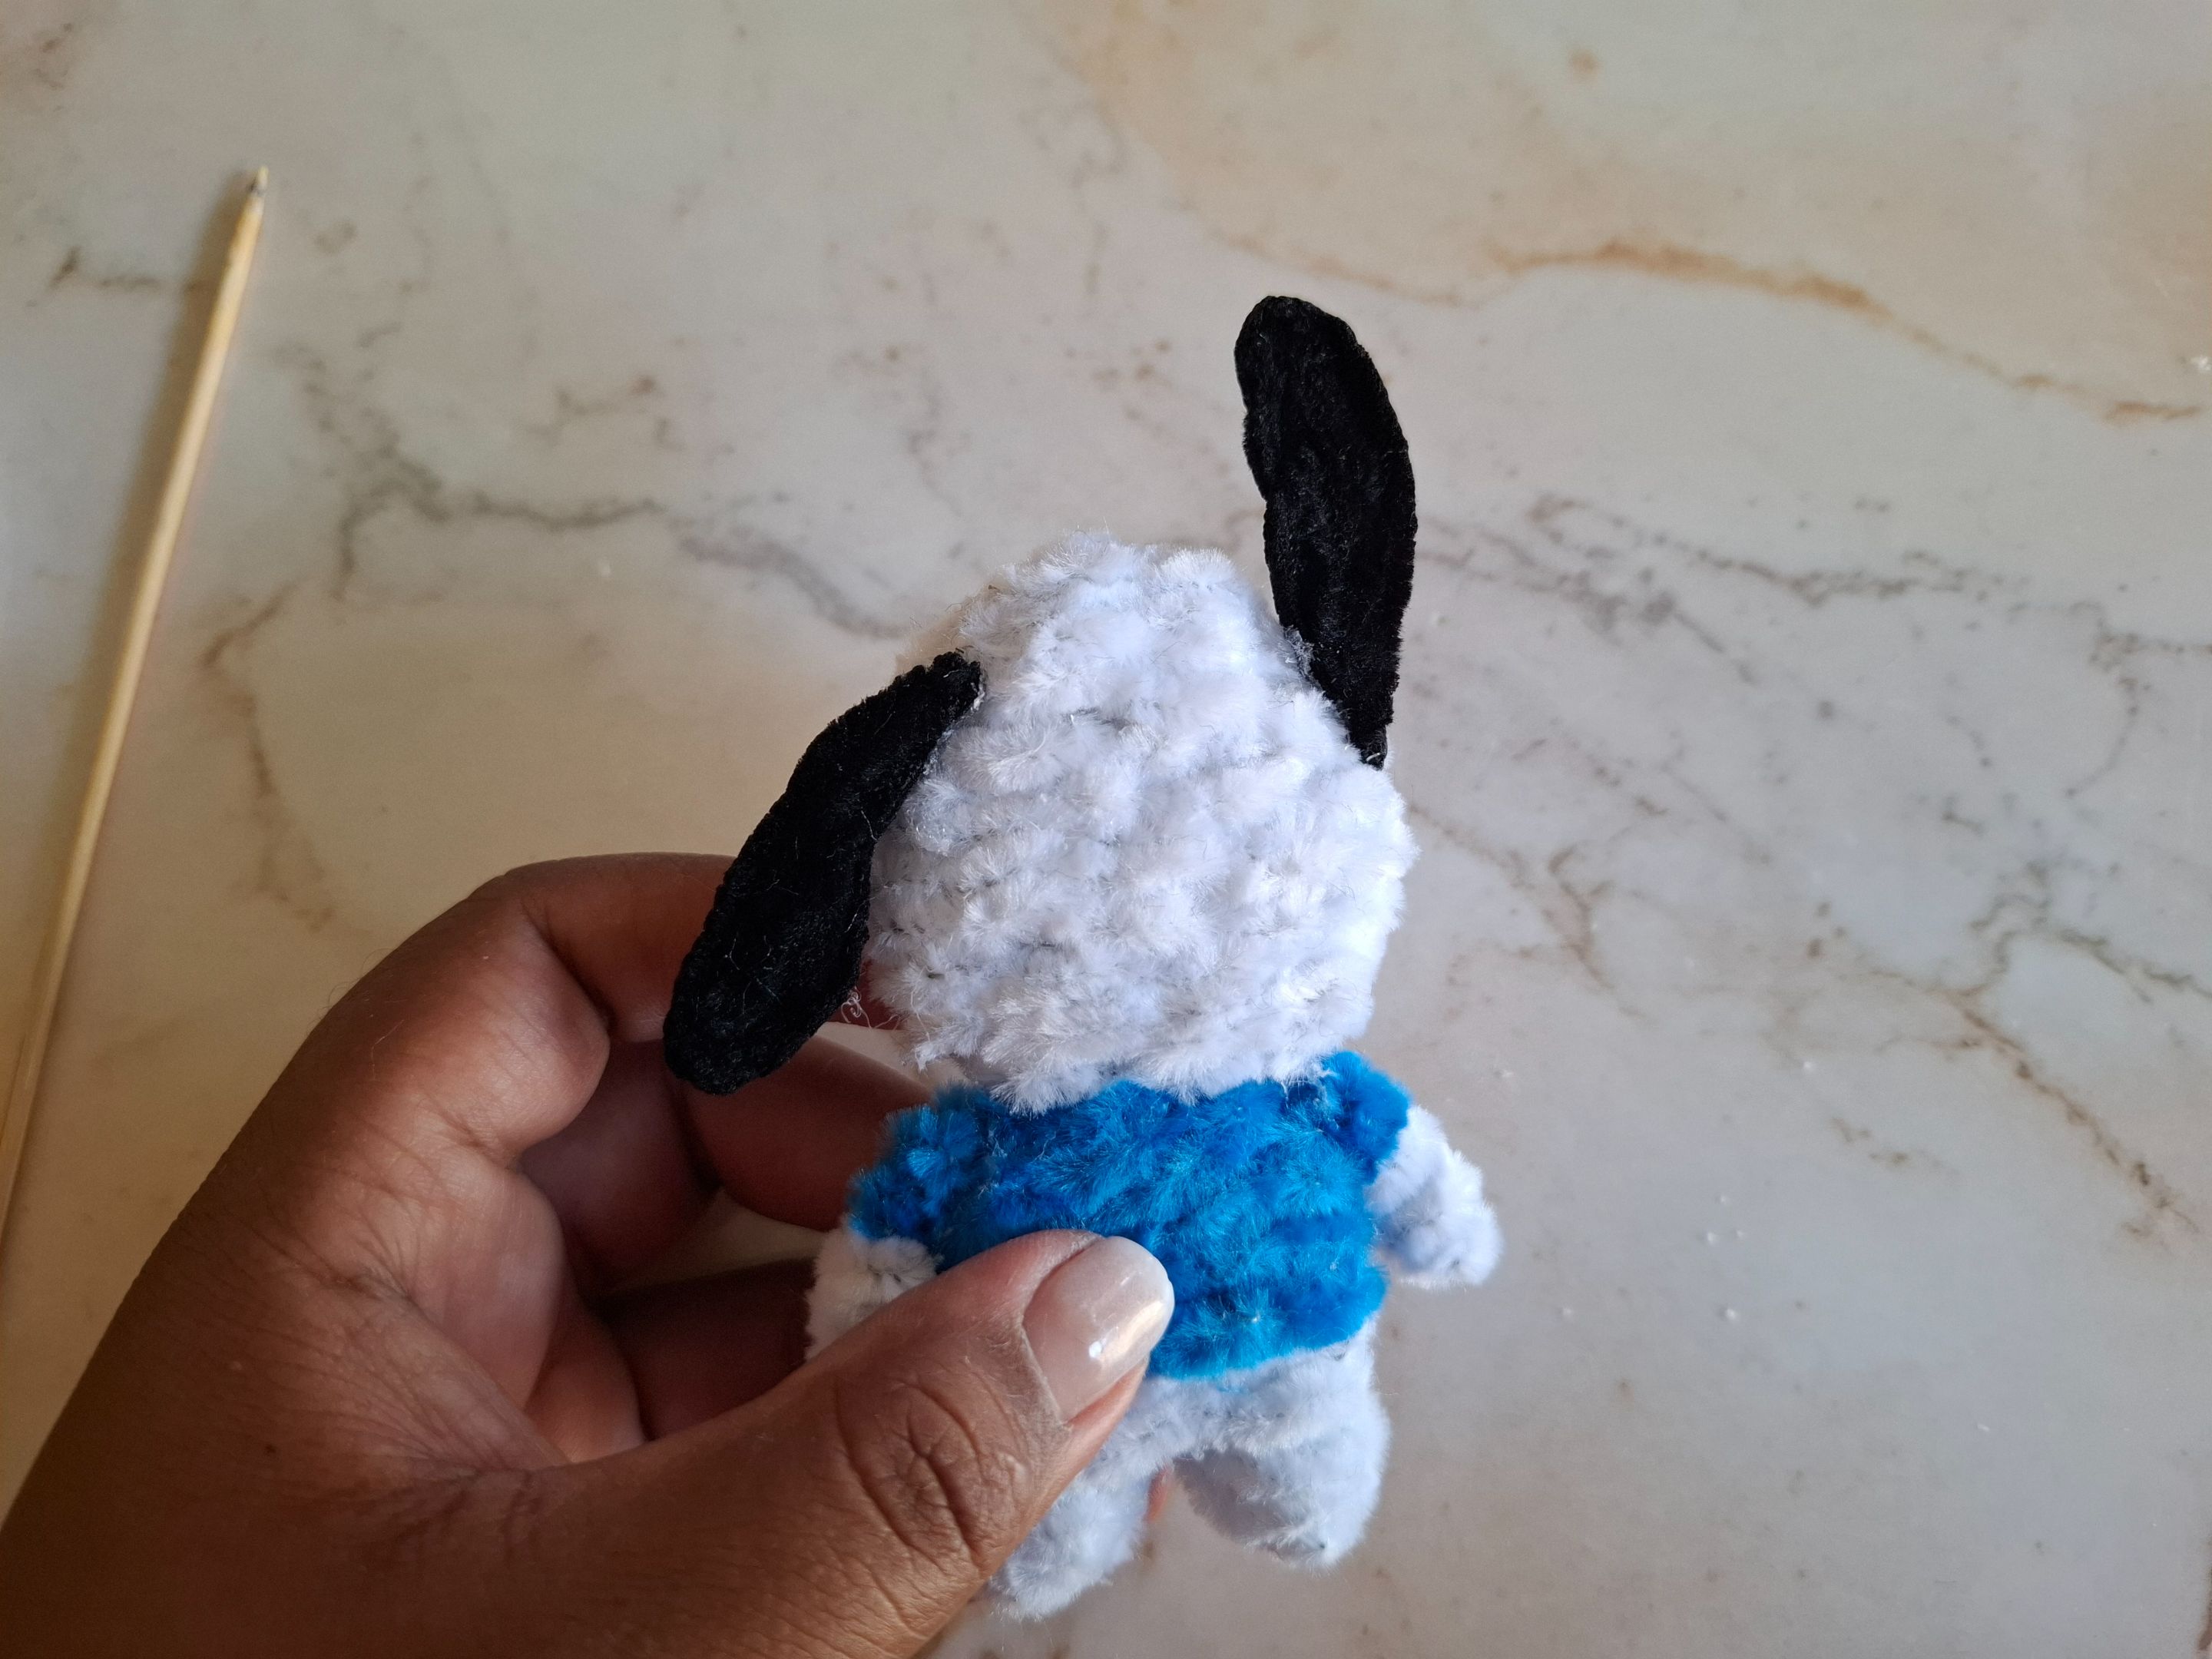
Las orejitas las coloqué como se ve en la imagen original una de ellas levantada y la otra hacia un lado, ya el último paso es realizar los ojos con foami, colocamos rubor rosa en las mejillas, y con el alambre negro del limpiapipas colocamos tres pequeñas piezas en el centro de la cabeza.
I placed the ears as seen in the original image, one of them raised and the other to one side. The last step is to make the eyes with foam. We put pink blush on the cheeks, and with the black wire from the pipe cleaner we place three small pieces in the center of the head.
 |
 |
|---|---|
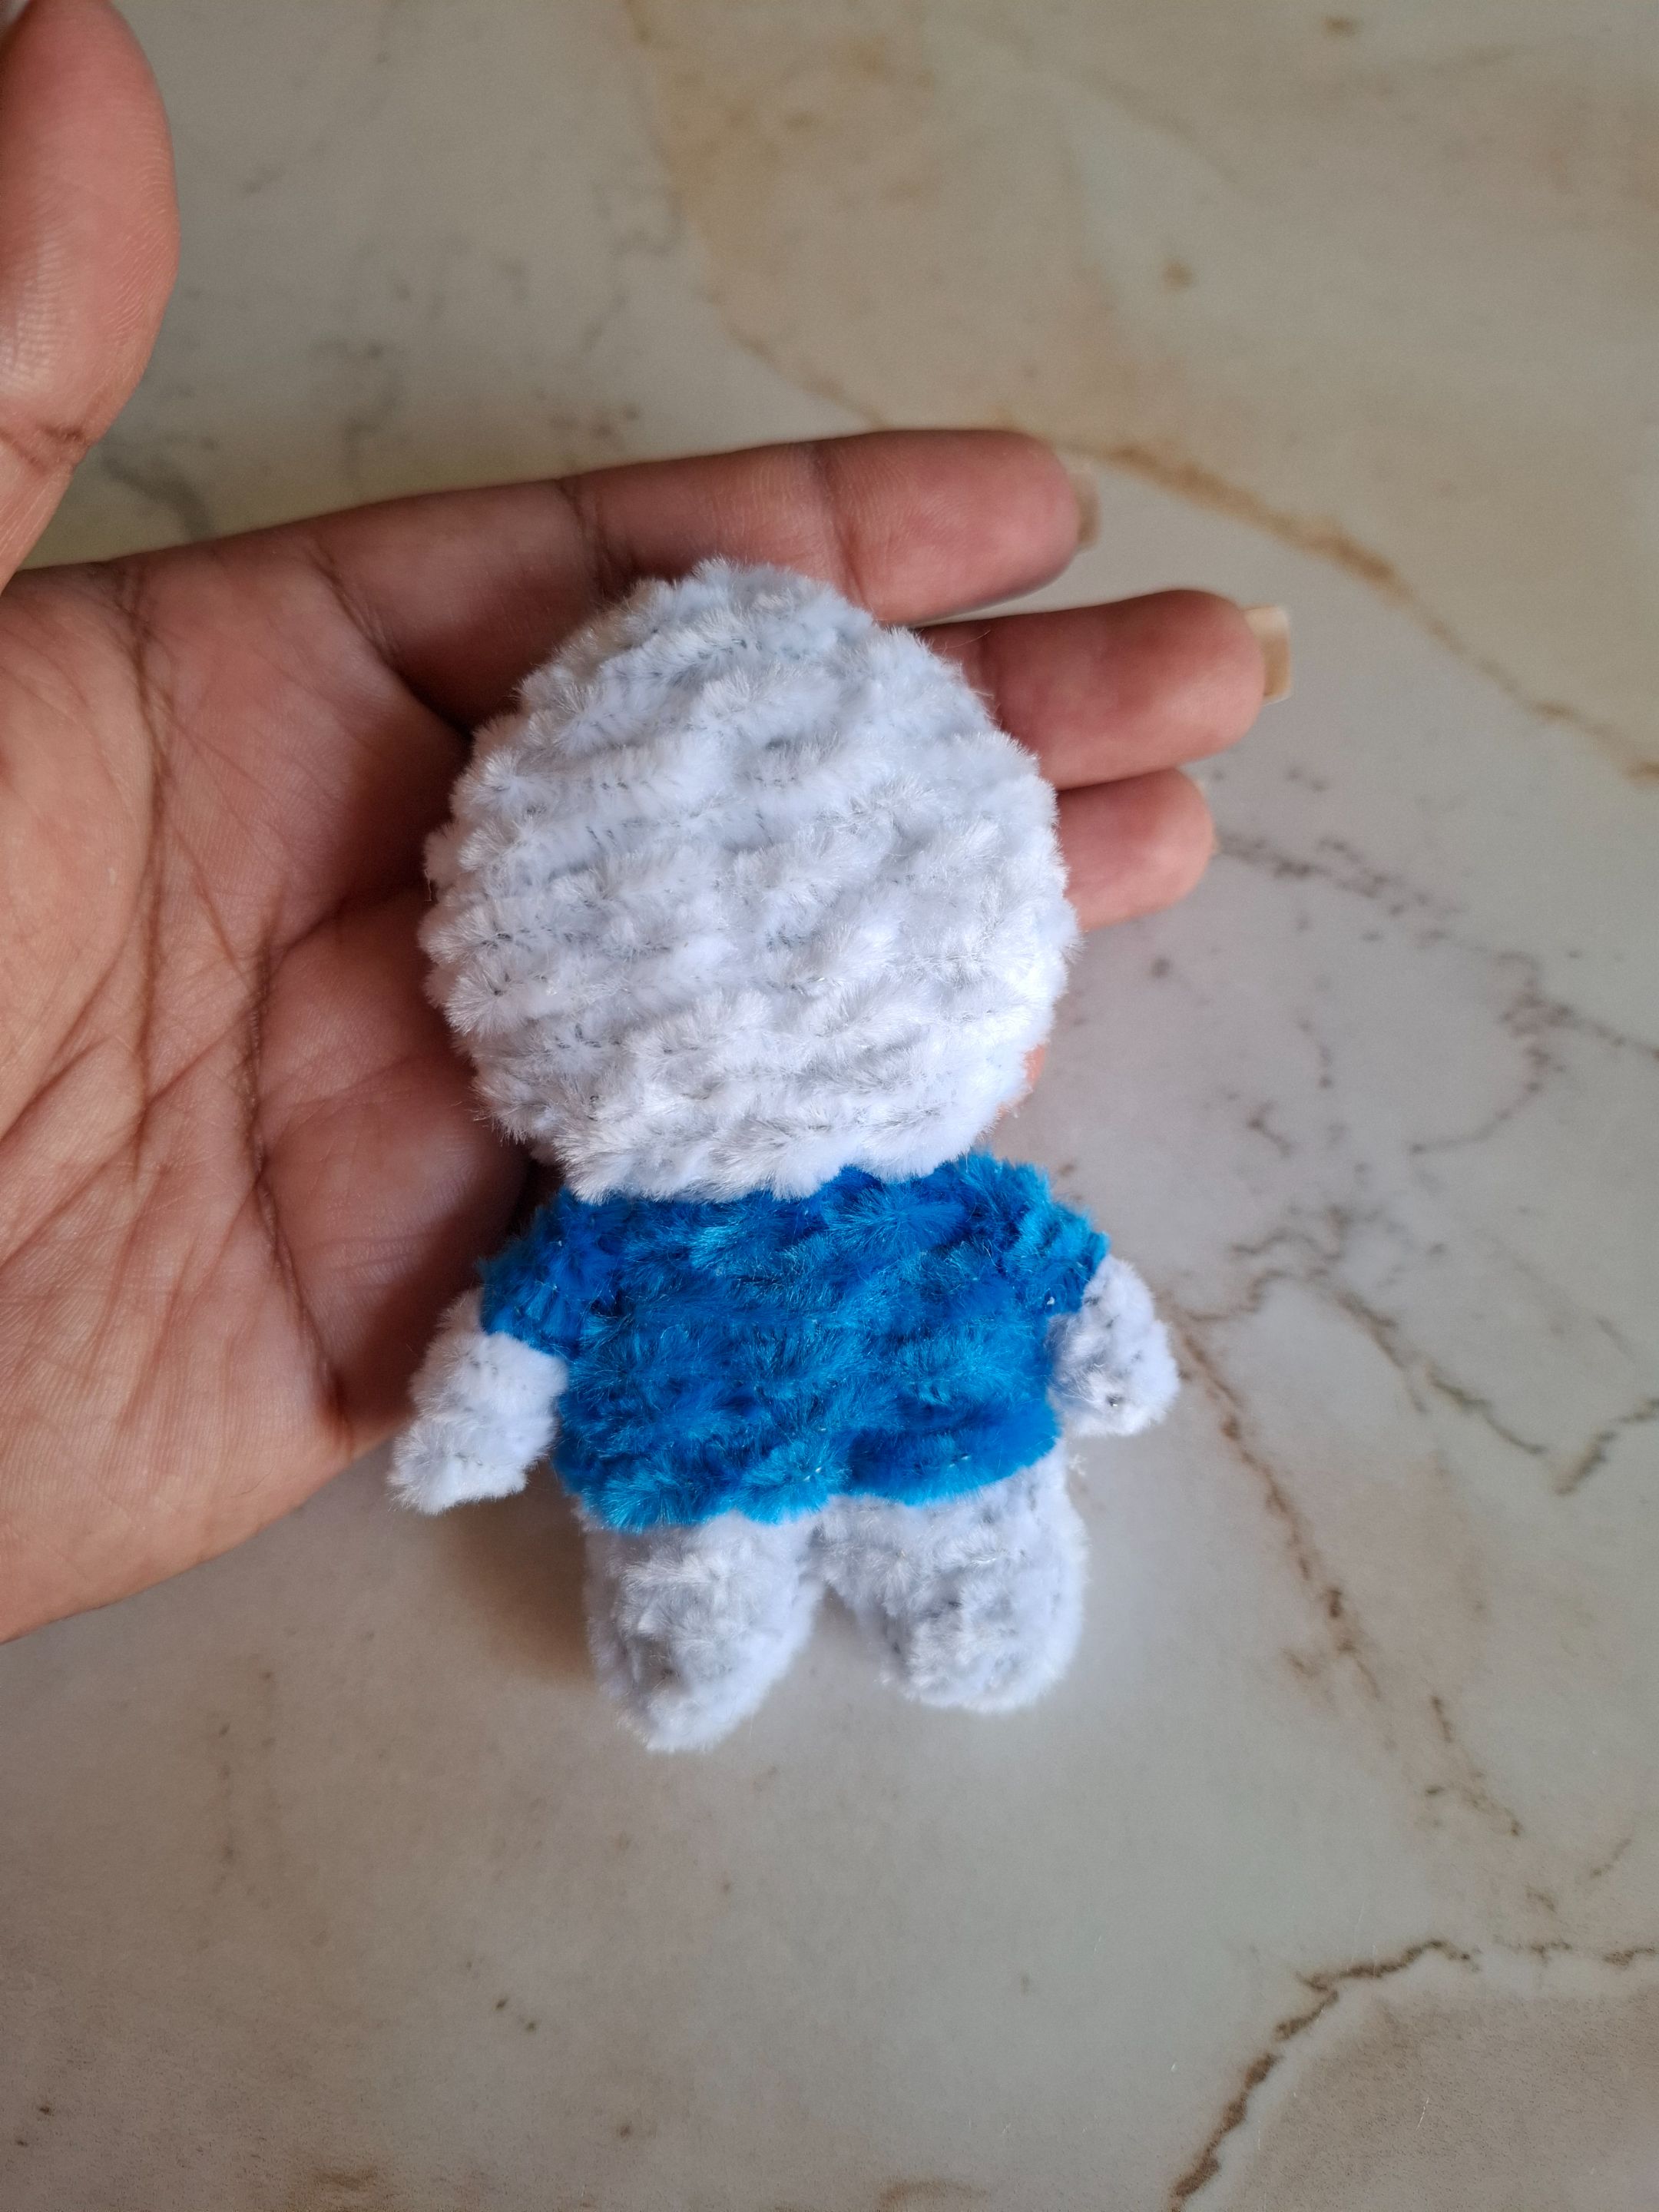
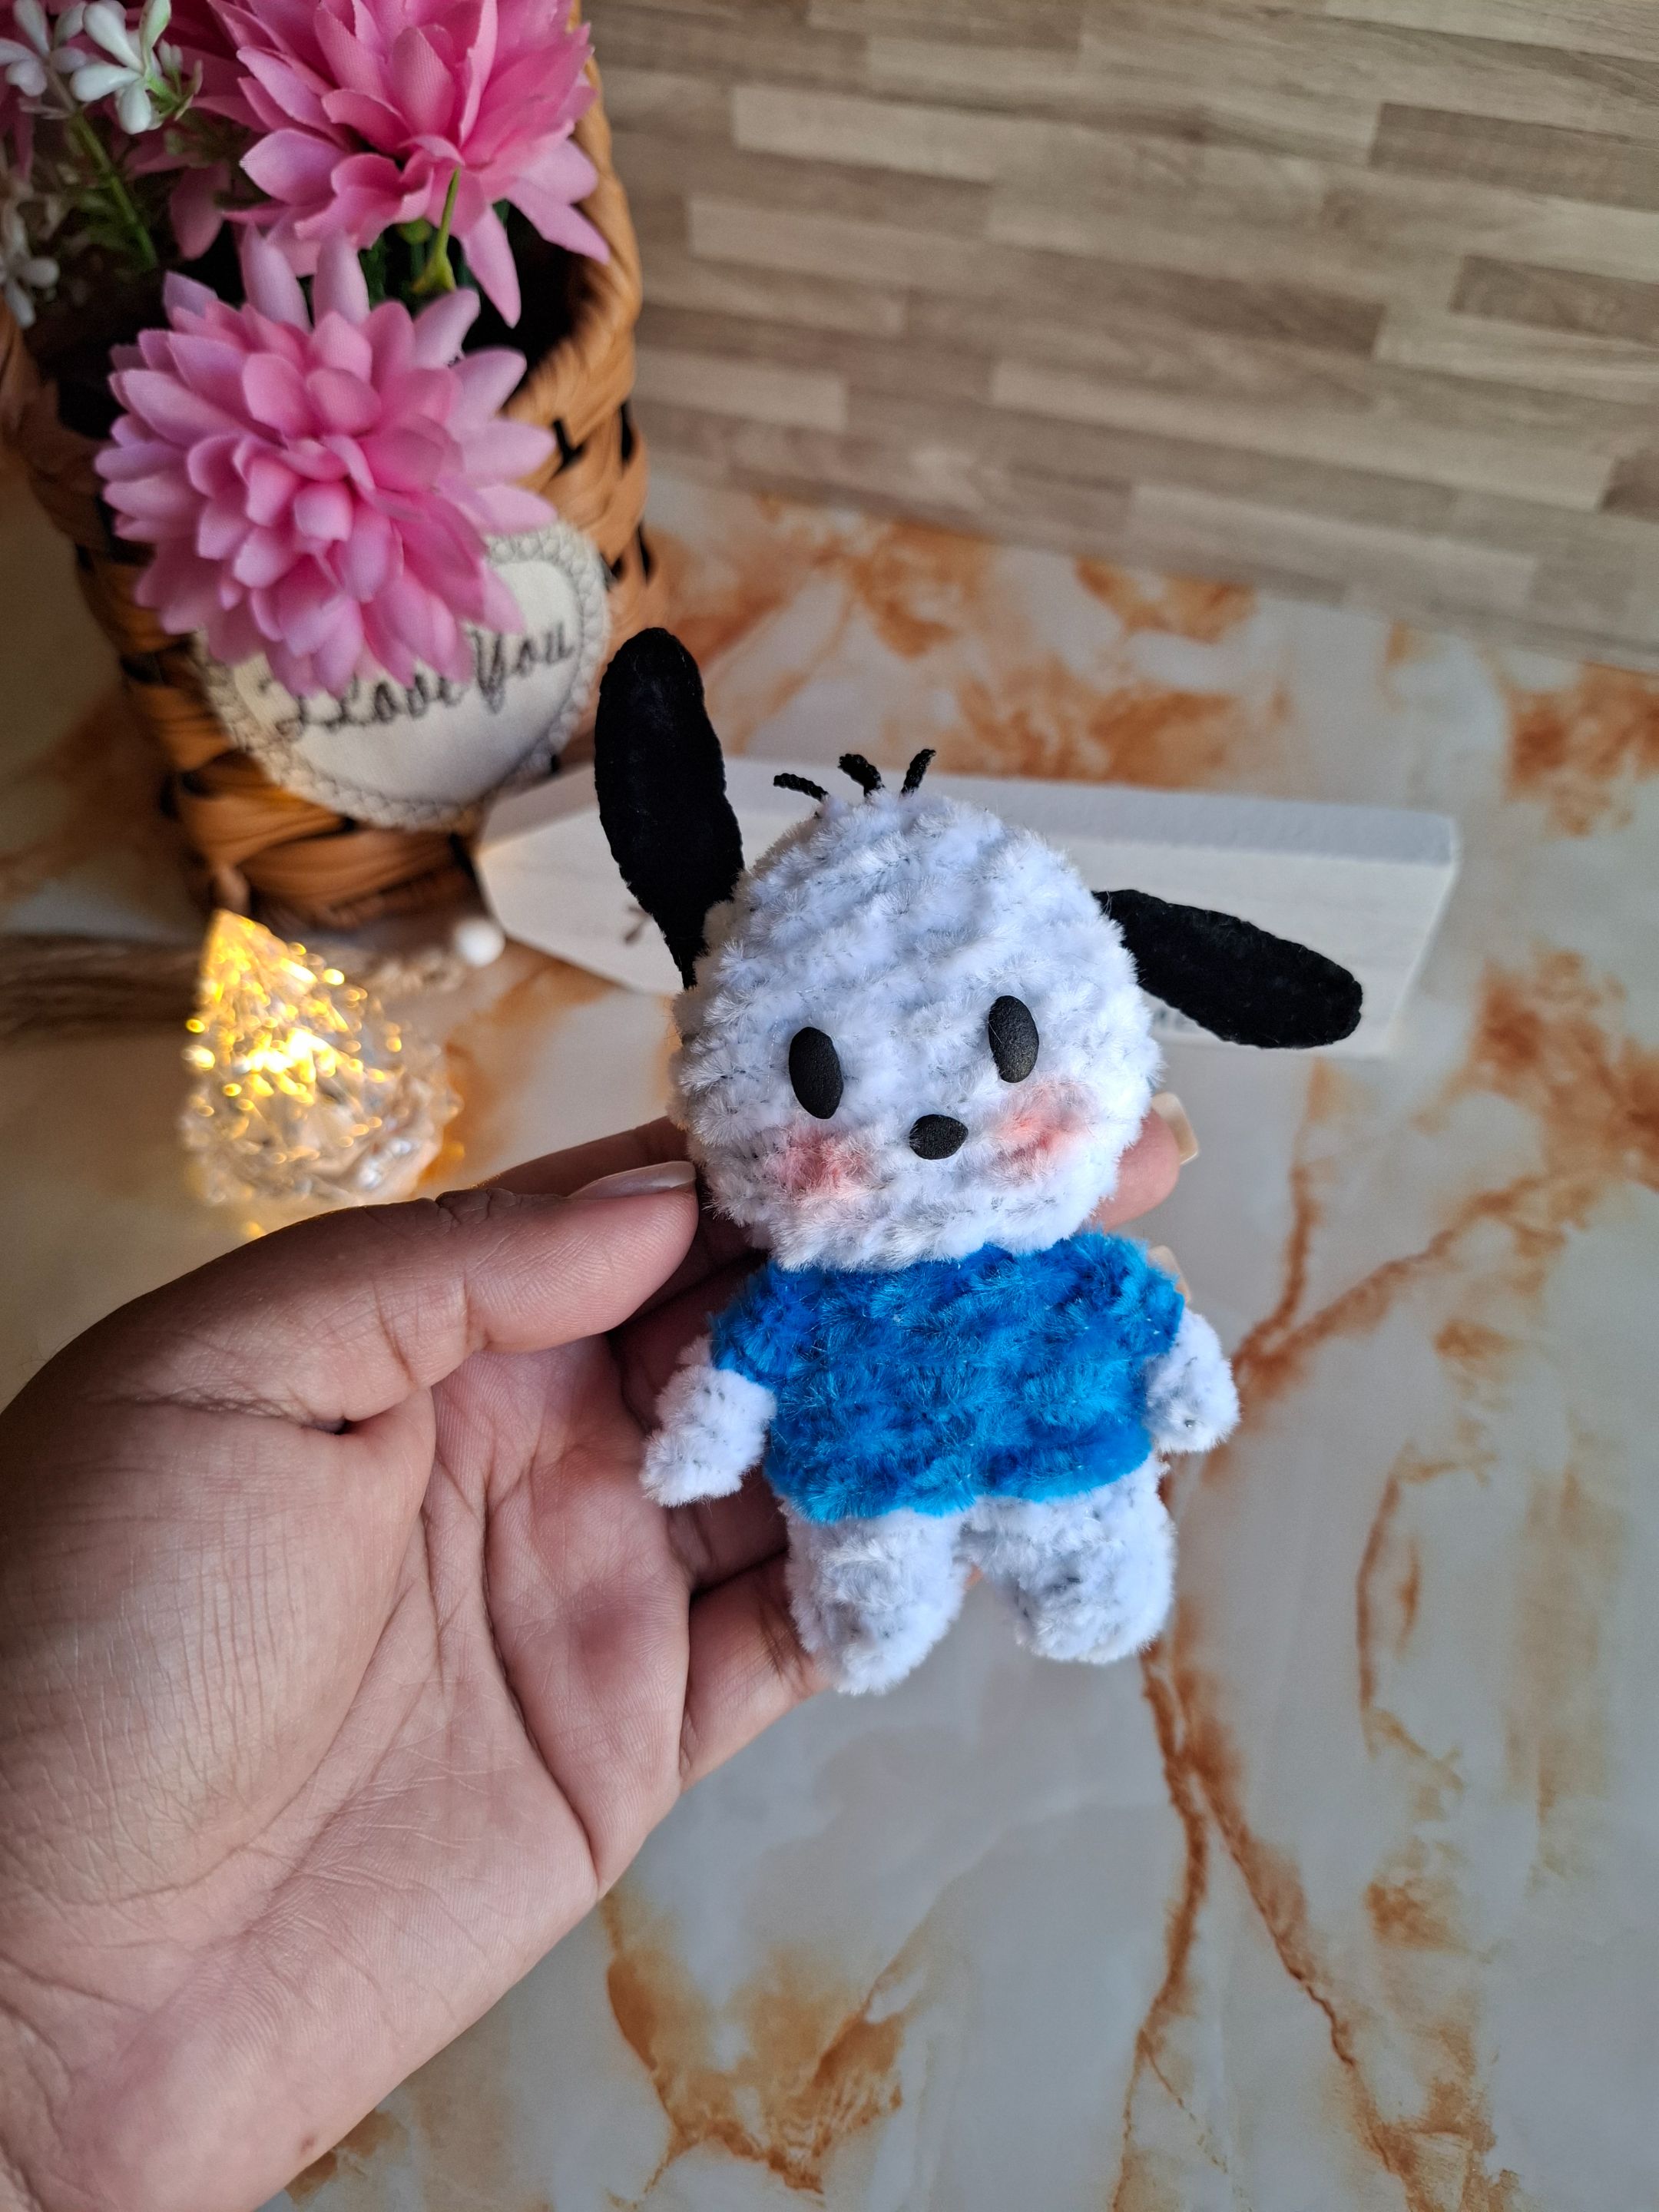
Y listo, de esta forma terminé esta figurita de Pochacco, espero les haya gustado el resultado muchas gracias por el apoyo y por visitar mi publicación, nos vemos en una próxima oportunidad con más ideas, lo más probable realicé otro personaje de Sanrio.
And that's it, this is how I finished this Pochacco figurine. I hope you liked the result. Thank you very much for your support and for visiting my post. See you next time with more ideas. I'll probably make another Sanrio character.
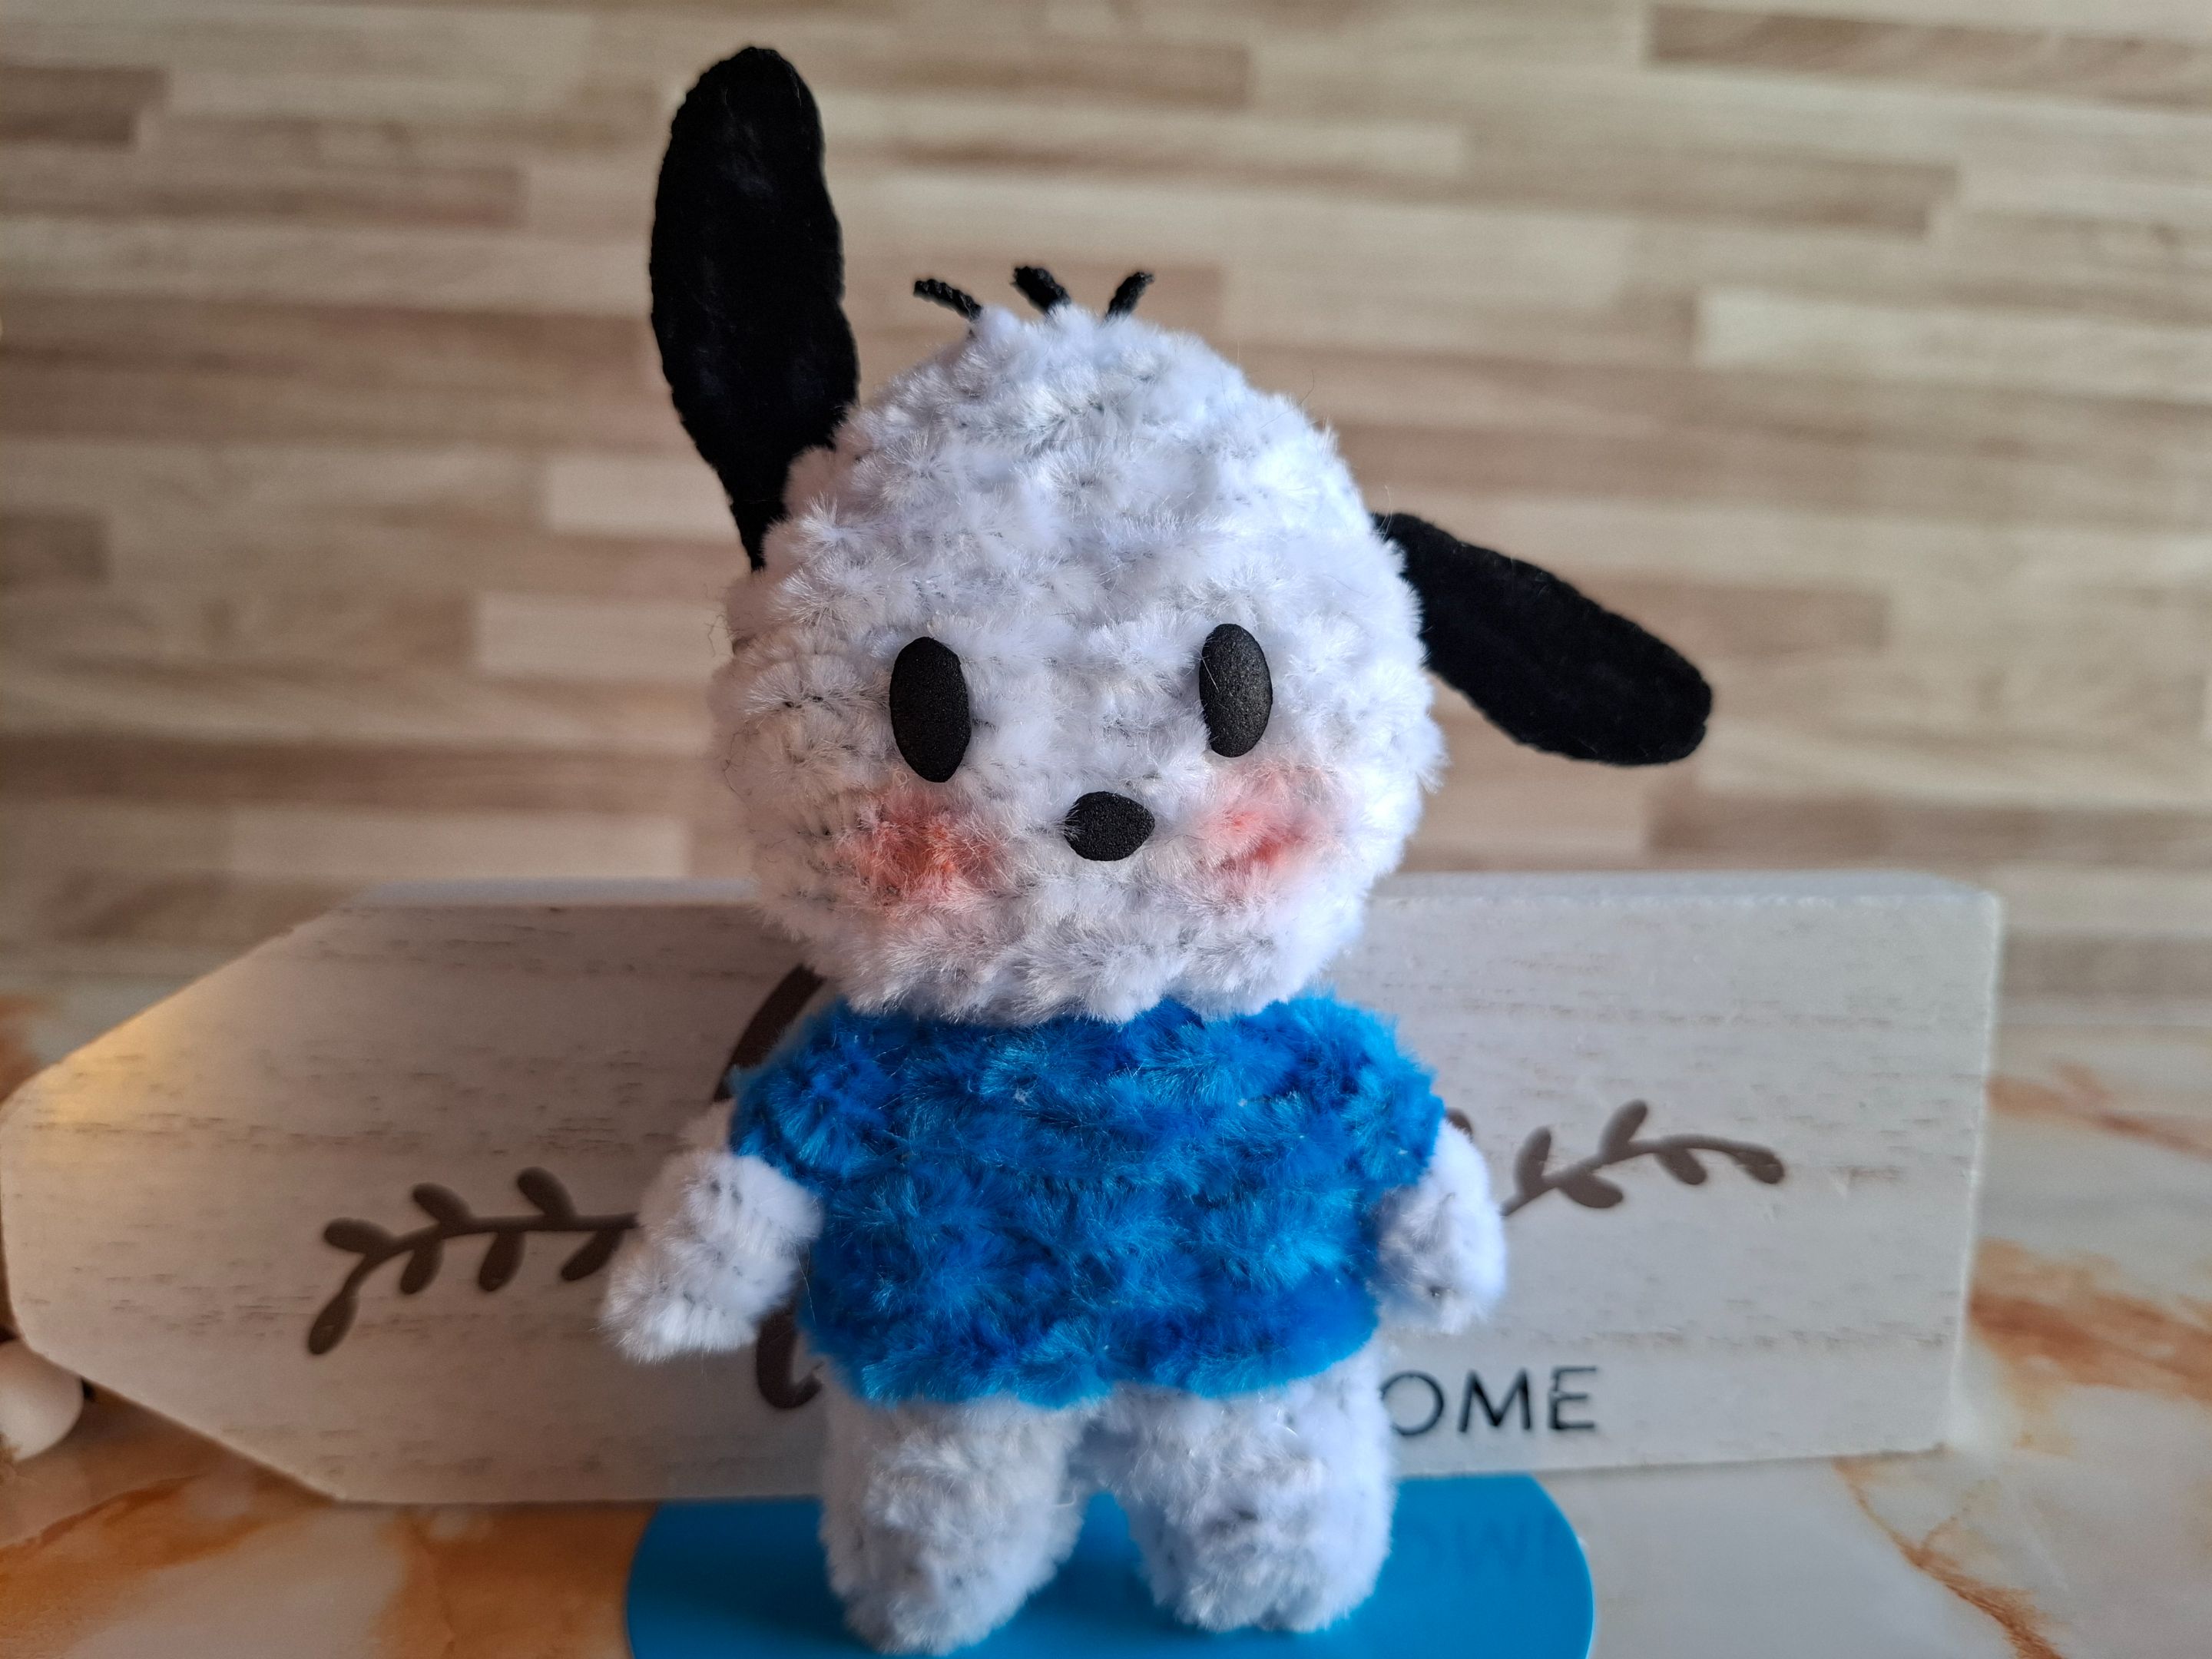
Más del resultado final:
More of the final result:

Contenido original. - original content.
Los separadores y banner fueron realizados en Canva. - The dividers and banner were made in Canva.
Fotografías tomadas con mi Samsung A55. - Photographs taken with my Samsung A55.
Gif creado desde Giphy / Gif created from Giphy
Traducción de: Google traductor - Translation of: Google translator.
Posted Using INLEO