Saludos amigos de Holozing, bienvenidos una vez a mi blog, espero se encuentren bien y que su semana vaya de maravilla, hoy me encuentro en este espacio para compartir una bonita idea creativa inspirada en el sanador del bosque.
Greetings, friends of Holozing, welcome once again to my blog. I hope you're all well and that your week is going wonderfully. Today I'm here to share a beautiful creative idea inspired by the forest healer.

Realicé una mochila tipo forestal utilizando foami, la verdad este estilo me gustó mucho, ya que la puedes abrir y guardar algo dentro de el, incluso puedes realizarla para regalar. Utilicé sus colores y diseño principal además agregué otros detalles al morral para estilizarlo.
I made a forest-style backpack using foam. I really liked this style because you can open it and store something inside. You could even make it as a gift. I used the backpack's main colors and design, and I also added other details to make it more stylish.
Hace algún tiempo realicé una mochila común con la diferencia de que era más pequeña y no se podía abrir Ver aquí pero esta es renovada, con más espacio y se puede abrir, realmente estoy contenta con el resultado, me gustaría realizar una similar tipo océano. A cómo los materiales y paso a paso.
Some time ago I made a common backpack with the difference that it was smaller and couldn't be opened See here but this one is renewed, with more space and it can be opened, I'm really happy with the result, I would like to make a similar ocean type. Like the materials and step by step.
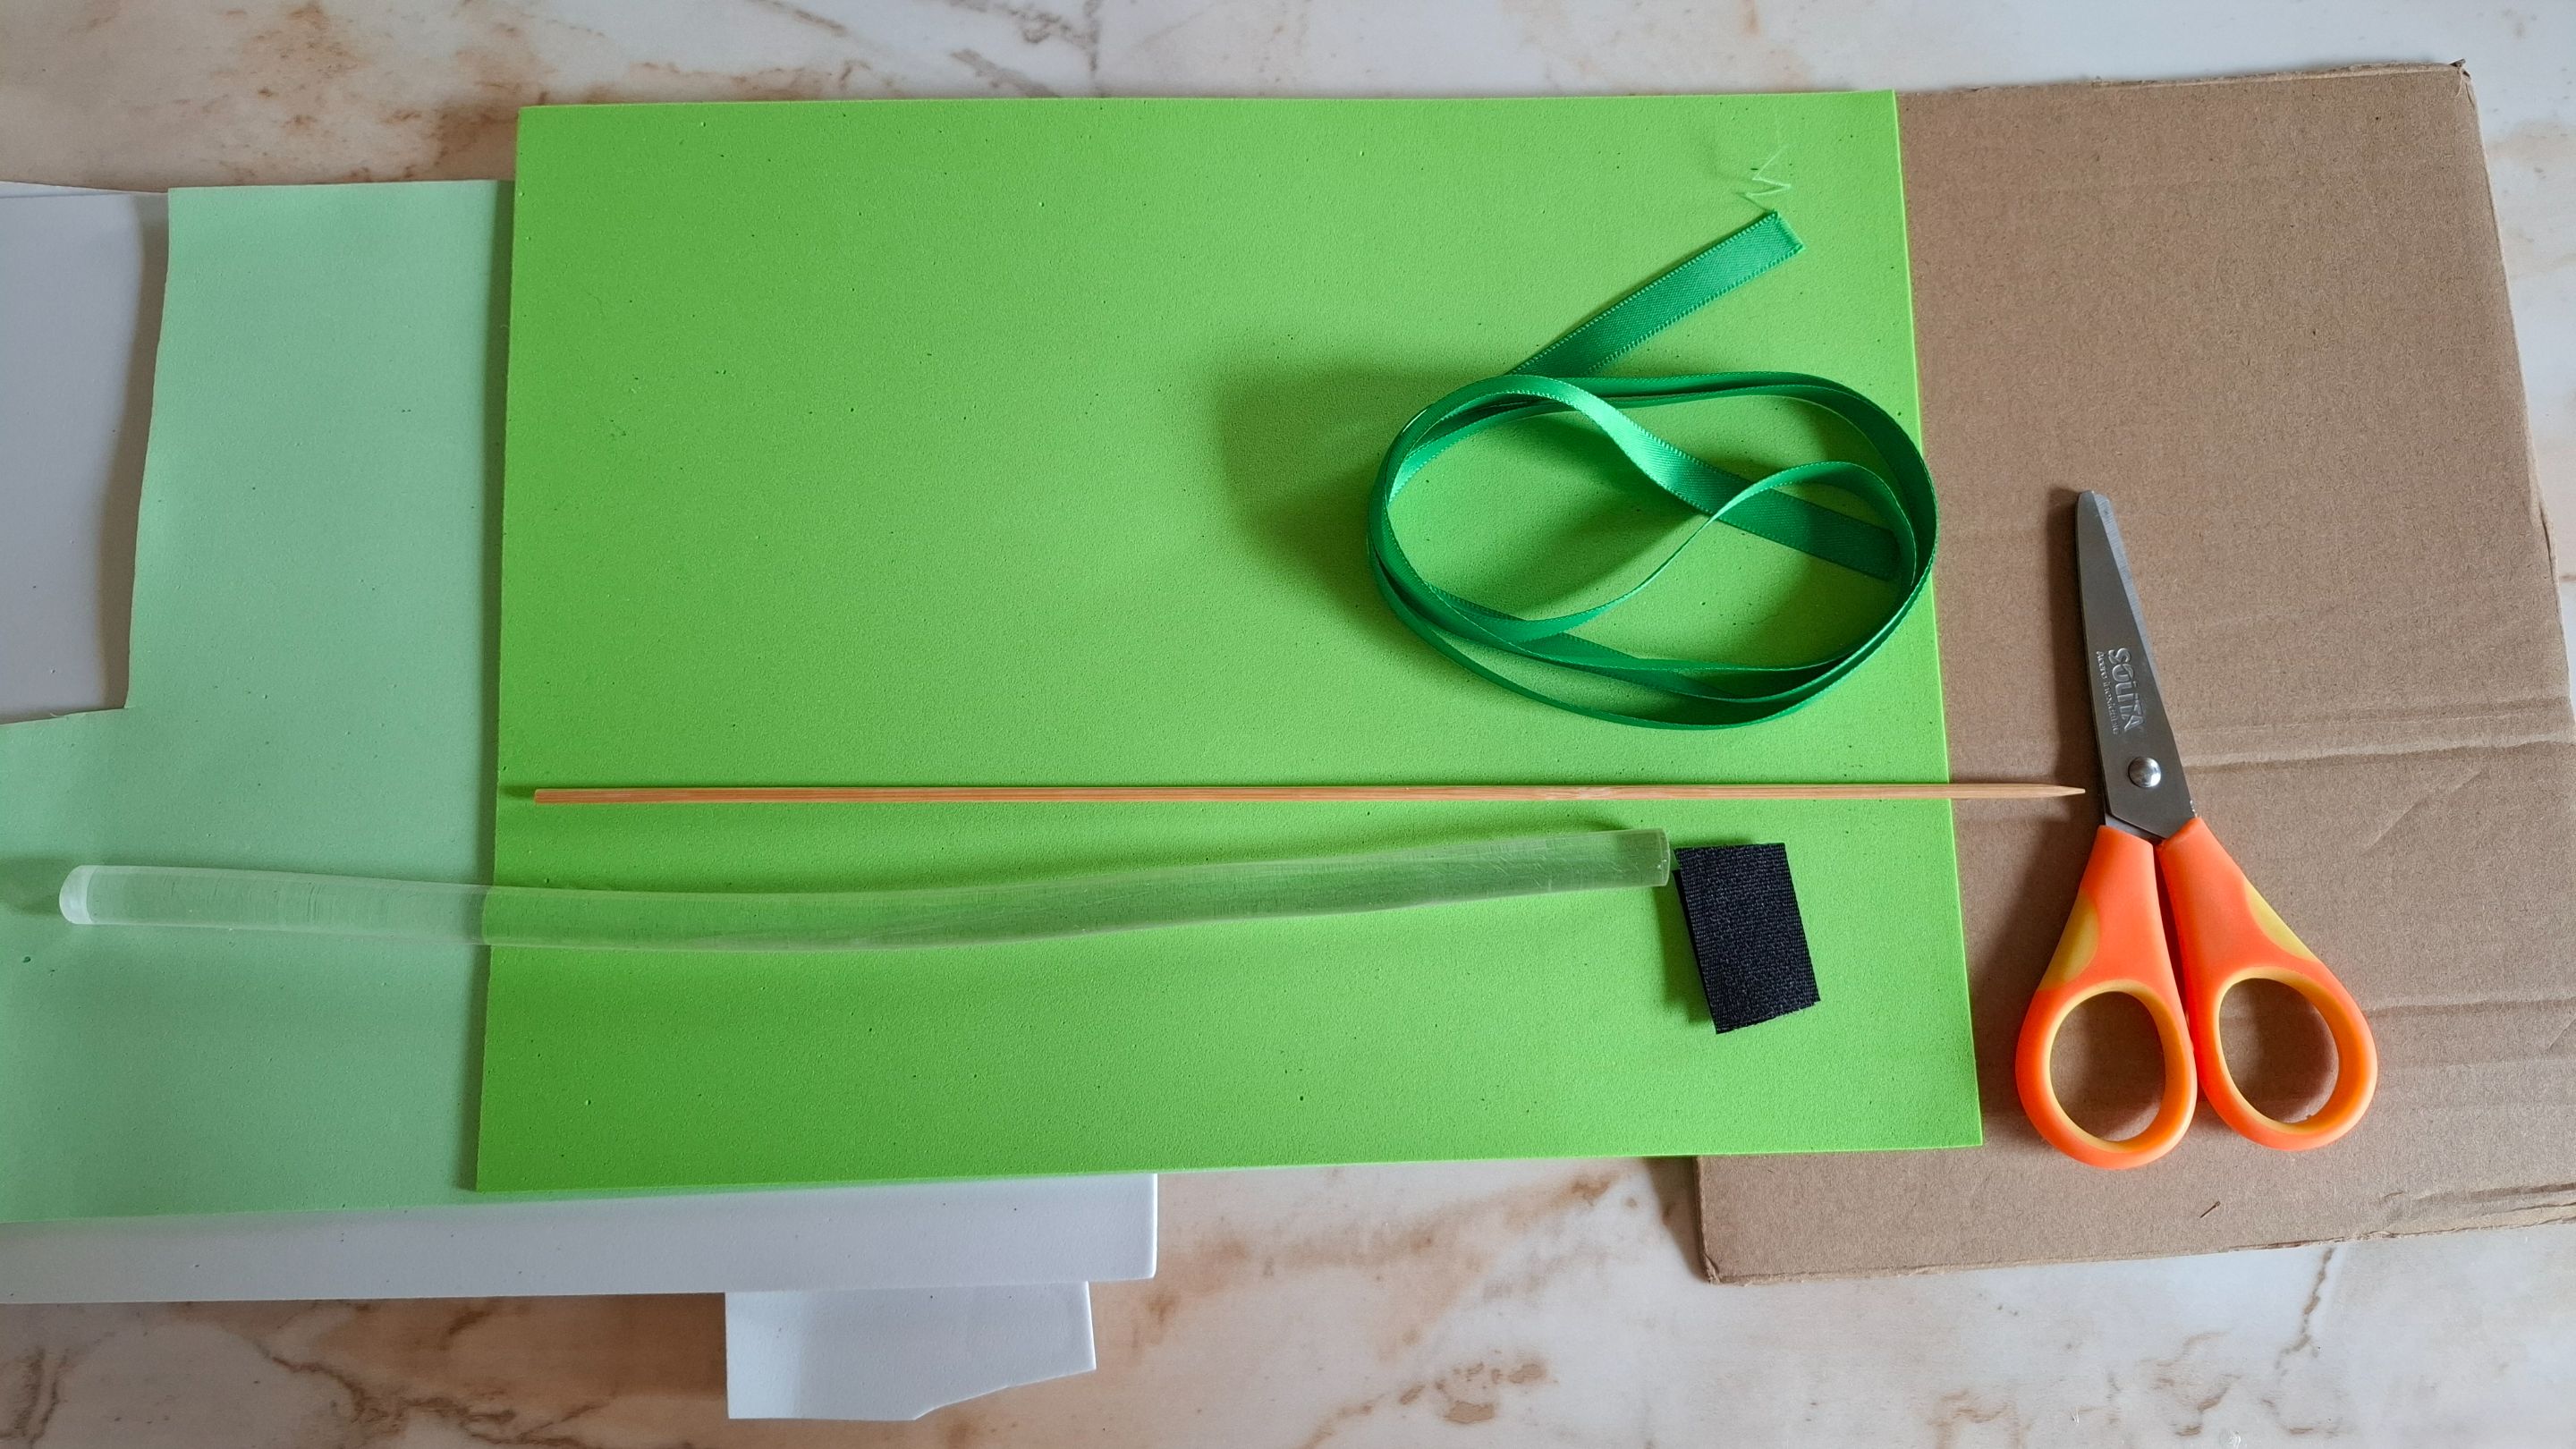
| Materiales | Materials |
|---|---|
| Foami blanco | White foam |
| Foami verde (en varios tonos) | Green foami (in various shades) |
| Tijera | Scissors |
| Silicón | Silicone |
| Cierre mágico | magic closure |
| Cinta verde | green ribbon |
| Cartón | Cardboard |
Paso a paso / Step by step
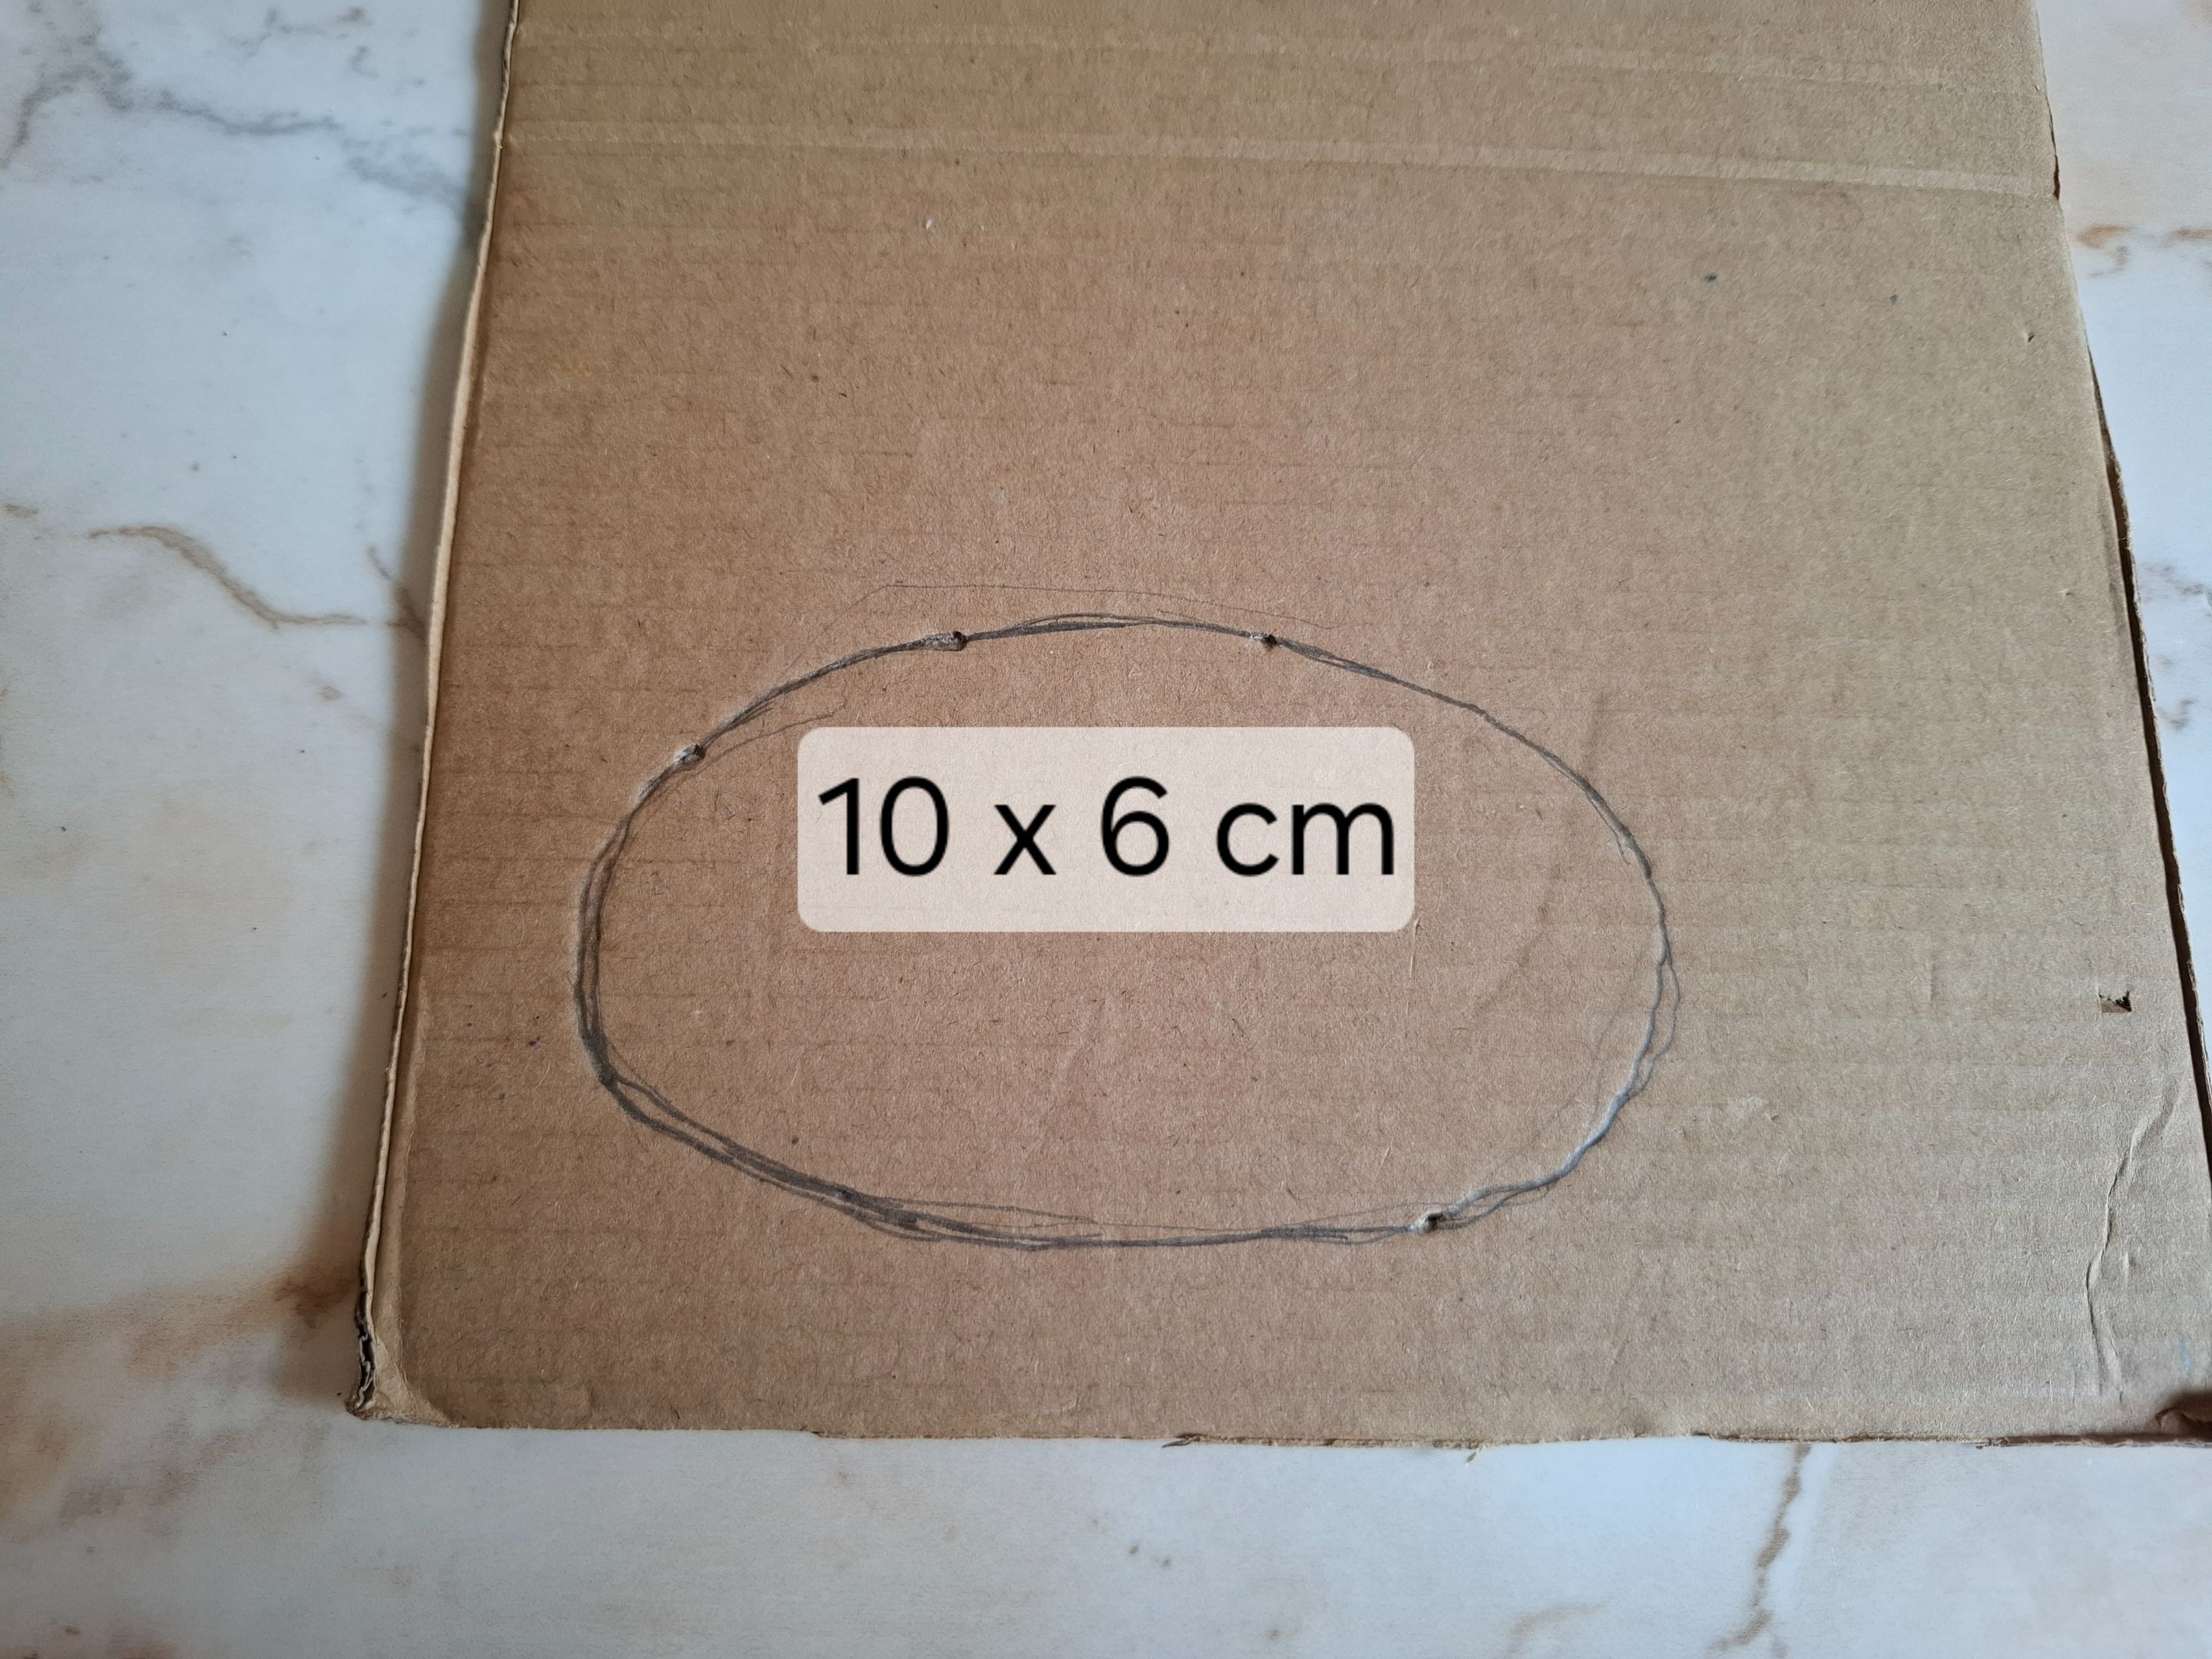
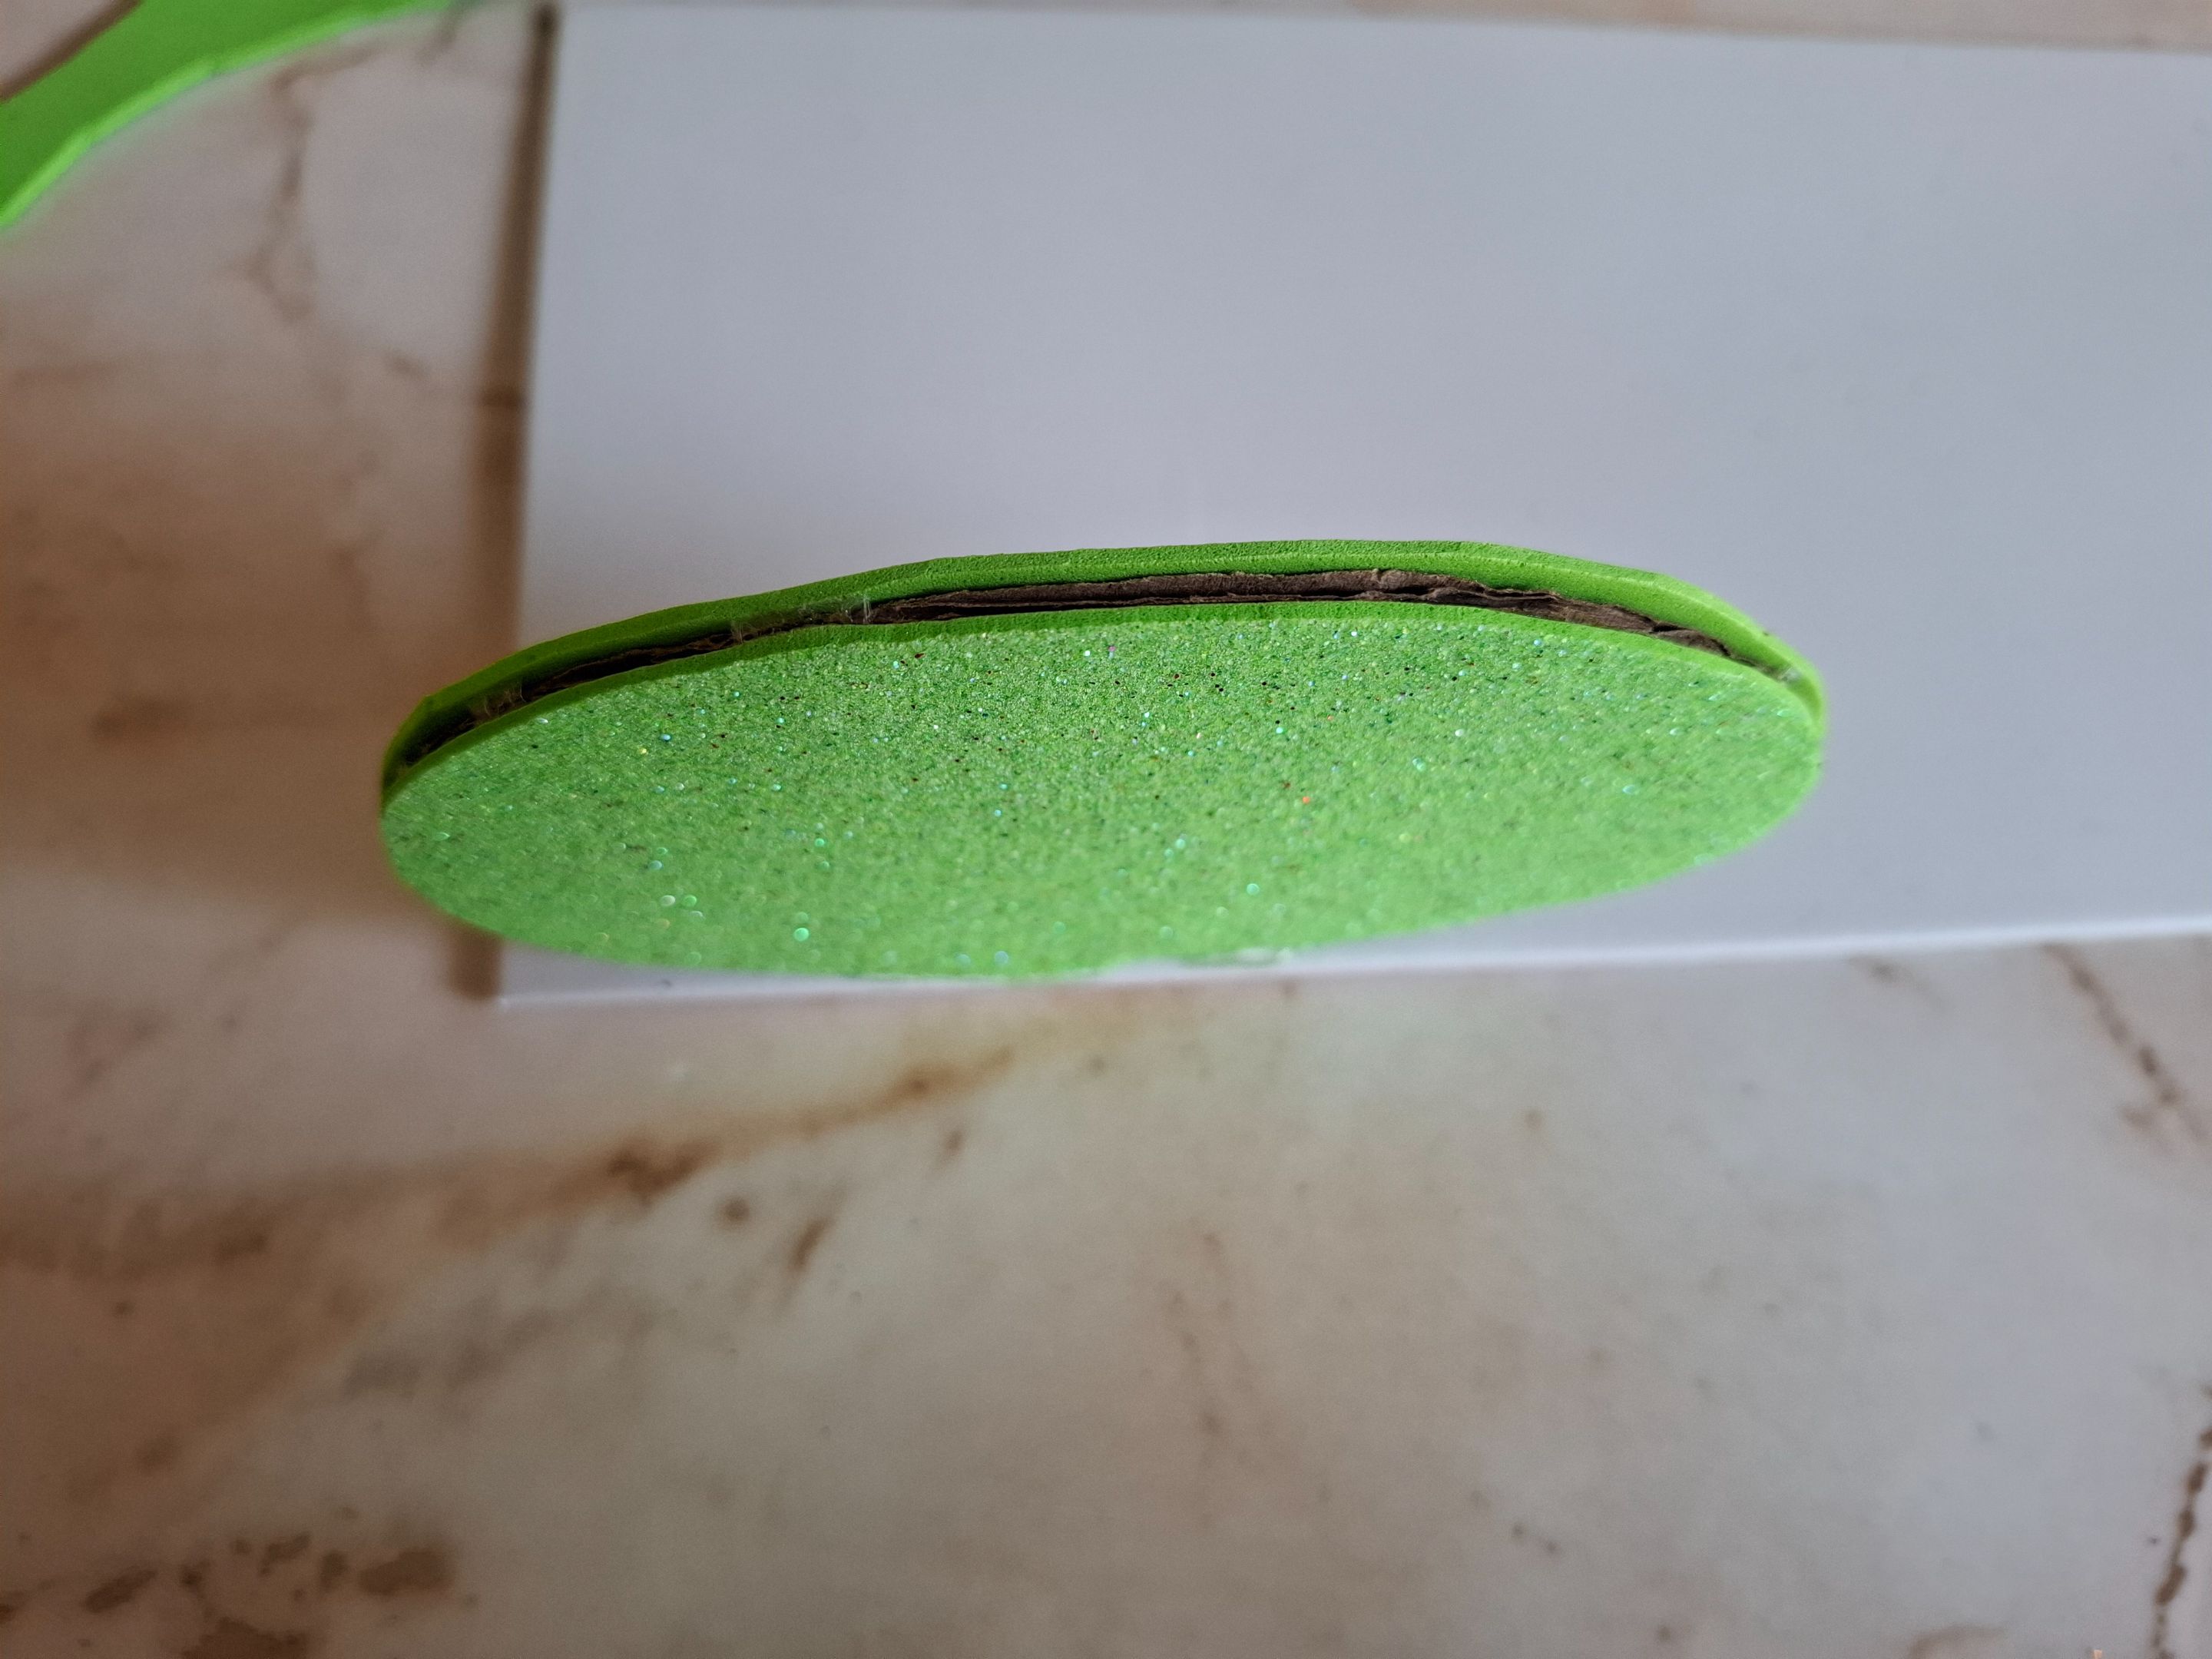
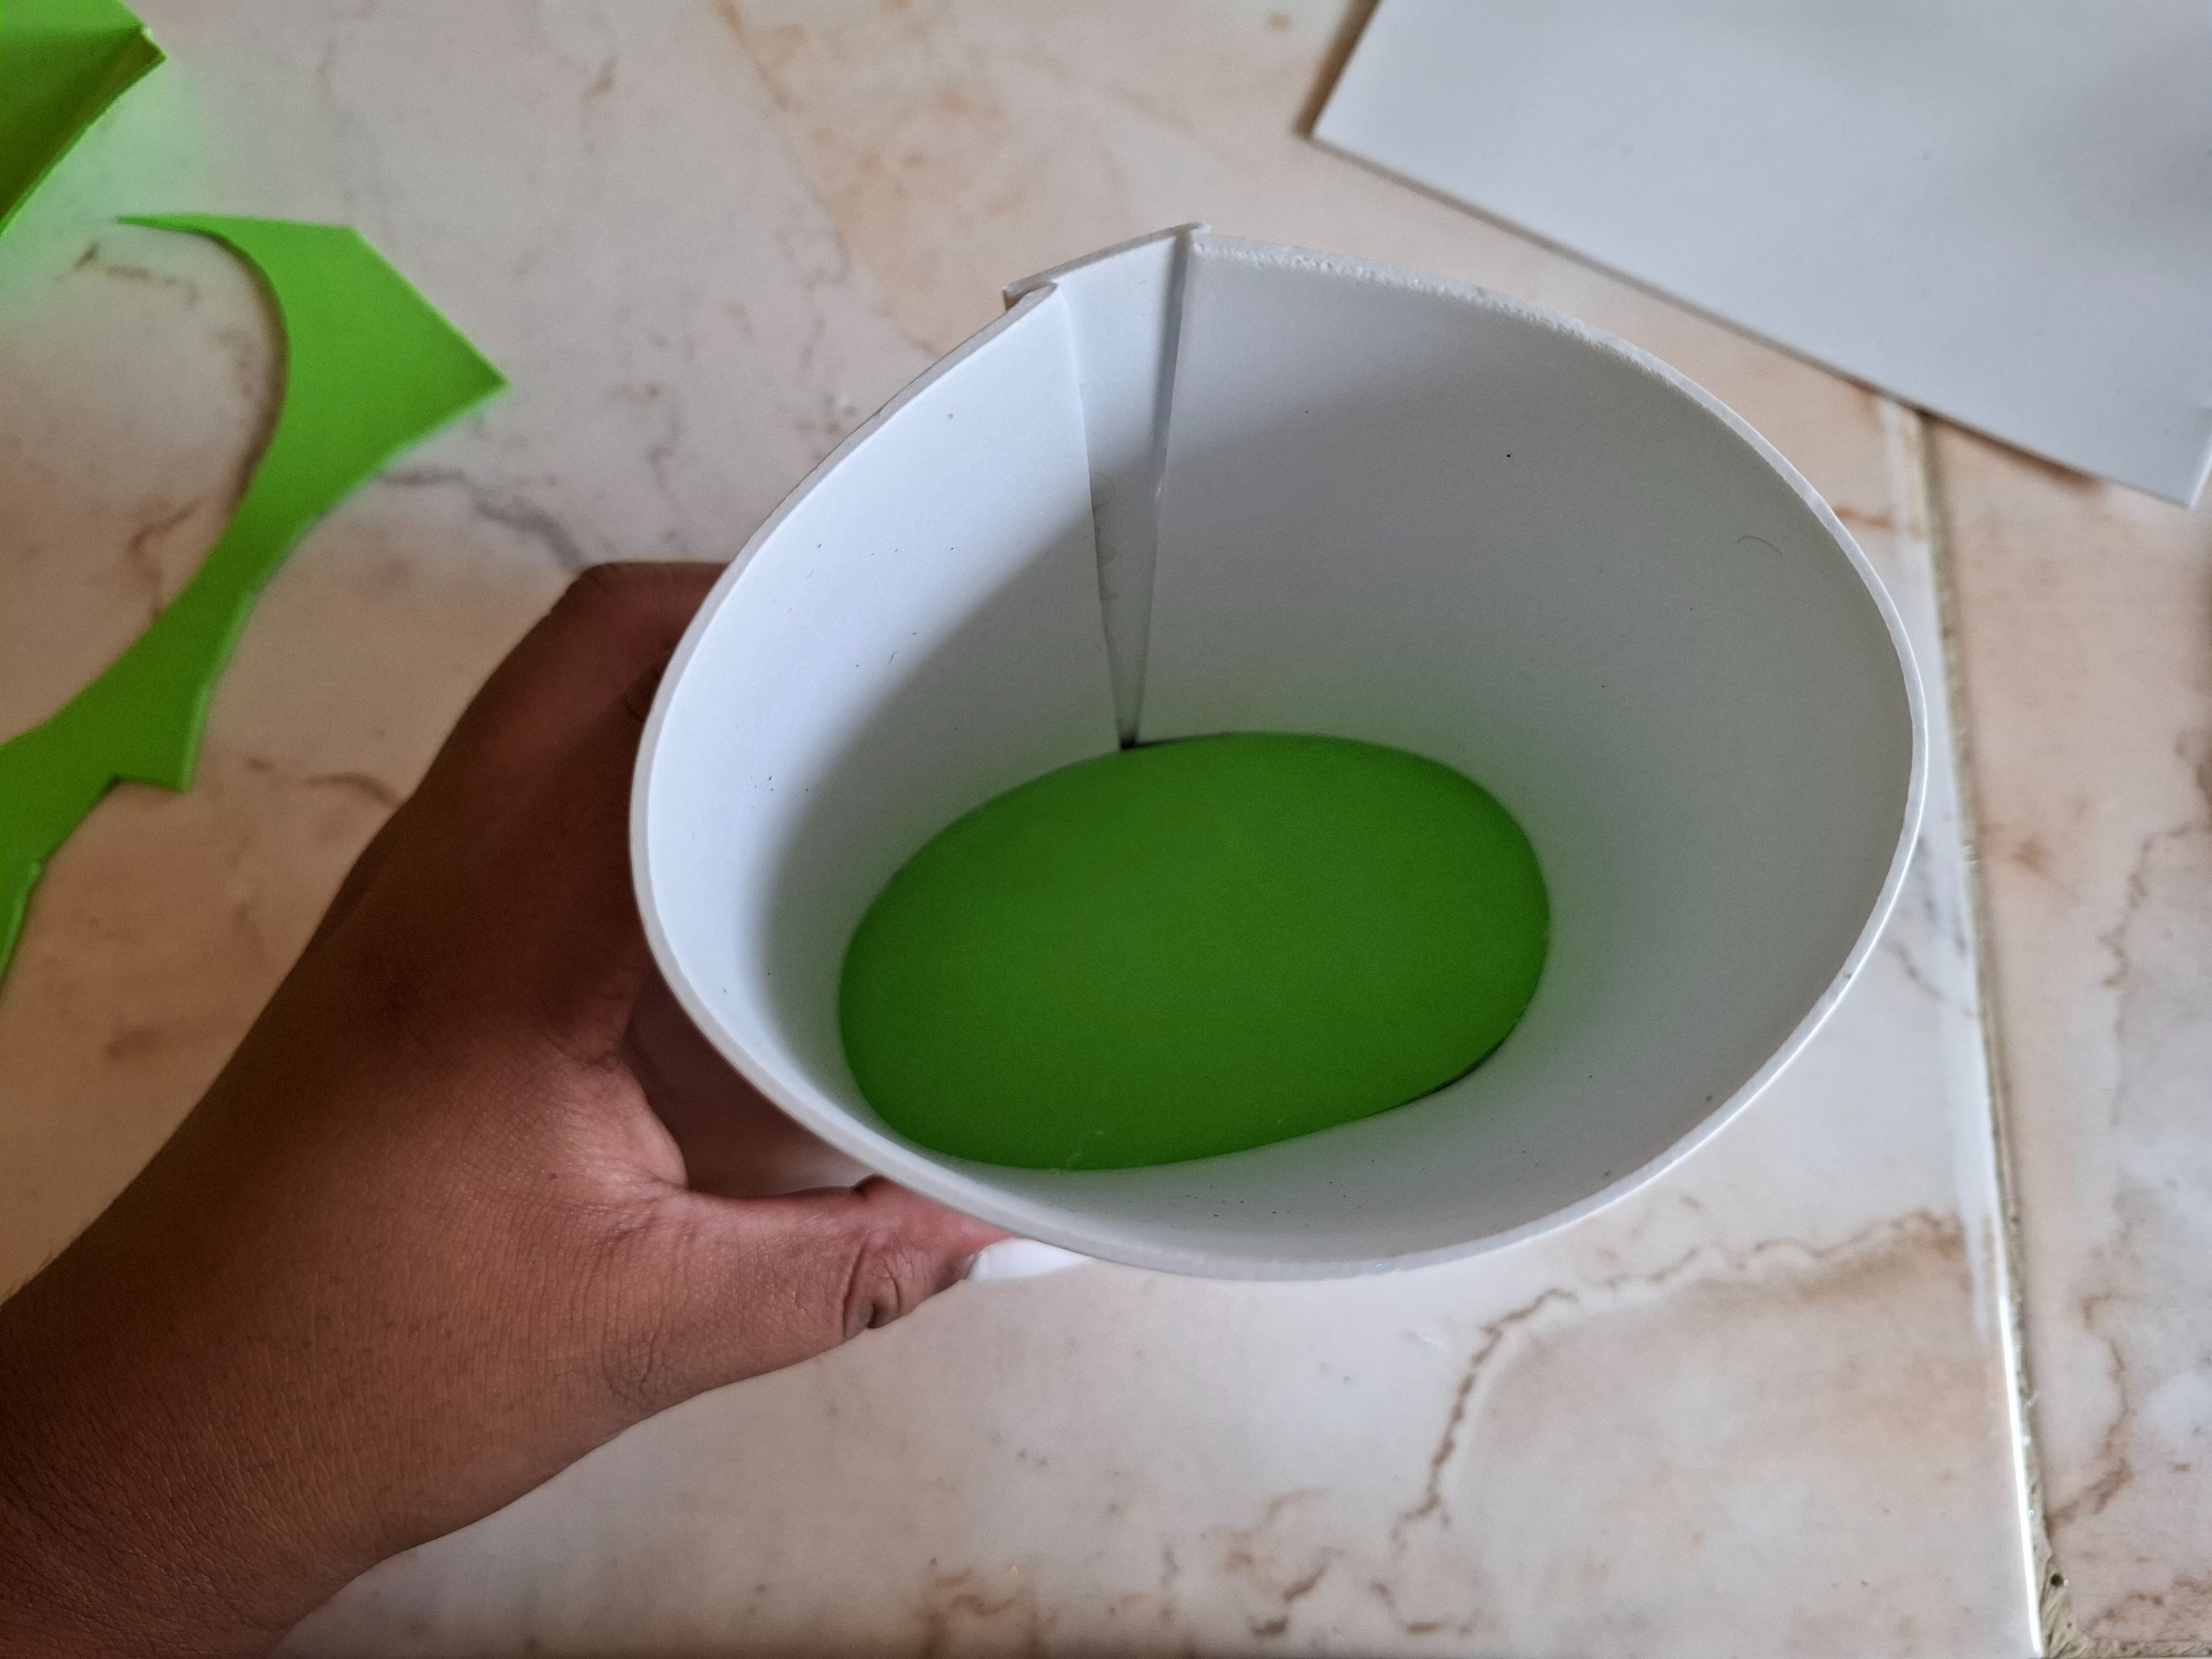
El primer paso que voy a realizar será cortar un una base de cartón con una medida de 10 x 6 cm, luego de recortar voy a pegar sobre foami verde de ambos lados.
The first step I'm going to take is to cut a cardboard base measuring 10 x 6 cm. After cutting it out, I'm going to glue it onto the green foam on both sides.
 |
 |
|---|---|
 |
https://media0.giphy.com/media/v1.Y2lkPTc5MGI3NjExcGJuZ2M3eWI2ZmZidXA0MmJ6bXZqb3FtanhzZXl3dWFzZWdkcmh4eCZlcD12MV9pbnRlcm5hbF9naWZfYnlfaWQmY3Q9Zw/Ns04zE8iMimCsyZeP1/giphy.gif |
|---|---|
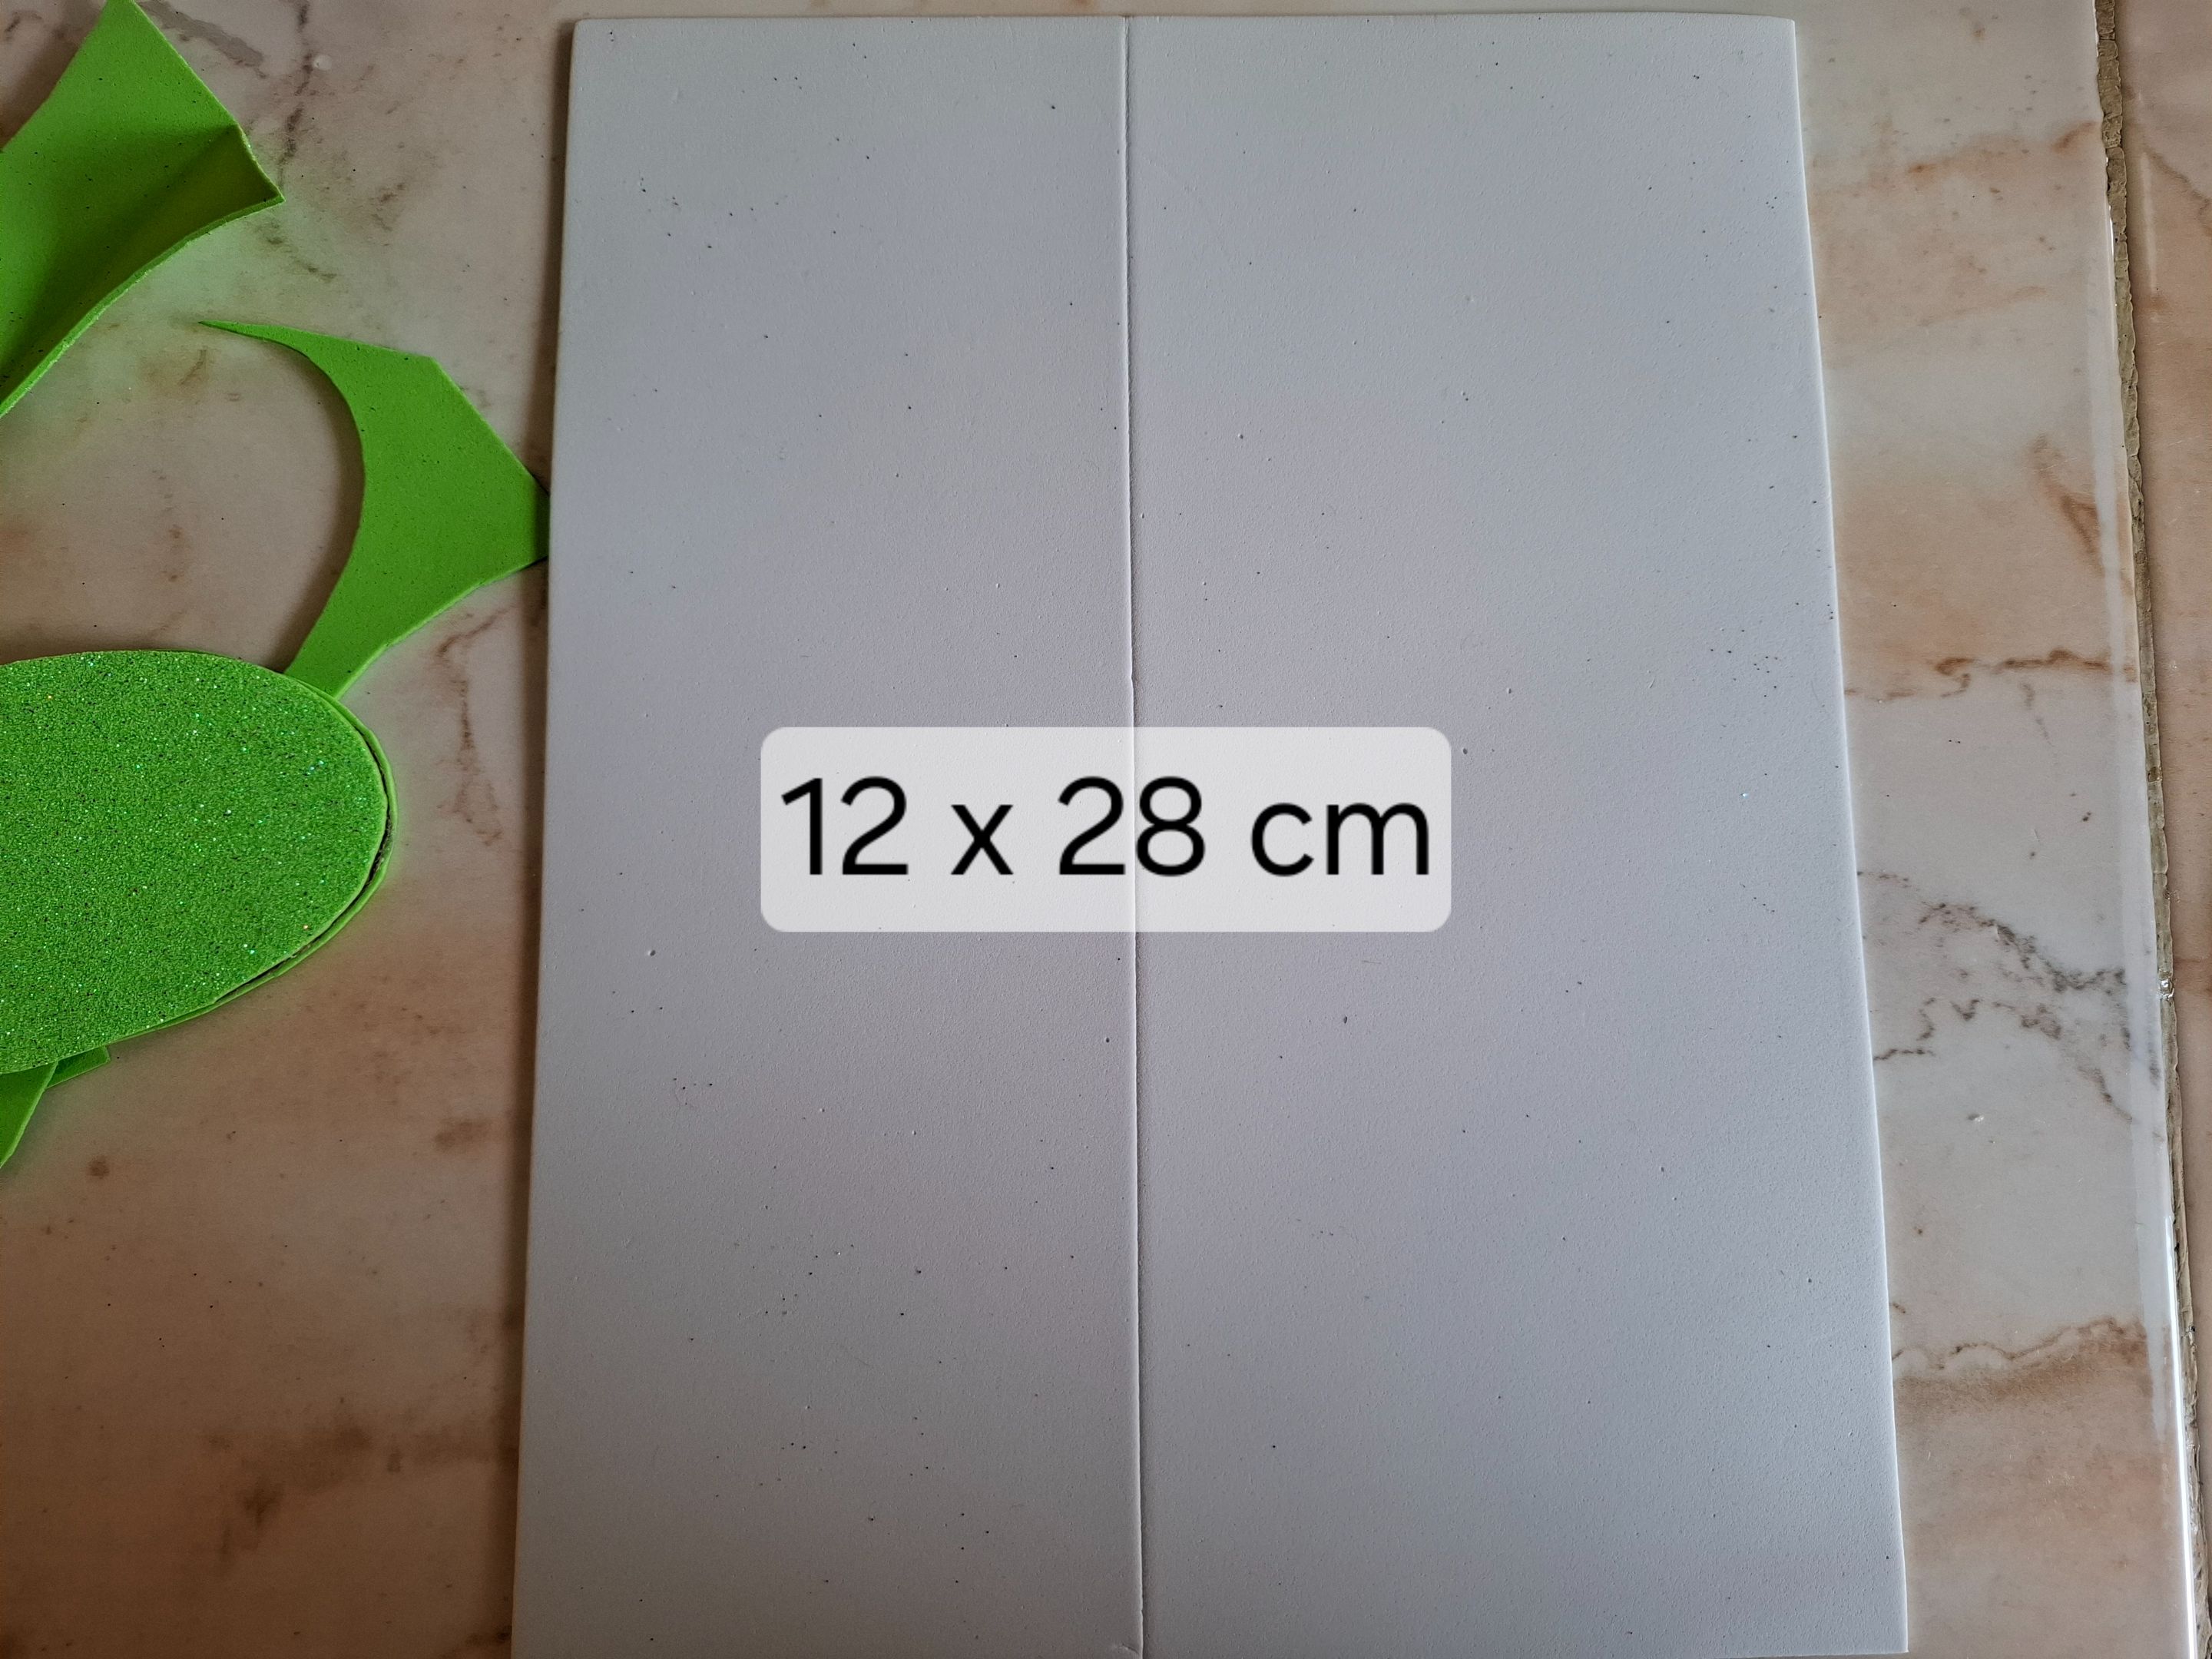
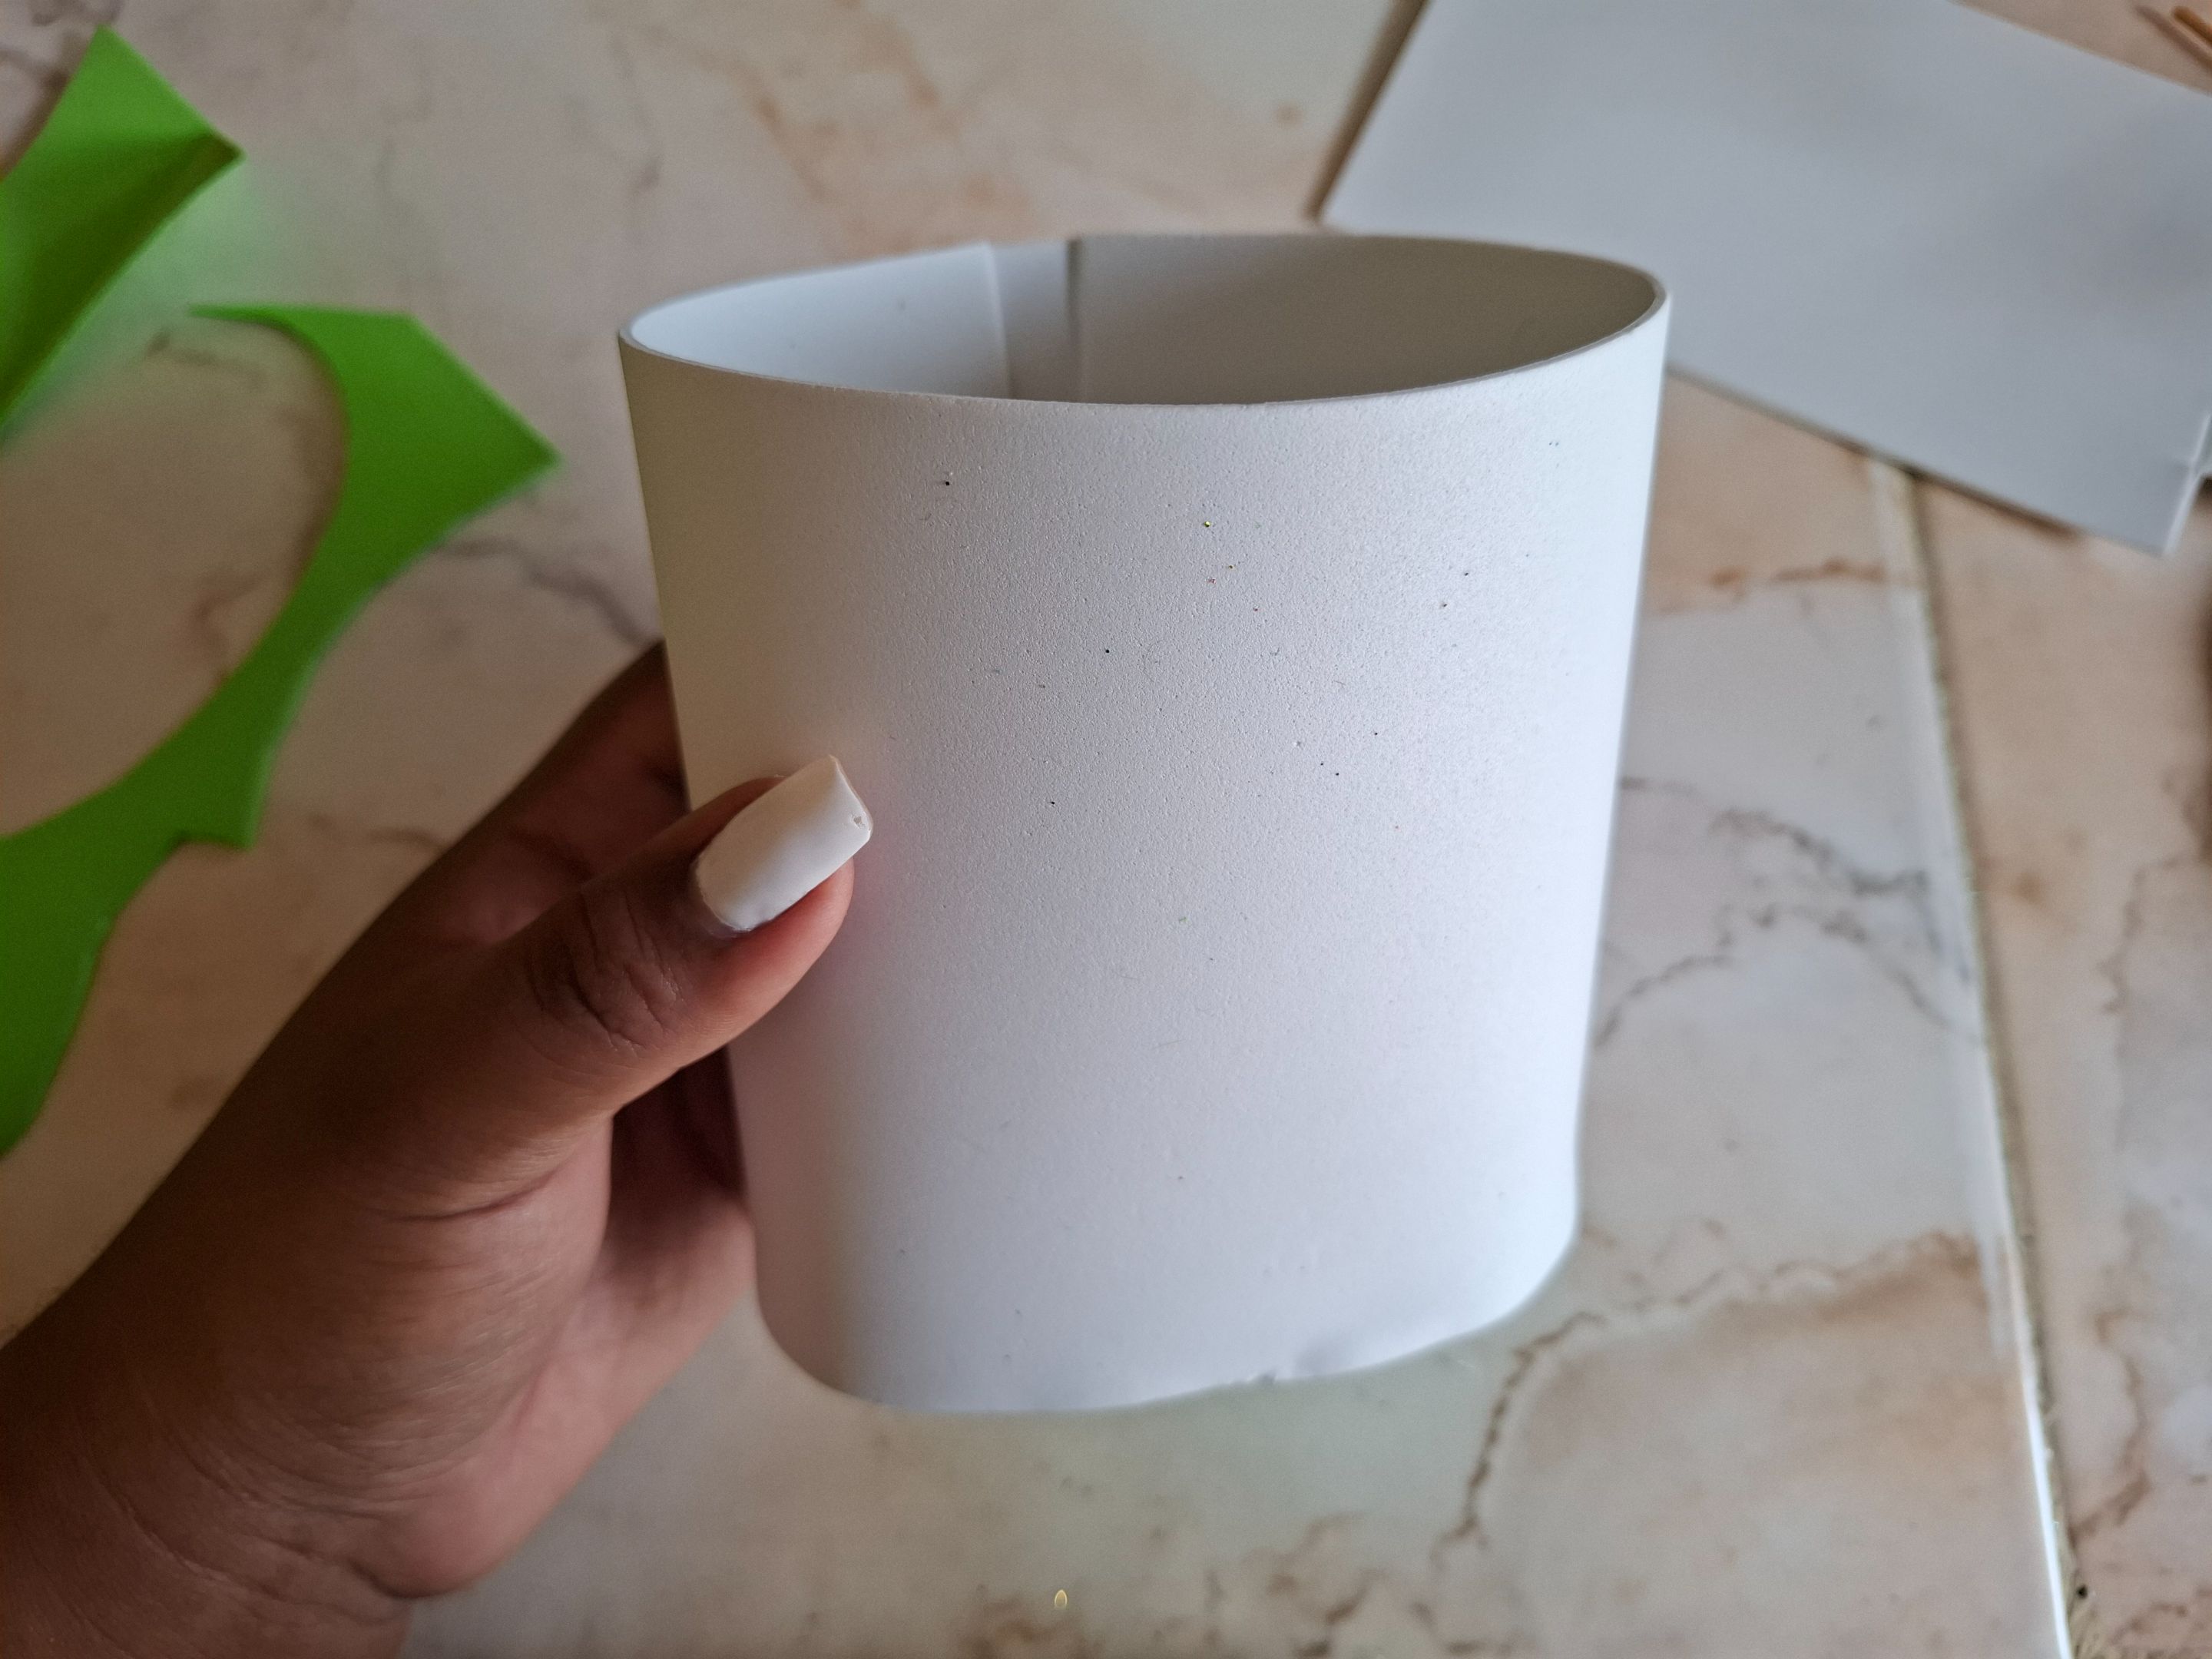
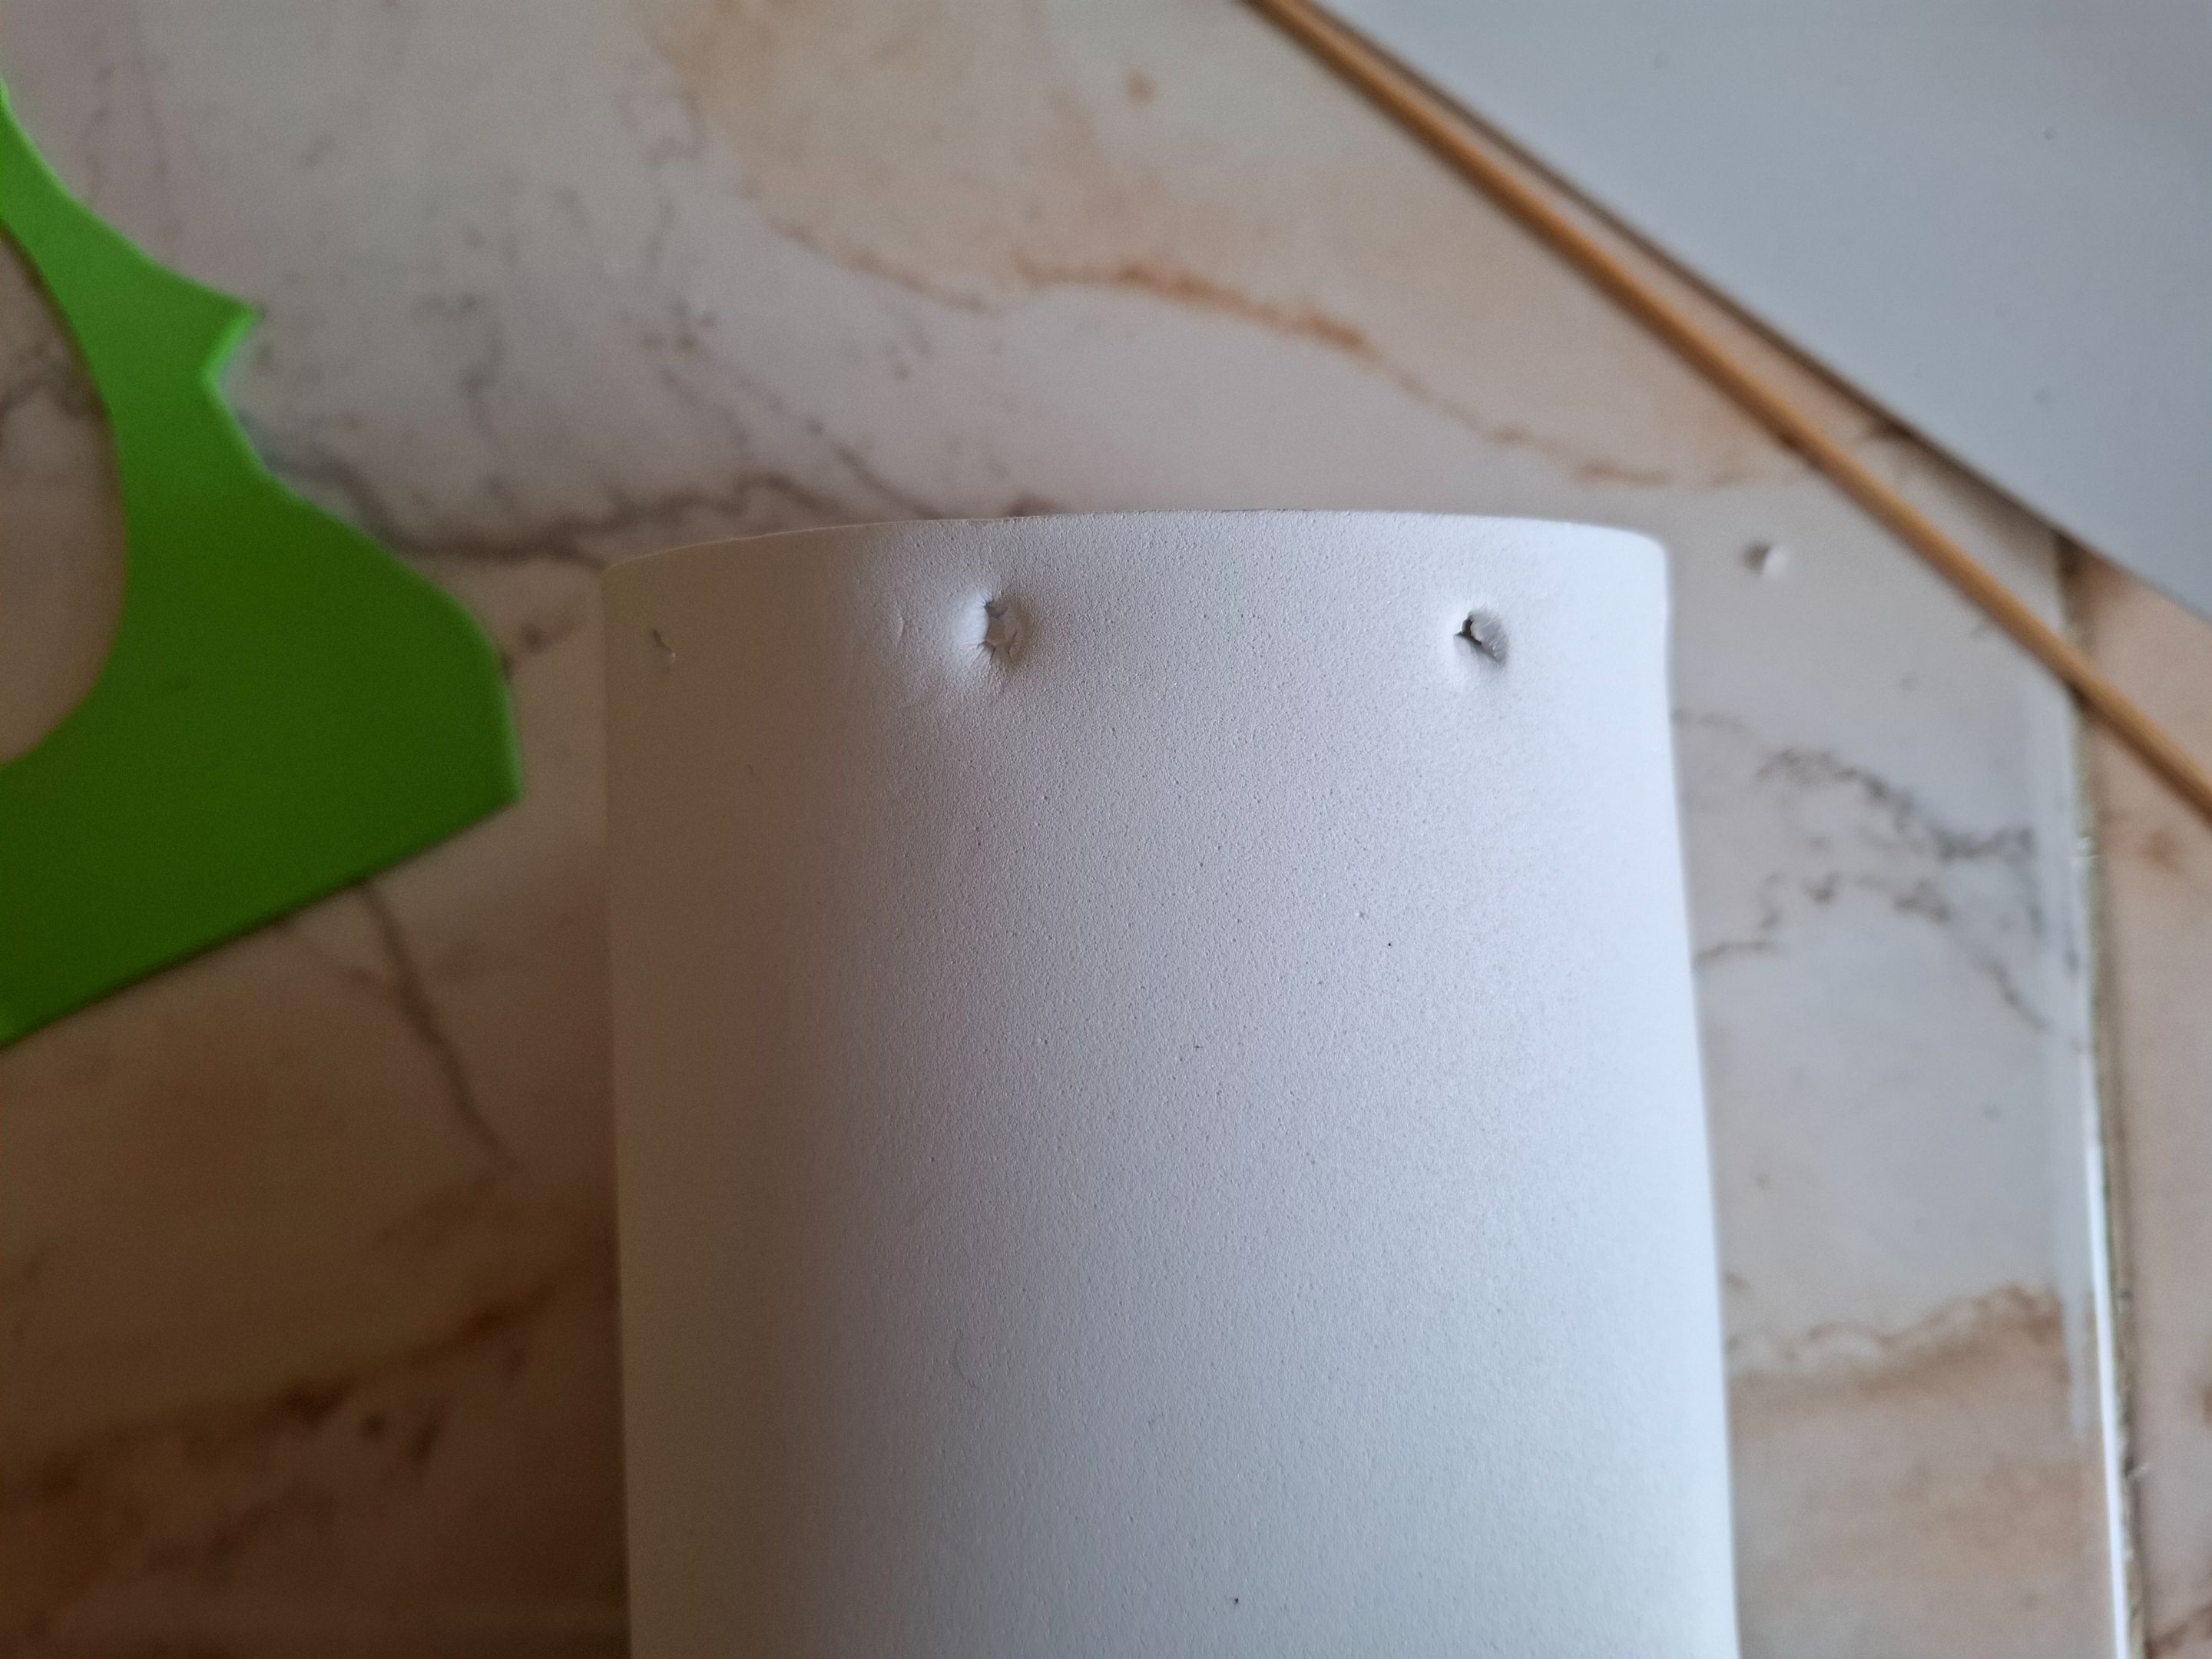
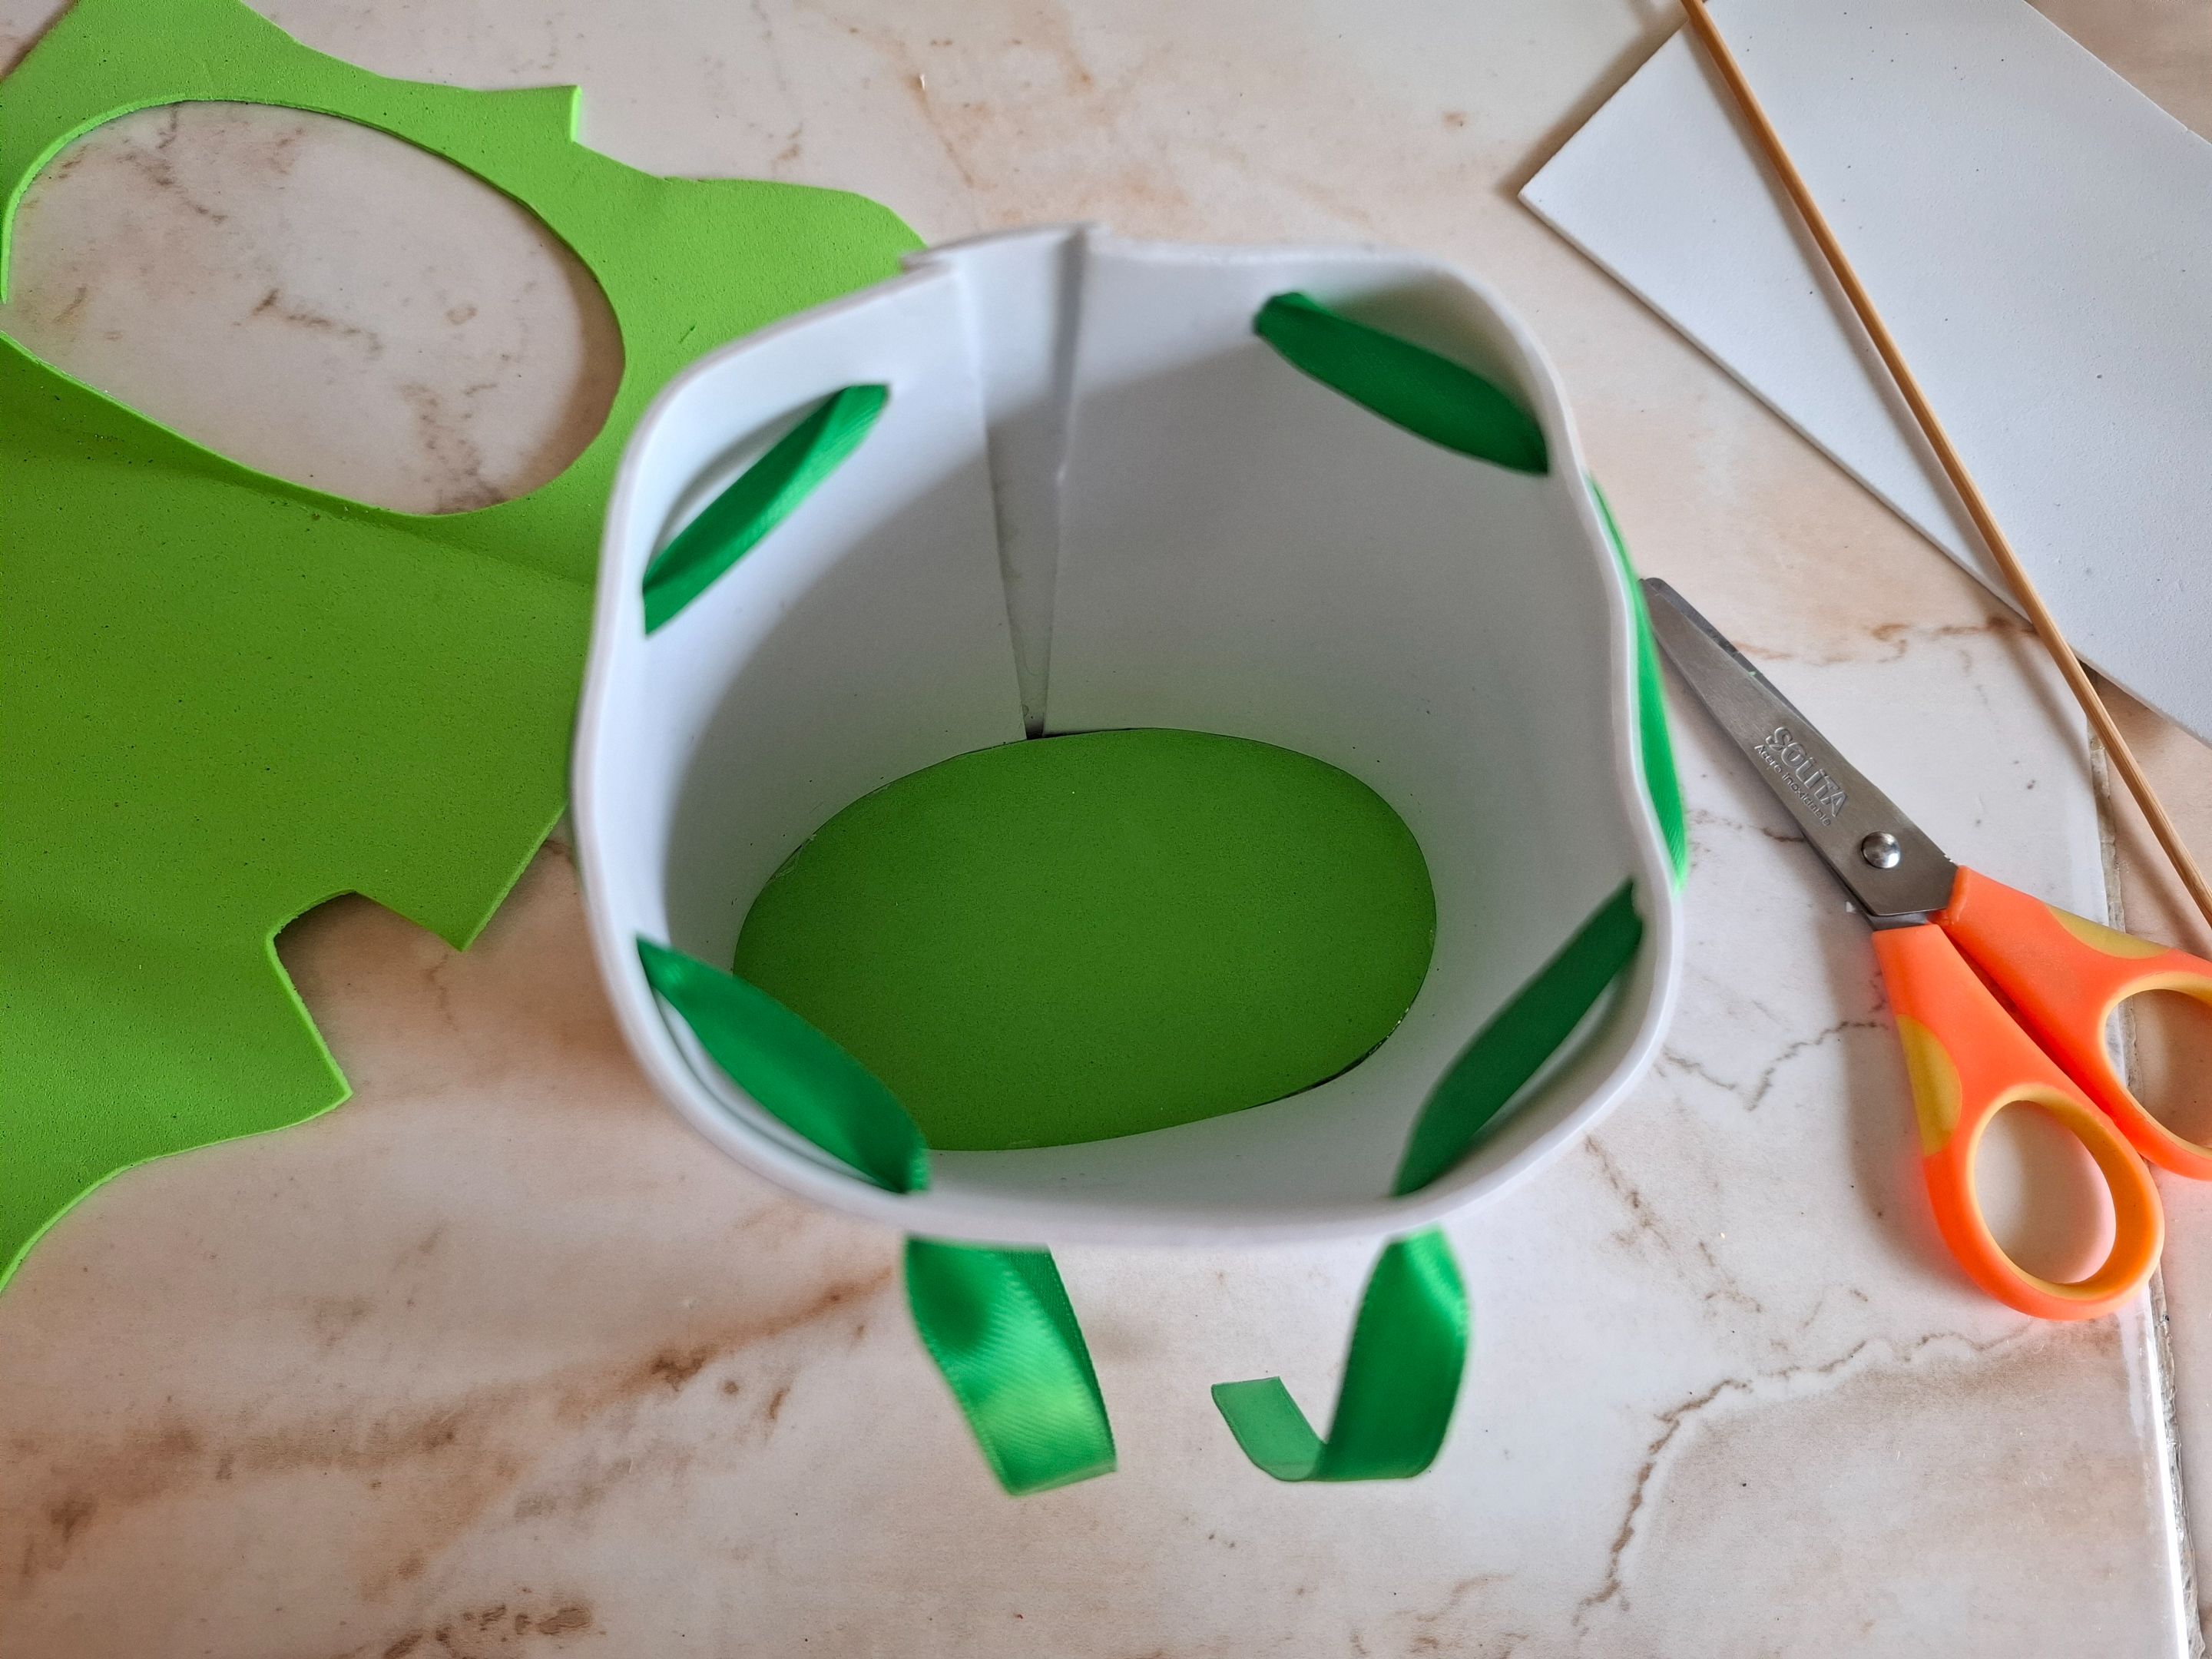
Luego de estoy voy a cortar una franja de foami blanco con una medida de 12 x 28 cm, y la voy a pegar al rededor de la base que previamente preparamos, una vez lista voy a realizar pequeños agujeros en la parte superior.
After this I will cut a strip of white foam measuring 12 x 28 cm, and I will stick it around the base that we previously prepared. Once it is ready I will make small holes in the top.
 |
 |
 |
|---|---|---|
 |
 |
|---|---|
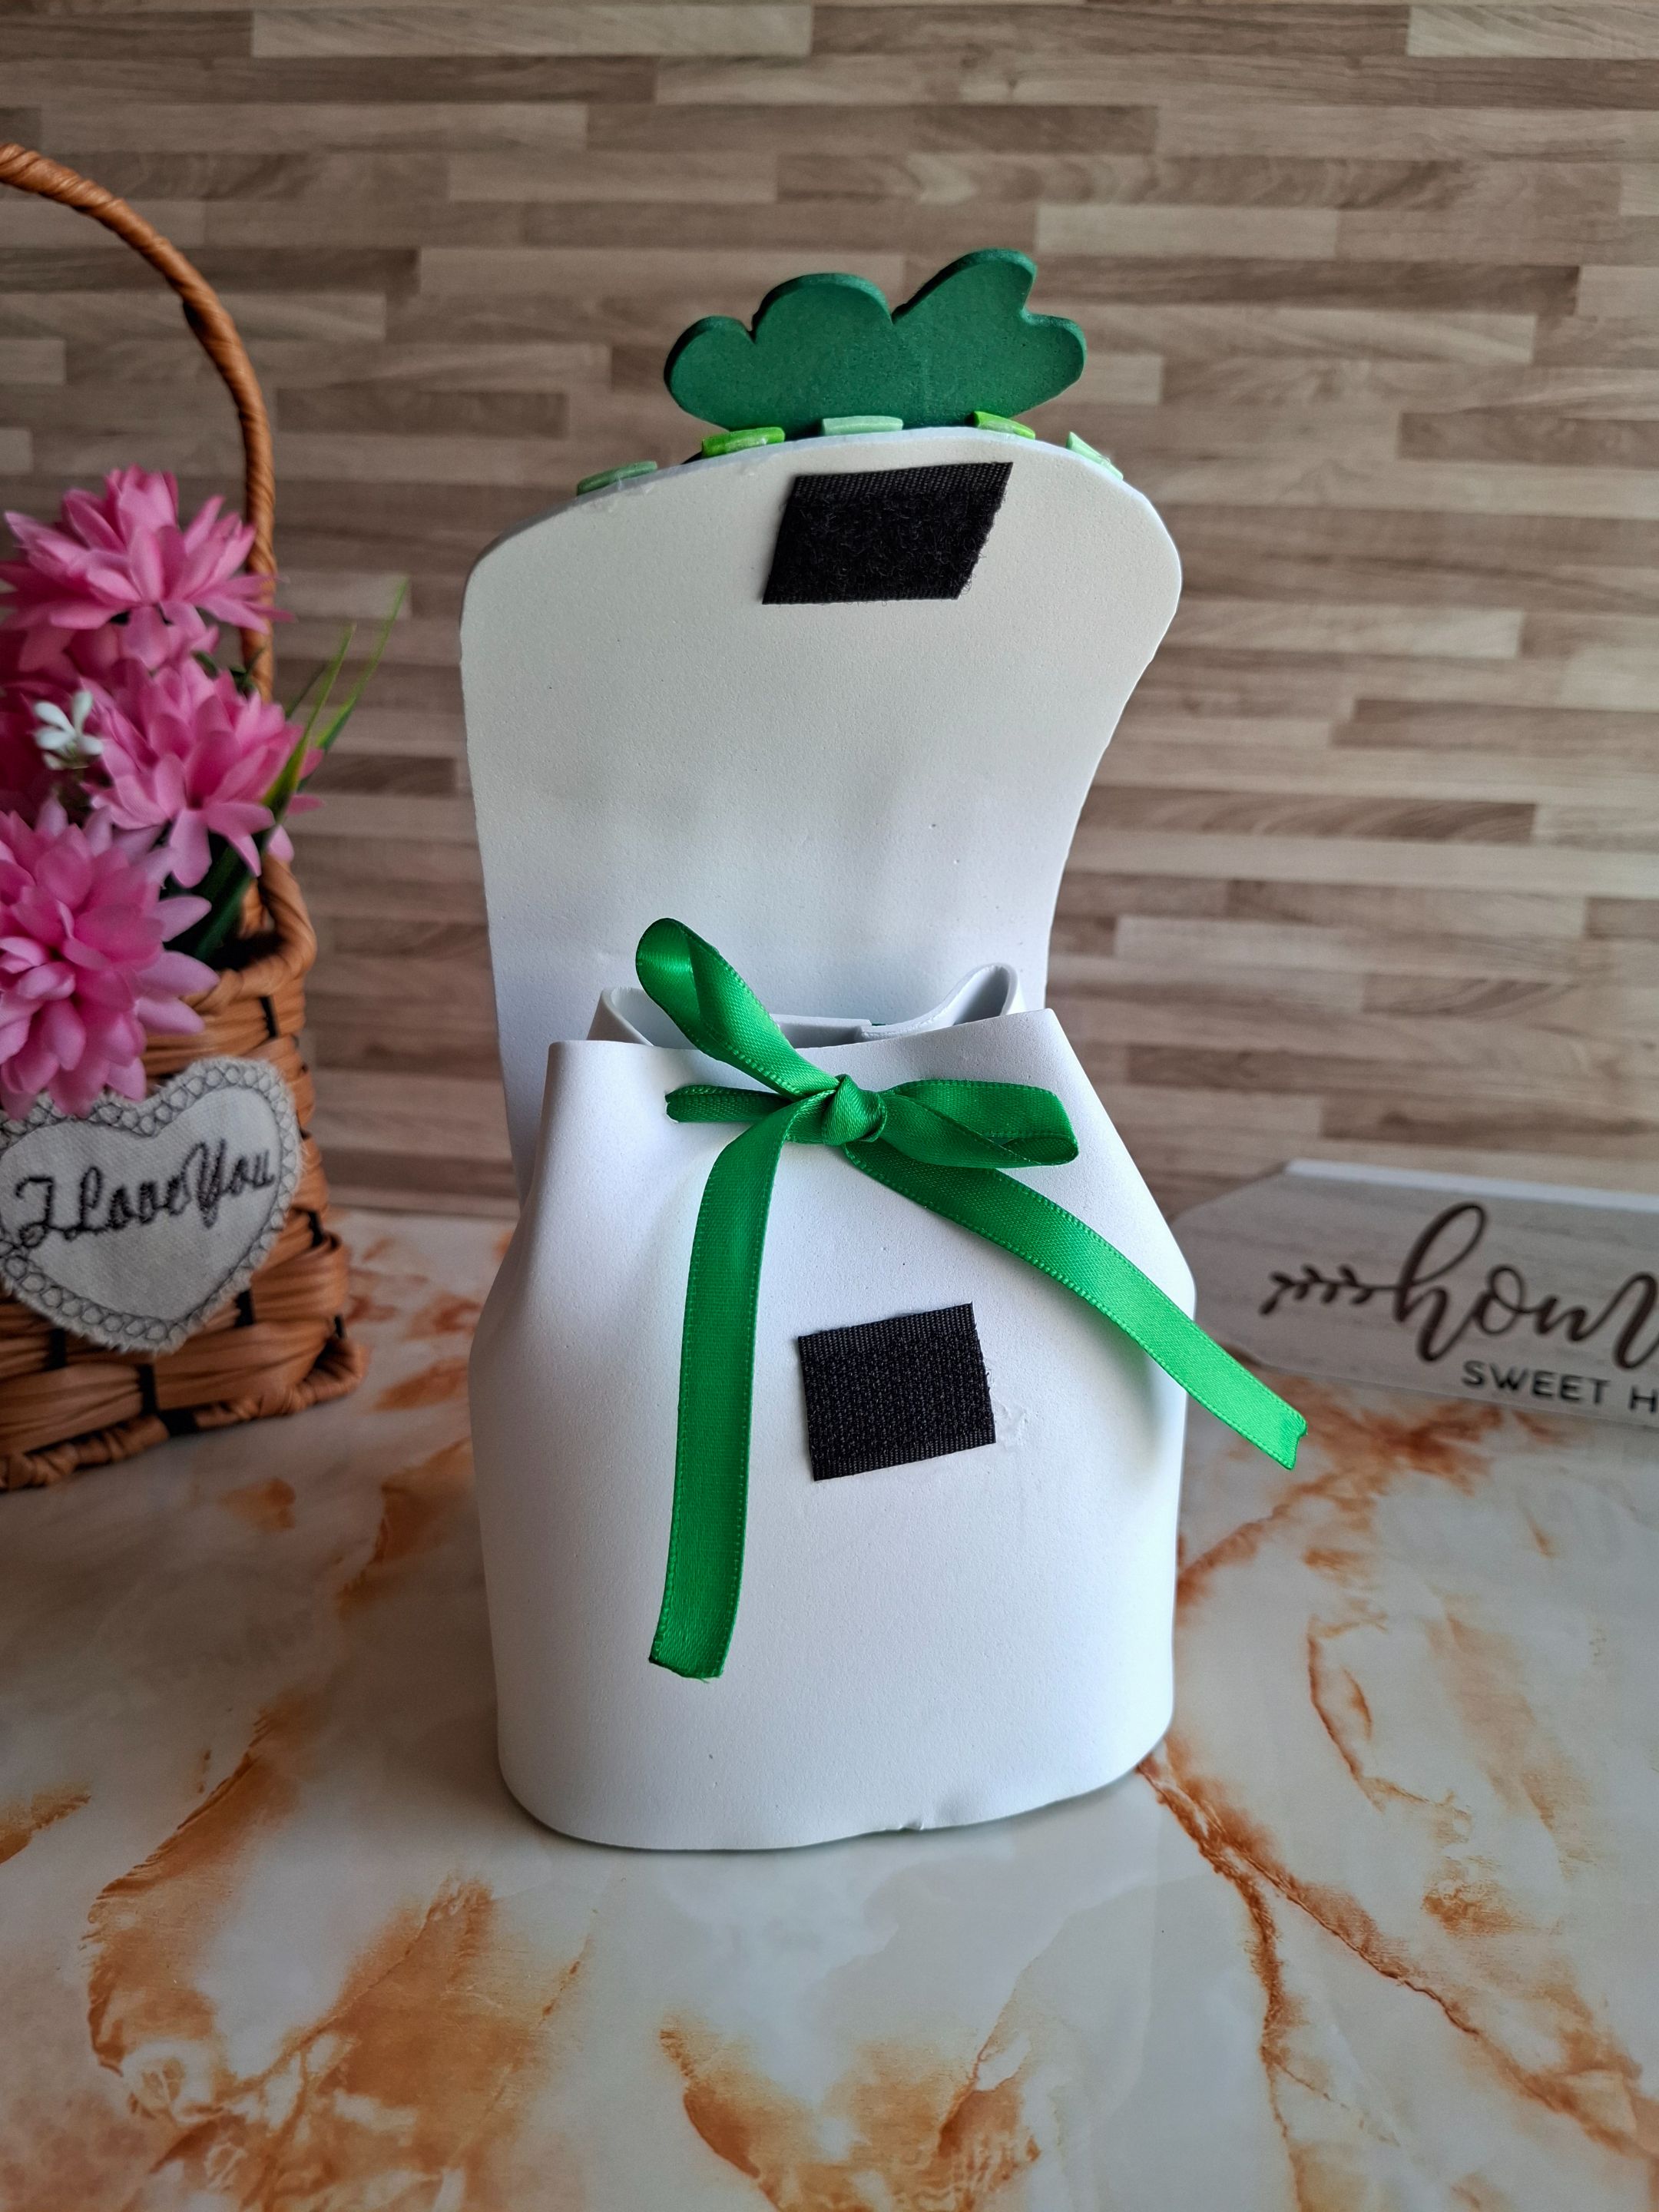
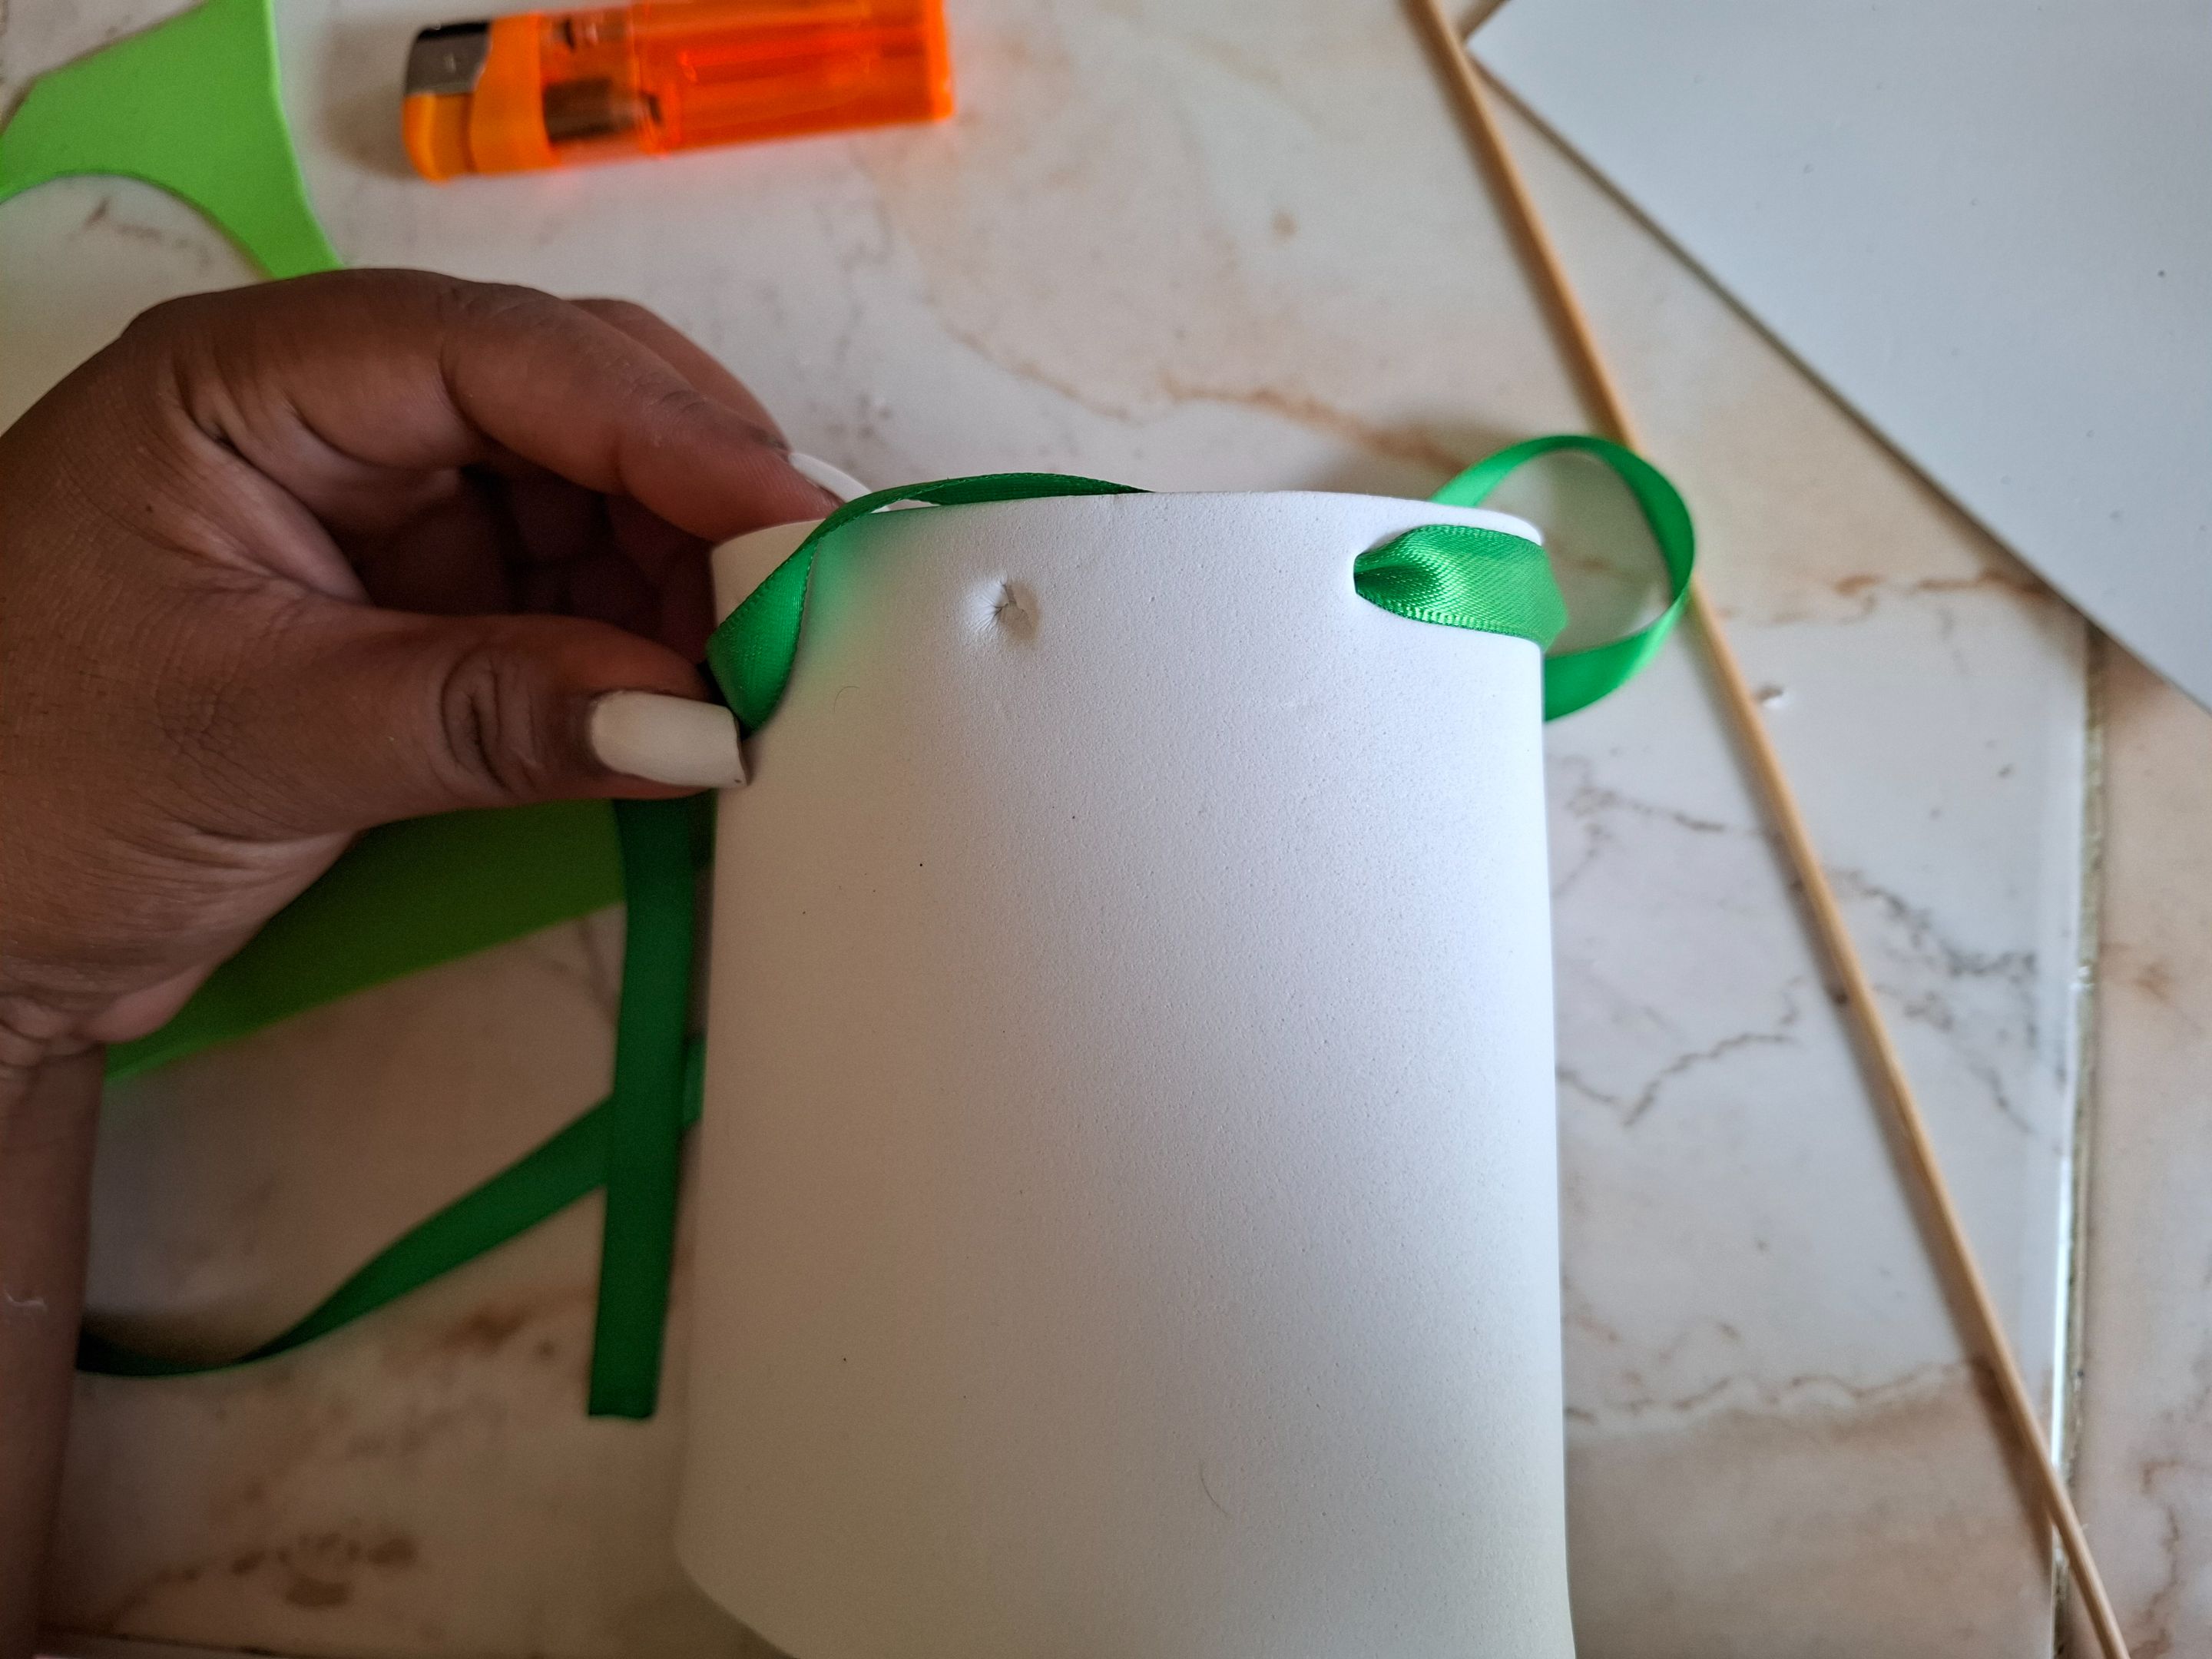
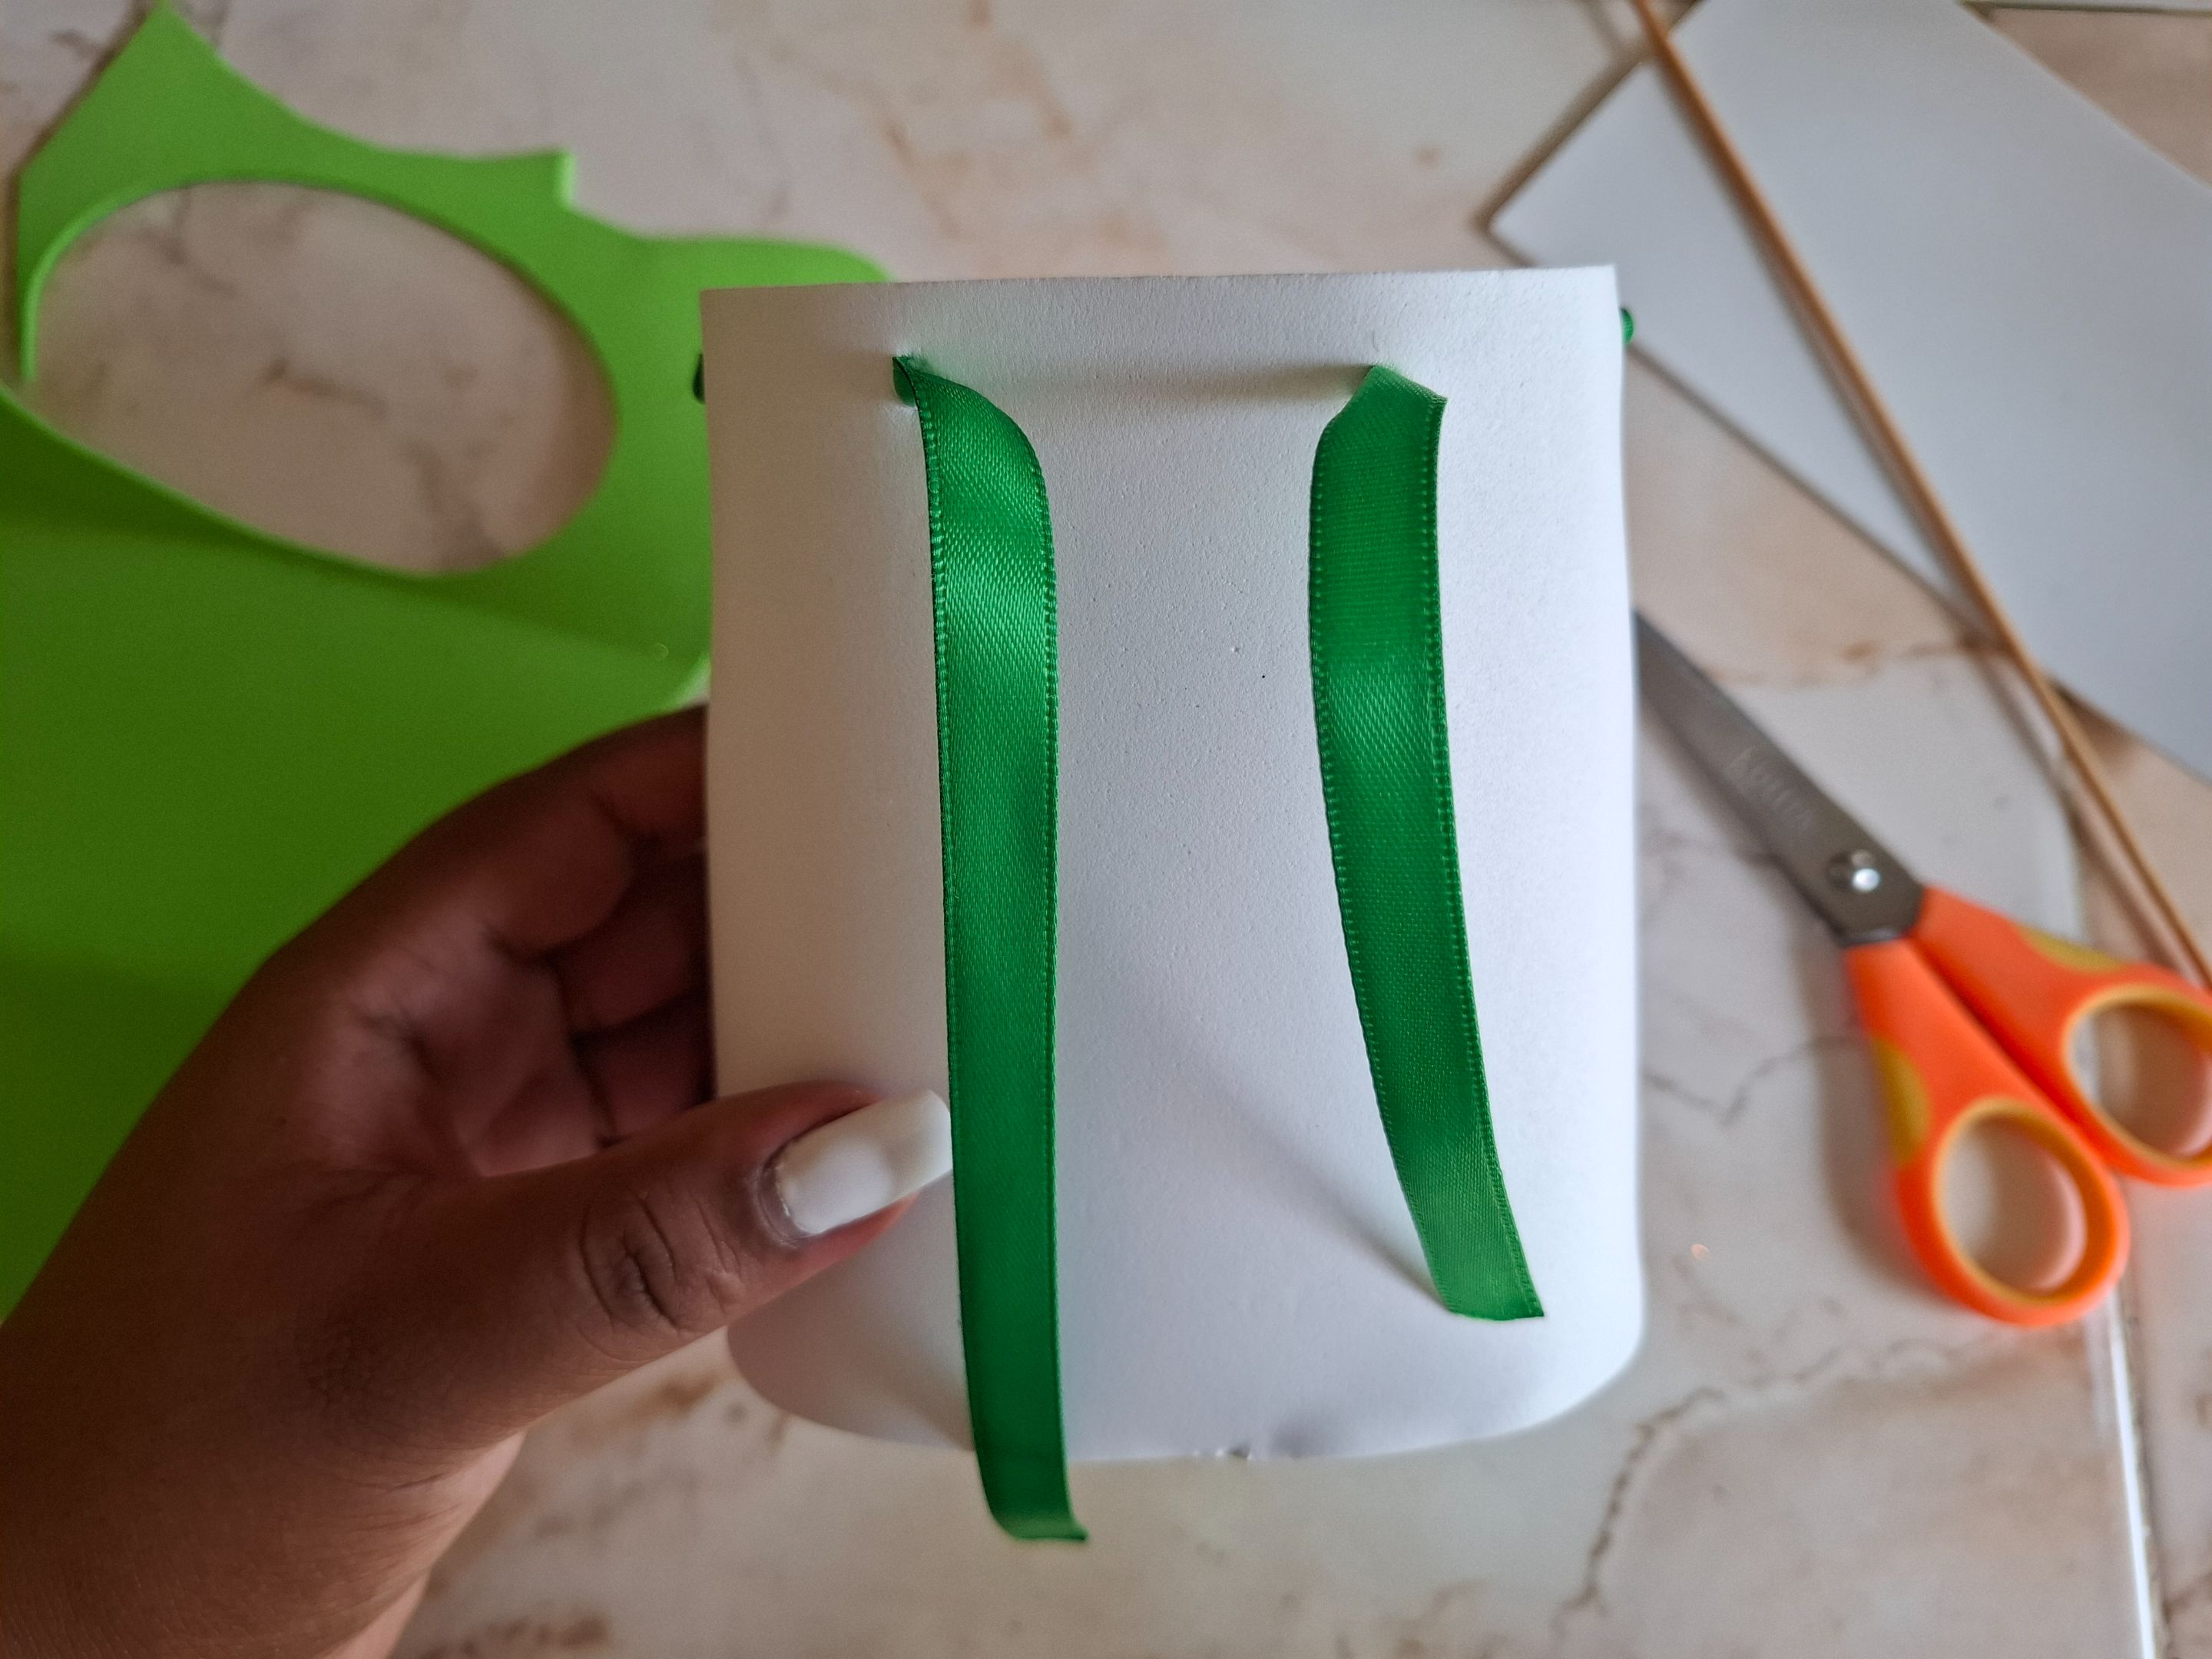
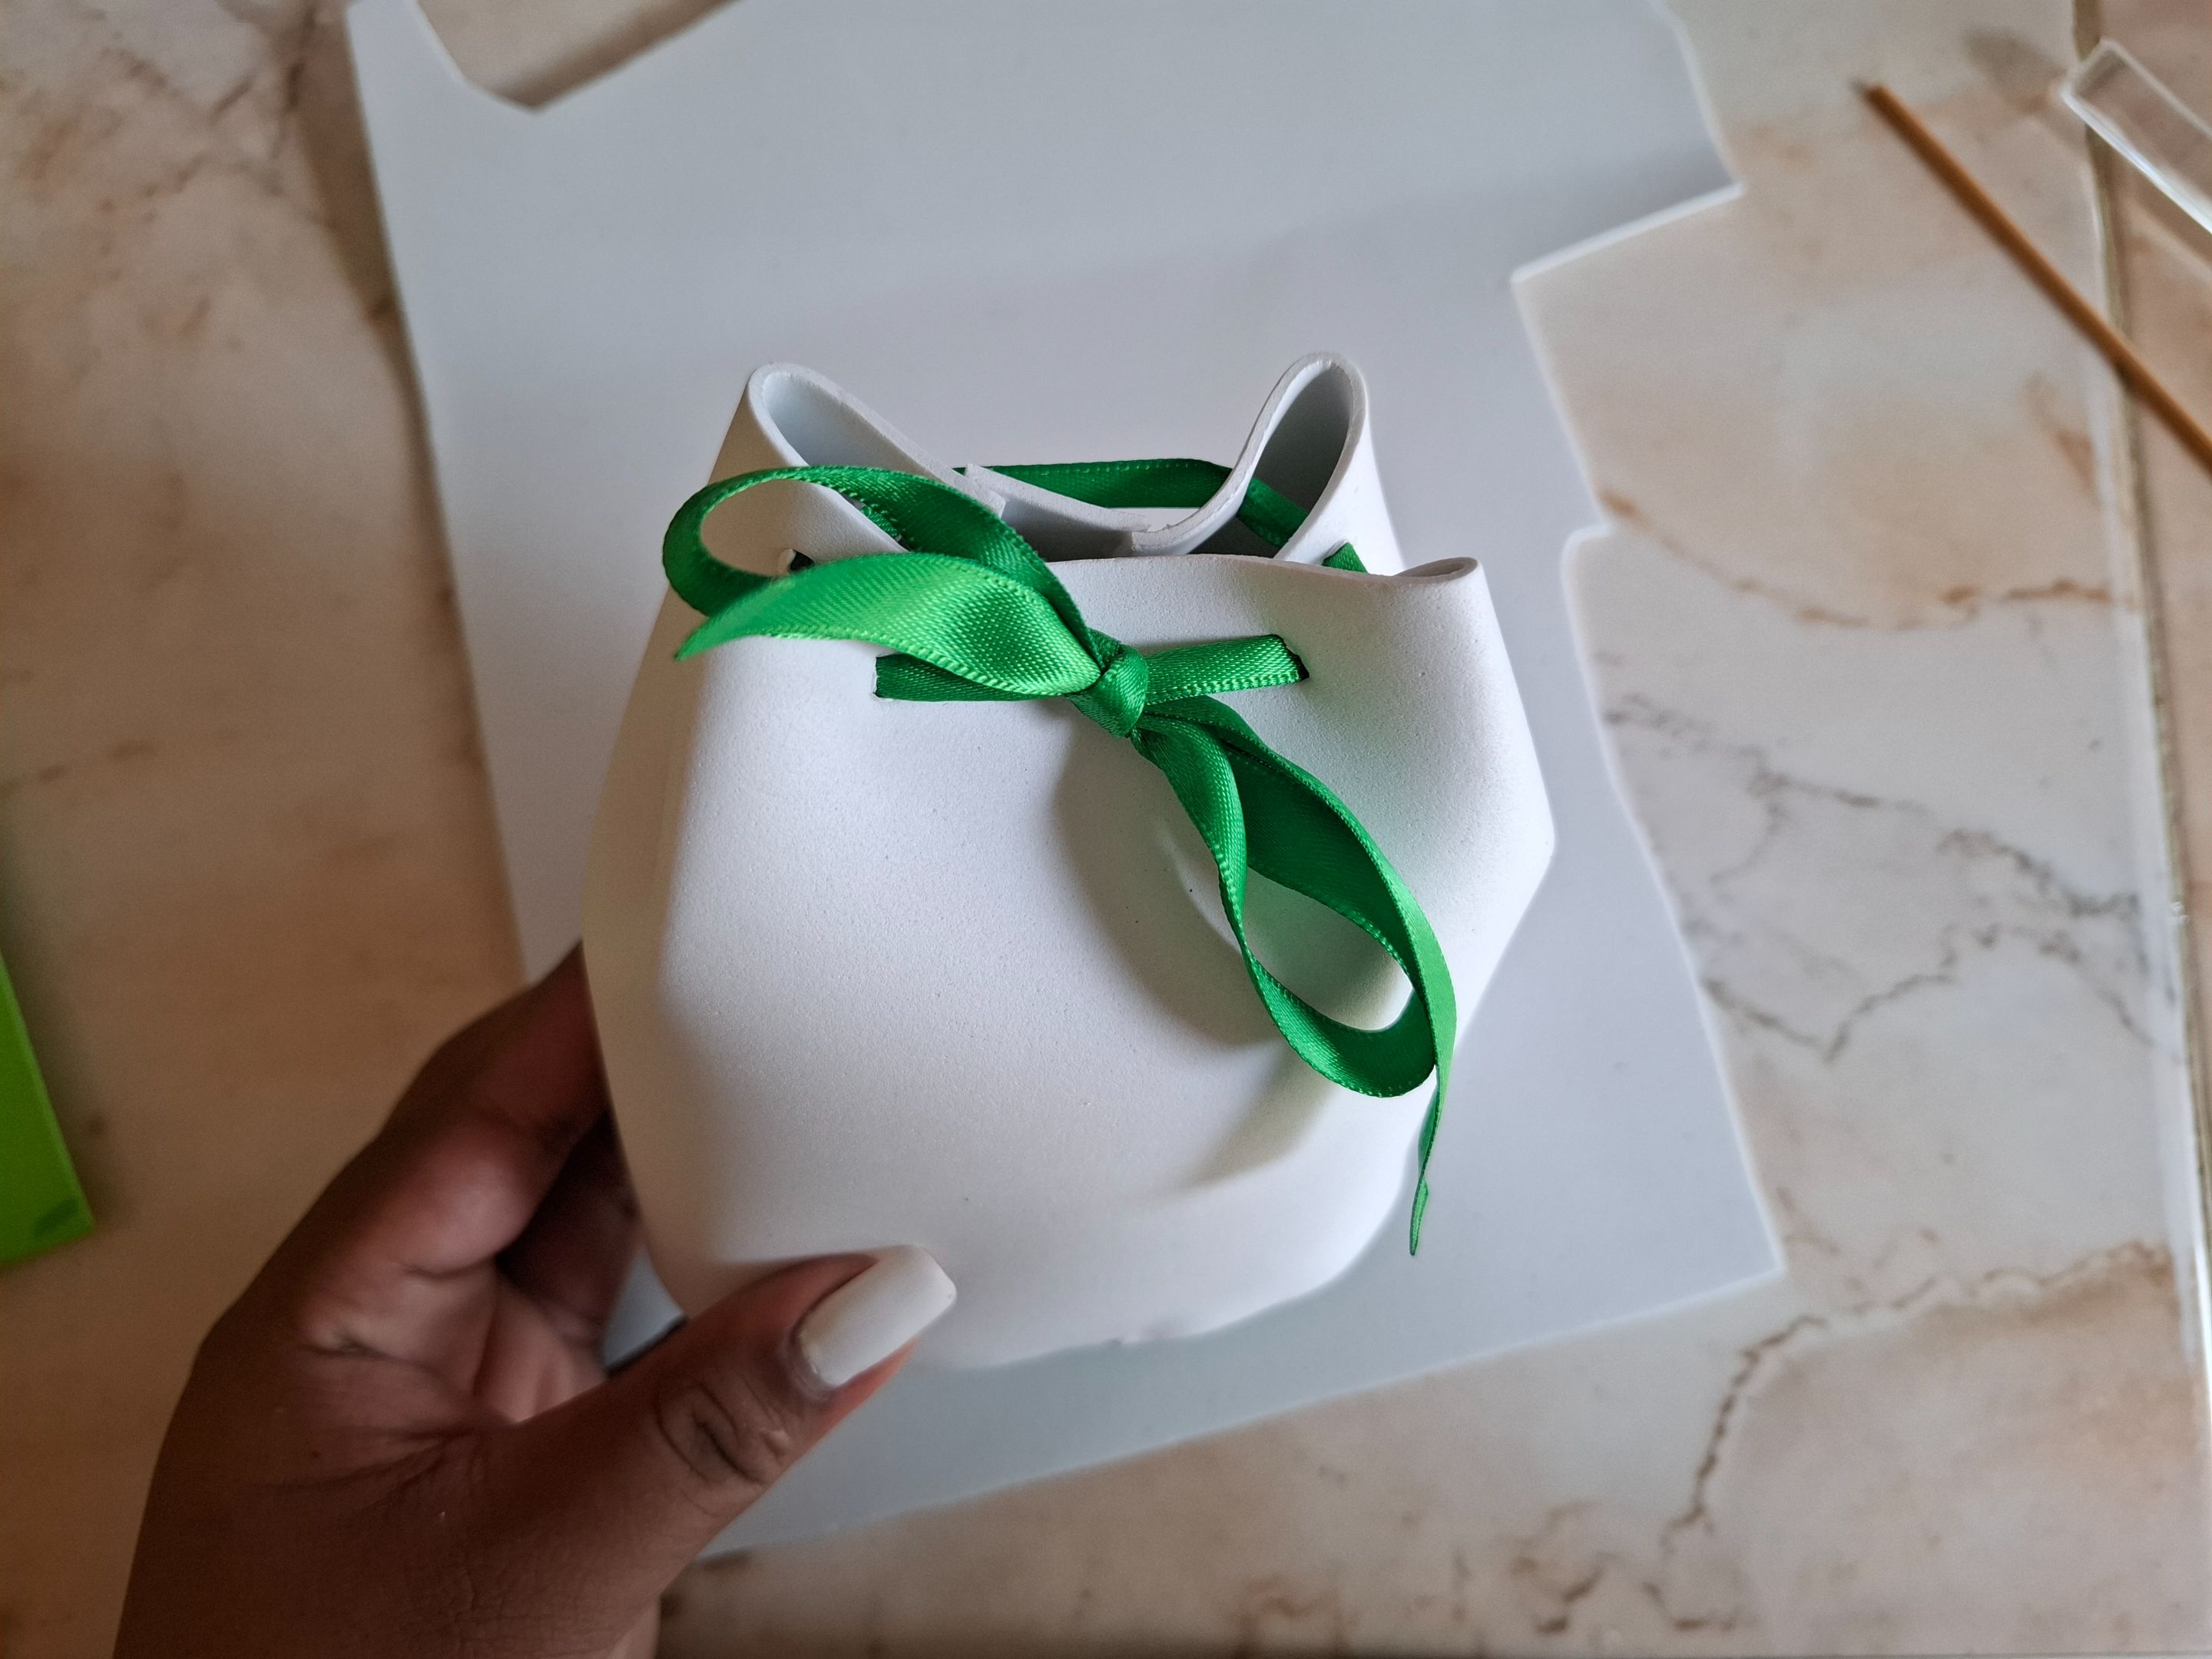
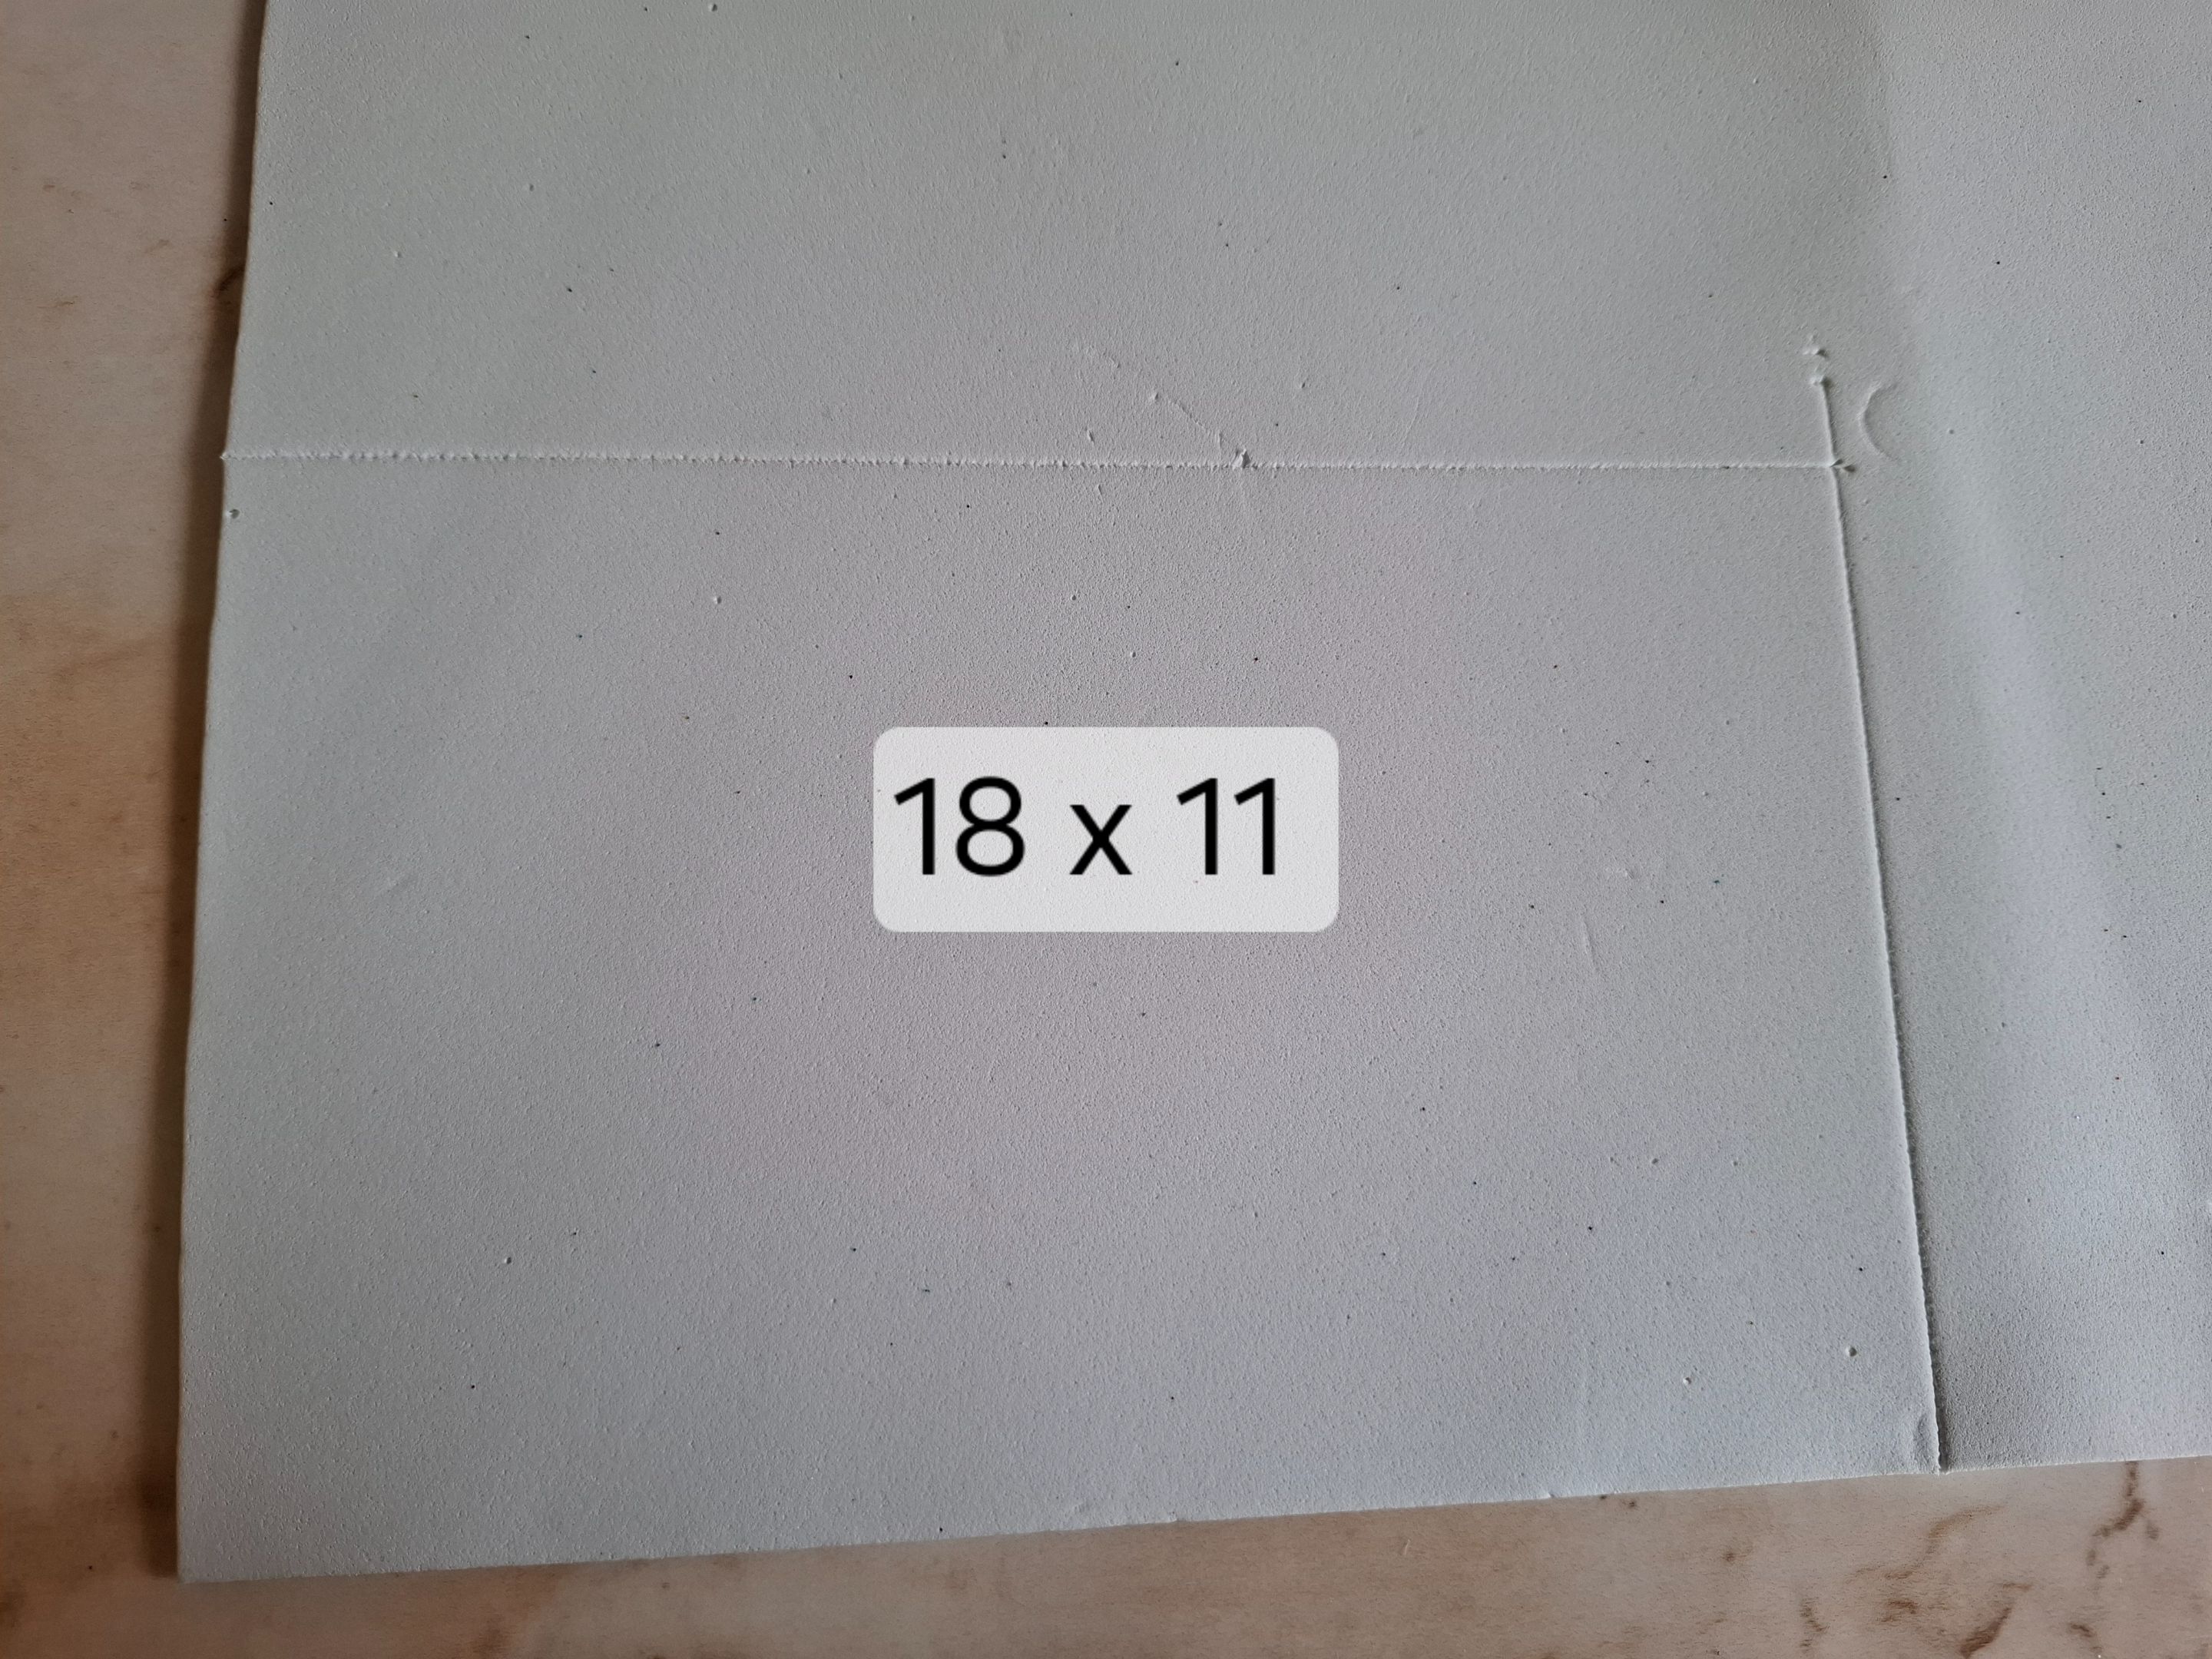
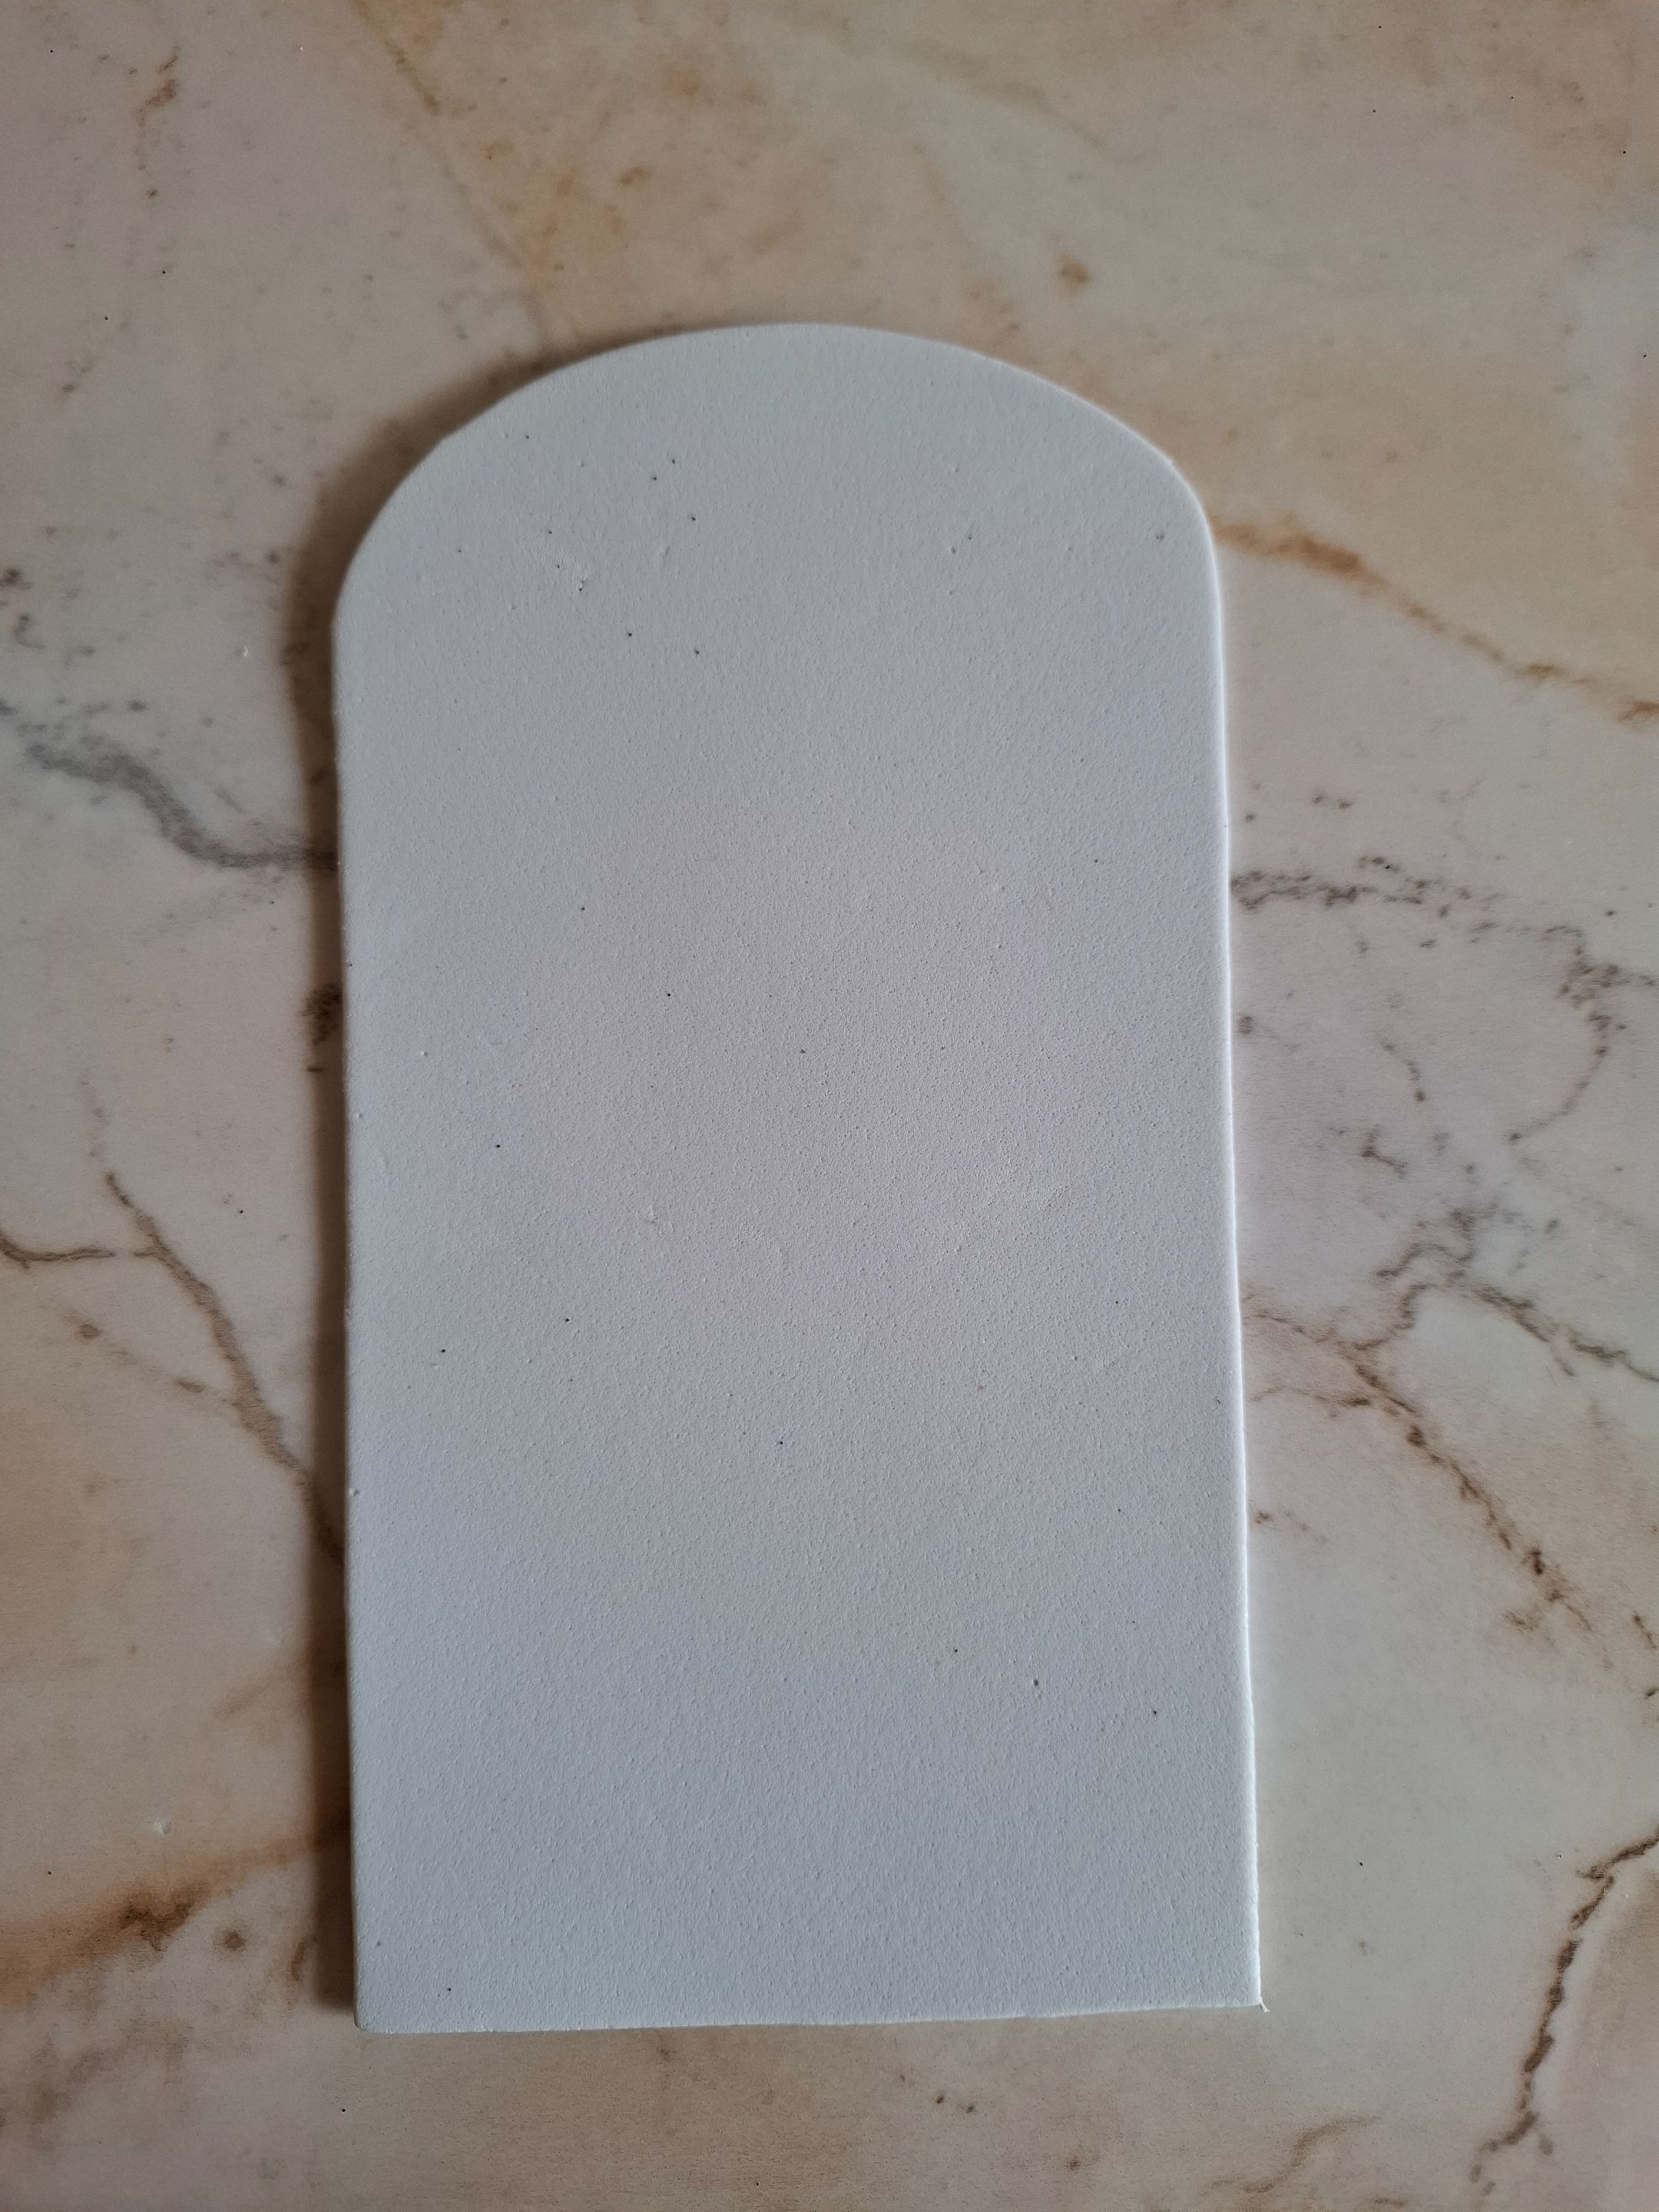
Ahora voy a introducir la cinta a través de esos agujeros de esta forma nos permite poder ajustar el morral, ahora voy a cortar un pieza de foami con una medida de 18 x 11 cm, en la parte delantera voy a darle forma redonda.
Now I'm going to insert the tape through those holes so that we can adjust the backpack. Now I'm going to cut a piece of foam measuring 18 x 11 cm, and I'm going to give it a round shape on the front.
 |
 |
 |
|---|---|---|
 |
 |
|---|---|
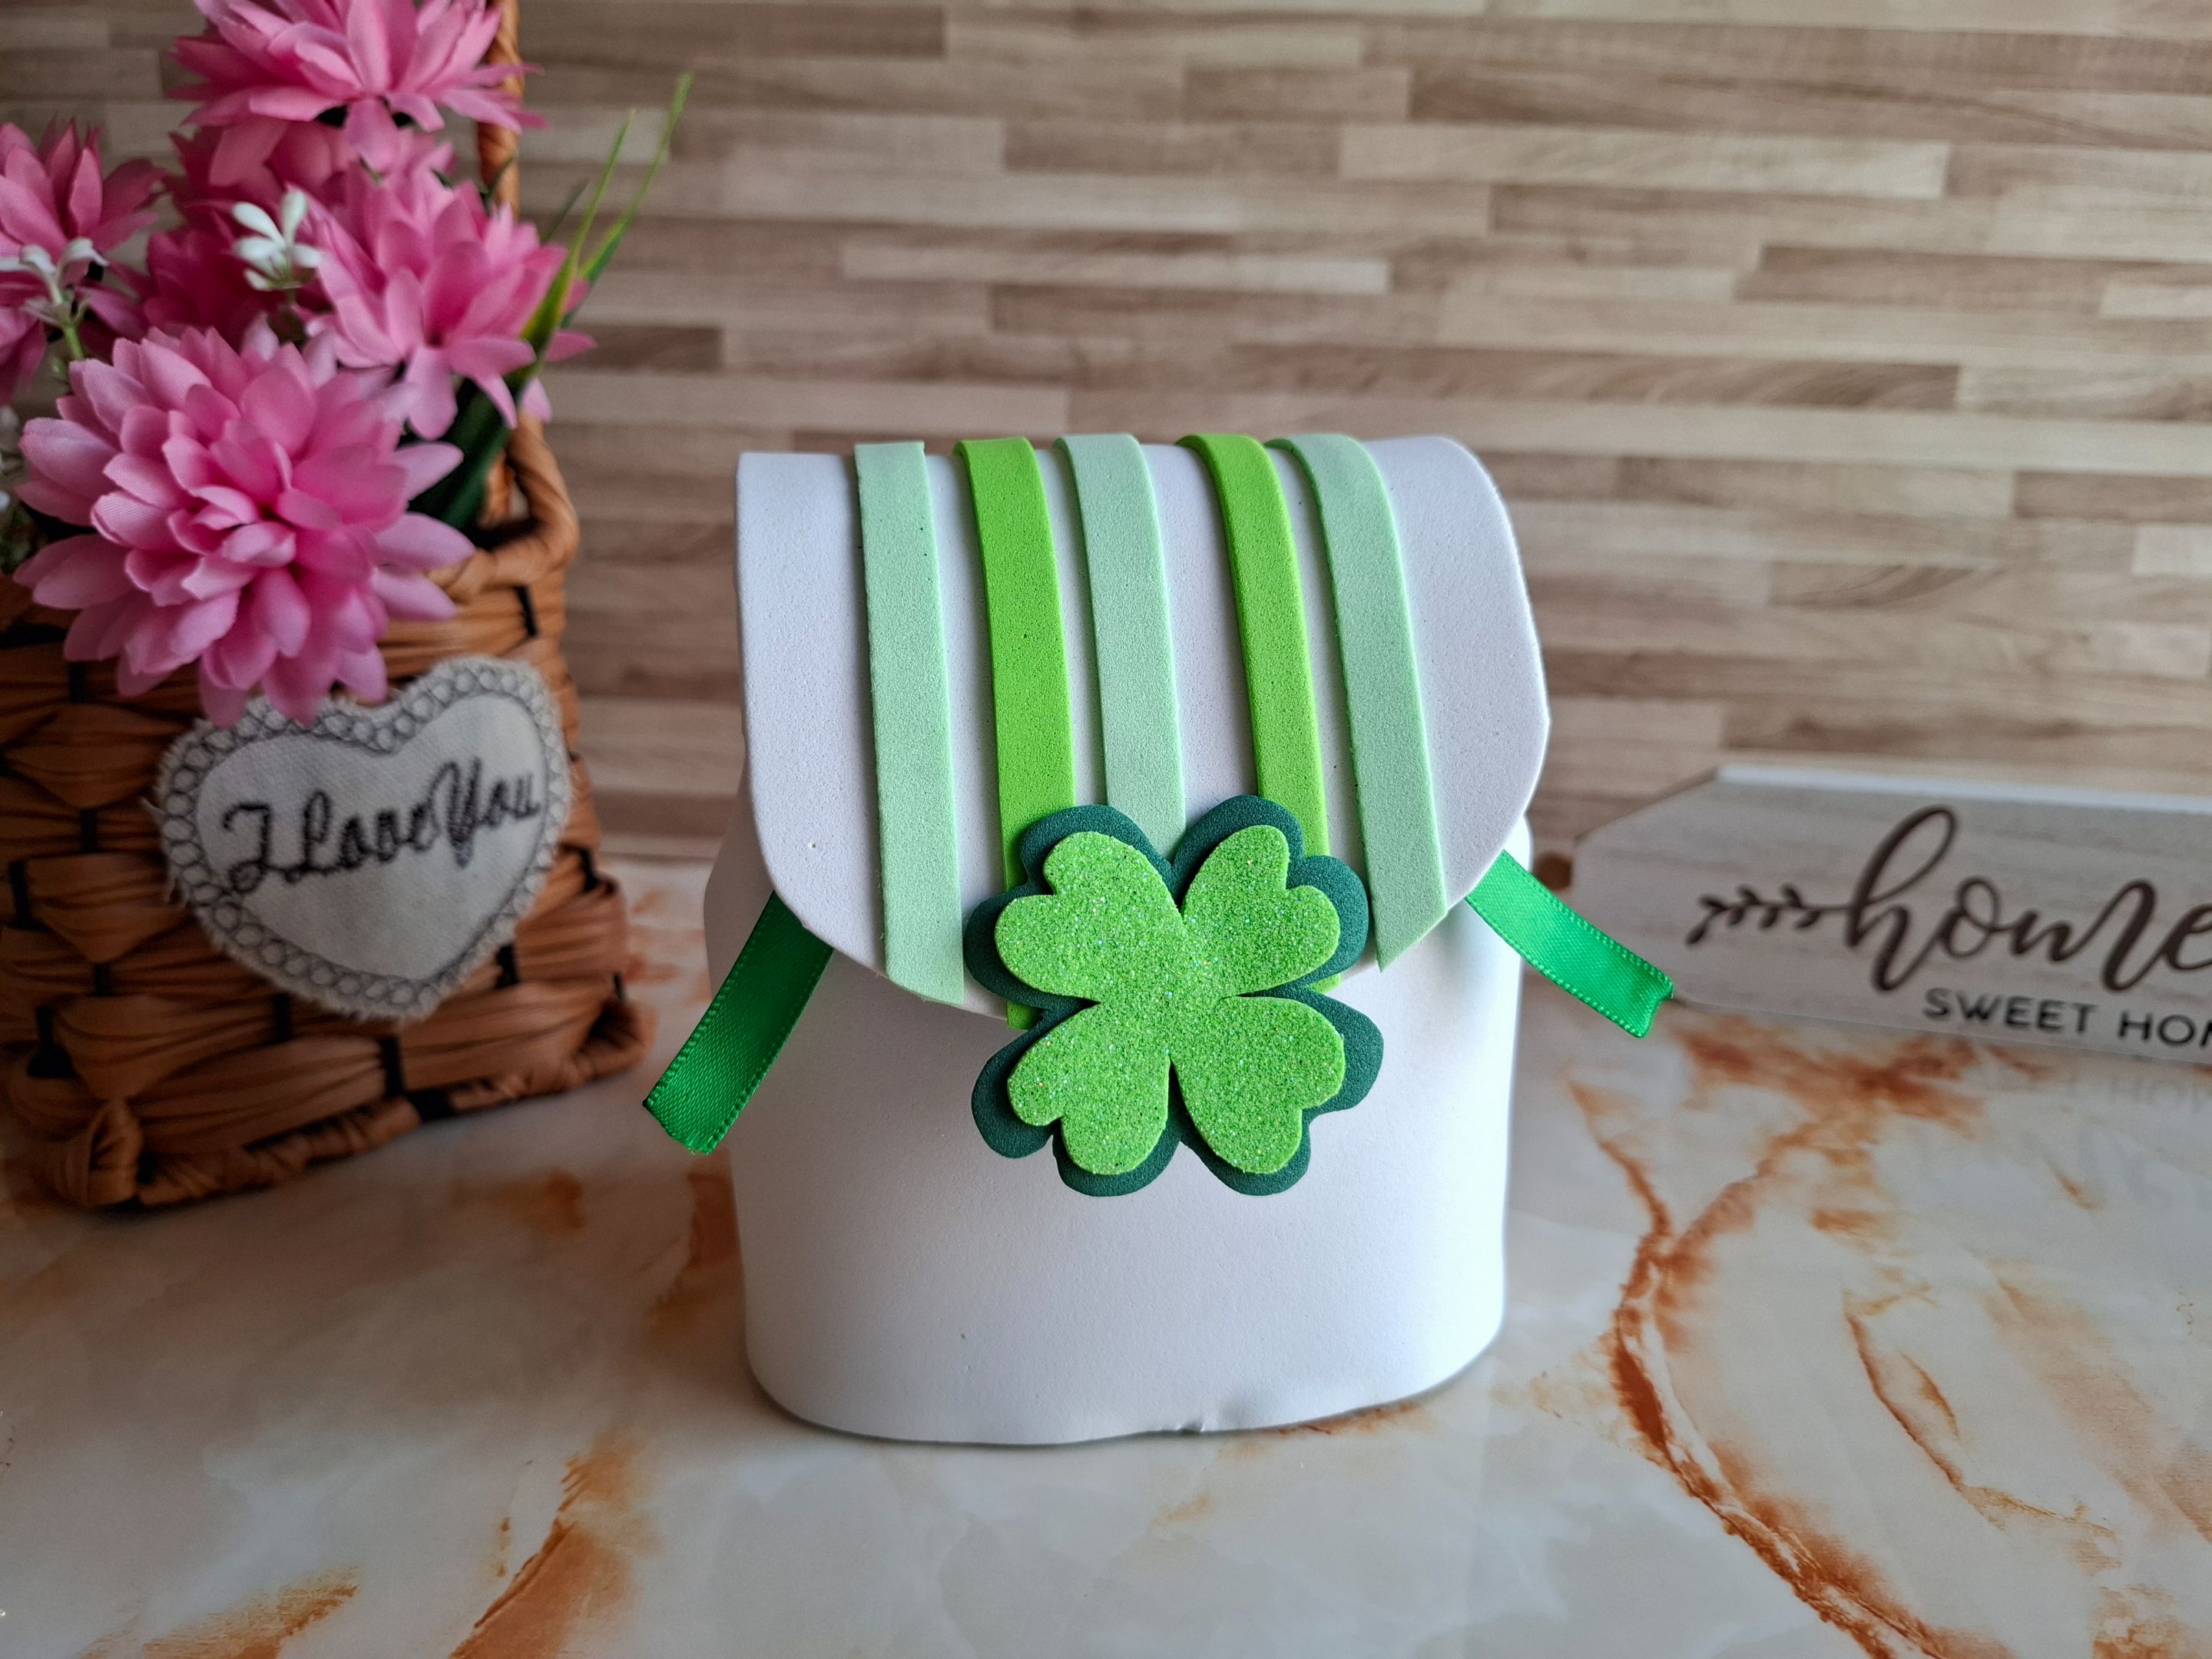
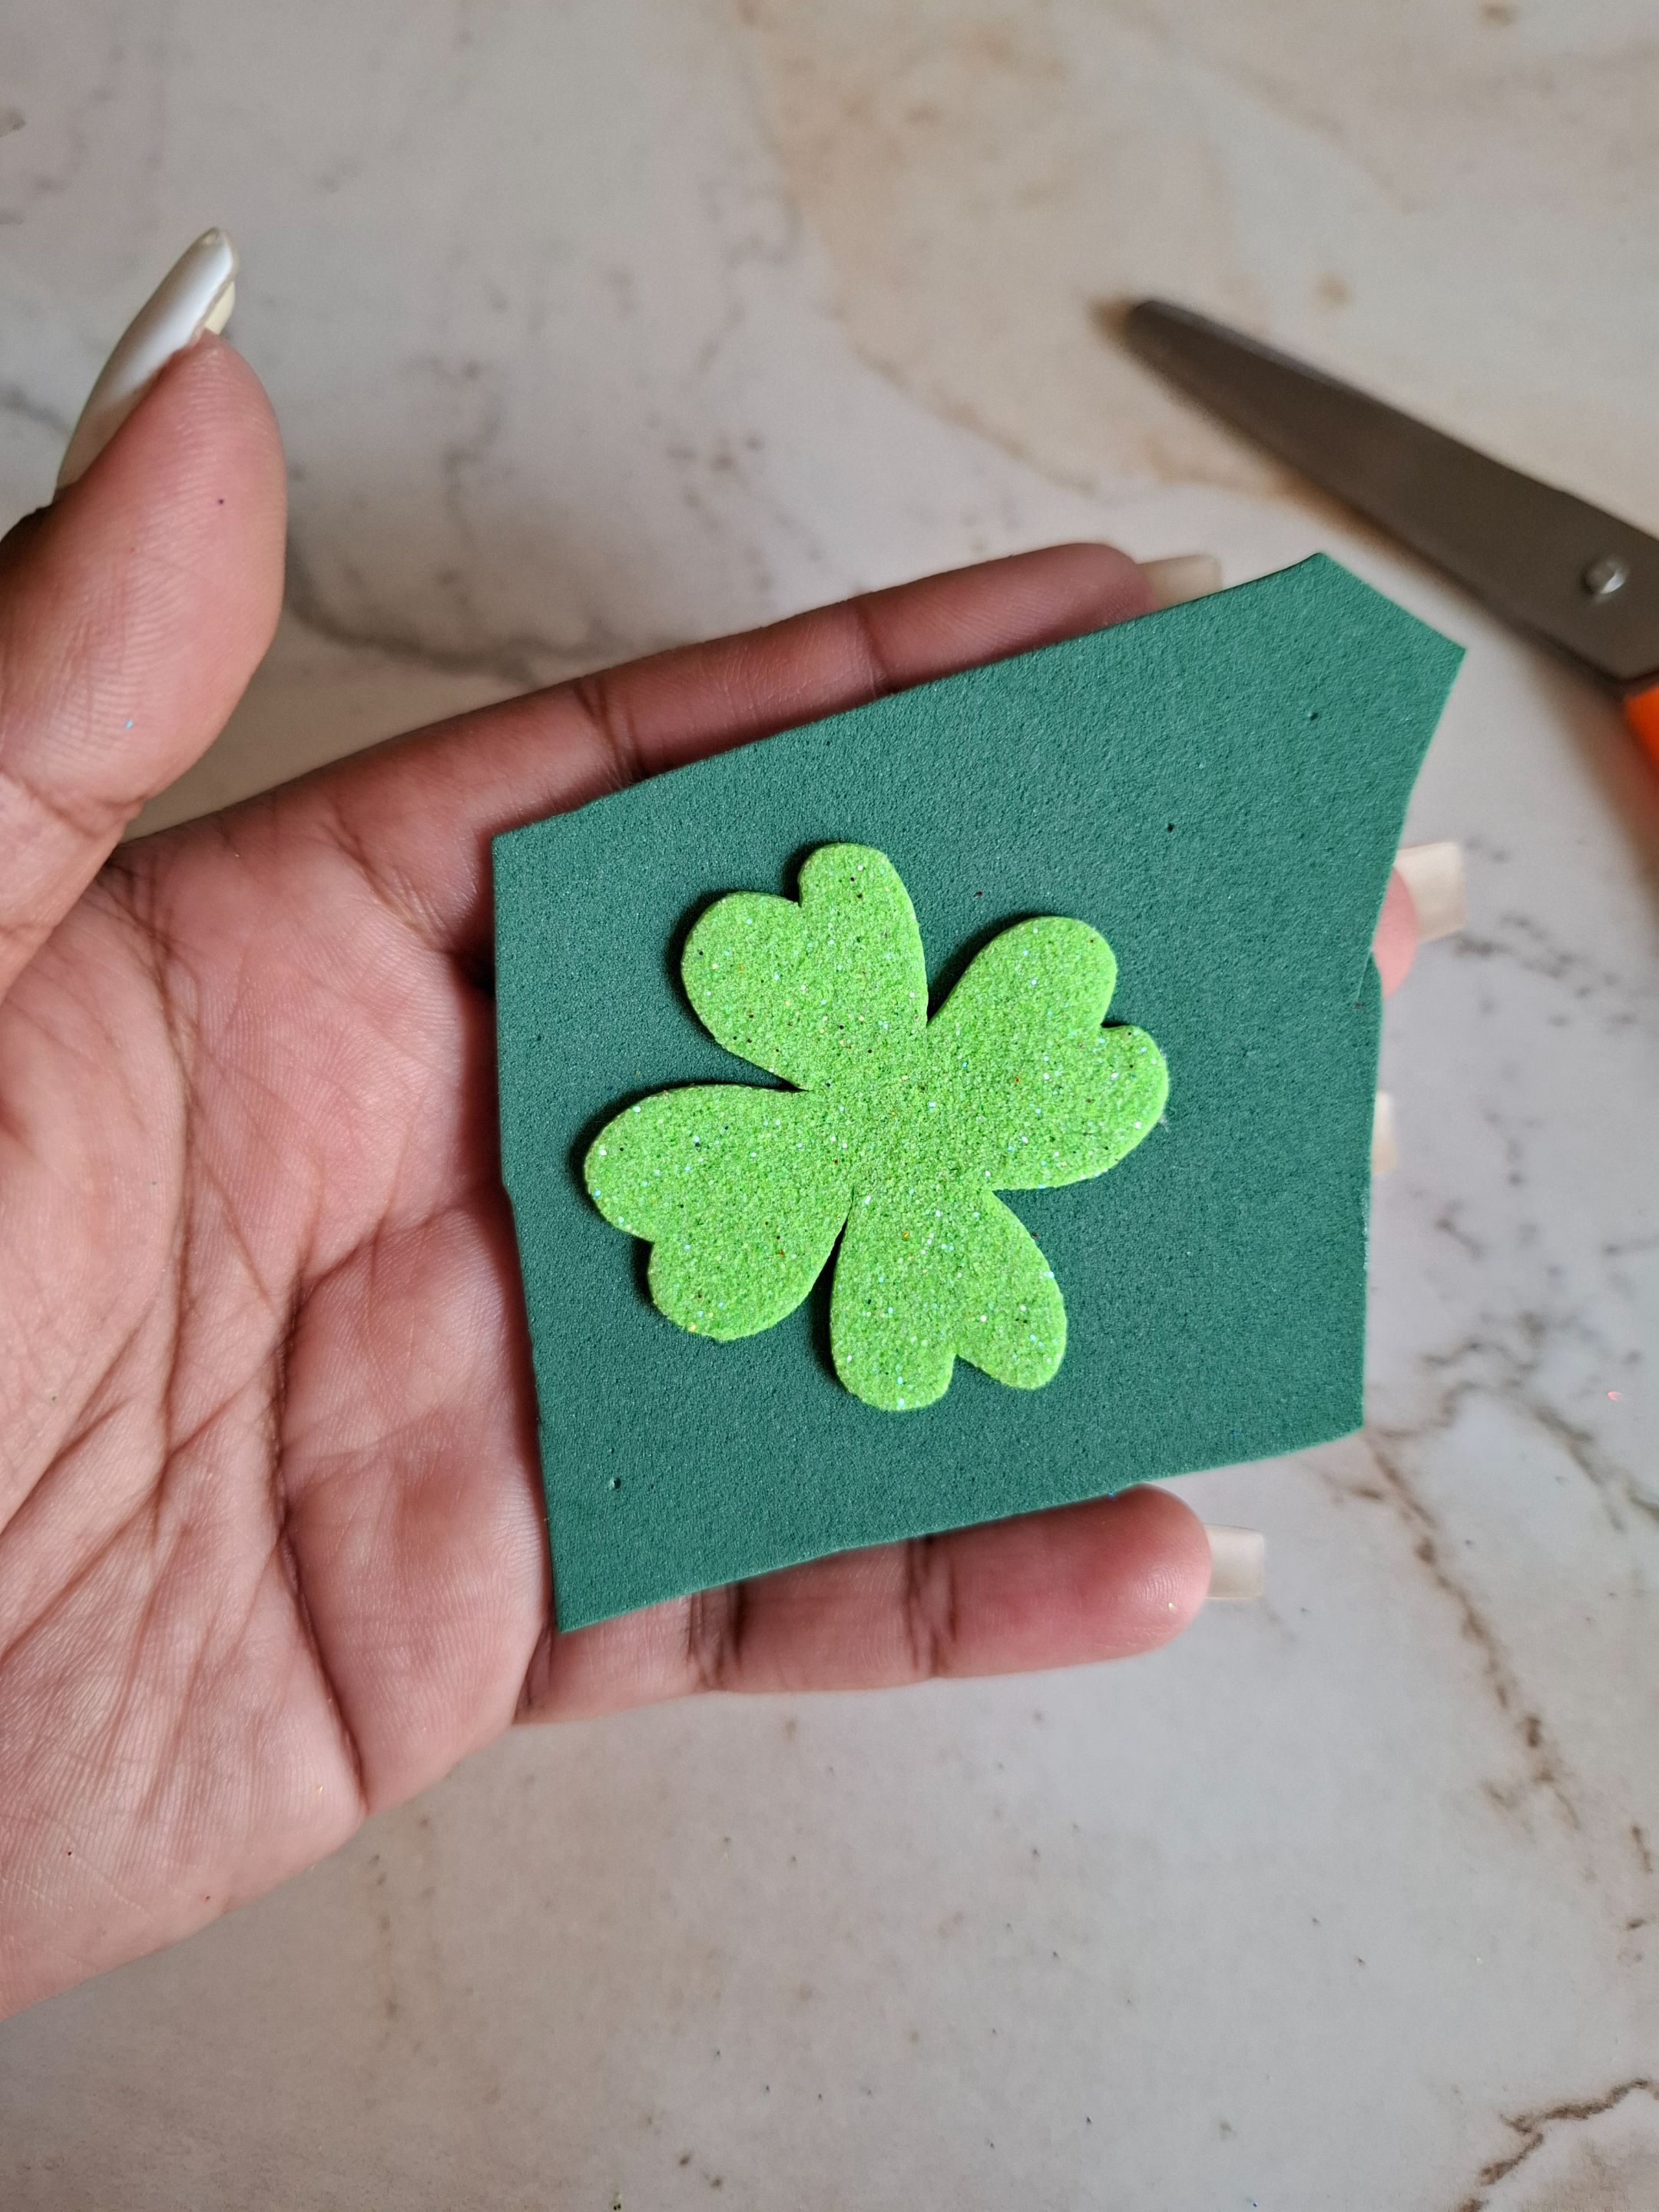
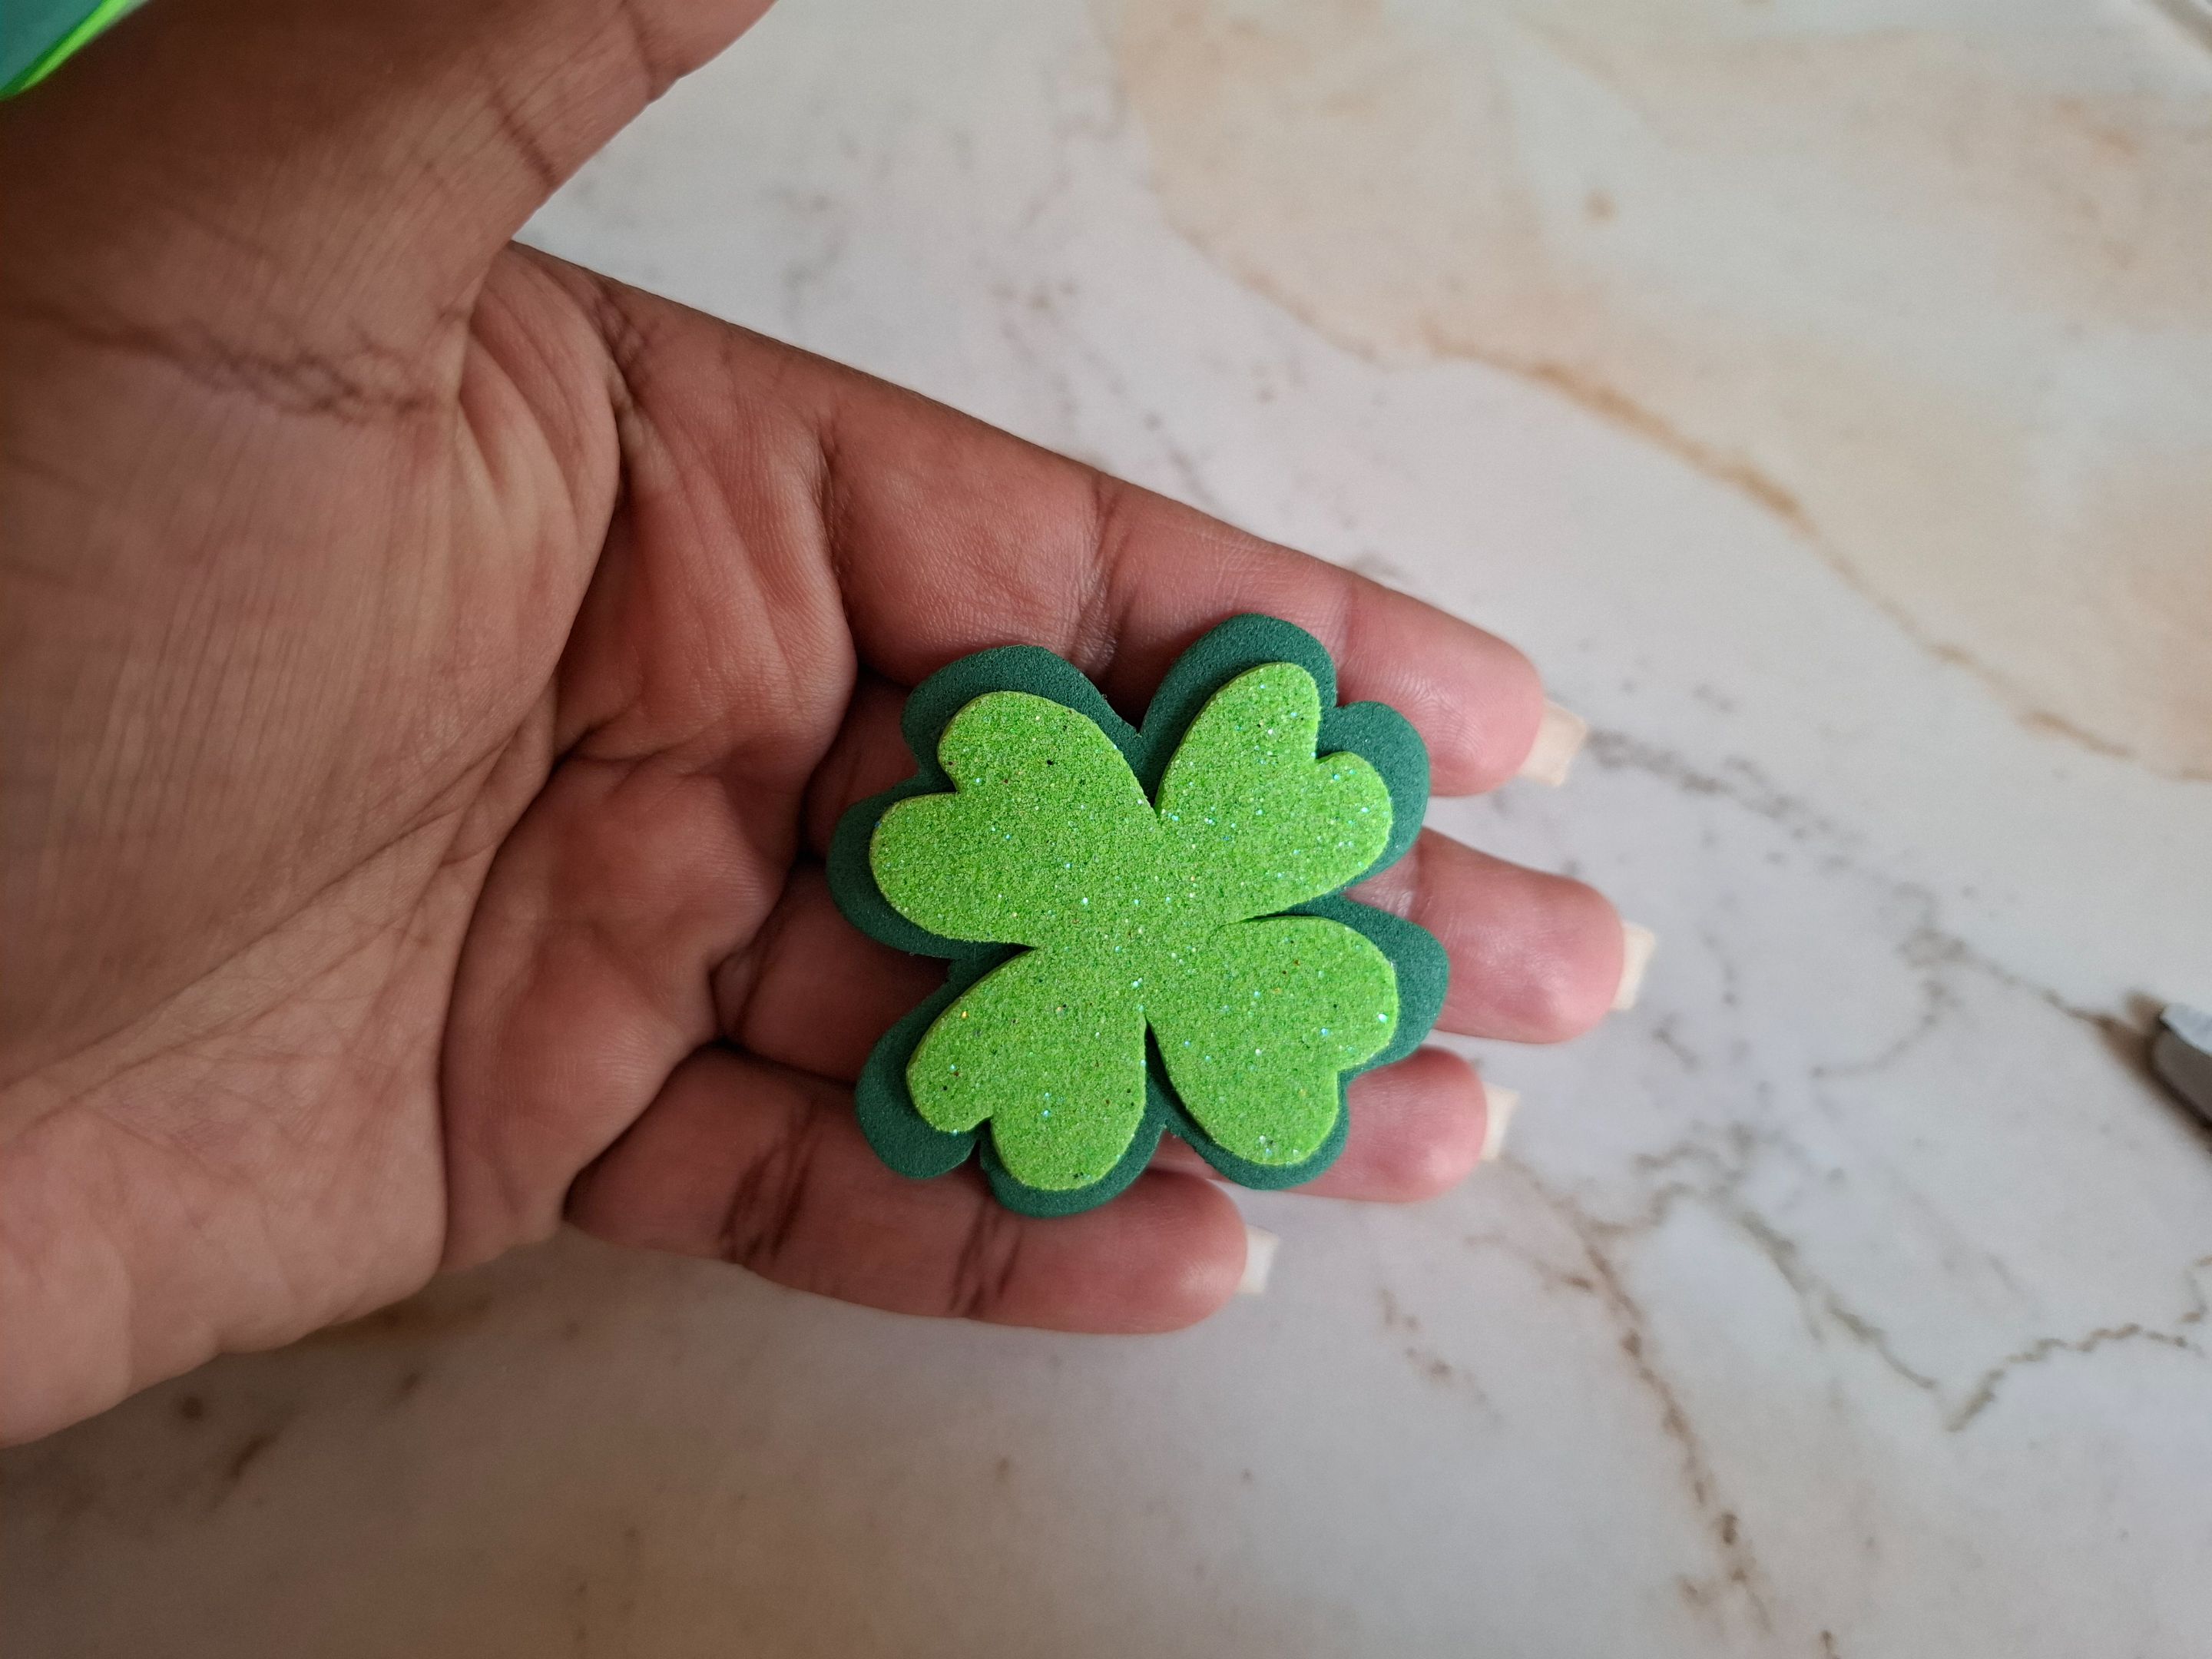
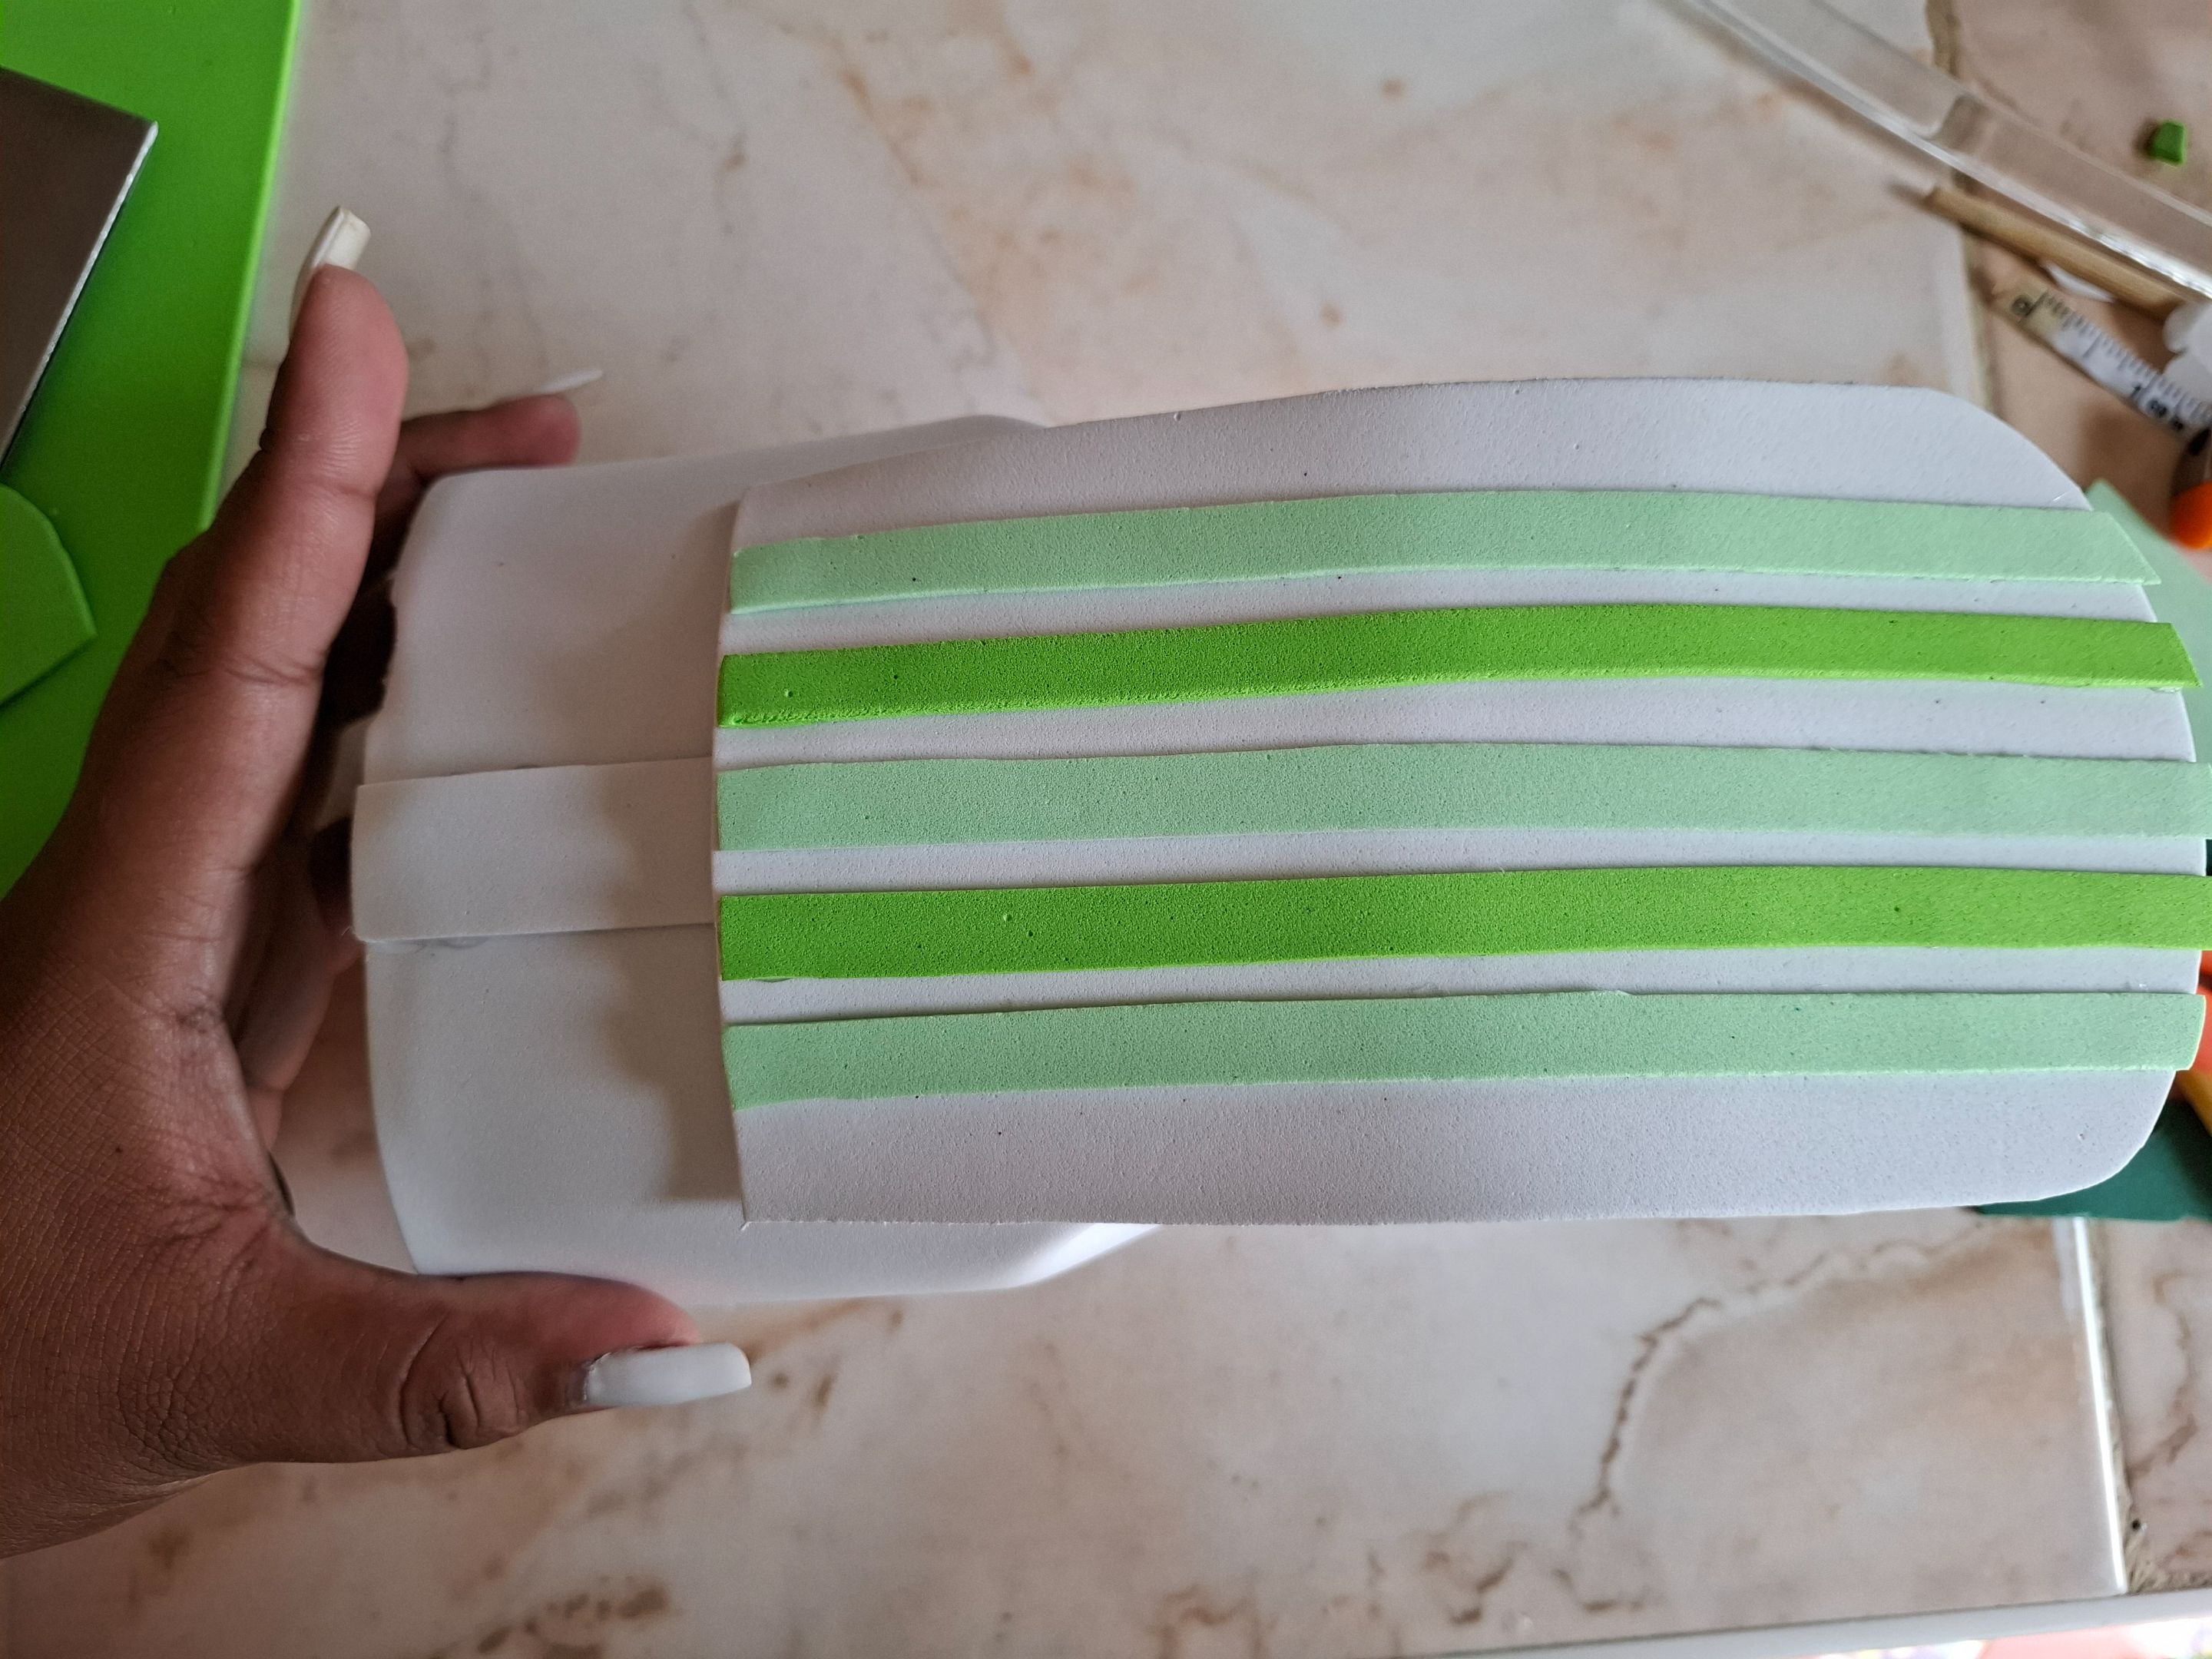
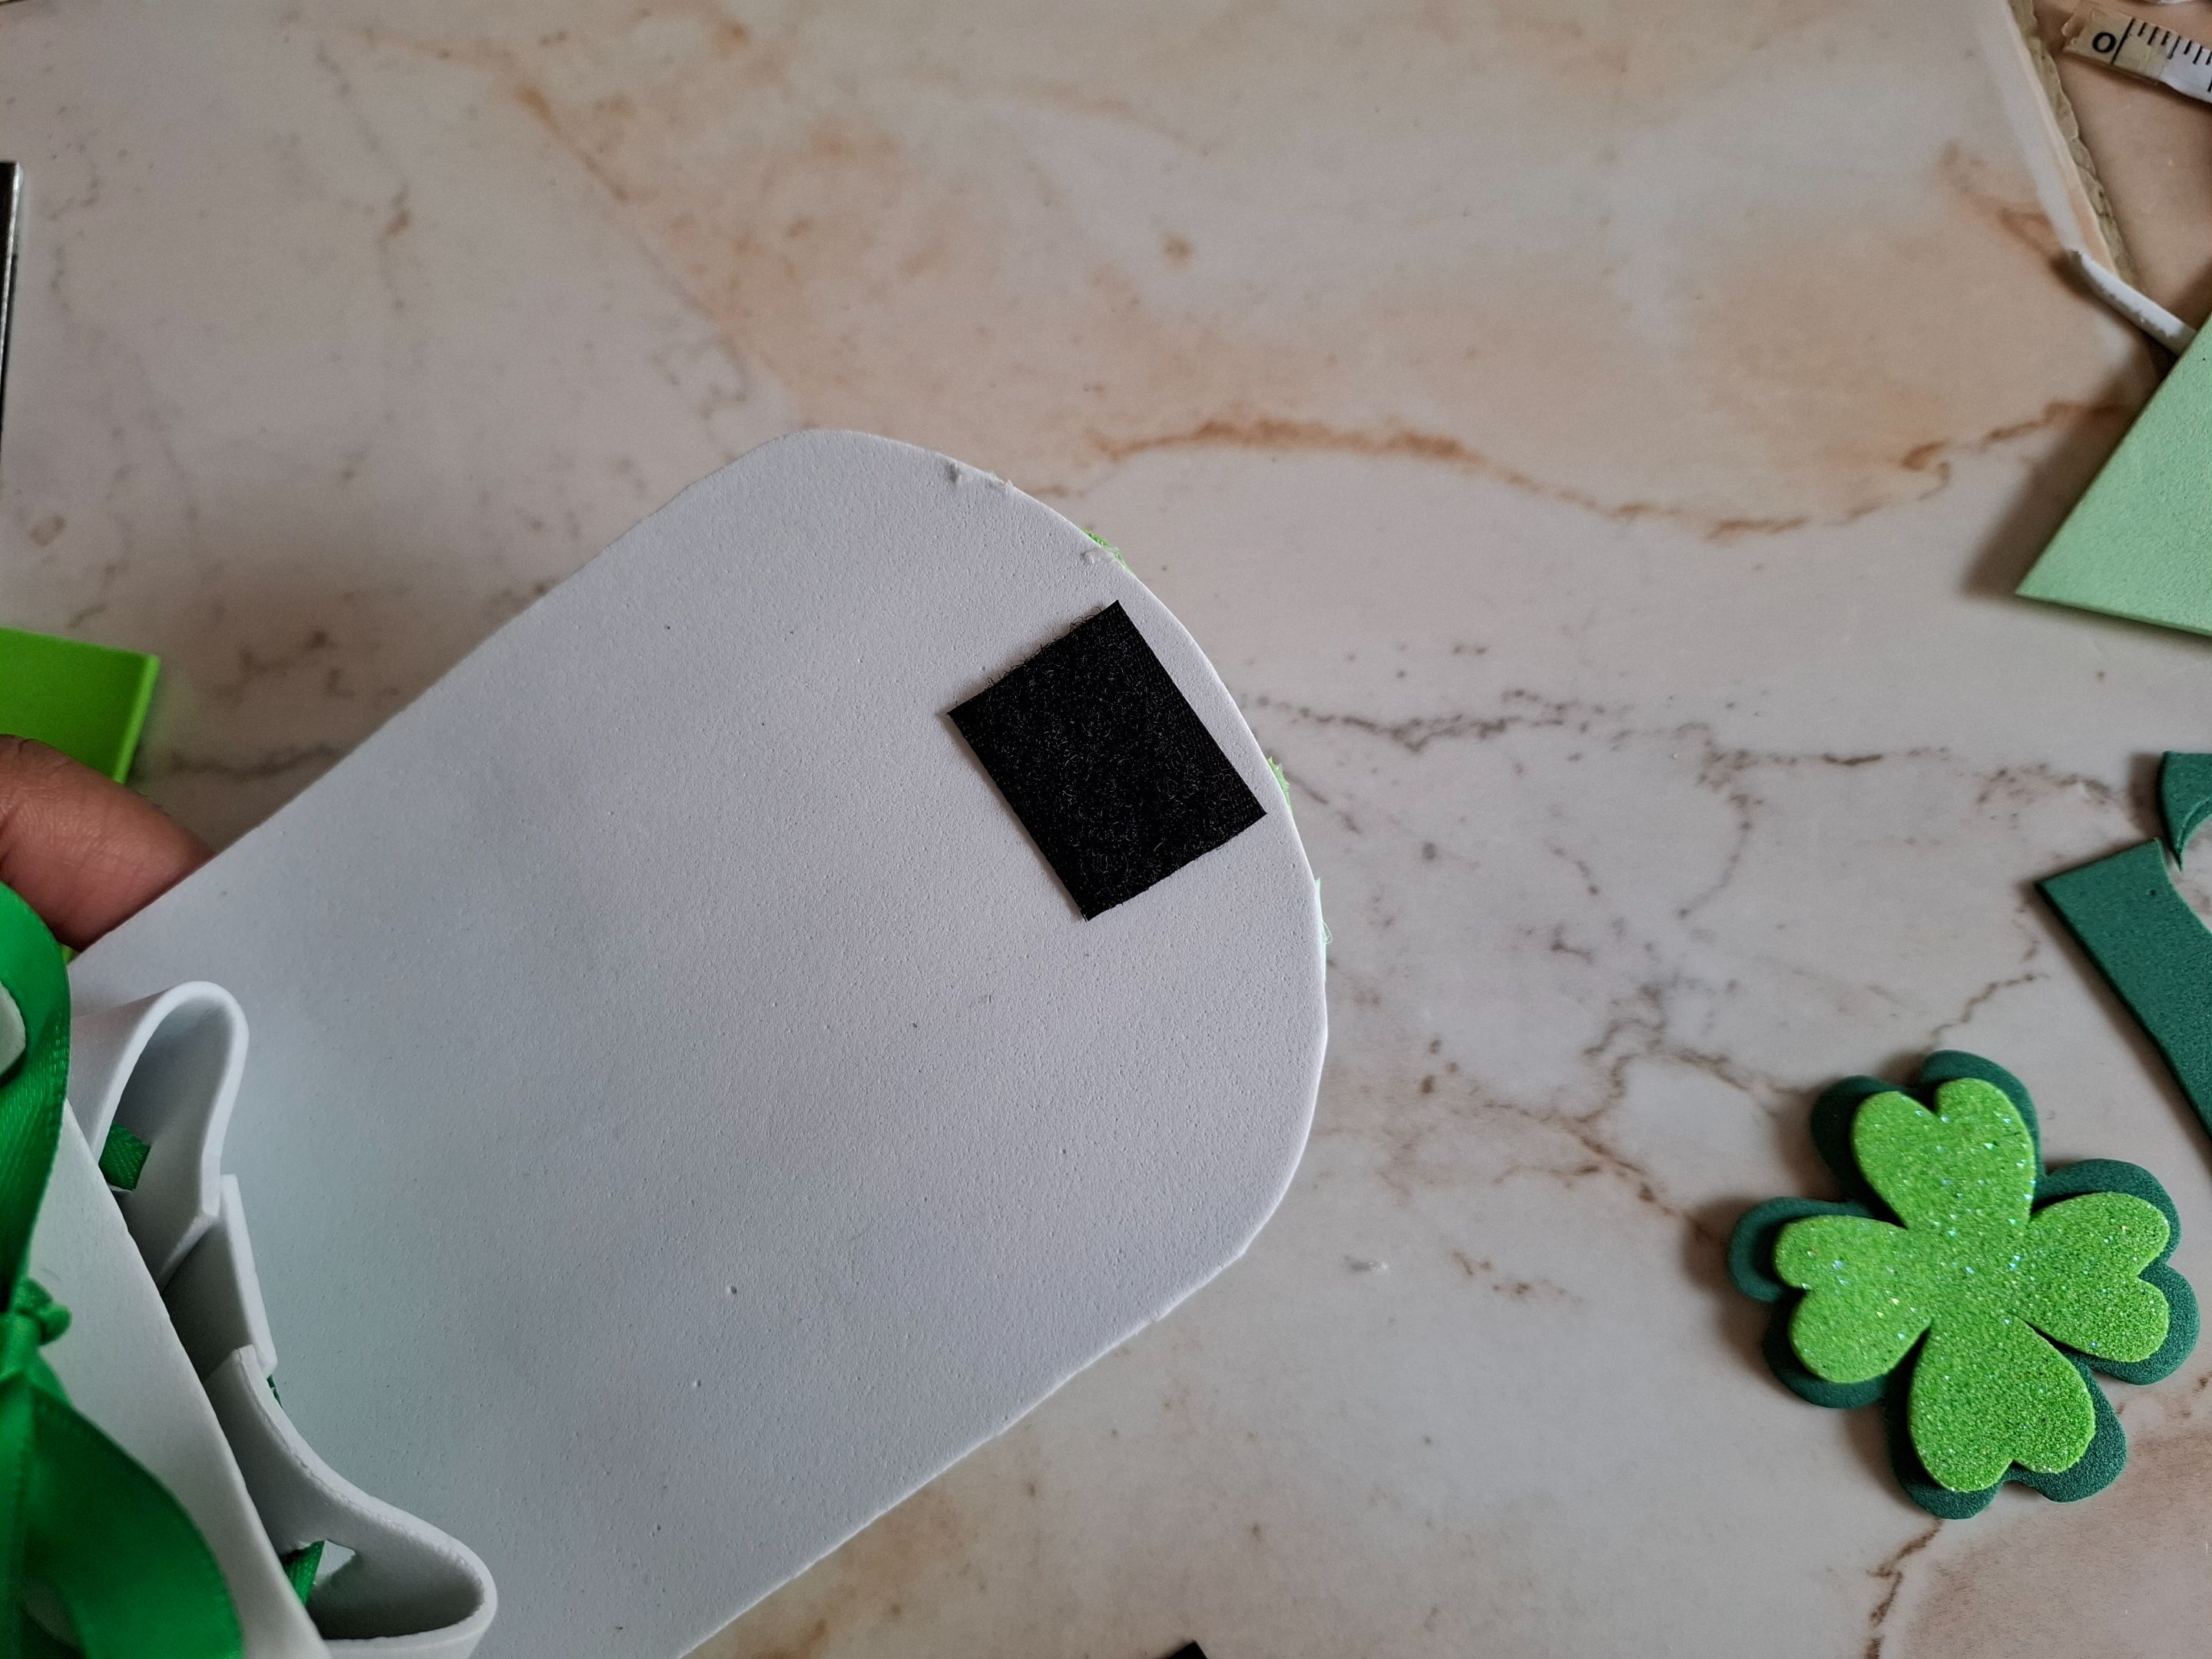
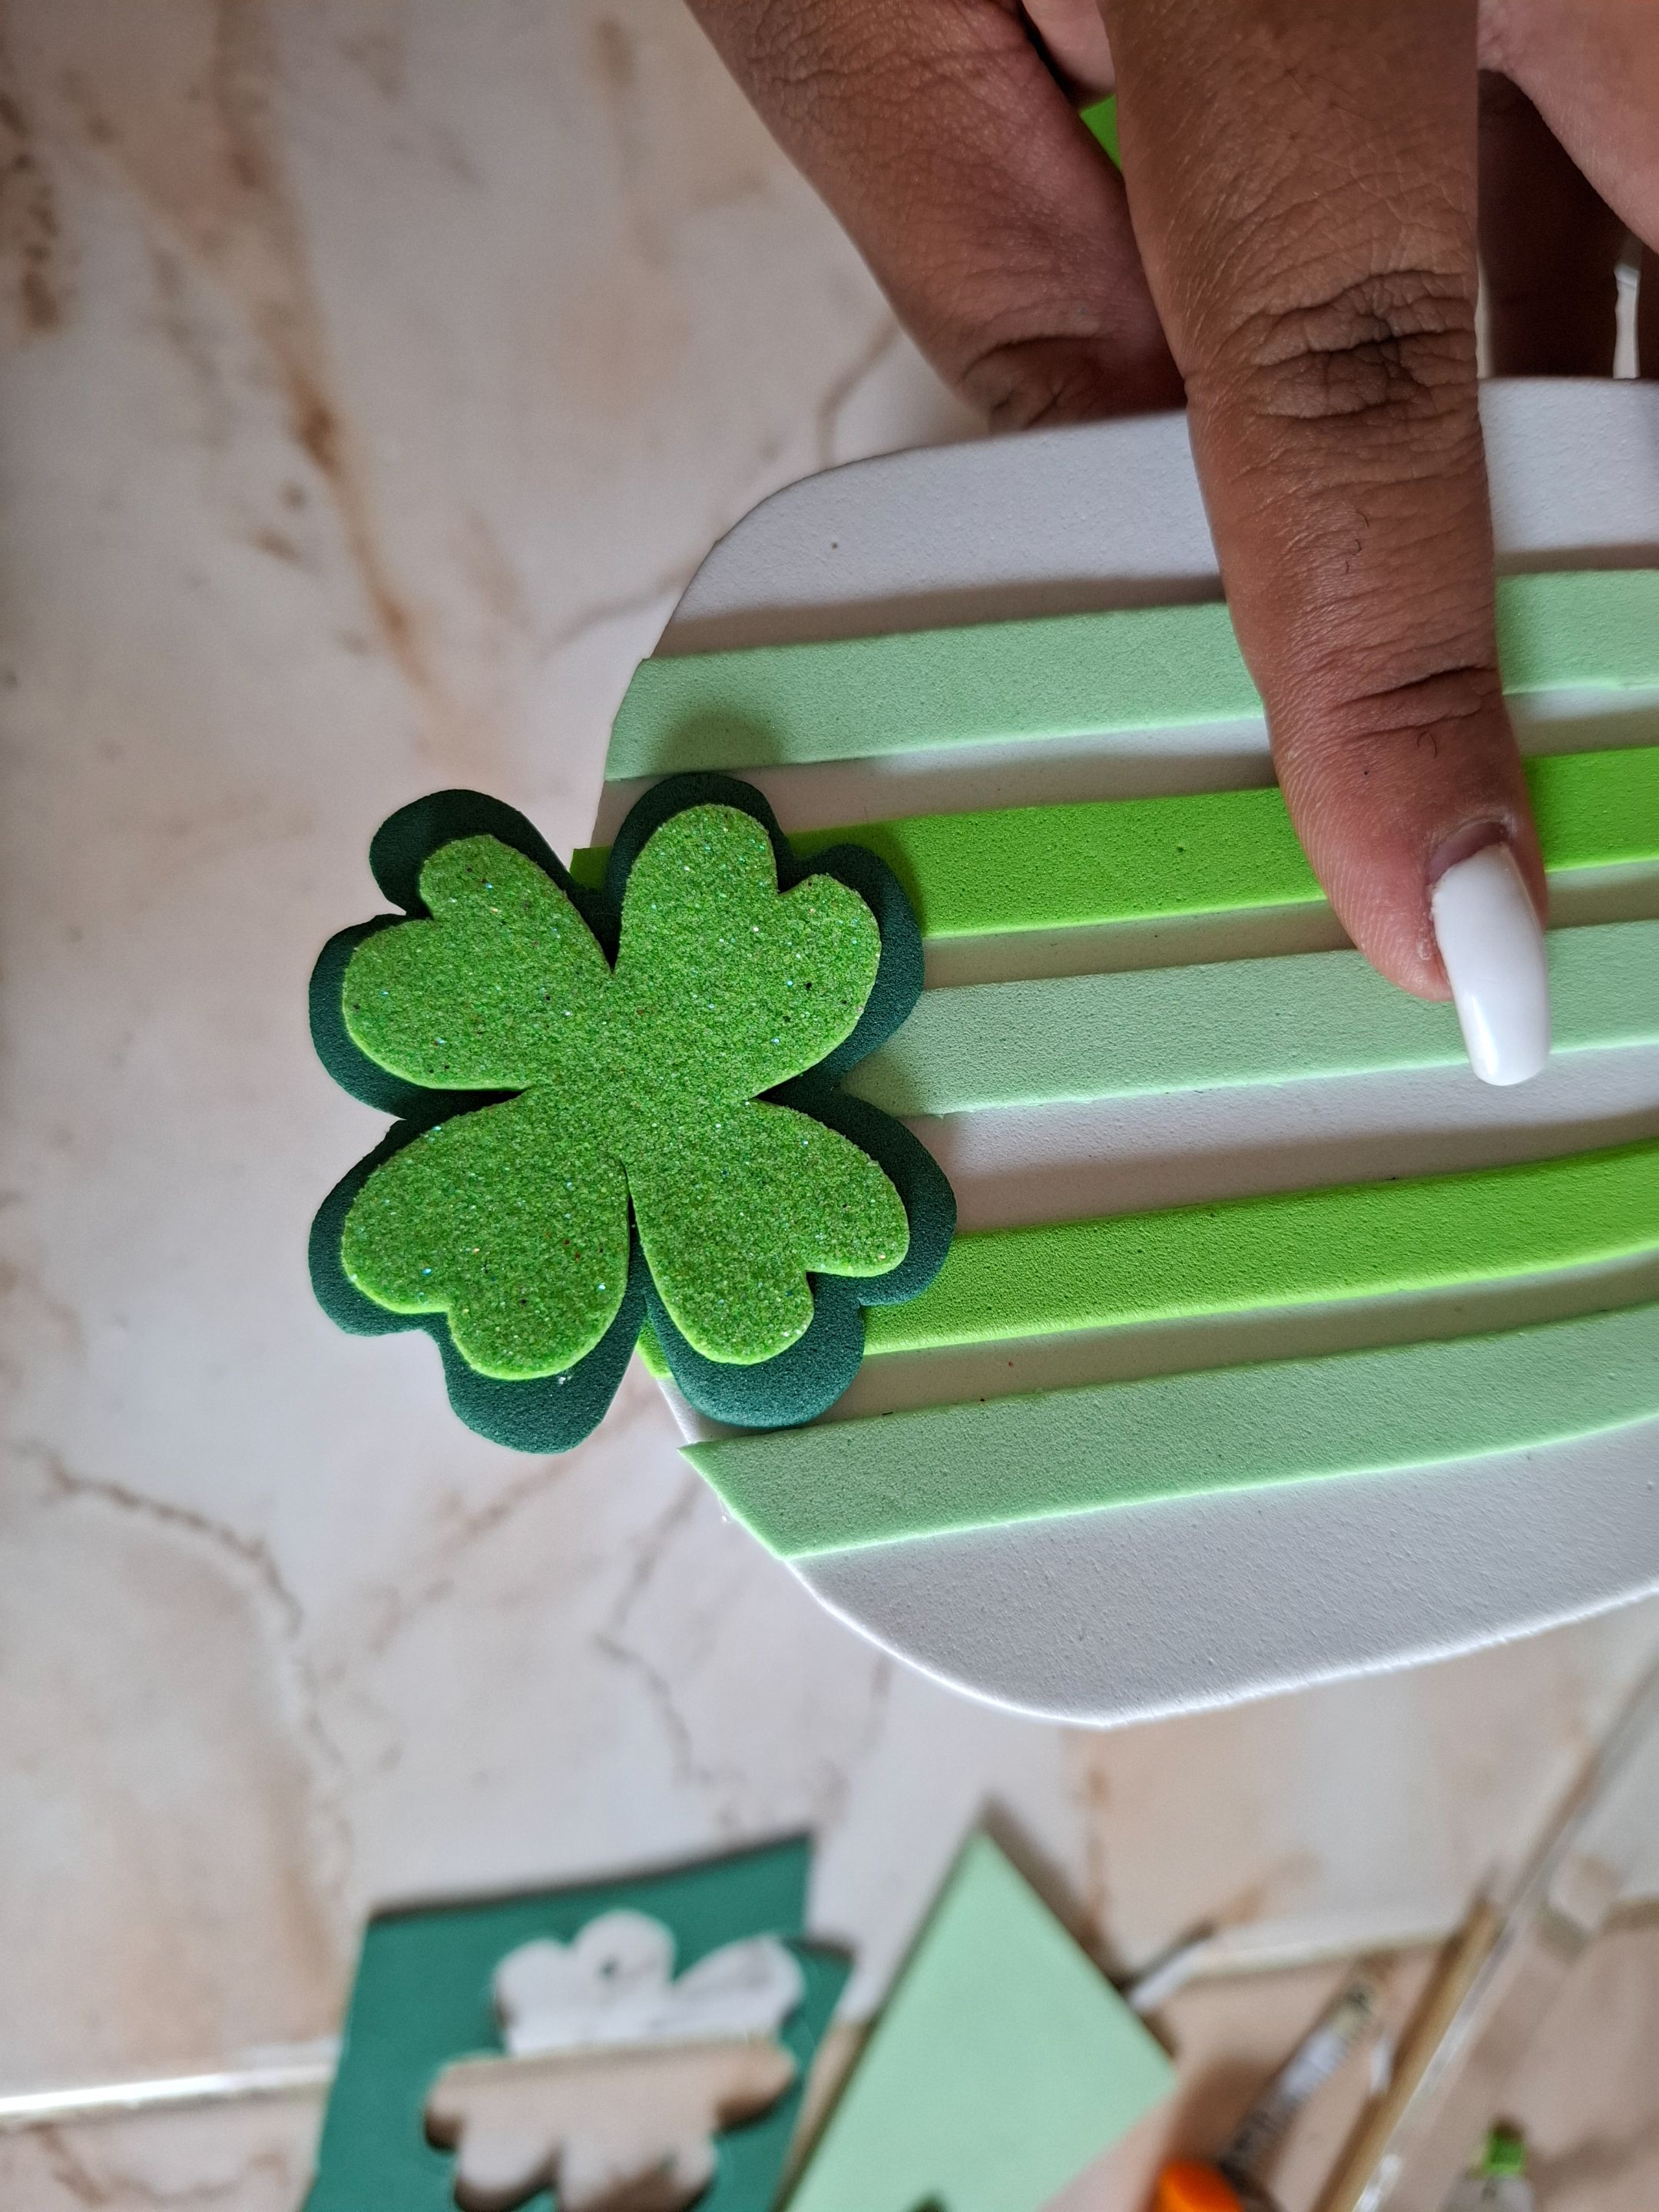
Seguido de esto voy a cortar cinco franjas de foami verde claro e intermedio y las voy a ubicar en frente, también realicé un trébol color verde claro con fondo oscuro, ubicamos el cierre mágico junto a la pieza que realizamos, en el centro colocamos el trébol.
Following this, I'm going to cut five strips of light and medium green foam and I'm going to place them in front. I also made a light green clover with a dark background. We place the magic closure next to the piece we made, and in the center we place the clover.
 |
 |
 |
|---|---|---|
 |
 |
|---|---|
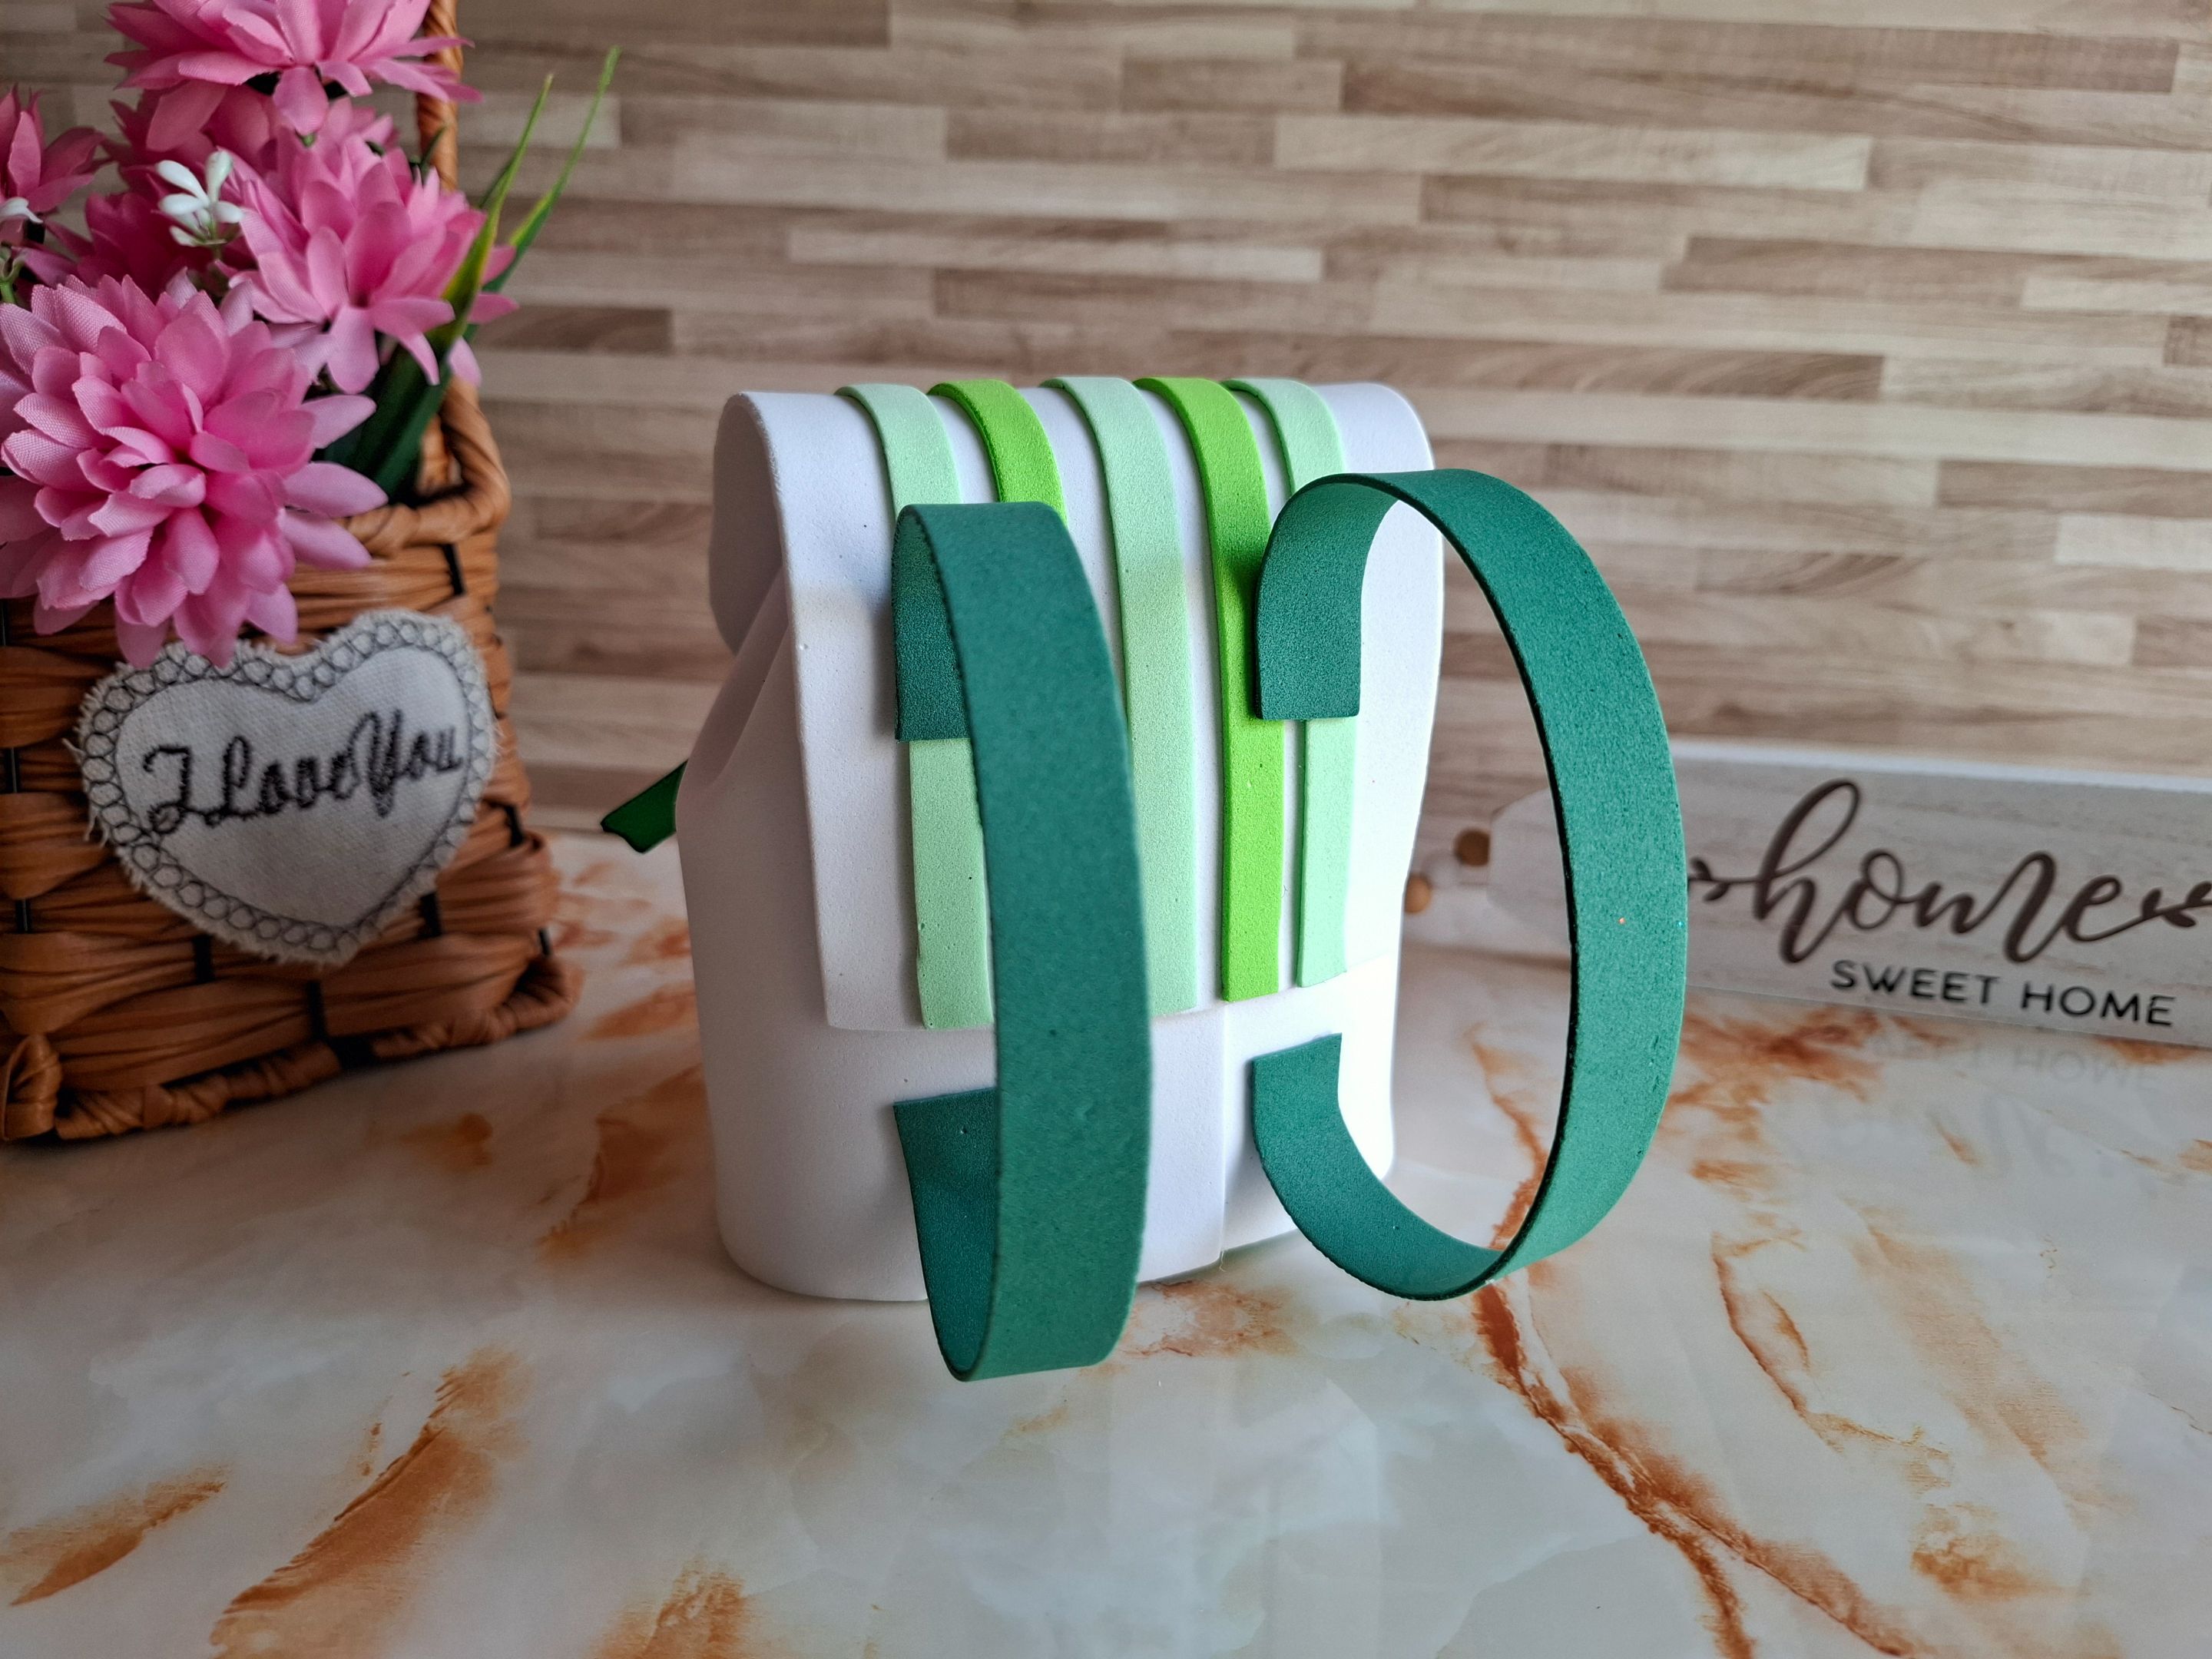
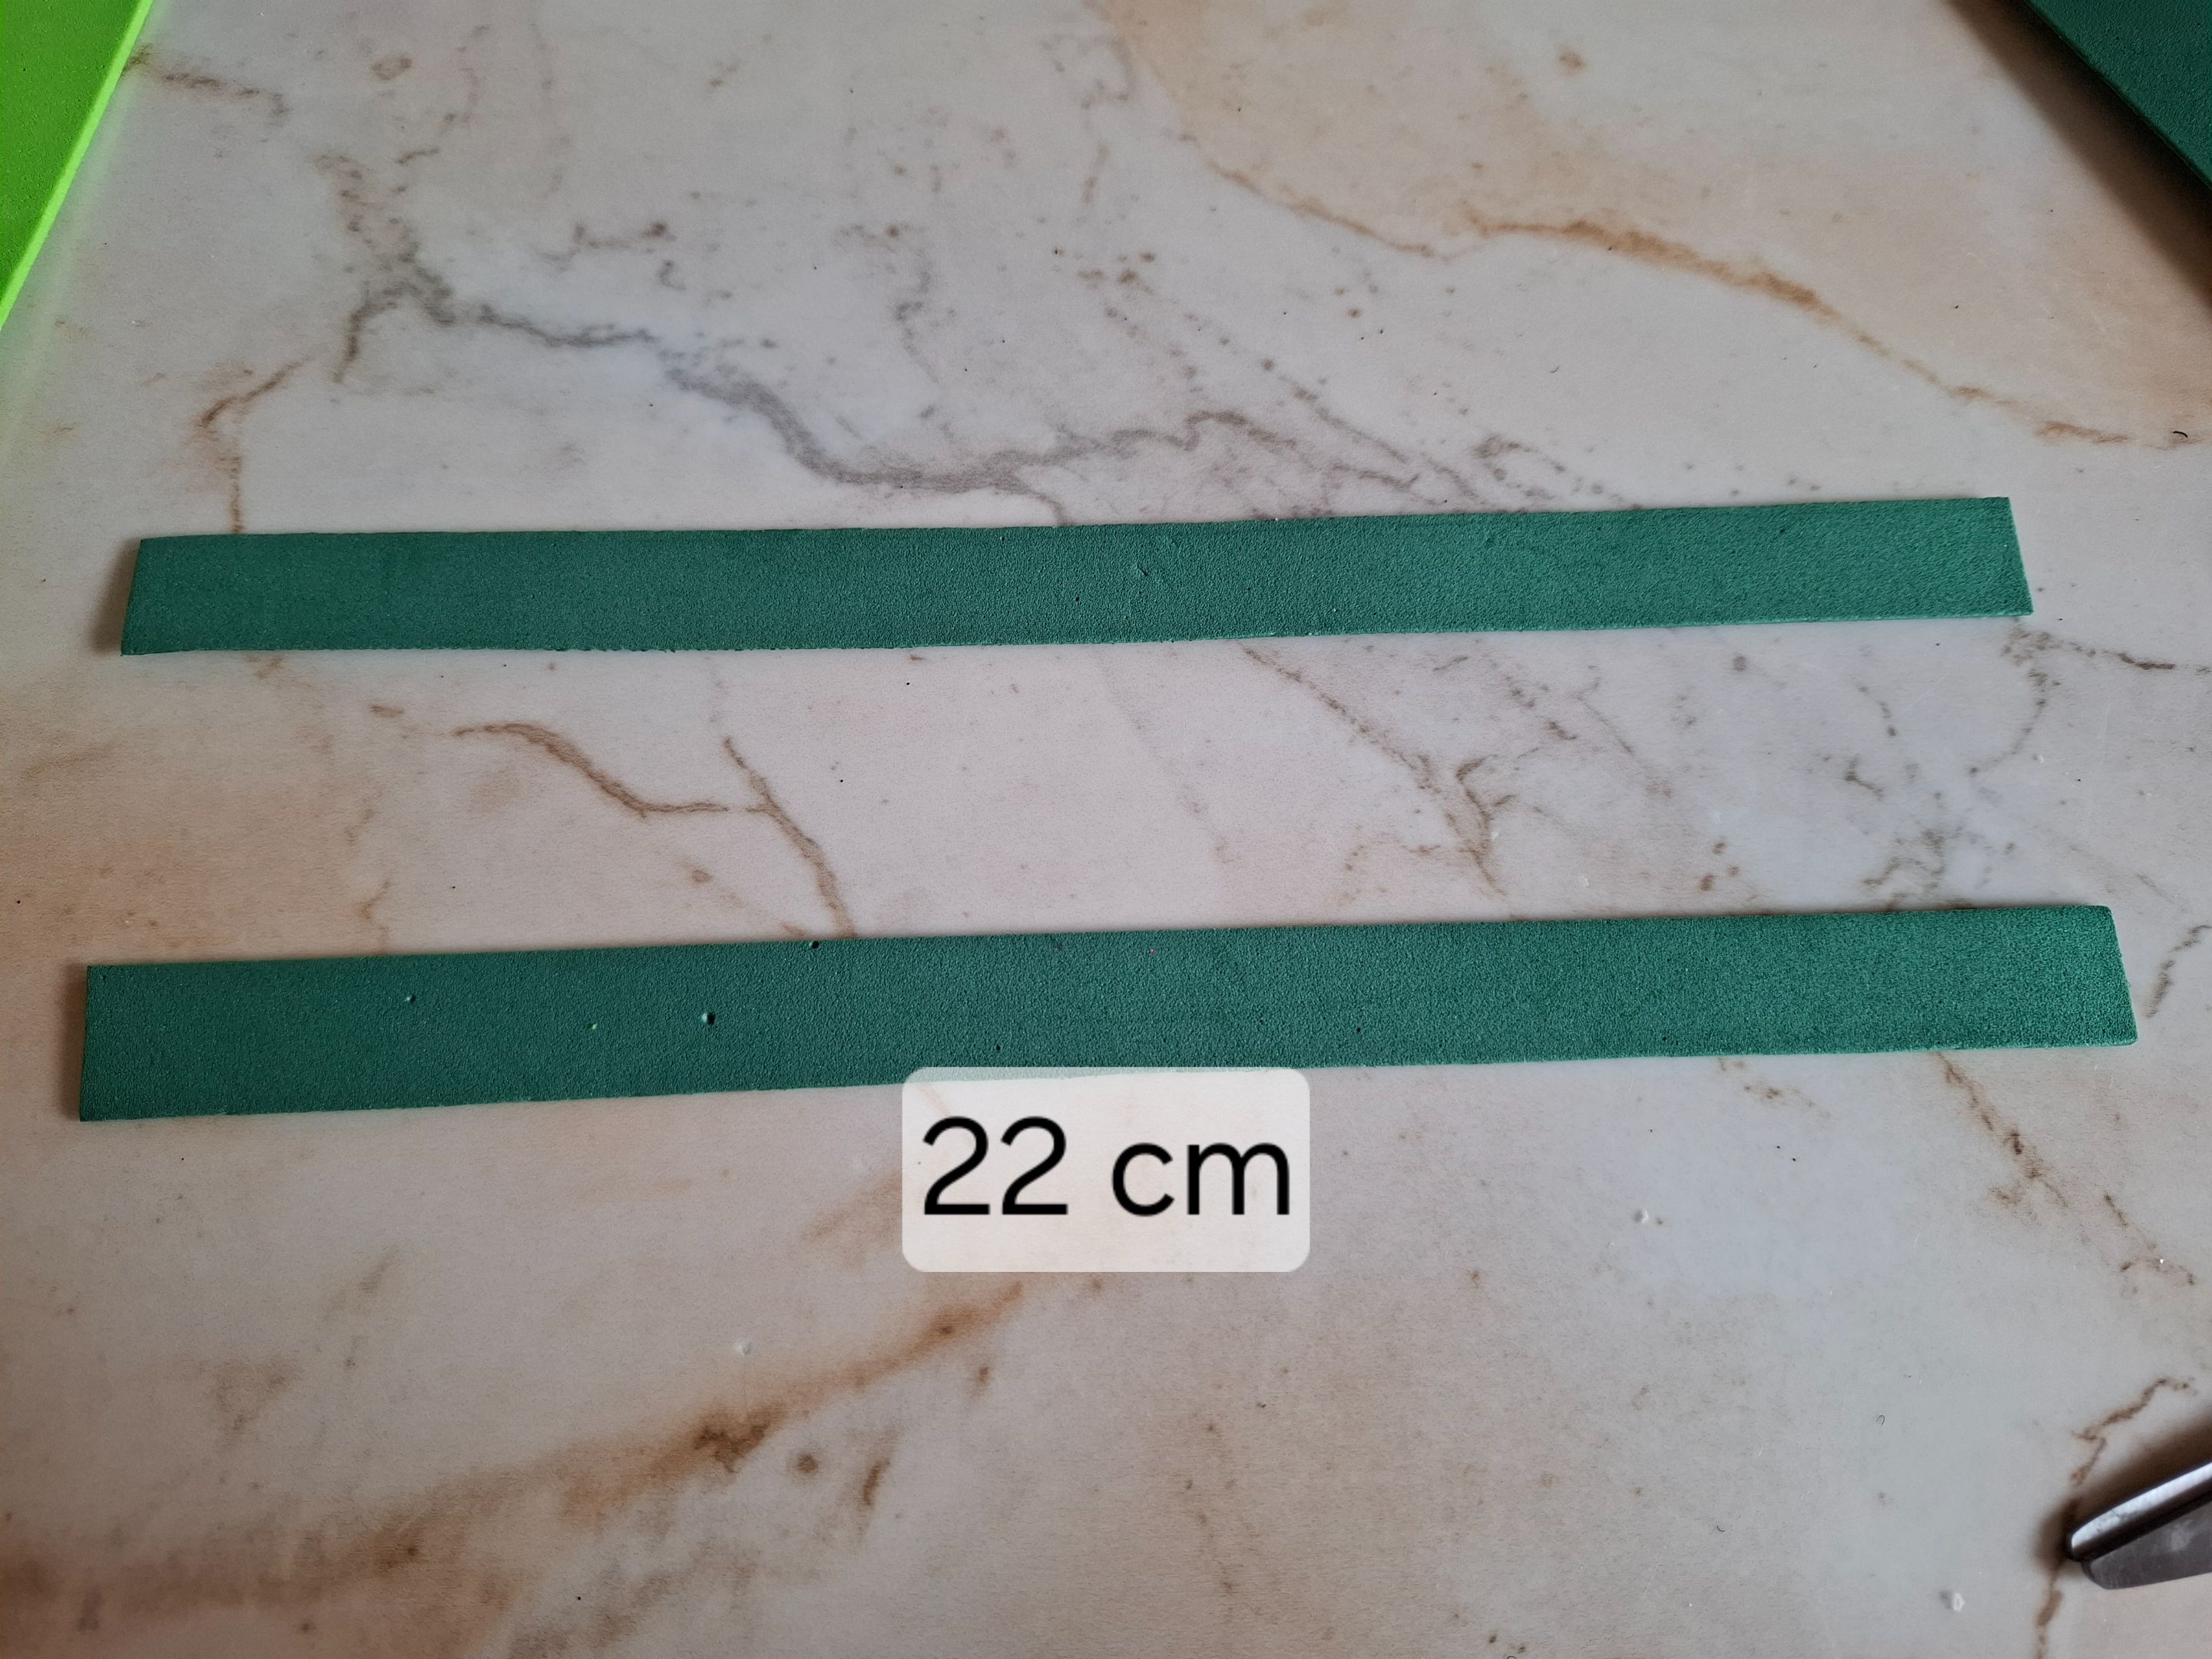
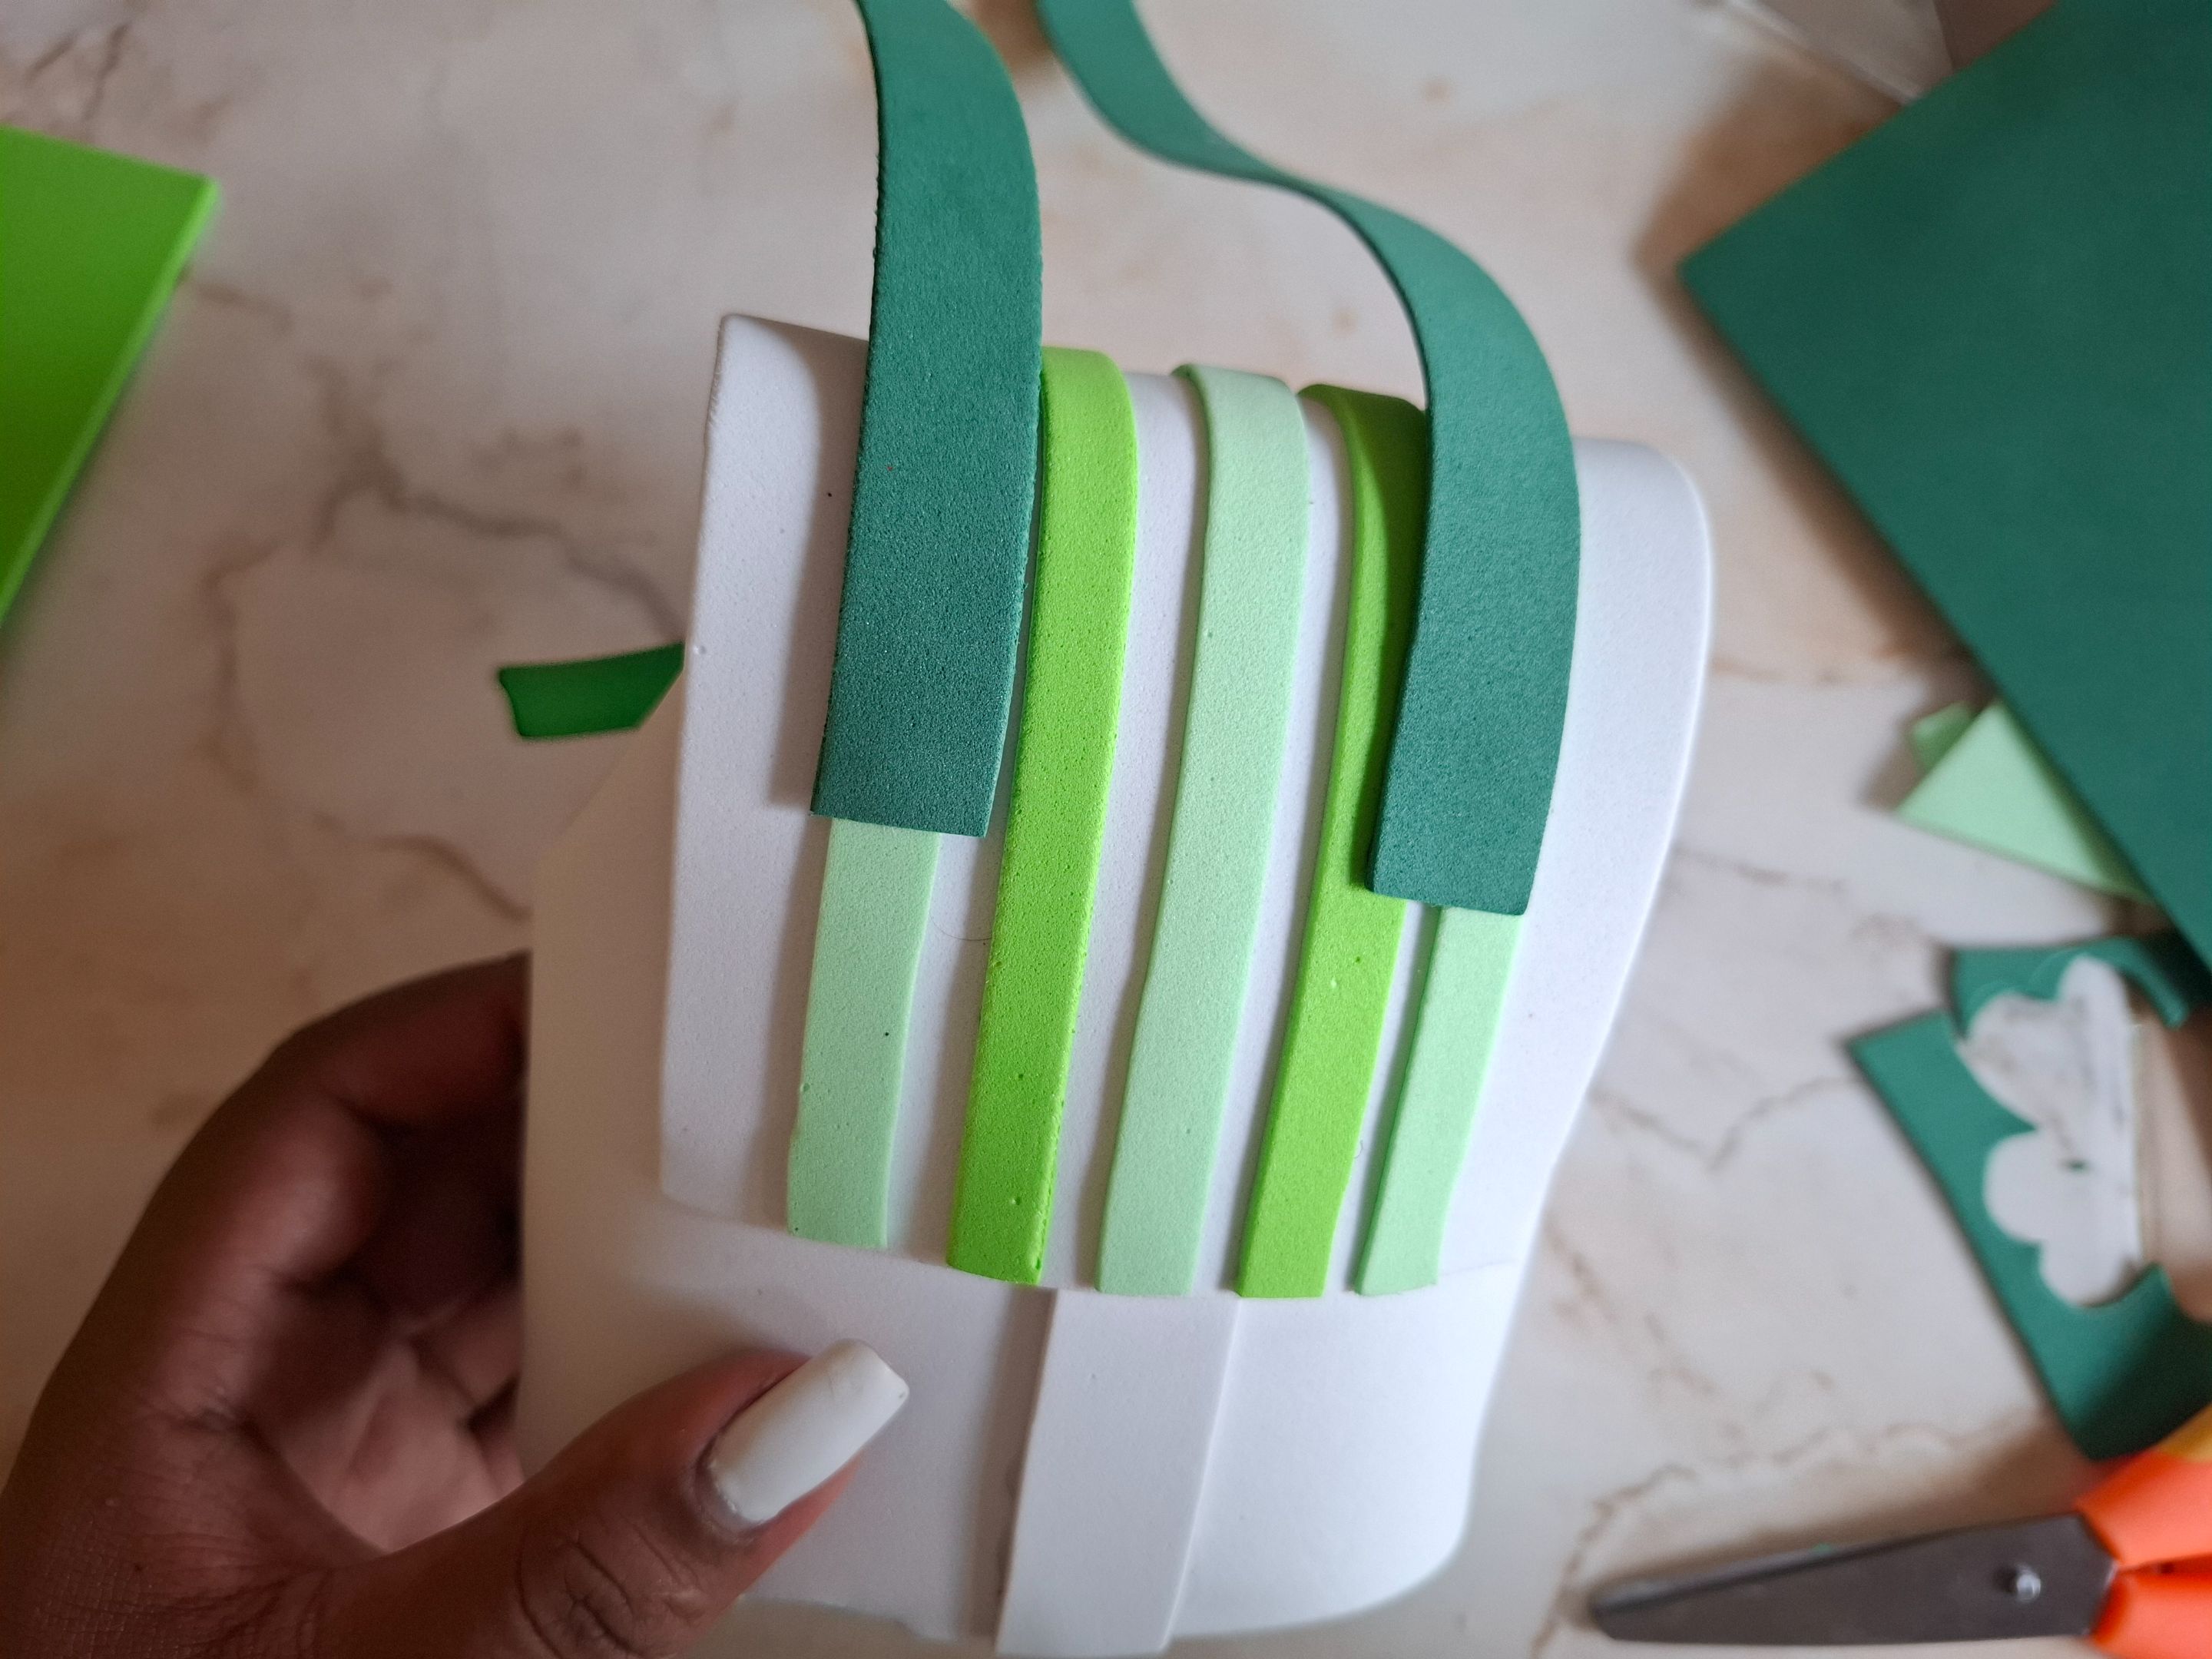
Luego voy a realizar las correas de la mochila cortamos 22 cm de foami verde oscuro y las pegamos con silicón.
Then I'm going to make the backpack straps. We cut 22 cm of dark green foam and glue them with silicone.
 |
 |
 |
|---|---|---|
De esta forma terminé esta creativa mochila, espero les haya gustado el resultado, muchas gracias por su apoyo, nos vemos en una próxima oportunidad con más ideas creativas.
This is how I finished this creative backpack. I hope you liked the result. Thank you very much for your support. See you next time with more creative ideas.