Saludos, muy felíz domingo comunidad DiyHub, es un gusto saludarles espero se encuentren bien, hoy ha sido un día soleado y de descanso, mañana comienza una nueva semana llena de bendiciones y de oportunidades para todos, esta semana estuve algo ocupada con las tareas de la universidad pero ya esta semana creo que no será tan fuerte por lo que espero poder realizar algo lindo próximamente, hoy felíz de compartir nuevamente para el concurso de arte Splinterlands semanal.
Greetings, very happy Sunday DiyHub community, it is a pleasure to greet you, I hope you are well, today has been a sunny and restful day, tomorrow begins a new week full of blessings and opportunities for everyone, this week I was somewhat busy with university assignments but this week I think it will not be so busy so I hope to be able to do something nice soon, today happy to share again for the weekly Splinterlands art contest.
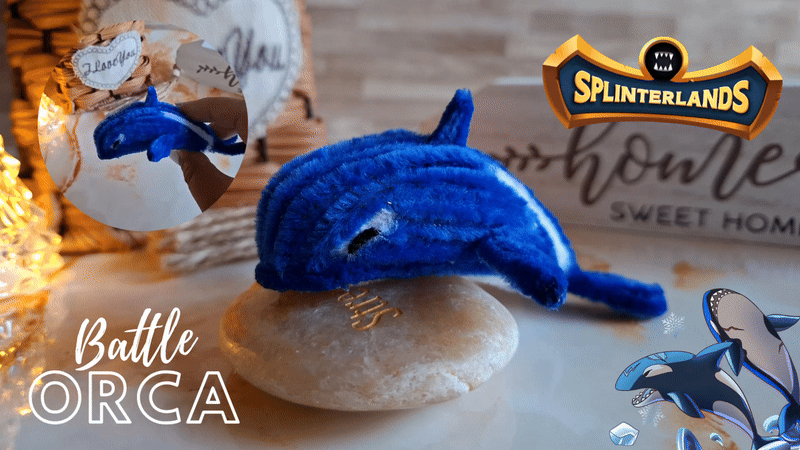
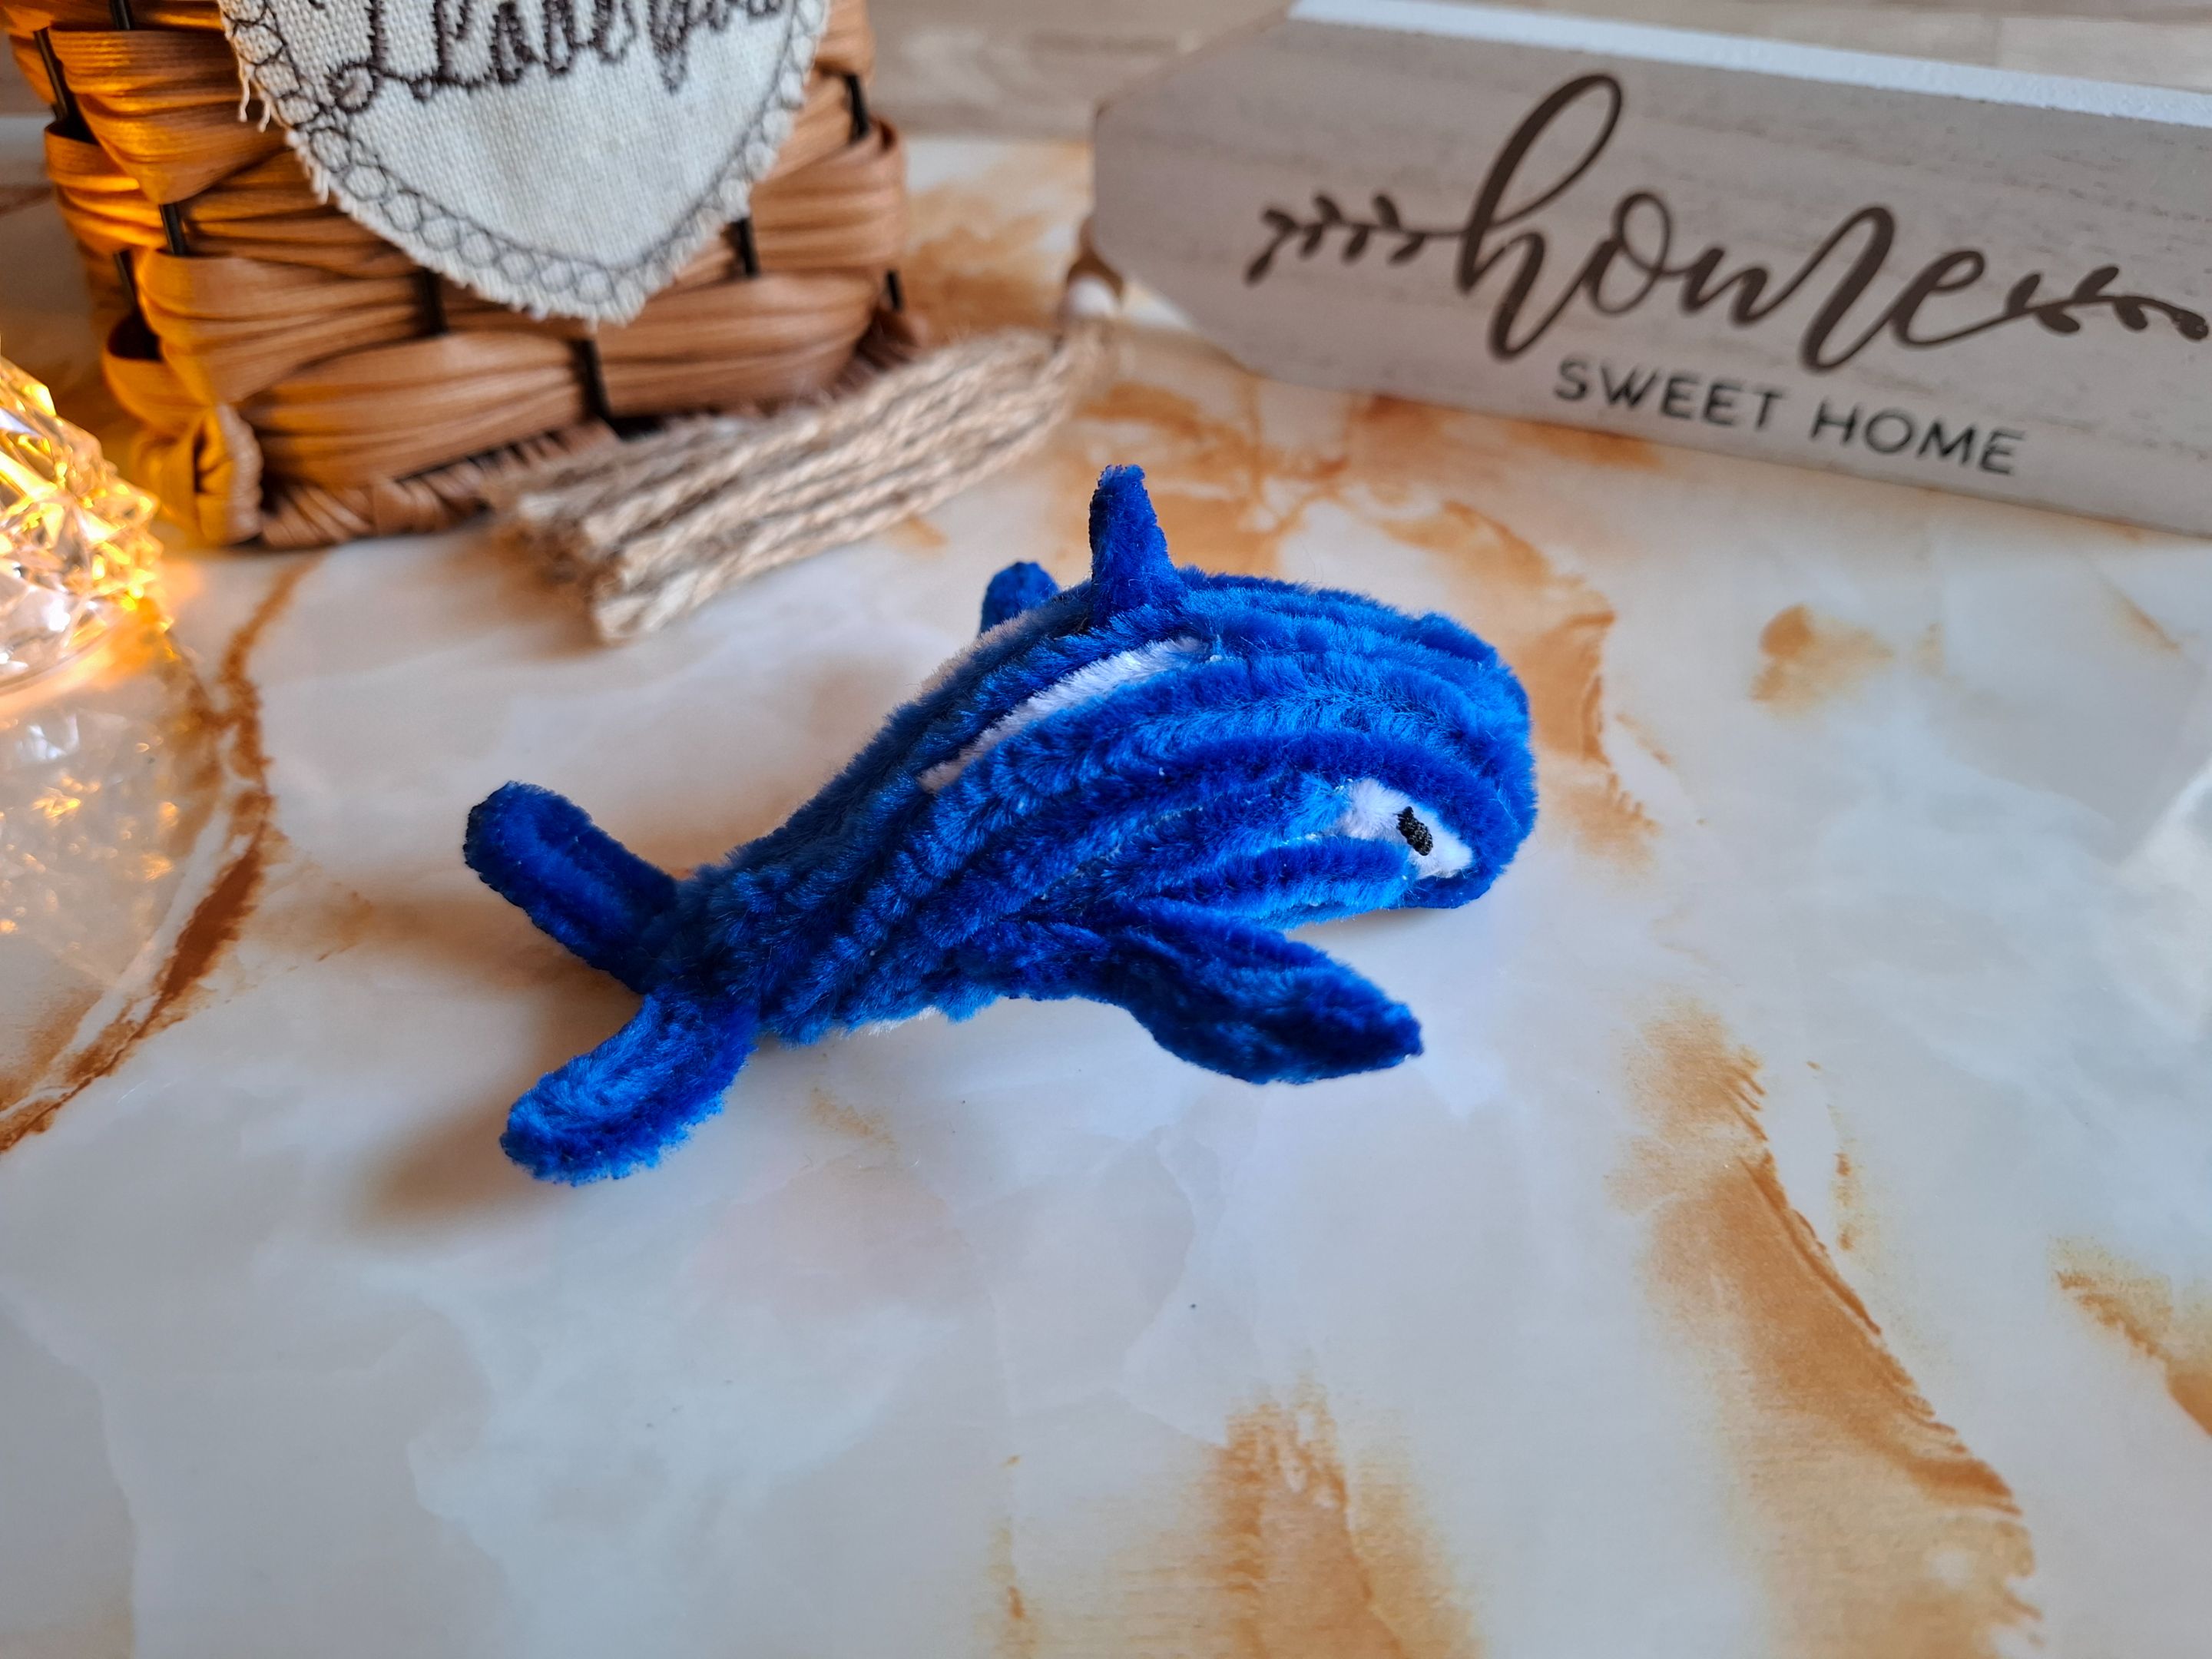
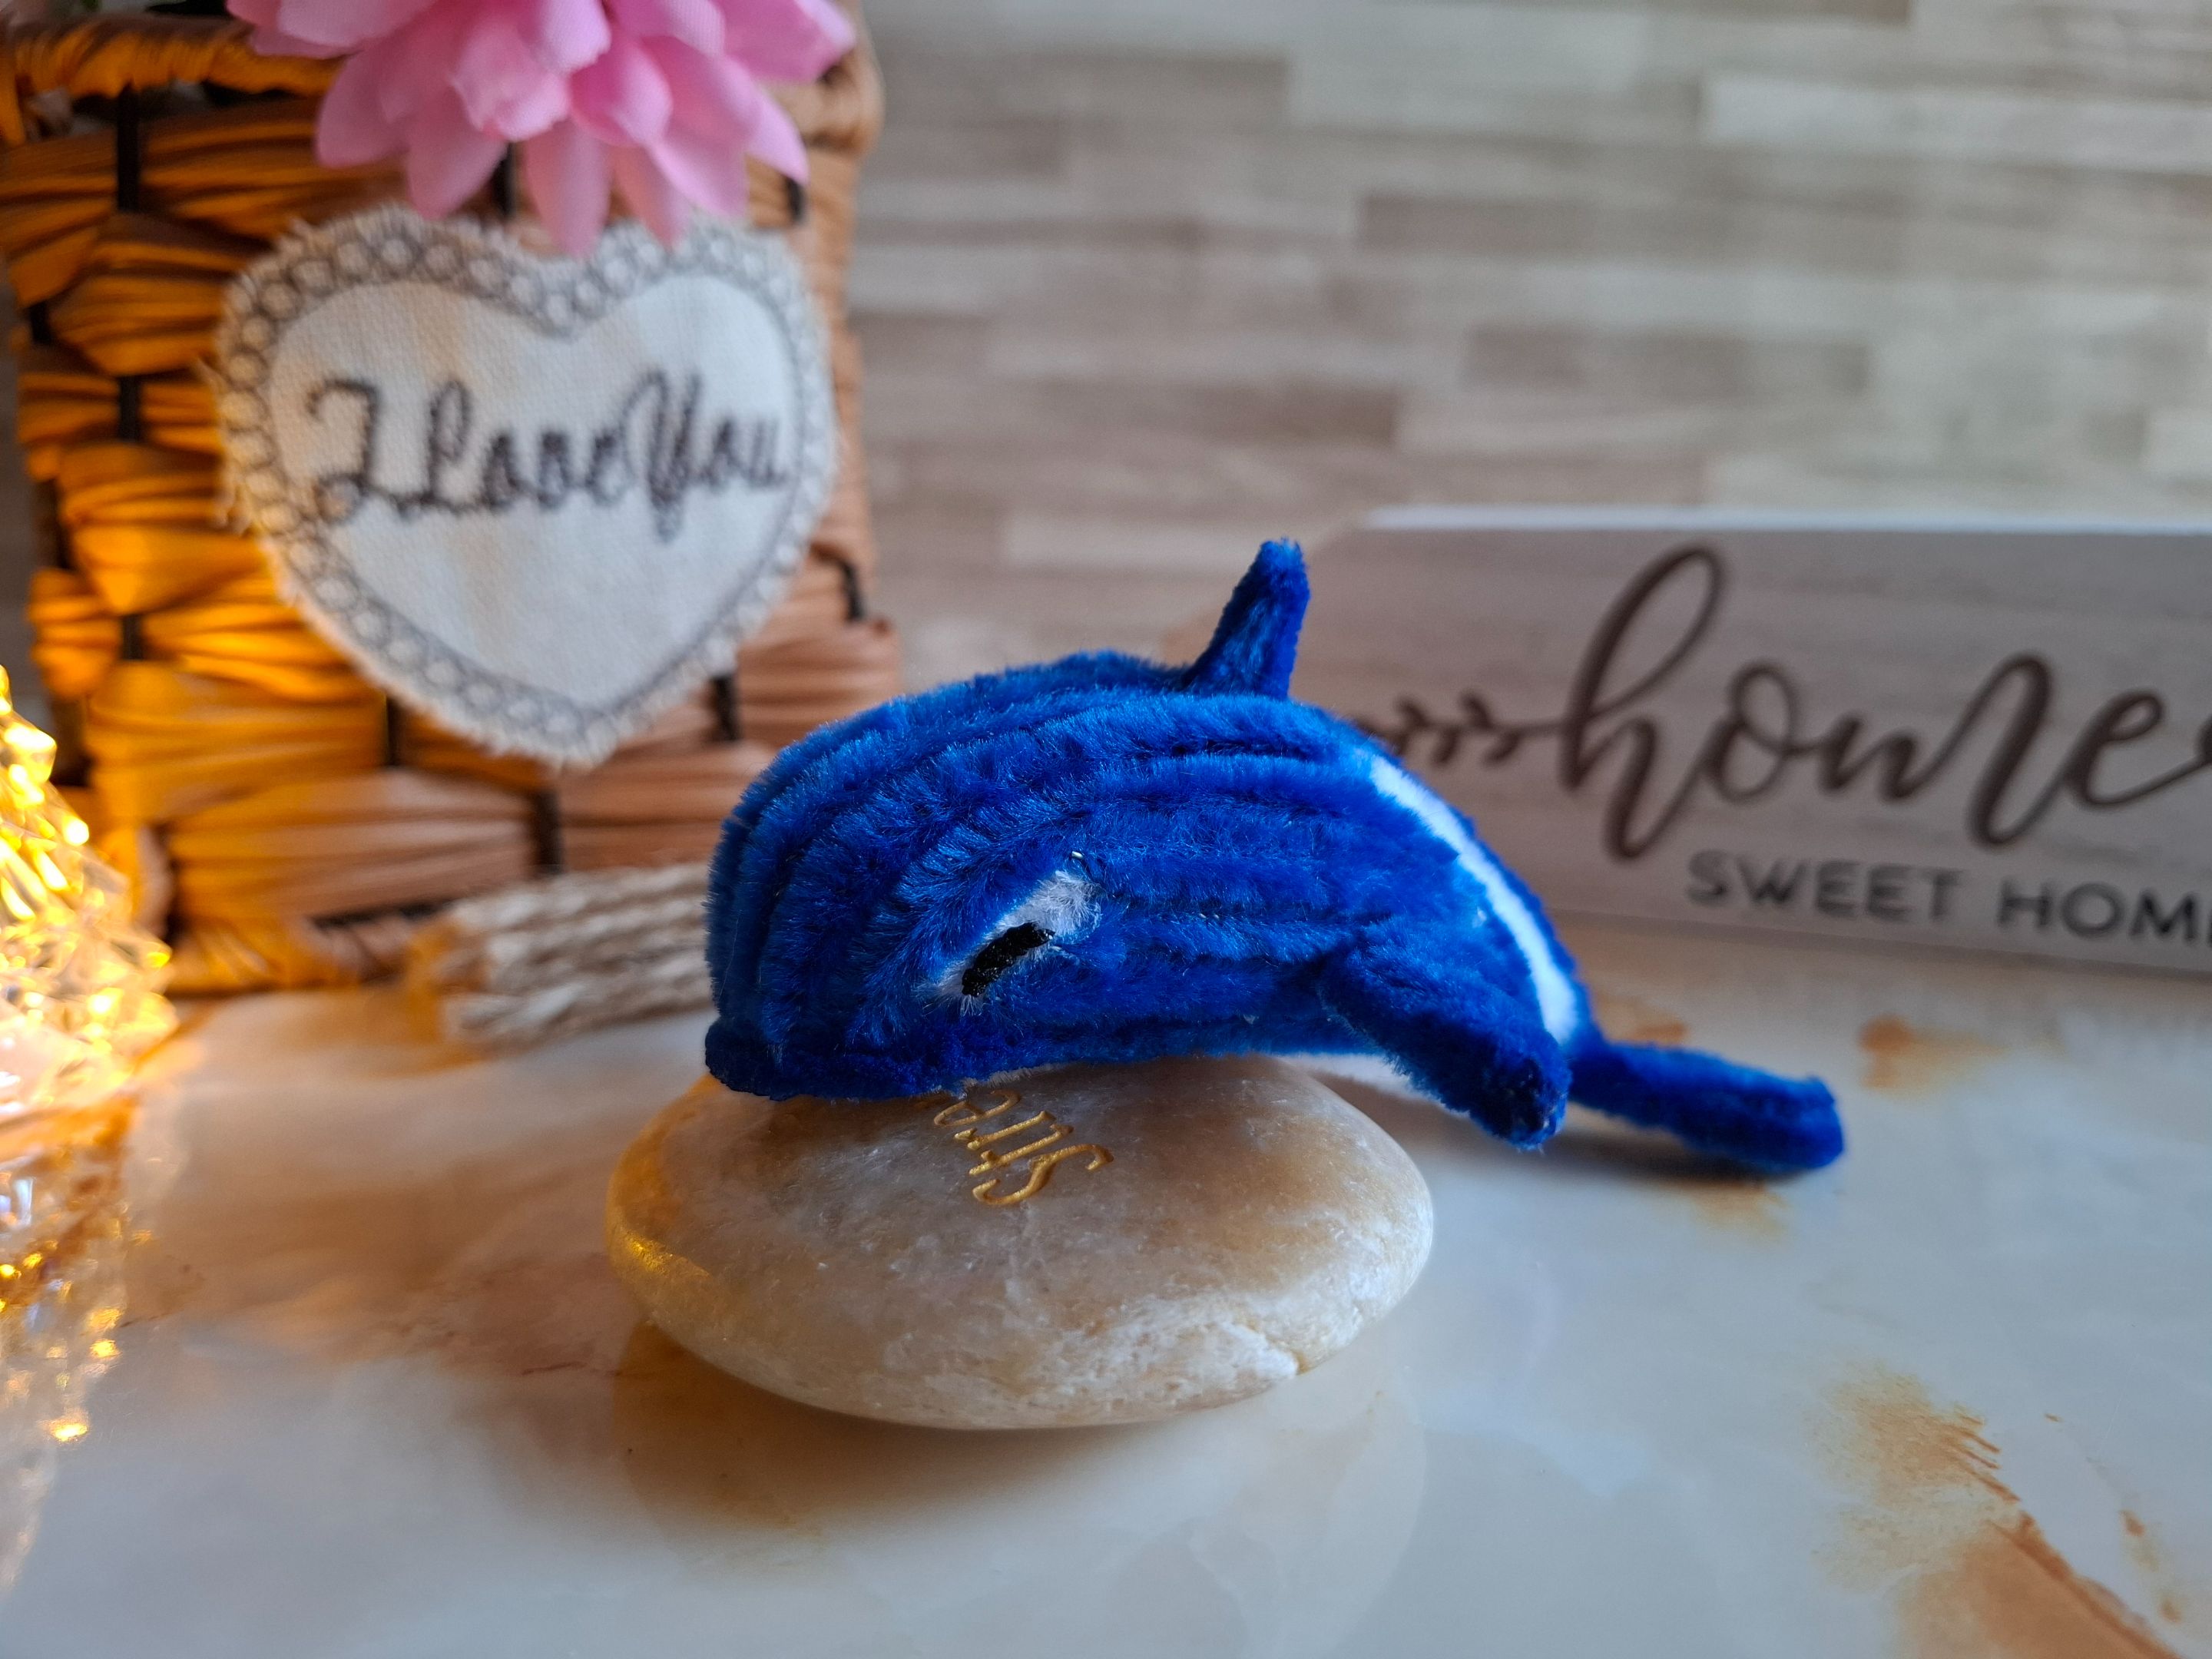
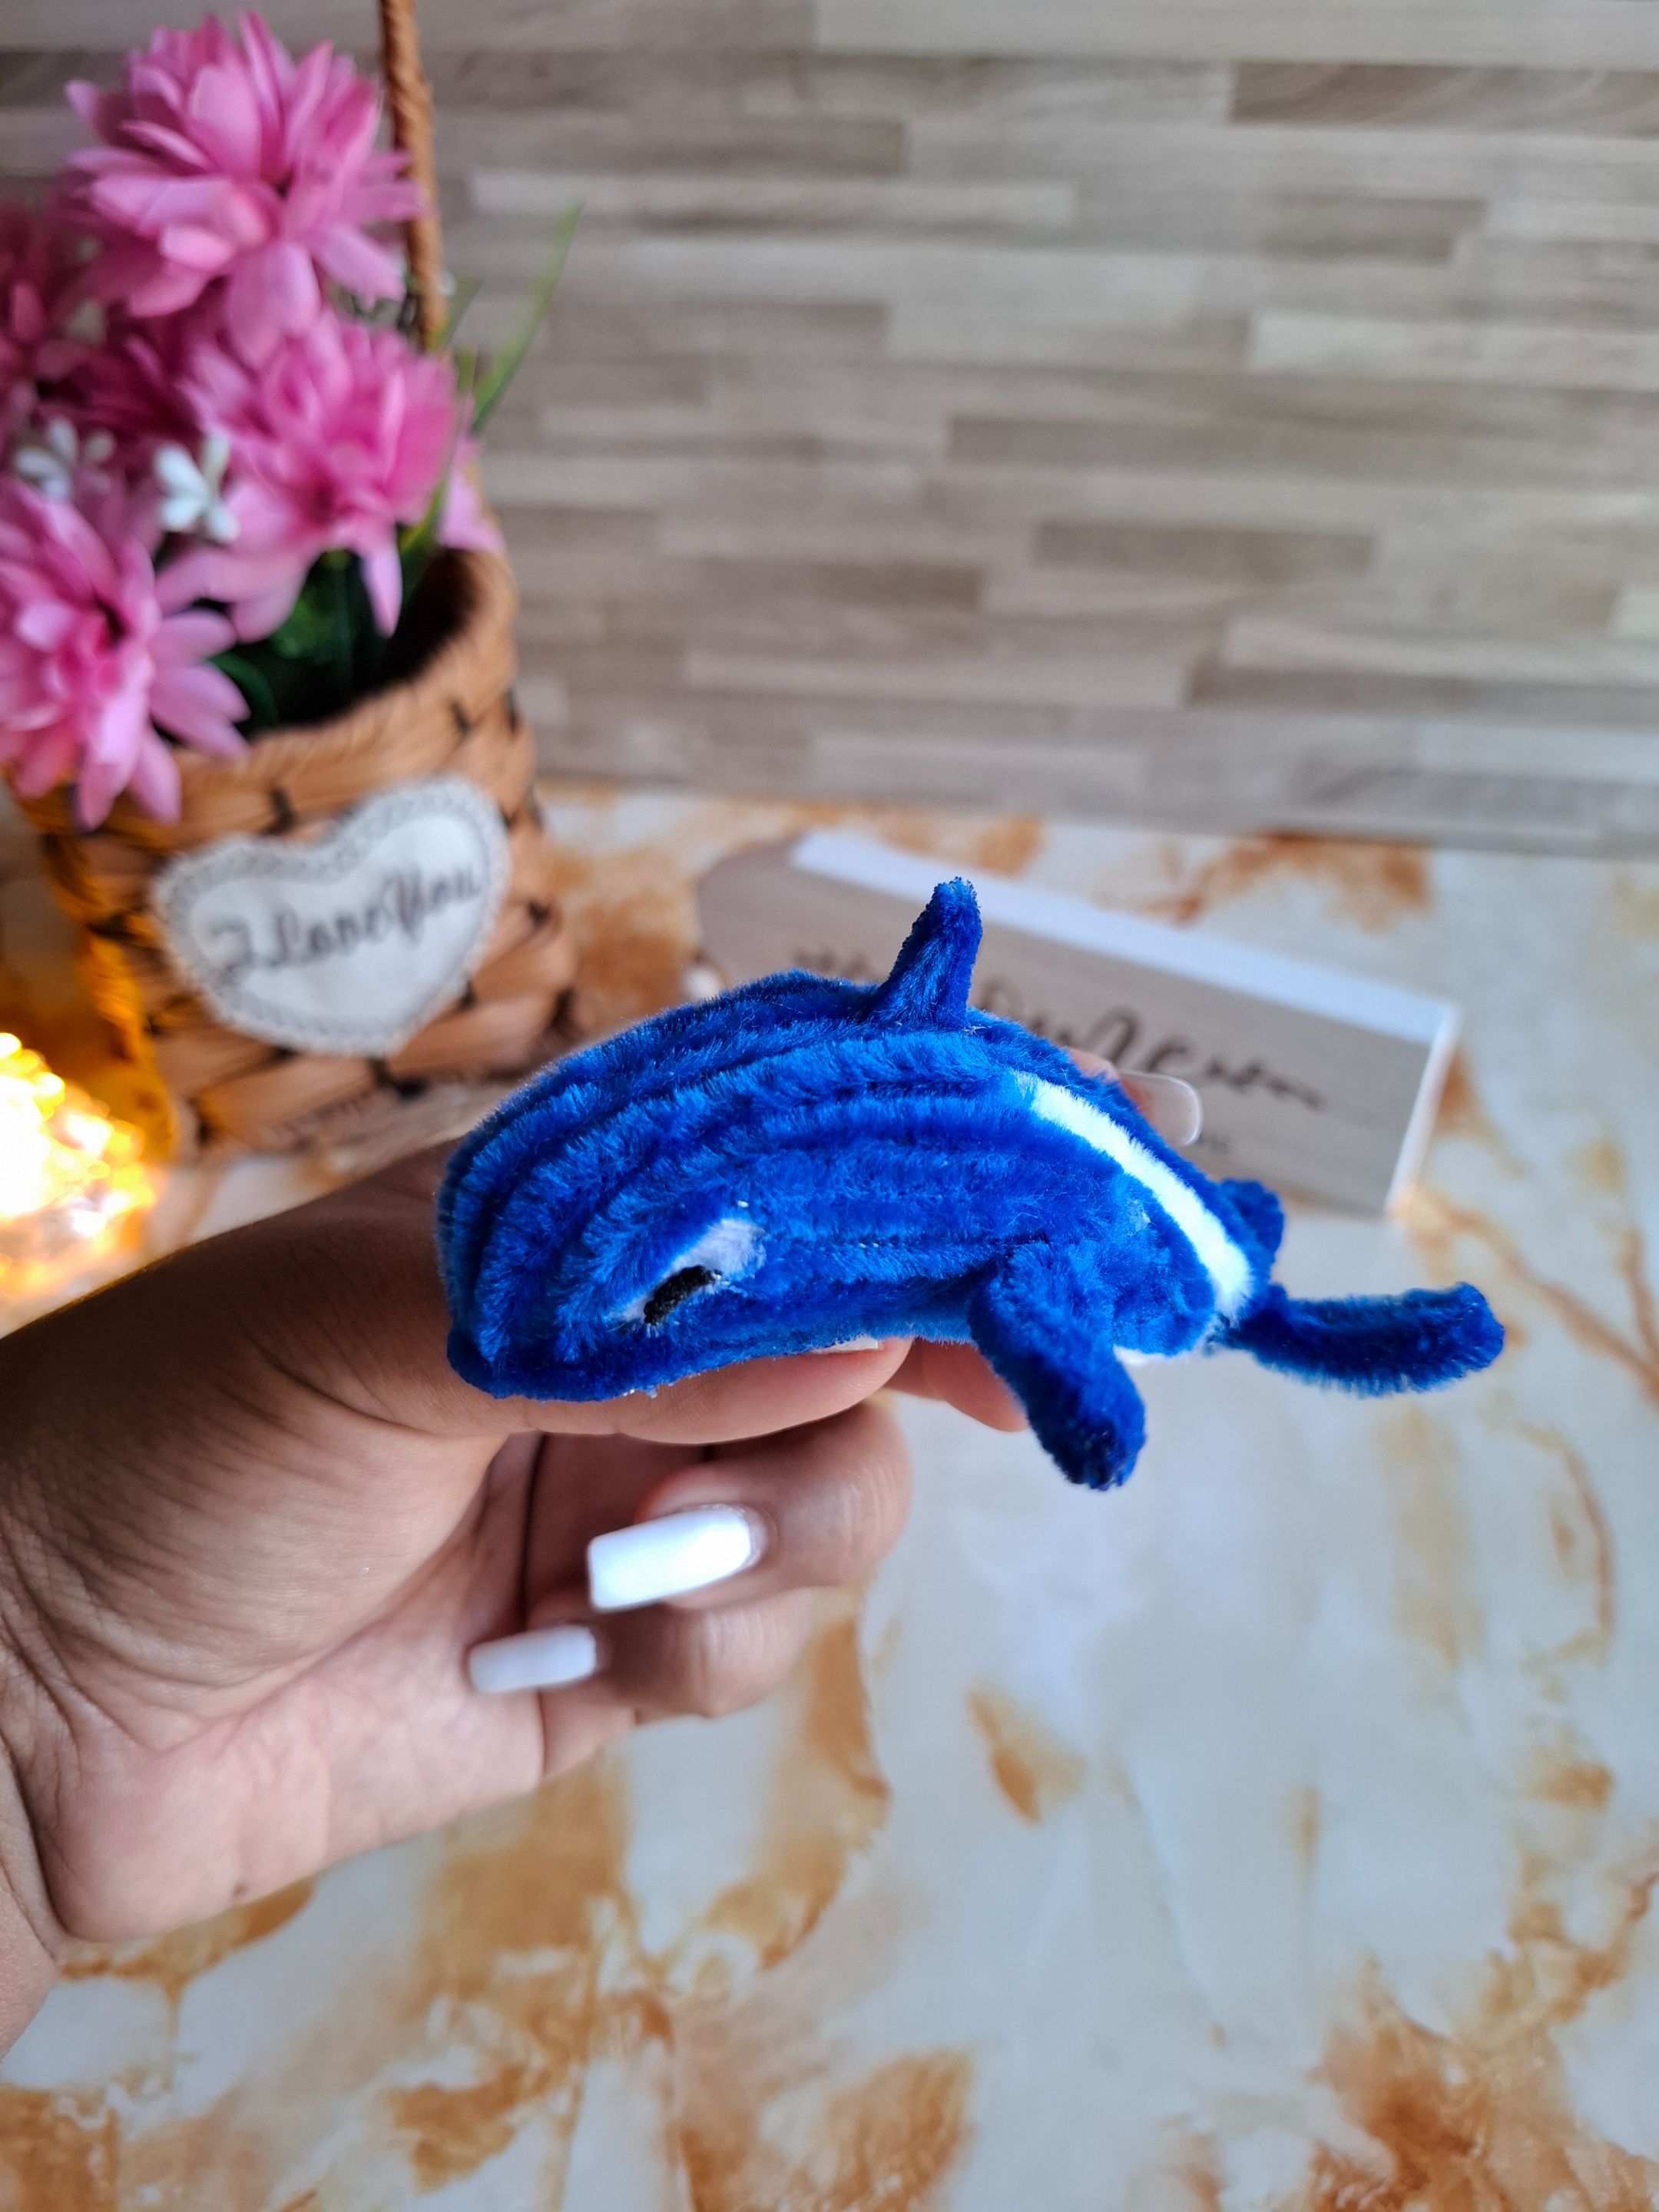
Para el concurso de arte Splinterlands semana 361, viendo algunas de las cartas me encontré con una que ví interesante, me inspiré en la carta de orca de batalla, representada por una criatura de agua, la orca en color azul y blanco, me ha gustado mucho como luce su apariencia y no dude en recrearla con los limpiapipas.
For the Splinterlands art contest week 361, looking at some of the cards I found one that I found interesting, I was inspired by the battle orca card, represented by a water creature, the orca in blue and white, I really liked how its appearance looks and I didn't hesitate to recreate it with the pipe cleaners.

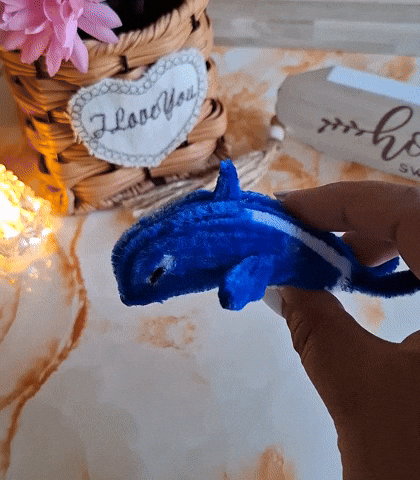
Está figura de orca en limpiapipas queda muy bonita en limpiapipas, desde que utilizo este material para mis proyectos siento que se pueden realizar manualidades increíbles por su variedad de colores y fácil manejo, por suerte tenía los principales colores disponibles, puedes realizarla del tamaño que desees, debes confíar en el proceso y verás que obtendrás un bello resultado, a continuación los materiales y el paso a paso.
This orca figure made of pipe cleaners looks very pretty. Since I started using this material for my projects, I feel that incredible crafts can be made due to its variety of colors and easy handling. Luckily, I had the main colors available. You can make it in any size you want. You must trust the process and you will see that you will get a beautiful result. Below are the materials and the step-by-step instructions.
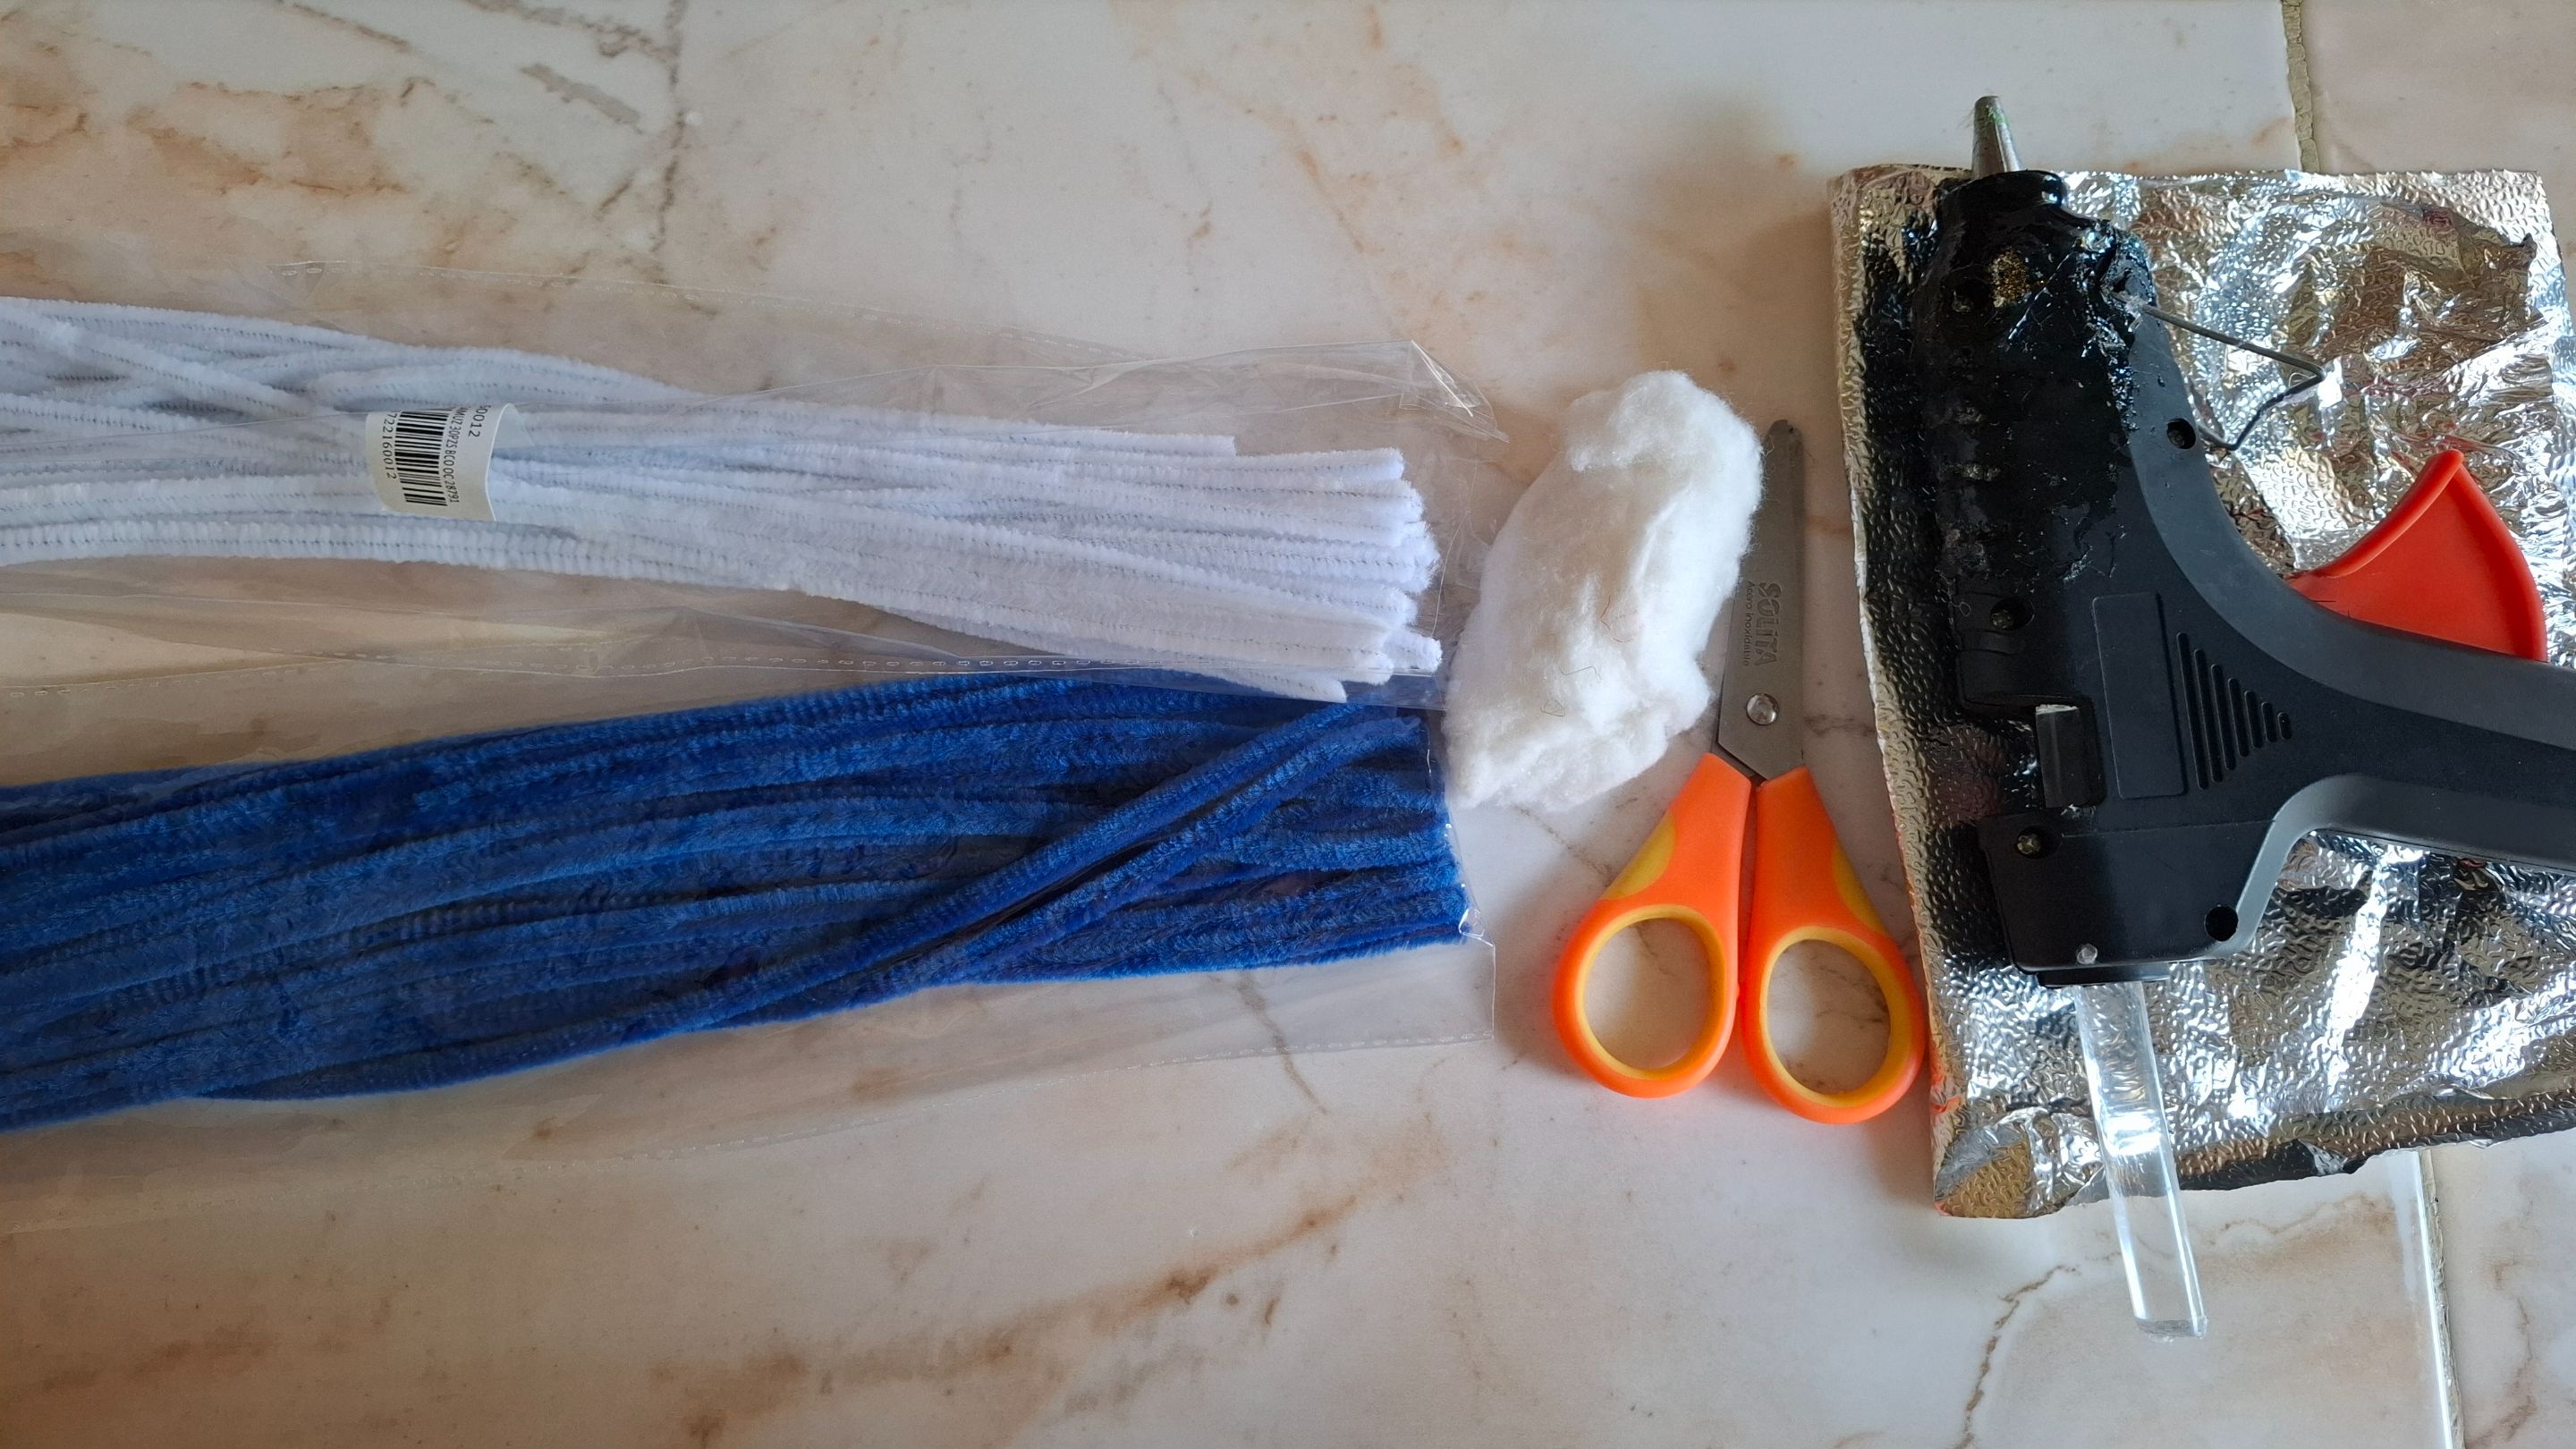
| Materiales | Materials |
|---|---|
| Limpiapipas azul rey | Royal blue pipe cleaners |
| Limpiapipas blanco | white pipe cleaner |
| Papel aluminio | aluminum foil |
| Algodón | Cotton |
| Tijera | Scissors |
| Silicón | Silicone |
| Encendedor | Lighter |
Paso a paso / Step by step
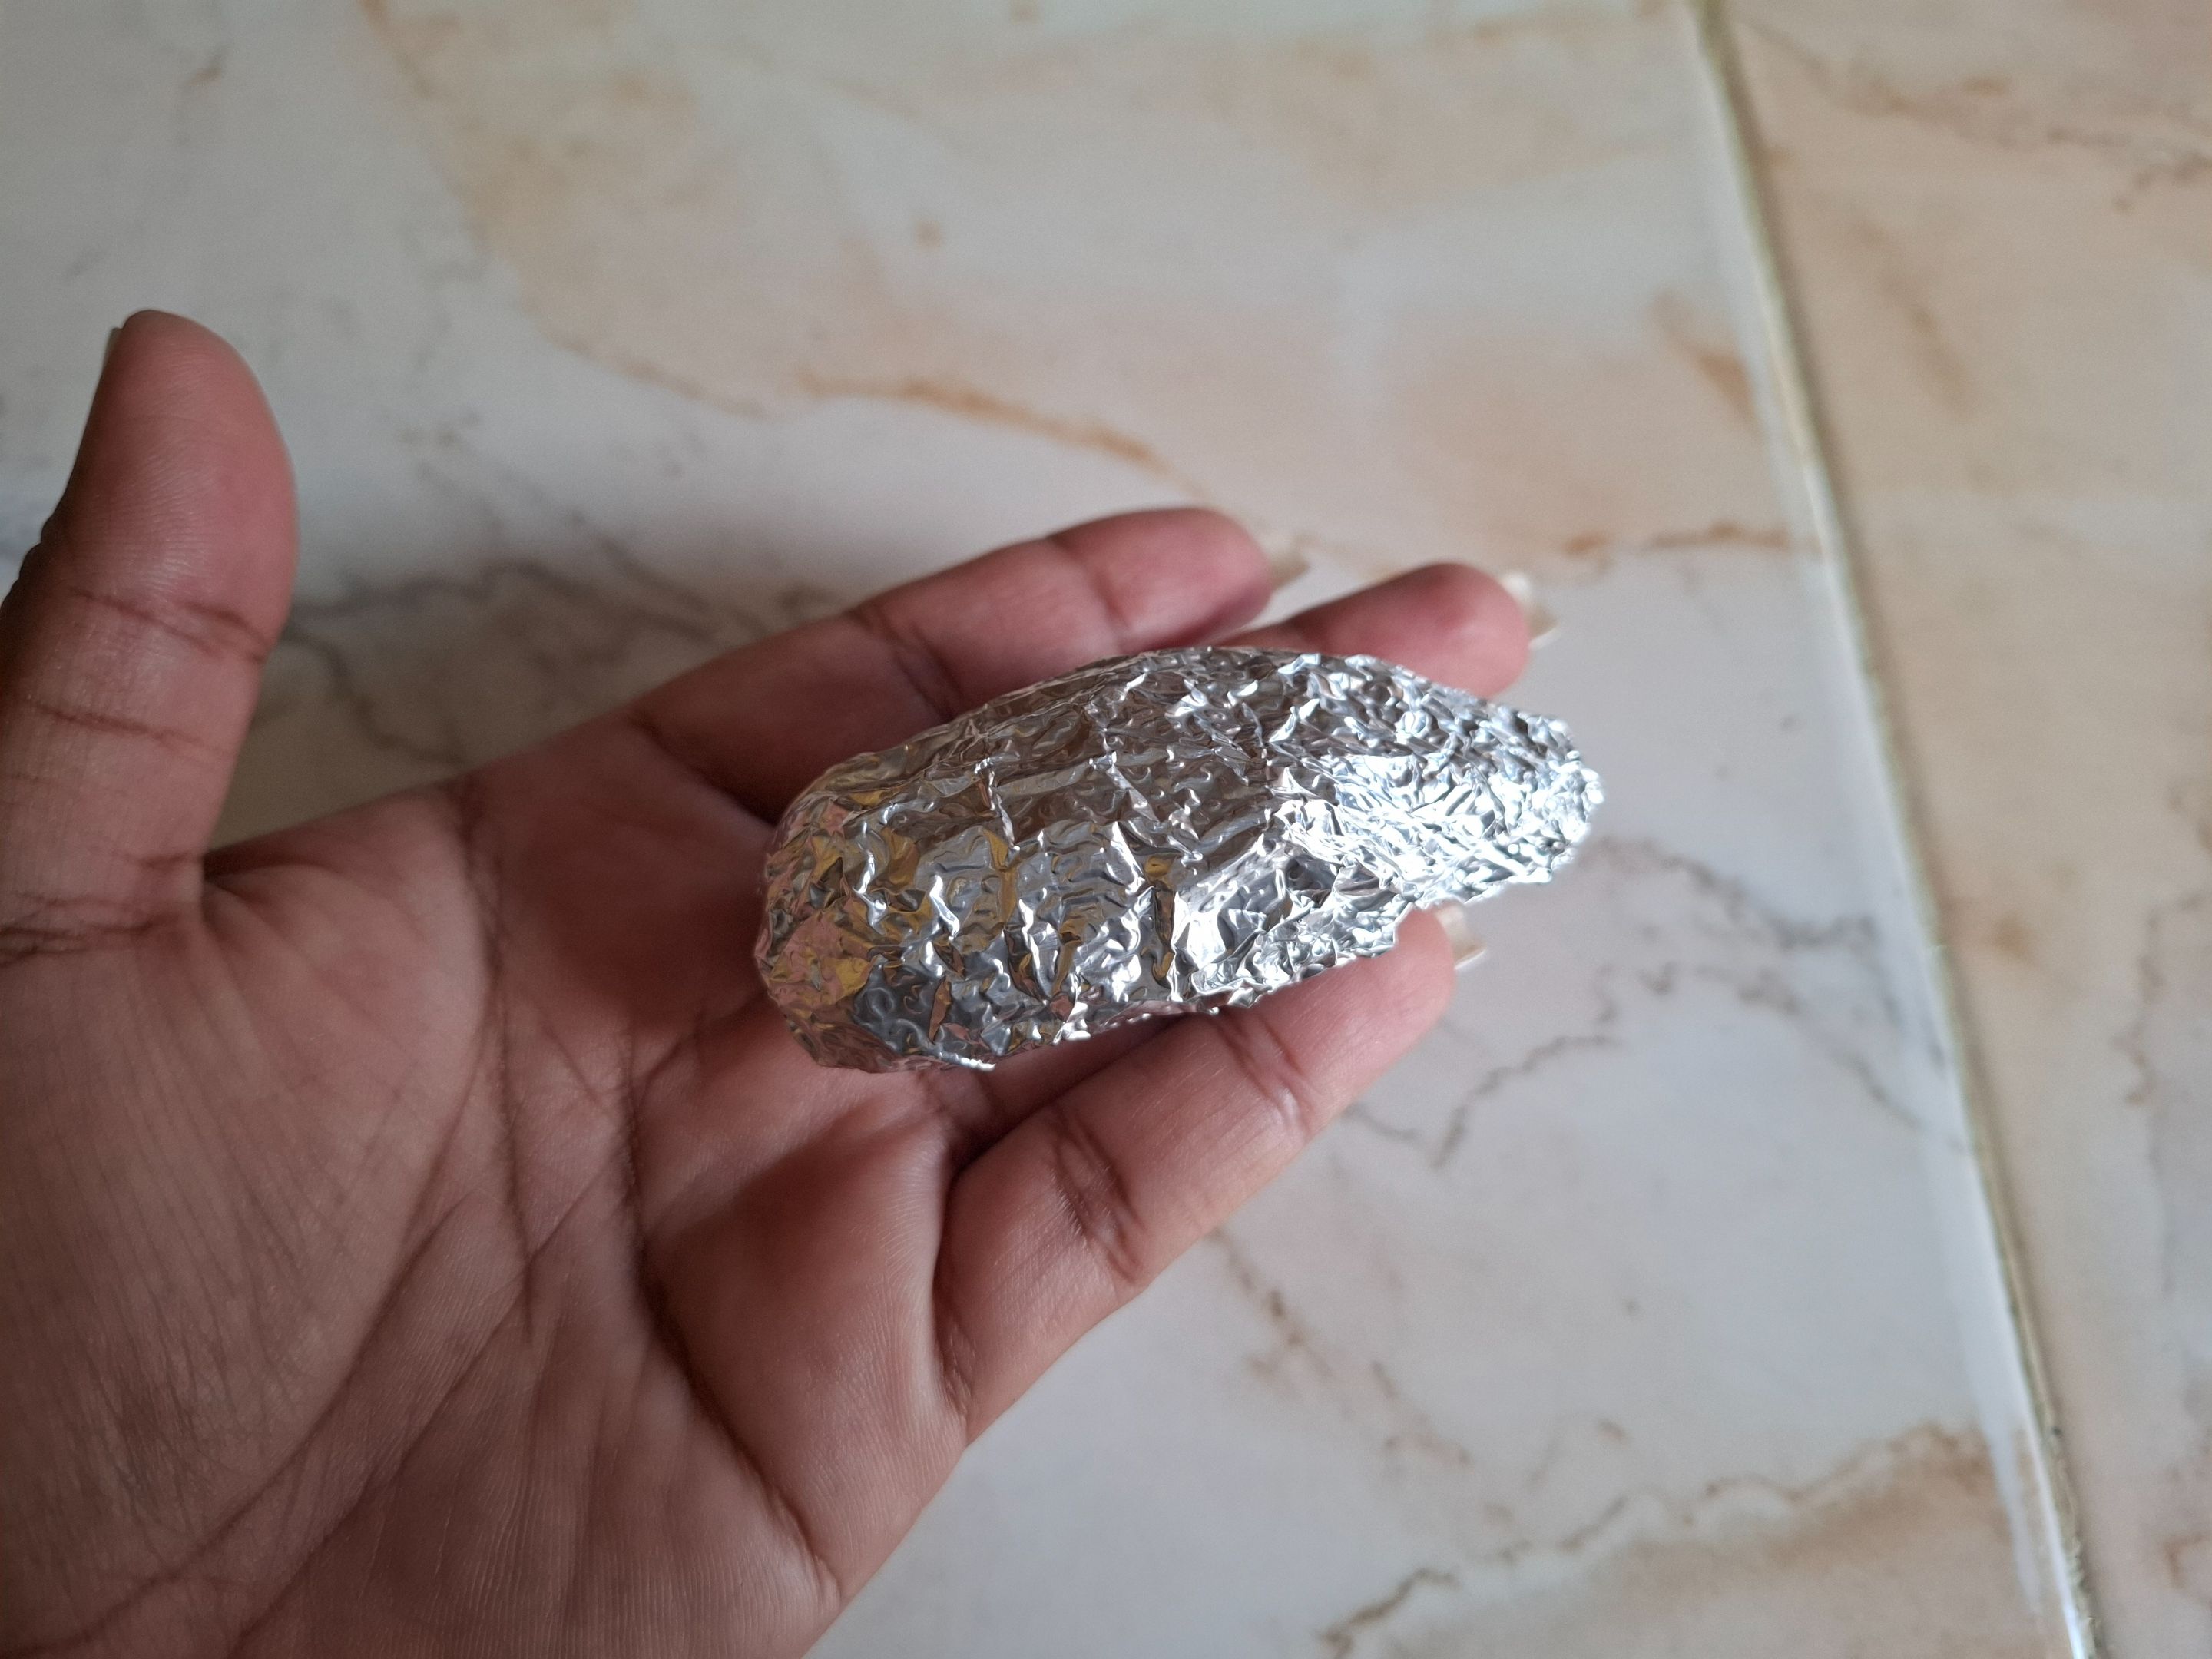
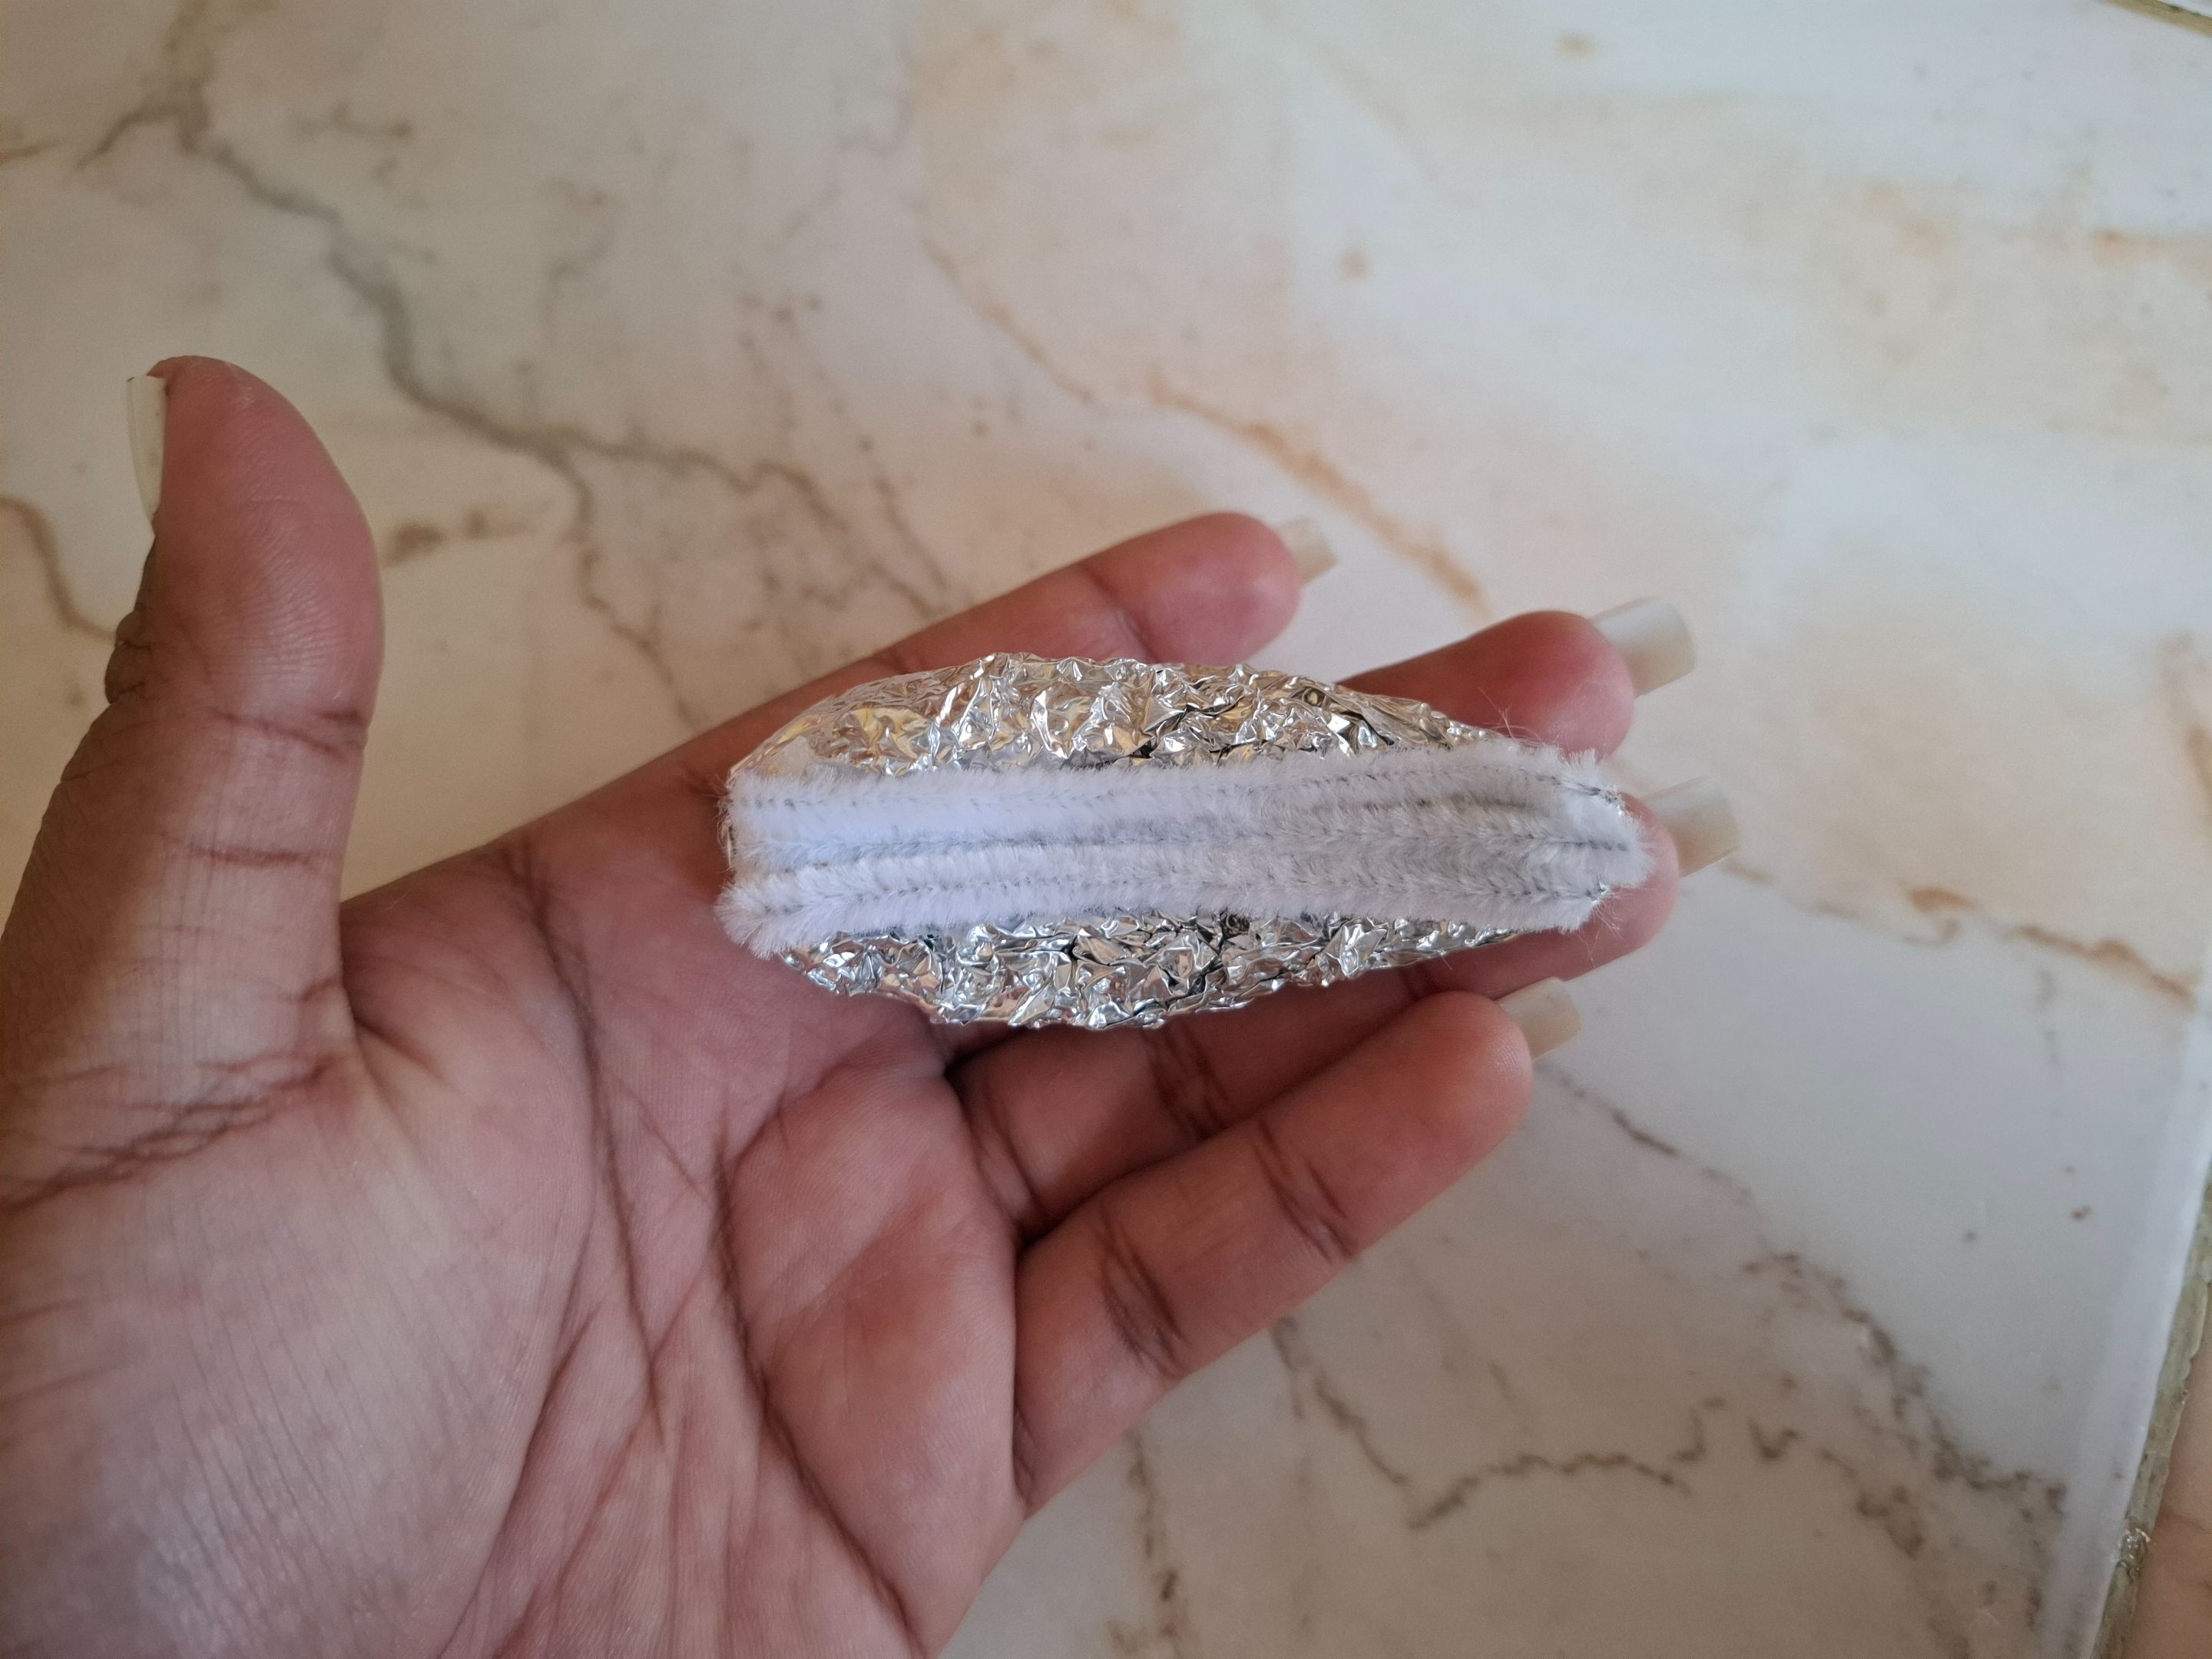
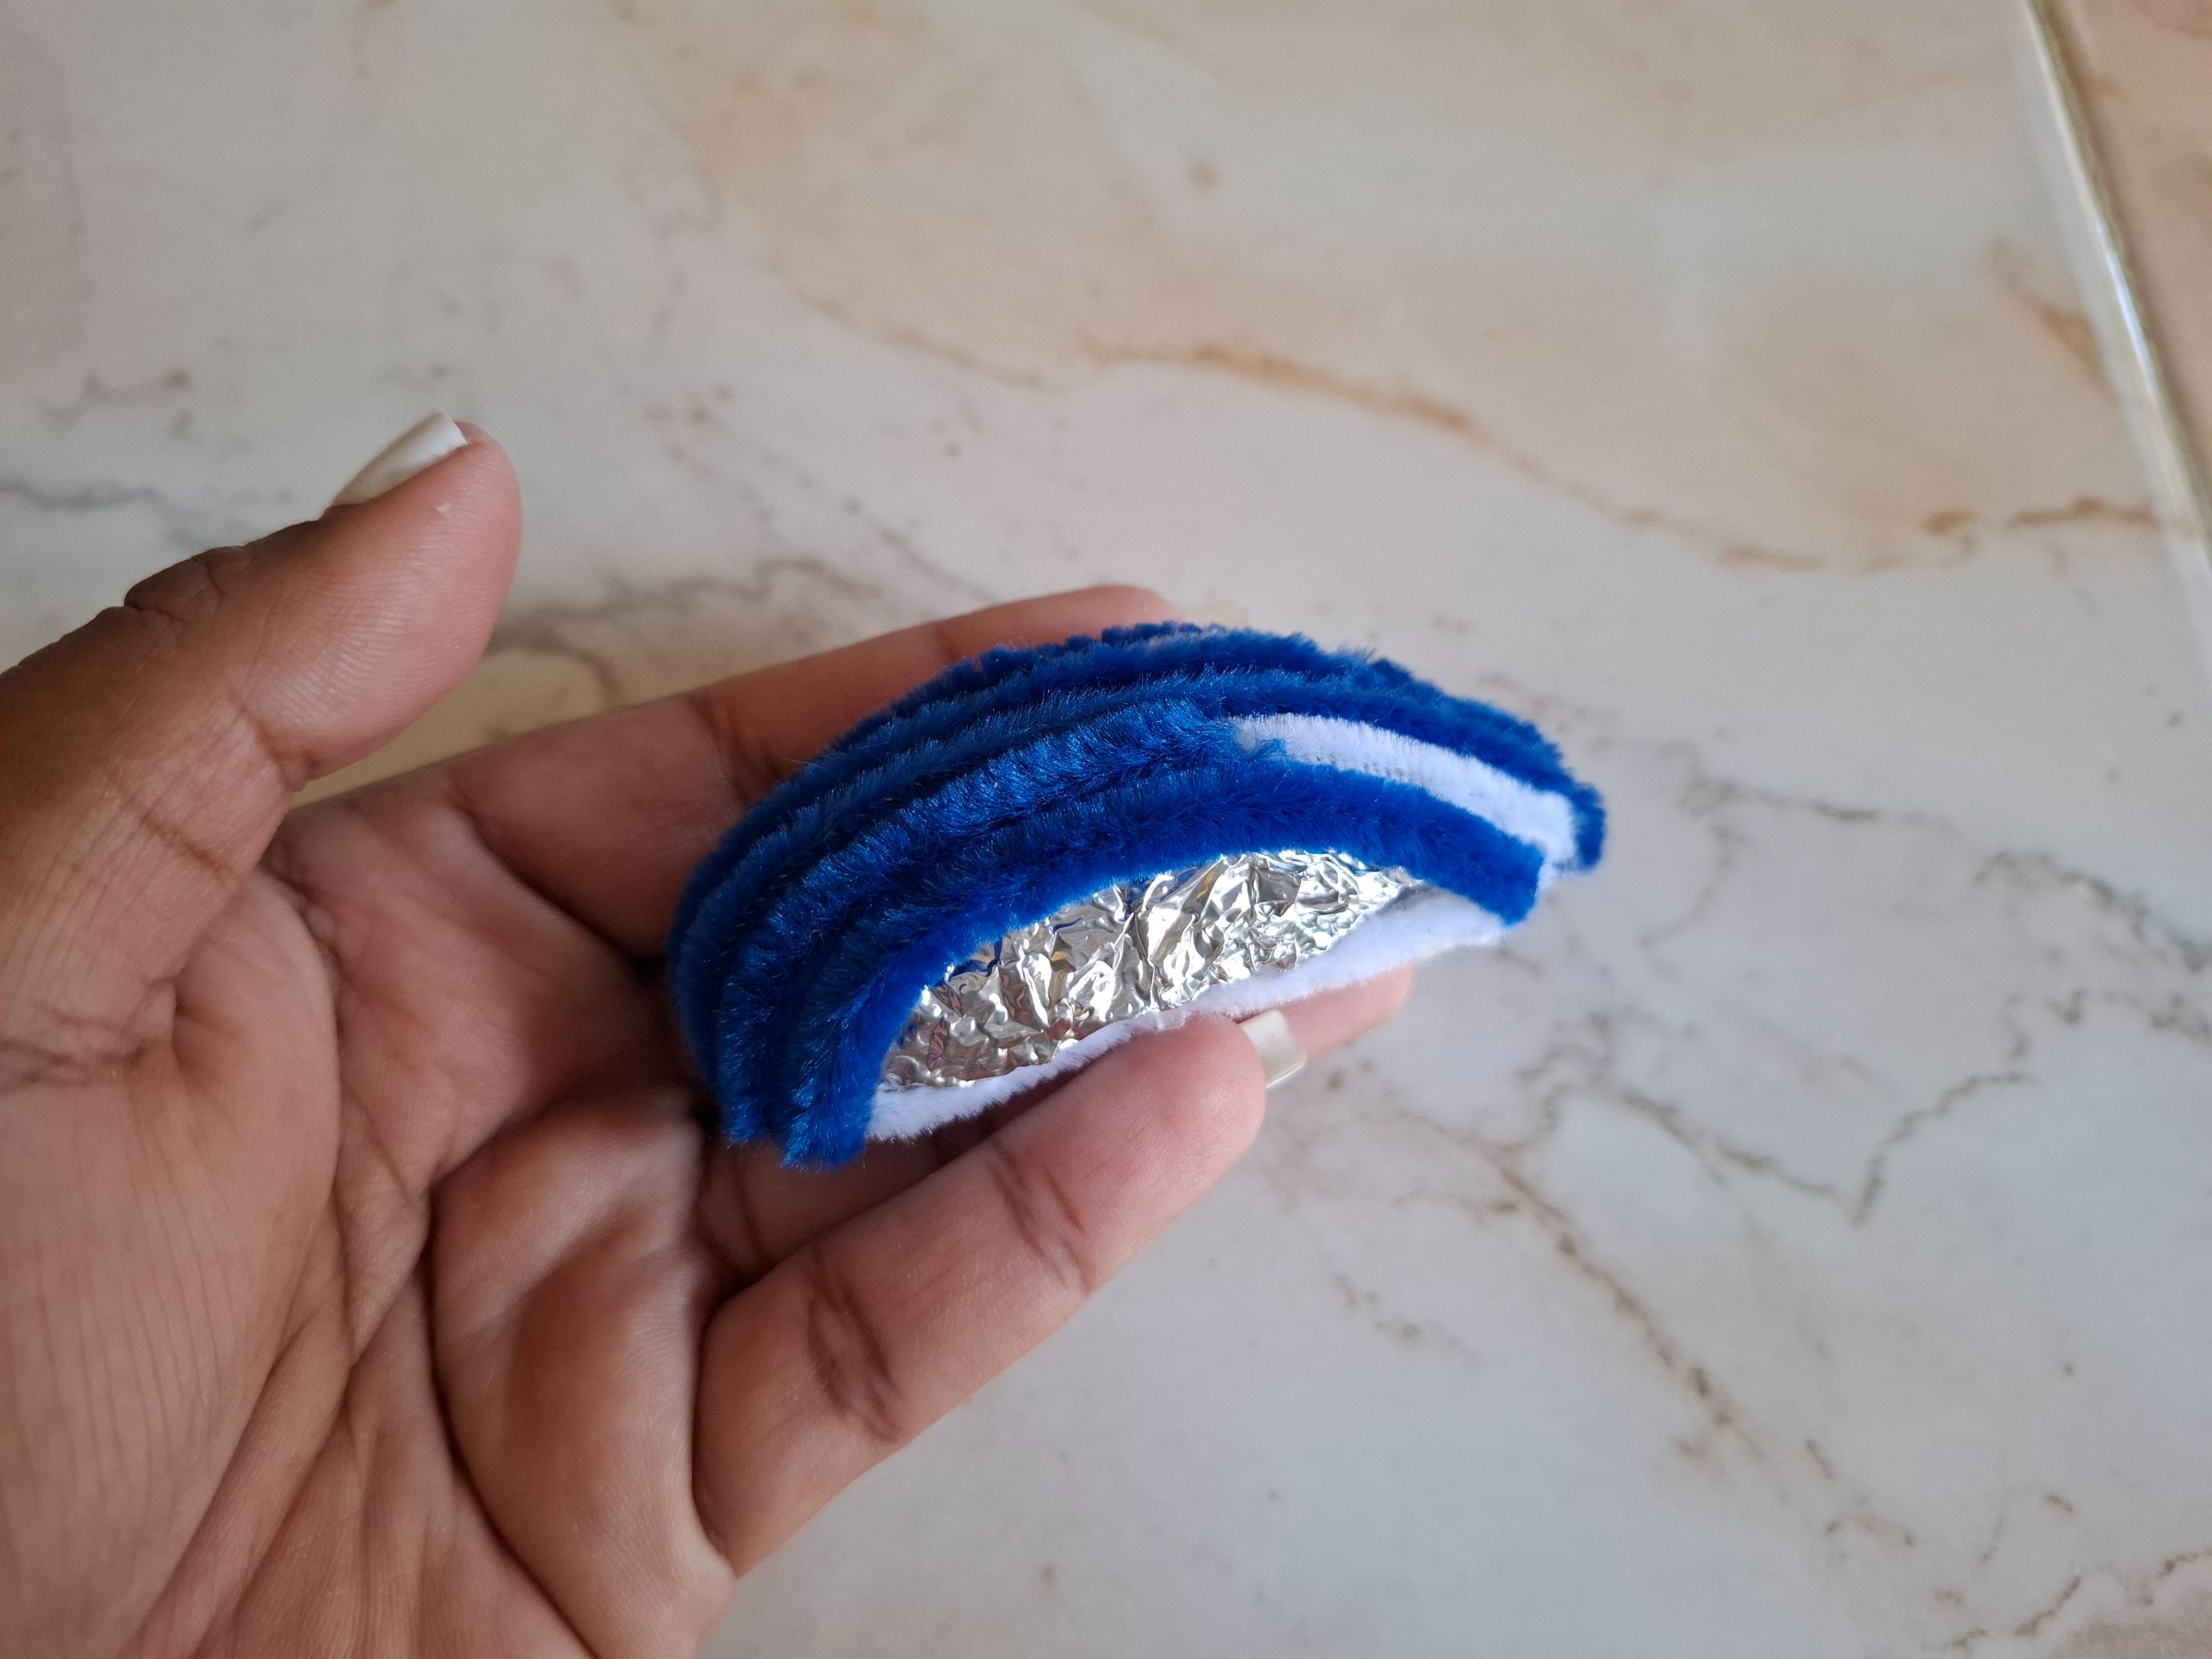
El primer paso que voy a realizar será armar la base con papel aluminio y algodón, primero voy a seleccionar una cantidad de algodón y la acomodamos del tamaño que queremos la figura luego la voy a cubrir con el papel aluminio y vamos dando forma con los dedos, vamos a dar volumen en la parte de la cabeza y la parte de la cola debe ser más fina. Una vez terminada ahora sí vamos a comenzar a pegar los limpiapipas.
The first step is to assemble the base with aluminum foil and cotton. First, I'll select a quantity of cotton and arrange it to the size I want the figure to be. Then, I'll cover it with aluminum foil and shape it with my fingers. I'll add volume to the head, and the tail should be thinner. Once finished, we'll begin gluing the pipe cleaners.
 |
 |
 |
|---|---|---|
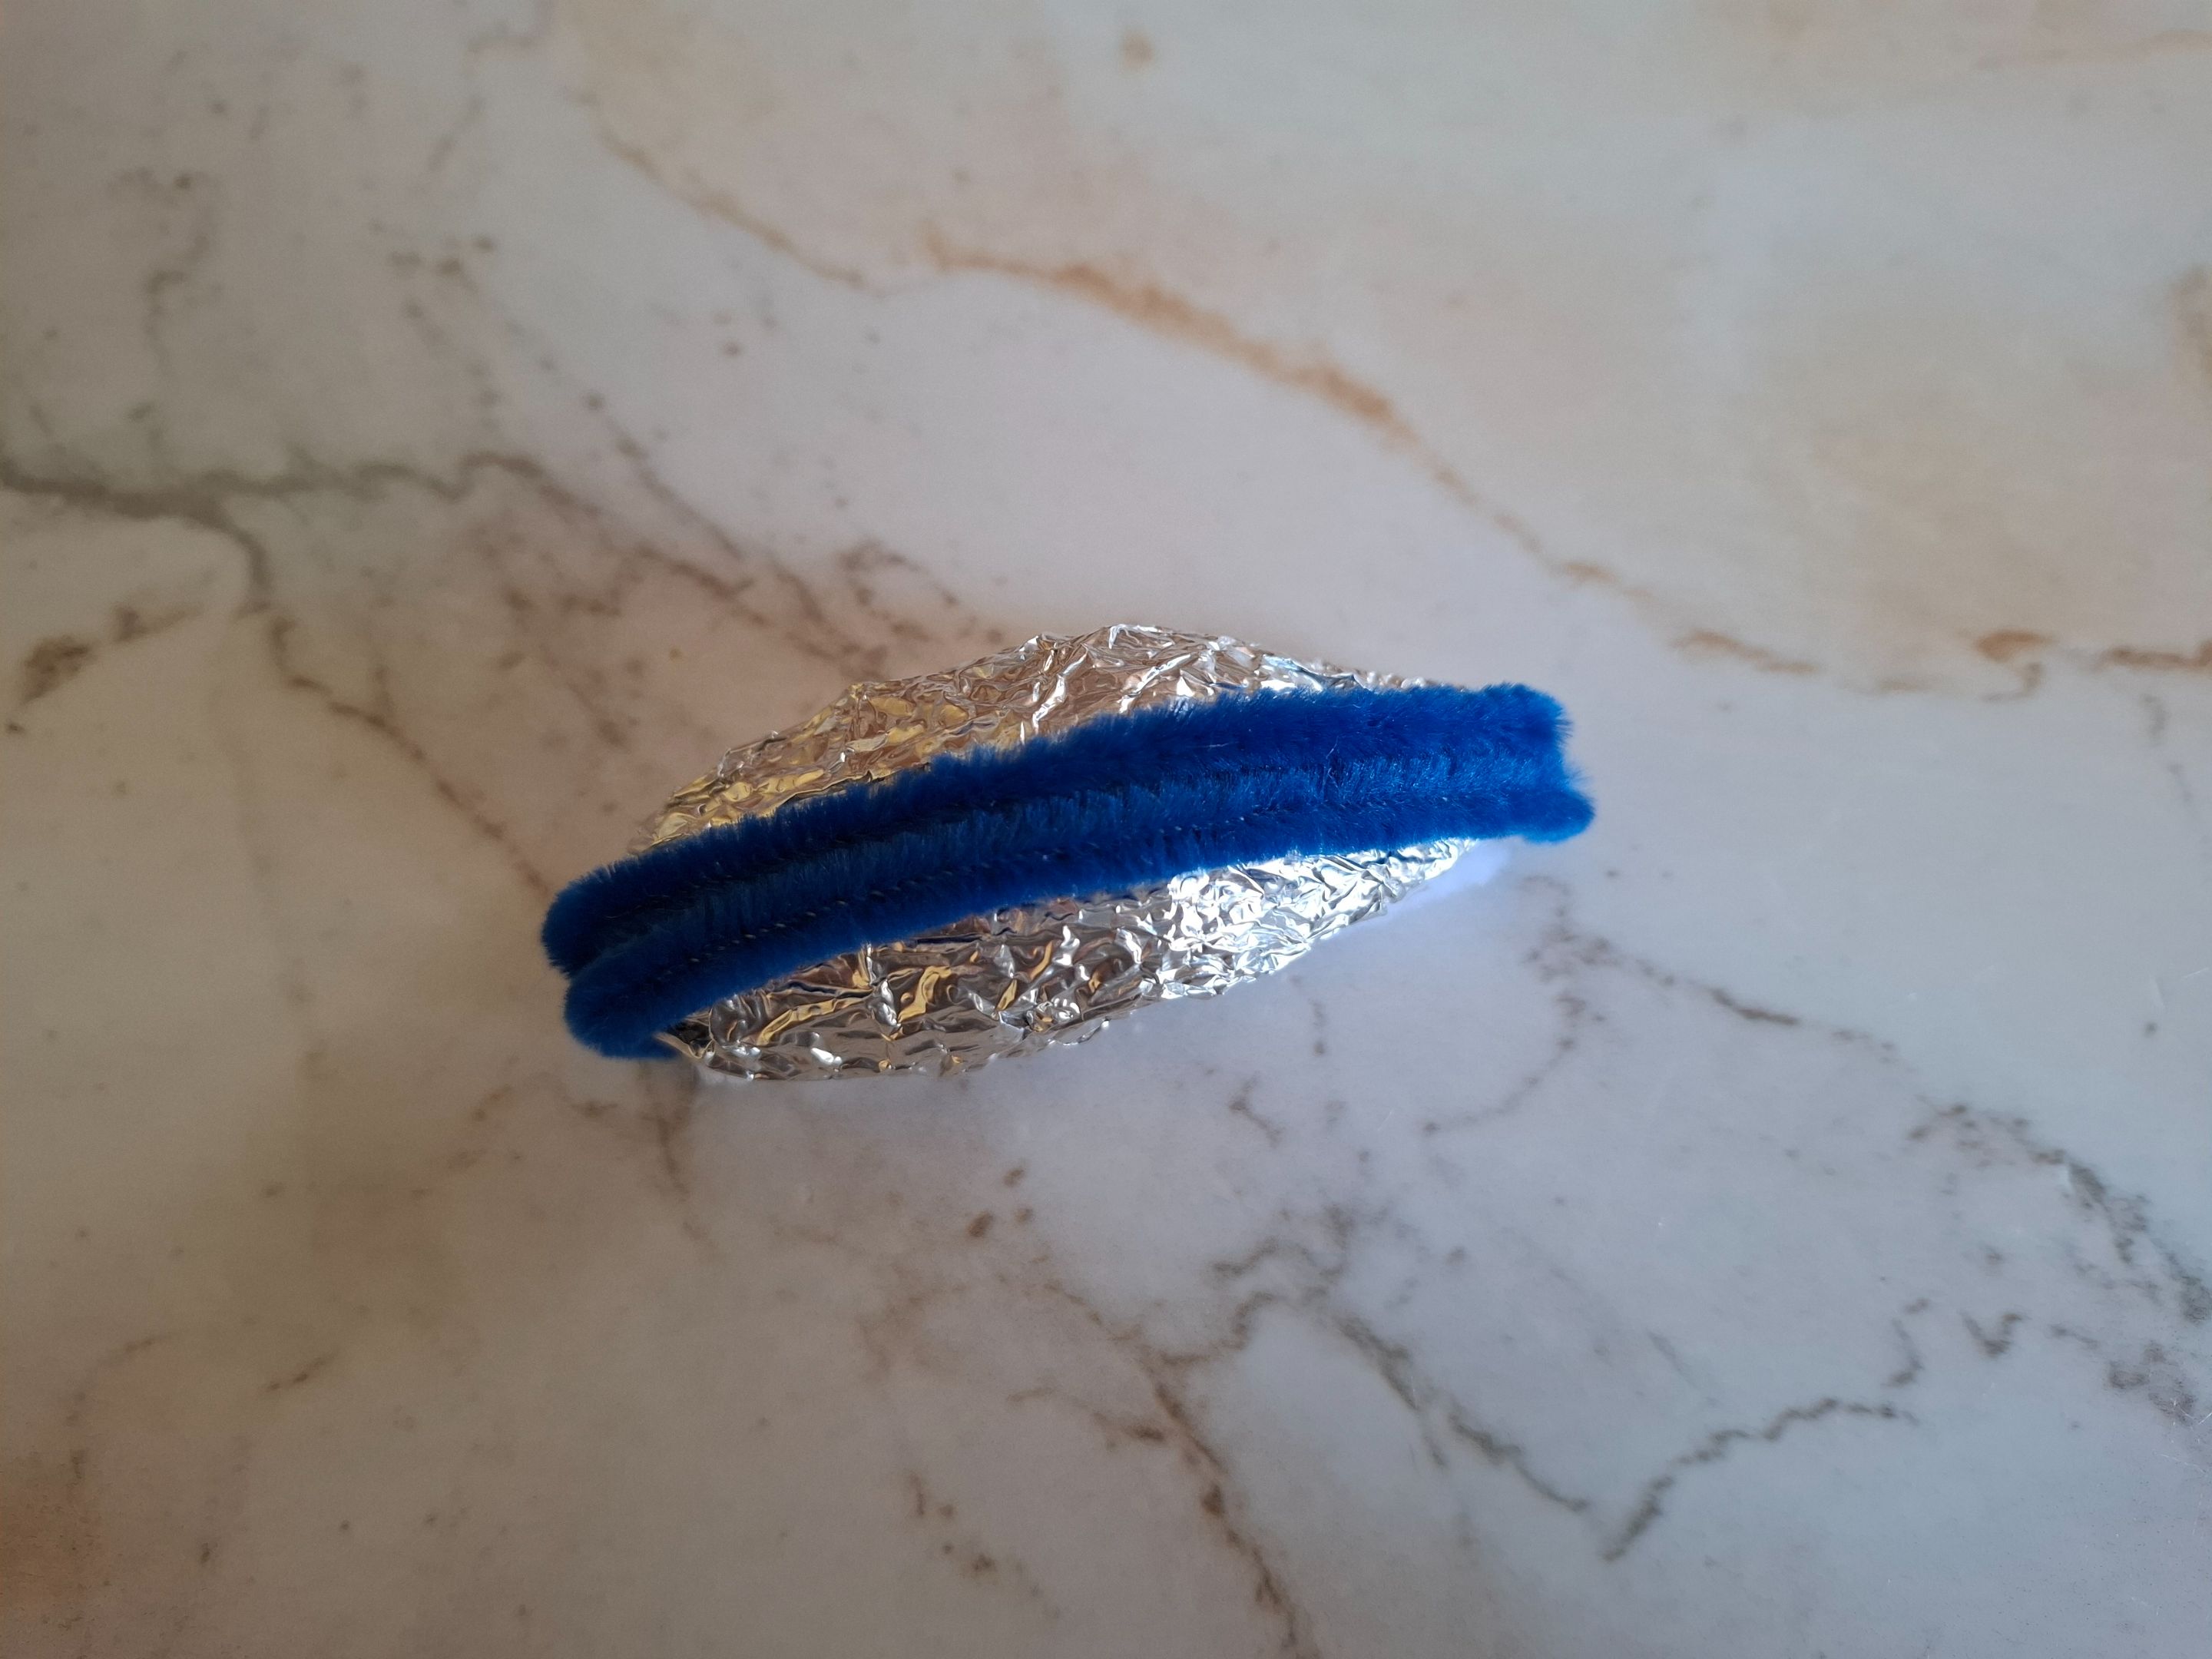
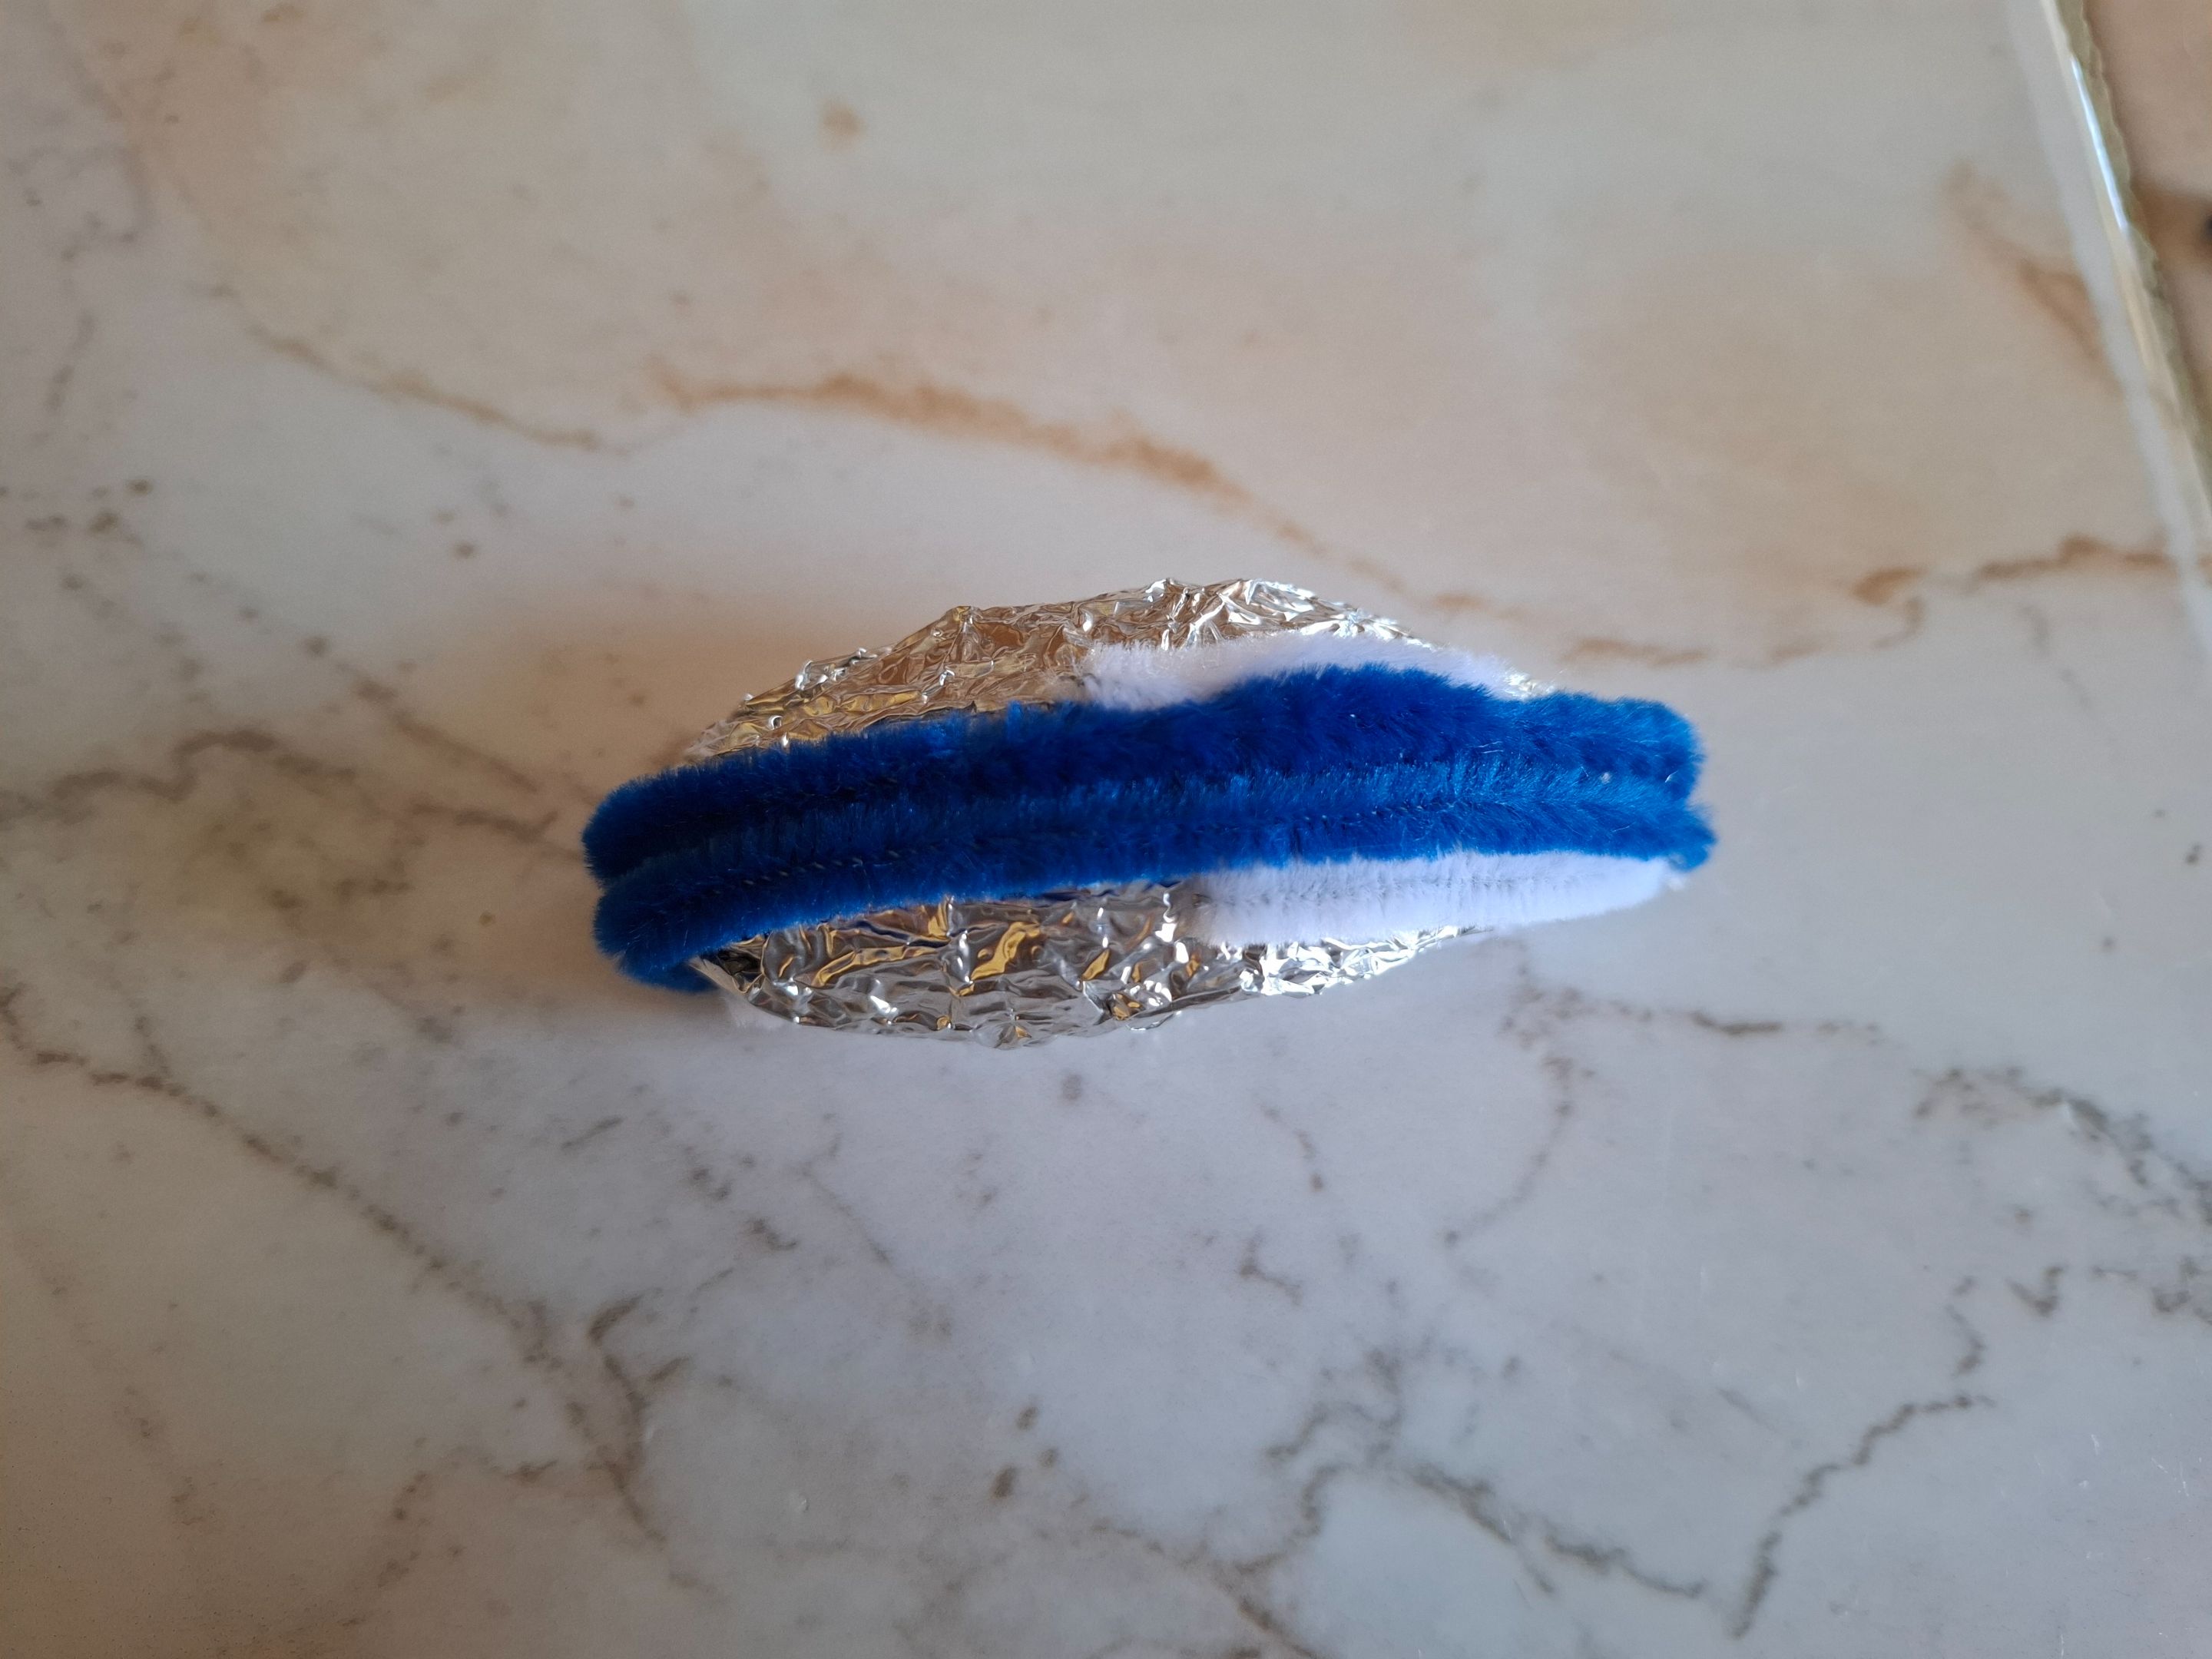
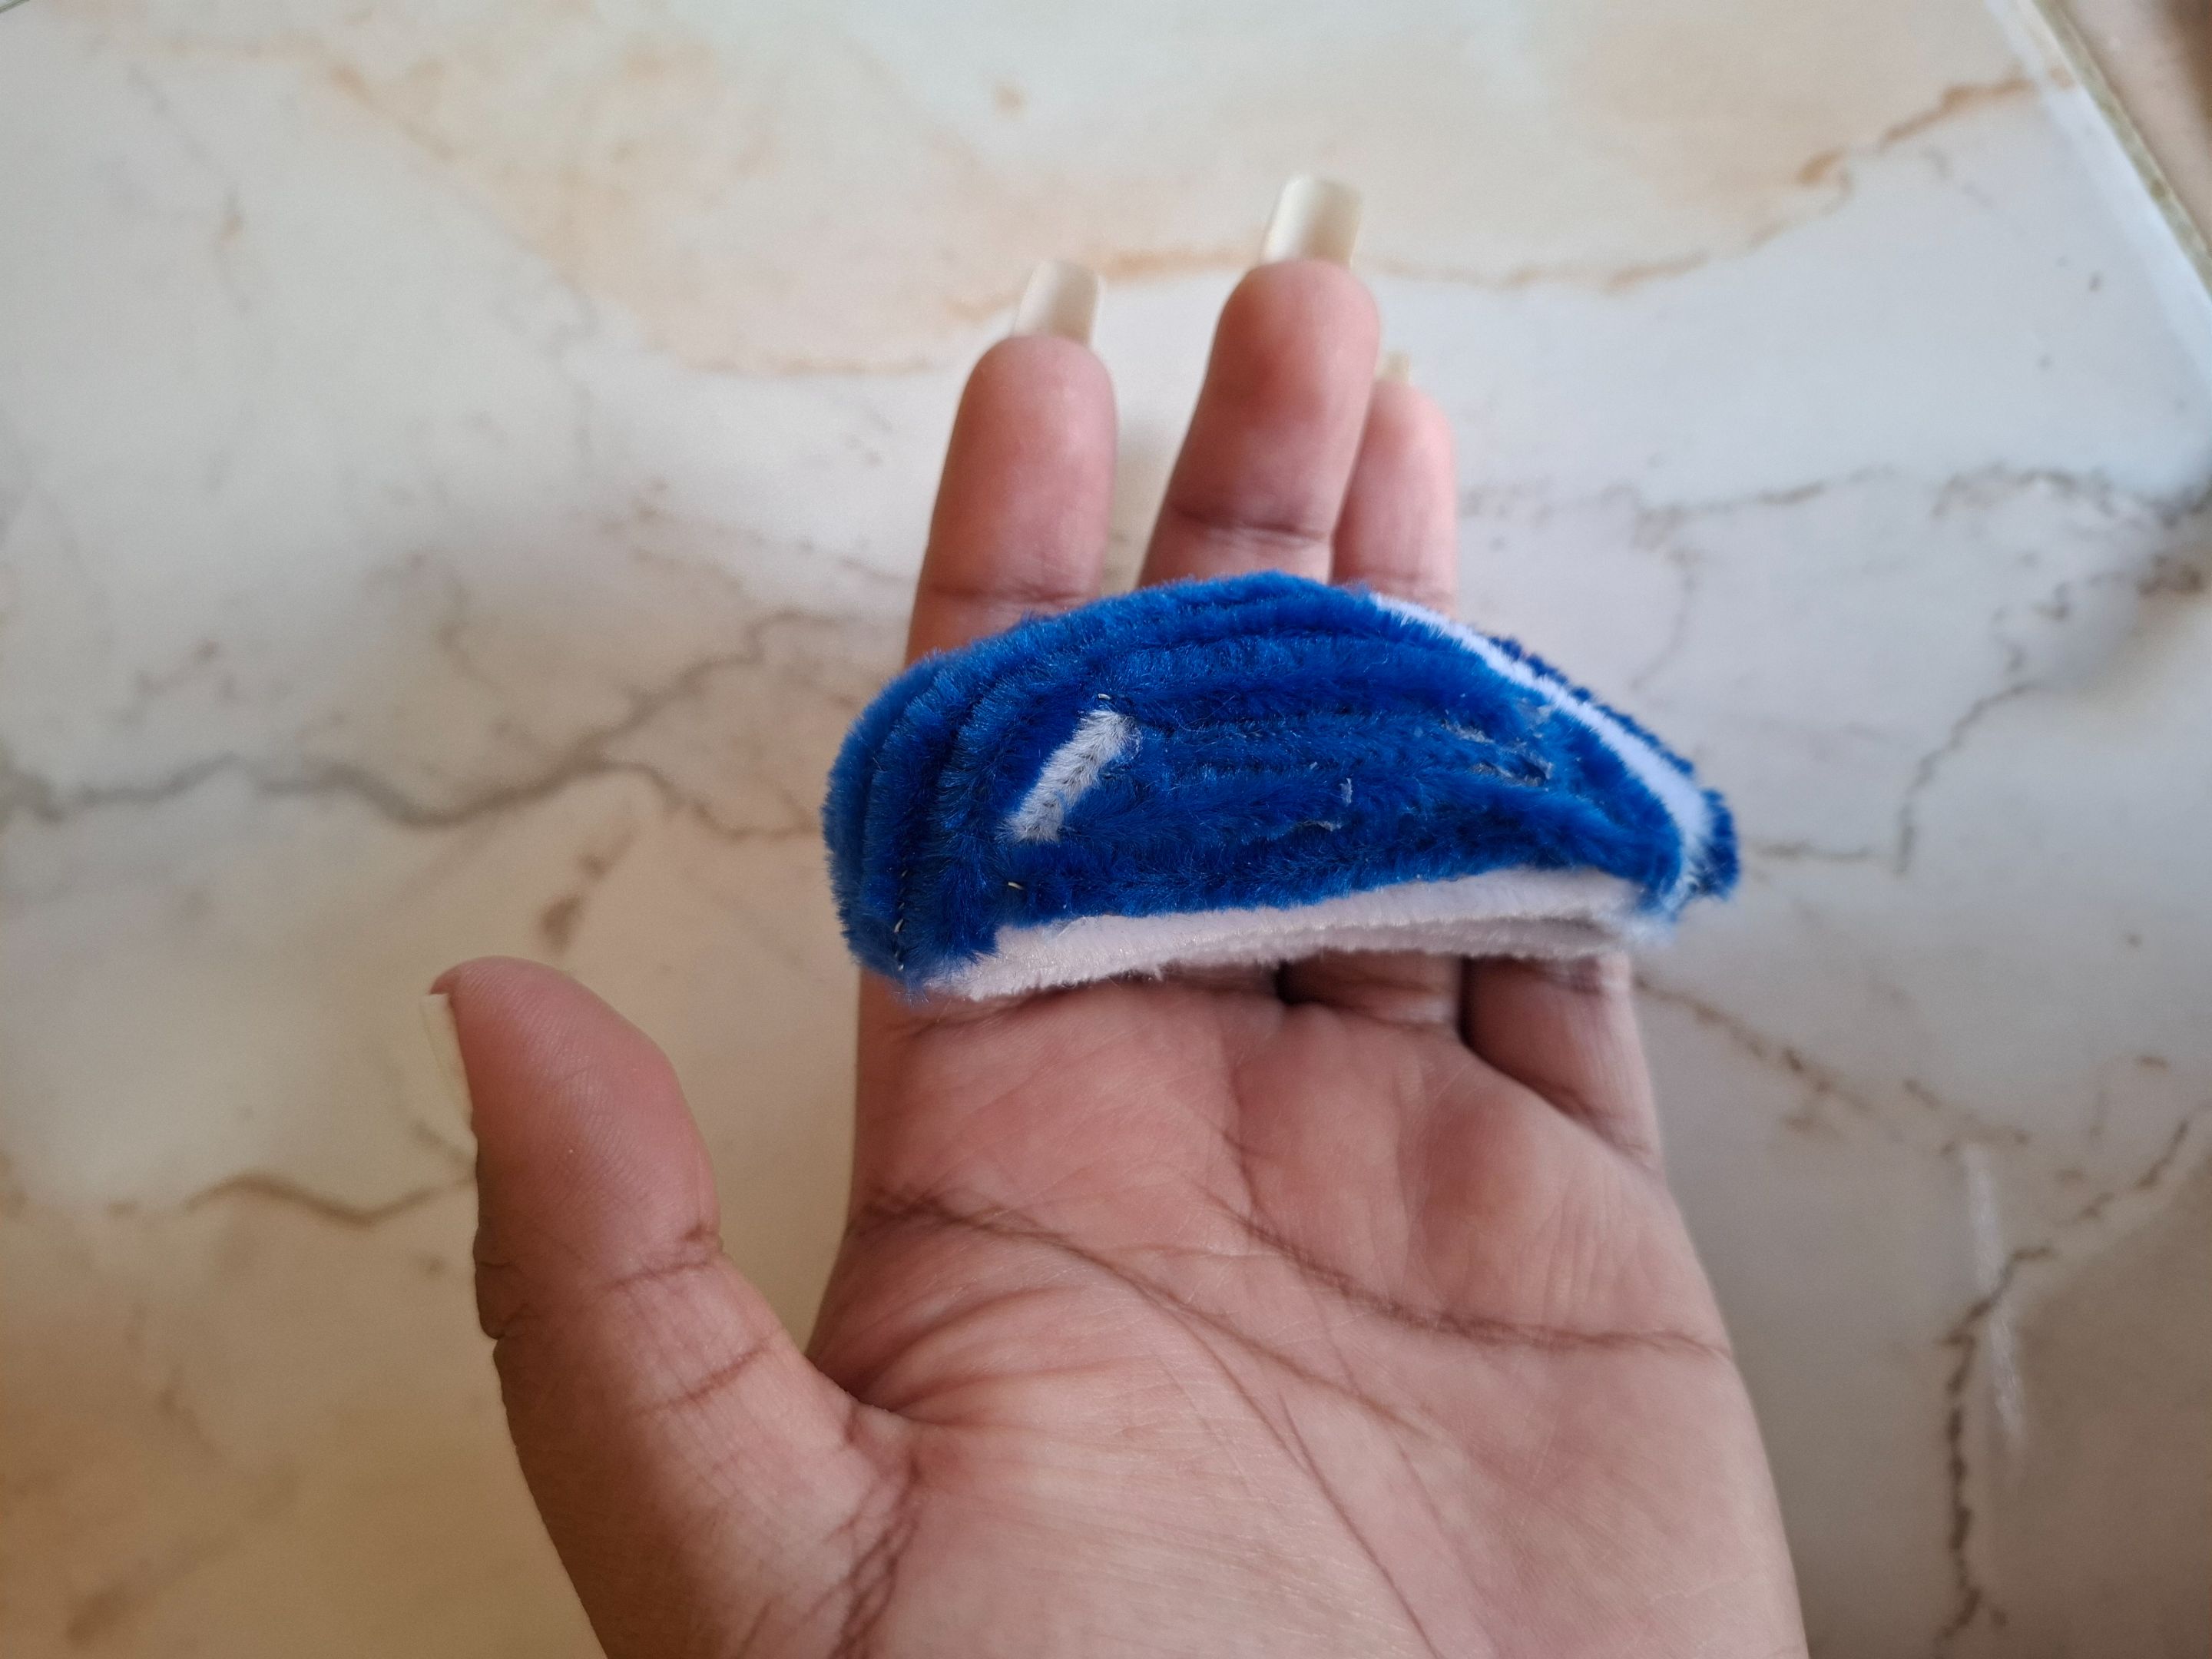
Comencé cubriendo la parte inferior que será de color blanco, solo debemos medir el largo cortamos y pegamos hasta cubrir por completo, luego voy a comenzar a cubrir la parte superior que será color azul rey, combinamos con dos franjas de color blanco.
I started by covering the bottom part, which will be white. We just need to measure the length, cut, and glue until it is completely covered. Then I will start covering the top part, which will be royal blue. We combine it with two white stripes.
 |
 |
 |
|---|---|---|
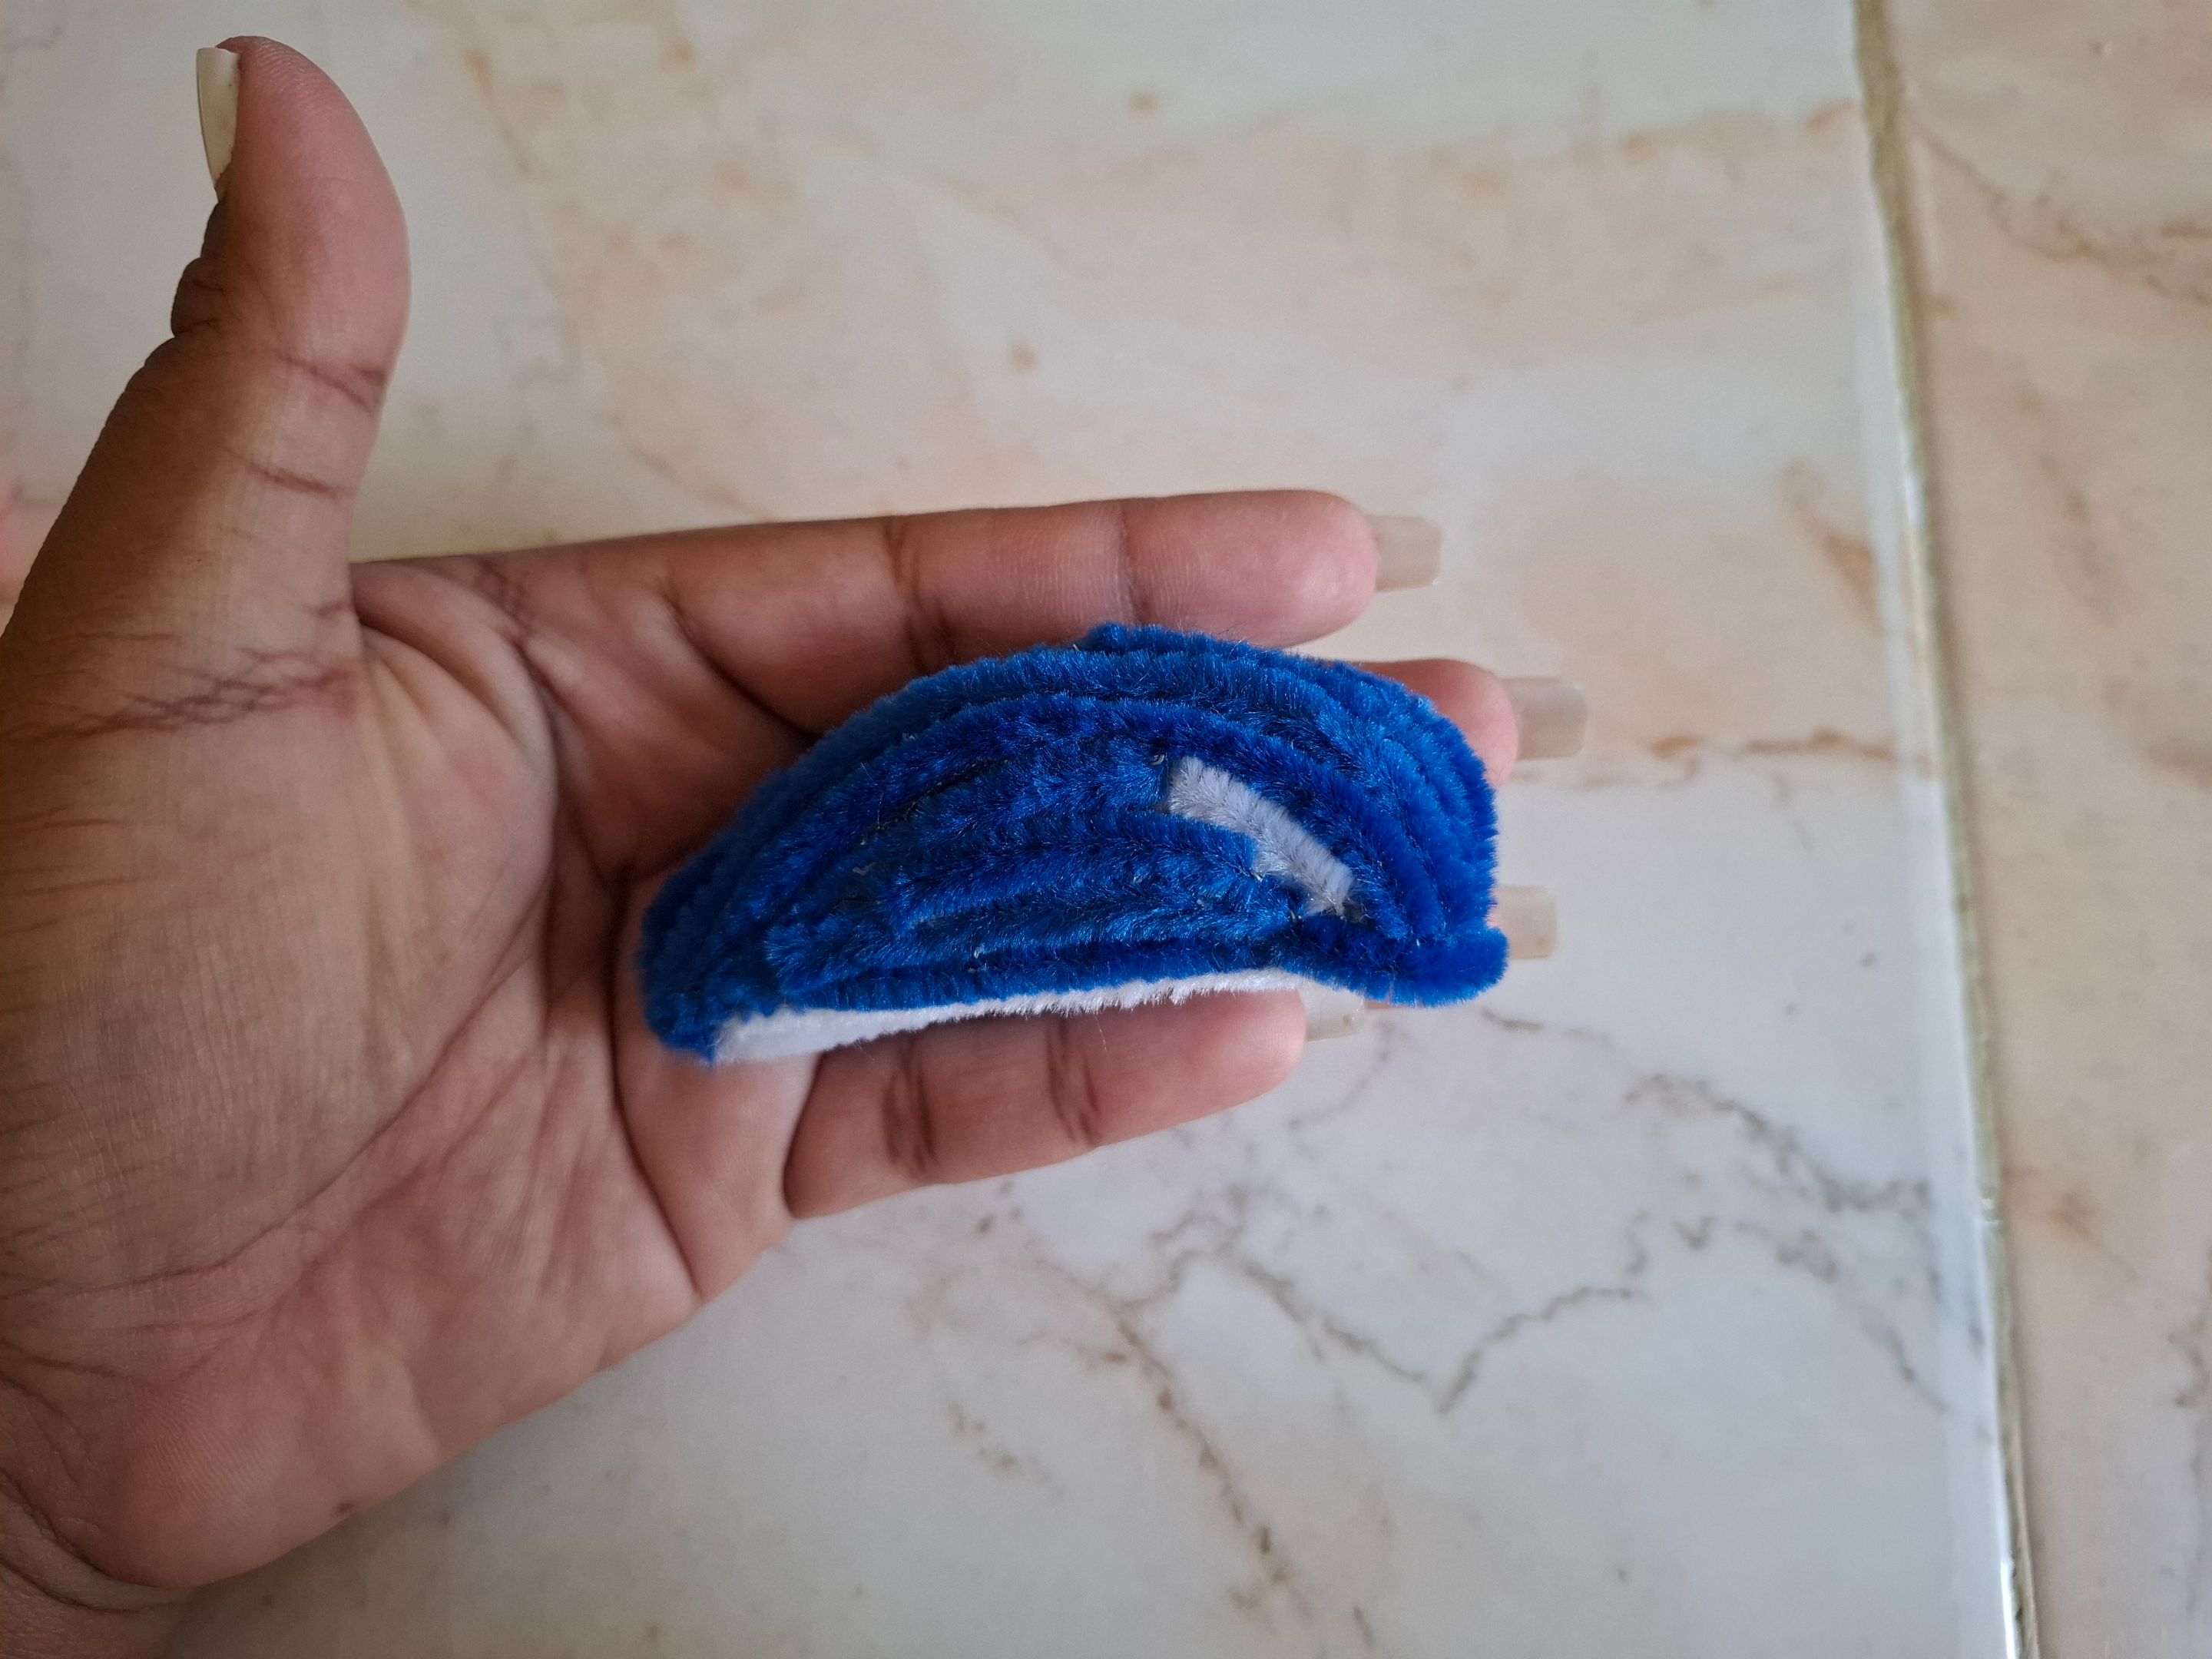
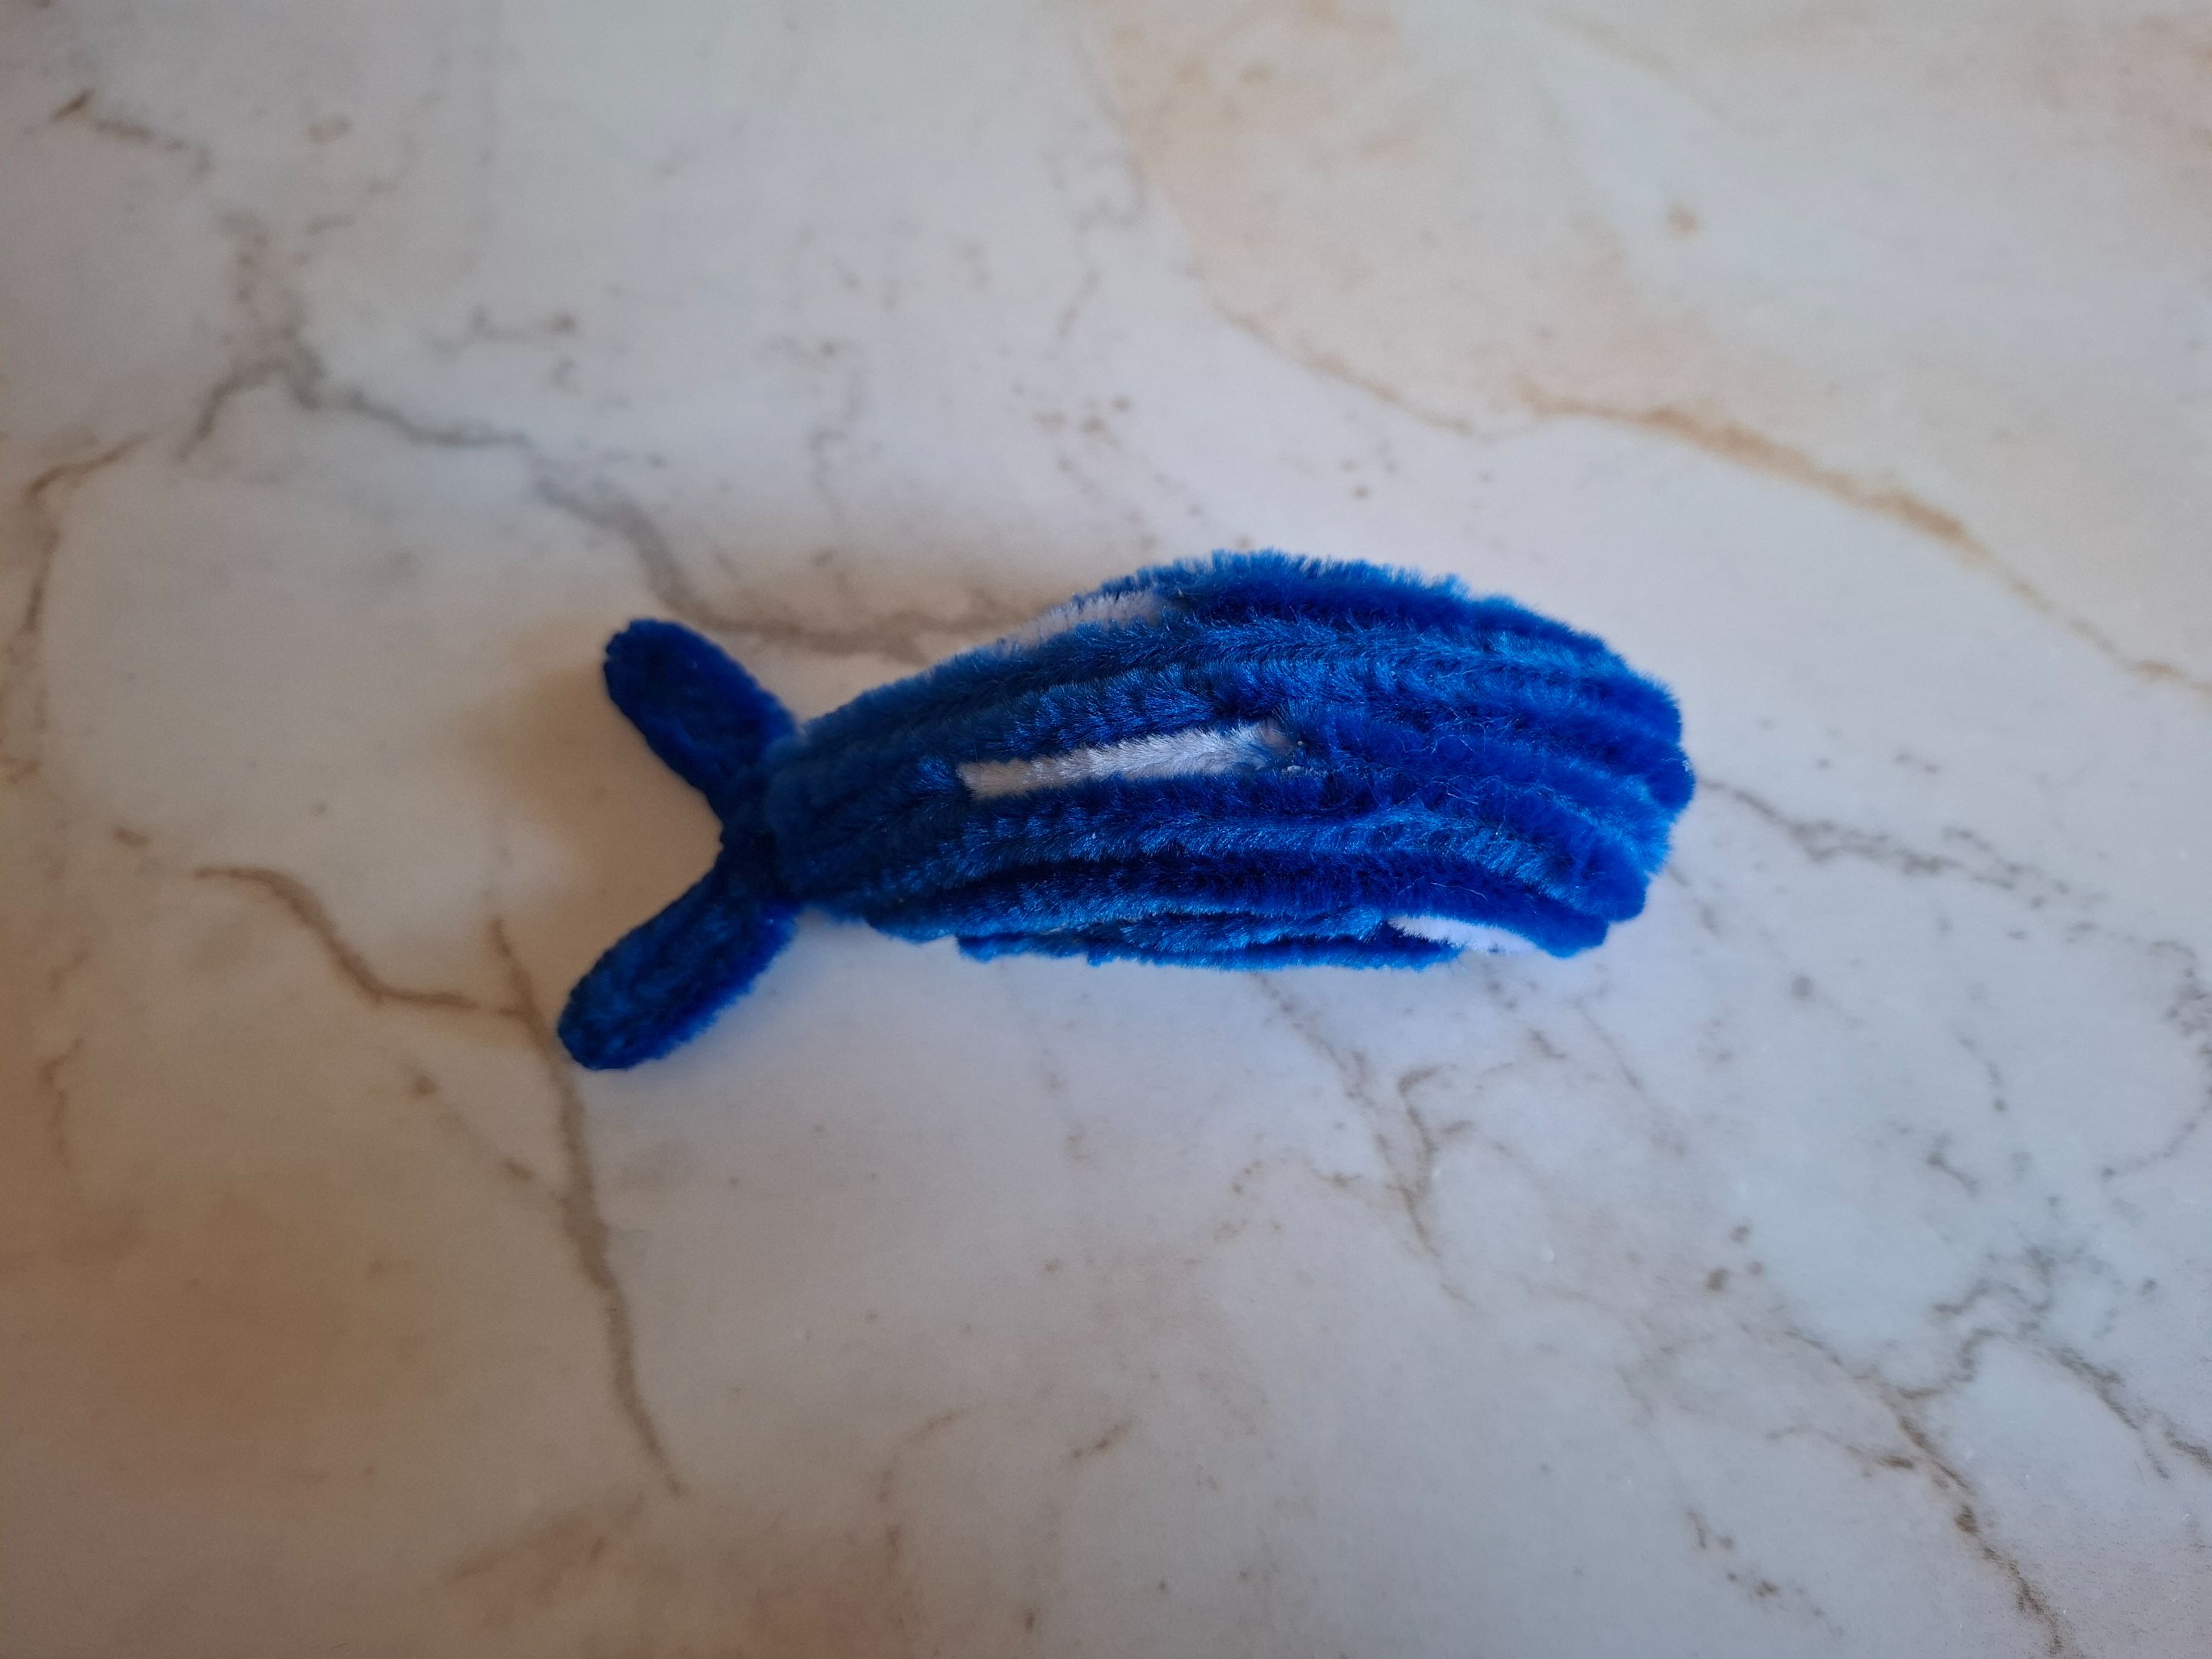
Voy a continuar cubriendo los laterales, en la parte de los ojitos colocamos el limpiapipas de color blanco, es importante después de terminar de cubrir, fijarse en espacios que hayan quedado con menos volumen de esta forma se puede cubrir con pequeñas piezas de limpiapipas del mismo color para lograr mejor simetría.
I'm going to continue covering the sides, on the part of the eyes we place the white pipe cleaner, it is important after finishing covering, to notice spaces that have less volume, this way they can be covered with small pieces of pipe cleaners of the same color to achieve better symmetry.
 |
 |
|---|---|
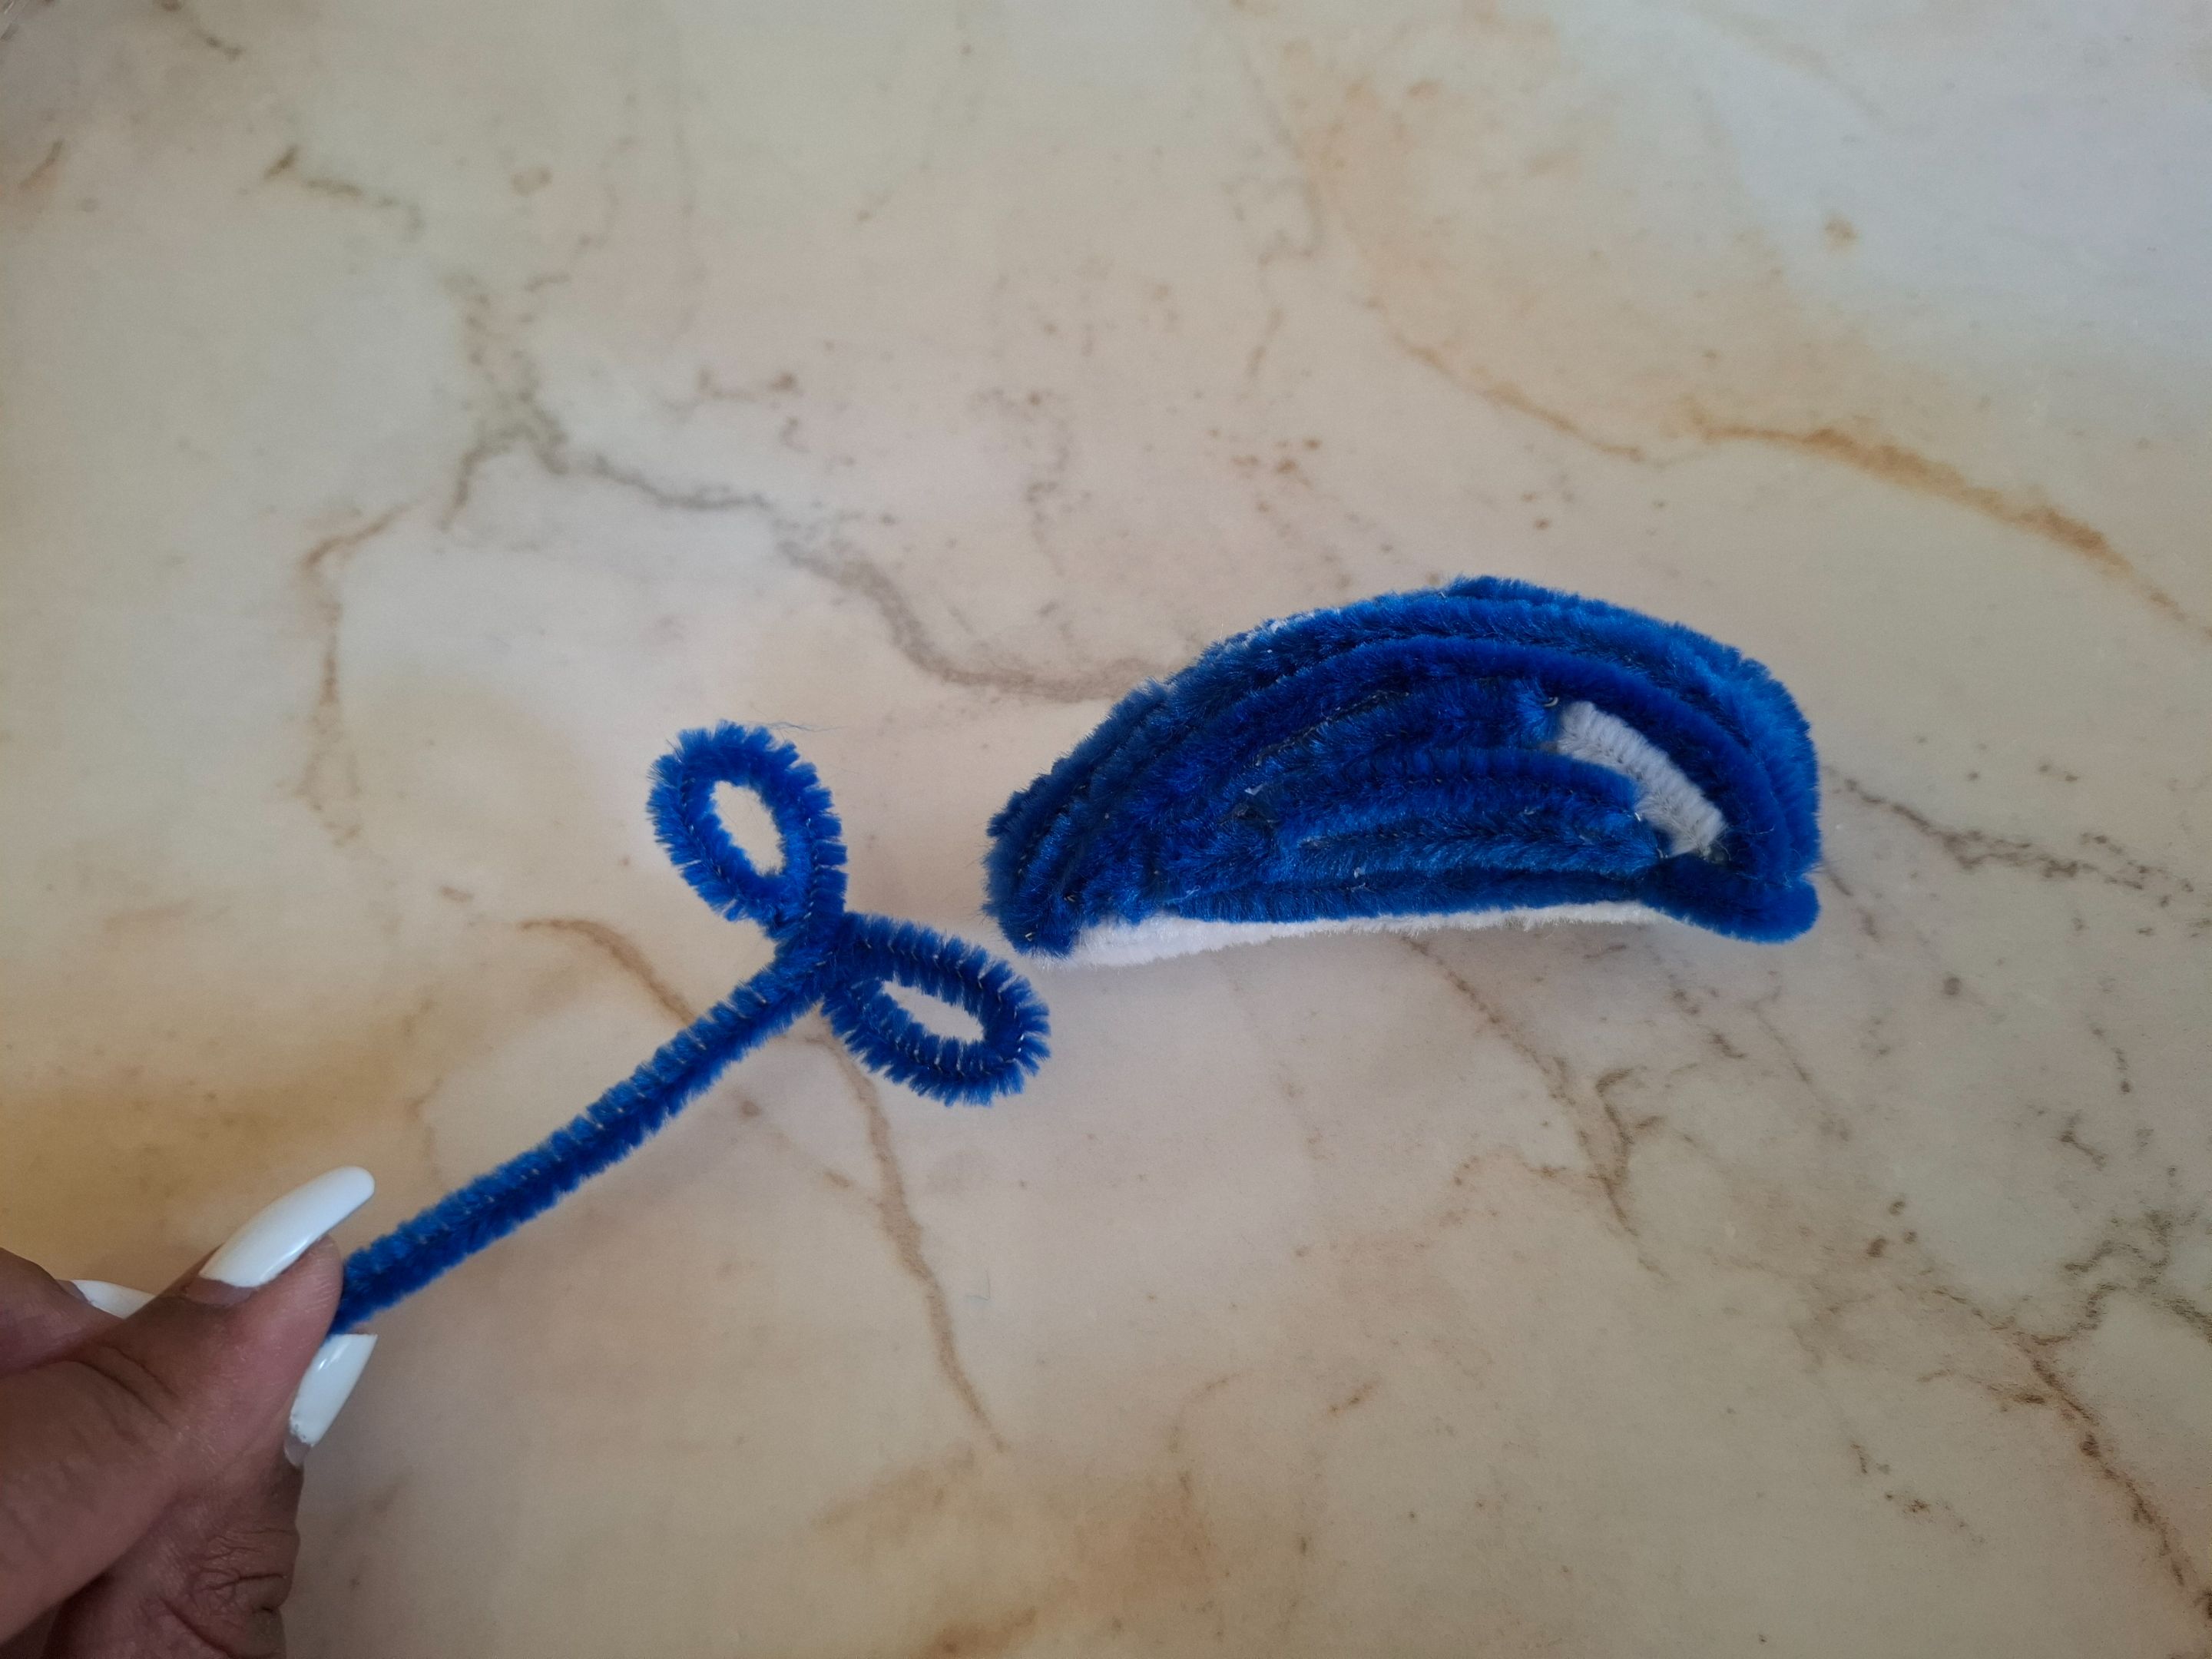
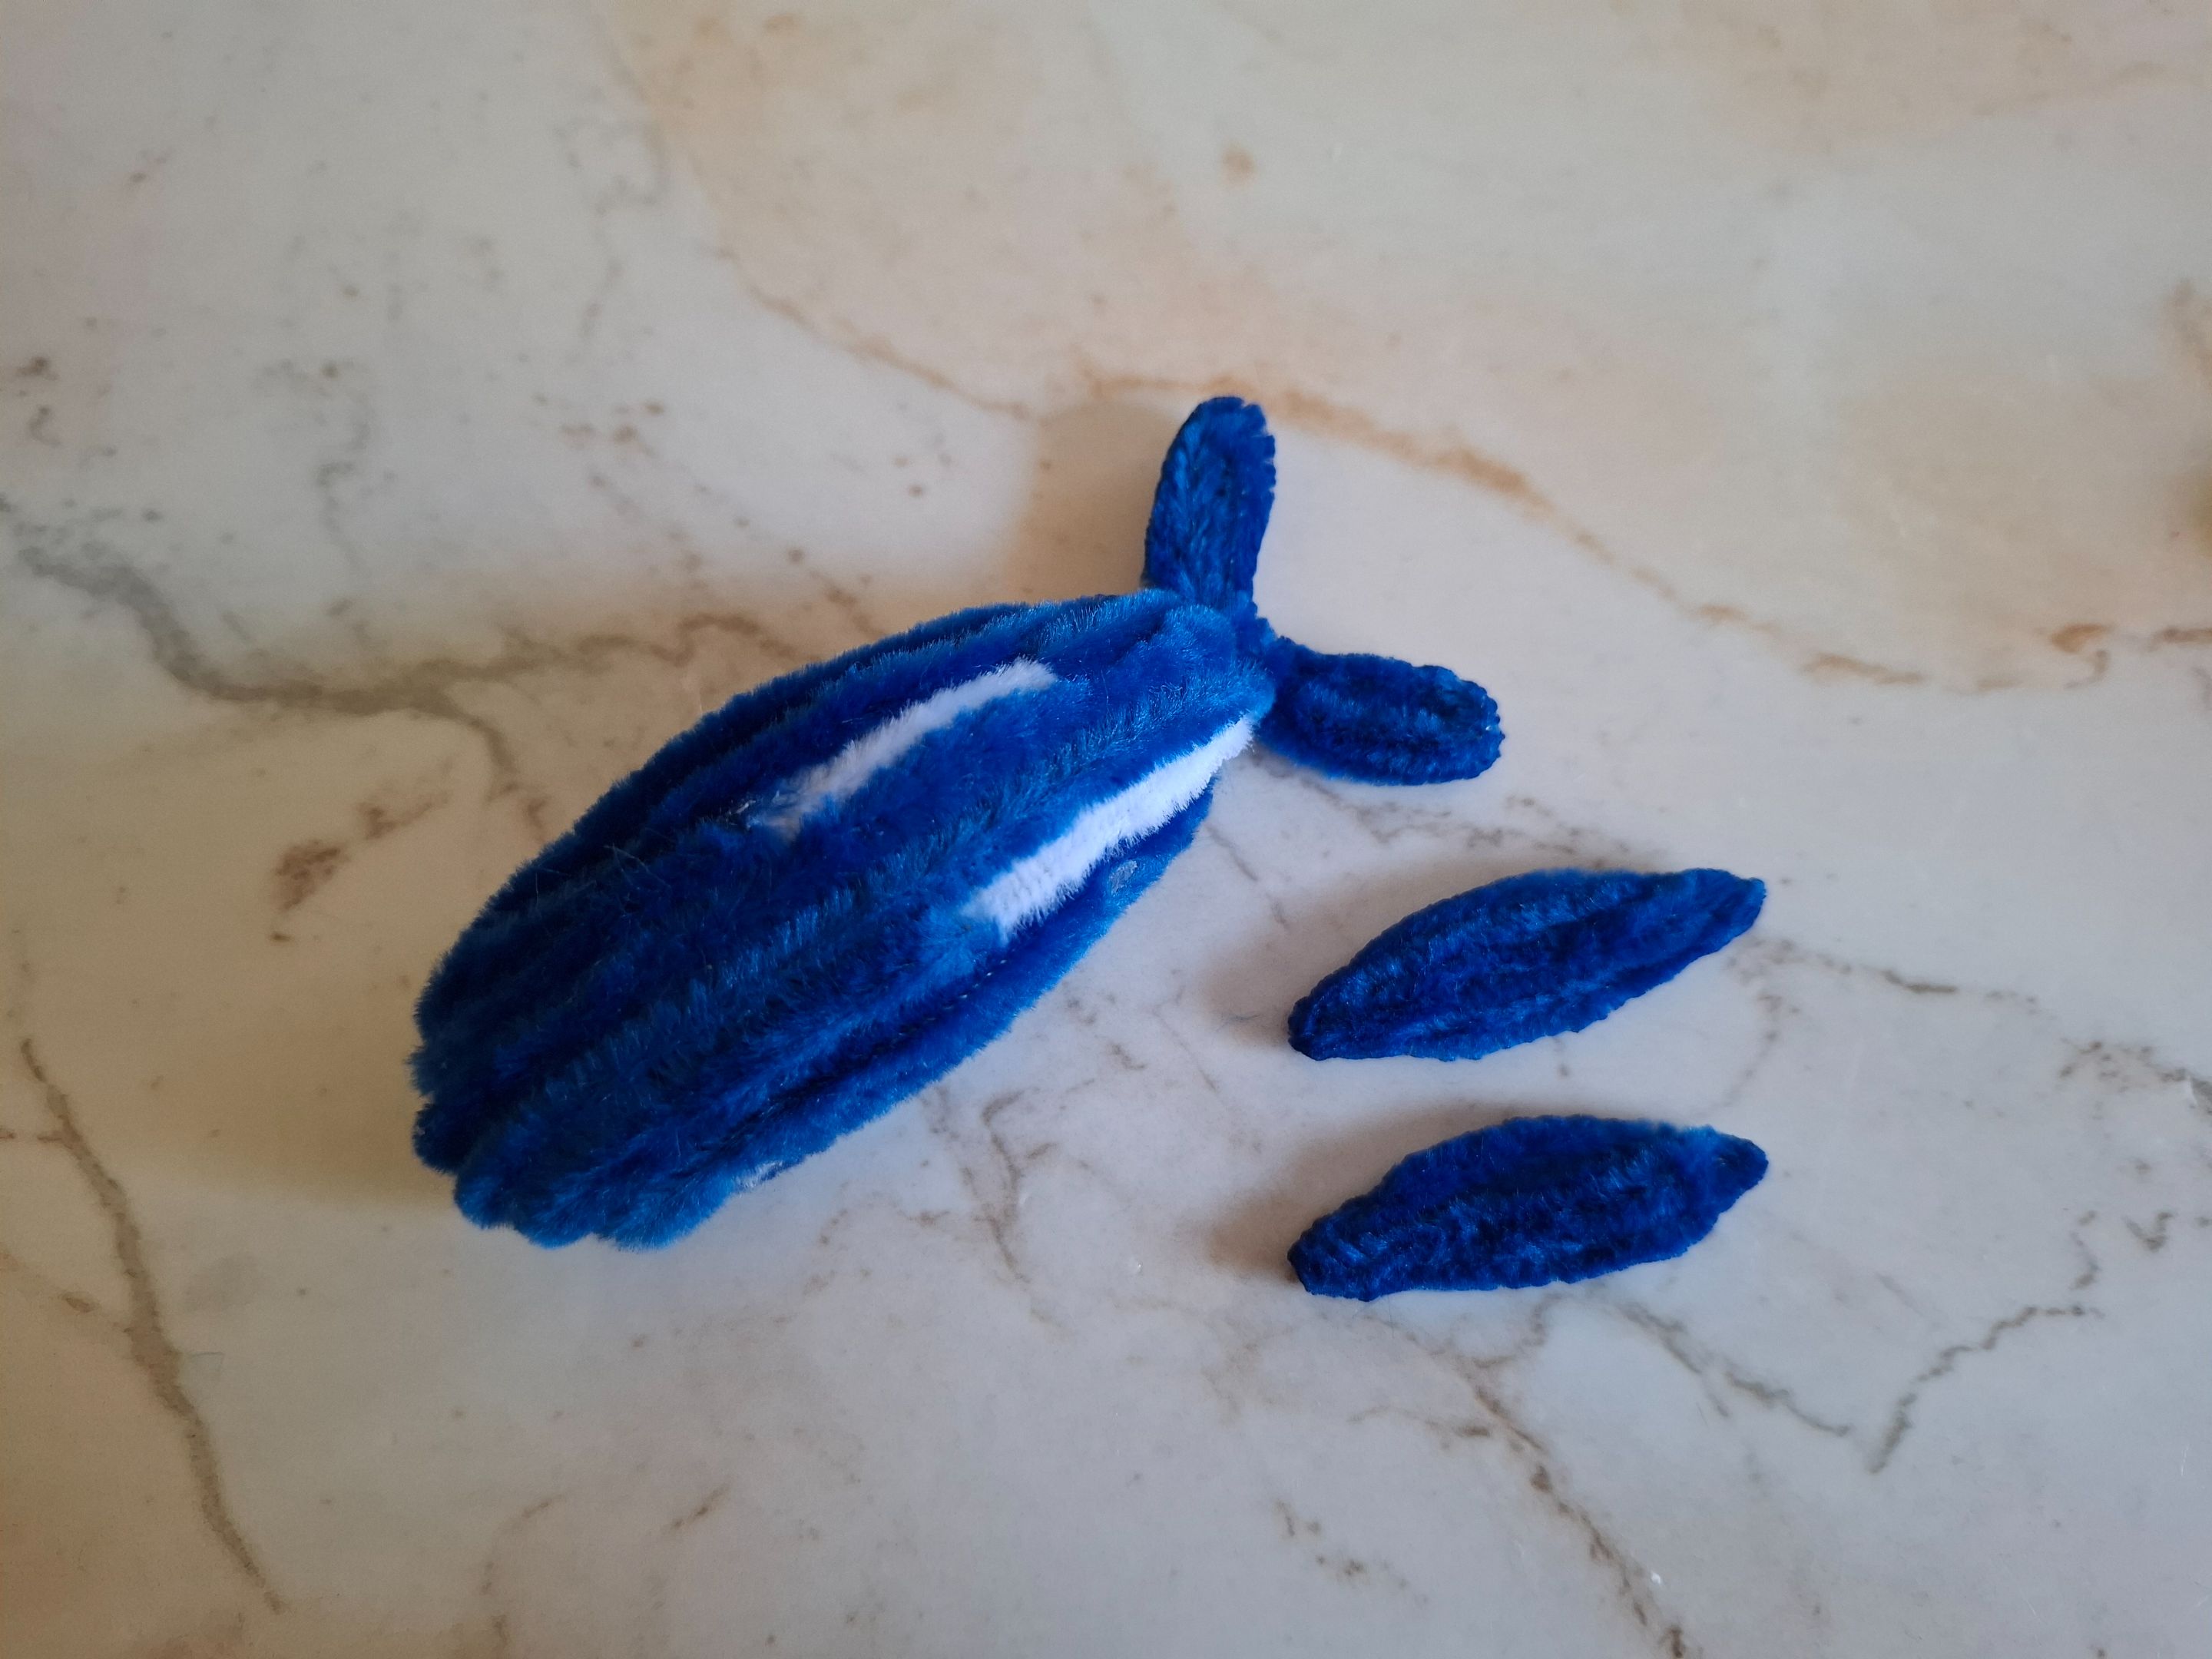
Para la colita voy a tomar un limpiapipas realizamos un círculo en una punta giramos y justo al lado realizamos otro círculo, que queden unidos y vamos cubriendo hasta alcanzar un grosor adecuado, ubicamos la cola con silicón, puedes sellar el borde para que no quede con mucha pelusa.
For the tail, I'm going to take a pipe cleaner, make a circle at one end, twist it, and right next to it, make another circle, making sure they stay together and covering it until it reaches an adequate thickness. Place the tail with silicone, you can seal the edge so that it doesn't have too much lint.
 |
 |
|---|---|
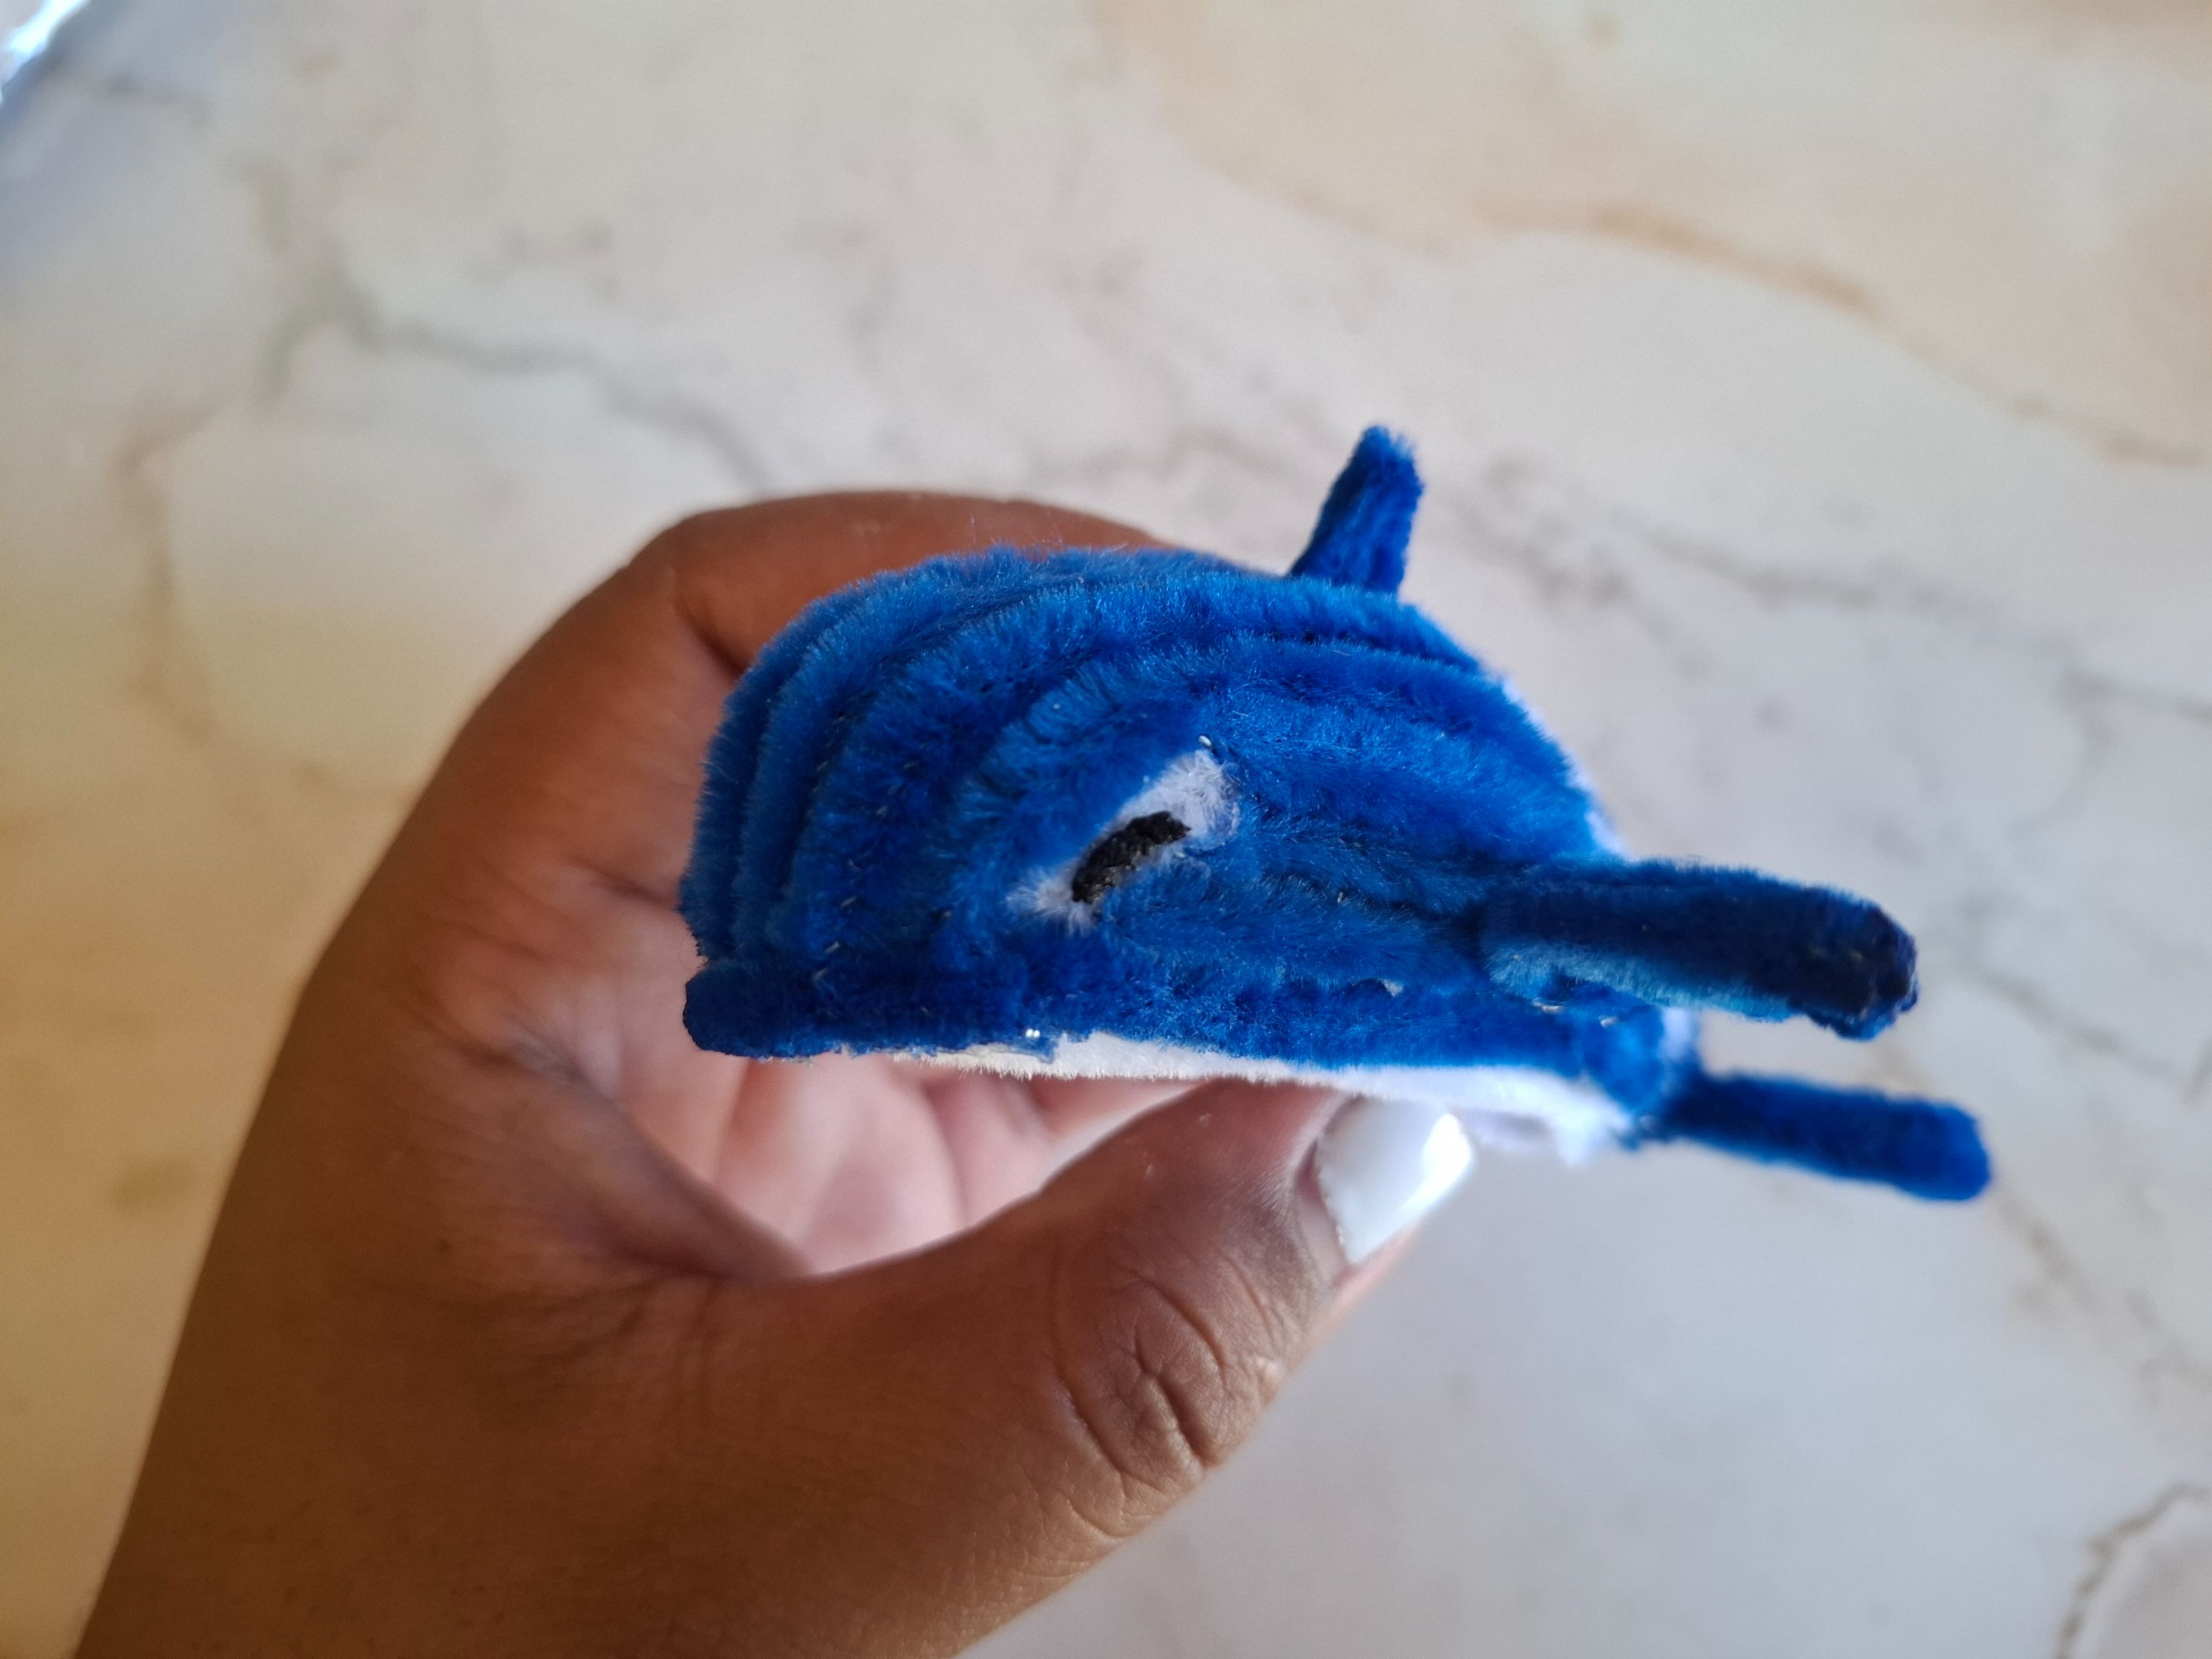
También realicé las aletas laterales para esto solo debes ir doblando el limpiapipas hasta alcanzar el grosor adecuado y una vez lista pegamos y con el dedo aplanamos un poco la punta de forma que quede fina, y una muy pequeña para la parte superior, con un encendedor sellamos el borde. Para los ojos cortamos un alambre de color negro del mismo limpiapipas y pegamos, o también los puedes realizar en foami.
I also made the side fins. For this, you just have to bend the pipe cleaner until you reach the right thickness. Once it's ready, glue it together. Use your finger to flatten the tip a little so it's thin. Use a lighter to seal the edge with a very small amount of wire for the top. For the eyes, cut a black wire from the same pipe cleaner and glue it on. You can also make them out of foam.
 |
 |
|---|---|
De esta forma terminé a la orca de batalla, en esta oportunidad decidí no realizarla con el efecto peluche a ver qué tal, y realmente quedé satisfecha con el resultado, ¿Y a ustedes que les pareció? estoy muy agradecida por el apoyo brindando a los miembros de la comunidad DiyHub y Splinterlands, es un honor y motivación para mí.
This is how I finished the battle orca. This time, I decided not to use the plush effect to see how it turned out. I was really pleased with the result. What did you think? I'm so grateful for the support I've provided to the members of the DiyHub and Splinterlands communities. It's an honor and a motivation for me.
Muchas gracias a todos por visitar mi publicación, nos vemos en una próxima oportunidad con más ideas creativas, un abrazo enorme.
Thank you all so much for visiting my post. I'll see you next time with more creative ideas. A big hug.