Felíz viernes queridos miembros de la comunidad Holozing, espero se encuentren bien disfrutando de este viernes y manifestando un buen fin de semana en compañía de nuestros seres queridos y realizando lo que más nos gusta, hoy les quiero compartir una nueva publicación inspirada en uno de los personajes del juego en esta oportunidad pude realizar un lindo accesorio.
Happy Friday, dear members of the Holozing community. I hope you are all well, enjoying this Friday and having a great weekend with your loved ones, doing what you love most. Today I want to share a new post inspired by one of the game's characters. This time, I was able to make a cute accessory.
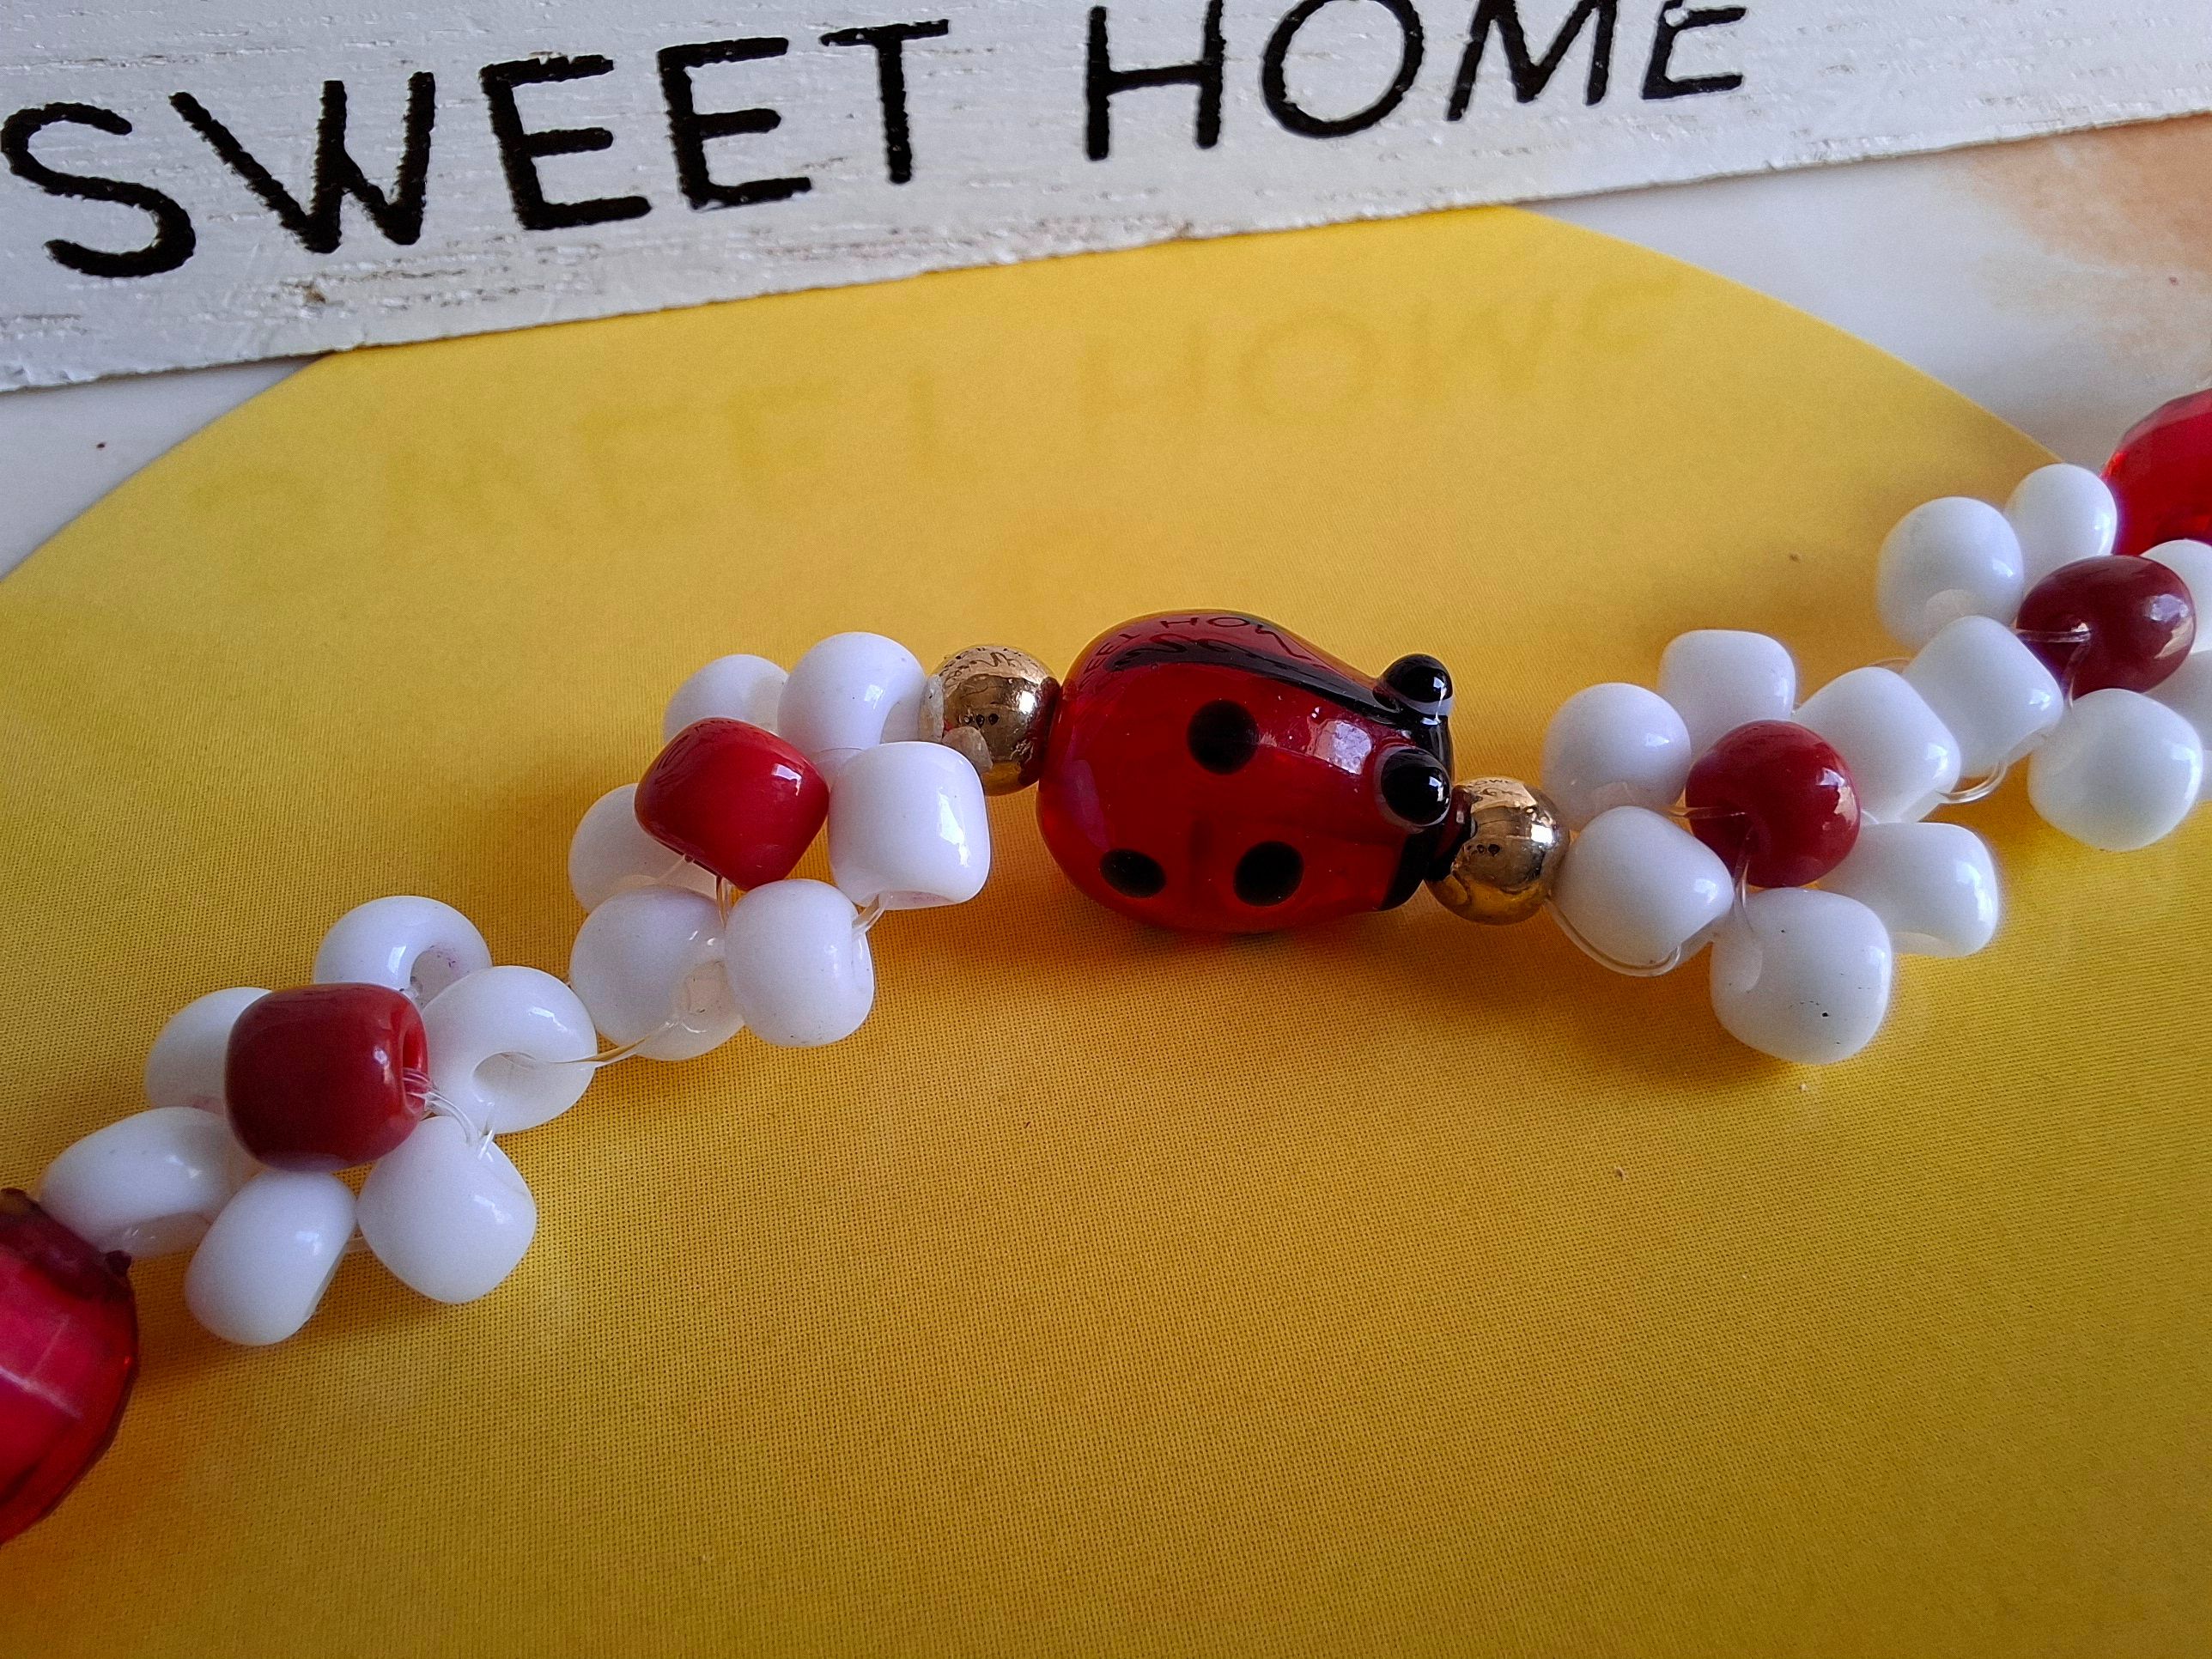
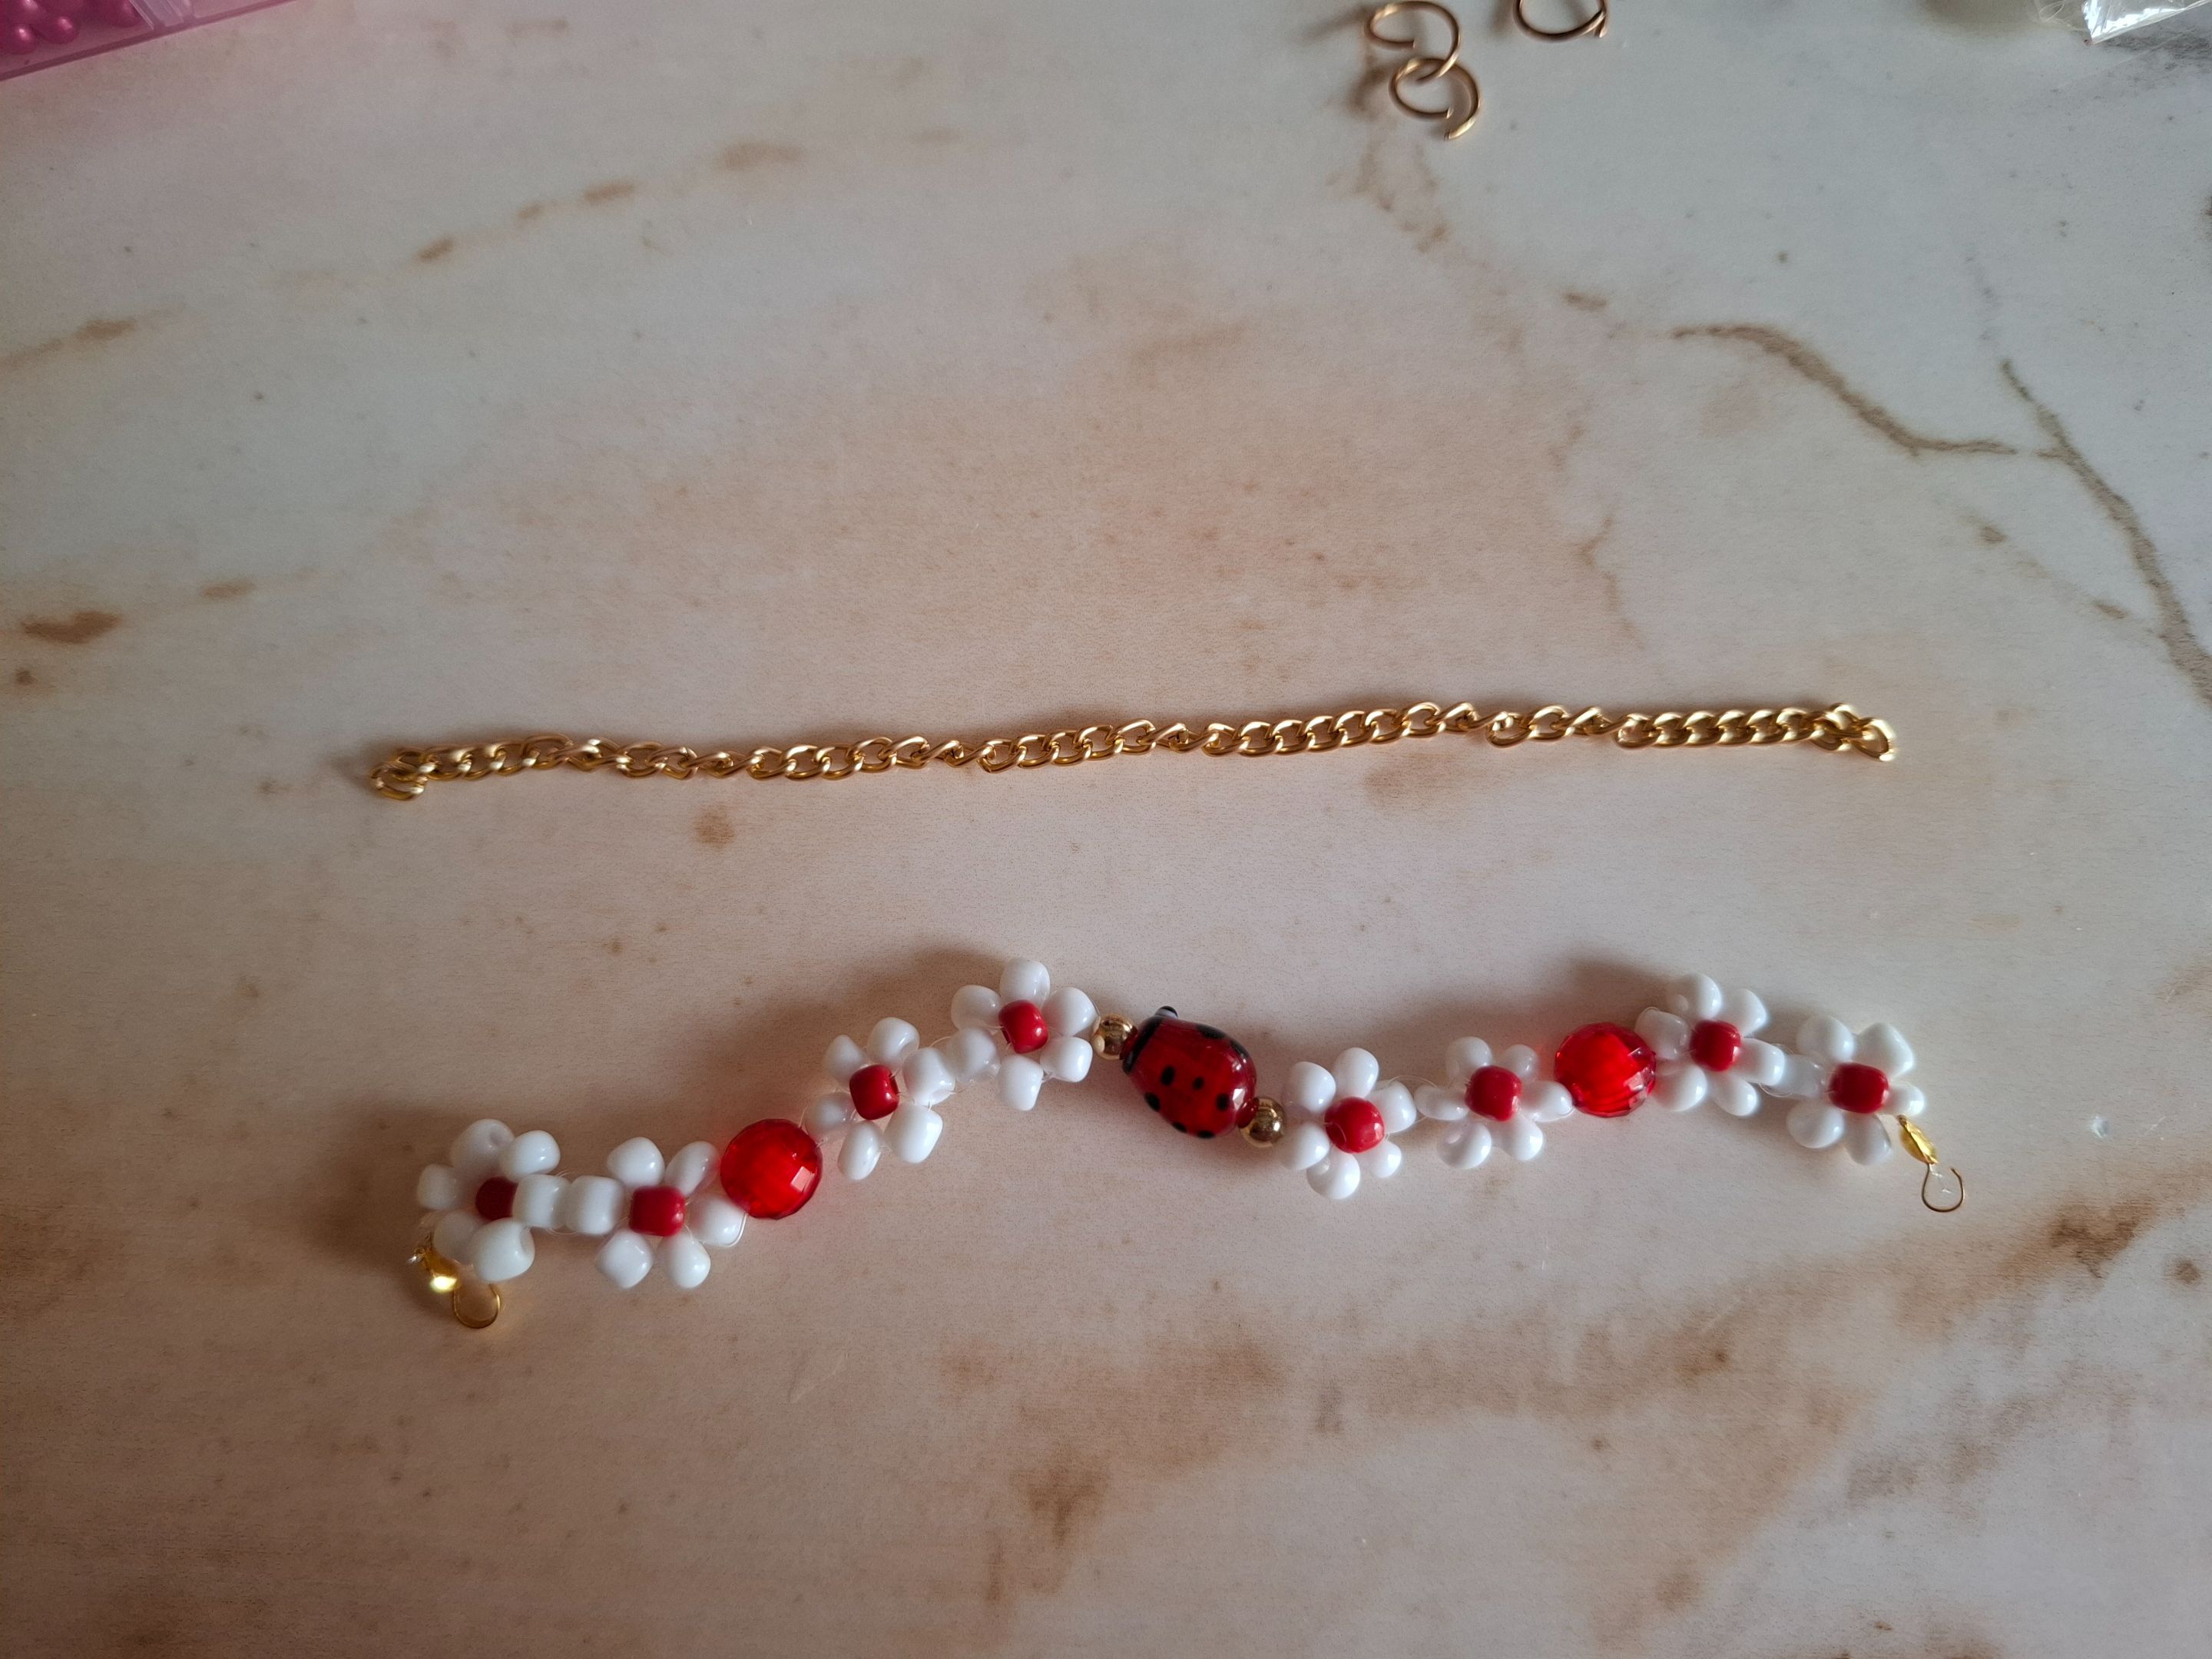
Para esta oportunidad realicé una pulsera inspirada en Cinella, inspirandome en sus colores y también utilizando un dije en el centro en forma de mariquita, se ve súper tierno porque combina muy bien con la temática del personaje, está pulserita luce preciosa y hoy te enseño a como realizarla, a continuación los materiales y el paso a paso.
For this occasion I made a bracelet inspired by Cinella, inspired by its colors and also using a charm in the center in the shape of a ladybug, it looks super cute because it combines very well with the theme of the character, this bracelet looks beautiful and today I teach you how to make it, below the materials and the step by step.
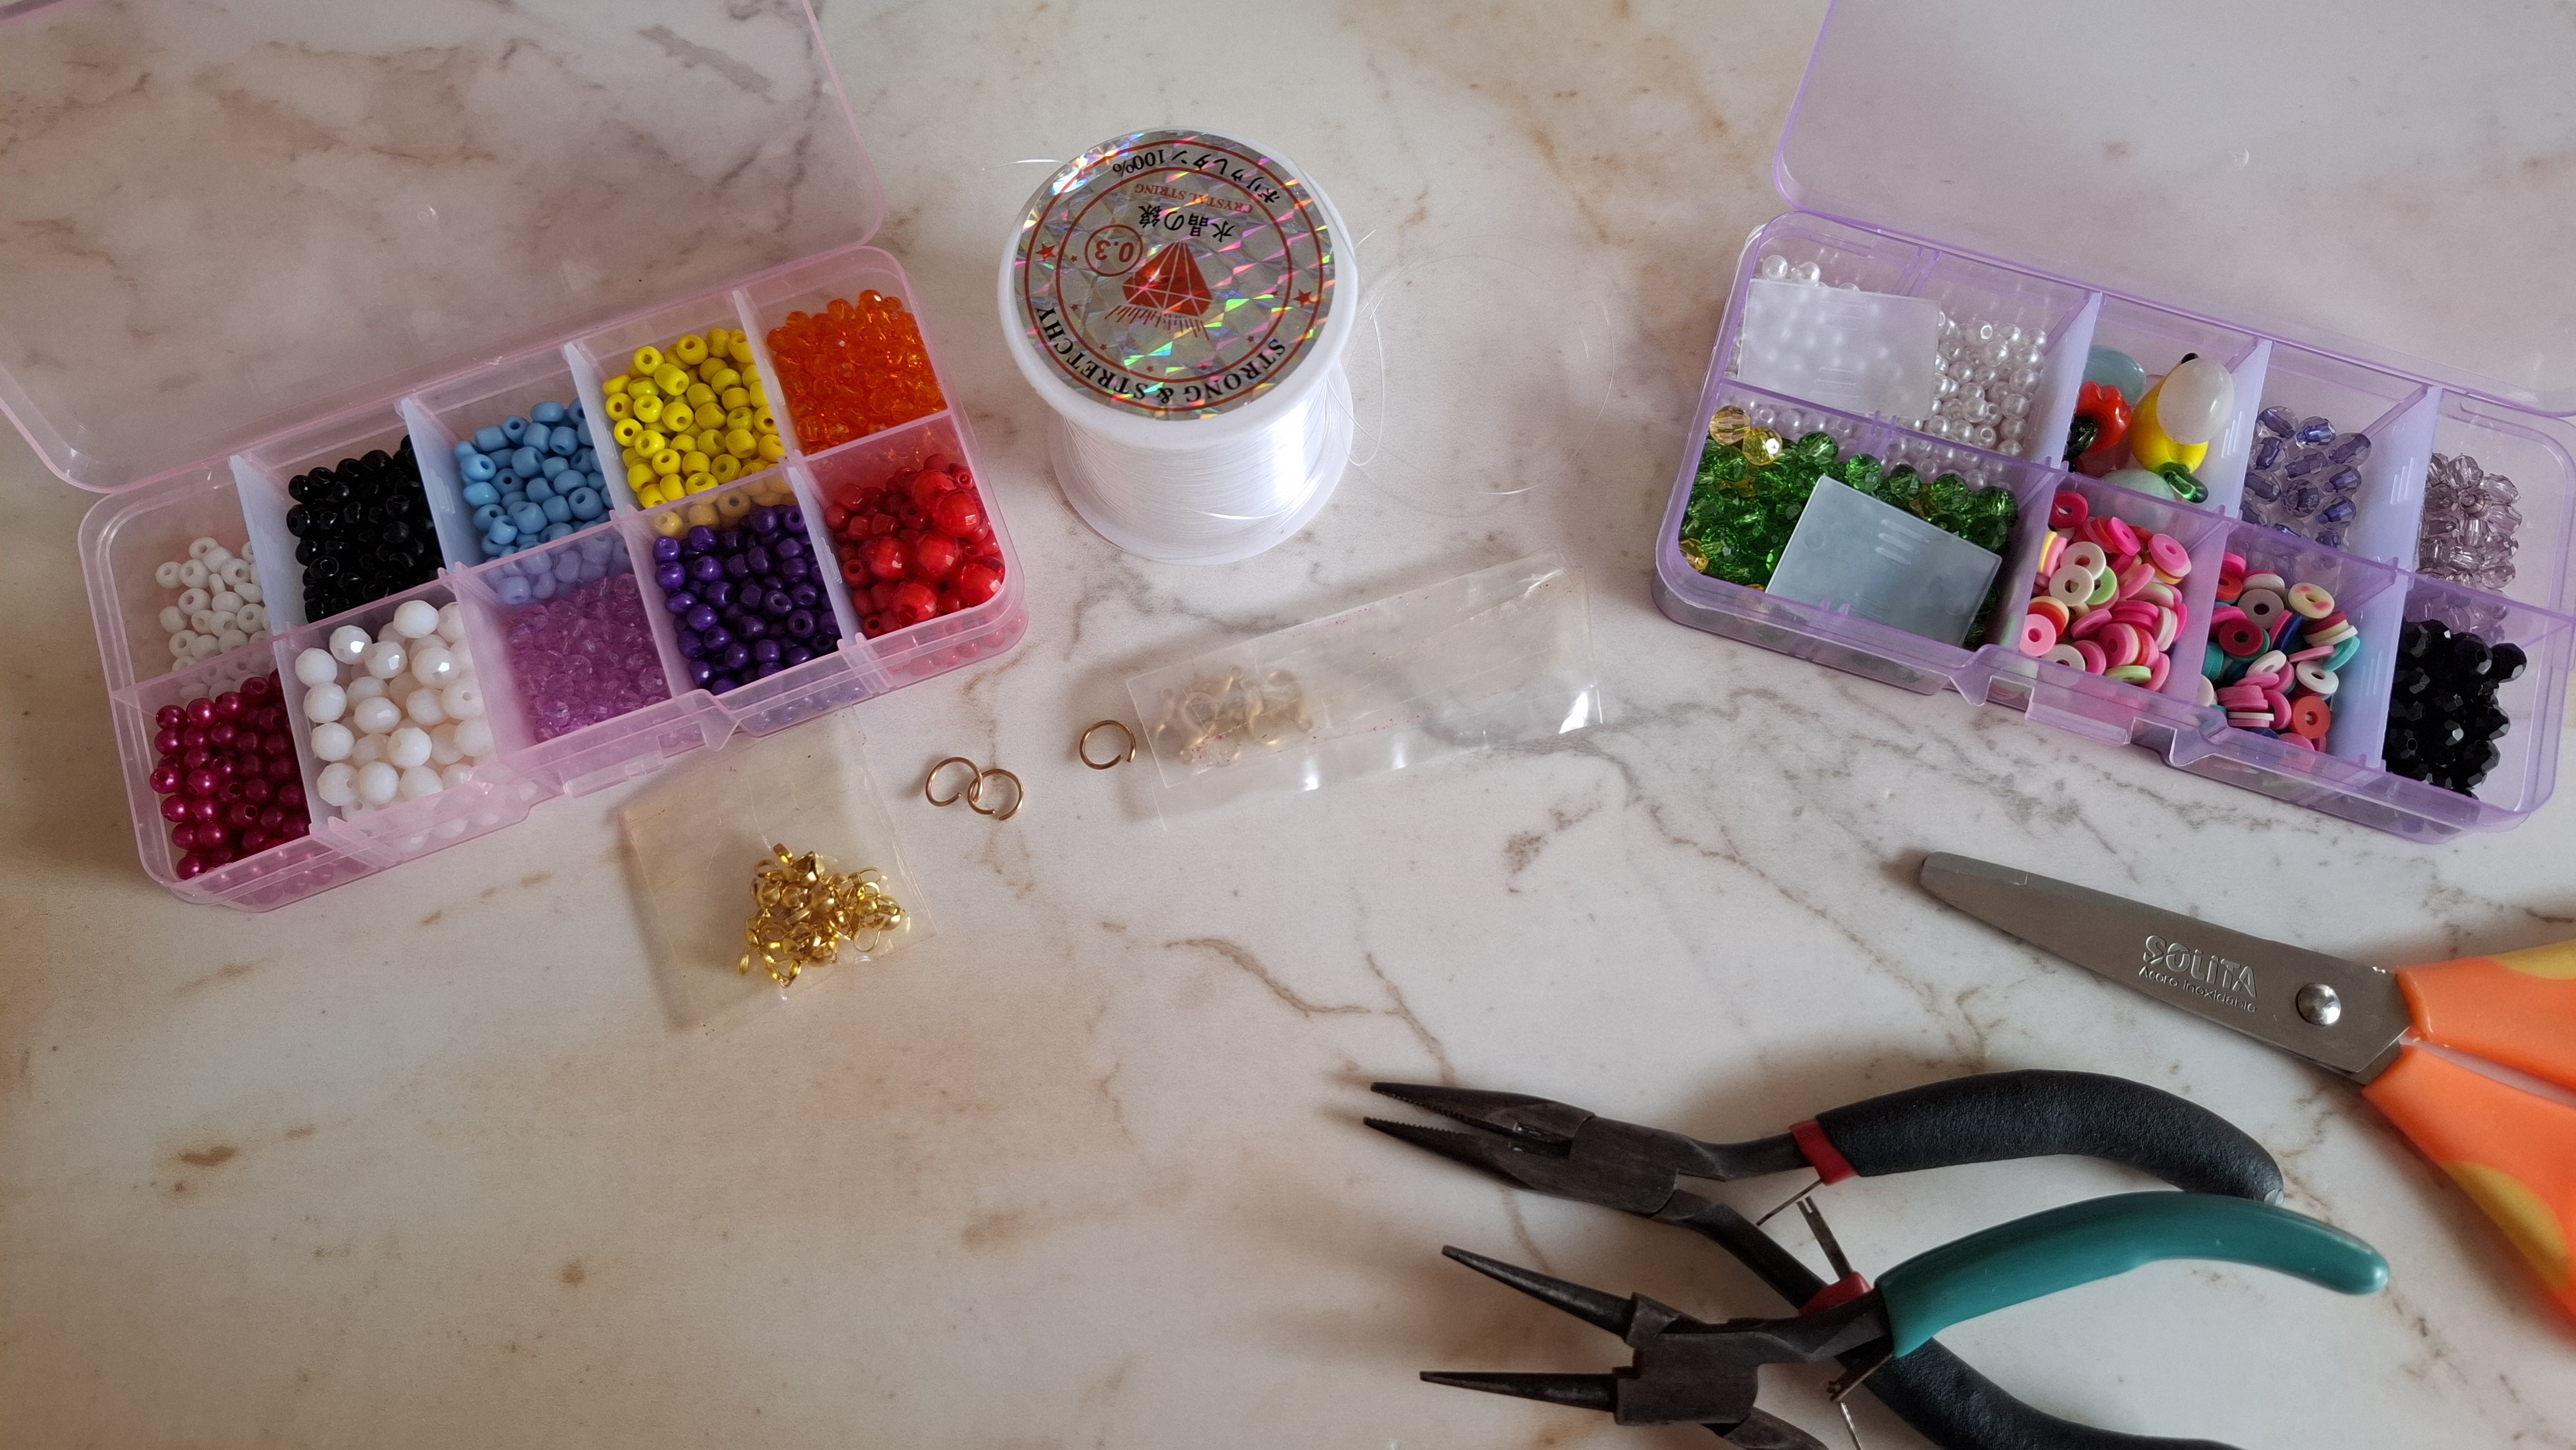
| Materiales | Materials |
|---|---|
| Mostacillas blancas | White beads |
| Mostacillas rojas | Red beads |
| Cuentas rojas medianas | Medium red beads |
| Nylon 0.3mm | Nylon 0.3mm |
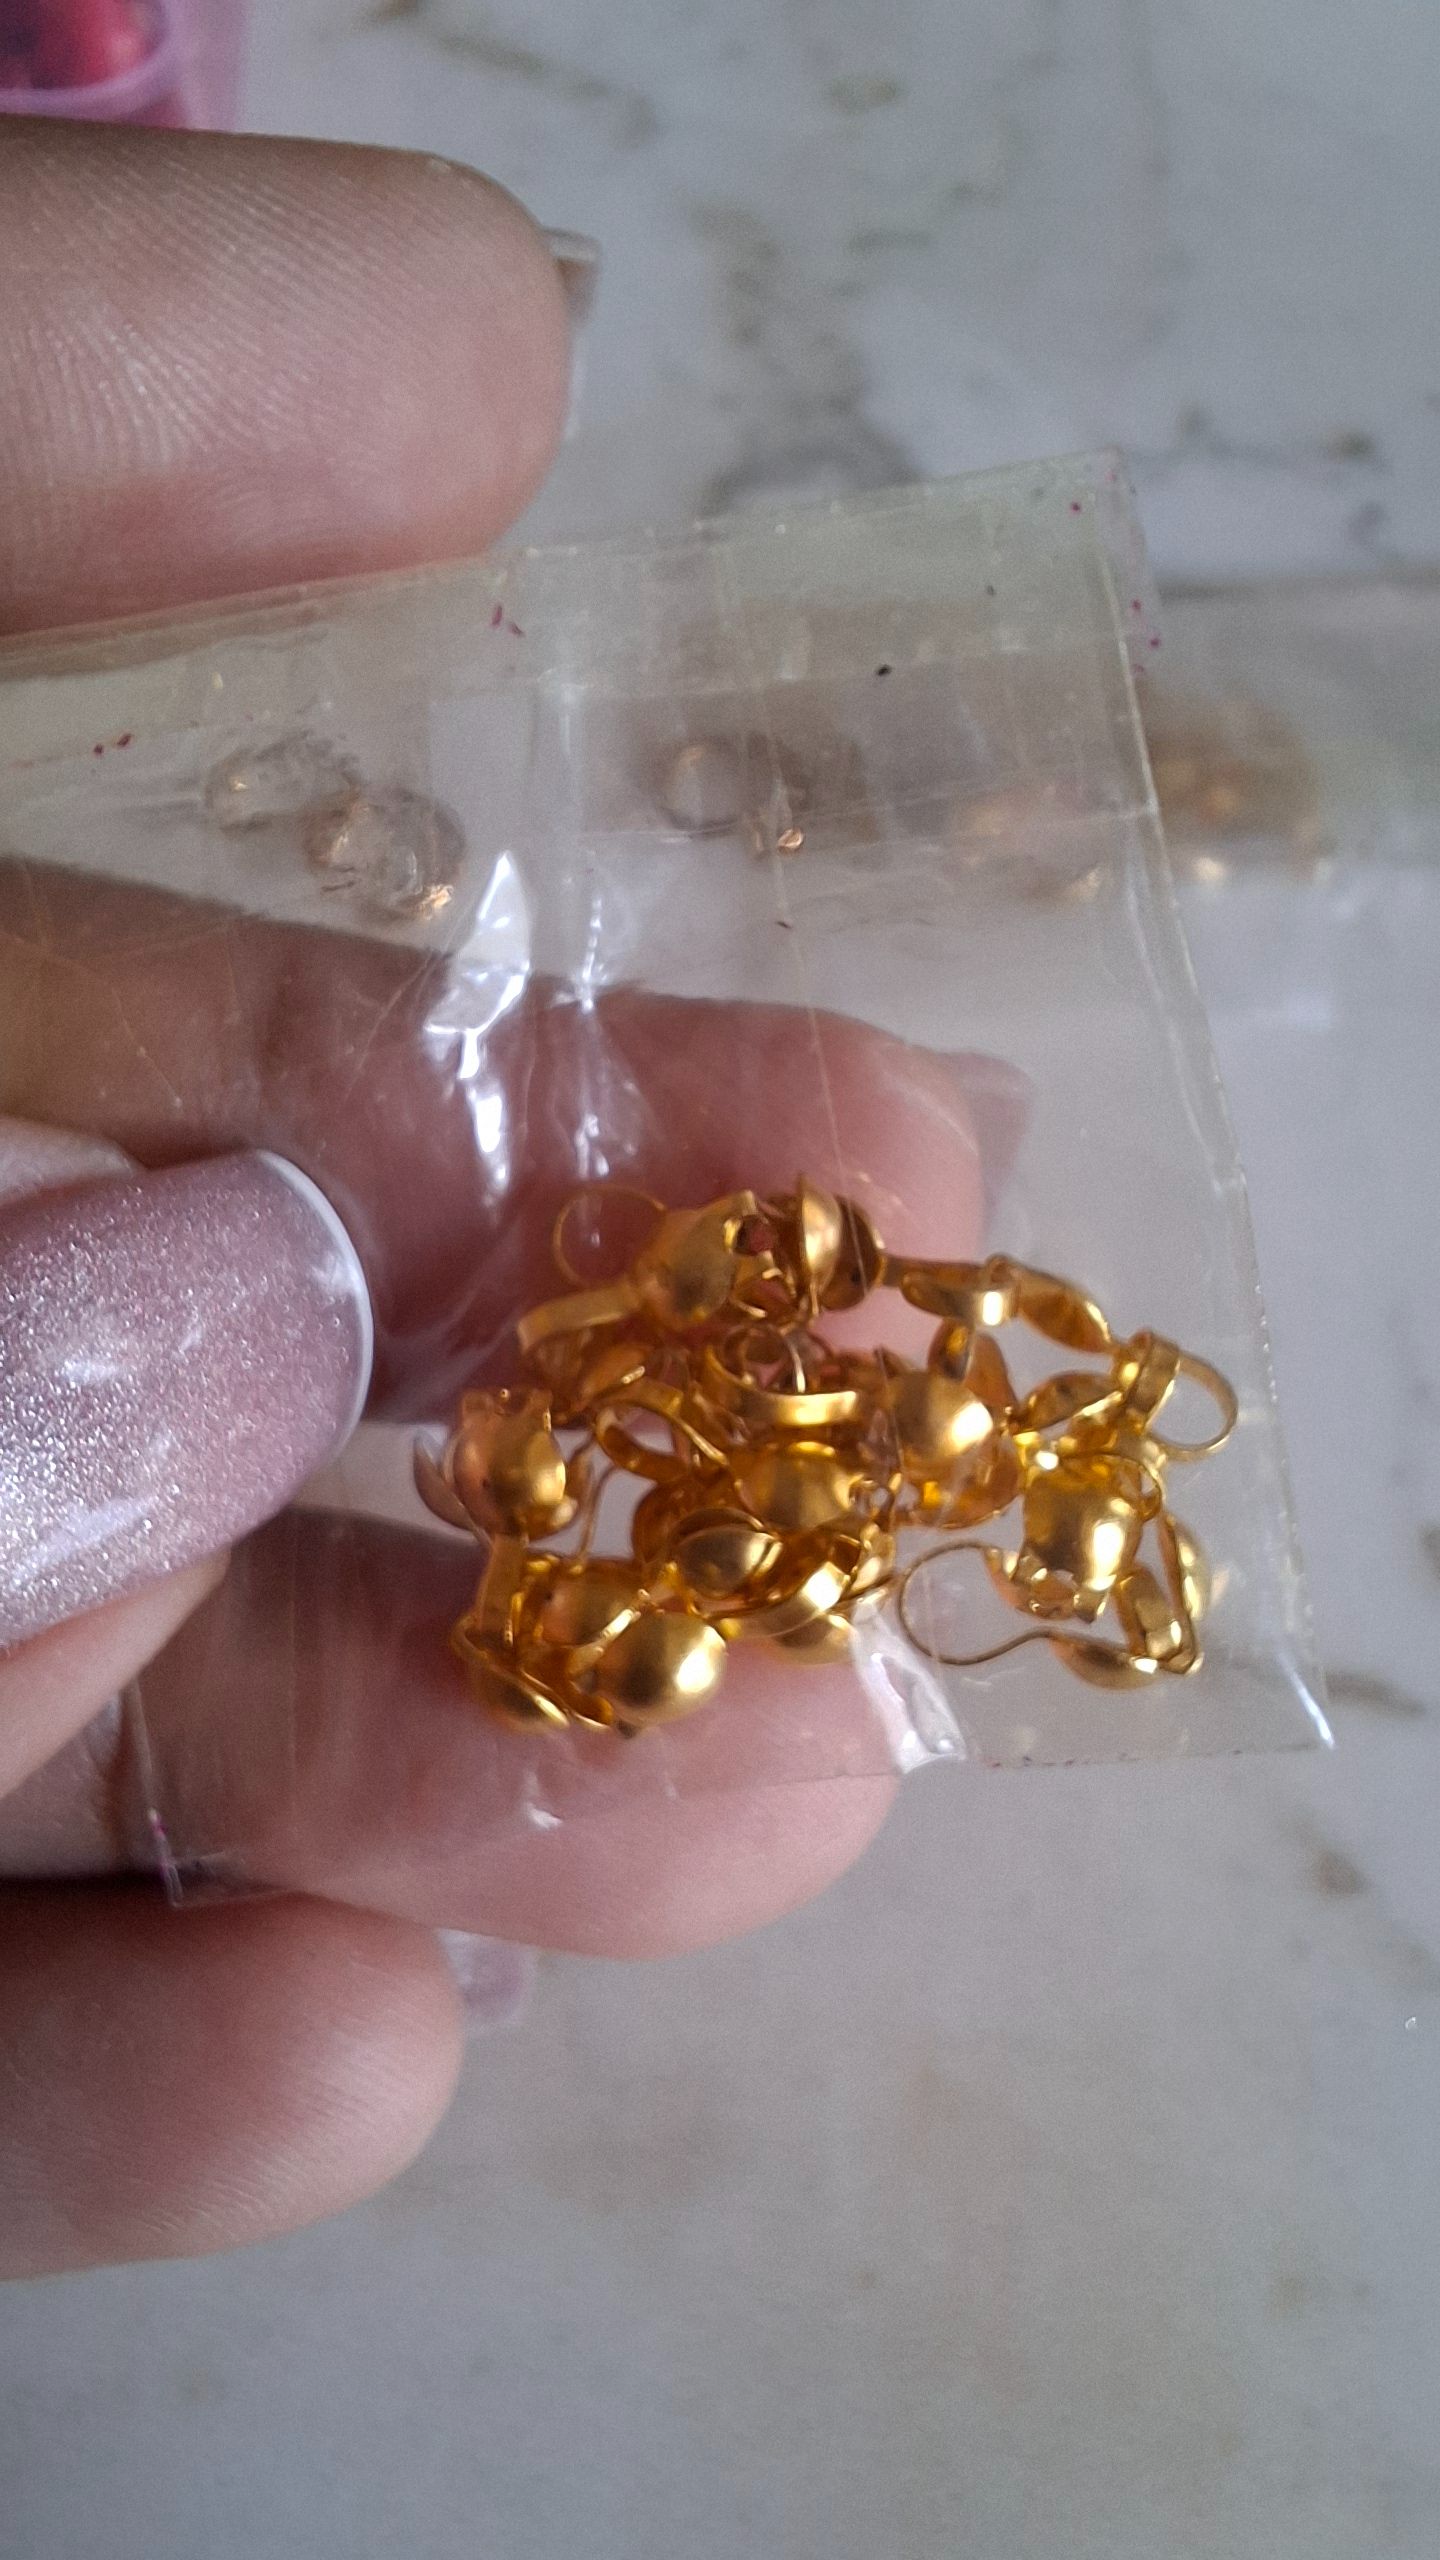
| Argollas, tapanudos | Rings, knot covers |
| Broche, tijera | Brooch, scissors |
| Pinza de bisutería | Jewelry tweezers |
| Dije de mariquita | Ladybug pendant |
Paso a paso / Step by step
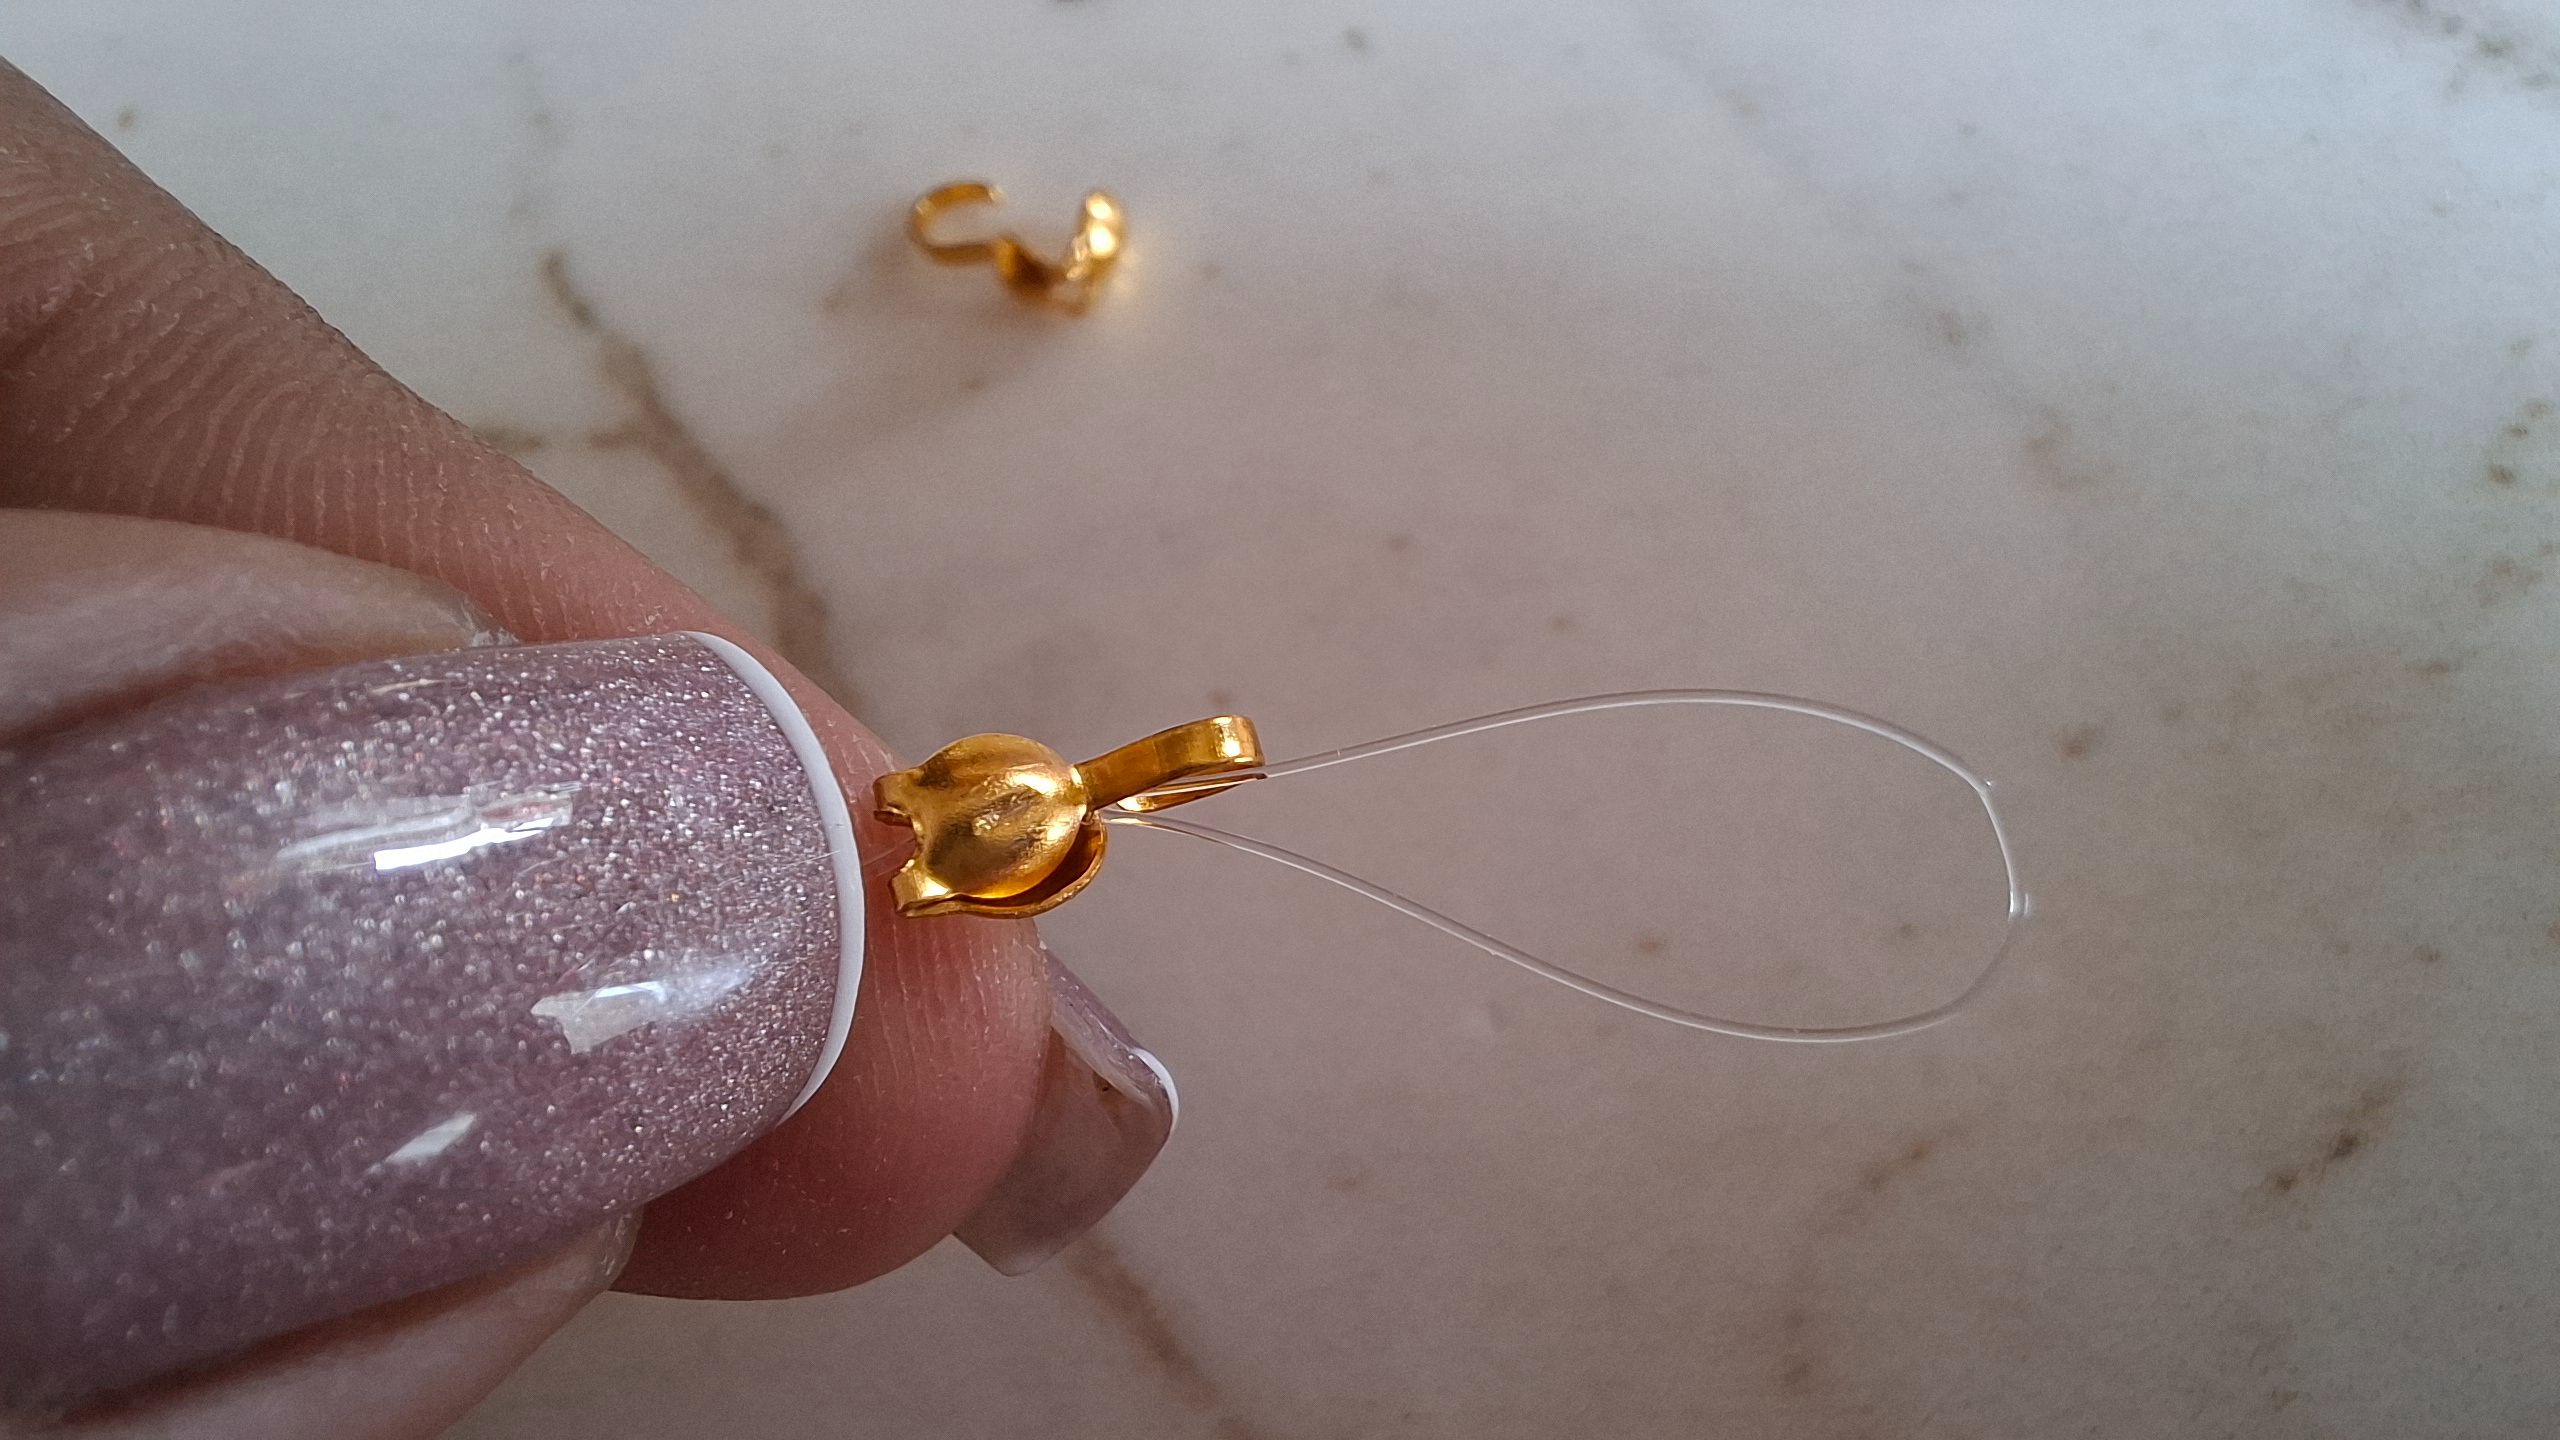
El primer paso que voy a realizar es cortar 60 cm de nylon, lo voy a doblar en la mitad, y voy a colocar un tapanudos en la punta apretamos con ayuda de una pinza.
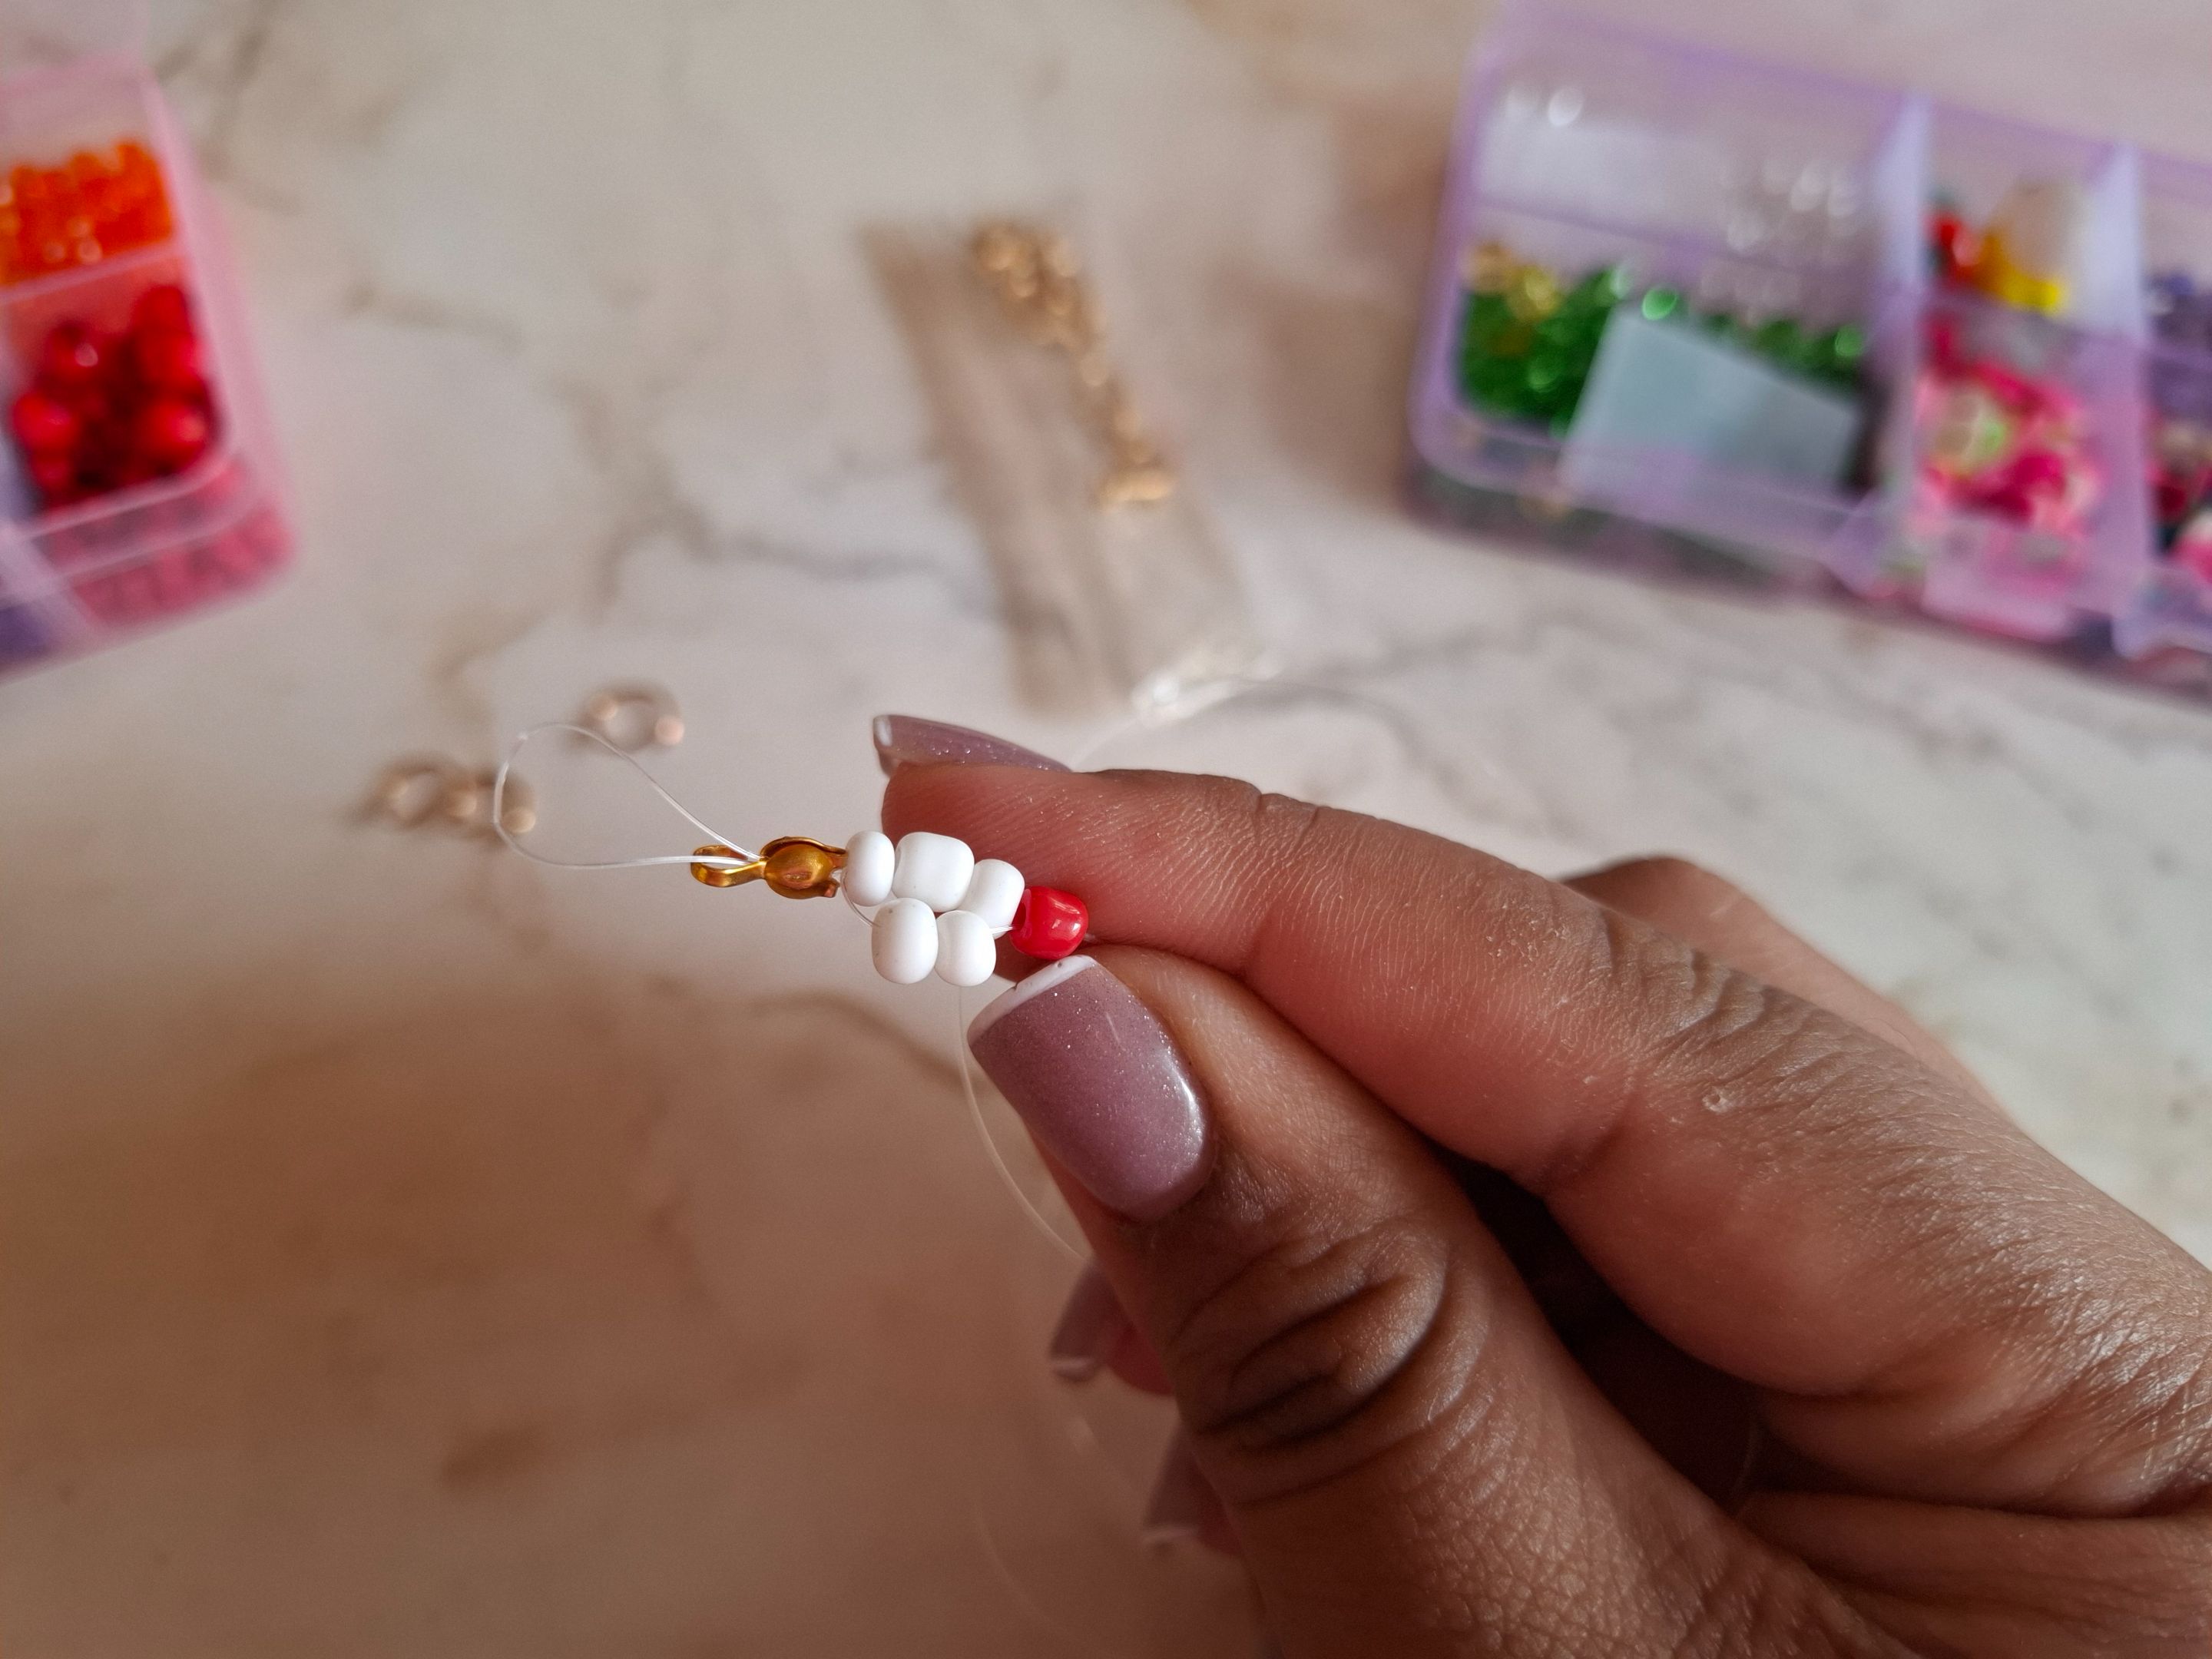
Luego voy voy a comenzar a realizar las flores, elegí el color blanco y rojo para ellas, comencé colocando una mostacilla blanca en una de las puntas y pasamos el hilo a través de ella, la llevamos hasta el fondo sujetando ambos nylon.
The first step I'm going to take is to cut 60 cm of nylon, fold it in half, and place a knot cover on the end, tightening it with pliers.
Then I'm going to start making the flowers. I chose white and red for them. I started by placing a white seed bead on one of the ends and threading the thread through it. We brought it to the bottom, securing both nylons.
 |
 |
|---|---|
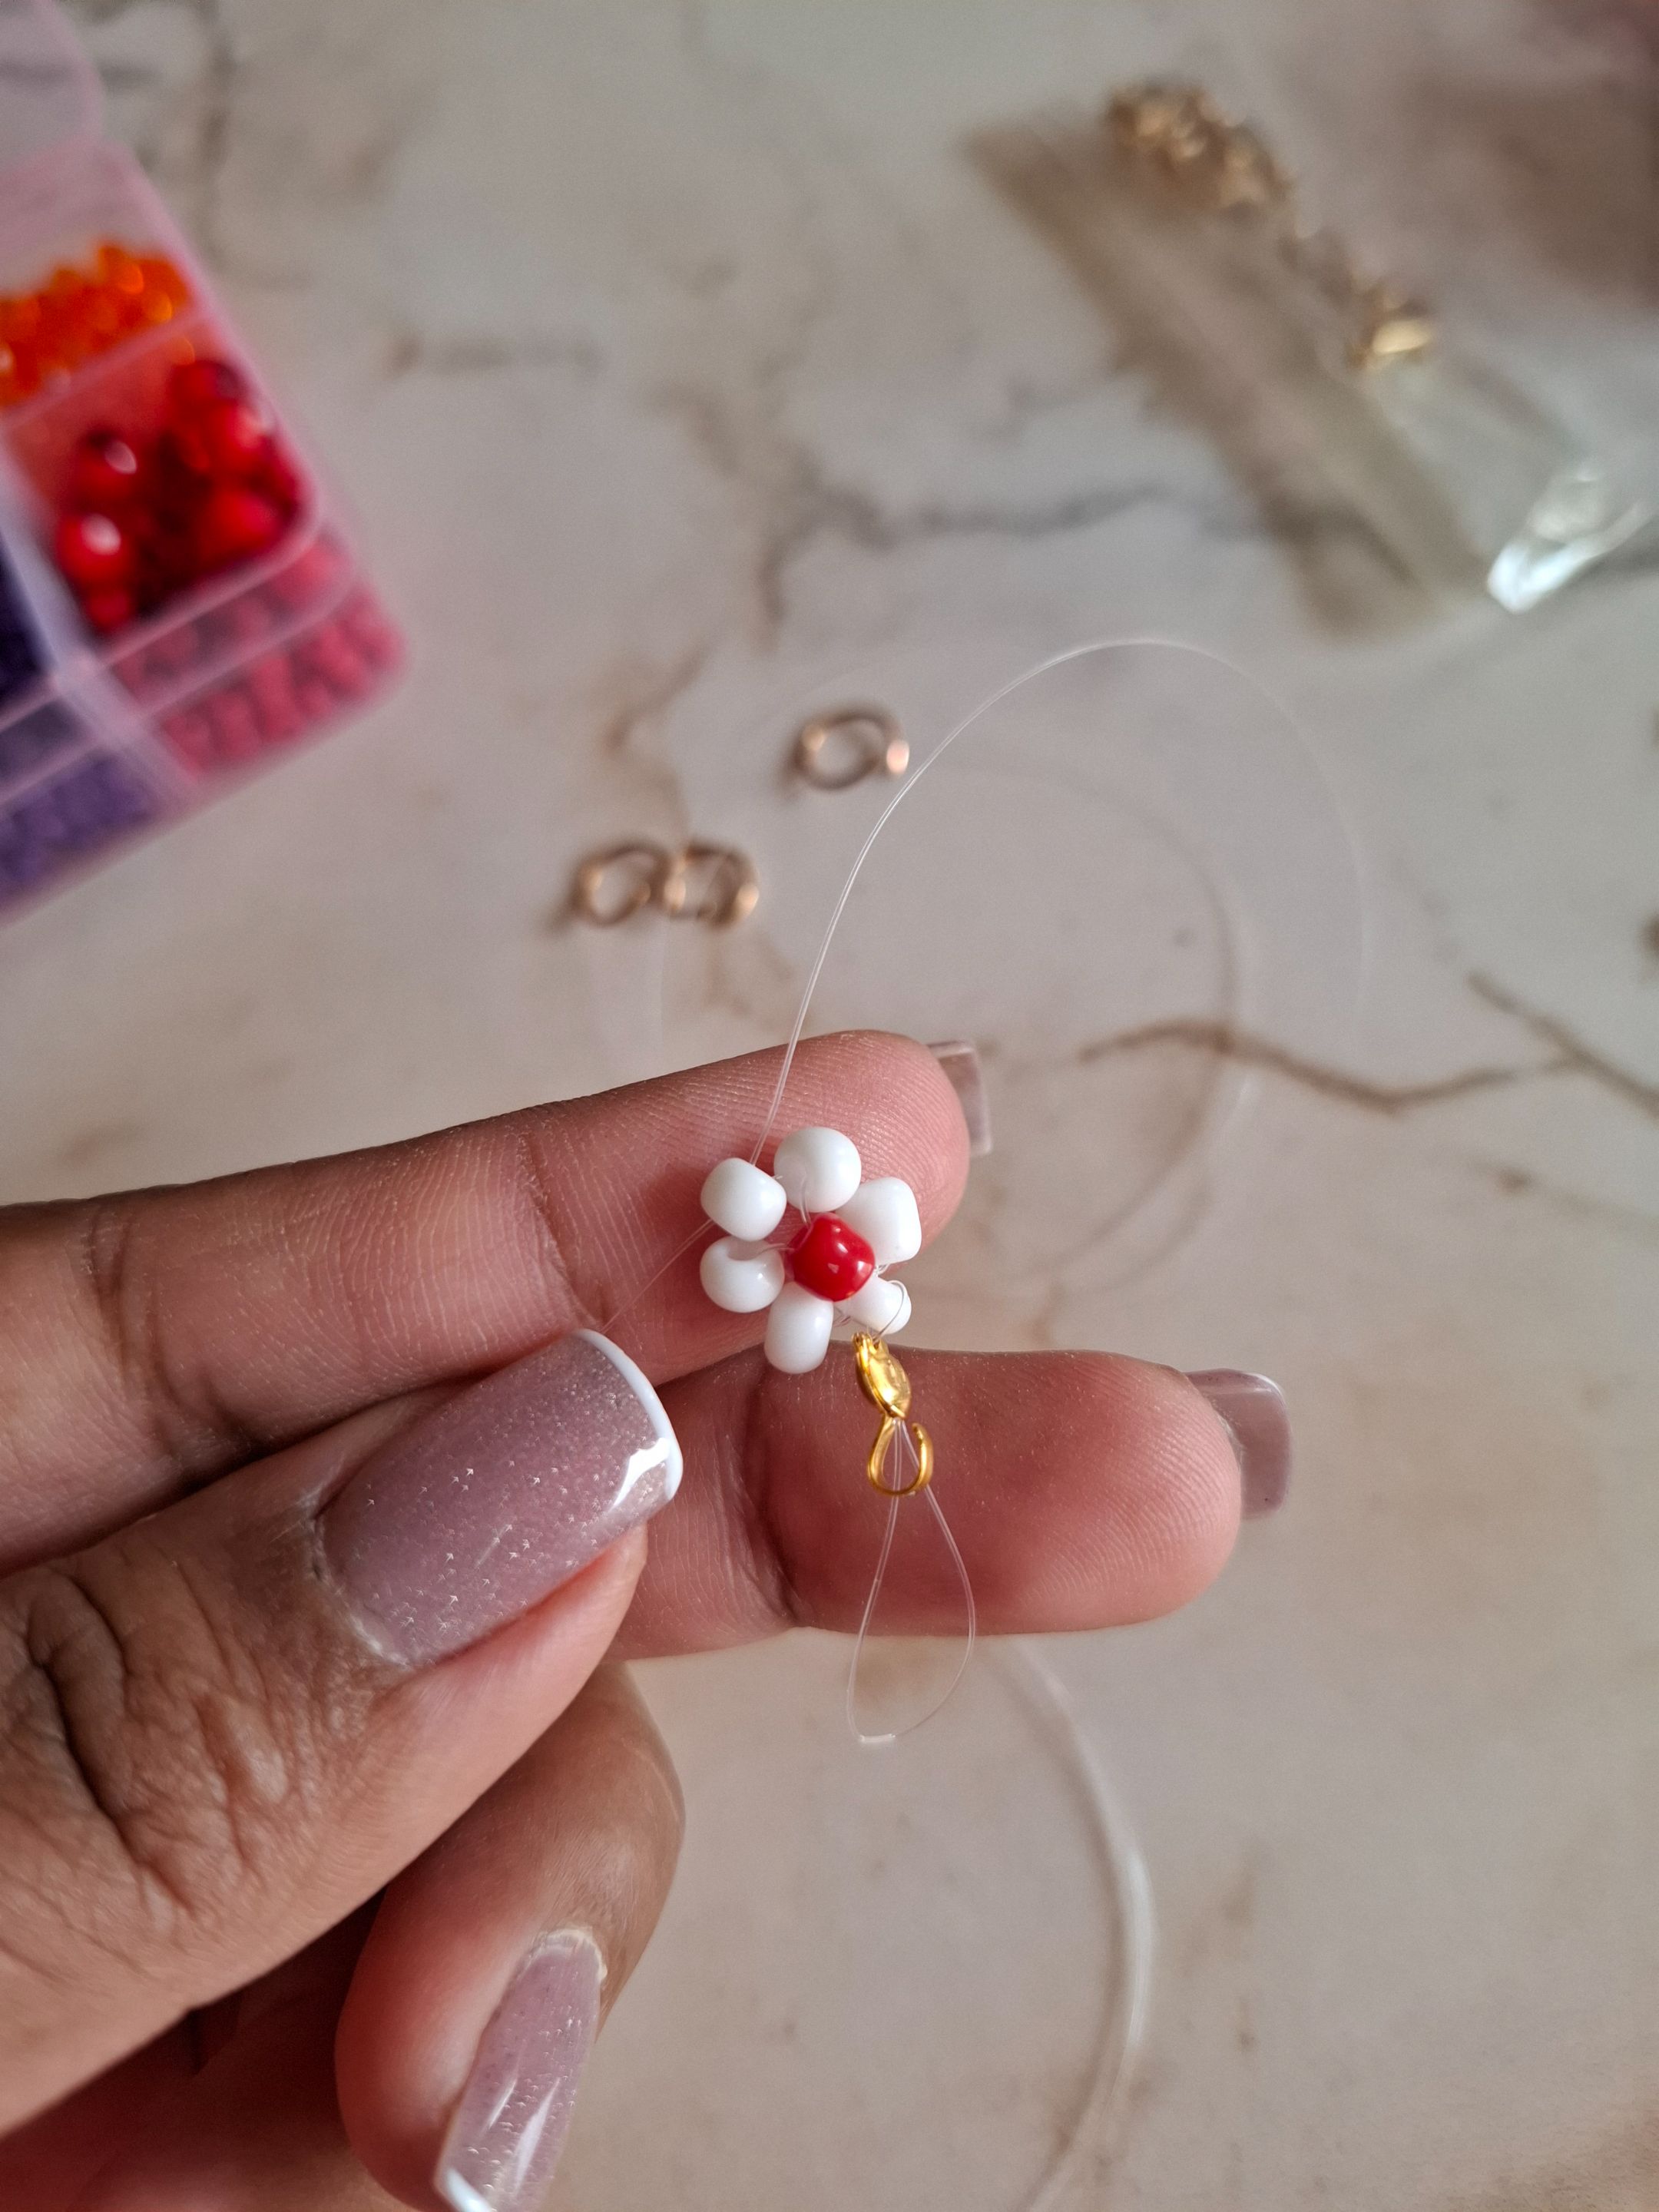
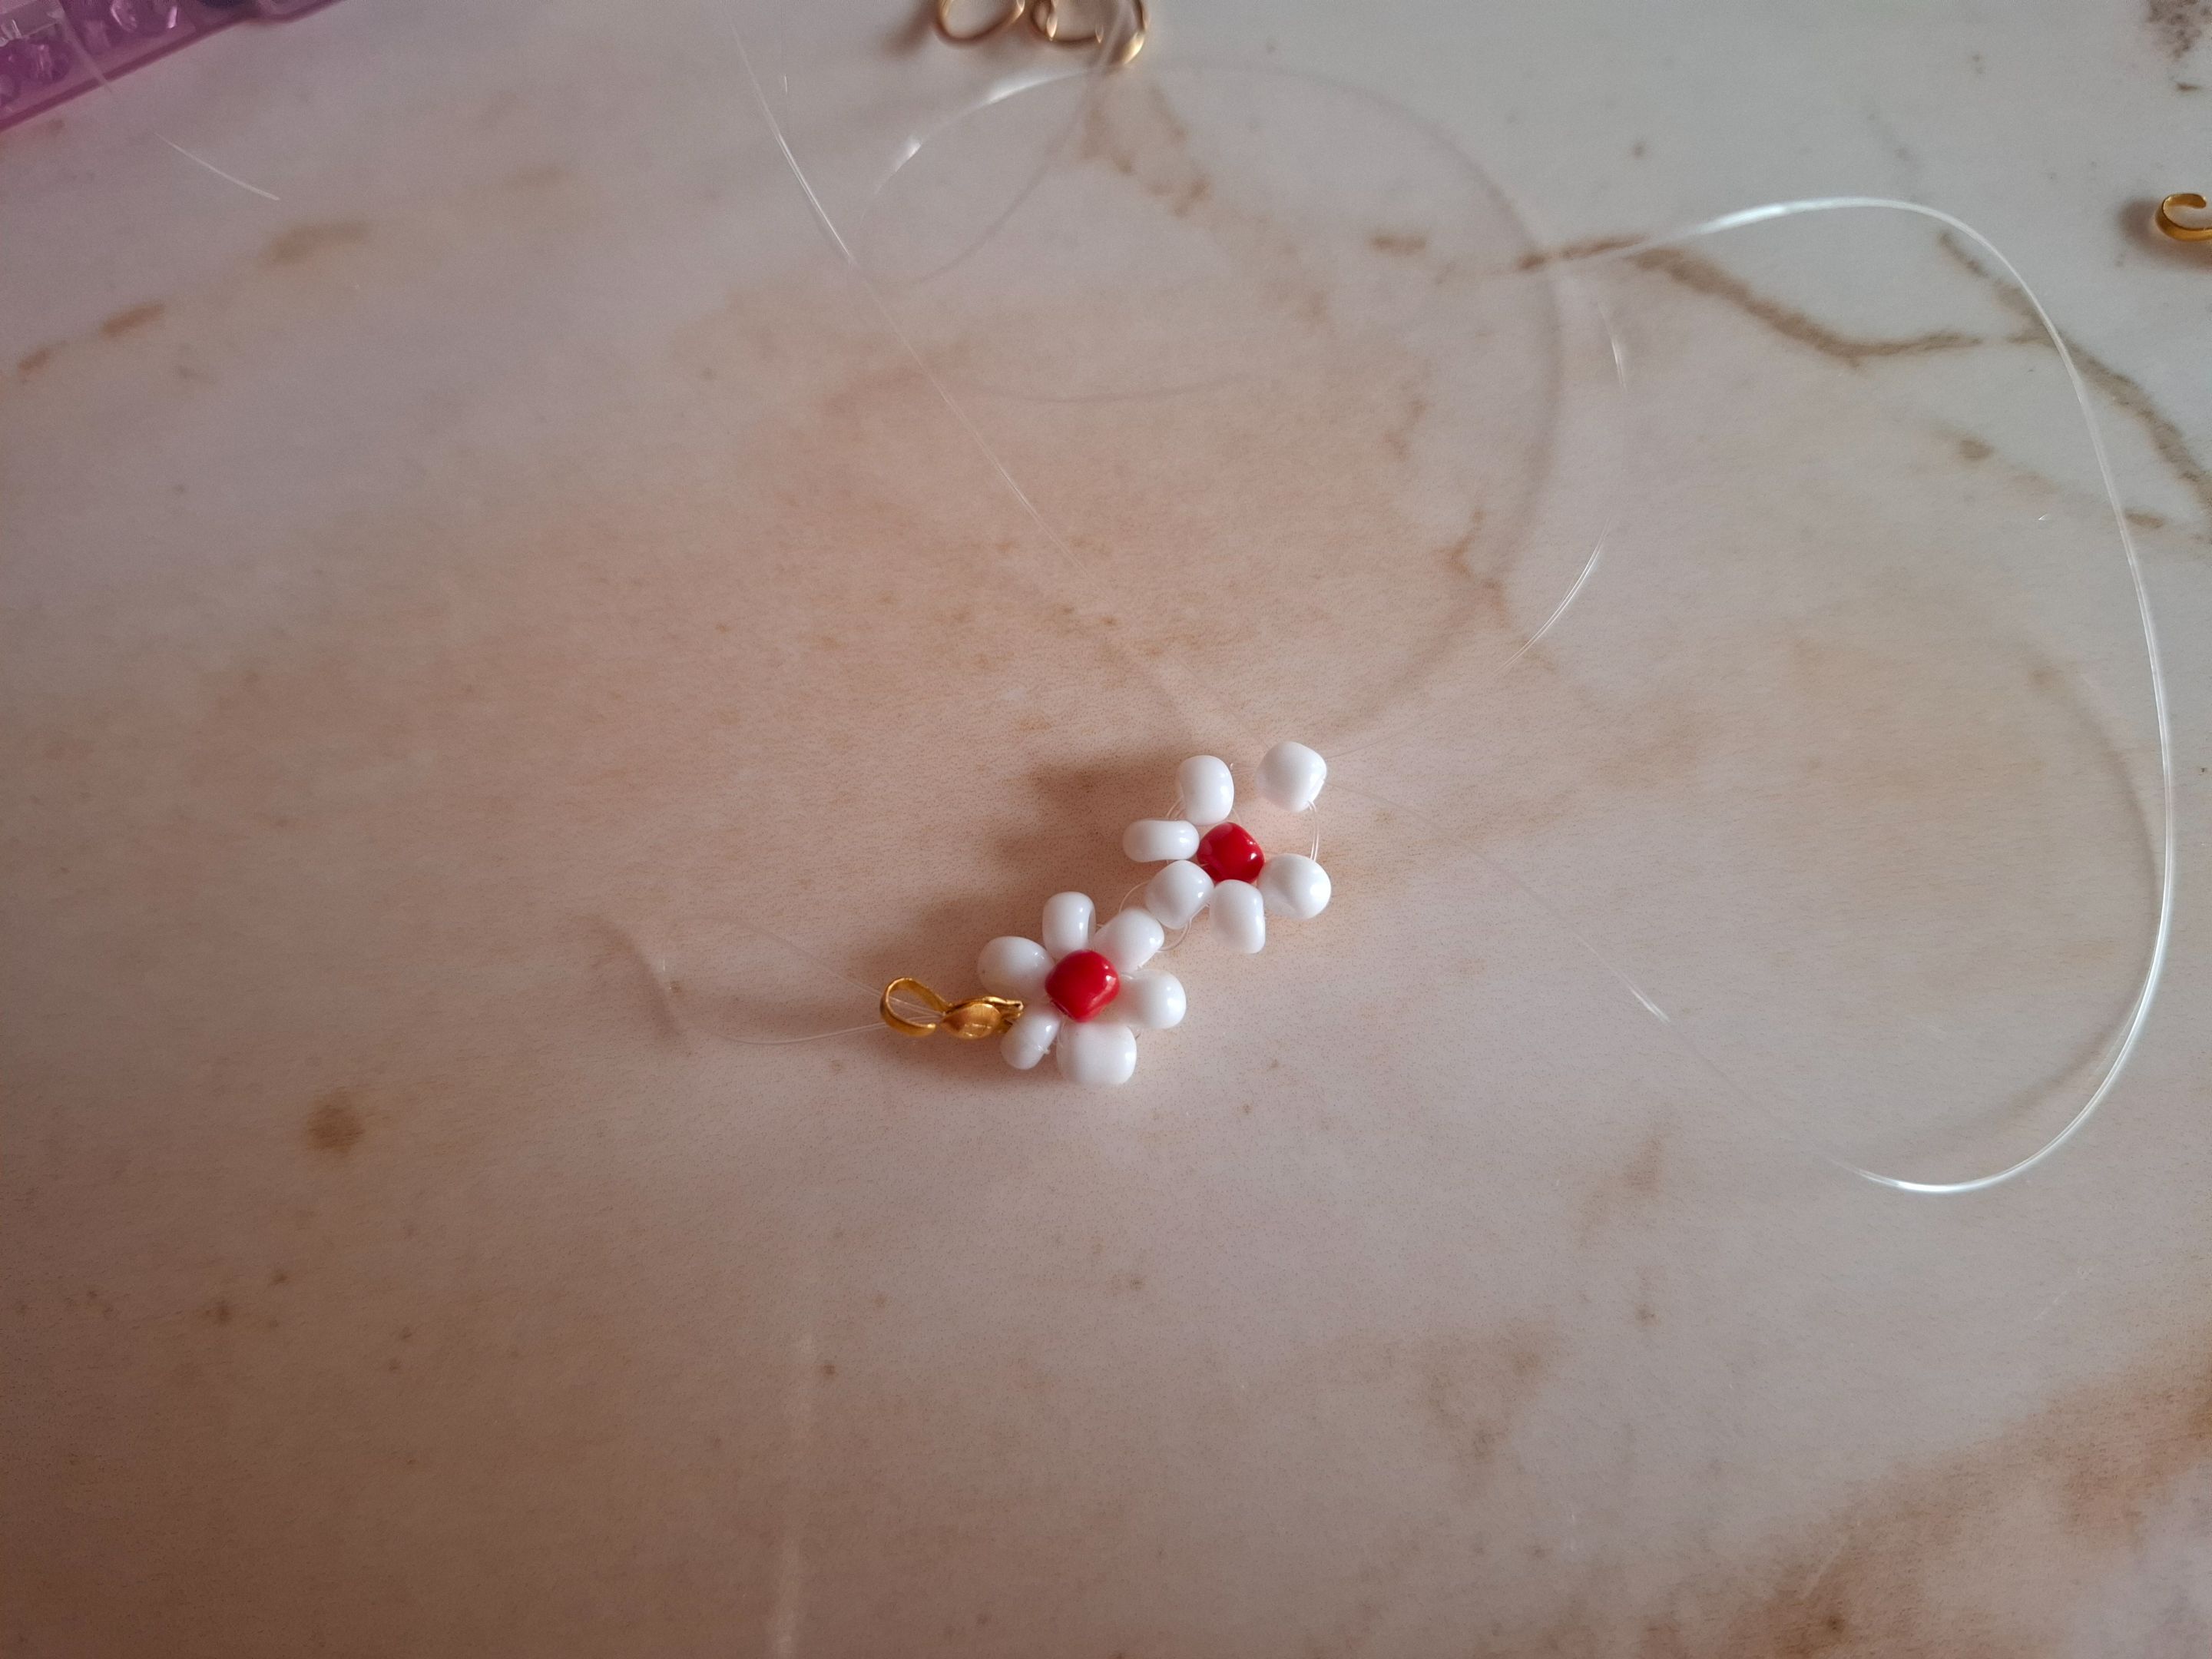
Luego de esto colocamos dos mostacillas blancas en cada nylon, unimos el nylon y colocamos una mostacilla roja que será el centro de la flor, para ubicarla en el centro voy a pasar el hilo de la derecha e izquierda a través de las mostacillas blancas en su misma dirección, para cerrar la flor colocamos una mostacilla blanca en uno de los hilos y pasamos a través de ella y verás como se forma la flor.
After this we place two white beads on each nylon, we join the nylon and place a red bead that will be the center of the flower, to place it in the center I will pass the thread on the right and left through the white beads in the same direction, to close the flower we place a white bead on one of the threads and pass through it and you will see how the flower is formed.
 |
 |
 |
|---|---|---|
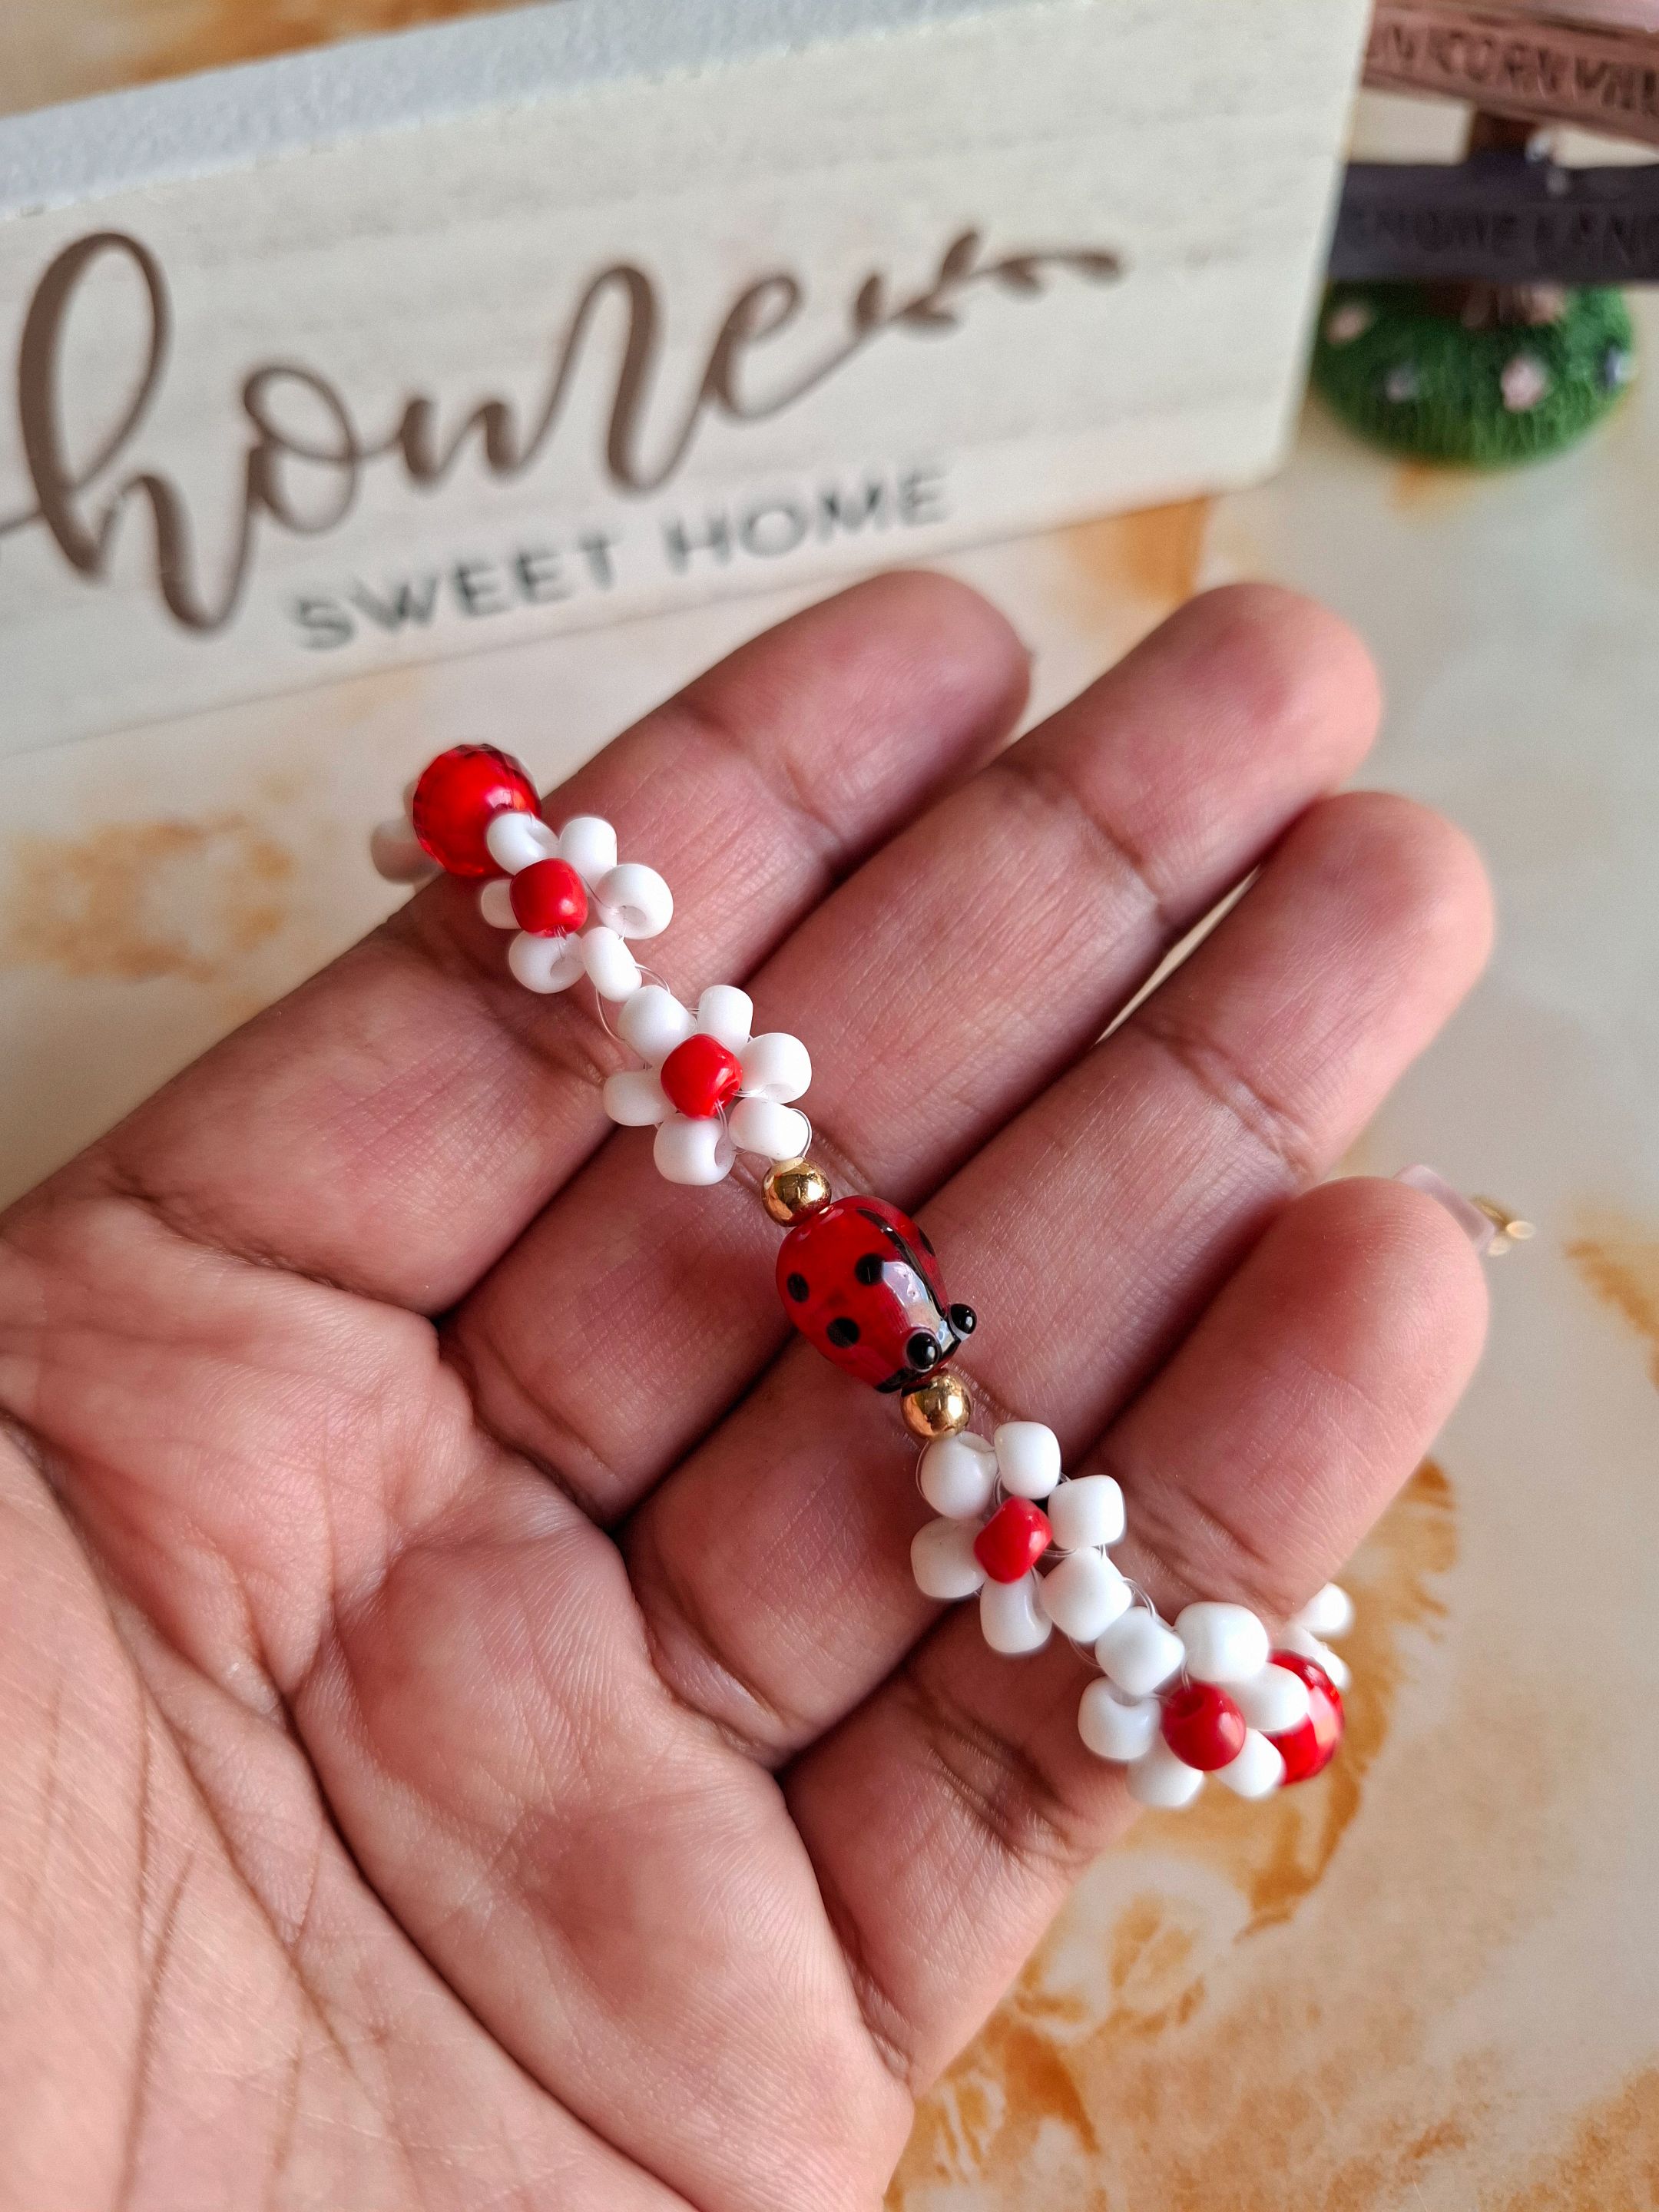
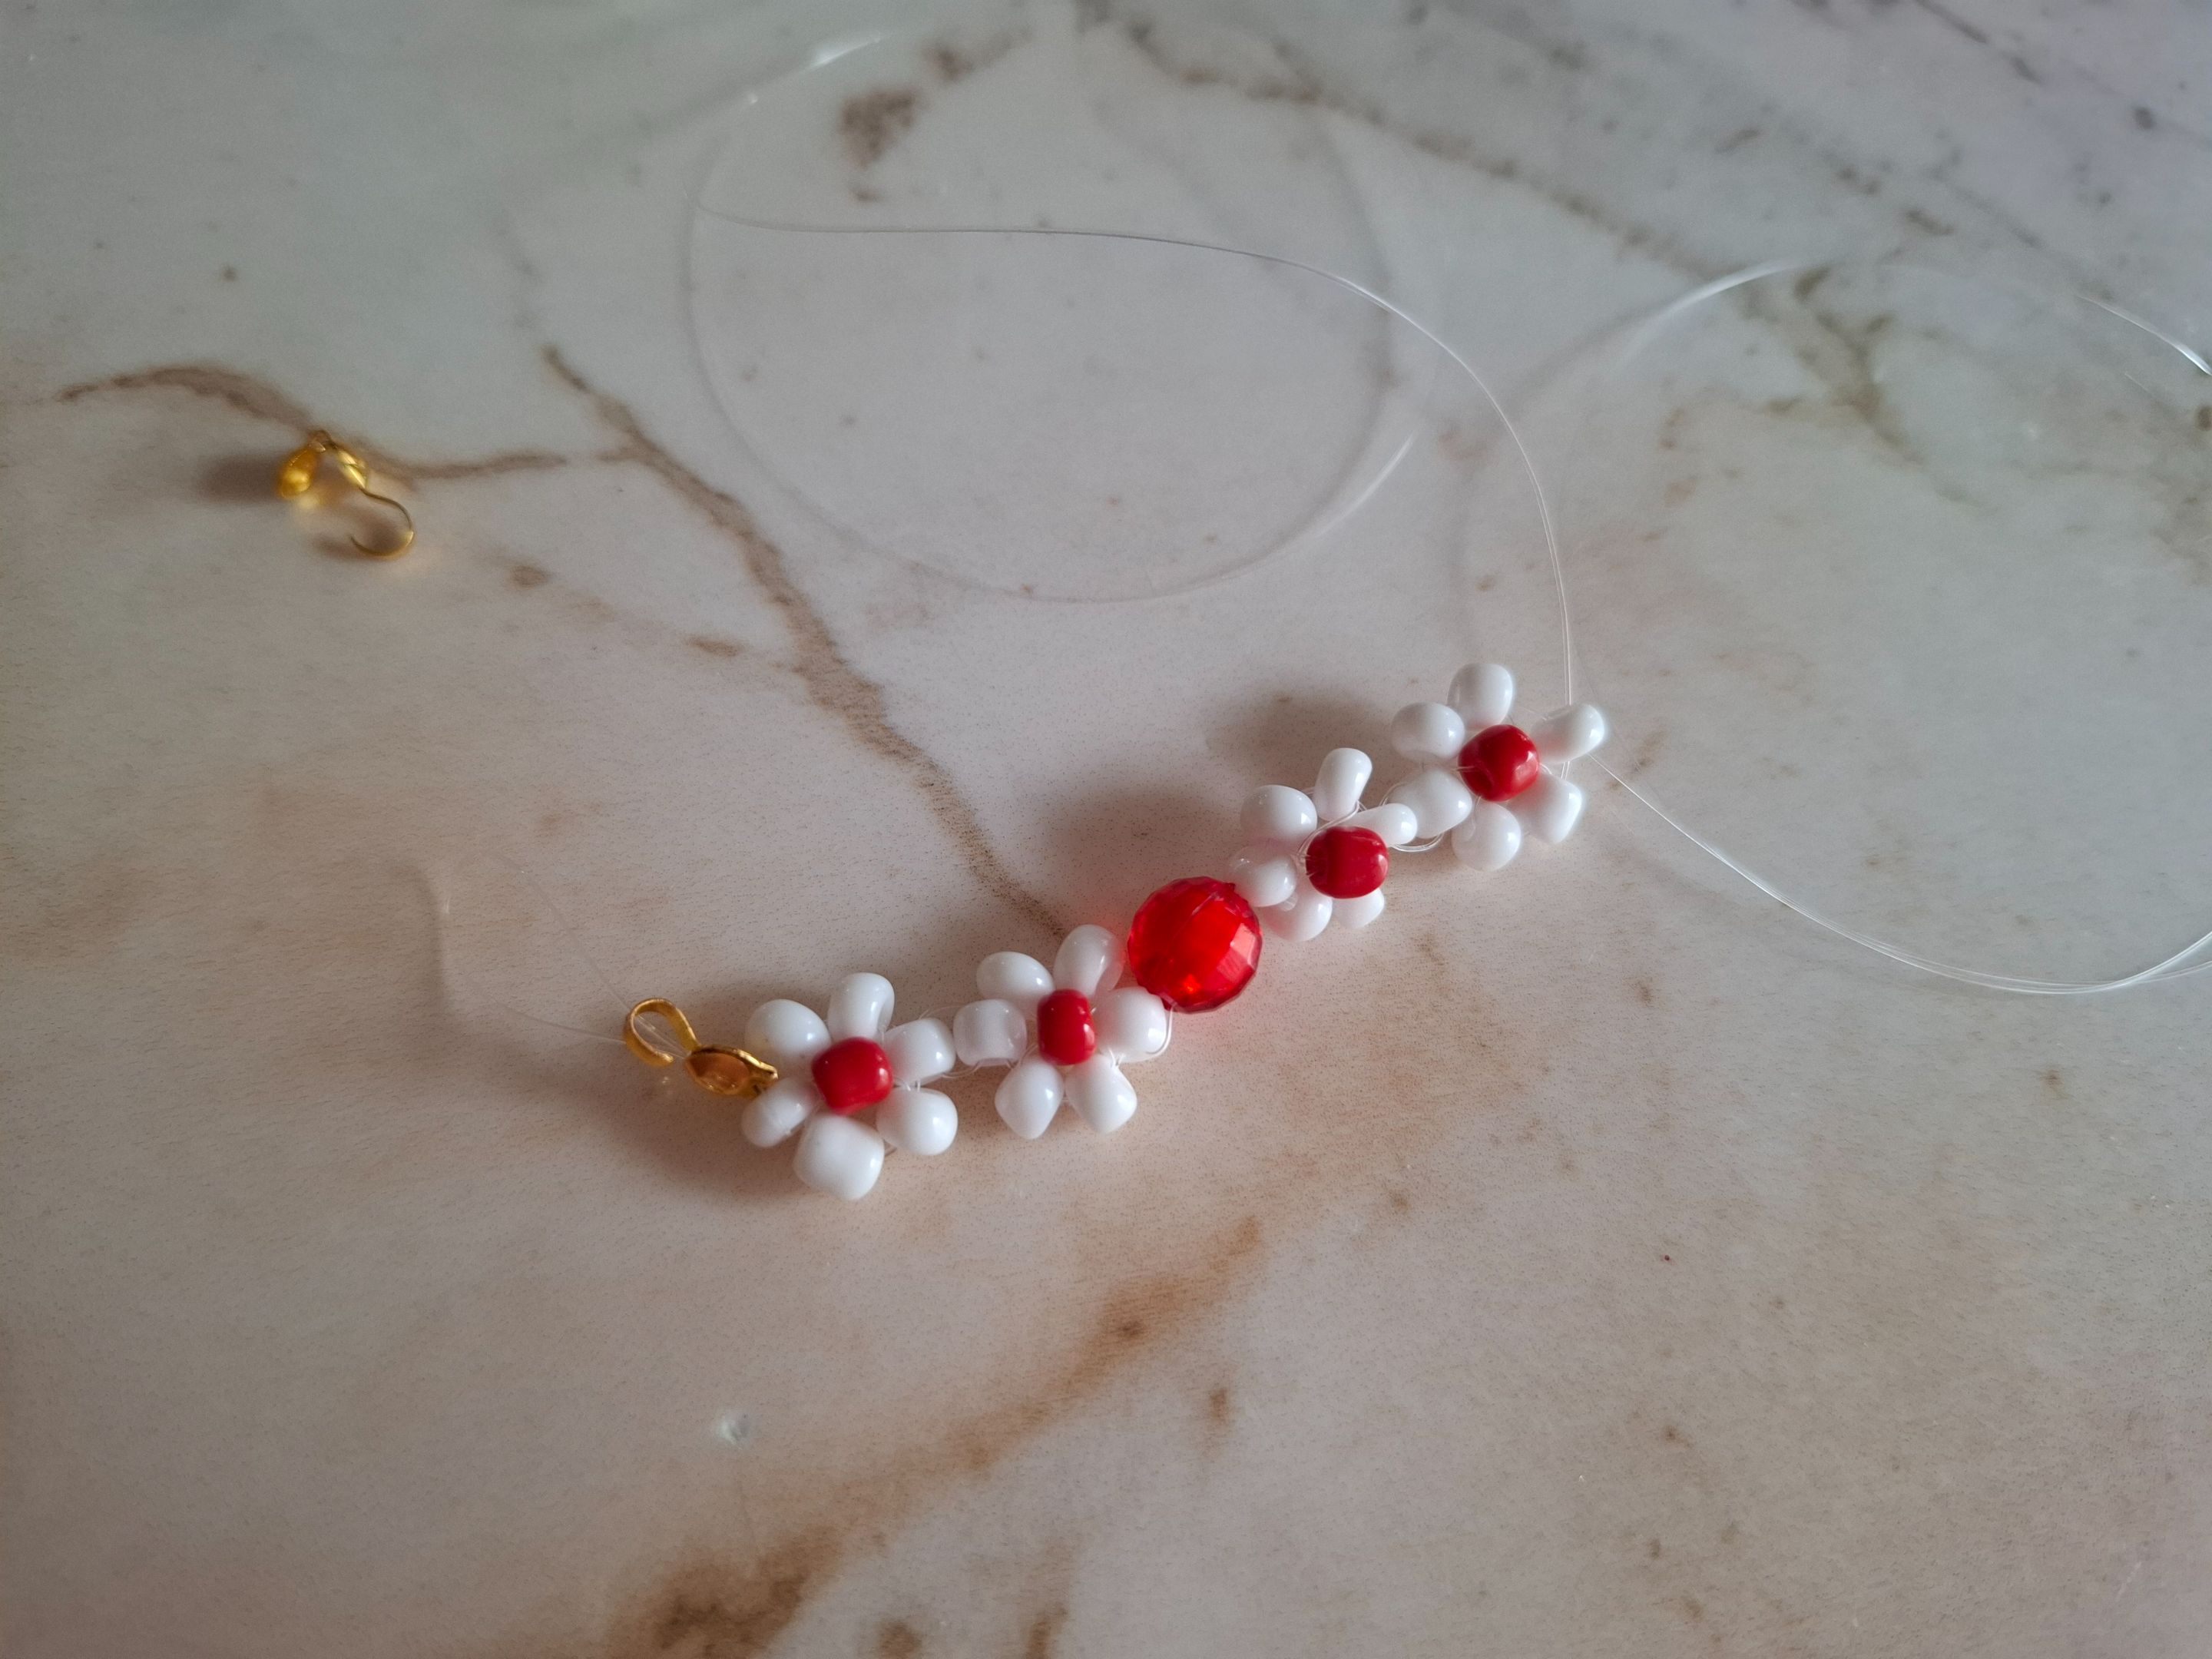
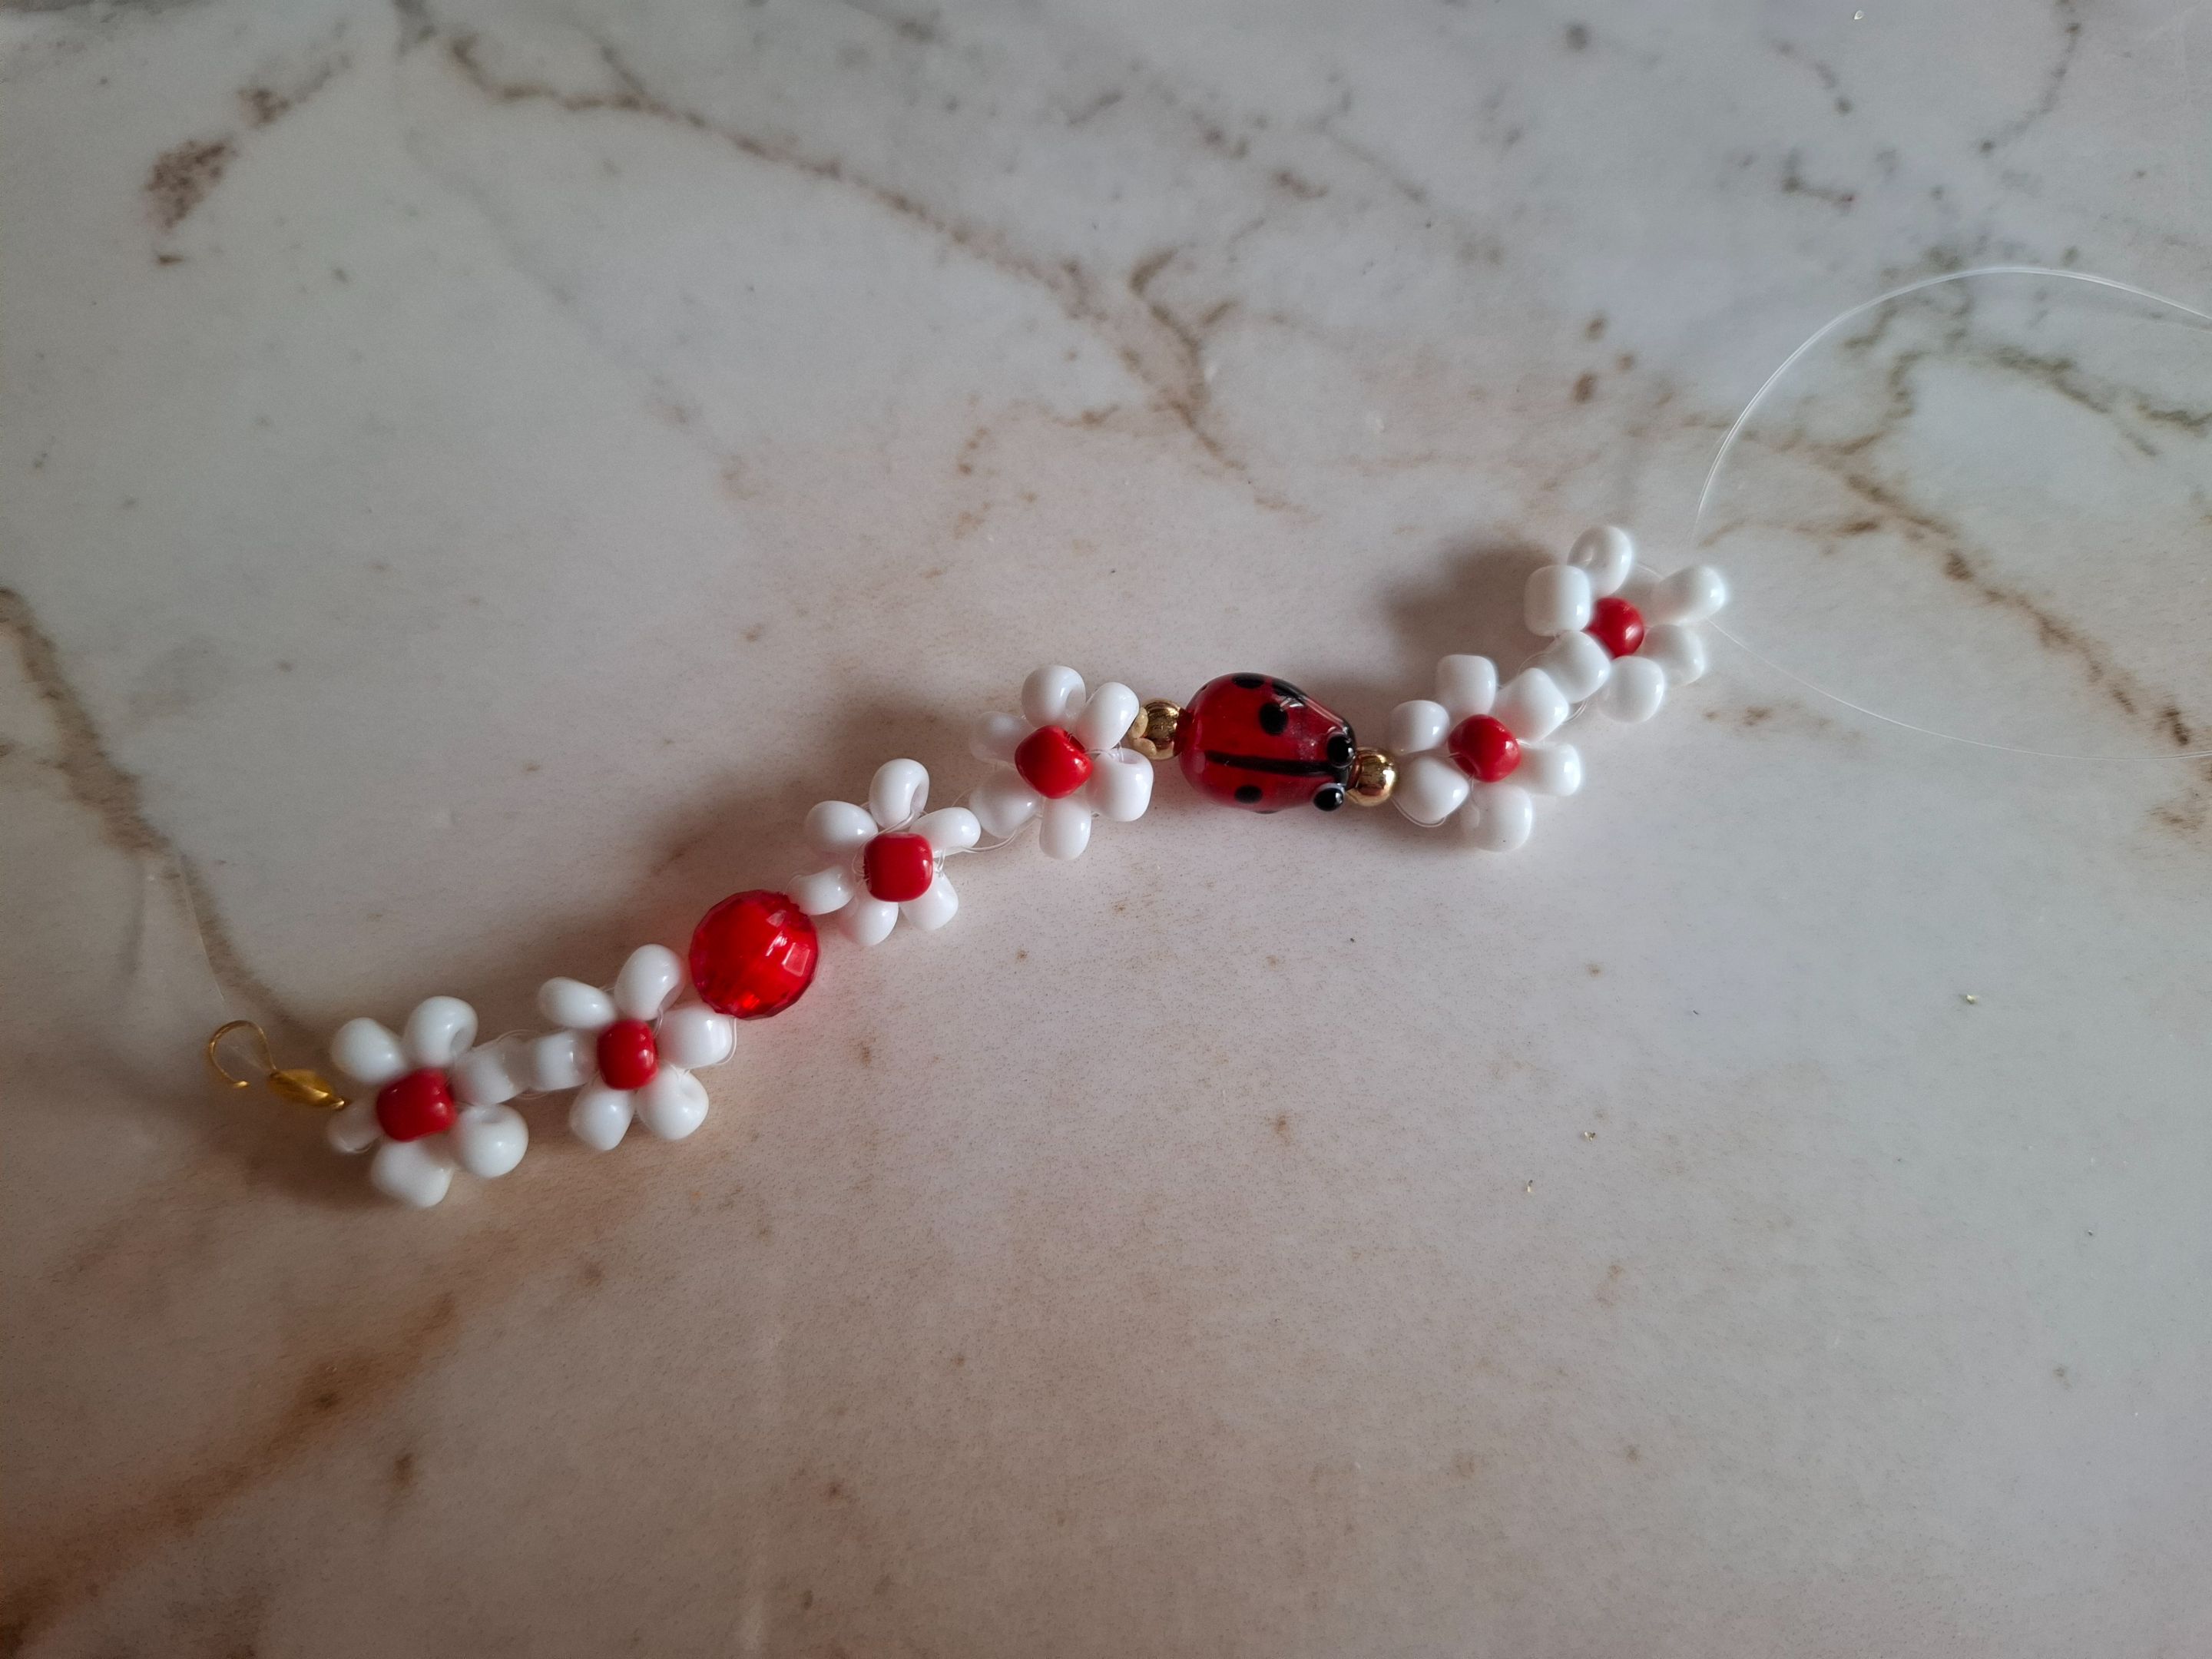
Este paso lo realicé una vez más, luego colocamos una cuenta roja, realizamos dos flores más, ahora el siguiente paso será colocar un balín dorado seguido del dije de mariquita y un balín dorado, luego continuamos la secuencia de las flores.
I did this step once more, then we placed a red bead, we made two more flowers, now the next step will be to place a golden ball followed by the ladybug charm and a golden ball, then we continue the sequence of the flowers.
 |
 |
 |
|---|---|---|
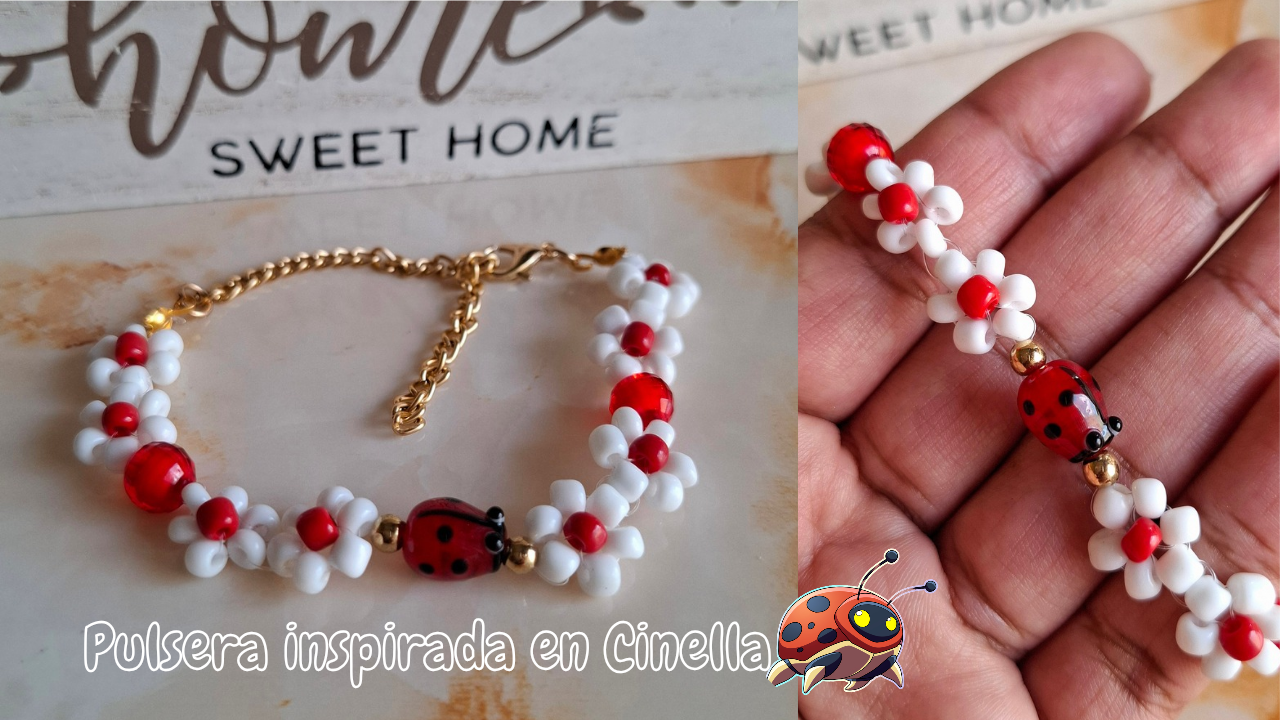
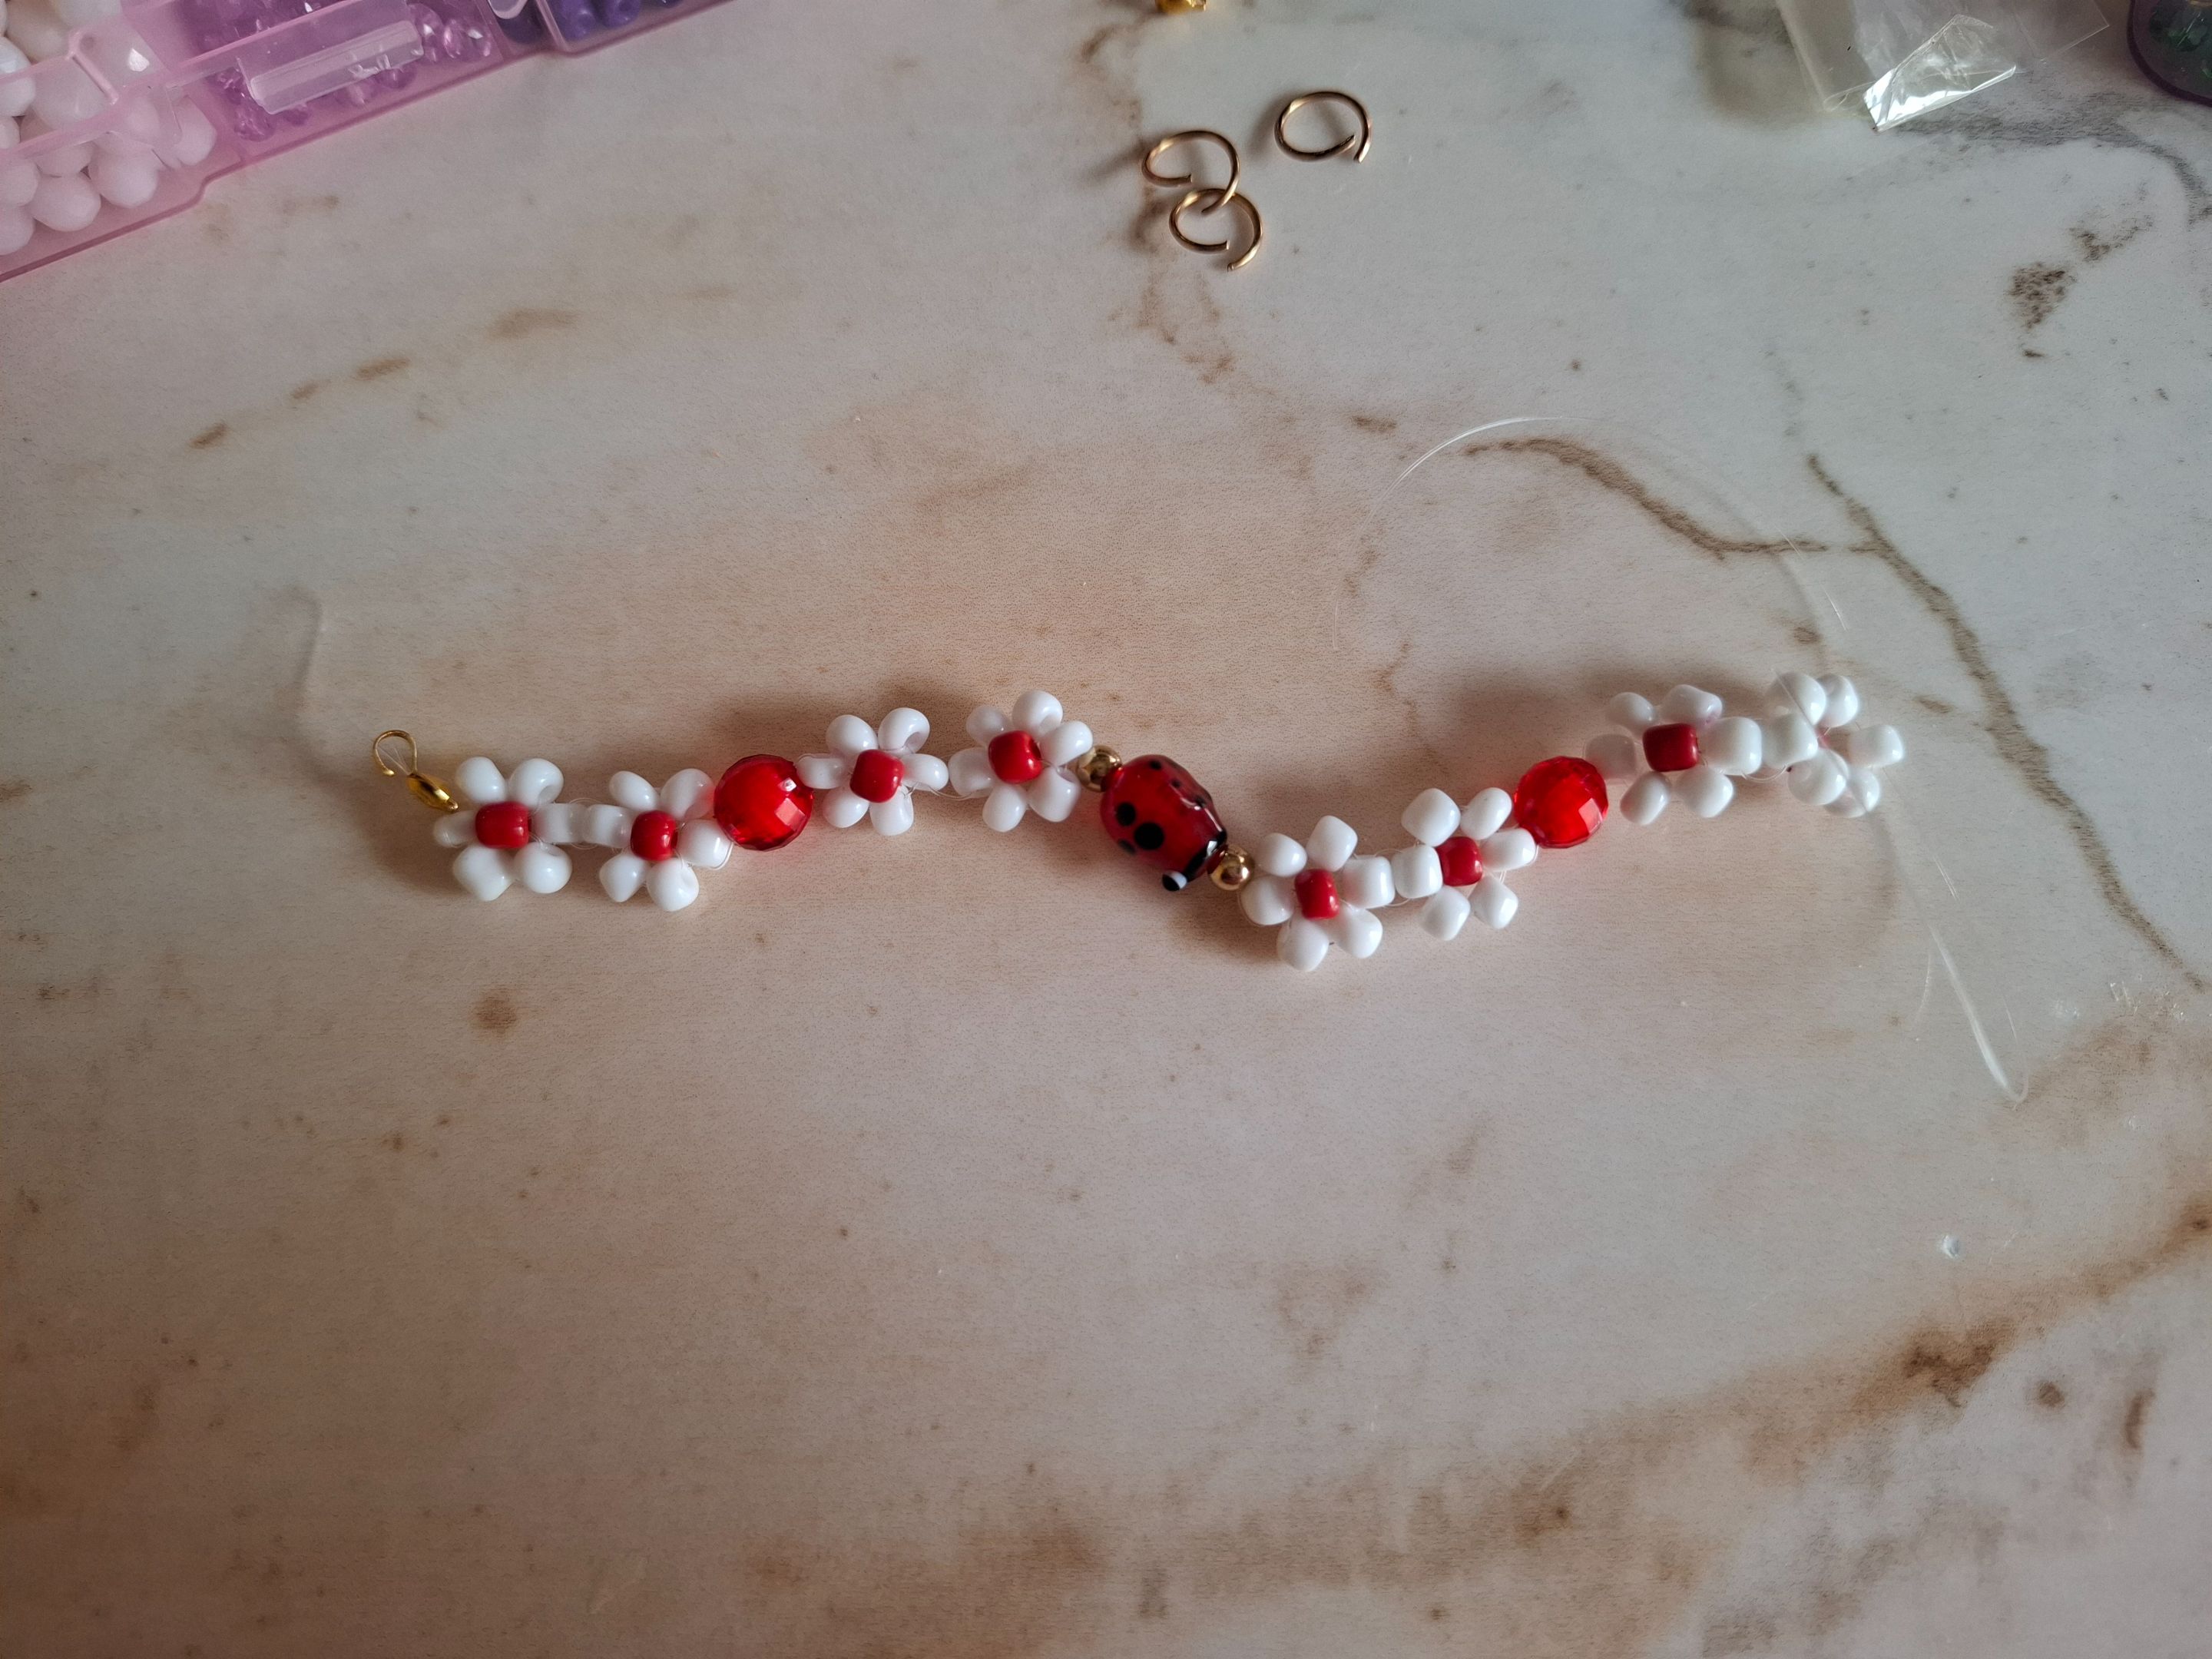
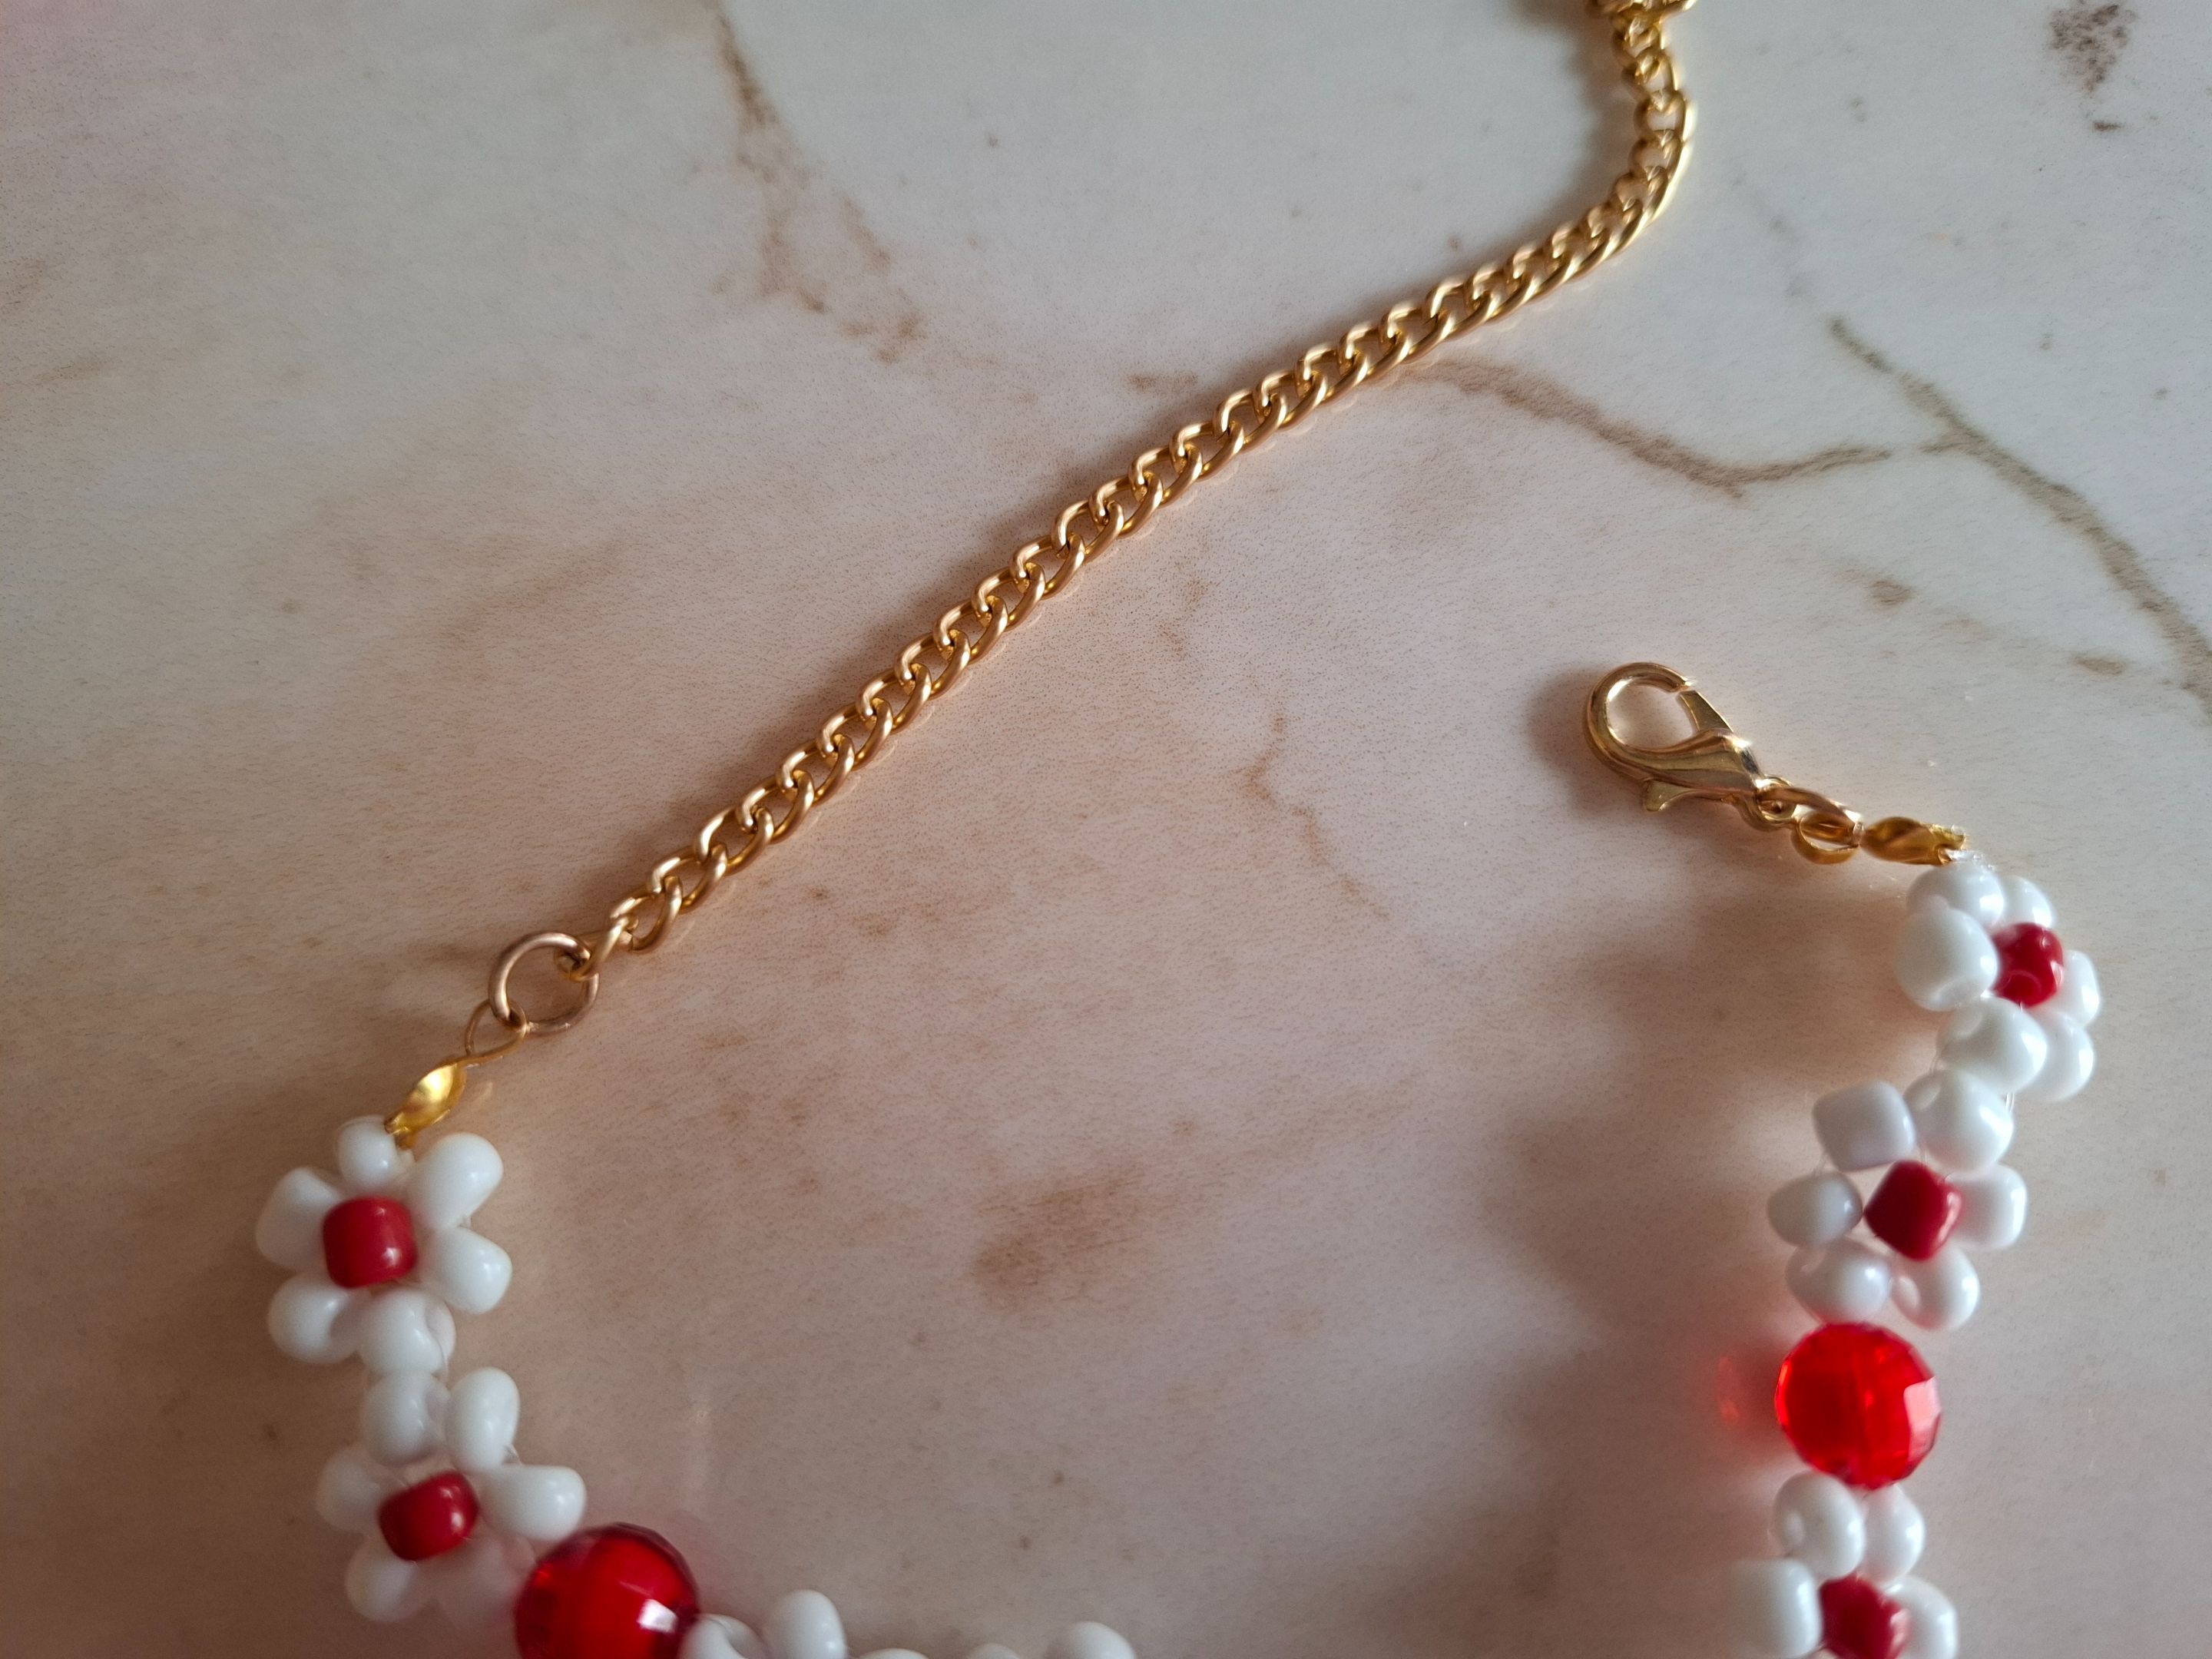
Al terminar todas las flores voy a colocar un tapanudos, colocamos una argolla de cada lado y cortamos aproximadamente 10 cm de cadena, está cadena la voy a colocar del lado izquierdo y el broche del lado derecho, esto permite ajustar la pulsera de acuerdo al tamaño de tu muñeca.
When I've finished all the flowers, I'll add a knot cover, place a ring on each side, and cut approximately 10 cm of chain. I'll place this chain on the left side and the clasp on the right side. This allows you to adjust the bracelet to the size of your wrist.
 |
 |
 |
|---|---|---|
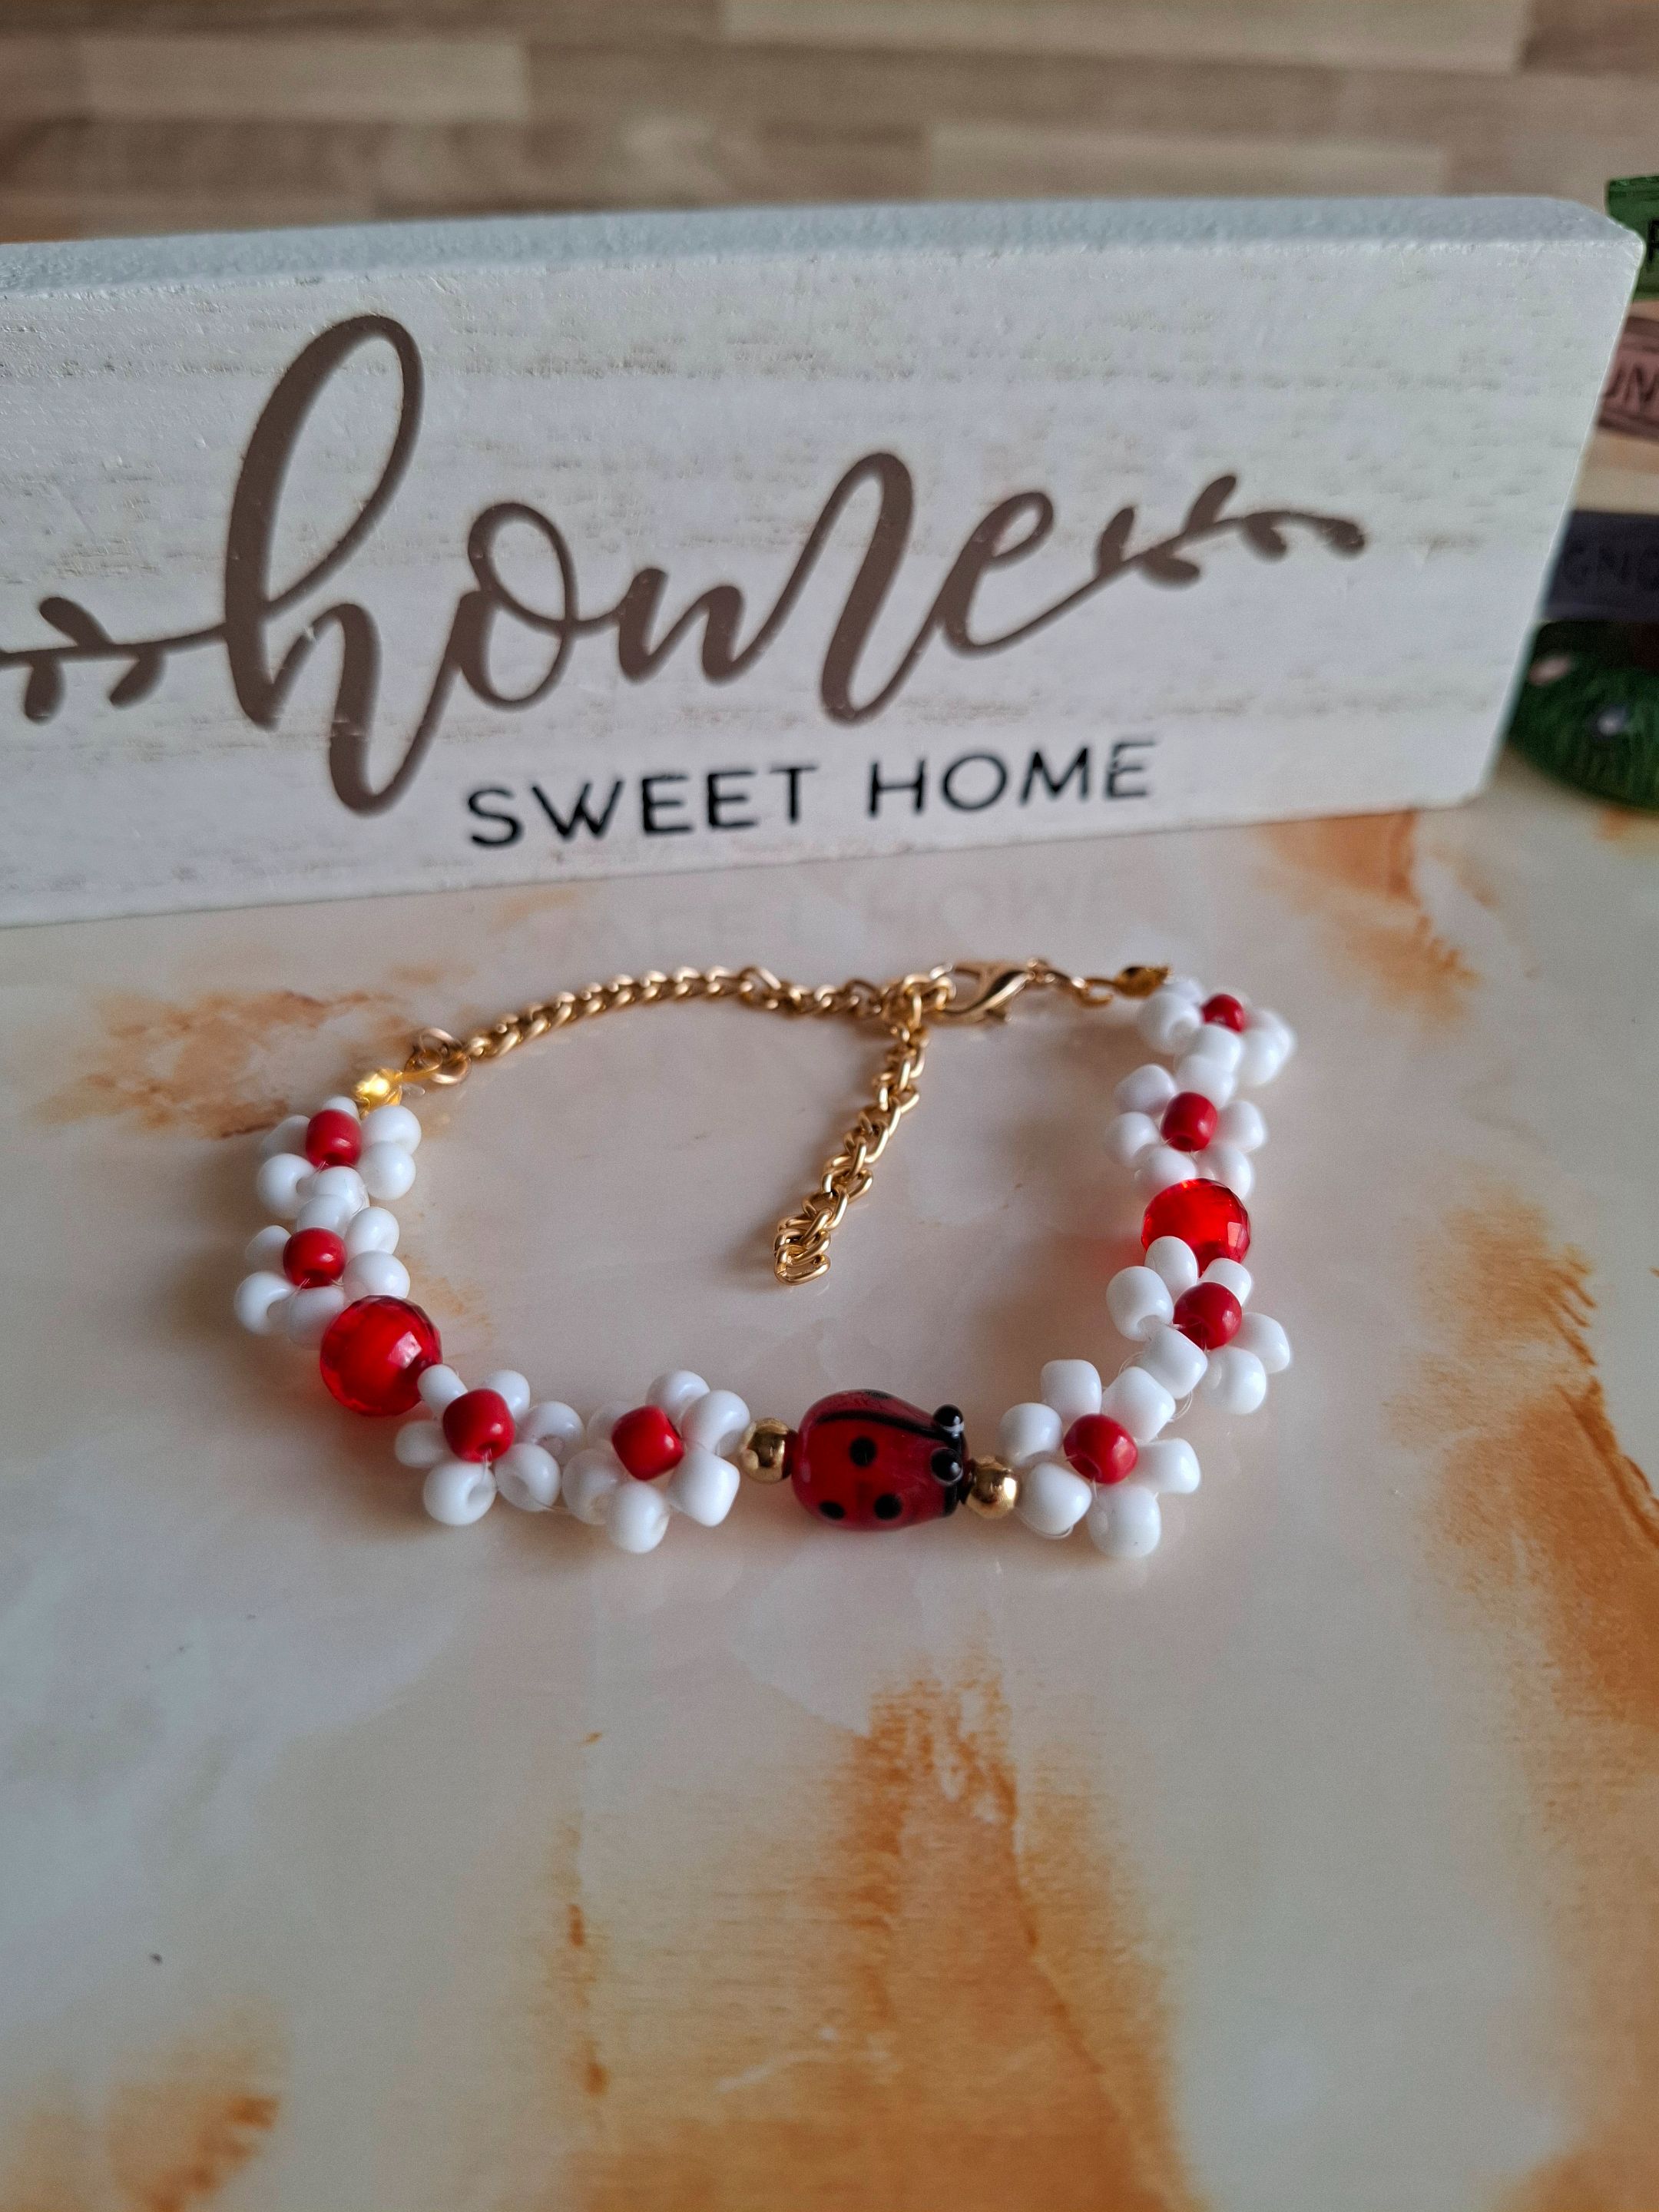
De esta forma terminé este bello accesorio inspirado en Cinella, espero les haya gustado muchas gracias por visitar mi publicación nos vemos en una próxima oportunidad con más ideas creativas.
This is how I finished this beautiful Cinella-inspired accessory. I hope you liked it. Thank you very much for visiting my post. See you next time with more creative ideas.