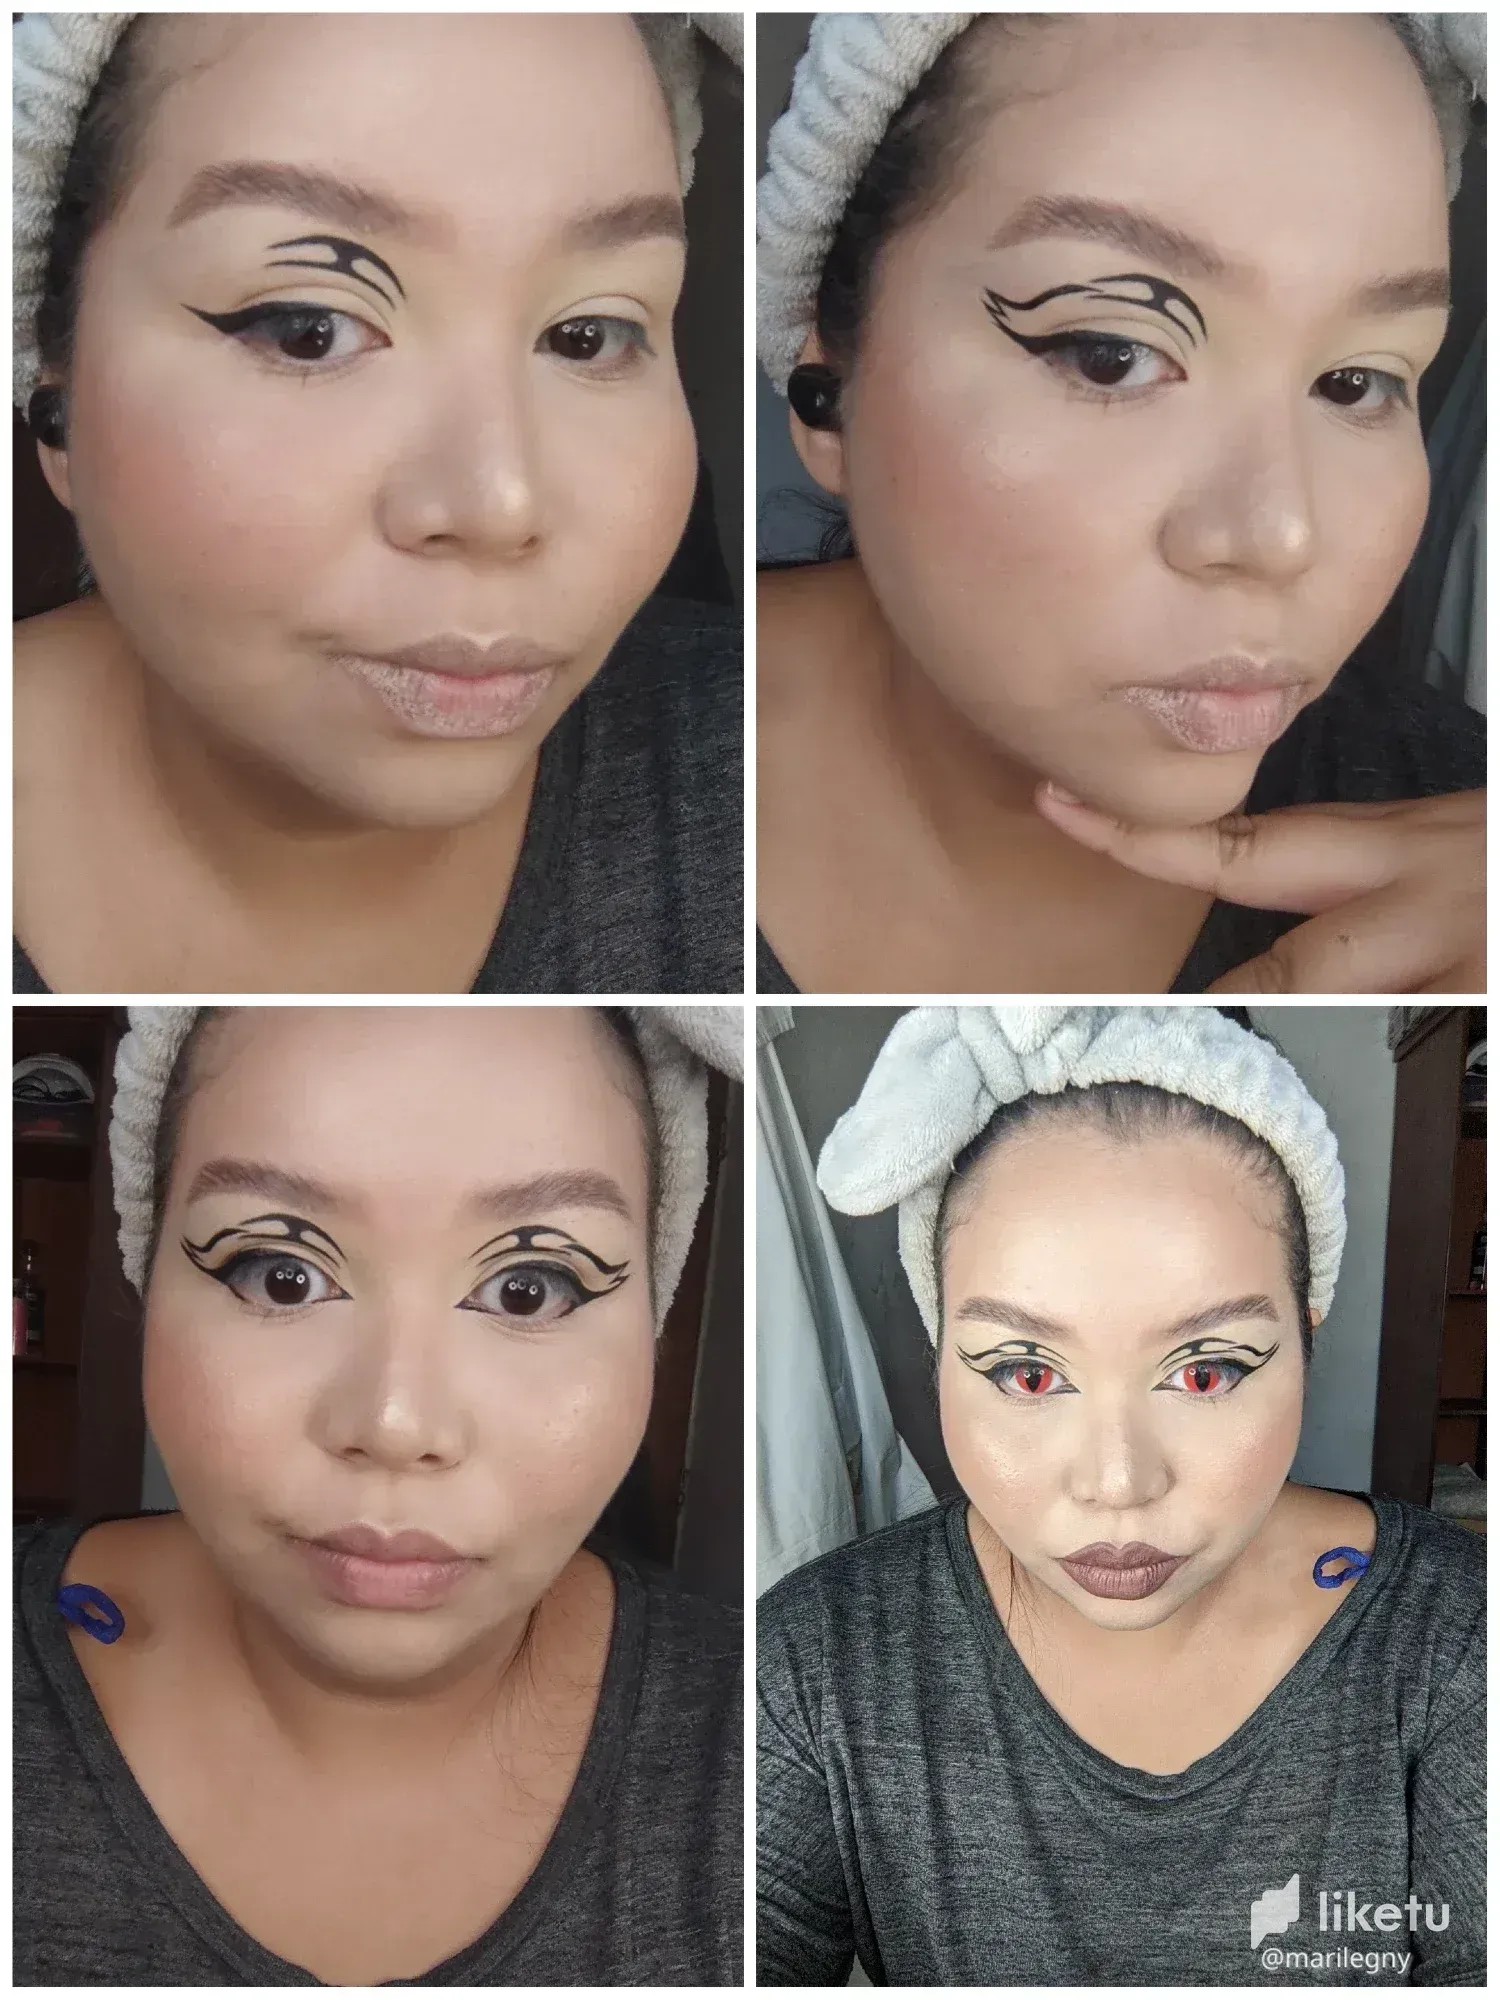
**¡Hola hola, queridos amigos de Liketu!** Estoy como siempre muy contenta de volver a estar acá con ustedes y hoy quería compartirles las fotos + mini tuto (foto 03) de un delineado que hice y que debo confesarles que hace tiempo vi diseños similares y me llamaban mucho la atención, sin embargo el tiempo pasó y dejé eso a un lado, dándole prioridad a algunas responsabilidades que tenía encima, ya que esta clase de looks los hago con el fin de crear contenido.
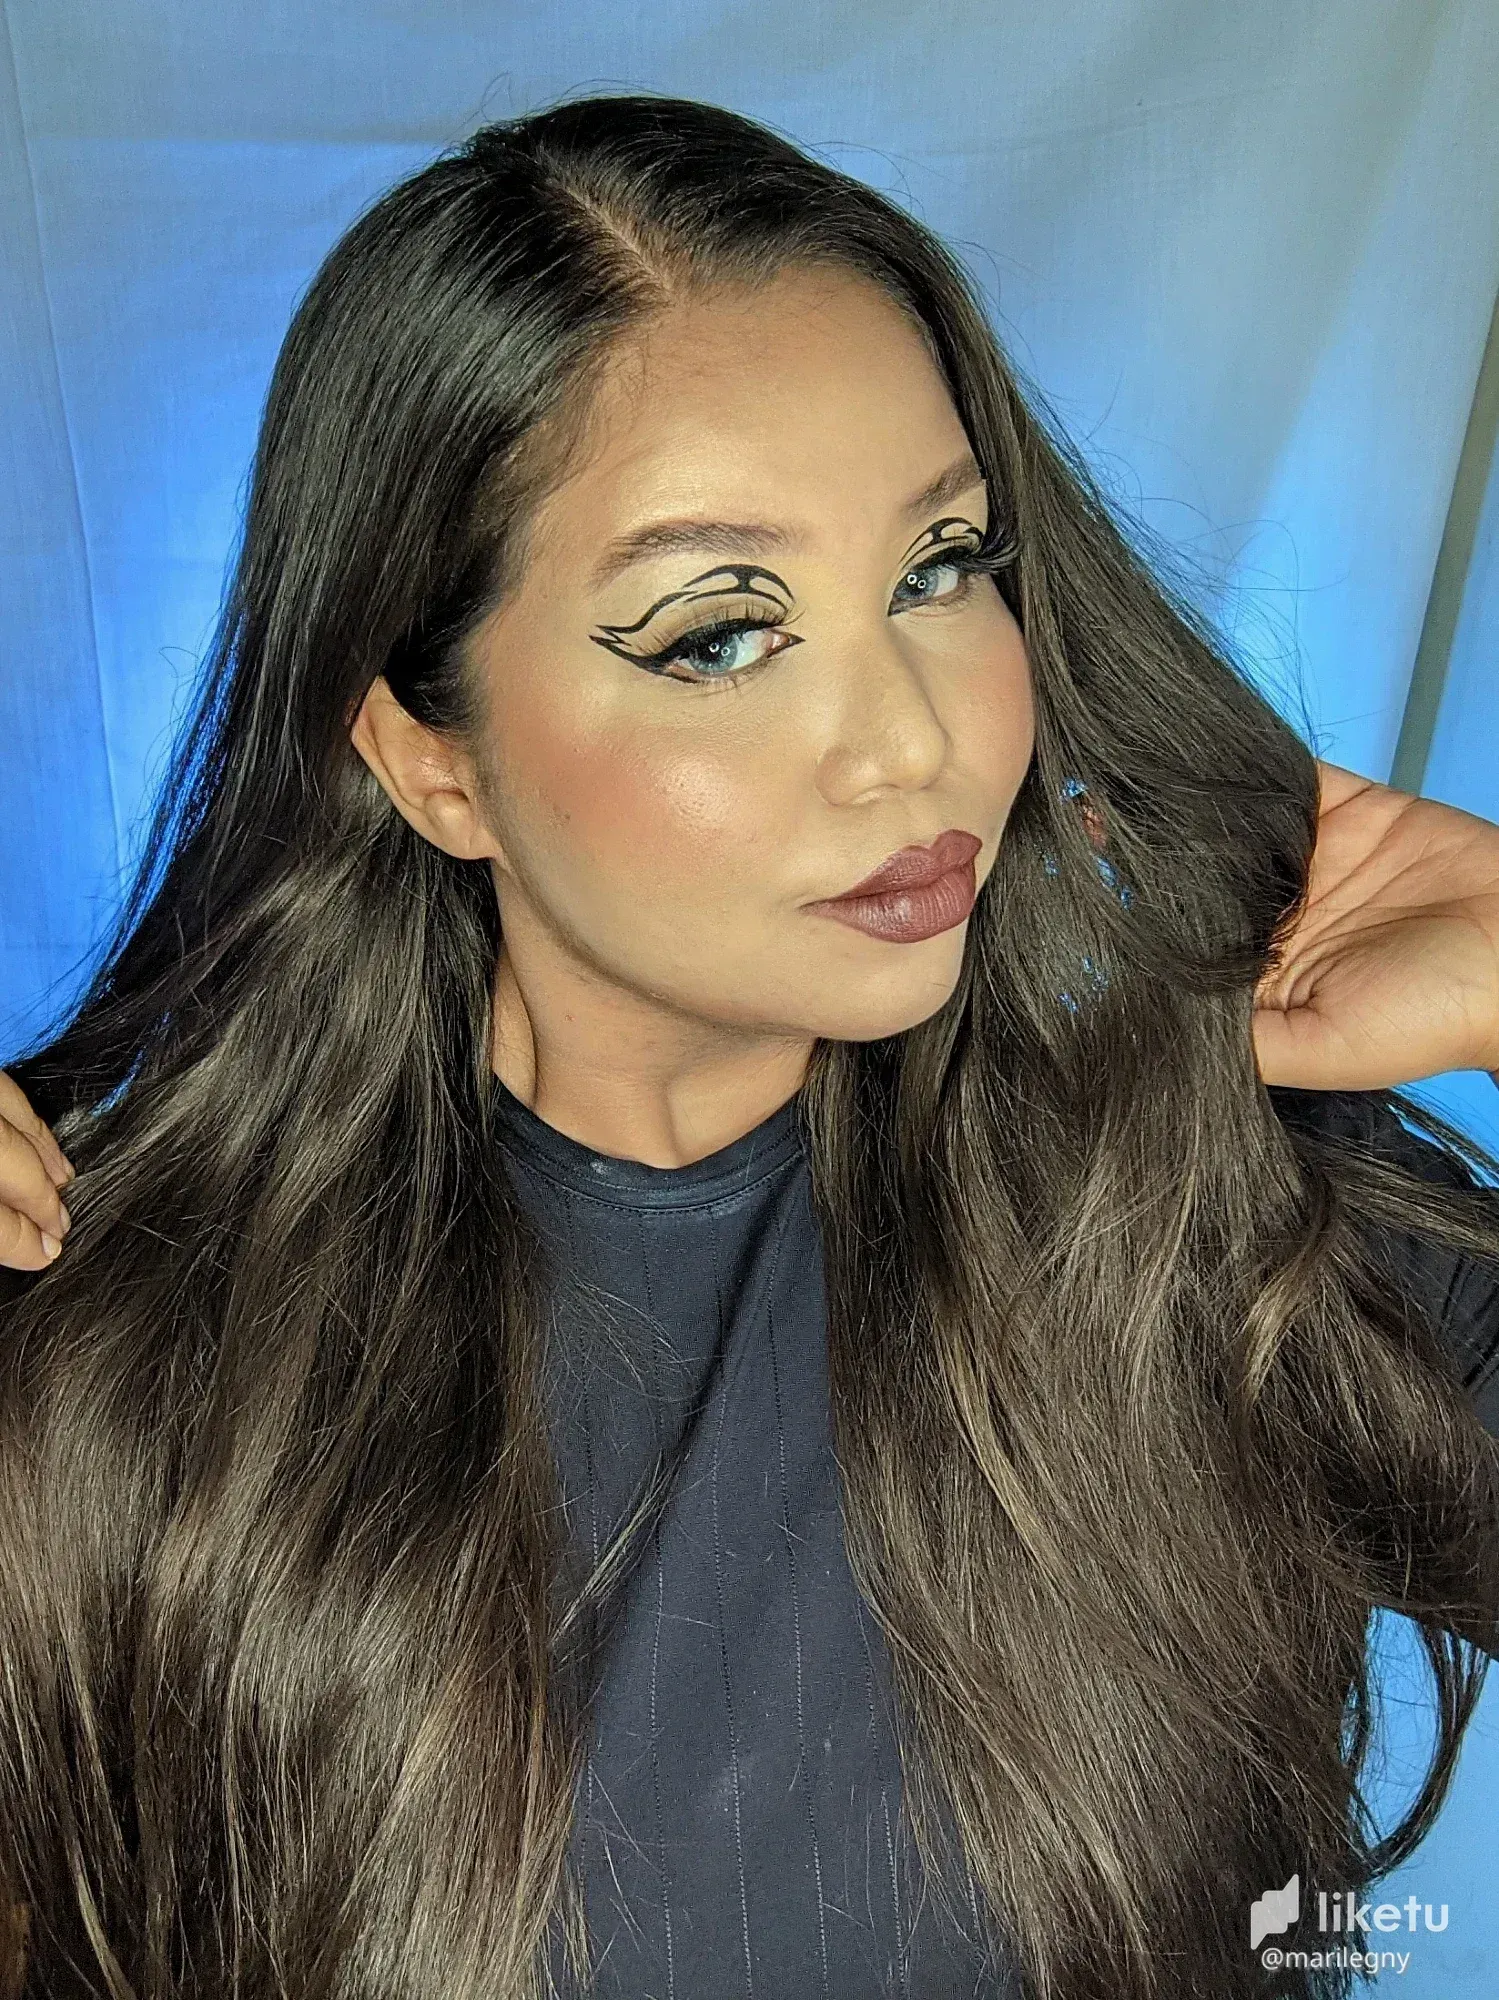
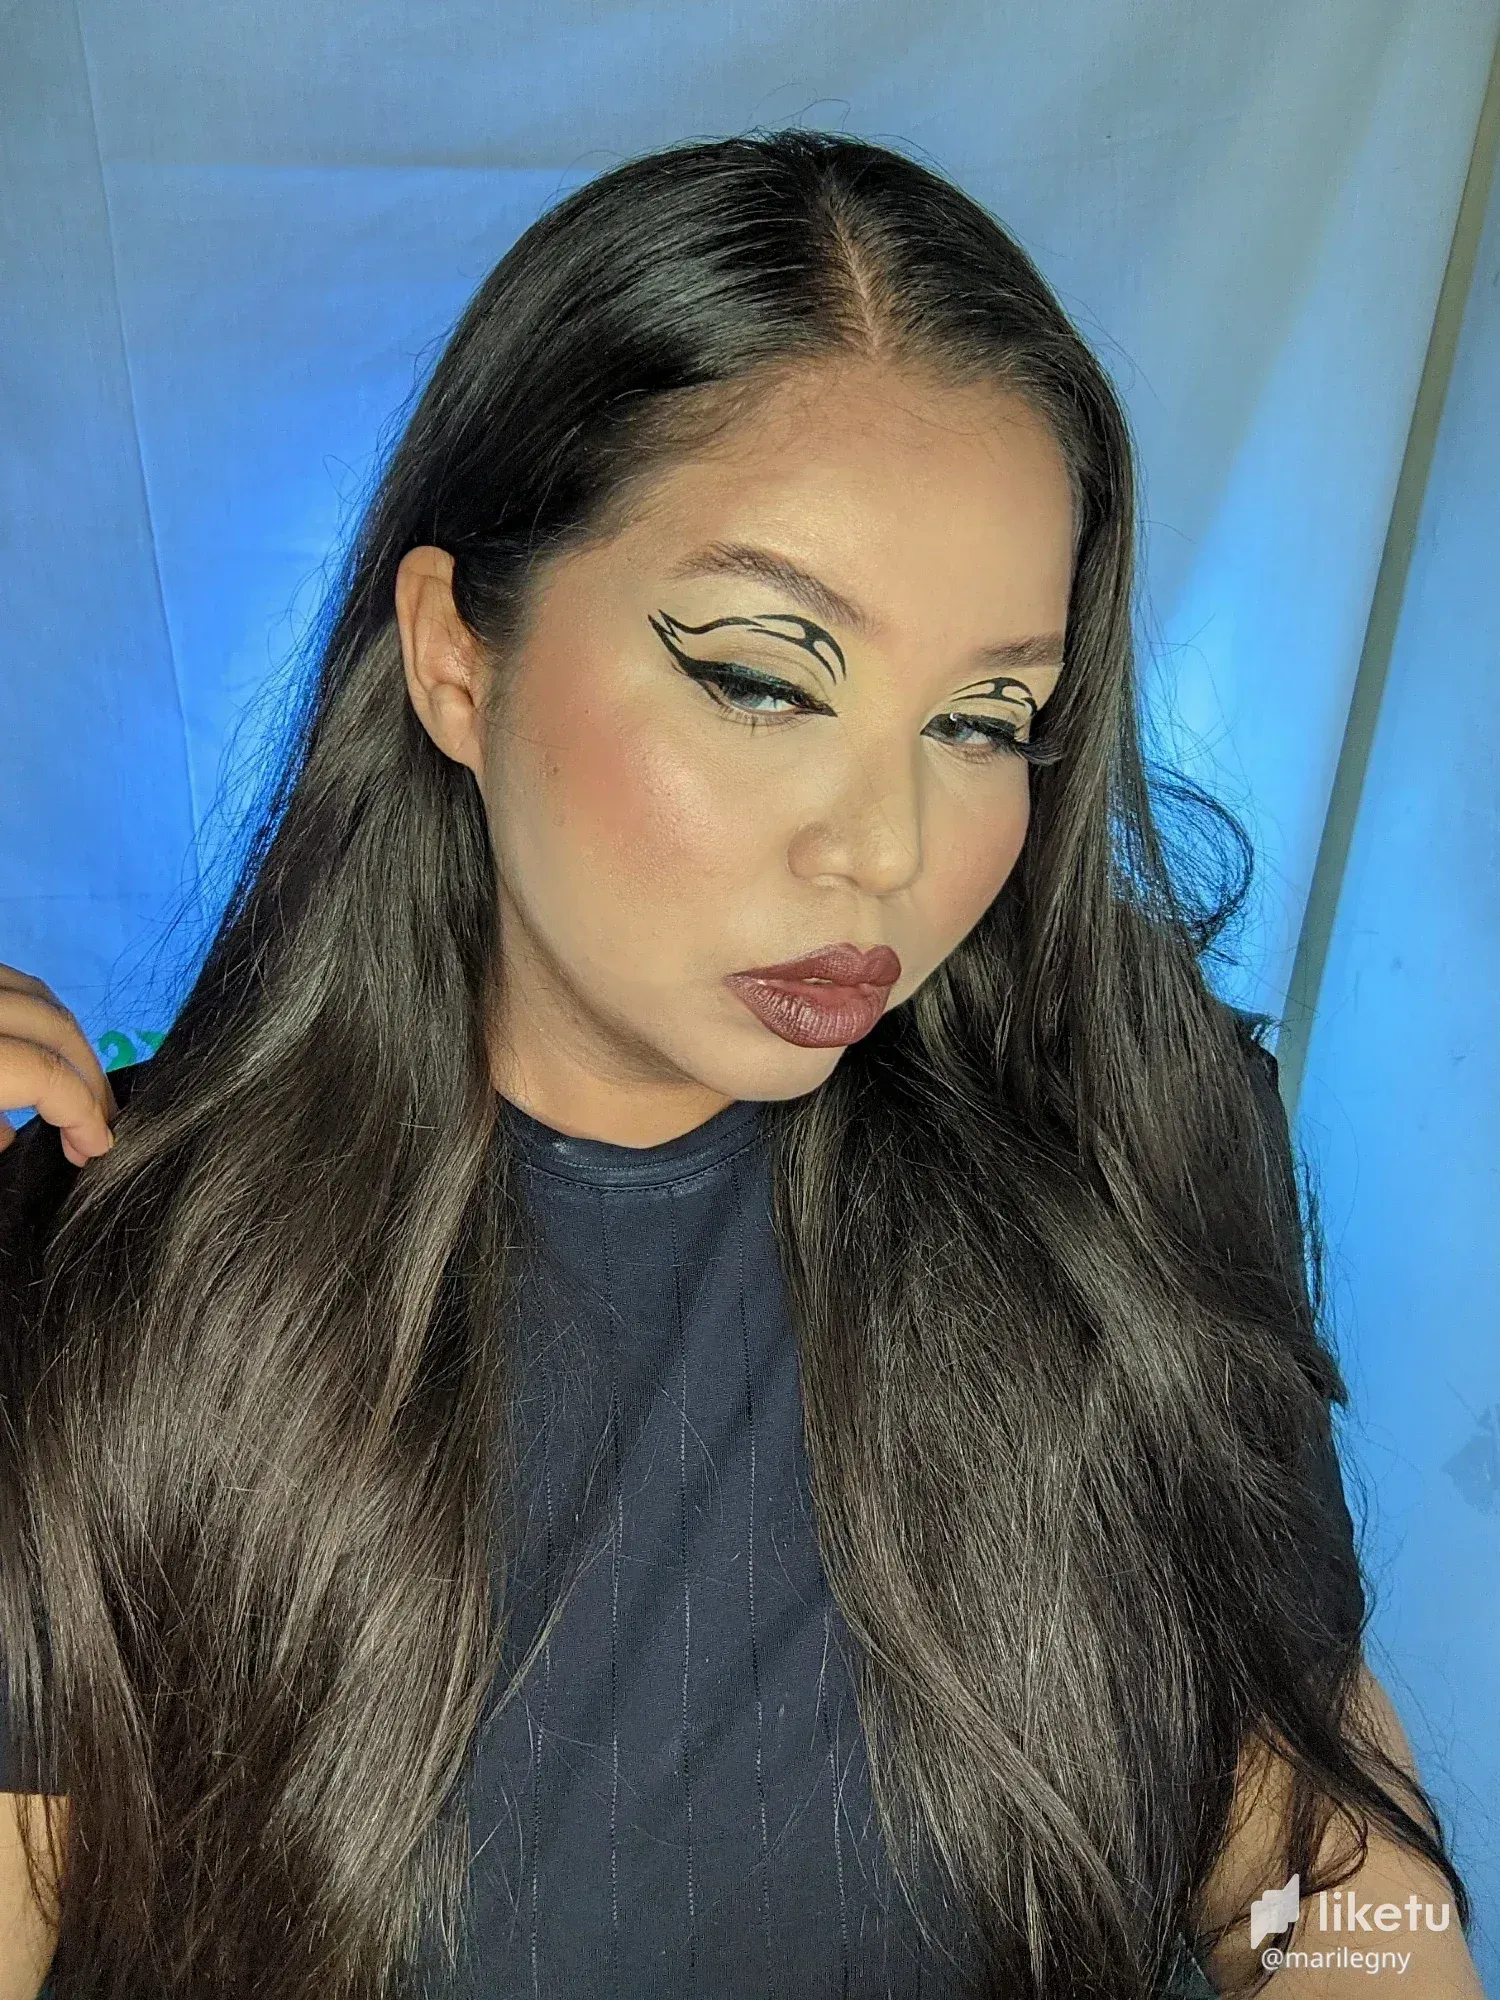
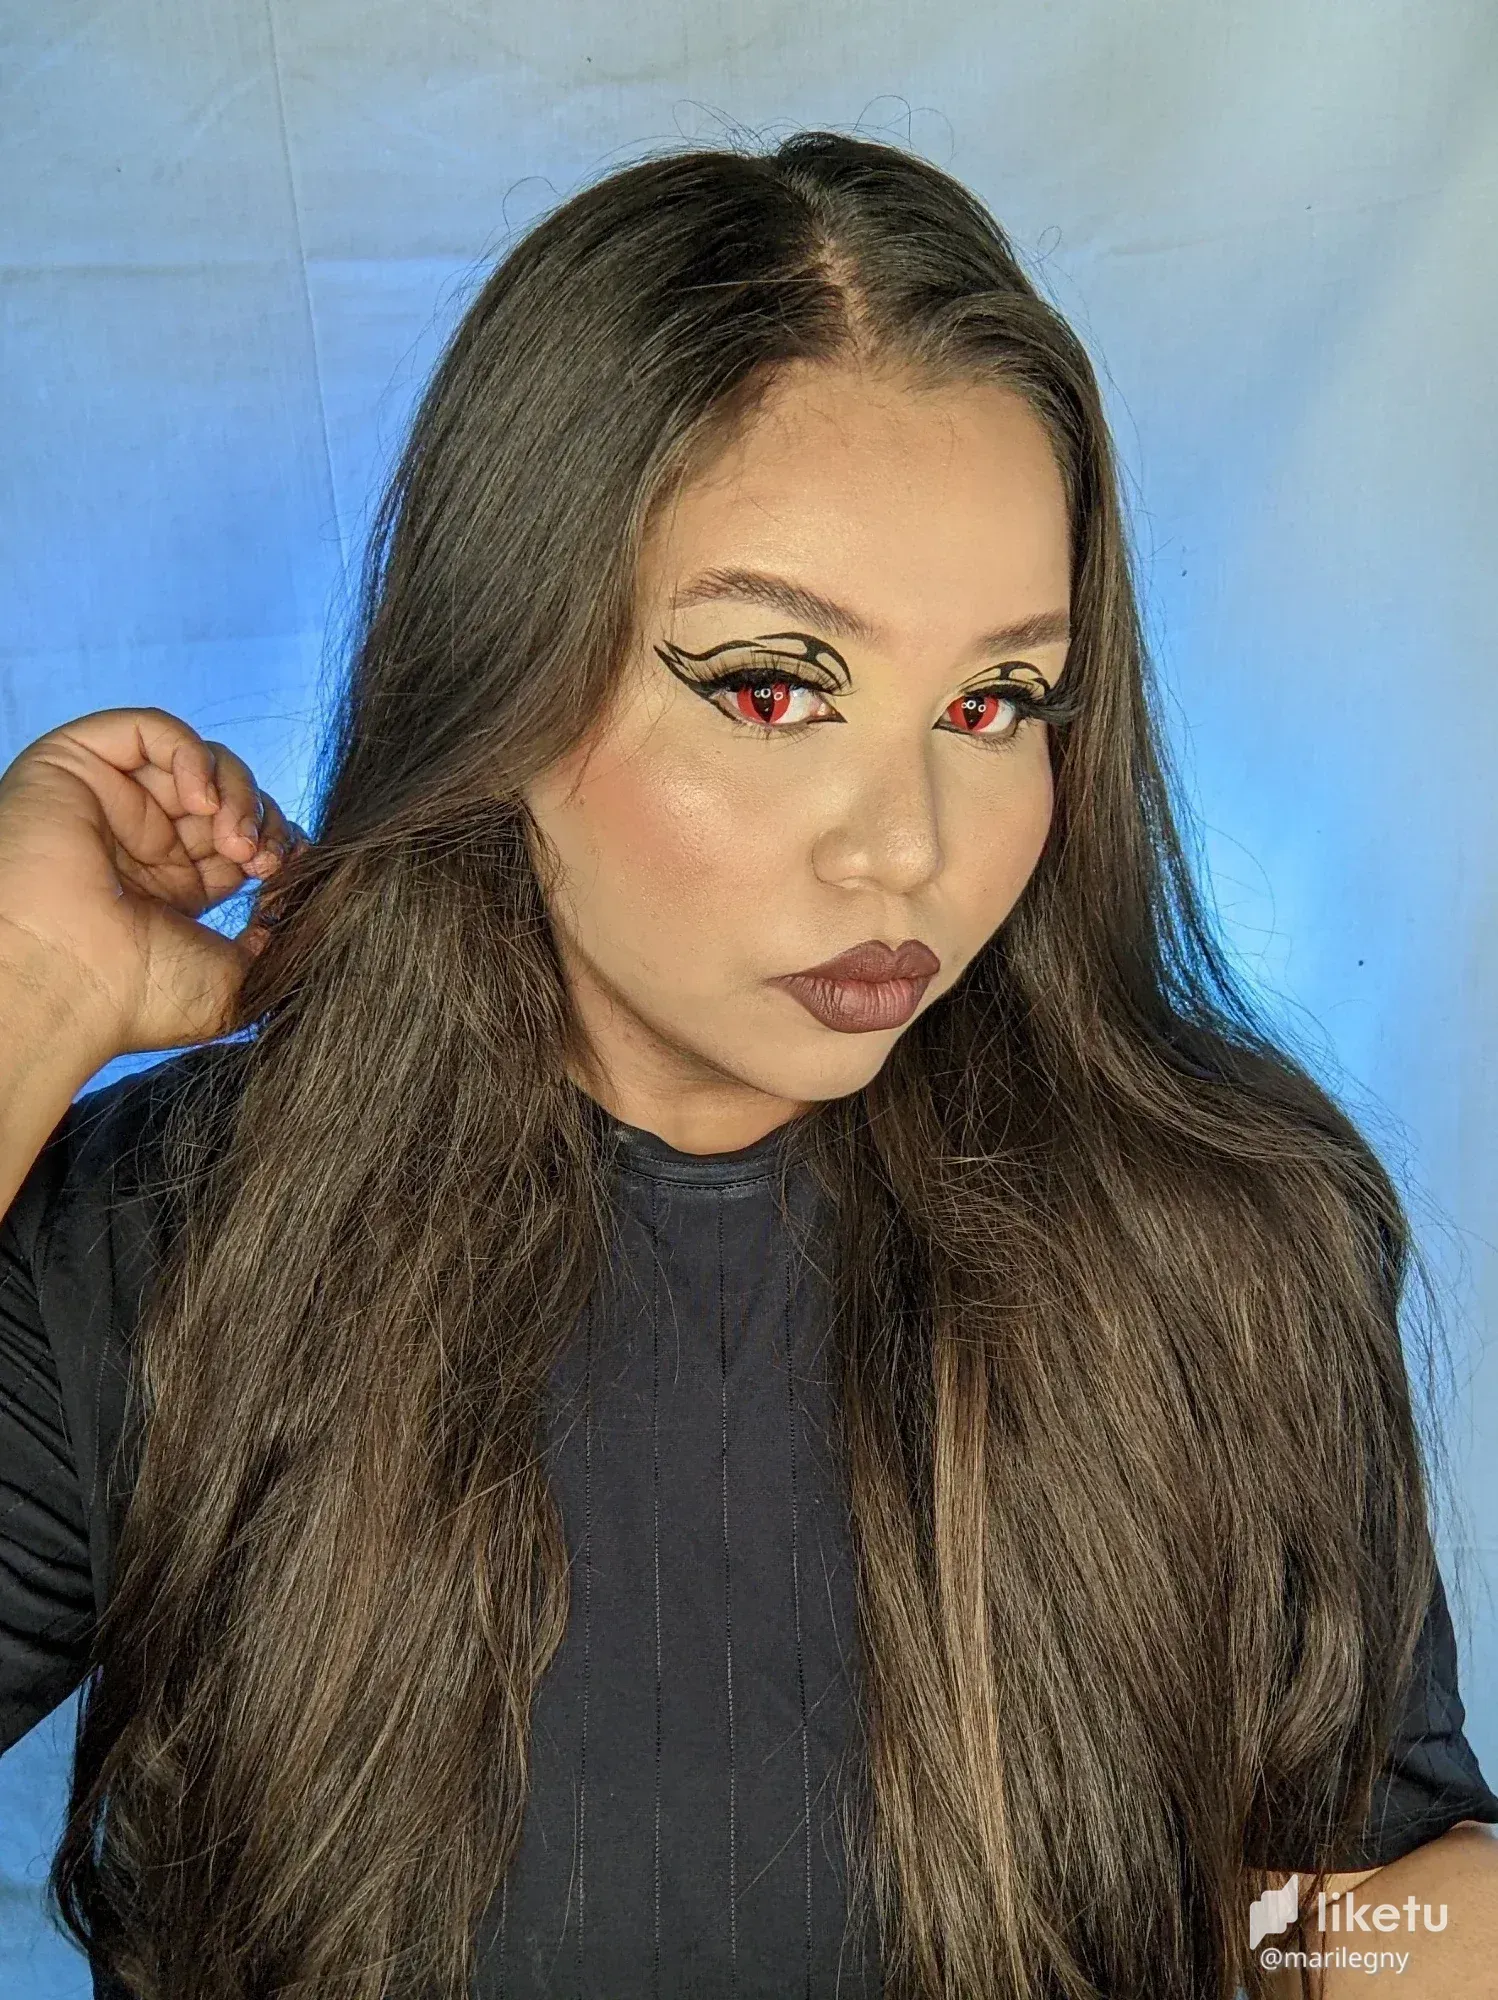
Todo esto cambió cuando llegó el turno de hacer reseña de unos lentes de contacto que me mandó la marca Lensweets y además de esos lindos lentes grises que pueden ver en la primera y segunda foto, me mandaron unos rojos camaleón súper espectaculares y dije, "el momento del delineado ha llegado" 😂
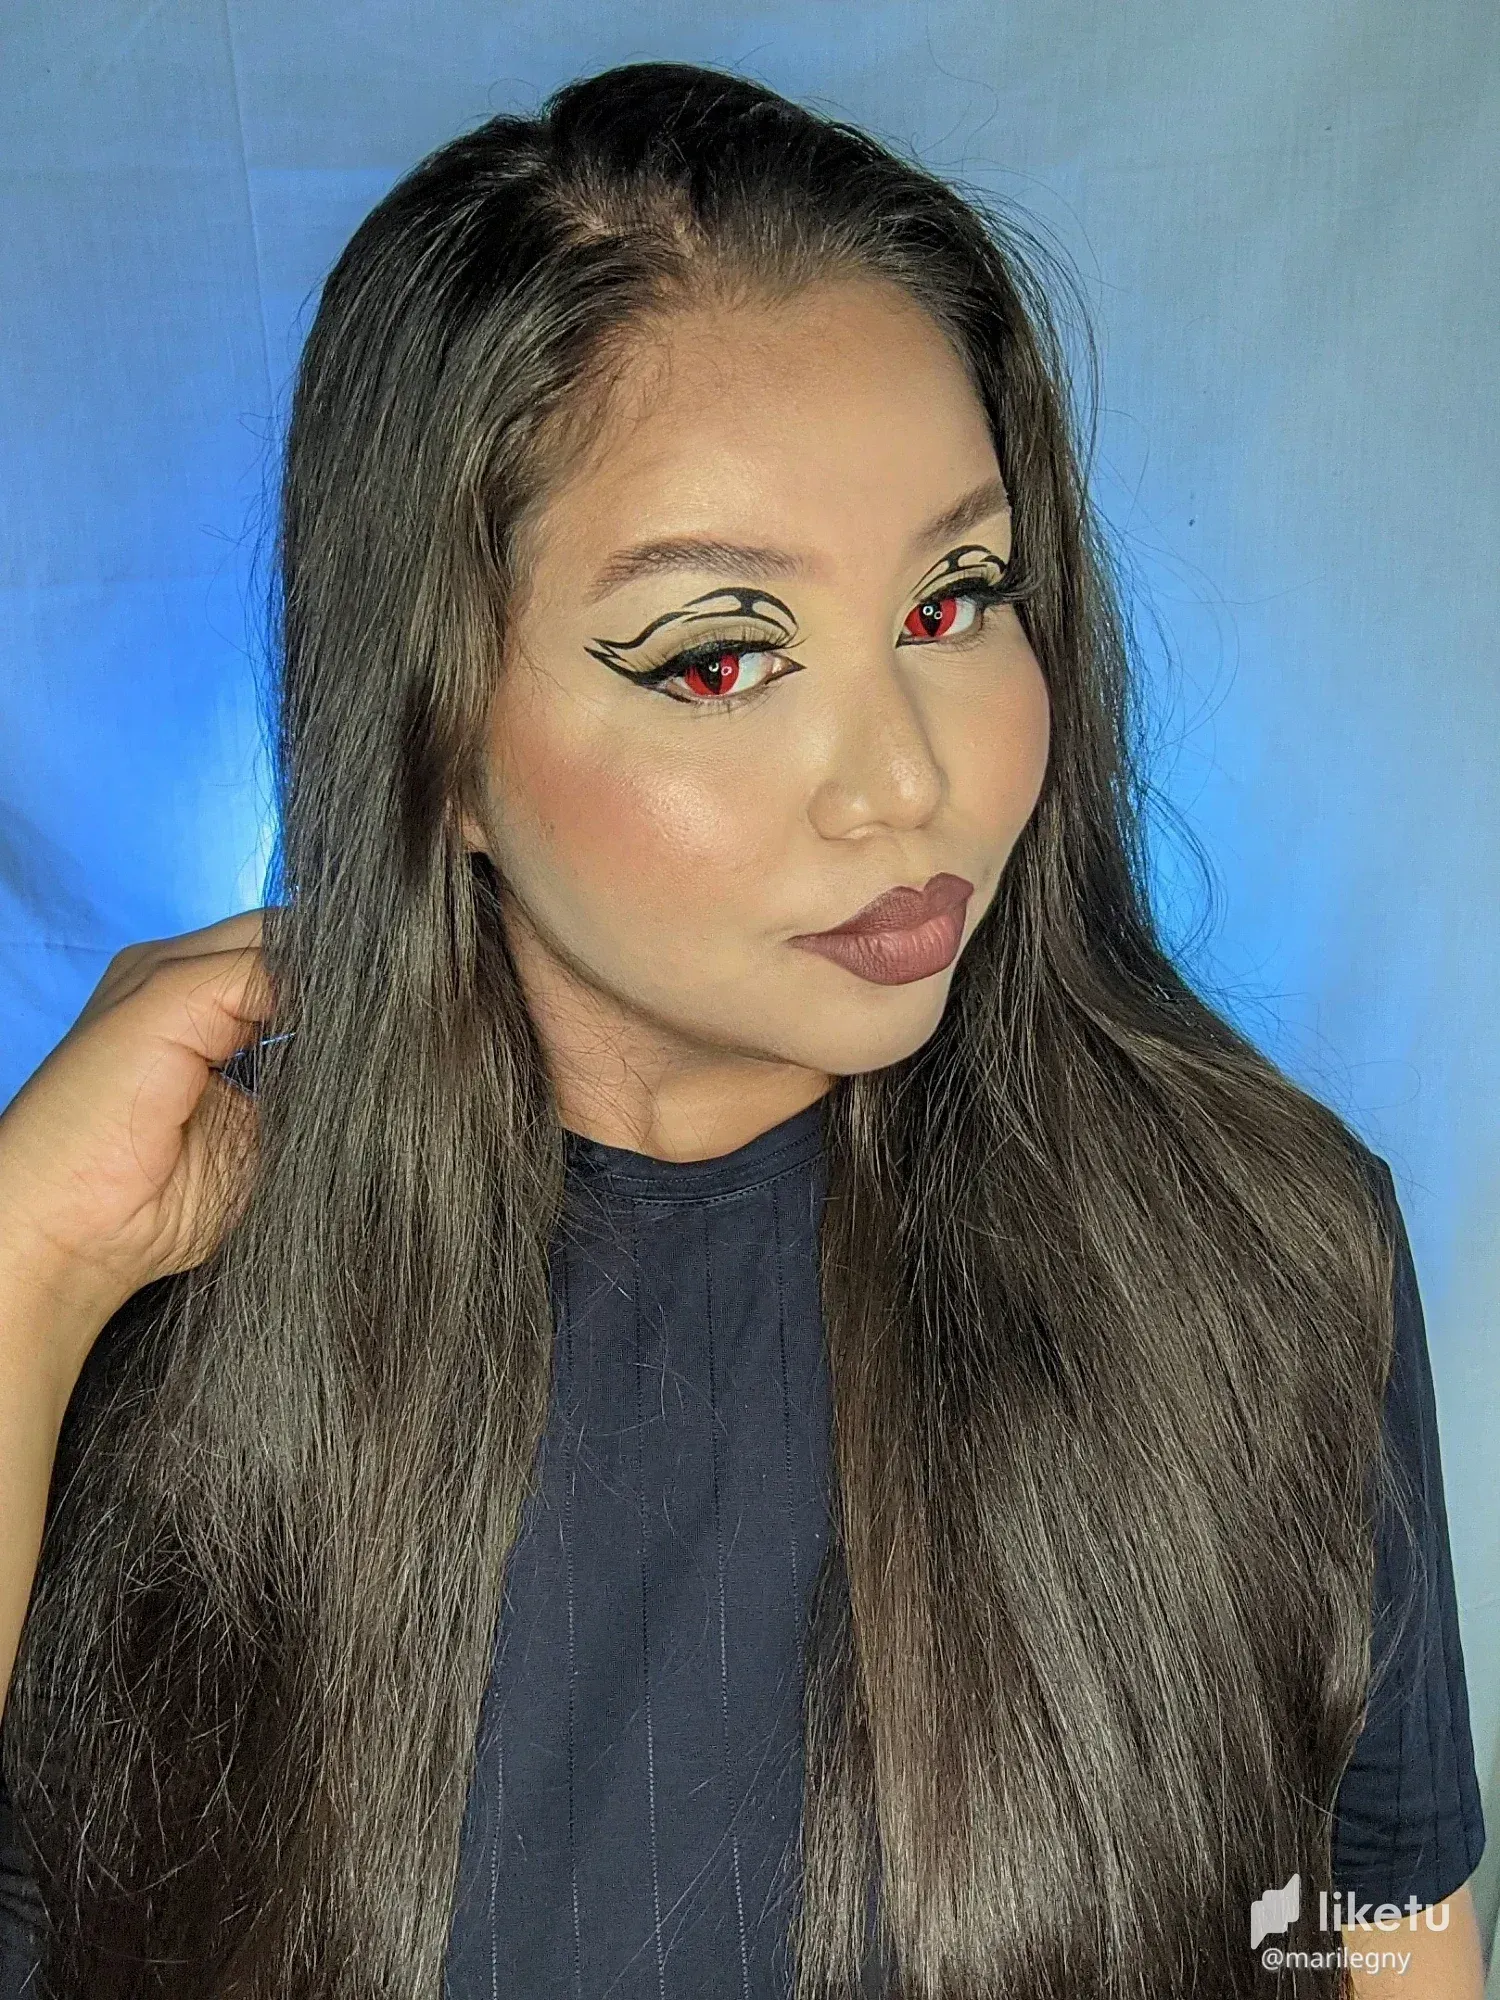
No les voy a mentir, me tomó bastante tiempo porque al principio estuve garabateando y una vez que la idea estaba definida en mi cabeza, no me salía porque mi pulso no me estaba colaborando y así fue como tardé dos horas solo delineando🙈 Por lo menos la piel ya la tenia lista y al finalizar, me puse mis lentes y me tomé mis mejores fotos, iniciando obviamente por los lentes rojos, que son las 04 y 05.
Lo mejor de estos lentes es lo cómodos que son y que no afectan nada mi visibilidad, cosa que no pasa con todos pero lo malo es que sólo duran un mes 😪 entonces aproveché de hacer un look de halloween que amé y que pronto les estaré compartiendo, así que nos vemos en el próximo post💞
----
**Hello hello, dear friends of Liketu!** I am, as always, very happy to be here with you again and today I wanted to share with you the photos + mini tutorial (photo 03) of an eyeliner that I did and that I must confess that a long time ago I saw similar designs and they caught my attention, however, time passed and I put that aside, giving priority to some responsibilities that I had on me, since I do this kind of looks in order to create content.
All this changed when it was time to review some contact lenses that the Lensweets brand sent me and in addition to those nice gray lenses that you can see in the first and second photo, they sent me some super spectacular red chameleons and I said, "the delineation time has come" 😂
I'm not going to lie to you, it took me a long time because at first I was doodling and once the idea was defined in my head, it didn't come out because my pulse wasn't helping me and that's how it took me two hours just outlining🙈 At least I already had the skin ready and at the end, I put on my glasses and took my best photos, obviously starting with the red glasses, which are 04 and 05.
The best thing about these glasses is how comfortable they are and that they don't affect my visibility at all, which doesn't happen with everyone, but the bad thing is that they only last a month 😪 so I took the opportunity to do a Halloween look that I loved and that I'll be sharing with you soon , so see you in the next post💞
----
**Imágenes editadas en la aplicación Snapseed.** | Por @marilegny
----
Espero les haya gustado mucho este tutorial pero sobre todo, que hayan aprendido algo nuevo o diferente💖 Yo como siempre, estoy muy contenta de compartirles este contenido que tanto disfruto realizar 😁 **Nos vemos en el próximo 💞**
> I hope you enjoyed this tutorial but most of, I hope you learned something new or different💖 I'm, as always, really happy about sharing this content that enjoy to create 😁 **See you in the next one💖**
**Banner creado en la aplicación Canva.** | Por @marilegny
---
#####
Todo el material digital fue realizado por mi persona, con mi celular, modelo POCO X3 Pro, con uso exclusivo para Hive Blog.
#####
All the digital content were created by myself, with my cellphone, a POCO X3 Pro, exclusively for Hive Blog.
For the best experience view this post on Liketu