Hola, personitas de Hive y comunidad de @lifestyle, ¿cómo están hoy? Espero que bien. Teniendo en cuenta que el regreso a clases está a la vuelta de la esquina, quería compartir con ustedes cómo me organizo utilizando el Bullet Journal, un método creado por Ryder Carroll que me parece increíble. Con tan solo una libreta en blanco (o unas hojas sueltas) y un bolígrafo, podemos empezar a organizar un poco más nuestra vida e incluso a conocernos mejor.
¿En qué consiste el método tradicional del Bullet Journal?
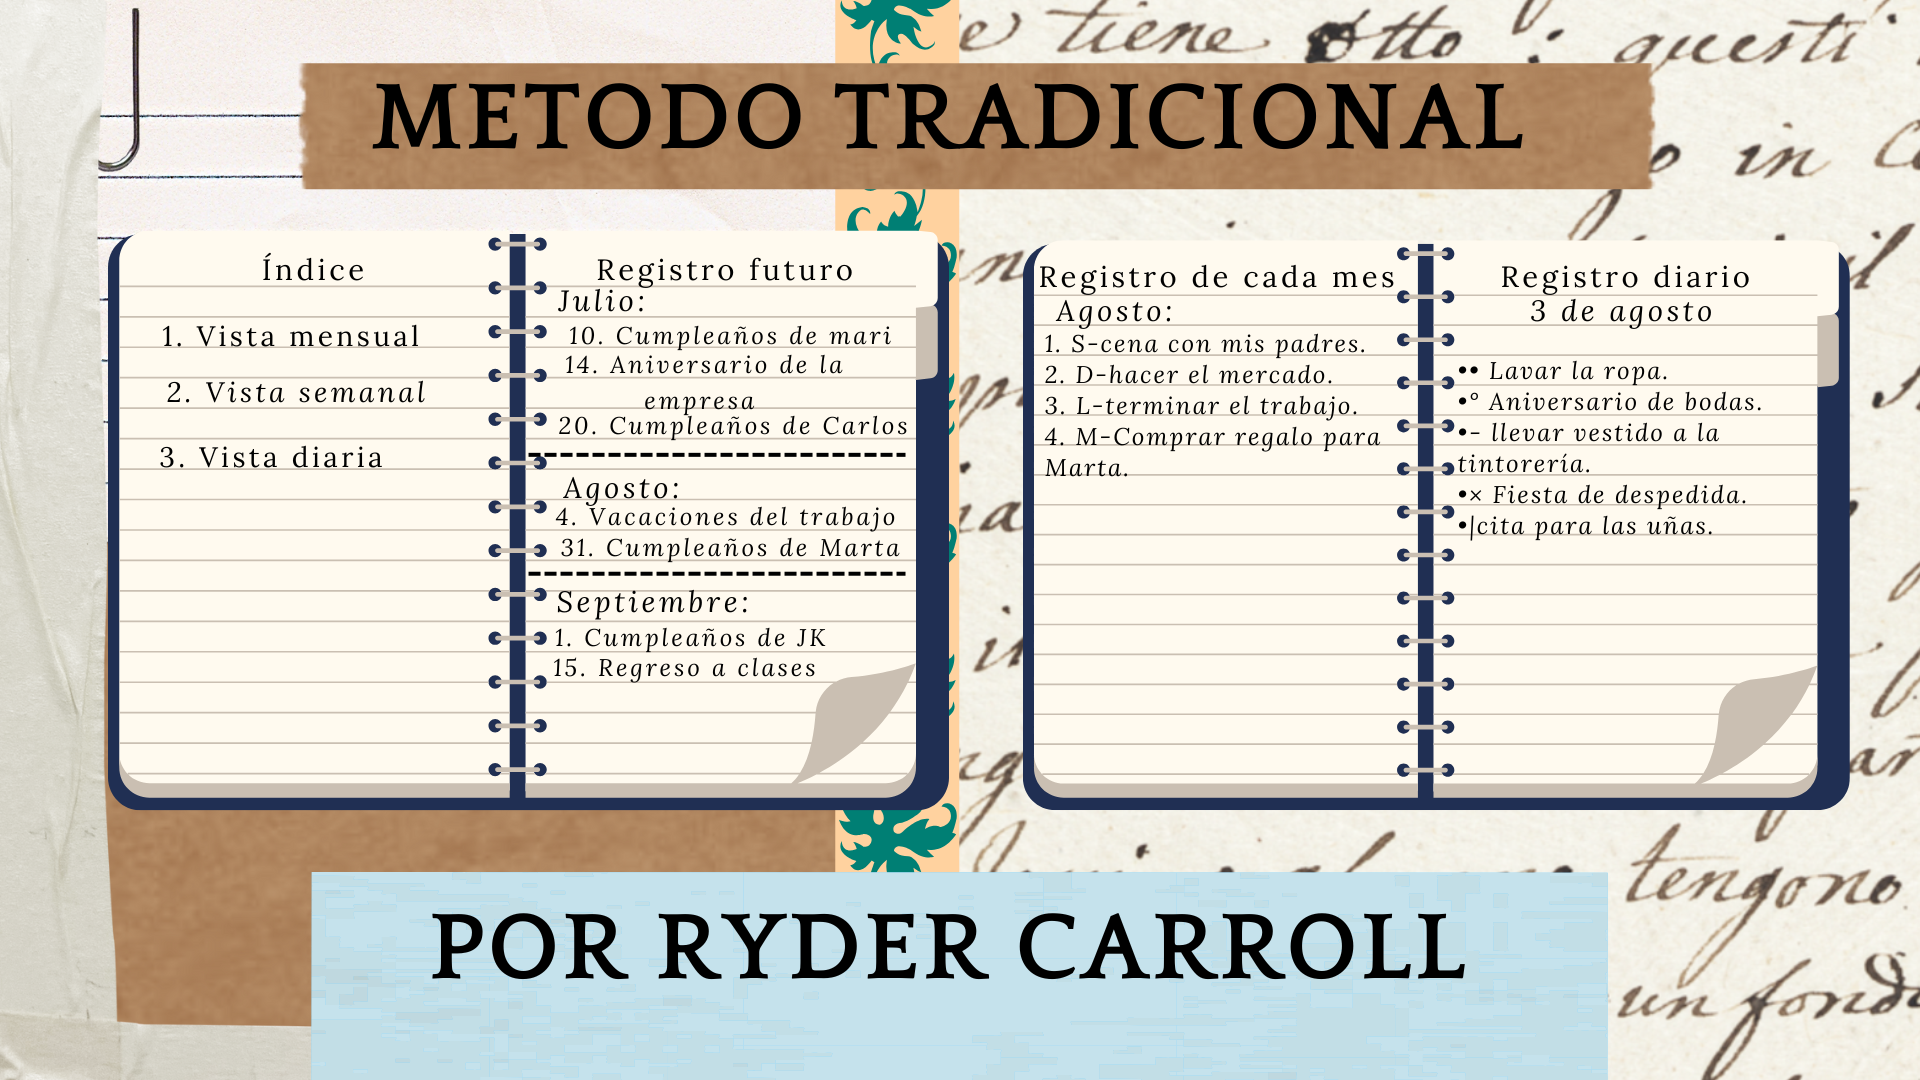
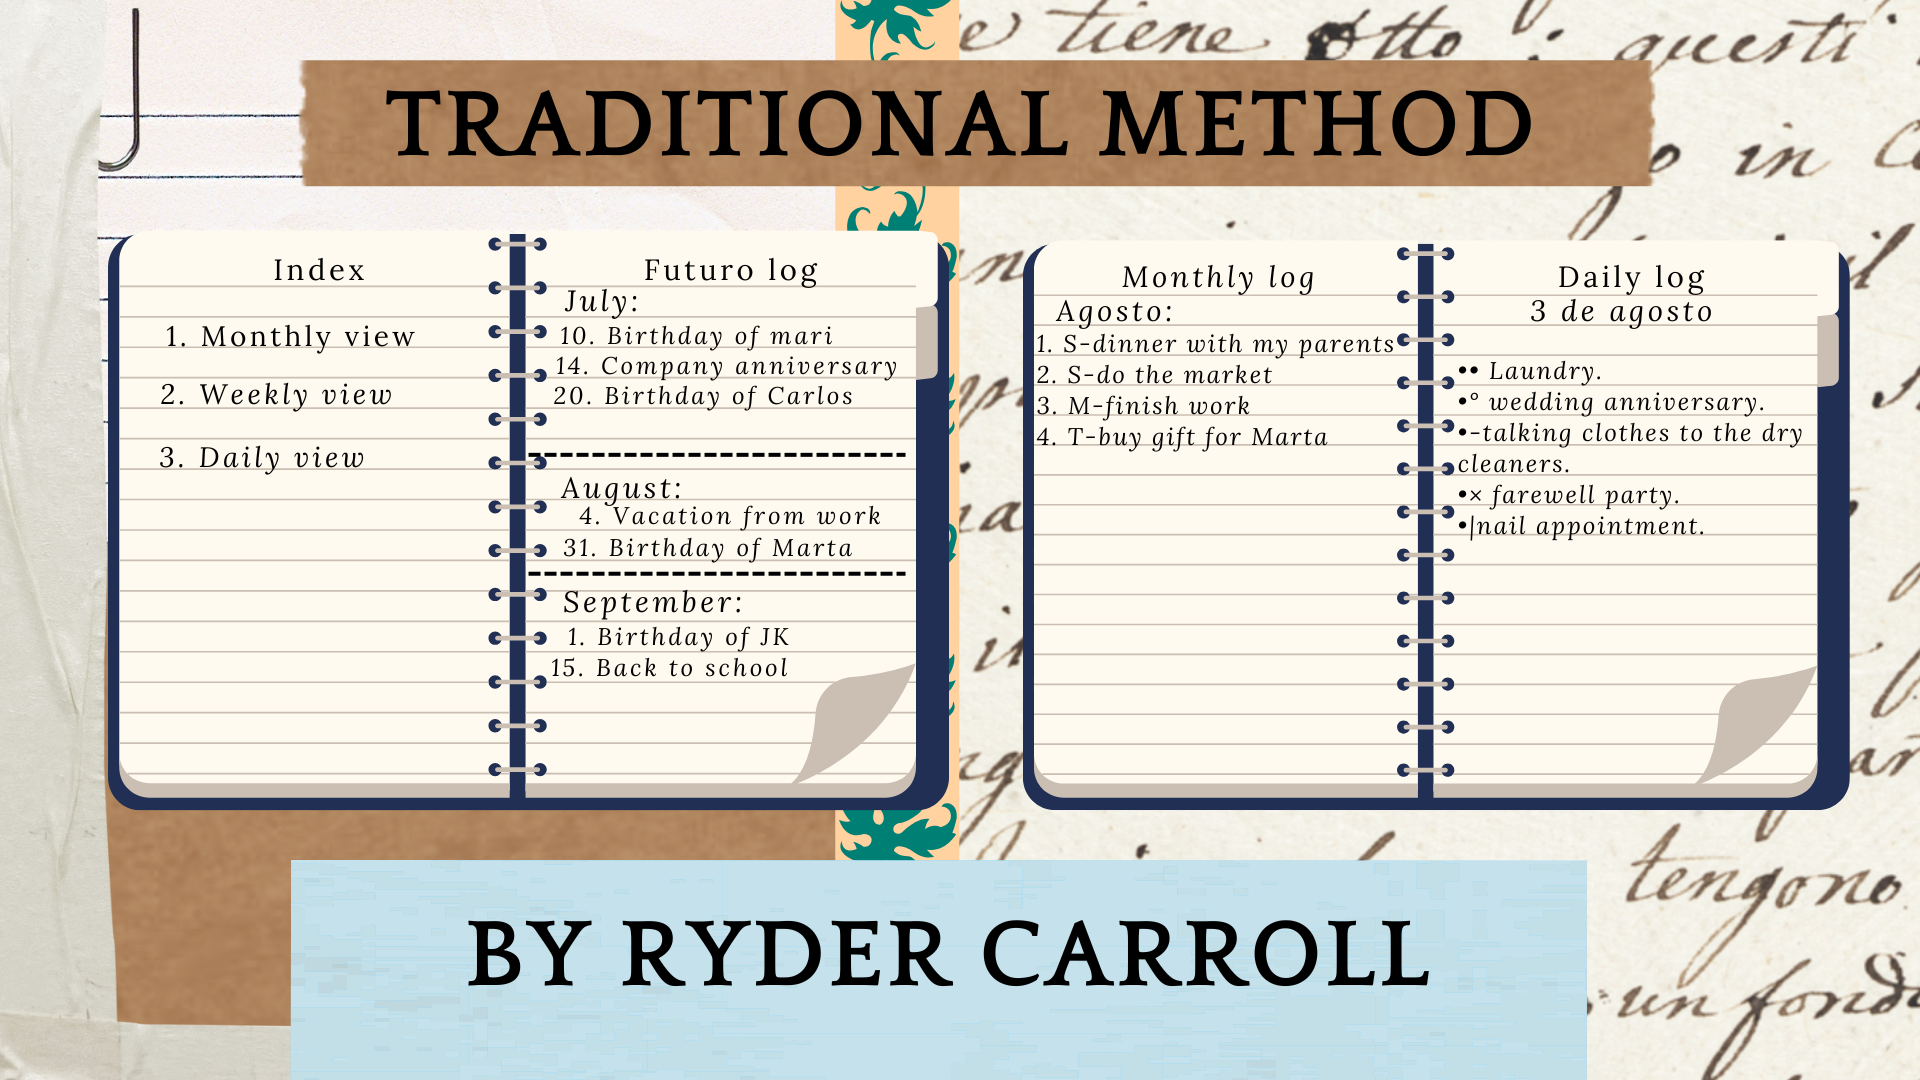
Para entenderlo más a profundidad, pueden leer el libro de Ryder Carroll o visitar su página web, https://bulletjournal.com, donde describe su sistema de planificación en cuatro pasos sencillos: - Índice: Se usa para ubicar el contenido de tu Bullet Journal. Te ayuda a encontrar lo que buscas usando títulos y números de página. - Registro futuro: Es para anotar eventos o tareas que se llevarán a cabo en meses futuros. - Registro mensual: Ofrece una vista general de los días y las tareas del mes, como un calendario común, y también puede funcionar como un inventario de tareas. - Registro diario: Es el espacio para registrar tus pensamientos y tareas del día a día, y normalmente corresponde a una o más hojas por día.
Estos pasos se parecen a las típicas vistas anuales, mensuales, semanales y diarias que vemos en videos y blogs, pero en el método original son mucho más simples, sin tanta decoración (tomen en cuenta que la decoración es completamente opcional y no es necesaria para que el método funcione). En pocas palabras, este sistema va de lo grande a lo pequeño. A partir de esa estructura, podemos adaptar los modelos y métodos que nos resulten más cómodos, funcionales y sostenibles a largo plazo, ya que es muy fácil abandonar el hábito si al principio se siente demasiado abrumador.
¿Cómo empezar tu Bullet Journal?
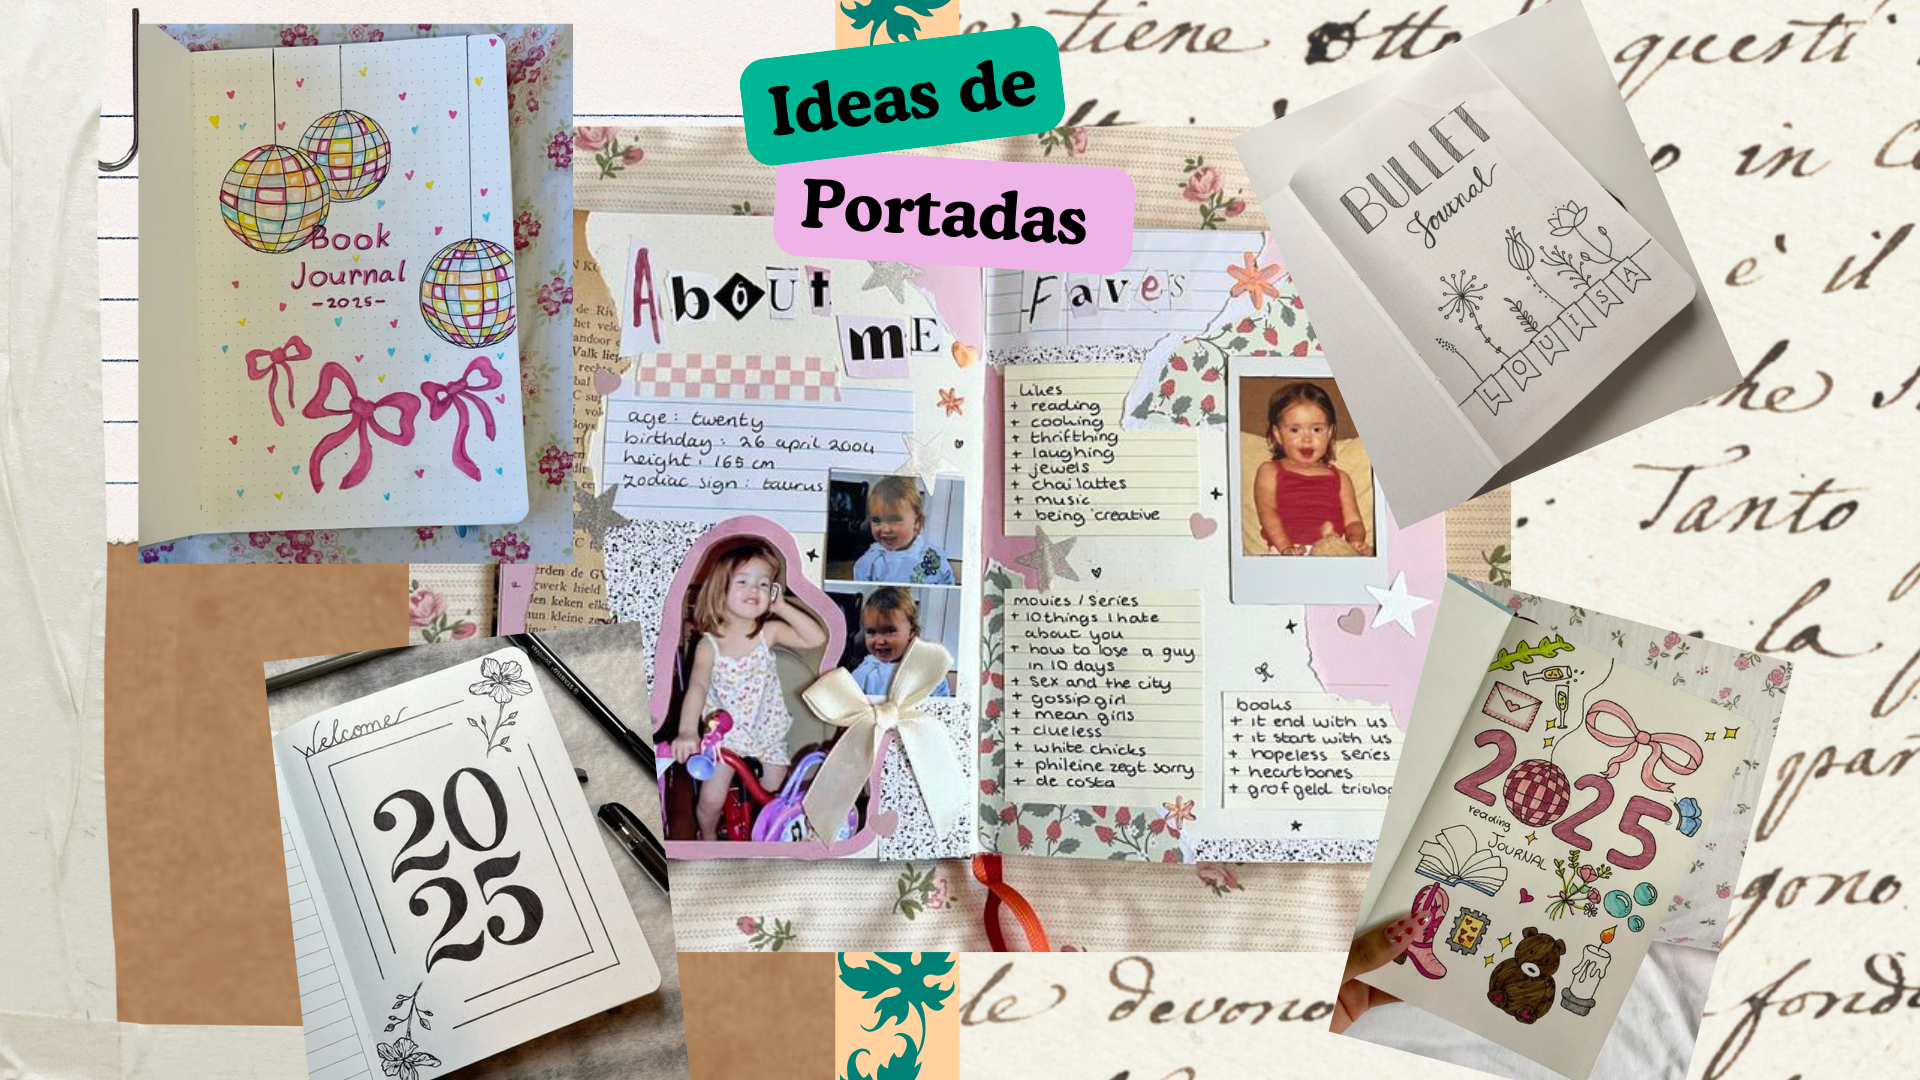
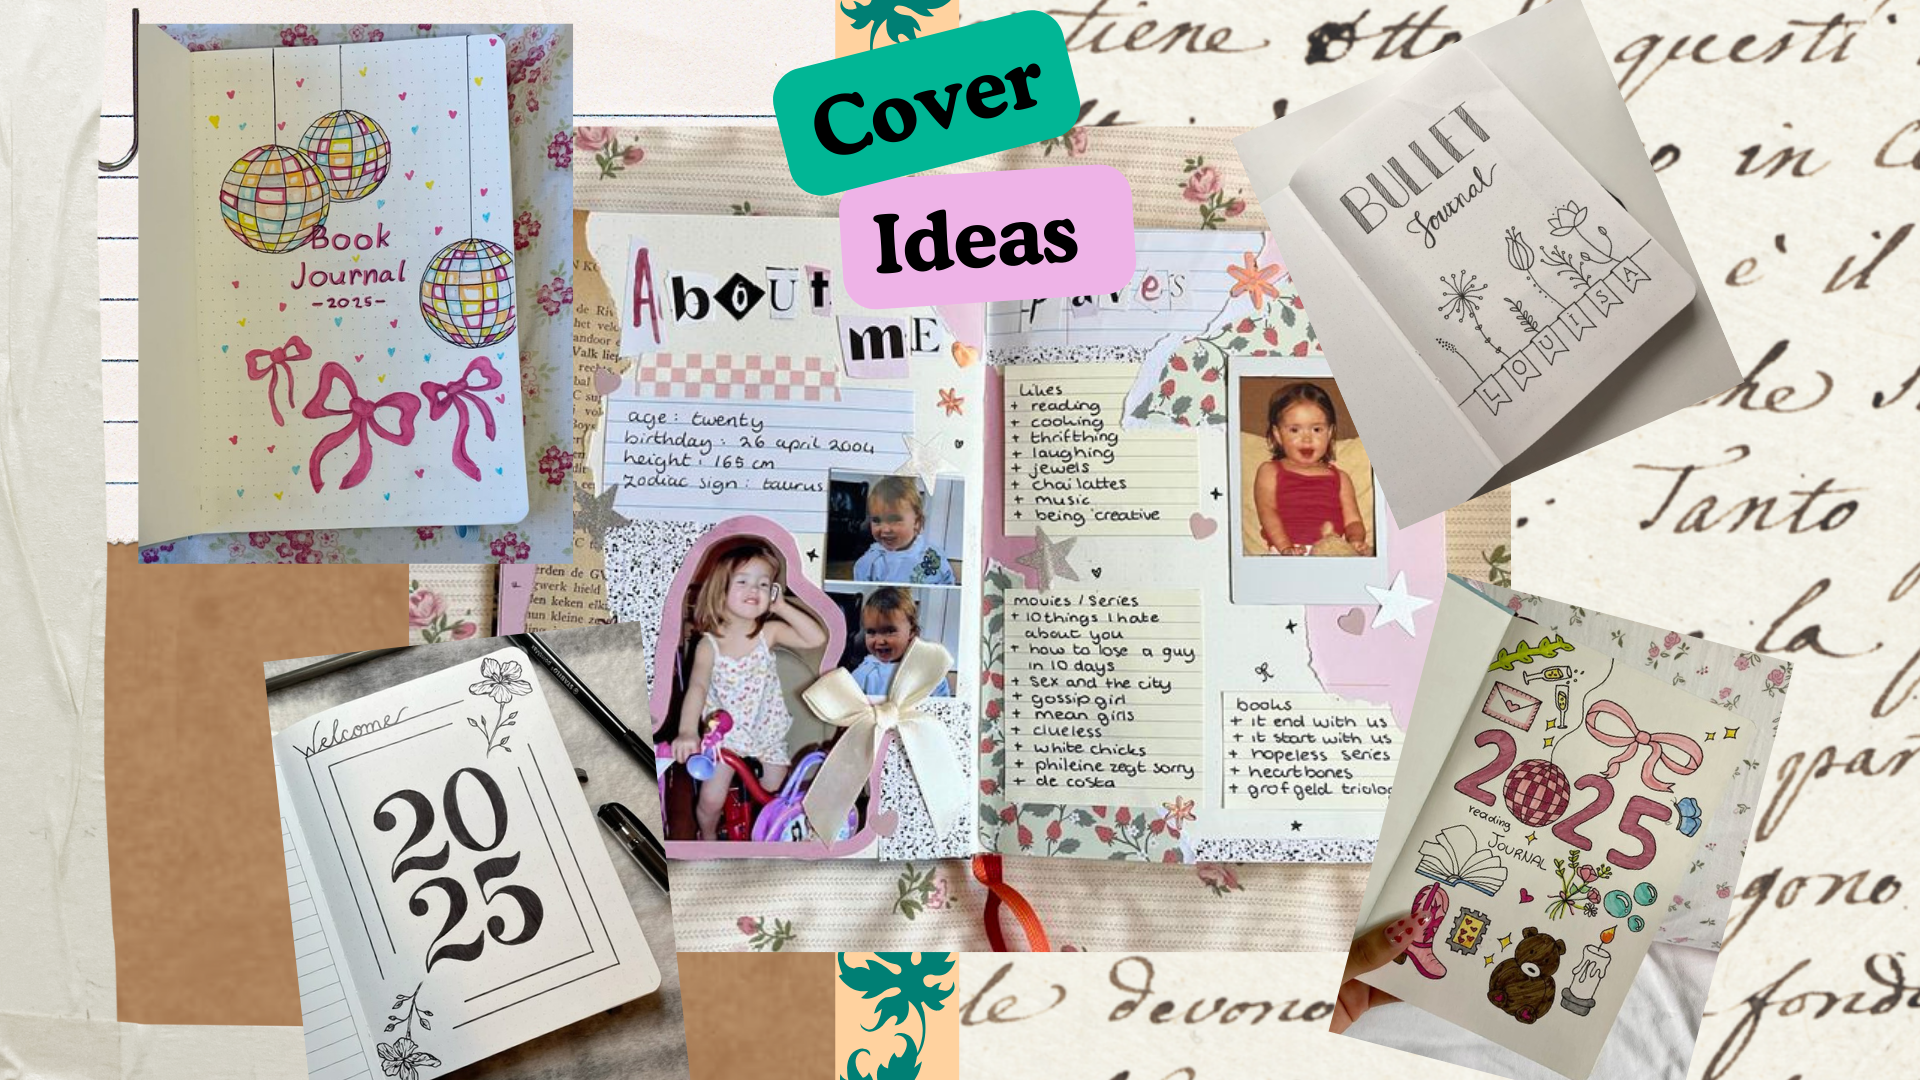
Para empezar, puedes crear y personalizar una portada, aunque es totalmente opcional. Es una buena forma de darle un toque único y personal, ya que es una herramienta que usarás mucho, (se los prometo).
Las cosas que yo suelo agregar a mi Bullet Journal las uso a diario. Las organizo de la siguiente manera:
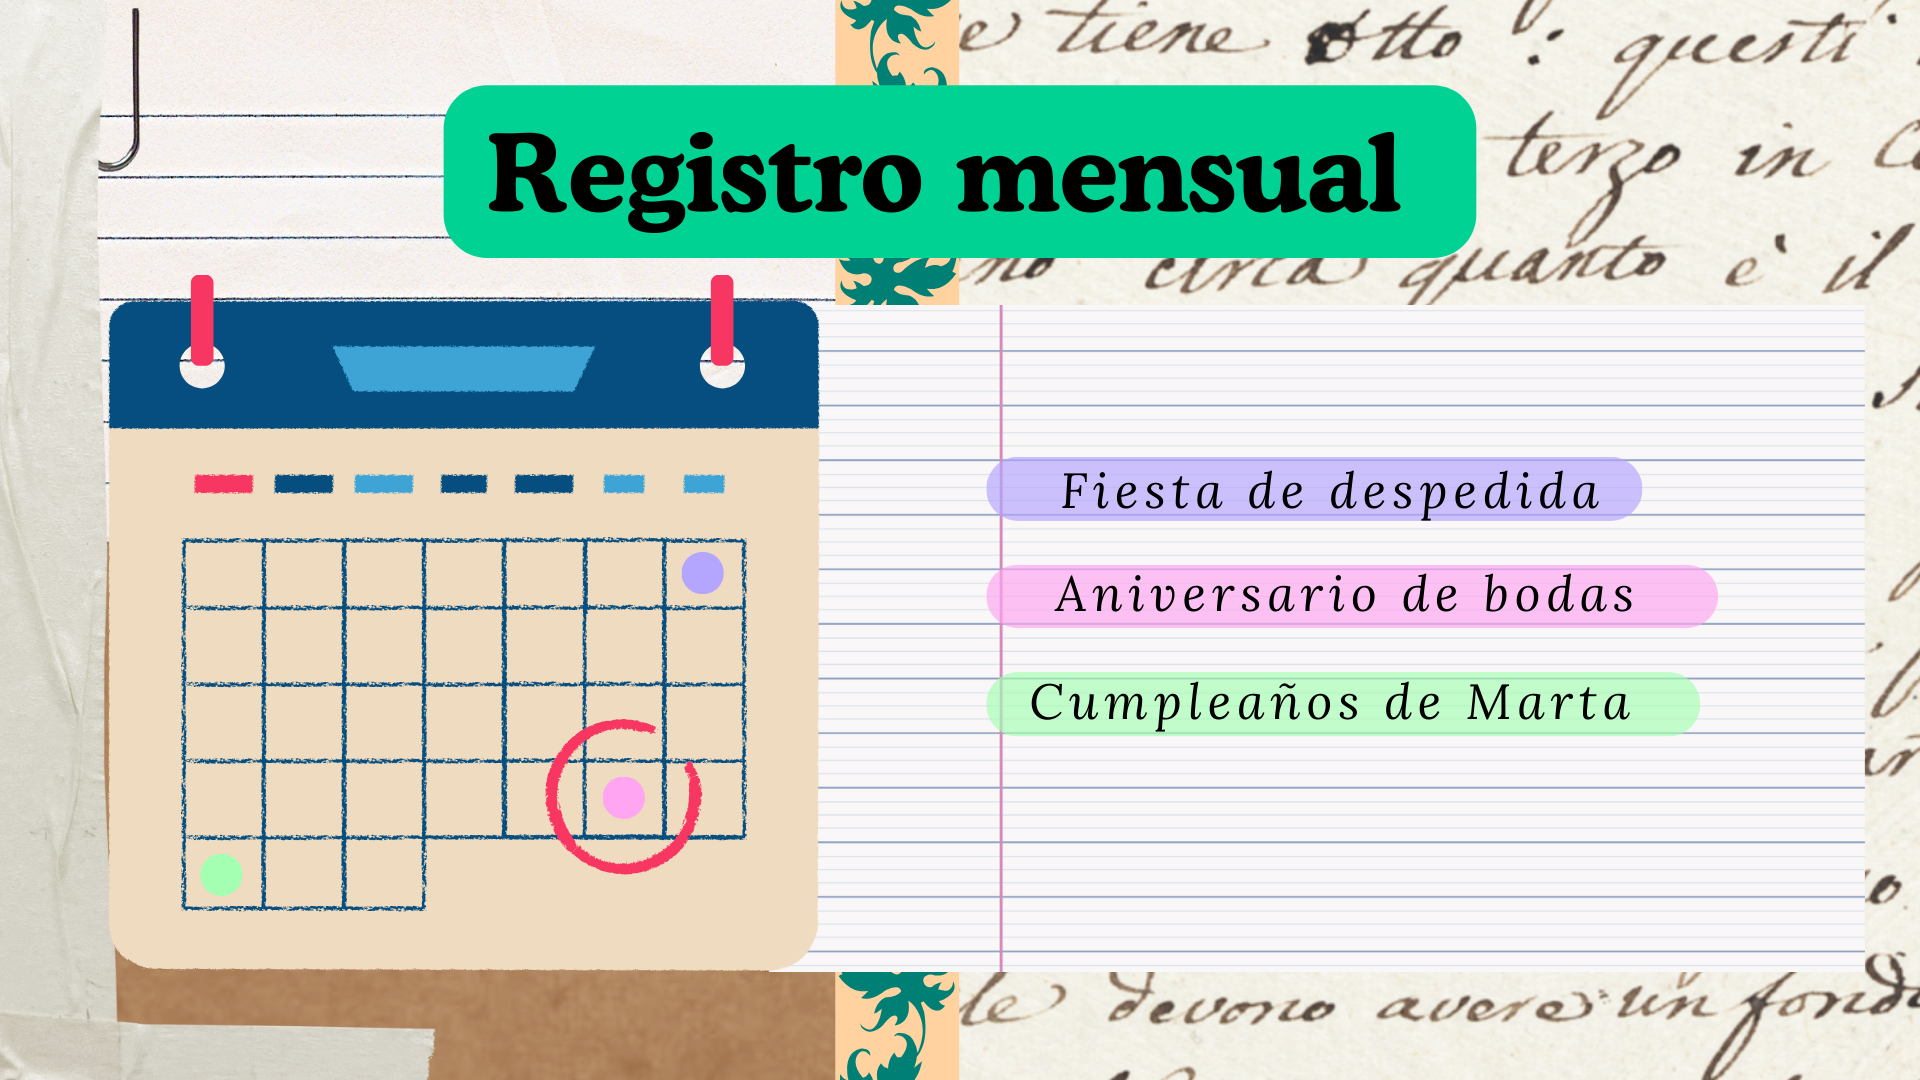
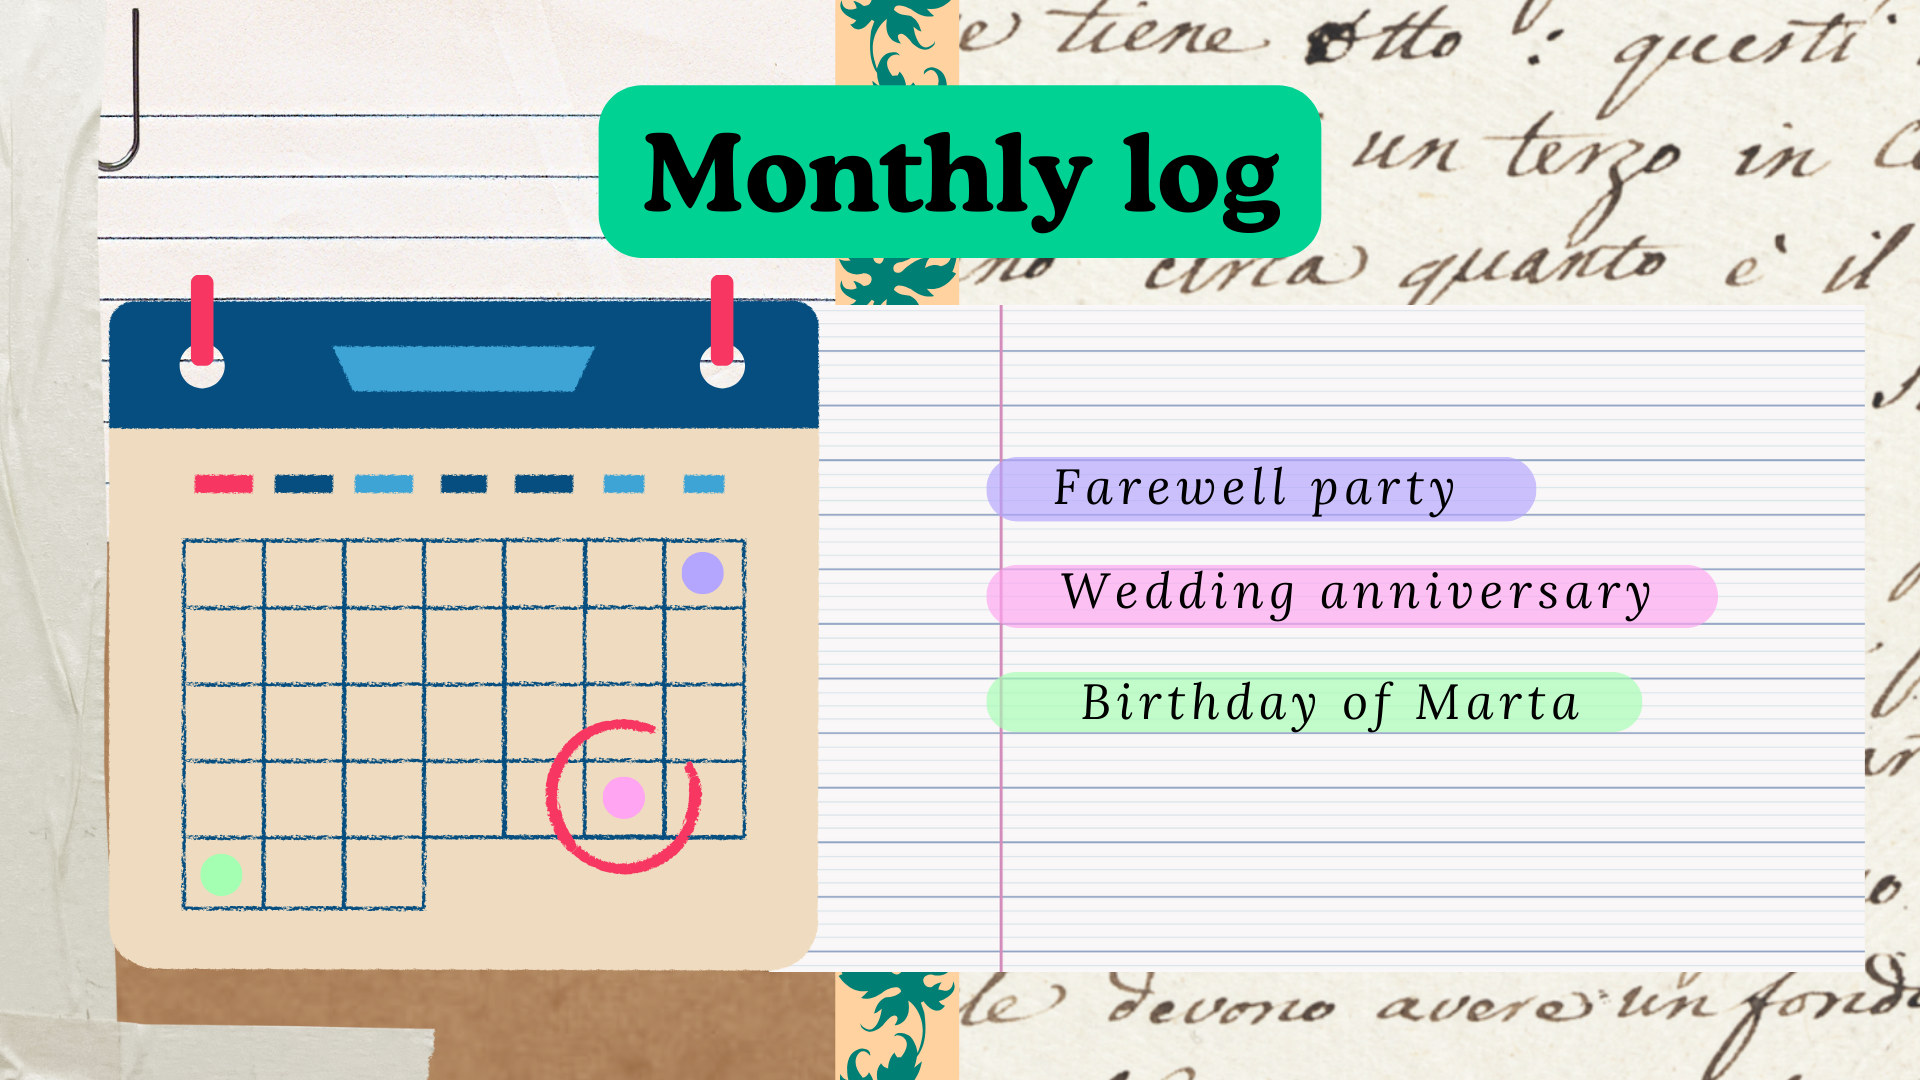
Vista mensual Al igual que en el método tradicional, la uso para tener una visión general de los días y eventos de cada mes. Lo que hago es dibujar calendarios pequeños y dejar un espacio a un lado para anotar fechas y eventos importantes que se repiten cada año, como lo son cumpleaños y aniversarios.
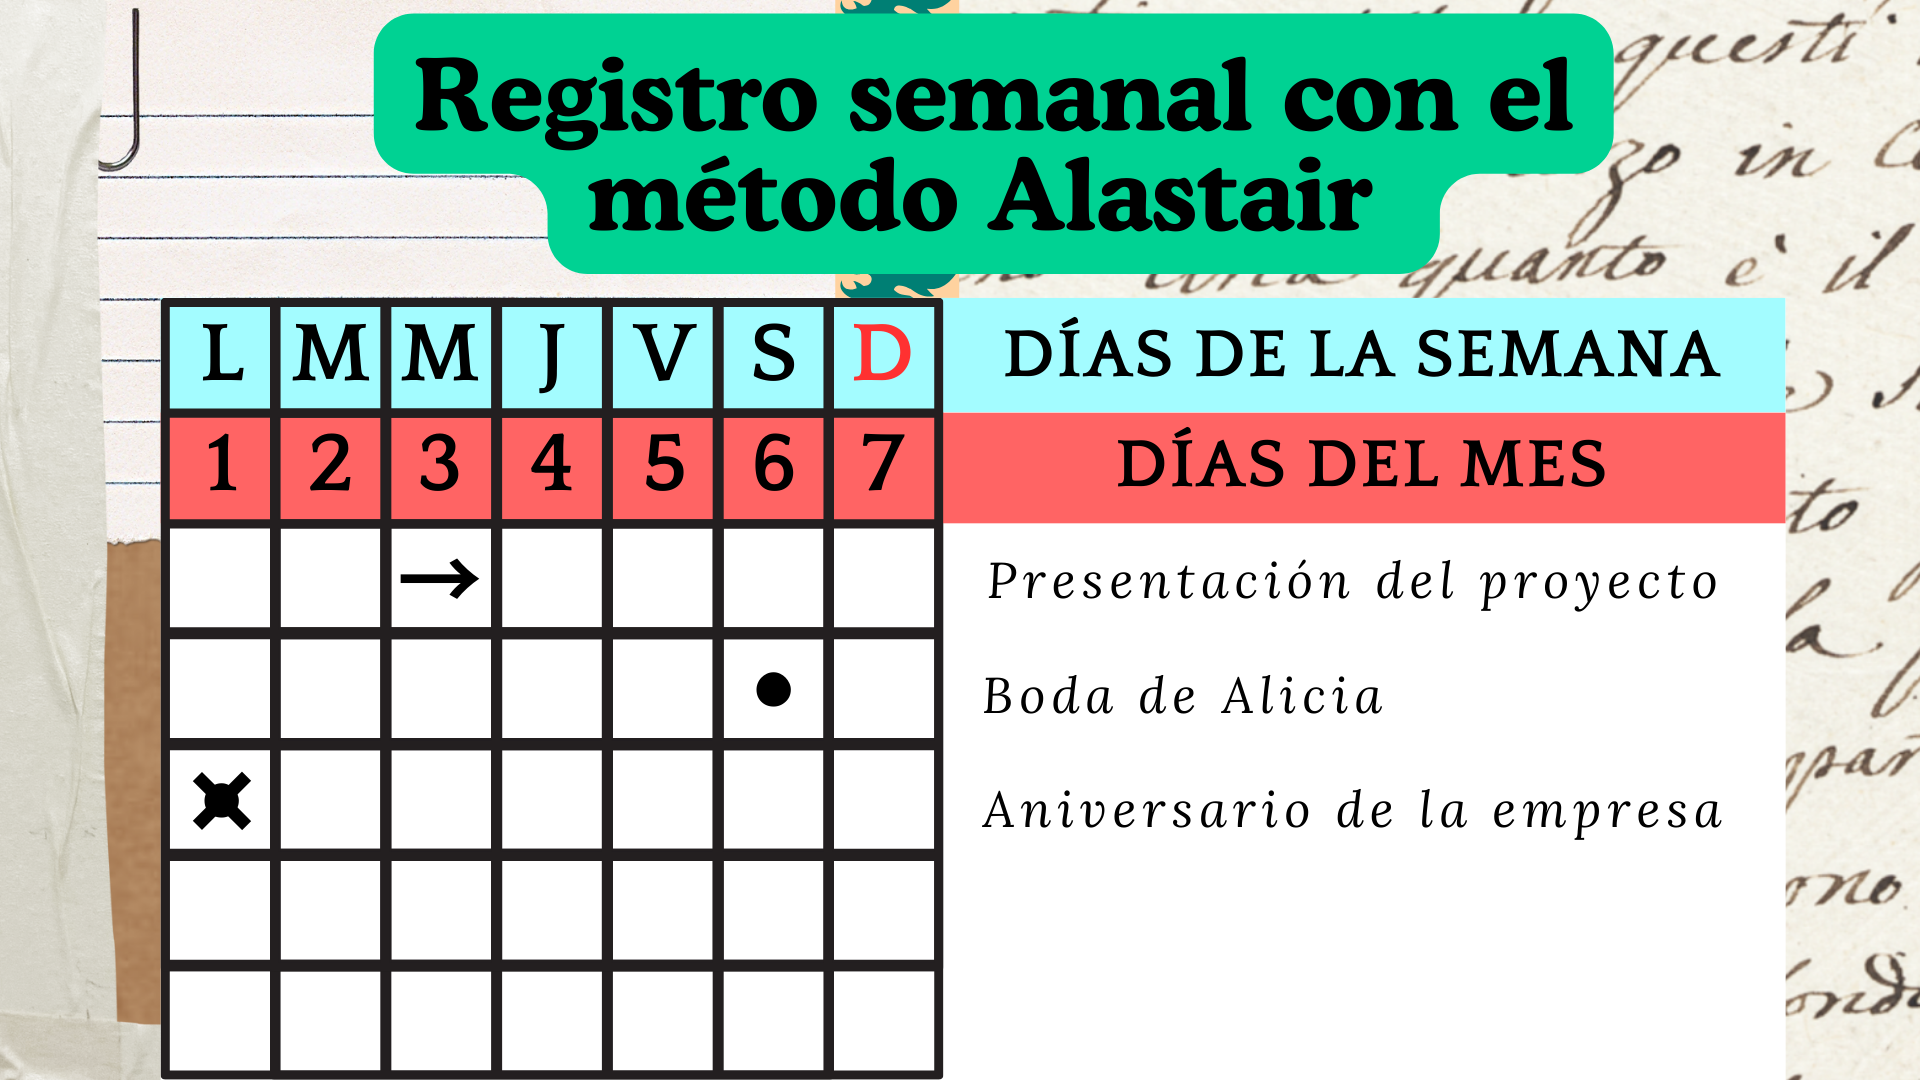
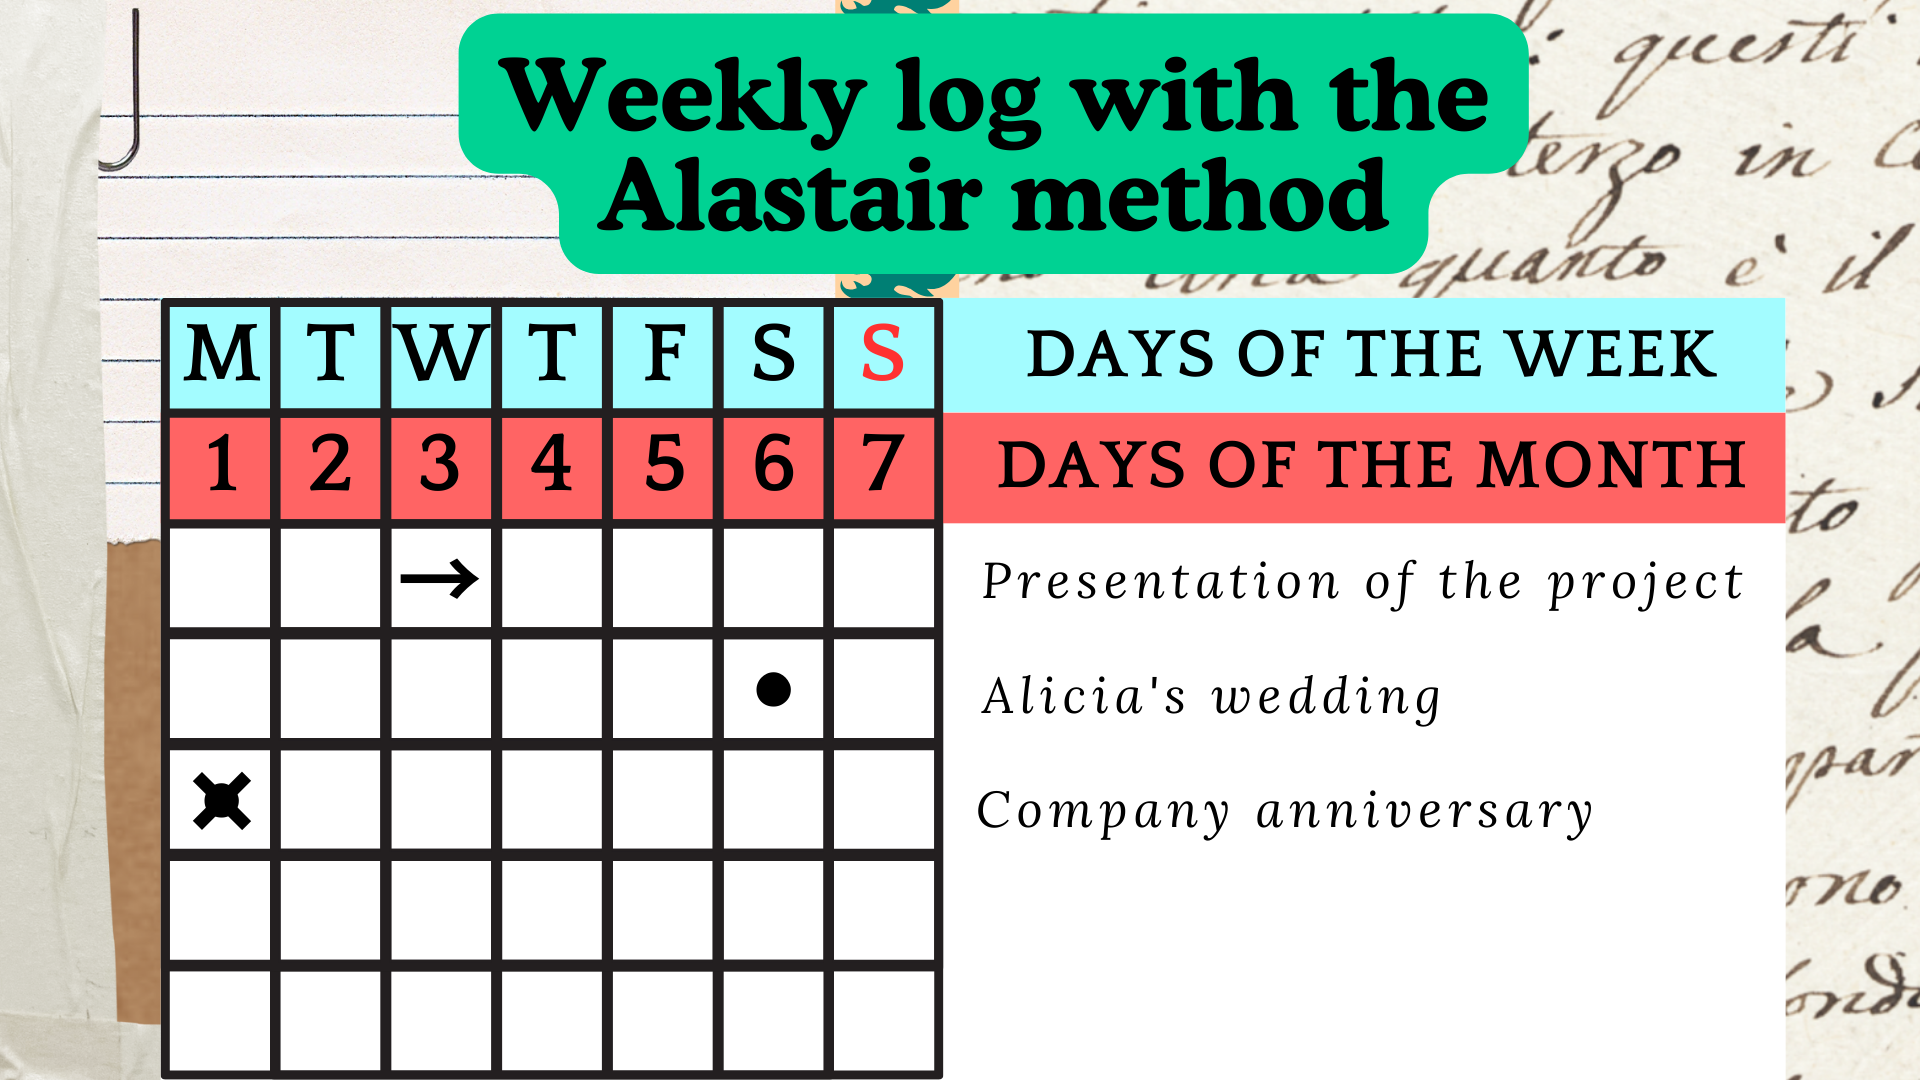
Vistas semanales Esta es una de las partes más prácticas y la que más uso, sobre todo cuando estoy en clases y necesito tener todos mis pendientes al día. Aquí utilizo el método Alastair, que para mi organización semanal ha resultado ser mucho más práctico. Este método consiste en crear una cuadrícula en una parte de la hoja. Las columnas corresponden a los días de la semana y las filas a las horas del día. Yo, en lugar de poner las horas, hago una lista de tareas y eventos que tengo esa semana y los voy marcando a medida que los realizo, sin un orden fijo. Normalmente, los eventos sí tienen fechas específicas, pero las tareas como lavar la ropa o limpiar la casa se pueden hacer en cualquier momento de la semana. Para llevar un control, utilizo una simbología sencilla: * ×: Tarea o evento completado. * •: Tarea o evento aún sin realizar. * /: Tarea que se ha tachado de la lista. * ›: Tarea o evento movido a otro día. * →: Tarea o evento movido a otra semana. Utilizo estos símbolos para ver rápidamente qué tareas y eventos están pendientes, cancelados o por realizar. También se pueden usar códigos de colores, pero eso ya es cuestión de gusto y comodidad personal.
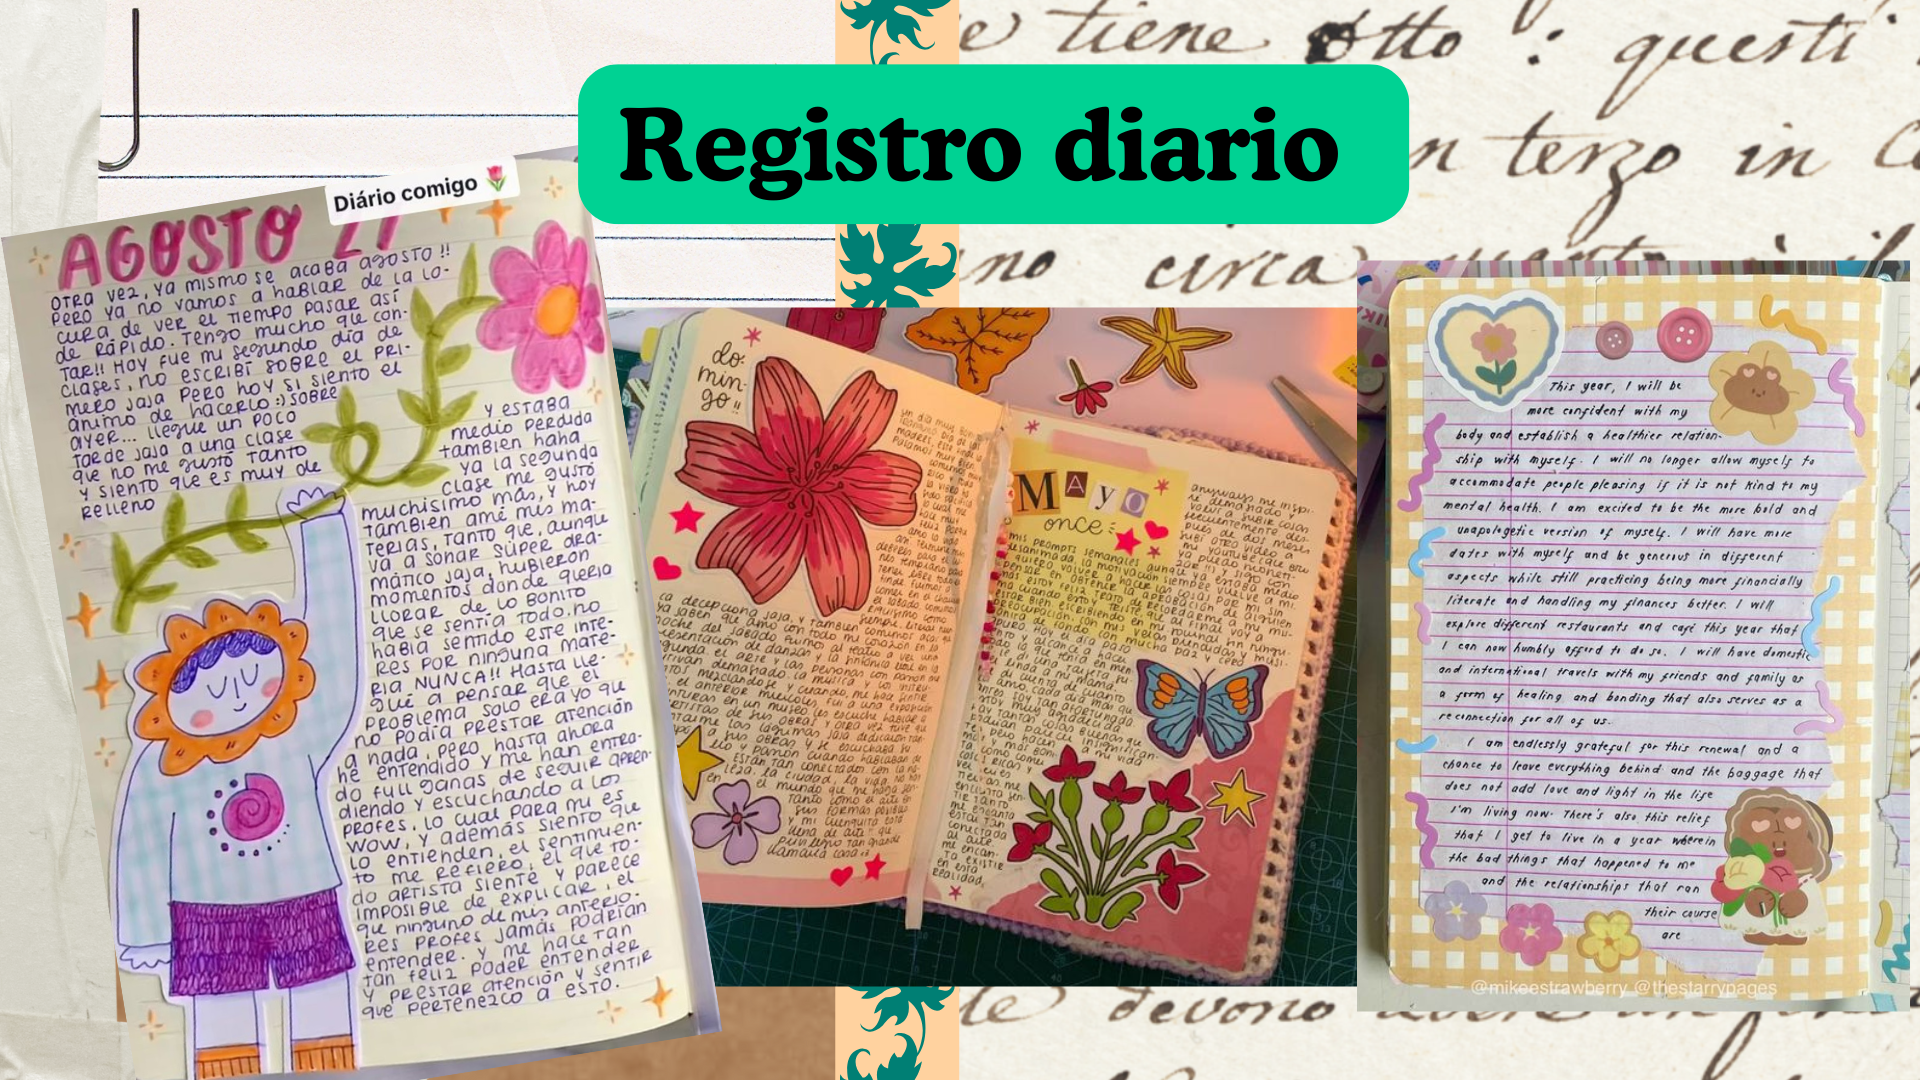
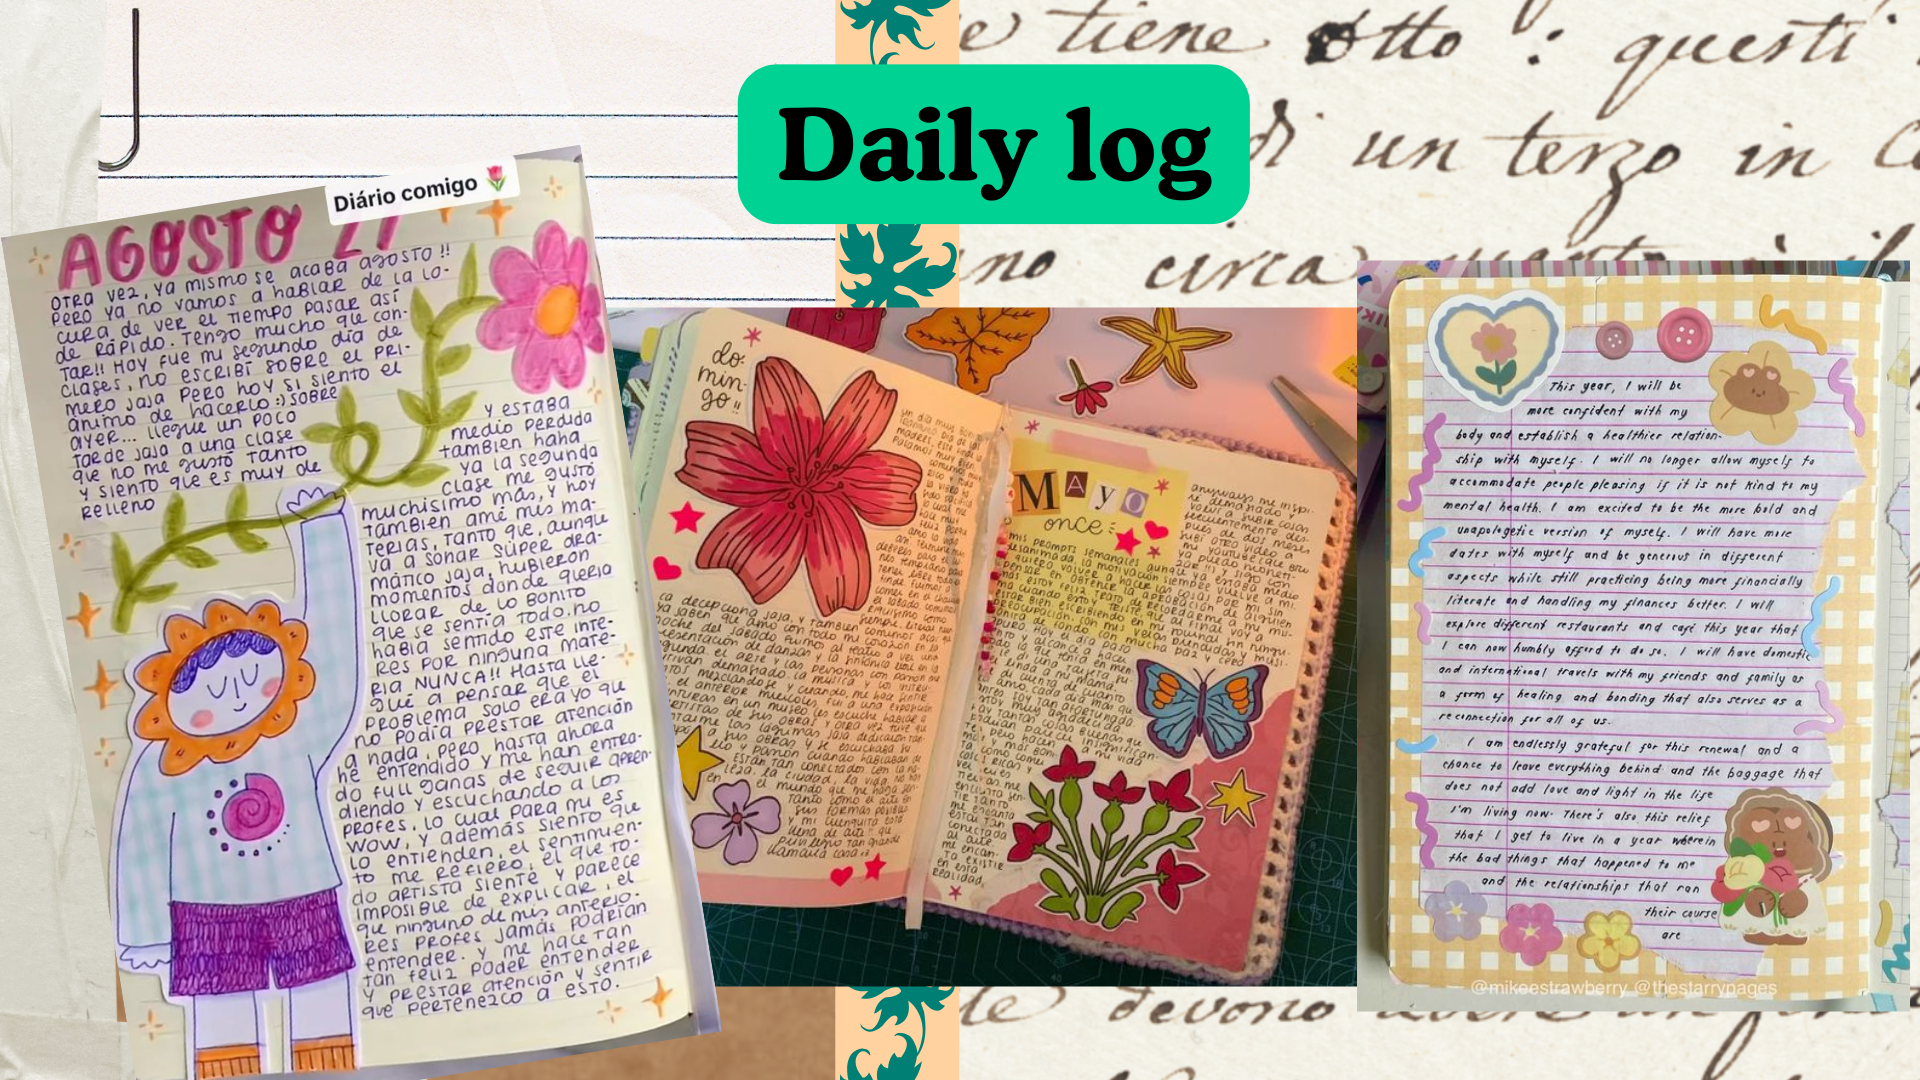
Vistas diarias Aquí es donde vemos una de las cosas más llamativas de este método, ya que muchas personas han hecho de ellas una obra de arte, subiendolo de nivel usando lettering, dibujos, y stickers en múltiples colores. Esta parte del Bullet Journal tiene la mayor libertad creativa, permitiendo plasmar no solo lo que sentimos o vivimos cada día, sino también decorarlo y darle un toque personal a nuestras vivencias. Normalmente, estas vistas ocupan una hoja por día.
Contenido adicional
Además de lo mencionado, también se pueden agregar a nuestro Bullet Journal cosas como trackers y contenido más visual como: una lista de canciones o películas favoritas del mes, un ranking de los mejores restaurantes que hemos probado, etc.

Al llegar a este punto, podemos ver que el journaling no es solo un método para organizarse, sino también un espacio abierto para dejar volar nuestra imaginación y expresar nuestros pensamientos e ideas.
Si llegaste hasta aquí, te agradezco por leer acerca de esta maravilla que es el journaling y cómo me ayuda a organizarme. Espero que quienes aún no se hayan adentrado en este mundo se atrevan a intentarlo y experimenten un poco de esta locura ordenada. ¡Hasta pronto!


Hello, Hive people and @lifestyle community, how are you today? I hope you're doing well. With back to school just around the corner, I wanted to share with you how I get organized using the Bullet Journal, a method created by Ryder Carroll that I think is amazing. With just a blank notebook (or some loose-leaf paper) and a pen, we can start to organize our lives a little more and even get to know ourselves better.
What is the traditional Bullet Journal method?
To understand it in more depth, you can read Ryder Carroll's book or visit his website, https://bulletjournal.com, where he describes his planning system in four simple steps: - Index: This is used to locate the contents of your Bullet Journal. It helps you find what you are looking for using headings and page numbers. - Future Log: This is for noting events or tasks that will take place in future months. - Monthly log: Provides an overview of the days and tasks of the month, like a common calendar, and can also function as a task inventory. - Daily log: This is the space to record your day-to-day thoughts and tasks, and usually corresponds to one or more sheets per day.
These steps resemble the typical annual, monthly, weekly and daily views we see in videos and blogs, but in the original method they are much simpler, without so much decoration (note that the decoration is completely optional and is not necessary for the method to work). In short, this system goes from big to small. From this structure, we can adapt the models and methods that we find most comfortable, functional and sustainable in the long run, as it is very easy to abandon the habit if it feels too overwhelming at first.
How to start your Bullet Journal?
For starters, you can create and customize a cover page, although it's totally optional. It's a great way to give it a unique and personal touch, as it's a tool you'll use a lot, (I promise).
The things I usually add to my Bullet Journal I use on a daily basis. I organize them as follows:
Monthly view As in the traditional method, I use it to have an overview of the days and events of each month. What I do is to draw small calendars and leave a space on the side to write down important dates and events that repeat every year, such as birthdays and anniversaries.
Weekly views This is one of the most practical parts and the one I use the most, especially when I am in classes and need to have all my to-dos up to date. Here I use the Alastair method, which for my weekly organization has turned out to be much more practical. This method consists of creating a grid in one part of the sheet. The columns correspond to the days of the week and the rows to the hours of the day. I, instead of putting the times, make a list of tasks and events I have that week and check them off as I do them, in no fixed order. Usually, events do have specific dates, but tasks like laundry or cleaning the house can be done at any time during the week. To keep track, I use a simple symbology: * ×: Task or event completed. * -: Task or event not yet done. * /: Task that has been crossed off the list. * ': Task or event moved to another day. * →: Task or event moved to another week. I use these symbols to quickly see which tasks and events are pending, canceled or to be done. Color codes can also be used, but that is a matter of personal taste and convenience.
Daily views Here is where we see one of the most striking things of this method, since many people have made them a work of art, raising it to a higher level using lettering, drawings, and stickers in multiple colors. This part of the Bullet Journal has the greatest creative freedom, allowing us to capture not only what we feel or live each day, but also to decorate it and give a personal touch to our experiences. Normally, these views occupy one sheet per day.
Additional content
In addition to the above, we can also add to our Bullet Journal things like trackers and more visual content such as: a list of favorite songs or movies of the month, a ranking of the best restaurants we've tried, etc.

At this point, we can see that journaling is not only a method to get organized, but also an open space to let our imagination fly and express our thoughts and ideas.
If you made it this far, I thank you for reading about this wonderful thing that is journaling and how it helps me get organized. I hope that those of you who have not yet ventured into this world will dare to try it and experience a bit of this orderly madness. See you soon!
Photography by|Fotografía : created in/creadas en canva,Cover created in/Portada creada en Canva, Separator and banner/separador y banner,Translated with www.DeepL.com/Translator (free version)