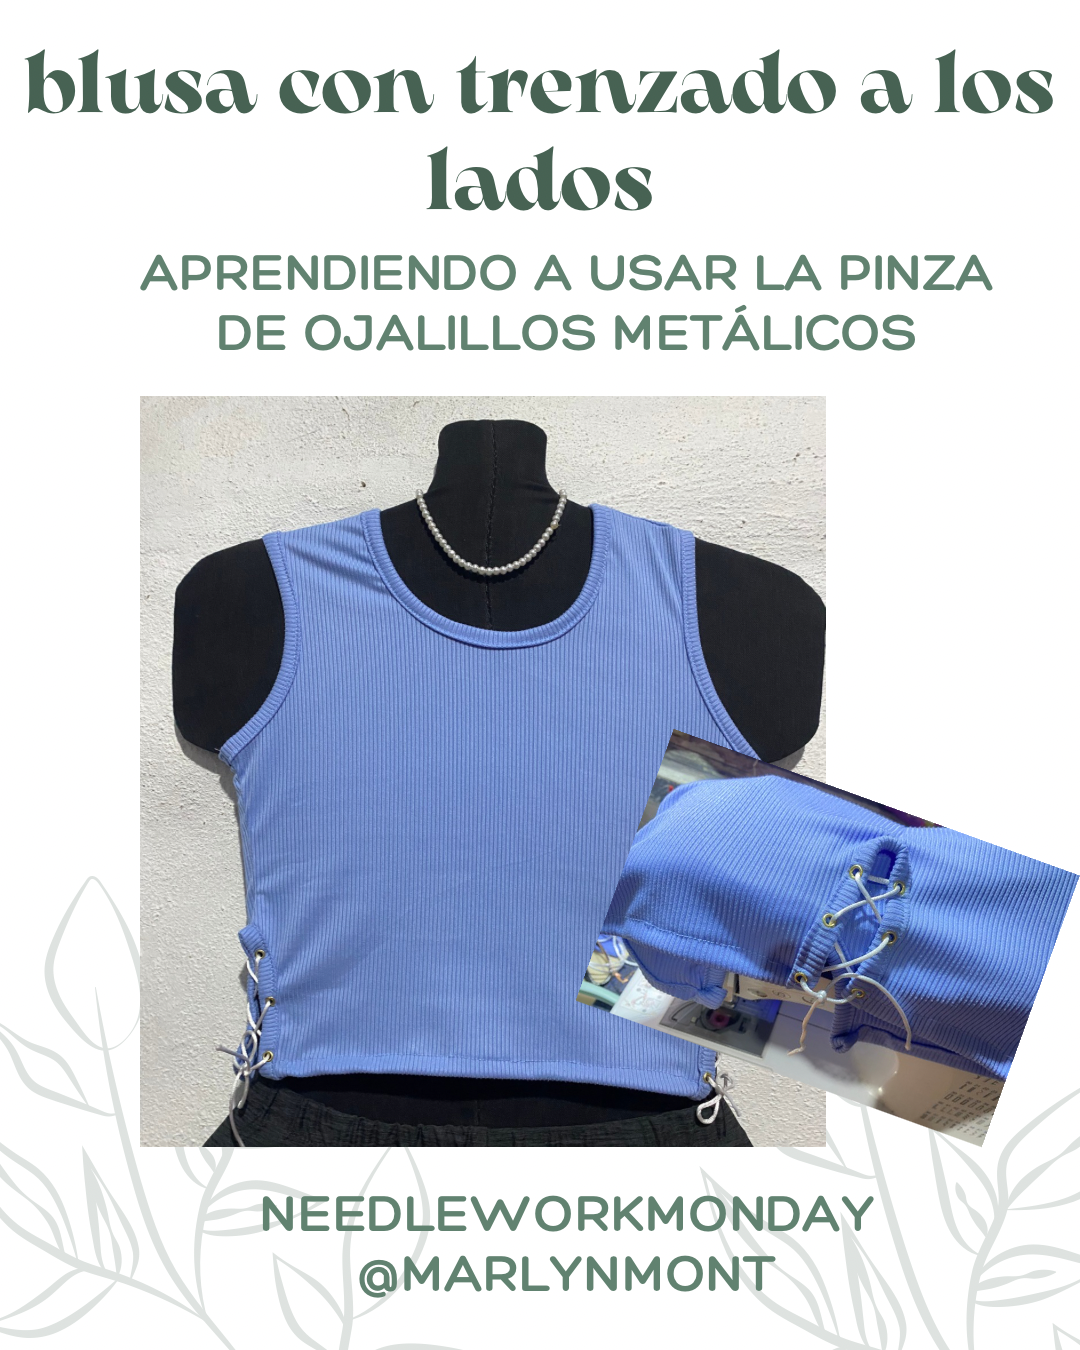
***Feliz lunes de costura queridos amigos de NEEDLEWORKMONDAY, espero disfrutes de una semana llena de energías para que logres todos tus proyectos***.☺️❤️🪡🧵
Hace un tiempo compré una pinza de colocar ojalillos de metal para tela, desde entonces la tenía guardada y no me había atrevido a hacer ningún proyecto con ella, hasta que hoy por fin decidí atreverme y hacer una blusa con trenzado a los lados y colocarle de este tipo de ojales, acompáñame y te muestro el paso a paso:
> Happy Sewing Monday, dear NEEDLEWORKMONDAY friends! I hope you enjoy a week full of energy so you can complete all your projects. ☺️❤️🪡🧵
>
> A while ago, I bought a metal eyelet pin for fabric. I've been putting it away ever since and haven't dared to try any projects with it. Until today, I finally decided to take the plunge and make a blouse with braiding on the sides and using this type of eyelet. Join me as I show you the step-by-step instructions:
---
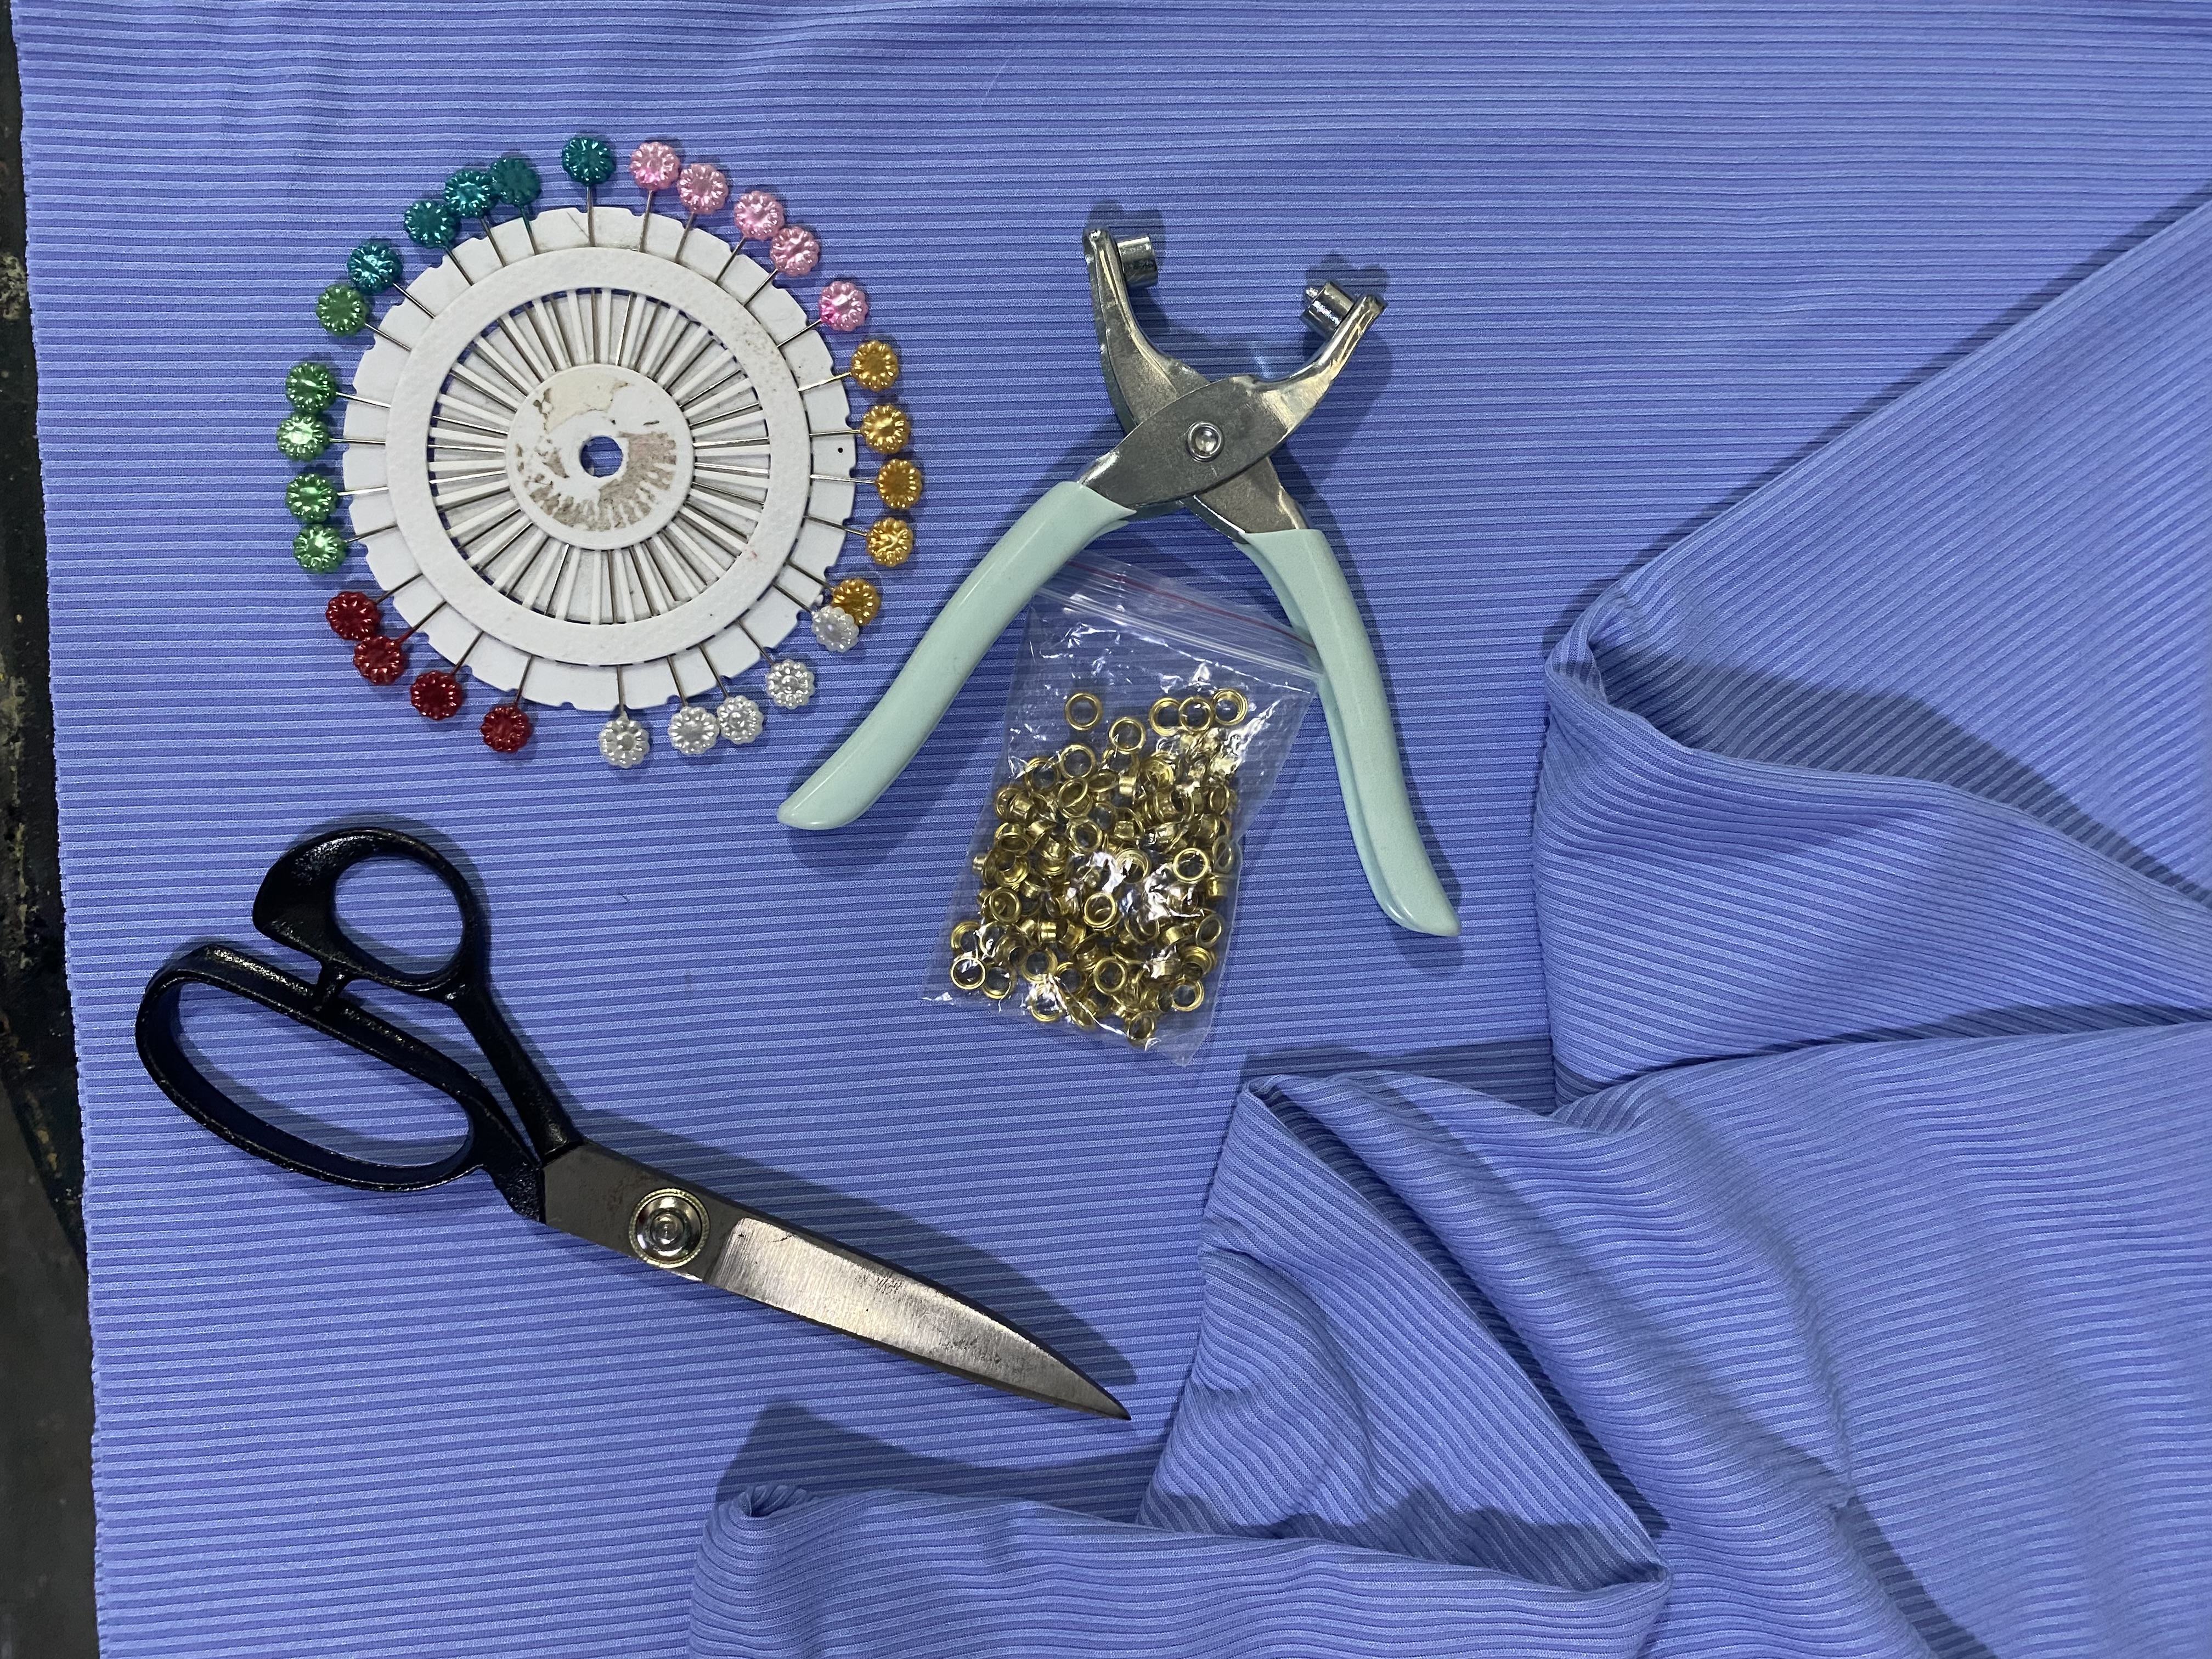
Antes cuando querías colocarle este tipo de ojales a las prendas debías pagar para que alguien lo hiciera ya que las máquinas que hacían esto eran grandes, por supuesto este tipo de ojales eran costosos, hoy en día con tantas mejoras actuales he conseguido esta pequeña pinza , económica y práctica, su tamaño es como el de un sacabocado, de esos que se utilizan para el papel y con la facilidad de colocar este tipo de ojales de metal de una forma más sencilla, aquí te dejo la lista de materiales a utilizar:
- tela rib aproximadamente medio Metro
- Tijera
- Pinza para ojales de metal
- Máquina de coser
- hilo
- tiza para marcar
> In the past, when you wanted to add this type of buttonhole to garments, you had to pay someone to do it, since the machines that made this were large. Of course, these types of buttonholes were expensive. Nowadays, with so many current improvements, I have obtained this small, economical and practical pliers. Its size is about the size of a hole punch, the kind used for paper, and with the ease of placing this type of metal buttonholes more easily. Here is the list of materials to use:
>
> - Ribbed fabric, approximately half a meter
> - Scissors
> - Metal buttonhole pliers
> - Sewing machine
> - Thread
> - Chalk for marking
___MATERIALES___
> MATERIALS
---
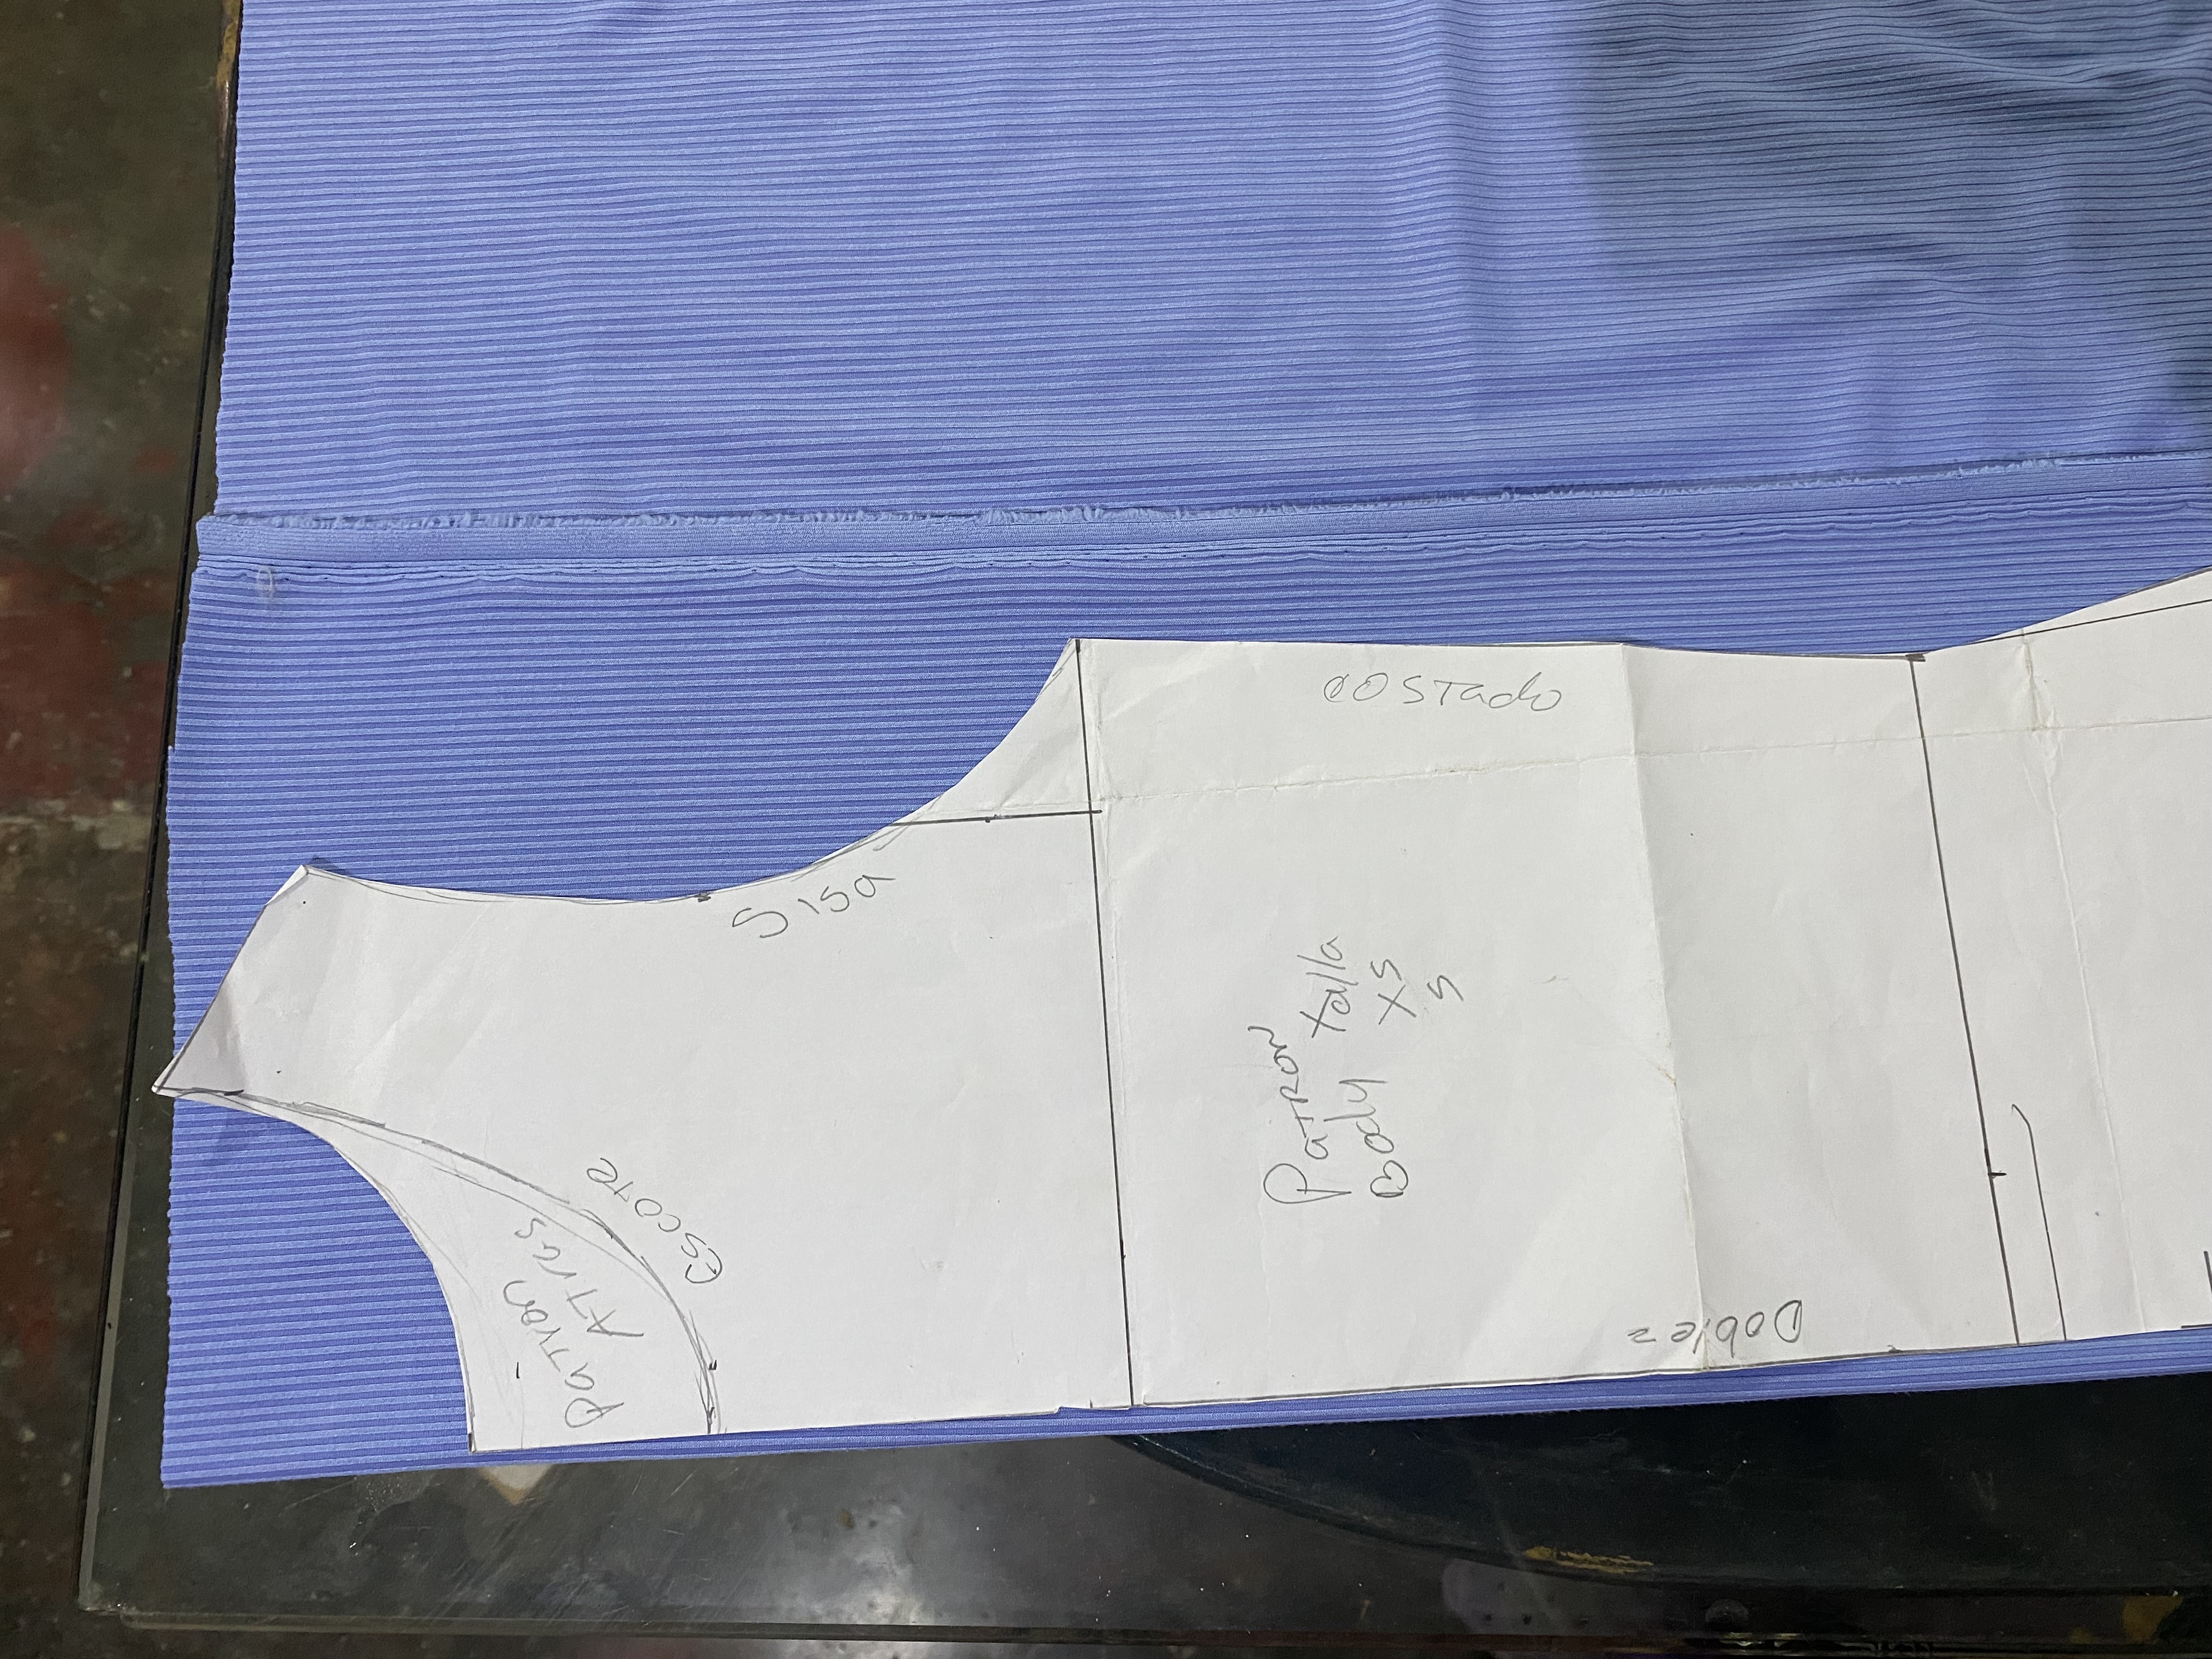
Vamos a comenzar cortando nuestra blusa, para esto voy a guiarme con el patrón de una blusa talla S, en la parte superior le voy a hacer el modelo de Franelilla , siempre al hacer blusas de tela elástica corto una tira de 5 cm de ancha para el sesgo de la orilla que llevara la blusa, luego coloco el patrón sobre la tela, dibujo y corto, el patrón que estaba utilizando es talla doble S así que le hice aumento por todas las orillas de 1 cm aproximadamente.
> Let's start by cutting our blouse, for this I'm going to be guided by the pattern of a size S blouse, on the top I'm going to make the Flannel model, always when making elastic fabric blouses I cut a 5 cm wide strip for the bias of the edge that the blouse will have, then I place the pattern on the fabric, draw and cut, the pattern I was using is size double S so I made an increase on all the edges of approximately 1 cm.
___PASO A PASO___
> STEP BY STEP
|||
|---|---|
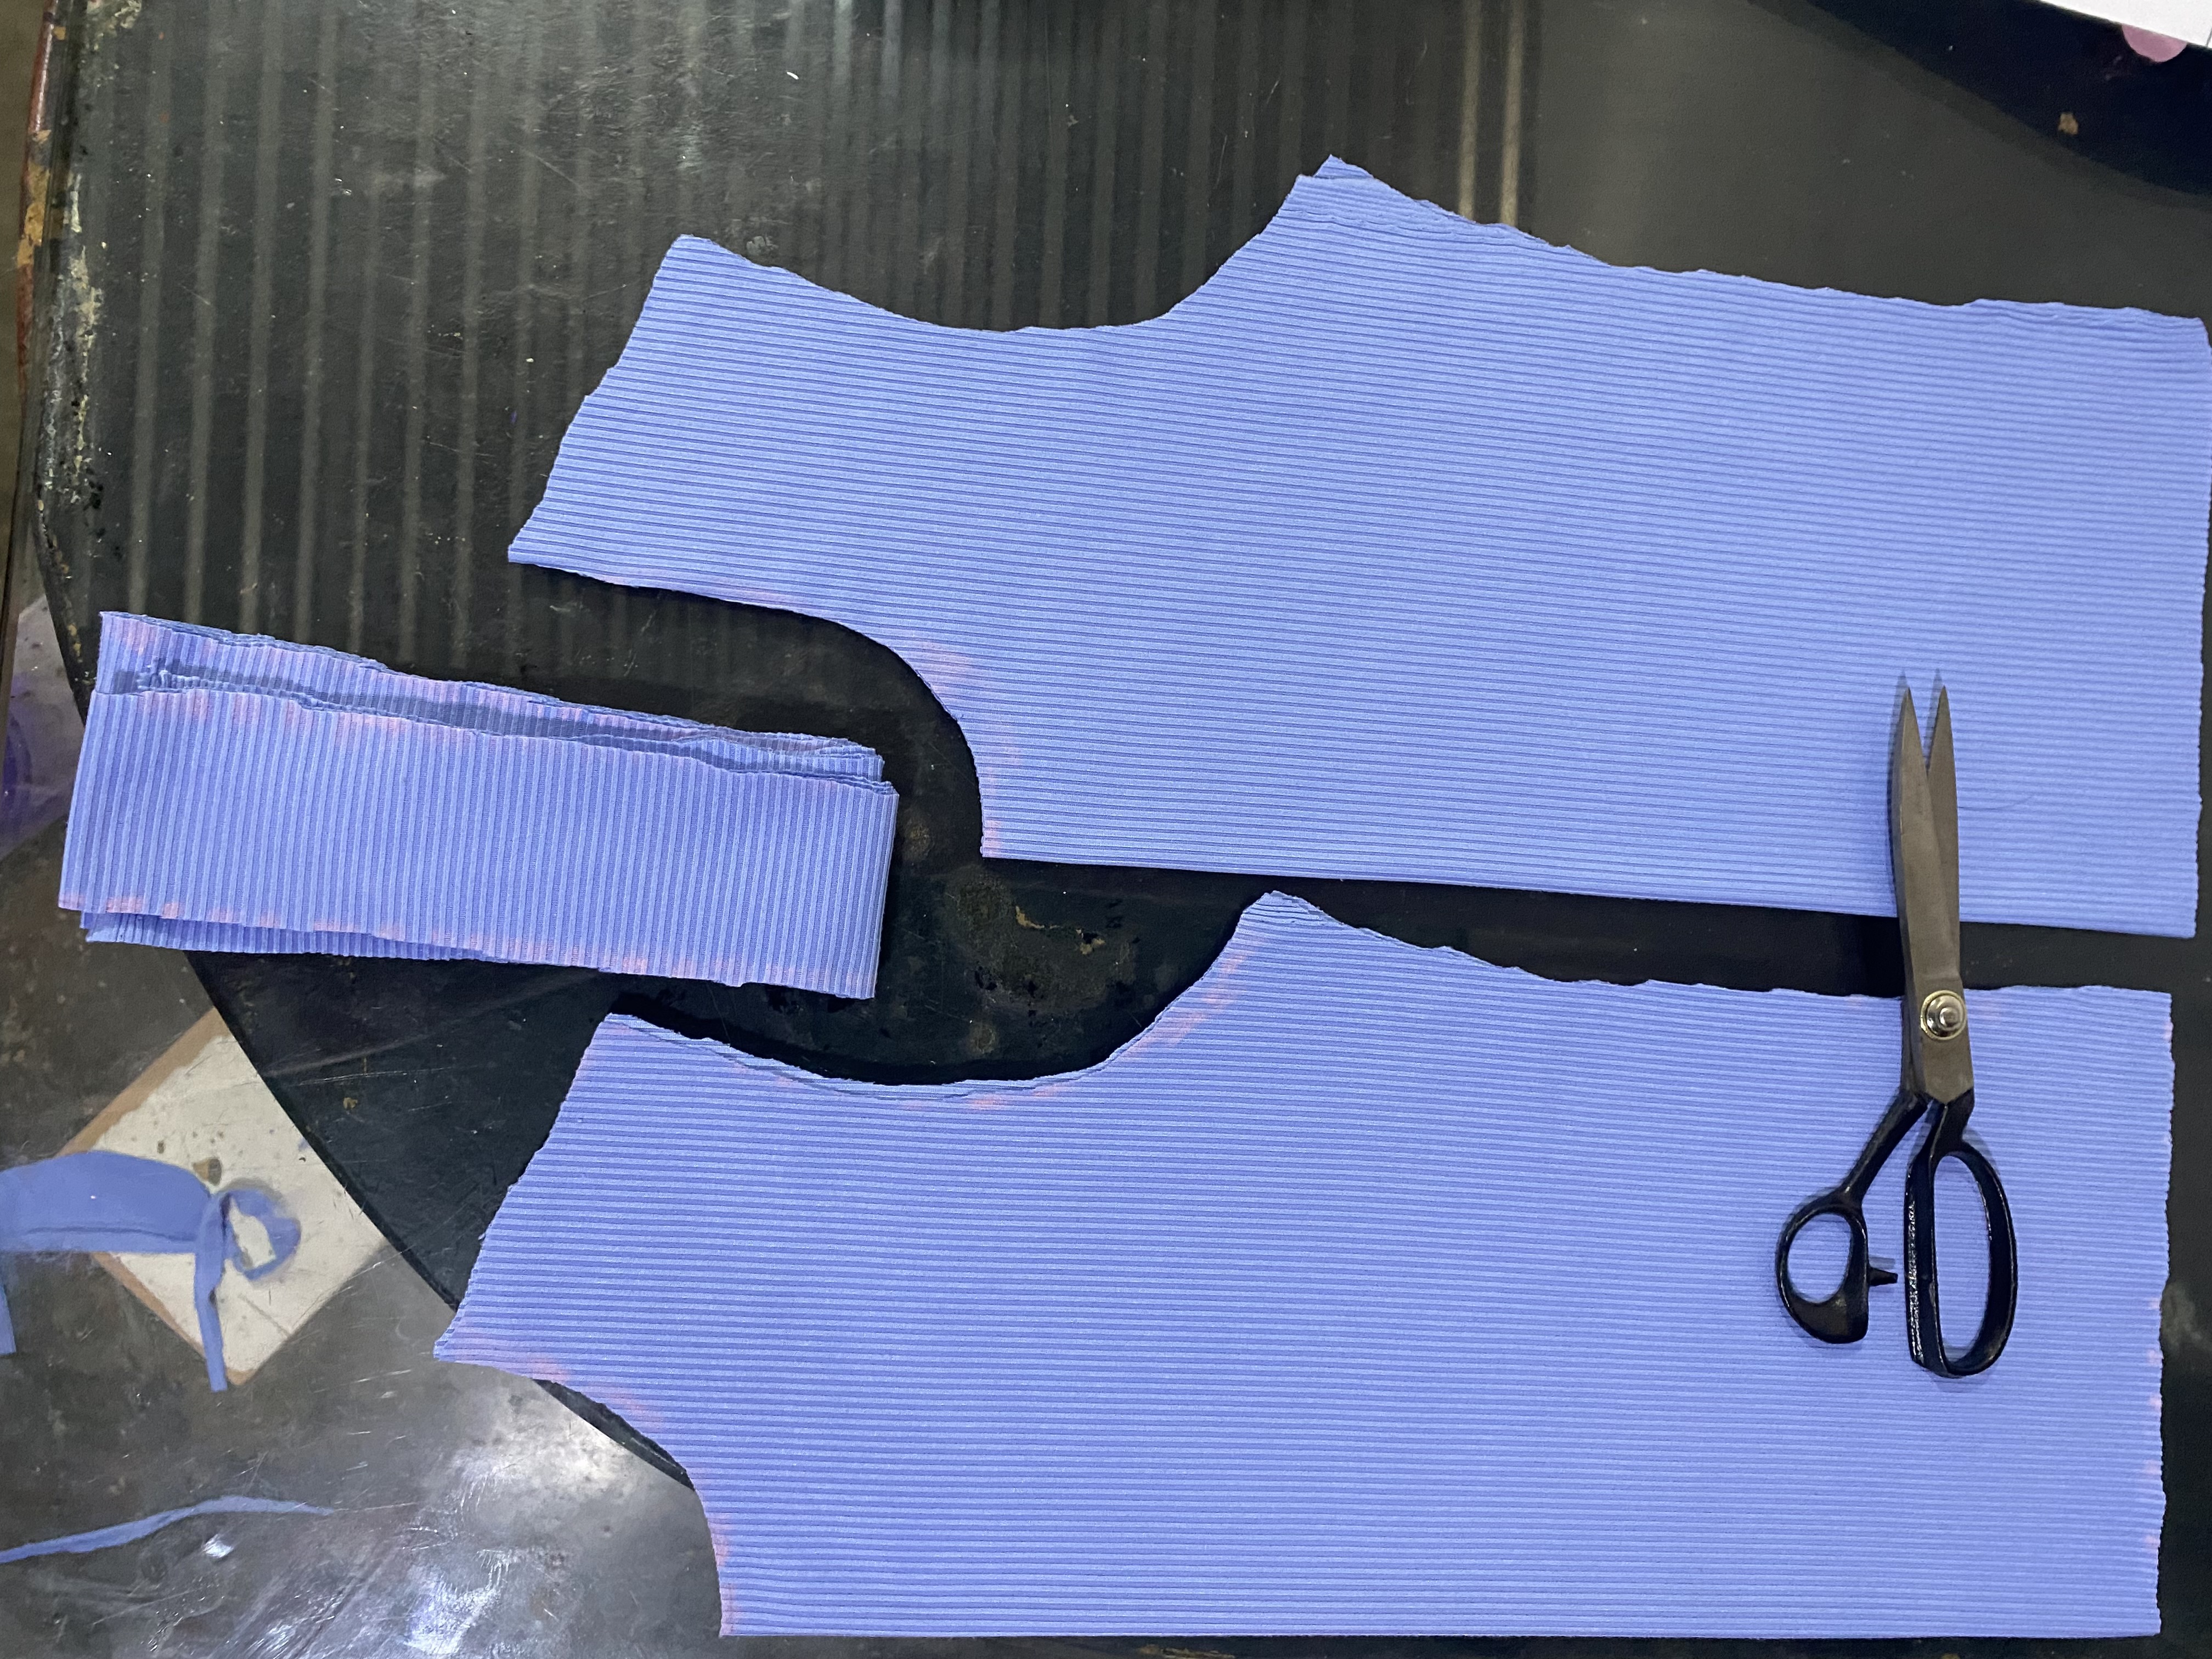
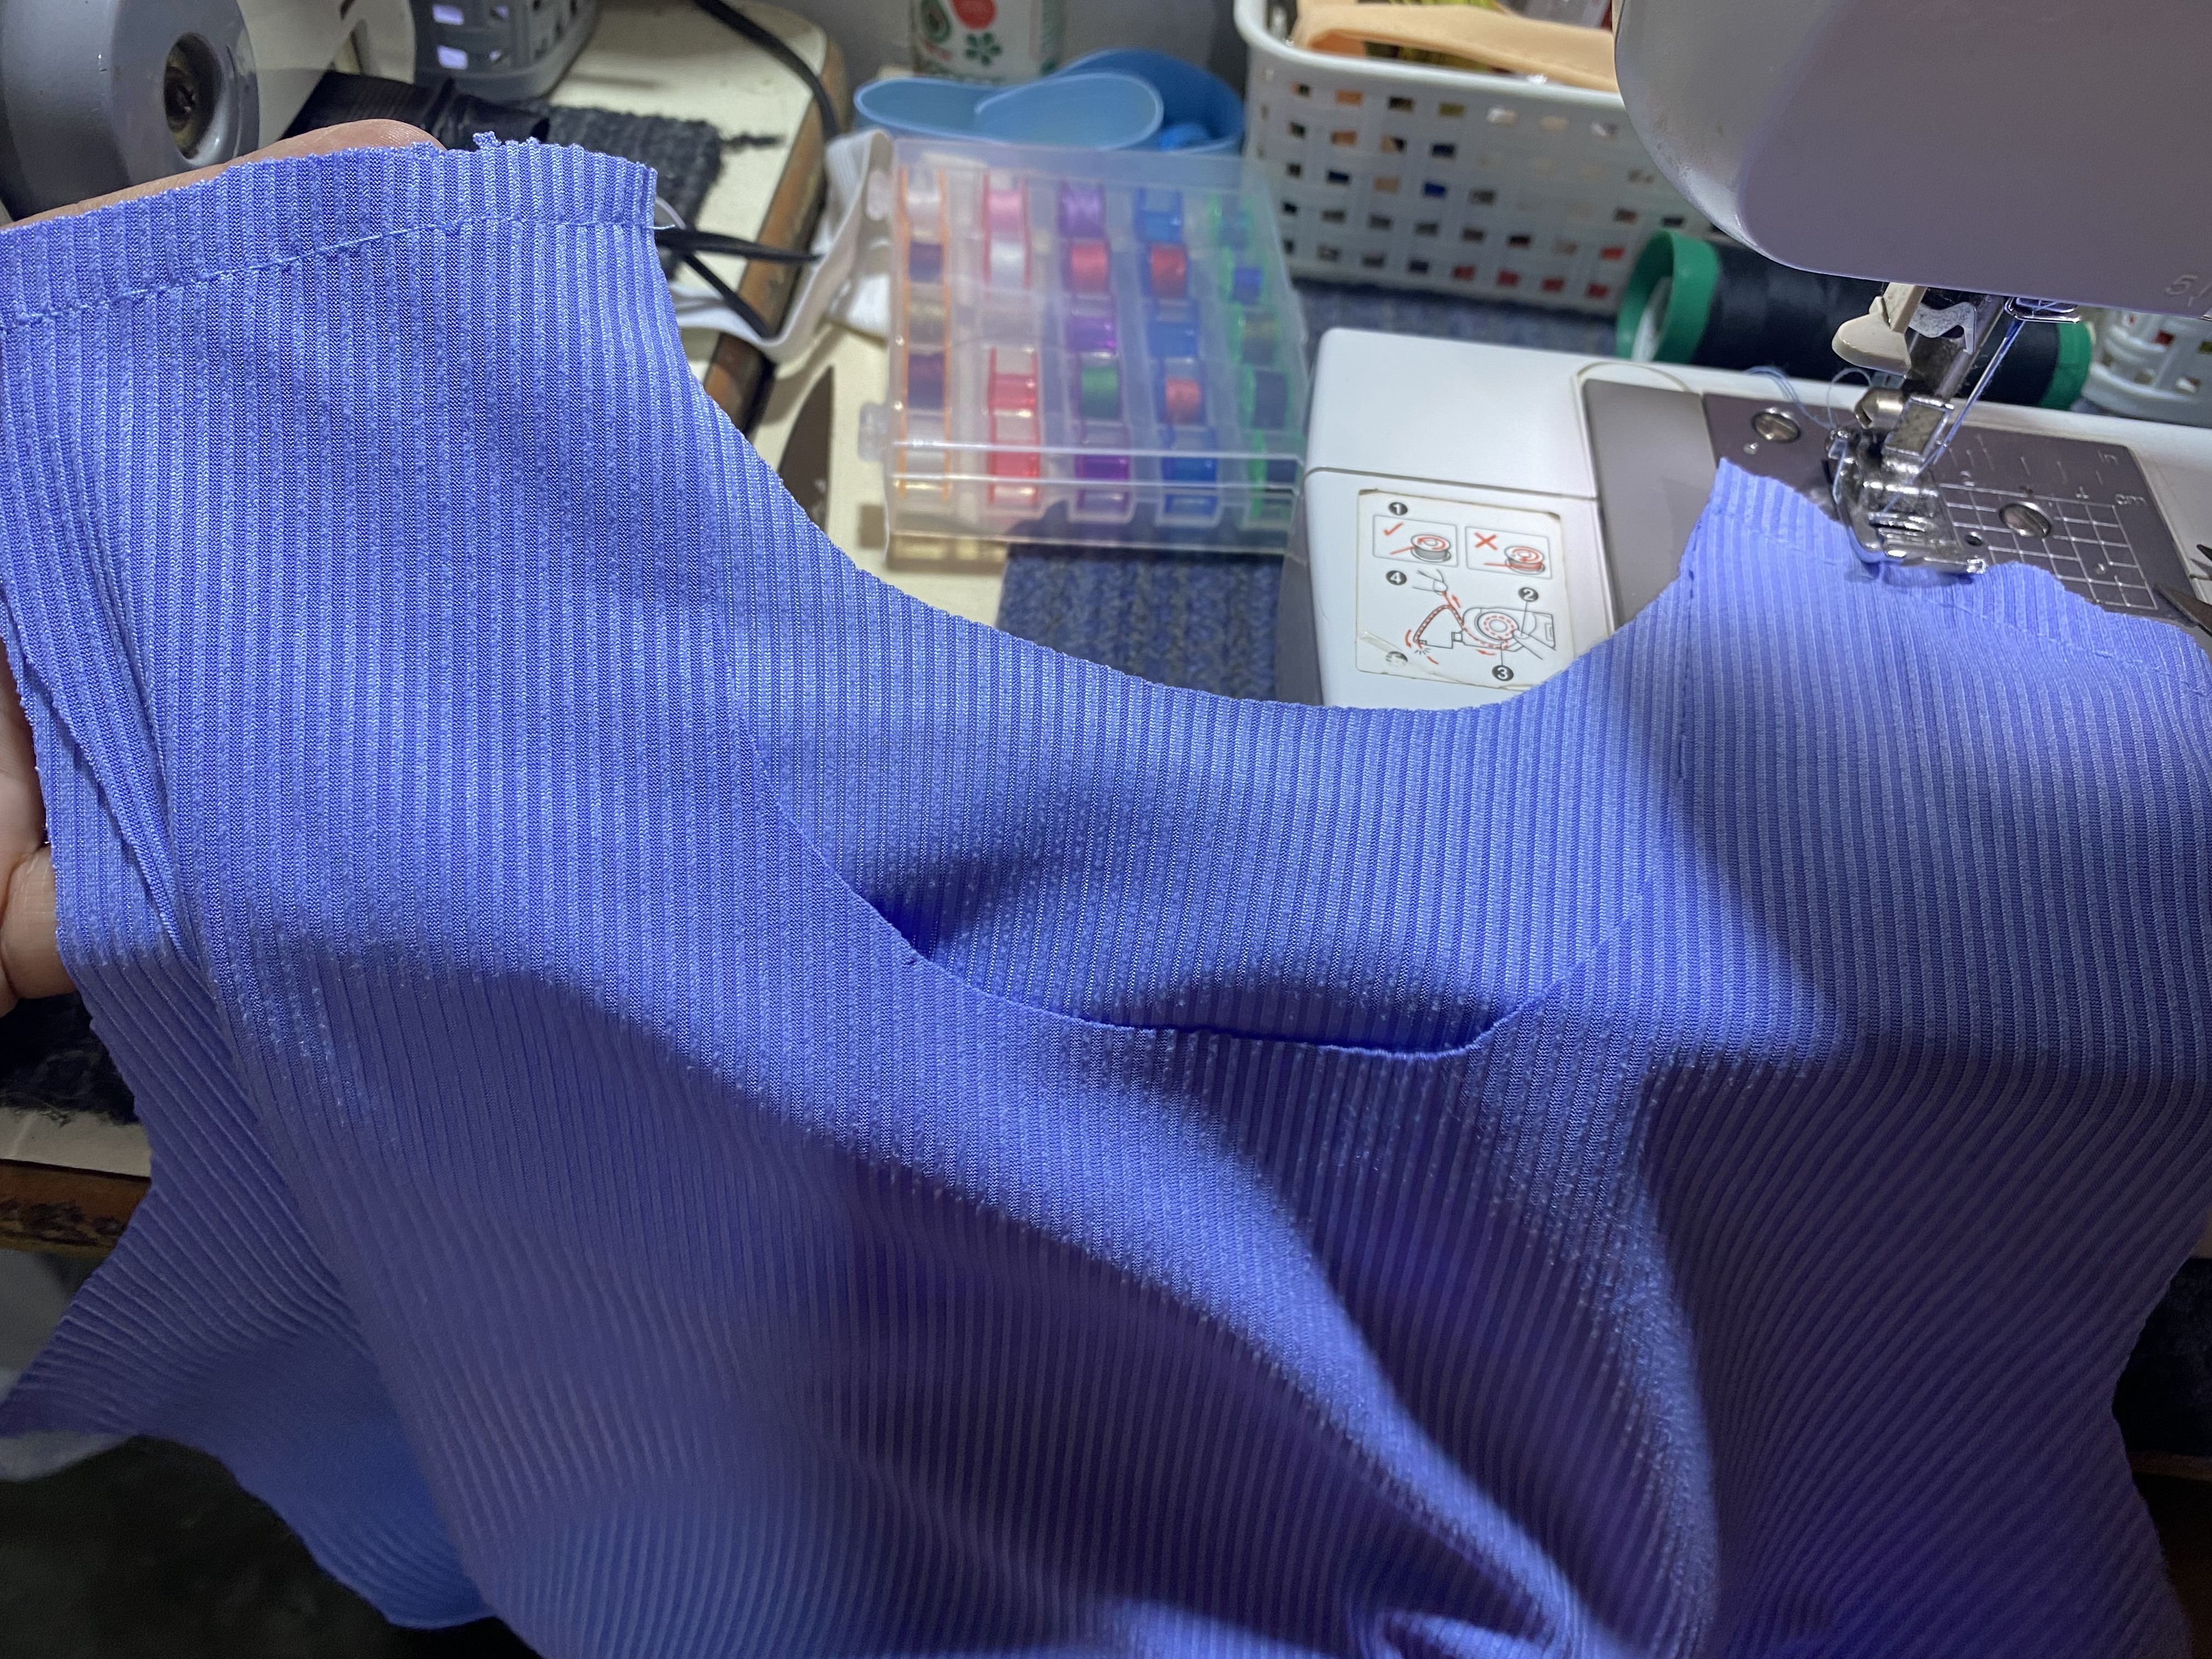
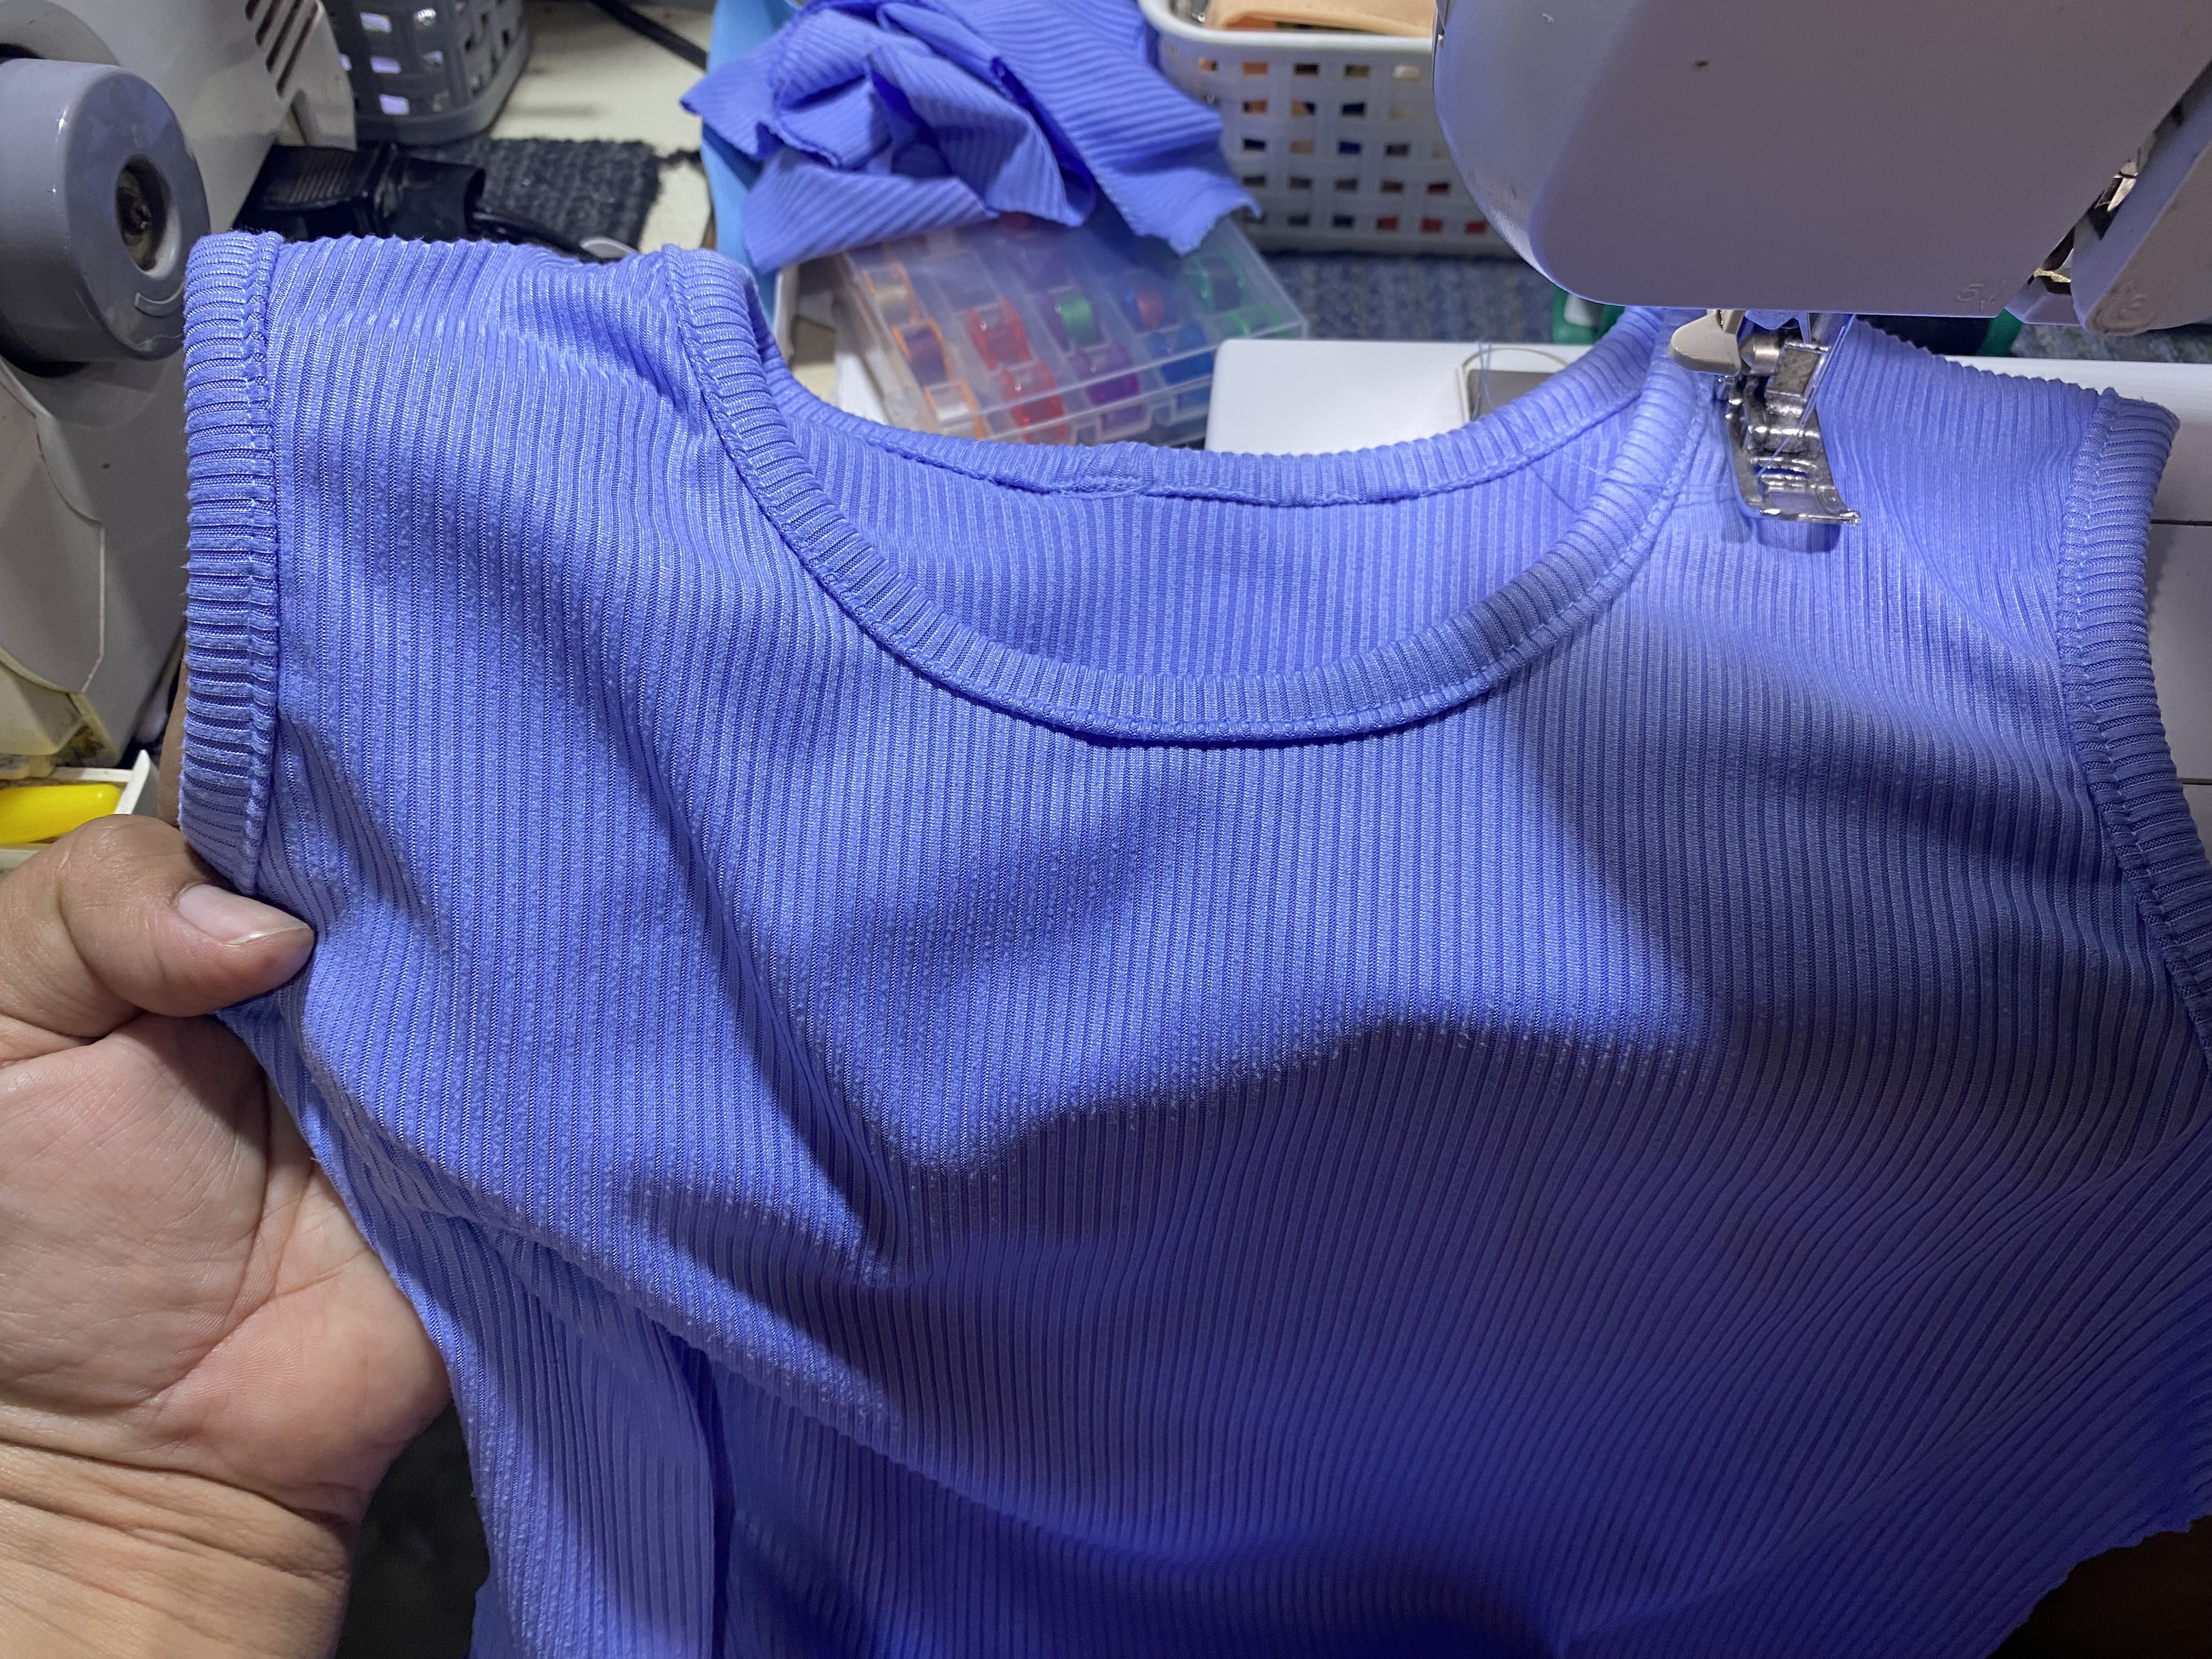
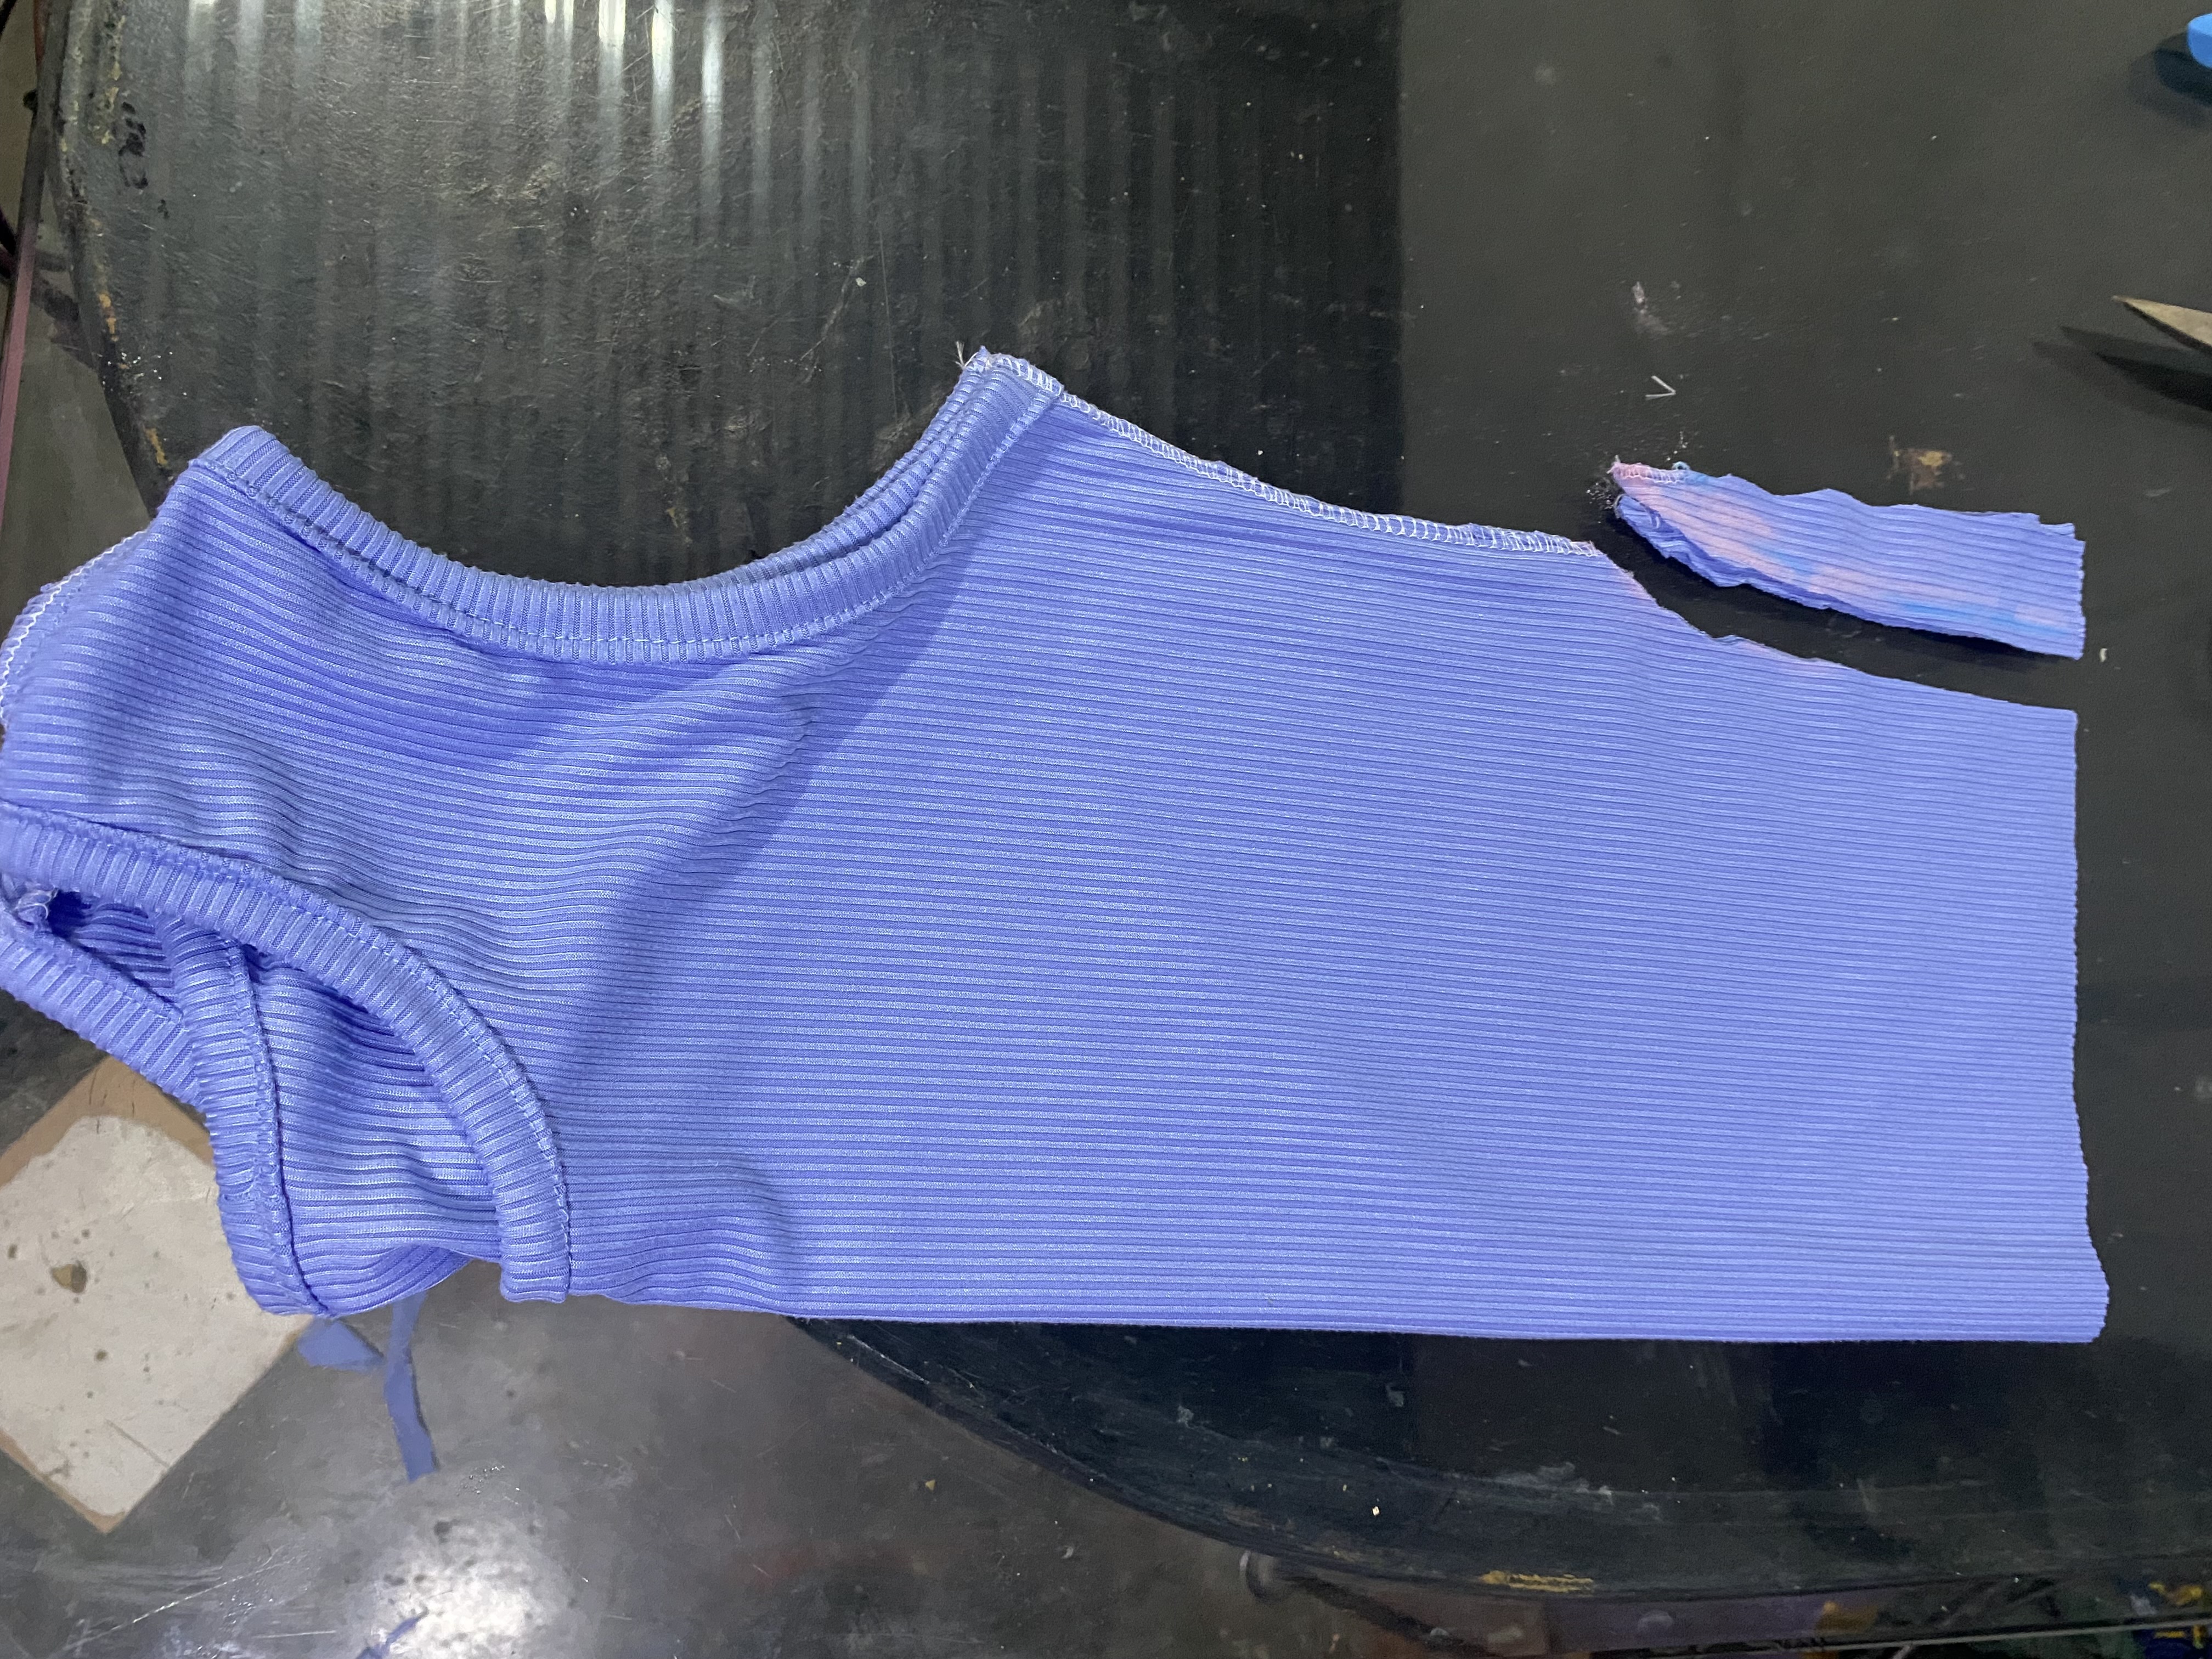
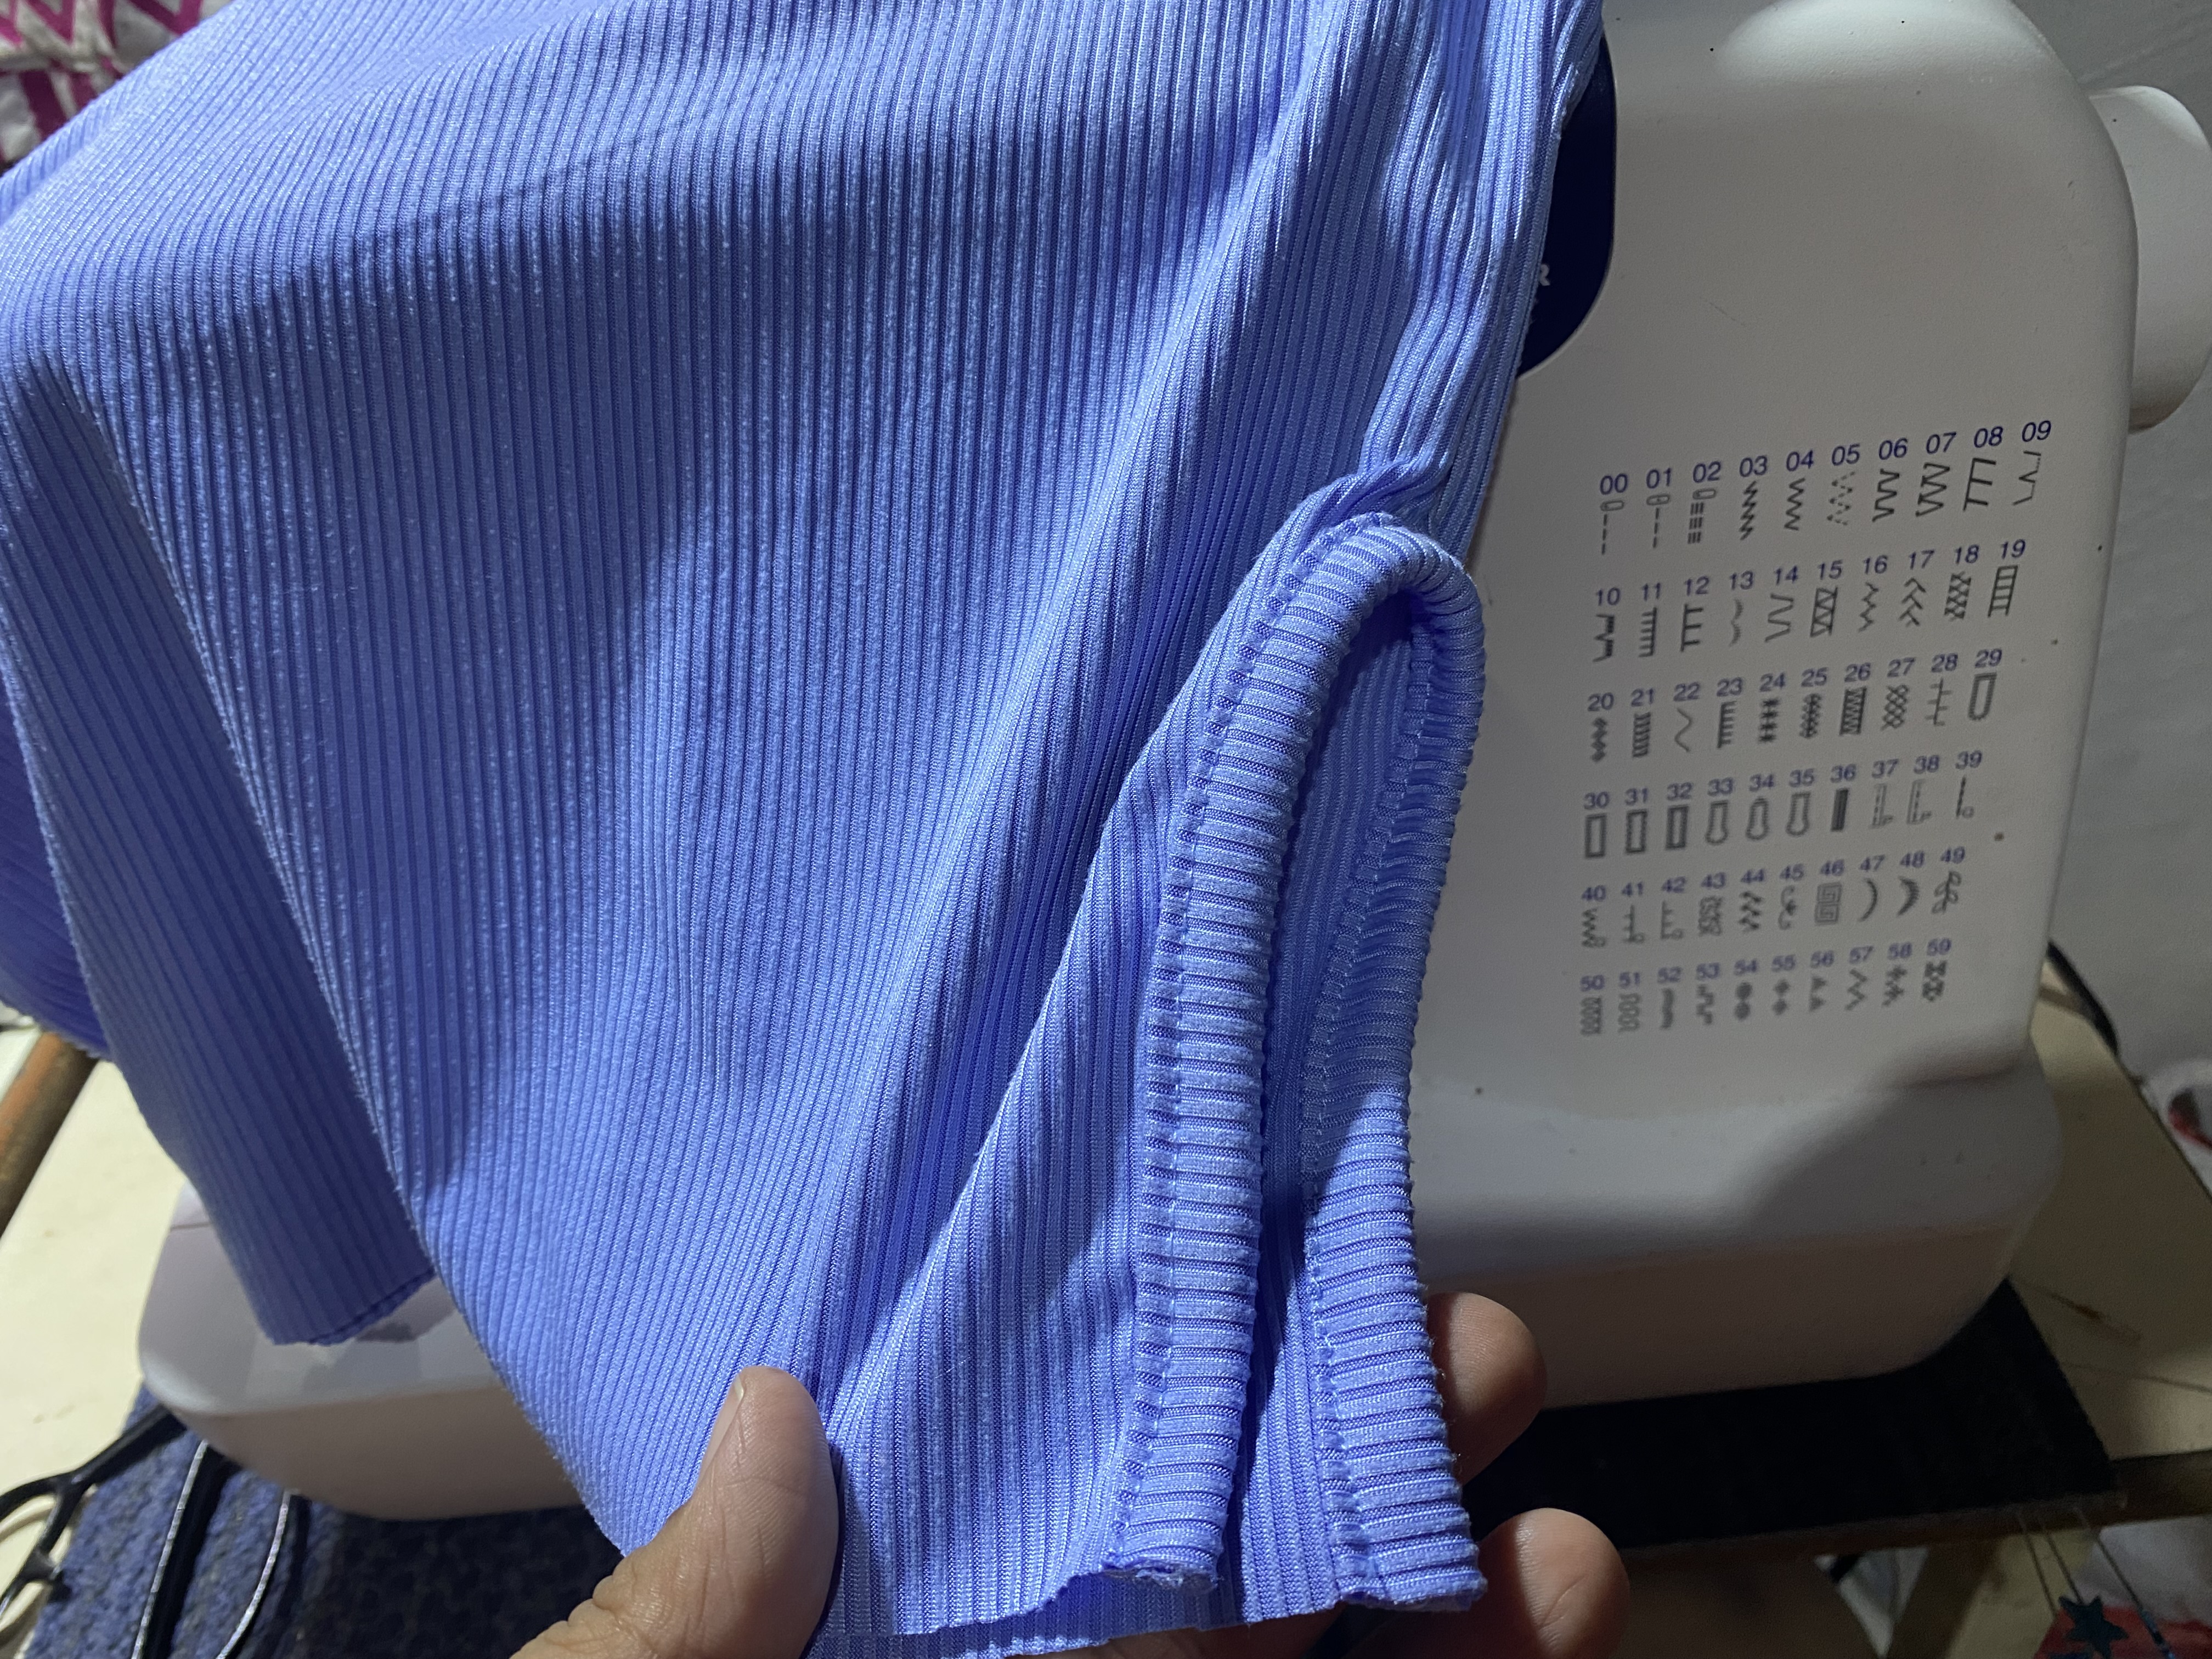
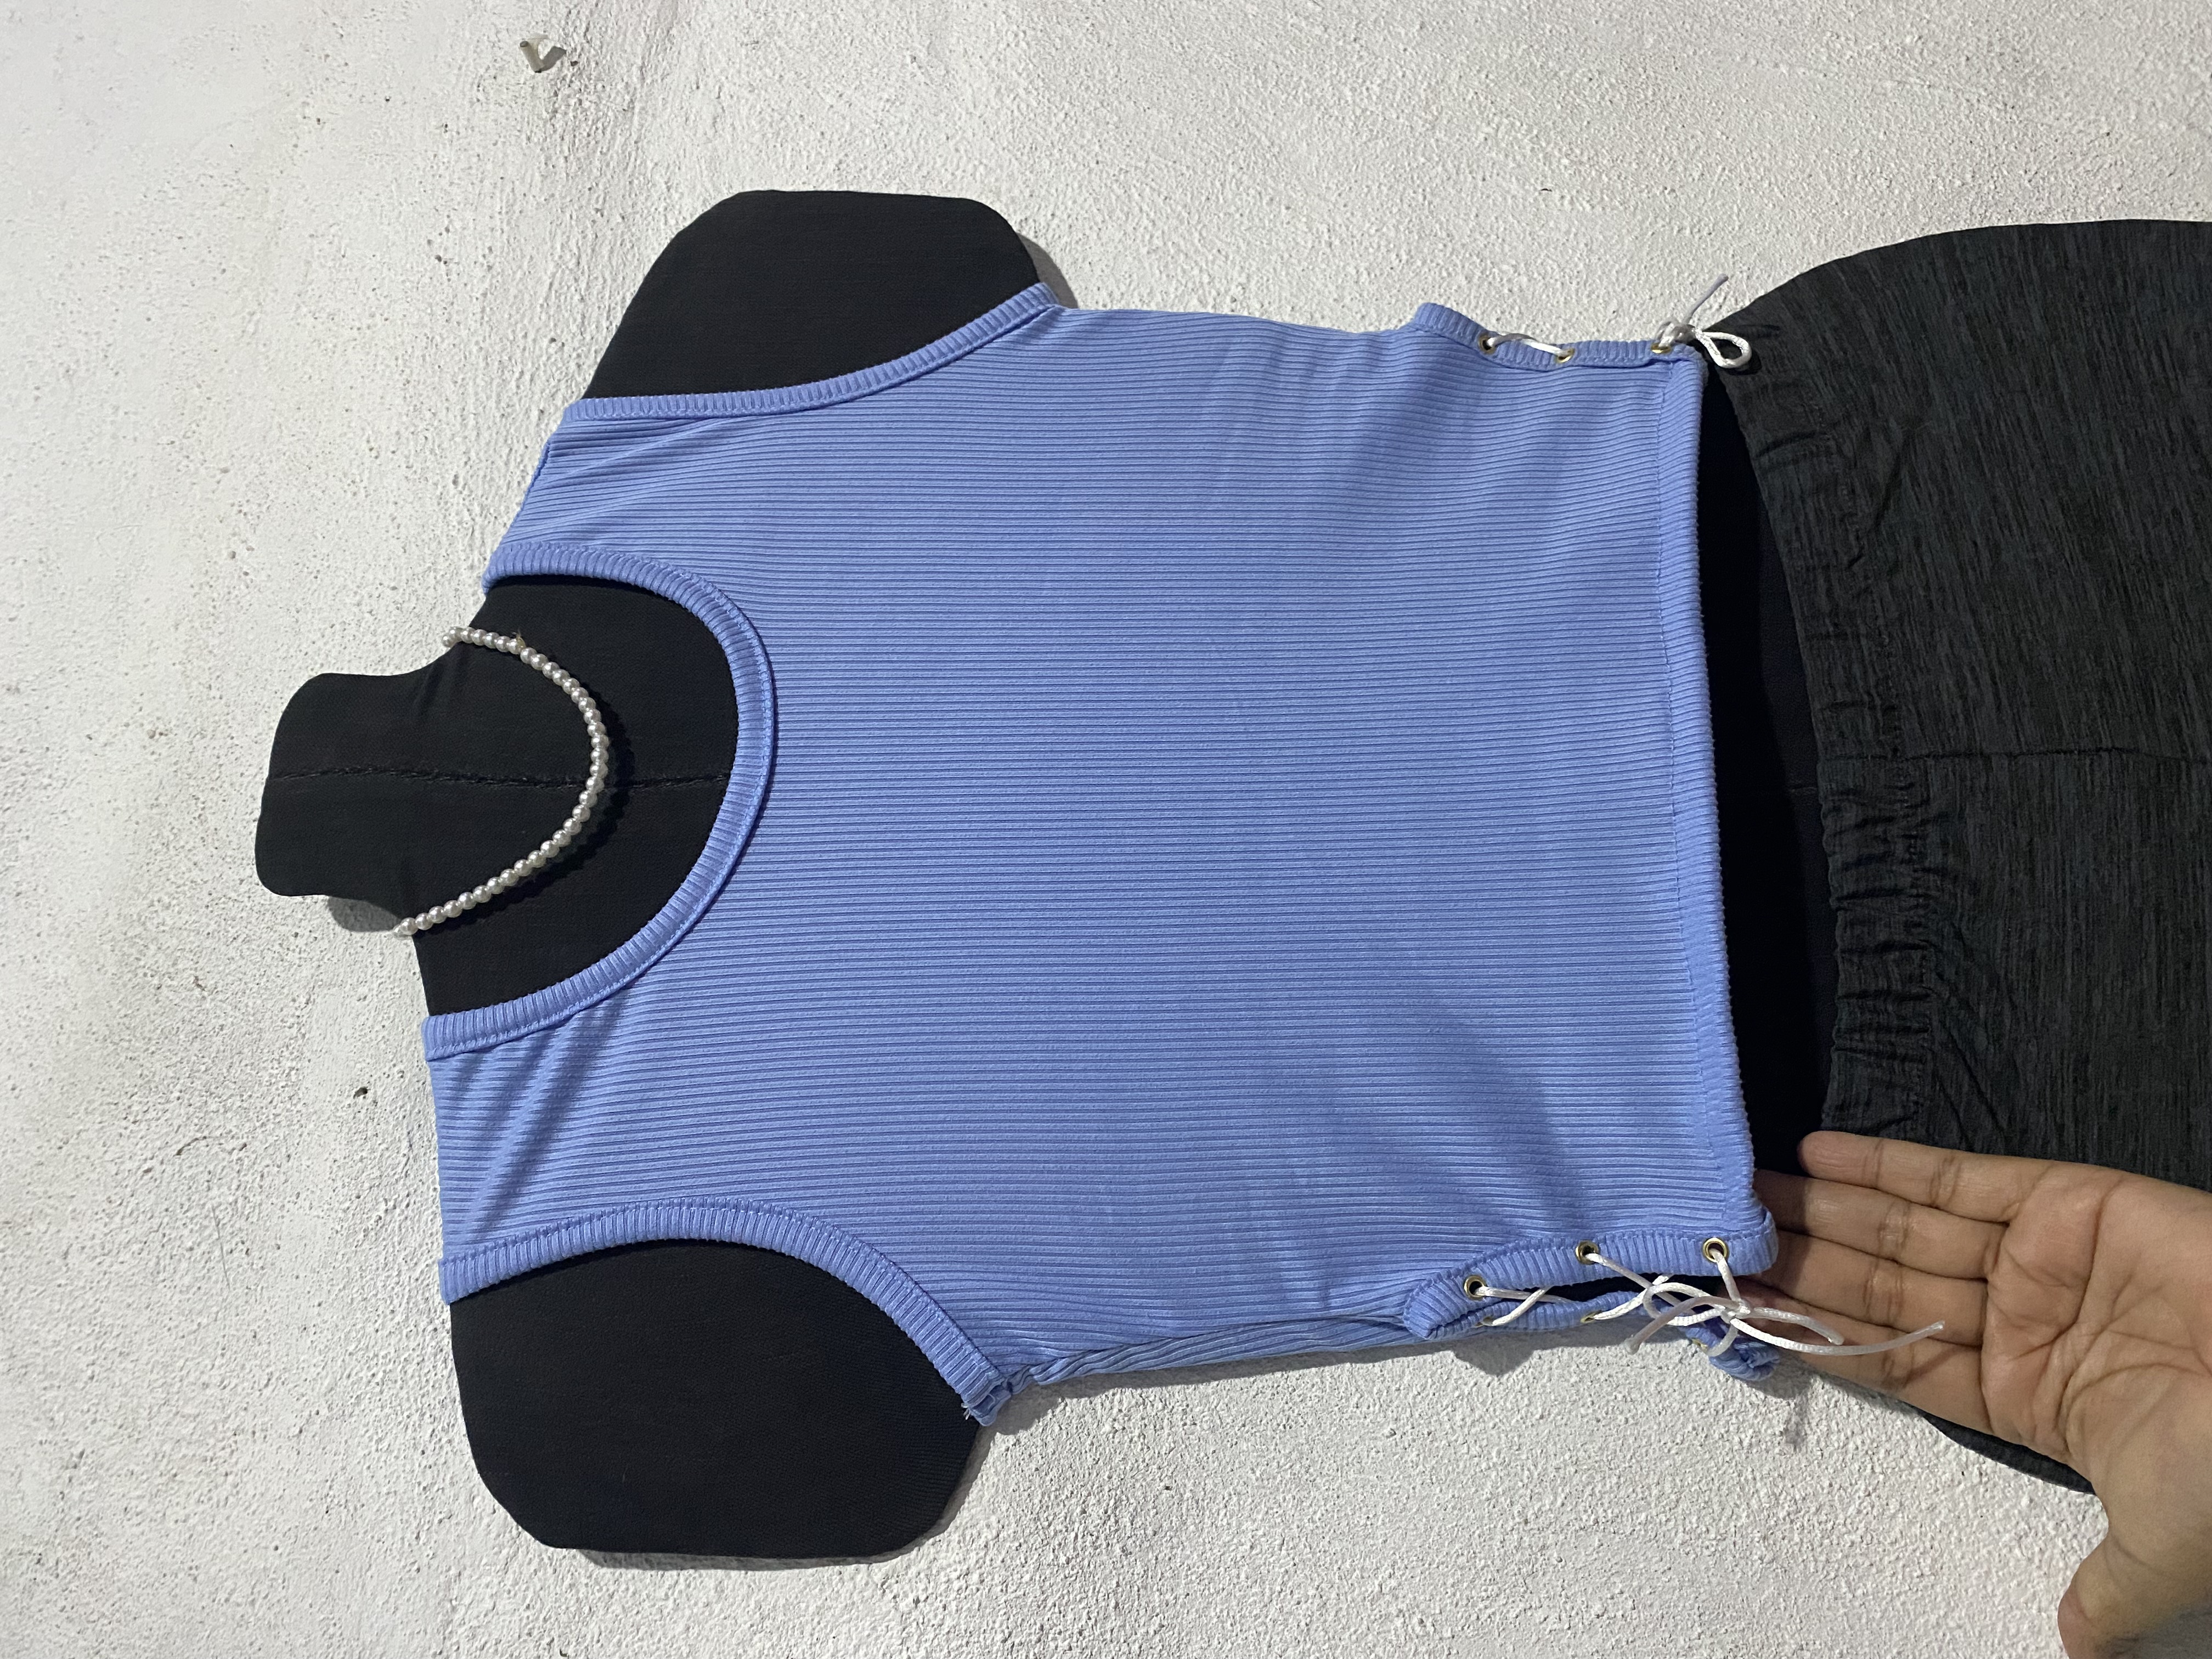
Para comenzar con las costuras unimos en la parte de los hombros luego coloco la tira para el sesgo por todo el alrededor del contorno de mangas y el cuello, luego hago el doble es necesario y paso costura recta por la parte externa, esta tela llamada Rib es bastante fácil de manejar con la máquina de coser, me gusta mucho trabajar con este tipo de tela.
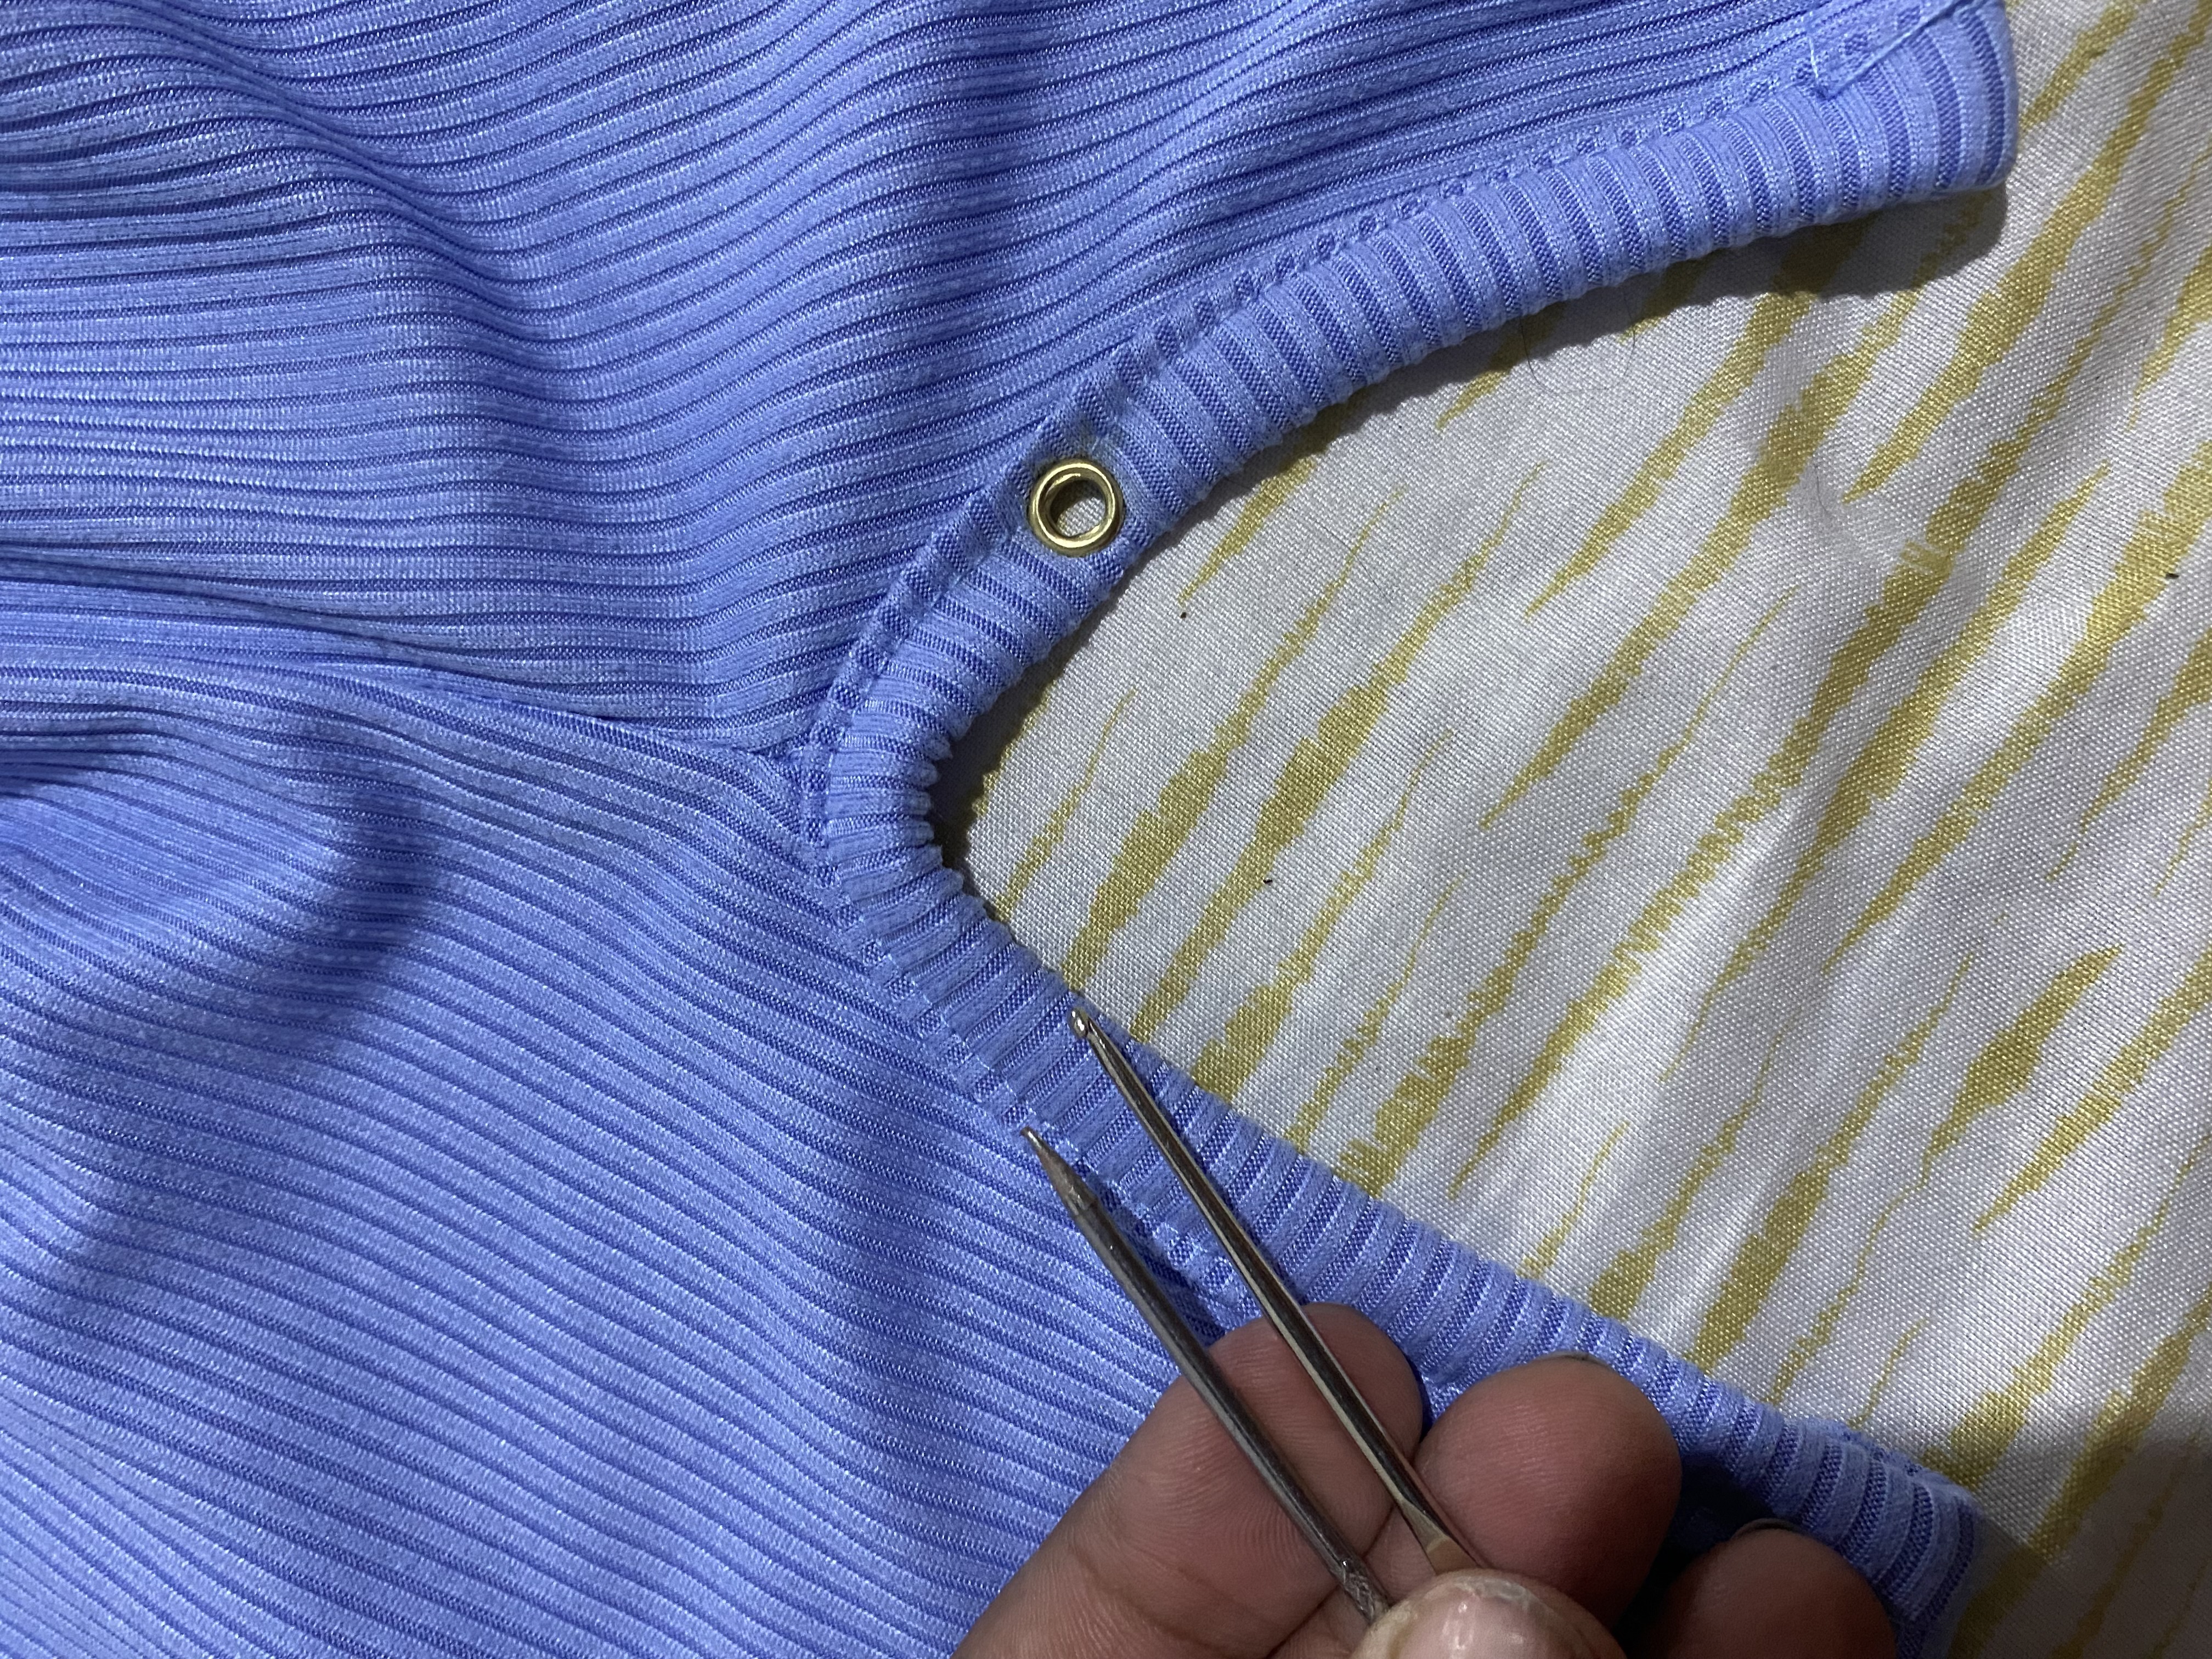
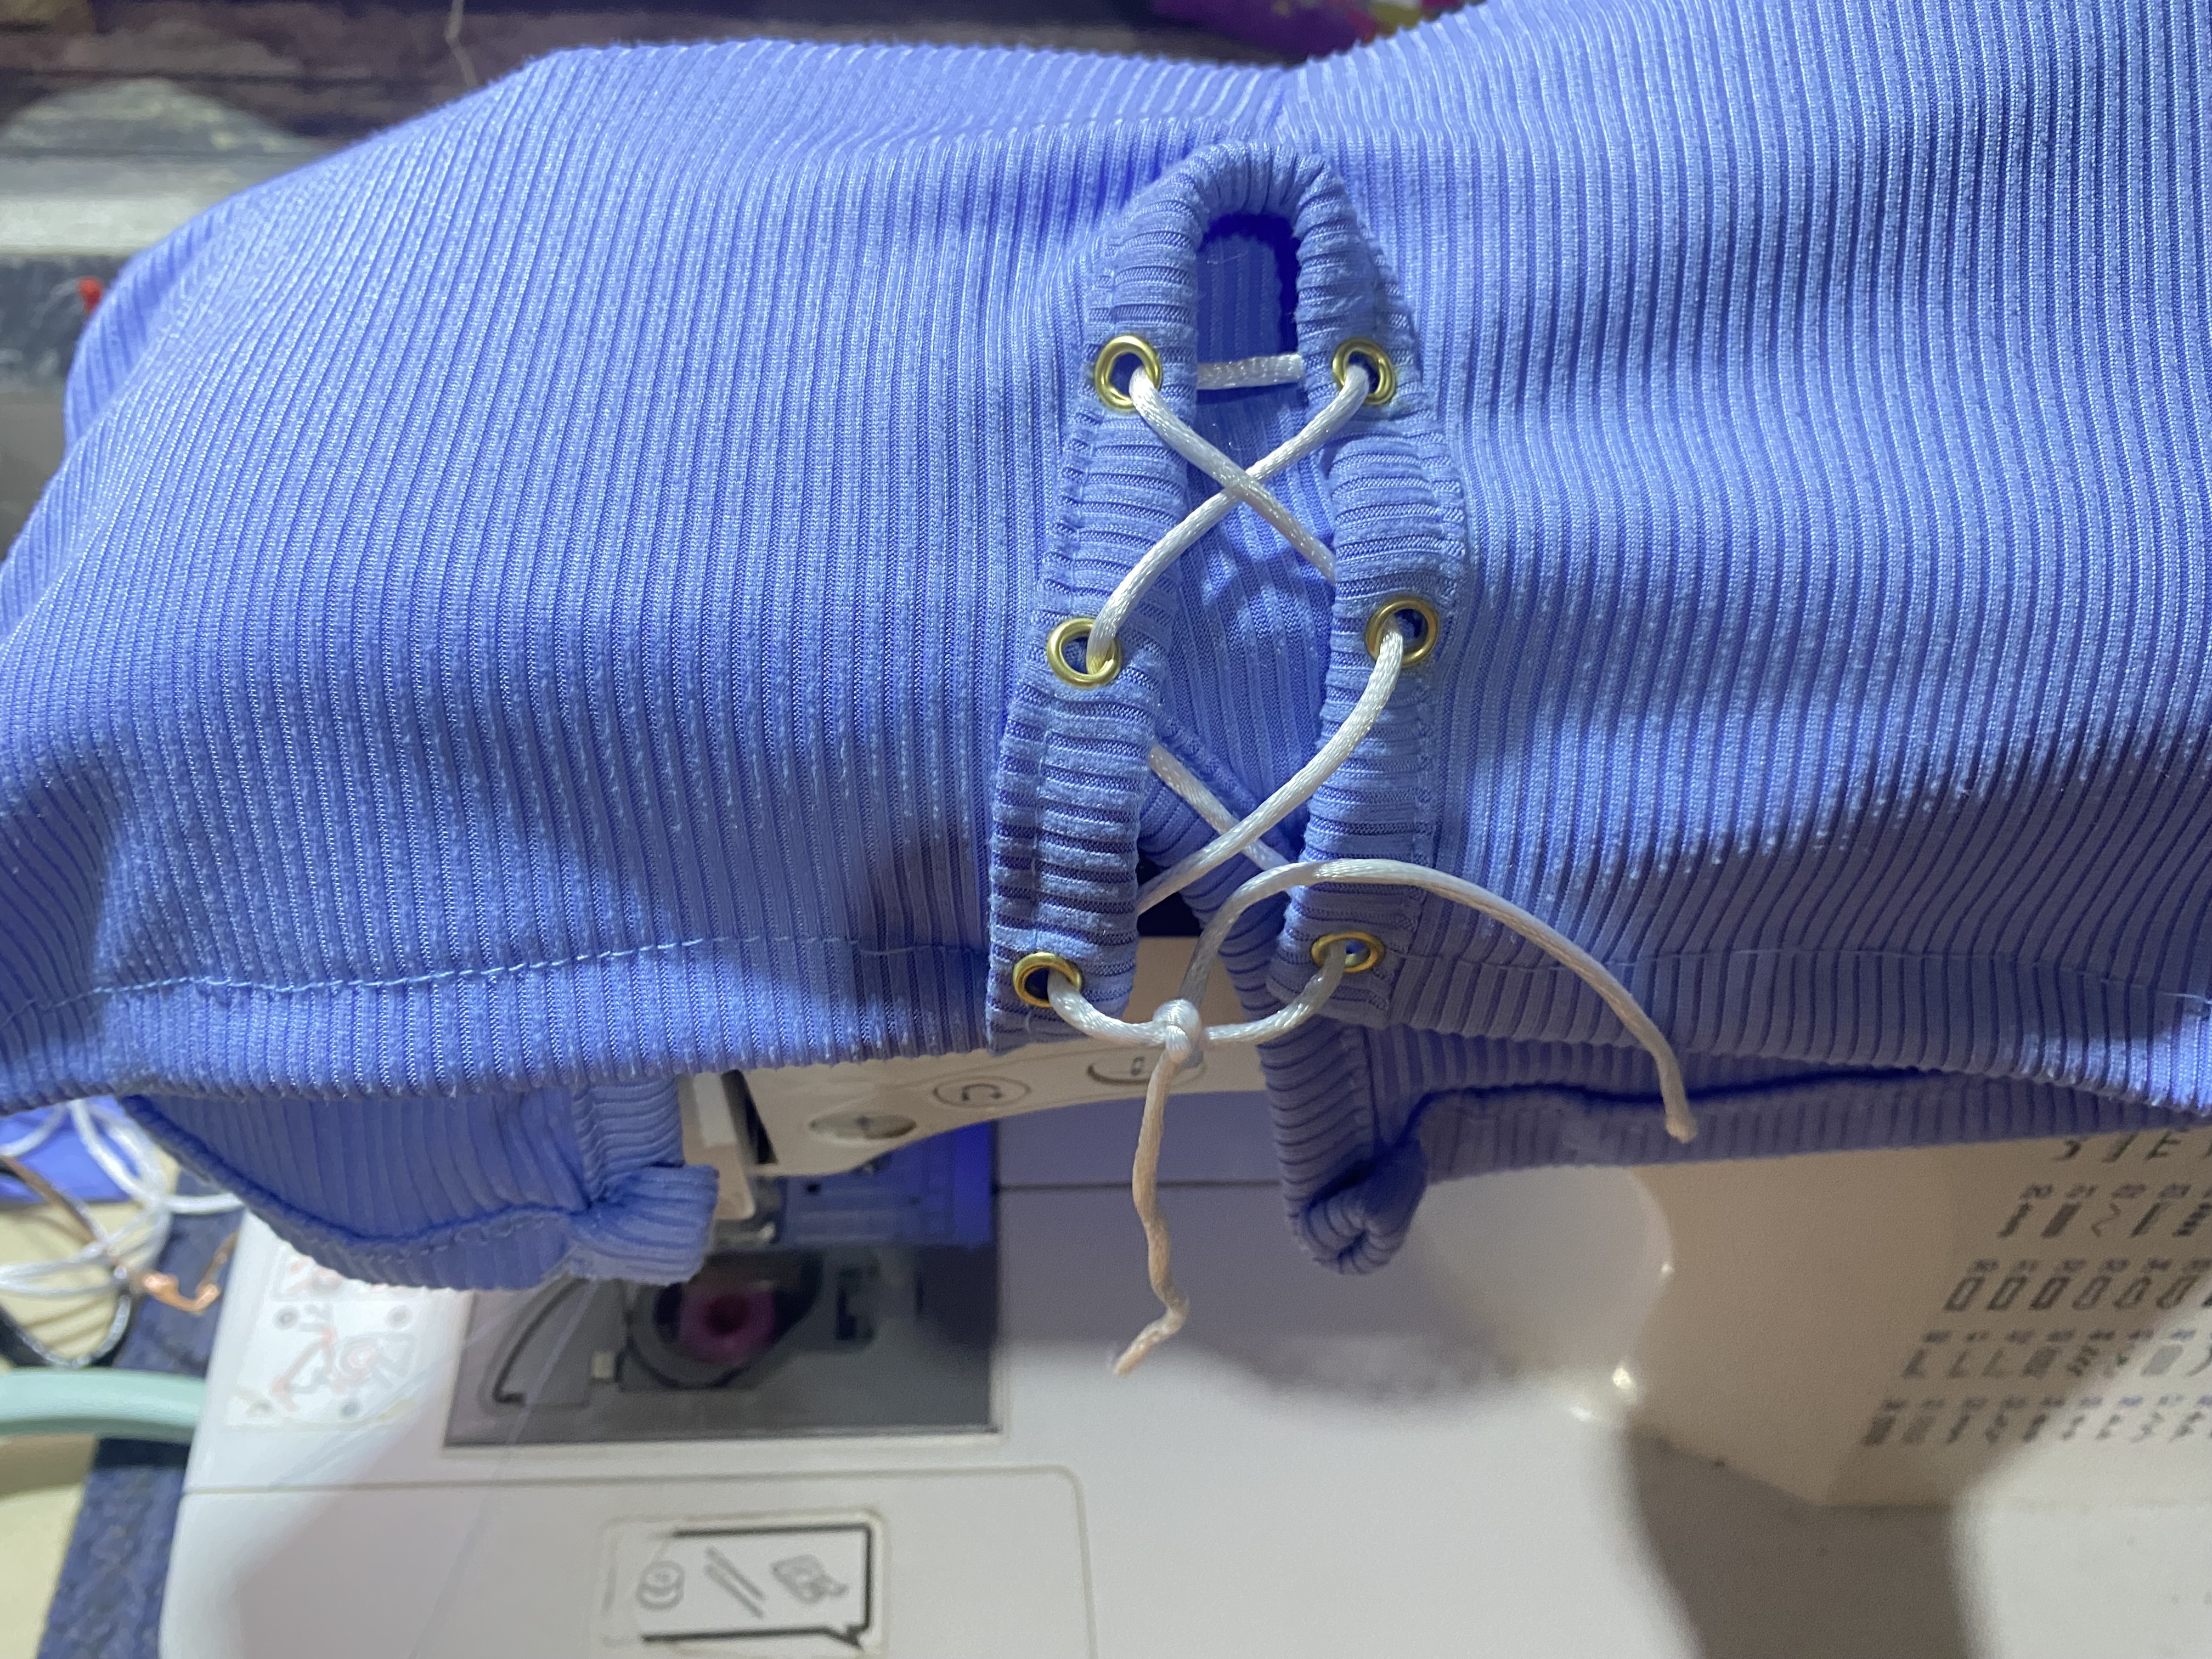
Al colocarle el sesgo vamos a unir por los lados de la blusa dejando aproximadamente 10 cm en la parte inferior, luego juntamos ambos lados y le vamos a hacer la figura en donde será el trenzado, corto el excedente y le colocó Cesco a los dos orificios, luego hago ruedo, y así ya tenemos lista nuestra blusa.
> To begin with the seams, we join them at the shoulders, then I place the bias tape all the way around the sleeves and neckline. Then I double the seam if necessary and sew a straight seam along the outside. This fabric, called rib, is quite easy to handle with a sewing machine; I really like working with this type of fabric.
>
> When placing the bias tape, we'll join the sides of the blouse, leaving approximately 10 cm at the bottom. Then we join both sides and make the shape where the braid will be. I cut off the excess and place Cesco on the two holes. Then I hem it, and that's it. Our blouse is ready.
|||
|---|---|
|||
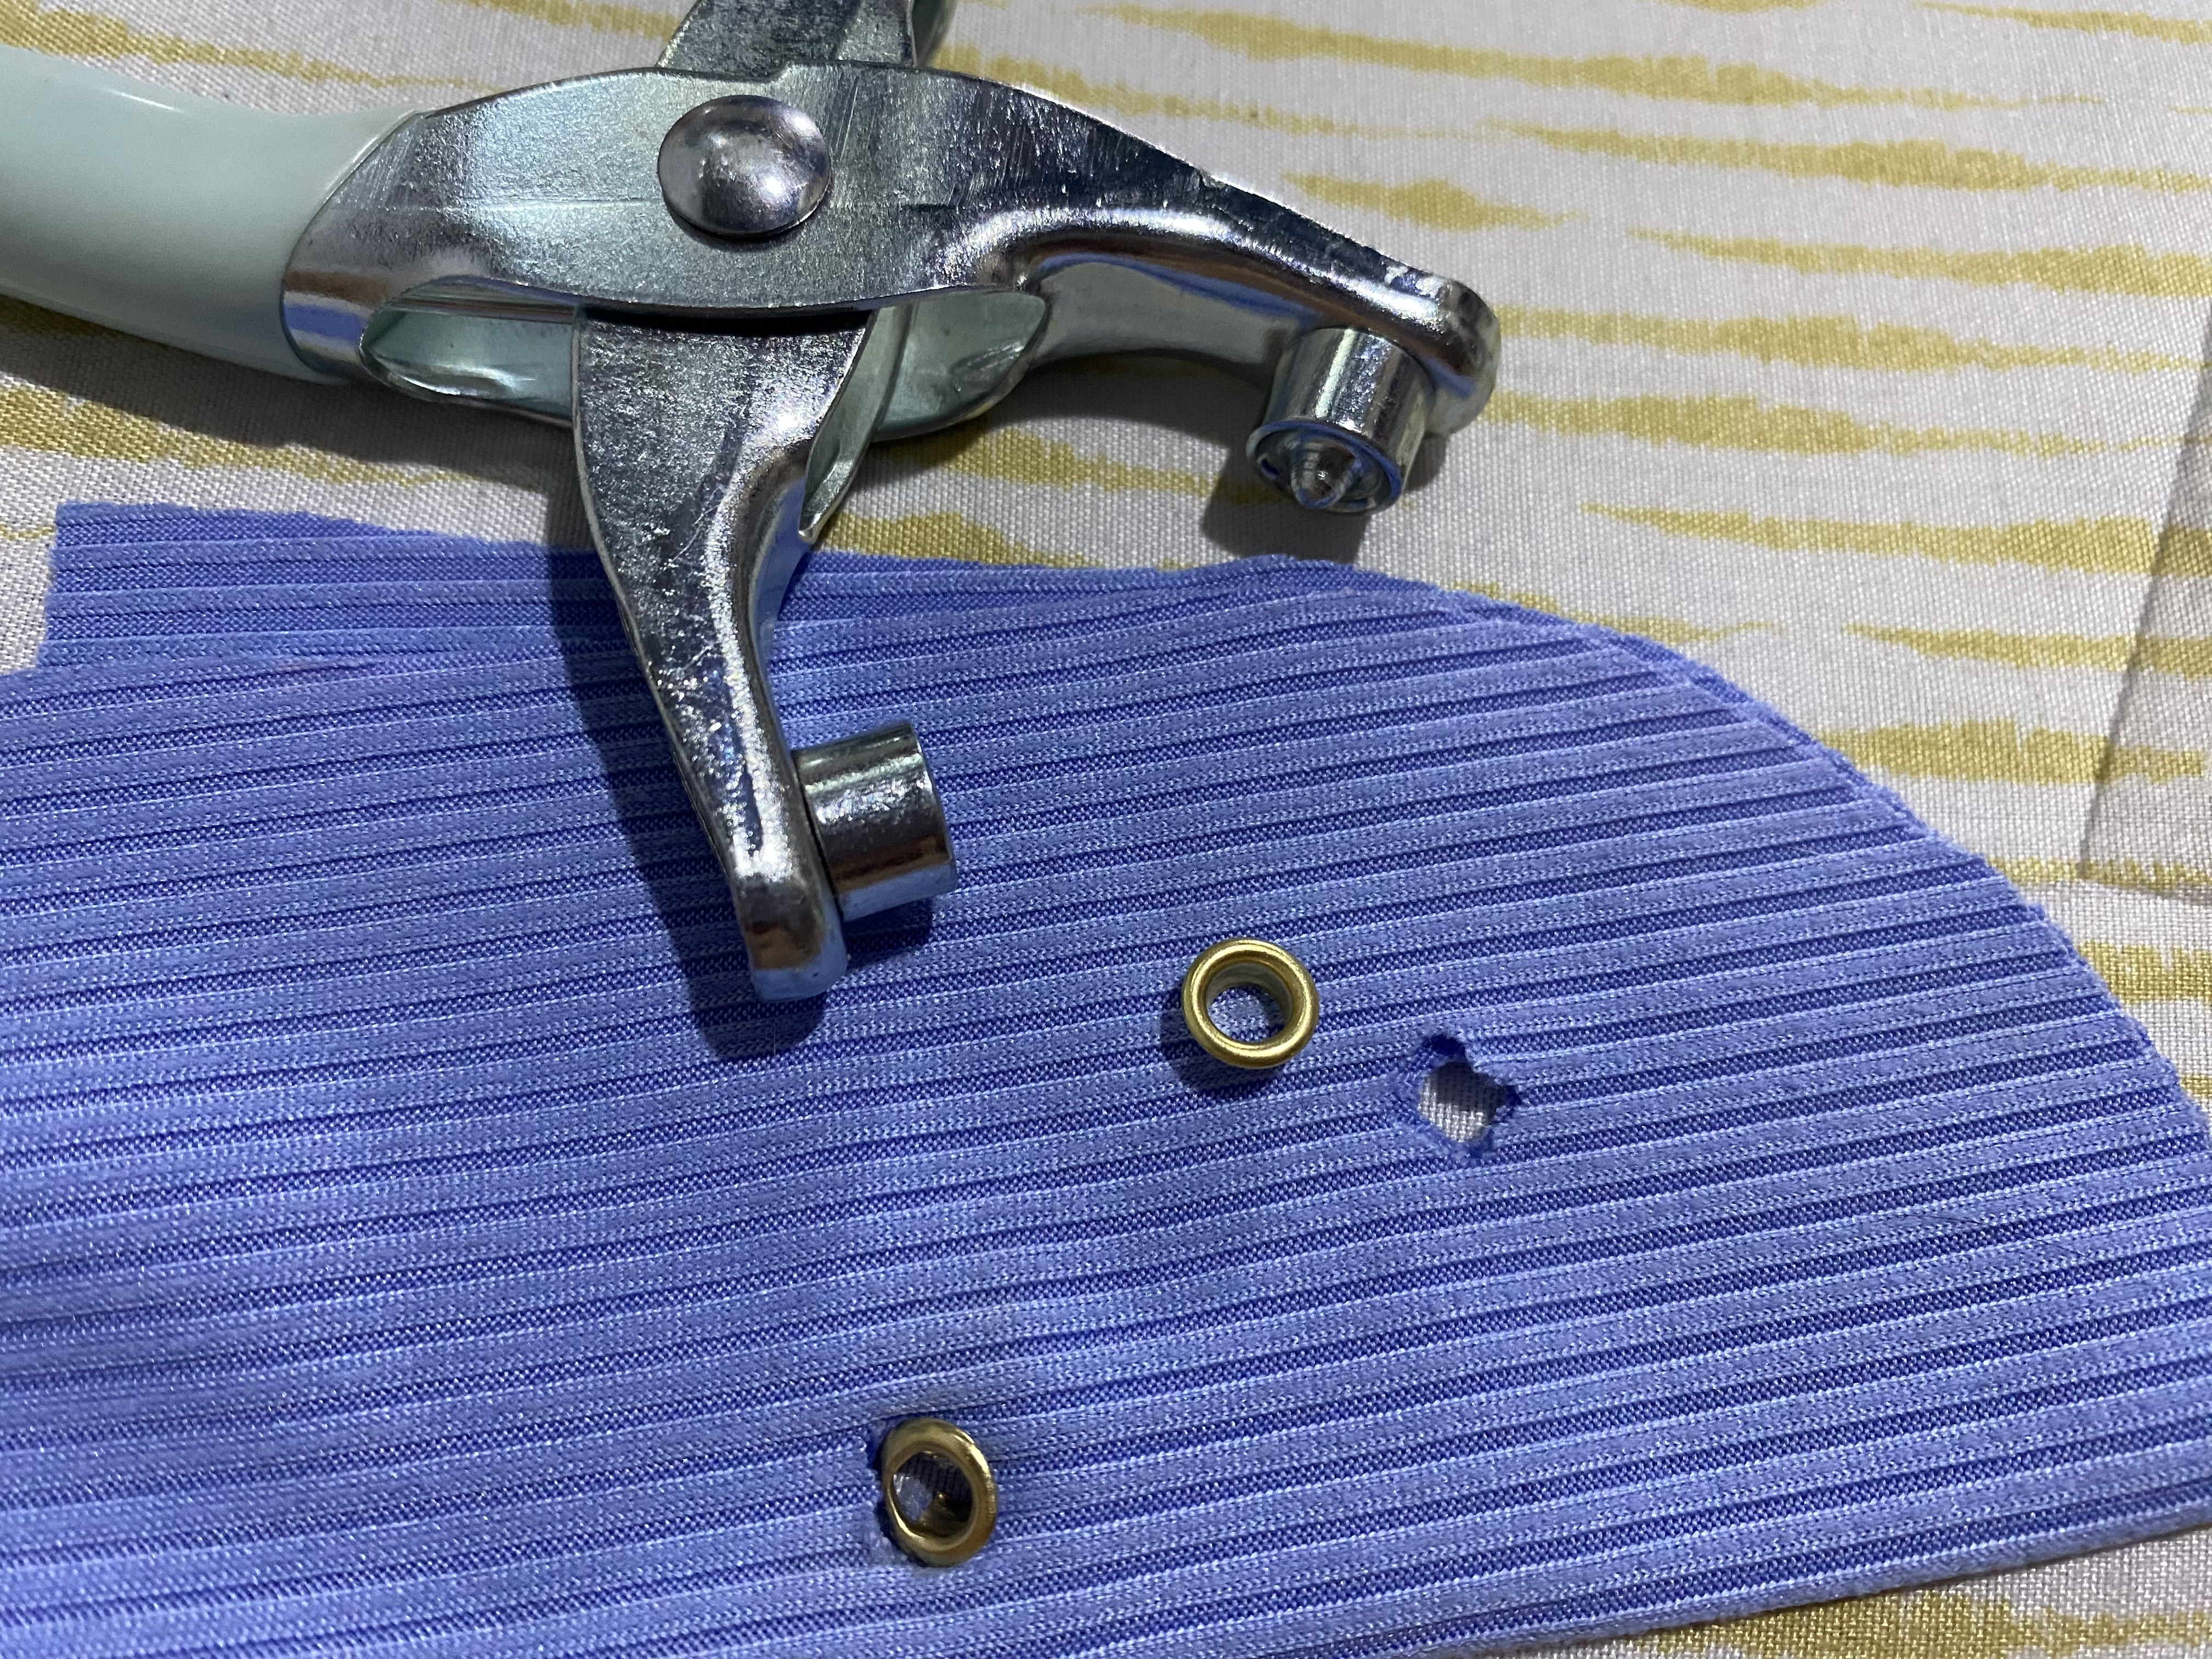
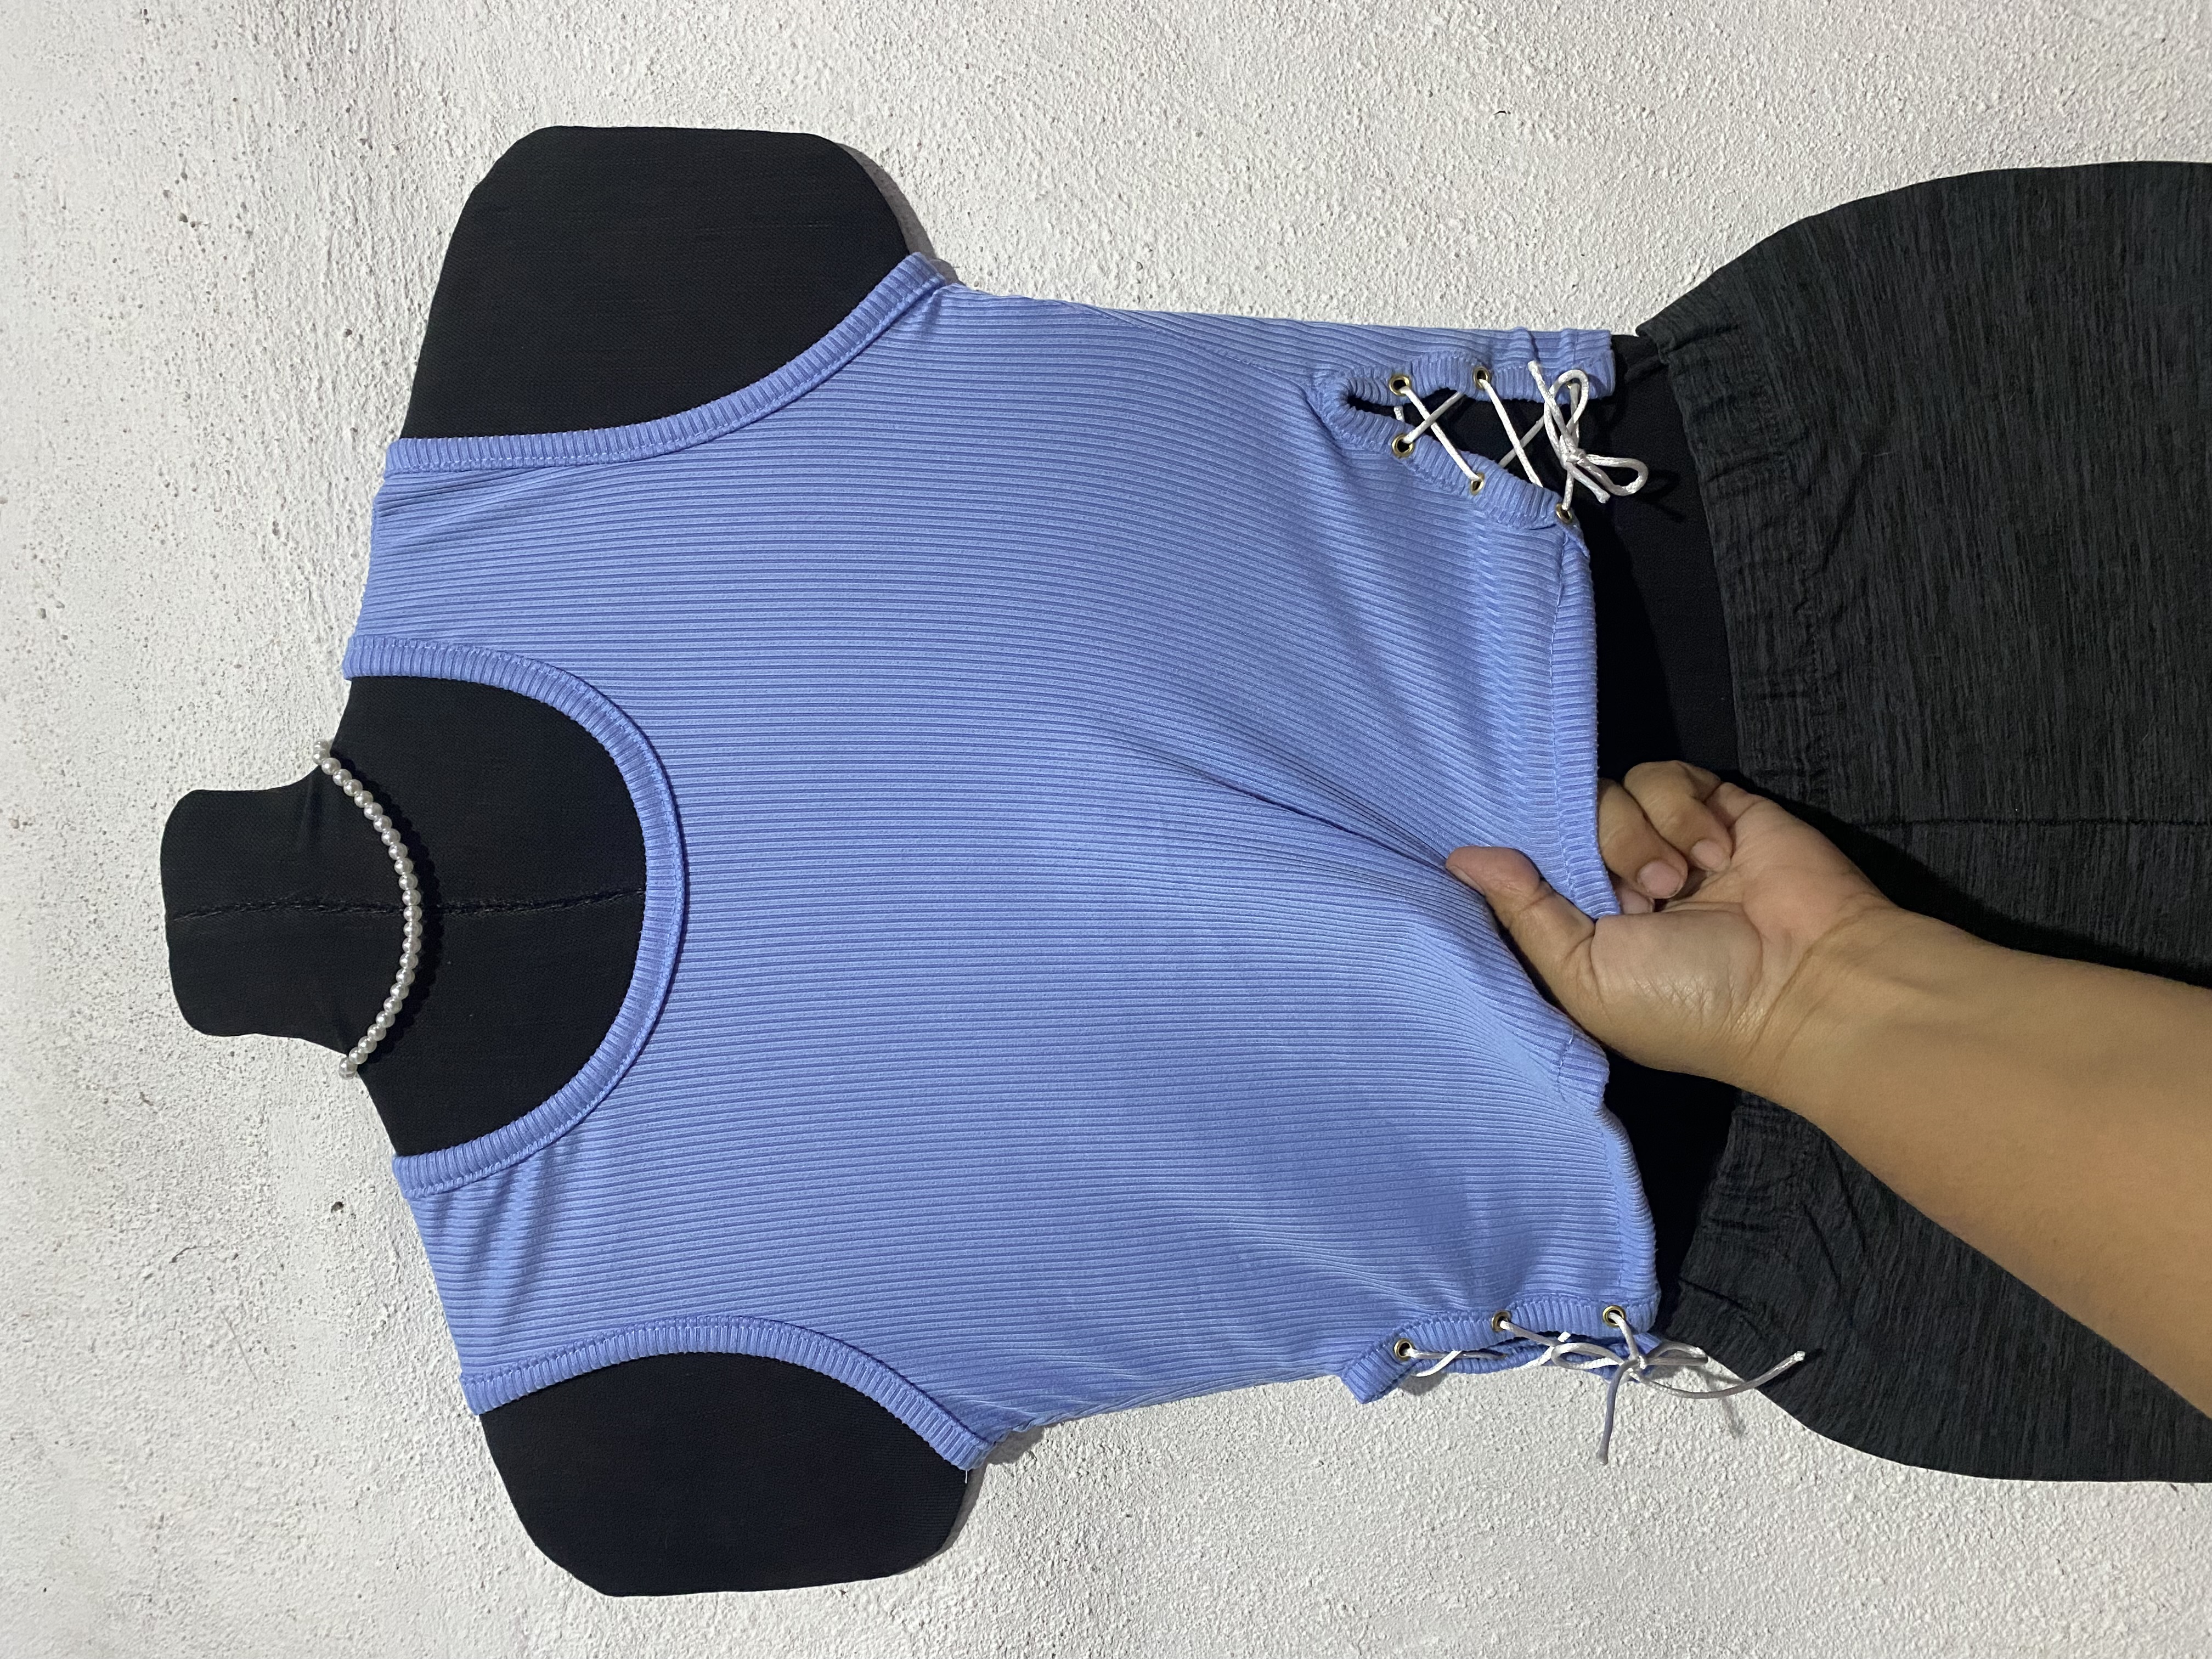
Para el siguiente paso vamos a colocarle los ojalillos de metal, primero debemos abrir un pequeño orificio en la tela donde vamos a colocar el ojal, colocamo el ojal por la parte externa introducimos en el pequeño orificio e intentamos que quede todo por todo el alrededor del pequeño ojalillo, la punta de la pinza debe quedar en la parte inferior, apretamos fuerte y así ya está listo nuestro lindo ojal de metal.
Todo es cuestión de agarrar la técnica, al principio practiqué con un trozo de tela, se me hizo un poco complicado, en algunos orificios me quedó muy grande y el ojal se sale, debemos intentar que nos quede pequeño y como la tela es Stretch la vamos a ir amoldando alrededor del pequeño círculo y luego prensamos con la pinza, para esto utilicé varios instrumentos hasta que lo logré, el resultado me encantó, este tipo de ojalillo hace que la prenda se vea diferente y mucho más bonita, espero les guste ☺️
> For the next step, we're going to add the metal eyelets. First, we need to open a small hole in the fabric where we're going to place the eyelet. We place the eyelet on the outside, insert it into the small hole, and try to fit it all the way around the small eyelet. The tip of the pliers should be at the bottom. We press firmly, and that's it. Our cute metal eyelet is ready.
>
> It's all a matter of getting the hang of the technique. At first, I practiced with a piece of fabric; it was a little tricky. In some holes, it was too big and the eyelet popped out. We have to try to make it smaller. Since the fabric is stretch, we're going to mold it around the small circle and then press it with the pliers. I used several tools until I got it right. I loved the result. This type of eyelet makes the garment look different and much more beautiful. I hope you like it ☺️
|||
|---|---|
||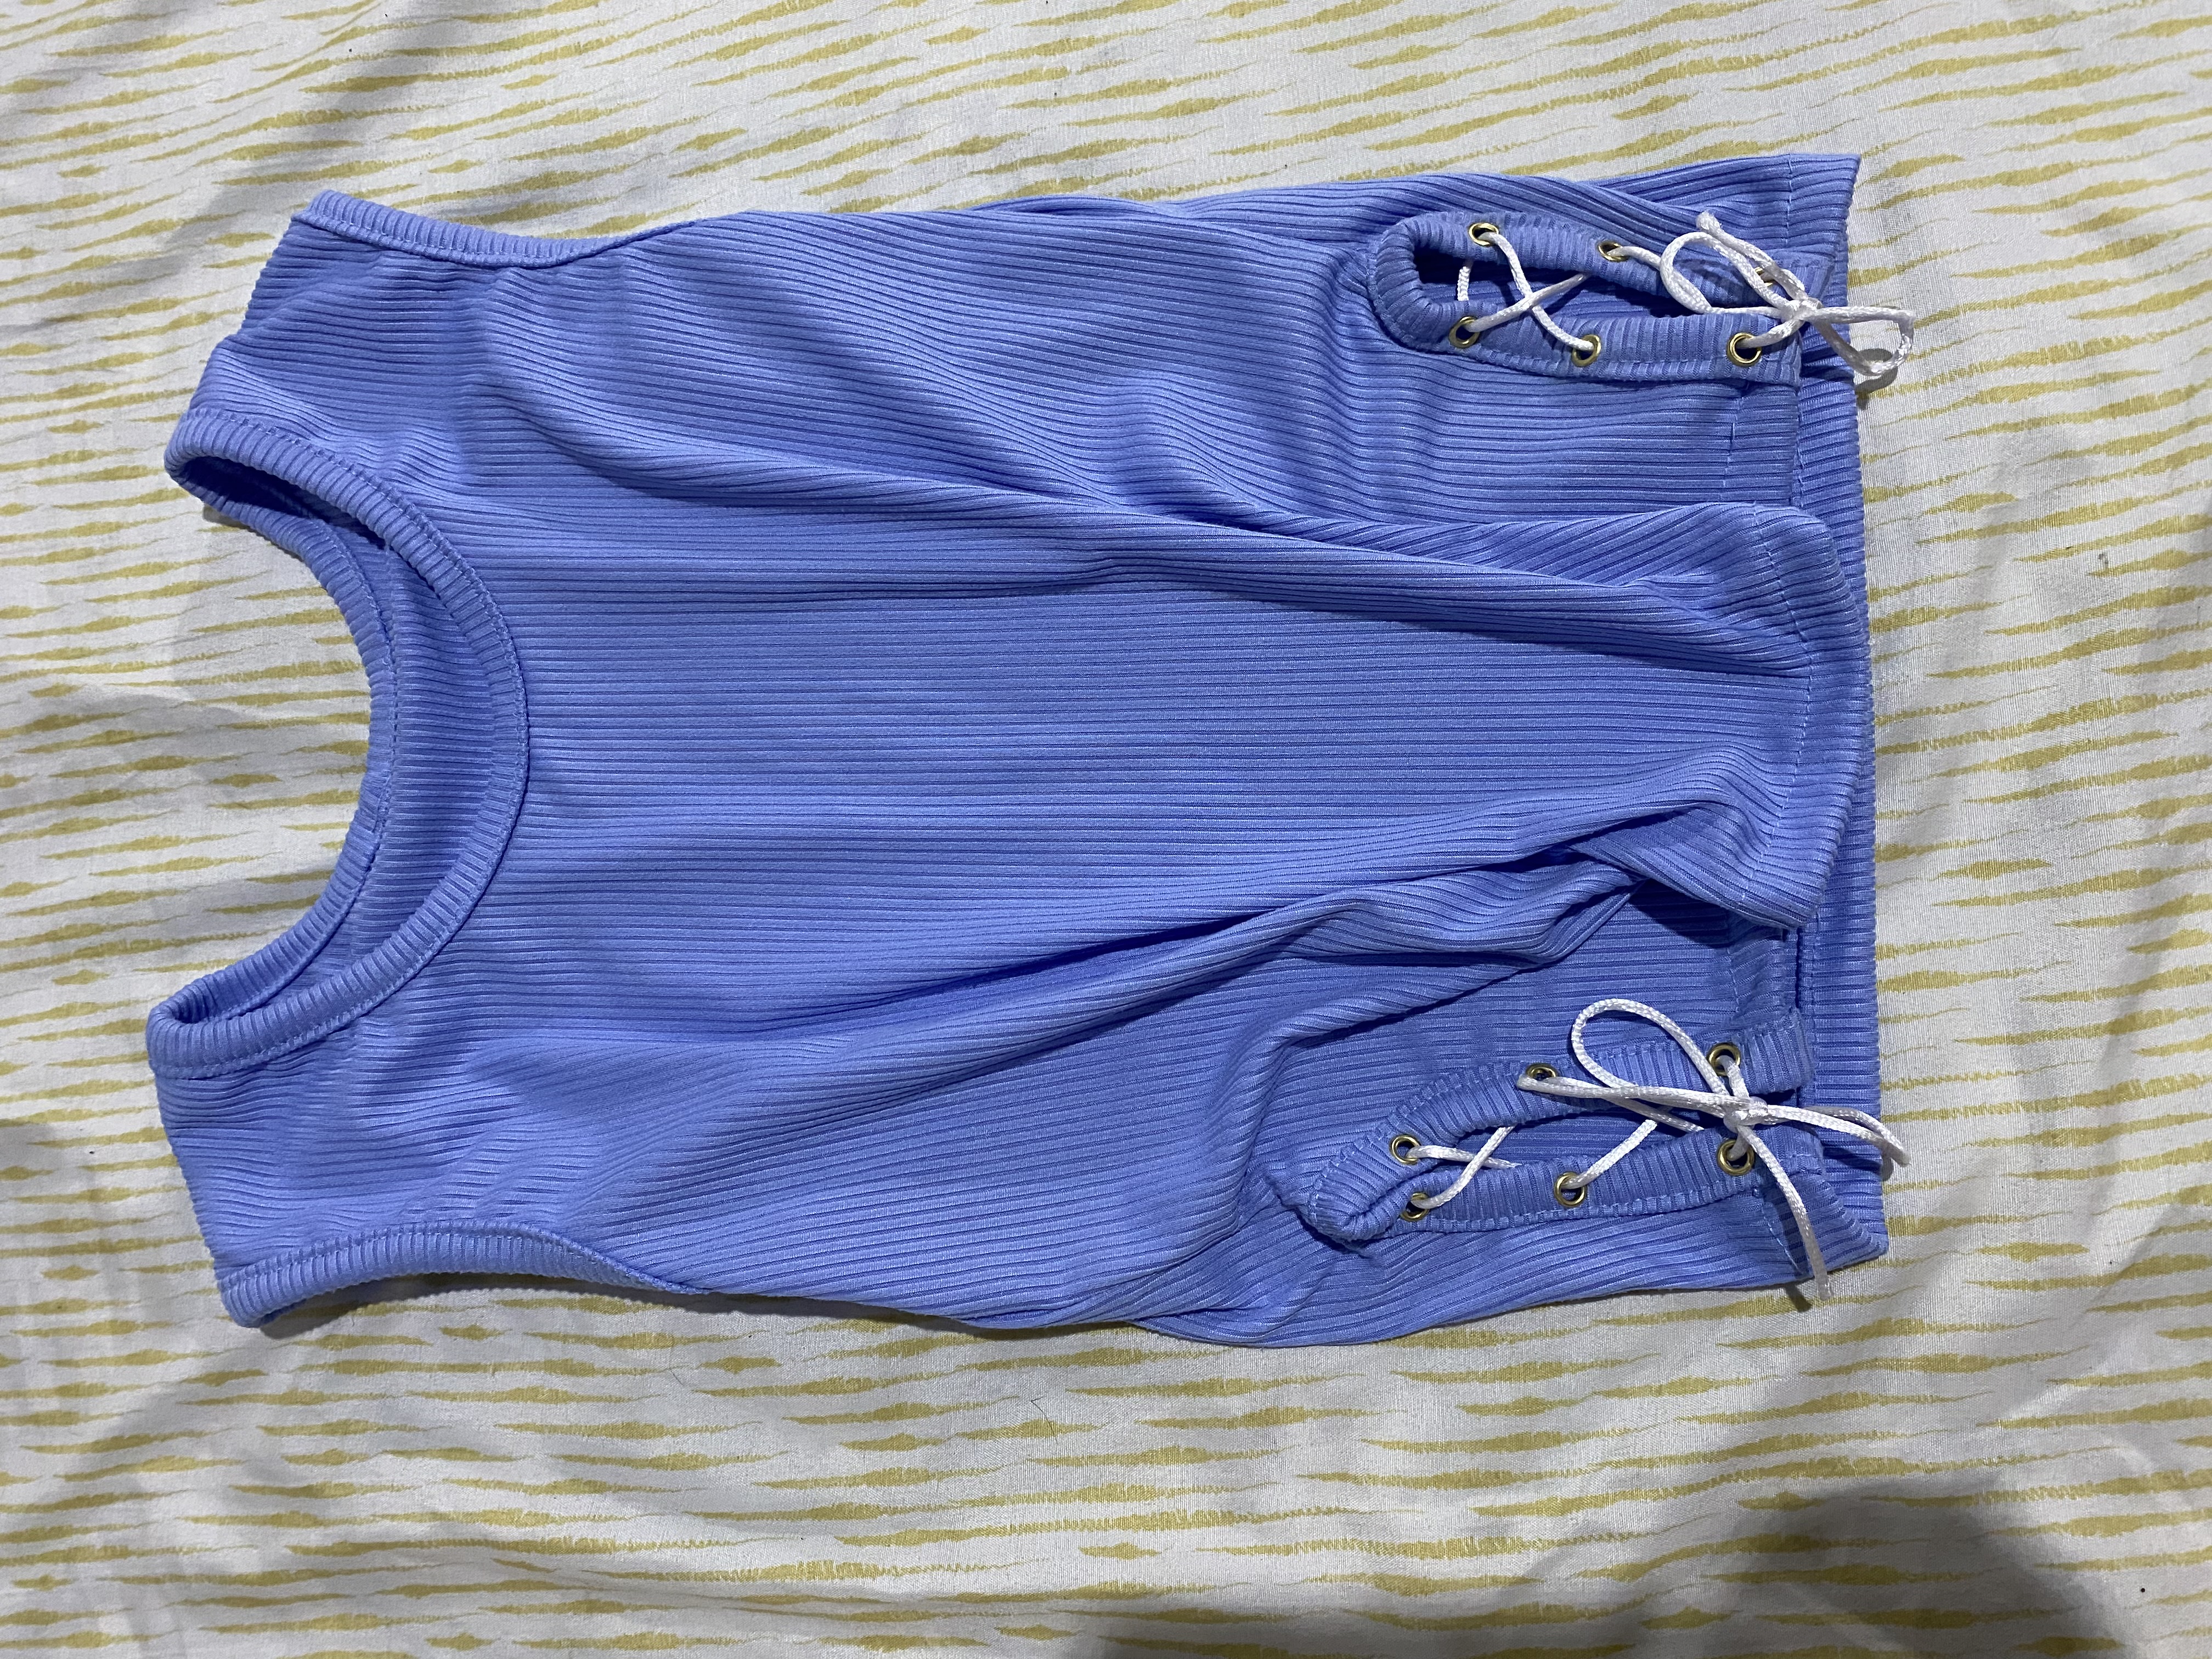|
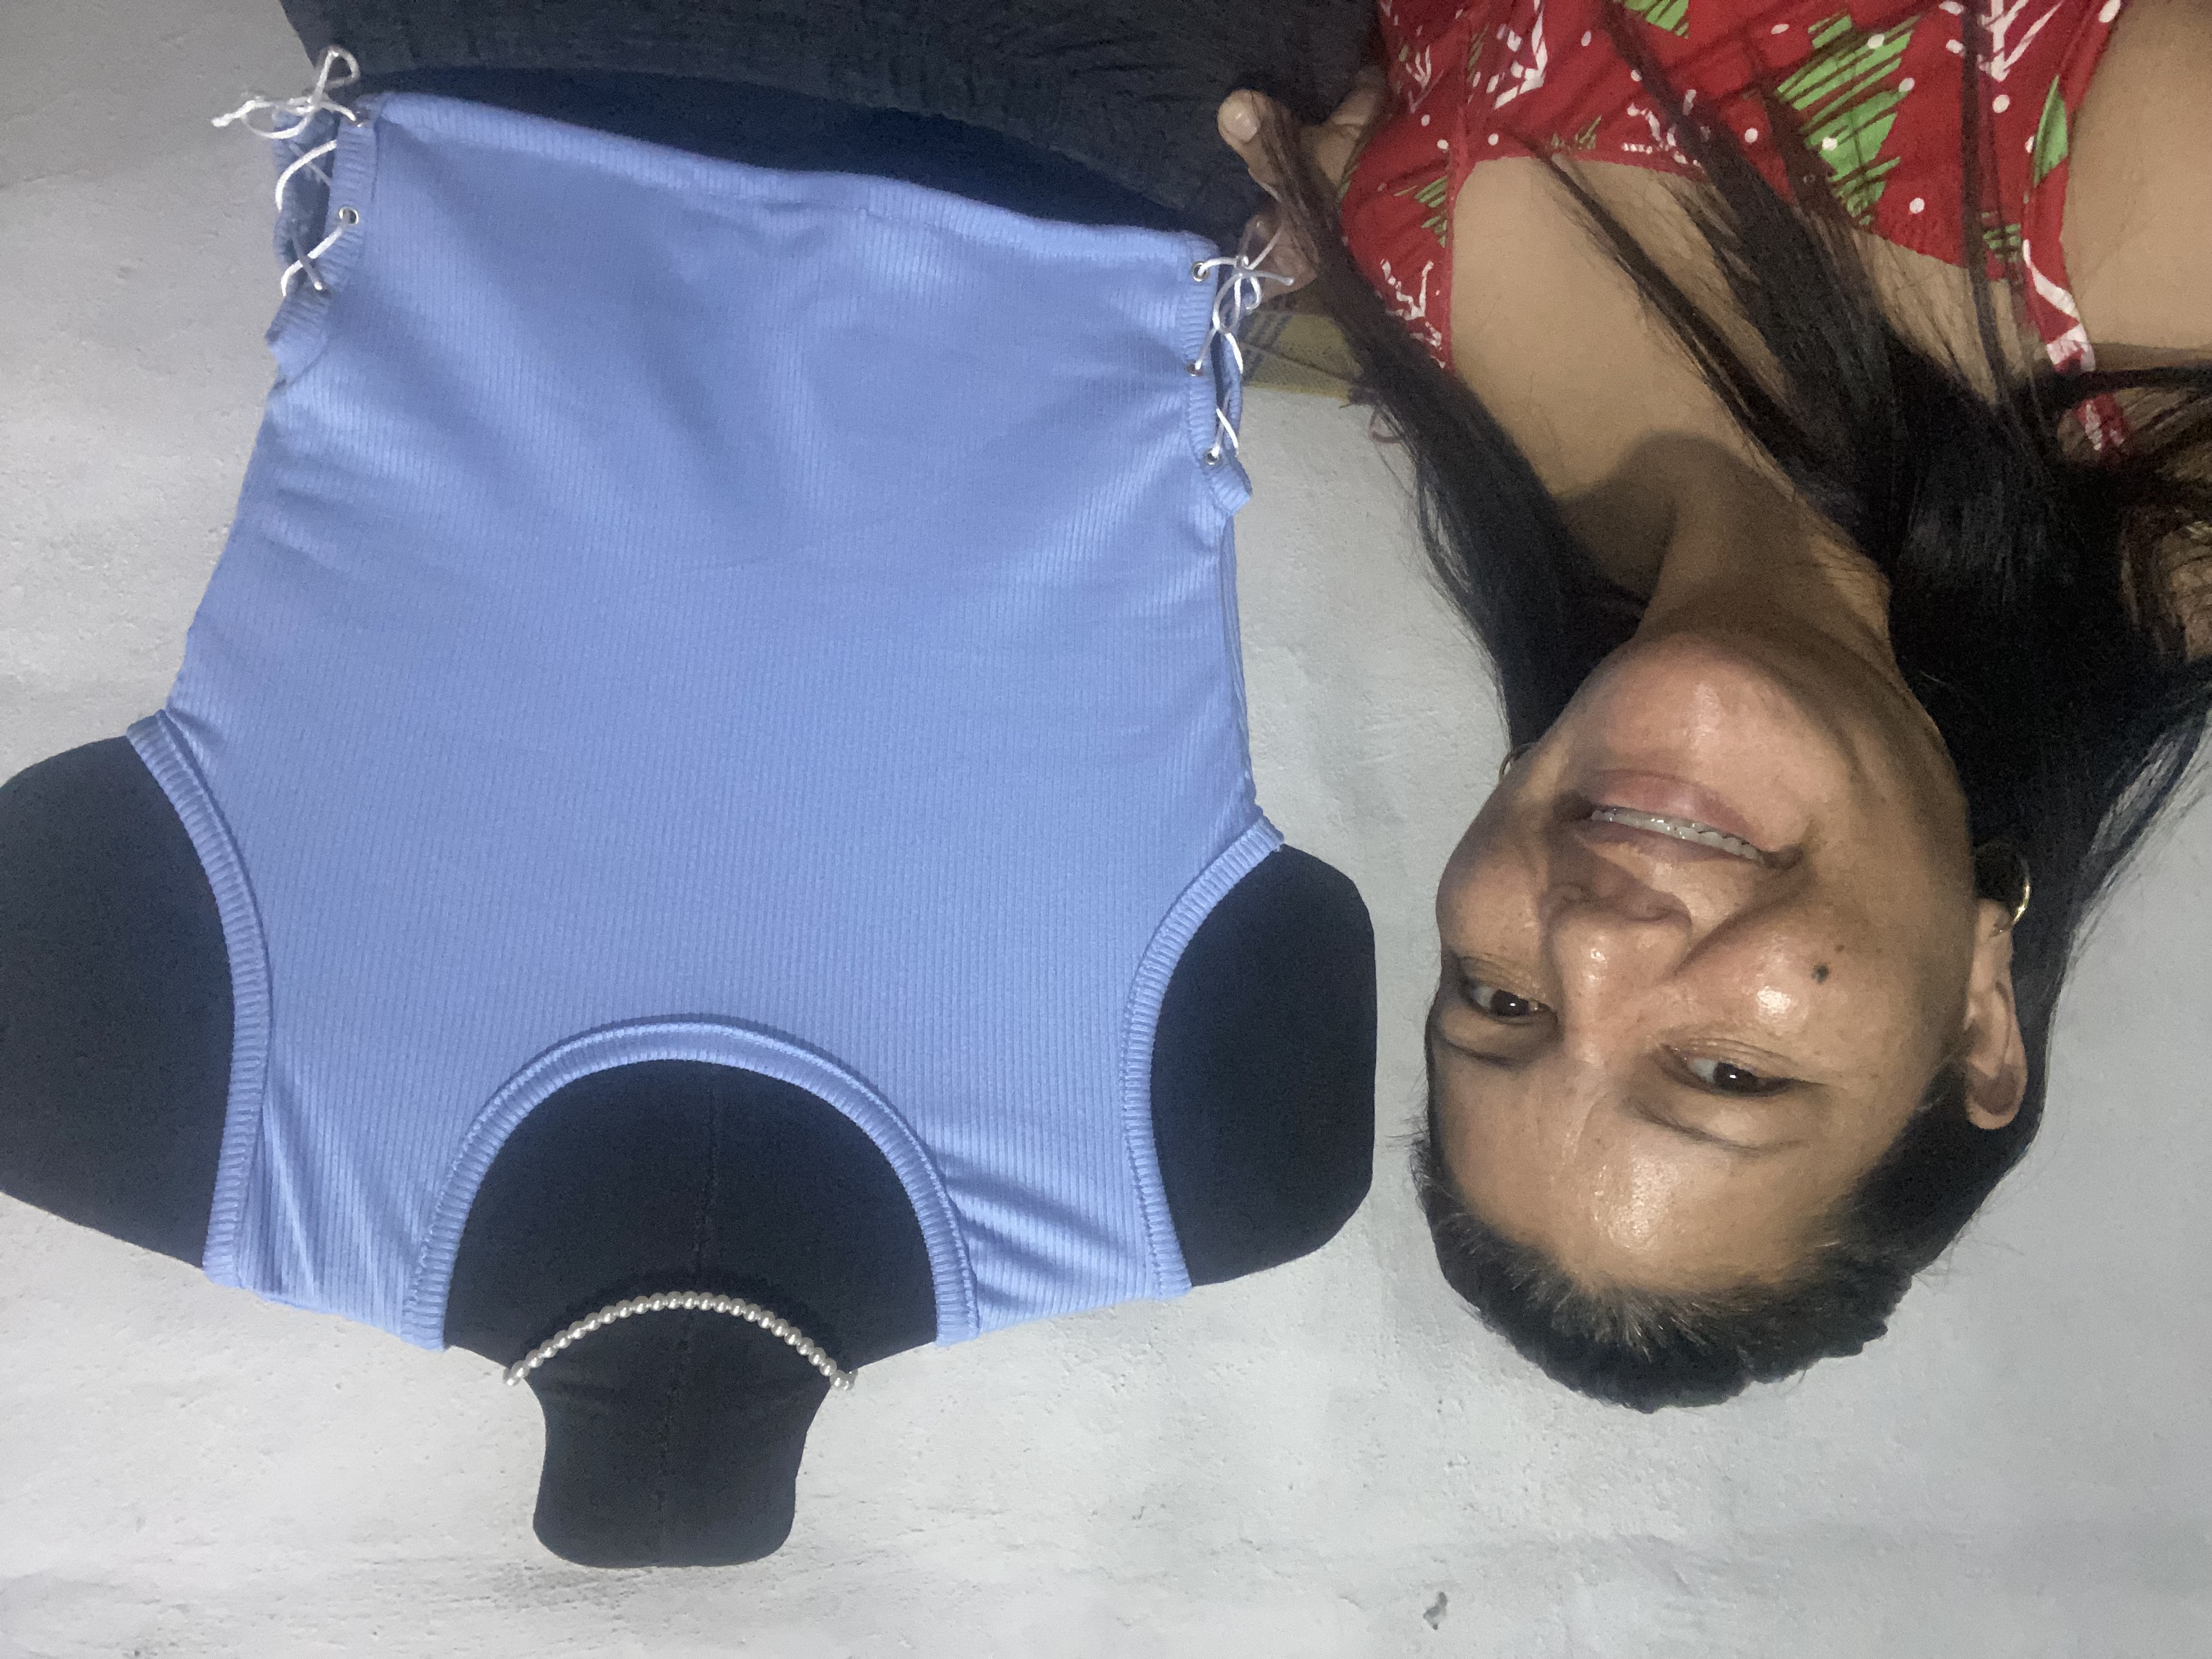
A medida que van pasando los años todo se va volviendo mucho más accesible y van creando utensilios más prácticos para hacer las cosas que deseamos, esta pinza para ojalillos de metal me encantó, al principio me costó un poco pero luego lo logré y se me hizo mucho más fácil, el resultado de la blusa me encantó, desde hace días estaba soñando con realizar este proyecto y ver el resultado 😊, eso es todo por hoy amigos me despido deseándoles muchos éxitos y bendiciones, hasta otra oportunidad 🥰❤️
> As the years go by, everything becomes much more accessible and they create more practical utensils to do the things we want, I loved this metal eyelet clip, at first it was a bit difficult but then I did it and it became much easier, I loved the result of the blouse, for days I was dreaming of doing this project and seeing the result 😊, that's all for today friends, I say goodbye wishing you much success and blessings, until another opportunity 🥰❤️
|||
|---|---|
|||
---

***las fotos aquí compartidas son de mi propiedad tomadas con mi teléfono iPhone 11, la edición fue hecha en Canva, para la traducción del inglés utilice el traductor de Google***