___Saludos queridos amigos de HIVE DIY, espero estén disfrutando de un maravilloso día!___ 🪡🧵❤️
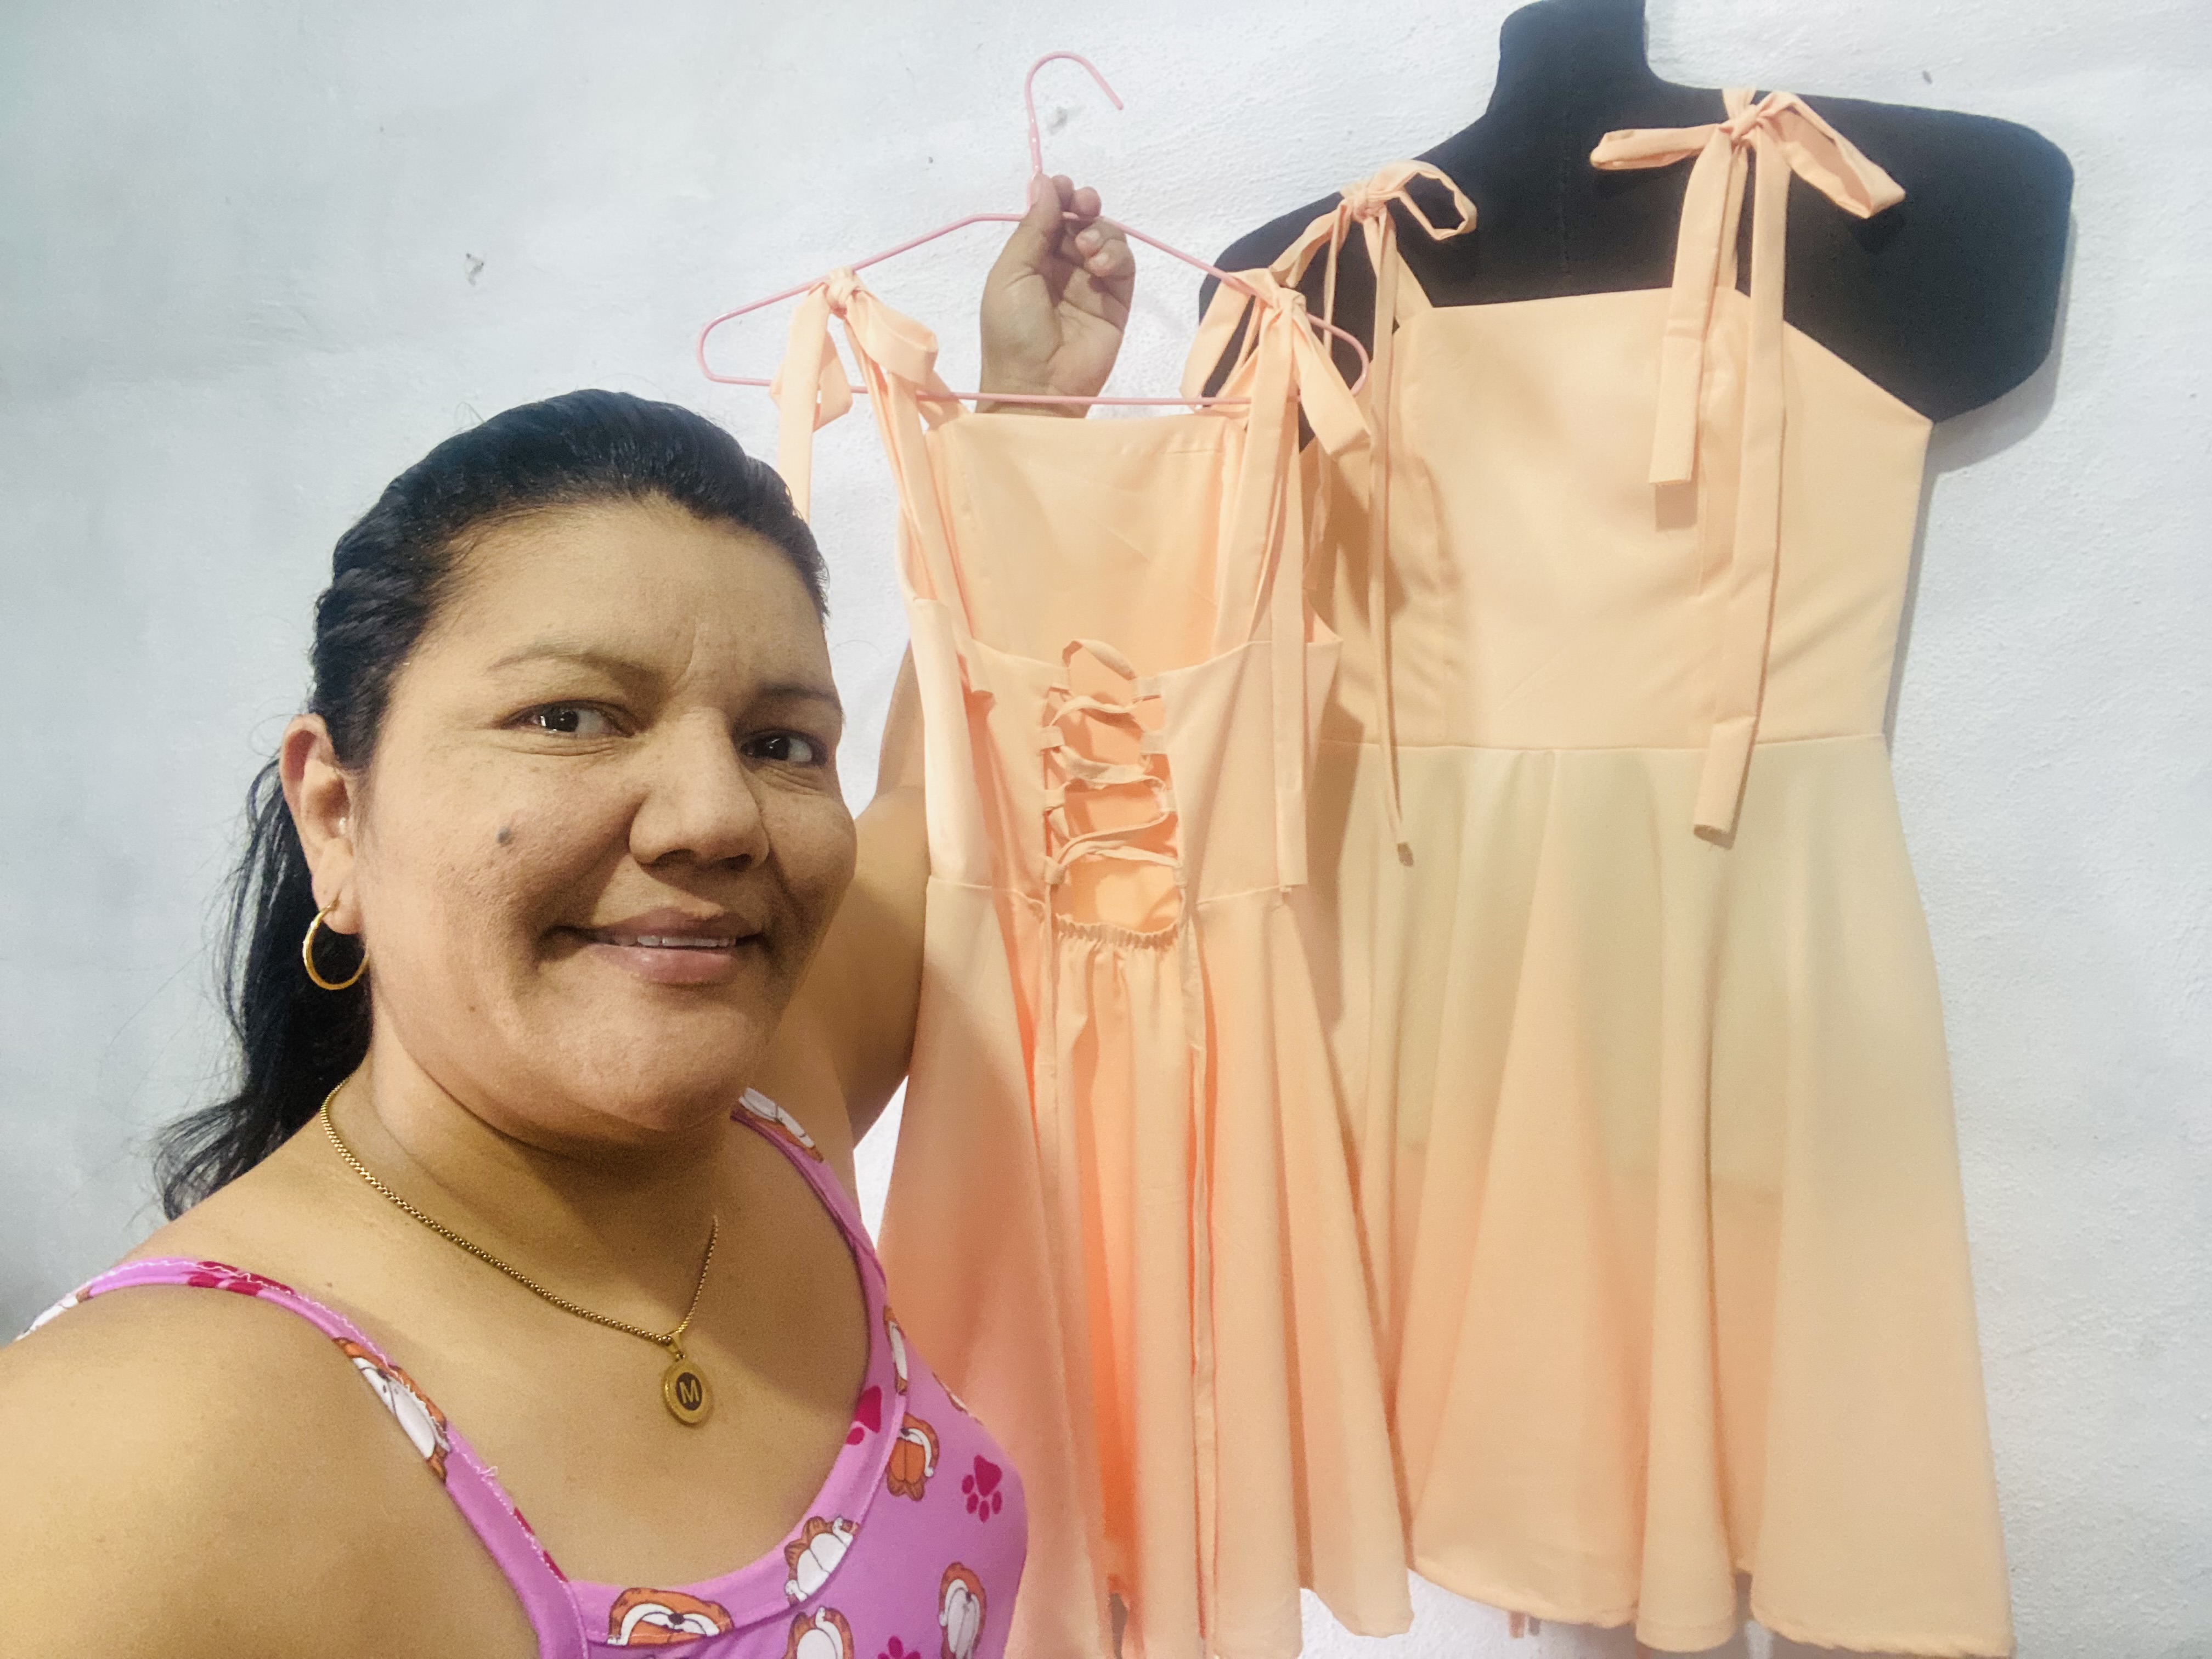
Hoy quiero compartir con ustedes la confección de dos lindos vestidos que me encargaron, hace poco hice uno de un modelo parecido y a la chica le gustó muchísimo y aprovechando la ocasión de qué su hermana se va a graduar decidió que le hiciera el mismo modelo para las dos, acompáñame y te comparto el paso a paso:
> Greetings, dear friends of HIVE DIY, I hope you're enjoying a wonderful day! 🪡🧵❤️
>
> Today I want to share with you the making of two beautiful dresses that were commissioned from me. I recently made one in a similar style, and the girl loved it. Taking advantage of the fact that her sister was graduating, she decided I'd make the same style for both of them. Join me as I share the step-by-step instructions:
Para la confección de este vestido el patrón lo saco del patrón Basico de blusa esto lo compartí hace un tiempo, por allí nos podemos guiar para hacer todas las transformaciones que queremos, el vestido que hice anteriormente el escote era tipo corazón en la parte del frente este es completamente liso, las chicas decidieron que fuera en ese modelo, la tela que voy a utilizar se llama Lafayette, y el modelo de la falda es completamente circular con trenzado en la parte de atrás haciendo un escote bastante hermoso, aquí les dejo la lista de materiales a utilizar:
- 4 m de tela para la confección de dos vestidos
- Hilo
- Tijeras
- Elástico de 1 cm de grosor
- Alfileres
- Cinta métrica
- maquina de coser
> To make this dress, I took the pattern from the Basic Blouse Pattern, which I shared a while back. It can be used as a guide to make any necessary changes. The dress I made earlier had a sweetheart neckline in the front, which is completely plain. The girls decided to use that style. The fabric I'm going to use is called Lafayette, and the skirt is completely circular with braiding in the back, creating a beautiful neckline. Here's the list of materials:
> - 4 m of fabric for making two dresses
> - Thread
> - Scissors
> - 1 cm thick elastic
> - Pins
> - Measuring tape
> - Sewing machine
___MATERIALES___
> MATERIALS
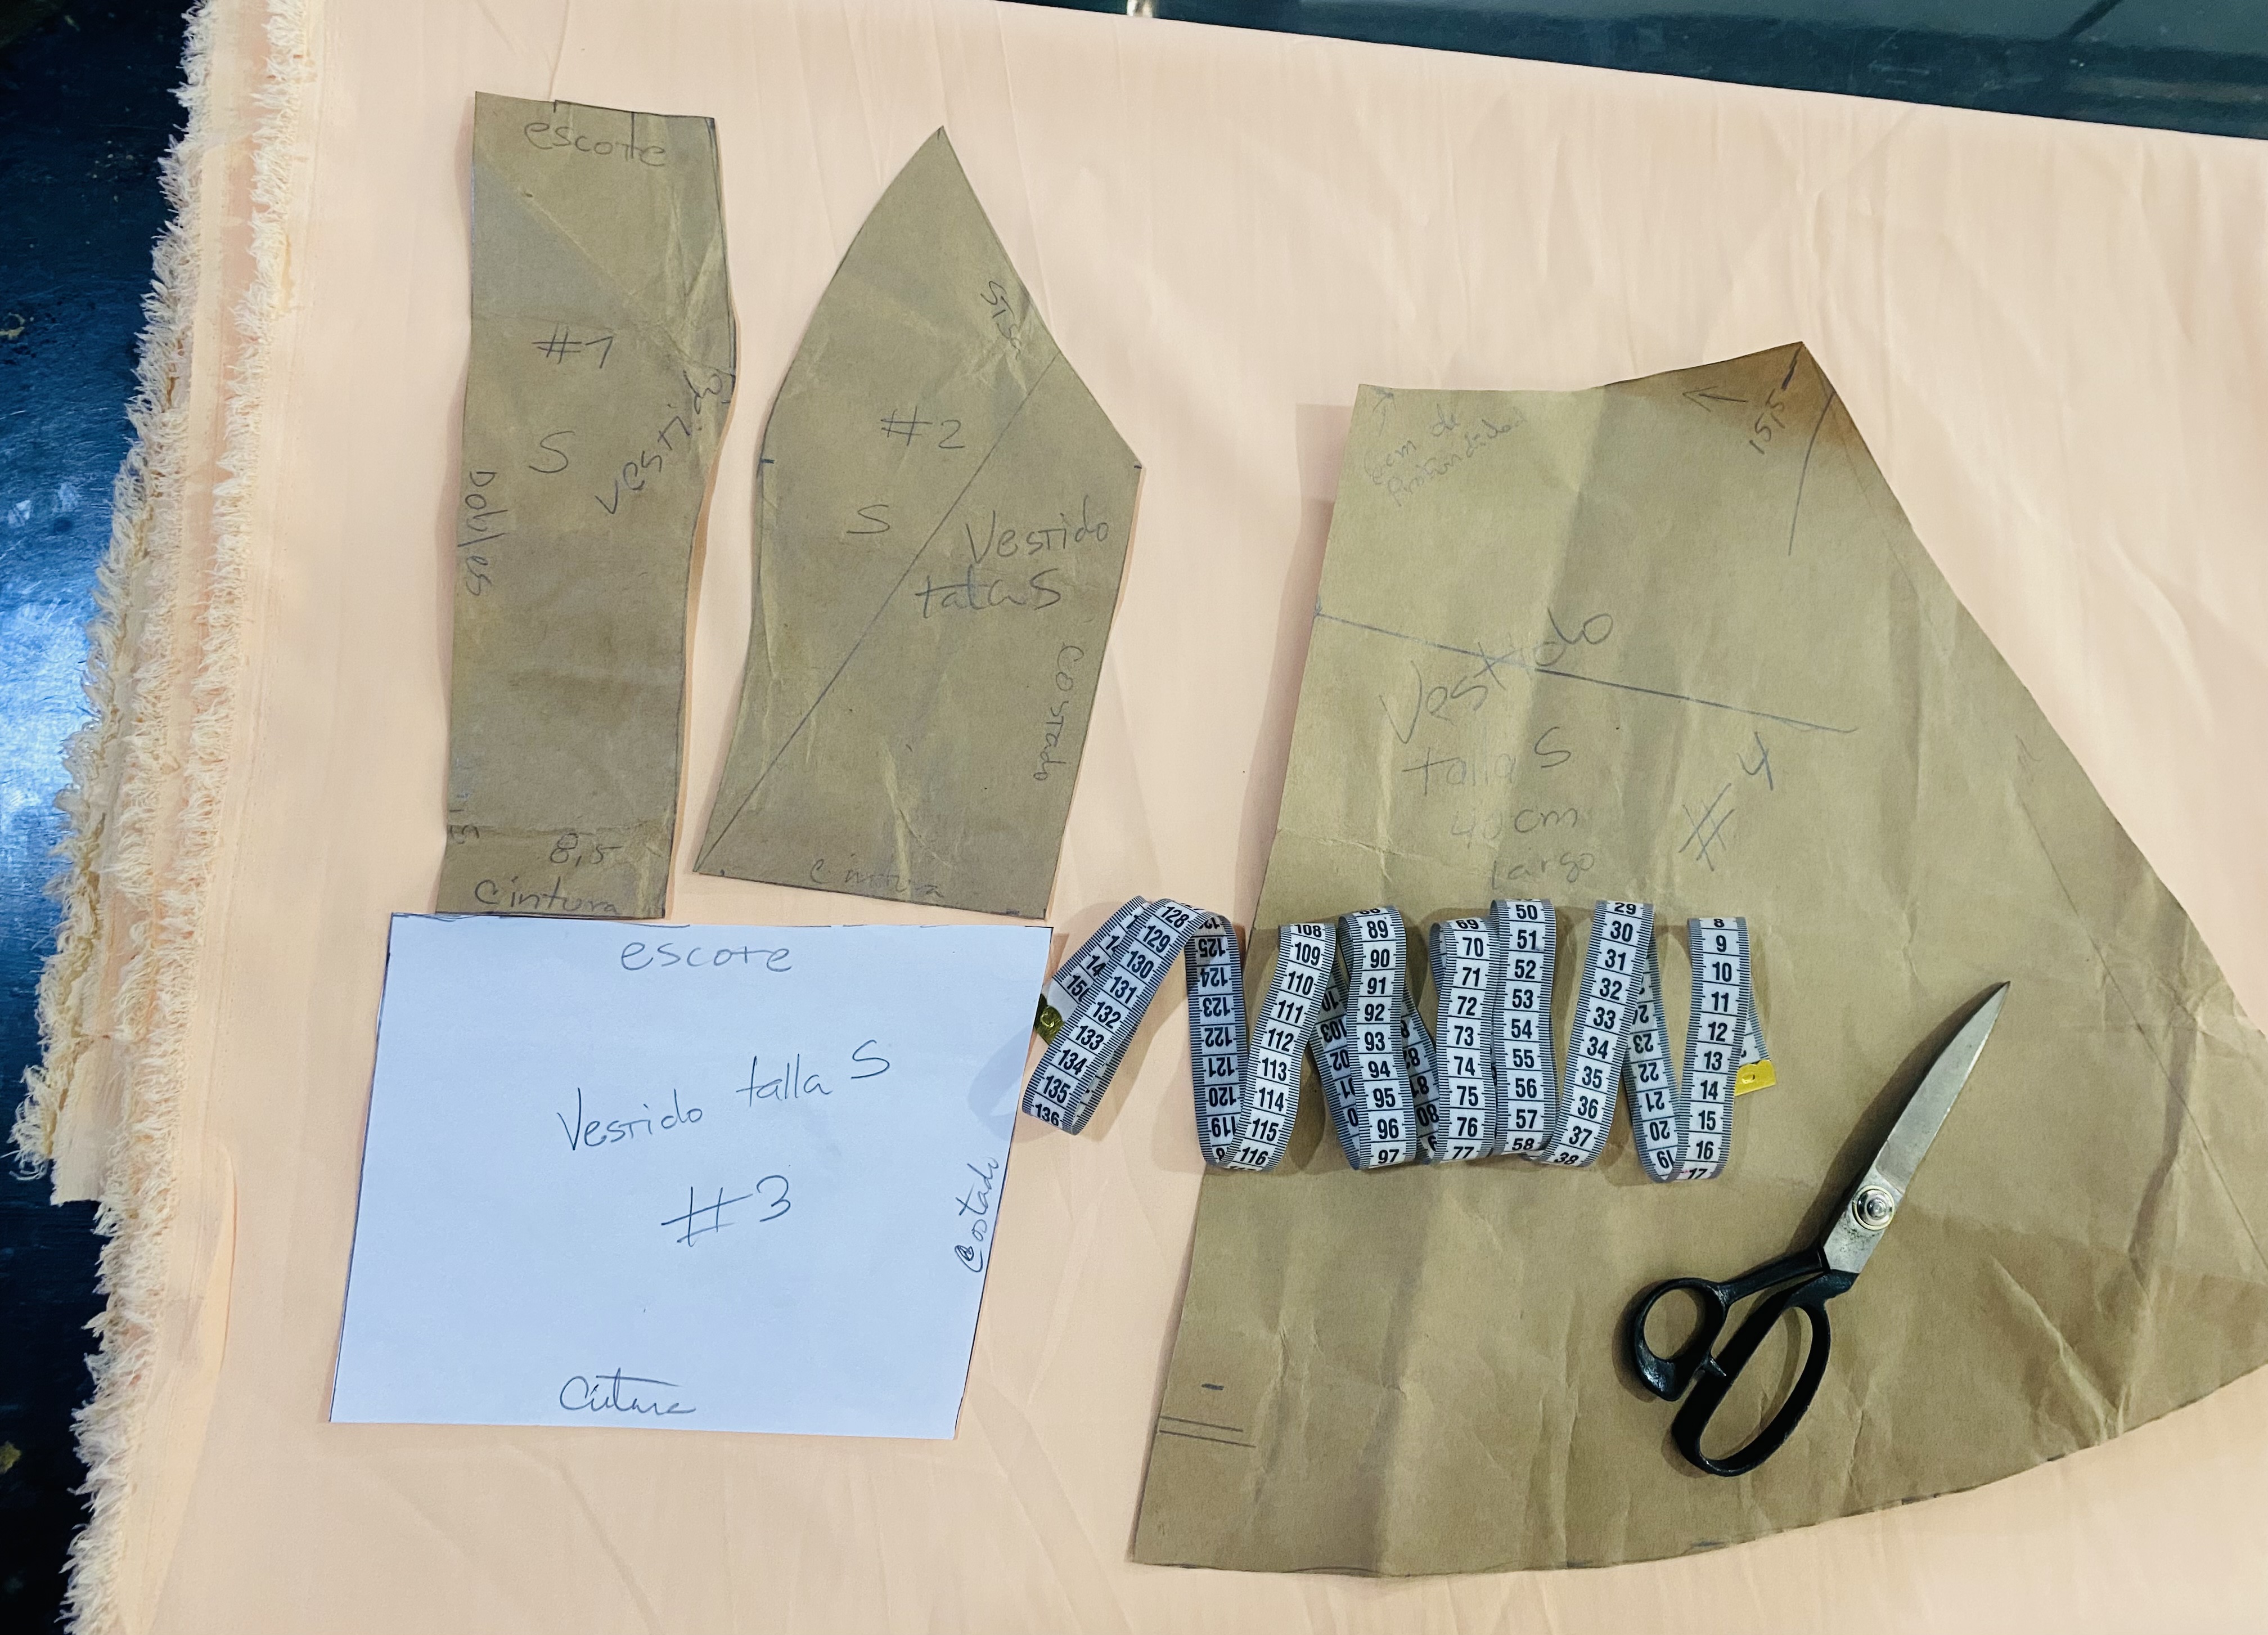
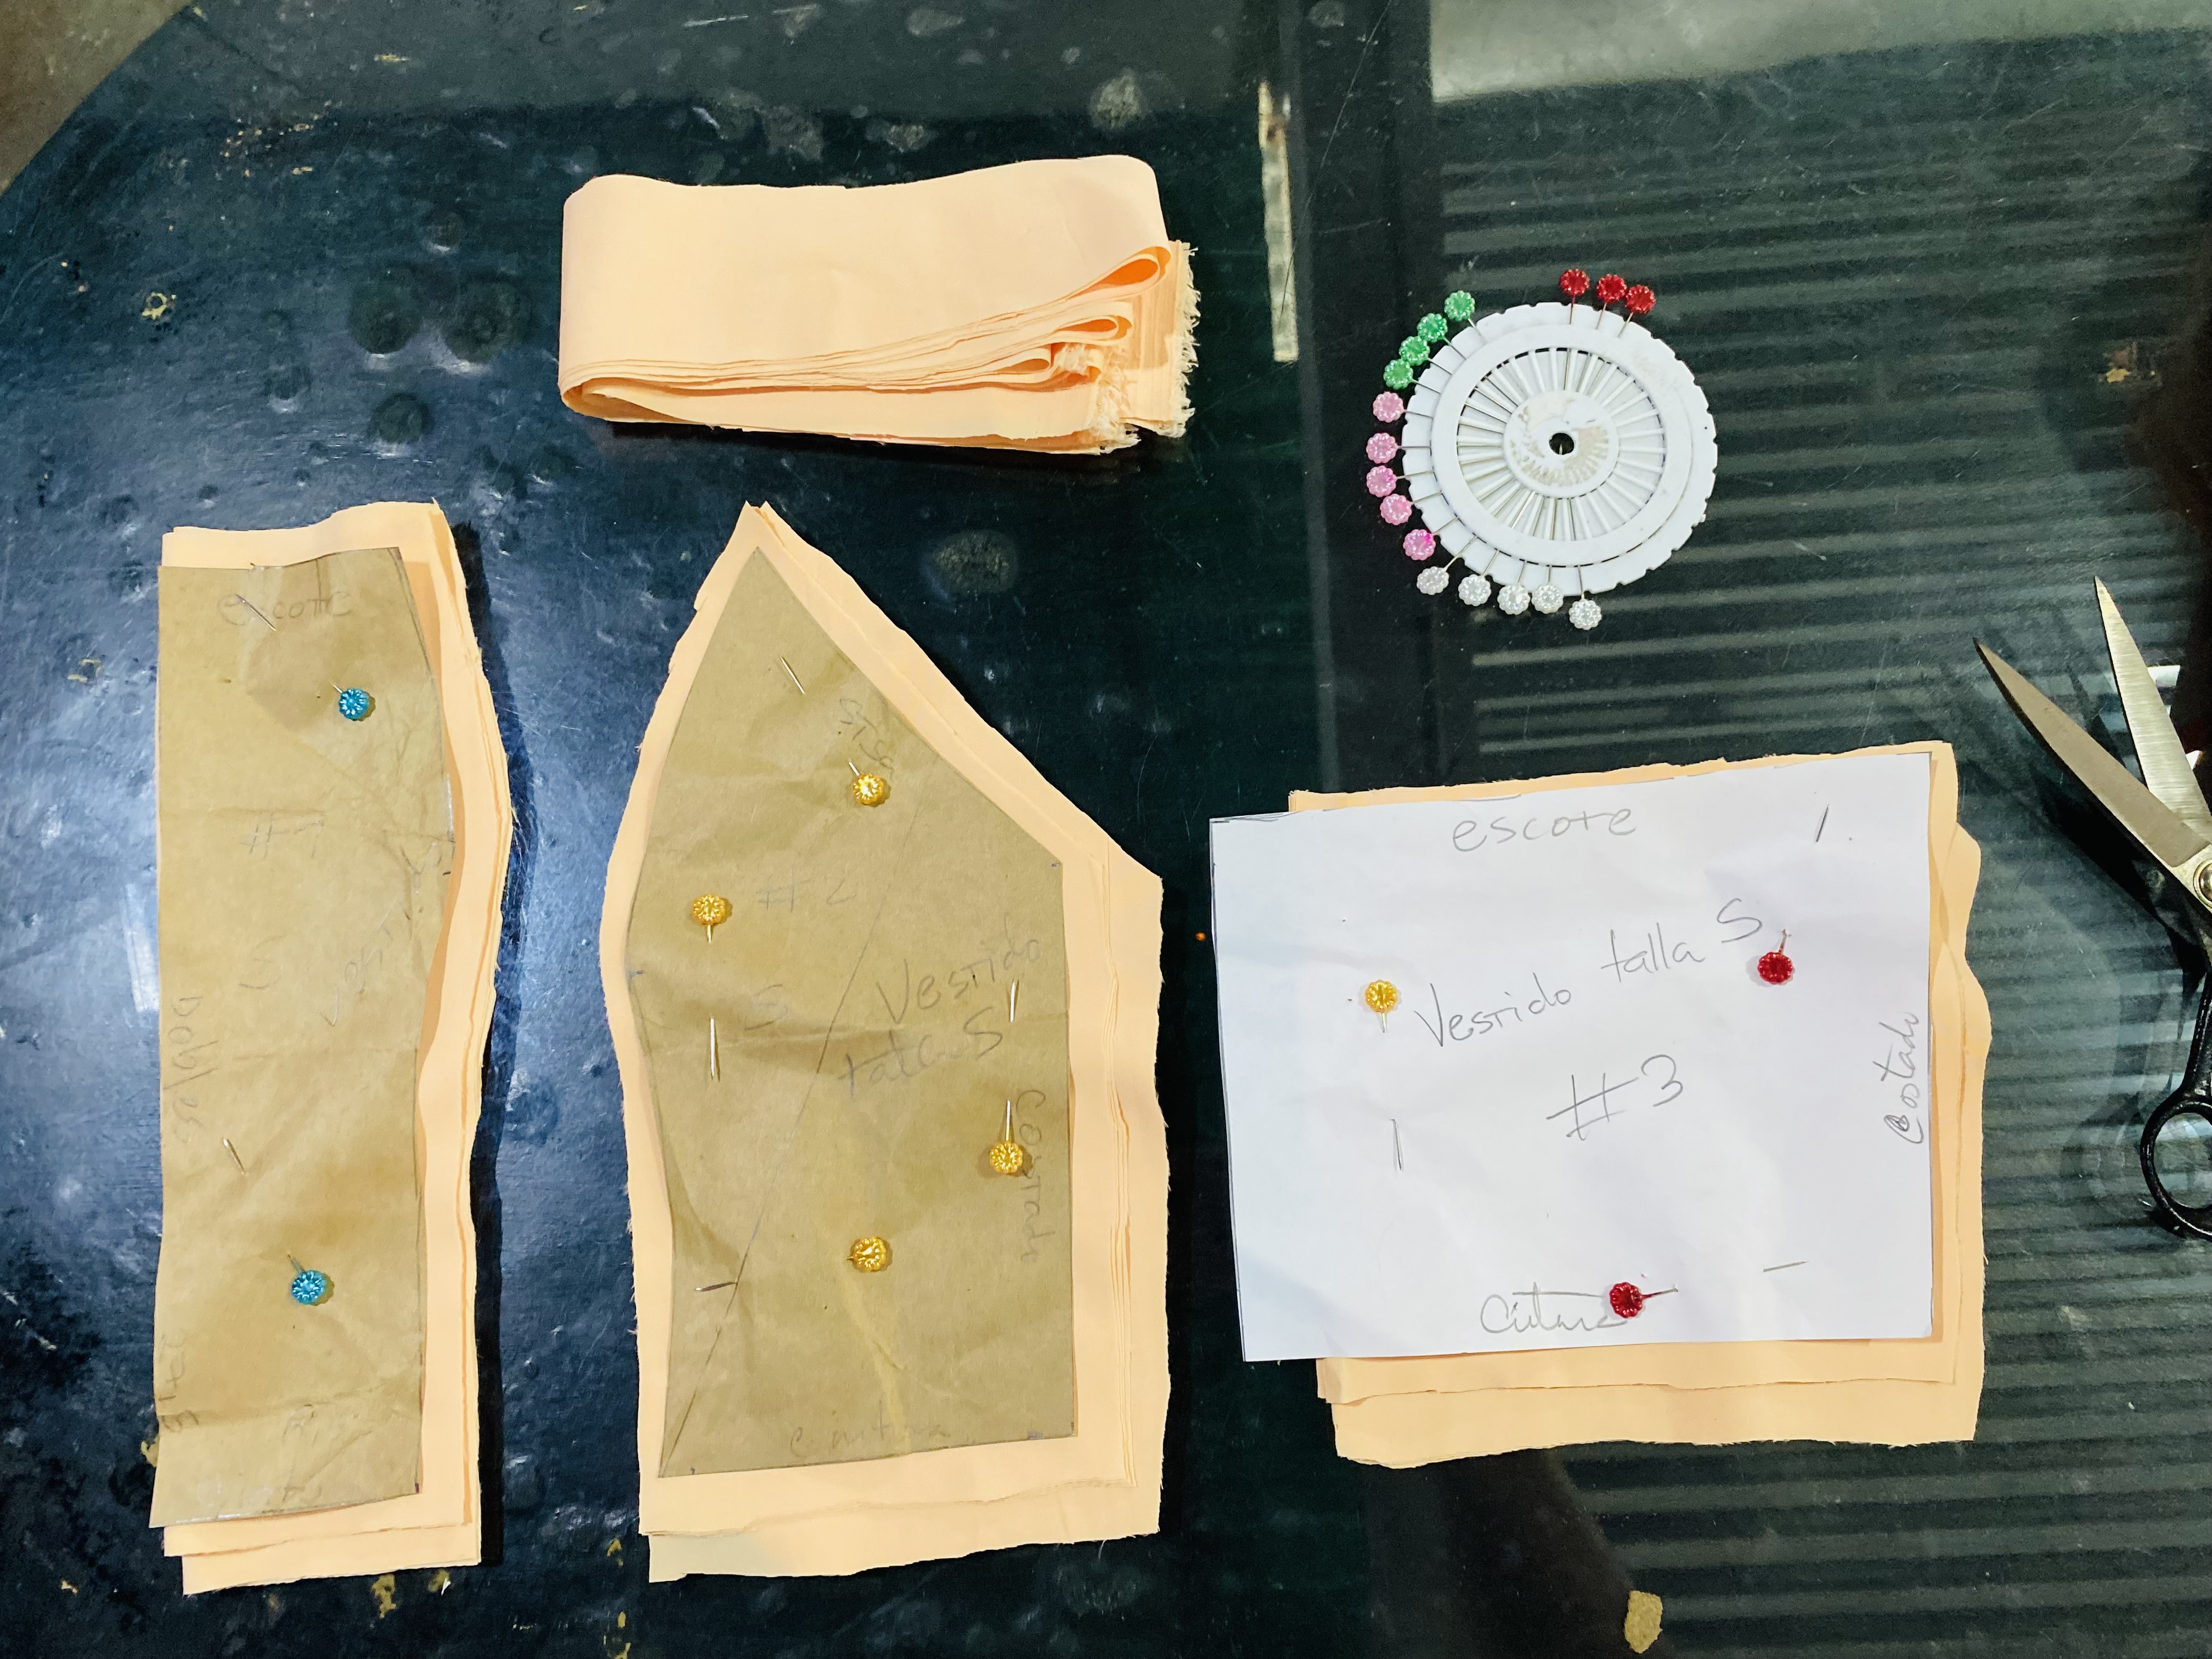
Comenzaremos cortando todas las piezas del vestido guiándome por el patrón, la talla de las chicas es muy parecida sólo que una es un poquito más ancha que la otra pero la diferencia es muy poca, coloco la pieza central del patrón sobre la tela doblada a la mitad, de esta voy a cortar dos piezas por cada vestido.
Luego voy a cortar la pieza de los lados , de esta voy a cortar 4 para cada vestido, en total serán 8 piezas, el vestido más grande le voy a dejar entremedio centímetro a 1 cm de diferencia para que sea un poco más grande, al cortar la parte de atrás Voy a reducir un poco la medida en la parte del centro y cortaré 4 piezas por cada vestido en total serán 8 piezas de tela.
Este vestido lleva 4 tiras para anudar en el escote de los hombros, inicialmente voy a cortar de primero estas tiras para así asegurarlas ya que son un poco largas y no quiero que luego me falte tela, estas tiras las vamos a cortar de 5 cm de ancho, también cortaremos una tira de 3 cm de ancha para hacer la tira para anudar en el escote de la espalda, esta debe tener mínimo 1 m de larga para cada vestido.
> We'll start by cutting all the dress pieces, following the pattern. The girls' sizes are very similar, except one is a little wider than the other, but the difference is very small. I'll place the center piece of the pattern on the fabric folded in half. From this, I'll cut two pieces for each dress.
>
> Then I'll cut the side pieces. From these, I'll cut 4 for each dress. There will be 8 pieces in total. For the largest dress, I'll leave a difference of between half a centimeter and 1 cm so that it's a little larger. When cutting the back, I'll reduce the measurement slightly in the center and cut 4 pieces for each dress. There will be 8 pieces of fabric in total.
>
> This dress has 4 strips to tie at the neckline on the shoulders, initially I am going to cut these strips first to secure them since they are a little long and I do not want to run out of fabric later, we are going to cut these strips 5 cm wide, we will also cut a 3 cm wide strip to make the strip to tie at the neckline on the back, this must be at least 1 m long for each dress.
___PASO A PASO___
> STEP BY STEP
|||
|---|---|
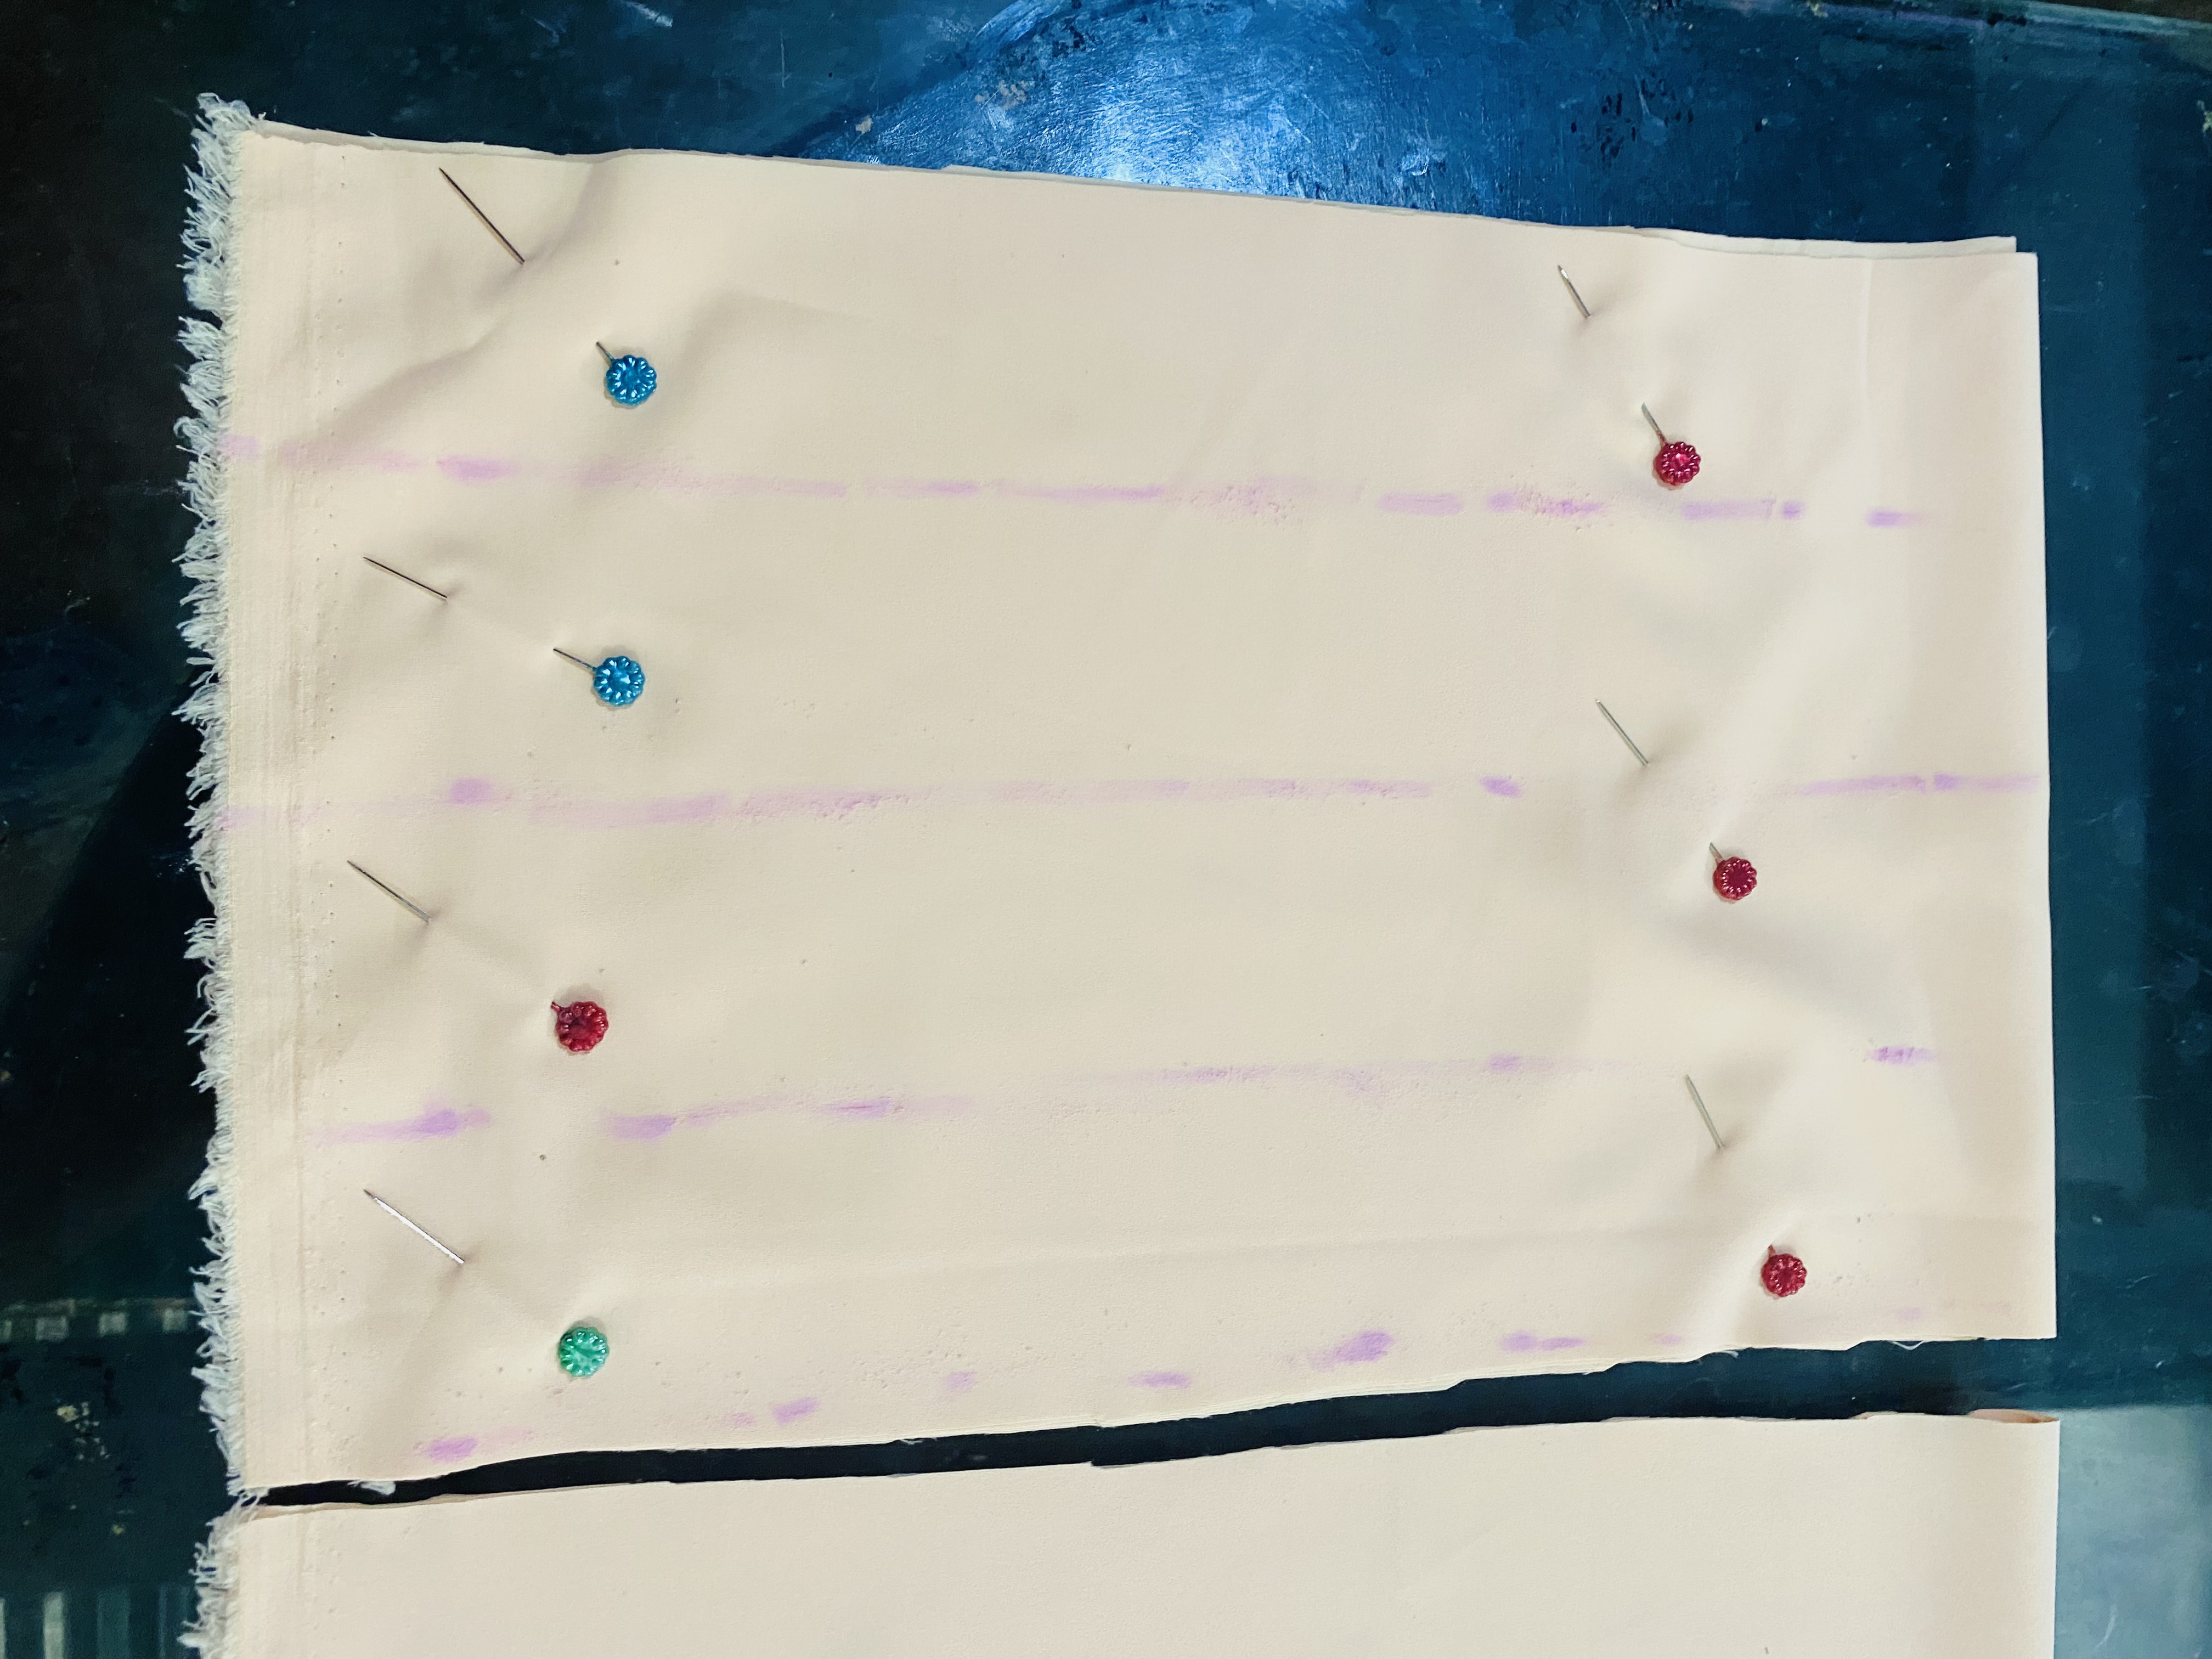
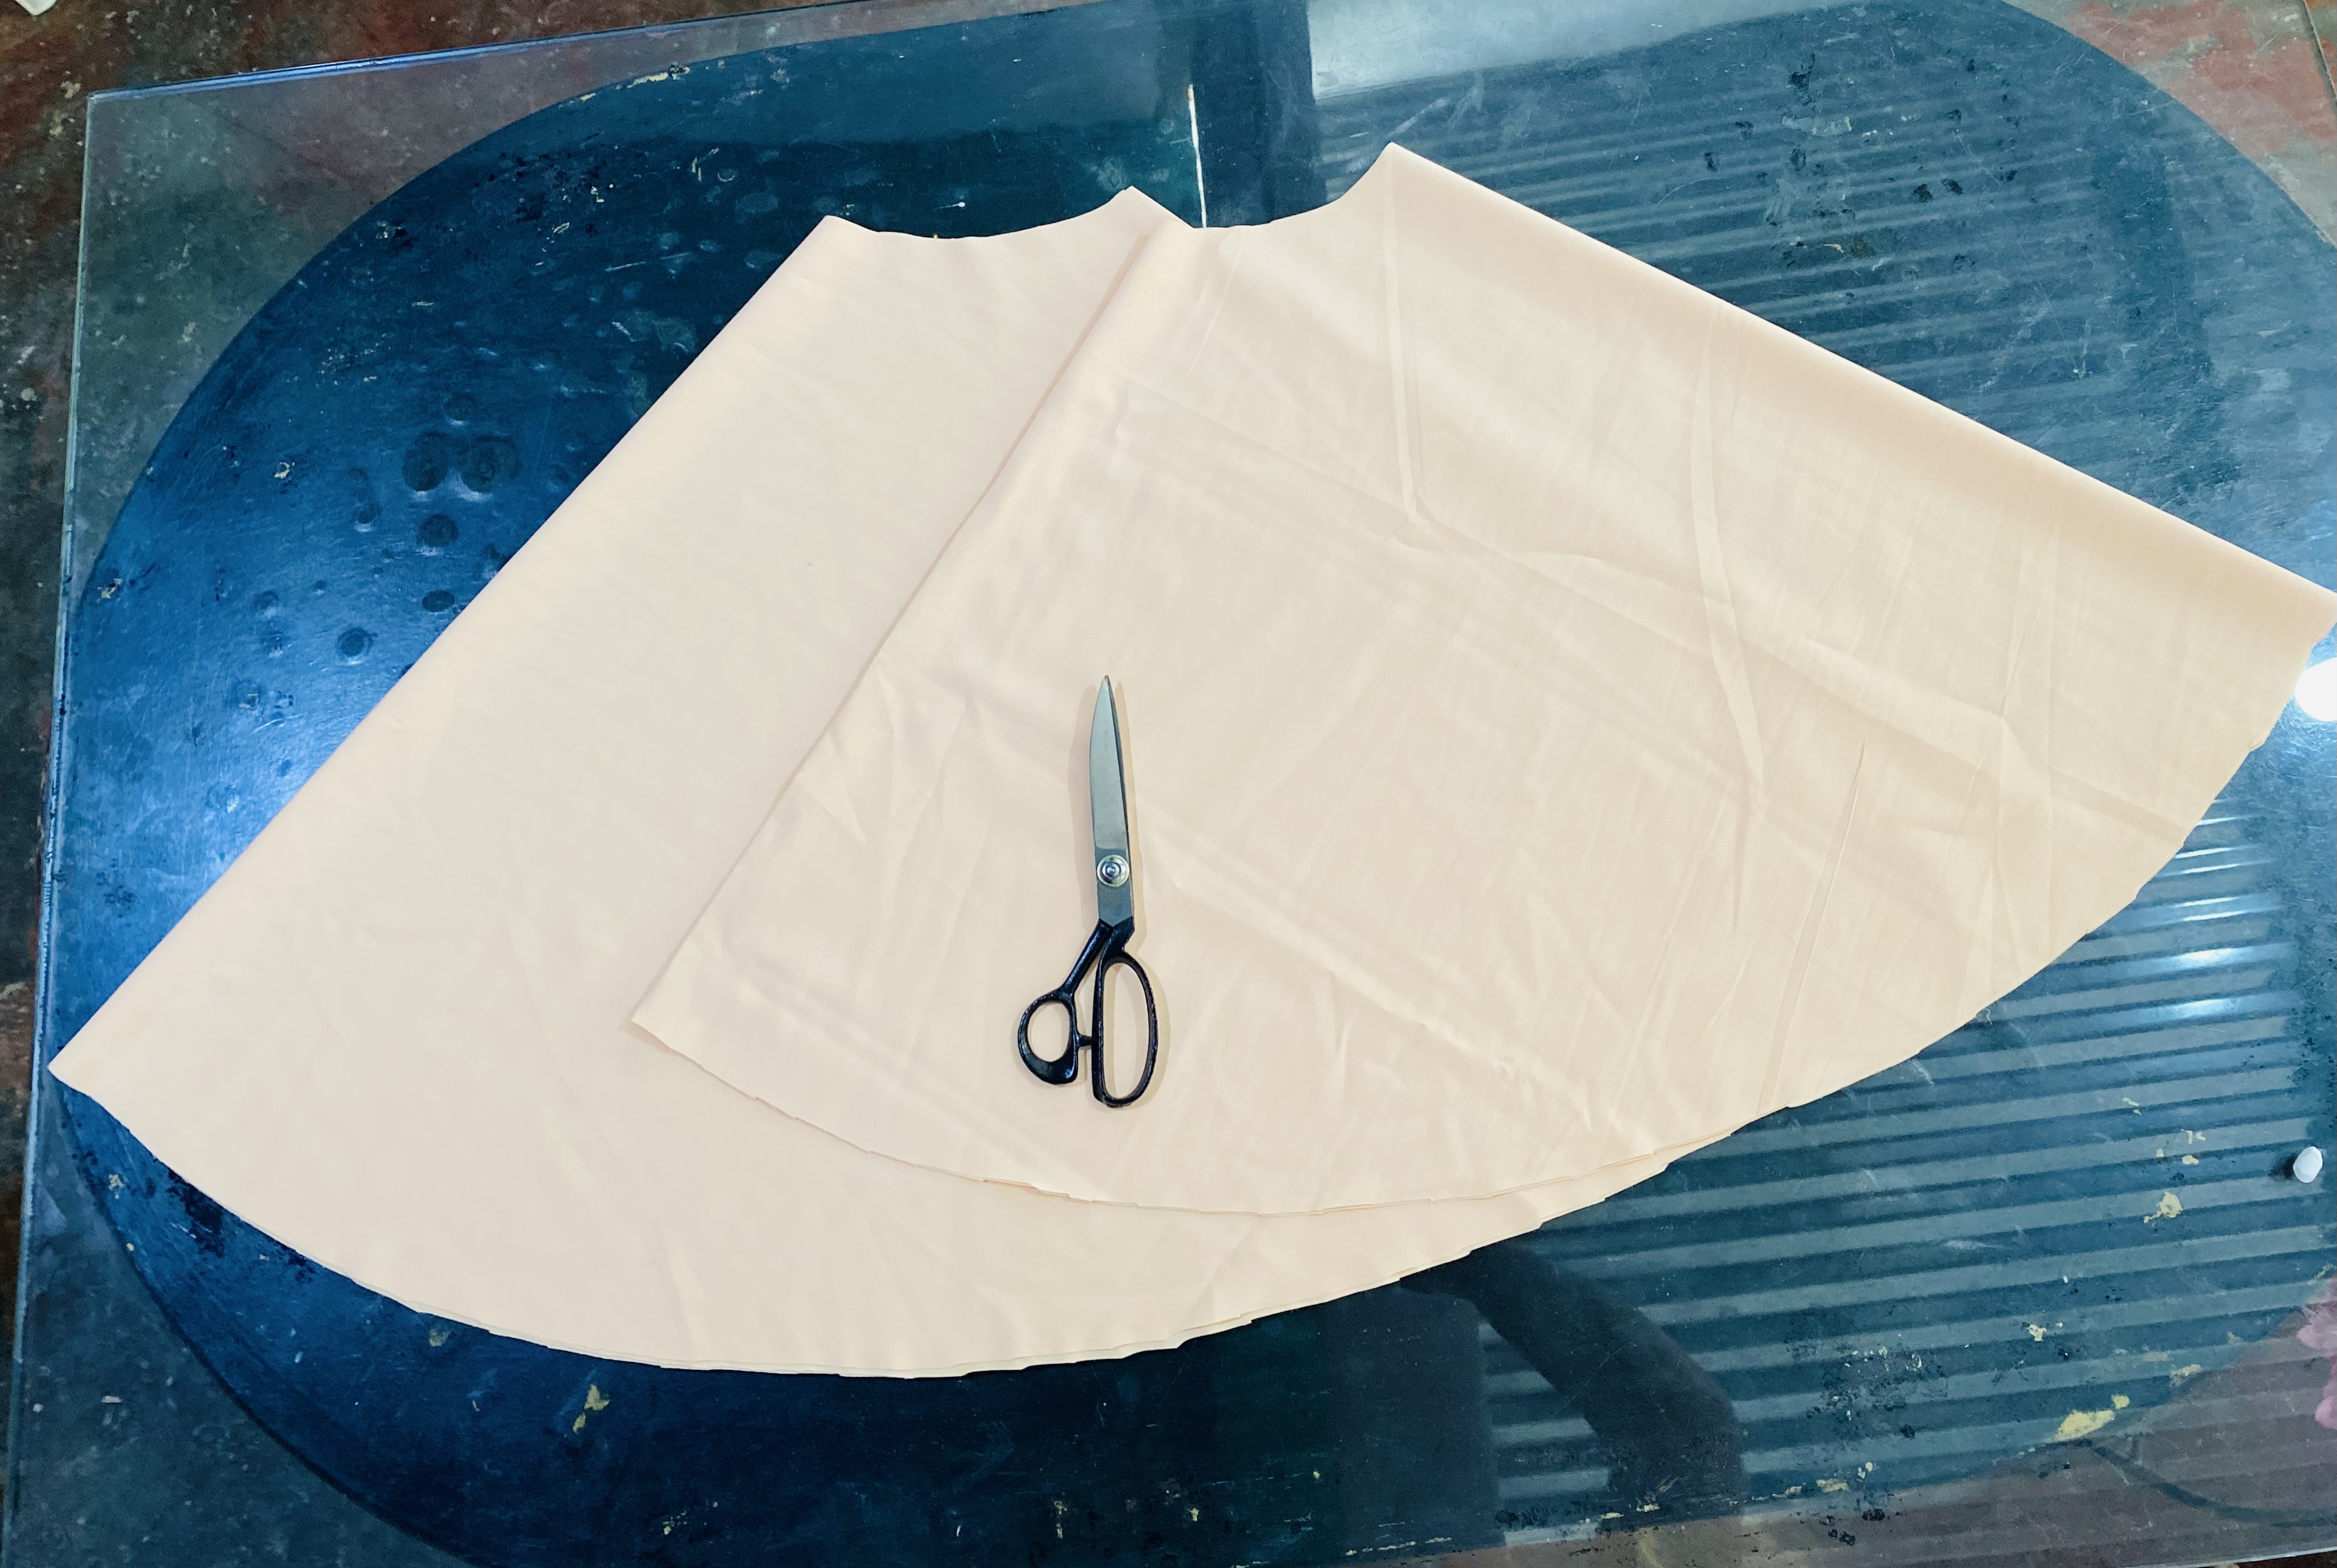
Ahora vamos a cortar la falda, para esta vamos a utilizar la tela doblada a la mitad así como viene de la tienda, luego vamos a doblar a la mitad nuevamente calculando el largo que necesitamos, en mi caso una de las faldas tendrá de largo 40 cm, y el segundo vestido tendrá un largo de 50cm a esto le vamos a sumar 10 cm para la cintura, entonces dibujaremos un semicírculo de 10 cm aproximadamente para la cintura, luego partiendo de allí vamos a marcar el largo deseado, en mi caso una falda de 40 cm y la otra de 50 cm , hacemos la figura del círculo y cortamos.
> Now we are going to cut the skirt, for this one we are going to use the fabric folded in half as it comes from the store, then we are going to fold it in half again calculating the length we need, in my case one of the skirts will be 40 cm long, and the second dress will be 50 cm long, to this we are going to add 10 cm for the waist, then we will draw a semicircle of approximately 10 cm for the waist, then starting from there we are going to mark the desired length, in my case one skirt was 40 cm and the other was 50 cm, we make the figure of the circle and cut.
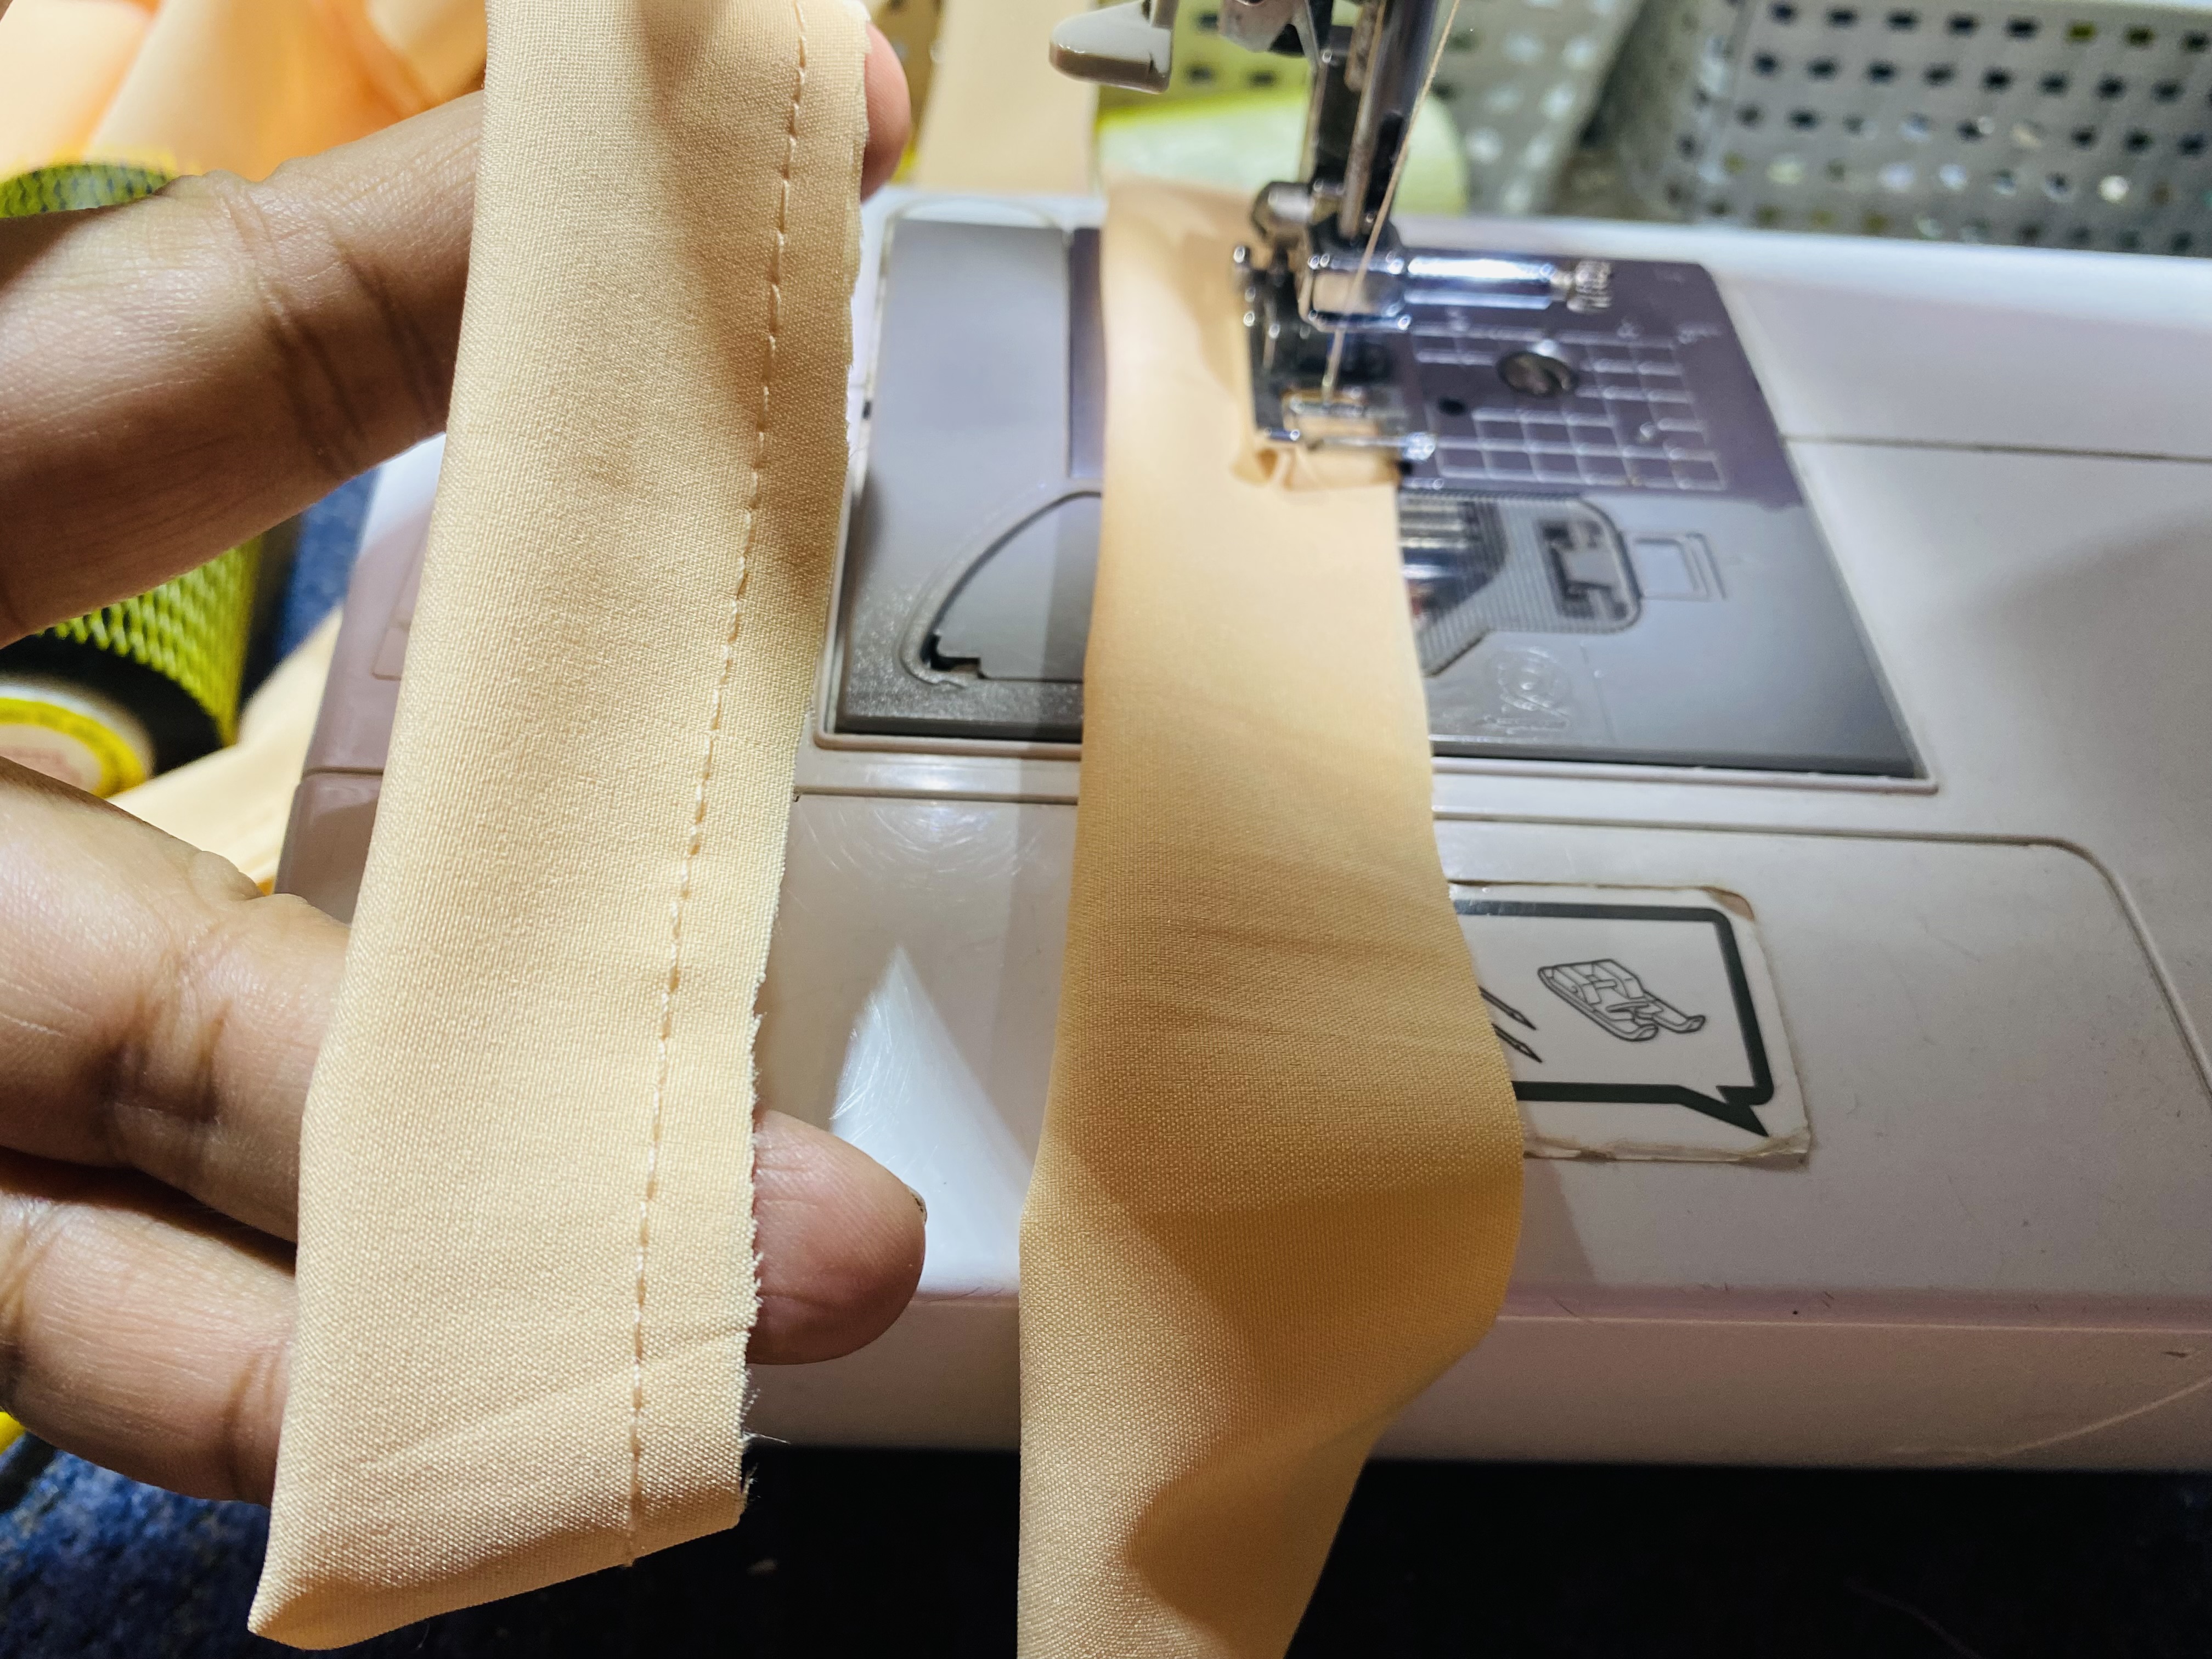
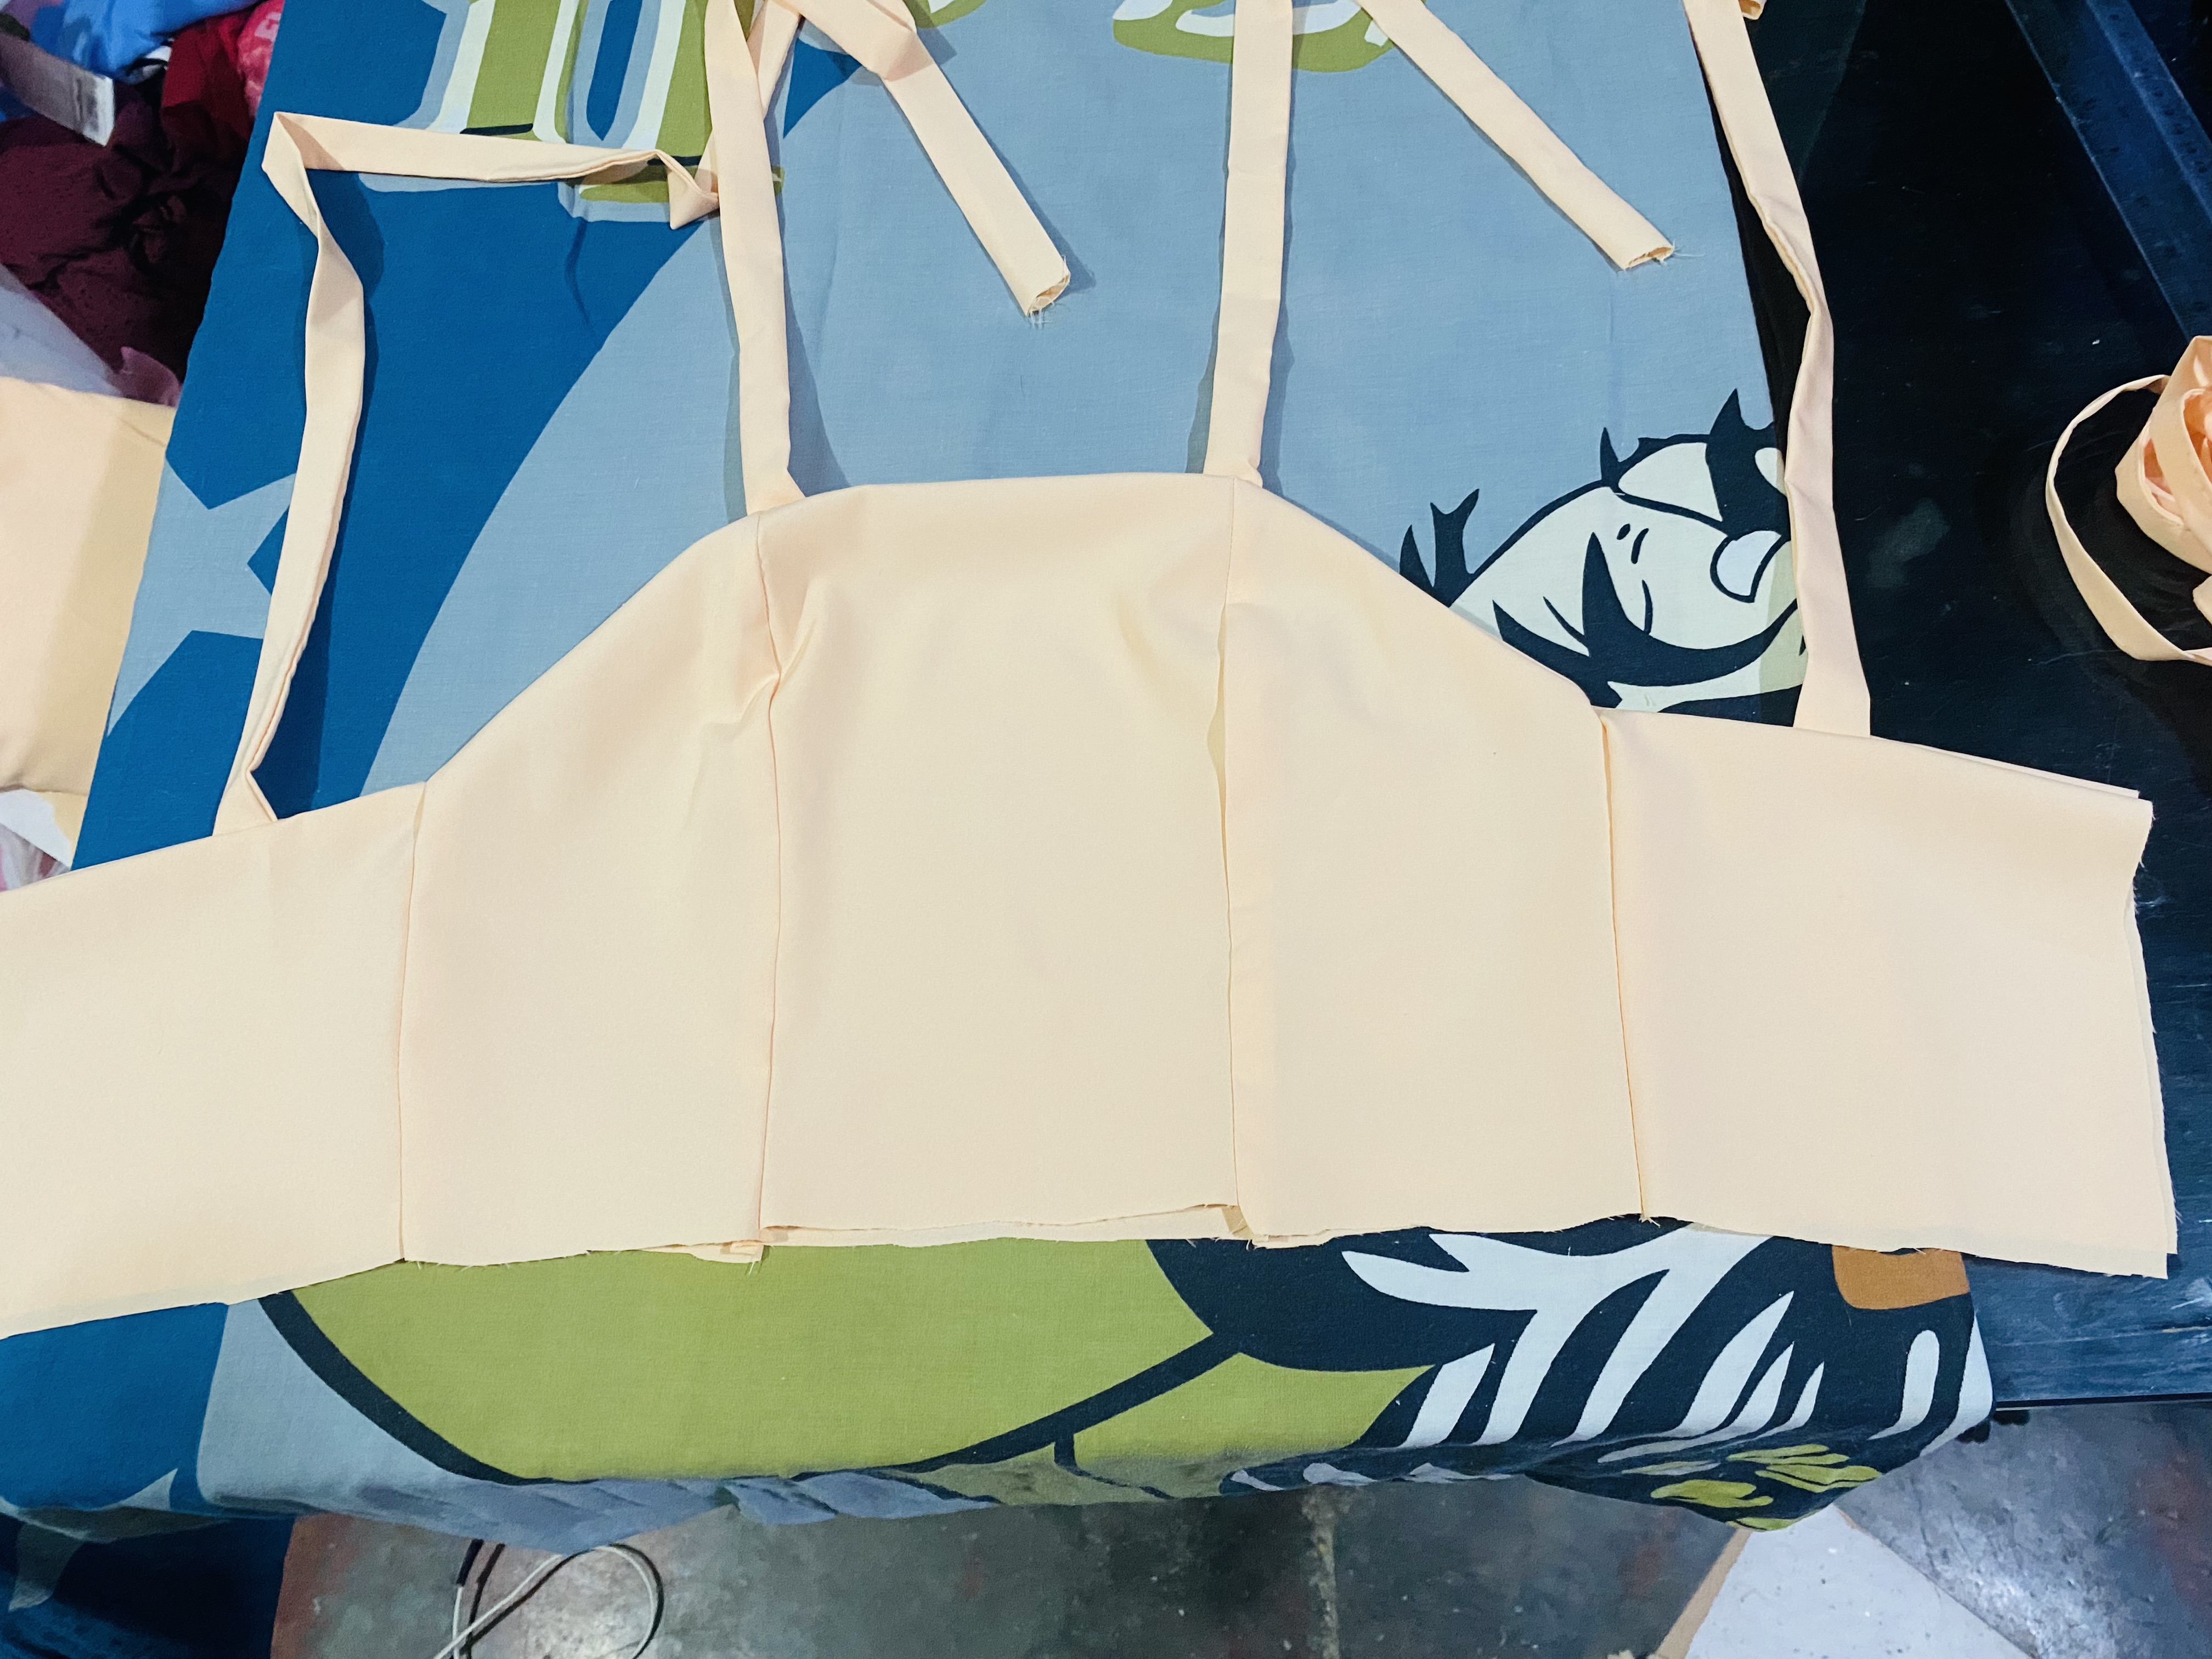
Ahora vamos a comenzar con las costuras, comenzaré pasándole costura a las tiras que llevarán en el escote de los hombros, éstas son 4 tiras para cada vestido, éstas serán de 50 cm de largo cada tira, le paso costura lo más cercano a la orilla doblada a la mitad luego volteo y plancho para ir a dando firmeza, las tiras que cortamos de 3 cm las vamos a doblar a la mitad y luego nuevamente la doblamos y pasamos una costura tratamos de qué nos queden delgadas.
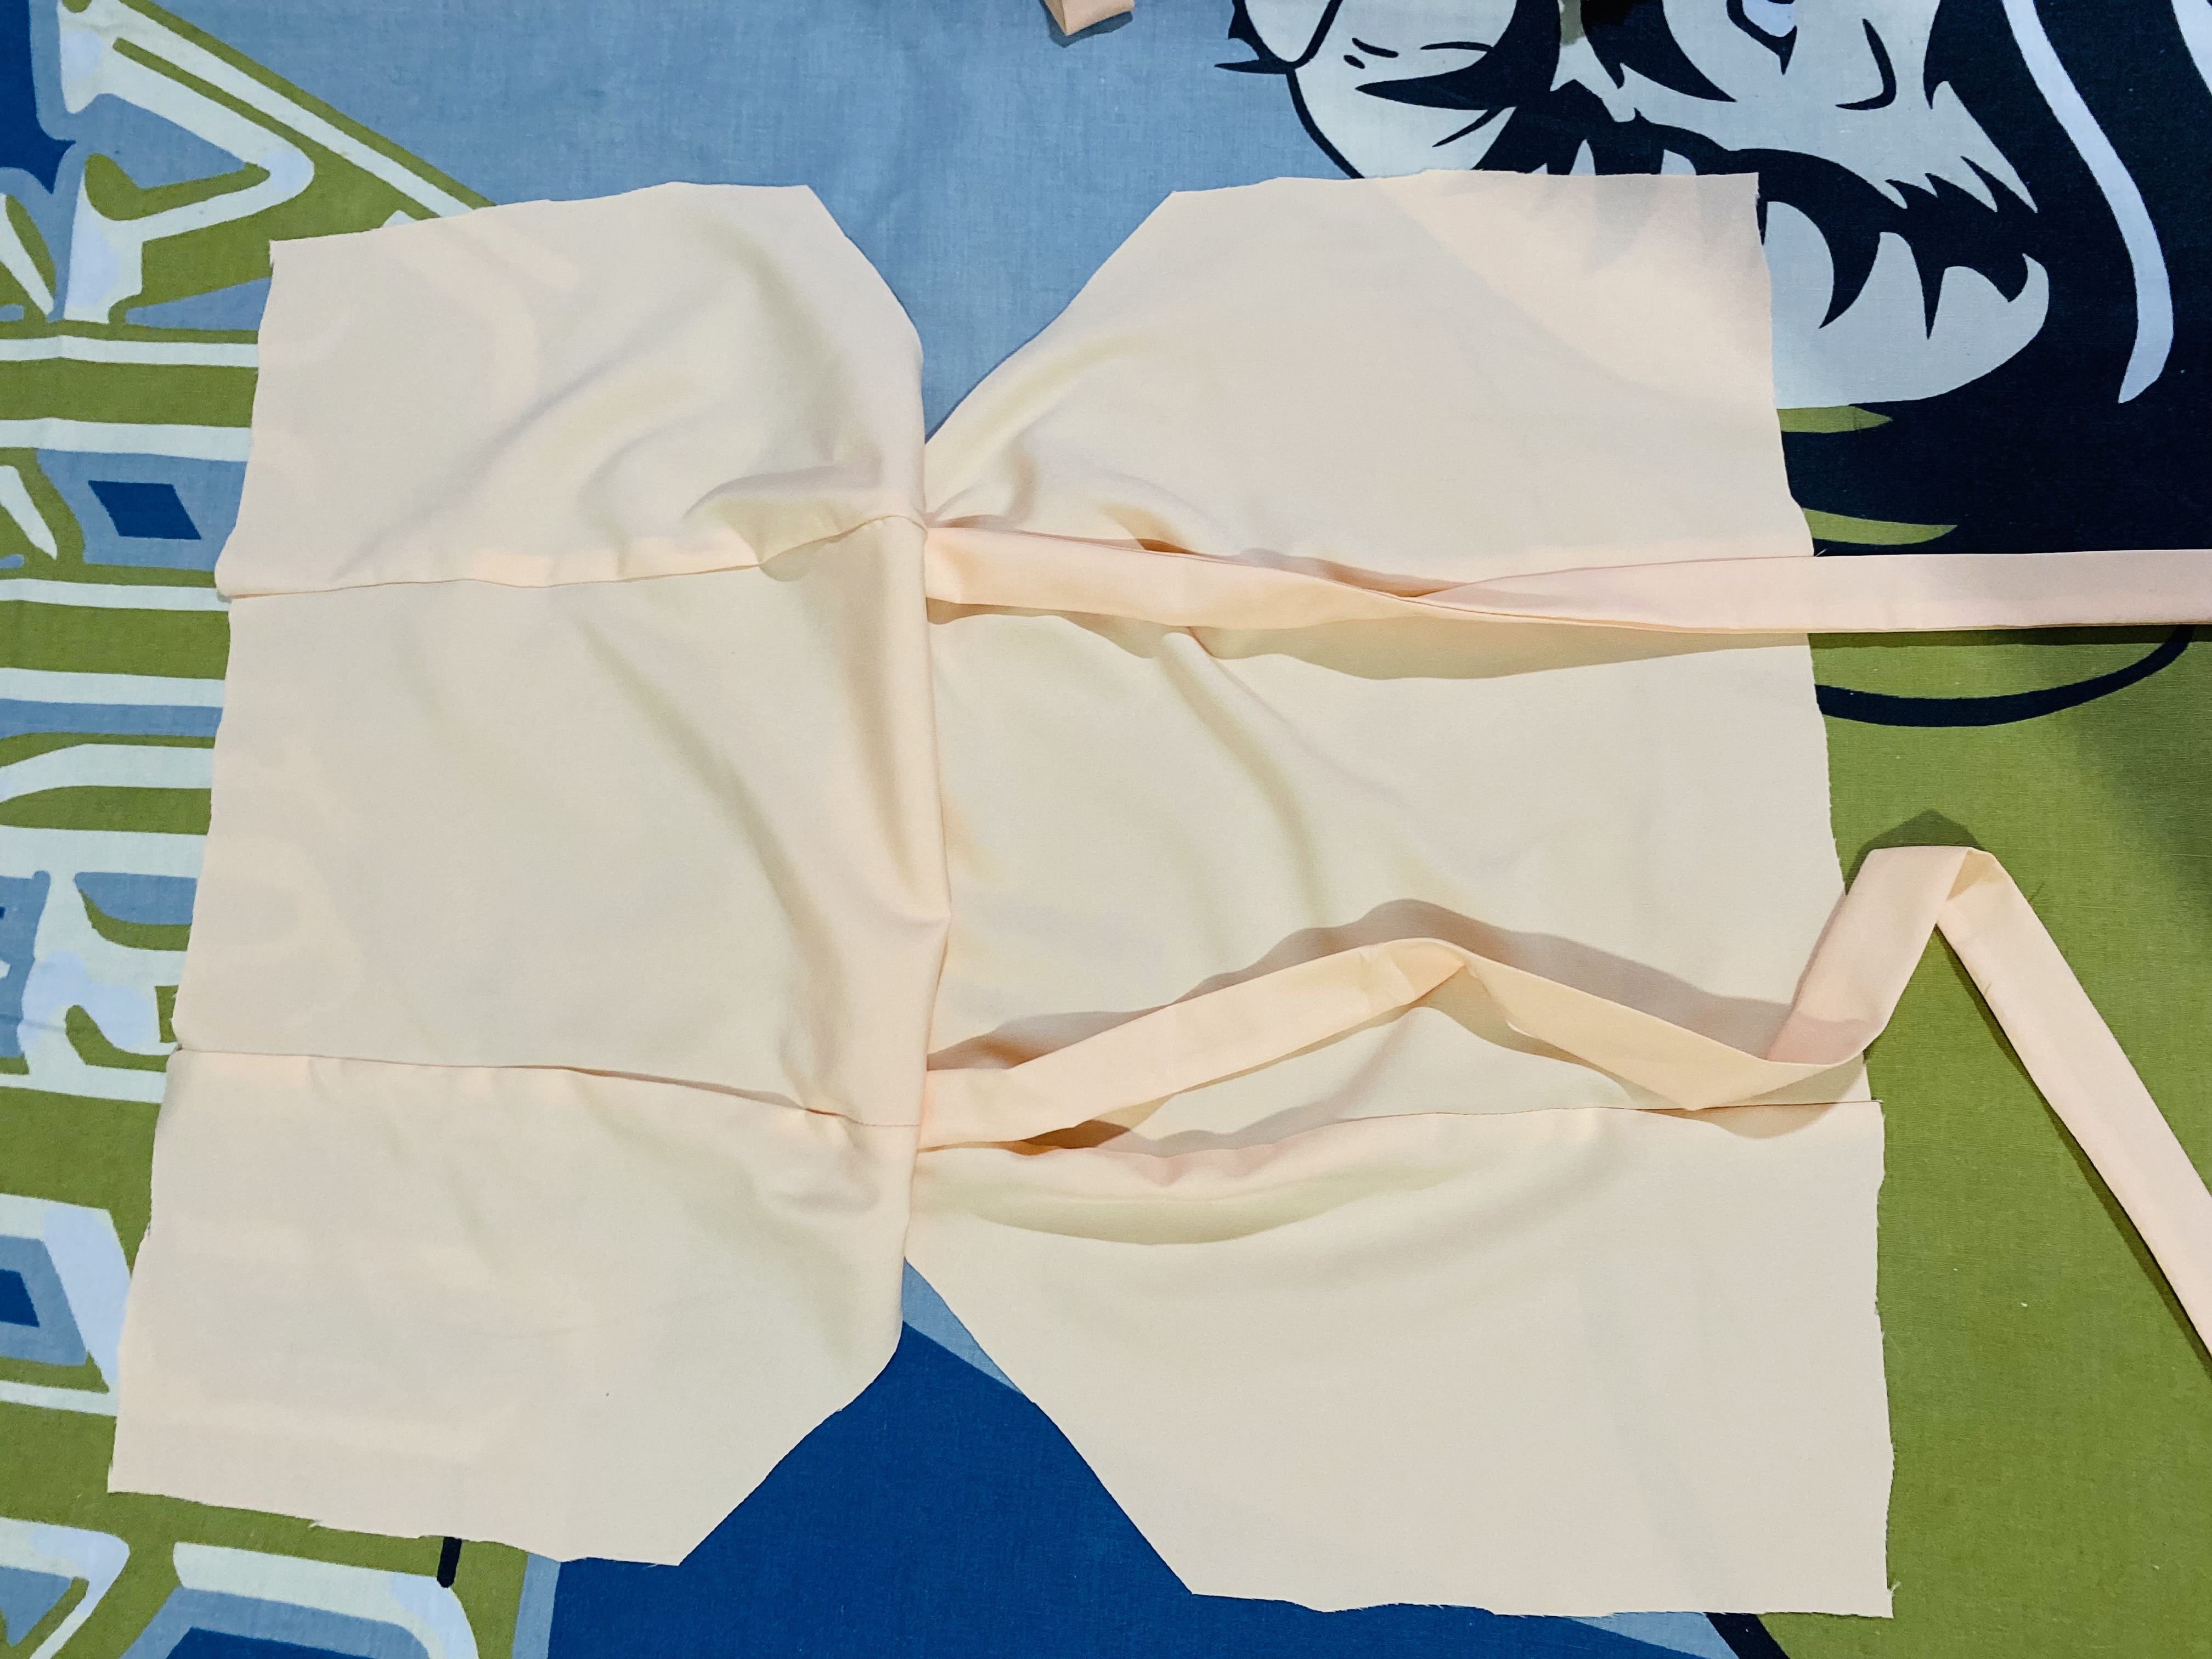
Luego vamos a unir las partes delanteras del vestido, tomamos una de las piezas del centro y le unimos las dos de los lados, estas en total son seis piezas hacemos una parte y luego la otra, esto es para embonar y que quede mejor acabado, planchamos las costuras para que vaya quedando más firme, luego ubicamos con alfileres las tiras y pasamos costura por toda la orilla del escote.
Luego con las piezas de atrás ponemos de dos en dos igual le ubicamos las tiras y pasamos costura en la parte superior al tener las listas las unimos a las otras piezas delanteras, a medida que vamos armando las partes del vestido vamos planchando para que vaya quedando muchísimo mejor, me encantó trabajar con esta tela ya que es un poco estrés y es fácil pasar costura ya que no se deforma.
> Now we will start with the seams, I will start by stitching the strips that will be on the neckline of the shoulders, these are 4 strips for each dress, these will be 50 cm long each strip, I sew as close as possible to the edge folded in half then turn and iron to give it firmness, the strips that we cut of 3 cm we will fold them in half and then again we fold them and sew them trying to make them thin.
>
> Next, we'll join the front pieces of the dress. Take one of the center pieces and join the two side pieces together. This makes six pieces in total. We do one piece and then the other. This is to fit together and give a more finished look. We press the seams to make it firmer. Then, we pin the straps and sew them all the way around the neckline.
>
> Then with the back pieces we put them two by two, we place the strips and sew on the upper part. Once we have the ready we join them to the other front pieces. As we put together the parts of the dress we iron them so that it looks much better. I loved working with this fabric since it is a little stressful and it is easy to sew since it does not deform.
|||
|---|---|
|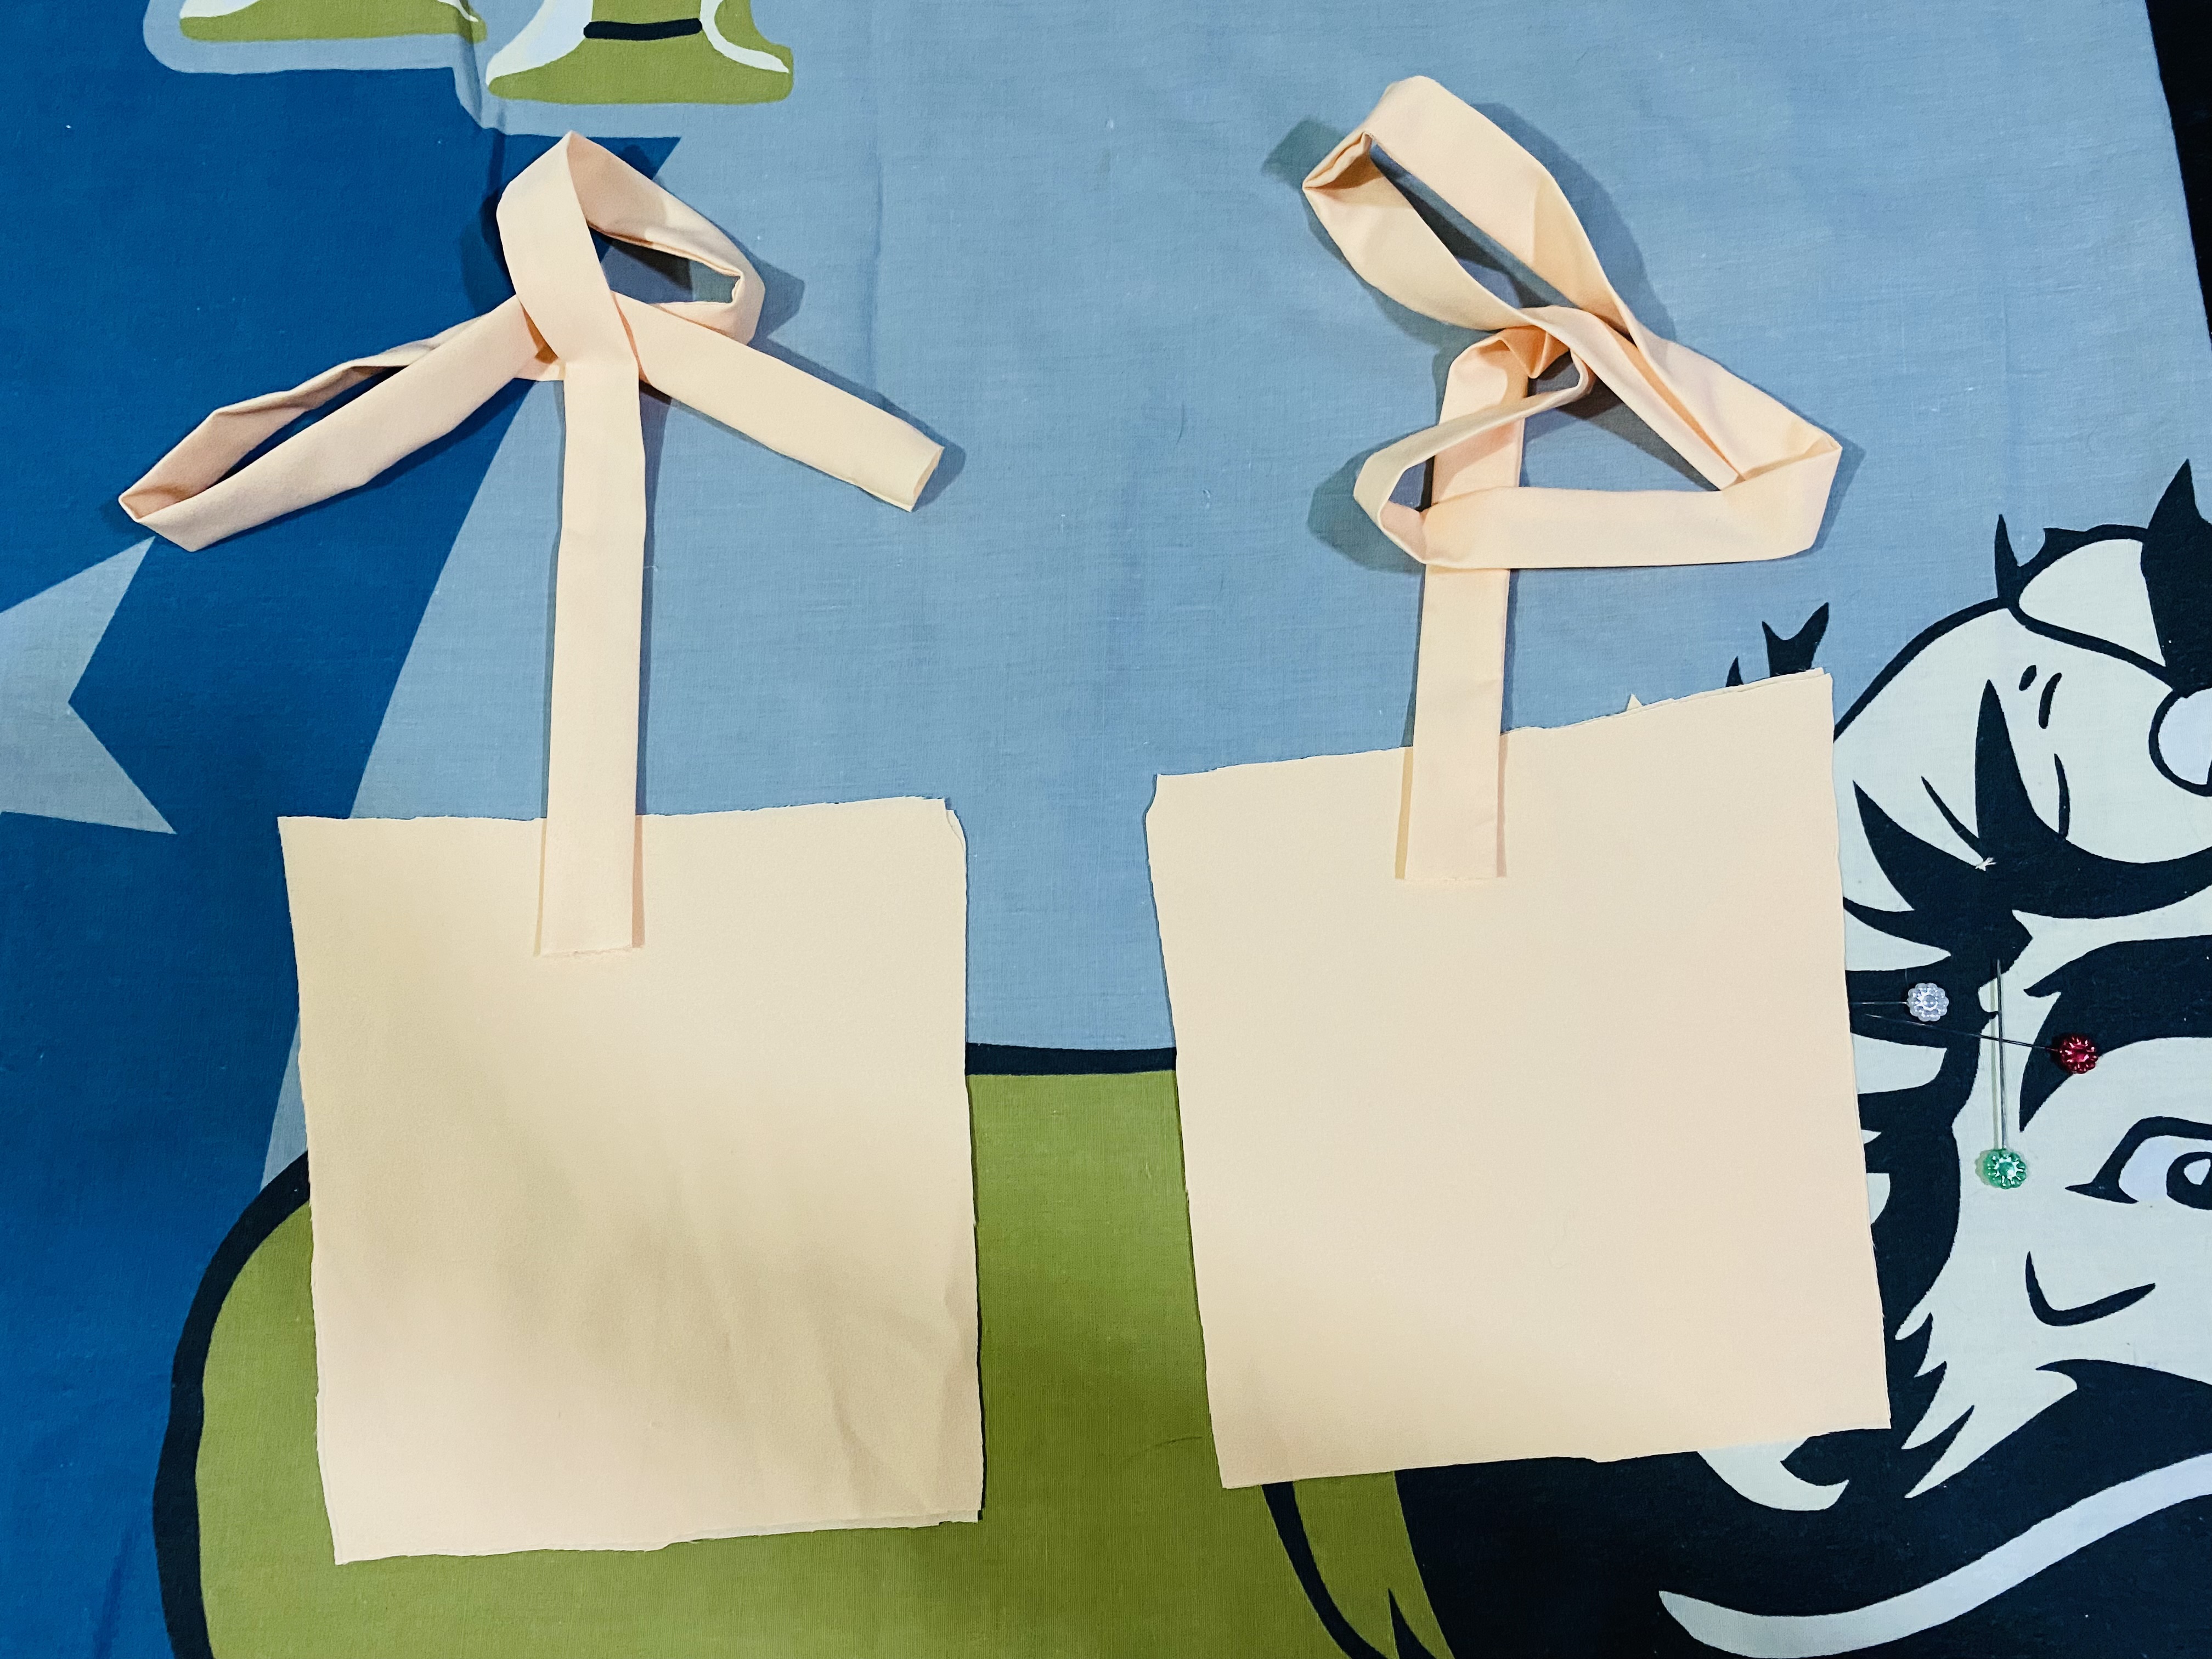||
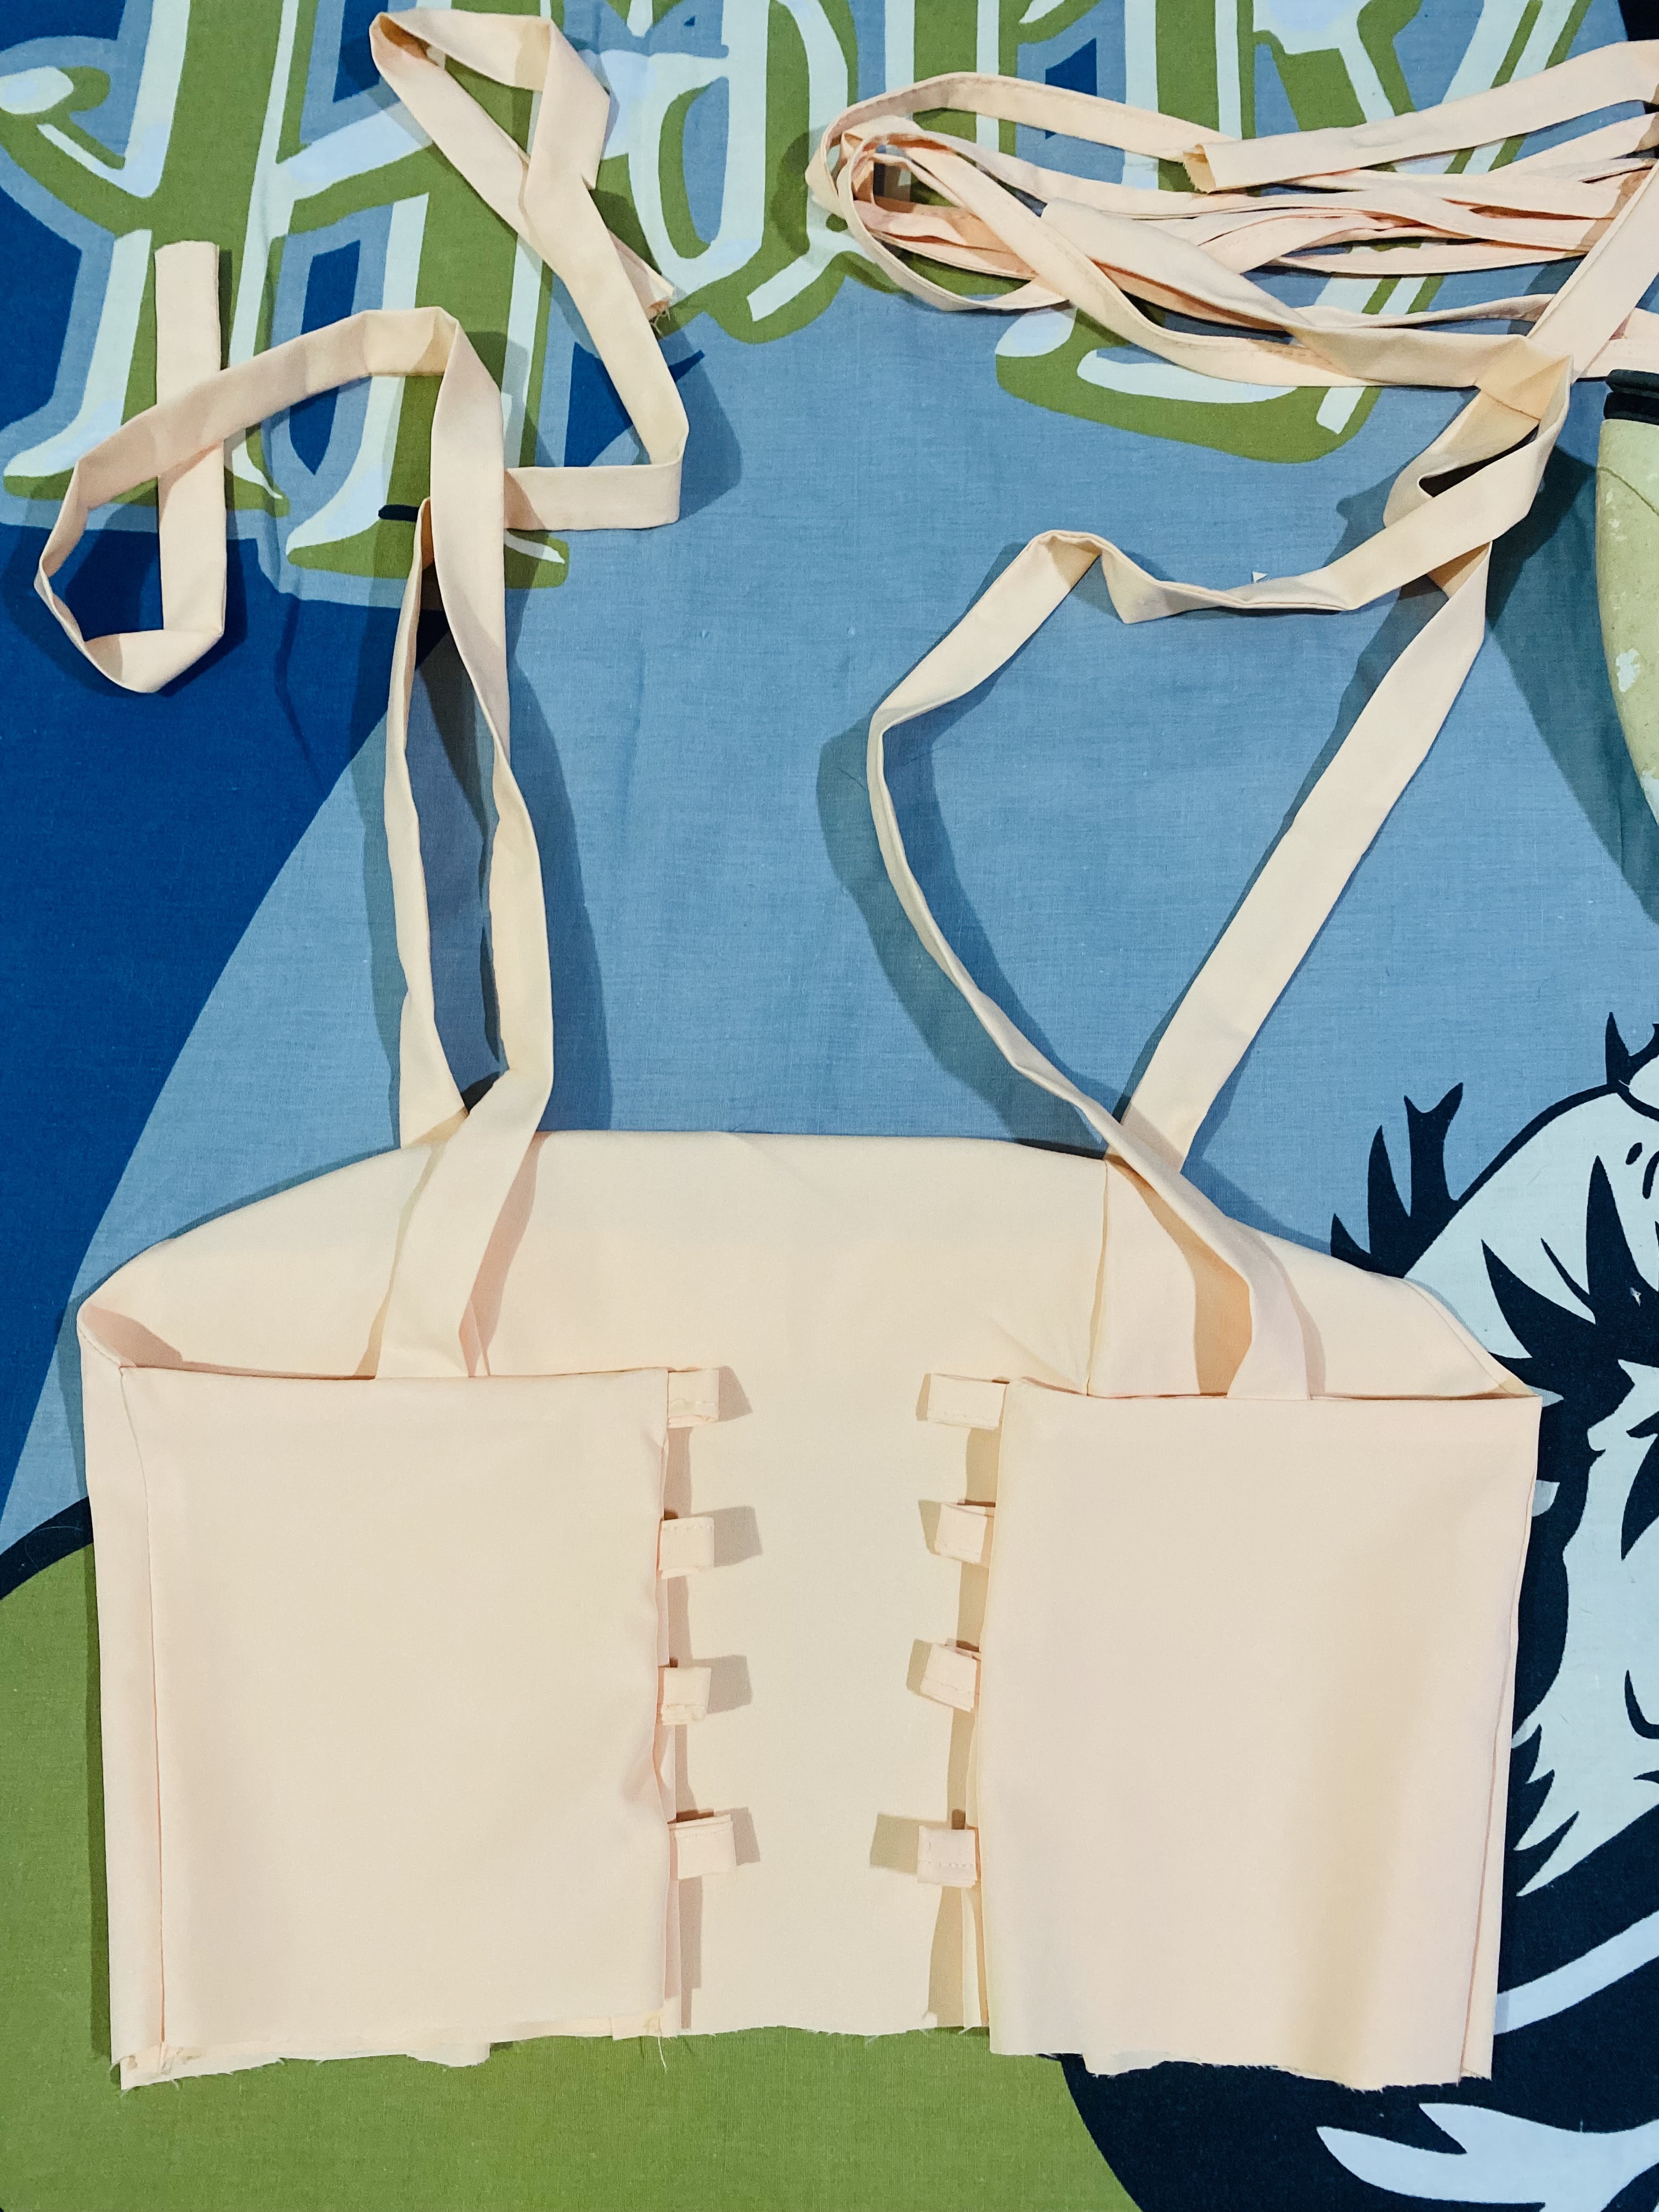
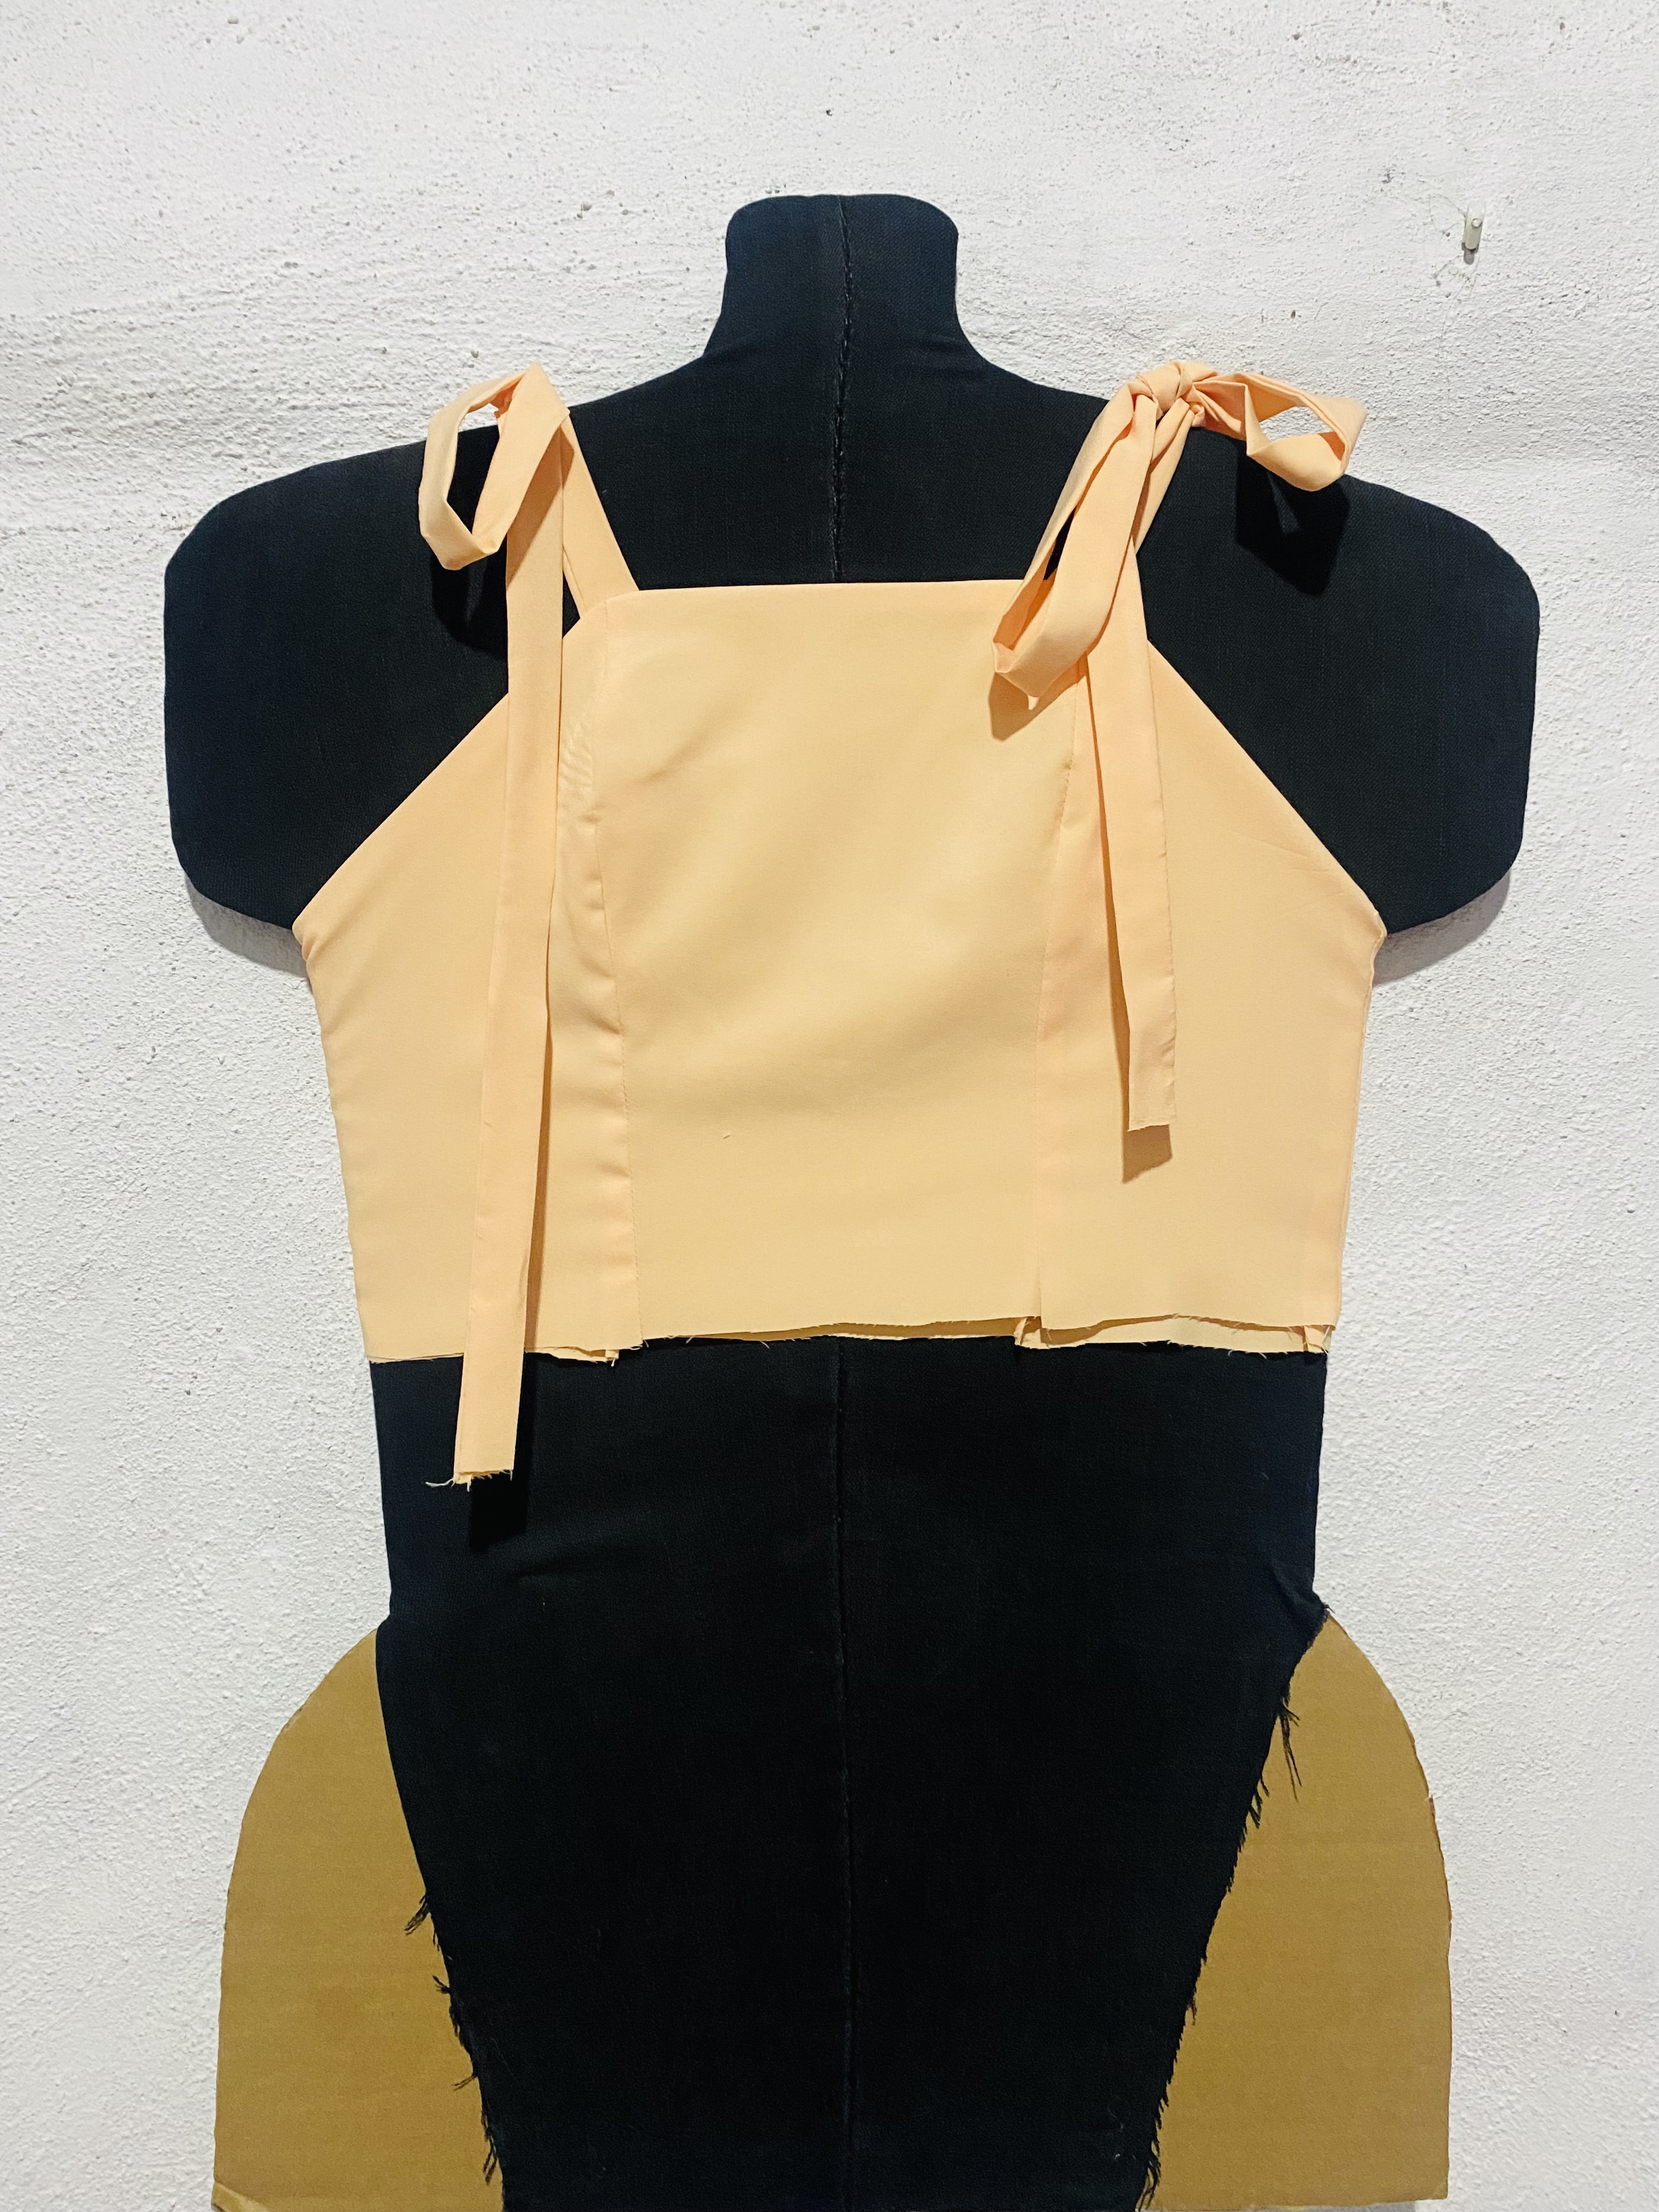
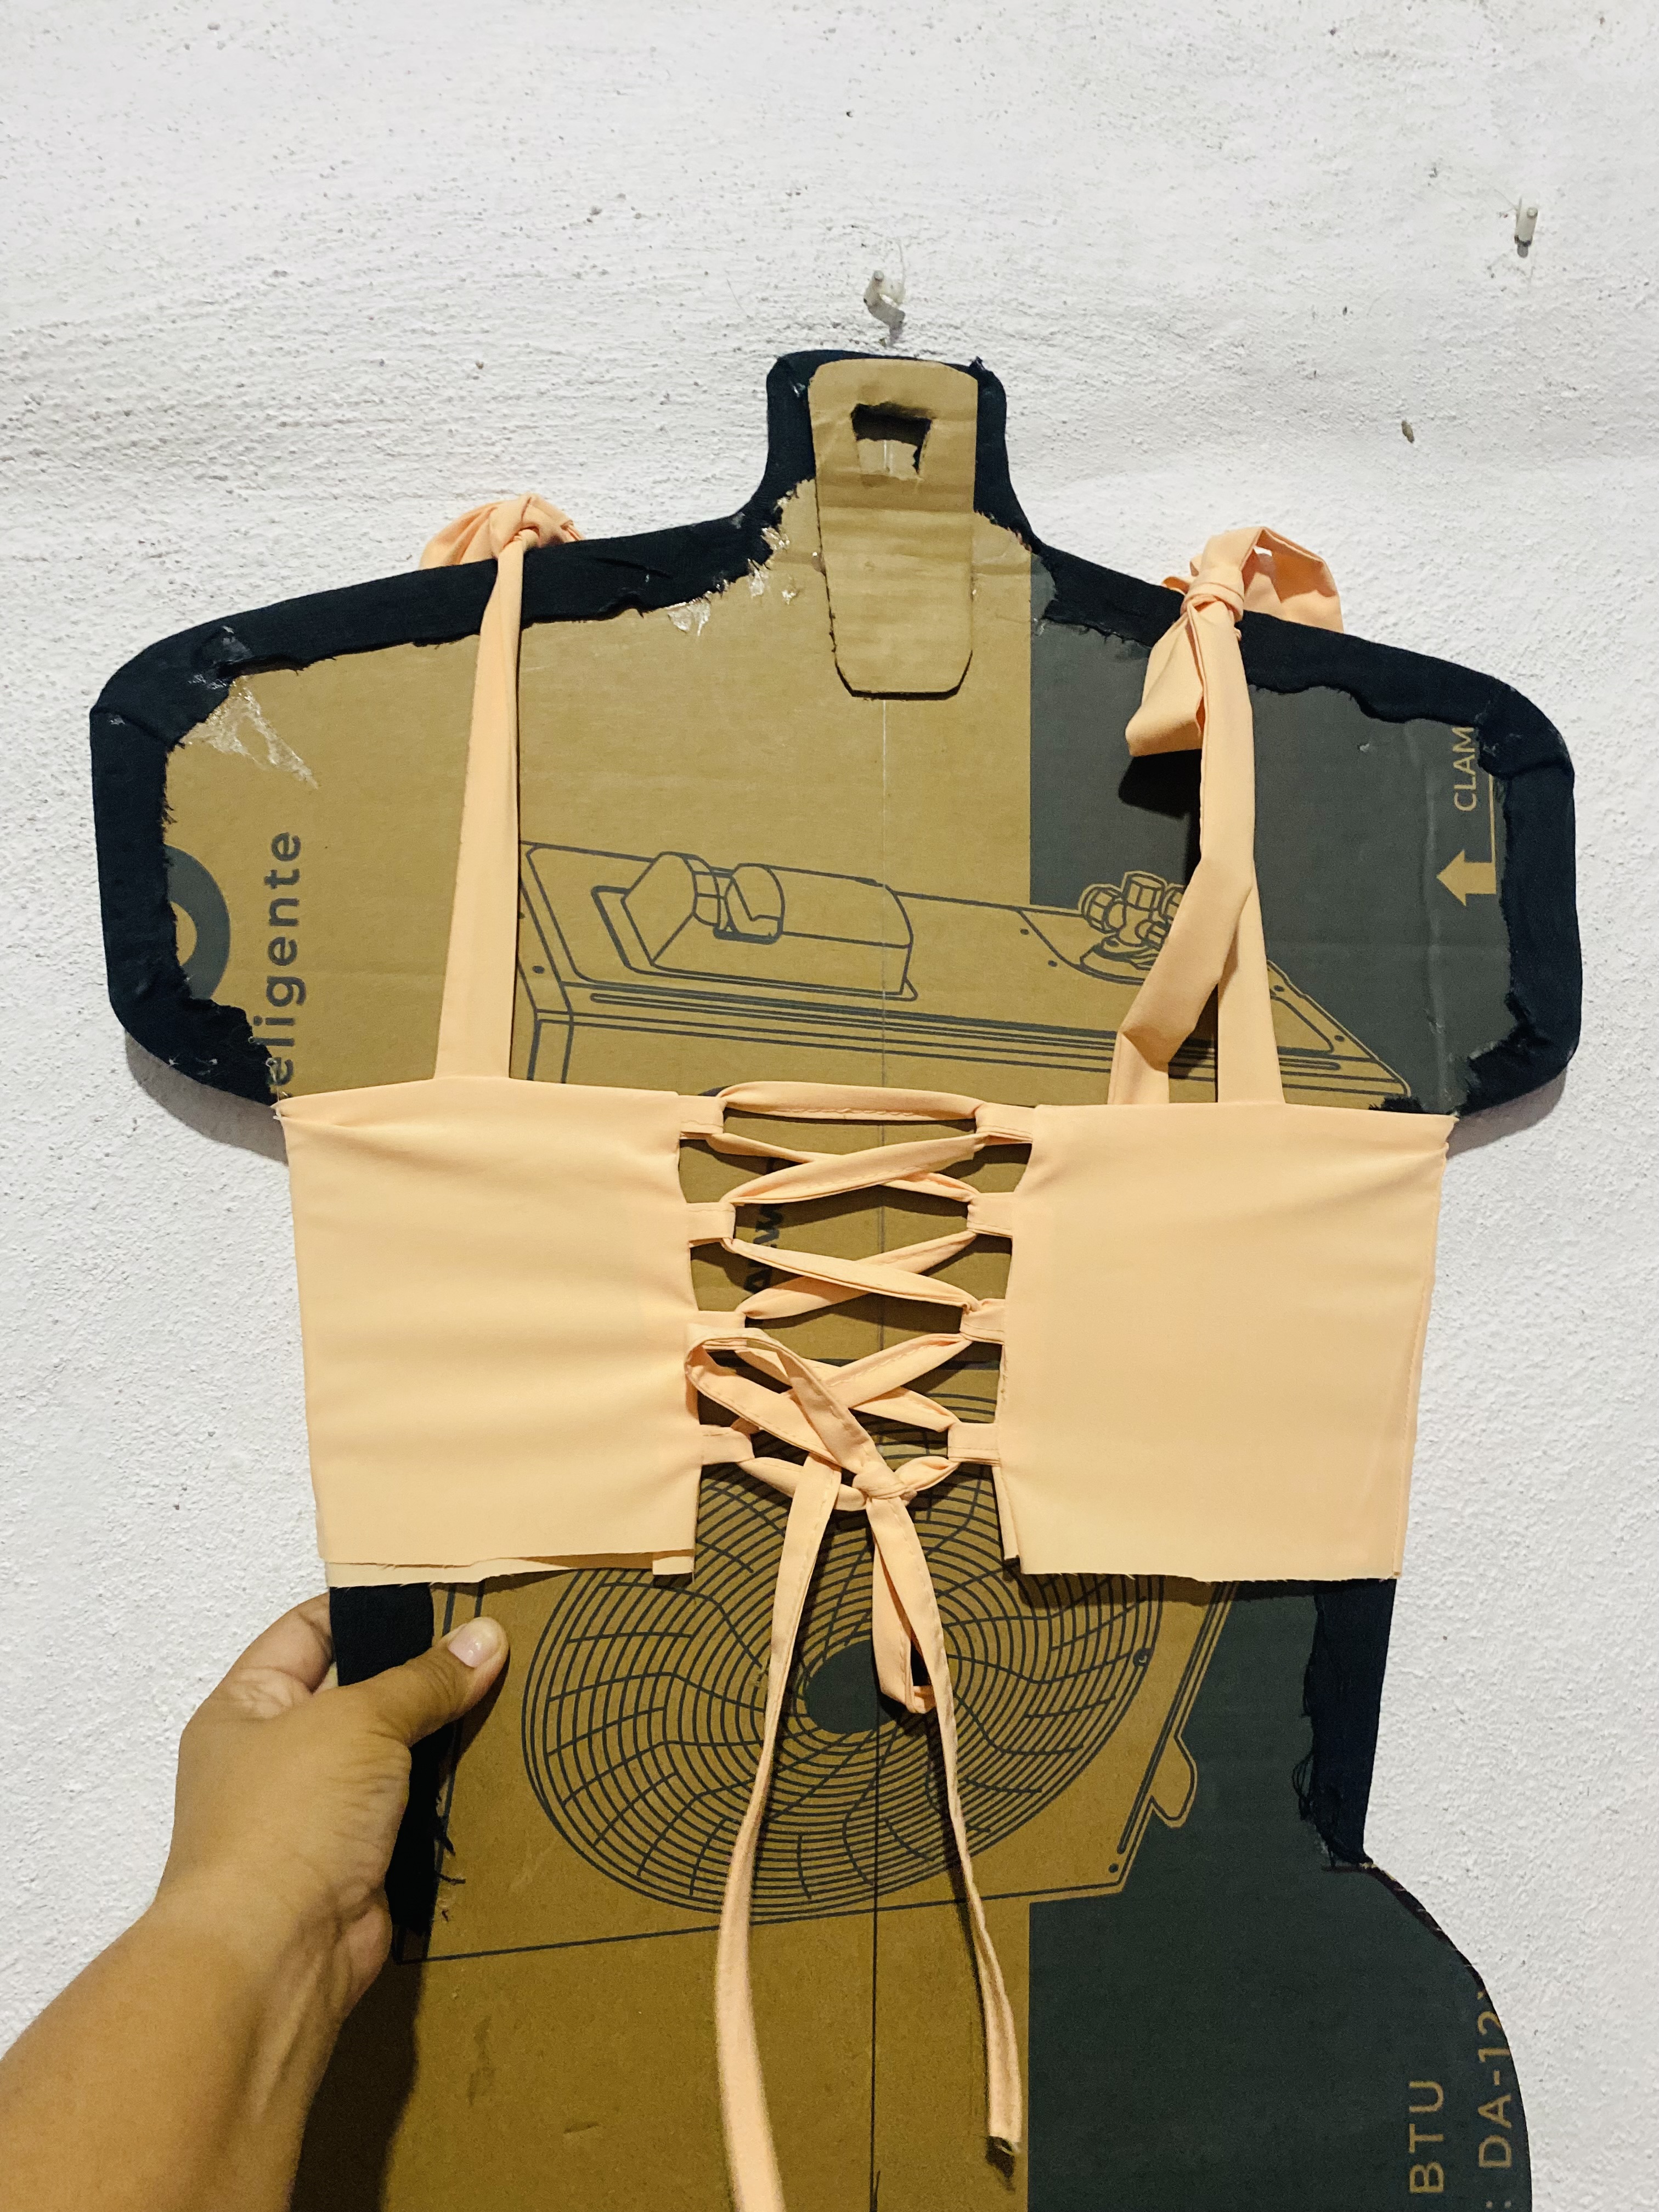
Ahora vamos a finalizar la parte de atrás del vestido, a esta le vamos a ubicar cuatro pequeñas argollas, cortamos partes de la tira más delgada que hicimos, estas serán de 4 cm aproximadamente, doblamos a la mitad y ubicamos en cada lado de la parte de atrás, luego le trenzamos la tira más larga y con esto ya tendremos la parte superior del vestido.
> Now we are going to finish the back of the dress, we are going to place four small rings on this one, we cut parts of the thinnest strip that we made, these will be approximately 4 cm, fold them in half and place them on each side of the back, then we braid the longest strip and with this we will have the upper part of the dress.
|||
|---|---|
|||
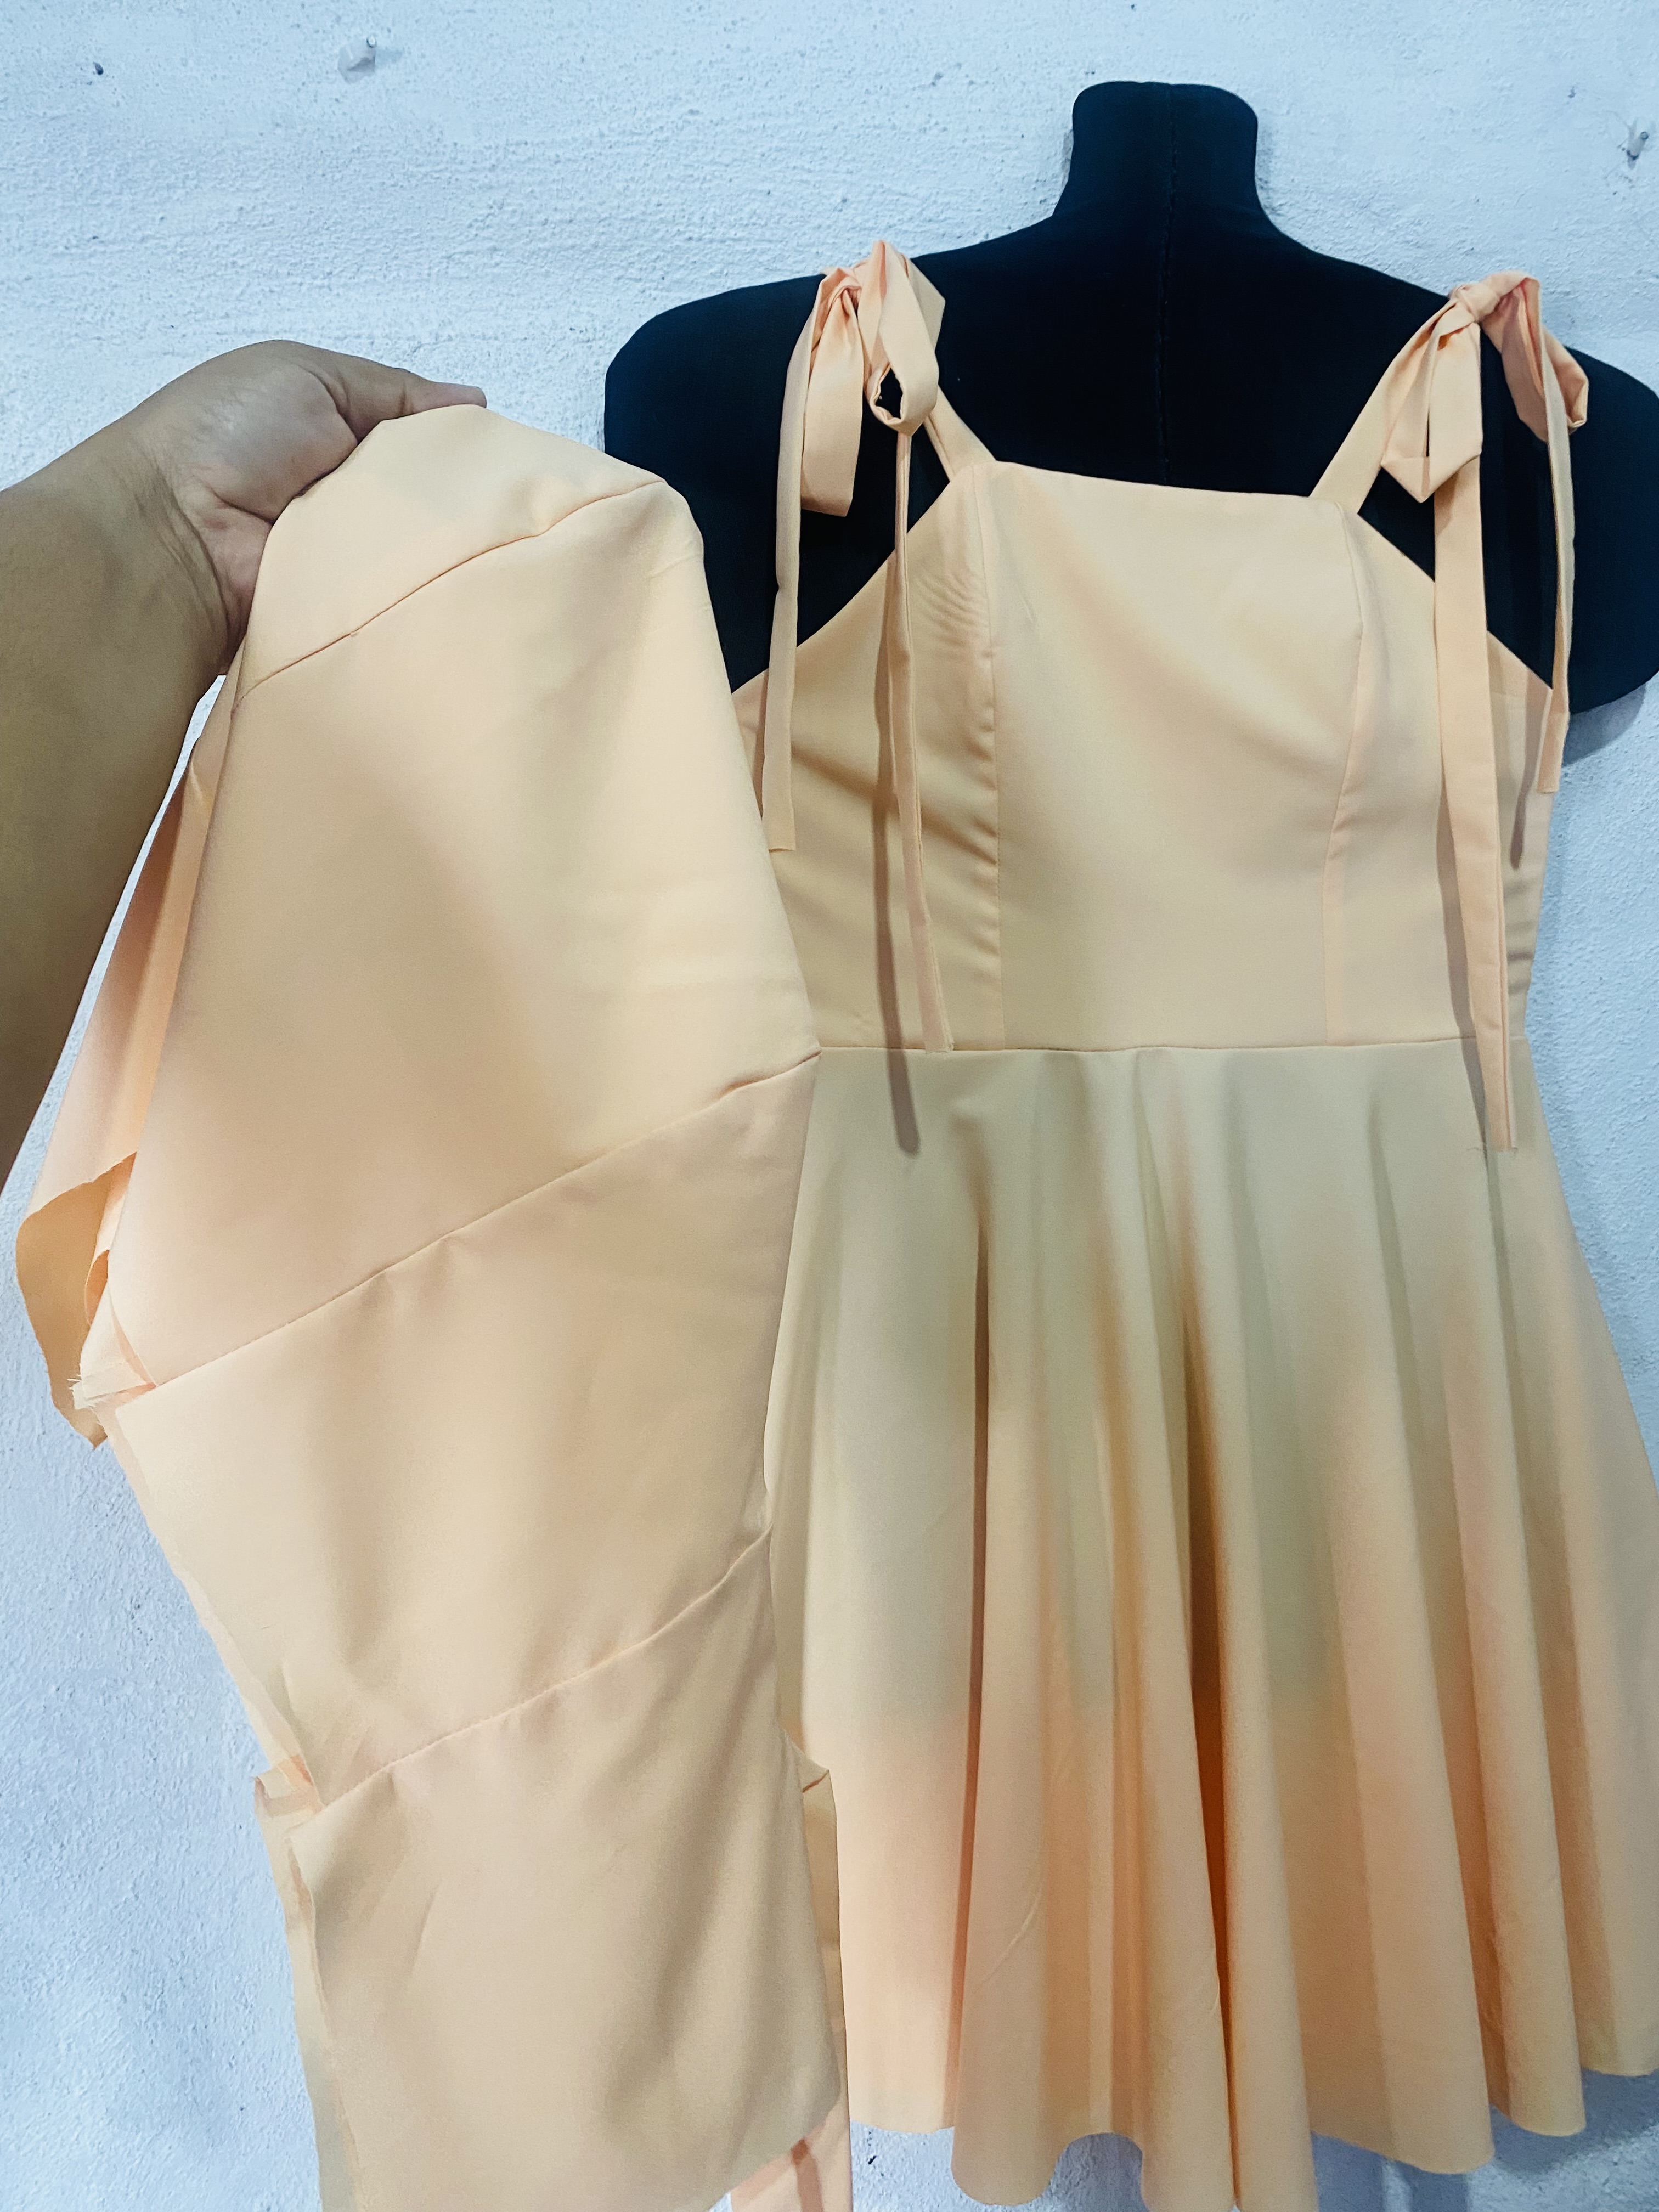
En este paso vamos a unirle la falda al vestido, corregimos la medida de la cintura, tratamos de que nos quede un poco más grande que la cintura de la chica para que sea más fácil colocarse el vestido, en este caso le aumenté unos 3 cm, pasamos costura como a 1 cm uniendo por toda la cintura, al unirla al vestido nos quedará un excedente esta parte la vamos a dejar en la parte de atrás y justo allí le vamos a colocar el elástico.
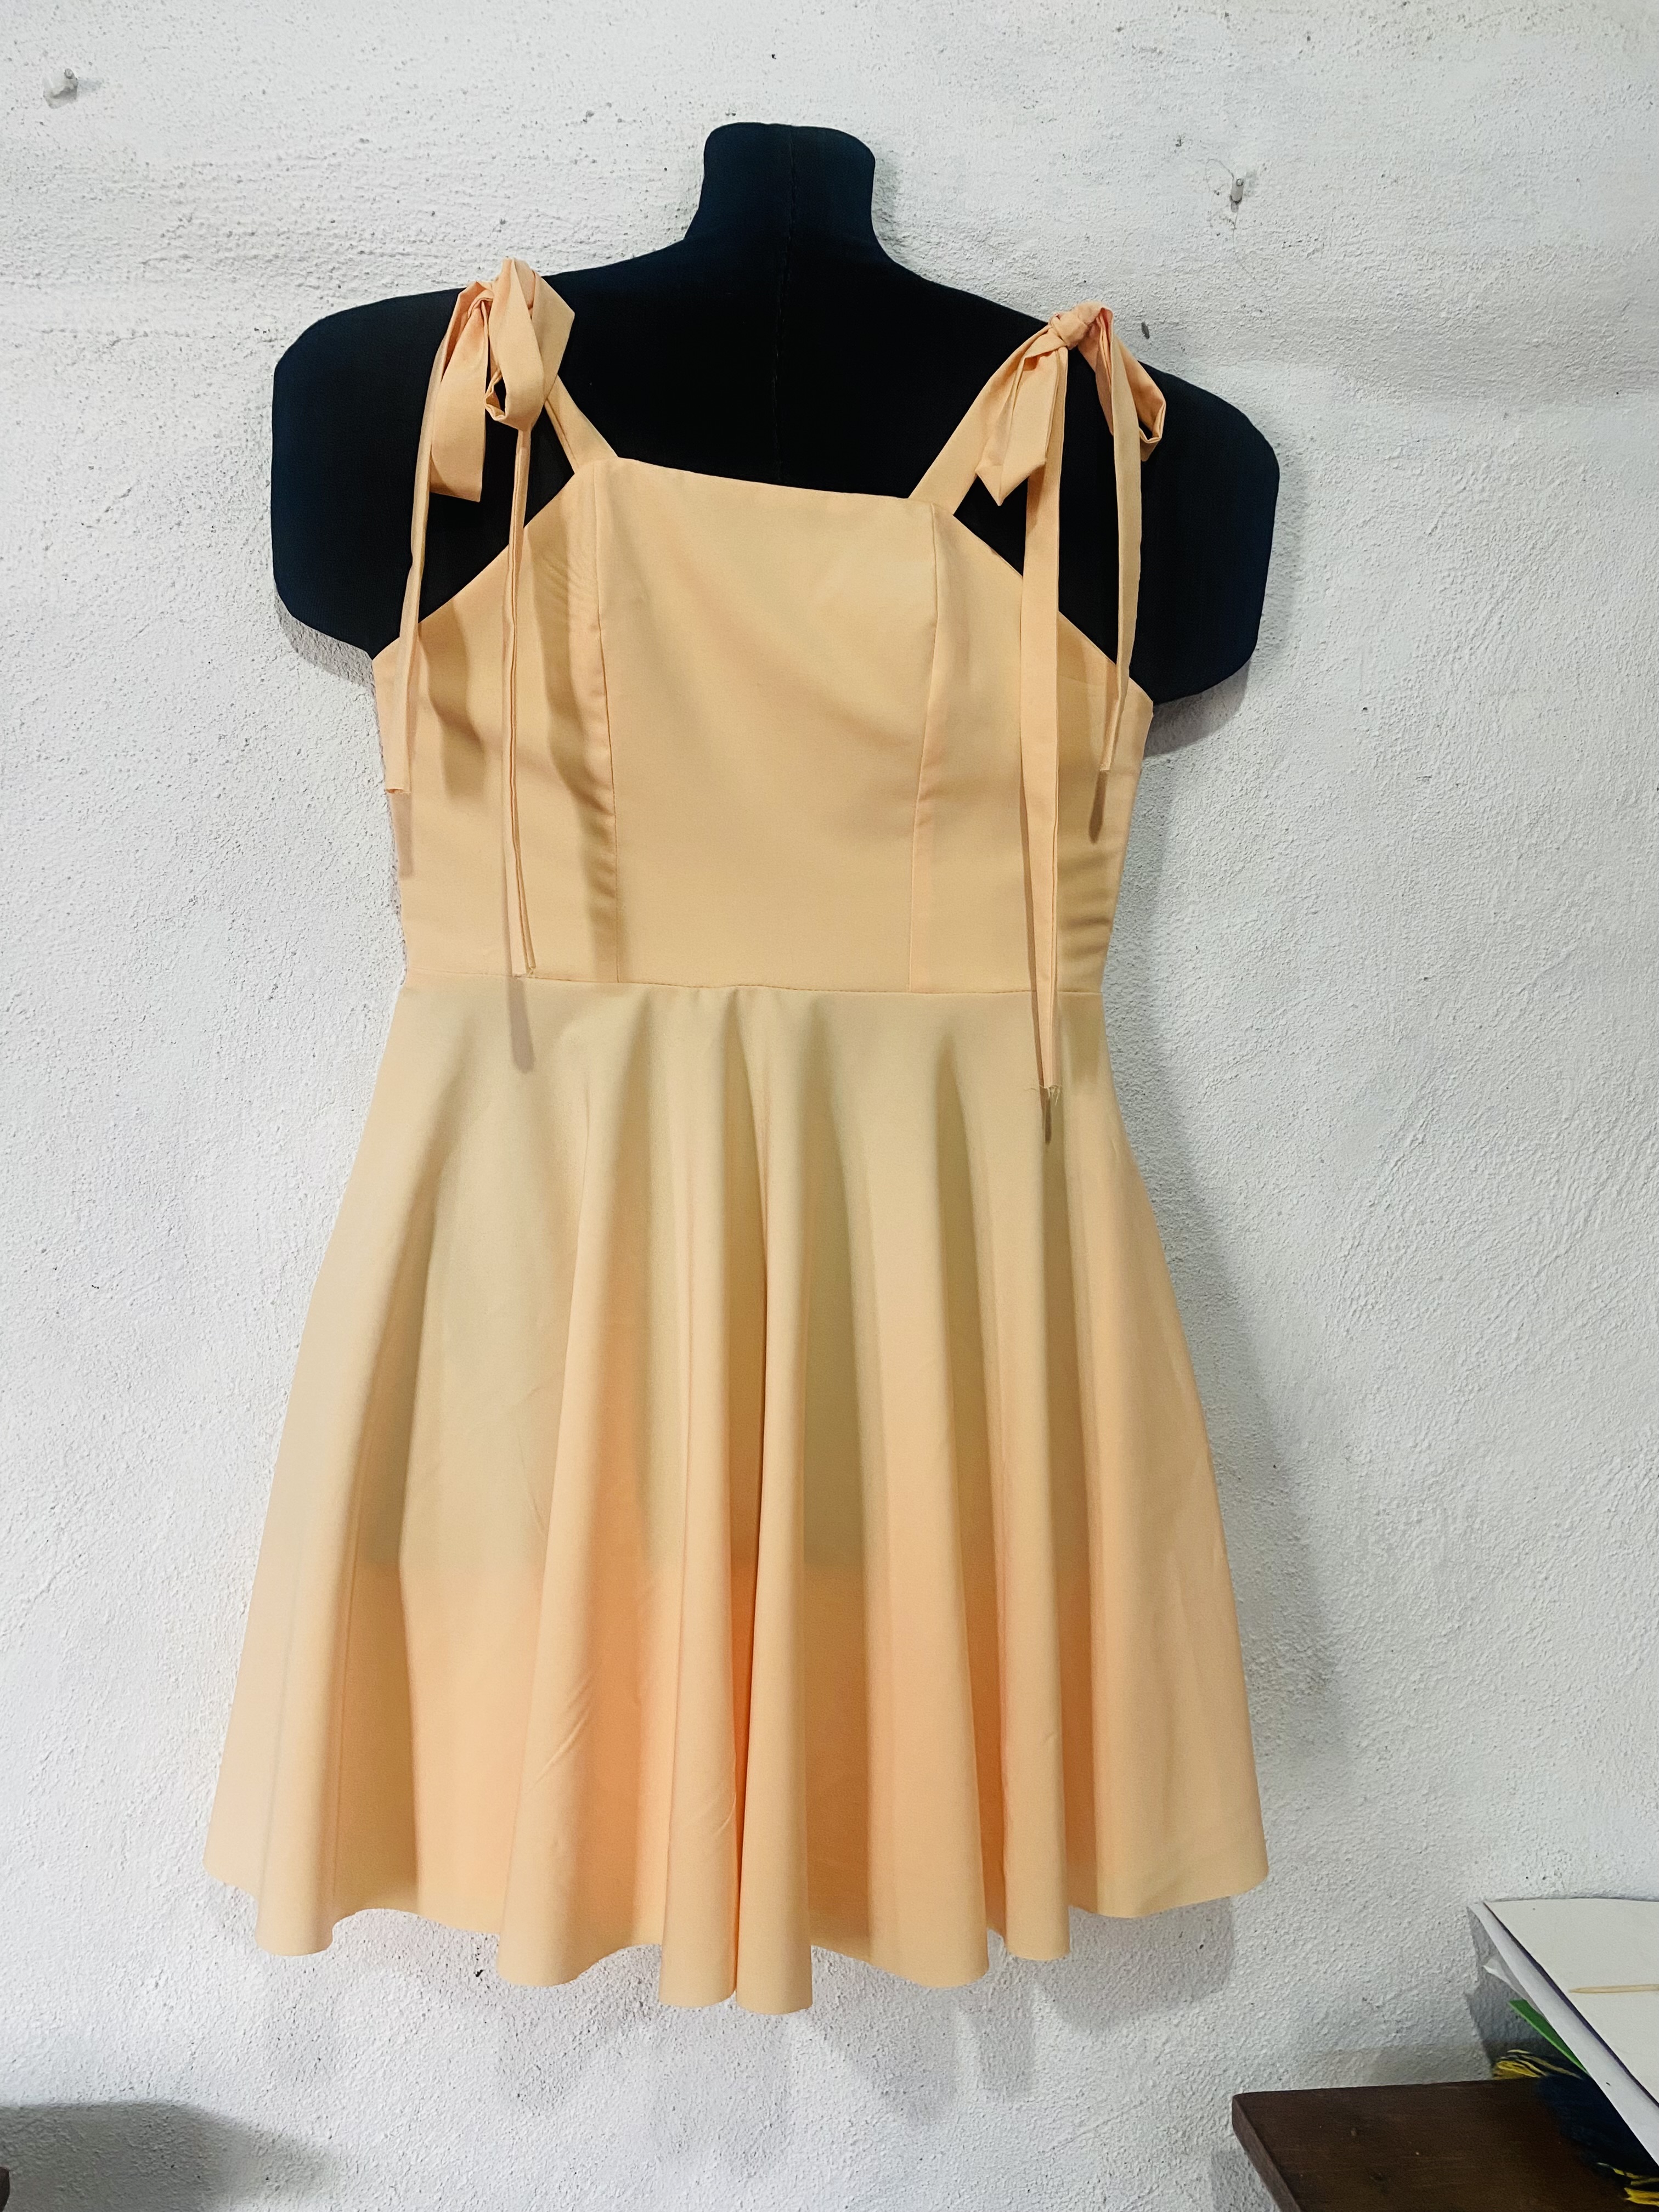
Este será de aproximadamente 8 cm, le pasamos costura doblamos y luego le pasamos costura por la parte de afuera sólo en esta parte llevará costura por la parte externa, reforzamos con costura de zig zag en la parte interna de la cintura, luego le hacemos el ruedo y así ya está listo este hermoso vestido con escote trenzado, para los dos vestidos es el mismo procedimiento la diferencia es que uno es una talla más grande que el otro.
> In this step, we're going to join the skirt to the dress. We're correcting the waist measurement. We're trying to make it a little larger than the girl's waist to make it easier to put on the dress. In this case, I added about 3 cm. We sewed about 1 cm, joining it all the way around the waist. When we sew it to the dress, we'll have some excess. We'll leave this part at the back and right there we'll attach the elastic.
>
> This will be approximately 8 cm. We sew it, fold it, and then sew it on the outside. Only this part will have a seam on the outside. We reinforce it with a zigzag stitch on the inside of the waist. Then we hem it, and that's it. This beautiful dress with a braided neckline is ready. The procedure is the same for both dresses, the difference is that one is one size larger than the other.
|||
|---|---|
|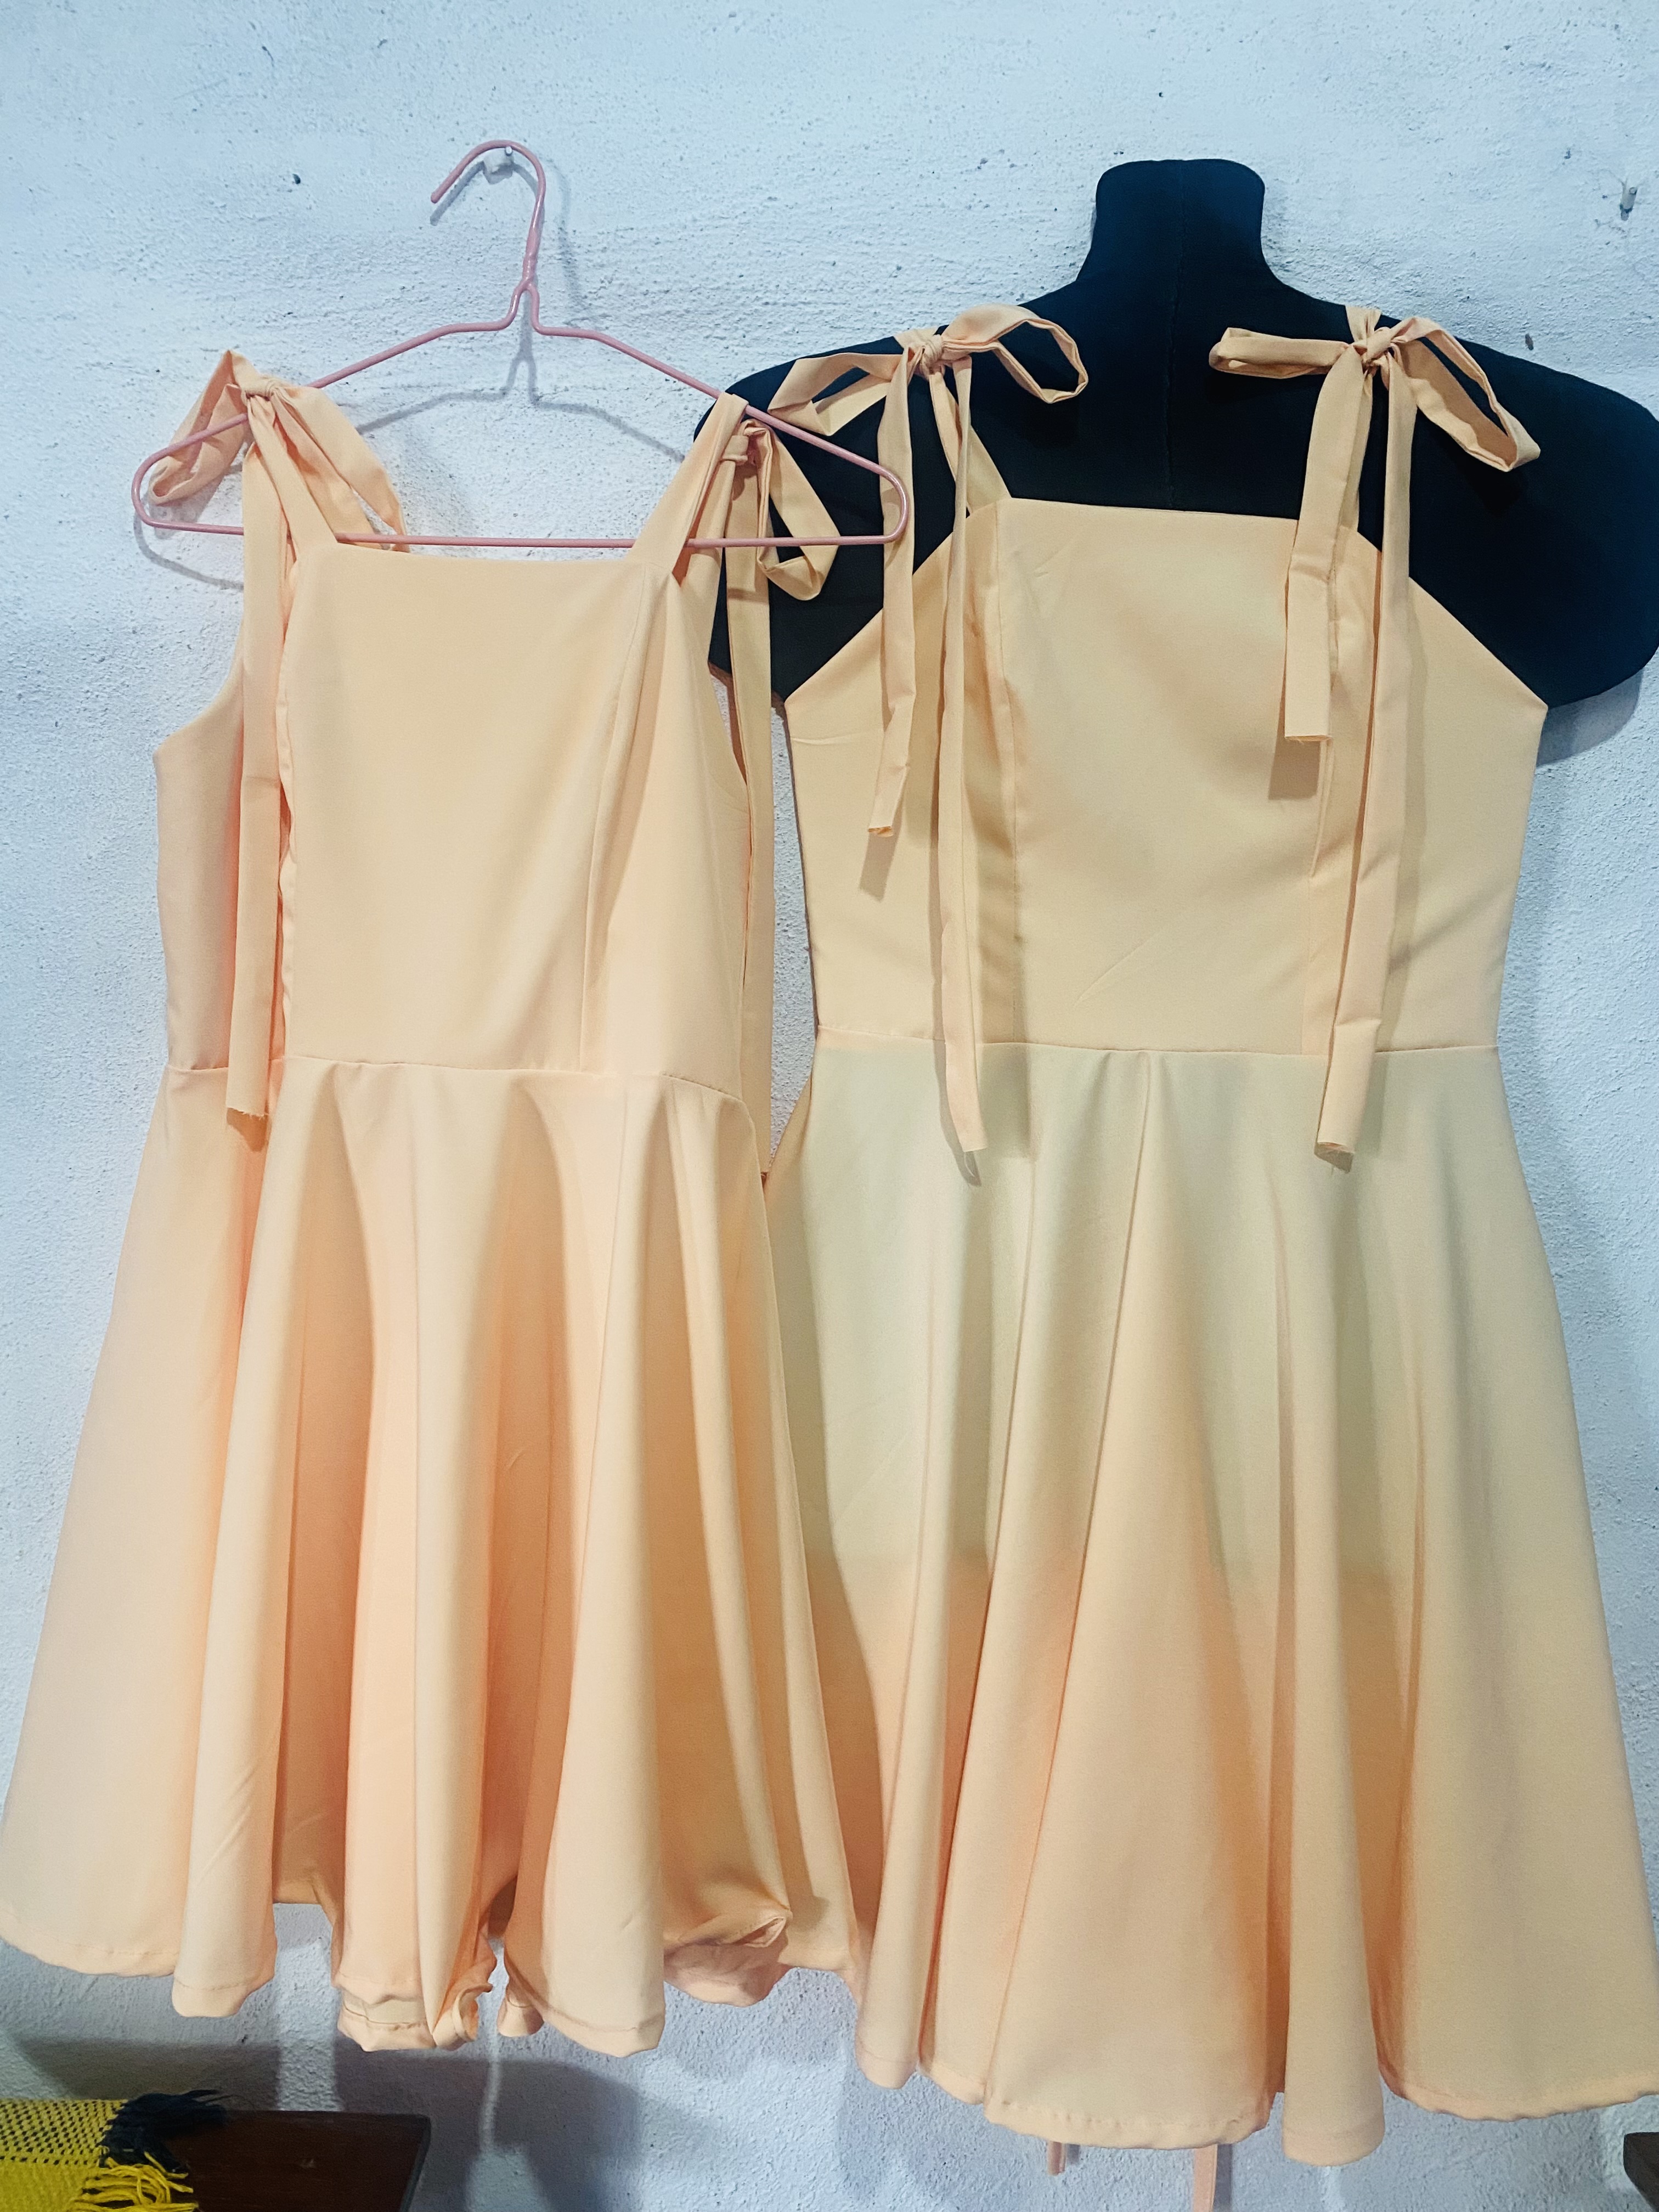|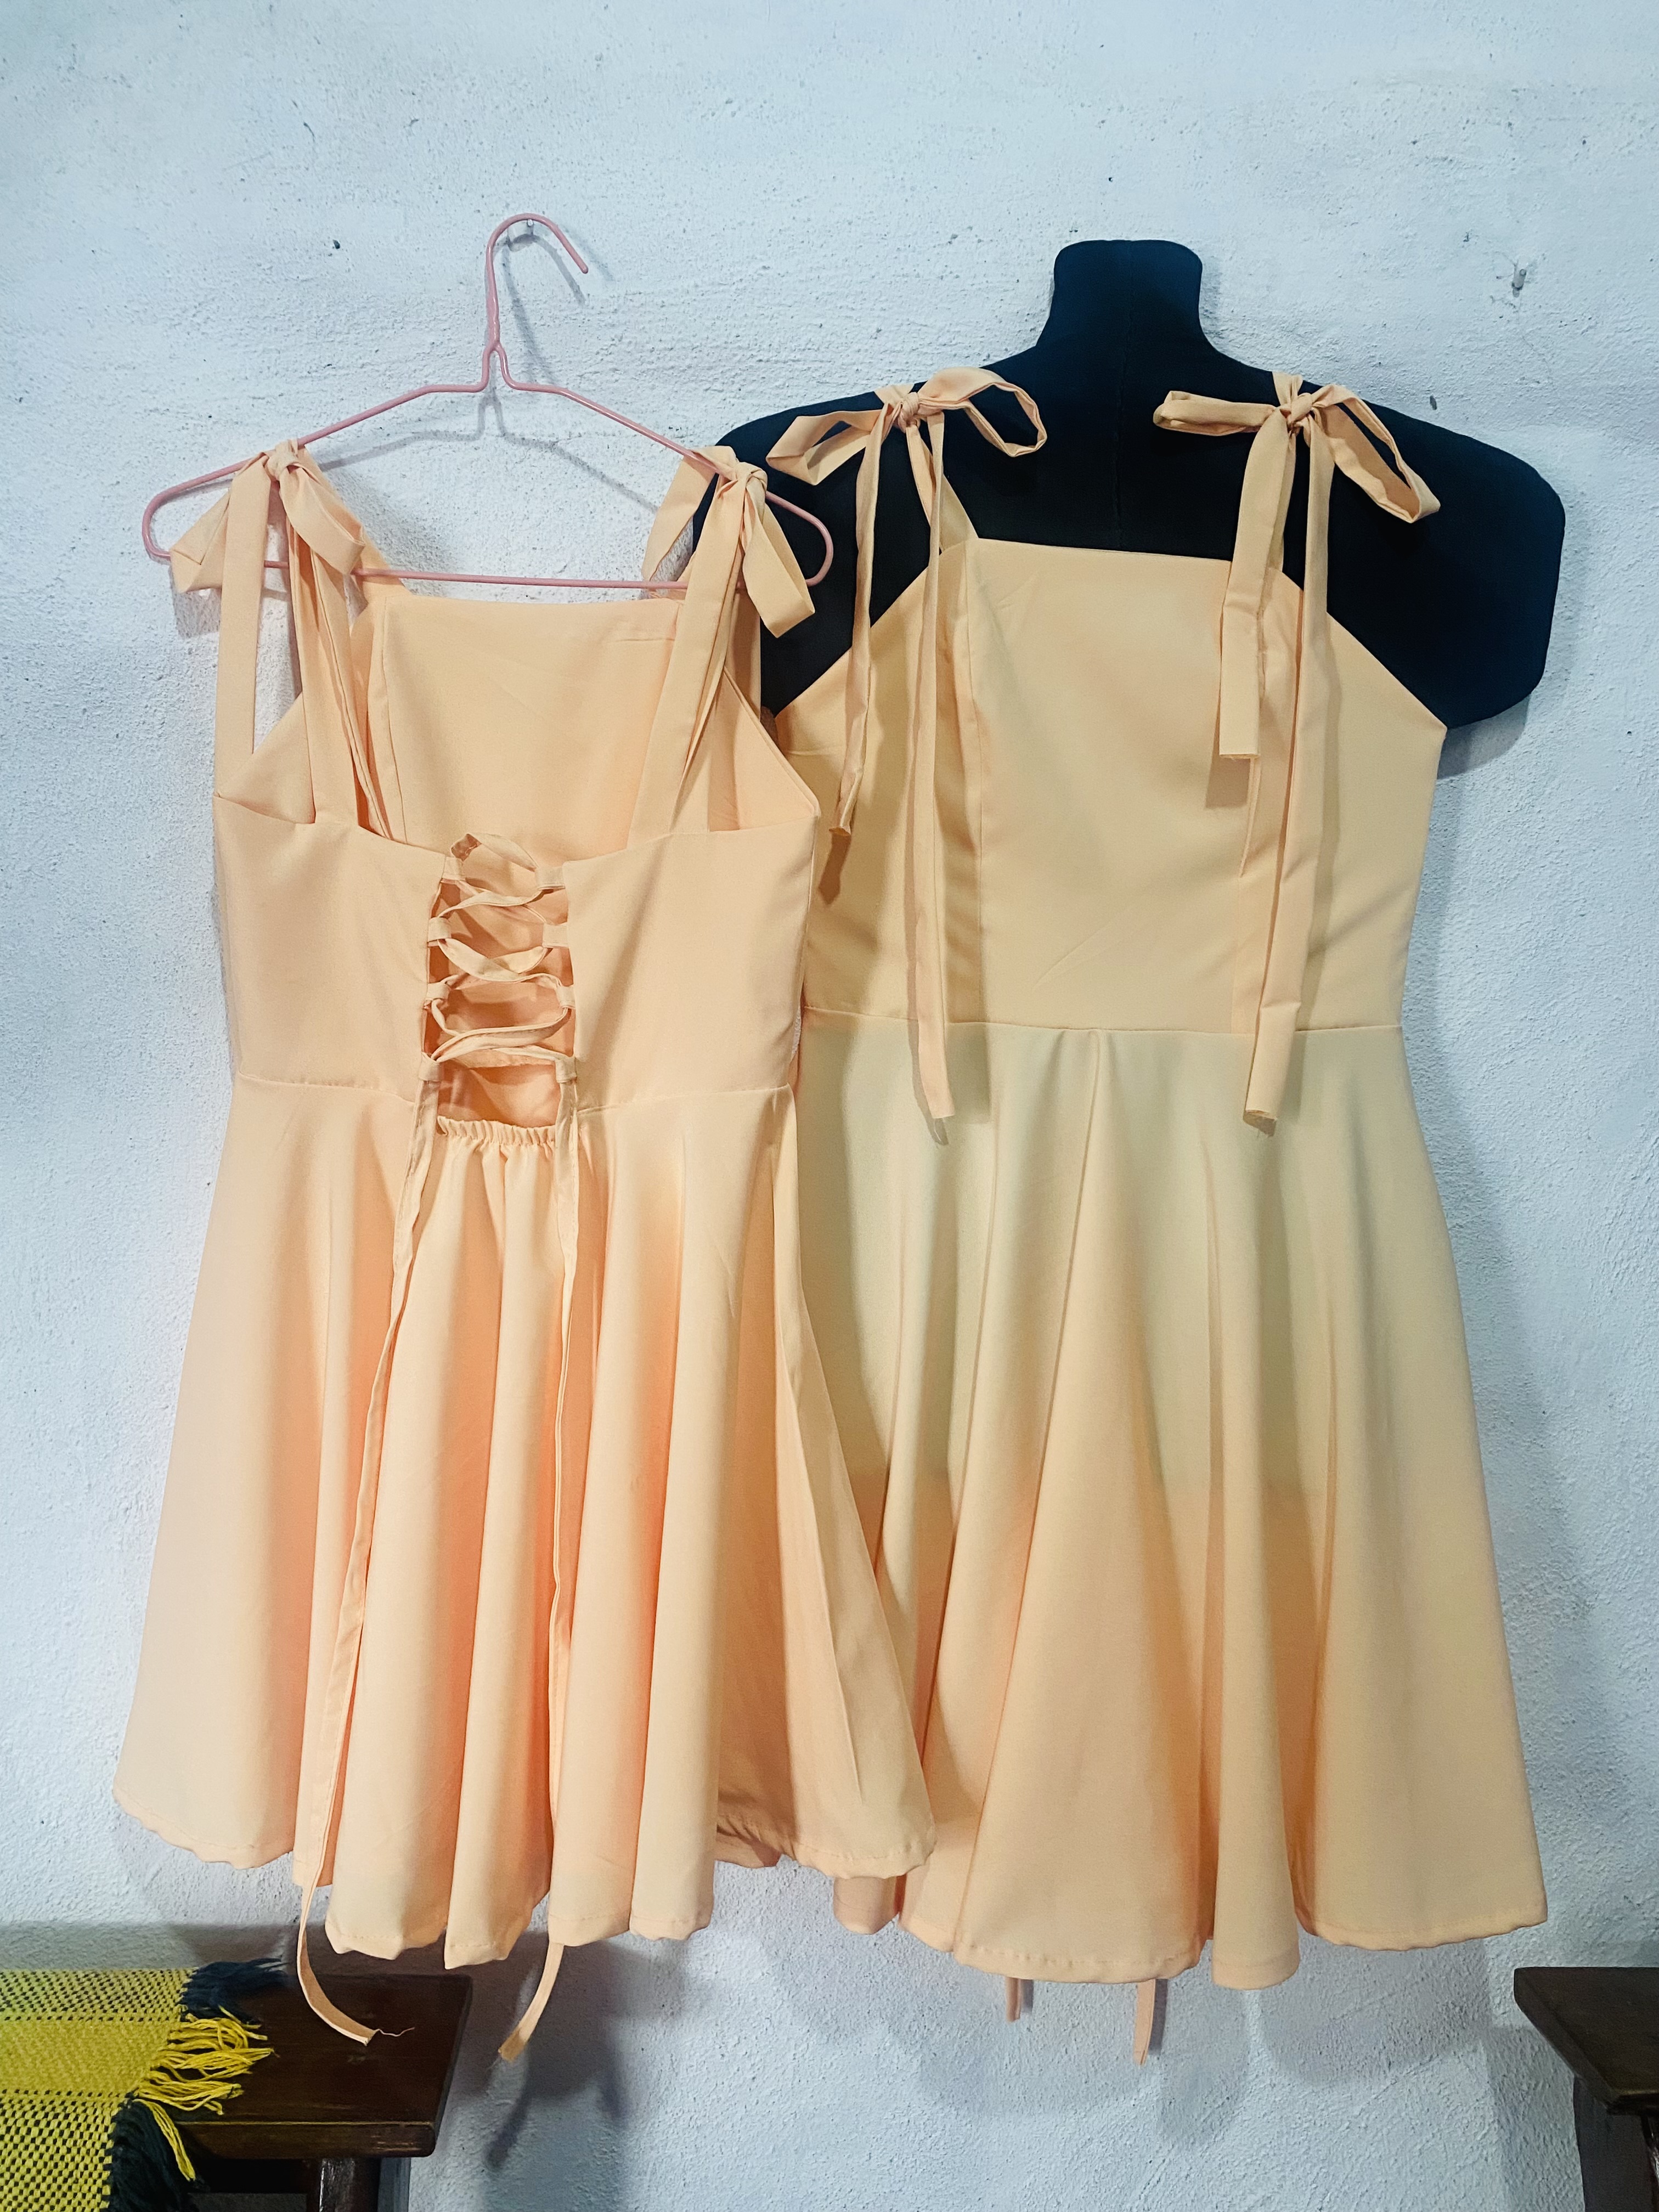|
Amé la confección de estos vestidos, el color de la tela me encantó, y esta tela fue bastante sencilla de trabajar, me han tocado telas que son bastante complicadas sobre todo a la hora de hacer ruedos circulares, espero les haya gustado, de antemano estoy muy agradecida de qué hayas visitado mi Publicación, me despido deseándoles muchos éxitos y bendiciones, hasta otra oportunidad
> I loved making these dresses, I loved the color of the fabric, and this fabric was quite easy to work with, I have had fabrics that are quite complicated especially when making circular hems, I hope you liked it, in advance I am very grateful that you have visited my publication, I say goodbye wishing you much success and blessings, until another opportunity

***las fotos aquí compartidas son de mi propiedad tomadas con mi teléfono iPhone 11, la edición fue hecha en Canva, para la traducción del inglés utilice el traductor de Google***
